
- Title: Warhammer: Vermintide 2
- Release Date:
- Developer:
- Publisher:
Information about Warhammer: Vermintide 2 is still incomplete. Please help us fill the details of the game using this contact form.
Guide for all skill levels: information on maps, weapons, equipment, bots, and more in Warhammer: Vermintide 2.
Introduction
With over 500 hours of experience playing Vermintide 2, I have acquired valuable knowledge and tricks that I believe can assist you in your missions. This guide aims to provide guidance for players of all skill levels.
Additionally, I would like to mention that this is my first guide, and I welcome your feedback and opinions in the comments section.
Empire in Flames
In this particular map, there exists a convenient shortcut that can be useful if your teammates have fallen in battle.
By utilizing the nearby house, you can bypass the wine cellar entirely. To do so, position yourself on the brick located before the doorframe. With precise timing, execute a jump while simultaneously activating your career skill. This will allow you to pass through the door.
Once inside, ascend the stairs and descend on the other side of the house where your comrades await rescue, provided you give them sufficient time to respawn.
It is important to note that this method only works for certain character classes, namely Slayer, Zealot, Warrior Priest with blessed tome, Handmaiden, and Battle Wizard.
In the final stage of the event, your objective is to load the cart with three barrels.
Obtaining the barrel located in the cellar can be more challenging due to the longer distance you have to travel back to the cart, especially with the relentless swarm of enemies. However, there are two options to tackle this situation.
- One approach is for your group to remain upstairs, focusing on eliminating the incoming enemies while you take on the responsibility of carrying the blackpowder towards the cart, ensuring moderate safety.
- Alternatively, you can throw the barrel upwards, allowing someone else in your group to catch it and carry it towards the cart.
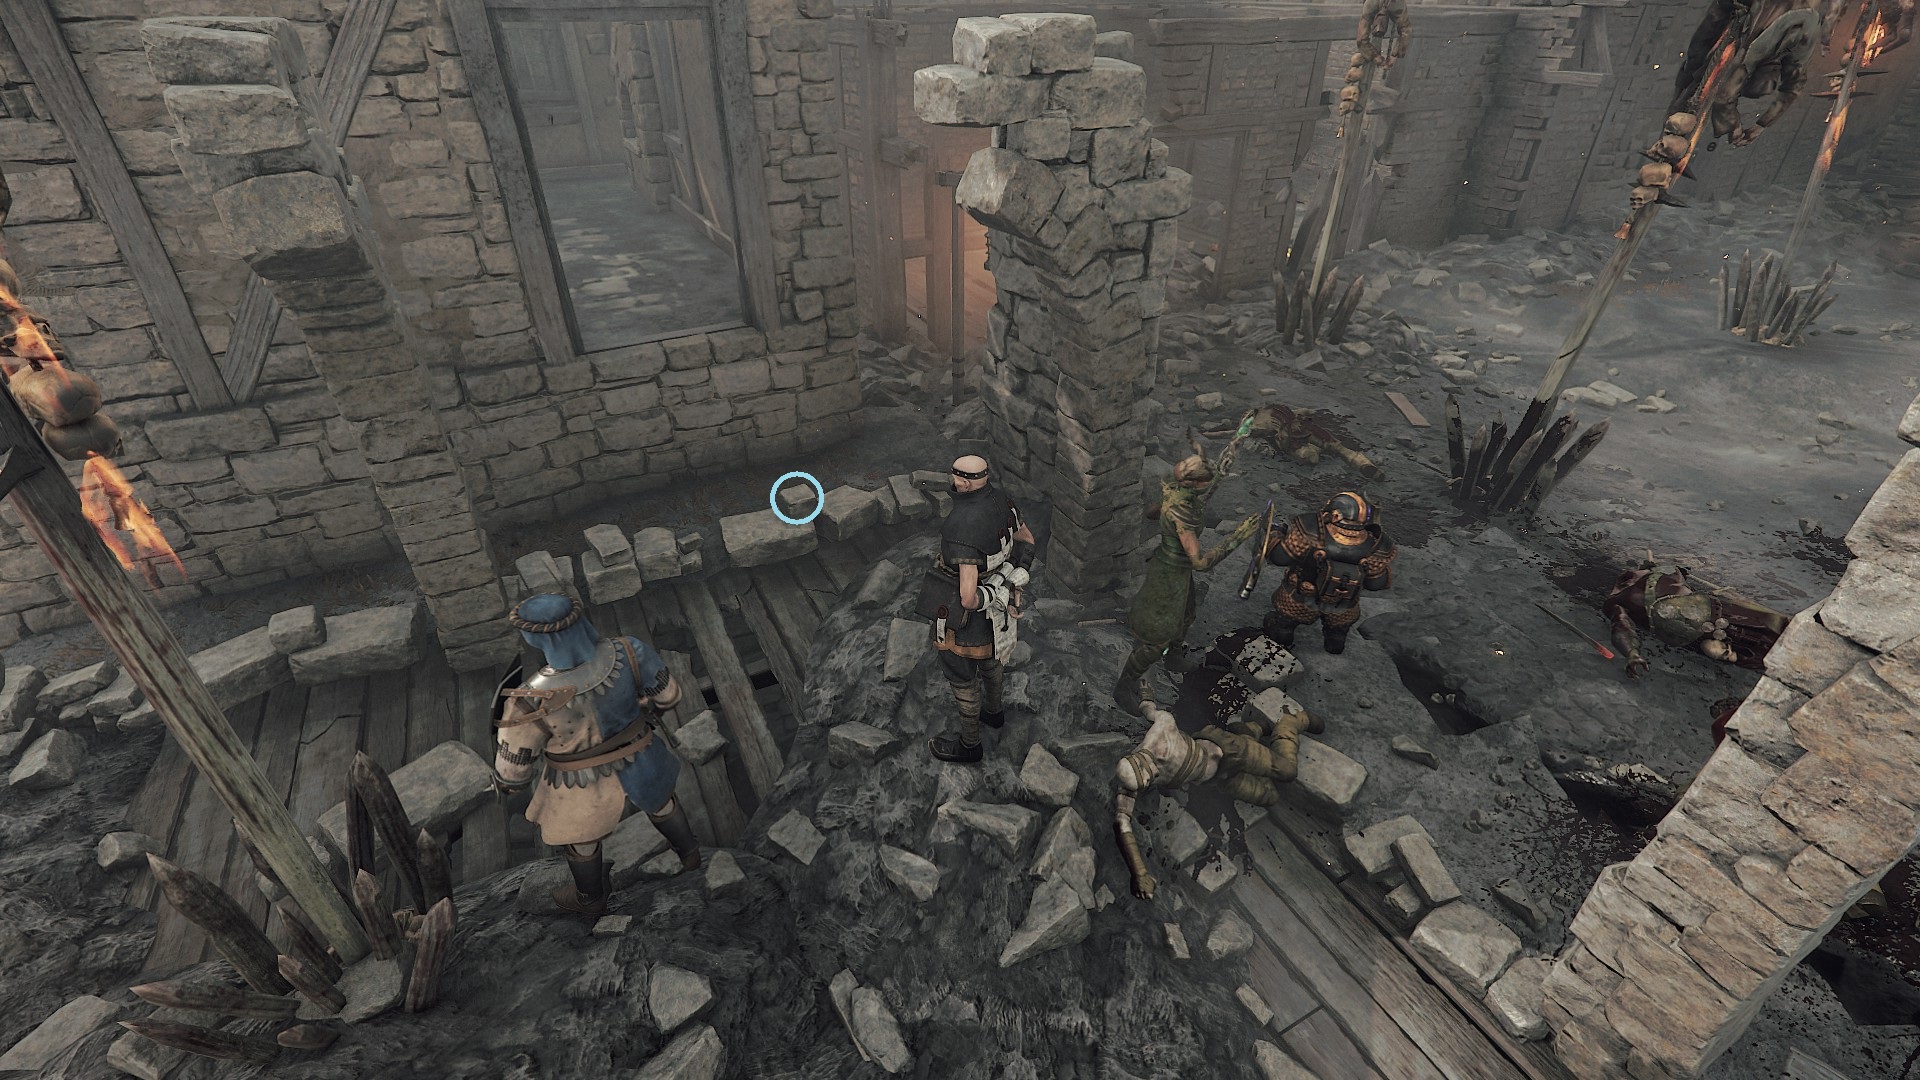
Old Haunts
Once you have successfully placed the first gargoyle head, be prepared for the appearance of chaos warriors behind the gate near the second head.
It is advisable to prioritize dealing with the chaos warriors before proceeding to the basement. Their presence can pose a significant threat, especially when they are mixed in with the frequently spawning plague monks, hookrats, and ratlingunners.
Another strategy is to retrieve the nearby gargoyle head first and then proceed to the remaining two heads.
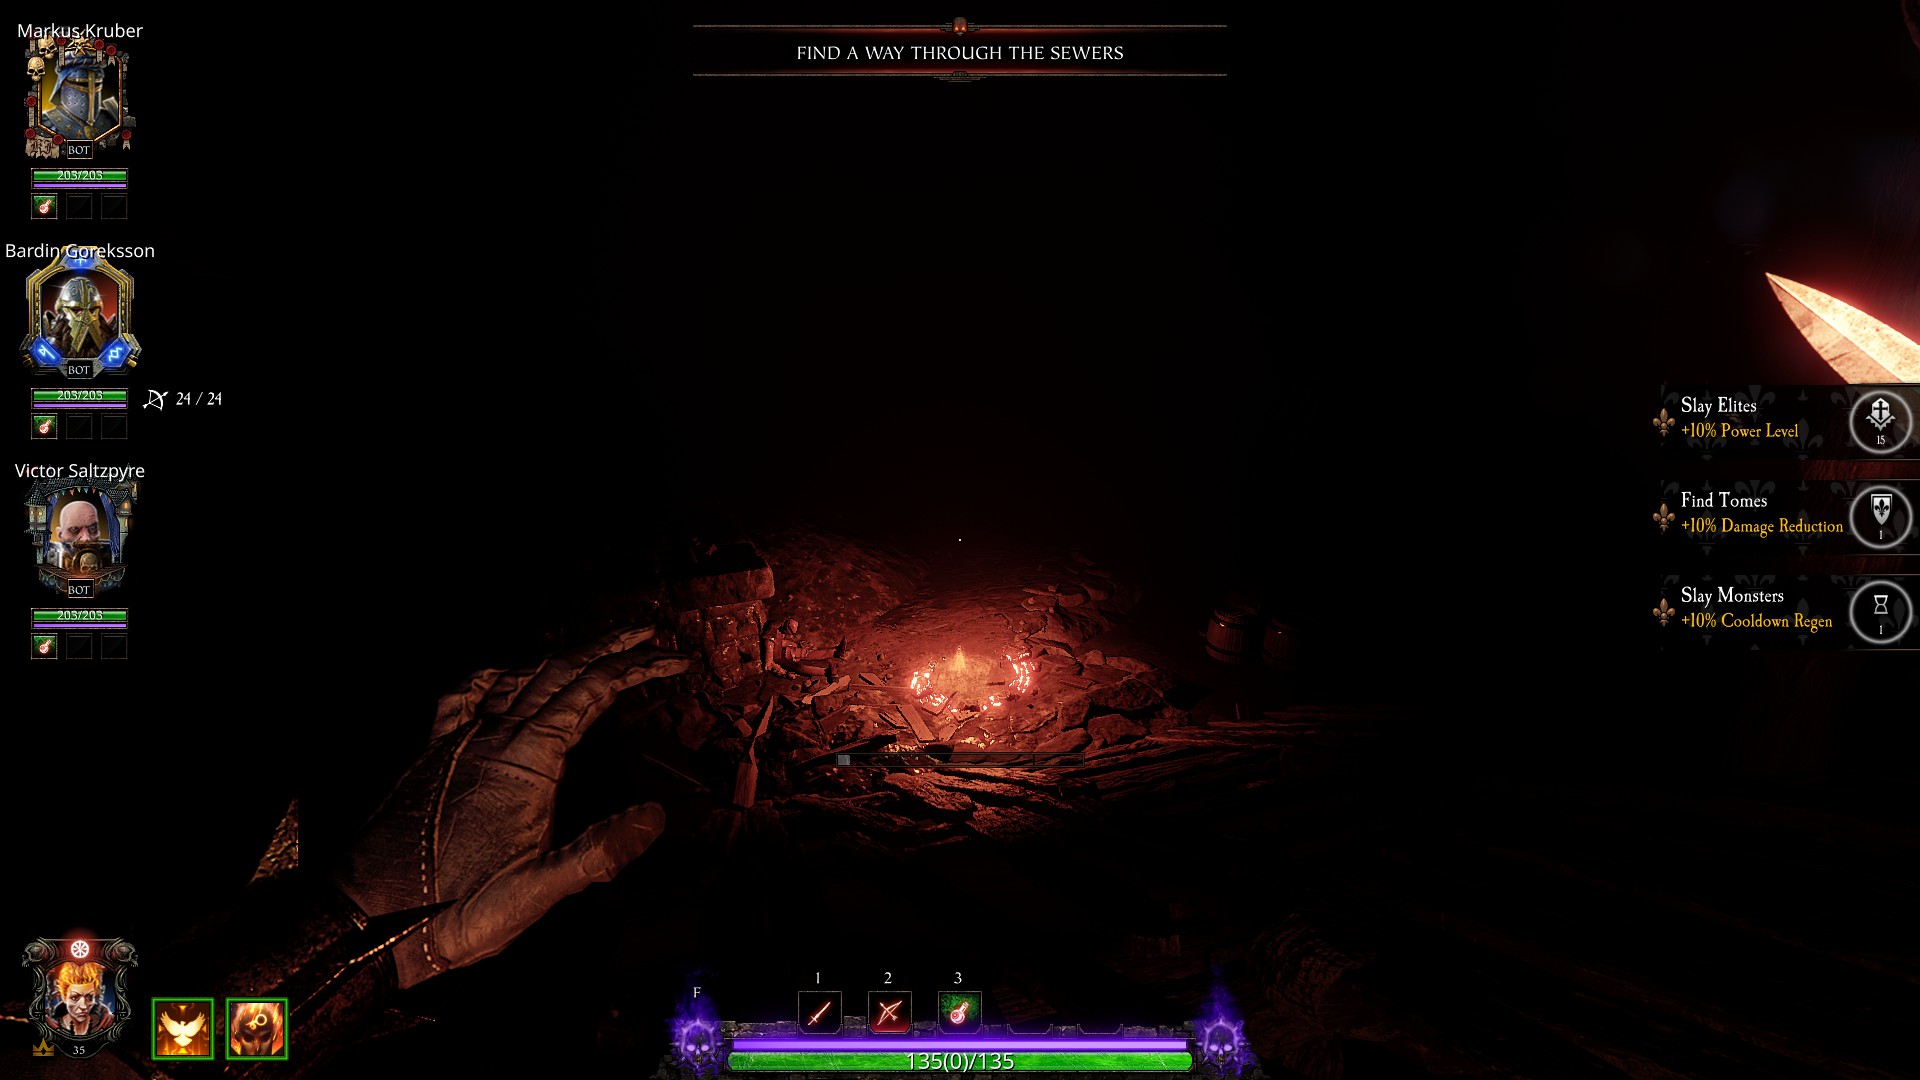
Blightreaper
In this particular mission, Lohner once again sends you into a dark sewer. However, there is a solution to illuminate your path: torches and fires that can be found throughout the area.
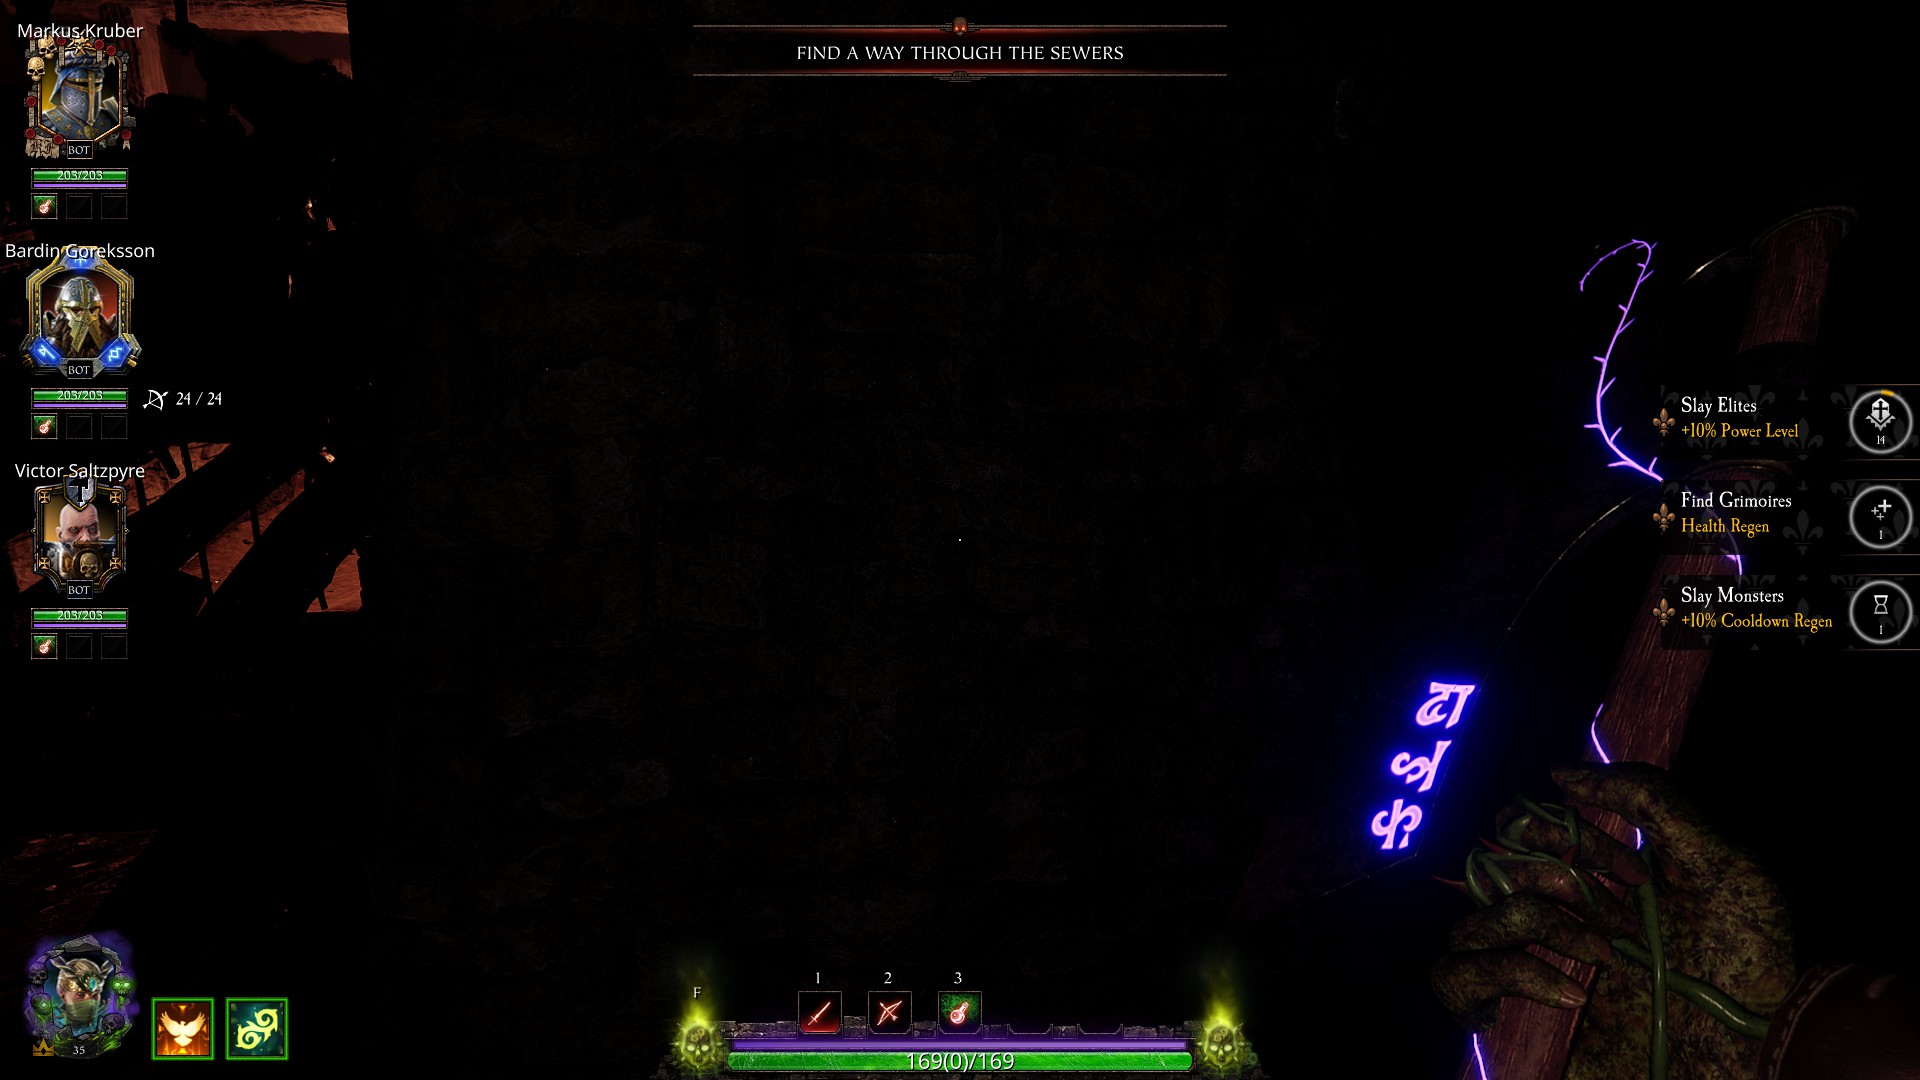
Fortunately, if these light sources are not sufficient for your needs or if you aim to complete the two Blightreaper challenges mentioned in Okri’s book, you have the option to equip a moonfire bow or a coruscation staff. These weapons not only serve their primary purpose but also provide additional light to guide your way.
It’s worth noting that this strategy is also applicable in the mission “Hunger in the Dark.”

Trial of Treachery
The final event in this particular map can present some challenges, especially with the presence of berserkers, armored enemies, blightstormers, life leeches, and a monster.
To handle this situation, many individuals choose to defend themselves in the crypt within the arena. This strategy works well because enemies can only approach from one side (excluding life leeches), and there is an unlimited supply of ammunition available.
However, what if you forget or are unable to light the beacons along the way?
In such cases, the shack with healing supplies before the arena will be locked, preventing access to the advantageous crypt for the fight.
Nevertheless, there is still a possibility to retrieve one or two healing draughts from outside the shack, ensuring some restorative support.
I will now share a trick with you on how to enter the crypt without the need to light the bonefires along the way.
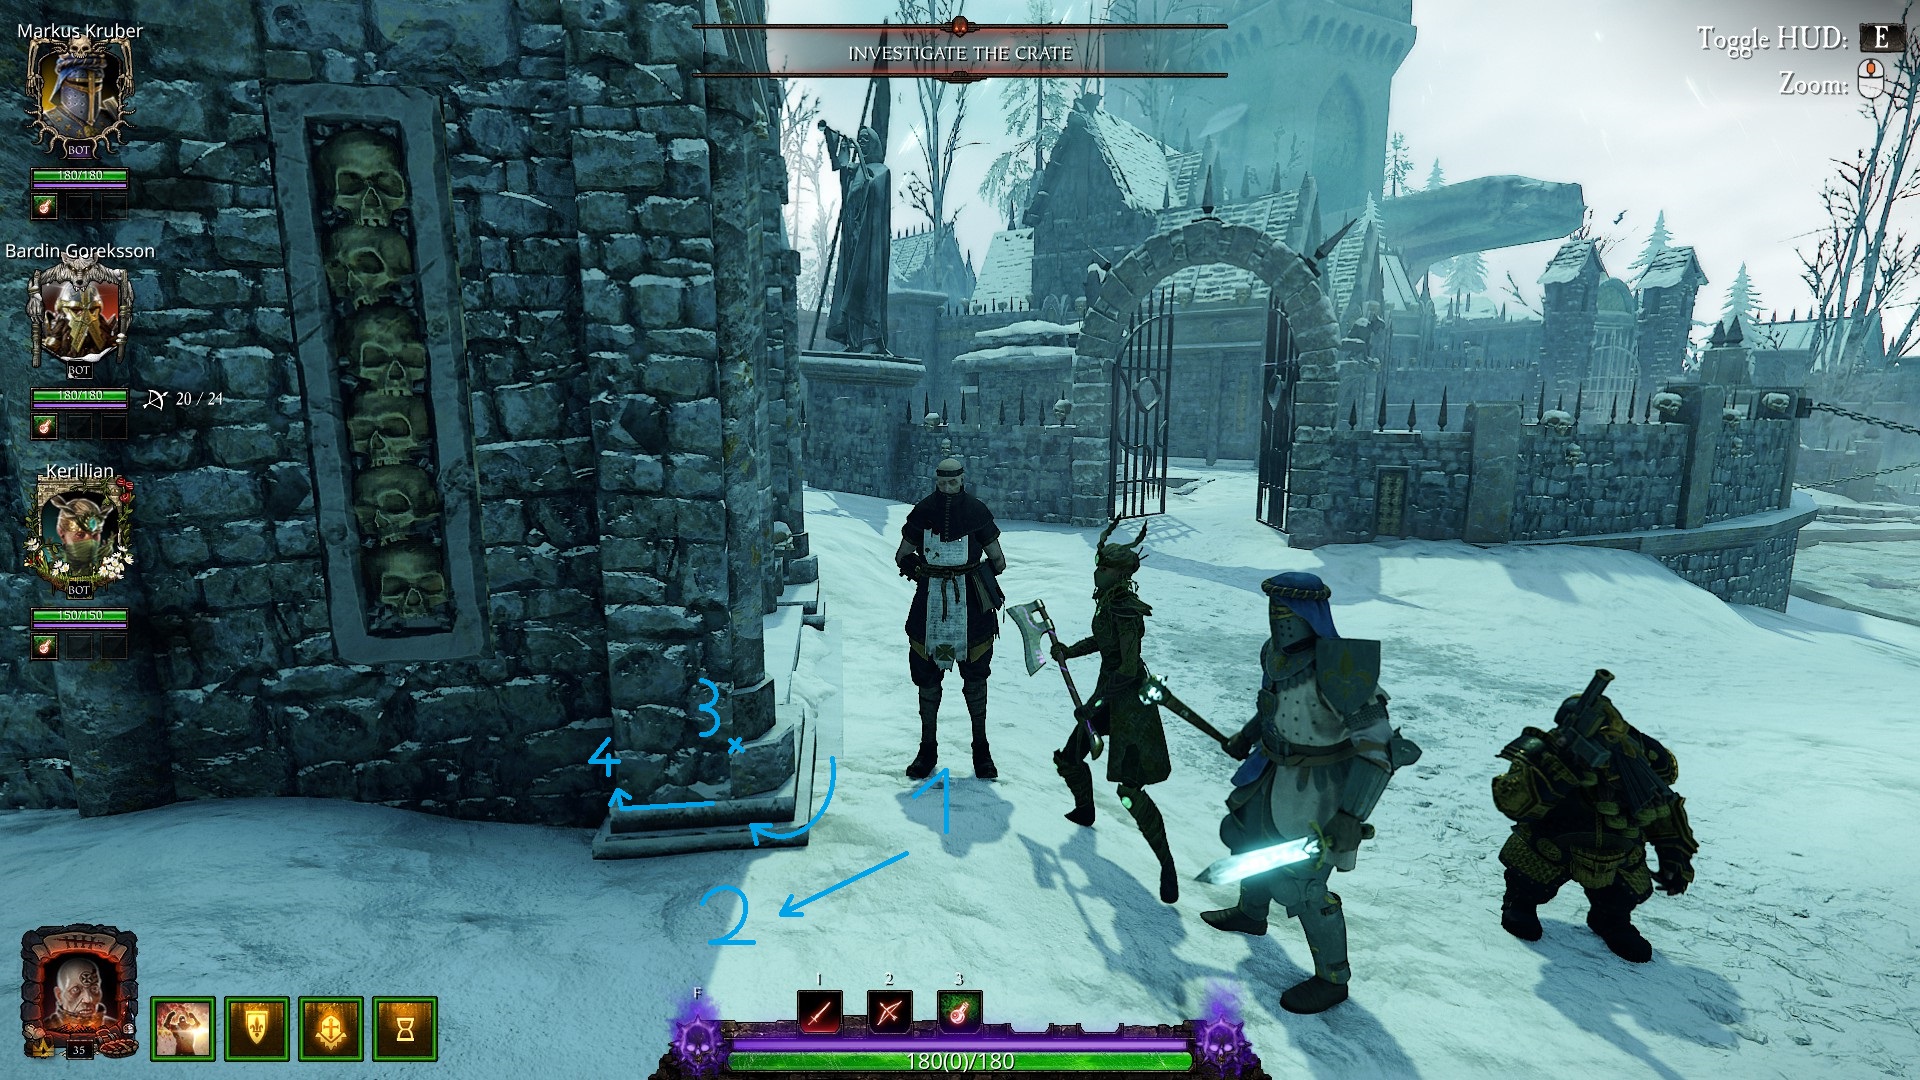
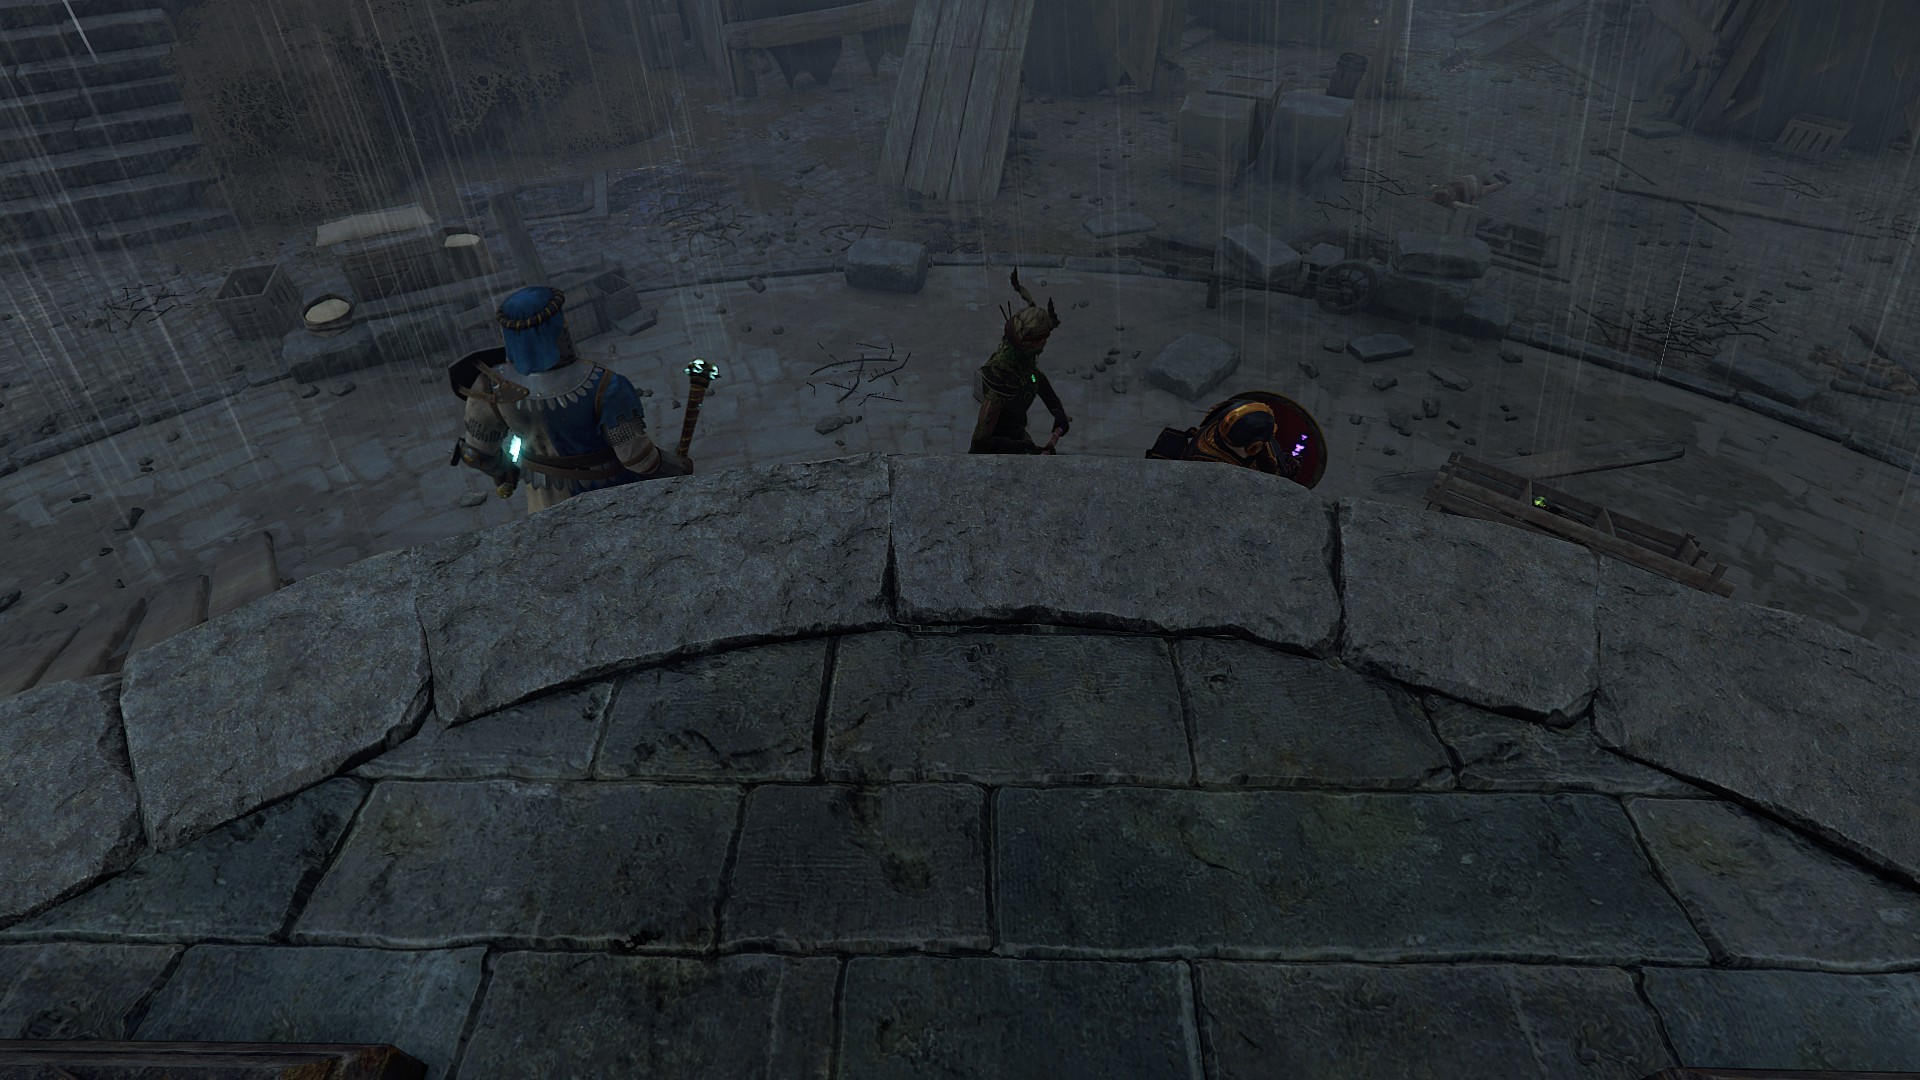
- Step 1: Position yourself in front of the left side of the crypt.
- Step 2: Perform a diagonal jump towards point 2.
- Step 3: While in midair, press the D key (to move right) to execute a semicircular movement around the pillar, ensuring that you land at point X.
If executed correctly, you will notice that your position is now closer to the pillar than it was previously.
Note: In the provided picture, points 1 and 2 may appear slightly distant from each other, but the key is to ensure your jump is in close proximity to the pillar.
In the final step, proceed by moving left around the wall while staying close to it. By doing so, you should be able to enter the crypt successfully.
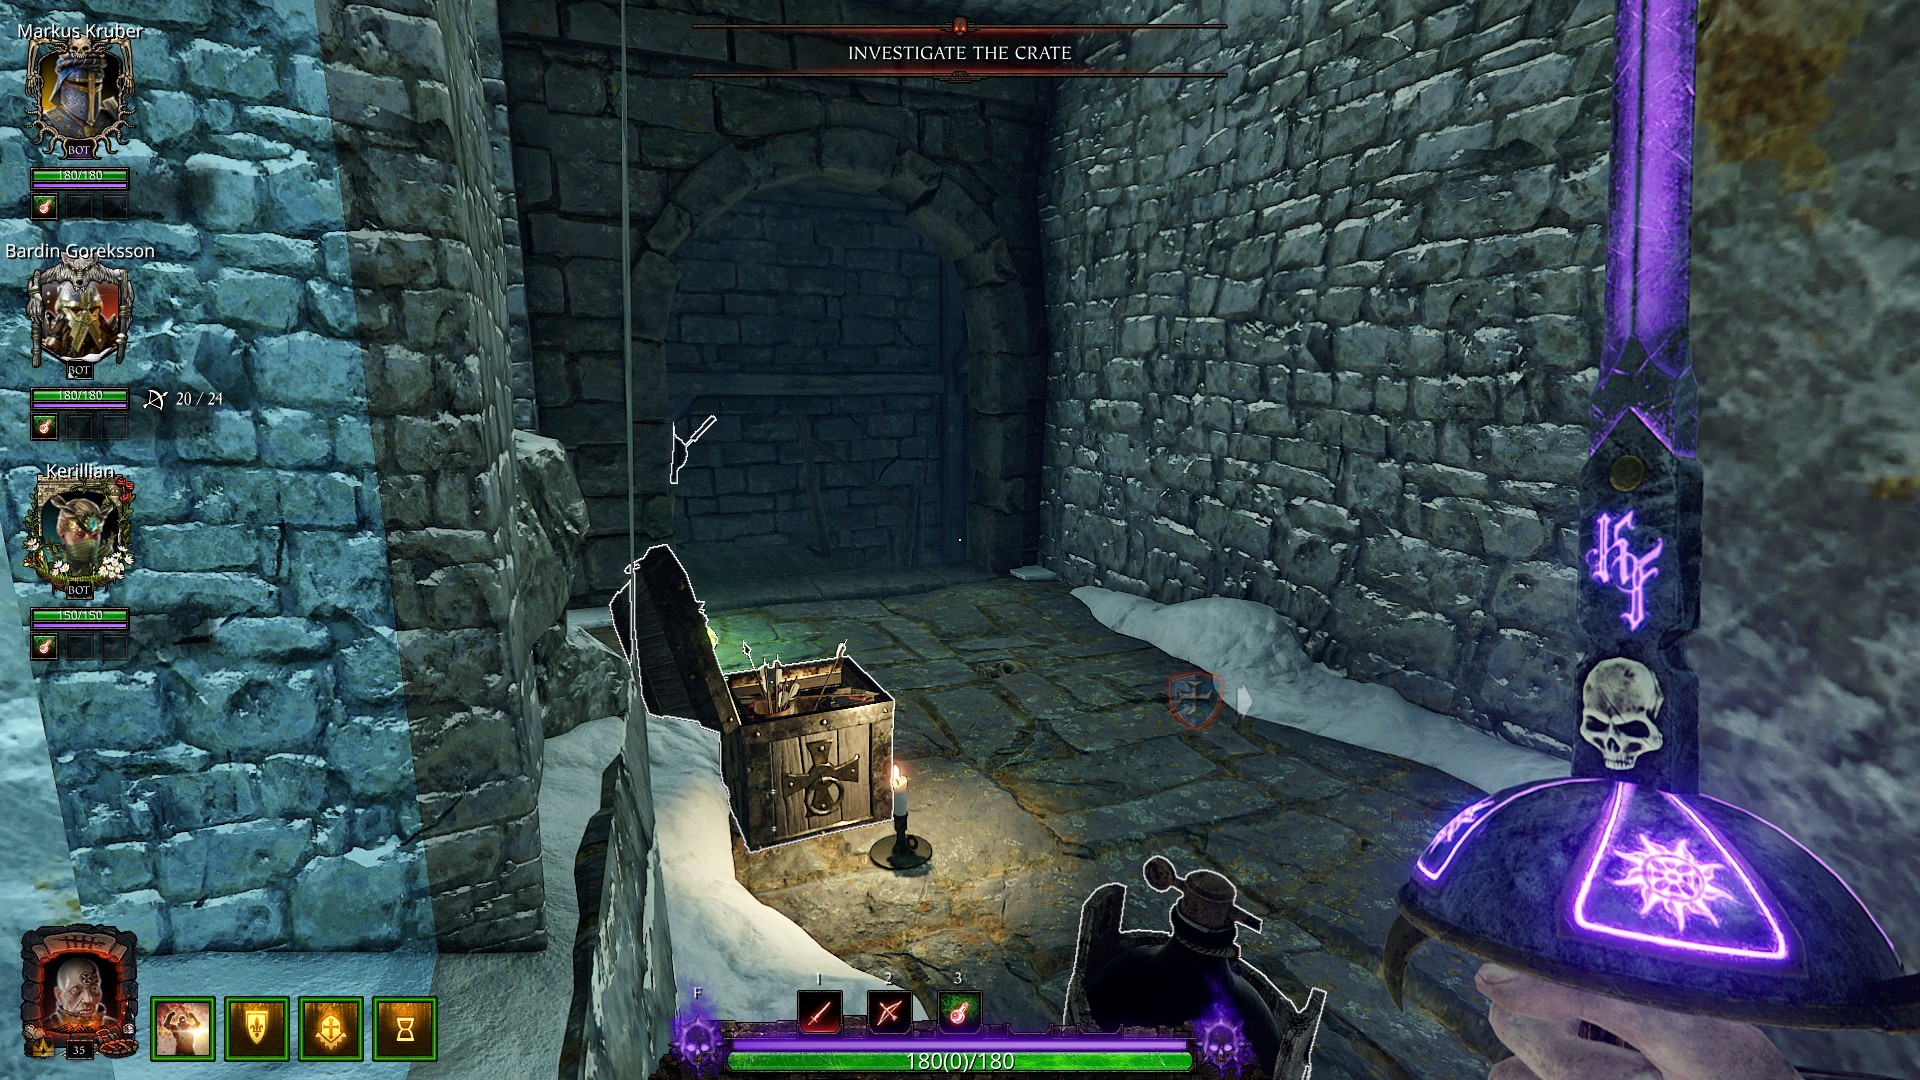
Additionally, remember to retrieve the supplies located in the basement of the crypt. They can provide valuable resources to aid you in your mission.
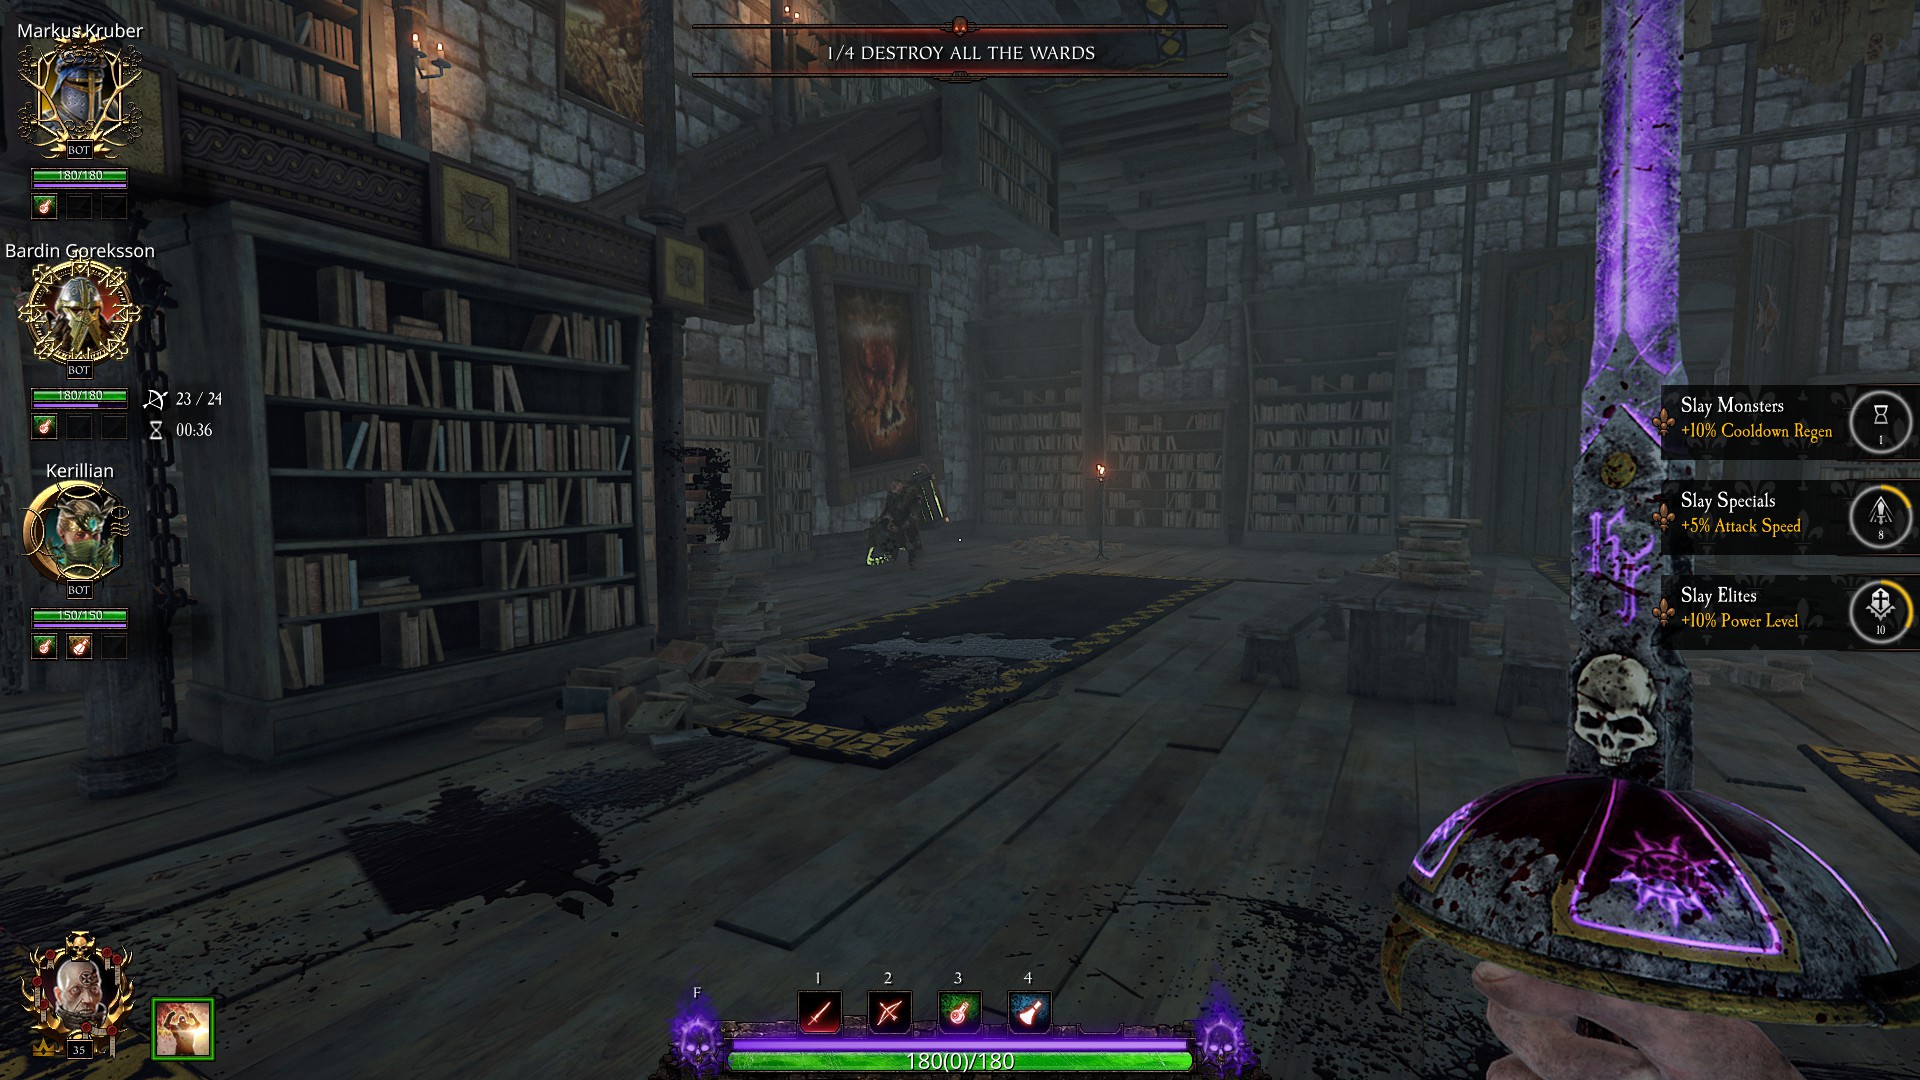
Tower of Treachery
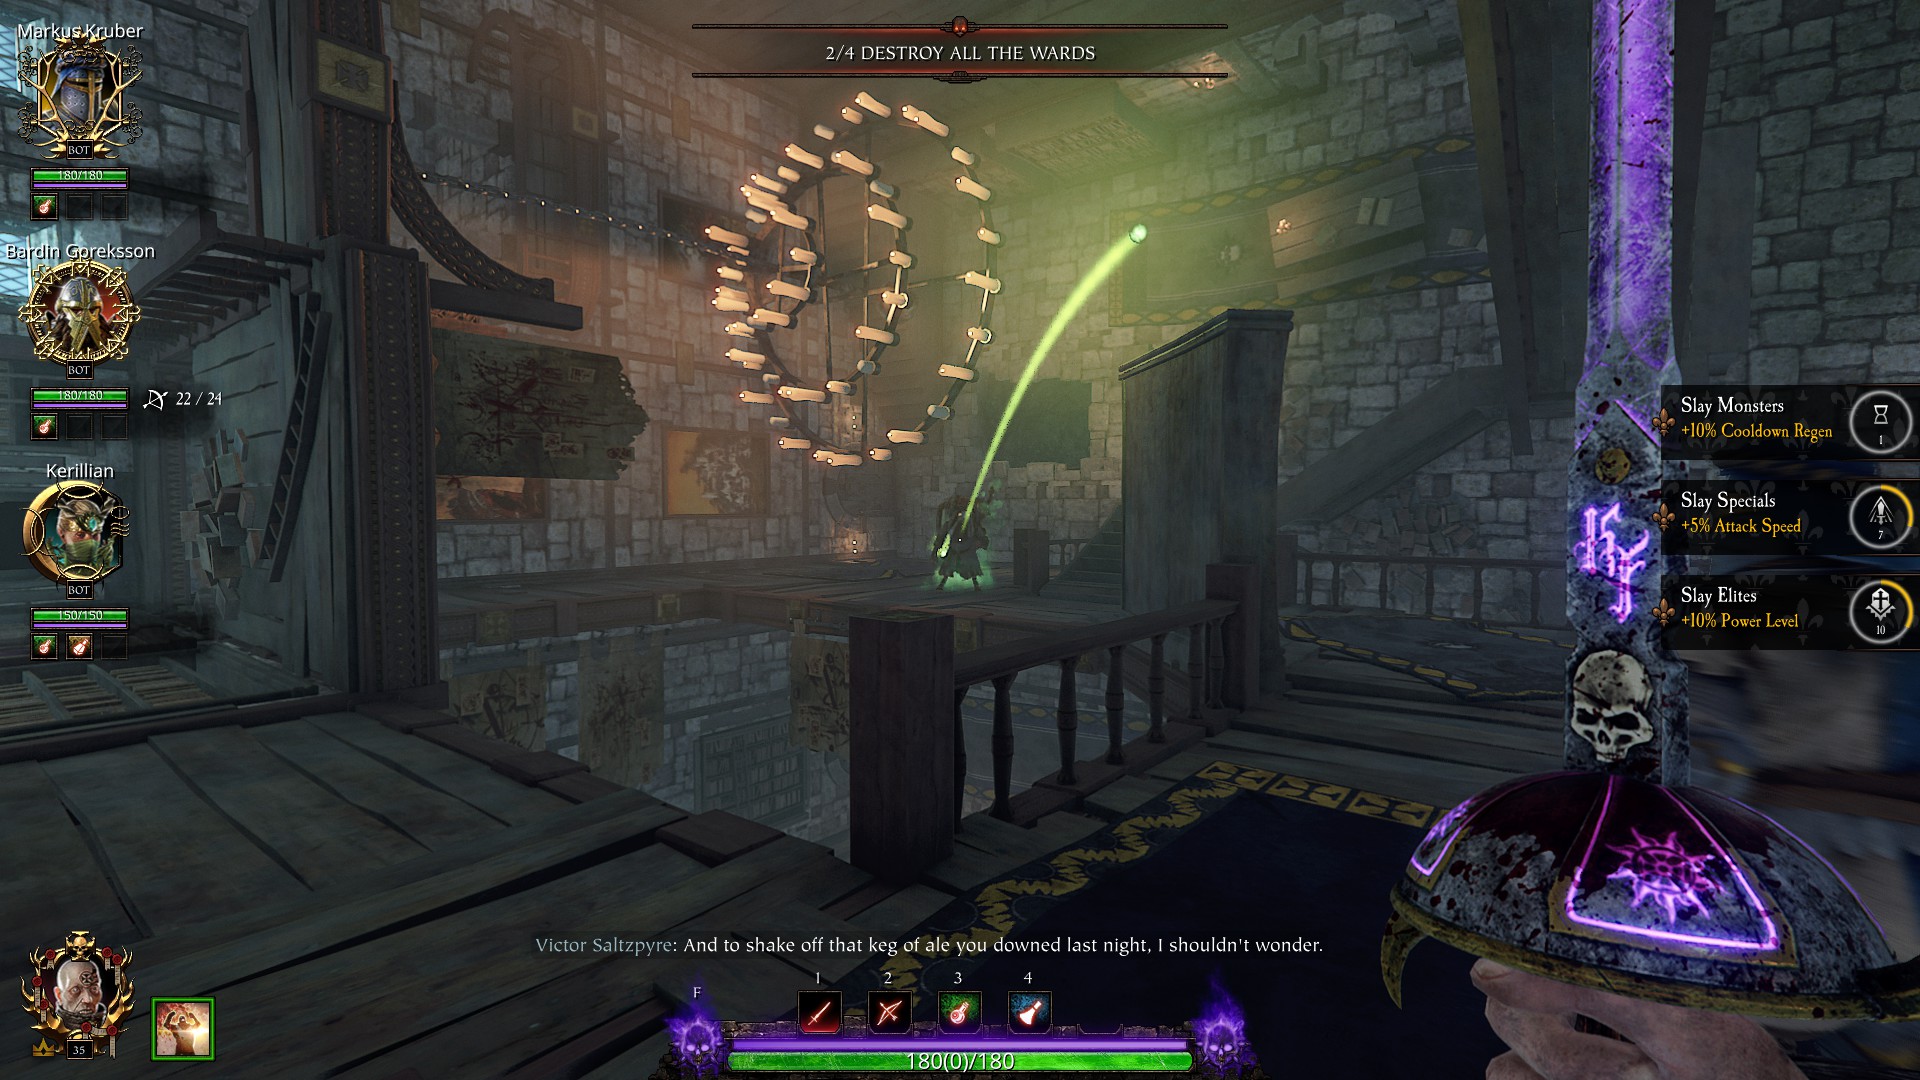
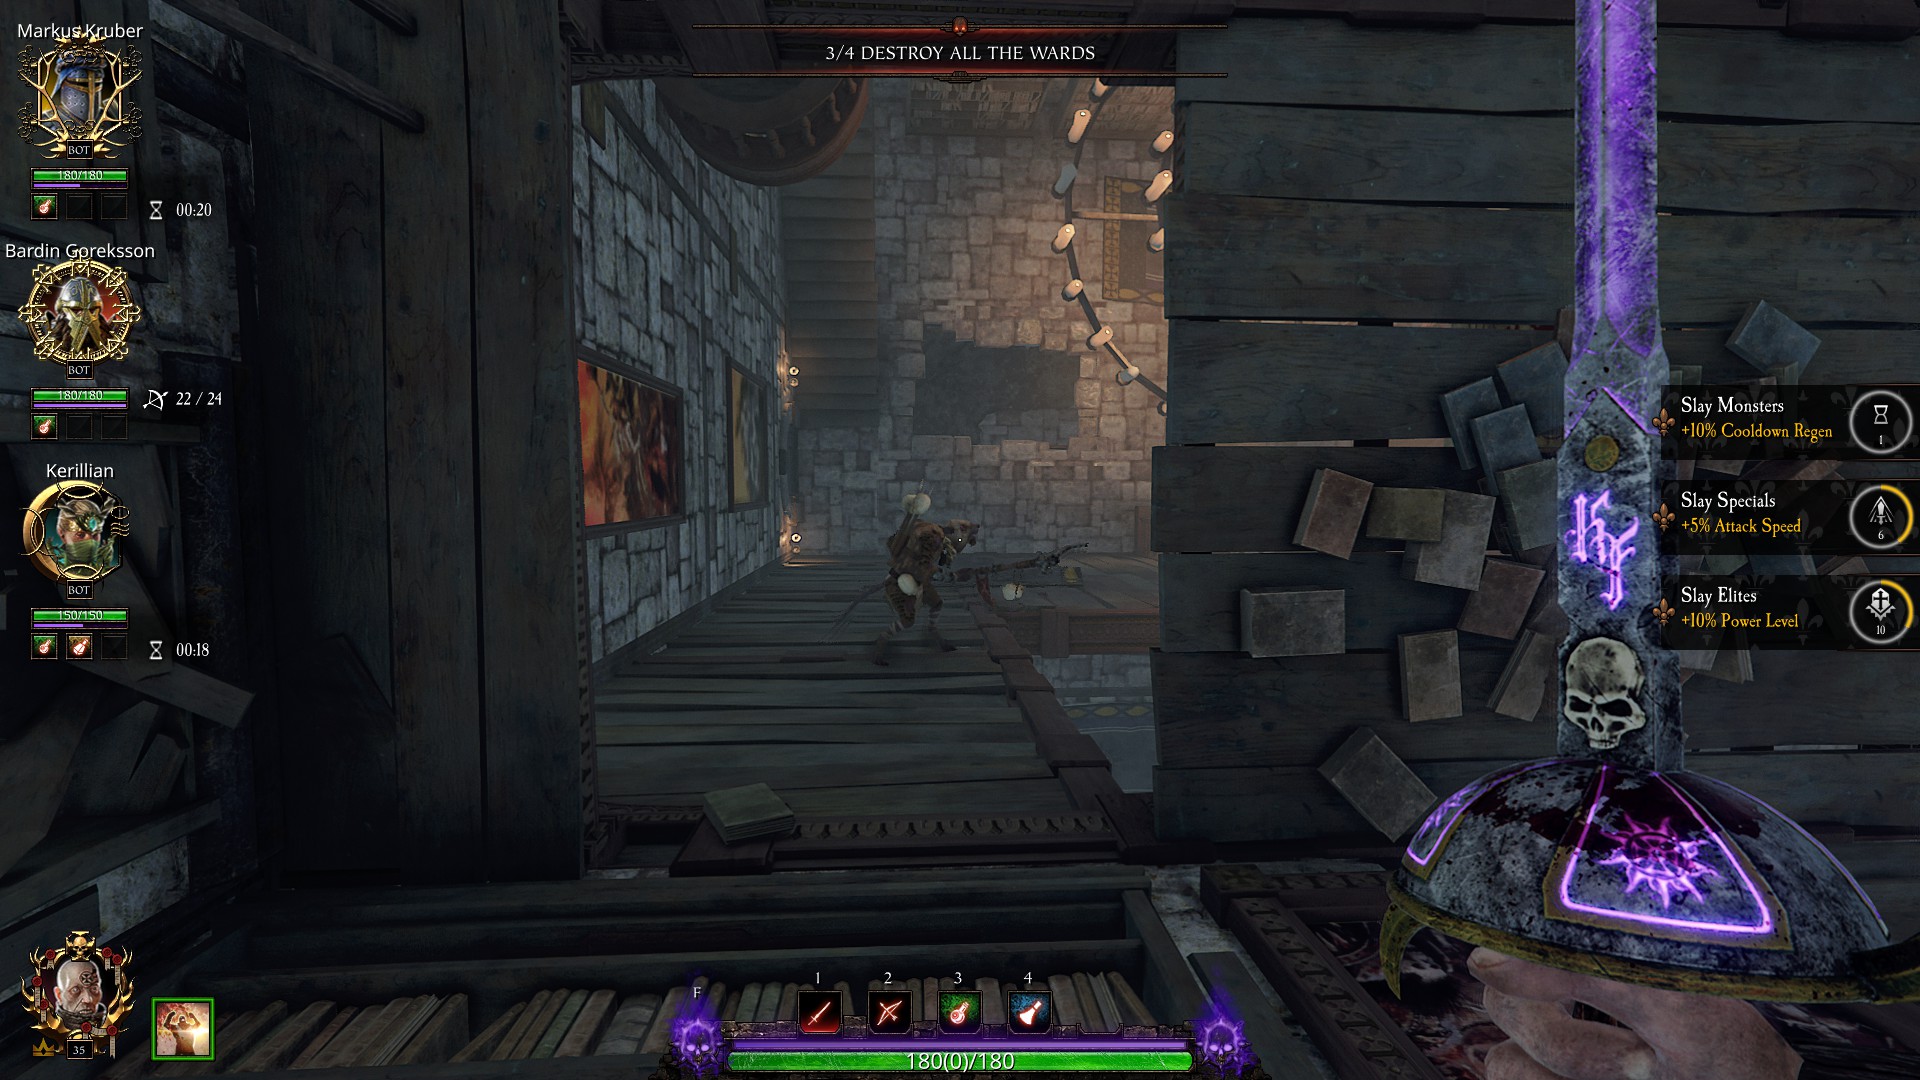
Following Sofia’s monologue, your next objective is to destroy the four wards located in the library.
Once you have destroyed the wards, it is important to note that three out of the four wards will consistently spawn the same special unit at the same location in every run you undertake. This means you can anticipate and prepare for these specific encounters during your missions.

A Ratling Gunner will emerge from the same location you originated.
An enemy Globadier will appear on the upper floor.
A Hookrat will materialize.
Ensure its immediate elimination, as otherwise, it is prone to leaping down and reappearing when you least anticipate it.
No enemies will spawn in Ward 4.
Shortly afterward, you will arrive at the Lustria region.
Utilizing this shortcut might be advantageous for reaching the summit.
To reach the summit swiftly and minimize the risk of falling, follow this specific route.
Rotate the head of the Sentinel of Lustria to avoid any fall damage in this particular section of the mission.
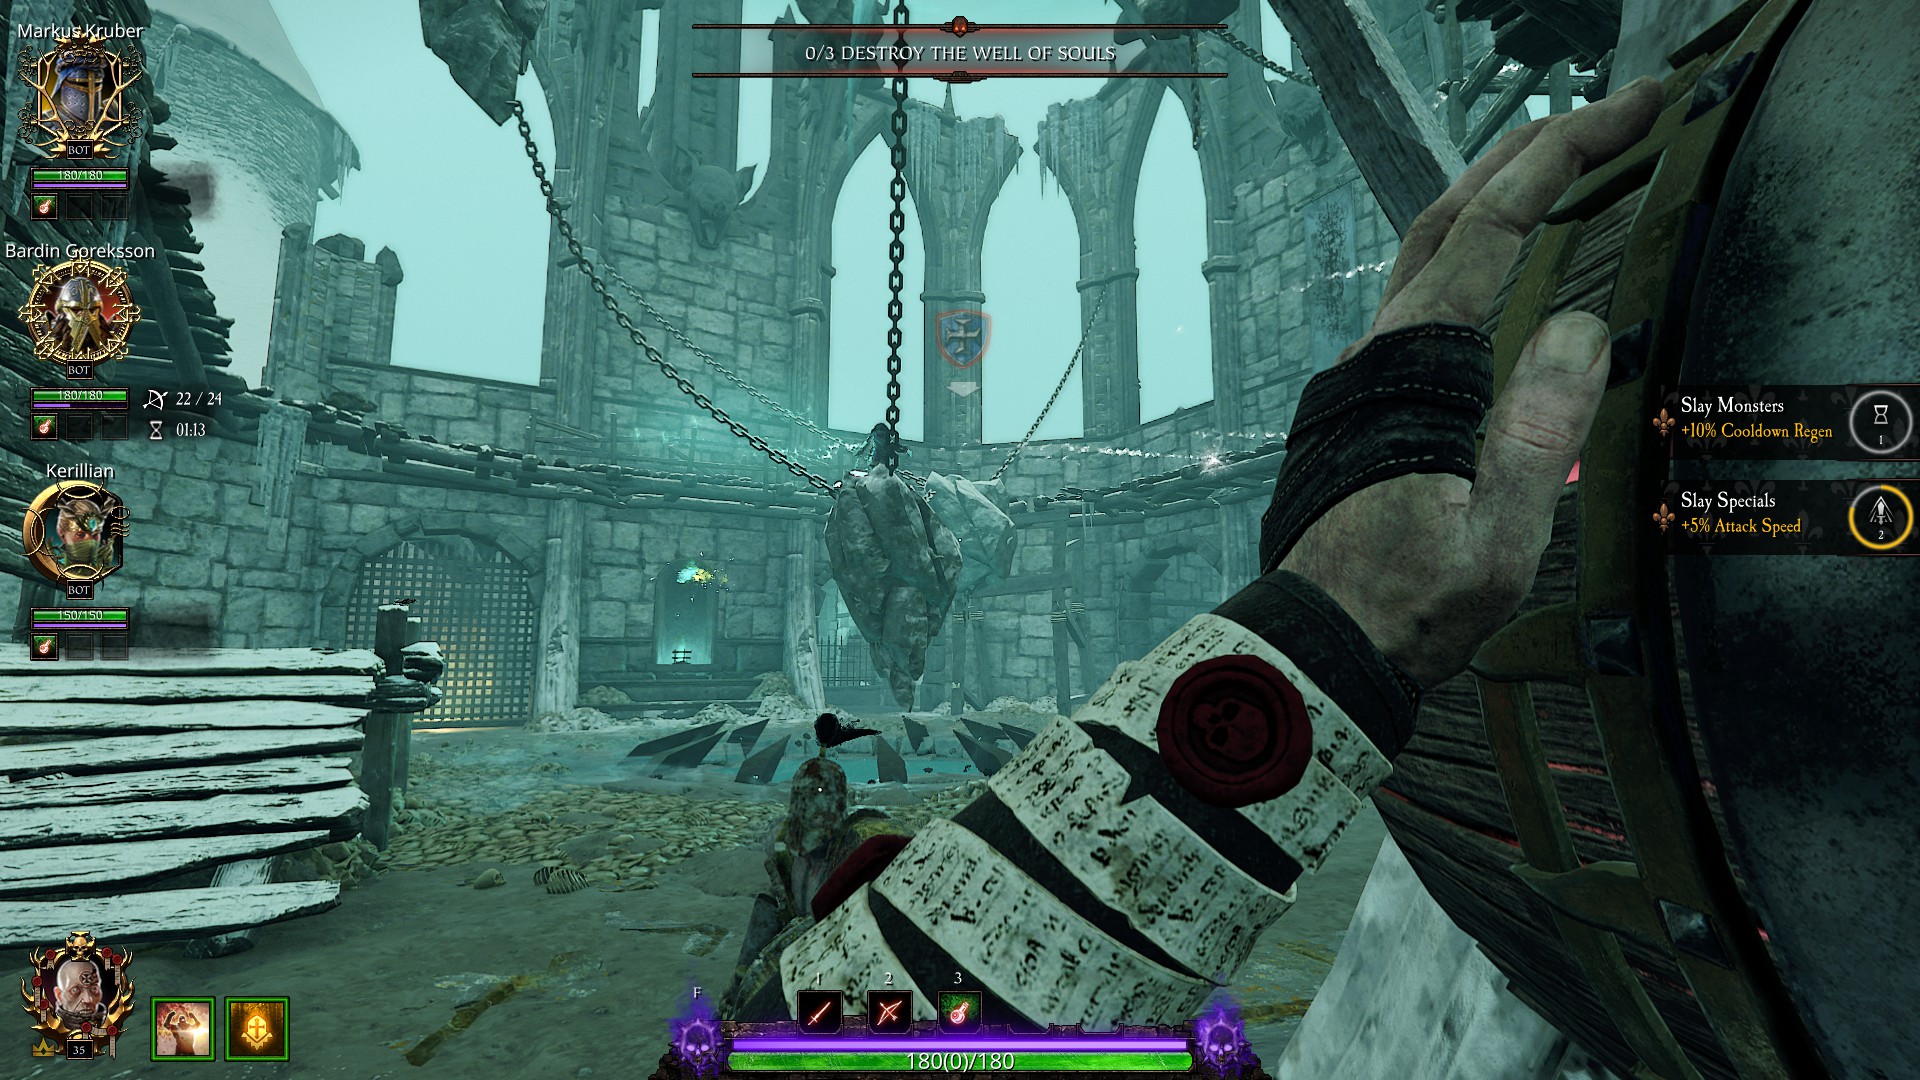
During the boss fight, it is crucial to correctly handle the task of throwing barrels into the well of souls. Unfortunately, some individuals make mistakes in this regard.
They either venture alone and get struck by attacks or stay too close to the well of souls, becoming targets for the shadow skulls that consistently attempt to ignite the barrels. In both cases, the barrels end up exploding.
To prevent such mishaps, clear out the nearby enemies beforehand or utilize a career that possesses the ability to dash forward or engage in stealth.
While progressing forward, simultaneously throw the barrel at a 45° angle. By maintaining this distance, you should be adequately close to the target.
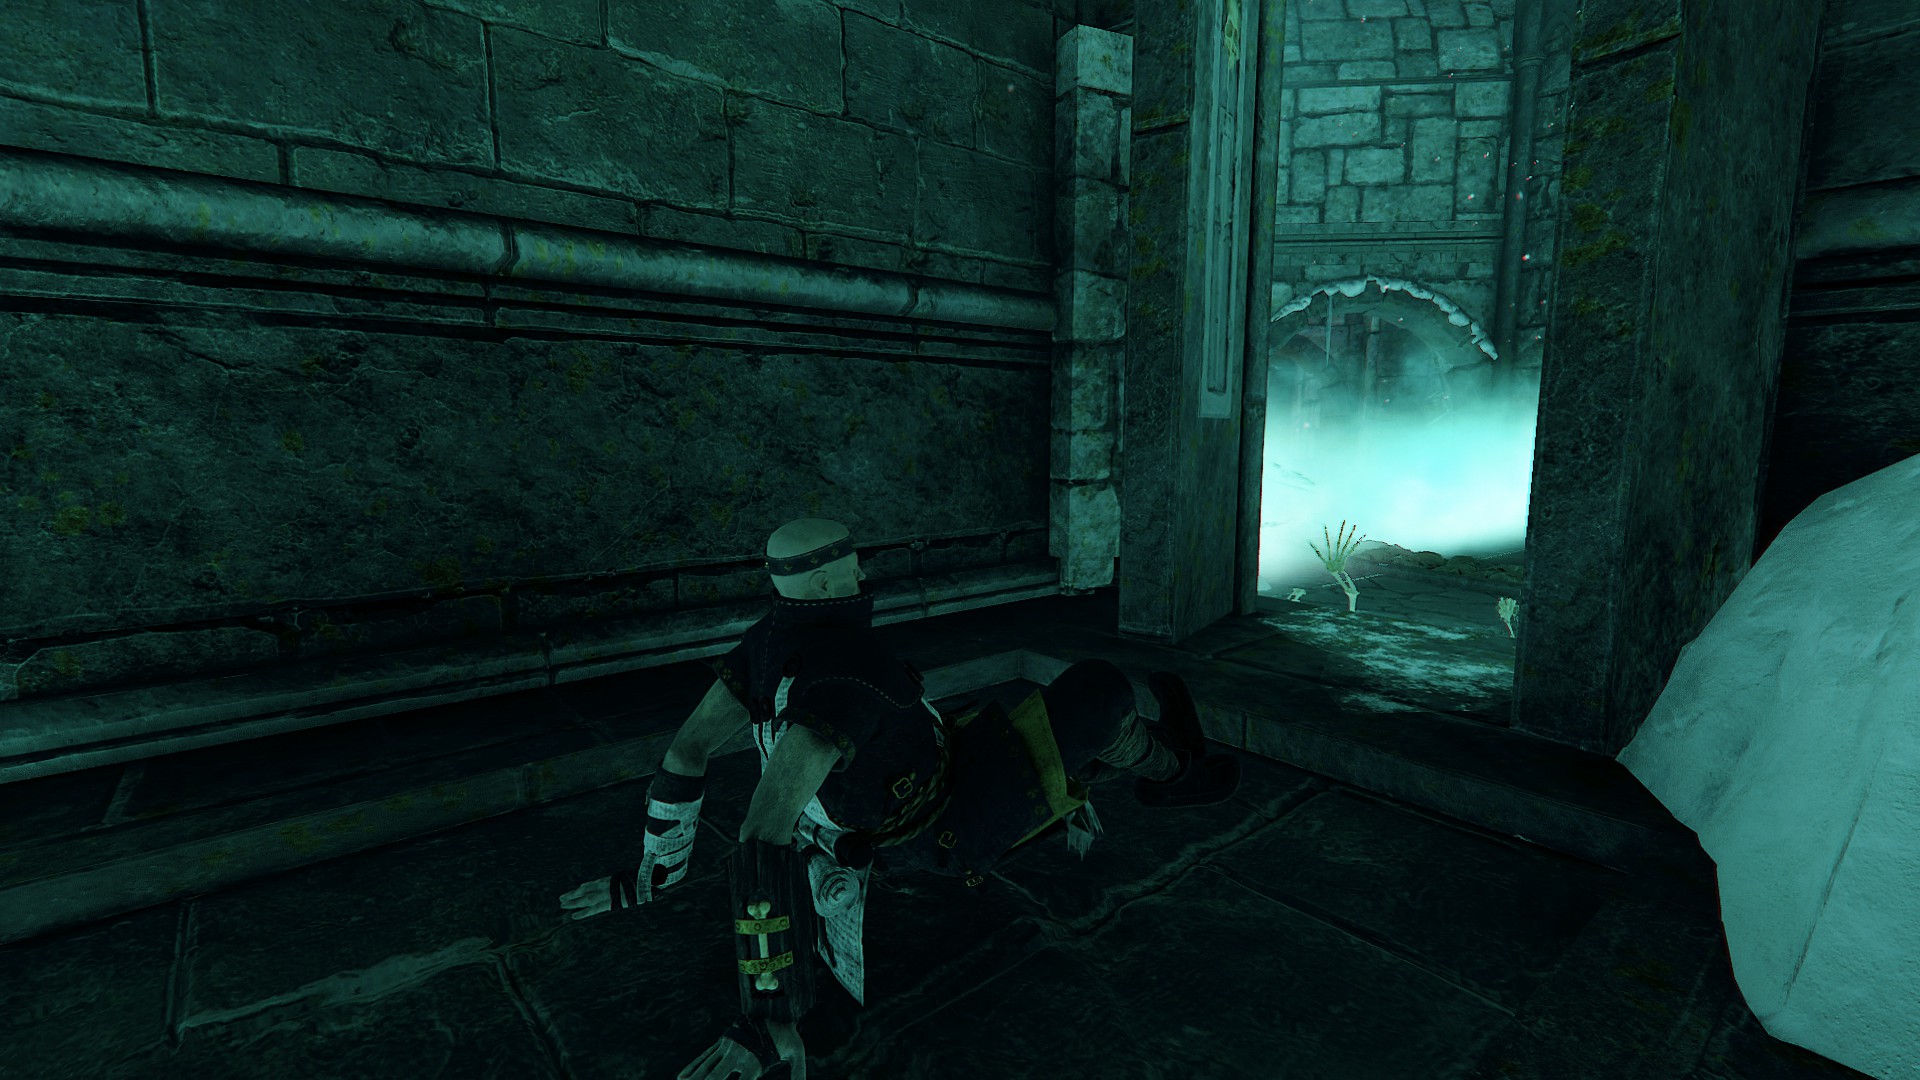
Subsequently, a pair of bone hands protrude from the ground and inflict damage upon players (excluding bots) upon contact.
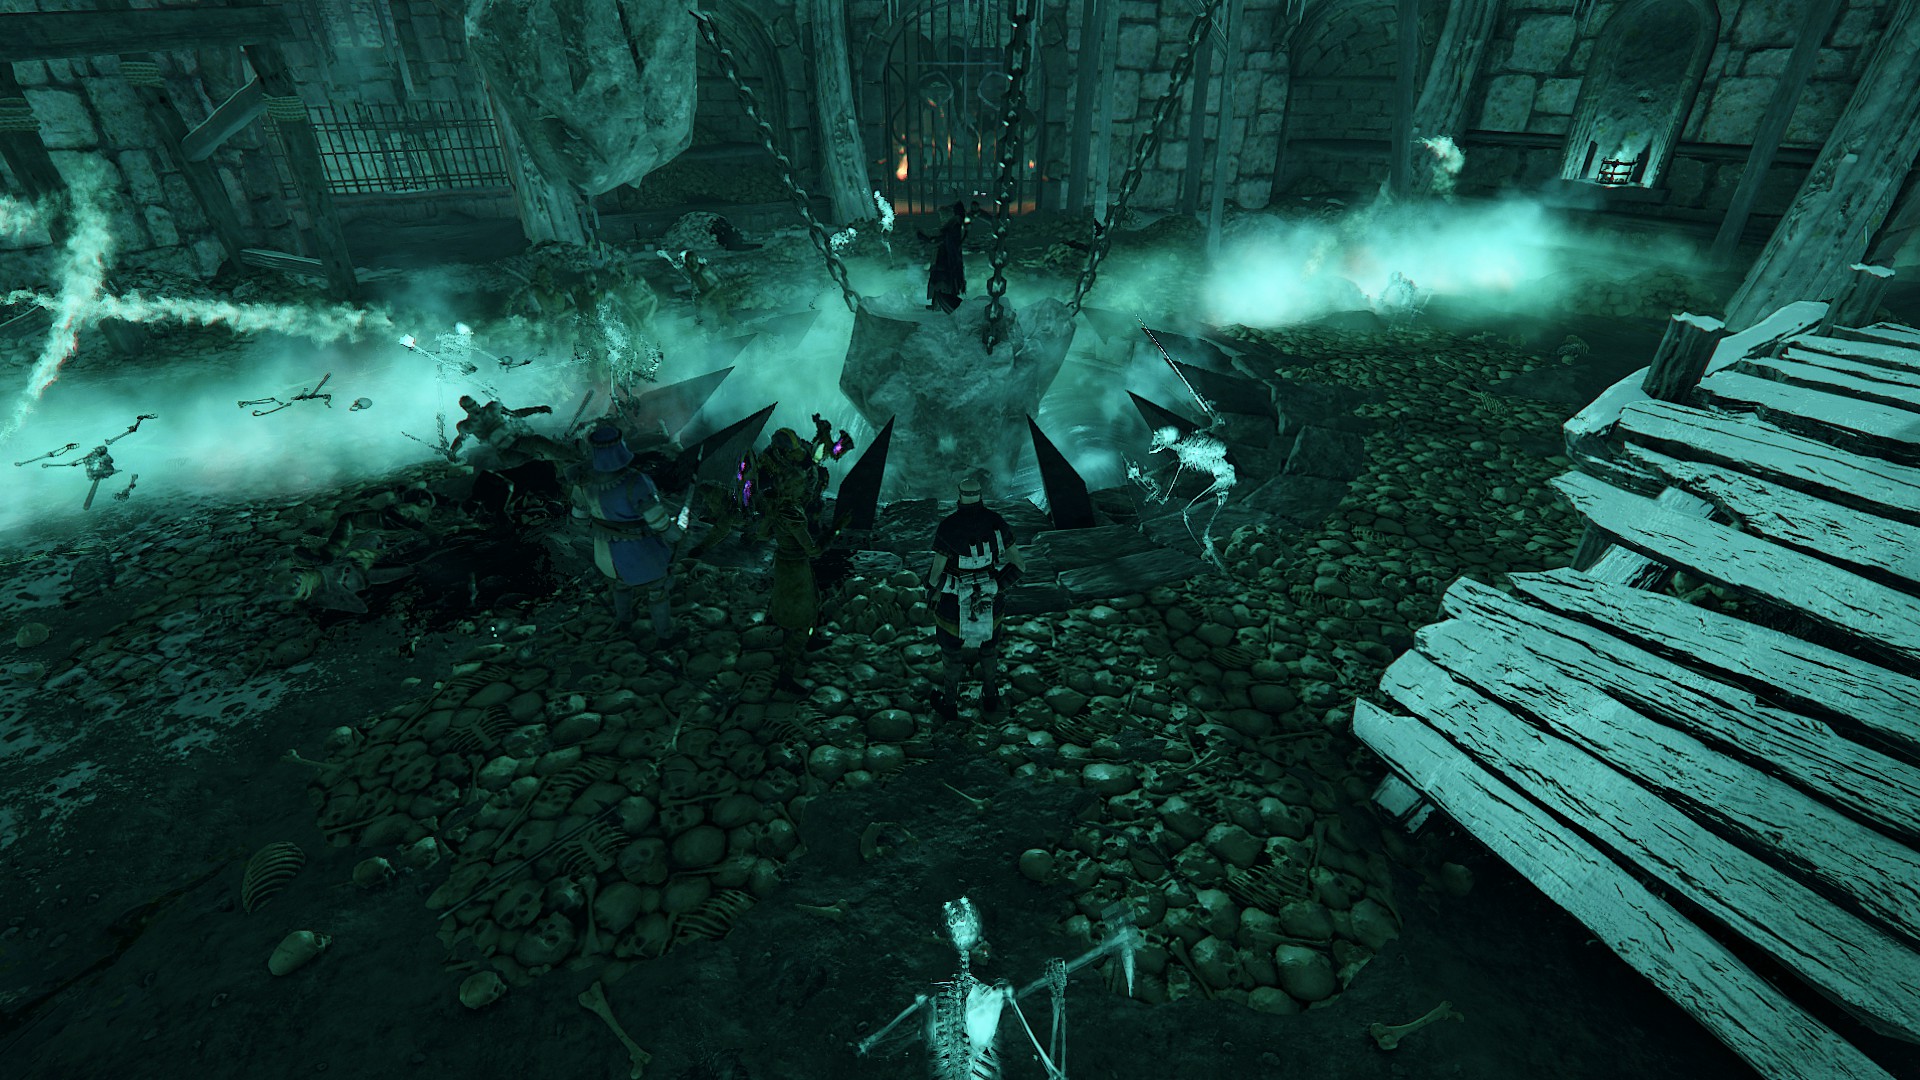
To evade this situation, you have two alternatives at your disposal.
The initial choice is to run in circular patterns. The hands will move clockwise during the first instance and counter-clockwise during the second instance.
The second option is to take cover in the supply room.
This approach has its advantages and disadvantages.
The advantages include not having to run in circles while engaging enemies, having an unlimited supply of ammunition, and enemies (excluding leeches) being unable to enter the room.
On the other hand, the drawbacks are that enemies will be waiting outside the room and will attack if you take even a single step outside. Additionally, if you stand too close to the walls, enemies might be able to attack you through the wall, a move colloquially known as a “Tilean handshake.”
Therefore, it is worth considering staying outside the room and only using it when necessary for supplies, taking a break, or in the event that your allies have fallen, as they will respawn outside one of the two supply rooms.
Fortunes of War
Fortunes of War stands as the most challenging mission in the entire game.
Not only does it feature a significant number of elite enemies, special units, and formidable monsters, but you also have a limited supply to work with.
One of the main obstacles is the presence of packmasters, but by positioning yourself beside the statue without a rune, you can avoid being hooked by them.
Simply assign someone equipped with a long-range weapon to eliminate the enemies from a distance while the rest of the team continues fighting below.
If you happen to have a Grail Knight in your group who frequently drops strength potions, it is advisable to modify the trait of your charm to concoction. While strength potions may not be as beneficial as concentration potions in this particular mission (and perhaps in all missions), having the concoction trait allows you to regularly replenish potions, which can greatly aid in clearing out waves, depending on your chosen career.
This strategy is especially advantageous for classes such as Waystalker, Shade, Bounty Hunter, Warrior Priest, Battle Wizard, and Unchained.
The same approach can be applied to other missions as well.
Chaos Wastes
This game mode differs from the usual missions in a few ways. Firstly, you cannot bring your own gear and must rely on upgrading your weapons and acquiring boons in order to survive. Here, I will introduce some boons/curses and offer tips that may assist you on your pilgrimage.
Khaine’s Might: This boon grants you a 25% power increase but carries a 50% curse, making it an ideal choice for the Warrior Priest, who possesses 100% curse resistance. Additionally, the Warrior Priest is immune to the curse of Nurgle’s miasma of pestilence.
Morgai-heg’s Doom: This boon ensures a guaranteed critical hit chance of 2 seconds after exiting stealth, making it well-suited for the Shade class, which excels at stealth and relies on critical hits.
Ladrielle’s Veil: When you sustain damage, this boon grants you 5 seconds of invisibility with a 30-second cooldown. It is particularly useful for the Shade, enabling you to strike enemies from behind undetected.
Sharing the boon you receive with your teammates can allow for coordinated actions. For example, if you can now duplicate items, your allies can offer items they want you to replicate, or they can guide you towards the shrine of strife/harmony based on their special items.
While on your journey, it would be beneficial to seek paths that provide more pilgrim’s coins, allowing you to purchase boons or upgrade your weapons. You can also consider exploring Slaanesh cursed levels but should avoid Tzeentch cursed locations.
In my opinion, Tzeentch curses are the most challenging. The “Bolt of Chance” curse transforms your enemies into more dangerous versions, and dealing with a horde of plague monks, stormvermin, and warpfirethrowers (or worse) can be quite daunting. Additionally, failing to destroy the crystal eggs in time summons a monster each time.
On the other hand, Slaanesh curses are relatively harmless or even beneficial. For instance, in the “Glory of Greed” curse, you won’t find any items, but enemies occasionally drop orbs that contain various supplies, including coins. This grants you an unlimited supply of healing, bombs, ammo, and potions. While some players use this to farm pilgrim’s coins, it may not always be worth the time invested. In the “Unquenchable Thirst” curse, you gradually take damage over time but discover more potions throughout the level. These potions effectively heal you, eliminating the need for draughts or bandages even if you sustain injuries. However, it is crucial to warn your allies before unleashing a storm of bombs with the potion of endless bombs.
During your journey through the Chaos Wastes, you will encounter shrines where you can spend your pilgrim’s coins to acquire miracles and boons. Exercise caution before purchasing the miracle of Smednir or Grimnir, as they come with disadvantages that could potentially jeopardize the entire pilgrimage. This caution is especially crucial if you encounter the temple of Be’lakor or the citadel of eternity, both of which already pose significant challenges. It may also be wise to skip the chest of trials in the citadel, as an Ungor war herd can disrupt your progress if things go awry.
Weapons
In this section, I will provide a brief overview of six weapons.
Coruscation Staff, Beam Staff, and Bolt Staff in combination with Famished Flames: The Battle Wizard’s level 10 talent, Famished Flames, enhances fire damage over time by 150% and reduces non-burn damage by 30%. This significantly impacts damage output. The charged attack of the Coruscation Staff primarily deals fire damage, making it beneficial to equip Famished Flames when playing as the Battle Wizard. The same applies to the light attack of the Beam Staff, although the alternative attack (performed by canceling the light attack with a right-click) inflicts more non-fire damage, resulting in reduced overall power. With the Bolt Staff, it is advisable to choose “Volcanic Force” instead of “Famished Flames.” The Bolt Staff does not cause damage over time, and Volcanic Force increases the power of fully charged attacks, enabling significant damage output.
Bardin’s Masterwork Pistol compared to the Handgun: The Masterwork Pistol has certain disadvantages compared to the Handgun. It requires two shots to kill a special unit on higher difficulties, whereas the Handgun only needs one shot, even on Cataclysm. Additionally, the Masterwork Pistol does not have twice the amount of ammo as the Handgun. It is also less precise and has a shorter effective range. When facing a Blightstormer casting spells from a distance in the “Against the Grain” mission, you may encounter difficulties killing or even hitting them.
Therefore, even if you purchase the Outcast Engineer DLC, your reliable Handgun remains a valuable choice. However, the Masterwork Pistol excels at short distances. If you need to deal significant damage quickly, such as against berserkers, monks, an alerted Stormvermin patrol, or a monster, the Masterwork Pistol is the better option.
An even more effective choice for dealing with berserkers is Victor Saltzpyre’s Rapier. With its special attack, you can shoot savage, chaos maulers, and Stormvermin while blocking their attacks. The Rapier also has higher stagger power than normal attacks. While primarily suitable for fighting hordes, the Rapier, with increased headshot damage, the off-hand shot, and a charged attack that facilitates targeting the enemy’s head, is also capable of dealing with armored foes.
Equipment
When playing with others, you may notice that most players prioritize hunting for books, particularly on Legend difficulty. In such cases, it is advisable to equip a trinket with curse resistance, as it increases your maximum health and helps prevent untimely deaths. However, on Cataclysm difficulty, it is uncommon to collect tomes and grimoires, so curse resistance is not as necessary.
The trait “Boon of Shallya” is a suitable choice for careers that can easily generate temporary health, such as the Mercenary or the Zealot, as they rely on temporary health instead of permanent health. When combined with a level 5 talent that grants temporary health upon staggering enemies and the level 15 talent “Smiter,” which ensures the first hit always counts as a stagger and adds an additional stagger count when hitting a staggered enemy, you can rapidly accumulate a substantial amount of temporary health. However, it is important to note that not all careers have the same level 5 and level 15 talents.
For the mission “Into the Nest,” it is advisable to carry a necklace with damage reduction against Skaven, as only Skaven enemies will appear there. The same applies to damage reduction against Chaos for “The War Camp” mission.
Bots
Bots, despite never shooting at you and usually staying close to protect your back, can sometimes leave you in a precarious situation or fail to assist you when needed. If you answered “the Bots” to the question, you win a pumpkin—congratulations! However, since only a hookrat, leech, or distraction is required to kill a Bot, I will not explain how to keep them alive. Instead, I will focus on how they can be most helpful to you.
The distribution of roles within the group is crucial. Ranged classes should focus on keeping specials at bay, while tanks distract enemies and remain alive long enough to revive teammates unless they are distracted by a monster or warpshots from a ratling, in which case they may fail to assist you. Bots have peculiar priorities when it comes to these situations.
Here are some recommended Bot careers:
- Mercenary: The Mercenary can share their passive ability, granting more melee speed. With their career skill, they can provide temporary health, damage reduction, or instant revives.
- Grail Knight: This career excels at clearing out monsters and Chaos Warriors, providing a significant advantage to the entire party through quests. After completing the quests, you can even drop the books.
- Ranger Veteran: If you are playing as a ranged class, you should be familiar with the Ranger Veteran’s usefulness. They drop ammunition after defeating a special enemy and may also drop an ale that provides damage reduction and boosts melee speed. Additionally, they can drop bombs or potions, and their career skill can further increase melee speed while granting temporary health inside the smoke.
- Ironbreaker: The Ironbreaker excels at distracting enemies and boasts high durability. They are often the last surviving Bot. Bardin can also boost your power by 20% with the right talents.
- Waystalker: This delicate career is perfect for taking out specials. The Waystalker can share their passive skill for health regeneration and compensate for the melee-only careers in your team.
- Sister of the Thorn: This class can push back detaining specials like assassins or protect you with a wall of vines. They can boost your power by 15%, increase critical strike chance by 5%, and enhance all healing by 25%.
- Warrior Priest of Sigmar: Considered one of the best support careers in the game, the Warrior Priest not only provides blessings to the party but can also heal the group while smiting enemies. Their career skill grants a shield that makes you immune to damage for a period of time. The Warrior Priest can withstand substantial damage and revive teammates instantly.
- Unchained: This career can tank a lot of damage, weaken burning enemies, and provide temporary health to the group.
If you are playing as a low HP class like the Shade and get knocked down on higher difficulties, the Bots may not revive you quickly enough. In such cases, it may be helpful to bring a Mercenary or Warrior Priest along. With their talents “On Yer Feet, Mates!” and “The Comet’s Gift,” they can instantly revive you. Additionally, the “Natural Bond” talent reduces the need for healing on Bots, but you can still heal them with bandages.
Other Things
The scarcity of equipment holds no significance as exotic items can possess identical statistics to those of veteran ones. Moreover, this not only pertains to their power level but also encompasses their inherent properties.

Even if you possess top-notch gear, a poor internet connection can leave you vulnerable to significant damage. Enemies may strike without warning, catching you off guard. Even with slight latency, the damage you receive may surpass what you are accustomed to.
If you experience even the slightest delay, it’s advisable to avoid playing as a Zealot with low health. Some players, including myself, choose to play as Zealot despite having only a single health point remaining, and there are valid reasons for doing so. While the Zealot’s passive skill prevents immediate death, its effect lasts for only a few seconds and has a lengthy cooldown period. Some players even decline healing after being downed. It’s important to note that two hits within a certain time frame are sufficient to eliminate you. This includes various forms of damage, such as area effects from specific missions like the “Garden of Morr” end event, including destroyed barrels of lamp oil, destroyed Nurgle buboes, the flame trail of a warpfirethrower, the flame trail of a stormfiend, and other types of damage such as explosions from black powder barrels or warpfirethrowers, friendly fire, unexpected attacks from behind, fall damage, or even the explosion of a bomb thrown by yourself or your allies if you remain too close. Therefore, caution should be exercised.
While certain choices may enhance your strength, they also come with increased danger. The Unchained career of Sienna is a prime example. As her overcharge level increases, she can deal up to 60% more melee damage. However, once overcharged, her only option to avoid death is to utilize her career skill, which shares a similar cooldown duration to the Zealot’s passive skill. Playing as Unchained can be likened to playing with fire, as taking damage or being struck by an ally while on the brink of overcharge can lead to your demise. It’s worth noting that few players venture to push Unchained to its limits.
If you still choose to play as a low-health Zealot, it is advisable to accumulate temporary health. Damage reduction offers little benefit in this state, so traits such as “Barkskin” or talents like “Armour of Faith” should be disregarded. Instead, consider utilizing the “Boon of Shallya” trait and the “Holy Fortitude” talent, both of which increase the effectiveness of healing received, including temporary health.
Here’s one last piece of advice: if you find yourself separated from your group and under attack by Elites, creating distance becomes crucial. Jumping off platforms, climbing over fences, or traversing obstacles can provide a slight advantage. Enemies often maintain their speed while attacking, but they become slower when climbing or maneuvering around objects. Utilize this brief window to reload, eliminate special enemies, or simply buy yourself some time.
I hope you find this guide helpful and wish you the best of luck in your battles against the Pactsworn!
That's everything we are sharing today for this Warhammer: Vermintide 2 guide. This guide was originally created and written by Saizo19_. In case we fail to update this guide, you can find the latest update by following this link.