This guide will show you how to beat Valhalla Mode without using God Powers in Jotun: Valhalla Edition. Beating this mode without using God Powers will unlock the achievement called Shun the Gods – Валгалла.
Shun the Gods – Valhalla Achievement

Shun the Gods – Валгалла
Beat Valhalla Mode without using God Powers.
The Shun the Gods – Valhalla achievement is considered the hardest-to-obtain achievement in the game. На момент написания, only a total of 1.4% players were able to unlock this achievement.
Beat Valhalla Mode without using God Powers
Jera
Reaching the No God Power achievement in Valhalla mode is a big deal, and now we’re facing Jera. In the No Damage run, Jera wasn’t a major issue, and that continues in Shun the Gods.
This battle can be a bit lengthy. Shun the Gods fights often boil down to repeating the same pattern patiently. Общий, completing Shun the Gods might be easier than No Damage, with a more generalized approach.
The key here is to land a single heavy attack whenever possible. The two safe moments for this are when Jera is slamming her arms down and immediately after that.
As a reminder from No Damage, standing in line with—or slightly below—the southern-most flower protects you from Jera’s overhead slam. Charging a heavy attack and releasing it as she slams down is a reliable way to deal damage.
You could, в теории, stay safe throughout the fight by hanging around the flower, dealing with thorns, baiting out the slam attack, and hitting her arms with one heavy attack. Однако, it’s a bit slow, so trying to get a heavy attack on her stomach right after the overhead slam is preferable, if her stomach isn’t blocked by thorns. Если это, clear a few thorns, return to the flower, и повтори.
Иногда, thorns might disrupt your chance for a heavy attack on her arms, so you can skip that part of the cycle if needed. It’s worth noting that attacks to the stomach are the only ones that seem to knock her out, significantly aiding in dealing damage.
Во время боя, I made mistakes—getting hit by thorns, missing the arm attack, struggling to reach the stomach, and accidentally triggering the poison sac. Однако, the crucial thing is to avoid Jera’s slam attacks; the other issues cause minimal damage and aren’t a major concern.
Фé
Facing God Power Fé is all about one thing: Терпение, Терпение, Терпение, and Patience! It’s crucial to take it slow and avoid engaging directly. The key strategy revolves around landing heavy hits on her shield to knock it back into her. Maneuver around carefully to execute this without being interrupted by Hammer Dwarves.
В начале, focus on landing a few heavy attacks before Fé starts her Slam, Бросать, Roar routine. While minimizing damage from the small dwarves, it’s worth getting a heavy attack in when 1-2 dwarves are trying to hit you. Deal with them first before going for the heavy hits.
When Fé reaches the center and slams, pull back and maintain distance for most of the fight. Staying far away shifts her pattern to Slamming and Throwing her shield, which is what you want. Shield throws are your primary opportunity for damage, so ensure you eliminate or move far away from any Hammer Dwarves.
Deal with the hammers by light attacking them away to kill the dwarf or inflict some damage to Fé. Приоритет безопасности, avoiding big dwarves, and be cautious of hammers interrupting your attempts to reflect Fé’s shield.
As a strategic tip, consider not immediately breaking all the pillars when Fé spawns them. The stalactites cause some damage to Fé, but they become incredibly useful later in the fight when she summons numerous Hammer Dwarves. Breaking a pillar resets the situation, providing breathing room. Однако, don’t worry if a couple are taken out while reflecting shields.
Иса
In Shun the Gods, Isa is tougher in the No Damage mode compared to regular fights. Although there isn’t a specific sequence to follow, I can provide tips to increase your chances of success.
To inflict damage on Isa, provoke the slam attack by getting close, then roll away twice. Альтернативно, stay at a distance after he charges, prompting him to perform the ice breath.
When Isa executes the slam attack, he forms a semi-circle of icicles. Hit these icicles into him using a heavy attack for decent damage. Note that one icicle equals the damage of a heavy attack, but hitting multiple icicles adds up. Стремитесь к 2-3 icicles, especially after knocking him down, для максимального ущерба. Например, I dealt significant damage on the first knockdown by hitting 3 icicles into his face for critical damage.
If there are no icicles nearby when he’s down, opt for the classic combination of 2 light hits followed by a heavy strike to the face. Avoid chasing a single stray icicle if there are none immediately accessible.
When Isa enters rage mode and transforms the ground into ice, be cautious about baiting too many slam attacks, as they are challenging to dodge while sliding. Вместо, move perpendicular to him to evade charges and stay close enough to keep up with his movements. Avoid being too far or too close. This positioning sets you up for heavy attacks when he initiates the ice breath. Even if you get hit by the ice breath, it’s not disastrous. Immediately run to his side to dodge the following charge, as the slow effect takes a while to wear off, making it unwise to attack during this time.
If Isa charges past you and there’s a lone icicle very close to him, try hitting it into him, but only if it’s right next to you. Don’t waste time chasing icicles when he might charge again or breathe ice.
If Isa turns around after a charge without doing the breath attack, he might attempt the slam attack. Bait out the breath by making him turn once or twice. Run in a wide circle around him to force him to turn, and he should reliably start the breath attack.
When Isa’s health is around 1/3, the snowstorm intensifies, and the music changes. He will start chaining three charges in a row, but as long as you move perpendicular to him, avoiding them should be manageable.
Master the movement on the ice. Use rolling for quick turns or complete 180s, but avoid rolling when moving in a straight line, as it slows you down. Roll for turning around or moving in curves, but when running straight to reach him or avoid a charge, move normally without rolling.
Hagalaz
The No Damage, No God Power Hagalaz fight might not be as instantly punishing for every mistake, but it’s often considered boring and tedious. Success requires a patient approach due to the randomness involved.
The lightning rods follow set patterns but can be unpredictable, making the fight challenging. Hagalaz has a general move cycle, but factors like her attack timing and lightning strikes on the rods introduce variability. Here are some key points to keep in mind:
In the initial third of the battle, stand at the center of the “Н” and charge a heavy attack. This prompts a quarter turn and triggers her lightning beam attack on the top-right rod. Seize the opportunity for heavy and light attacks. During her calldown attack, maneuver around her legs, poking with light attacks while evading lightning strikes.
После телепортации, she can be in one of three places: corner platforms (best case), three unlit middle platforms, or the top-right platform with the active rod (худший случай). Approach accordingly: from the side with the most unlit rods for corners, straight on for middle platforms, and cautiously for the active platform. If on the active platform, wait for sparks before heavy attacking to initiate the split.
After the first part, your main job is to move around the map and light up all the rods. When they summon lightning, you can usually move in a straight line without getting hit, but sometimes they predict your movement, making you move around more. Pay attention to where the lightning strikes to avoid getting stuck between them and sparks, which can quickly defeat you.
The lightning strikes follow your current path. To buy time, it’s best to run in a circle, but be cautious of sparks that can stun you and cause significant damage.
When you knock them down, your actions depend on their positions. If they’re close together and near you, делать 2 light attacks on one, followed by a heavy attack on its head, then move to the second and perform a heavy attack headshot. If they’re a bit apart with one platform between them, skip light attacks and rush to land two heavy attack headshots. If they’re even further apart, focus on the closest clone with 2 lights and a heavy, then attack the main one as she teleports away.
A crucial point to remember is not to roll away right after headshotting one of them, как видно на видео. Instead of immediately rolling to the other clone, take a few steps towards the downed one. This usually forces them to teleport away, giving you time to move to the next one. Rushing to the other clone too quickly might make the first one start summoning lightning, making it hard to land another hit.
The most significant tip is to keep an eye on the boss’s health bar. Avoid attempting more knockdowns when they’re close to 1/3 HP. Aim to light up 6-7 rods and then attack them regularly until the last phase begins. This allows you to start the final phase with an immediate knockdown on all three clones. You’ll still need one more full lightning rod rotation to defeat them, requiring patience and luck. Light up the rods consistently without leaving gaps and focus on avoiding the lightning strikes as much as possible.
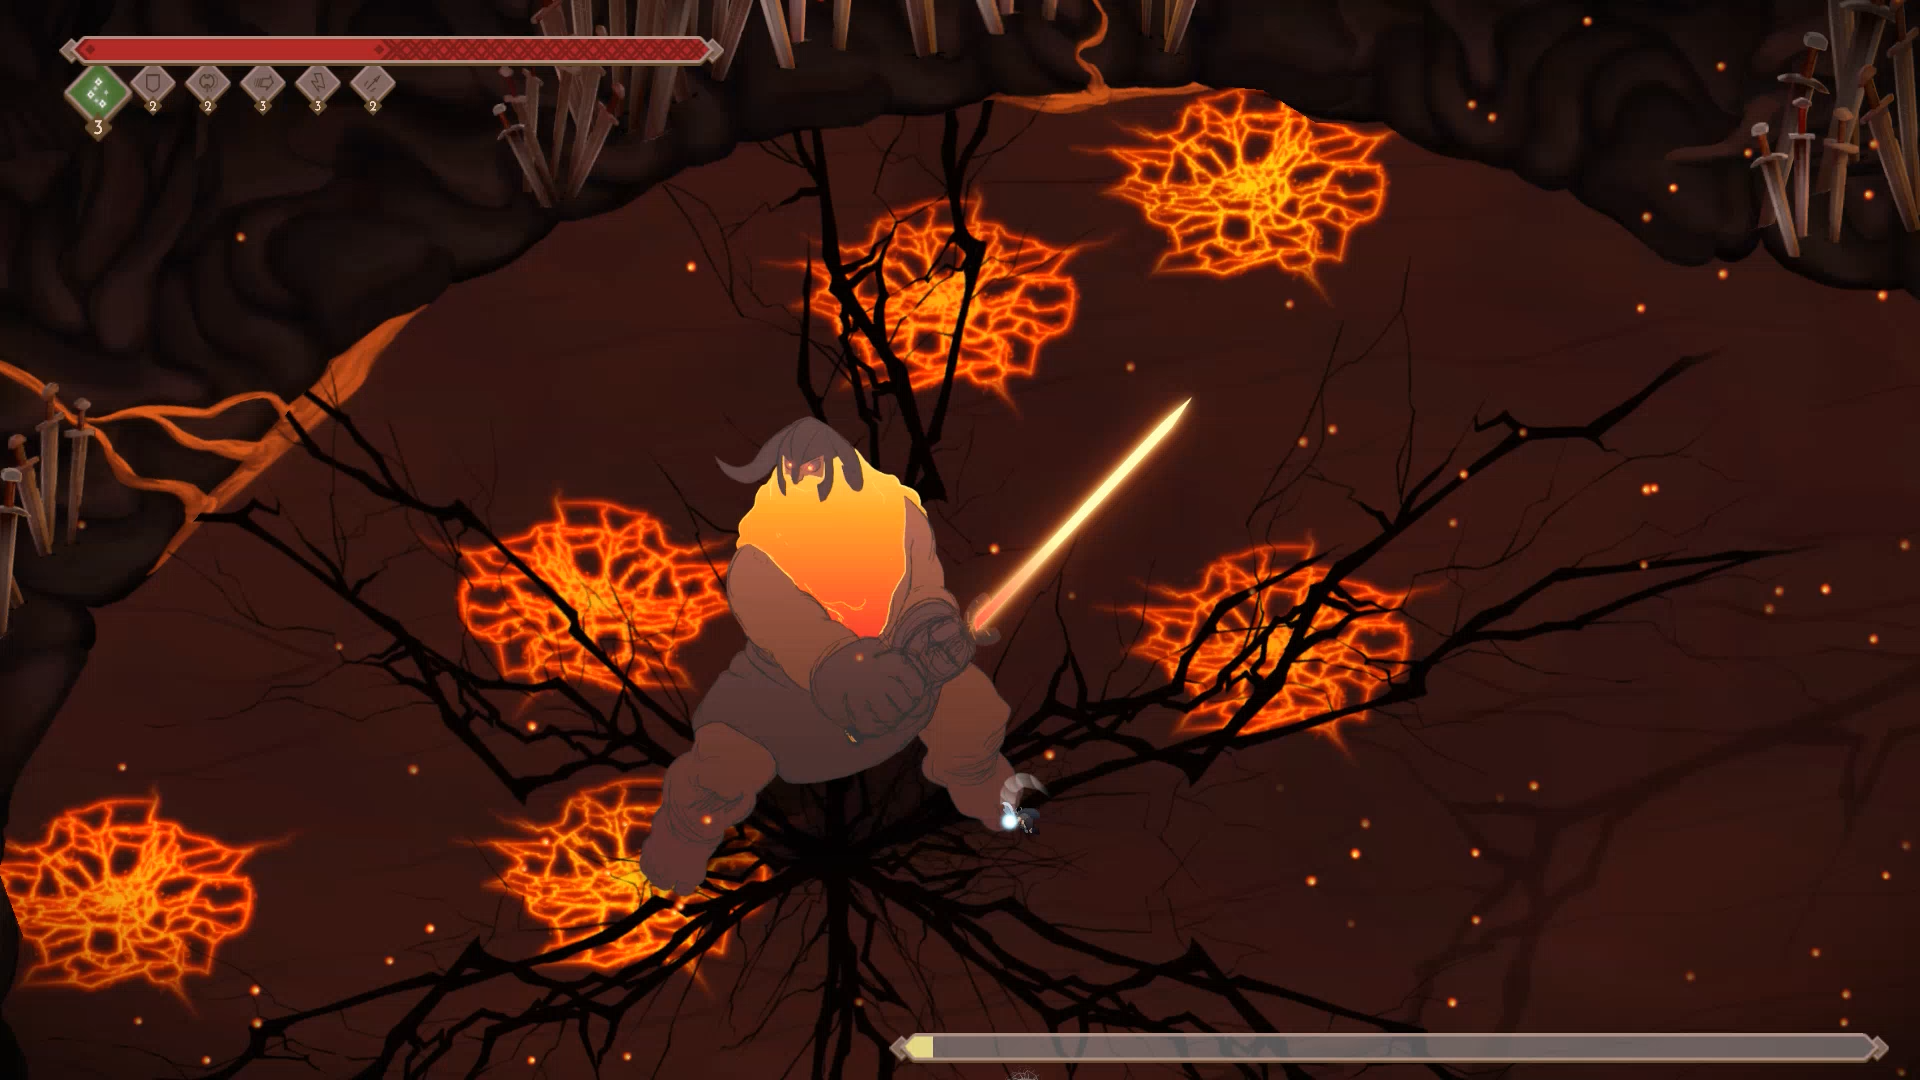
Kaunan
This part of the game has a pretty tricky fight, and it’s not designed very well. Unlike the other videos in this series, this one is more like a “Витрина” than a Walkthrough.
Even though the falling lava drops might seem random, I figured out a specific pattern to control Kaunan’s actions using my position, timing for damage, and even controller inputs. Так, if you get good luck with the lava, following these steps will make the fight happen the same way every time.
I was happy to succeed with this approach, but it’s more effort than you really need to beat him. Вместо, let me give you some simpler tips.
If you do want to try my strategy, there’s a detailed write-up below with pictures.
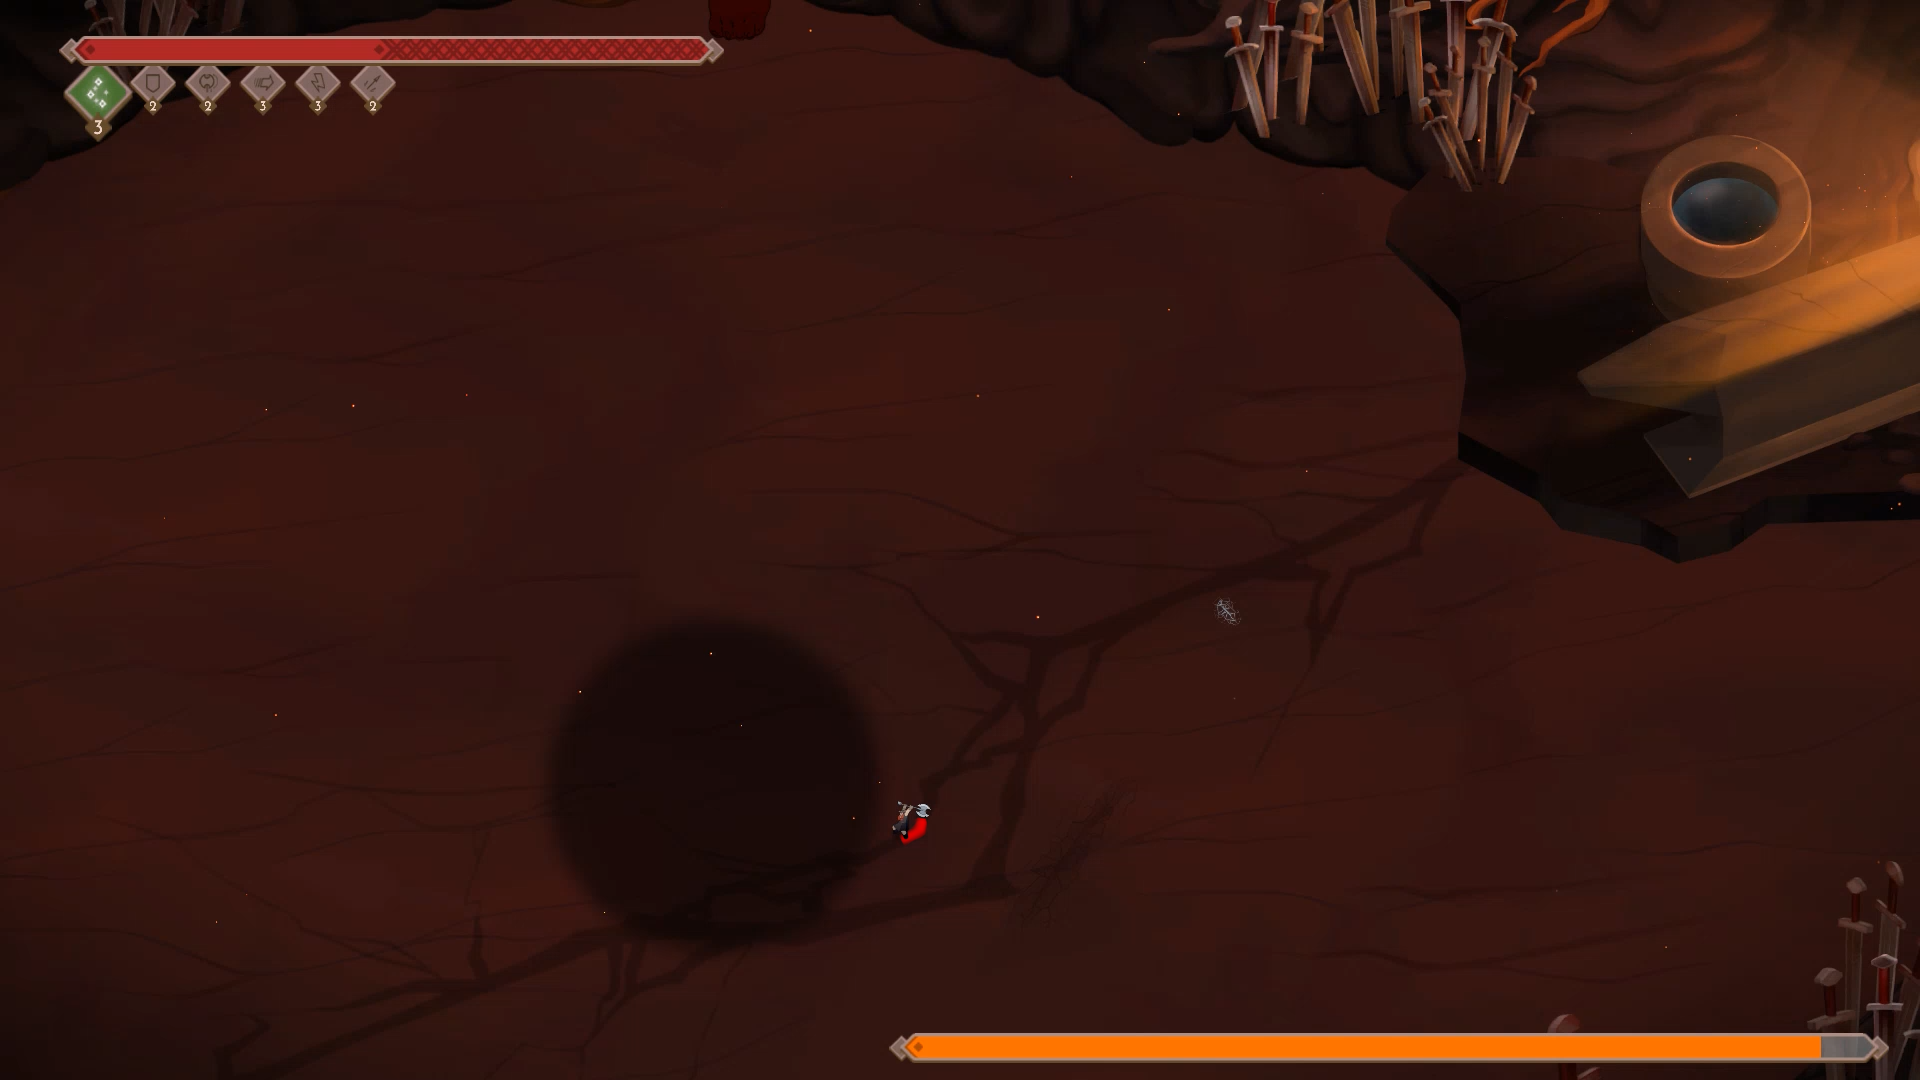
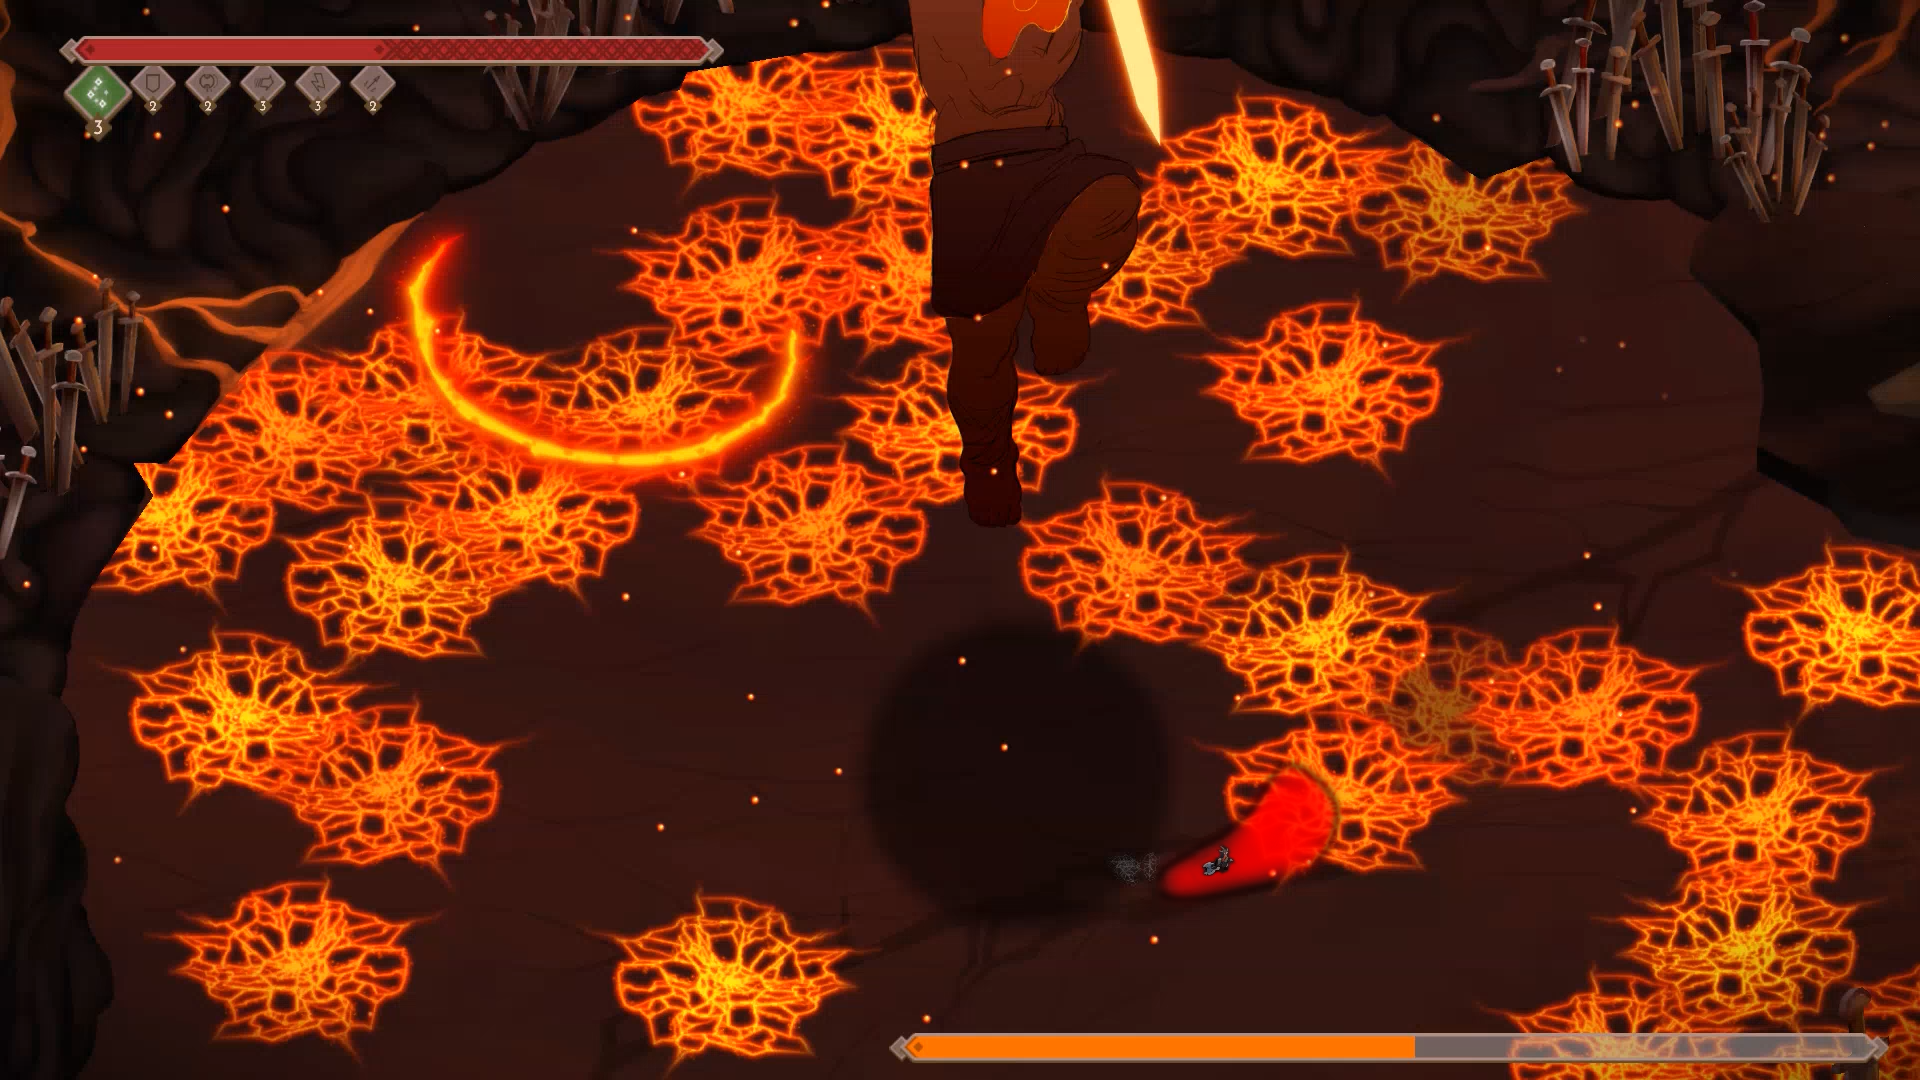
Start by charging up a heavy attack to hit him as he comes out of the steam. Your position doesn’t need to be super precise. Either roll four times down to the left from his foot or use the faint “crack” in the ground to position yourself like I did.
After the heavy attack, do two light attacks and move towards the center of the arena. Charge up another heavy attack to hit him as he lands, then roll towards his center and charge up a second heavy attack. Try to land the second heavy attack before he gets up from his jump so you don’t interrupt his knockdown animation.
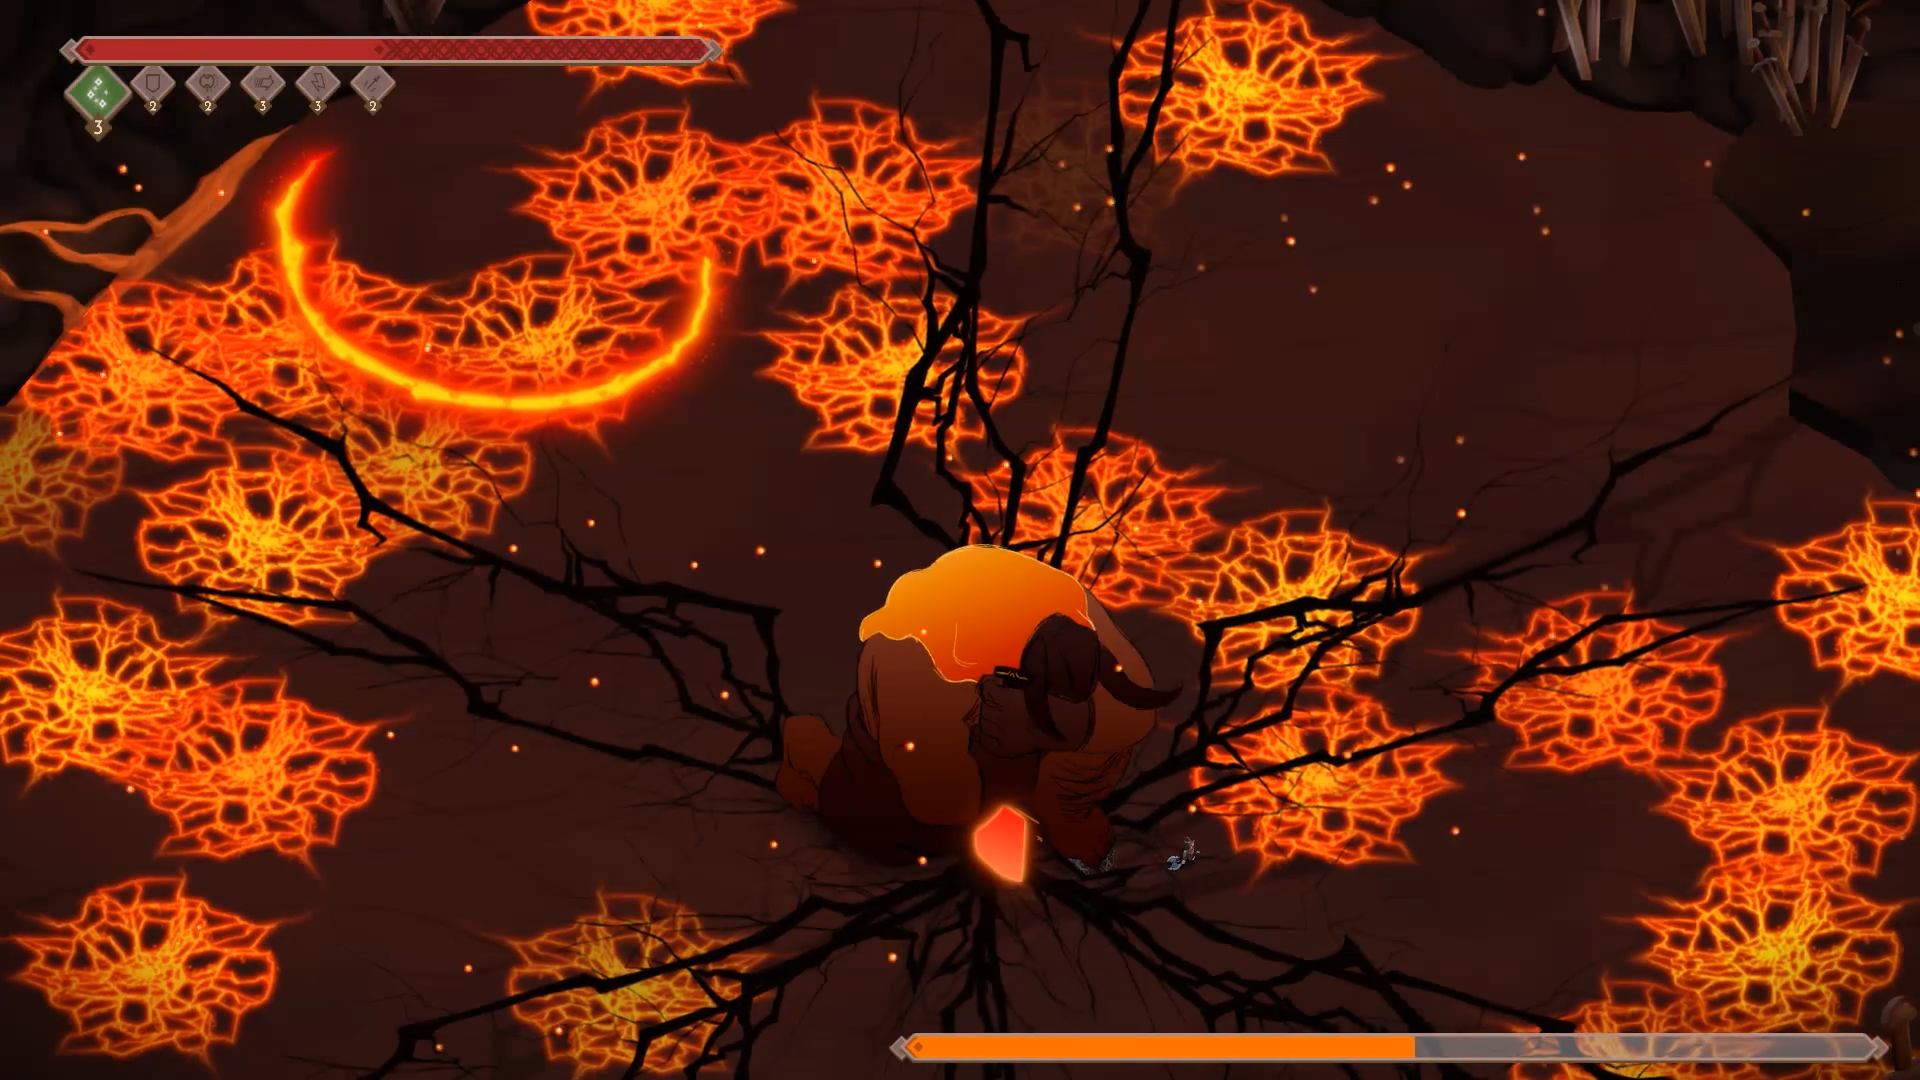
When Kaunan gets knocked down, position yourself roughly below him and roll into him as soon as you hear the knockdown sound effect. He’ll push you away, but you’ll stay close enough to avoid getting pushed into any lava pools.
While he’s knocked down, try landing two light attacks followed by a heavy attack on his head. Его “critical hitbox” is generous, and you can stand quite far to either side, hitting the horns of his helm and dealing bonus damage.
После этого, play it by ear. If Kaunan jumps back for his lava wave attack, move away during it. After the attack, he’ll jump towards the center of the map if you’re far enough.
If he’s closer or doesn’t jump back as far, he might do his sword attack. It’s challenging to consistently avoid. Move towards him when he hops back or you anticipate the sword attack. Being close makes it easier to avoid. В видео, I let him do the attack, but because I’m close enough, it misses, allowing me to get a few attacks in. If you must avoid the center, run towards and around him, rolling the opposite way as he slams down. Doubling back seems the most reliable way to deal with it, although there’s no clear pattern for when he leads his swing.
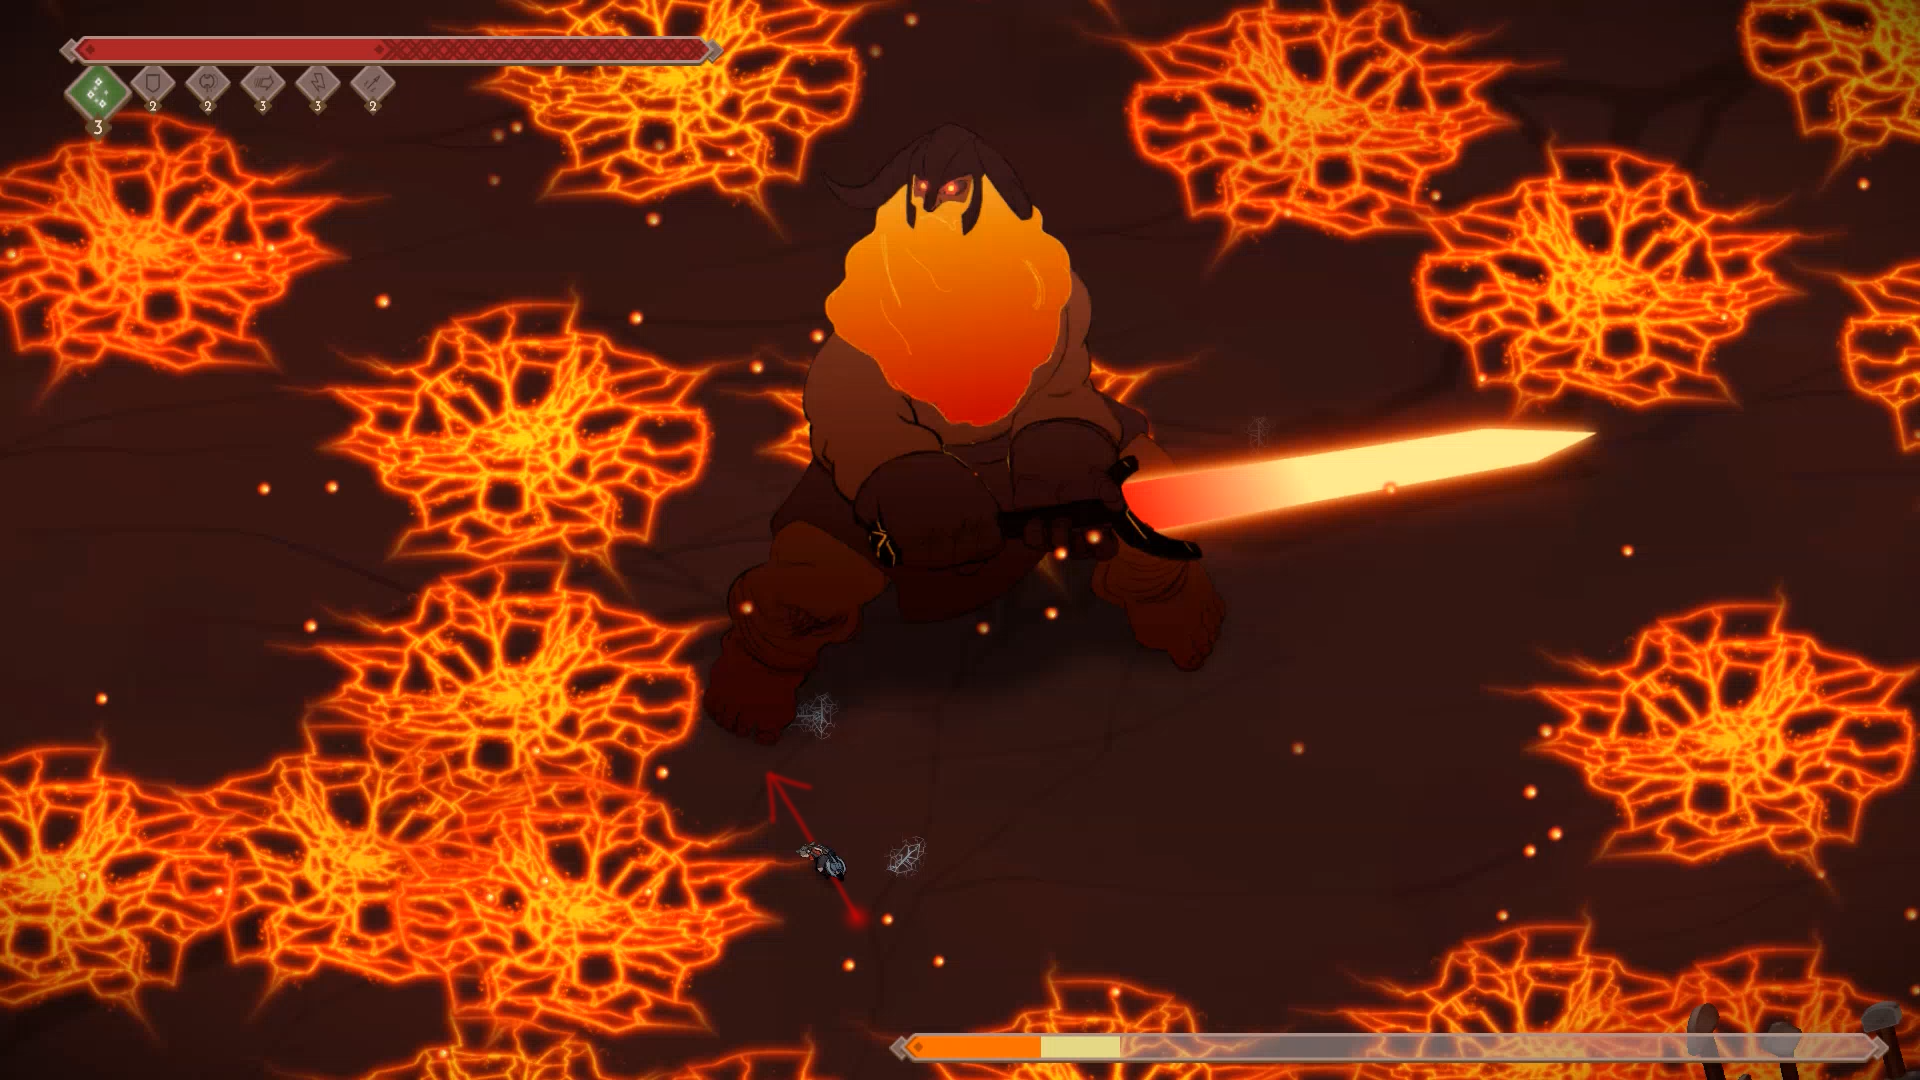
When he jumps, it’s your chance for damage. If he jumps from the outside, position yourself on the side of the shadow, slightly below the “equator,” and charge up a heavy attack to hit him as he lands in the center. Затем, deal as much damage as you can.
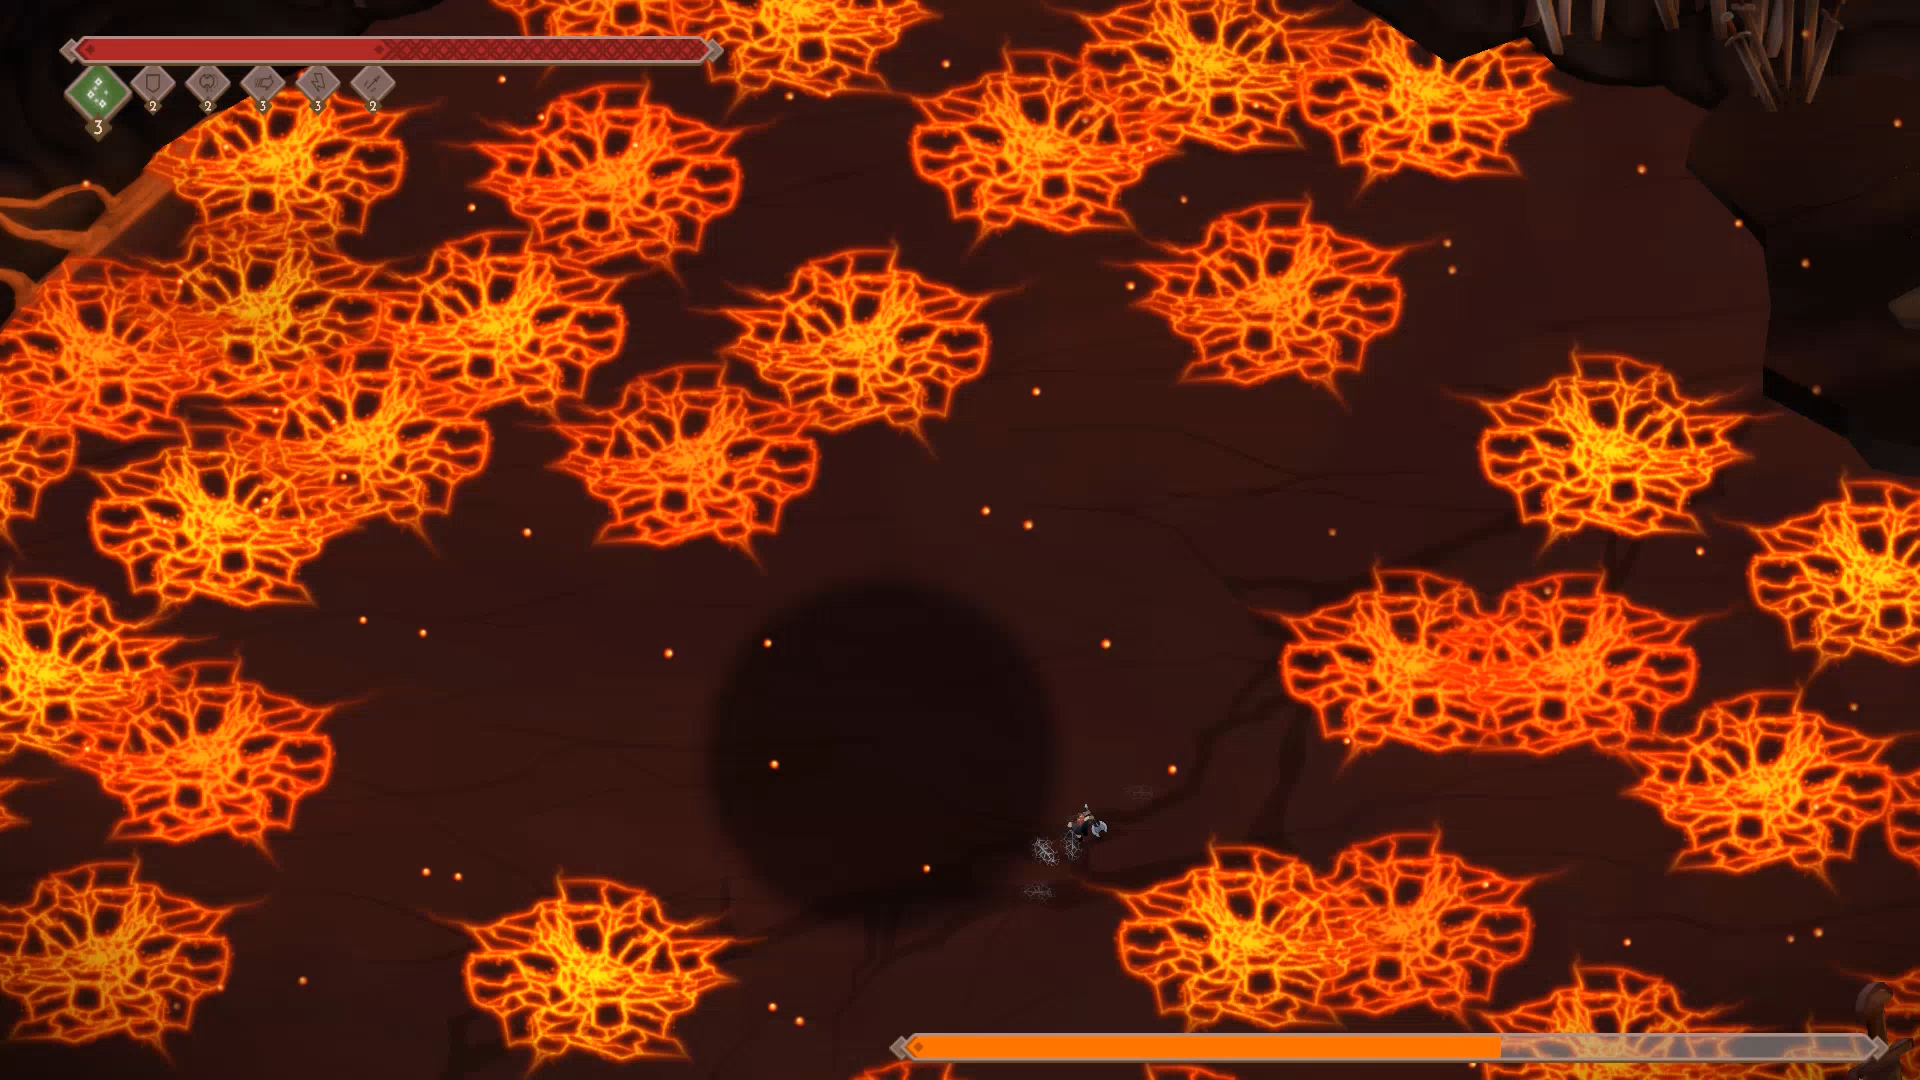
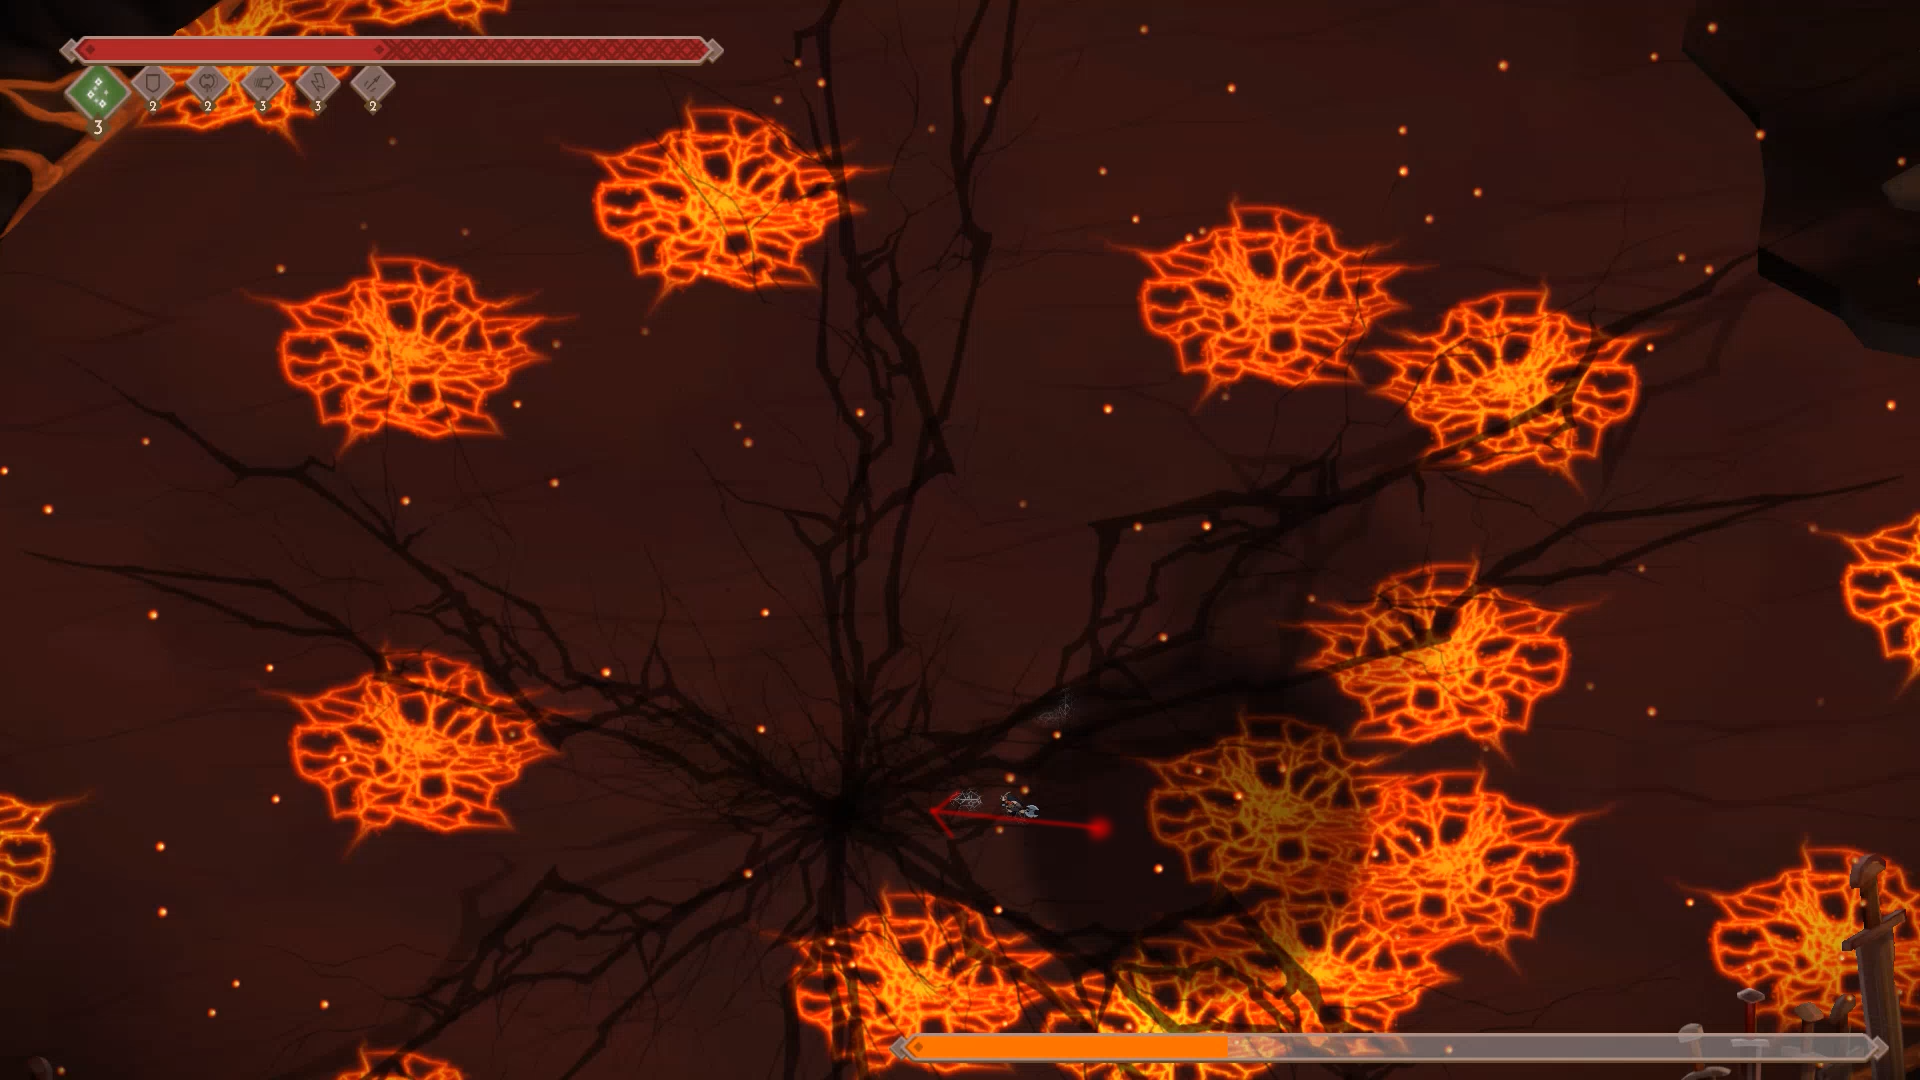
When Kaunan enters rage mode, he shoots out lava cracks in a hexagonal pattern upon landing. Чтобы избежать их, position yourself on the lower portion of the shadow on either side.
When you hear the music change, he’ll jump three times in a row, attempting to land on you. He always leads his jump in the direction you’re running. Hold a direction as he jumps, then reverse to make him land in front of you. Run towards his direction, then immediately roll in the opposite way for a heavy attack on his foot as he lands.
You might not have time for a heavy attack after every jump, but be mindful of your running direction to control where he lands. After the third jump, he’ll stay still for a while.
Подводить итоги: for his sword attack, stay close; for the lava wave, move far away; during jumps, control your direction to make him land conveniently for you.
Иметь в виду, all this advice assumes the randomly falling lava drops won’t mess things up, что они, вероятно, и сделают—много.
Kaunan Step-by-Step
I had this article linked to an Imgur album, but it got deleted. I found the text and pictures, so I’m sharing it here. If you’re not into super detailed tips, feel free to skip this part in the walkthrough.

To start the fight, go to Kaunan’s foot and hit it once. Then head down to the marked smaller crack from the bigger one. After he slams, land a heavy attack, roll left into him, and do two light attacks. Roll down to get around the sword hilt, then quickly move to the center of the arena.
If you want a hint on when to charge your heavy attack while Kaunan jumps to the center, aim for the inner turn in the big crack. (We’ll use the crack as a reference for many things.)
Release the heavy attack as soon as he lands, roll left to his center, and follow with another heavy attack. The timing is lenient; you don’t need to rush. Just make sure the second heavy hit lands before he gets up from the jump. В противном случае, he might get knocked down, canceling the knockdown duration with your attack.

After the big attack number two, roll up and left into him as soon as you hear the sound for him getting knocked down. This makes you go outward, but you’ll end up back around where you started. If you skip this, he might push you into lava, which isn’t deadly but it’s good to avoid. Learn when he knocks down and try to be under him, rolling towards his center to counteract the push-back.
When you can move, don’t hit him right away. Make sure you’re between the horn of his helmet and his sword. Поверните налево, do two light attacks, and follow with a heavy for big damage. Standing here manipulates his AI for the next step.

Kaunan gets up, then quickly roll up and a bit to the right. Land a roll poke attack on his toes. Angle slightly to the right of straight up. This makes him turn and jump back twice to the edge. Если не, he’ll jump back once, then maybe use a close-range lava wave or his sword slam, which we want to avoid as much as possible.
Примечание: If you know a reliable way to predict where his sword will hit and how to react, дайте мне знать. It’s inconsistent and the most annoying attack to deal with.
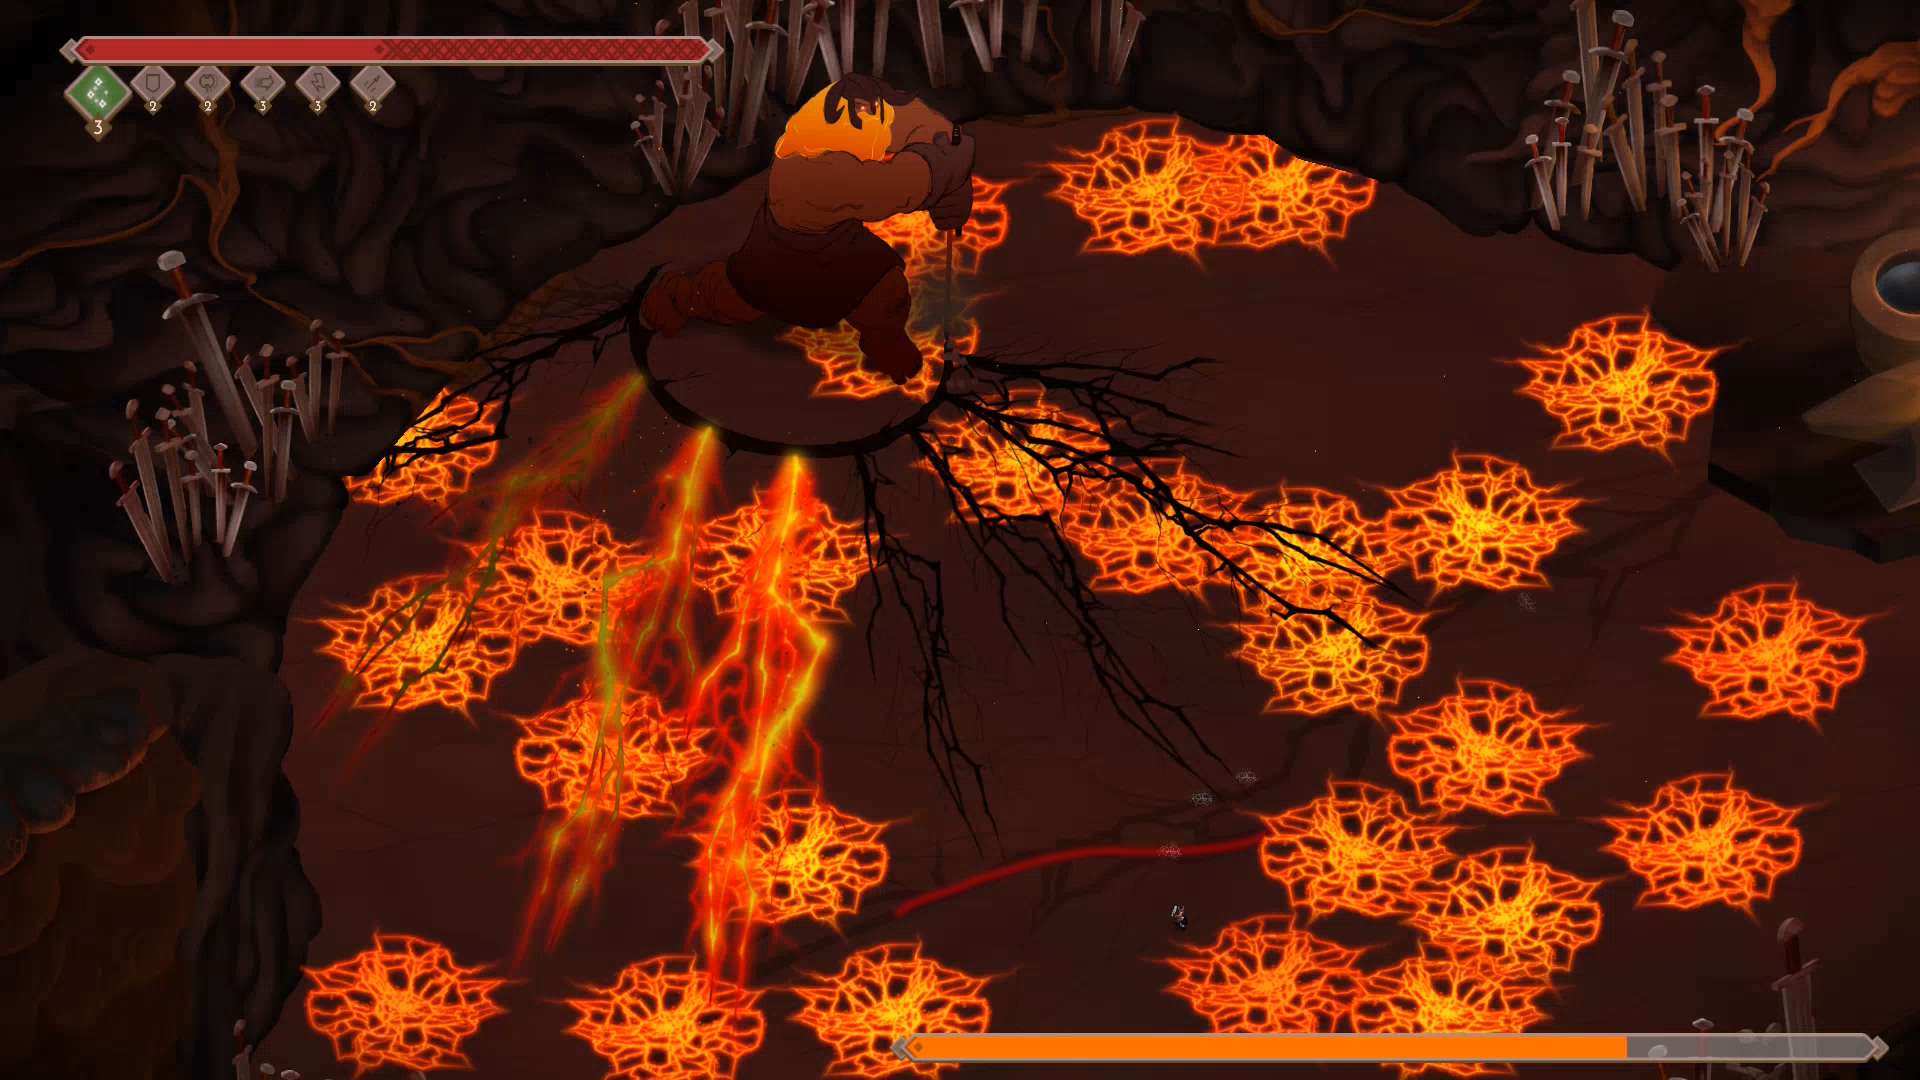
Once he jumps back twice, get ready because he’s going to do his lava wave attack. В начале боя, this attack won’t reach very far. Just stand below the big crack in the ground, and you’ll be safe.

When the lava explosions are passing, go up to the crack in the arena. After waving the lava from the edge, he always jumps back to the center. With some practice, you can figure out where he lands by watching how he moves. This part can be for fun and style, but you can also wait for the shadow to stop moving before adjusting.
For a reliable position, stand within an upside-down T shape in the dark crack in the ground. It’s a bit hard to see in the image, but I marked the general area. The bottom part of the crack connects with a vertical crack, forming a sideways H.
Hit him with a heavy attack as he lands, then another one to make him angry. During his rage animation, do a third heavy attack, and finish with a rolling poke straight up before he jumps away.

He’ll attempt to land on you, but Kaunan always tries to predict where you’re moving. Once you get the hang of it, you can make him do small hops that are easy to avoid, setting you up for some good attacks. Just run to the left as he jumps…

…Then roll to the right and slightly down as soon as he disappears off the screen.
He’ll land right in front of you, giving you plenty of time to charge up a heavy attack on his foot. Roll away to the right afterward. Это не совсем необходимо, but it’s to be safe in case the random lava cracks extend a bit past his foot, which can happen. Then go back to the left and hit his foot with another heavy attack.

After hitting him with a heavy attack on his foot, follow it up with a rolling poke attack just before he gets up. Angle it towards the upper part of his toes. Moving up and towards his back makes him jump back twice towards the edge of the arena, avoiding a single hop that could lead to a sword attack.
Сейчас, move below the crack in the ground and dodge the lava wave attack. Be cautious because the cracks are longer now and can reach you even in this “safe zone.” You have plenty of time to react, хотя, and it shouldn’t be difficult to find a safe spot.
After the lava wave, he’ll once again jump to the center of the arena. Look for a visual indication, like the second image in the album, where you can see an enclosed area in the ground crack shaped like a backward L. Almost anywhere in this area is safe from the hexagonal lava cracks he spawns when landing. Если возможно, stay towards the bottom half of it.
Avoid attacking as he lands, since a single heavy attack will knock him down at this point. We want to be below him to have access to his head and avoid being pushed into lava.
Wait for the lava cracks to explode, then roll just below his foot, hit him with a heavy attack, and roll up to the left into him when he gets knocked down.
Perform the usual 2 light attacks and 1 heavy attack on his head before he gets up.

Сейчас, the music will change, indicating his last phase, and he’ll start his triple jump attack. Set up another heavy attack as before. Run up to the left when he begins the jump, then roll right and slightly down after he disappears off the screen. Charge up a heavy attack to hit him as he lands.
His jumps are too quick to get a heavy attack every time, so use the second jump for repositioning. After your heavy attack, roll to the right (if the lava allows) and keep holding right until he jumps.
Double back once he leaves the screen, rolling to the left. He’ll overshoot you completely. Keep running to the left until he’s about to jump for the third time.
This is where many runs face challenges. It’s easy for a lava drop to fall inconveniently, costing you the attack as he lands and disrupting the pattern. Здесь, it’s suggested to start improvising a bit more. Up to this point, learning the full pattern is recommended for success and consistency. Однако, после этого, you can still finish the fight despite missing parts of the pattern. Adapt to his new patterns, and for additional tips, refer to the Walkthrough video in the description.

Before he jumps for the third time, be sure to run to the right. This will make him land a bit short of where you are, setting you up for a strong attack. Roll away once more, this time to the left and slightly downward, as he disappears.

Pray to Odin for good luck with the lava drop, and charge up a powerful attack in the lower left part of the landing shadow. Roll to the left to ensure you avoid the exploding lava cracks after landing the hit.

Сейчас, instead of heading straight to the right and delivering another heavy attack, move down below him, as one more heavy attack will knock him down again. Charge up once you’re past his foot, and roll to the right towards his center as he gets knocked down. еще раз, utilize the reliable 2L1H attacks on his head/horns.
As he gets up, roll to the left! Это очень важно, as it once again manipulates his AI into performing a double back-hop instead of a single one. This should lead him to the upper right edge of the screen, prompting him to execute the lava wave attack again.

Wait a bit to avoid the lava cracks, then move up towards the center of the arena. This is where he’ll jump after the lava wave attack. The key indicator for where to stand is a bit obscure, resembling a vertical “точка” in the ground crack. Envision your position as the top of a rough equilateral triangle between the point, the crack on the right, and Thora.
Если все сделано правильно, you’ll be positioned for a heavy attack just as he lands, but this setup can be challenging. It might require some practice to get the position right.

Снова, roll to the left to ensure you dodge the lava cracks when he slams down. Then return to the right and deliver another heavy attack. После этого, roll into him and perform a rolling poke attack before standing completely still!
В этот момент, I haven’t discovered a reliable way to make him execute the double back-hop far enough away. Due to our location, he’s usually still too close even if he attempts it, allowing him to use his sword attack from its maximum range, which is extremely difficult to avoid.
Вместо, stand still as he jumps back, causing him to stop after the first hop and setting up for a sword attack.

Right when he jumps back, begin moving straight up and around him. Given the proximity, the sword swing should overshoot you completely, making it easy to avoid the exploding lava cracks and land a couple of light hits. While you can perform a heavy attack here, I suggest avoiding it as it may not provide enough damage to finish him off. It’s better to ensure the last hit goes smoothly, so opt for 2-3 light hits instead.

After the sword swing, he’ll attempt the triple jump once again. Repeat the strategy of baiting the jump by walking up to the left, then roll to the right and slightly downward when he leaves the screen.

Since you’ll be on the opposite side of him, be mindful of your positioning when charging your heavy attack. His back leg lands further up and back than his front leg, so make sure you’re standing a bit further up than usual and aim your hit to the top-left. You can even get very close to the shadow, как видно на видео, but be cautious not to get too close for comfort.
Хорошо, so to finish the fight, give one last strong hit when he lands. If he’s still not done, you have two more jumps to deal damage. On the second jump, don’t go for a heavy attack; придерживаться “top-left bait, bottom-right roll” pattern and do a light hit when he lands. Wait for the third landing to unleash a heavy attack. Обычно, by now or earlier, he should be close to getting knocked down again, making it easier to finish the fight.
This strategy worked consistently for me and Kaunan after lots of practice. Но, the lava drops can mess things up and make this fight the worst in the game. It might not take you as long as it did for me since I aimed for a flawless run, showcasing the “ideal pattern” in the walkthrough. Обычно, I’d recommend going for it as long as your luck holds, then adapting on the fly.
Don’t hesitate to walk through some lava on the ground to reach his weak point. Taking damage is okay, as most attacks would one-shot you anyway. Some damage over time or a couple of lava drops on your head is fine.
If you’re crazy enough to learn this “input pattern,” большой! В противном случае, use the video for reference. The key tips are to roll into him after he’s knocked down, know the center of the arena, master baiting the triple jump, and find the right spot to avoid the hexagonal lava cracks from his jump attacks. The rest can feel somewhat random unless you know exactly what to do.
Один
Окончательно, we reach Valhalla mode Odin using No God Powers. This was a challenging fight when I first made my walkthroughs, but now I find it quite enjoyable after gaining more knowledge. Despite the potential for getting completely destroyed in certain situations, such as perfectly aligned spears or unfavorable Jotun spawns, I’ve come to realize that there are ways to minimize these risks. В видео, I demonstrate several strategies that I didn’t grasp during my initial playthroughs.
Во-первых, I suggest using the Return to Ginnungagap button each time you want to retry the fight or after facing defeat. There seems to be a peculiar behavior in Odin (возможно ошибка) where he acts differently if you start the fight after a restart instead of directly from Ginnungagap.
The initial phase of the battle, leading up to the summoning of the first Jotun, follows a consistent pattern. Begin with a heavy attack, then roll towards Odin for a light poke. As he dashes down to the left, take the opportunity to roll down and land another heavy attack. You can start charging up as soon as Thora is partially obscured by Odin’s arm.
After Odin dashes to the bottom left and throws the first three spears, you can optimize your positioning by moving to the left after the heavy attack. This allows you to light attack the middle spear just as he throws it. Тем самым, you gain enough time to execute two consecutive heavy attacks before dealing with the last two spears. To effectively handle the incoming spears, I advise using single light hits canceled into rolls while waiting. This approach enables quicker reactions, preventing you from being stuck in an attack animation and unable to deflect the spear. If you notice the screen shifting towards a spear and you’ve just initiated an attack, promptly roll away to buy yourself time.
A crucial point to underscore is the need to start your attack much earlier than you might think when attempting to deflect the spears. Thora’s animations have a lengthy start-up, but once the attack is initiated, they persist for a significant duration.
If you manage to land 5 light hits on Odin while the last two spears are returning, he will immediately dash to the center of the stage and commence summoning the first Jotun. This requires a total of 4 heavy hits and 6 light hits. Missing some hits will result in Odin dashing away and throwing more spears. В таких случаях, I recommend waiting until you’ve dealt with the first two spears before attacking him and triggering the summoning phase.
Quick Jotun List and Strategies:
- Jera: If Odin summons Jera amidst other Jotun, it’s often best to ignore her. The poison cloud does relatively low overall damage, especially if she’s far away.
- Фé: Easily avoidable by walking around the map.
- Иса: Straightforward to avoid by moving around the map.
- Hagalaz: A bit annoying as she disrupts heavy attacks on Odin. Stick to light attacks, and remember that lightning strikes follow your movement direction. Back off and wait when needed.
- Kaunan: The most dangerous Jotun in the fight. Prioritize avoiding Kaunan at all costs. When he jumps, double back and go the opposite way, even if it means walking into a Jera cloud. Keep an eye out for the rune when a Jotun is summoned.
Небольшой совет: You can see the rune of the Jotun getting summoned, though it’s a bit unreliable. This might be useful, especially for predicting Kaunan or the sudden appearance of Jera nearby.
Emphasis on learning how to deflect spears and avoiding Kaunan; these are crucial. The rest is either manageable or less impactful.
The basic pattern involves trying to block thrown spears, landing 1-2 heavy attacks on Odin when time allows, opting for light hits as needed, prioritizing Kaunan avoidance, and disregarding Jera if she’s in the midst of everything.
Заключение
Knowing that you have already reached this point, we are hoping that you already unlocked the achievement. Так, what’s next? Check out our guide on how to unlock another hard-to-obtain achievement called Perfect Valhalla, where you are required to beat Valhalla Mode without taking any damage.
Это все, чем мы делимся сегодня для этого. Jotun: Valhalla Edition гид. Это руководство было первоначально создано и написано Shilag. На случай, если нам не удастся обновить это руководство, вы можете найти последнее обновление, следуя этому связь.