- Заголовок: Призыв к оружию
- Дата выпуска:
- Разработчик:
- Издатель:
Информация о Call to Arms пока неполная. Пожалуйста, помогите нам заполнить детали игры, используя это контактная форма.
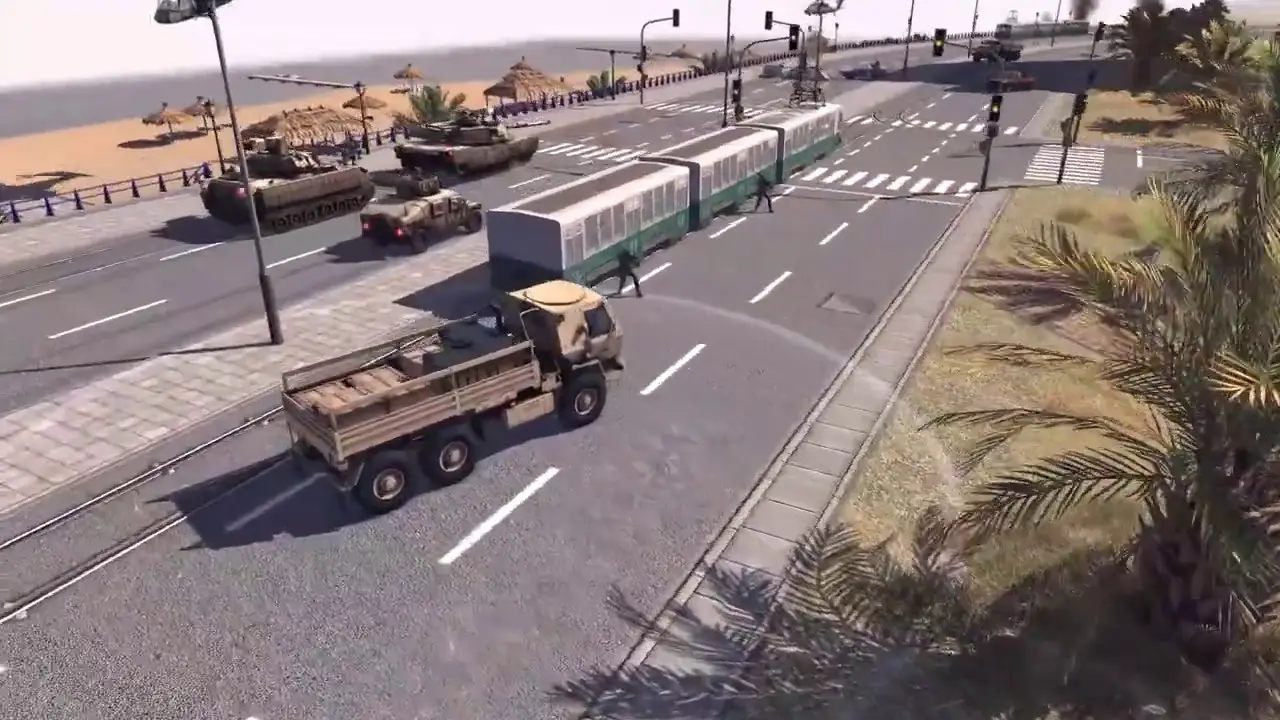
Put down your bratwurst and pick up a G36. It’s time to invade Russia and bring glory to the fatherland; this time with a NATO mandate!
An Airport Too Far
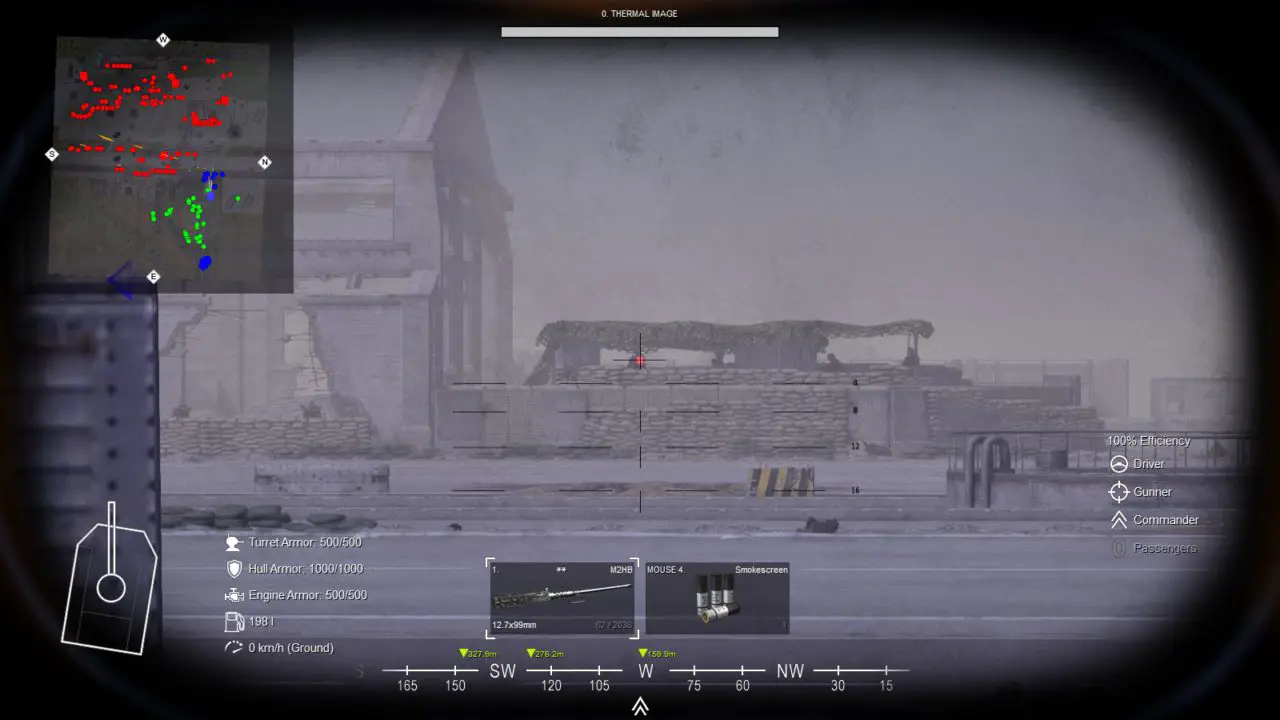
In the first mission, your objective is to secure the airport and surrounding areas from government forces, starting with squads of panzergrenadiers, AT soldiers, and regular infantry armed with MG3s and G36A2s. With the fog of war removed (heavily recommended at this difficulty), you’ll immediately notice the enemy is dug in for defense behind sandbags and a network of trenches. At this stage in the mission, it’s a good idea to keep cover behind friendly AFVs and let them chip away at the enemy until you feel comfortable advancing forward.

With friendlies, engaging hostiles defending the cargo entrance, take one of your squads and flank north where you’ll see an opening in the outer wall ahead. Switch to the prone position and crawl across the open field so you’ll be safer from enemy gunfire. After tossing a grenade into the left side trench and disposing of the troops held up there, move to take up the position in it. Quickly switch to first-person POV and pick off the soldiers in both guard towers, but keep to the trench! Enemies in the first guard tower are armed with RPG-7s.
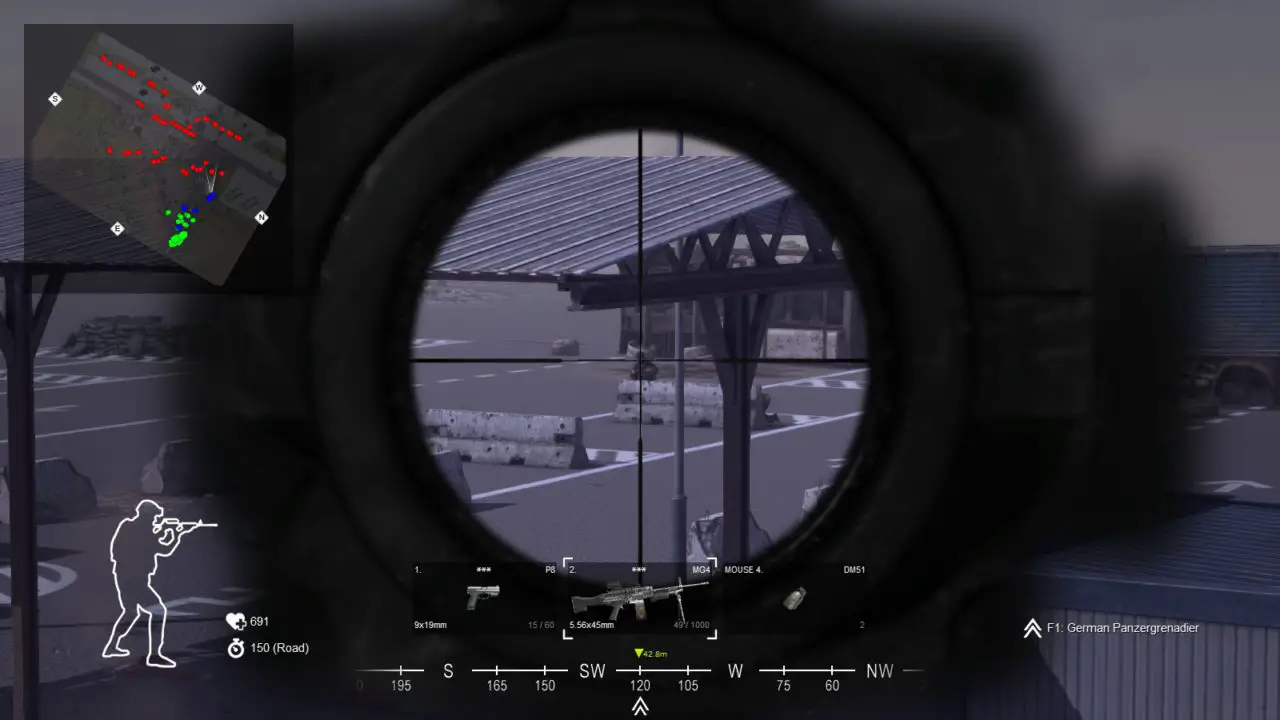
Once both towers are clear, move your panzergrenadiers forward to occupy the easternmost tower. Your panzergrenadier squad is equipped with one MG4 light machine gun, which will make quick work of anyone over the wall still defending the main gate. Once all resistance has been crushed, take the remainder of your squads and move them in to capture the gate. You should also loot the weapons cache found near the opening in the wall you penetrated earlier, where you’ll find four RPG-7s armed with HEAT warheads.
With the cargo entrance in German hands, your next task is to disable the three ATGM positions holding the runway. Take the GTK “Боксер” and park it behind the truck next to the westernmost guard tower so it’s out of view of the enemy BTR. Hose down everyone you see hiding behind the sandbags outside the hangar below:
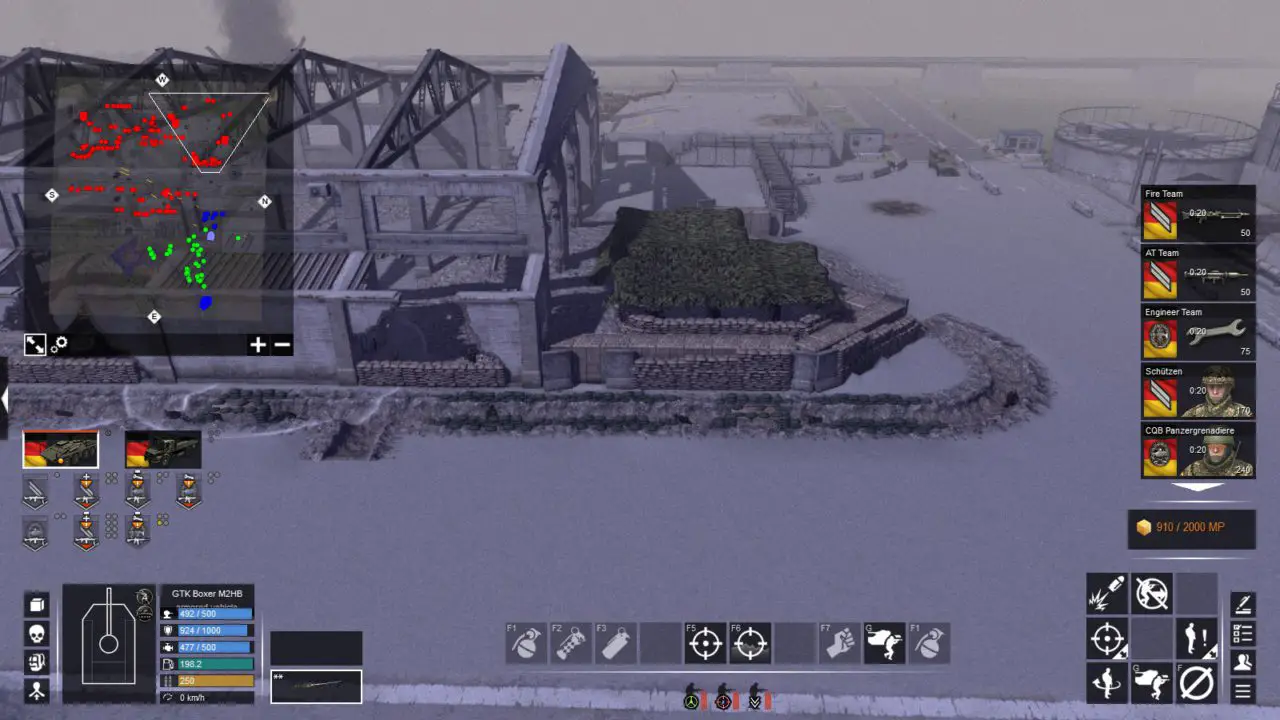
One ATGM site down, two to go. Have an AT team fire their panzerfaust to take out the BTR camped in the hangar. It’s now safe to push forward and occupy the trenches ahead of you. Now that we can call in reinforcements, dispatch a fire team, schützen squad, and fallschirmjäger squad with your MRAP (ATF Dingo) following behind to provide support across the field to your south. Capture the excavation site instead of moving through the open hangar.
This is where you’ll keep your MRAP while your infantry moves to take up firing positions at the sandbags at your 10 час. The reason I advise keeping your MRAP way behind is that this section of the runway is a wide-open kill zone for any vehicle. Your fallschirmjäger squads are armed with G36A3 rifles that are effective at taking down targets at medium range, making it a more suitable instrument with which to clear out the second ATGM site near the air traffic control tower. Although personally, I like going with the G3A3.
Нажмите здесь, чтобы просмотреть полное руководство