- Title: RAILGRADE
- Release Date:
- Developer:
- Publisher:
Information about RAILGRADE is still incomplete. Please help us fill the details of the game using this contact form.
This guide will be showing you how to get an S-Rank in Railgrade. Please note that we are still working on this guide, and the rest of the missing regions will be added as soon as possible. In the meantime, please find the available walkthrough until Region 9 below.
Introduction and Tips
You might not have good-looking screenshots for a little while because you don’t have access to a dedicated GPU at the moment. To ensure you were playing within the available constraints, you decided to reset your save and avoid using any unlocked items beyond that point.
In the future, this guide could become outdated if the campaign is shortened due to criticisms about the smoothness of the progression curve, which might make it take too long to unlock all the endgame content.
Take a look at the ESDF Keybinds guide to achieve smoother control over the Raise/Lower function. The Railgrade Production Chart by /u/gollet, available on docs.google.com, offers valuable information about ratios that can help with resource utilization.
Boilers are a cost-effective option. Although Workhorses were meant to strike a balance between Boilers and Customs, the combination of Boiler and Custom unintentionally became the dominant strategy for units of 6 wagons. This was primarily due to the alignment with 6-tile stations, the low cost of the boiler, and the superior power of Custom in handling small inclines.
To reduce train slowdowns while going uphill, space ramp tiles apart using the Raise/Lower keys. Additionally, keep in mind that stations don’t necessarily have to be at ground level.
It’s crucial to complete a production chain and begin delivering final products before the factory’s storage becomes full. This ensures that you get paid for your efforts.
The shortest shuttle consists of 3 tiles, including a station, a track, and another station, which is then used by an engine and 2 wagons. However, a configuration with 2 stations, a track, and 2 more stations, combined with an engine and 4 wagons, works even better. This setup is most effective when both buildings are within the range of both stations. It functions as a form of “direct insertion,” given the absence of conveyor belts in the game.
Remember that a catalyst remains active for 90 seconds, regardless of the building level. Consequently, a level 0 water pump can catalyze slightly over 5.5 buildings, though this number may decrease if a two-way train has to travel a considerable distance to collect all the water within the specified time frame.
By holding the right mouse button, you can view the names of all resources and buildings on the map. Extractors, such as mines and pumps, are not influenced by the number of resource tiles they are positioned on.
When utilizing the Clone Train function, keep in mind that it also duplicates the train’s route. Therefore, make sure to adjust the route accordingly if the new train is designated for a different station.
As of the current time, there is no need to focus on achievements, and obtaining an S-Rank is not mandatory. Simply focus on successfully completing the campaign.
Regarding a personal opinion, it is suggested to disable ghosting, as this should ideally be the default setting.
T1-T3
Really?
- T1: Simply make the connection…
- T2: Select the branches so the train gets to where it needs to go…
- T3: You can hit Raise to ensure the tracks and stations stay level. Shuttles work well here, but in a real game with buildings above level 0 that aren’t right next to each other, you’ll want RORO (roll-on/roll-off) stations for better throughput.

Region #1: First Job
You’ve got money to create three loops with mostly flat tracks, featuring 5-tile stations. Each loop can handle two trains, each with 5 wagons. Make sure to upgrade the water pumps as well.
Region #2: Oil Overflow
The timer won’t begin until you place a train, and you have a good amount of money to create several 6-tile stations and trains equipped with a boiler, a custom engine, and 6 wagons (two trains for each oil loop). You’ll immediately unlock the Custom Engine at the voucher shop.
For power plants served by four oil wells or coal mines on the same level, you’ll need to build two separate loops for delivery since the Alternating Branch isn’t available until Region #6.
When it’s time to add a water pump, consider upgrading the oil wells as well by taking a loan from the bank, and introduce a third train to the catalyzed oil wells.
Region #2 Bonus: Oil Overflow Omega
In this scenario, you start with less money. Begin with 4-tile stations and four boiler plus 4-wagon trains. Wait a minute, then withdraw $1,000 and place 2-tile stations to deliver energy to the zeppelin. Ensure your left power plant operates at 100% uptime with a third train.
After that, it’s up to you. You can choose to catalyze with water and/or add more oil wells. Eventually, upgrade the lone oil wells to increase storage and enhance the trains with boiler, custom engine, and 6 wagons, while expanding the stations to 6 tiles.
If you decide to keep ghosting enabled, you might use multiple trains on a single shuttle track, but this might not sit well with the train enthusiasts.

Region #3: Mix Oil and Water
Water and energy catalyze each other. Your energy storage may be full for a few minutes, which isn’t ideal. To save money, consider building only one oil well or none until later. Focus on delivering water to the city first, as energy can’t be consumed quickly (it’s for catalyzing) until the city reaches level 1.
Region #3 Bonus: Power Supply and Demand
Most players, including myself, initially achieve a C rank on the first try. In this run, we’ll build a pair of optimized oil power plants. Once again, water and energy catalyze each other.
The key here is that you can still sell products even when the city’s storage is full, but you’ll only receive half the payment for items over the cap. Matching energy supply with water isn’t our concern. While geothermal is convenient, it’s not the best choice here because you don’t get paid for precursor inputs as you do with the oil power plant, and a significant portion of your profit comes from delivering oil.
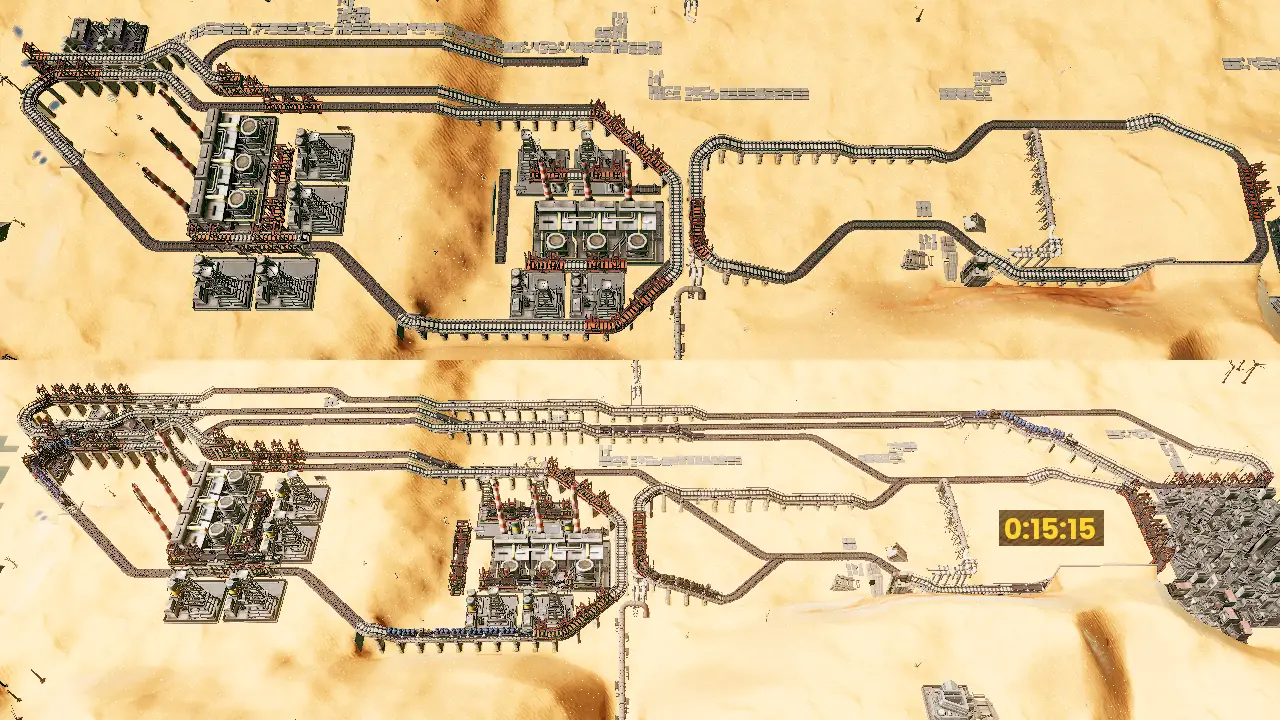
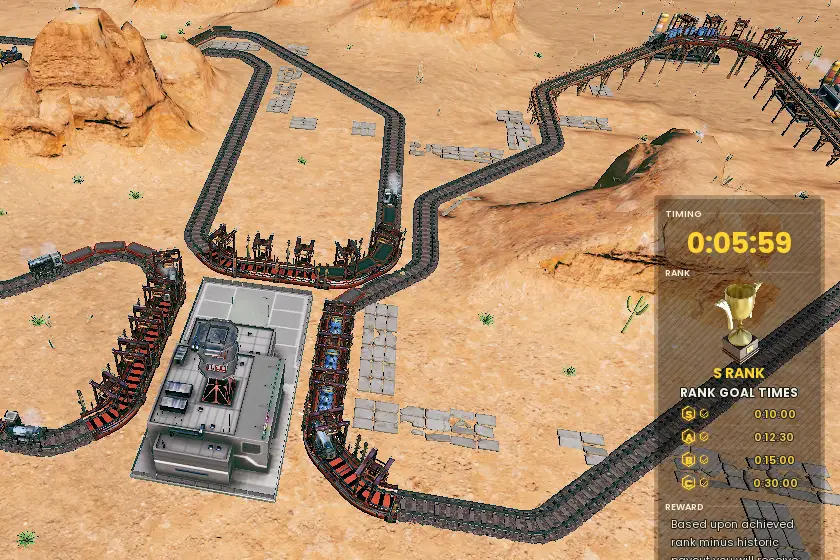
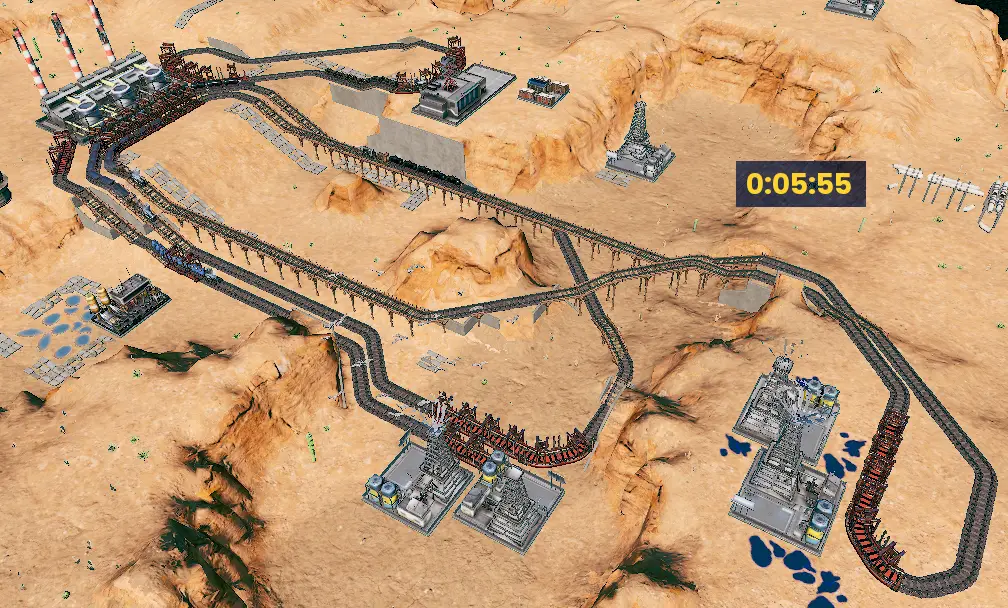
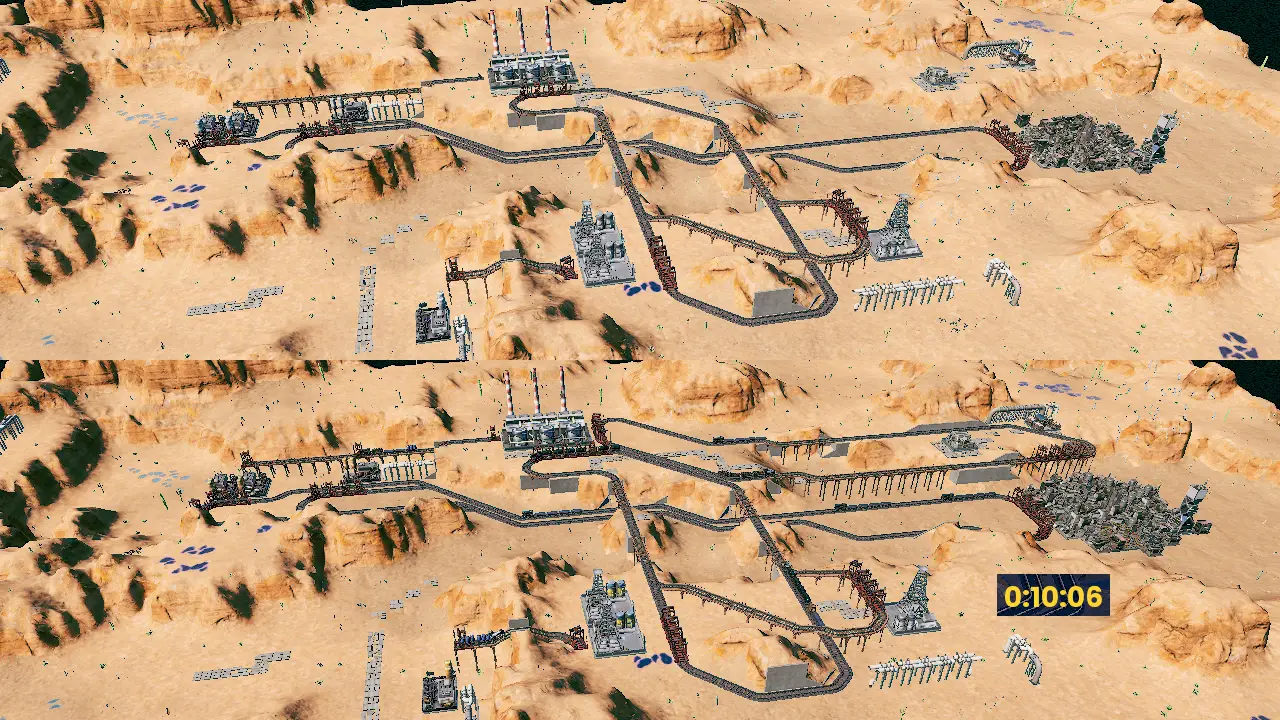
Region #9: Uphill Both Ways
This level is meant to introduce the Industrial Engine for uphill climbs. I intentionally took this route. I haven’t replayed this level, but you can forgo the Industrial engines and use the other steel mill to save on startup costs and complete the level more quickly.

That's everything we are sharing today for this RAILGRADE guide. This guide was originally created and written by xBleacheDxSungasMx. In case we fail to update this guide, you can find the latest update by following this link.