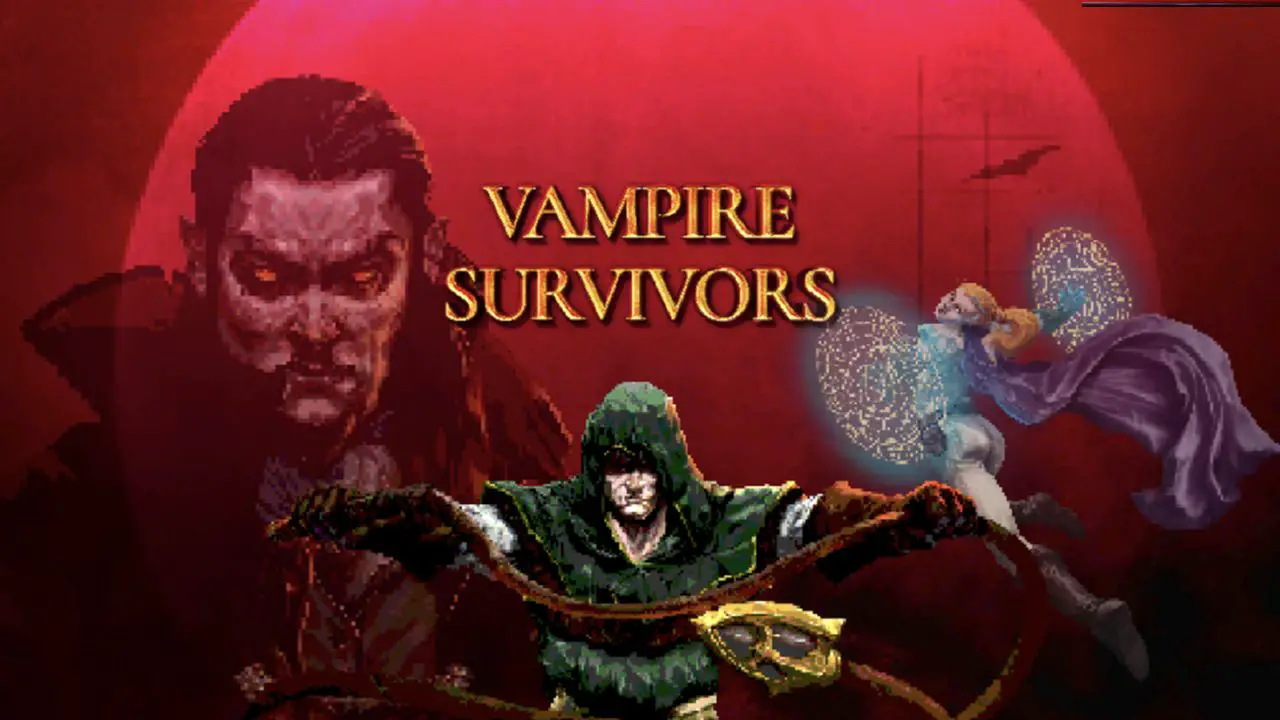
This is a guide on how to unlock the XV – Disco of Gold achievement in Vampire Survivors. Além disso, you will also learn how to unlock the hidden Red Death character.
Introdução
If you don’t know about unlocking Red Death, the requirements for the Disco of Gold achievement may seem nigh impossible. There are two ways to do it, one of which is far more involved than the other. This guide will go over the easier route, which requires minimal unlocks but is probably a glitch.
Configurar
The glitch setup for getting this achievement is as follows. Primeiro, you’ll need to unlock Irmã Clerici. If you have the Randomazzo (which you need for the achievement) you’ve probably already done this, mas se não, pay the gold and unlock her.
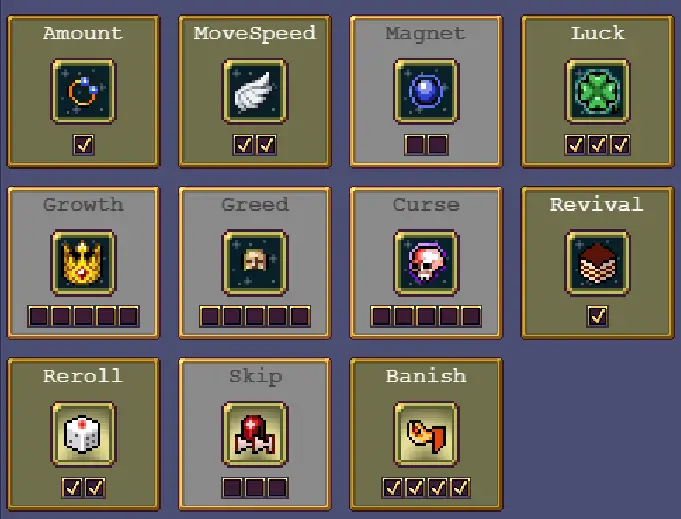
Primeiro, you’re going to want to refund all of your powerups and buy them again. Idealmente, you have enough gold to buy all of the powerups except Pular, Ímã, Crescimento, e Xingamento.
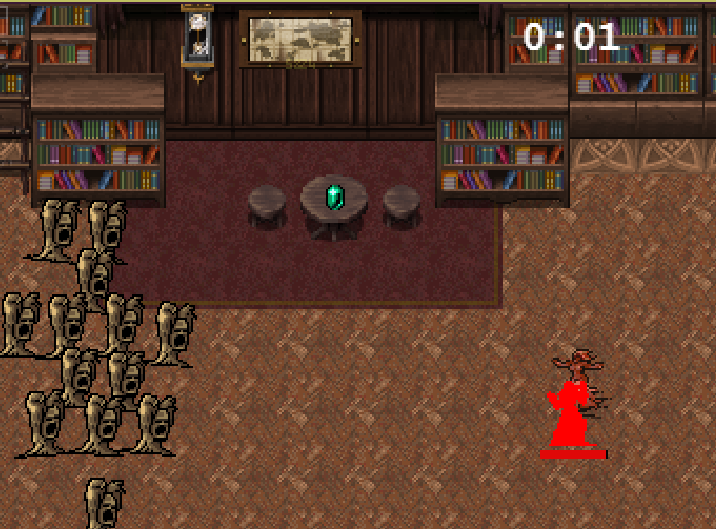
Select Inlaid Library, and make sure Hurry mode is off if you have it unlocked. Idealmente, you’ll have all of the other Randomazzo arcana unlocked before you do this, but the important ones are going to be 4 – Awake e XVI – Barra which are unlocked by reaching level 99 with Krochi and Lama, respectivamente.
Pick IV – Awake as your starting Arcana.
Grab the green gem from the table. For the glitch method to work, you will need to get a Runetracer as your first picked-up weapon. Se você não conseguir, reroll. If you still don’t get it, restart the level until you do. Once you’ve gotten the Runetracer to pop up, pause and read the next section.
Posicionamento
Once you’ve gotten the Runetracer, it’s time to position yourself.
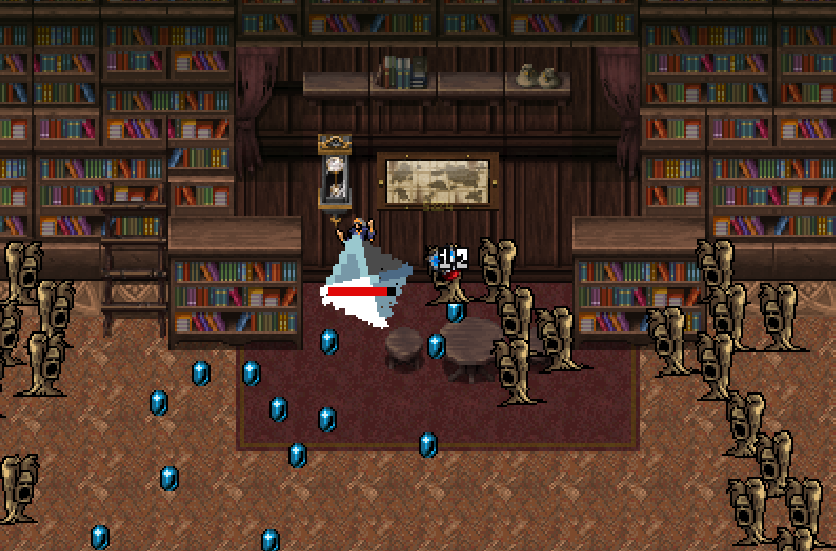
Your position should look something like this. You’ll know if it works when your Runetracer gets stuck between you and the stool below you. You might need to adjust a little.
It’s possible that you might pick up a couple of gems due to RNG. This is okay, provided you don’t level up – the only reason this glitch works is because you’re staying at level 2 for the entire run.
Once you’ve got the right positioning, you’ll need to locate the red gem. The red gem will usually appear around the 1:30 to 2-minute mark, and will be the furthest gem on the screen from you. Sometimes the gem won’t spawn due to spawning off-screen: if you don’t see it by the 3-minute mark, reiniciar.
The red gem is important because that’s where all the experience is going. The game has a hard limit on how many gems can be on screen, and when that limit is hit, it starts compressing them into a single gem. By the end of your run, you will have around 10,000 para 15,000 kills worth of experience in that one gem.
Now you simply need to wait until the game hits the 30-minute mark.
Building Items
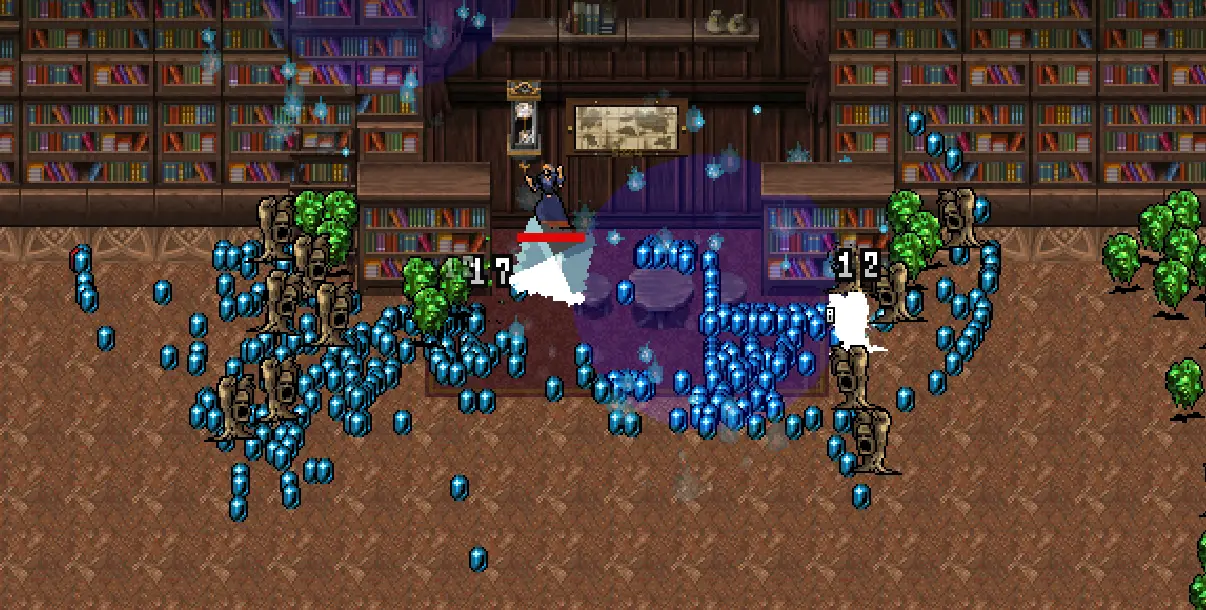
As soon as the 30-minute mark pops up, all the enemies on screen will disappear. As soon as they do, you will want to start moving toward the red gem. It’s okay if you pick up a couple of treasure chests on the way, you’ll likely need to due to how they’ll be clustered underneath you.
Once you grab the red gem, you will level up anywhere from 70 para 80 vezes, and now it’s time to start building your items.
Necessary Items
You will need three items:
- Clock Lancet
- Laurel
- Tomo Vazio
These are required both for the achievement and for killing Death.
Do Not Pick / Banish List
These items should all be not picked or banished if the opportunity arises:
- Fire Rod
- Lightning Ring
- Machado
- Song of Mana
- Caveira O'Maniac
- VII – Vontade Azul Ferro
The reasons for some of these are obvious: Death has over 655,000 health per level you have, and we don’t want Curse to make that any higher. This is also why we don’t want Song of Mana, because it needs Skull O’Maniac to evolve and there are better damage options than the un-evolved Song.
The Fire Rod, Lightning Ring, and Axe are all no-go because they hit unpredictably, and can aggro additional Deaths (one spawns per minute after minute 30) which you absolutely do not want. You don’t want Iron Blue Will for the same reason.
Arcana
You’re going to want XVI – Barra if you can get it. XI – Waltz of Pearls isn’t a bad idea either, since the Magic Wand naturally synergizes with the Empty Tome. Other possible picks include Xiii – Perdido & Found Painting e V – Chaos in the Dark Night as these will boost your Runetracer.
All other items can be picked as you’d like, though I particularly recommend the Knife with XVI-Slash, because it’s a damaged machine if you can keep it aimed at Death.
Re-Positioning
Once you have your gear sorted out, you will want to go back to the spot you were in before you went out to get the red gem. Desta vez, being precise isn’t as important – you want to stay between the bookcases so that as many Deaths as possible get stuck on them, leaving just you and the first Death that spawned in the area between them.
It may take 3 ou 4 minutes to kill Death, but once you do, you should have Mask of the Red Death unlocked, along with the Disco of Gold achievement.
Isso é tudo o que estamos compartilhando hoje para isso Sobreviventes de Vampiros guia. Este guia foi originalmente criado e escrito por Timrod. Caso não atualizemos este guia, você pode encontrar a atualização mais recente seguindo este link.