

- Título: O último herói de nostalgaia
- Data de lançamento:
- Desenvolvedor:
- Editor:
Informações sobre o último herói de nostalgaia ainda estão incompletas. Por favor, ajude-nos a preencher os detalhes do jogo usando este formulário de contato.
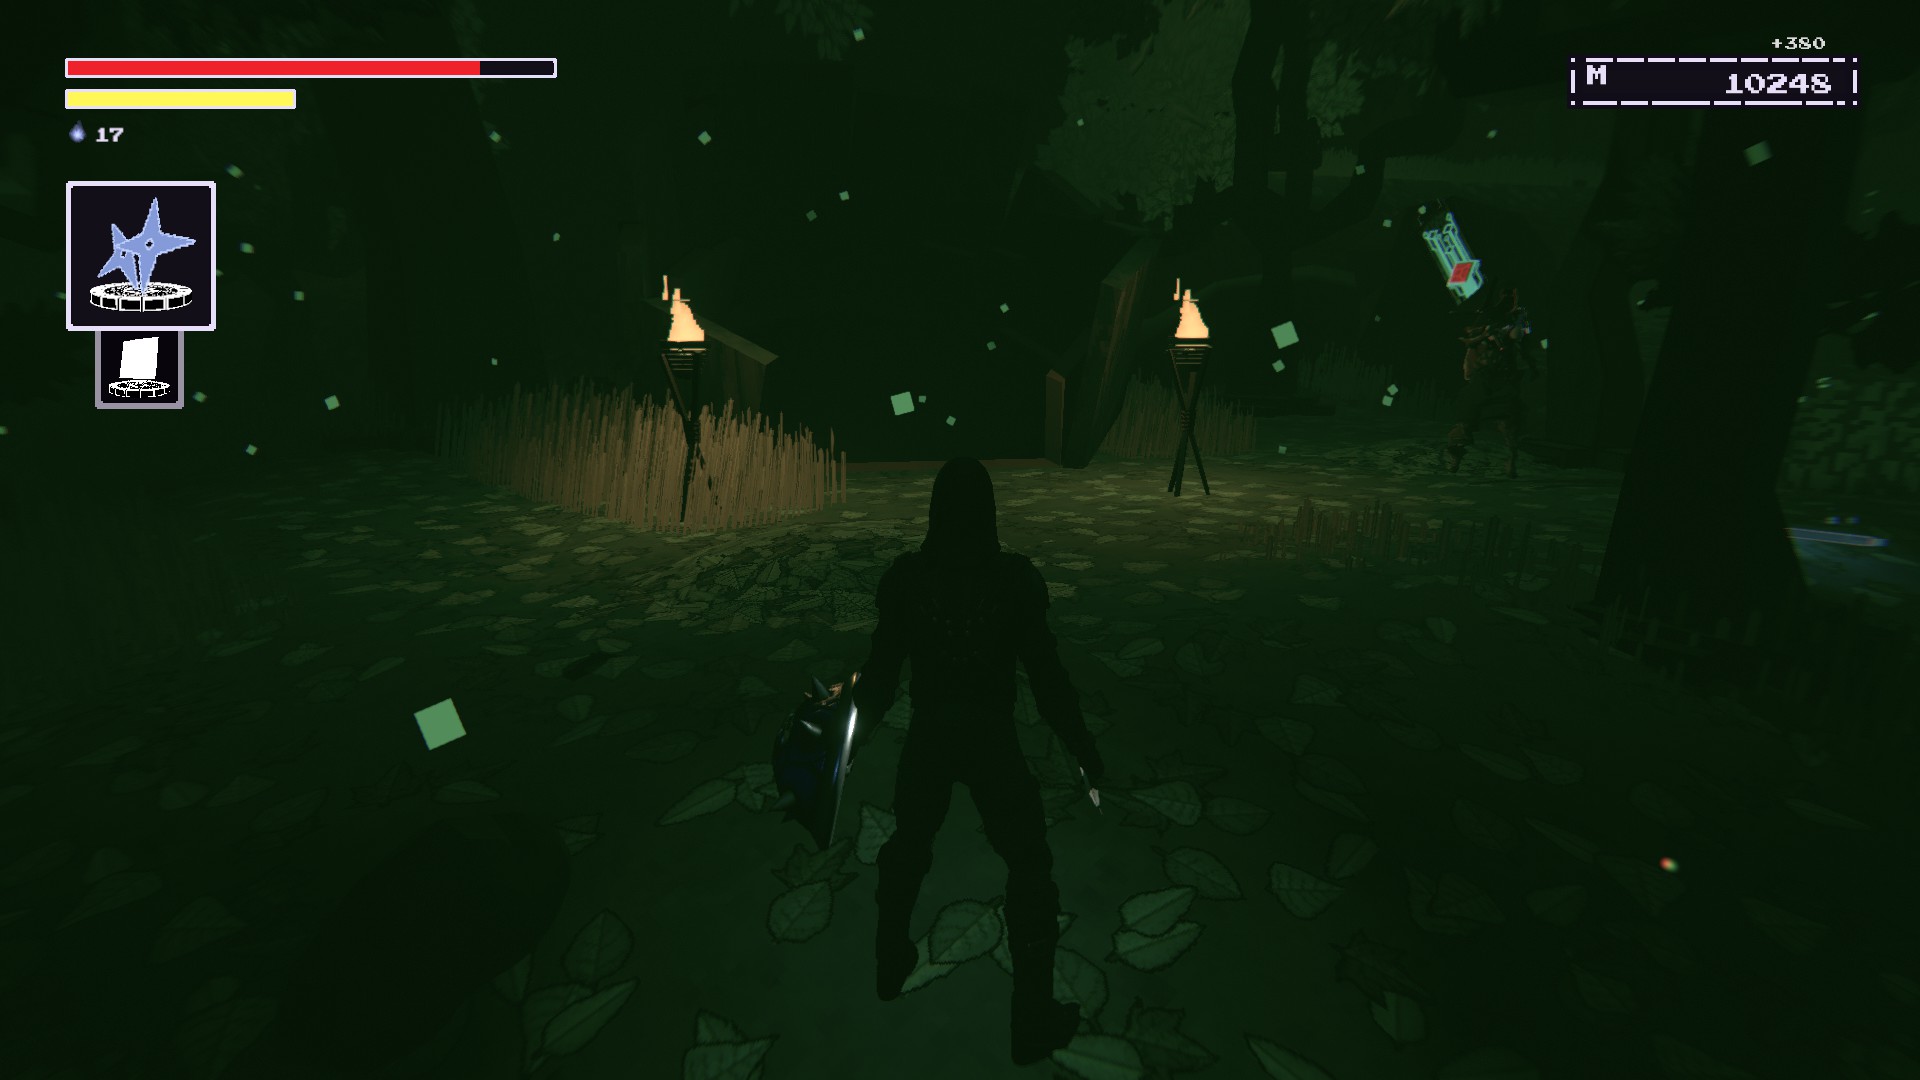
This guide will show you where all the runes and spells can be obtained. It can be done in one playthrough but there are items that are missable. Se feito corretamente, you should get both the Fully Formatted and Song of Source achievements.
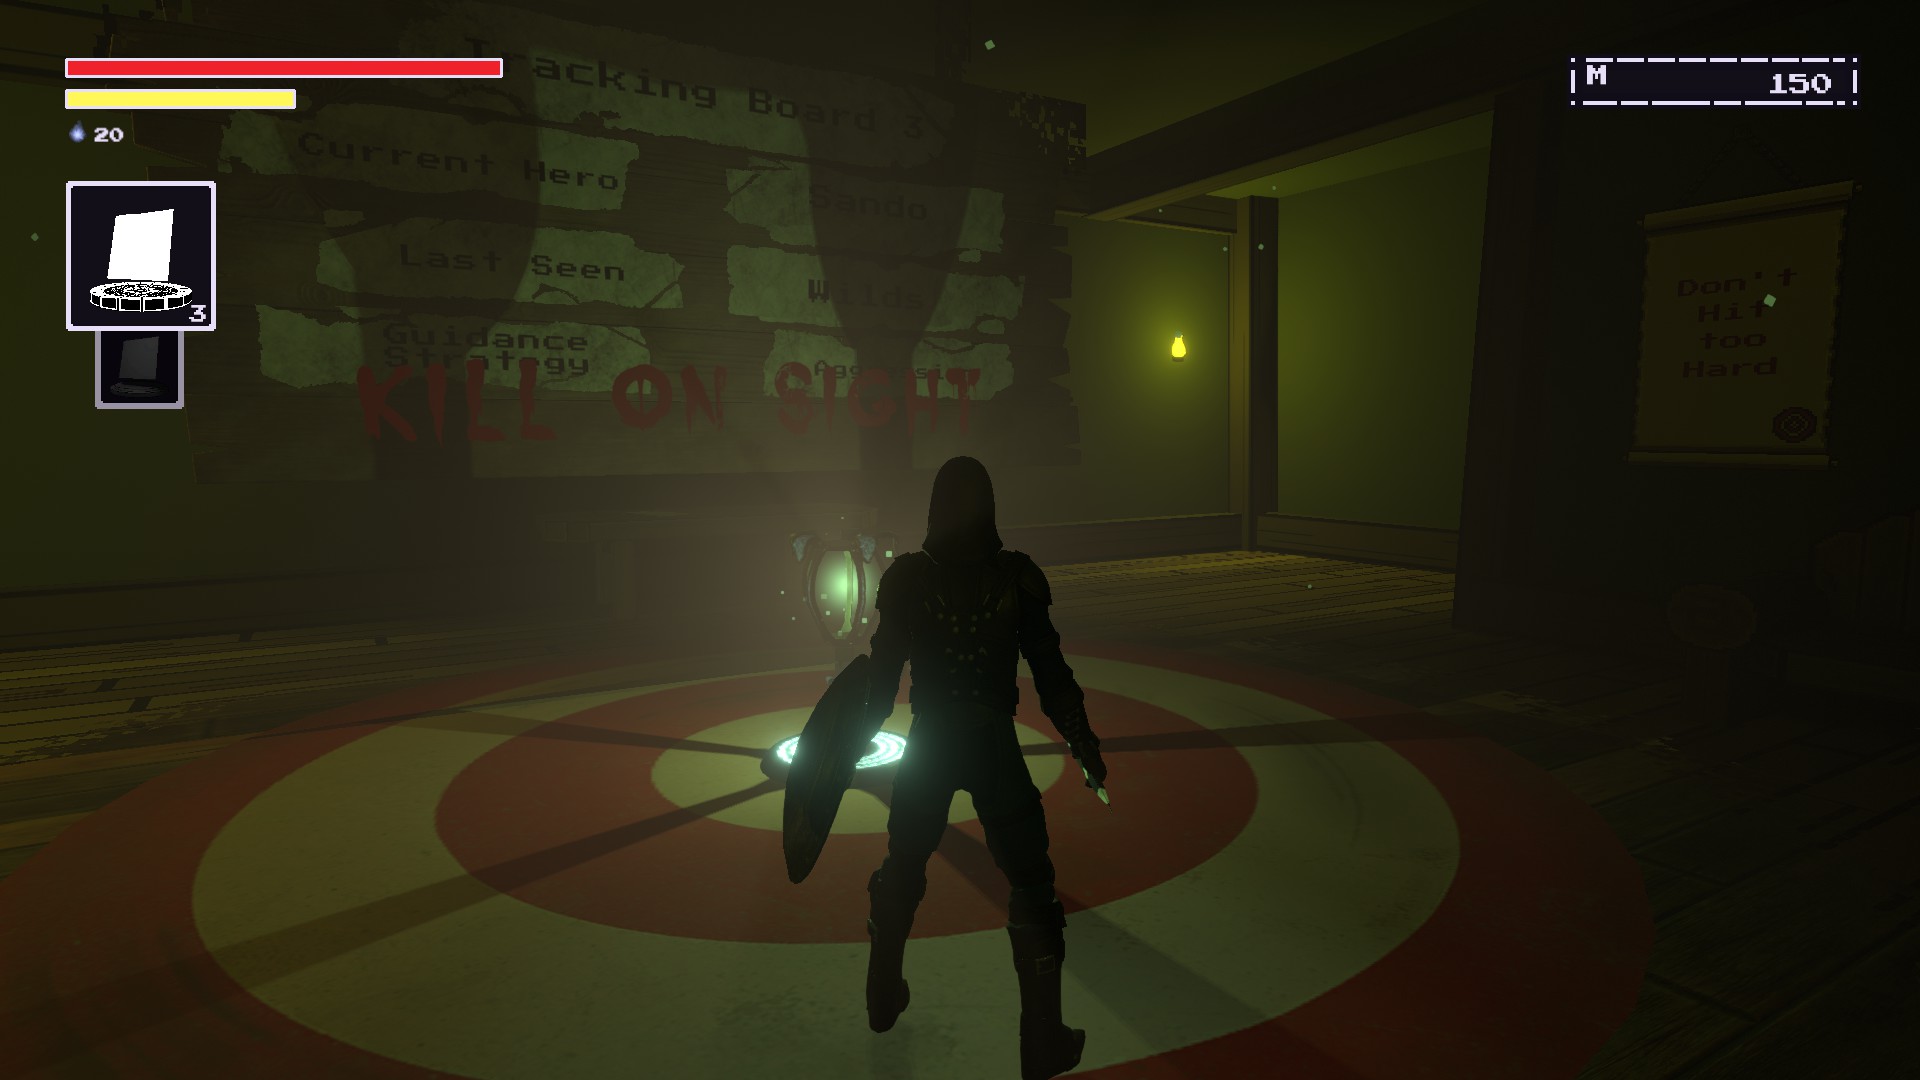
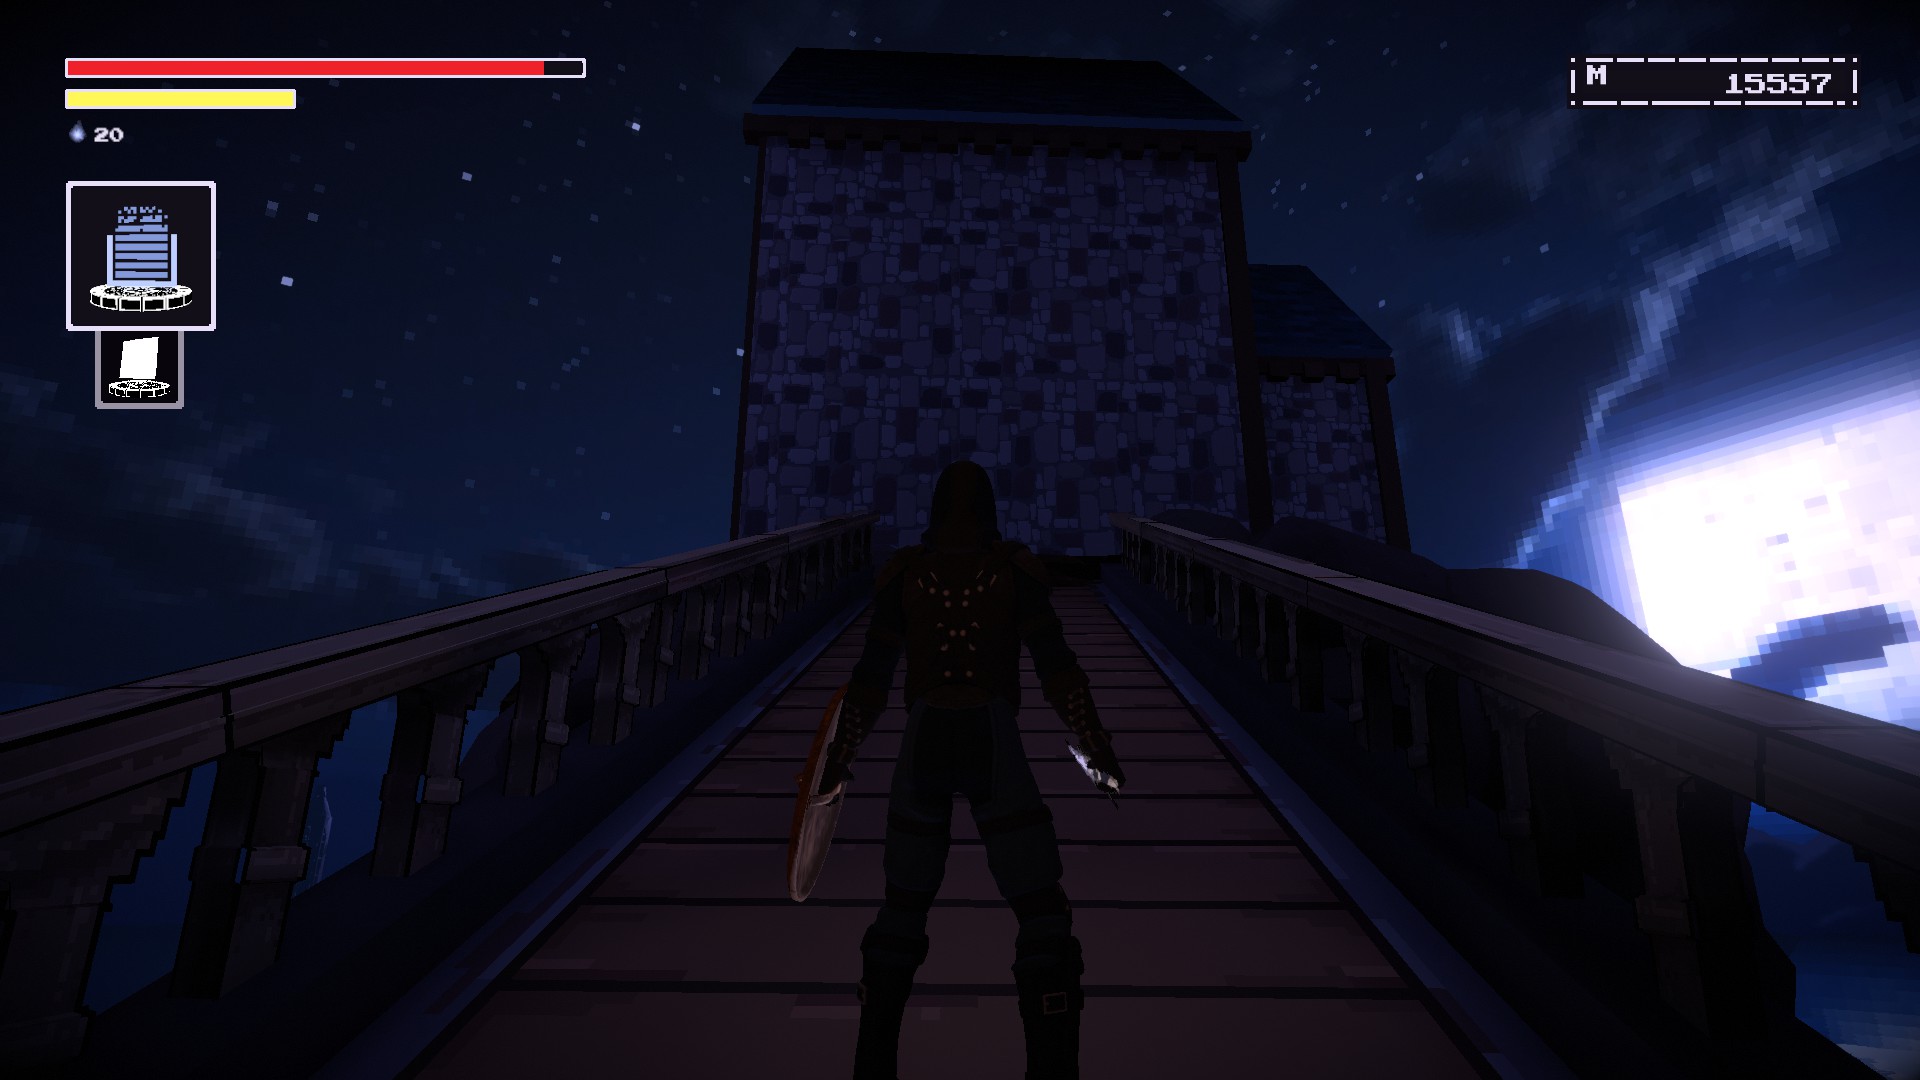
Começando
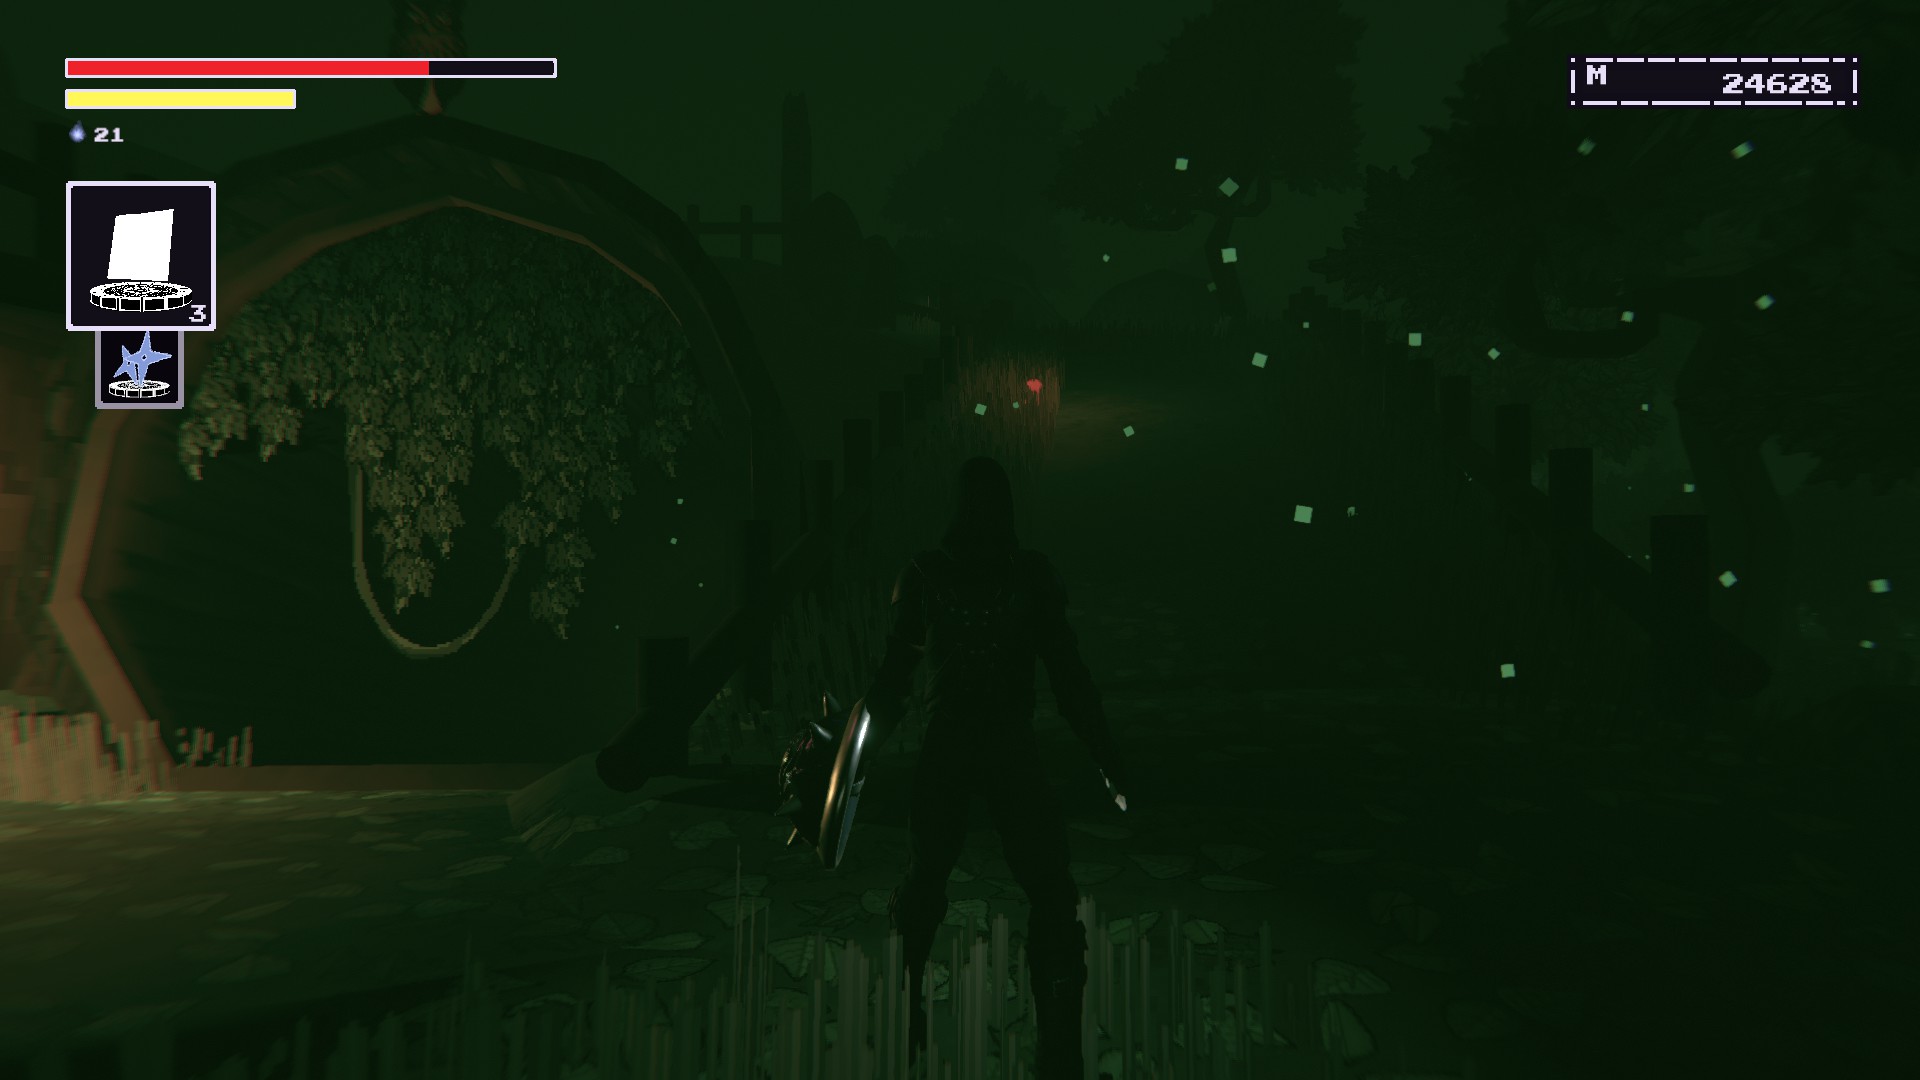
Getting all Runes & Spells is much easier than restoring all the relics in my opinion.
I’ll write each section in order of when you should be able to acquire them.
Runes will be labelled with (Runa) and Spells will be labelled with (Soletrar).
MISSABLE items will have asterisks ***.
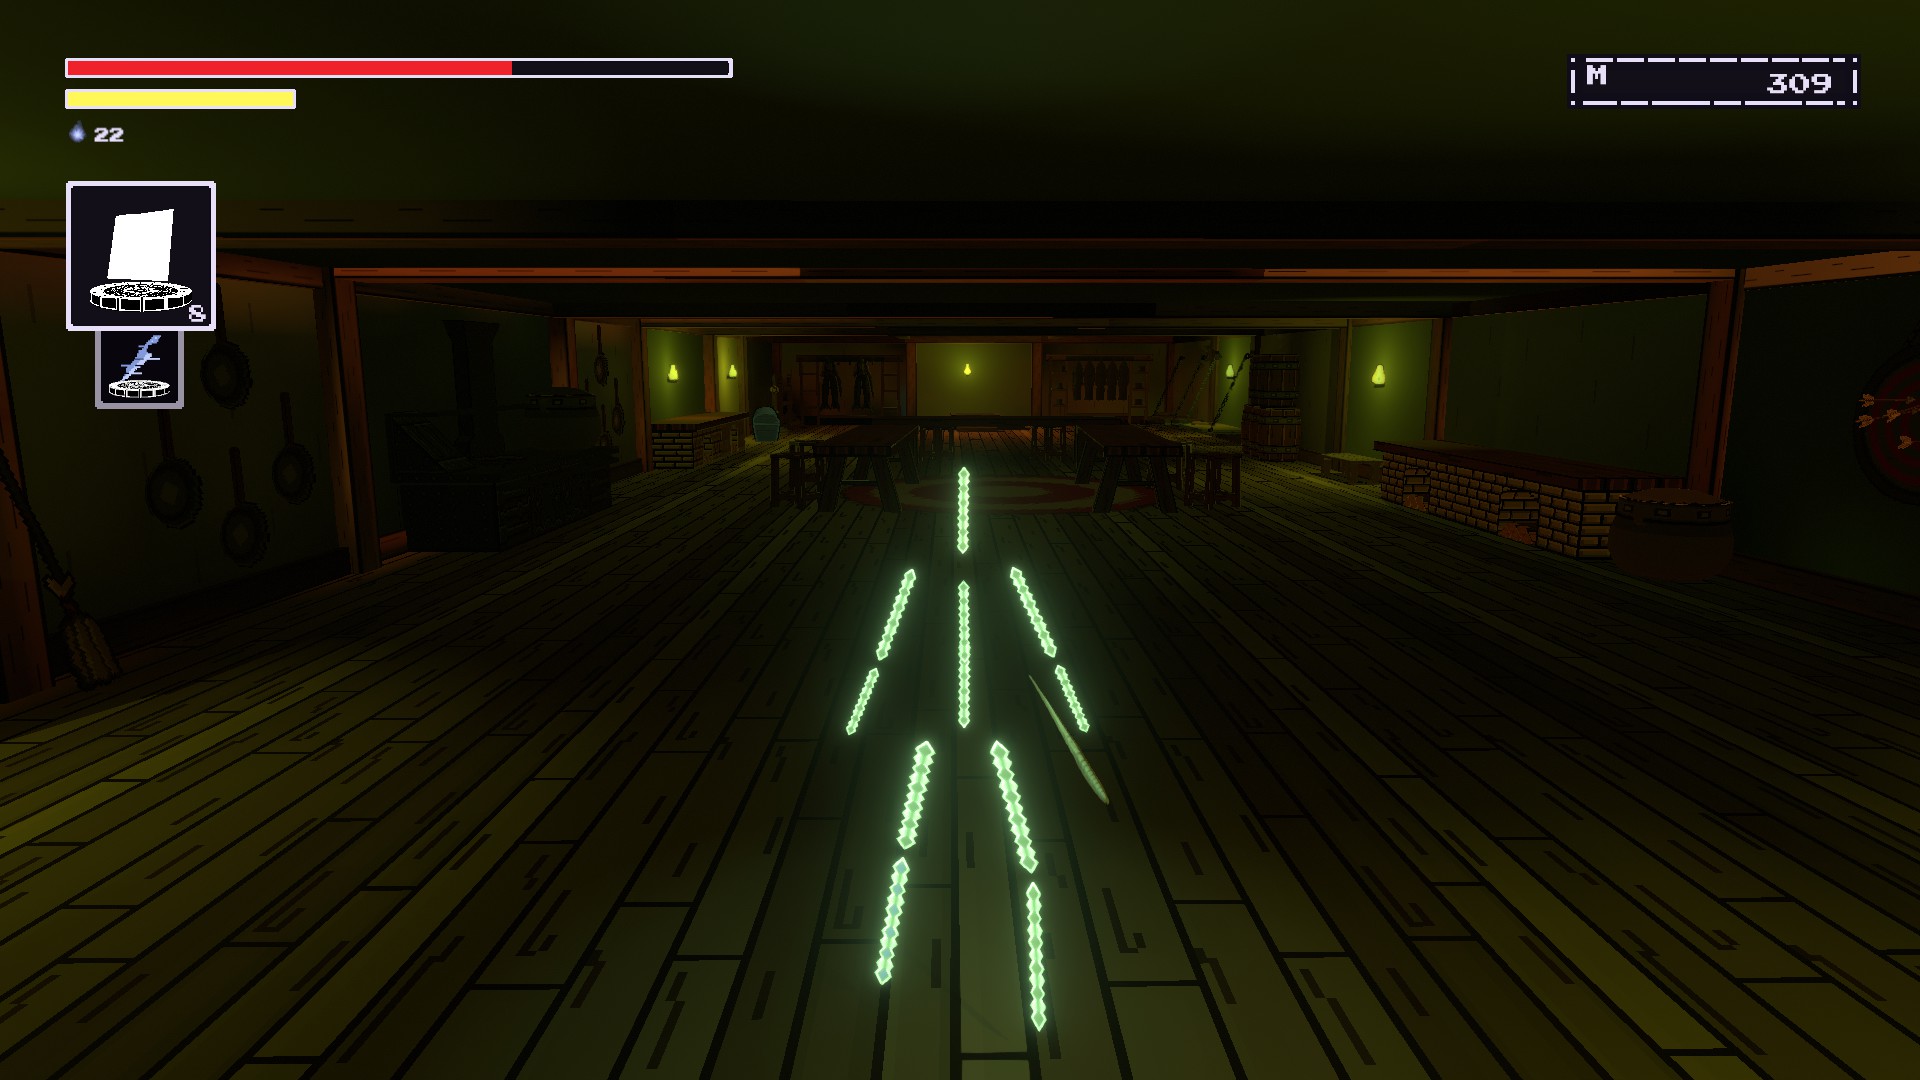
(Para sua informação: If you’re running a luck build, o extra item chance can mess with picking up runes and spells. Don’t worry as you can just exit to menu and load back in to get the items.)
Há 17 spells and 25 runes to get in total.
One rune is acquired from completing a part of a NPC’s questline.
(This needs to be done before venturing too far into the Keep of the Stolen Crown.)
Some of these runes and spells need to be bought from the Merchant.
You would need to get these items before beating the Anti-Heroes group fight in NPC City.
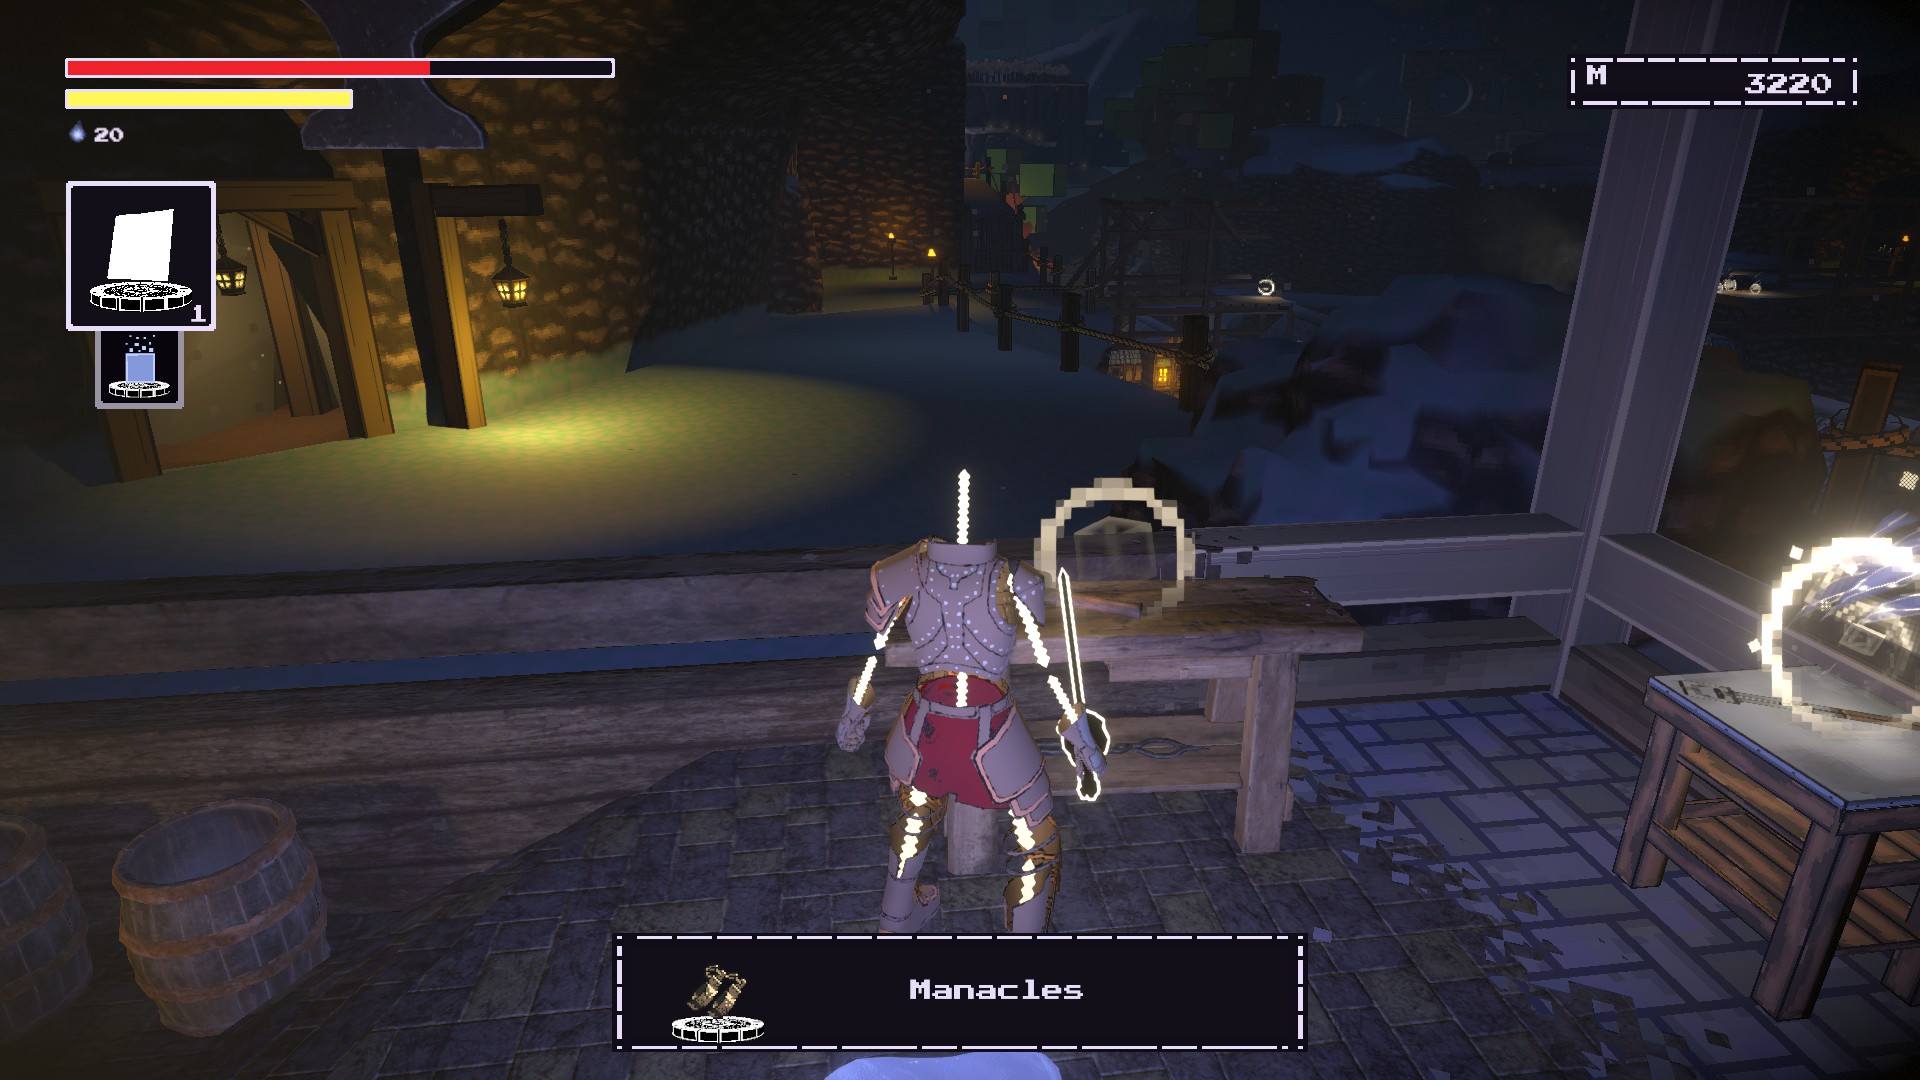
Progress through Oreshaft Village until you have reached the Gnom Statue.
There will be a NPC crying out for help while two enemies are attacking the entrance.
Defeat these enemies and interact with the door.
You cannot enter yet because he needs to restrain myself before your awesome glory.
You’ll need to acquire Manacles for this purpose.
This item can be found at the Oreshaft Shelter Beacon here.
Return to where you originally met the Merchant.
Now you’ll be let inside and be able to browse his wares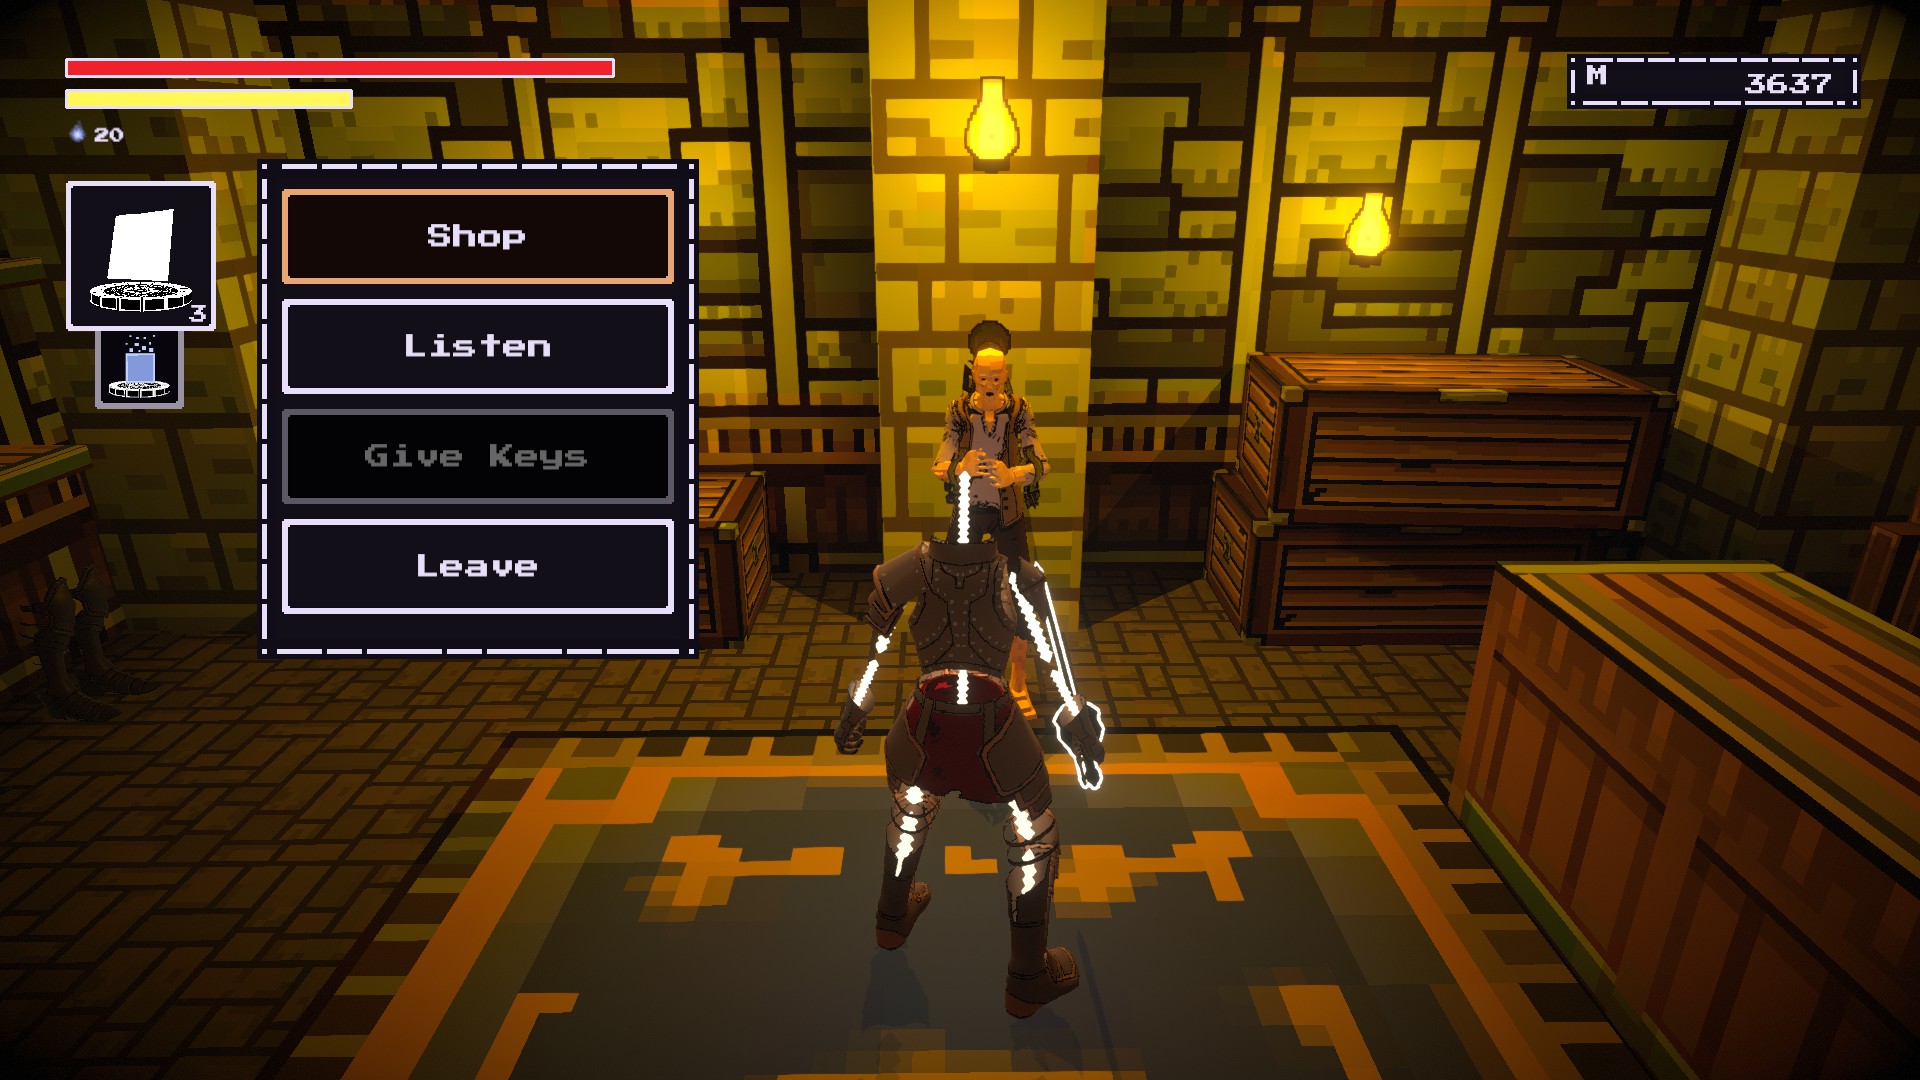
In order to expand the Merchant’s wares, you need to give him Easymaker Keys.I’m too lazy to tell you specifically how to get them but I’ll show you their location.
QUEST REWARD VAULT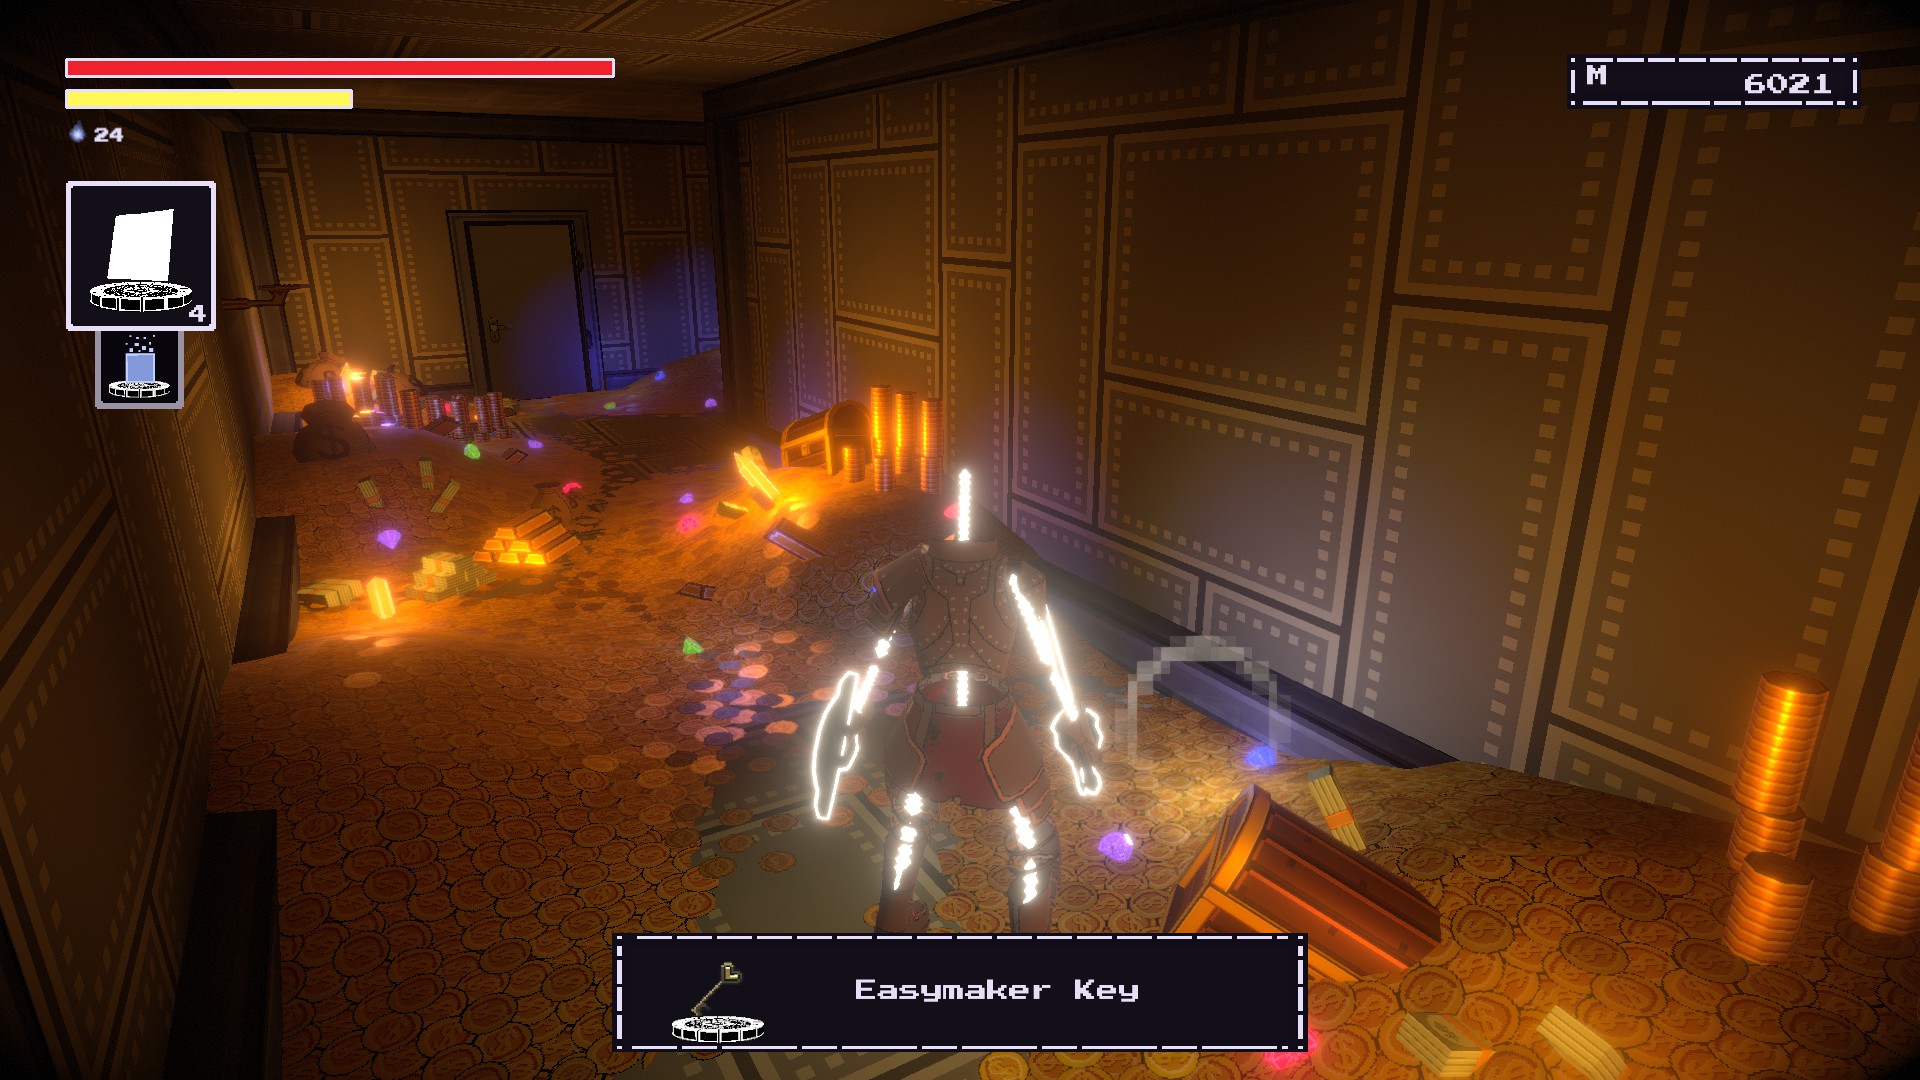
WARLOCK’S WILDS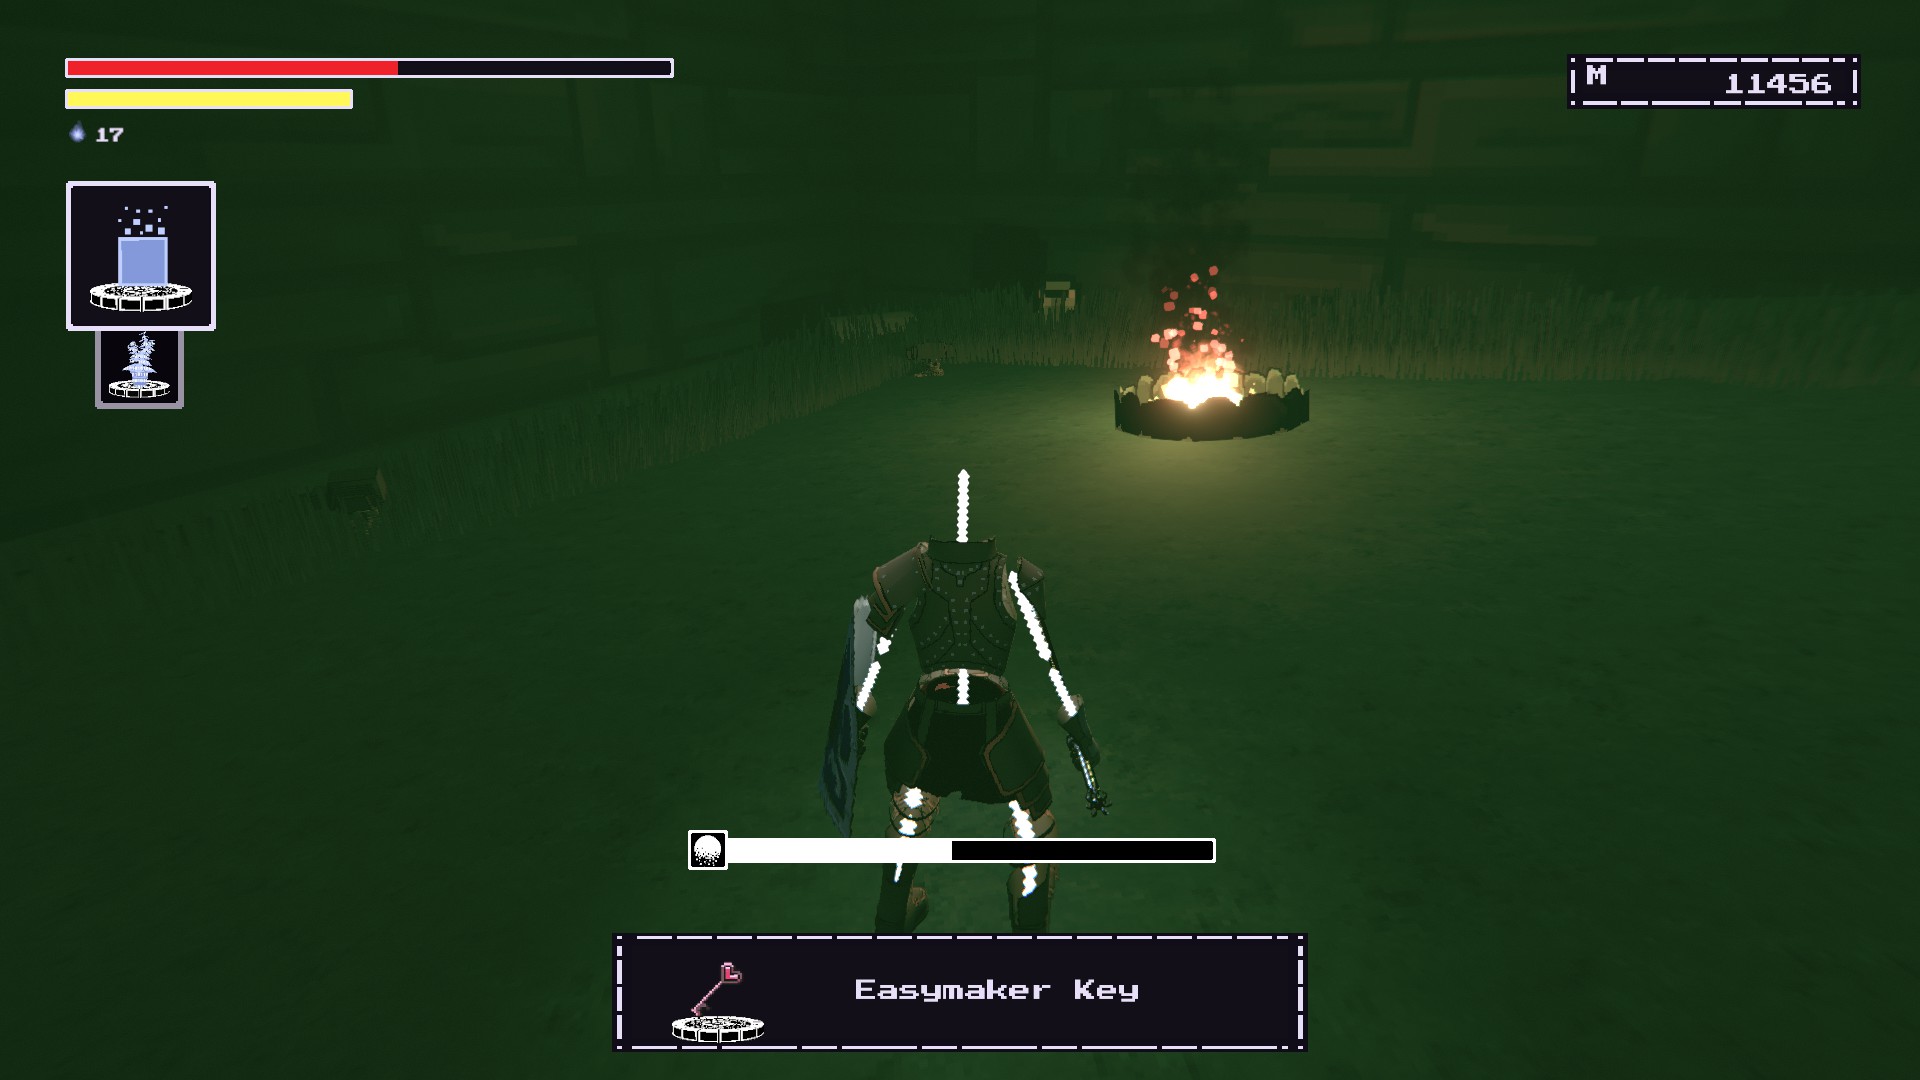
NPC CITY(Opcional, only if you want more fragments)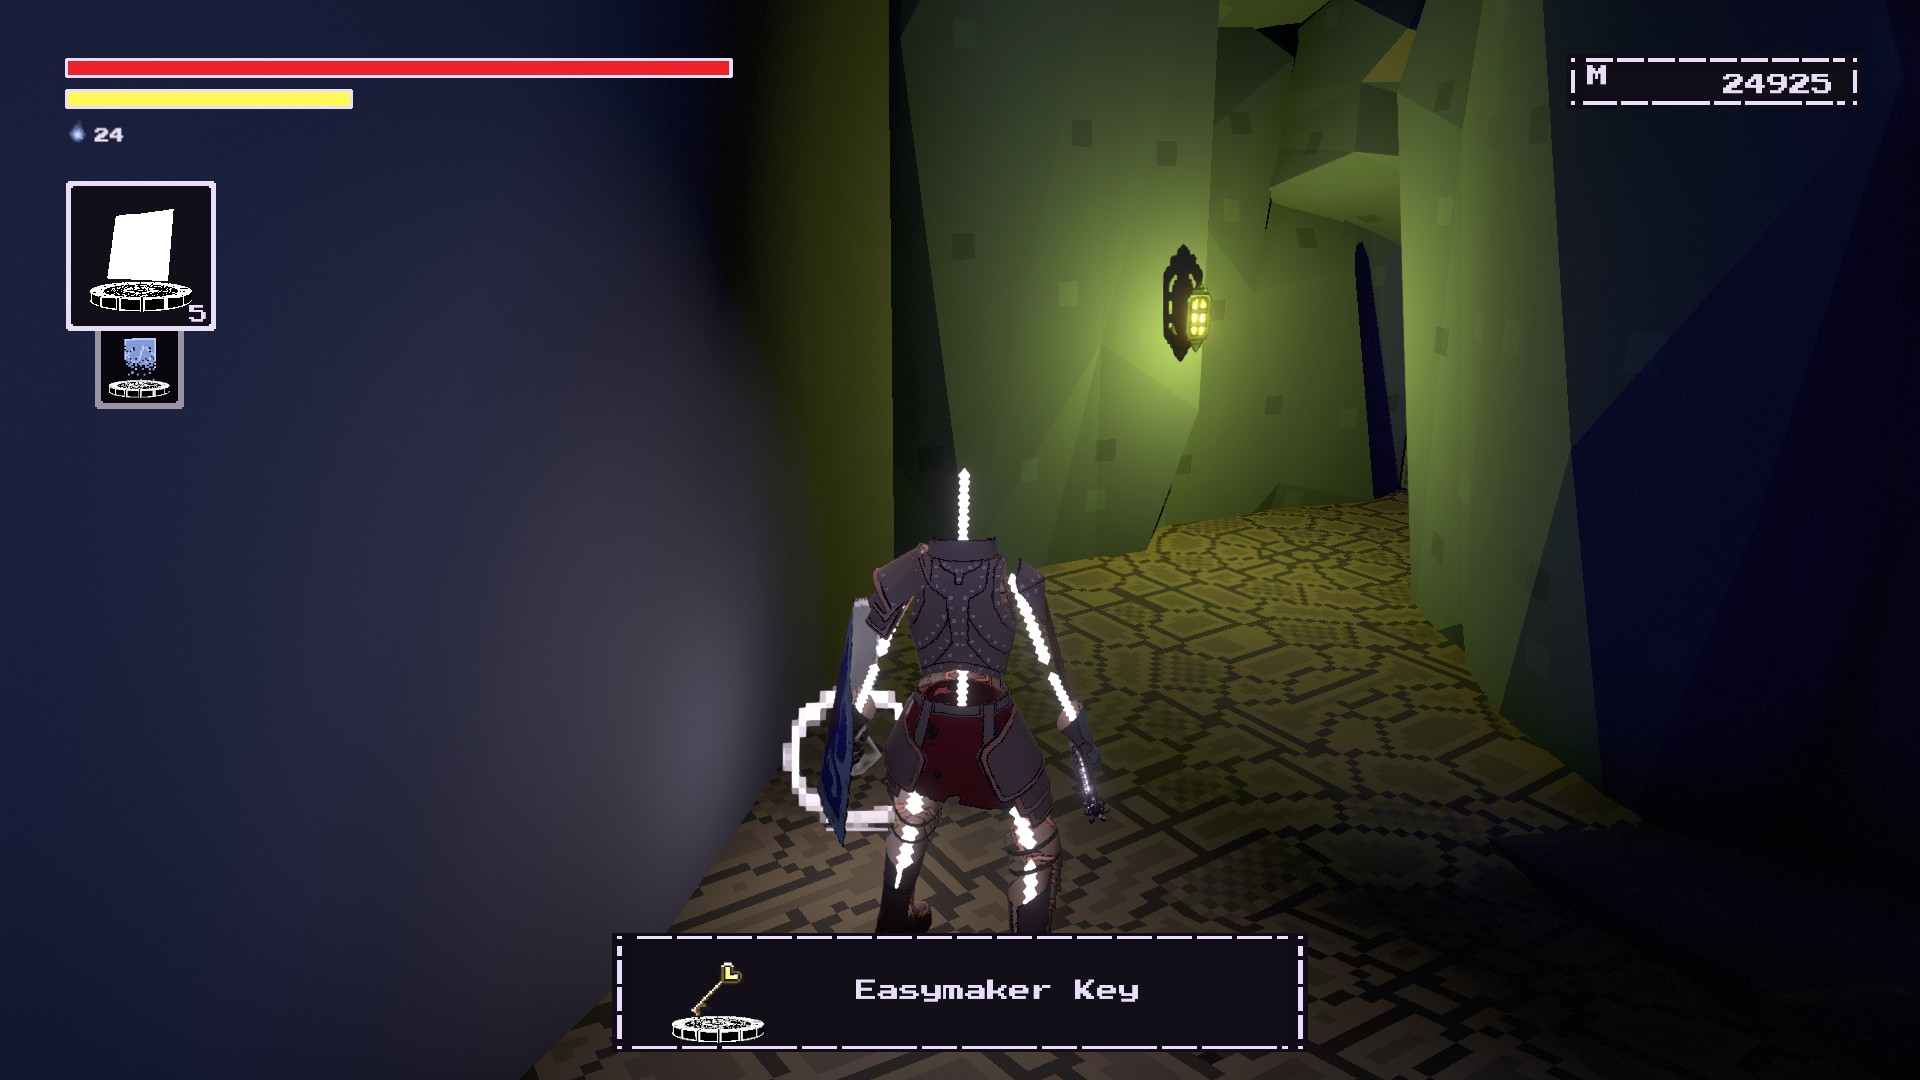
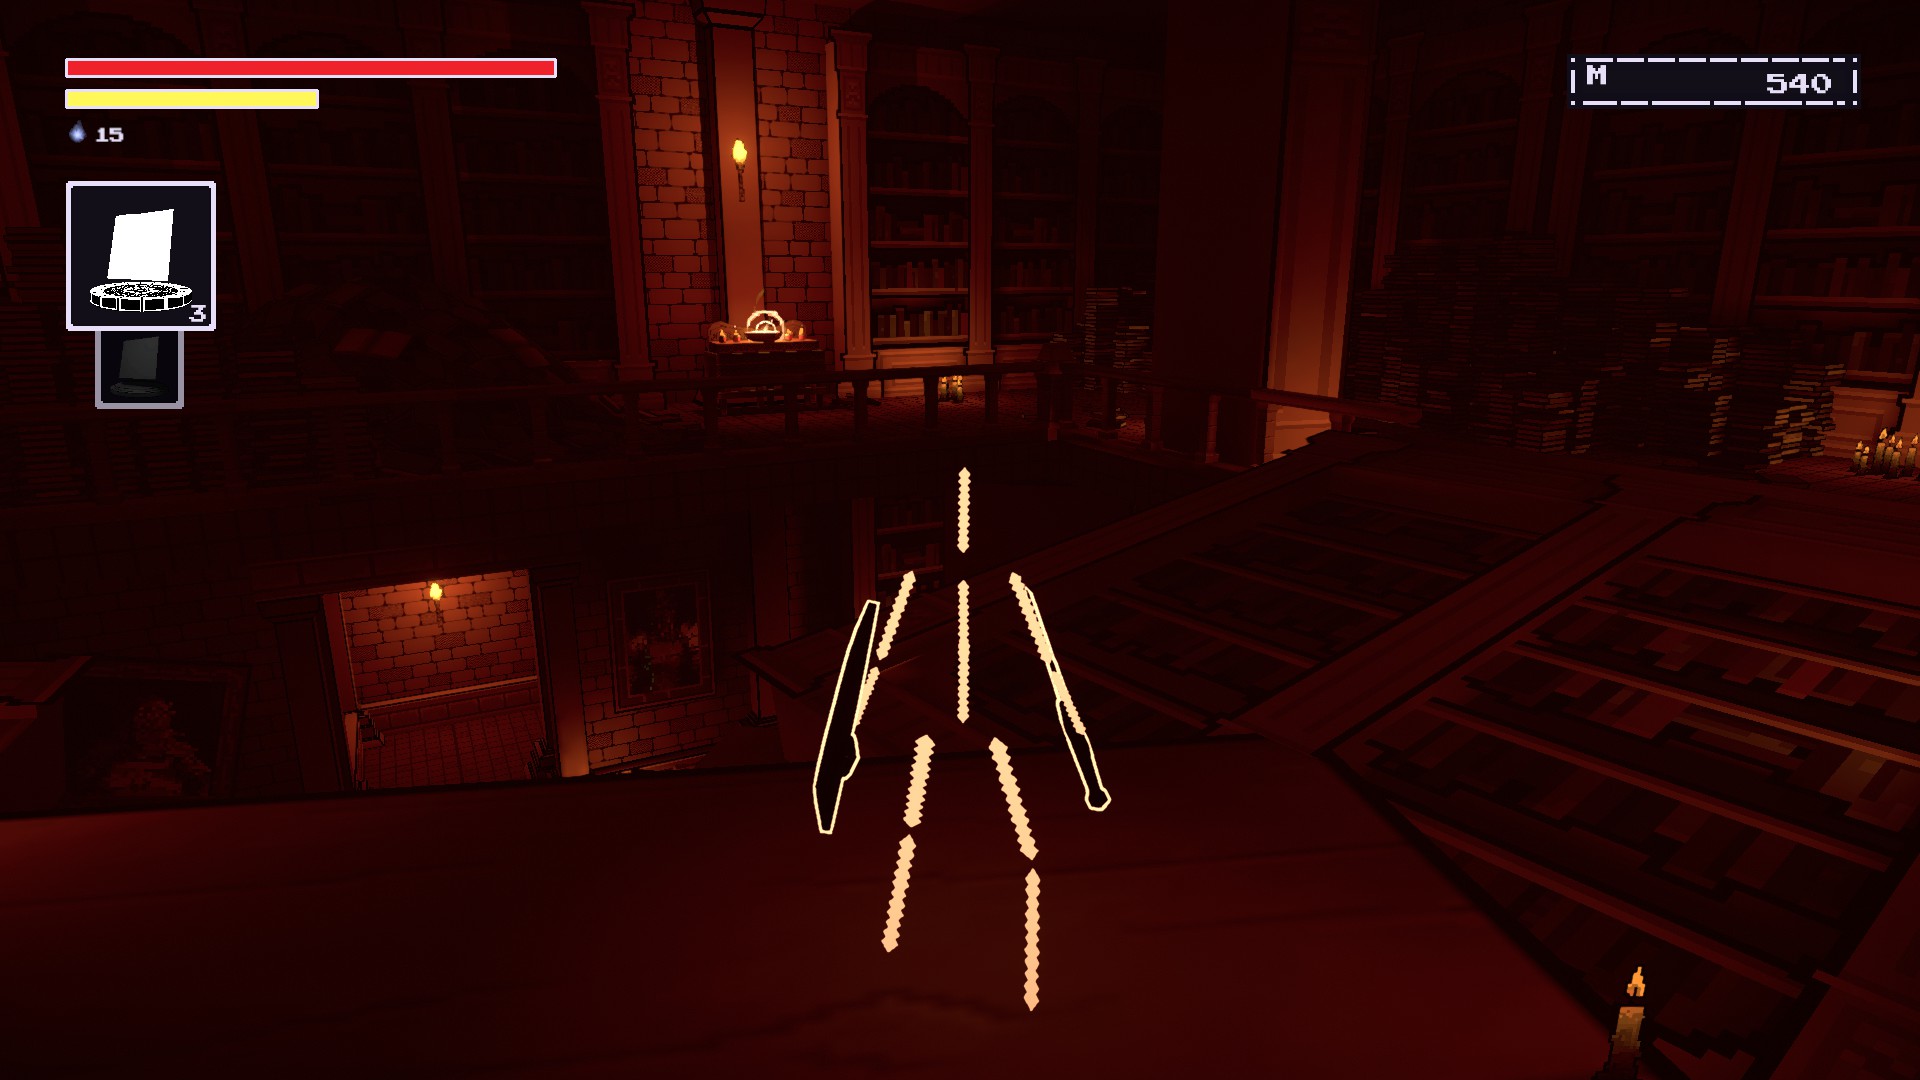
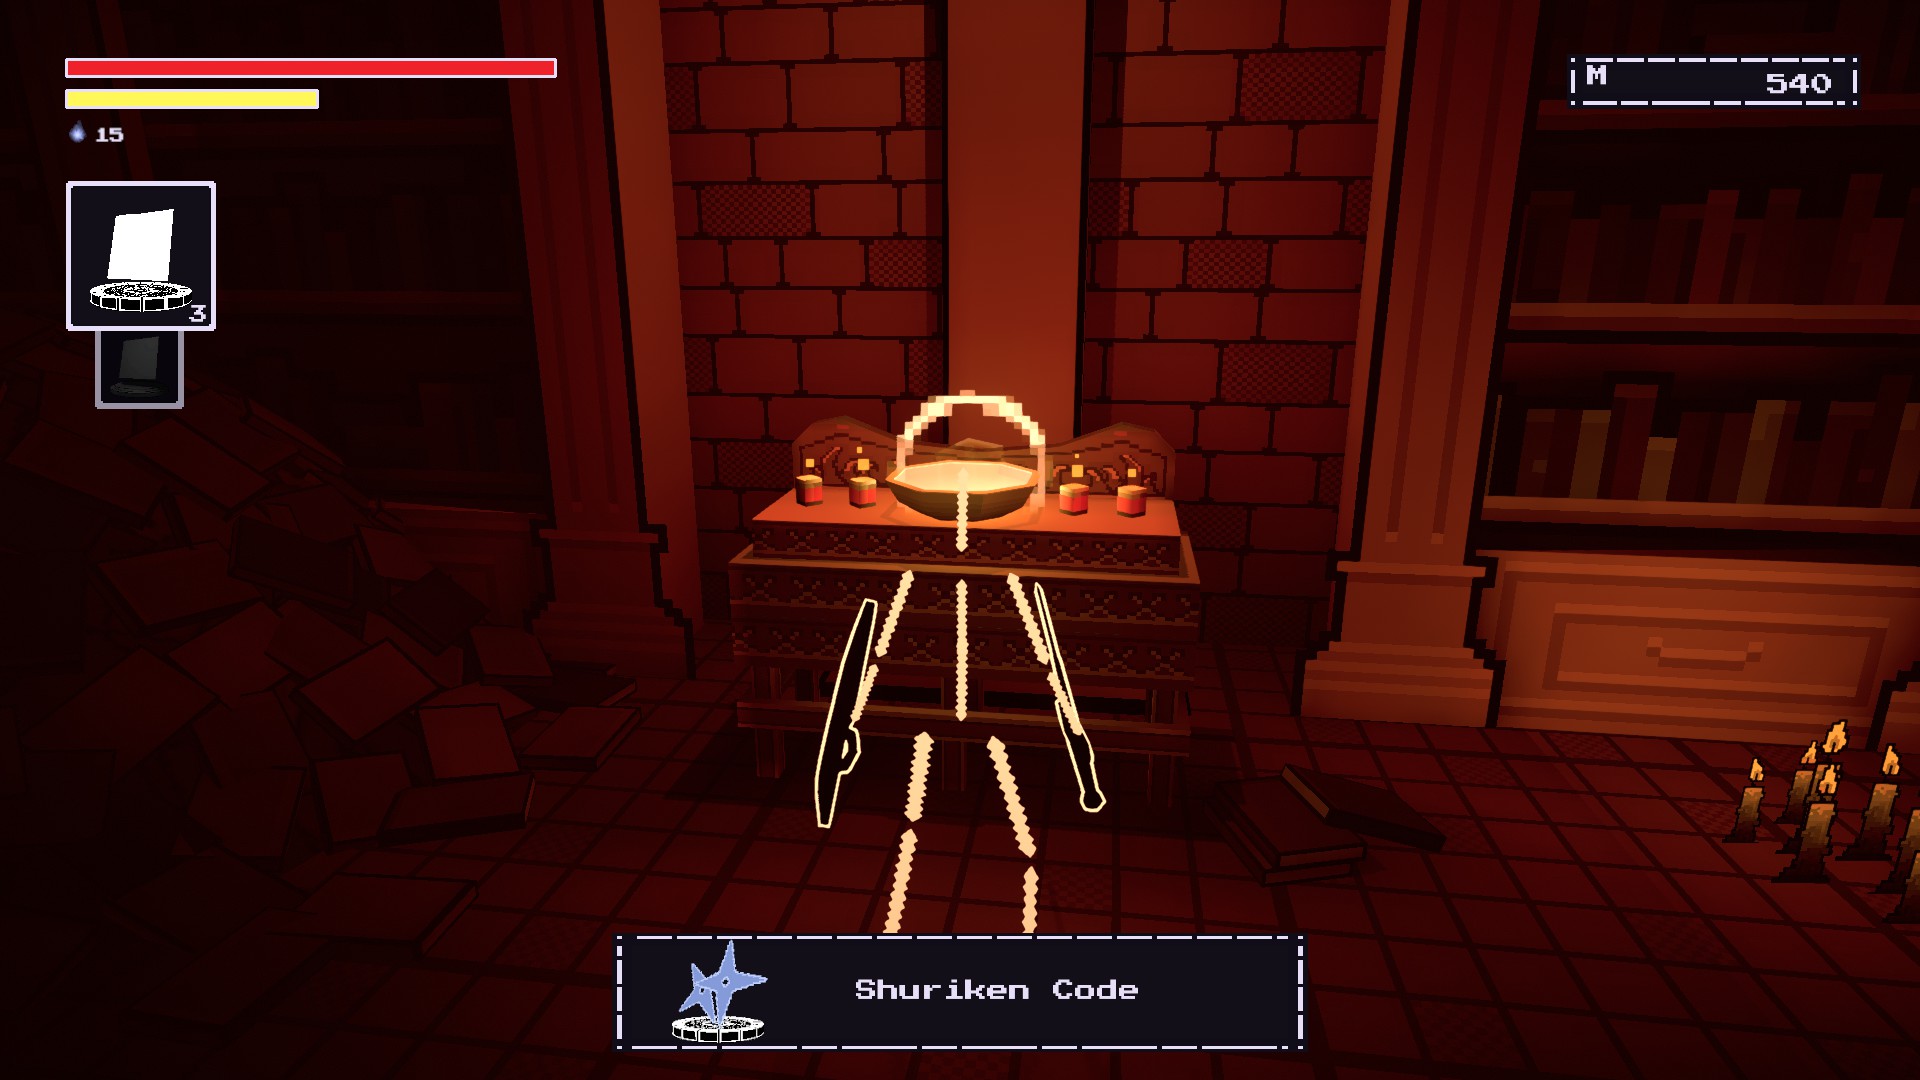
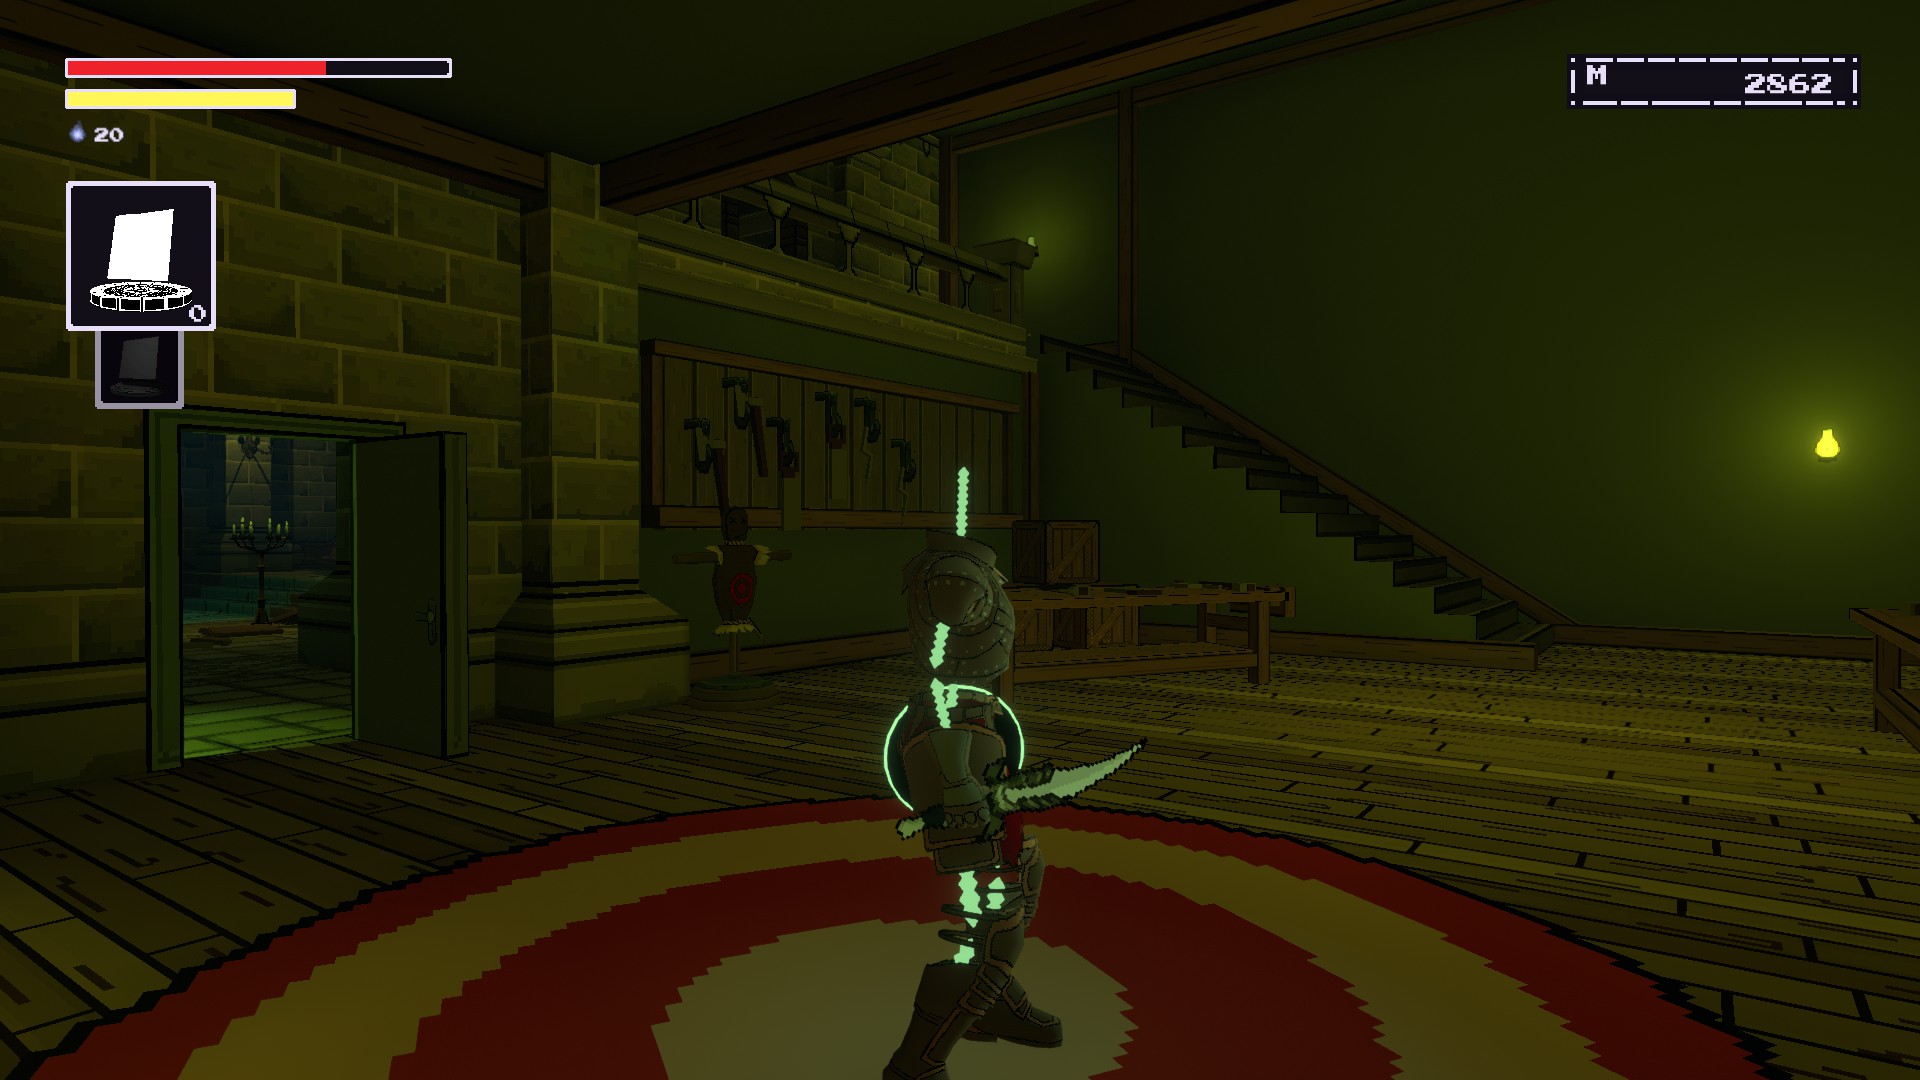
Shuriken Code (Soletrar)
Progress through the beginning of the game until you’re at the Narrator’s Library.Reach this section of the library with the dual-wielding axe NPCs.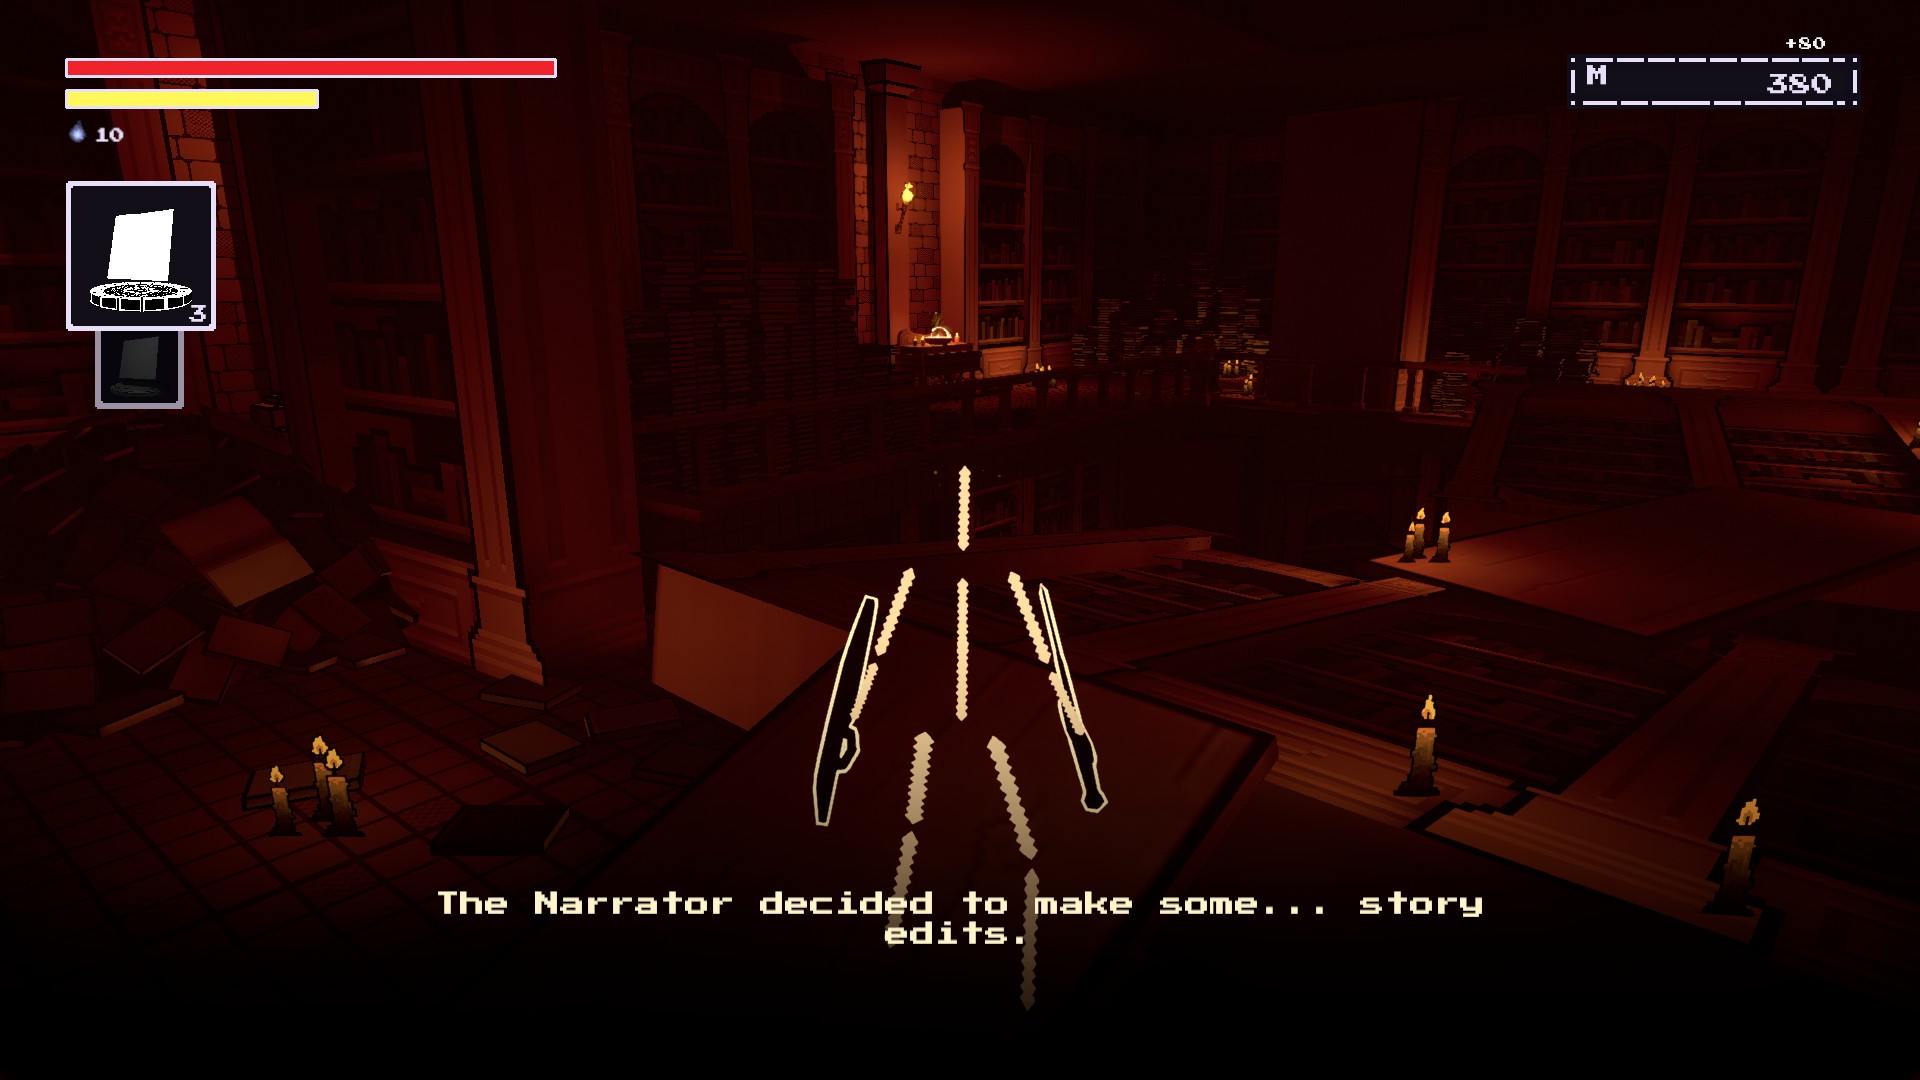
Cross the bridge onto the other side.
Pick up the spell from the shrine.
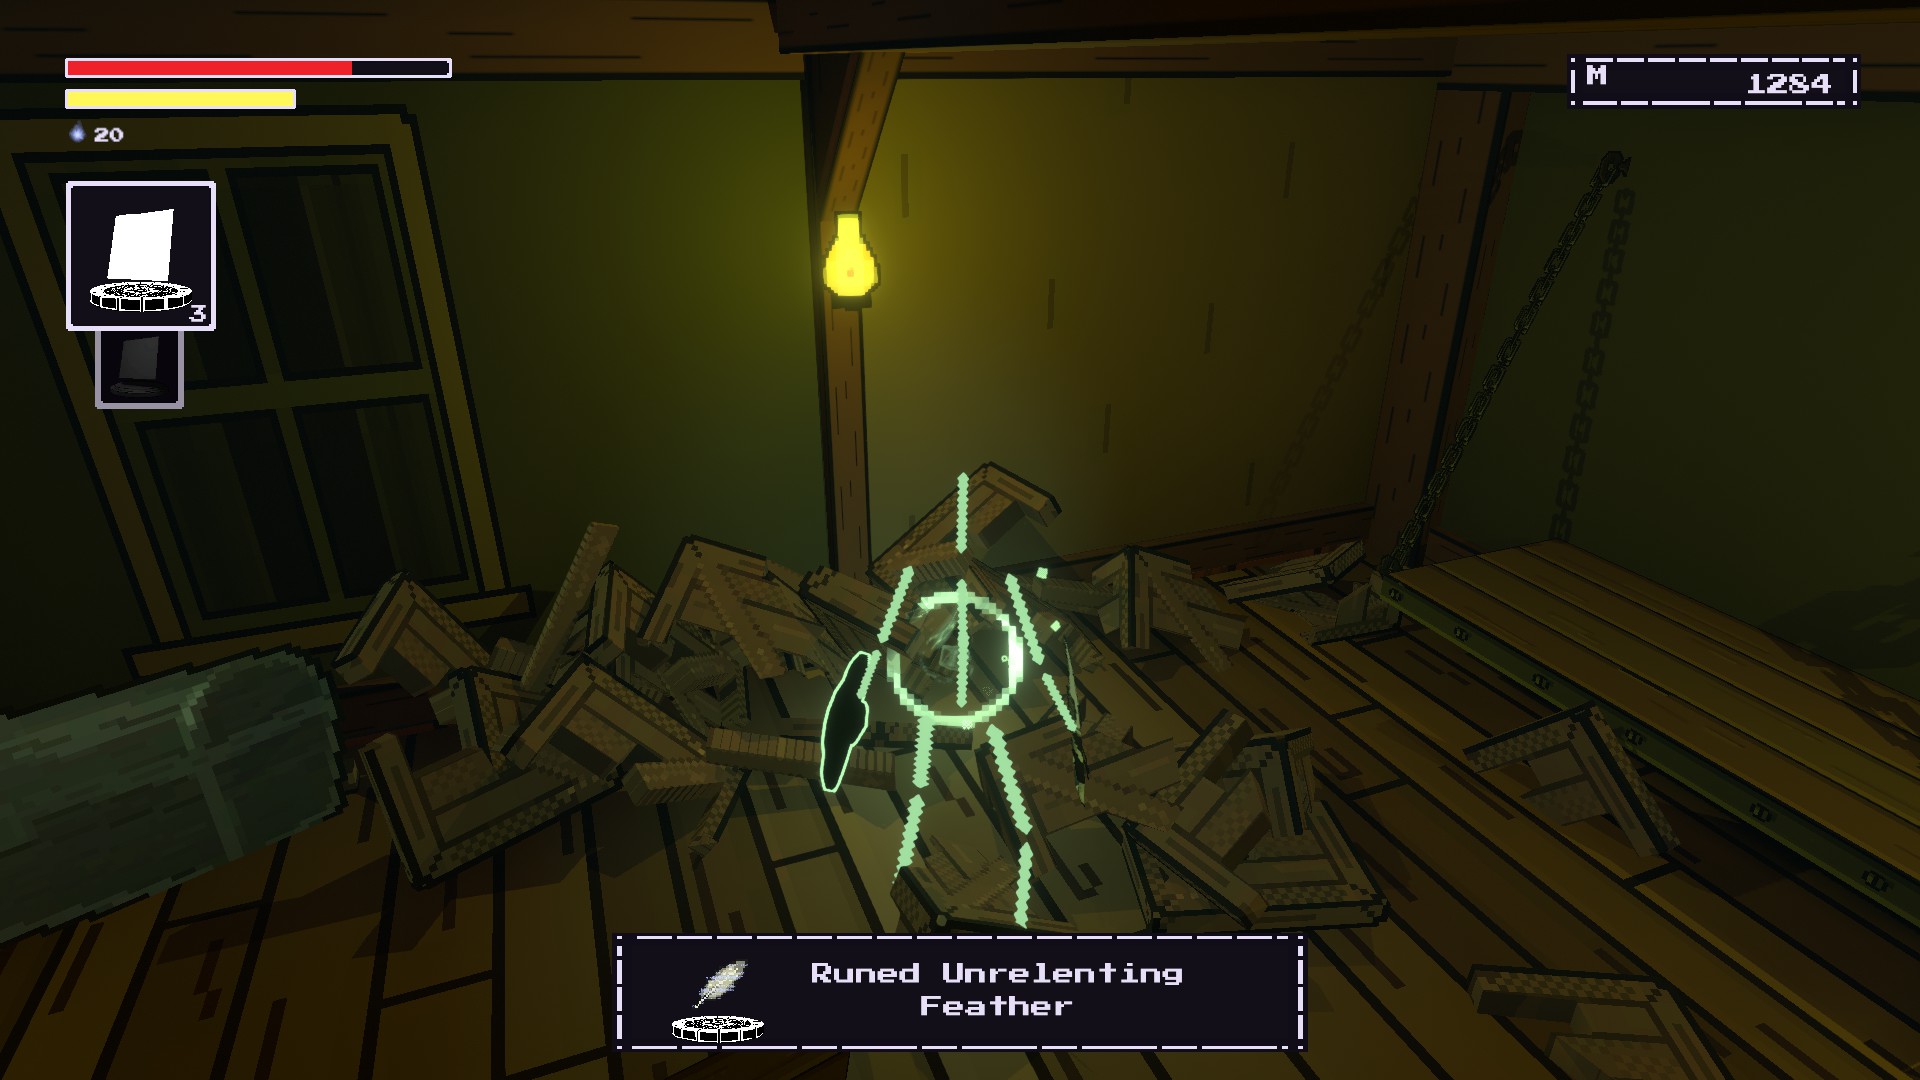
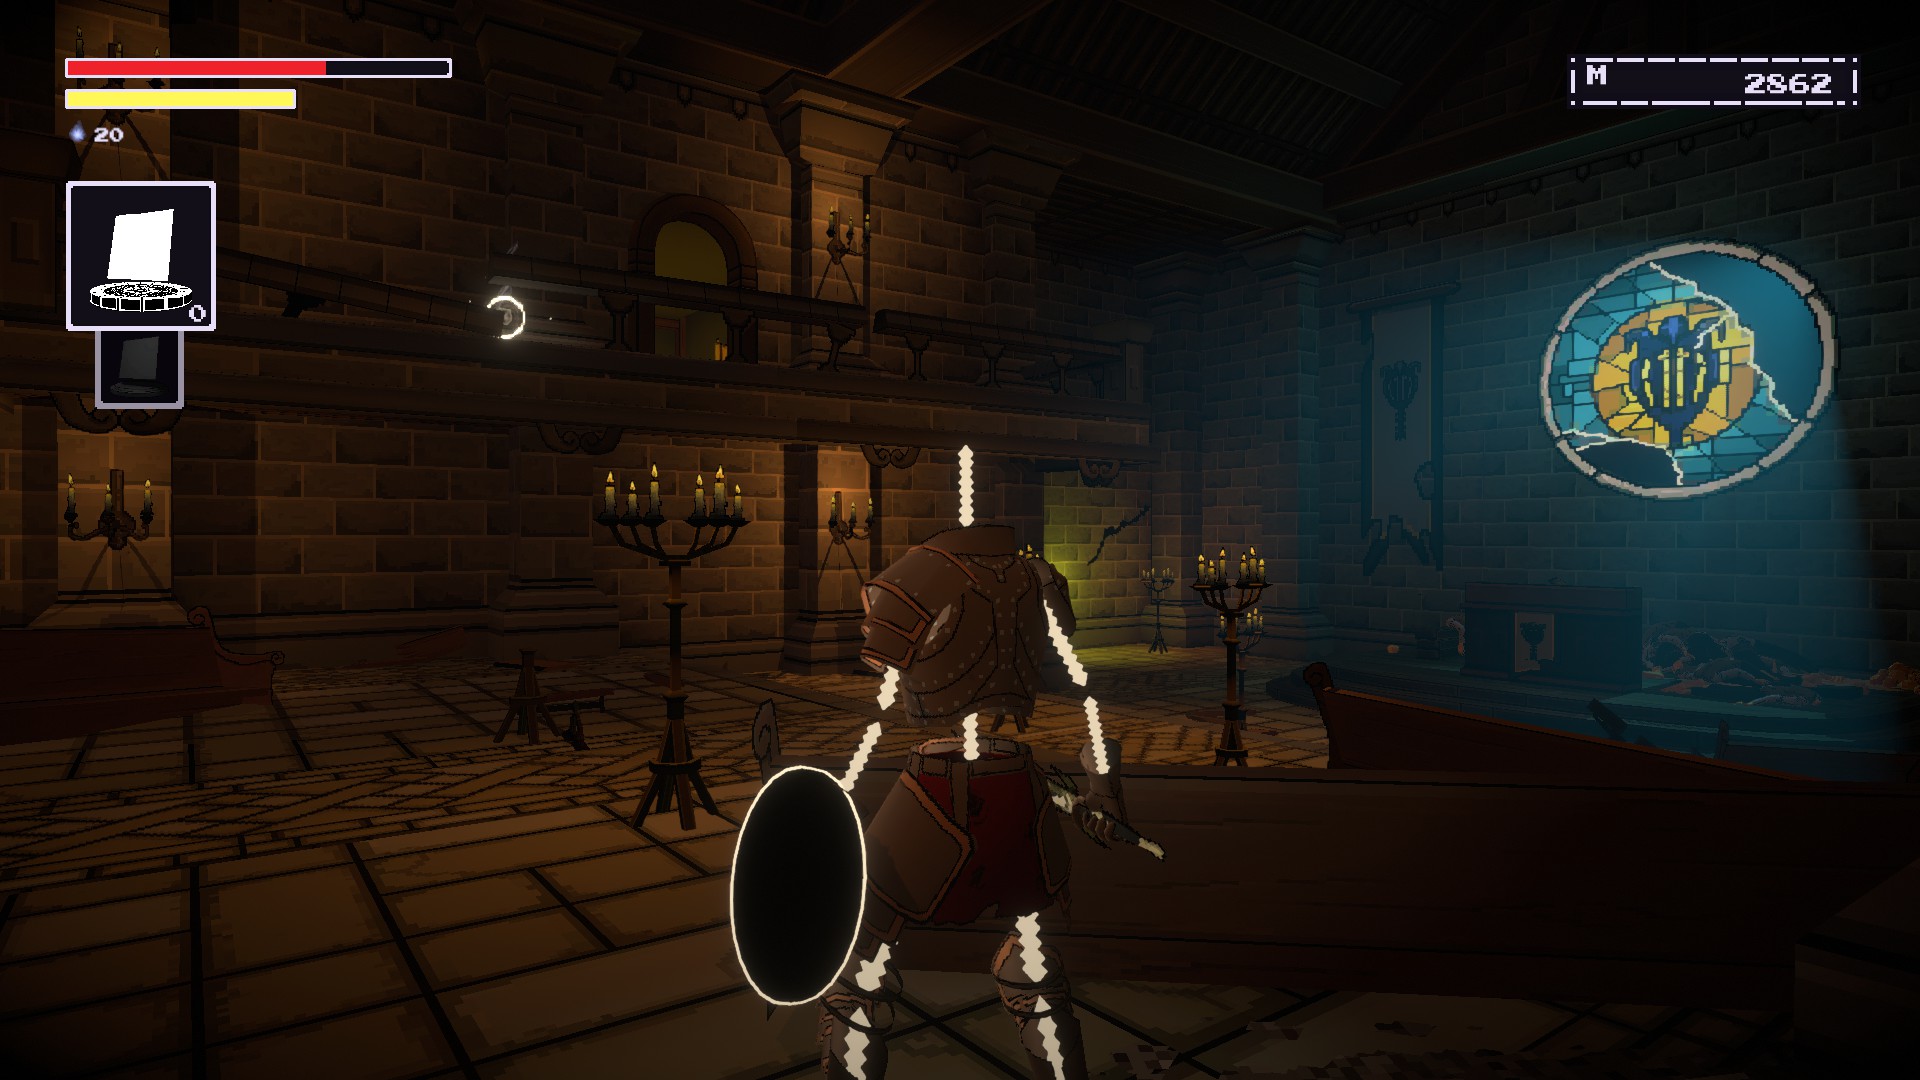
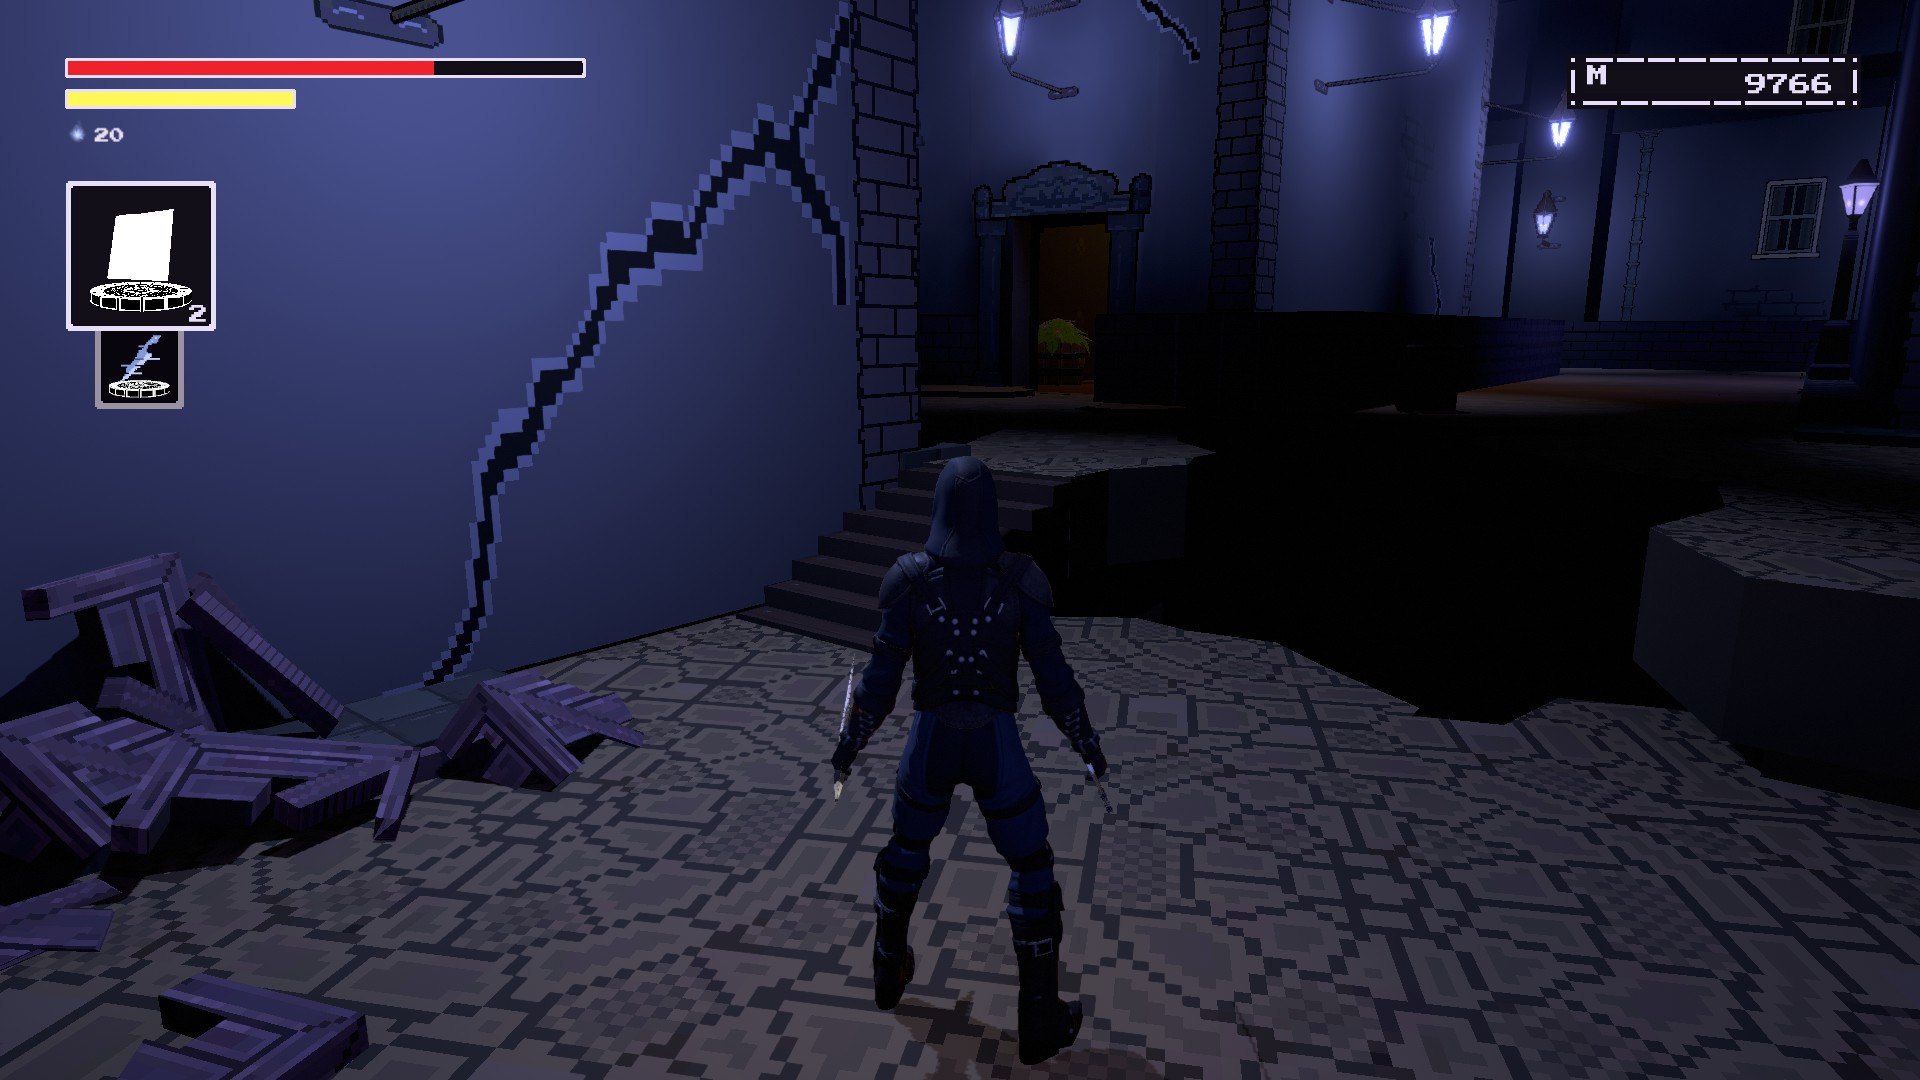
Unrelenting Feather (Runa)
Start at the Hall of Heroes beacon.
Make sure that you’ve gotten the NPC Staging Room Key by killing the crossbow enemy nearby.
Depois de fazer isso, make your way over to the NPC Staging Room Door.
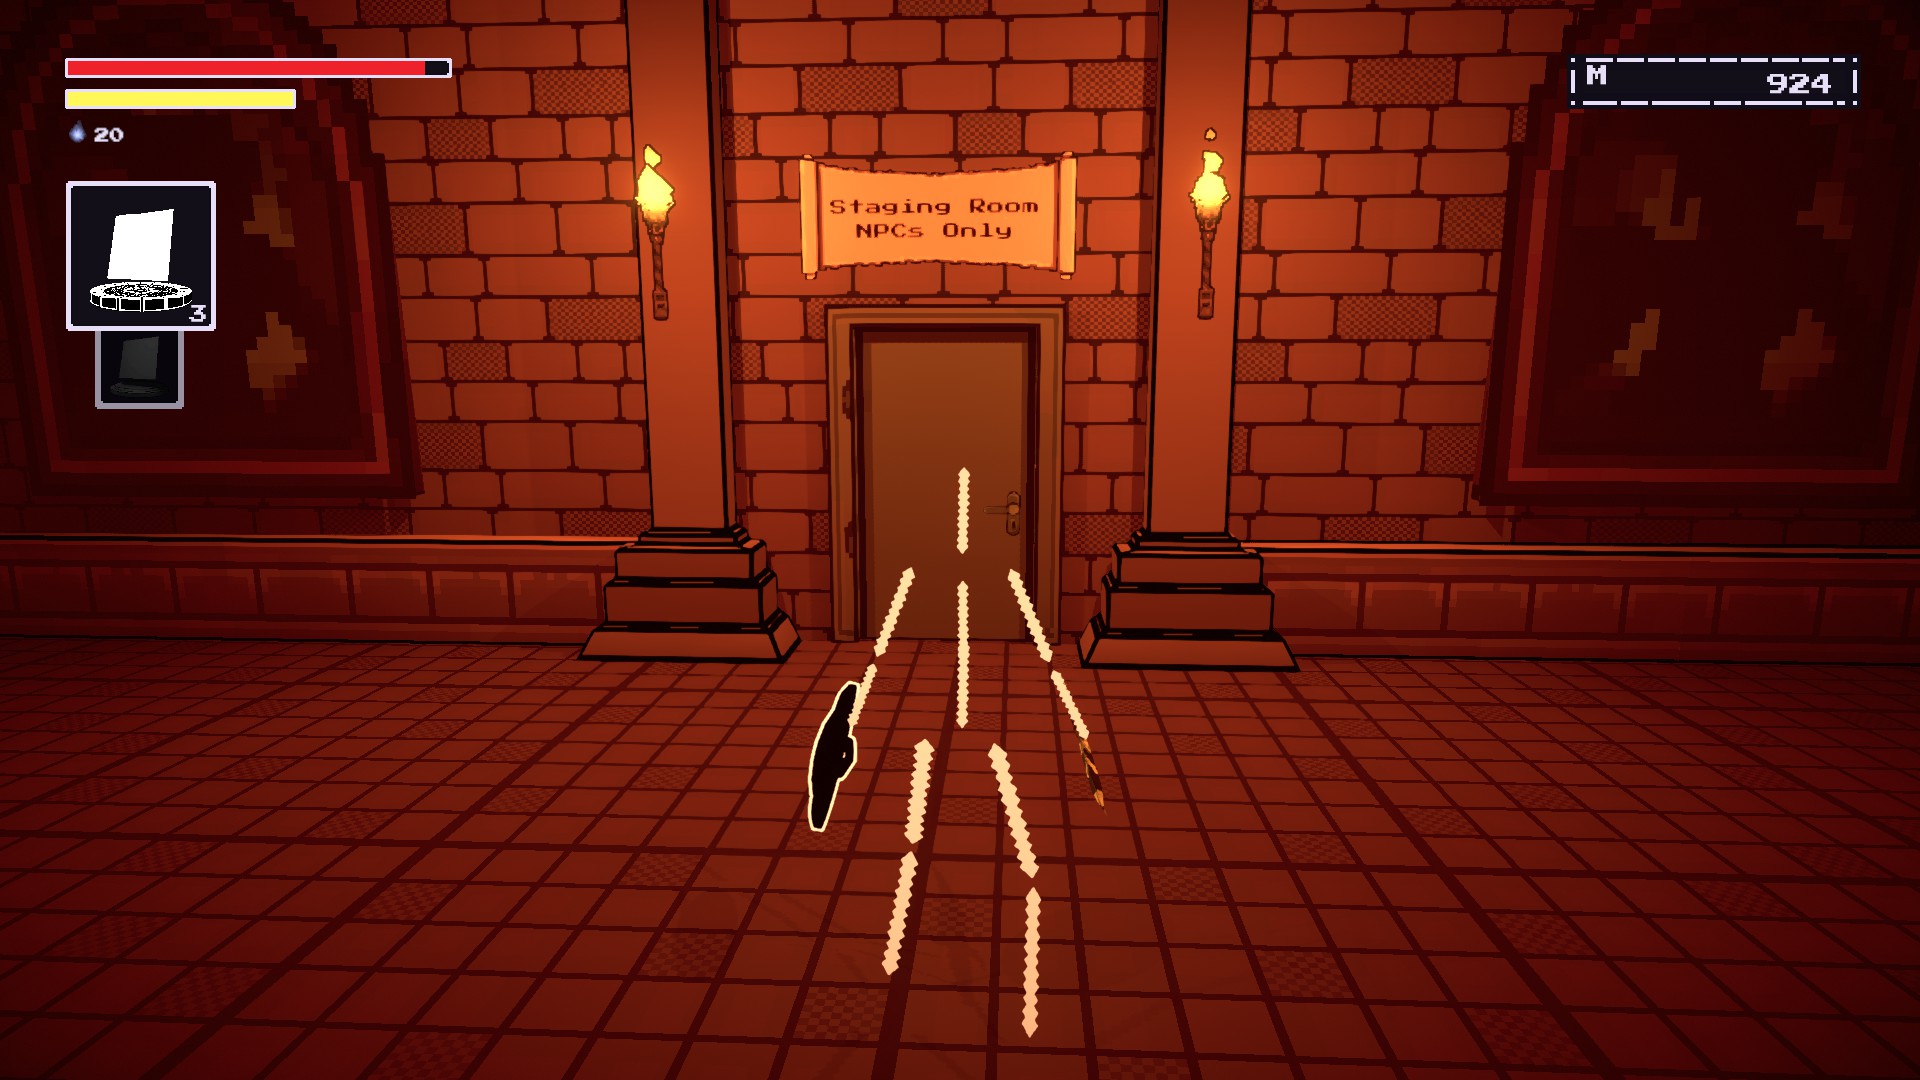
Open it and prepare to face an ambush of four blade-wielding enemies.
After dealing with them, make your way to the door on the right.
You should see a chest and a pile of boxes.
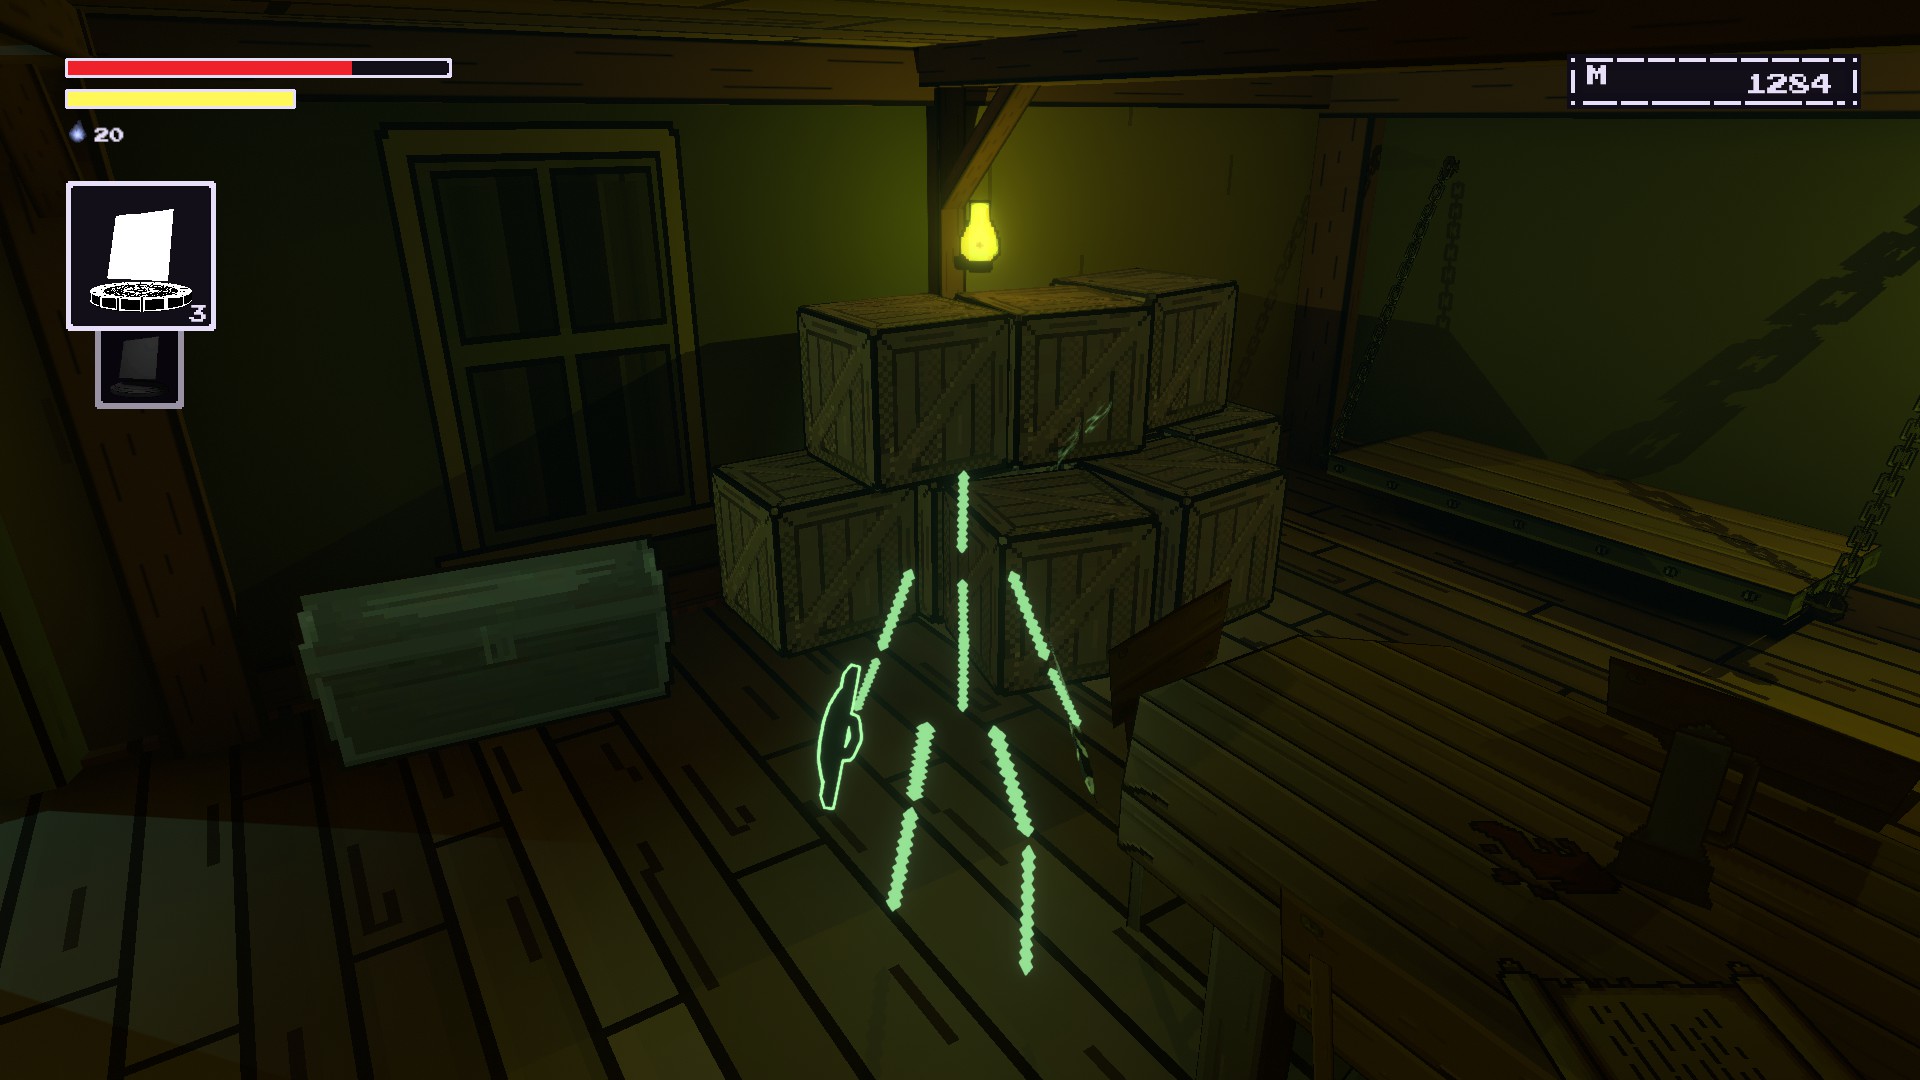
Break these boxes and you’ll get your first rune..
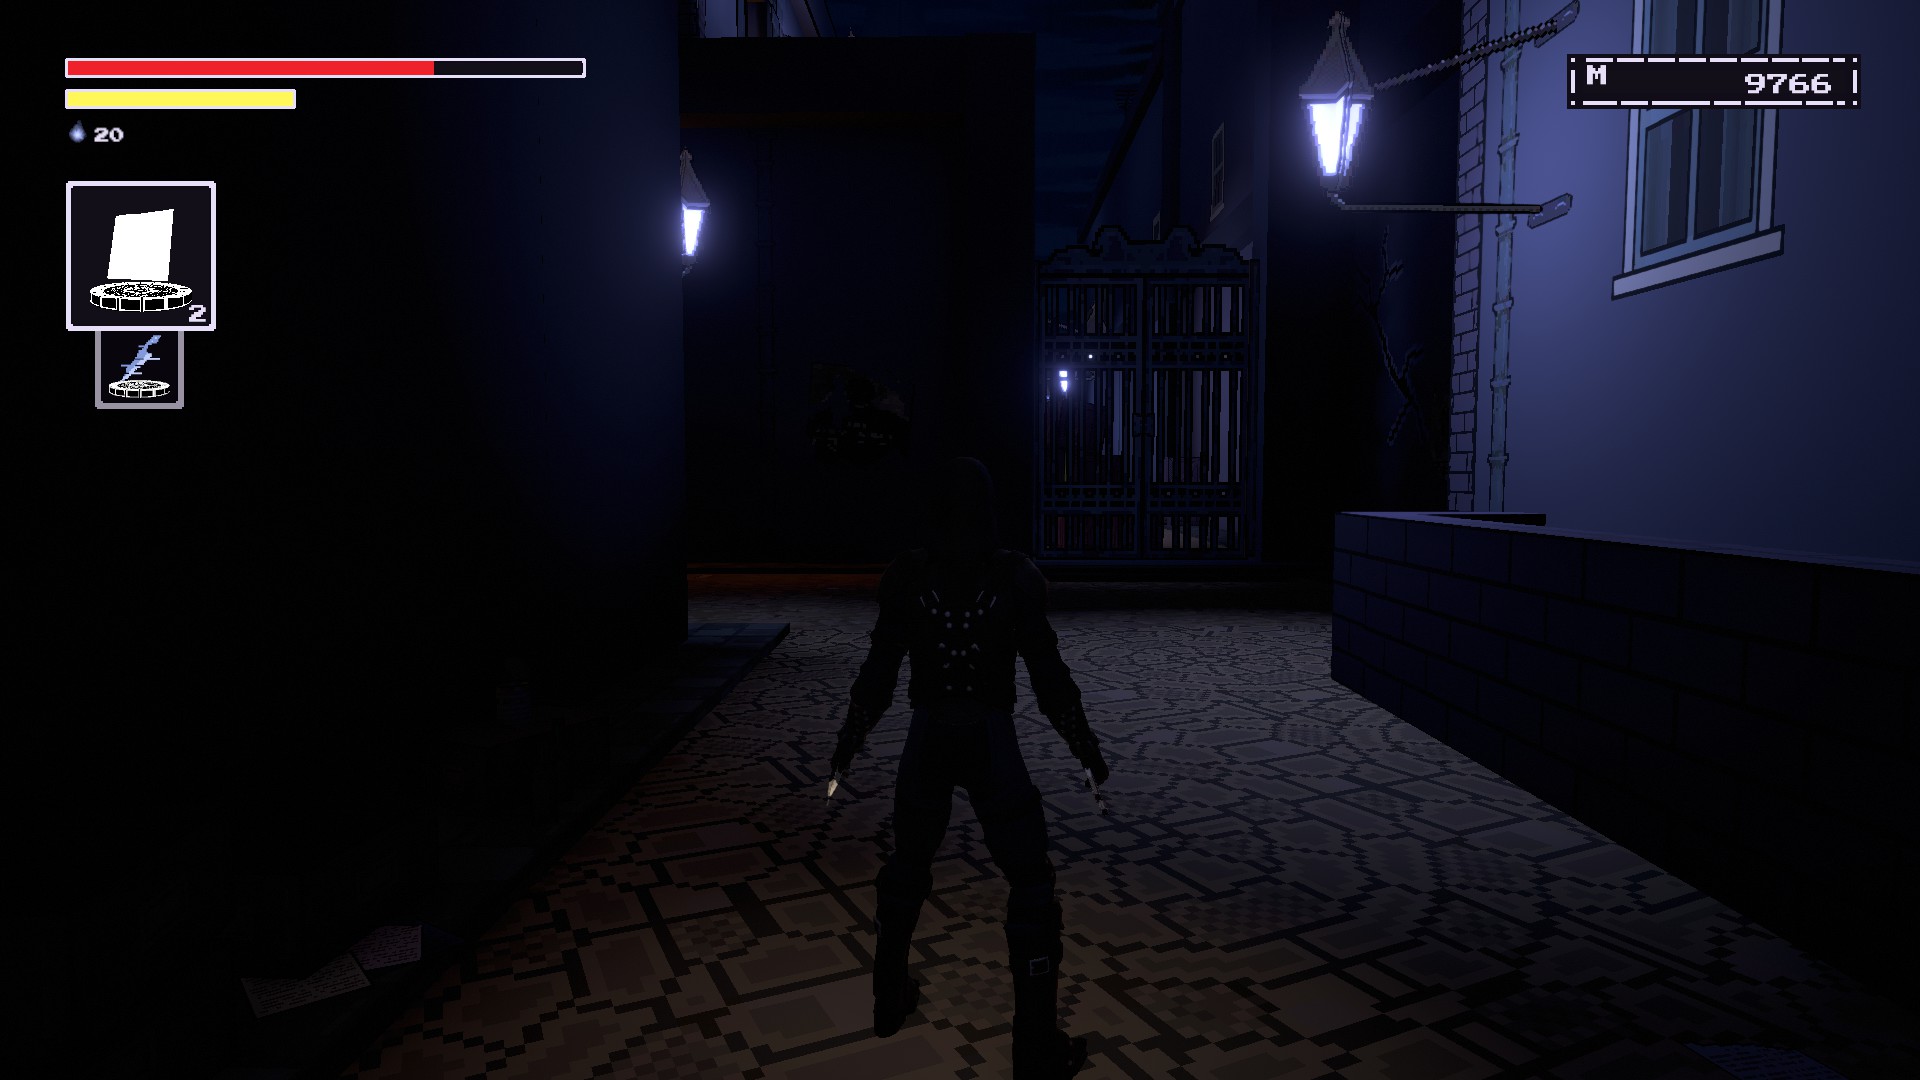
Boastful Mug (Runa)
When you are at the very beginning of Oreshaft, make a left to this wall.
There is a door that can be opened on the building to your right.I have opened it here to make it easier to see.
Enter it and you’ll soon see a pile of boxes.Smash them to reveal a ladderthat you’ll climb.
The rune should be near the fireplace on the left.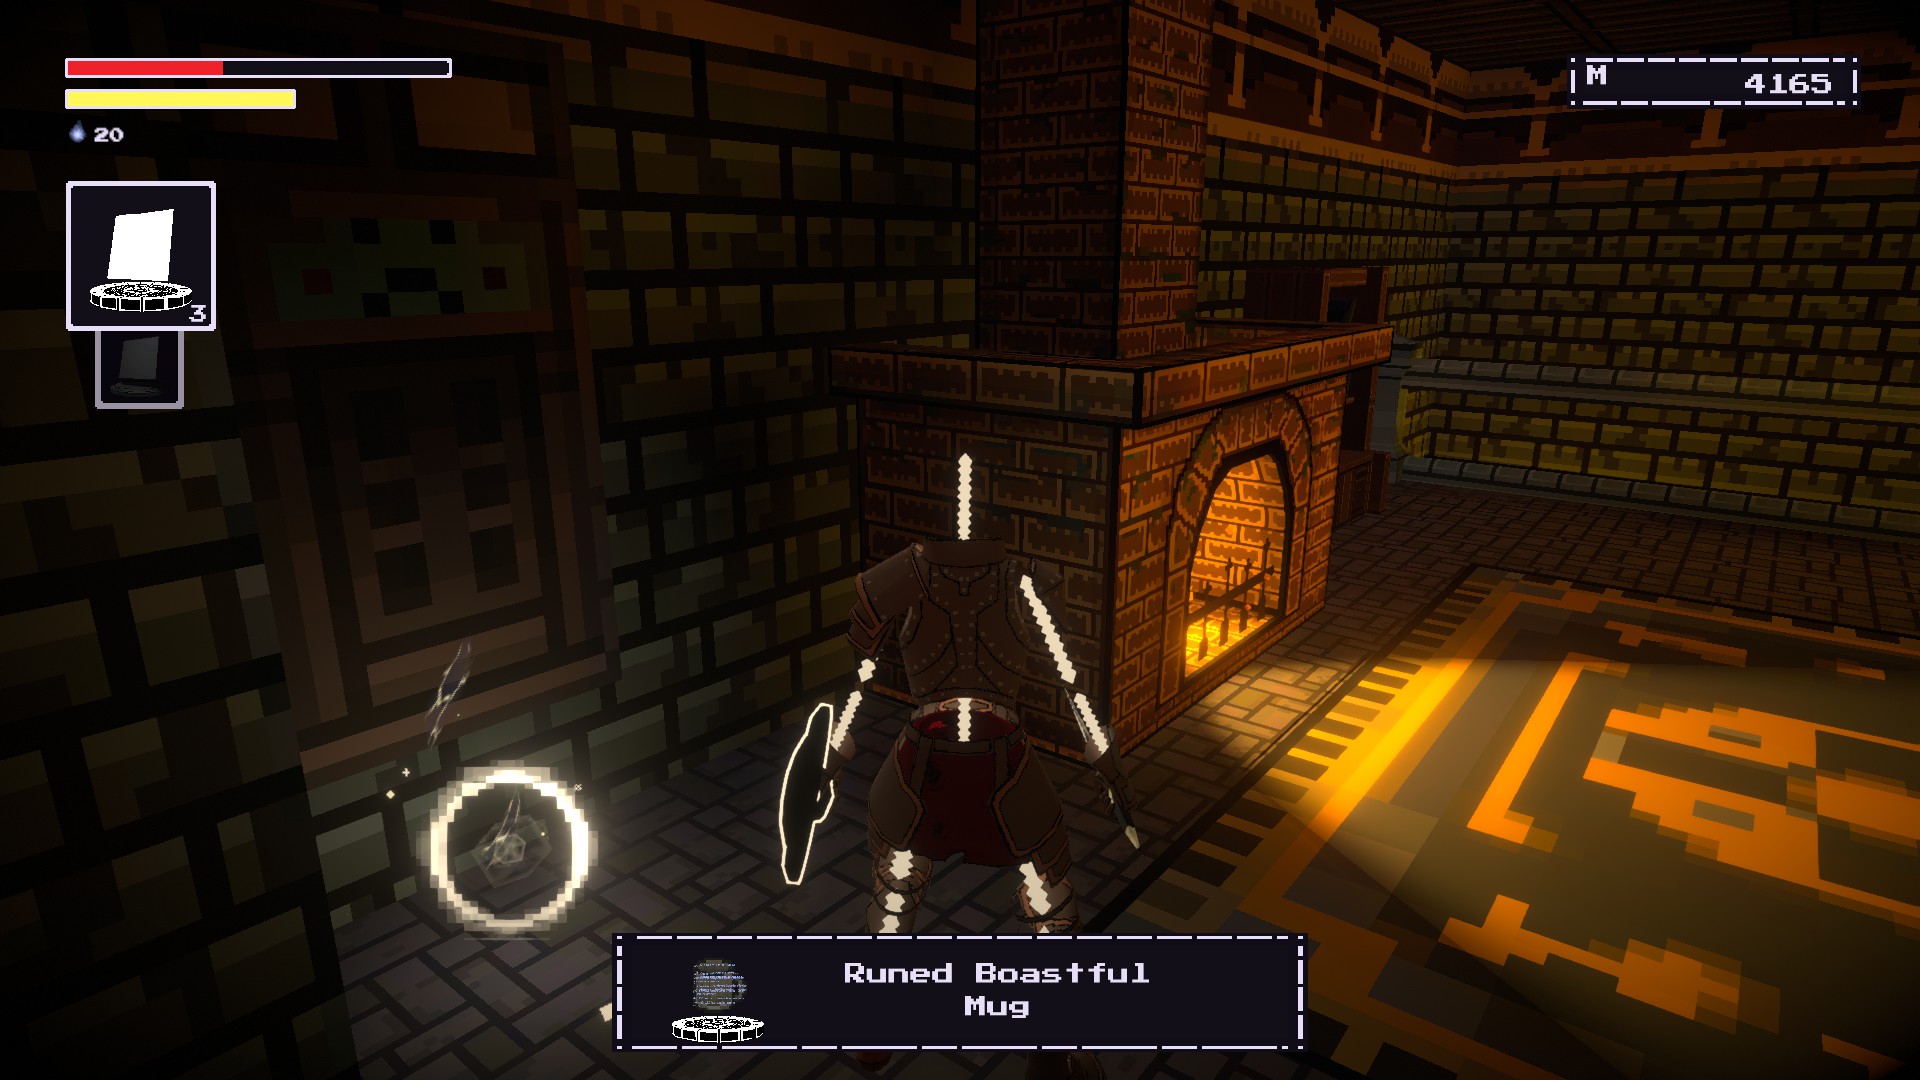
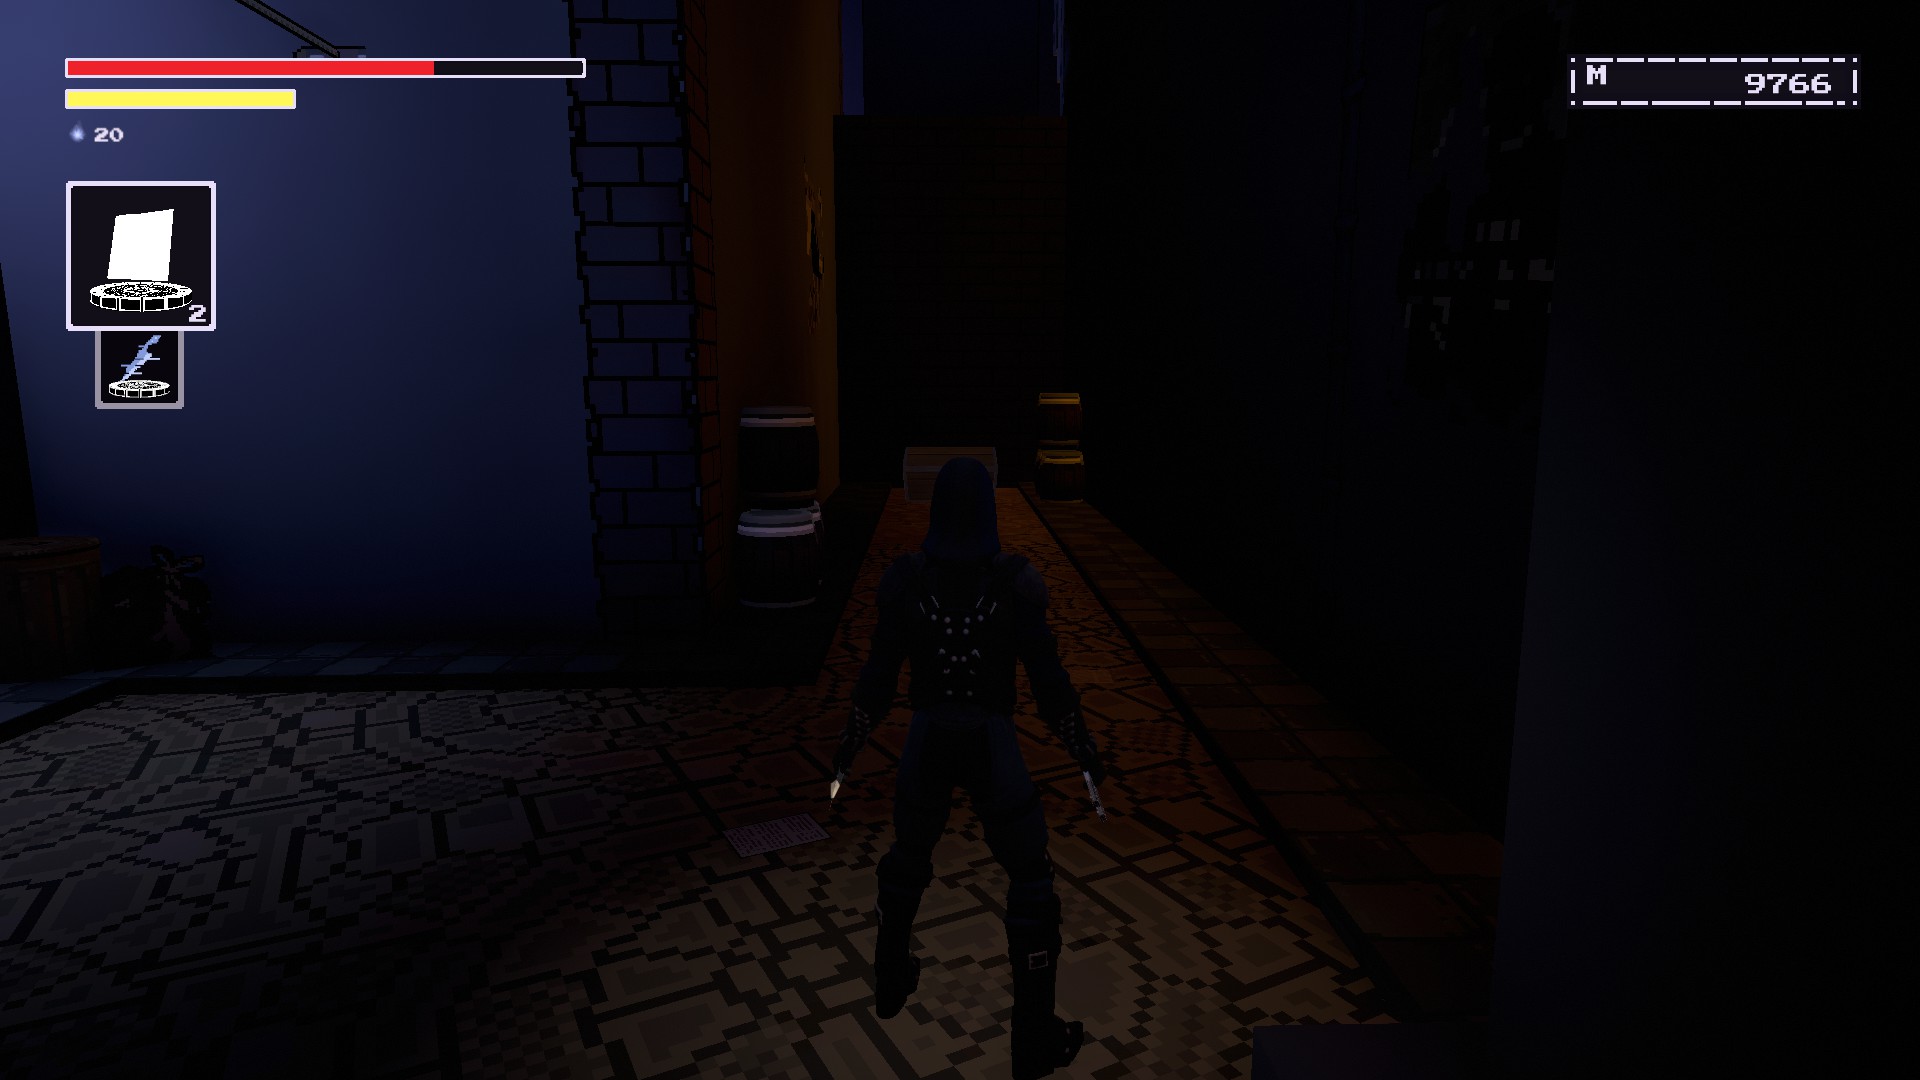
Prickly Mirror Code (Soletrar)
Proceed through Oreshaft Villageuntil you reach this chapel area.
Take the door on the rightwhere you’ll be ambushed by an abomination.
Próximo, go up the stairswhich should lead you to a balcony that has this spell.

Tainted Knife Code*** (Soletrar)
Buy it from the Merchant’s default stock. Custa 500 memory to purchase.
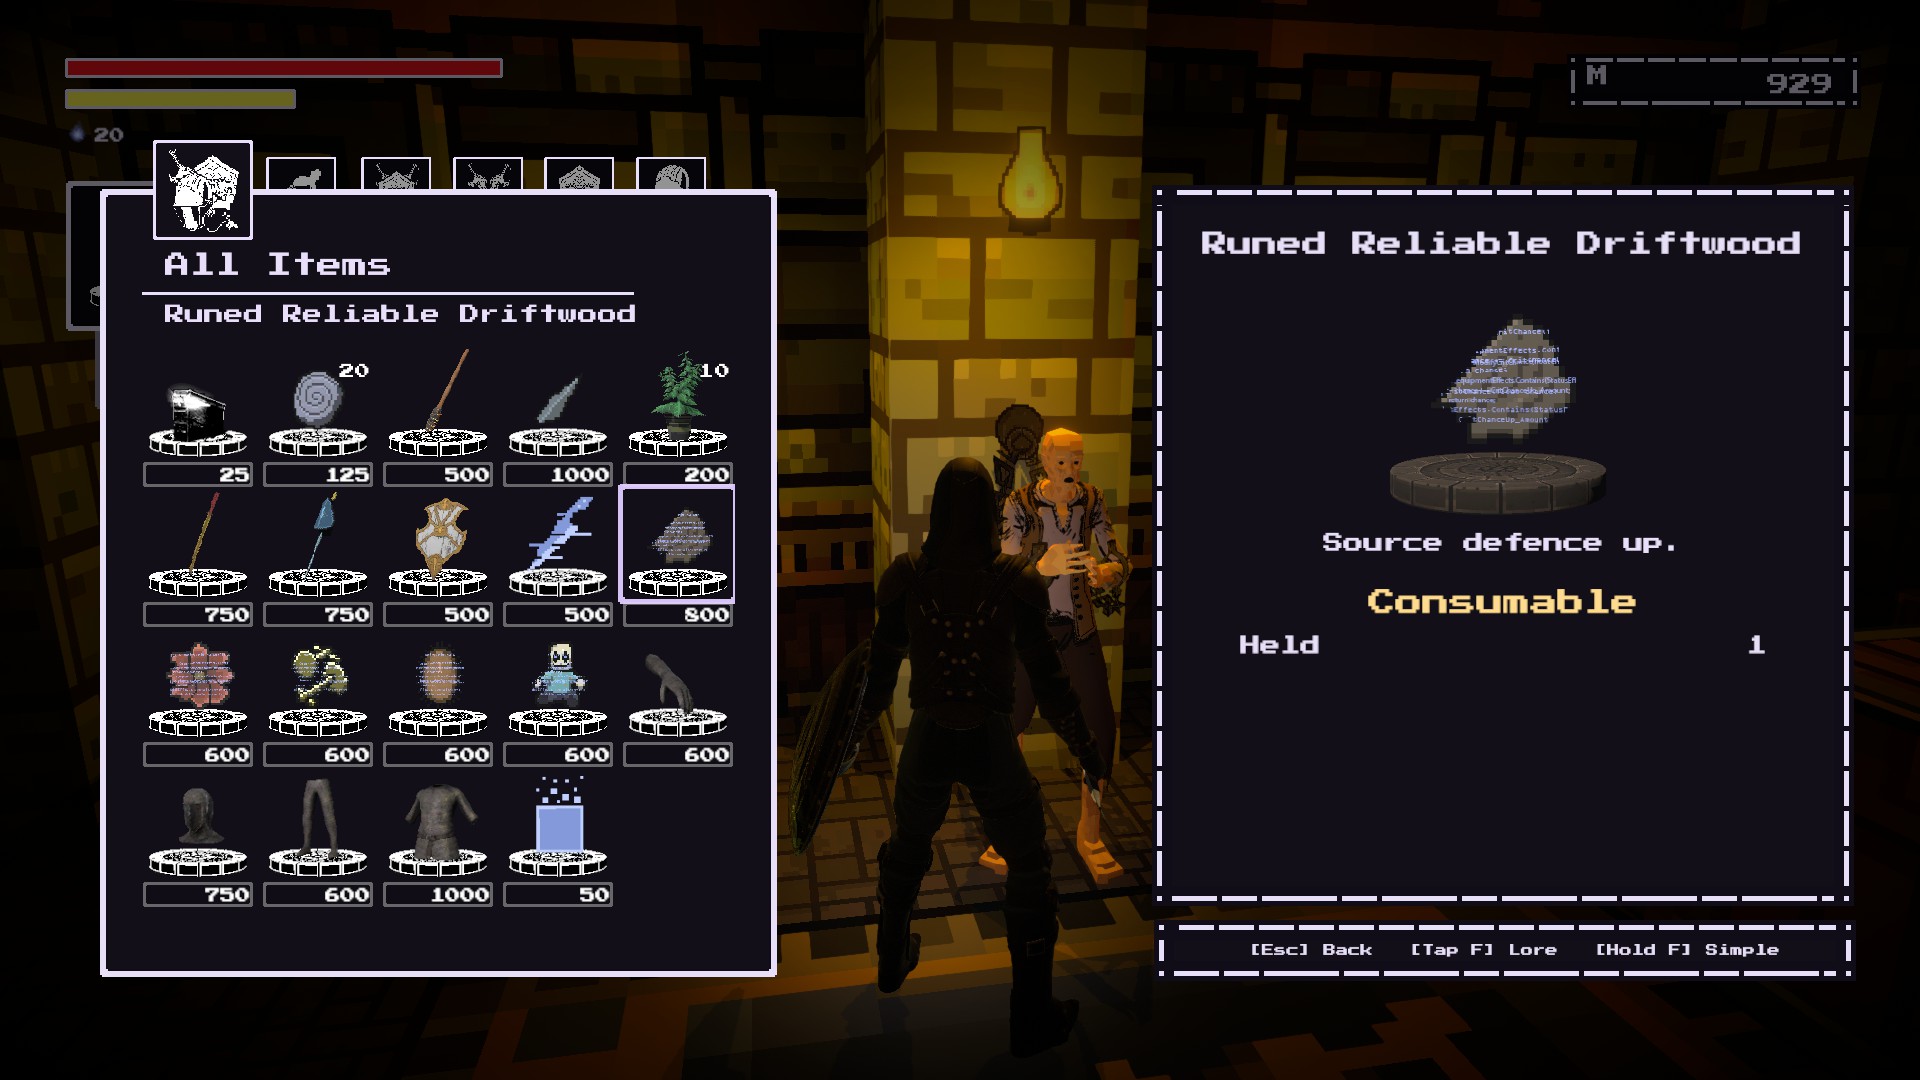
Reliable Driftwood*** (Runa)
Buy it from the Merchant’s default stock. Custa 800 memory to purchase.
Content Flower*** (Runa)
Buy it from the Merchant’s default stock. Custa 600 memory to purchase.
Improprietous Cufflinks*** (Runa)
Buy it from the Merchant’s default stock. Custa 600 memory to purchase.
Devout Broach*** (Runa)
Buy it from the Merchant’s default stock. Custa 600 memory to purchase.
Sensitive Doll*** (Runa)
Buy it from the Merchant’s default stock. Custa 600 memory to purchase.
Homing Pixel Code*** (Soletrar)
Buy it from the Merchant’s default stock. Custa 50 memory to purchase.ORYou can start off as a Sourceror and get this spell by default.
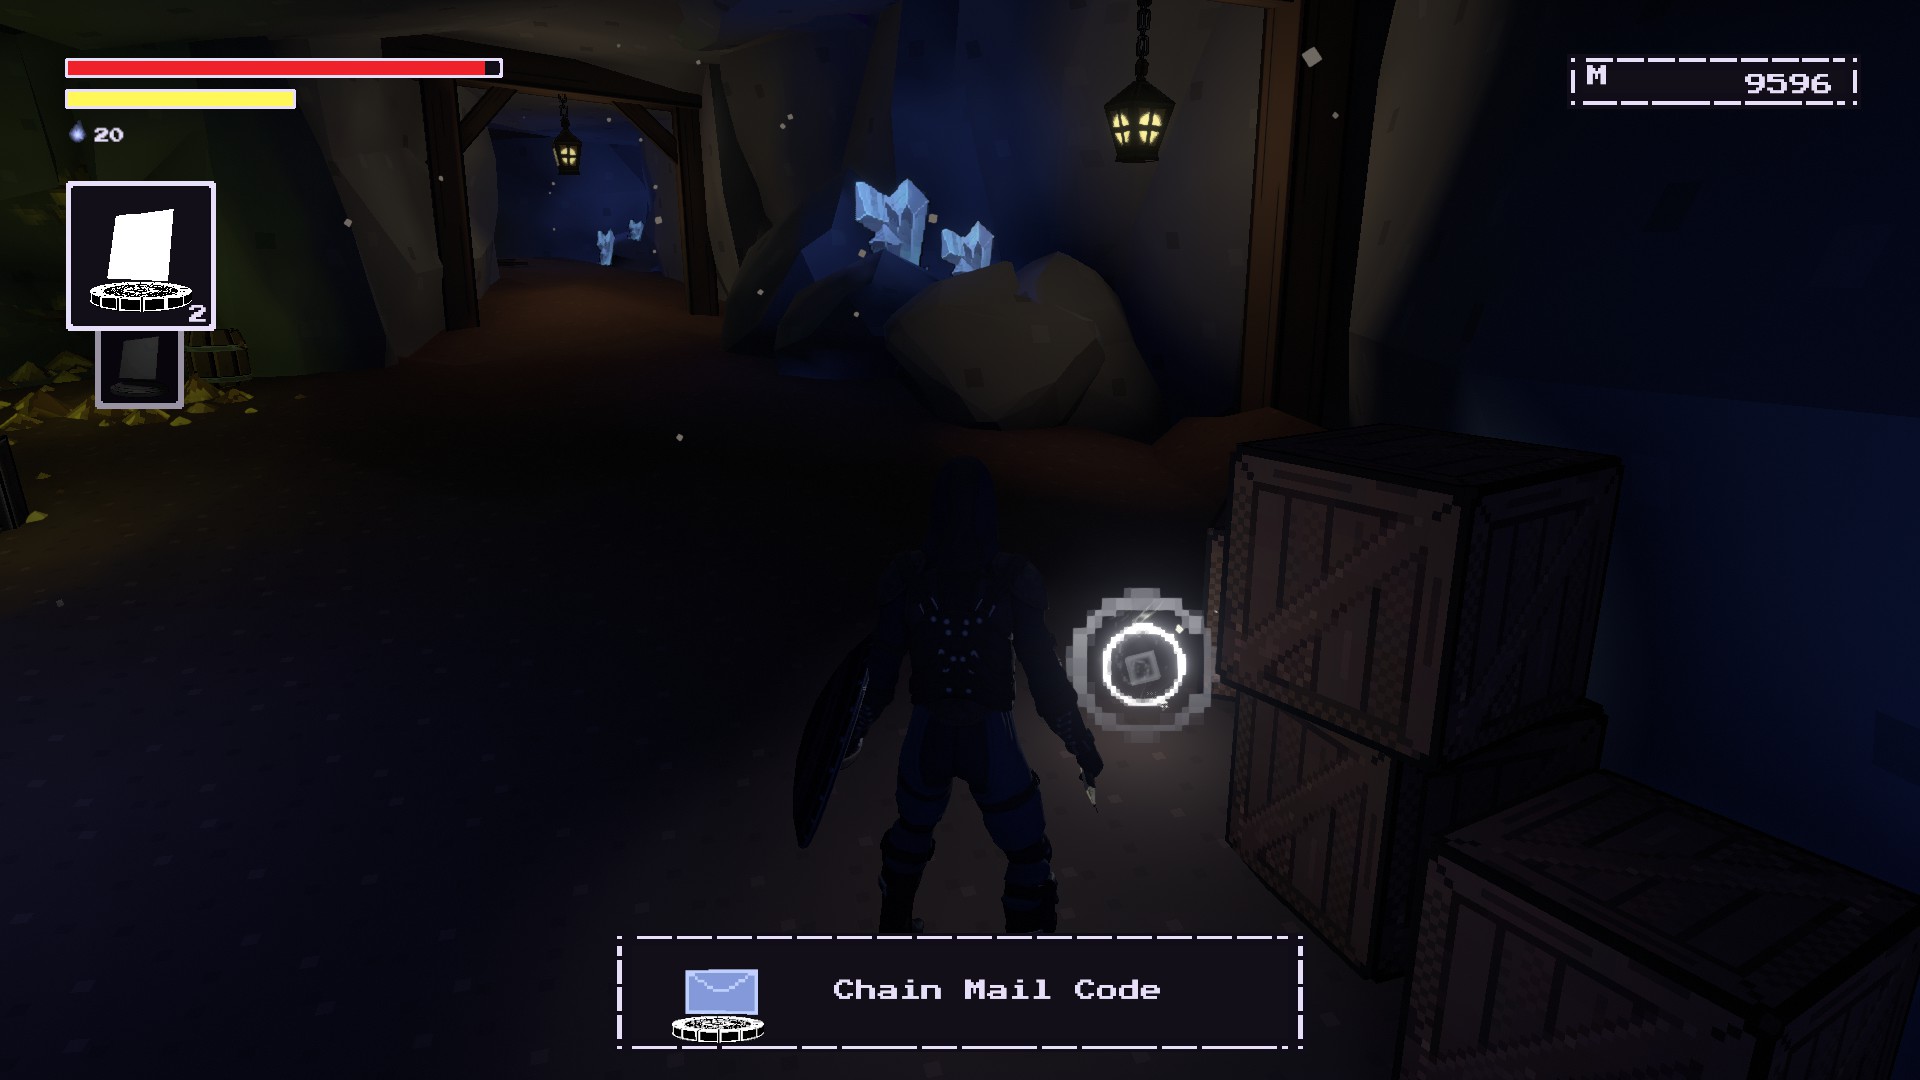
Chain Mail Code (Soletrar)
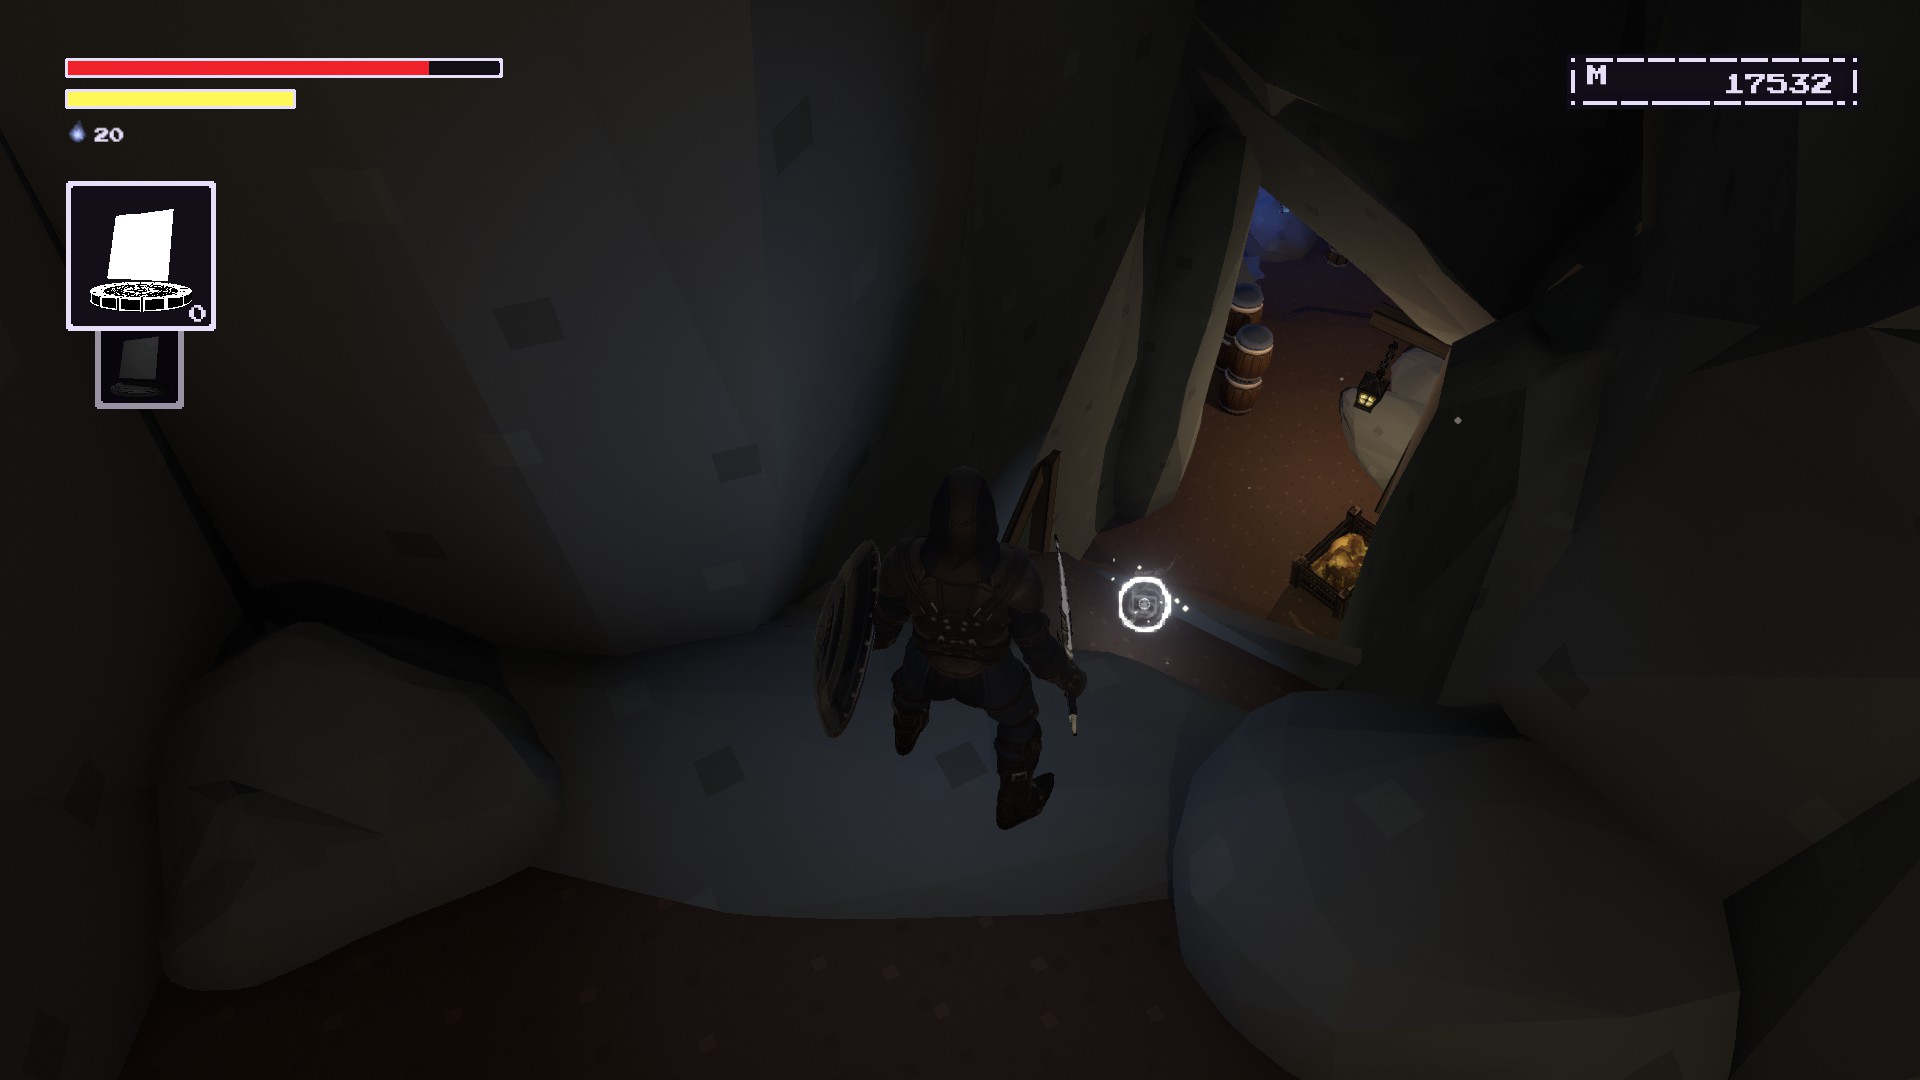
Enter the Depths until you reach this mining area.
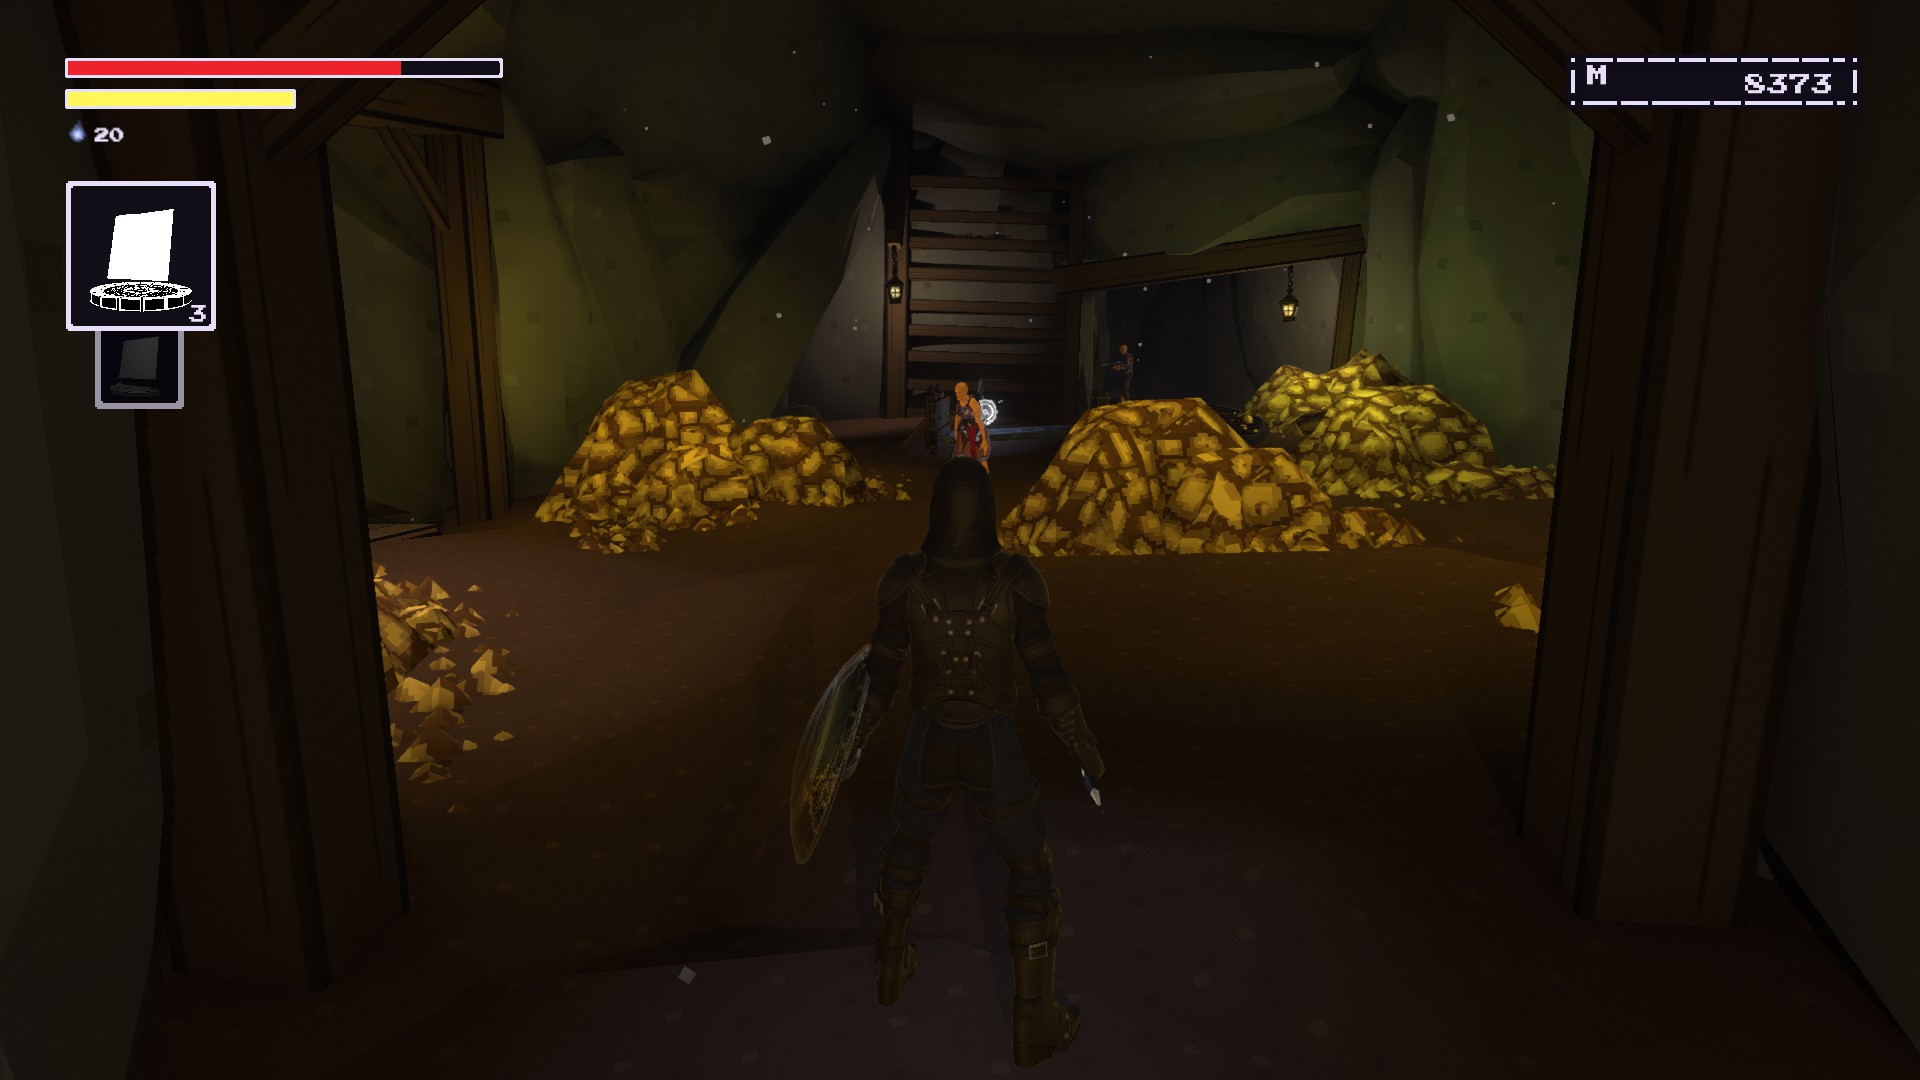
Continue forward through this area until you see a tunnel on your right.
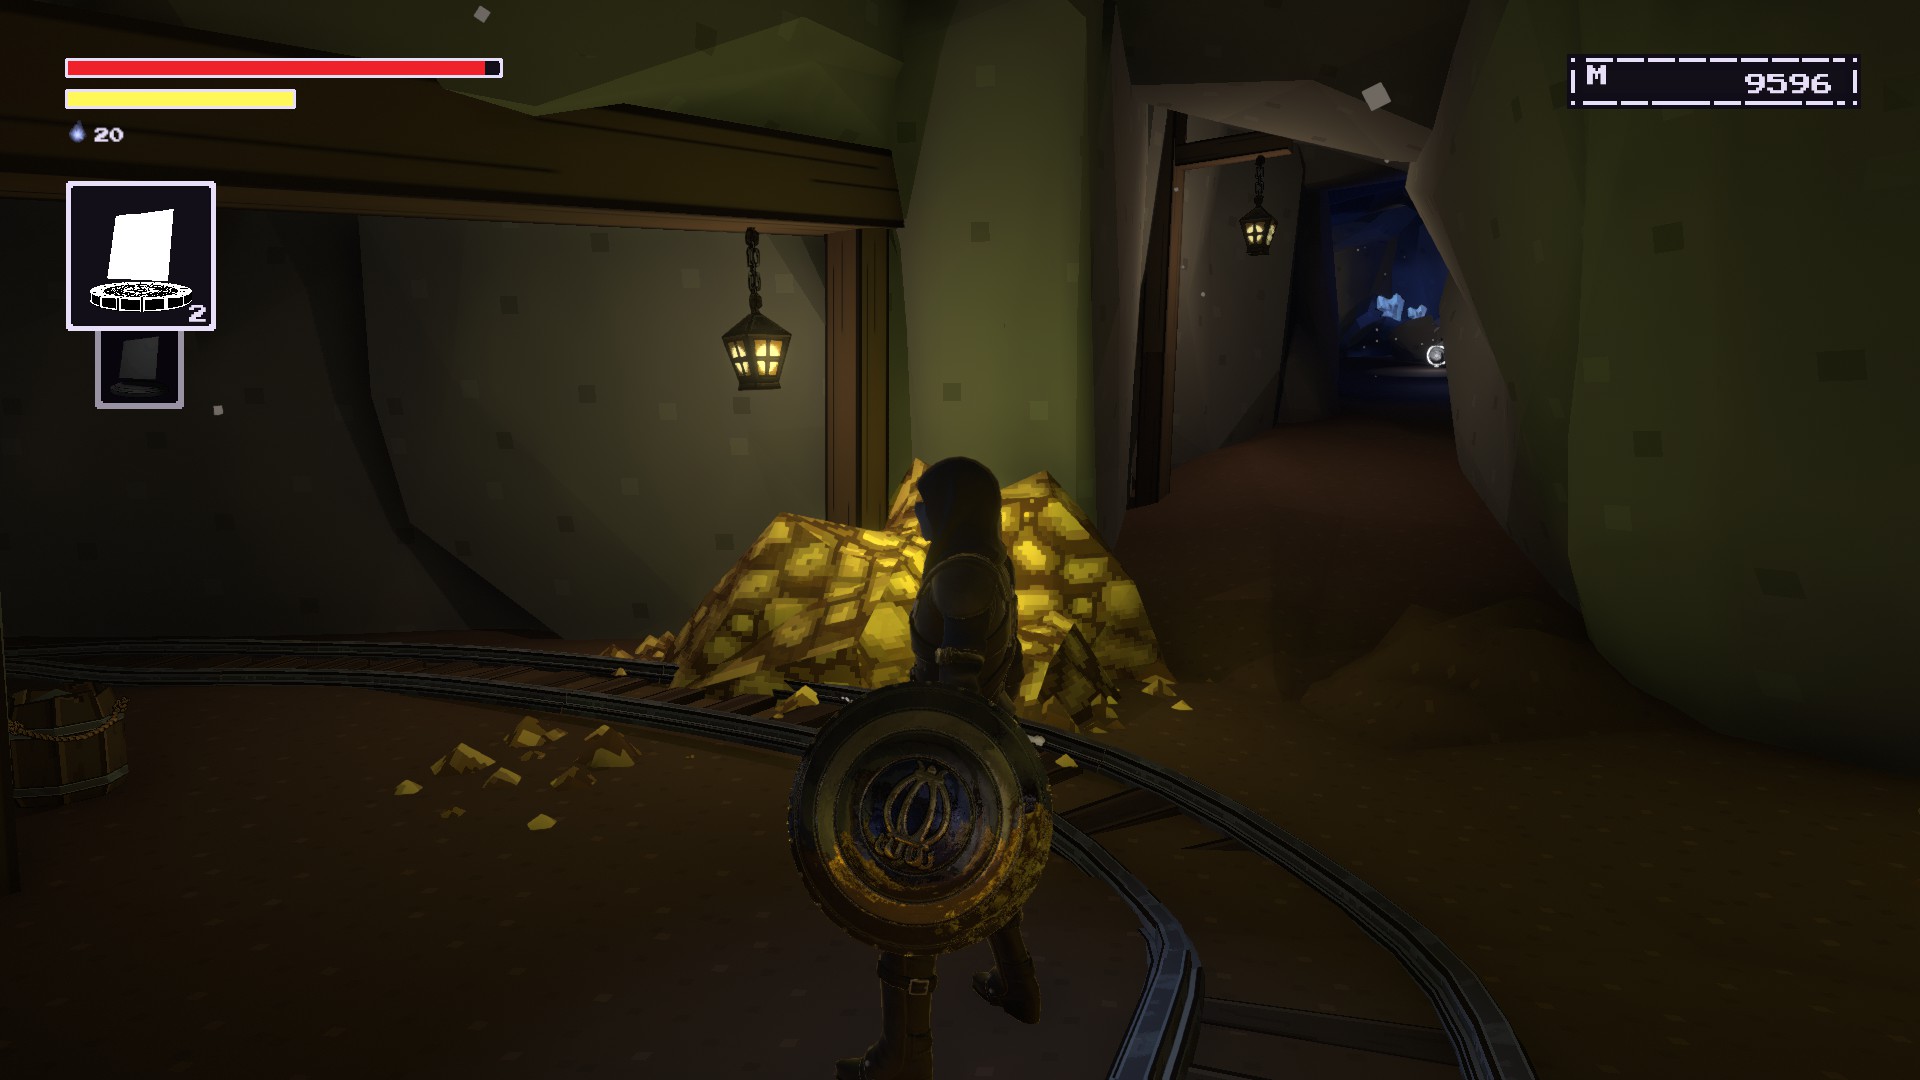
Go through the tunneland the spell should be near these boxes.
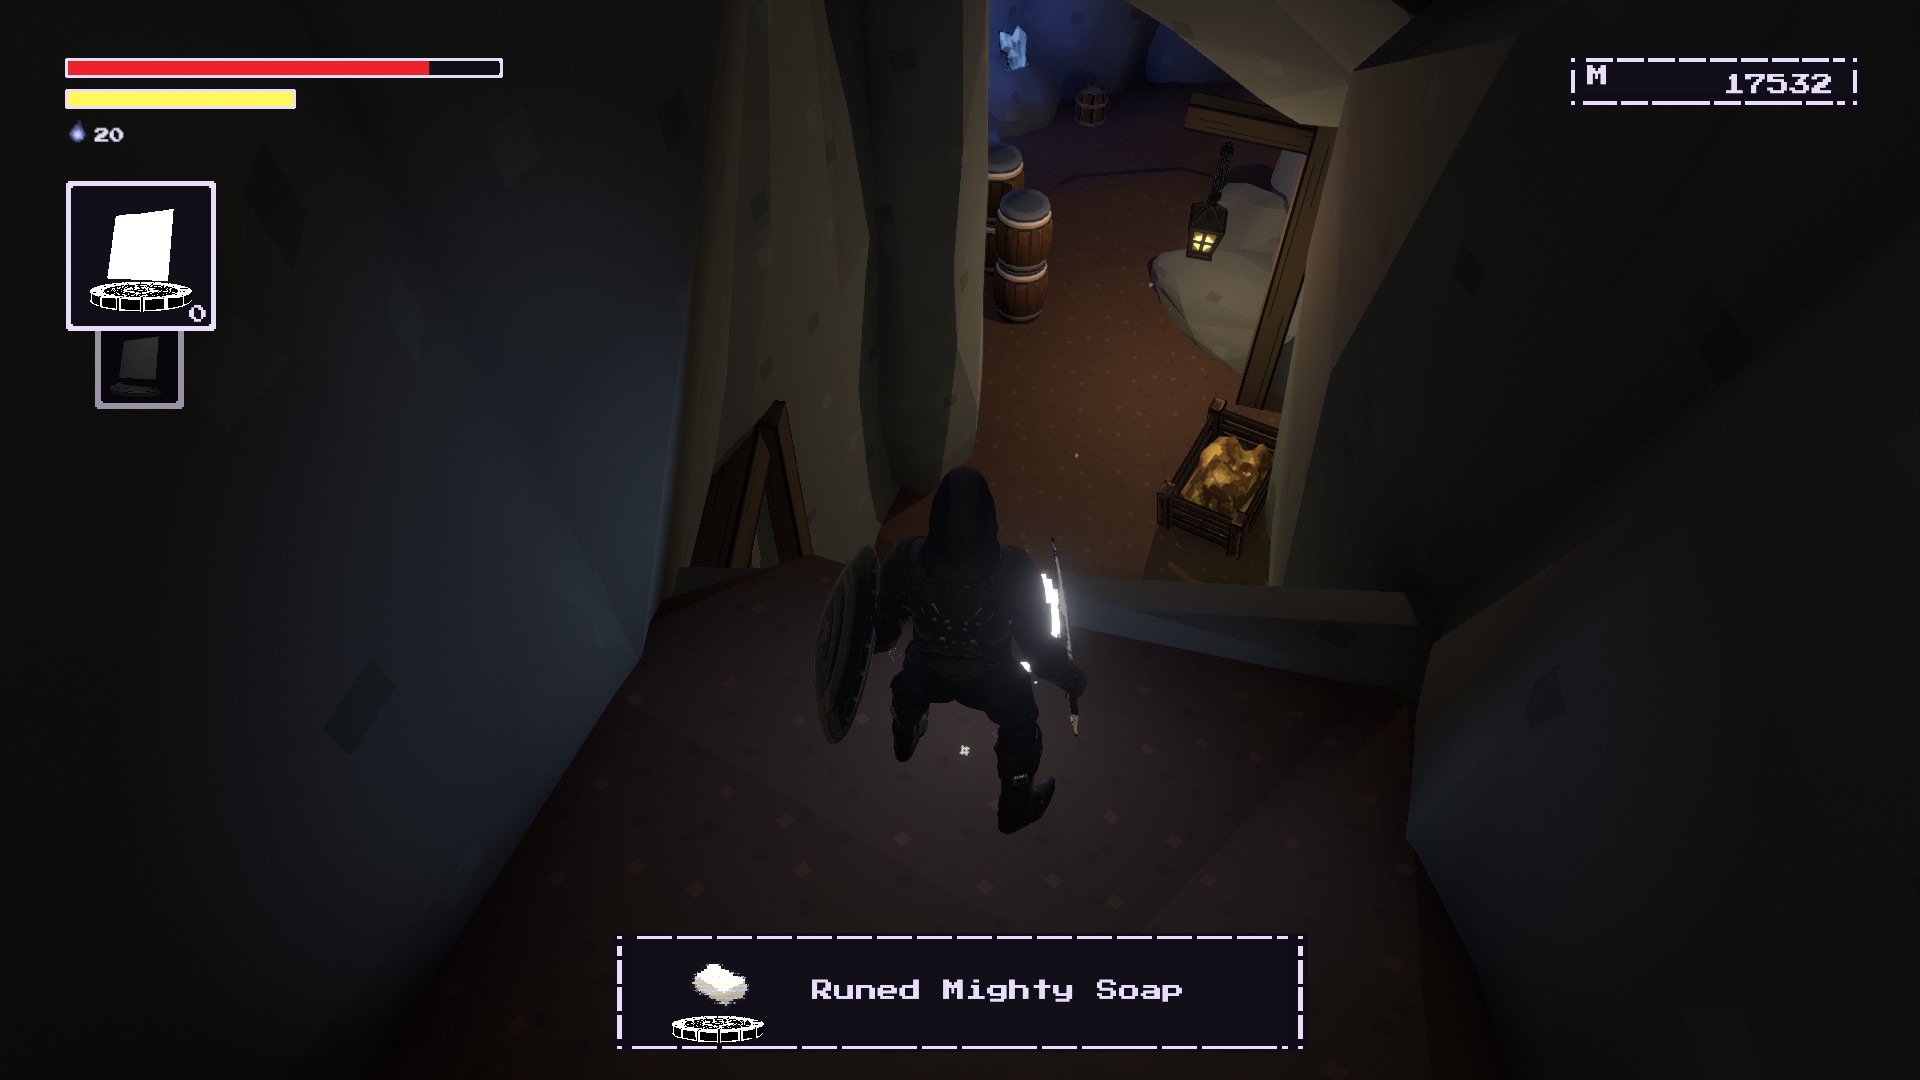
Mighty Soap (Runa)
Continue through the Depthsuntil you reach this area. (This should be after the forked tunnel.)
Go towards the opening on the leftand you should see a ledge below you.
Drop downto get this rune, also watch out before dropping down for the sneaky miner.
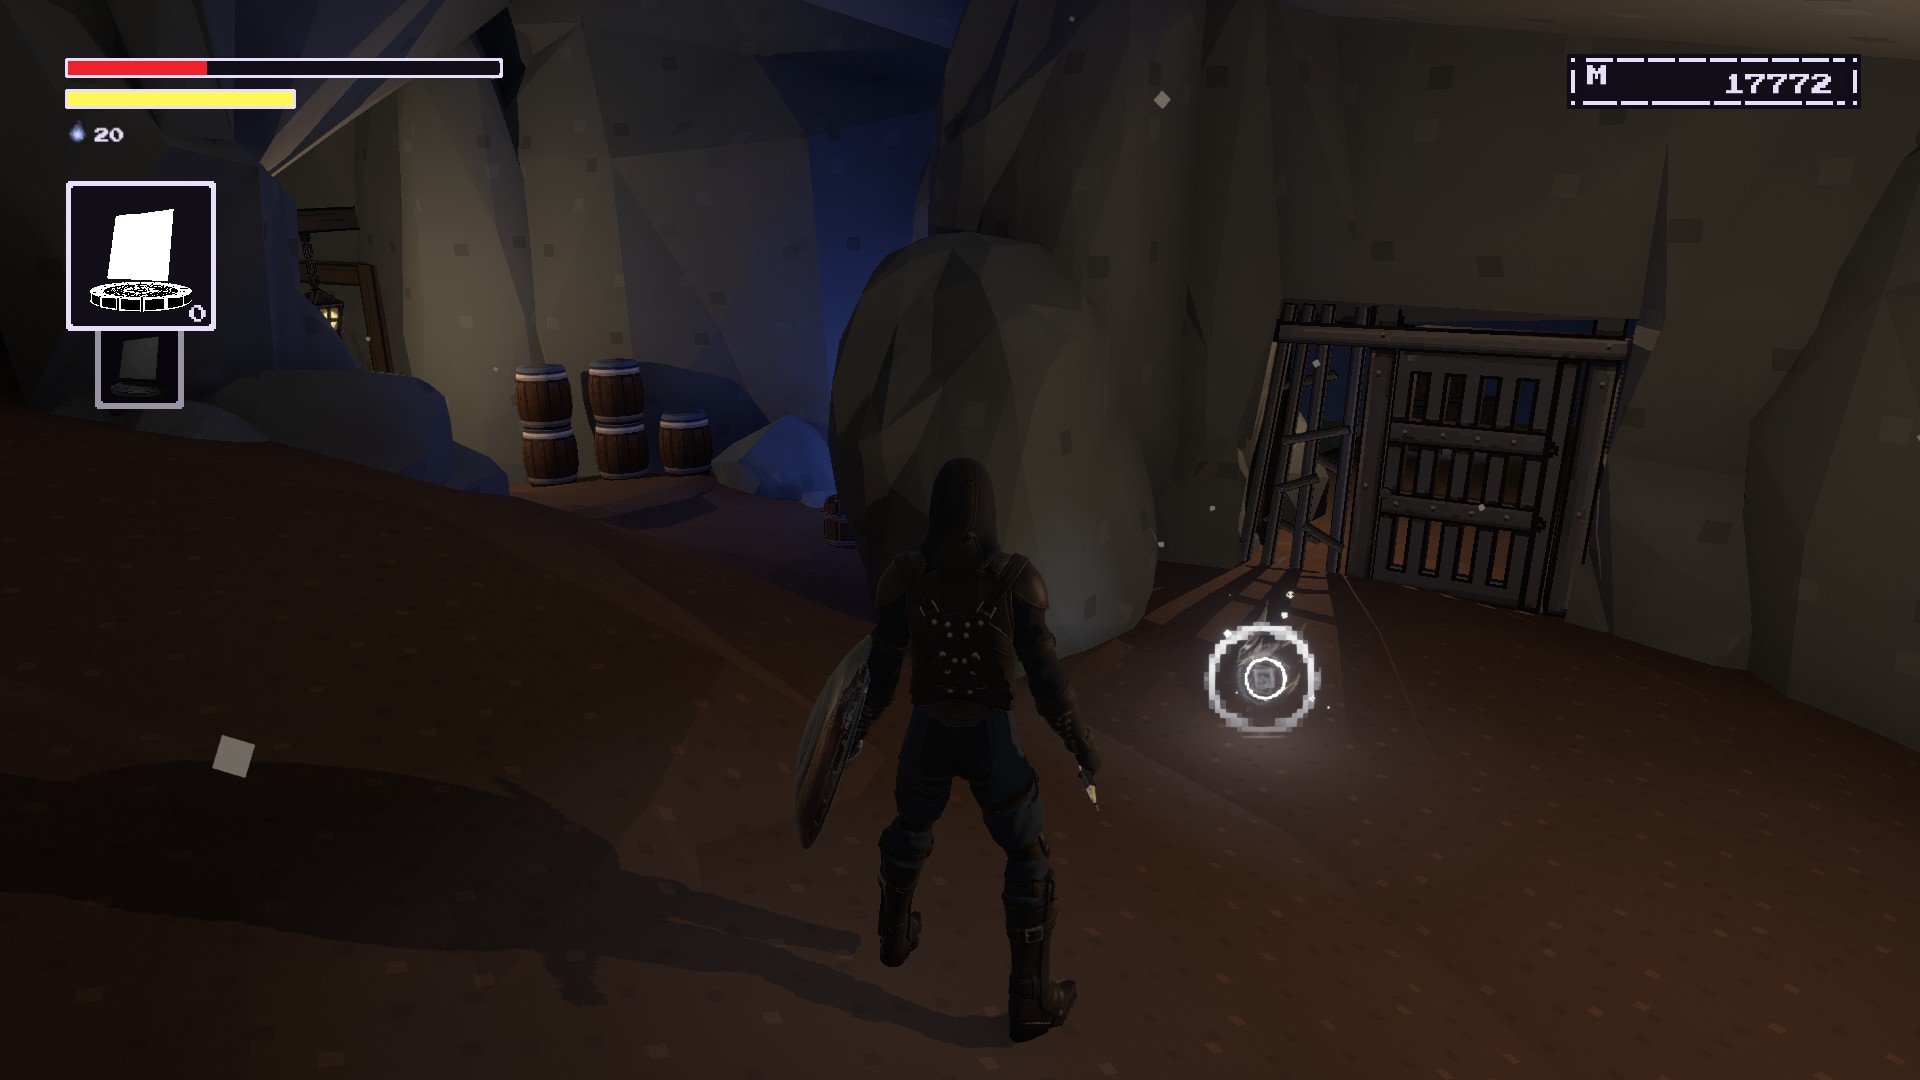
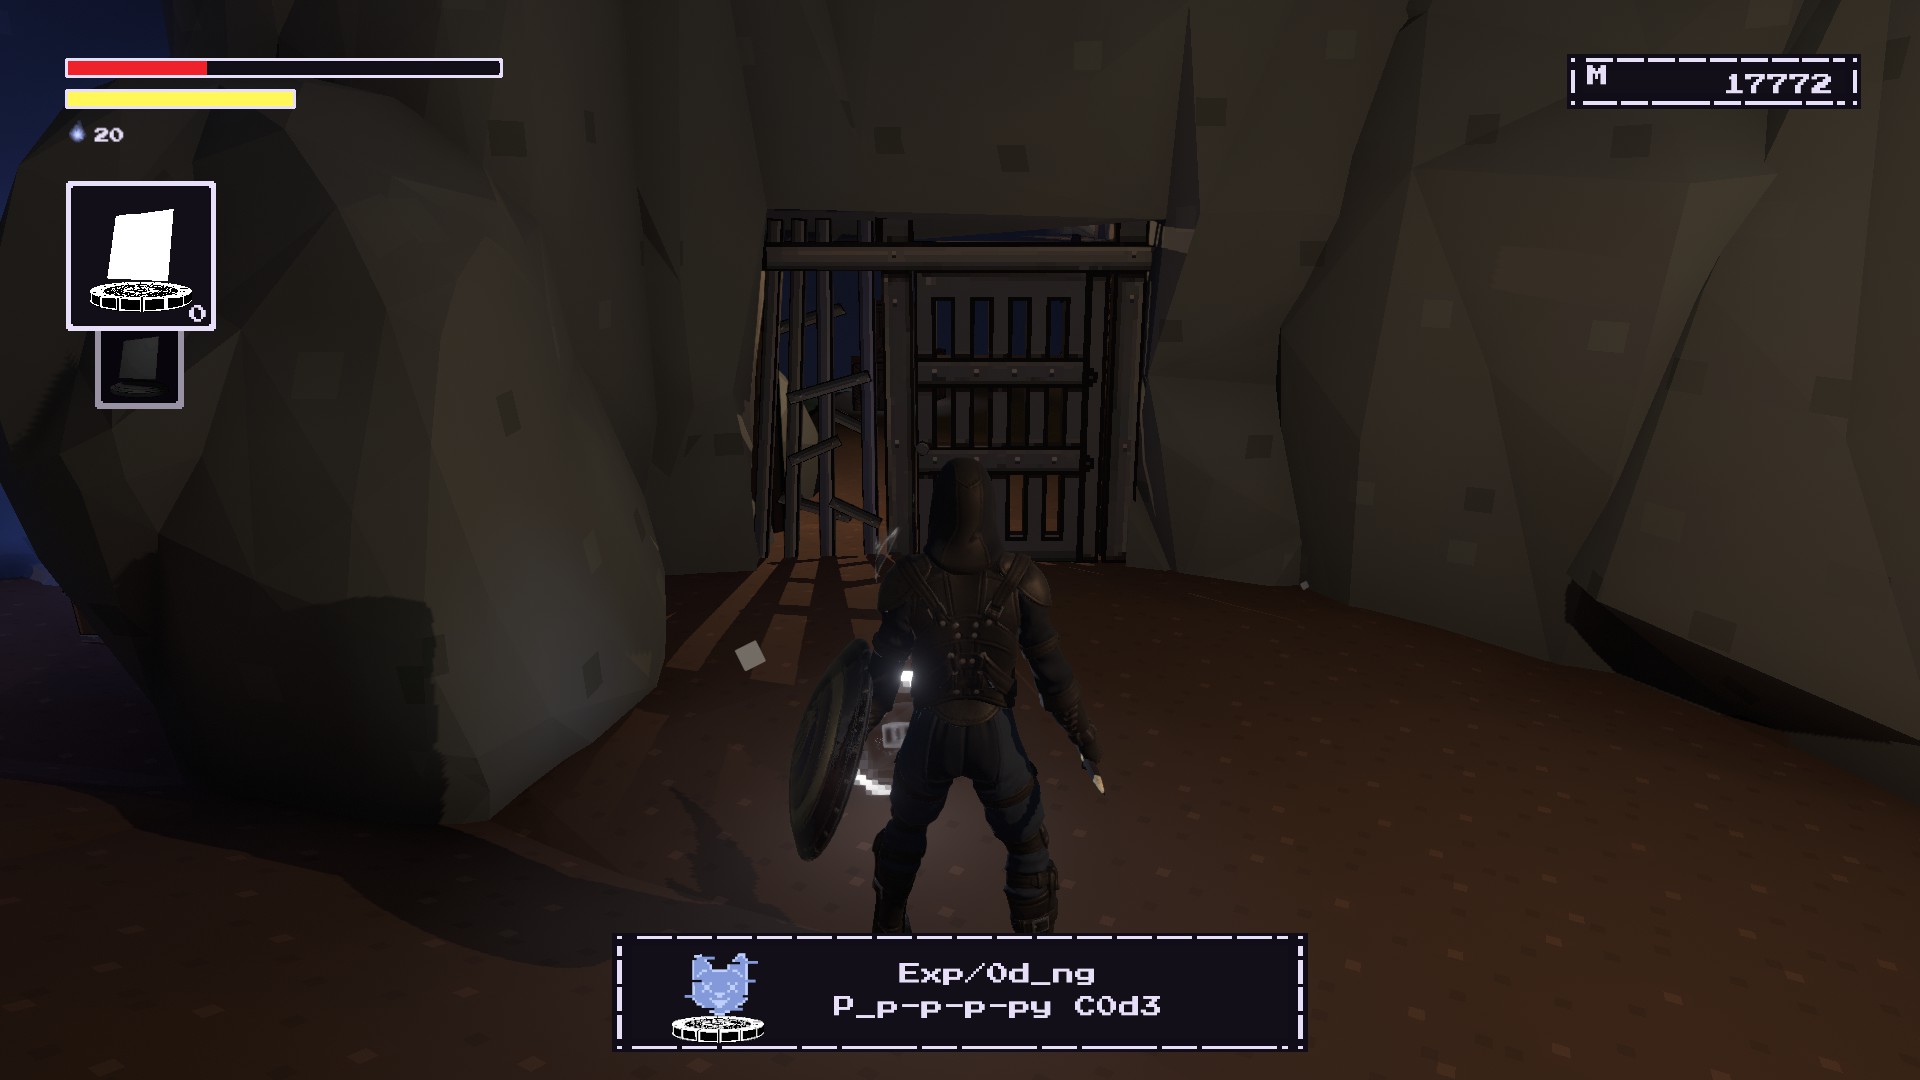
Exploding Puppy Code (Soletrar)
Literally right in the same area as the Mighty Soap. In the Depths, the spell is right before the doorthat leads into the area preceding the Grinder boss.
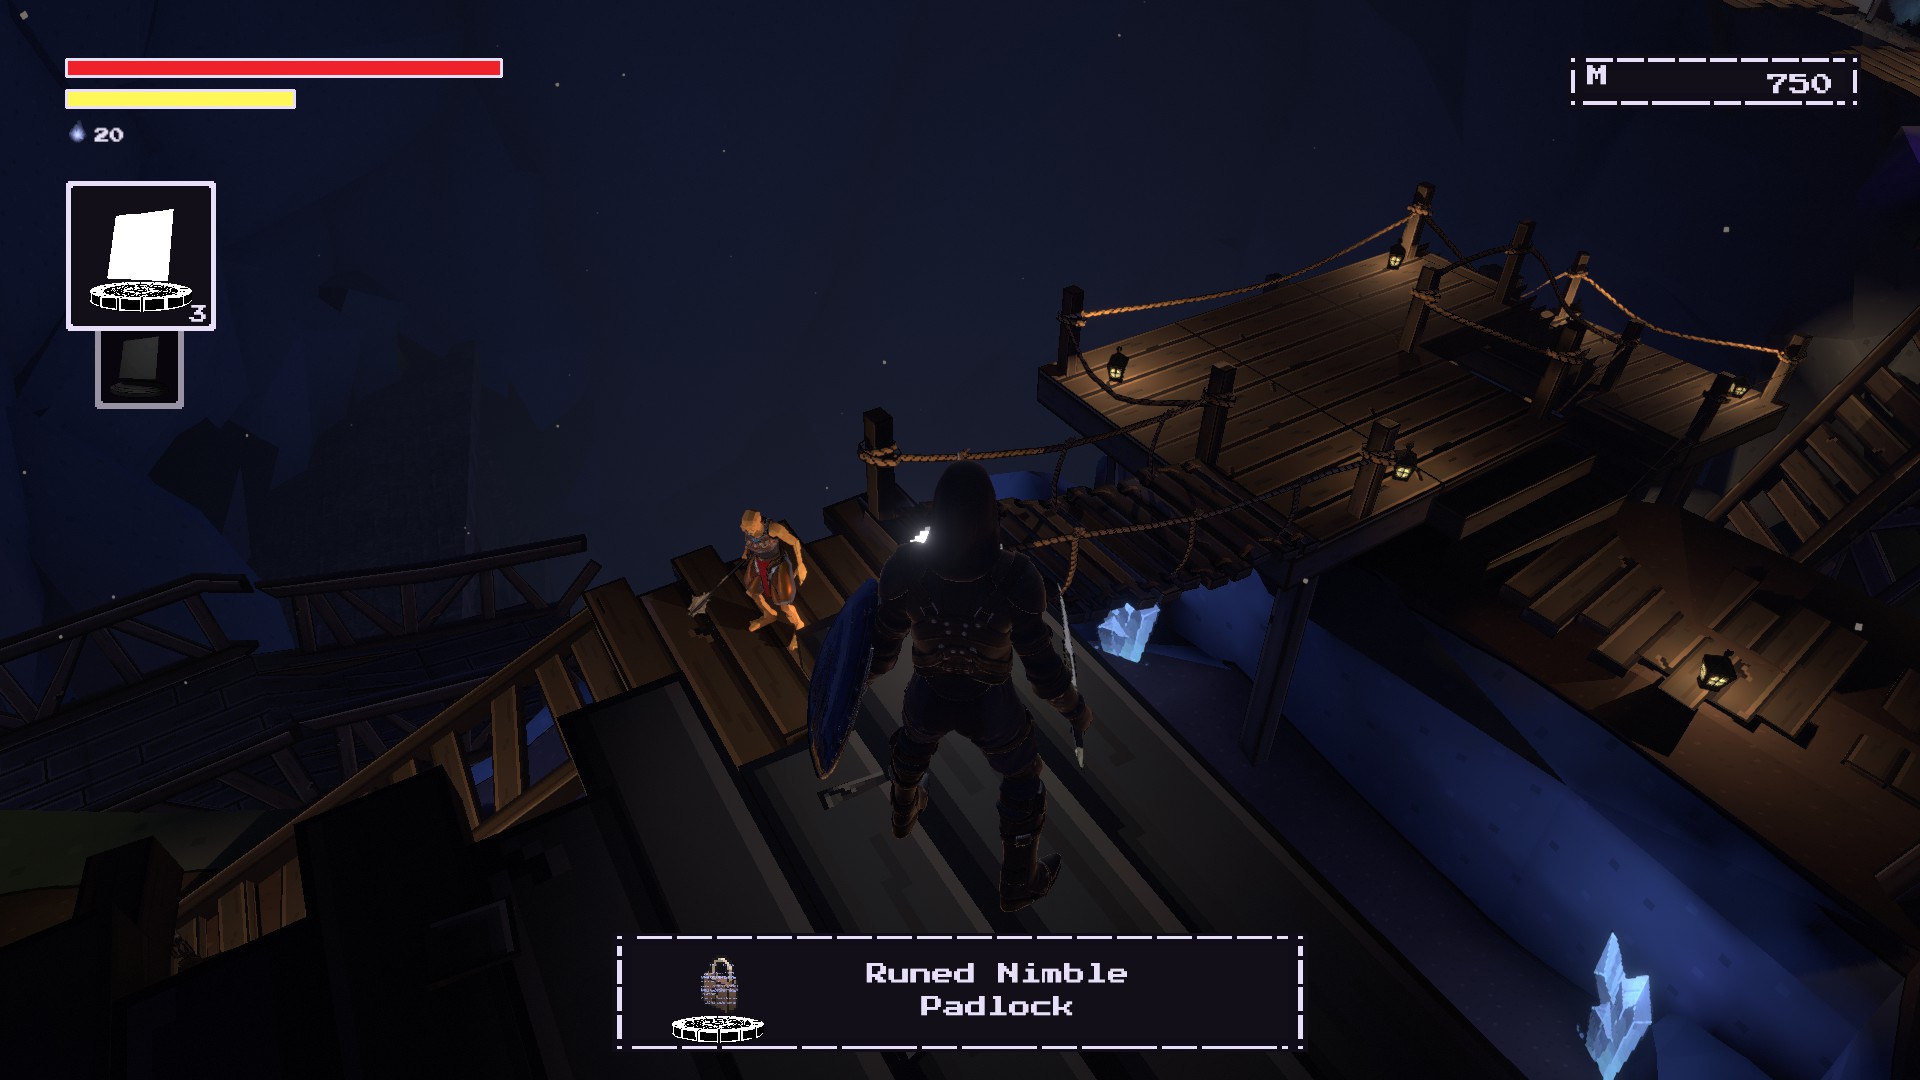
Nimble Padlock (Runa)
Start at the Depths NPC Room Beacon.
Go up the stairs and deal with the huge NPC Knight.
Then go up another set of stairs to go into this open window.
You’ll be outside and you should notice an item on the ledge.
Roll off onto the ledgeand collect this rune.
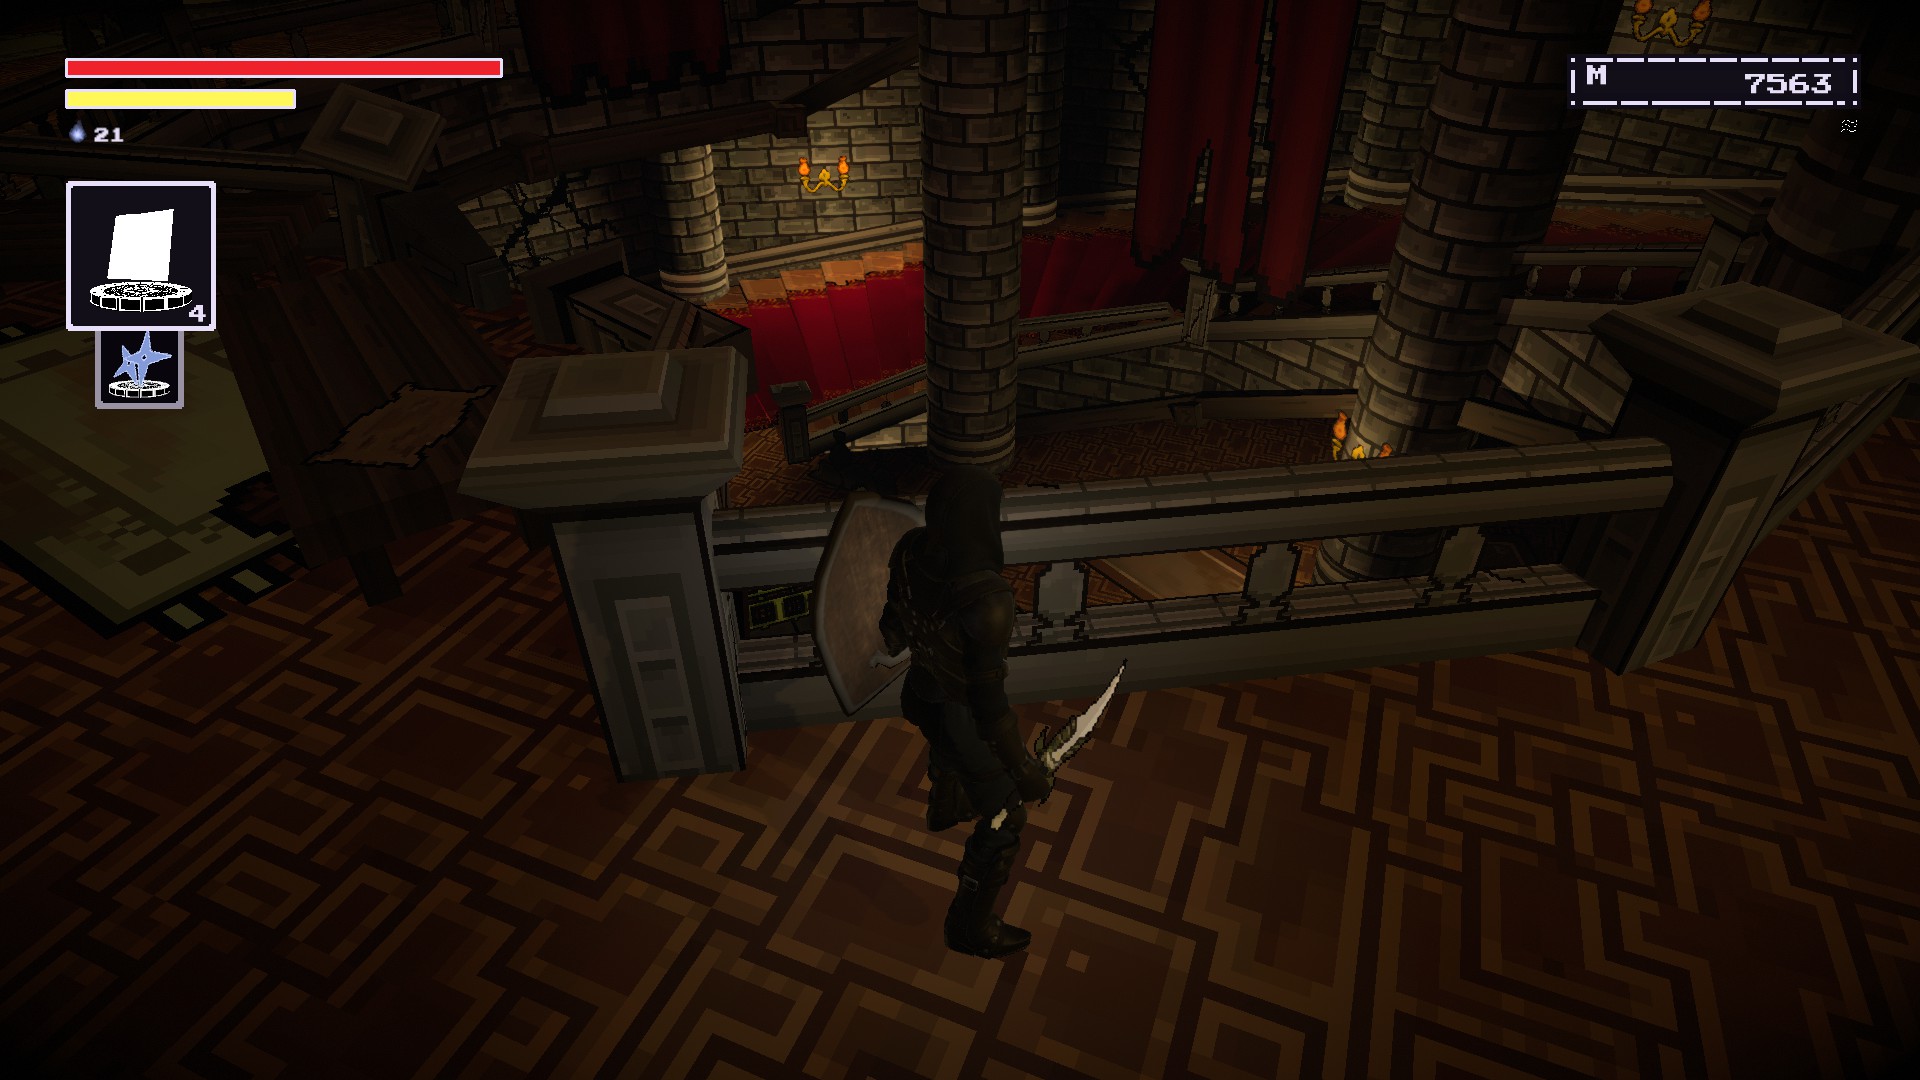
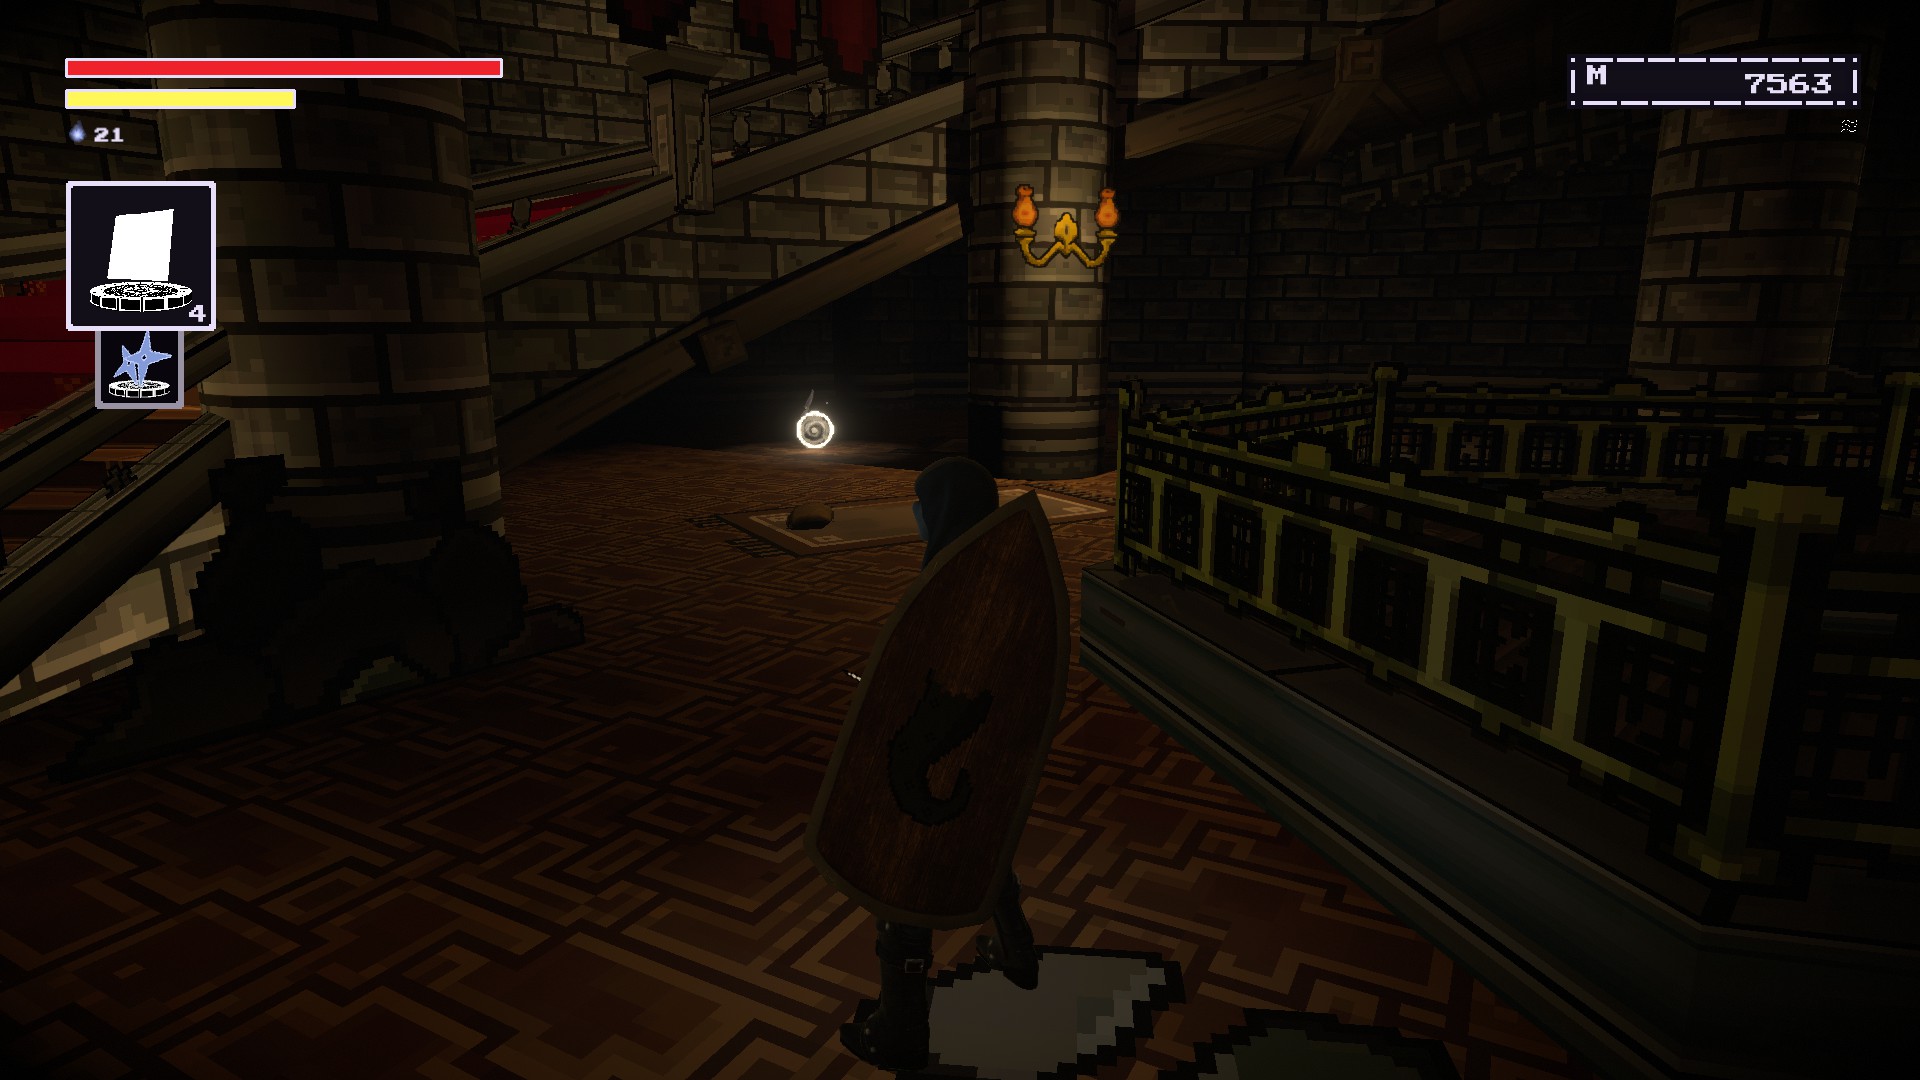
Green Herb Code (Soletrar)
Progress to Festivity Row and journey into the spire area.
Make your way
down to the base of the spire. The spell will be under the stairs.
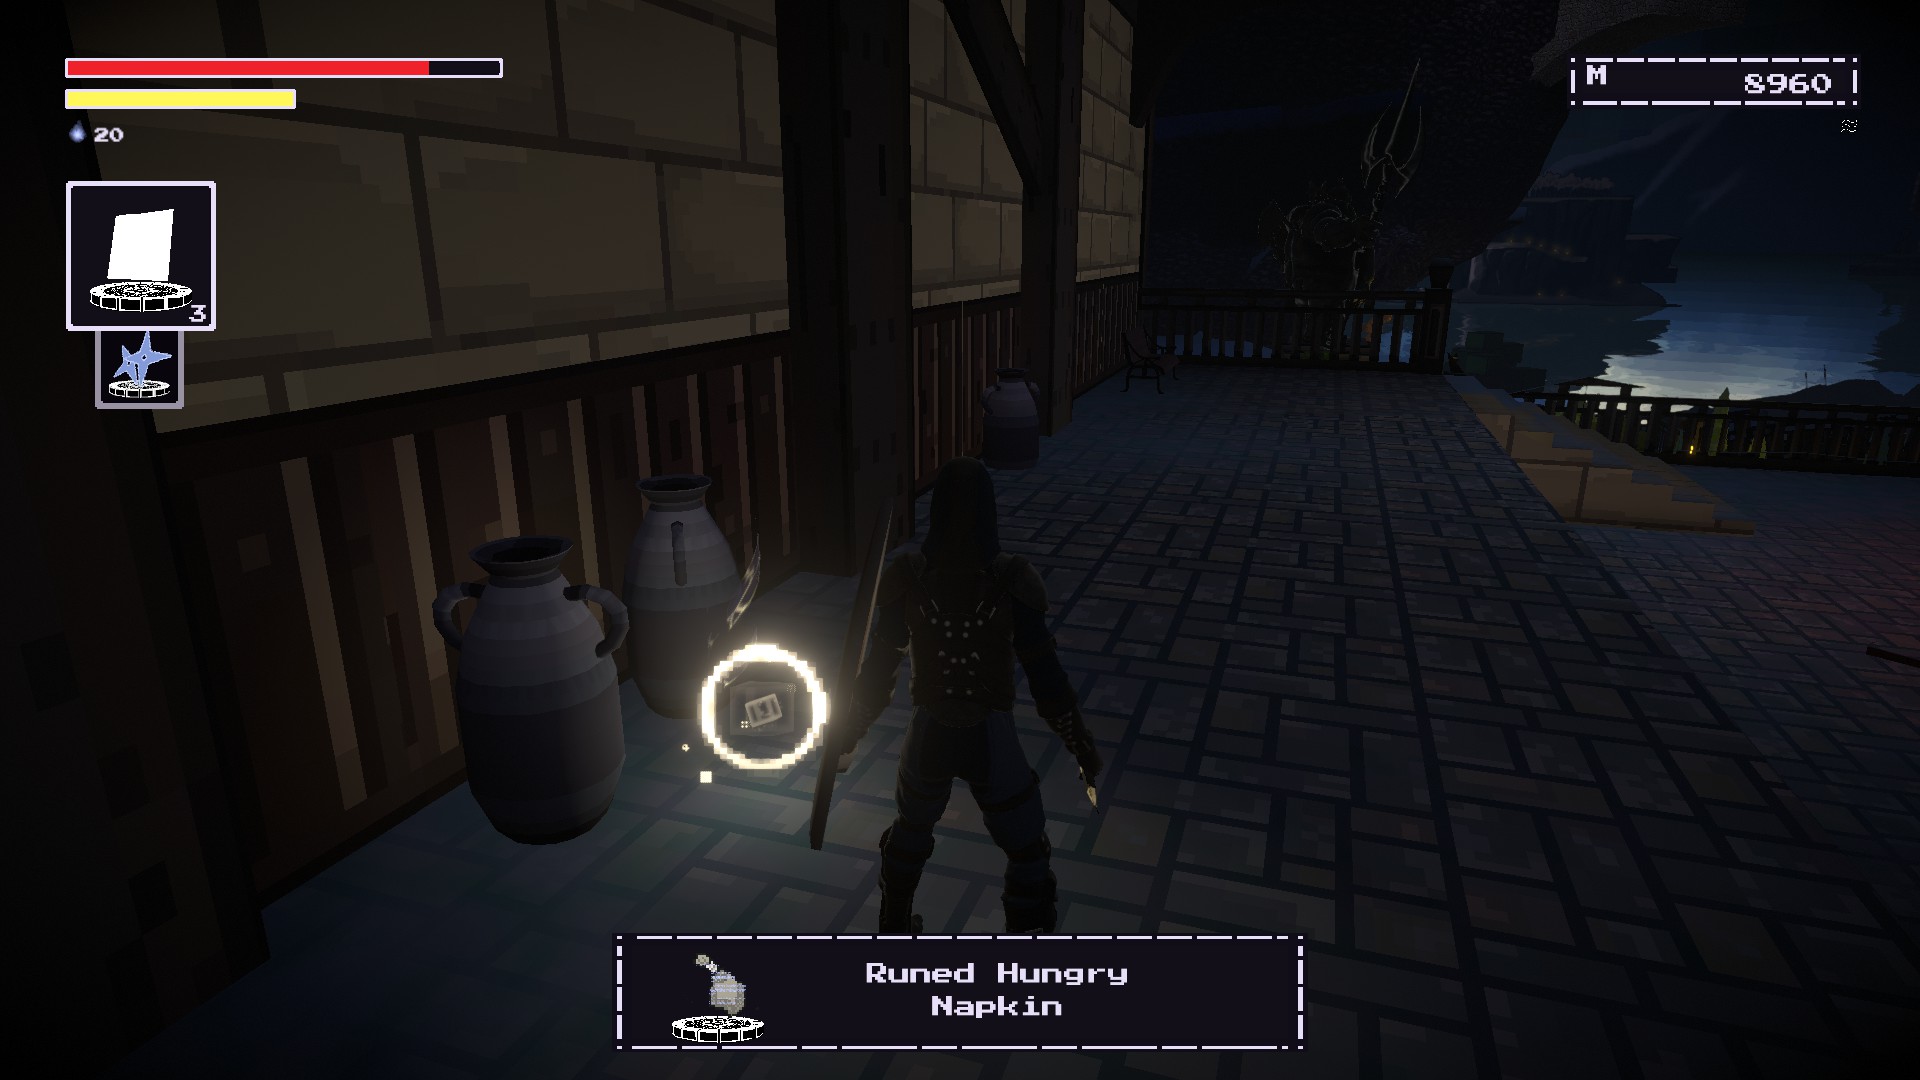
Hungry Napkin (Runa)
Continue through Festivity Rowand you should be near the top.
You’ll know you’re at the right place if you see this banana tree.
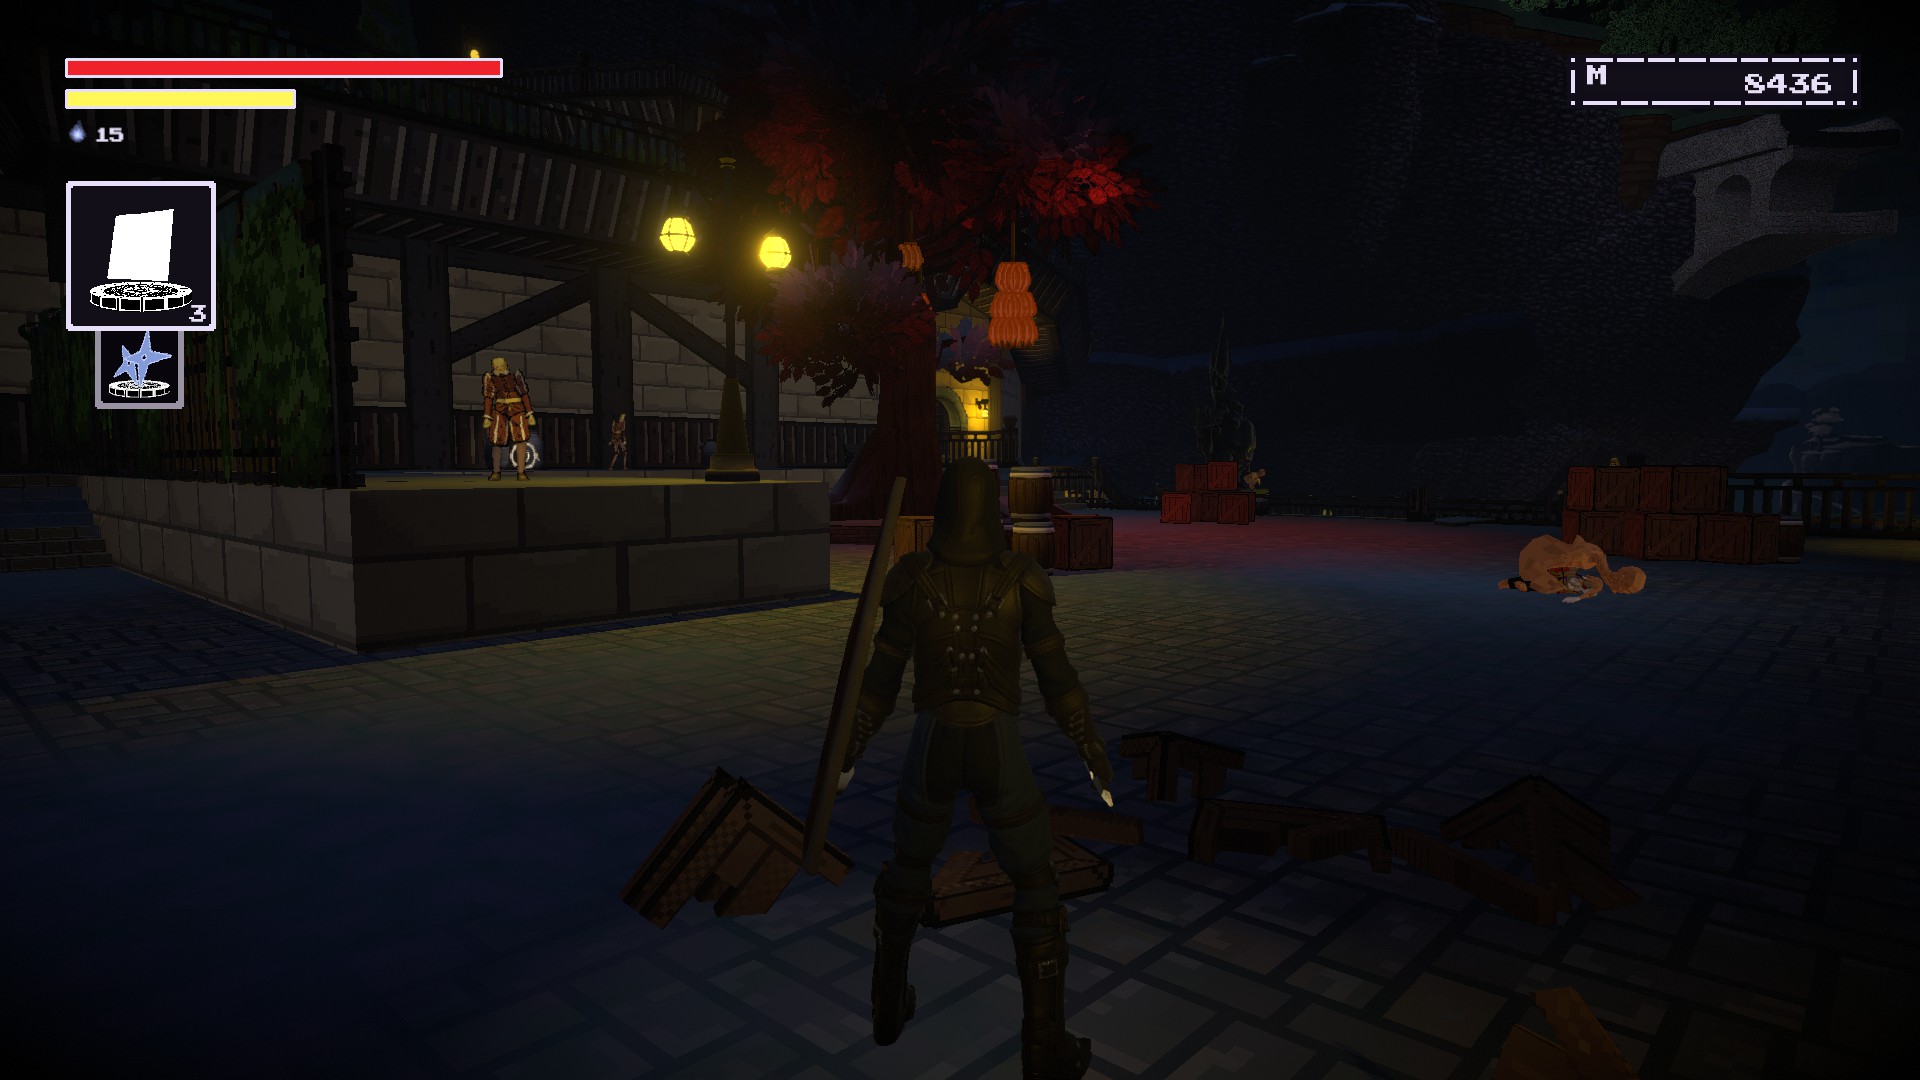
The rune will be between the two knife-throwing Nobles by the pots.
Cagey Candlestick (Runa)
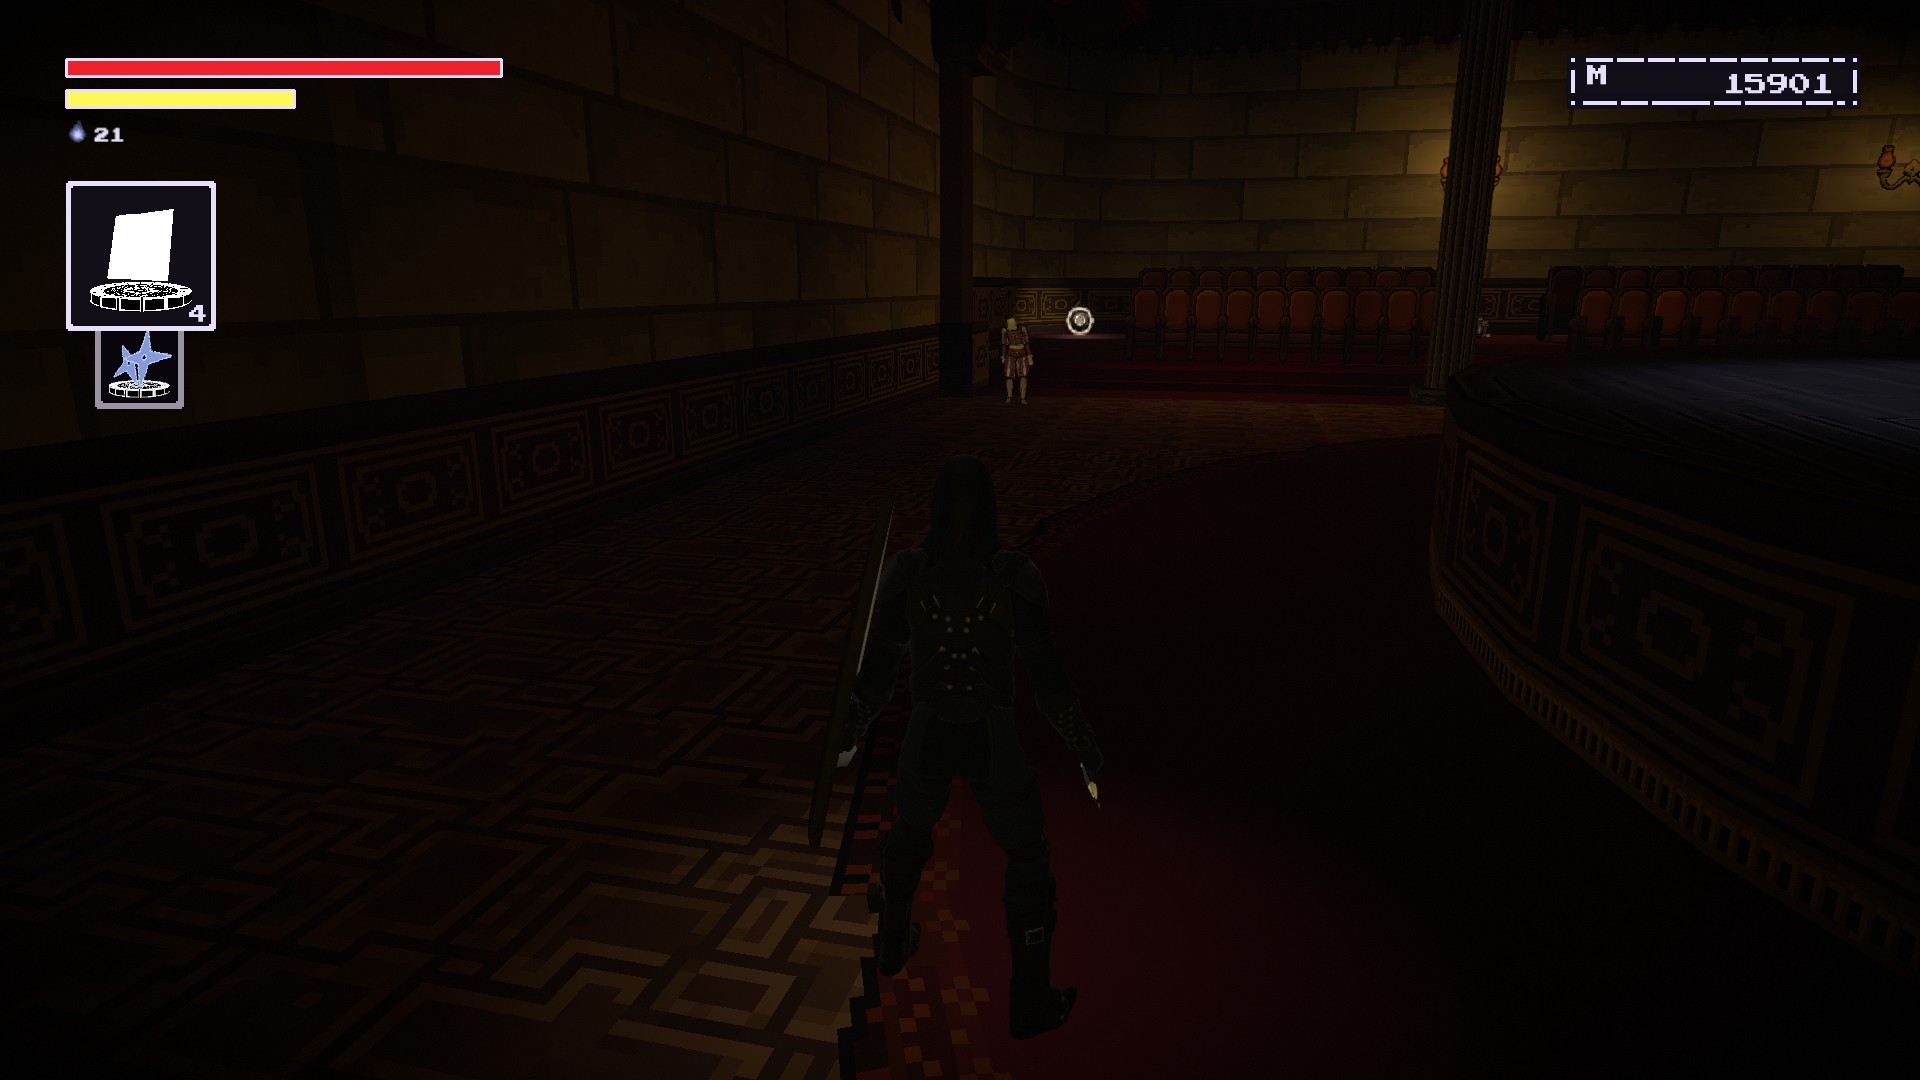
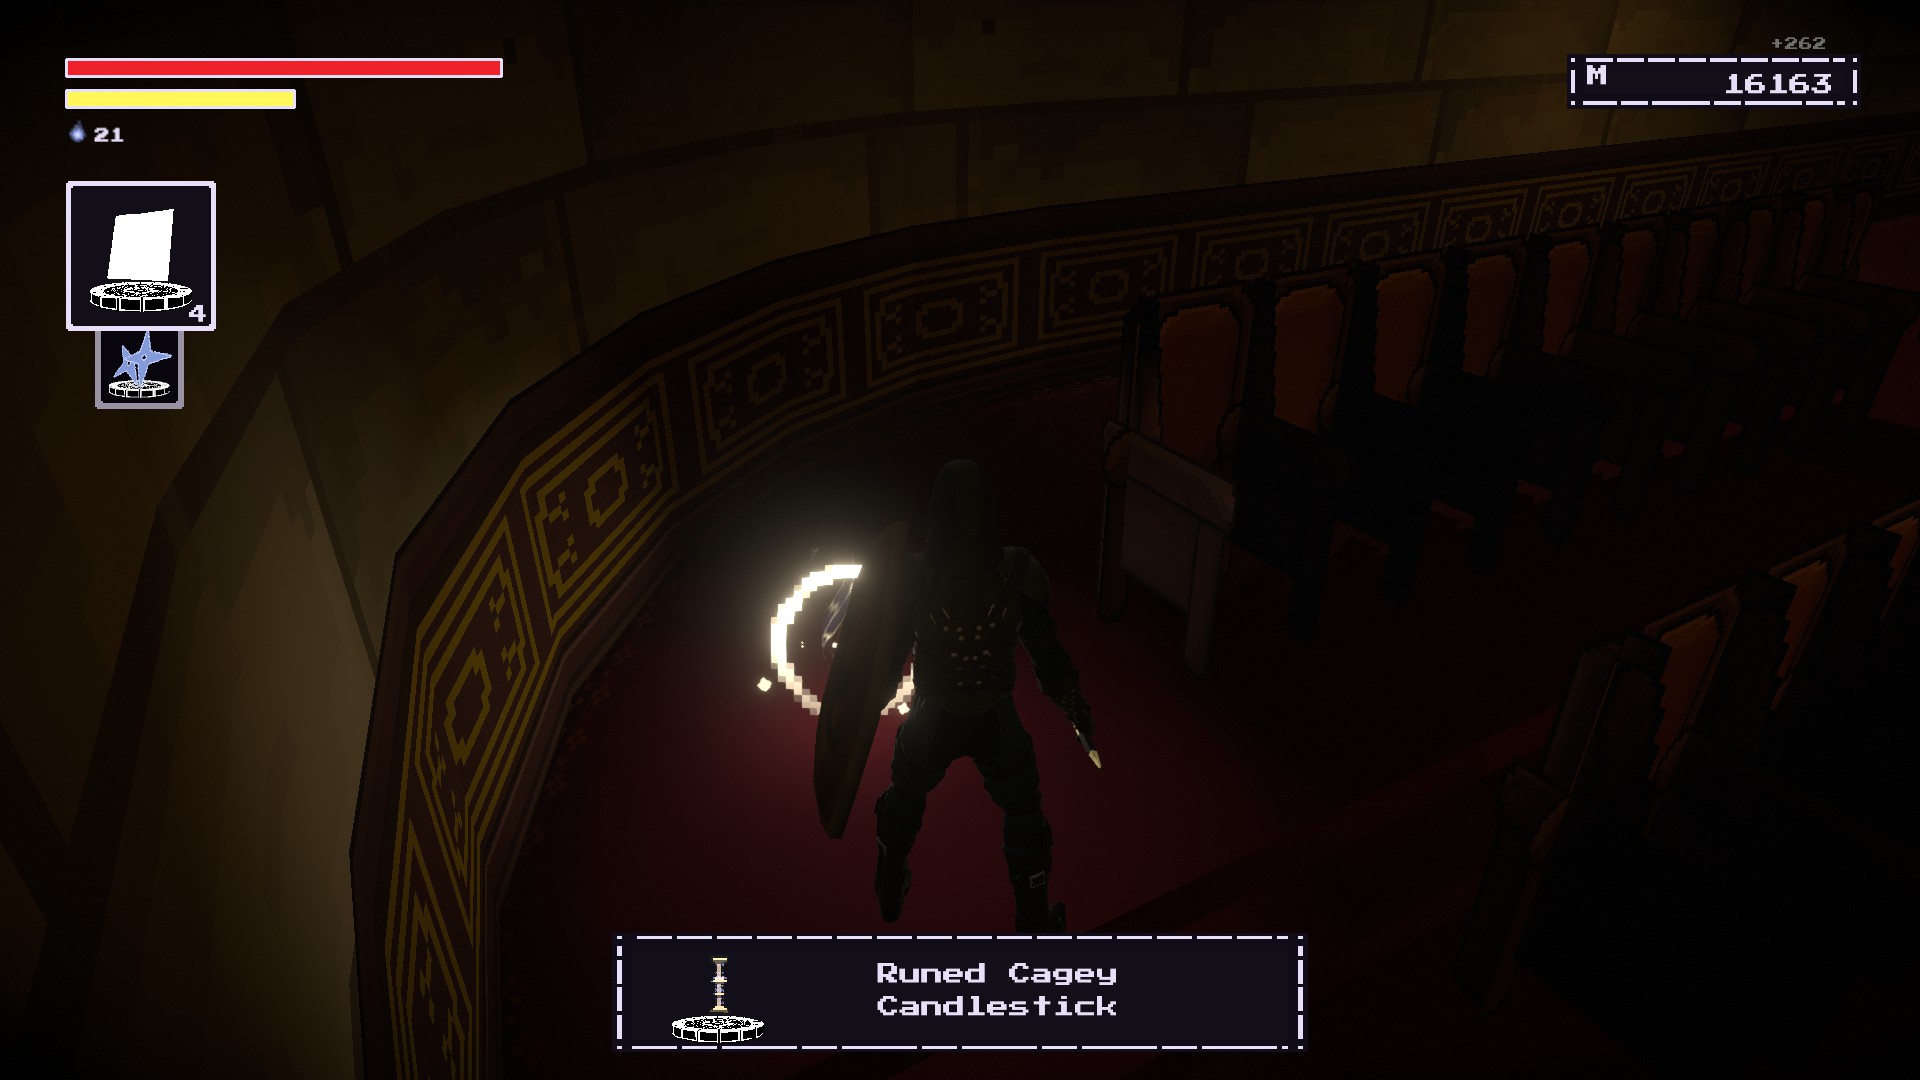
Explore through Festivity’s Row until you reach the Theater area.
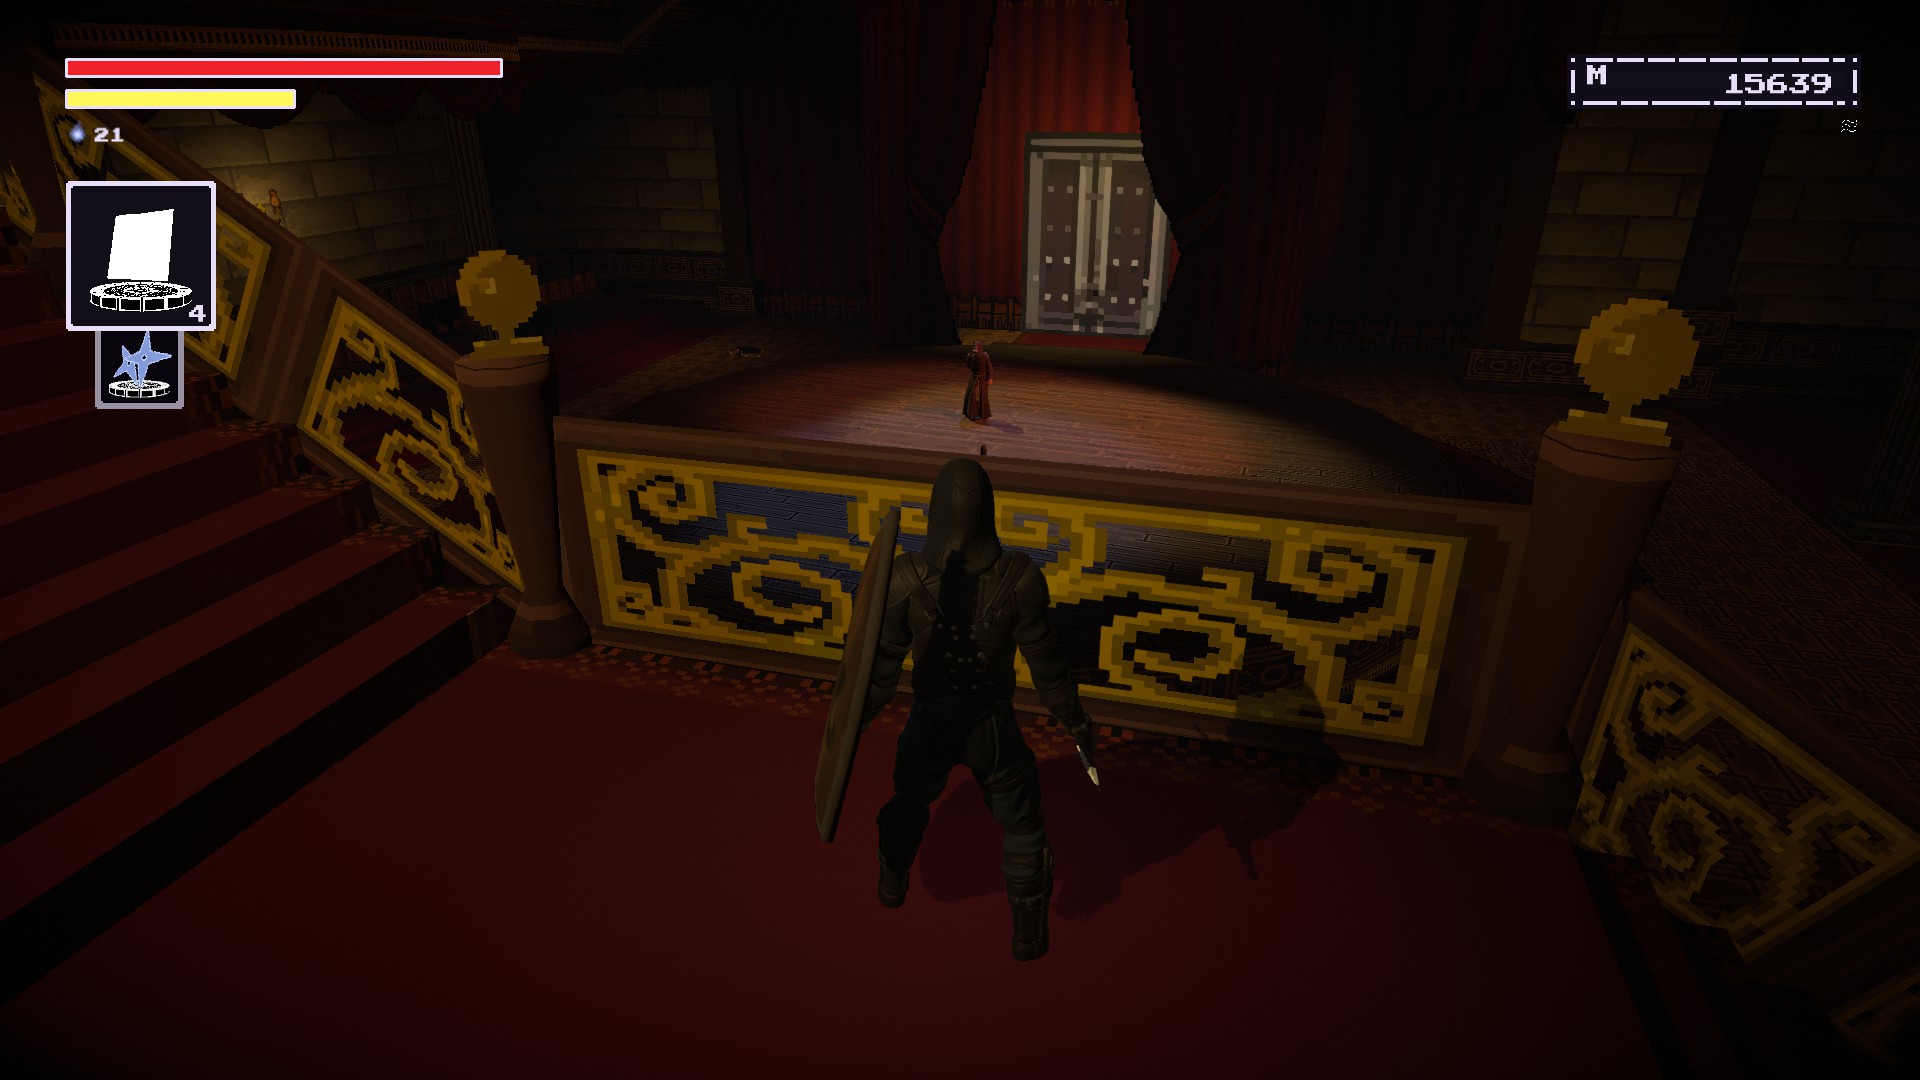
The rune will be at the bottom of the Theater by a vampiric Noble and row of seats.
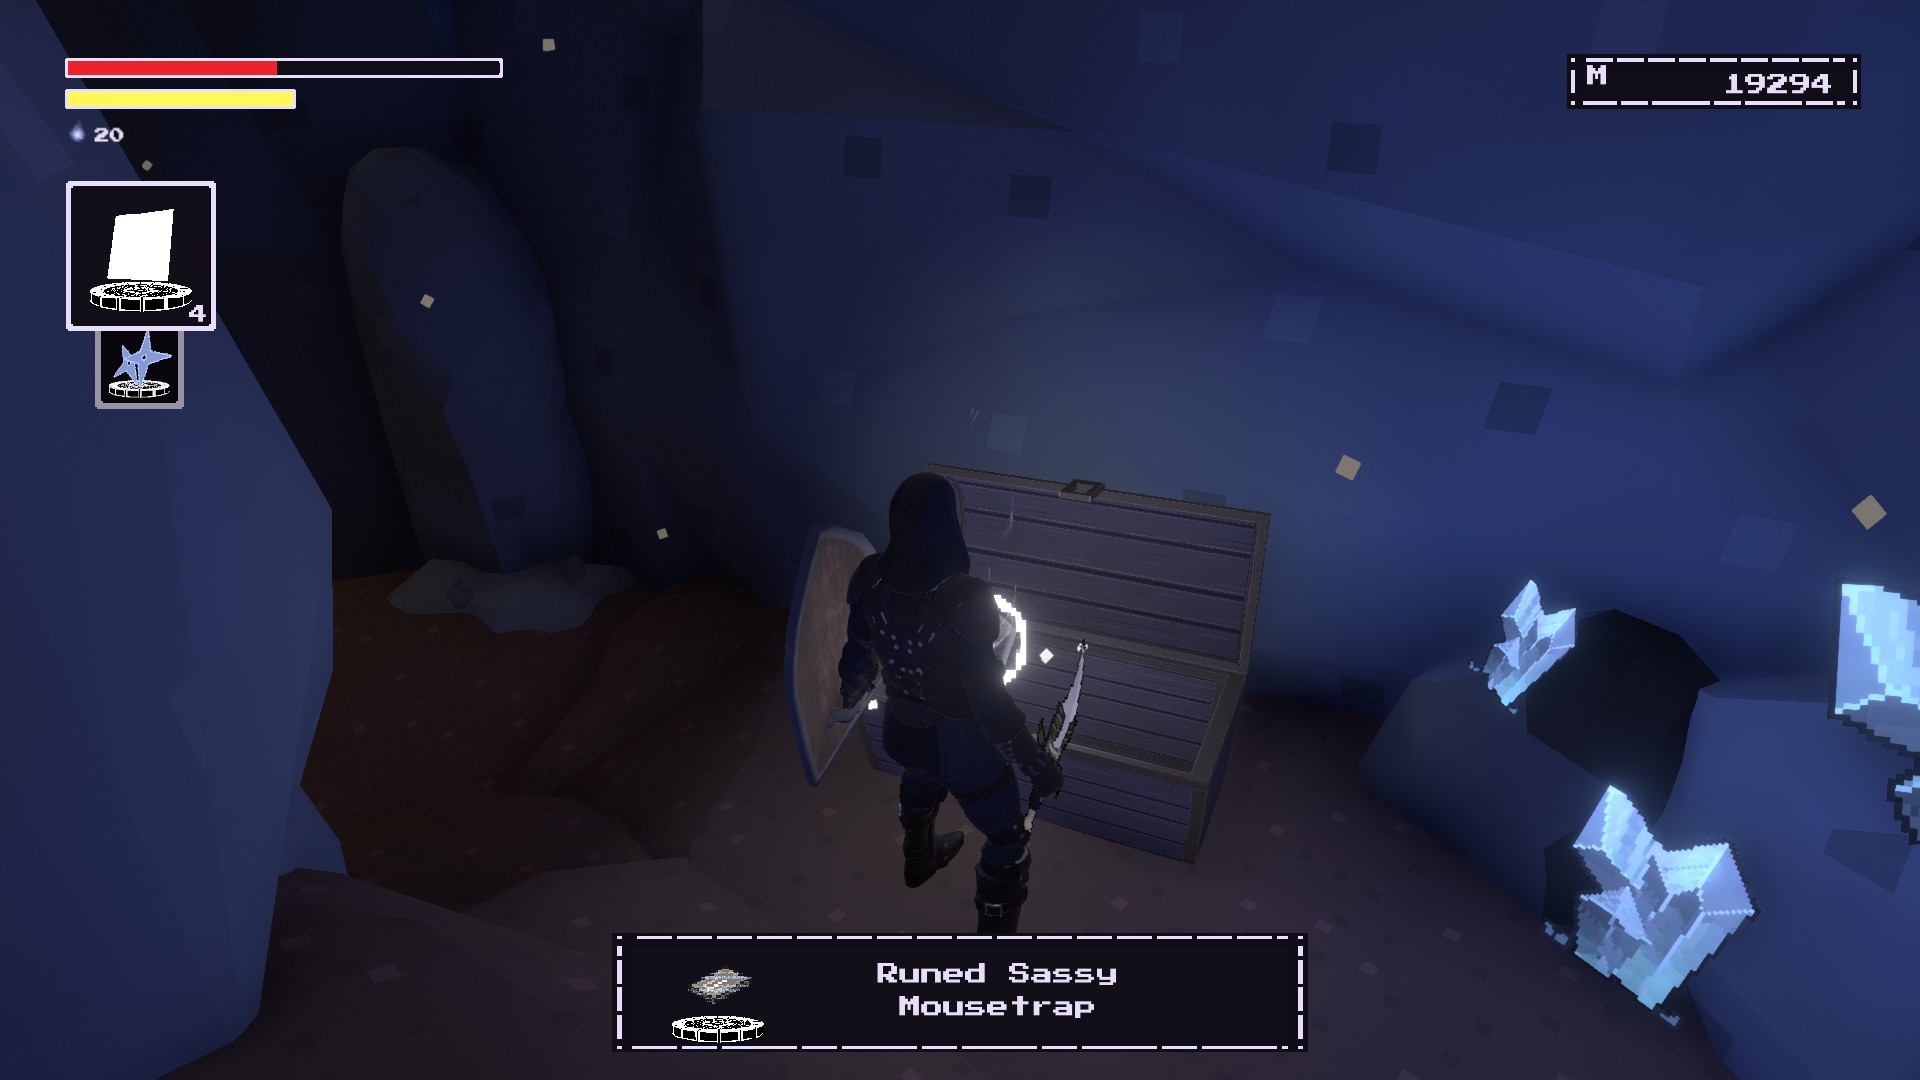
Sassy Mousetrap (Runa)
Backtrack to the beginning of the Depths.
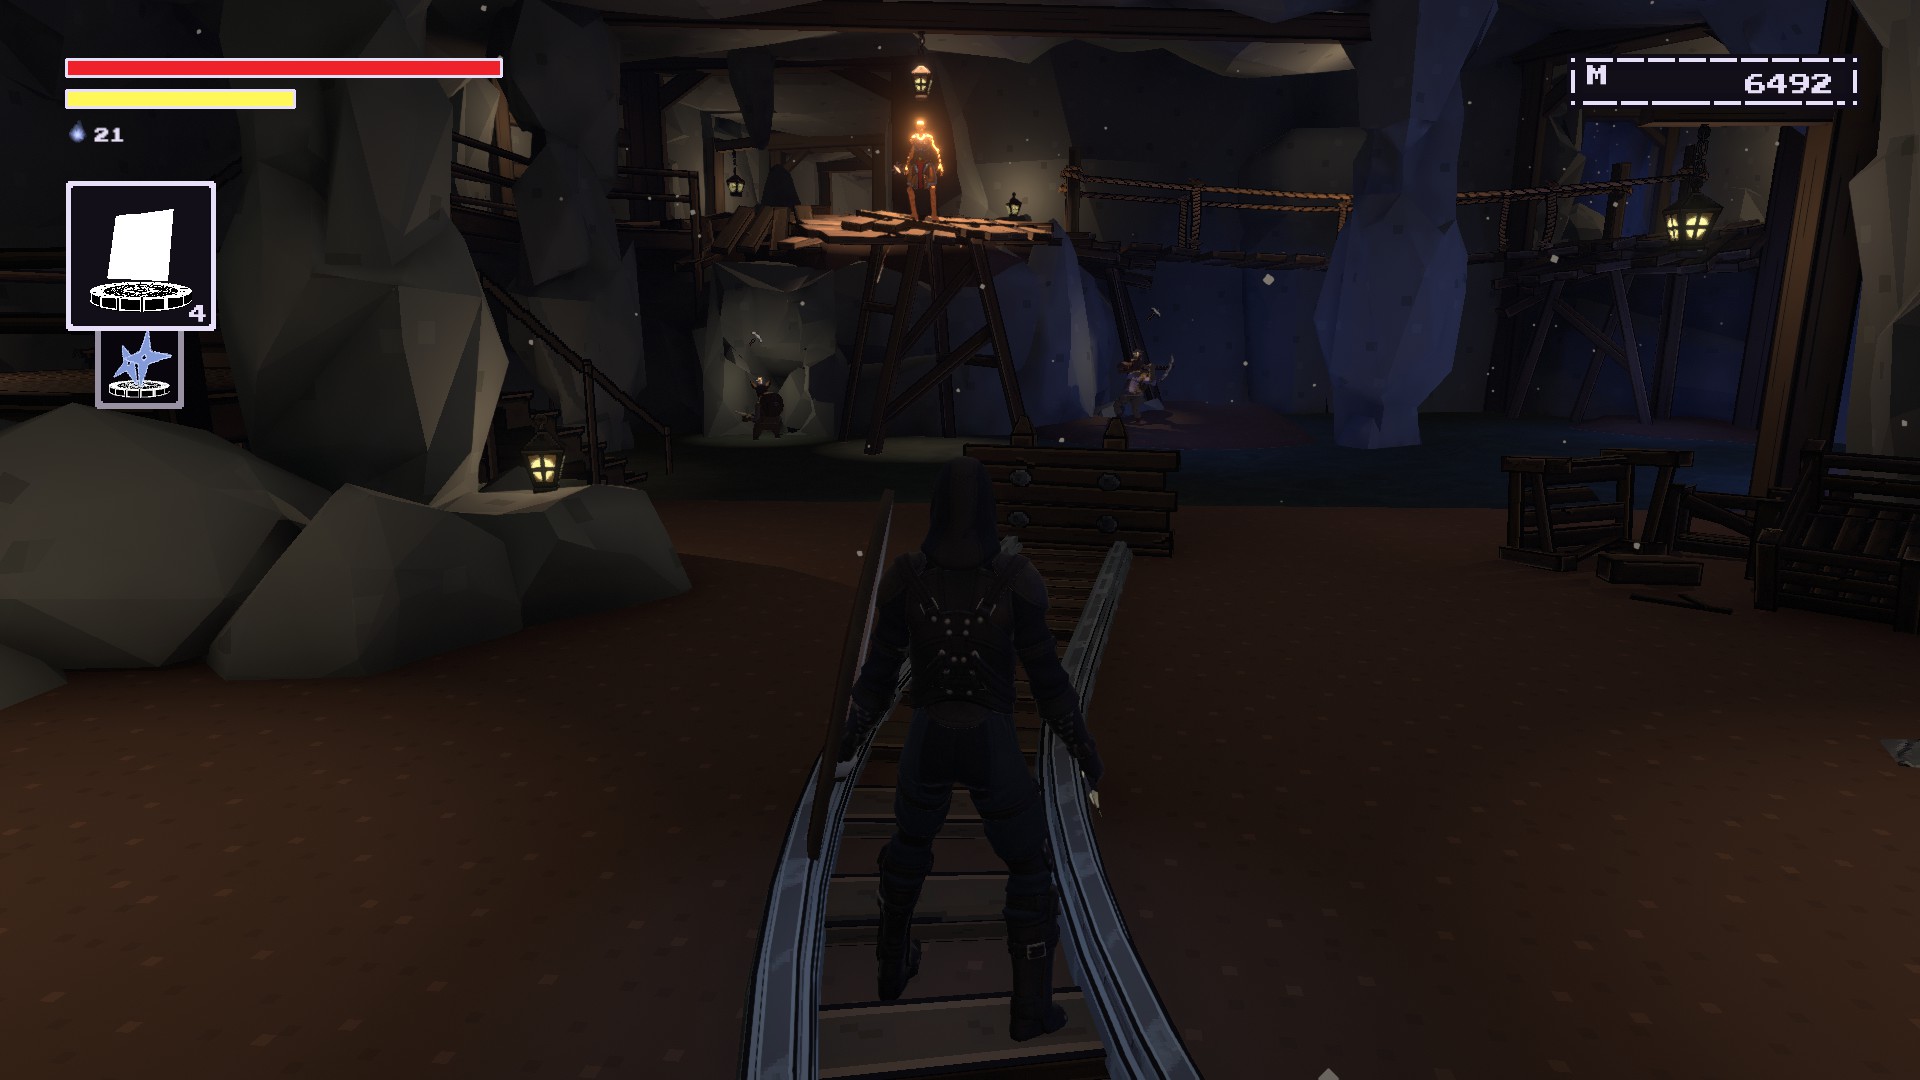
Instead of going straight to the gold mine area, take a right and go down the tunnel.
There should be an unstable chest at the end of the tunnel. You need to have the Uprez ability and 1750 memory to unlock.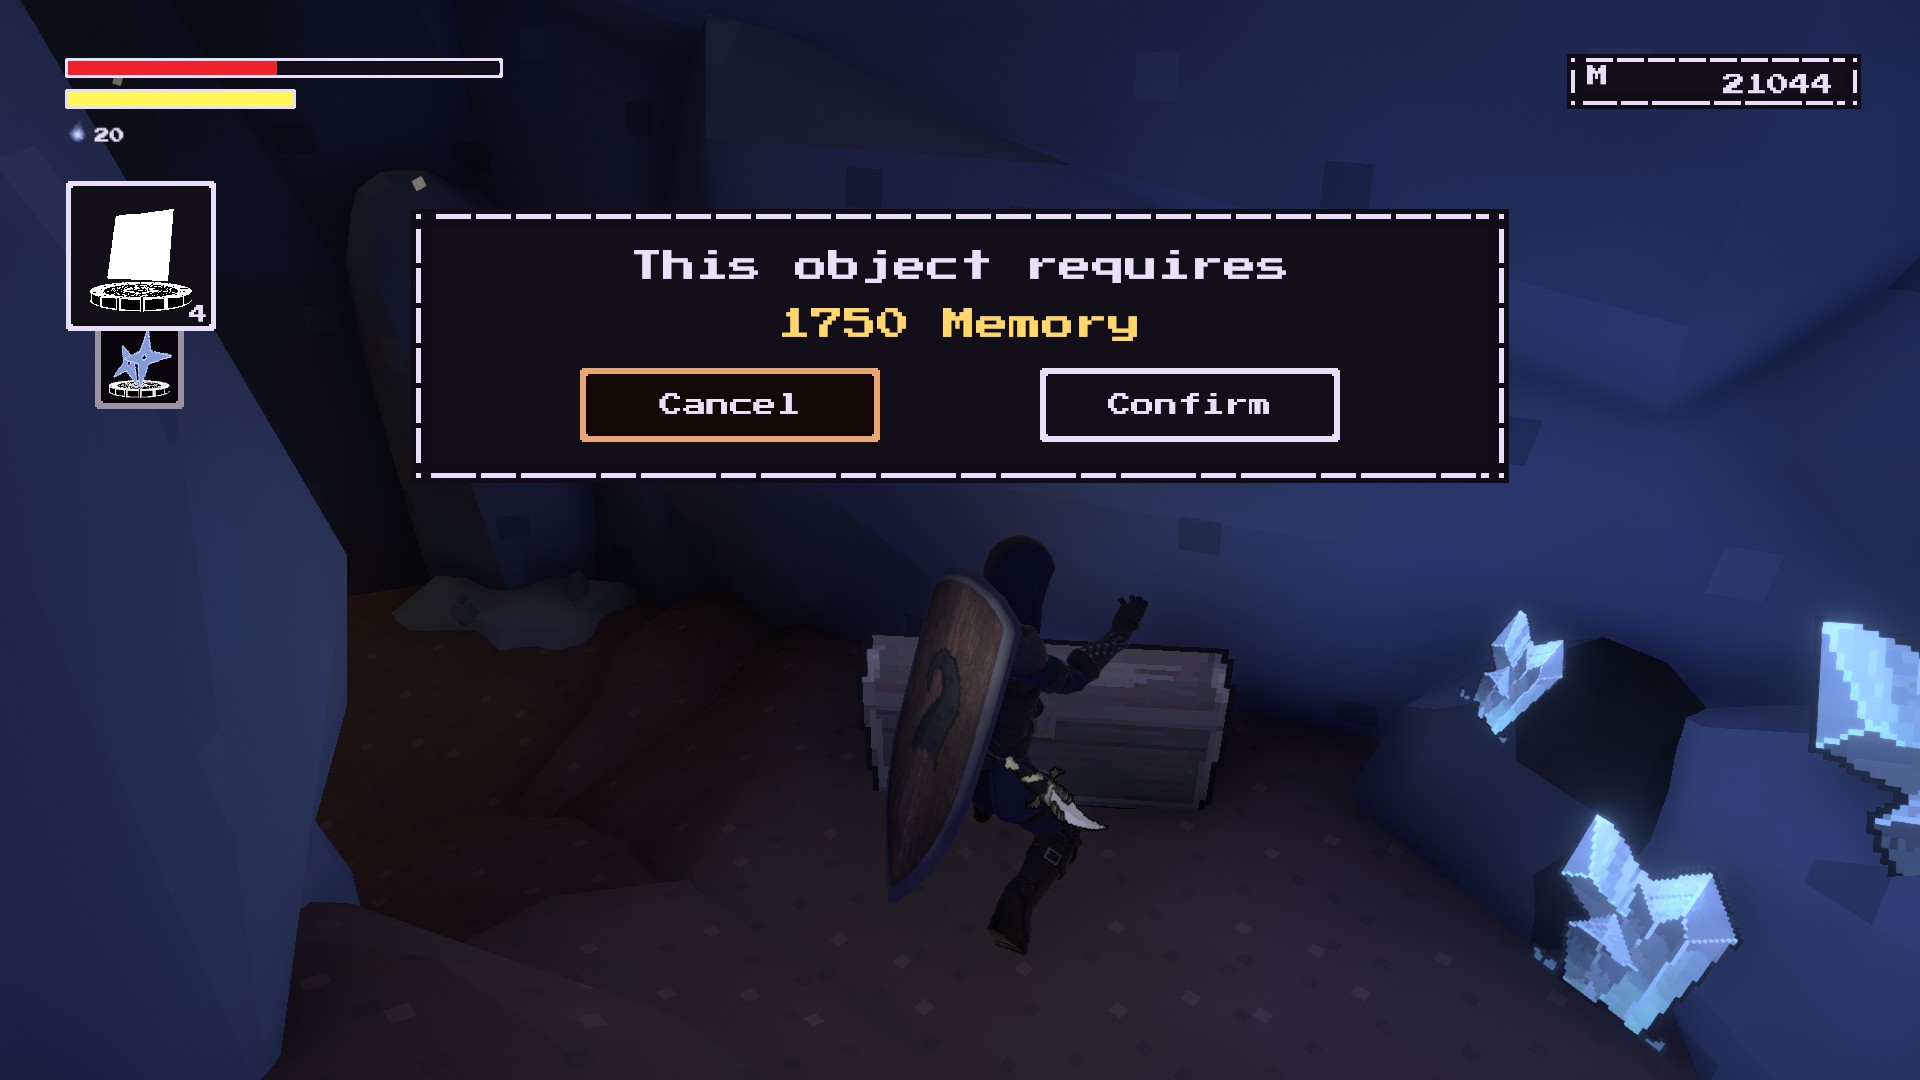
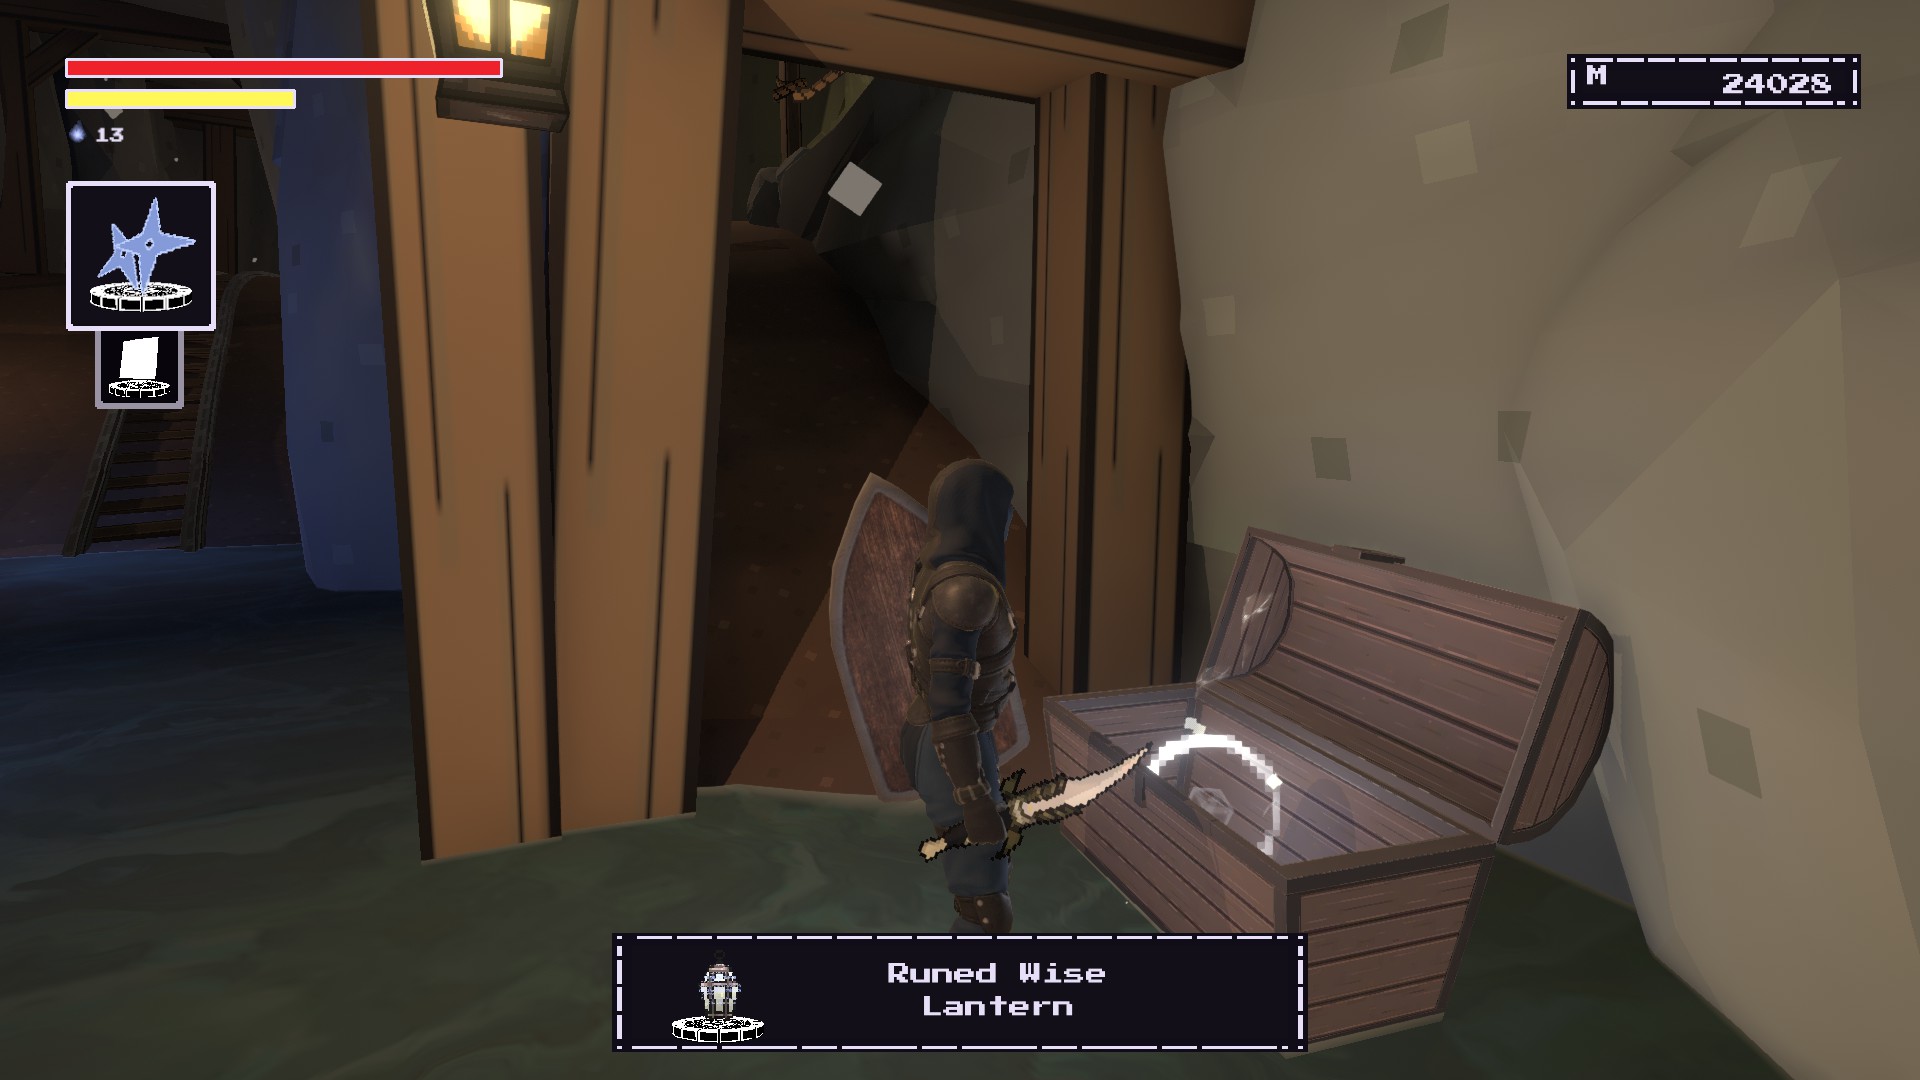
Wise Lantern (Runa)
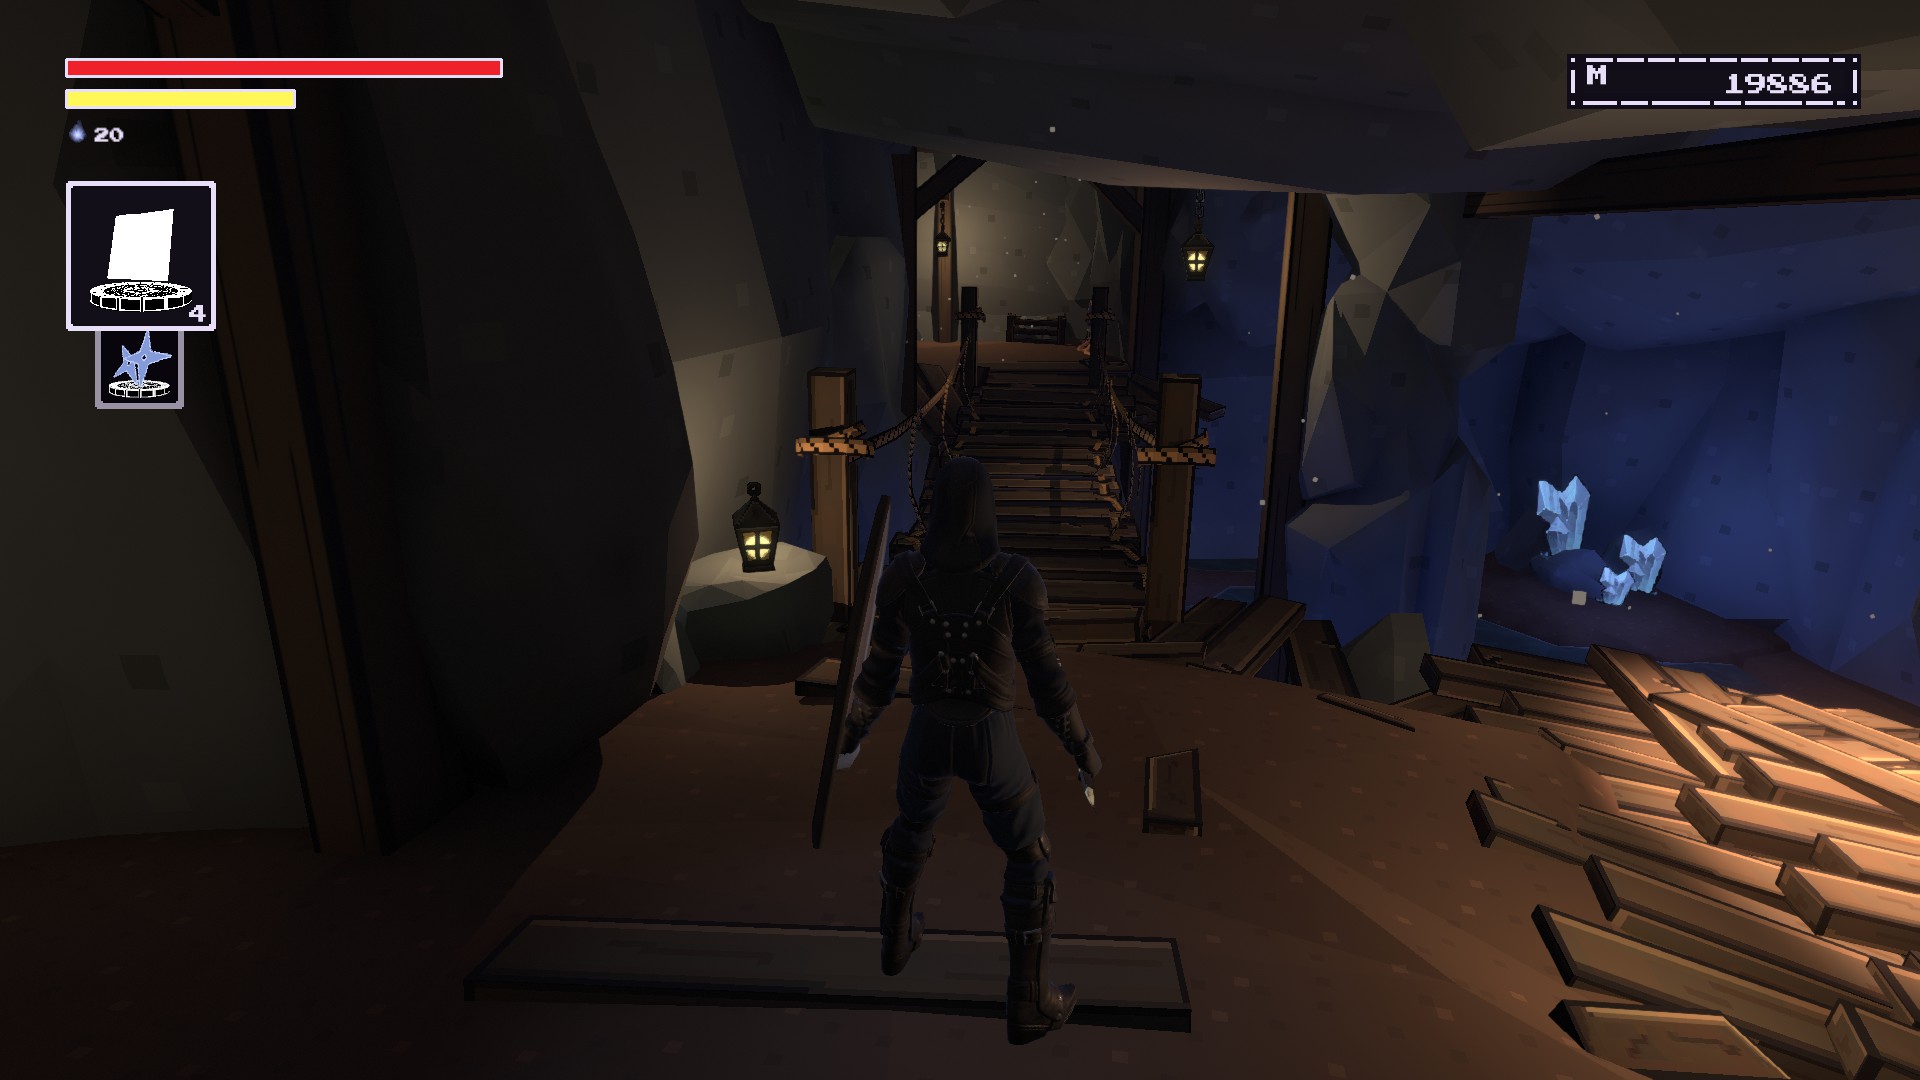
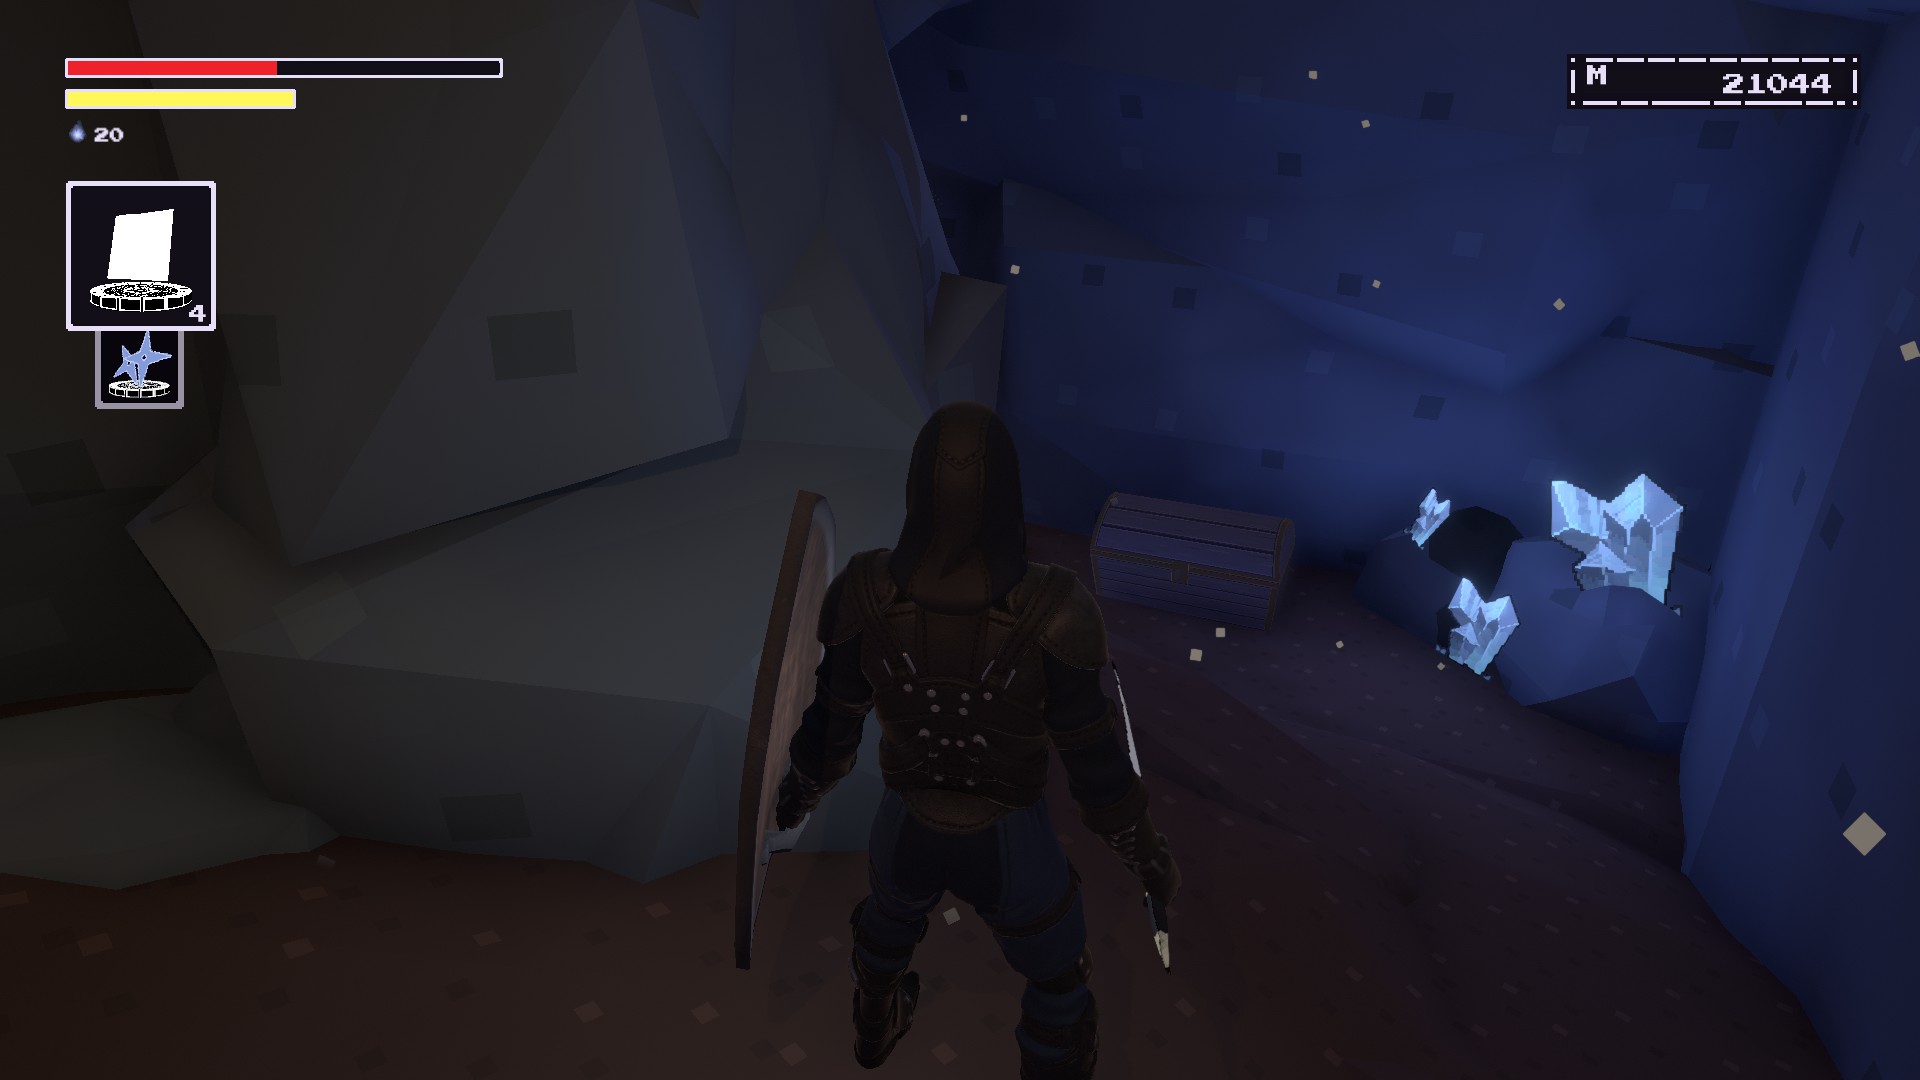
Continue through the Depths until you reach this forked tunnel.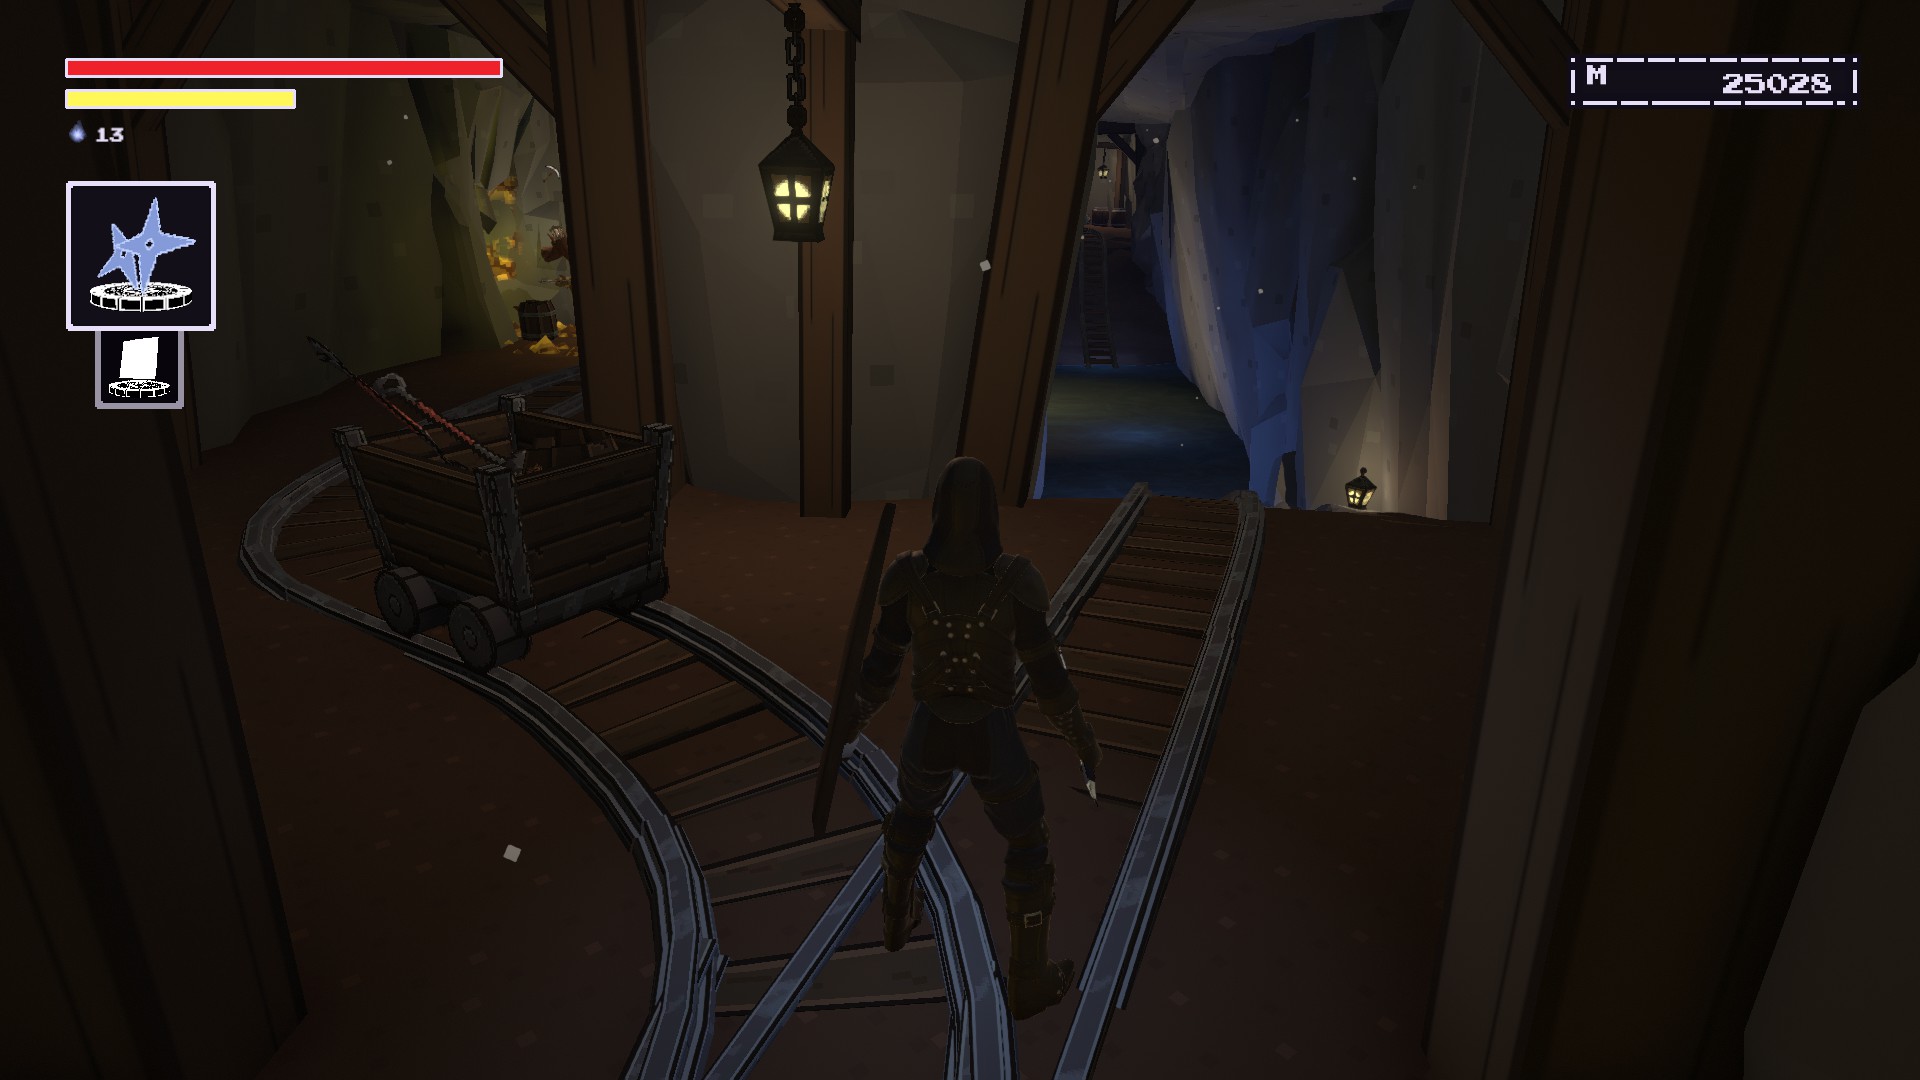
Take the path that’s slightly flooded and you should see a chest on your left.
You need to have the Uprez ability and 1000 memory to unlock.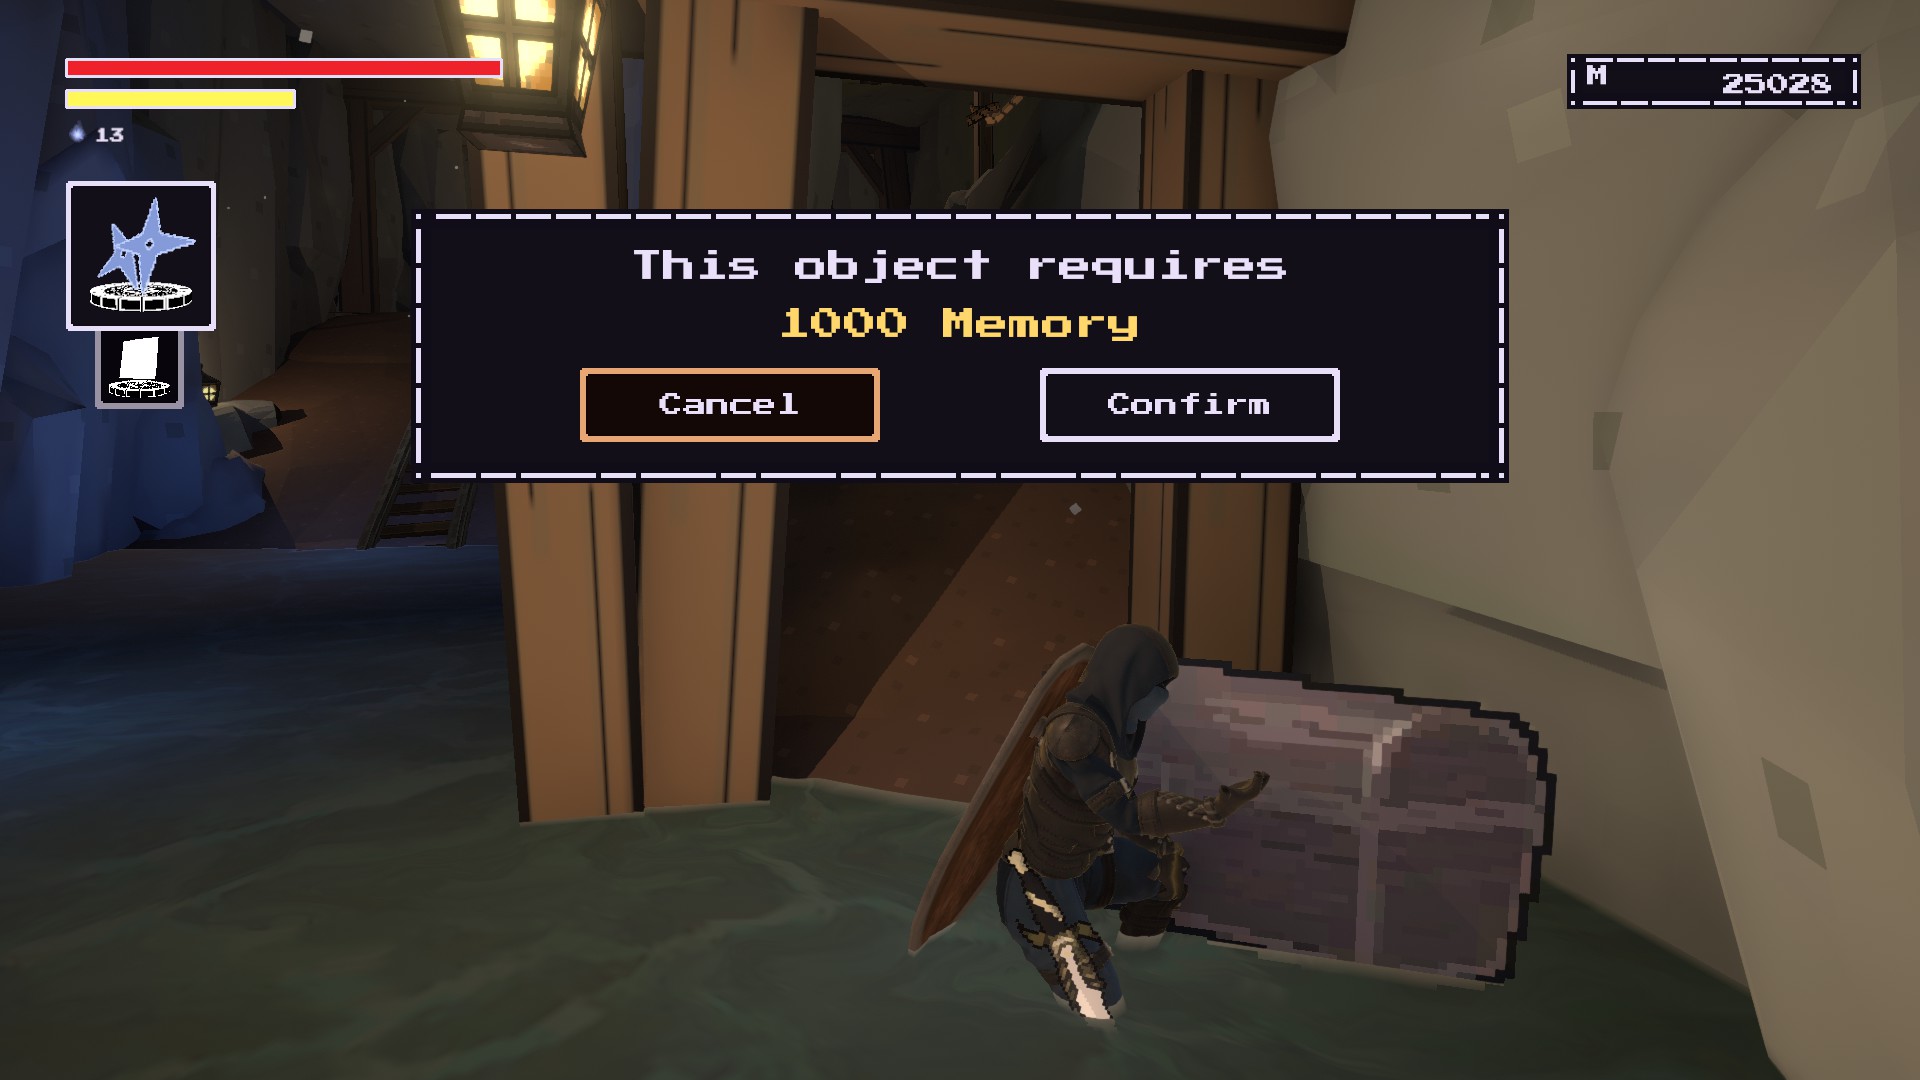
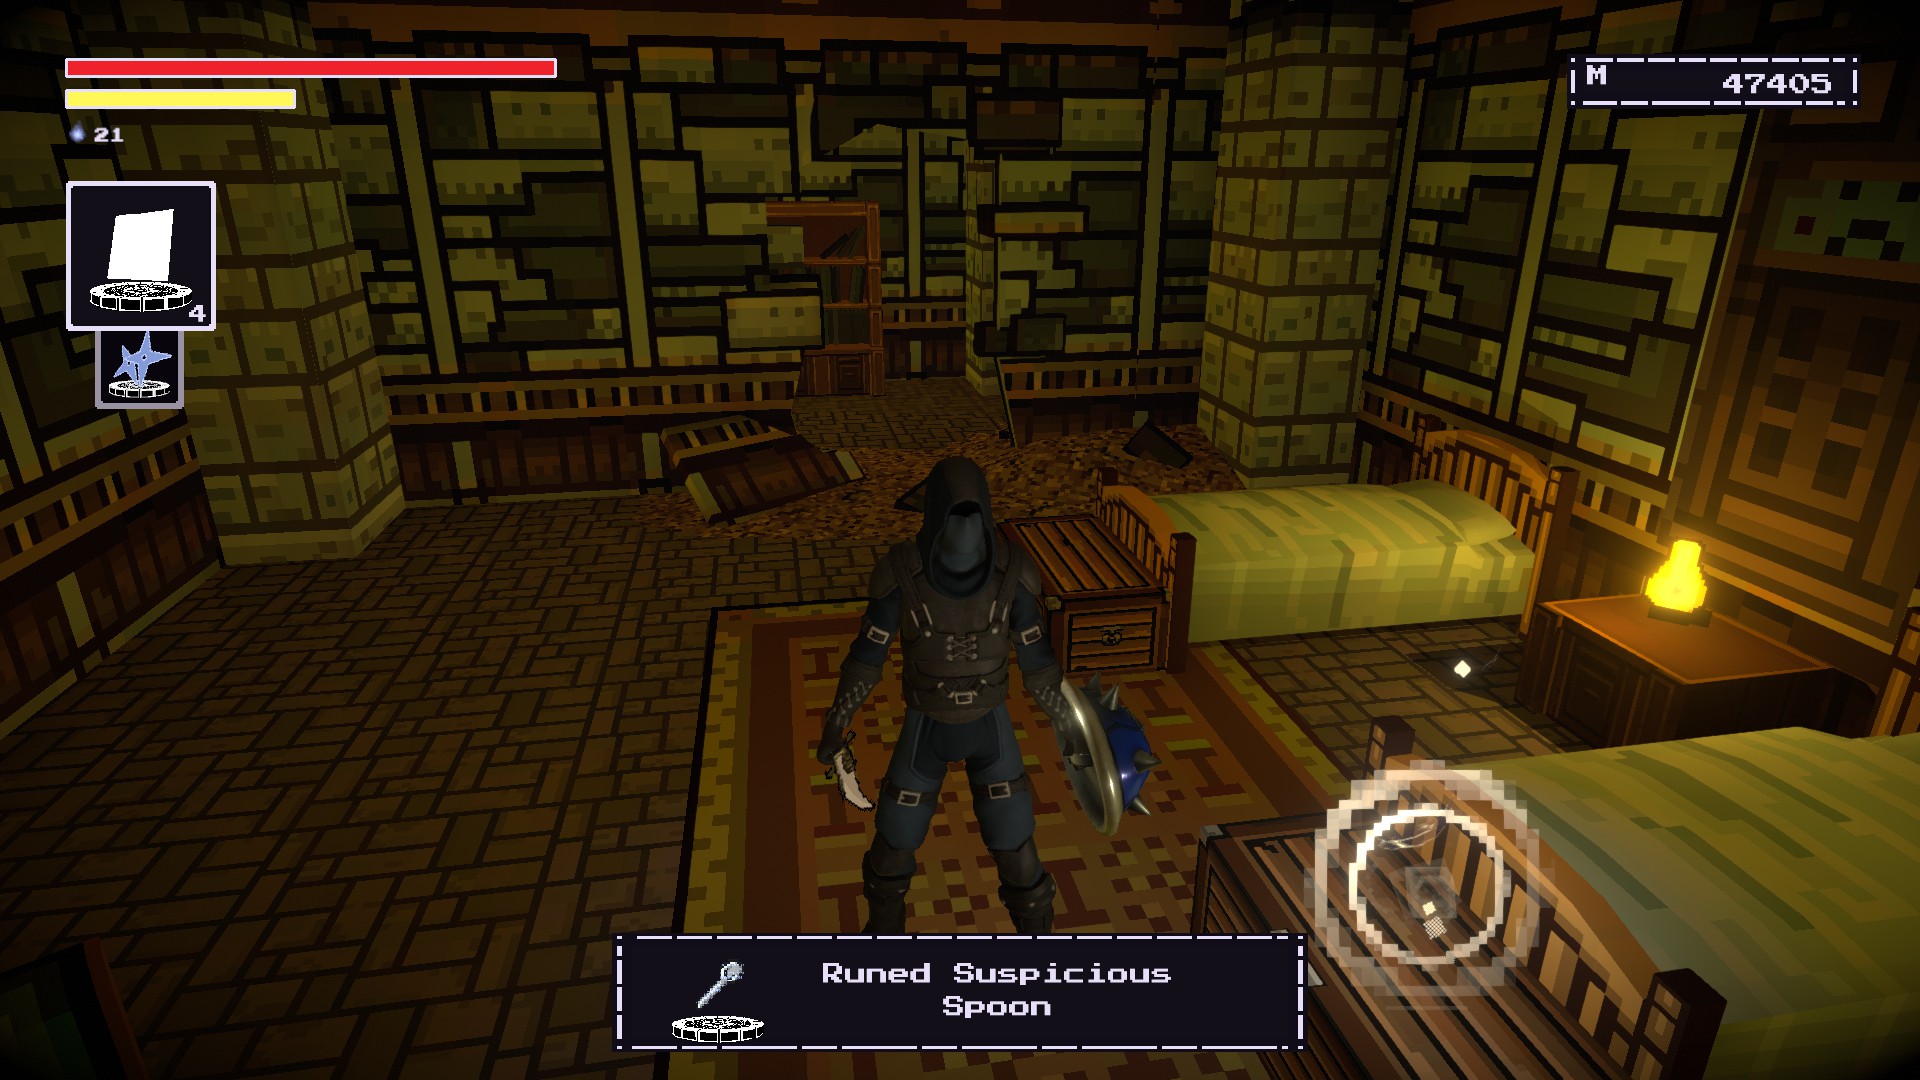
Suspicious Spoon (Runa)
Return to the Tavern in Oreshaft Village.
Make your way to the second floor and you should see this door on your left. You need to have Uprez and it costs like 500 memory to open it, but go through it.
There will be a broken wallthat leads into another room. Go through it and collect your rune here.

Introspective Purse (Runa)

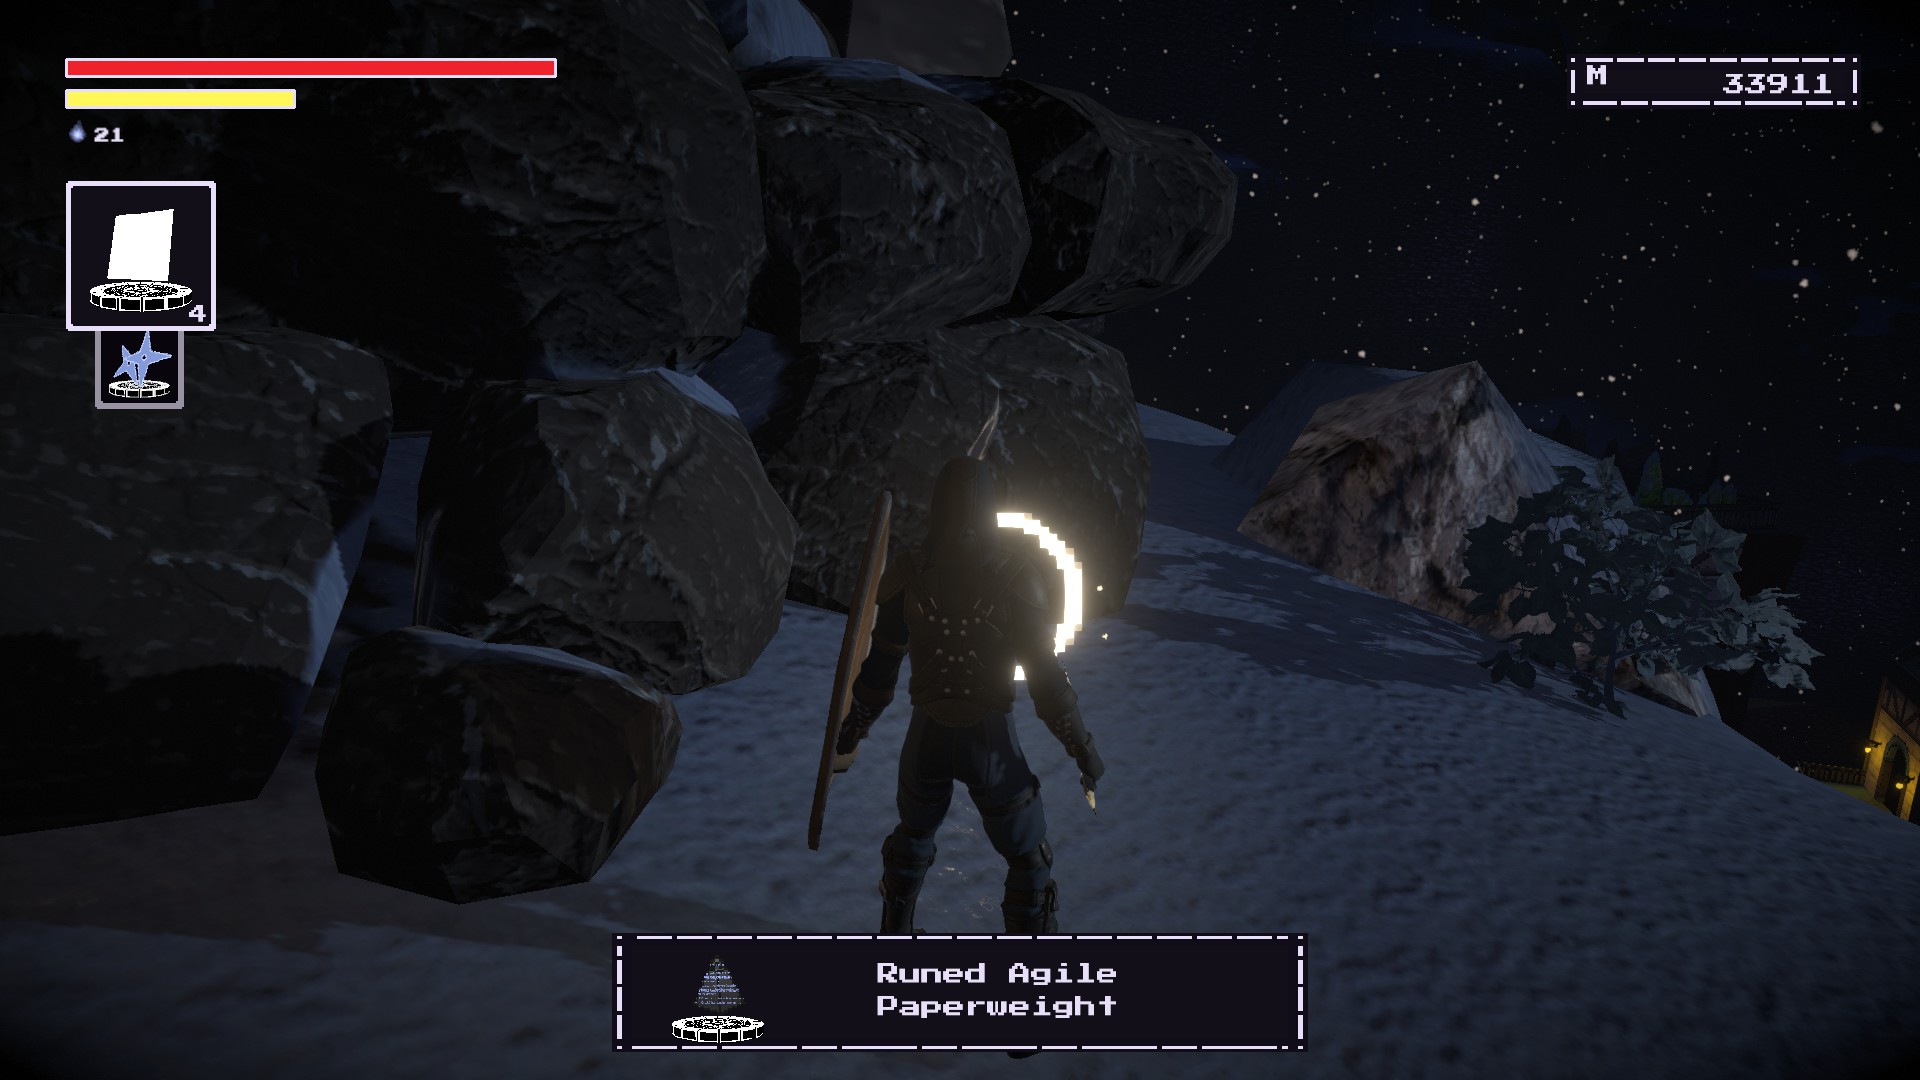
Agile Paperweight (Runa)
From the Kitchen Beacon, take the elevator up to the Player Housing area. If you don’t know the area, it should be the area that is right before the Gnom boss fight. The rune will be near a pile of rocks near the cliff edge.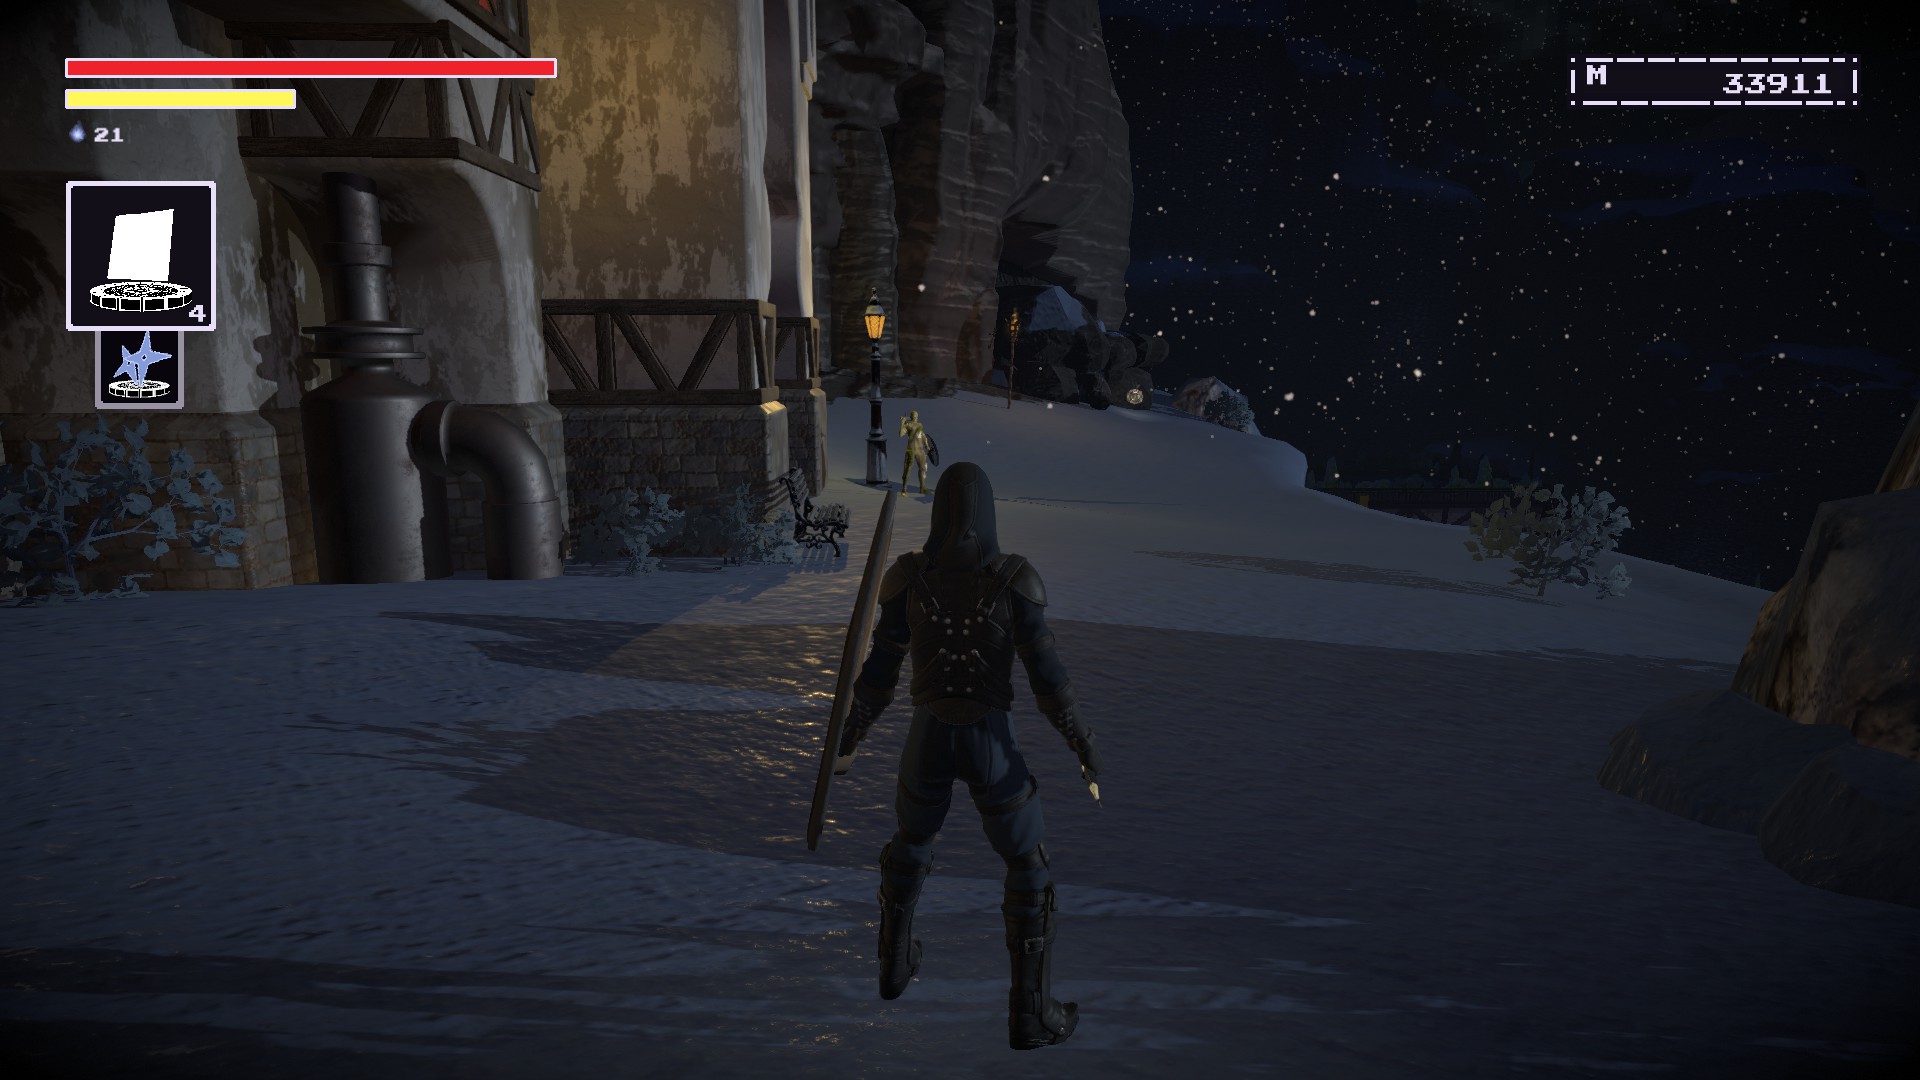
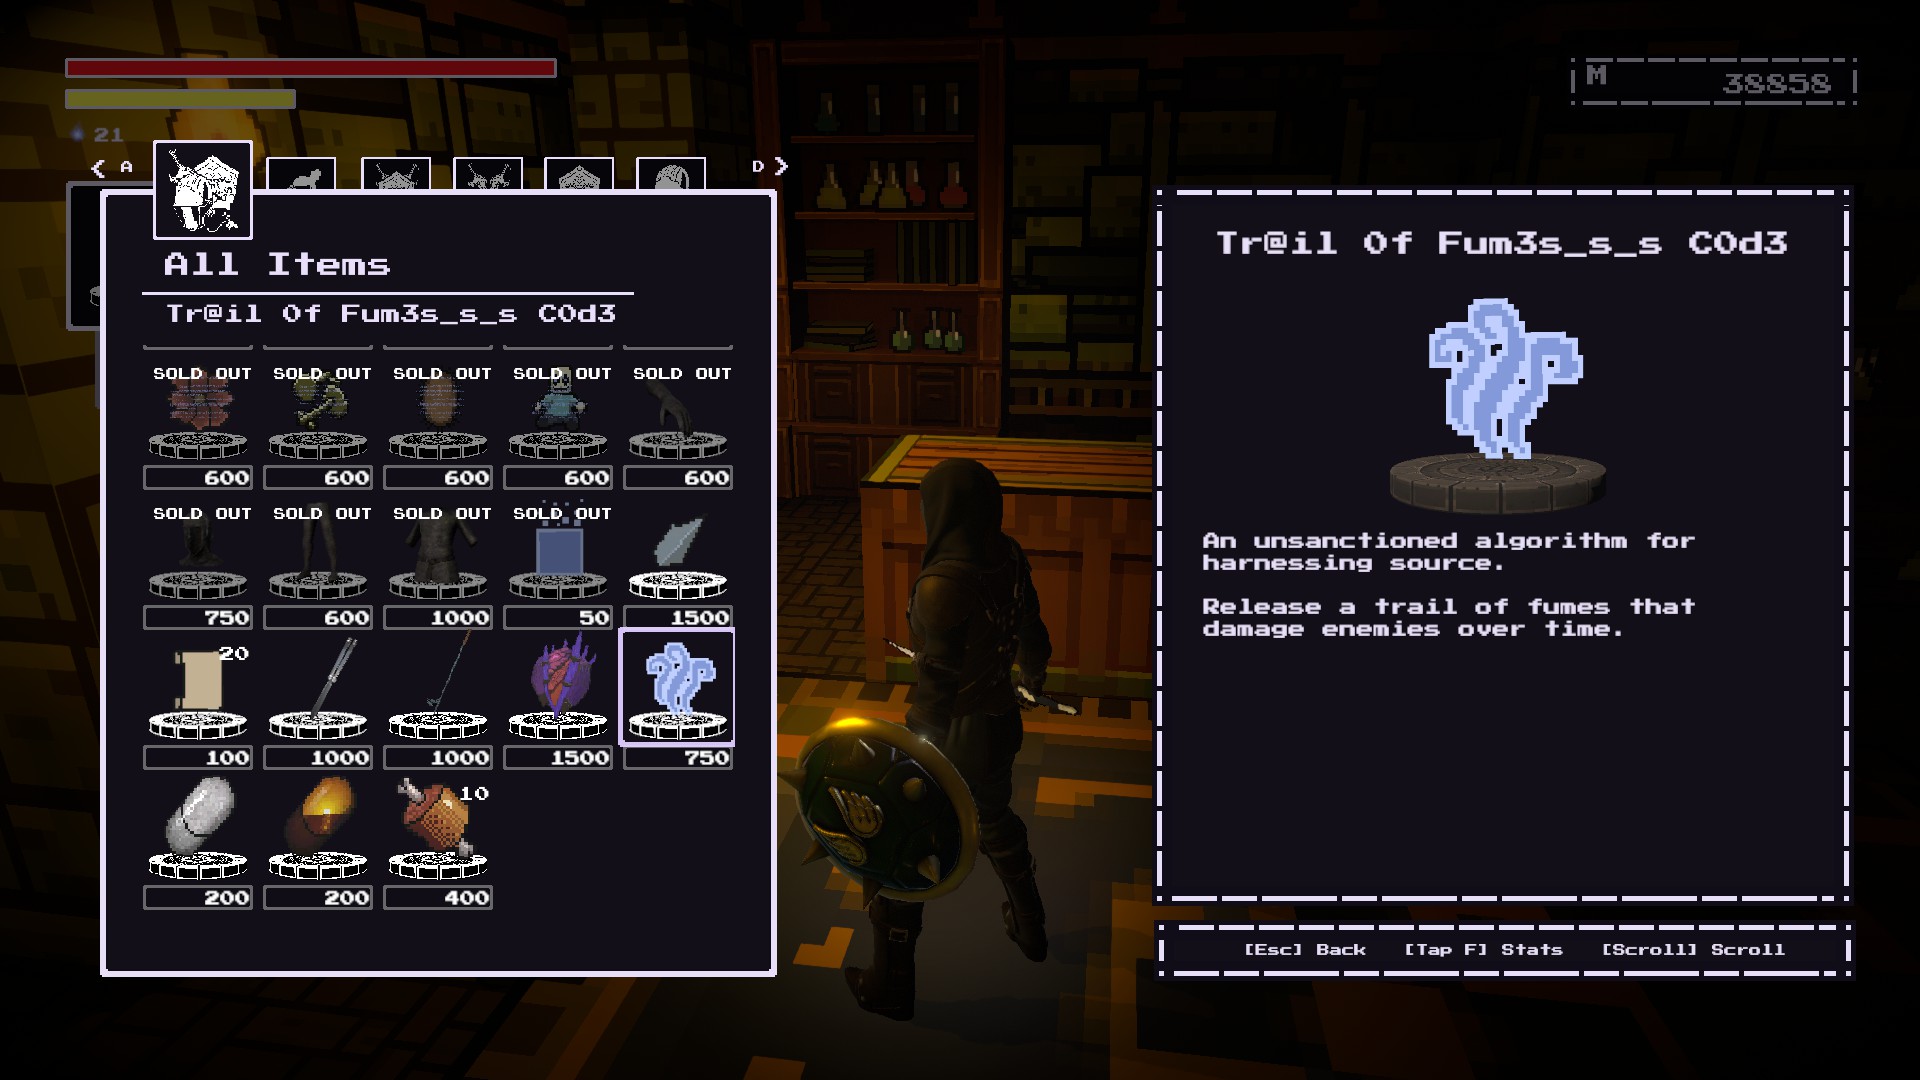
Trail of Fumes Code*** (Soletrar)
You’ll need to give the Easymaker Key from the Quest Reward Vault to the Merchant.It costs 750 memory to purchase.
Overflow Nova Code (Soletrar)
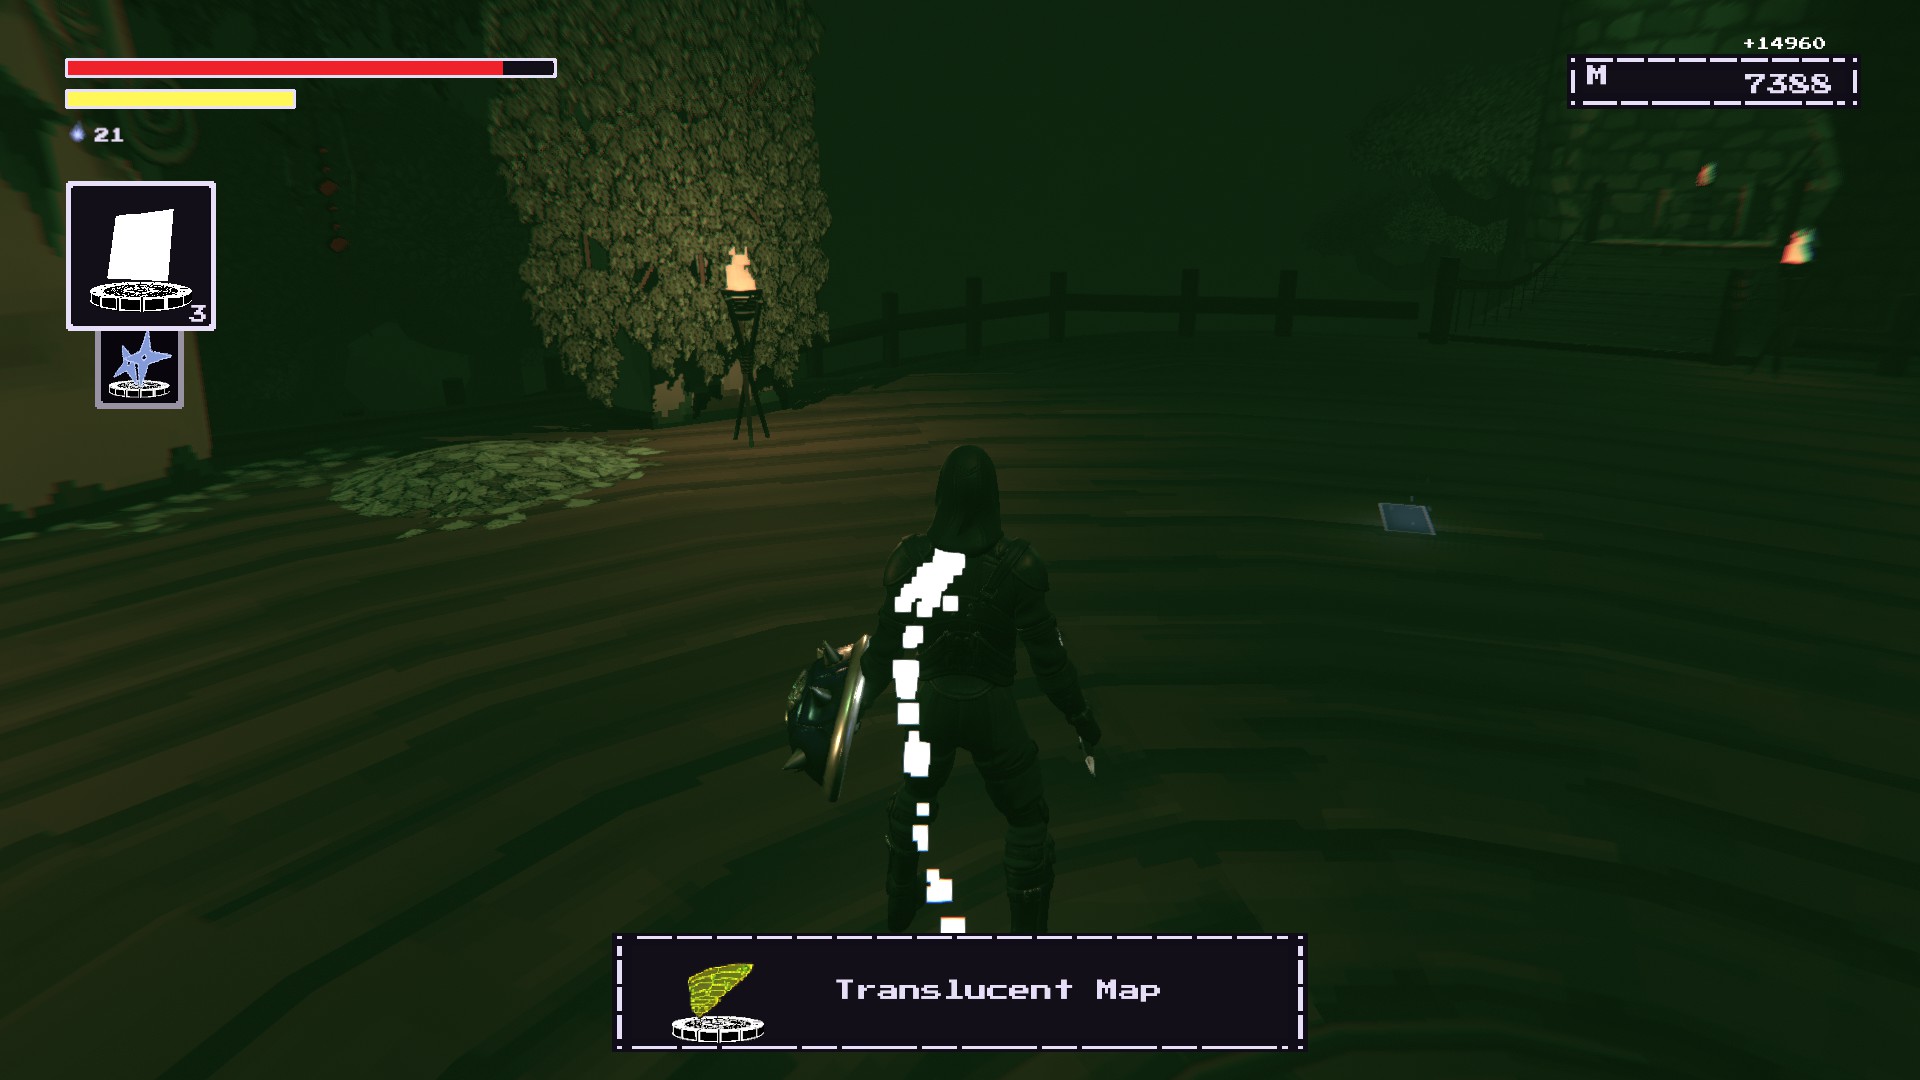
At the beginning of Warlock’s Wilds, take the left path up the hill after you’ve activated the first crystal rod.
The spell should be at the top of the hill.

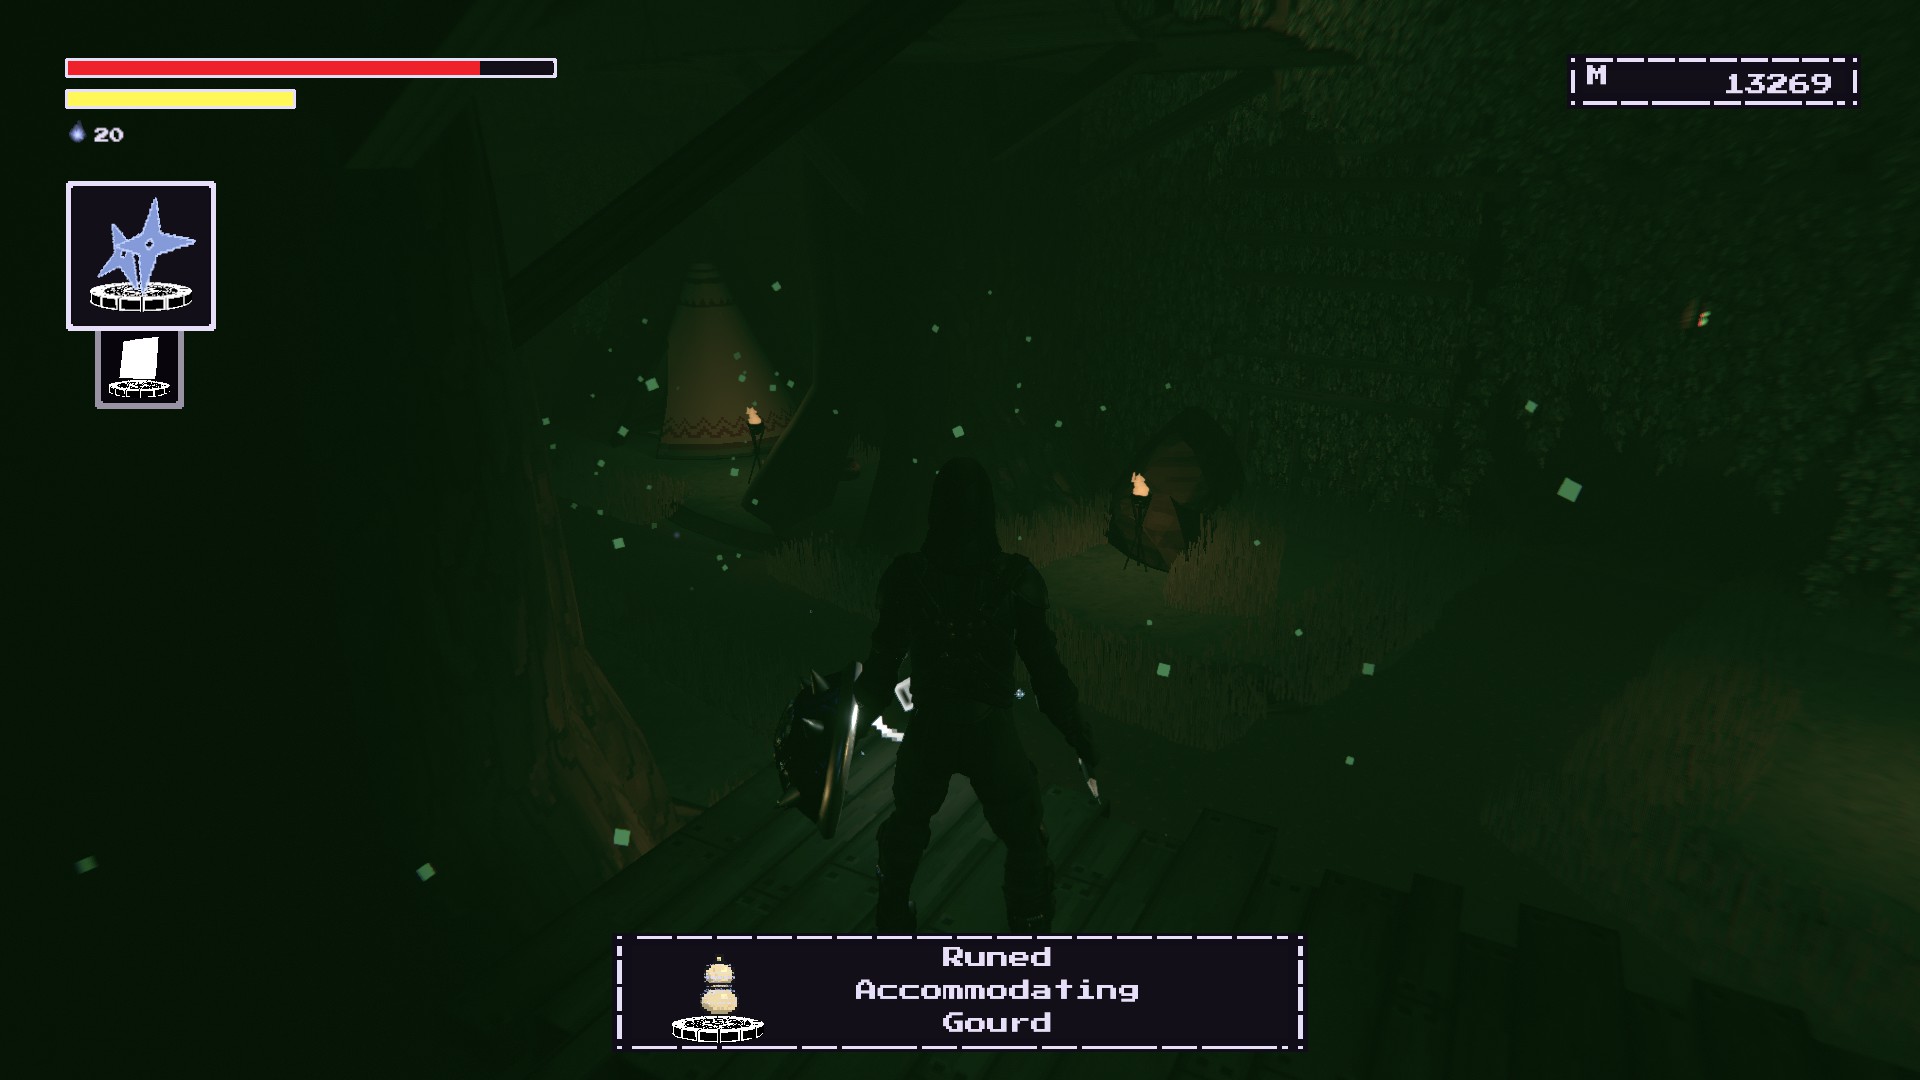
Accommodating Gourd (Runa)
At the Warlock’s Wilds, go to the Village area.
Climb up through the village platforms until you reach this bridge.
You’ll want to drop onto the platform to collect this rune.
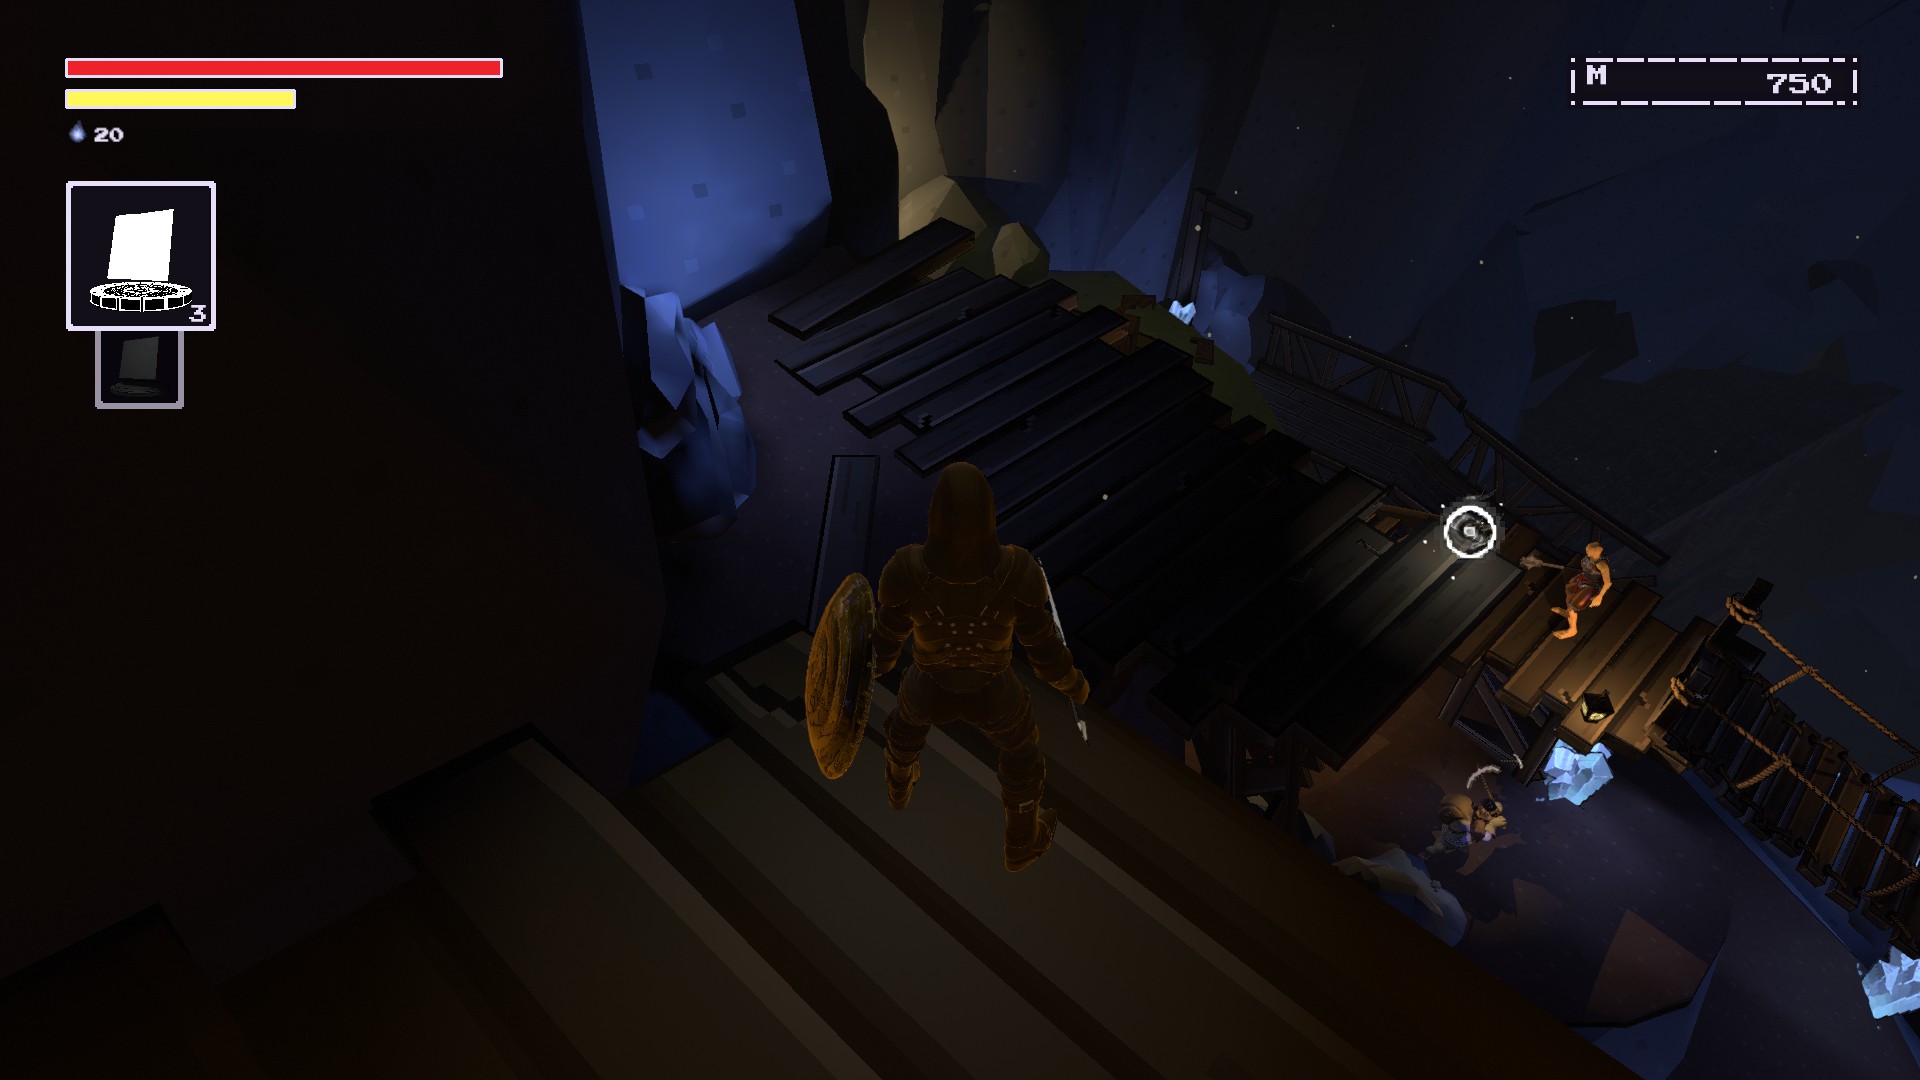
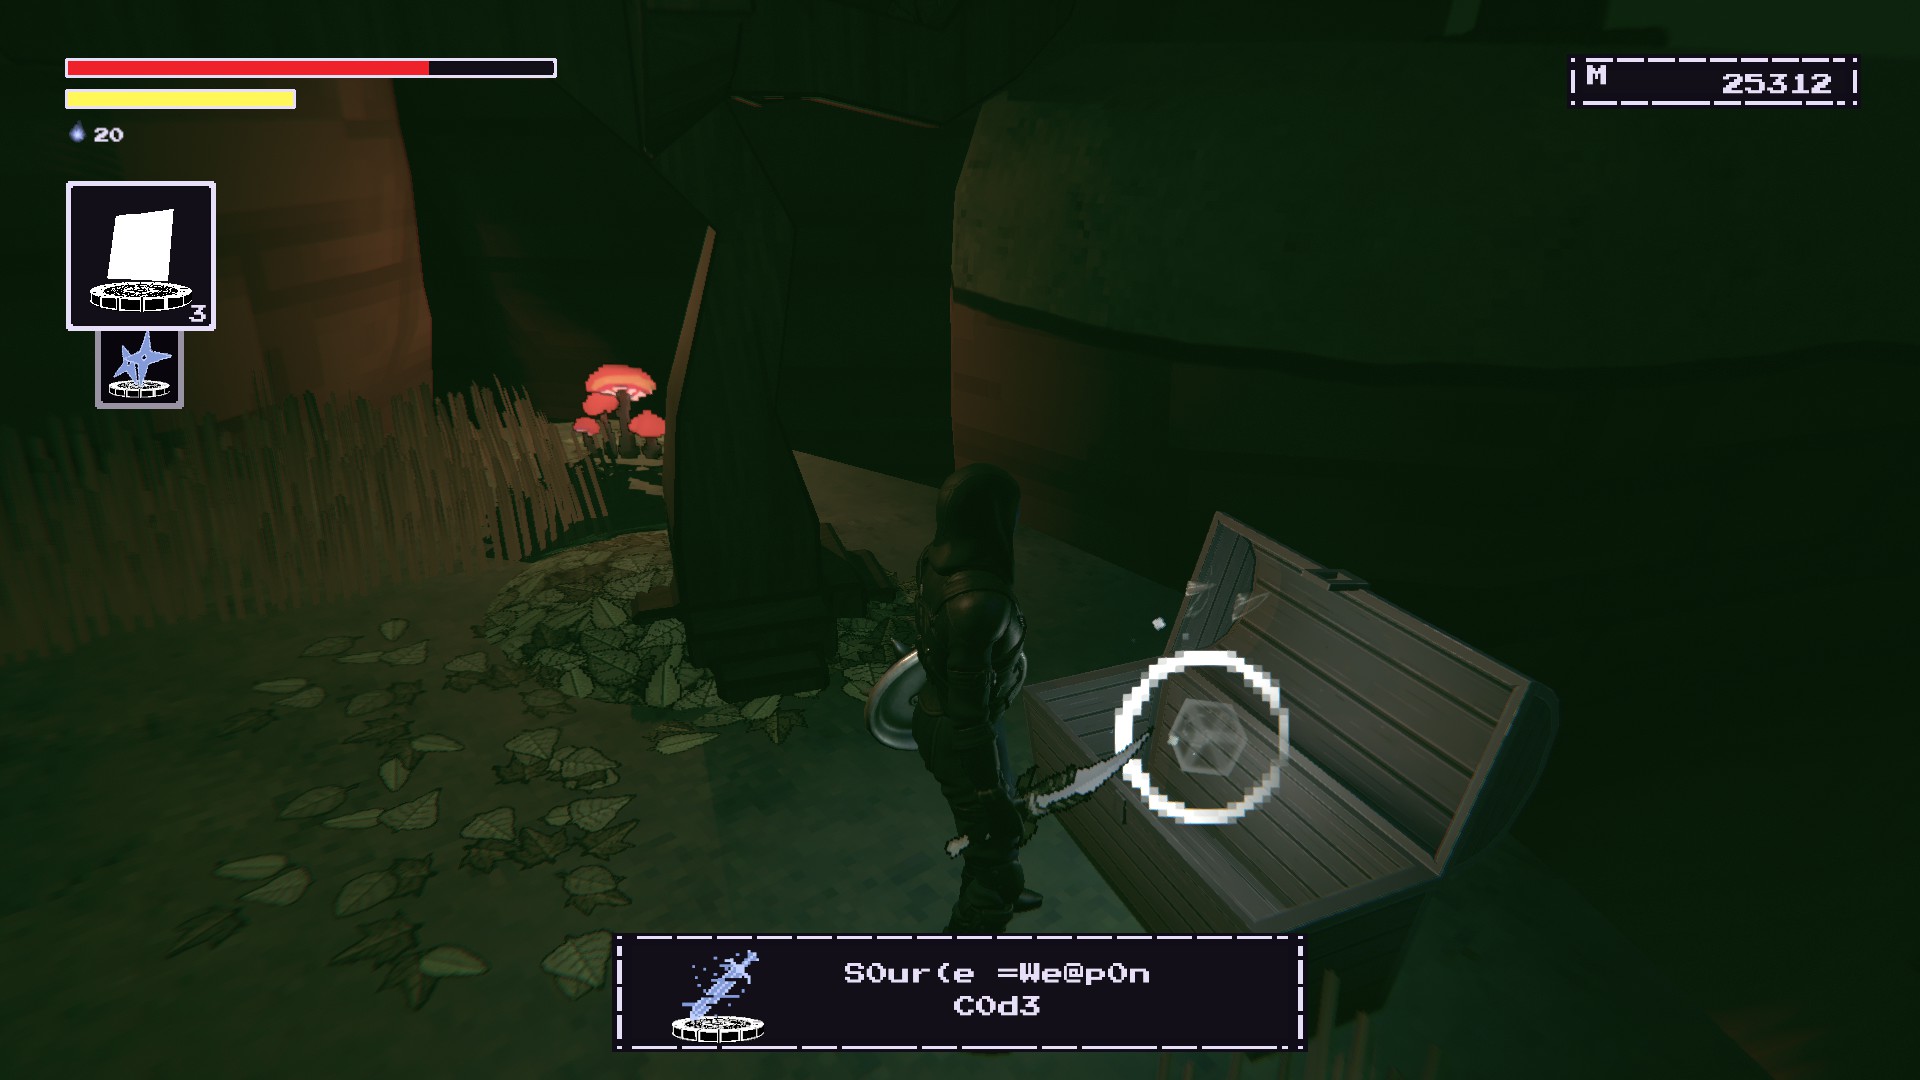
Source Weapon Code (Soletrar)
At the Warlock’s Wilds, go to this area shown in the picture below.
Go up the path into another log that’s infested with two skeletons and a sneaky Wild One throwing knives from a tree.
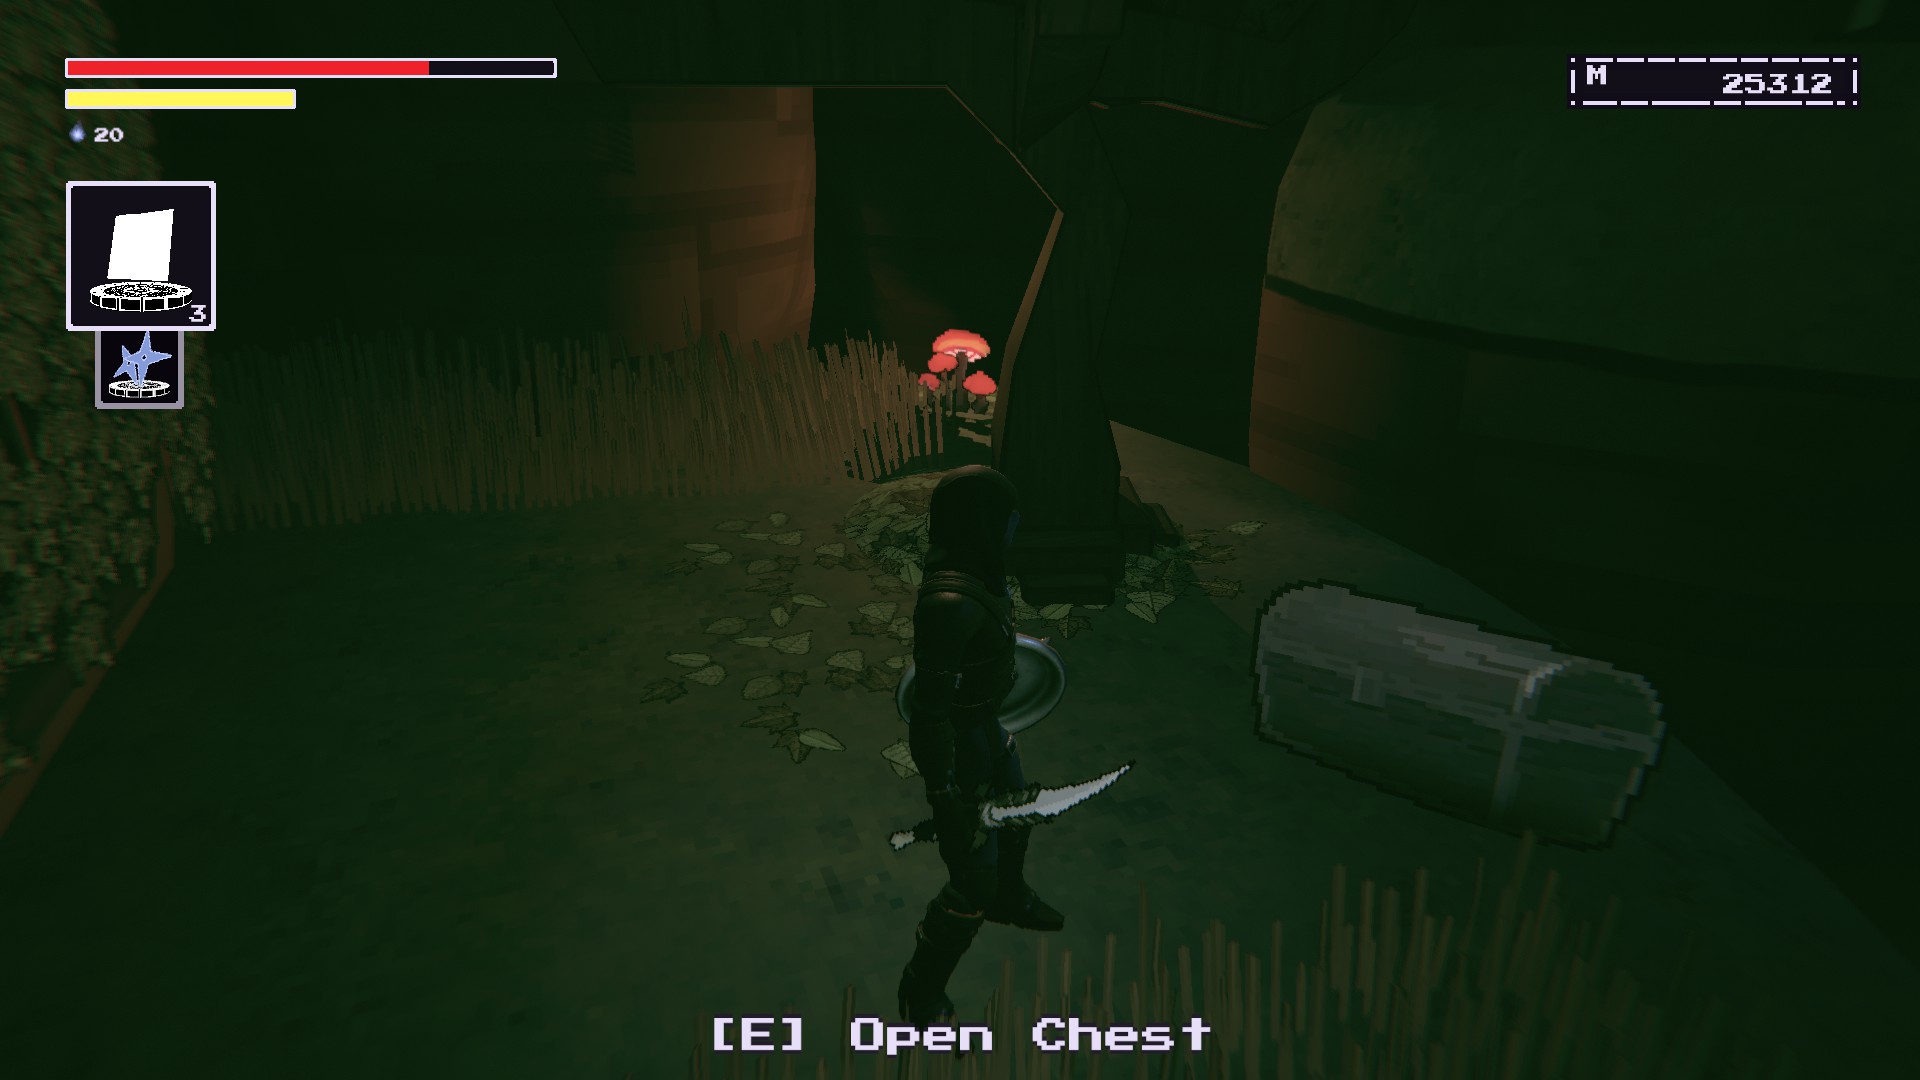
There should be a chest besides the tree that contains this spell.
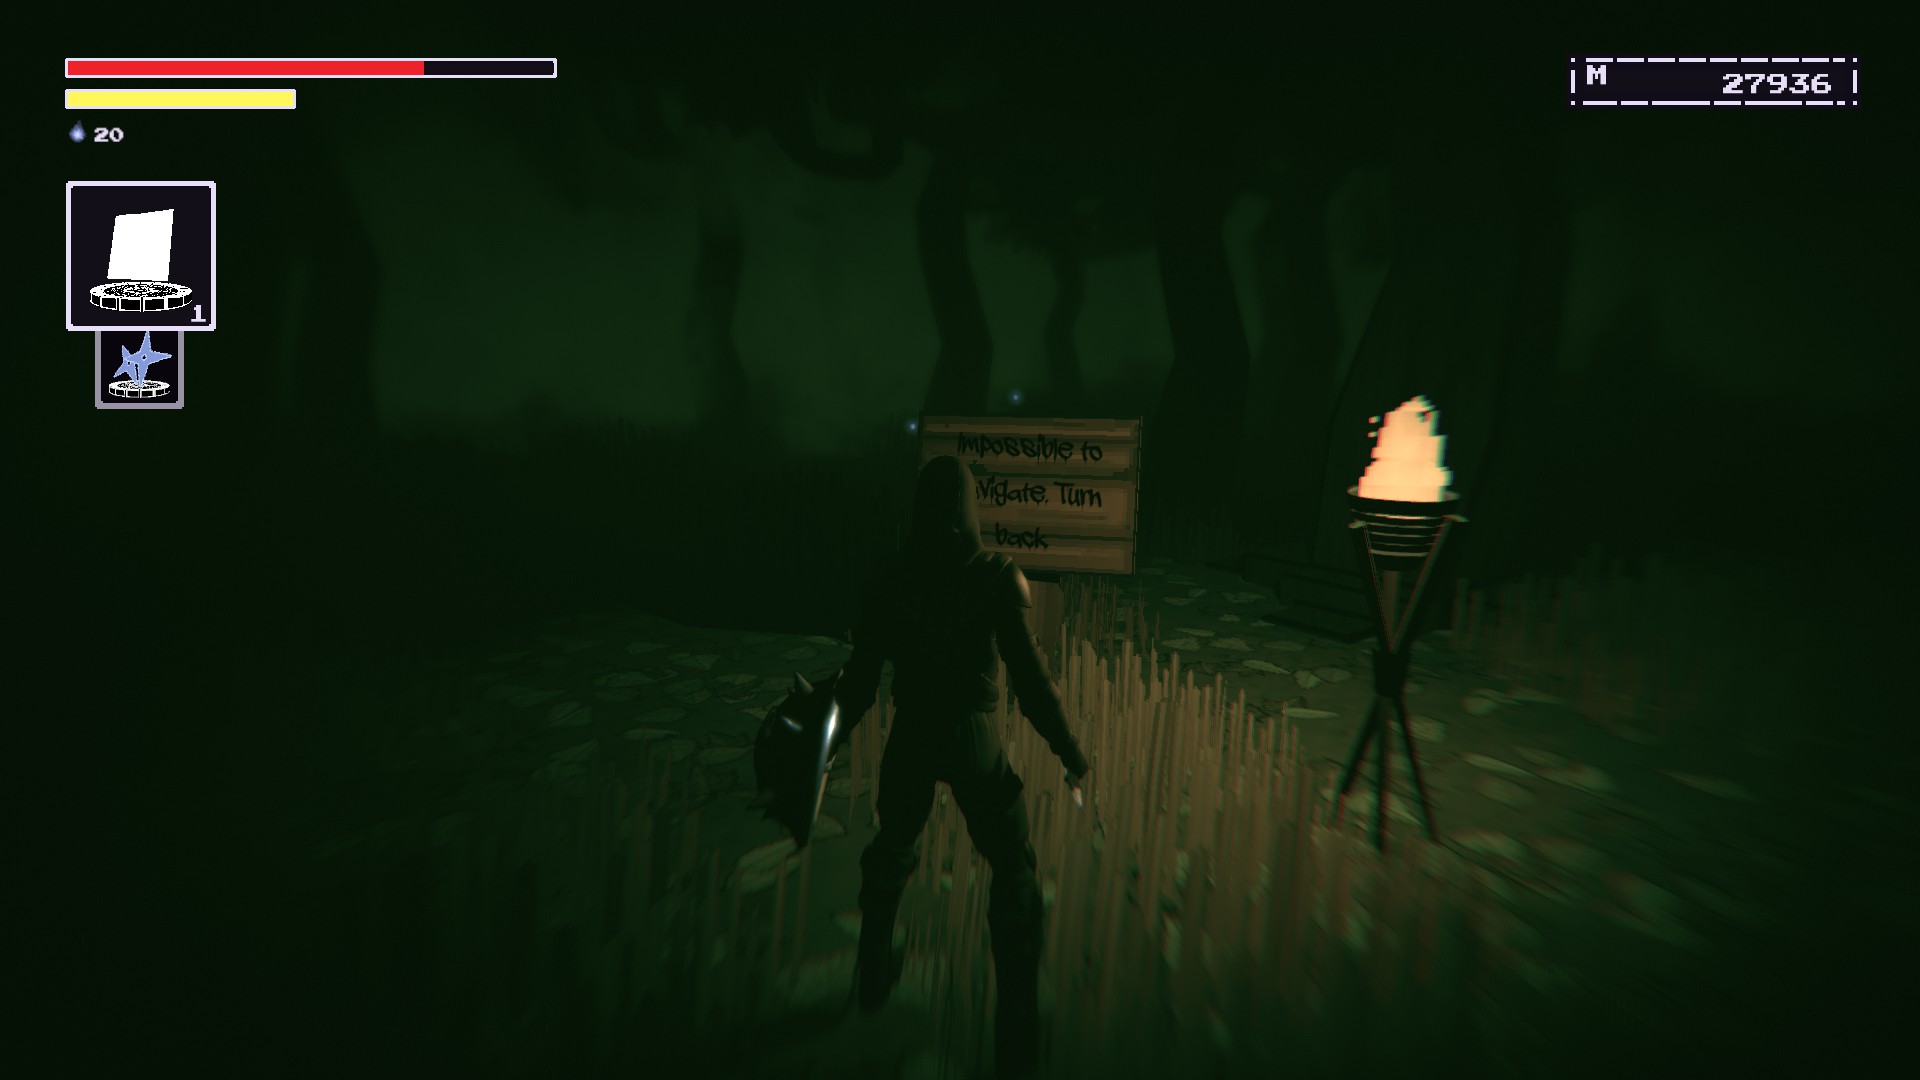
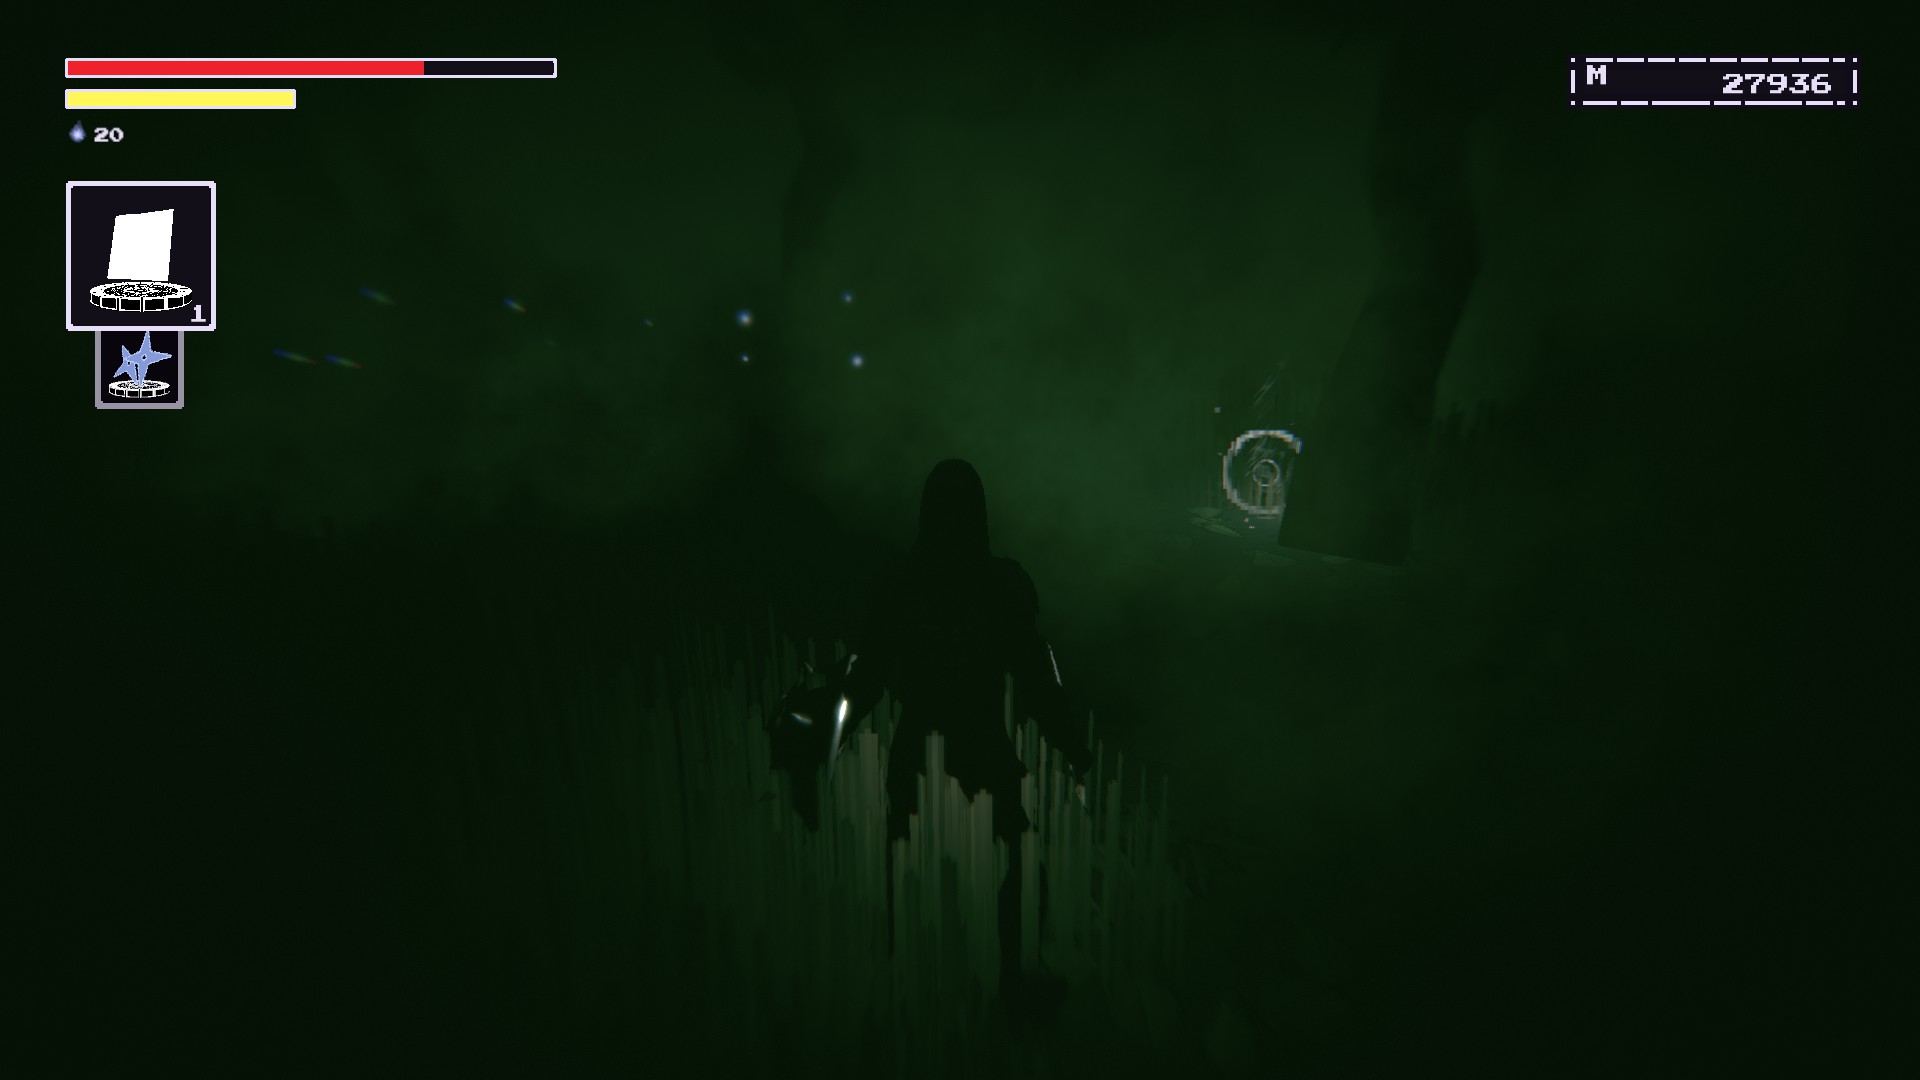
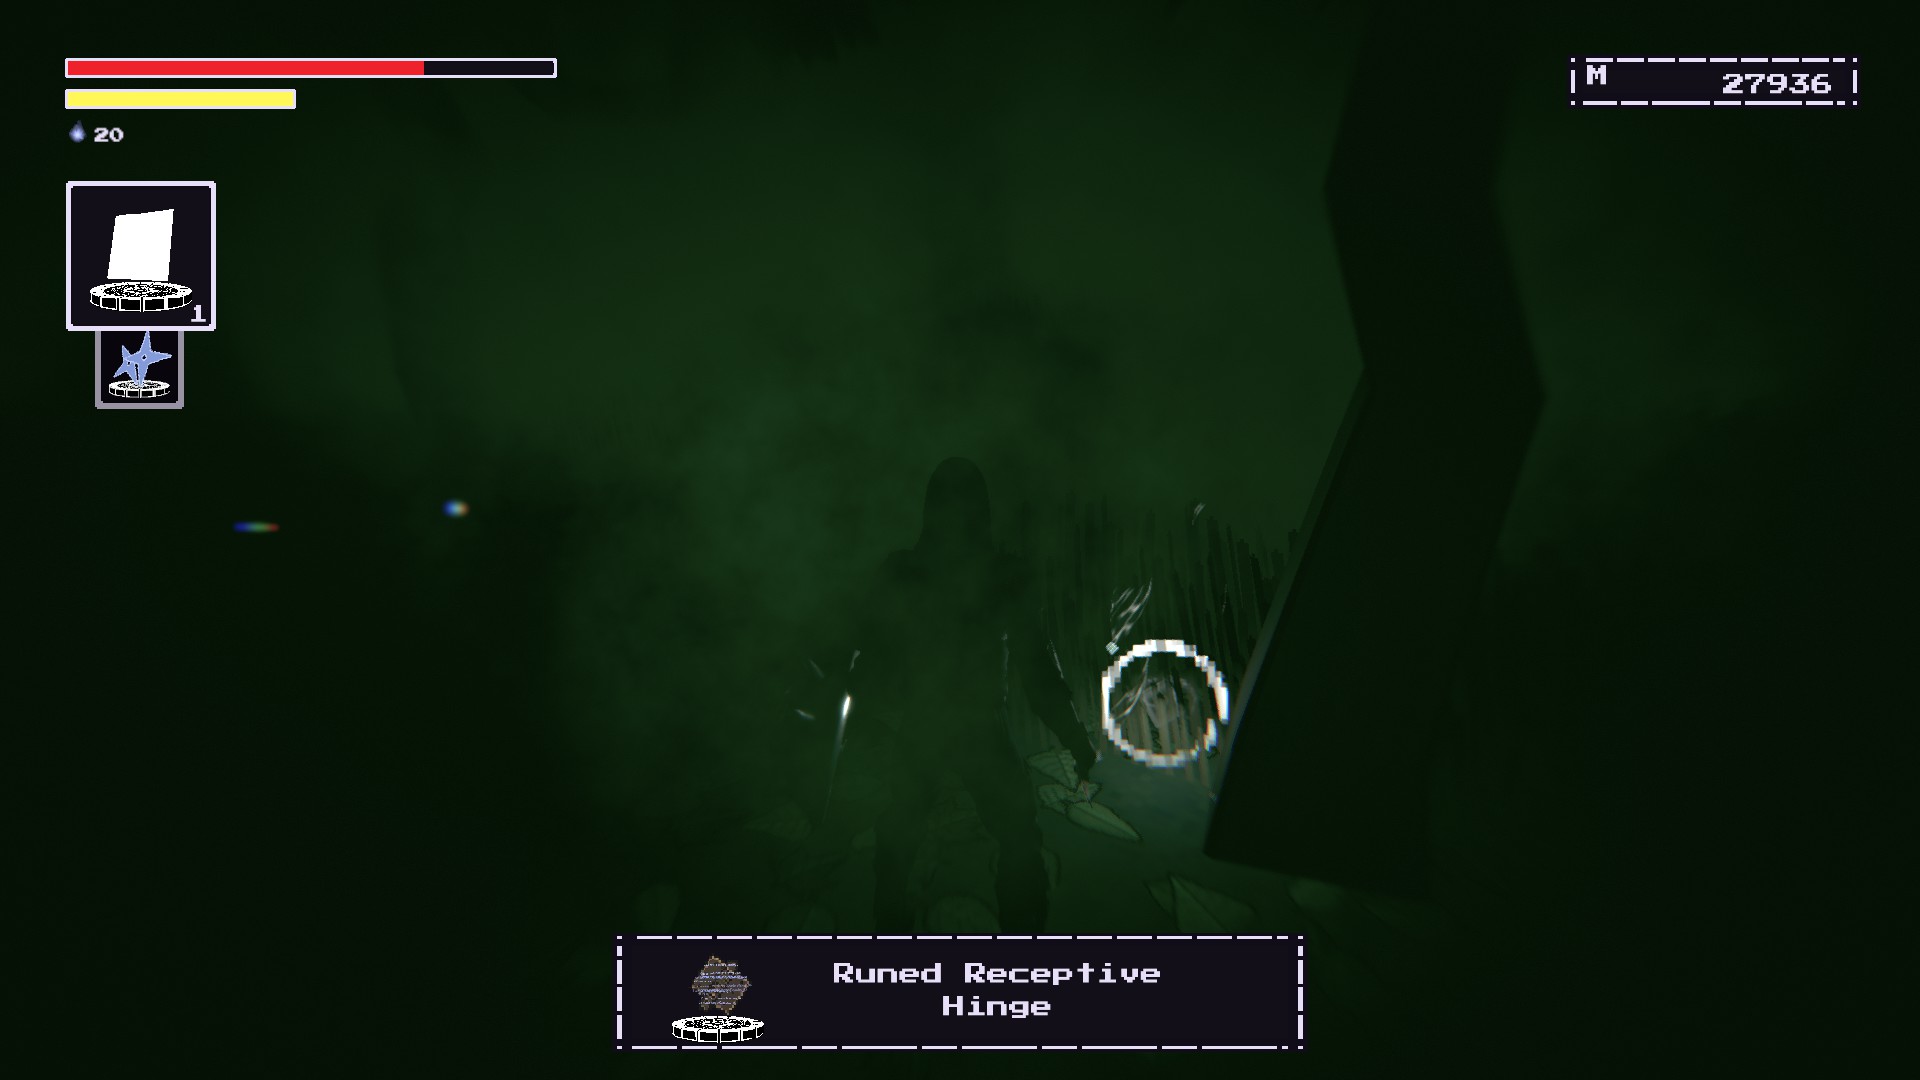
Receptive Hinge (Runa)
At Warlock’s Wilds, go to this stonehedge area that’s near the 3rd crystal rod. Kill the Navigator to receive an item that’s needed to traverse the foggy maze.

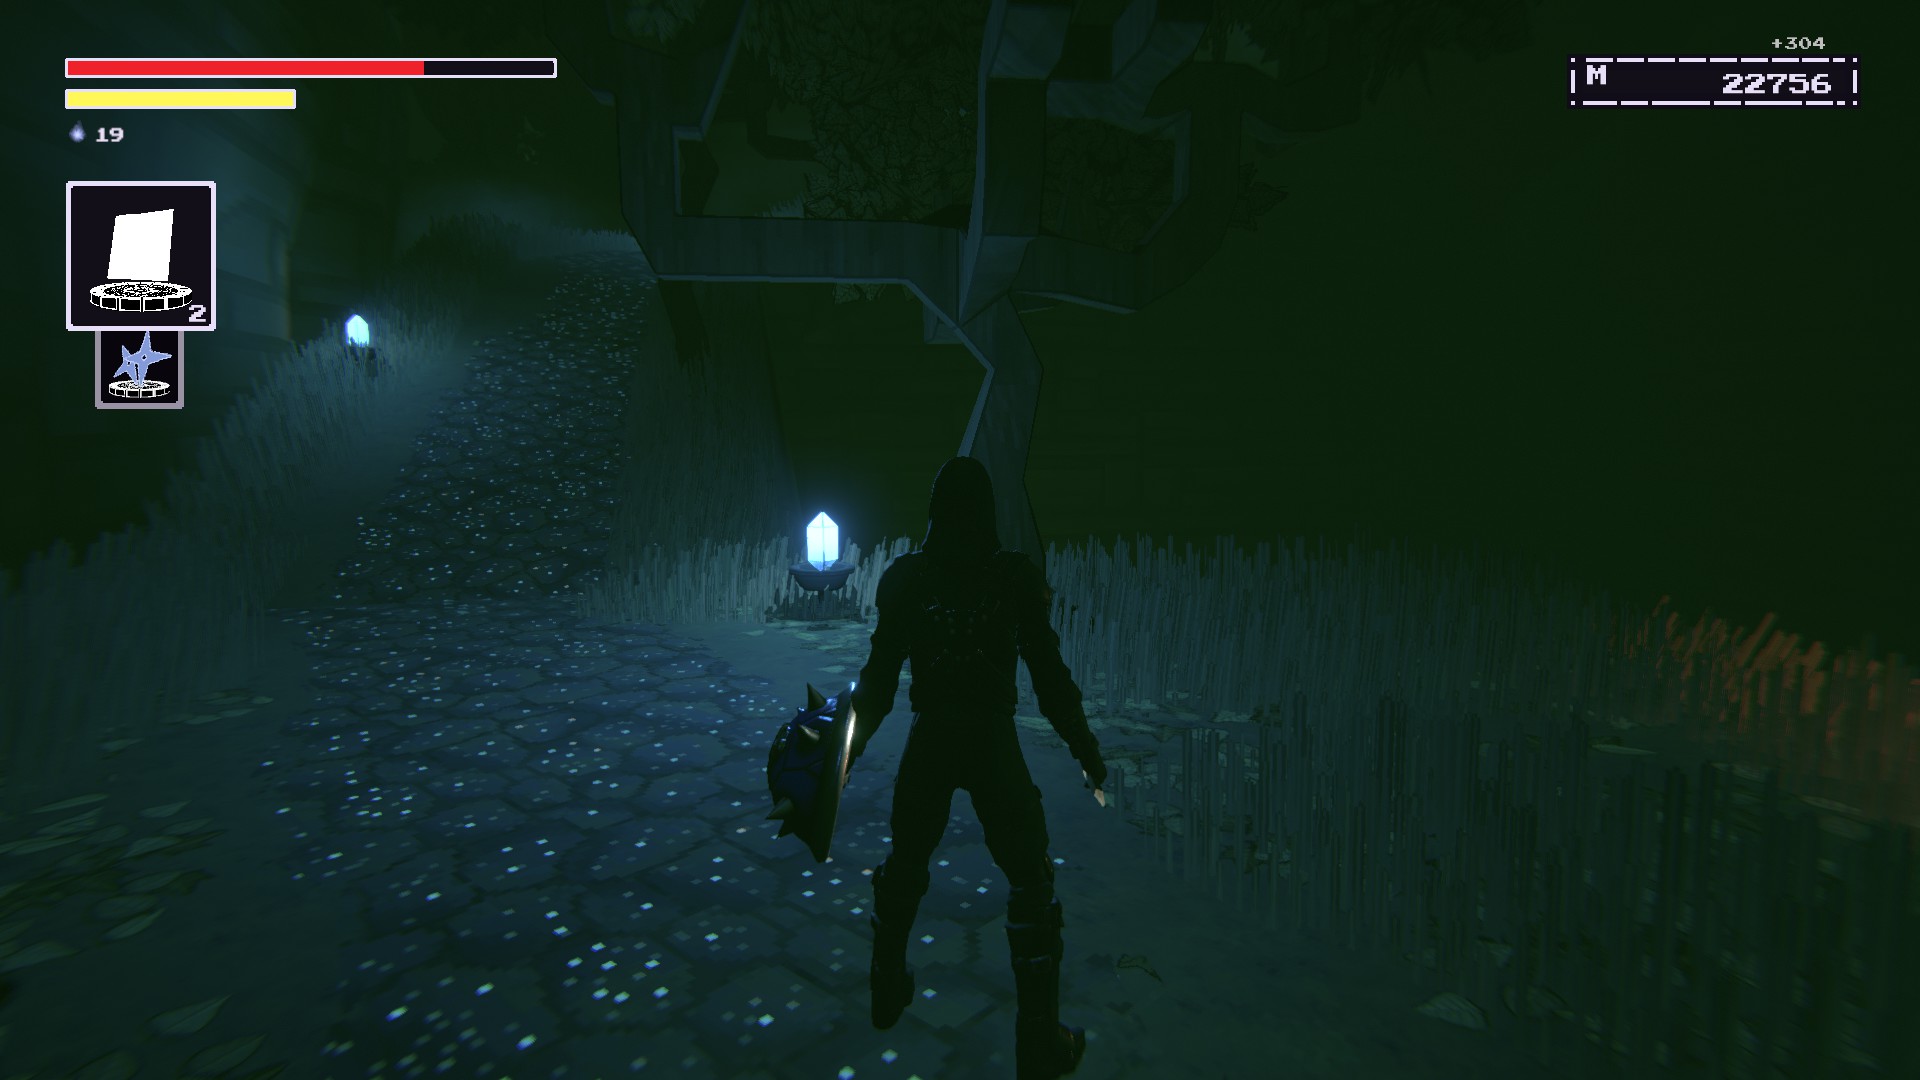
If you don’t know how to enter the foggy maze, look for this log and take the downward path inside to reach the start of the foggy maze.
Follow the glimmering wisps and the rune should be on the path.
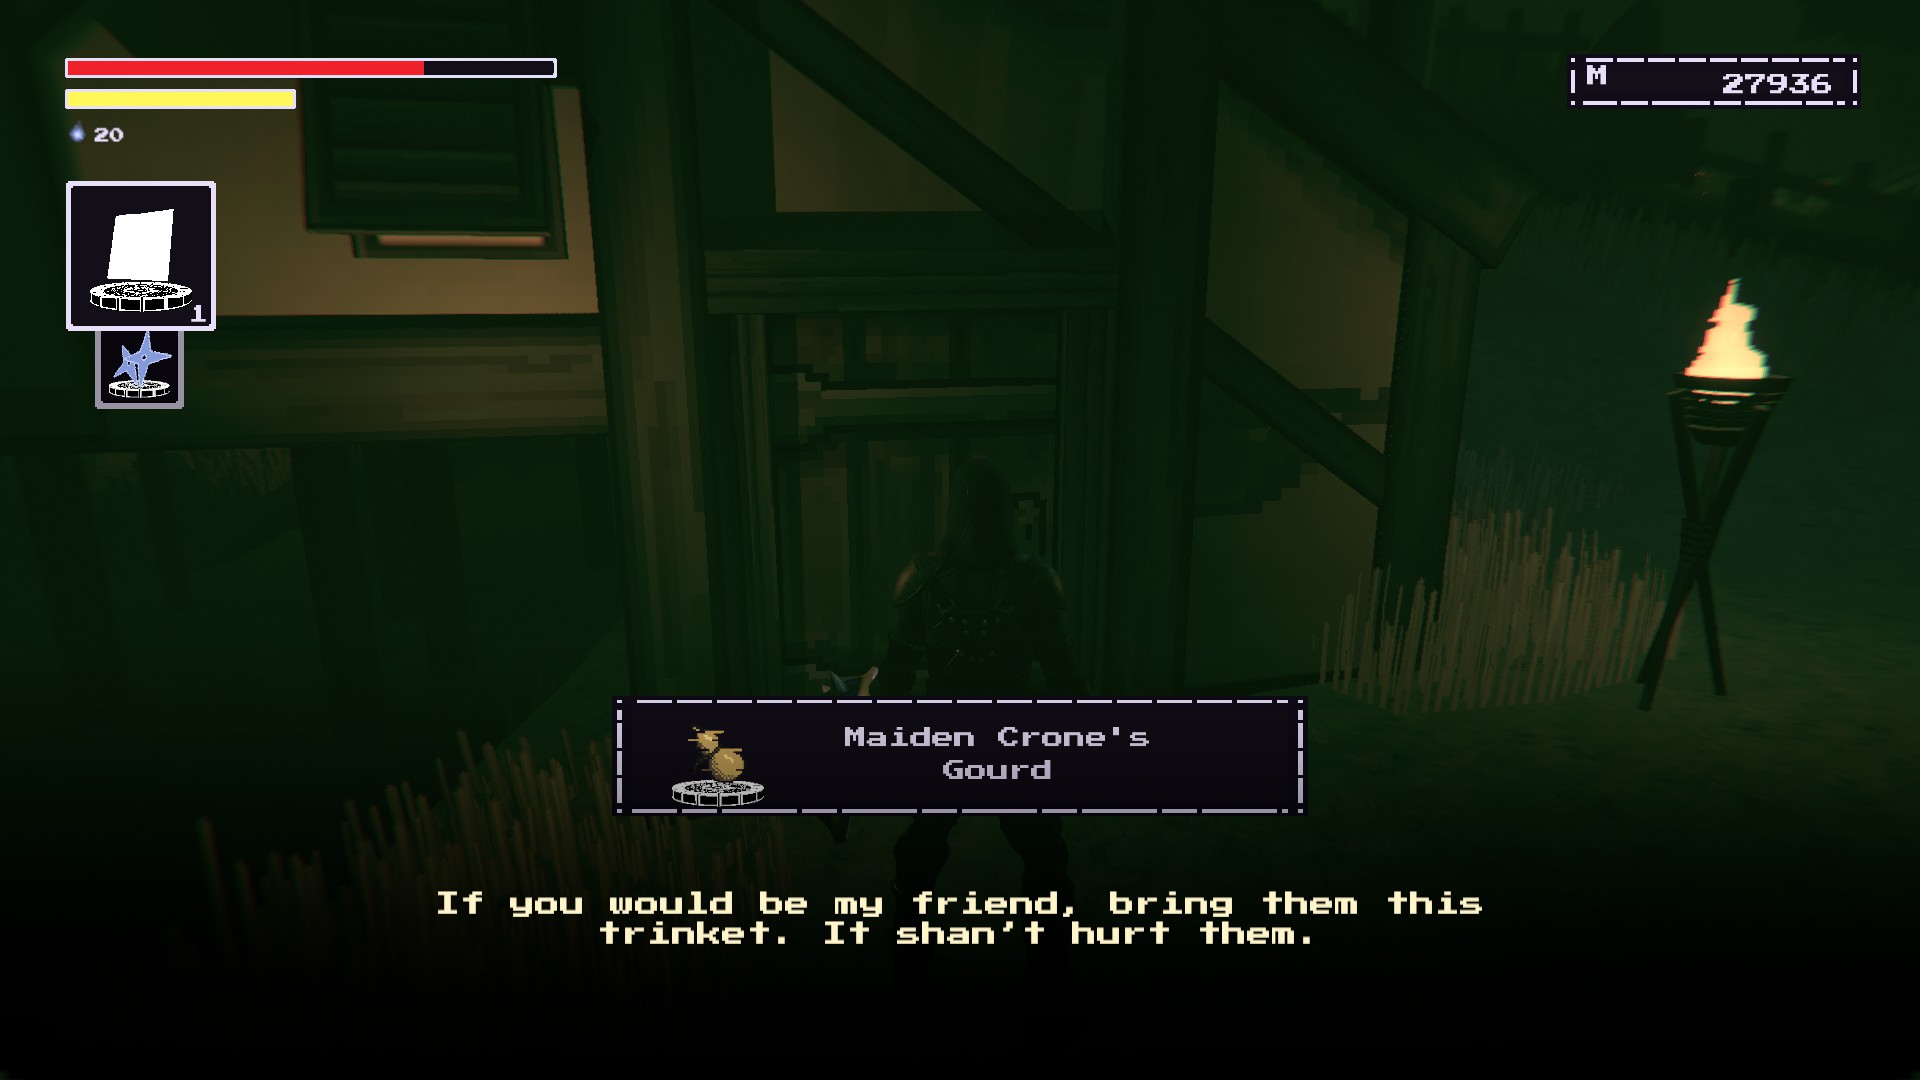
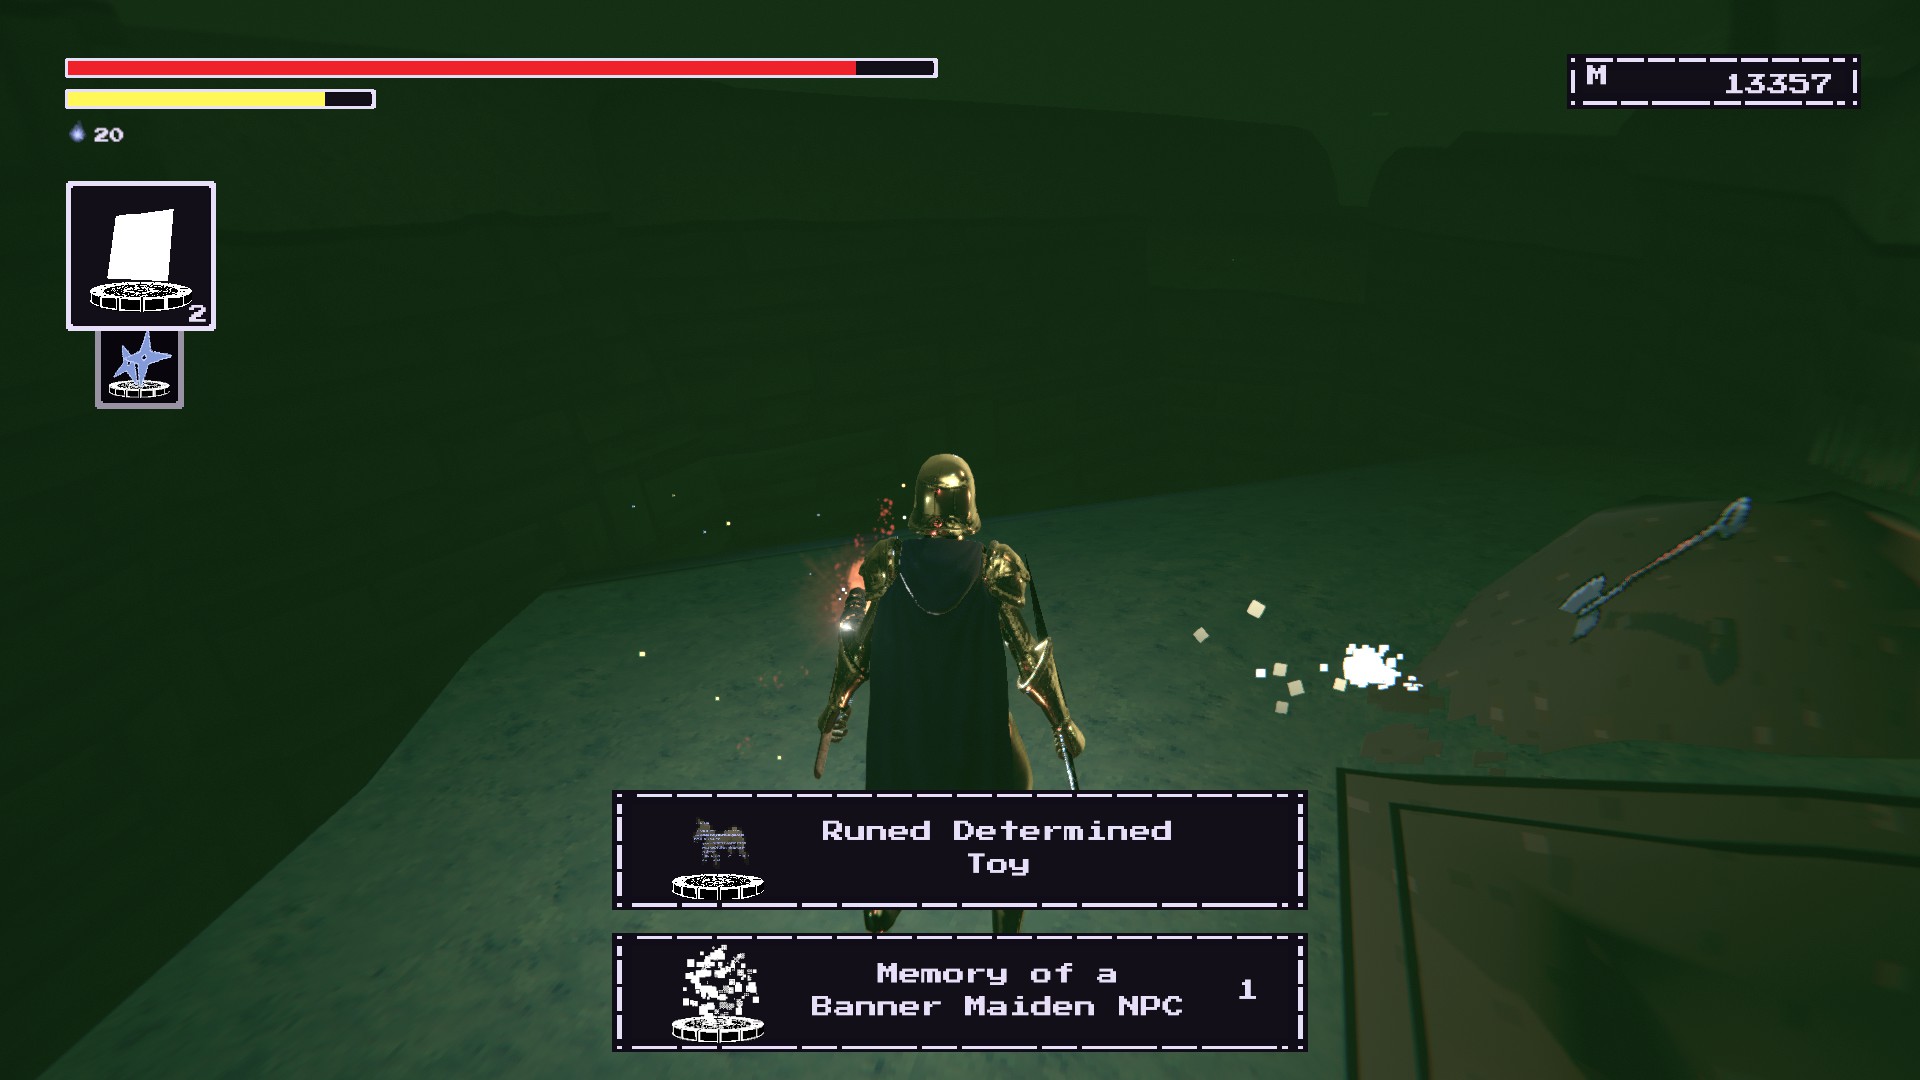
Determined Toy*** (Runa)
Em primeiro lugar, this rune reward is tied to the Innocent’s questline.
You must complete this step BEFORE reaching the top of the moving staircase room at the keep. I highly recommend that you read this first before you advance too far.
I’m going to assume that you’ve made it through the foggy mazeafter getting the Receptive Hinge rune. You should see a house and interact with it to begin a step of the Innocent’s questline.
Go through the staging room area underneath Warlock’s Wilds.
You’ll need to take the path to Ore shaft Village but the Reservoir of Pain will be here. He’ll offer an alternate item to give to the Innocent.

Go to the Innocent and you’ll have two choices: Give the box or give the gourd.
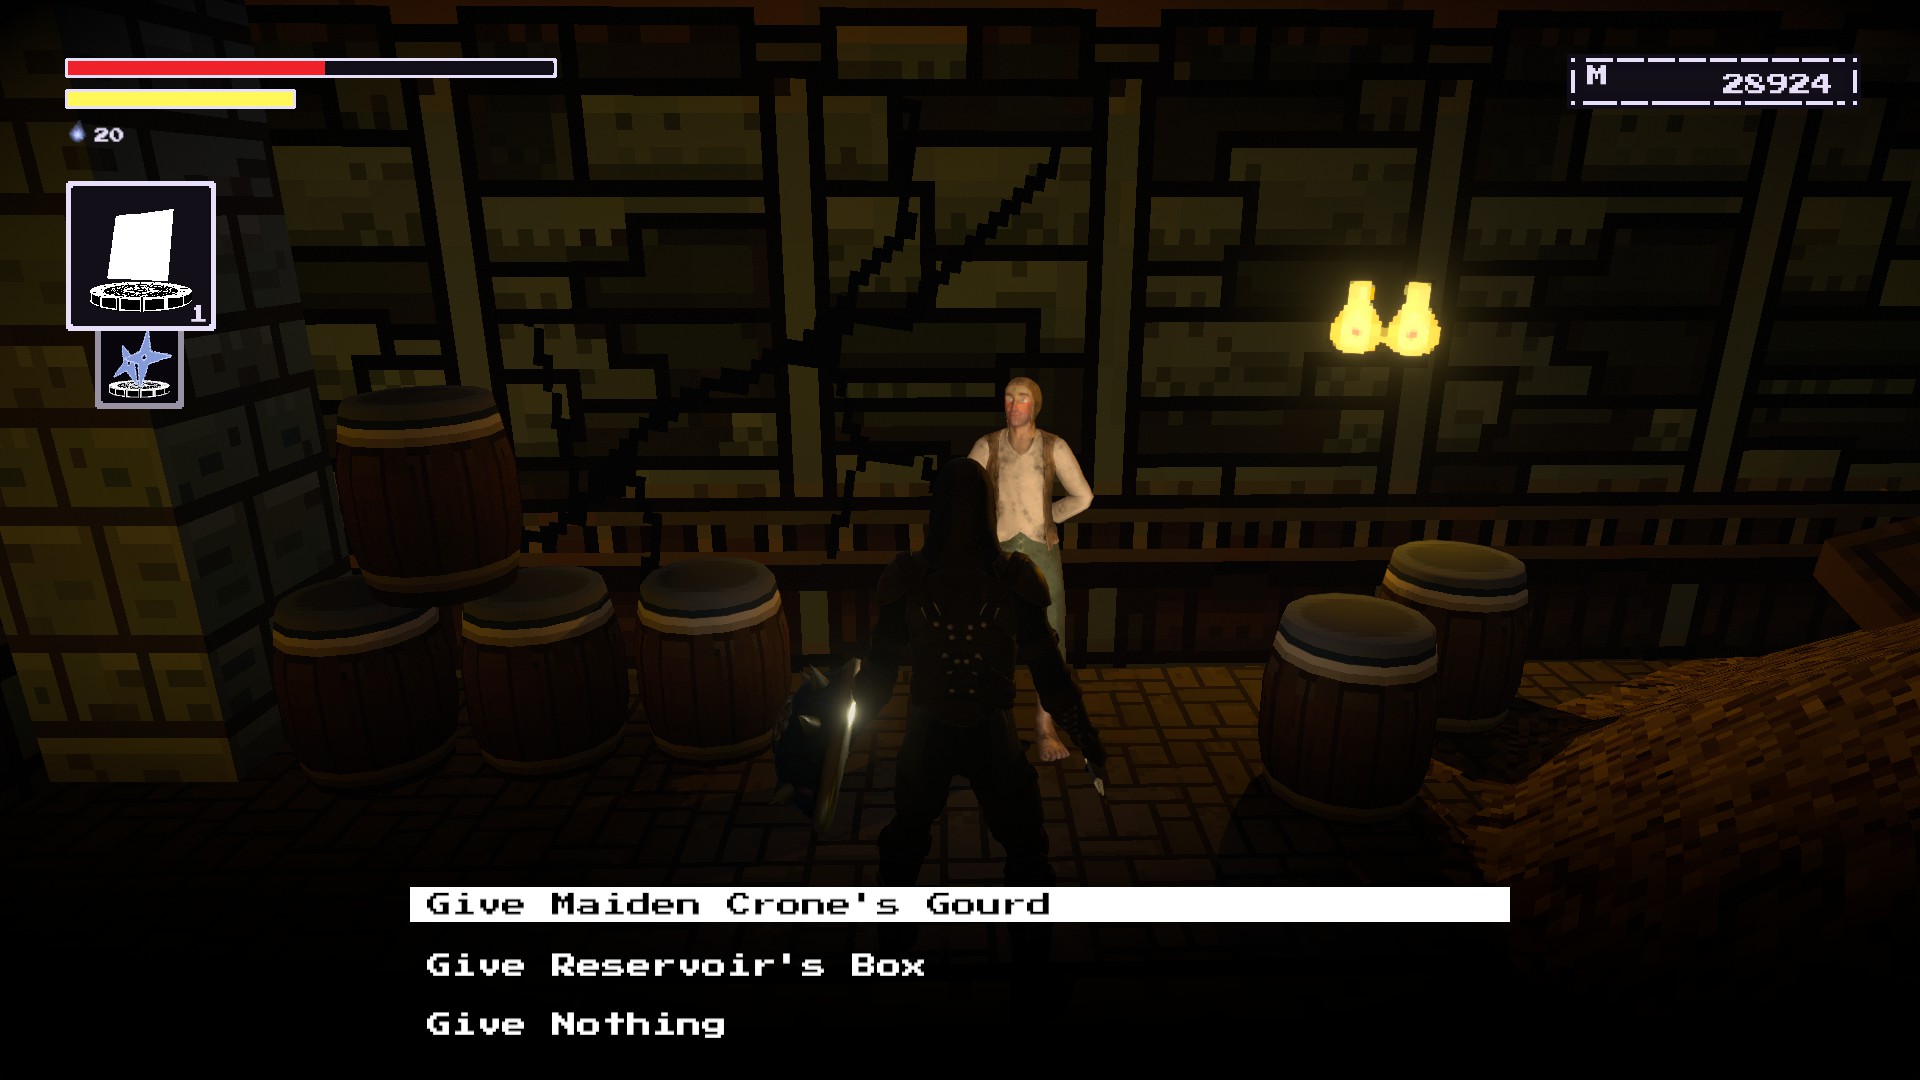
Either option will give you the rune, but giving the gourd will advance the Innocent questline.
Return back to the Maiden Crone’s house and talk to her.You’ll receive the rune as a reward.
THE RUNE NEEDS TO BE COLLECTED BEFORE YOU ADVANCE TOO FAR!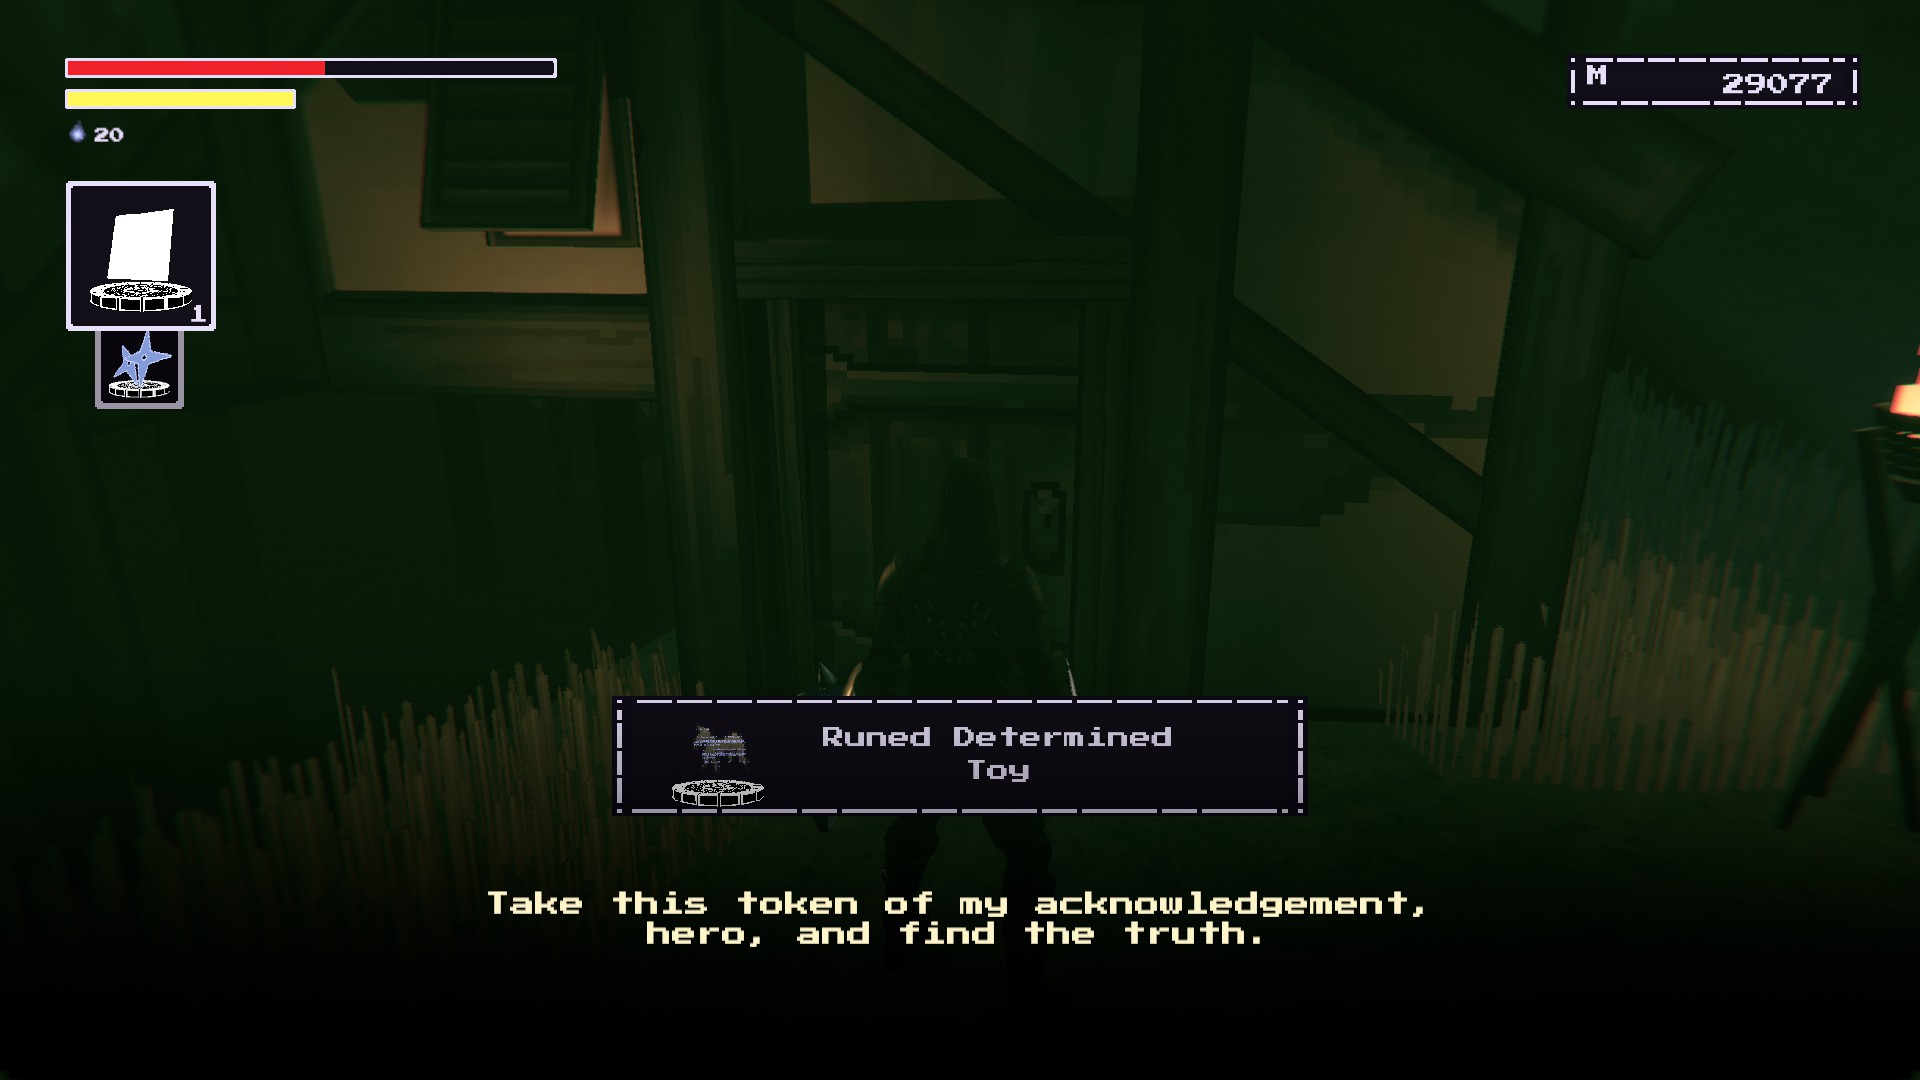
Returning to the Maiden Crone will result in her calling you an idiot.
Progress through Warlock’s Wilds and the Reservoir of Pain will be at the gates.
You will have unlocked the Martyrdom system which makes your game harder as you unburden items.

Progress through the Keep of the Stolen Crown and beat Wunderschoenenburg. Eventualmente, you’ll meet the Reservoir of Pain at the entranceand he’ll task you with killing the Maiden Crone.
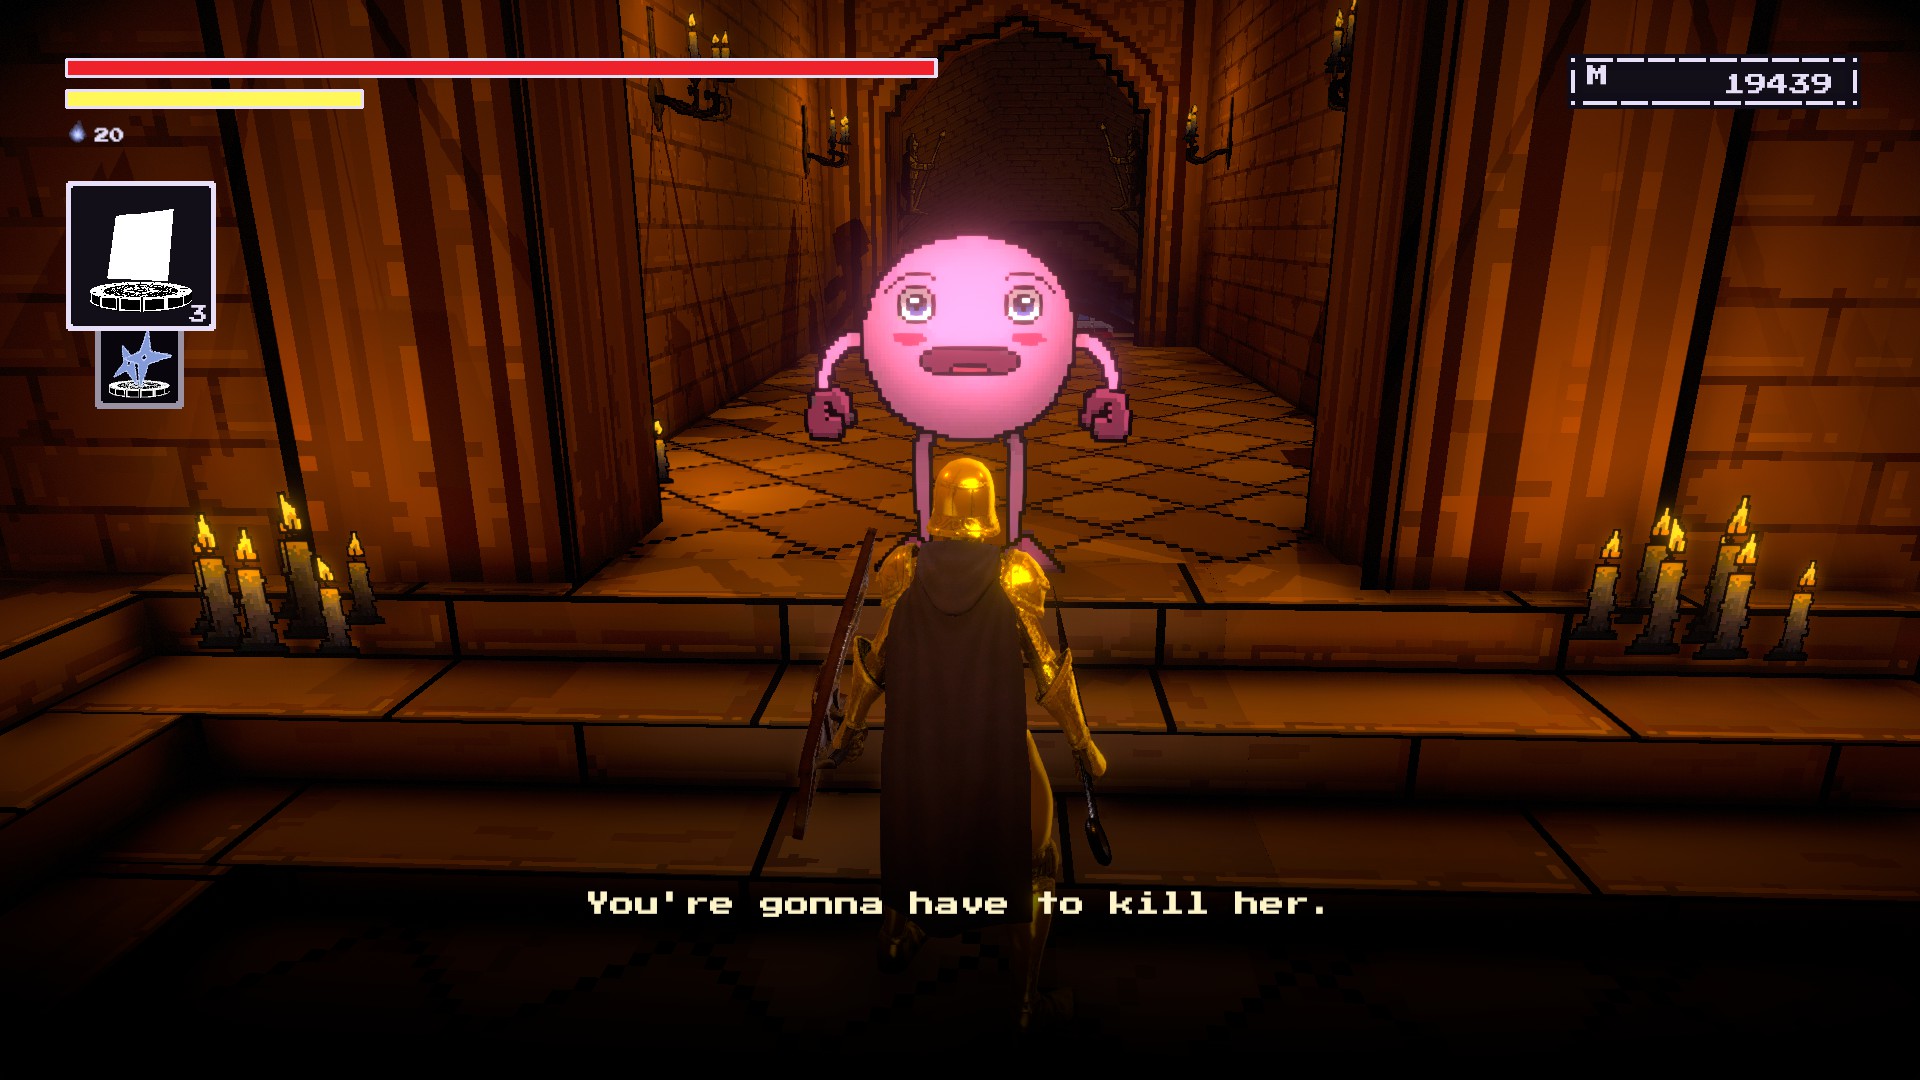
Return to where you met the Maiden Crone and kill her to receive your rune.

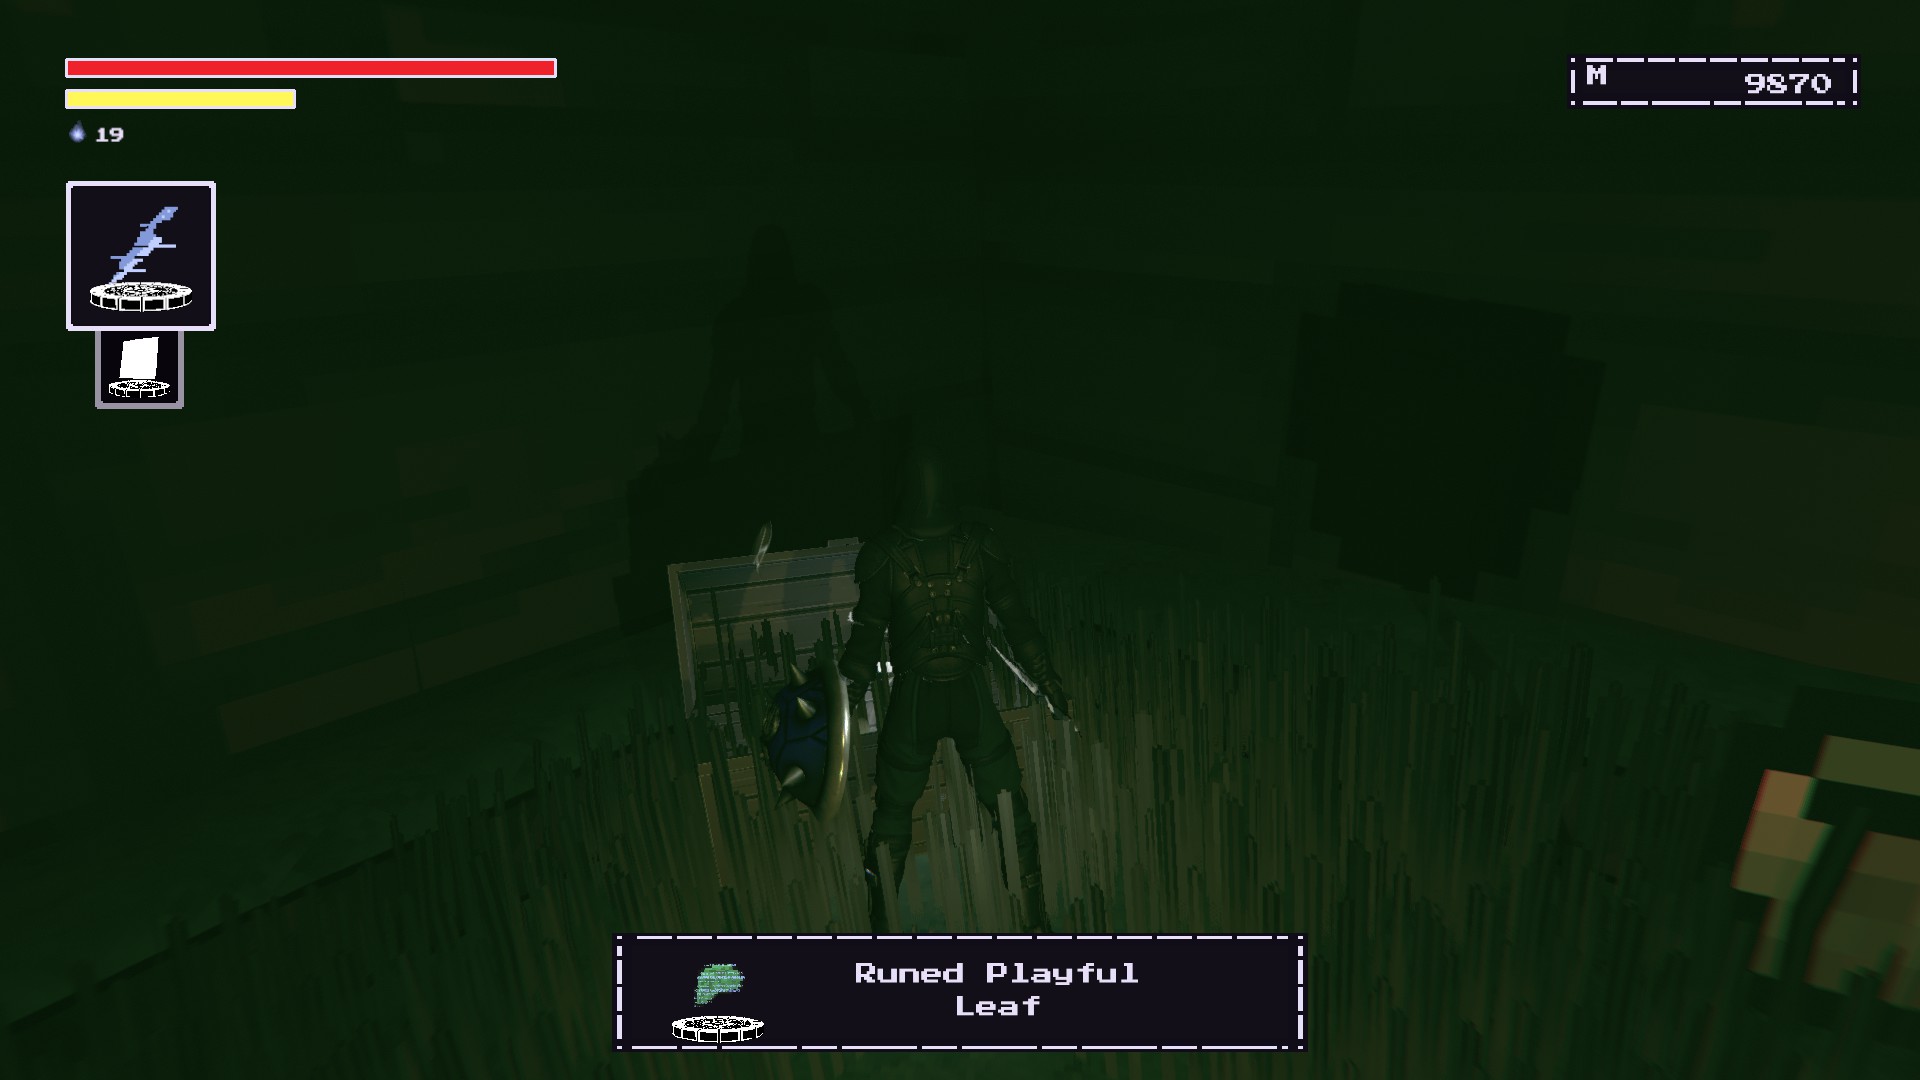
Playful Leaf (Runa)
At Warlock’s Wilds, go to this area that is right before the spiral ascentto the Keep of the Stolen Crown.
Take the path down to the right and you should see this spider enemy and skeletons.
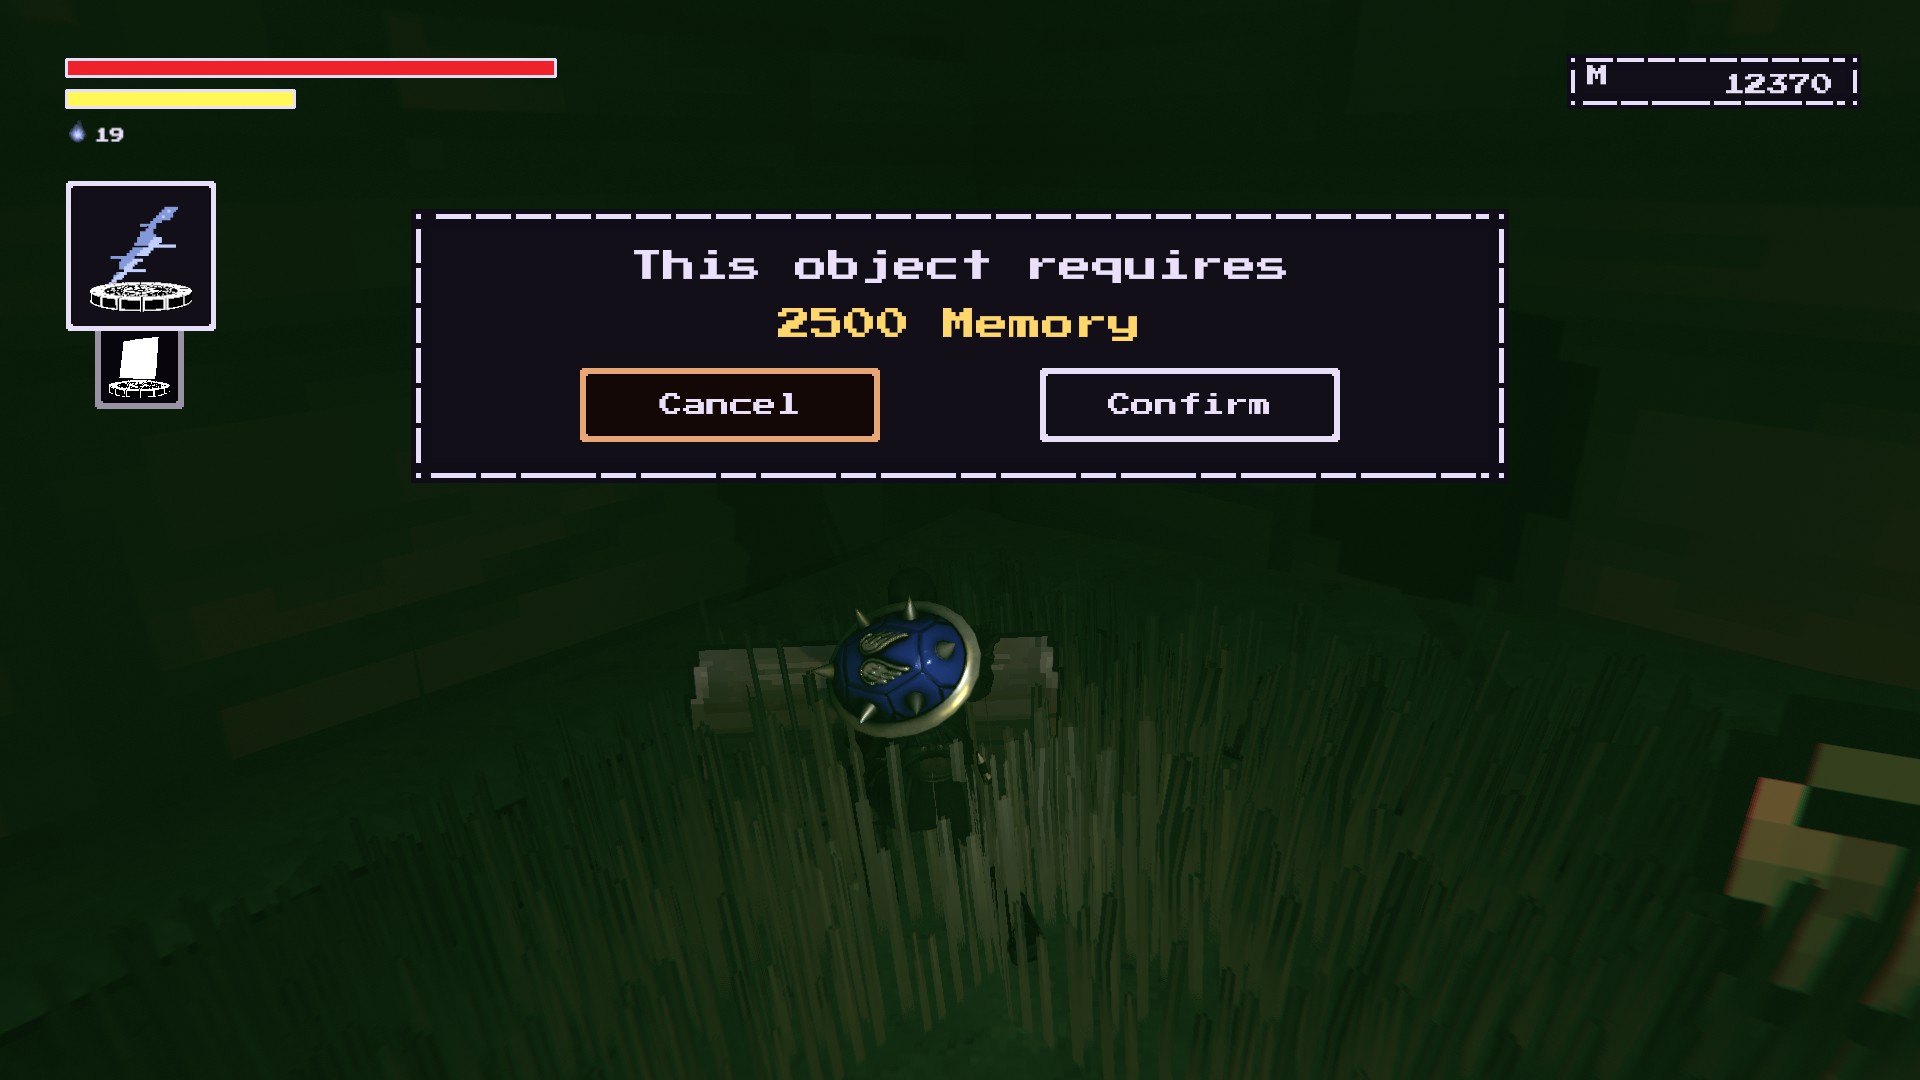
After you deal with that garbage, there is an unstable chest in the corner. You’ll need the Uprez ability and 2500 memory to unlock.
Empty Diary (Runa)
Progress through the Keep of the Stolen Crown until you reach the hedge maze area.
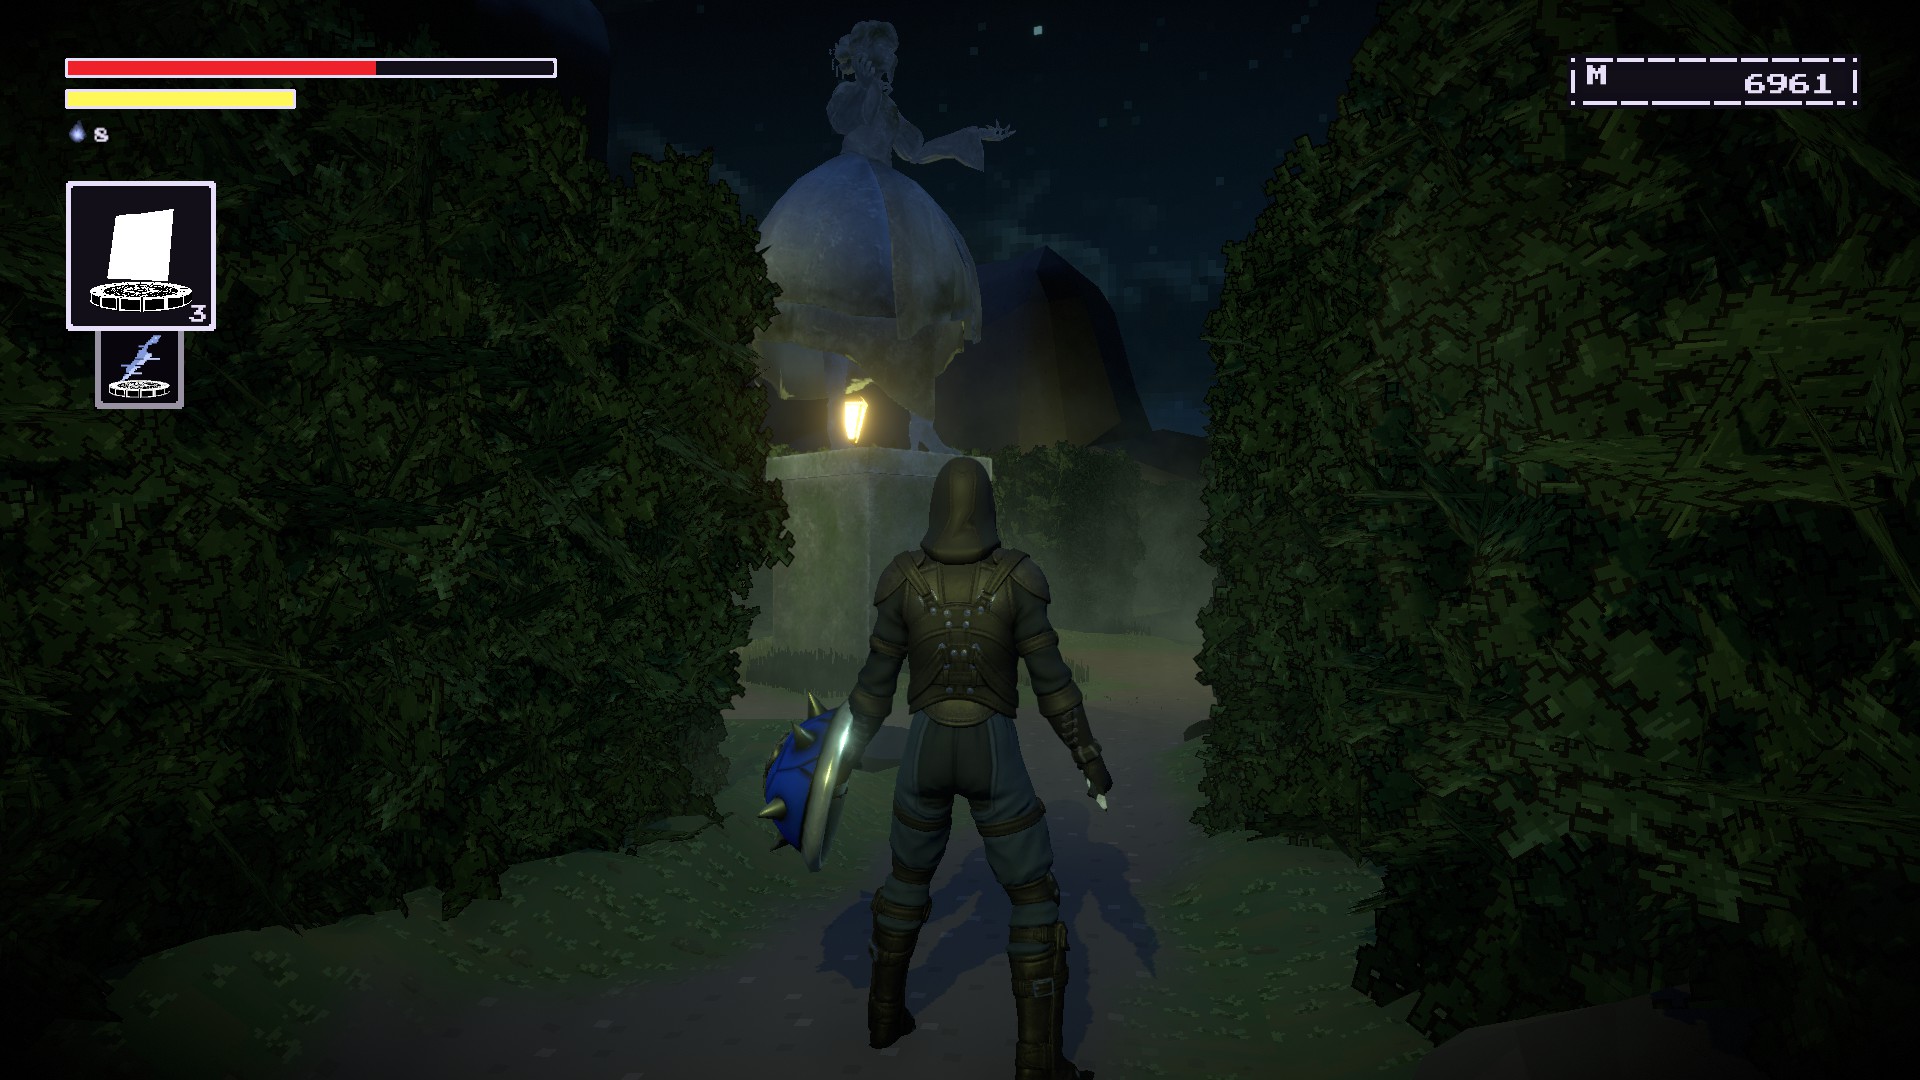
Look for this light post and take the path that’s on its right. You’ll know it’s the right one if you see this glimmering item above it and the path leads upwards.

The rune will be at the top of this hill.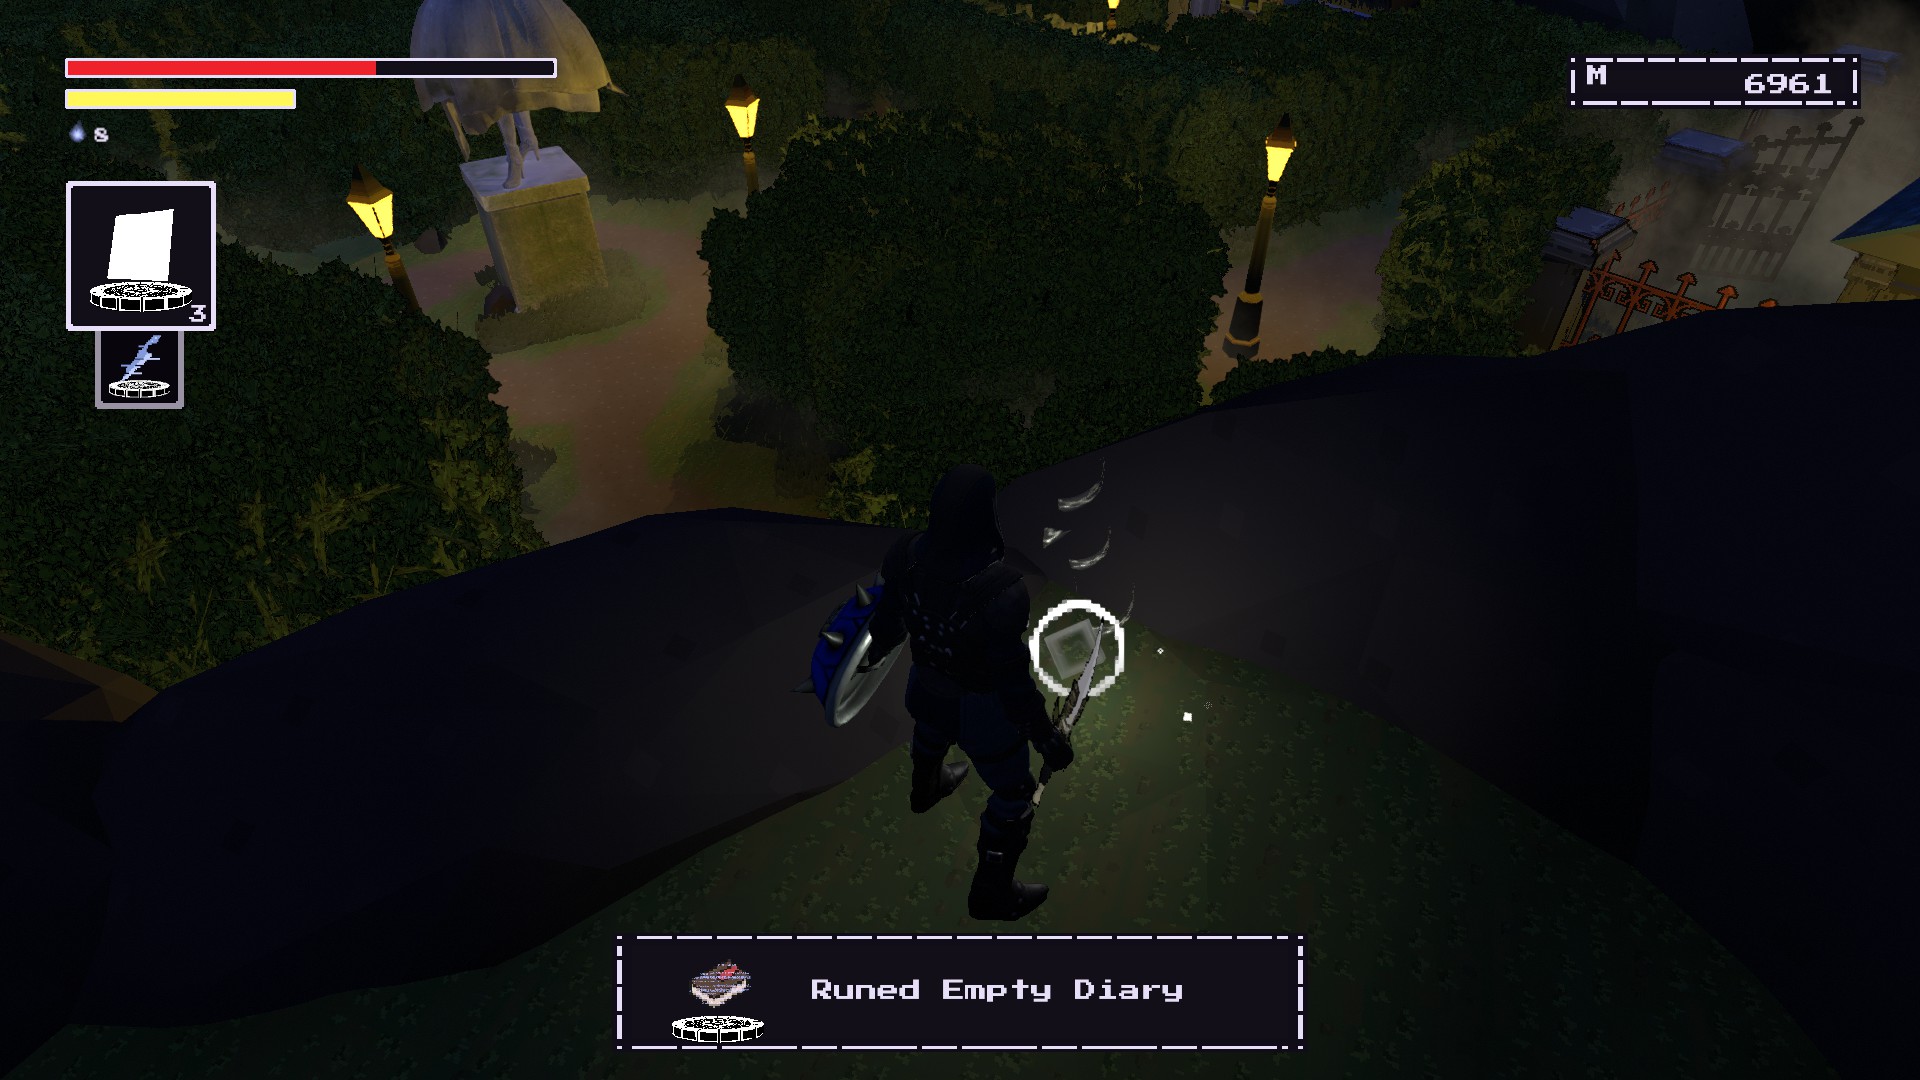
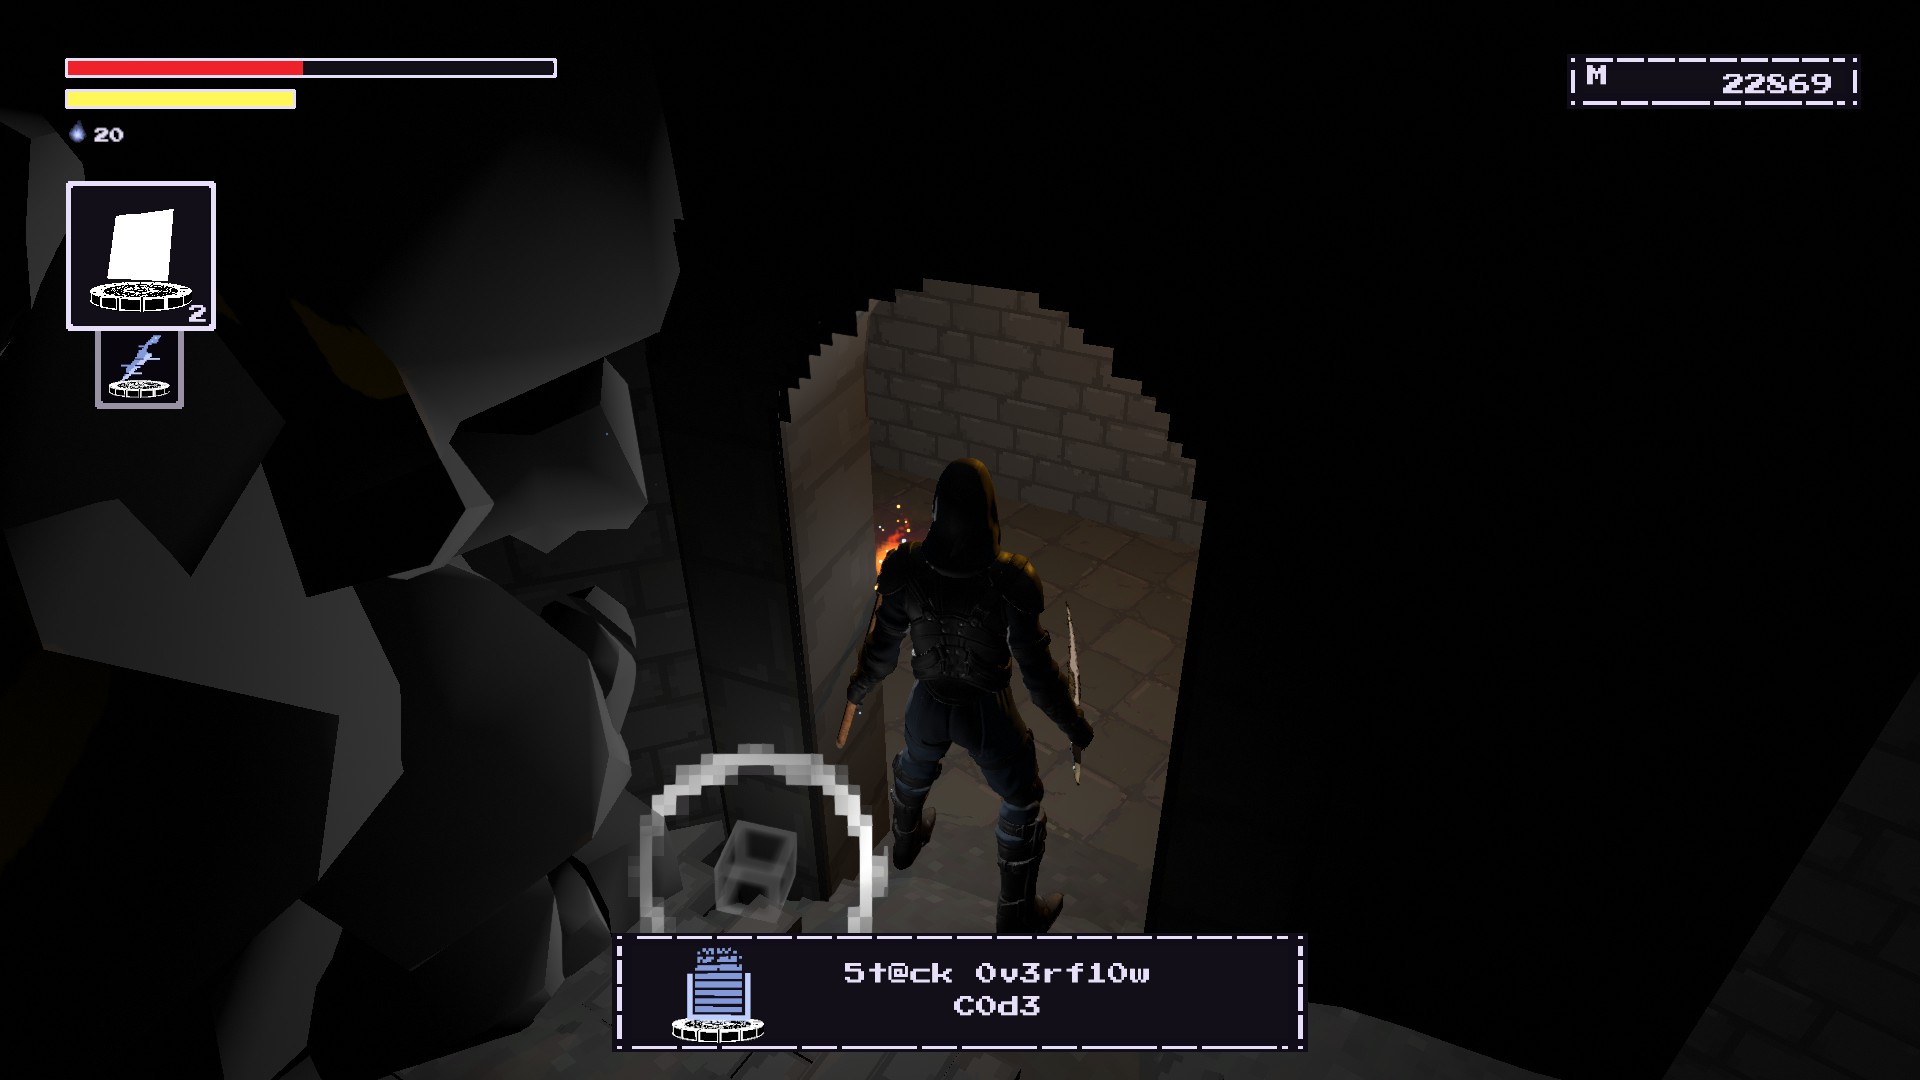
Stack Overflow Code (Soletrar)
Progress through the Rehabilitation Pits until you reach this spot. This should be the entrance to the ladder shortcut.
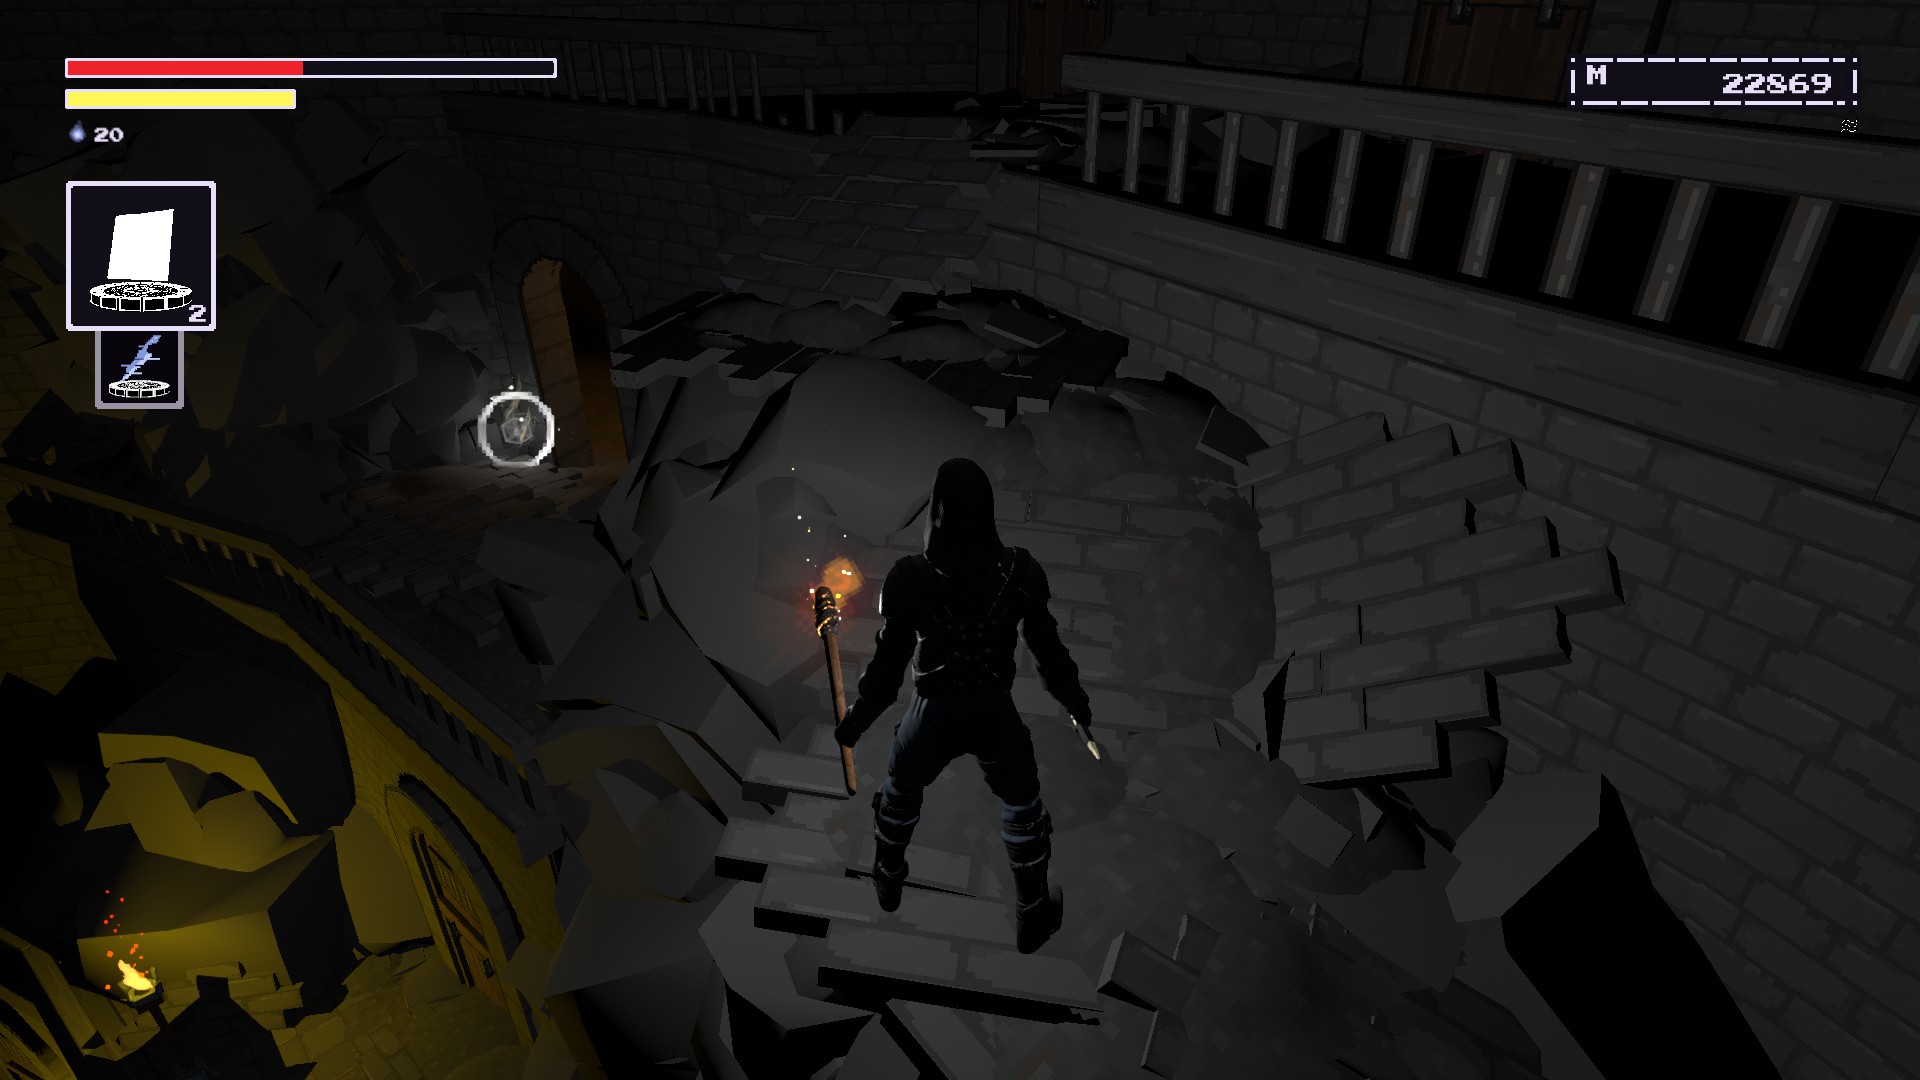
The spell will be right here.
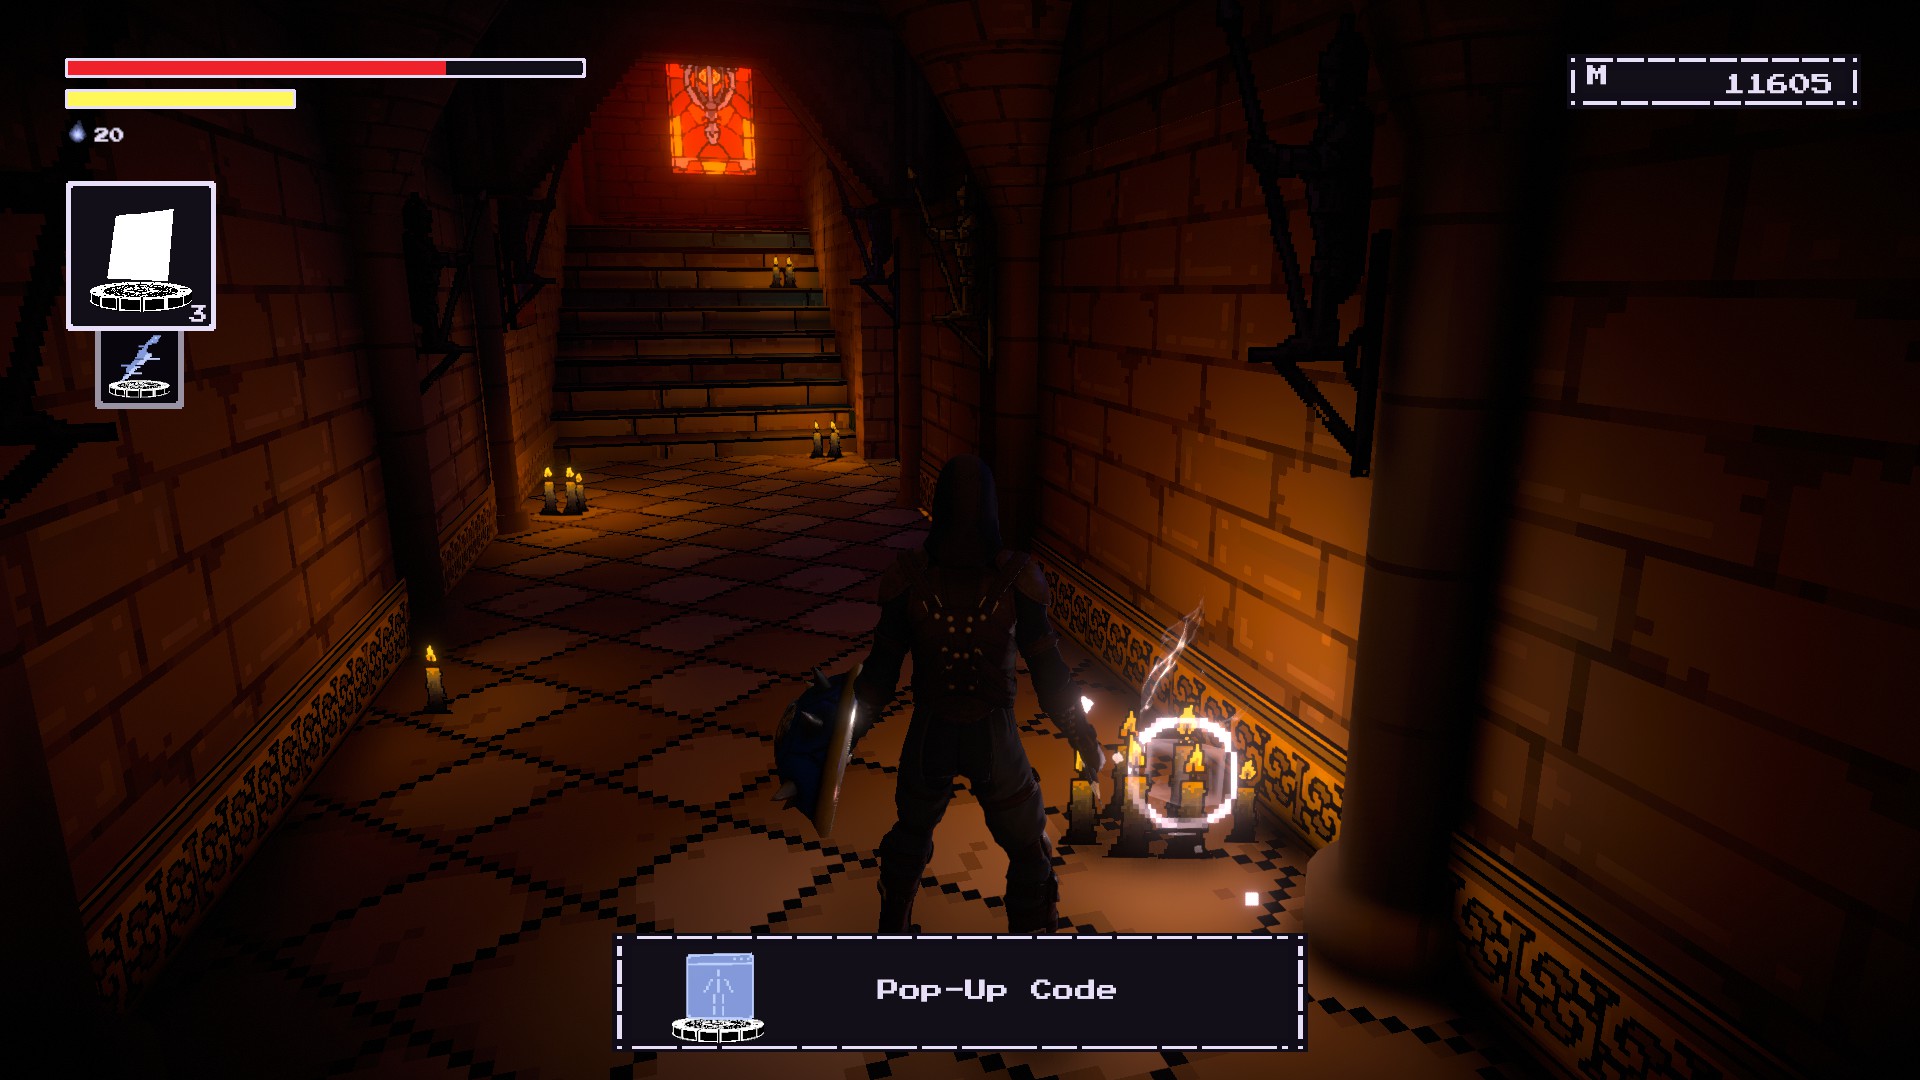
Pop-Up Code (Soletrar)
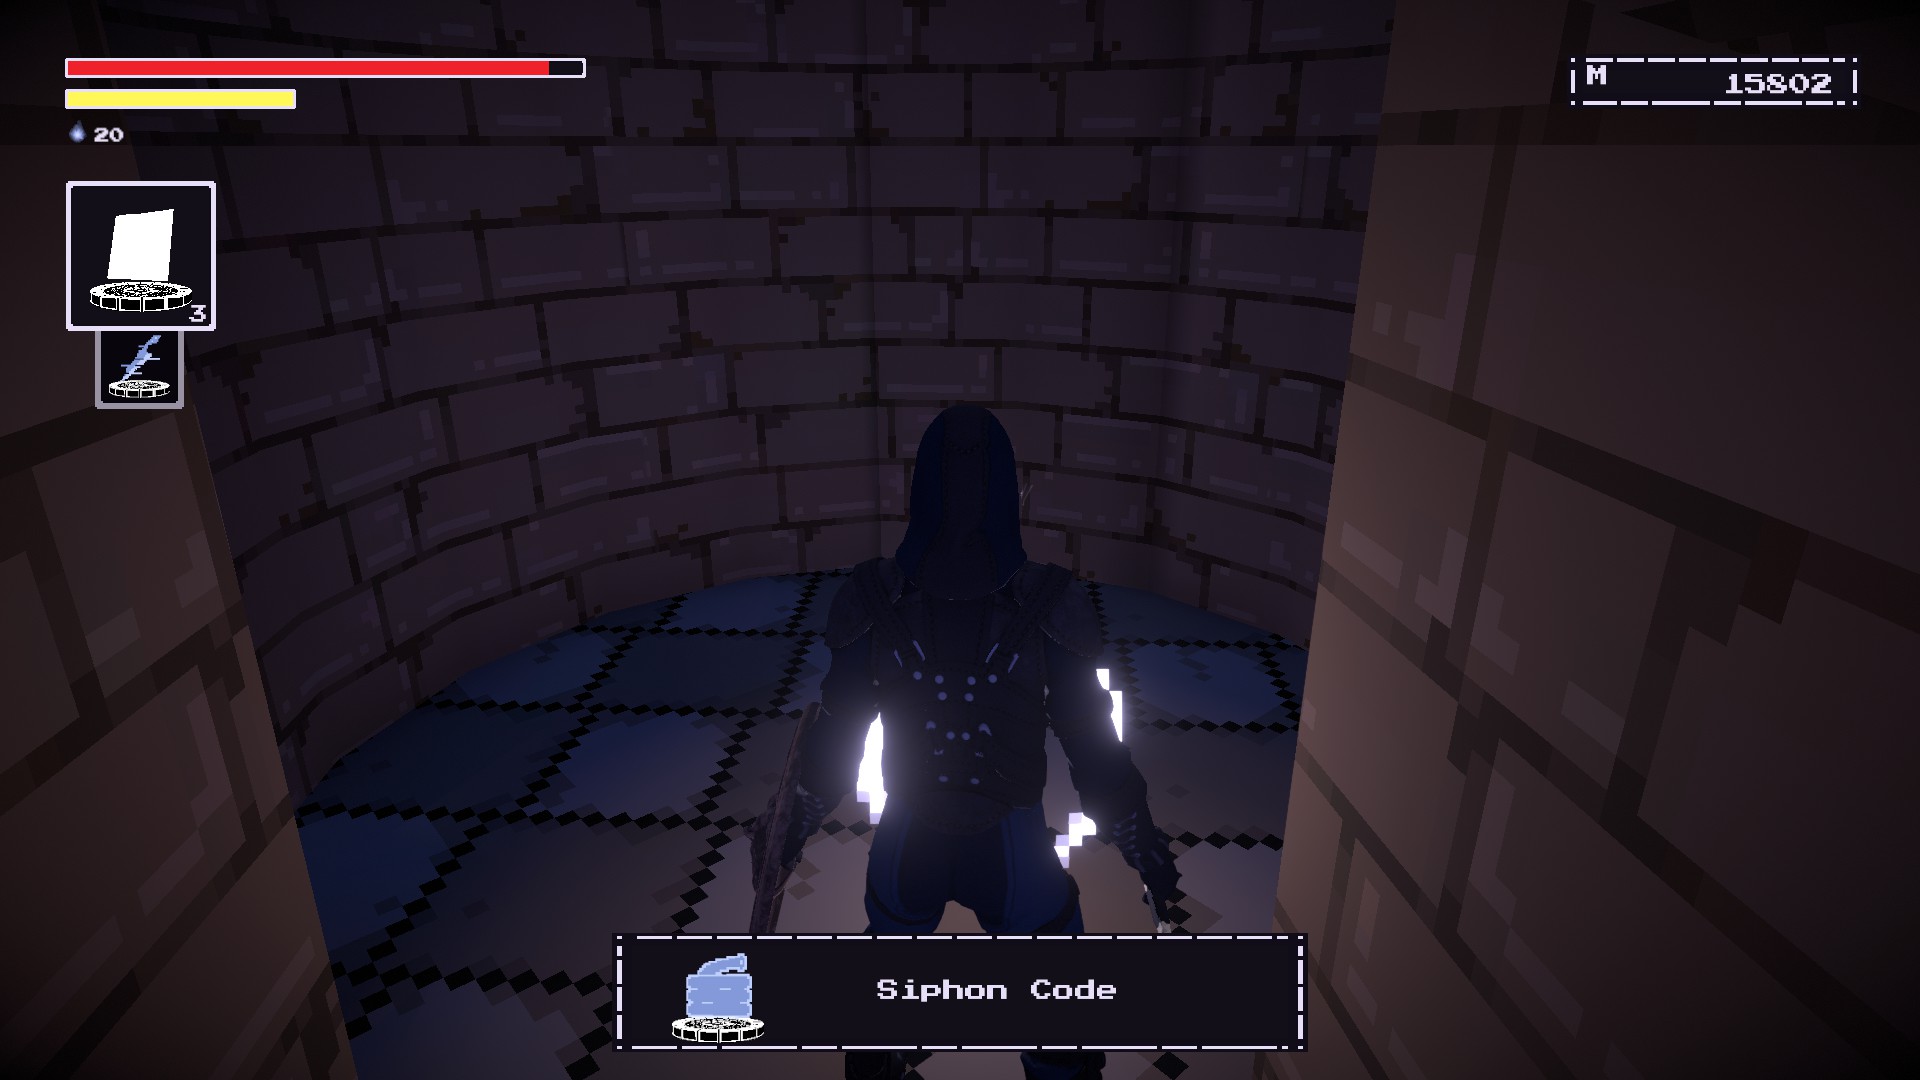
Progress through the Keep of the Stolen Crown until you reach this fireplace lounge area.
Go through the door on the left and the spell should be in the middle of the hallway.
Siphon Code (Soletrar)
Advance through the Keep of the Stolen Crown until you reach this bridge that leads into the top of the castle.
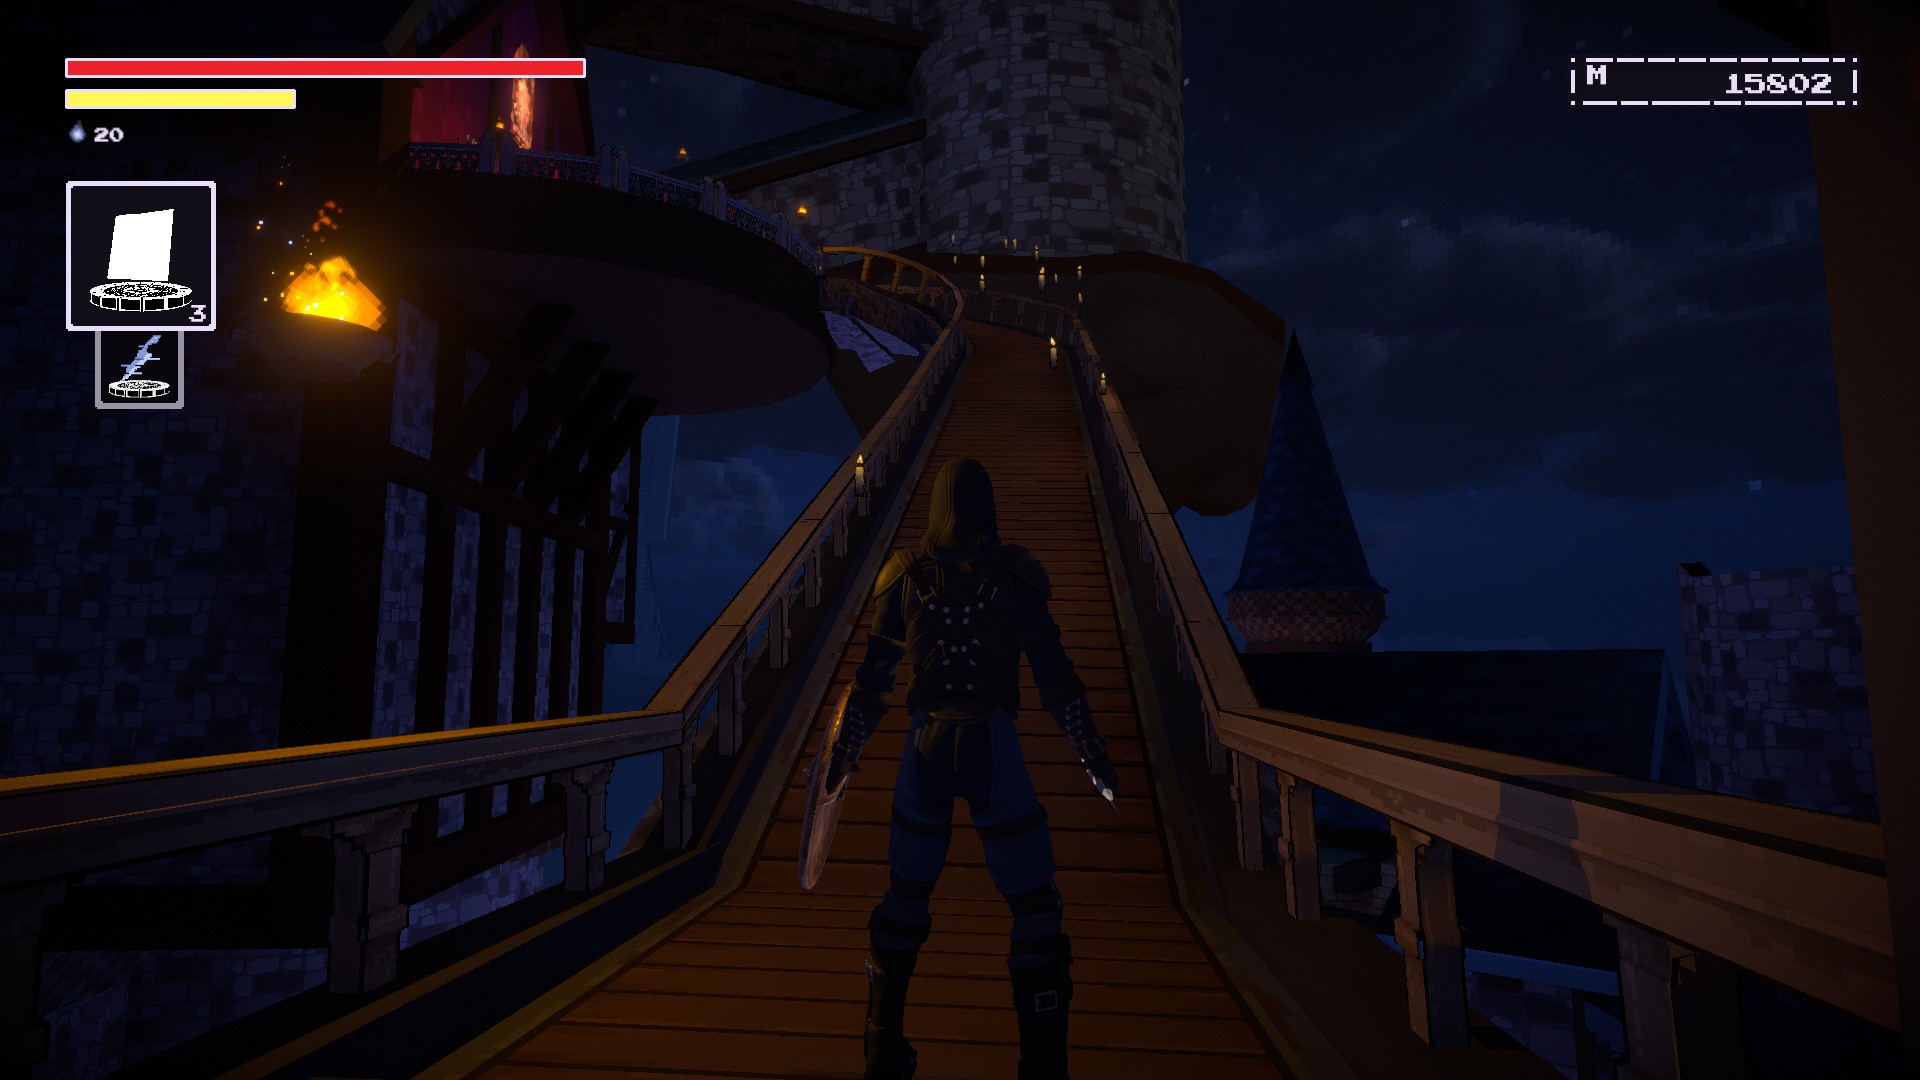
You should notice a gap in the railing on the right side of the bridge. Drop down into the hole in the roof.
You should notice a door next to some levers. Open it to get the spell inside.
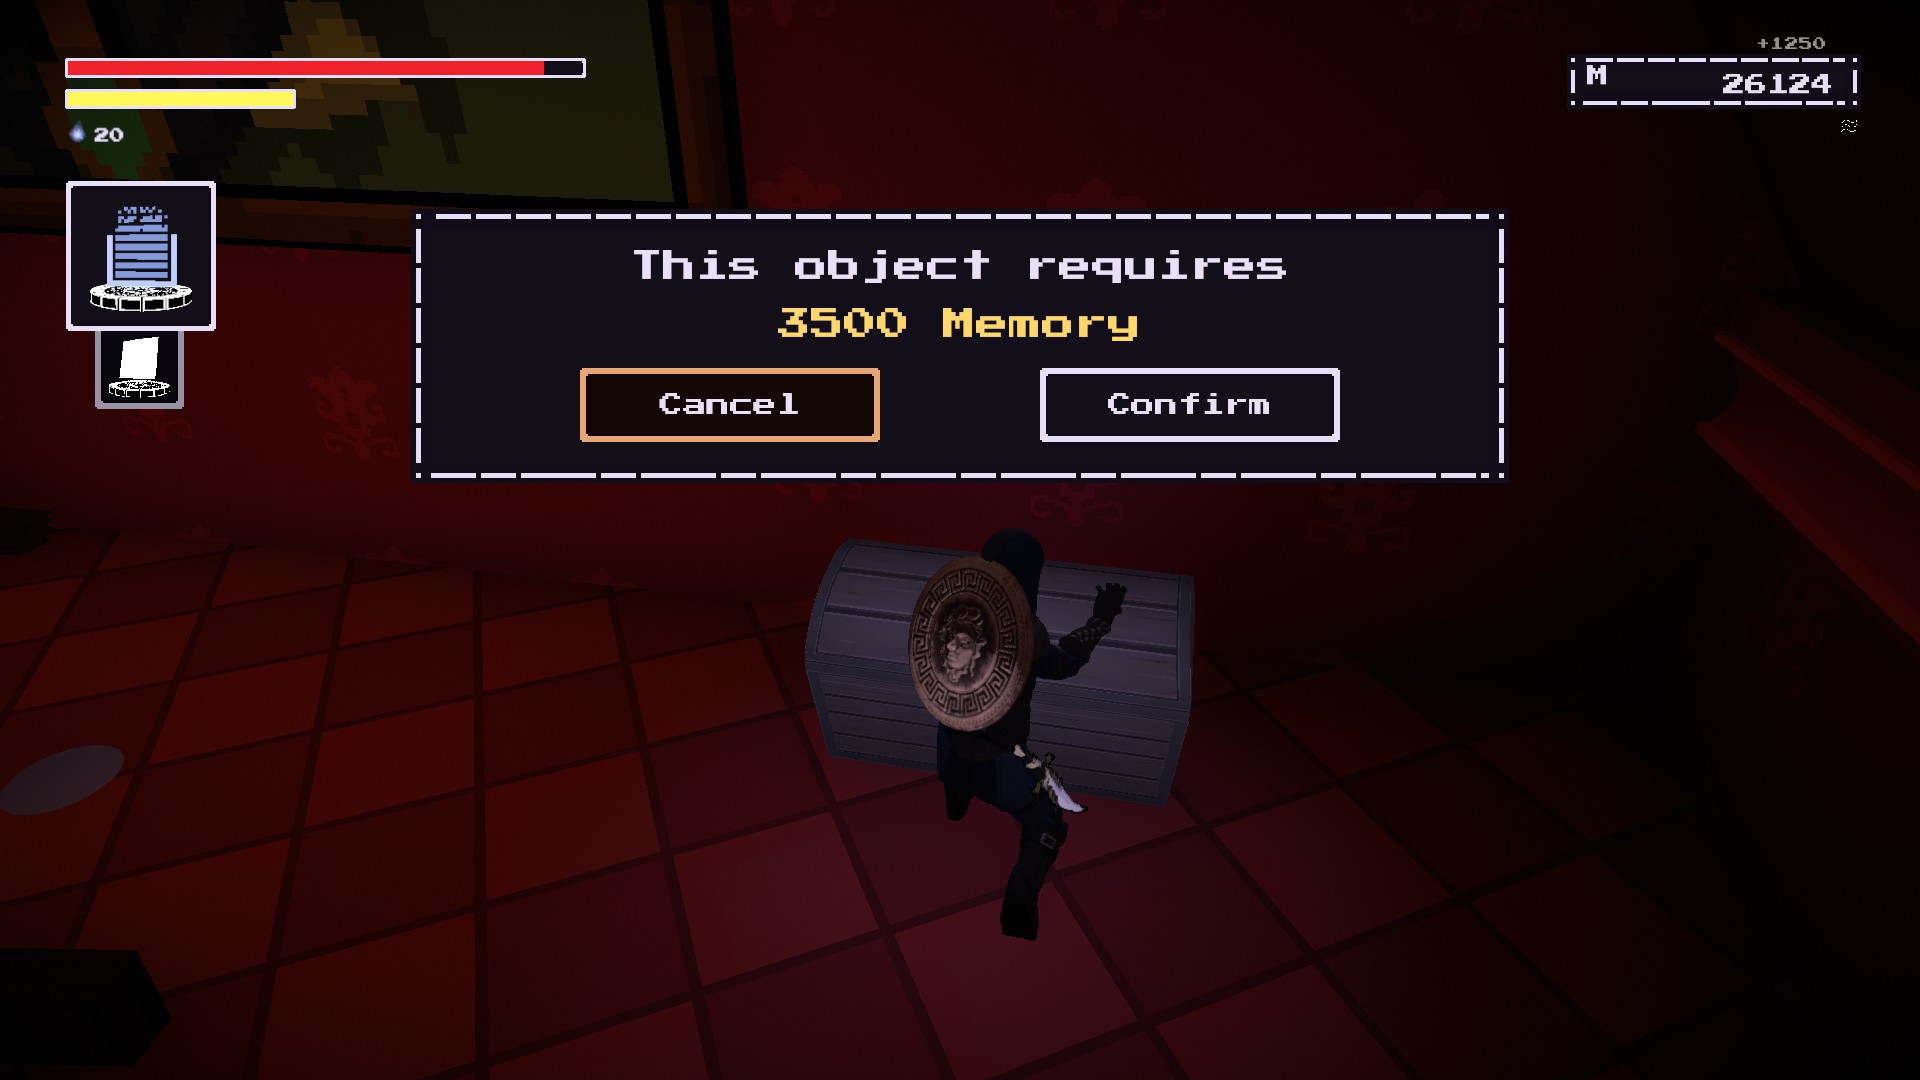
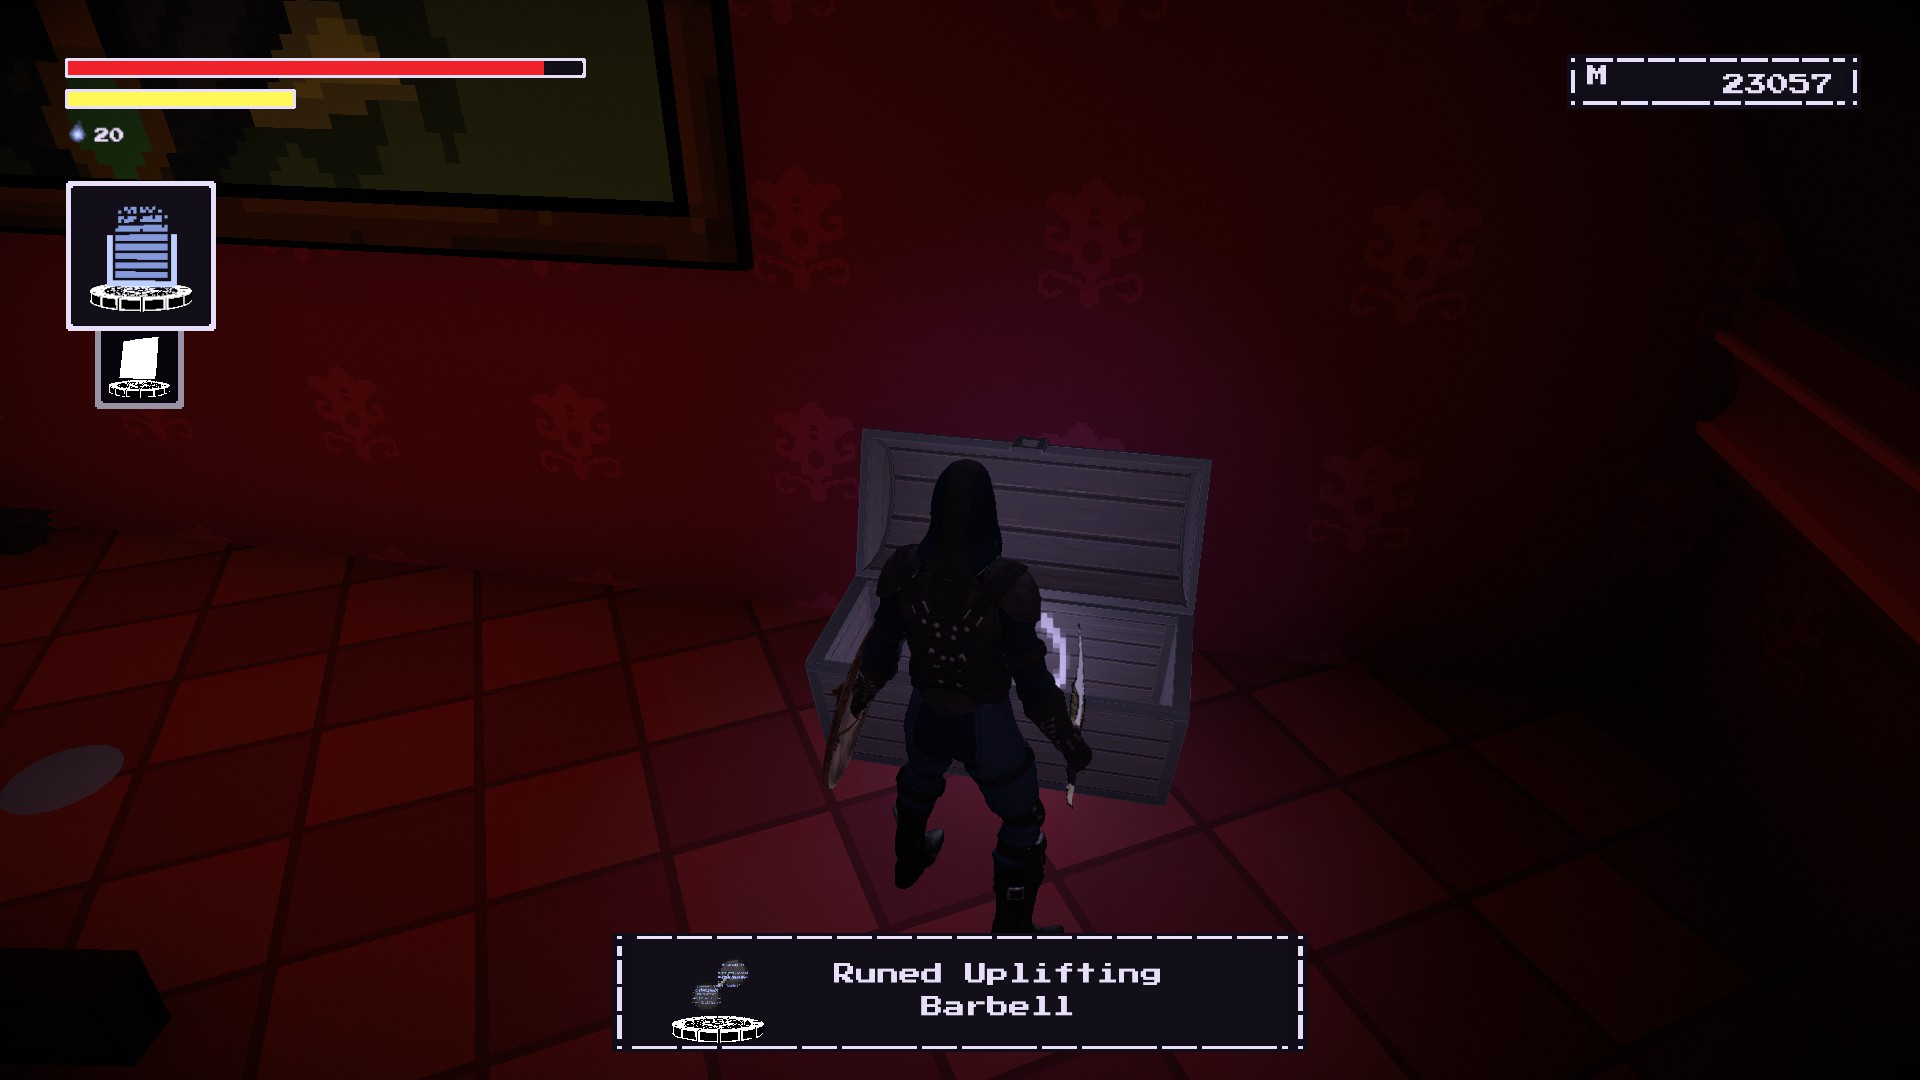
Uplifting Barbell (Runa)
At the top of the Keep of the Stolen Crown, start at the civilized area.
Go up the stairs and across the bridge. Be wary of the civilized enemies and you should see an unstable chest.
You’ll need to use the Uprez ability and 35 memory to unlock
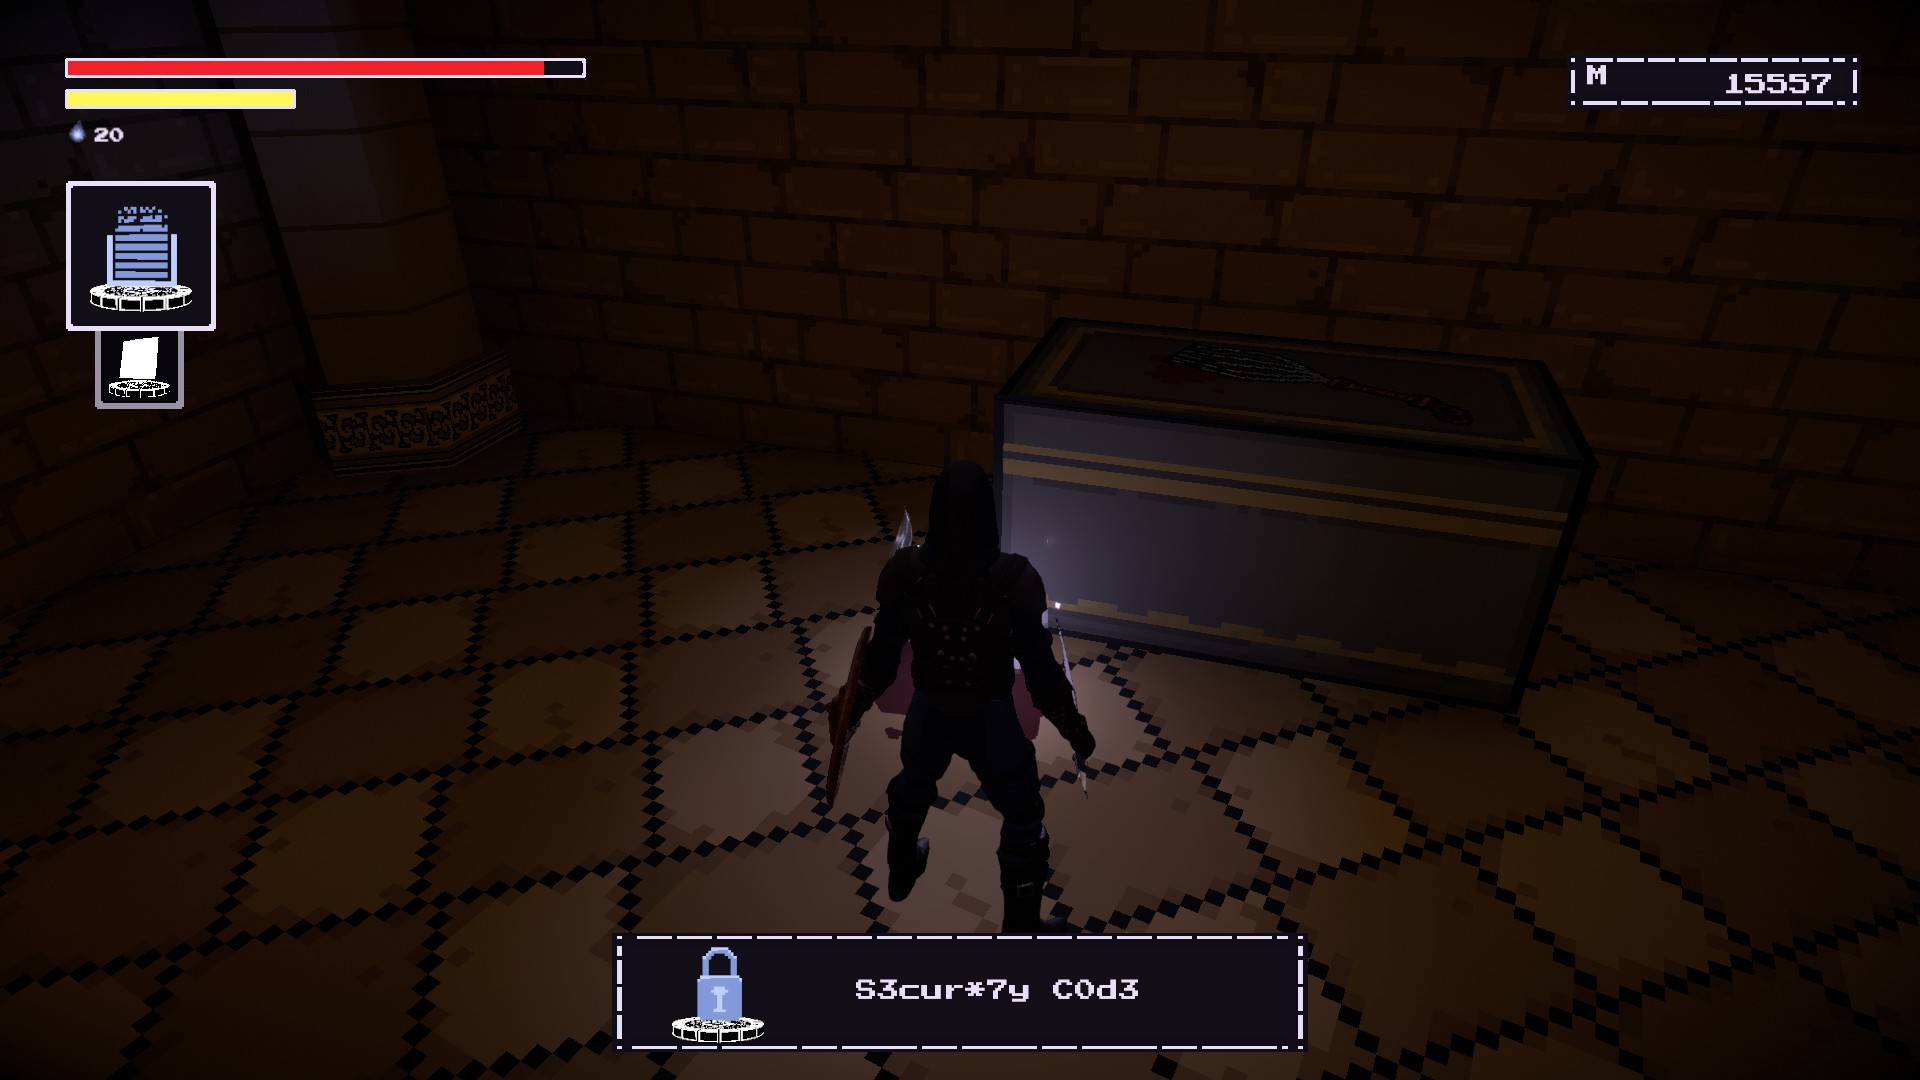
Security Code (Soletrar)
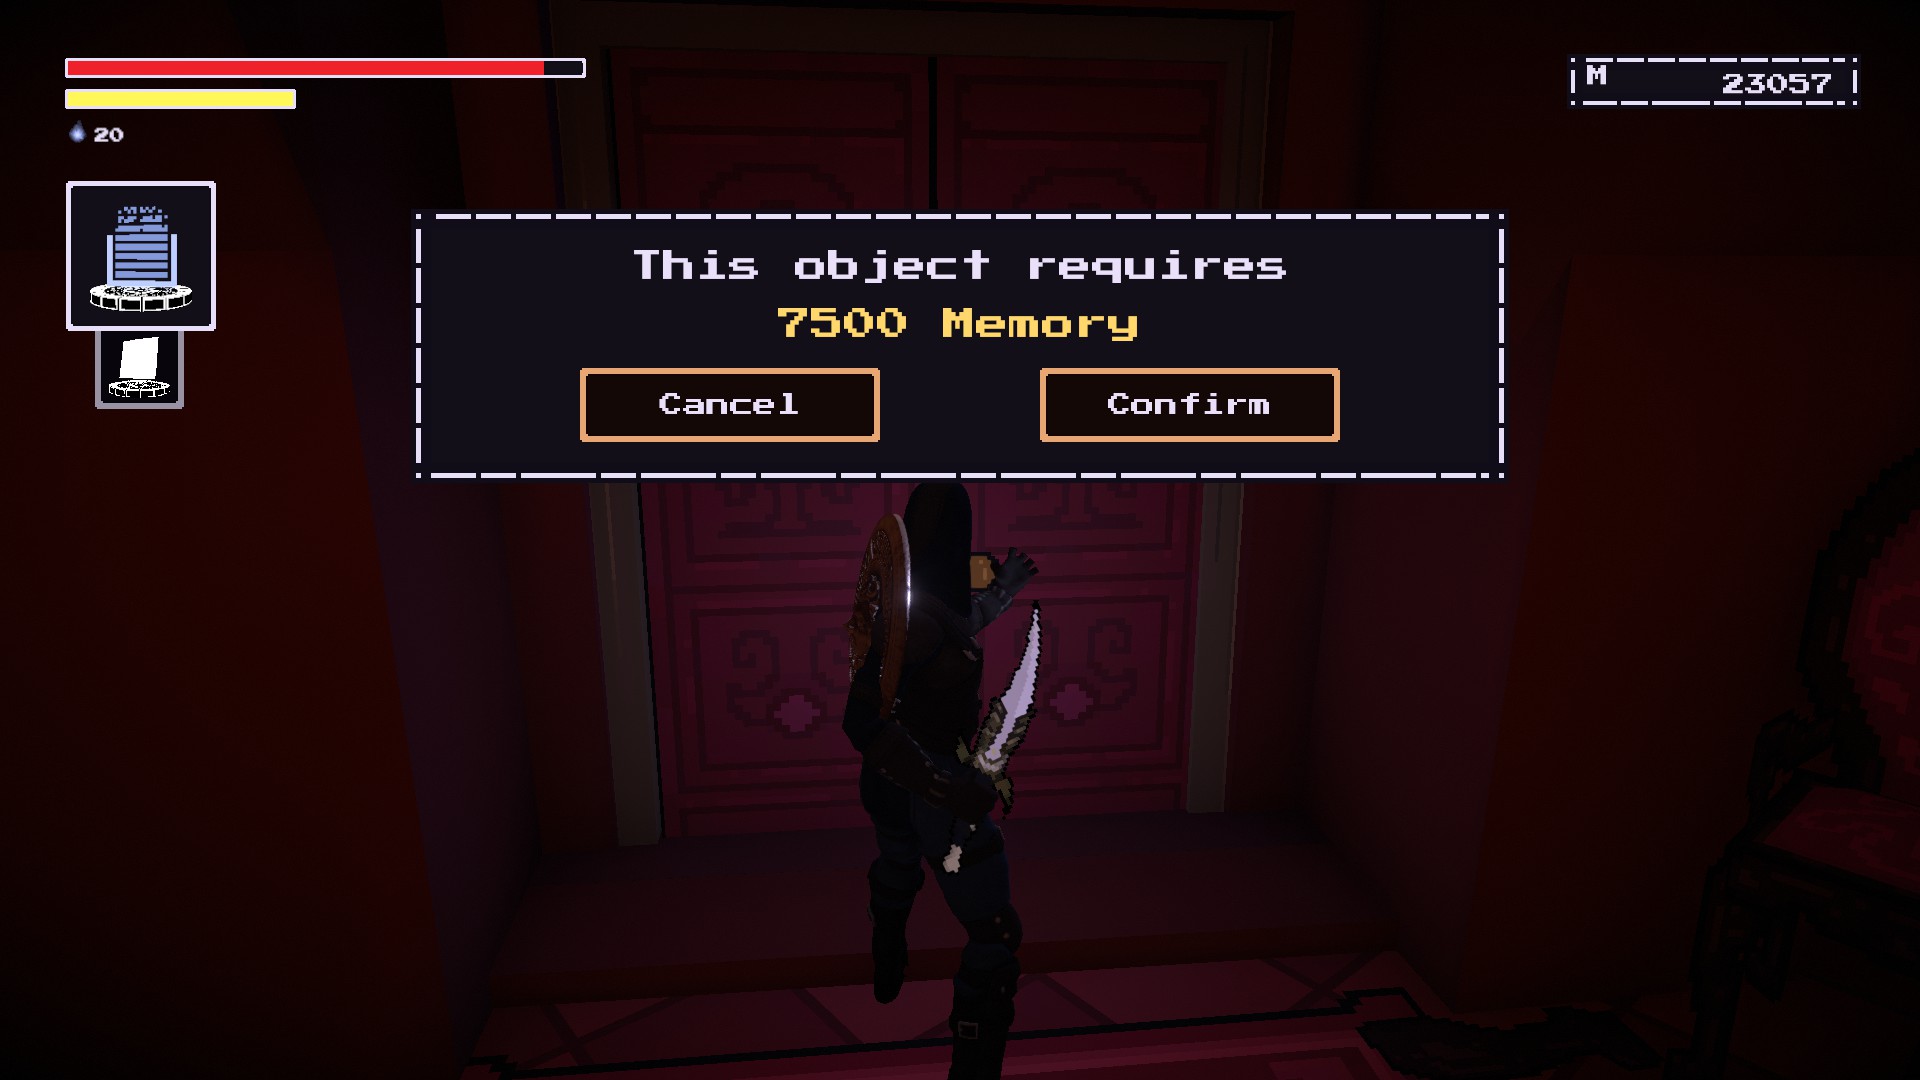
At the Keep of the Stolen Crown, near where you obtained the Uplifting Barbell. There will be an unstable door nearby that looks like this. You need to Uprez this door with 7500 memory.
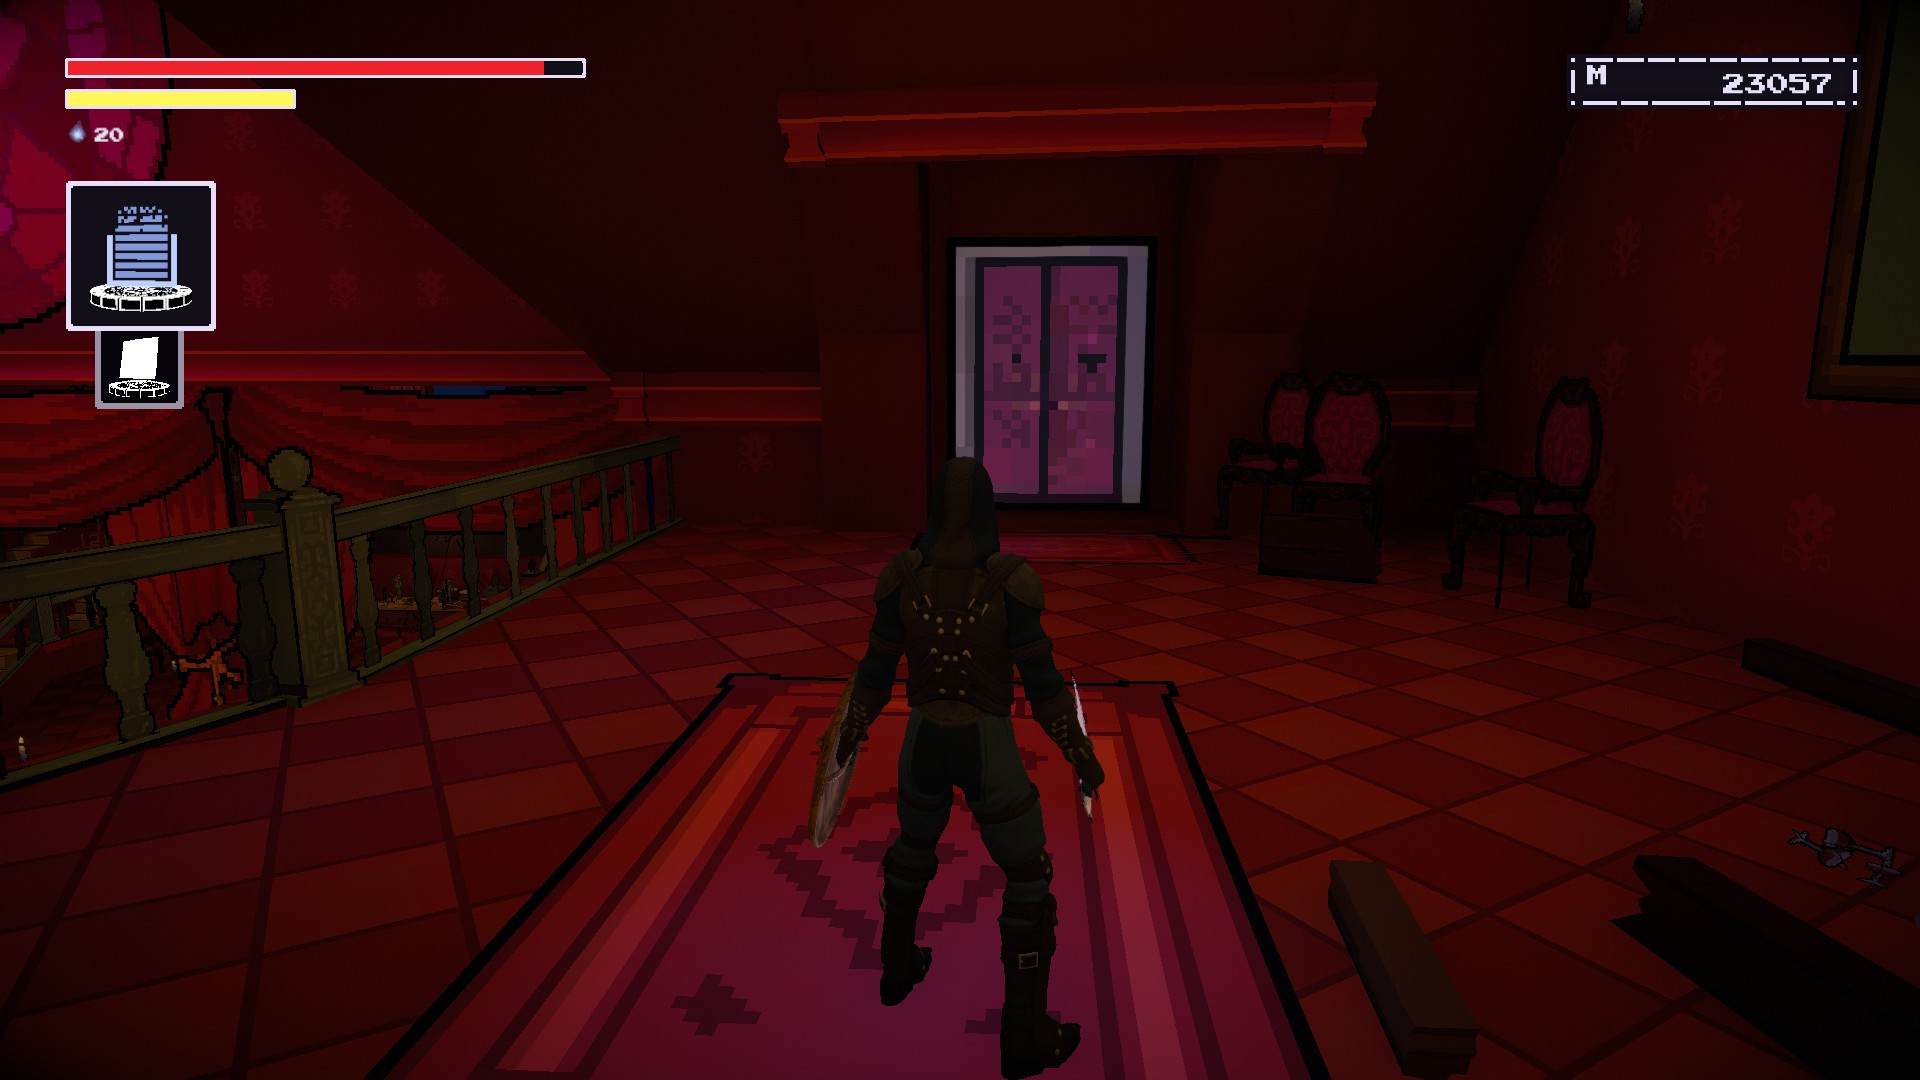
Enter through the door and make your ascent towards this building.
The spell will be inside this room near the flagellation table.
Broken Code*** (Soletrar)
Buy it from the Merchant’s shop after giving him the Easymaker Key found at Warlock’s Wilds. Custa 2000 memory to purchase.
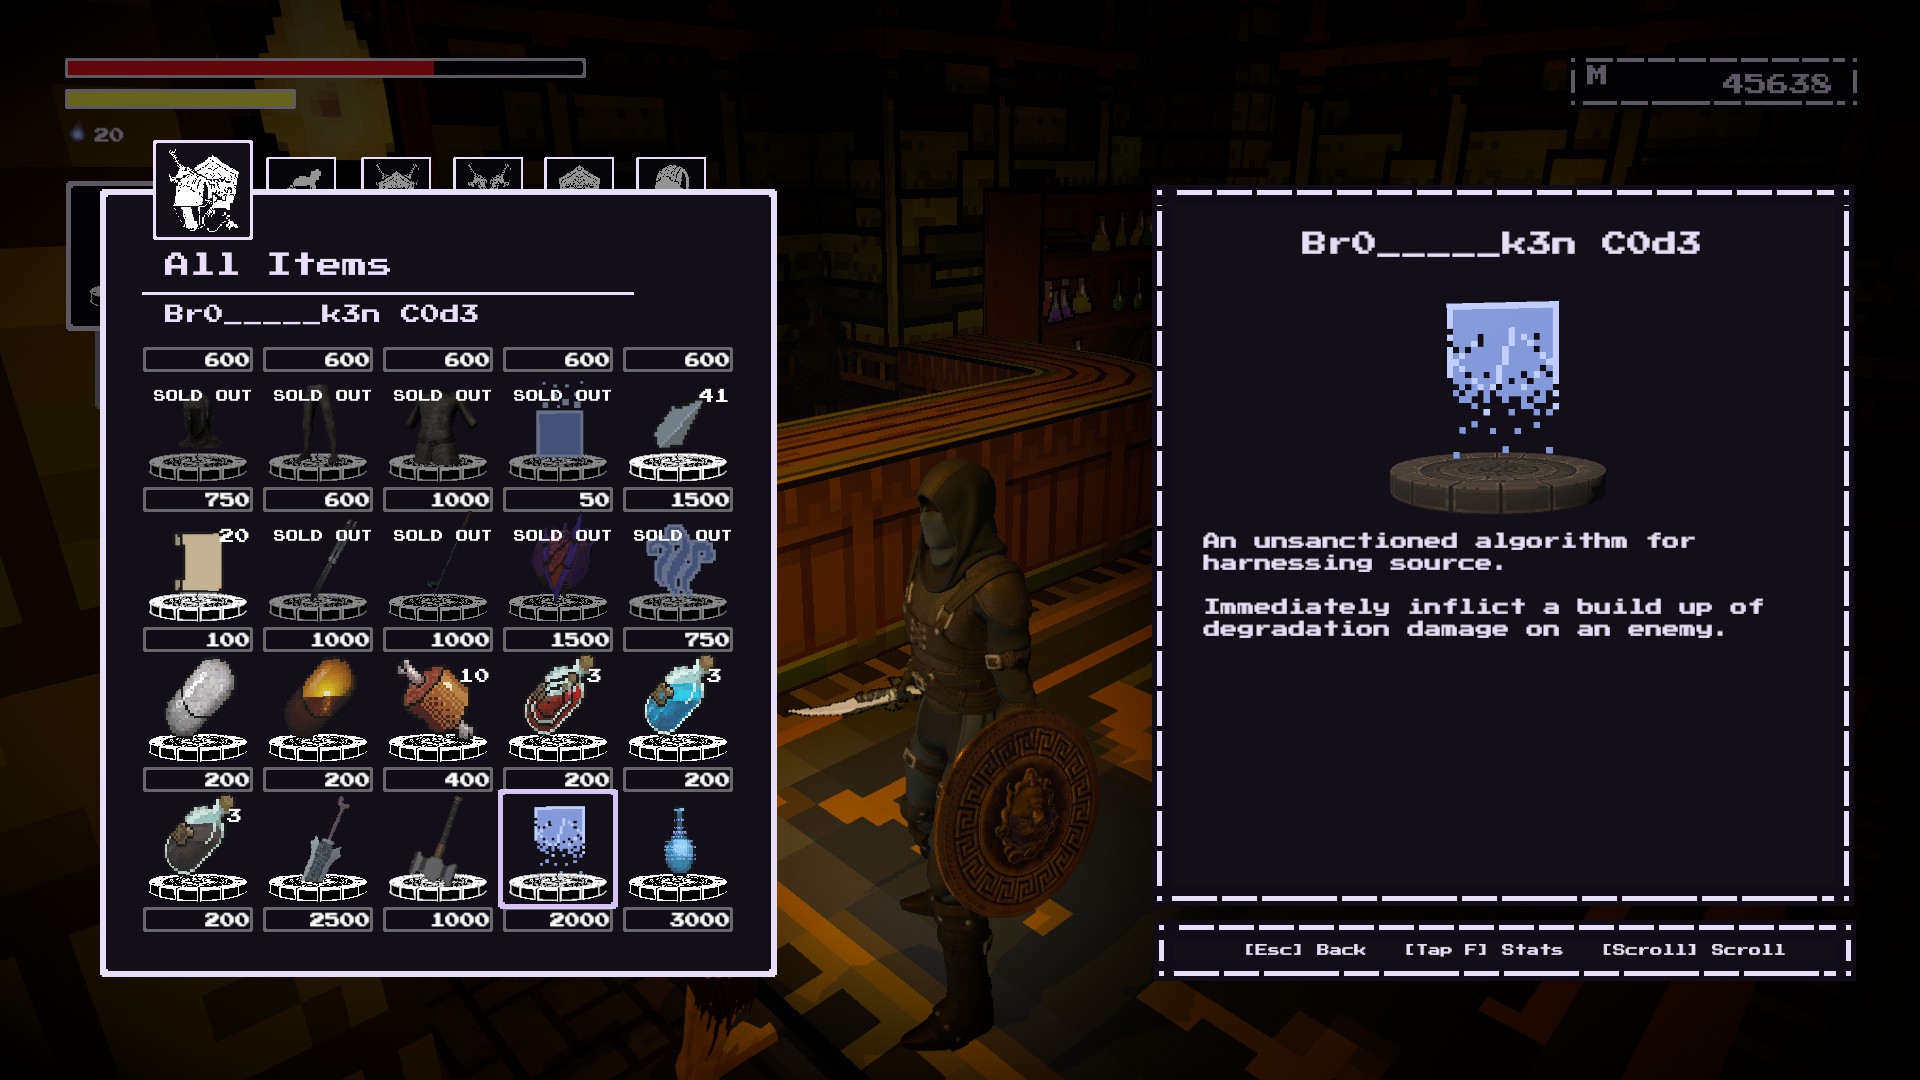
Focused Bottle*** (Runa)
Buy it from the Merchant’s shop after giving him the Easymaker Key found at Warlock’s Wilds. Custa 3000 memory to purchase.
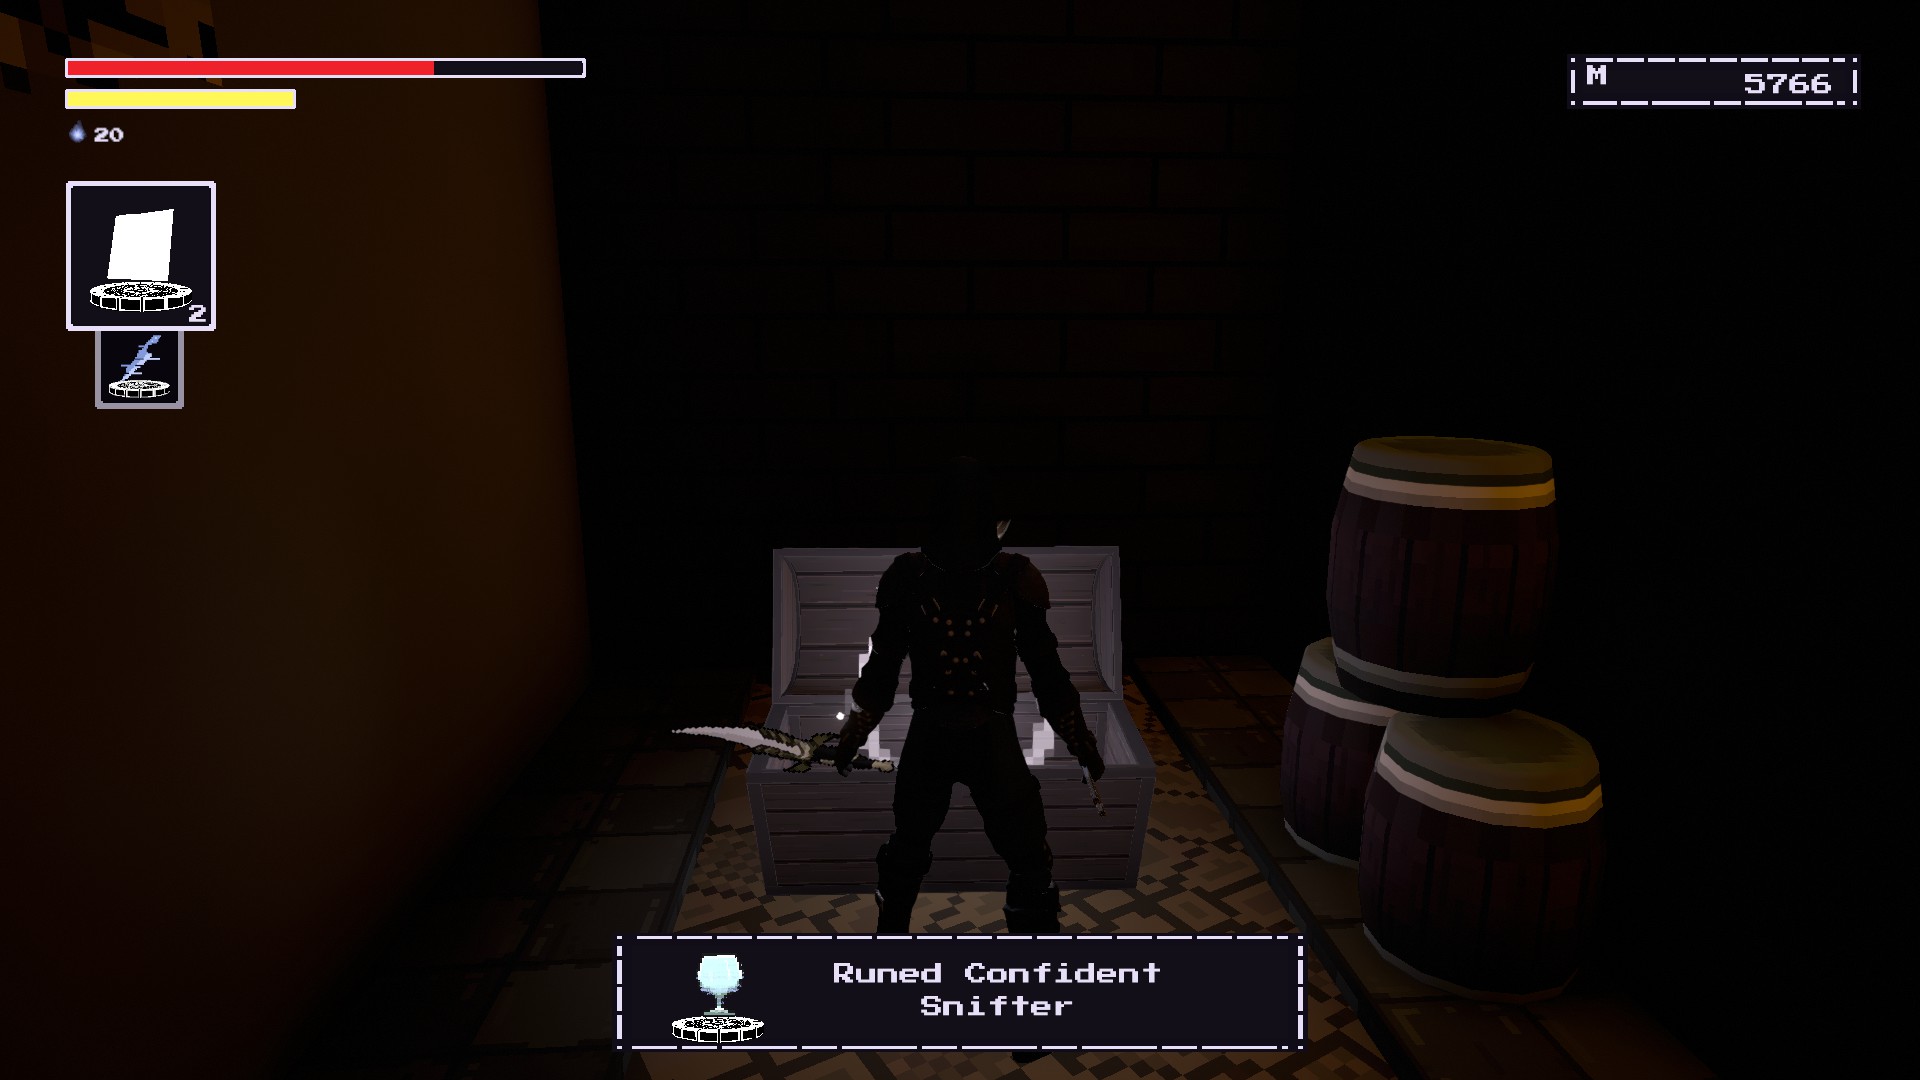
Confident Snifter (Runa)
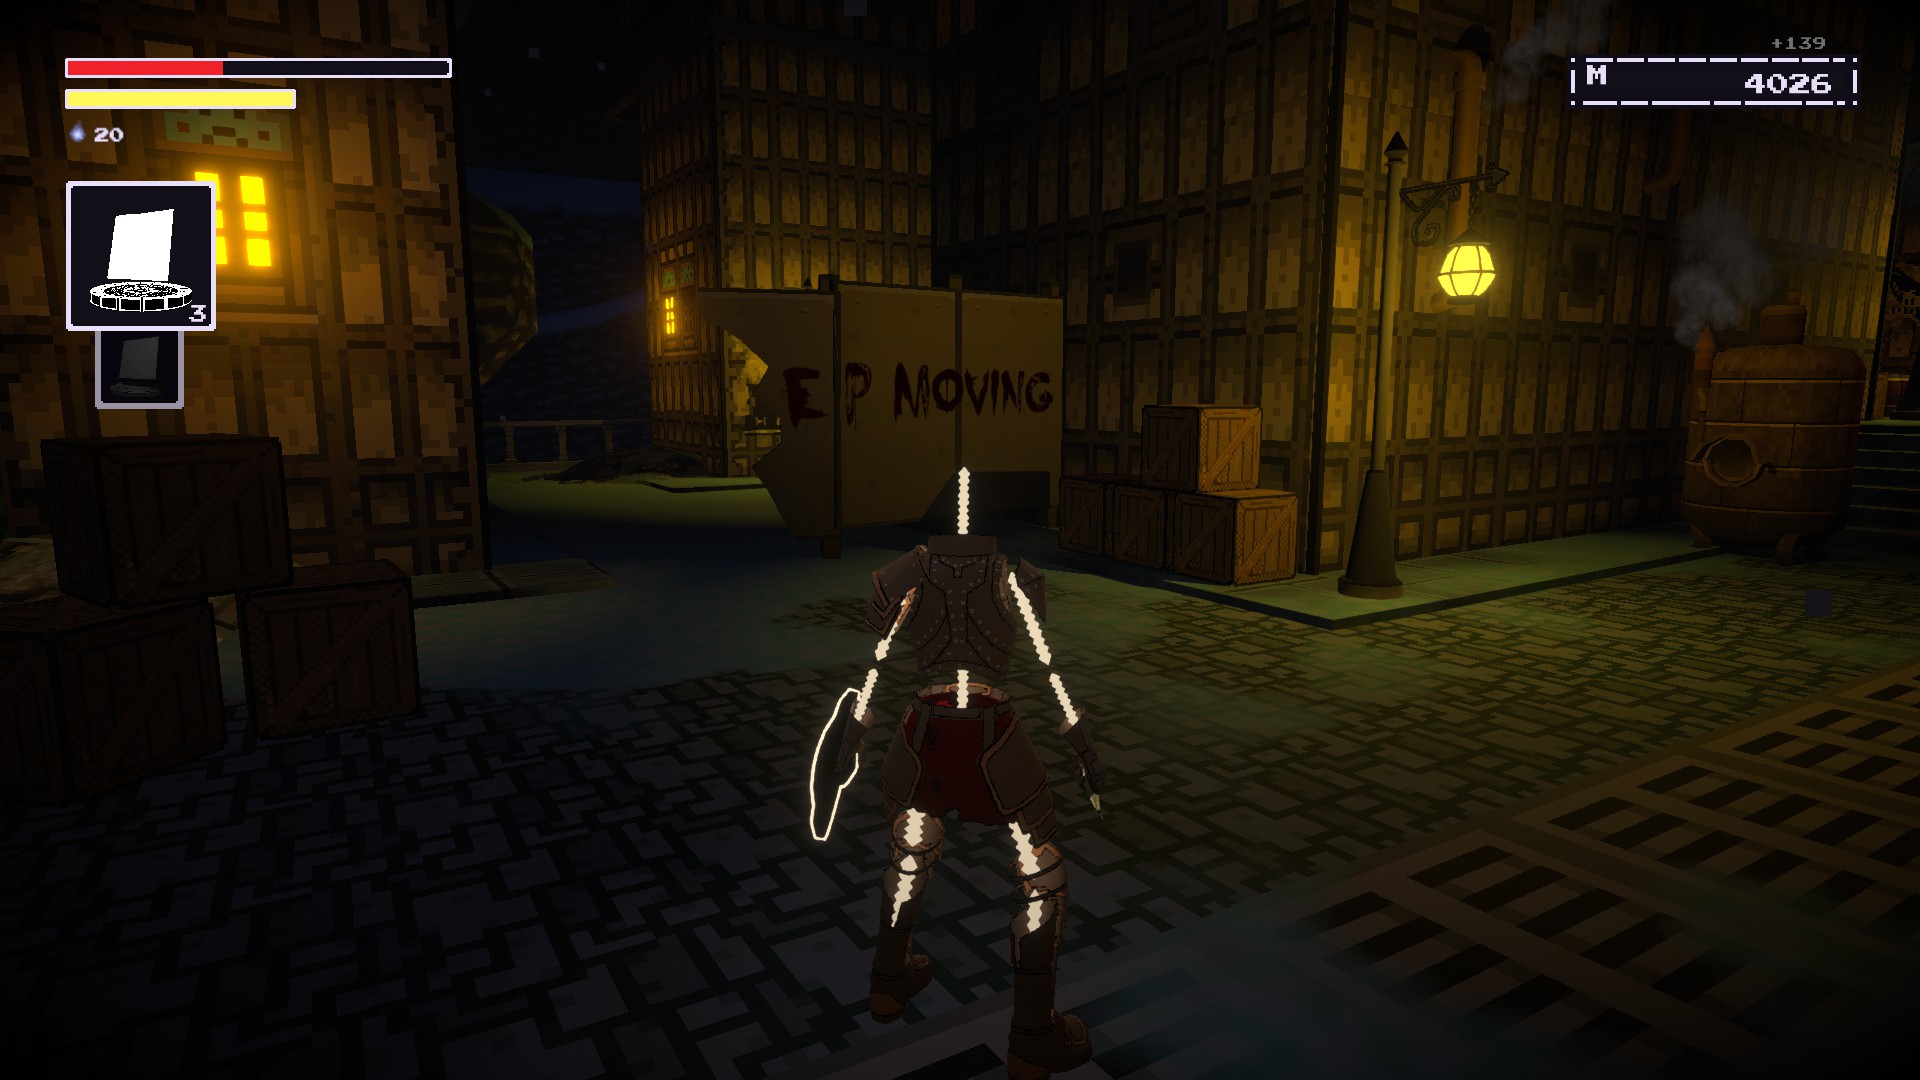
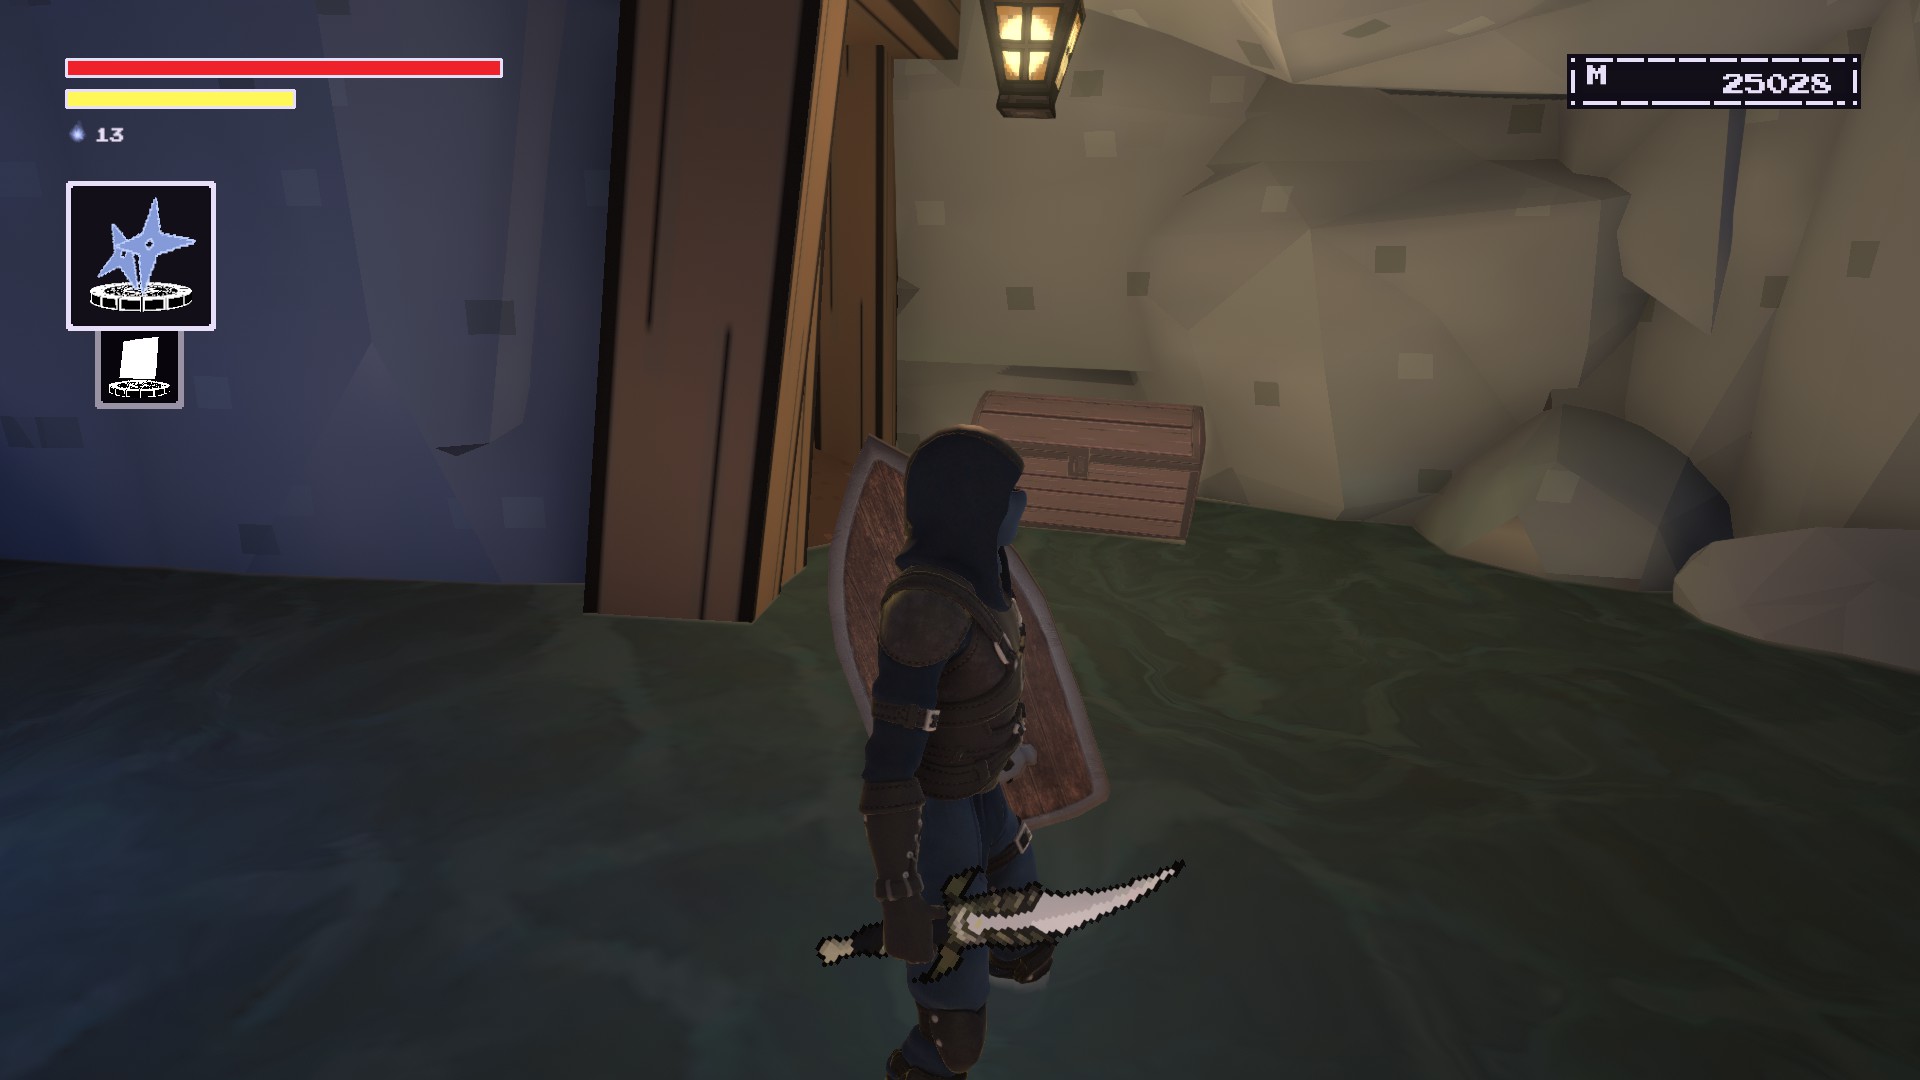
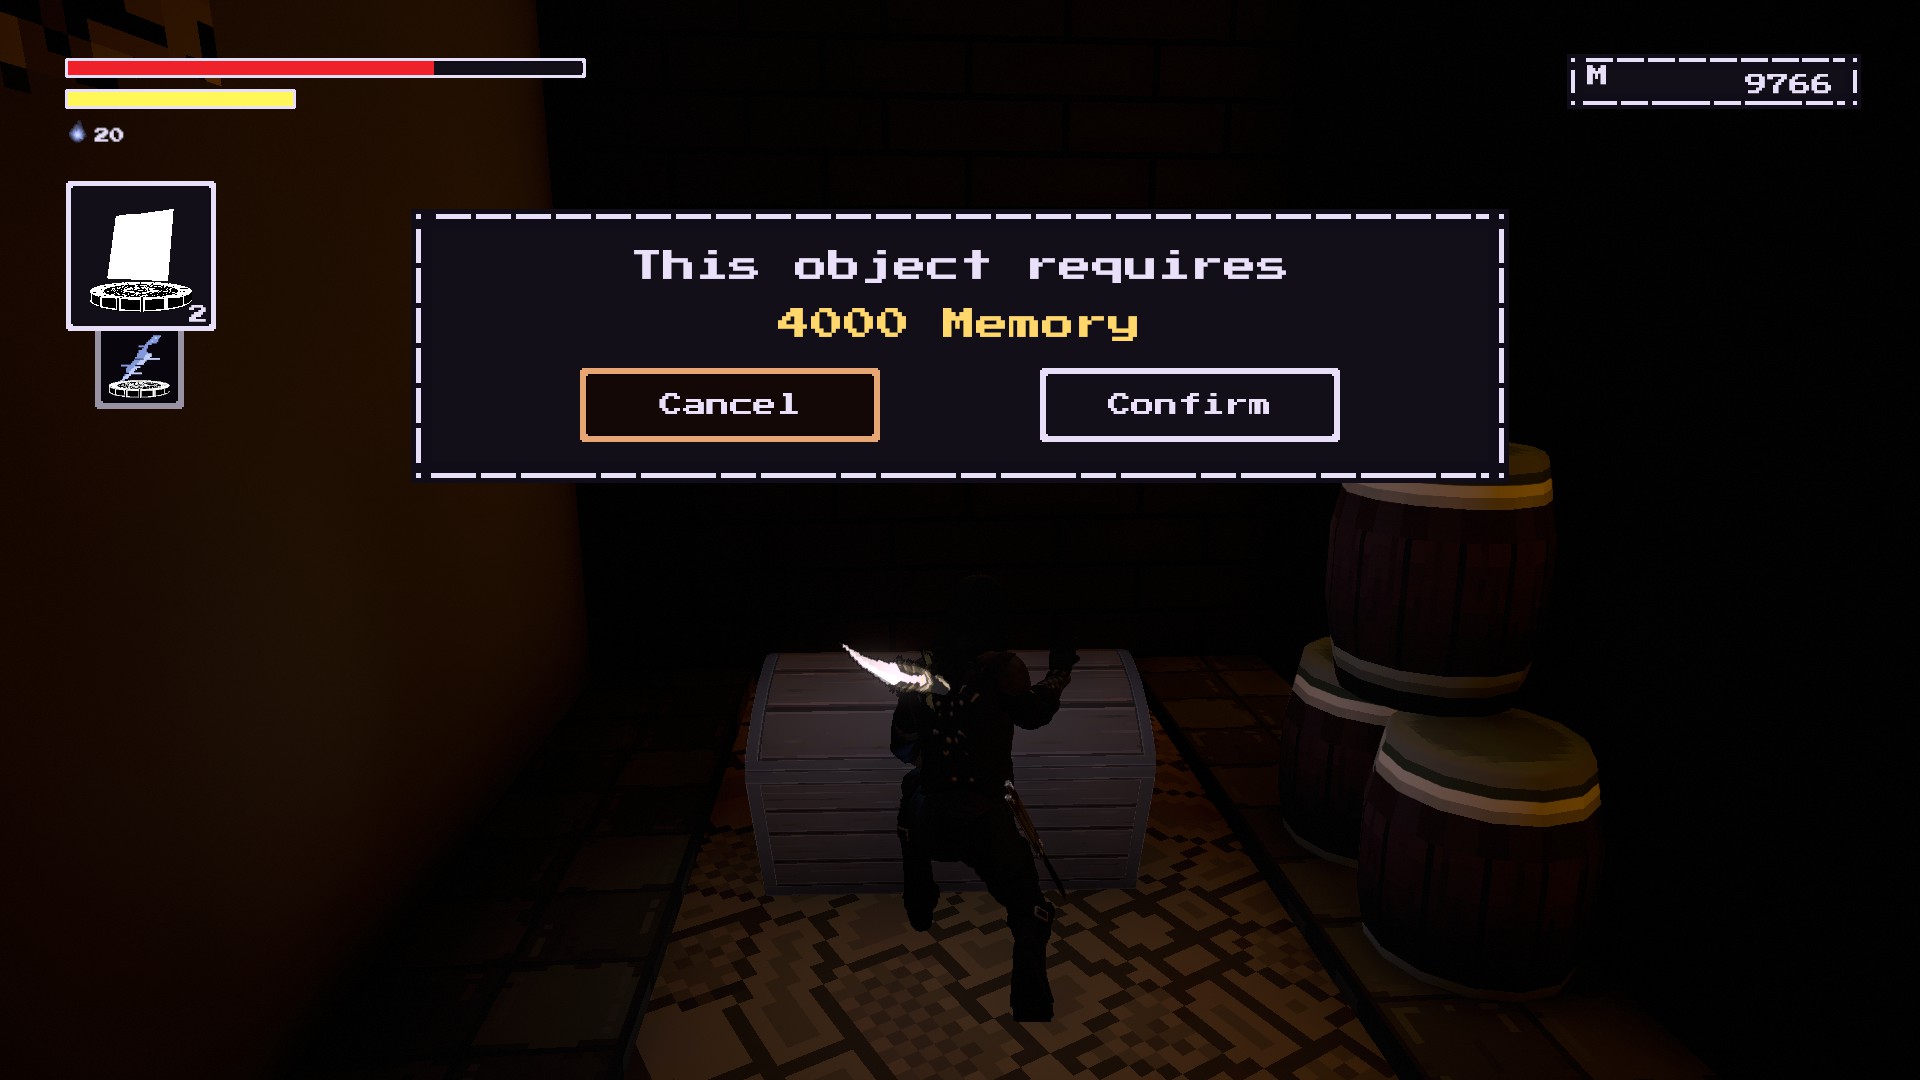
Progress through NPC City until you reach the area around an elevator and workshop. Enter this building and venture through it.
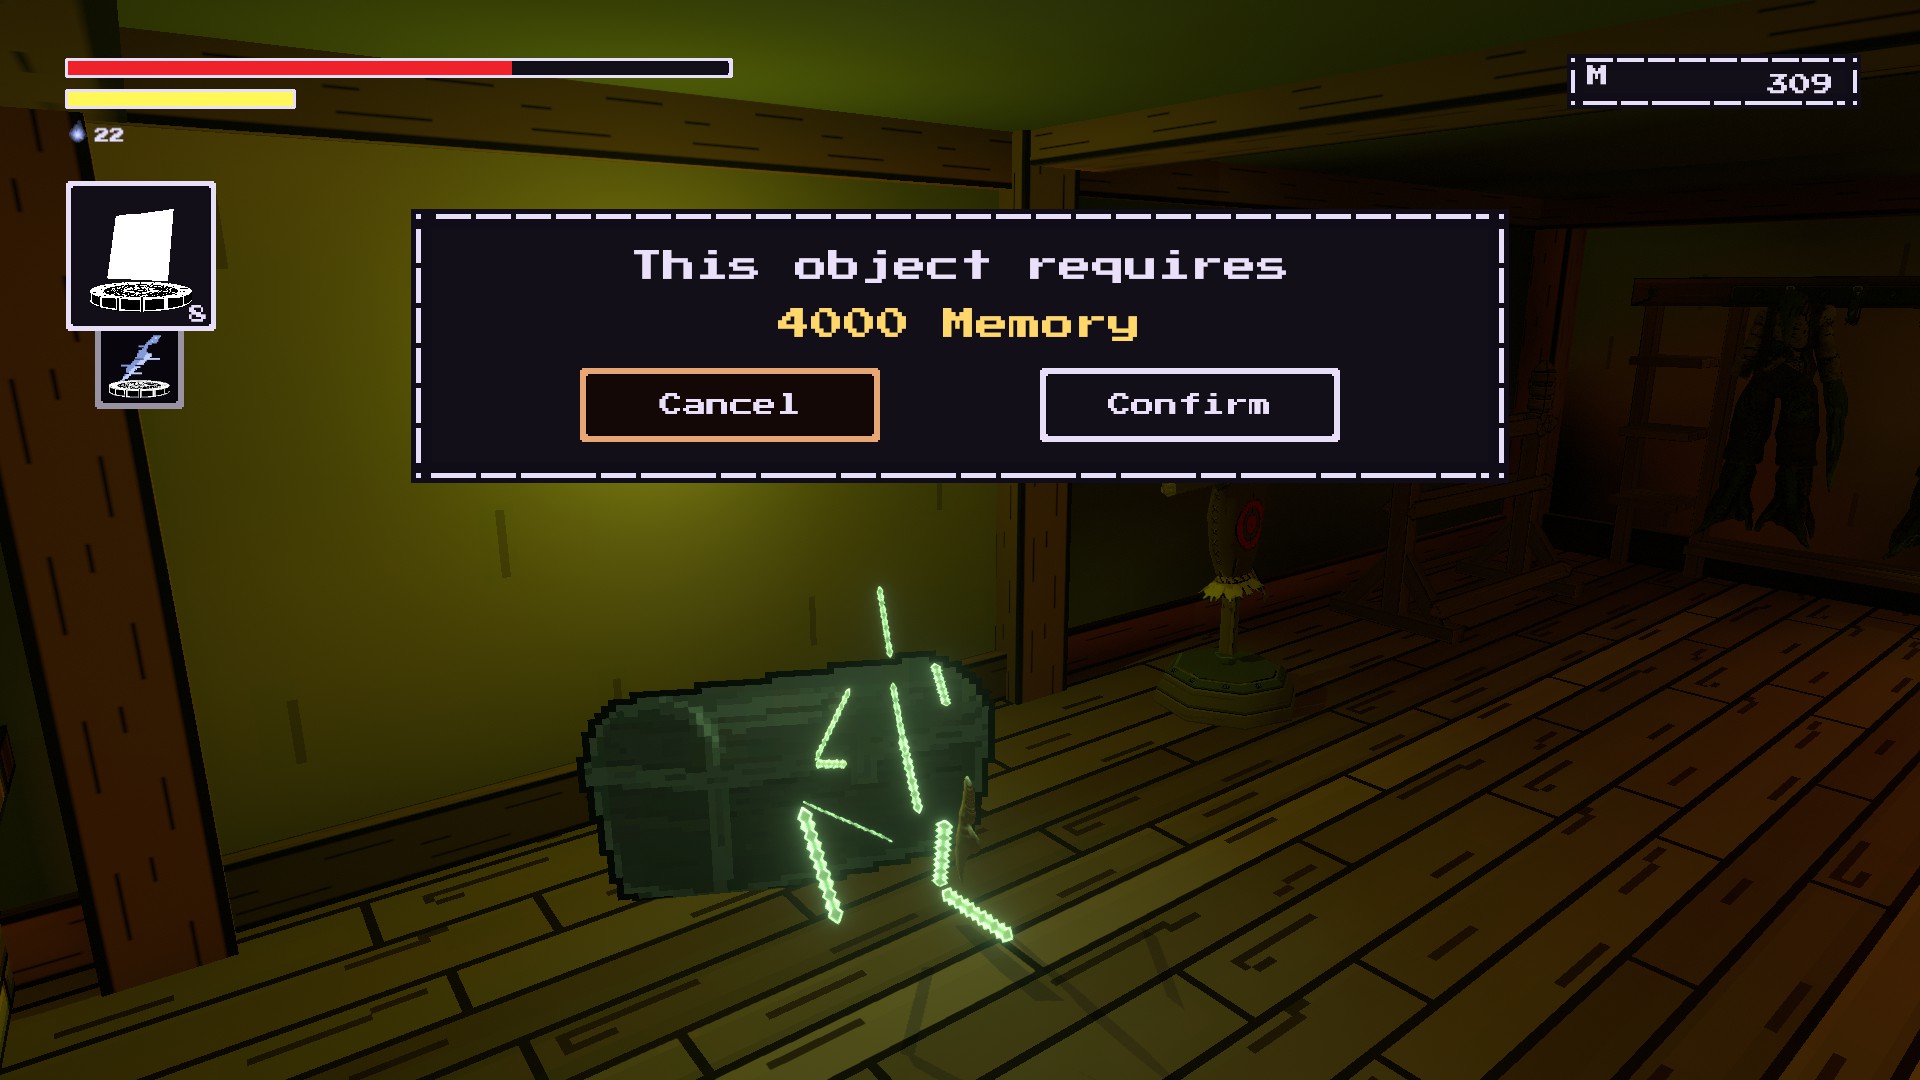
No final, you should be near a gate that acts as a shortcut to the other side. To the right of this gate will be an unstable chest.
You will need to Uprez this chest with 4000 memory to collect the rune.
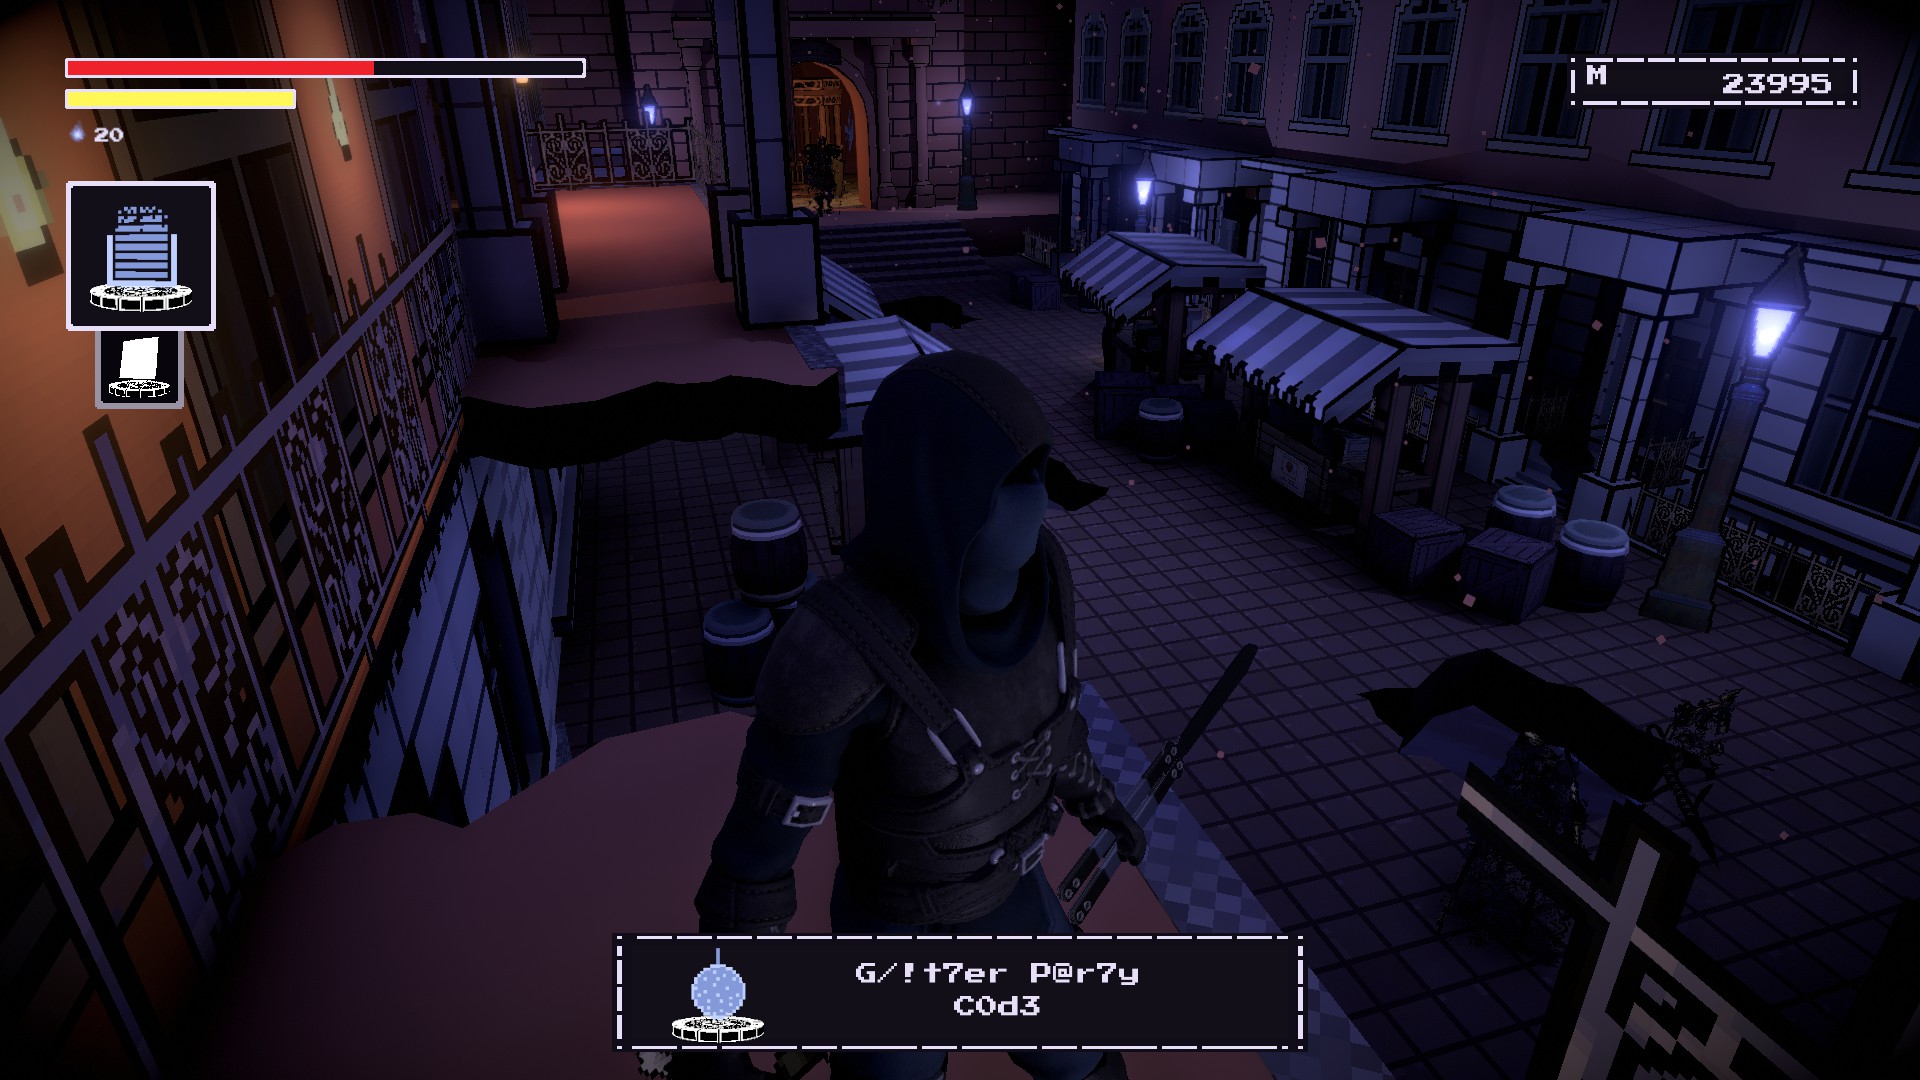
Glitter Party Code (Soletrar)
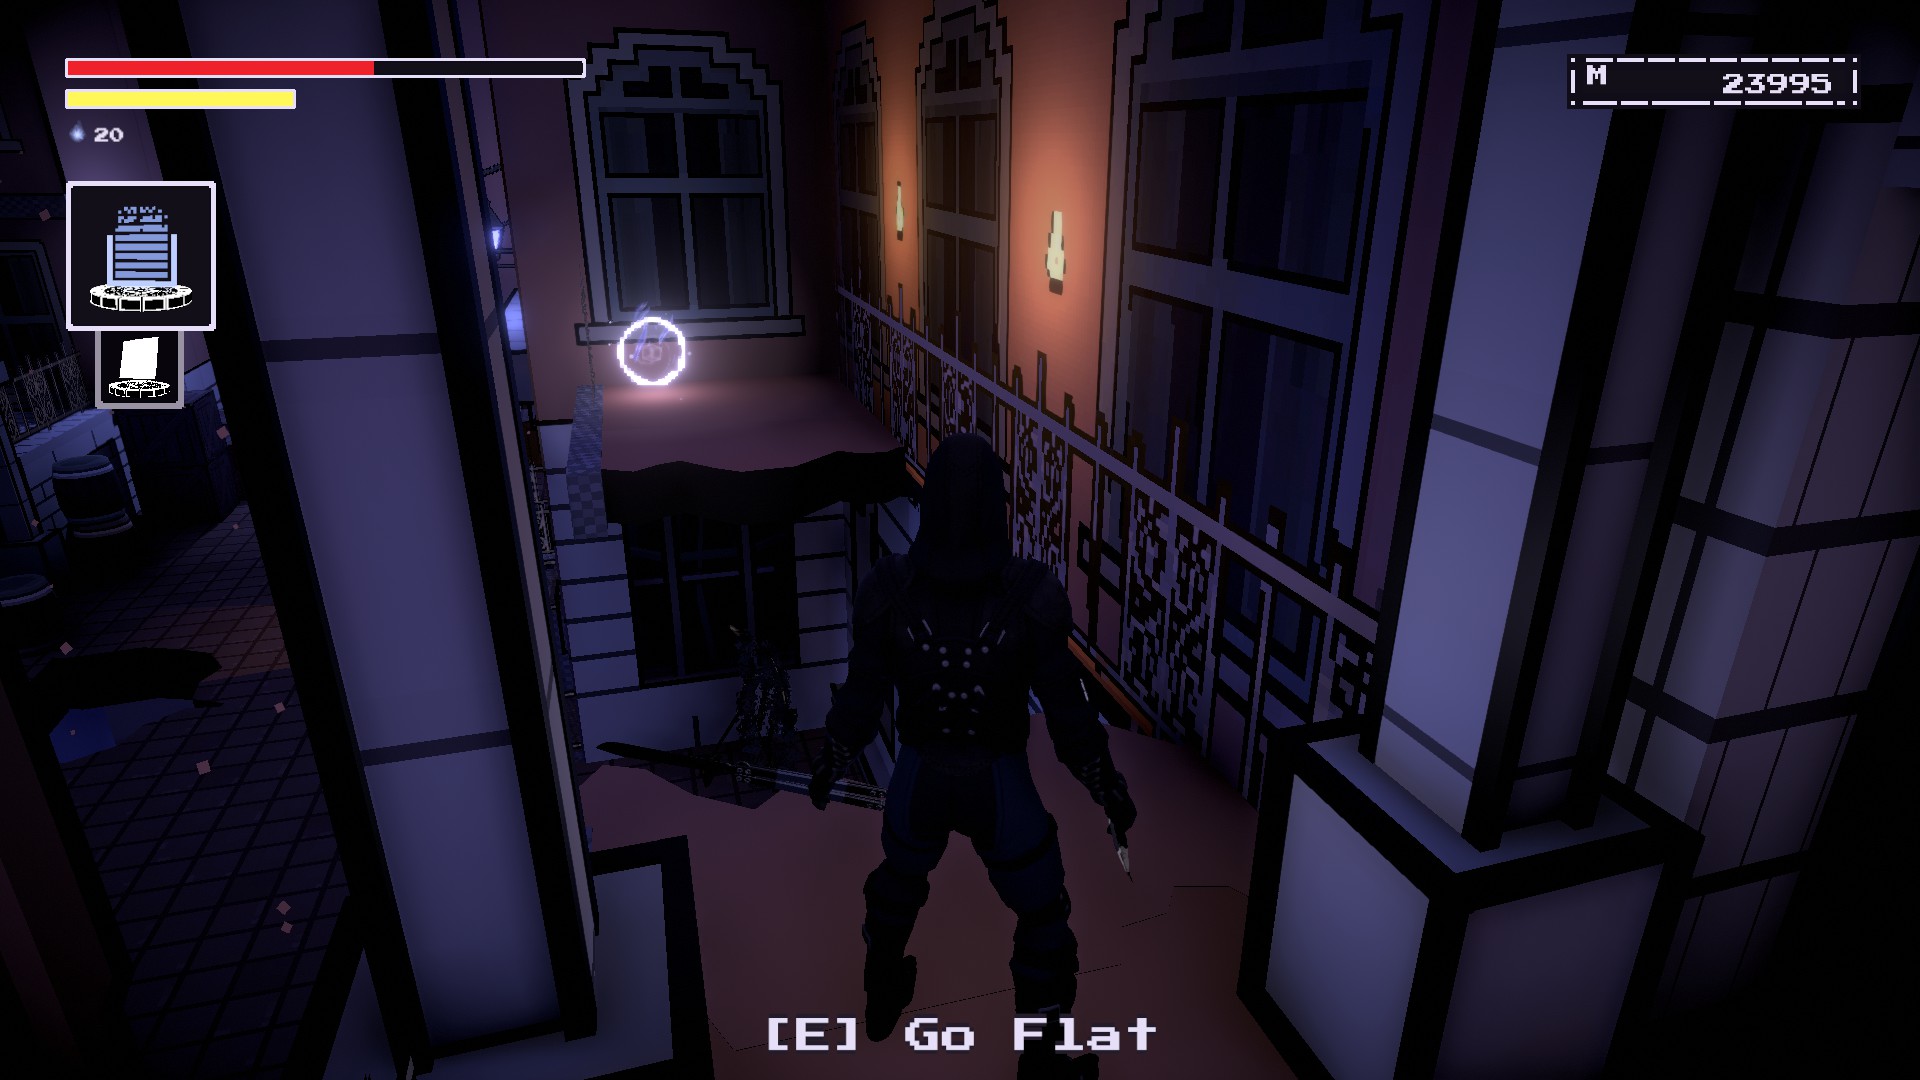
Progress through Start of Sequence until you reach the marketplace area right before the boss. Enter the building on your left.
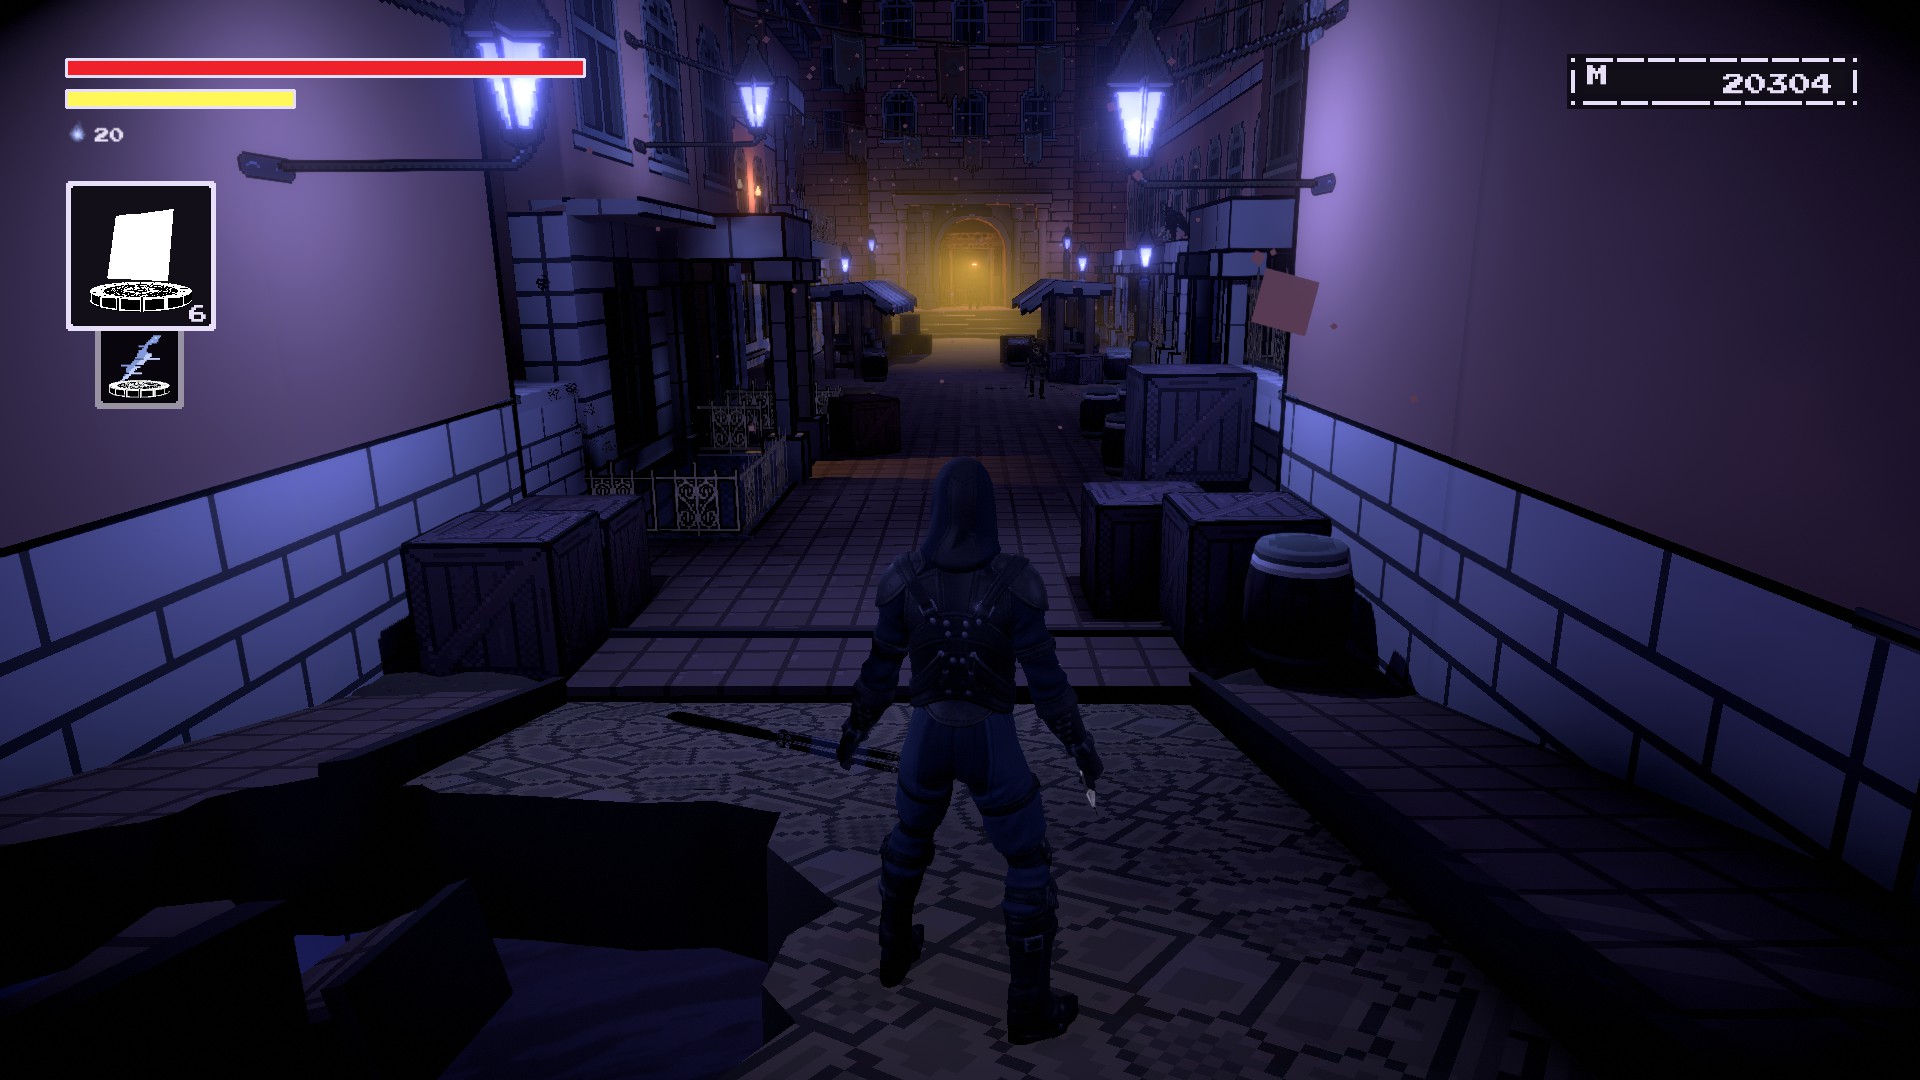
Uma vez dentro, go through the open room on your right.
You should be on the balcony. You will need to use Flat Traversal to reach the spell.
Bomb Code (Soletrar)
Progress through the Unbreachable Maw, you should reach this area near the top.
Make your way to this hallway where all the boulders are headed. You’ll see a dark wall that you can walk through to enter a small area.
You will be in a dark hallway. The spell will be near the end of this hallway.

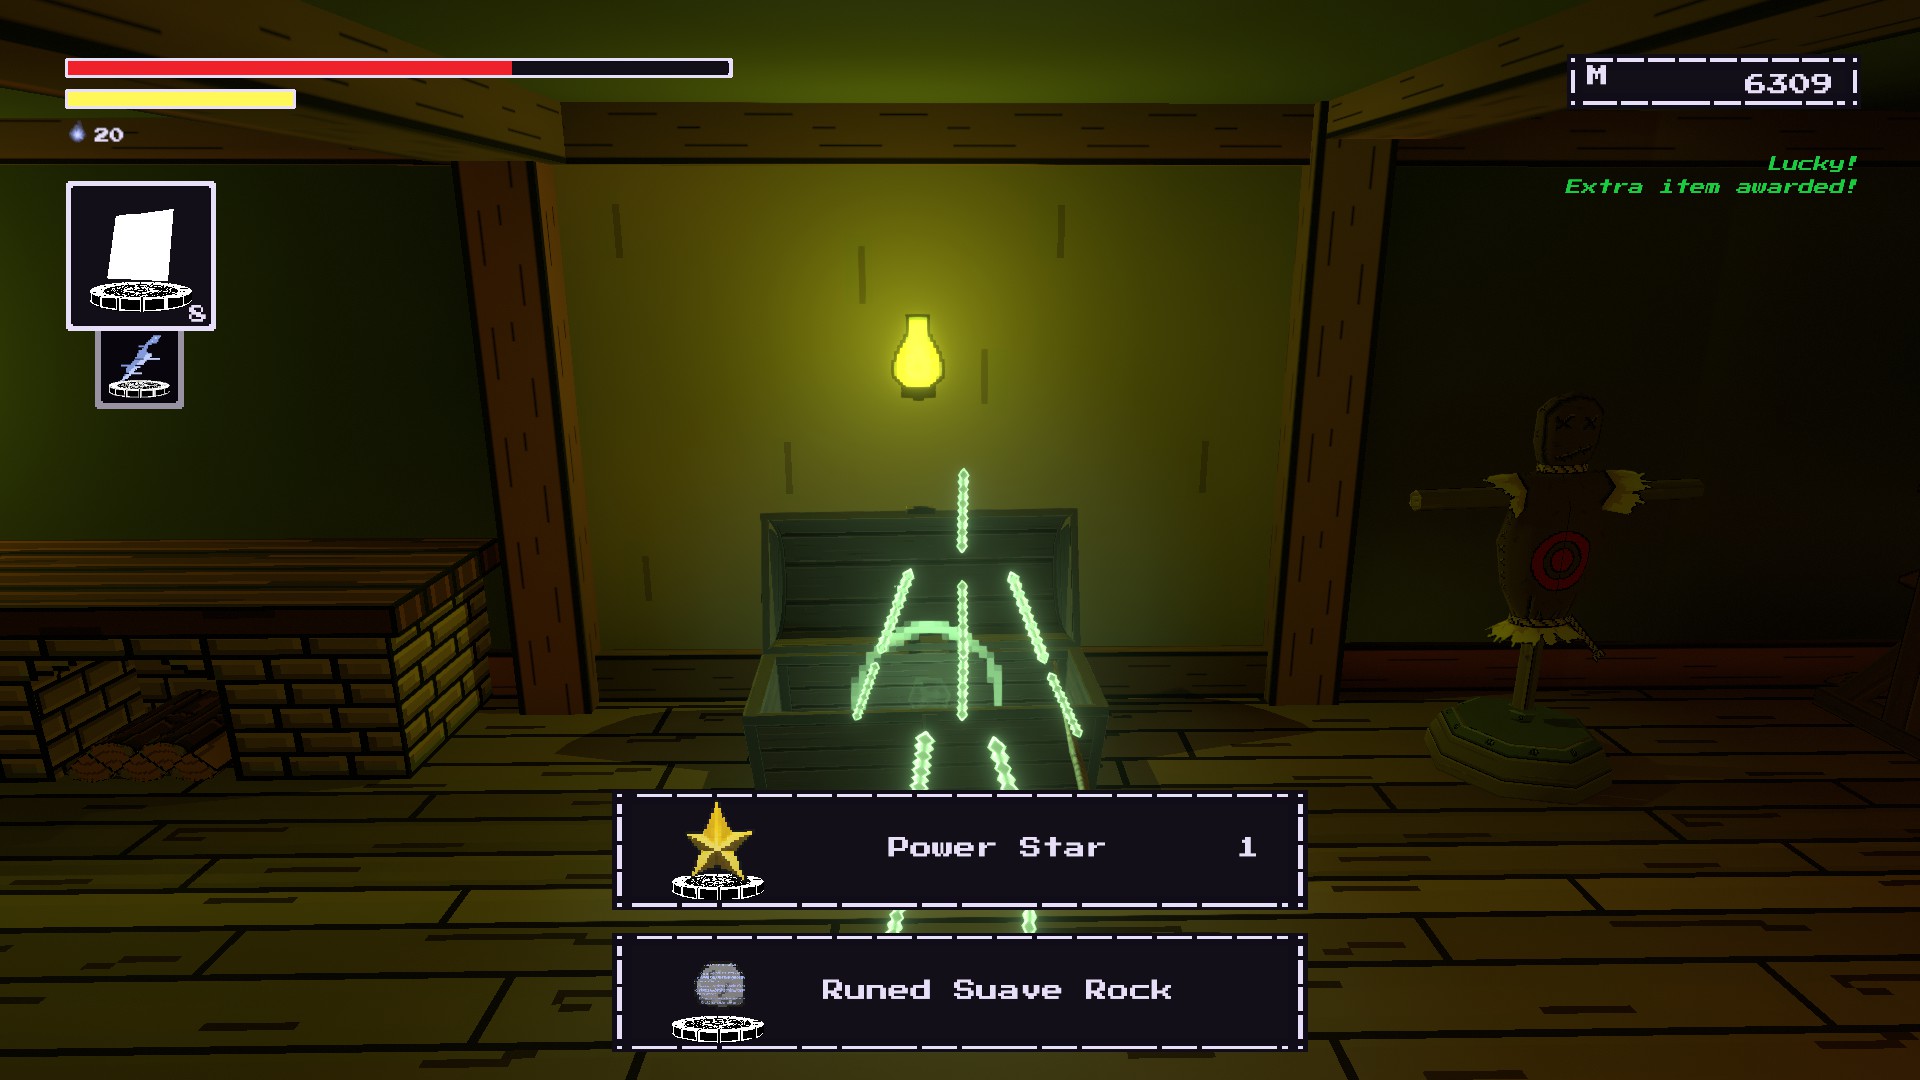
Suaved Rock (Runa)
Progress through the Lair of the Adversary. You should be near this path after going through the area with rising lava and tentacles. There will be a path on the left that you can take here.
Continue on this path and you’ll reach a green door. Enter the door and you’ll end up in a NPC staging room for the Cultists.
The chest will be on the left side of the room. You will need to Uprez the chest with 4000 memory to unlock.
Isso é tudo o que estamos compartilhando hoje para isso O último herói de nostalgaia guia. Este guia foi originalmente criado e escrito por AZRA3L The Eternal. Caso não atualizemos este guia, você pode encontrar a atualização mais recente seguindo este link.