- Título: Recettear: An Item Shop's Tale
- Data de lançamento:
- Desenvolvedor:
- Editor:
Information about Recettear: An Item Shop's Tale is still incomplete. Por favor, ajude-nos a preencher os detalhes do jogo usando este formulário de contato.
This guide covers all the important details about enemy and boss drop rate mechanics in Recettear, including the types of items that enemies can drop, as well as other related mechanics like unidentified items and item bonus levels.
Drop Rate Mechanics
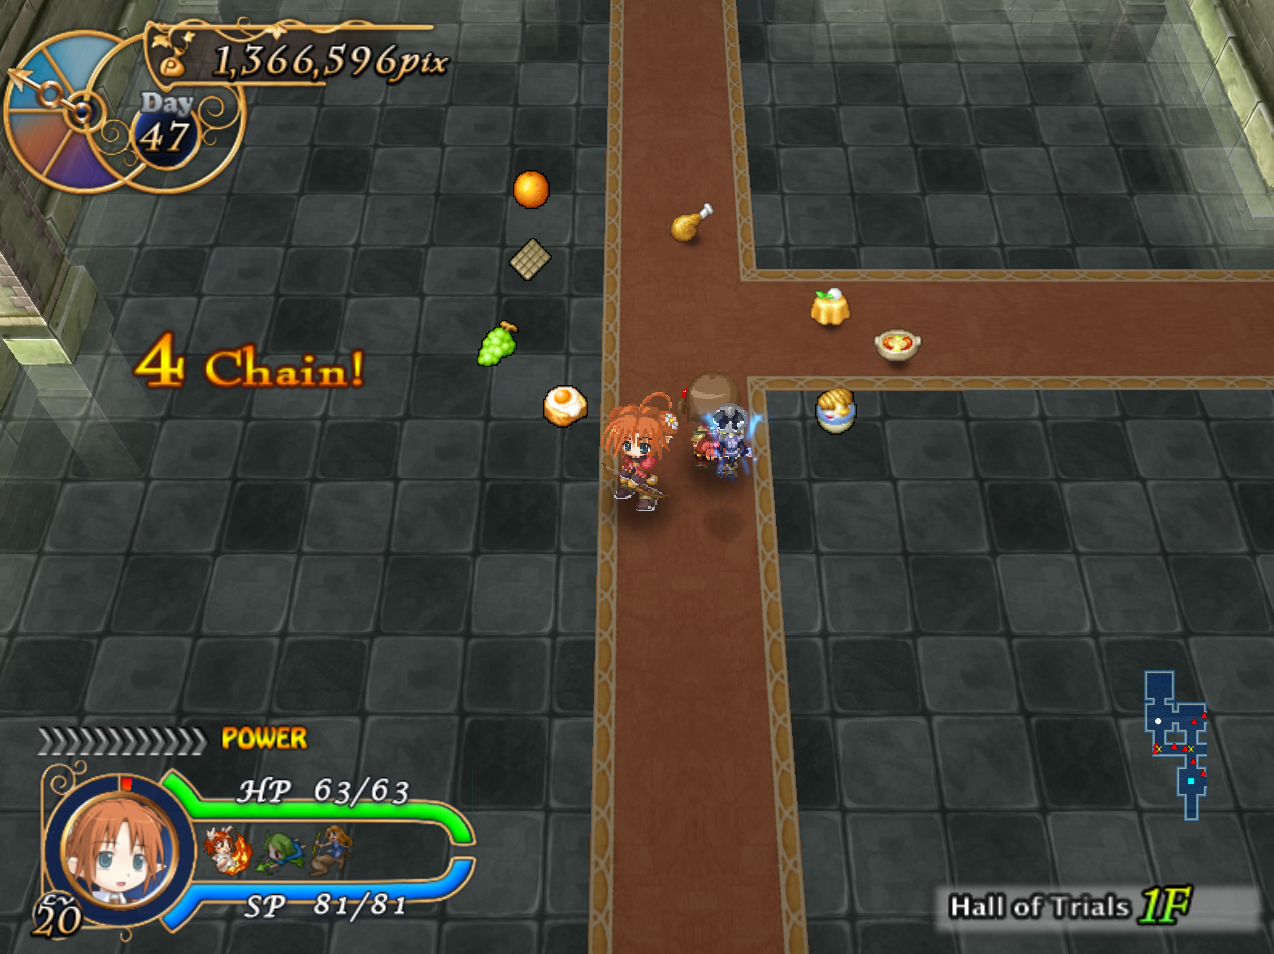
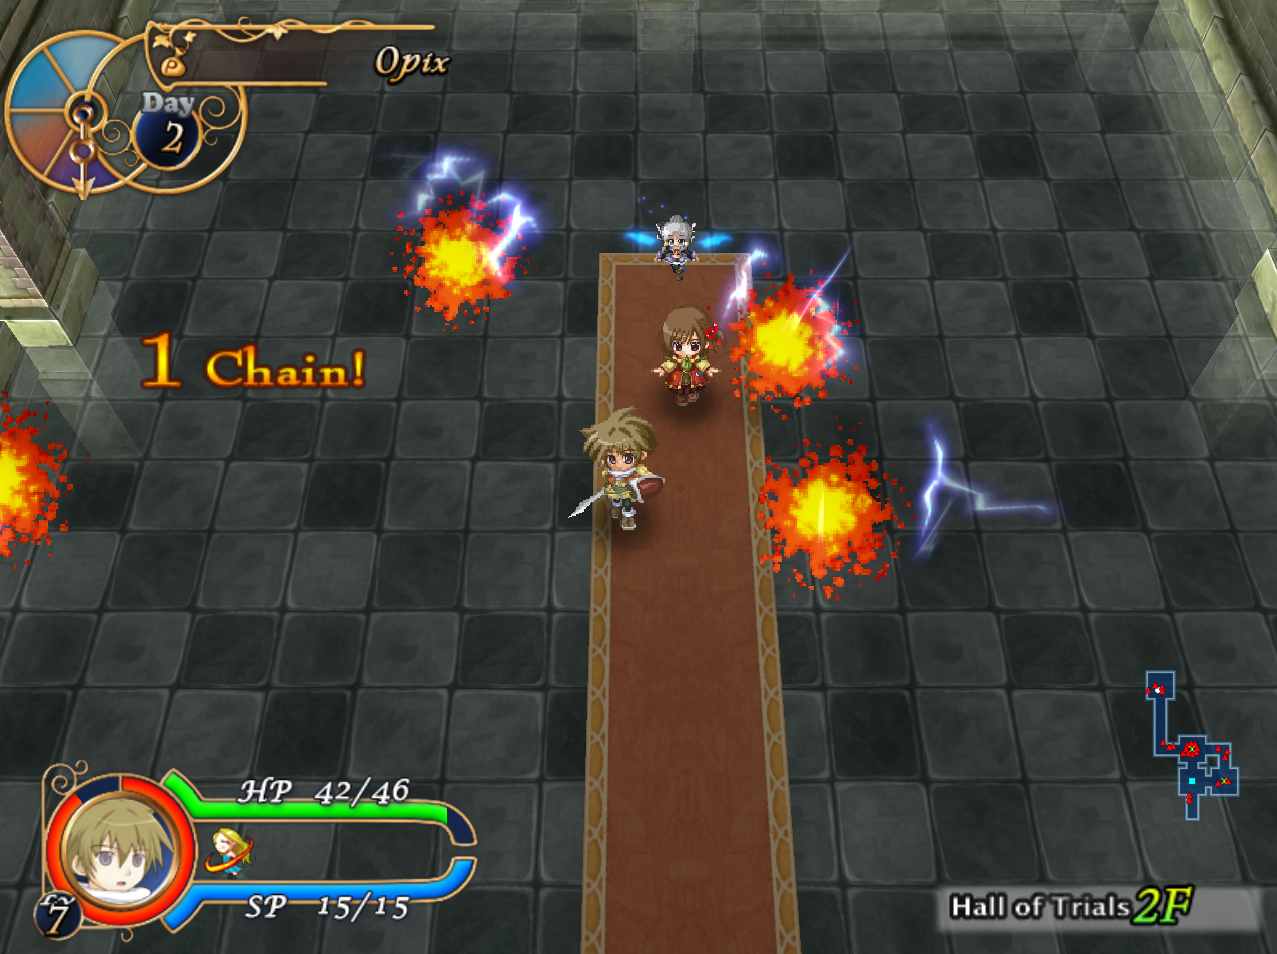
The mechanics of enemy and boss drops in Recettear are not as straightforward as simply assigning a fixed rate to each item an enemy can drop. Although this is the basis of the game’s mechanics, there is also a bad luck prevention system in place to increase the chances of getting a drop. Each time an enemy drops nothing, the player advances to a new floor or enters a dungeon, the drop rate is slightly increased. No entanto, there is a limit to this increase, and drop rates can never reach 100%. Adicionalmente, only one item can drop from an enemy at a time.
It is important to note that chaining has no effect on drop rates. The Miracle Charm, despite its description text, does not affect any aspect of the enemy drop rate mechanics.
Most Blue Slimes are considered regular enemies, but Blue Slime Ring hazards are an exception. Eliminating them won’t add to bad luck protection, and they won’t yield any food or items.
Every enemy has five potential drop slots: Common Food, Rare Food, Comum, Incomum, and Rare items. No entanto, not all enemies use all of these slots. The rare slot is exclusive to certain boss fights throughout Pensee and a select few enemies in the Crystal Nightmare.
If an enemy appears in a dungeon without an associated drop table, which is common for most Blue Slimes spawned from traps, they are unable to drop items. No entanto, they can still drop food.
Obtaining a drop of one type boosts bad luck protection for other types of drops. The drops that enemies can provide vary depending on the dungeon and the floors where you battle them.
Once a drop is obtained, its drop rate resets to the minimum, and bad luck protection will start increasing the rates once again, repeating the cycle. Rare food and rare item drops prevent you from acquiring those drops again for a few kills after you receive them. This applies every time you get rare food or rare item drops. No entanto, bad luck protection will still progress the kill count in these cases.
Drop rate mechanics differ depending on if you are in a boss fight or not. If you’re not on a boss fight floor, the following mechanics apply:
Common Food Drop Rate Mechanics:
- When you first kill an enemy, você tem um 0% chance to gain food.
- Each failed roll increases the chance by 0.2%.
- This eventually caps out at 10%, que requer 50 kills to reach.
Rare Food Drop Rate Mechanics:
- When you first kill an enemy, você tem um 0% chance to gain food.
- You cannot gain food drops for 4 mata, the chance is fixed at 0% during that time.
- Each failed roll increases the chance by 0.05%.
- This eventually caps out at 10%, que requer 203 kills to reach.
Whenever common or rare food is set to drop from an enemy, the game takes some additional steps to determine what kind of food should be able to drop. More details can be read in the Food Drop Table Mechanics section.
Common Drop Rate Mechanics:
- When you first kill an enemy, você tem um 2% chance to obtain the common item.
- Each failed roll increases the chance by 4%.
- This eventually caps out at 20%, que requer 5 kills to reach.
Uncommon Drop Rate Mechanics:
- When you first kill an enemy, você tem um 0.8% chance to obtain the uncommon item.
- Each failed roll increases the chance by 0.2%.
- This eventually caps out at 5%, que requer 21 kills to reach.
Rare Drop Rate Mechanics:
- When you first kill an enemy, você tem um 0% chance to obtain the rare item.
- You cannot gain rare drops for 3 mata, the chance is fixed at 0% during that time.
- Each failed kill where you don’t get a drop increases the chance by 0.05%.
- This eventually caps out at 1%, que requer 22 kills to reach.

Boss Fight Drop Rate Mechanics:
The drop rates are fixed at 30% for commons, 10% for uncommons, e 5% for rare drops. Bad luck protection has absolutely no effect here, though it is still kept track of from killing any minions in the fight. Bosses themselves do not contribute to bad luck protection.
Common food and rare food drop rates are unchanged here and work just like they do in the rest of the dungeon. However bosses cannot drop food, but their minions can. Minions can only drop food during boss fights. All minions have empty drop tables otherwise. The Geddon Device’s arms count as minions for this purpose.
Bosses fought in a boss rush are no different than in regular dungeon dives when it comes to drop rates. If you are purely after drops from a boss, then farming boss rushes is optimal.
The Gauntlet floors do not function like boss fight floors and use the normal drop rate mechanics instead of the boss drop rate mechanics.
No entanto, the Bomb gauntlet on floor 30 of Lapis Ruins is an exception and uses the boss drop rate mechanics instead, making that floor an excellent place to farm for Gunpowders and Natural Heaters.
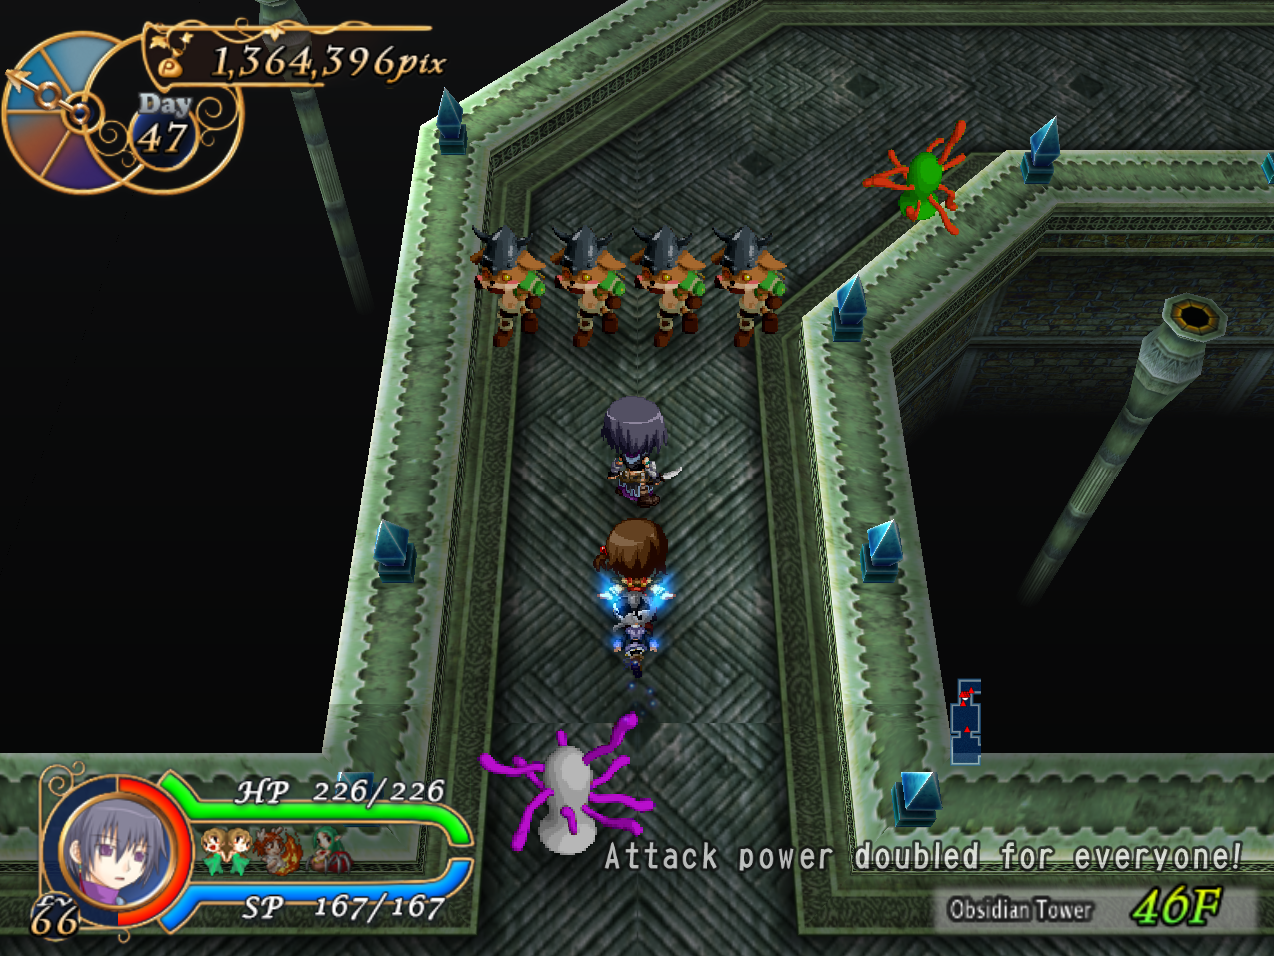
The Knight Gauntlets found on floor 45 of the Obsidian Tower, chão 55 of the Lapis Ruins, and floors 45 e 55 of the Crystal Nightmare are another exception, as those contain an actual boss with the giant Dark Knights, and uses the boss drop rate mechanics as a result.
Food Drop Table Mechanics
When a game rolls the common food or rare food slot on an enemy it needs to determine which piece of food it should drop for you. The game does so by using the following formula:
X = [(Floor Number – 1) + (Dungeon ID * 2)] / 3
The game rounds down after division.
The Dungeon IDs are as follows:
Hall of Trials: 0
Jade Way: 1
Amber Garden: 2
Obsidian Tower: 3
Lapis Ruins: 4
Crystal Nightmare: 5
From a technical standpoint, all boss rushes count as being in the Crystal Nightmare.
- The Jade Way boss rush counts as being on floors 31 através 33.
- The Amber Garden boss rush counts as being on floors 34 através 38.
- The Obsidian Tower boss rush counts as being on floors 39 através 46.
- The Lapis Ruins boss rush counts as being on floors 47 através 59.
- The Crystal Nightmare boss rush counts as being on floors 31 através 59.
While bosses cannot drop food, their minions can. The Geddon Device’s arms count as minions for this purpose.
For common food, adicionar 4 to X. If X is greater than 7, then X = 7.
For rare food, adicionar 7 to X. If X is greater than 19, then X = 19.
Roll a random number from 0 to X. The result is the item you obtain.
As you progress through the later dungeons, the likelihood of obtaining diverse types of food increases, and this chance rises the deeper you delve into the dungeon.
Apesar disso, irrespective of the dungeon type or how far you are in it, you can never acquire anything beyond Taiyaki if you roll a common food drop. Por outro lado, rare food drops have the ability to roll any item on the drop table.
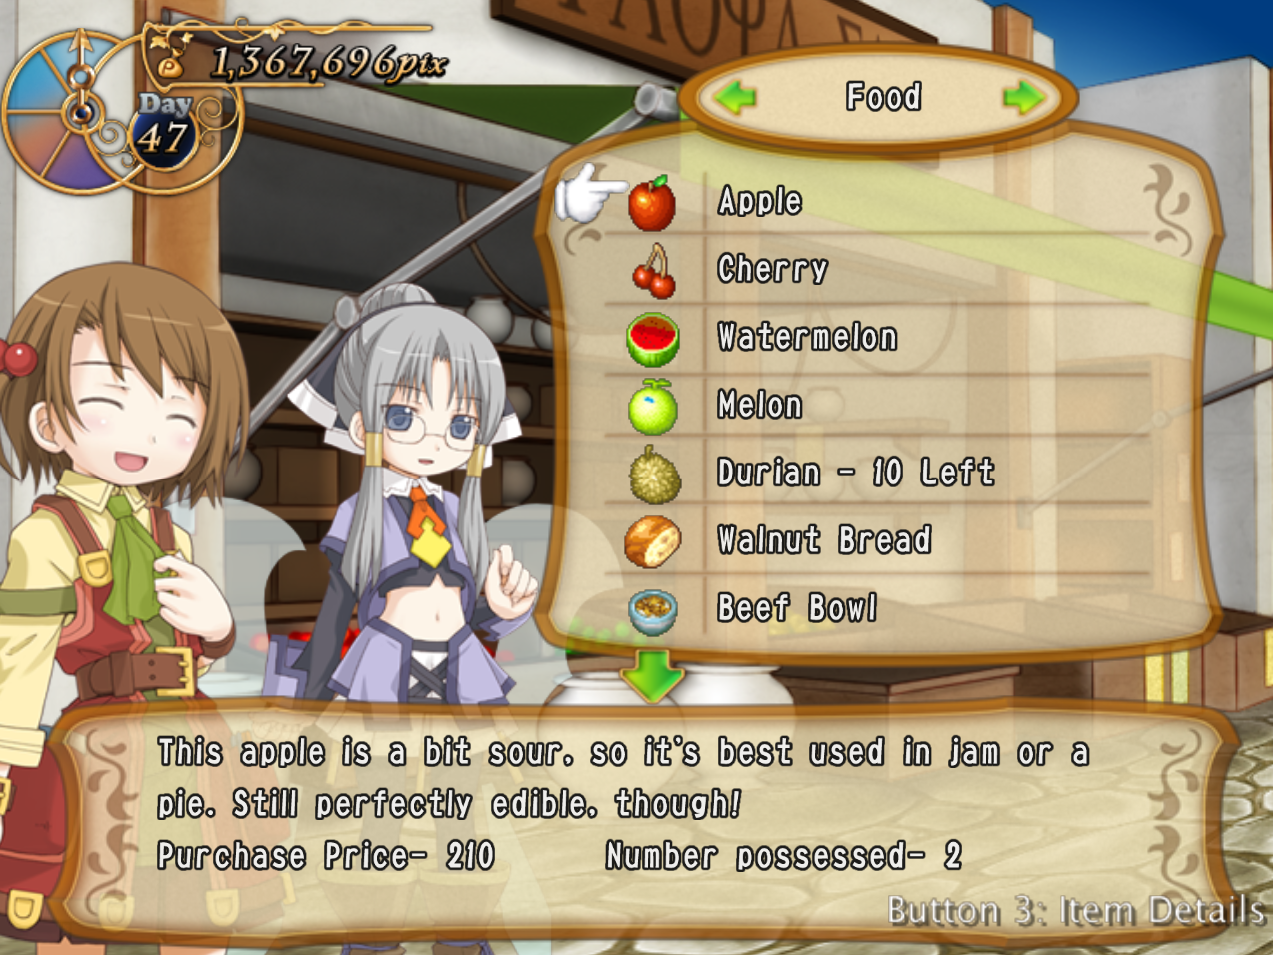
Notable items include Egg Toasts, Chocolate Bars, Oranges, Uvas, Shrimp Doria, Roast Chickens, Cutlet Bowls, and Mango Puddings, which are not available for purchase in the marketplace.
Only Egg Toasts, Chocolate Bars, and Oranges are obtainable through the common food drop table, while the remaining items can only be acquired through the rare food drop table.
Unidentified Items
When an ingredient drops from an enemy, tem um 50% chance to be unidentified. This only affects items that are classified as ingredients. Items of any other type such as food or weapons will always be identified.

By having a higher merchant level in the game, you can prompt the game to immediately identify an item. Each ingredient in the game has an associated internal level. If your merchant level is equal to or higher than this level, the ingredient will always be identified immediately.
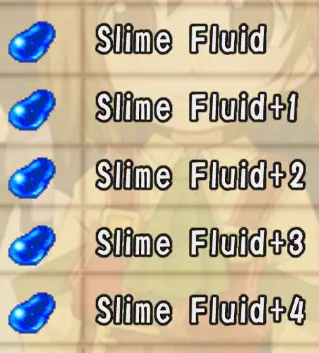
When an item drops, all of its aspects including what is dropped and the bonus it comes with are generated at that moment. The only thing that being unidentified does is conceal the item’s details until you exit the dungeon.
Refer to the table below to determine the minimum merchant level required to guarantee identification of associated ingredients.
Water Shroom
Slime Fluid
Slime Liver
Insect Trap
Pólvora
Herb Seed
Natural Heater
Shark Fin
Soft Stone
Pedra
Gaseous Grass
Pedra gelatinosa
Powerful Antivenom
Salamander Scale
Toothpicks
Slime Stone
Flytrap Bulb
Special Inkwell
Red Oil
Cauda
Tough Stone
Gold Horn
Darkness Crystal
Cristal da Terra
Cristal de fogo
Paralysis Crystal
Poison Crystal
Void Crystal
Cristal de água
The takeaway is that ingredients aren’t guaranteed to be identified until you reach merchant level 5. And once you reach merchant level 26, no ingredient in the game will ever drop as unidentified again.
Item Bonus Attributes
Sometimes when you get an item drop, there will be a number attached to the end of the item’s name, assim:
This feature is primarily intended for use with the fusion mechanic, which allows you to add up all the bonuses from the fused ingredients to achieve a larger boost for the resulting item. It’s worth noting that the bonuses are capped at +15 through fusion.
It’s important to be aware that when creating items through fusion, the game will use up all your highest bonuses first. Para evitar isso, you can put the ingredients with the highest bonuses on shop counters or vending machines before fusing them.
When it comes to enemy drops, bonuses are capped at +4. Regardless of the item category, any item that is dropped by an enemy has the potential for a bonus to be applied. This is the only other way to obtain bonuses for items.
The chances of getting a specific bonus are as follows:
These bonuses benefit certain categories of items in different ways.
Any items with a bonus sold to a customer will have that bonus be directly applied to any reputation boosts. No entanto, reputation boosts are capped at +5 per transaction, so you cannot earn multiple customer levels at once through this method.
Equipment have any bonuses directly added to the highest stat on the equipment. As rings do not have stats, they are unaffected by bonuses in this manner.
Food will restore +20% more HP, Deputado, or both at once per bonus, fornecendo a 100% boost at +5 ou um 300% boost at +15. The Durian’s SP penalty is unaffected by bonuses.
Other categories of items have no such unique benefits from bonuses.
Will o’ Fogos-fátuos
In any dungeon, if you spend too long on a floor, Will o’ Wisps will start spawning in an attempt to shoo you to the next floor quickly. Wisps also get stronger over time if you still insist on staying on the floor whenever they spawn. The time it takes for them to spawn is random and typically scales with the floor size. Though they tend to show up more quickly in later dungeons.
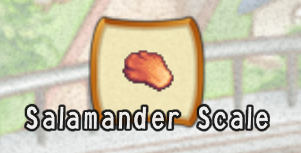
However they do have ingredient drops in some of the dungeons, one of which is unique to them alone. So it can be worth deliberately letting them spawn and subsequently farming them to get your hands on their unique drop, the Salamander Scale. Of which you’ll need at least 28 to fill out the item encyclopedia with, and even more if you wish to outfit multiple adventurers with the gear you can fuse with it.
Will o’ Wisps can drop food just like any other enemy. However their ingredient drops differ depending on the dungeon you fight them in. Unlike other enemies, Wisps always use the uncommon drop slot for their ingredients, not the common slot, so you can only get a 5% drop rate at best when fighting them.
Will o’ Wisps drop no ingredients in the Hall of Trials or Jade Way. In the Amber Garden and the Obsidian Tower, they can drop Natural Heaters. In the Lapis Ruins and the Crystal Nightmare, they can drop Salamander Scales.
Como resultado, the best place to farm for Salamander Scales is floor 1 of the Lapis Ruins. Fighting Will o’ Wisps in the Crystal Nightmare and/or on a later floor provides absolutely no benefit to their drop rates and will only serve to make farming their drops harder.
Wisps use magic to attack, so increasing magic defense should be your priority if you wish to reduce the damage you take from them in case of any stray hits in any farming sessions.
Hall of Trials Drop Tables

Unlike in later dungeons where the drop tables cover multiple floors at once, the drop tables are different for each floor in the Hall of Trials.
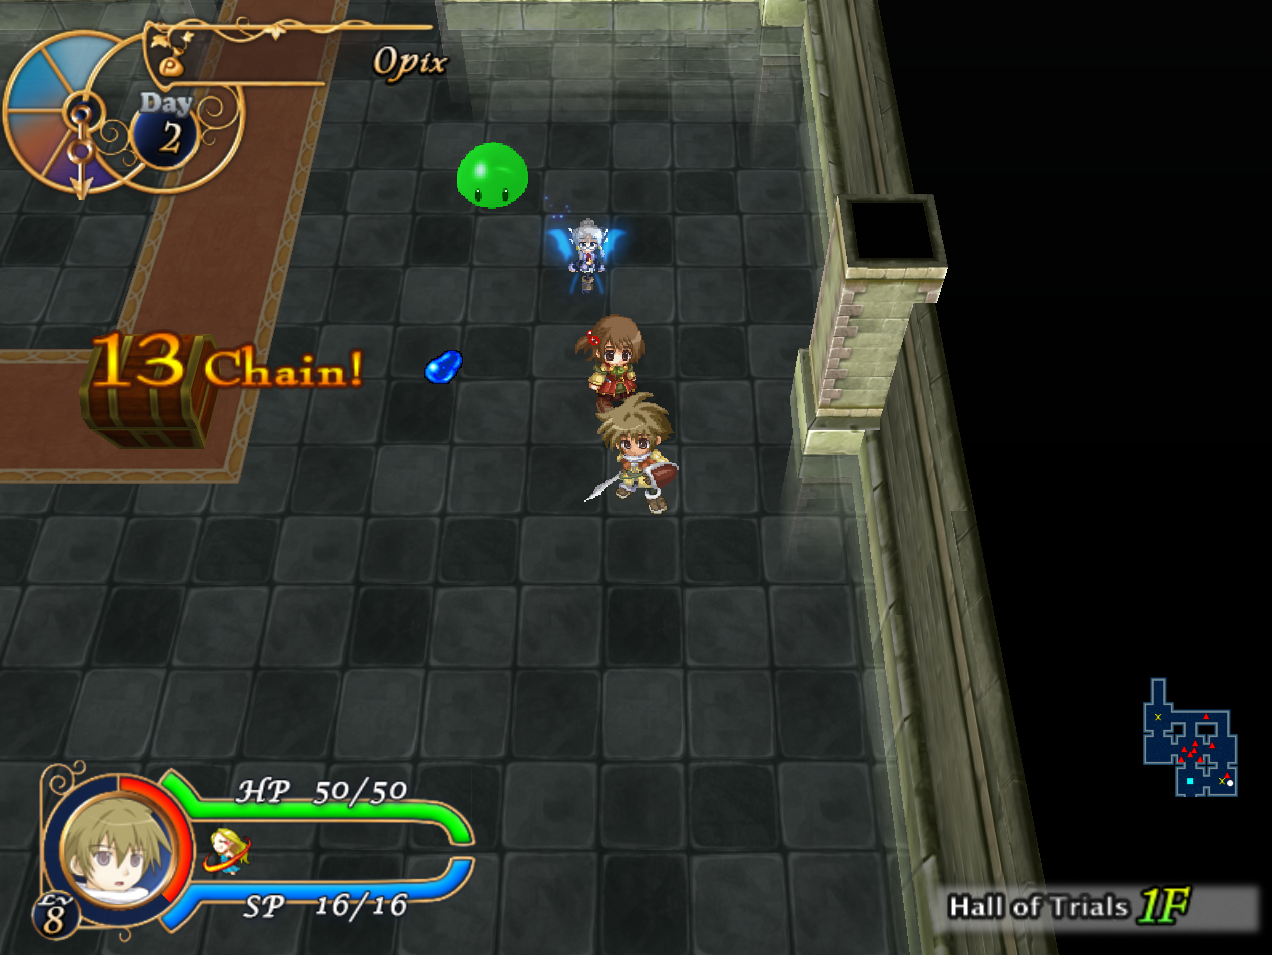
Chão 1
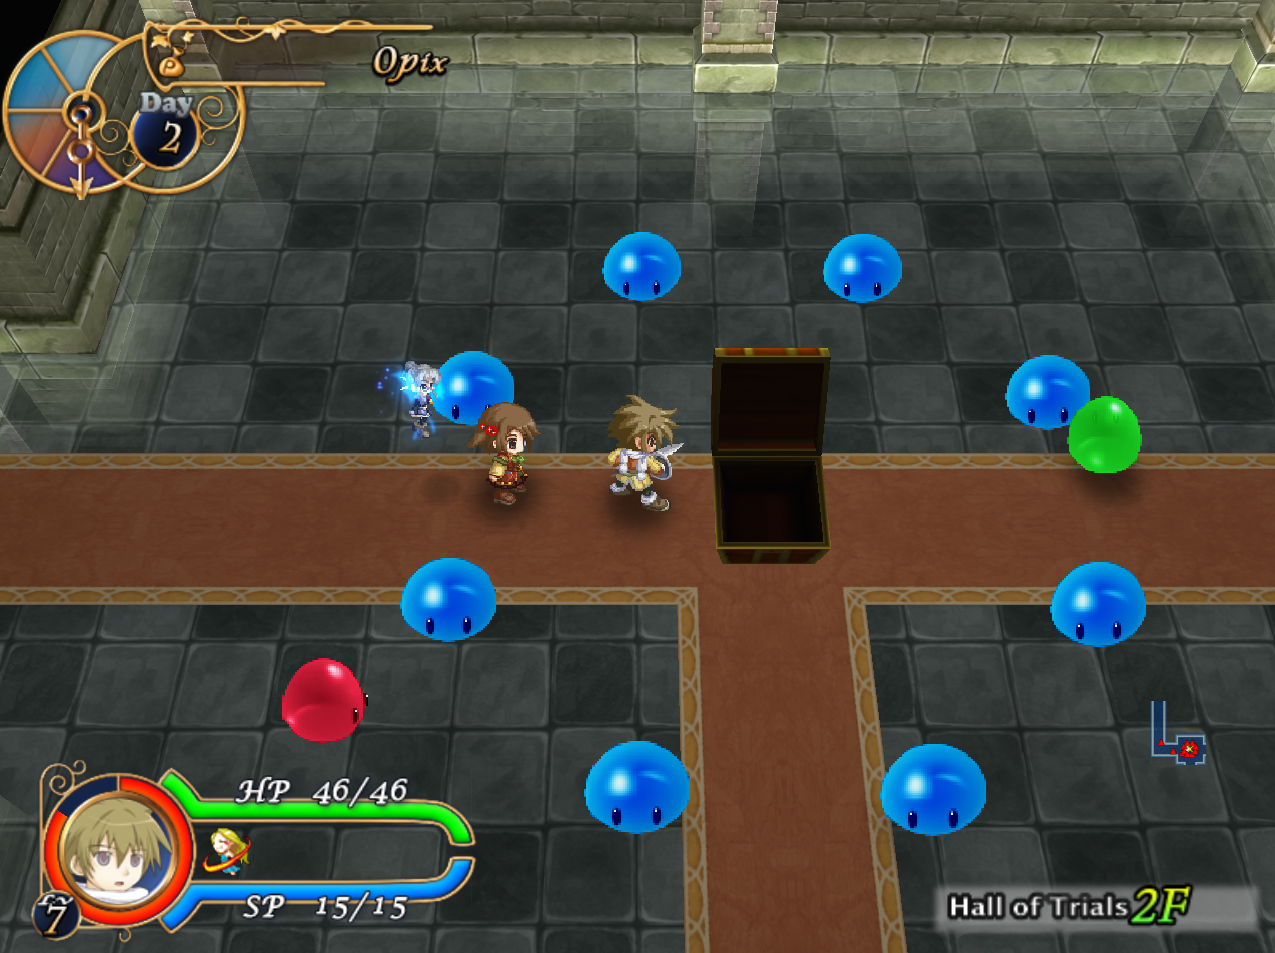
Chão 2
Chão 3
Chão 4
Jade Way Drop Tables

Chefes
Pisos 1 através 4
Pisos 6 através 9
Pisos 11 através 14
Amber Garden Boss Drop Tables
Chefes
Chão 15 Gauntlet
Amber Garden Drop Tables
Pisos 1 através 4
Pisos 6 através 9
Pisos 11 através 14
Pisos 16 através 19
Pisos 21 através 24
Pisos 26 através 29
Obsidian Tower Boss Drop Tables
Chefes
Chão 25 Gauntlet
Chão 35 Gauntlet
Obsidian Tower Drop Tables (Pisos 1 – 29)
Pisos 1 através 9
Pisos 11 através 19
Pisos 21 através 29
Obsidian Tower Drop Tables (Pisos 31 – 49)
Pisos 31 através 39
Pisos 41 através 44
Pisos 46 através 49
On certain floors of the Obsidian Tower, the Lapis Ruins, and the Crystal Nightmare you may see 4 Gnolls in a line formation. These Gnolls use a different drop table than the standard thrower Gnolls. No entanto, once you attack at least one of the Gnolls there, the rest of the Gnolls will break formation and revert to the thrower Gnoll drop table. In order to gain access to the formation Gnoll’s drop, you must kill them in 1 hit before they can break formation.
Lapis Ruins Boss Drop Tables
Chefes
Chão 30 Gauntlet*
*Unlike most other gauntlets, this one uses the boss drop rate mechanics instead of the standard ones.
Chão 45 Gauntlet
Chão 65 Gauntlet
Chão 75 Gauntlet
Chão 85 Gauntlet
Chão 95 Gauntlet
Lapis Ruins Drop Tables (Pisos 1 – 29)
This dungeon introduces Ropers that are capable of duplicating themselves. While the copies of the Ropers do not contribute to any chains and give far less experience, they are still capable of dropping items and contributing to bad luck protection.
Pisos 1 através 14
Pisos 16 através 29
Lapis Ruins Drop Tables (Pisos 31 – 74)
Pisos 31 através 44 and floors 46 através 59
Pisos 61 através 74
Lapis Ruins Drop Tables (Pisos 76 – 99)
Pisos 76 através 98
Chão 99
As thrower Gnolls do not have a drop table on floor 99, any formation Gnolls will keep their drop table even if they break formation.
Crystal Nightmare Drop Tables (Pisos 1 – 10)
Pisos 1 através 5
Pisos 6 através 10
Crystal Nightmare Drop Tables (Pisos 11 – 20)
Pisos 11 através 15
Pisos 16 através 20
Crystal Nightmare Drop Tables (Pisos 21 – 29)
Pisos 21 através 25
Pisos 26 através 29
Crystal Nightmare Boss Rush Drop Tables
Isso é tudo o que estamos compartilhando hoje para isso Recettear: An Item Shop's Tale guia. Este guia foi originalmente criado e escrito por Dr.. Fetus. Caso não atualizemos este guia, você pode encontrar a atualização mais recente seguindo este link.