- Título: Legend of Towercraft
- Data de lançamento:
- Desenvolvedor:
- Editor:
Information about Legend of Towercraft is still incomplete. Por favor, ajude-nos a preencher os detalhes do jogo usando este formulário de contato.
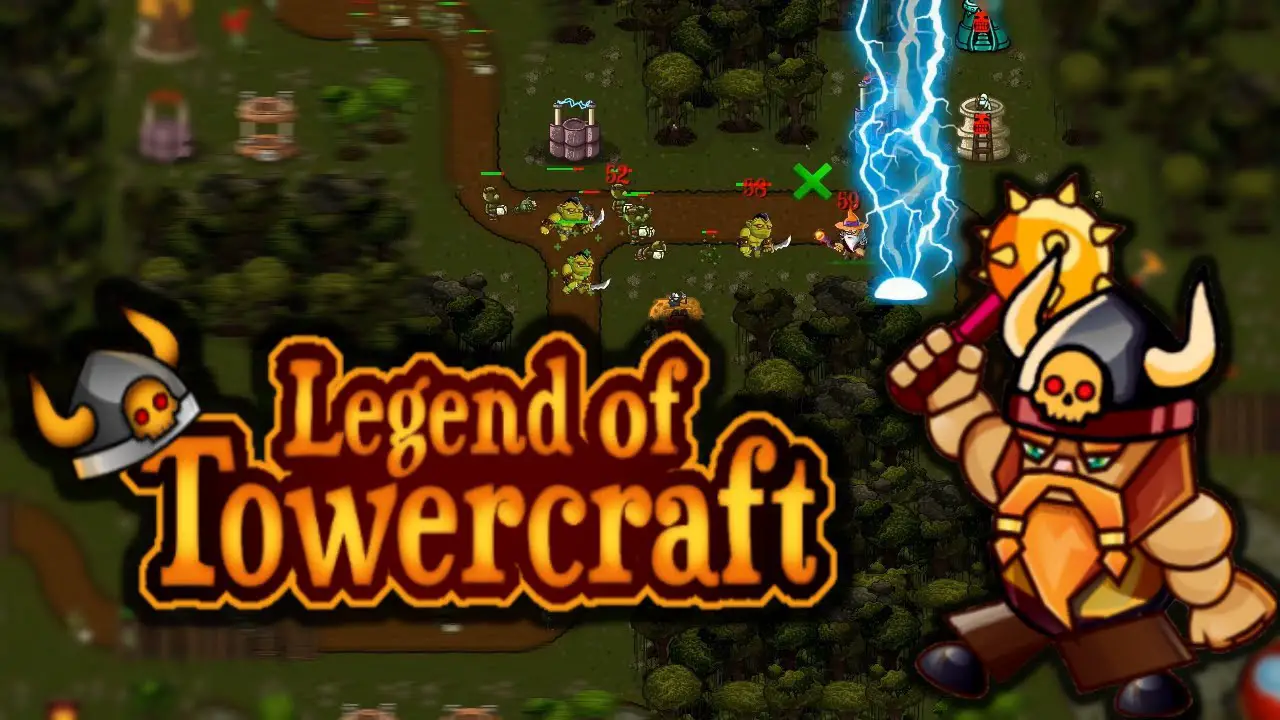
A helpful guide to understanding the mechanics in Legend of Towercraft.
Unid
Equipment drops by power level/monster level so every 10 levels of monster drop the next tier.
Níveis
Tier is based on the naming of the item. The name is according to the list given below.
- Nível 1: Cobre – Nível 1 exigência (Monster level 1)
- Nível 2: Bronze – Nível 8 exigência (Monster level 10)
- Nível 3: Ferro – Nível 16 exigência (Monster level 20)
- Nível 4: Aço – Nível 24 exigência (Monster level 30)
- Nível 5: Hardened Steel – Nível 32 exigência (Monster level 40)
- Nível 6: Mithril – Nível 48 exigência (Monster level 60)
Qualidade
Quality is based on the color of the item. The quality is according to the list given below.
- Cinza – Básico
- Verde – Comum
- Azul – Cru
- Roxo – Épico
- Laranja – Lendário
- Vermelho – Mythic
Estatísticas
Stats on an item gives you an extra advantage for your guardian or towers.
- Bom: Força, Inteligência, Tower Quality, Tower Damage, Eficiência (Mago: Spell damage)
- Média: Item Quality/Quality, Critical, Desviar, Desviar, Redução do tempo de espera (Mago: mana, Mana Regen) (Construtor: Energy Regen)
- Below Average: Resistências Elementais, Buildspeed, Vida, Life regen, Velocidade de movimento
Set Items
Set items have a higher chance of dropping on the specific item’s region (Frost region has a higher chance of dropping Frostbite Set). They provide additional bonuses based on how many are equipped.
- NightCrawler (Poison resistance)
- Congelamento (Cold resistance)
- FireLord (Fire resistance)
- Hardened Thorns
- Voidlord

Atualizar
Items can be upgraded using gems. Different quality and tiers have different pricing and each upgrade pricing will be doubled up each time you upgrade.
If the Base item costs 5 atualizar, the amount in total to make it level 5 would be (5+10+20+40+80) 155.
Each Big Star Indicates 5 níveis. After reaching the 5th level. The next upgrade would require an Orb and higher quality of orbs would be required to get the item to reach levels 10, 15, e assim por diante. (For Set)
Towers
Há 4 types of towers:
- Archer Tower
- Sniper Tower
- Support Tower
- Rock Tower
Tower upgrades can be unlocked by clearing the required map.
The support tower is unlocked by completing the map on the normal difficulty. Offensive towers have more upgrade types that need to be unlocked by clearing the required map (further unlocks requiring the same map on higher Power Level).
Tower Upgrades
Archer Tower:
- Snowy Mountain Berserk (Chance to increase attack rate by 15% para 5 segundos) – Ice Plateau Boss
- Deep Woods Tower (Shoots additional arrows) – Dark Forest 5
- Swampland Tower (Stacks poison on the target) – Wet Meadows 4
Sniper Tower:
- Rifle Tower (Chance to ignore target’s armor) – The Passage Boss
- Crossbow Tower (Chance to stun the target) – Dark Tunnel 4
Support Tower:
- Slow Tower (Slows enemies and disrupts invisibility)
- Resistance Tower (Provides life regeneration, armadura, resistance against projectile attacks, resistance against Damage Over Time)
- Damage Tower (Increases damage and gives armor penetration OR more damage)
Rock Tower:
- Bomb Tower (Damages enemy’s armor) – O Núcleo 4
Buffs
You can see the aura affecting the turret by looking at the mini circles you see at the bottom right of your tower.
- Amarelo – Tower Quality
- Vermelho – Velocidade de ataque
- Laranja – Armour Penetration
- Roxo – Dano
Nivelamento
You can make use of the huge EXP gain before leveling. Before you level up, make sure you can clear the next PL(Power Level) easily on the higher map. Once you have the confidence to do so, make sure to make your EXP is close to the leveling area BUT make sure NOT to level and create a gap for one more clear to jump to the next PL.
Depois de fazer isso, play the hardest map on that region after you jump to the next PL. What this will do is bring the EXP that you gain before the next level towards the next level which might even jump a level for you. (I jumped twice, uma vez)
The reason behind this is. Every time you level, the EXP gain is hugely reduced therefore your level will not be increasing as fast as before. So what you’re doing here is to bring forward the amount of EXP that you can gain the previous level, forward so you’re pretty much playing the amount of EXP on the previous level you are in.
There is no specific region to level faster or slower, try to fight a map that you can actually clear fast making use of Skipping wave and 2x monster speed with 1.5x base speed. Beware that, the speedrunning map may be challenging.
Make sure that you can clear it easily with a decent amount of EXP, don’t run maps that can have chances of you dying over the small mistakes. Gauge yourself with what’s the best EXP you can get from the fastest runs you can do. If you think you have a map that you can speed run and have a decent amount of EXP, you can stick to it.
If you find yourself being stuck, make sure to run the lowest level of that region. Always prioritize fast clearing speed with decent EXP over hard runs with good EXP.
Interface
You can buy turret slots like the photo shown on the right. These spots are scattered around different regions/maps and it has a different kind of looks.

Changing speeds
You can change the speed of the game by clicking on the button on the level selection screen. The button should look like the one below. You can do the same for Monster Speed but instead of clicking it in the level selection screen, you can do so by clicking it at the top right of your screen during battle.
Power Level
You will obtain a Dark Orb when you clear the highest level in the region, which can be seen on the specific level in the region. The Power Level increases every time you complete a level in the region, as it applies only to that region. You can remain at the same Power Level by not clearing the highest level.
You have to complete the highest level of the Dark Orb’s region to increase the region’s power level.
Once a day, you can also destroy a Dark Orb level.
The higher the Power Level and Dark Orb for the region, the higher the level of the monster is gonna be, increasing the loot quality and level.
Town Buildings
Há 8 edifícios. Upgrading increases the speed, slots, and highest item rarity (in case of tailor/smith/guild/alchemist)
- Prefeitura: Talk with the NPCs (Egehiz, Elder Trabarg, Ifahrim) to obtain tips and rewards.
- Mercado: Sell items twice the price. Upgrading improves selling speed and inventory slots.
- Tailor: Creates cloth armor items and Nets. Upgrading allows higher tiers.
- Weapon Smith: Creates weapons and Enhanced Arrows.
- Magician Guild: Creates runes and fuses recipes.
- Armor Smith: Creates heavy and light armor.
- Disenchanter: Obtains materials from items.
- Alquimista: Creates potions and fuses crystals.
Upgrade Prices
- Nível 1 Classificação 1-5 300 Diamantes
- Nível 2 Classificação 1-5 792 Diamantes
- Nível 3 Classificação 1-5 1901 Diamantes
- Nível 4 Classificação 1-5 4561 Diamantes
- Nível 5 Classificação 1-5 10949 Diamantes
- Nível 6 Classificação 1-5 26277 Diamantes
Vendendo
Ways of selling:
- The first way of obtaining gems is by selling items from your inventory.
- The second is building a Market and selling it there. You can also disenchant rare or epic items for materials.
- The third is the trade chat. You can link items in the trade chat by going into the trade channel, then going to the inventory clicking on an item, and pressing the “Link” botão.
Treasure Monster
Treasure Monster has a percentage to spawn once you have killed everything on the last wave. Killing it drops a bunch of loot and has a guarantee of Purple rarity equipment and above. Dying from it will not defeat you, which means it benefits you if you’re able to kill it.
This treasure monster has very high health and high damage which will result in killing you in a few hits or not even getting killed if you don’t know how to prepare yourself for it or having the right setup. These are suggestions that I would give.

- Make sure that you’re able to kill everything easily on the level you’re doing or else when you meet the treasure boss. It will be VERY difficult to do so.
- Make sure that you have a bunch of DPS towers, especially Ignore armor Snipers, Deep Woods Archers, or Poison towers (For Poison tower, place it near the spawn point so his poison gets stacked higher and deals more damage in total.) If your setup requires a certain amount of towers that is not under the ones I named above ^, make sure to build some and change your strategy up a little.
- Make sure that you have CC(Controle da multidão) habilidades. Such as slow, atordoar, congelar, or something that taunts him to force him to slow down from getting to the endpoint. (Towers such as Stun sniper or Nets will work well too if you don’t have any CC skills)
Isso é tudo o que estamos compartilhando hoje para isso Legend of Towercraft guia. Este guia foi originalmente criado e escrito por Darmon. Caso não atualizemos este guia, você pode encontrar a atualização mais recente seguindo este link.