
This guide aims to simplify the mechanics of Ghandagoza in Fantasia Granblue: Vincular novamente. Ghandagoza is often overlooked, but he can be a rewarding and enjoyable character to play once you grasp his mechanics.
Introdução
Before diving deep into this guide, let’s establish a few things about Ghandagoza. Primeiramente, he’s not considered a top-tier damage dealer, nor does he offer unique party utility. Na verdade, he’s quite unpopular, possibly the least favored character in the game. Agora, you might be wondering, why bother playing as Ghandagoza when there are other options available? If you’re already committed to playing him, feel free to skip ahead.
The argument I’ll make for Ghandagoza is that he’s simply fun to play. While this may be subjective, I believe he offers a unique and enjoyable mechanical experience that sets him apart. To explain why I find him rewarding, I’ll need to compare him to other characters and illustrate why their higher damage output doesn’t necessarily equate to a more enjoyable gameplay experience.
Every aspect of Ghandagoza’s toolkit serves a purpose. With few exceptions, he utilizes all of his abilities in a meaningful way. Em contraste, many characters in the game tend to cycle through their skills as they become available, often without regard for the current situation. Por exemplo, Charlotta may repeatedly use certain skills on a downed boss, regardless of whether they’re the most tactically advantageous choice. This approach can lead to skills being on cooldown when they’re needed most, rather than being saved for strategic moments.
Ghandagoza, Contudo, doesn’t face this issue. His gameplay revolves around building his “Eternal Rage” meter to enhance his “Raging Fist,” which accounts for the majority of his damage output. His skills are designed to address various situations and aren’t solely focused on cooldown management. Adicionalmente, his active skills have shorter cooldowns compared to other characters, ensuring they’re readily available when needed. Unlike some other characters whose aerial attacks overshadow their grounded combos, Ghandagoza makes effective use of both. With that foundation laid, let’s delve into his skills.
Habilidades
Must-Have Skills
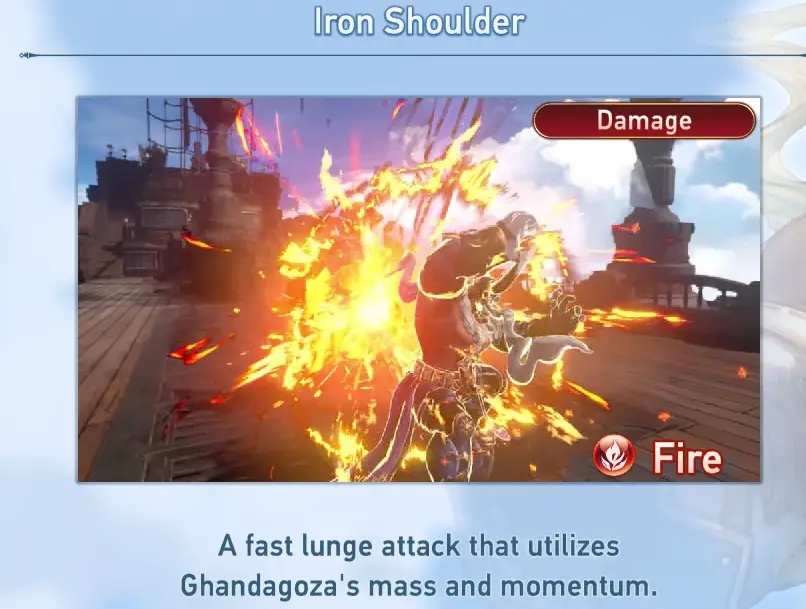
Iron Shoulder
- Almost everyone in the game has this skill—a standard gap closer, a must-have in their toolkit. It replaces the first normal attack in a grounded string but moves incredibly fast and covers a large distance. Its cooldown is remarkably short, em volta 15 segundos. While Ghandagoza lacks a non-skill gap closer like Siegfried or Charlotta, the short cooldown of this skill mitigates that drawback. Some argue it’s the best in the game, considering its merits alone, without being used for charge cancel spamming like Percival. It can also serve as an animation cancel for a grounded finisher, but it’s advisable to save it for when a boss moves away, unless you’re confident they’ll remain close.
Branding Palm
- Ghandagoza’s standard counter move mirrors Charlotta’s and Siegfried’s, yet it’s a vital skill for him. It assumes a ready stance for a generous duration, followed by a potent counter upon intercepting an attack. Its cooldown is fairly standard, em volta 40 seconds base. What makes it indispensable is its ability to build 50% medidor de raiva. Adicionalmente, it automatically closes the gap, which proves uniquely advantageous against foes who initiate with projectiles like Firewyrm or Golem, enabling instant engagement with half the meter charged. Idealmente, use this skill early in a combo upon its cooldown completion, but avoid using it late (opt for dodge i-frame and combo preservation for finishing moves instead). Activating this counter grants invulnerability for the duration of its animation, albeit ending immediately afterward.

Infernal Stomp
- Ghandagoza possesses a stomp attack that inflicts slow upon the target. Skills like this, which apply status effects such as slow, congelar, or paralyze, are crucial in any character’s arsenal, and Ghandagoza is no exception. Geralmente, it’s advisable to use this skill when a monster enters overdrive to prolong the time they can be attacked before transitioning into bloodlust, during which they become immune to slow effects and take reduced damage. While there may be exceptions depending on the enemy, that’s a topic for another manual. With a cooldown of 2 minutos, this skill has a lengthy cooldown, but it’s standard for a slow-inducing skill.

Vying for slot 4
True Avidya
- It might seem surprising to include an attack-boosting buff skill, given how attack cap works. Geralmente, such buffs are considered useless because if you’ve optimized your gear, you’ve likely already reached the attack cap, rendering further boosts ineffective. No entanto, in this instance, we’re utilizing this skill primarily as an animation cancel for the end of a grounded string, which subsequently charges the last 30% of the rage meter. The optimal use case is somewhat peculiar and specific, as certain preconditions must be met for its optimal utilization. Adicionalmente, its lengthy 1-minute cooldown may make it seem less useful than it actually is. We’ll delve into this further later on.

Arhat Skybreaker
- Este é um pouco complicado. Similar to Avidya, I believe this skill is most effective as an animation cancel for a grounded finisher. No entanto, unlike Avidya, it doesn’t build any meter. While it does deal a decent amount of damage, its overall slowness often means it can disrupt the flow of combos, potentially preventing the landing of another combo finisher. Since it neither combos nor adds meter, in my testing, it’s challenging to find a use case for it that doesn’t detract from Rage Fist. It’s difficult to succinctly explain, but what keeps Skybreaker in the “talvez” section is its significant stagger effect. Being able to stagger on command can prove useful for securing link-time immediately after a crossburst. Em última análise, I’d suggest using whichever skill you prefer and not worrying too much about it.

Não recomendado
Dhyana
- In a world where Potion Hoarder exists, healing skills just don’t hold much value. Curing your own debuffs is even less useful. The only truly debilitating debuffs are Paralyze, Glaciate, and Slow, but this skill can’t be used when you’re Paralyzed or Glaciated. Além disso, it’s so slow that it’s often more efficient to simply let Slow wear off naturally.

Eternal Rage
- Em teoria, this skill sounds fantastic. It fills your meter completely? Sounds like a no-brainer, certo? Bem, the problem lies in its slow animation and its lengthy cooldown of a whopping 2 minutos. Even in situations where a boss is emerging from bloodlust and you have little else to do, you’re still better off skipping a finisher with a combo than using this skill.

Lion Stance
- Here we have a skill similar to Avidya, but with a key difference—it’s largely useless. “Jammed” is another attack buff, but since it doesn’t contribute to the cap, it’s essentially worthless, like all the others of its kind (except for Supplementary damage). Para piorar a situação, it comes with a poor conditional. “Stout Heart” is typically something you’d slot into a sigil, so having it as a buff is redundant. This leaves only “Hostility,” which might be marginally helpful in certain situations, perhaps if a ranged character is drawing too much aggression. Escusado será dizer, this skill isn’t particularly valuable all things considered.

To sum it up neatly, regardless of your preferences, it’s advisable to run Iron Shoulder, Branding Palm, and Infernal Stomp without exception. As for the fourth skill, True Avidya is my personal preference, but you could opt for Skybreaker if it aligns better with your playstyle. No entanto, Dhyana, Eternal Rage, and Lion Stance are generally considered subpar choices.
Sigilos
Let’s keep it straightforward, focusing less on general stuff since other guides cover that. Just like other characters, objetivo para 4 nível 5 damage cap, a fully awakened Terminus weapon, Acerto Crítico 5, War Elemental (se disponível), Supplementary Damage (if you have them), Chance crítico de acerto, and Normal Attack damage cap up on Overmastery, etc. etc…
Agora, let’s dive into the less obvious aspects, specifically Sigil Selection.
Stout Heart
- Unless you’re someone like Vaseraga who usually has Stout Heart up, this is a go-to choice. Stout Heart gives super-armor and reduces damage taken by around 30 por cento. It’s crucial for ensuring Ghandagoza can finish his combo without interruption. Dodging mid-combo or link-attacking during it will cancel the combo finisher, so using Stout Heart is often the safer bet.

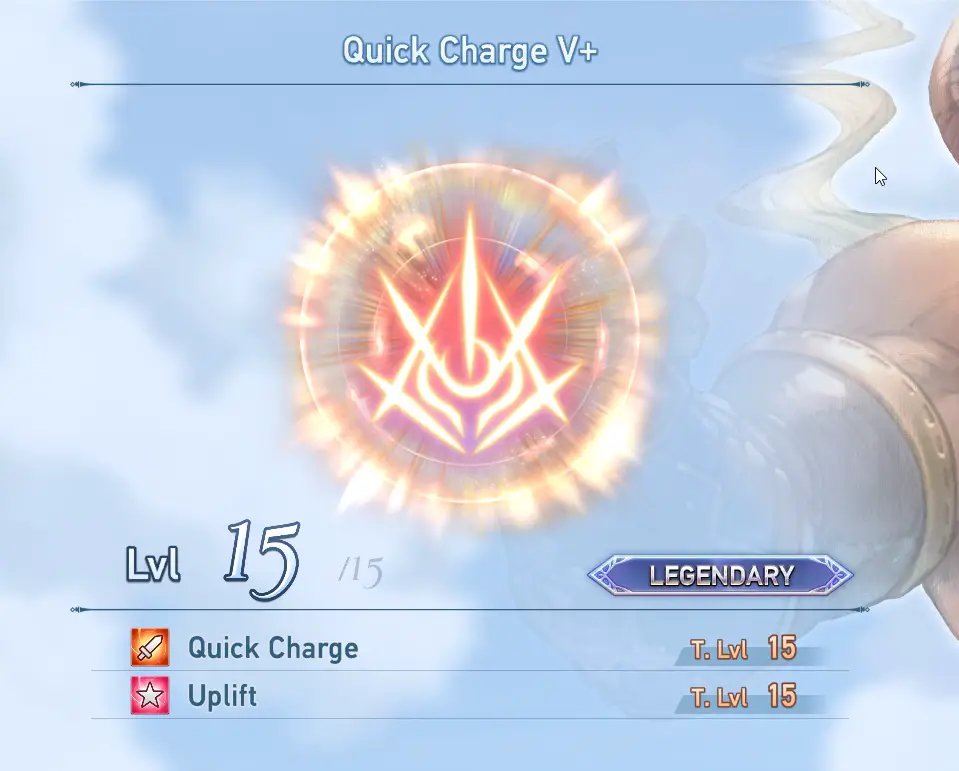
Quick Charge, x2
- While Rage Fist doesn’t have a lengthy charge time, Quick Charge still makes a noticeable difference, especially during link time when you’re spamming Rage Fist. The faster charge speed significantly impacts gameplay. Adicionalmente, Quick Charge provides a percentage attack boost, which helps Ghandagoza reach attack cap easily. Look for decent additional skills like Nimble Onslaught, Uplift, or Potion Hoarder to complement Quick Charge.
Improved Dodge
- Similar to Stout Heart, Improved Dodge is essential for most characters, but particularly so for Ghandagoza. More dodges mean more opportunities to save combos or skip through them, making it a critical sigil for him.

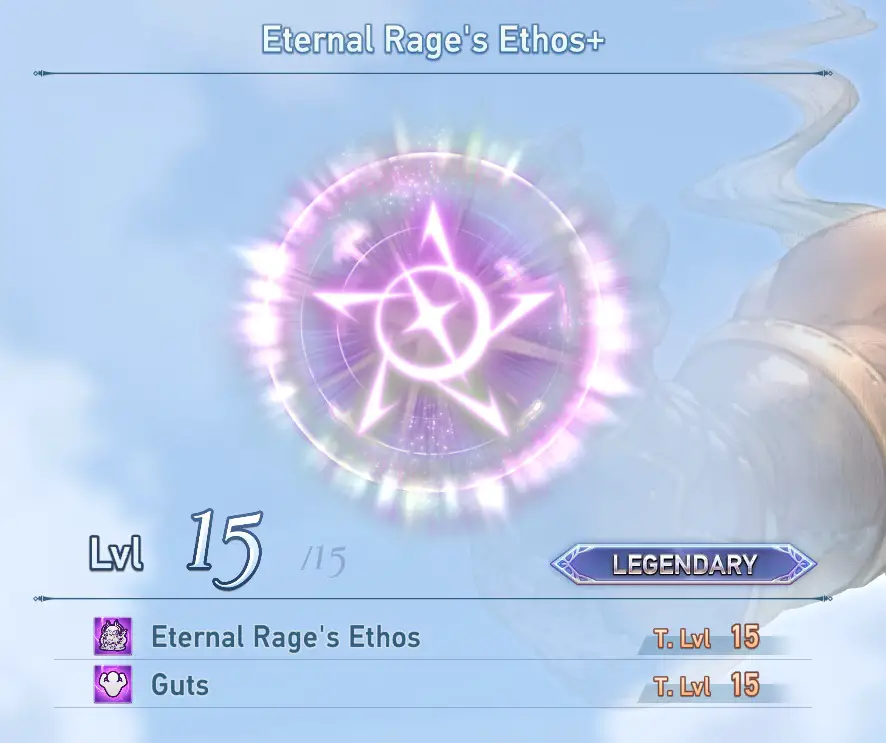
Eternal Rage’s Ethos
- This one’s a no-brainer. Who wouldn’t want 50% higher damage cap on Rage Fist? Pair it with a useful plus skill since his other character unique sigil is less effective, being a conditional crit rate sigil. It’s better to ensure crit capping through standard means.
In addition to the above, keep an eye out for beneficial plus skills like Potion Hoarder, Estômago, Uplift, Nimble Onslaught, Steel Nerves, and maybe Drain if you’re facing difficulties and running low on potions.
Basic Combos and Rage Fist
Ghandagoza’s main focus lies in fueling his eternal rage meter. When it’s maxed out, his rage fist packs a wallop, dealing over three times the damage of his regular basic attacks combined. The same goes for his damaging skills. Então, we’ve discussed his skills and sigils, which detail how to develop his character. Agora, let’s delve into his fundamental toolkit. To keep things visually cohesive, I won’t equip any additional damage sigils.
To play Ghandagoza optimally, timing is key. You’ll need to hit the attack button just as the previous attack connects. Confie em mim, it’s a small hurdle that’ll soon become second nature as you get the hang of him. Unlike Siegfried, whose attacks can vary greatly in duration, Ghandagoza’s strikes maintain a steady and rhythmic pace.
Grounded combo (Timed)
- A perfectly timed grounded combo showcases the ideal sequence of attacks. The combo’s finishing move is crucial as it’s the only attack that fills the meter significantly. While the first attack is naturally untimed as the opener, all subsequent strikes must be timed precisely. A timed strike deals roughly three times more damage than an untimed one, with the timed finisher generating 70 percent meter compared to the untimed one’s 50 por cento. A complete, perfectly timed grounded string yields around 850 thousand damage without any supplementary damage or glass cannon effects.
Grounded combo (Untimed)
- An untimed string features distinct animations from its timed counterpart, notably lacking the flash and clank sound of a perfectly timed attack. Although this string still builds considerable meter, albeit less, there’s no reason to halt it if you miss a timing, but it’s crucial to develop the habit of timing your strikes correctly. This combo is inferior in all aspects, delivering only 325k damage and generating significantly less stun as well as meter, roughly a third of the damage of a proper string.
Air Combo (Timed)
- An air combo begins with a rising attack immediately after jumping, followed by a buffered normal attack, after which you time the subsequent two swings. The attack after the rising attack need not be timed, nor does the descending attack. This combo fills 50 percent of the meter, deals approximately 525k damage, and is quicker than the grounded combo. No entanto, we’ll delve into more detail about this air combo shortly.
Air Combo (Untimed)
- Similar to the untimed grounded combo, this variant inflicts significantly less damage. No entanto, instead of building less meter than its timed counterpart, it generates no meter at all, which is quite detrimental. It’s crucial not to miss the timing for these attacks, and you’re better off cutting the combo short if you do.
Rage Fist (Uncharged)
- An uncharged rage fist is never worthwhile under any circumstance. It deals minimal damage and takes much longer to charge than a full meter rage fist (also known as rage fist 5). Each tier of rage fist is significantly stronger than the last, leaving little justification for using anything other than a full meter rage fist when the meter is completely filled.
Rage Fist (Fully Charged)
- In comparison, a full meter rage fist charges significantly faster and deals just over 2 million damage (note that I’m using 2 Quick Charge V sigils for 30% faster charging). Building towards this is the primary strategy for Ghandagoza. Releasing a charged Rage Fist just before an attack connects grants temporary invulnerability for the remainder of the attack duration, which is worth considering but not worth waiting seconds for compared to simply releasing the attack and dodging afterward.
Strategies and Techniques
Então, let’s talk about Ghandagoza and his Eternal Rage meter. His main goal is to charge up for that powerful Rage Fist, certo? Here’s what fills up that meter and how much each action contributes:
- Grounded Combo String (Timed): Fills 70%.
- Grounded Combo String (Untimed): Fills 50%.
- Air Combo String (Timed): Fills 50%.
- Branding Palm (Contador): Fills 50%.
- Link Attack: Fills 30%.
- True Avidya: Fills 30%.
- Eternal Rage (Habilidade): Fills 100%, but it’s better to avoid using this to save for the big moment.
- Link Time: Keeps the meter at a permanent 100% until Link Time ends.
Agora, some actions work well together, while others don’t. Understanding this is key to mastering Ghandagoza’s gameplay. Let’s check out some combinations and when to use them in practice.
Contador (50%) into Air Combo (50%)
- Starting with a counter followed by an air combo is a fantastic way to kick off a fight. Against opponents like Pyet-A, who tend to lunge with their opening attack, triggering a counter with Branding Palm gives you a window for an air combo to fill the remaining 50% of your meter. After delivering the aerial barrage, you can begin charging up the Raging Fist, ready to intercept the next incoming attack. It’s worth noting that while the Raging Fist provides some invincibility frames, relying on them too much isn’t the most efficient strategy. It’s often better to let the fist fly and then dodge afterward rather than waiting for an incoming attack.
Grounded Combo String (Timed) (70%, and Link Attack (30%)
- This combo is a staple, especially when the boss’s stun gauge isn’t on cooldown. When the stun gauge is active, initiating a combo with Iron Shoulder or Normal 1 allows for a smooth flow. Interrupting your grounded combo for a link attack when the boss is stunned nets you an additional 30% medidor. You can seamlessly continue your combo afterward. No entanto, it’s crucial not to use the link attack in the middle of your combo finisher, as it will disrupt the flow. Em vez de, wait until your combo is complete before executing the link attack.
Grounded Combo String (Timed) (70%), into True Avidya (30%)
- Similar to the previous combo but assuming the link attack isn’t available due to the stun gauge being empty or on cooldown, you can cancel the recovery frames of your combo finisher with True Avidya to fill up the remaining 30% of your meter.
Double Air Combo (Timed)
- To build meter swiftly without stun or Link Attack and without using Skills, follow this method: Execute the air combo as detailed in the basic combo section, then swiftly dodge cancel the meter-building hit as soon as it connects. Proceed to perform another three-hit sequence before landing. Dodge canceling is crucial here; failing to do so means you must either land or the combo won’t generate meter.
- It’s essential to note: while this method is the quickest for meter building in the absence of Skills or Stun, it’s not always the optimal choice. When airborne, you can’t combo save a timed air combo. This implies that using a midair dodge before completing an air combo nullifies it entirely, yielding no meter. Adicionalmente, you can only dodge once midair before landing. Por isso, a double air combo is most effective when the boss is stunned by an SBA chain, incapacitado, or in a situation where you can ensure executing the full combo. De outra forma, it may miss or leave you vulnerable, especially during the latter part of the combo. Against an active boss, relying on grounded combos is generally preferable, given their greater versatility, as I’m about to elucidate.
- As of now, due to hitting the daily upload limit on YouTube, the remaining content will be available through streamable links.
Combo Skip and Gap Close
- If you need to close the distance but Iron Shoulder is on cooldown or you’re in the middle of a combo and don’t want to interrupt it, combo skipping is a useful technique. É assim que funciona: Roll out of your current combo, then input an attack command shortly before the roll concludes. Quickly roll again, repeating this process as needed to approach your opponent. This strategy relies on “Improved Dodge” to be most effective.
https://streamable.com/uv84ch
Combo Save and Gap Close
- In a similar scenario as before, but when you’re already executing the combo finisher, you would employ the same technique: roll out of the combo, but refrain from buffering an attack input during the roll until you’re about to reach your target. This strategy remains effective for other characters as well, particularly Siegfried, although he tends to rely more on incorporating heavy gap closers into his moveset.
https://streamable.com/a25btu
When facing highly mobile foes such as Managarmyr, any of the ____dile enemies, or Furycane, mastering combo-saving and skipping strategies becomes crucial. These adversaries demand quick adaptability to maintain pressure and control during combat. Por outro lado, against less agile opponents like Pyet-A or the Wyrm dragons, you can afford to be more aggressive with airborne combos when other resources are depleted. This difference in approach highlights the importance of adapting your tactics to suit the specific challenges posed by different enemy types.
Isso é tudo o que estamos compartilhando hoje para isso Fantasia Granblue: Vincular novamente guia. Este guia foi originalmente criado e escrito por Holden. Caso não atualizemos este guia, você pode encontrar a atualização mais recente seguindo este link.