
- Título: Precipitação 4
- Data de lançamento:
- Desenvolvedor:
- Editor:
Informações sobre Fallout 4 ainda está incompleto. Por favor, ajude-nos a preencher os detalhes do jogo usando este formulário de contato.
For those who do not want to put full-scale mods on the game, but just want to be constantly on their toes and, finalmente, really survive.
Beginning
Playing Fallout 4 pela primeira vez, I wondered why the game is so simple, afinal, 210 anos se passaram, and mini charges fall from each ghoul. But I continued to play until I decided to try the survival game. I will say right away that it took me a while because the survival mode was made through the ass, it is boring, unbalanced and tedious.
Portanto, I dug around on the Nexus, and made my own assembly of mods, which complicates the game, there is nothing in the game for me, em princípio, and makes everything pretty fair.
In my assembly, haverá 5 moda, so it won’t take up much space for you. Bem, Sobrevivente solitário, welcome to my little guide, get ready to face new dangers in an old wrapper.
As for mods – you can quite safely turn them off if you don’t need them, and this will not harm your save. As for mods v2 – mods disable achievements. There is a mod that can bypass this, but it’s not in my build.
Modificações
Na verdade, the first thing to do is download Vortex from the nexus website.
Vortex allows you to install mods directly from the archive to the game, without any troubles, which I really don’t like.
Além disso, from the Nexus you can install mods directly into the Vortex, which makes the process even faster and easier. Em geral, you will figure it out.
Modo 1:
Improved Map with Visible Roads
This mod makes the map more understandable than it was before. Aquilo é, the vanilla map is terrible, it does not show roads, lakes, flyovers, e outras coisas.
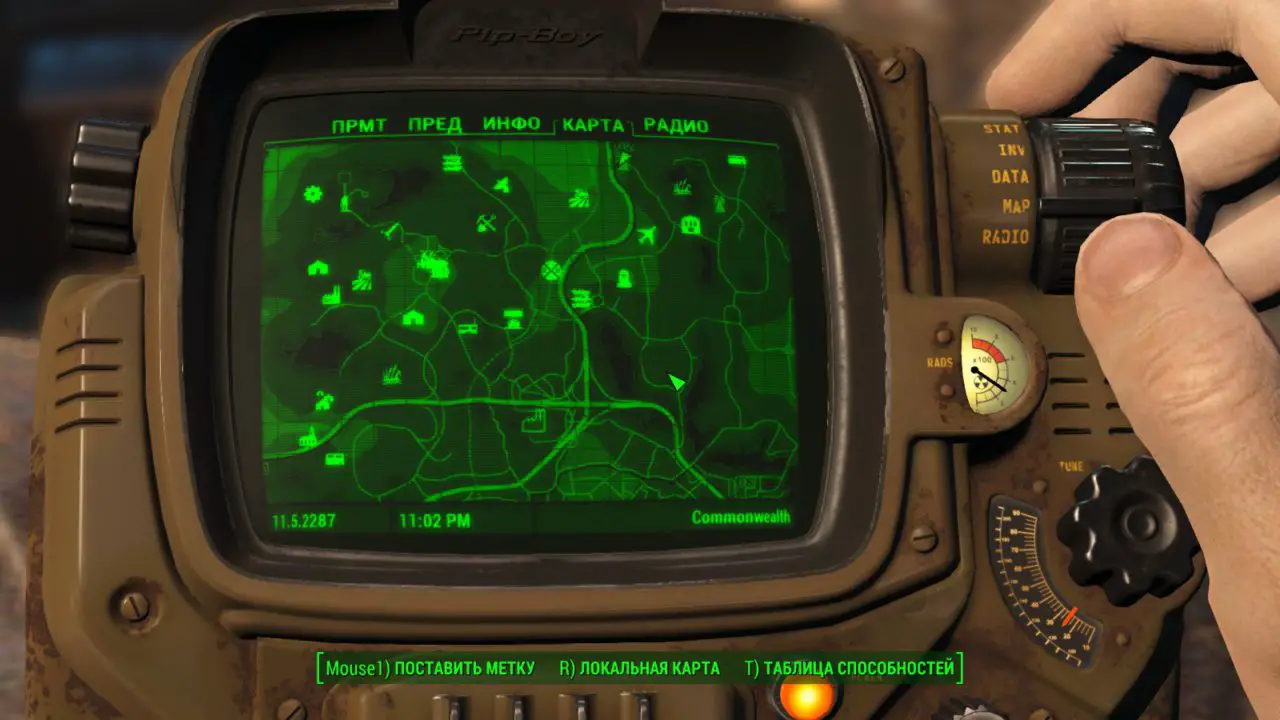
This mod makes the map much clearer, and when installed, there are three brightness modes of the map itself, from default to maximum, like mine. Eu posso’t say yet if it is compatible with Far Harbor and Nuka-World, então eu’ll say it later.
Modo 2:
The main mod in this build is something that will make you sit behind the wall and think about the risks of shooting at a distance of 2 metros, think – is it worth wasting a cartridge, or is it better to bypass it? What does this mod do?
- Minimizes absolutely all loot in the Commonwealth. Remember how you found a pack of 10mm on a ghoul’s corpse? Forget it.
- Enemies now drop only the type of ammo that their weapon uses. Até a próxima, raider with a 2mm electromagnetic cartridge!
- The author manually updated 4500+ places where guns, armadura, chemicals, and other delights of life lay. Now there is either nothing there, or some kind of useless little thing. But I guarantee you an endorphin release when you find a hunting carbine somewhere.
- The barter system has been changed – merchants have 3 times more caps, the assortment has been increased, and the time for resetting their goods is 7 dias.
- Scavenger perk now affects the amount of ammo you find on corpses.
- Removed direct extraction of fruits and vegetables with bare hands, now you need a settler for this (in the open world you can pick only a wild mutantfruit)
- Most useful things, armas, and armor are now hidden behind safes, caixas, and other such things, and the higher the lock difficulty, the cooler the loot will be, which will be really useful.
Мod 3:
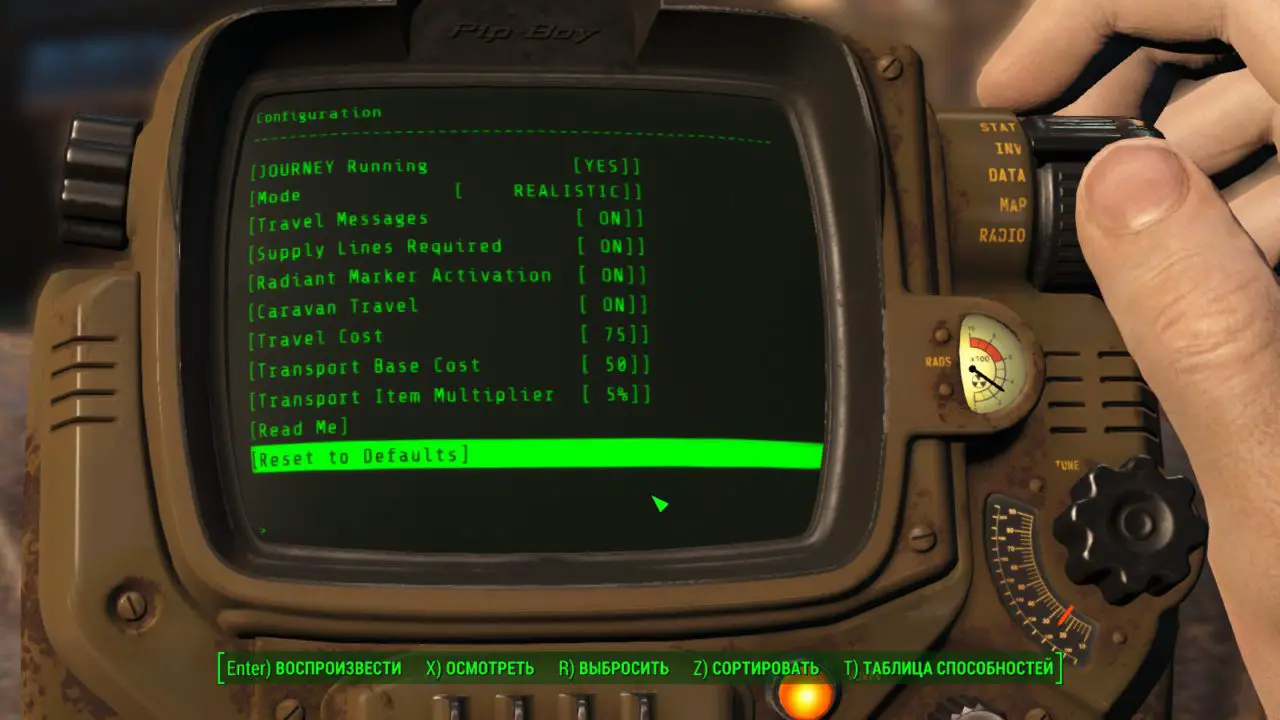
Na verdade, a mod that allows you to control the survival mode as you like, with the ability to remove sleep, diseases, and so on for good. At any time, you can change the settings to your taste and color, which I will discuss below.
Modo 4:
Although in the mod above you can set fast travel from anywhere to anywhere, we will go in a more immersive way – through settlements. Com este mod, you will be able to use fast travel between your settlements (e há, I ask, 30 deles), qual, firstly, saves a lot of time, secondly, it is more convenient, and to some extent, more honest. Além disso, you can use caravans for fast-moving, and the price can be set personally.
Modo 5:
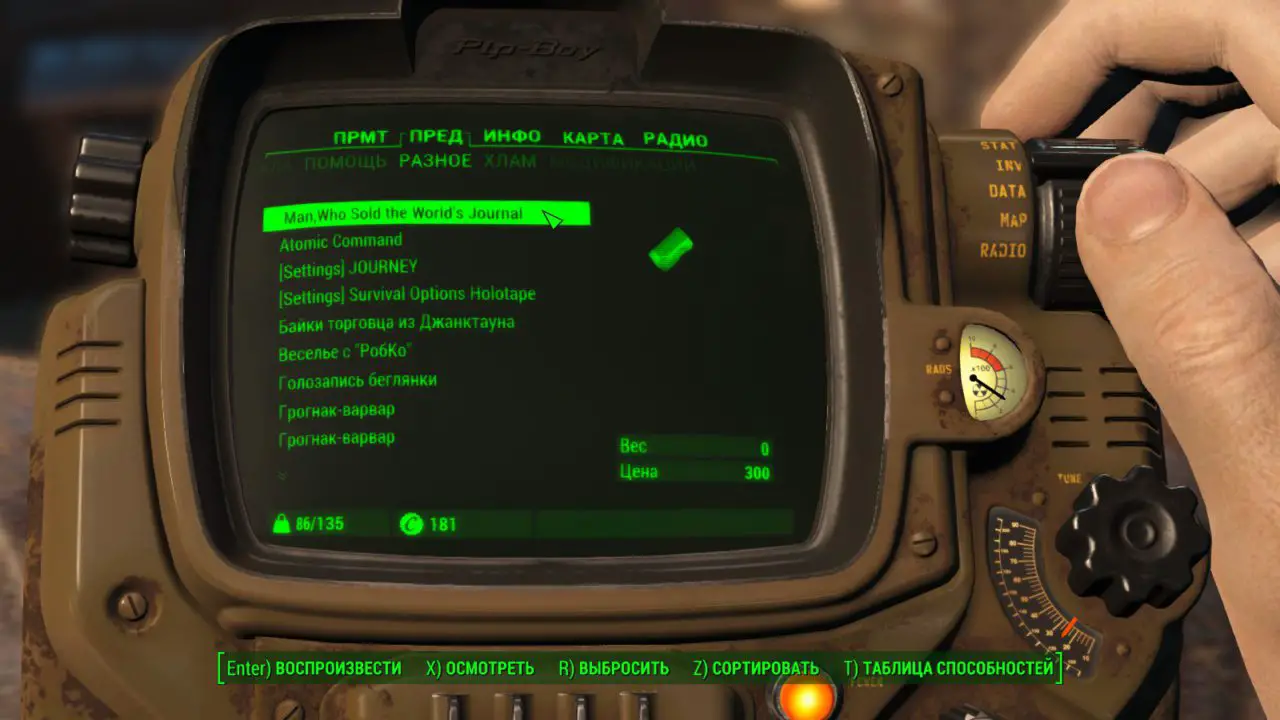
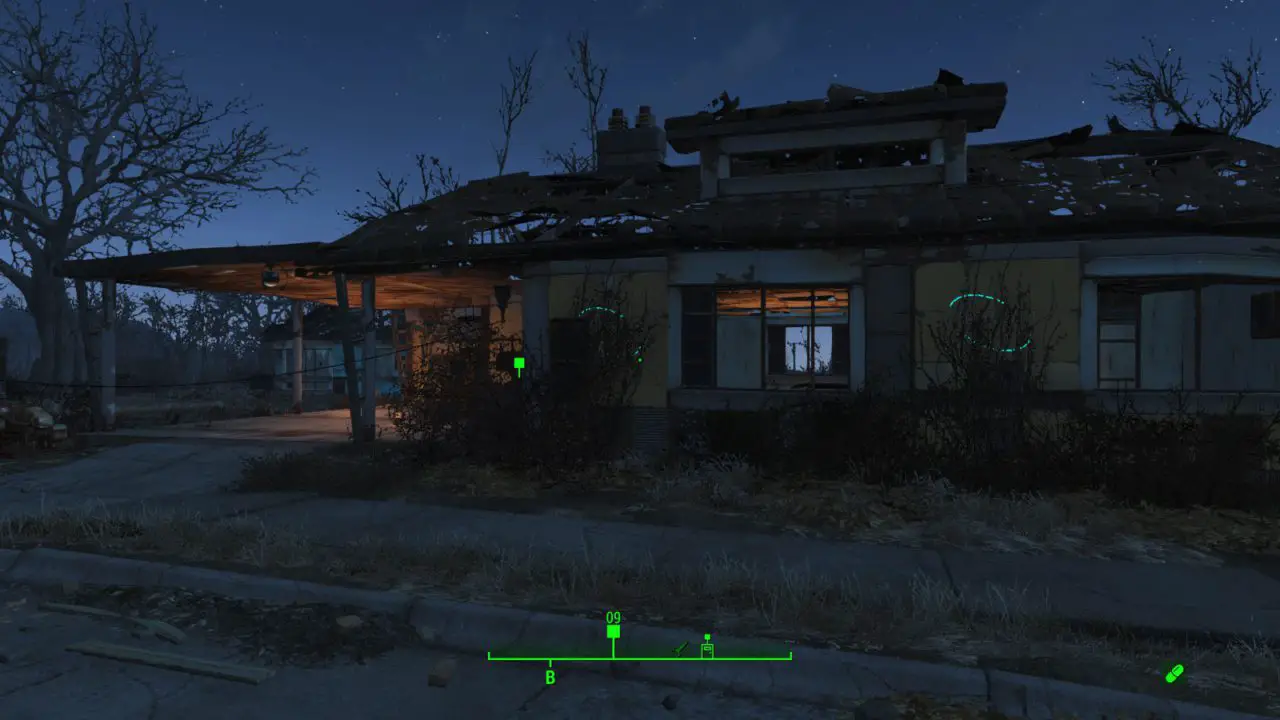
We are still travelers, certo? We must constantly remember something, write something down… Your personal journal in the form of a holodisk, which can be found in your house in Sanctuary Hills, na mesa, vai te ajudar com isso. Take notes, write ideas, reminders, mark so far inaccessible locations, anything!
Preparations to Travel
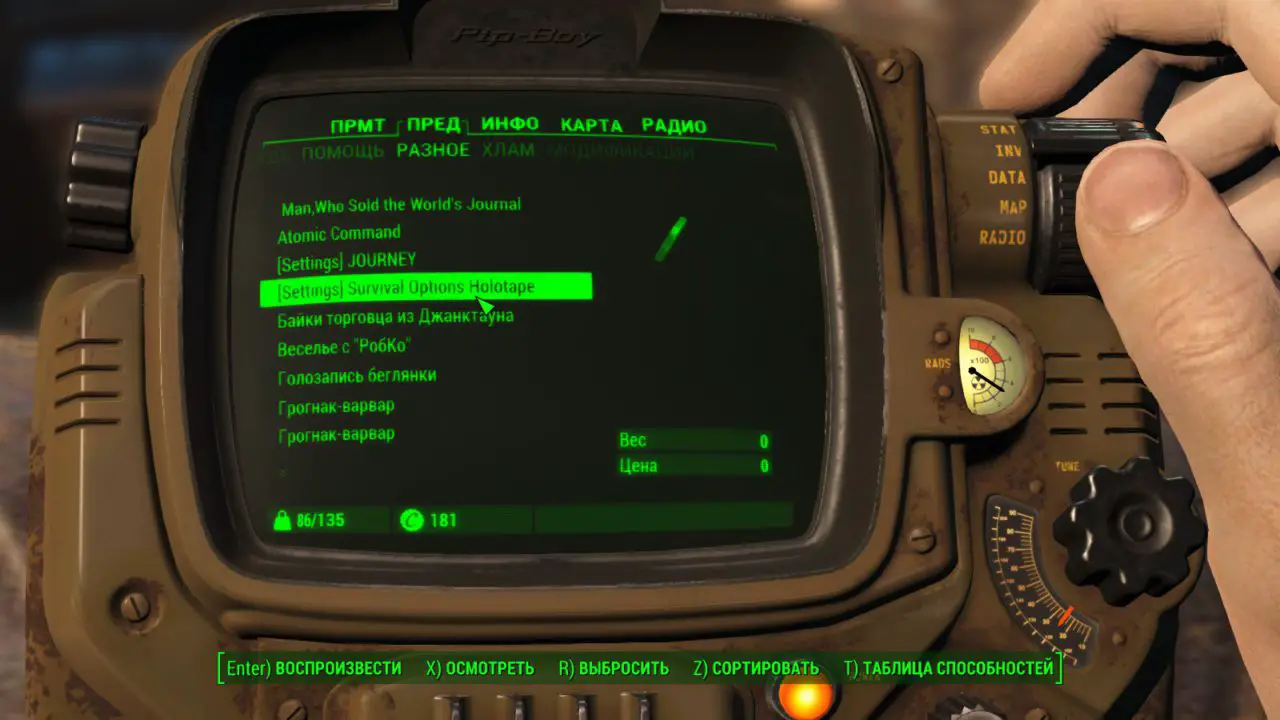
After you exit Vault 111, immediately set up Survival Mode via Survive Options:
1) Adjust hunger, sede, and sleep to your desired values
Get ready to look for food and water. If there are no problems with water, then there may well be food.
- For sleep, definir 1.75 (estoque – 1)
- For hunger, definir 3 (estoque – 4) Mais, set the bonus from food to 2
- For thirst, definir 2.5 (estoque – 4) Mais, set the bonus from water to 1
2) Overload and more
- Less weight in survival mode – habilitar
- Overload damage – habilitar
- Damage when overloaded in power armor – turn off
- Automatic treatment of companions – who cares, I have it enabled
- Adrenalina – who cares, I have it on
- Auto-treatment of limbs – desligado
- Filling bottles with water – included
3) Fast moving
- From the Institute – desligado
- Game world – desligado
We also have Journey, I will say below.
4) Incoming and outgoing damage
Let’s make fights more realistic!
- Outgoing damage (de você) – 3x or 4x
- Incoming damage (from opponents) – 3x or 4x
5) Game map update
- Update uncleaned locations – 15 days instead of 5
- Update cleared locations – 30 days instead of 4
6) Bed settings
- We mark that sleeping bags, mattresses, and beds serve as beds – aquilo é, you can save the game.
- This gives you more save space, and you don’t have to search for a bed all over the Commonwealth.
7) Salvar
You can give yourself an item that saves the game whenever you want (não)
- Changing locations saves the game – desligado
- Full health out of combat save game – desligado
- Level Up Saves Game – Desligado
8) Jornada
- Set the value to Realistic, and if necessary, change the cost of traveling through caravans
- In the value of fast movement through supply lines, we set on
Now go to your home in Sanctuary and take your journal.
Parabéns, you are now ready for an intense, immersive, and challenging challenge.
A Couple of Tips
V.A.T.S.
This is your best friend and will allow you to detect mines, inimigos, and others before you see them. Constantly press VATS when you go somewhere, and you are much less likely to be caught off guard.
Think about your chances
When you see a raider in VATS, think again if you should shoot him. And if you shoot, then only in the head.
Use critical shots only in really necessary situations.
A critical shot almost never misses and deals 2x damage (no boosts), so keep it as a trump card.
Wear clothes that give bonuses to SPECIAL.
Since the damage we receive is huge, there is not much sense from the armor, so use all kinds of glasses and pastor’s robes to increase your performance.
Take the perk “Savant”
The lower the intelligence, the higher the chance of triggering. Savant will help you gain levels faster.
Establish supply routes for fast travel
A huge amount of time will be saved when you do this, but it requires the “Local Leader” vantagem, classificação 1, no 6 Carisma.
Collect caps
The prices are very high, so check every millimeter of the location for a hiding place with caps. The caps will never hurt you
Write down your activities and ideas
Bem, everything is clear here
E finalmente, the main thing
Don’t be cunning
Don’t save before opening safes to save your lockpick, or in front of an unfamiliar location. Don’t save if you’re scared and decide to try something. It will destroy the whole atmosphere that you have been trying to create for so long.
Explorar
Leave that terrible story alone – explore the beautiful and location-filled world of Fallout 4. The game has a bunch of hidden locations with loading screens, but there are also unmarked locations in the open world that show the creativity of the Fallout 4 world designers, which were made with love, but everyone skips them. Você pode’t even imagine how much is hidden in the starting area – Lexington, por exemplo, (After exiting Vault 111, if you look at the Sanctuary Hills, then on the left in the branches there will be a cache of the Underground). And if you thought that in one area of the game you had already seen everything, then the game still has something to surprise you, e assim- don’t forget the random encounters that make the game world come alive.
Epílogo
Isso é tudo. Se você desejar, you can make the game even more difficult by installing a bunch of other mods, but for some, for which this guide was made, this is enough, and I promise you – you will not regret it.
Obrigado por ler, write in the comments if you need to correct something.
Isso é tudo o que estamos compartilhando hoje para isso Precipitação 4 guia. Este guia foi originalmente criado e escrito por Hakajisai. Caso não atualizemos este guia, você pode encontrar a atualização mais recente seguindo este link.