- Título: Dragon's Hoard
- Data de lançamento:
- Desenvolvedor:
- Editor:
Information about Dragon's Hoard is still incomplete. Por favor, ajude-nos a preencher os detalhes do jogo usando este formulário de contato.
This guide provides valuable insights on the most effective methods for earning money in the game, regardless of the player’s level. It offers useful tricks and tips on acquiring free money and efficiently farming challenging enemies that yield valuable rewards.
Começando
In Dragon Hoard, there is an abundance of gold and gear available. No entanto, accumulating enough gold to purchase the desired gear can be quite challenging. Neste guia, I will walk you through a step-by-step process to help you quickly amass wealth.
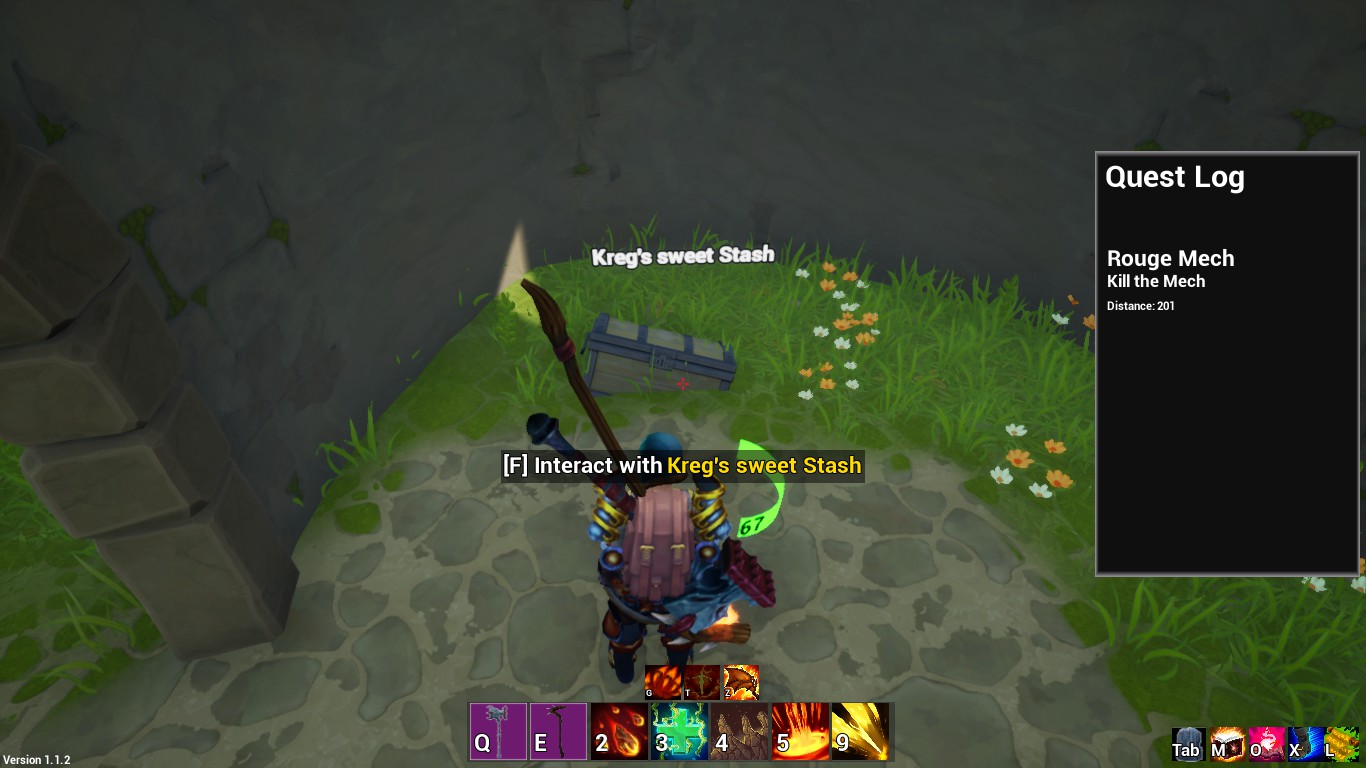
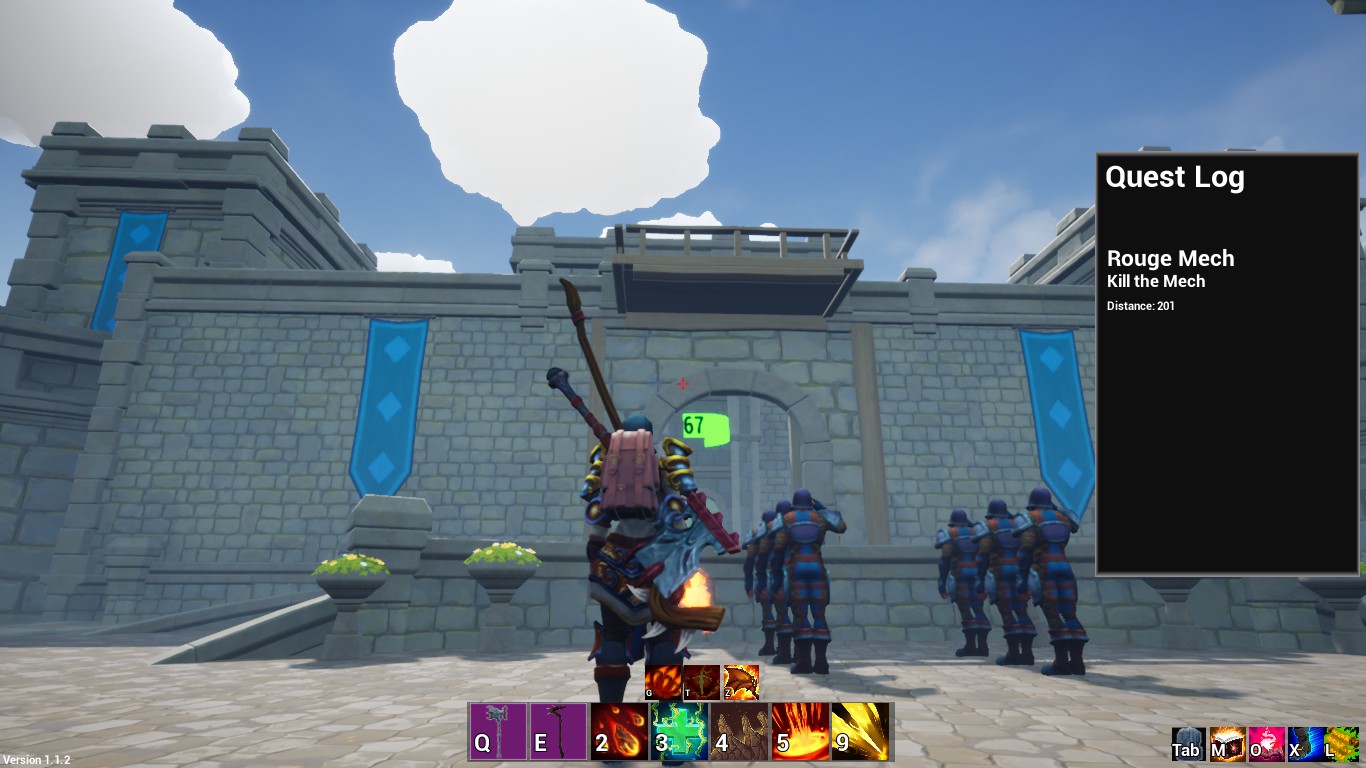
The first step, once you have completed the short tutorial, is to claim the free gold in the starter village. Towards the back of the spawn point, you will find a windmill (the spawn point refers to the dragon statue located in the center of the village). Inside the windmill, there is a chest called “Kreg’s Sweet Stash,” which contains 500 gold completely free of charge.

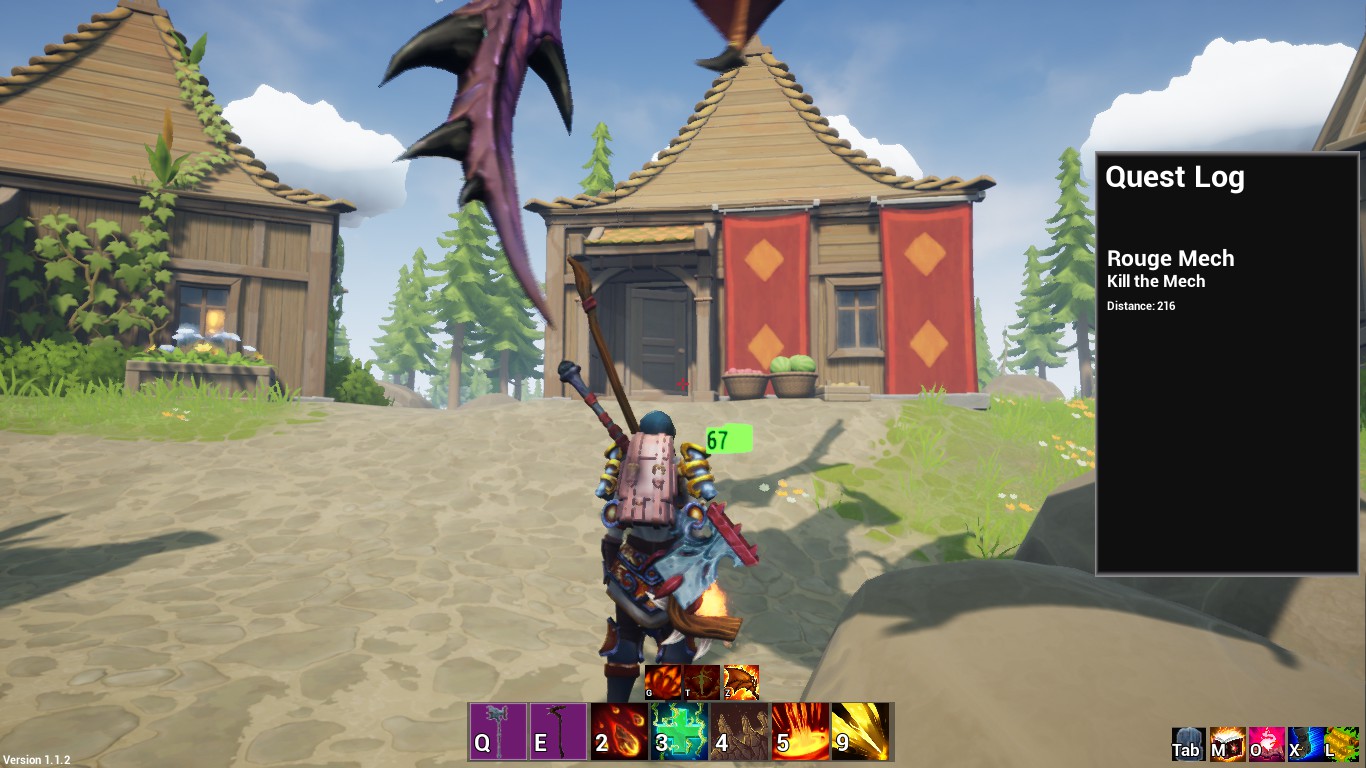
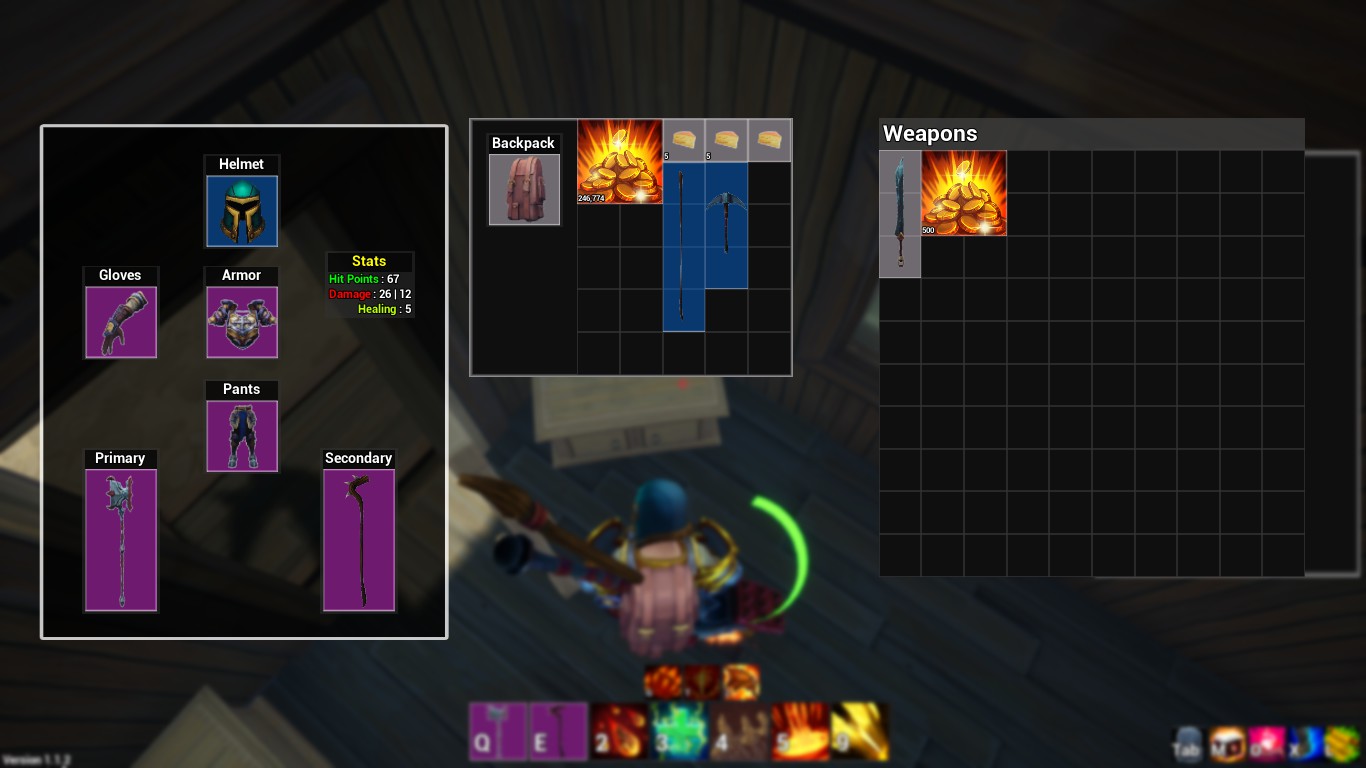
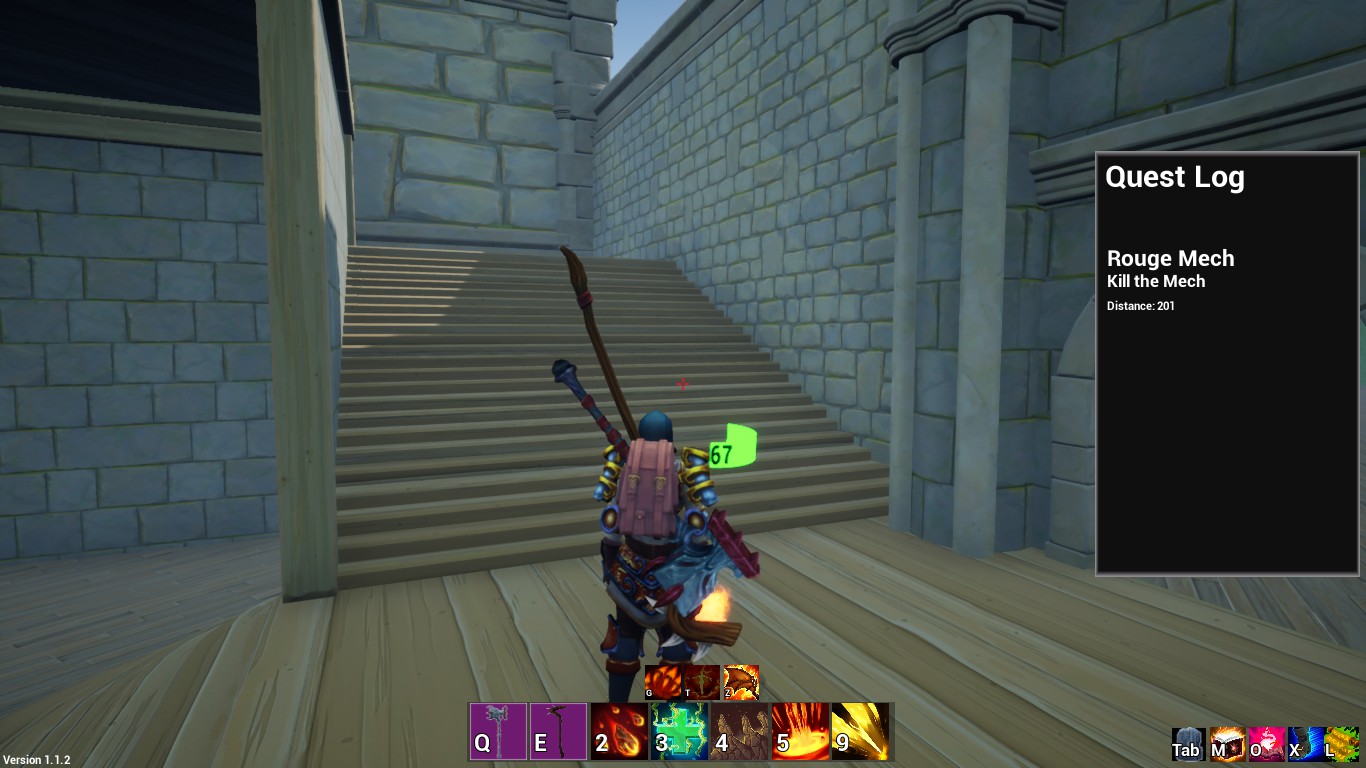
Moving on to the second step, head to the house located on the other side of the village. Look for the house adorned with red decorative sheets. Depois de entrar, direct your attention to the right wall where you will find a chest labeled “Weapons.” Open the chest to discover 500 gold along with a sword that can be sold for additional profit.
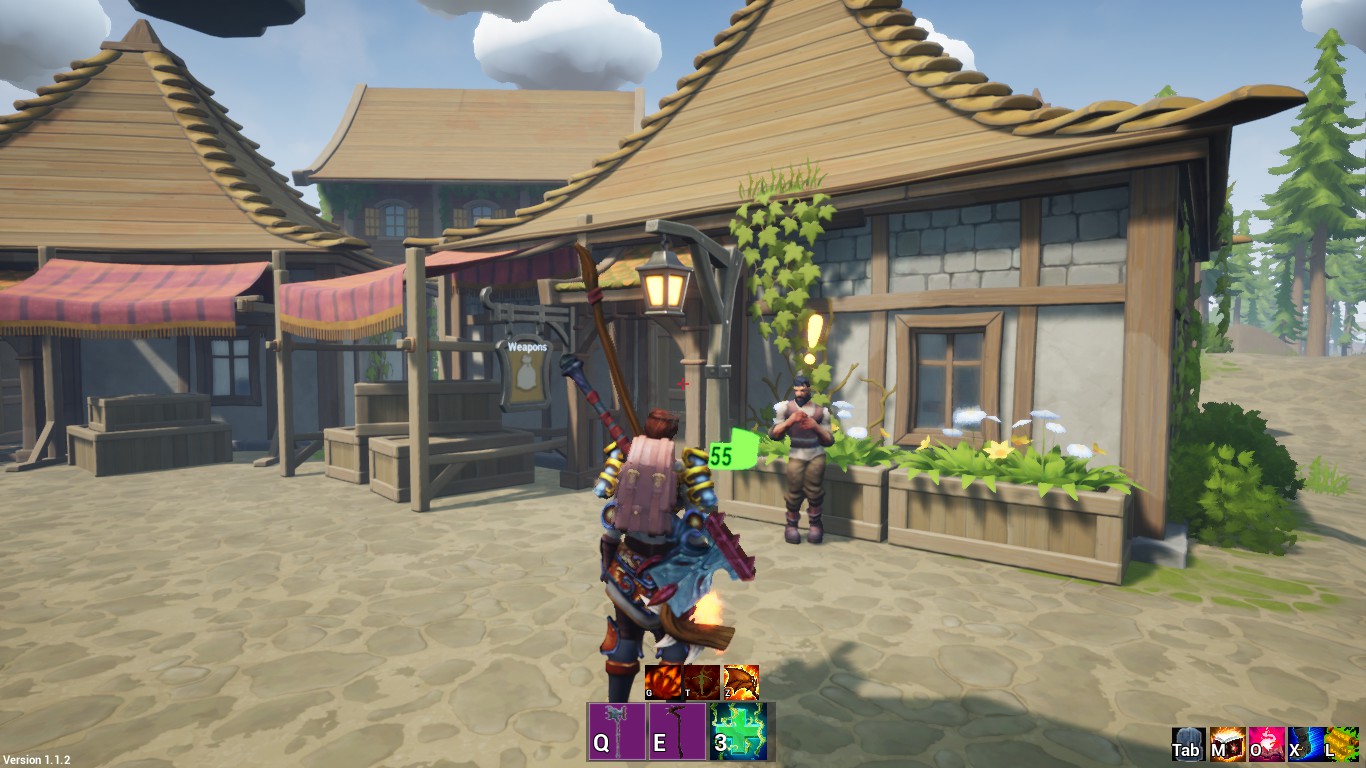
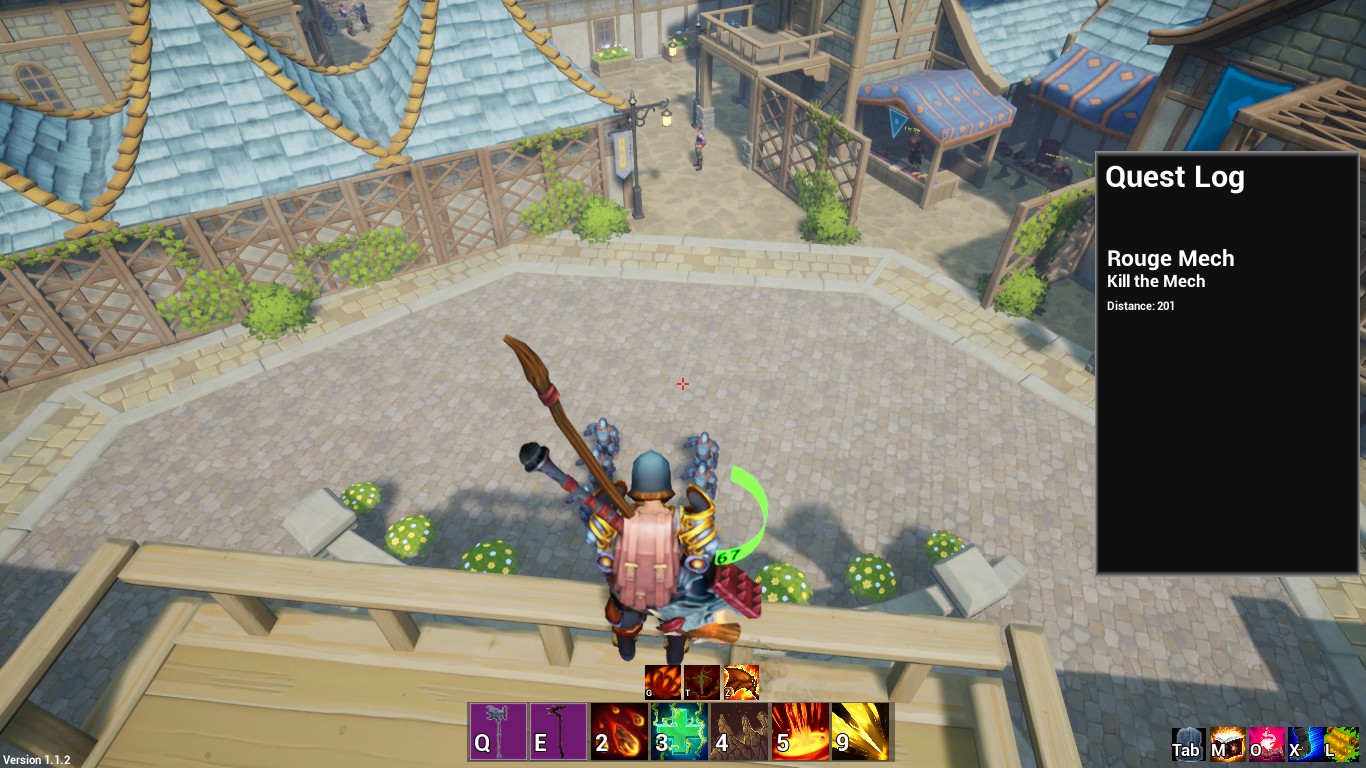
With the acquired gold, you now have the option to visit the nearby weapon shop, which is located in the building depicted in the picture below. At the weapon shop, you can purchase a common staff for 150 gold or save up to buy a rare staff for 2500 ouro. Both staff options will suffice for the next step of the process.
Aqui está uma dica útil: If you’re aiming to save up more gold, I suggest engaging in battles with wolves. Defeating wolves rewards you with 50 ouro, and there is a quest available from the man near the fallen trees that involves dealing with these creatures. Adicionalmente, it is advisable to acquire some form of armor before engaging in wolf encounters for added protection.
First Challenge
Once you have obtained a staff, your next destination will be the city located near the mountain. To the left of the city’s entrance, you will come across small hills with ore deposits nestled between them. Nesta área, you will encounter Cyclops enemies, including your main objective, the Cyclops King.


In the vicinity of the Cyclops King, you may encounter additional enemies, and while eliminating them is not mandatory, it could be beneficial. Agora, for your next step, you will need to entice the Cyclops King to follow you into the city and toward the keep. Upon entering the keep, you will notice two staircases just beyond the entrance. Ensure that the Cyclops King is still pursuing you, and proceed to ascend one of the staircases.
Upon reaching the top of the staircase, you will find yourself on a balcony. Position yourself on the balcony and leap off when the Cyclops King reaches the top of the stairs. As soon as you have jumped off, swiftly move past the Weapon Shop. It is crucial to remain within the city for this strategy to be effective. Espere alguns segundos, and then return to the keep.
Once back at the keep, navigate through the training guides positioned at the front. You will notice that the Cyclops King should be trapped in place next to the Quest NPC. Be cautious not to get too close to the Cyclops King and begin attacking the target using your staff. Remember to maintain your position between the guards as you continue to engage in combat.

It is possible that the Cyclops King may start pursuing you during the encounter. Se isso acontecer, repeat the process of utilizing the balcony to escape its pursuit. Repeat this sequence multiple times until you have accumulated a total of 10,000 ouro. Once you have reached this gold threshold, proceed to the weapons shop and purchase one of the Epic staffs. This staff will be necessary for the upcoming challenge. Adicionalmente, it is advisable to invest in armor that enhances your attack capabilities for added effectiveness.
Final Challenge
The following challenge is the most perilous yet highly rewarding. Once equipped with your staff, you must navigate to the entrance of the Pyramid city. Na entrada, you will encounter some enemies. I recommend engaging in combat with them, as they may pose a threat while attempting the trick (similar to the one used on the Cyclops King).
Starting from the entrance, veer left and proceed through the archway. Take a diagonal right path, leading you to a raised platform. Nesta plataforma, you will encounter a larger and more formidable version of the previous enemies, which we’ll refer to as the Boss. Adjacent to the Boss, there will be a regular enemy. Se executado corretamente, the trick allows you to remain undetected by the enemy. No entanto, seja cauteloso, as the enemy may become aware of your presence if you approach the platform too closely.

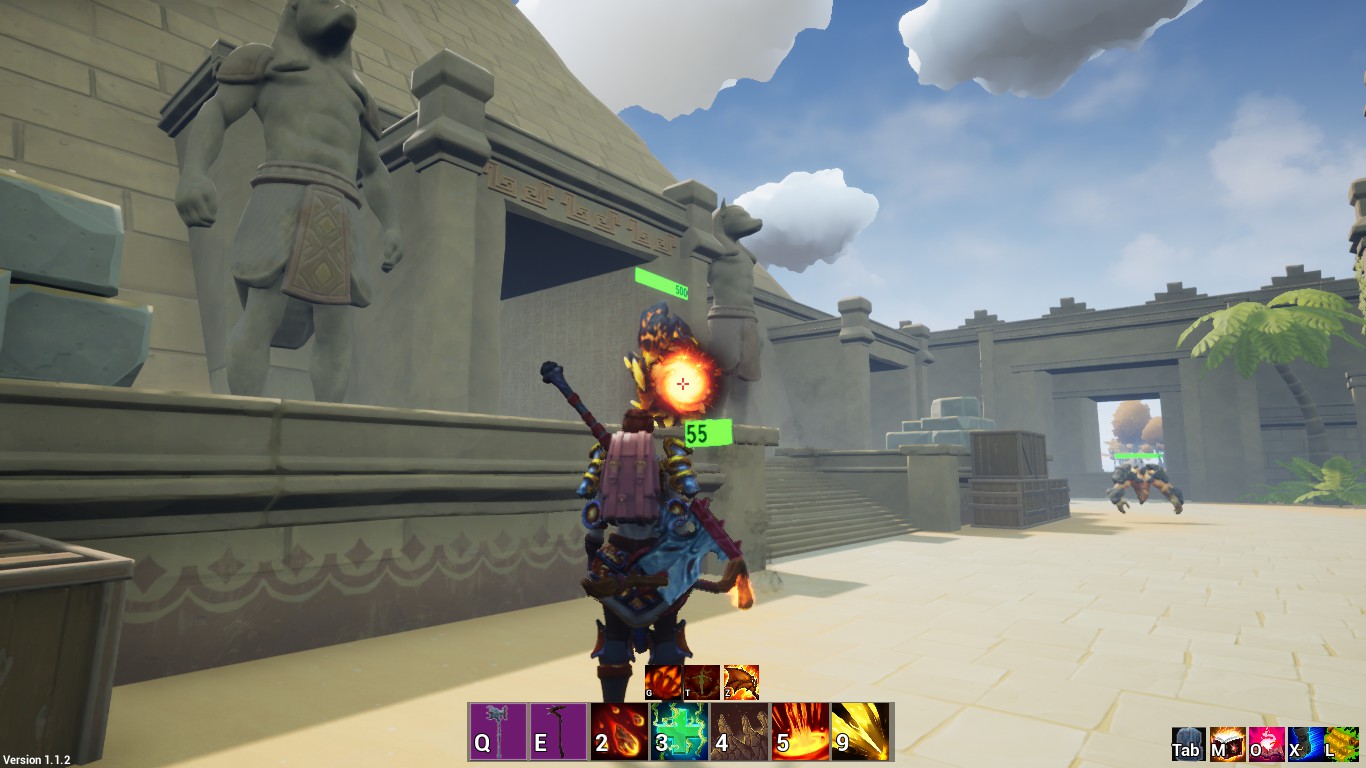
Agora, let’s proceed with the trick. É bem simples. Position yourself close enough to the Boss so that you take damage but remain in a diagonal position. As depicted in the picture, launch your attack. As long as you maintain the diagonal stance, the Boss won’t detect your presence. No entanto, if the Boss ever becomes aware of you, it is crucial to flee immediately.
As you continue to grind for gold, you will improve your skills and develop a better sense of secure locations from which to launch your attacks. In due course, you will accumulate wealth rapidly. With the significant amount of gold you accumulate, you will have the freedom to purchase anything you desire. It’s worth noting that the gold you earn contributes to the progress of your dragon as well.

Isso é tudo o que estamos compartilhando hoje para isso Dragon's Hoard guia. Este guia foi originalmente criado e escrito por SunderZard57. Caso não atualizemos este guia, você pode encontrar a atualização mais recente seguindo este link.