This guide will show you where to find all secrets and exploration-related achievements in Cultic Chapter 1. If you’re looking for the secrets of the Interlude update, feel free to check this guia.
Introdução
This guide aims to be a short, simple reference for all the secrets in chapter 1, including the Imbued Remains and some achievements. I might include weapon parts later, but that could make it too long.
Observação: Two Imbued Remains aren’t in secret areas, but I included them anyway.
The information for each level is in a roughly chronological order, and larger levels are divided into parts to make it easy to find what you’re looking for.
If you spot any big mistakes or confusing language, please let me know in the comments, and I’ll make corrections. Some levels might need more screenshots for better understanding.
The Grave
Papel 1: First building
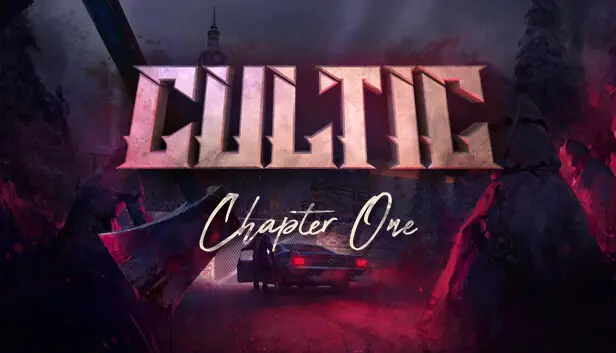
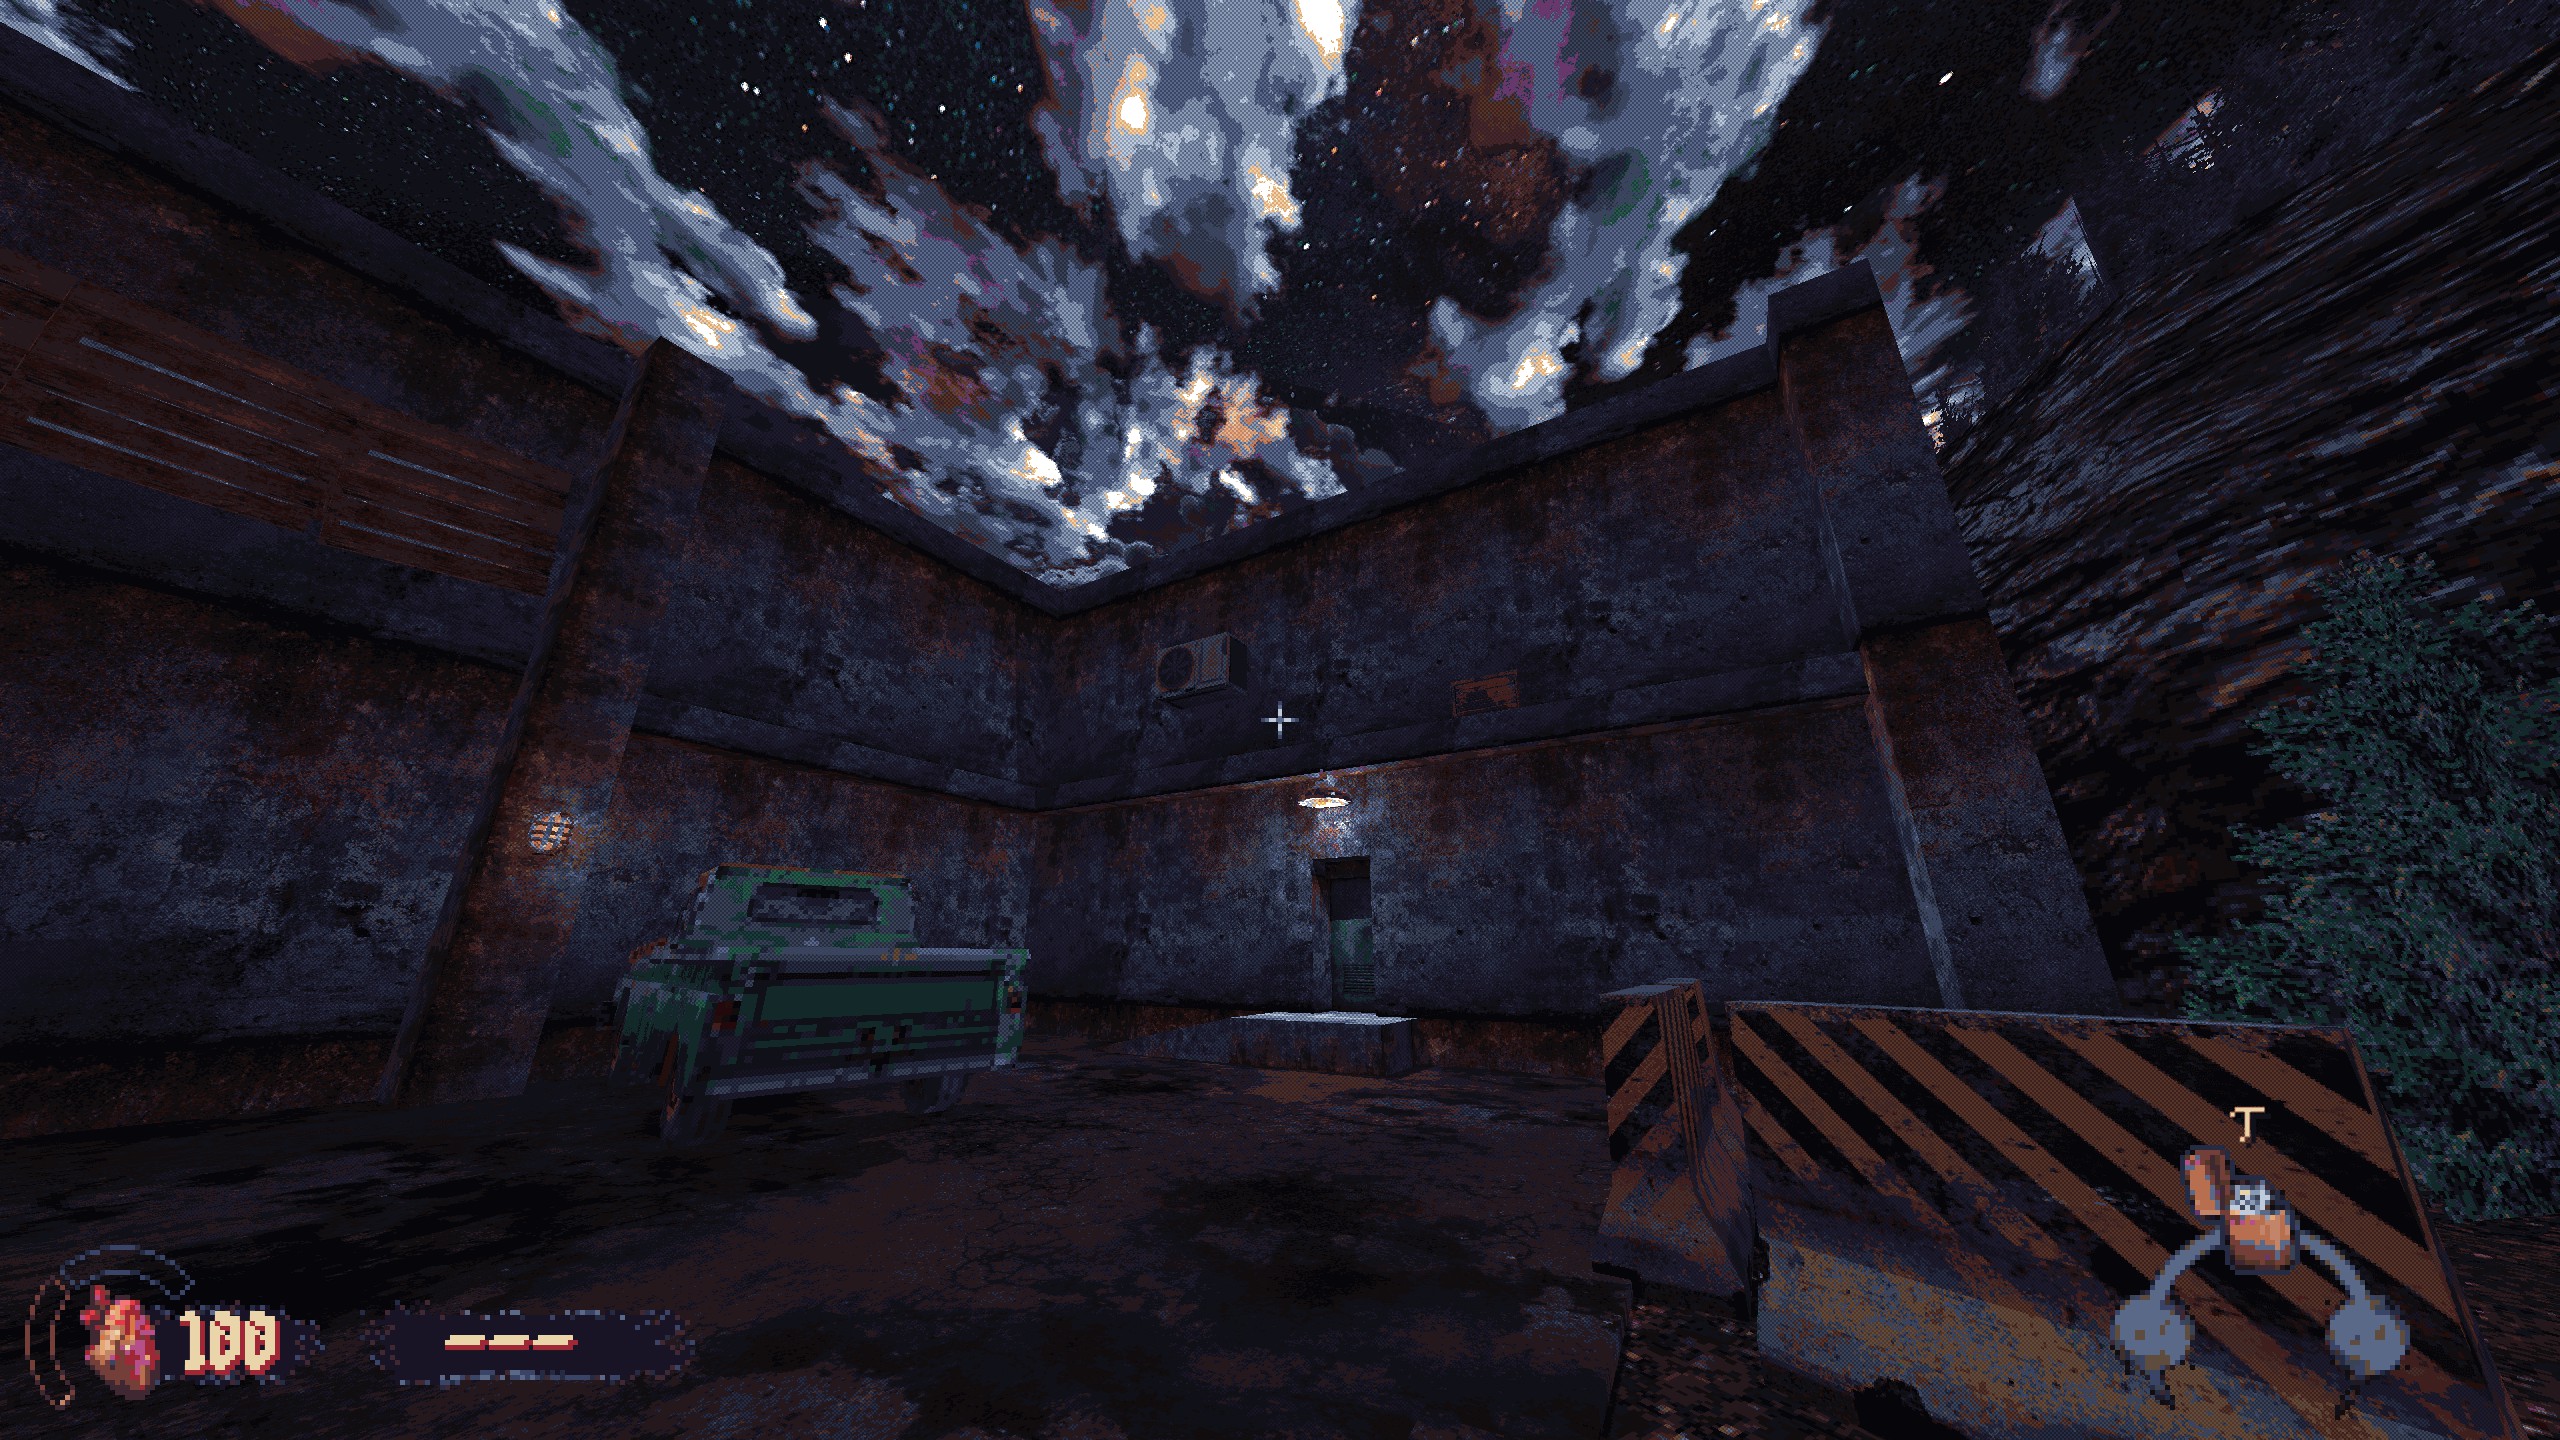
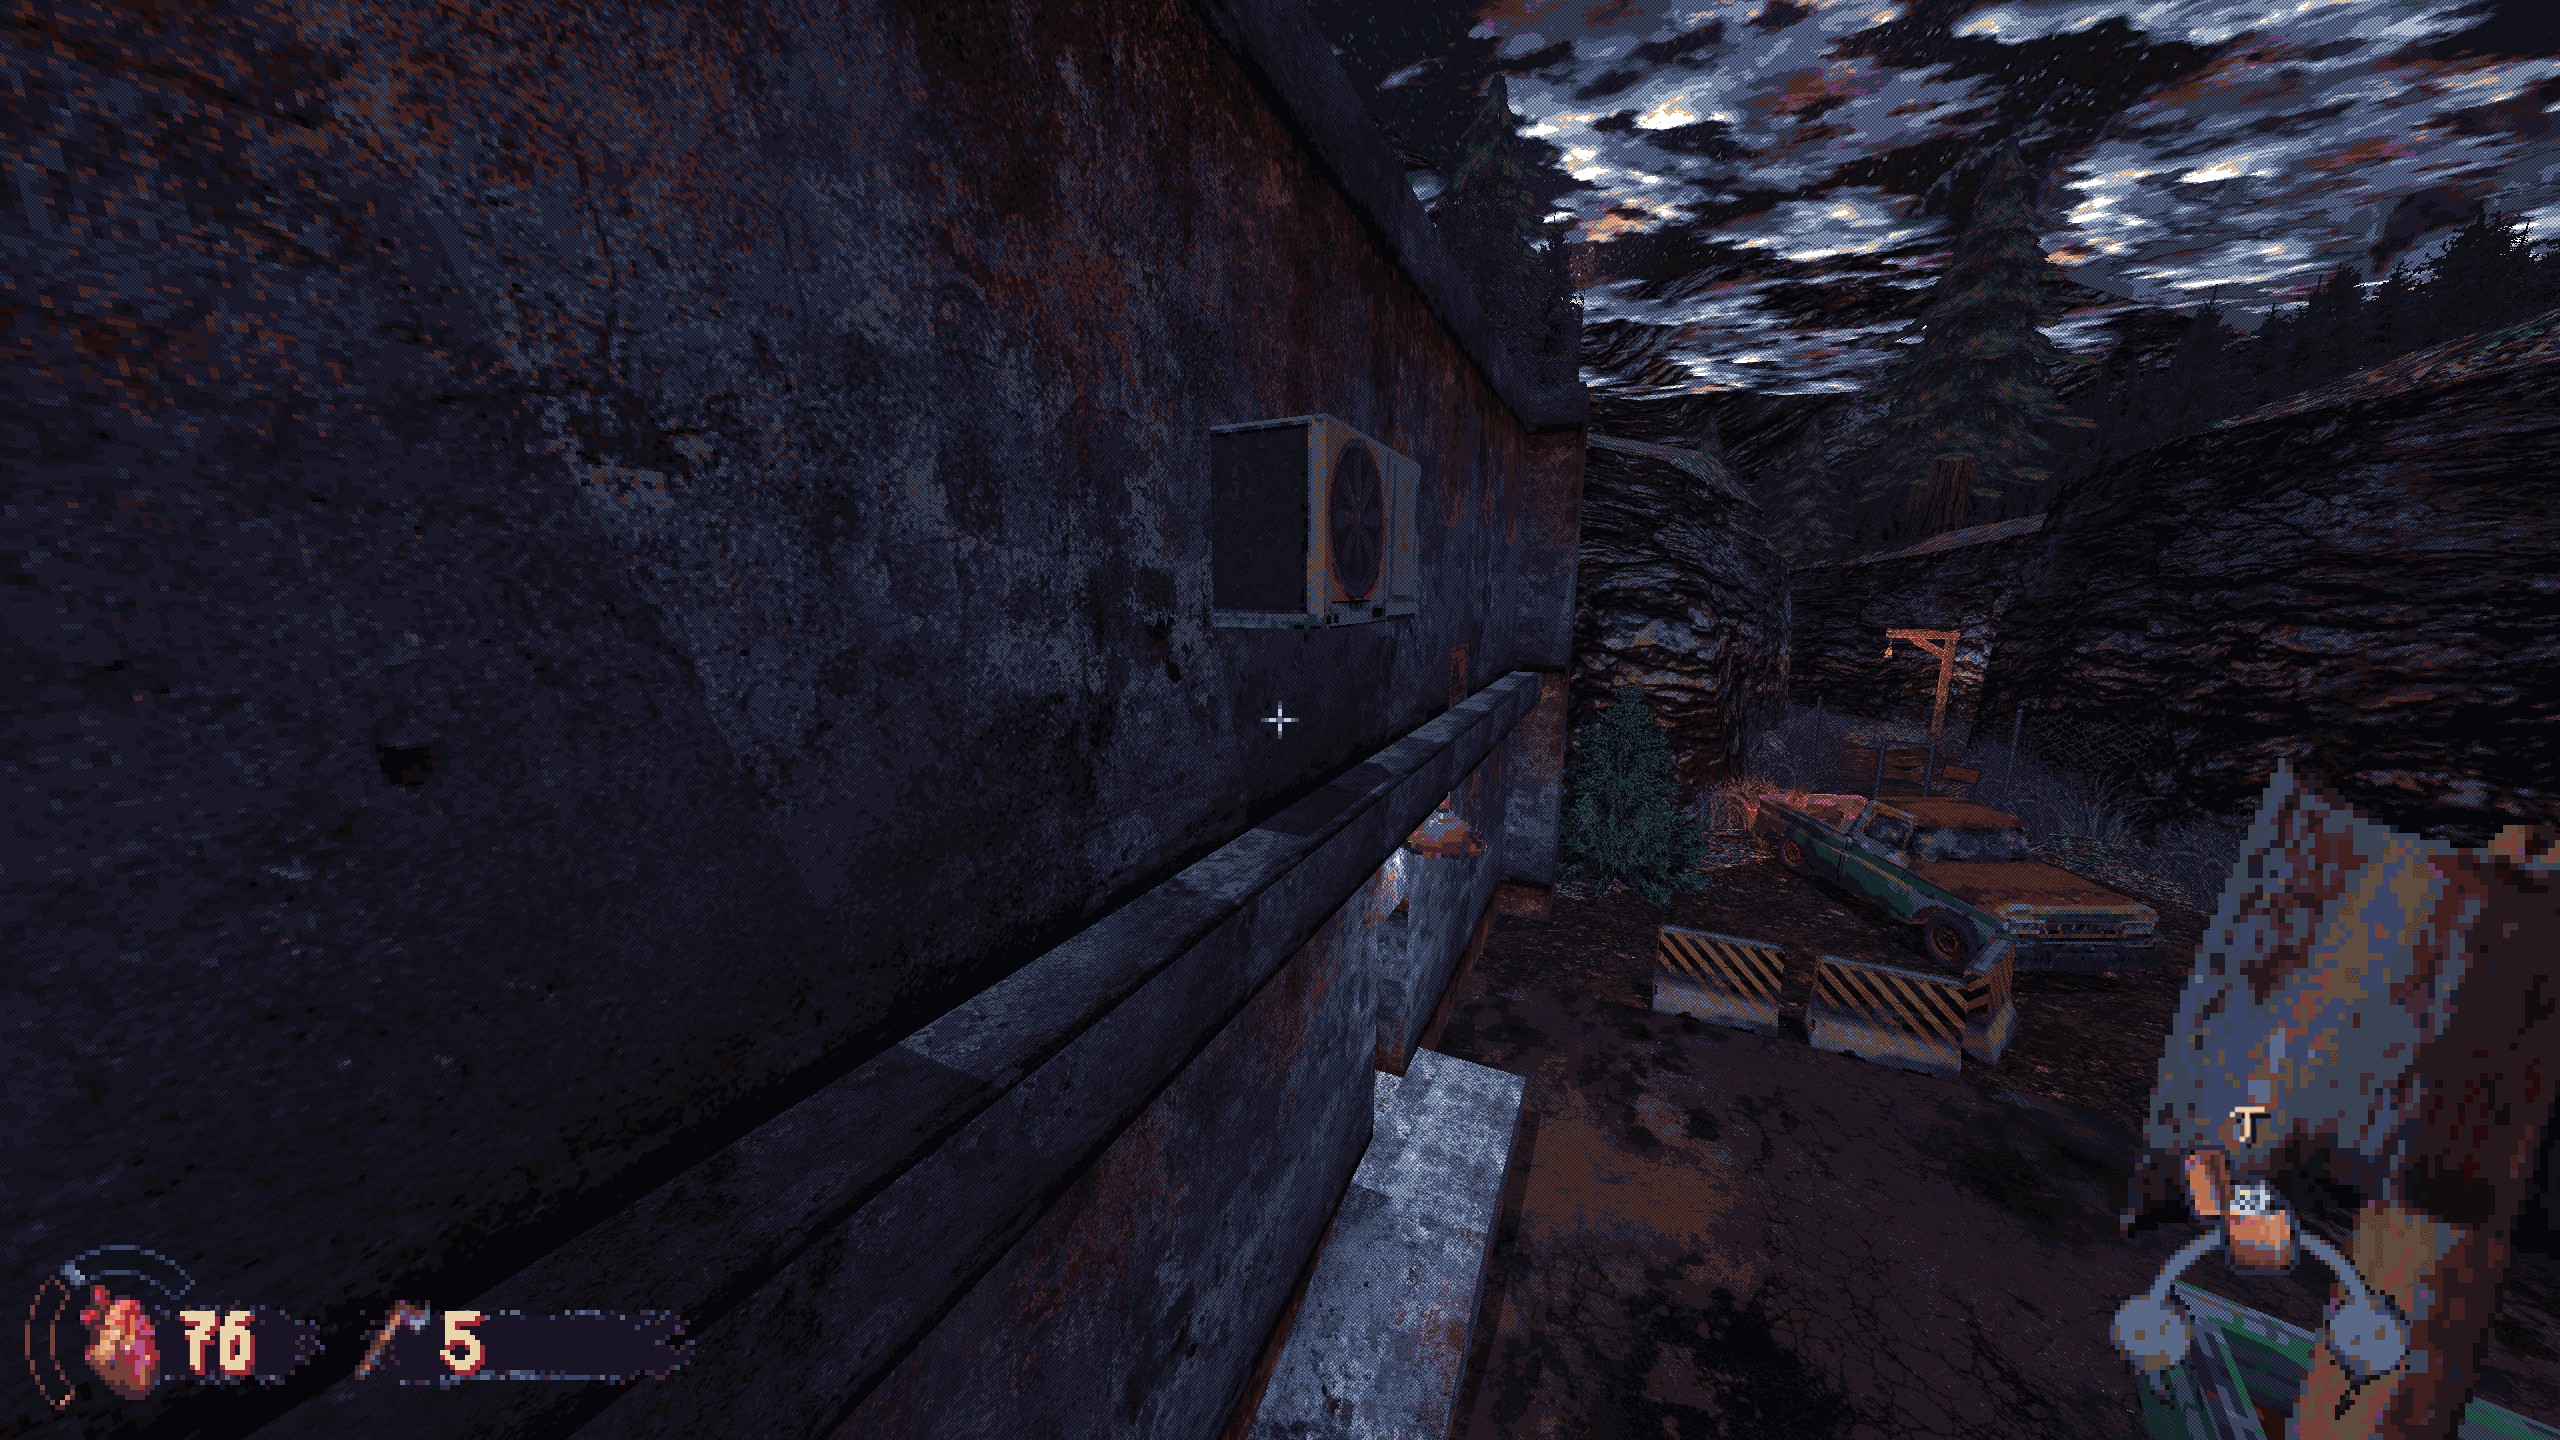
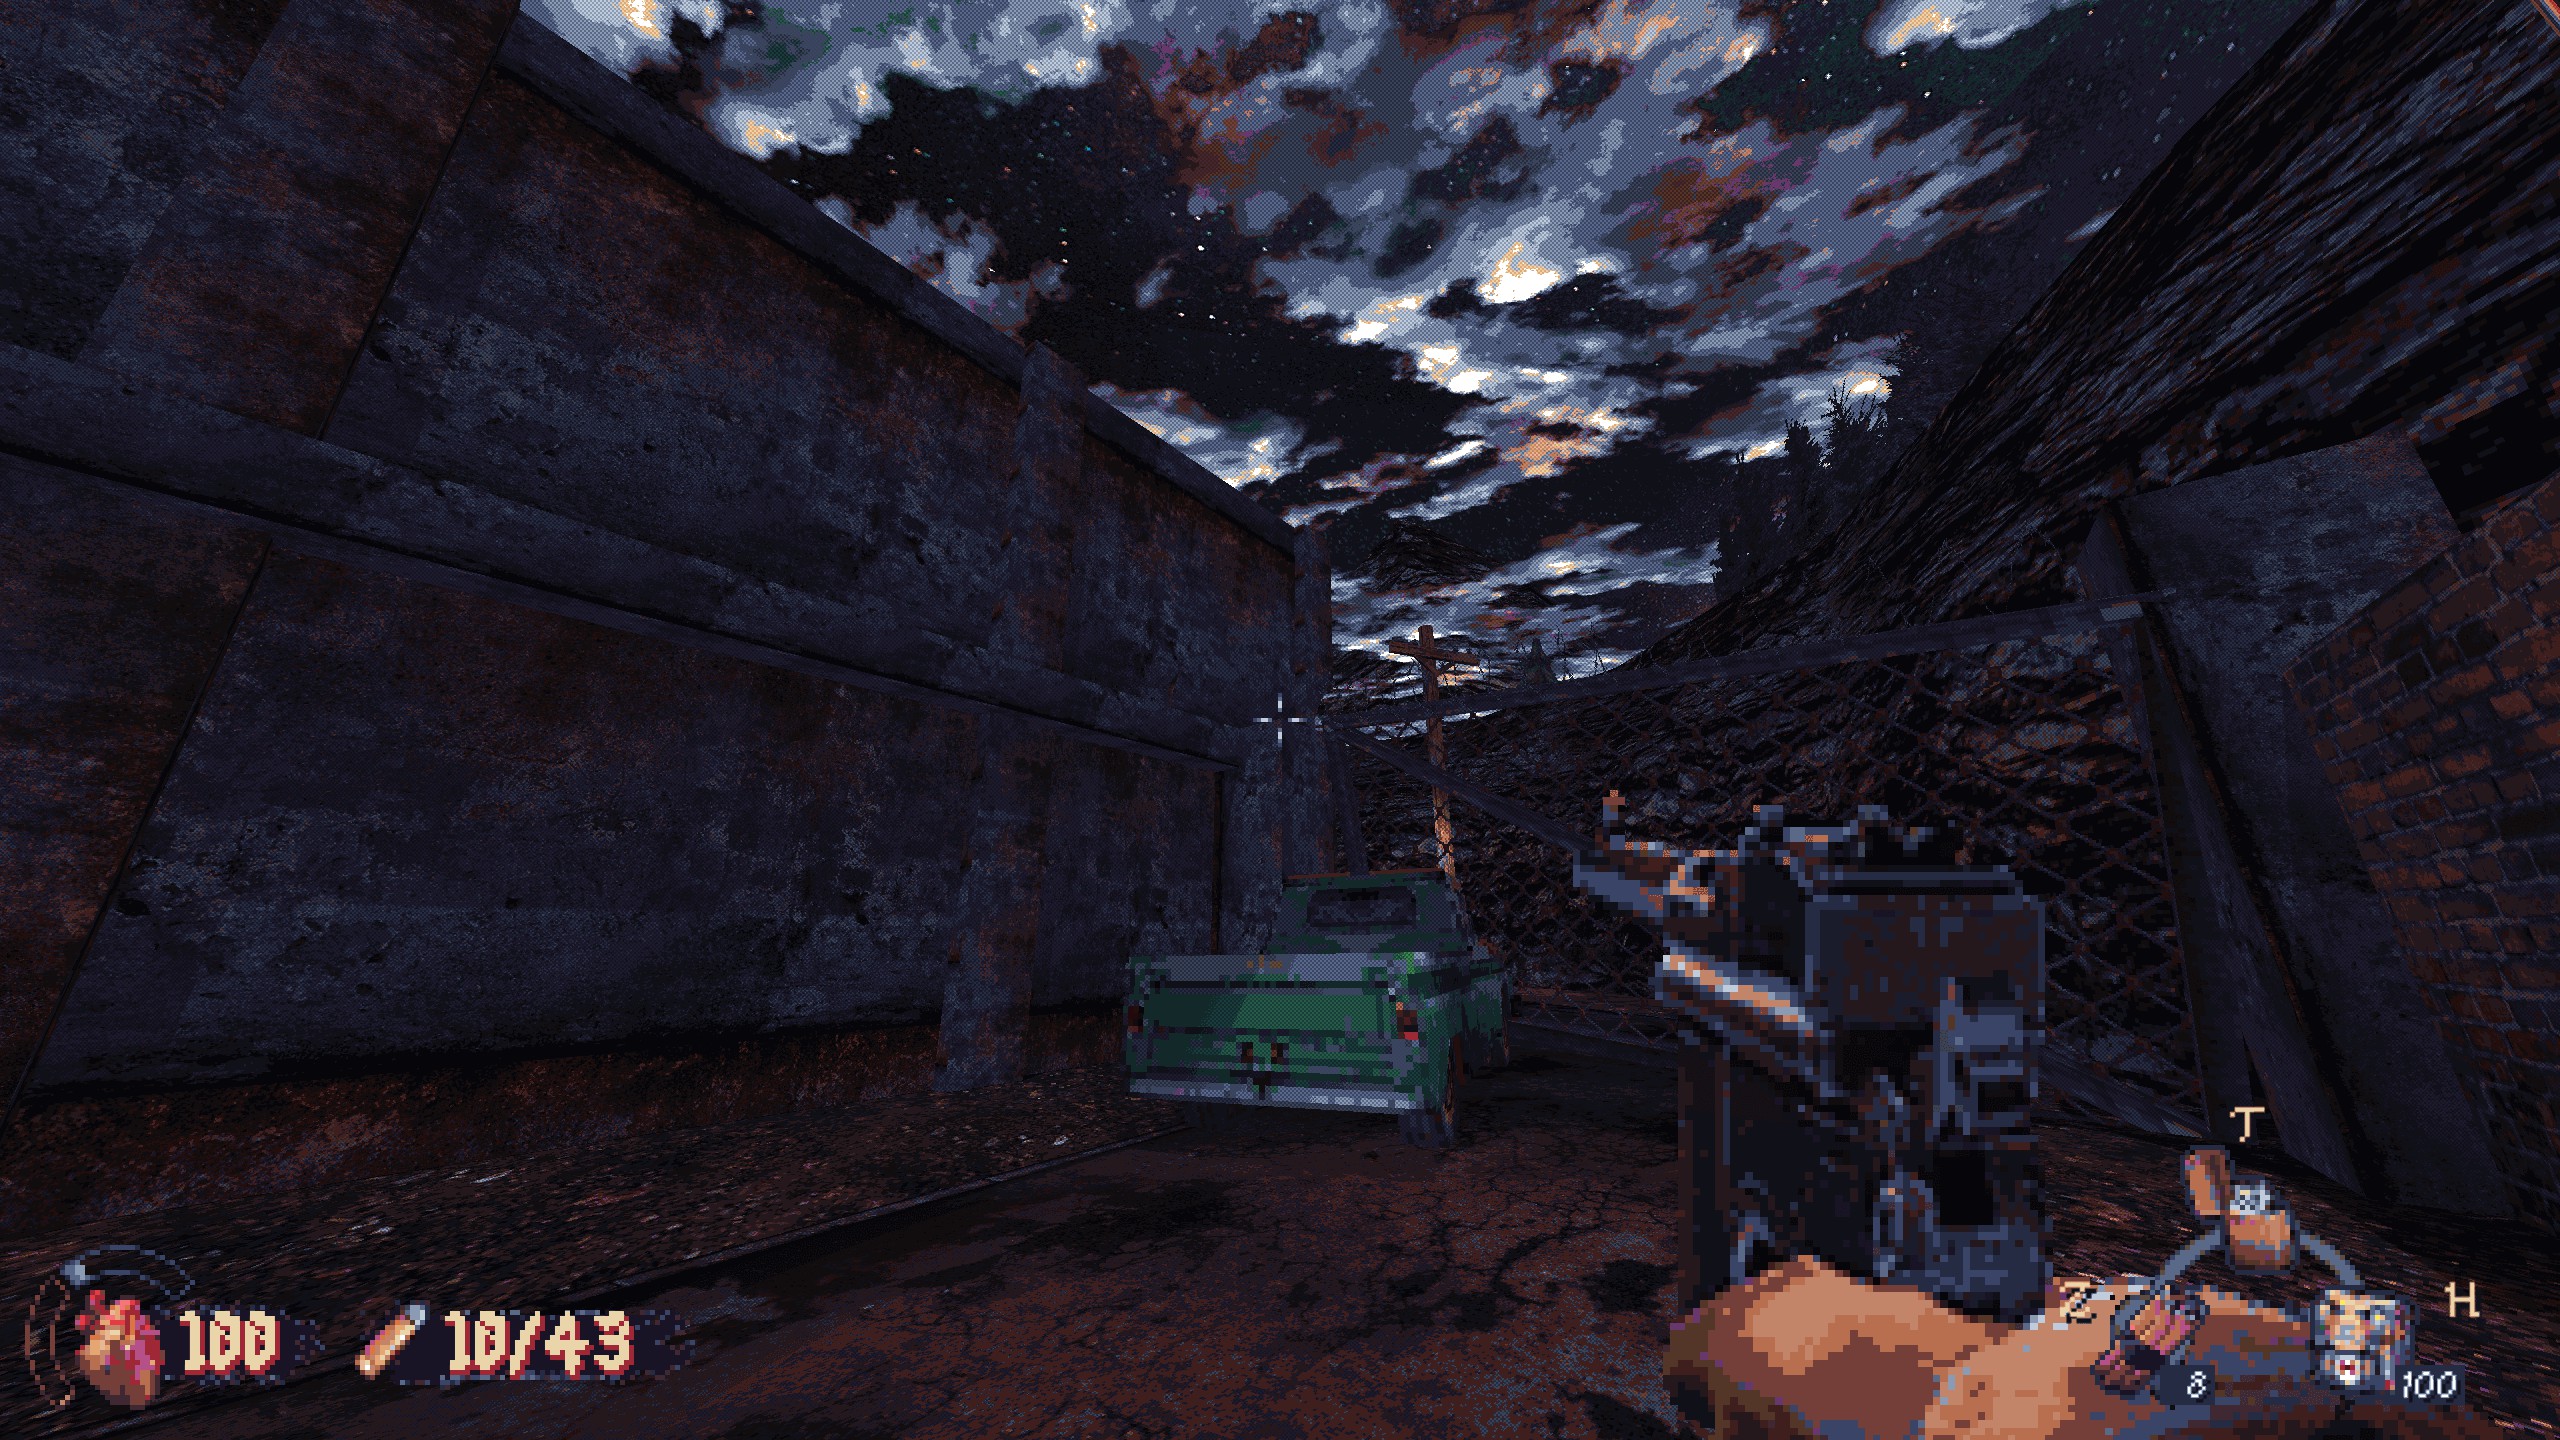
#1: Before going into the building, hop onto the green truck to reach the ledge and vent. Break it open, crawl through for the secret. Recompensa: TNT.
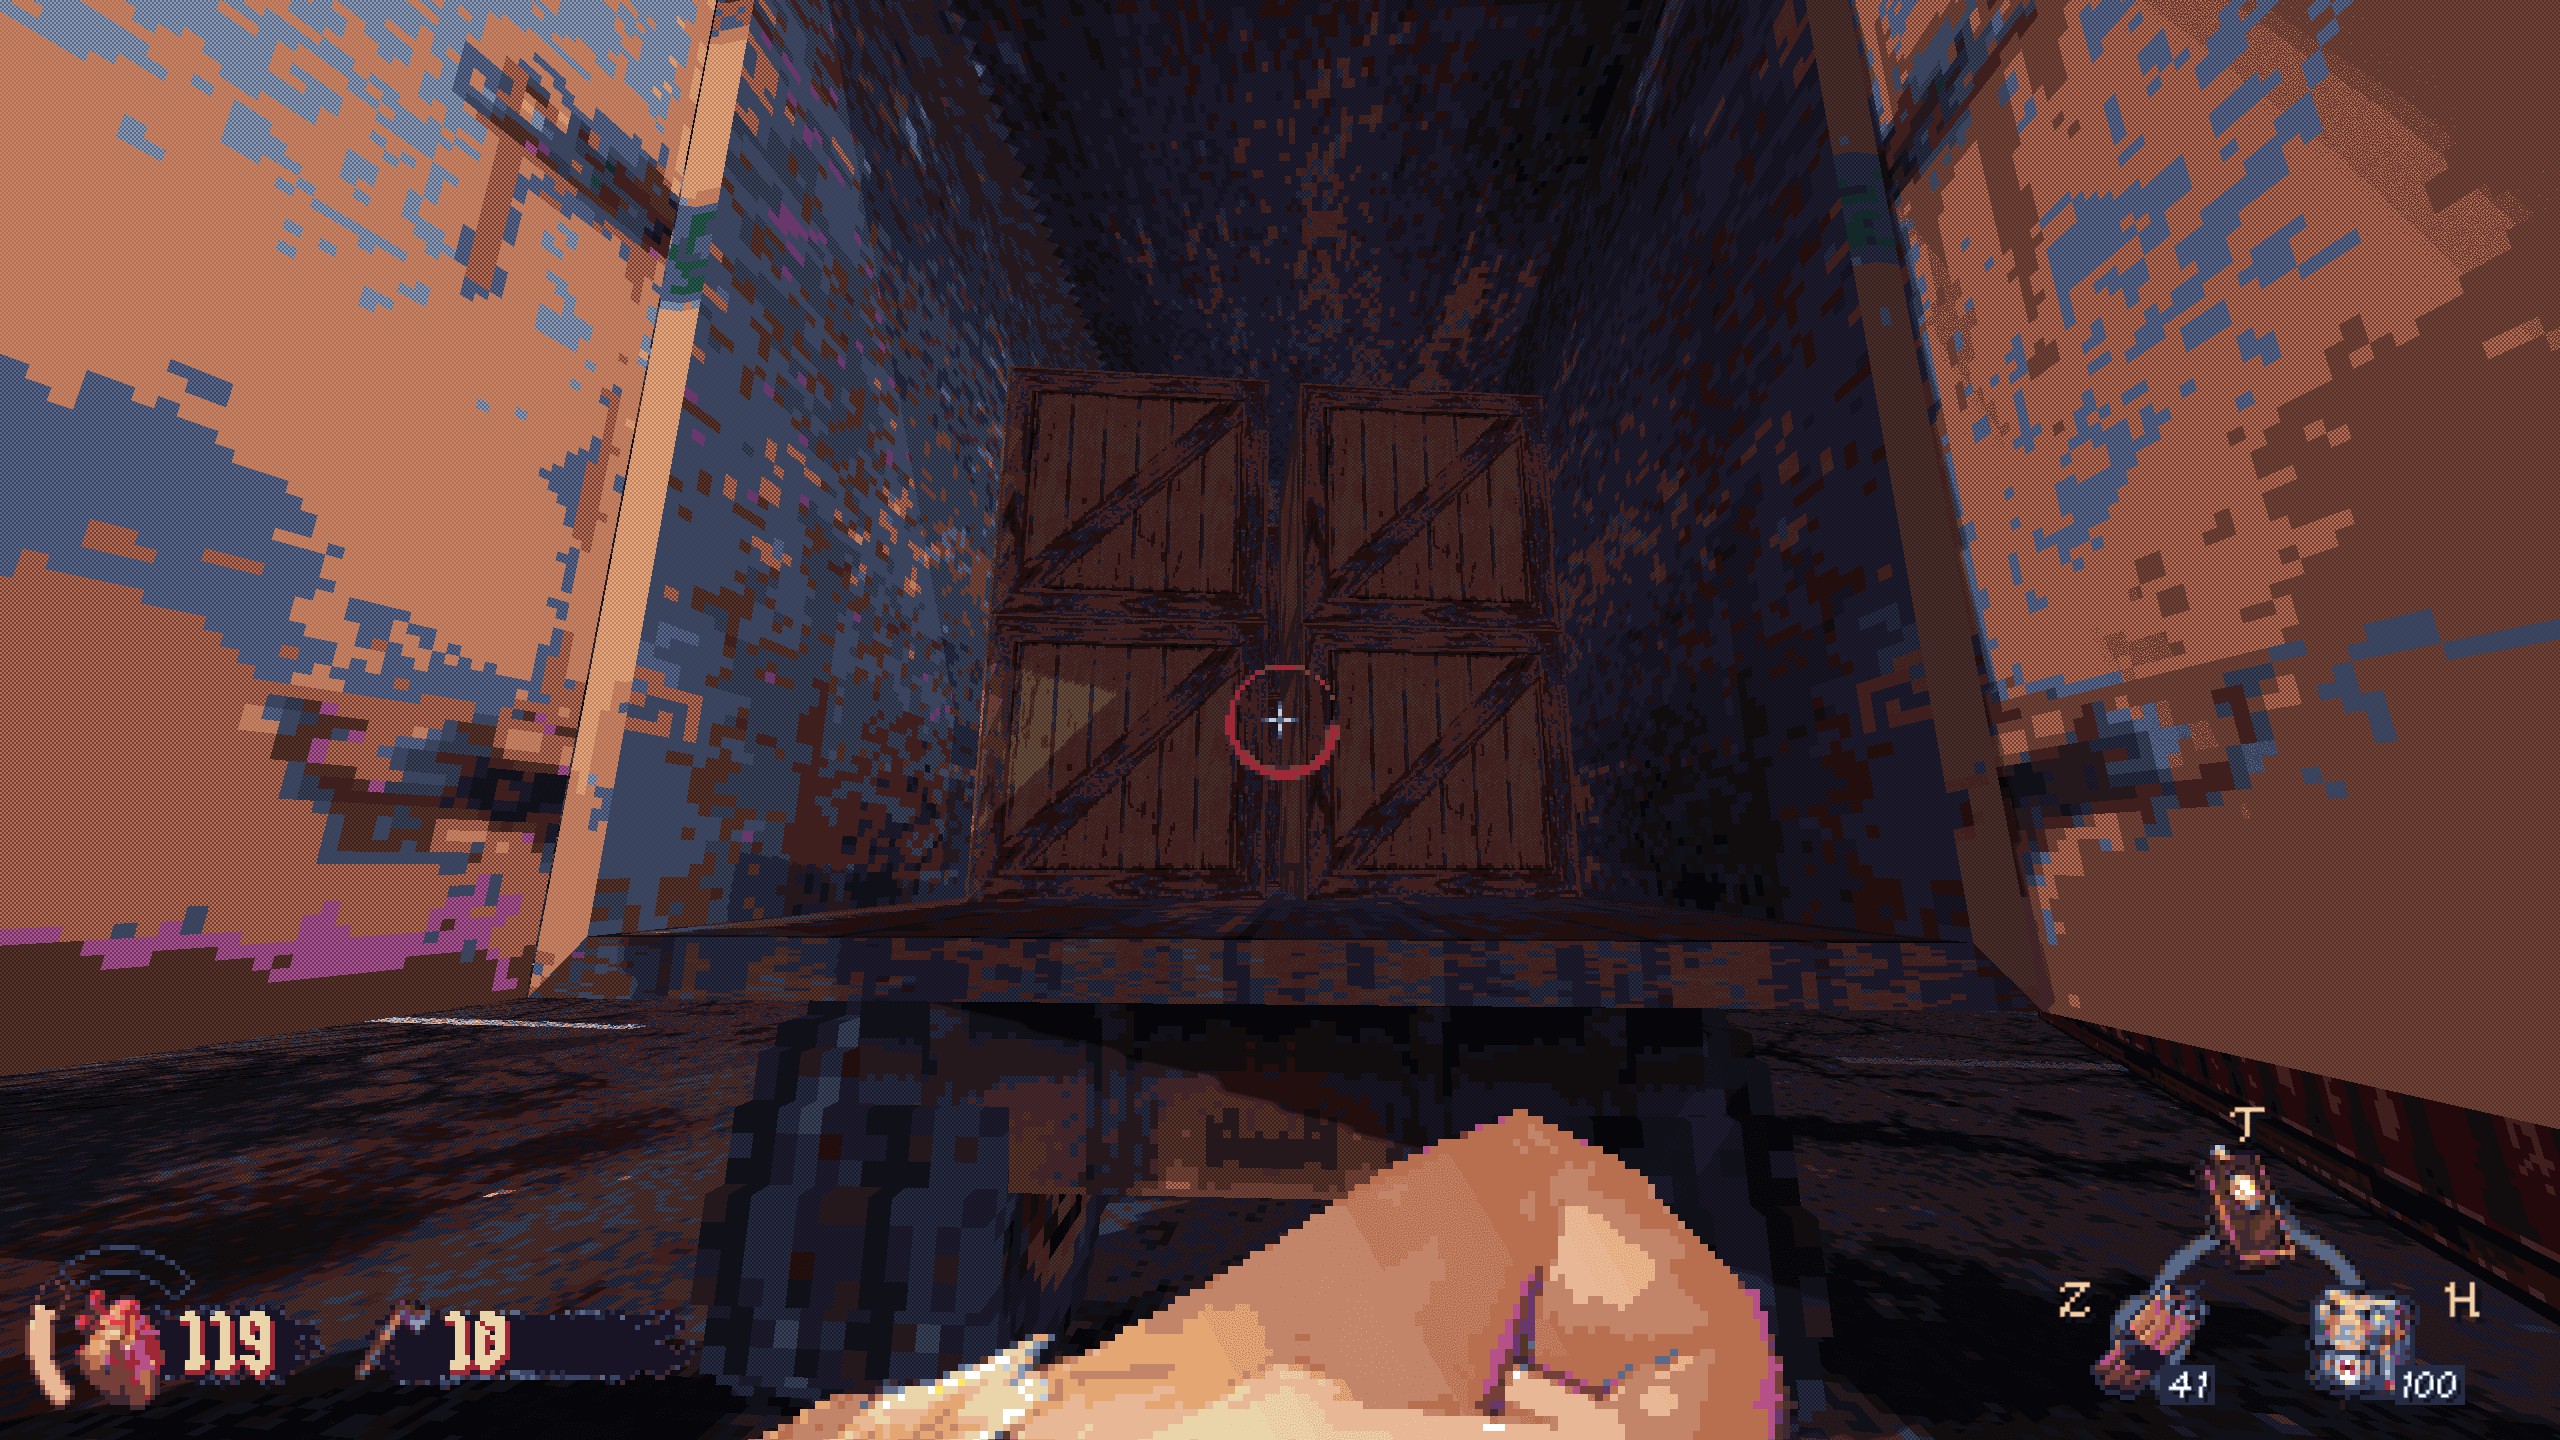
#2: At the staircase in the first building, inversão de marcha, and spot a vent above. Jump on the open door to reach it. Recompensa: weapon part.
#3: In the hallway with the steam pipe, use explosives to open a crack in the wall. Recompensa: weapon part.

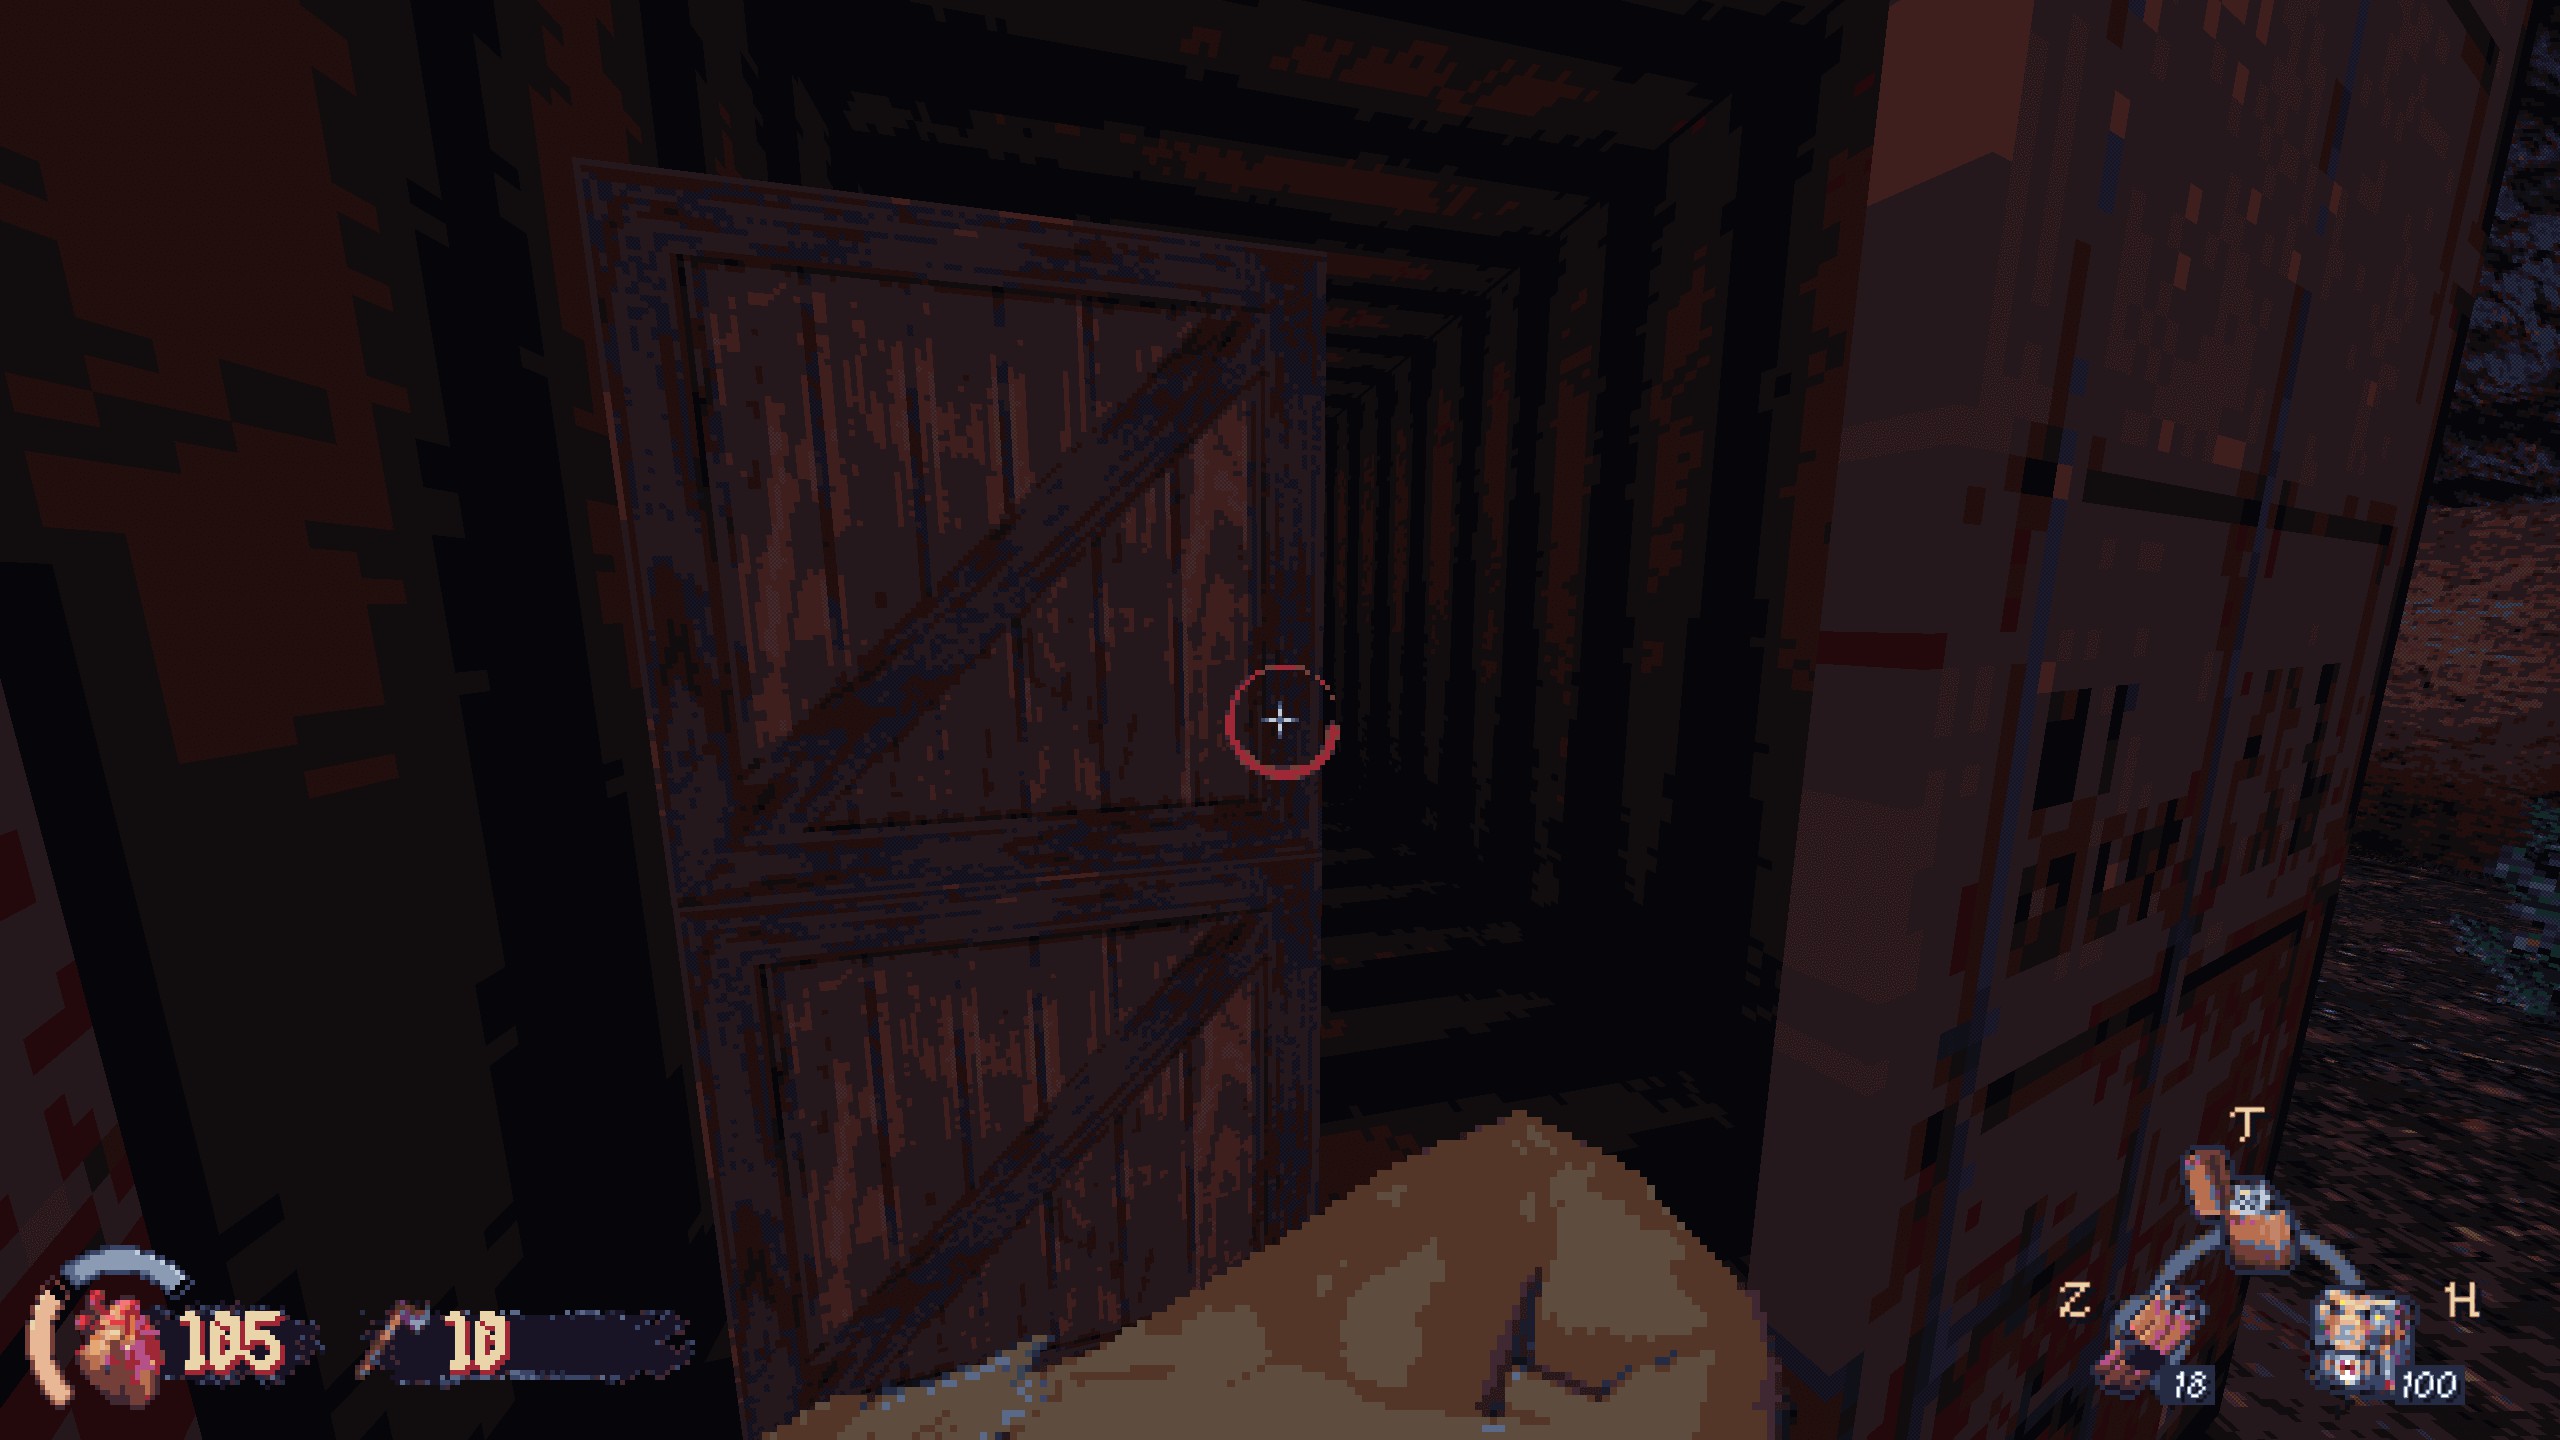
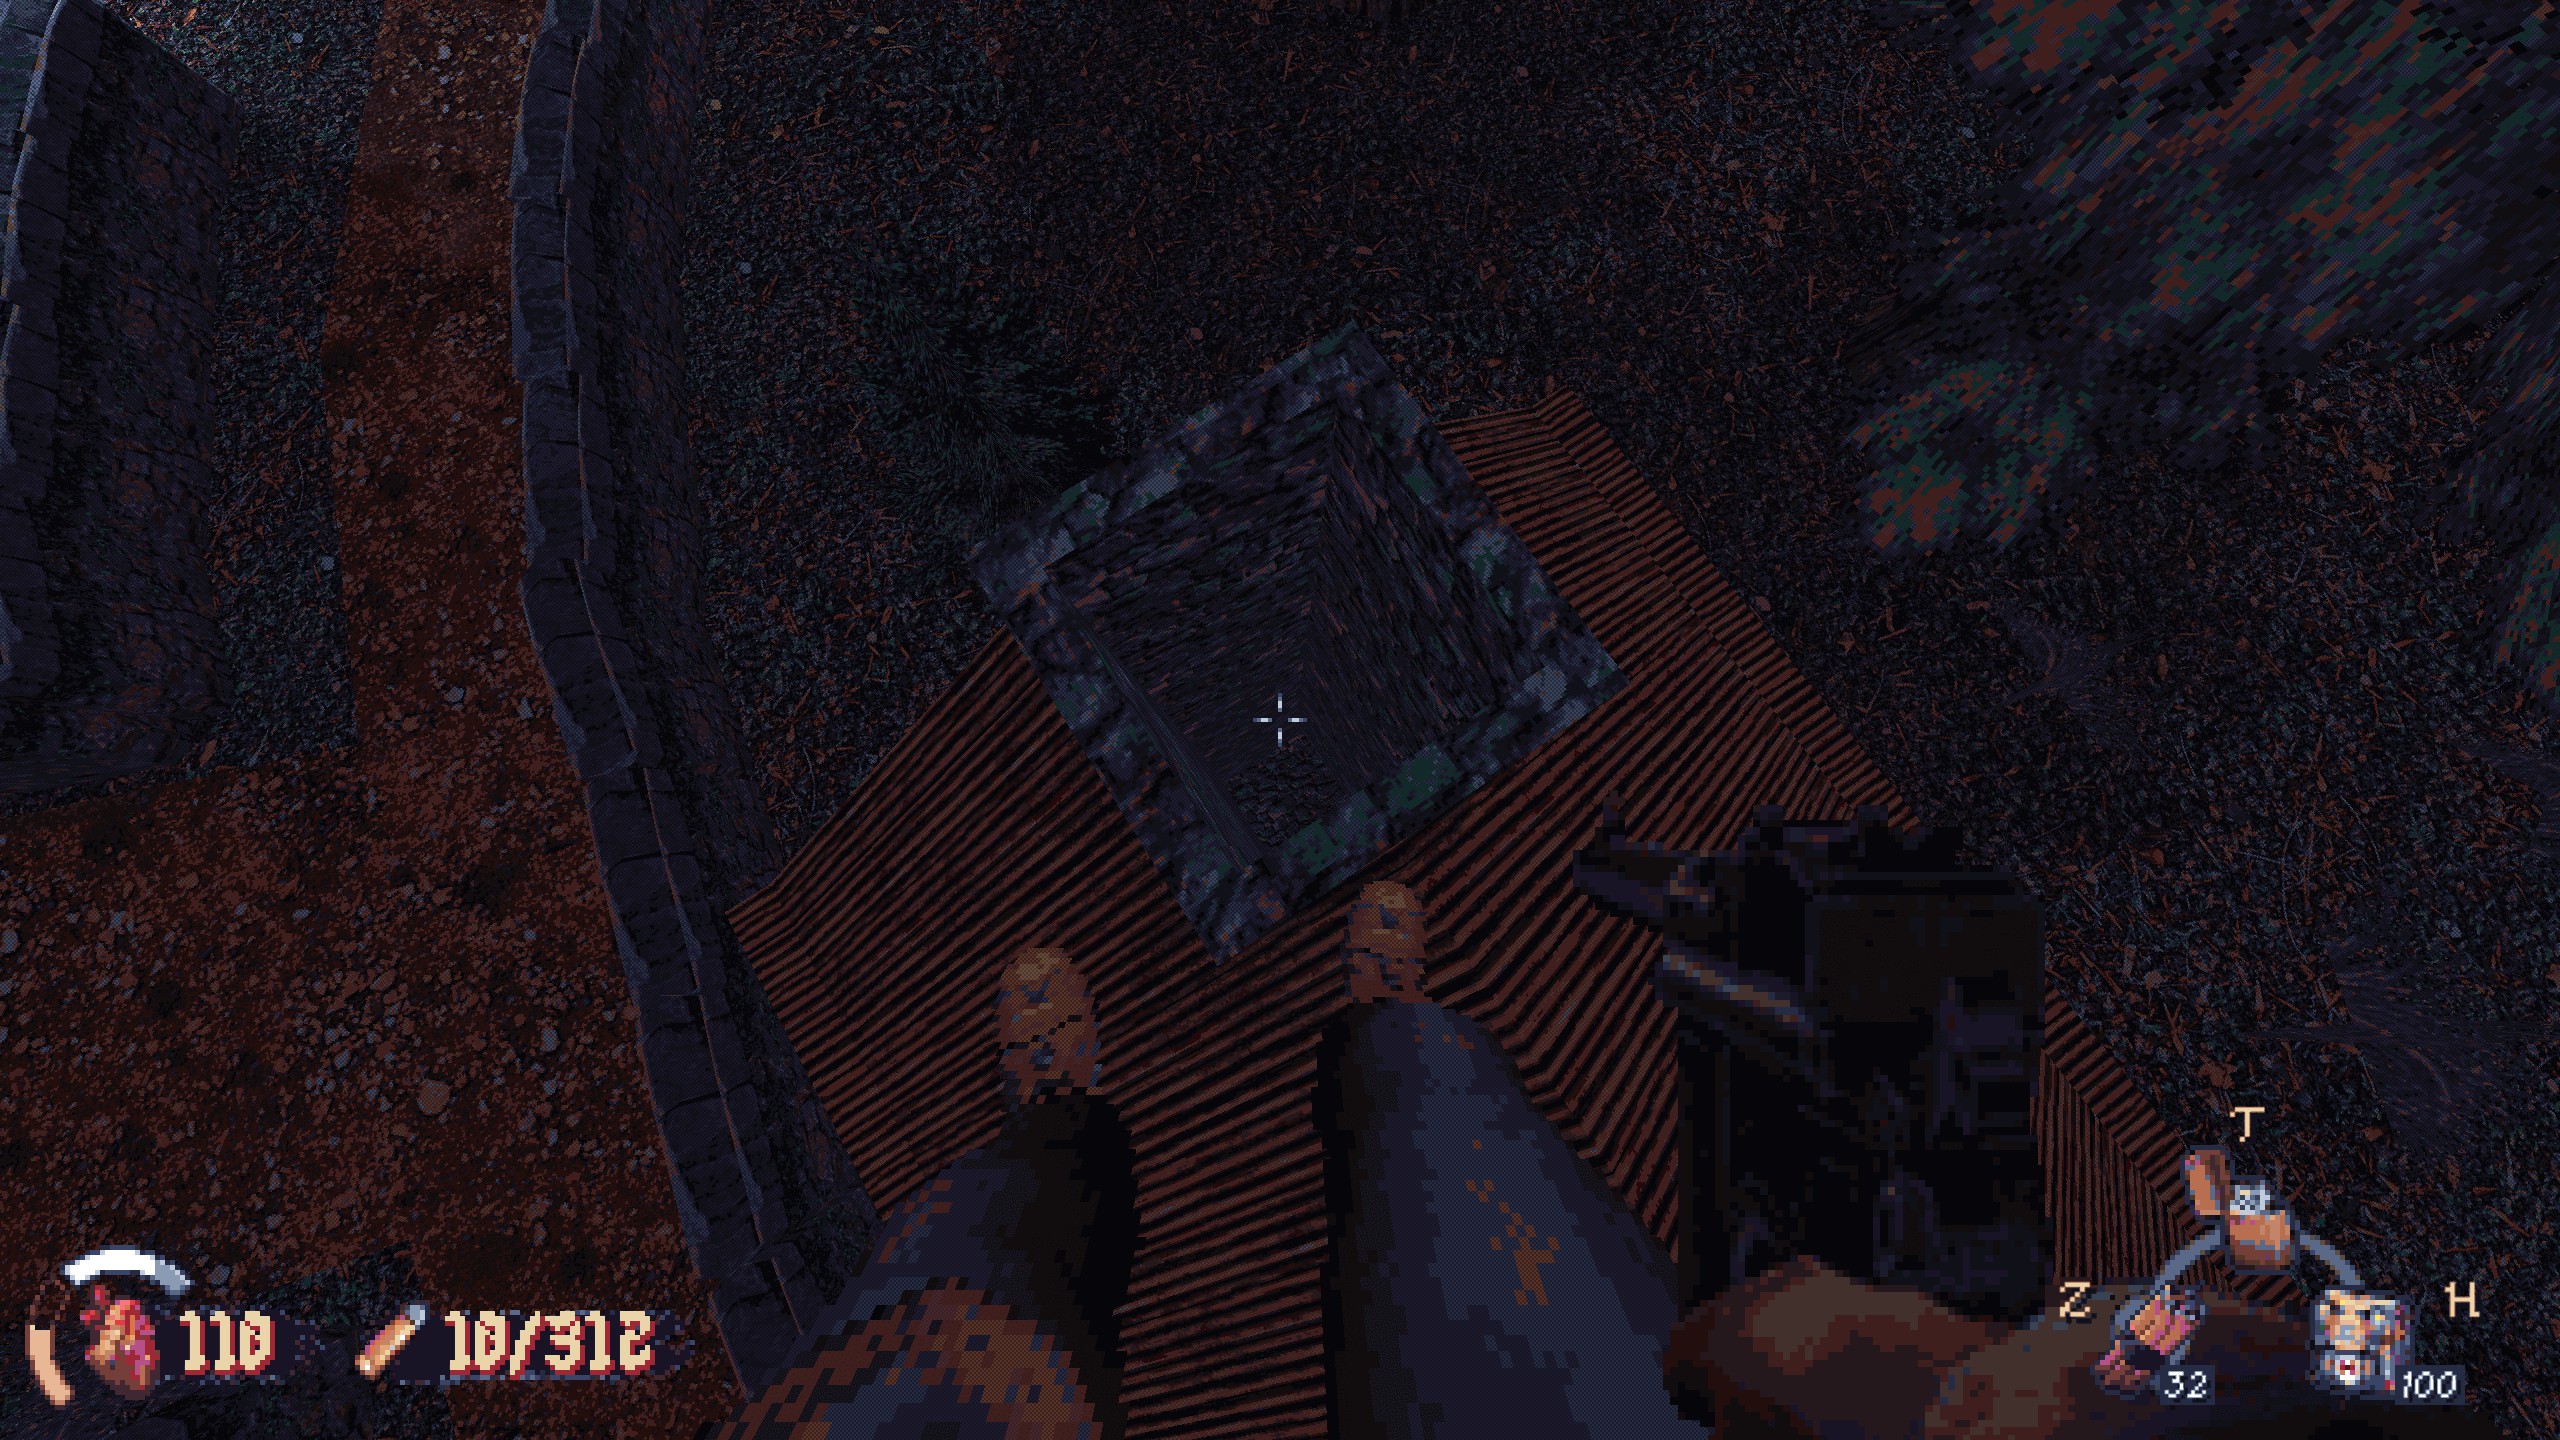
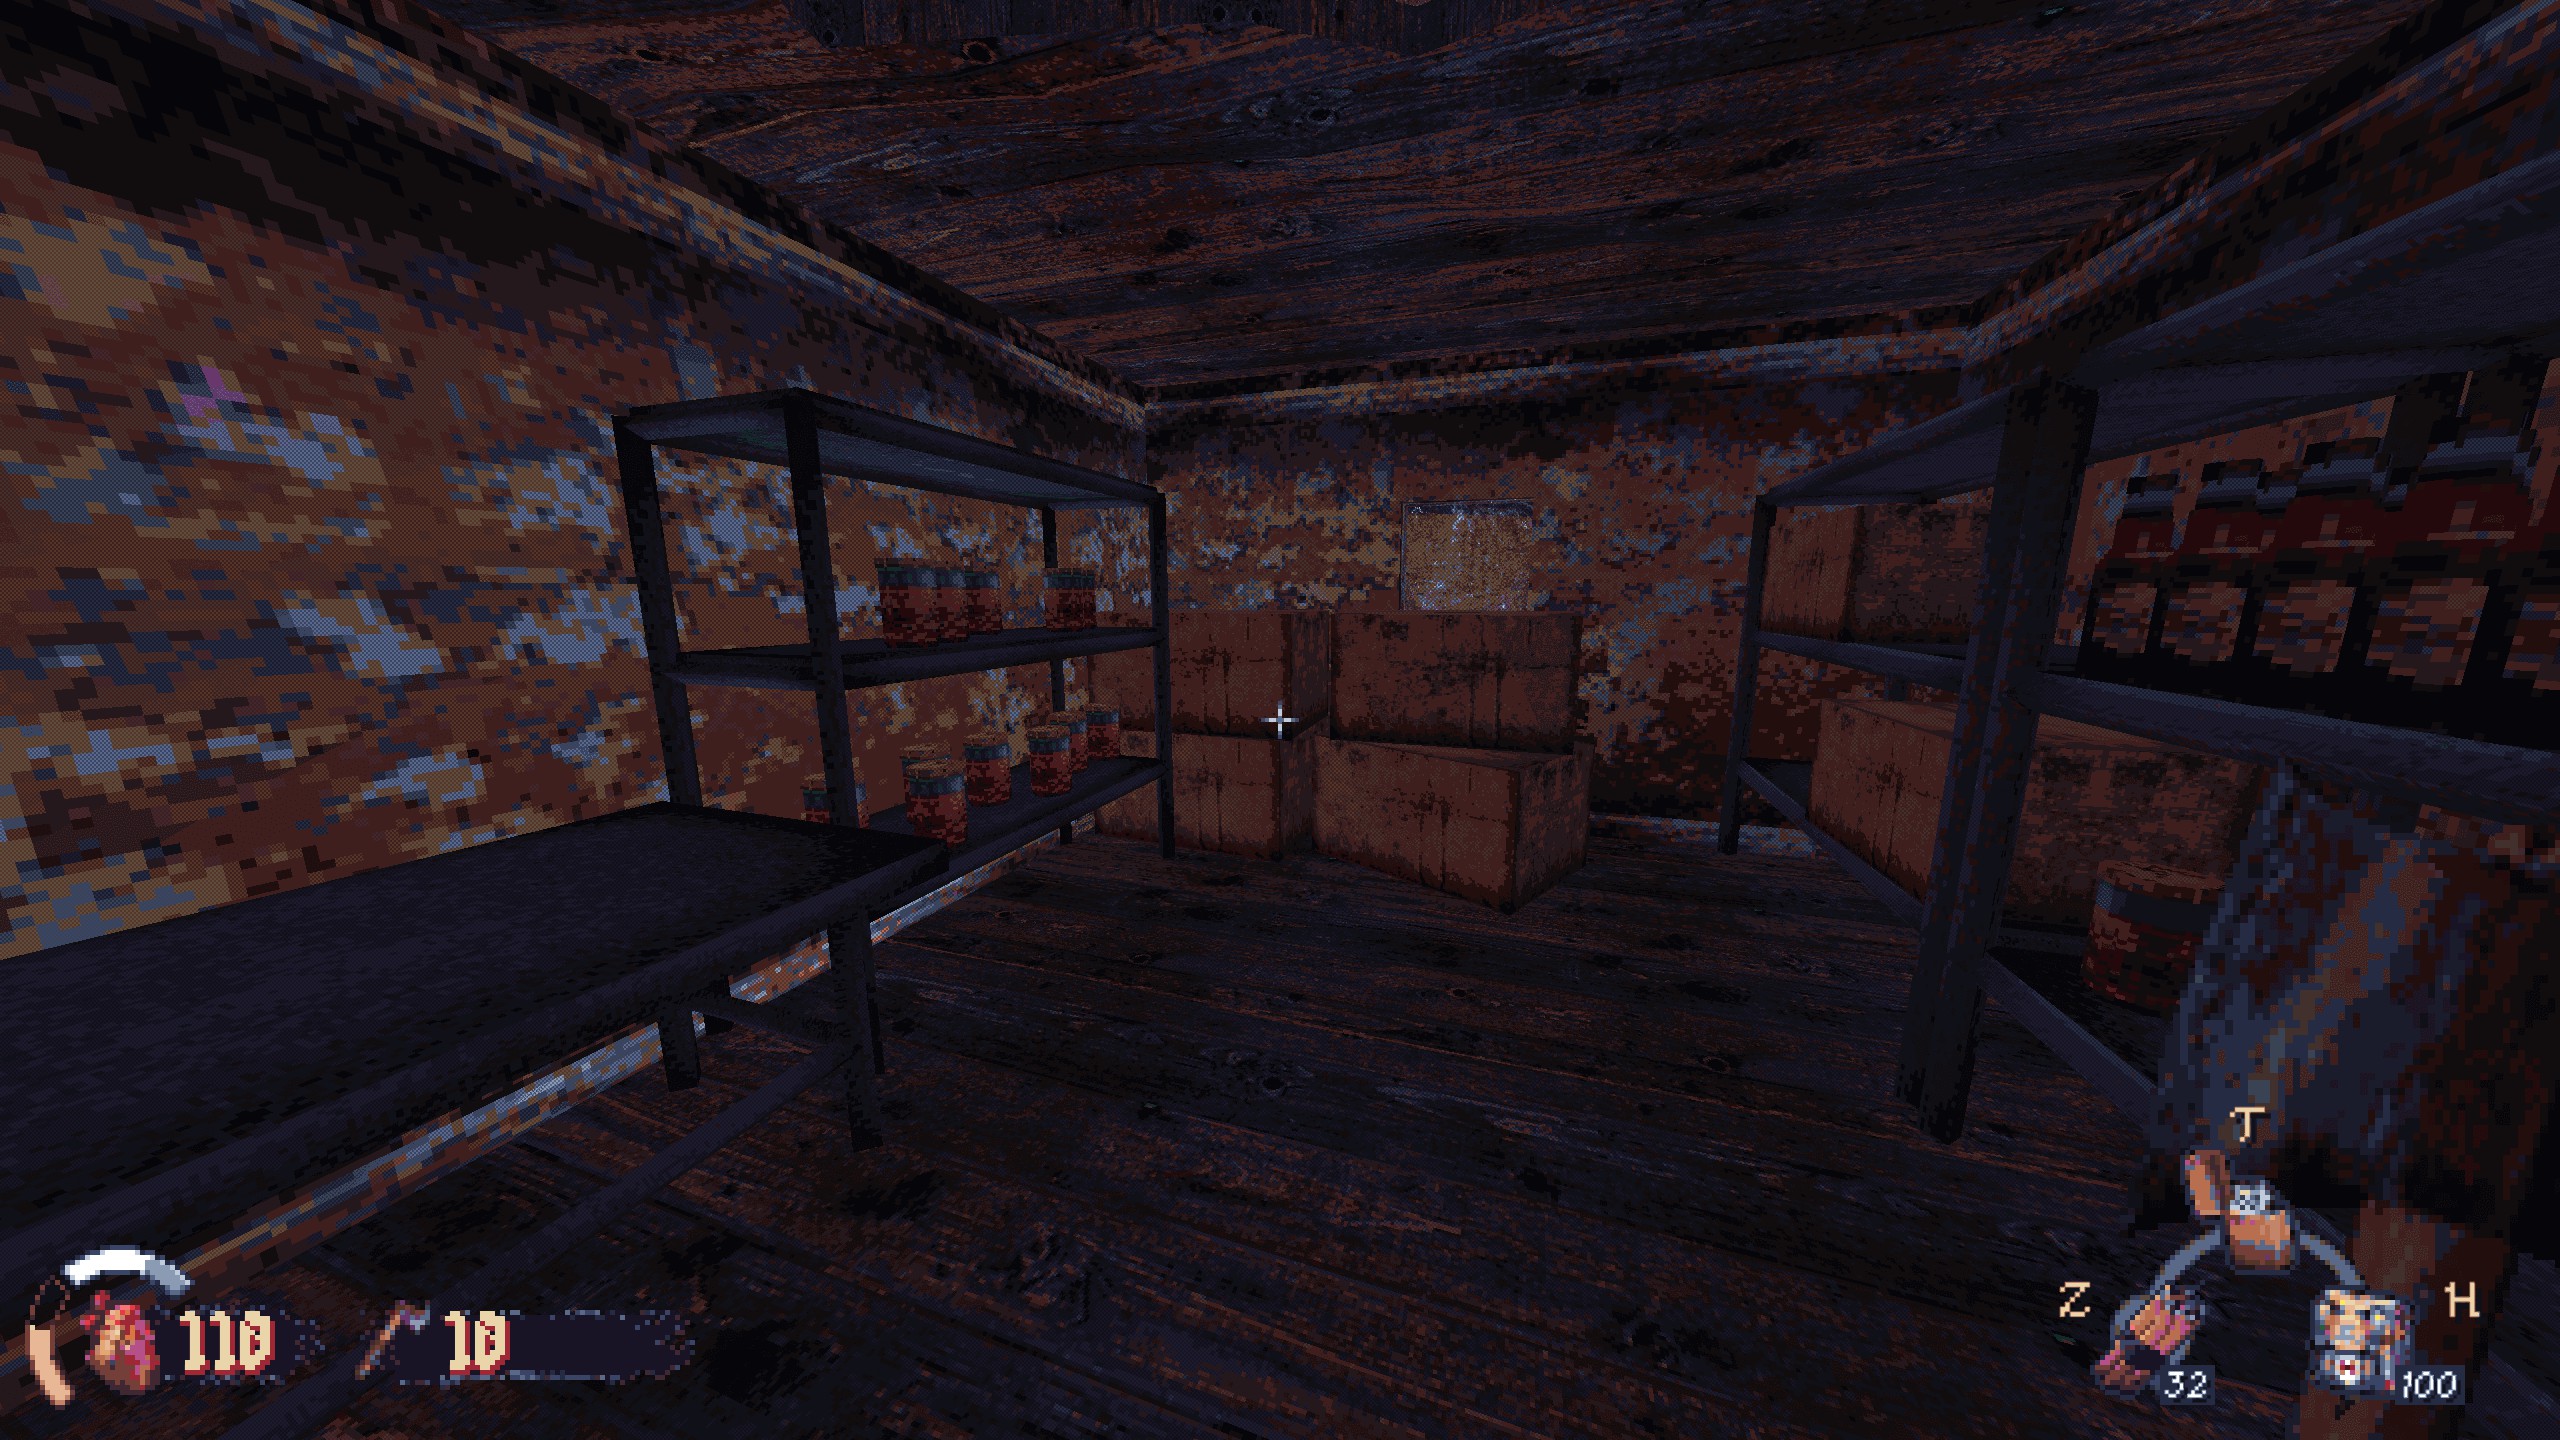
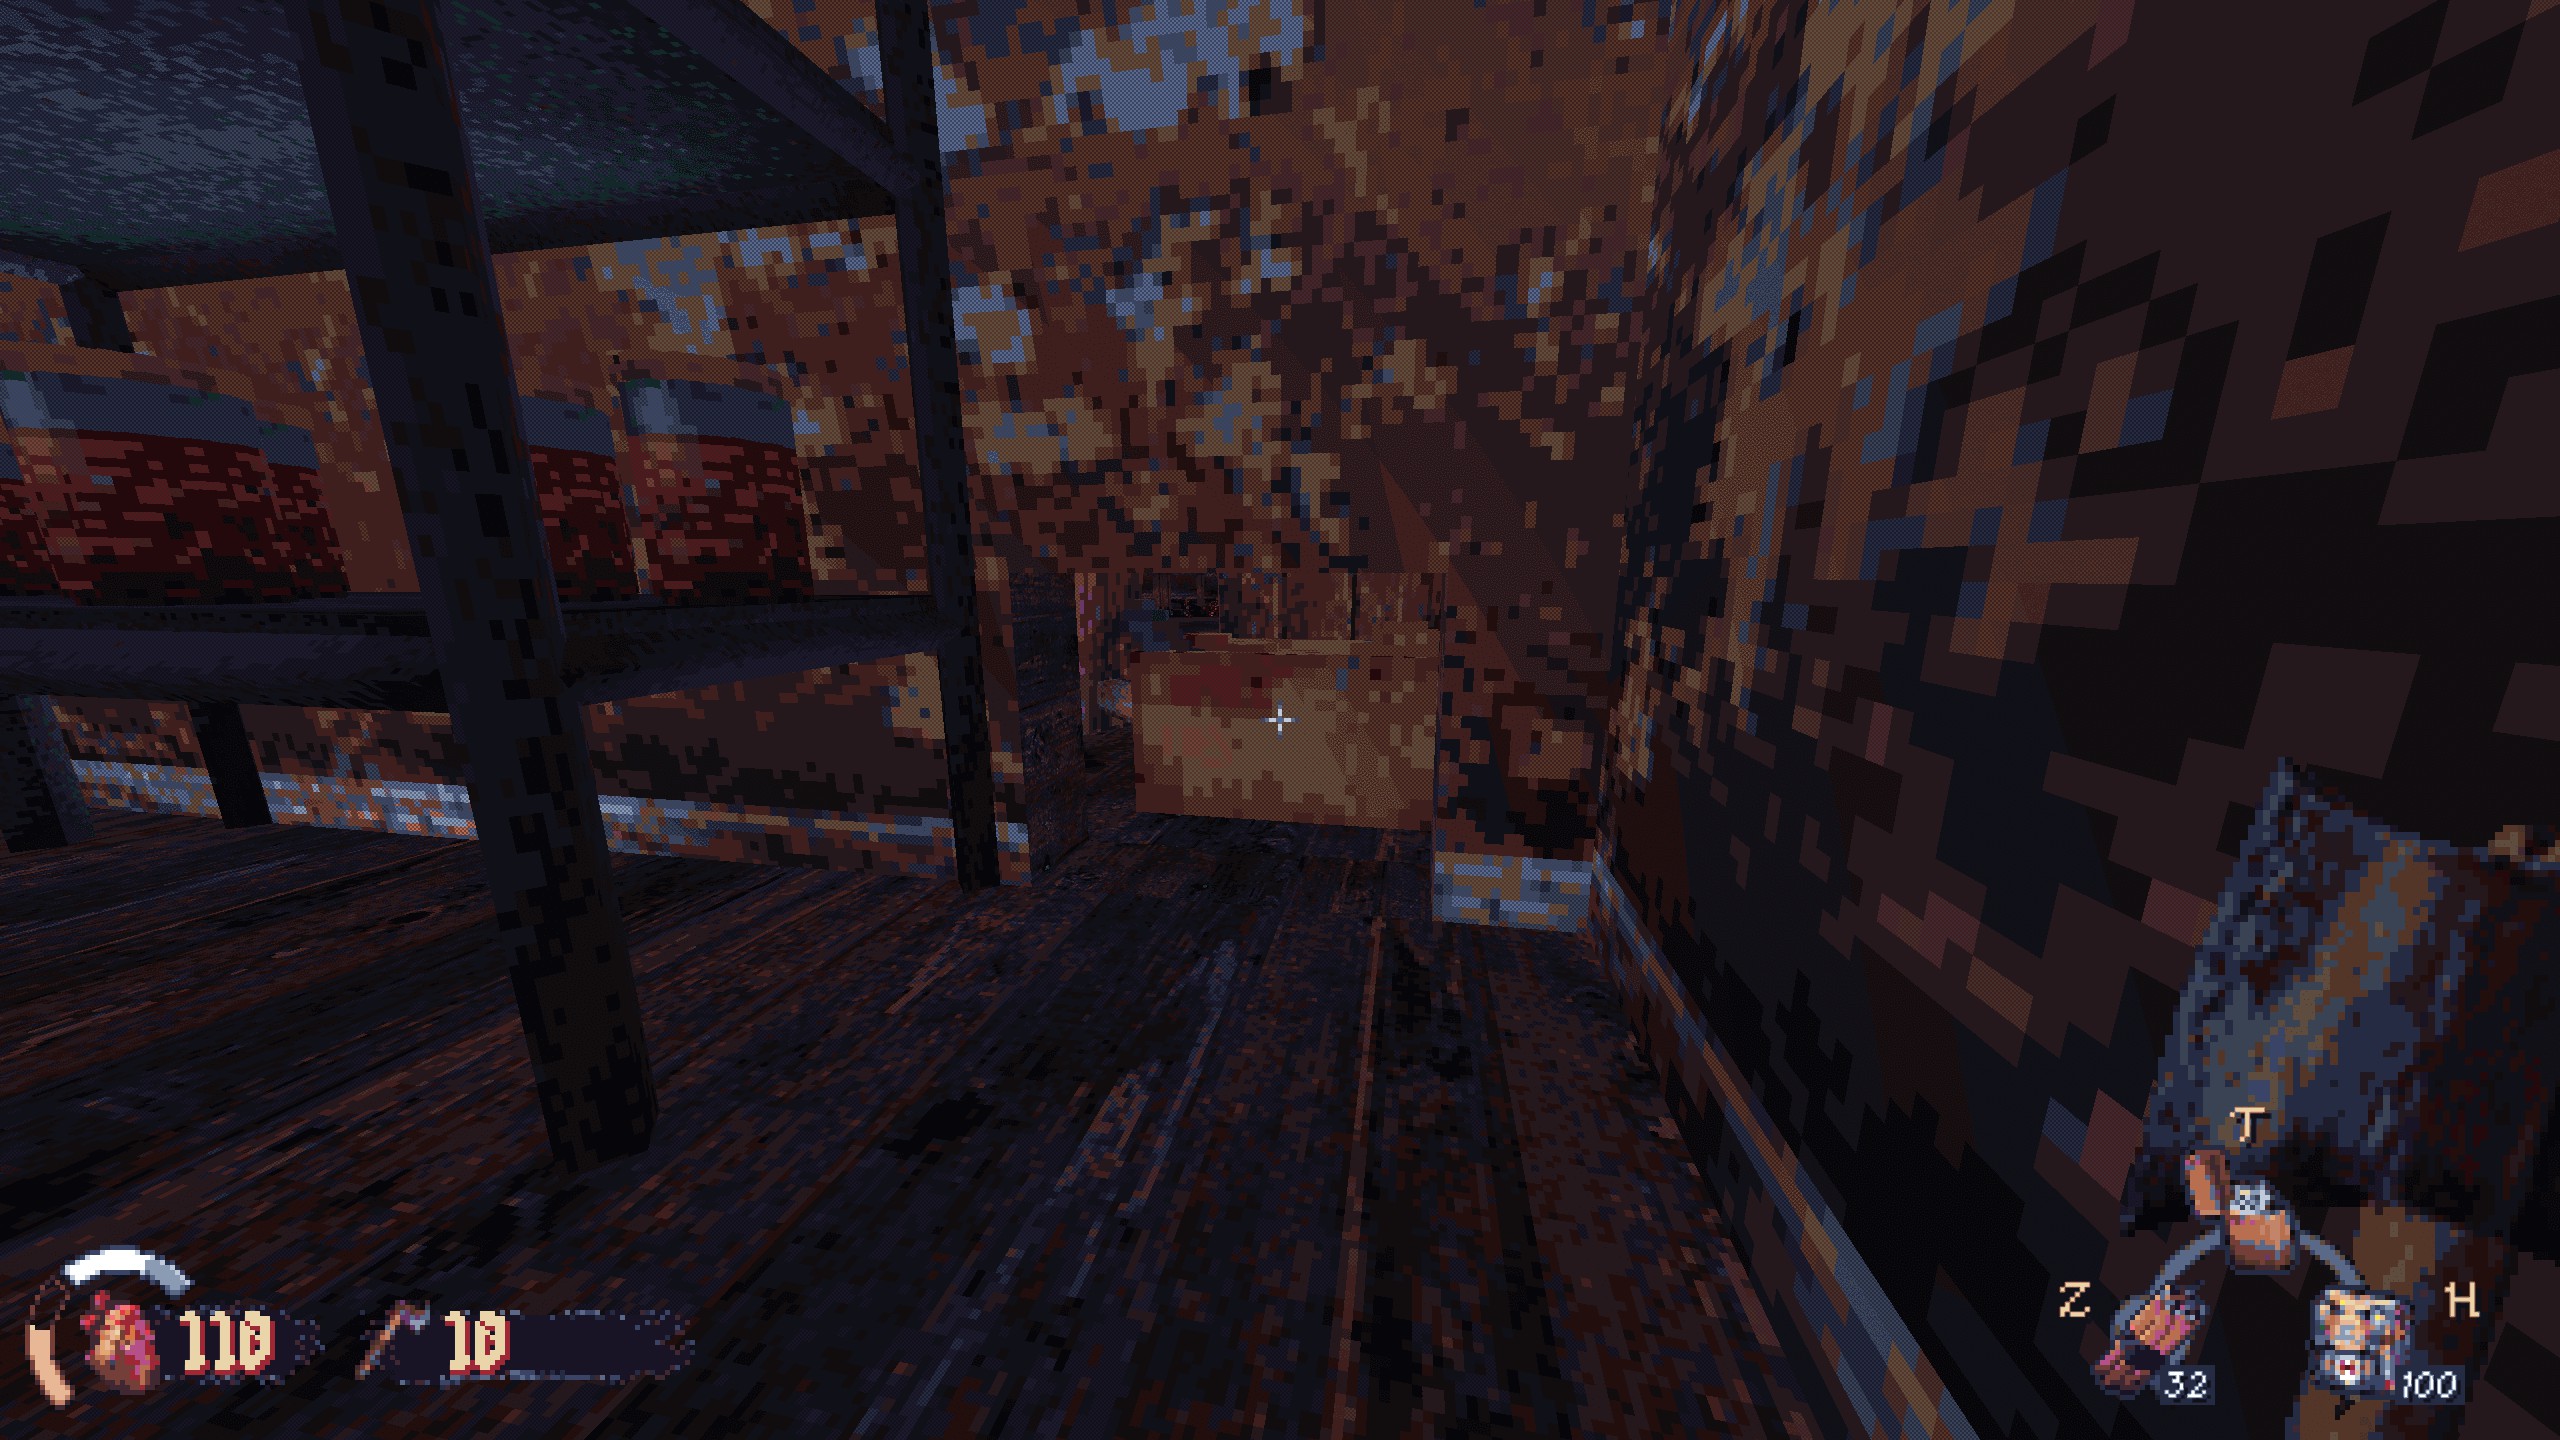
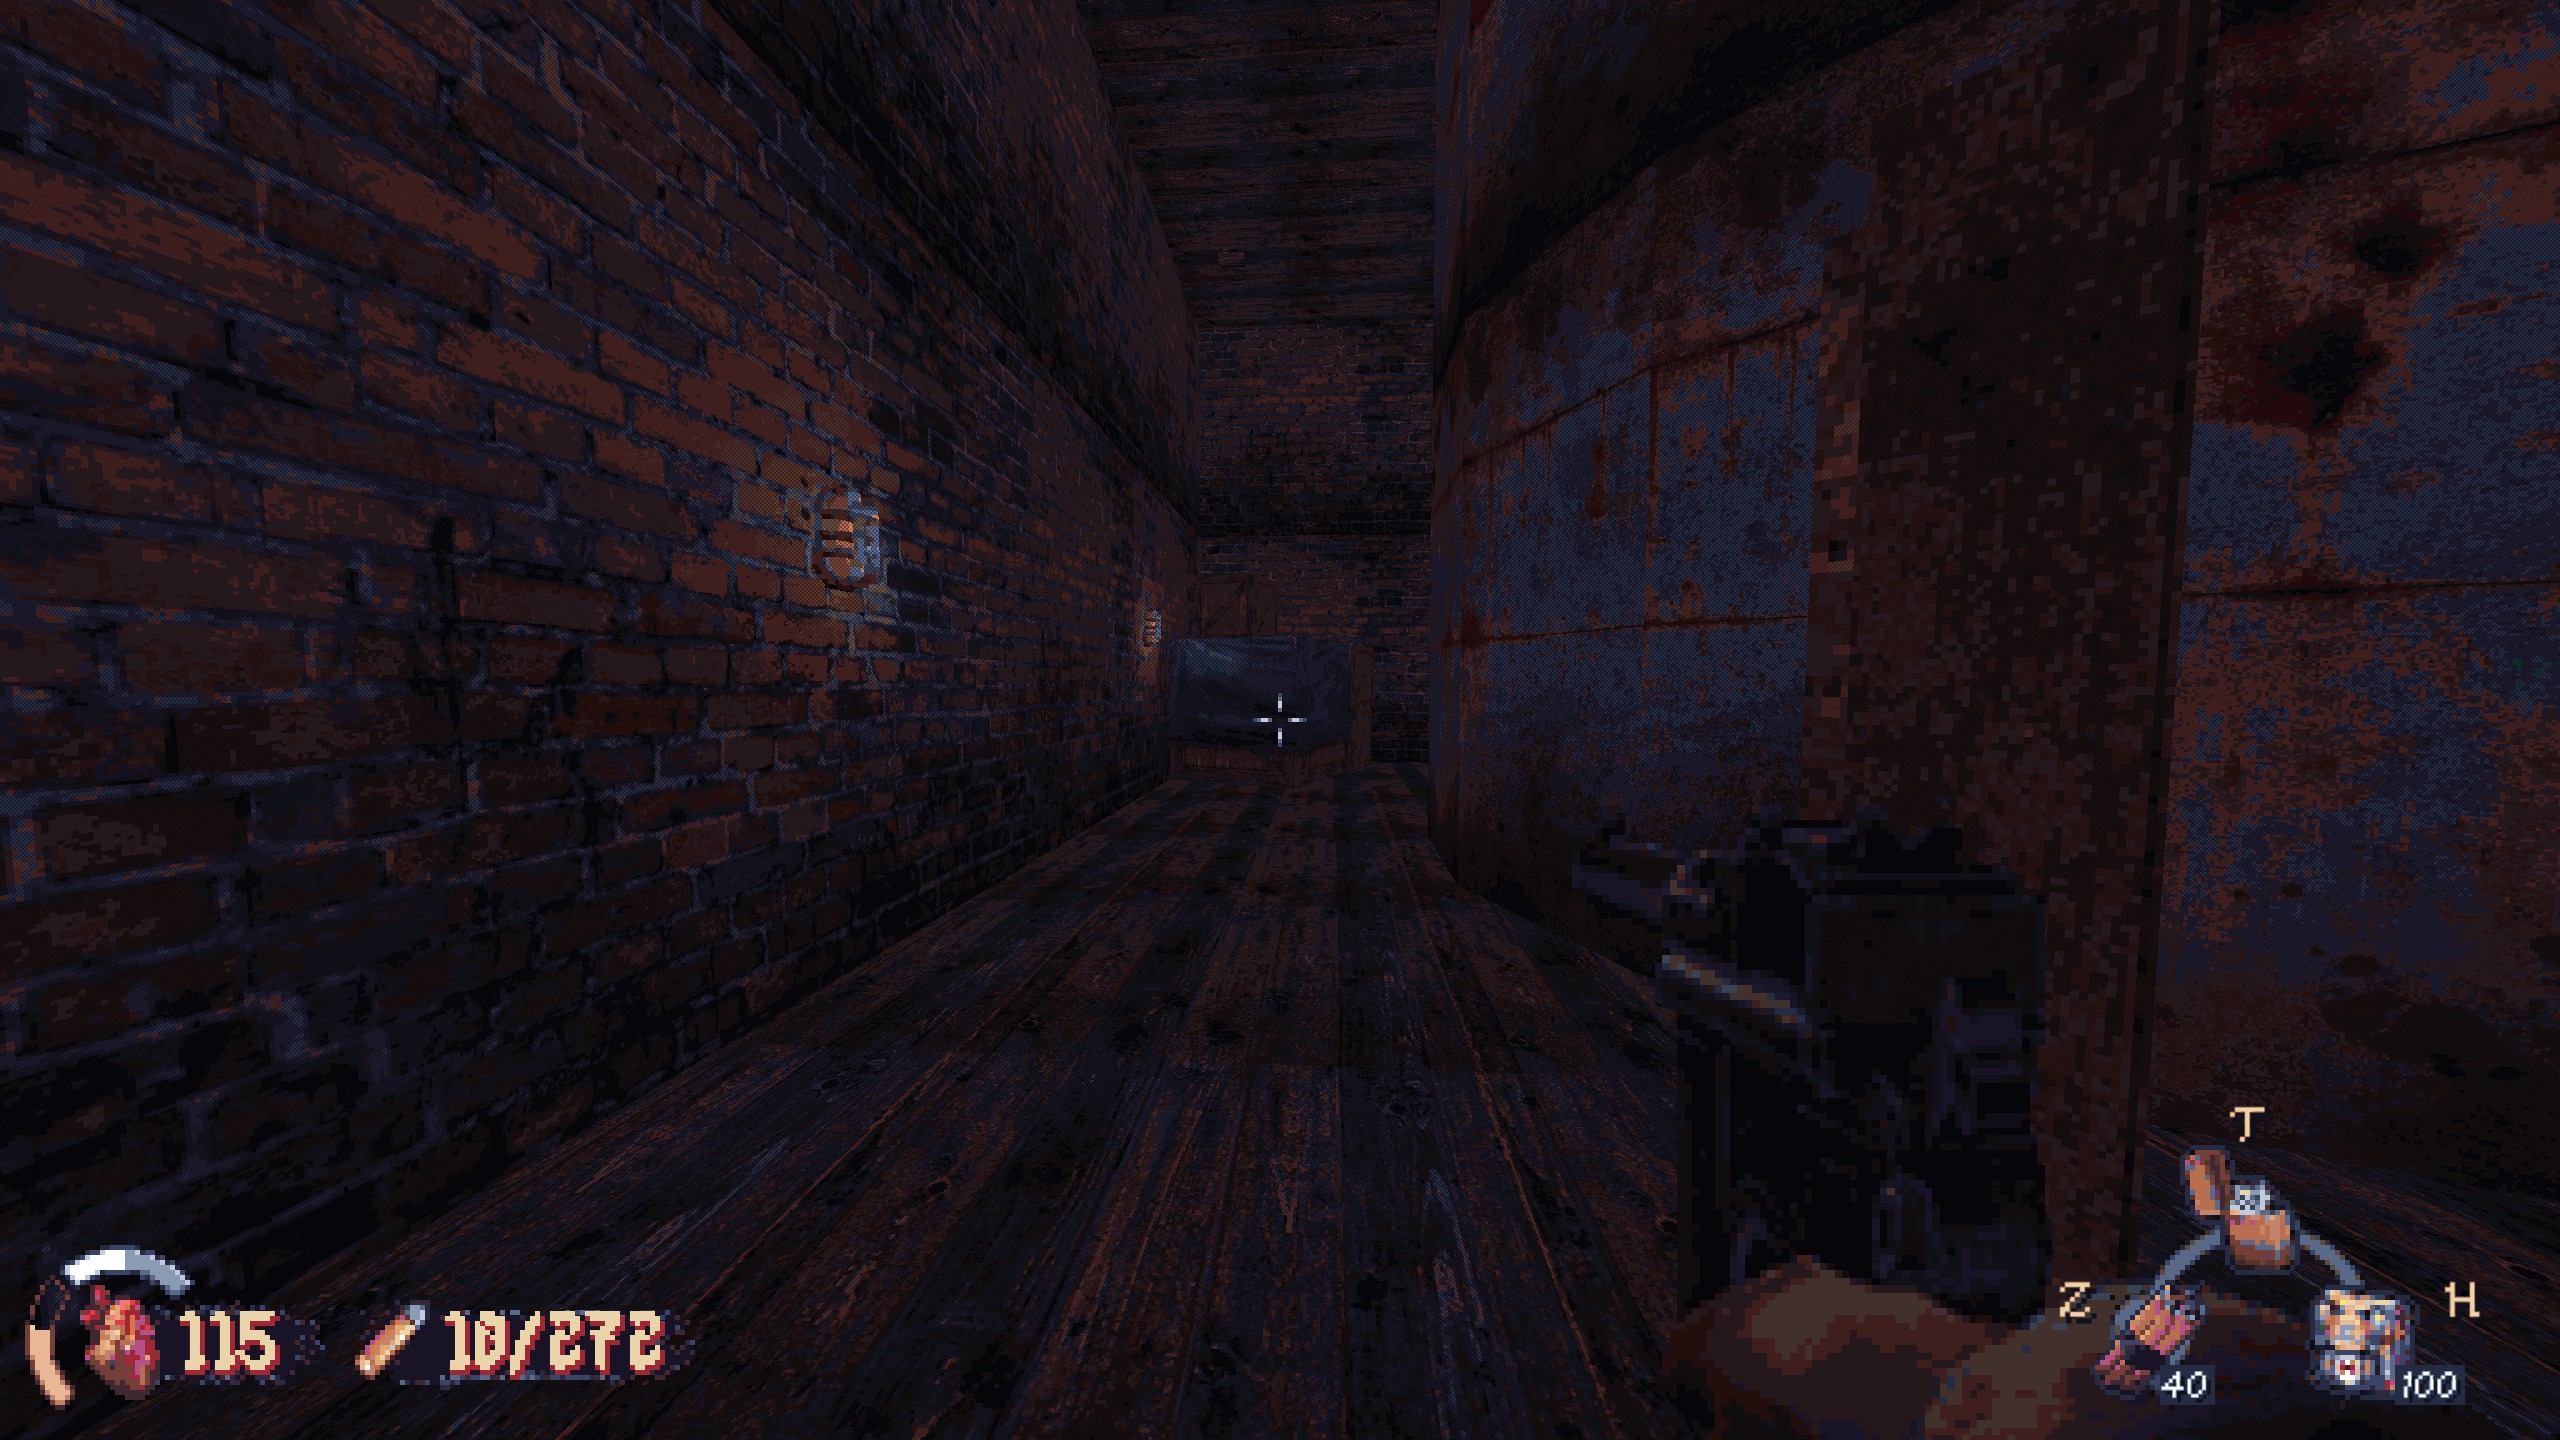
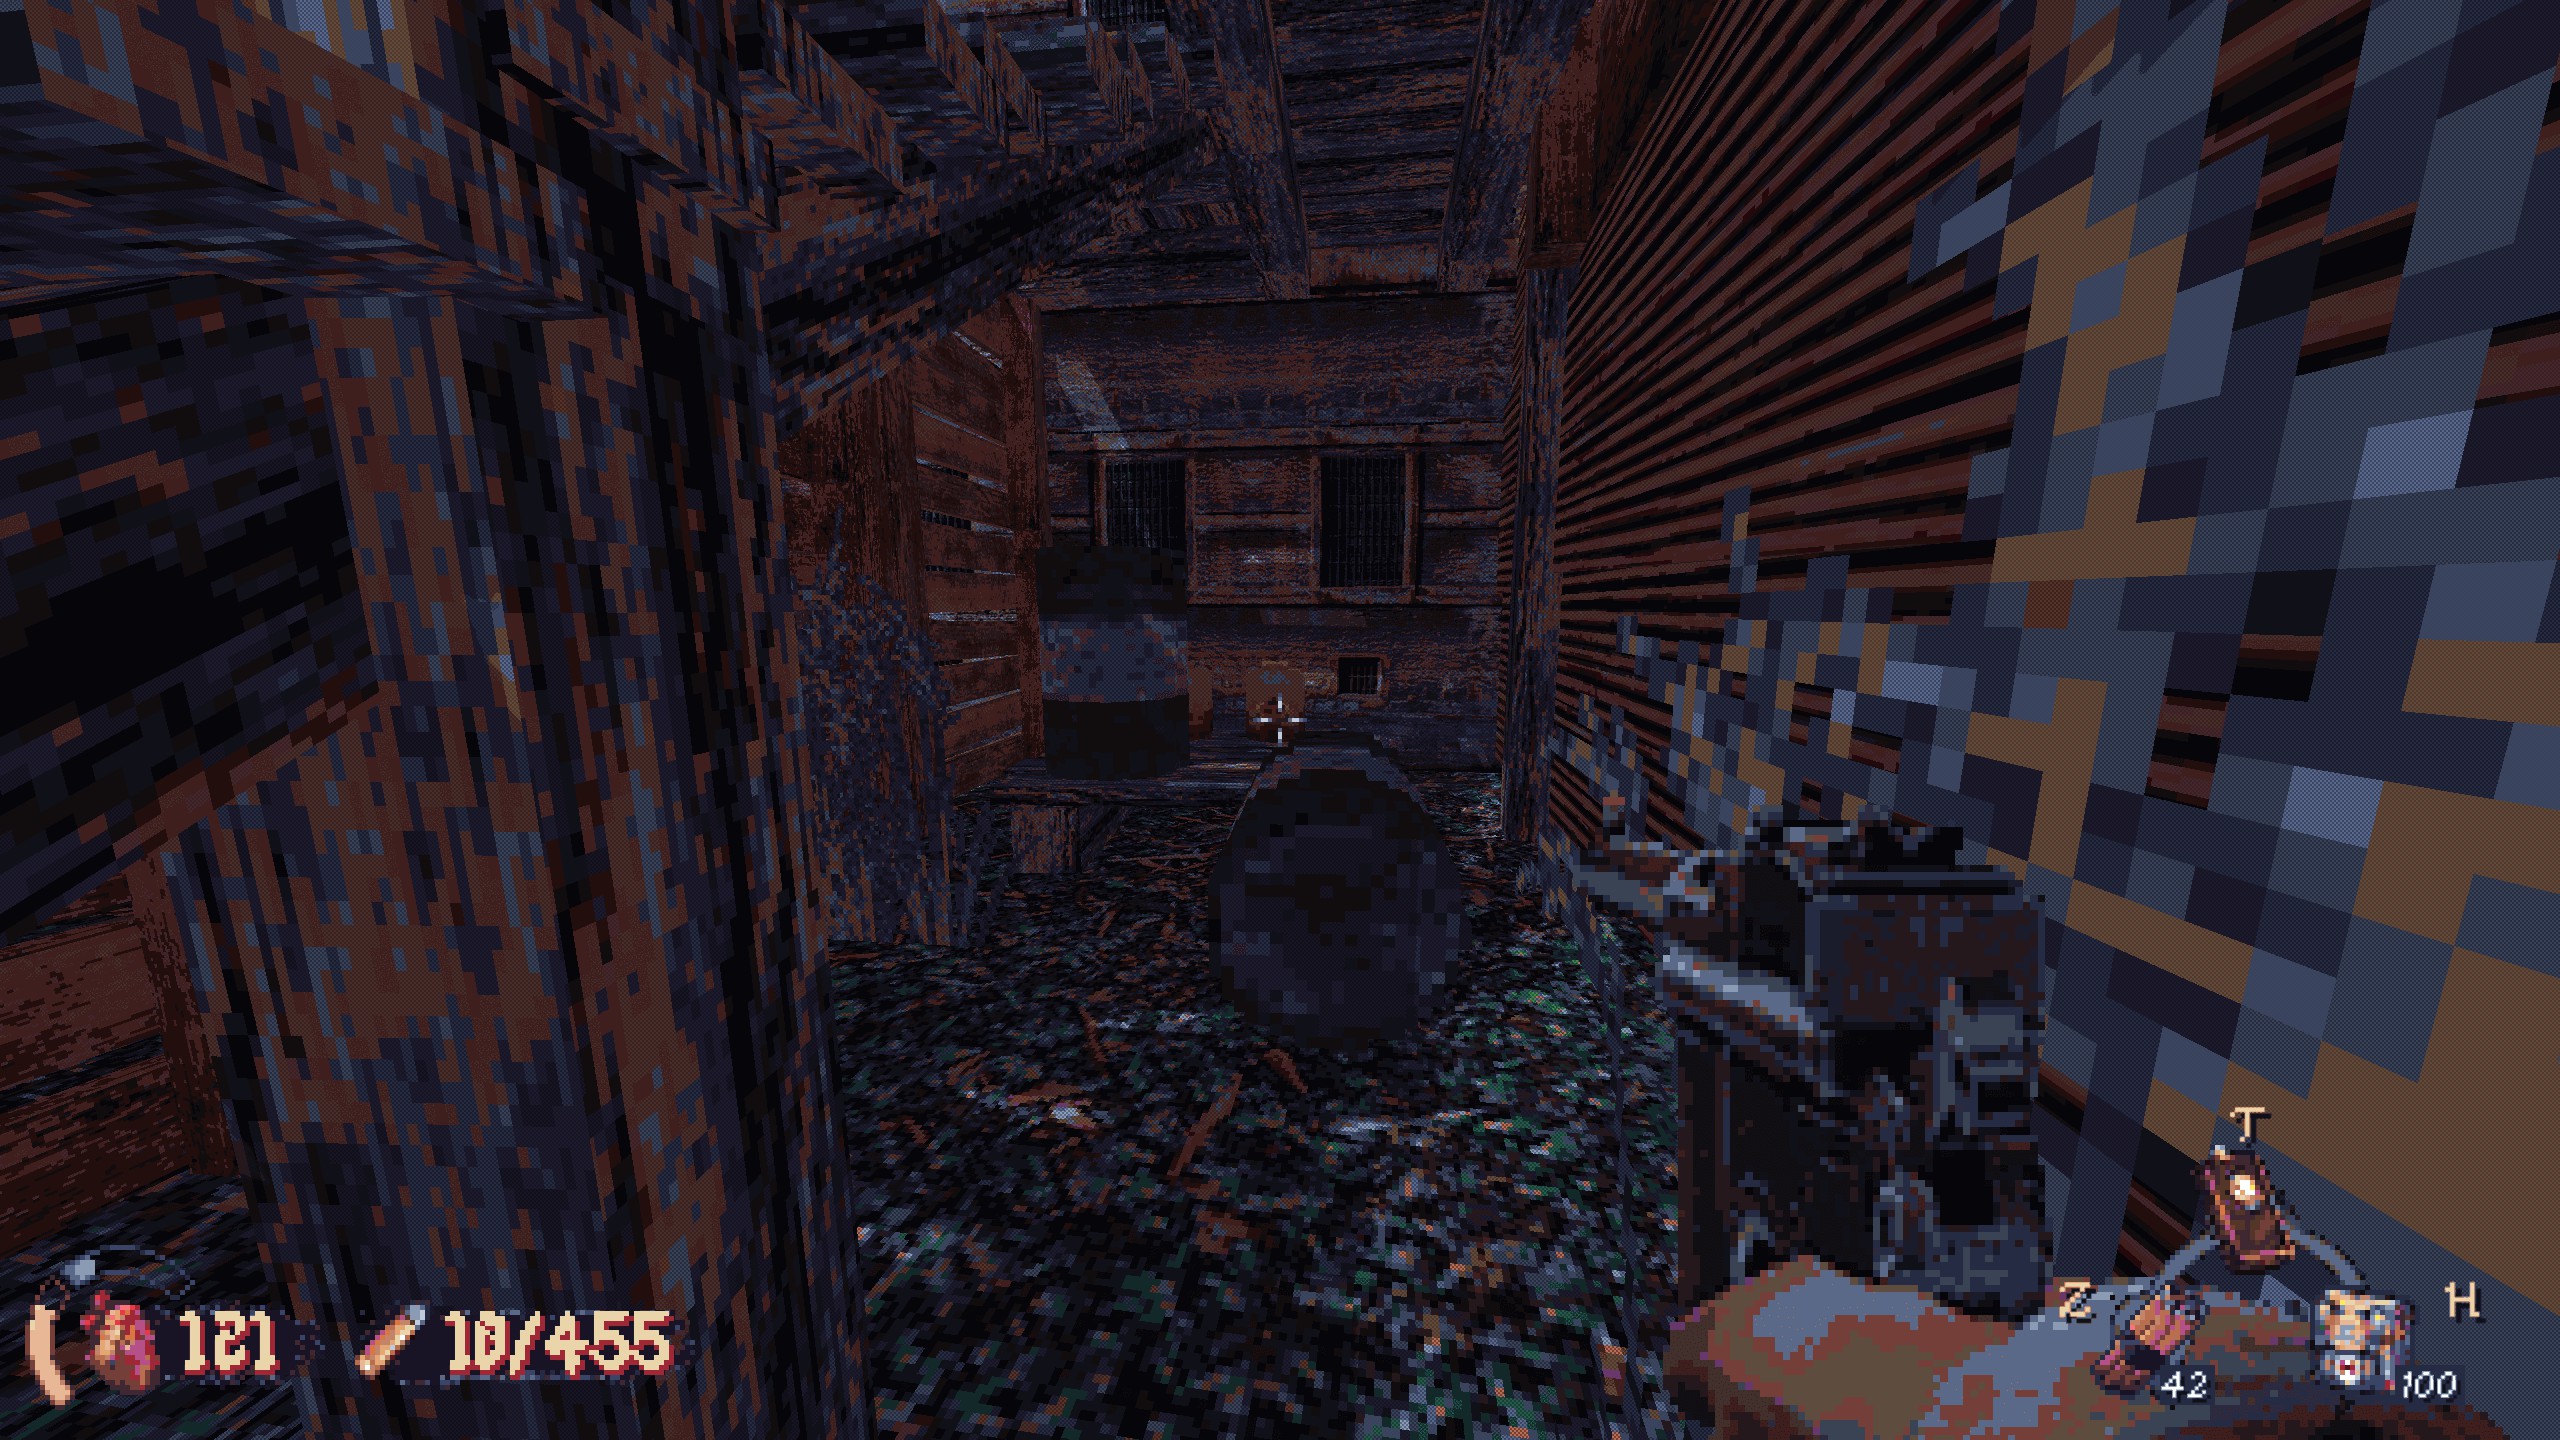
#4: When in the lot in front of the building, turn right to find shipping containers. Behind them, a vent in the wall. Rastejar, shoot the crate at the end to unblock a door. Backtrack into the building, e dentro, smash a toilet to crawl into the space behind it. Recompensa: lever-action rifle.
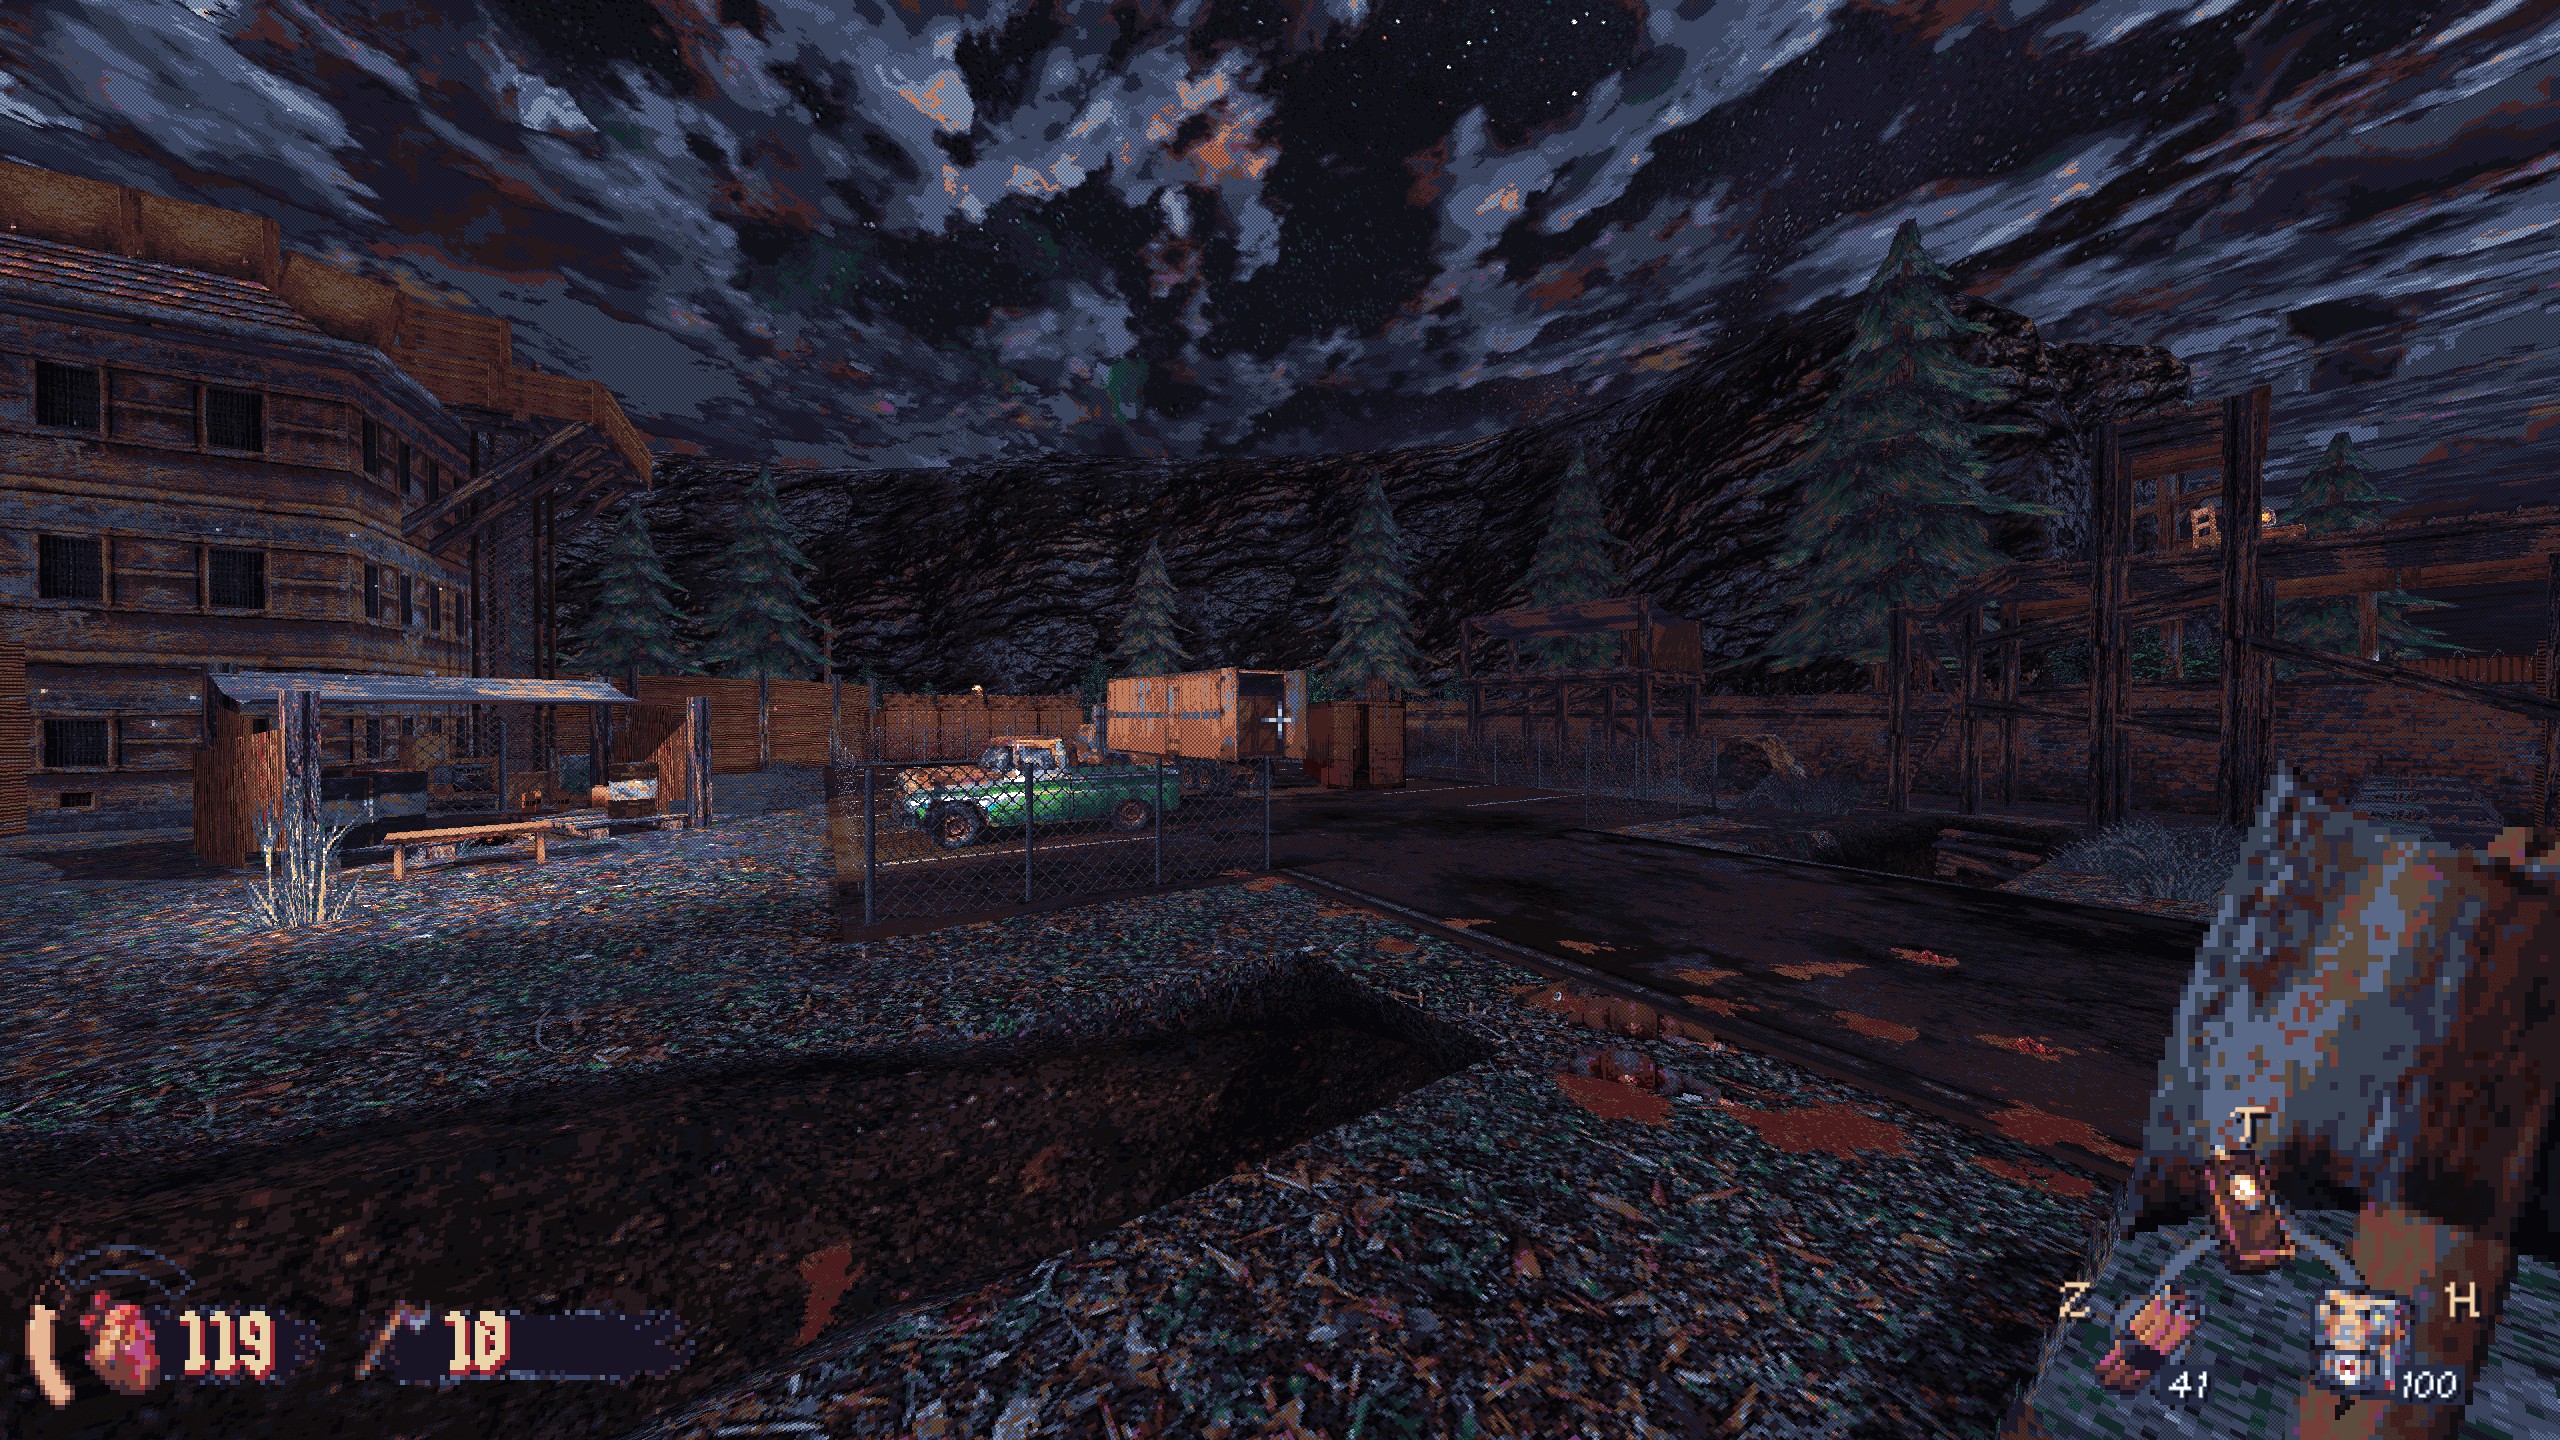
#5: Outside in the lot, go left around the corner to find a crashed truck. Use it to jump to the ledge on the building. There’s a crack in the wall right next to you; blast it to open the secret area. Recompensa: armor and ammo.
Papel 2: Forest road
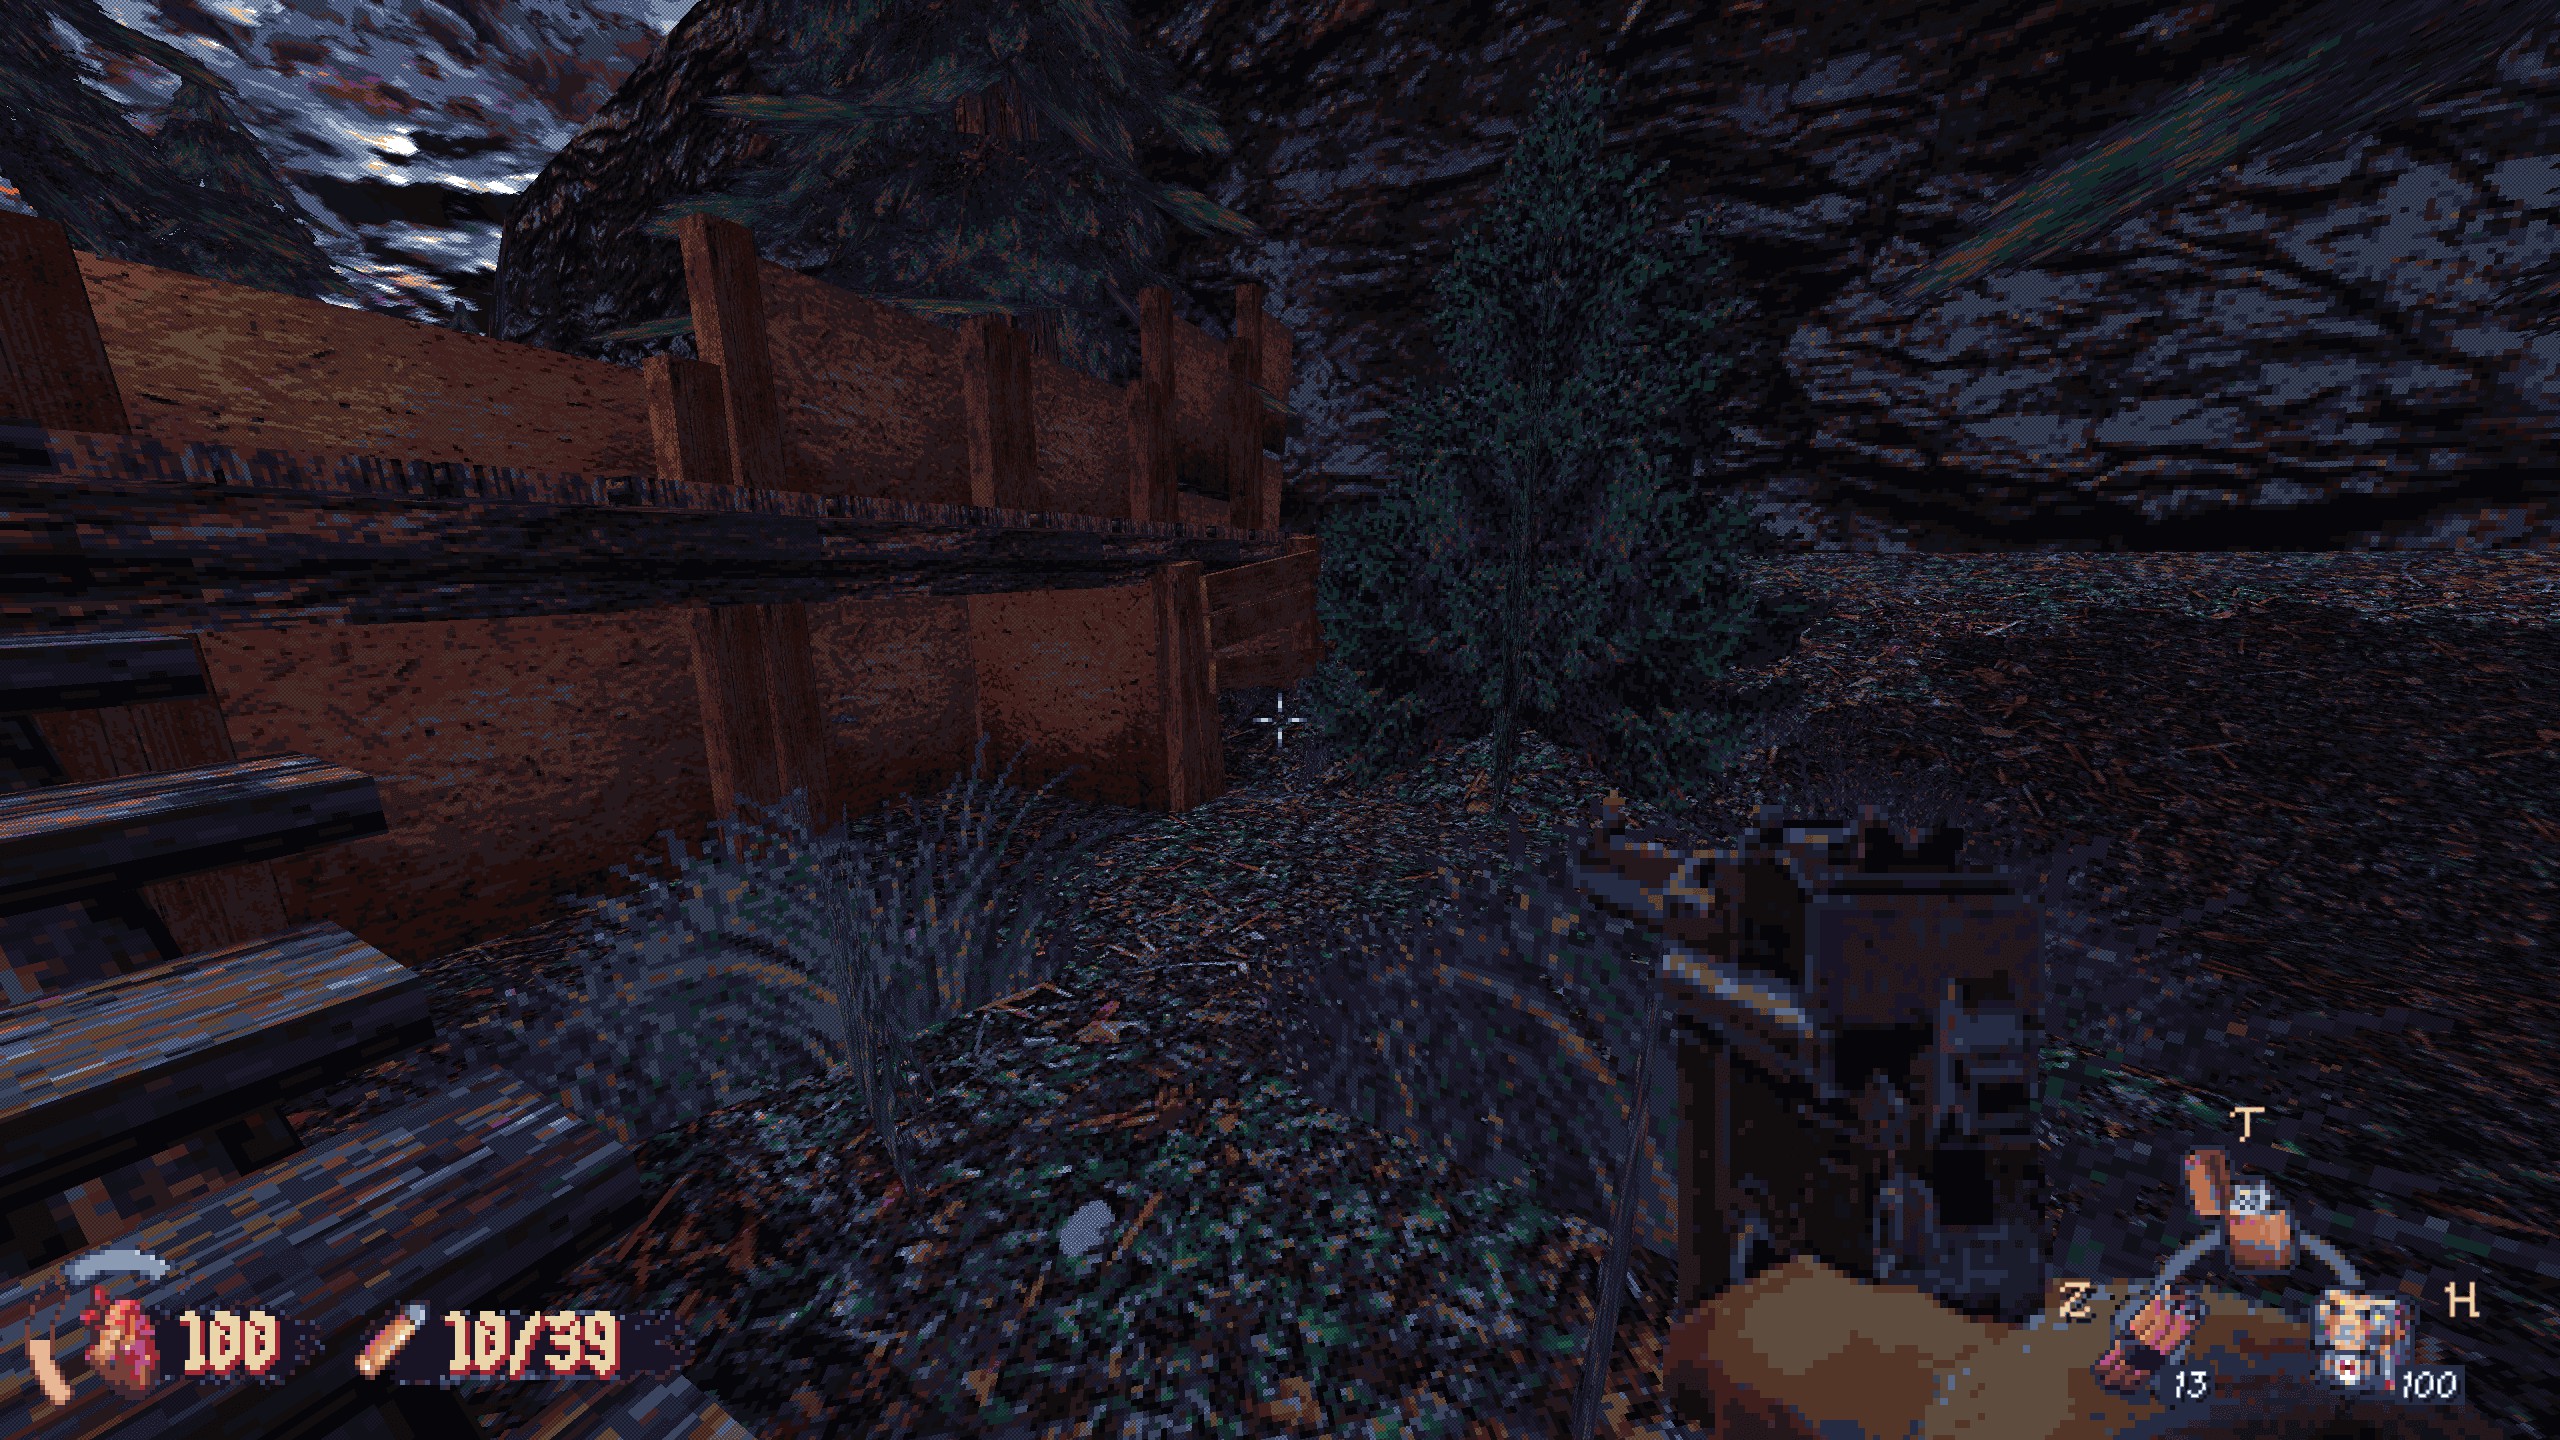
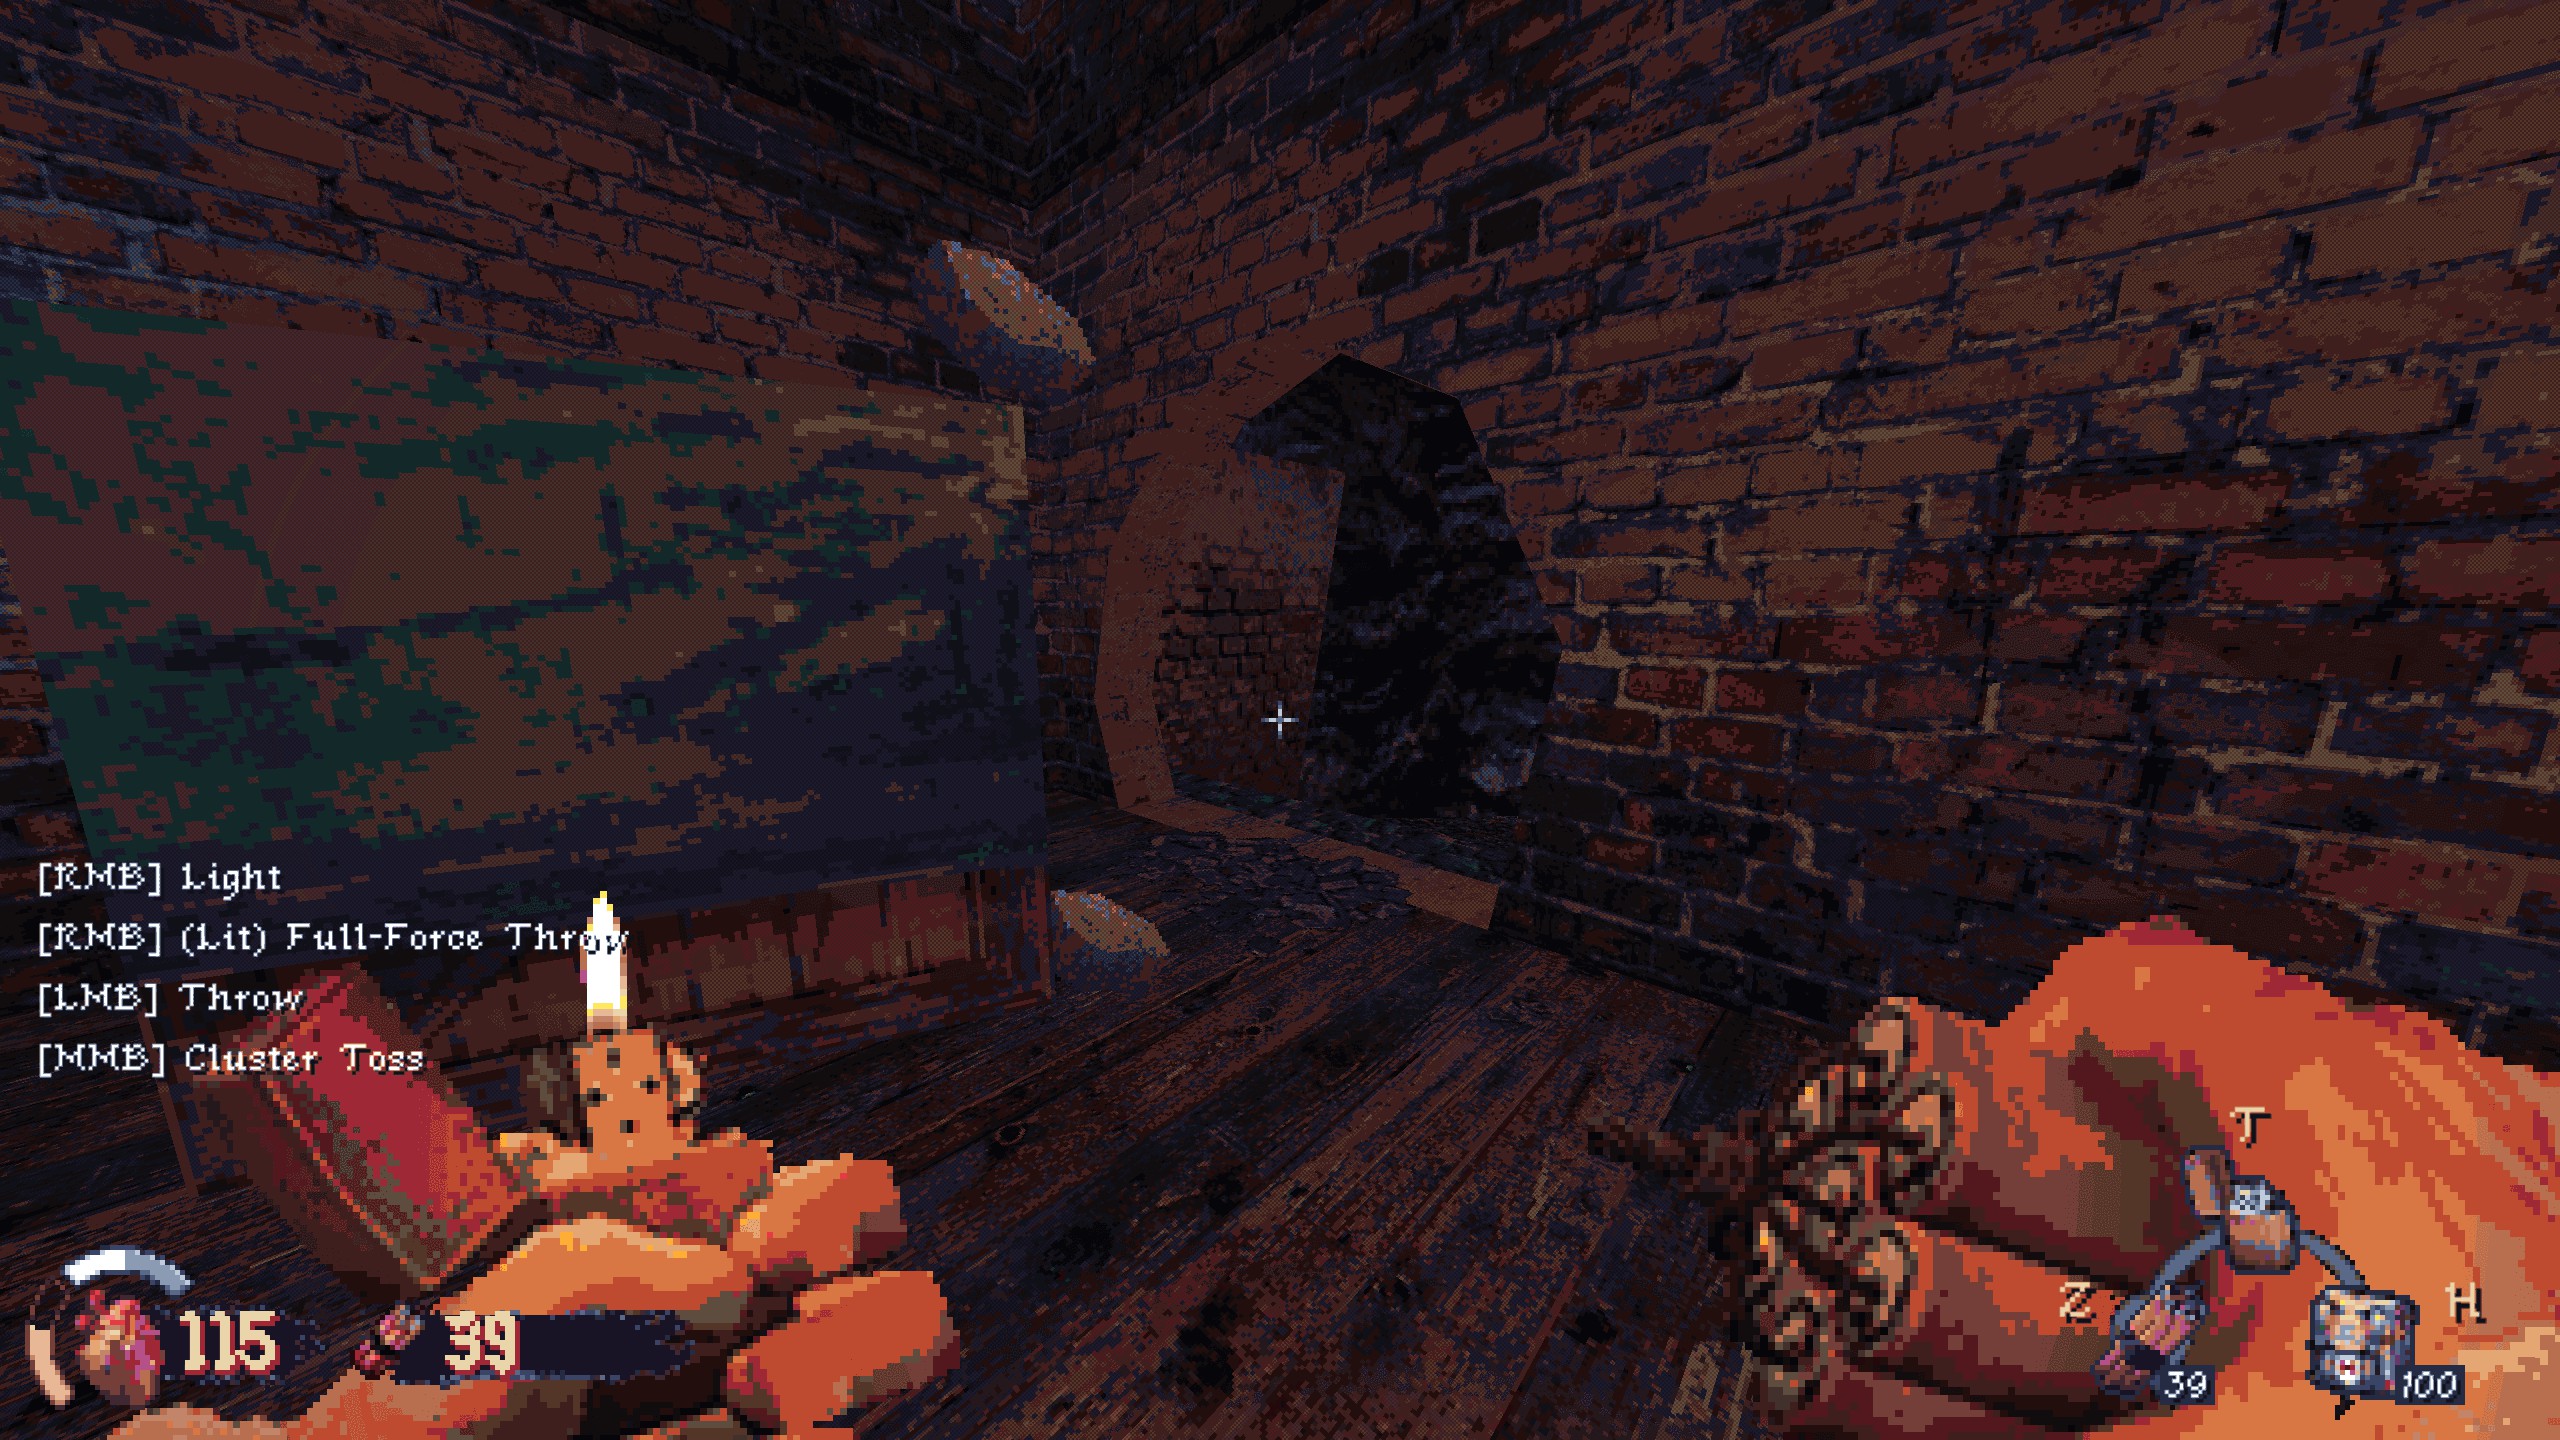
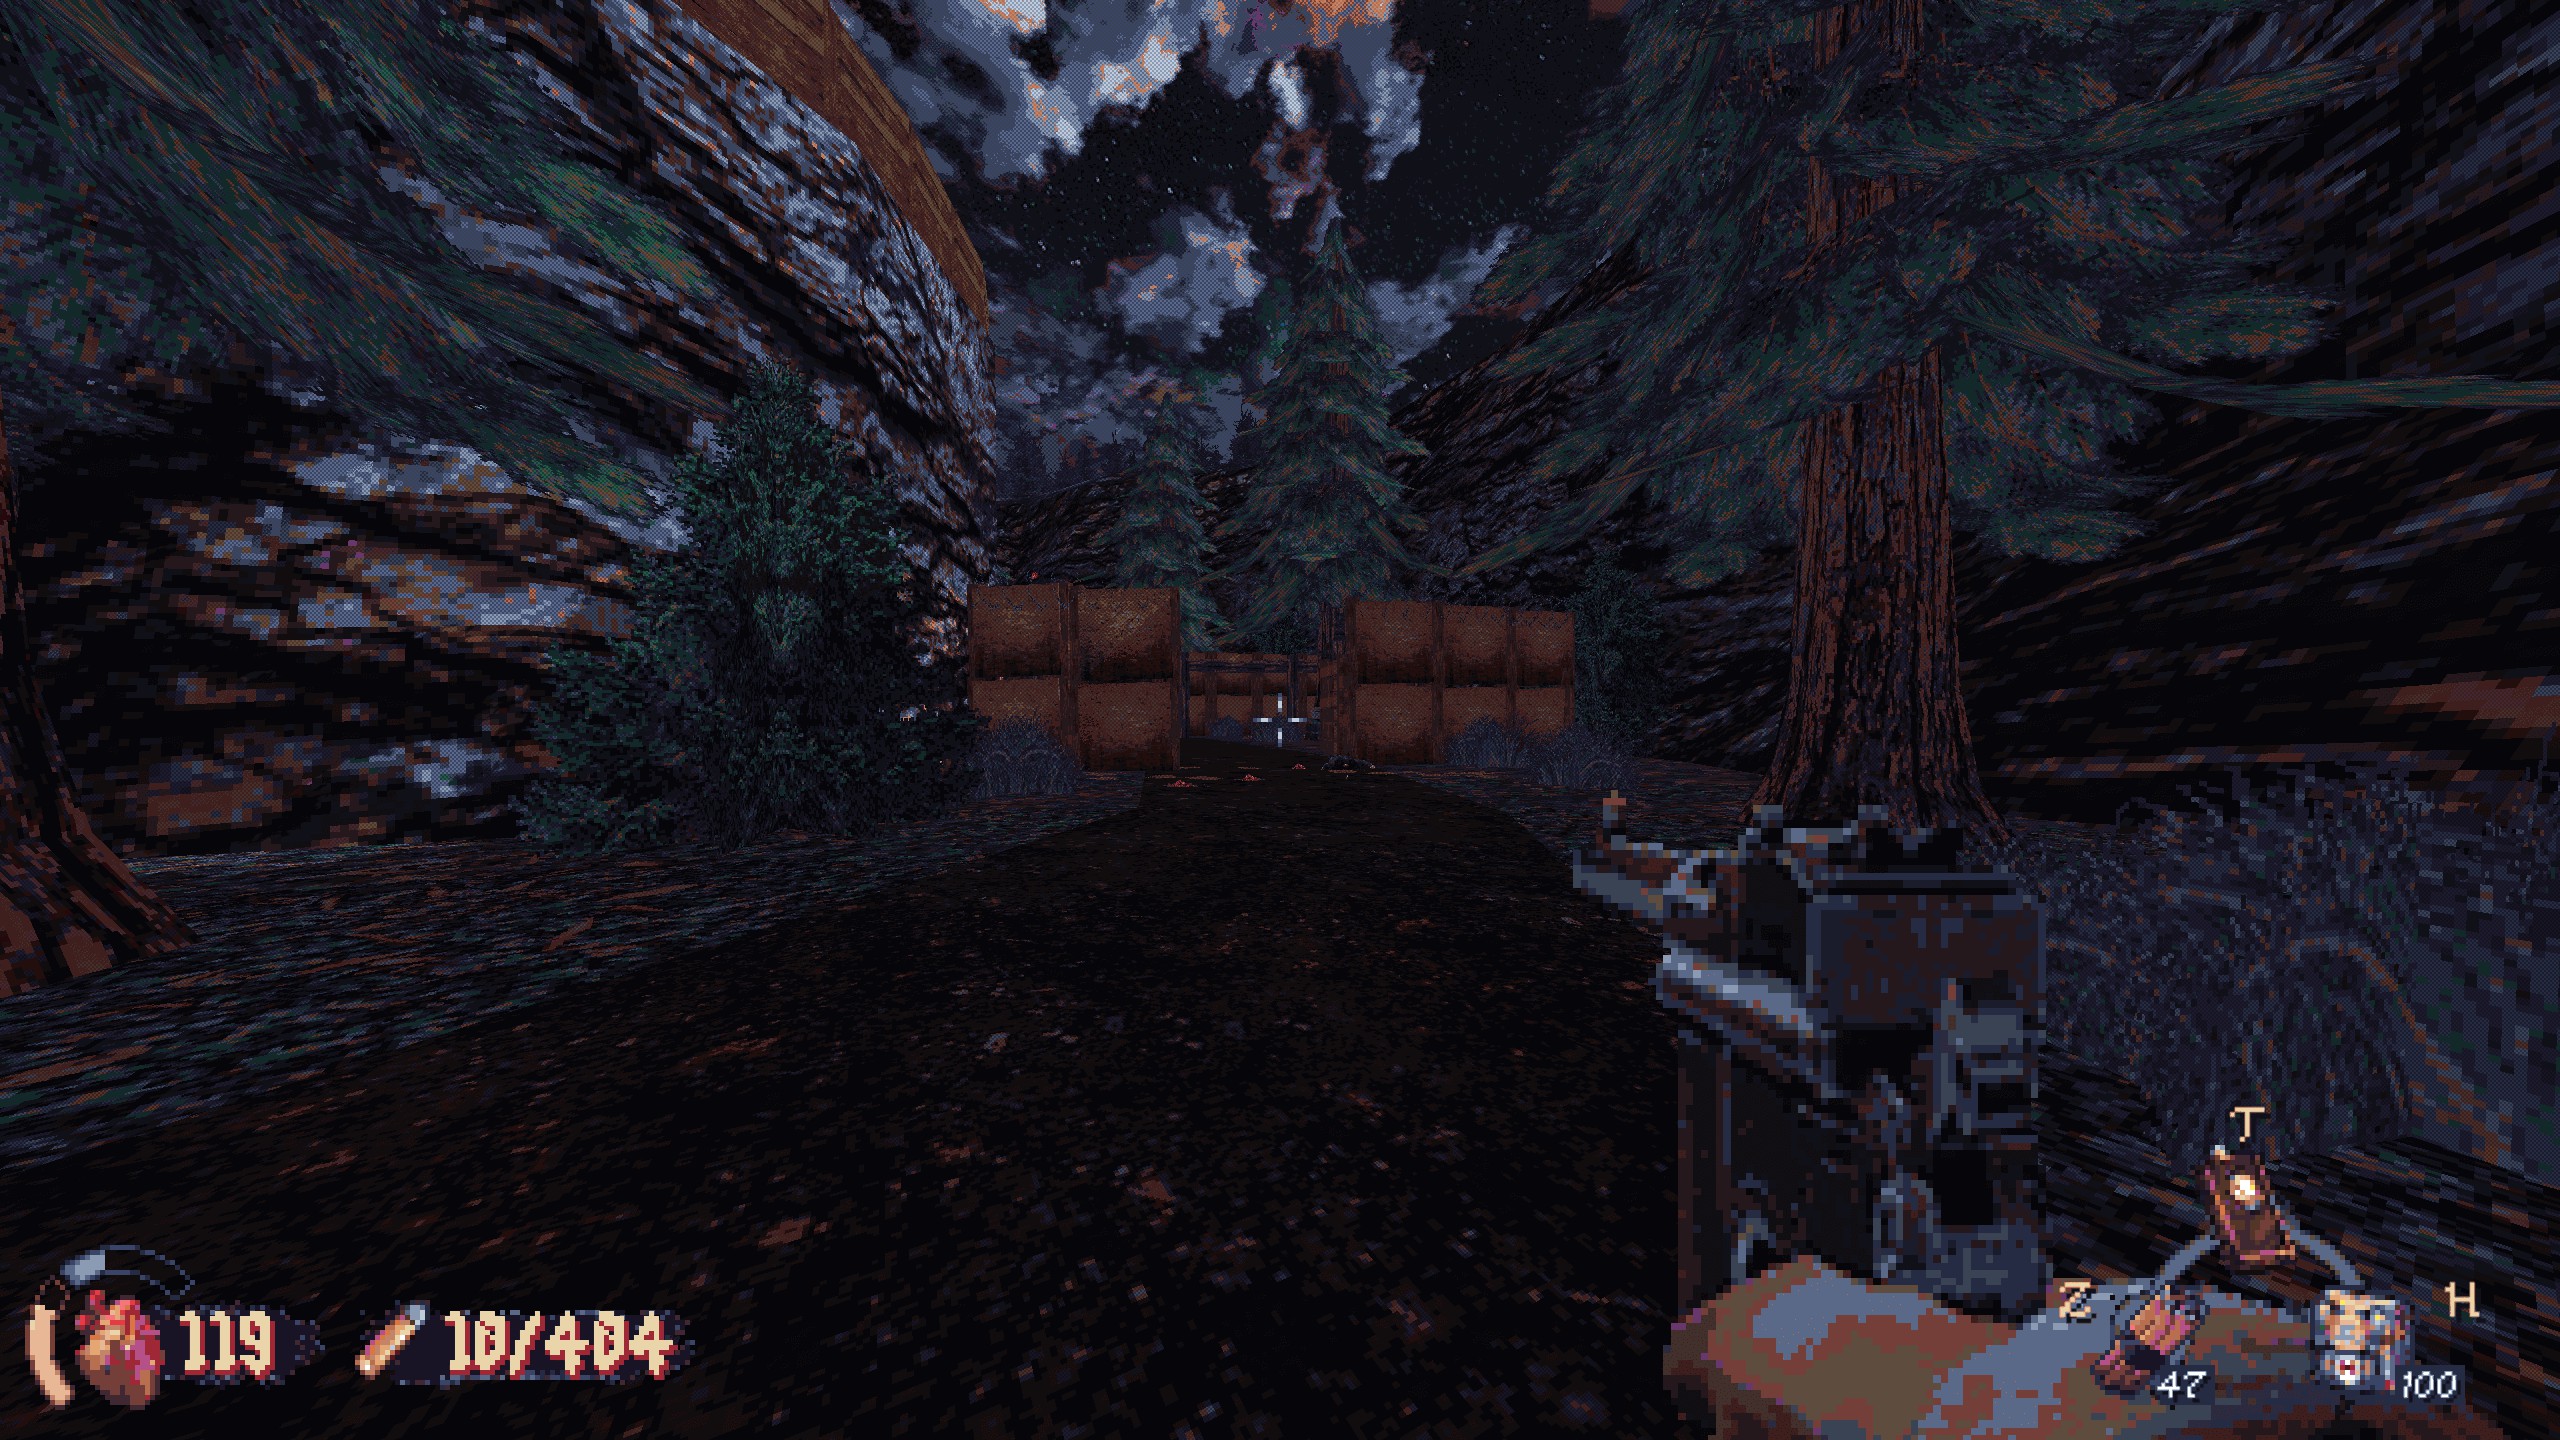
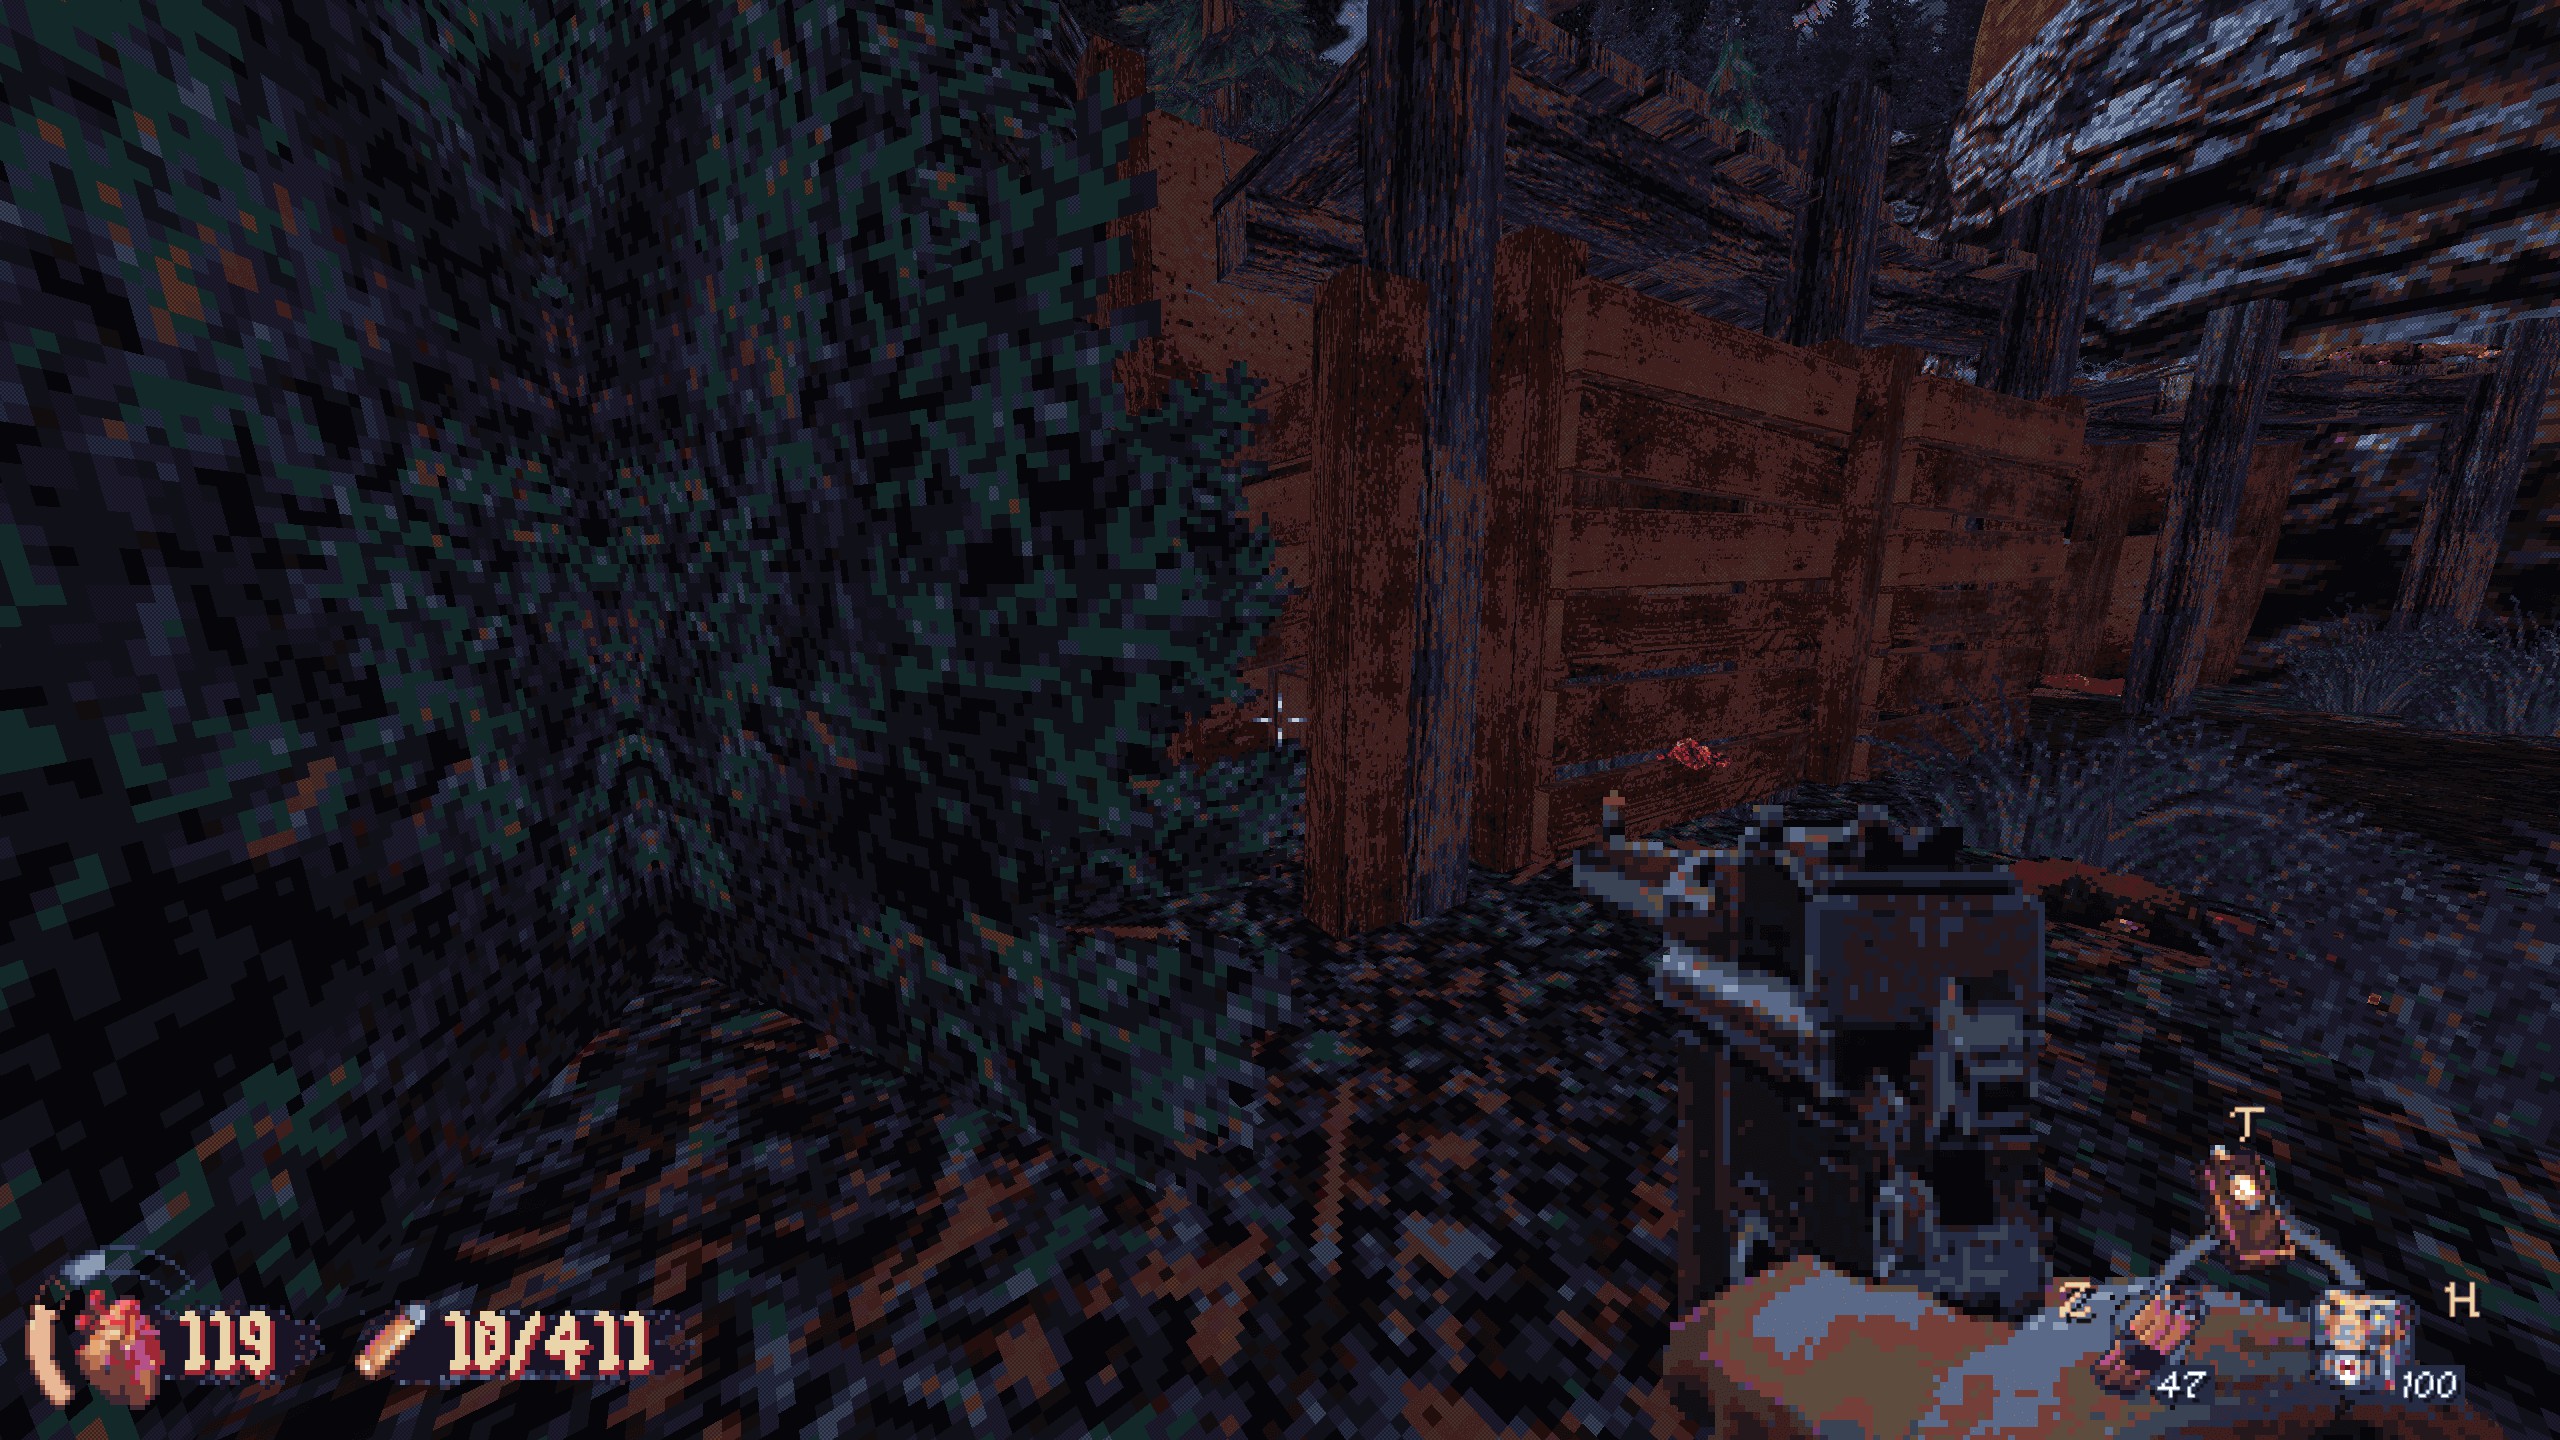
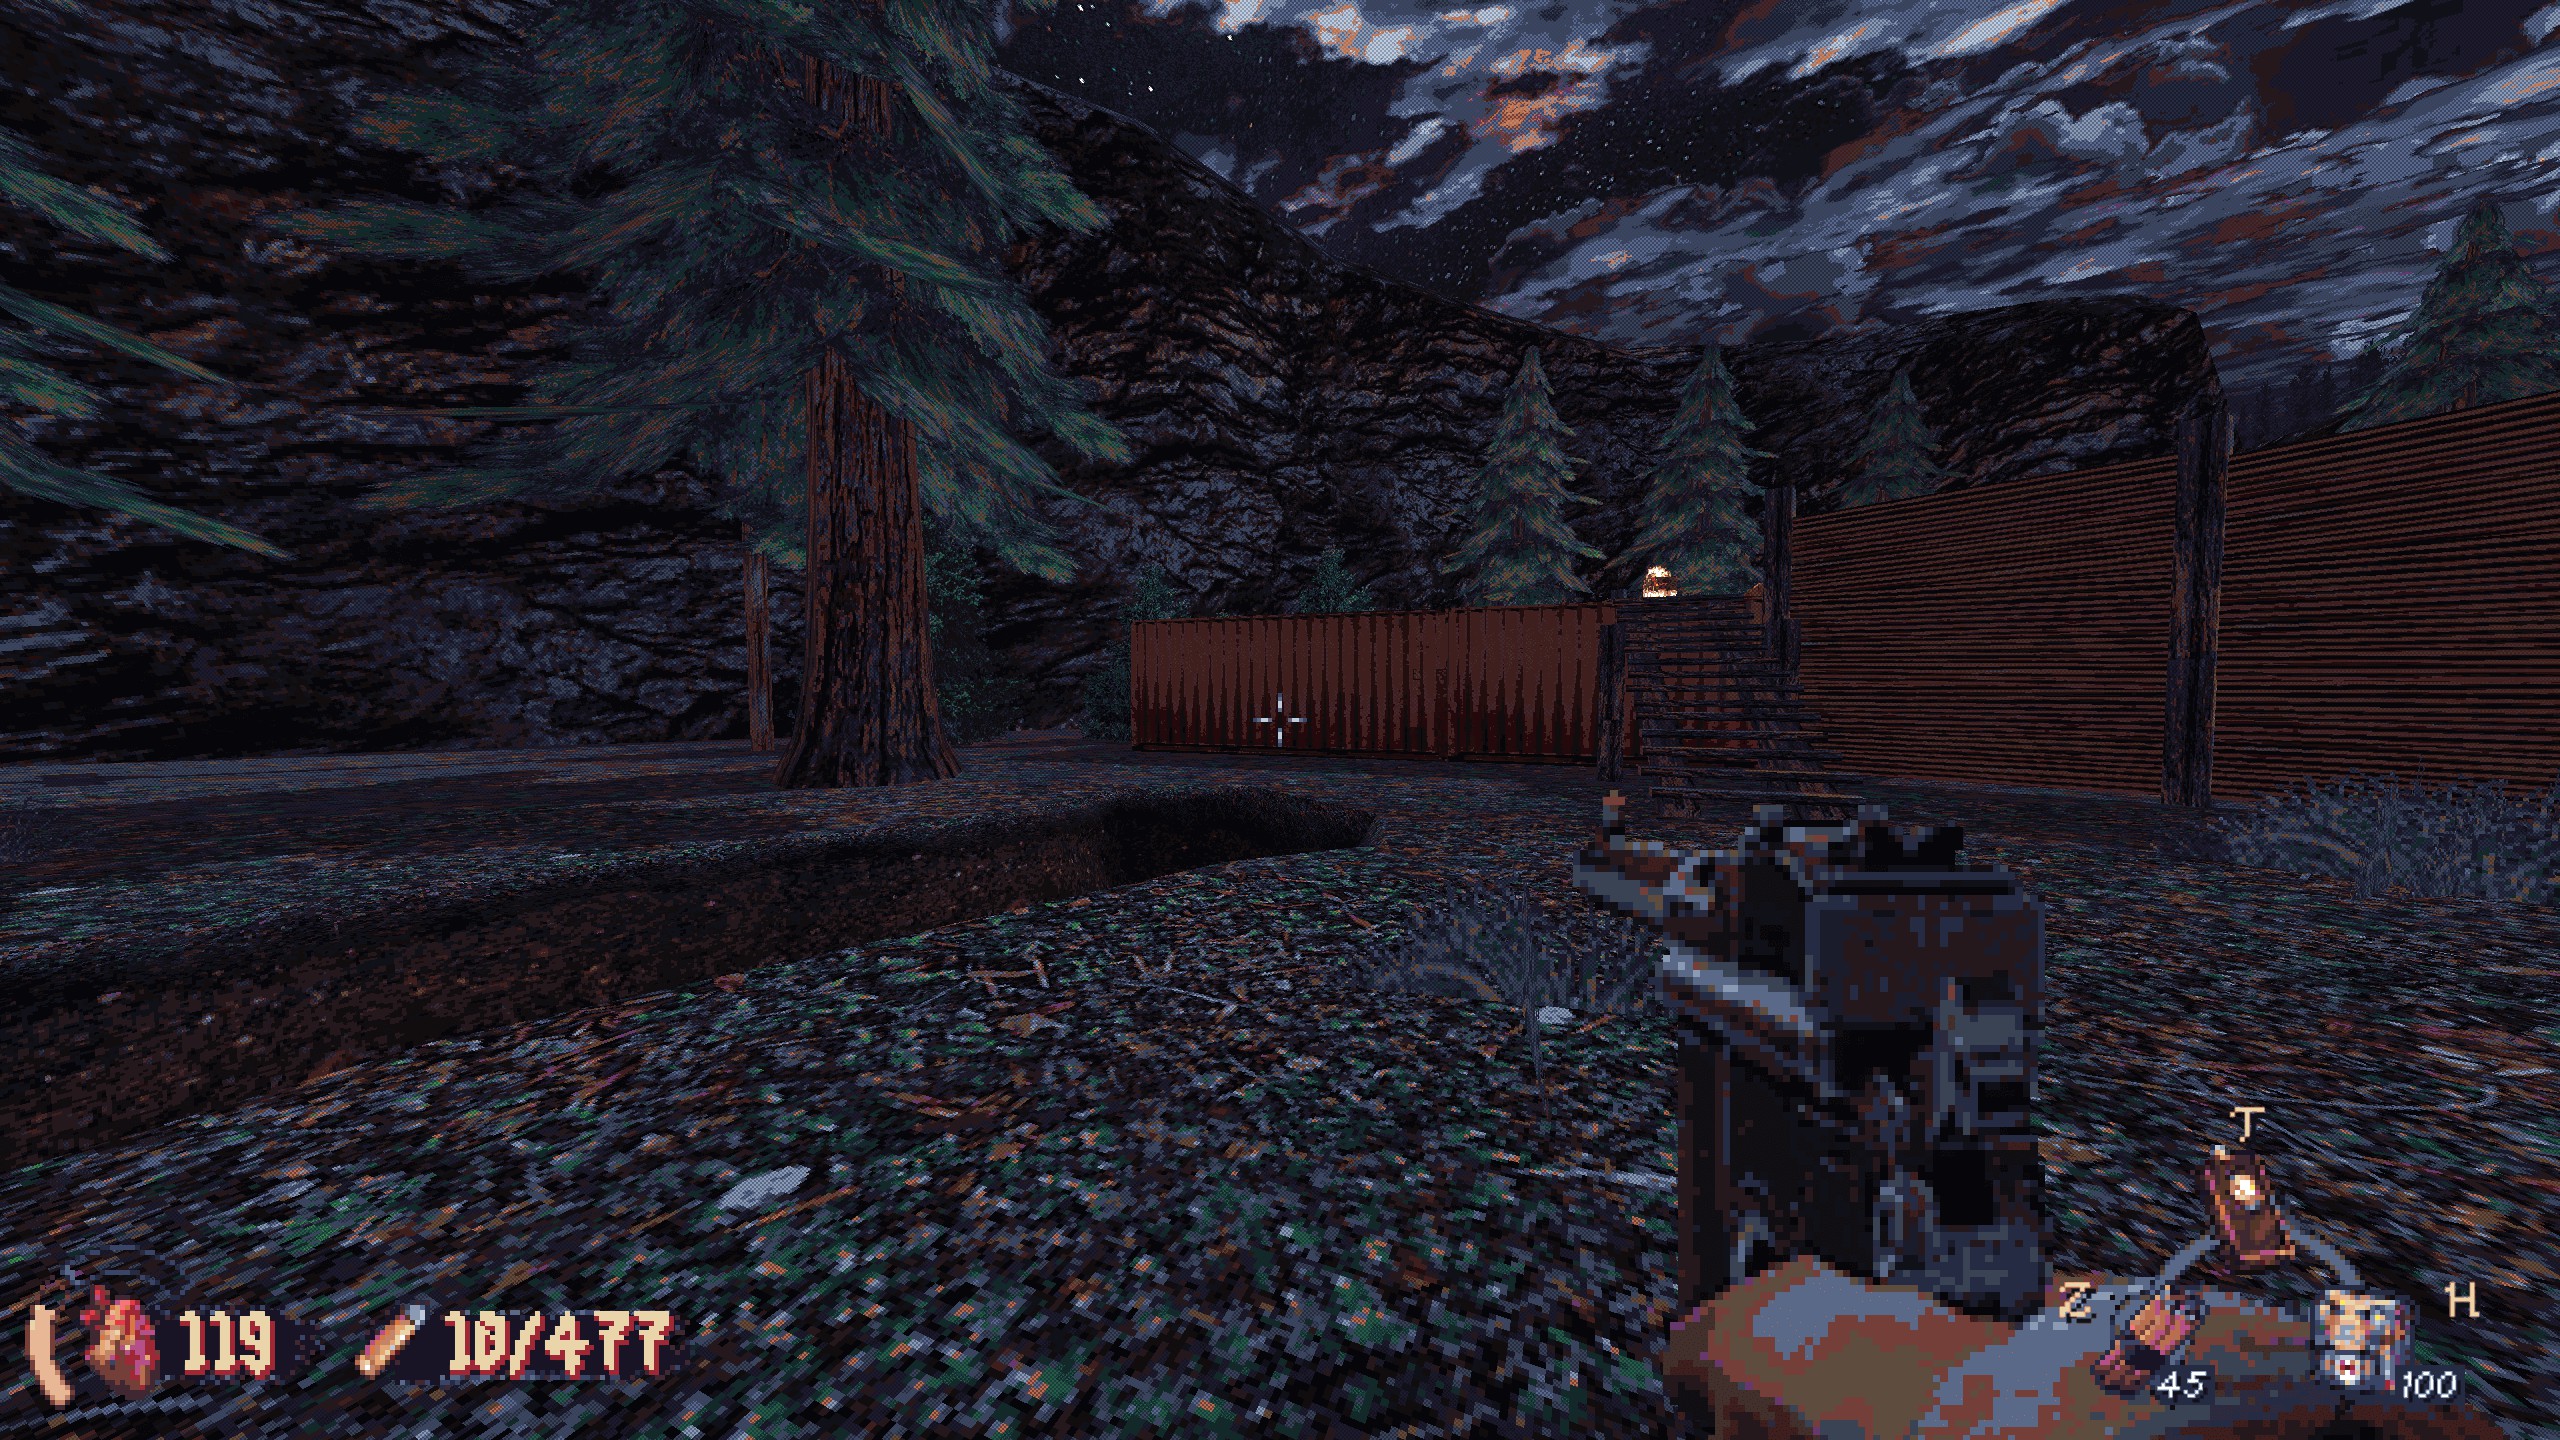
#6: After leaving the building and walking down the road, find a large wooden gate. Step through, Vire à esquerda, and crouch under some boards next to a tree. Recompensa: munição.
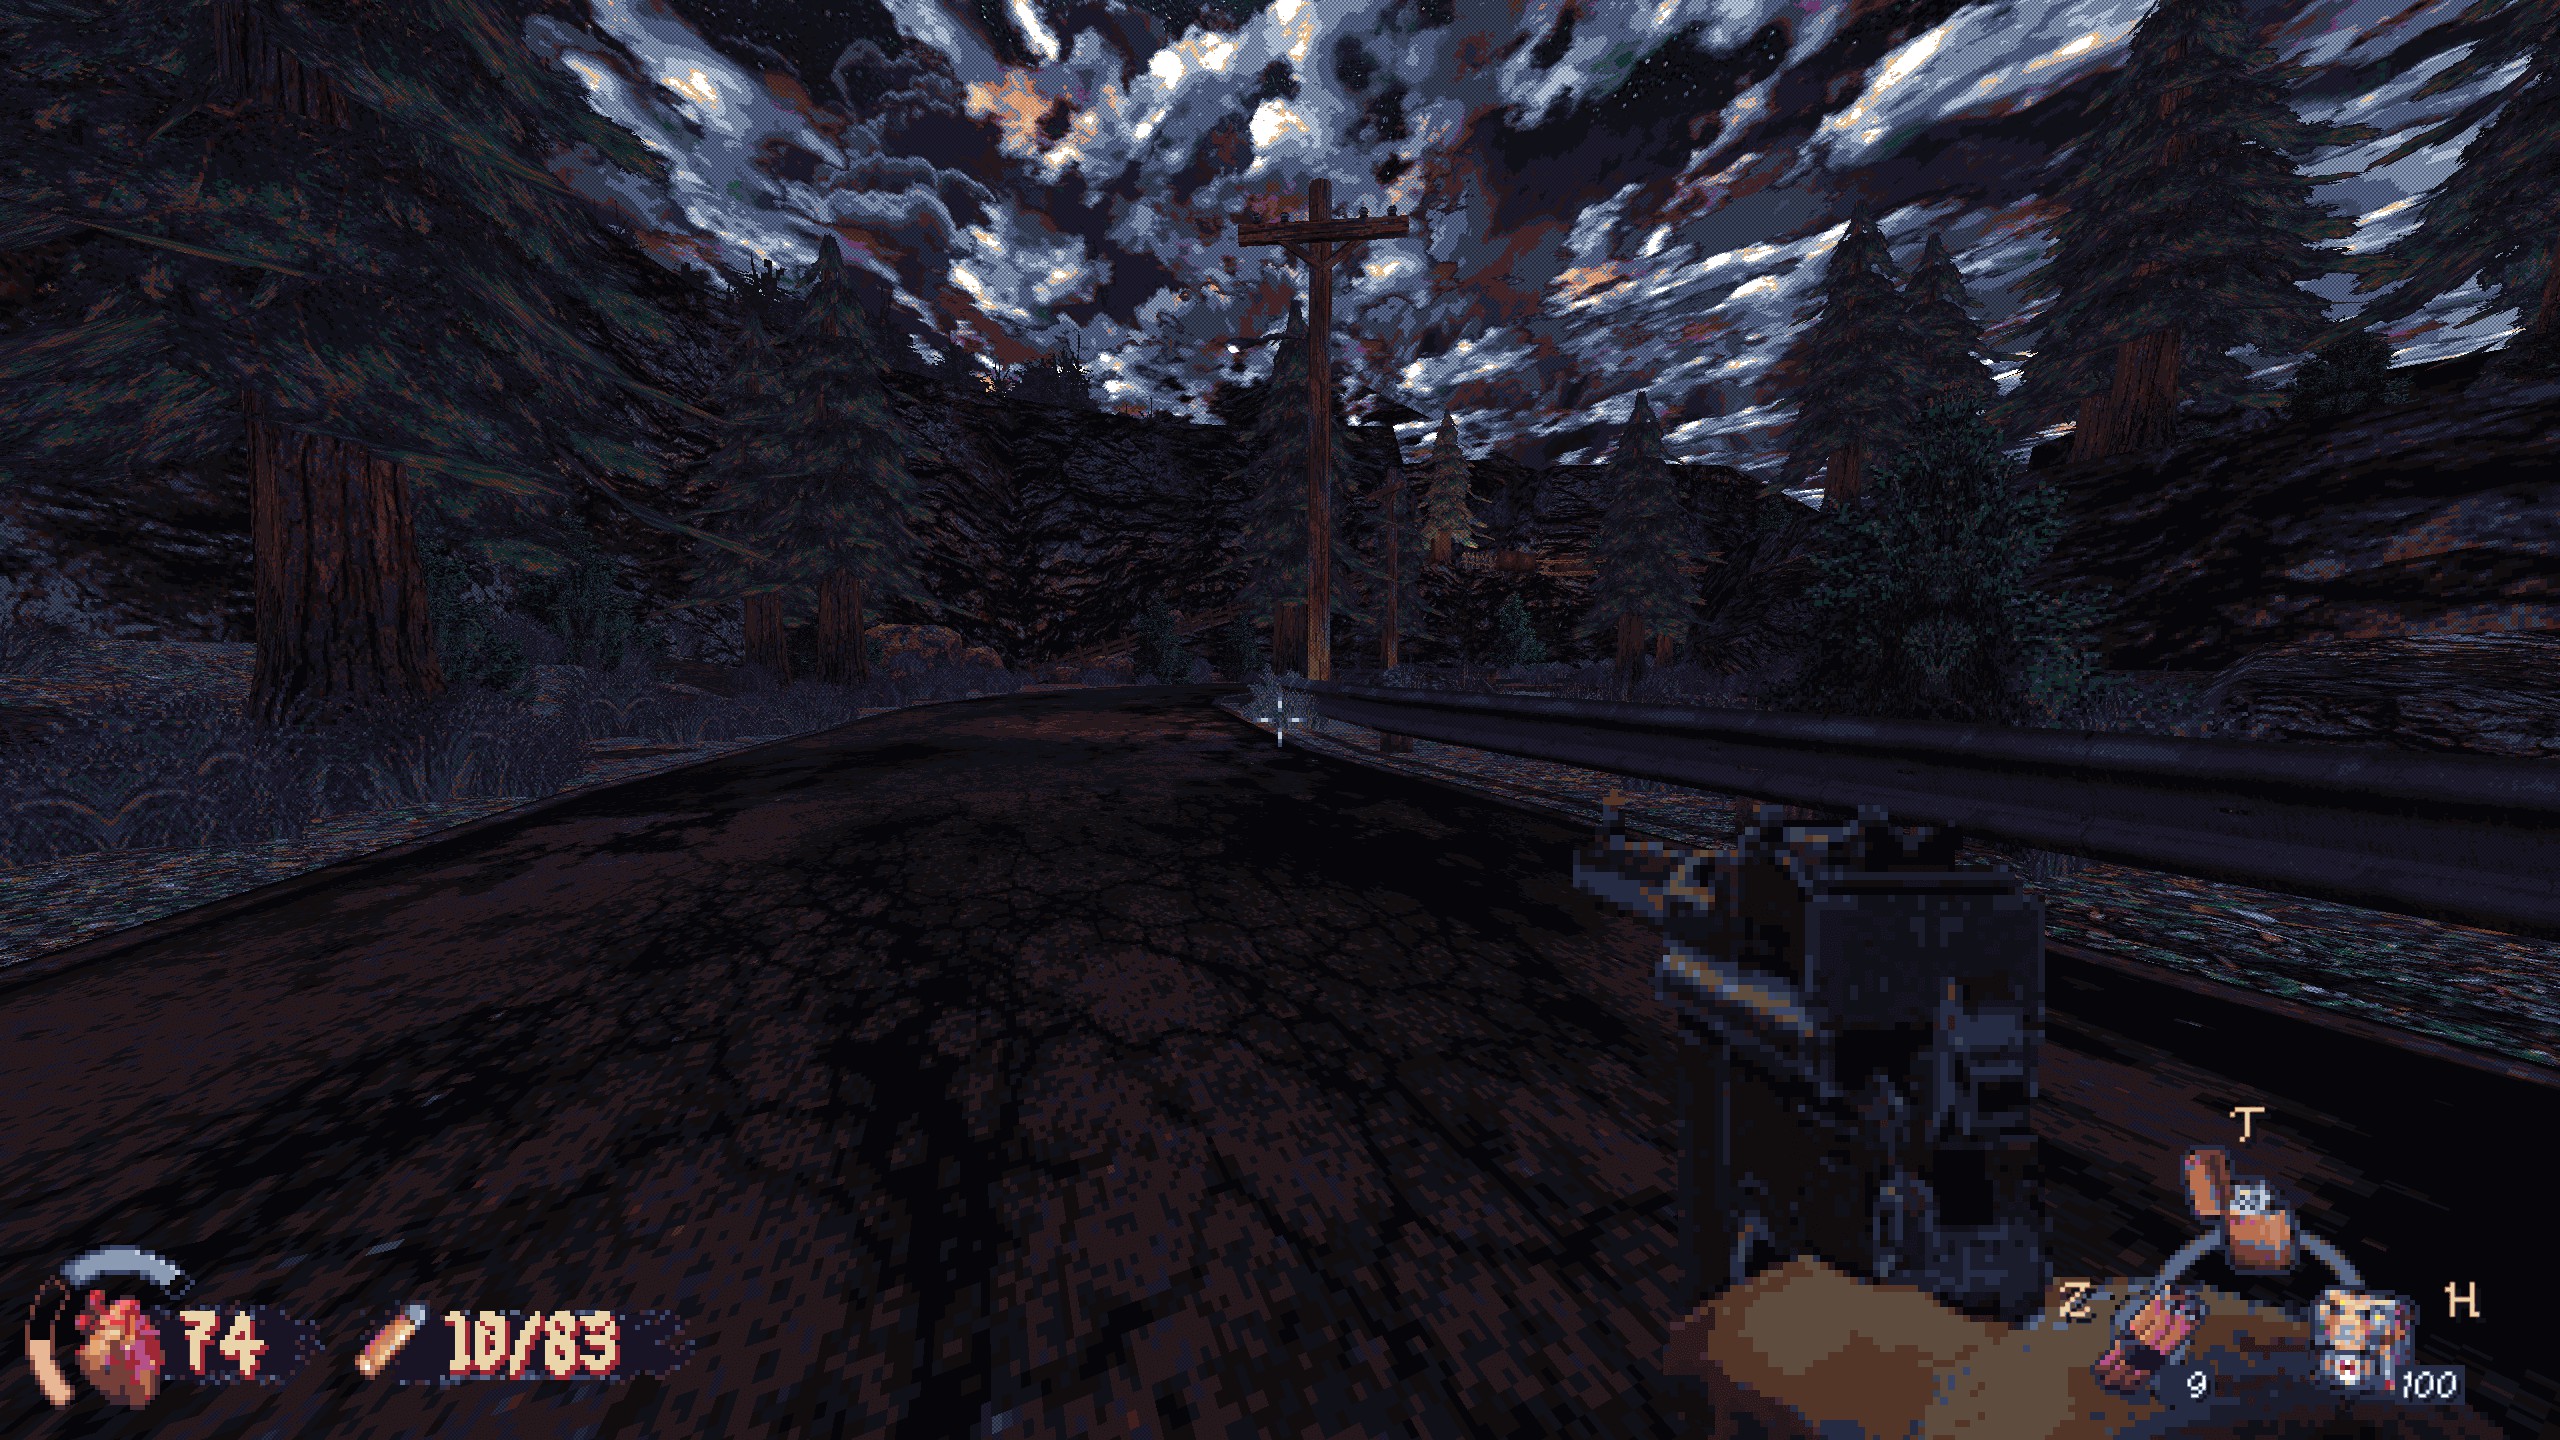
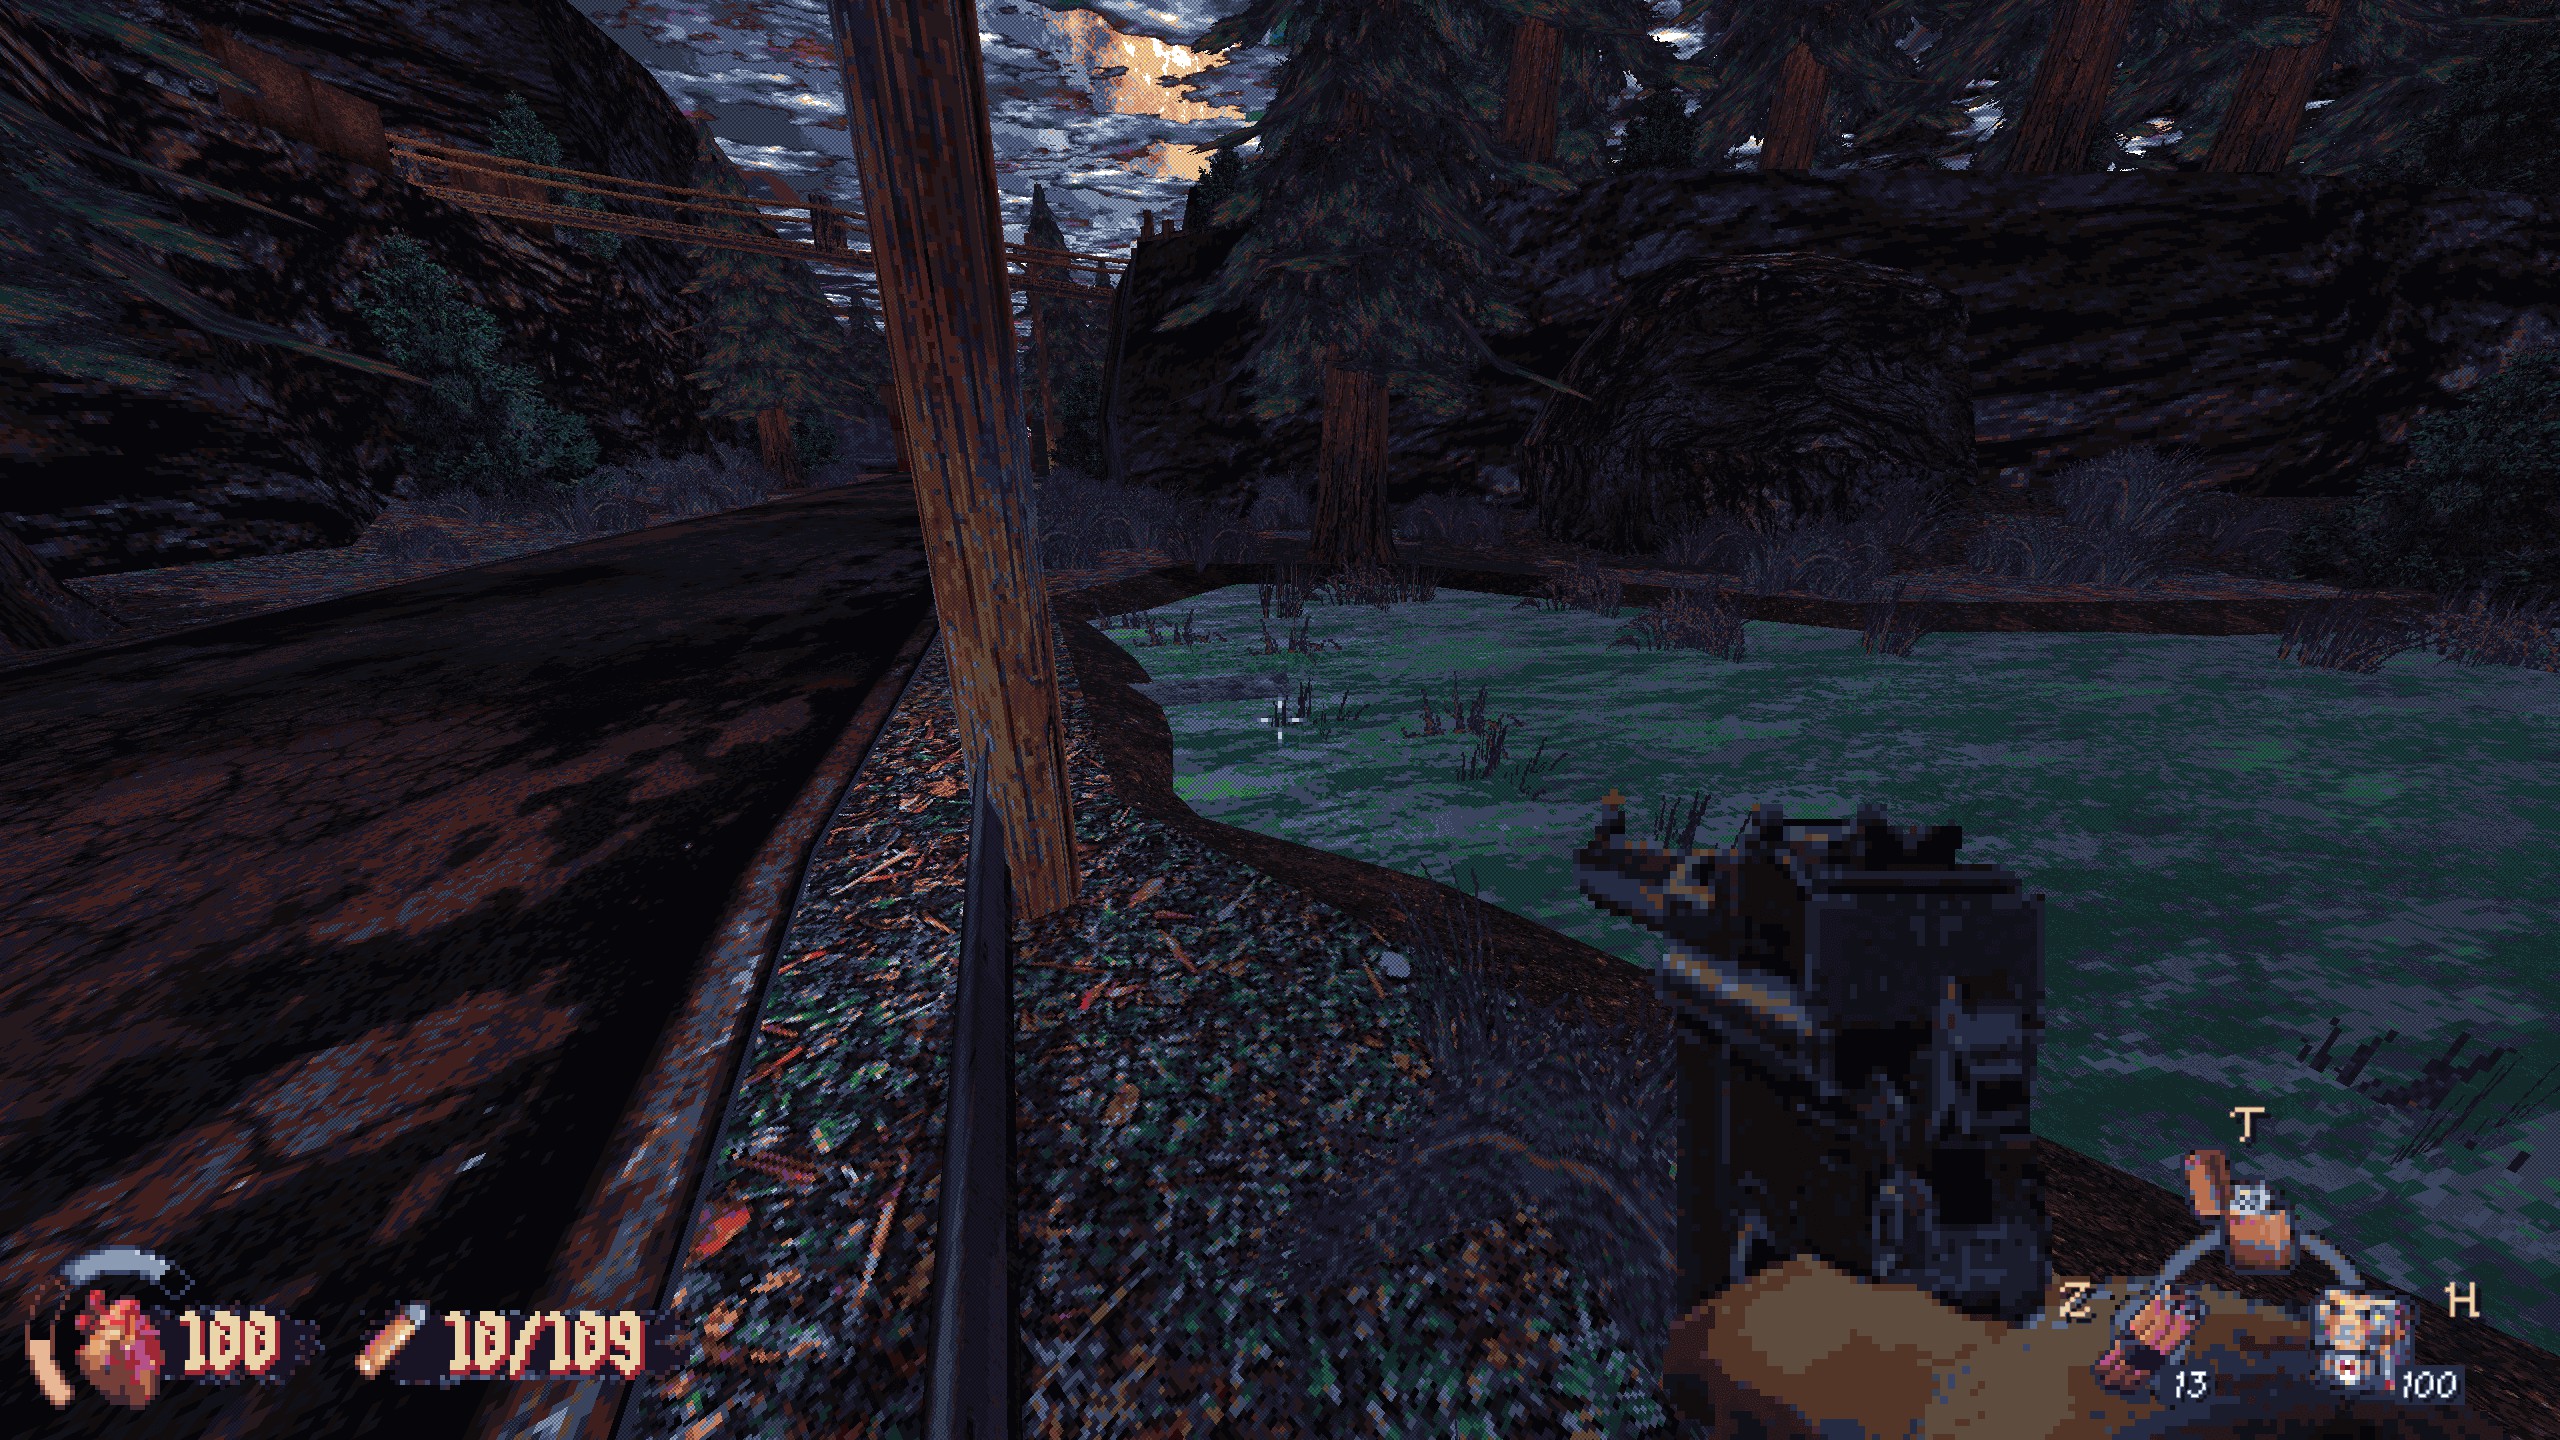
#7 (Imbued Remains): Down the road, near a pond, find a drainage pipe. Swim into it for armor and imbued remains.

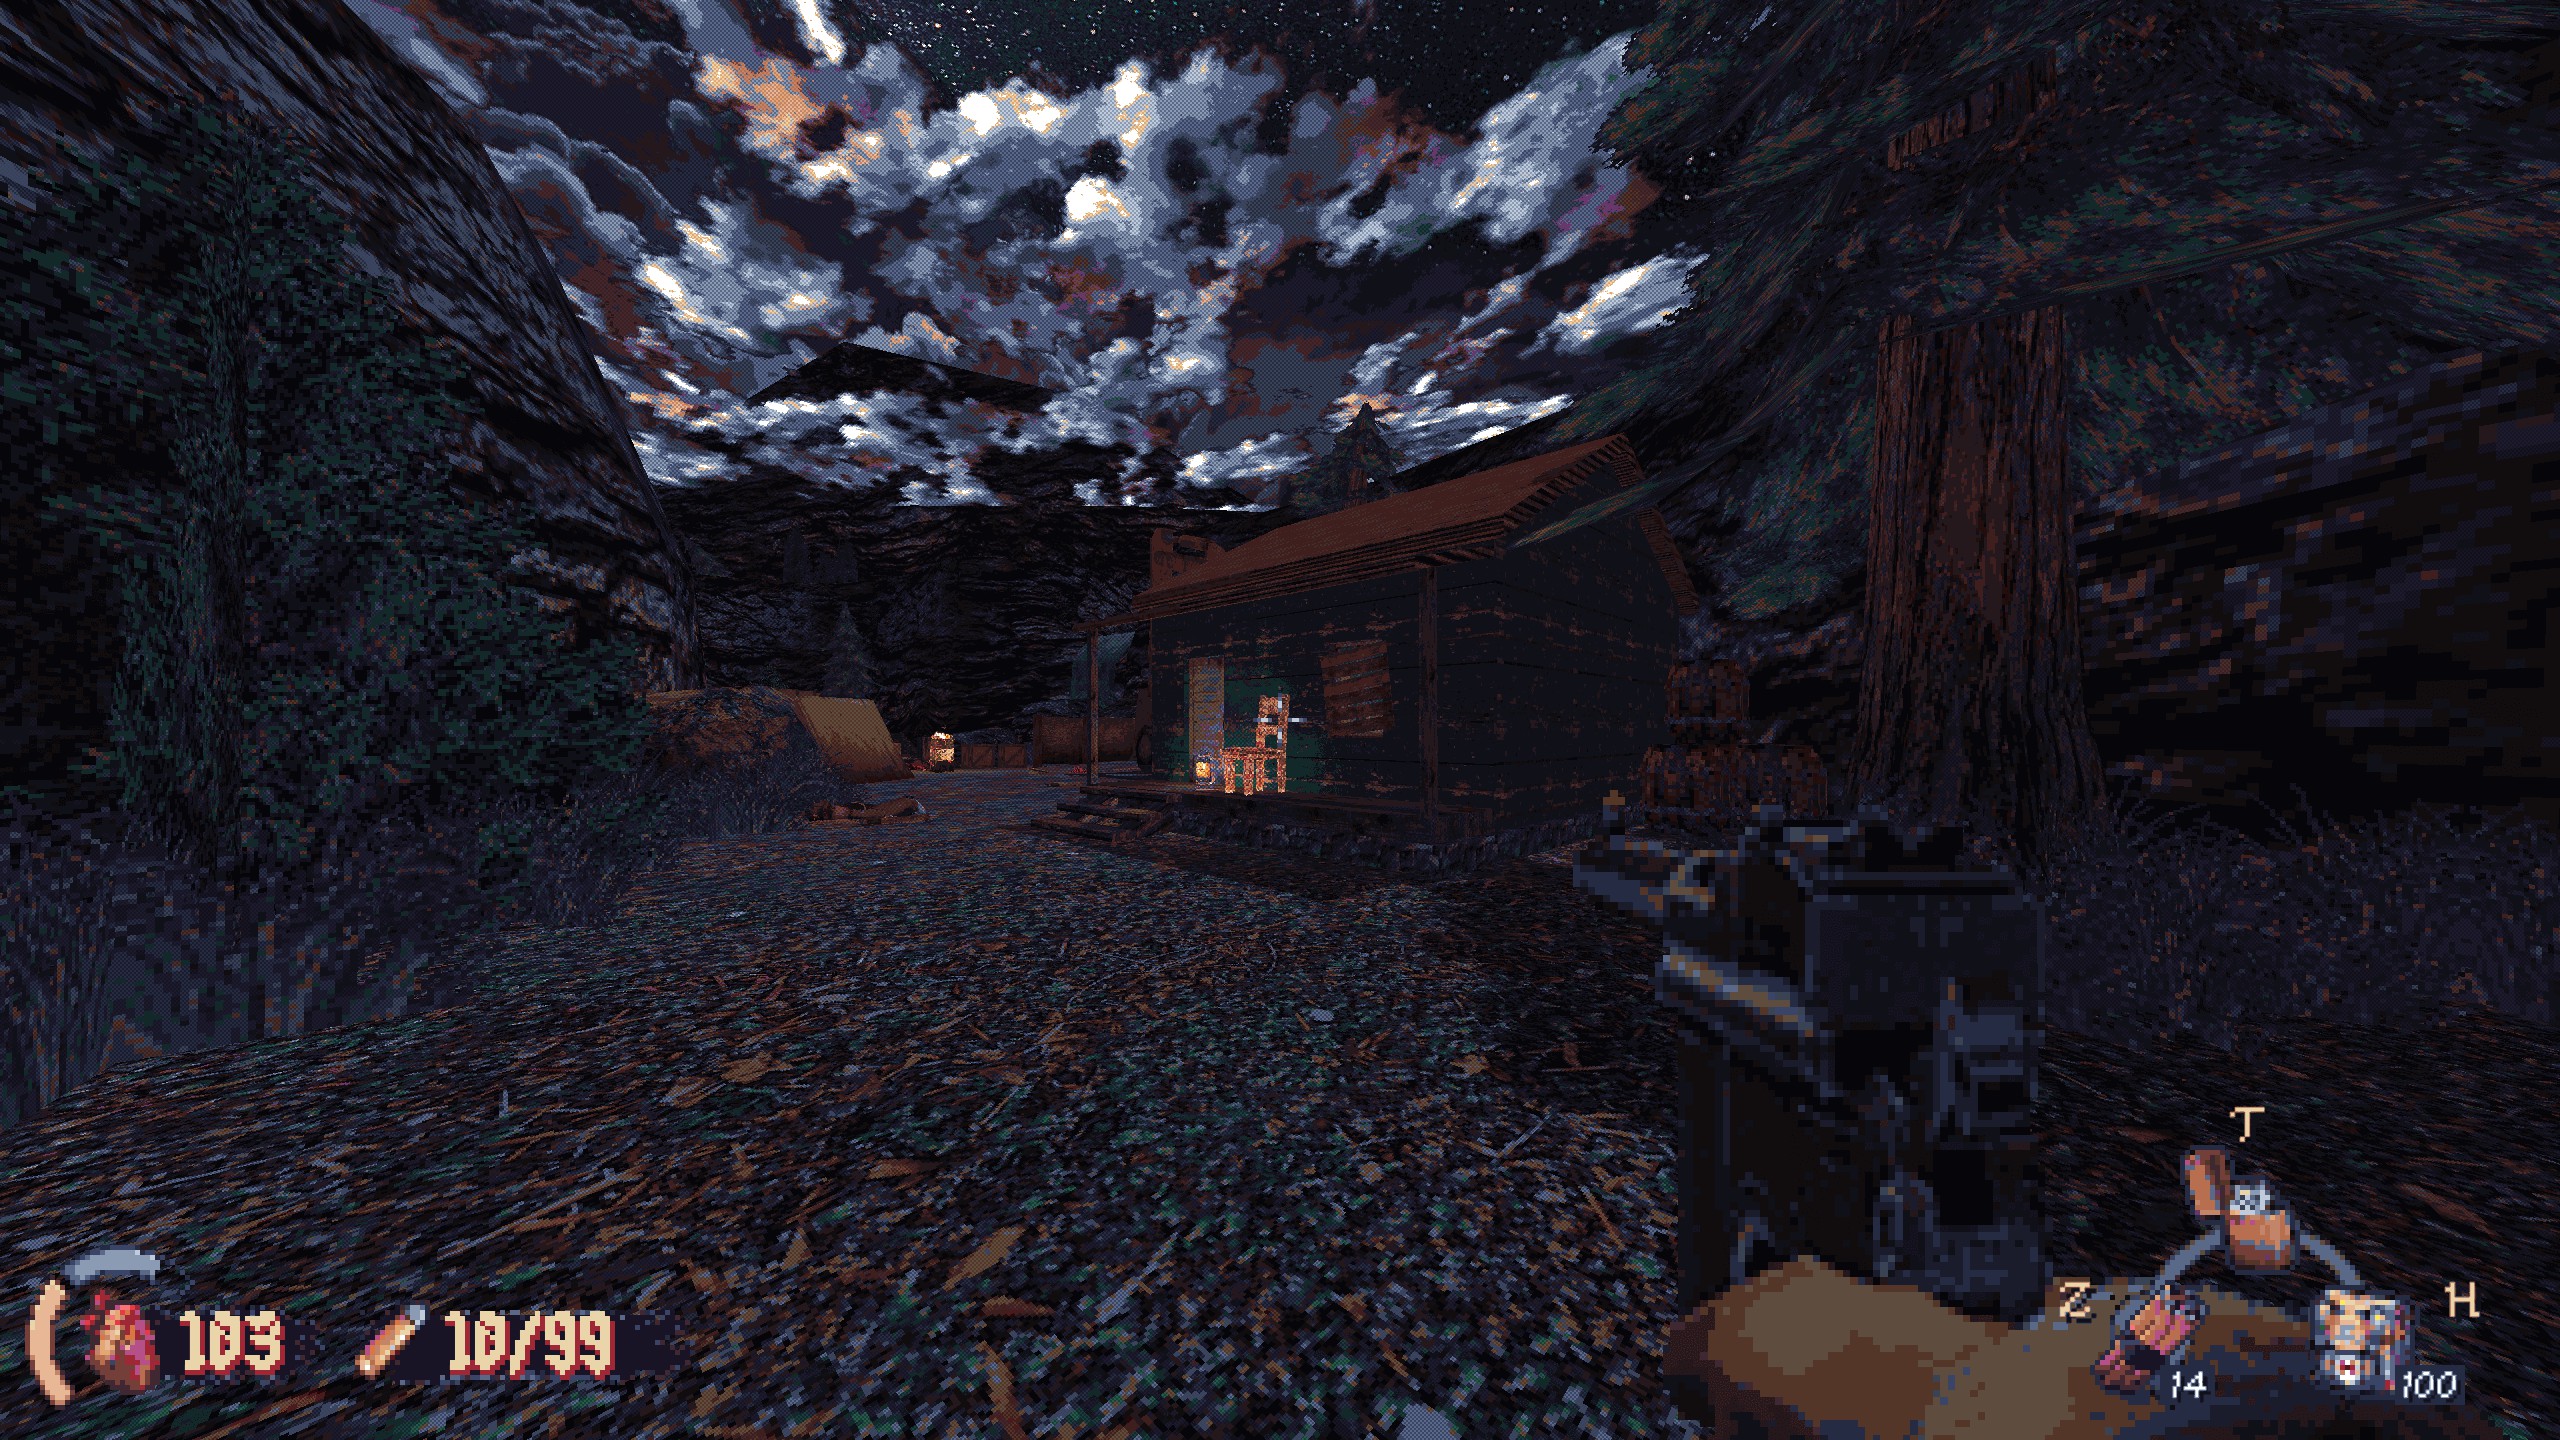
#8: Leaving the road, you’ll reach mountains and a small locked cabin. Walk around back, smash the window to enter. Recompensa: sawed-off shotgun.
Papel 3: Caves
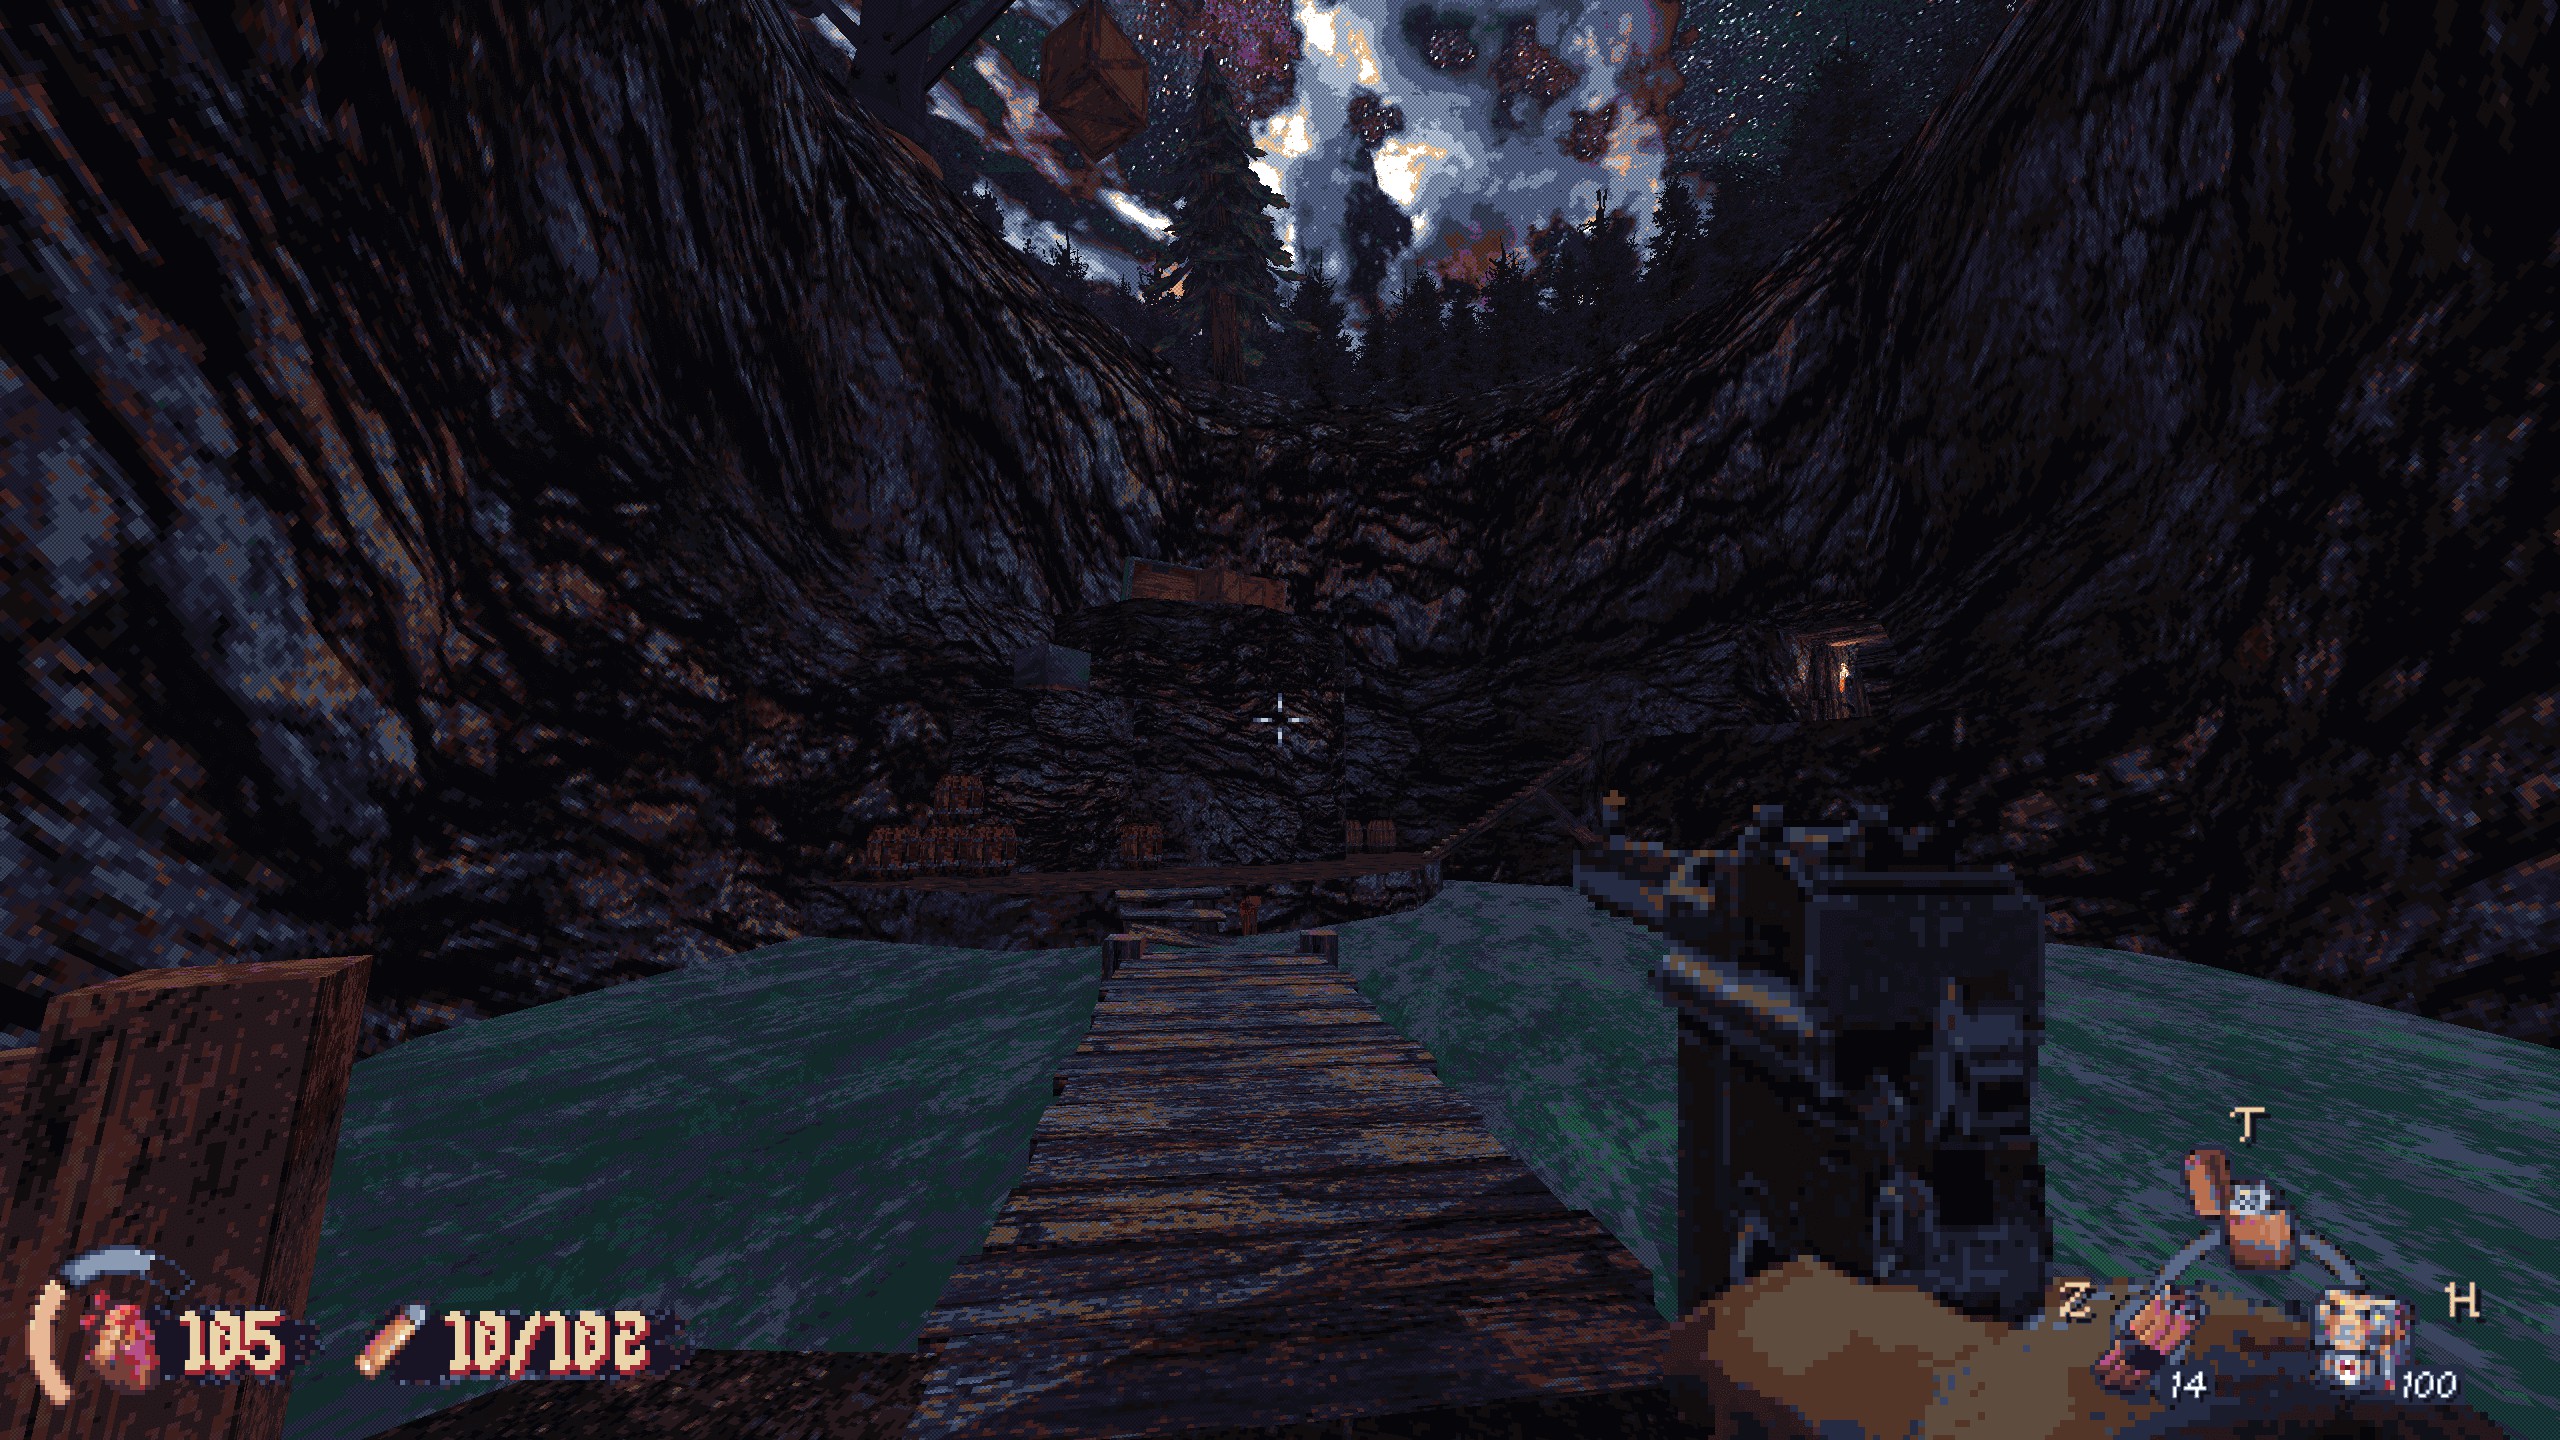
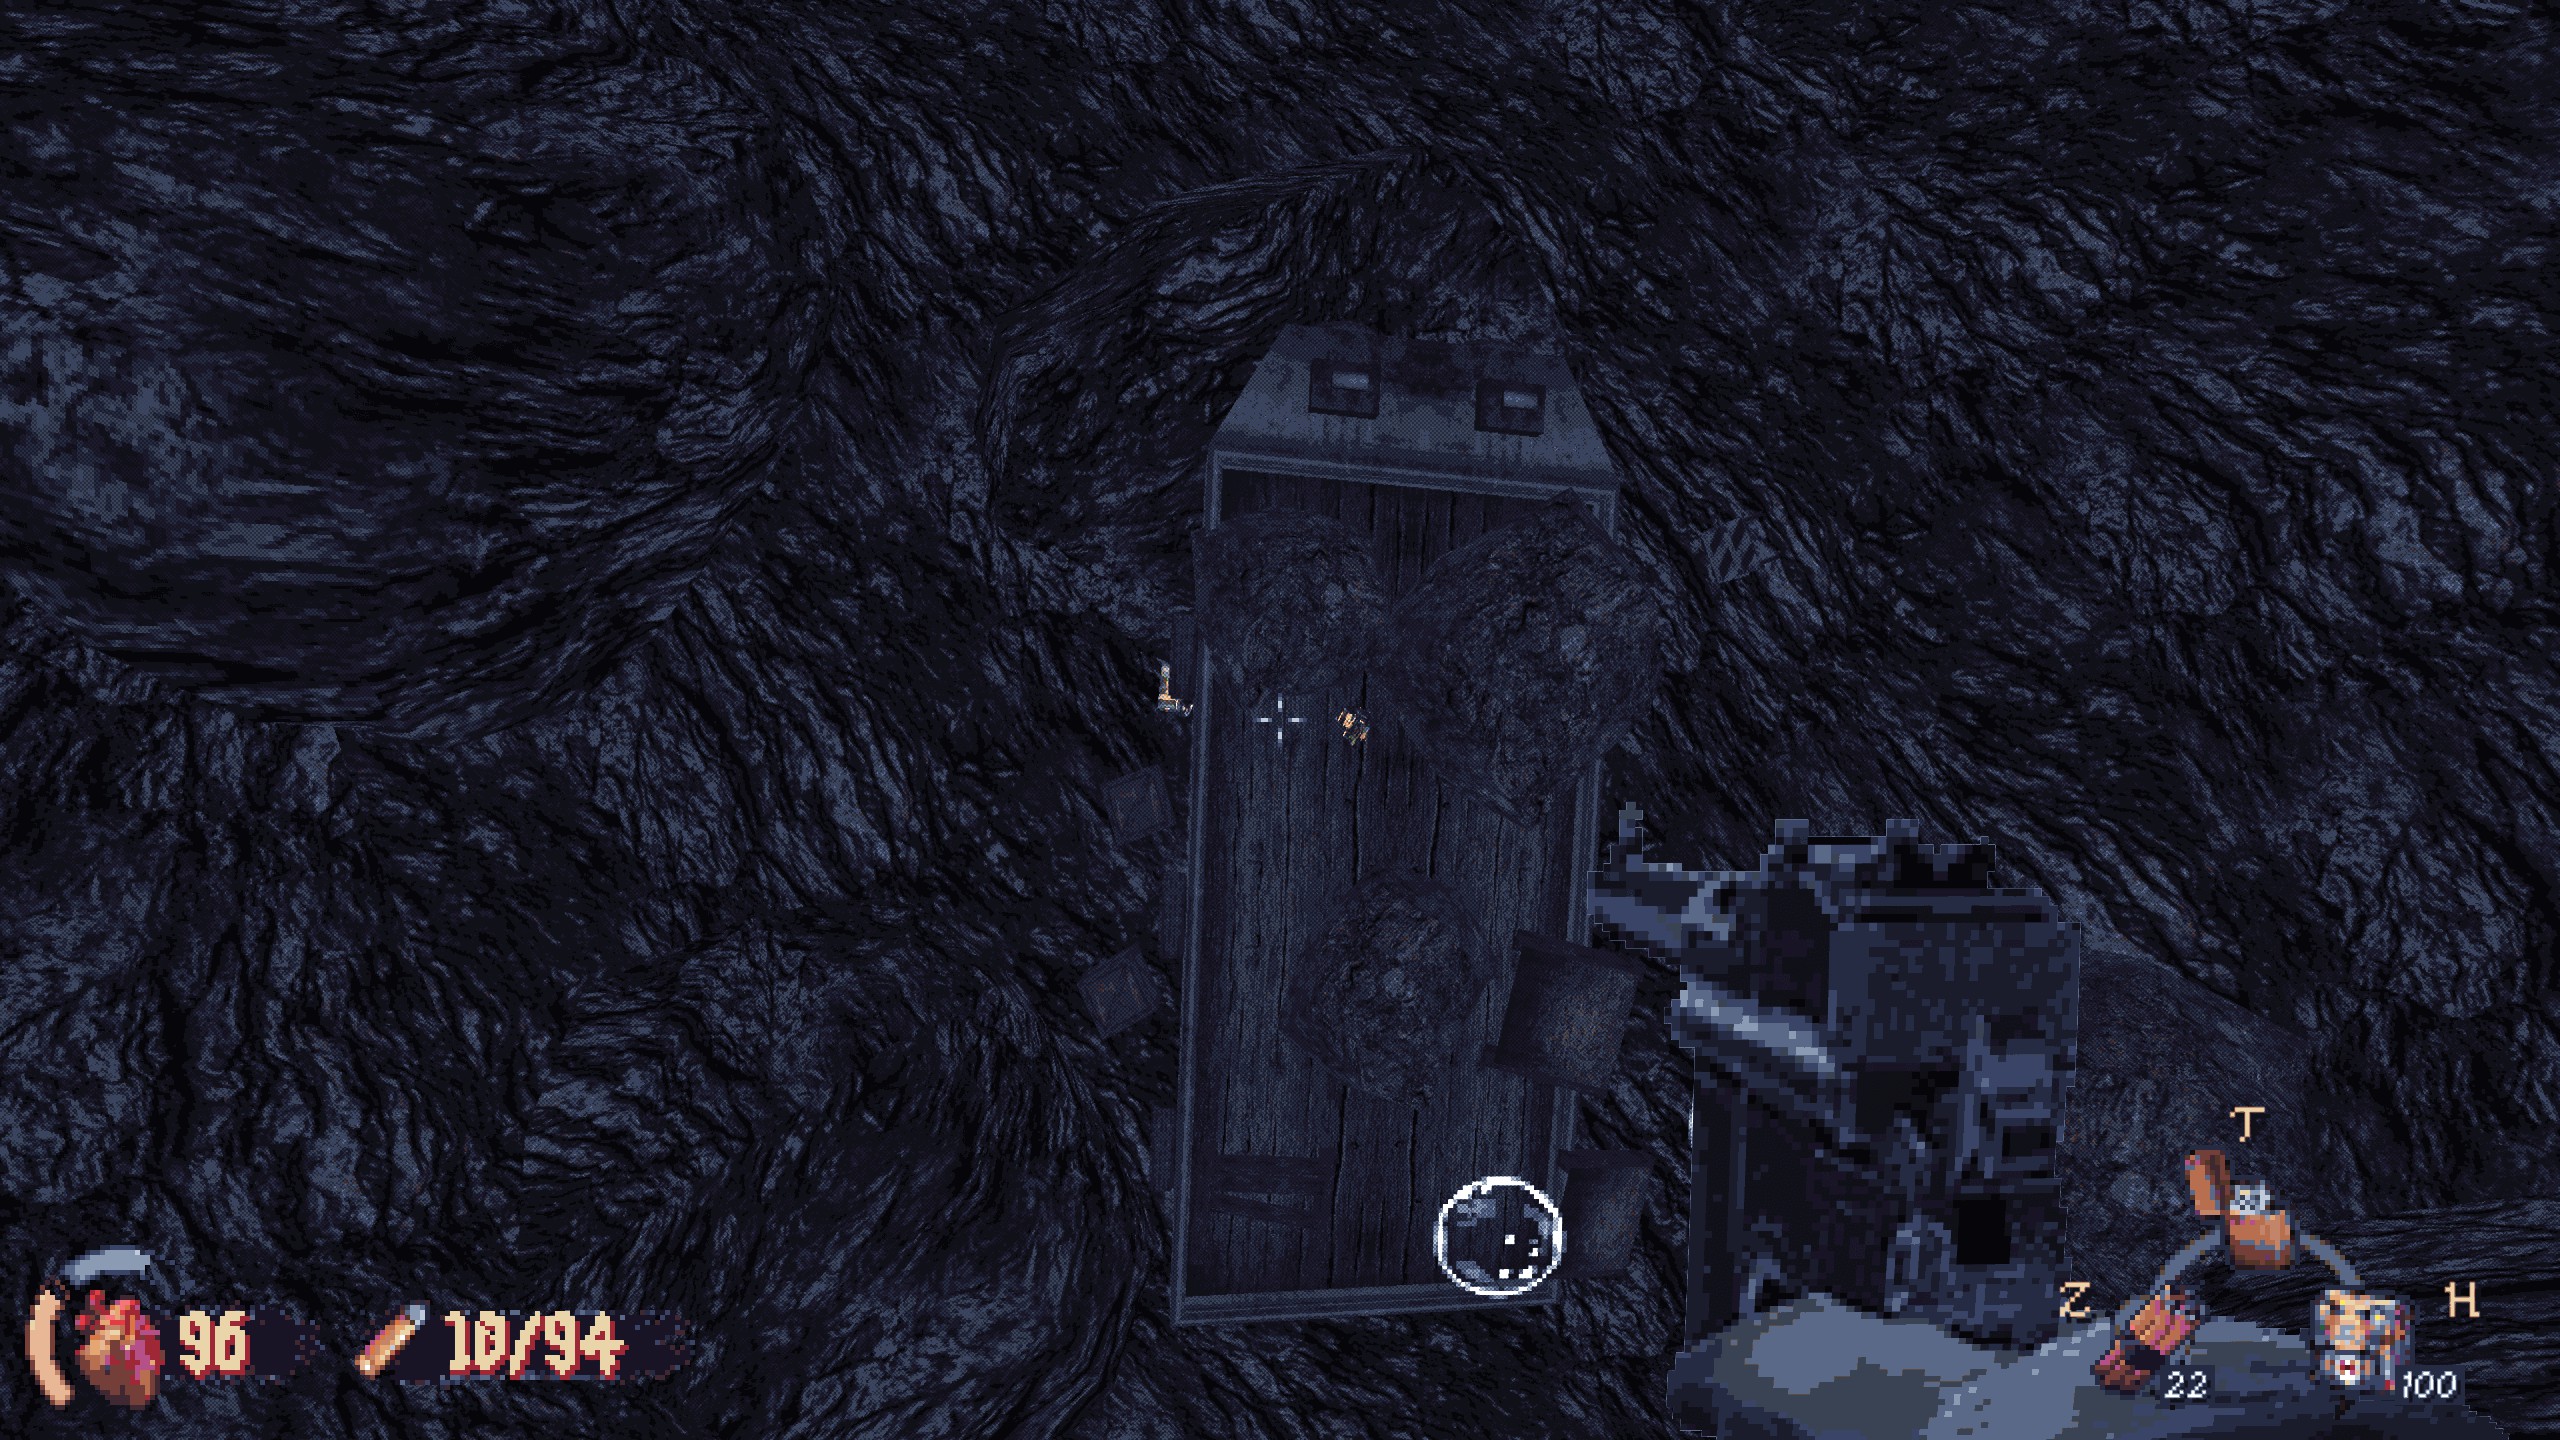
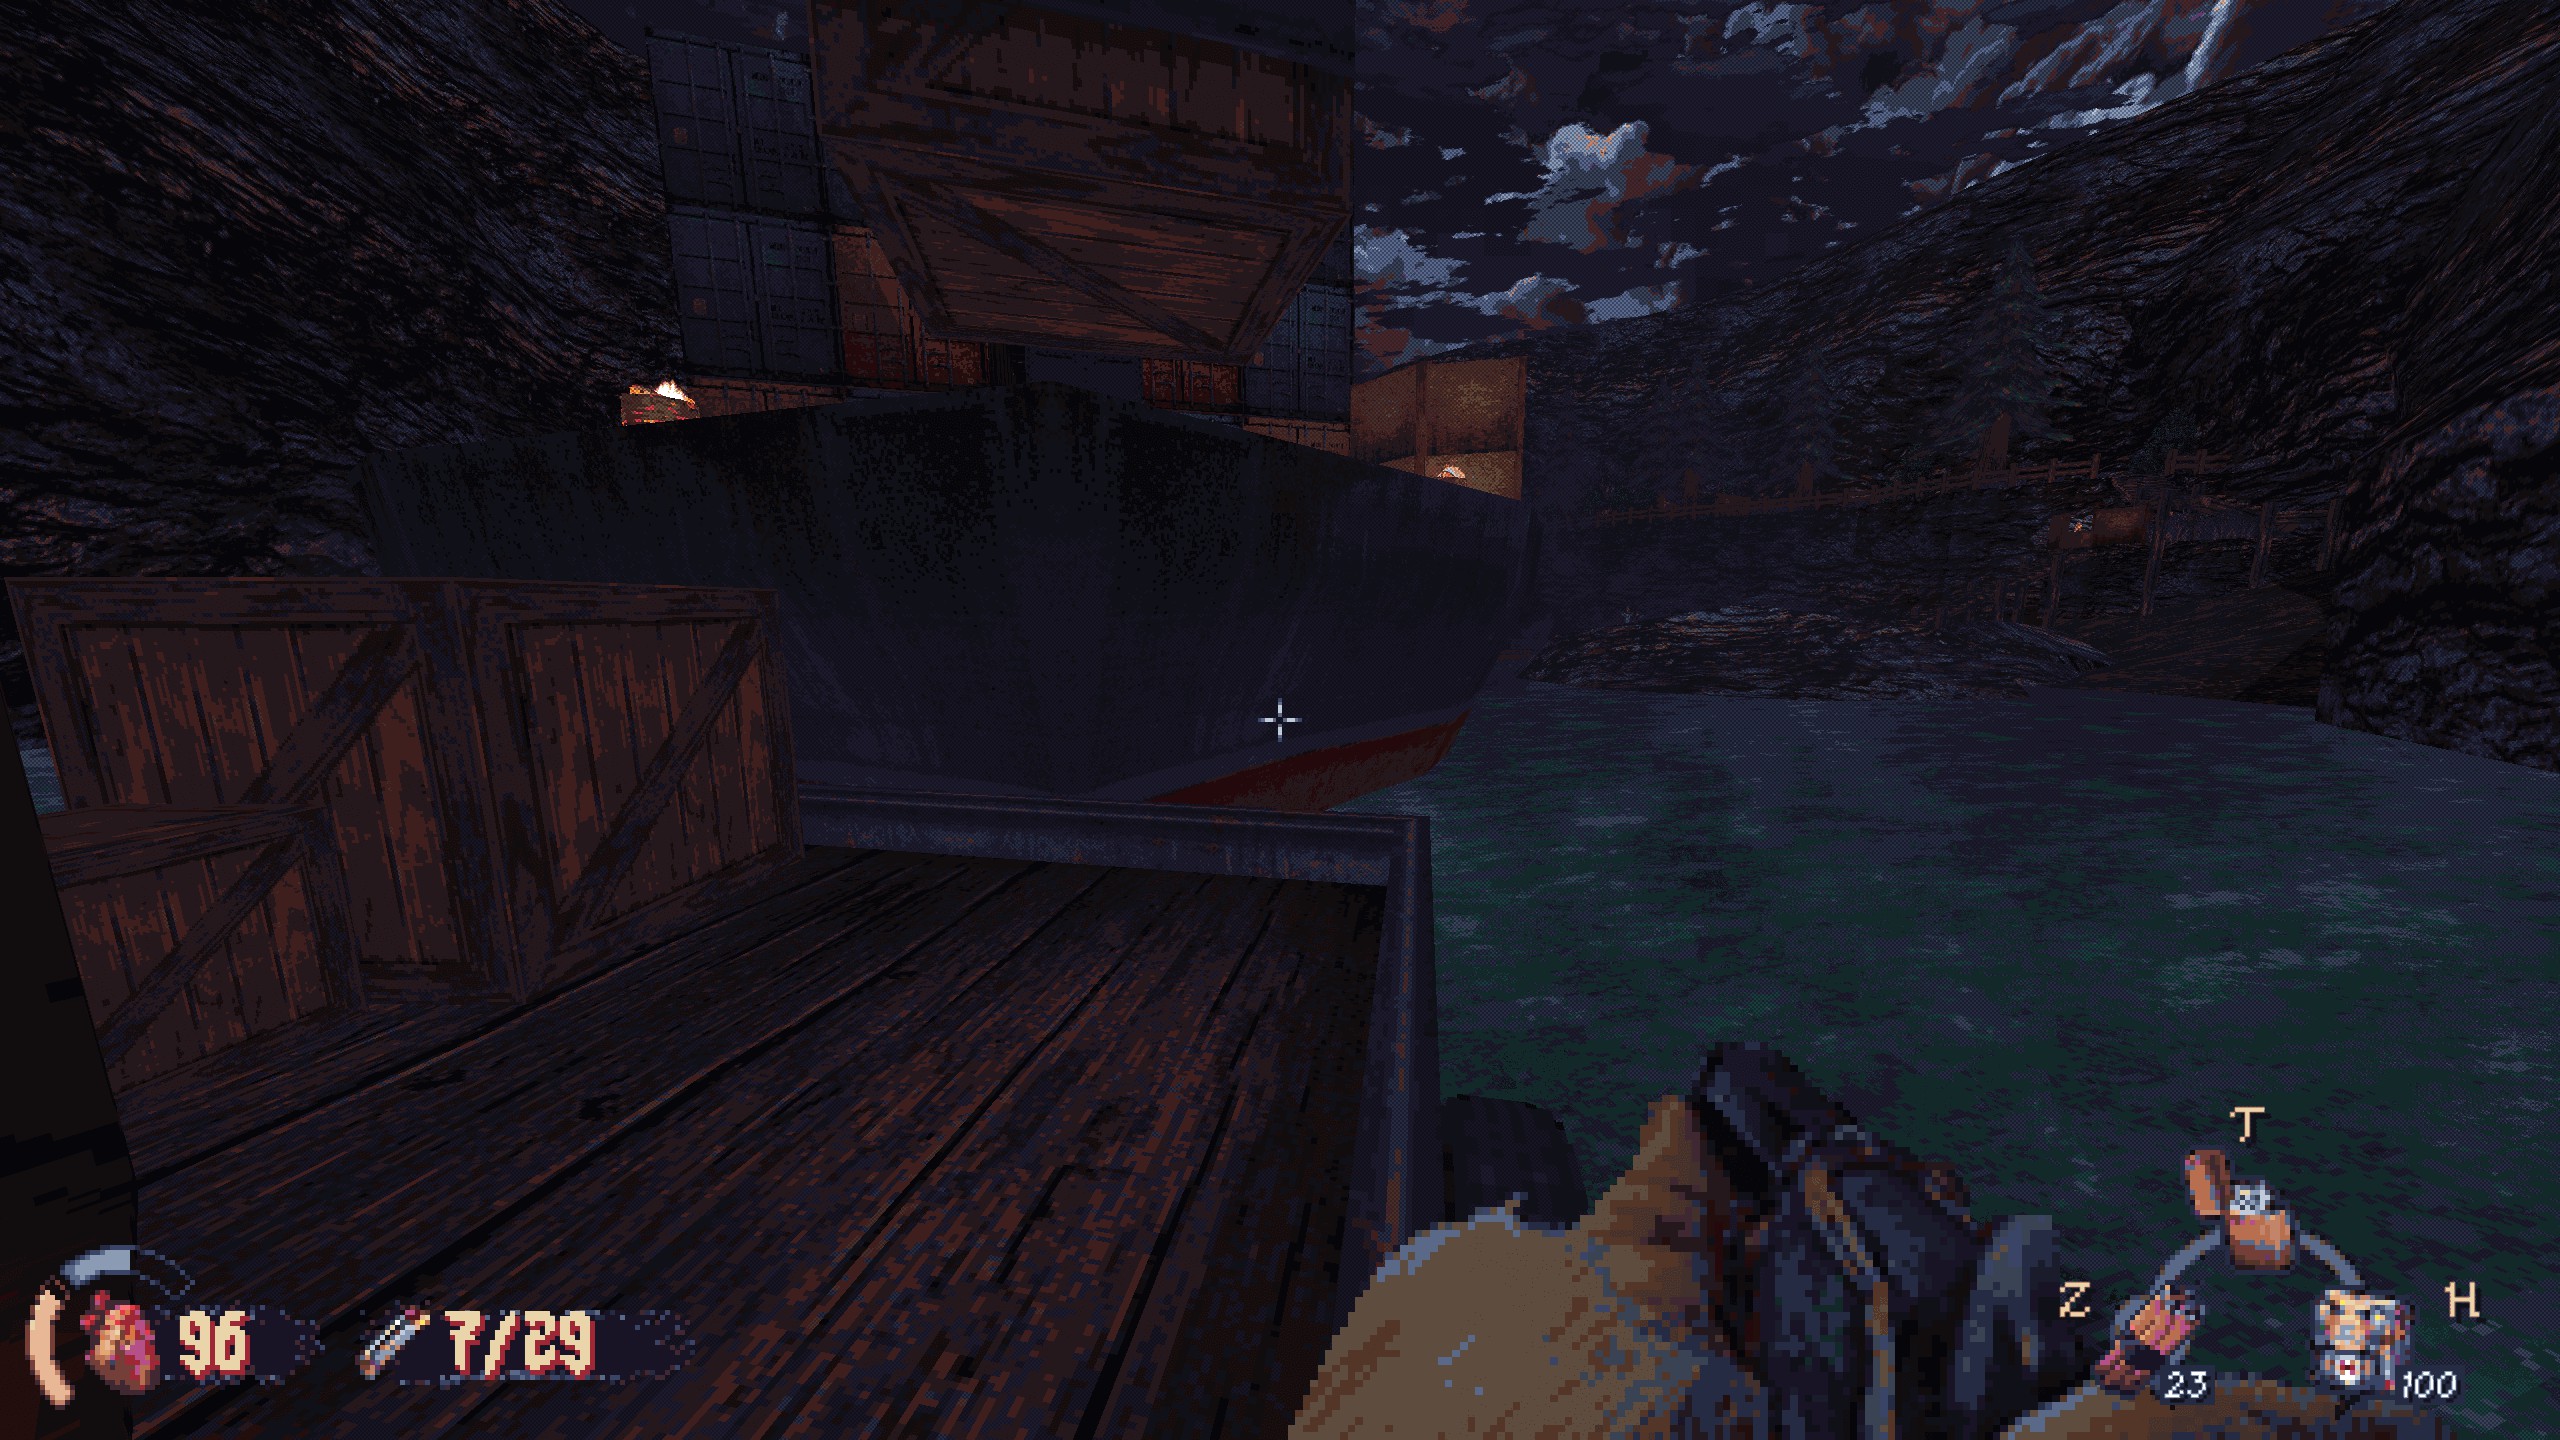
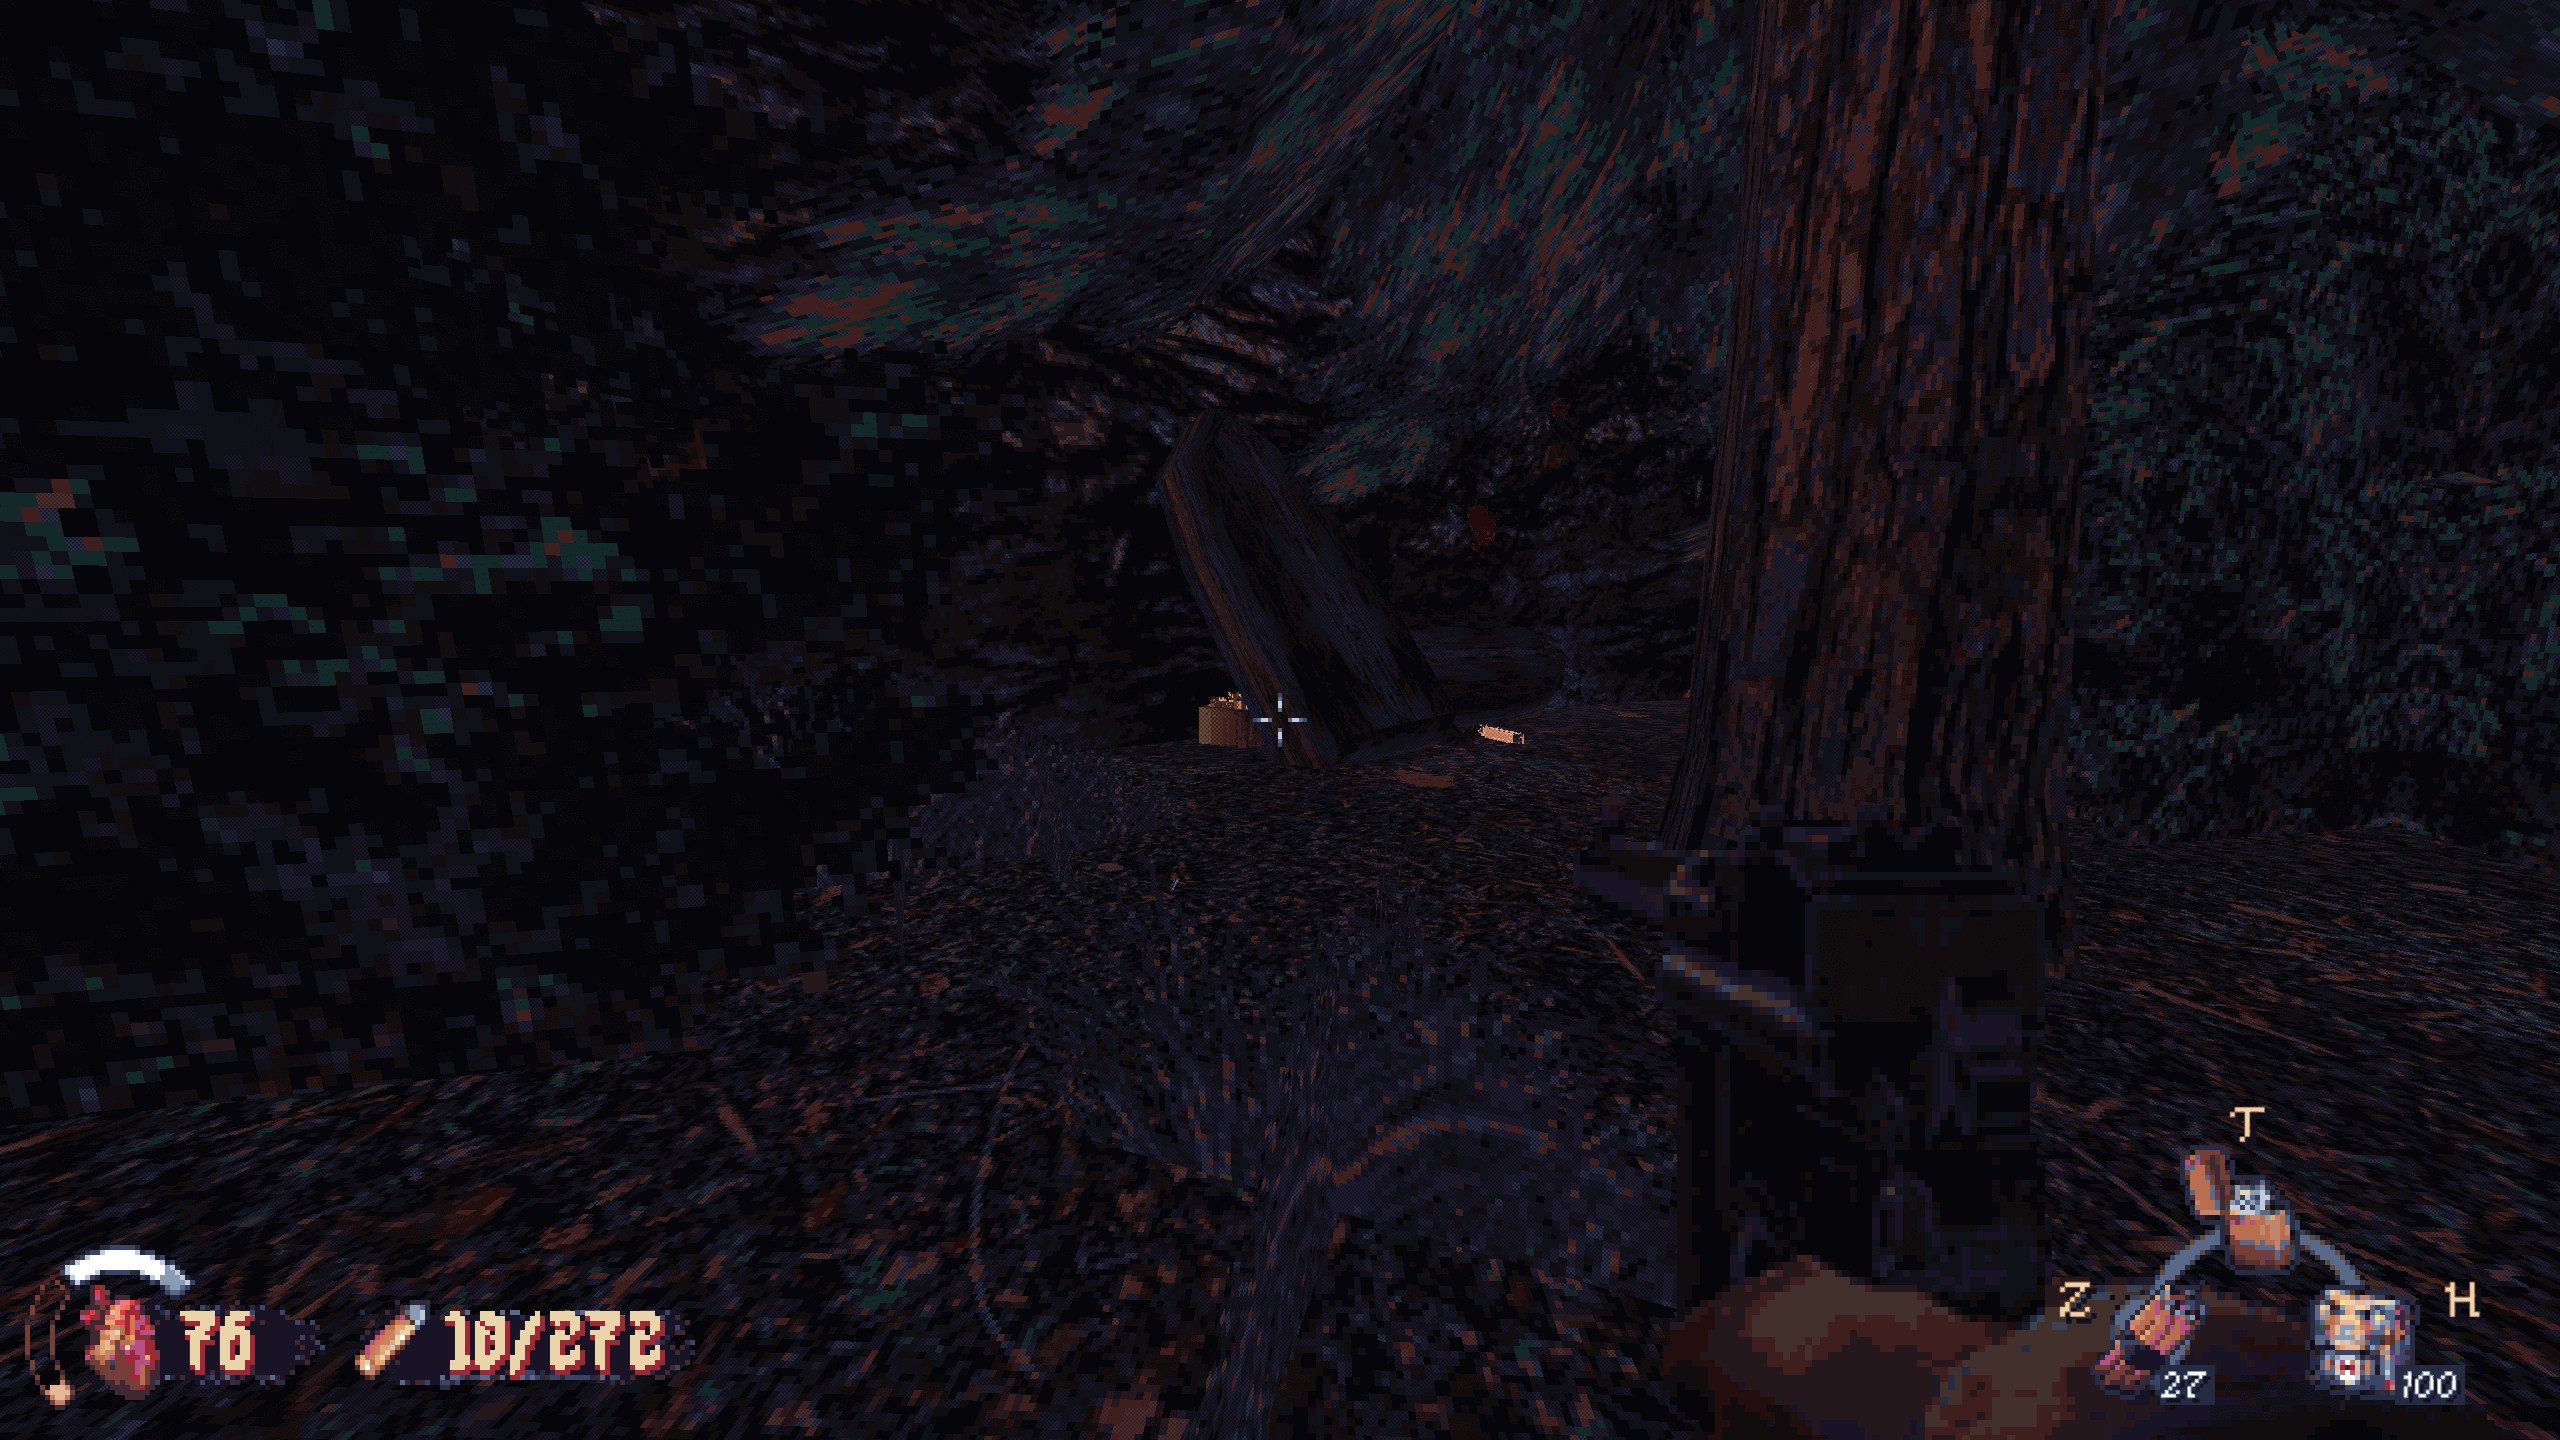
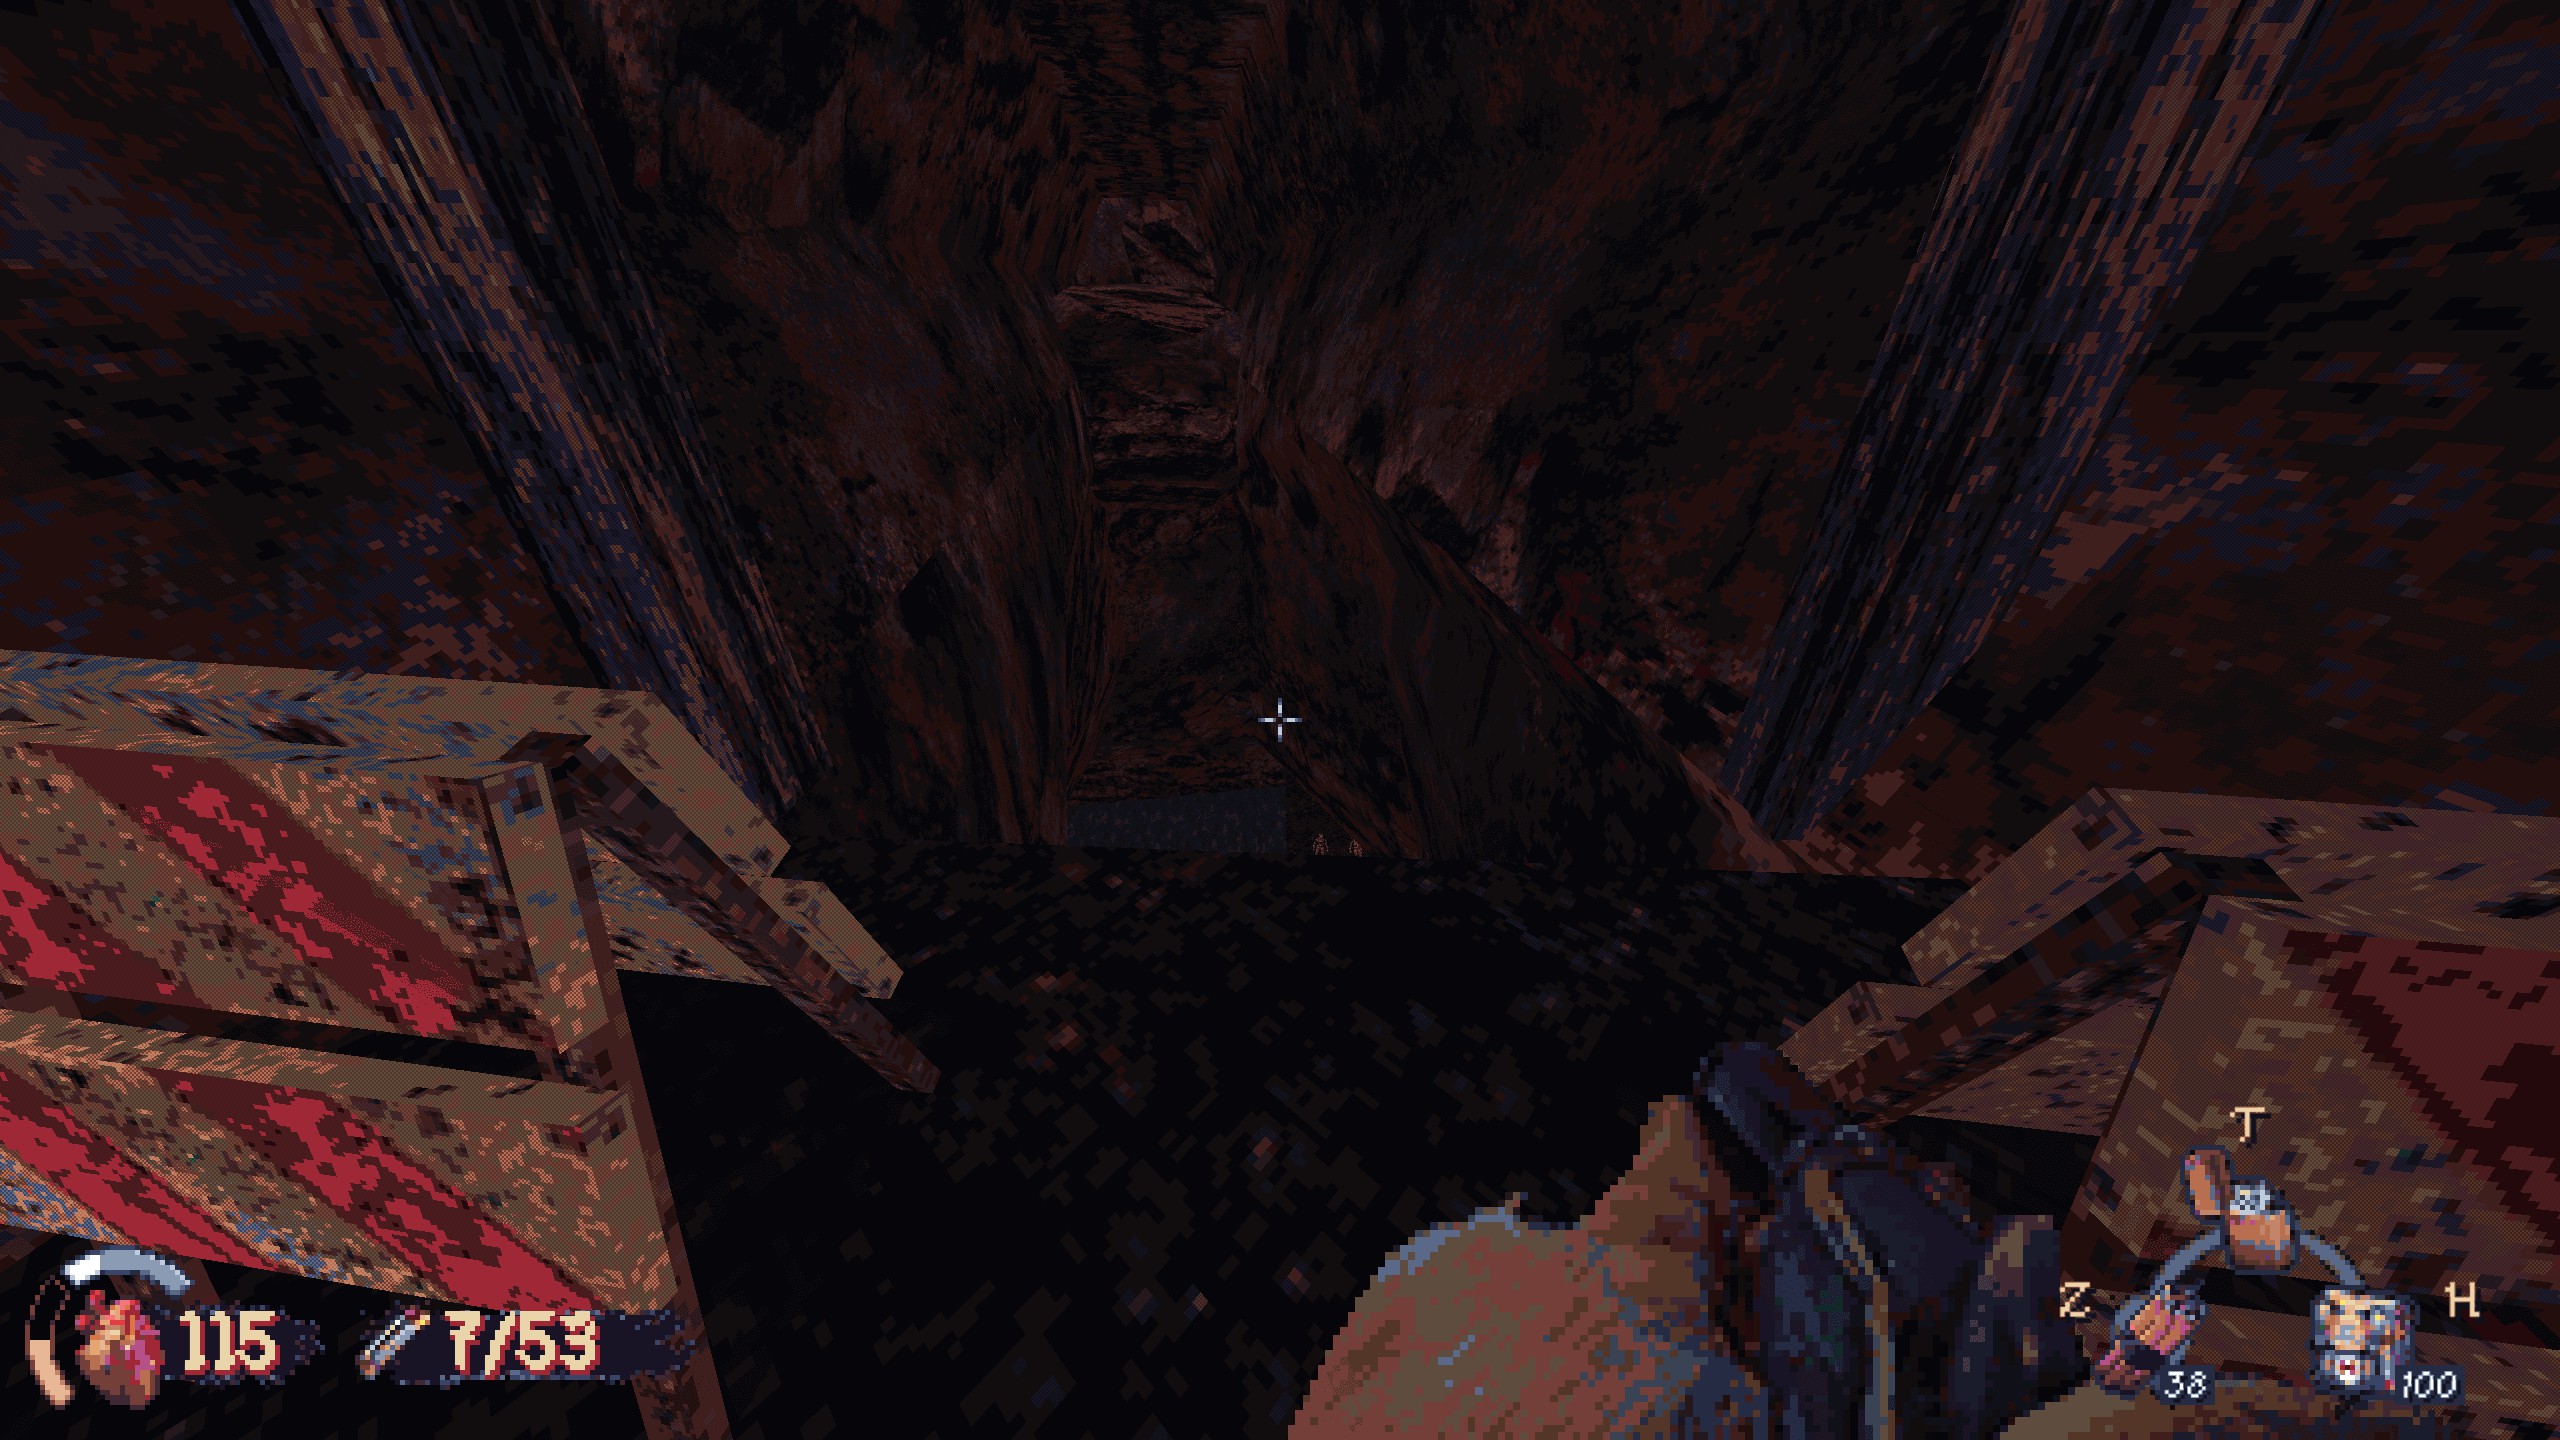
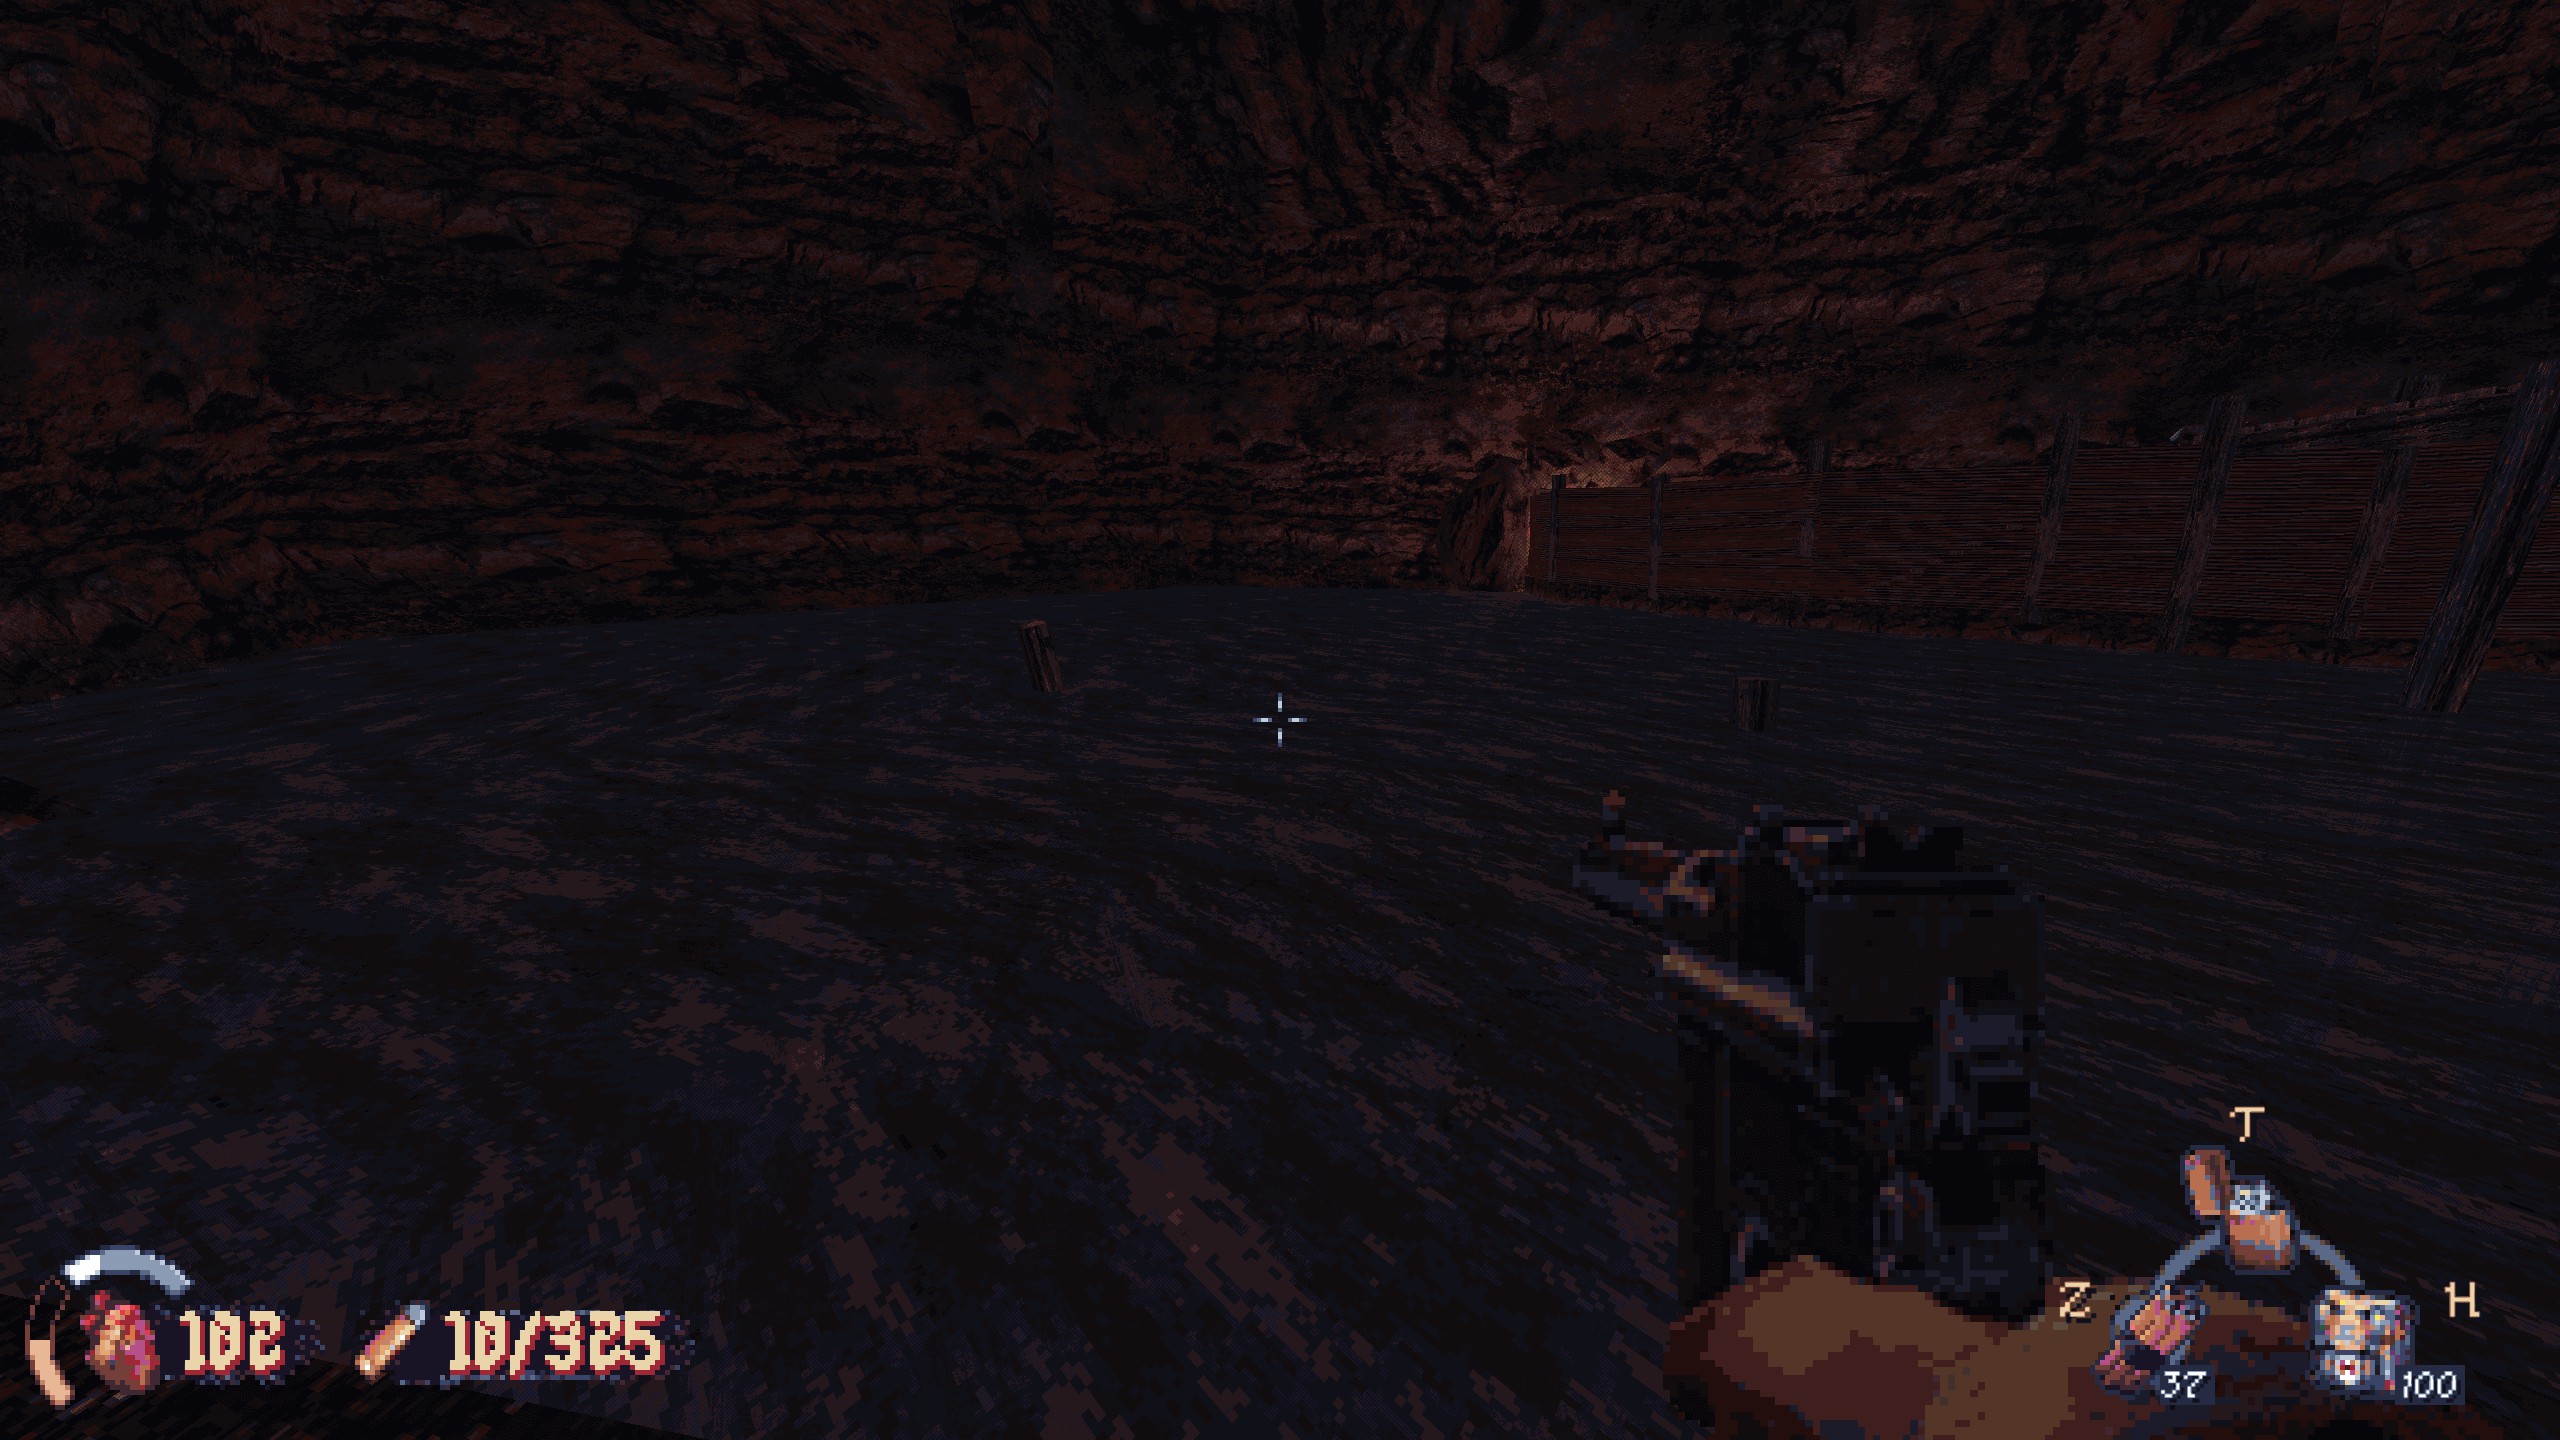
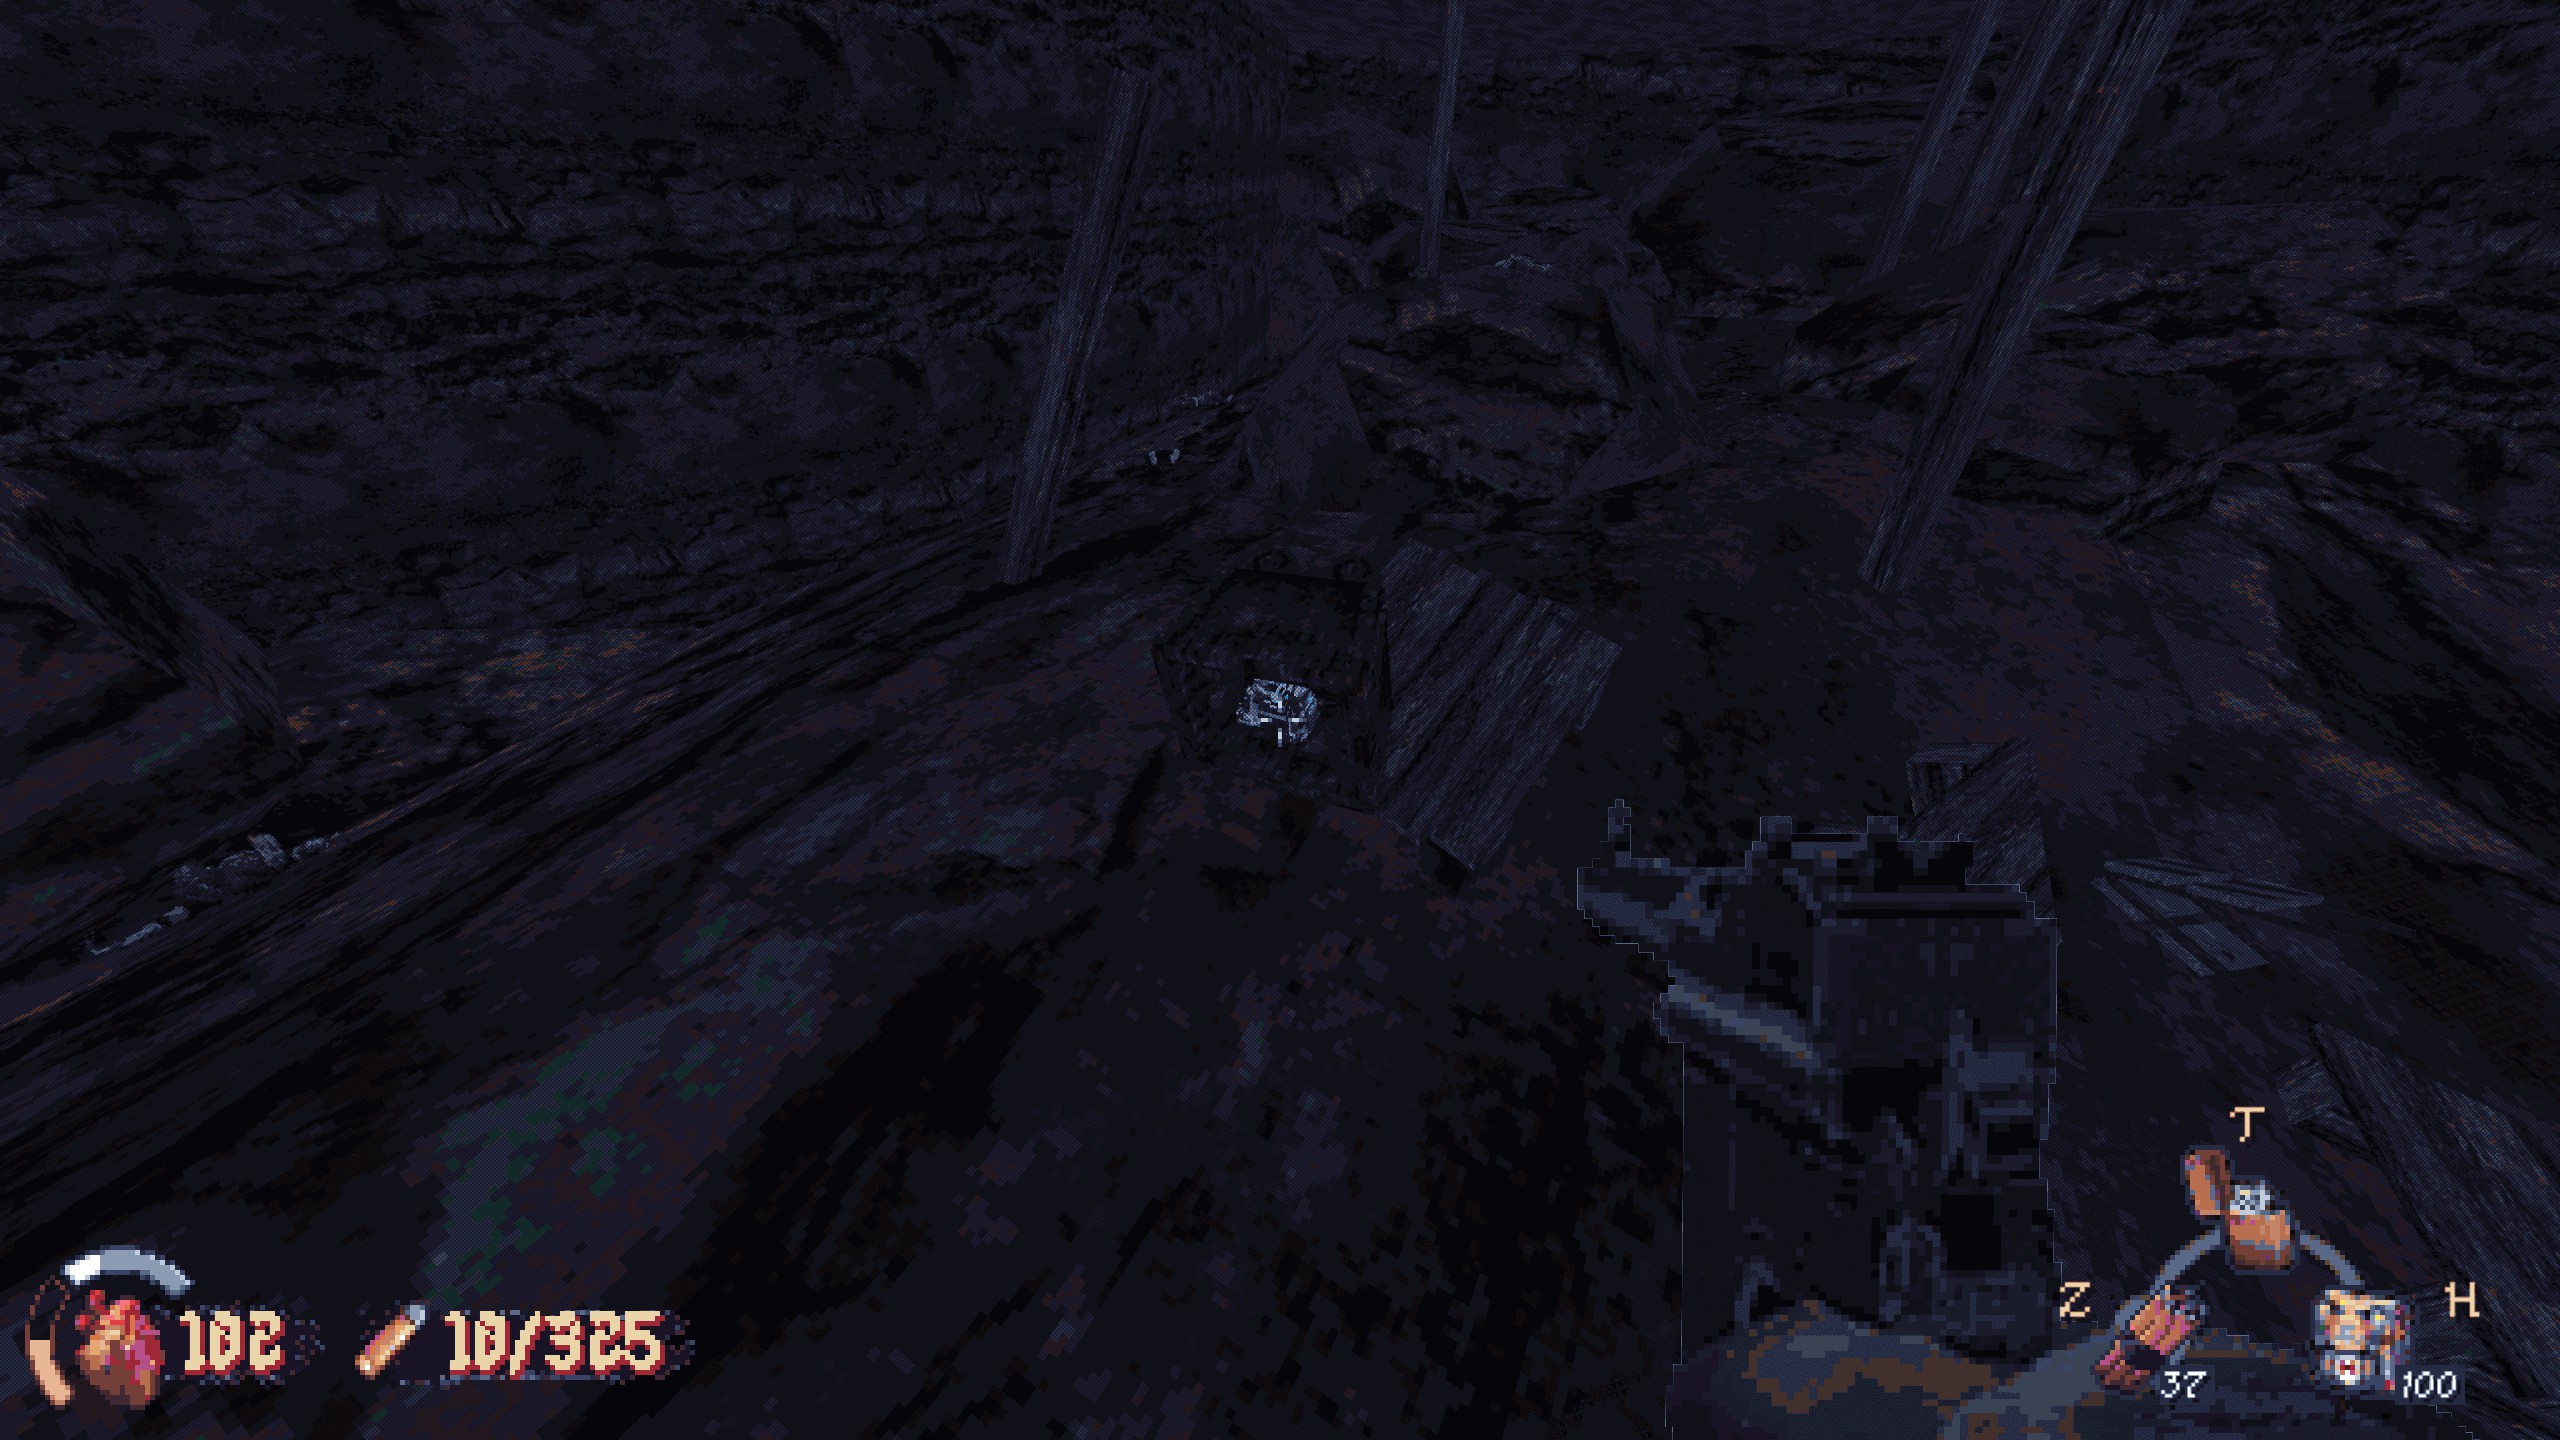
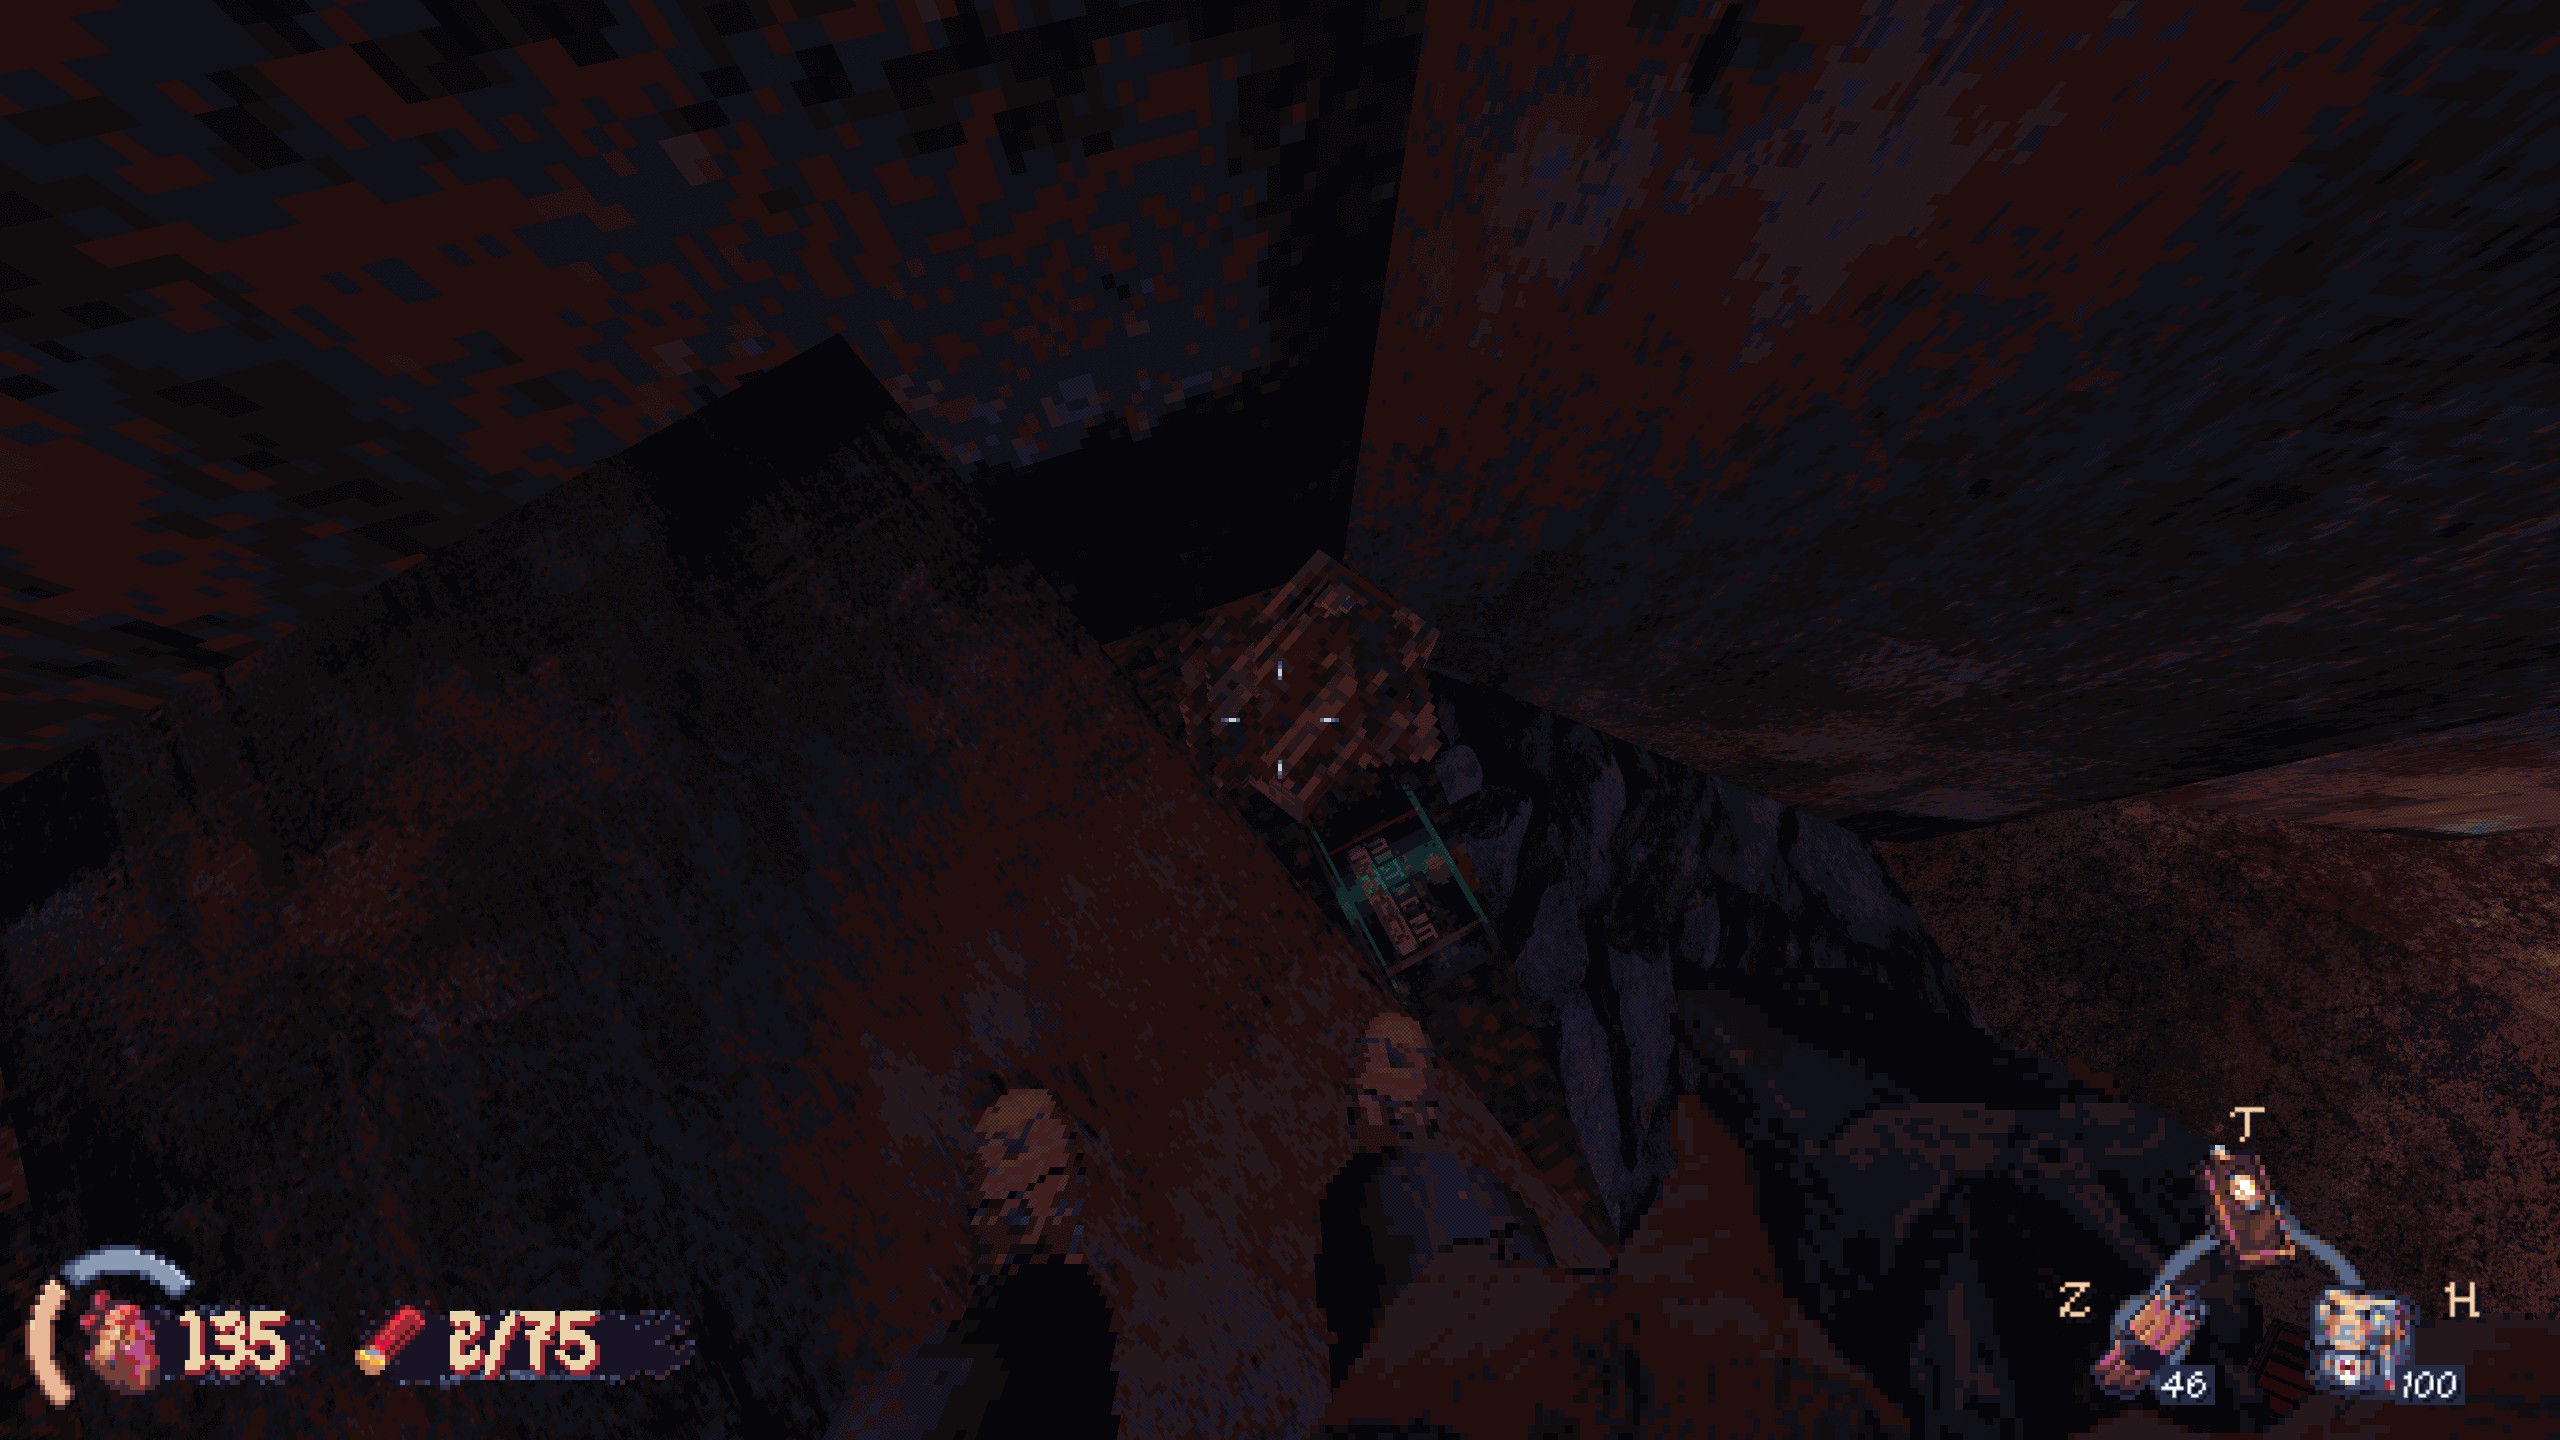
#9: After tunnels and a fall, you’ll reach a secluded lake. Cross the broken bridge, climb piles of barrels and crates to reach a toppled truck. Recompensa: ammo and health.
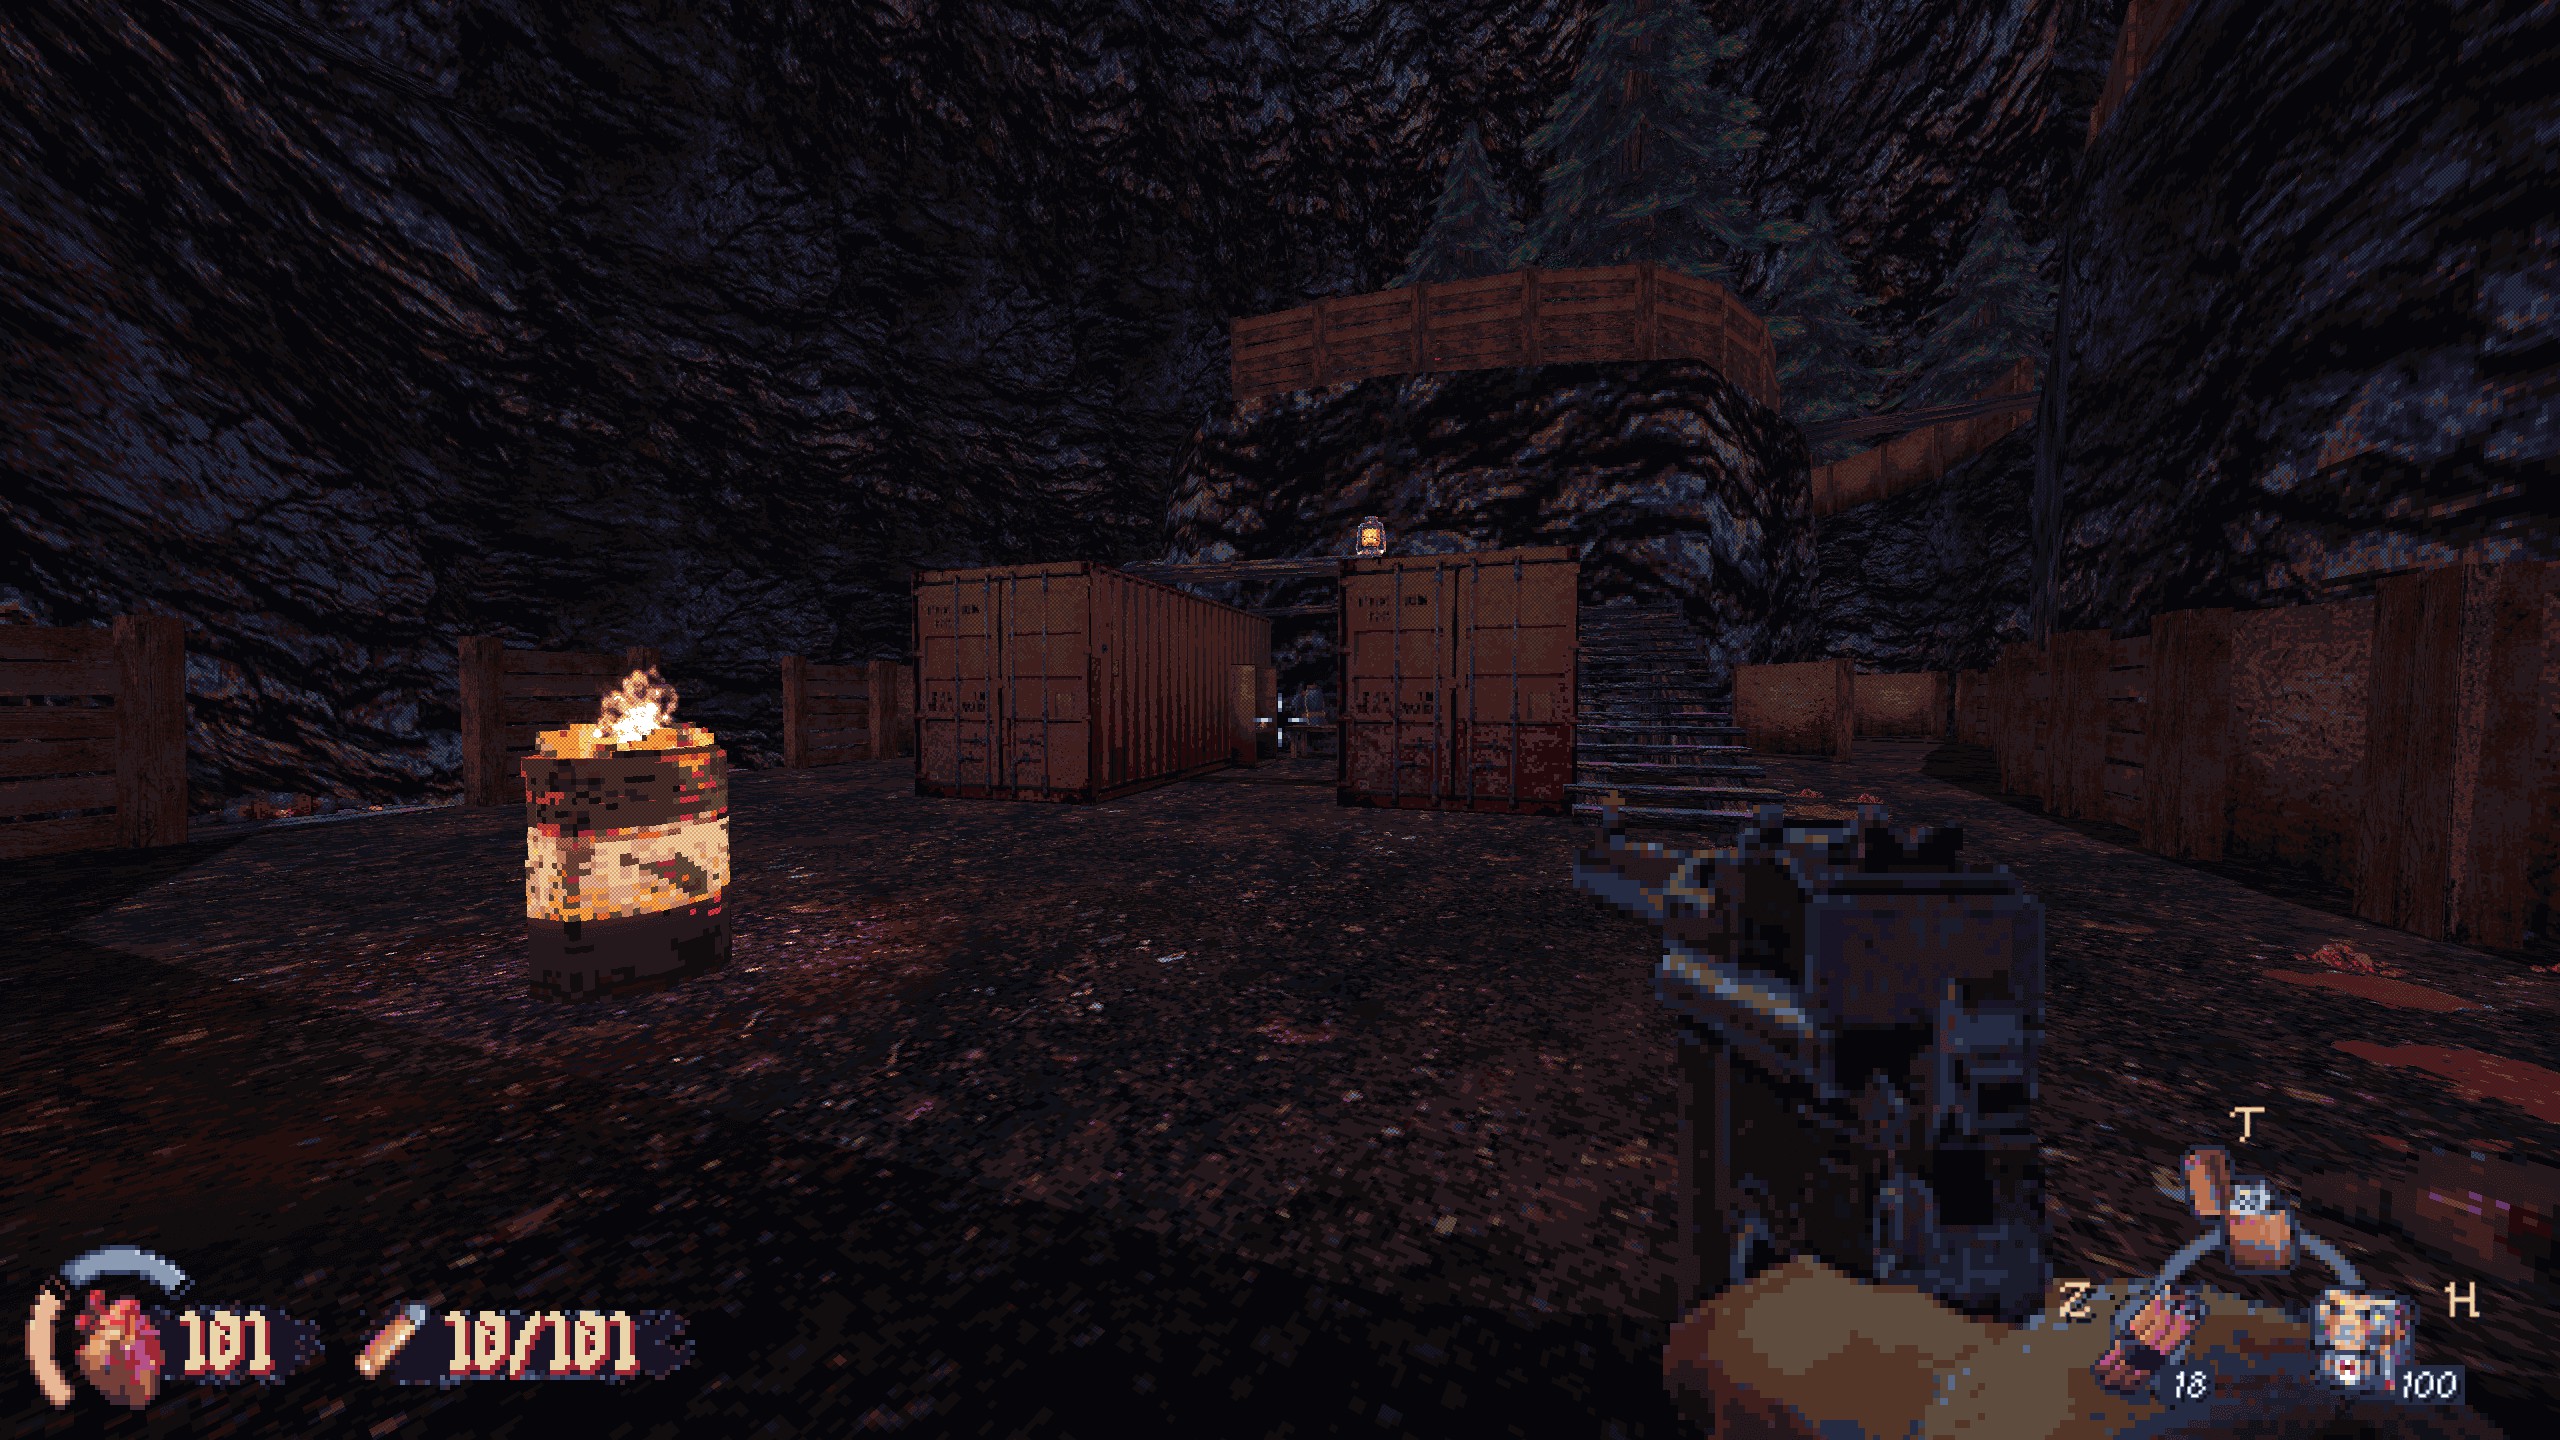
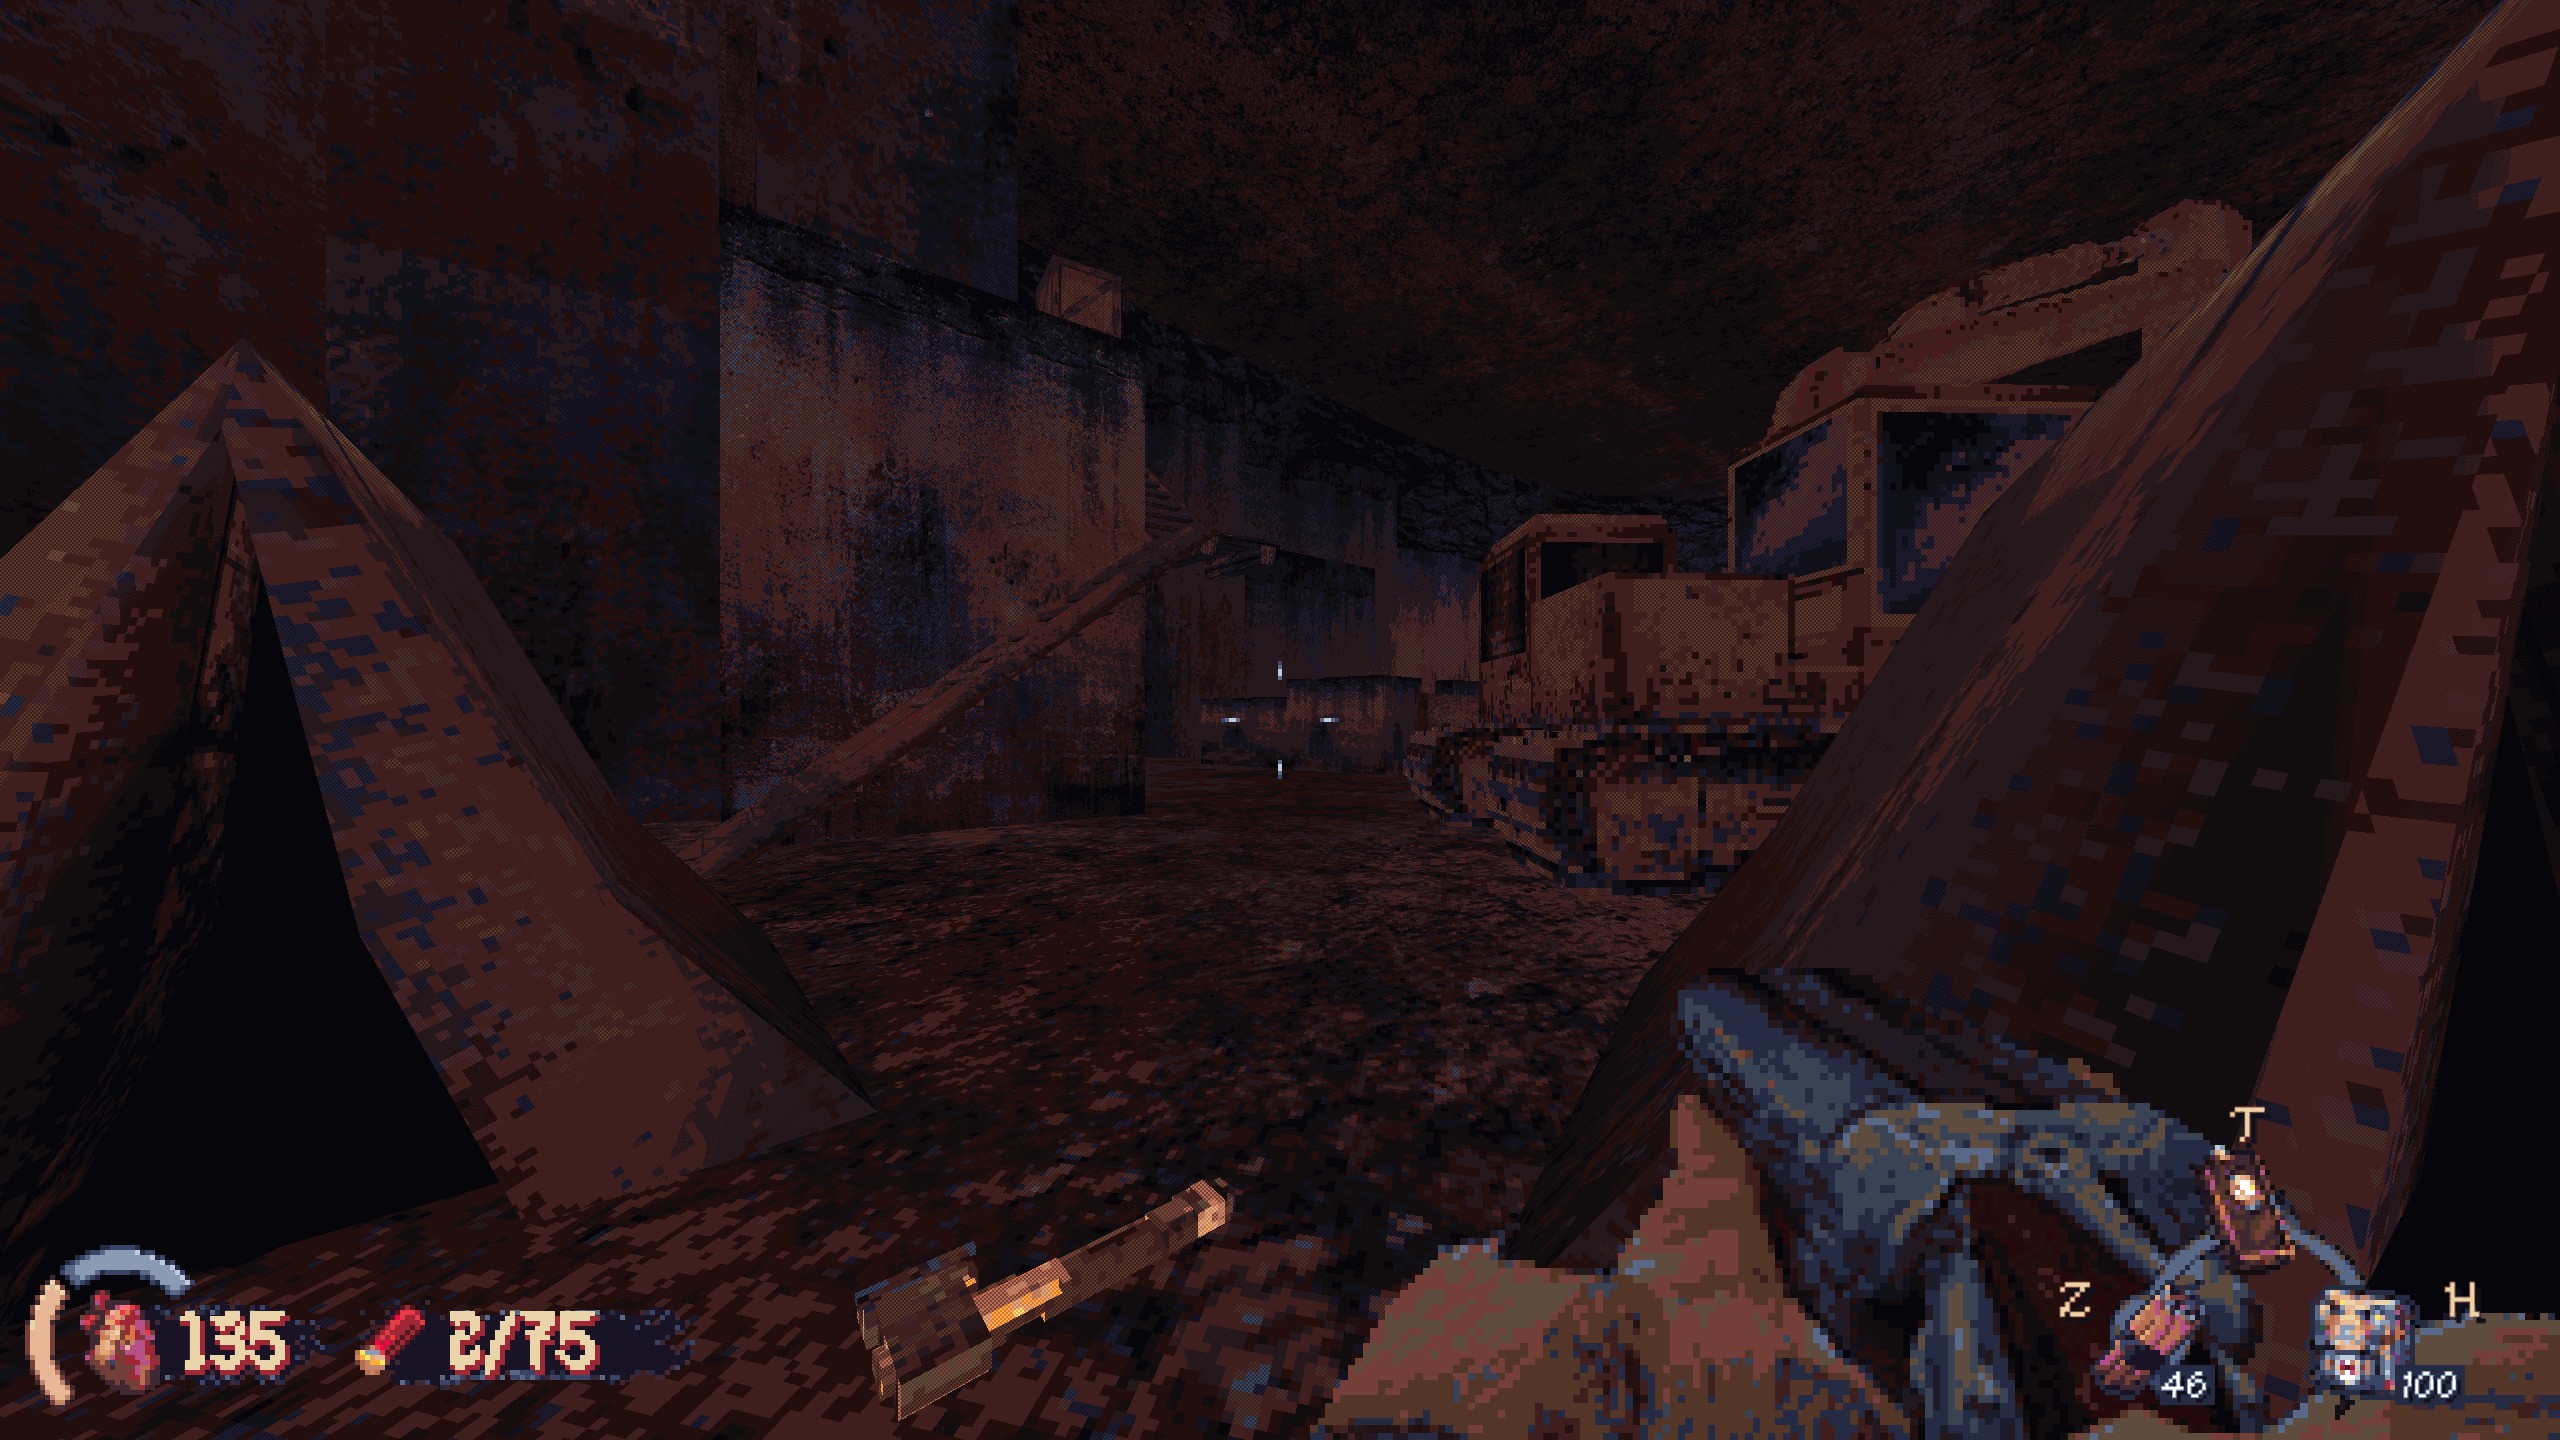
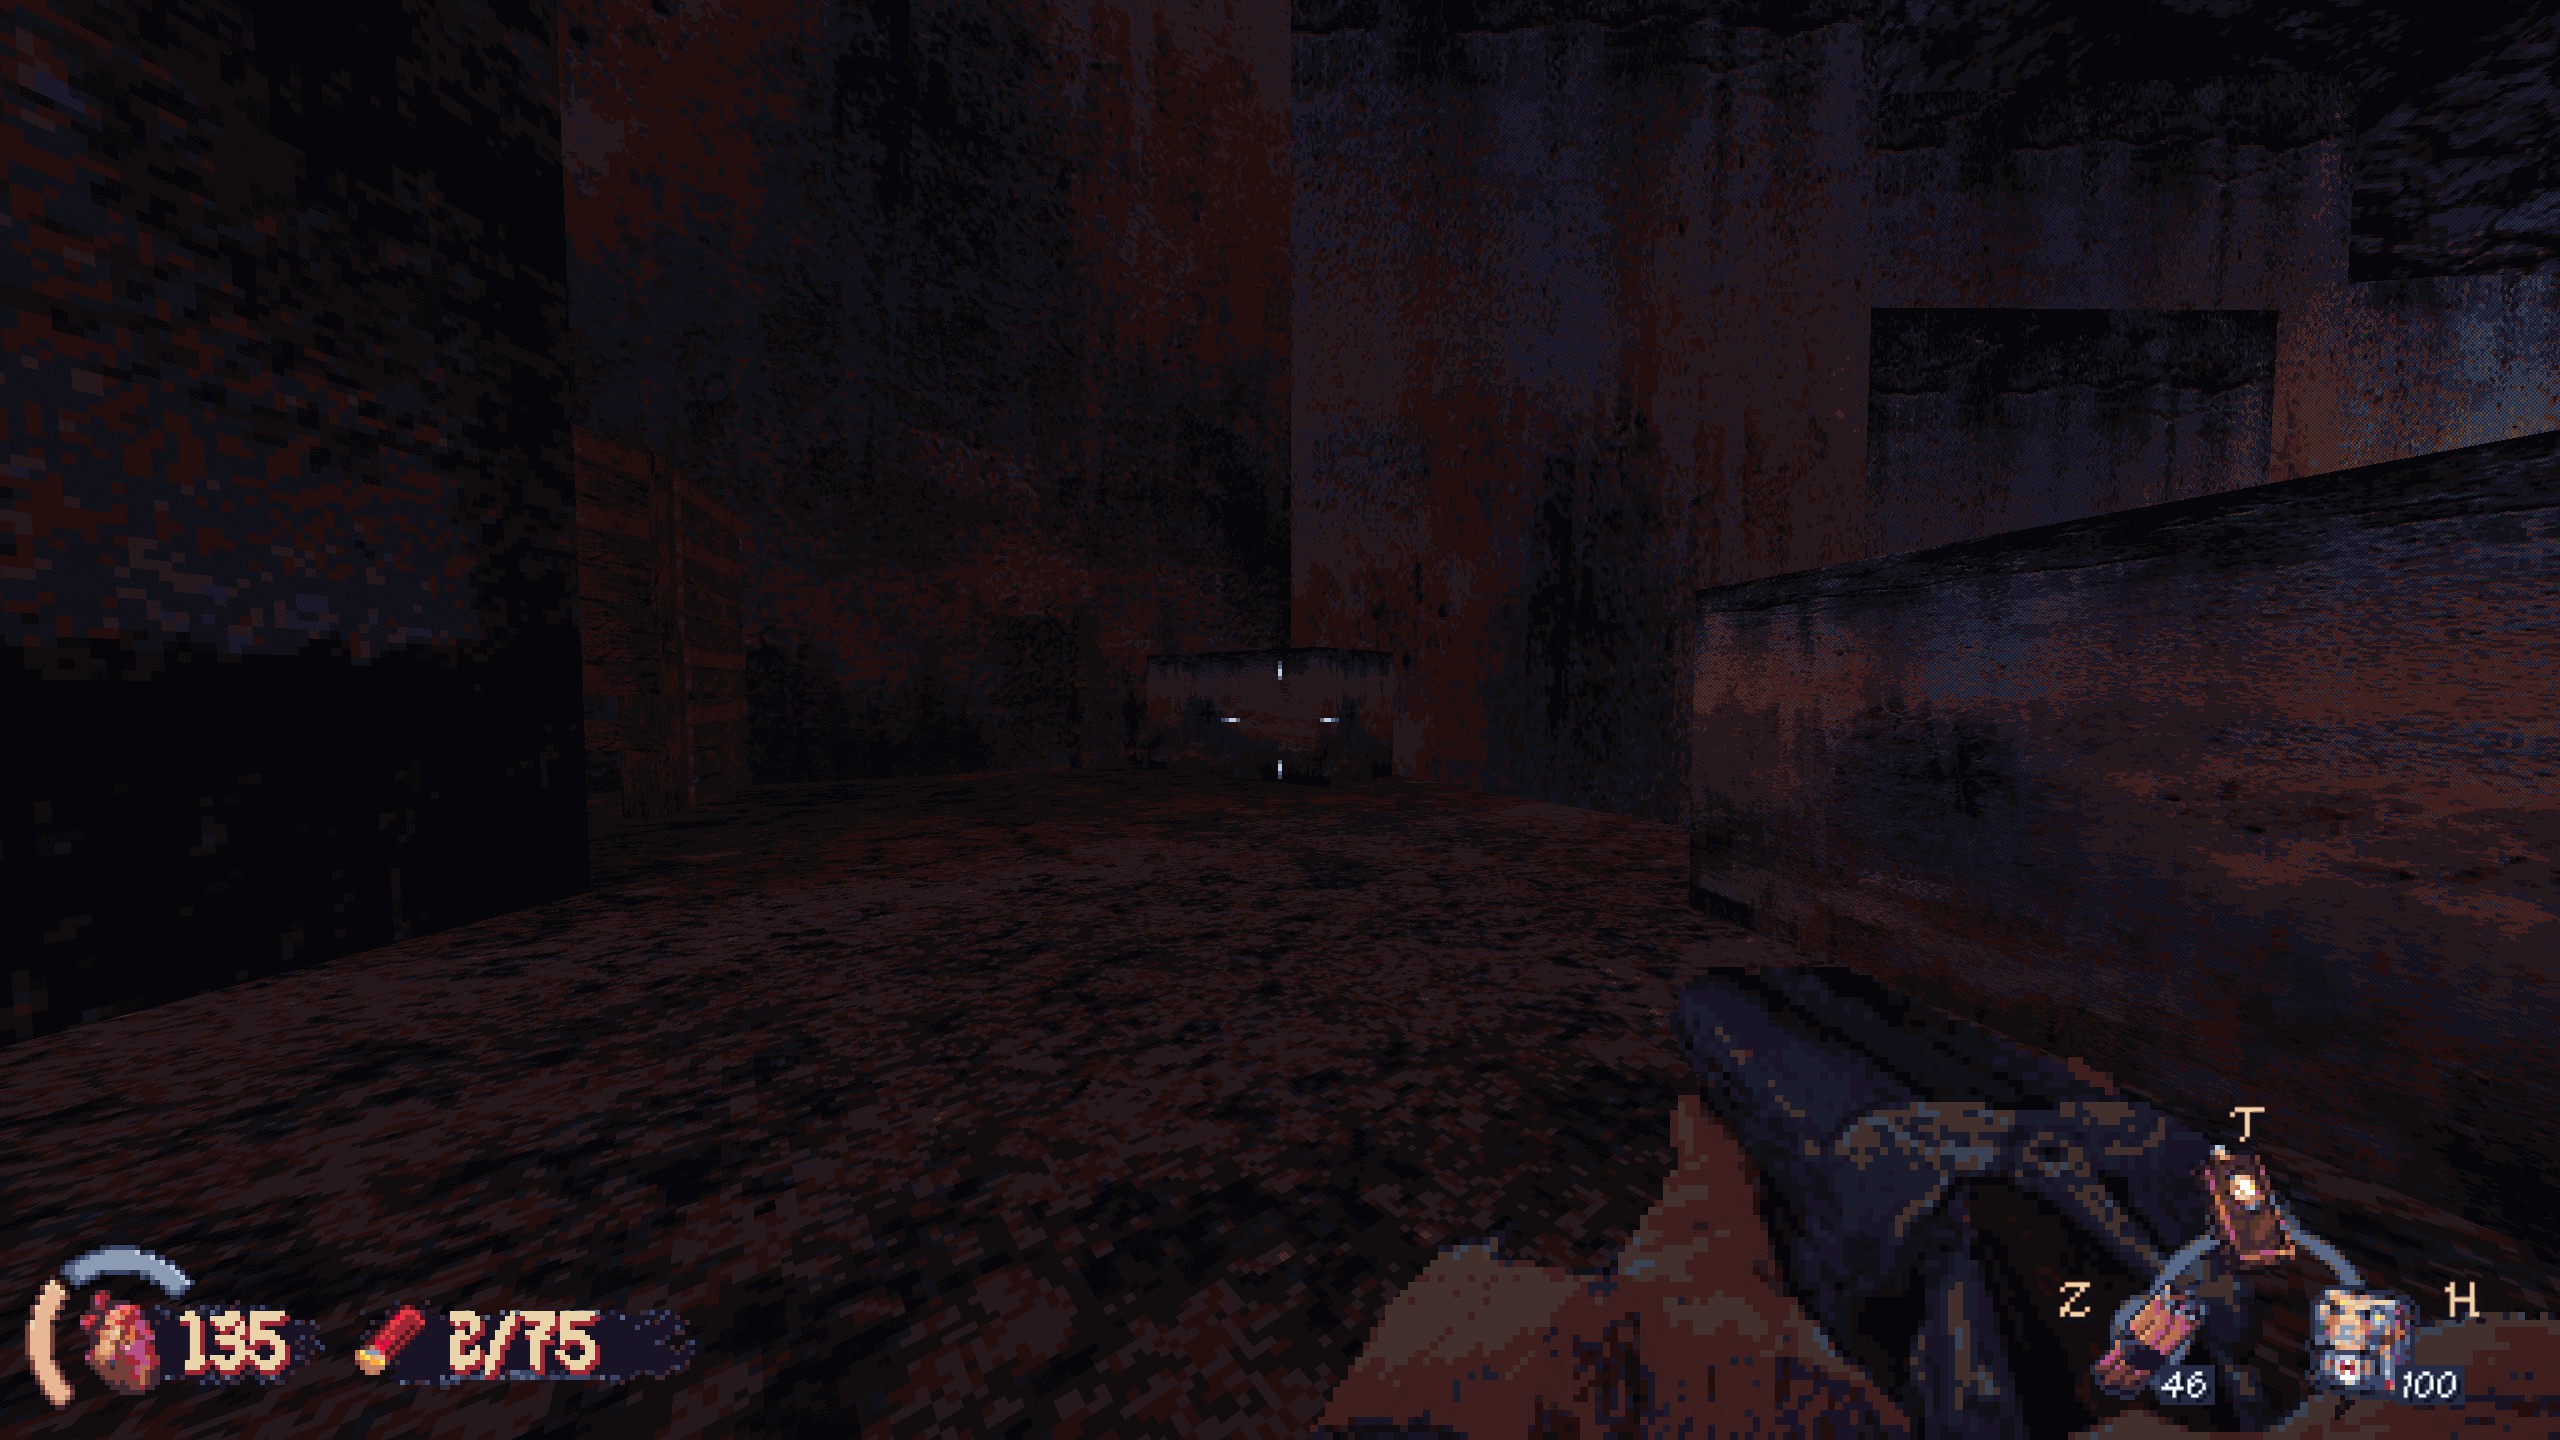
#10: In an area with trees and tents, find an open shipping container in the back. Smash through the crates inside. Break the second set of crates too. Recompensa: TNT, espingarda, and a weapon part.
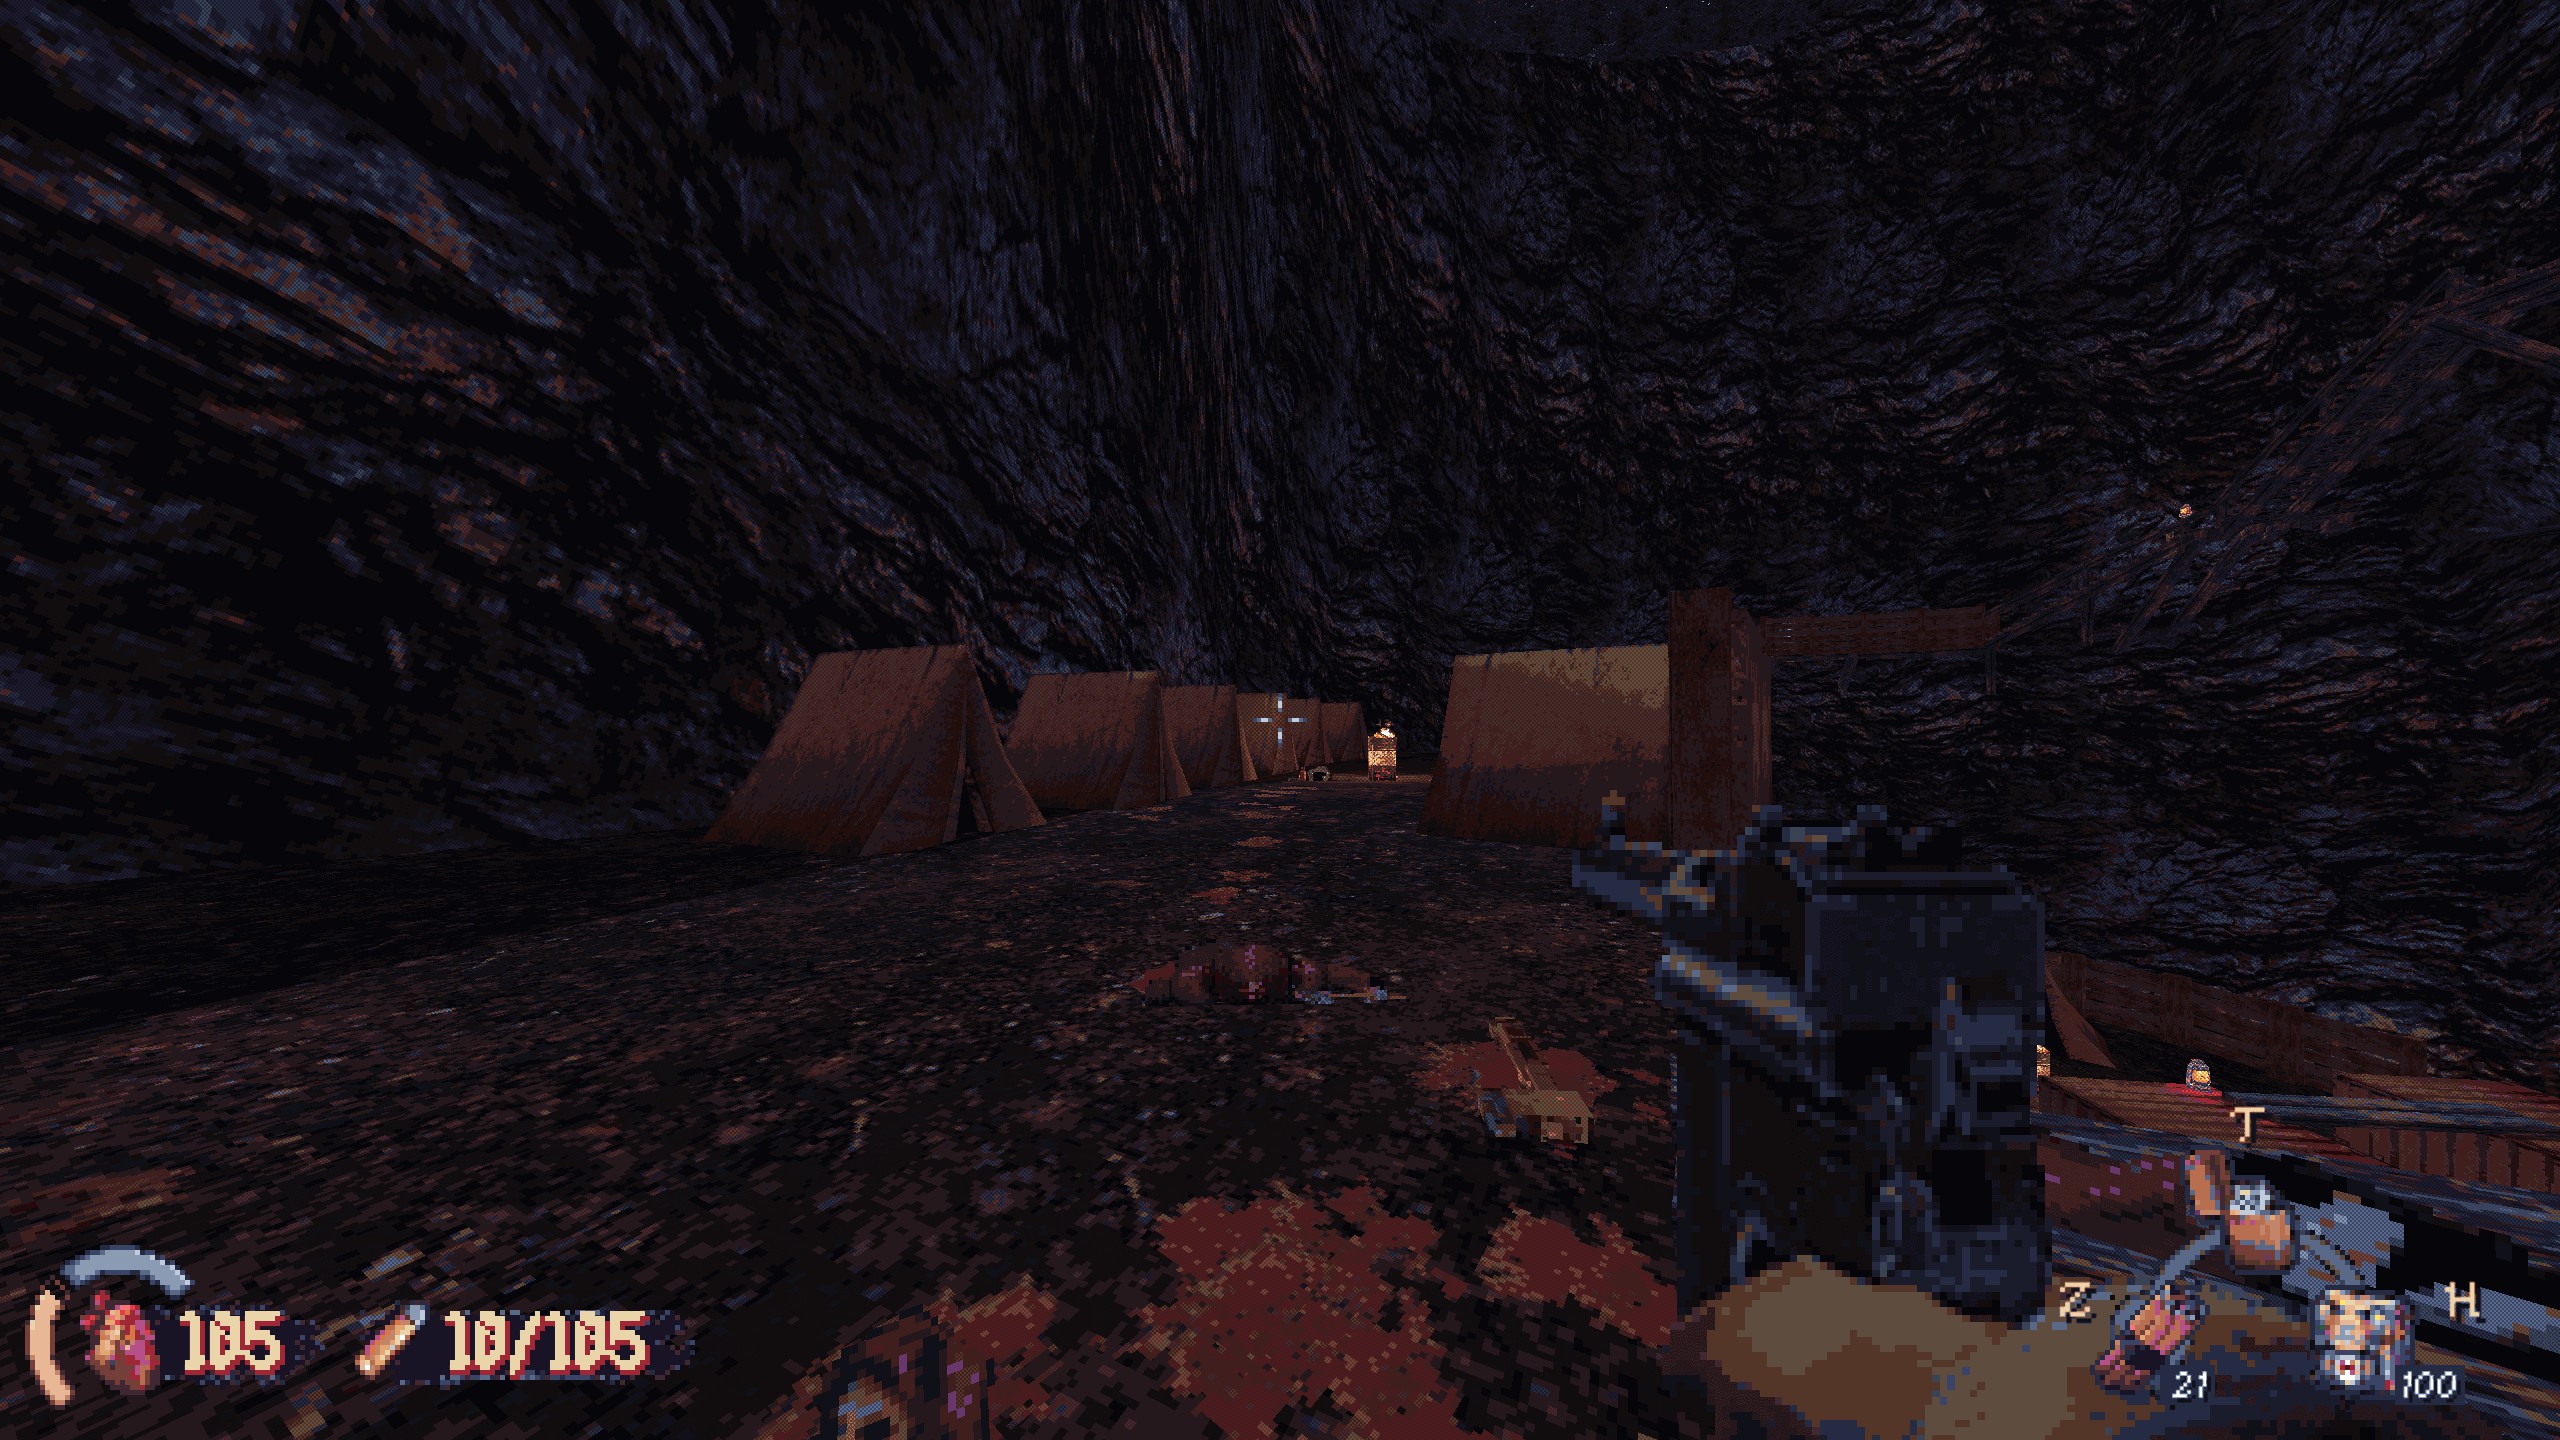
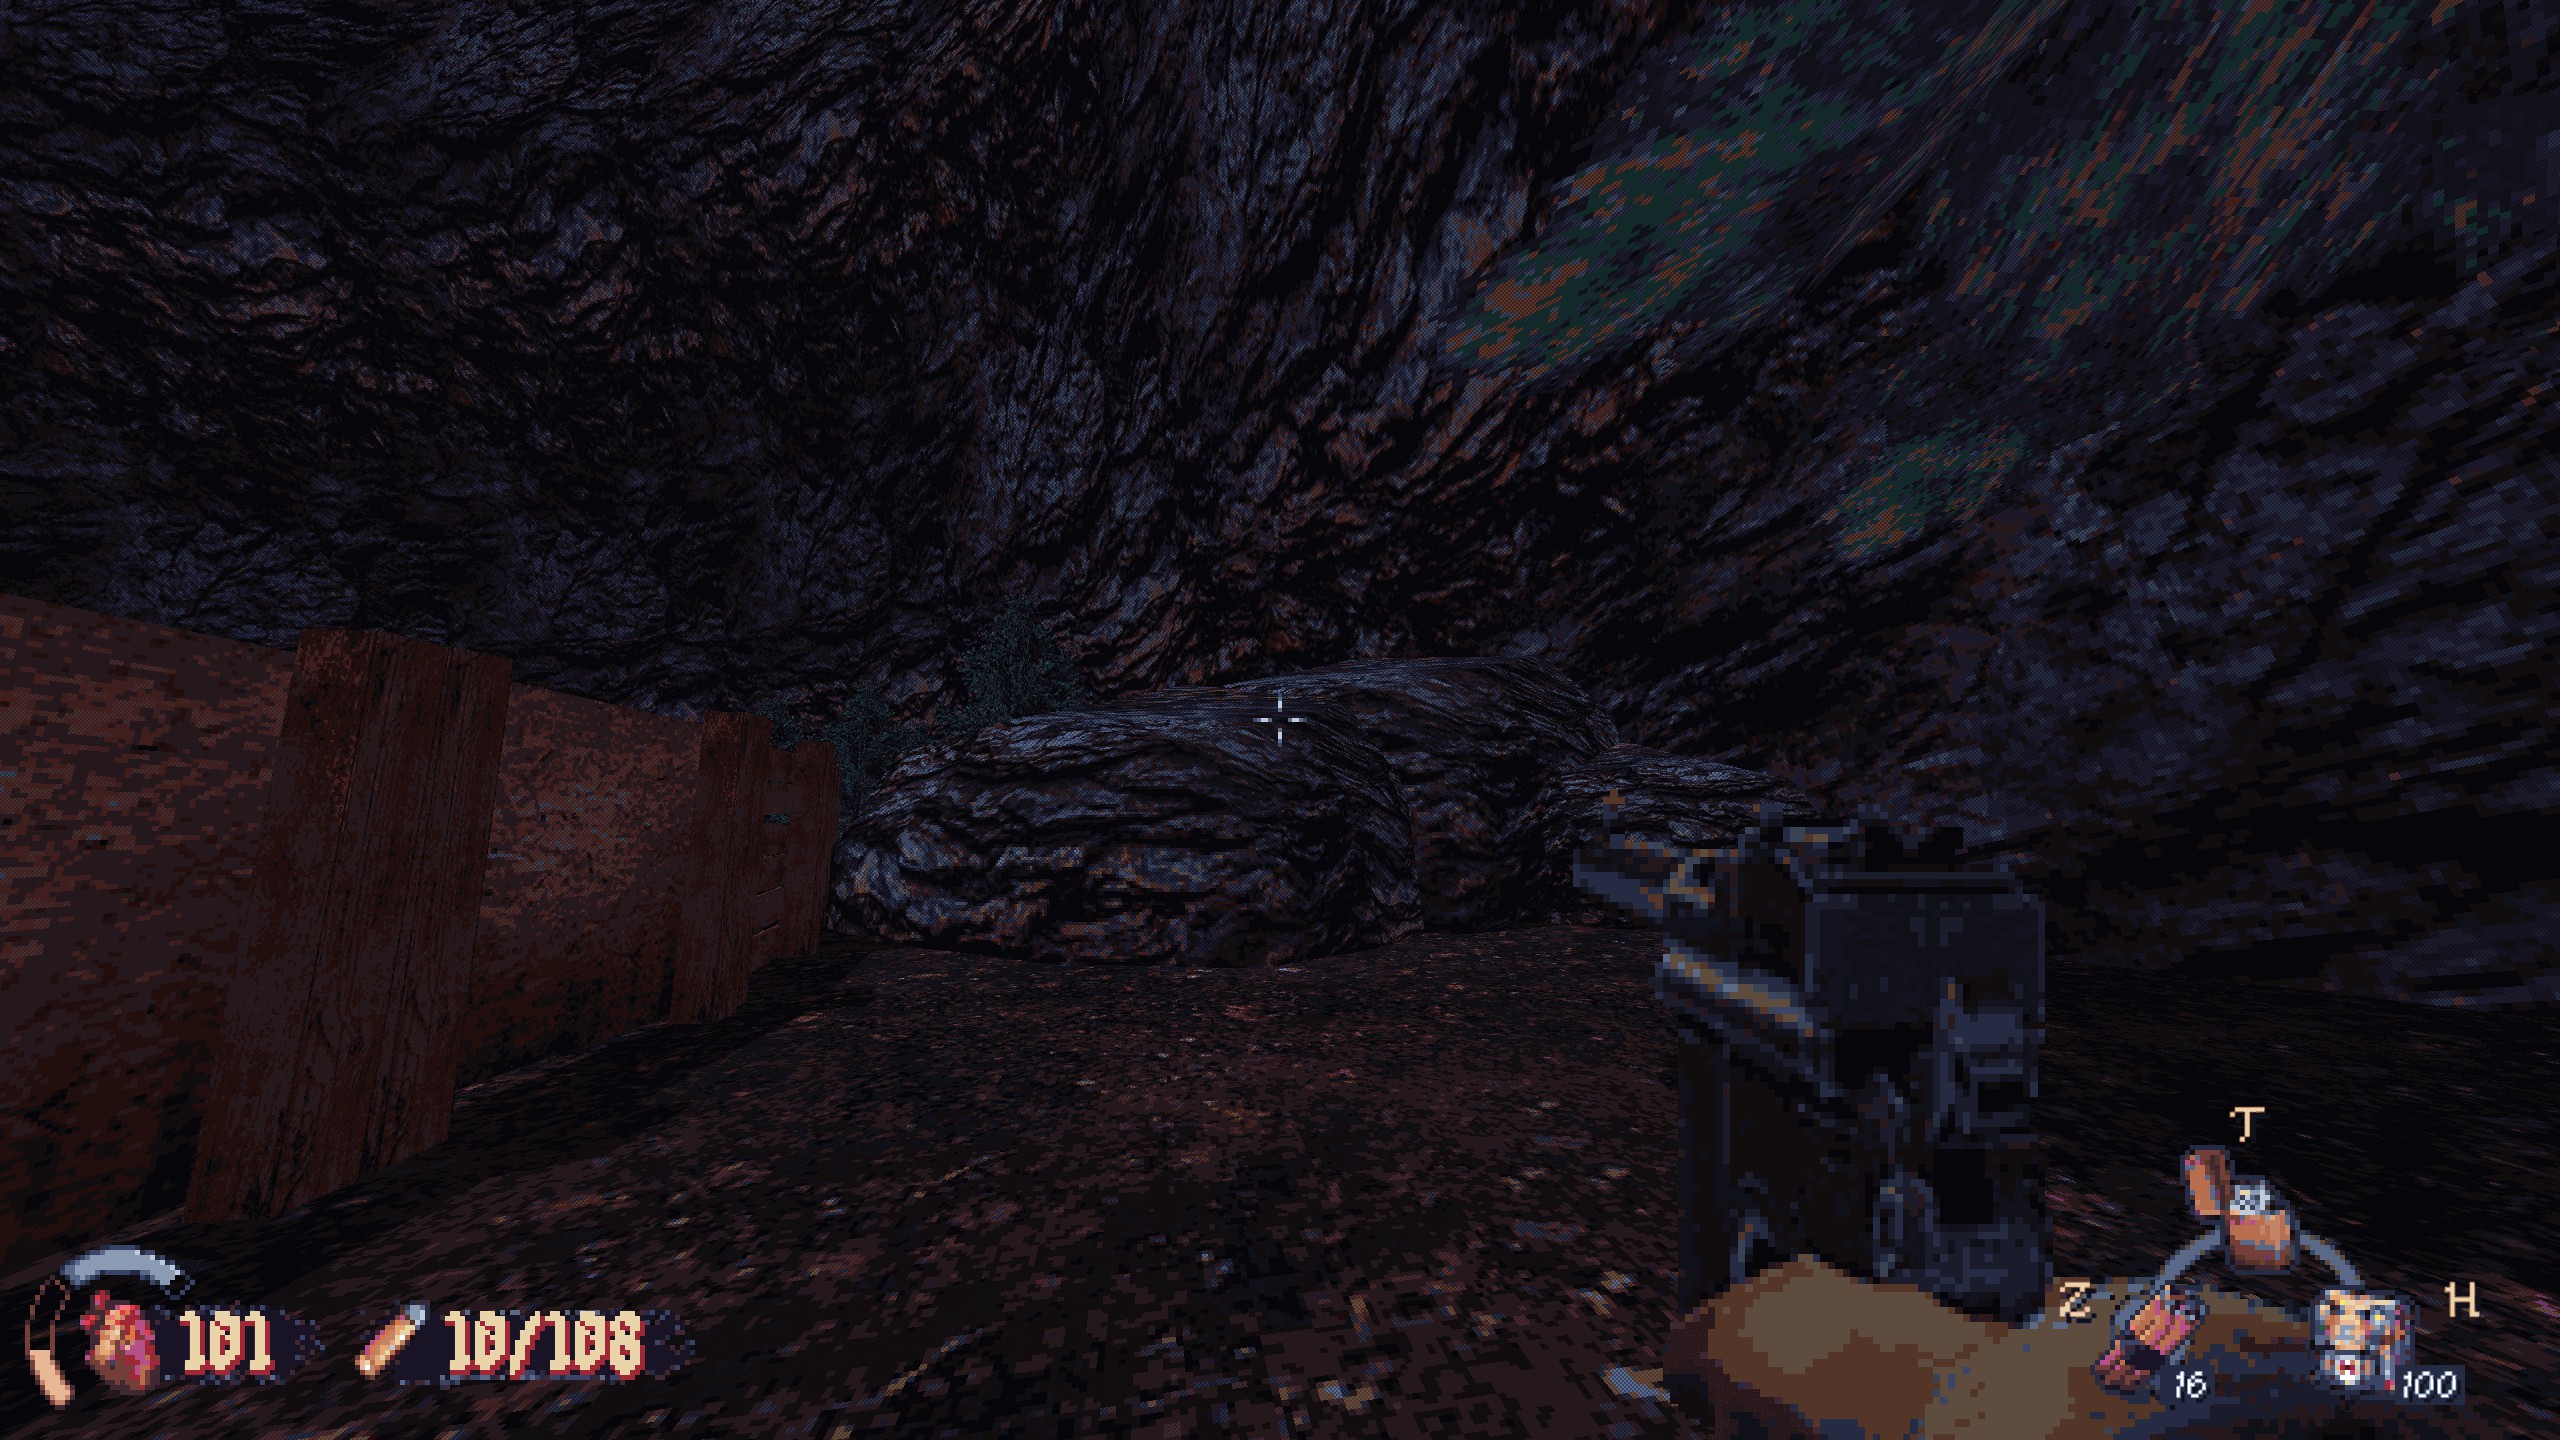
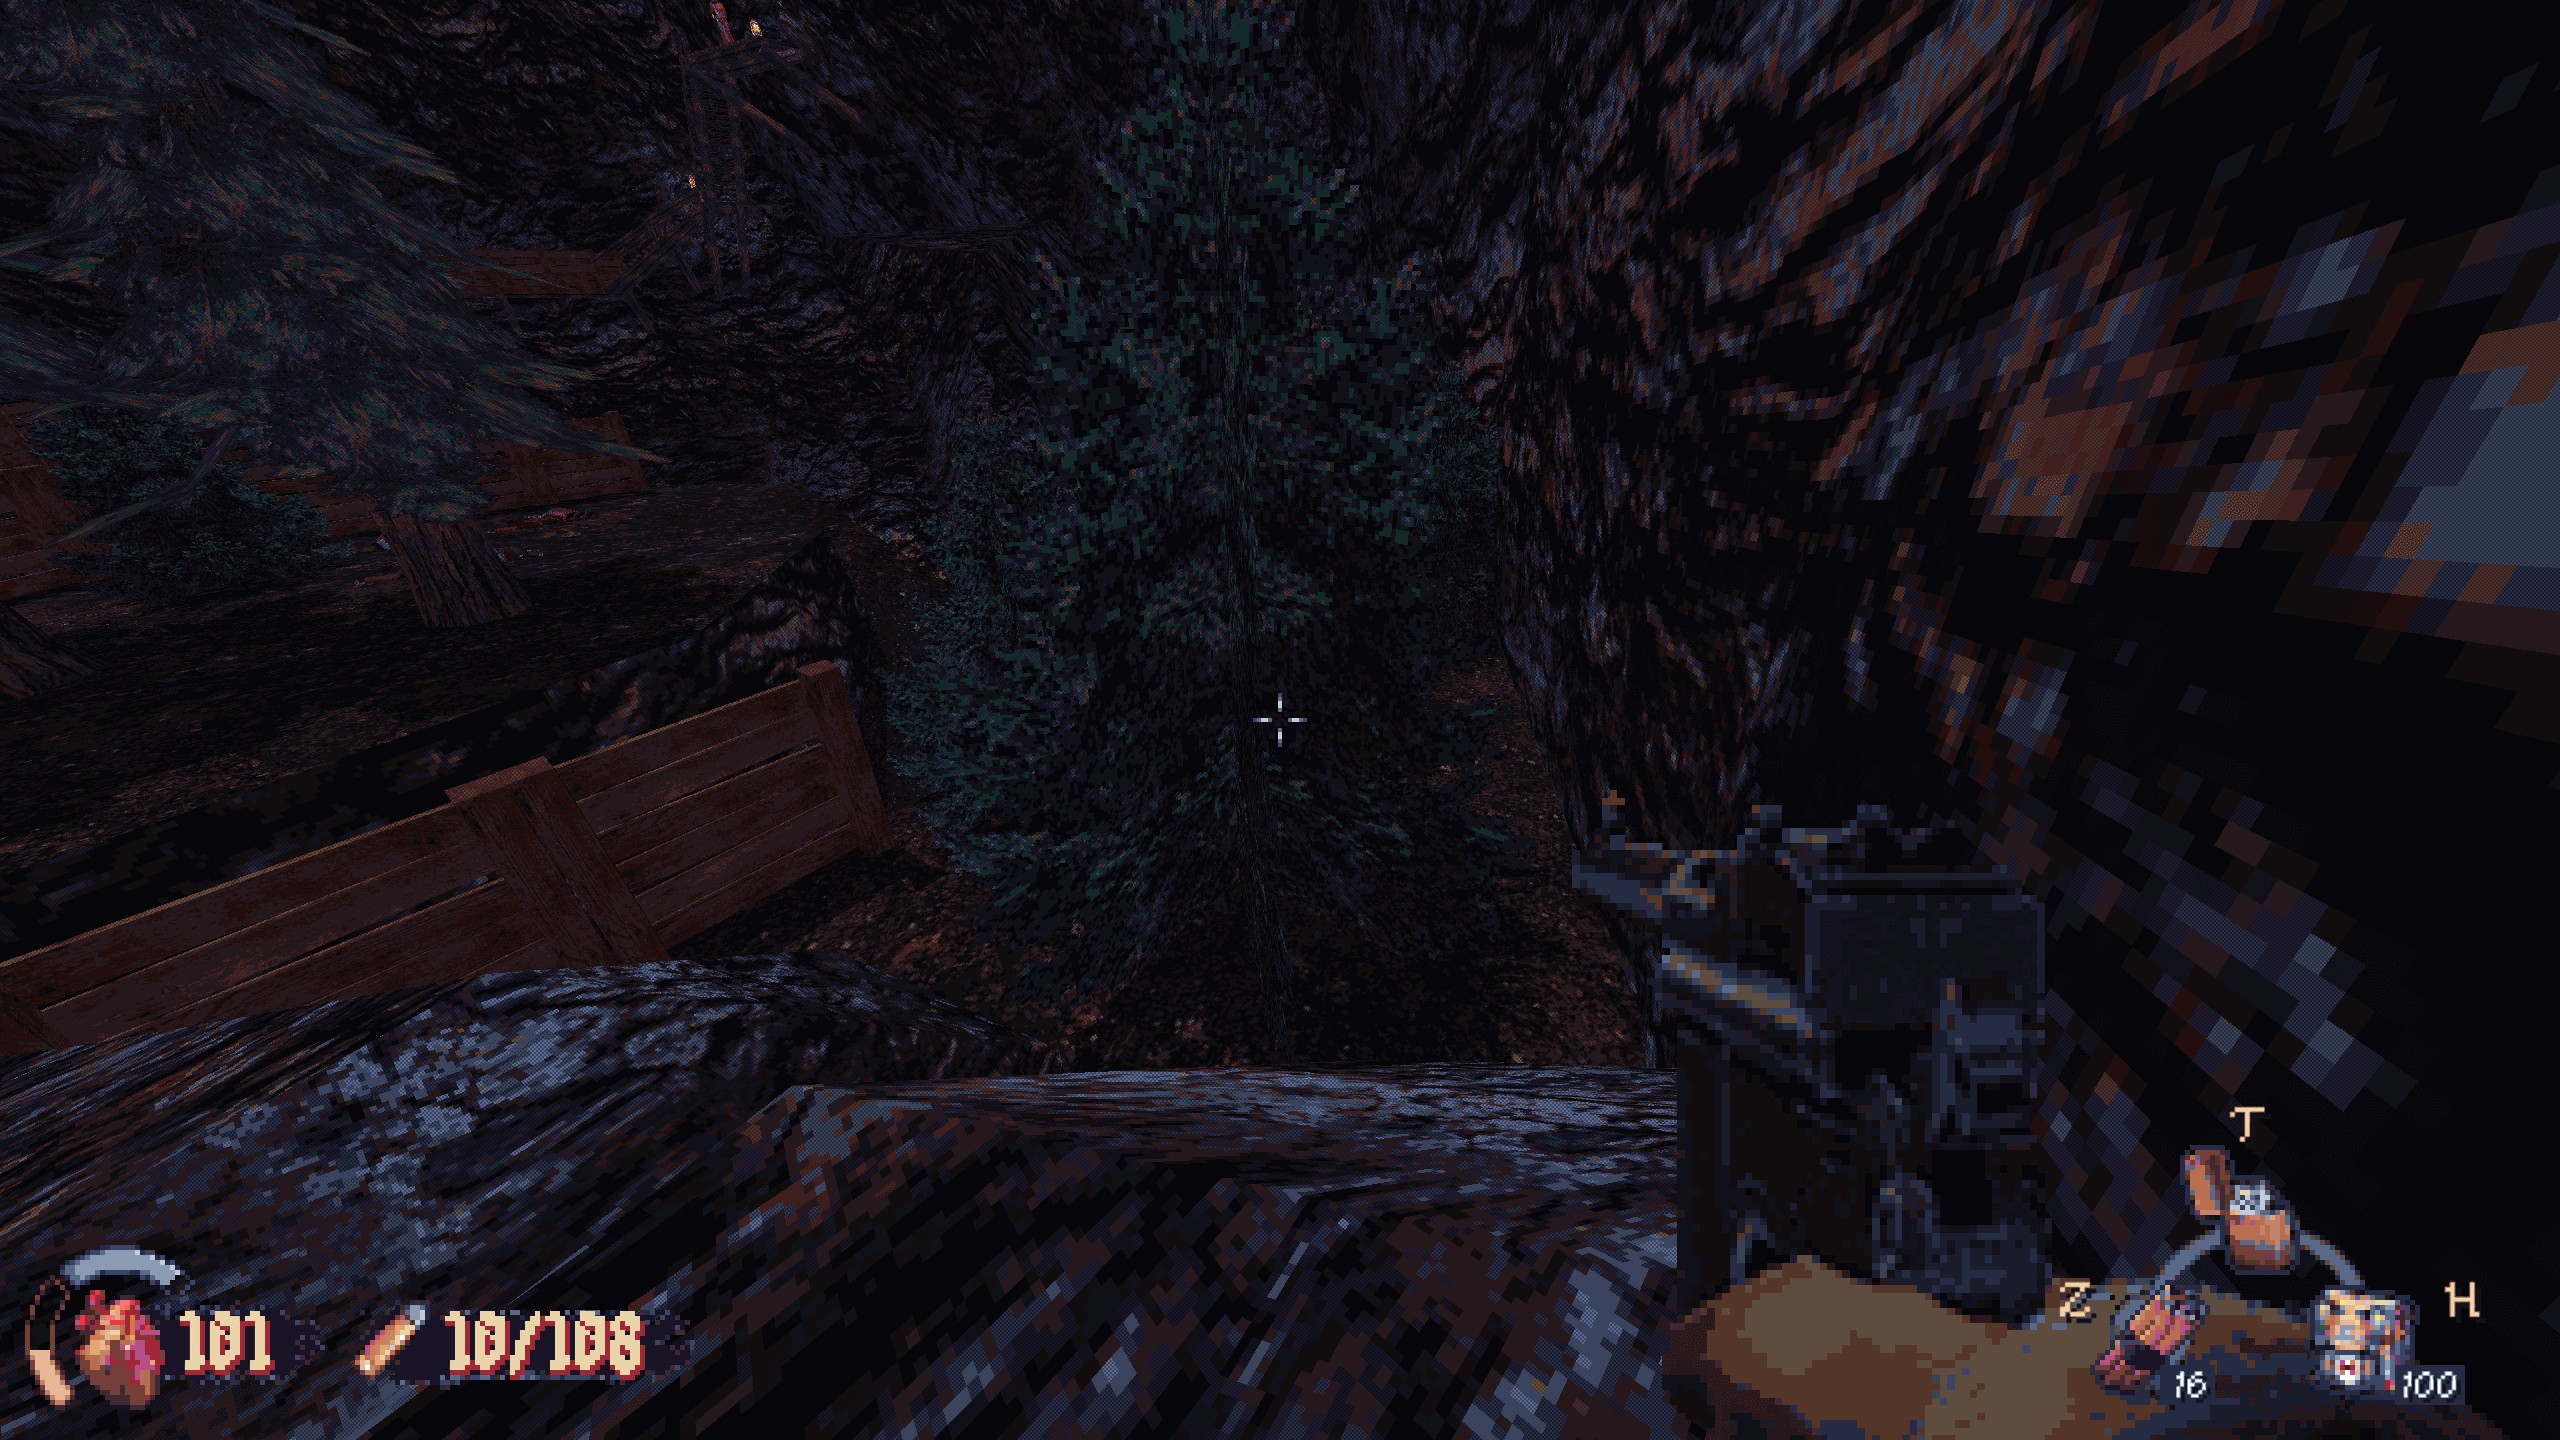
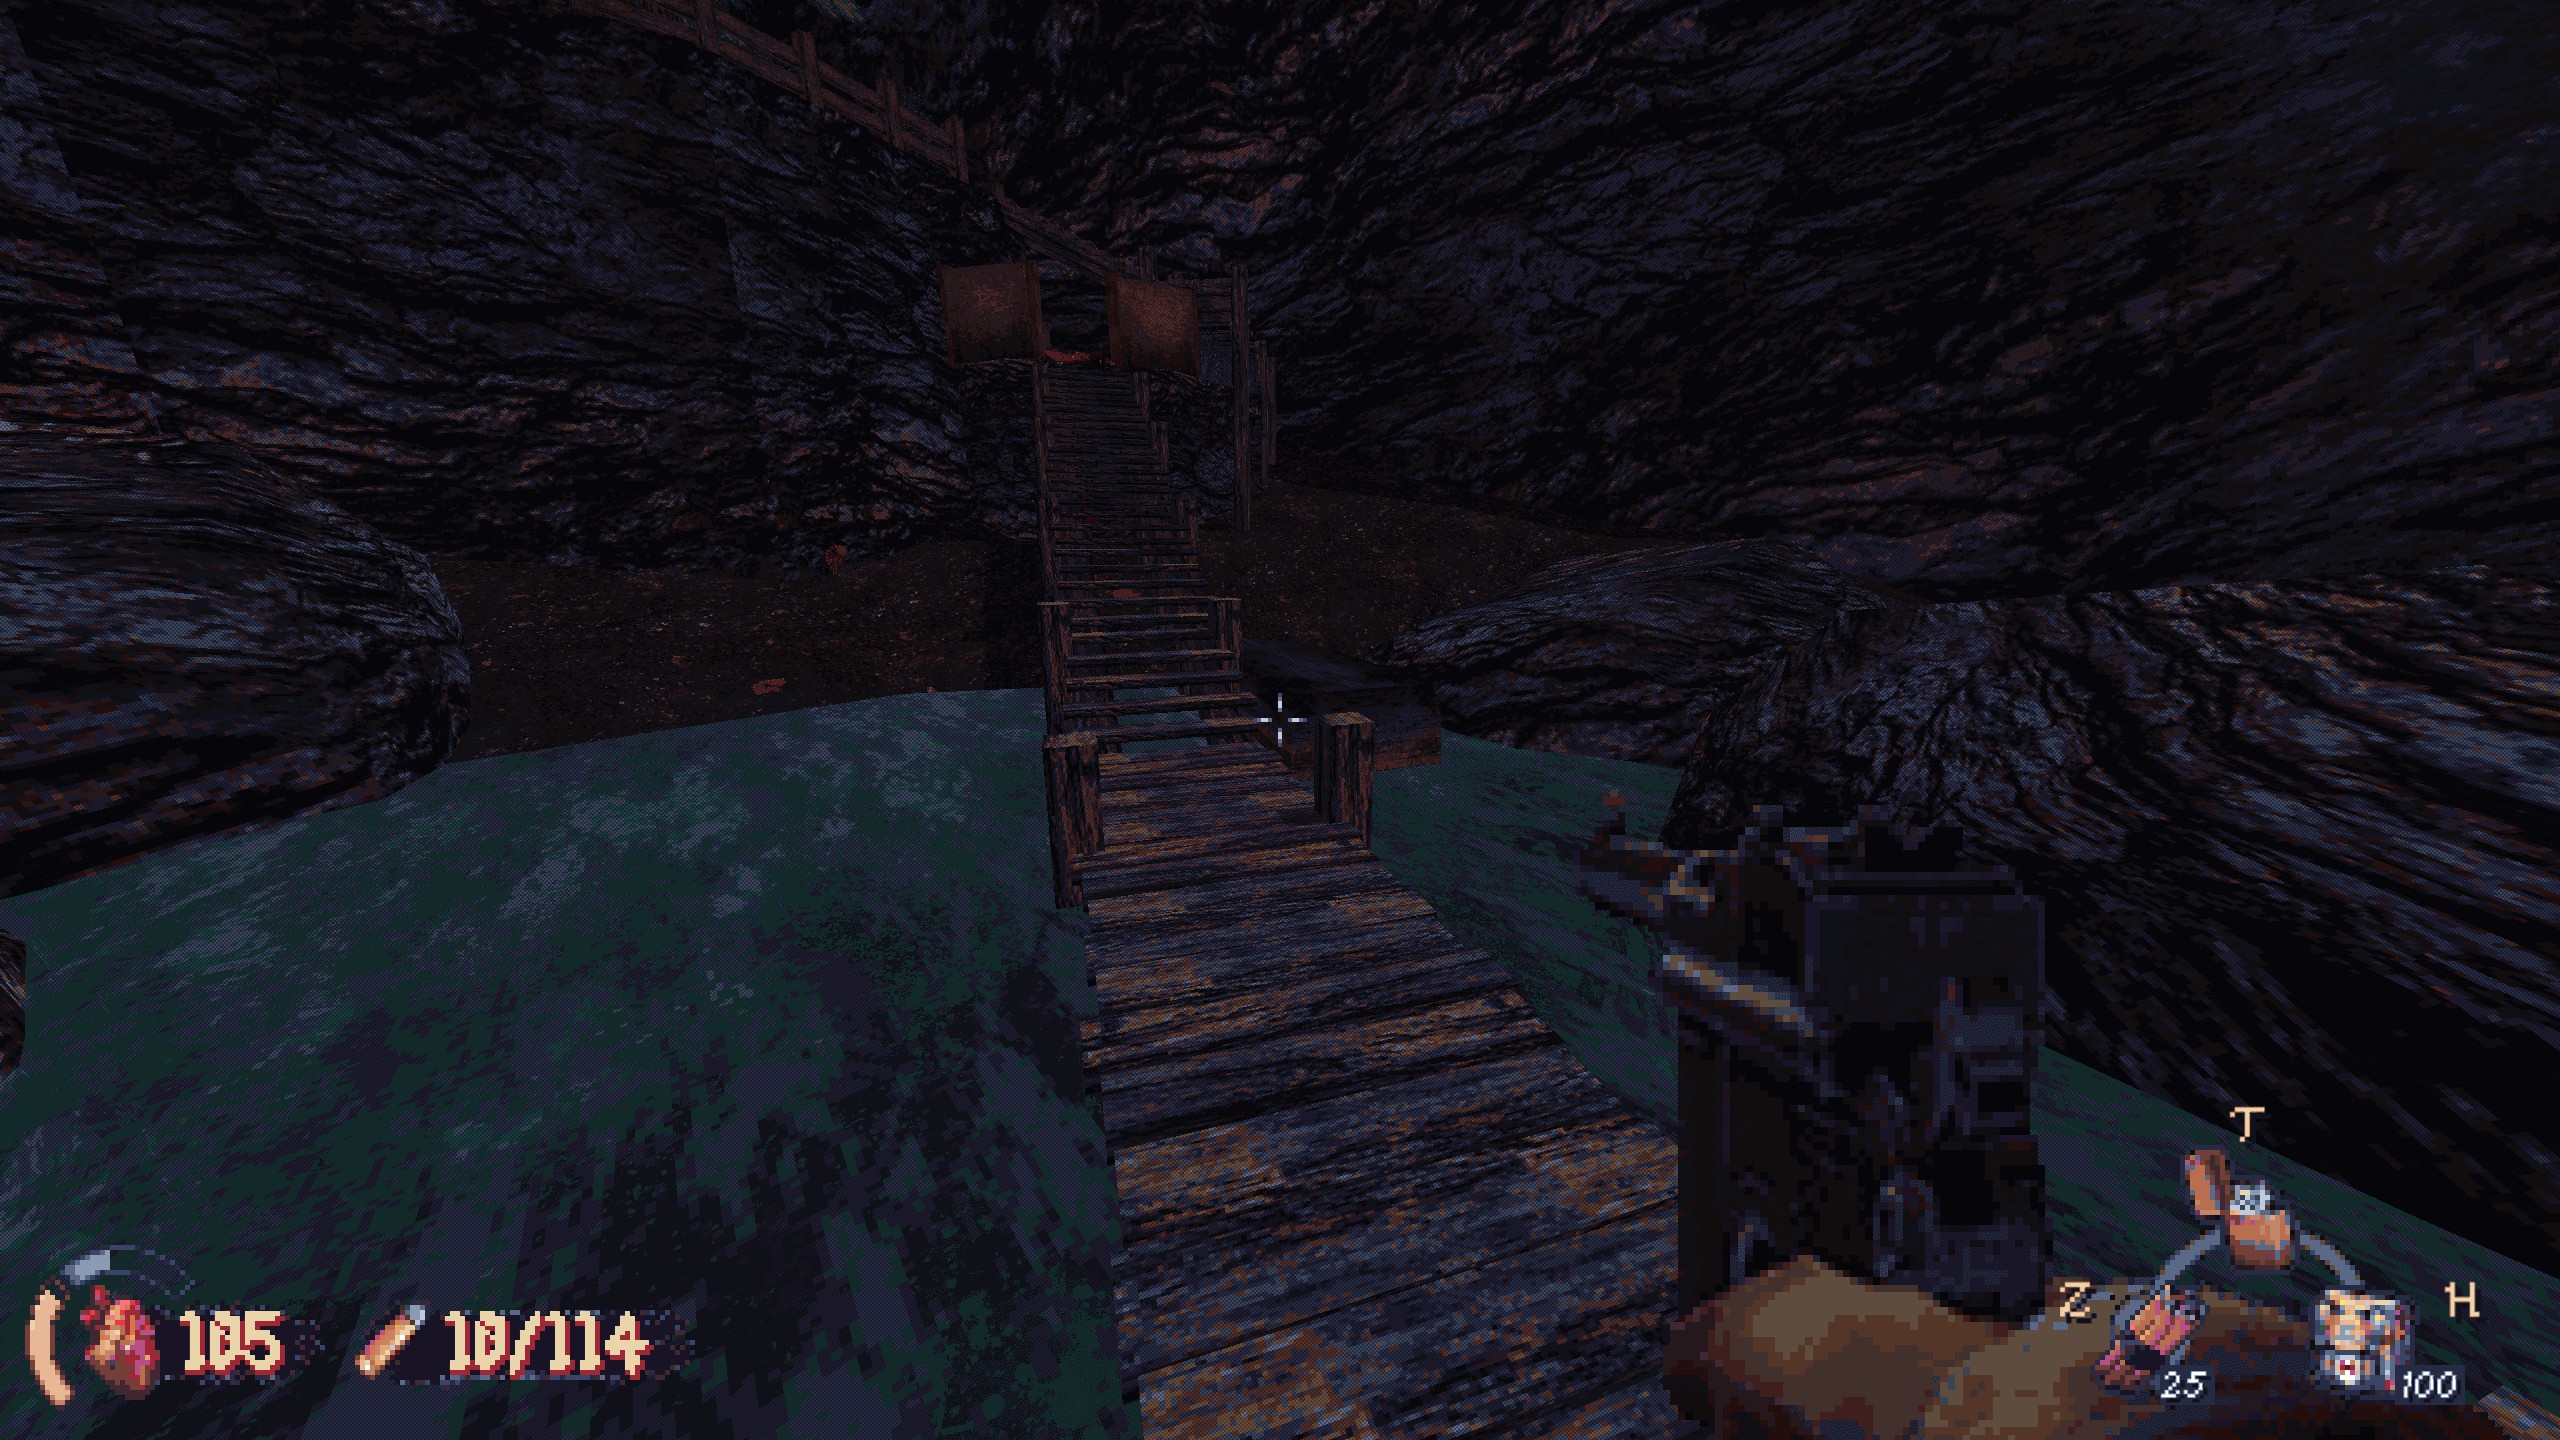
#11: After a short climb, cross a makeshift bridge, and find tents to your right. Vire à esquerda, jump over large rocks for a reward of TNT.
Conquistas
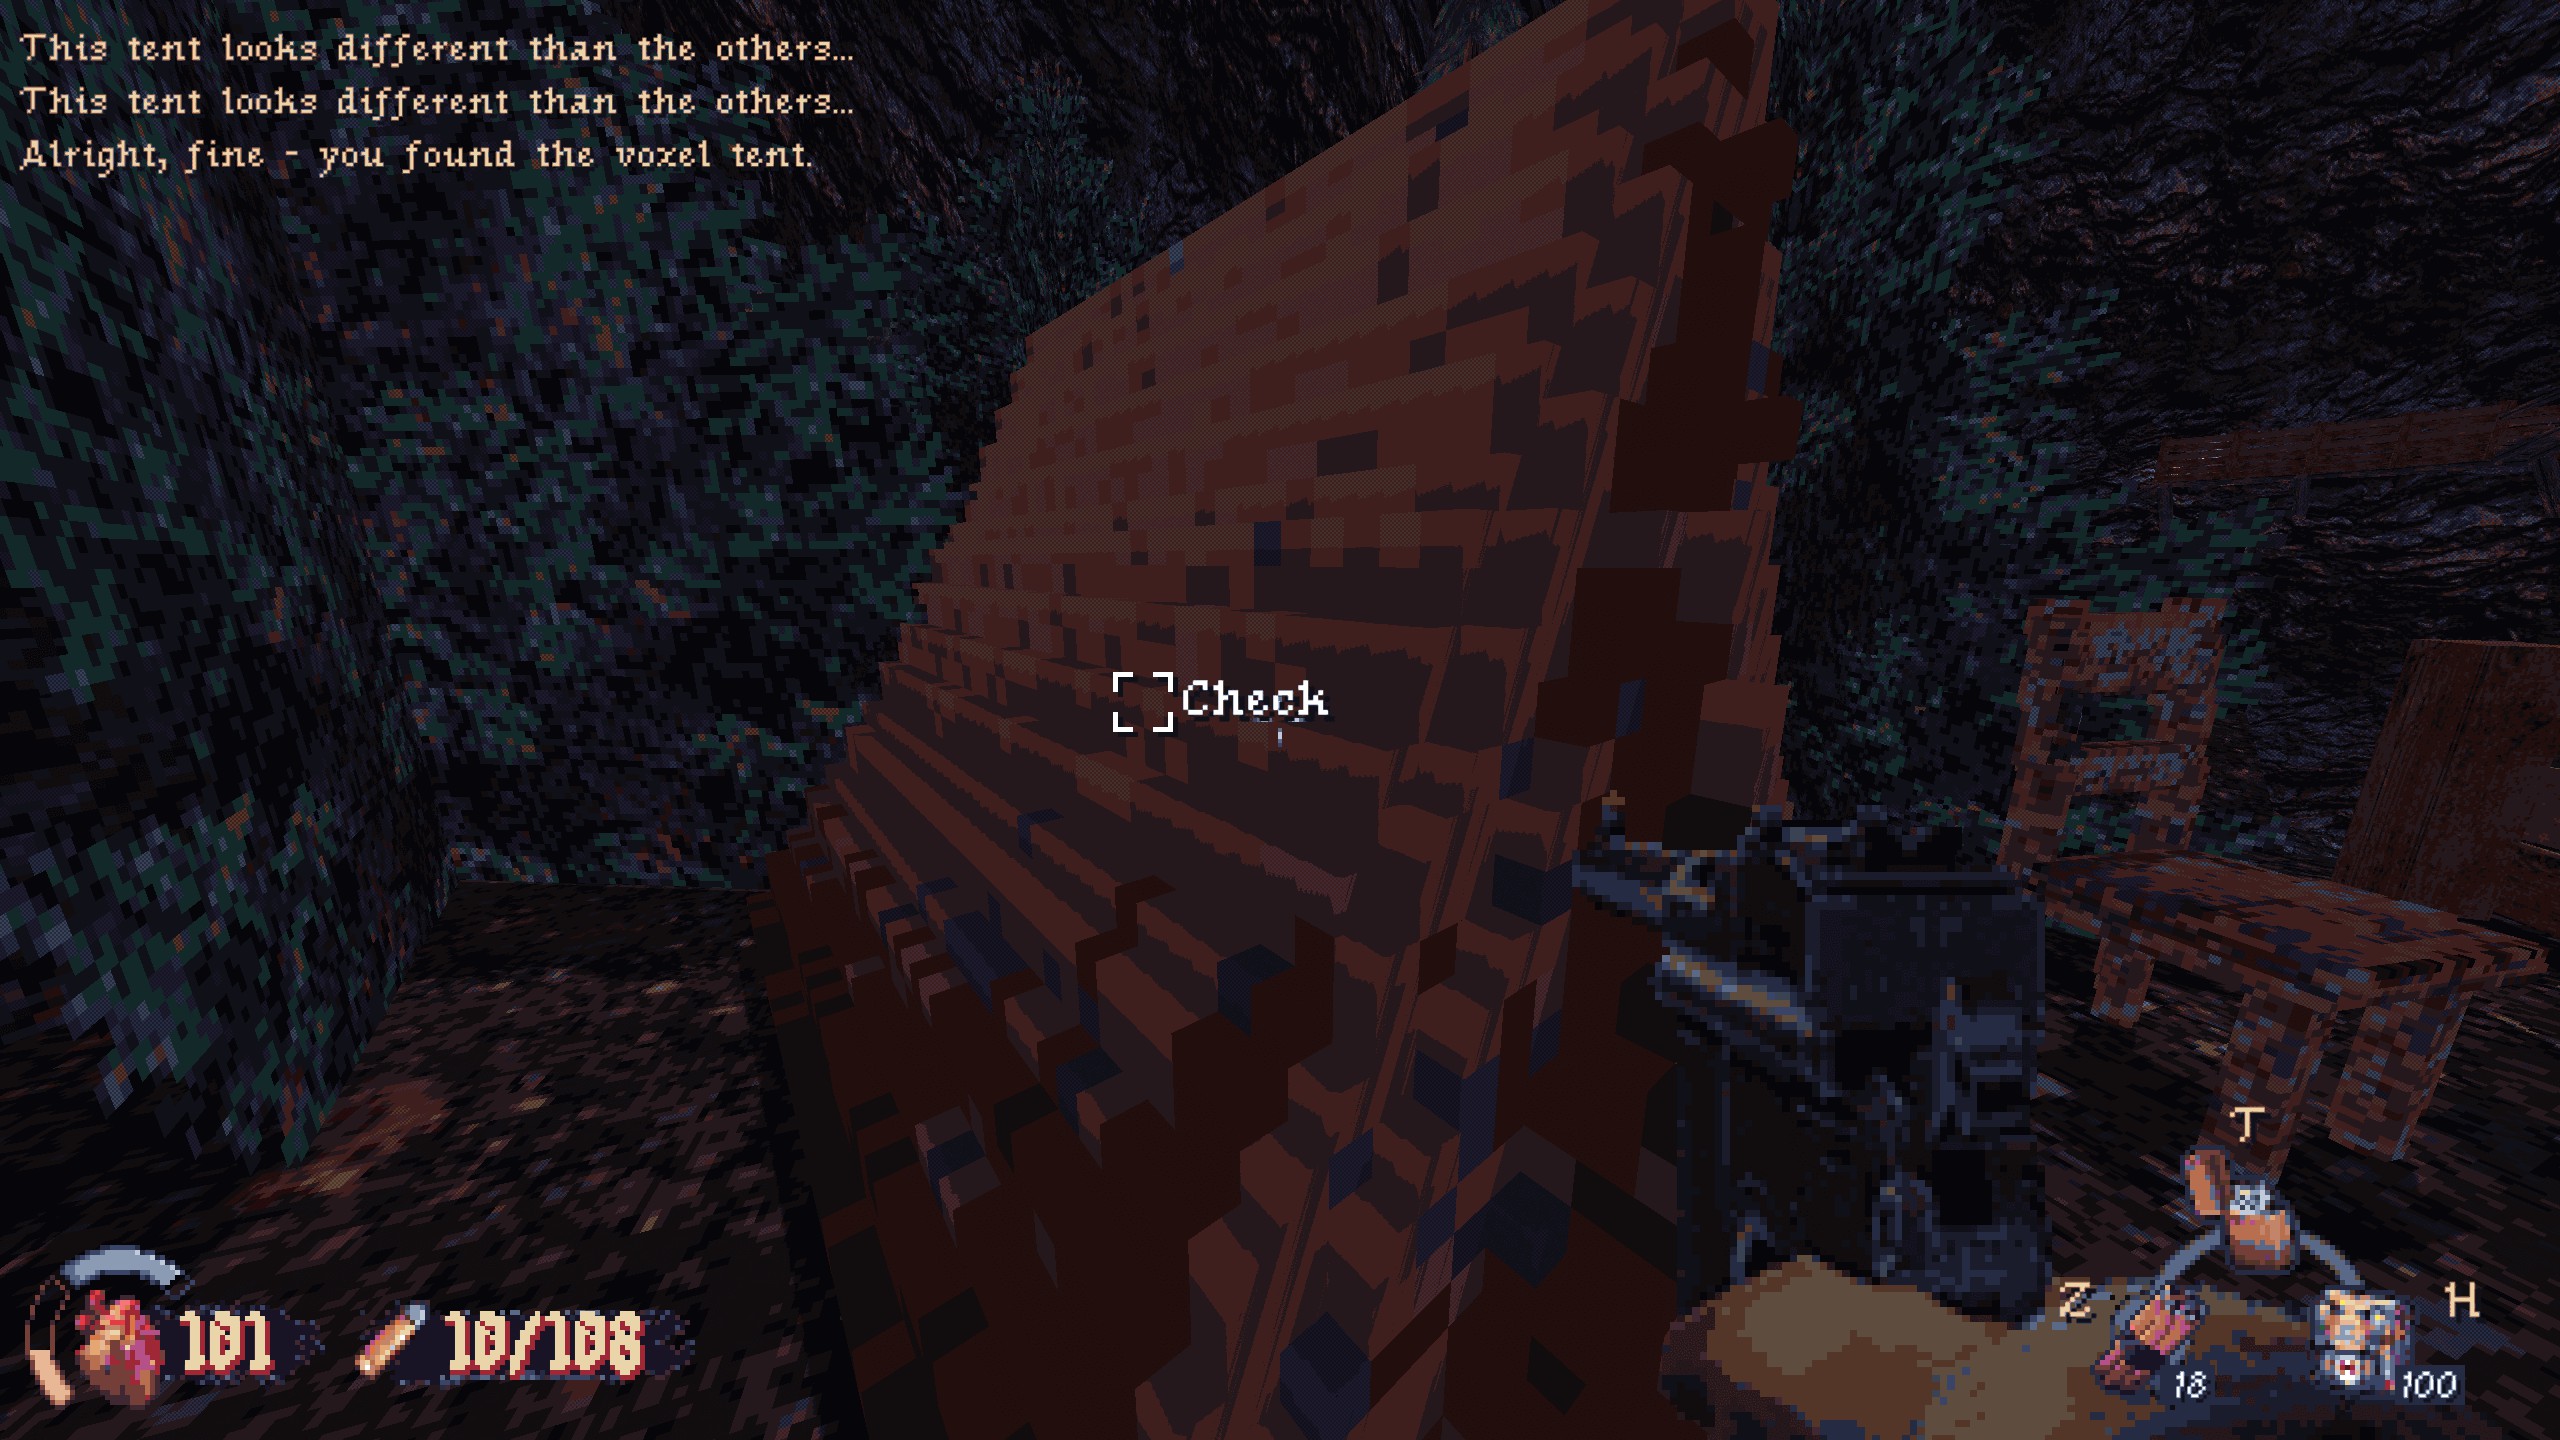
My Deepest Shame:
Next to the last secret, there’s an odd-looking tent. Spam interact on it for several seconds, and the achievement will pop.
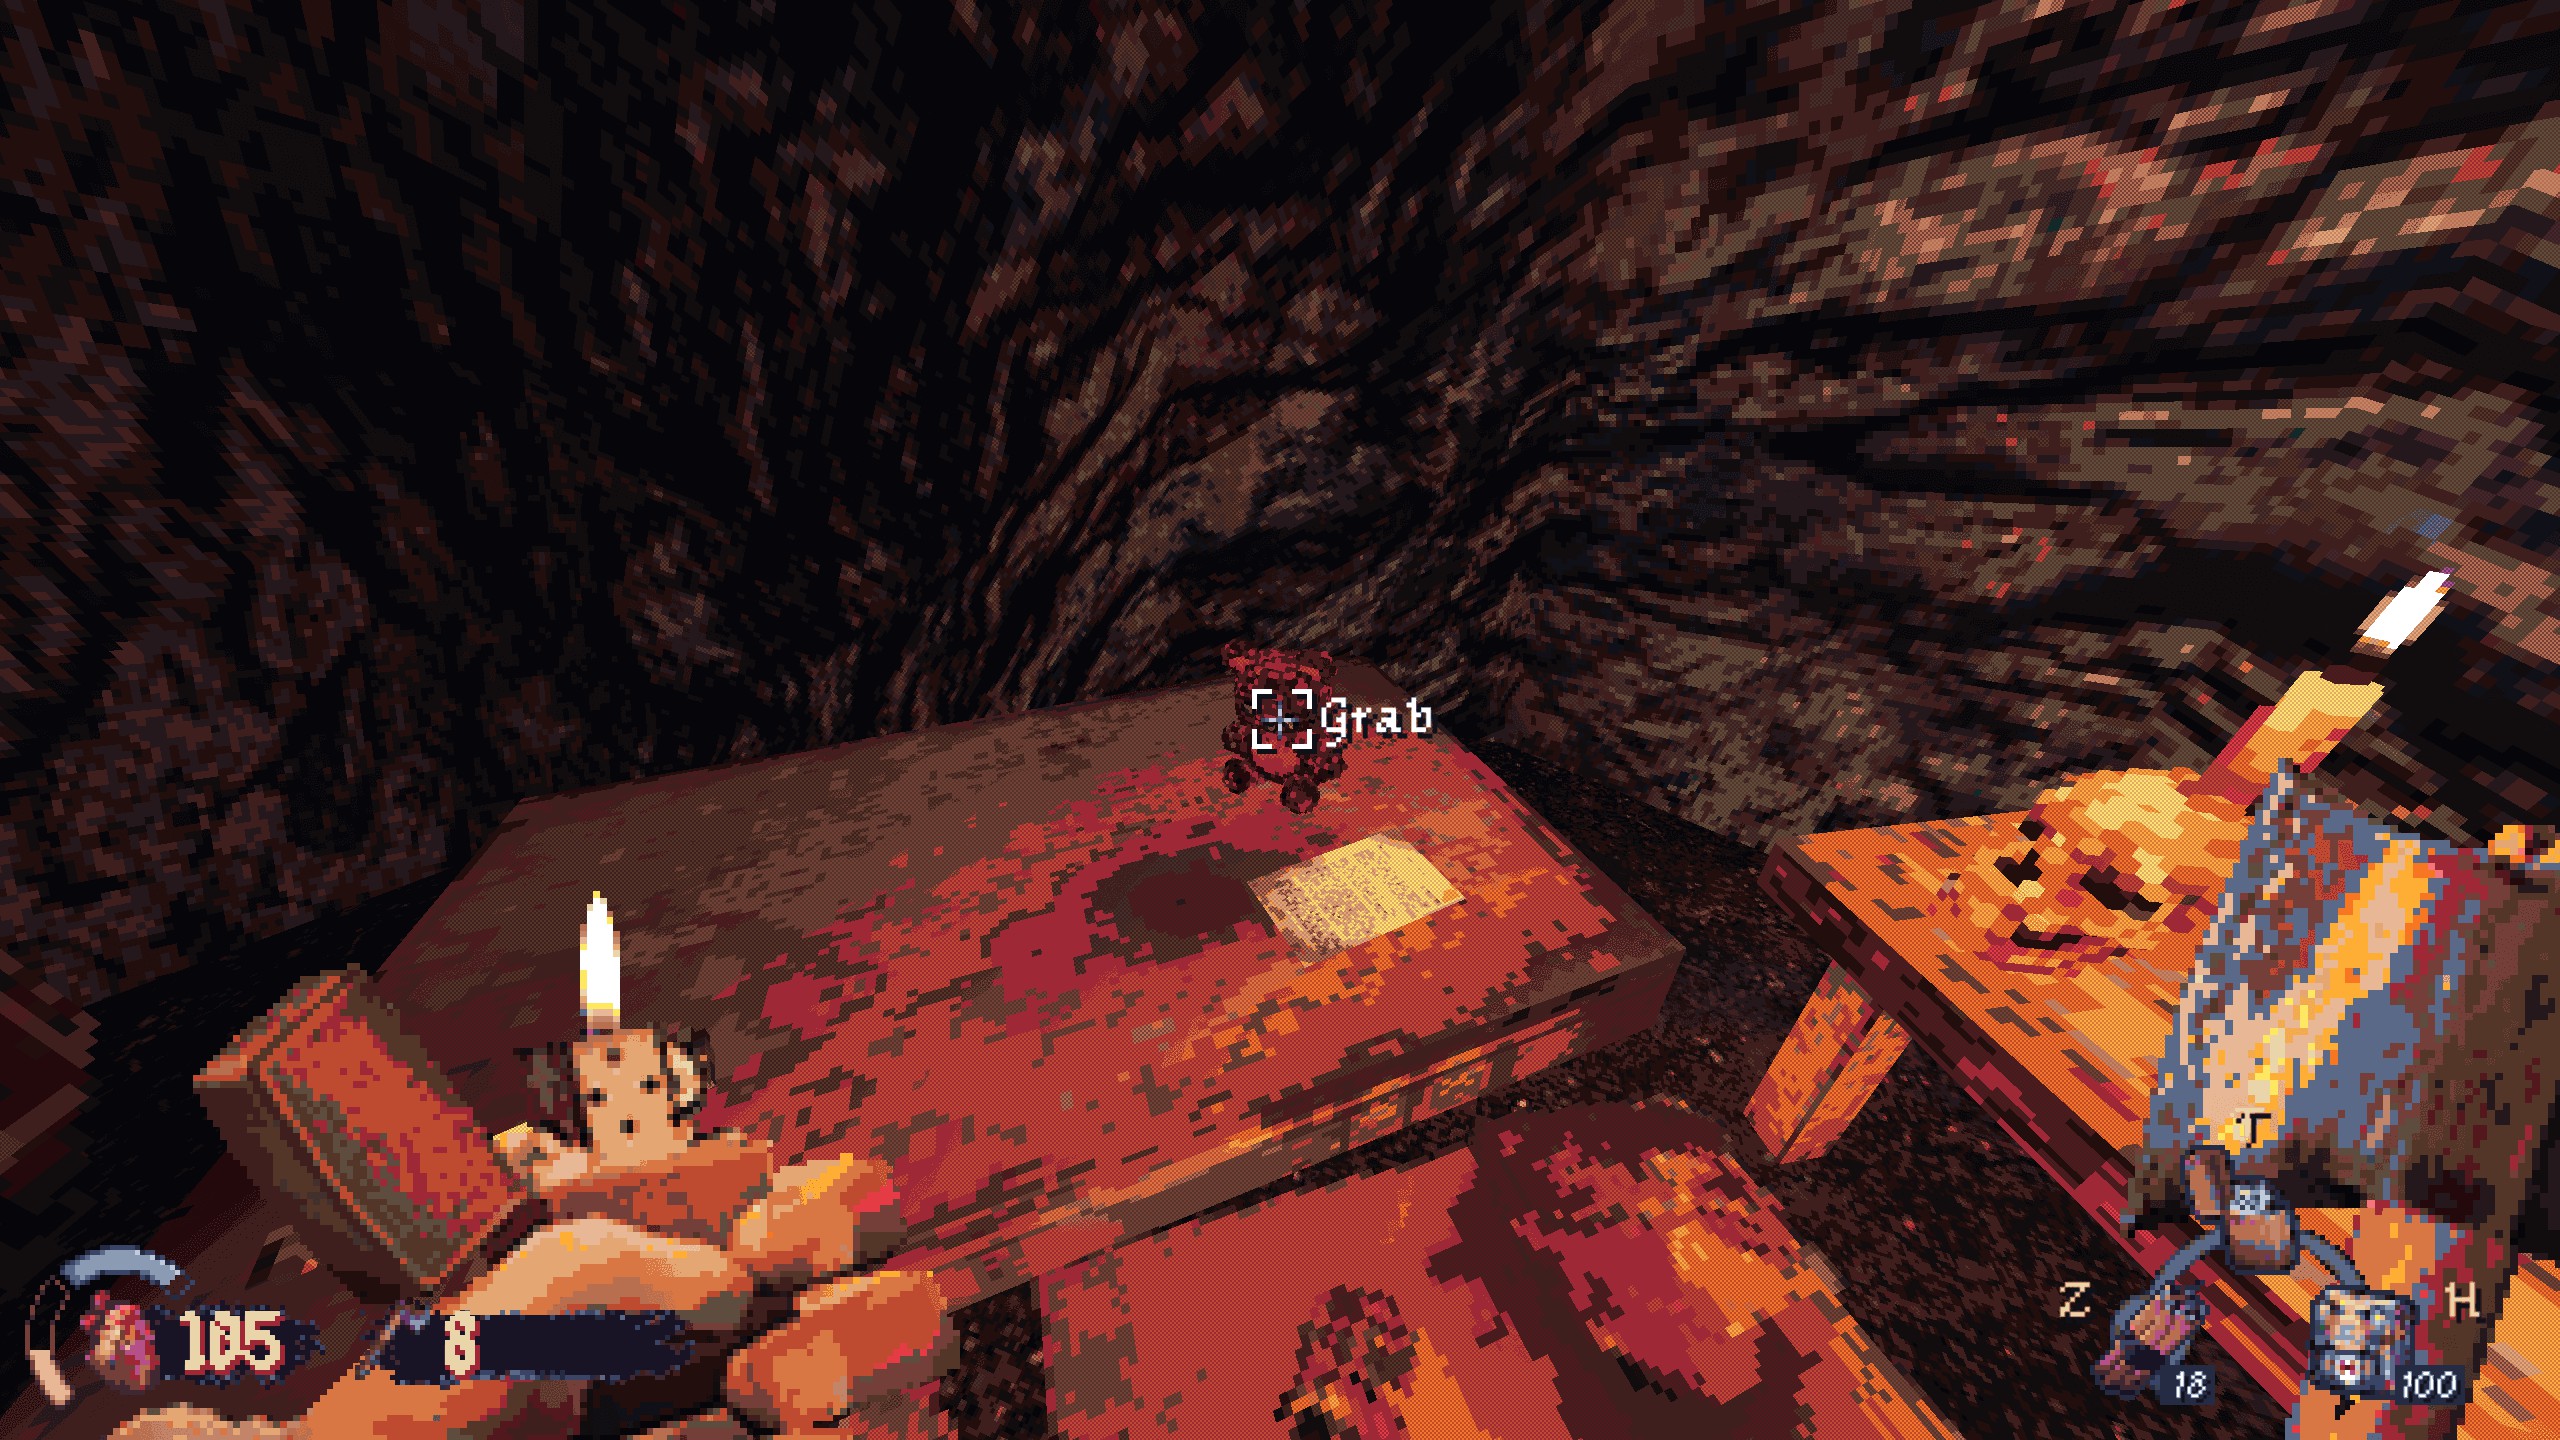
Rescue Mission:
Next to the key in the dark cave, find a teddy bear. Carry it to the level exit for the achievement.
The Shipyard
Papel 1: Docas
#1:After a long fall into the water, dive straight down to a sunken boat. The secret is the ammo box on the side. Recompensa: munição.

#2: Swim under the shipping vessel. The secret is next to some boxes at the lake bottom. Recompensa: weapon part.

#3 (Imbued Remains):Next to the main boat is a small dock with row boats. Swim into the upside-down one from below. Recompensa: imbued remains.
Conquista: Don’t tell David
On the ship’s first floor, pass through a room, crawl through a vent. At the vent’s T-intersection, go right and up to come out in a shower room. Grab a bar of soap on the floor, find an enemy, and throw it at them for damage.

#4: On the top floor of the ship, jump onto containers to find a supply cache. Recompensa: Some armor and ammo.
Papel 2: Pitch-black cave
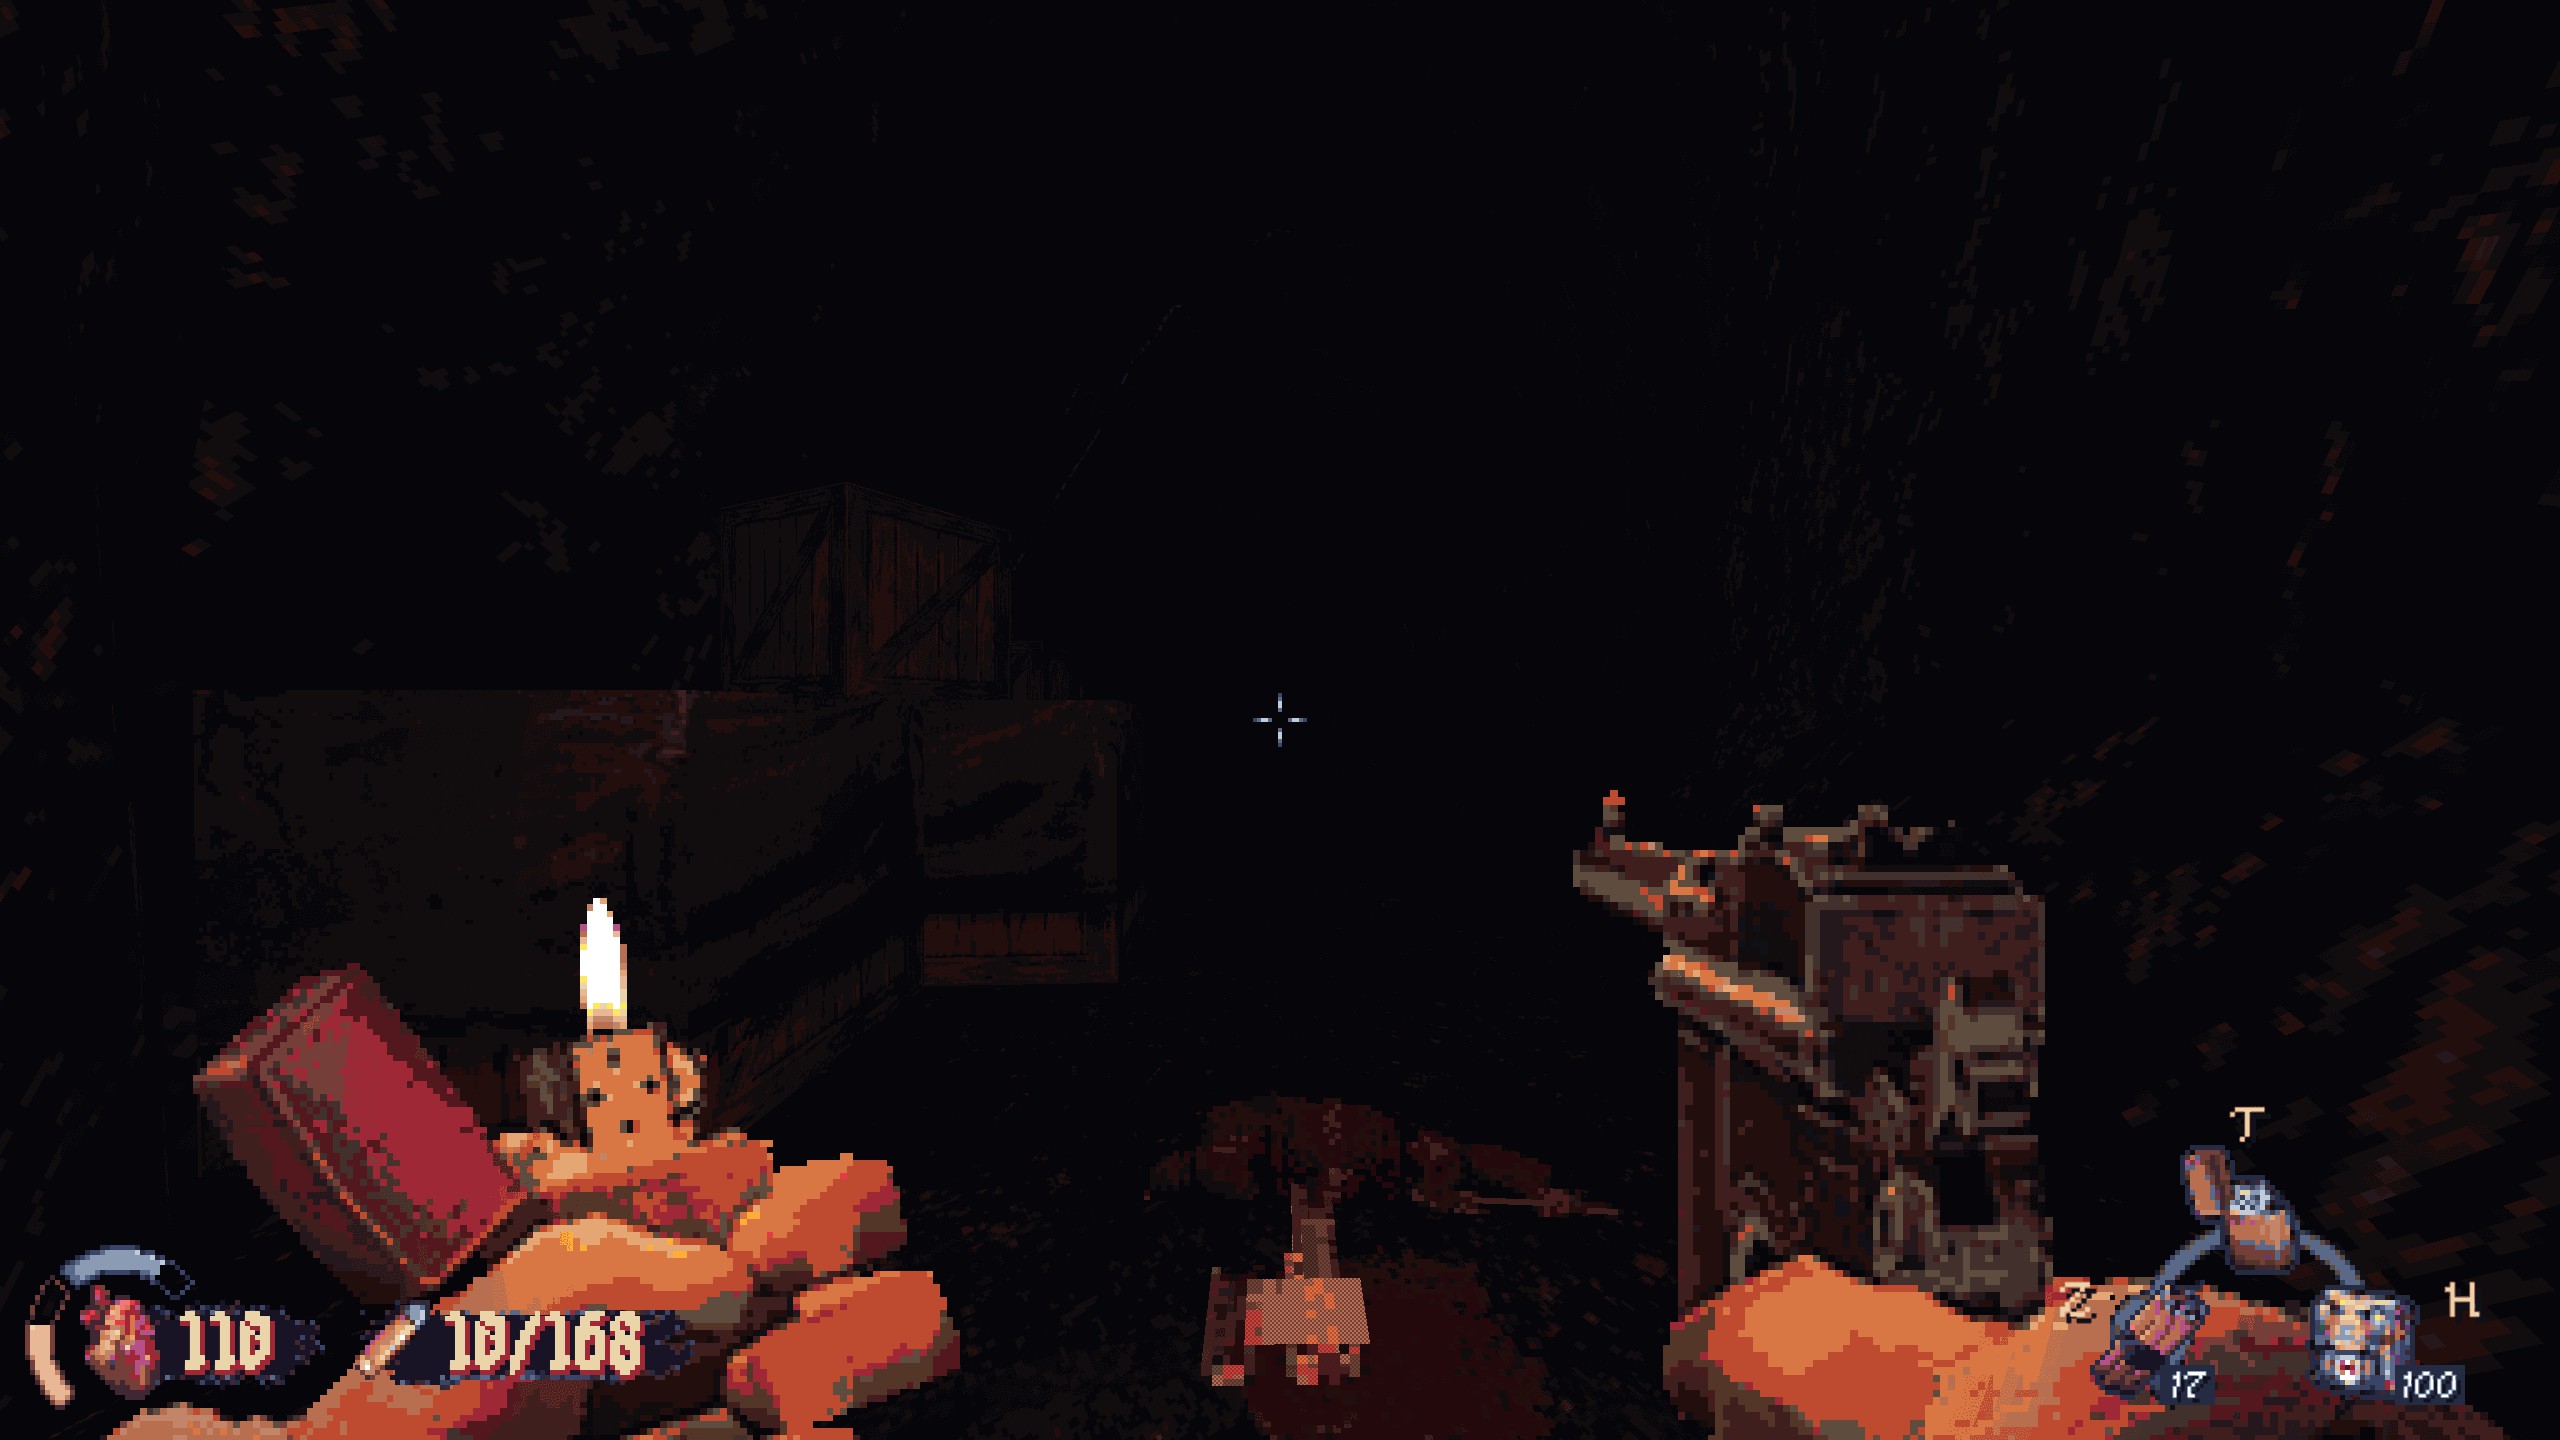
#5: Behind a stack of crates in the middle of the cave. Hug the right wall from the entrance, just past the door to the chainsaw man’s cave. alternativamente, start at the end, hug the left wall. Recompensa: weapon part.
Papel 3: More mountain areas
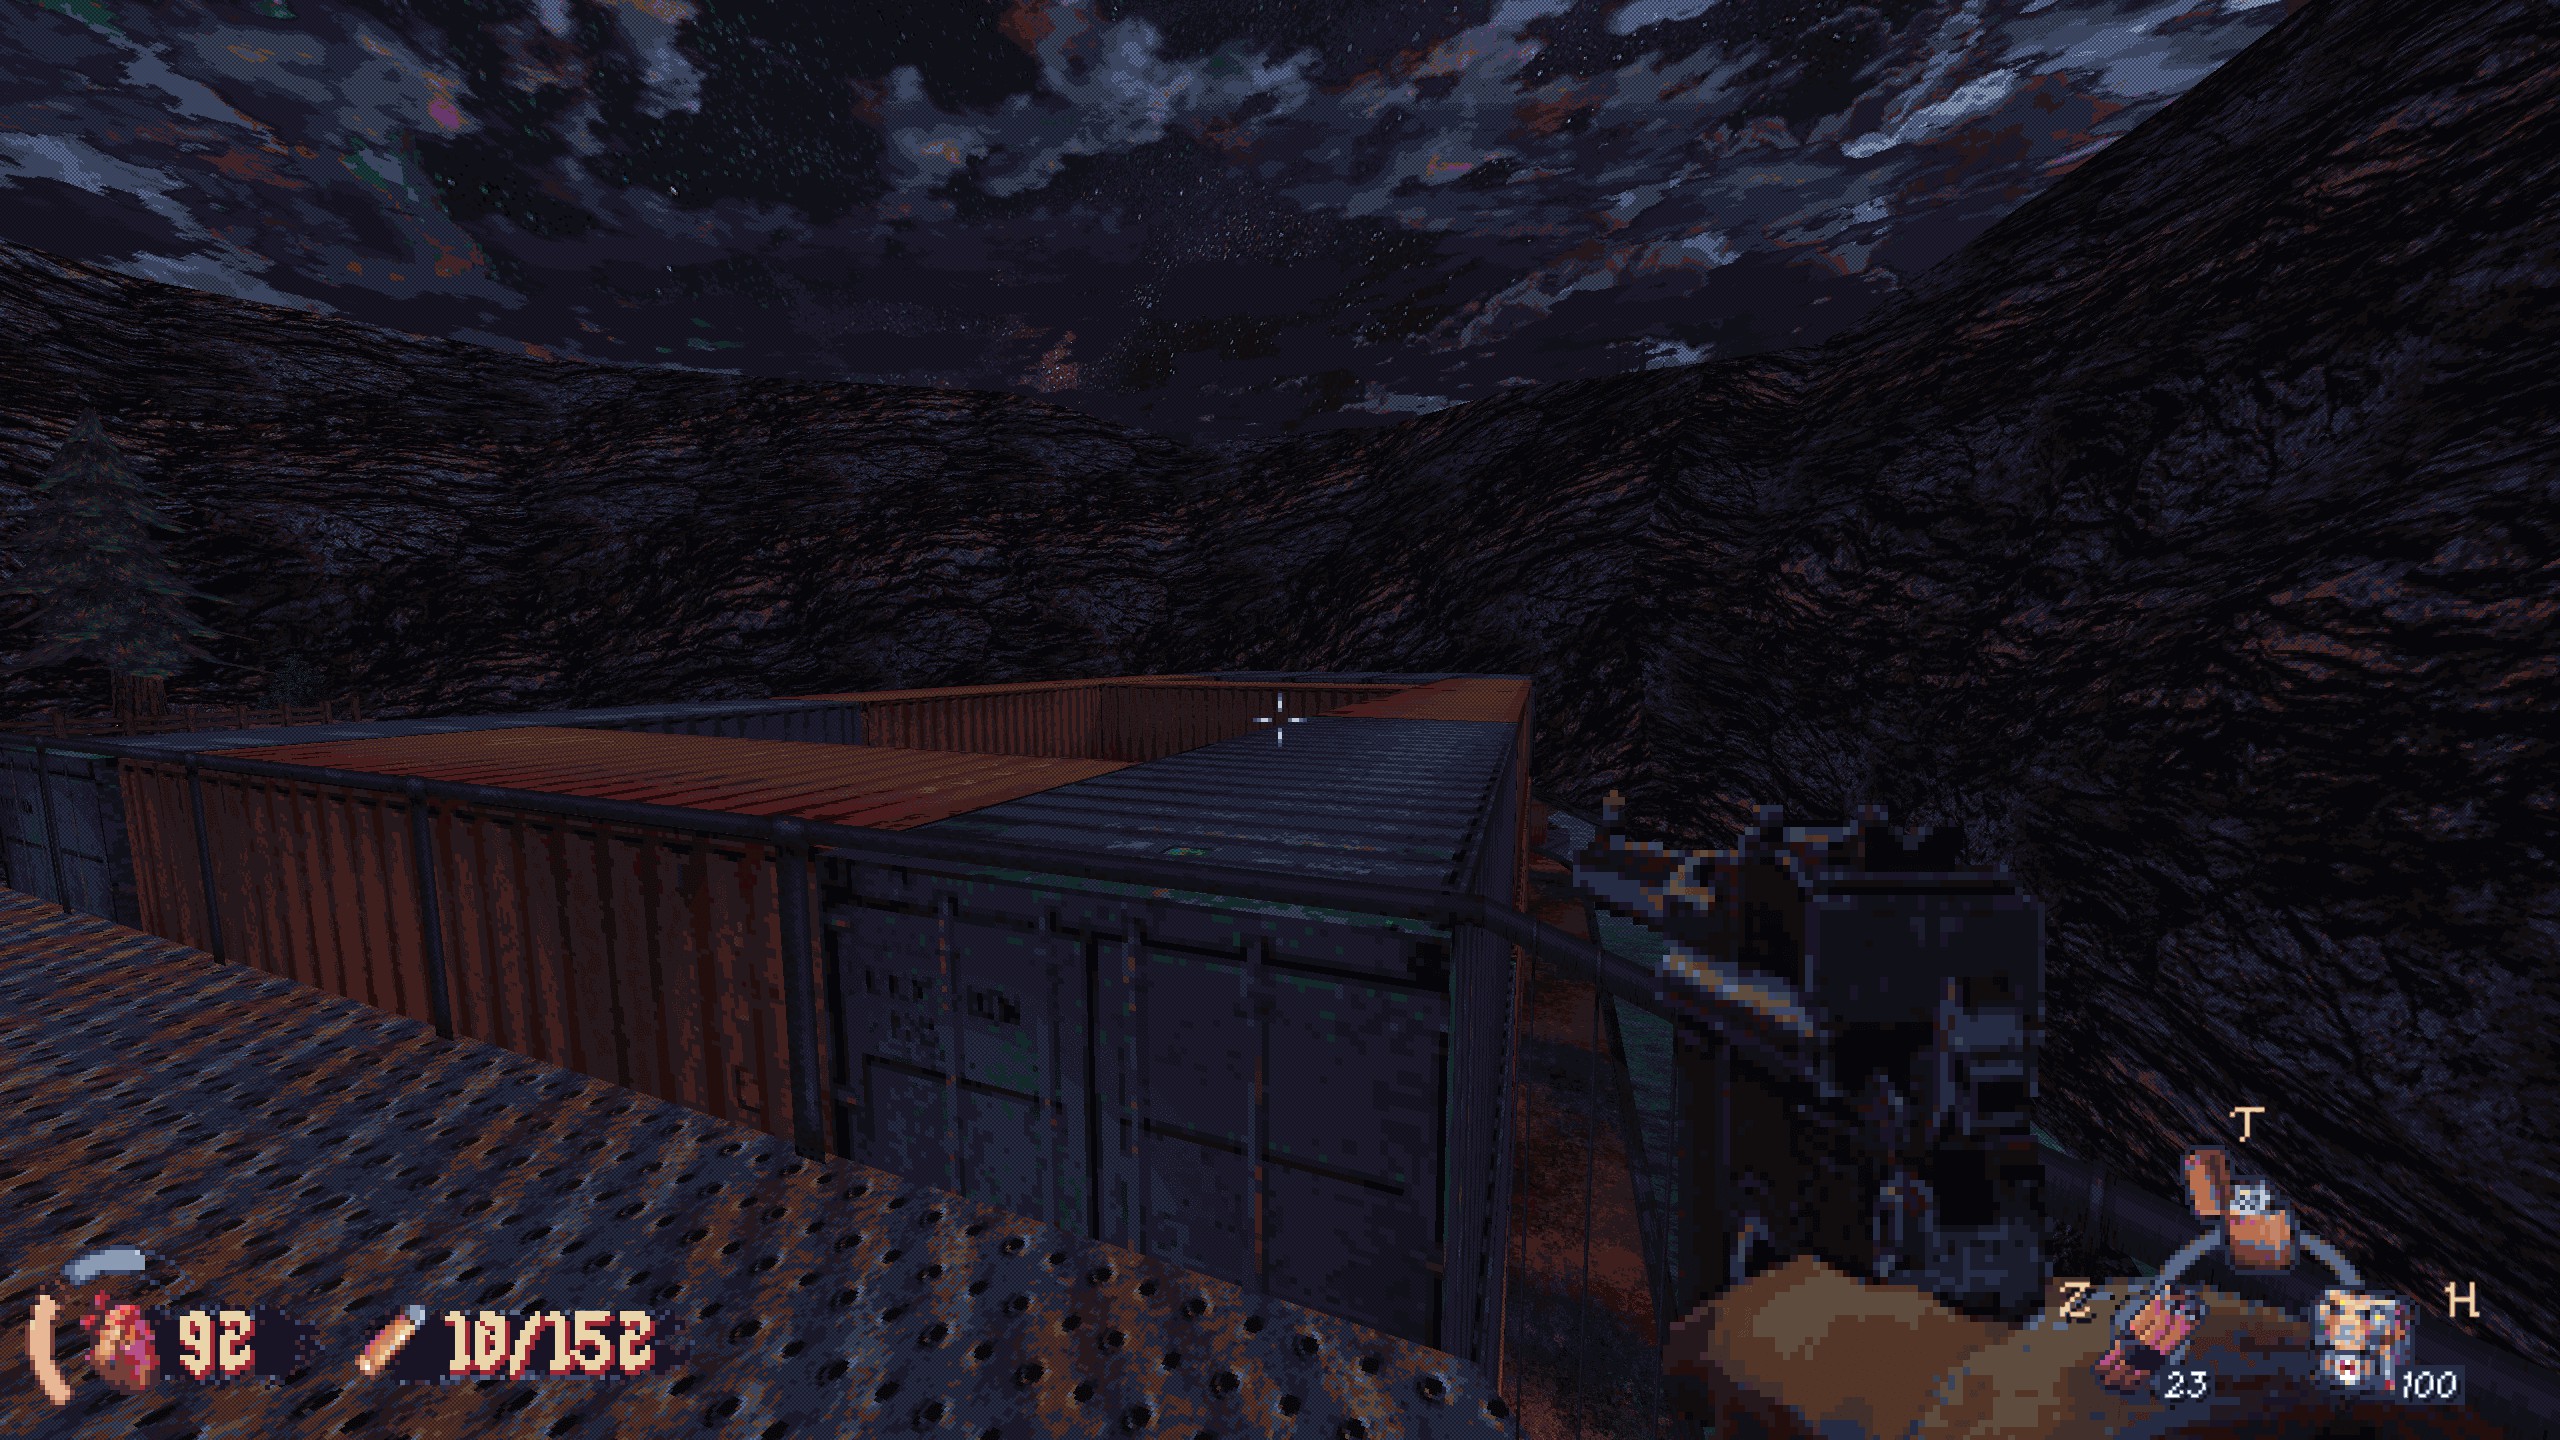
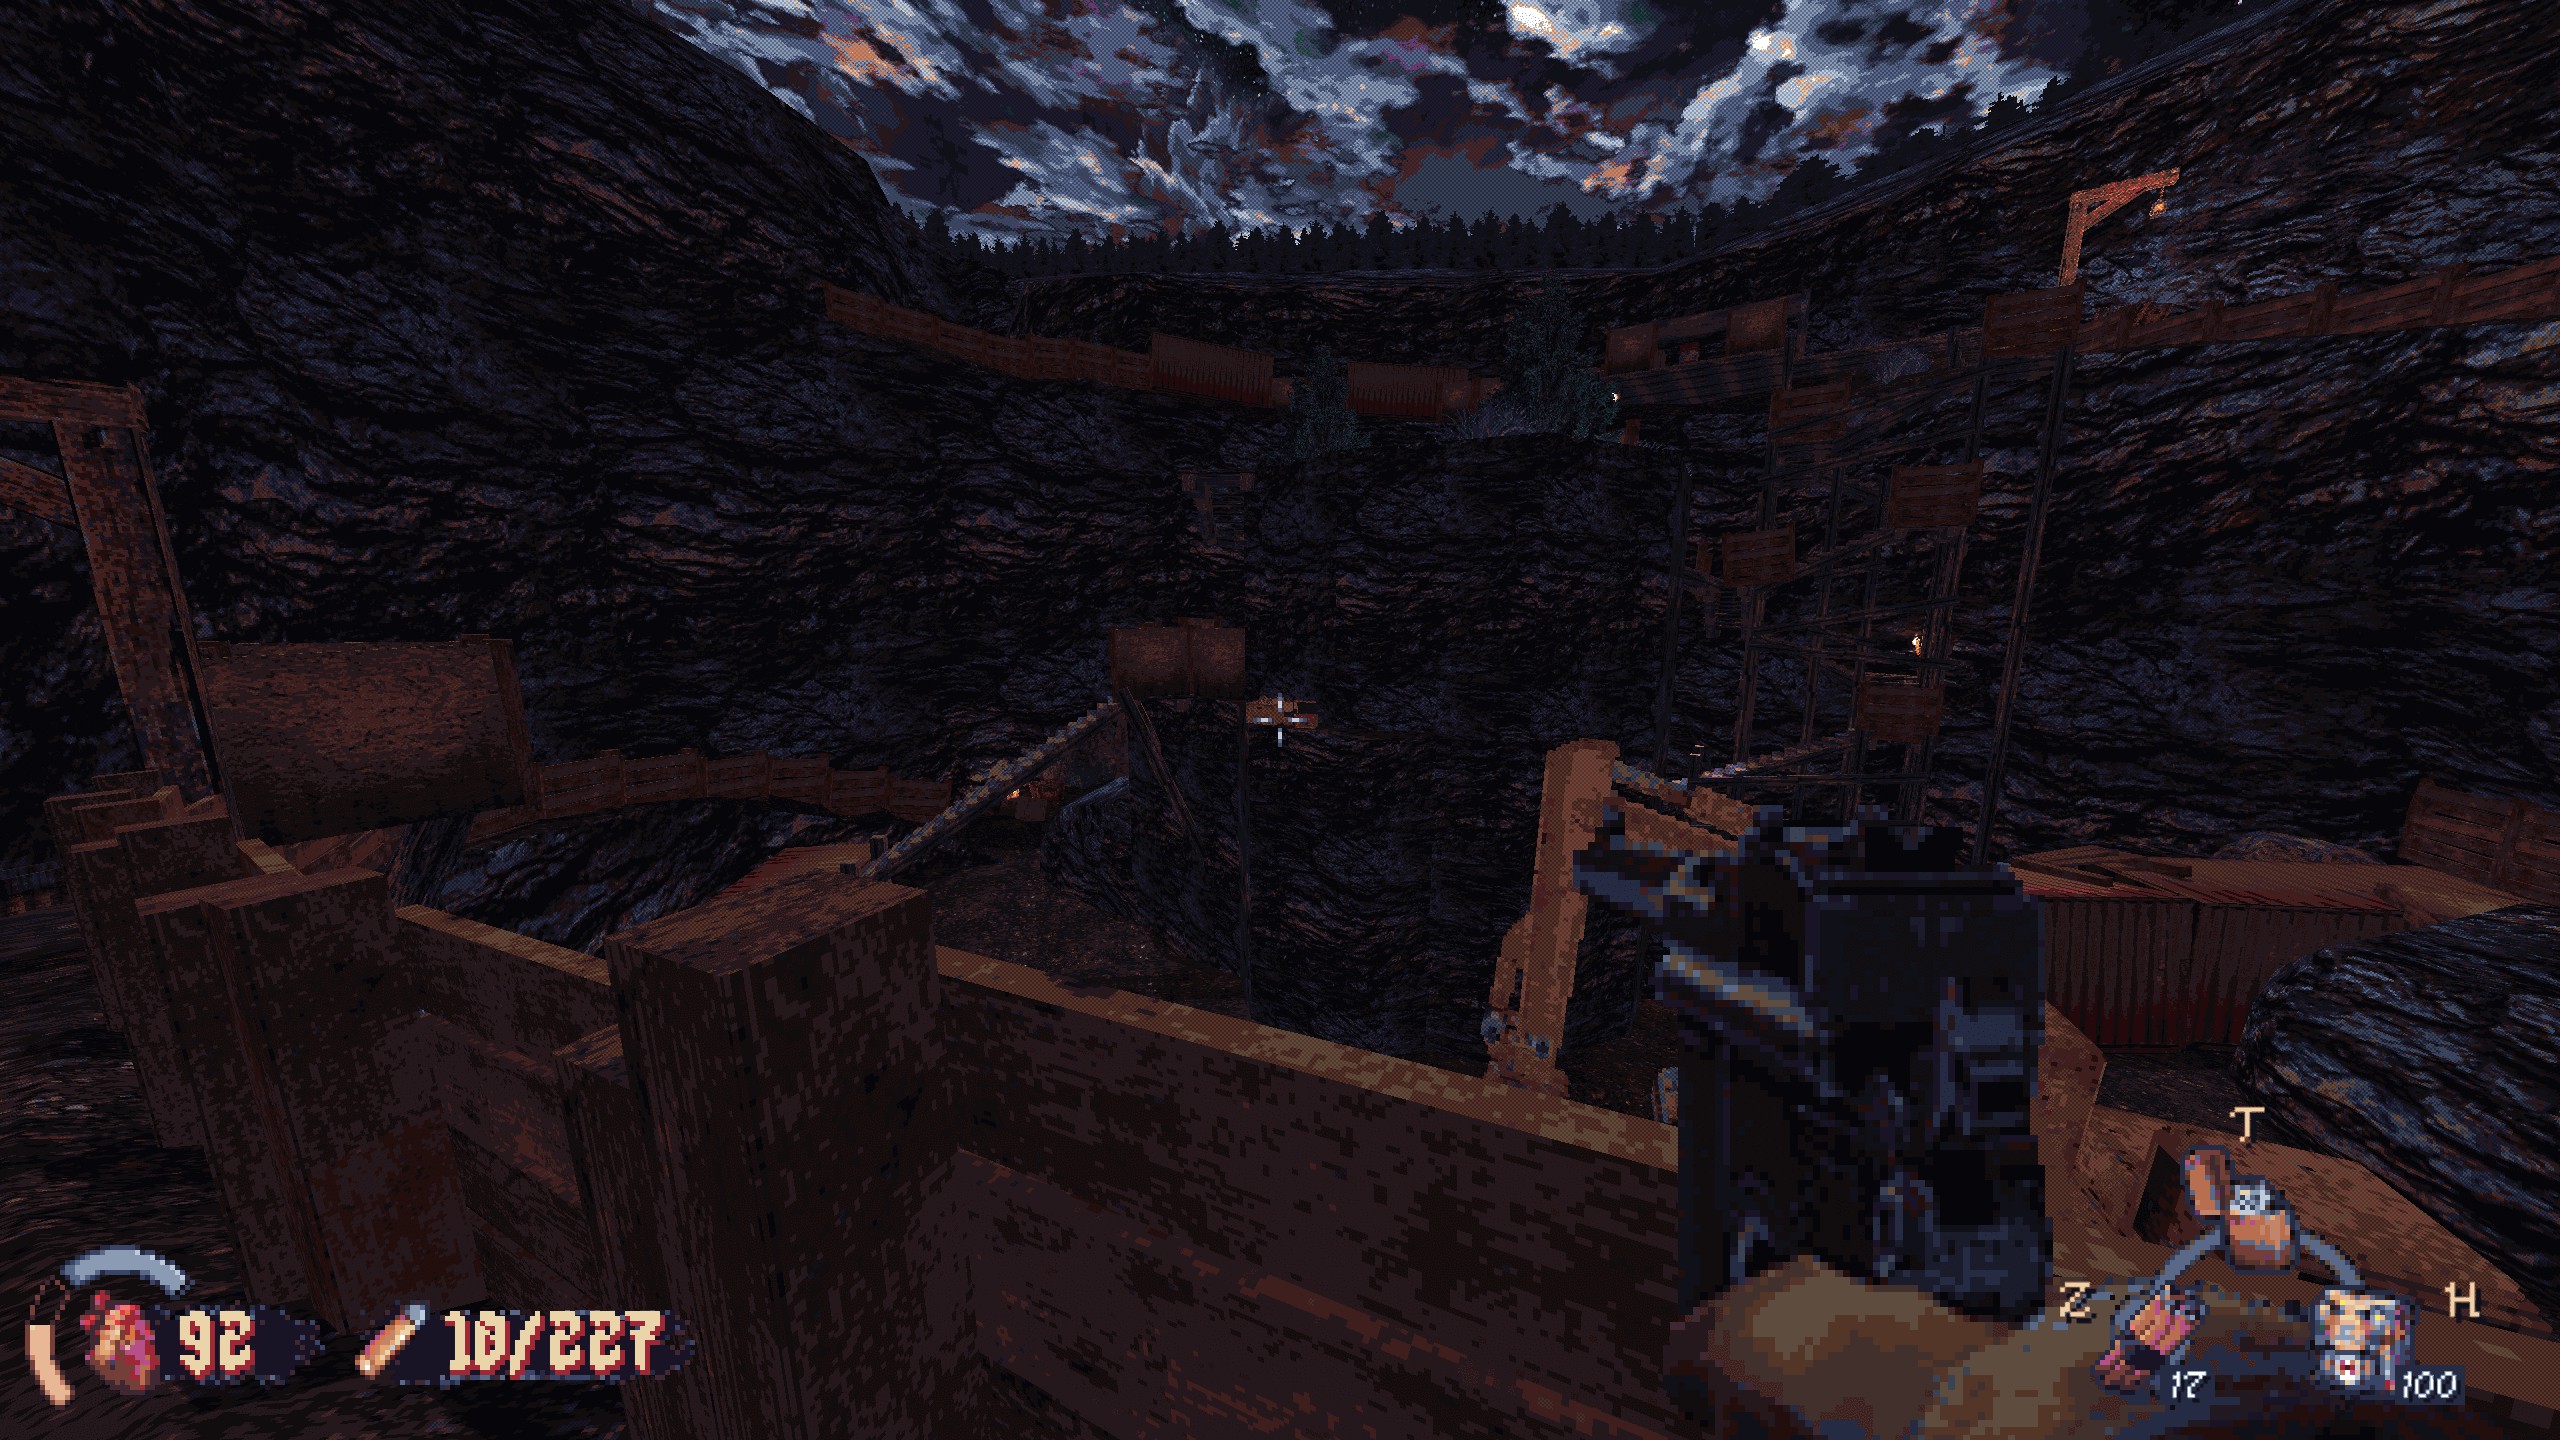
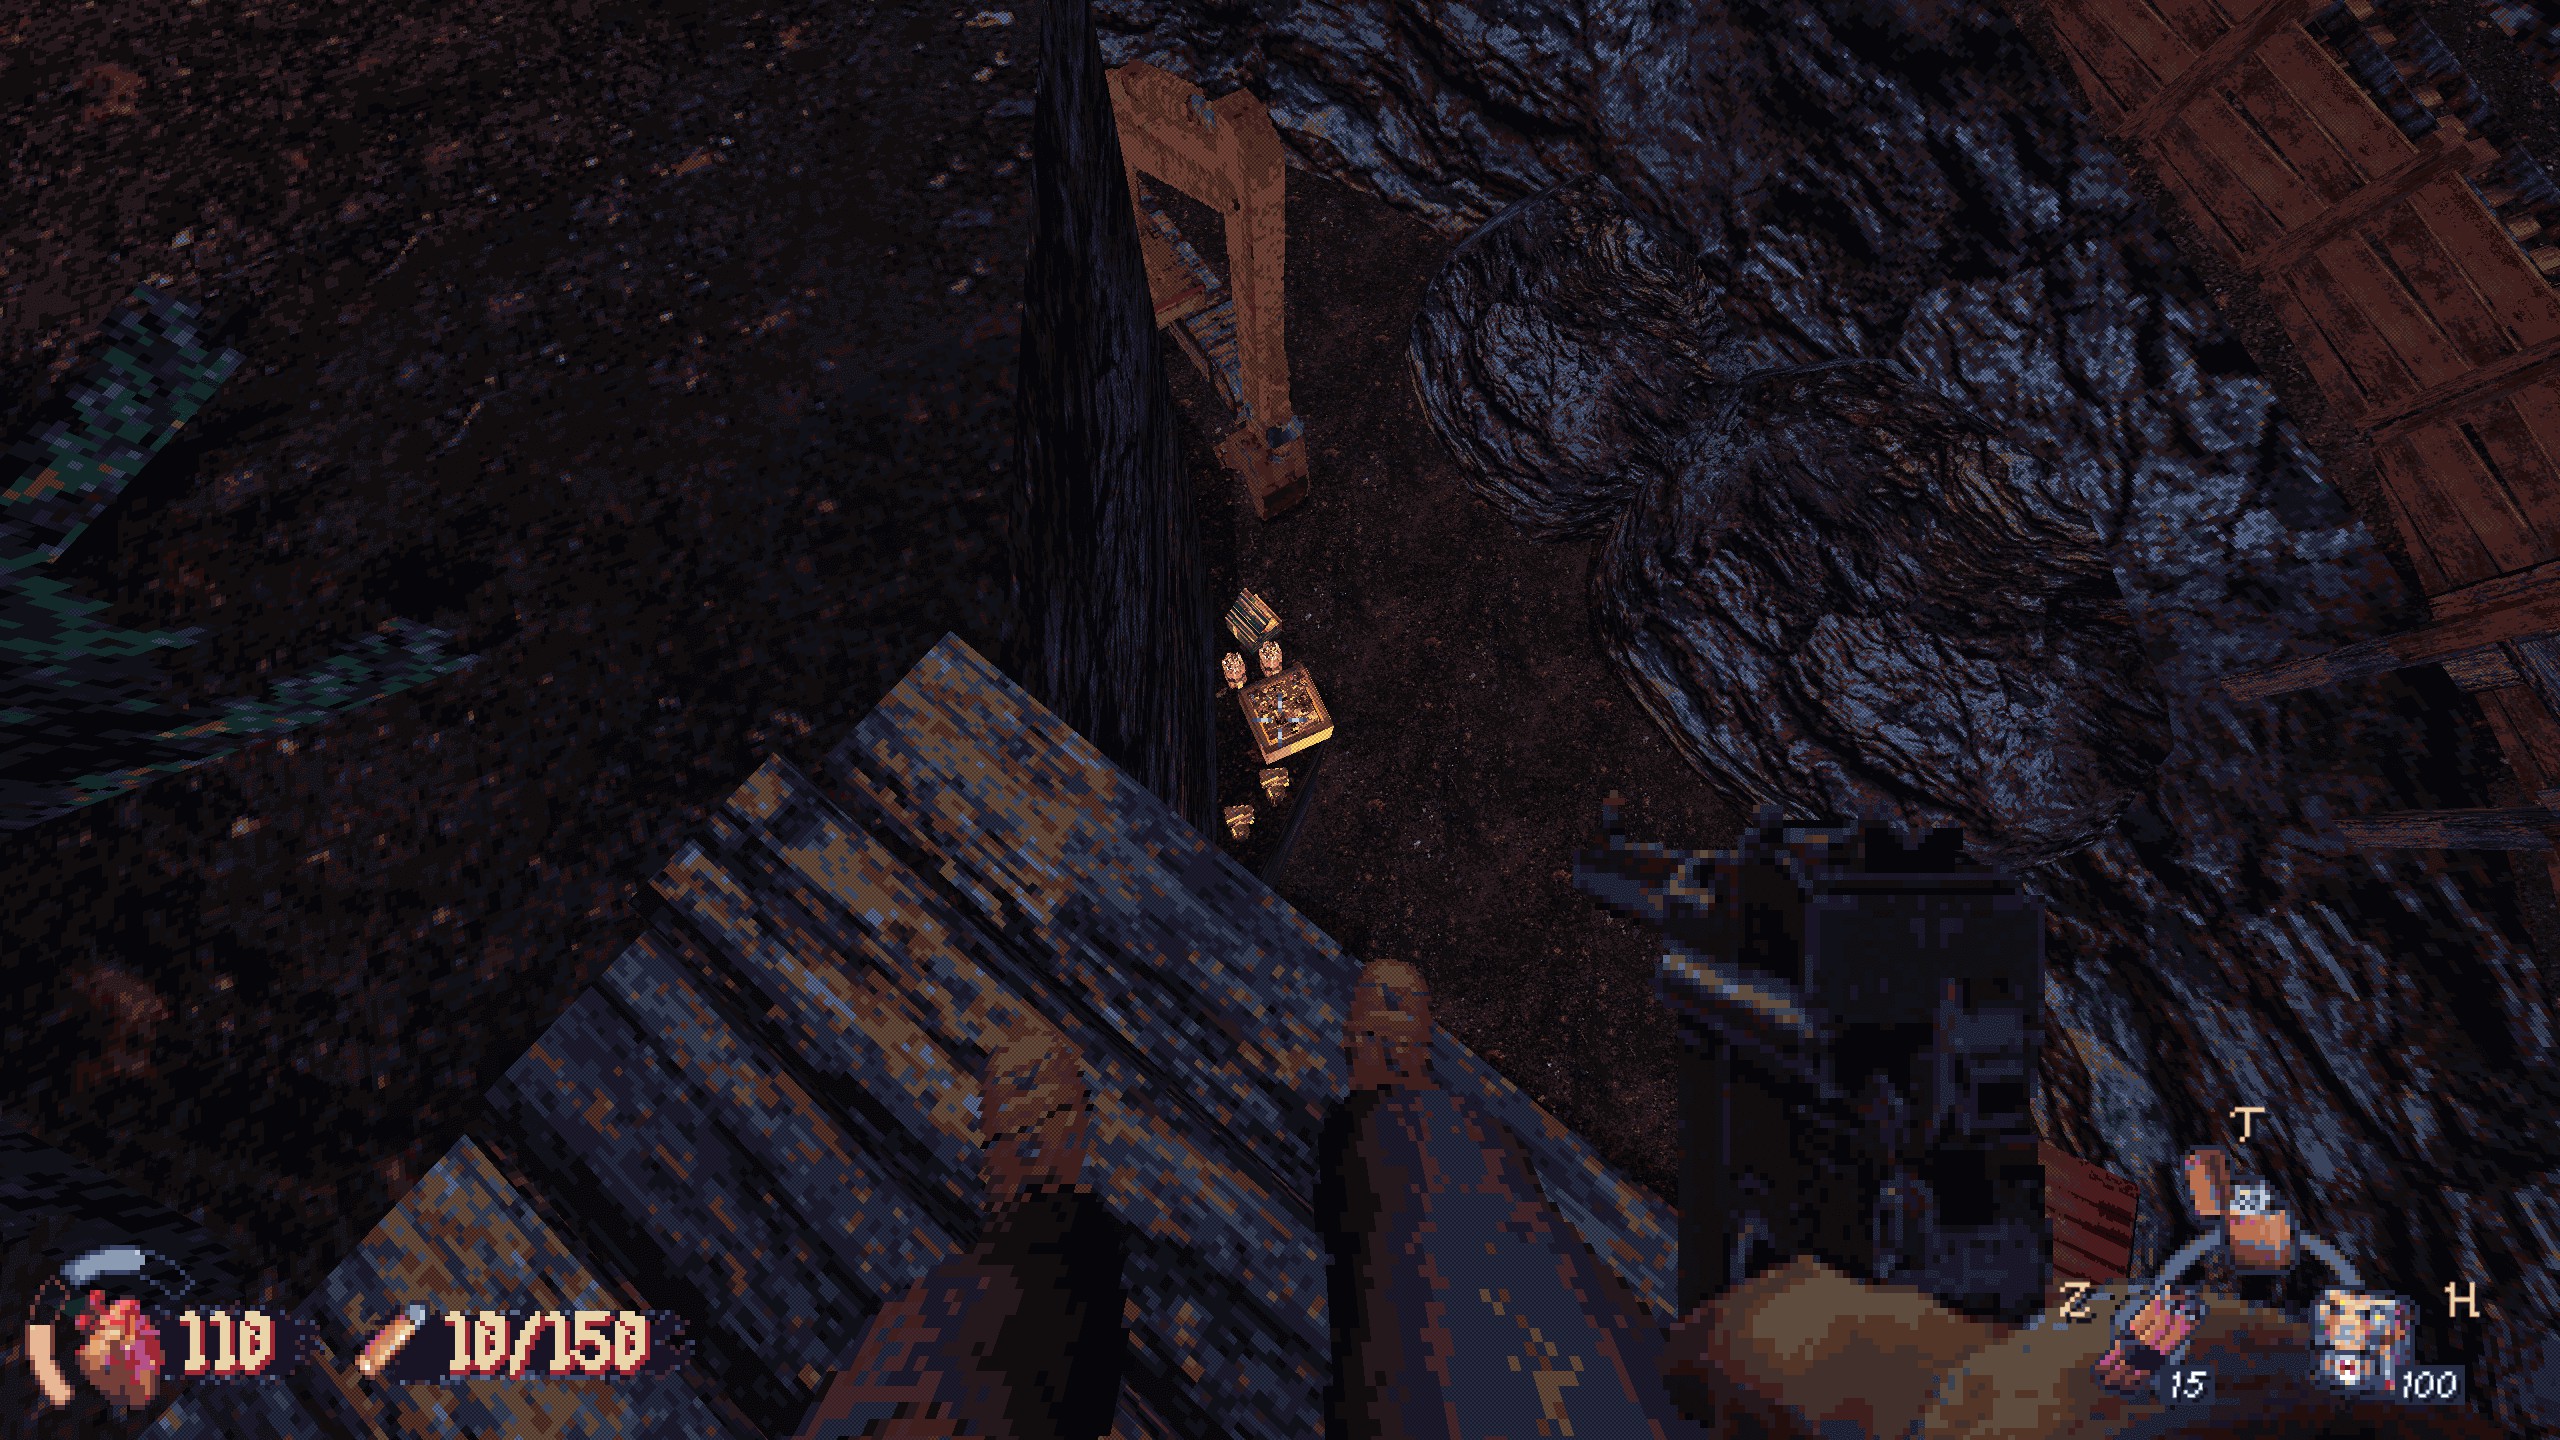
#6: In the first area after the cave, go down the minecart track to your left. Spot a stash of supplies on the side of the cliff to your right. Climb above them and drop onto the ledge. Recompensa: ammo and health.
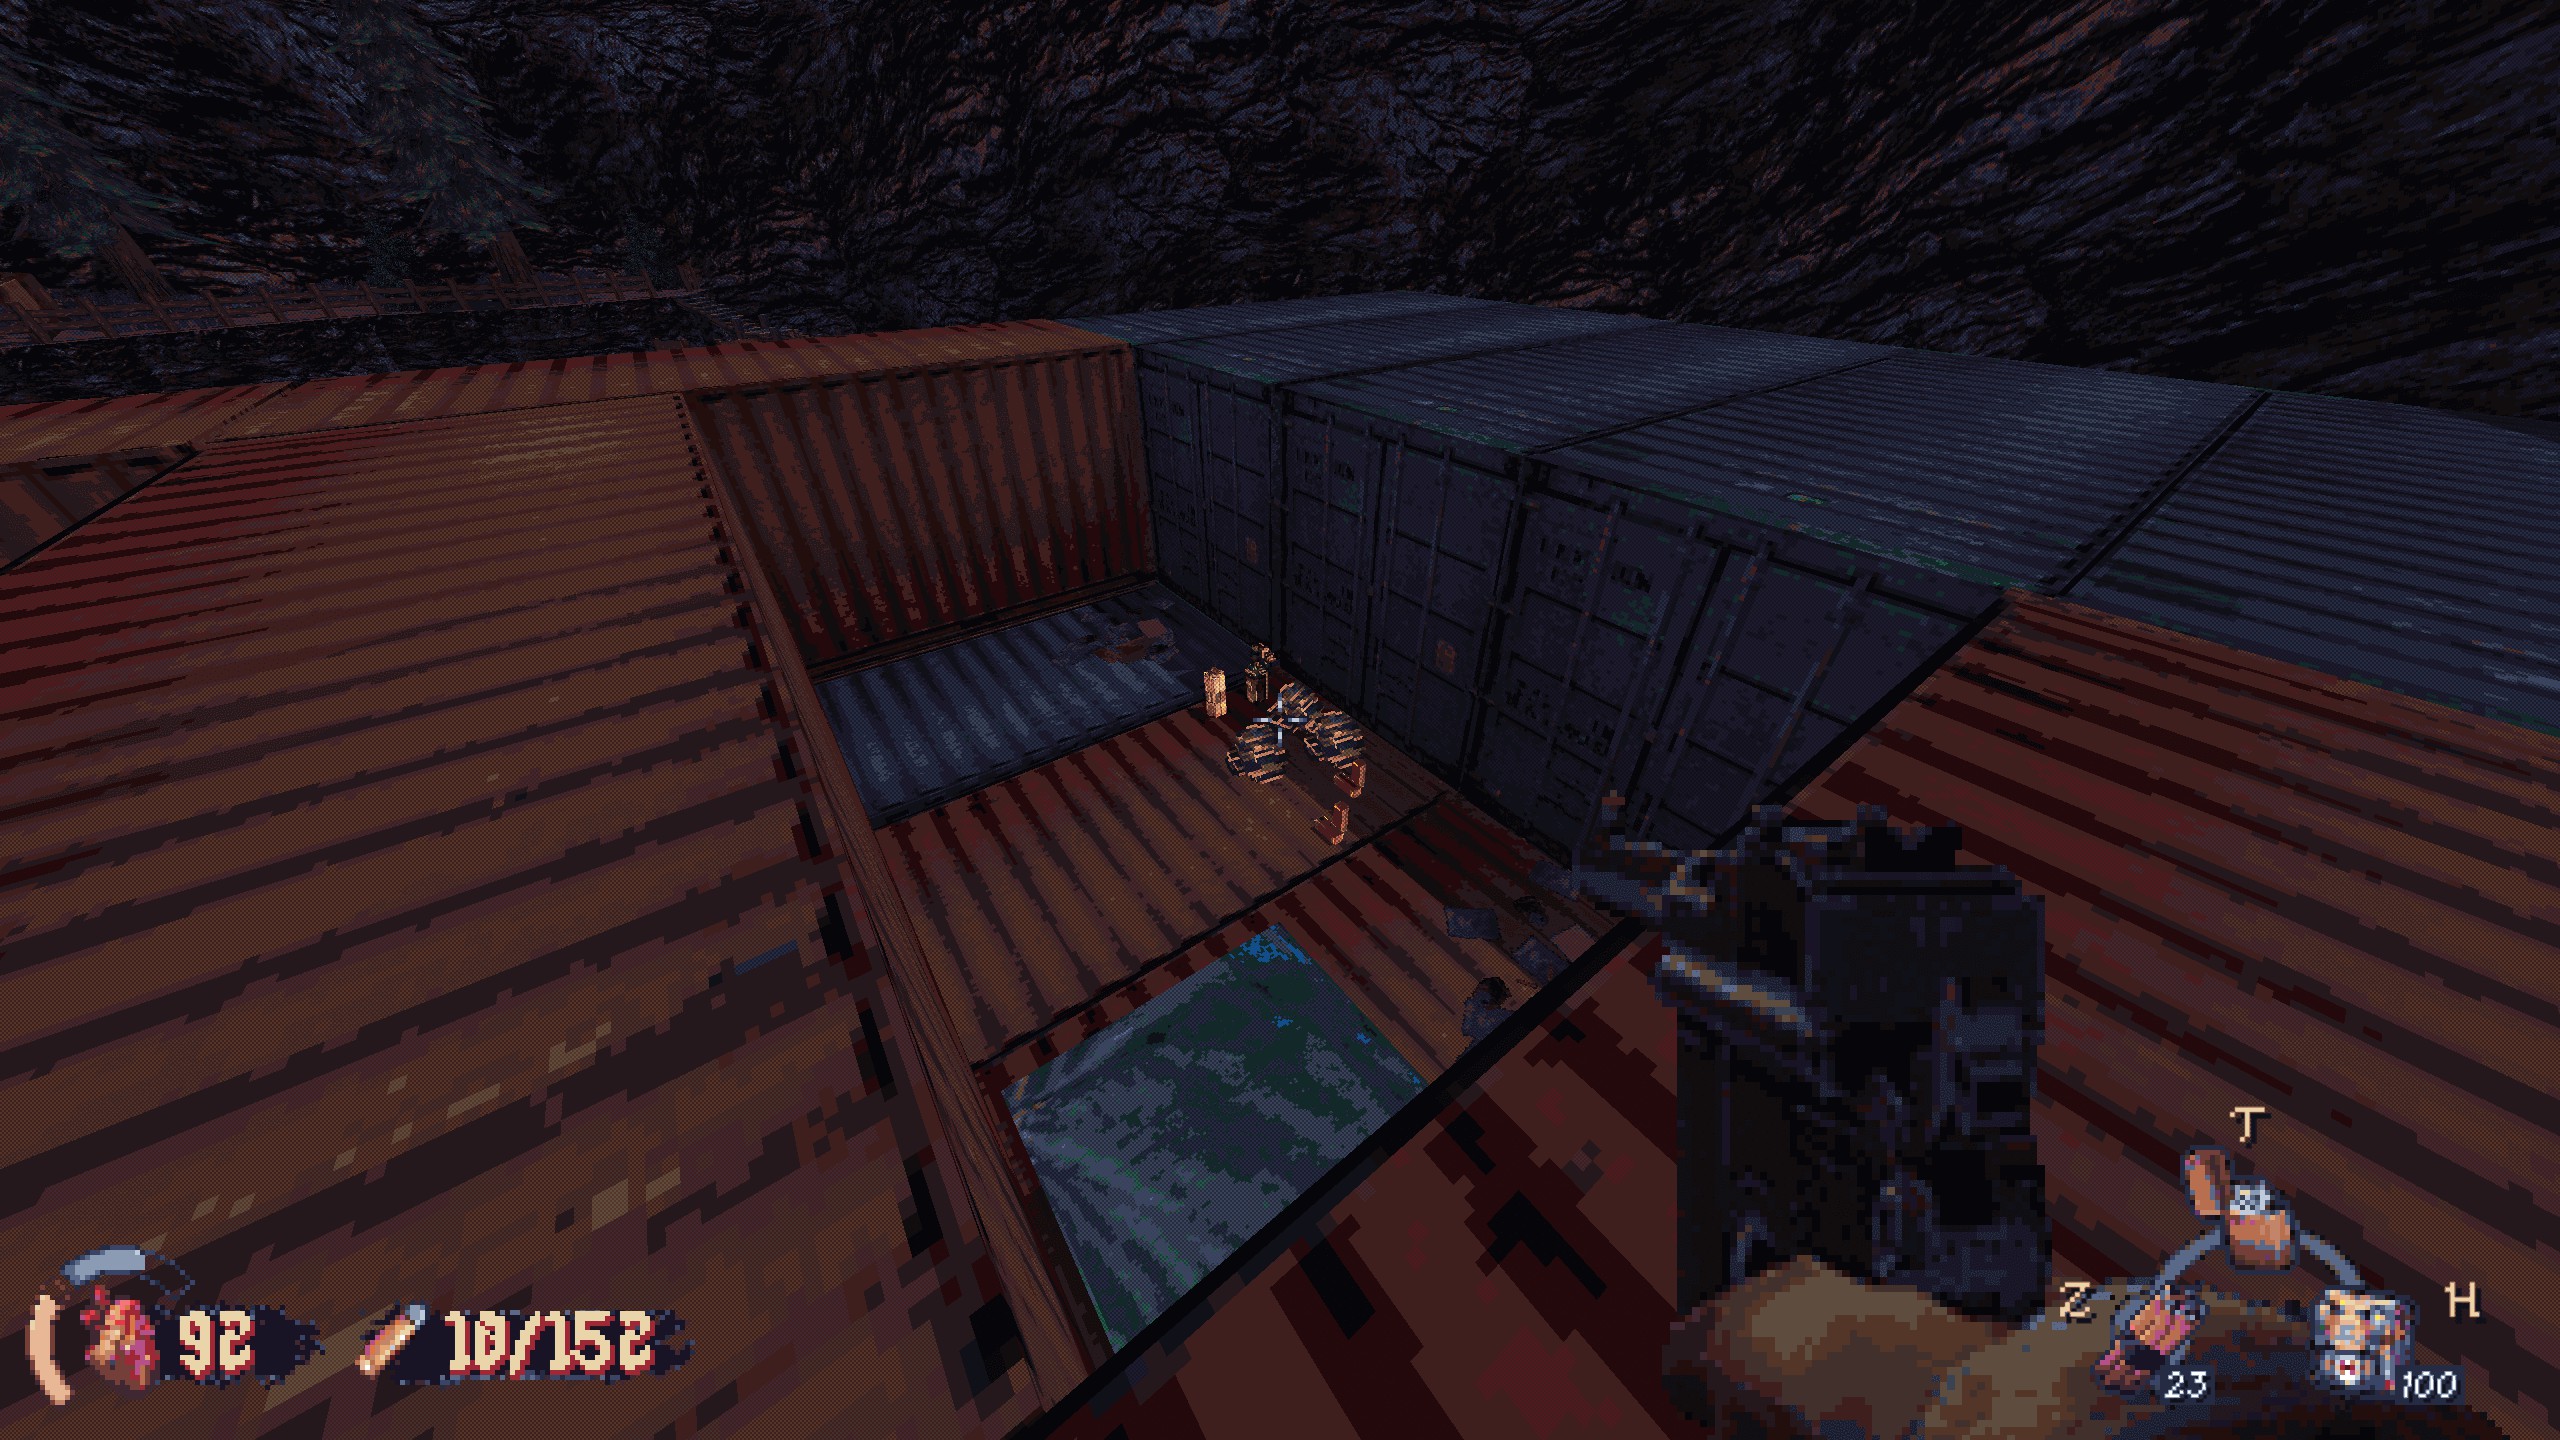
#7: Climb the huge stack of containers near the end of the level. Crouch under boards to your right and drop down. Recompensa: weapon part.

The Mine Town
Papel 1: Dark Forest
- No secrets.
Papel 2: Cidade
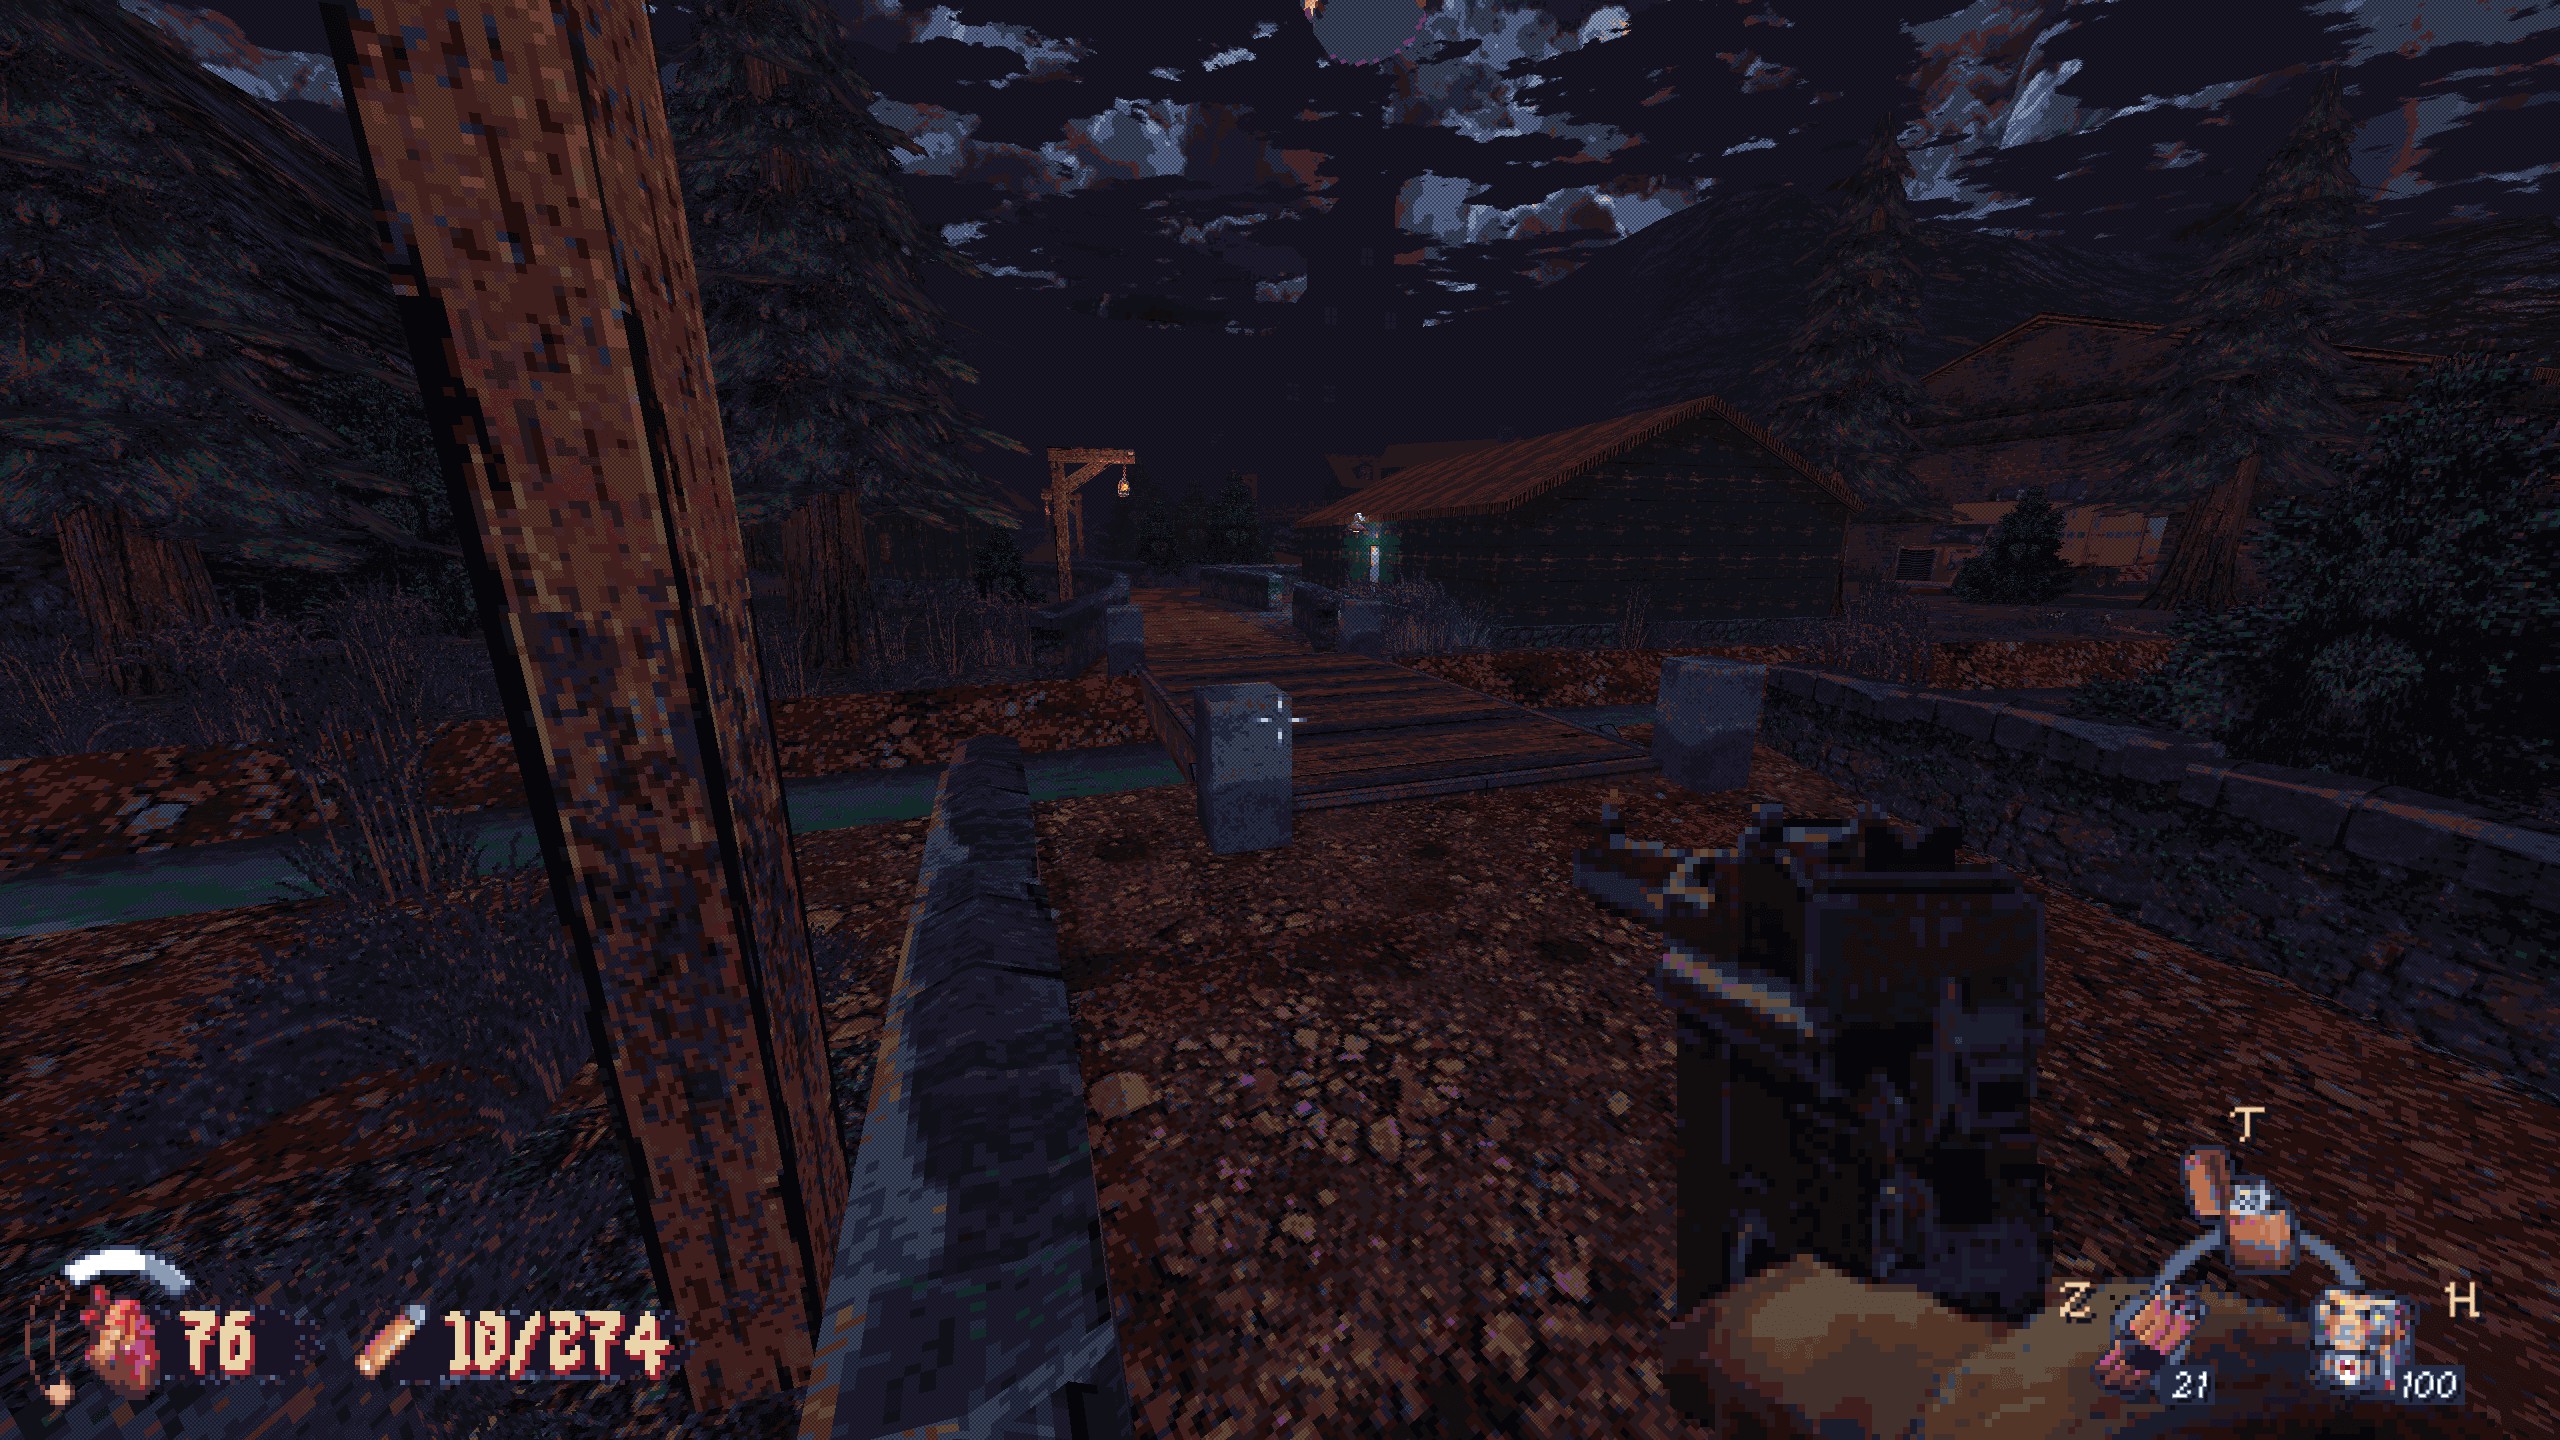
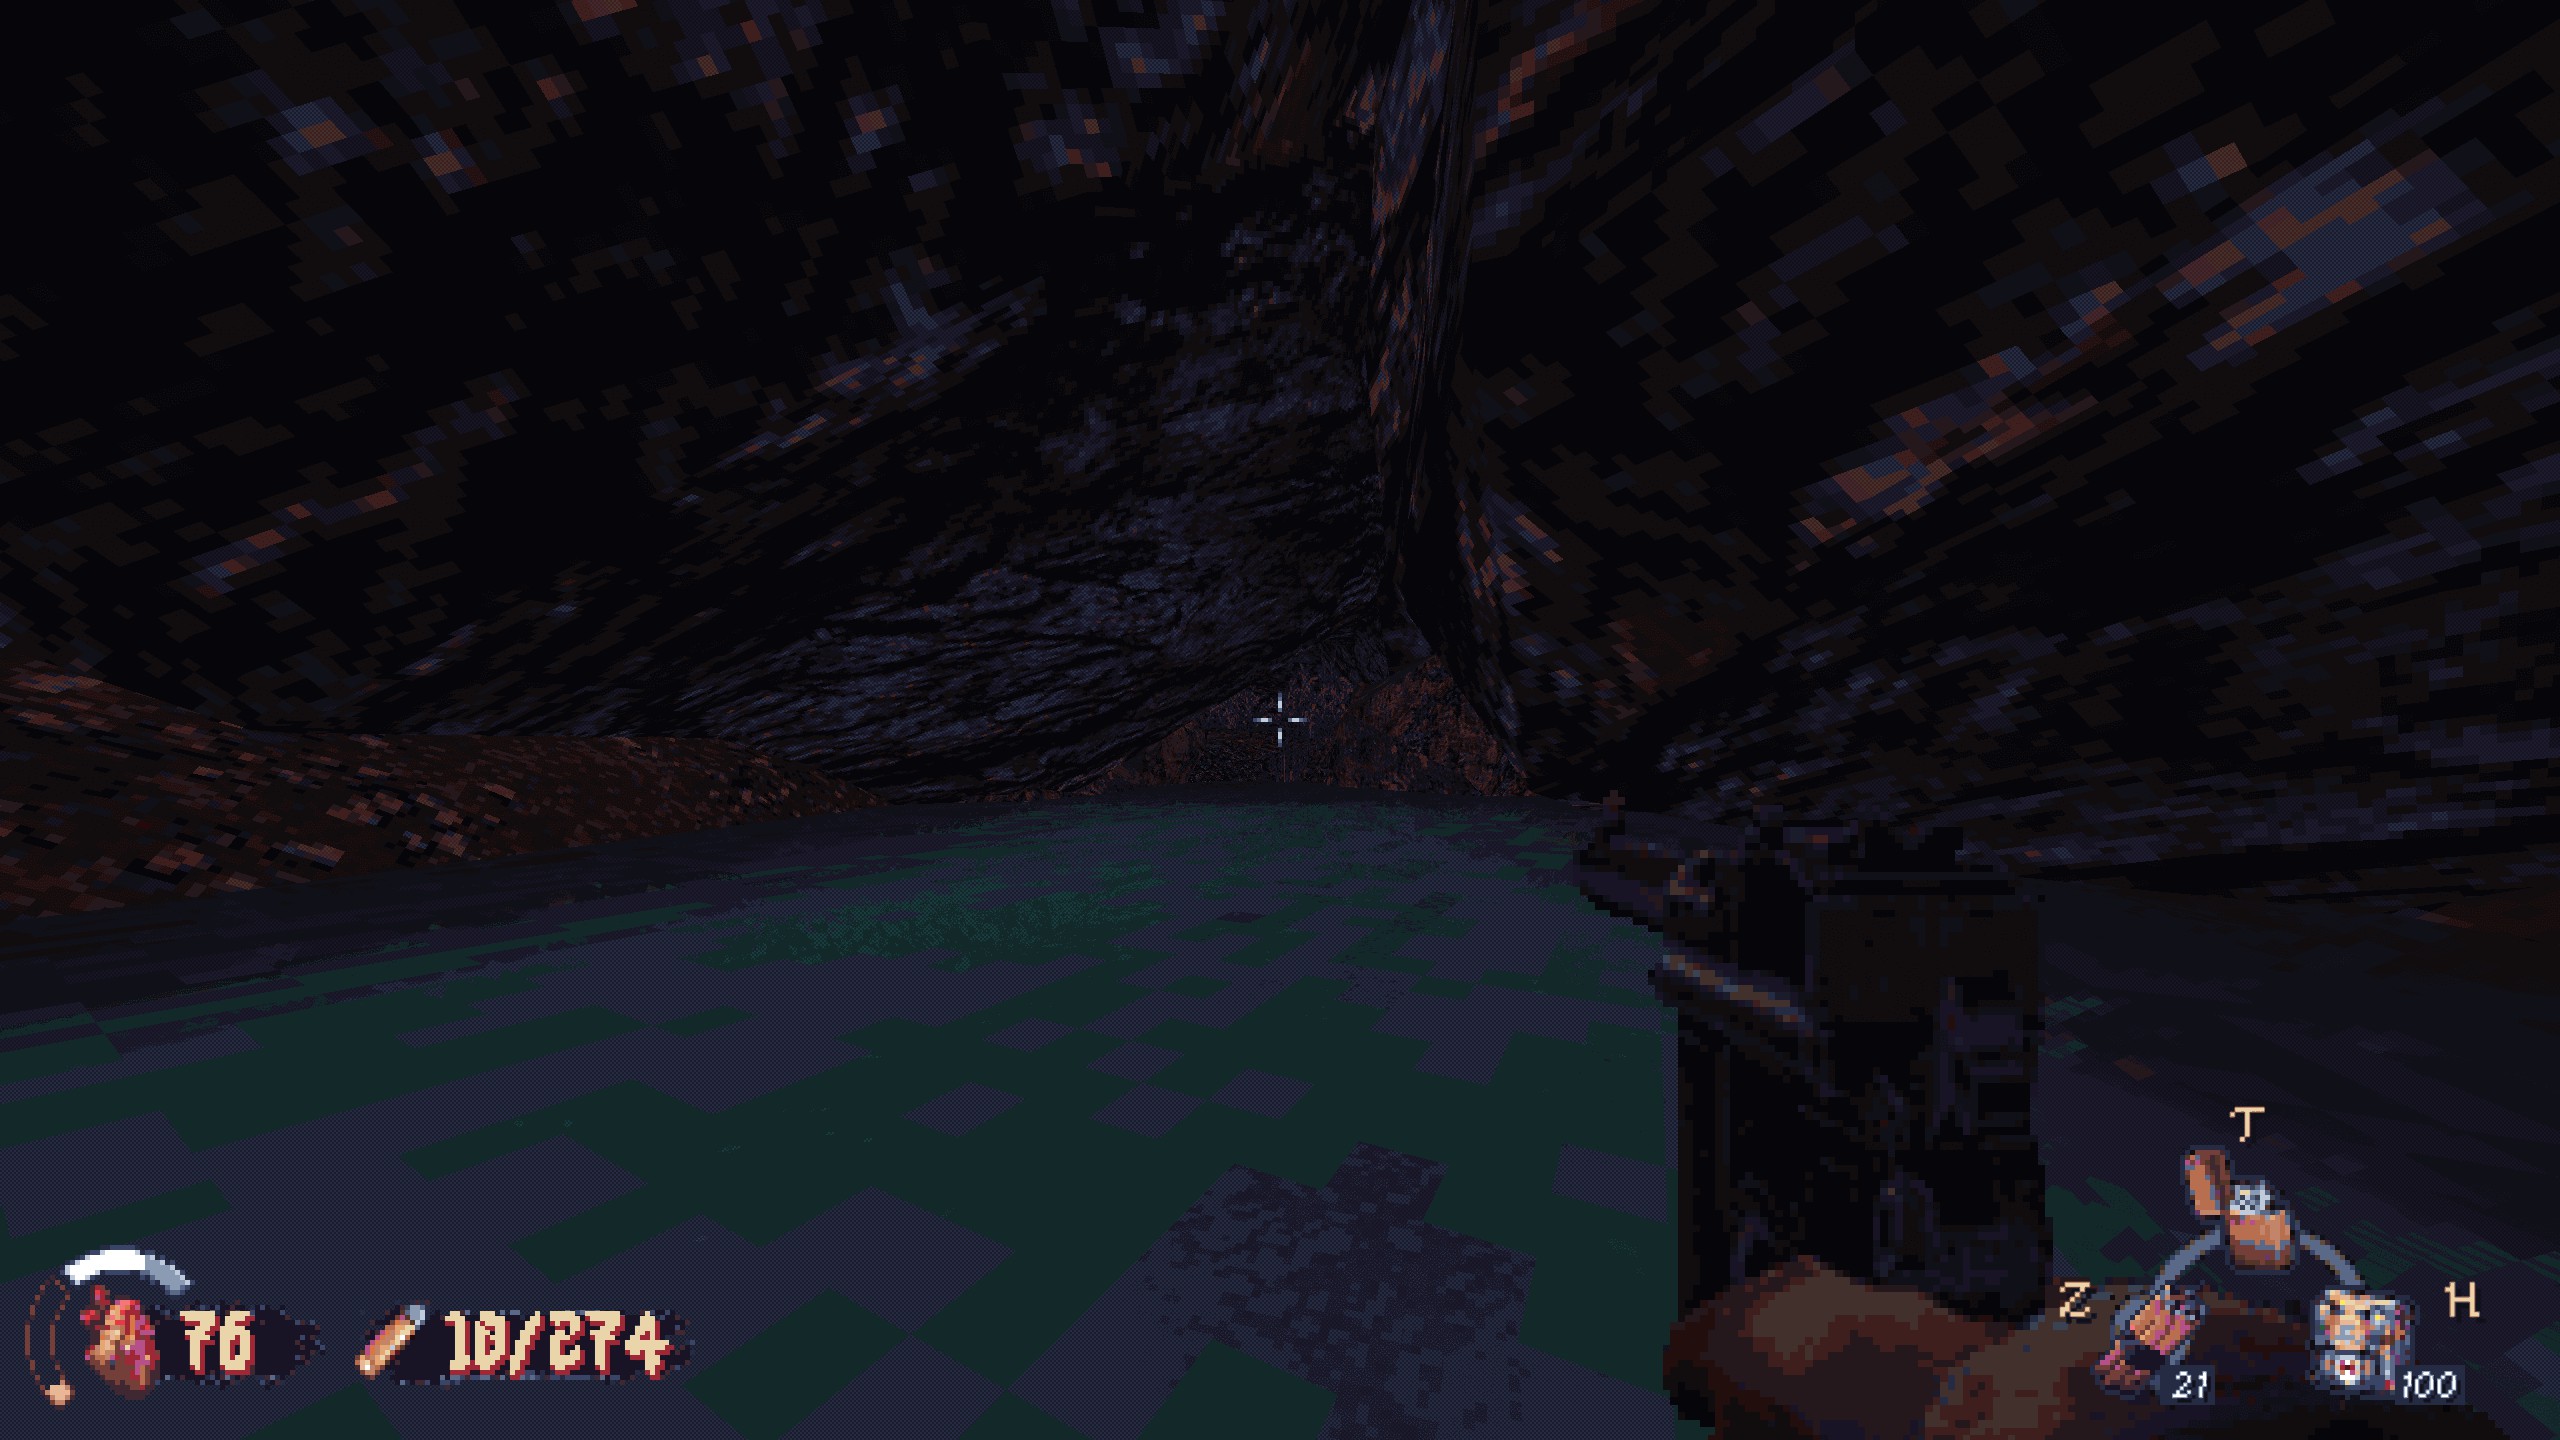
#1: At the small bridge over the river, walk downstream (Para a esquerda). Find a tiny cave for the secret. Recompensa: armor and ammo.
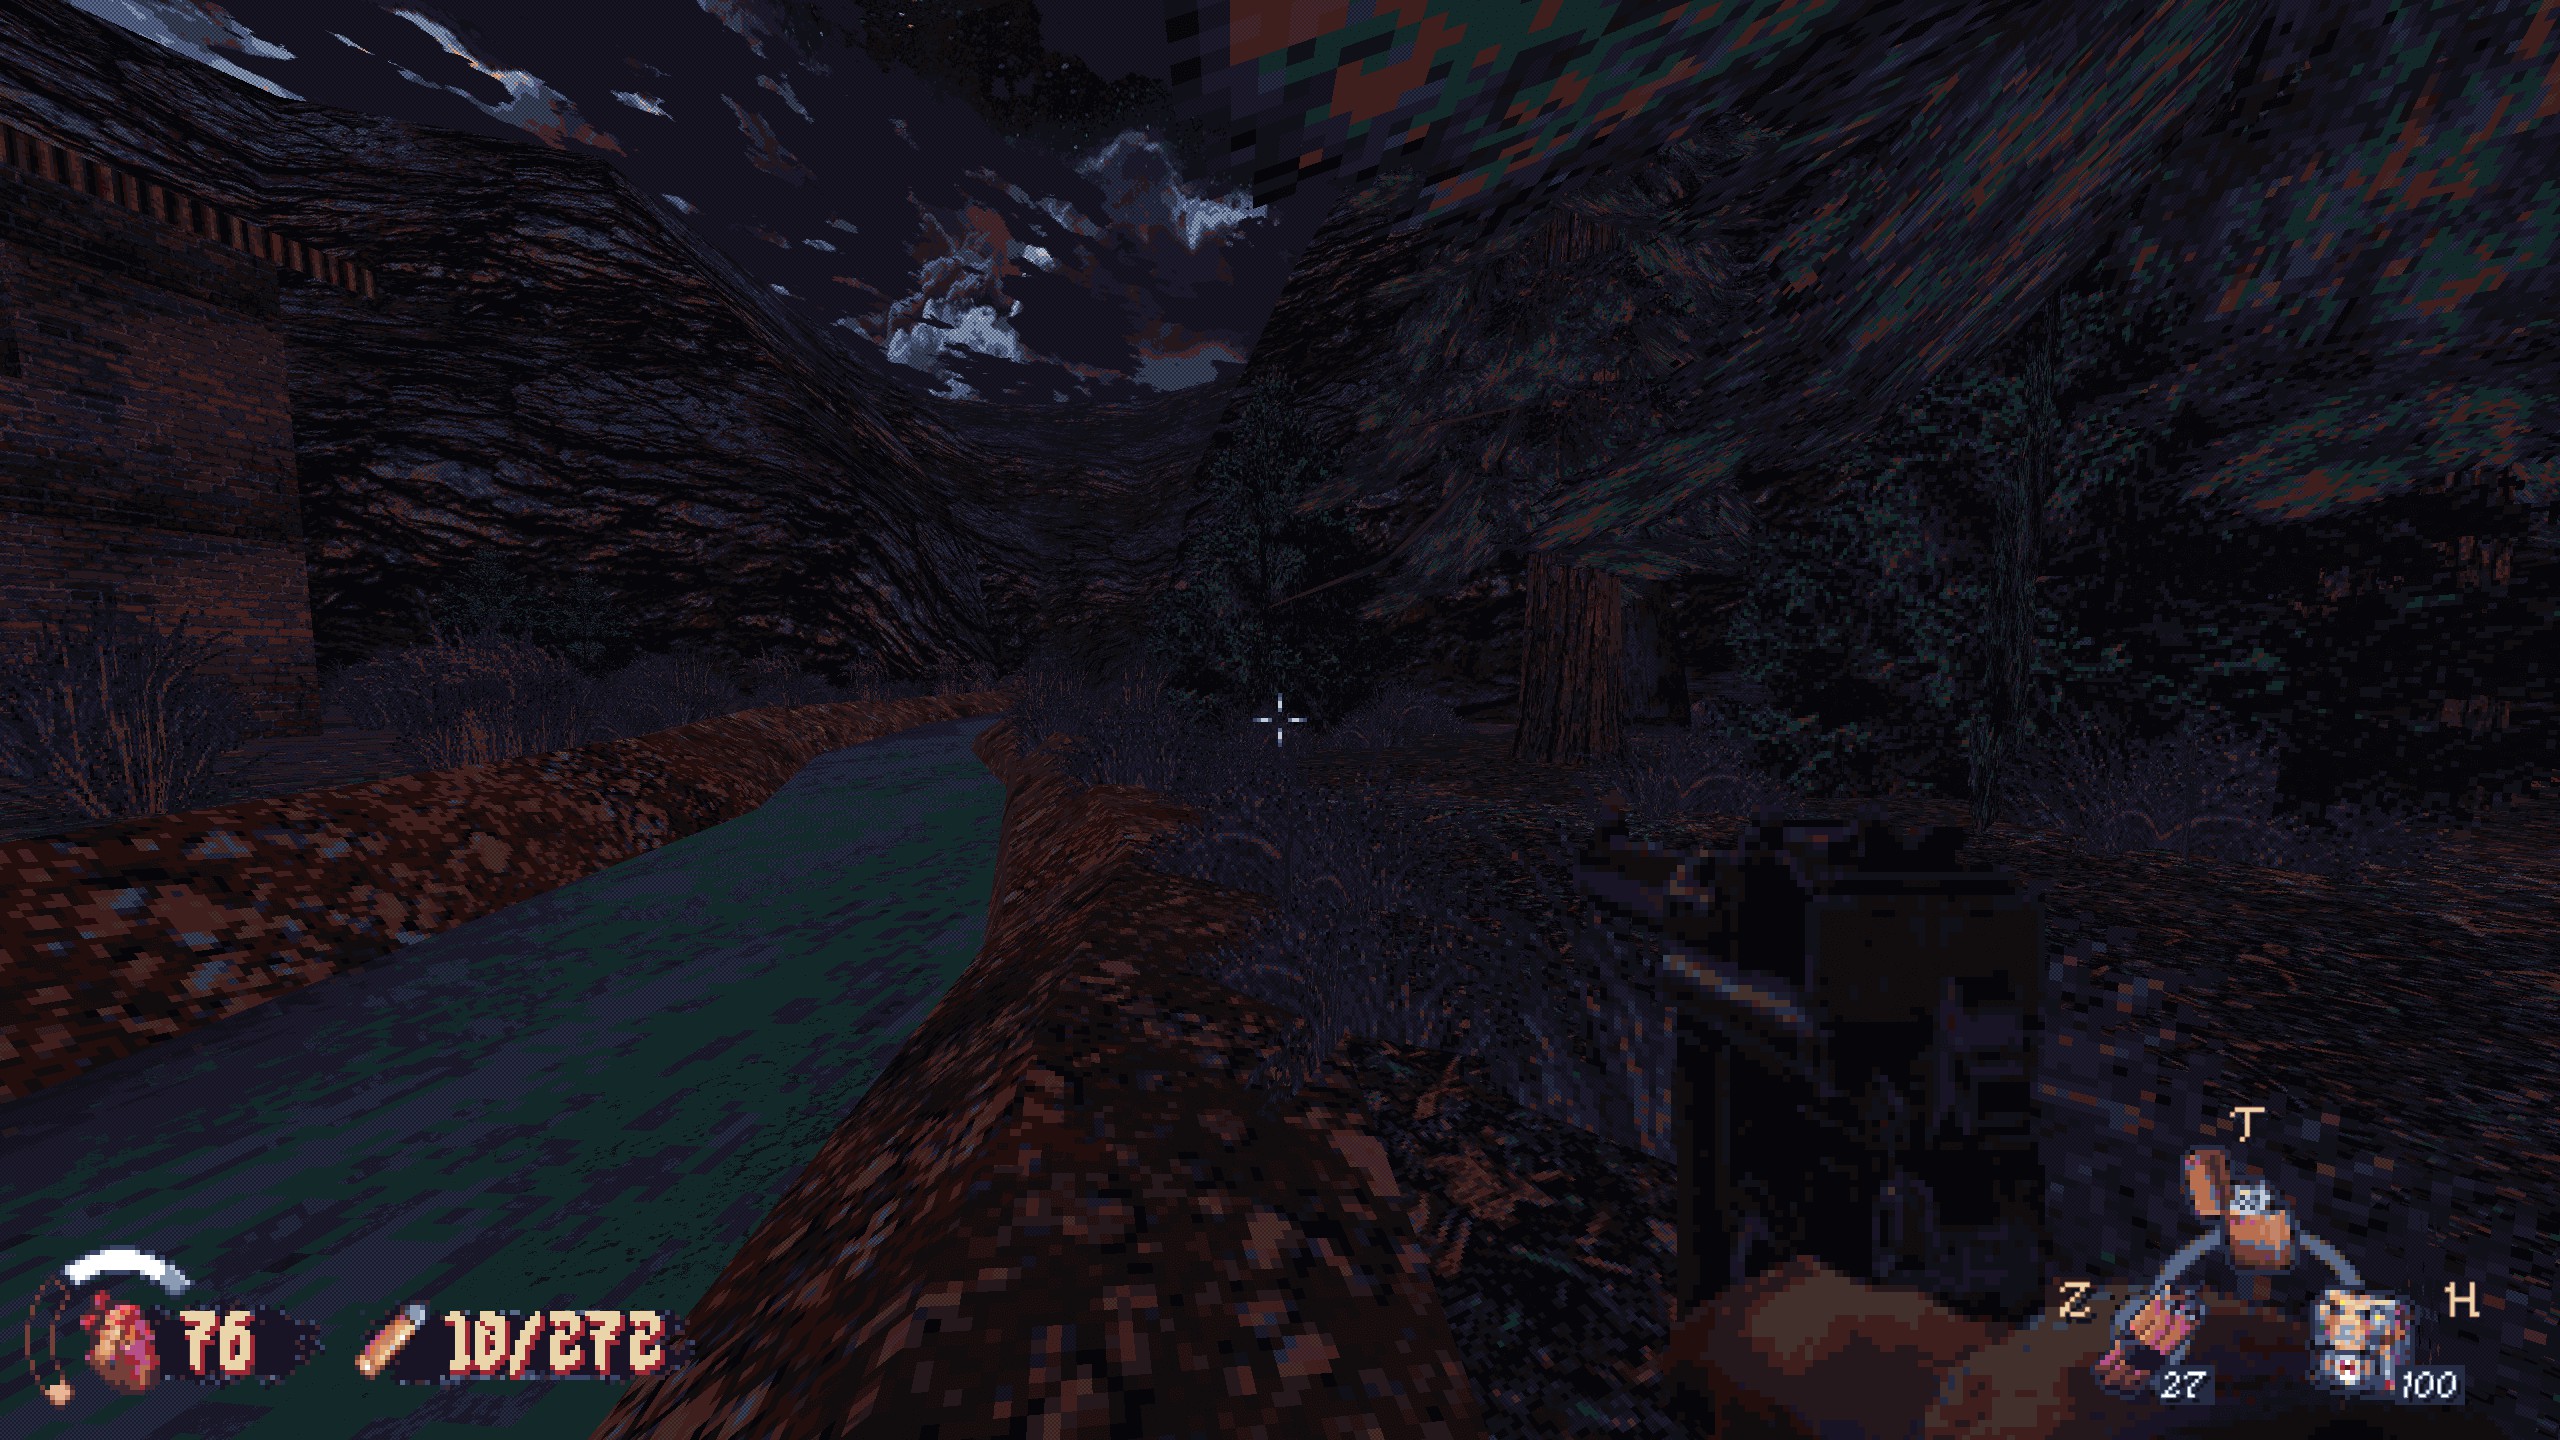
#2: Follow the same river upstream until you see boats propped against the cliff face to the right. The box of ammo next to them is the secret. Recompensa: munição.
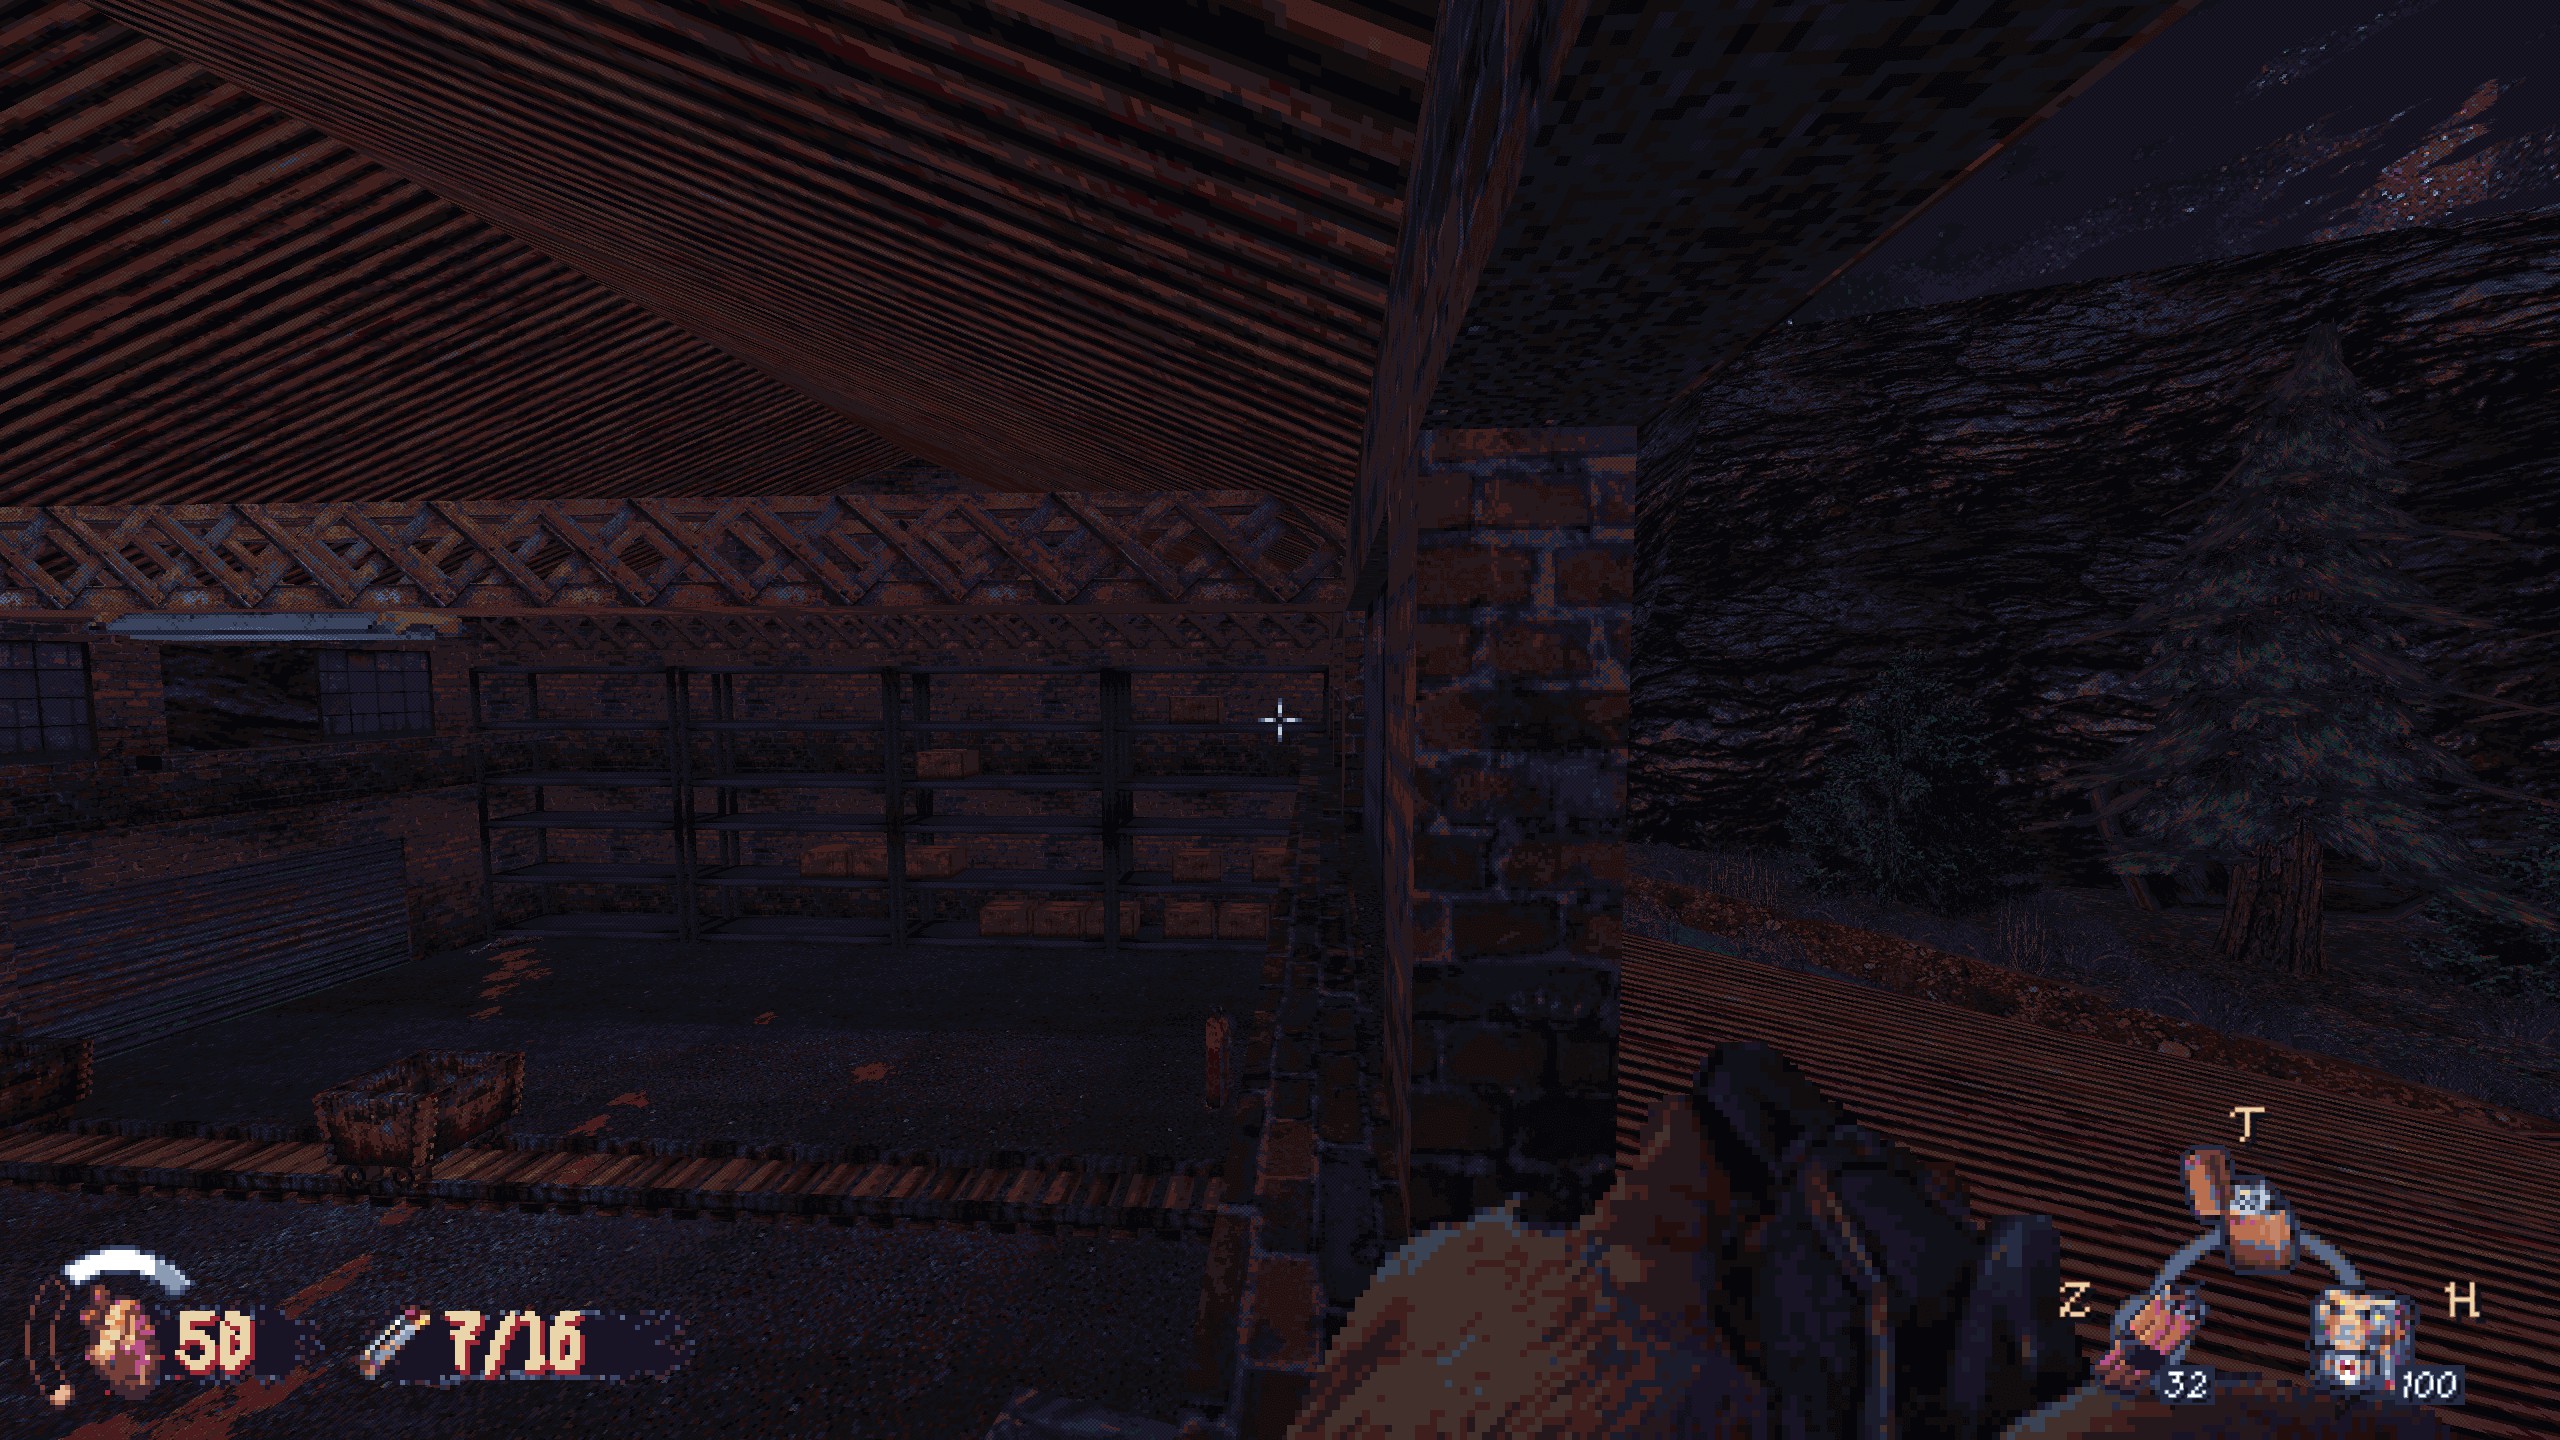
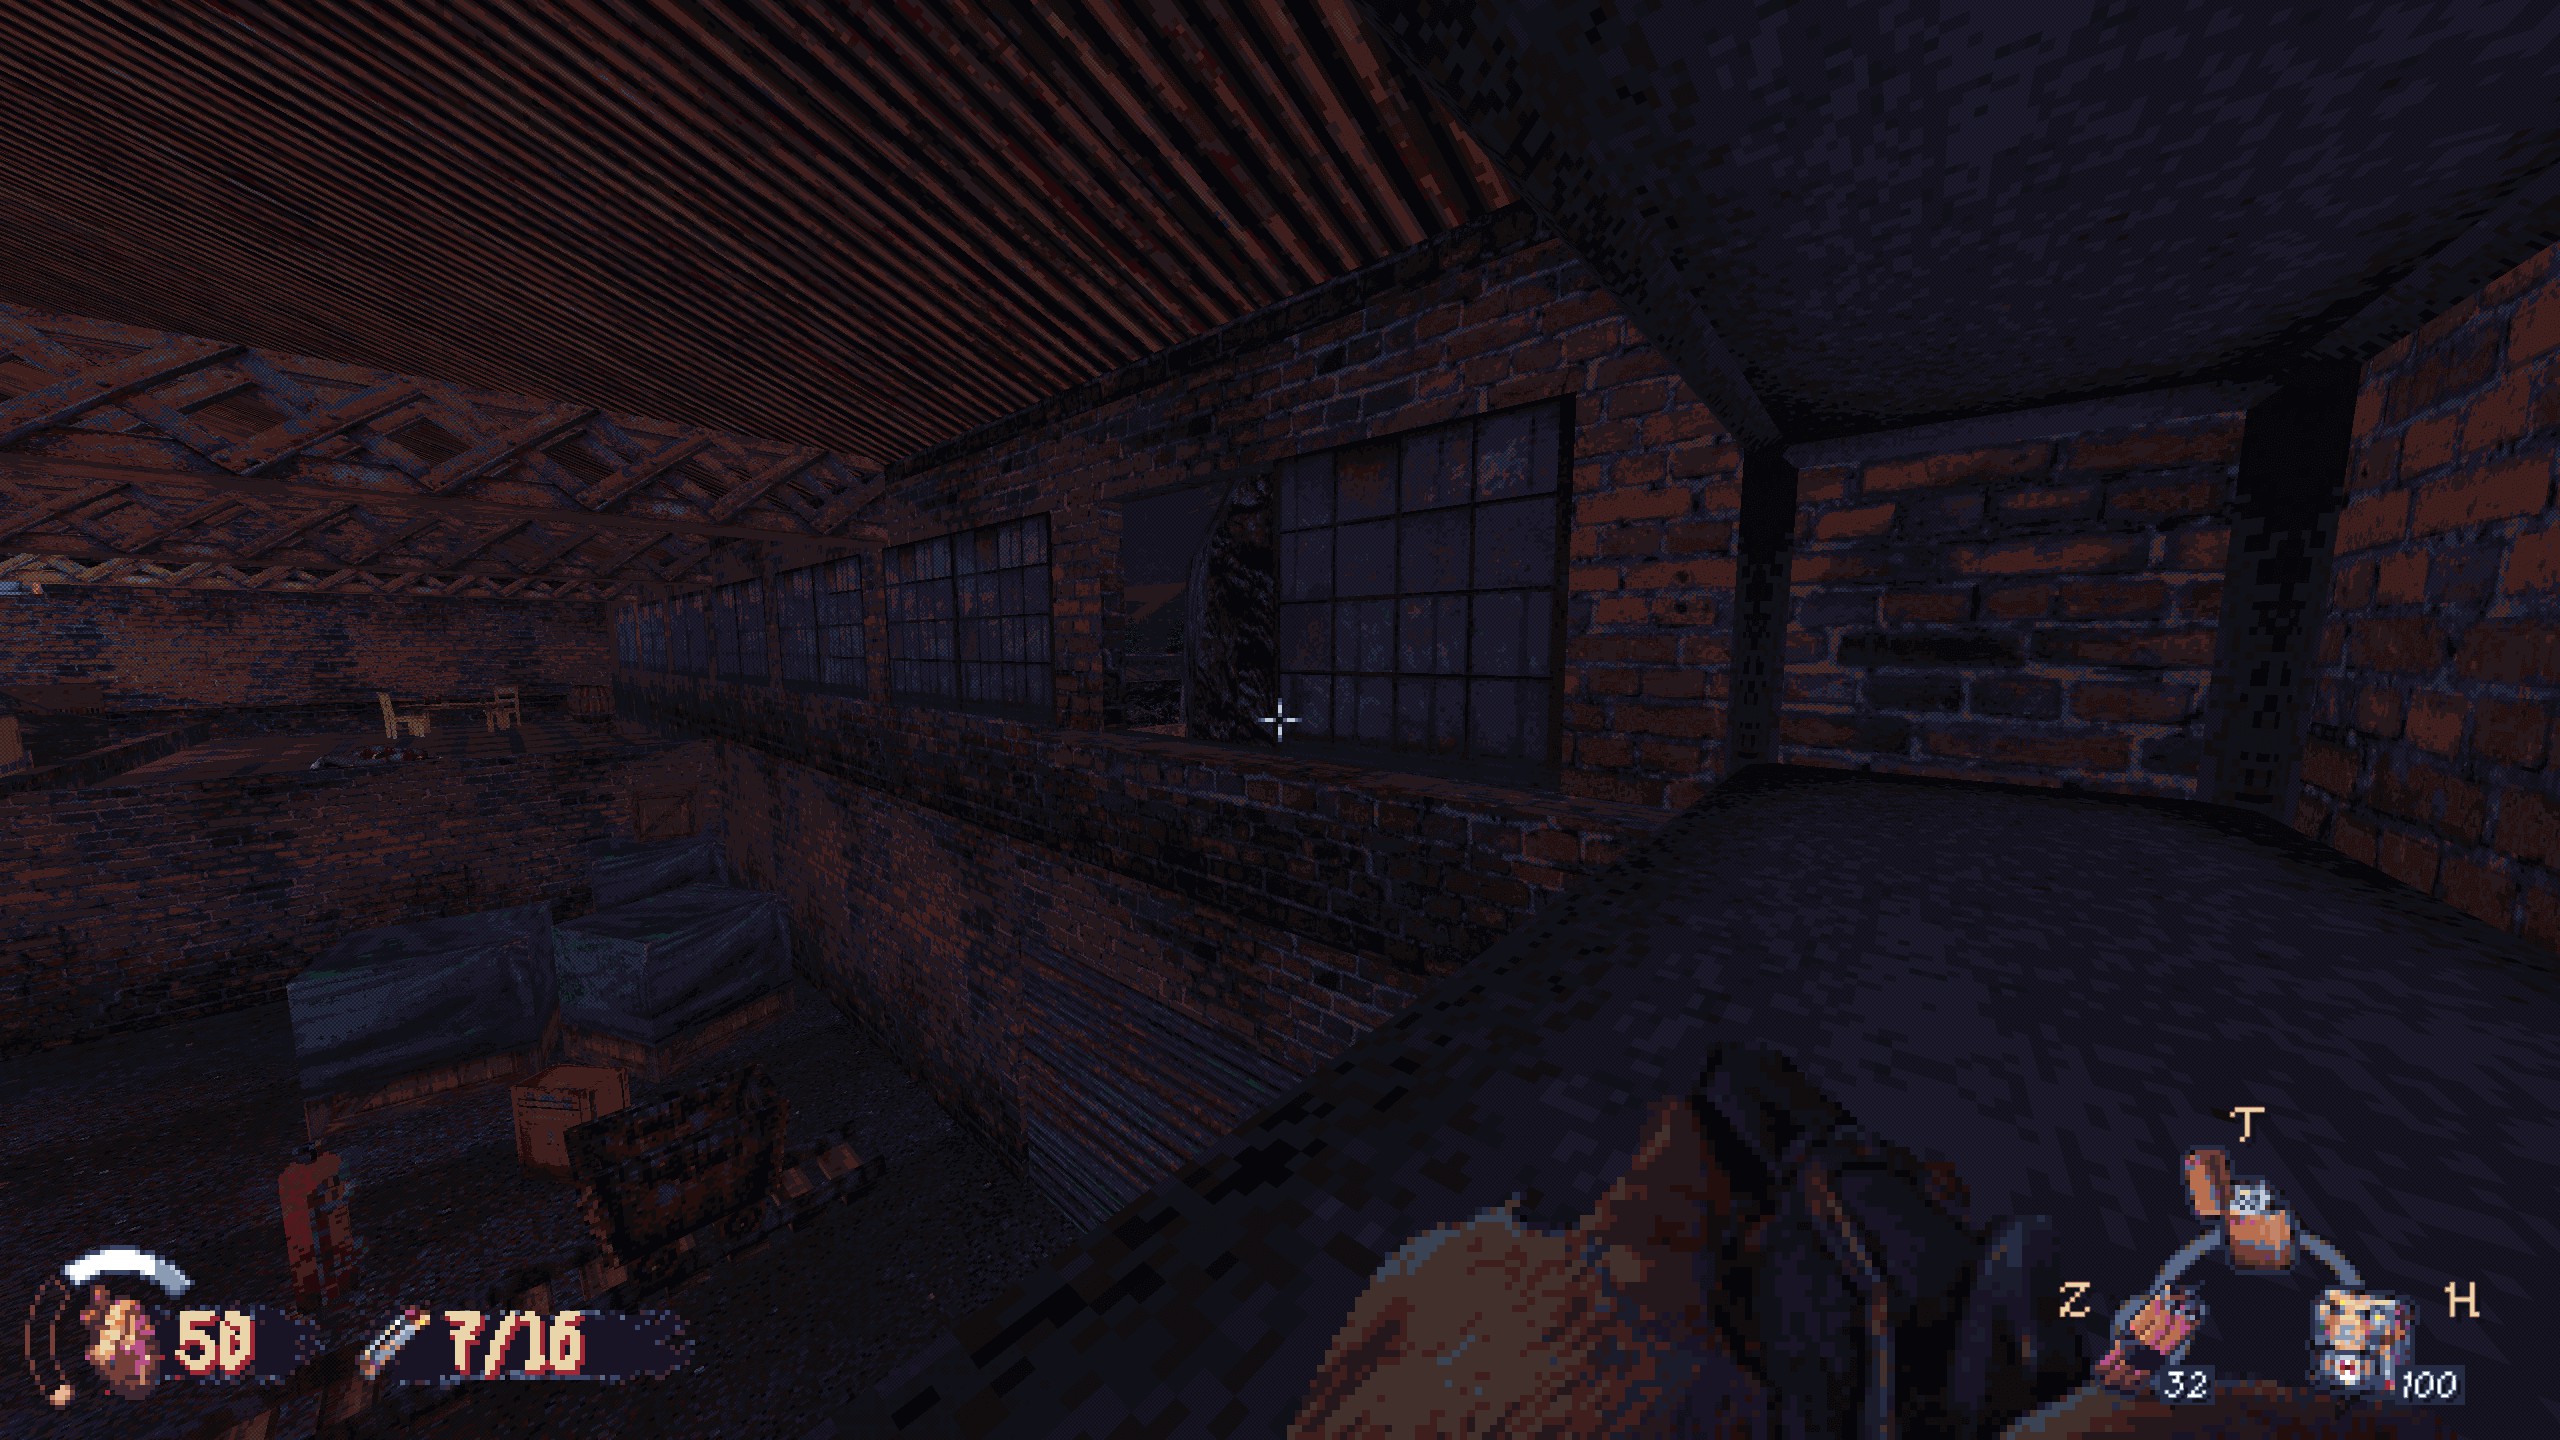
#3: Perto do segredo anterior, climb up boxes into the warehouse window. Walk along the ledge, across the metal shelves, and jump out the window on the other side. Grab the weapon leaning against the fence. Recompensa: STEN Mk.4.

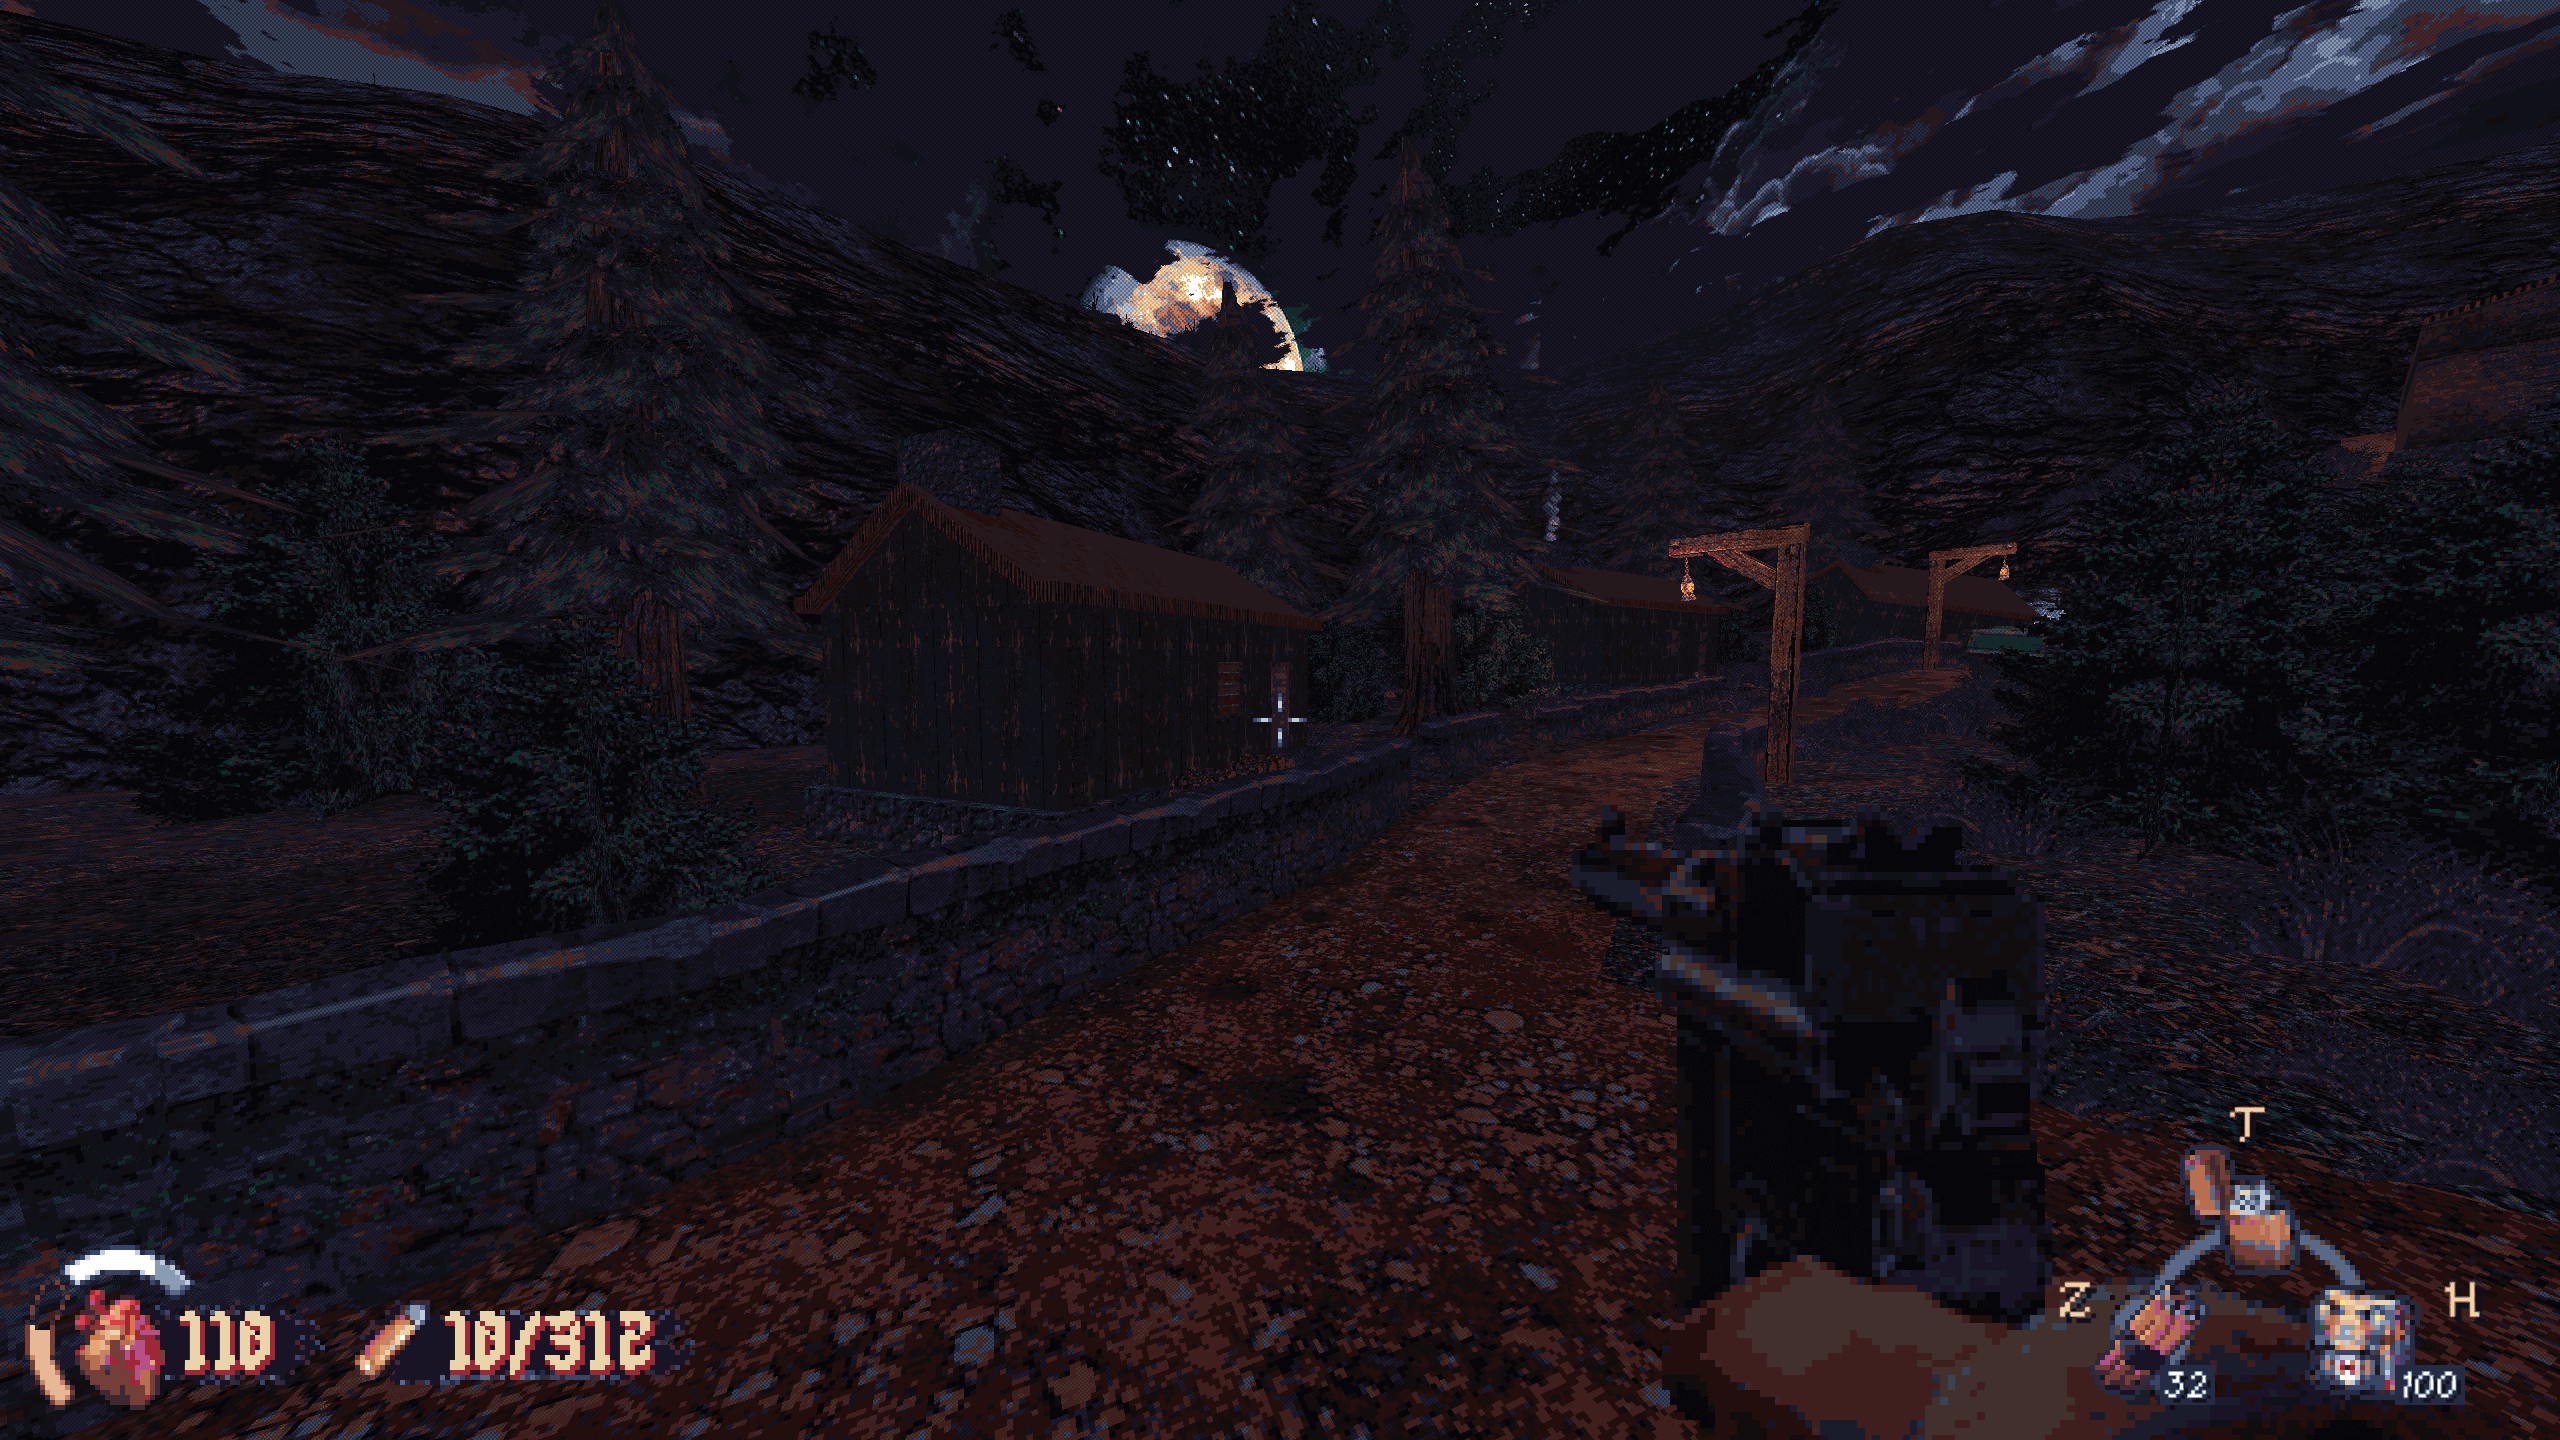
#4: Walking down the road in the middle of town, the first cabin on your left is blocked. Jump on the stone wall to reach the roof, then jump down the chimney. Recompensa: lever-action rifle and ammo.
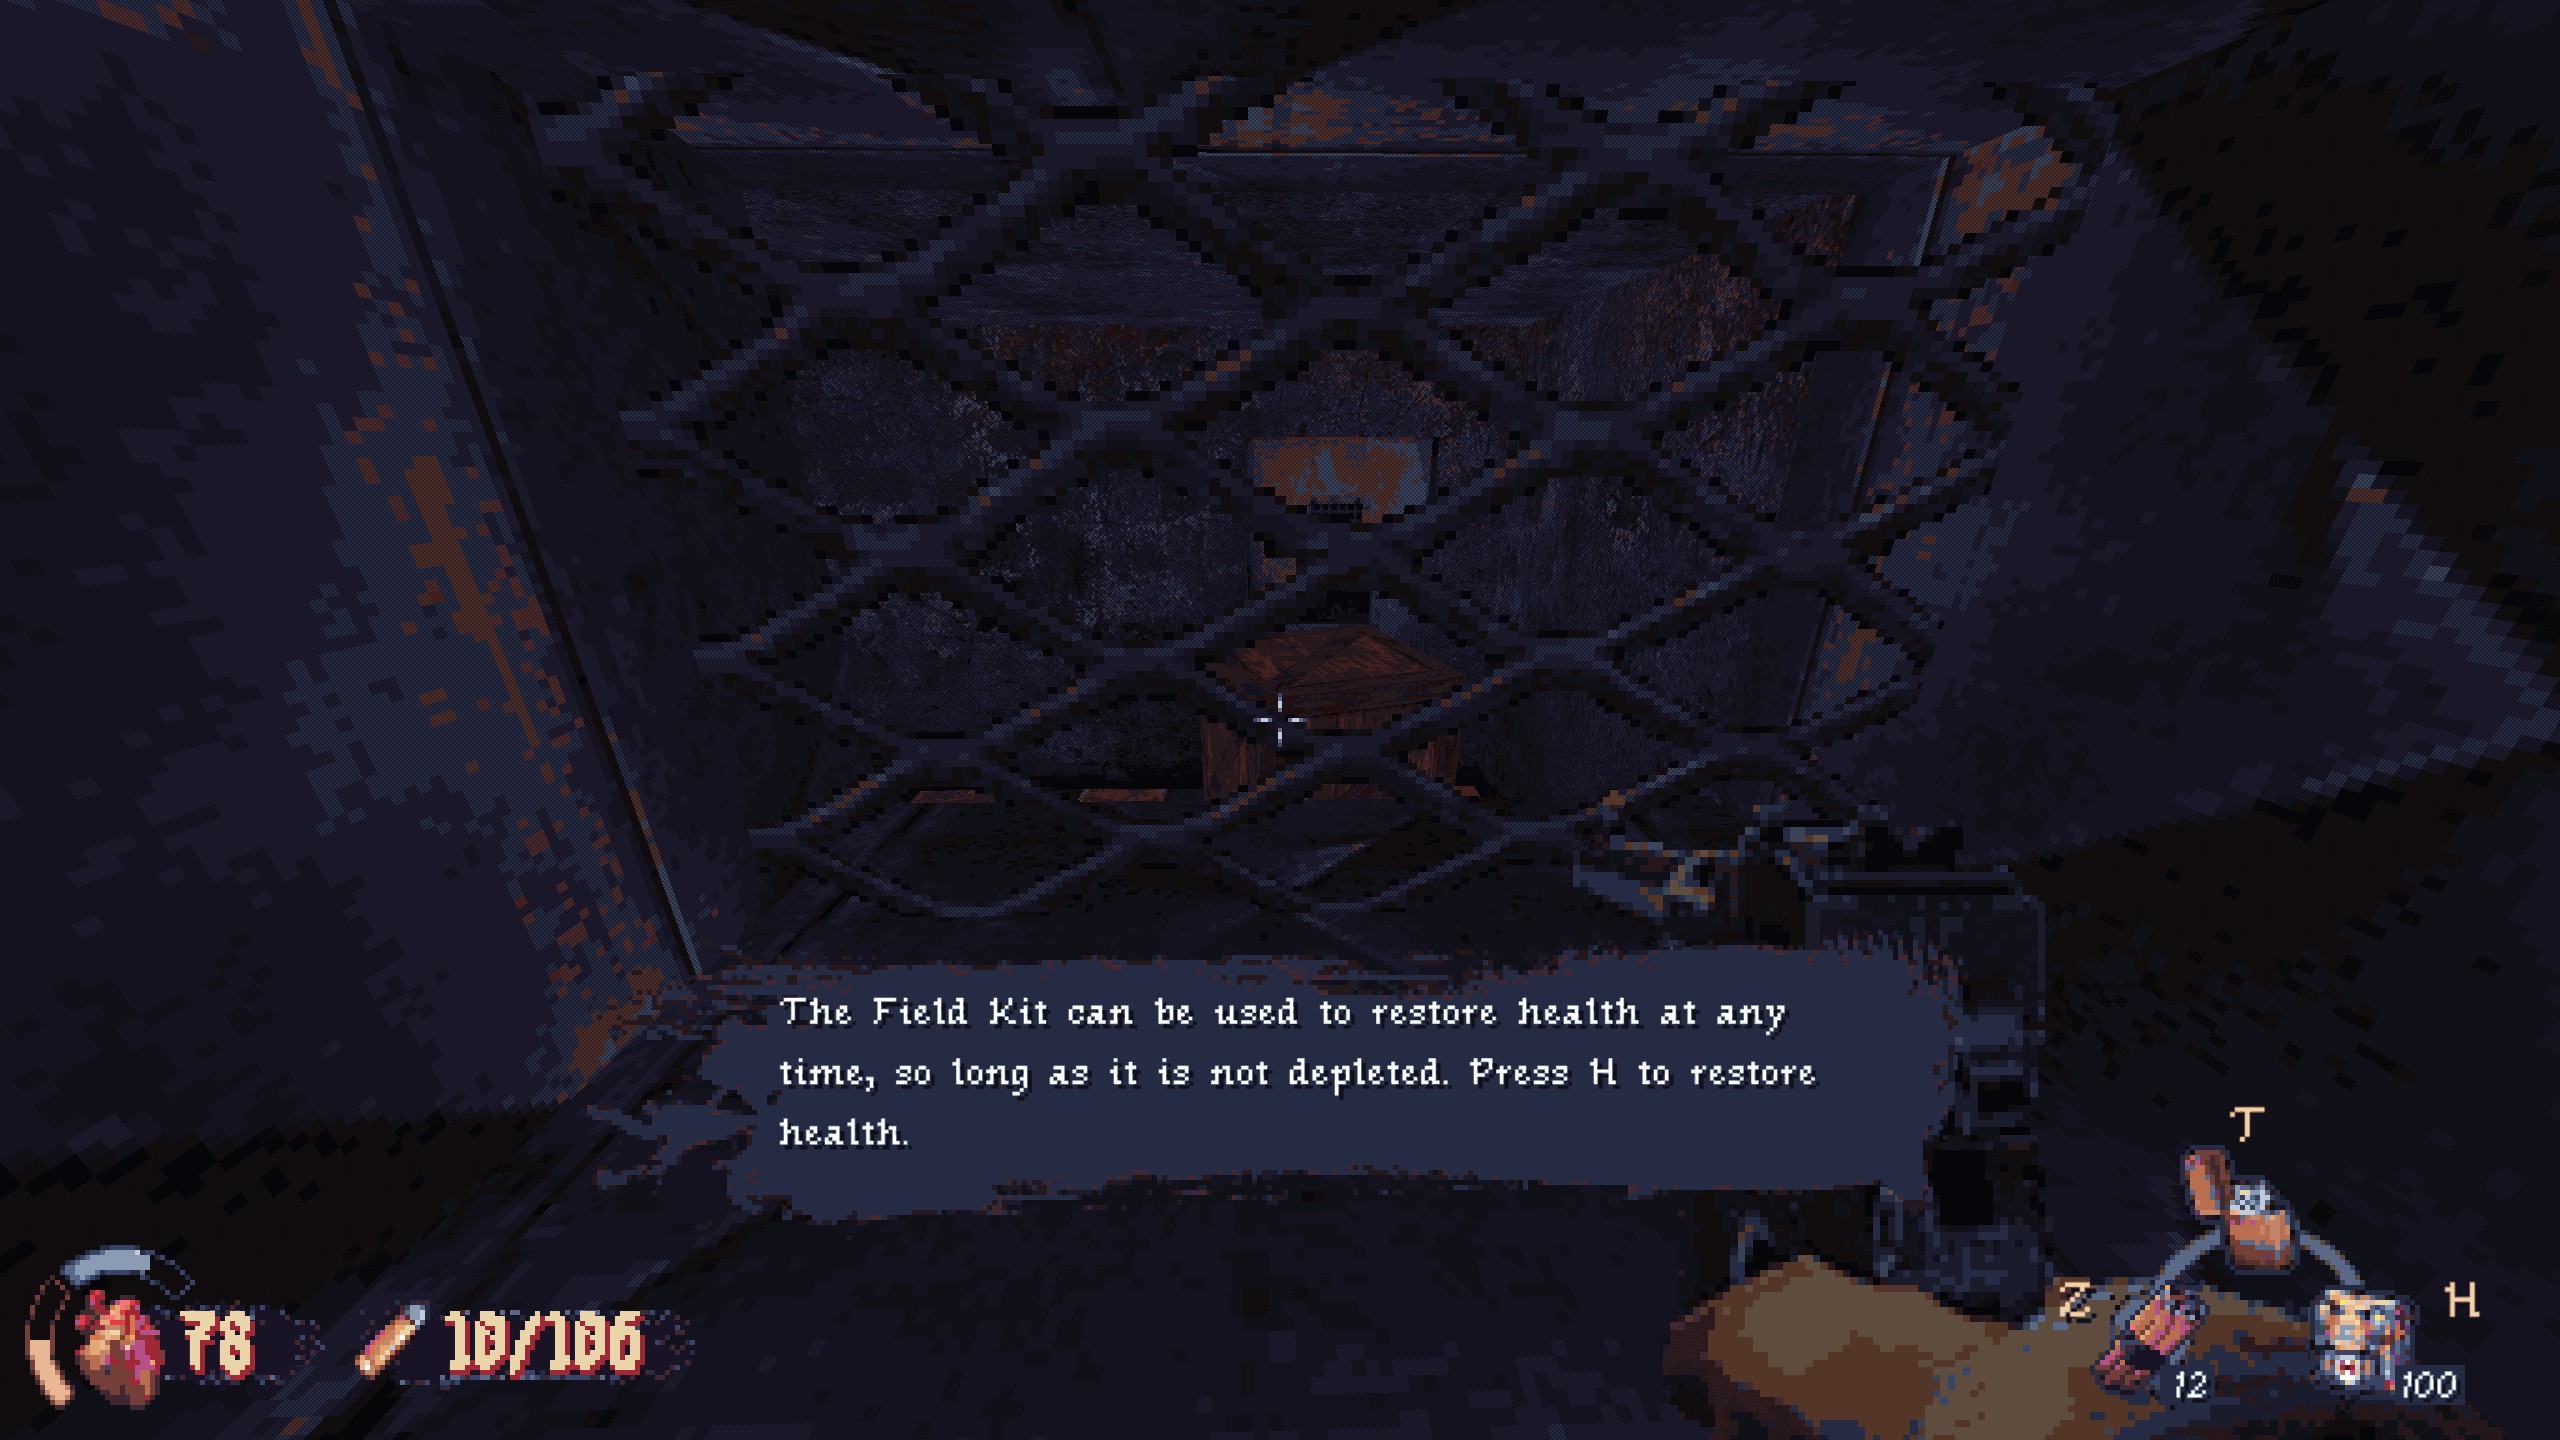
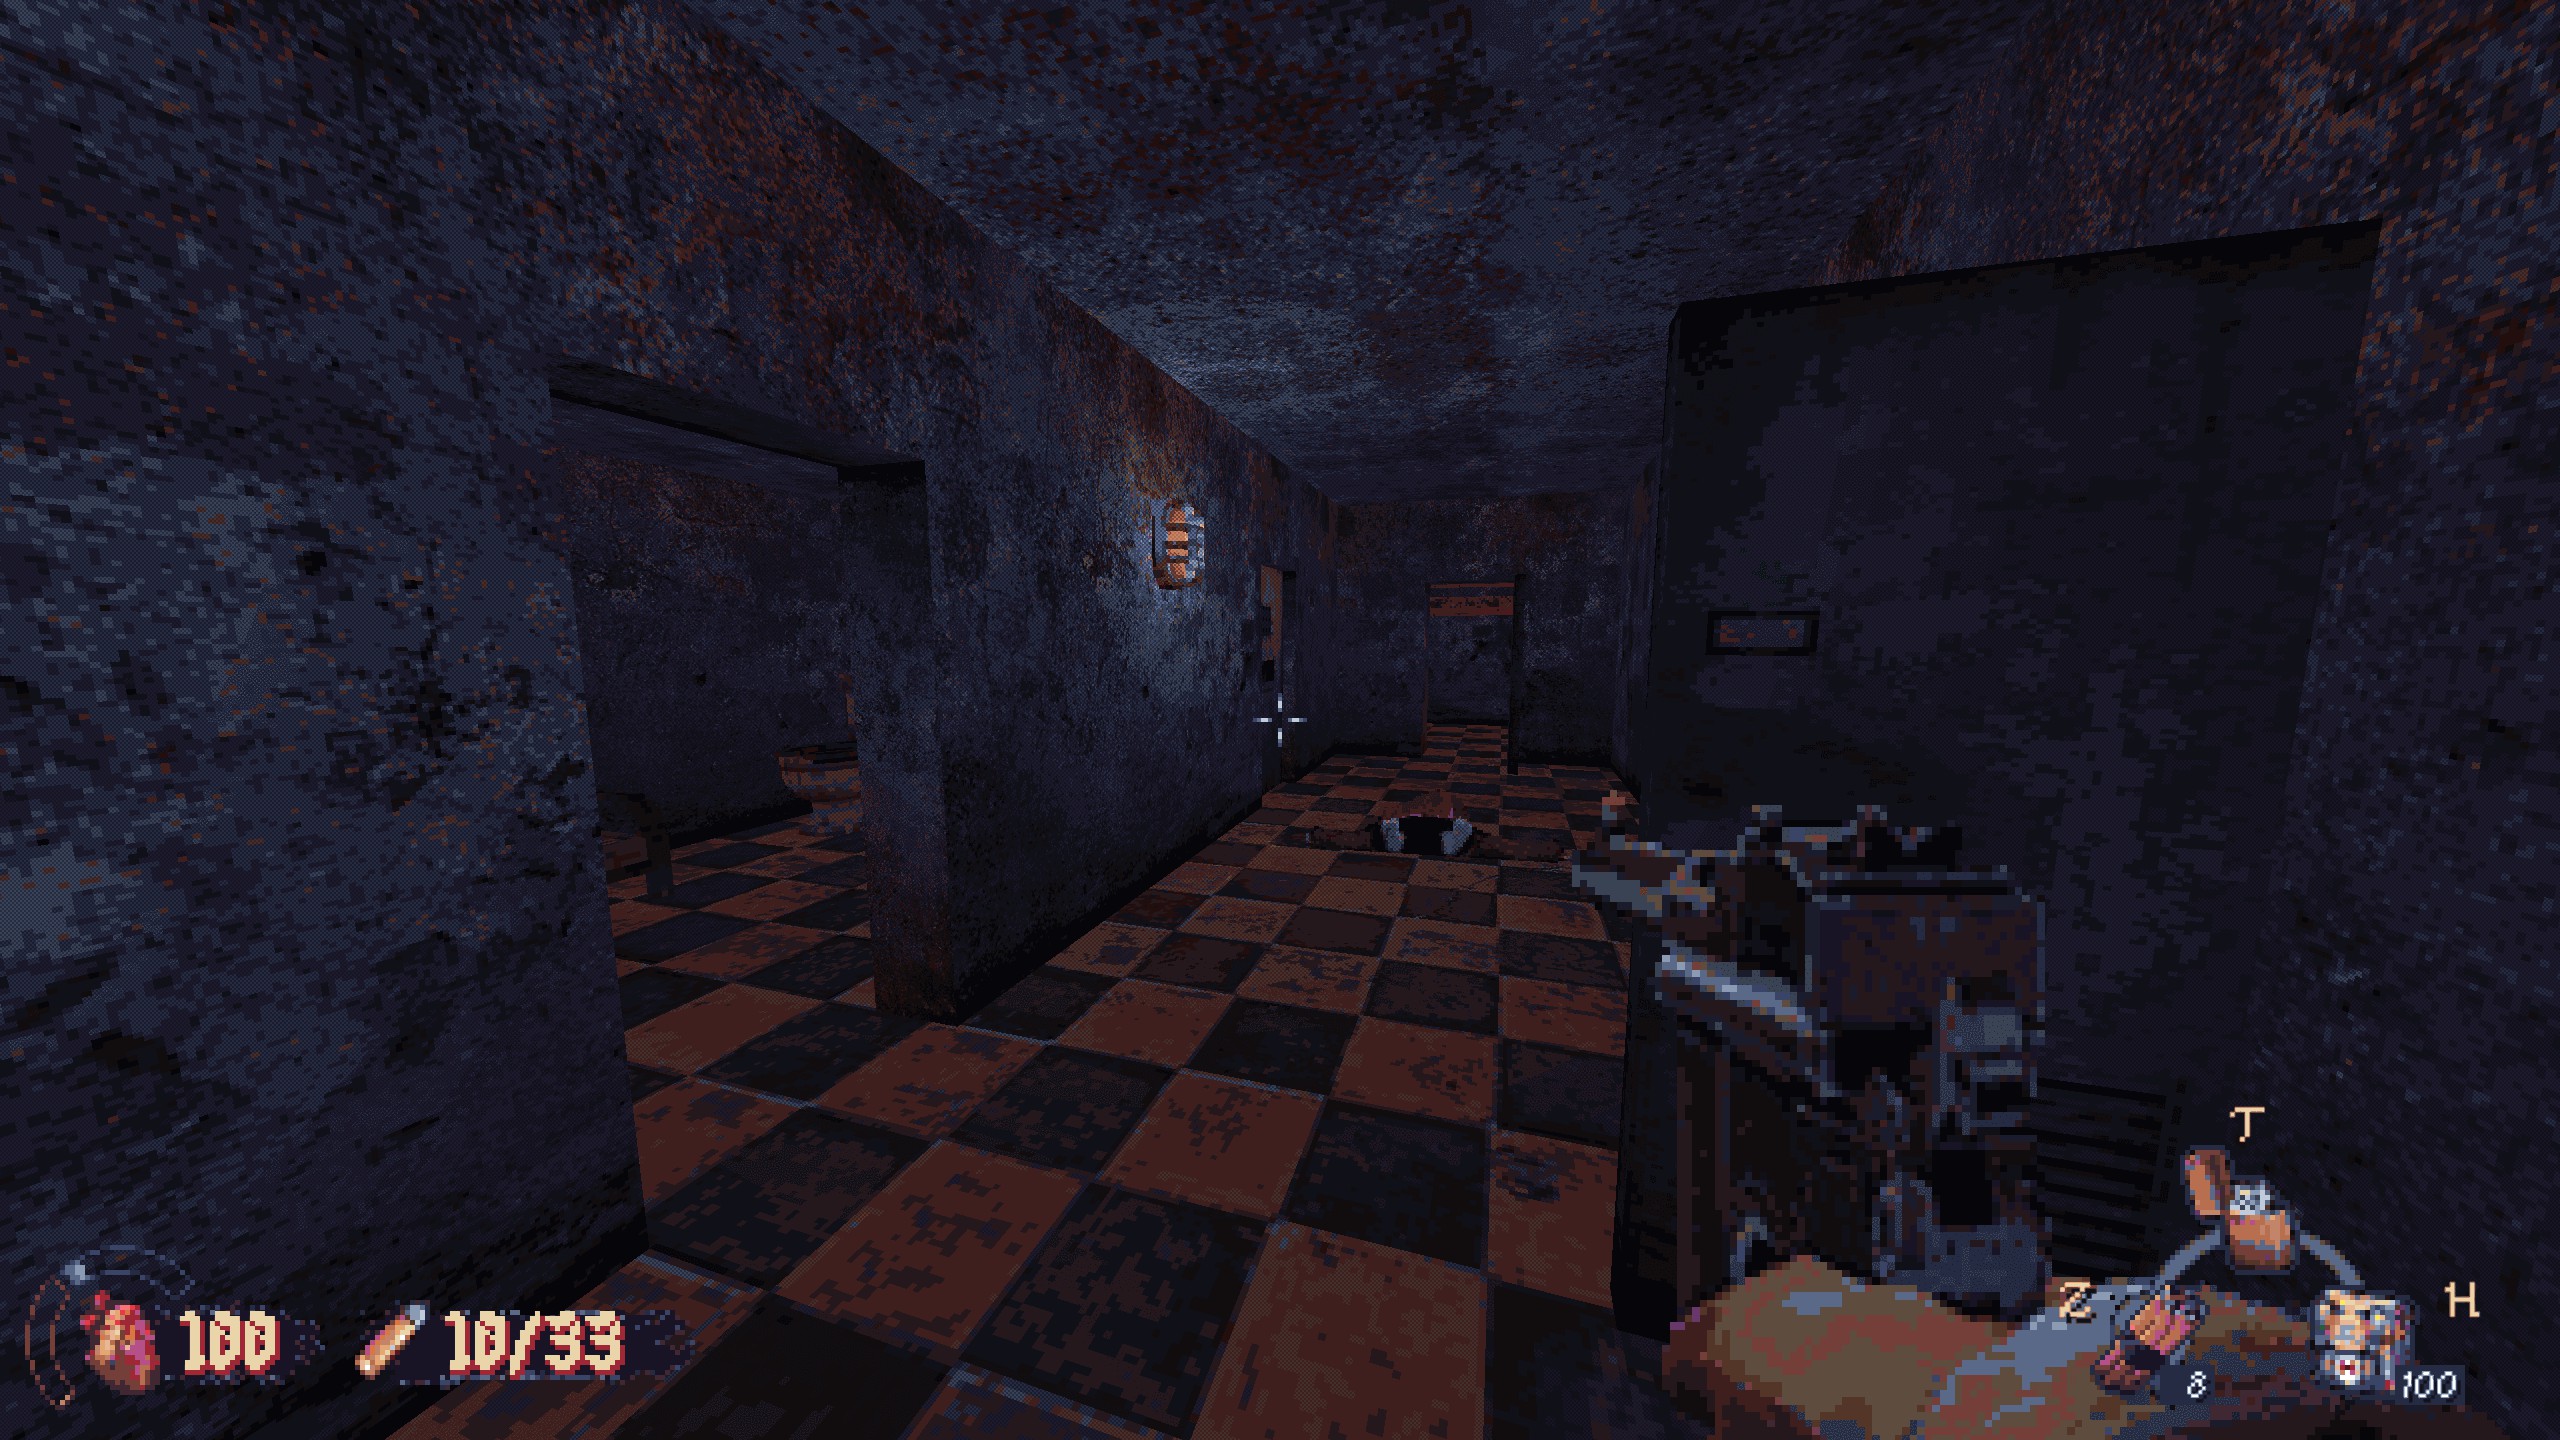
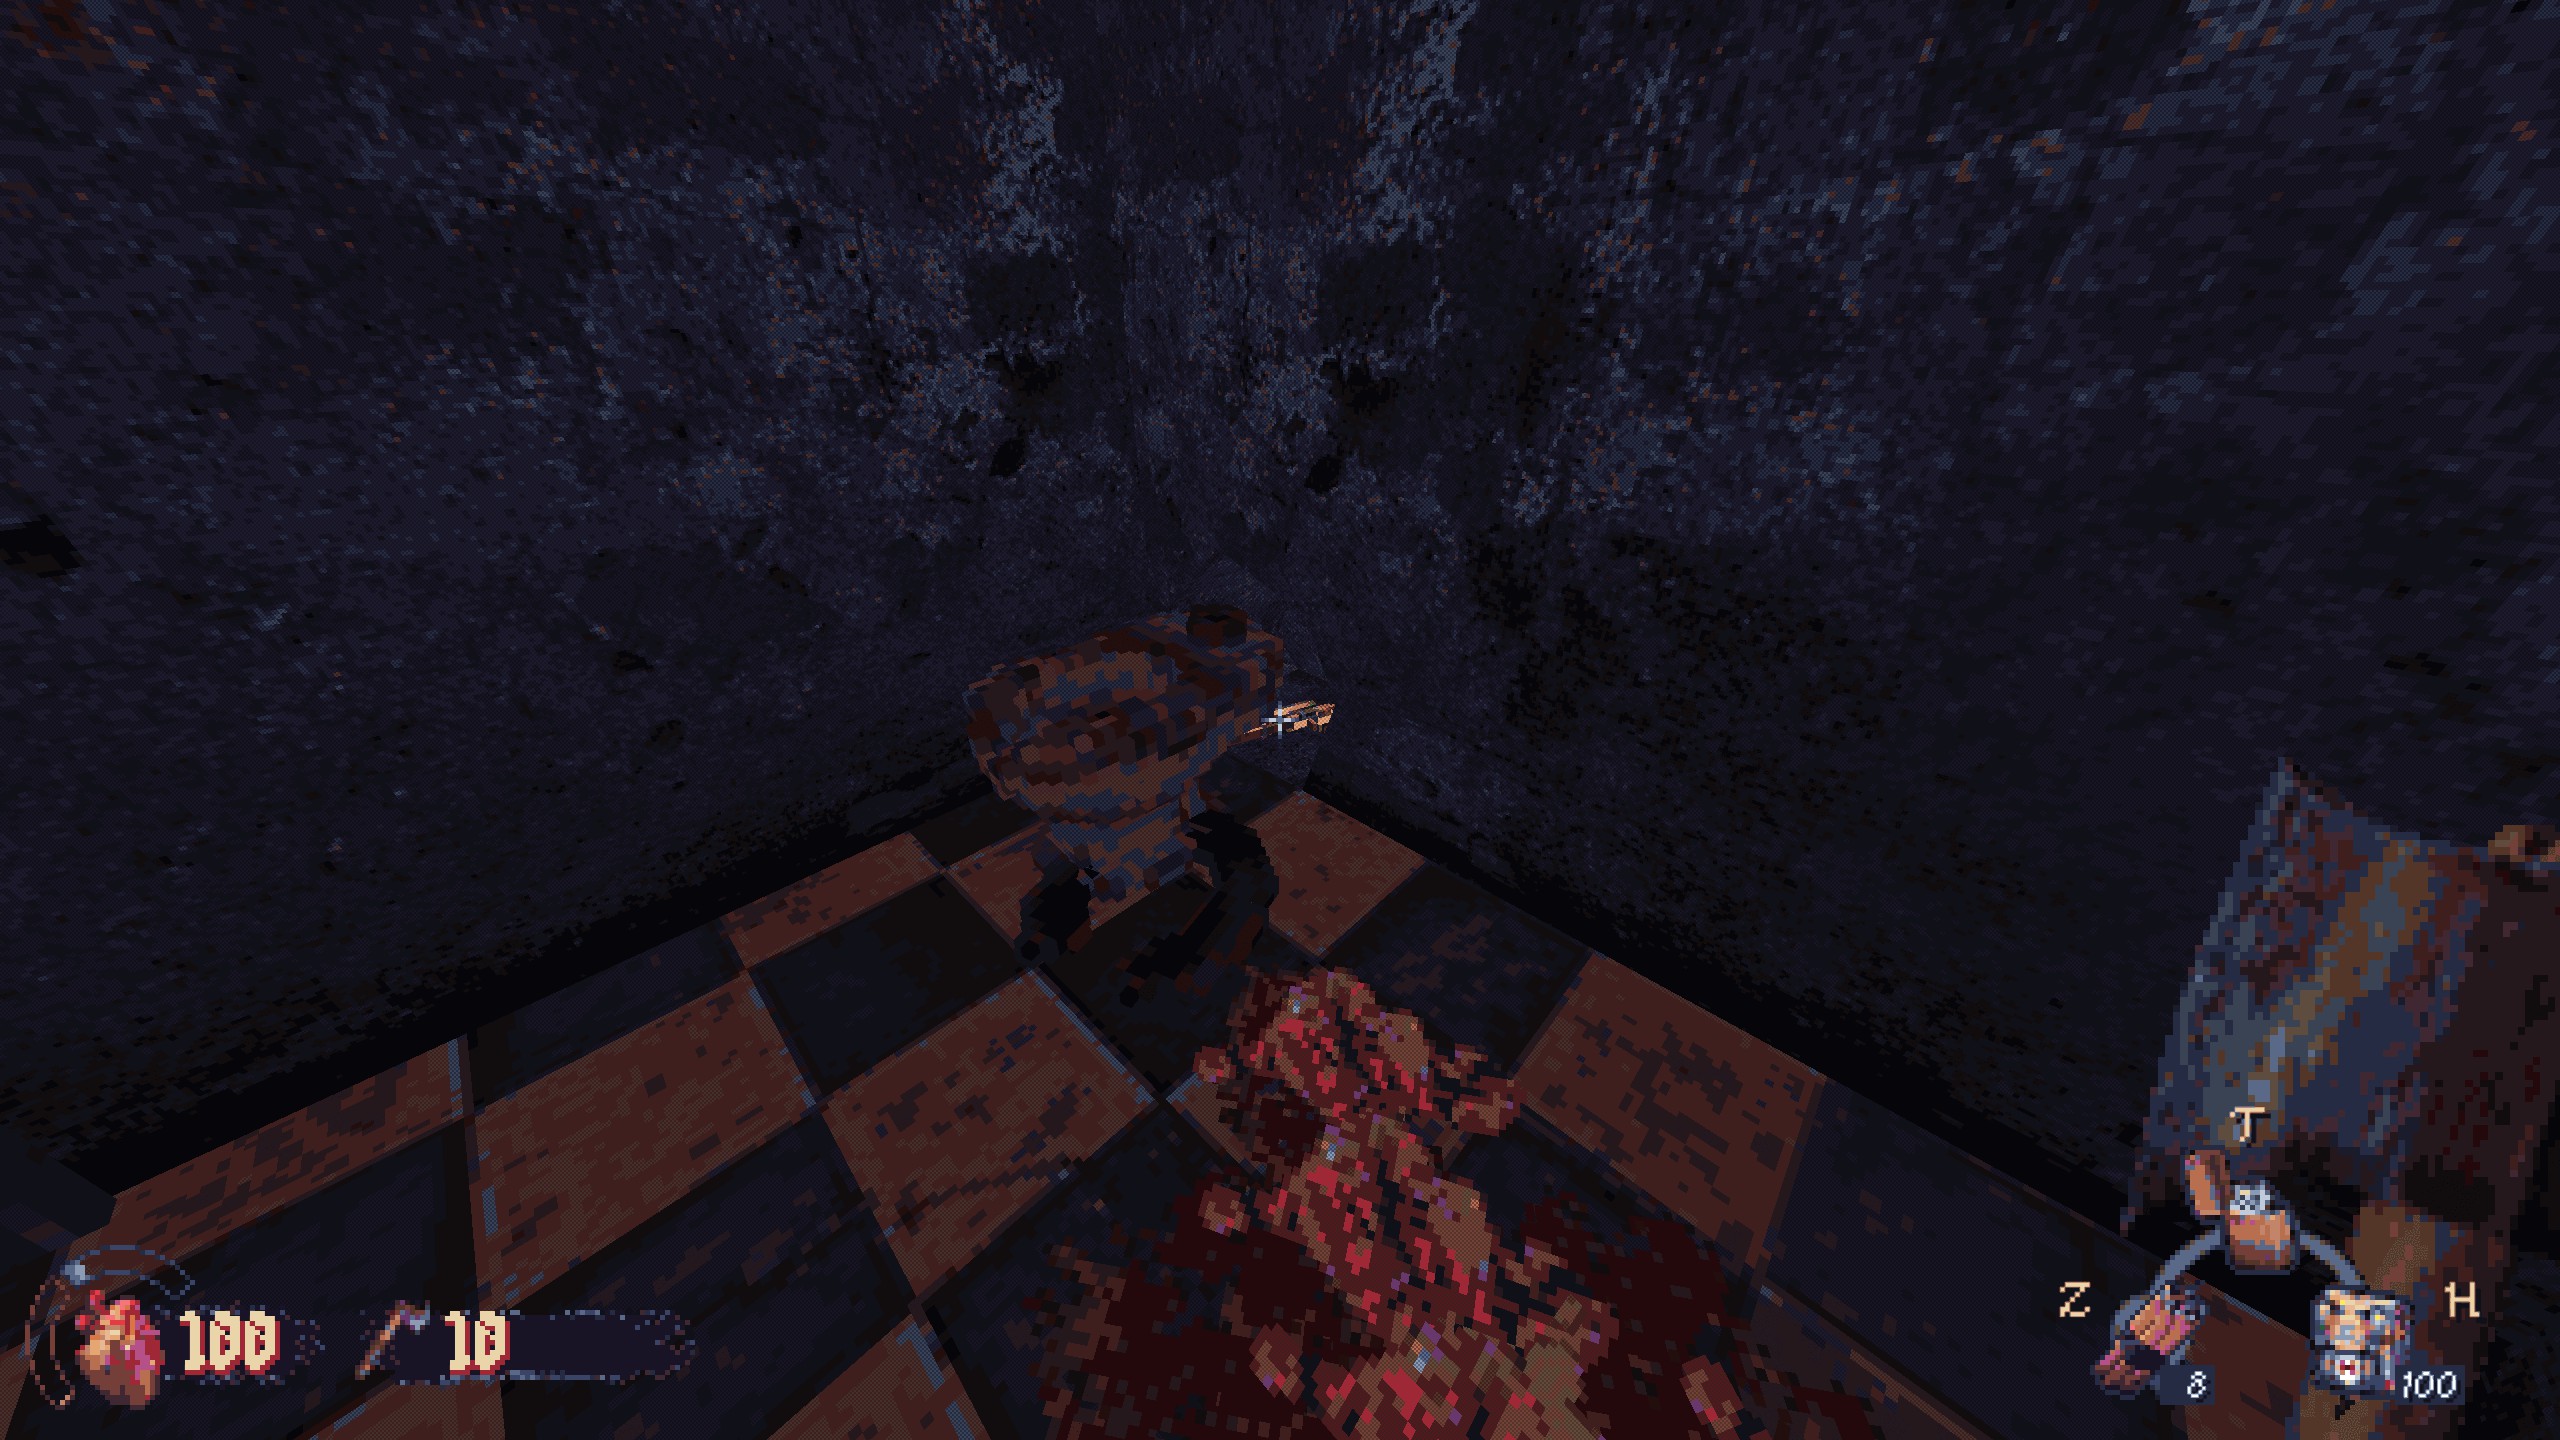
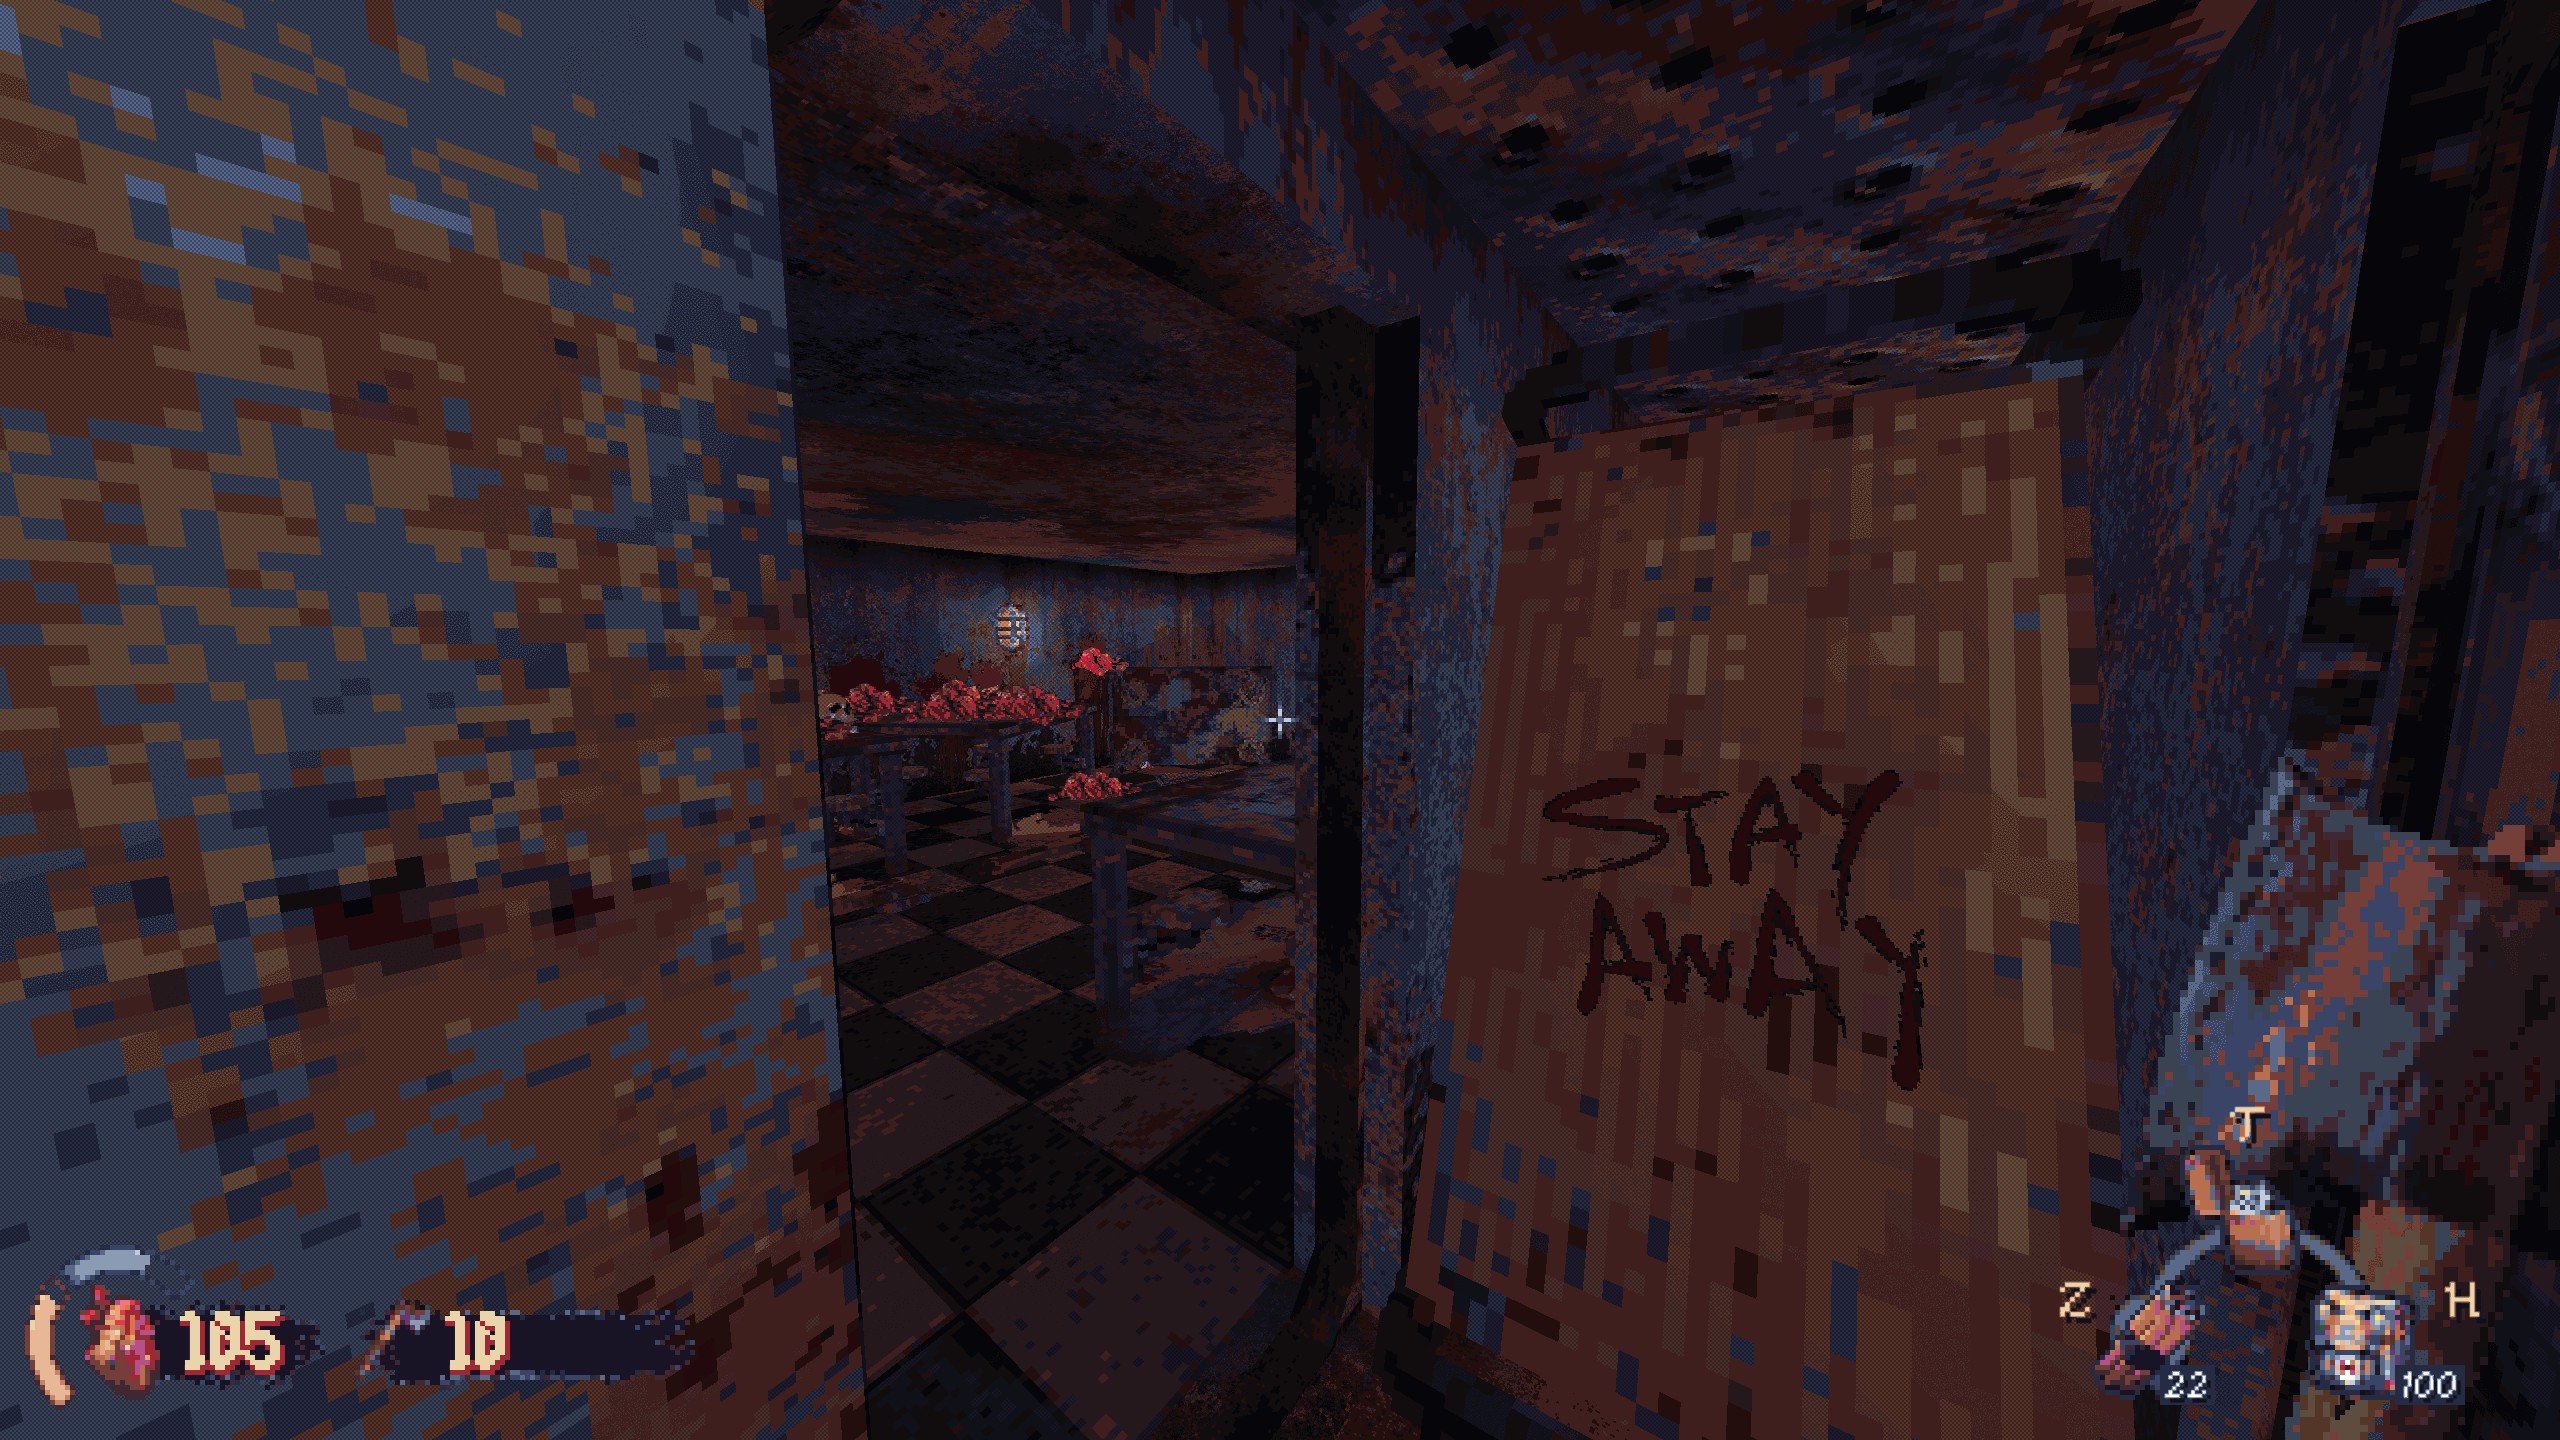
#5: In the kitchen of the mess hall (large building by the corpse pit), move boxes to find a vent. Recompensa: weapon part.
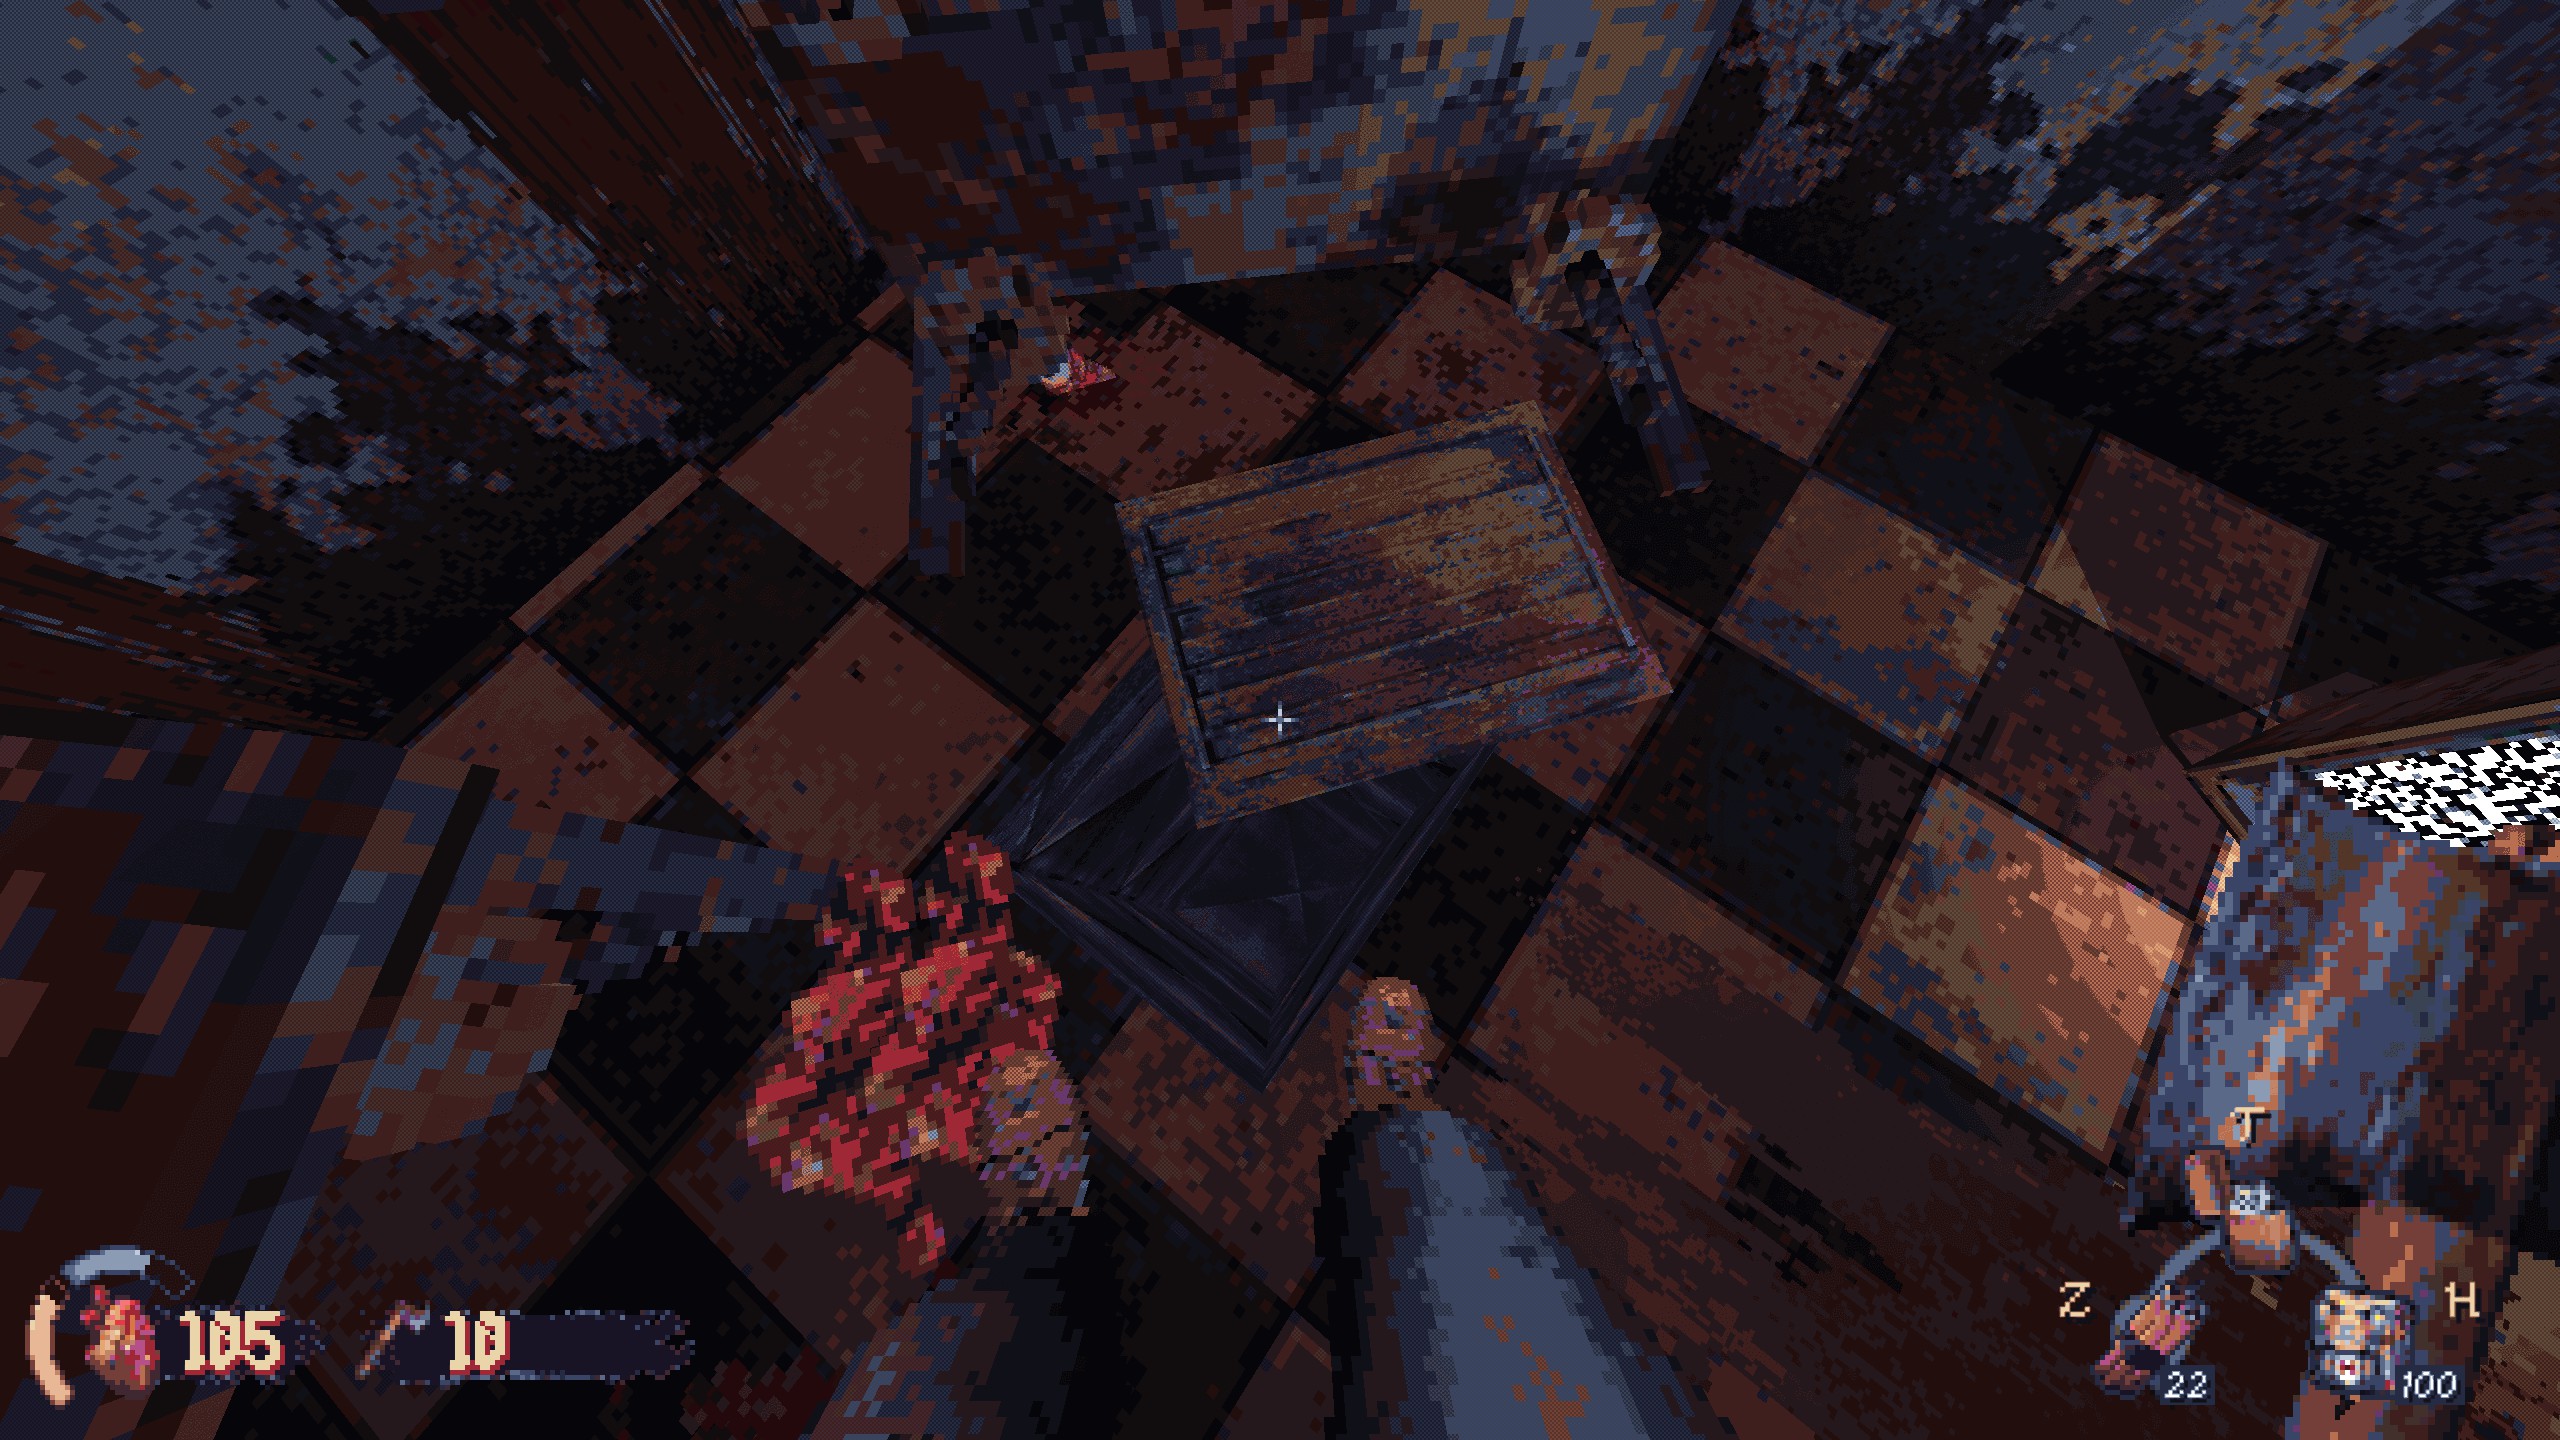
#6 (Imbued Remains): In the basement of the mess hall, blast a corner with explosives. Recompensa: imbued remains.

Papel 3: Mine building
#7: After climbing out of the silo, turn right and walk around back to find a stack of crates. Blast open the wall behind them. Recompensa: armor and a weapon part.
A Mina
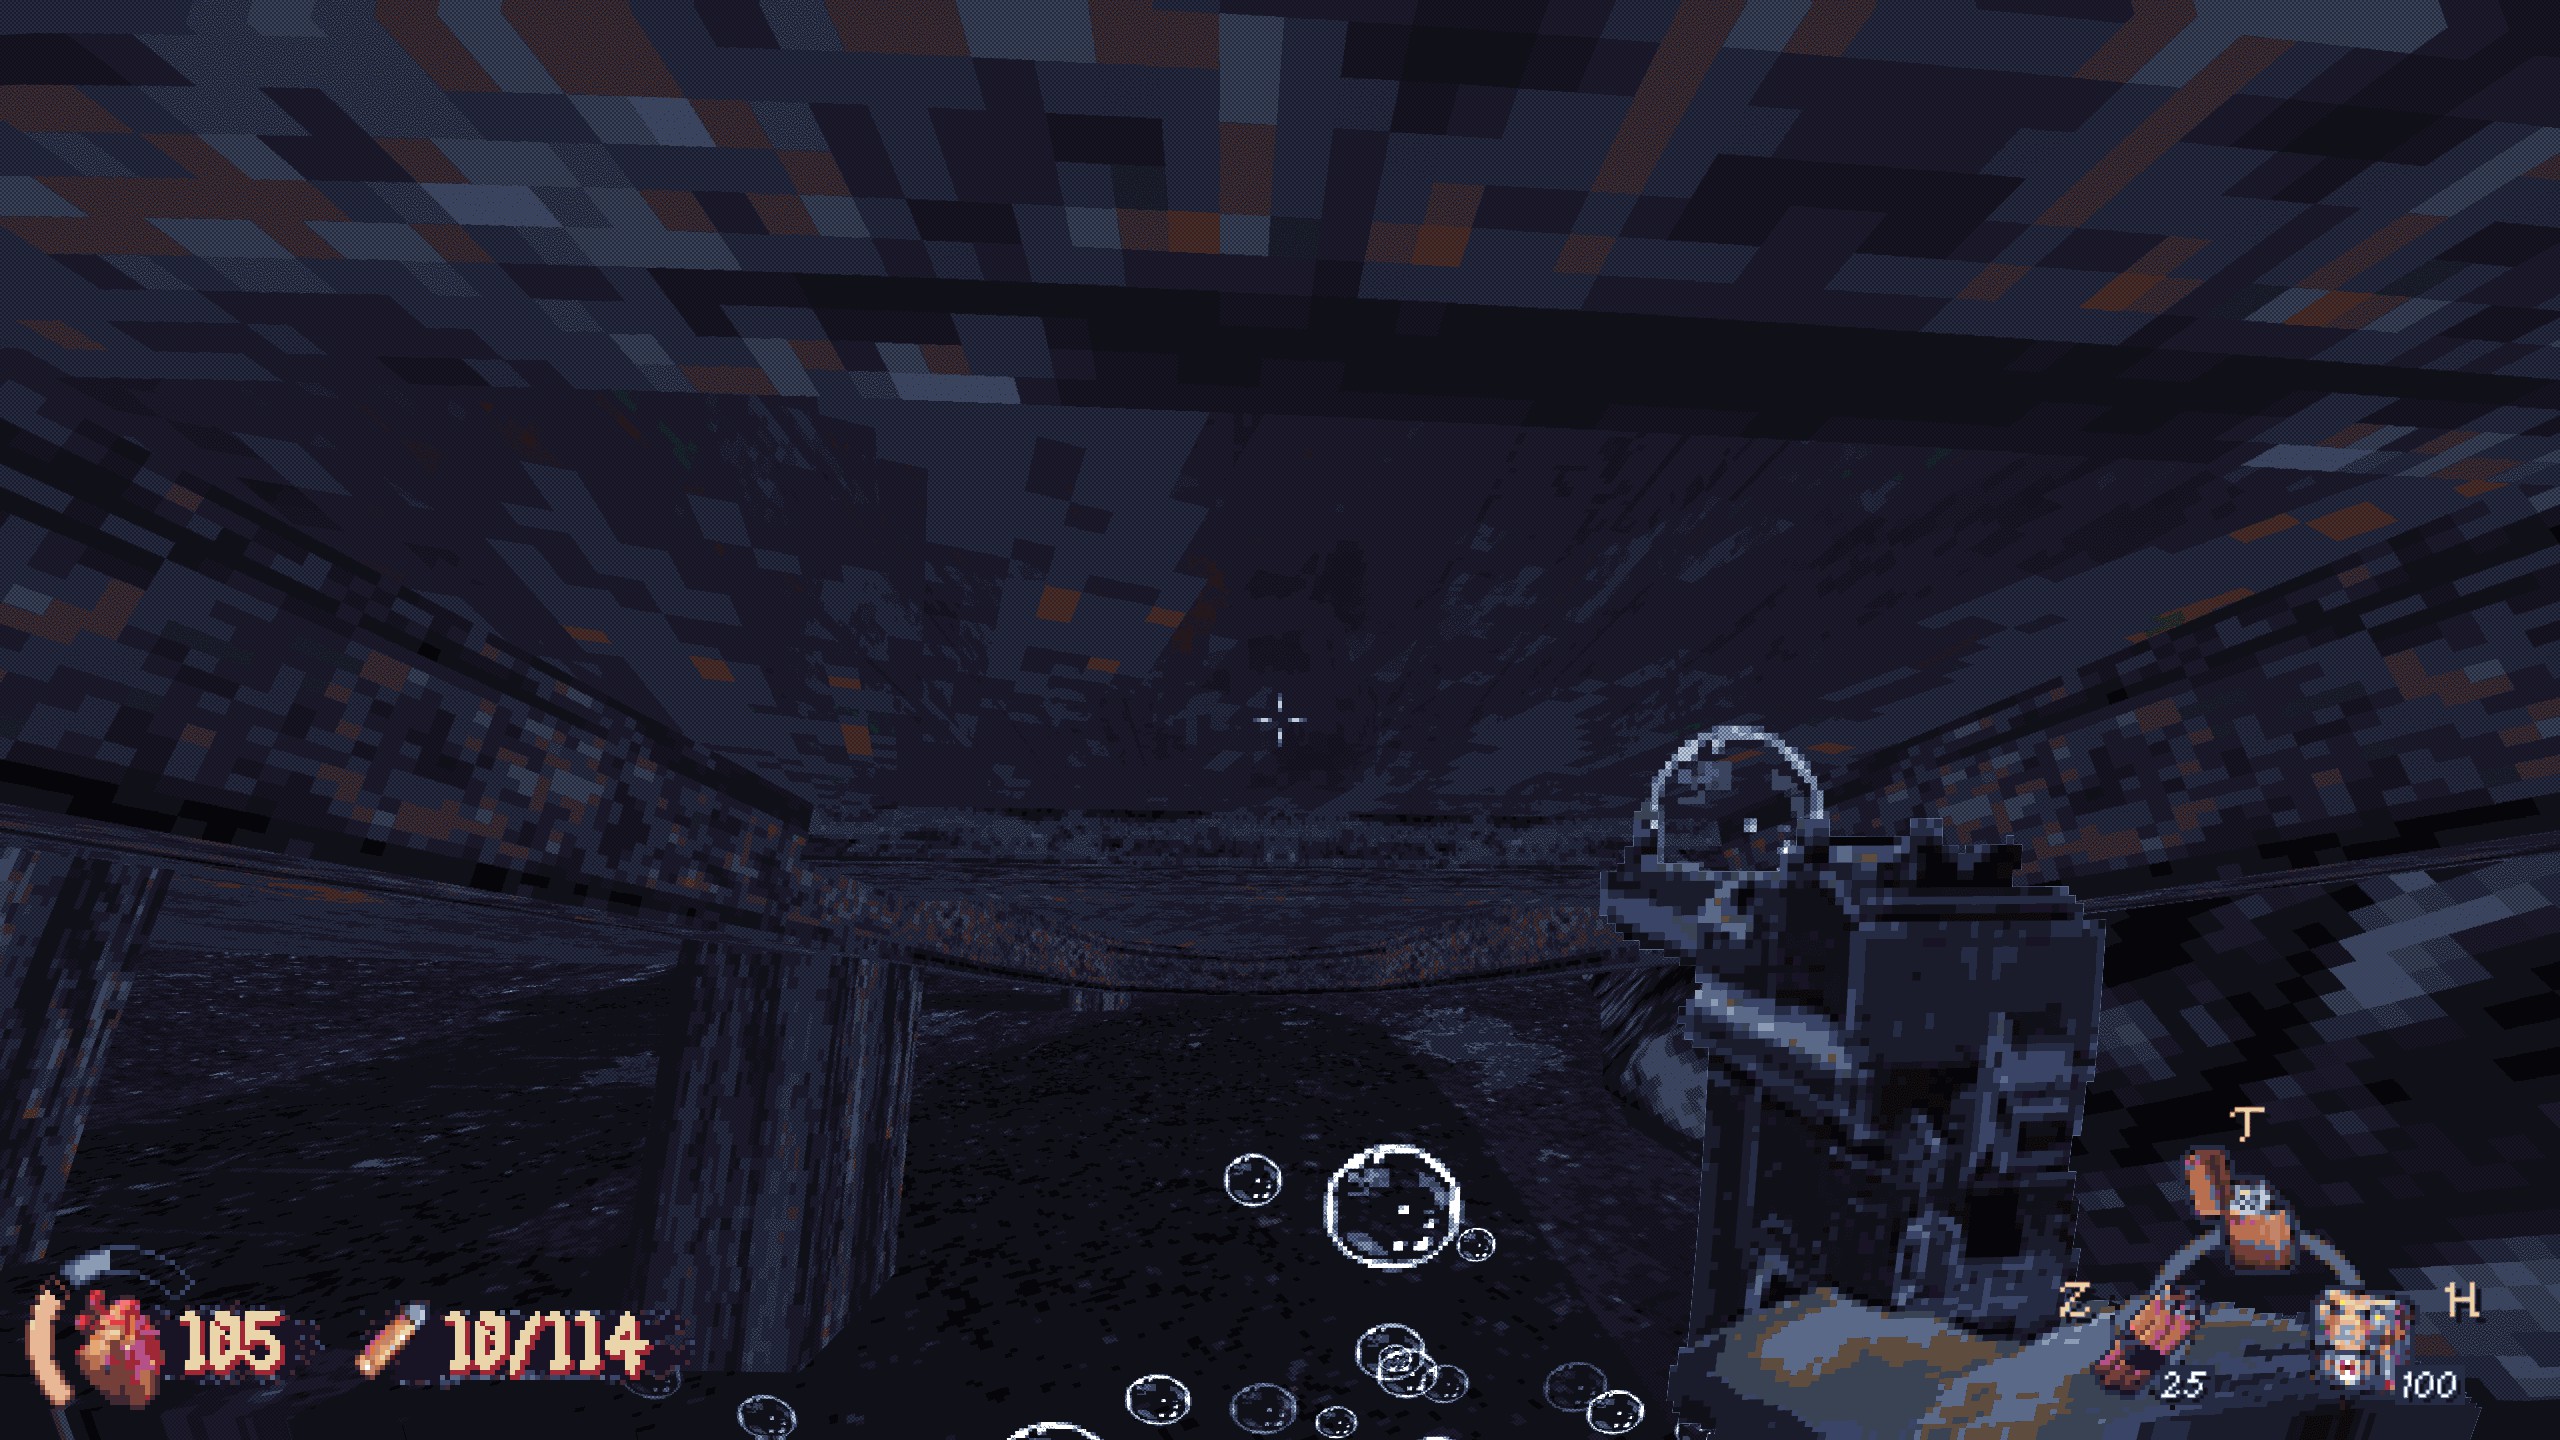
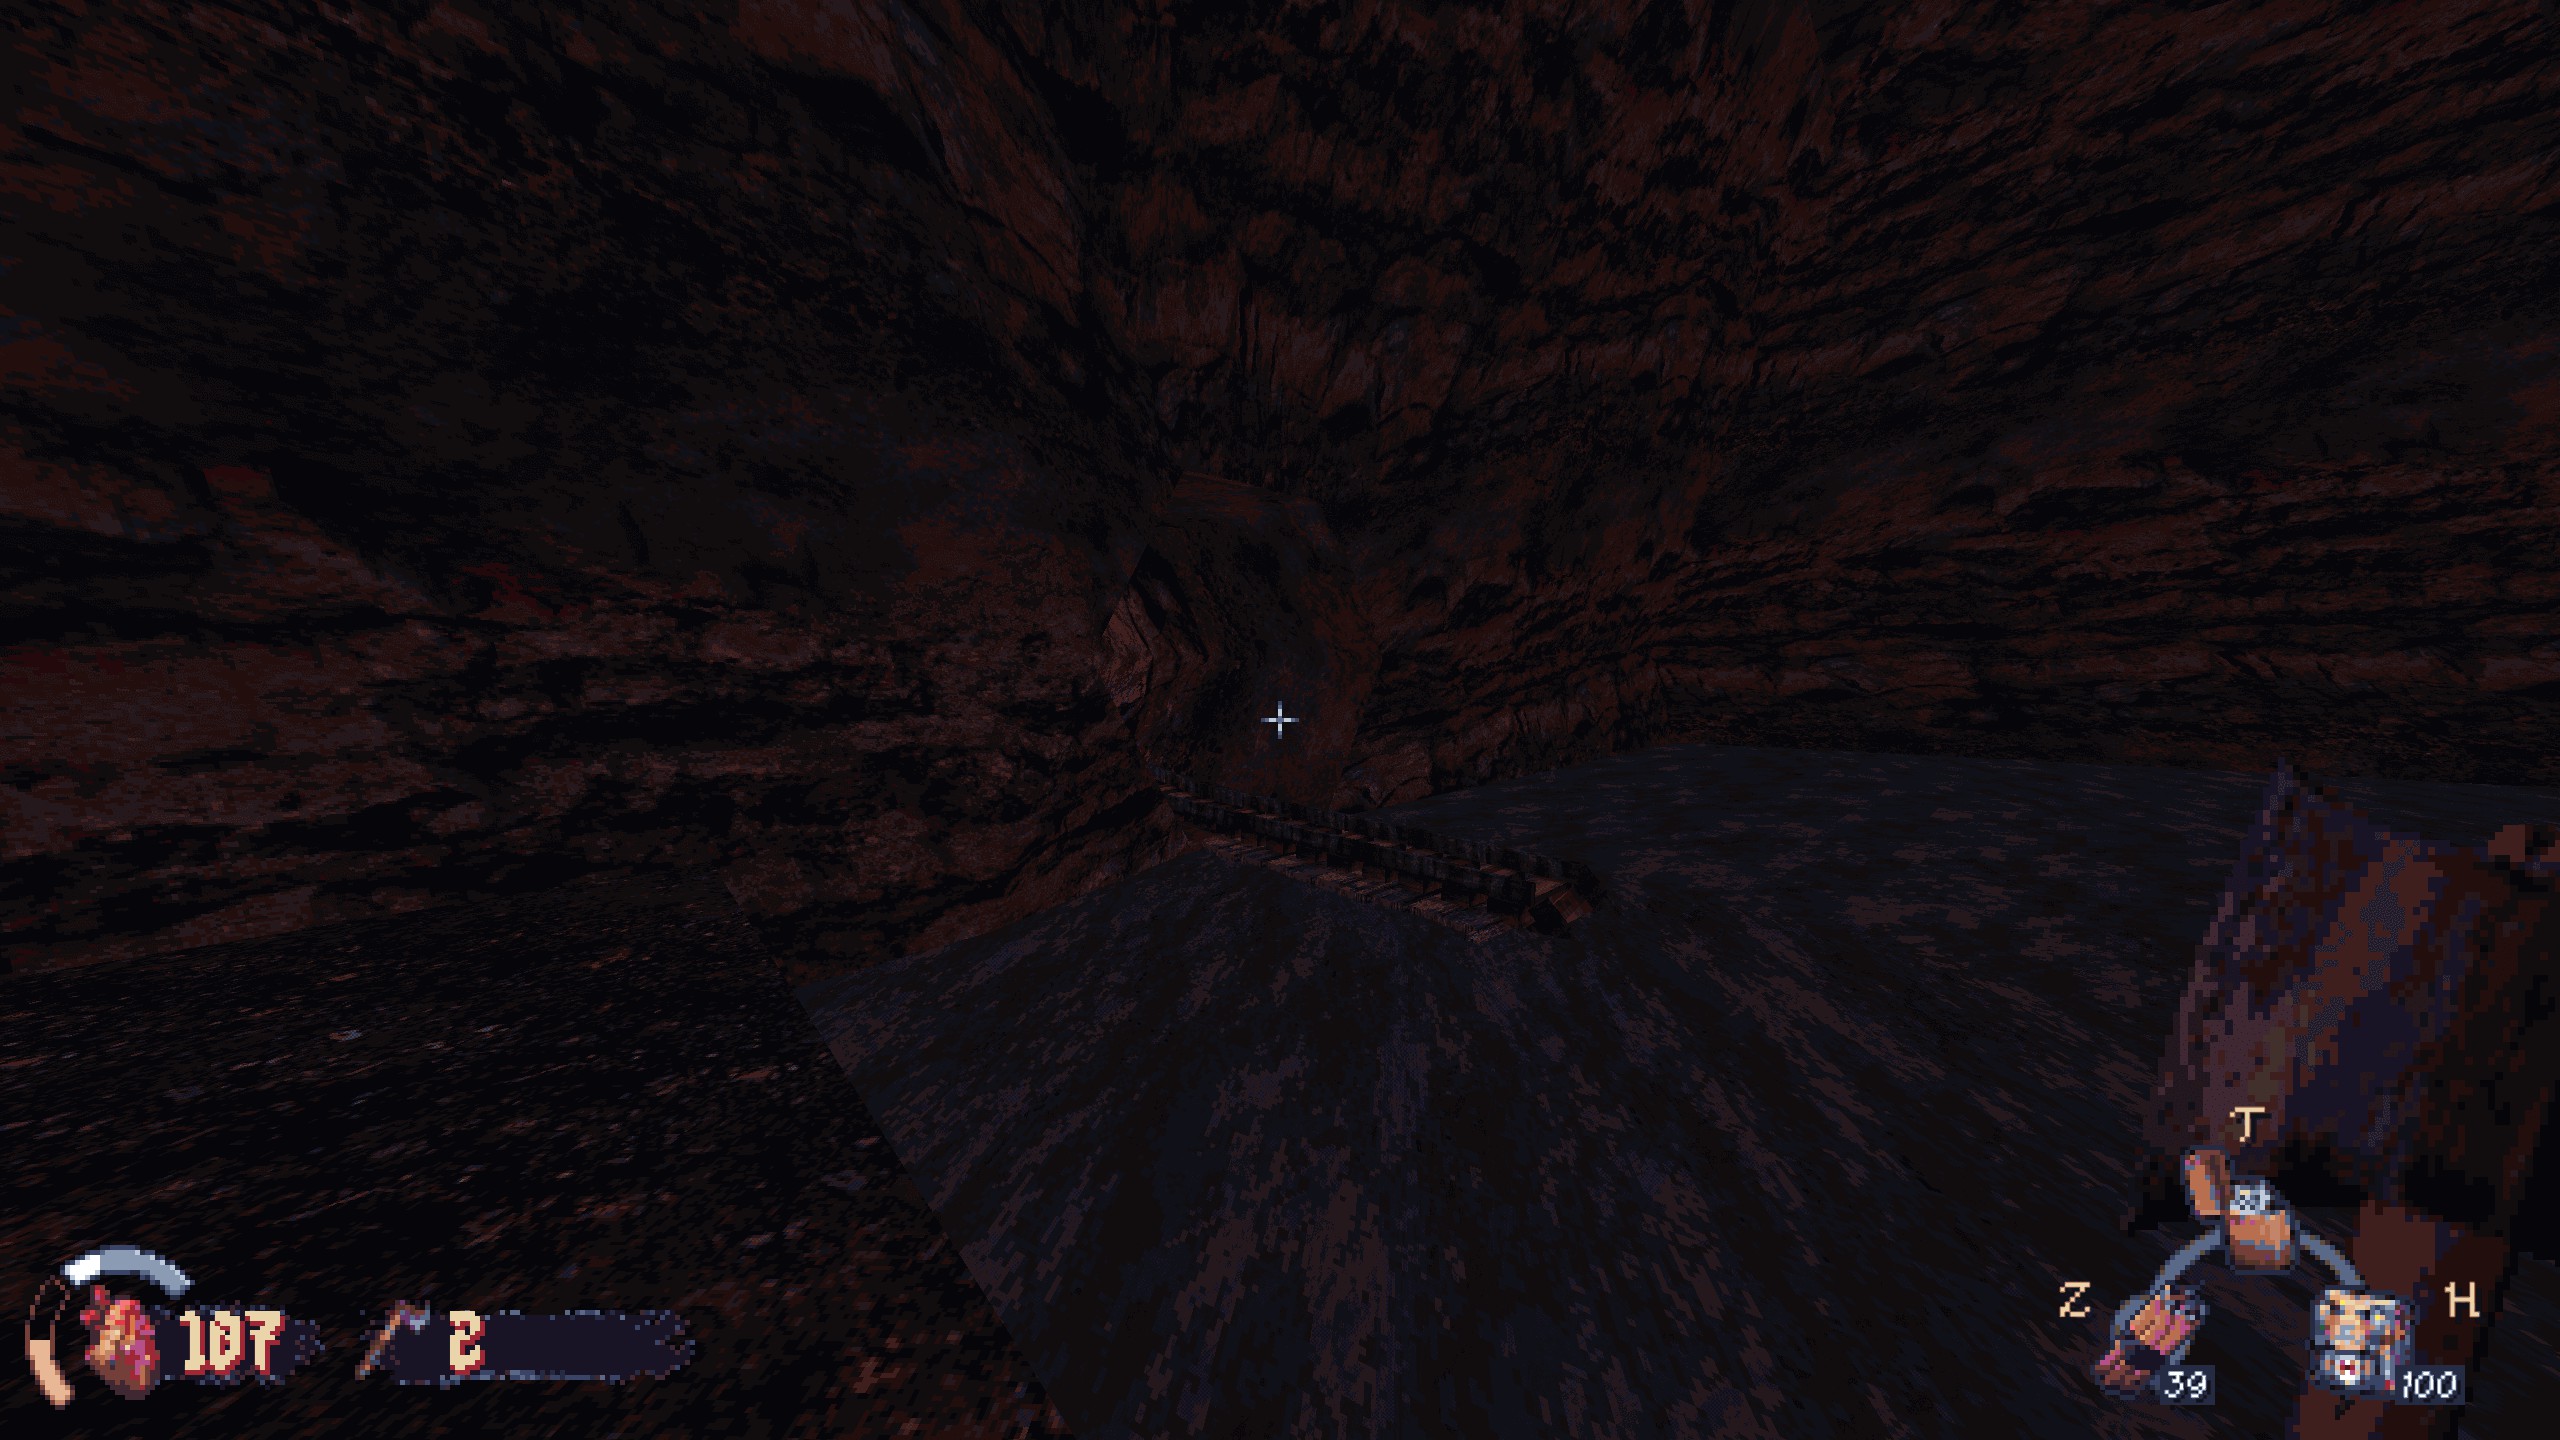
There are no secrets until you reach this area where you drop into the water and fight all the zombies.
#1 (Imbued Remains): In the middle of the water, dive down to find a minecart on its side. Recompensa: Imbued remains.
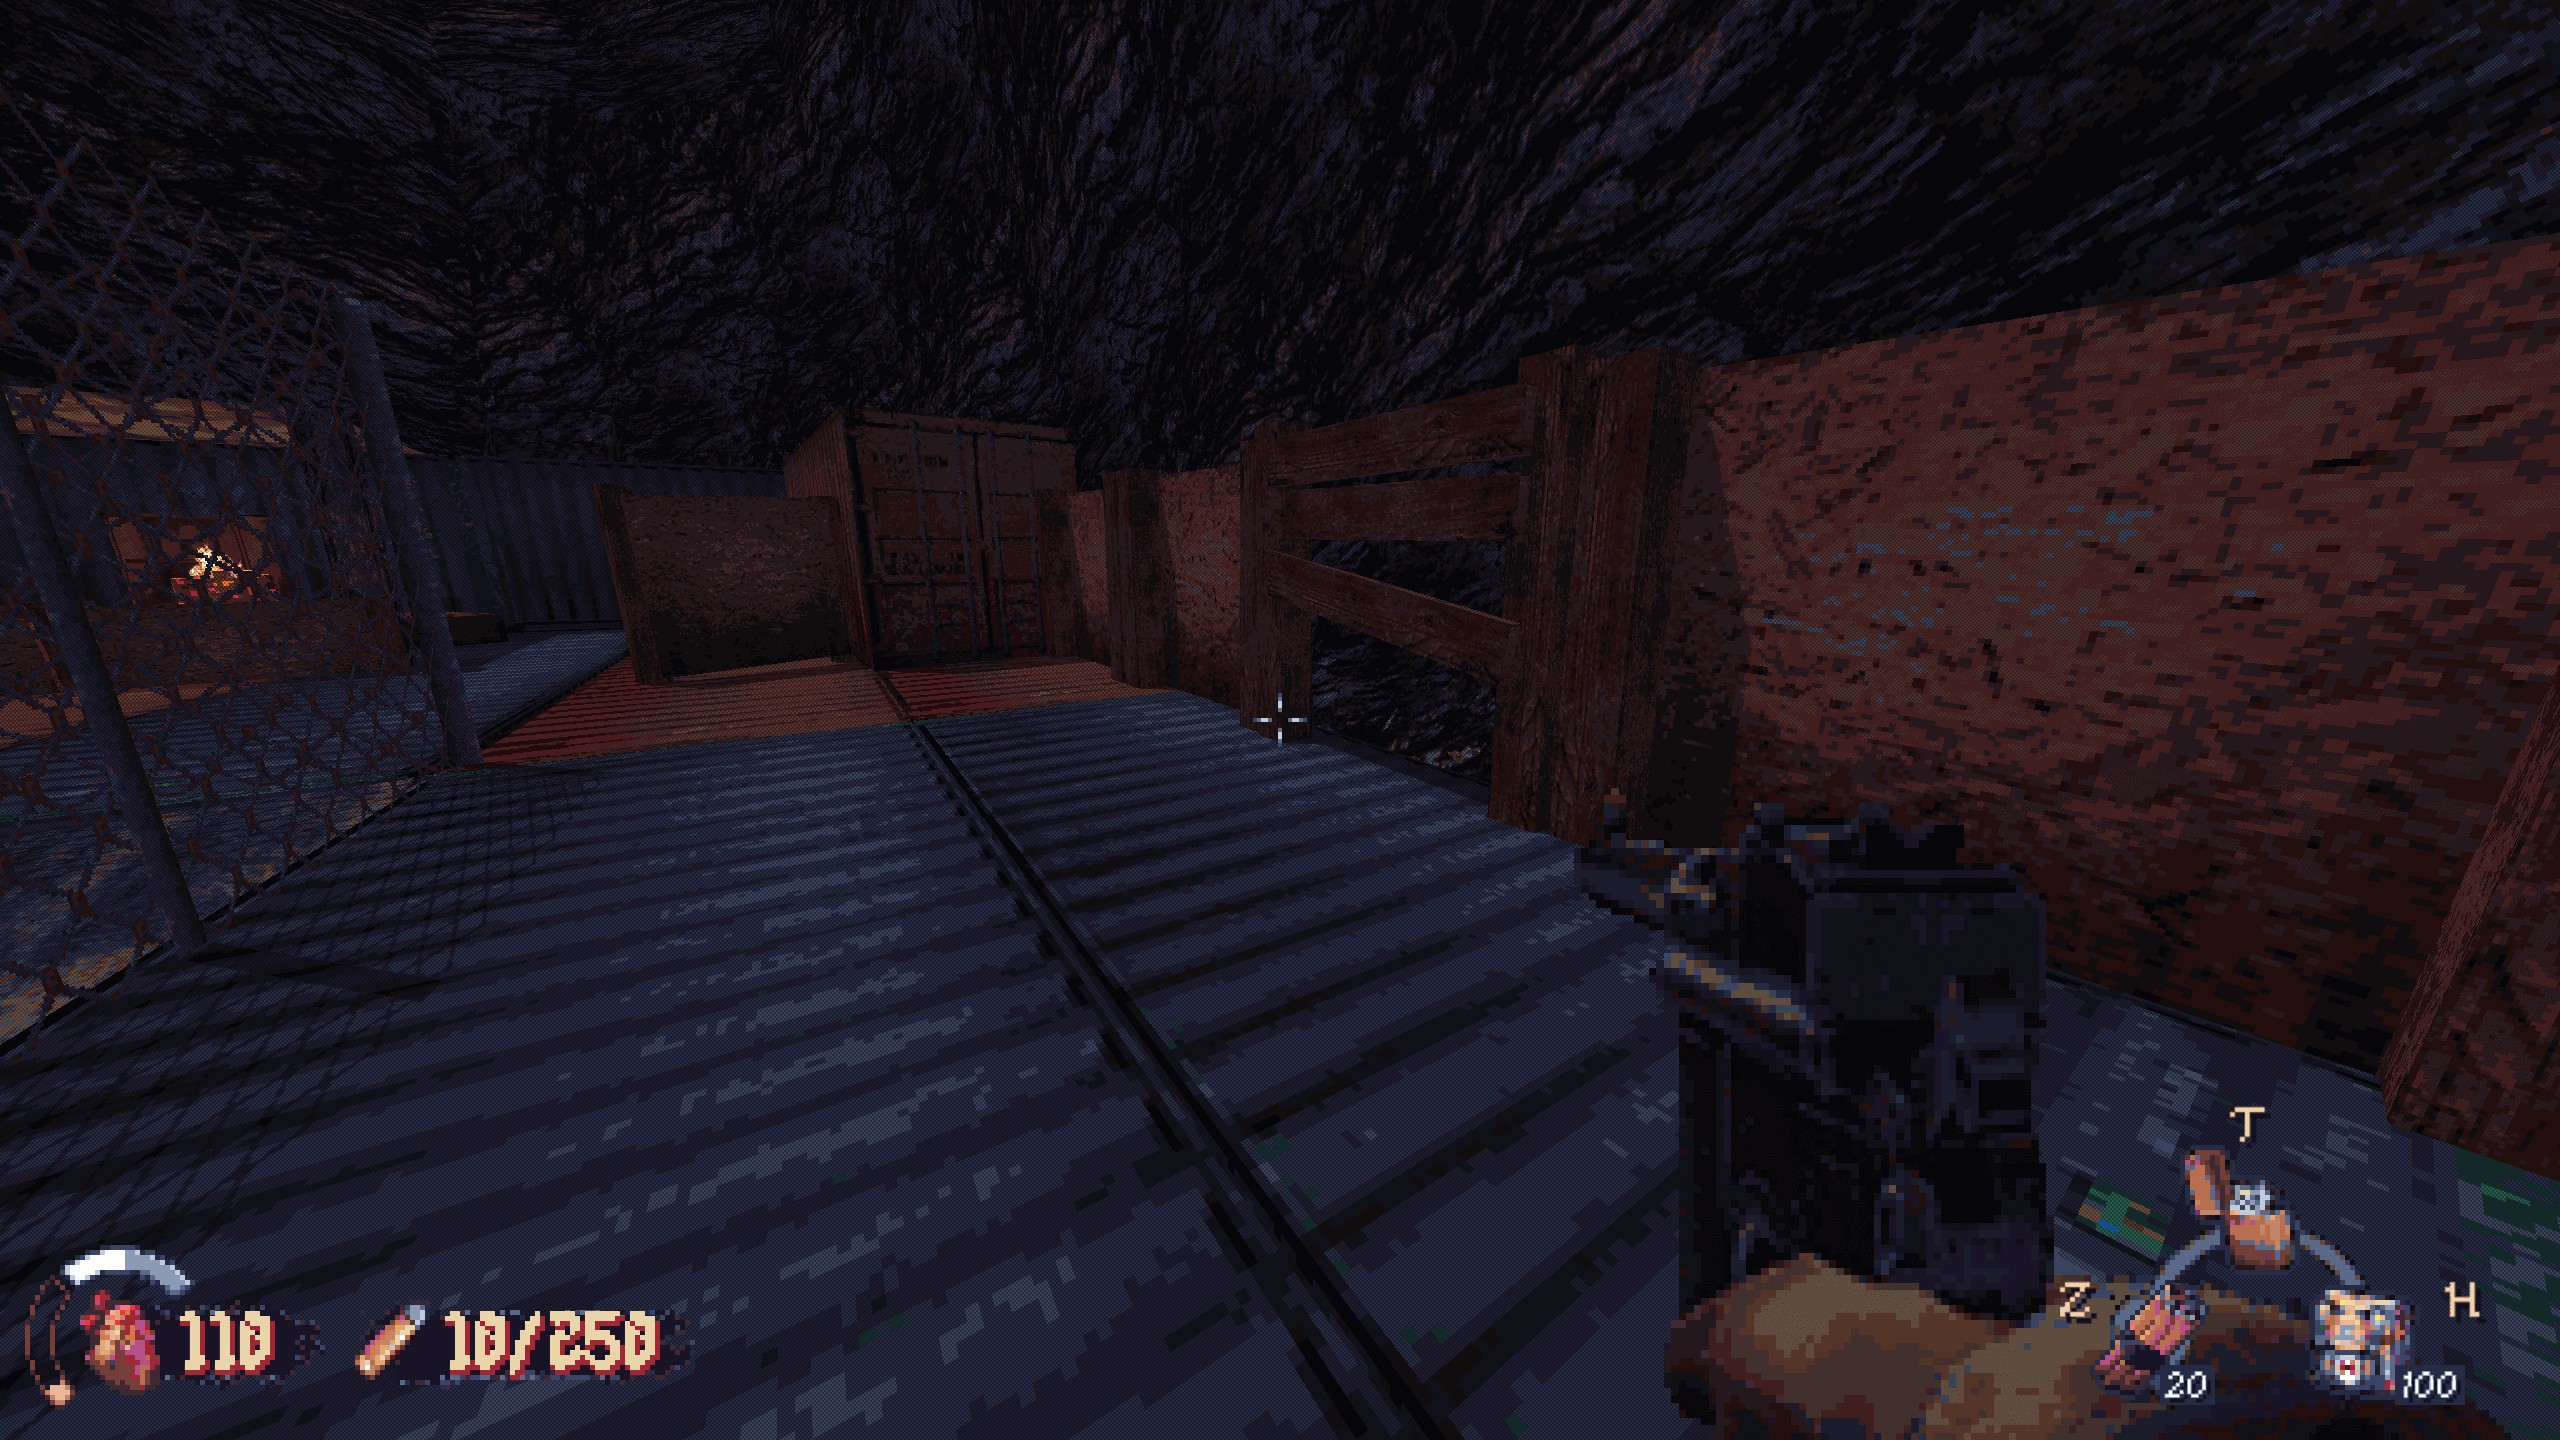
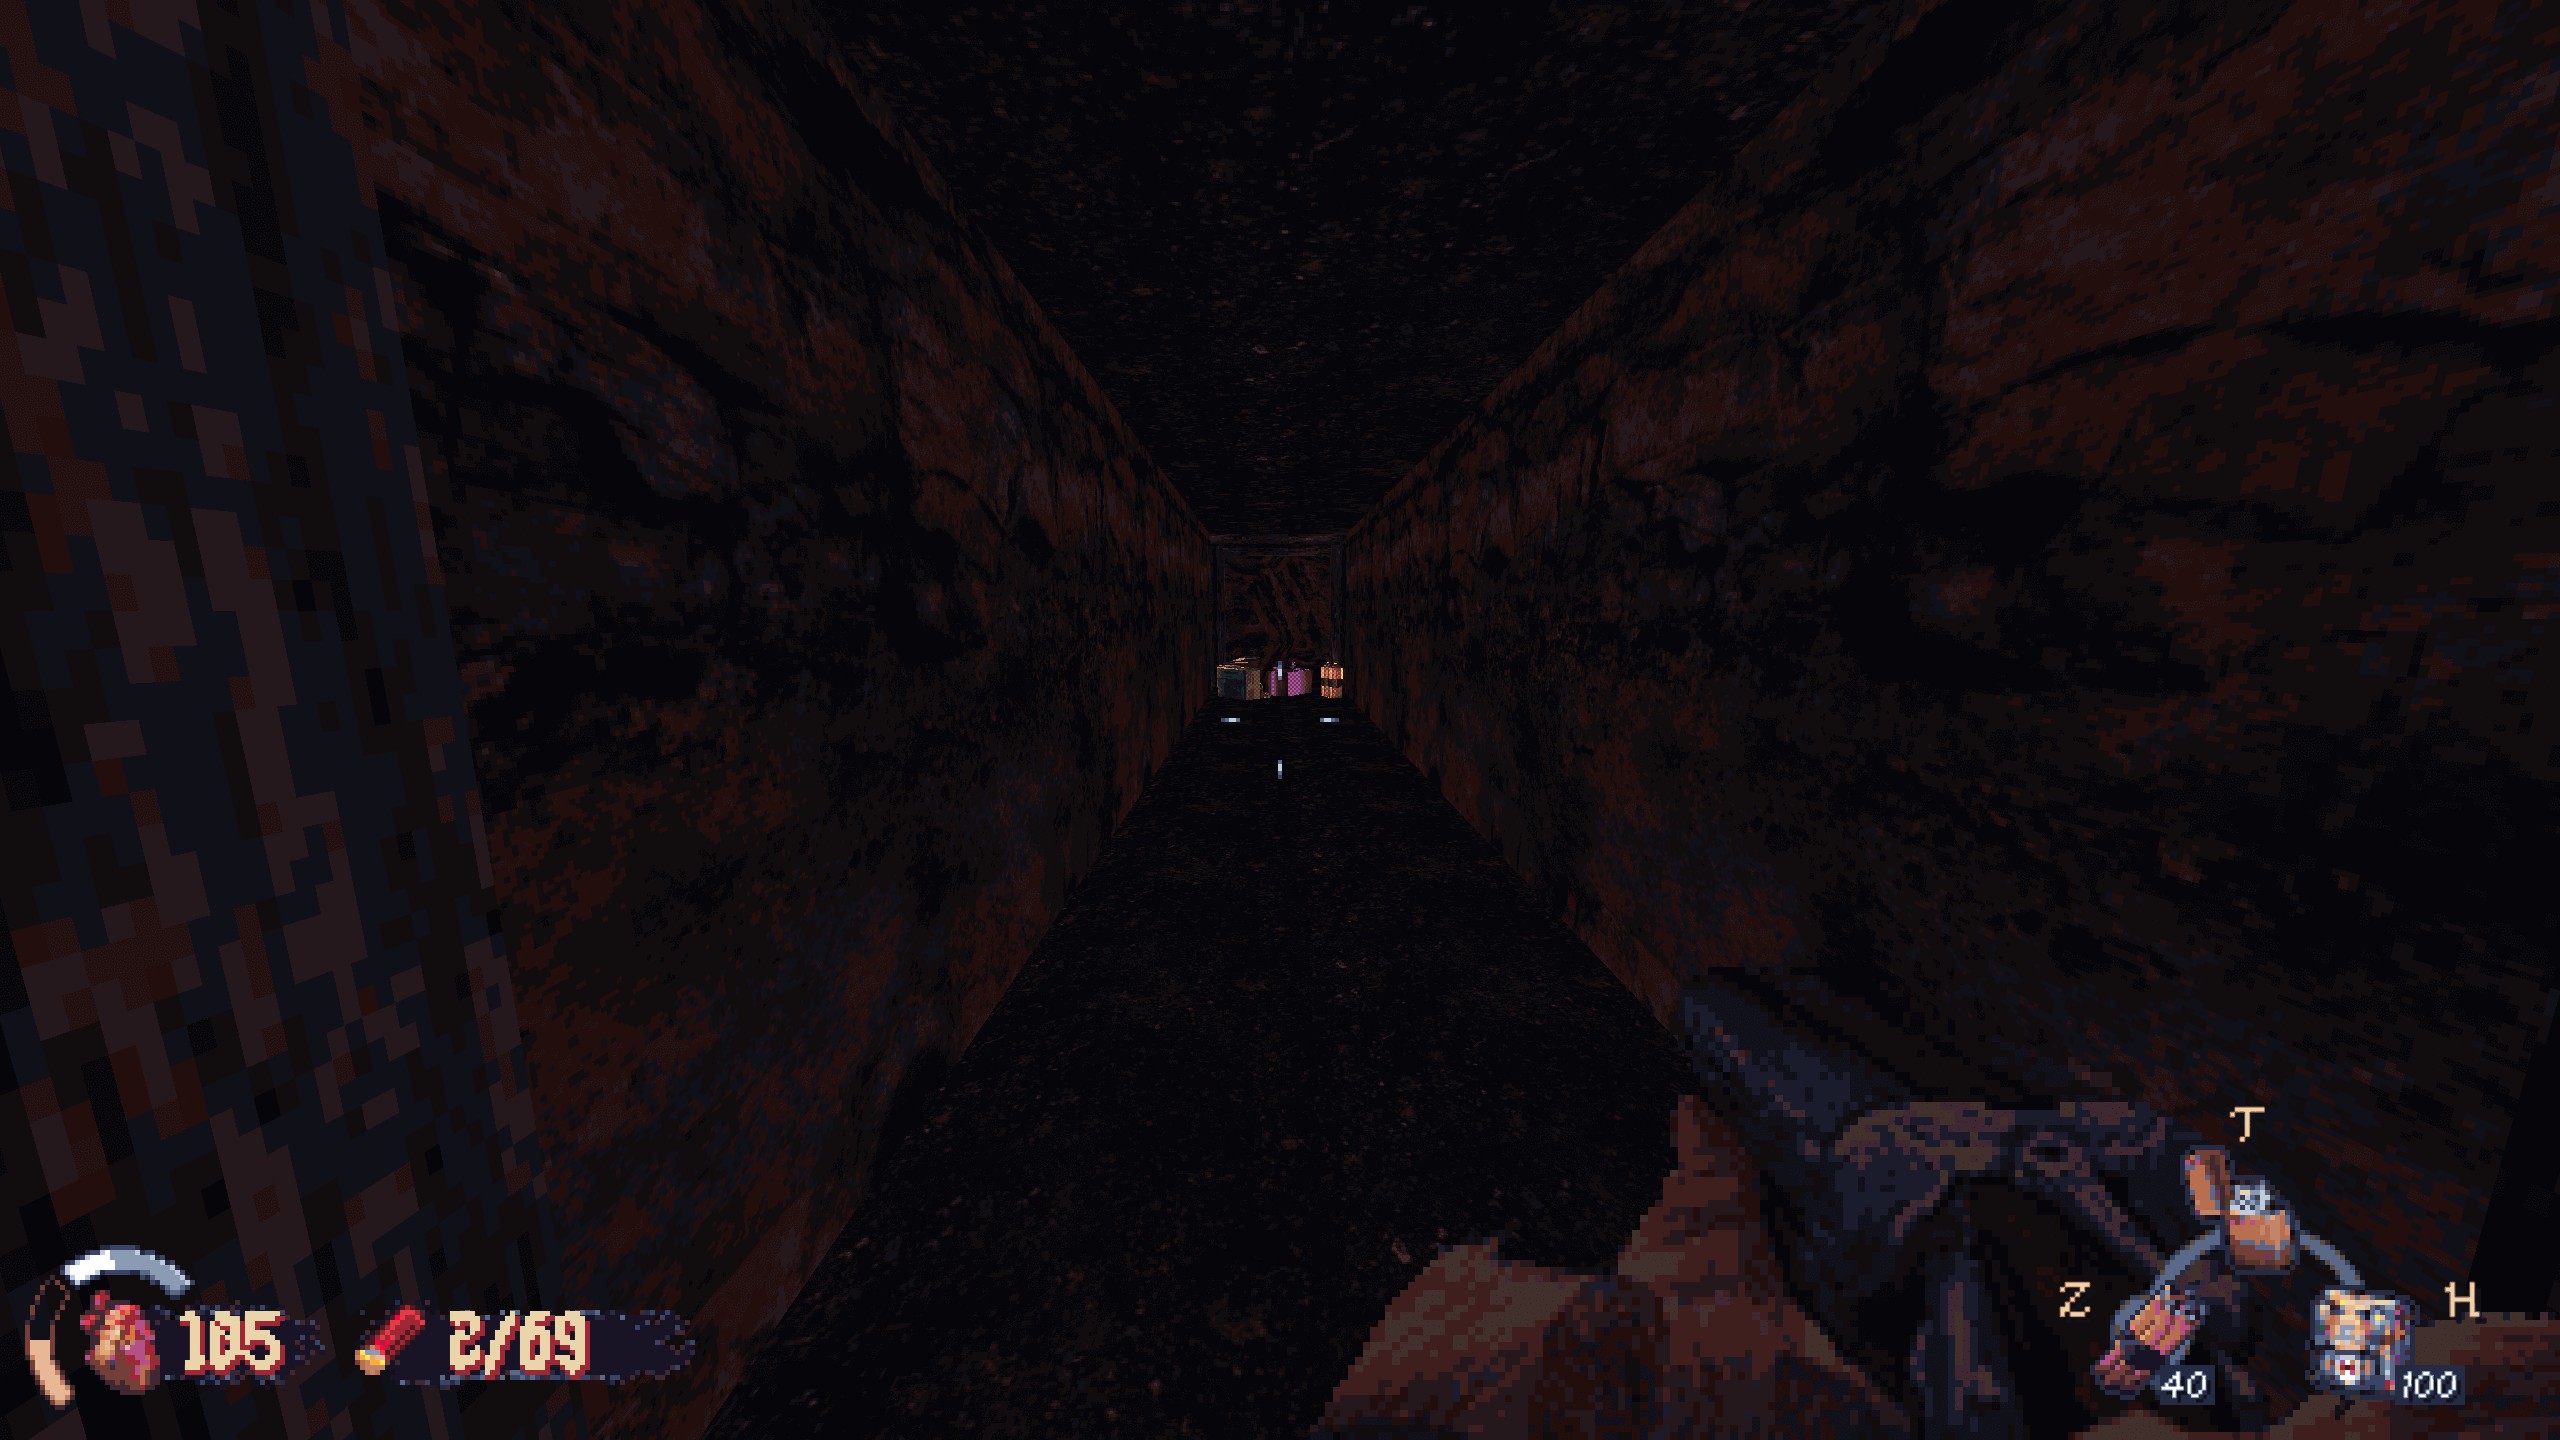
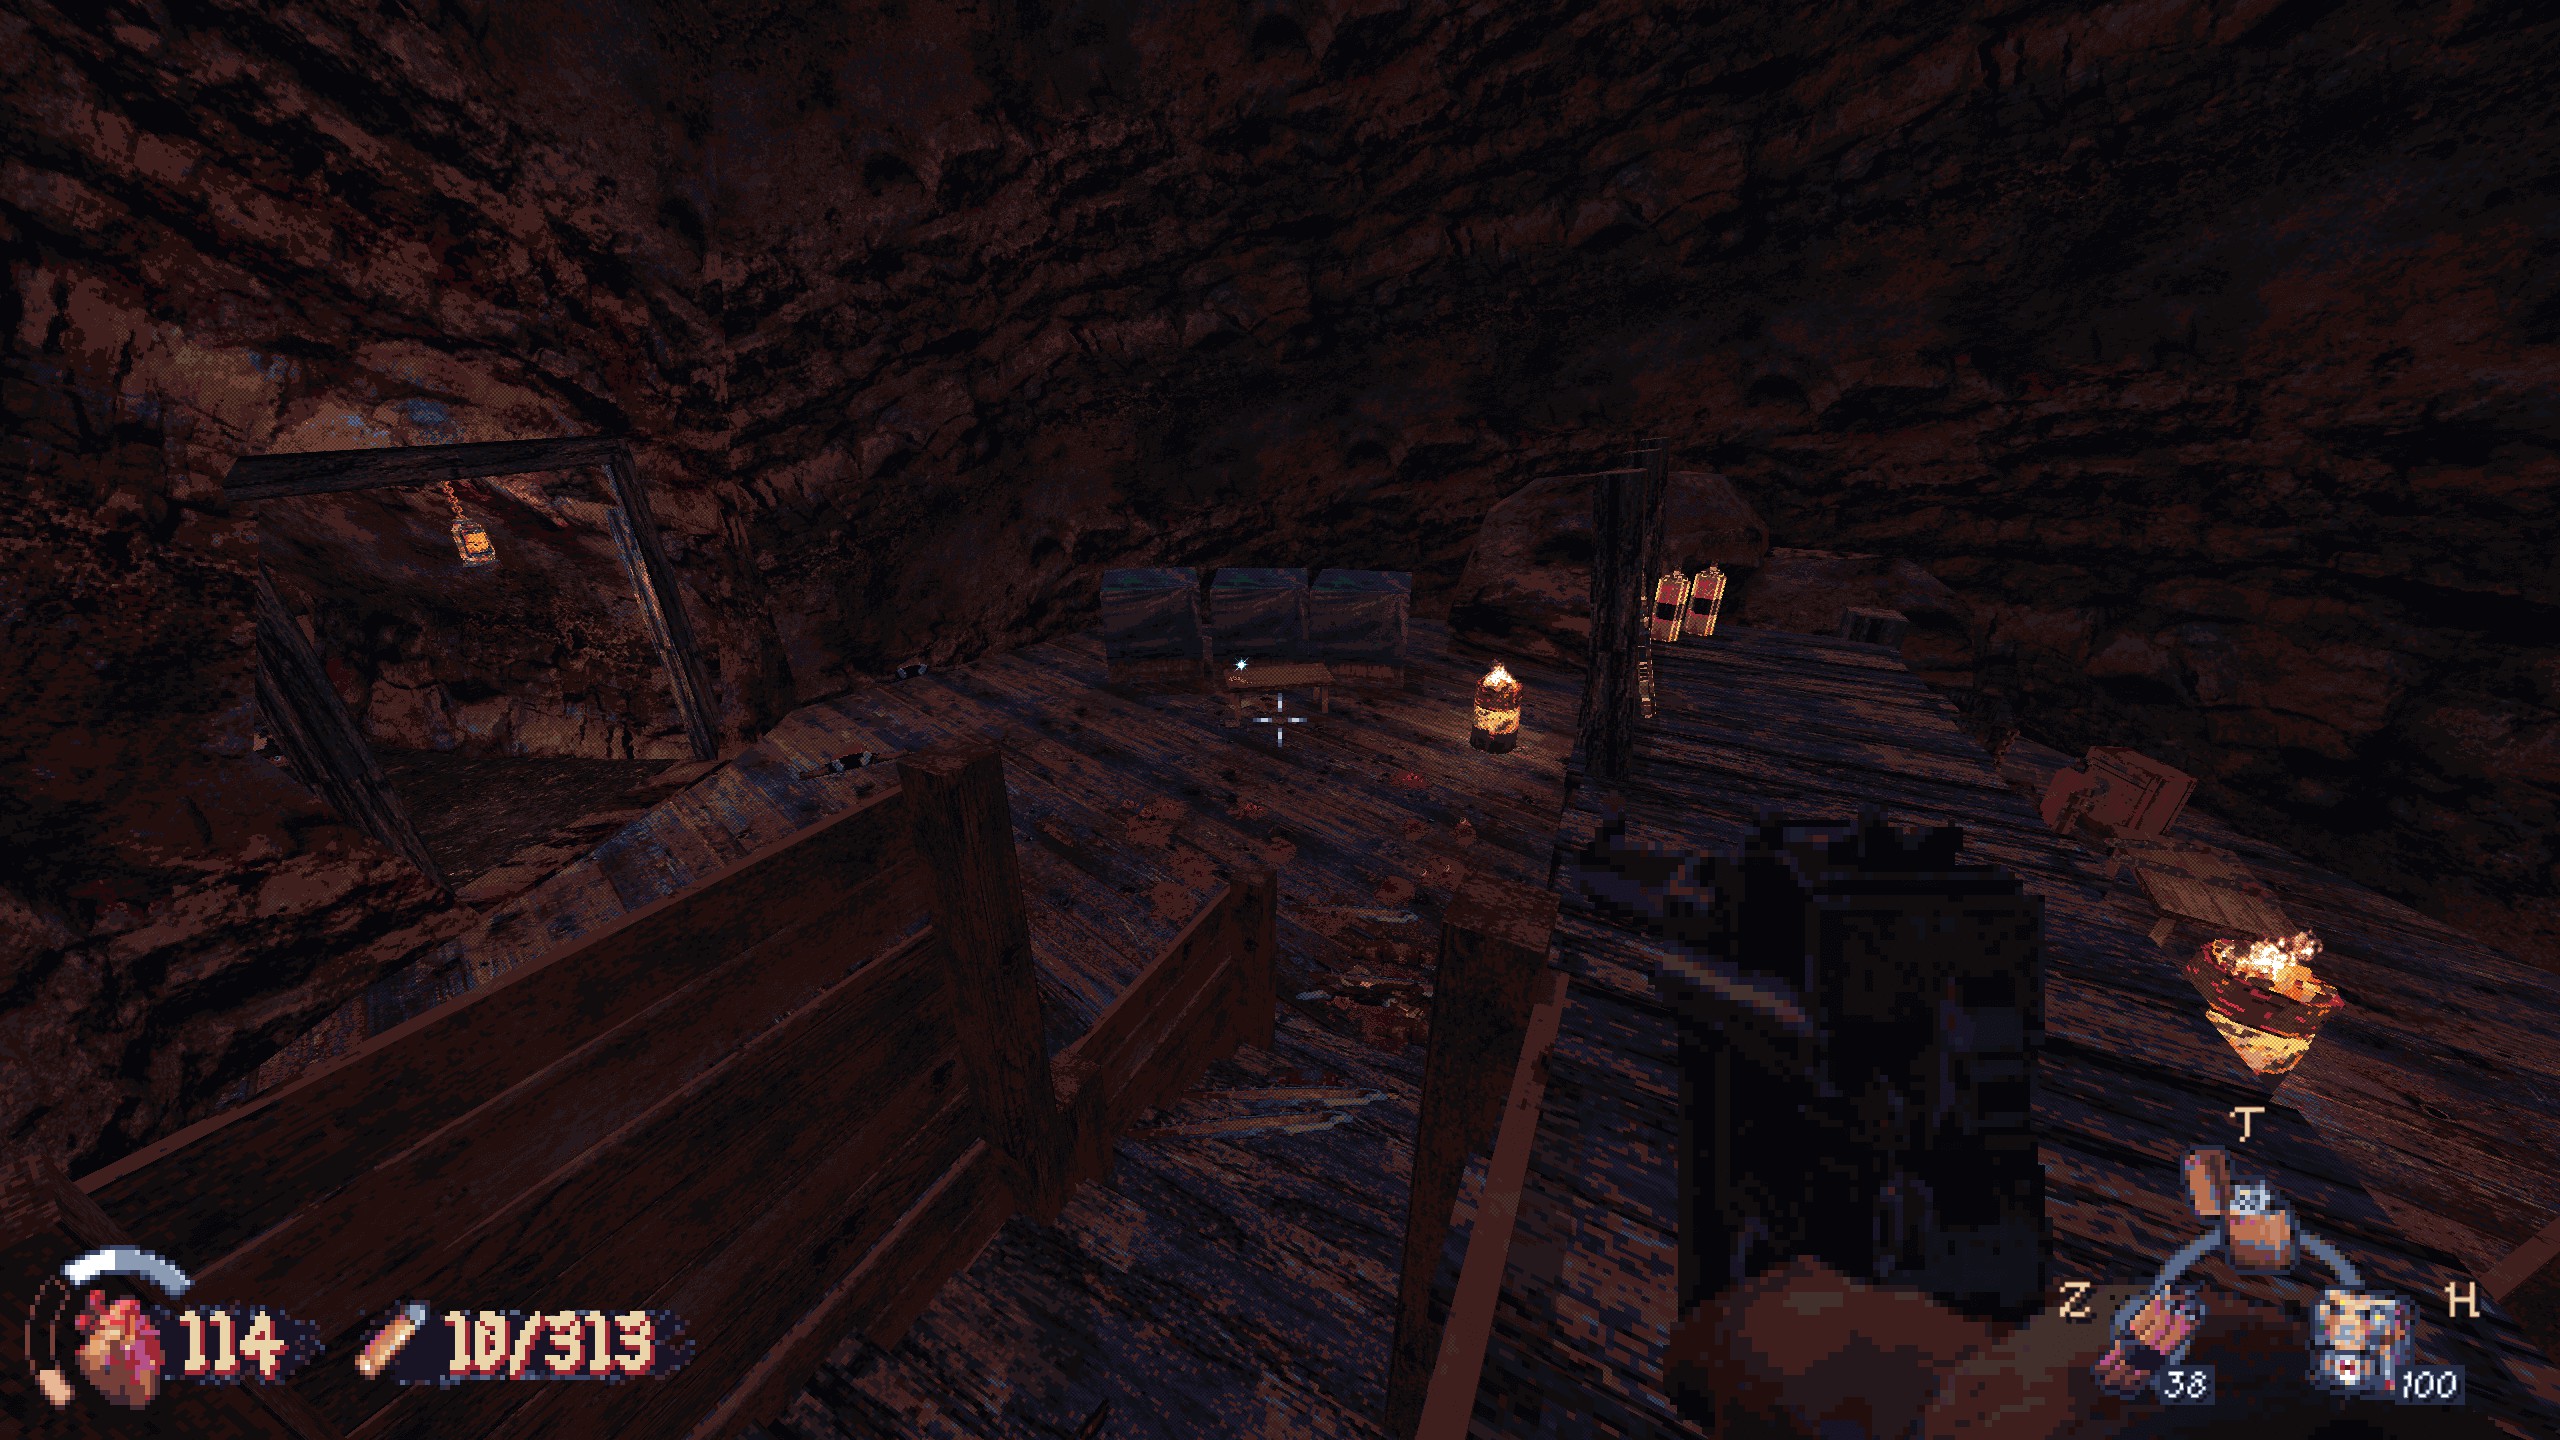
#2: In the same area, there’s a tunnel with minecart tracks. Break the boxes at the end and crawl under the boards. Recompensa: munição, lever-action rifle, and a weapon part.

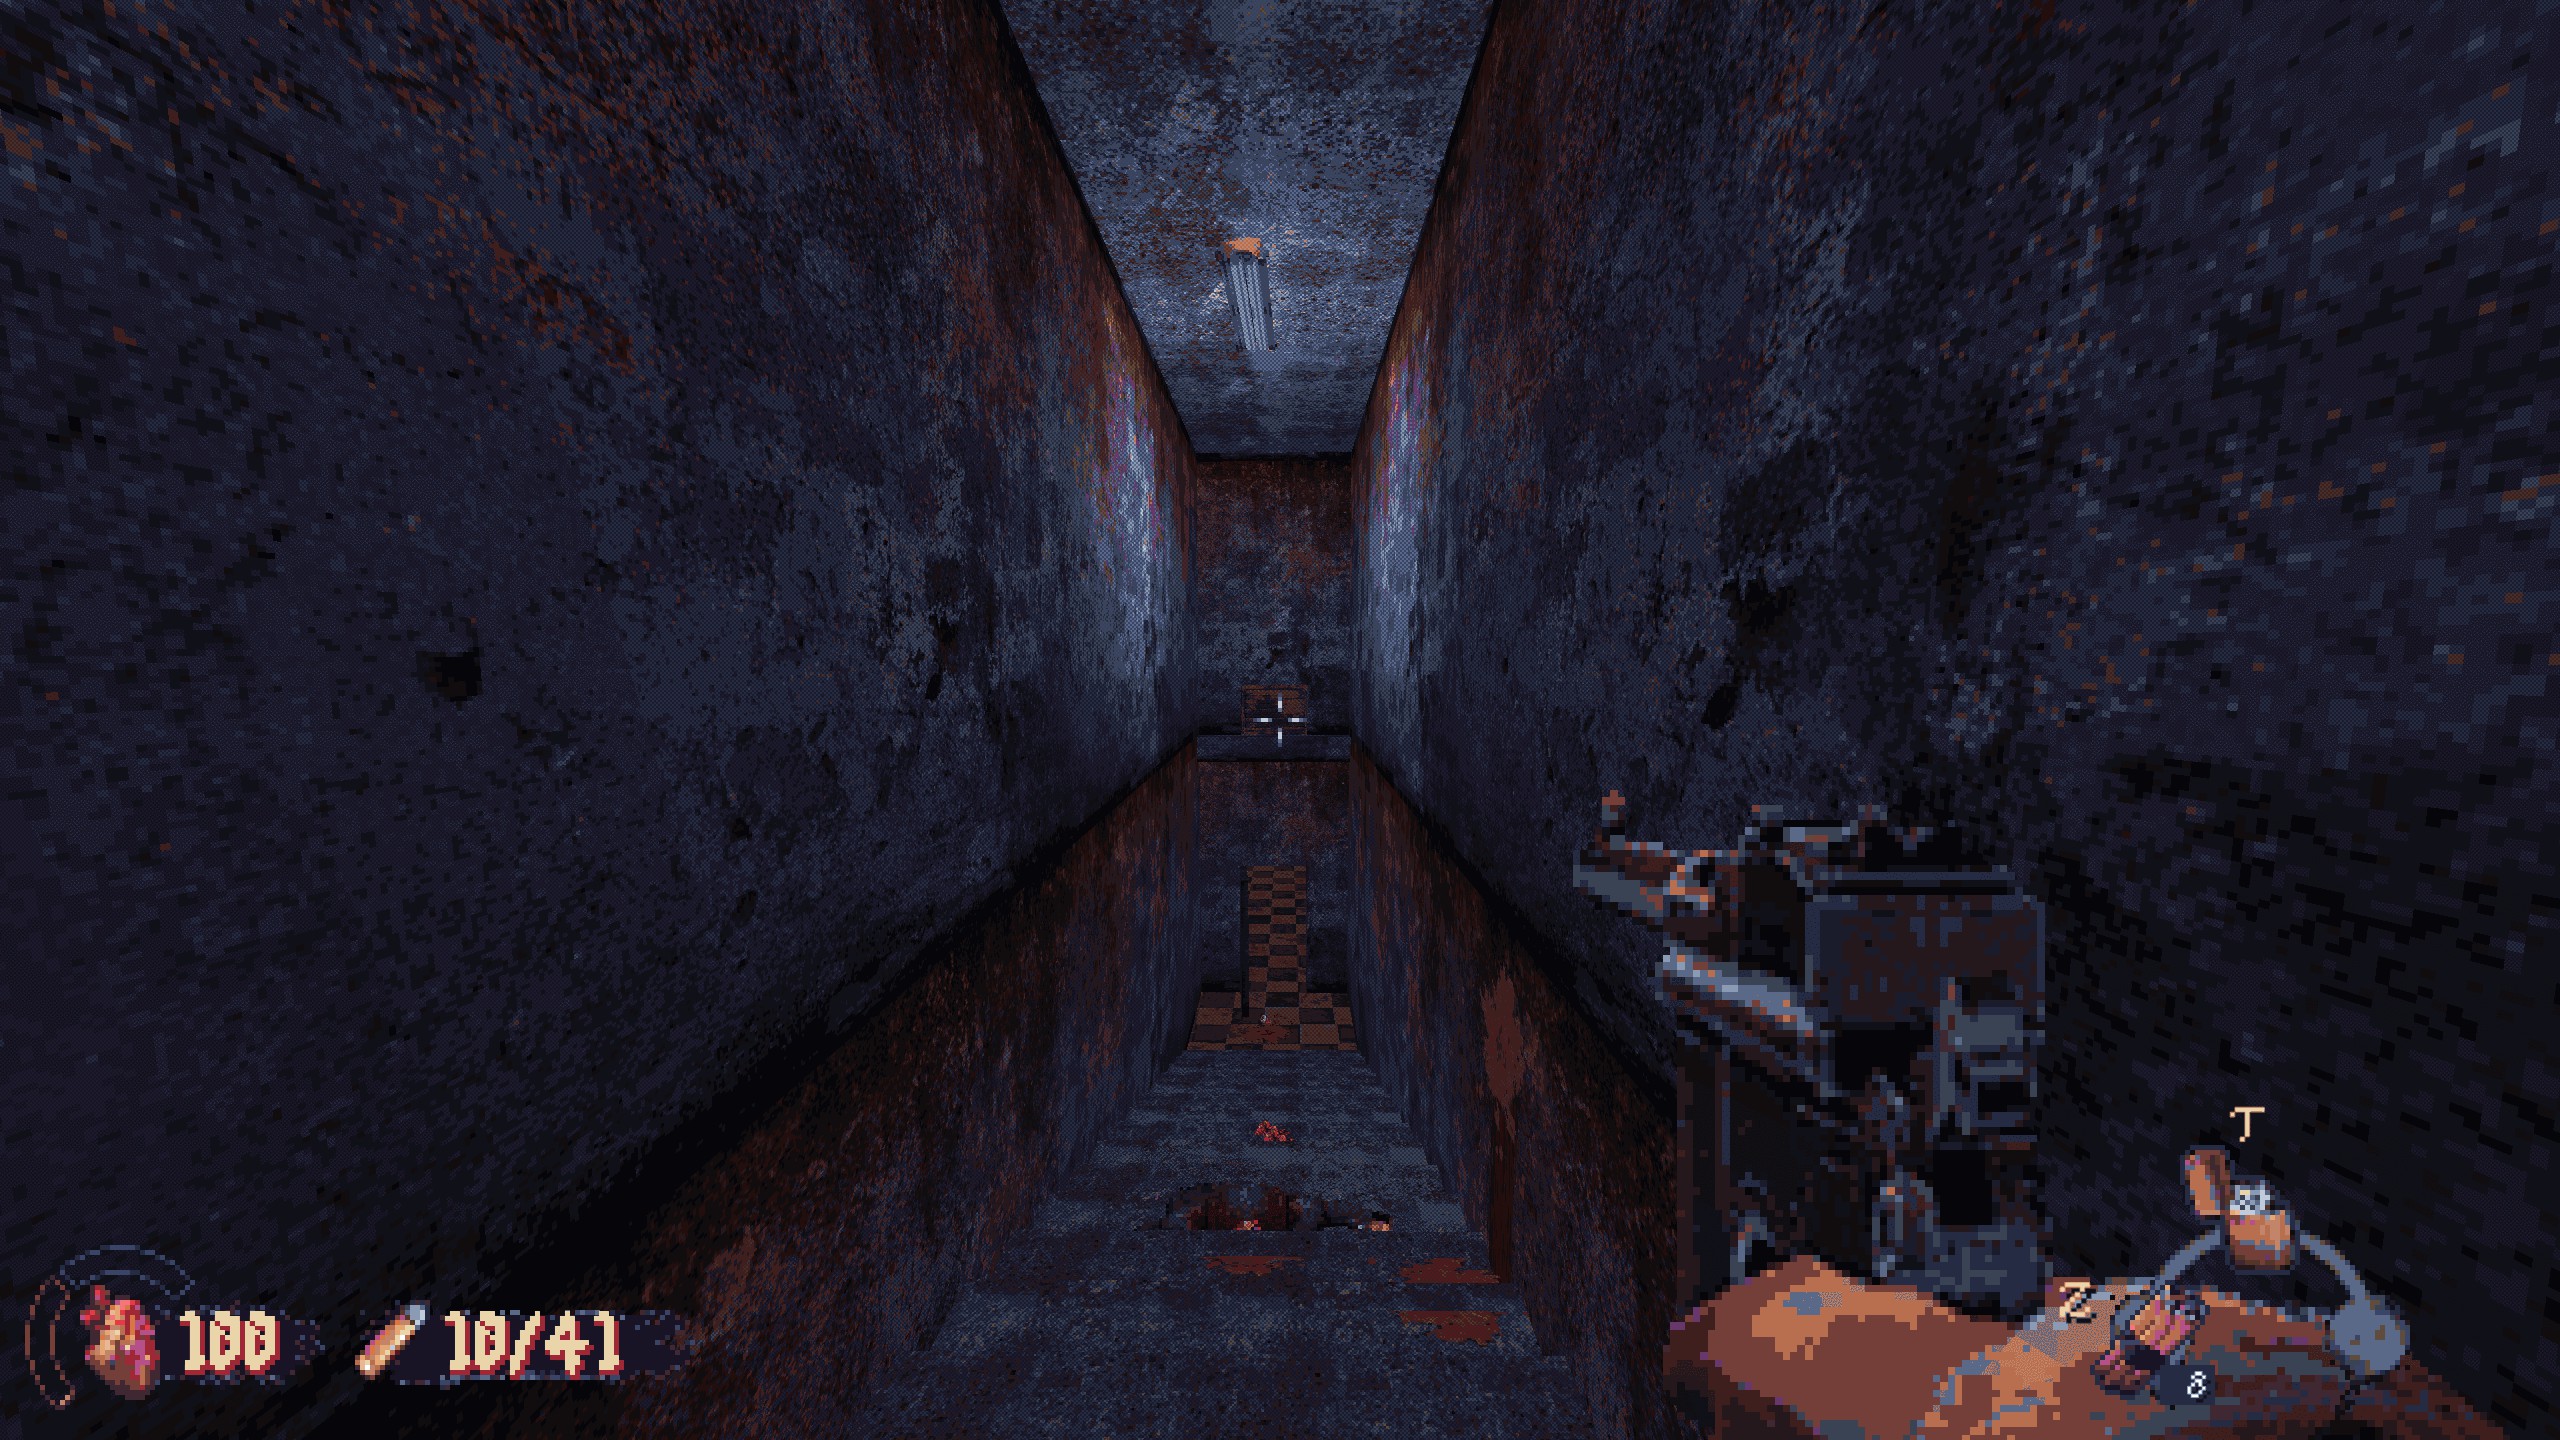
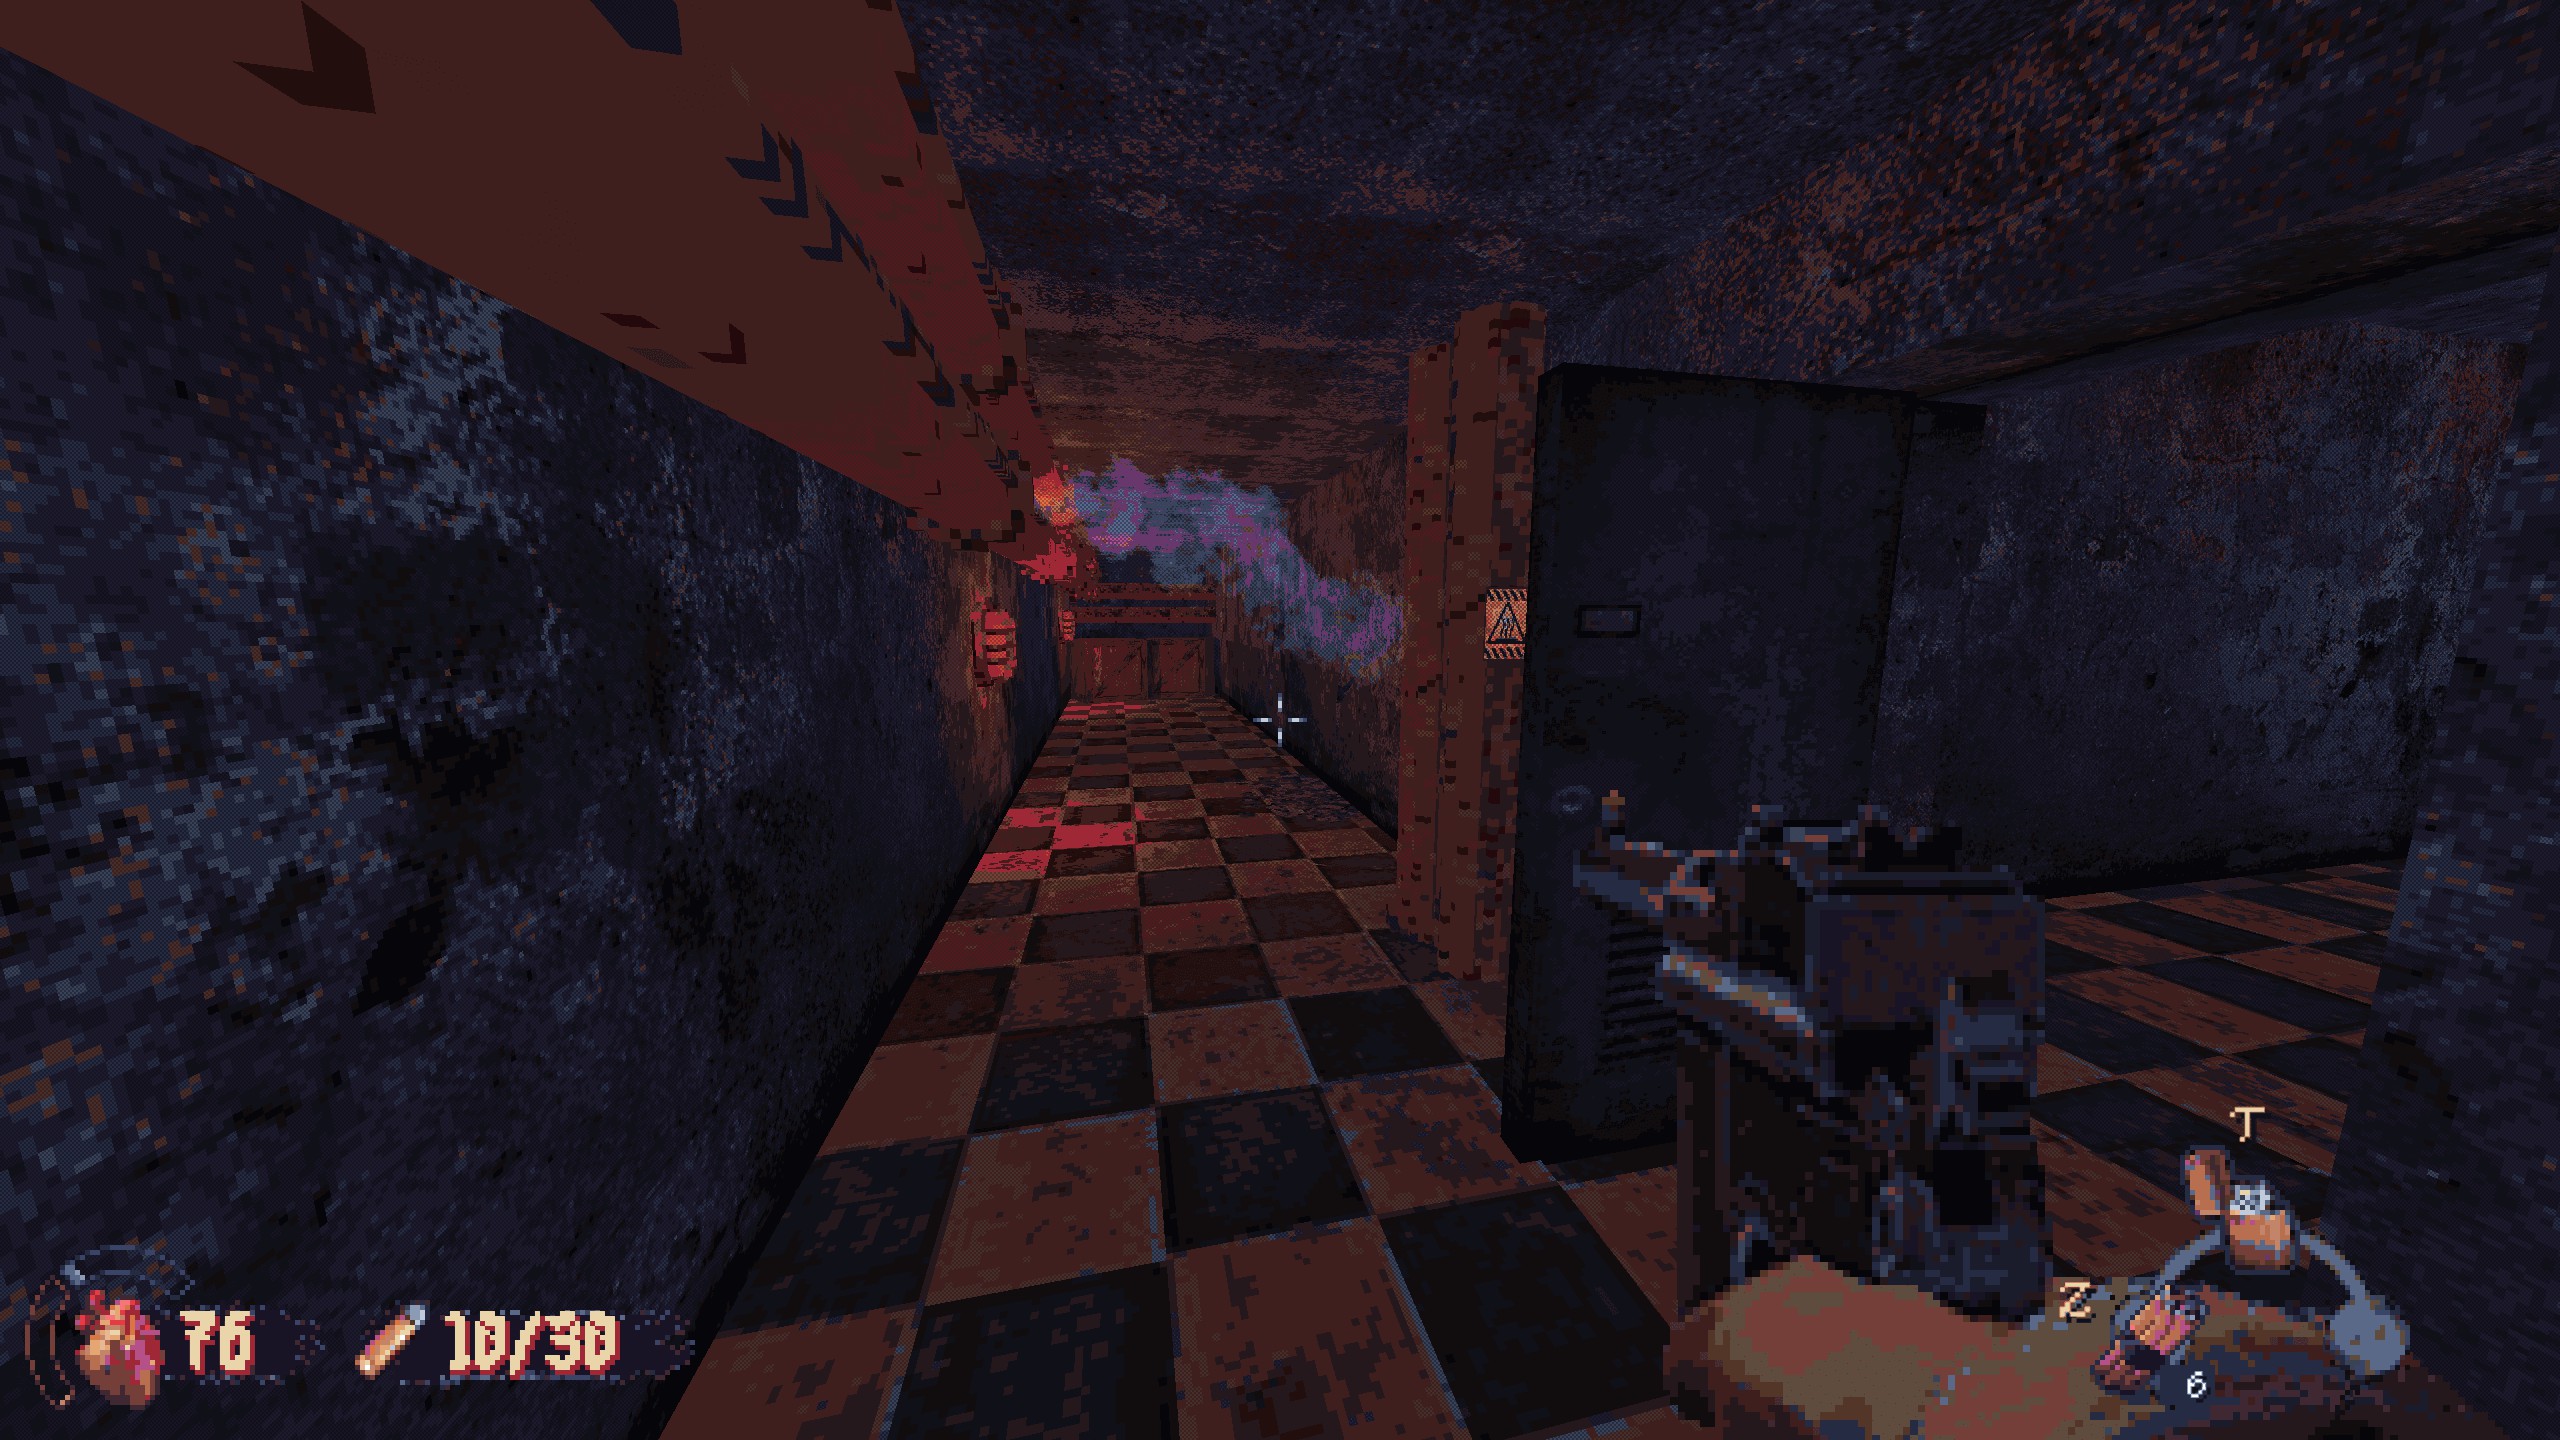
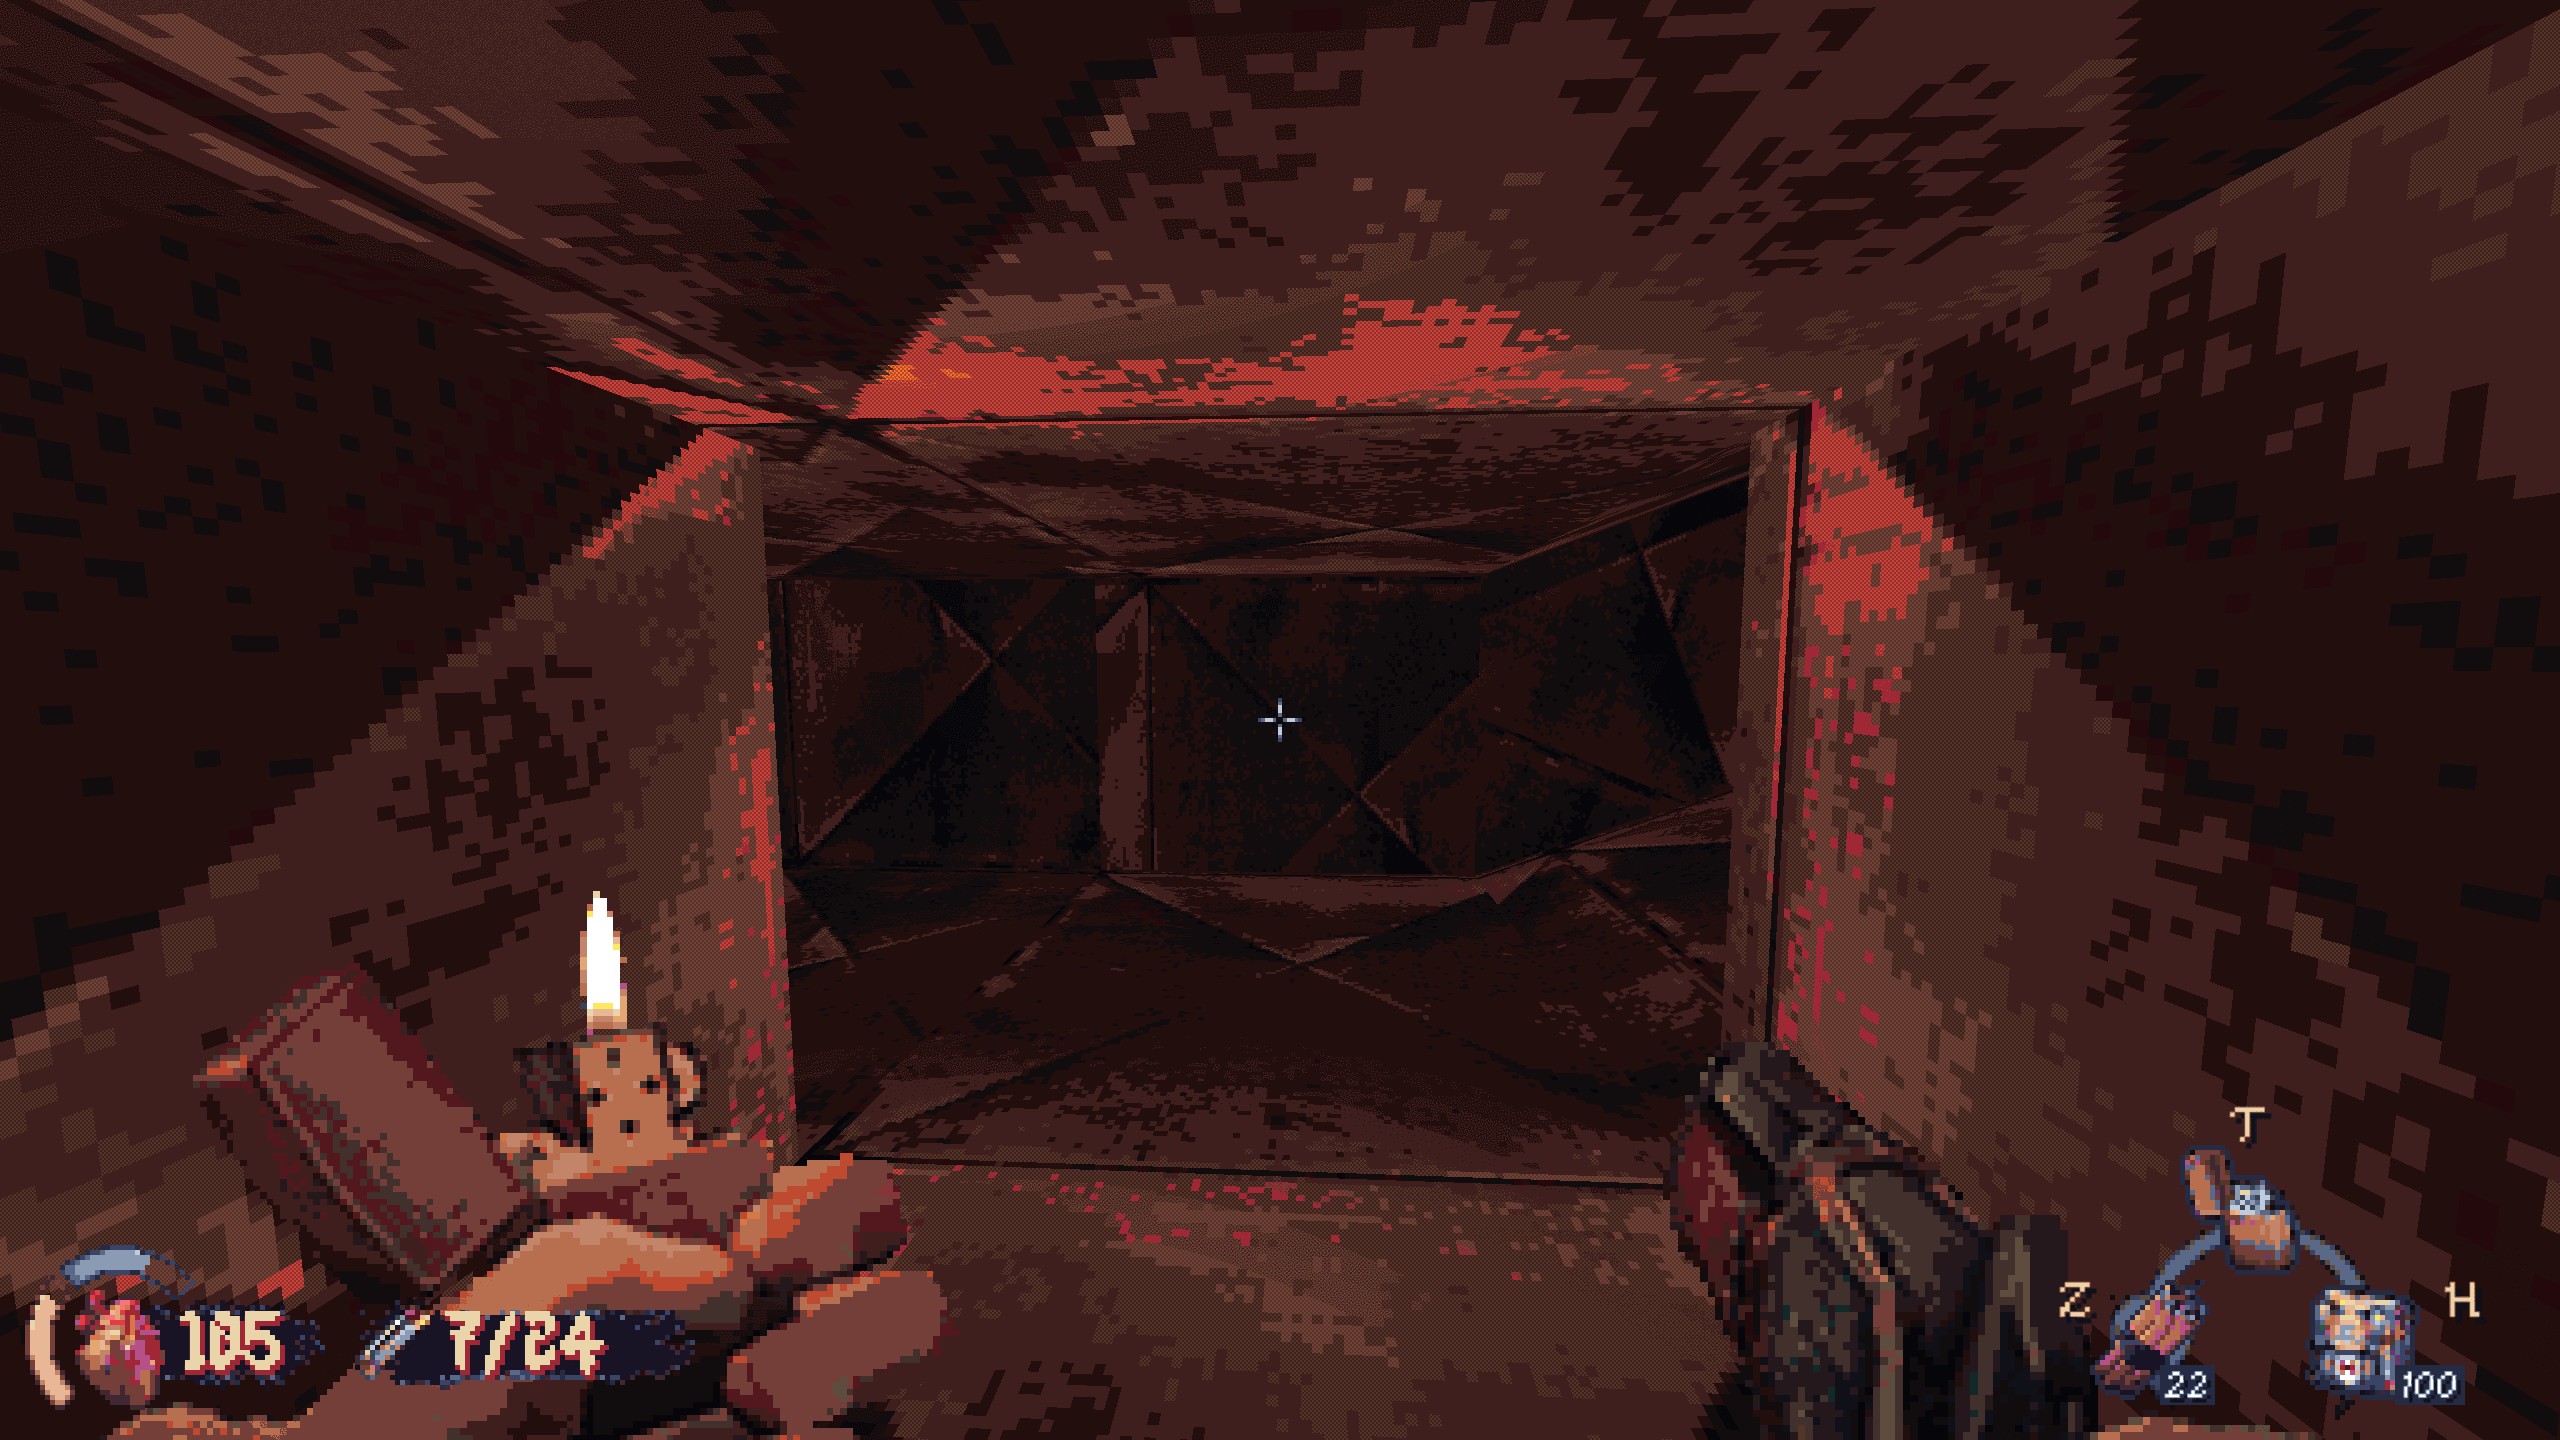
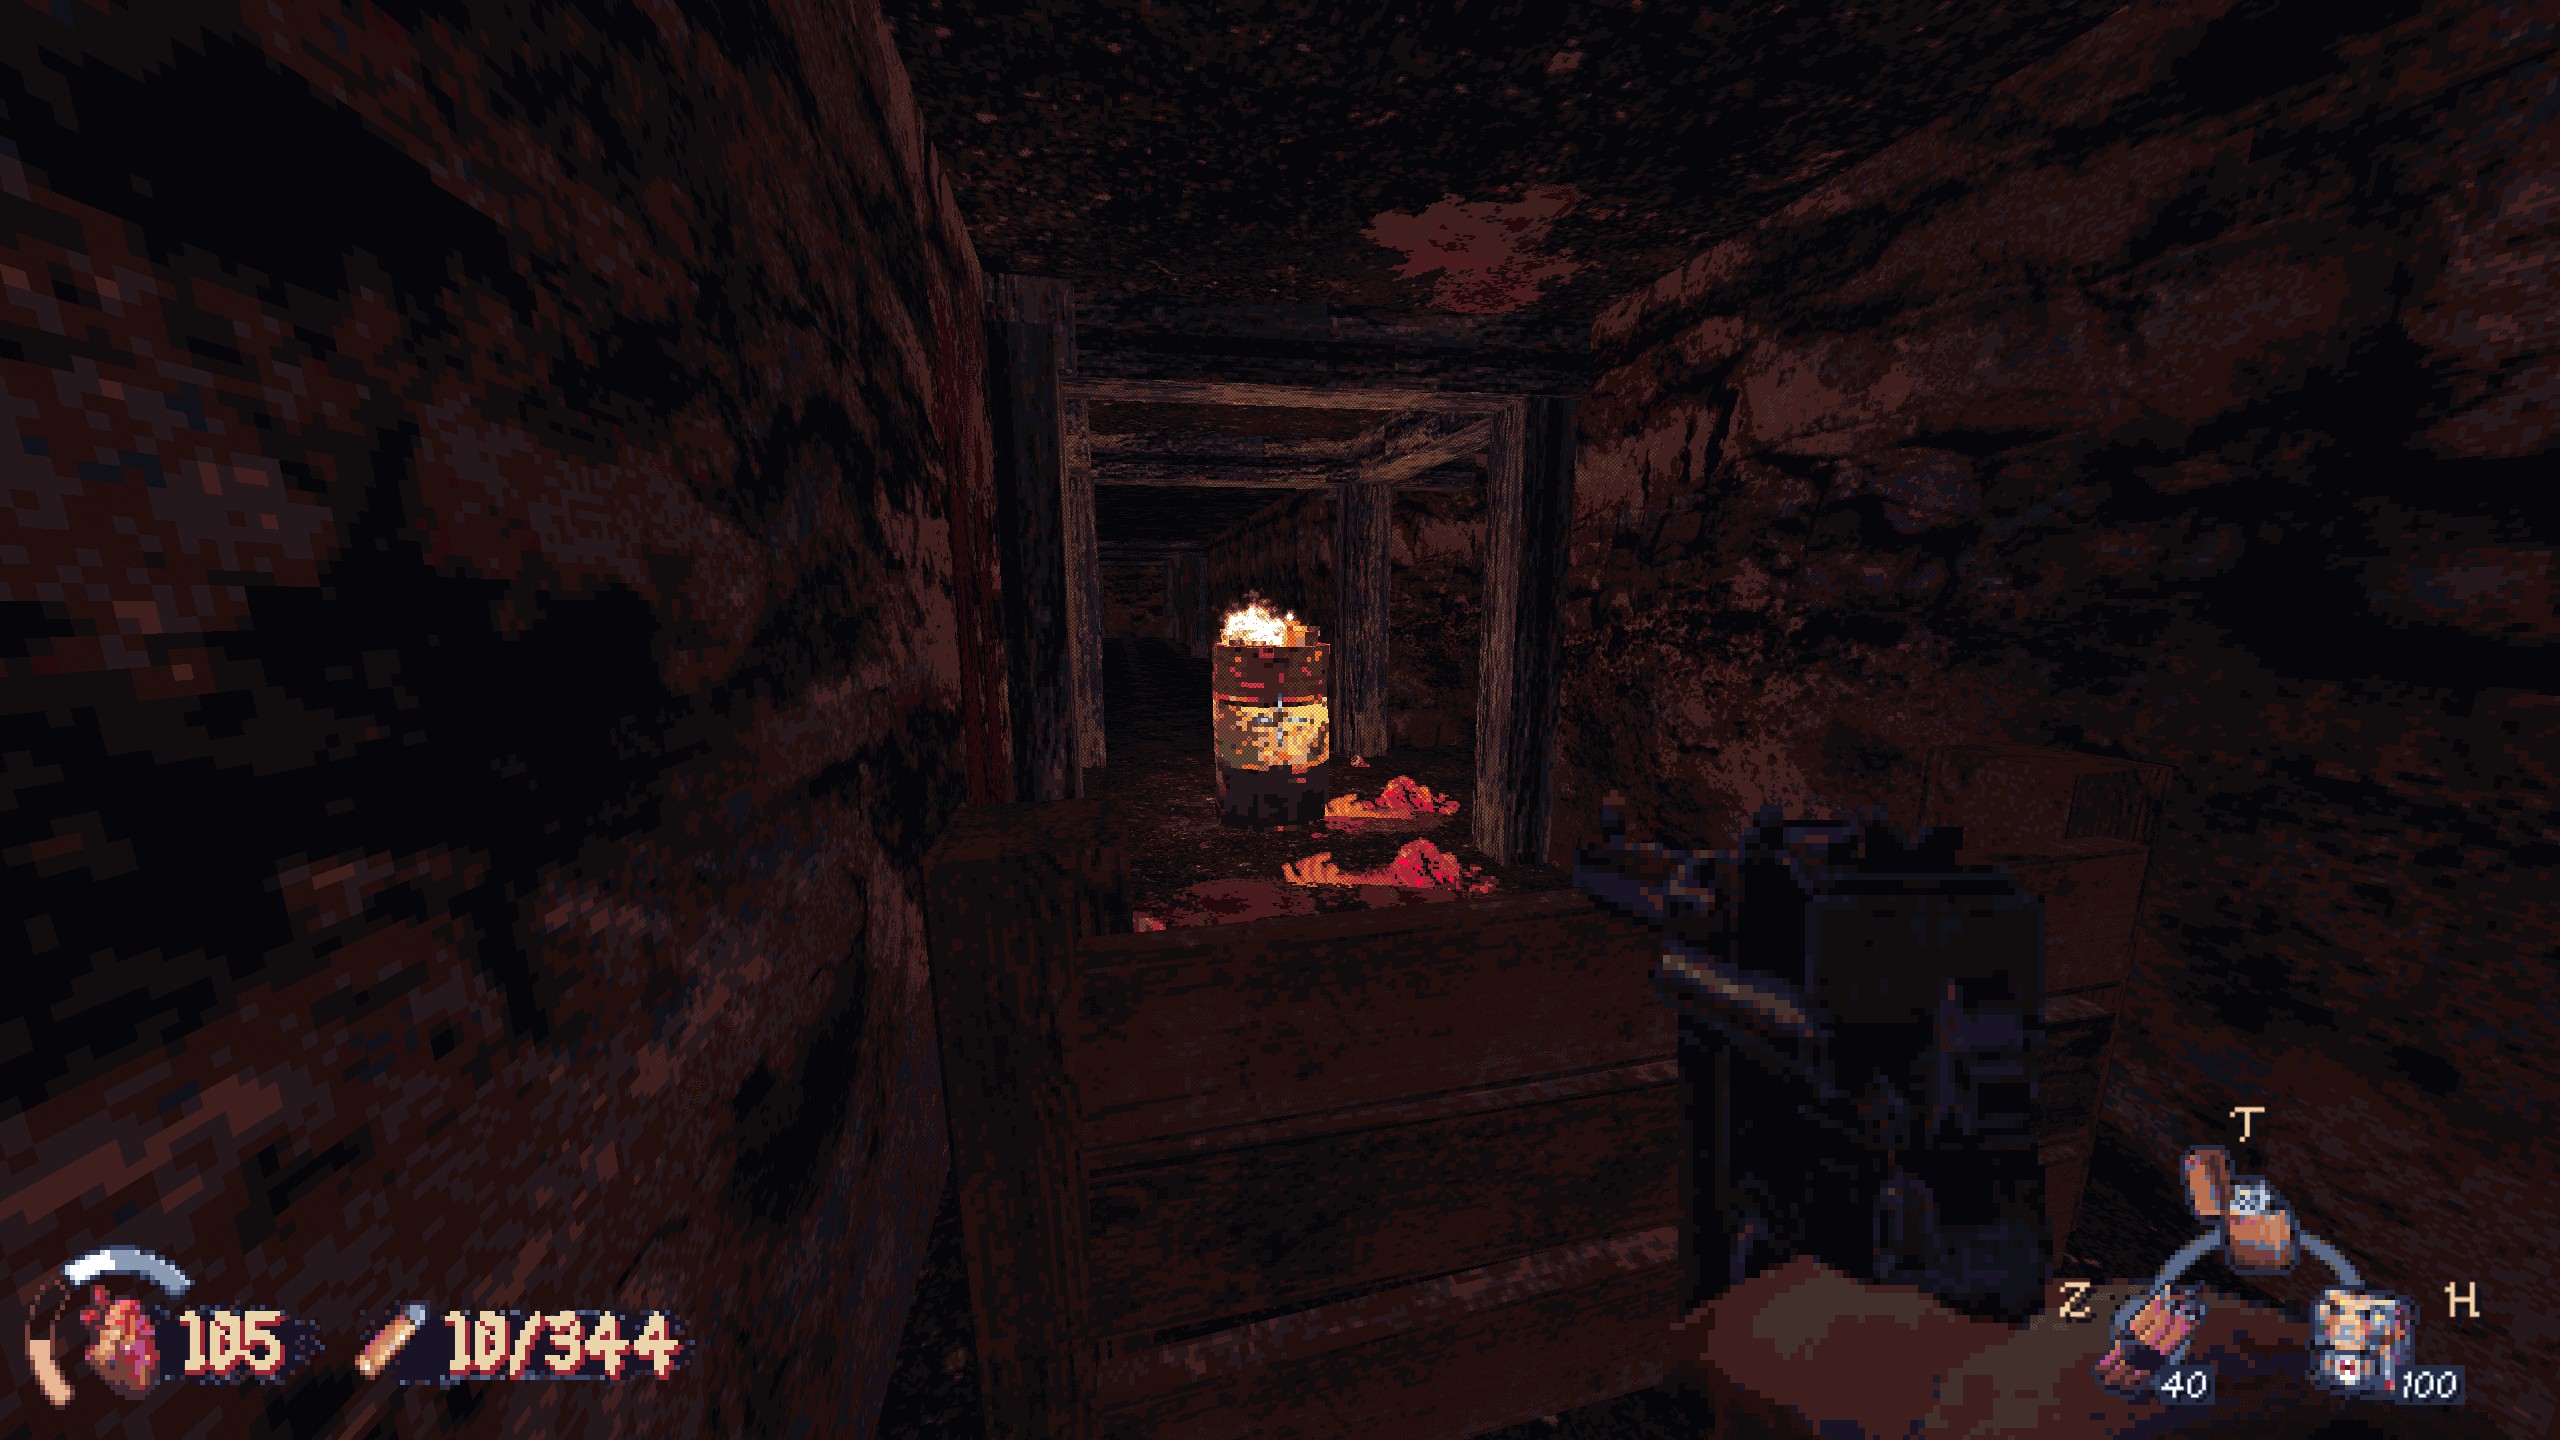
#3: Right after the water area, there’s a maze of tunnels. Next to this burning barrel, blast the crack in the wall to reveal a hoard of zombies. Past them is the next secret. Recompensa: ammo and a weapon part.
#4: The last secret is a while later, in the room where you find the Iron Key. Break the boxes next to the stairs and crawl into the revealed space. Recompensa: munição.

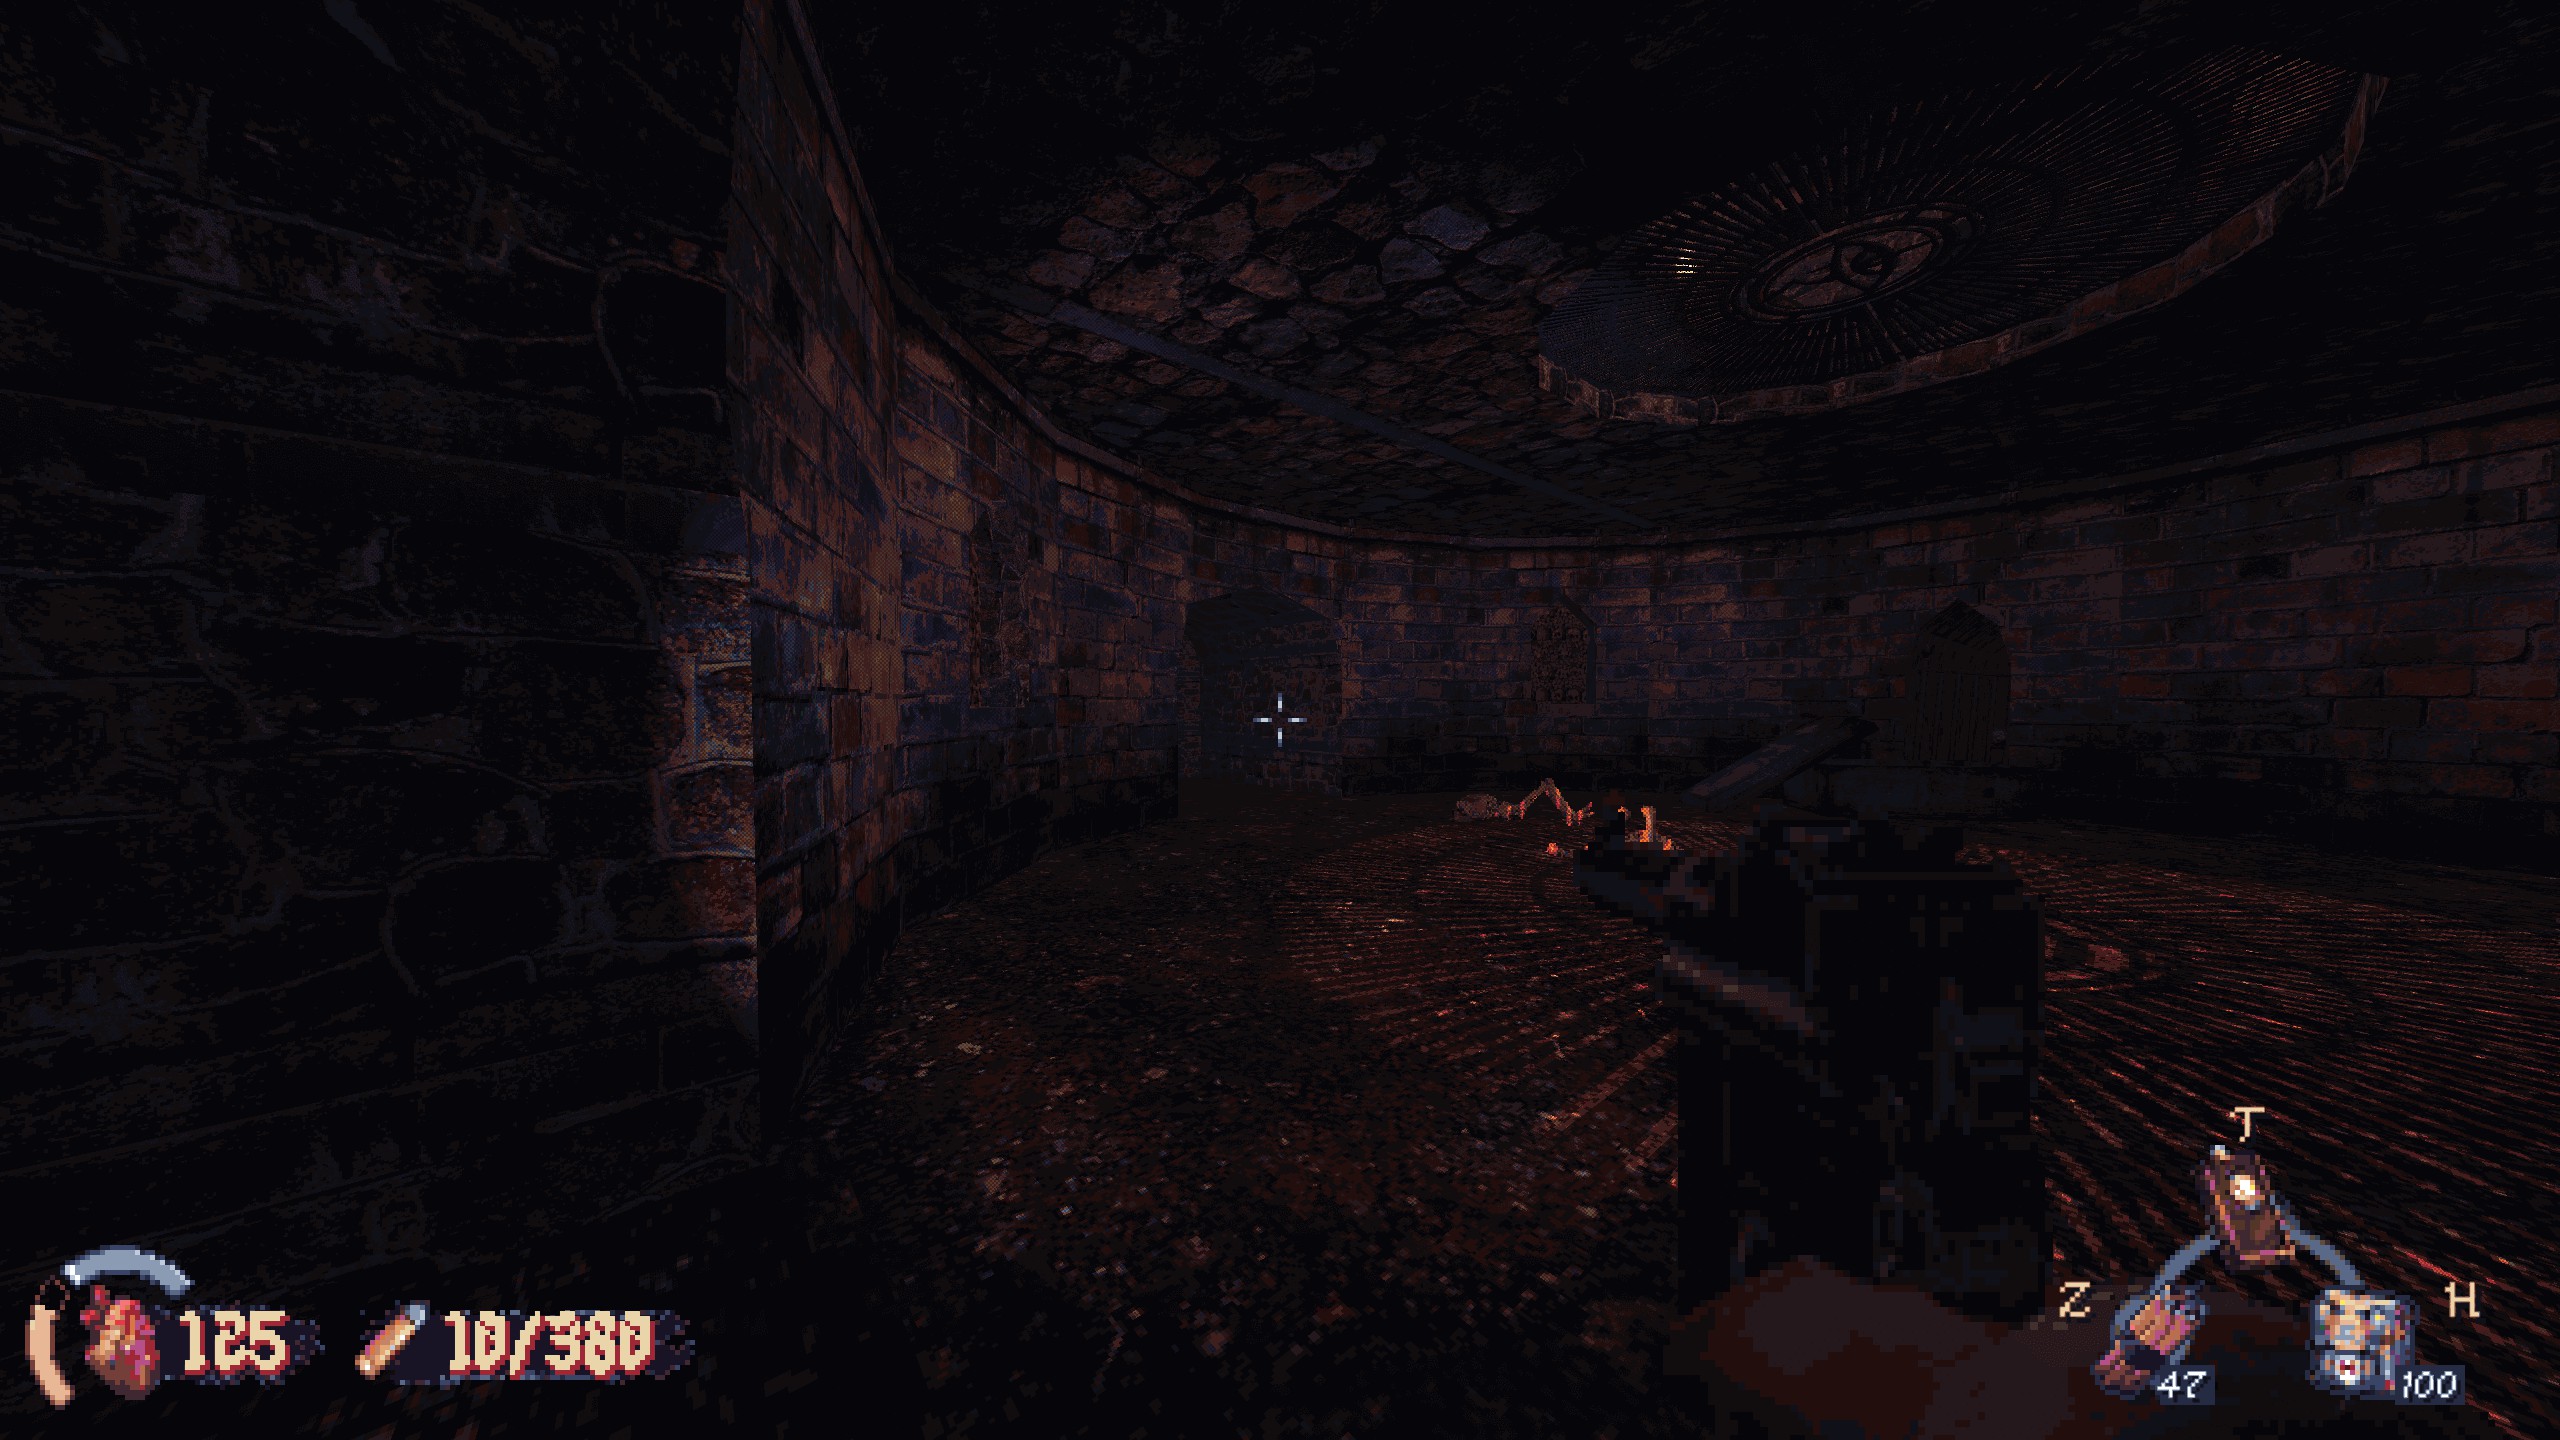
The Crypts
Papel 1: Before the key
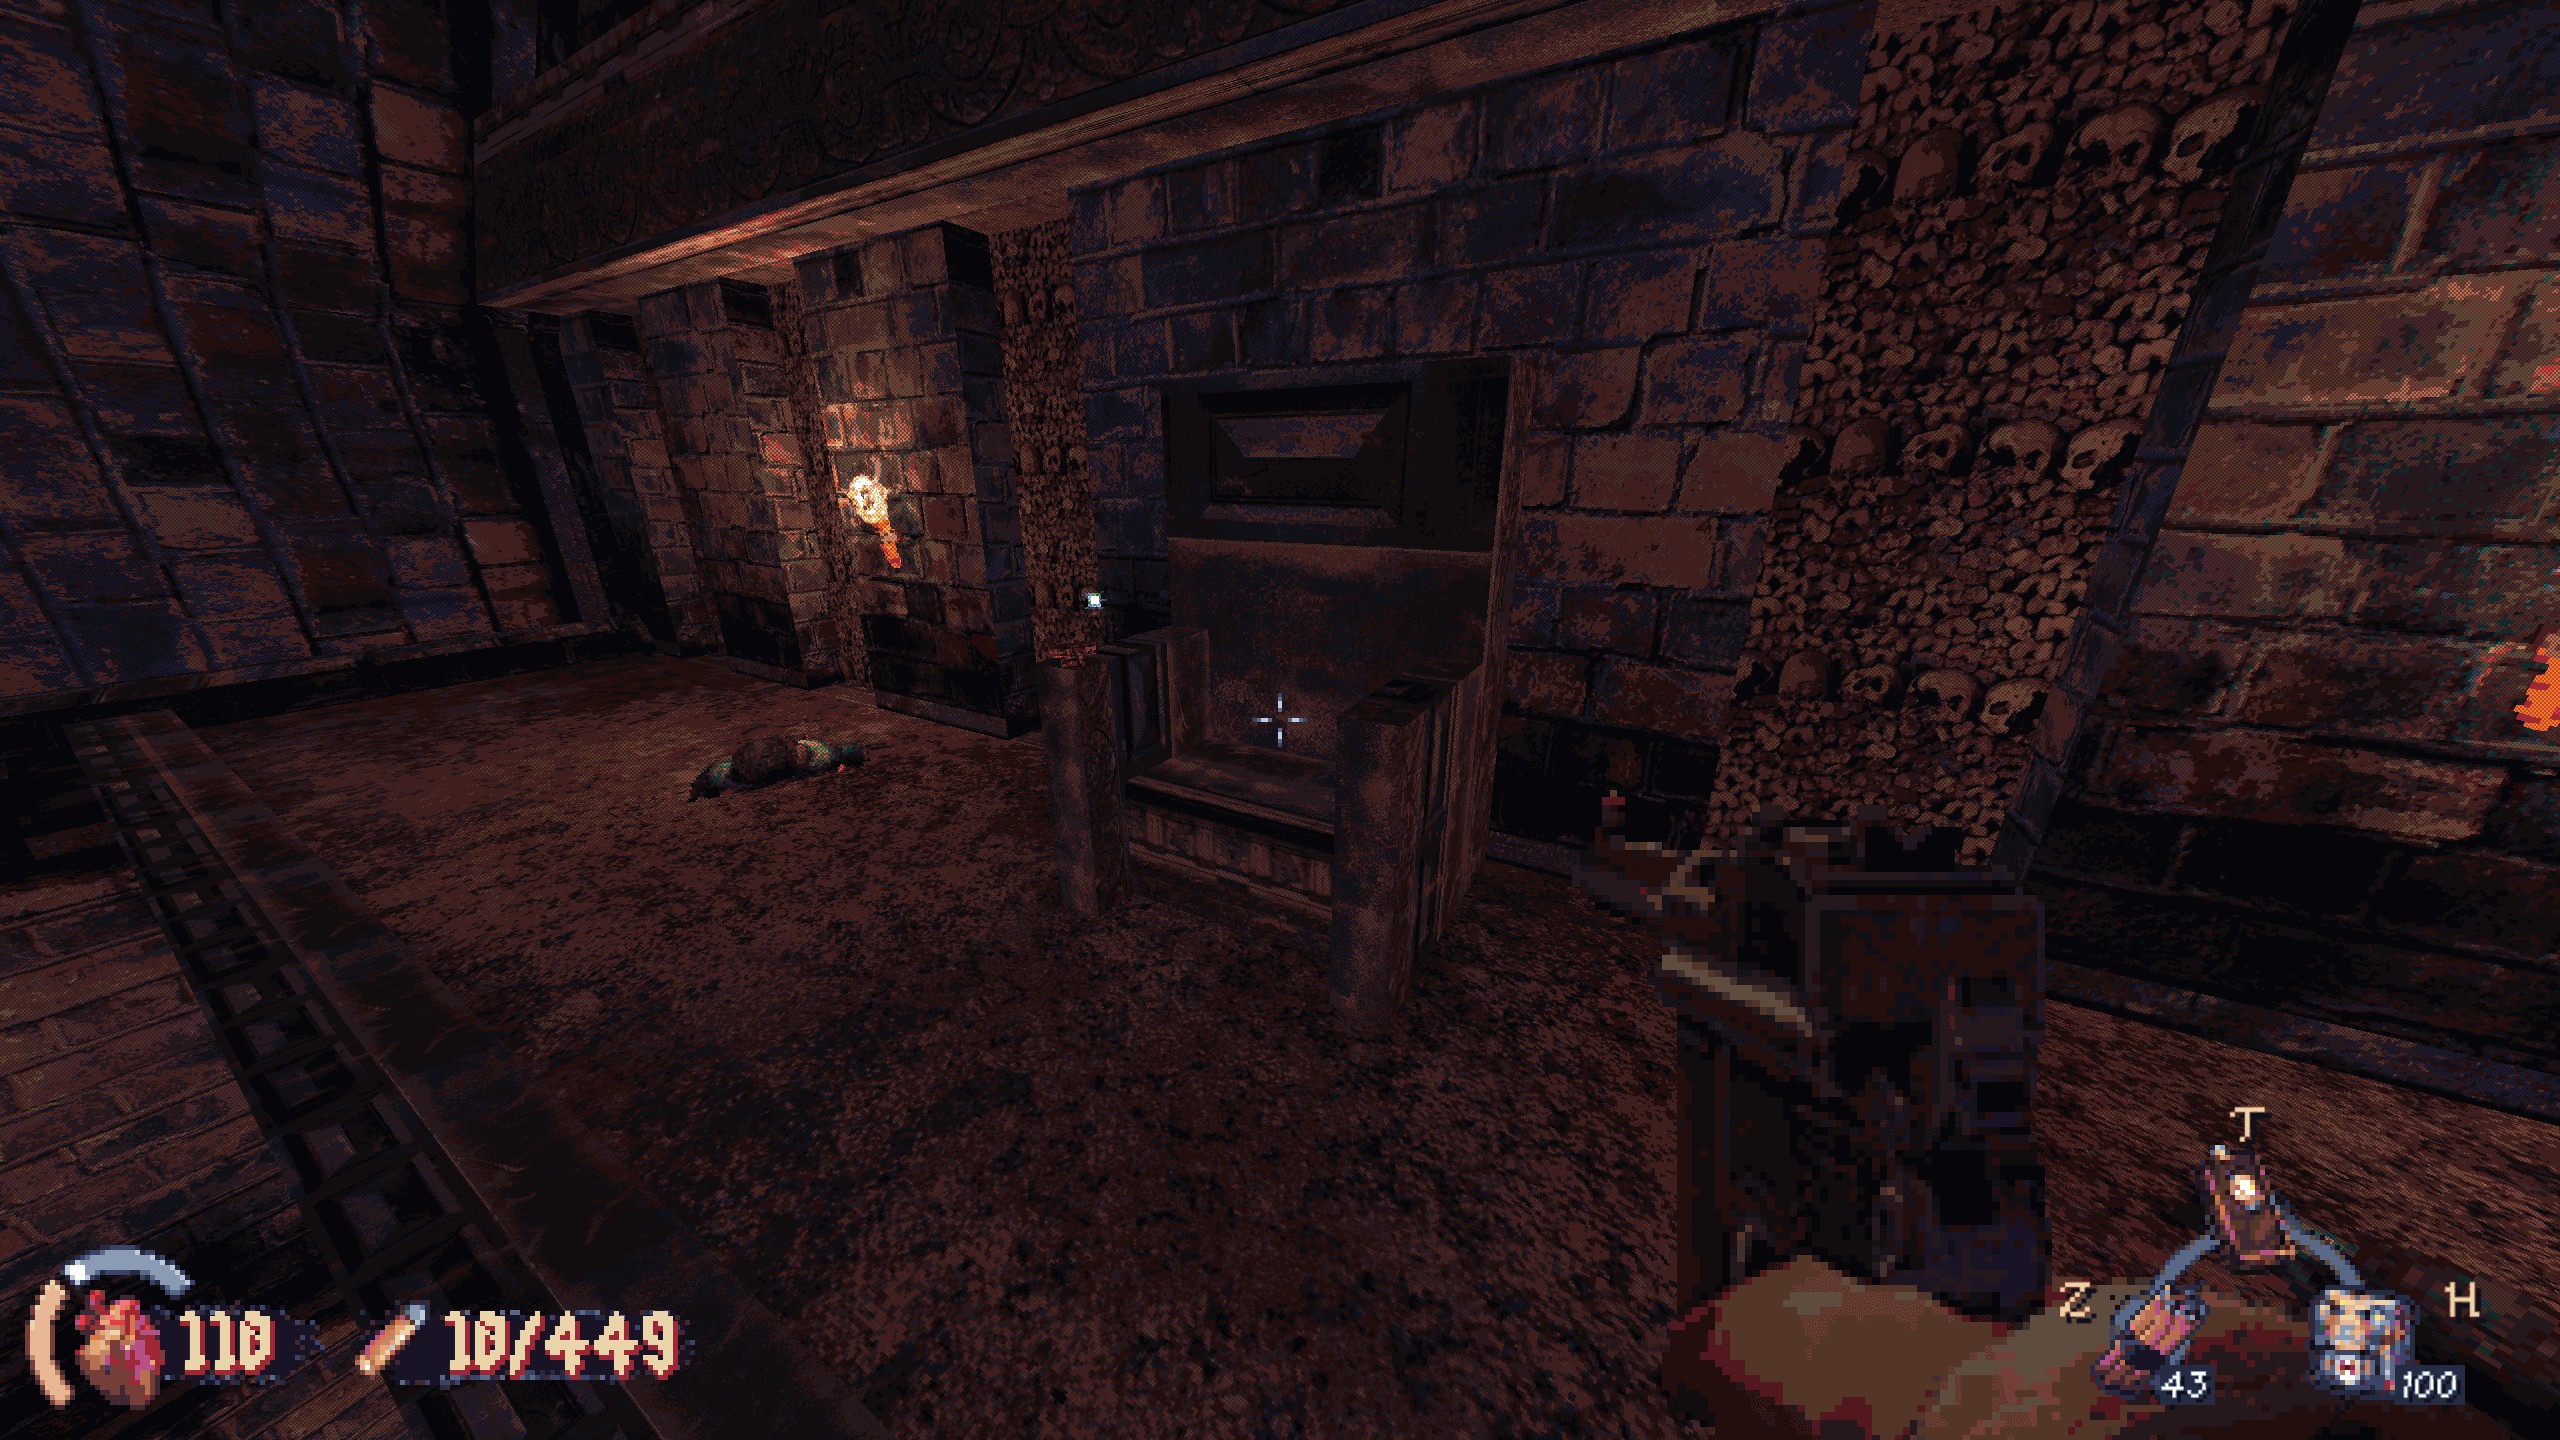
#1: Going left out of the first large room, take a right into the room with a locked armory. There’s a small space above a tilted coffin that you can crouch-jump into. alternativamente, come back here after getting the key and the coffin will be gone, making the jump easier. Recompensa: molotovs.
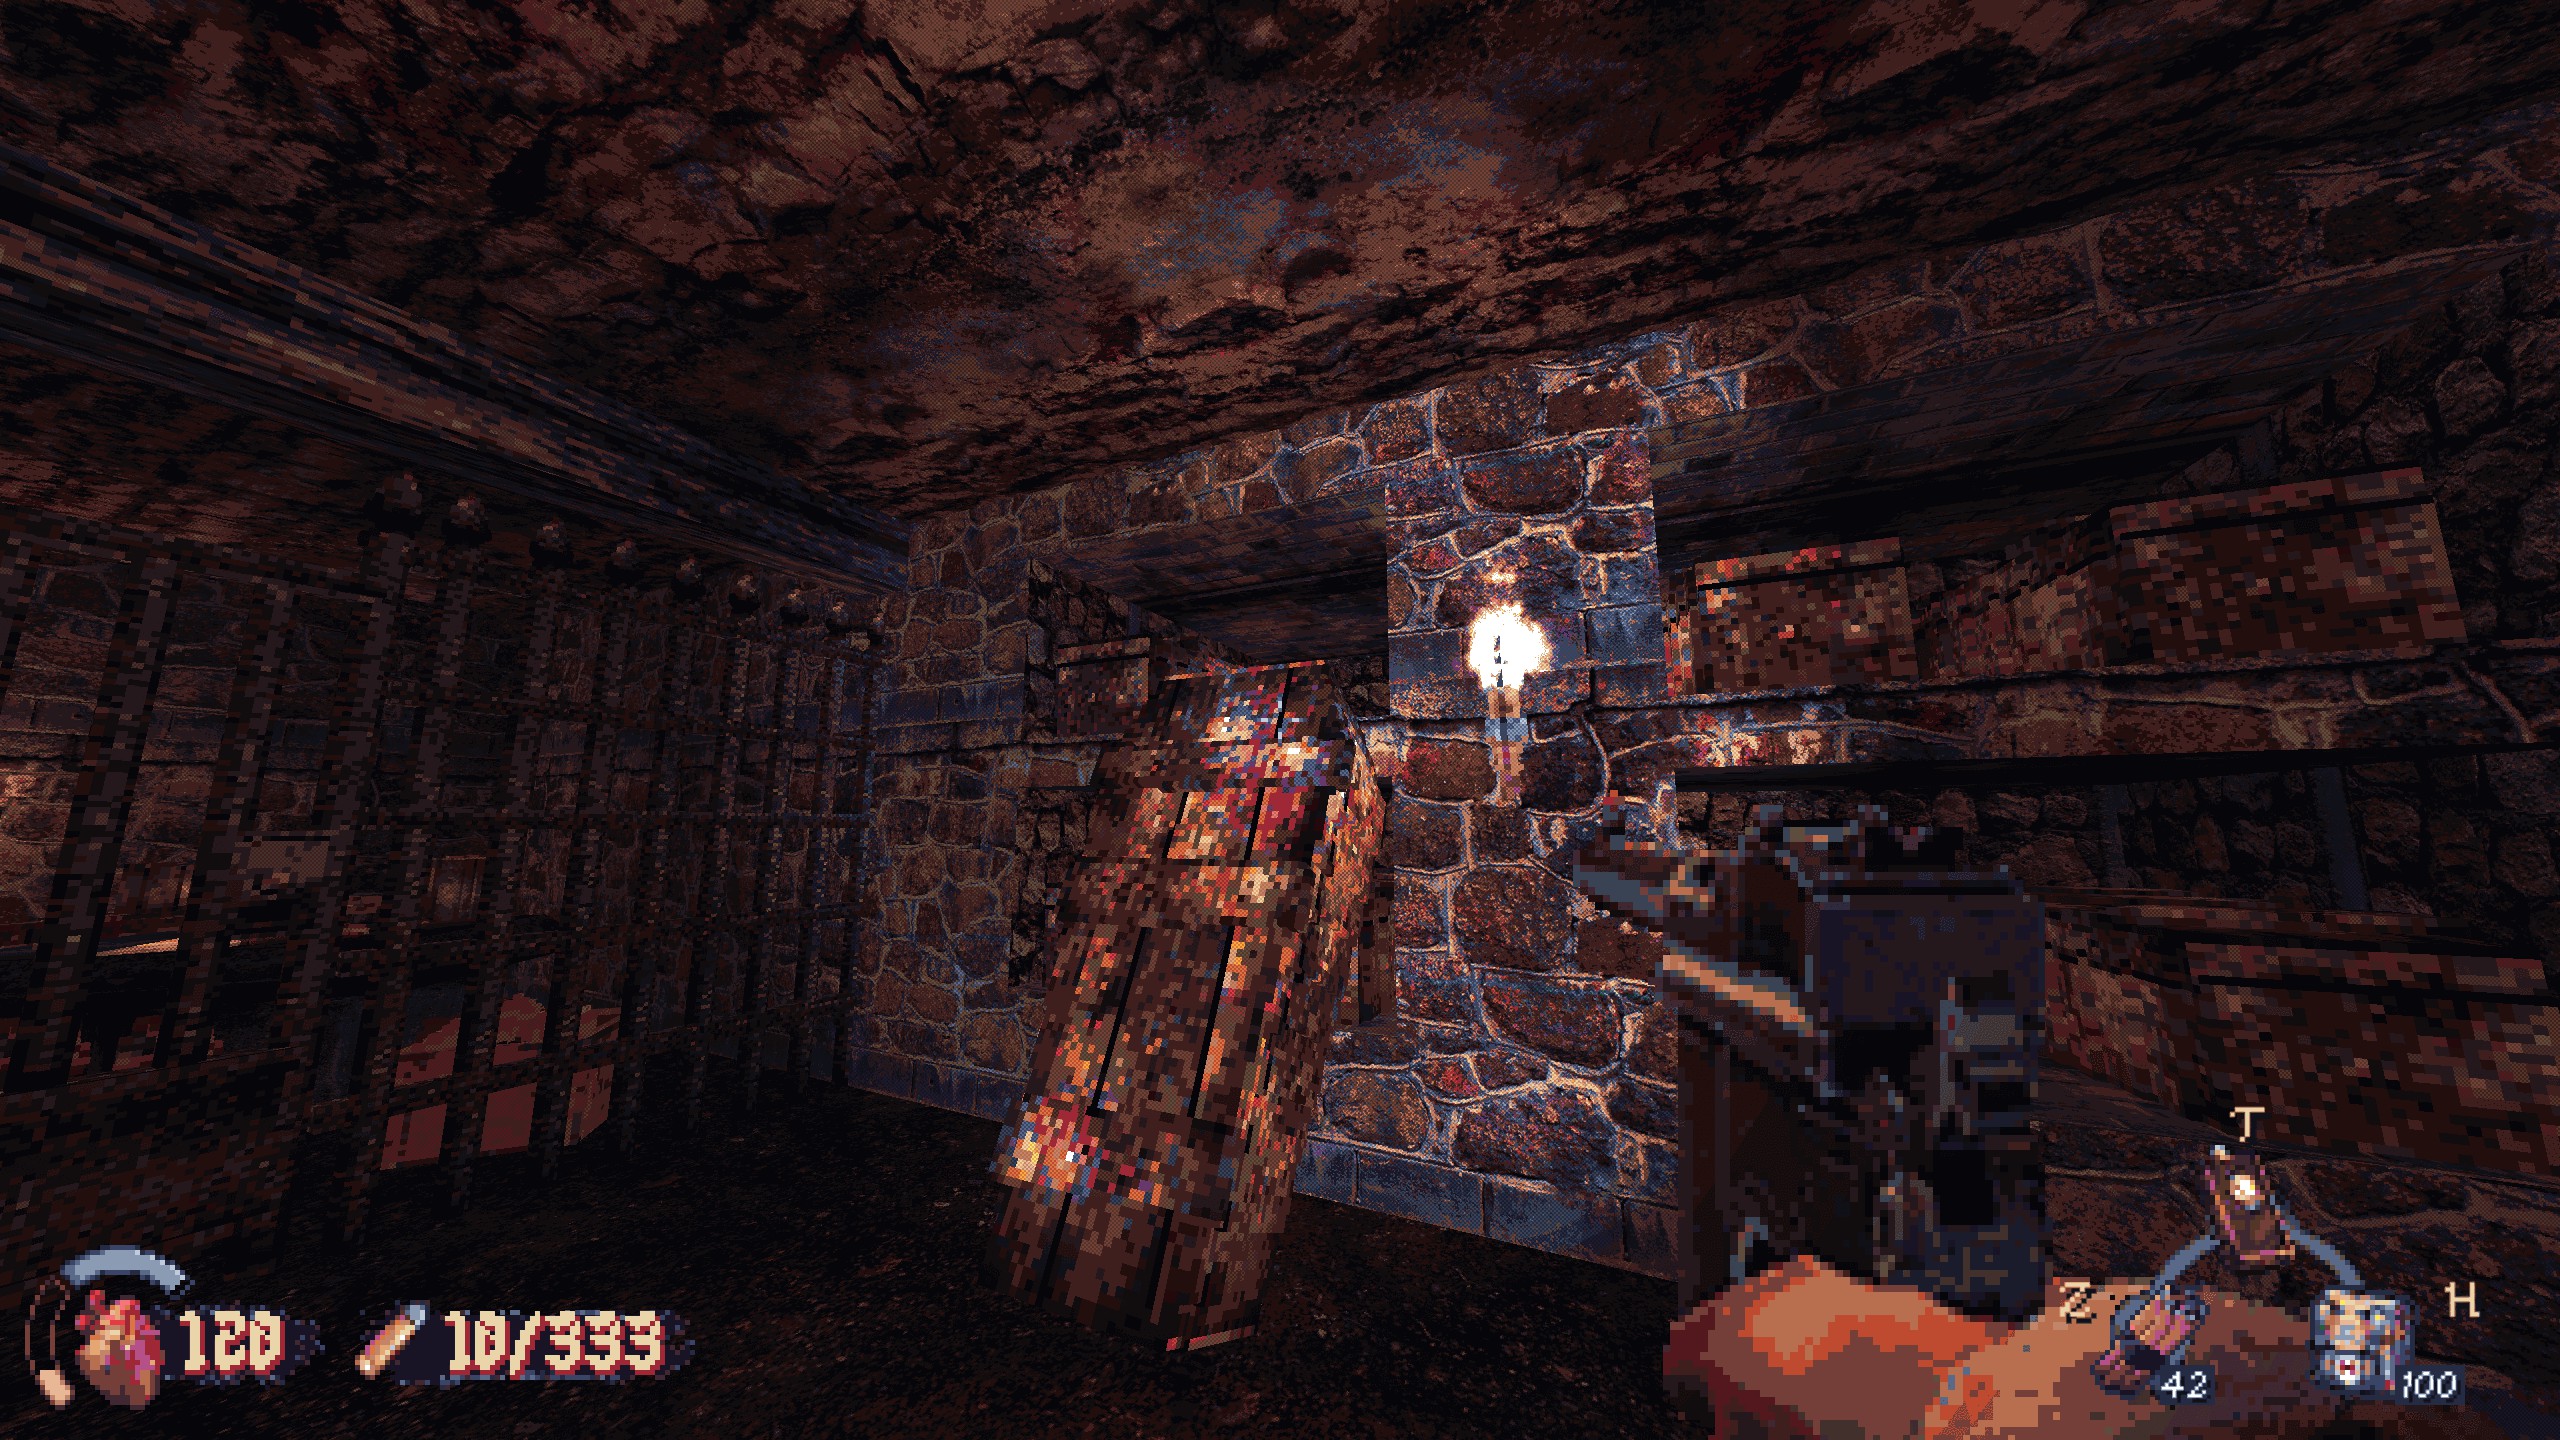

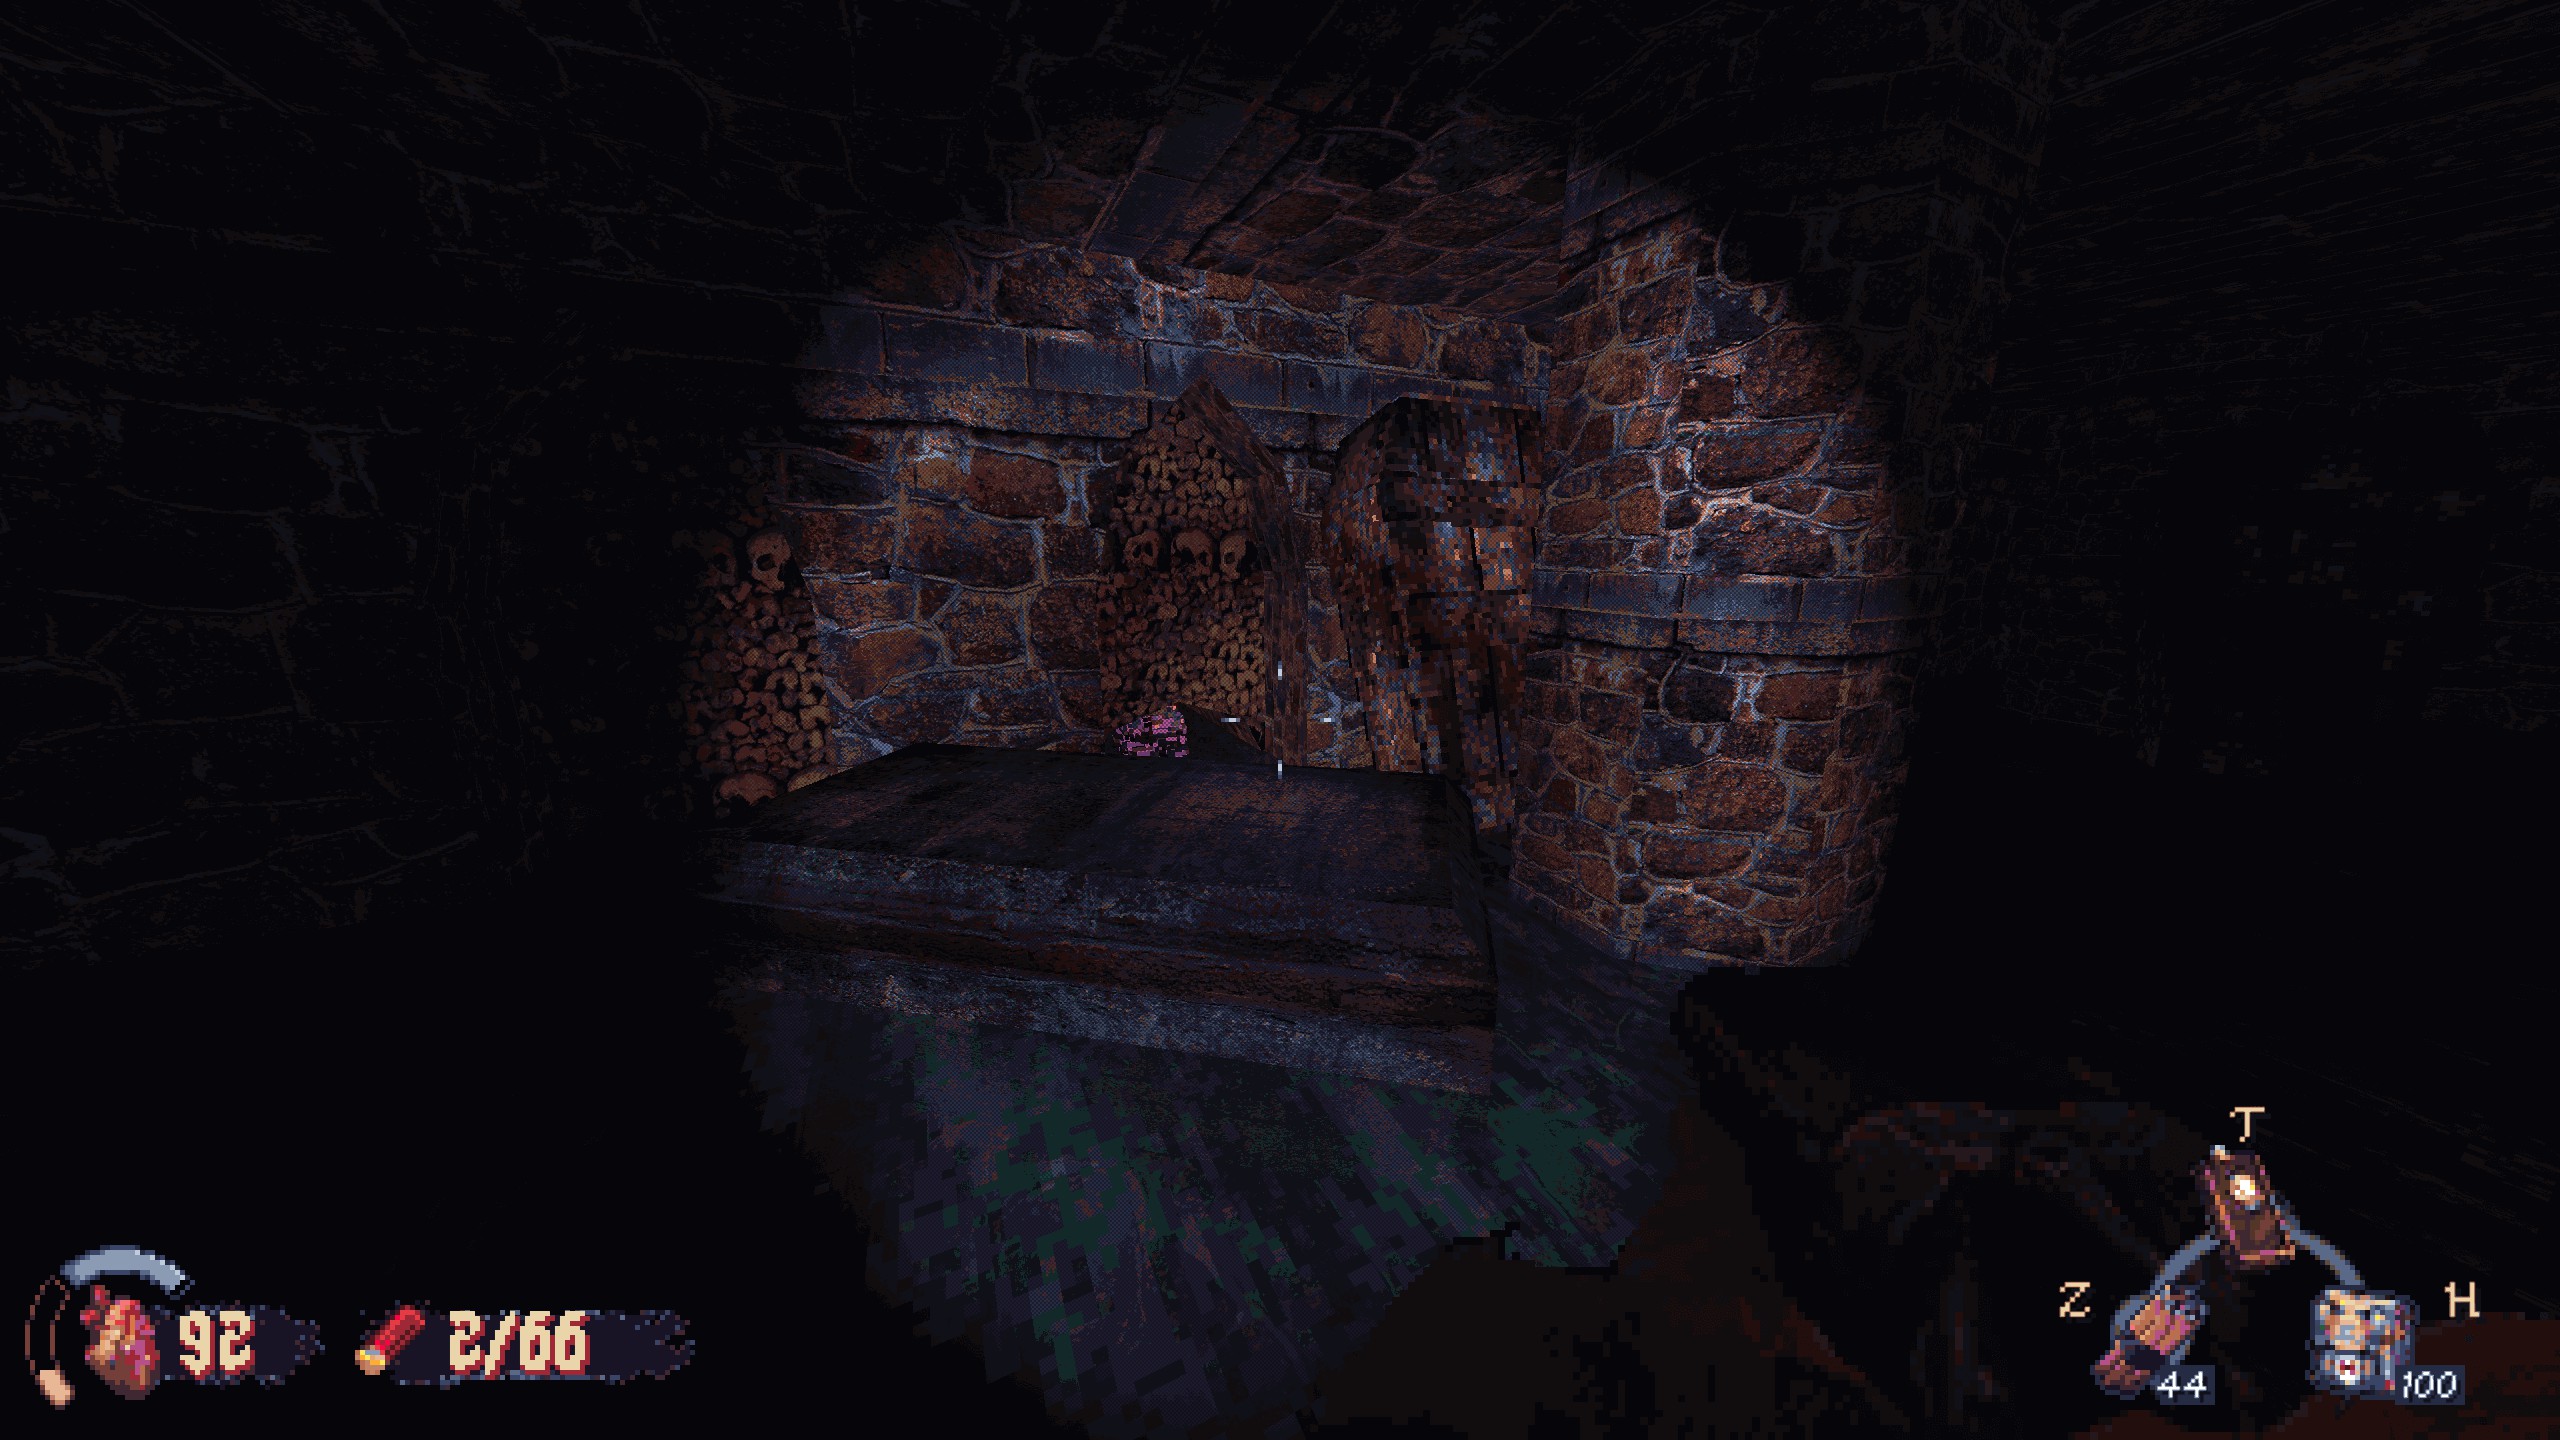
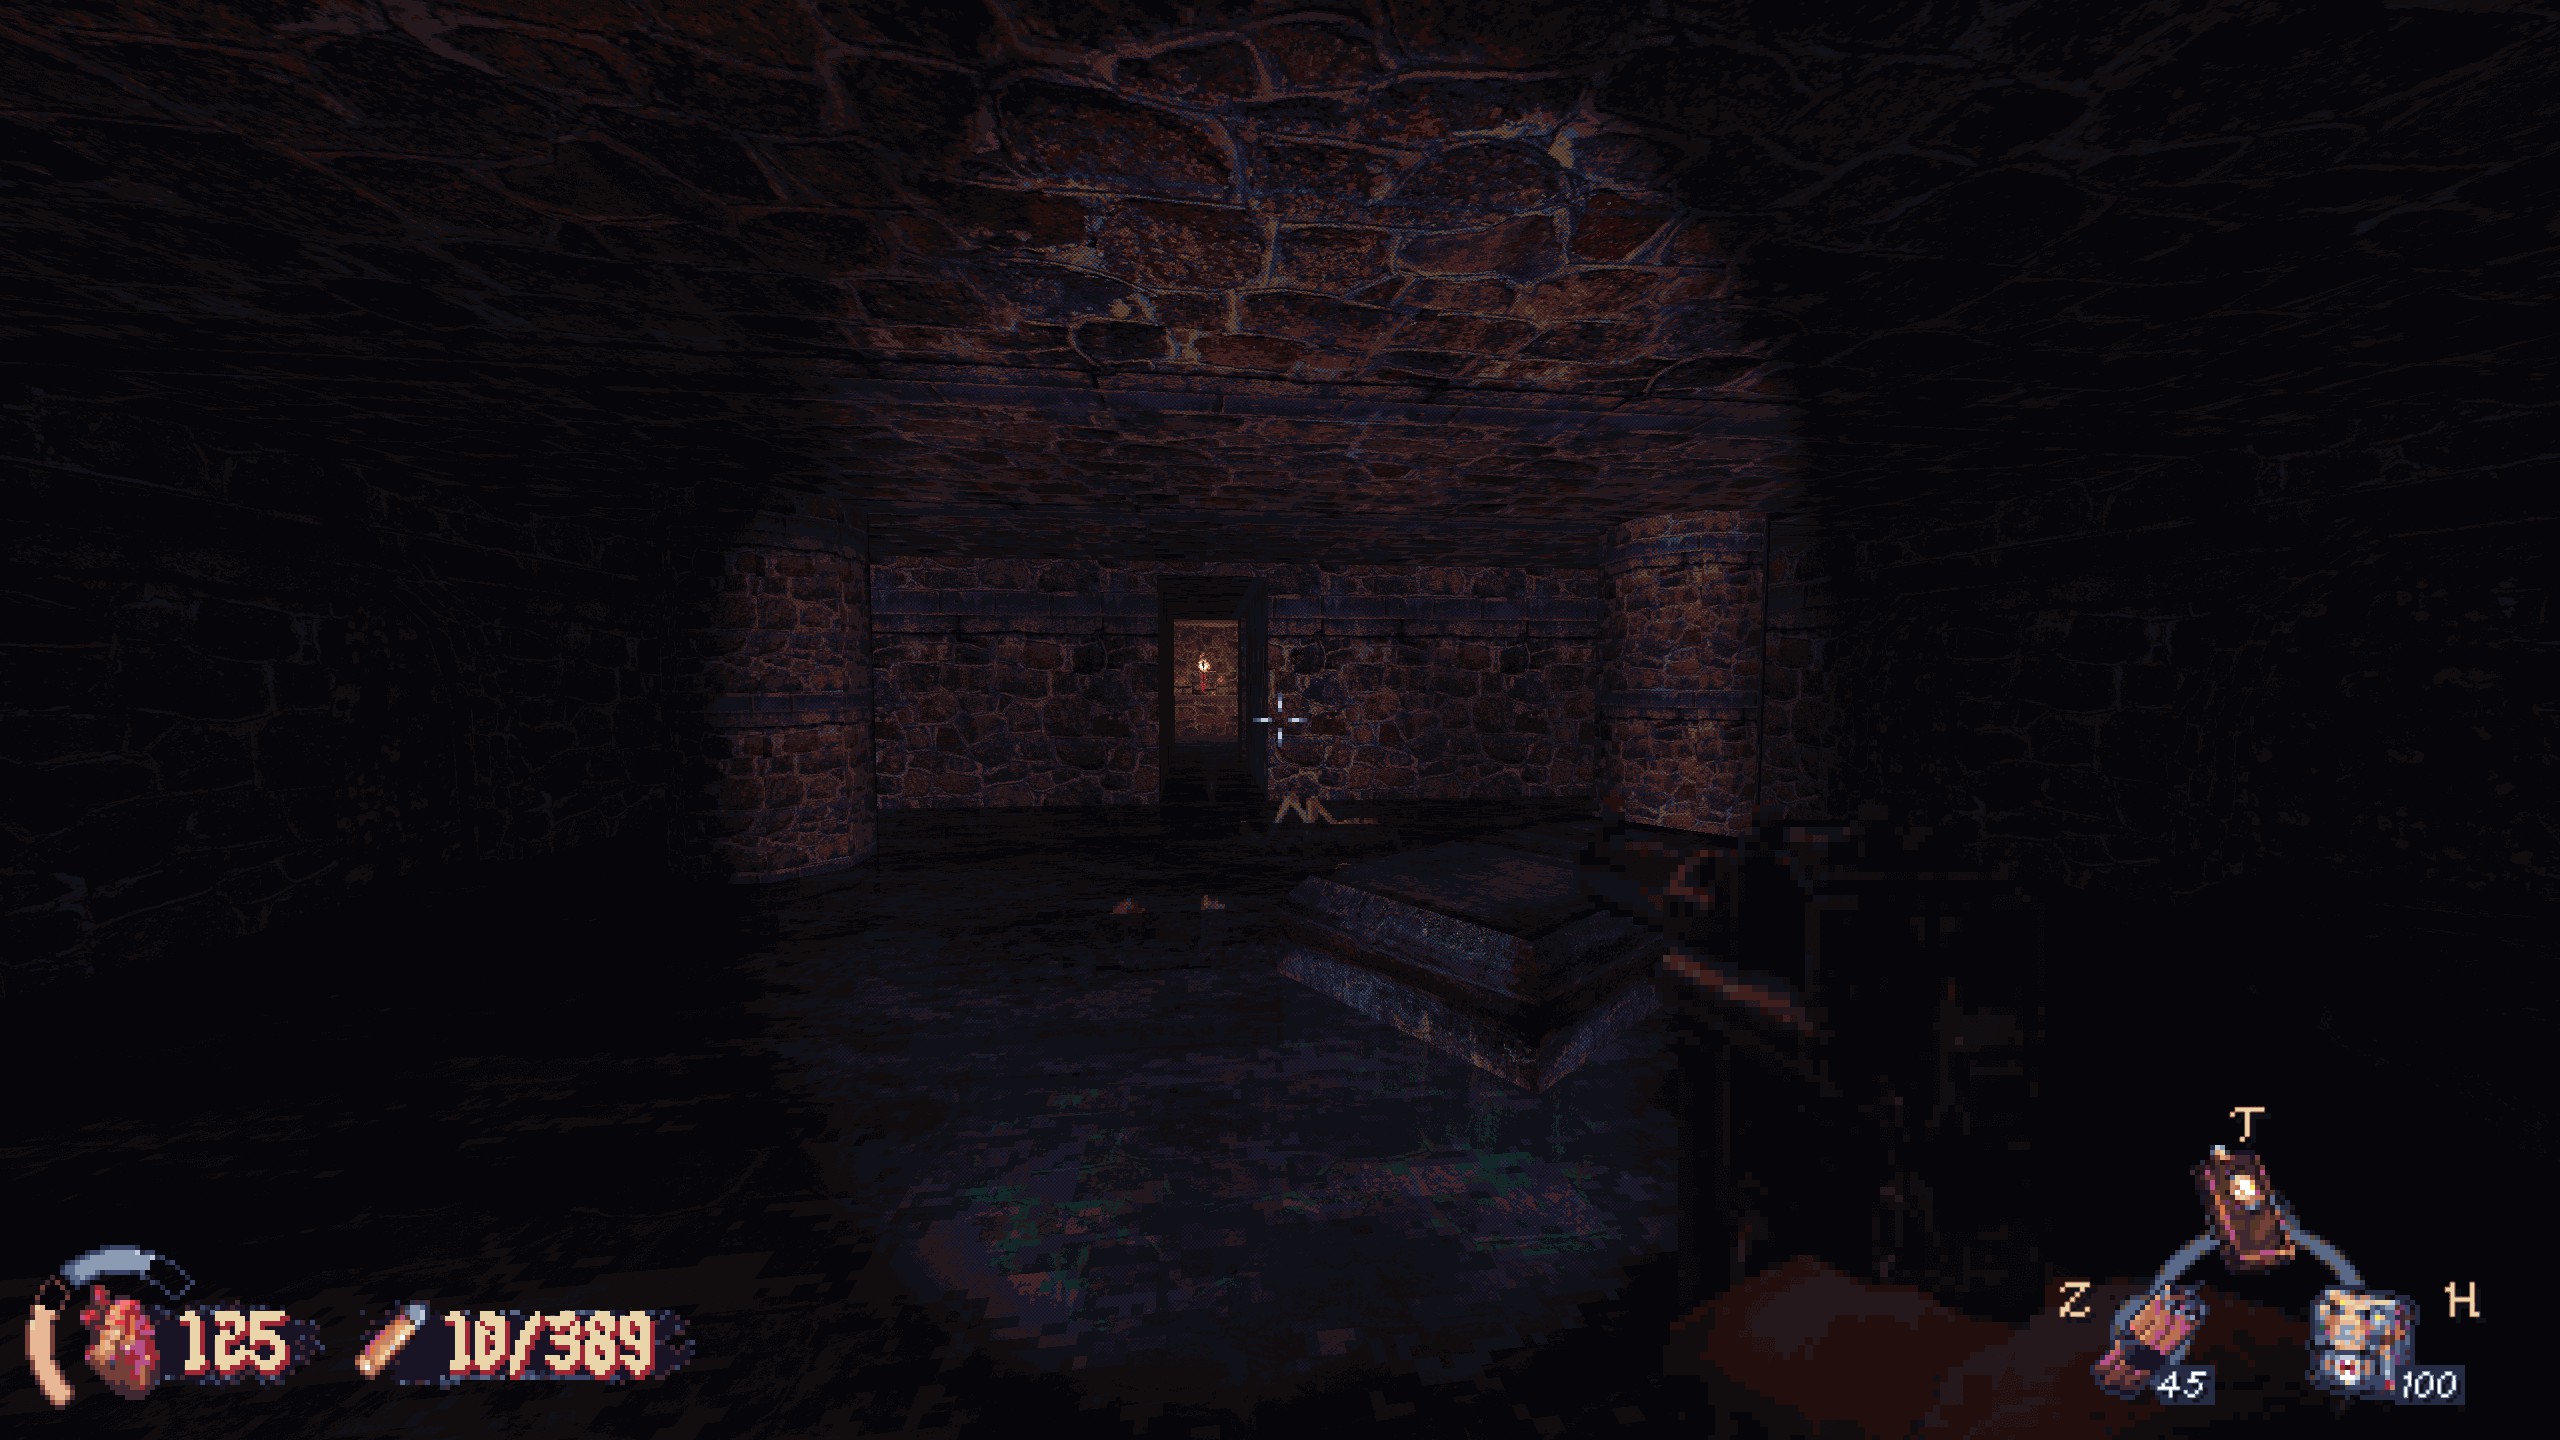
#2 (Imbued Remains): In the knee-deep water area, you’ll pass through this medium sized room with coffins. On the right side there’s a small crawl space behind a coffin. Recompensa: imbued remains.
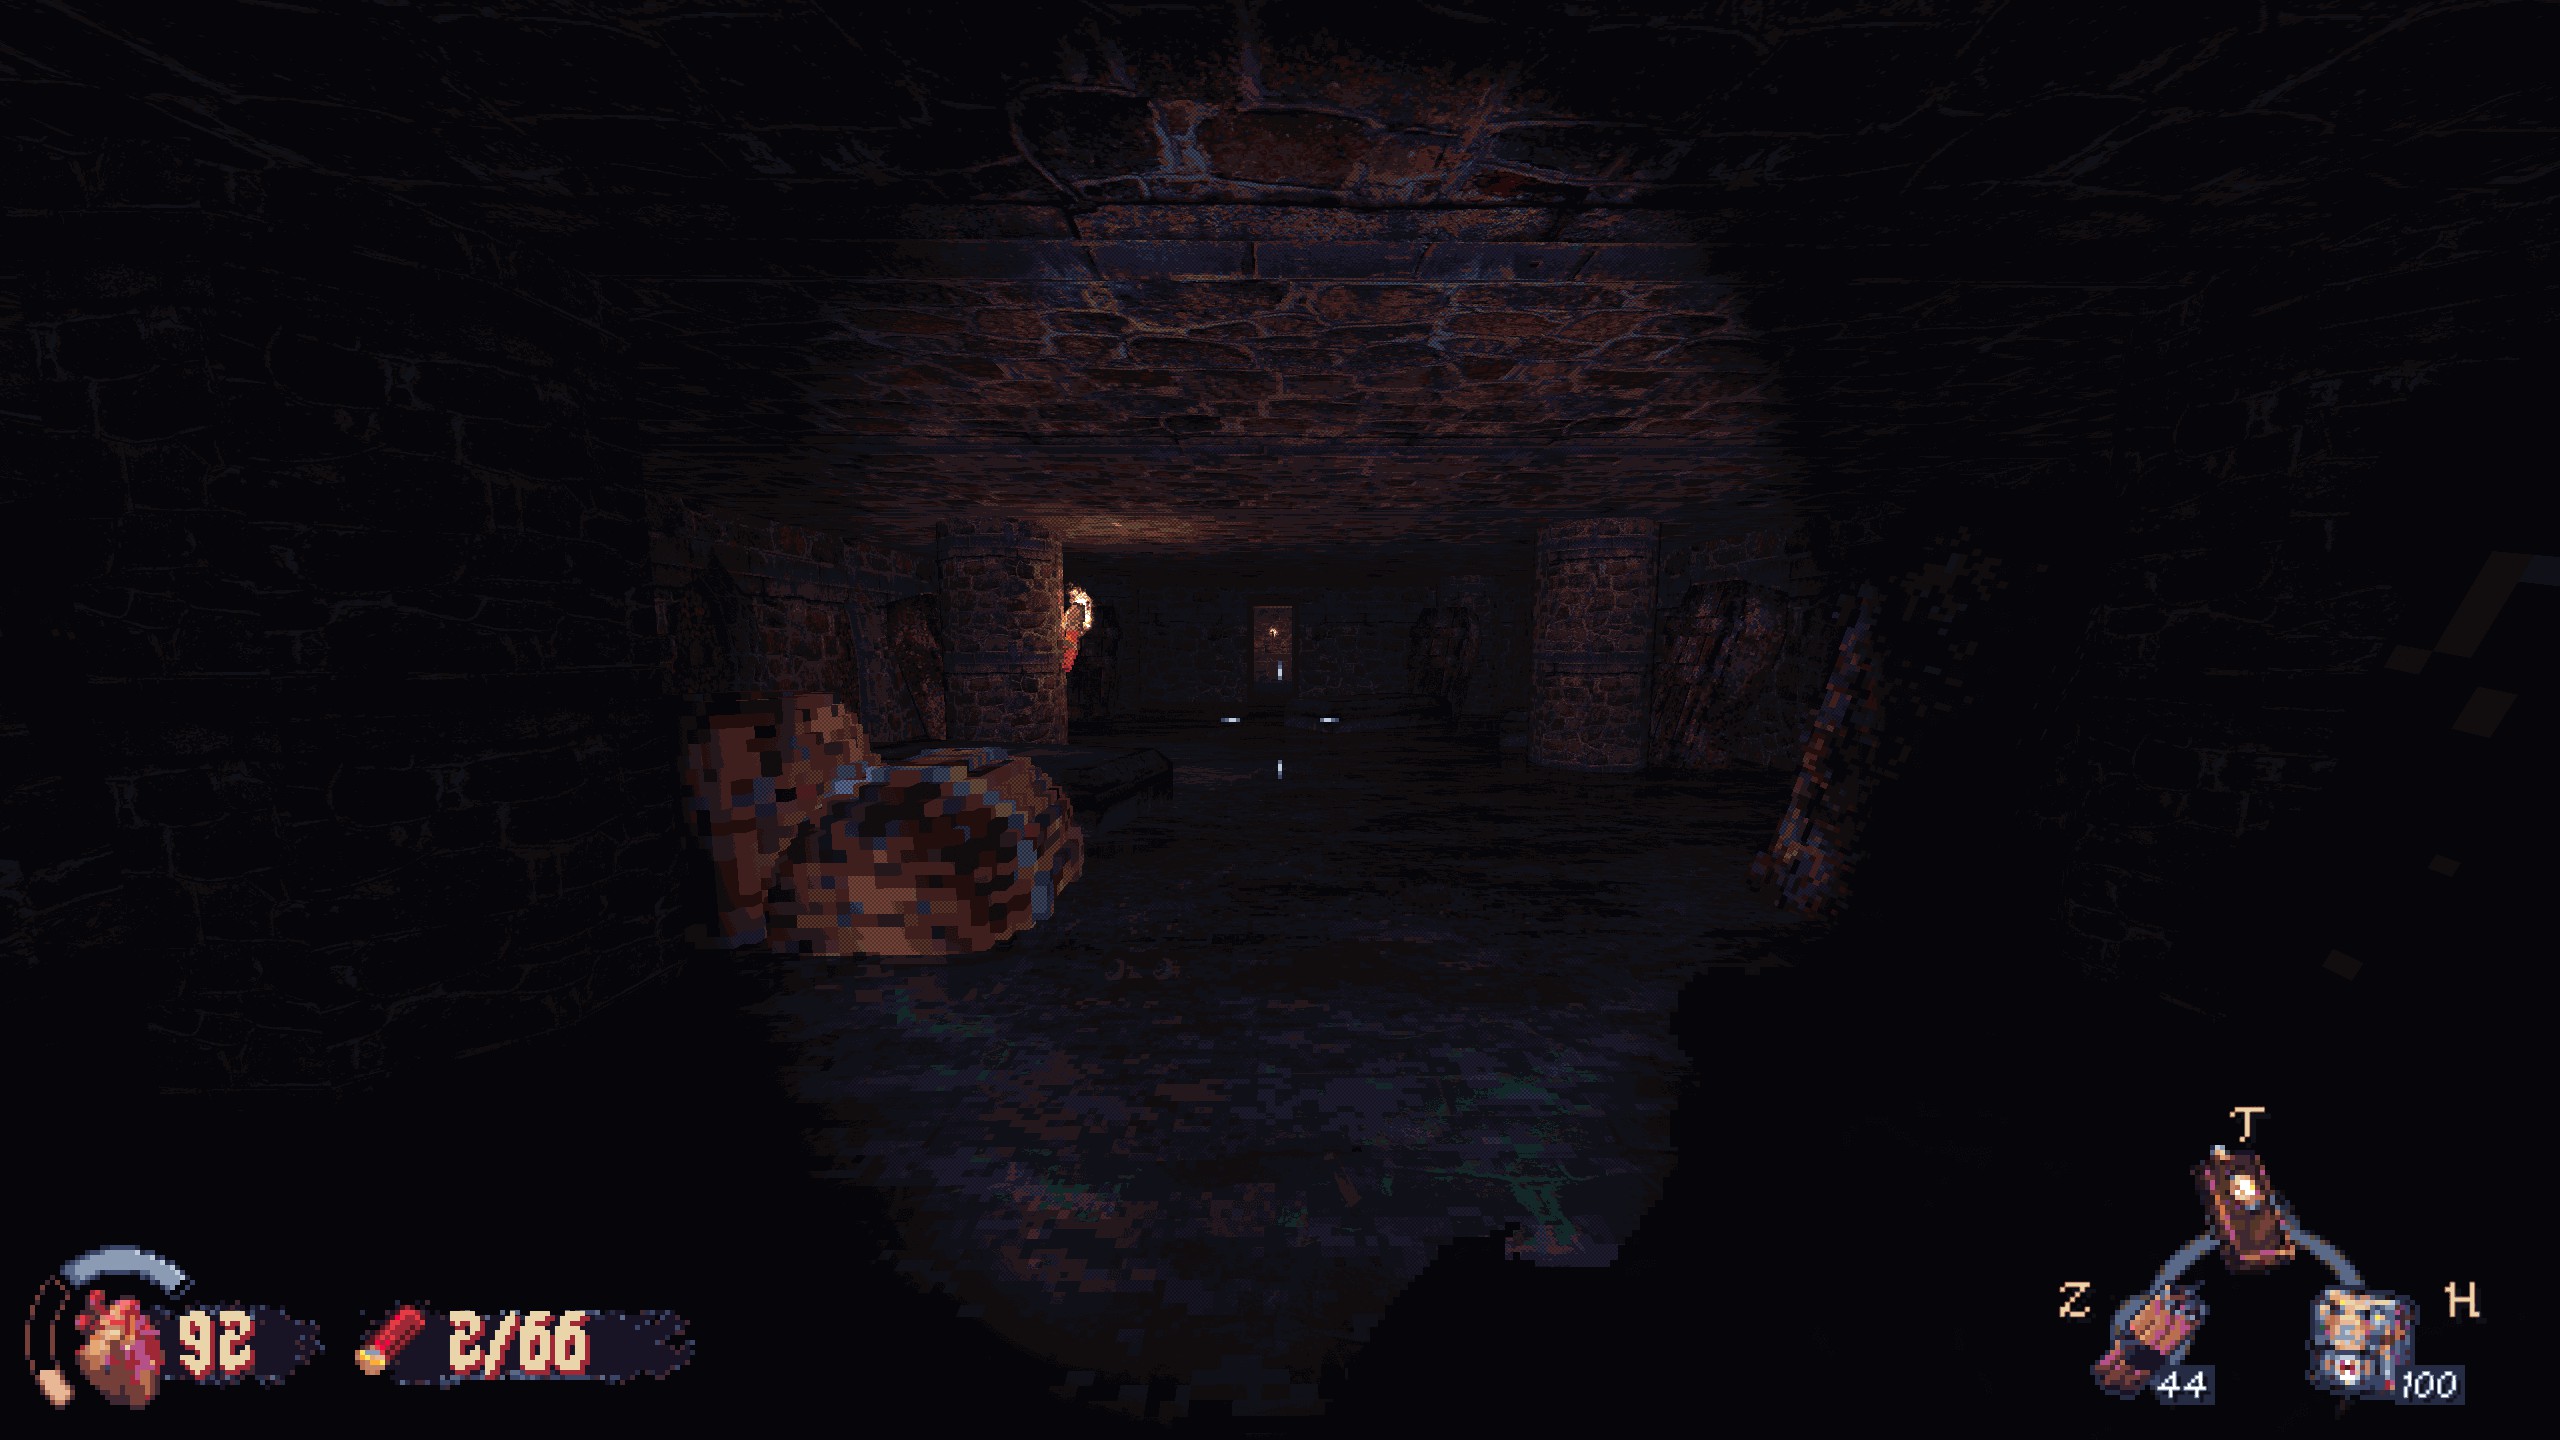
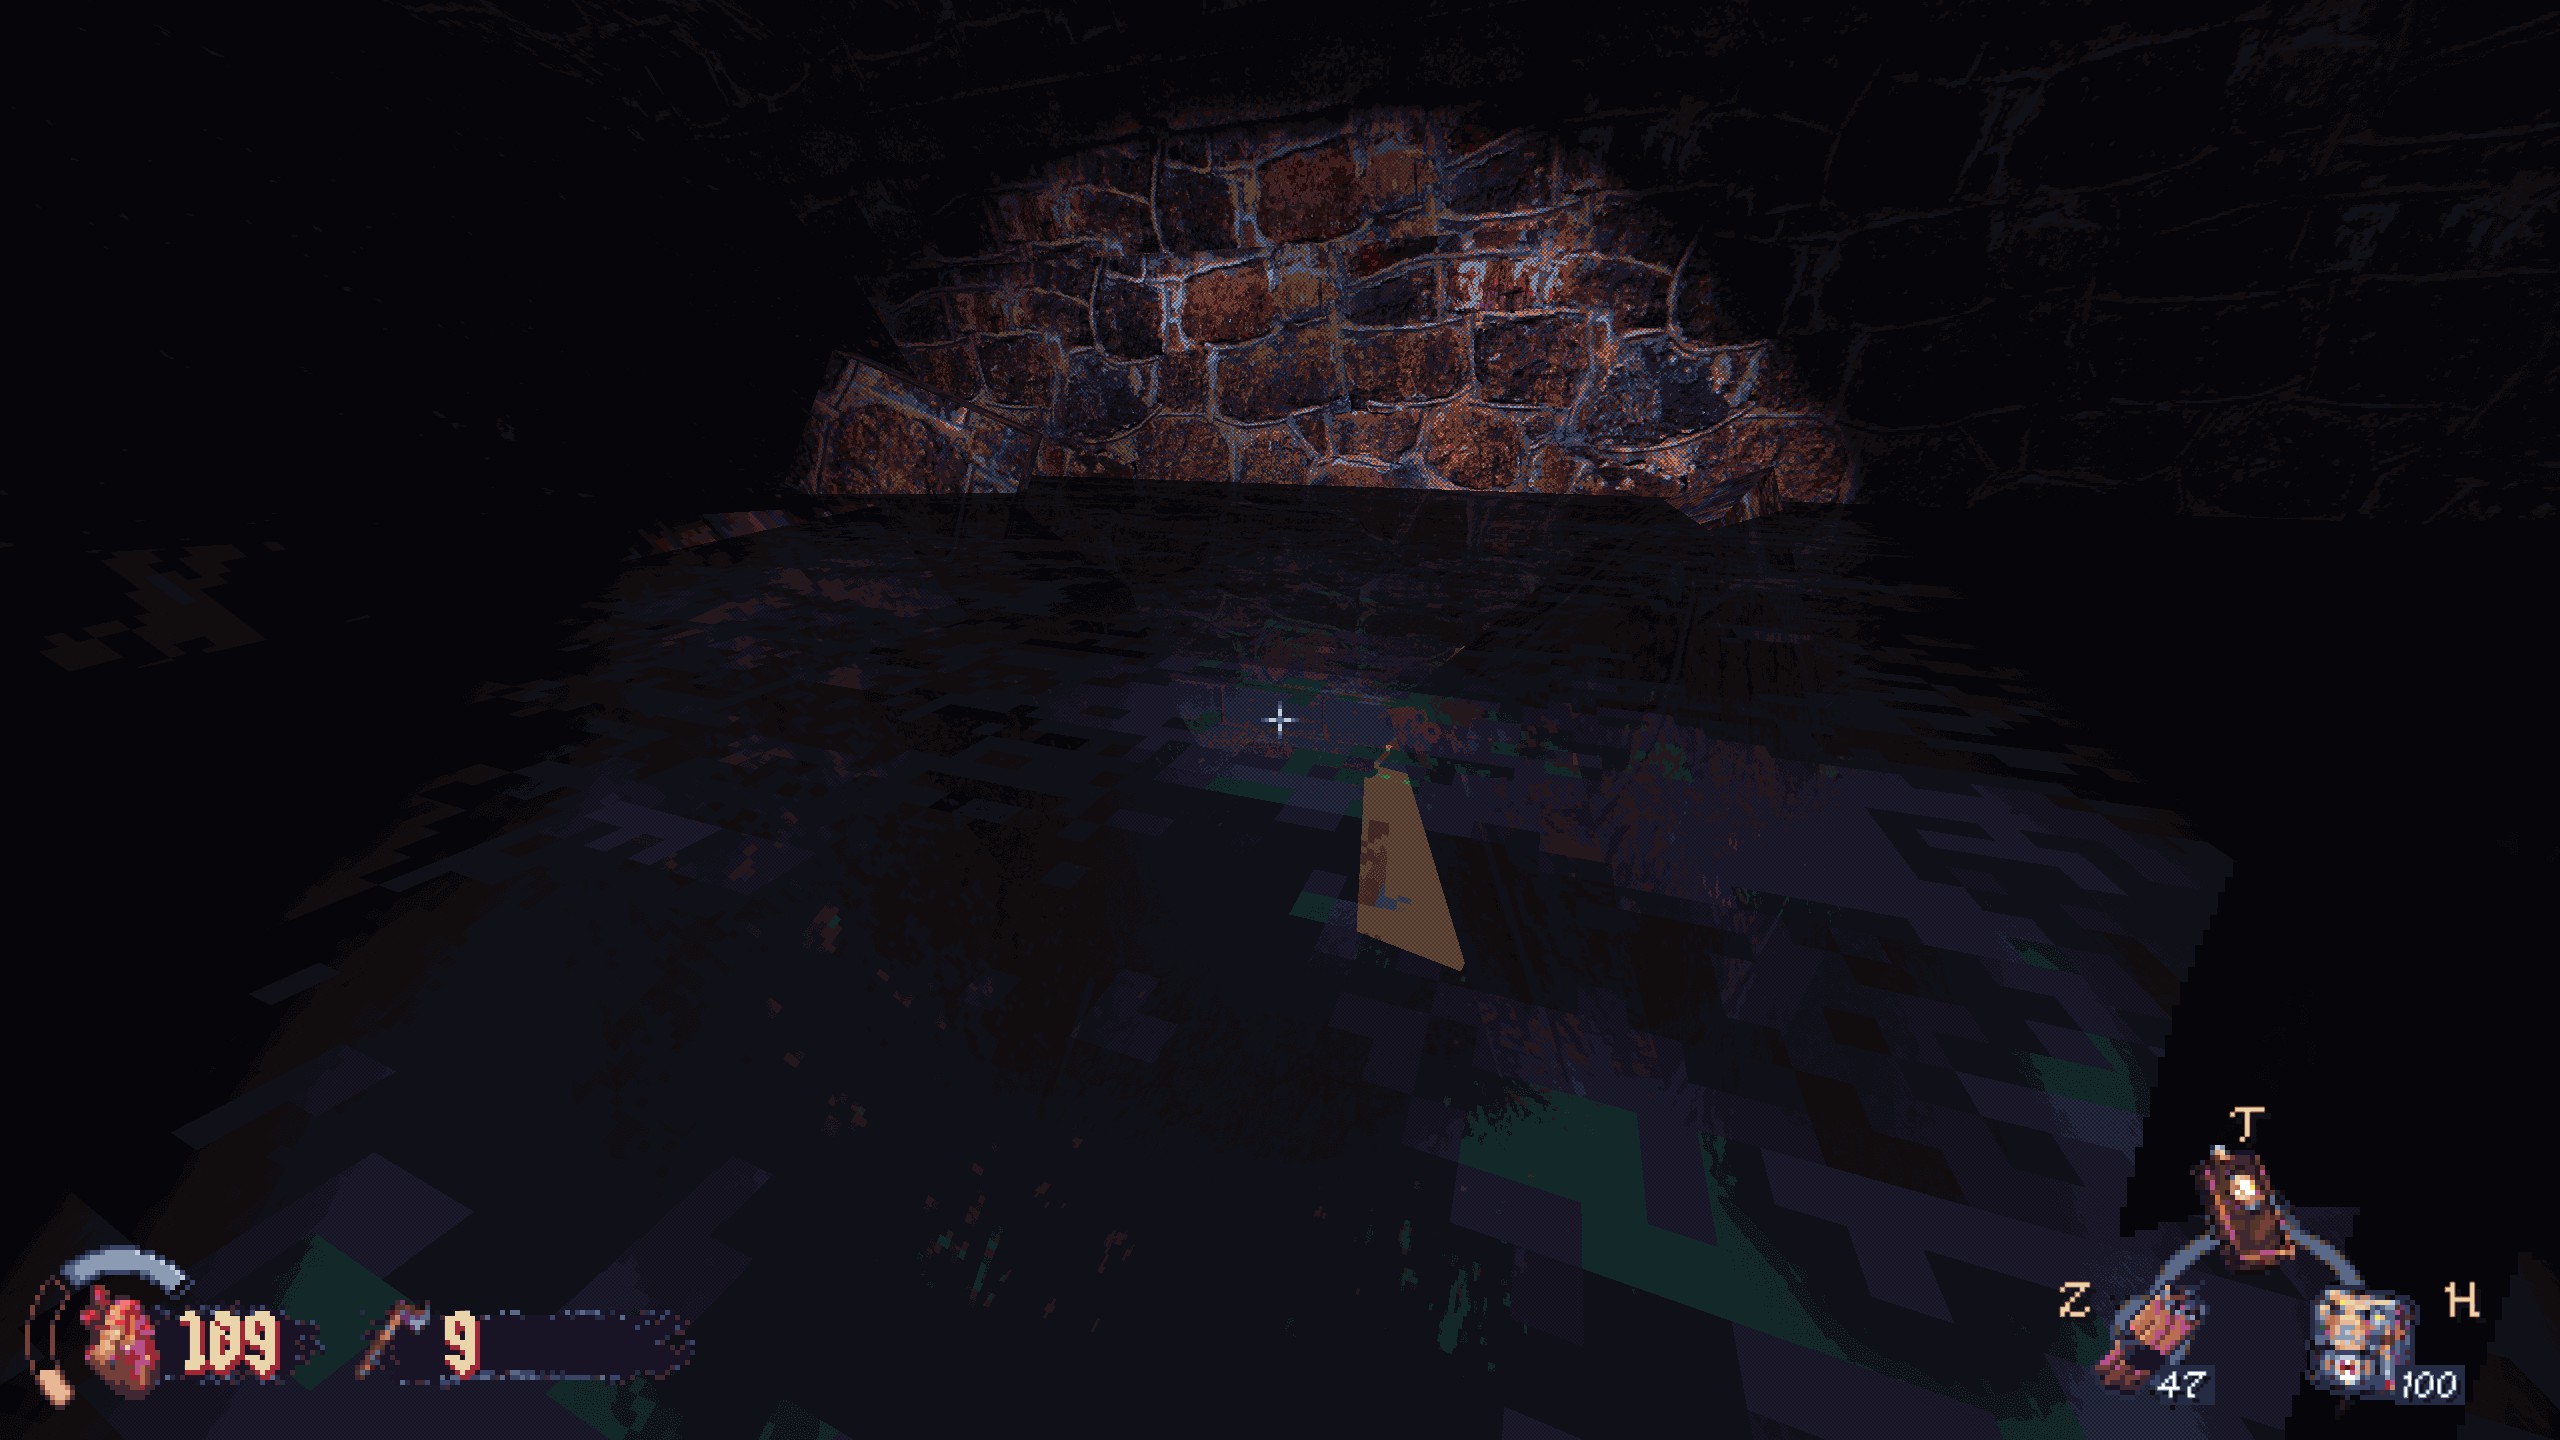
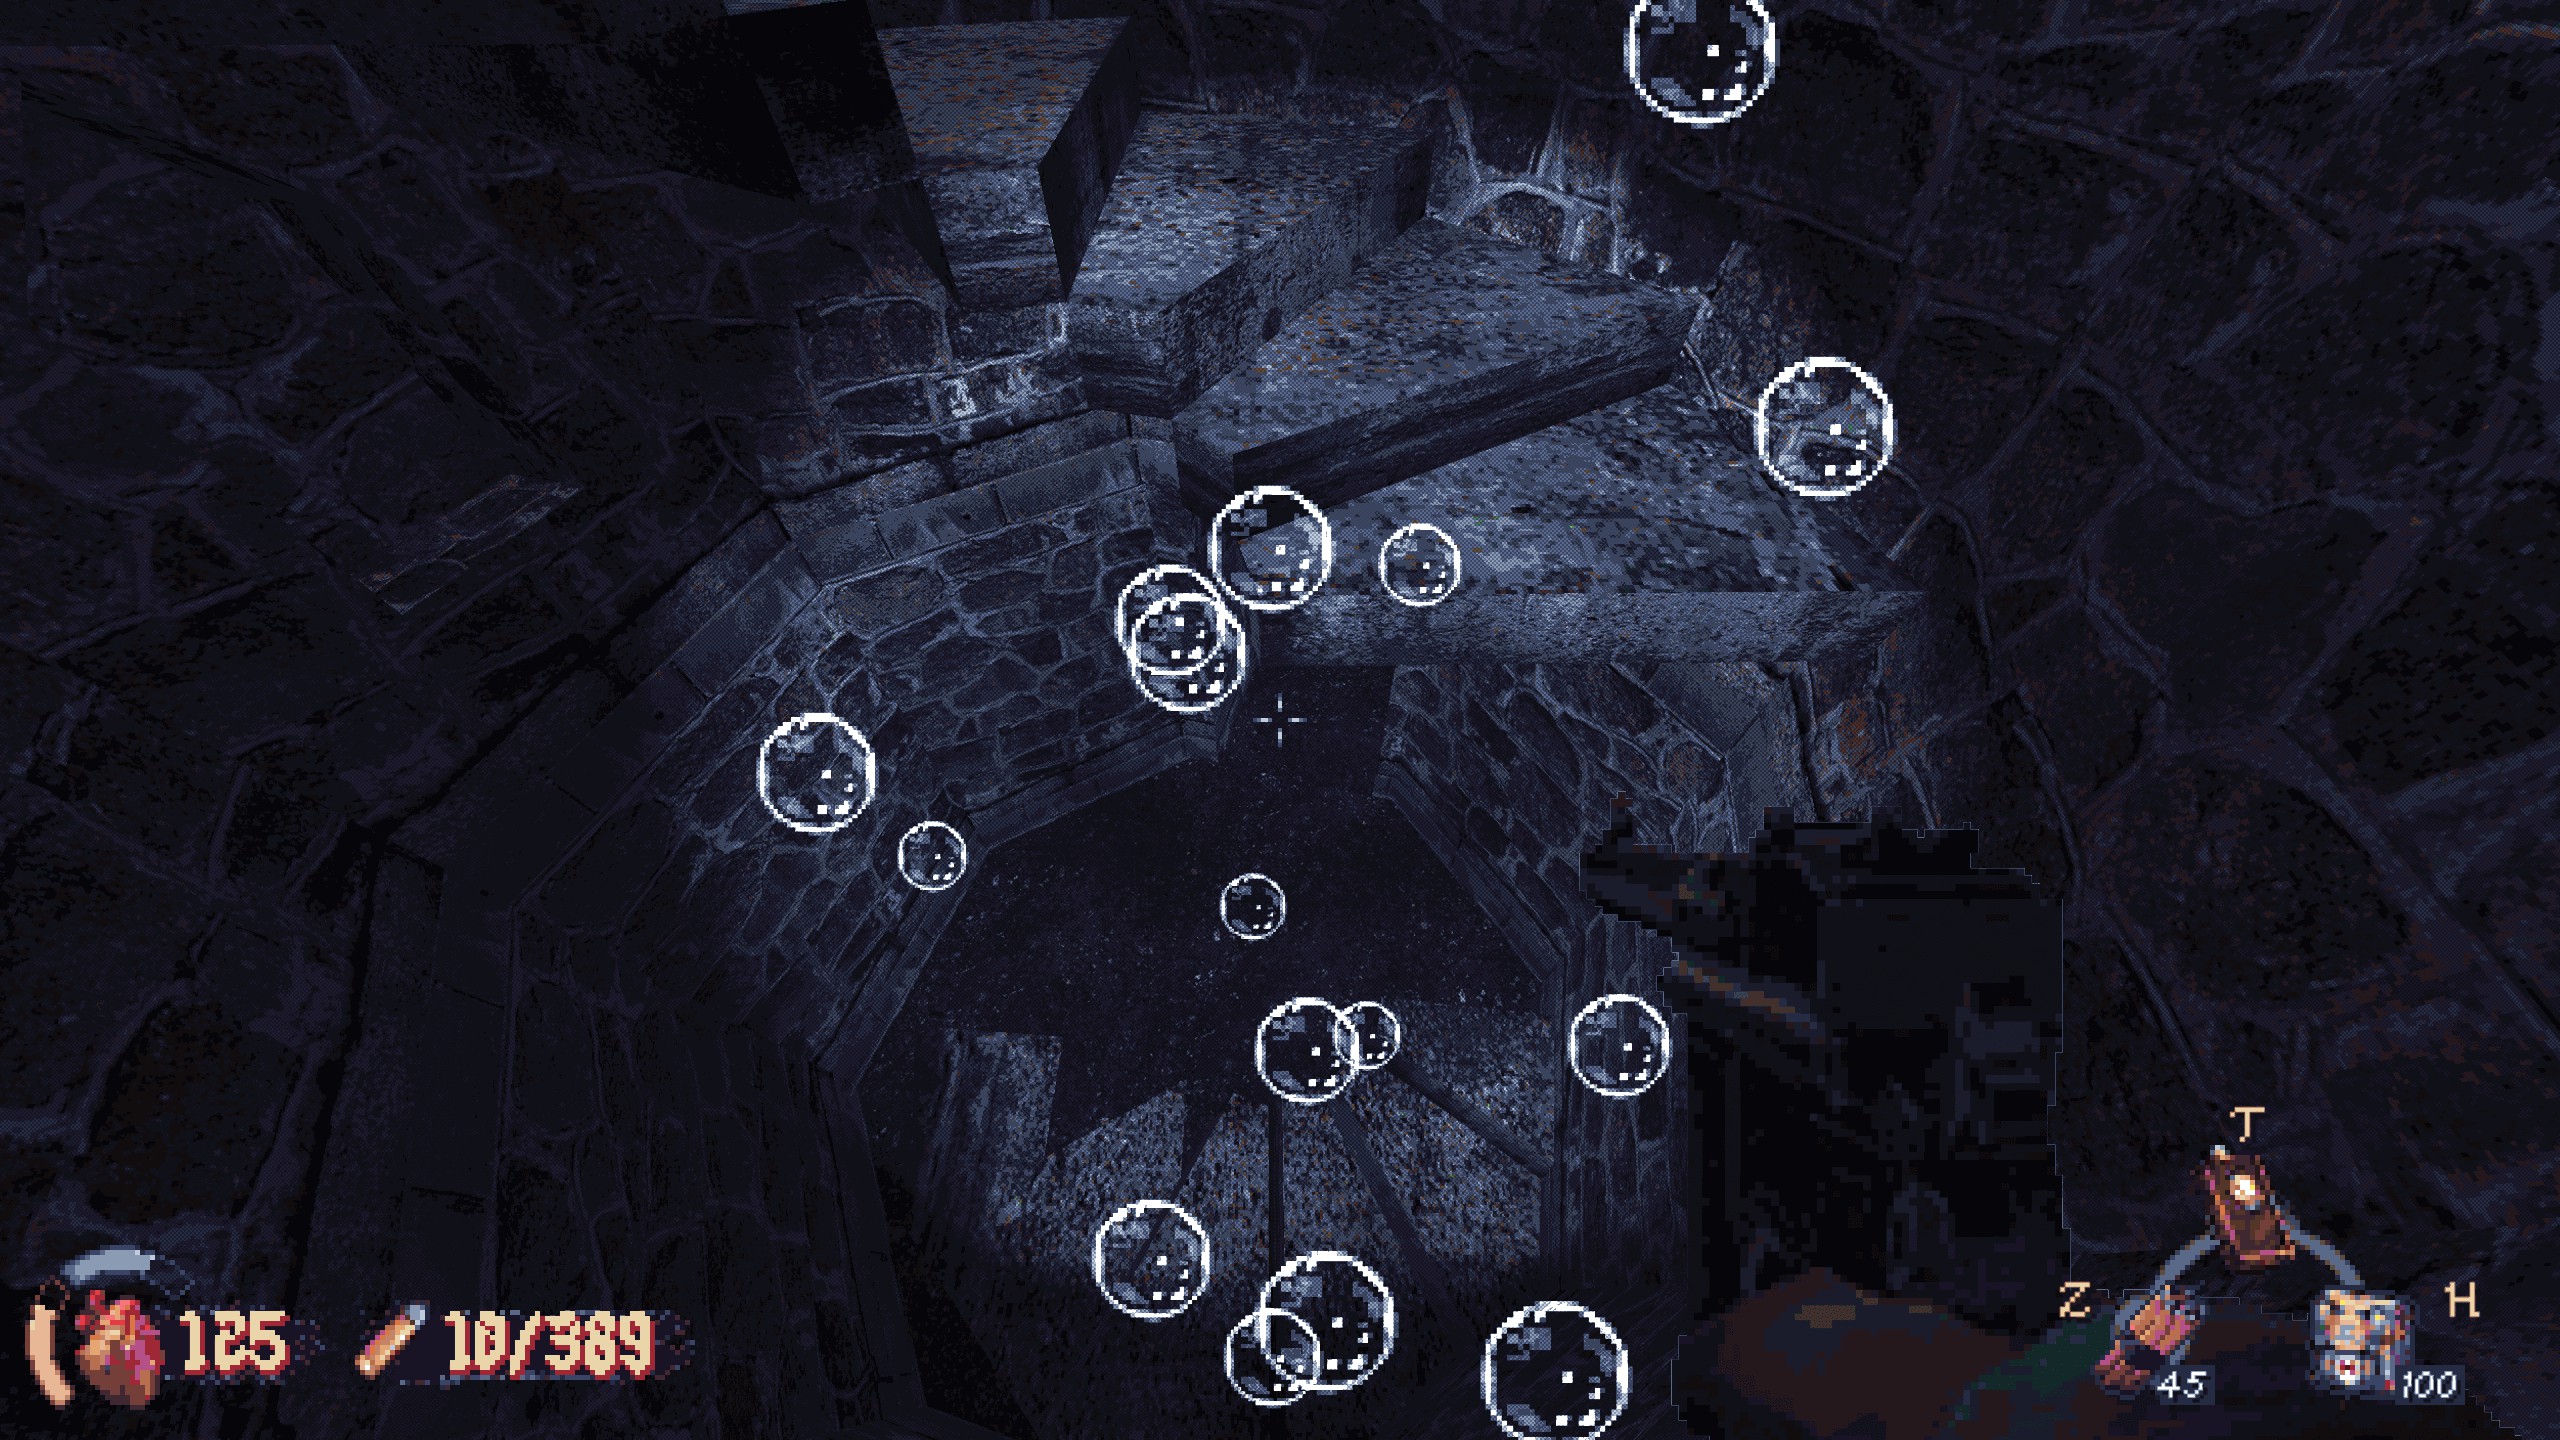
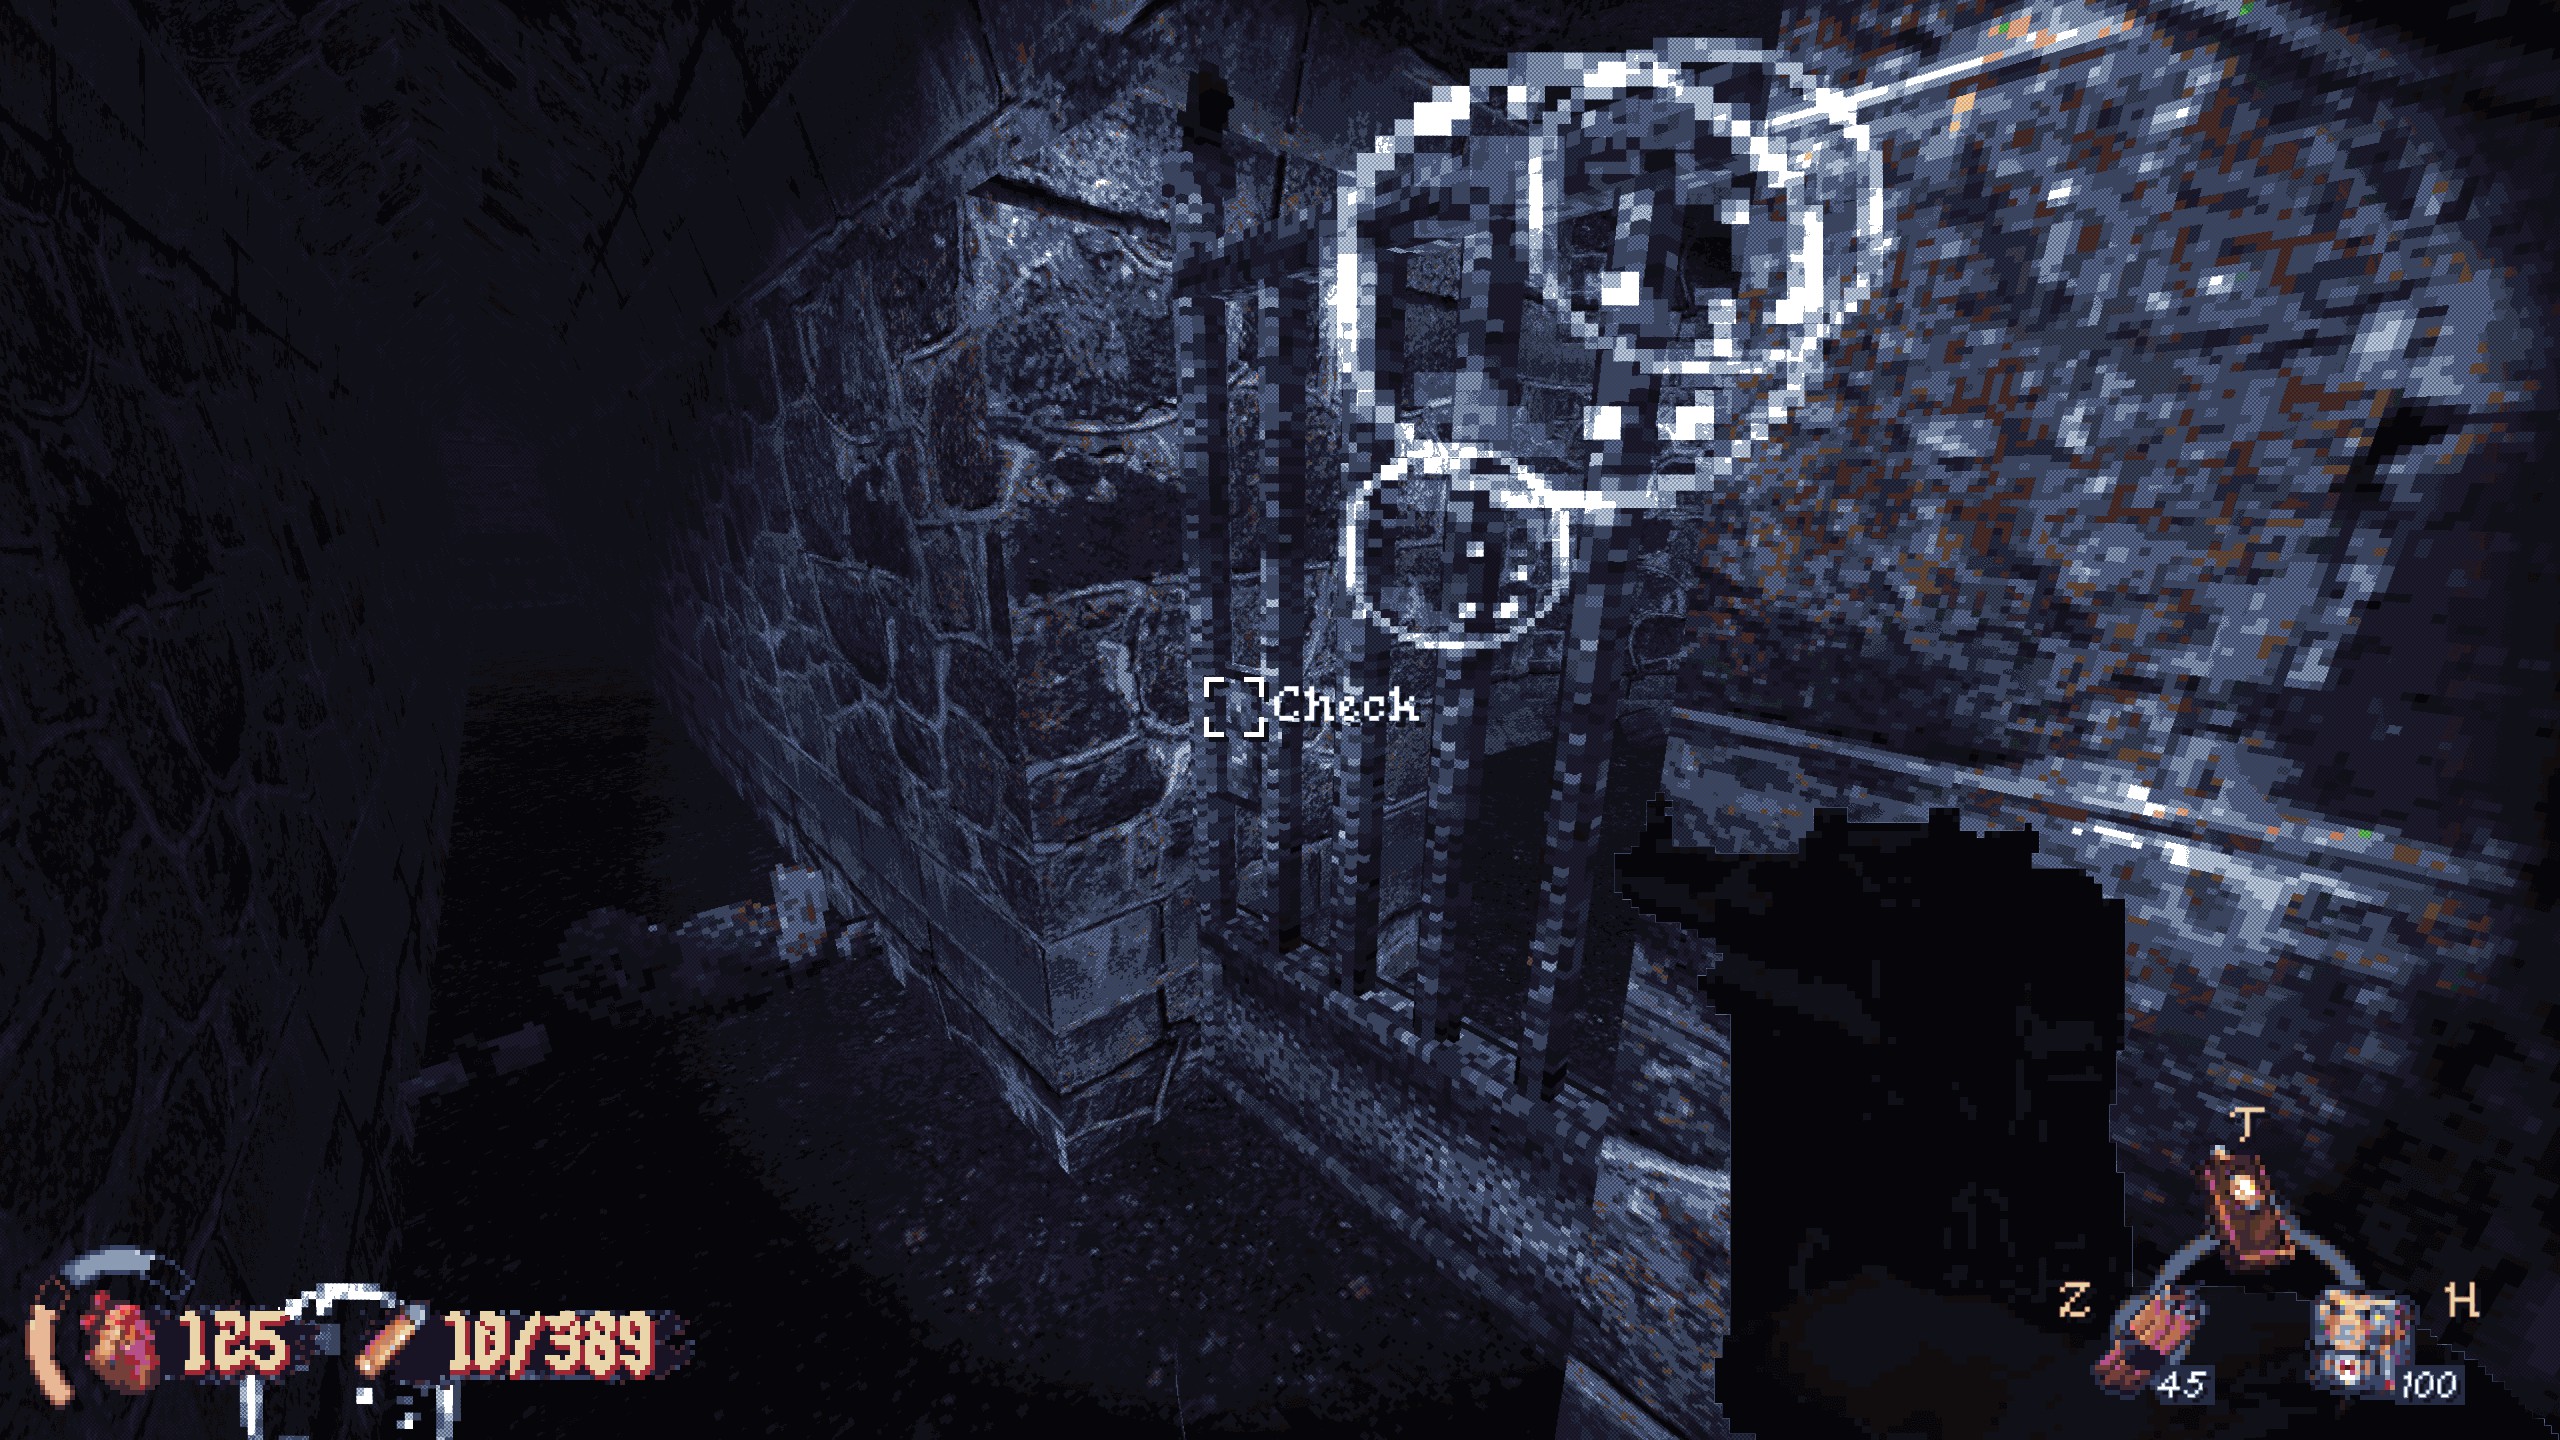
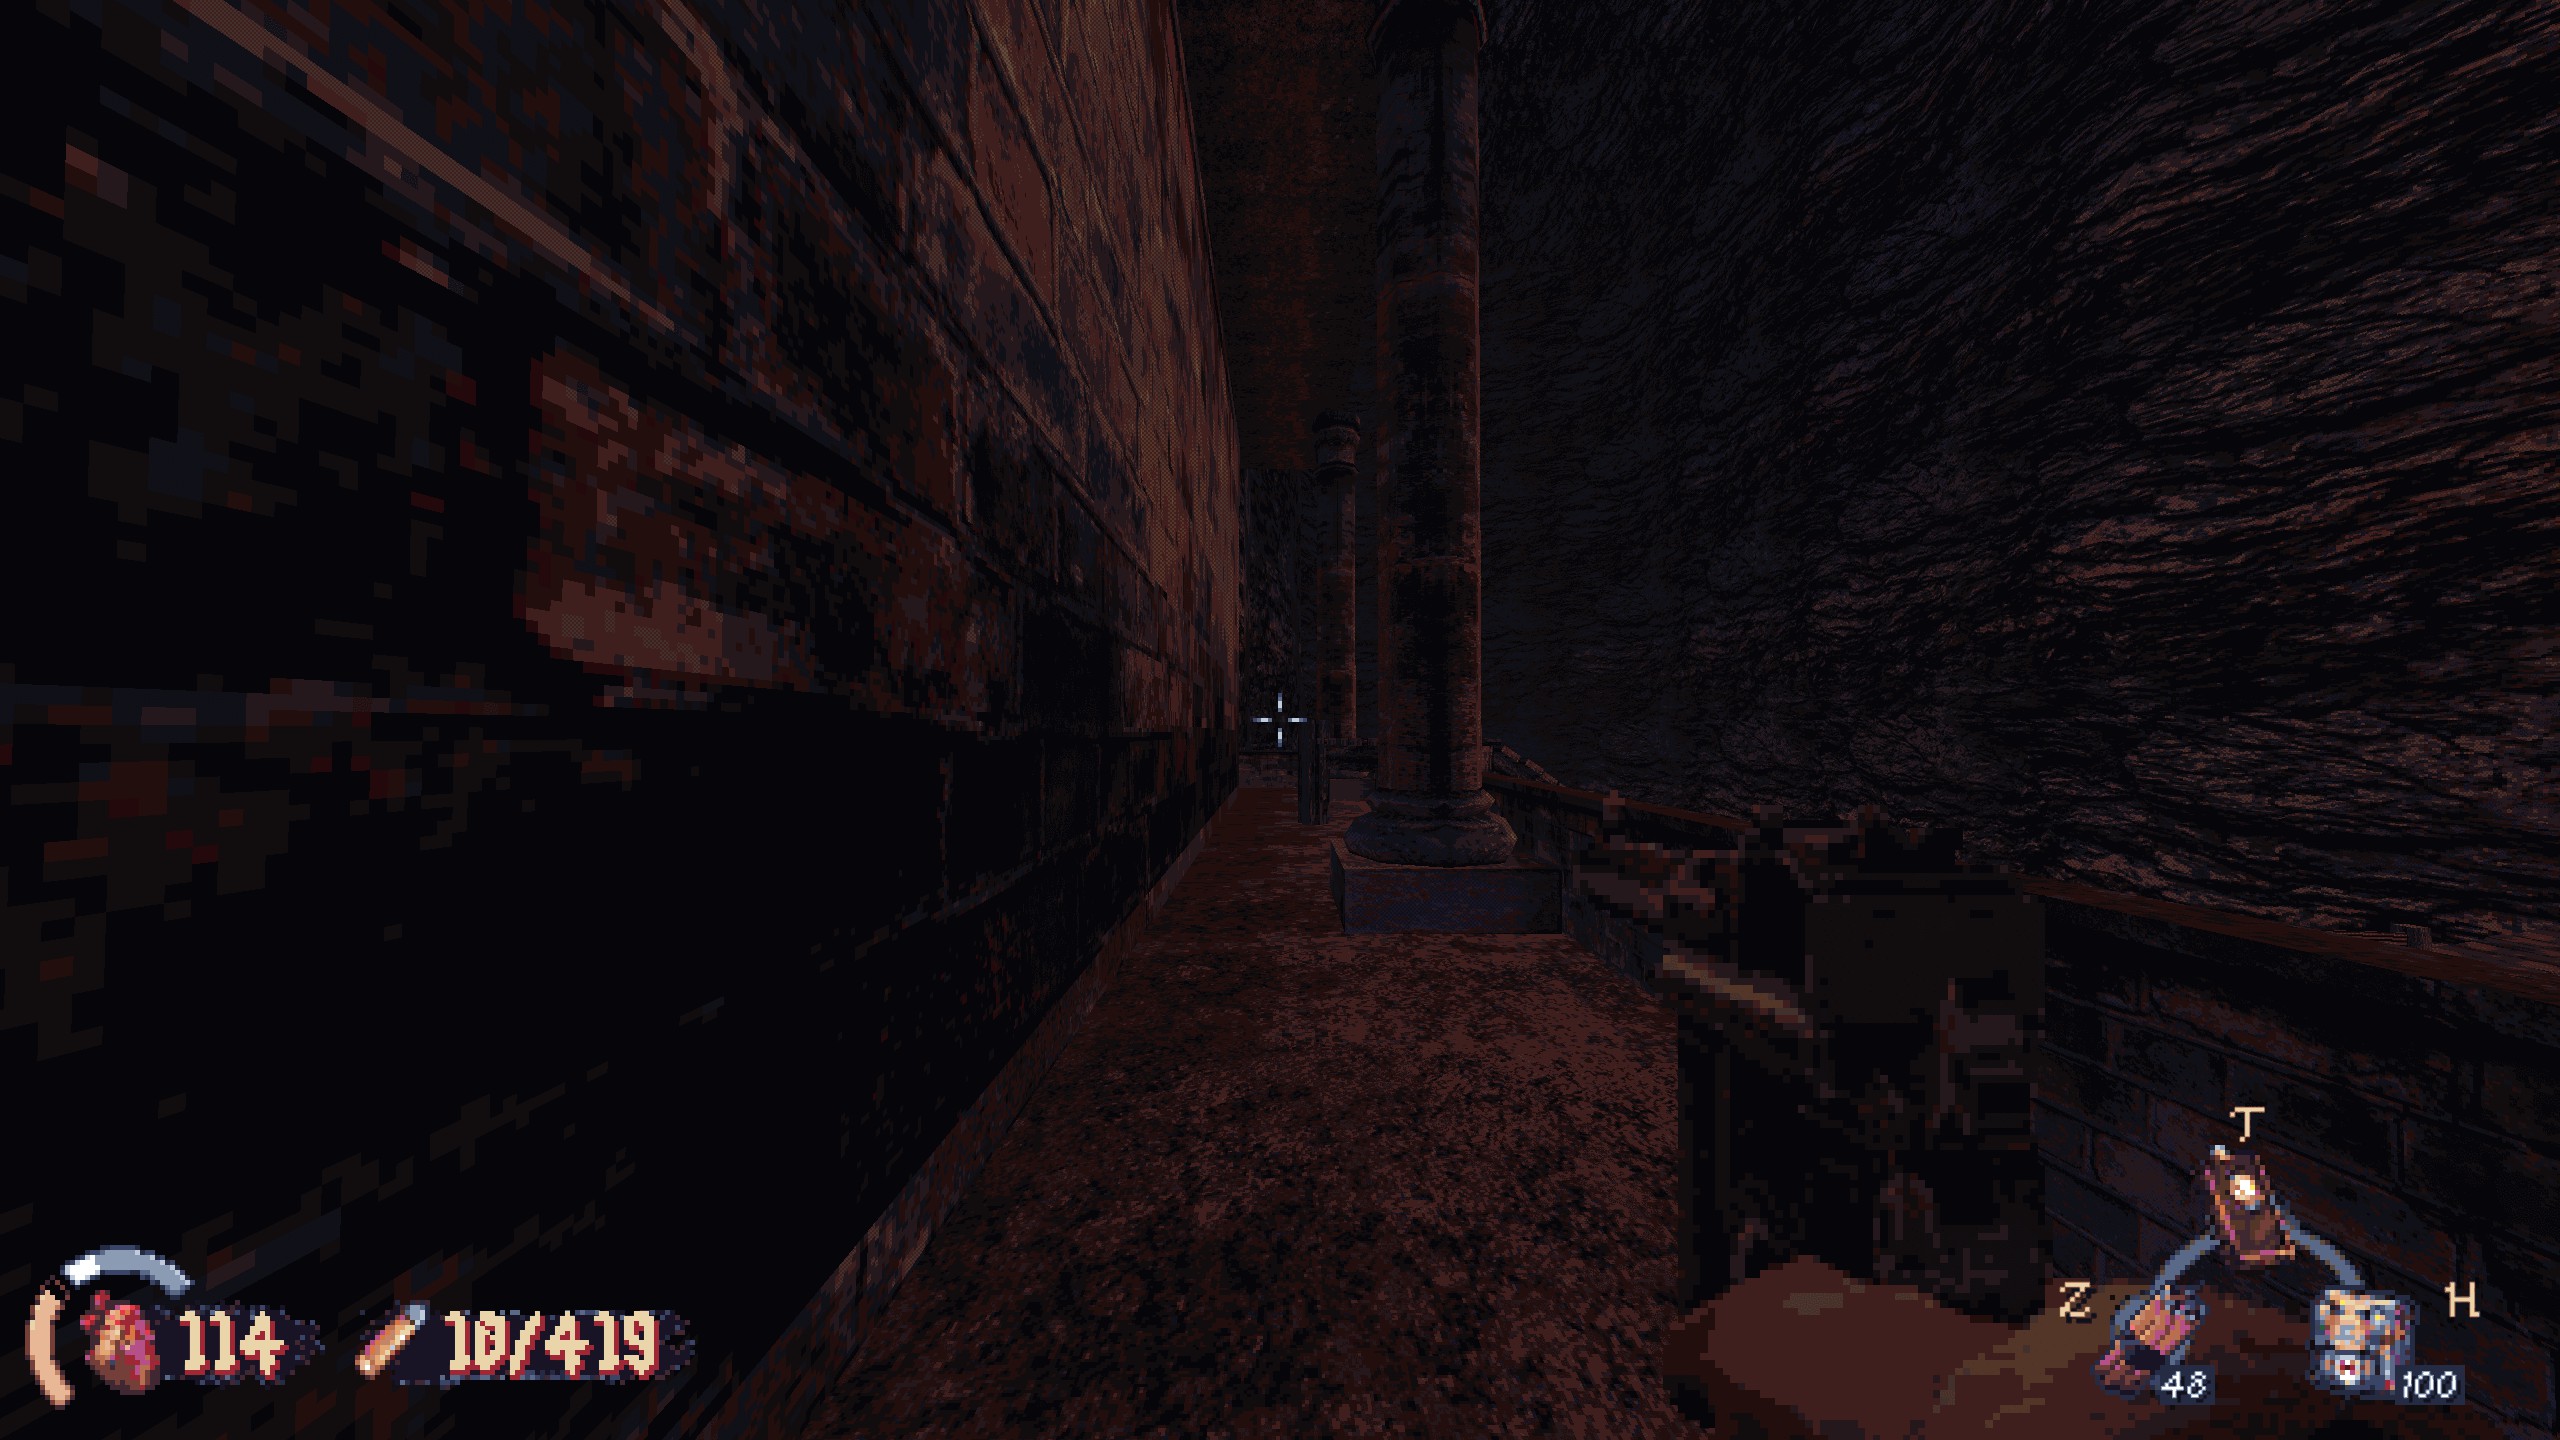
#3: In this room with the rickety scaffolding, there’s a tunnel at the far end. Swim inside and check behind a piece of rubble. Recompensa: munição.
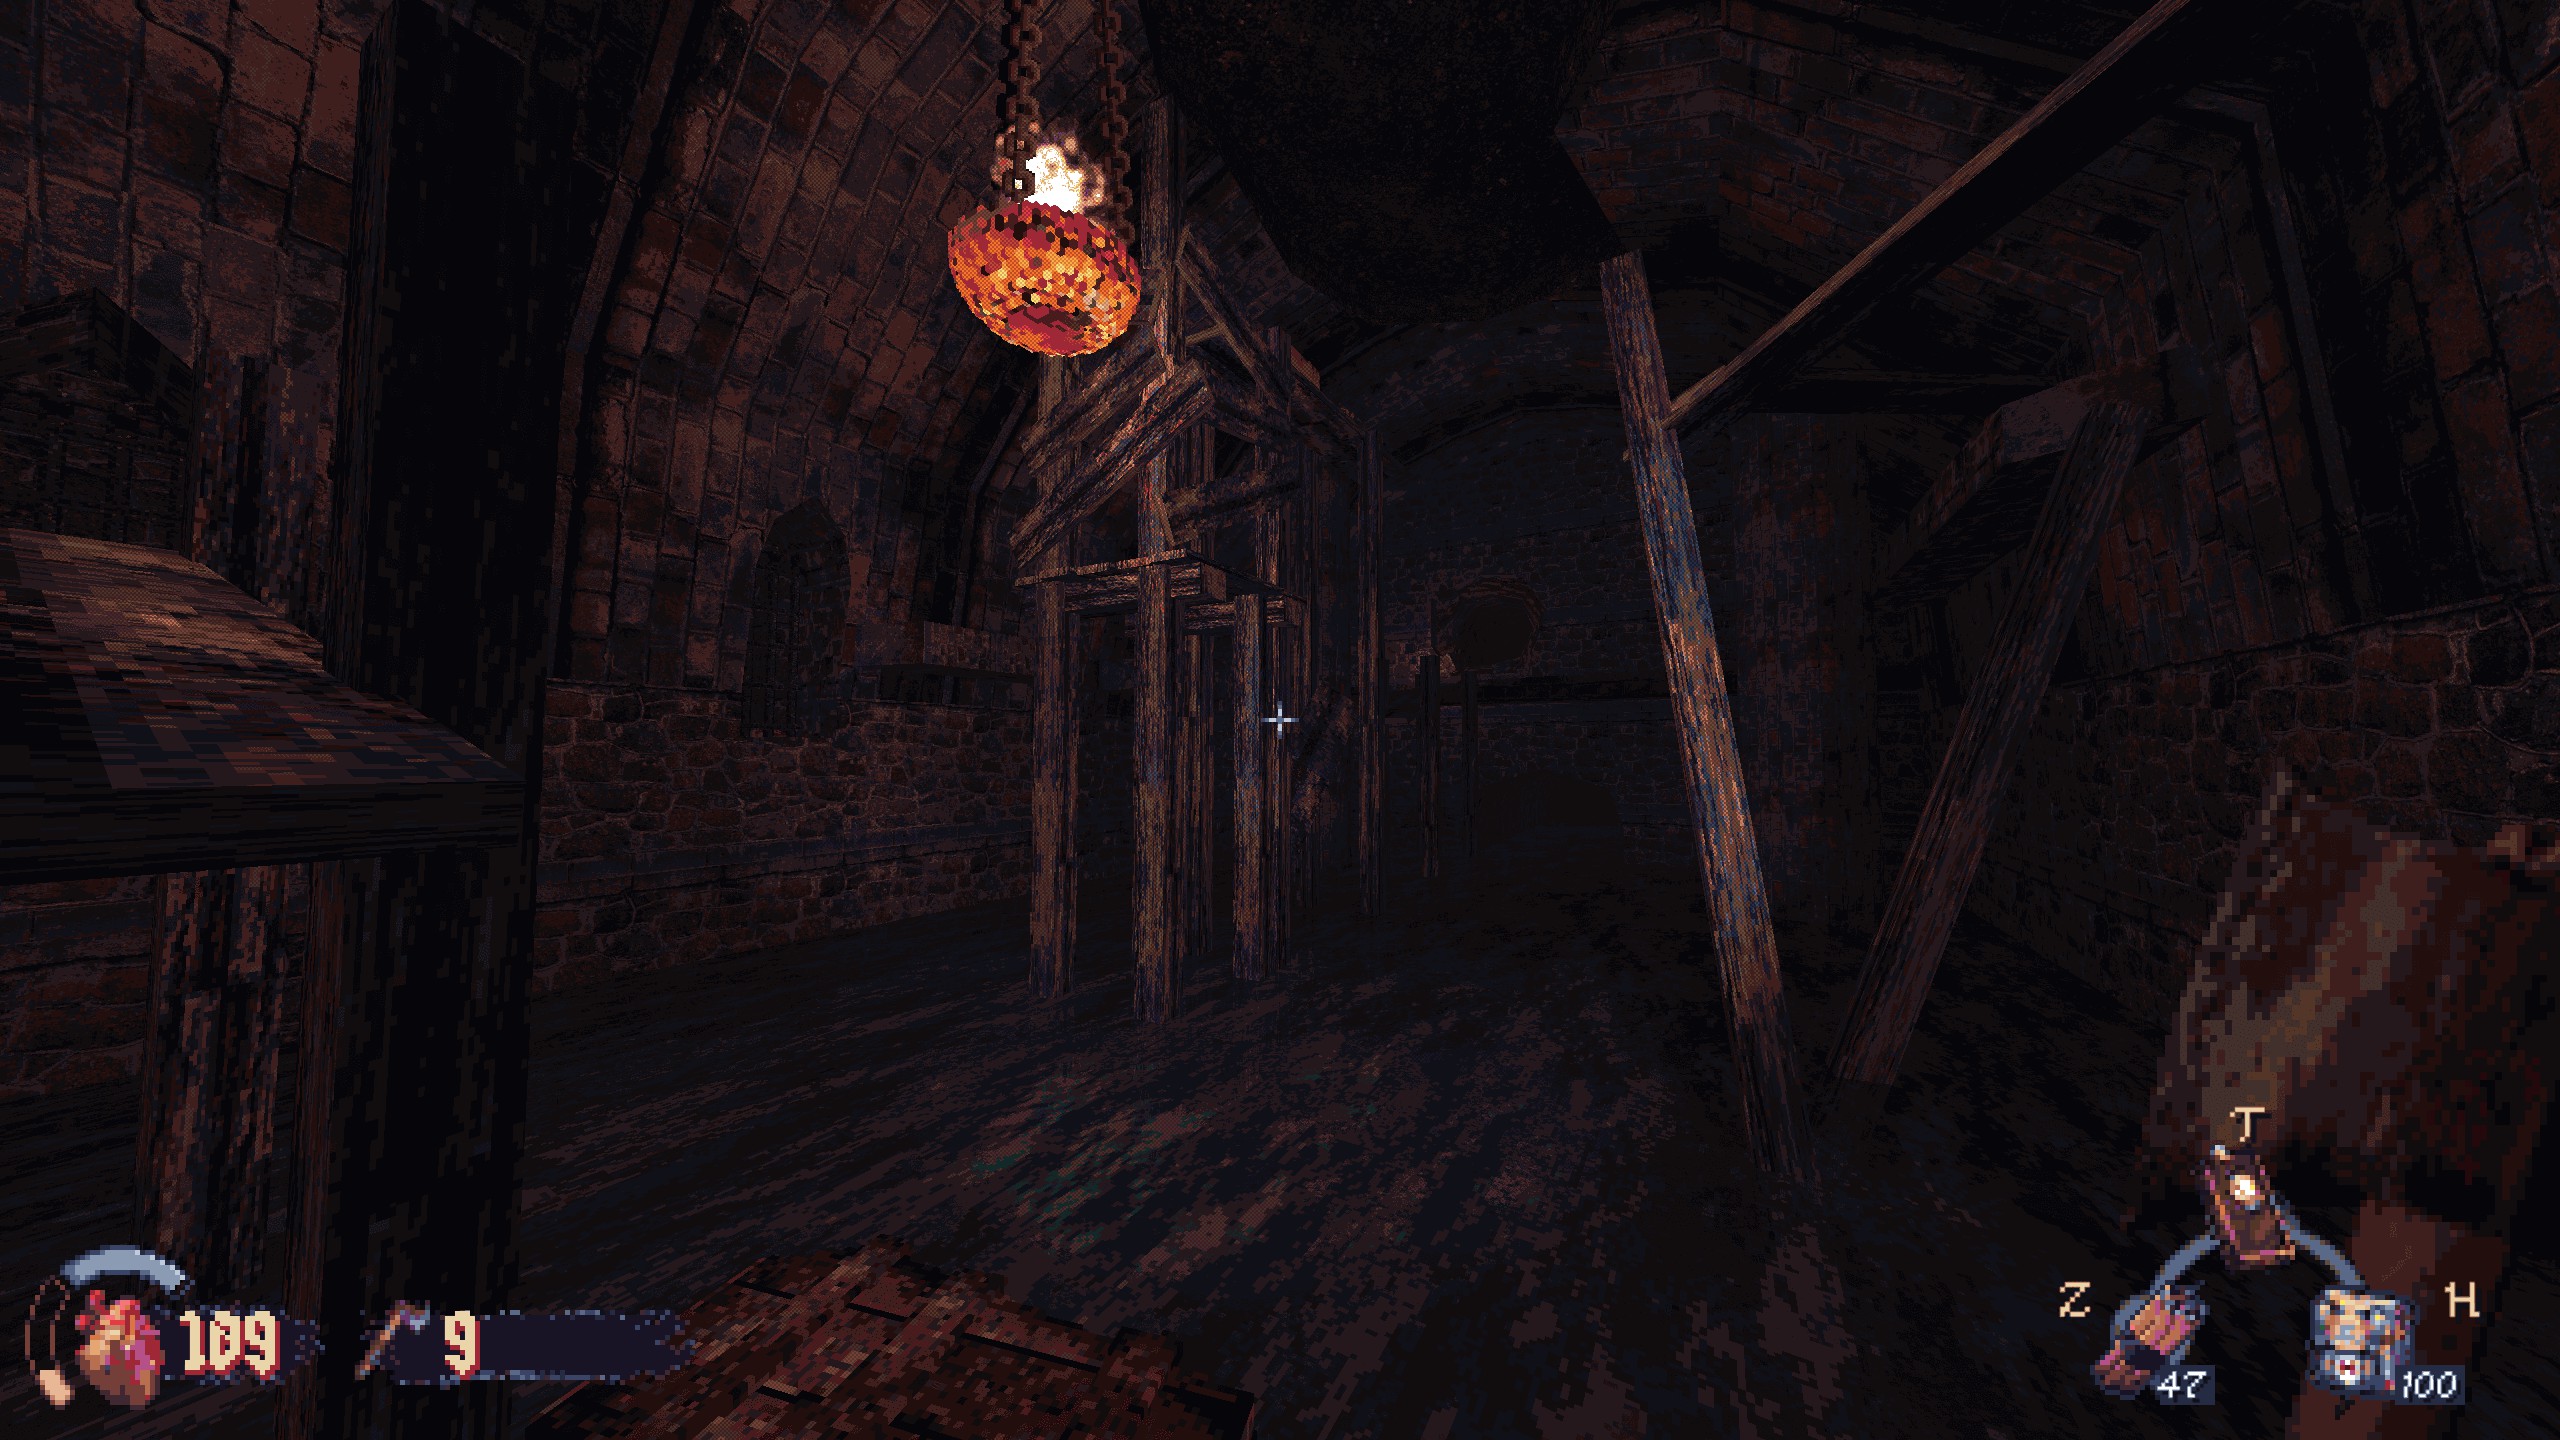
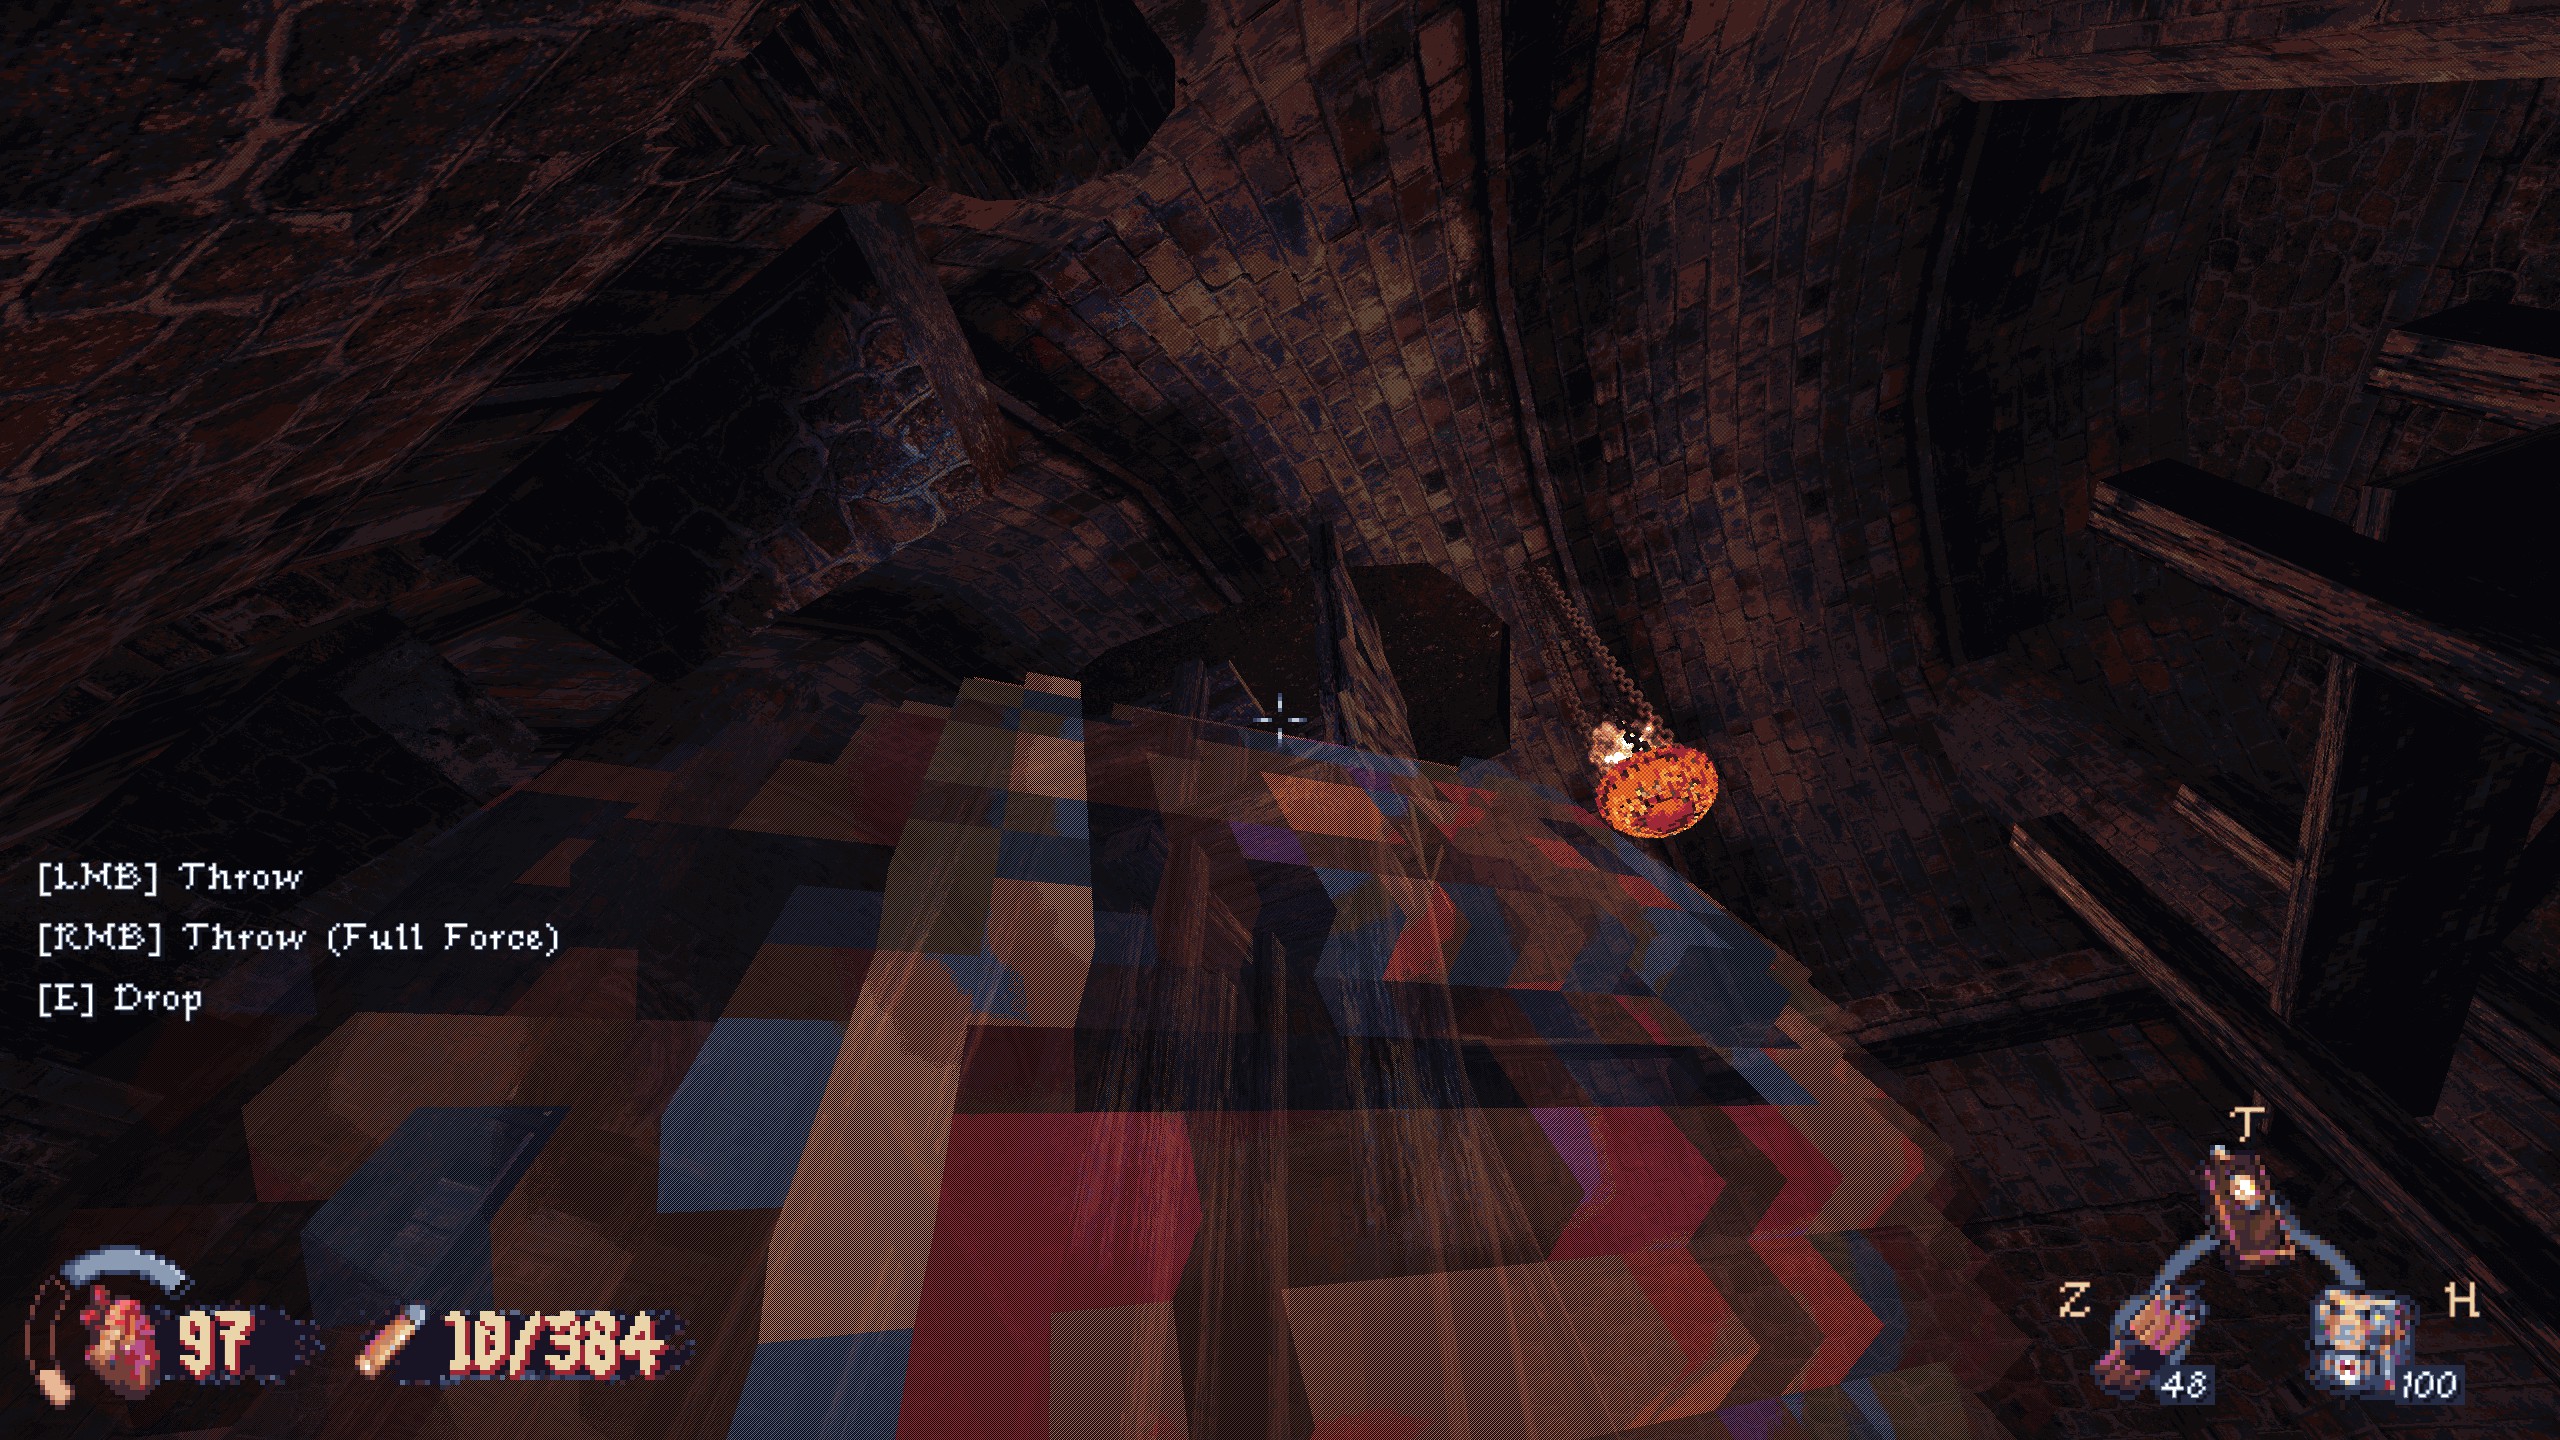
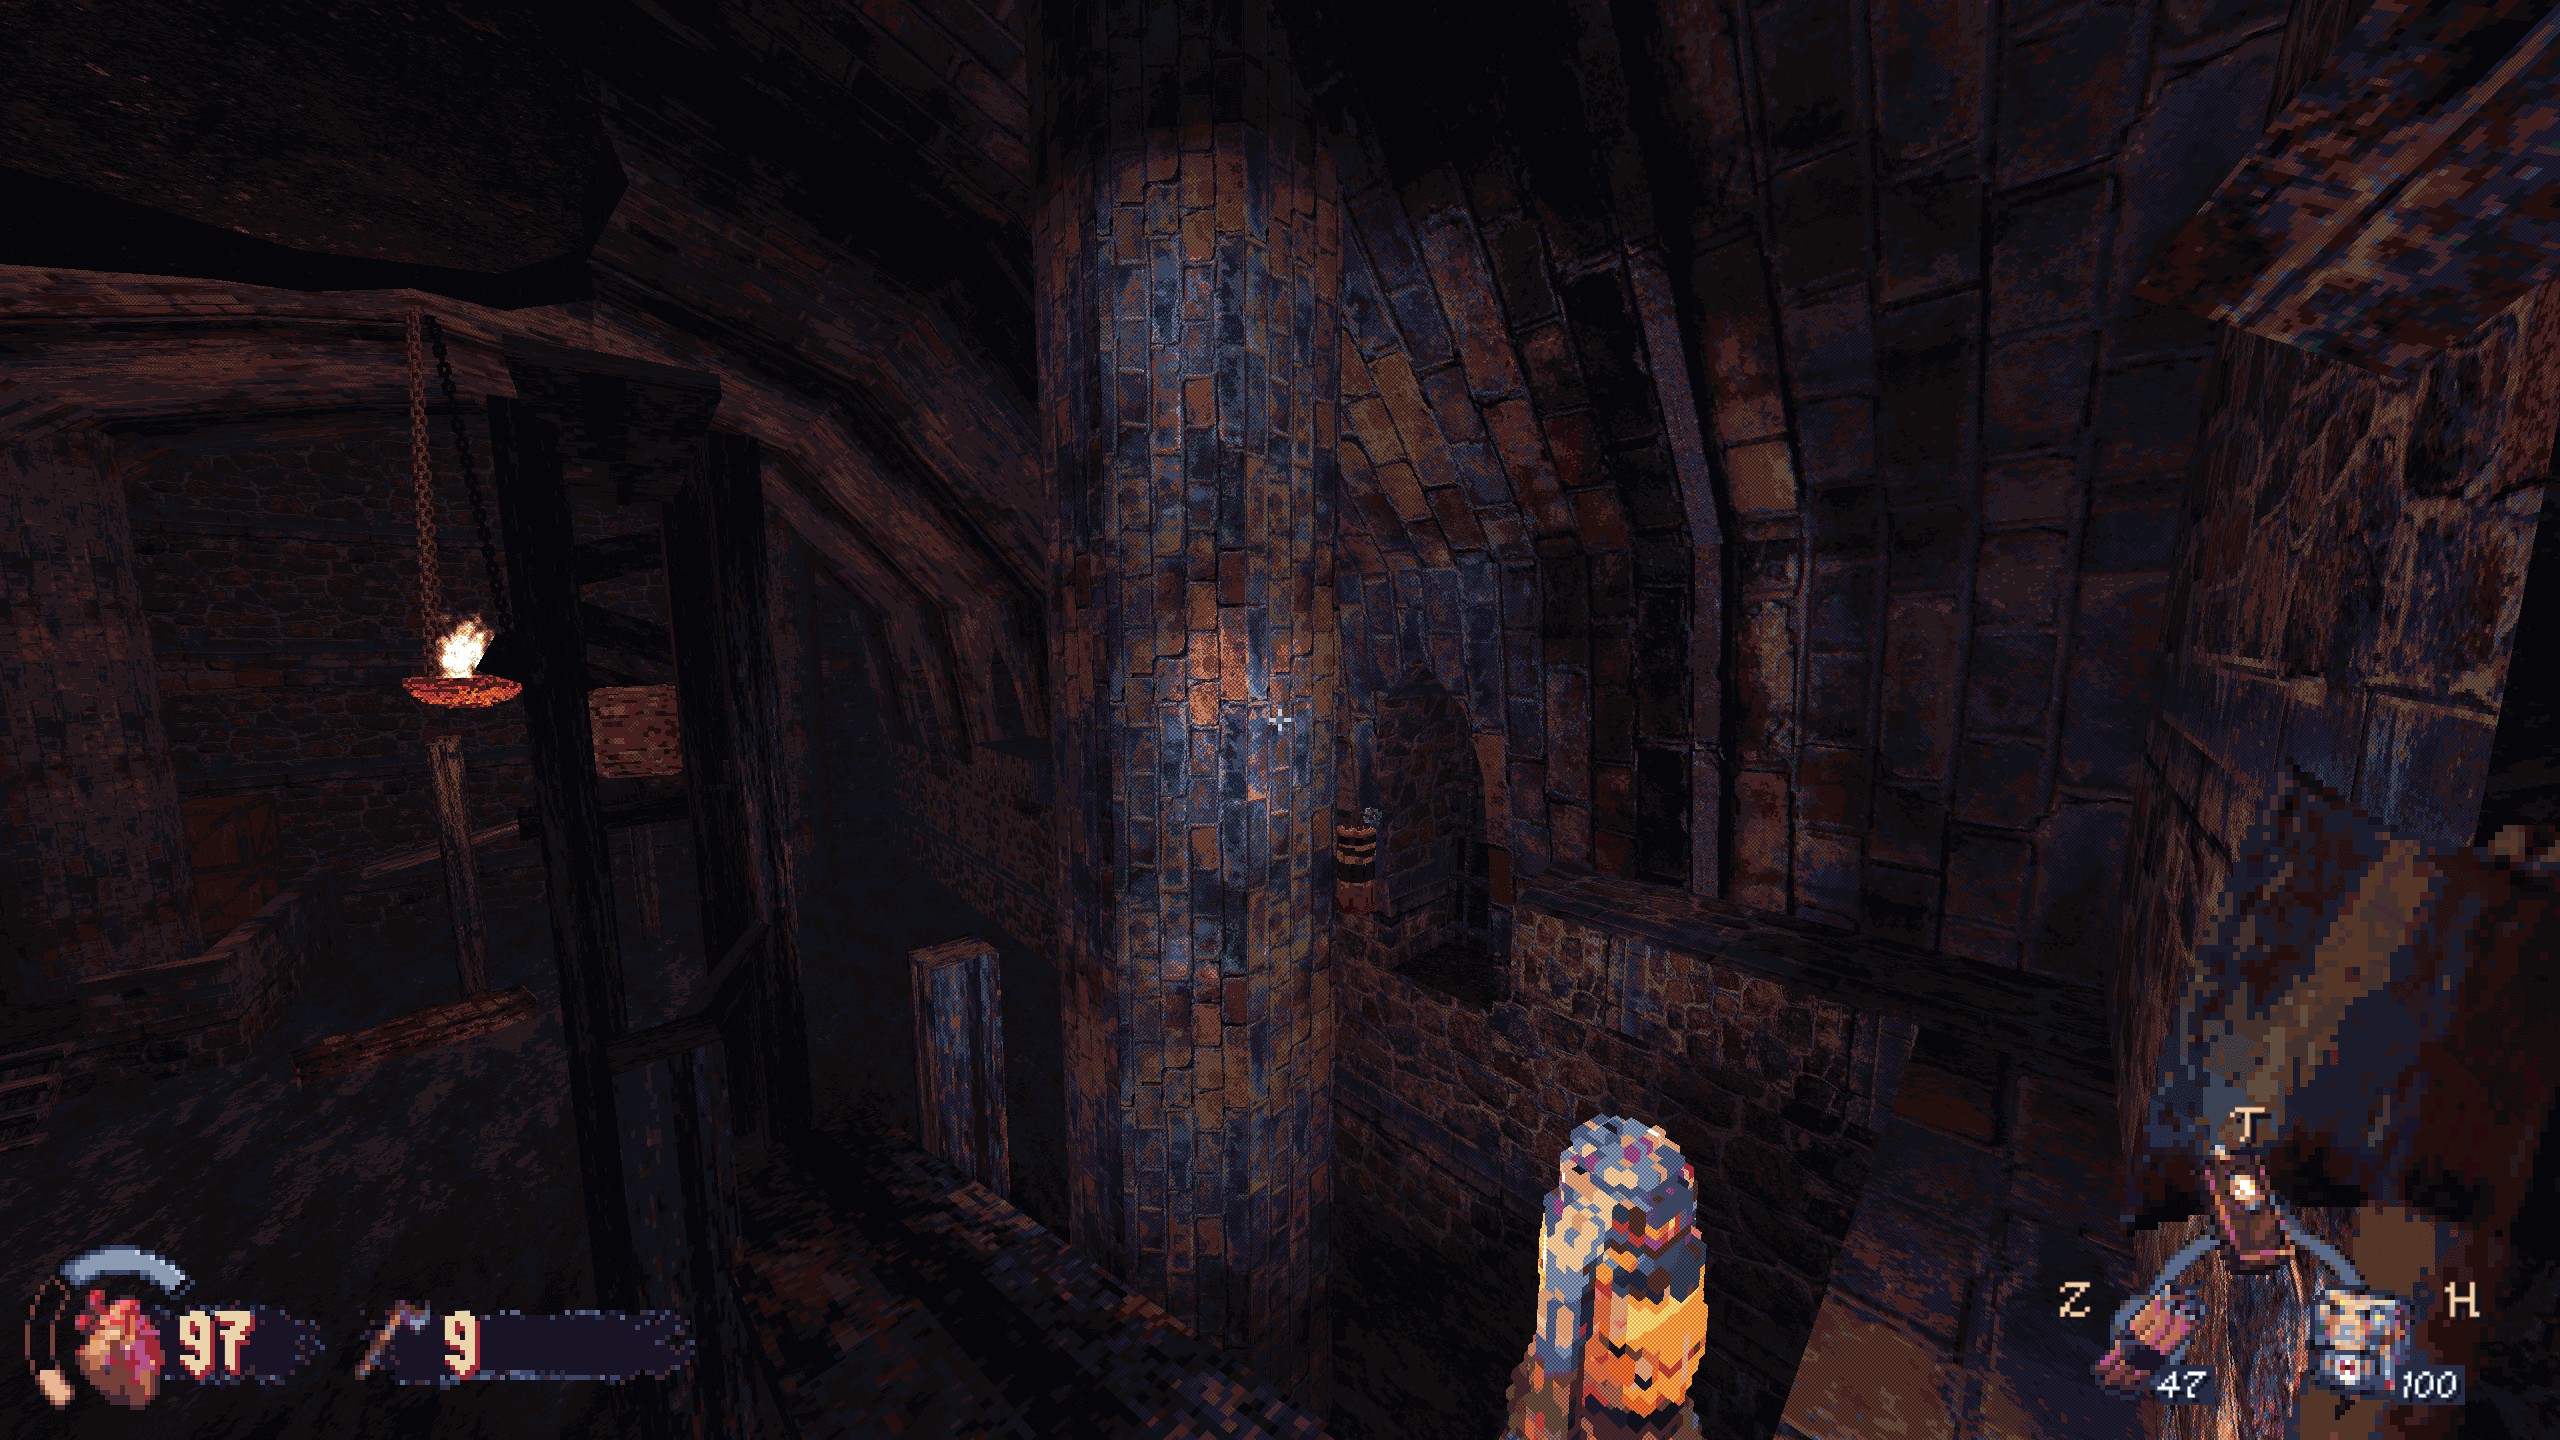
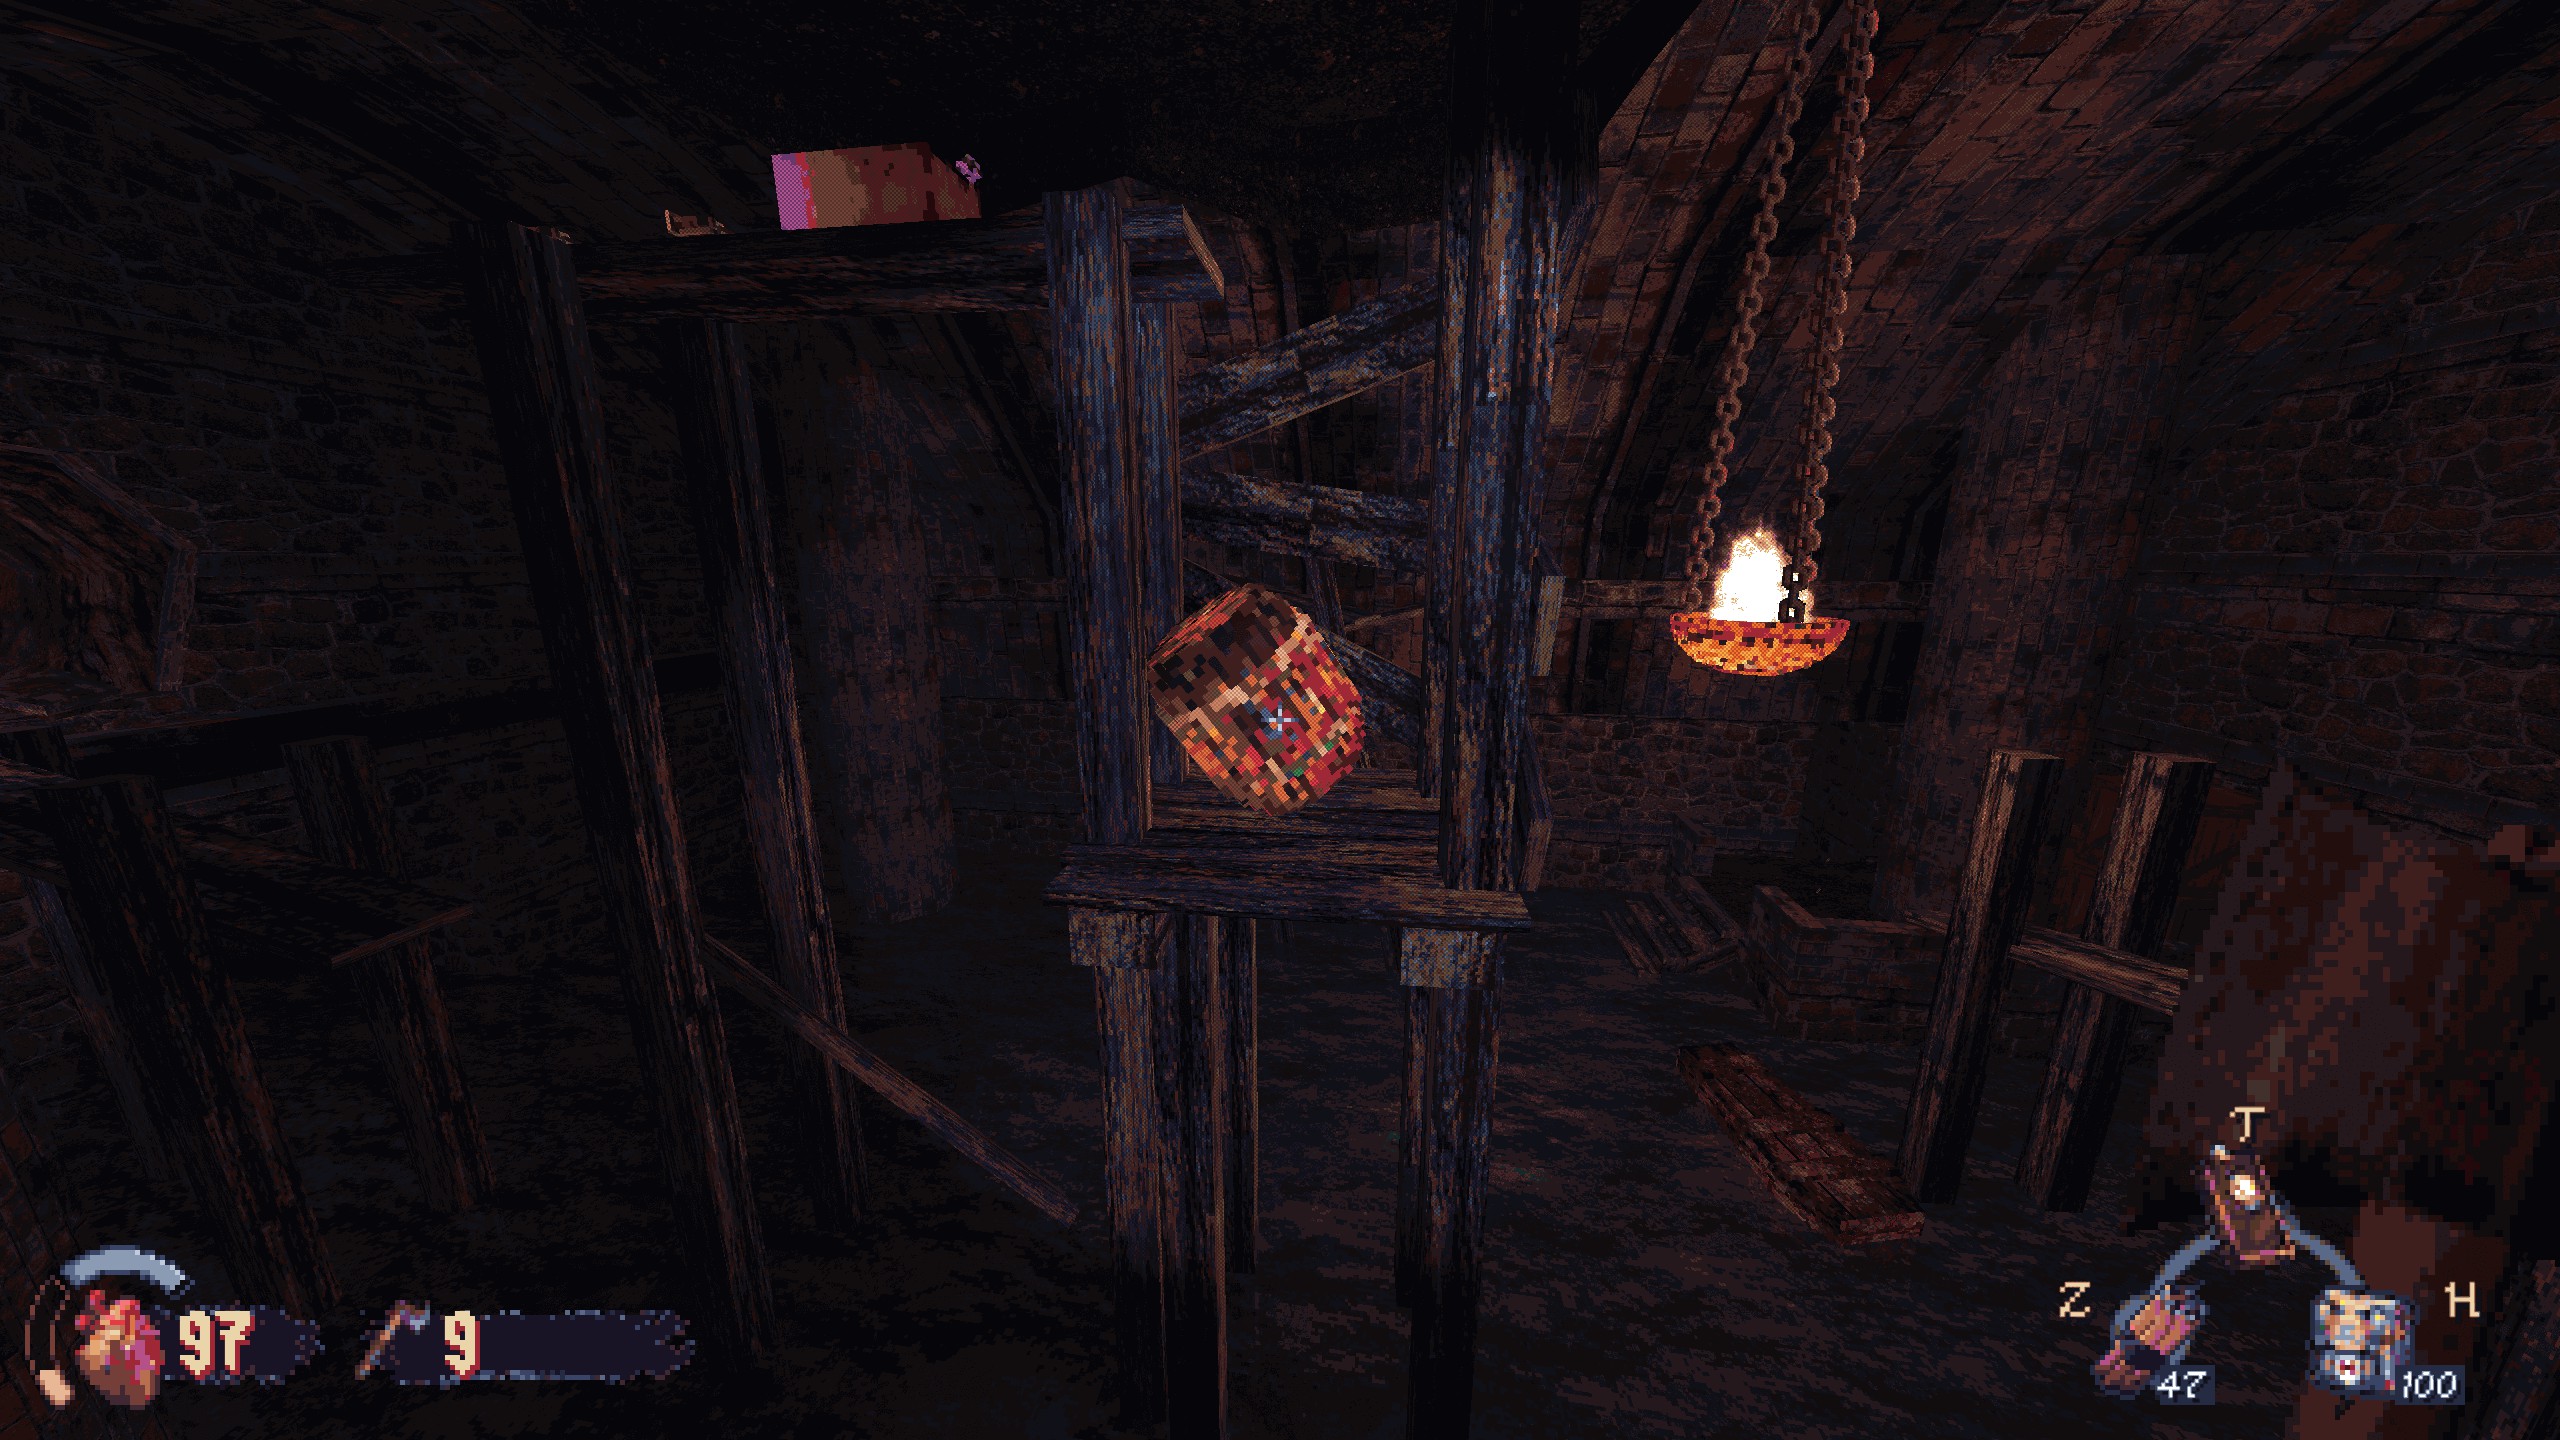
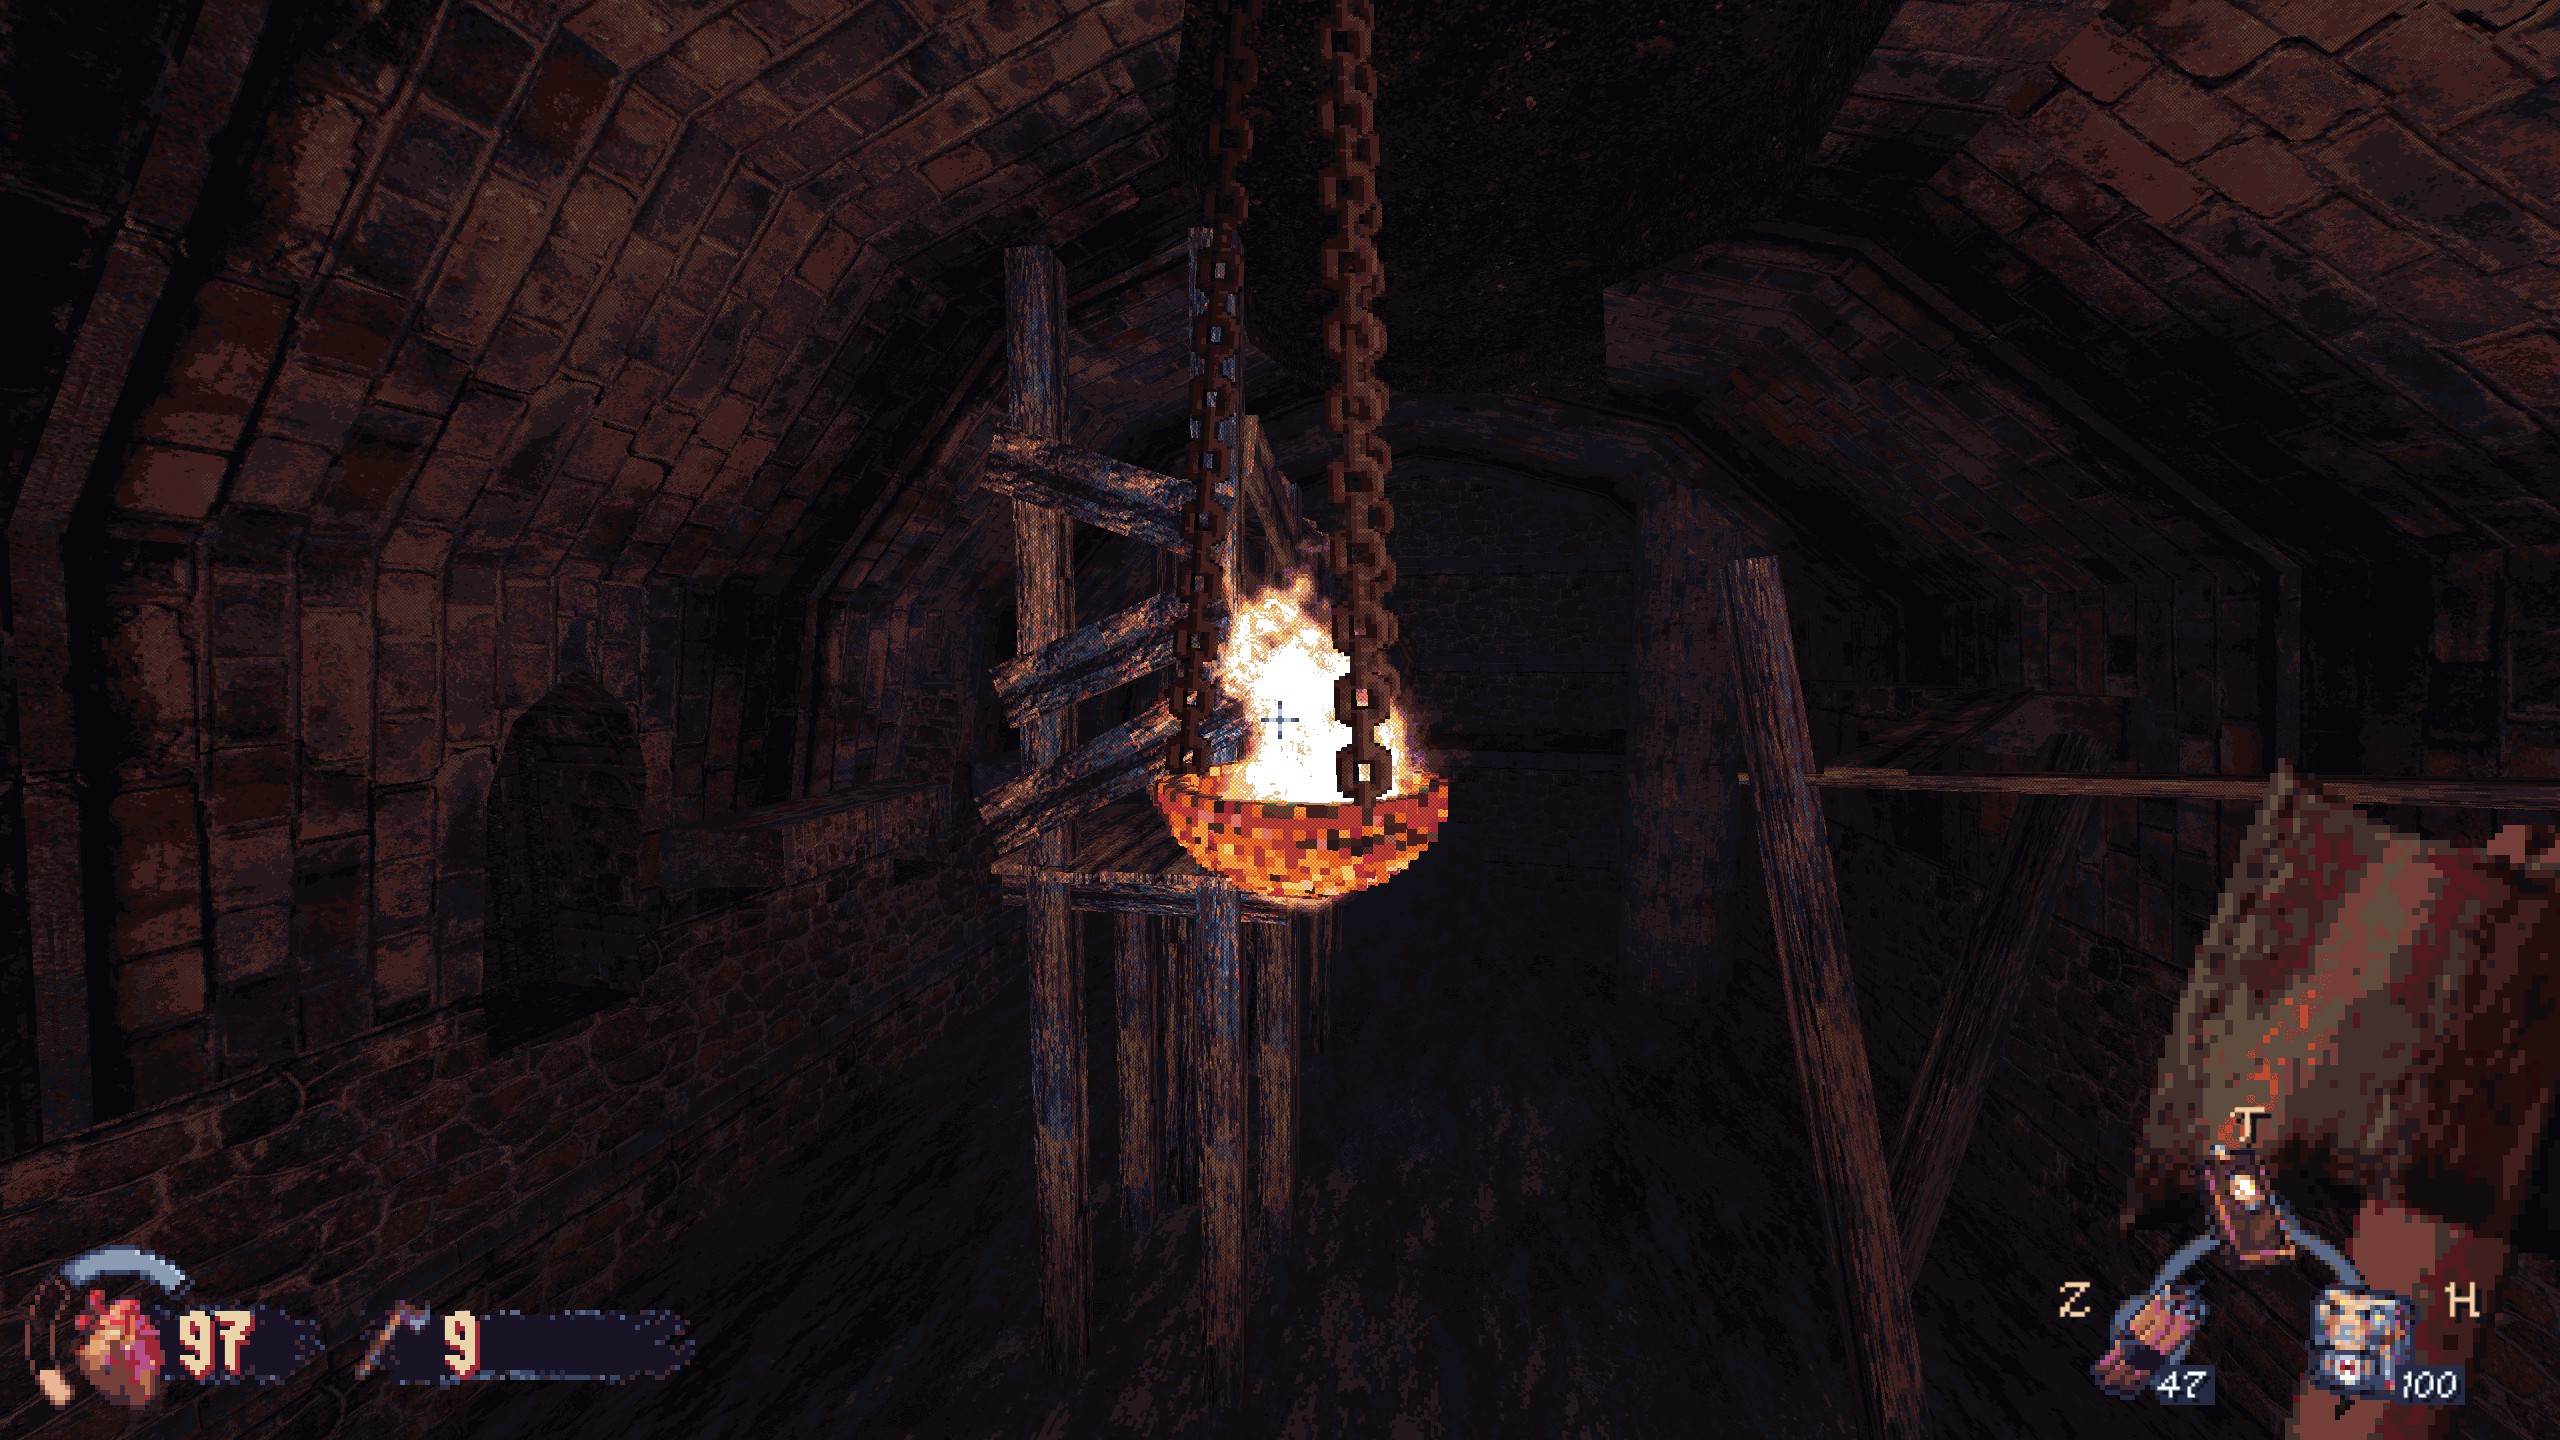
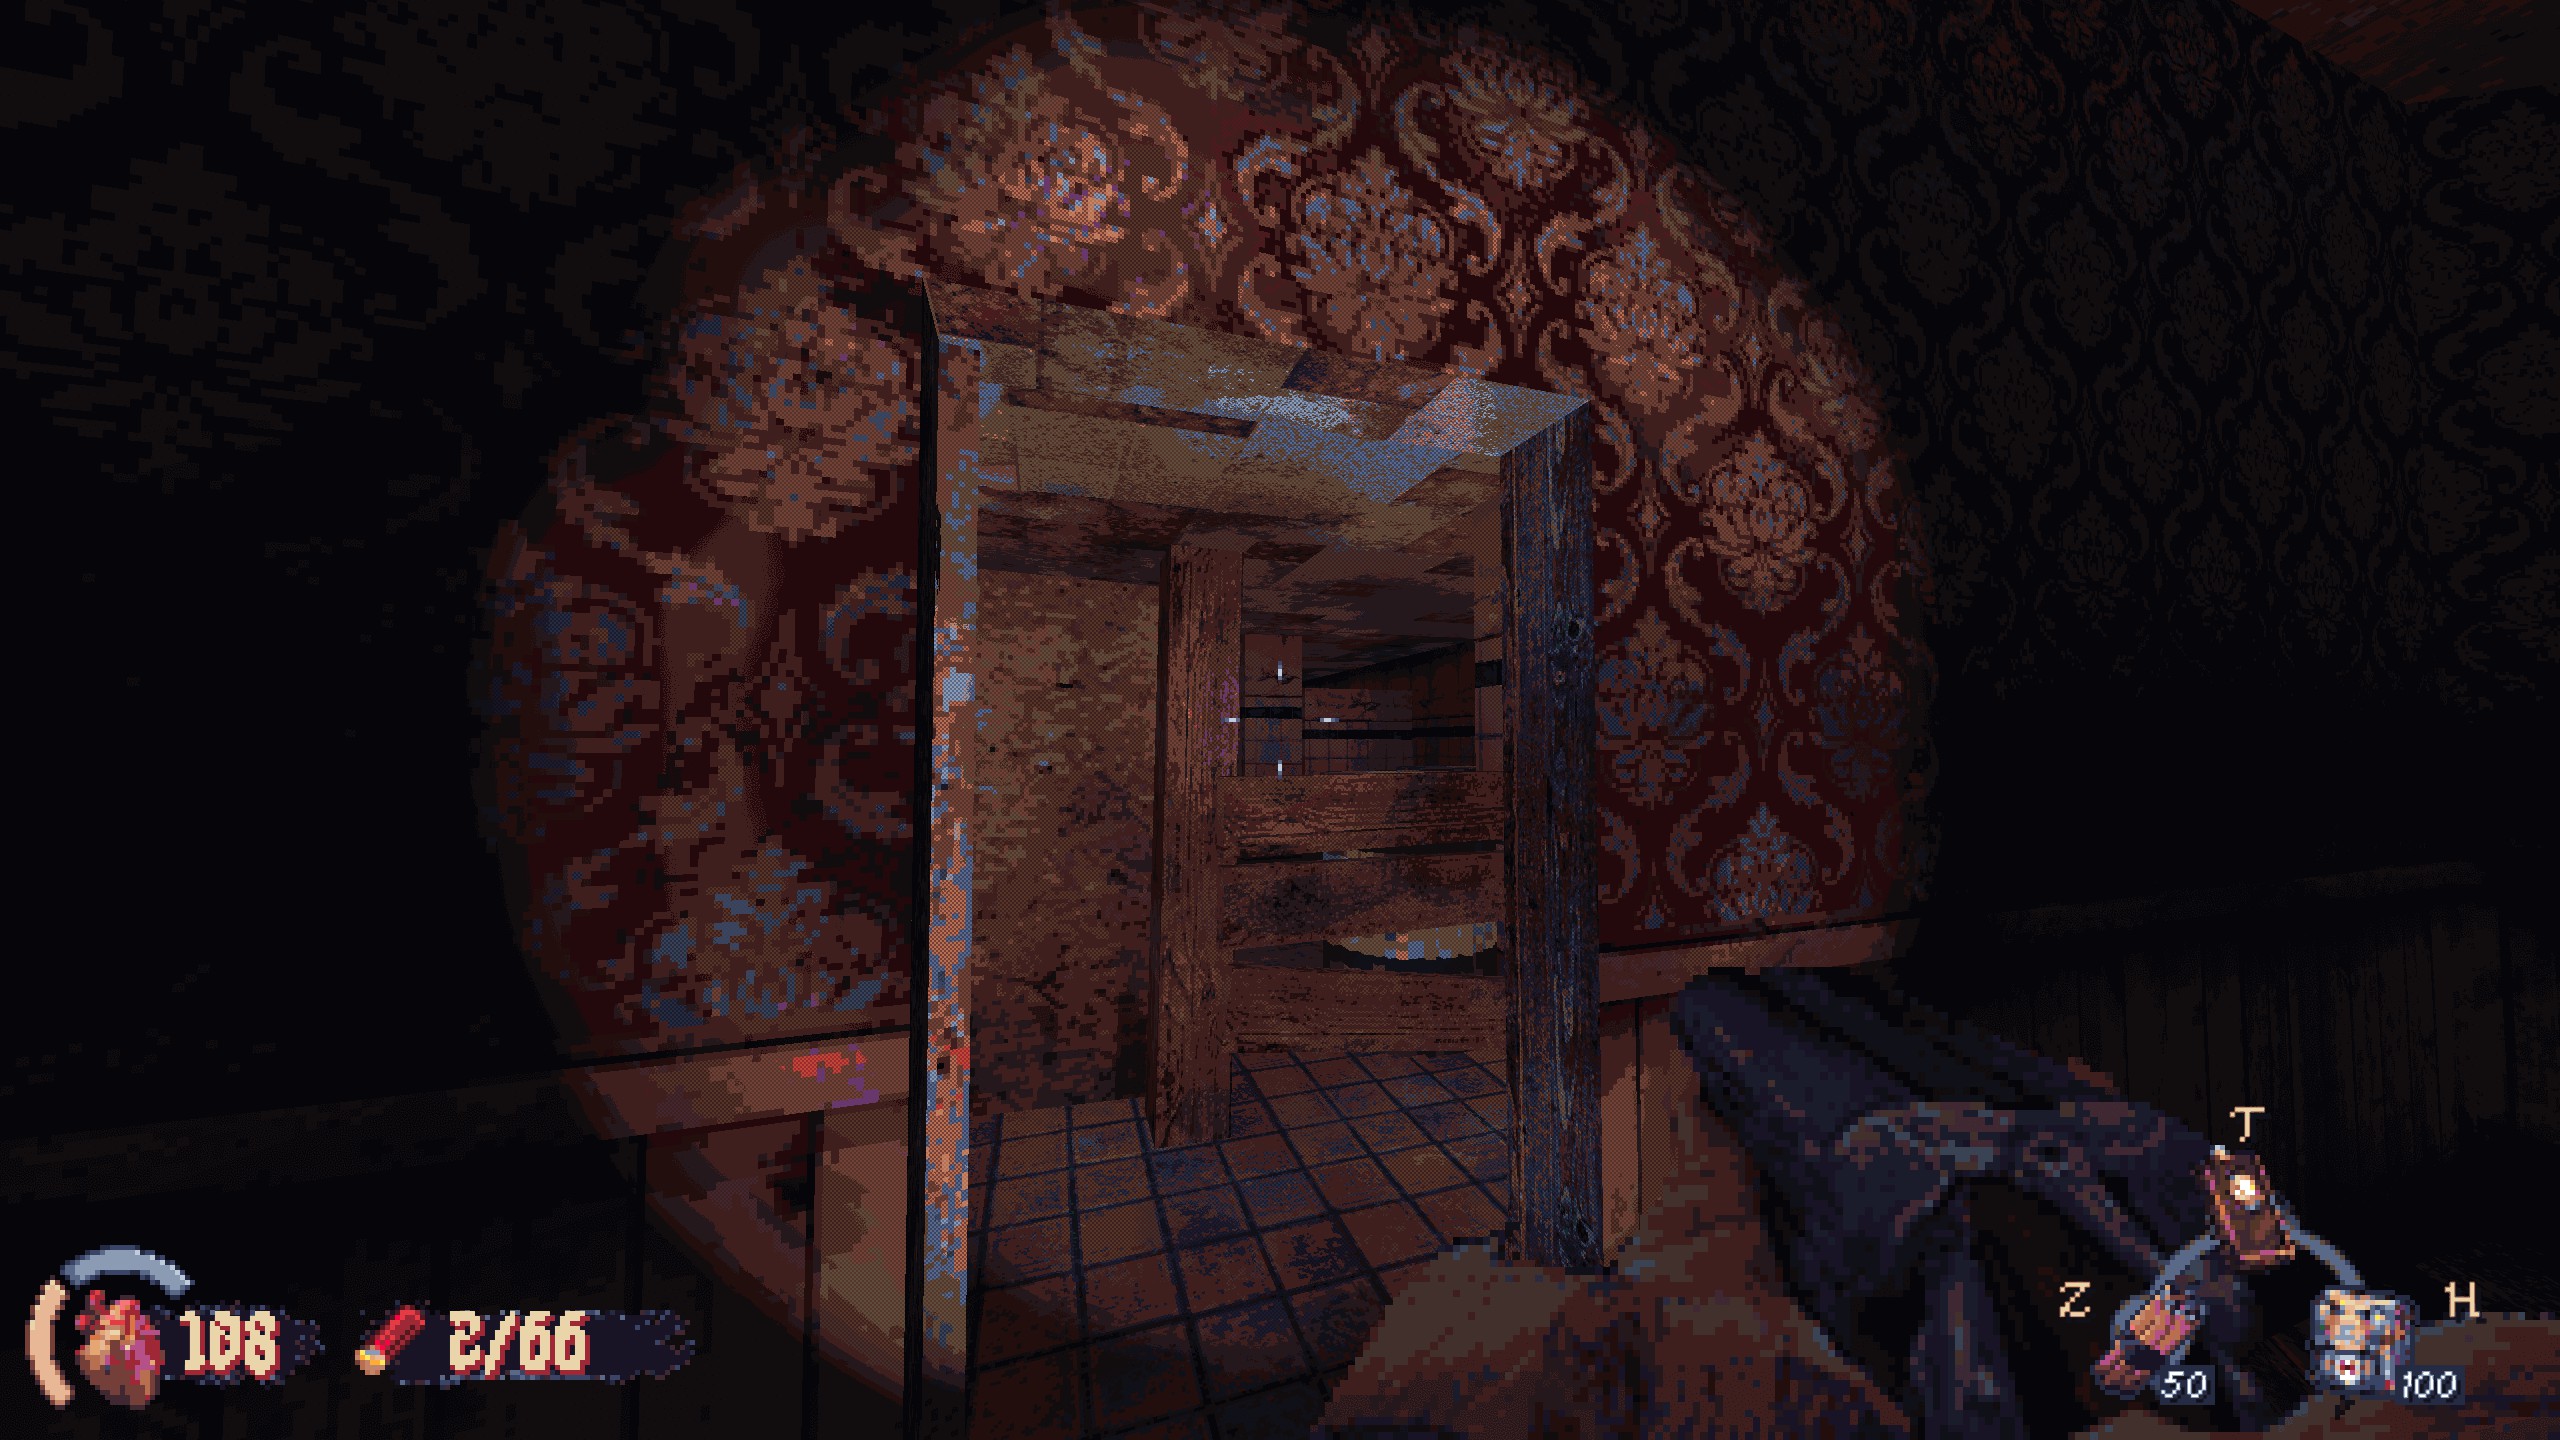
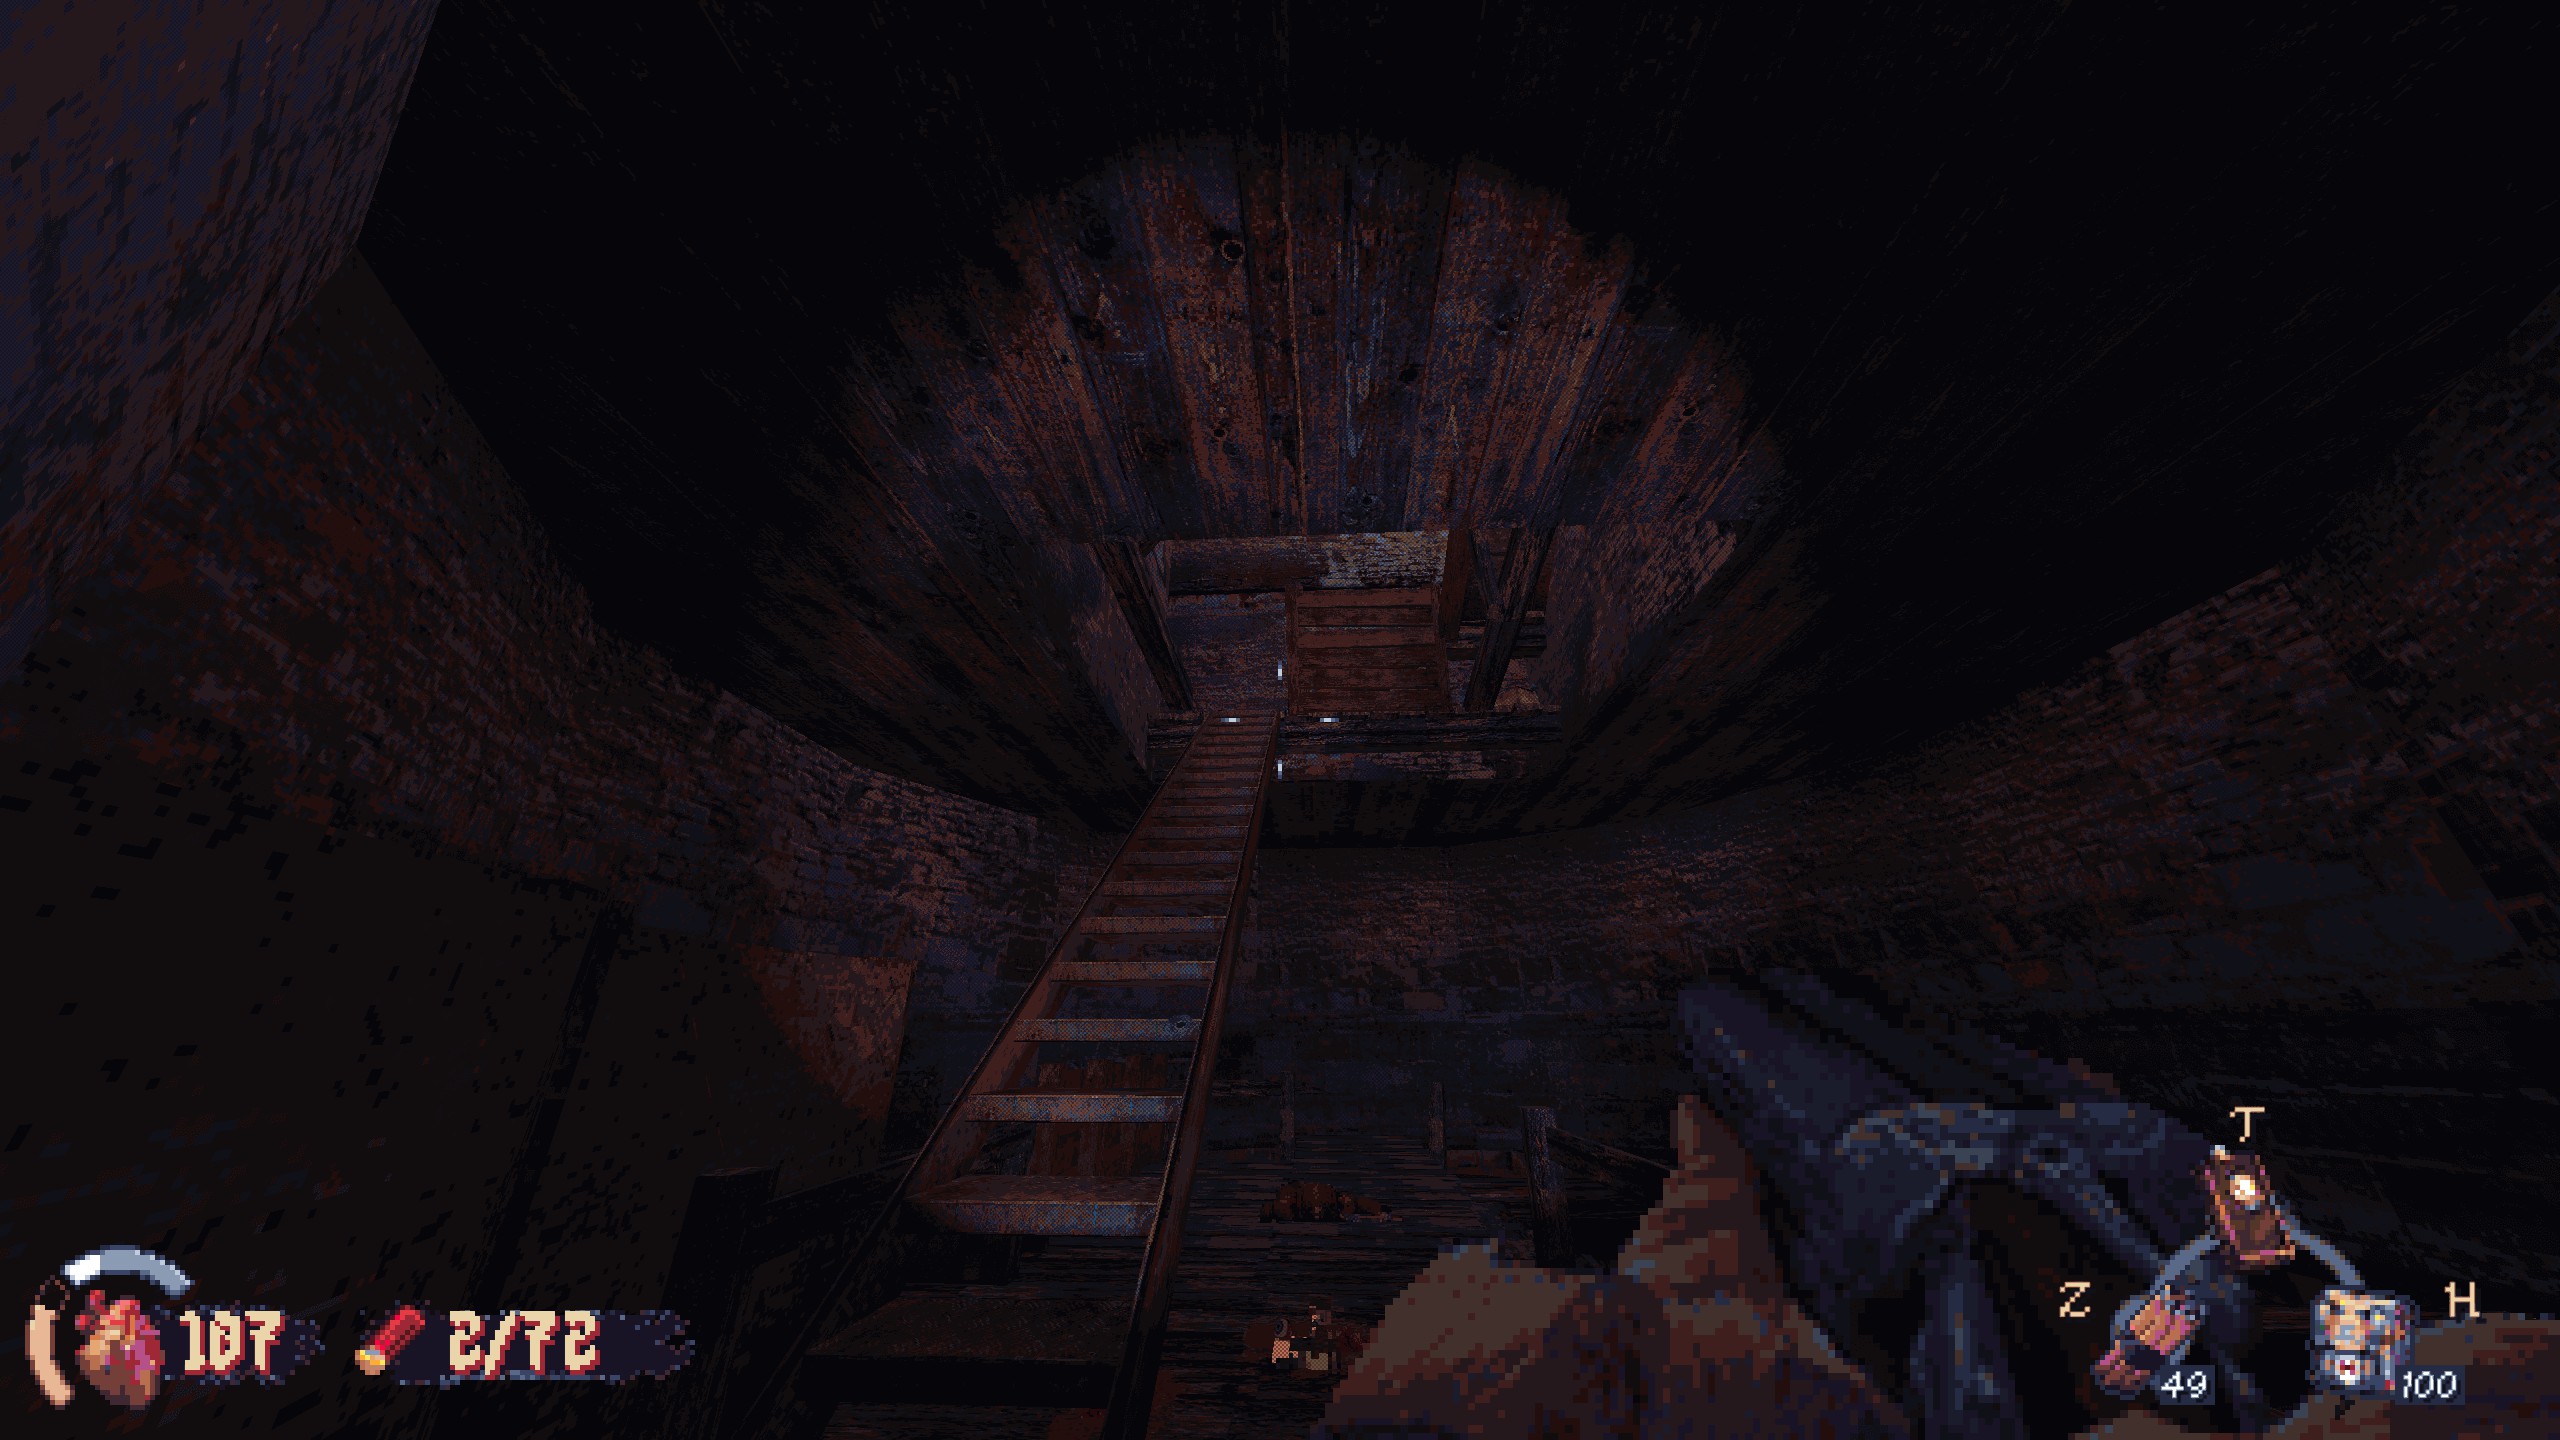
#4: In the same room as the previous secret, look up to see a stash of stuff sitting on top of the scaffolding. I know three methods to get up there, but all of them are kind of tricky. I recommend toggling run because you’ll need to do a lot of crouch-jumping while running. Recompensa: ammo and a weapon part.
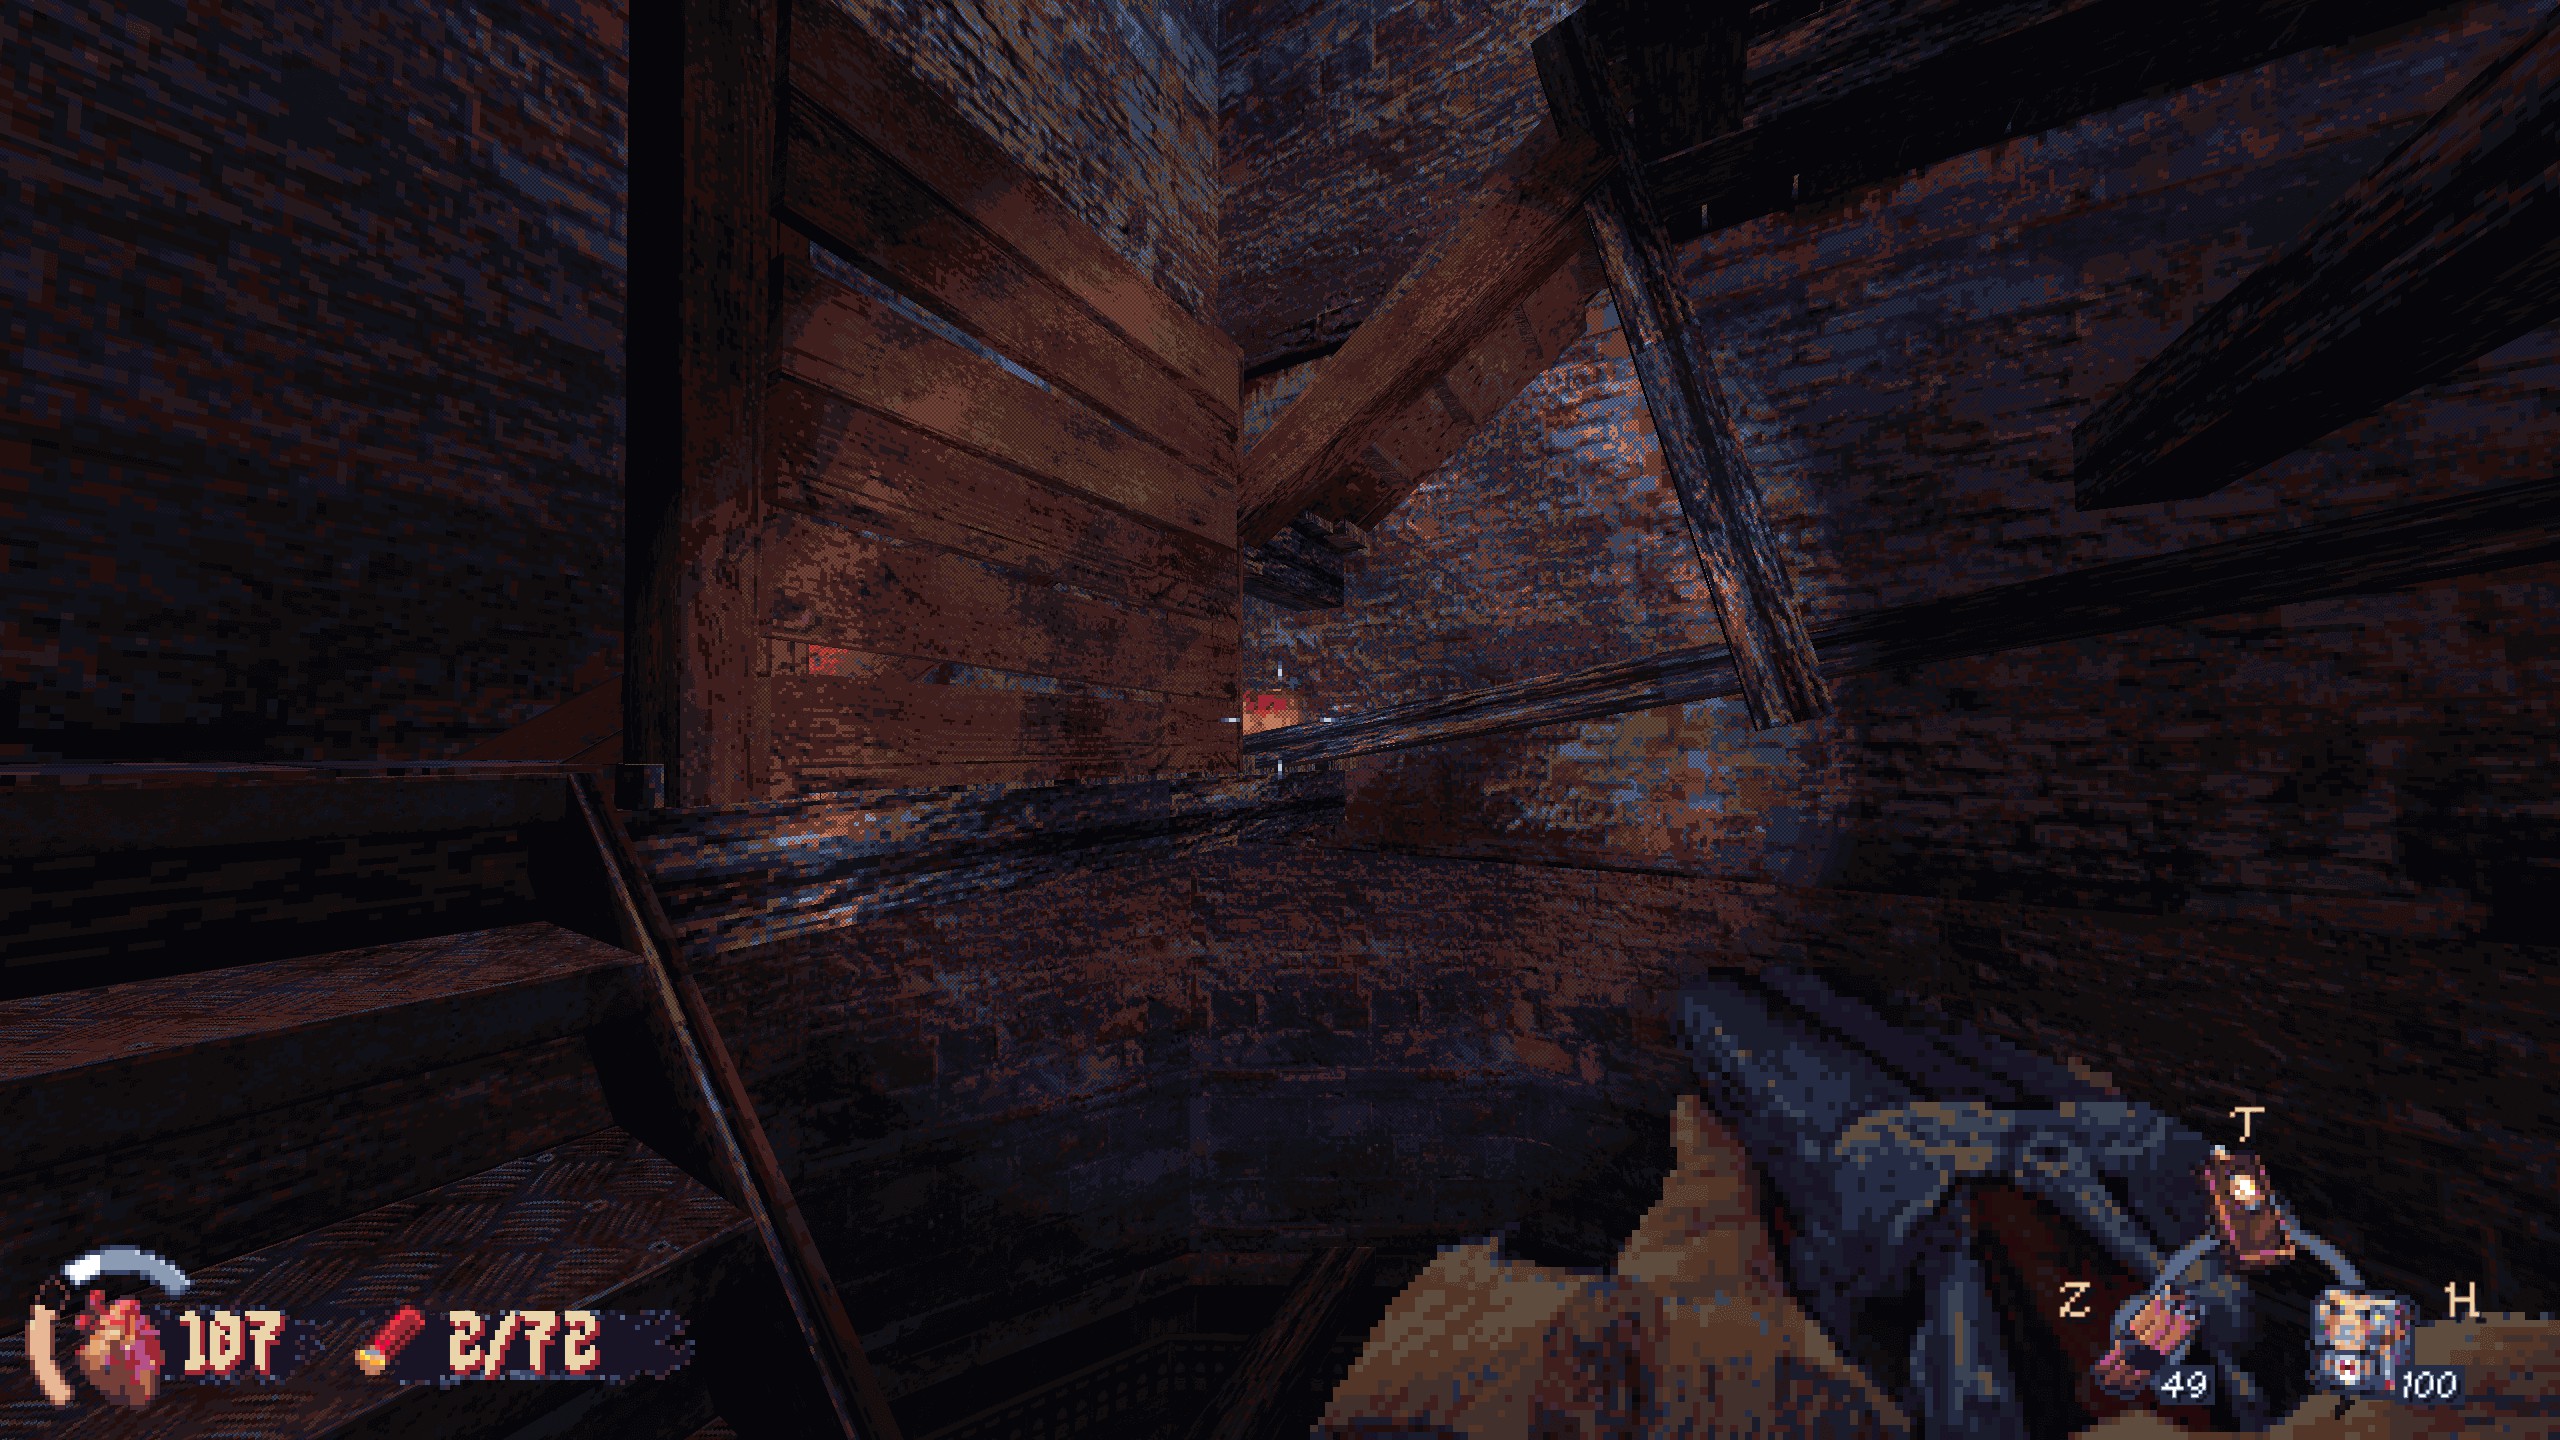
Method one: jump on this post near the brazier, then crouch-jump to the platform.
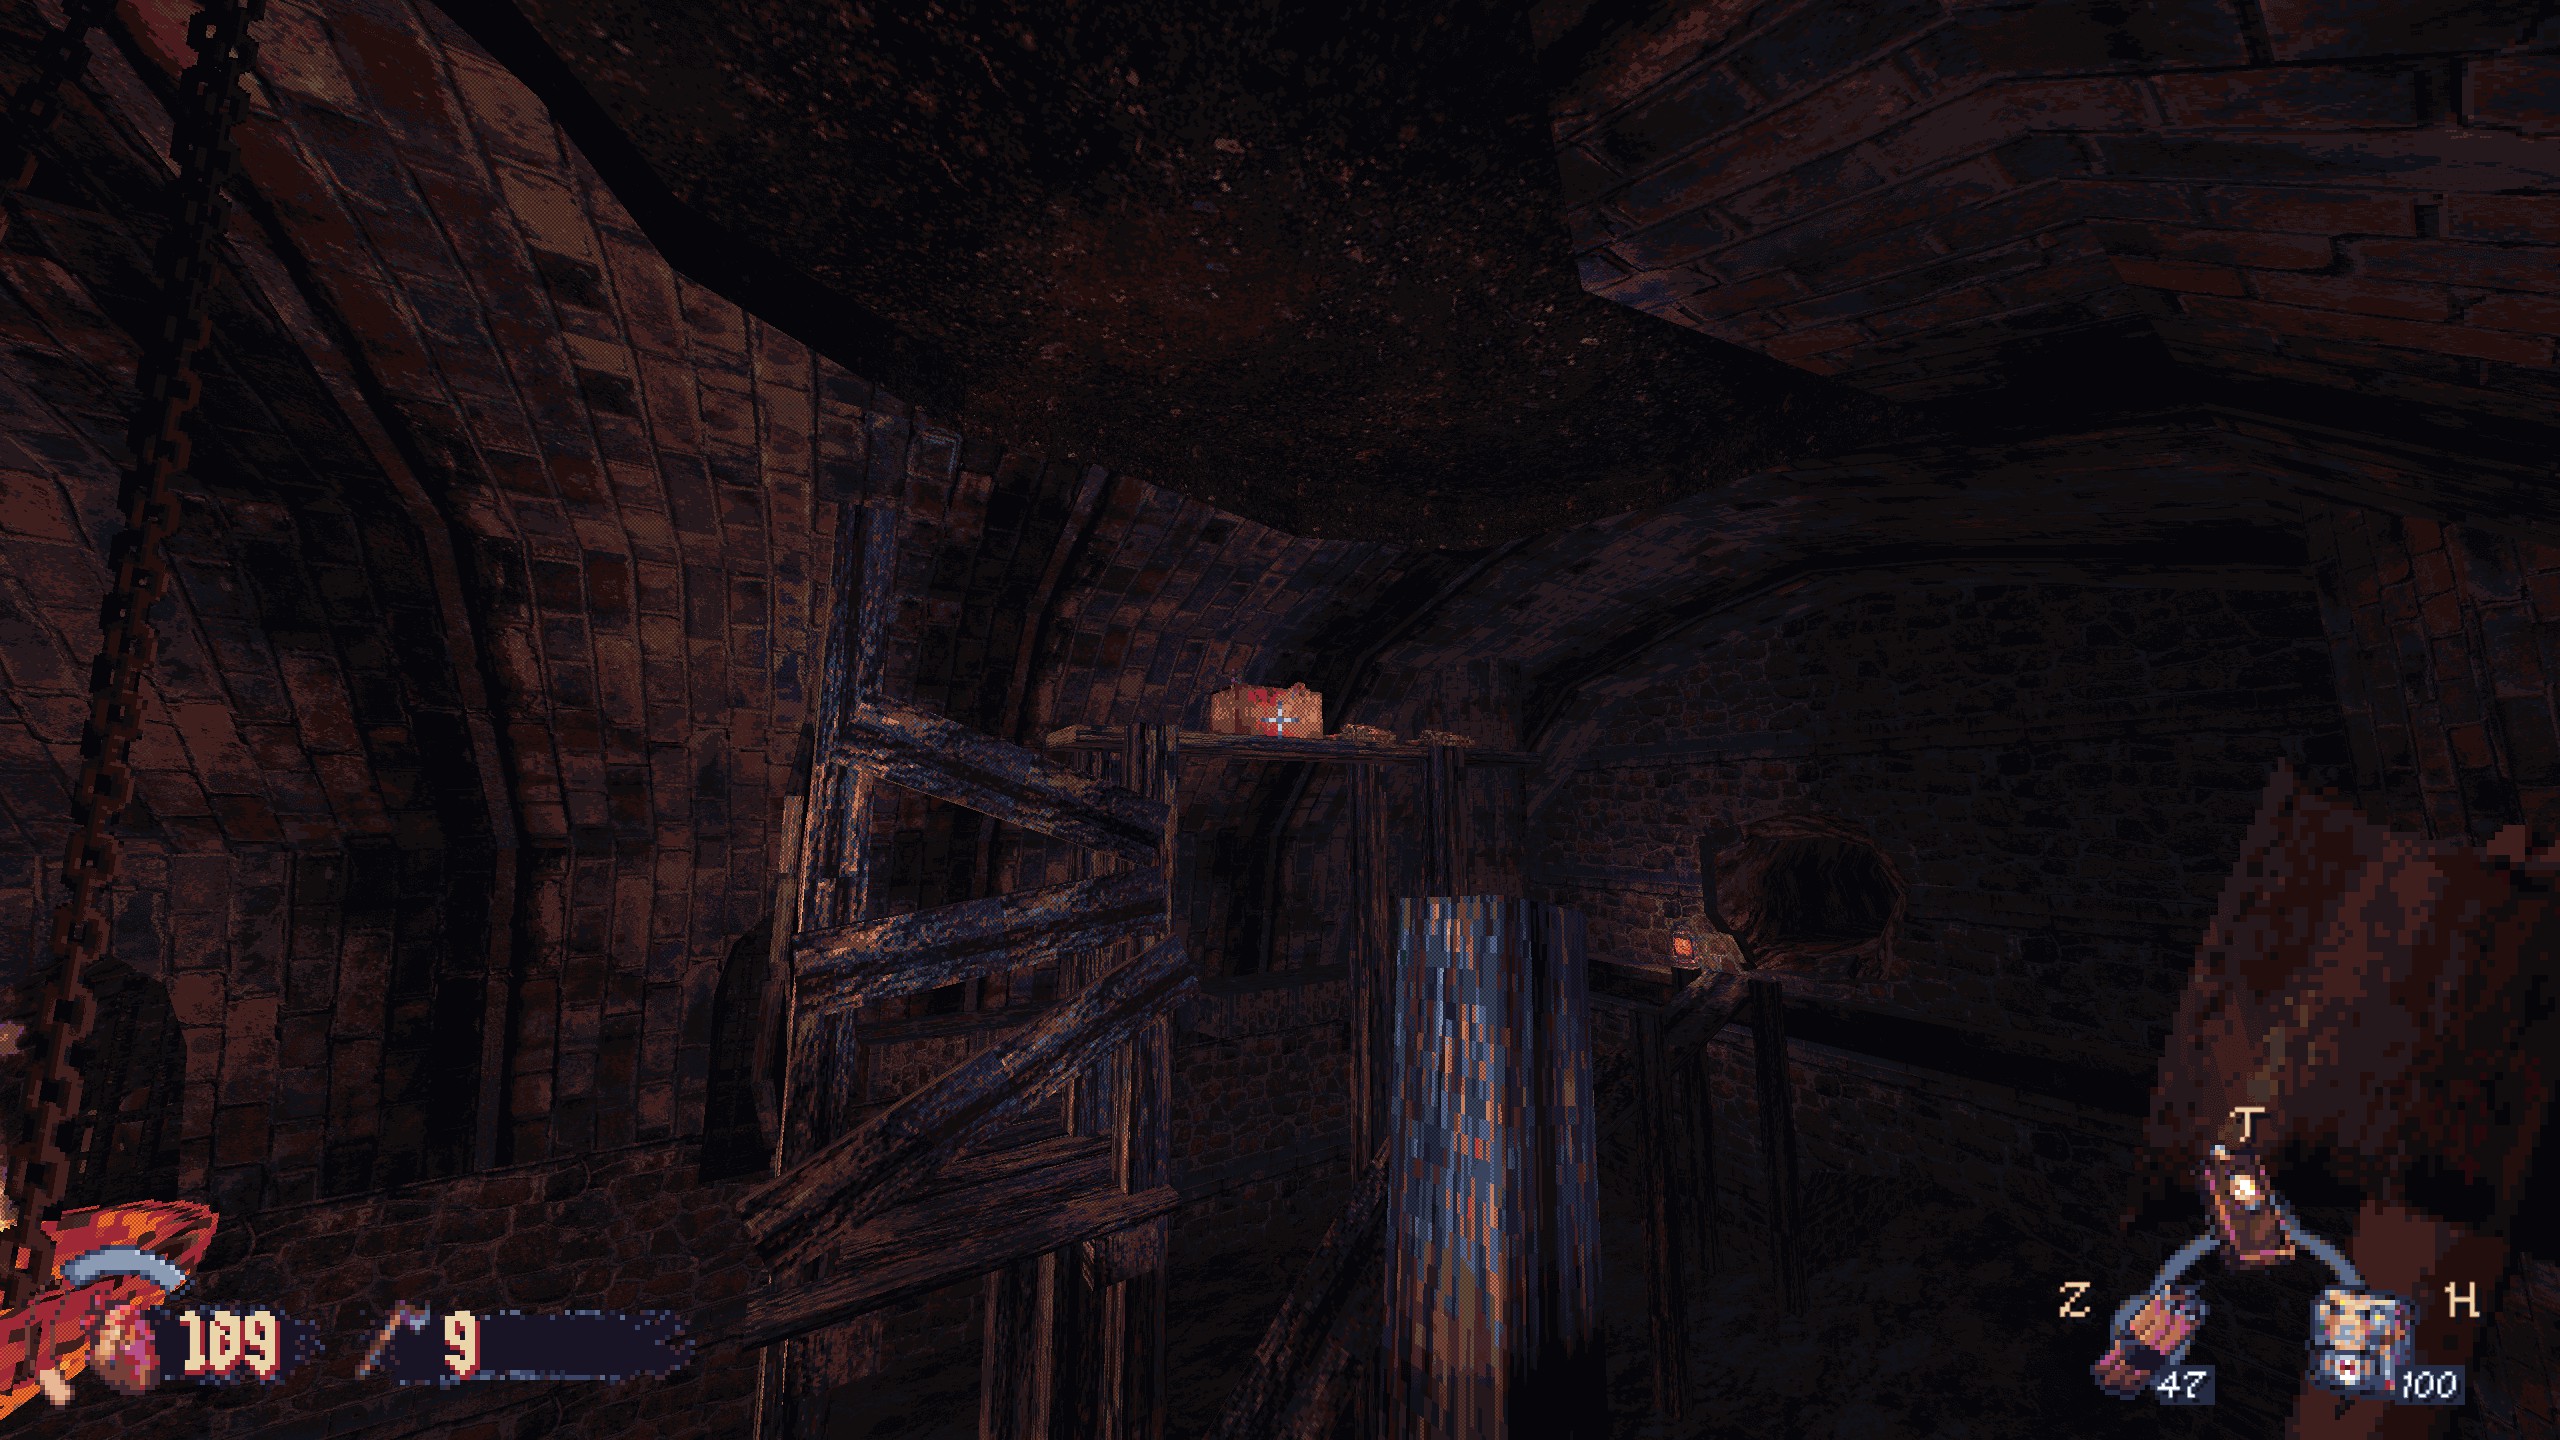
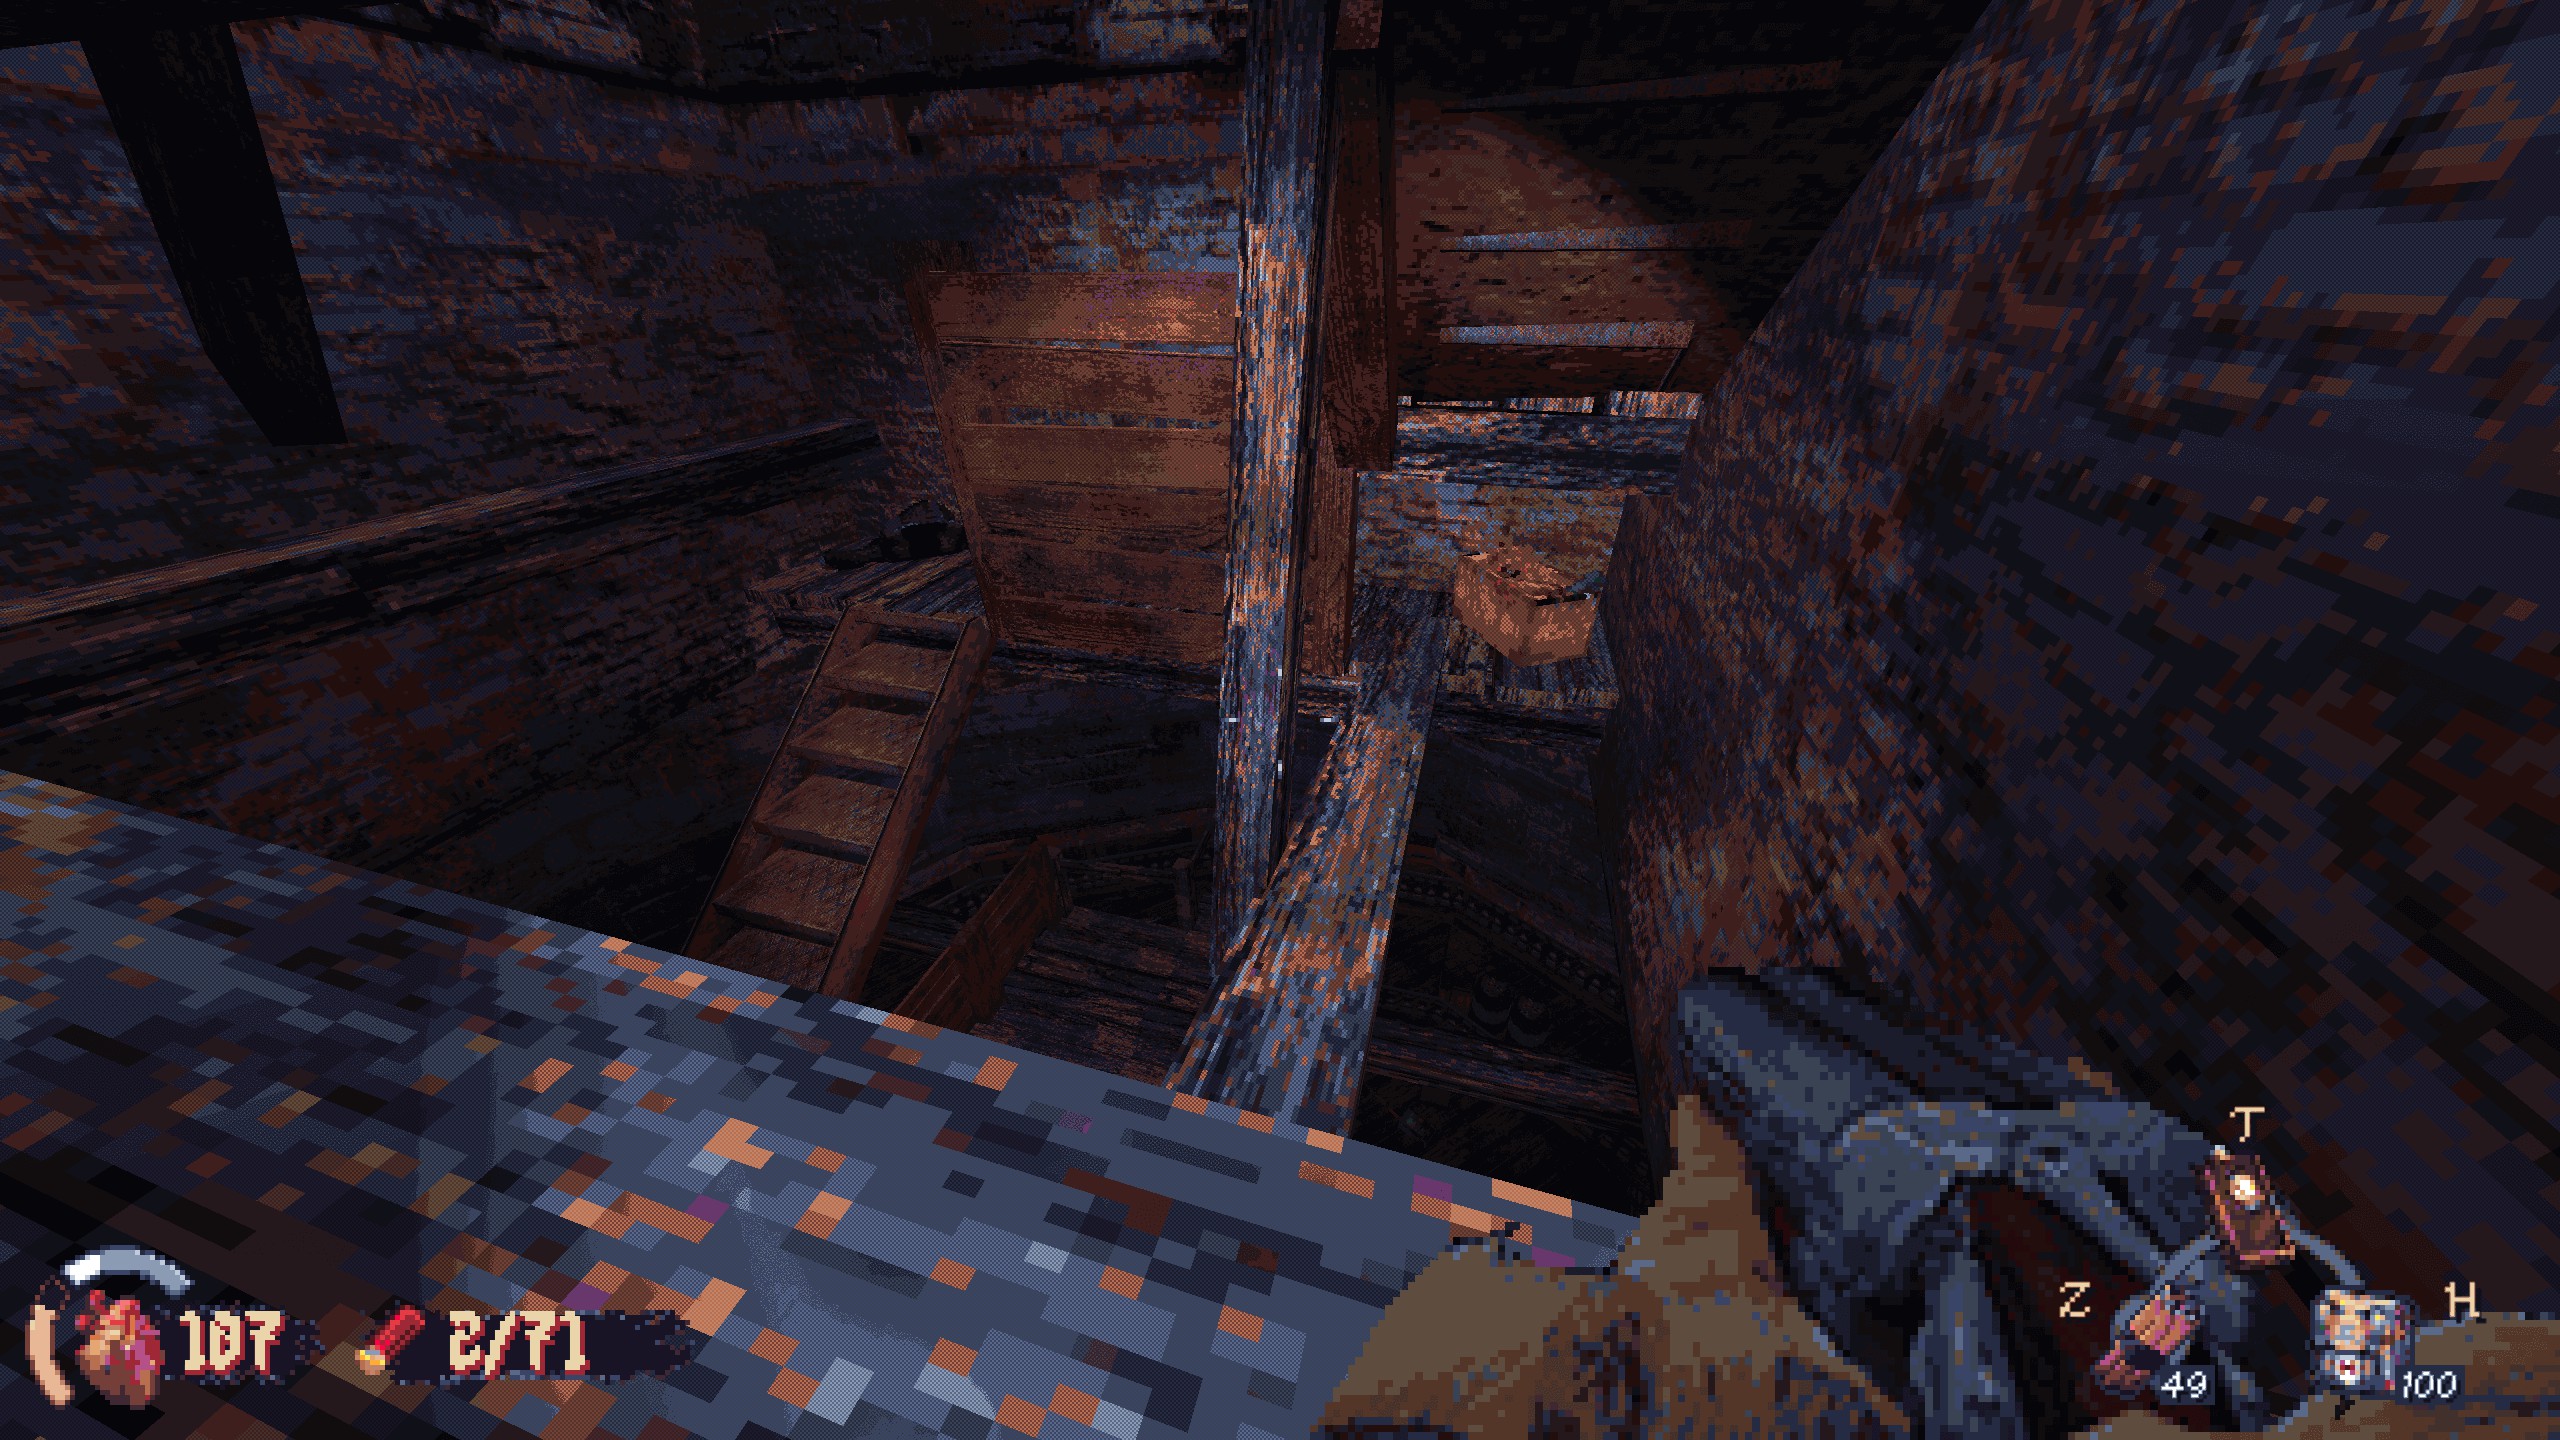
Method two: throw a barrel up to the lower platform, then make your way across the ledge around the room, jump to the lower platform, and use the barrel to reach the loot.
Method three: jump on this brazier, then jump to the platform. You will take damage.
Papel 2: Skeleton war
#5: After fighting the jaw monster and getting the key, take a left out of that room, suspenso, take the first door, and you’ll find yourself back in the room for secret 2.
Go straight and back down into the water area. In the first tunnel there’s a locked gate that you can now open. Do outro lado, just go up the stairs to find the items. Recompensa: munição, saúde, and a weapon part.
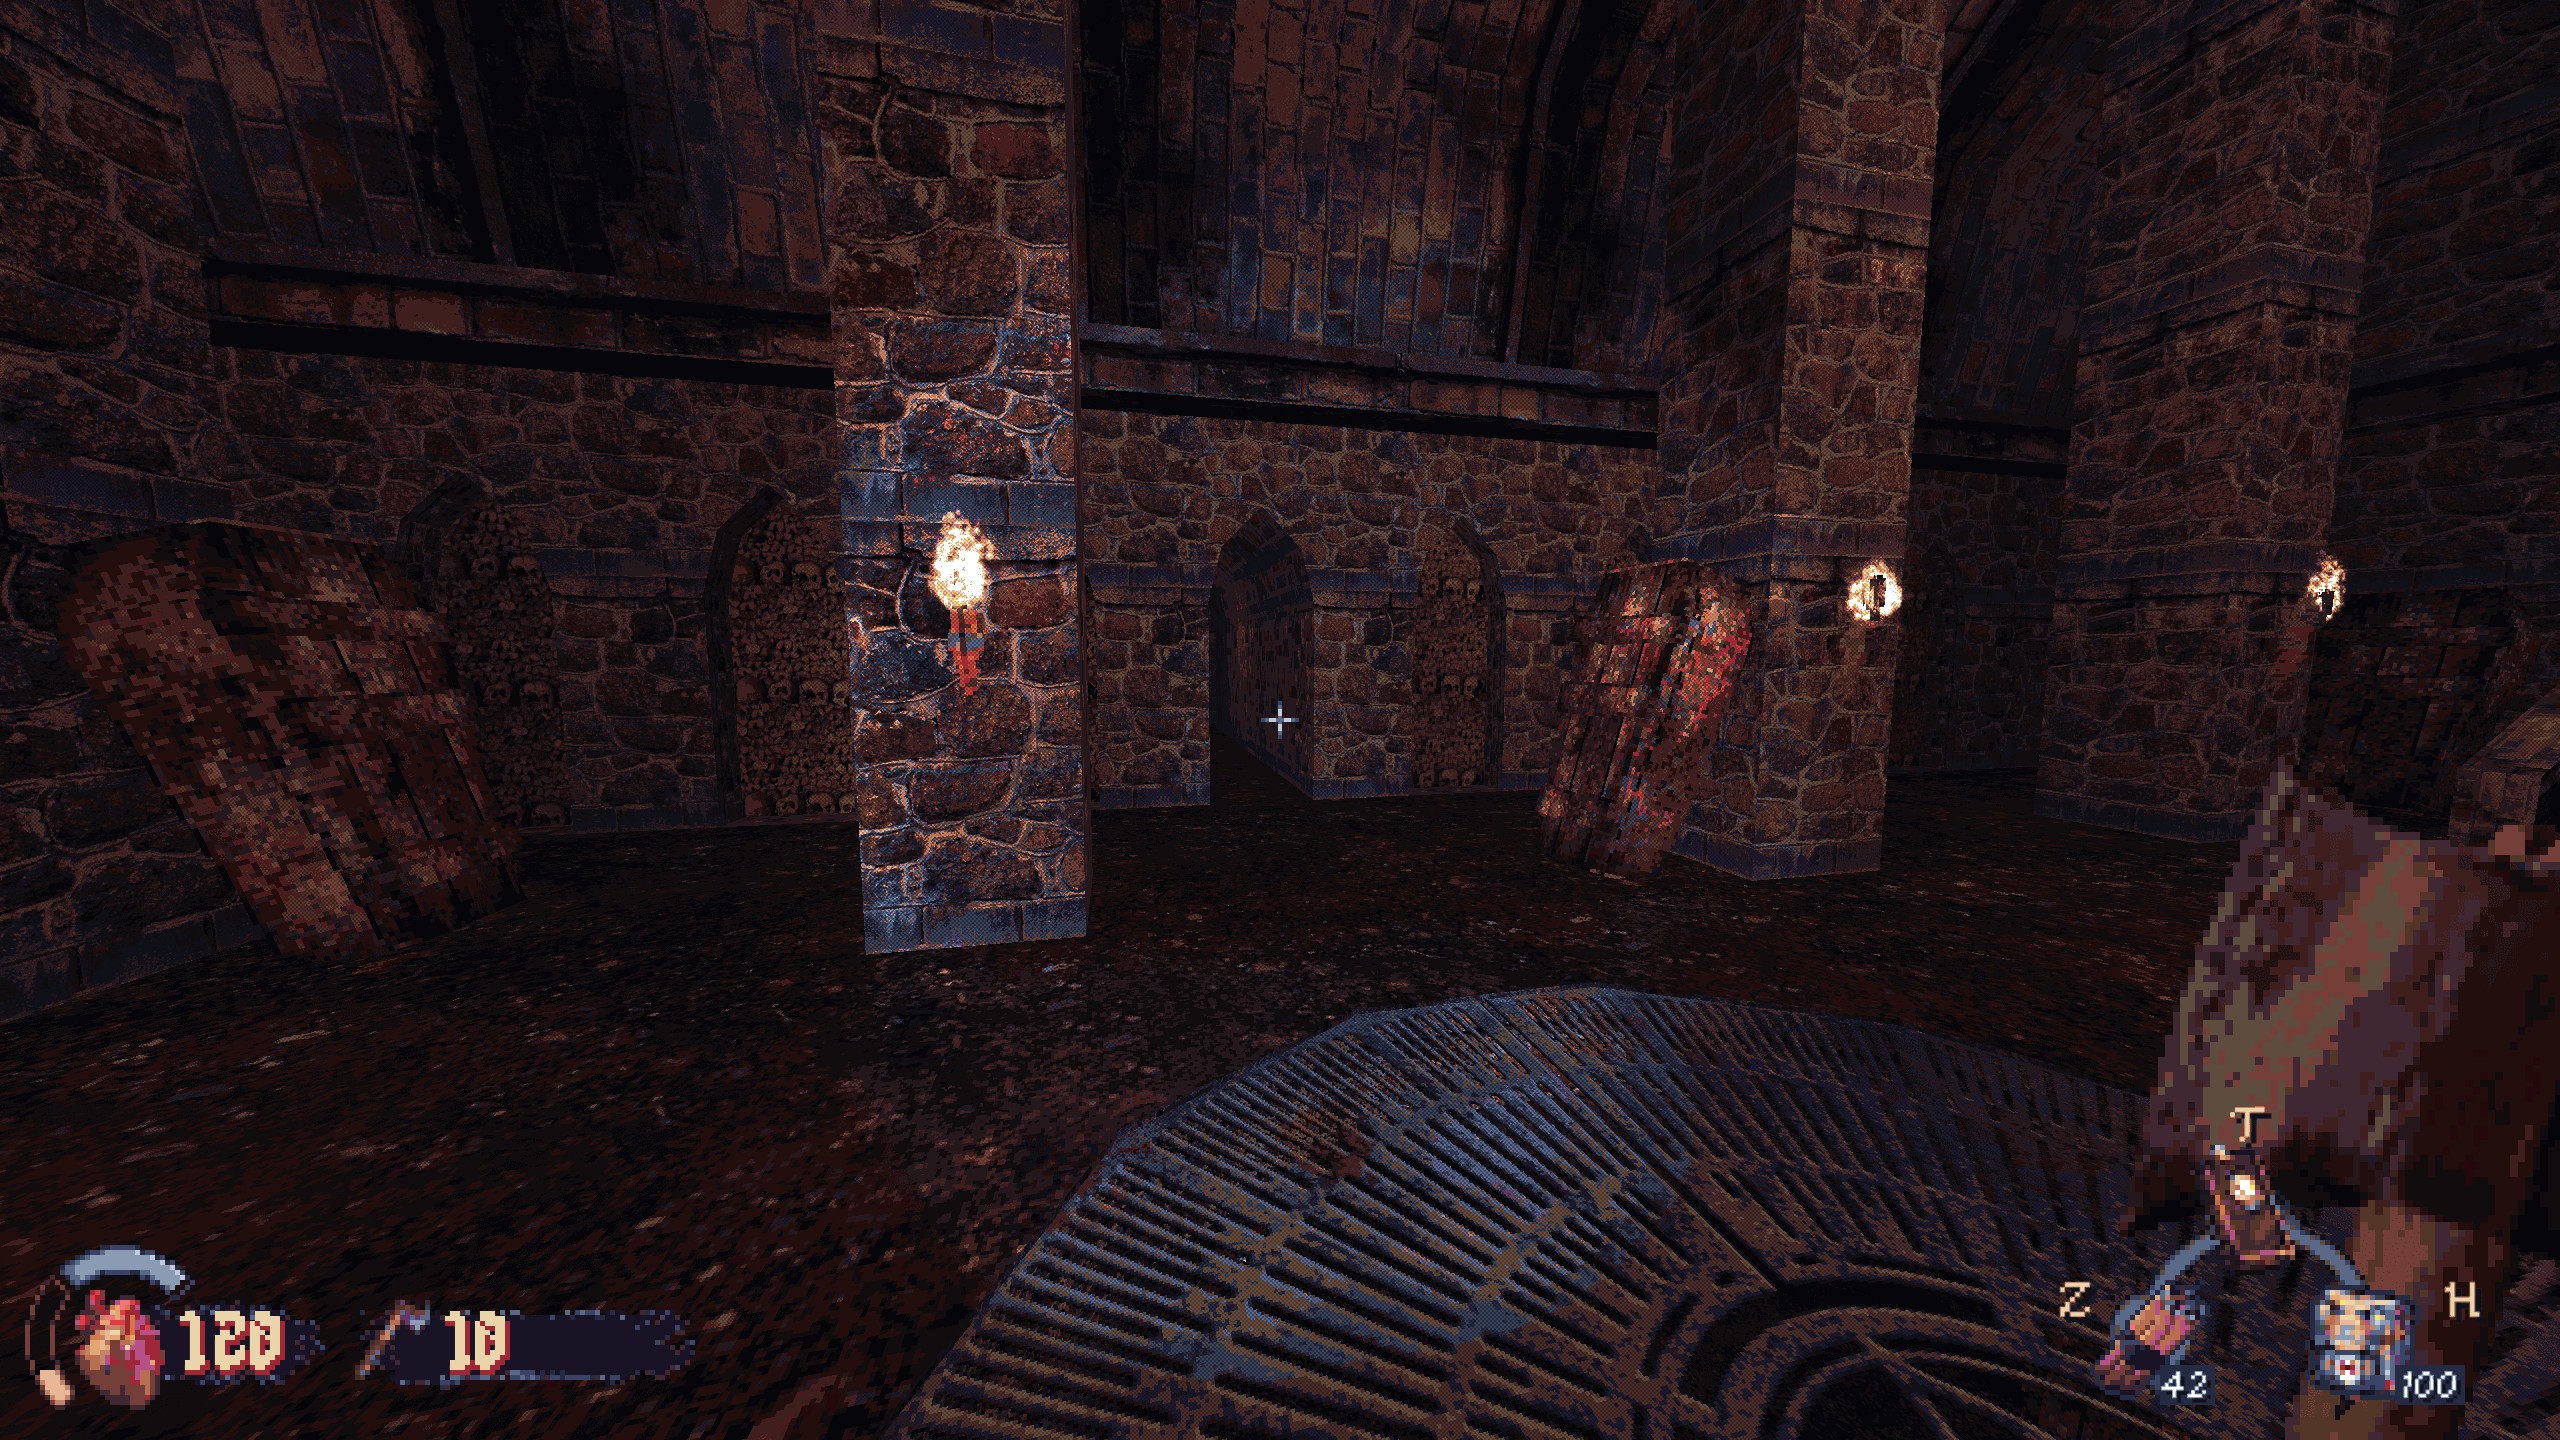
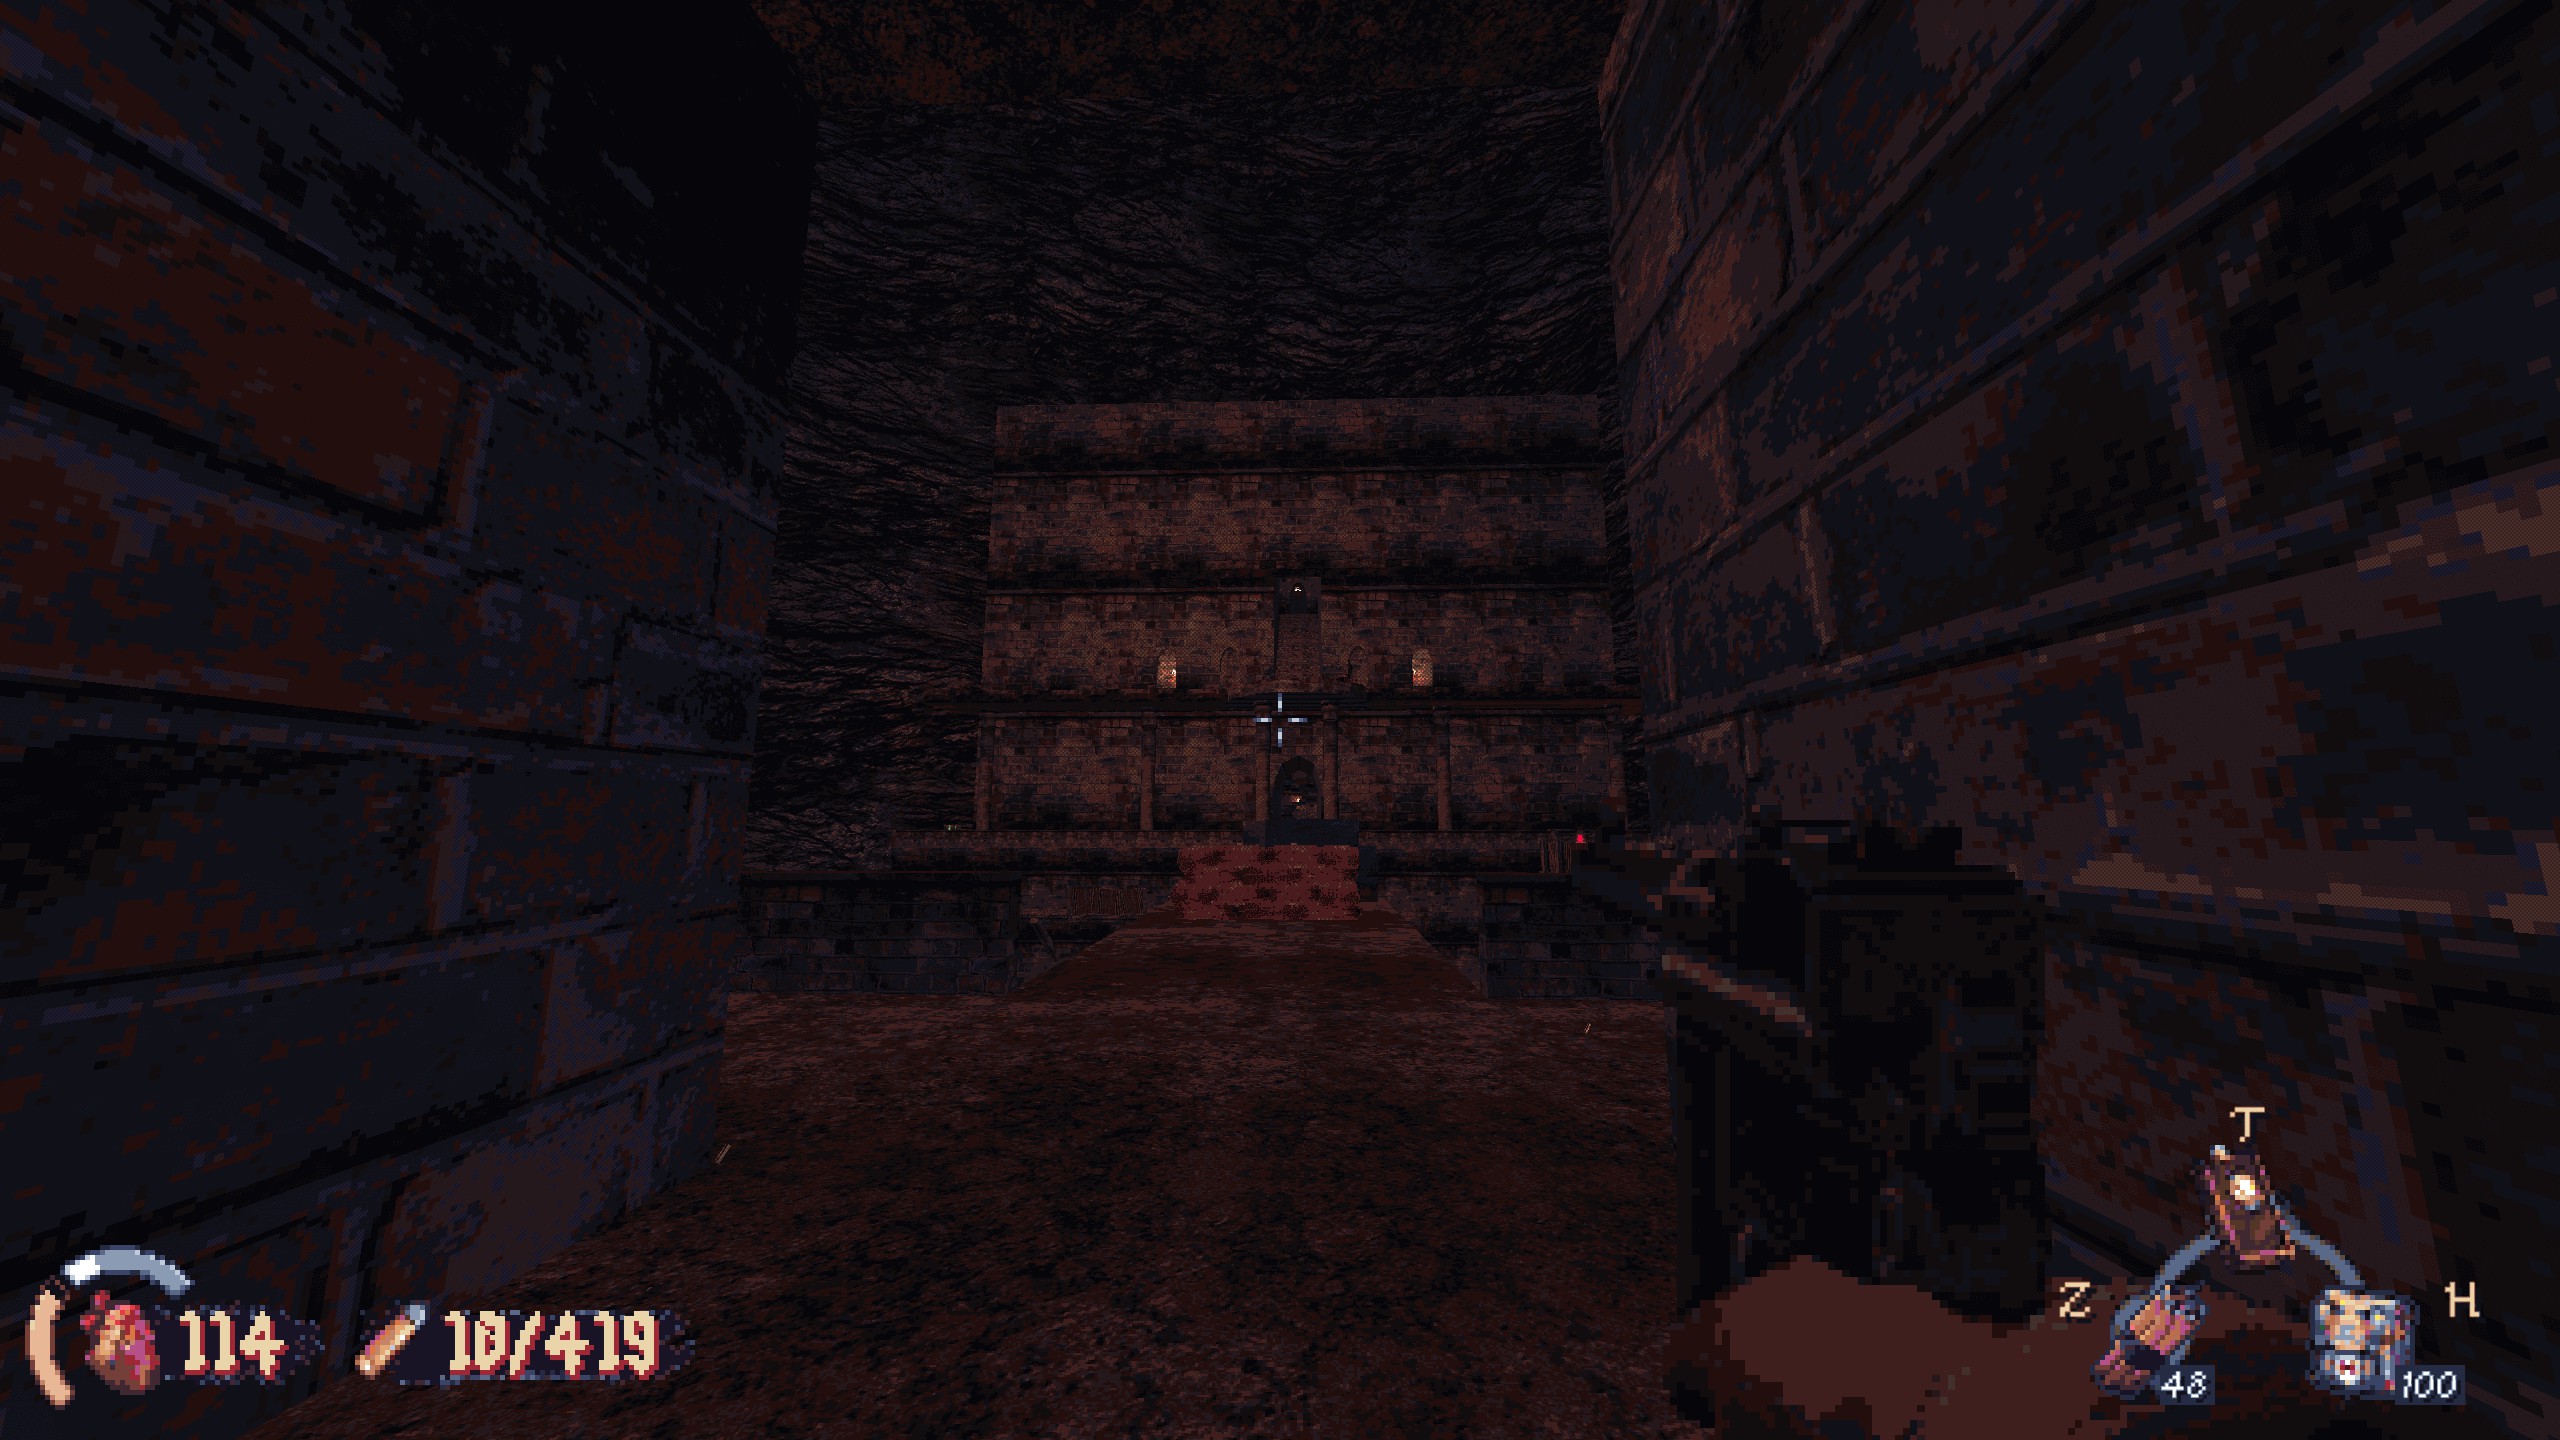
#6: Back in the first large room, blast this crack on the right wall. It was always there, but waking the skeletons moved a coffin out of the way. Recompensa: armor and grenade launcher.

The Chapel
No secrets.
Imbued Remains:
Right at the start, in a cubby on the right wall.
The Asylum Grounds
Papel 1: Sniper zone
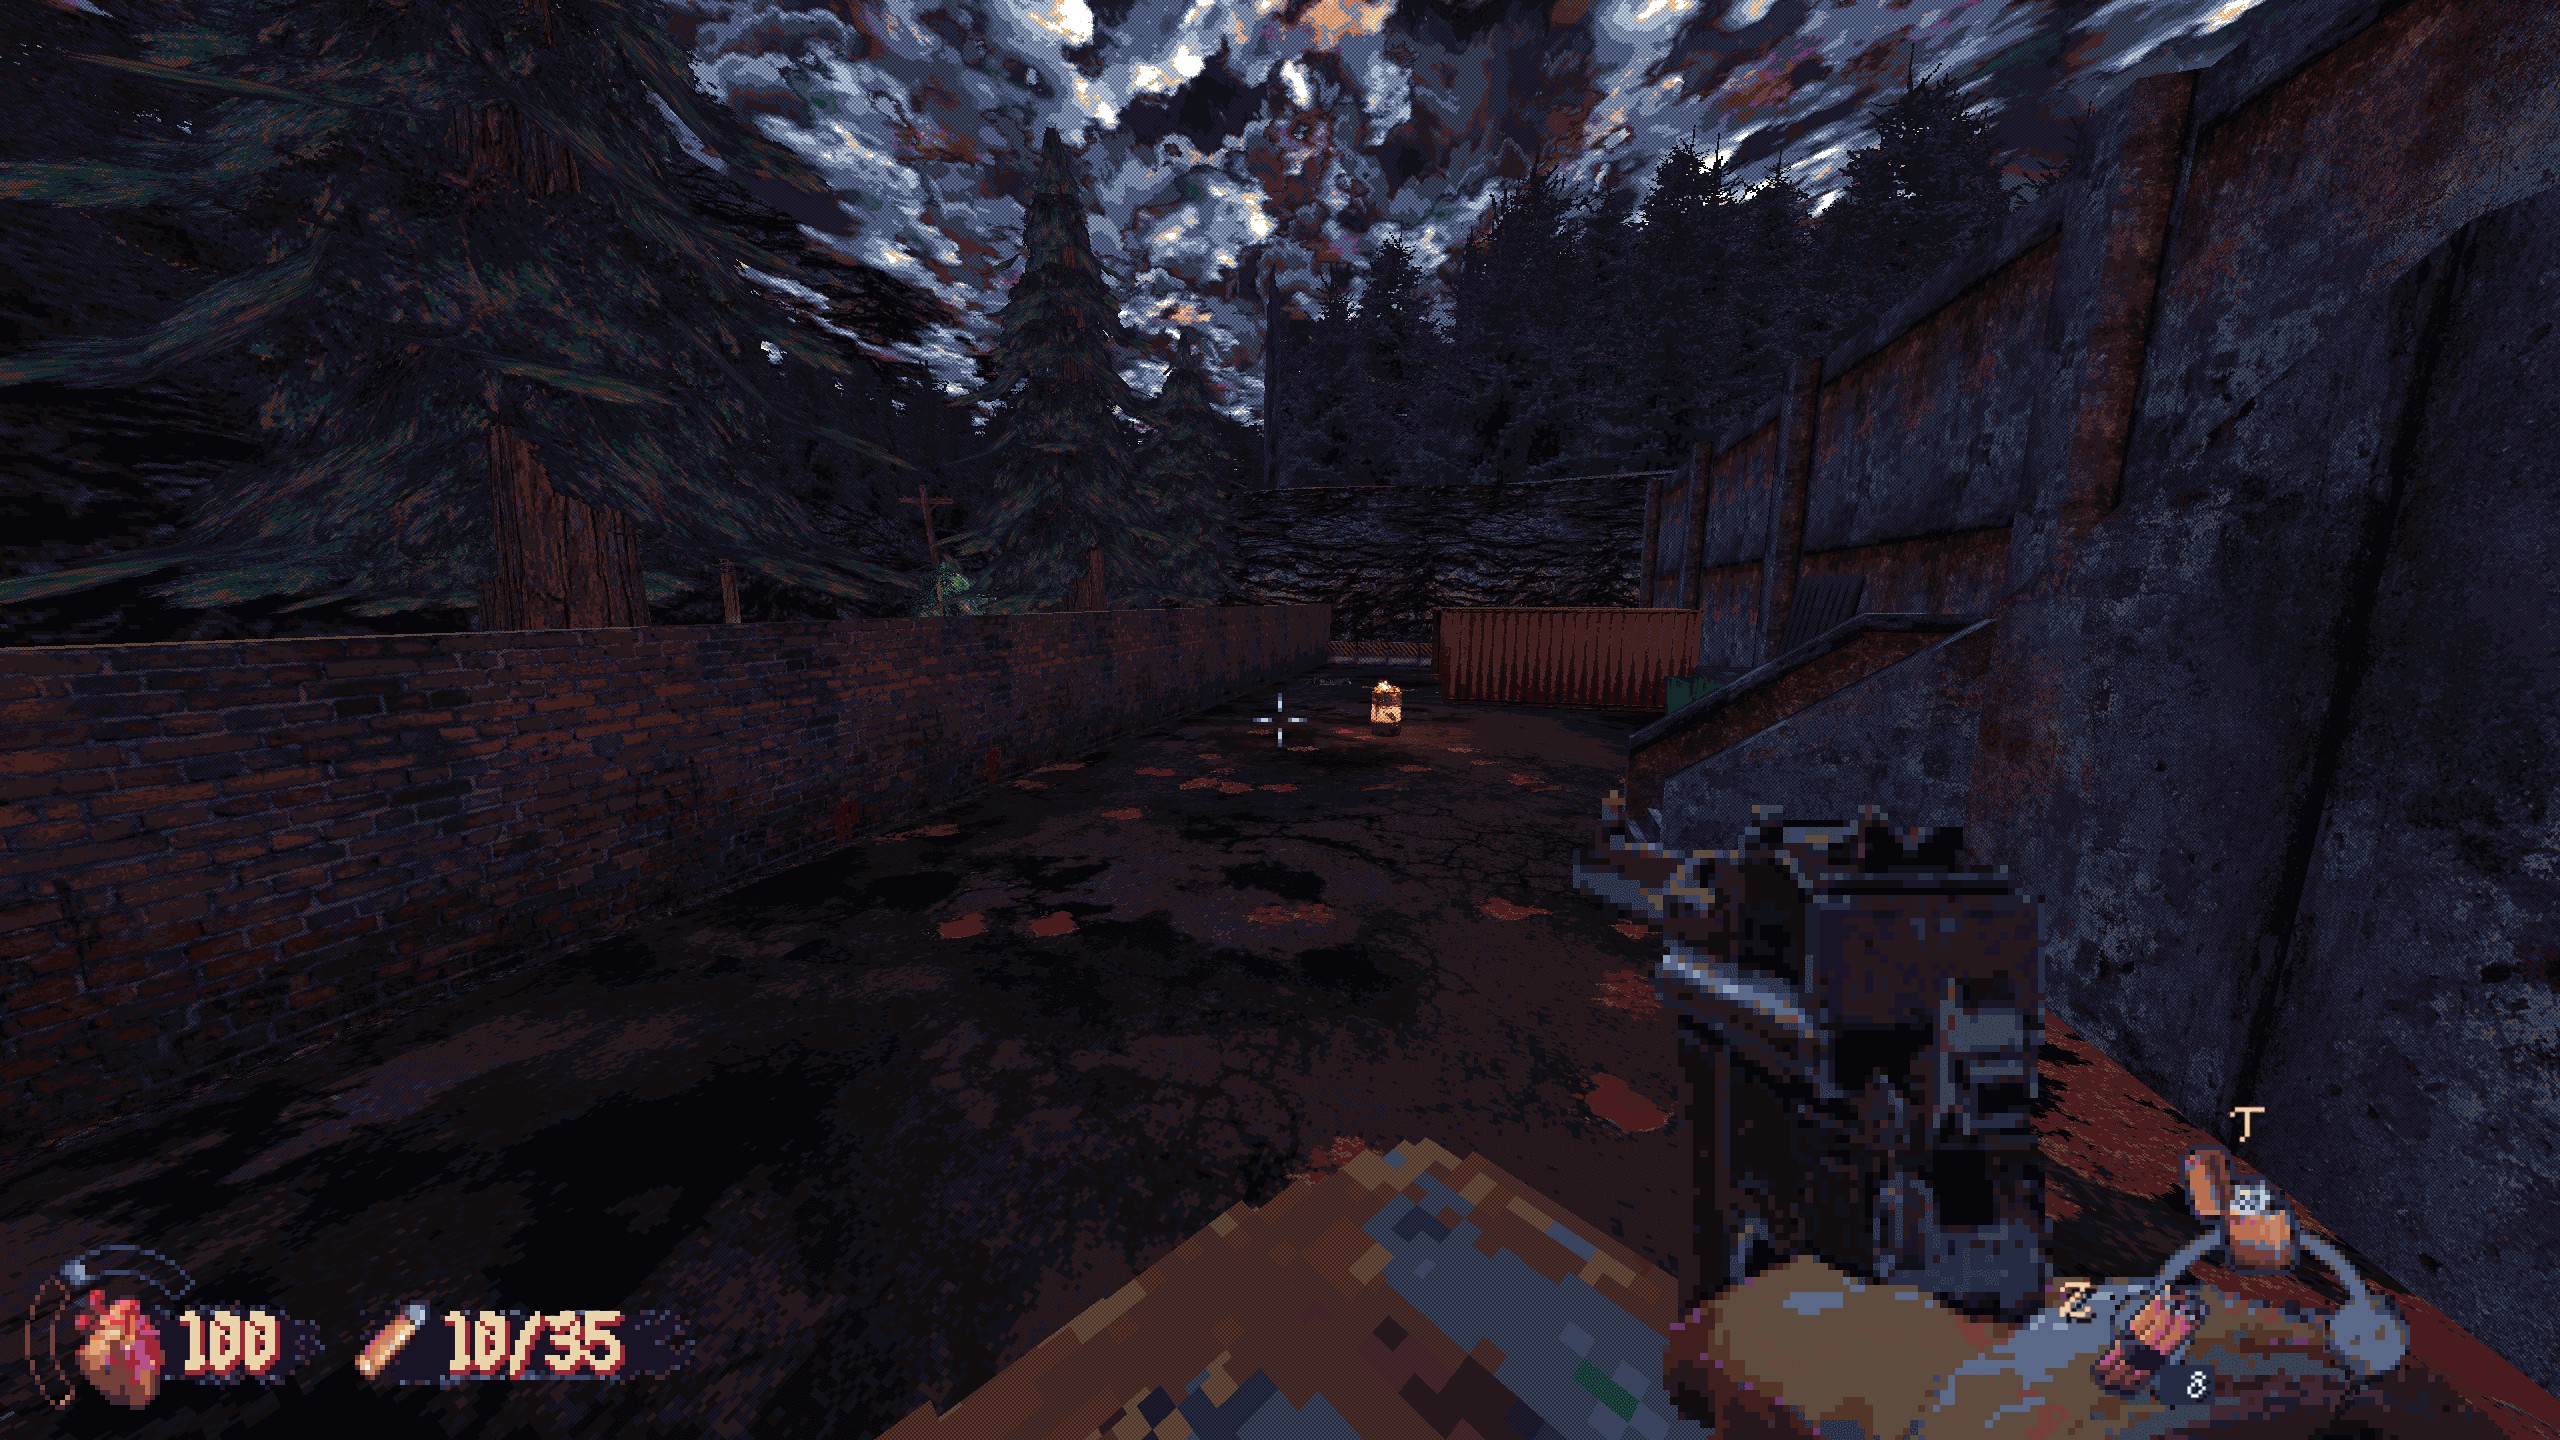
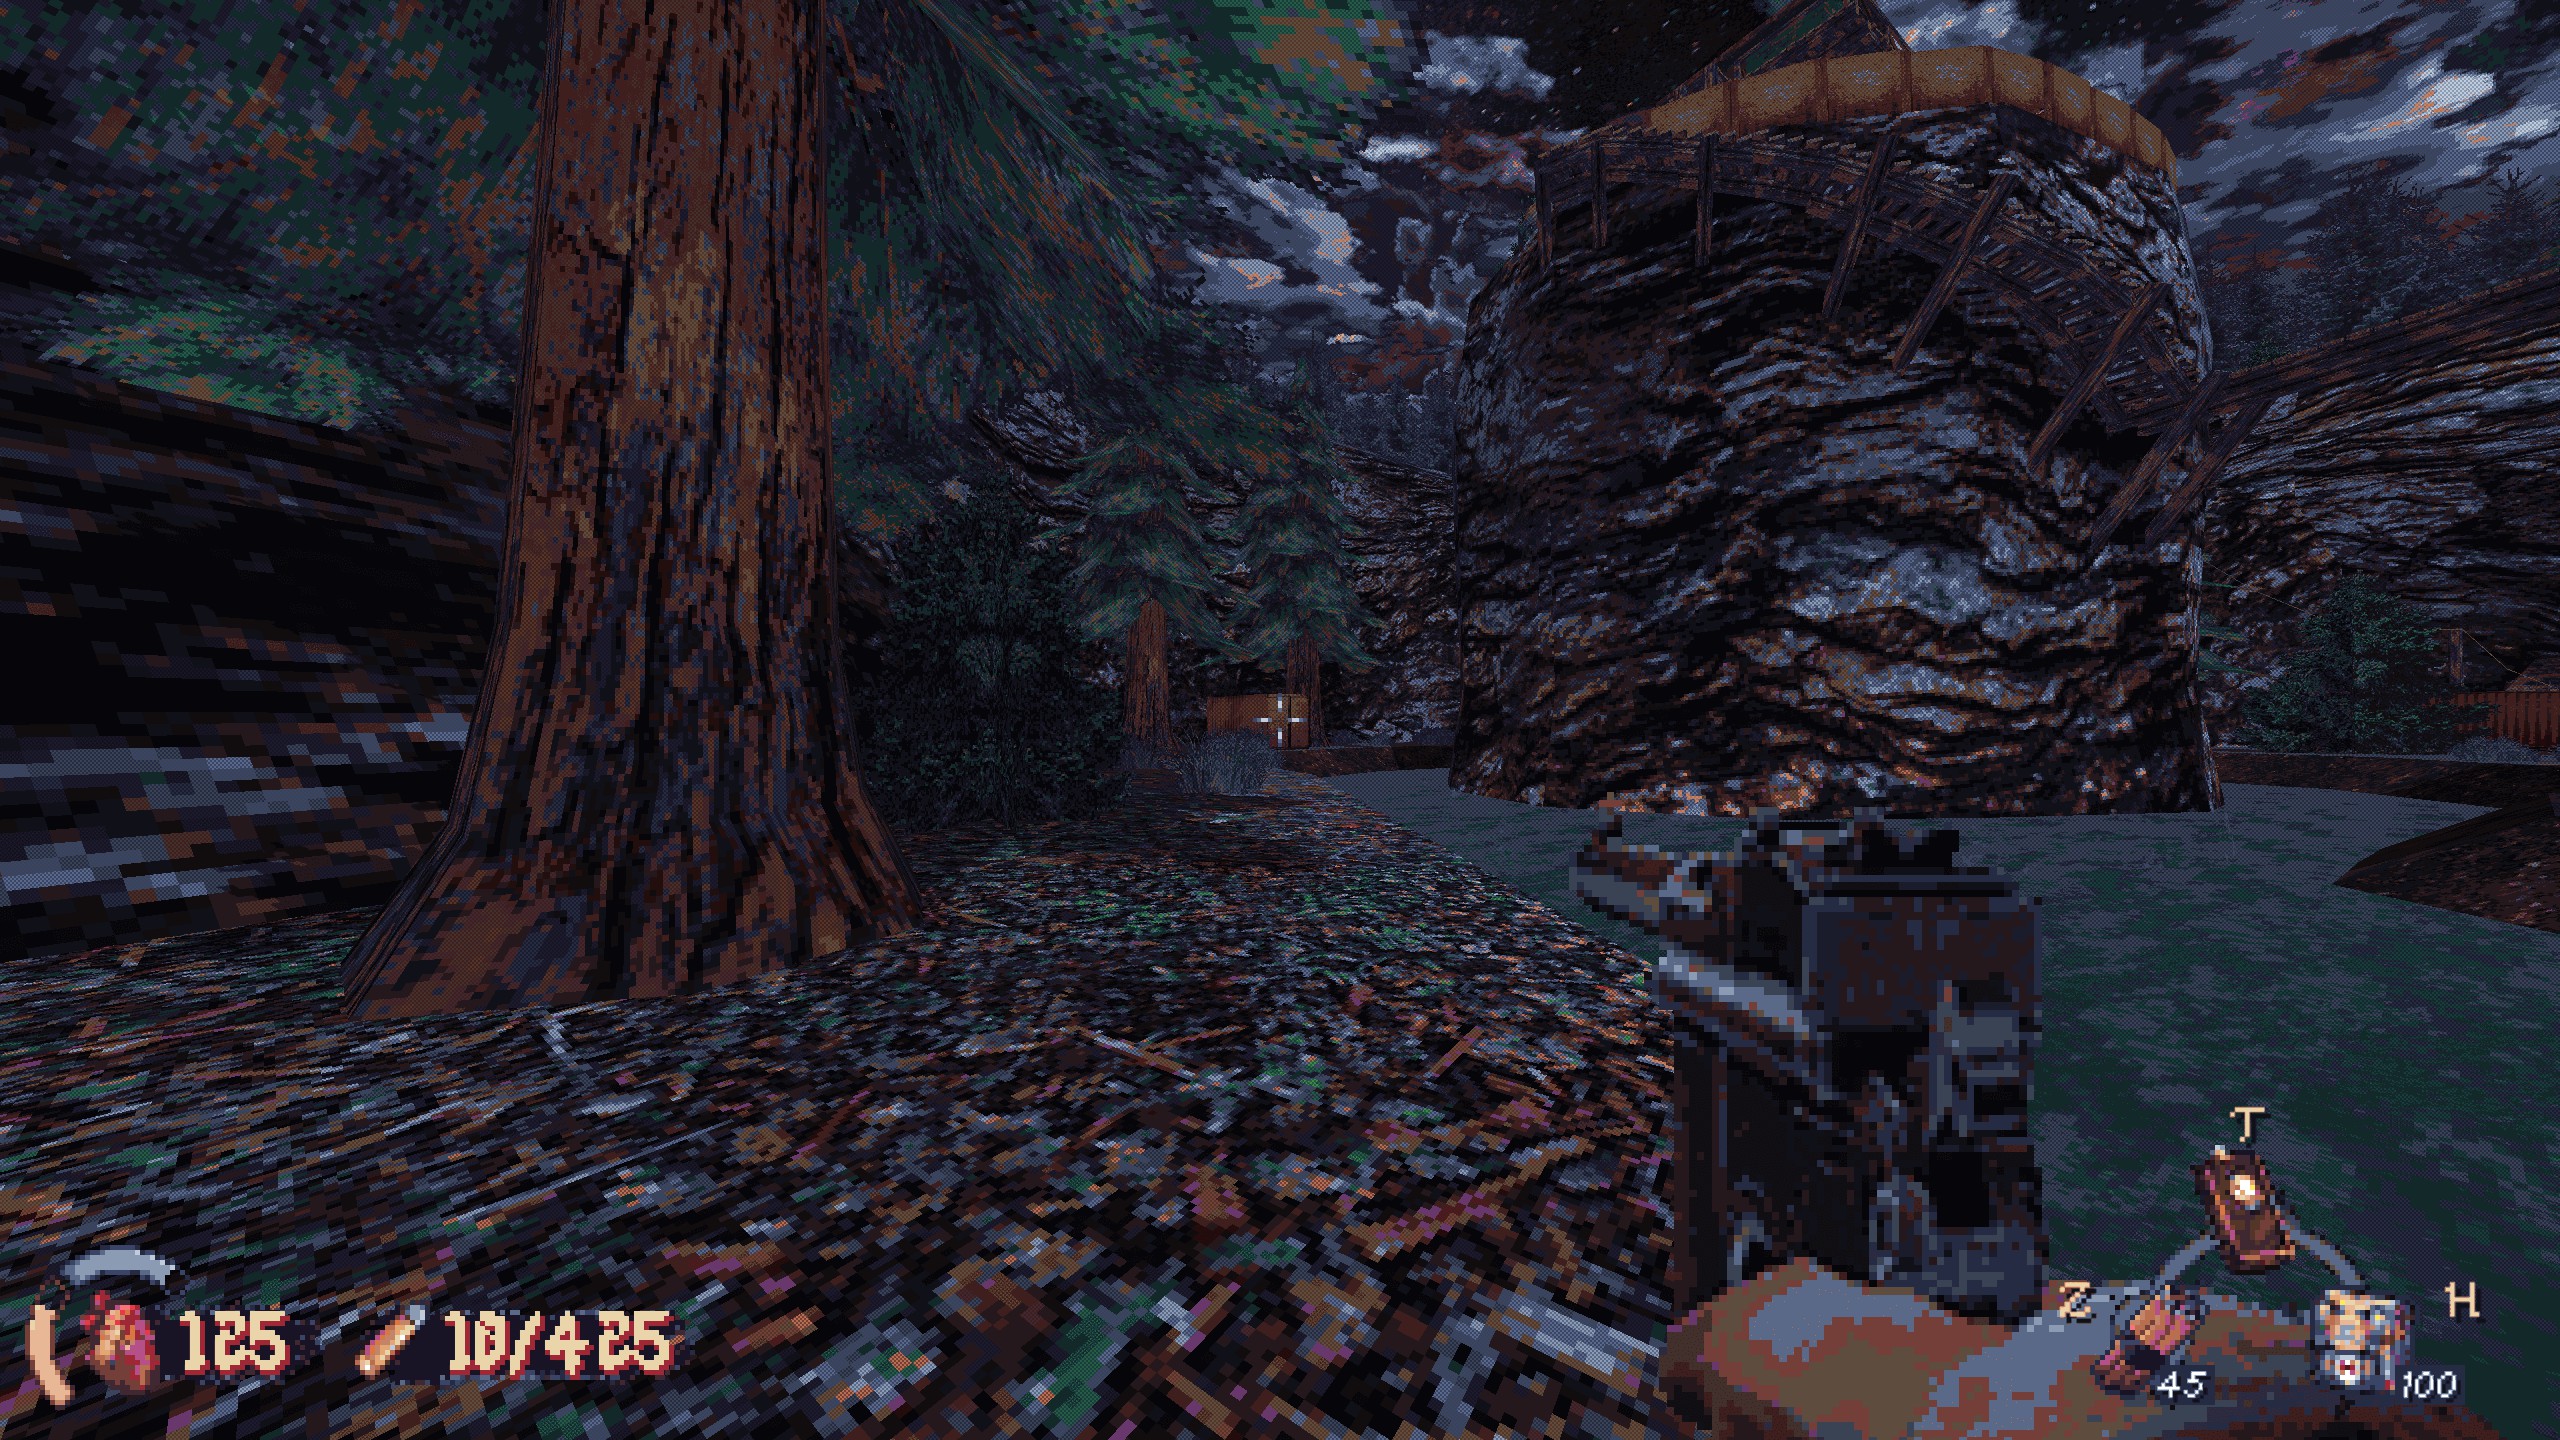
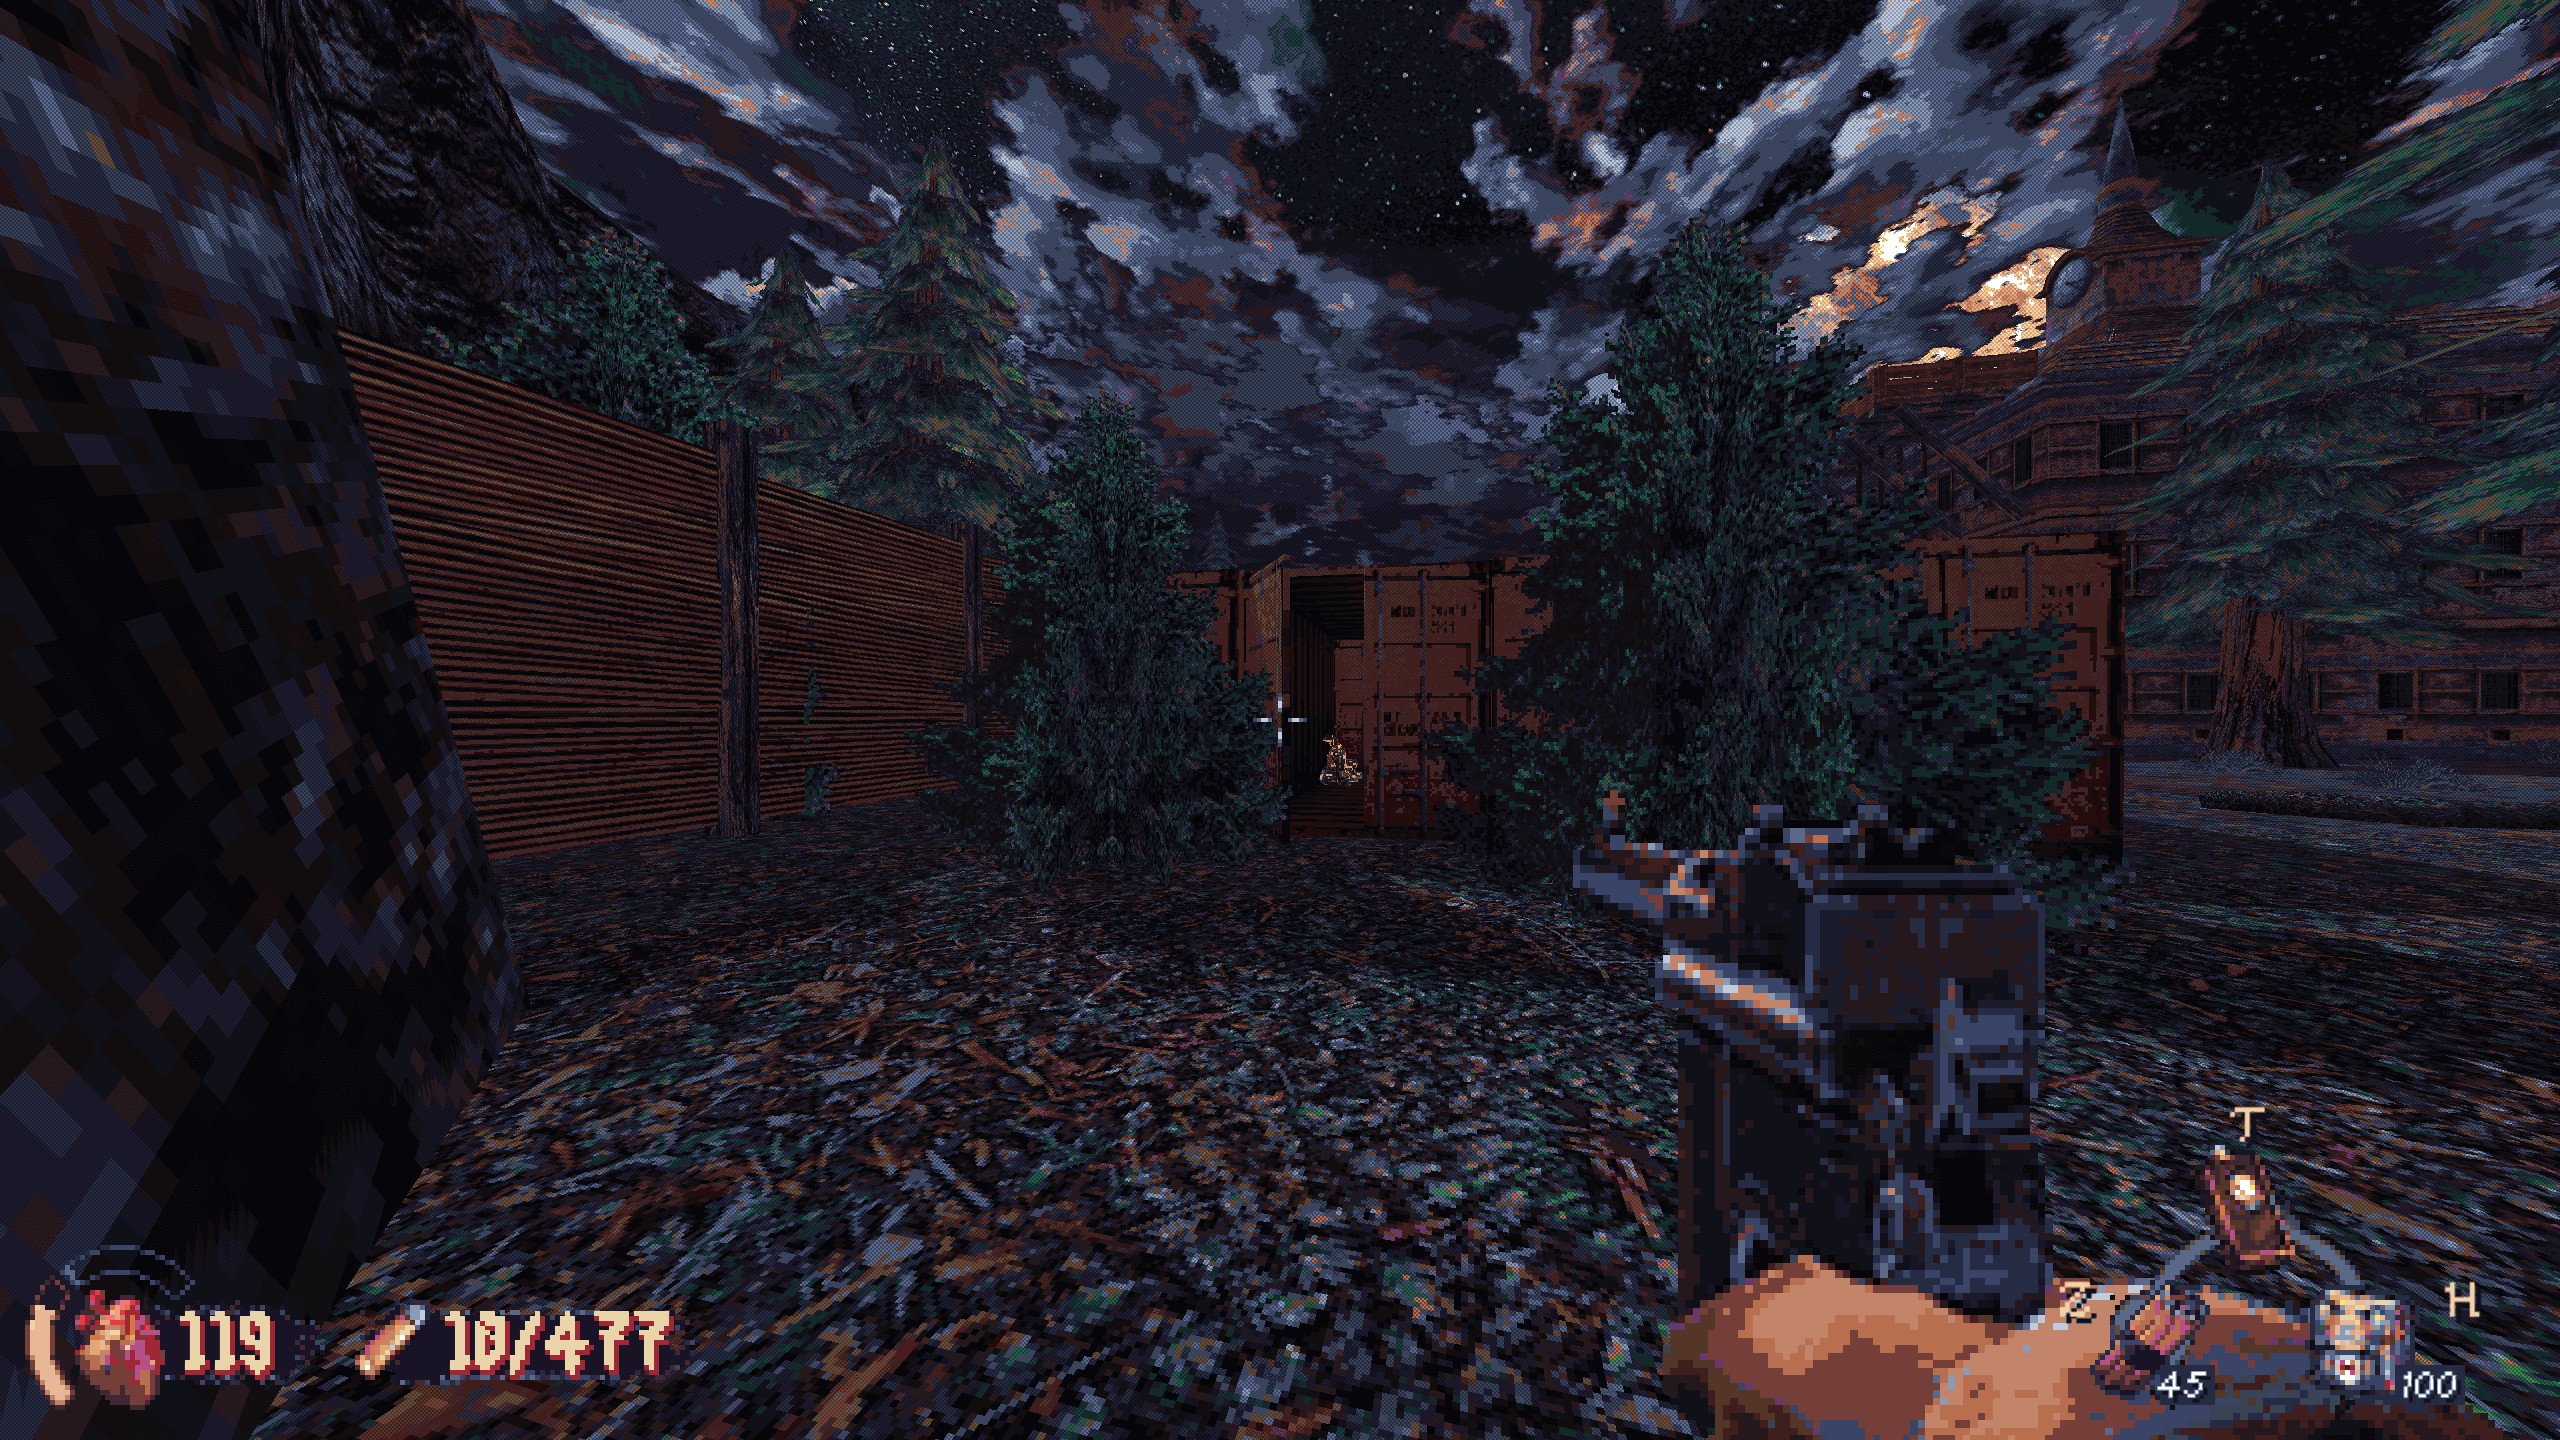
#1: After clearing the first sniper area and heading into the second, walk straight forward to this wooden gate. Step through, and turn immediately right. Check under the boards next to the truck. Recompensa: armor and ammo.
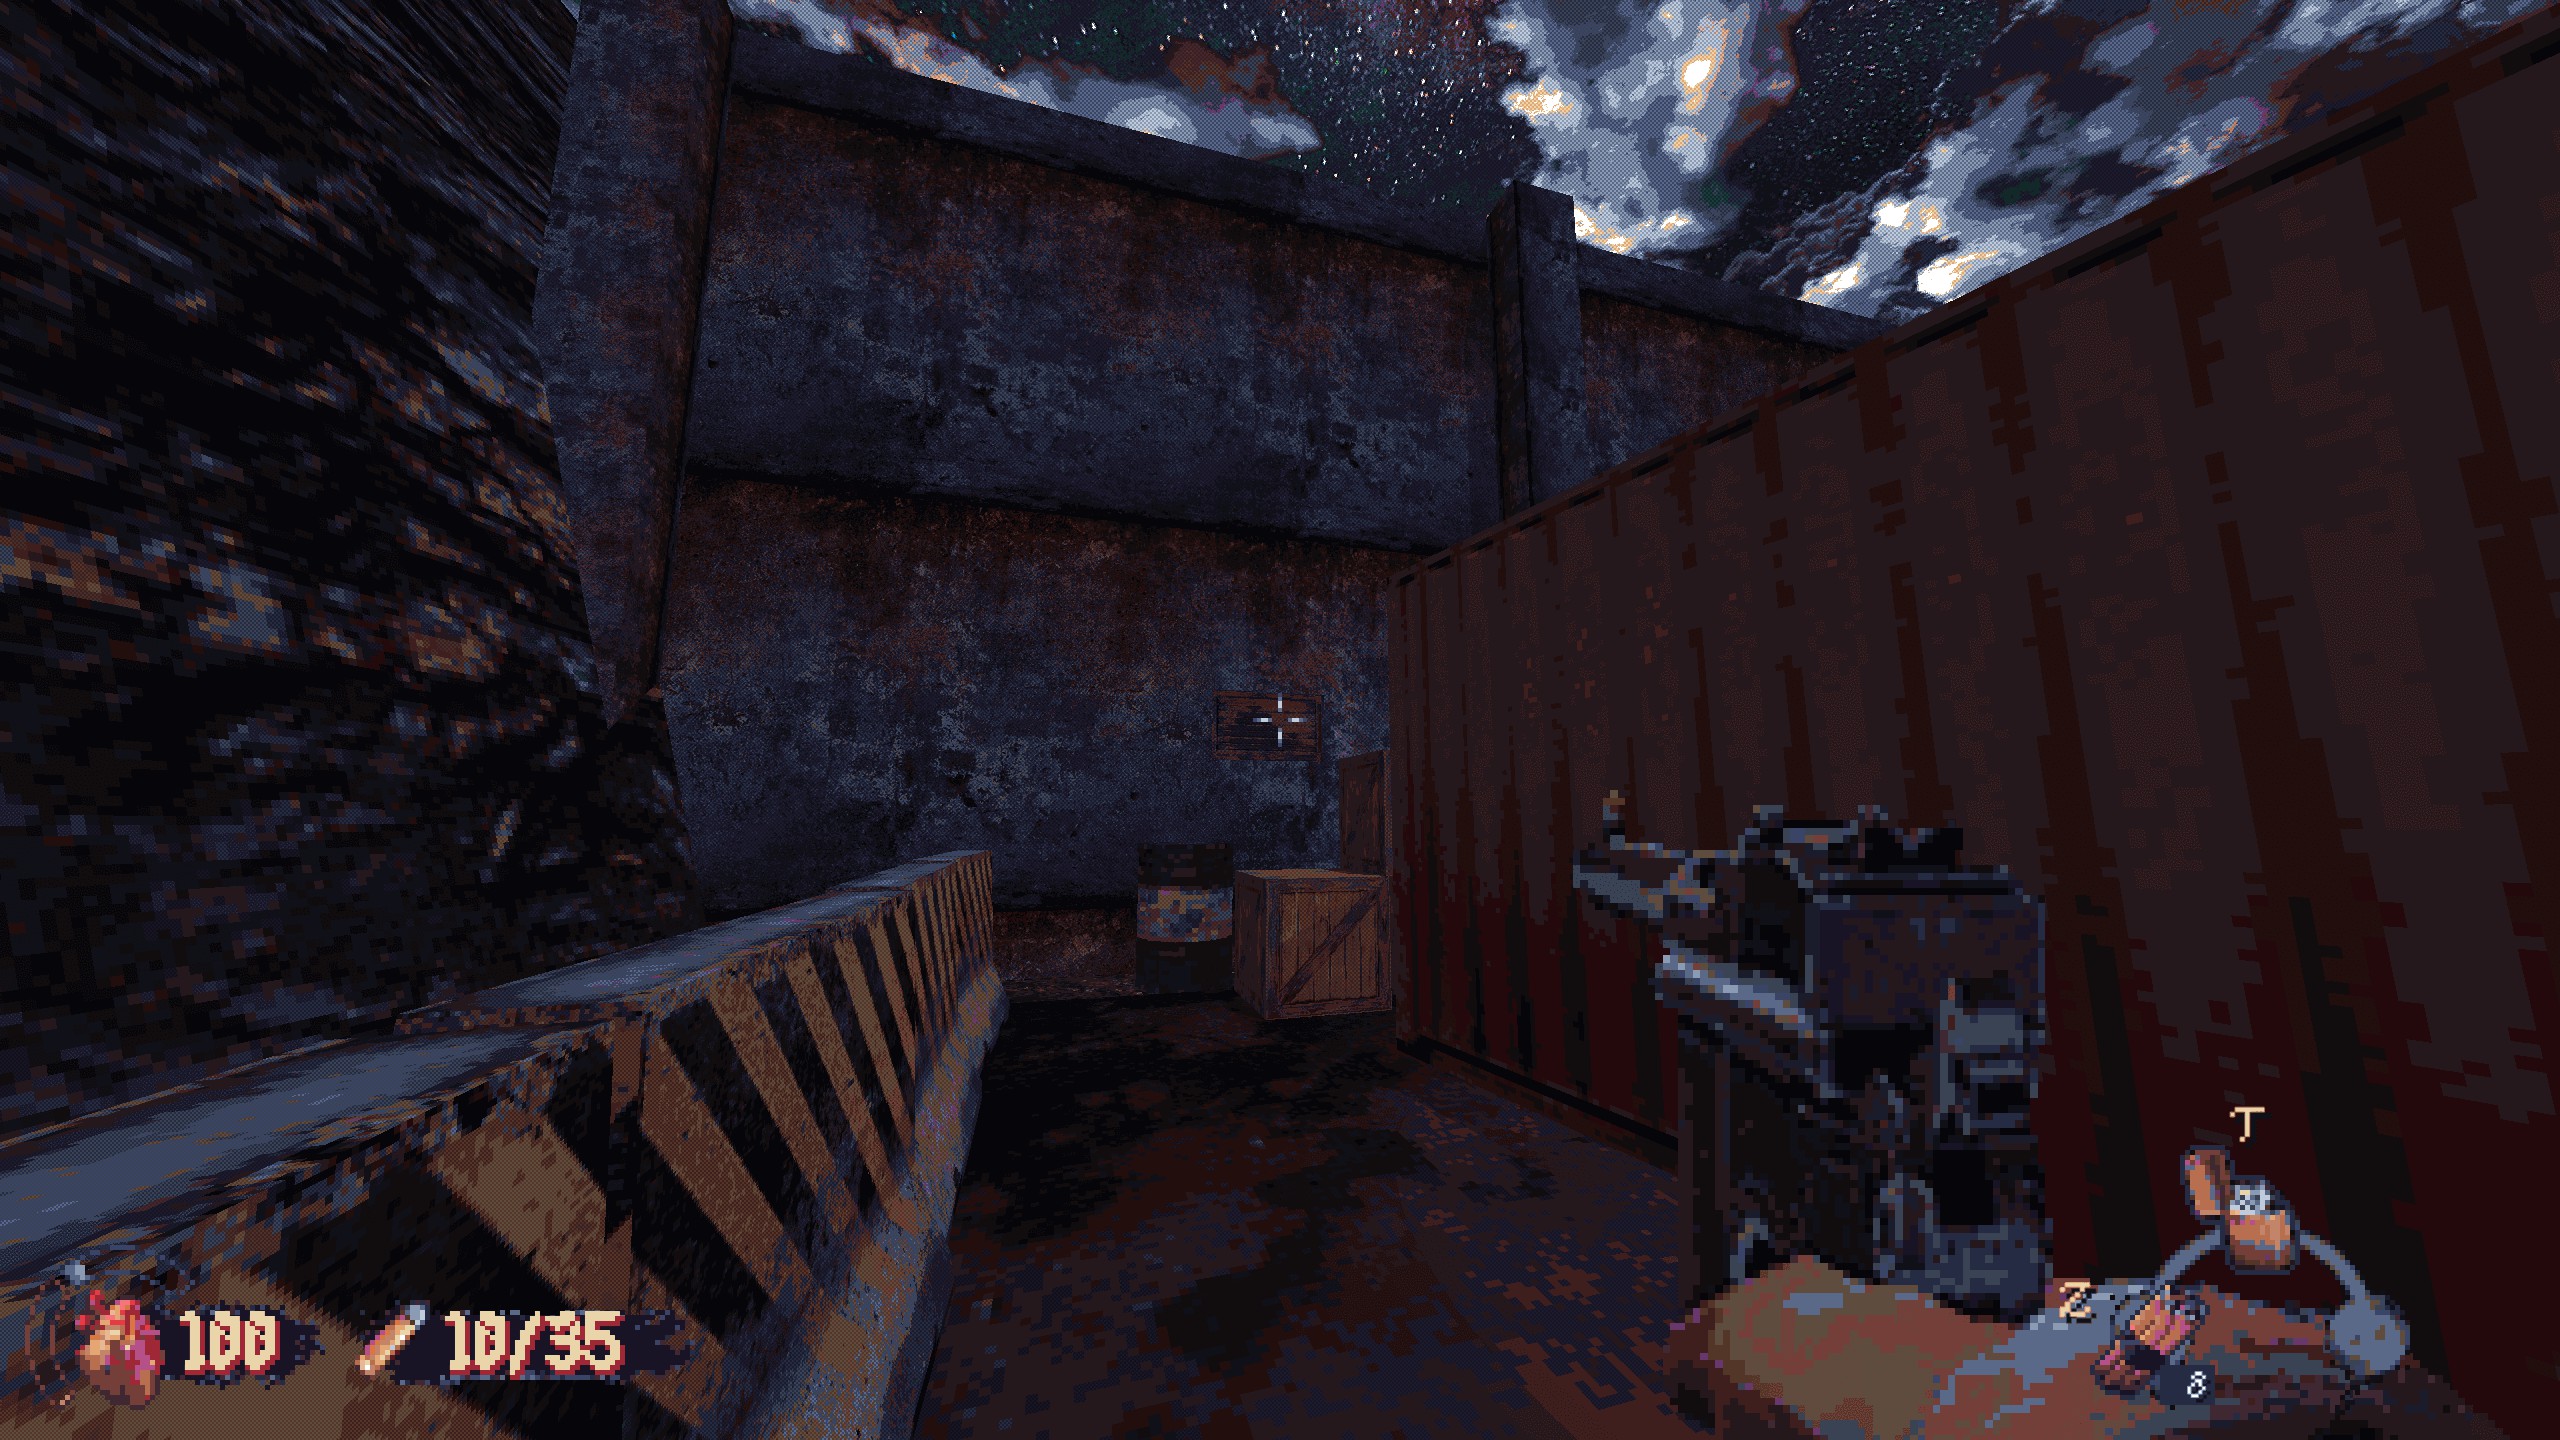
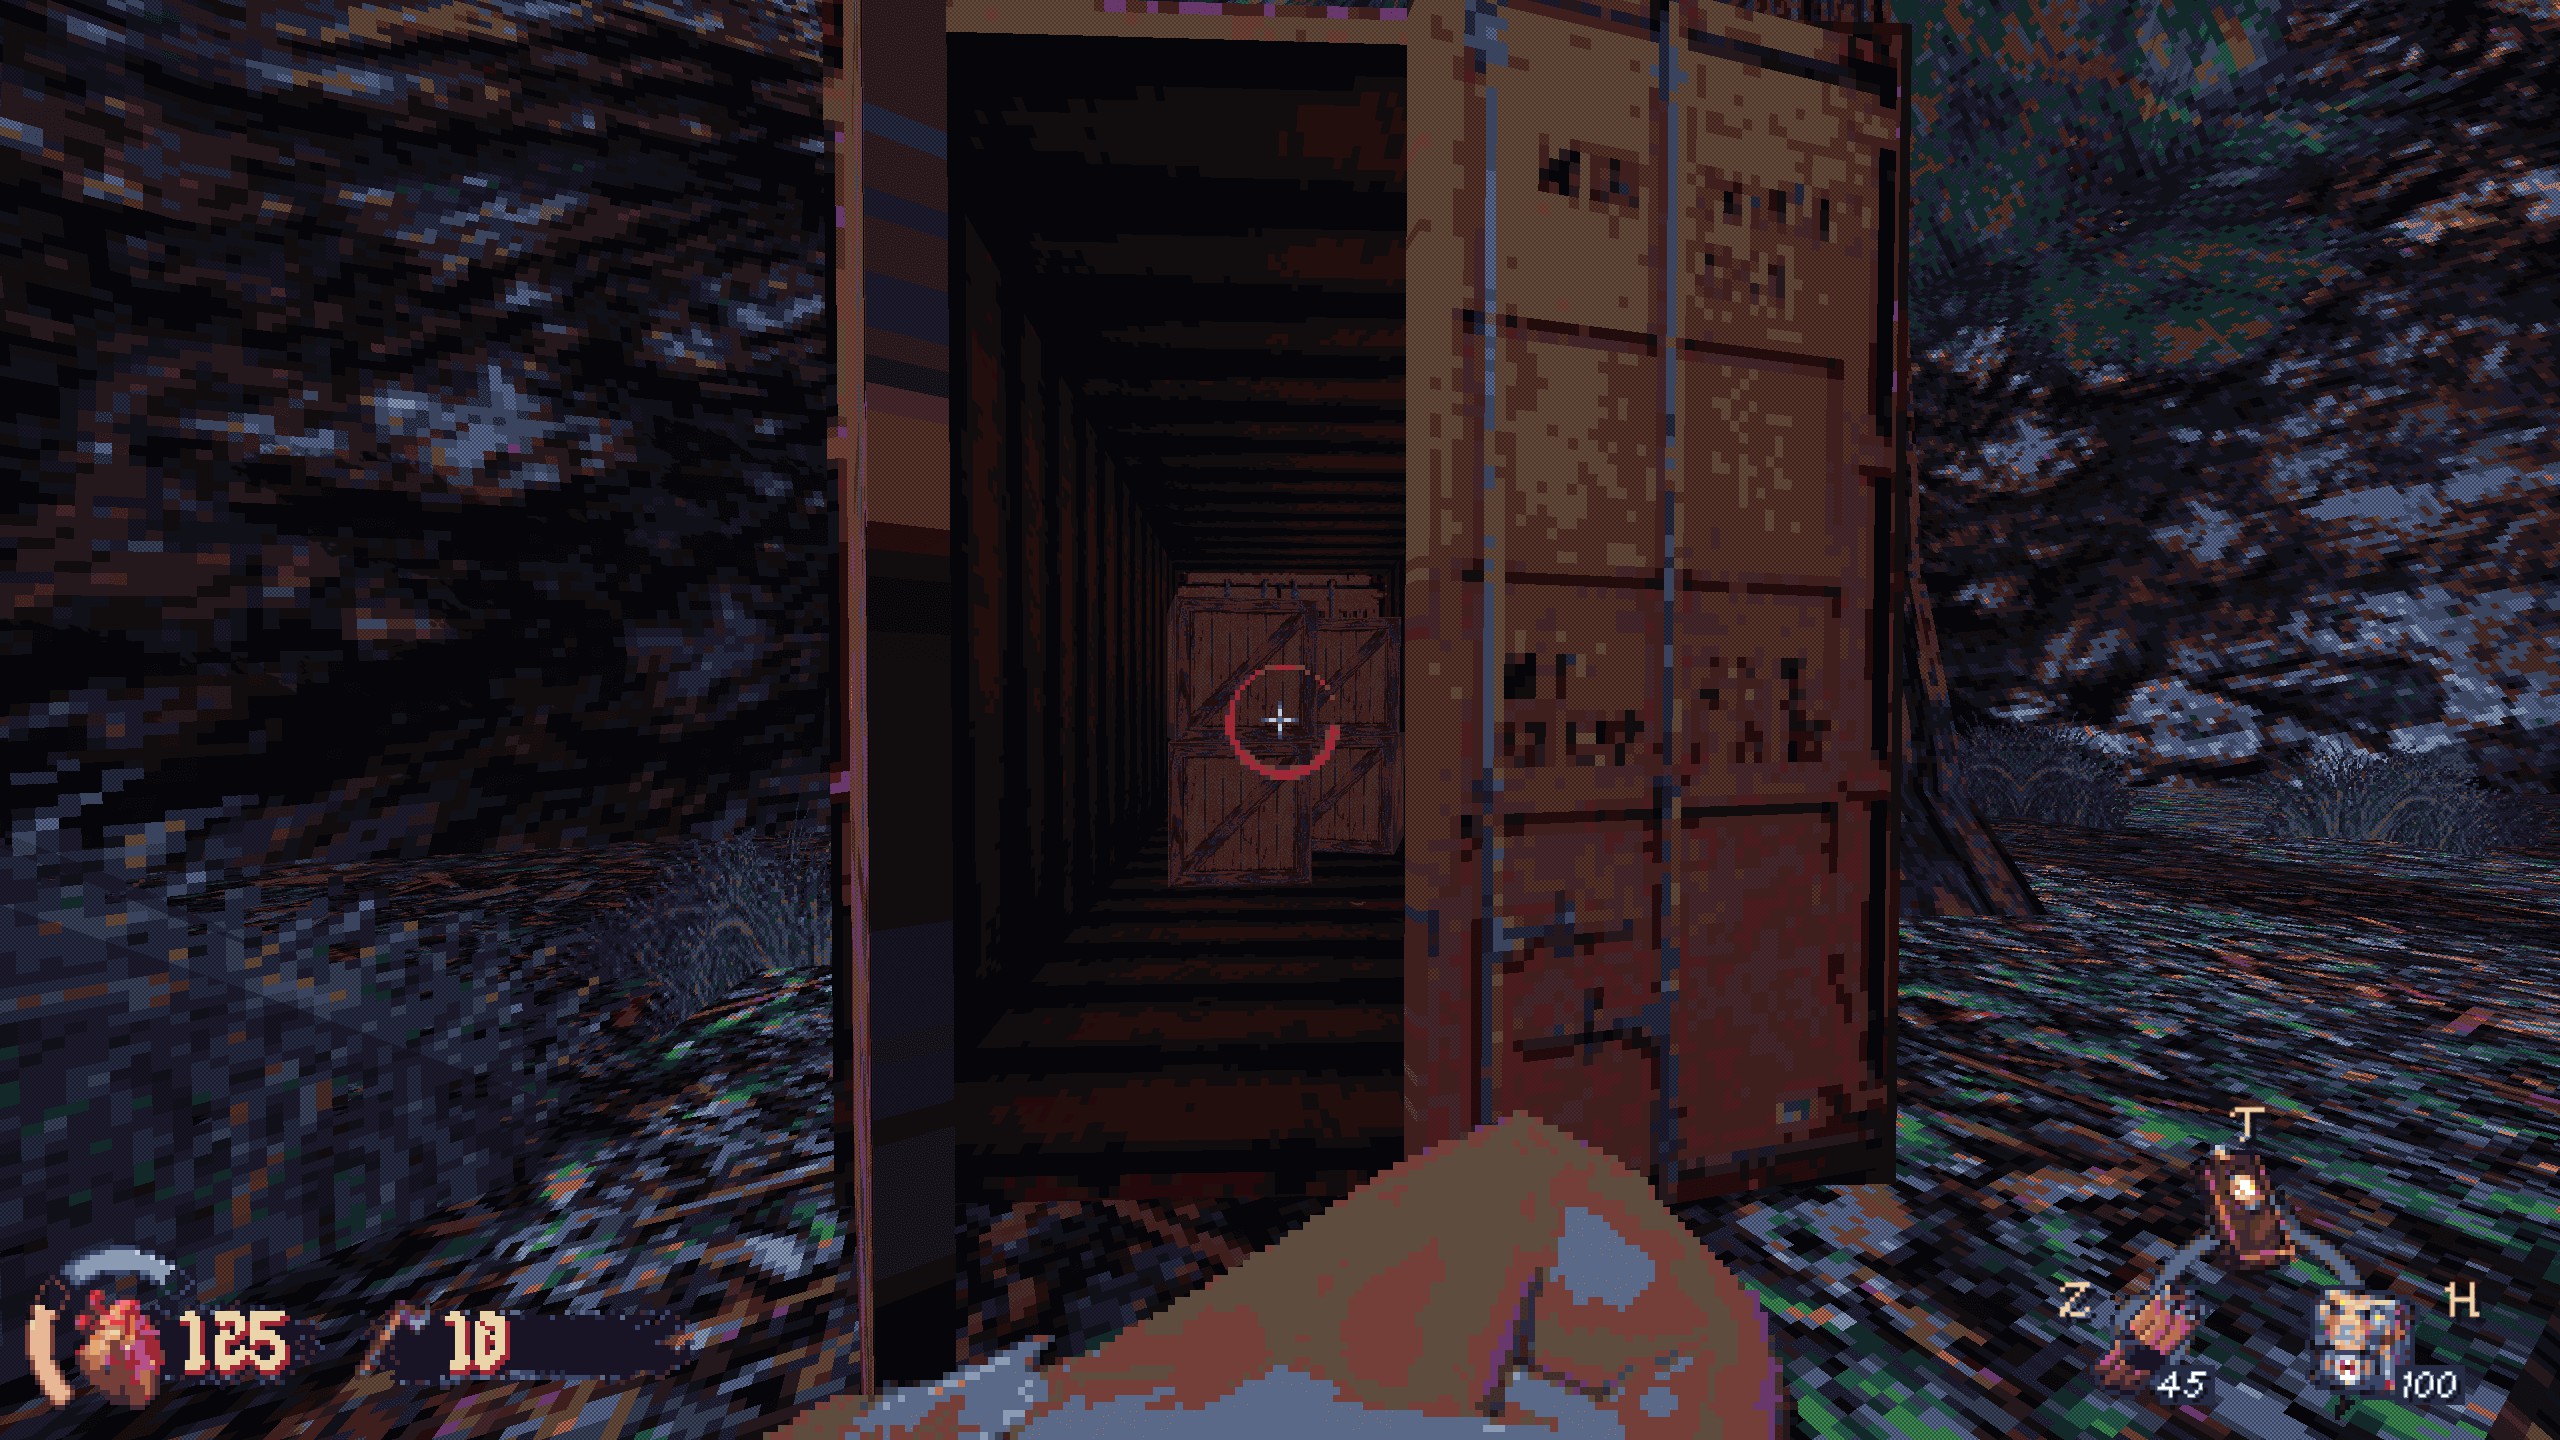
#2: Head back to the entrance of this area and walk down this path to the side to find a shipping container. Break the crates inside. Recompensa: weapon part and ammo.
Papel 2: Around the asylum
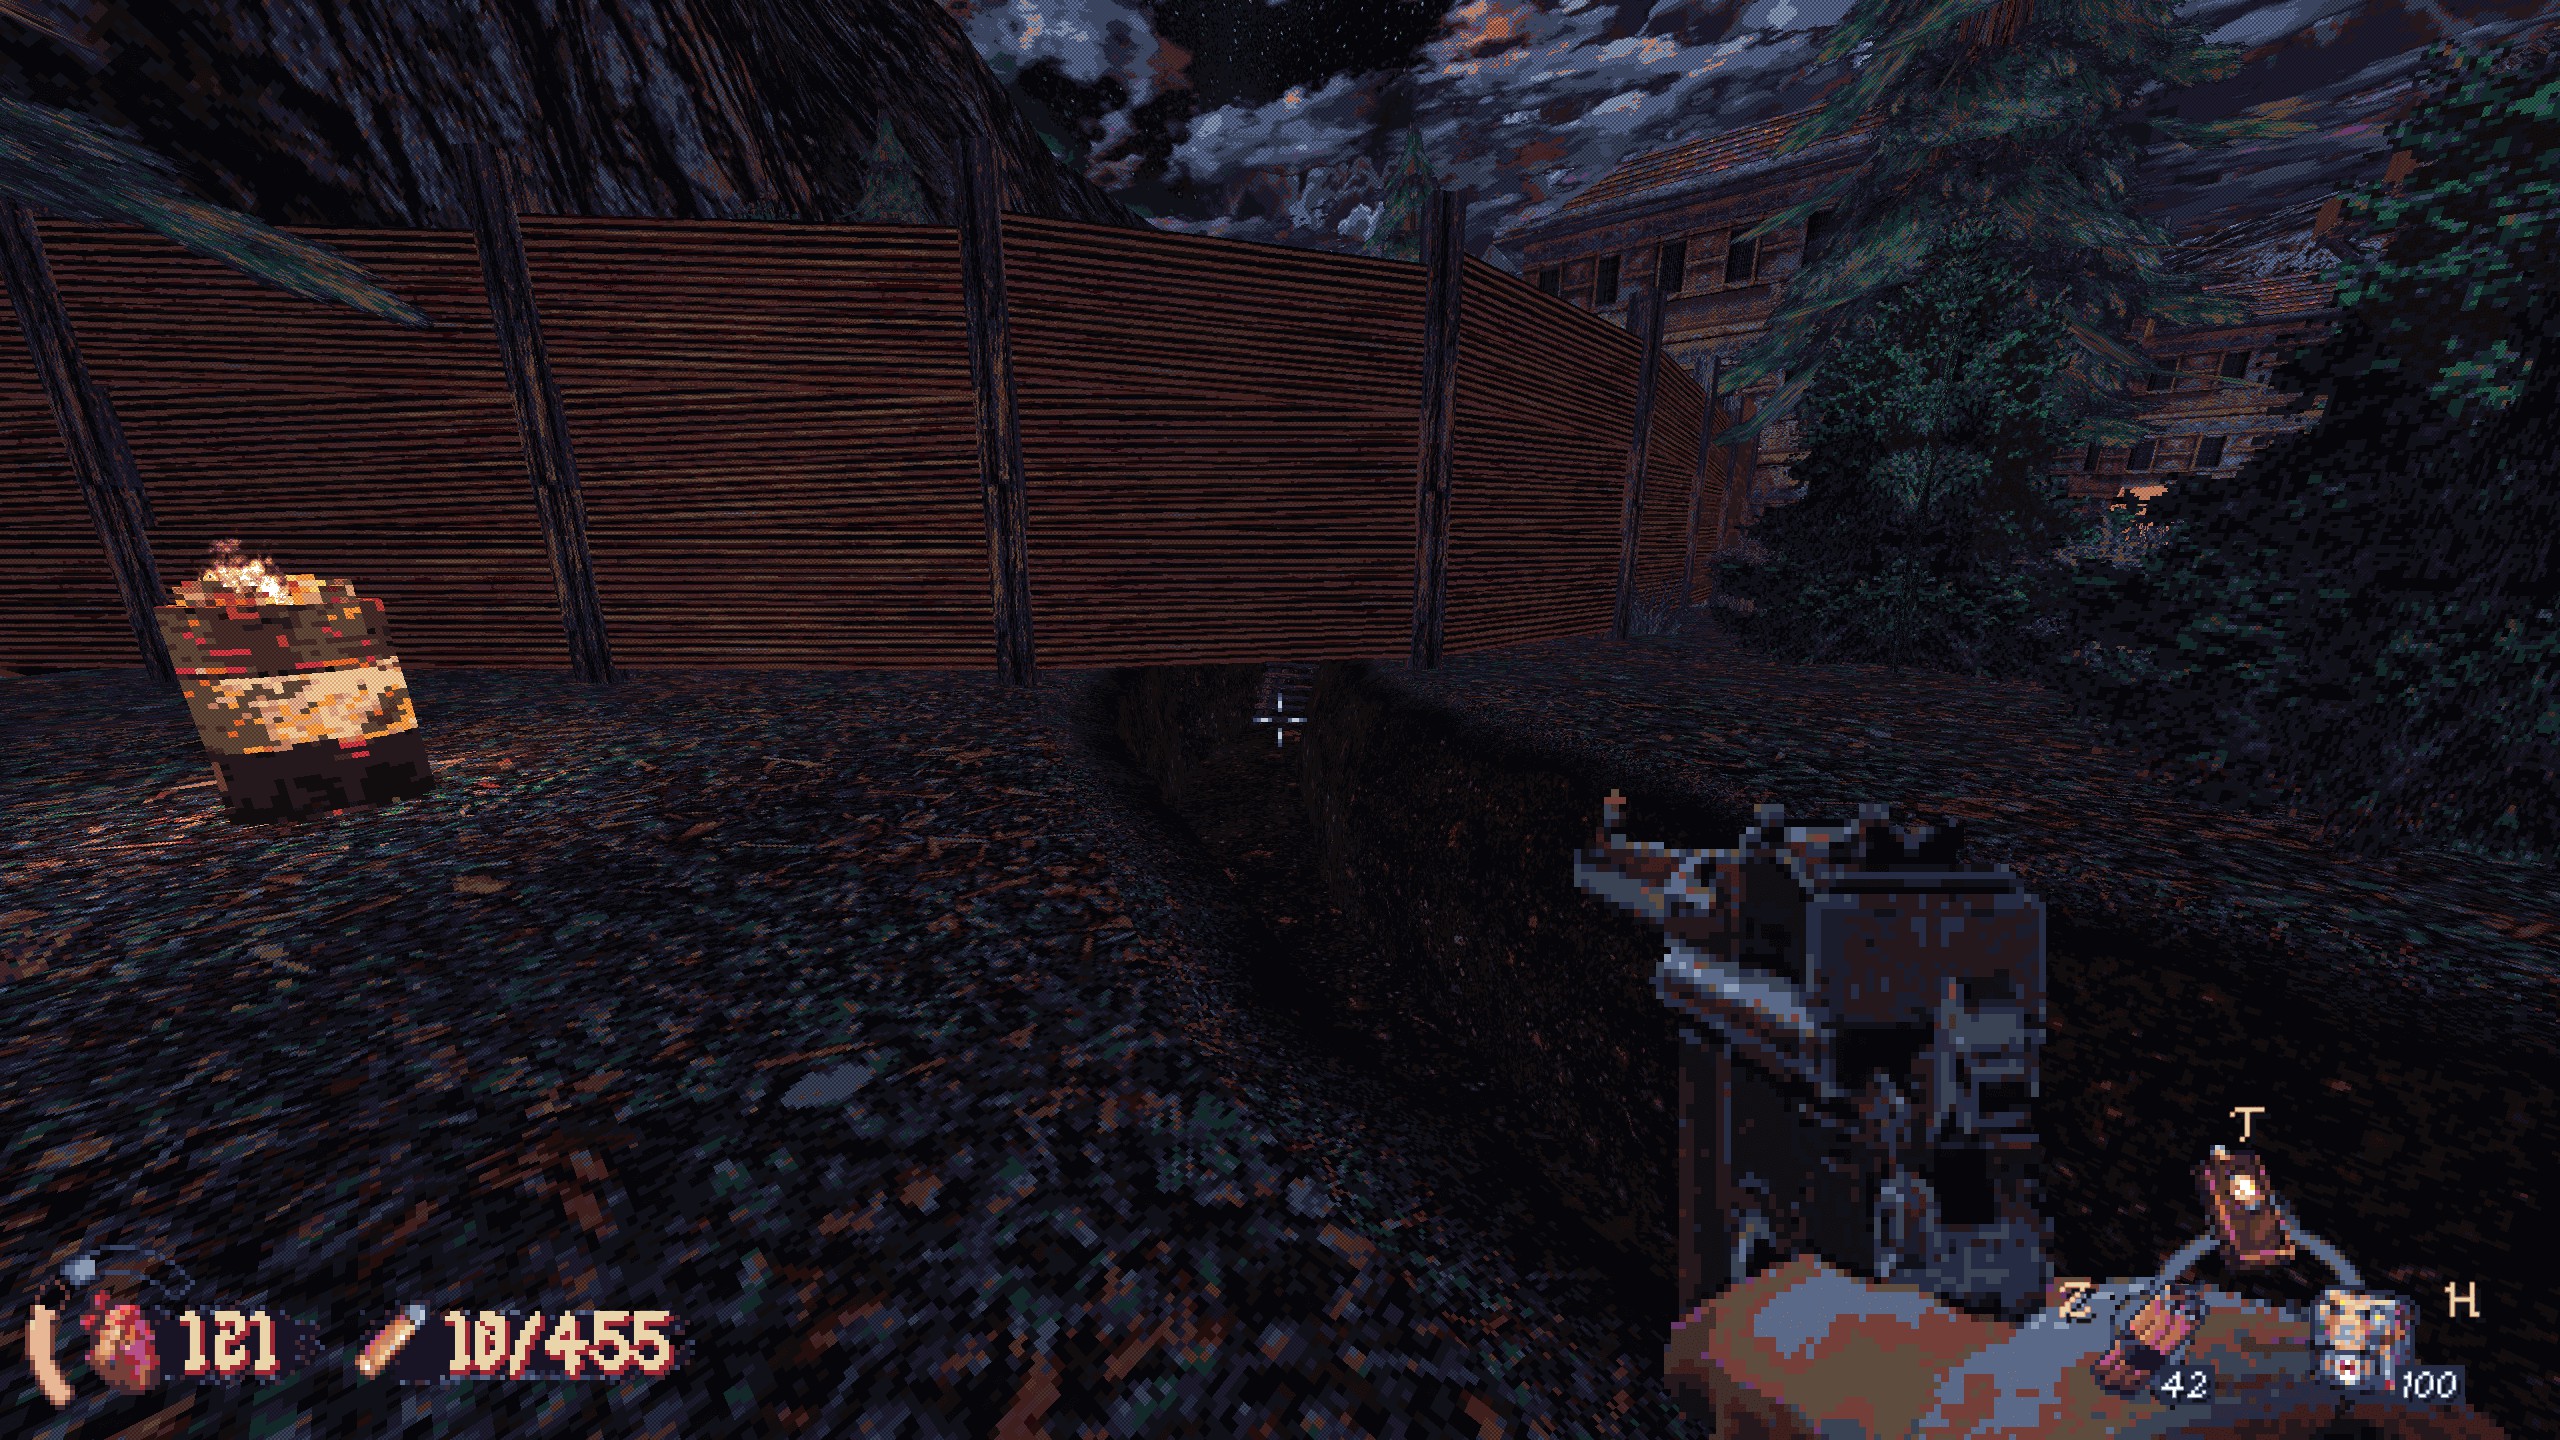
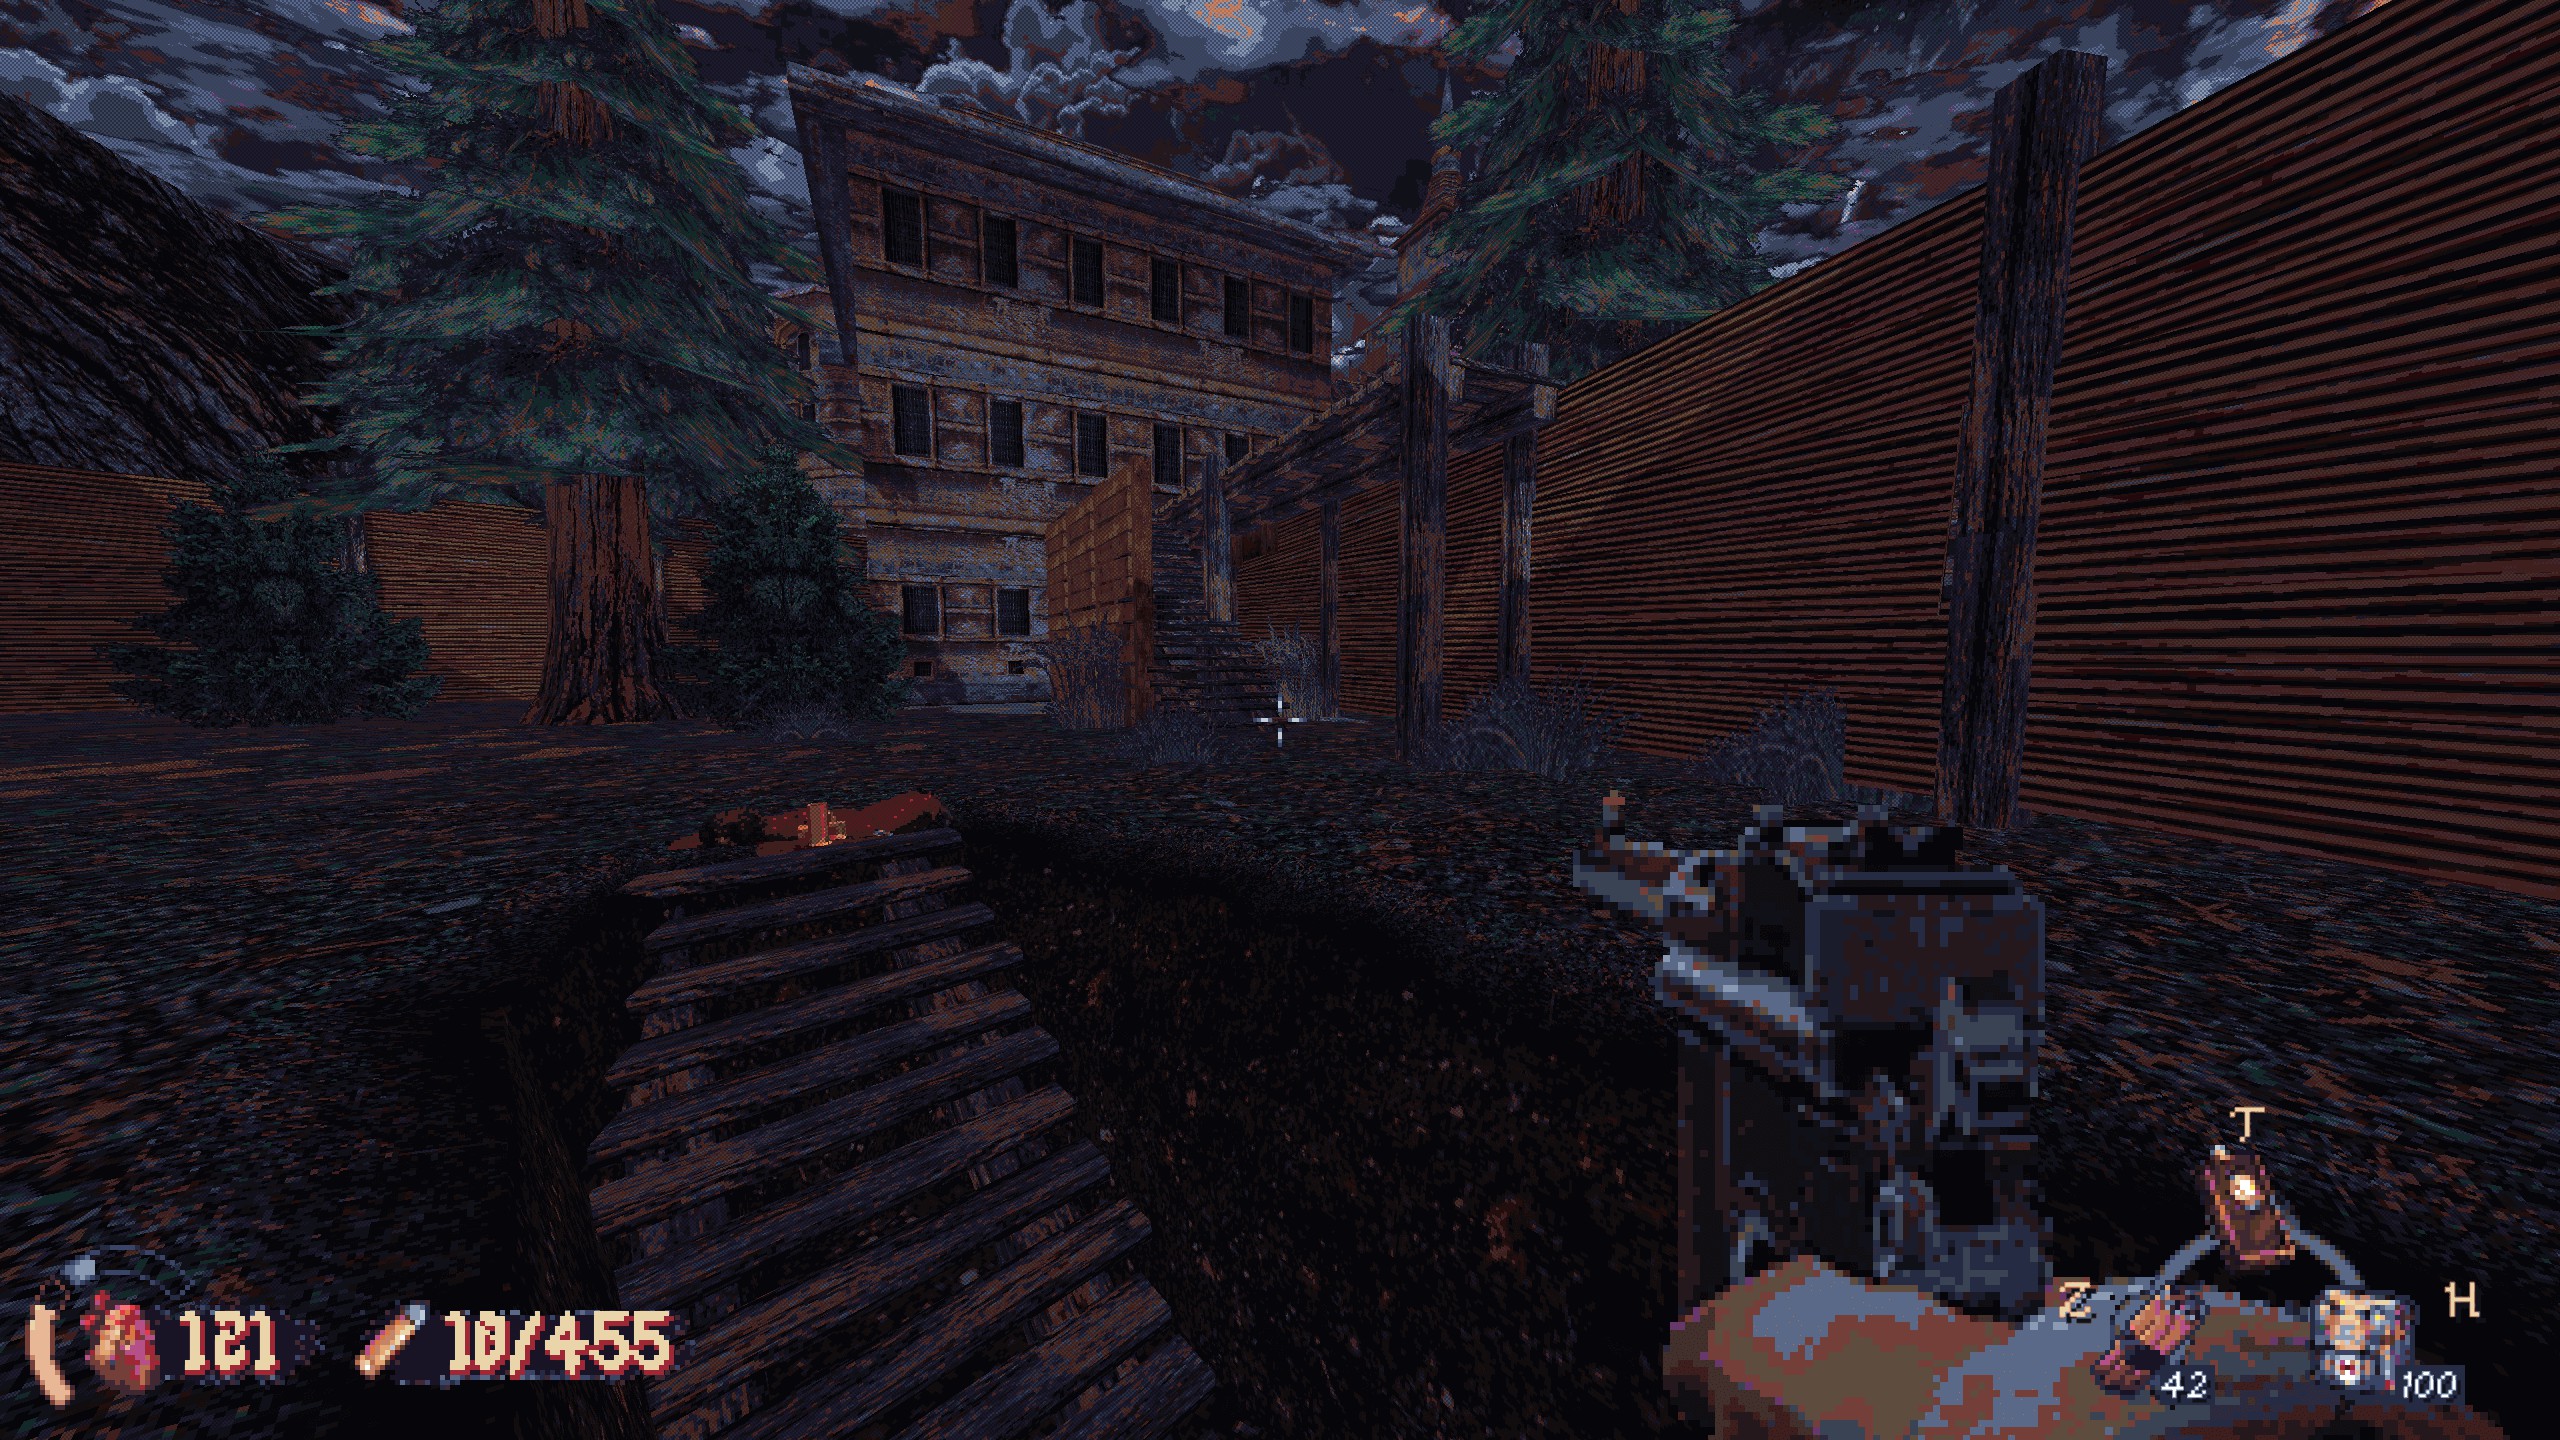
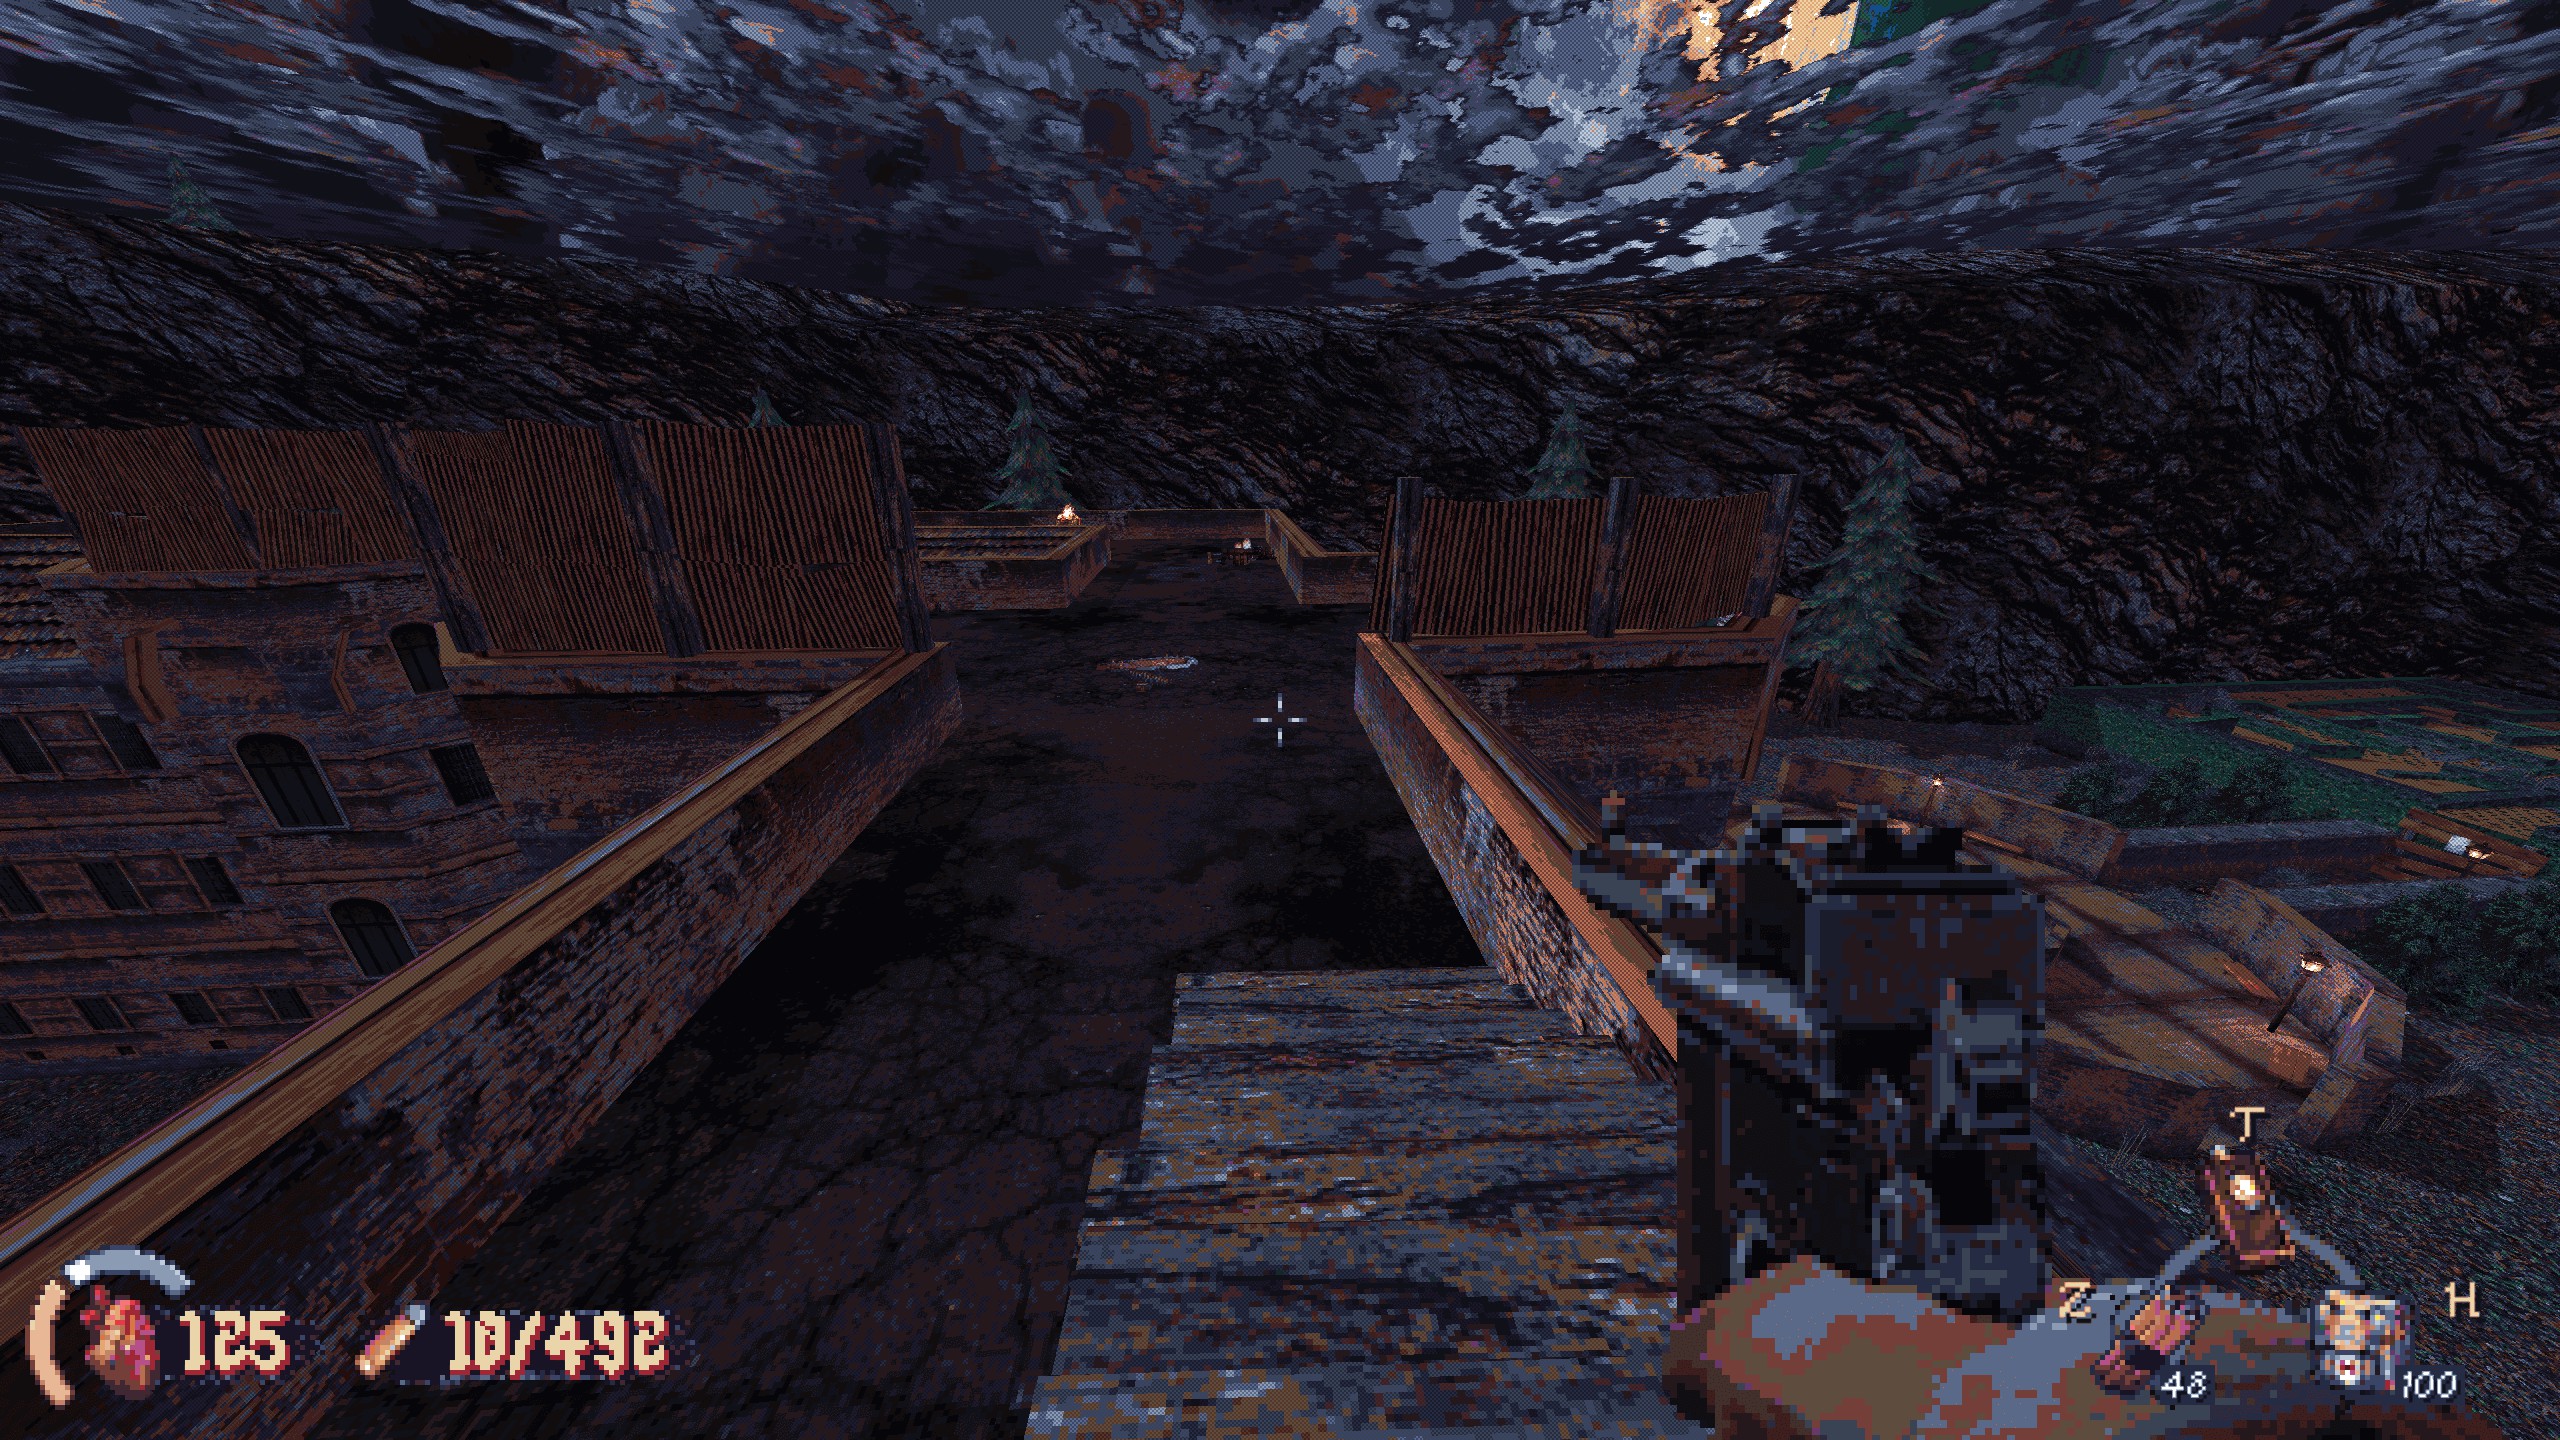
#3: Do lado esquerdo, go through this trench and under the wall. Check under the stairs to your right. Recompensa: munição.
#4: Do lado direito, look for this truck filled with crates. Smash through them for a piddly reward. Recompensa: 5 armadura.
#5: Near the previous secret there are some shipping containers. Either climb over, or walk all the way around to get behind them. One is open. Recompensa: health and armor.
Papel 3: The roof
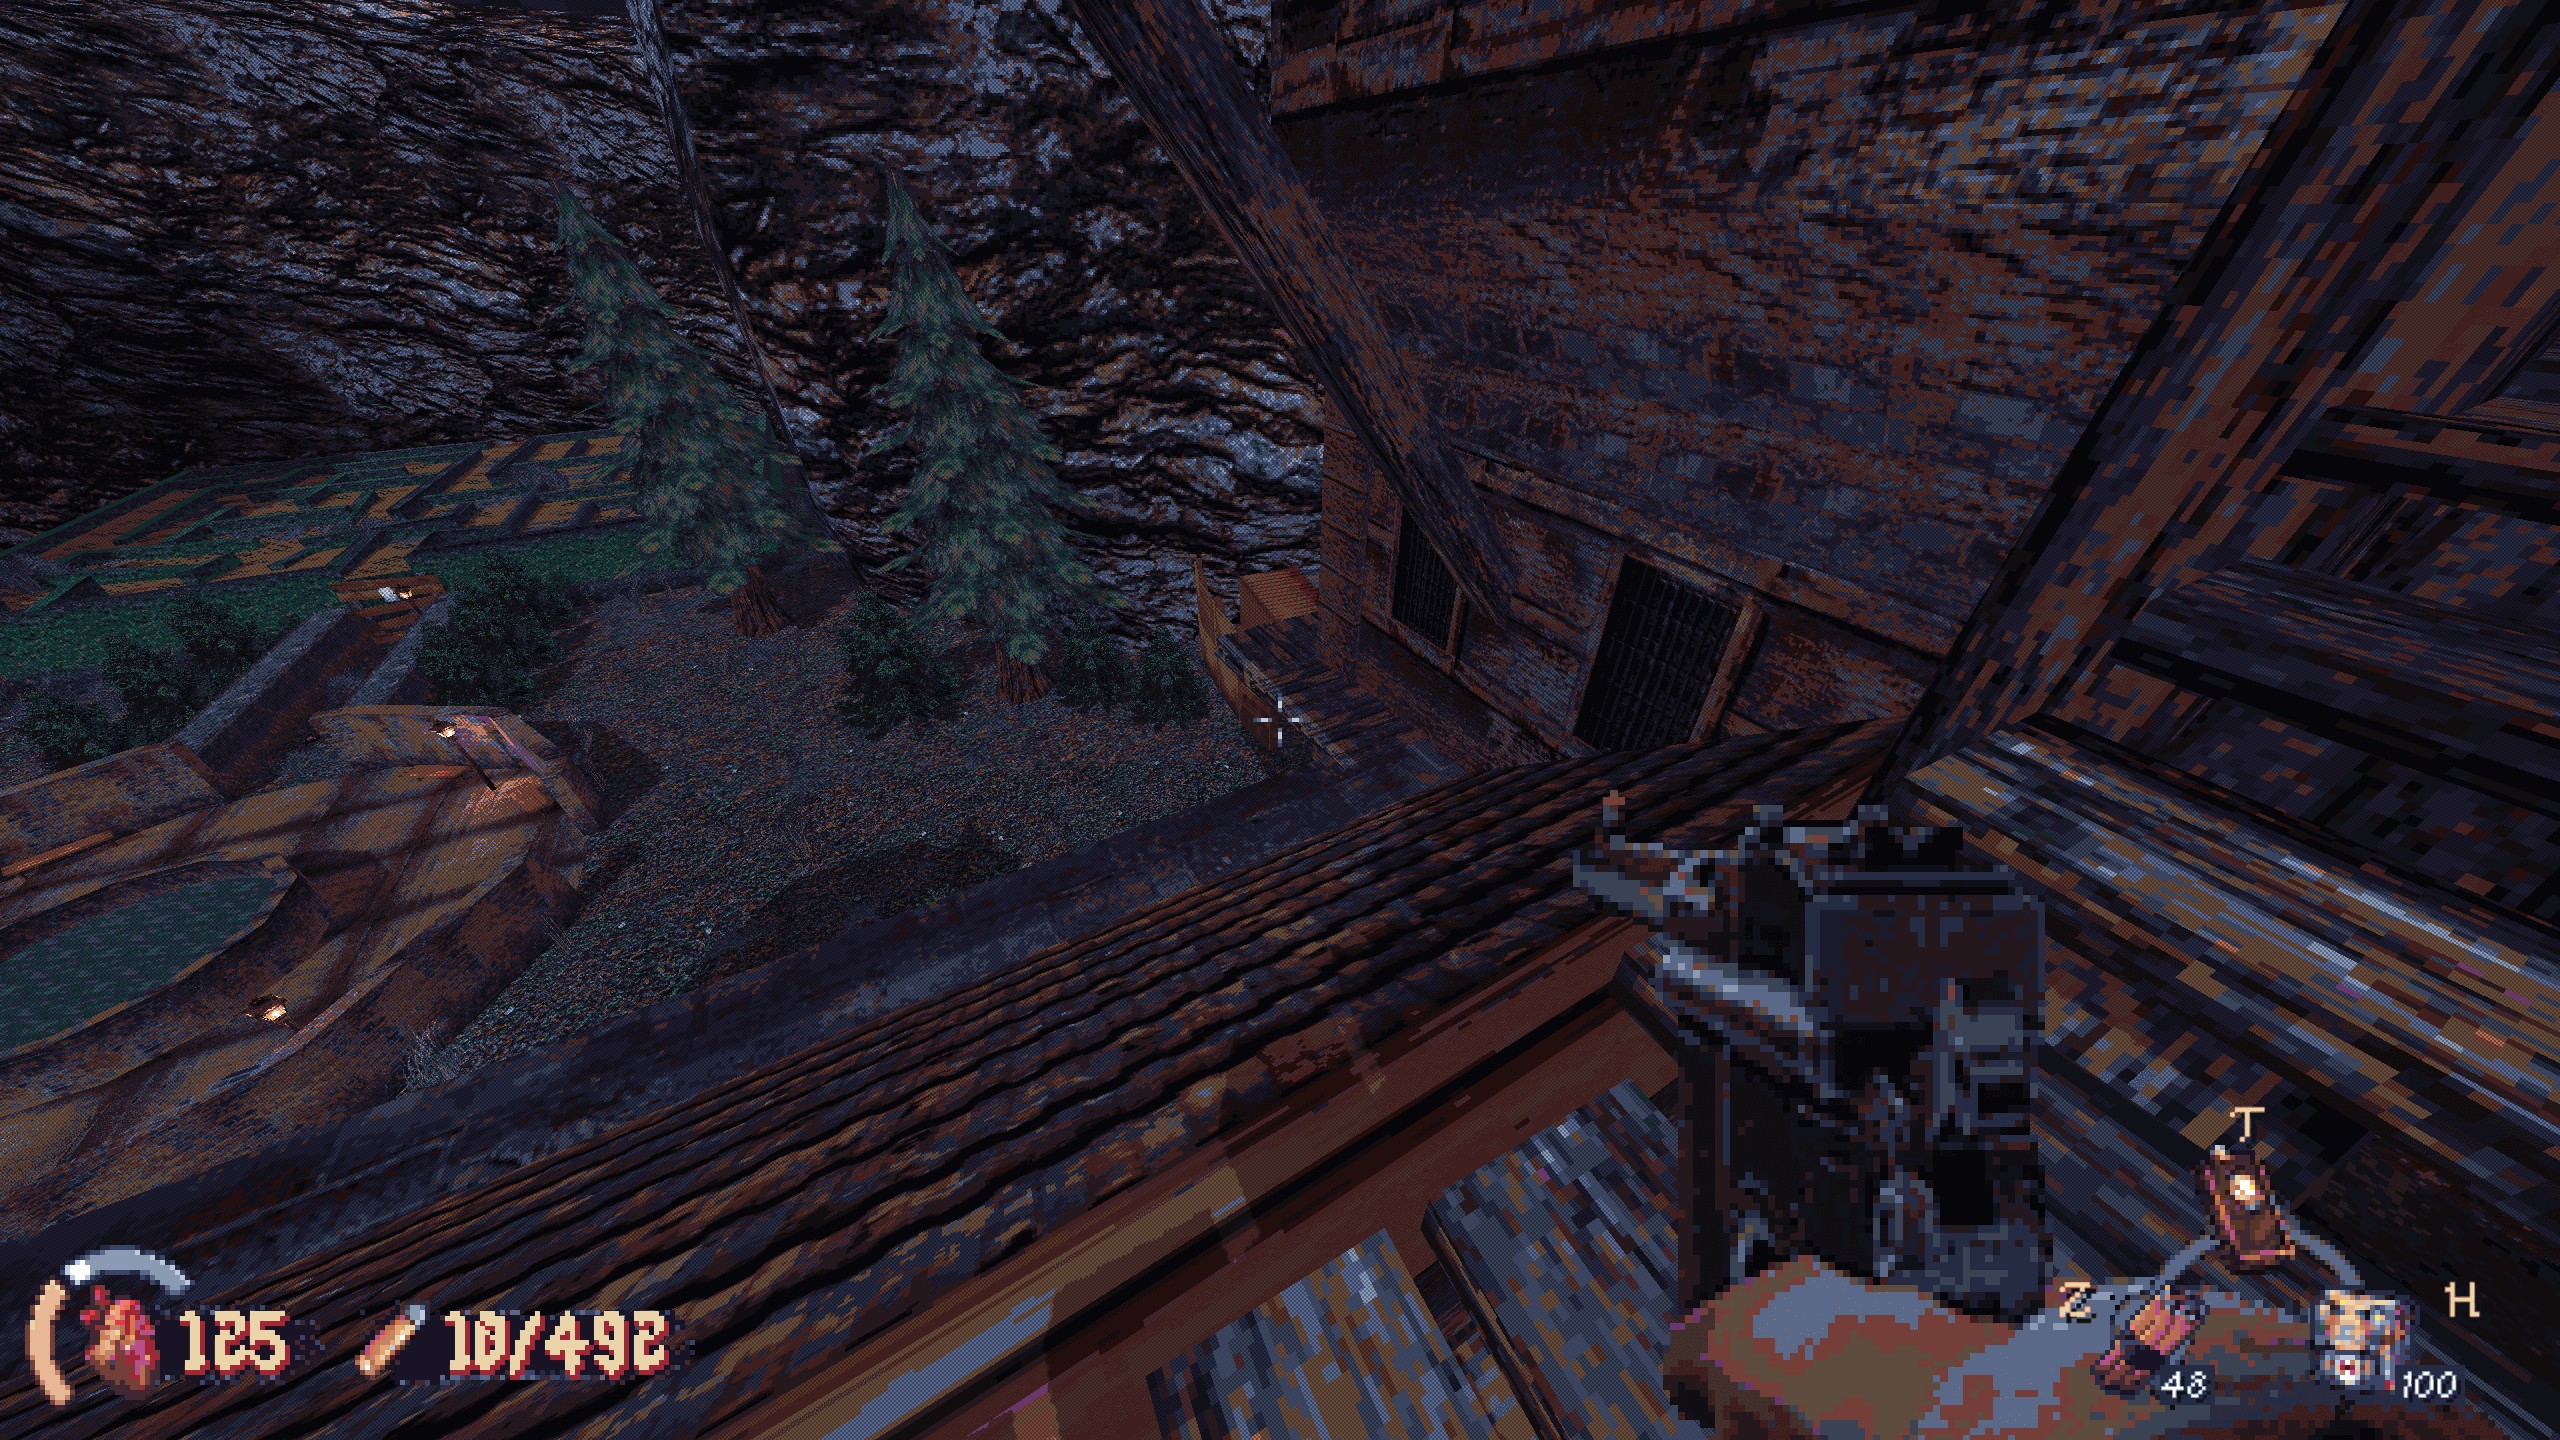
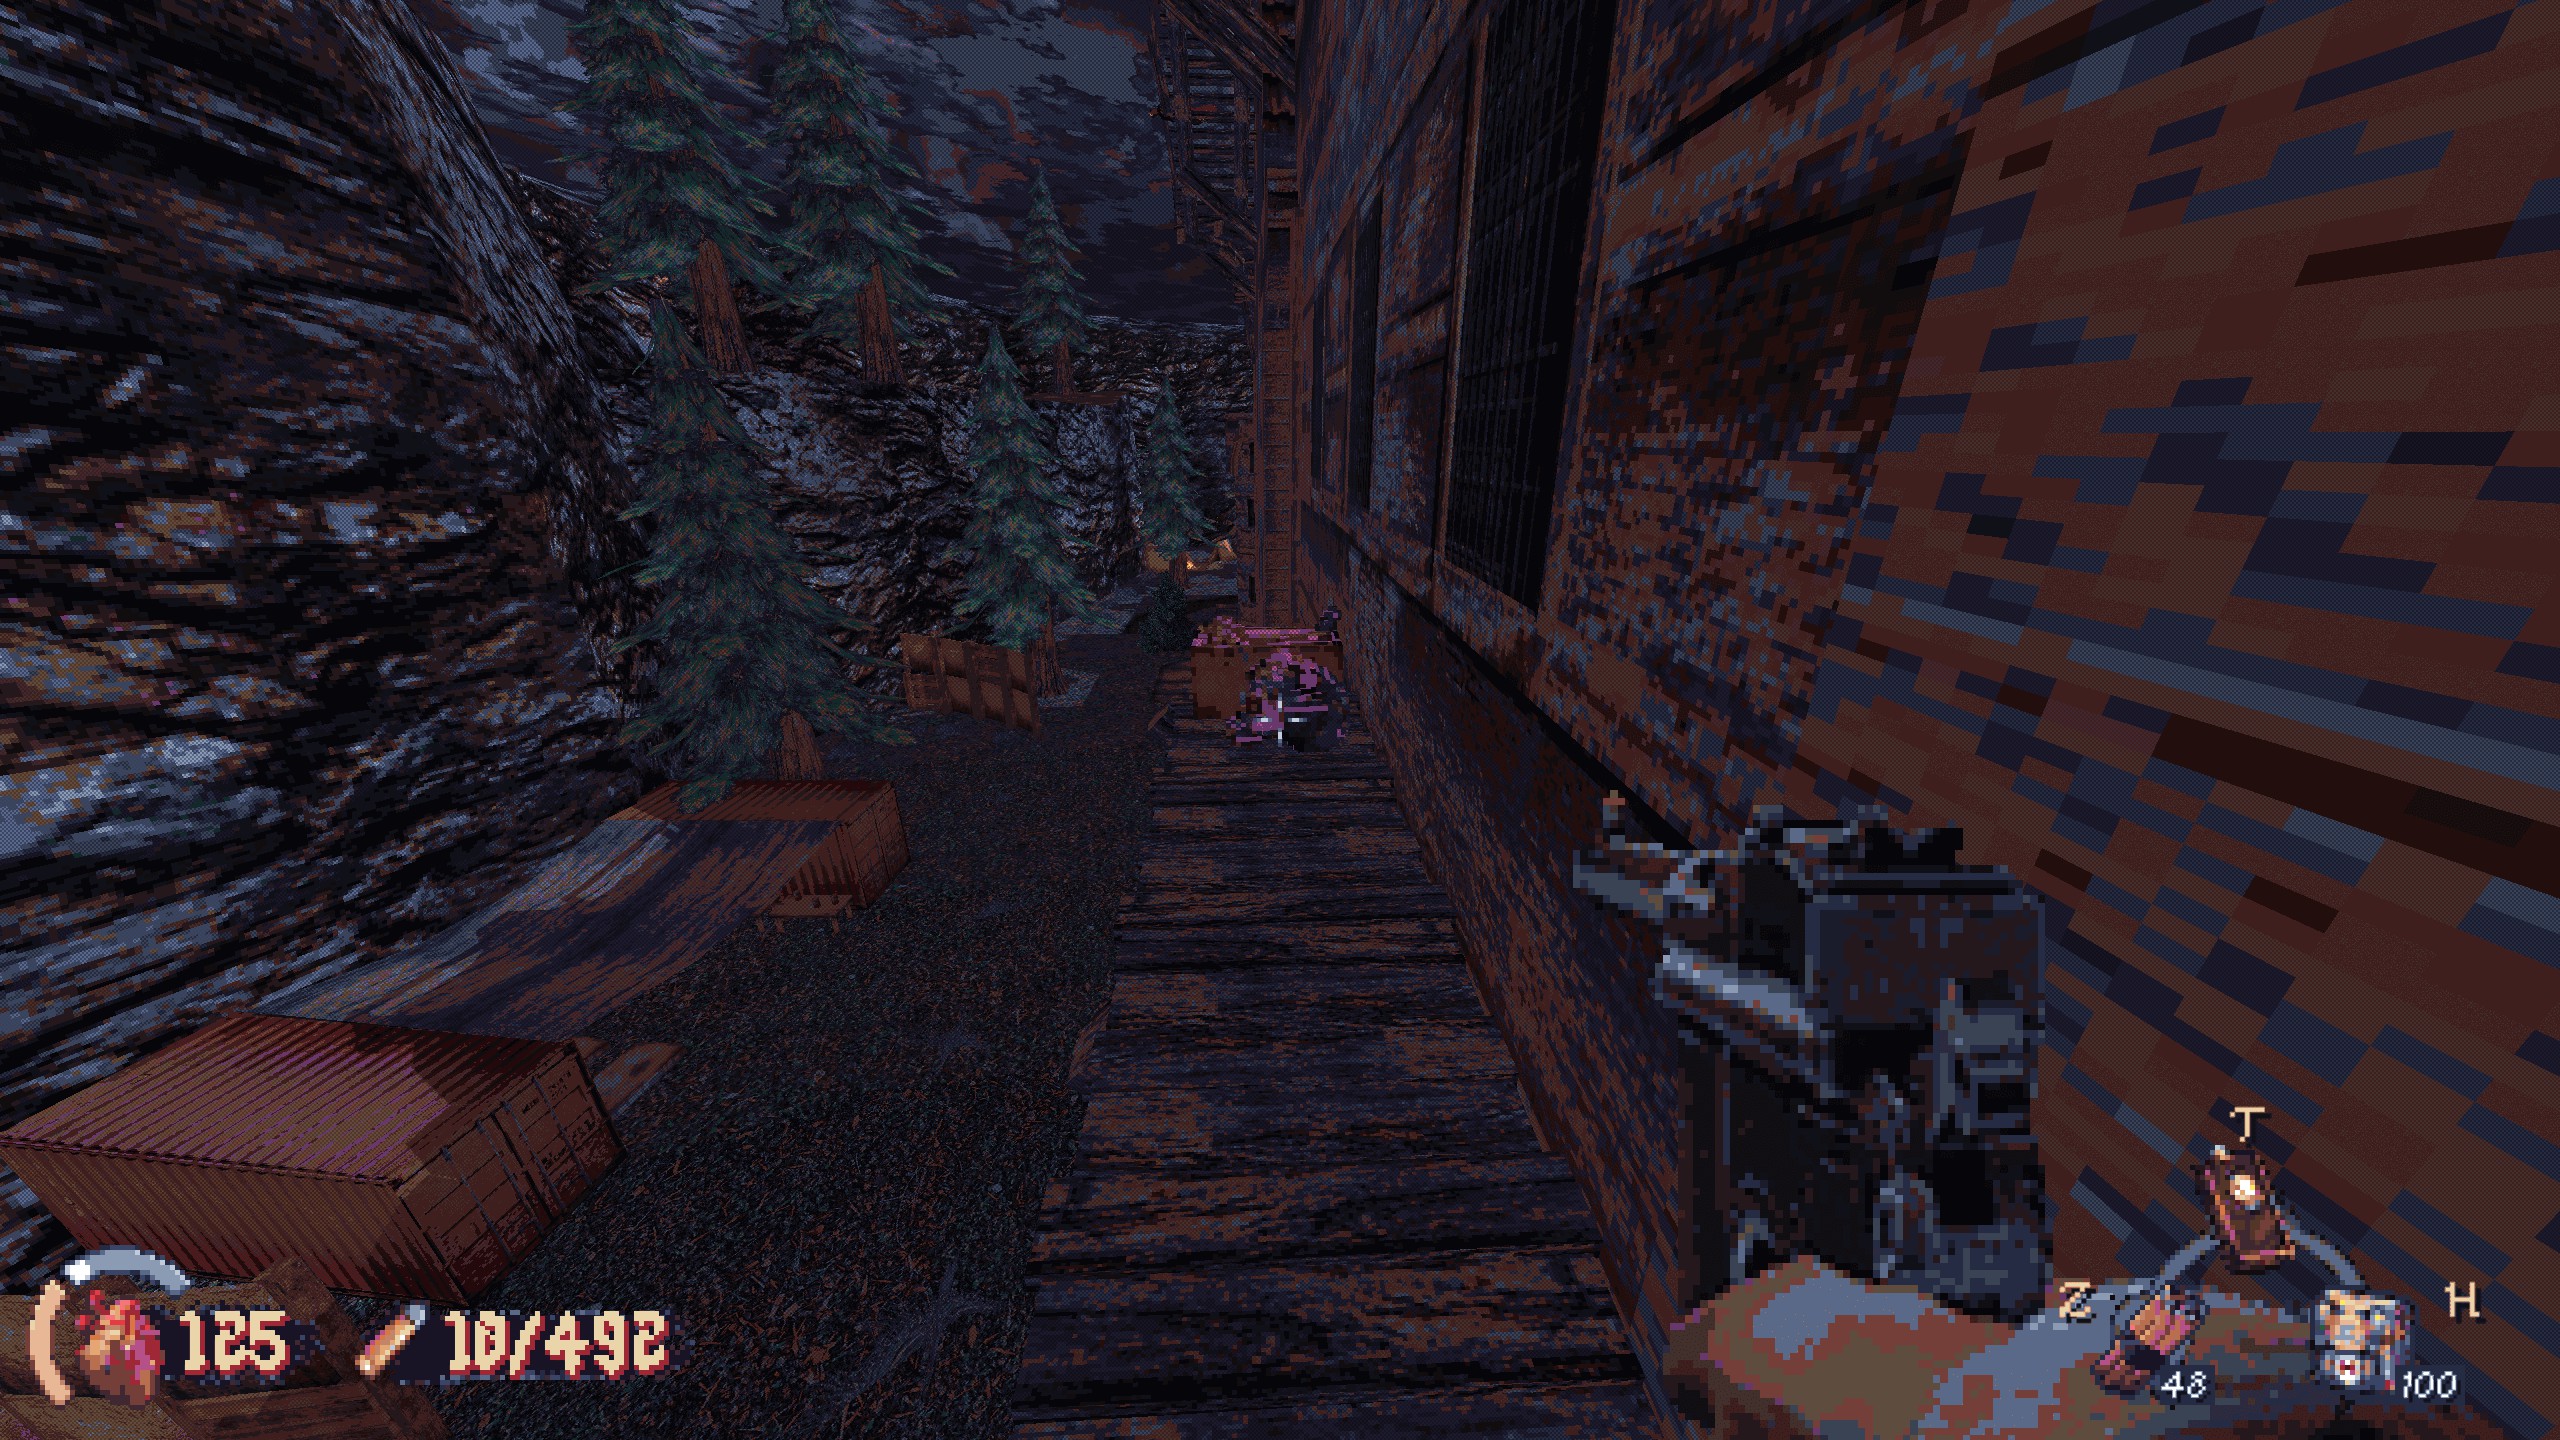
#6 (Imbued Remains): As you make your way across the roof, you’ll walk around the central tower. As you step down the stairs on the other side, stop and look to your right. Walk along this narrow ledge. Recompensa: imbued remains and a weapon part.
O Asilo
Papel 1: Spooky opening area
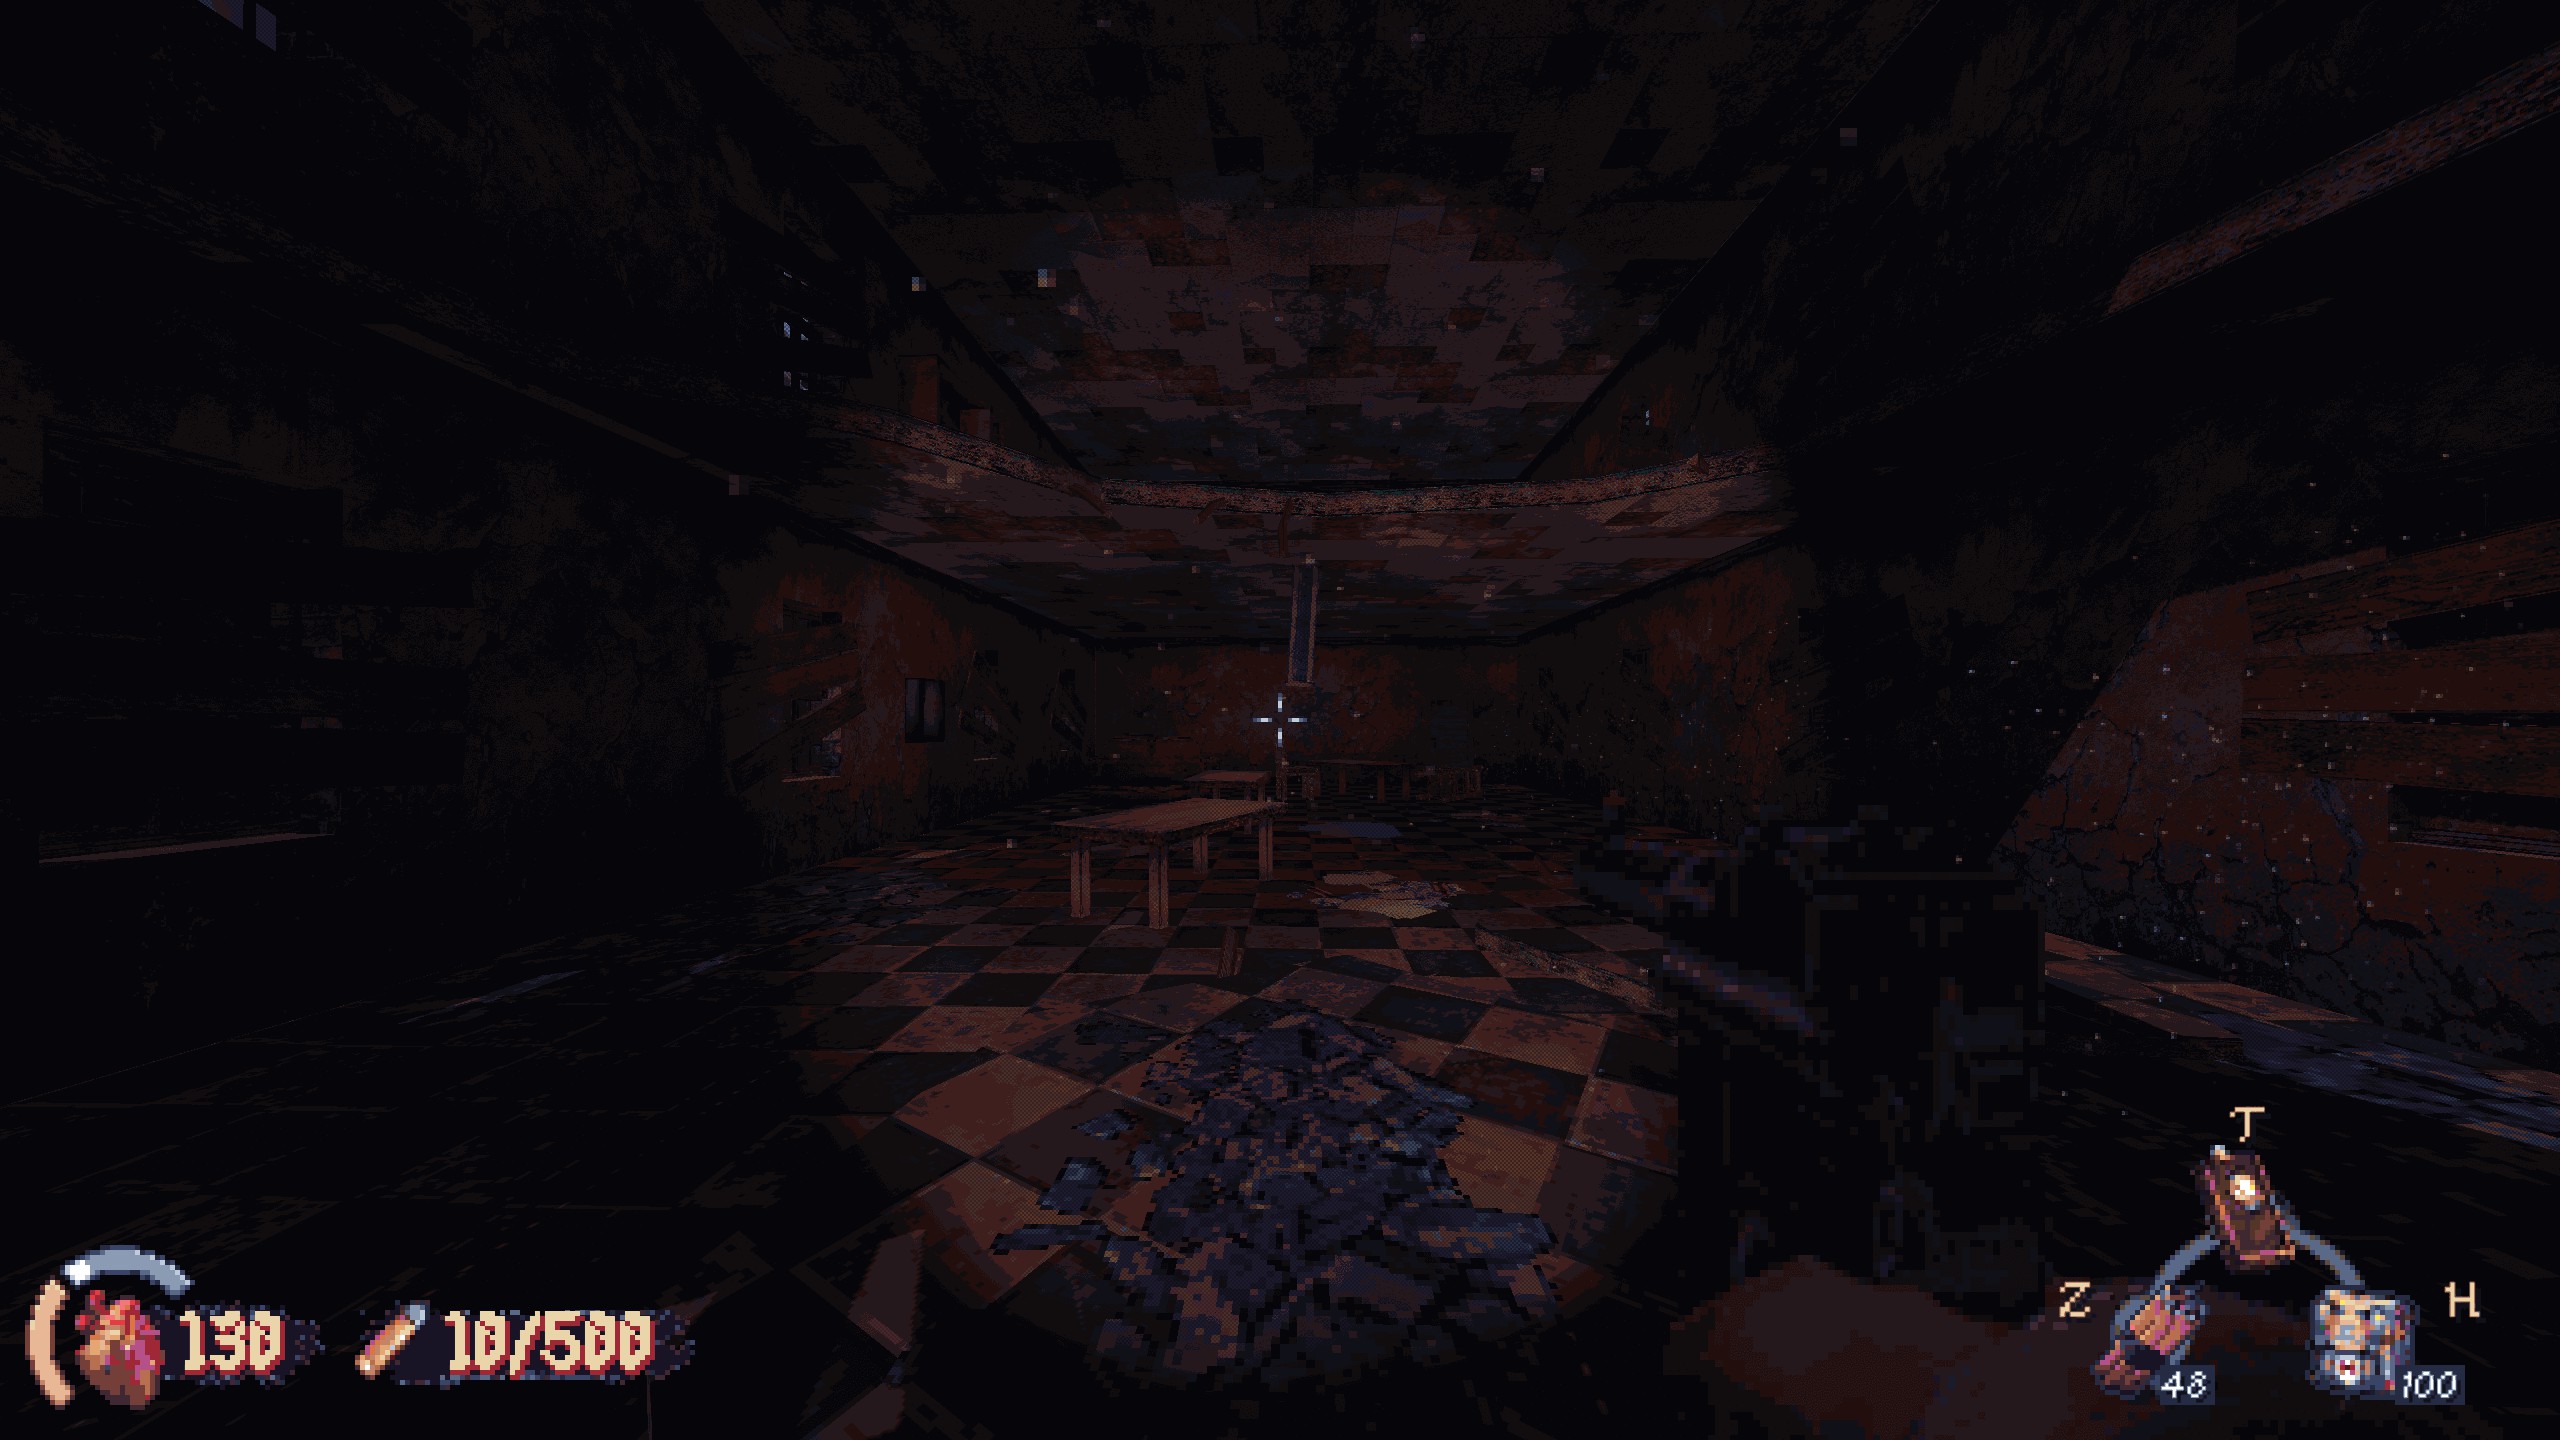
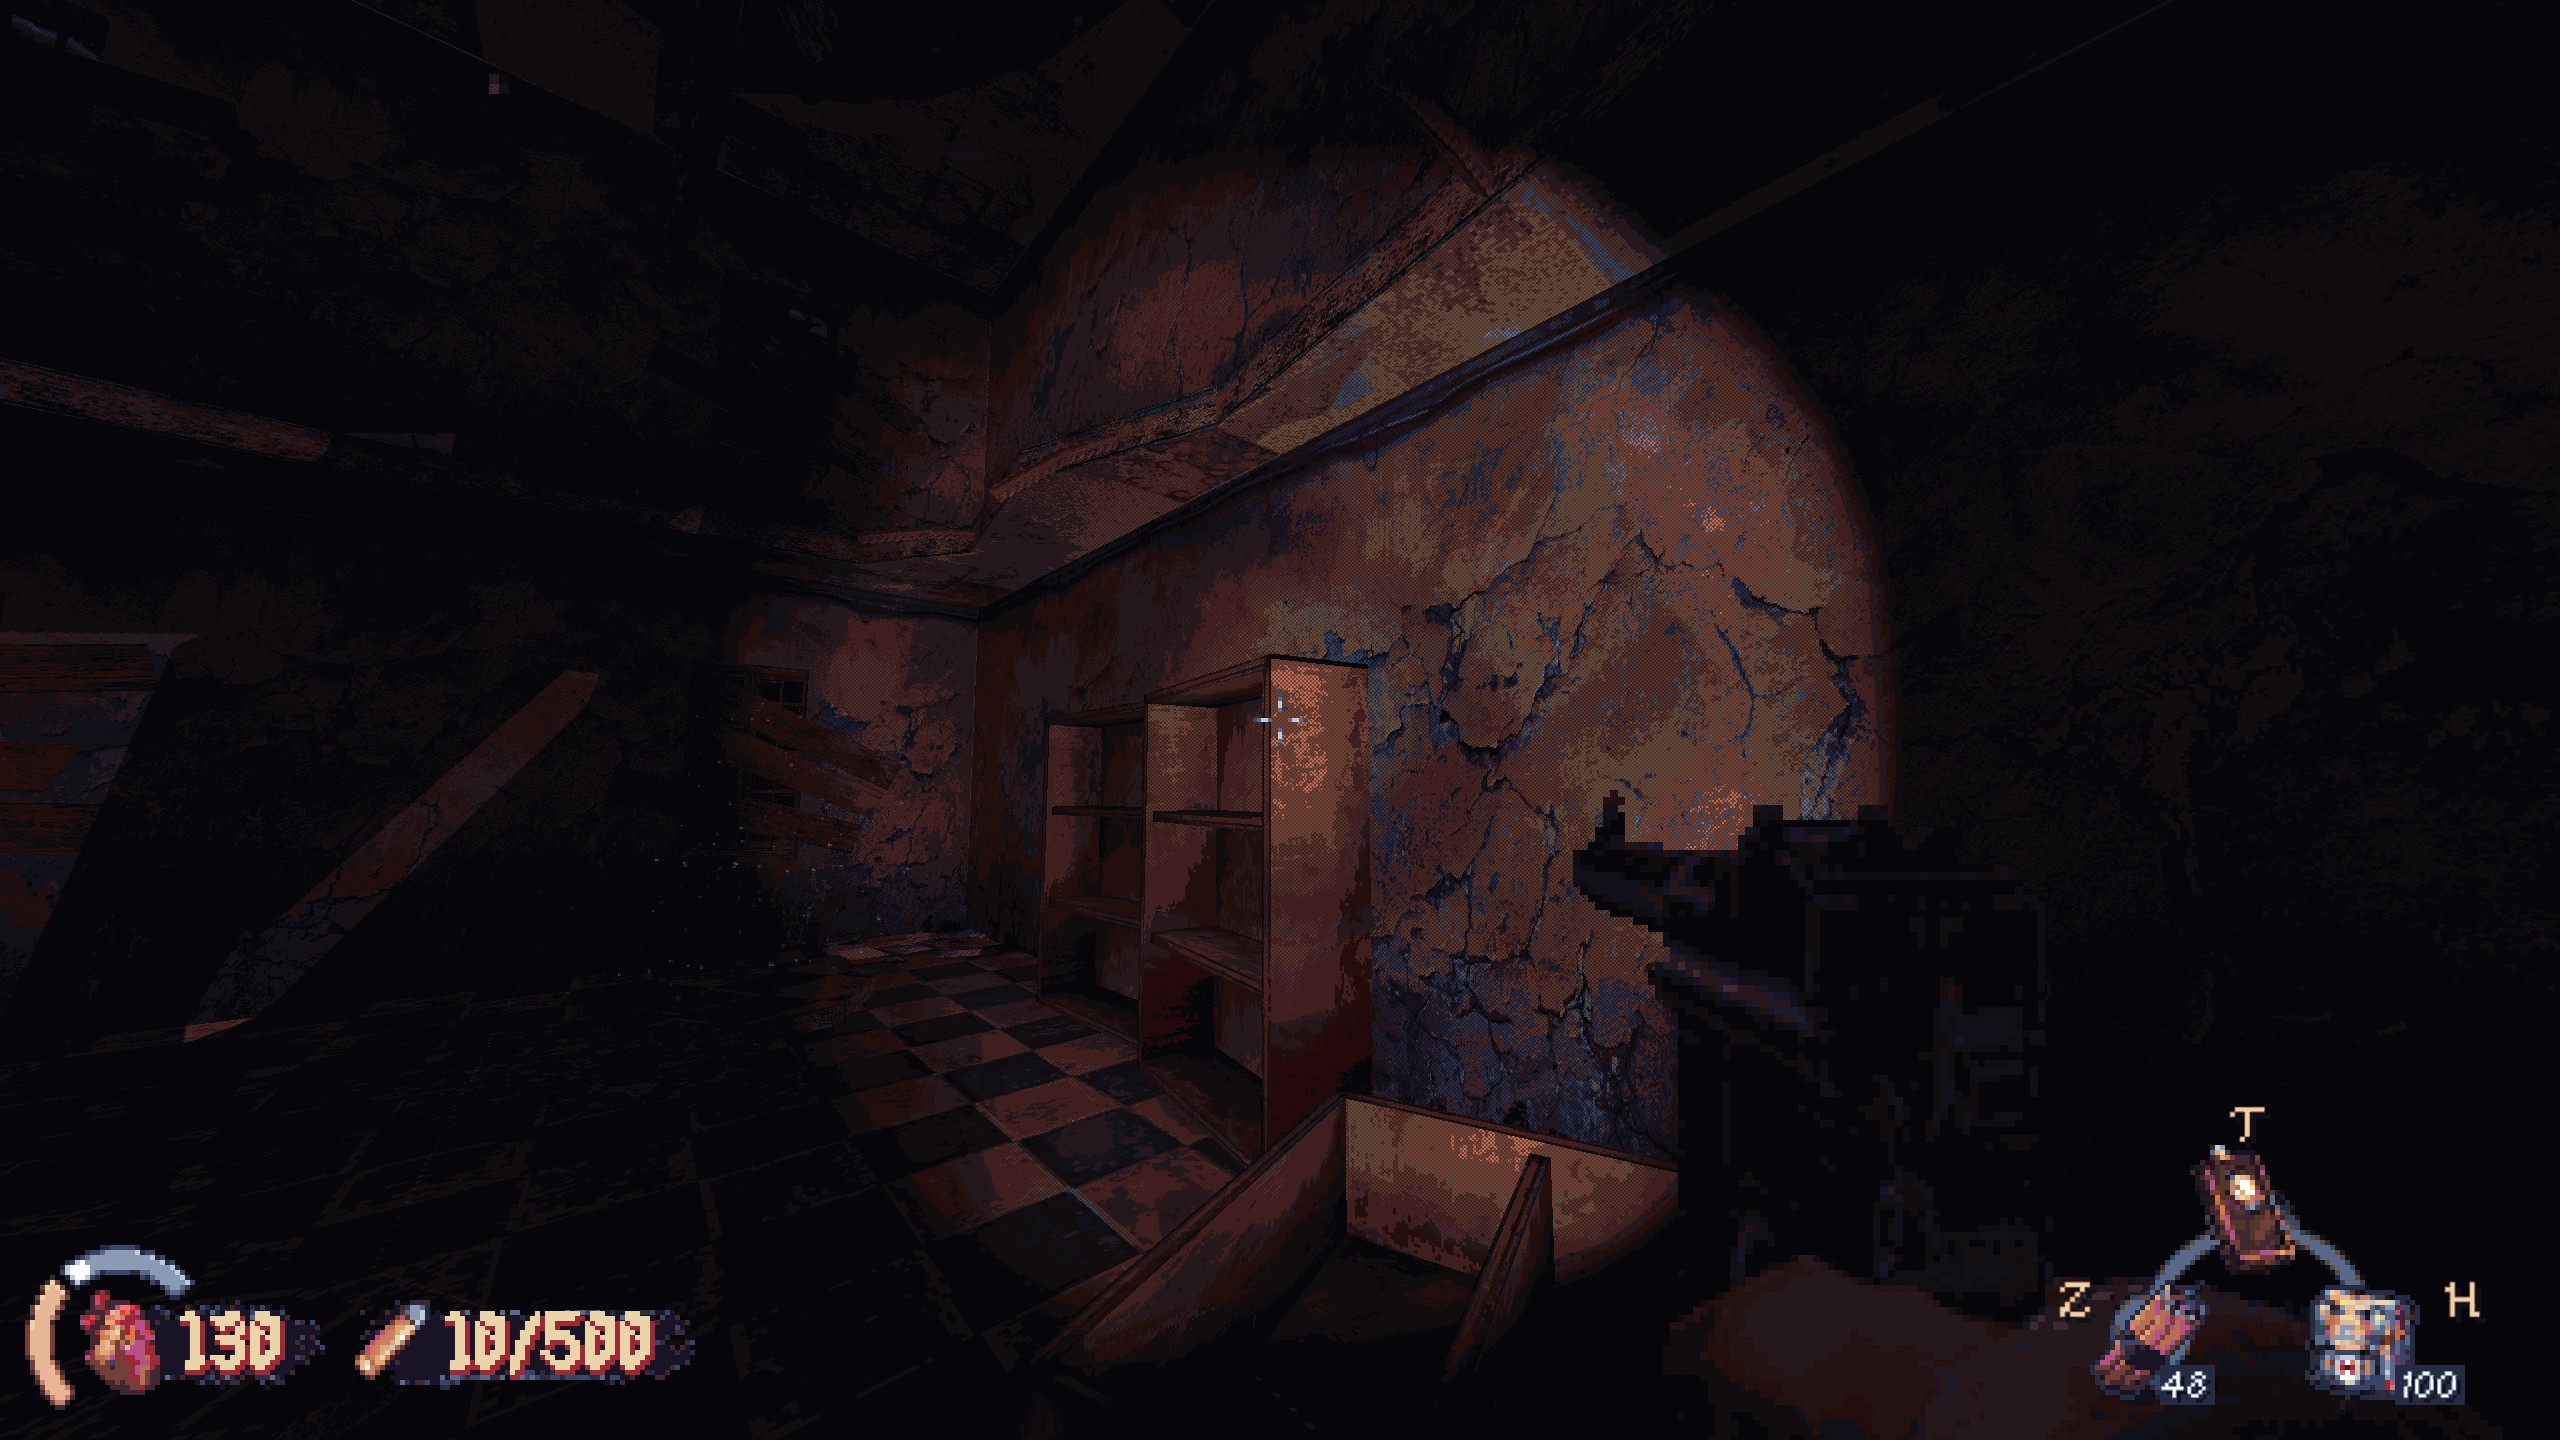
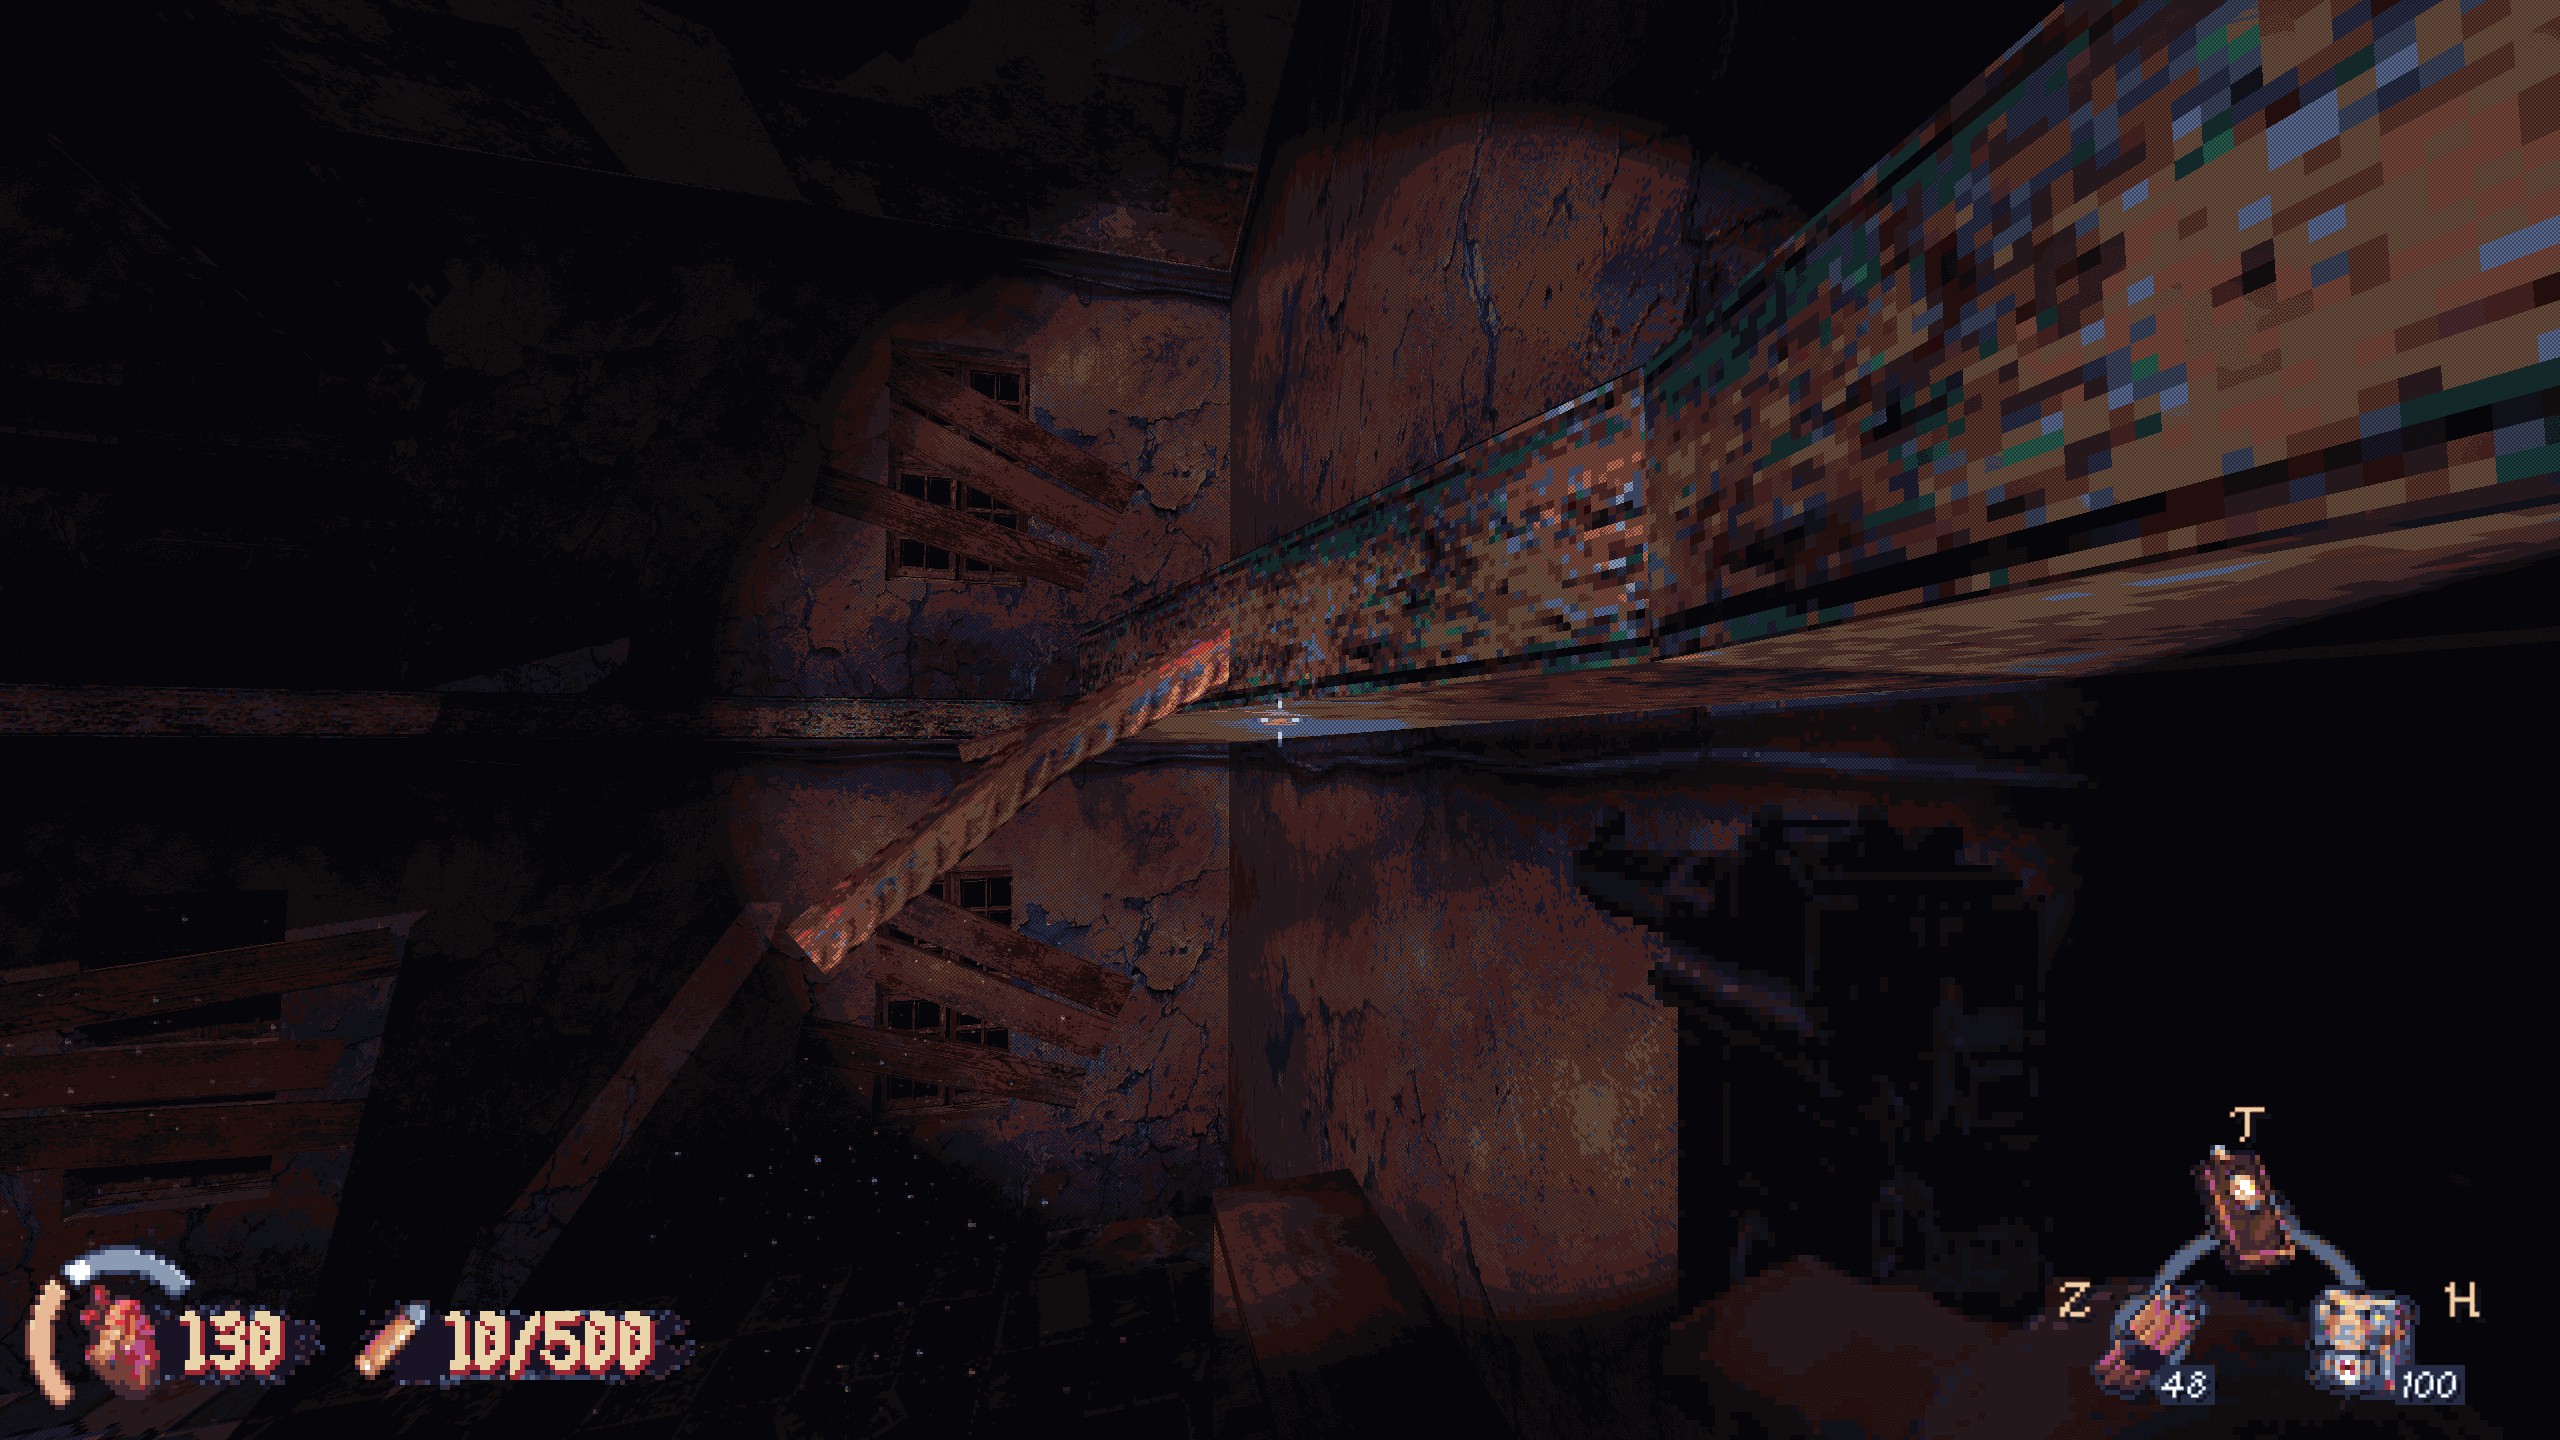
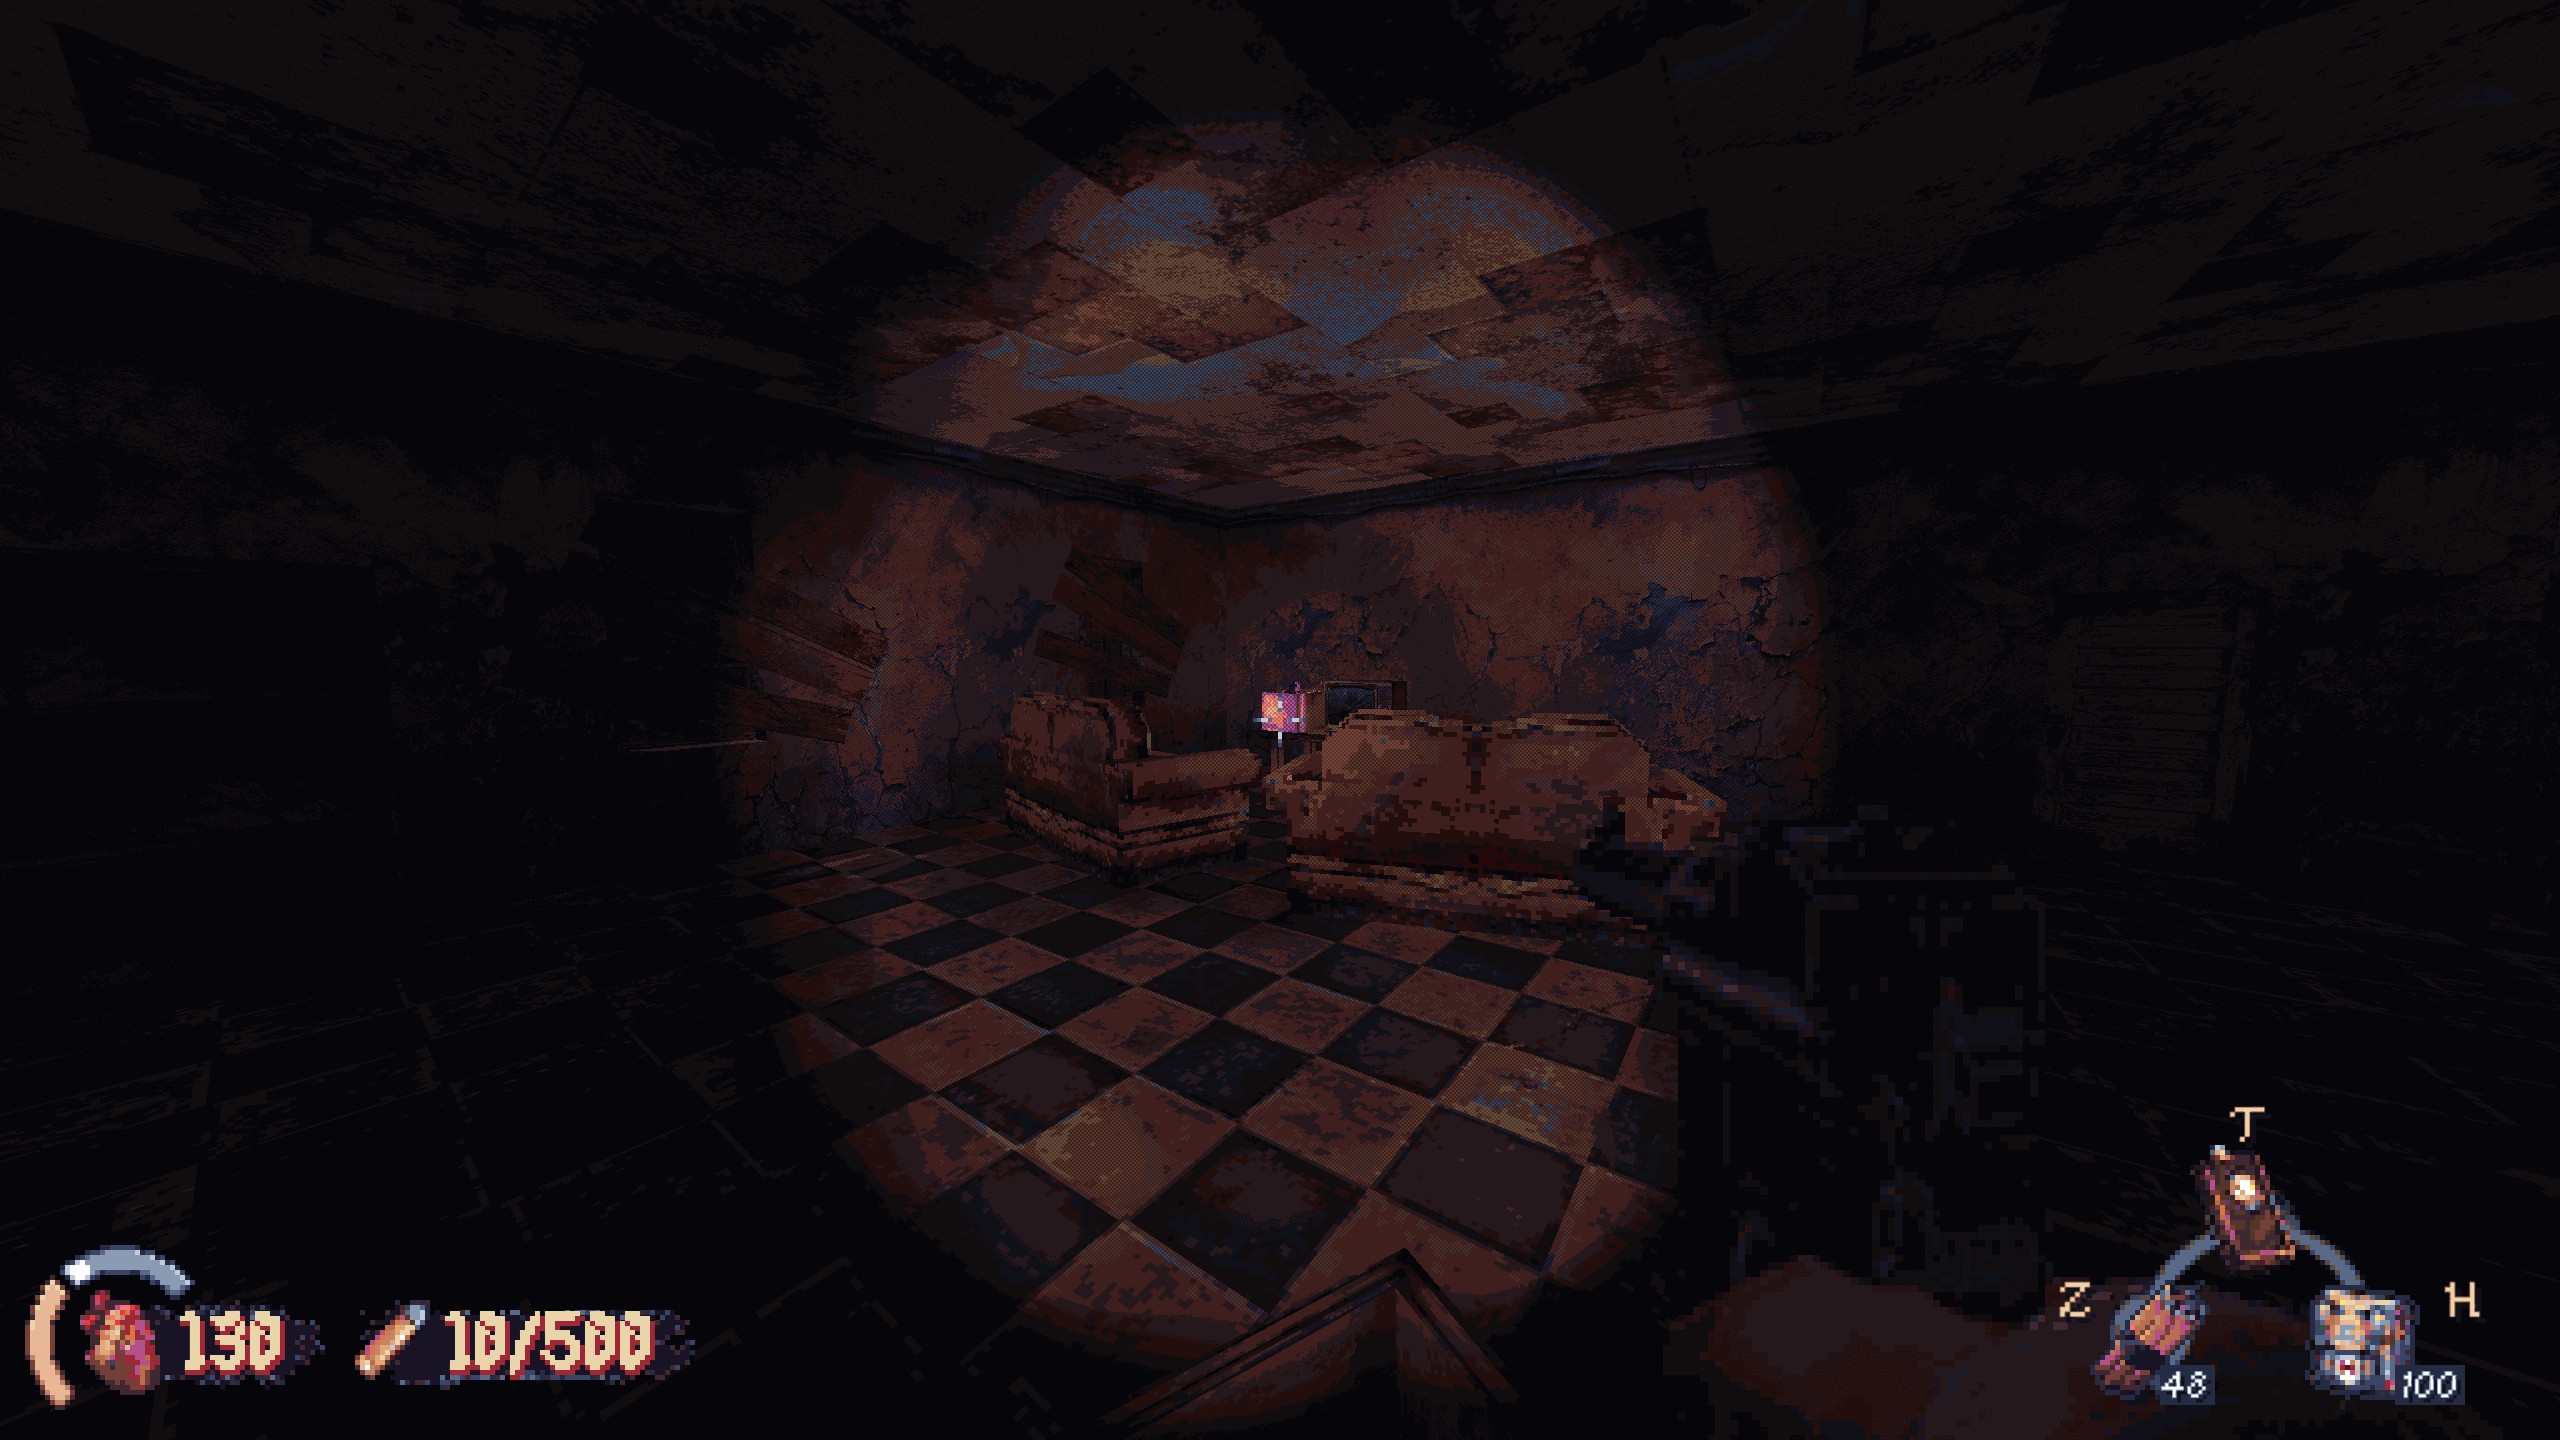
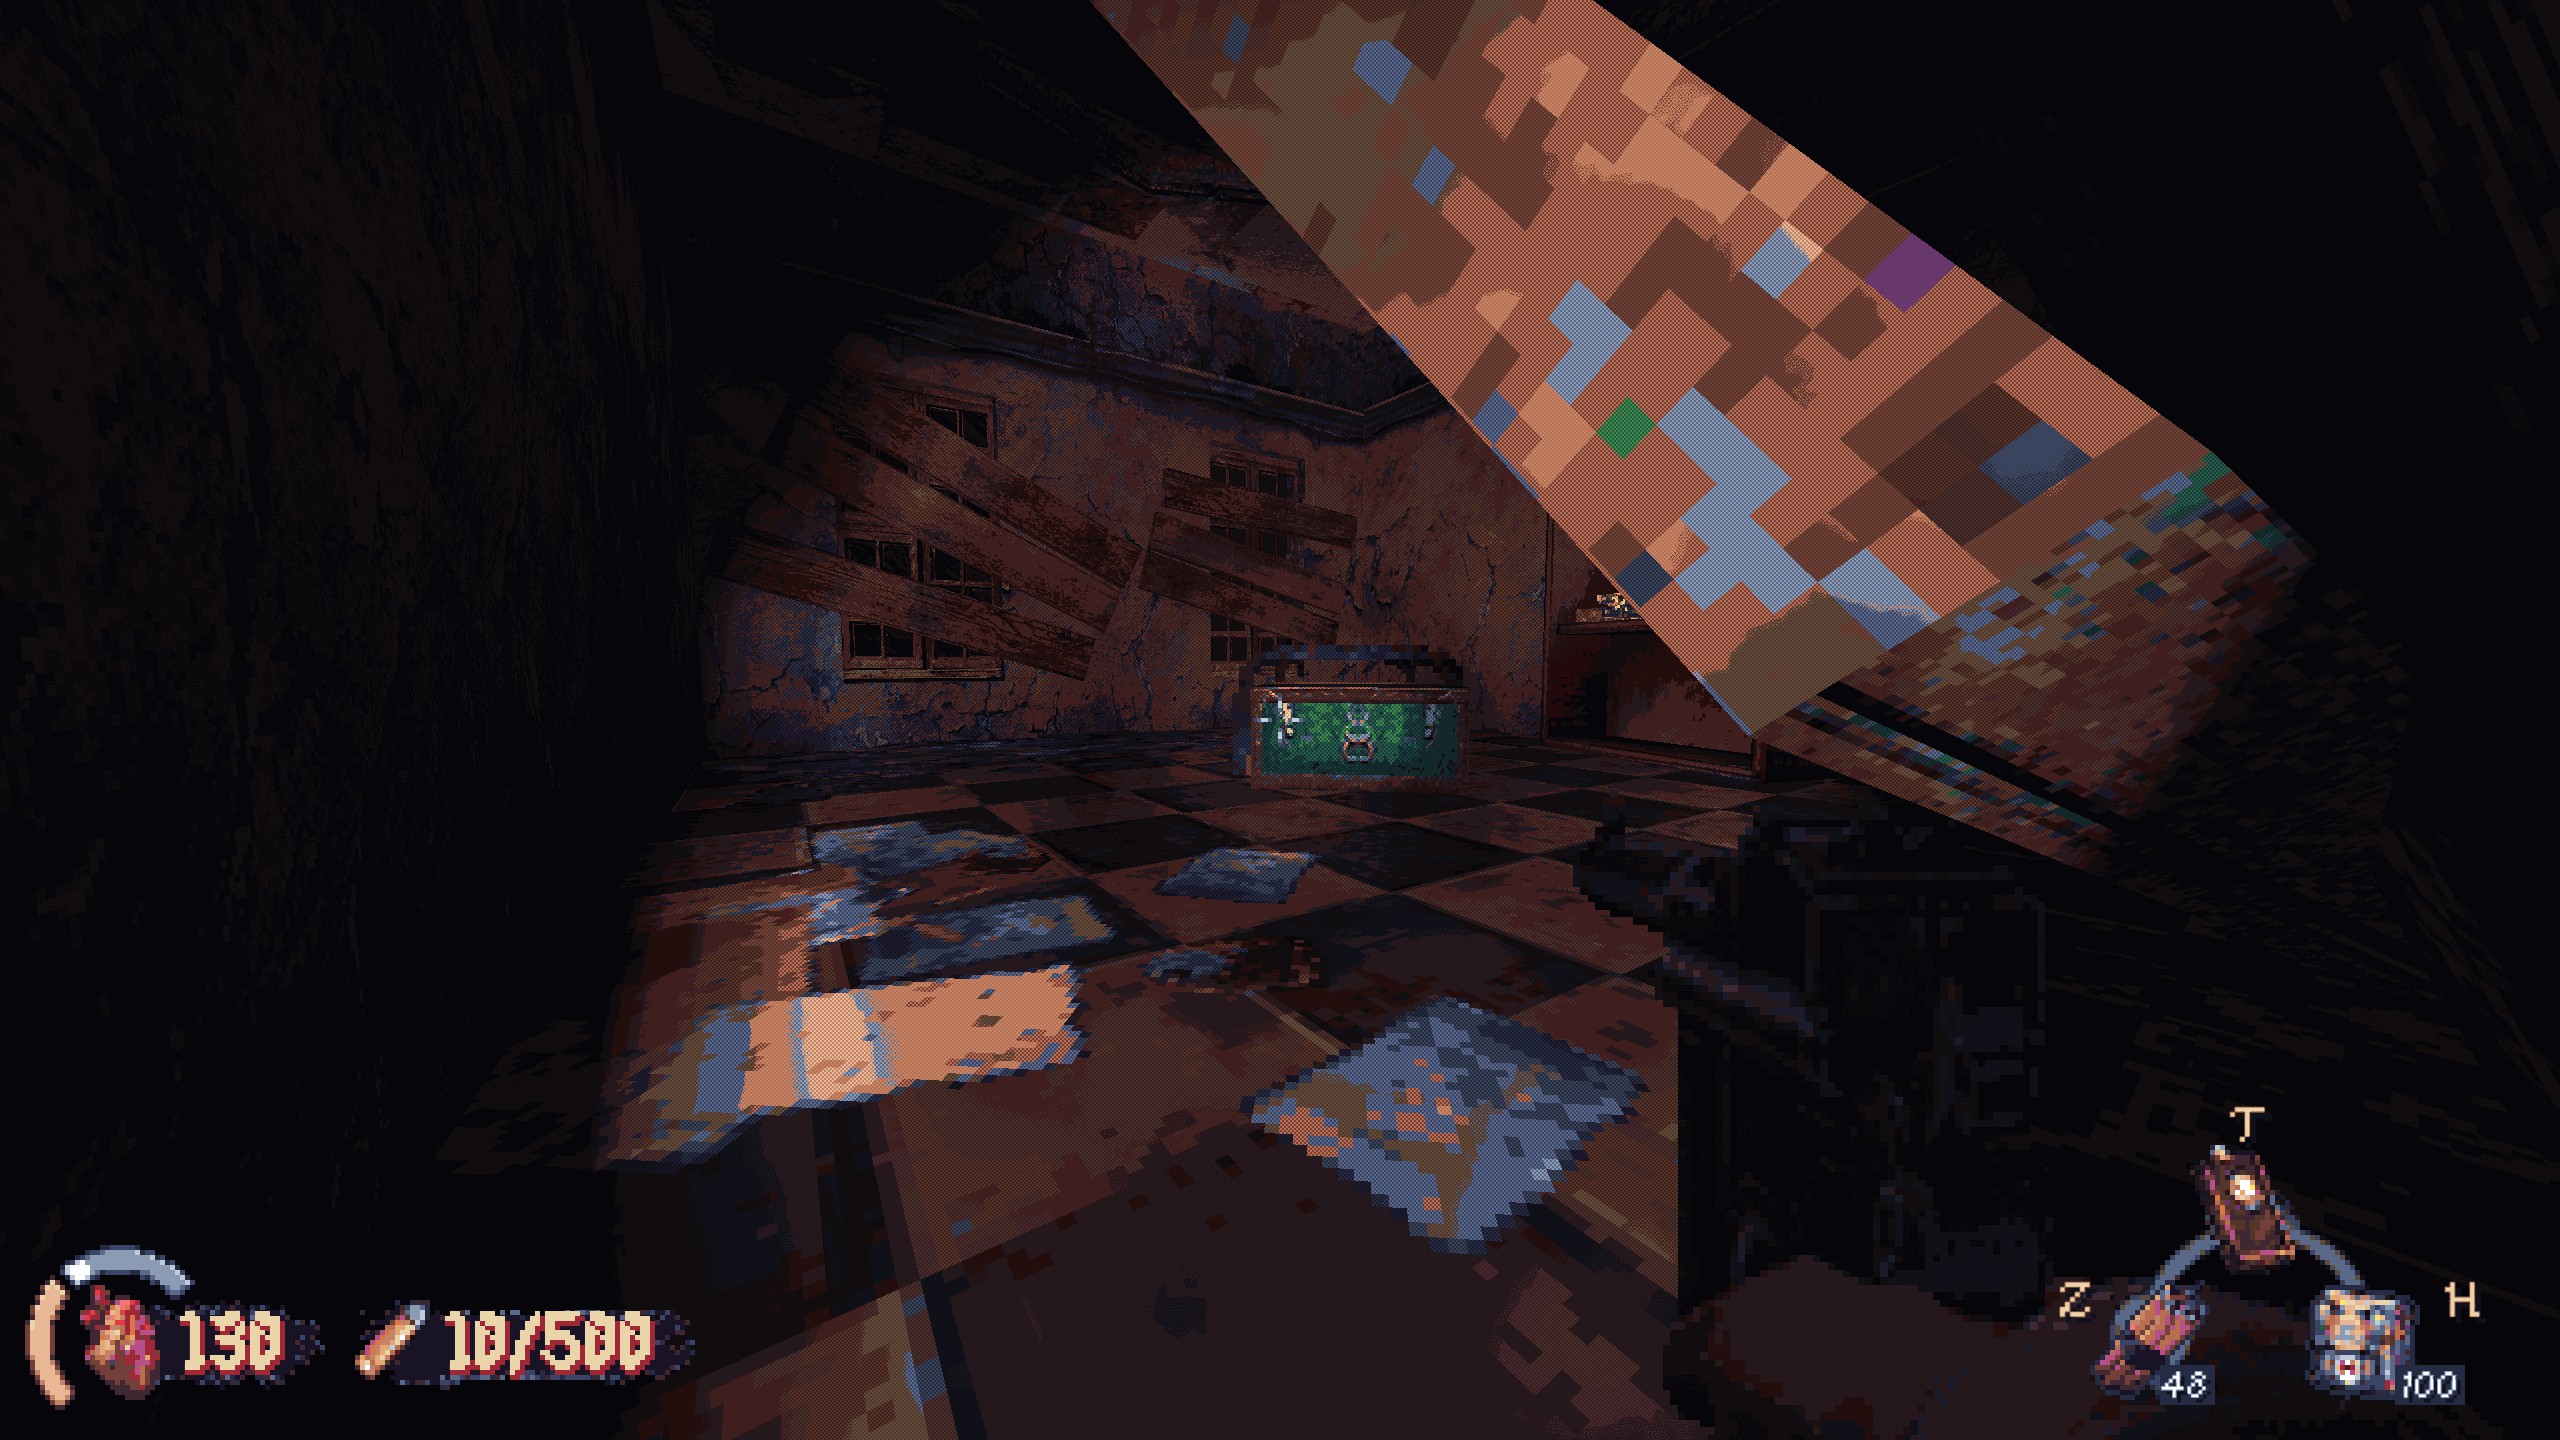
#1: In the very first room, turn around and jump on this bookshelf to reach the second floor. The secret is over by the TV. Recompensa: weapon part.
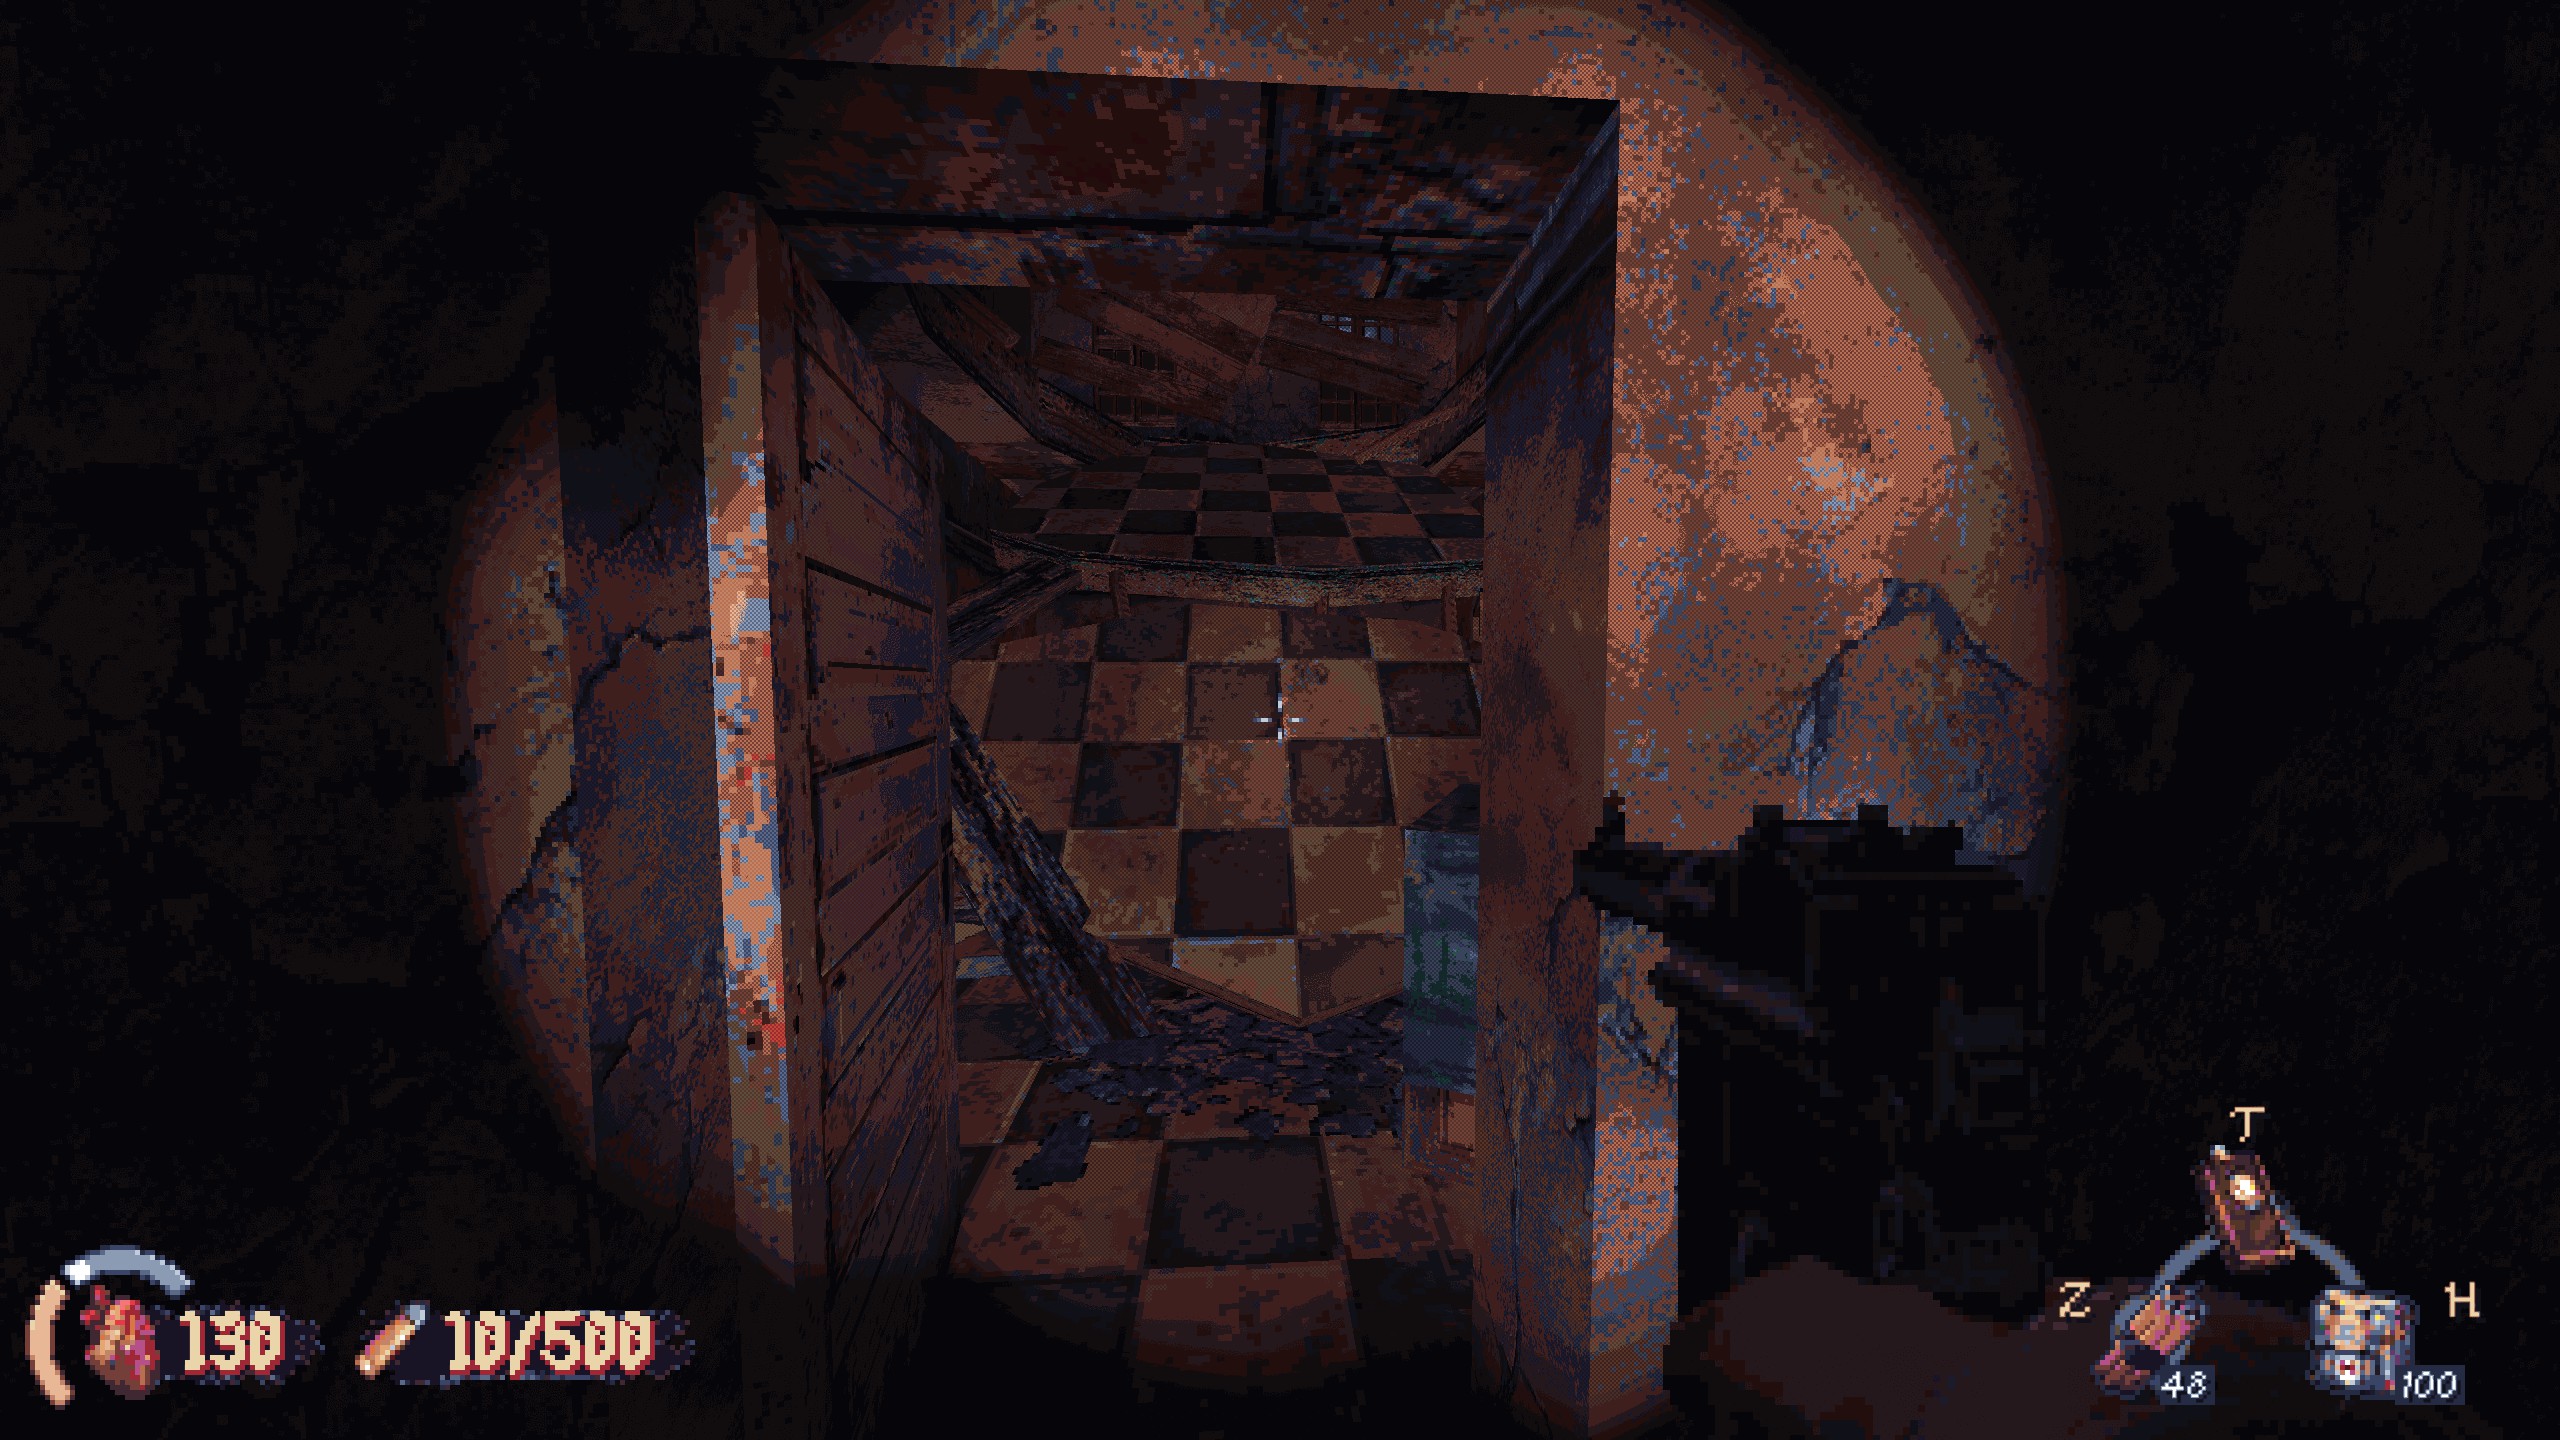
#2: In the first hallway, the third room is filled with a ramp made of rubble. Crouch under the side. Recompensa: ammo and health.
Papel 2: Around the elevator
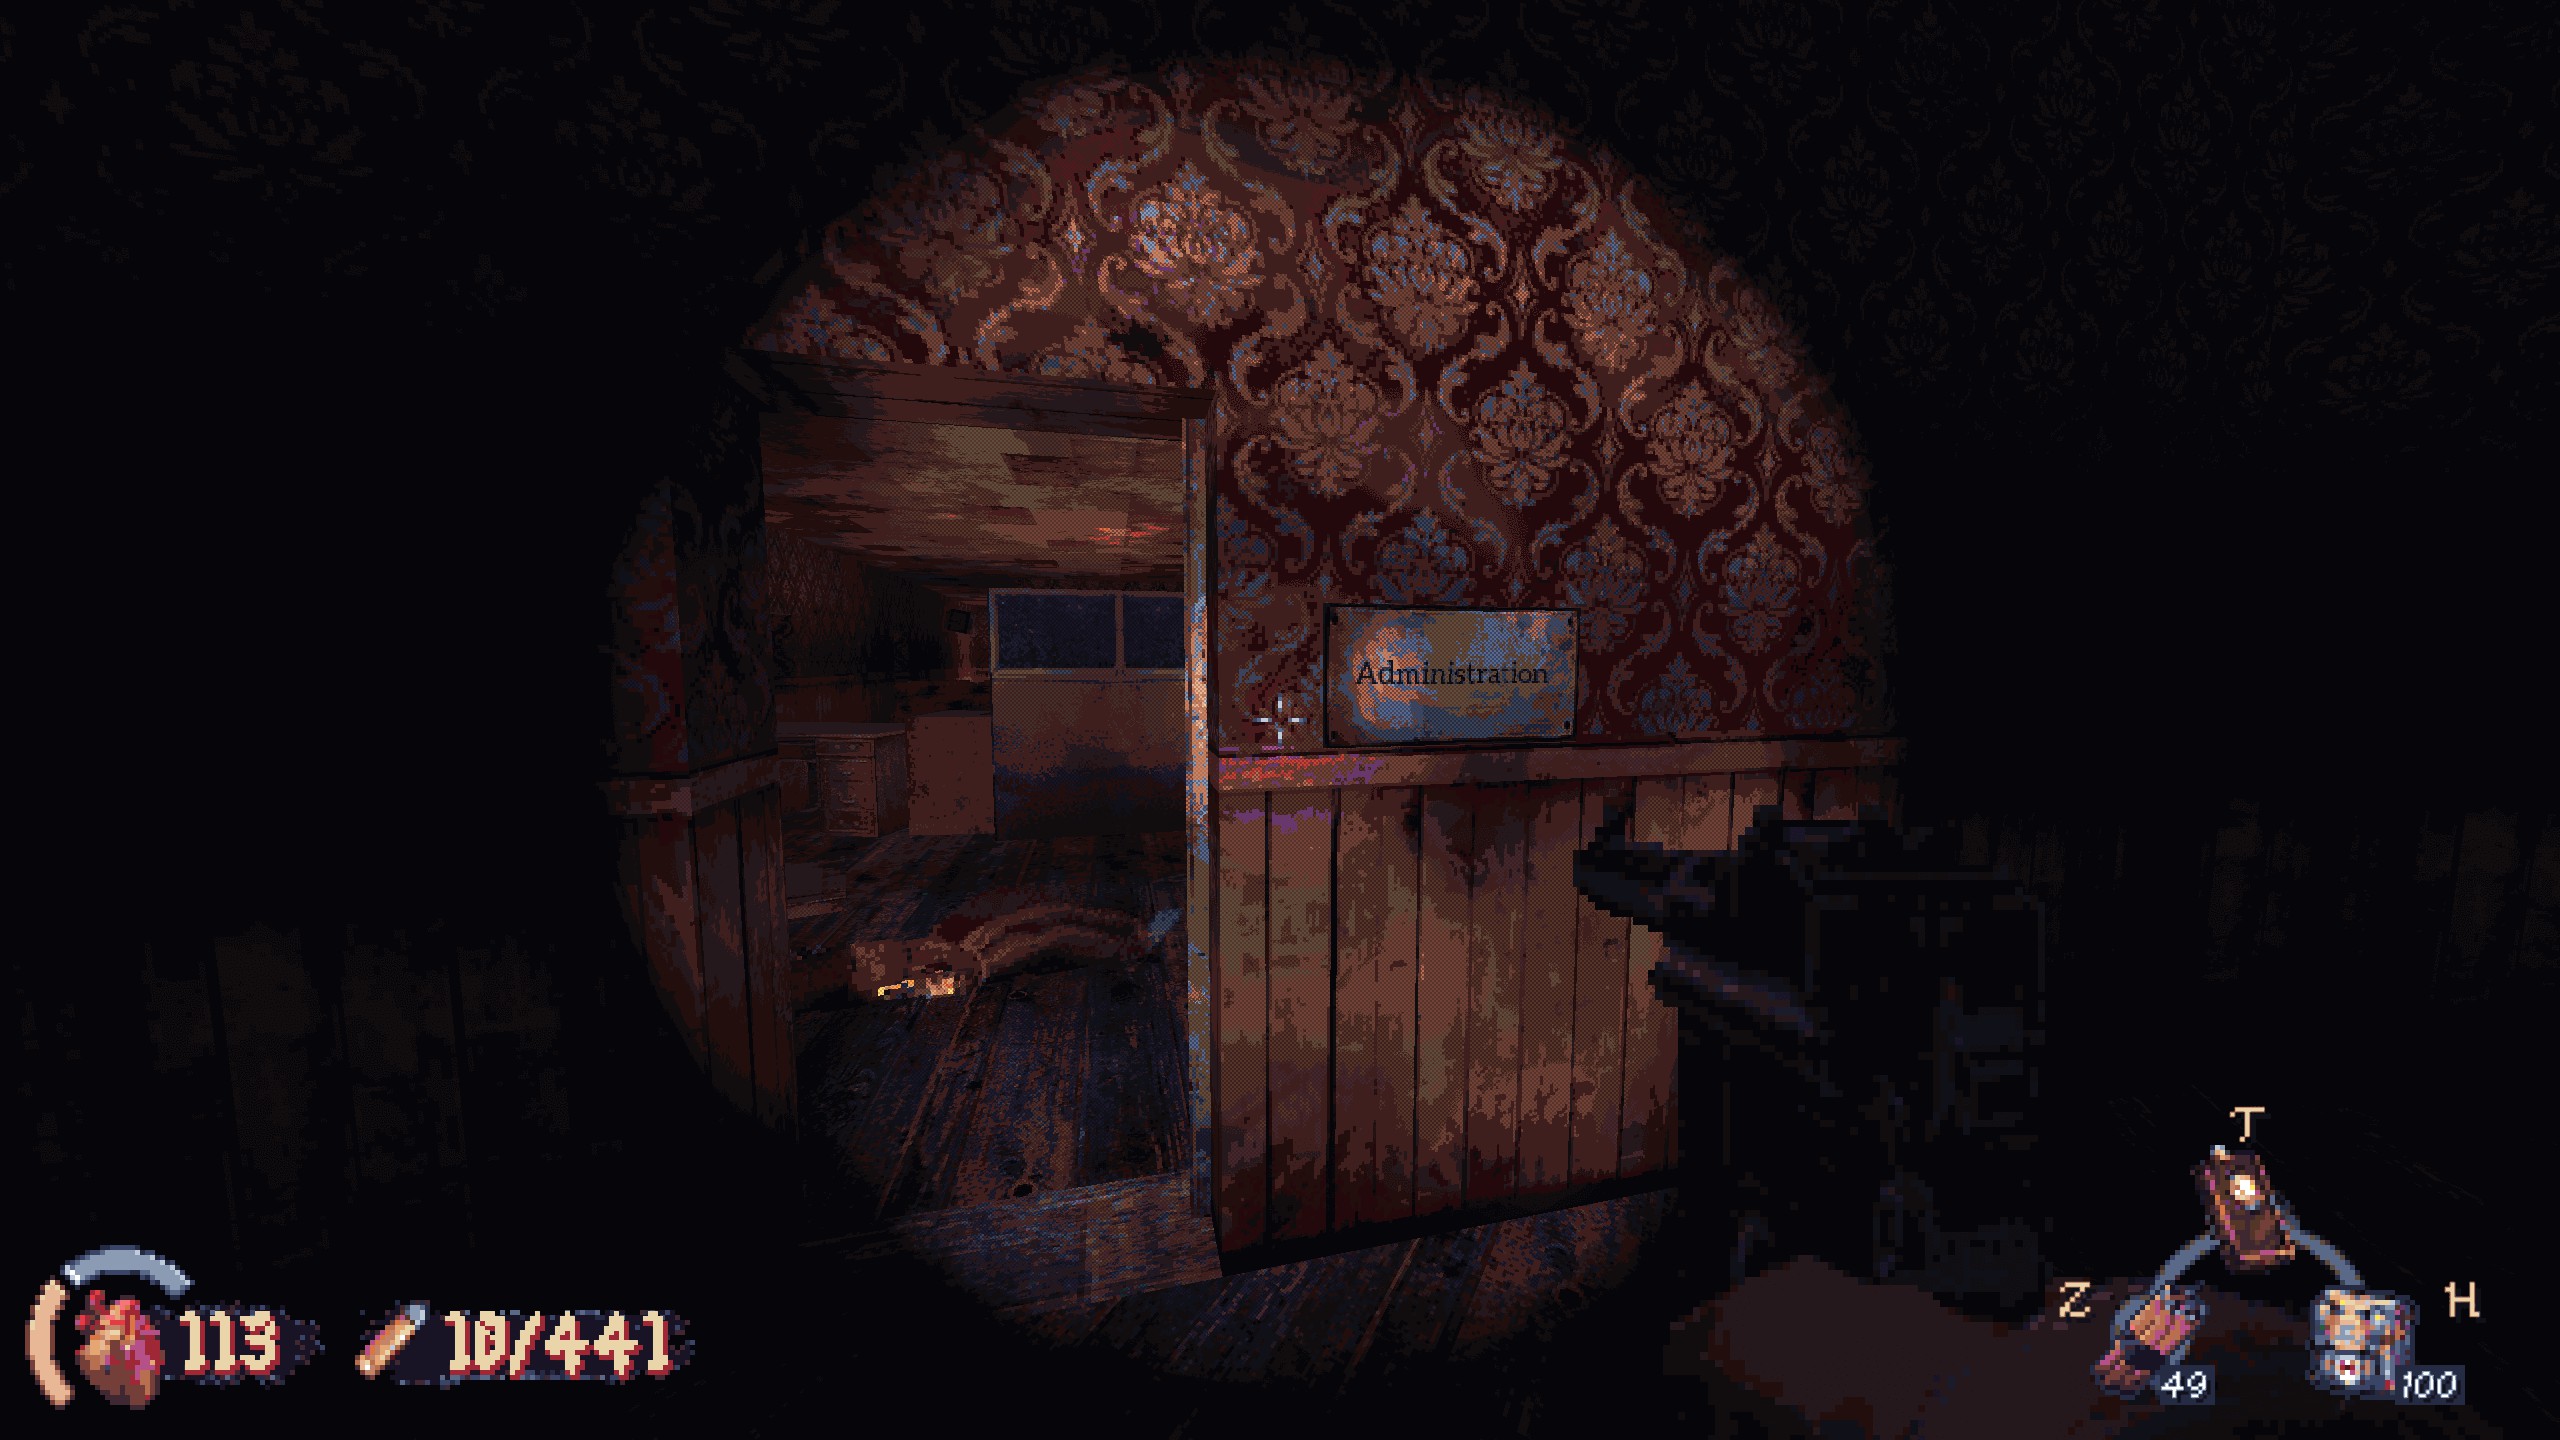
#3 (Imbued Remains): In the administration wing, you’ll have to climb up a small space between the walls. Instead of stopping once you reach the next room, continue climbing upward. Recompensa: imbued remains.
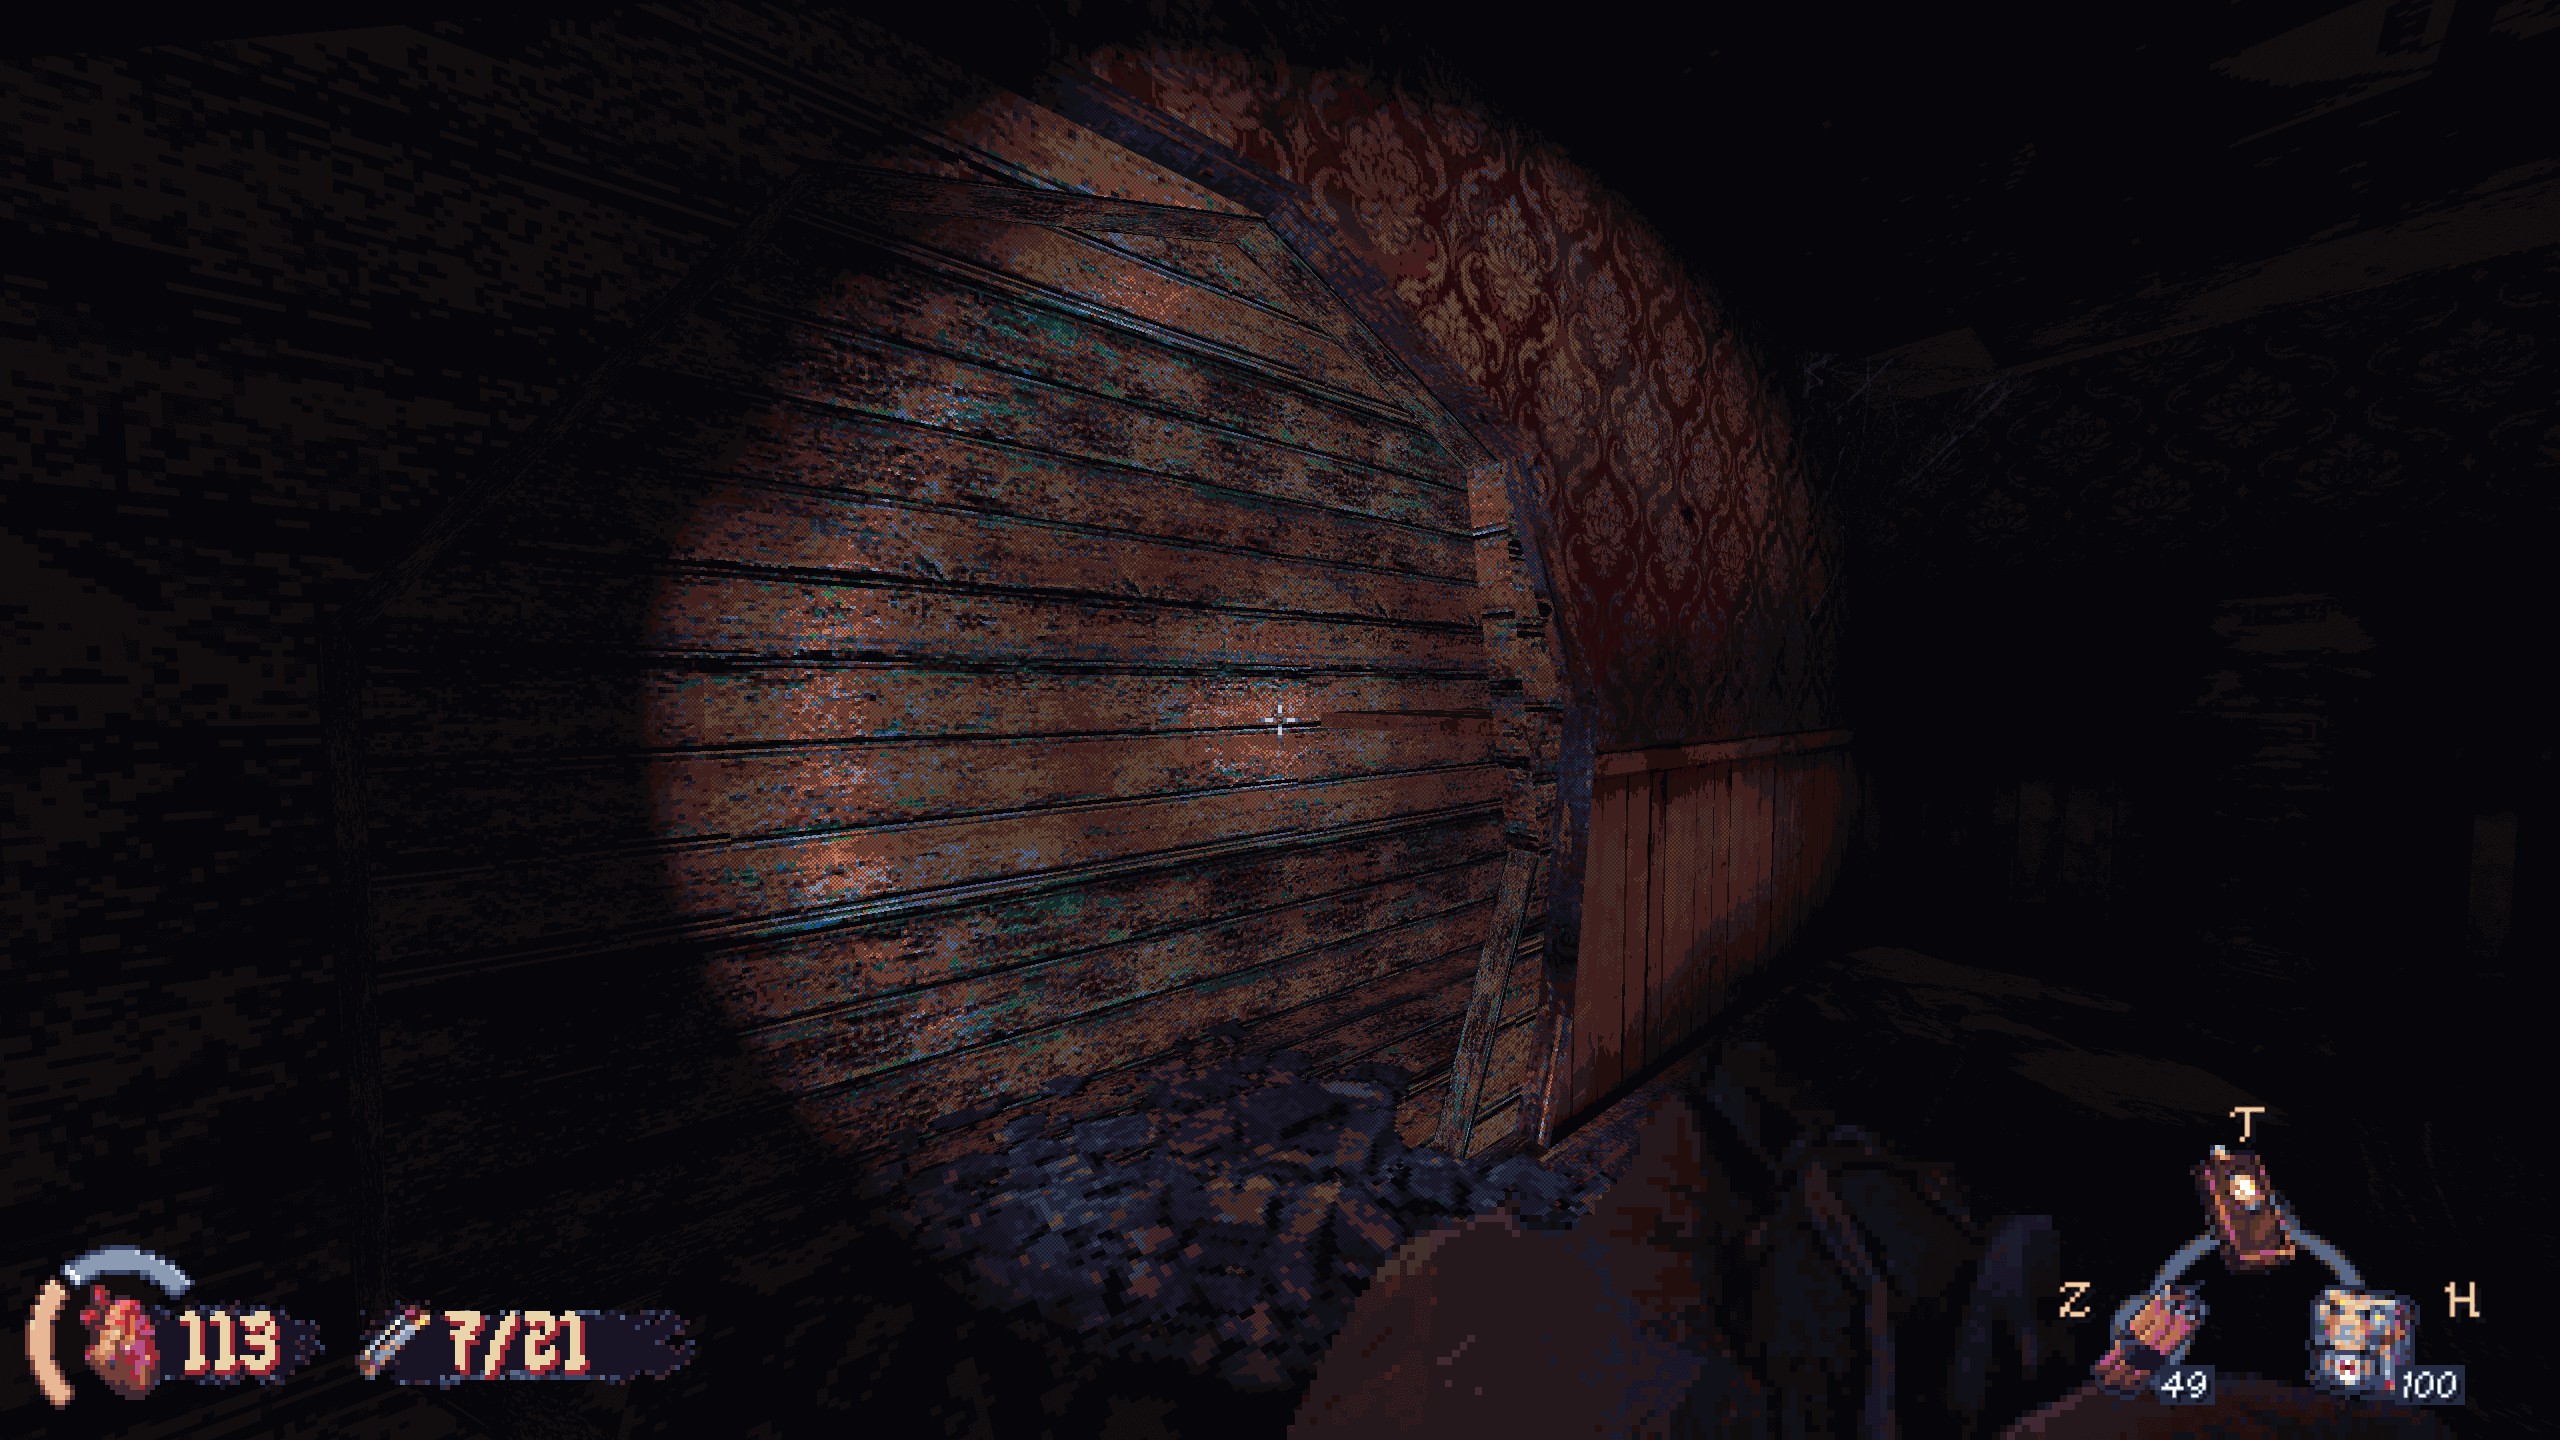

#4: In this upper floor bathroom covered with boards, look to your left for a spot you can crawl under near the door you came in. Recompensa: weapon part.

#5: In the rafters above the central room where the gasoline is, look under these stairs. To reach the item, crawl along the beams behind you. Be sure you’ve got all of the secrets before grabbing the gasoline. Recompensa: weapon part.
The Excavation Site
Papel 1: Escavação
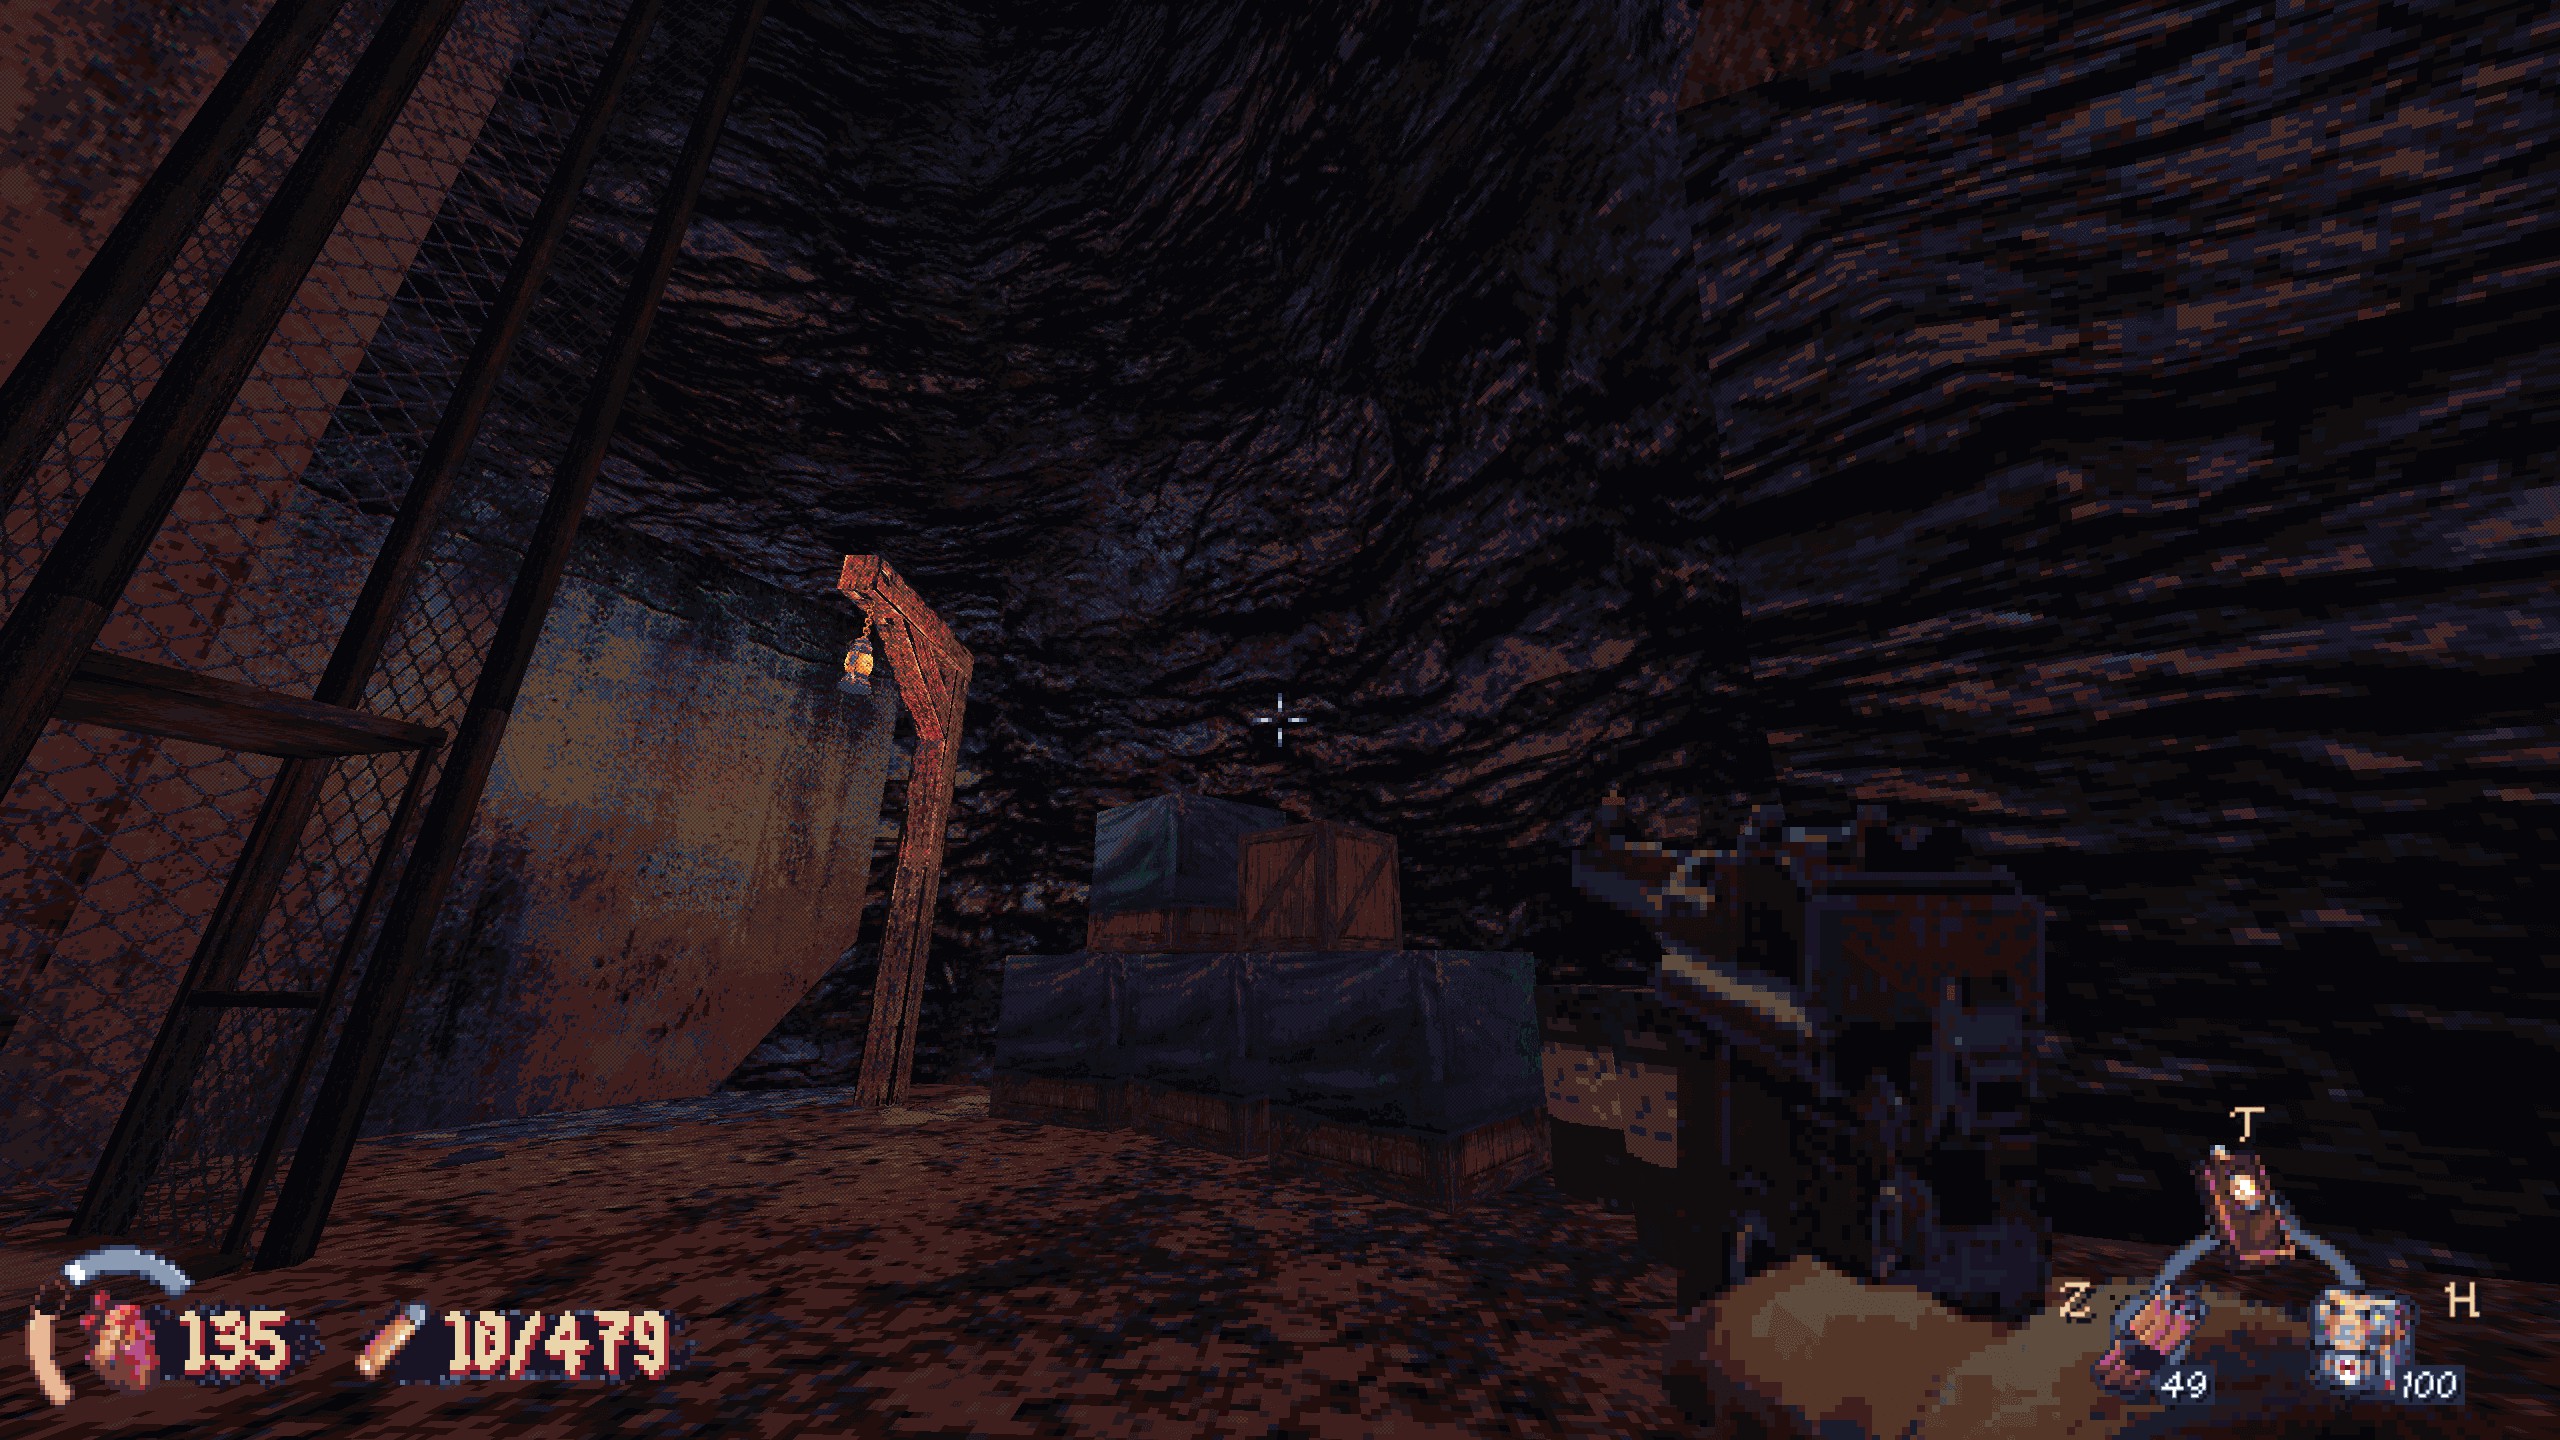
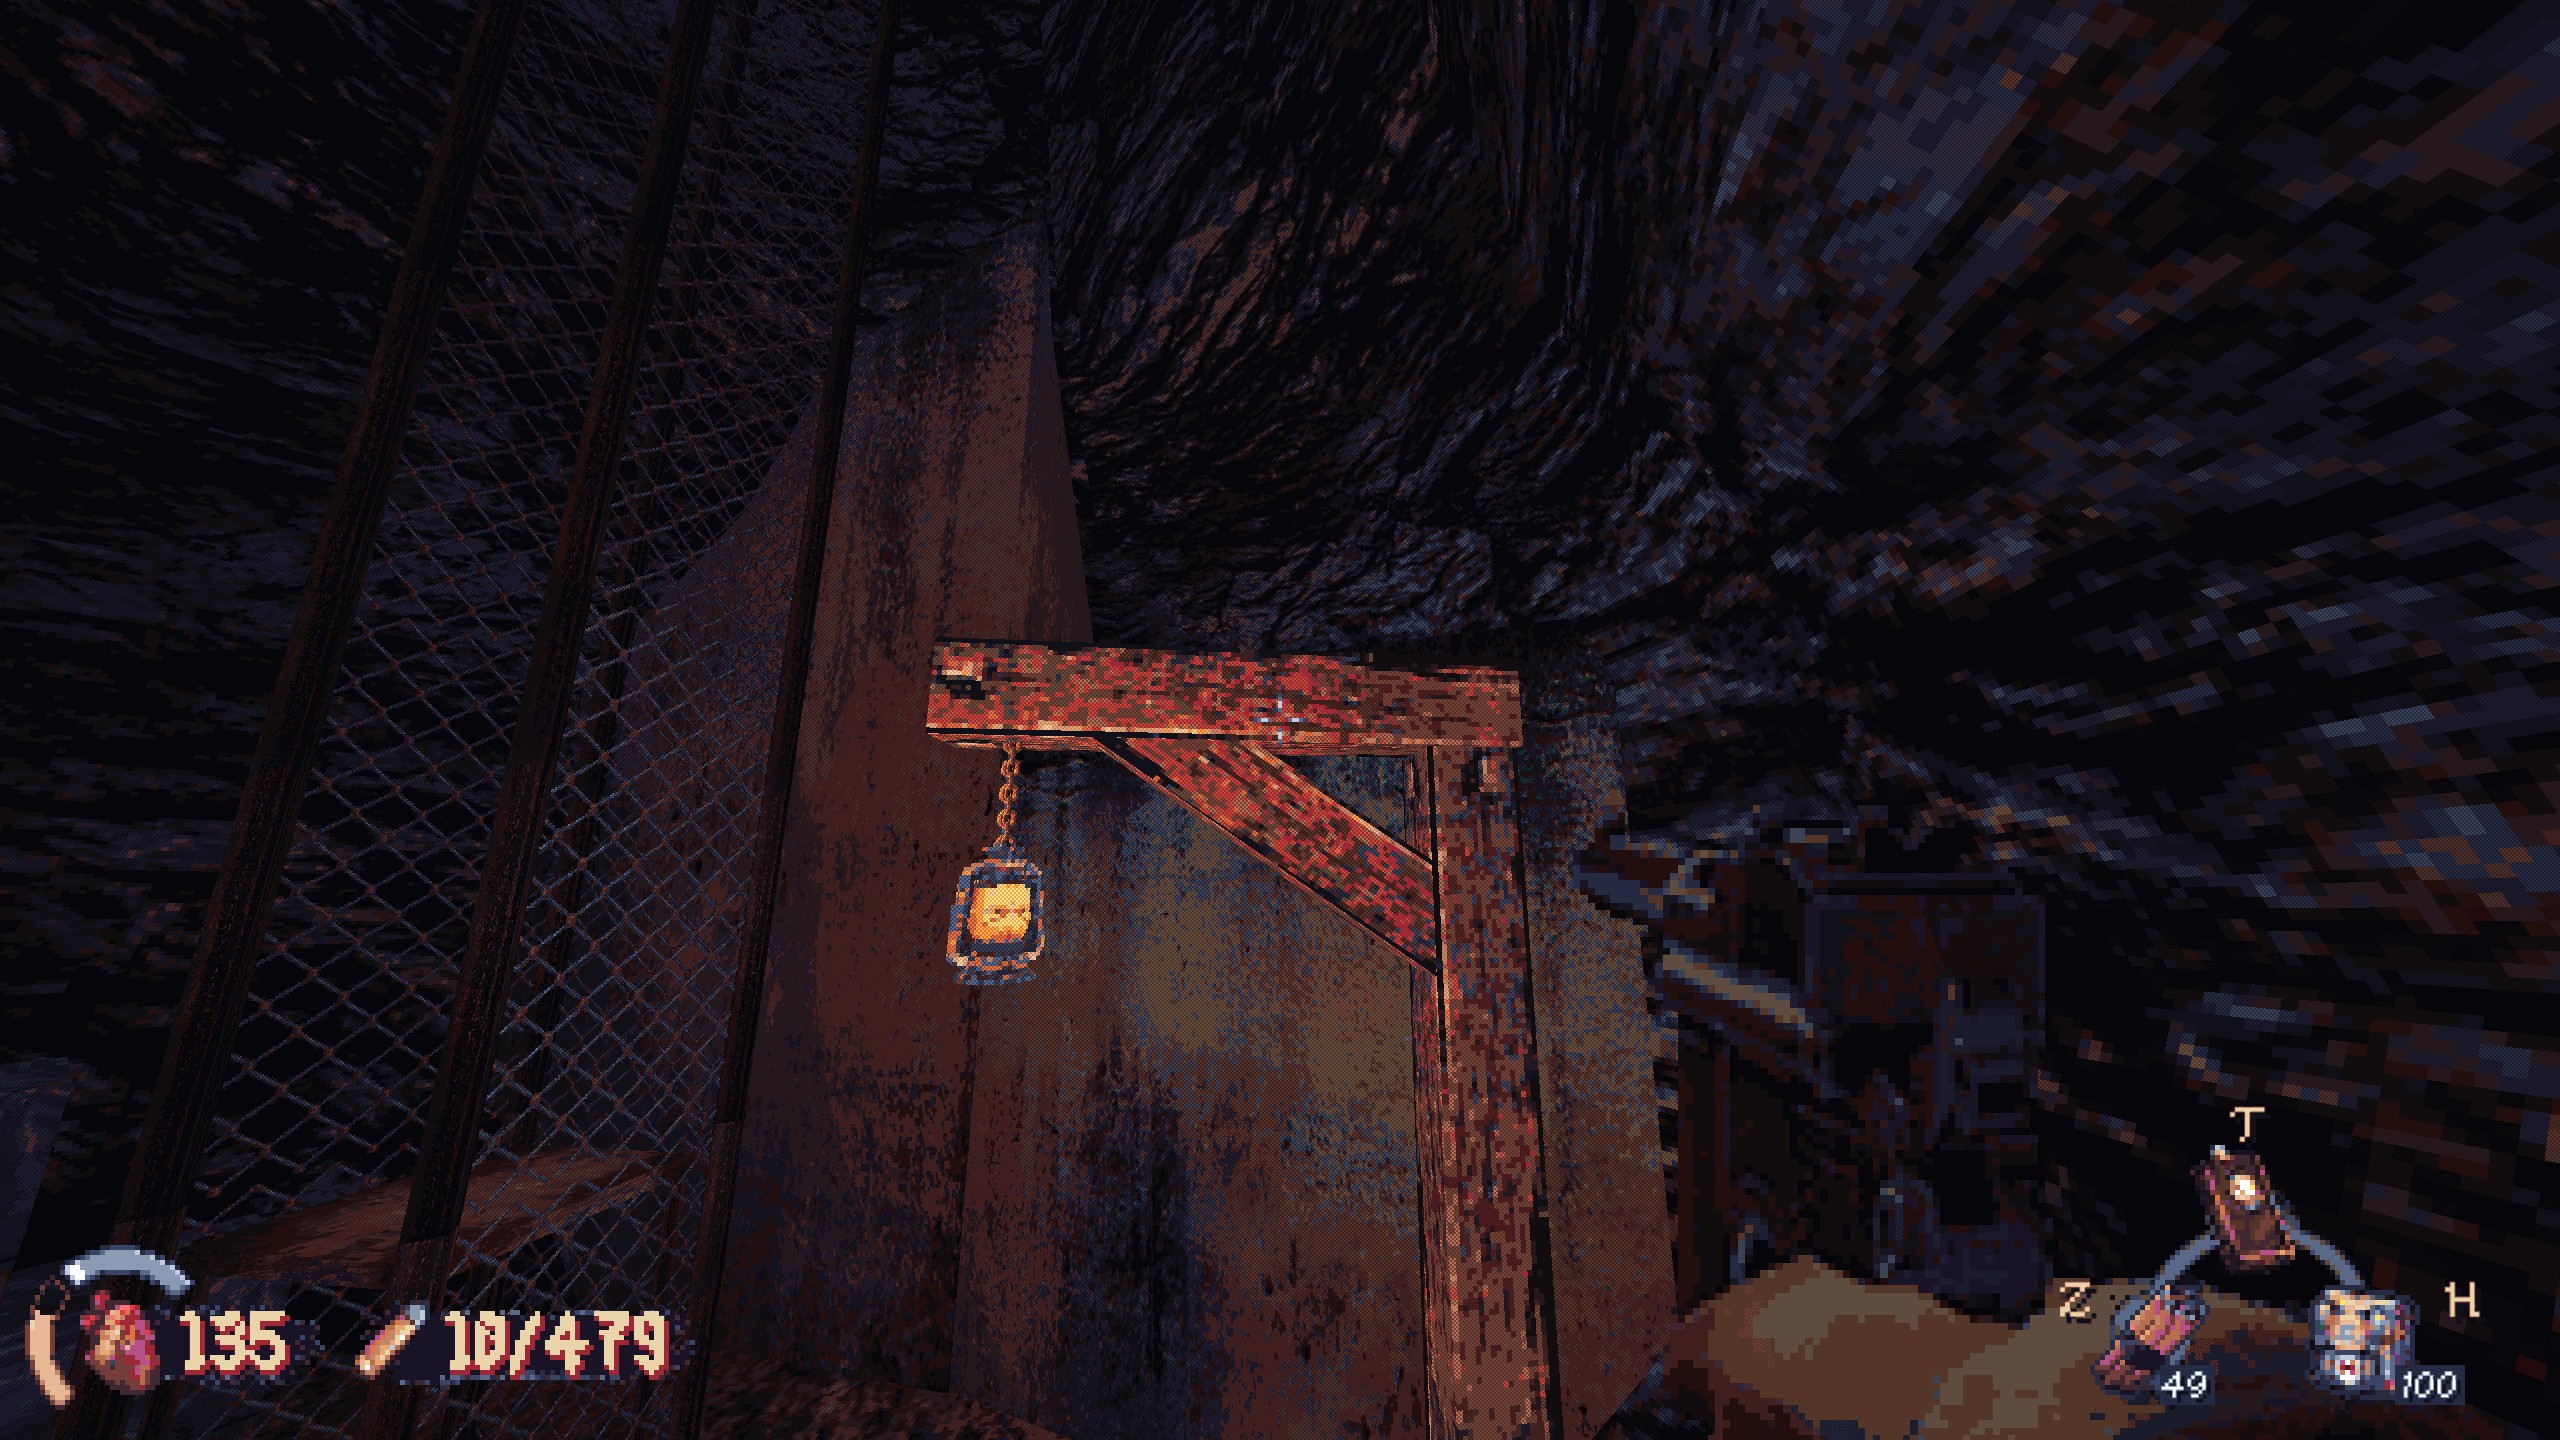
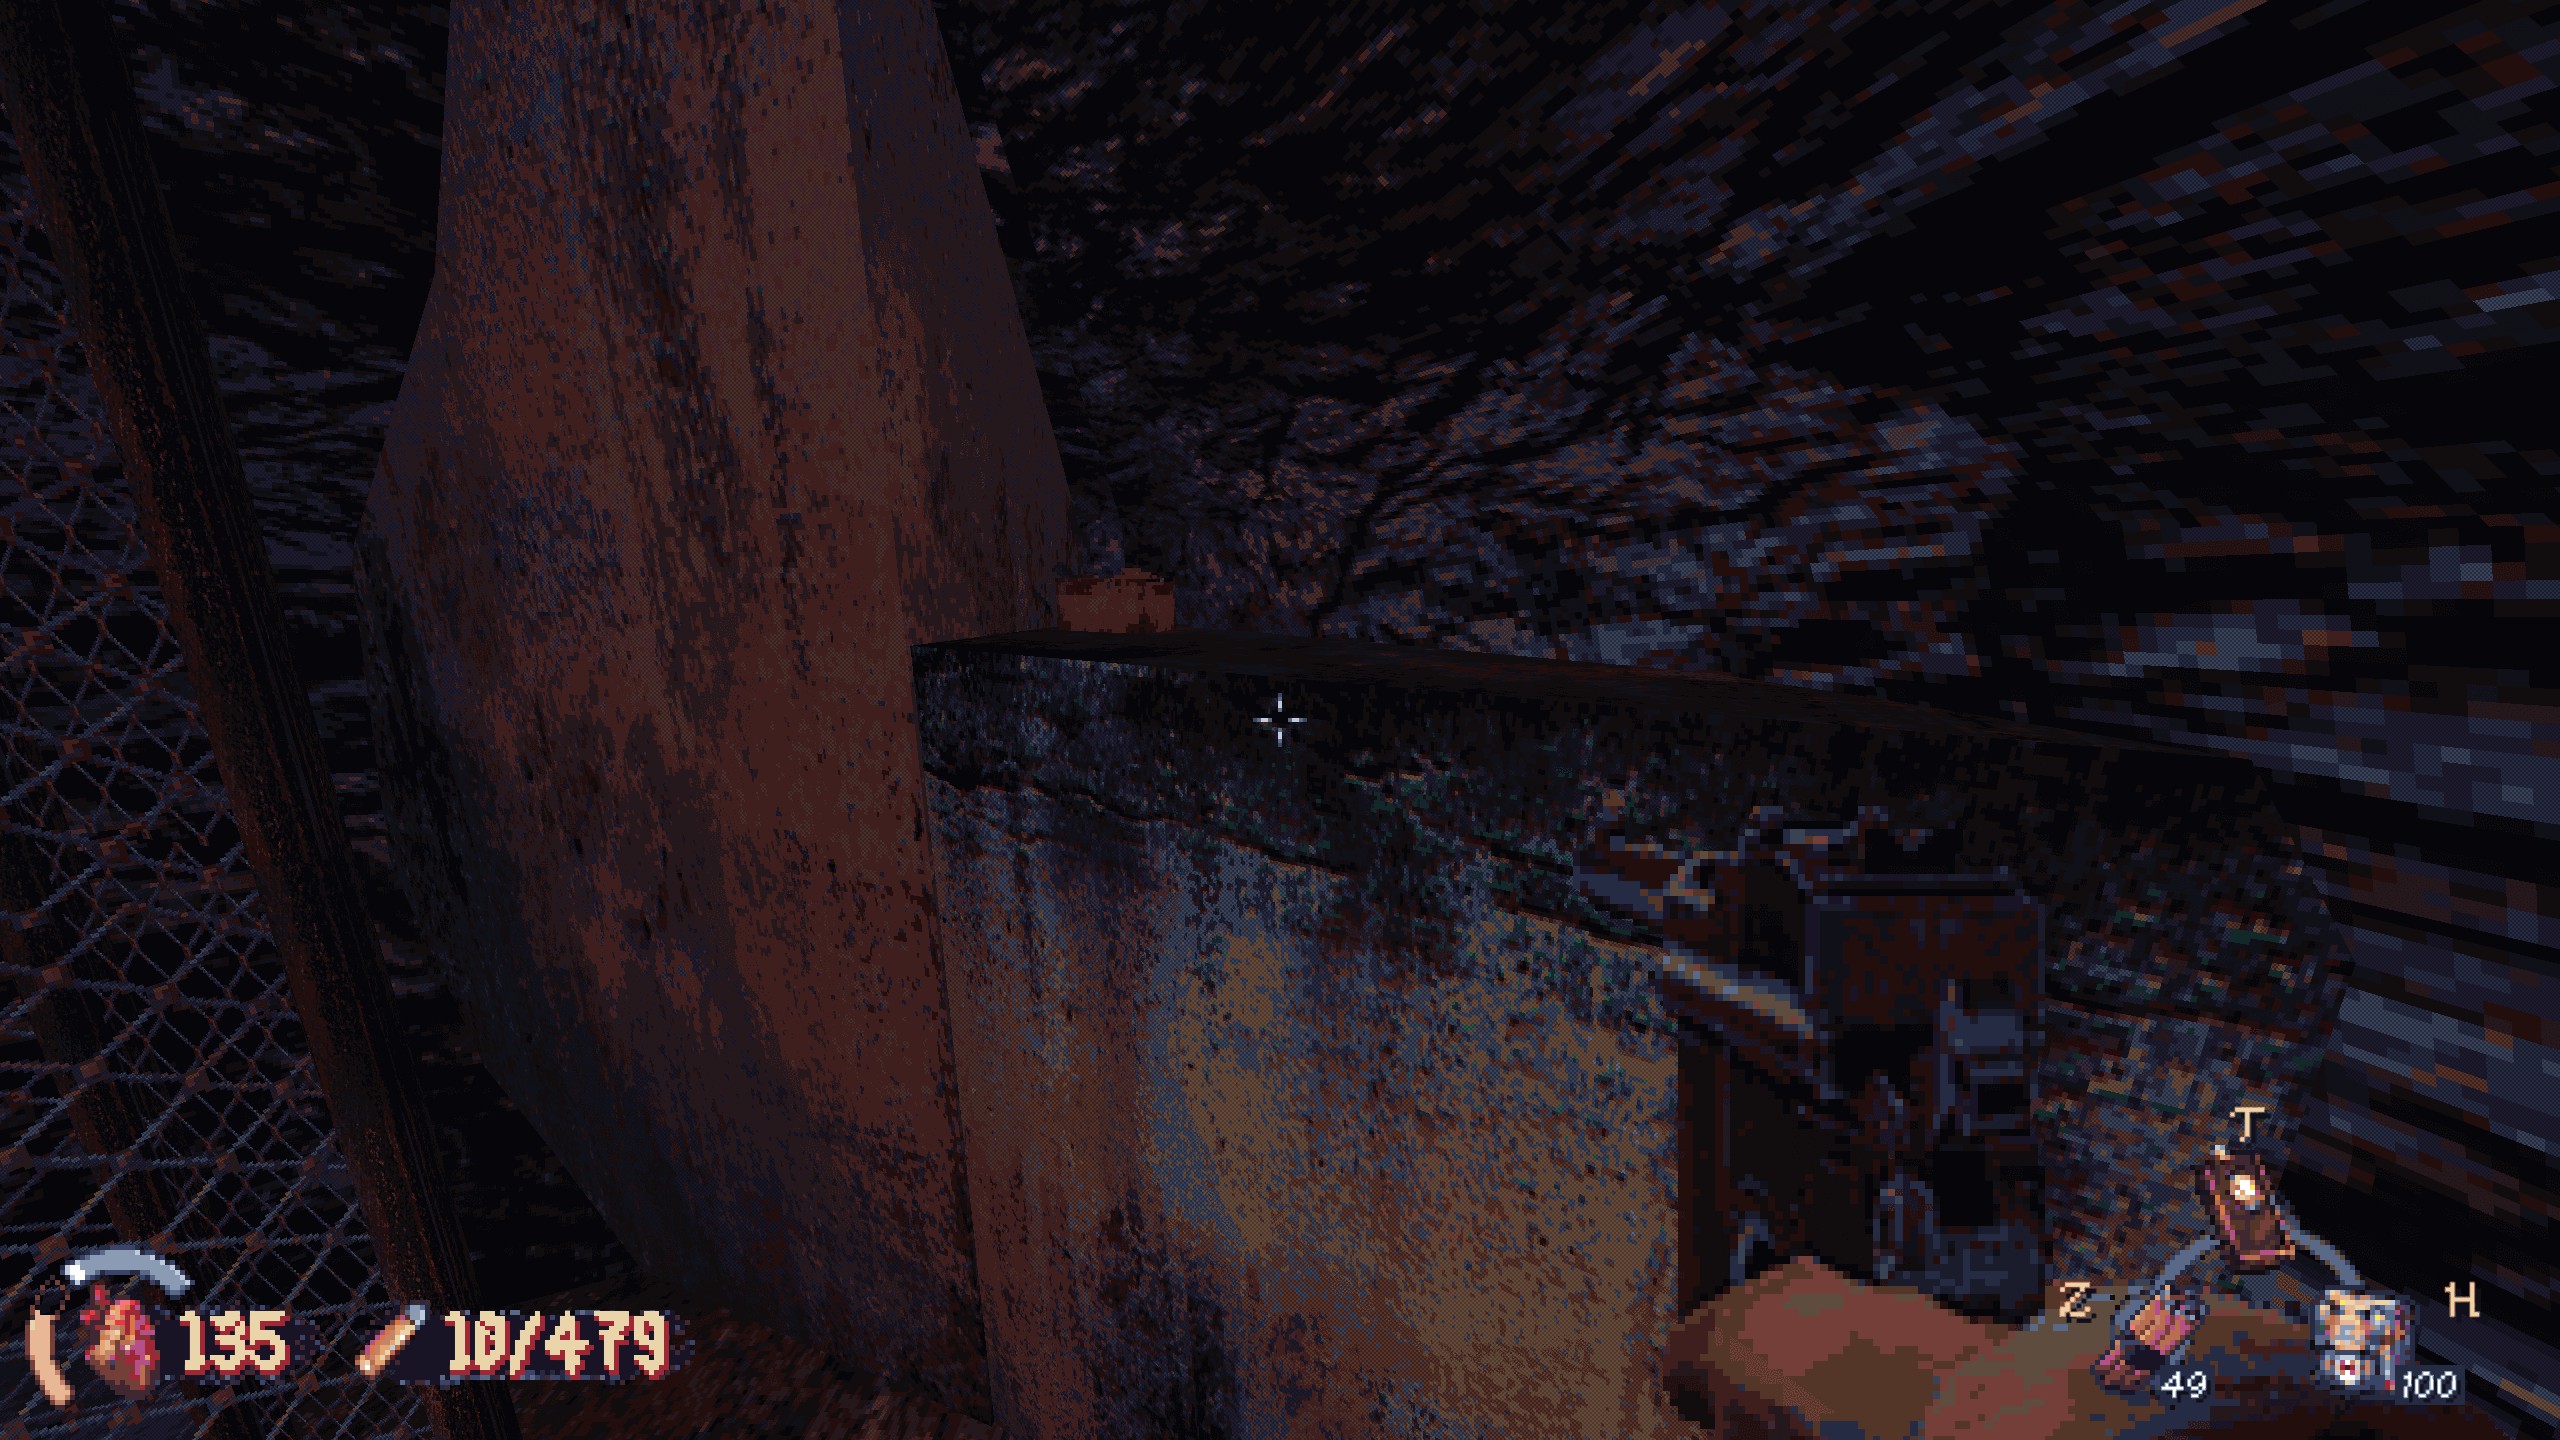
#1: Right at the start, look left for a pile of crates. Suba neles, then jump to the lamp post, then jump to the ledge. Recompensa: weapon part.
#2: Near the start, in this area on the left with tents, go around the pillar and check behind this block.
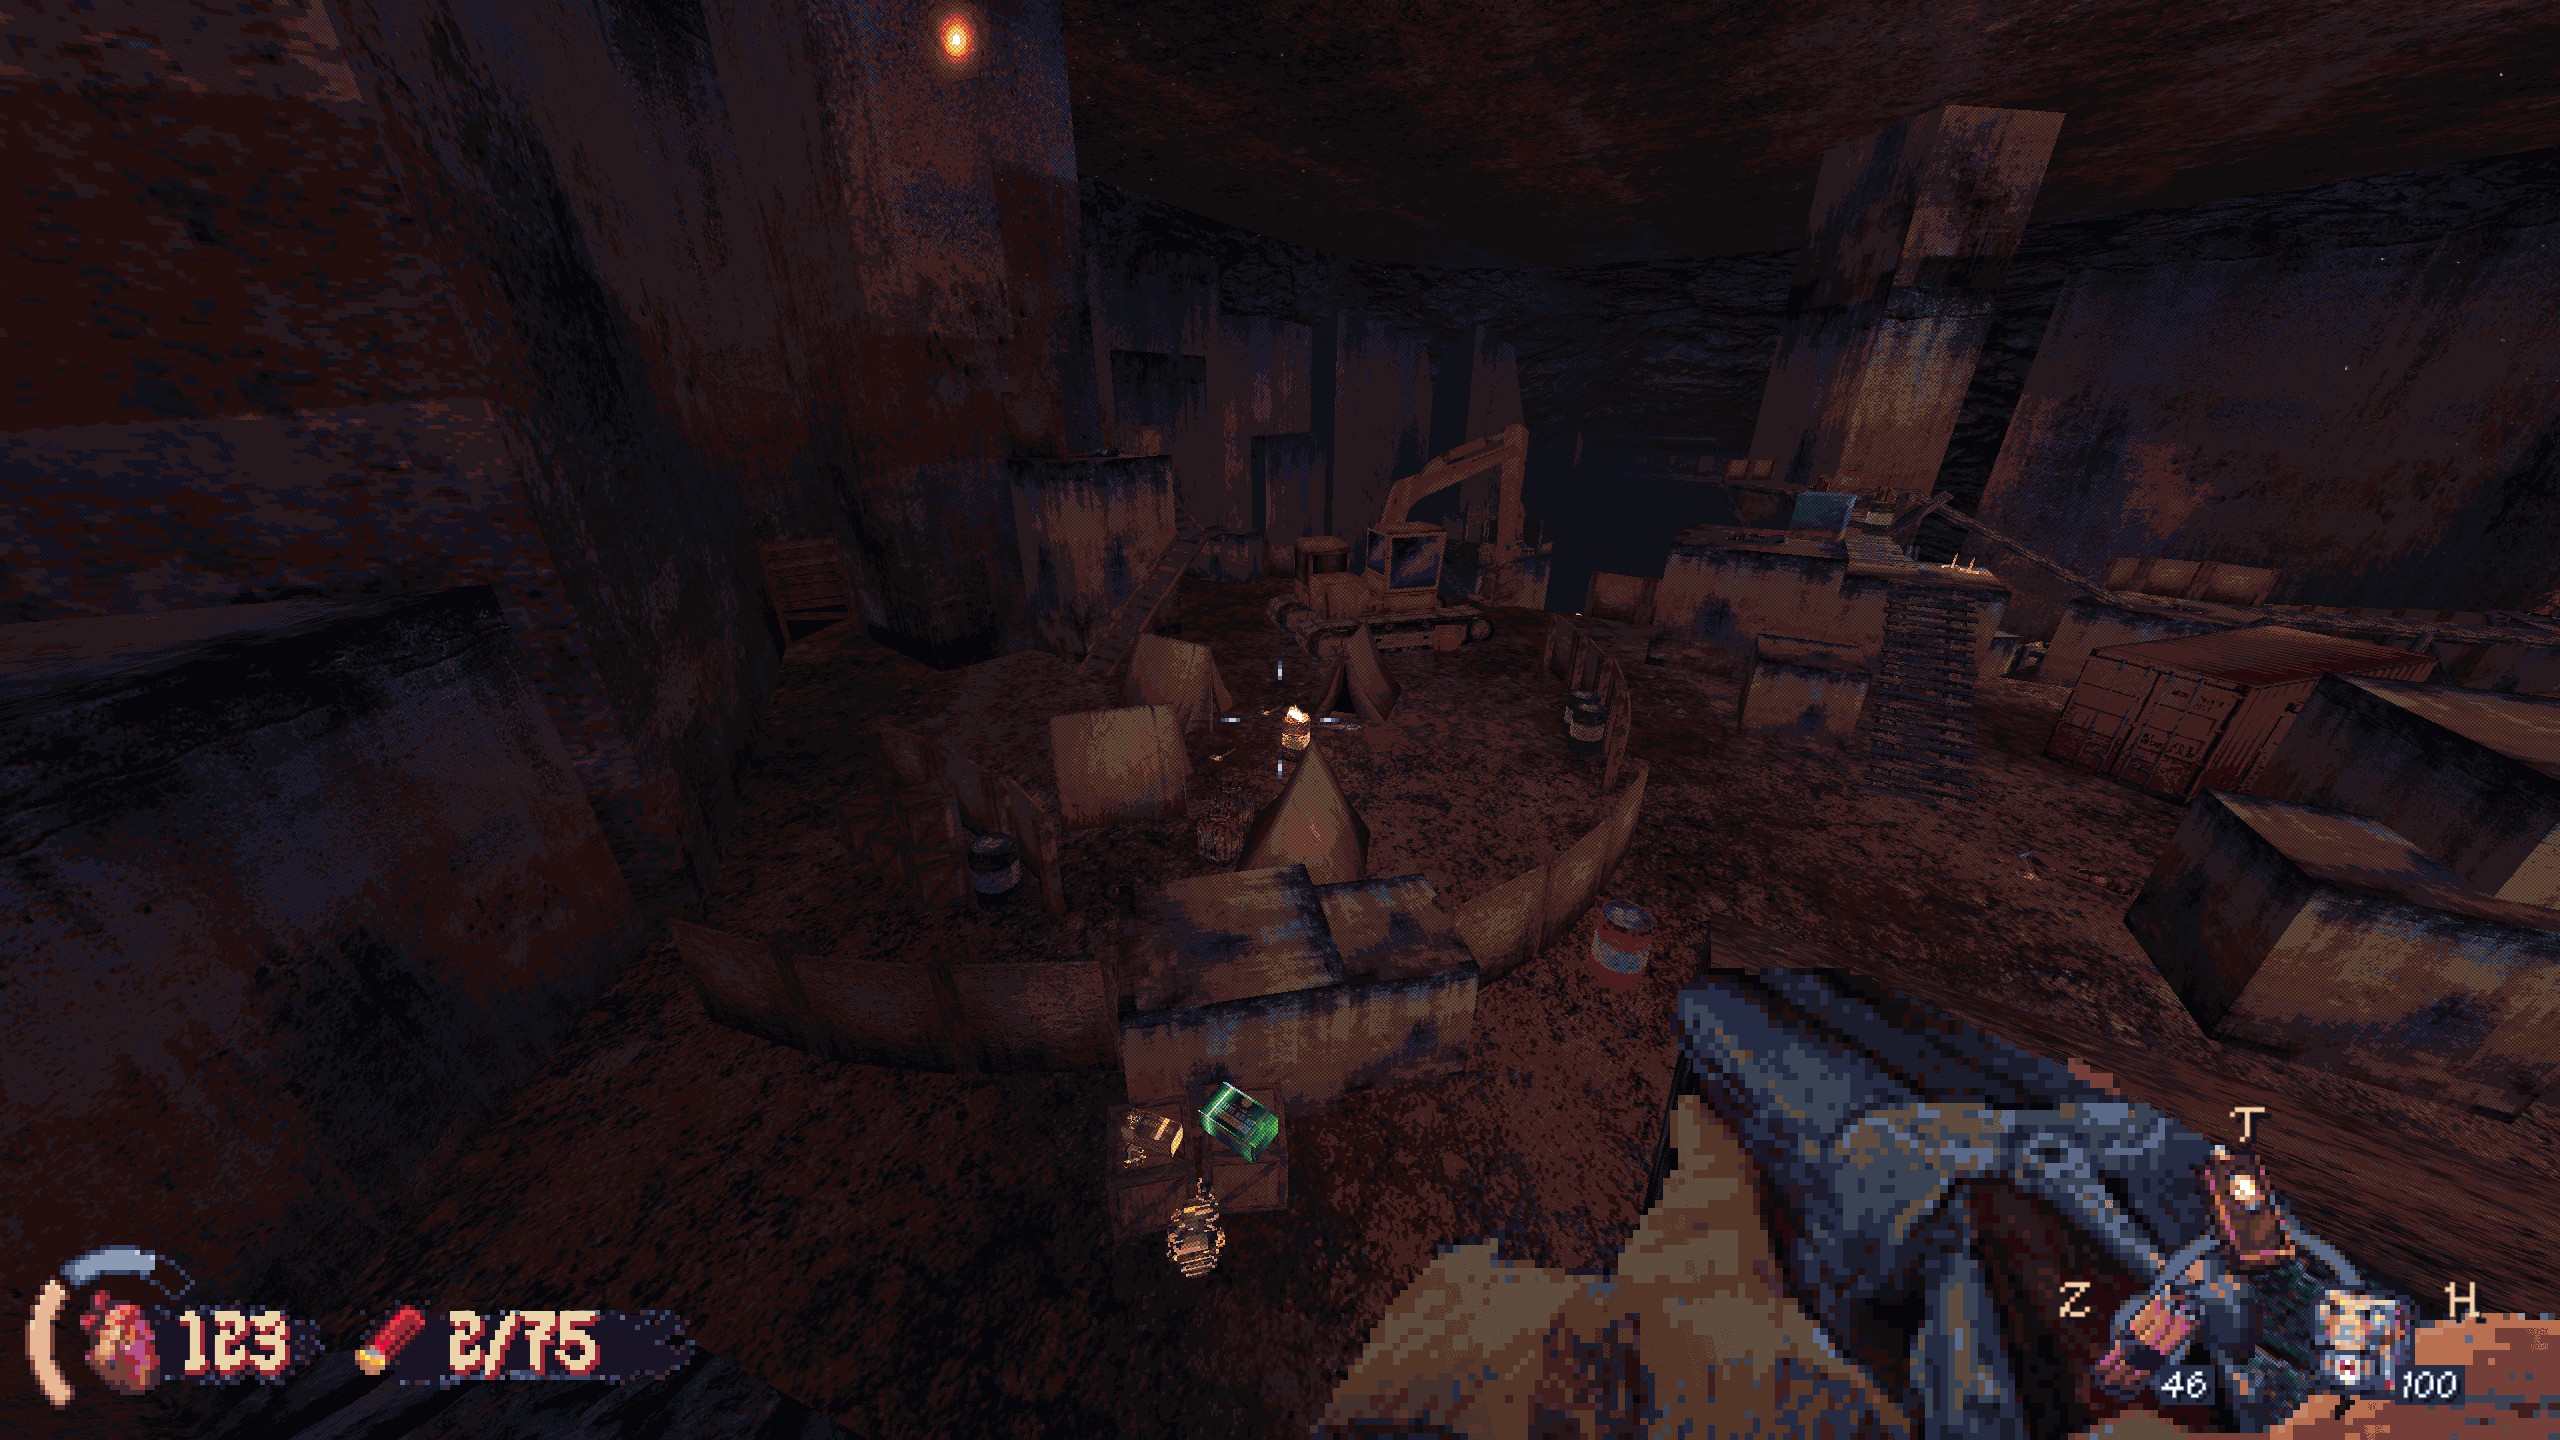
Papel 2: Ruins before the gates
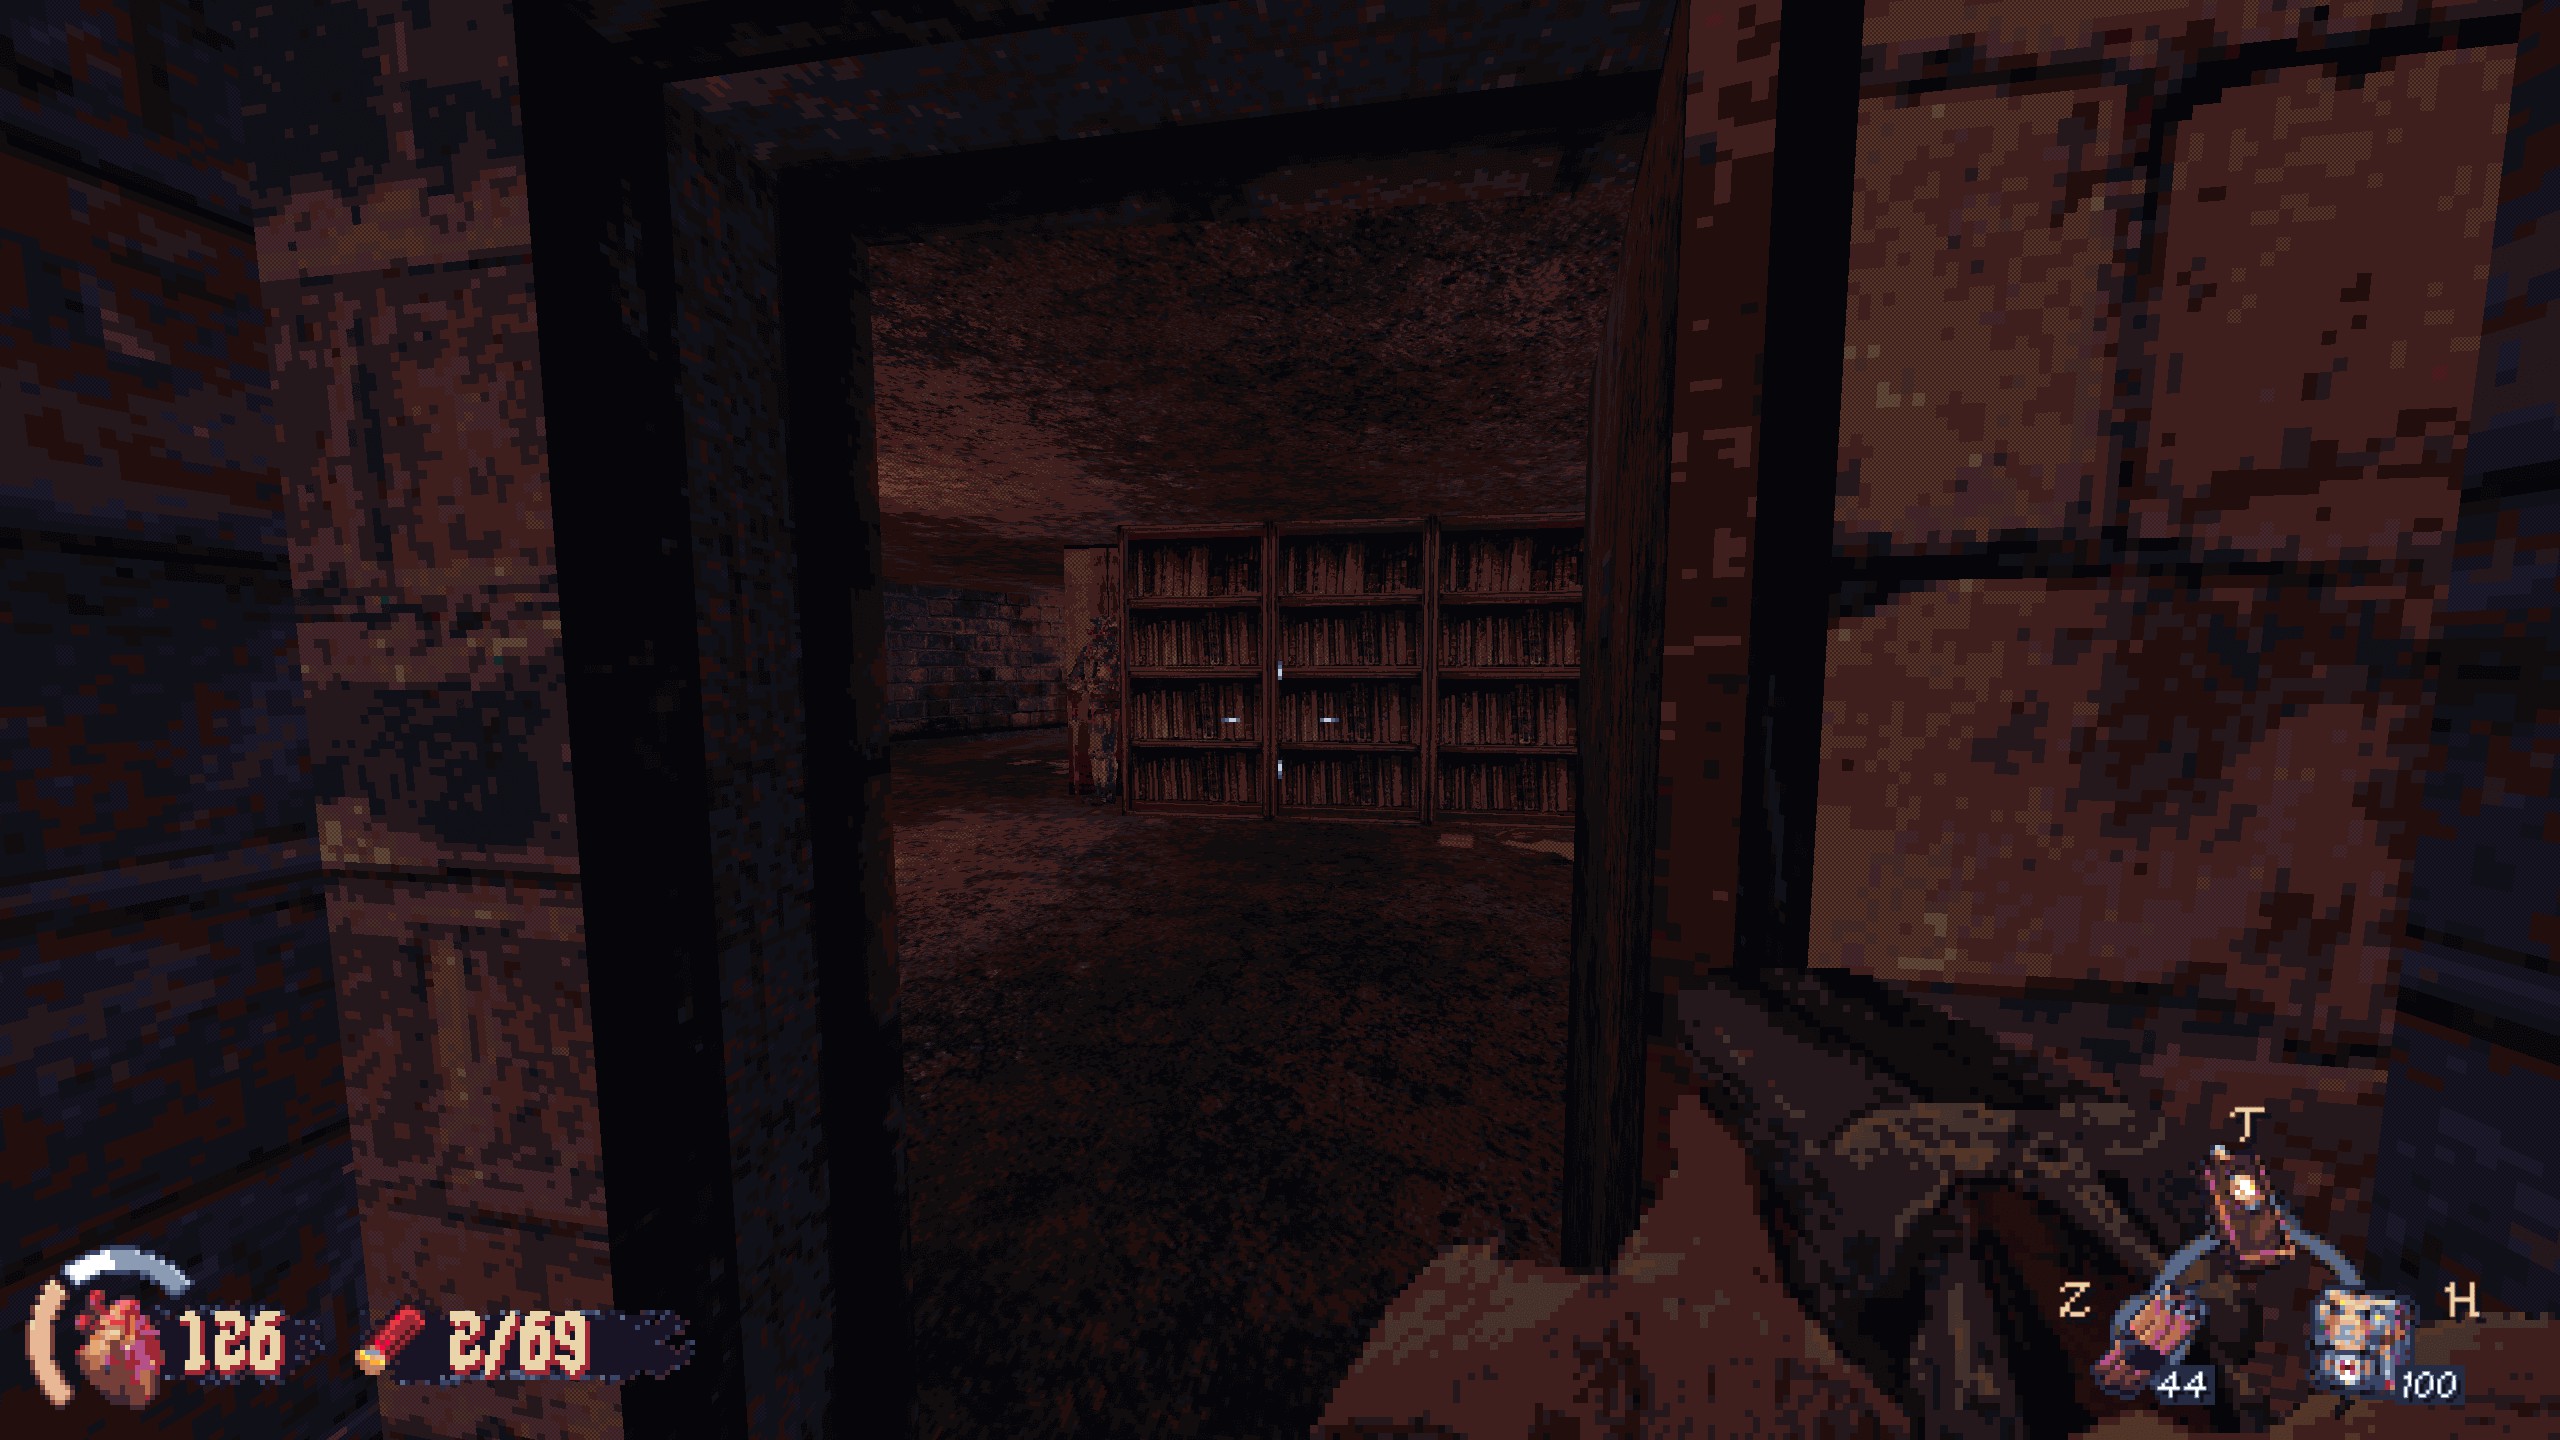
Imbued Remains:
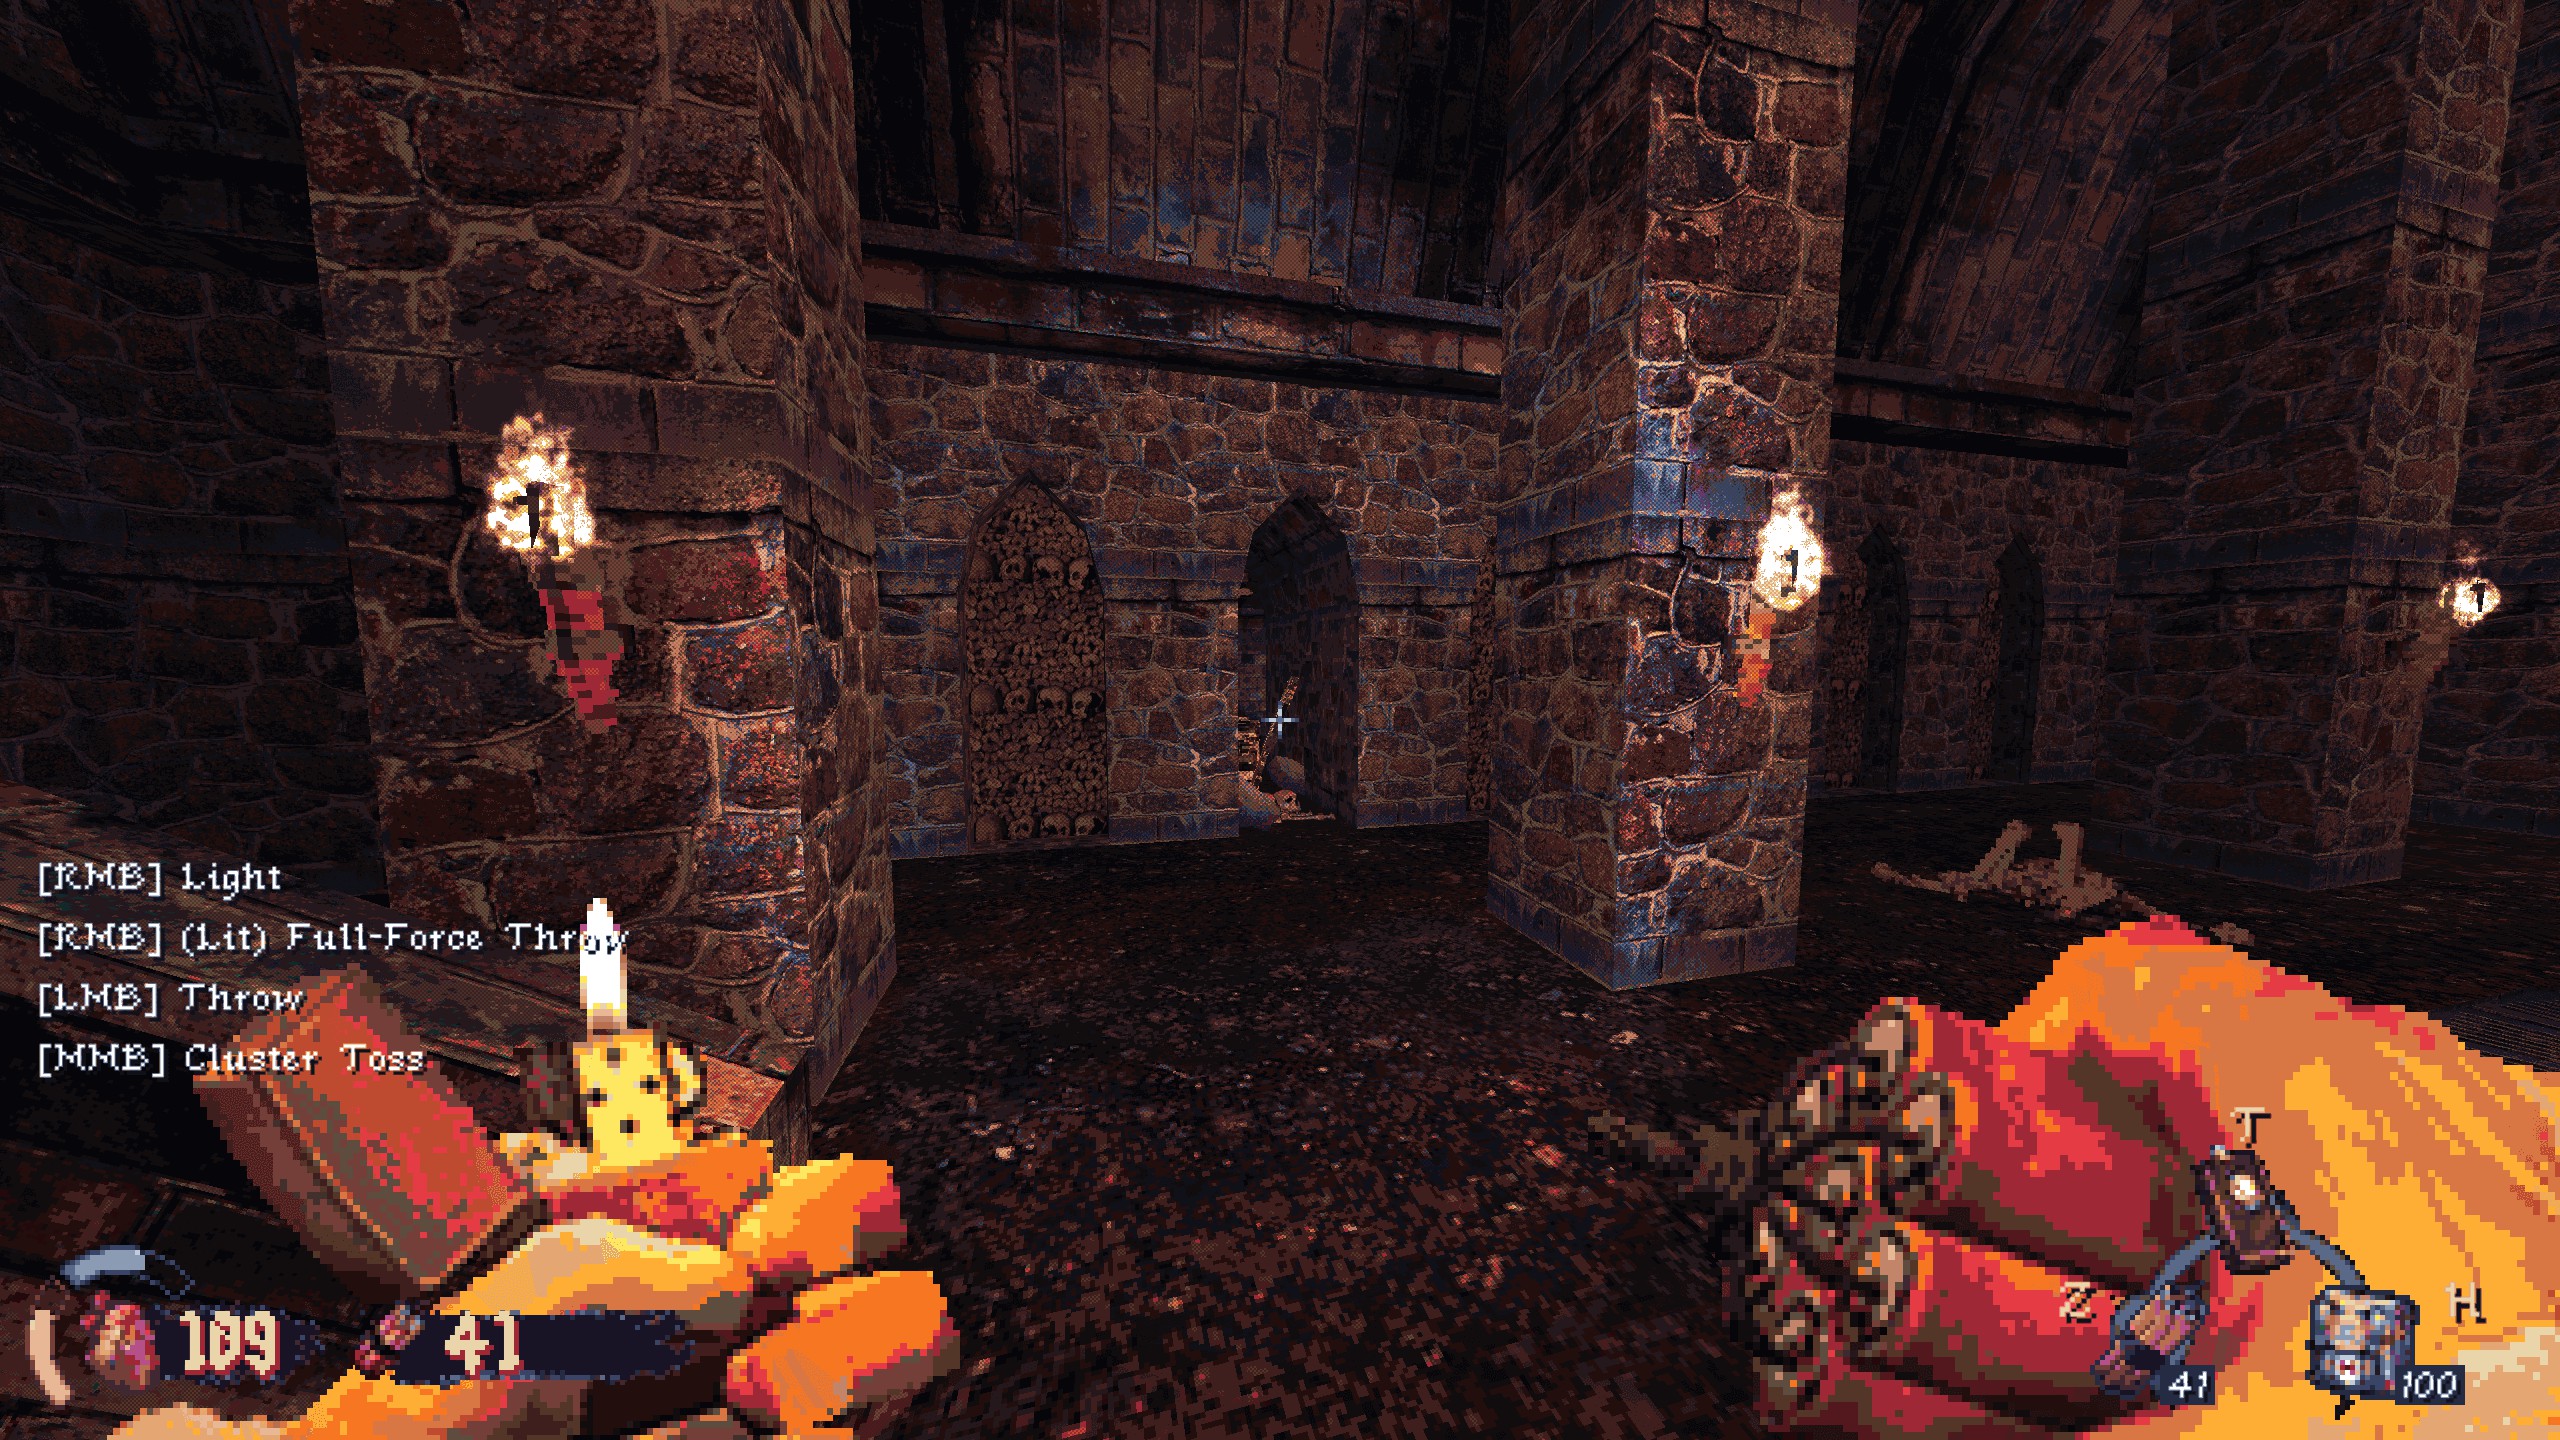
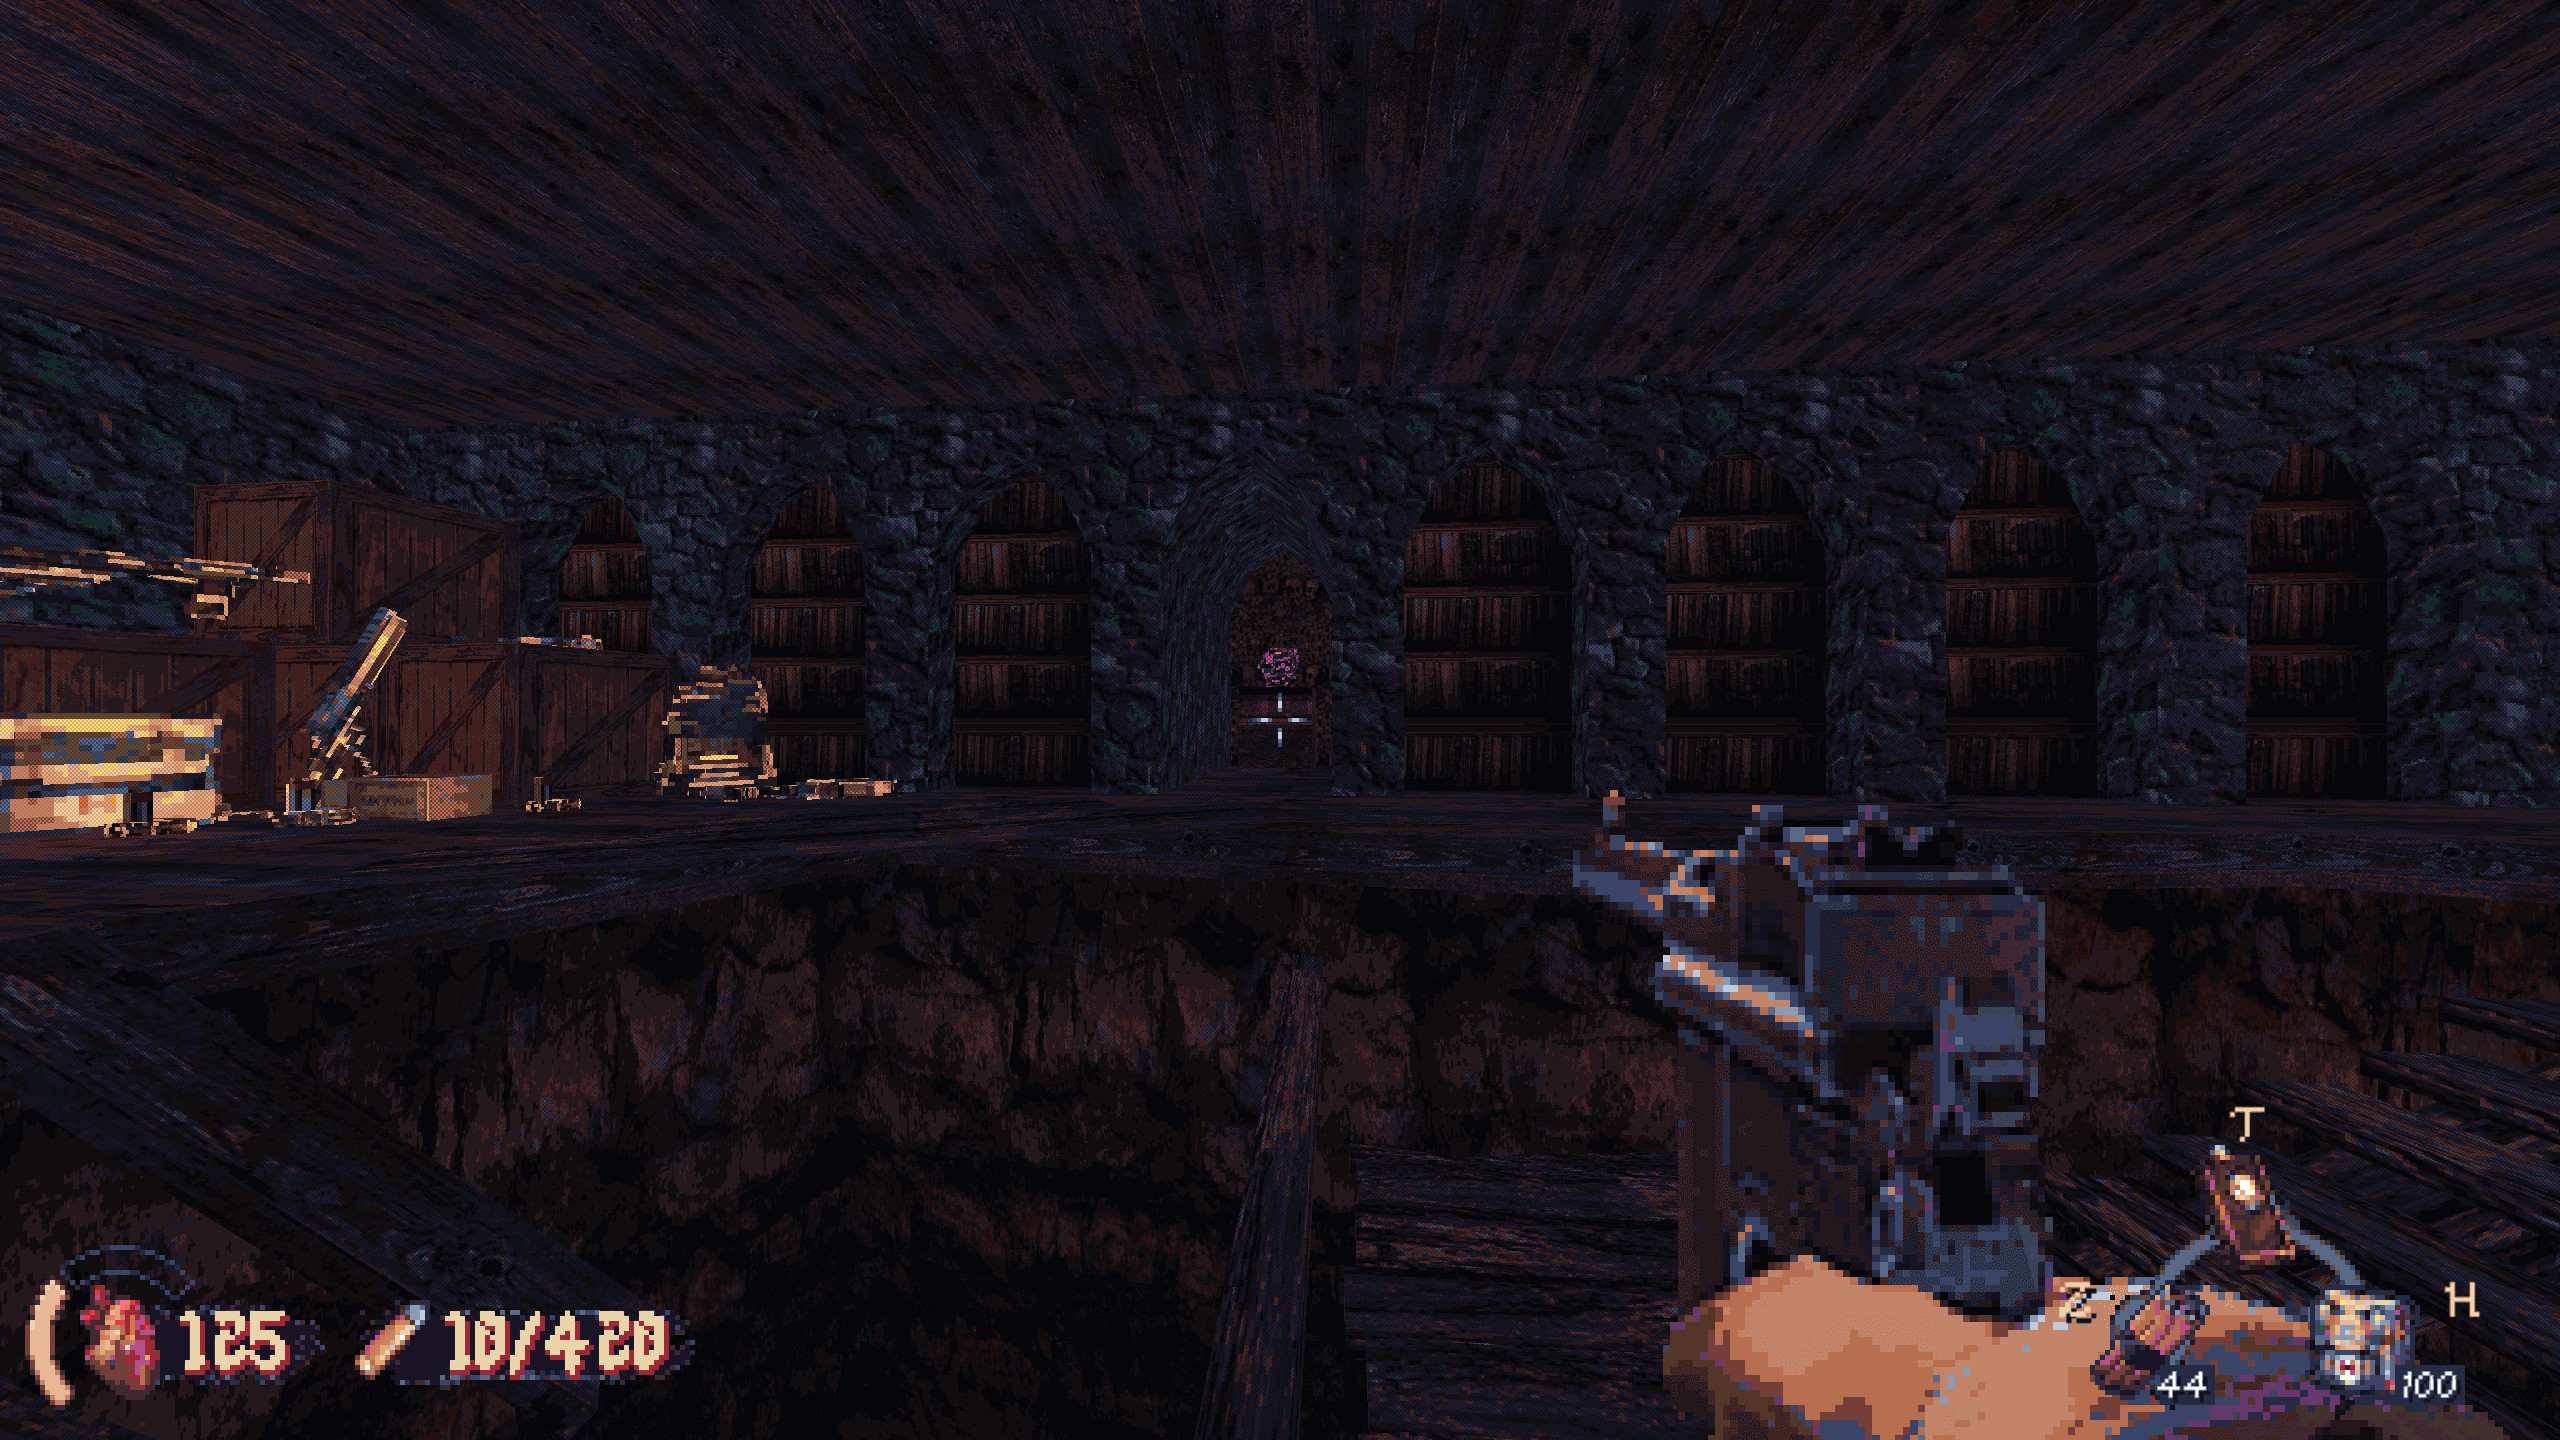
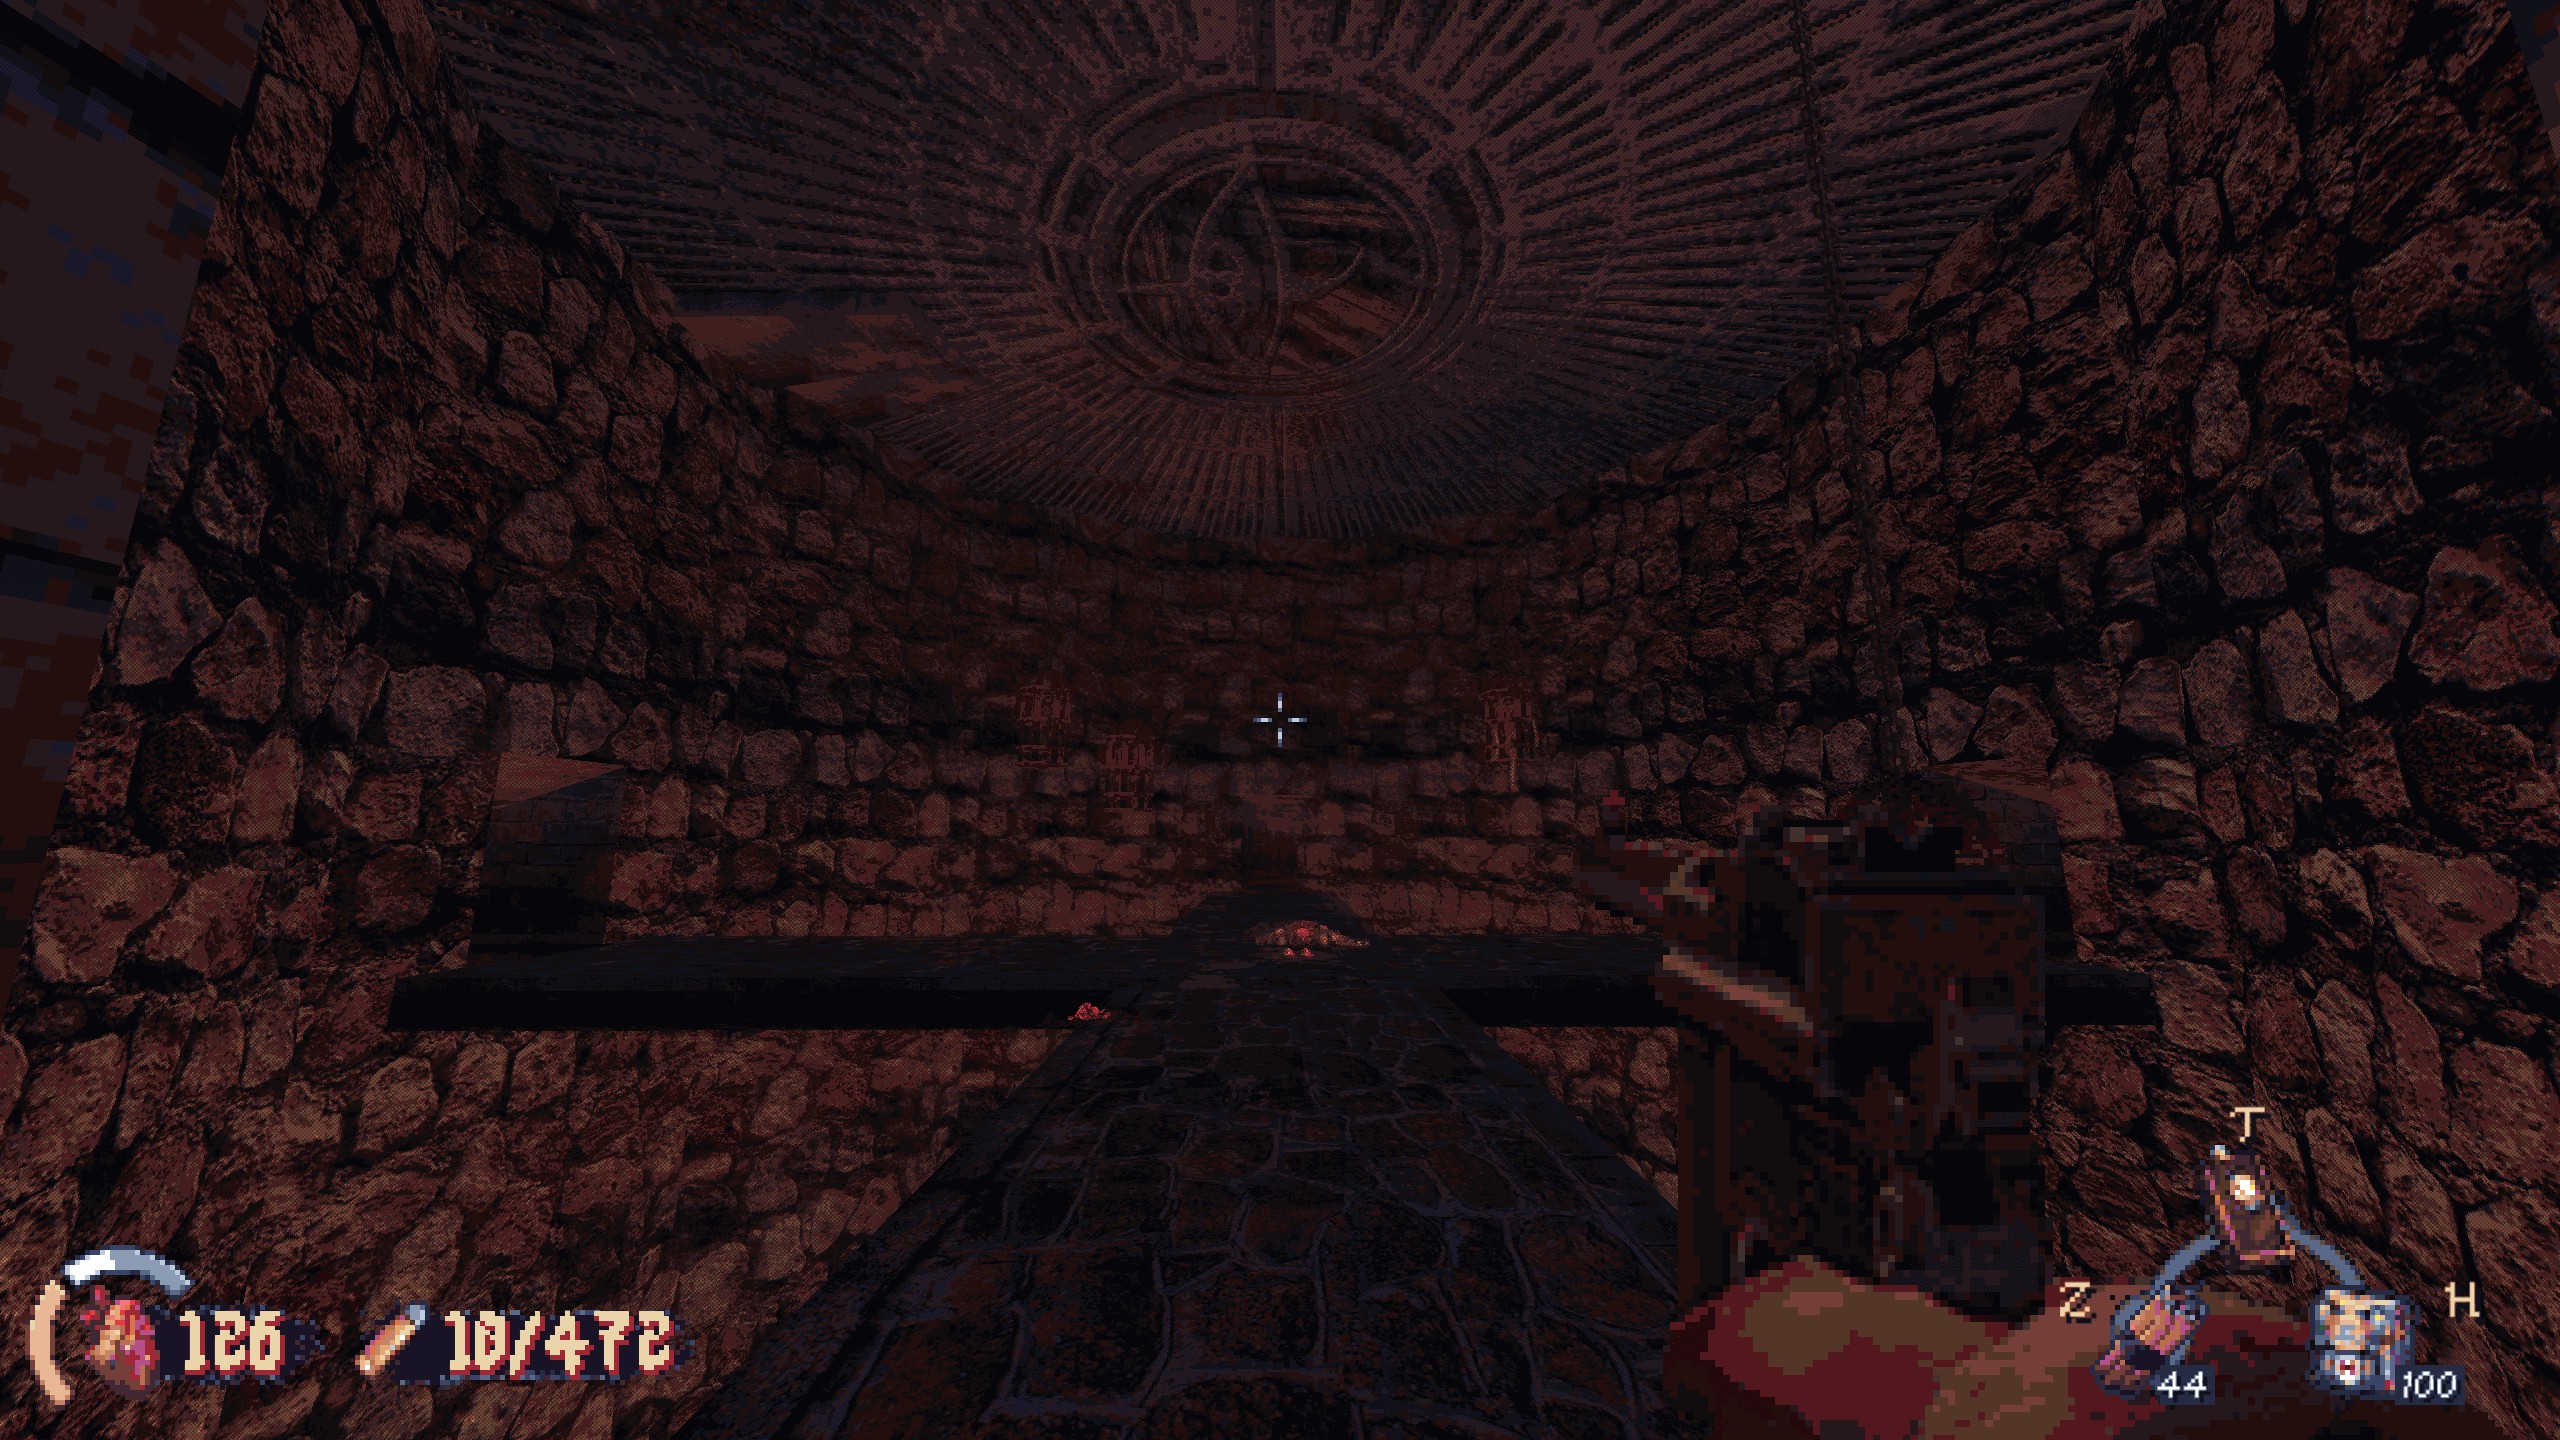
In this circular pit area, head left to find a library. The remains are in the middle.

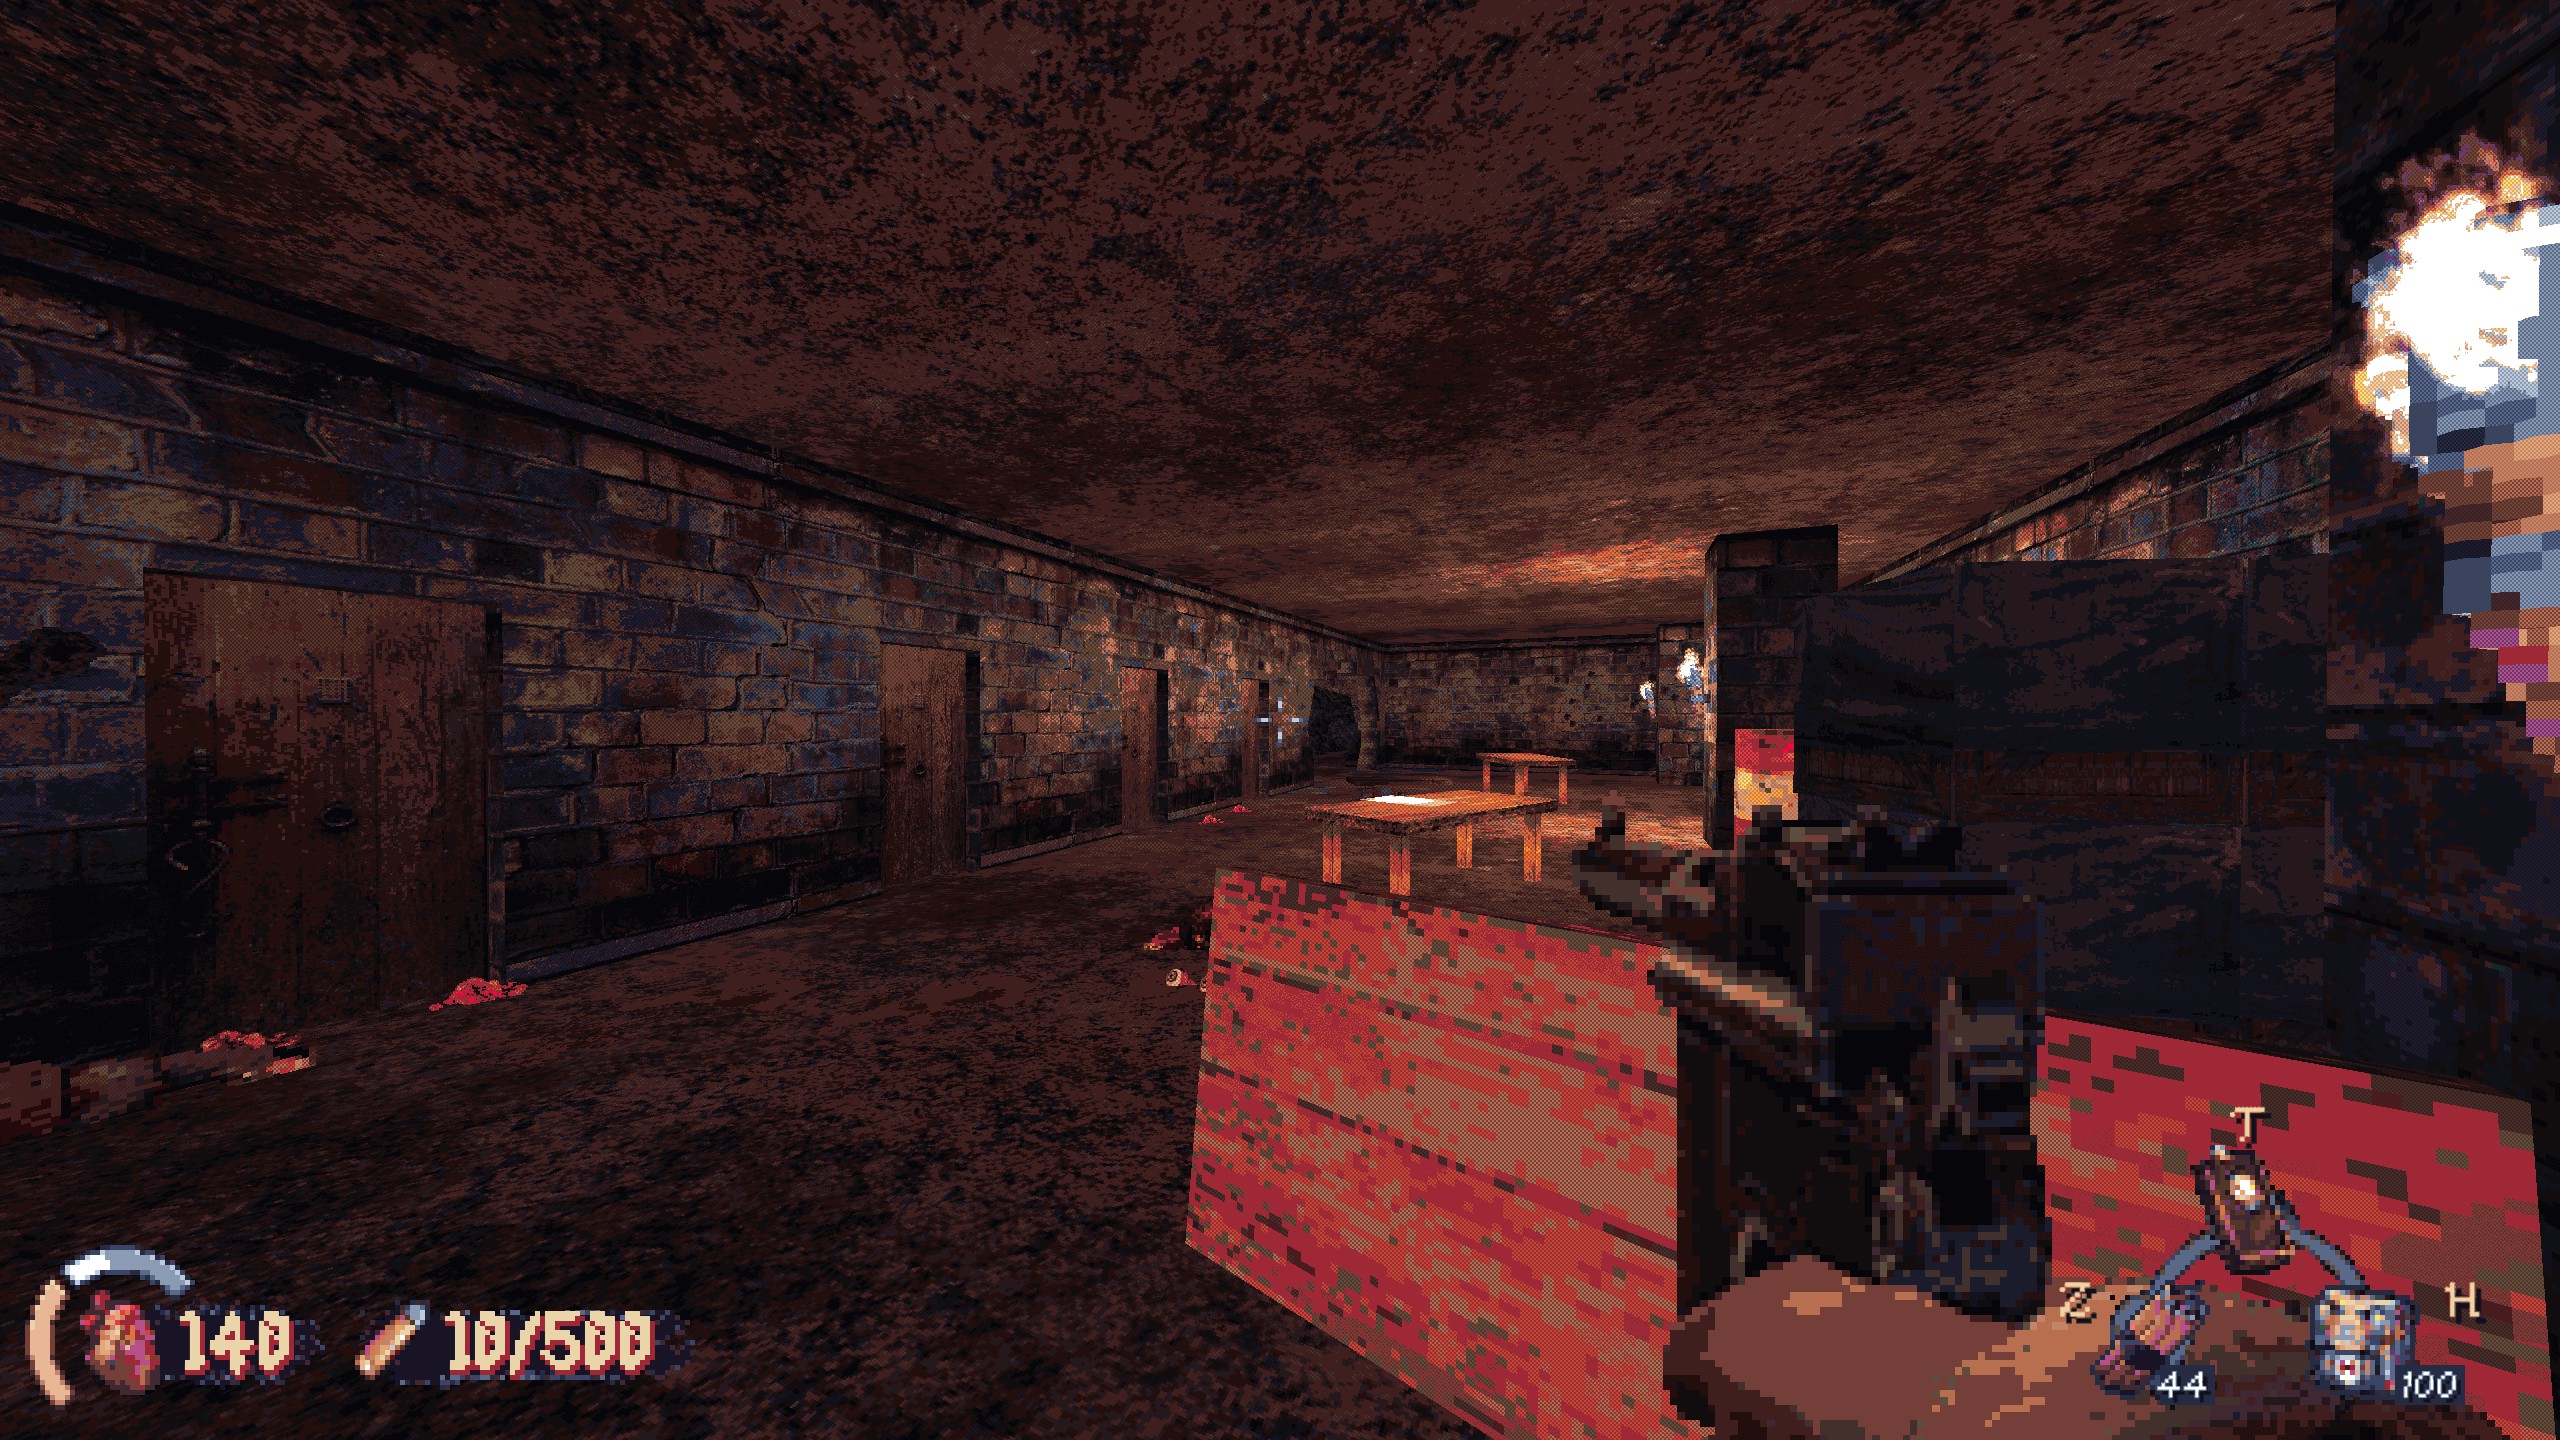
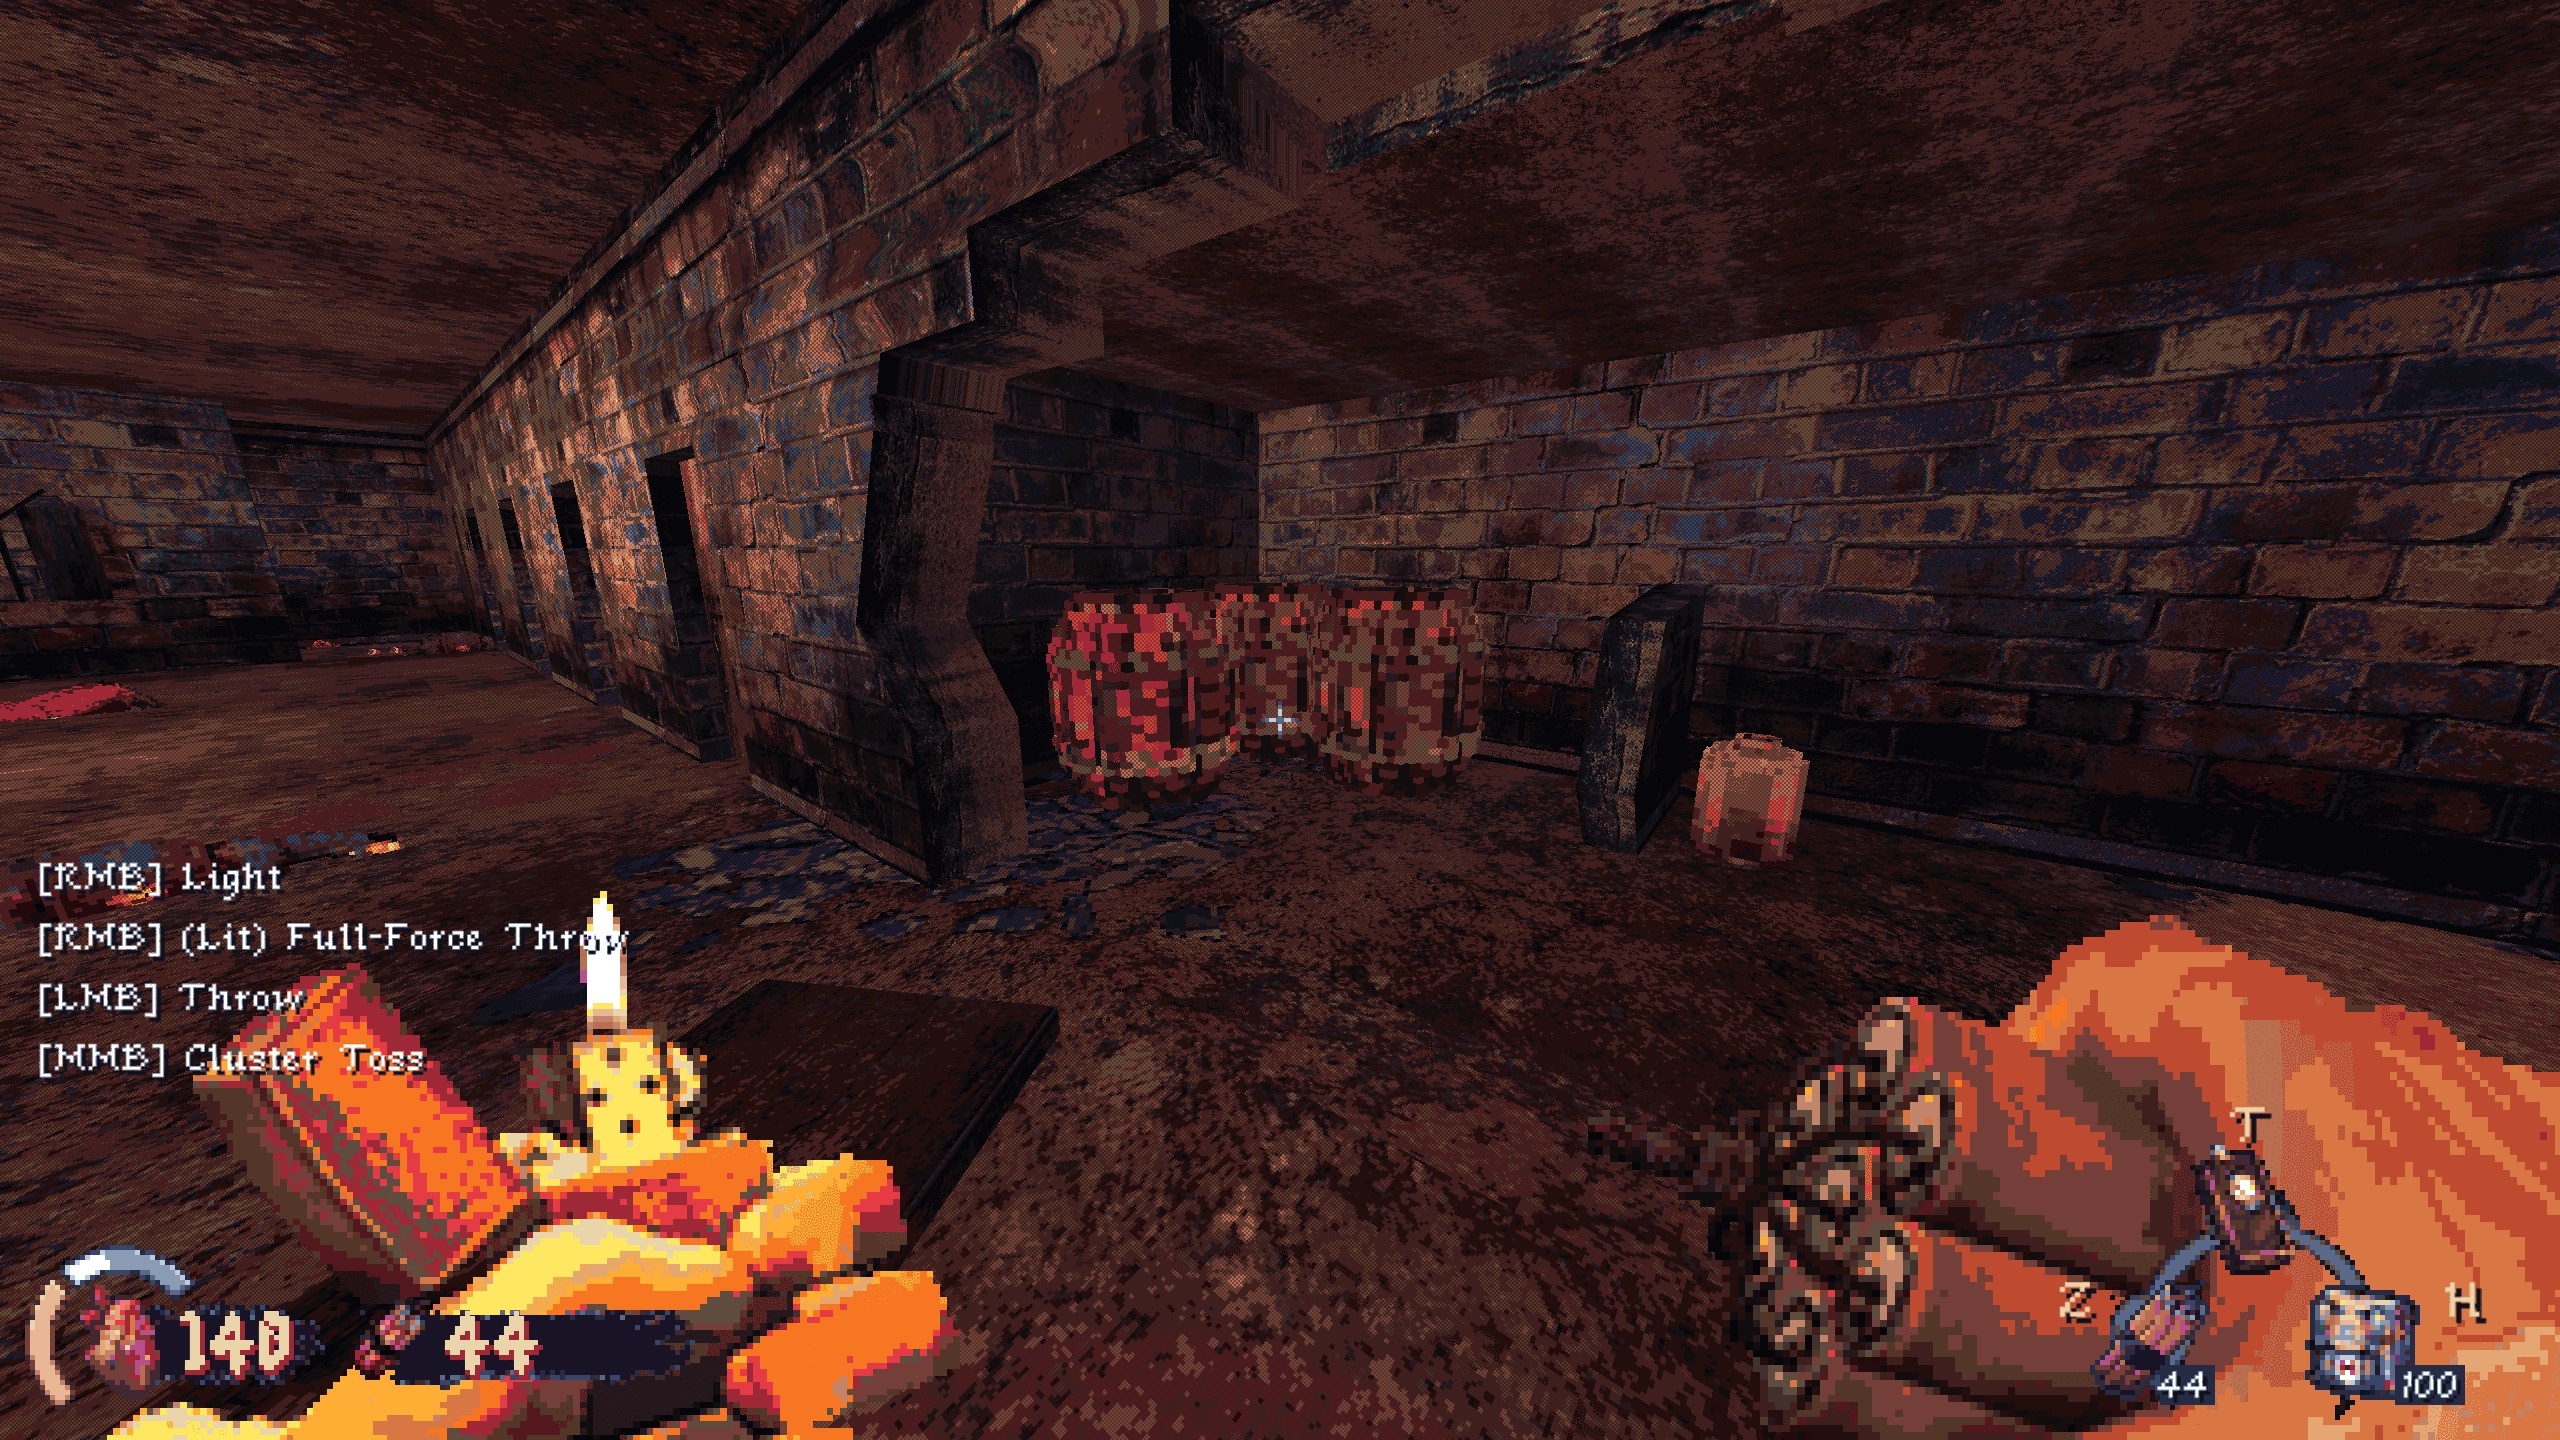
#3: After finding and using the prison key, check for a crack behind these barrels in the destroyed prison cell. Blast it to open the neighboring cell. Recompensa: two weapon parts.
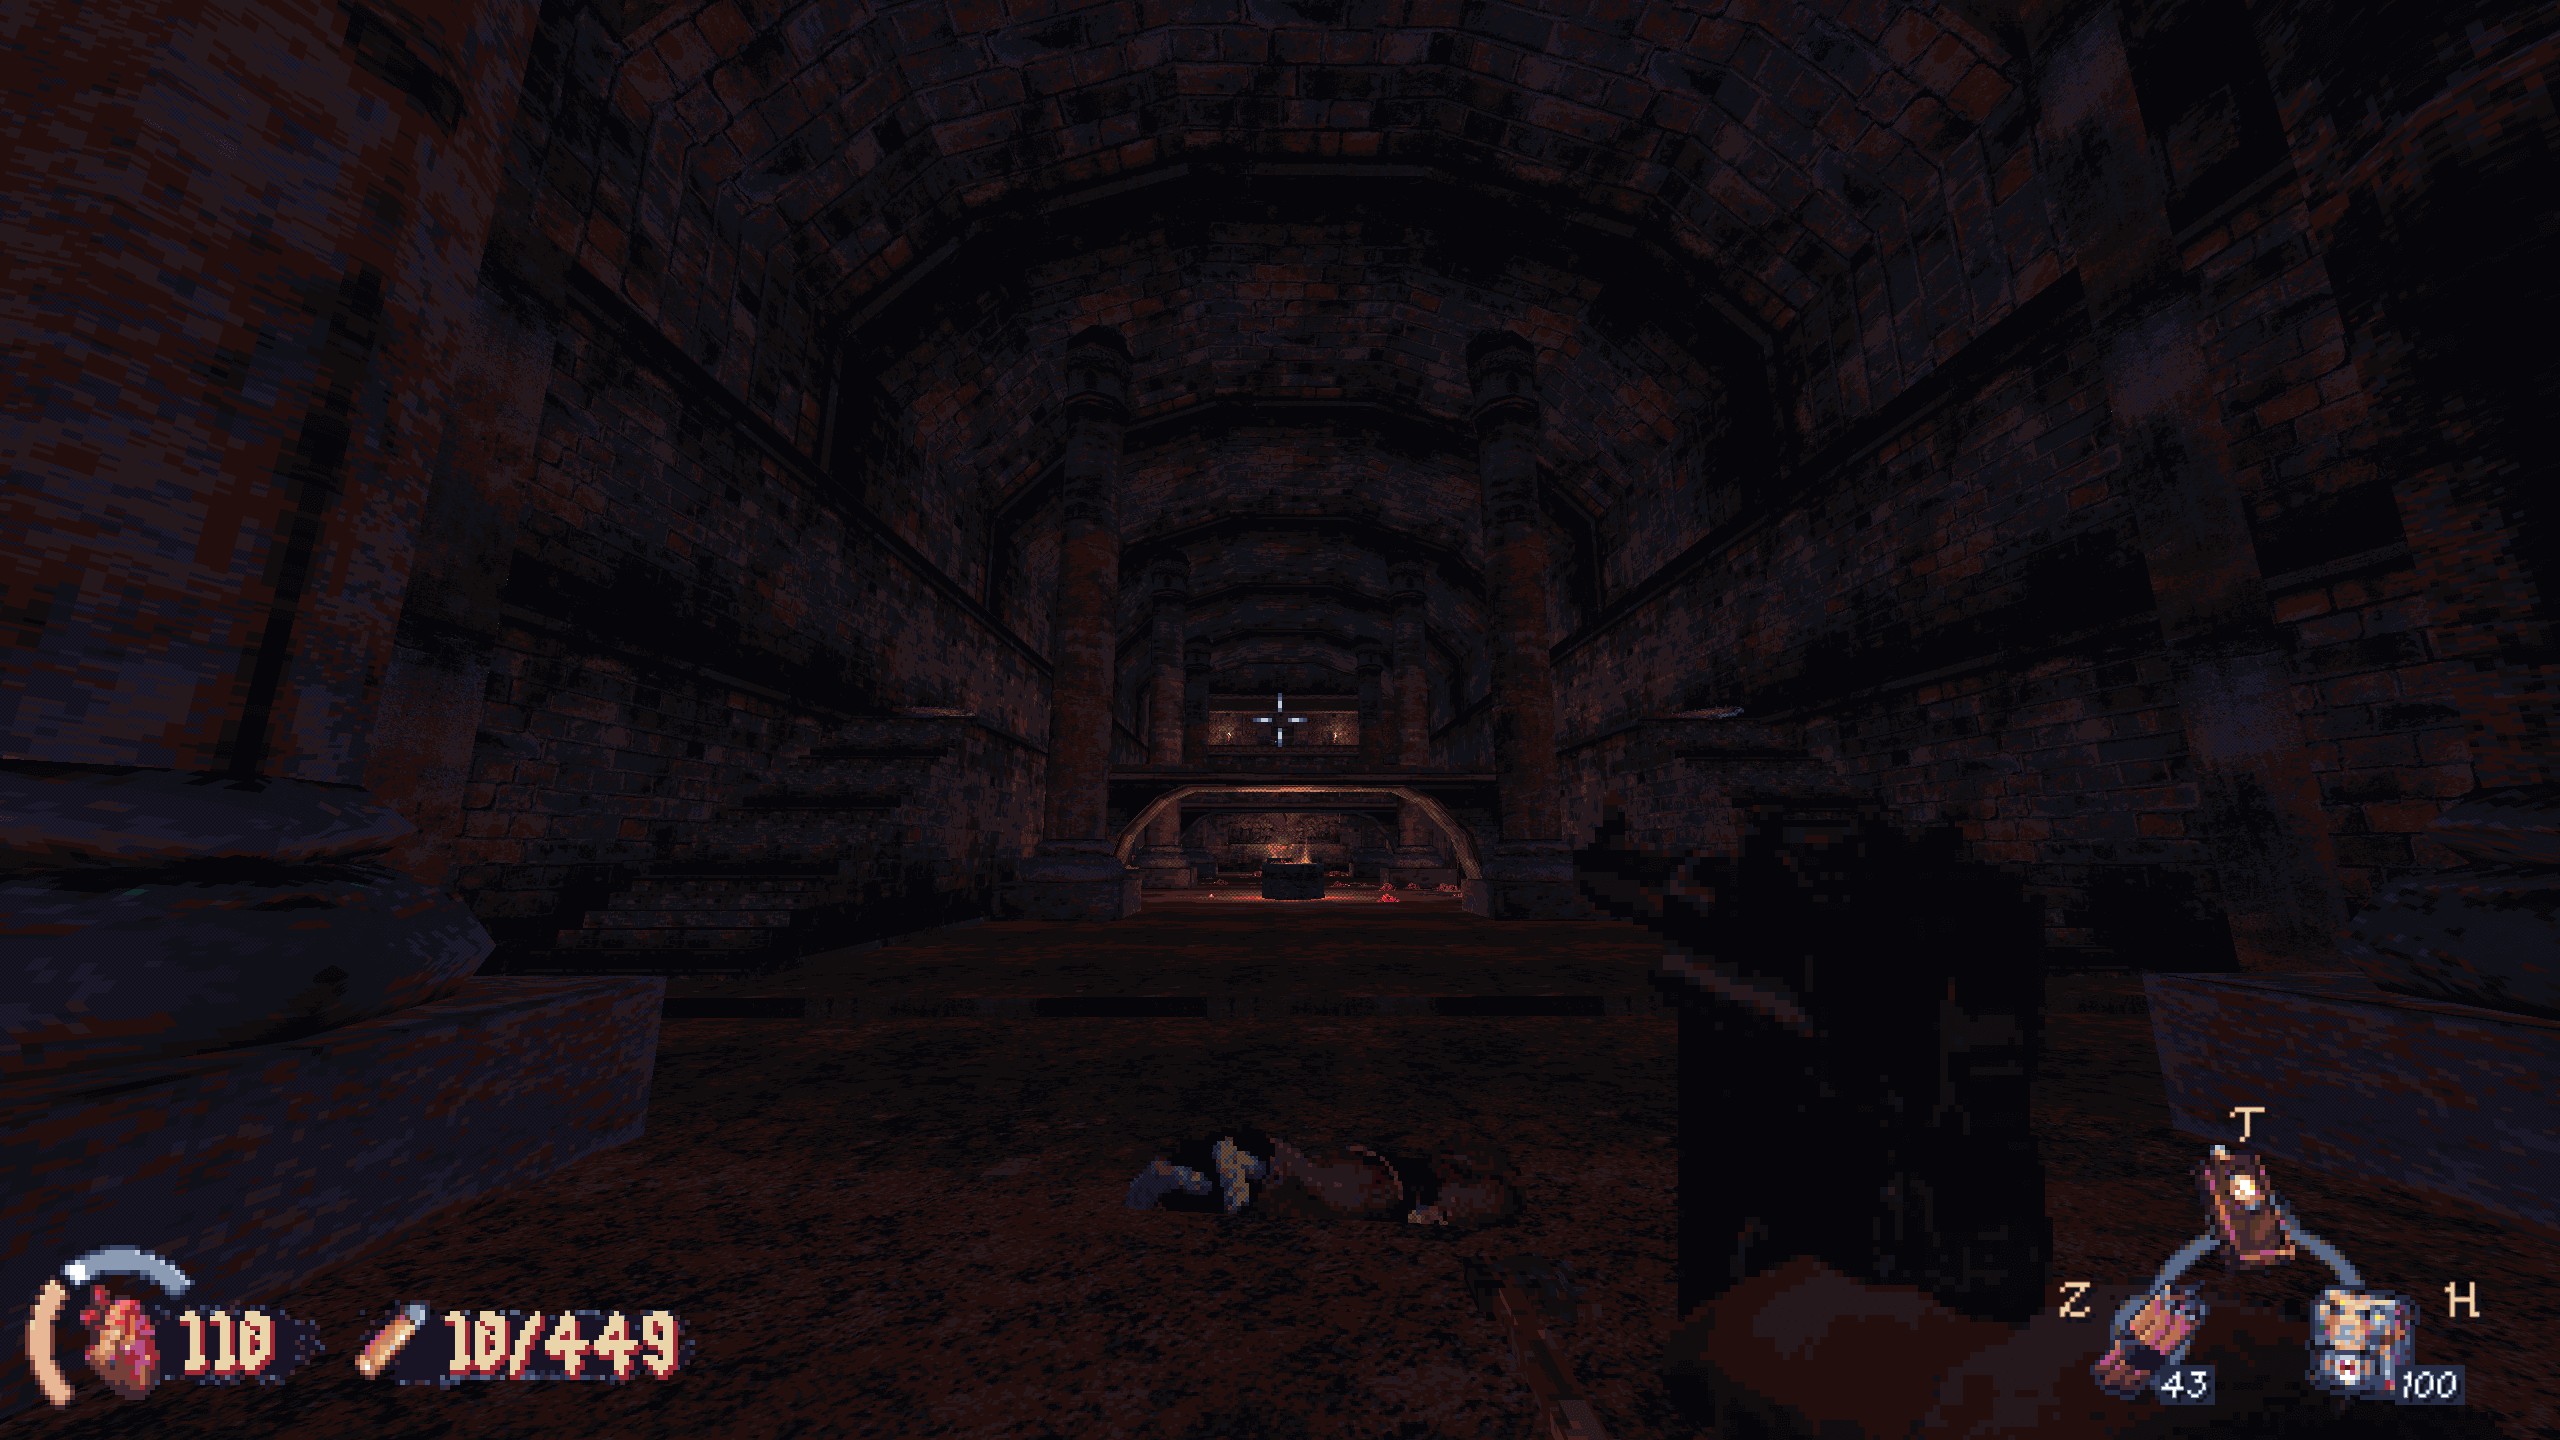
Conquista: There’s No Time For Resting
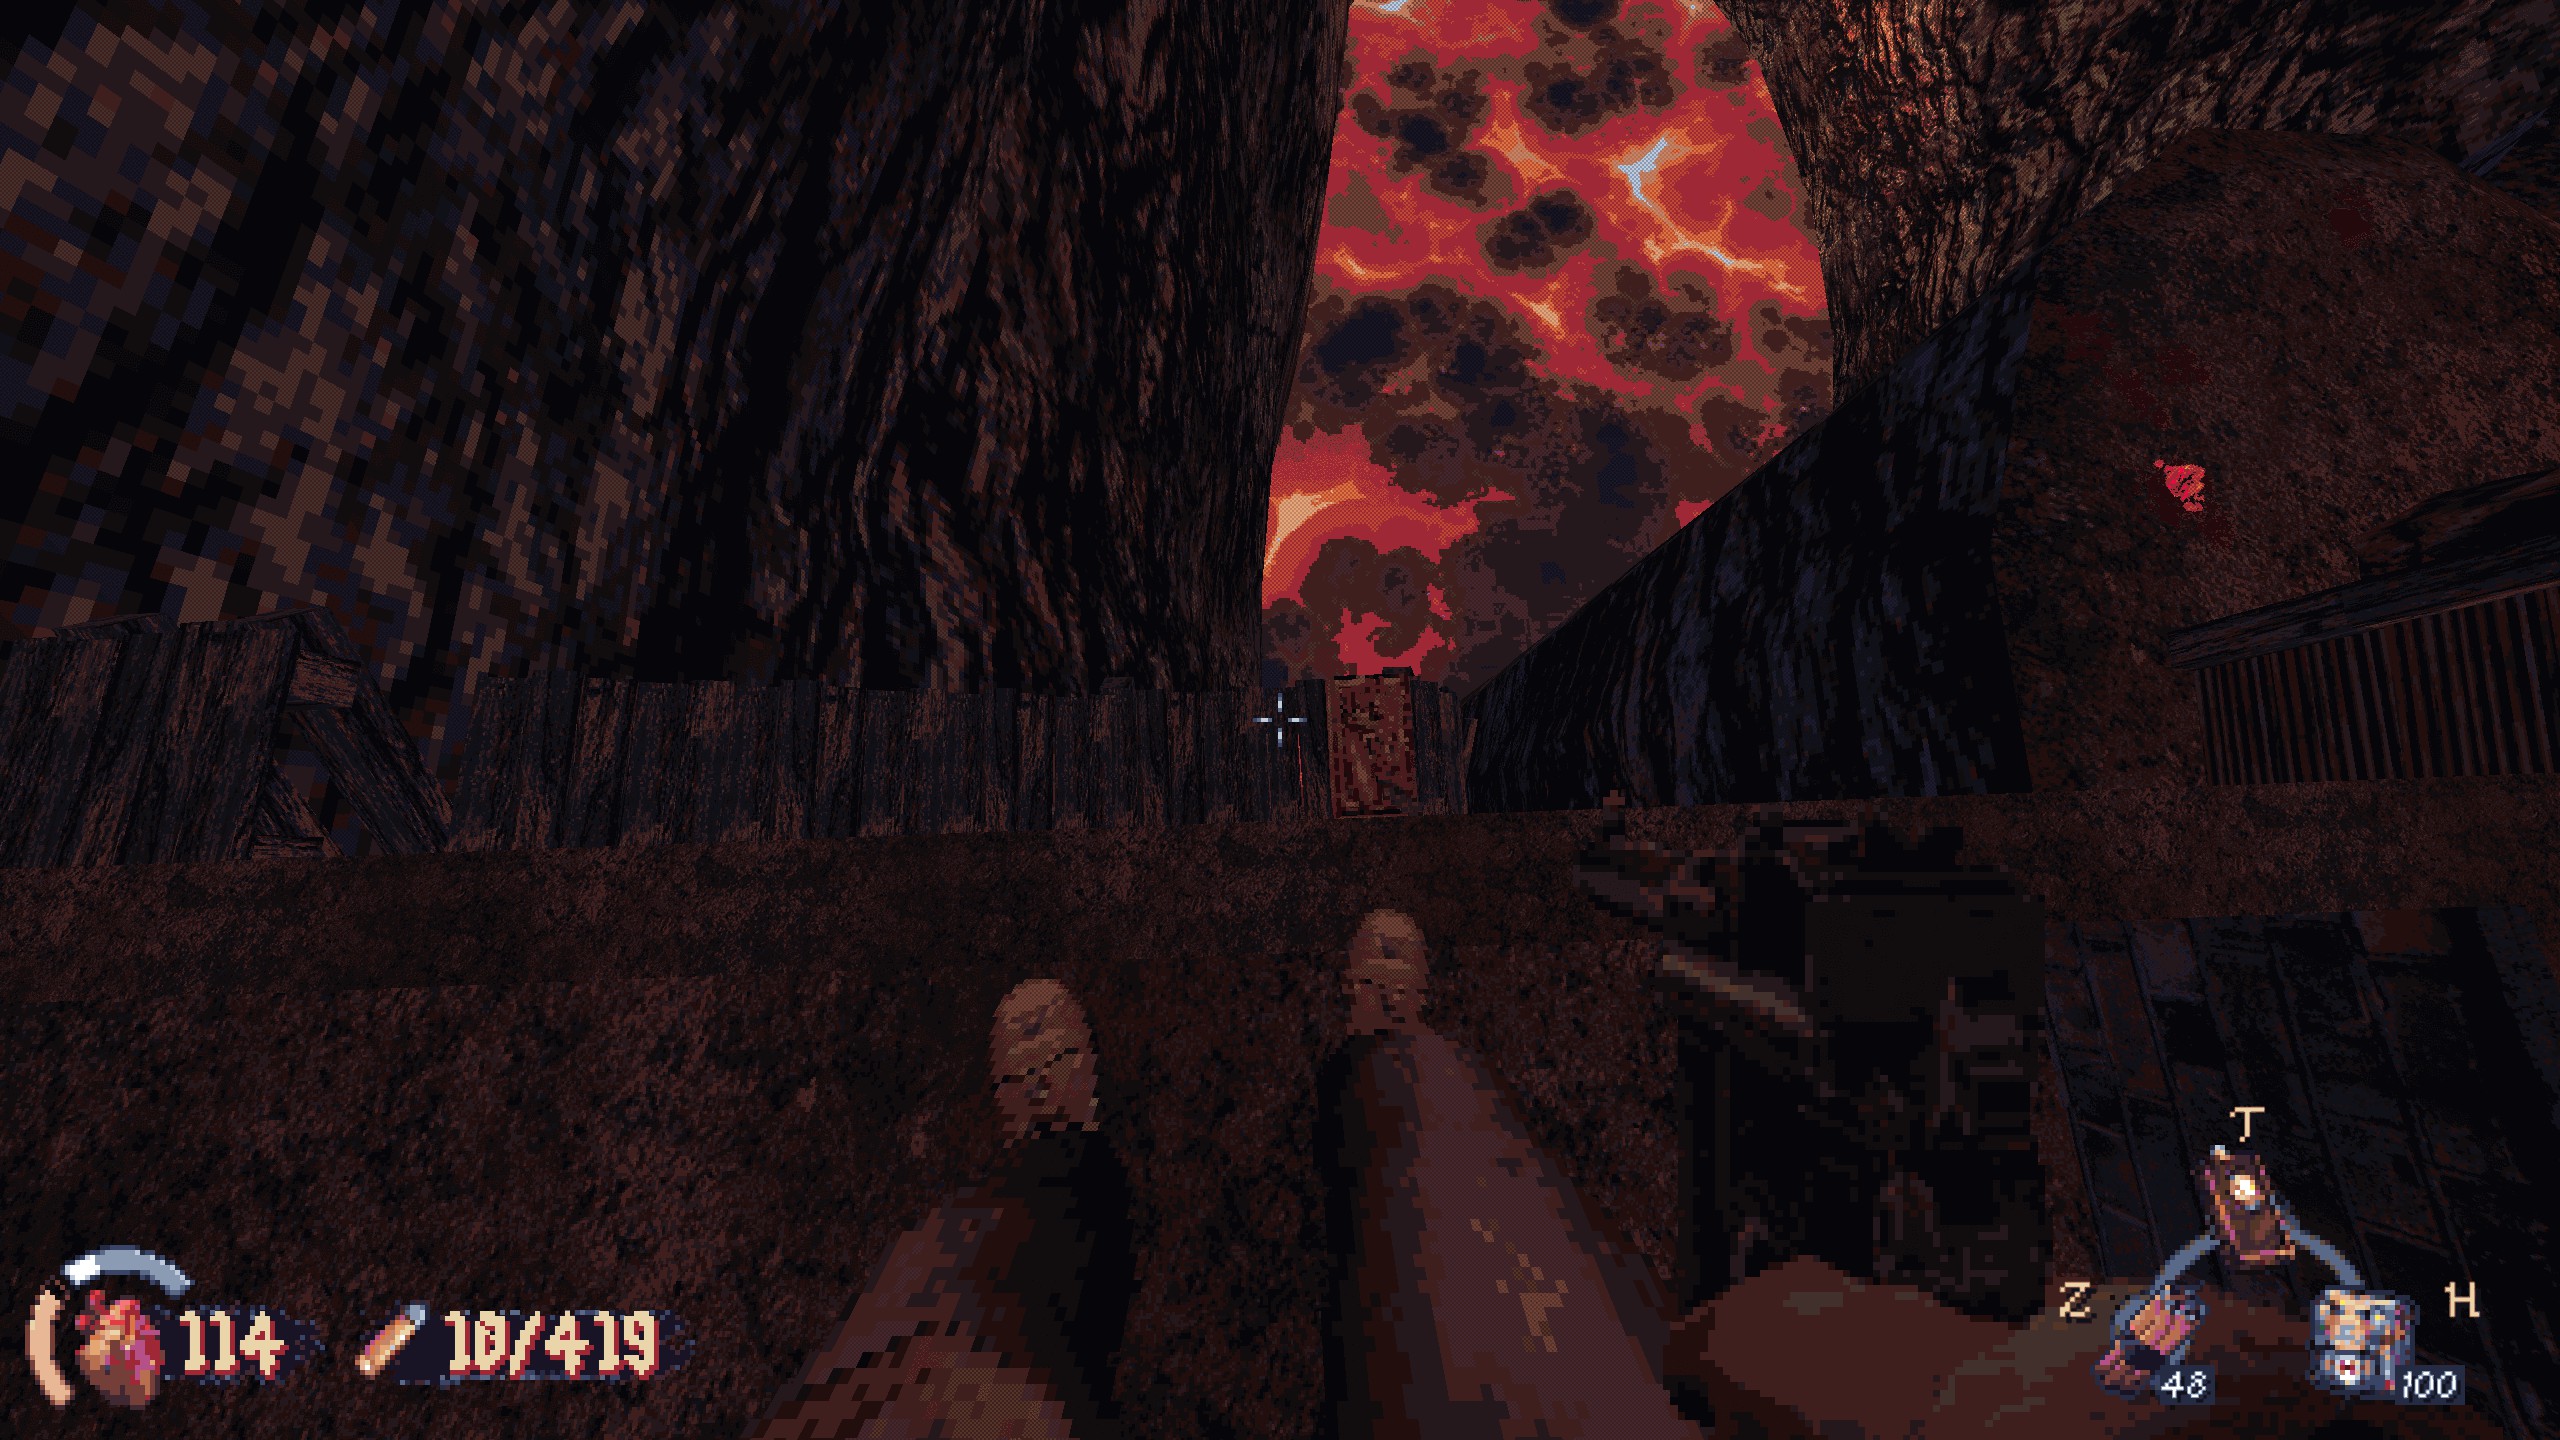
Stopping the lava waterfall reveals a dinning hall with a throne at the head. Sit in the throne for several seconds.
Papel 3: Ruins after the gates
#4: When you come to this stone bridge, turn left and walk all the way to the edge. Look down for the last secret in Chapter 1. Recompensa: weapon part.
The Ritual Chamber
- No secrets.
Isso é tudo o que estamos compartilhando hoje para isso CULTIC guia. Este guia foi originalmente criado e escrito por Pessoal RB. Caso não atualizemos este guia, você pode encontrar a atualização mais recente seguindo este link.