Neste guia, I’ll teach you how to make the Counter-Strike 2 Debug / Build Info disappear from the bottom left of your screen. This will be useful if you’re using an OLED screen or if you find it bothersome.
Console Command
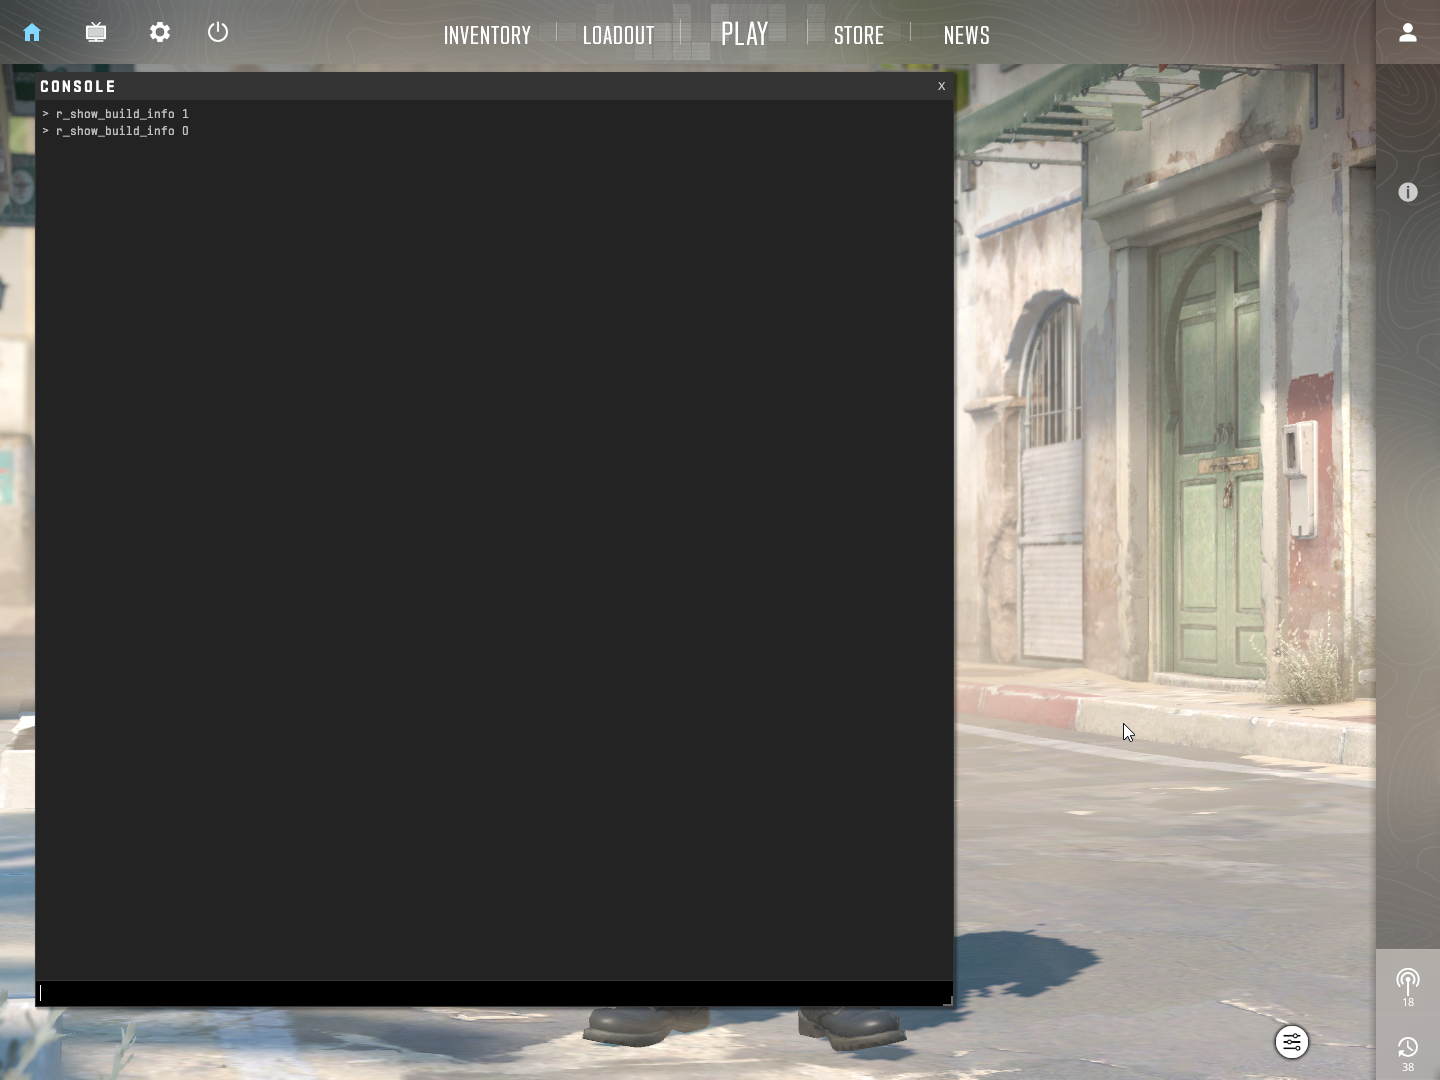
To hide the debug info, you’ll need to type a command in the developer console. If you already have the console enabled, the command to use is:
r_show_build_info 0
If you’re not sure how to open the console or it’s not enabled (it’s usually off by default), continue lendo.
Observação: If the debug text reappears after restarting your game, you can add it to an autoexec config file. I’ll show you how to create one in just a couple of minutes.
Como ativar o console do desenvolvedor
If you haven’t enabled the developer console yet, just follow these two easy steps.
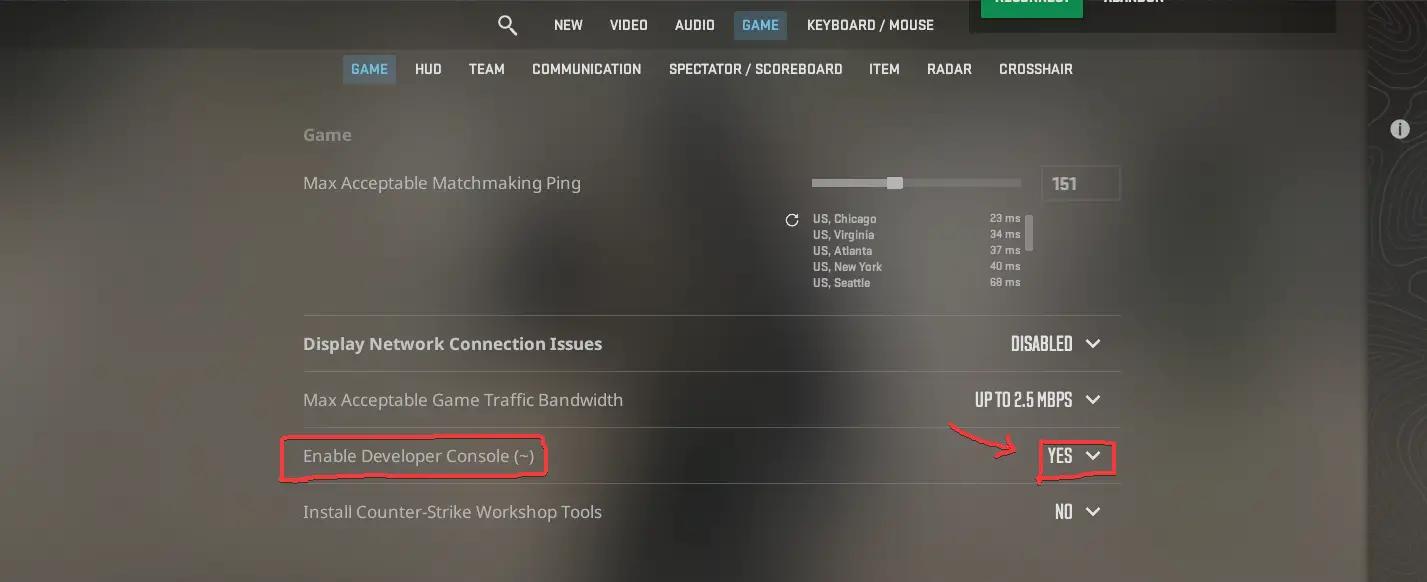
Etapa 1: Open the settings in Counter-Strike 2.
Etapa 2: Go to GAME, and change “Enable Developer Console (~)” to YES, just like it’s shown in the picture below.
Agora, you’ll be able to press the tilde (~) key located between ESCAPE and TAB on your keyboard.
Depois de fazer isso, you can press this key, and you’ll be able to enter the command mentioned above.
Using this console command should remove the debug text, even if it comes back after restarting your game. No entanto, if it reappears, keep reading for a solution.
How to Create an Autoexec File
An autoexec file is like a special settings file that runs when you start up Counter-Strike. It’s handy for folks who use the developer console to type in commands that reset each time you start a new game.
Here’s how to set one up:
Etapa 1: Abra o vapor e vá para sua biblioteca. Find Counter-Strike 2 in your list of games, right-click it, and choose Properties.

Etapa 2: In the Properties window, click on Installed Files and then hit the Browse button.

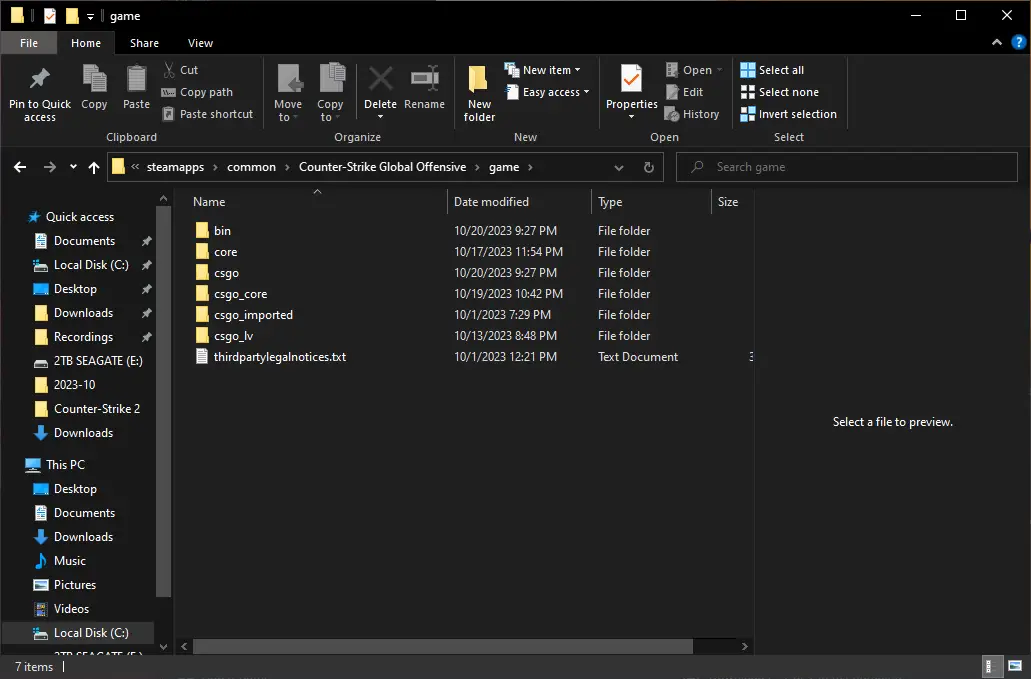
Etapa 3: A new window will pop up. Navegue até o “jogo” pasta.
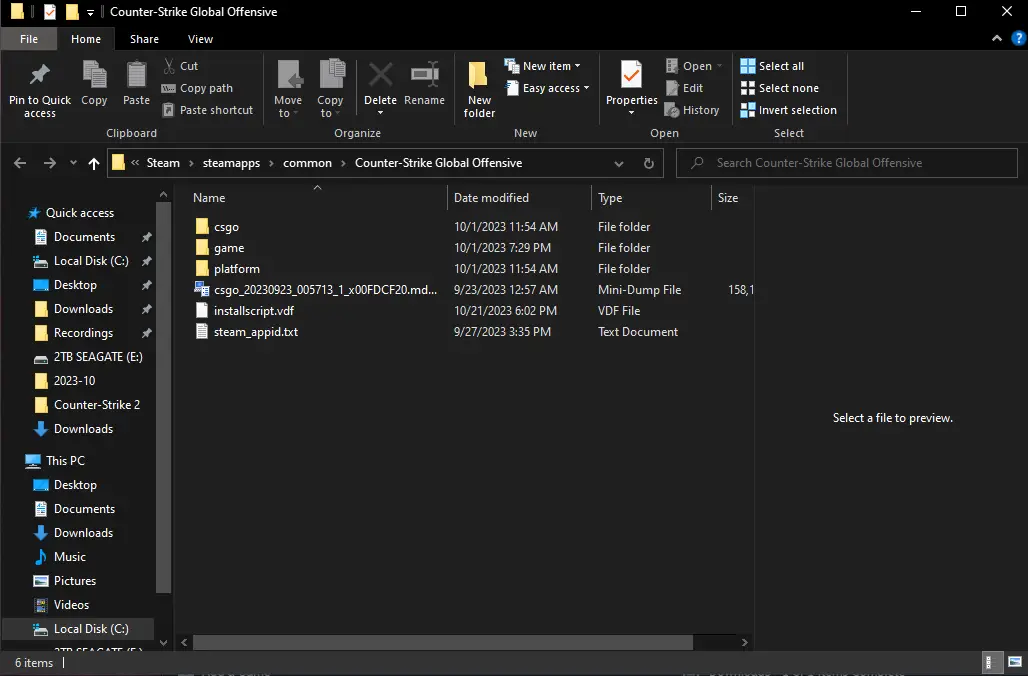
Etapa 4: Dentro do “jogo” pasta, Procure o “csgo” pasta.
Etapa 5: No “csgo” pasta, abra o “cfg” pasta.
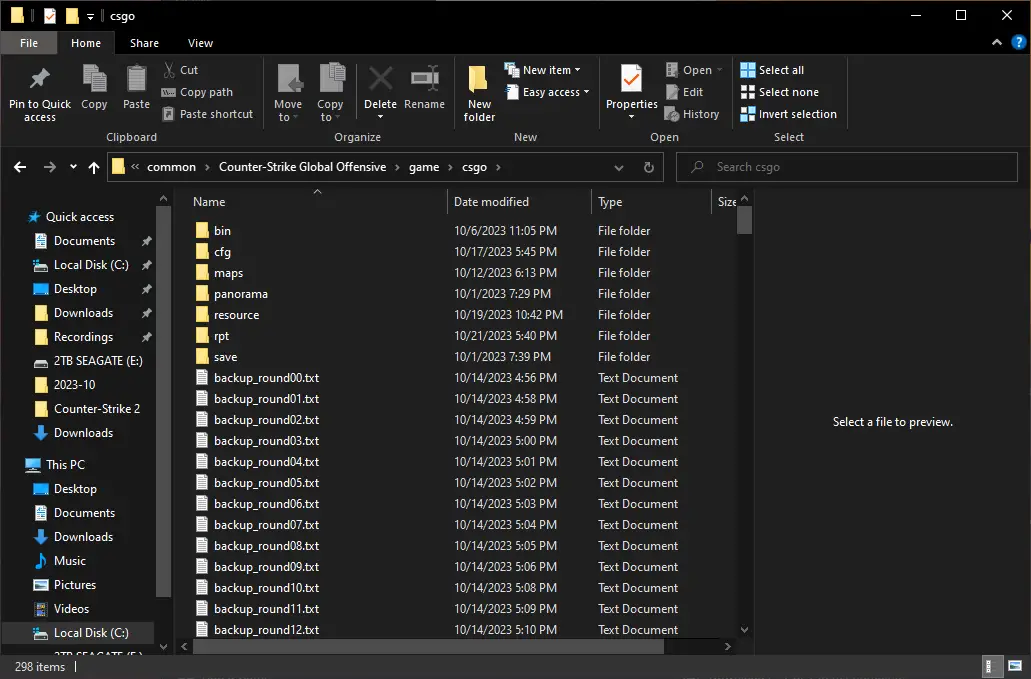
Etapa 6: Depois, you’ll need to right-click in the empty areas beside the items in the folder. Create a new Text Document. You can choose any name you like for this file, como “autoexec.” You can also delete the file later for cleanup, but it’s not necessary.

Etapa 7: Neste ponto, you’ll notice the new text file is highlighted in blue. You can give it any name you prefer. Eu nomeei o meu “autoexec.” Se, por algum motivo, a different text editor opens the file, you can use that if you’re comfortable with it, or manually select “Open With Notepad” from the submenu when you right-click on the file.
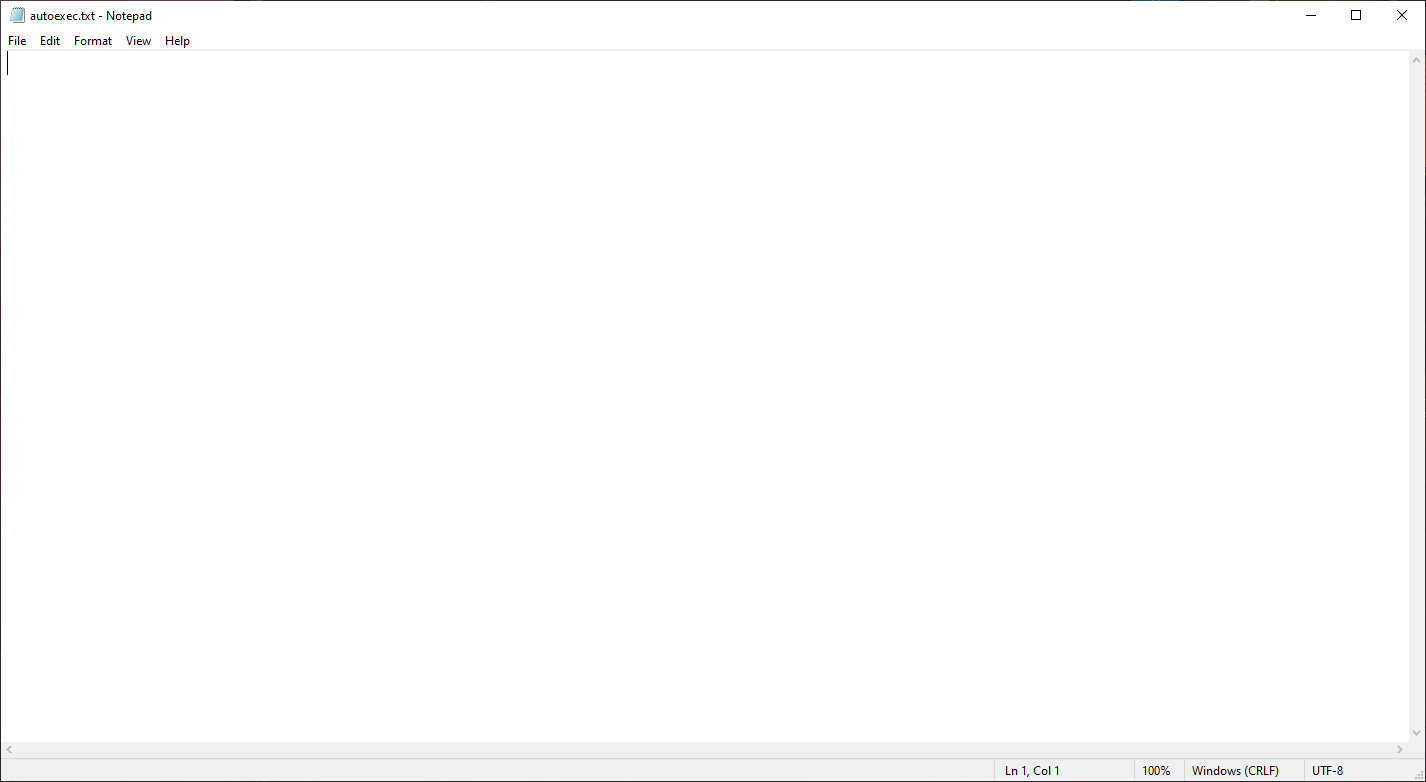
Etapa 8: Open the text file and paste in the command “r_show_build_info 0” (without using quotation marks).
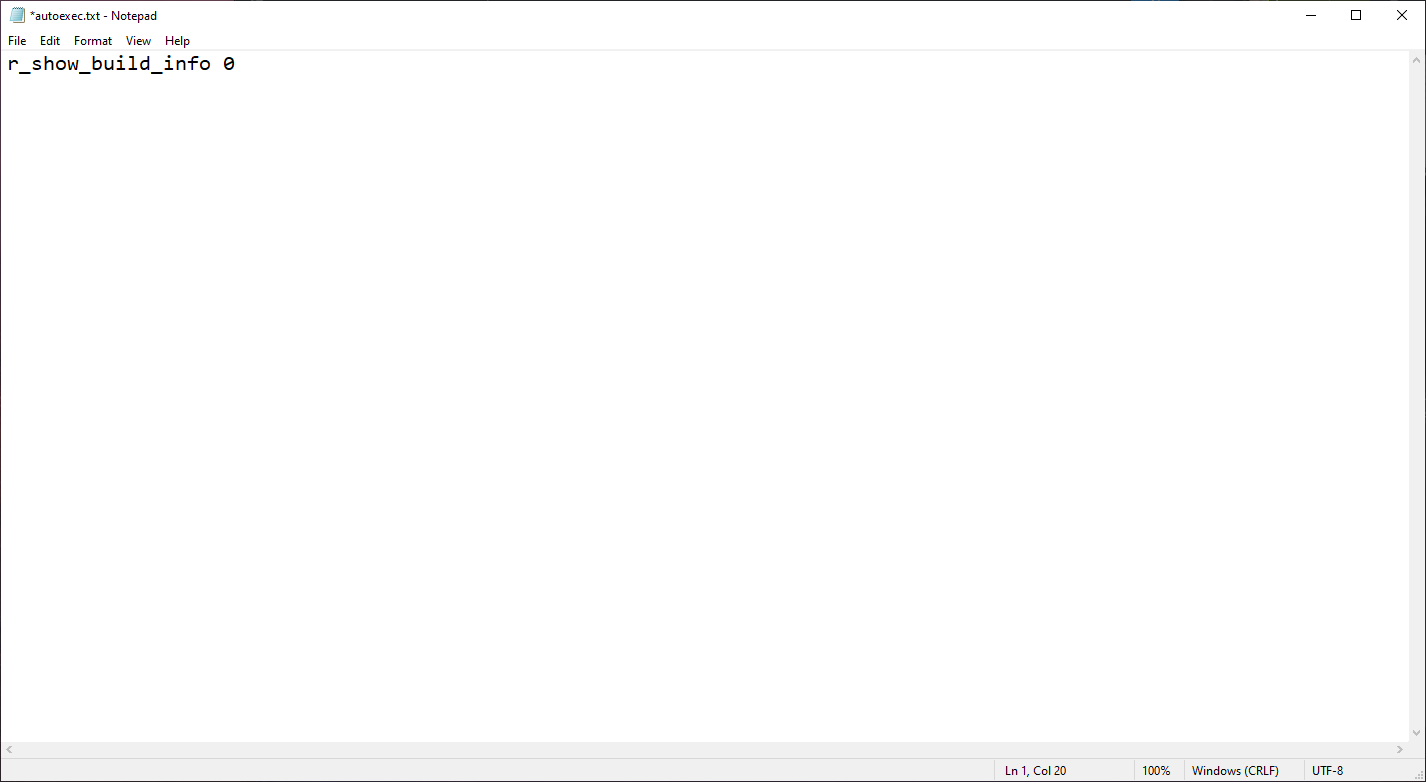
Etapa 9: This is all the configuration file needs for now. No futuro, this file can accept other valid commands and can be used to automatically run them. Clique em “Arquivo” in the top-left corner of Notepad, then move your cursor to “Save As…” and click on it.

Etapa 10: A new window titled “Save As” vai aparecer. Deveria ficar assim:
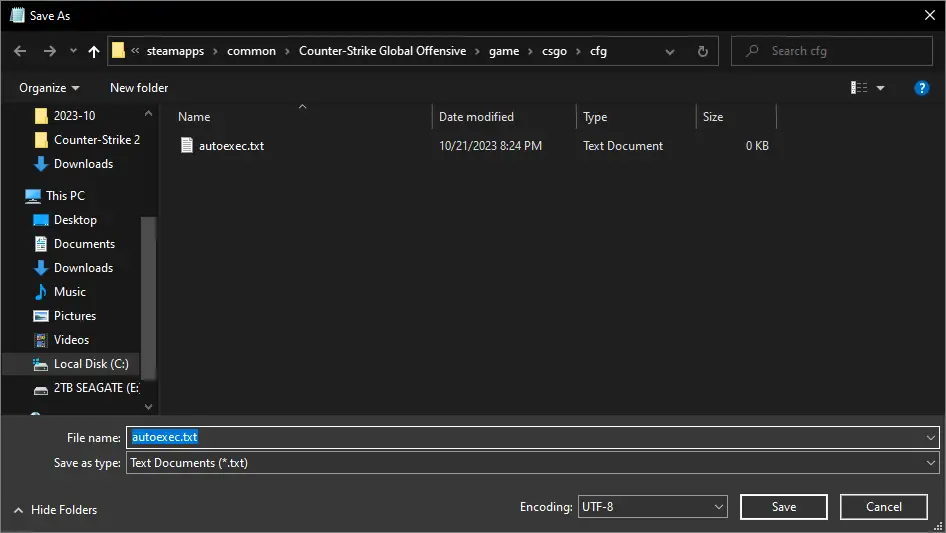
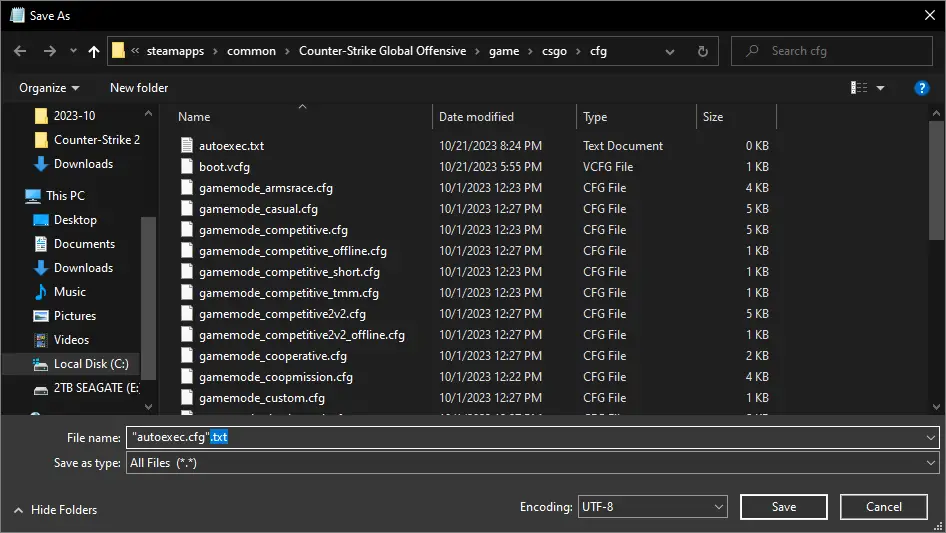
Primeiro, change the “Save as type:” drop-down menu from “Text Document (.txt)” para “Todos os arquivos (.)”.
Próximo, delete the existing text in the field, tipo “autoexec.cfg” in brackets, and click the “Salvar” botão.
Etapa 11: You can now close all the windows except for the Steam window.

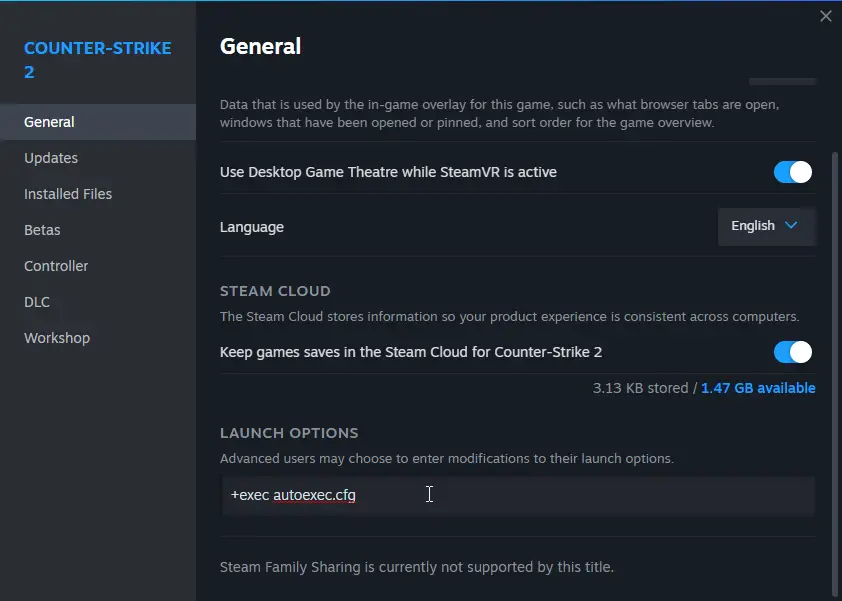
Return to your library, find Counter-Strike 2, right-click on it, e selecione “Propriedades.” Então, go to the General tab if it’s not already selected and scroll down slightly to reveal the LAUNCH OPTIONS. In this field, type the following:
+exec autoexec.cfg
Etapa 12: É isso! Se contra-ataque 2 isn’t already closed, you may need to restart it.
If you have any questions or need assistance, sinta-se à vontade para deixar um comentário, and I’ll do my best to help you.
Isso é tudo o que estamos compartilhando hoje para isso Contra-greve 2 guia. Este guia foi originalmente criado e escrito por bonk!. Caso não atualizemos este guia, você pode encontrar a atualização mais recente seguindo este link.