
- Título: Atama
- Data de lançamento:
- Desenvolvedor:
- Editor:
Information about Atama is still incomplete. Por favor, ajude-nos a preencher os detalhes do jogo usando este formulário de contato.
Instructions on where to find all 58 Notes and 8 Moedas.
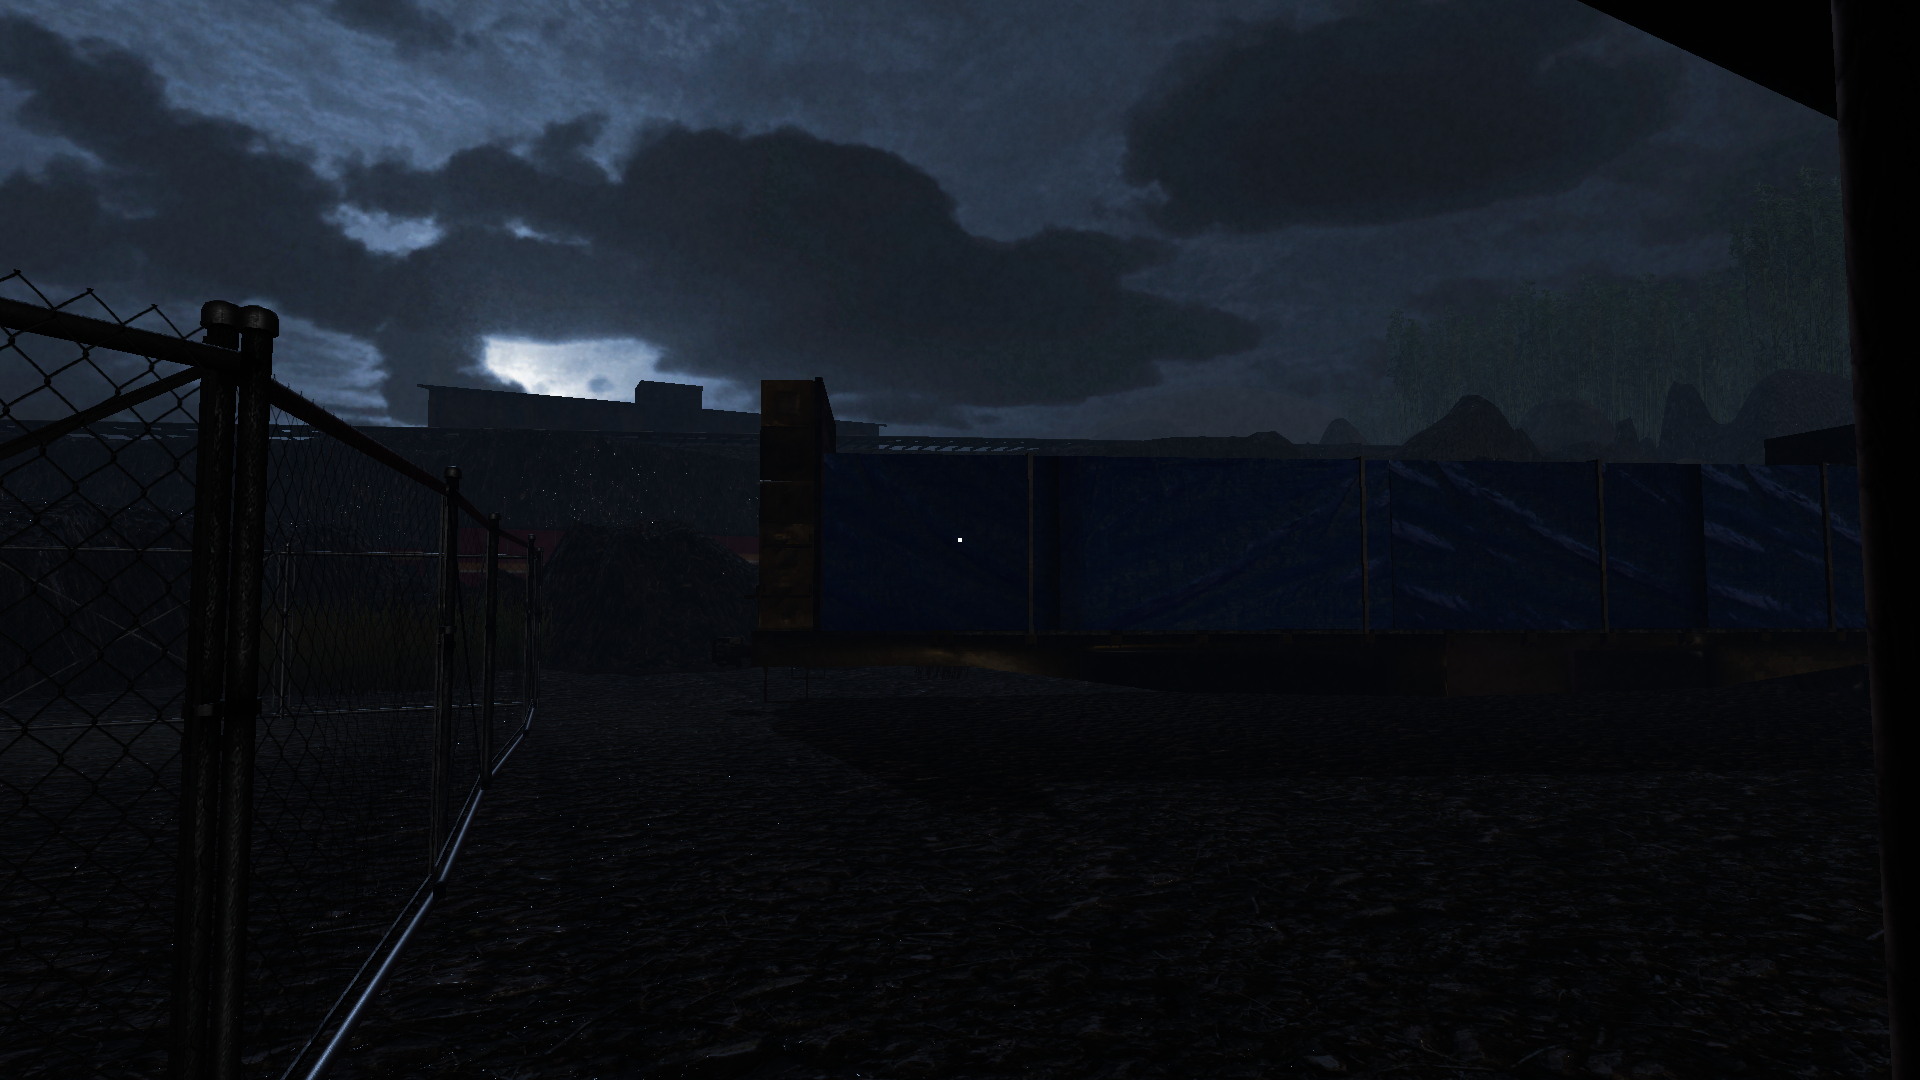
Factory District
Observação #1: Noriko’s Last Letter
Given to you automatically at the start of the game.
Observação #2: Kisaragi Station Update
On the building directly behind you when you start the game.
Observação #3: Groundskeeper’s Note
On the ground next to the locked gate you must return to once you have the key. Once you leave the train station it will be on the left.
Moeda #1
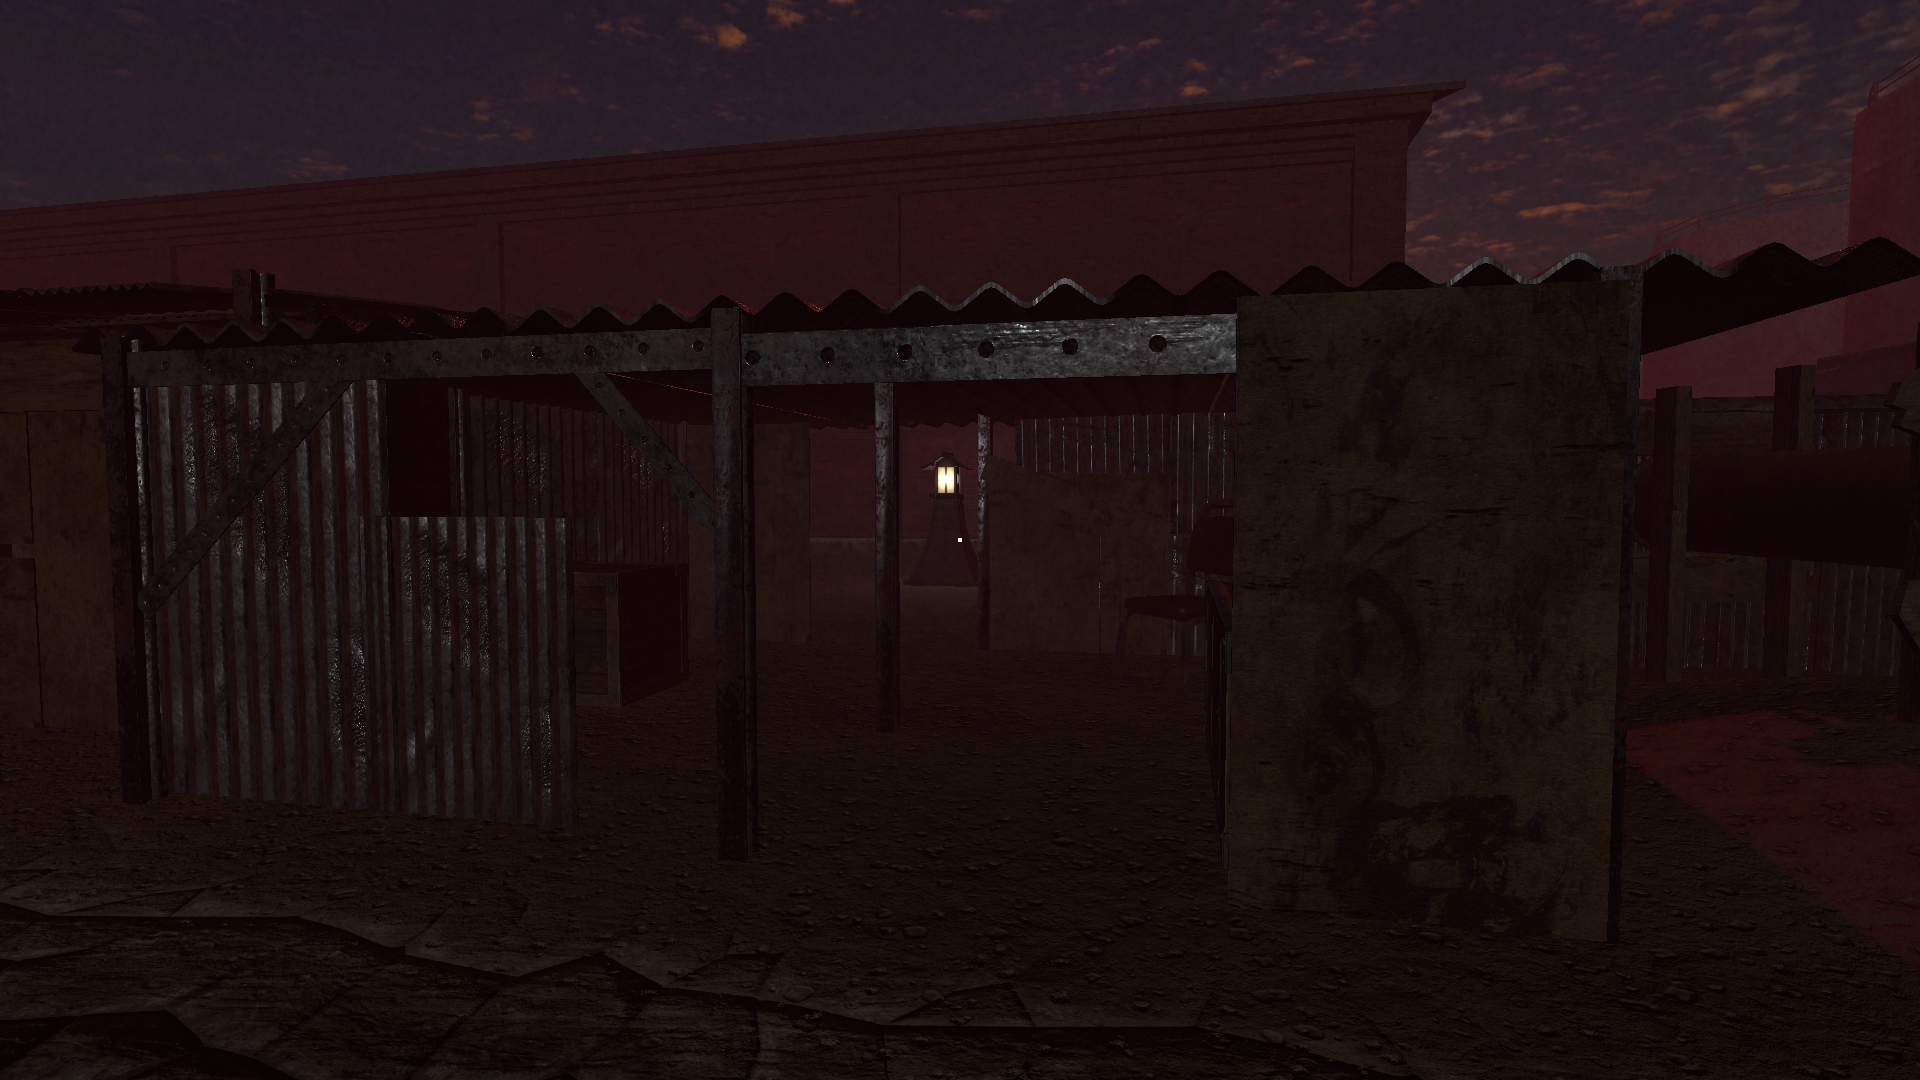
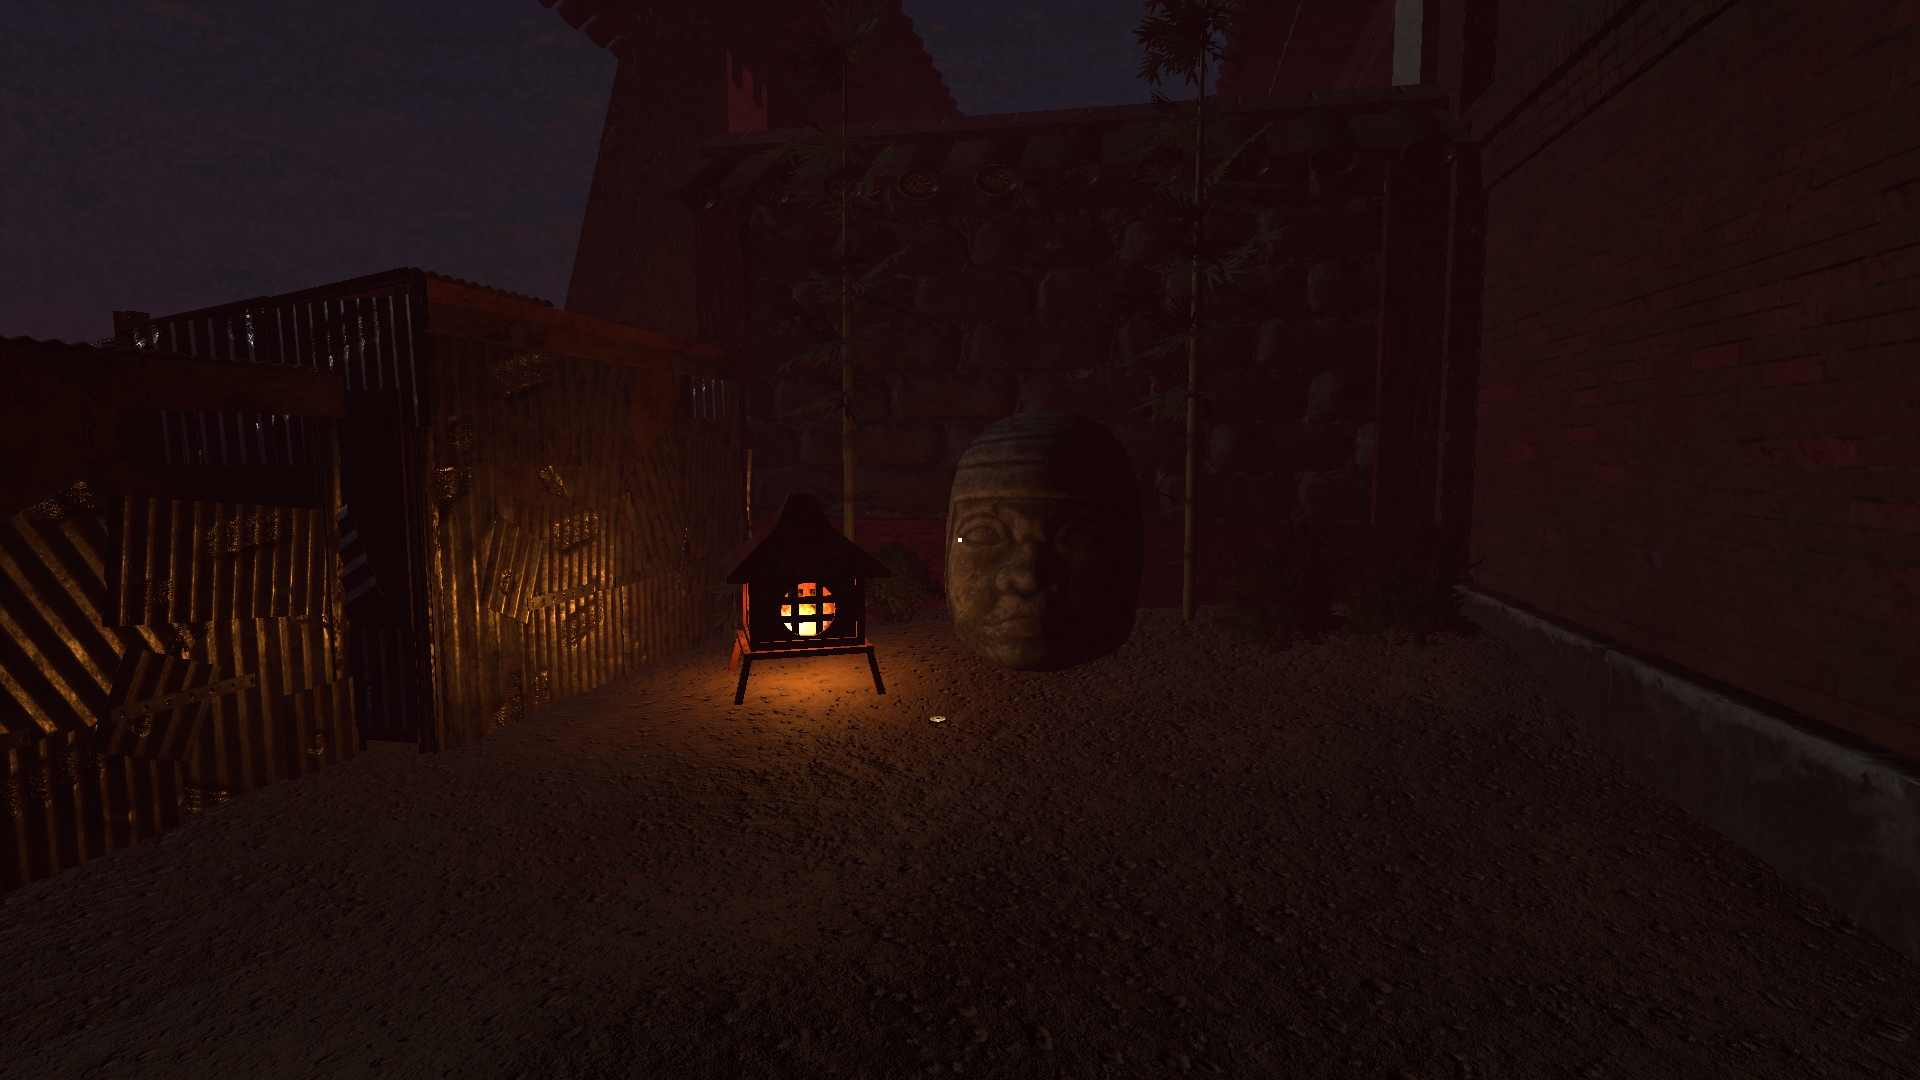
From the train station turn right and head down the alleyway of shanties. A shanty on the left will be open, with a lantern visible on the other side. Passe por ele e vire à esquerda. At the end will be a statue of a head, which you will automatically sight-jack when you approach. In front of the head is the coin.
Observação #4: Ominous Warning
Heading down the shanty alleyway, it will be around a bend, posted on a shanty on the left.
Observação #5: Packet of UFO Flyers
Continuing down the shanty alleyway it is on the left side before a large metal gate that you can not open.
Observação #6: Factory Condemnation Notice
When you first are able to sight-jack enemies there will be a large building on your left. There are three notes posted on the doors, but they are all logged as the same one.
Observação #7: Drunkard’s Note
In the same area as Note #6, instead of turning right to enter the area where the enemies are, head straight and the note will be by a tent.
Moeda #2
In this first head section there will be two heads: one that remains in place and rotates, and one that patrols in a U-shape. When first head has his back turned to you and the second head is moving away, run to the area beneath the first head. The coin will be in a small recess in the corner on your left.
Observação #8: Addict’s Letter:
Along Head 2’s path you will have to enter a shanty both to hide and to get around a barricade. Directly across from the exit to this shanty is another shanty with the note posted on the wall inside.
Shantytown Courtyard
Observação #1: Letter to Kaede
On a shanty directly ahead of you as you enter the area.
Observação #2: Crumpled Letter To Blacksmith From Carpenter
On the ground in the small hole in a shanty you must crawl through to progress.
Observação #3: Ferreiro’s Response
Once you emerge from the previously mentioned hole, turn to your left and the note will be in the entry way to another shanty.
Observação #4: Jiro’Diário – May 22nd 2019
In the shanty with Note #3, beneath the wooden planks you must break in order to progress.
Observação #5: Note by Bed
In the shanty next to the shanty containing the baby head.
Observação #6: Jiro’Diário – May 23rd 2019
Once you get through the wooden planks the note will be on the right by a tent.
Observação #7: Addict’s Ravings
From the broken wooden planks head straight between the two buildings. The note will be inside a shanty on the left.
Observação #8: Timeline of Kisaragi
From the broken wooden planks head left, past the leaking water container and around the corner of the building. The note will be on the ground next to a wall.
Distrito Residencial
Observação #1: Jiro’s Plan
In the ofuda (seguro) house you enter this area through.
Observação #2: Doutor’s Clinical Followup
The note is on the ground in the area with the beginning of the long road.
Observação #3: Doutor’s Clinical Followup
Continuing down the road there will be another ofuda room on your left. The note is on a bench inside.
Observação #4: Delivery Notice
As you exit from the ofuda room, immediately turn left and head through the opening in the wall. Attached to the wall of the building is the note.
Observação #5: Doutor’s Clinical Followup
If you head through the building Note #4 was posted on there will be a small hut on the outskirts of the area. The note is inside on a bench.
Observação #6: Doutor’s Clinical Followup
On the other side of the buildings to the right of the road is a wooden walkway. The note is laying upon it.
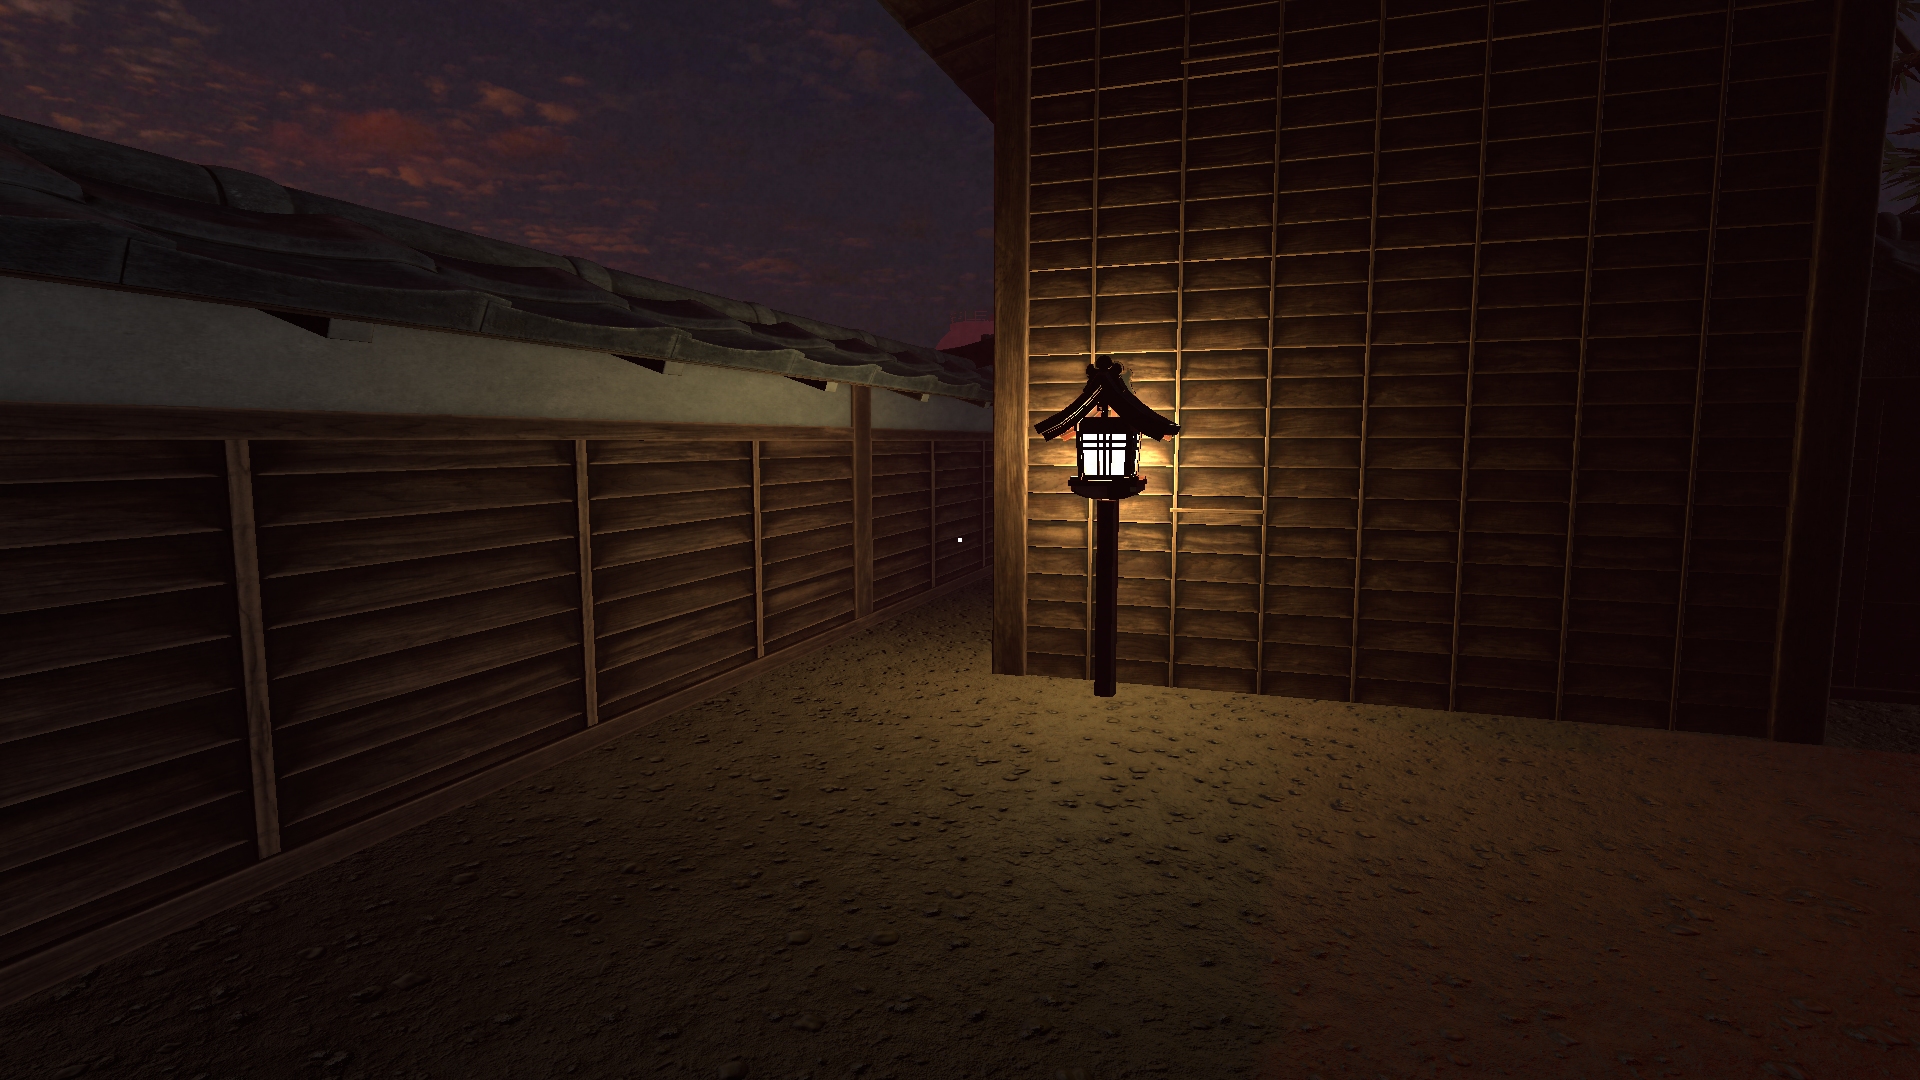
Observação #7: Yokai Report 52 – Nukekubi
At the end of the district, just before the two giant lanterns, on the left side there is a larger building with a stone base with a head inside that doesn’t move. The note is on the ground behind the wooden house that is closest to the previously mentioned building.
Observação #8: Professor’s Report – Junho 10 2015
On the right side of the road there will be a lantern next to a small alleyway. Head through the alleyway to find another ofuda building. Inside is the note.
Moeda #3
Behind the ofuda building that contains Note #8 is a lantern next to a wall. Next to this lamp is a tiny crevice that the coin is hiding in.
Observação #9: Doutor’s Clinical Followup
The last building on the right, just before the two giant lanterns, has a small courtyard you can enter with the note inside.
Observação #10: Doutor’s Clinical Followup
At the very end of the district, past the two giant lanterns, across the bridge, and right in front of the gate.
Outside the Manor
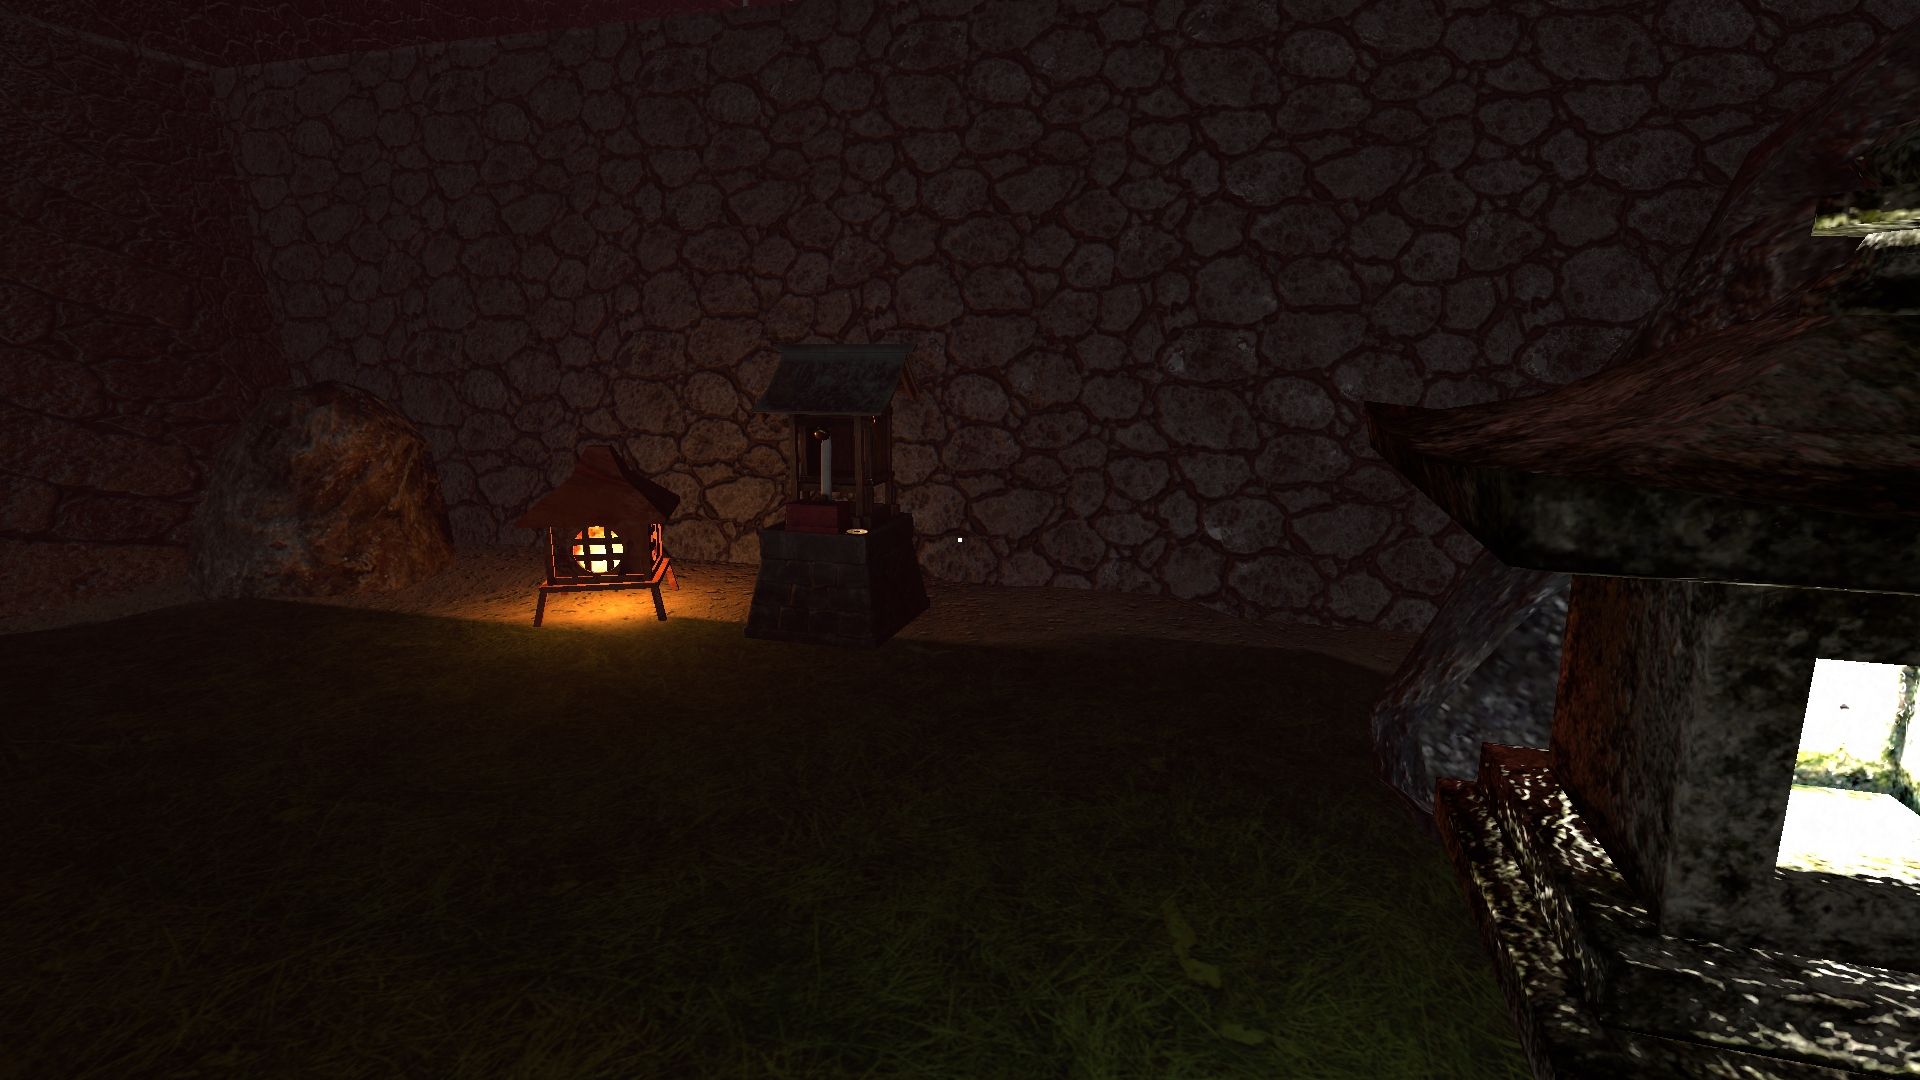
Observação #1: Maid Ayumi’Diário – May 10th 2019
Upon entering this area turn left and the note will be on a bench next to the well.
Observação #2: Keep Out
On the wall next to the stairs that one of the heads is guarding.
Observação #3: Engineer Kentaro’s Diary – Janeiro 6 2019
On the right from the entrance there are two towers that heads are peering into. In front of the closer tower is a group of boxes with the note on top.
Moeda #4
In between the two towers there are a stone lantern and a wooden lantern with a small shrine between them. The coin is resting on the shrine.
Observação #4: Blacksmith Daichi’s Report – outubro 6 2018
Once you unlock the tower, the note will be inside, up one flight of stairs, on a table on your left.
Inside the Manor
Observação #1: Gardener Yamato’s Musings
On a table in the very first room you can enter.
Observação #2: Chef So’s Diary Page
On the floor in front of the locked door to the servants’ quarters.
Observação #3: Notice to Meio-Sama
In the dining room on the table. Da entrada, when you enter the main courtyard the dining room is the one on the right.
Observação #4: Recipe List
In the kitchen on a table in the center. The kitchen is accessed from the dining room.
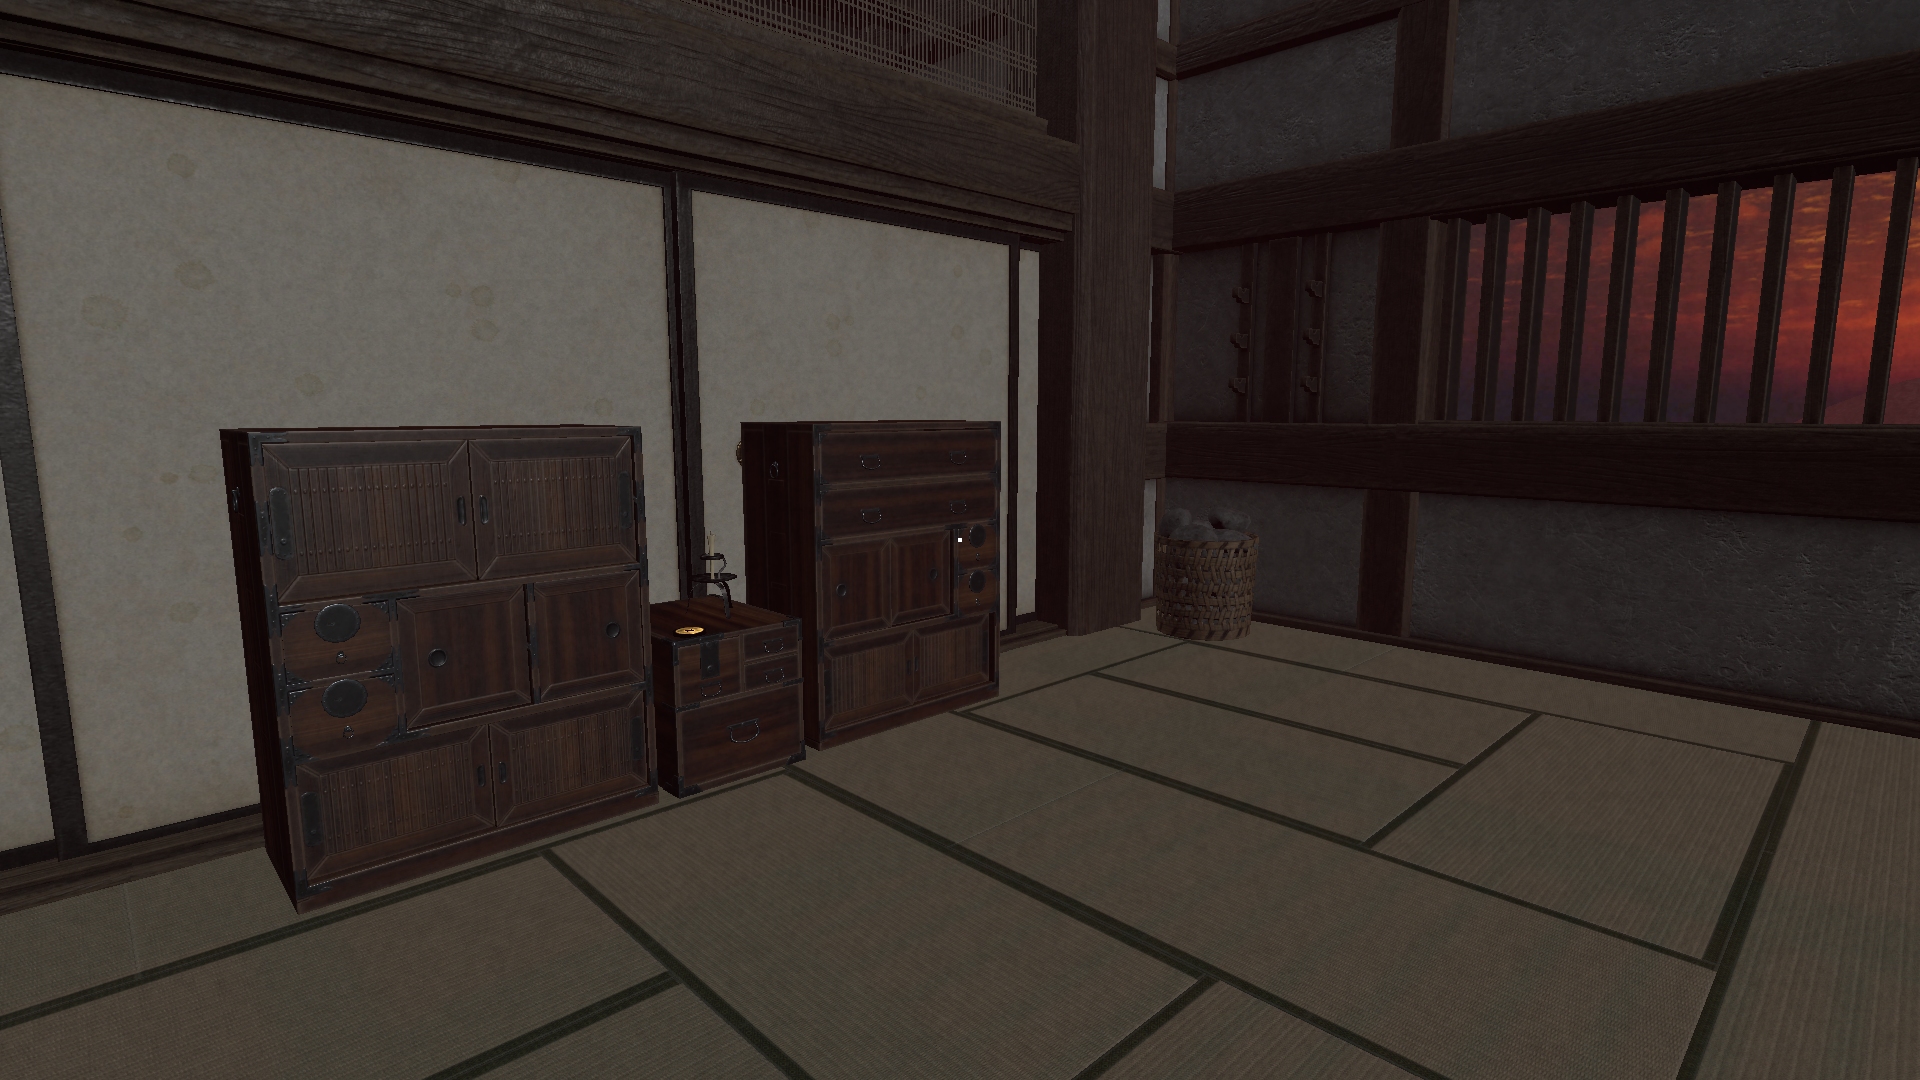
Observação #5: Note from the Apostate
In the first room of the servants’ quarters that is patrolled by the heads, on a small cabinet to the right.
Moeda #5
In the servants’ quarters, there are four heads. Por padrão, Cabeça 1 stays in one room watching the entrance. Cabeça 2 patrols a row of four rooms, Cabeça 3 patrols two rooms, but in a U-shape, and Head 4 is asleep in one room. The coin in the farthest away room that Head 2 patrols. Primeiro, pin down Head 1 in the room it normally stays in. Then carefully close off the doors to Head 3 while pinning Head 2 in the room with the coin (you can take your time and do this room-by-room). Próximo, trap Head 3 in a single room, preferably the one furthest away from Head 4. Now make release Head 2 from his prison, and either trap him in a new room, or make sure he has a long enough path so you can get in to the last room, pegue a moeda, and get out before he sees you.
Observação #6: Thief’s Journal – March 26th 2019
In the room with the sleeping head, on the table next to the key.
Observação #7 – Meio’Diário
On the desk in the top of the tower, next to the statue head you must collect.
Beneath the Manor
Observação #1: Meio’s Research Note 1
On a table in front of the cells of the dungeon.
Observação #2: Meio’s Research Note 2
On the torture rack in the small room next to the dungeon.
Observação #3: Meio’s Lamentation
On the table in the small room next to the dungeon.
Observação #4: Jiro’s Final Note
On the ground in front of the second cell in the dungeon.
Observação #5: Hidden Note
In a corner of the open cell, next to the key you must collect to progress.
Observação #6: Mad Ramblings
When you drop down from the sewers to a cave tunnel there are two paths. The one on the right leads to a dead-end, Bloqueado por uma pedra. The note is in front of the boulder.
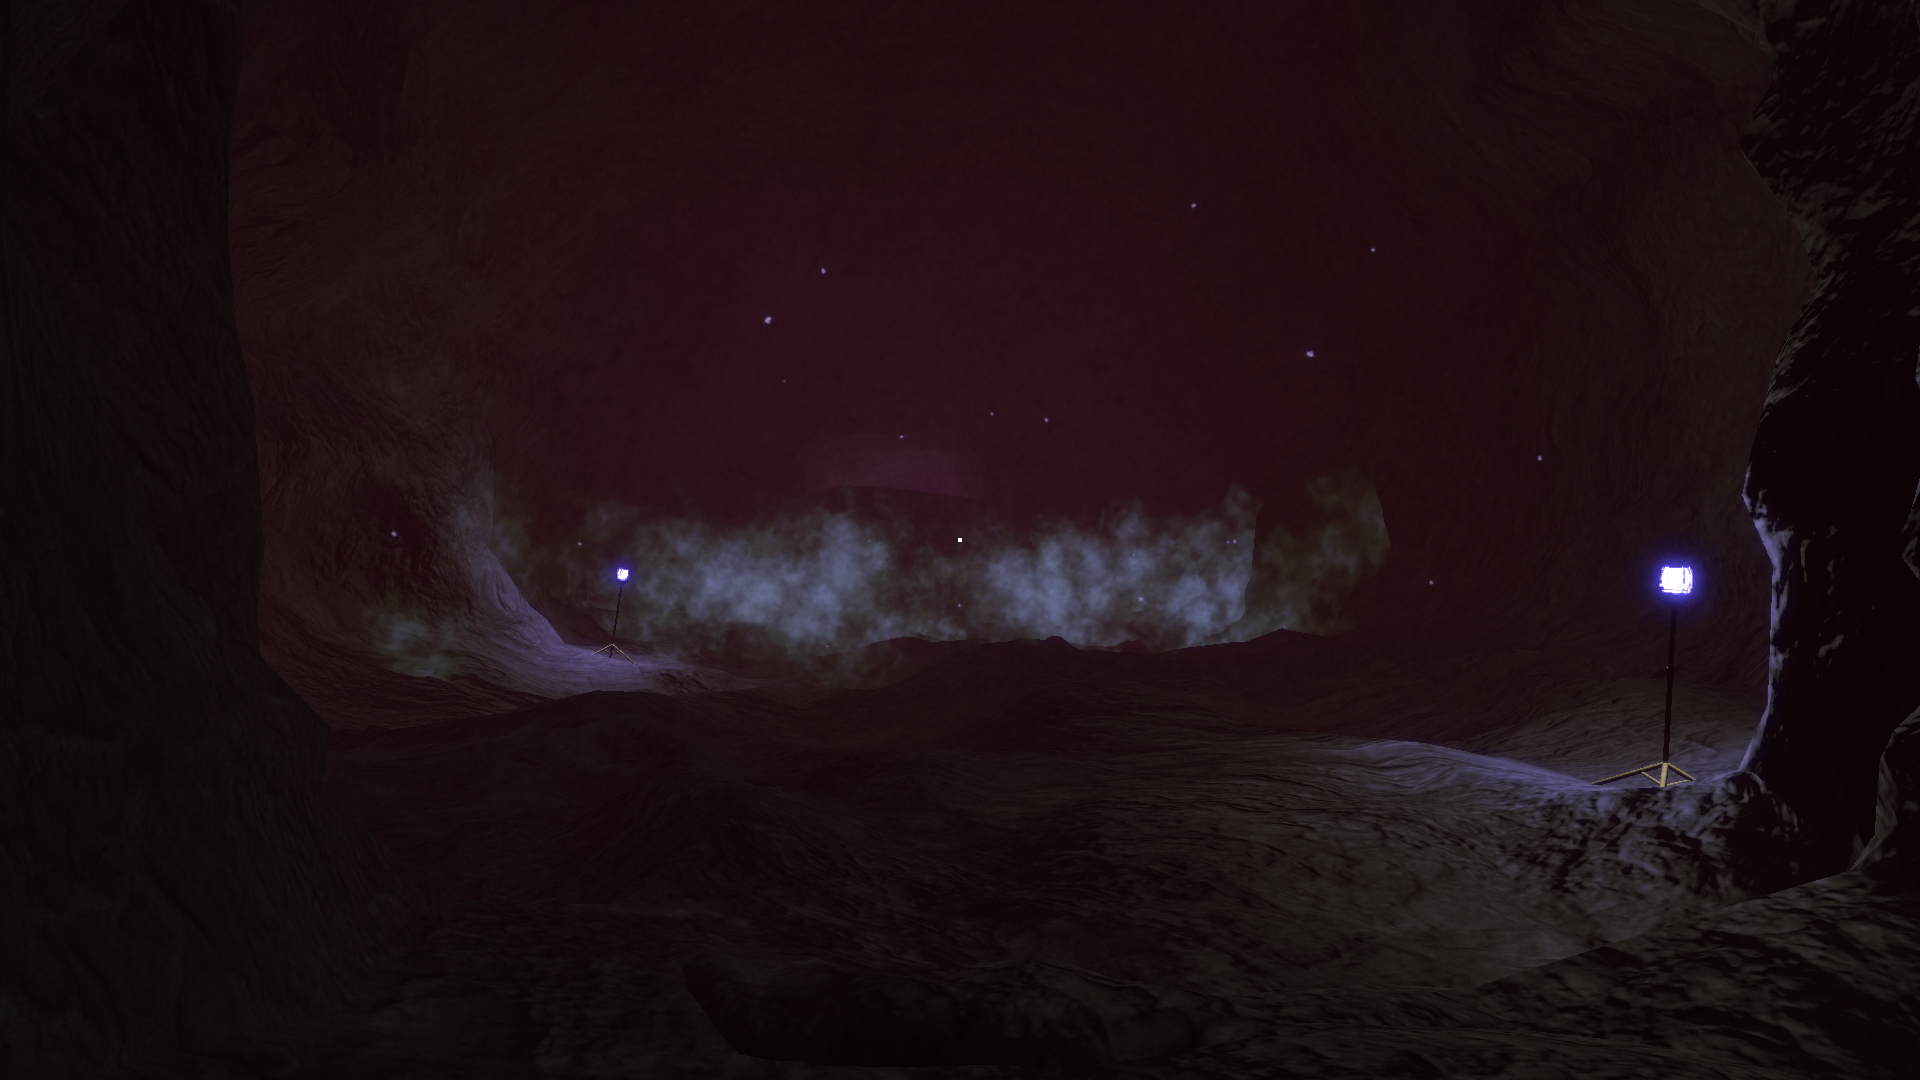
Observação #7: Warning About the Light
The other path from the drop will lead to the first cave chamber. The note will be on a box right in front of you as you enter.
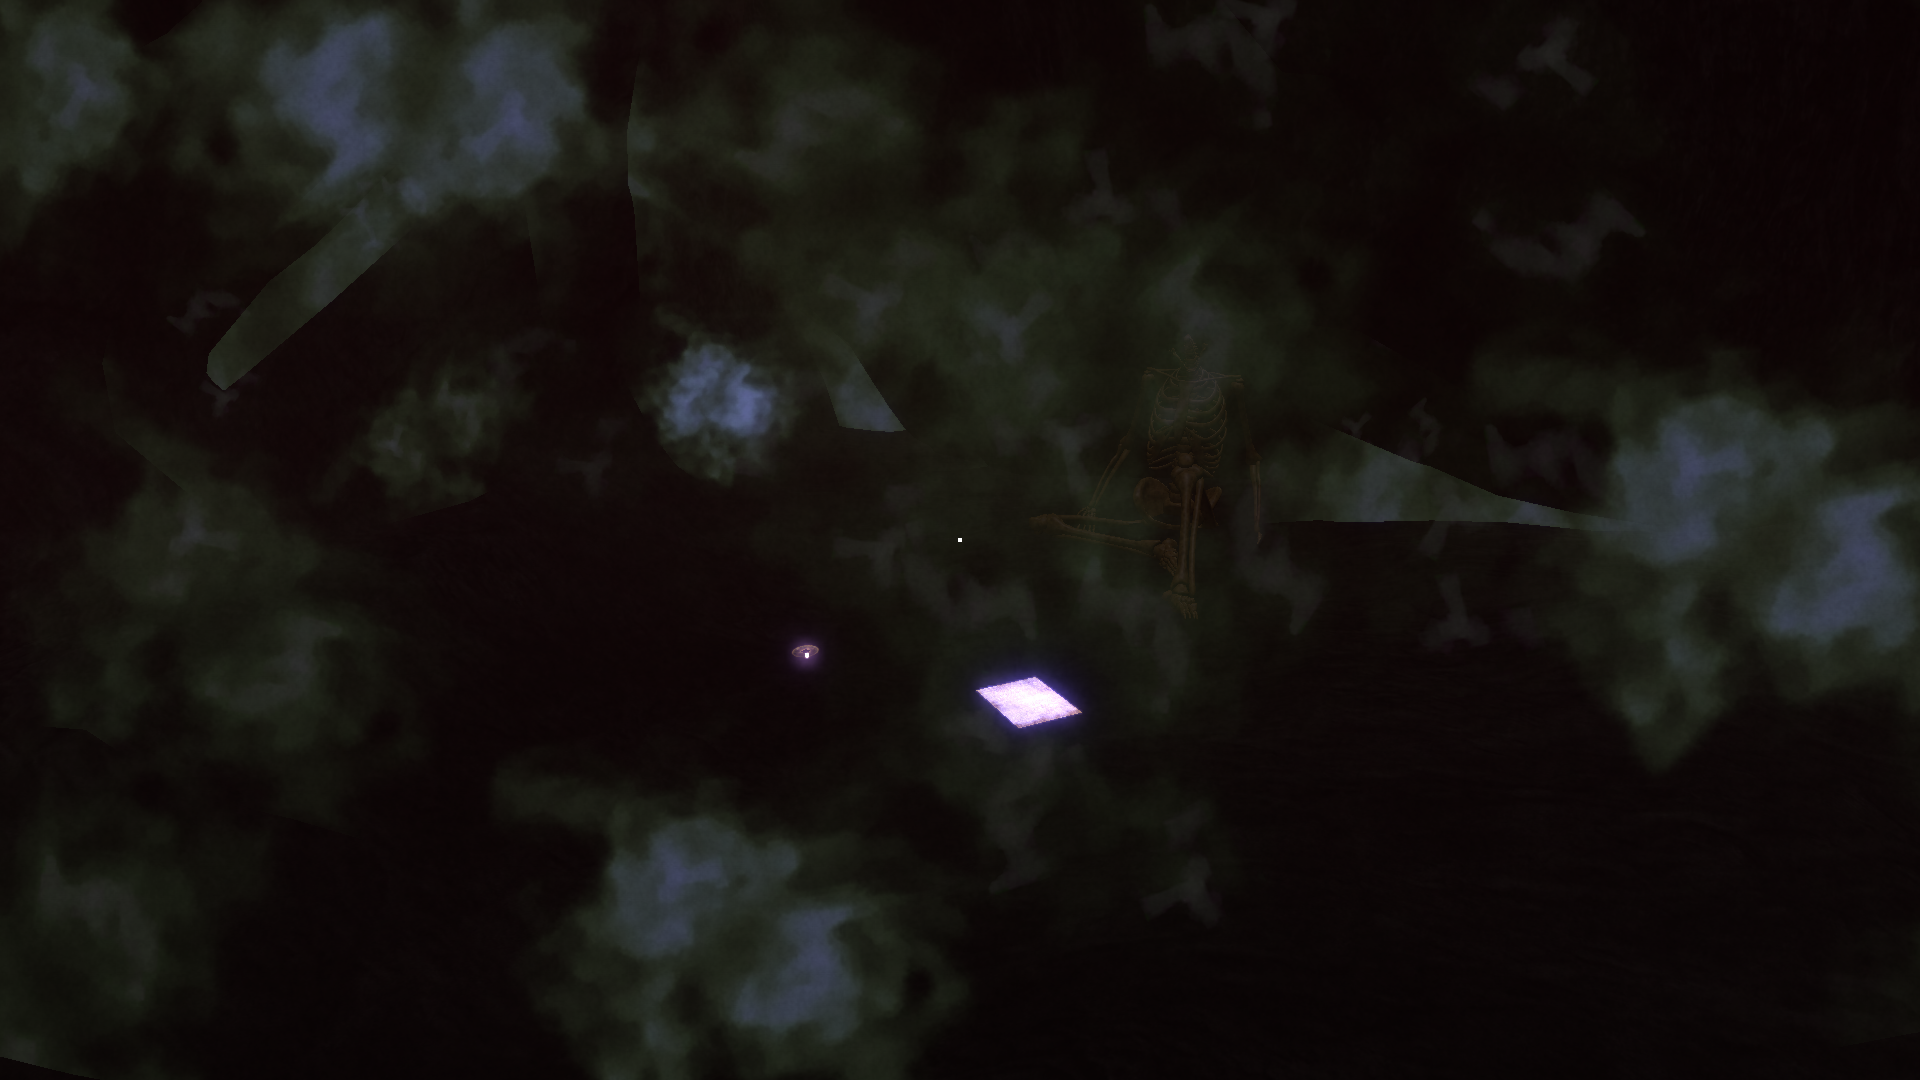
Moeda #6 & Observação #8: Mineiro’s Note
In a dead end in the maze. Para encontrá-lo, when you exit the starting chamber take the first right, then go straight through two intersections until you hit a curve to the right you must take. At the end of the room that curve opens into the coin & note are lying next to a skeleton.
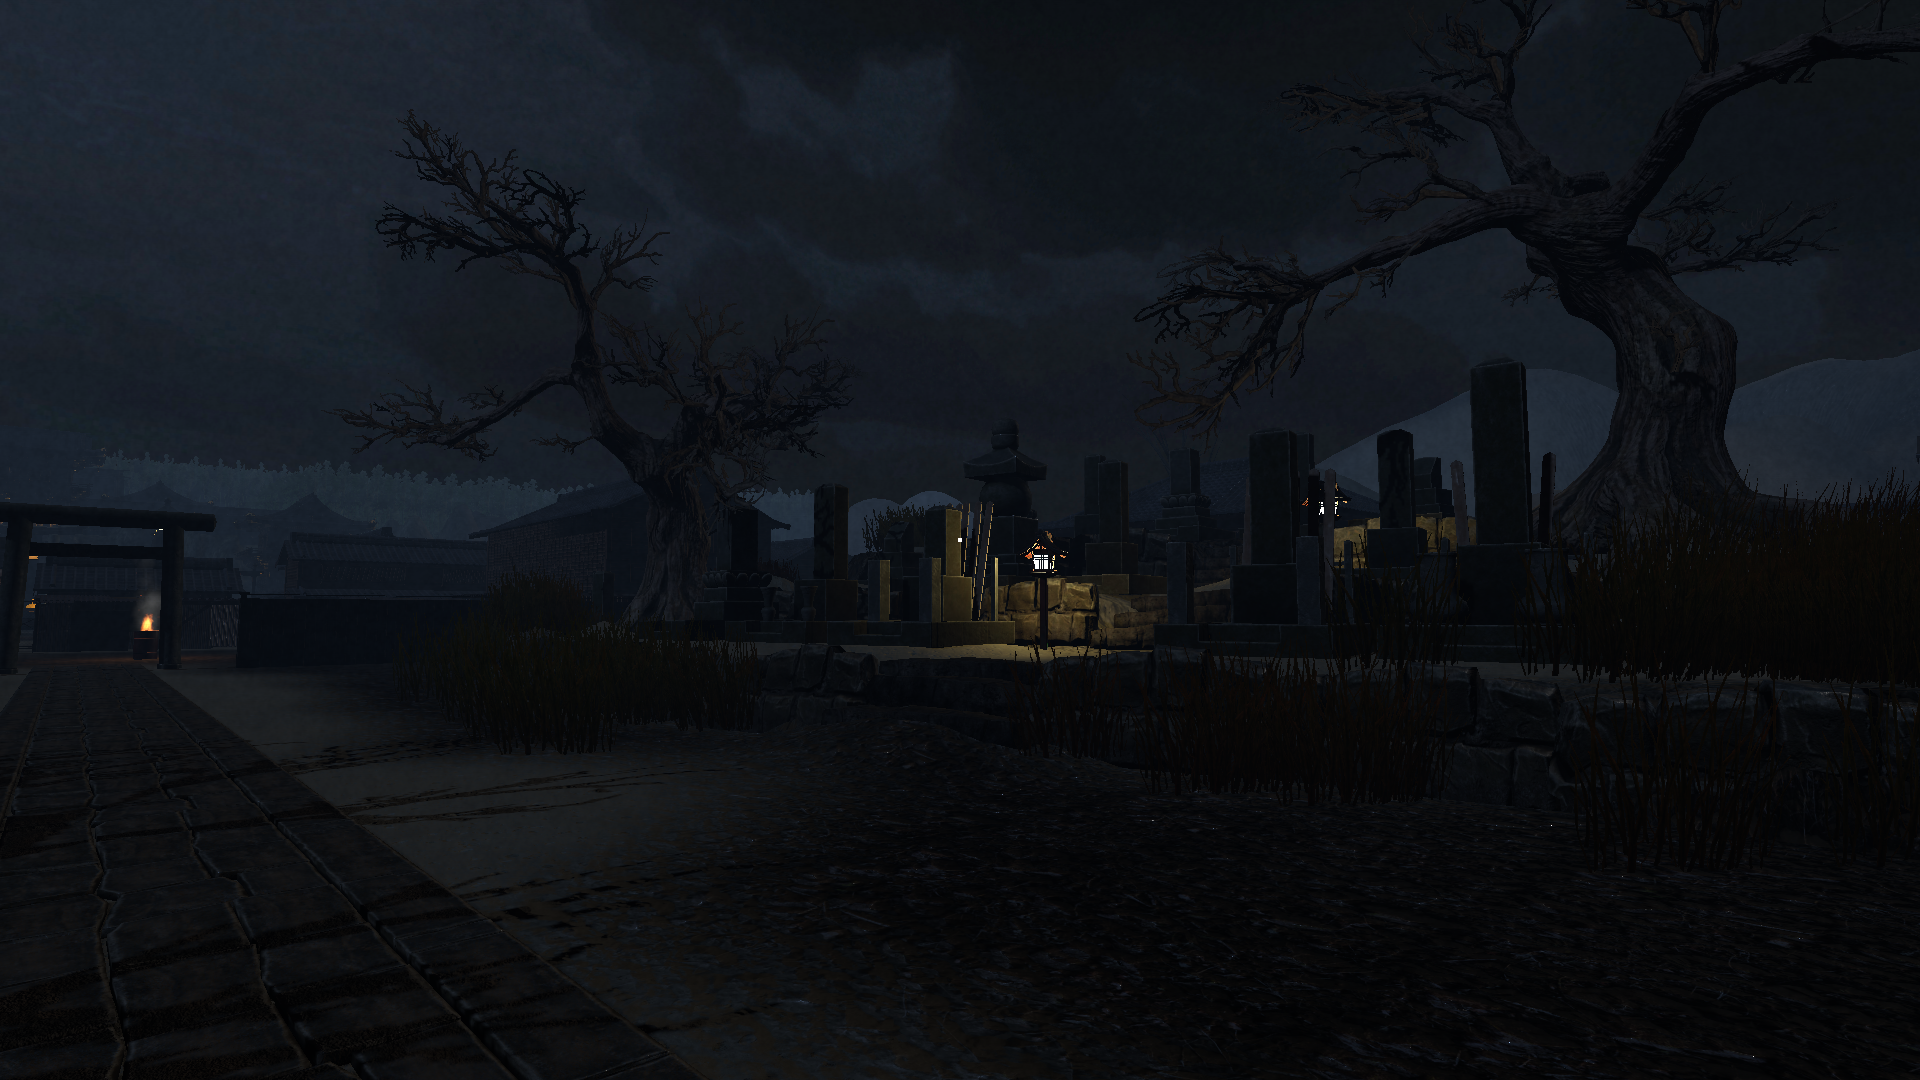
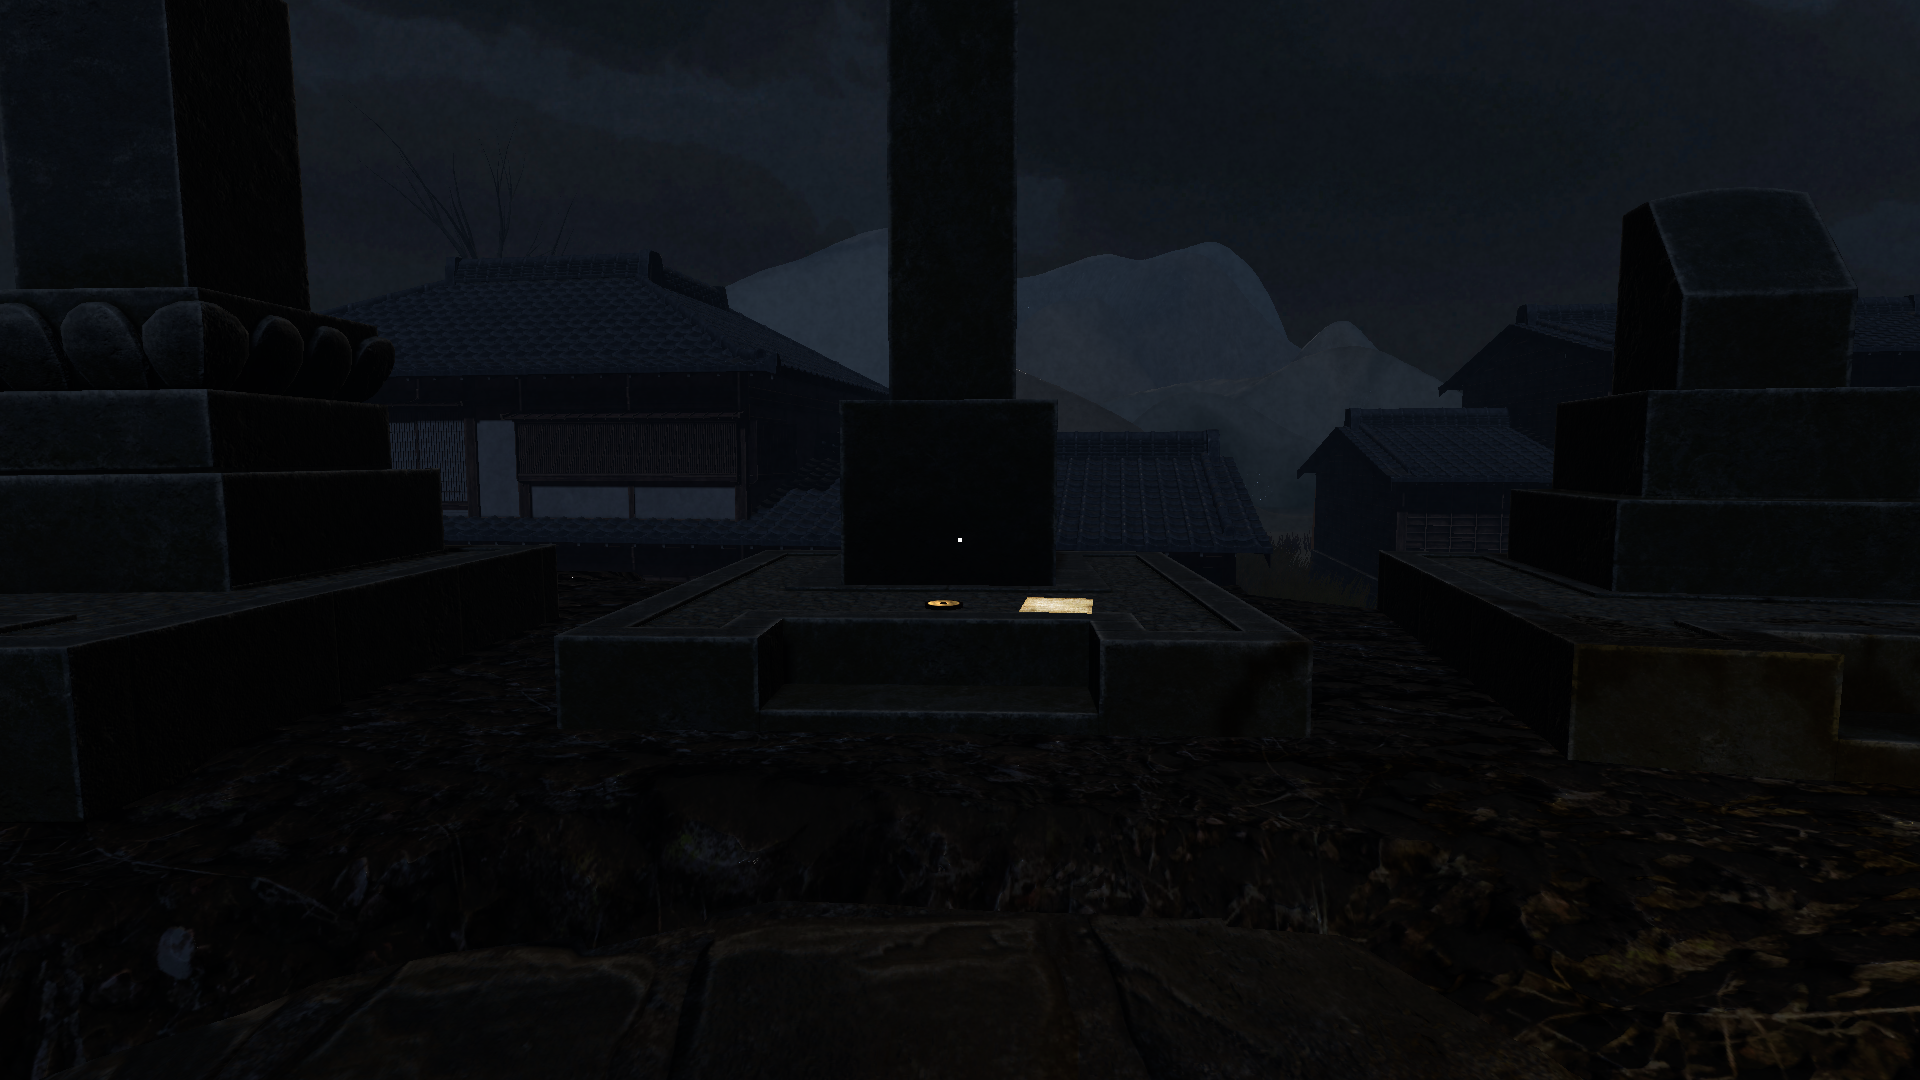
Cidade Velha
In this section and the next I will be using cardinal Directions, these are derived from the Overseer Head’s point of view. So south is towards the Overseer Head, and North is away from it.Moeda #7 & Observação #1: Letter on Grave
Upon entering the level there are stairs to the right that lead up to a grave. The coin & note are on that grave.
Observação #2: A Treatise on Honesty
Outside the graveyard, in a shanty ahead and slightly to the right.
Observação #3: Kisaragi News – Final Issue
Outside the graveyard, take a sharp left and crouch through the shanty or go around it. The note is on the ground behind it.
Observação #4: Miner Reprimand
On a door slightly south-west of Note #3 (take a few steps forward from Note #3 then turn left).
Observação #5: Last Will and Testament
In the middle of the section of town that Head 2 patrols, there is a well. The building south of the well has the note attached to it’s north side.
Observação #6: Note on Innkeeper’s Door
There is a long building to the east of the previously mentioned well. Towards the south end of the building the note is attached to a bloodstained door on the building’s west side.
Observação #7: Kisaragi Crazy Crab Contest!
Para a esquerda (norte) of Note #6, in an open room.
Moeda #8
In the north-west corner of the map there is a train car covered in tarp. The coin is slightly south-west of it in the tall grass.
Observação #8: Shrine Closure Notice
Posted on the door to the shrine, all the way up the stairs.
Observação #9: Hidden Letter to Ryotaro
The note is partially under a rock south of the building Note #5 was attached to.
Observação #10 & #11: Join the Rebellion & Seiuchi to Meio
In the farthest south-eastern building, on the same stand you find the shrine key.
A floresta
Observação #1: Backpacker’s Draft
In the back of the shrine, on the ground in the entrance to the forest.
Observação #2: Backpacker’s Annotated Map
This is on the critical path in the forest maze. There will be a T-intersection, with one patch leading south to a building, one path leading west, and one path leading north towards the exit. The note is on the north path.
Isso é tudo o que estamos compartilhando hoje para isso Atama guia. Este guia foi originalmente criado e escrito por Erratic_Engineer. Caso não atualizemos este guia, você pode encontrar a atualização mais recente seguindo este link.