- Título: Arcadius
- Data de lançamento:
- Desenvolvedor:
- Editor:
Information about Arcadius is still incomplete. Por favor, ajude-nos a preencher os detalhes do jogo usando este formulário de contato.
A short guide on the easiest way I’ve found to climb Mt. Chibi in Arcadius.
The Easy Part
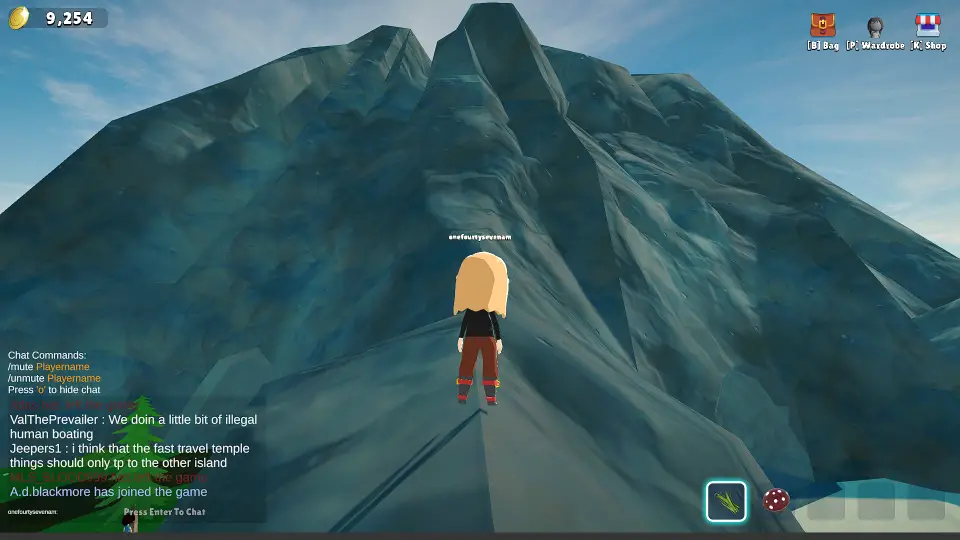
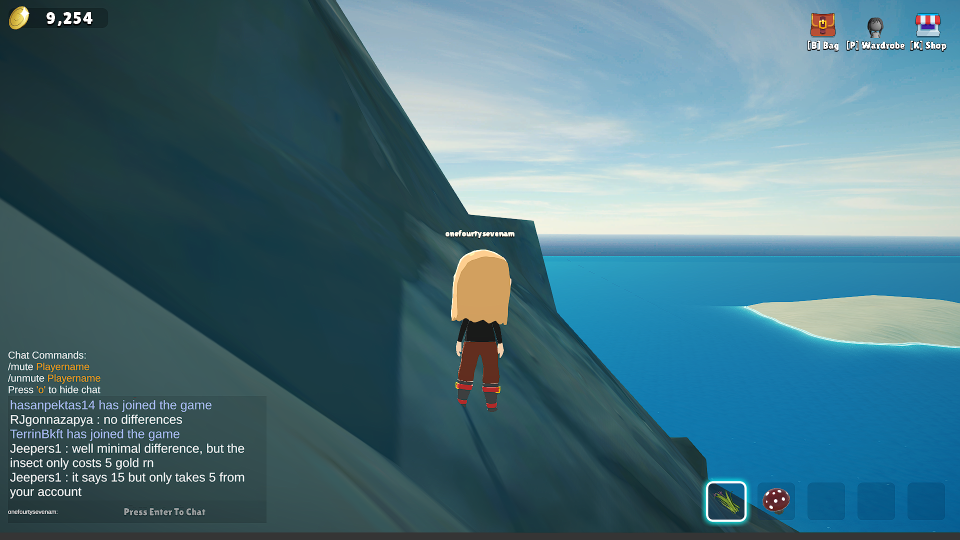
View Mountain! It’s pretty tall!
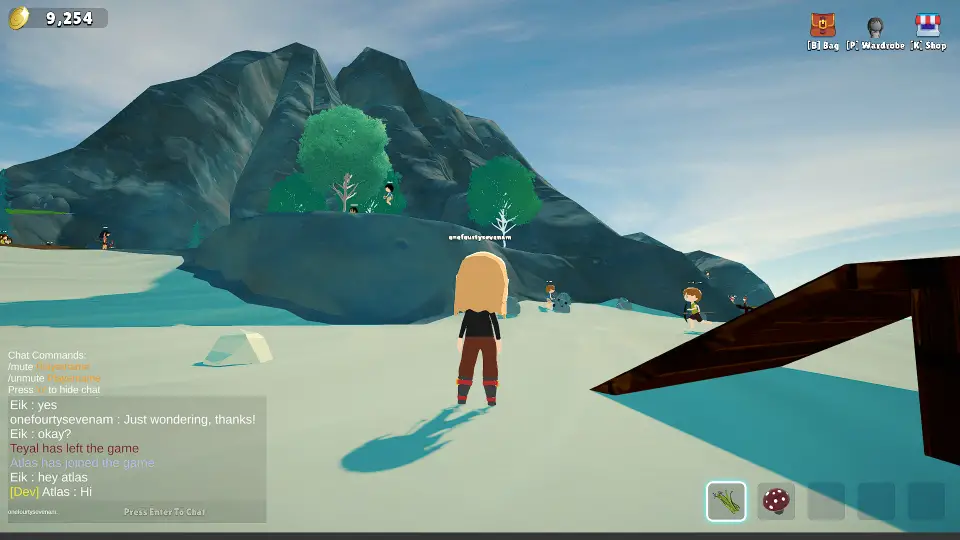
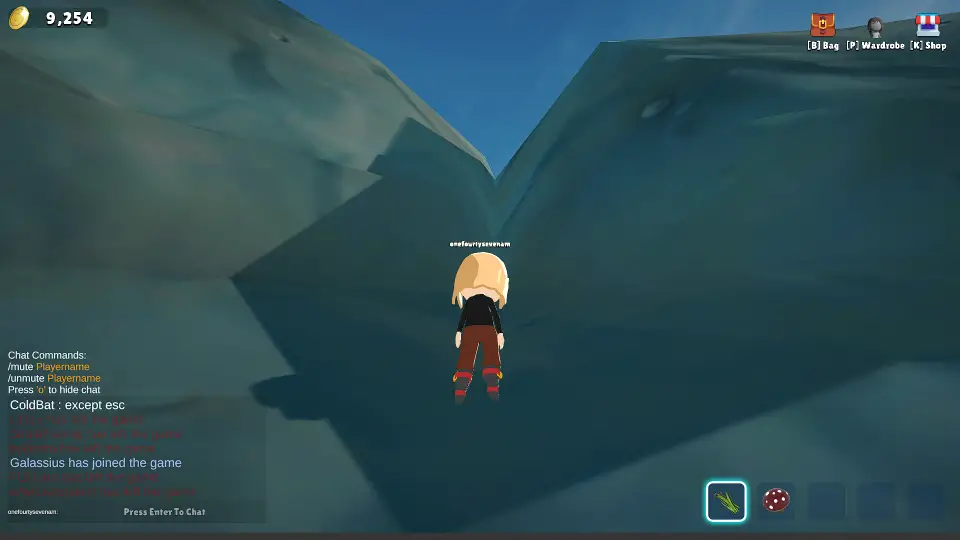
Make your way to the cliff directly in front of the spawn location and take a look to the right at the slight protrusion from here. We’re going to take a leap onto the pointed part of this. It might be a bit challenging on your first try, Mas você pode fazer isso!
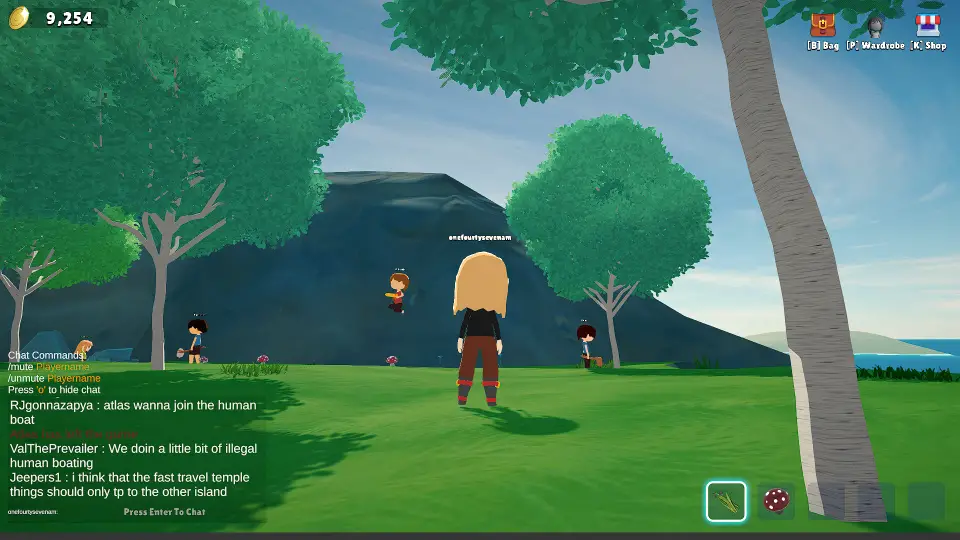
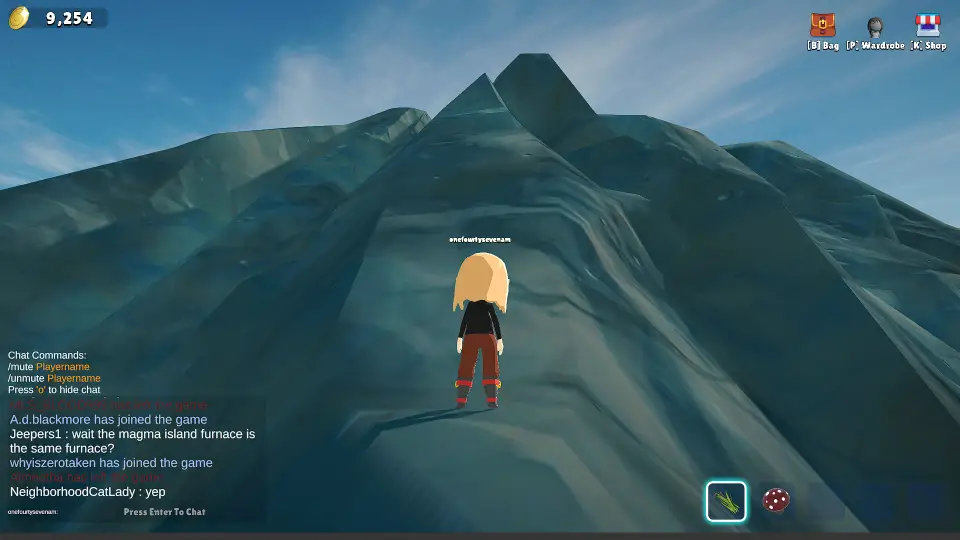
Now that you’re here, take a moment to look at the scenery, it’s rather nice this time of year. Now that you’ve appreciated the wonders of Chibi Isle, go ahead and try heading straight up the mountain. De novo, until you’re used to parkouring your way up this baby, it might be a little tough.
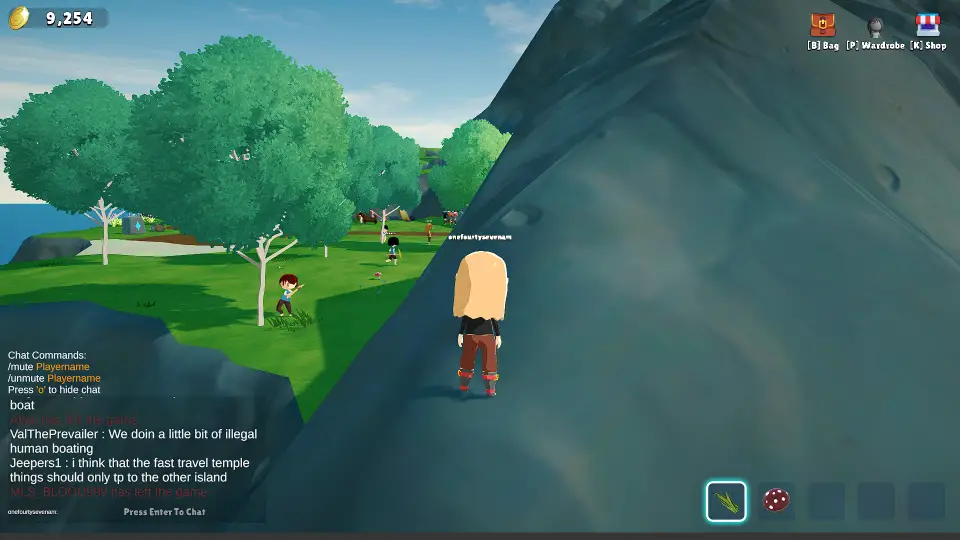
The next part’s pretty easy. After stopping right here, just take some running jumps upwards until you hit the next flat area.
De novo, do some more fantastic run jumps until you hit the next flat area up ahead. Don’t worry about falling so long as you’re just heading forward. You should hit a small aclove above and that’s where things unfortunately get difficult.
The Challenging Part
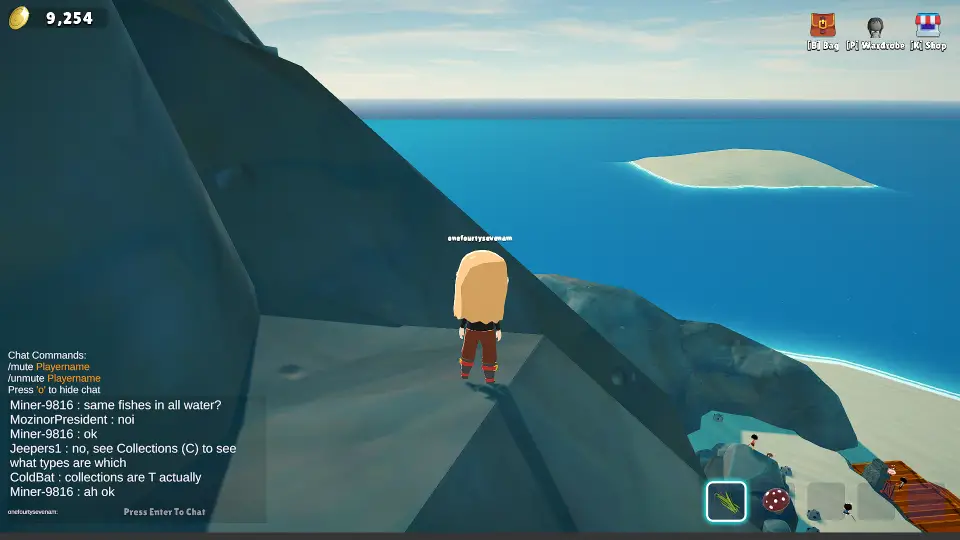
Tudo bem, you should be seeing this right now, which is good because it means you’re half way there! Yay you! Agora, it’s time for the next part though, which might get a tad bit annoying.

ENTÃO! What we’re going to do now is turn to the right. From here you can see a sharp angular ridge. I know it’s a bit scary and we can’t see the other side, but we need to jump over that ridge onto the other side and look to the left. This part is probably the hardest part, so don’t give up! Depois disso, things get a tad bit easier. As for the jump, you’ll know you did it right if you DON’T start sliding down the side of the hill. If you unfortunately do start sliding, try to correct back to the last spot you were at, and if you can’t, I’m sorry but you’ll have to start from step 1 de novo. (Etapa 2 if you don’t feel like admiring the mountain again, I won’t force you)
If you find that you haven’t slid off of the mountain, then congrats! You should be seeing something akin to the image above. Our next step is to head straight forward, wedging ourselves in-between that large crack ahead. OBSERVAÇÃO, It is not the crack on the left side of the image, but the one slightly to the right. It might take a second to figure out what i’m talking about, but hopefully you get the idea.
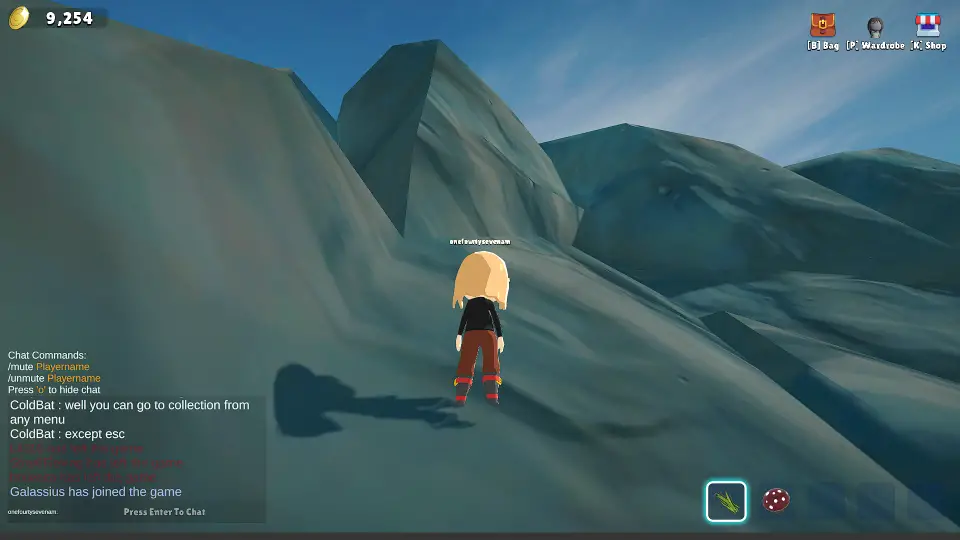
Here’s an example of where is best to stand for the next part. We’ll be making a large leap once again so get ready for it!
This outcropping is our next goal! Leap for the outcropping with all you’re might! I still believe in you!
Just like the last step, we have to jump again across another ridge. This one takes a bit of trust, mas não se preocupe! You CAN land across there and then resume you’re journey… and don’t worry, you’re almost there!
After all that jumping is our final ascent! All you need to do at this point is climb toward the right and make sure to continually jump while doing so! If you do it right, you’ll arive at the summit!
The Summit Secret
Parabéns! If you followed all of the steps (Or found you’re own way while reading this guide) then you’ve arrived at the top! Now that you’re here, you can obtain a secret prize! Resting at the top of Mt. Chibi is the hardest item to obtain on the entire island, the rare Glow Mushroom!
I’m sure you’re asking yourself what exactly the Glow Mushroom is for right about now, certo? Bem, as of the creation of this guide it doesn’t exactly have a use. Now hold on! You didn’t climb all this way for nothing! Obtaining the Glow Mushroom will fill it’s spot in you’re collection, which helps push you one more step toward 100% conclusão! In addition to that, a paltry 16 days from now, Alchemy will be included in the game and you can bet that the rare Glow Mushroom will have a purpose then. Enquanto isso, you can be happy in knowing that you have one, and that you can share it’s location with everyone else!
For those of you who already knew how to climb the mountain, hopefully this guide helped shorten your trip!
Isso é tudo o que estamos compartilhando hoje para isso Arcadius guia. Este guia foi originalmente criado e escrito por onefourtysevenam. Caso não atualizemos este guia, você pode encontrar a atualização mais recente seguindo este link.