You can employ Syncthing to synchronize RetroArch Savestates across various devices. Regardless of whether you’re gaming on a Gaming PC, Android TV box, or a Steam Deck, this method ensures you always have access to your most recent game saves, allowing you to continue your progress seamlessly. This approach is compatible with any Core that utilizes RetroArch’s savestate function. I personally set up and tested this on my Steam Deck and an Nvidia ShieldTV, and it offers a quick, seamless, and automated solution. Na przykład, if you save your game state for Super Mario 64, close the game on one device, and then load it on your Steam Deck, it will resume exactly where you left off on the other device.
This configuration should function with both the Flatpak and Steam versions of RetroArch. While I didn’t test it on Windows or Mac, given that RetroArch and Syncthing are cross-platform tools, there’s no apparent reason why it shouldn’t work or why my setup guide wouldn’t apply to all systems.
To implement this, ensure that RetroArch and Syncthing are installed on all the devices you intend to use with this setup. Dodatkowo, make sure your game saves are present on all these devices.
Setting up RetroArch
To set up RetroArch for syncing savestates across devices, wykonaj następujące kroki:
- On all your devices, navigate to the RetroArch settings.
- Pod “Ustawienia,” Znajdź “Saving” sekcja.
- Ensure that “Auto Save State” jest włączony. This option will automatically create a savestate every time you close a game.
- Również, włączać “Load State Automatically” upon launching content. This setting will automatically load the last savestate created on the current device. Na przykład, if the last savestate on this device was in slot 0, it will load the file associated with slot 0, even if that file was updated by Syncthing.
- In the RetroArch main menu, idź do “Configuration File.”
- Save the current configuration to ensure that your changes are saved and applied.
Notatka: You can customize the folder where savestates are stored in RetroArch settings, but this step is not necessary for this guide. The default location is typically used for most setups.
Setting up Syncthing
To set up Syncthing for syncing RetroArch savestates between your devices, wykonaj następujące kroki:
On the Device You Want to Sync:
- Open a web browser and navigate to http://localhost:8384. This will take you to the Syncthing Control Panel.
- In the bottom right corner of the Control Panel, trzask “Add Remote Device.”
- Add all the devices you want to sync with. Repeat this step for each device you want to sync.
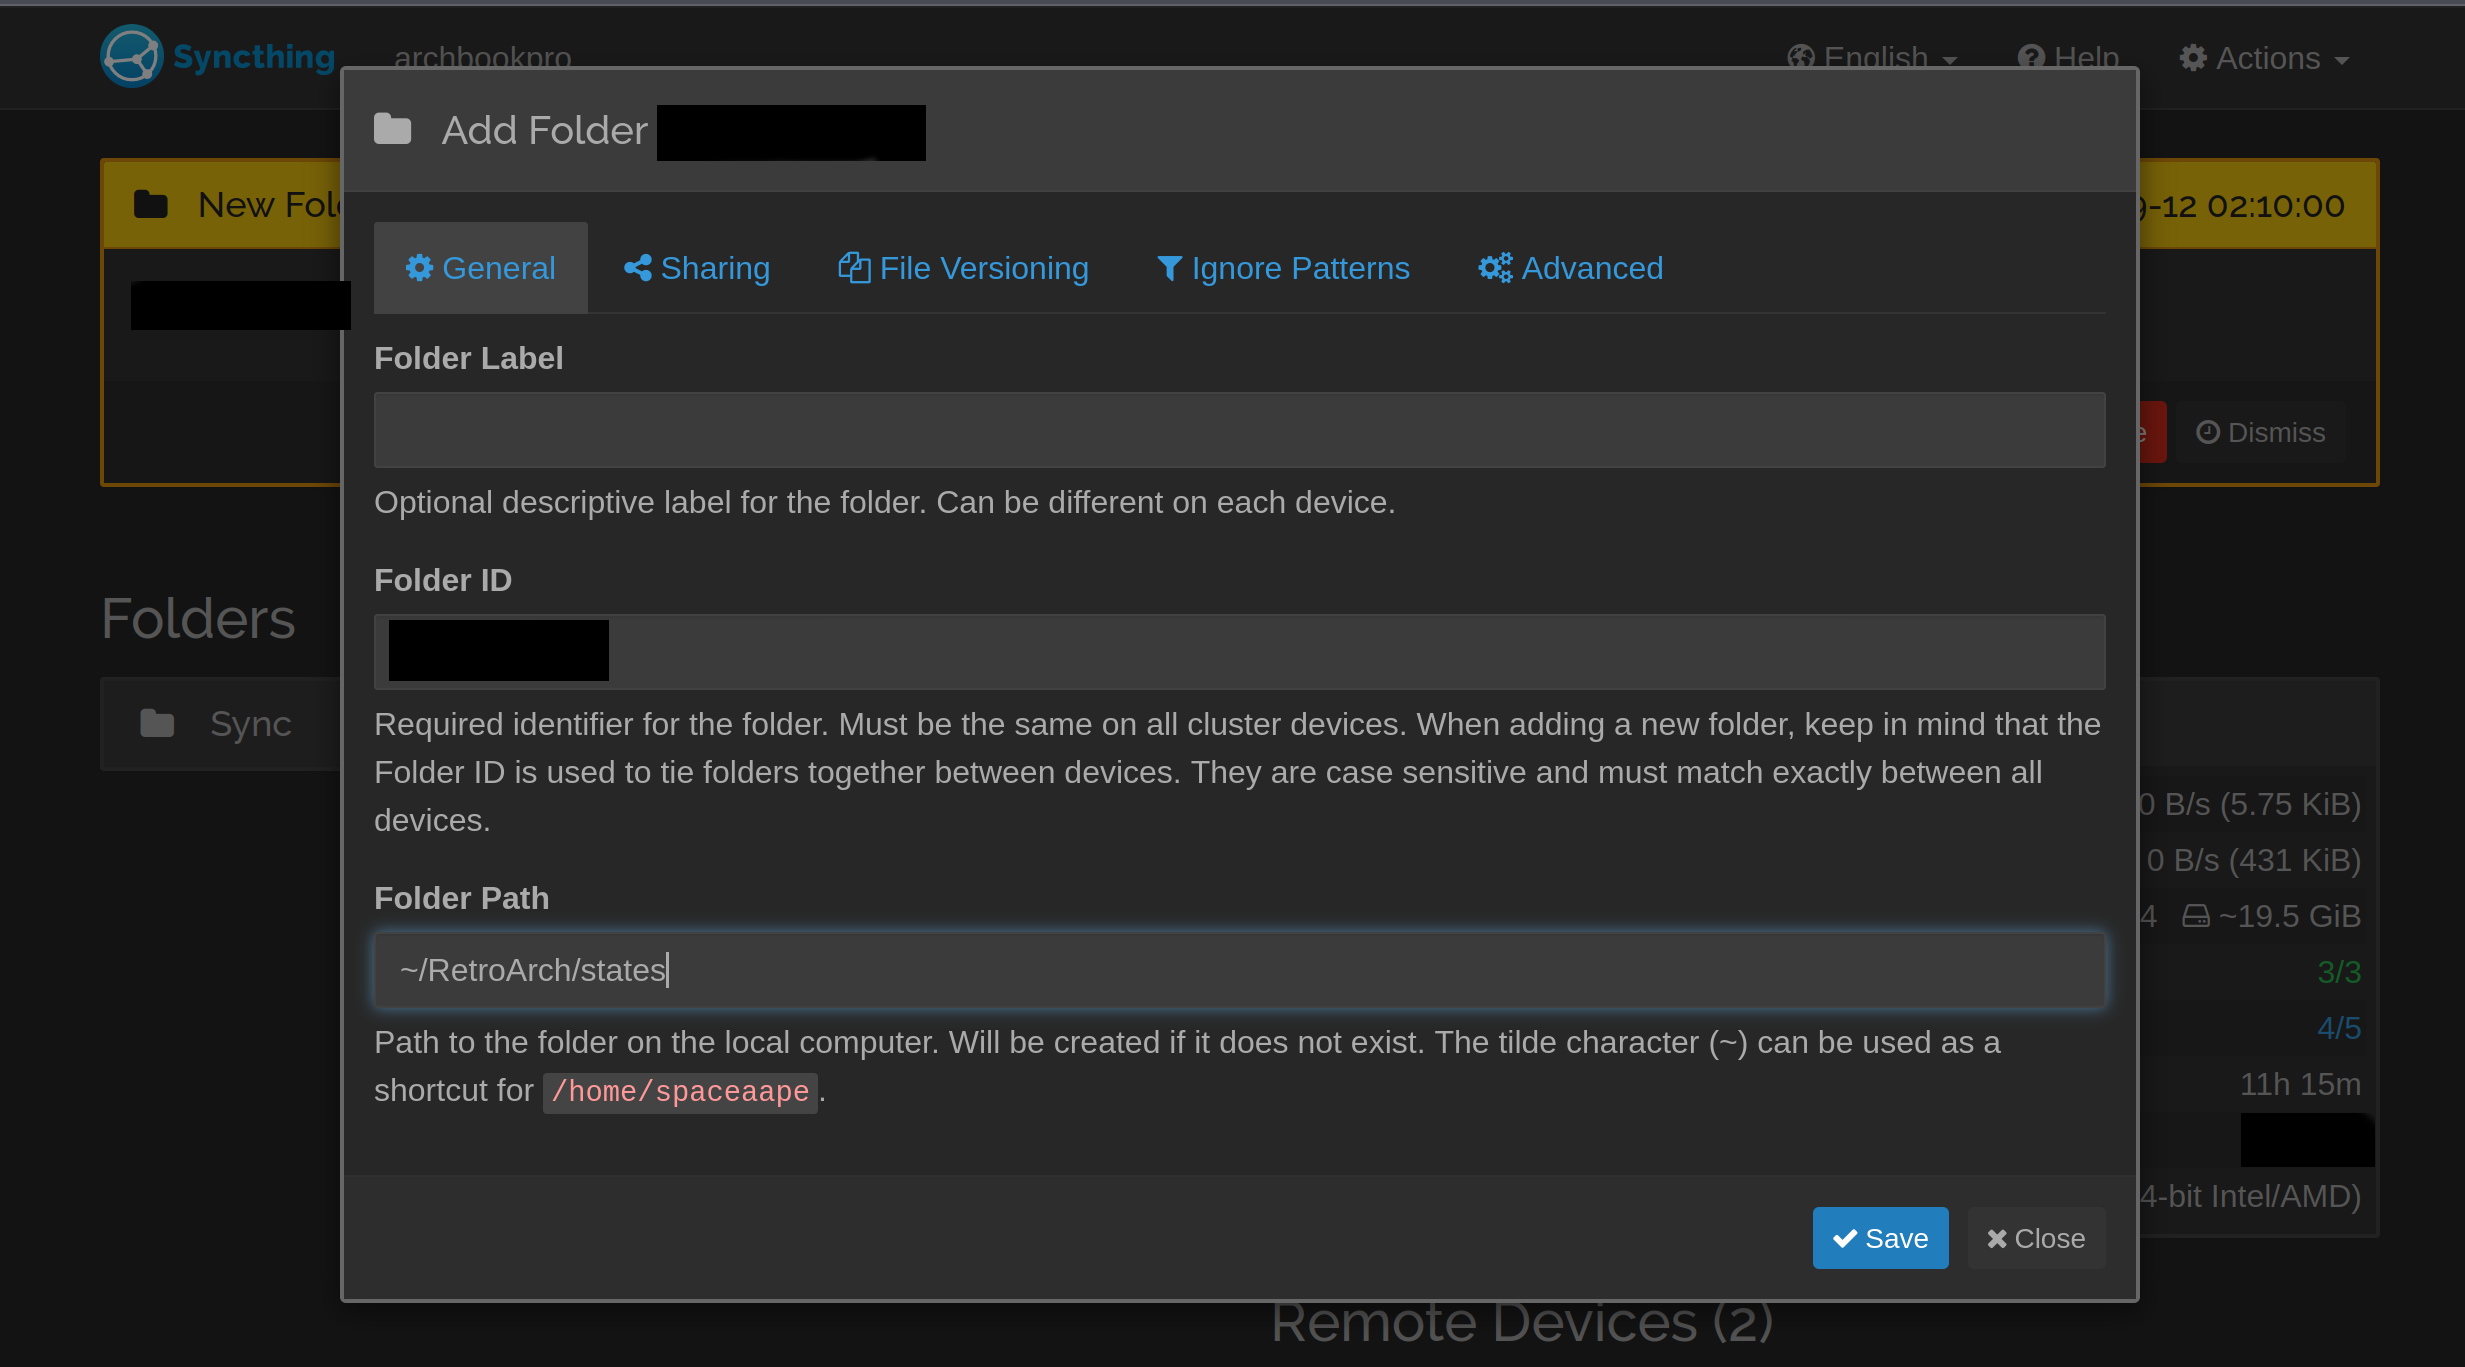
- After adding devices, trzask “Add Folder.” You can label it as “states.”
- In the folder path field, specify the path to the RetroArch save states folder. Na przykład, it might be something like ” ~/RetroArch/states “.
- Pod “Sharing” patka, enable synchronization with all the devices you want to sync with.
- w “Zaawansowany” ustawienia, ensure that the folder type is set to “sendreceive.” This is essential for bidirectional synchronization.
- You can choose to enable “File Versioning” if you want to save old savestates in case they are lost or overwritten. These versions will be located in the .stversions directory.
- Zapisz swoje ustawienia.
On Your Other Device(S):
-
- On the other device(S), also open a web browser and navigate to the Syncthing Control Panel at http://localhost:8384.
- You should see a notification indicating that another device wants to add the “states” falcówka. Accept this notification.
</ol start=”3″>

-
-
- A configuration window will open. In the folder path, type the path to the RetroArch Savestate folder on this system. This is typically /states in RetroArch’s default directory.
-

-
- If desired, włączać “File Versioning” on this device as well.
- Pod “Zaawansowany” patka, ensure that the folder type is set to “sendreceive” for bidirectional synchronization.
- Save the configuration.
- Test the synchronization by playing some games. Your RetroArch savestates should now be synced across all devices you’ve set up with Syncthing.
To wszystko, co dzisiaj udostępniamy w tym celu RetroArch przewodnik. Ten przewodnik został pierwotnie stworzony i napisany przez spaceaape. Na wypadek, gdybyśmy nie zaktualizowali tego przewodnika, możesz znaleźć najnowszą aktualizację, postępując zgodnie z tym połączyć.