This guide covers all achievements in Chorobowy: The Seven Acolytes for new players. It provides detailed steps from beginning to end. If you miss any achievements, you can use this guide to replicate them.
Wstęp
This game is short, so completing it and getting all achievements won’t take long. You don’t need to worry about difficulty settings, and there’s a New Game+ option.
Postęp, collect Blessings and upgrade them using EXP (5 diamonds per Blessing). You’ll earn EXP by defeating enemies. Będziesz potrzebować 15 Błogosławieństwa, which are crucial in battles, along with weapons.
Complete necessary quests along your journey. Dying won’t penalize you. NPCs may offer weapons and items, but you might not need them if you already have better gear.
Utilize mechanics like parrying and riposting during battles for effective damage. Sneak to avoid alerting enemies; attacking enemies while they’re unaware deals significant damage. Maintaining high sanity prevents ghost spectres from appearing when enemies are defeated, which can be helpful in boss fights.
Diamond icons on the map represent Shrines, while arrows indicate the next area to explore. Some areas may have maps, but I’ve included them here for your convenience.
- Całkowite osiągnięcia: 25
- Completion Time: O 10 godziny
- Difficulty Modes: Nic
- Nowa gra+: Tak
- Missables: Tak
- Mode: Single-Player, Soulslike
Types of Achievements:
- Historia związana: 19
- Można pominąć: 1
- Różnorodny: 5
Chorobowy: The Seven Acolytes Achievements
Coast of Solya – Haven of Solya Map:
![Haven of Solya (1).jpg]](https://www.riotbits.com/wp-content/uploads/2024/02/img-65d20bcdc4a34-951380-w98NAy5D.jpg "Haven of Solya (1).jpg]")
Poszukiwanie #1: Meet Thalas
- Talk to Thalas until the quest is done.
- Nagroda: Nic
There’s another area blocked, leading to the Passage to Yortael, but we won’t go there yet.
Coast of Solya – The Cursed Hamlet Map:
![The Cursed Hamlet (1).jpg]](https://www.riotbits.com/wp-content/uploads/2024/02/img-65d20bce26541-793496-zNb8mw9L.jpg "The Cursed Hamlet (1).jpg]")

The Cursed Hamlet
Discover The Cursed Hamlet
- Historia związana. Enter The Cursed Hamlet to unlock the achievement.
Coast of Solya – Caverns of Solitude Map:
![Caverns of Solitude (1).jpg]](https://www.riotbits.com/wp-content/uploads/2024/02/img-65d20bcec80d0-484744-Q7kYQSLb.jpg "Caverns of Solitude (1).jpg]")

Caverns of Solitude
Discover Caverns of Solitude
Odblokować osiągnięcie, venture into the Caverns of Solitude during the story.

Strive for perfection
Slay an Acolyte, without taking any damage
It’s advisable to tackle this early to make it easier. The boss’s attacks are telegraphed, so stay patient. Jeśli zostaniesz trafiony, it’s okay to let him defeat you and try again until you succeed.

Lorn the Blind, the Lord of Loneliness
Defeat Lorn the Blind, the Lord of Loneliness
After defeating Lorn the Blind, the Lord of Loneliness in the story, you’ll earn this achievement.
- Błogosławieństwo #1 – Blessing of the Healer: Break the Praying Statues when prompted by the book; they’re nearby.
- Błogosławieństwo #2 – Blessing of Stoutness: Also located in the same area, near your current position.
- Błogosławieństwo #3 – Blessing of Recovery: W końcu, find and break the statue for this blessing in the vicinity.
When it comes to upgrading, it’s a matter of preference. Osobiście, I opt for the health upgrade, but the choice is yours.
Old Mornia – Village of Aer’Abuh Map:
![Village of Aer'Abuh (1).jpg]](https://www.riotbits.com/wp-content/uploads/2024/02/img-65d20bd063a74-172189-pCQcVQjN.jpg "Village of Aer'Abuh (1).jpg]")

Village of Aer’Abuh
Discover Village of Aer’Abuh
Odblokować osiągnięcie, proceed into The Village of Aer’Abuh as part of the story.
Here are the locations for Blessing #4 I #5:
- Błogosławieństwo #4 – Blessing of Fitness: Before reaching the NPC, take a right turn towards the praying statue.
- Błogosławieństwo #5 – Blessing of the Acrobat: Before reaching the end, head right. You’ll come across a wooden fence. Near it, you’ll find a statue to interact with.
Old Mornia – Gardens of Mornia Map:
![Gardens of Mornia (1).jpg]](https://www.riotbits.com/wp-content/uploads/2024/02/img-65d20bd10786d-863736-ueKr3POG.jpg "Gardens of Mornia (1).jpg]")

Gardens of Mornia
Discover Gardens of Mornia
Simply unlock and enter The Gardens of Mornia to unlock this achievement.
- Błogosławieństwo #6 – Blessing of the Learned: When you encounter a Giant mentioning that only the Exalted can enter, ascend the stone stairs to reach the statue.

Down with the Elite!
Zabić 50 Elite enemies
If you died on the Gardens due to the enemies or maybe impatient you will respawn and be able to farm these elite enemies (by their two red skulls between).

Master Striver
Upgrade a Blessing to the maximum level
After spending EXP points and reaching the 5th diamond bar, you unlock the achievement.
Błogosławieństwo #7 – Blessing of Krombi: Find a place where you can unlock the shortcut which is for the beginning of this place. After going around doing that, head down the stone stairs where you find a new set of weapons and a statue last for this place. Start from here on the left image all around to the end.


Lady Tristana, Mother Grief
Defeat Lady Tristana, Mother Grief
Historia związana. After you defeat Lady Tristana, Mother Grief, you unlock this achievement. She will throw her fetus on your spot until she starts spewing red crystals for you to dodge them, when she stops she will scream after few seconds then this will be done the same thing.
Lost Lands – Grimwald’s Grove Map:
![Grimwald's Grove (1).jpg]](https://www.riotbits.com/wp-content/uploads/2024/02/img-65d20bd3b112f-035015-bGkB0IHa.jpg "Grimwald's Grove (1).jpg]")

Grimwald’s Grove
Discover Grimwald’s Grove
Historia związana. Enter The Grimwald’s Grove to unlock the achievement.

This Seems… Familiar
Find the Broccoliath body and the Blader from Grimwald’s Grove.
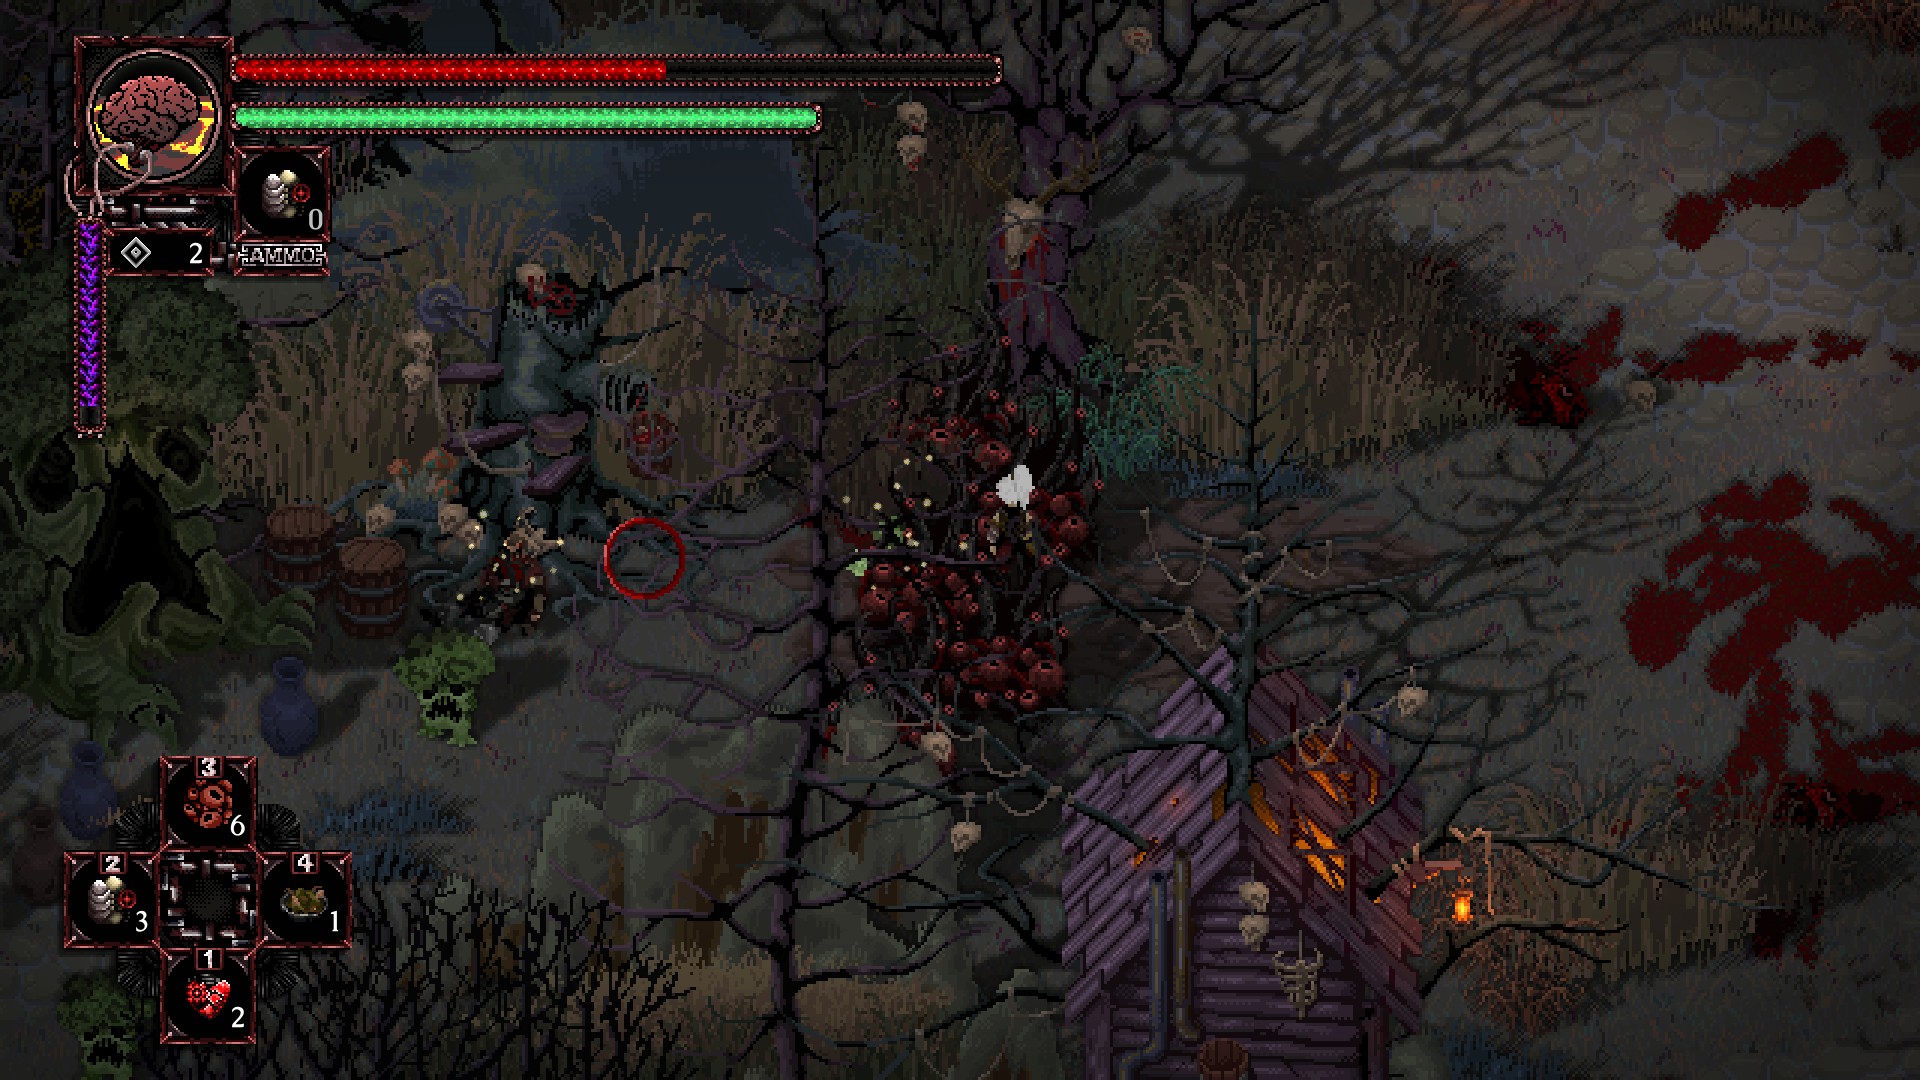
Starting from the shrine, head directly to the left until you spot a corpse. Your task is to locate and demolish the obstacle blocking the path from the opposite side. Once you’ve cleared the obstruction, return to the area with the broccoli monsters and loot the corpse there.

- Poszukiwanie #4 – Language Barrier: Remember to pick up the item located on the blue and dark wooden bridge, then return to the individual from the Caverns to complete the quest. Your rewards for this task are: 1x Grand Rune of Rage, 1x Krombi’s Canister, and 2x Lightning Shroom.
- Błogosławieństwo #8 – Blessing of the Giant Slayer: After defeating Yaga Moer, proceed to ascend to the upper right area where you’ll find a small path leading to the next shrine. Stamtąd, head left after the Shrine to locate the statue. This is positioned before encountering the Undead Mammoth Beast.

Błogosławieństwo #9 – Blesssing of the Assassin: Start from this shrine, go all the way to this T path where you go down to the next area of an elite boss.

Lost Lands – Tomb of the King:

Tomb of the King
Discover Tomb of the King
Historia związana. Enter The Tomb of the King to unlock the achievement.

King Cornelius, the Heir of Regret
Defeat King Cornelius, the Heir of Regret
Odblokować to osiągnięcie, you must confront King Cornelius, the Heir of Regret as part of the story. King Cornelius utilizes a variety of attacks, including throwing his weapon, which can inflict significant damage. Jednakże, you can dodge these attacks. Dodatkowo, he may slam the ground, spawning enemies that you can either avoid or eliminate. The battle will continue in this pattern until you successfully defeat King Cornelius.
- Poszukiwanie #5 – Passage to Felfields: This is unmissable. Nagroda: Nic
Lost Lands – Felfields:
![Felfields (1).jpg]](https://www.riotbits.com/wp-content/uploads/2024/02/img-65d20bd8c975f-495773-ryNfxxkv.jpg "Felfields (1).jpg]")

Felfields
Discover Felfields
Historia związana. Enter The Felfields to unlock the achievement.
Błogosławieństwo #10 – Blessing of the Shroomer: Go to this area all right following from the bridge to here, then go up and pass all enemies until you get to the statue.

This is an opportune moment to engage in some grinding, scavenging for runes, broń, and completing quests for additional rewards.
- Poszukiwanie #6 – The Cult of Yaga Moer: Once you’ve slain Yaga Moer, speak with Rufus after locating his wife, Eanna, and their two children. Your reward for this task includes: 1x Grand Rune of Depression, 1x Lazarus Flower, 1x Krombi’s Canister, and 1x Krombi’s Musket.
- Poszukiwanie #7 – The Horrid Beast of the Grove: After obtaining the bottle from the Undead Mammoth Beast, return to the old man in the village situated at the top right. Po zakończeniu, you’ll receive: 1x Grand Rune of Terror, 1x Grand Rune of Panic, 2x Krombi’s Canister, 1x The Lacerator, and 1x Lightning Shroom.
- Poszukiwanie #8 – Fat Conrad’s Head: Dispatch Fat Conrad and present his head to the individual in the village. Your rewards include: 1x The Long Ranger, 1x Grand Rune of Disgust, 2x Wartburg’s Steroids, 1x Krombi’s Canister, 1x Genetically Modified Broccoli, and 1x Poison Shroom.

Bile Toad Putrus, the Spawn of Disgust
Defeat Bile Toad Putrus, the Spawn of Disgust
Historia związana. Once Bile Toad Putrus, the Spawn of Disgust is defeated, you unlock the achievement. Make sure to use parry and for weapons the Grim Reaper is the best, having low sanity is viable.
Poszukiwanie #9 – Passage to Yortael: Go back to the shore and talk to the guy up the stone stairs. Nagroda: Nic.
Capital City – City of Yortael Map:
![City of Yortael (1).jpg]](https://www.riotbits.com/wp-content/uploads/2024/02/img-65d20bdae1999-836024-ryzsbvk9.jpg "City of Yortael (1).jpg]")

City of Yortael
Discover City of Yortael
Odblokować osiągnięcie, proceed into The City of Yortael as part of the story.
Here are the locations for Blessing #11, #12, I #13:
- Błogosławieństwo #11 – Blessing of the Gunslinger: At your first Shrine, head to the right end where you’ll find the statue.
- Błogosławieństwo #12 – Blessing of the Armorer: Shortly after going right, descend to the end middle area where you’ll discover another statue.
- Błogosławieństwo #13 – Blessing of the Slasher: Locate a way to destroy the feeler gate. Następnie, backtrack to the right to find and destroy the statue.

Vulgus Calia, the Mass of Terror
Defeat Vulgus Calia, the Mass of Terror
Odblokować to osiągnięcie, you must defeat Vulgus Calia, the Mass of Terror as part of the story. He’s considered the easiest Acolyte to defeat. Utilize your Grim Reaver and avoid engaging with low sanity enemies and floating heads. Keep slashing at Vulgus Calia to emerge victorious.
Here are the locations for Blessing #14 I #15:
- Błogosławieństwo #14 – Blessing of the Shadow: After defeating the Vulgus Calia boss, you’ll encounter a man standing on the left side where you came from. Ascend upwards to find the statue awaiting you.
- Błogosławieństwo #15 – Blessing of the Sane: Progress along a linear path, eliminating enemies as you go. Upon reaching a town hall building, venture outside where you’ll encounter numerous enemies. Move towards the right end of this area to find the statue by the fence.

The Blessed One
Unlock all Blessings
Collecting all 15 blessings will unlock this achievement.
Capital City – Concert Hall:

Concert Hall
Discover Concert Hall
Historia związana. Enter The Concert Hall to unlock the achievement.

Maestro Bibé, the Anxious Prodigy
Defeat Maestro Bibé, the Anxious Prodigy
Upon defeating Maestro Bibé, the Anxious Prodigy in the story, you’ll unlock this achievement. Podczas bitwy, aim to eliminate his two accompanists simultaneously to maximize damage output while surviving the cannon shots. The cannon inflicts heavy damage, so position yourself between their firing arcs and avoid getting hit by the other two adversaries.
Dodatkowo, there’s a quest available:
- Poszukiwanie #10 – Passage to Necropolis: Fulfill the objective of becoming the Transcendent One and enter the Necropolis. Note that there’s no specific reward for completing this quest.
Capital City – Necropolis:
![Necropolis (1).jpg]](https://www.riotbits.com/wp-content/uploads/2024/02/img-65d20bdcace0c-205324-HTMCUeKS.jpg "Necropolis (1).jpg]")

Necropolis
Discover Necropolis
Historia związana. Enter The Necropolis to unlock the achievement.

Rise anew!
Jesień 100 czasy
You will most likely get this if you try to rush too much or die on enemiess/bosses too many times but otherwise you can do this at the aftermath of credits or before the boss either way is up to you, die near where you can get yourself killed in a few seconds.
Capital City – Cathedral of Wrath:

Cathedral of Wrath
Discover Cathedral of Wrath
Historia związana. Enter The Cathedral of Wrath to unlock the achievement.

Inquisitor Odius, the Scholar of Hate
Defeat Inquisitor Odius, the Scholar of Hate
Historia związana.

Duty Fulfilled
Defeat the Acolytes and Liberate Mornia
Historia związana. After killing all seven Acolytes, we unlock this achievement.
To wszystko, co dzisiaj udostępniamy w tym celu Chorobowy: The Seven Acolytes przewodnik. Ten przewodnik został pierwotnie stworzony i napisany przez Division. Na wypadek, gdybyśmy nie zaktualizowali tego przewodnika, możesz znaleźć najnowszą aktualizację, postępując zgodnie z tym połączyć.