I’ve been playing for a while now and up to date on all my quests, but when I first started Dreamlight Valley I definitely made some mistakes and made some things much harder on myself than they needed to be. I put together a collection of varied tips & information here to help others avoid making those same mistakes. Whether you’re brand new to the game or maybe you’ve been playing even longer than I have – I hope something in here helps you out!
Wstęp
Hi Valley friends! ⠀
This is just a little side project guide of random info about various game-play features mostly aimed at newer players, but hopefully helpful to all at least in part. I’ve tried to organize things and demonstrate, but let me know if you have any questions! Since some things may change as a result of continued updates I’ll keep an eye out for any outdated info but let me know if I miss something that has been patched or adjusted.
Dodatkowo, if you have special tips you’d like me to add to the guide to share with others please feel free to leave a comment and I’ll add your info to the guide with credits to you. Let’s all help each other make the most of our game!
Dziękuję za przeczytanie, i baw się dobrze!

The Original Chest is Your Best Friend
As new players we get one chest that has a full storage. It’s the only chest so far in the game to have that much space, but it’s also not like other chests. With standard crafted chests we can have an abundance of them and each chest has it’s own unique items inside. That means we are free to store every item in the game if we choose to.
The Dark Wood Vintage Chest (and the Light Wood Variant) instead will always show the same items inside no matter how many you put down. They share an inventory. To jest amazingly helpful!

As soon as possible you should craft or buy a second of these chests. Then keep one of them in your storage room of your house and keep it empty. Carry the other one with you as you’re collecting, rolnictwo, or whatever you plan to do. Once your inventory is full open the furniture tab and sit your second chest down. When you open it you’ll be able to fill it up with all your goods. Then you can get another full inventory of stuff before you head back to your house or sell to Goofy.
Once in your storage room you can just put everything away, fill your inventory again from the chest, and put all that away too. Spłucz i powtórz. The same method applies for selling items, just sit the chest down by a Goofy stall.
Since the storage in these chests doesn’t link to the chest item itself you can pick up the chest even when it’s “pełny” and just move it or put it away.
This also allows you to plan ahead before leaving your house & fill up your chest with foods, favorite items requested by characters, quest materials, posiew, i tak dalej. Then you’ll essentially be carrying a full second inventory of items wherever you go.
Scrooge’s Shop
Those of you who have played animal crossing are pretty familiar with the idea of an item catalog. Once you have bought something once you can usually rebuy it from a catalog in games like these. What I didn’t expect was that you can even buy duplicates of crafted or purchased items from Scrooge, including seasonal items and paths. There doesn’t seem to be a requirement to purchase seasonal duplicates during the season, albo – since my Halloween items are still accessible!
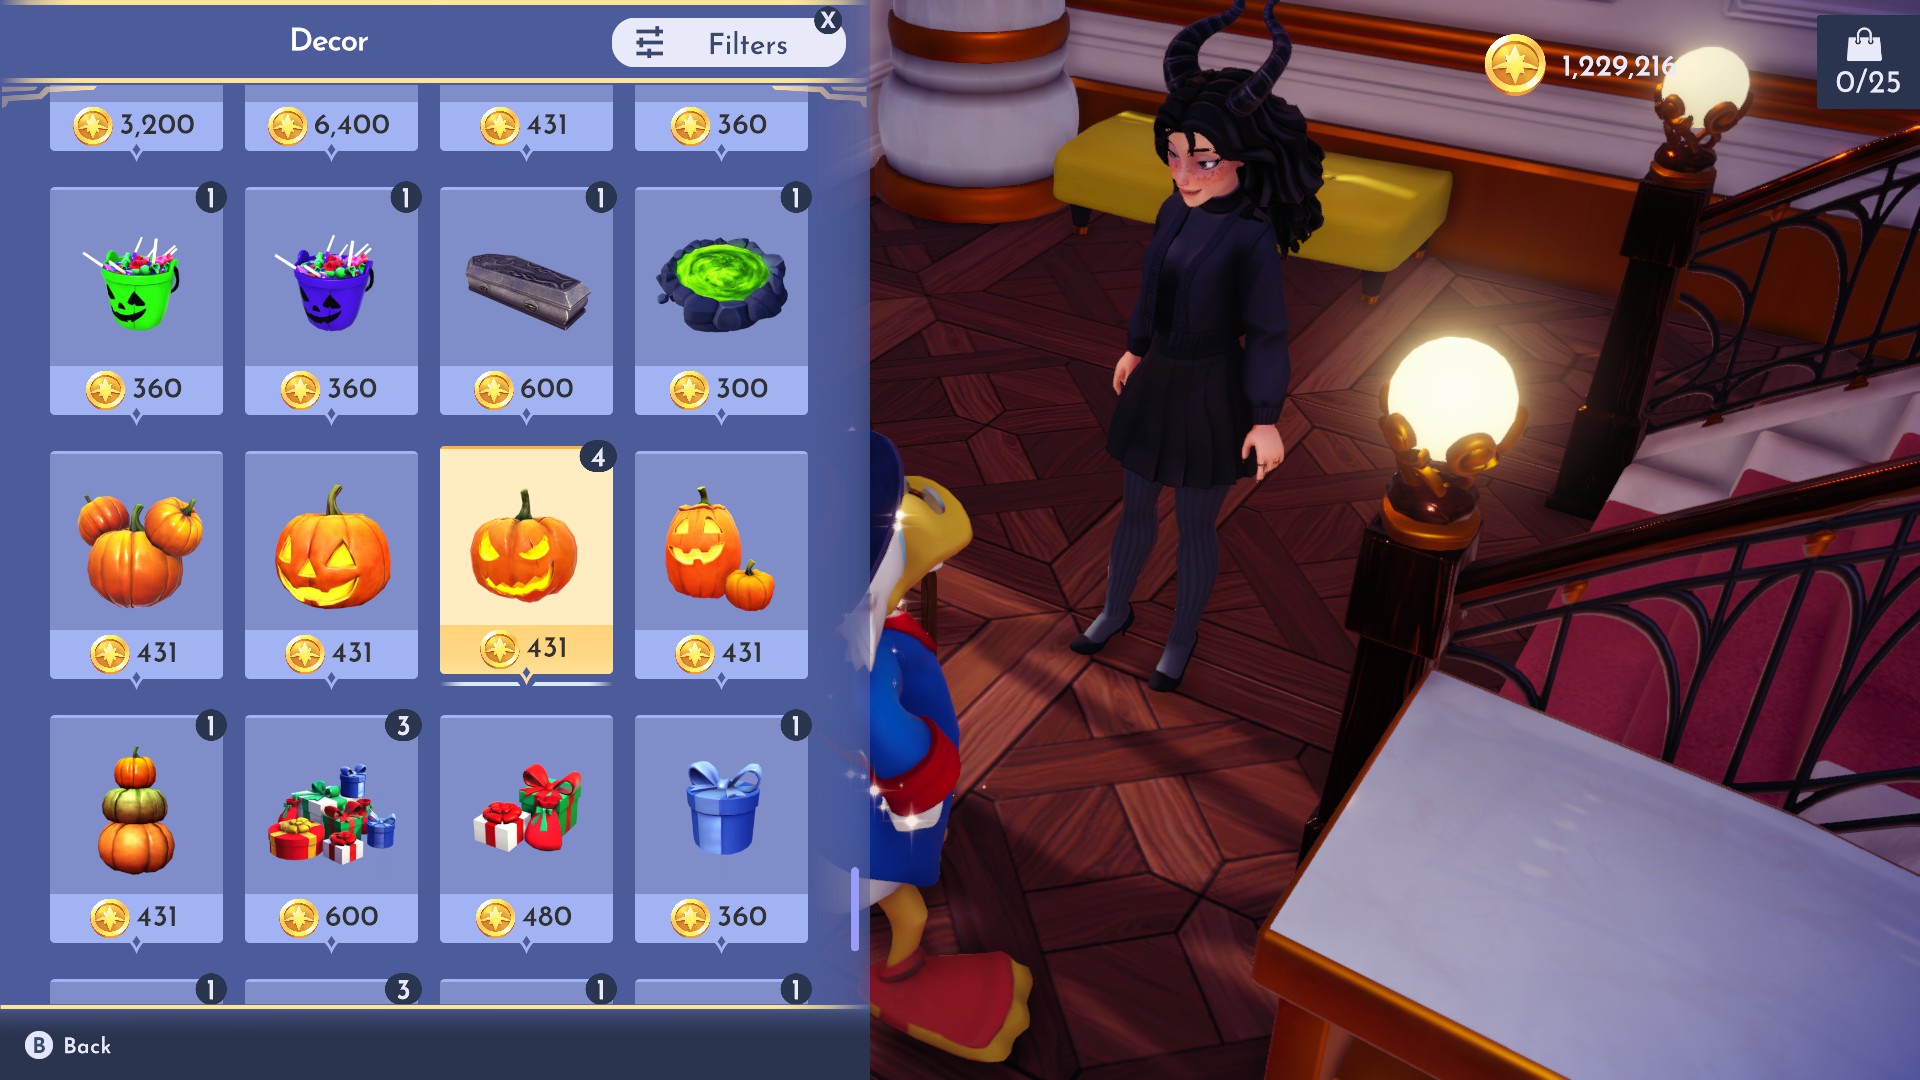
You can order 25 items from the catalog every day.
Another important note about Scrooge’s shop – clothing can only be purchased once, Następnie (at least right now) it won’t cycle through again. Instead of getting irritated about seeing the same skirt every day for weeks start buying every clothing item each day (as long as it is within your coins to do so) and you’ll start seeing more variety and color variants.
One of these days I’ll finally get my Beauty and the Beast hair, just you watch Scrooge..⠀
Holidays Quests
You may have noticed that during seasonal events you’ll get a couple extra holiday related quests in your Dreamlight Village tab. Dobrze, it’s important to note that these quests don’t always work immediately after release.
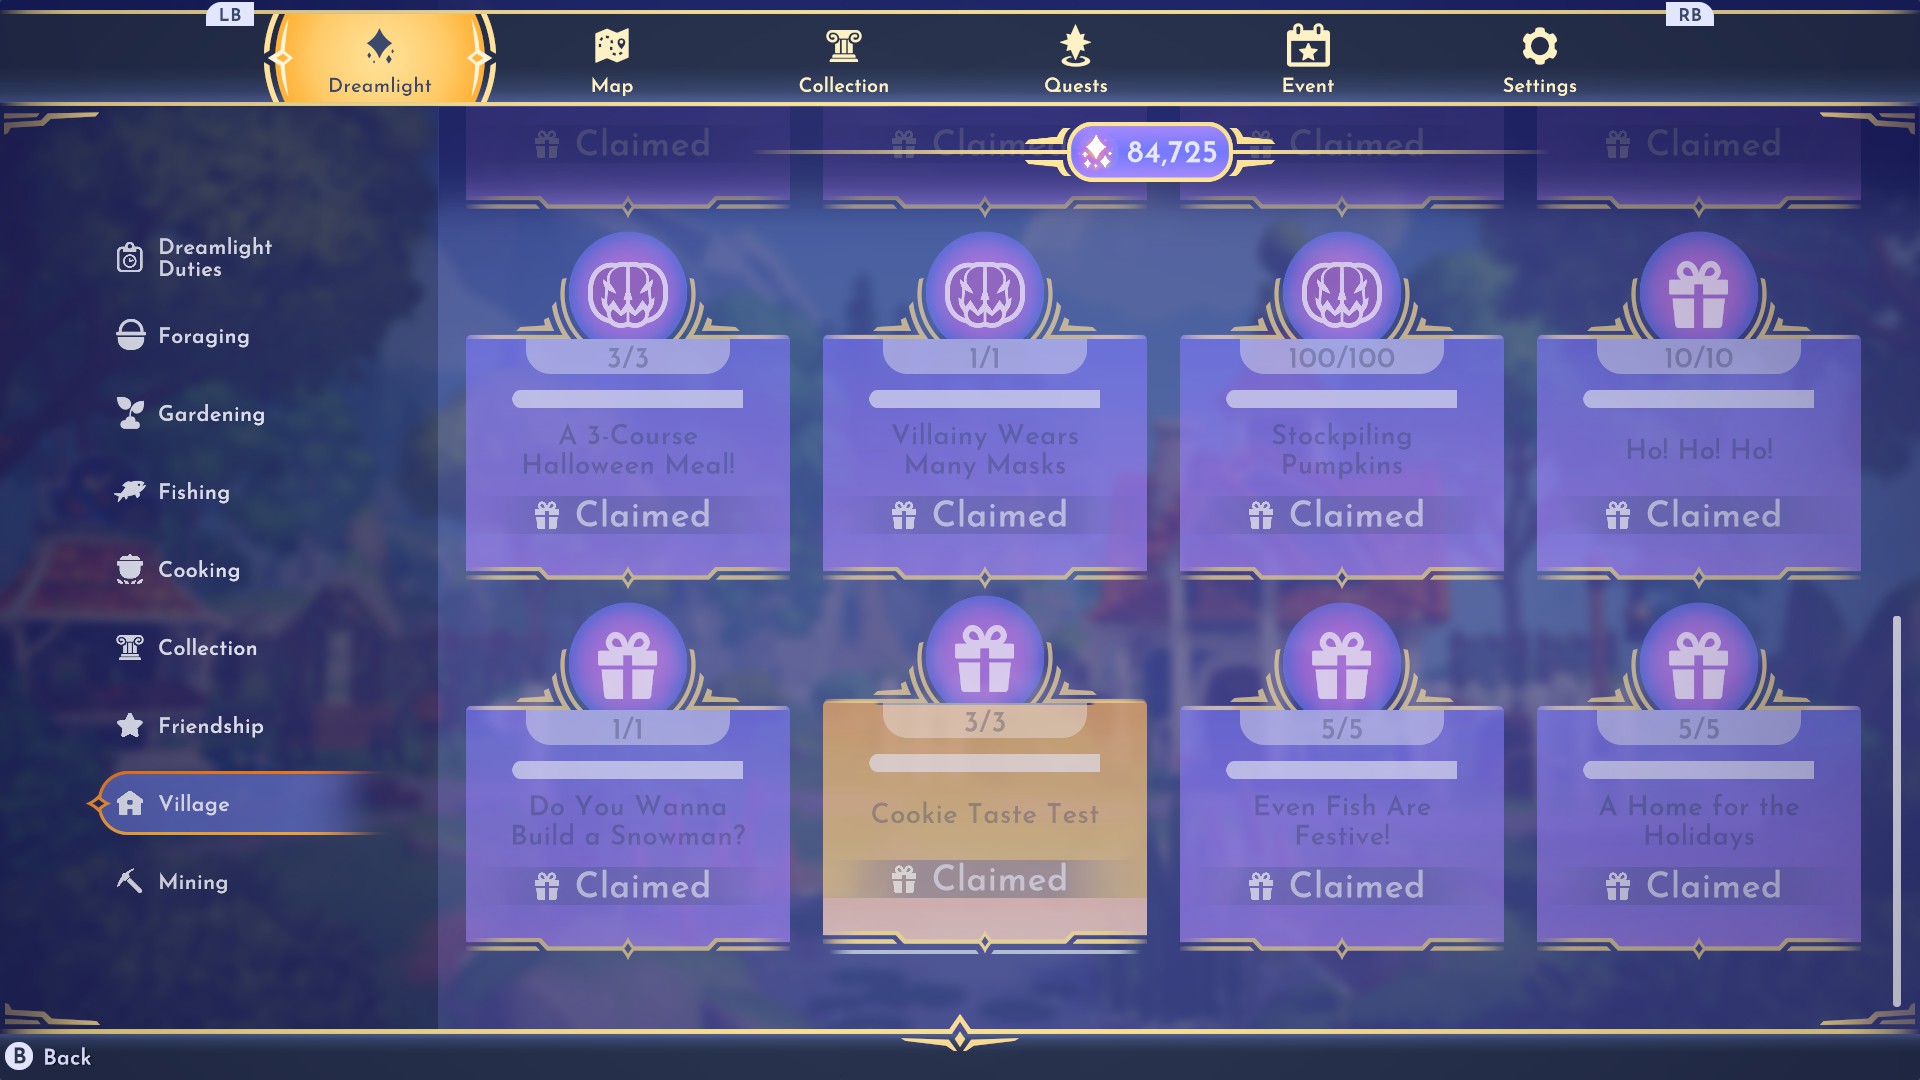
I can’t even properly express my frustration when I found out that the candy eating quest for Halloween was intended to be tied to the free candy bucket items in our plaza and that I DIDN’T need to expend tons of coal and sugarcane to craft the MEAL item candy. This was also an issue with festive fish this winter as I was deeply confused why I had not caught a single festive fish after hours of fishing from all three different colored fish bubbles.
Hopefully with time they will adjust this so that these quests release attached with their required items/spawns, but for now instead of stressing out when stuff like this happens just turn to the official DDV social media for announcements.
Quickly Cover Dig Spots
My favorite little trick so far is one that has saved me a ridiculous amount of time while searching for clay. Let’s say you’ve just dug a 10×10 square and gotten the materials you needed but now you have to fill the holes back in which takes more energy and time. Too frustrating.
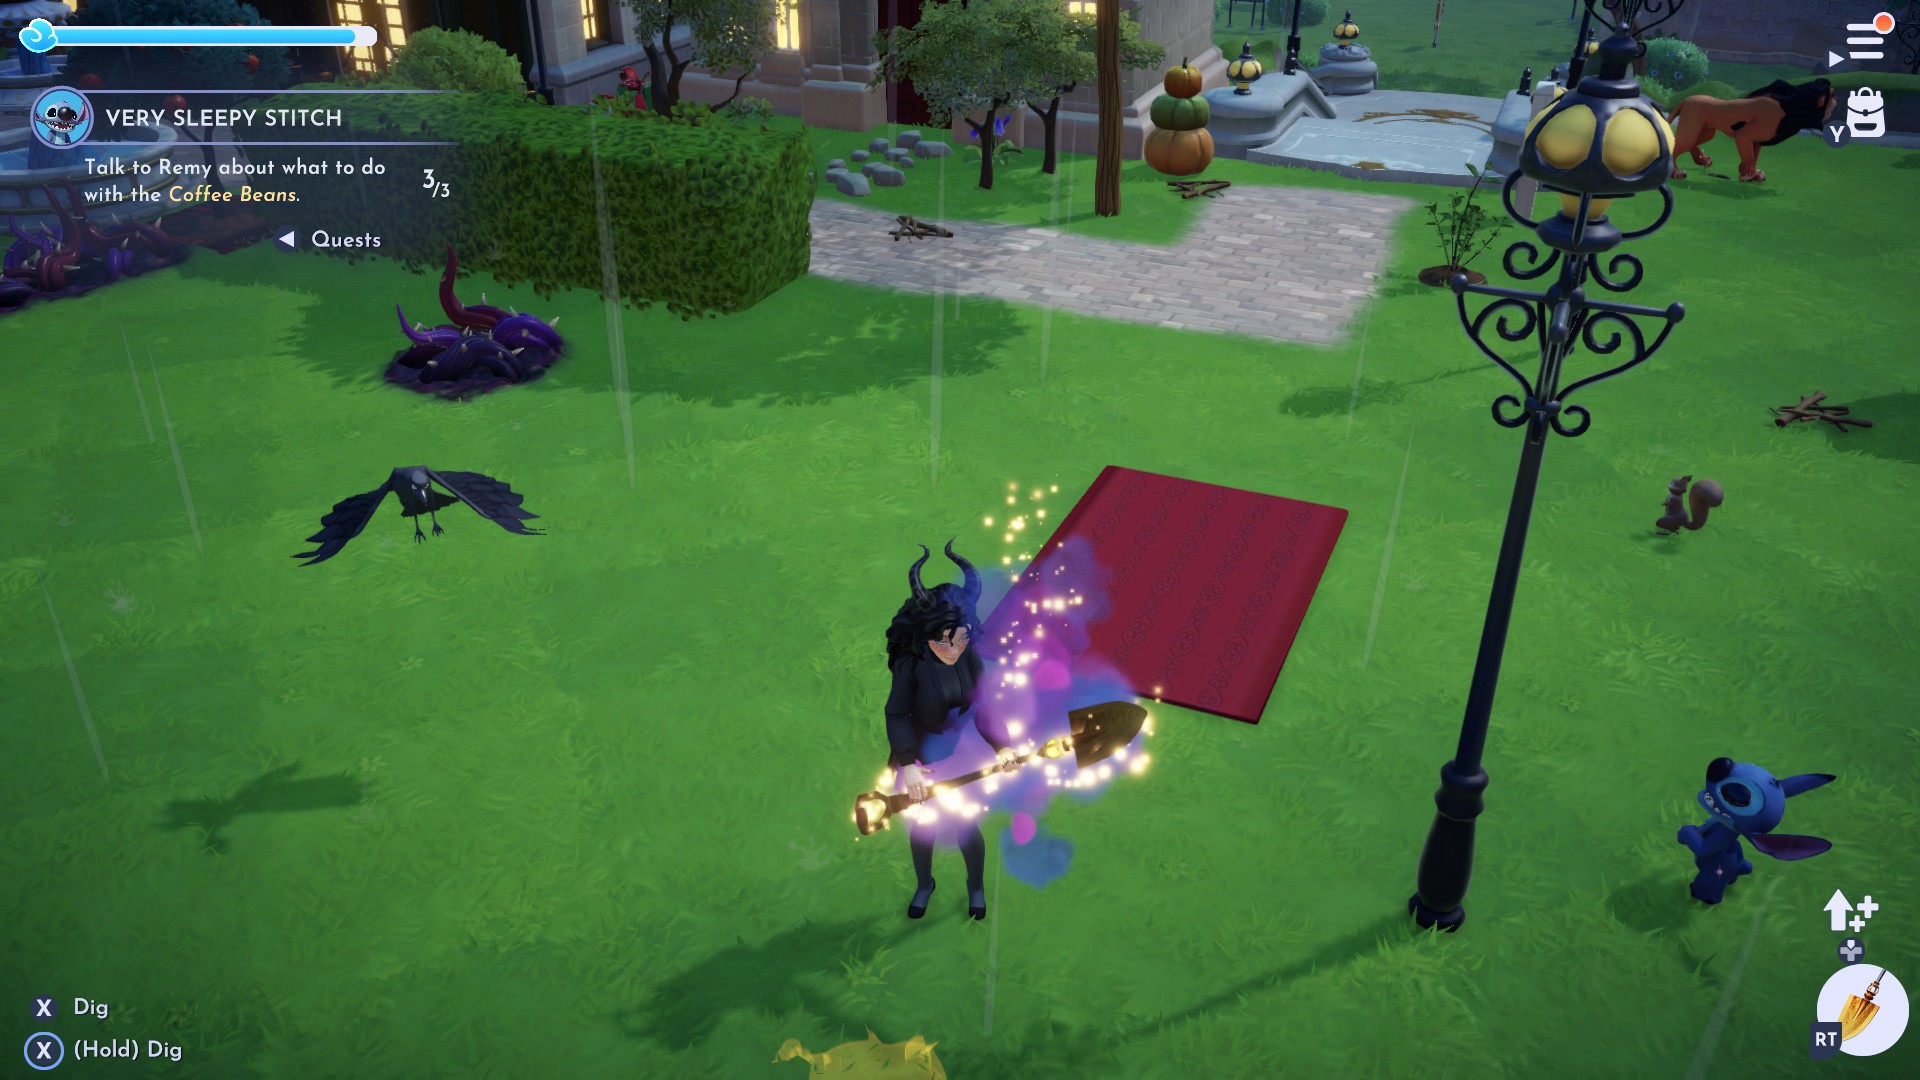
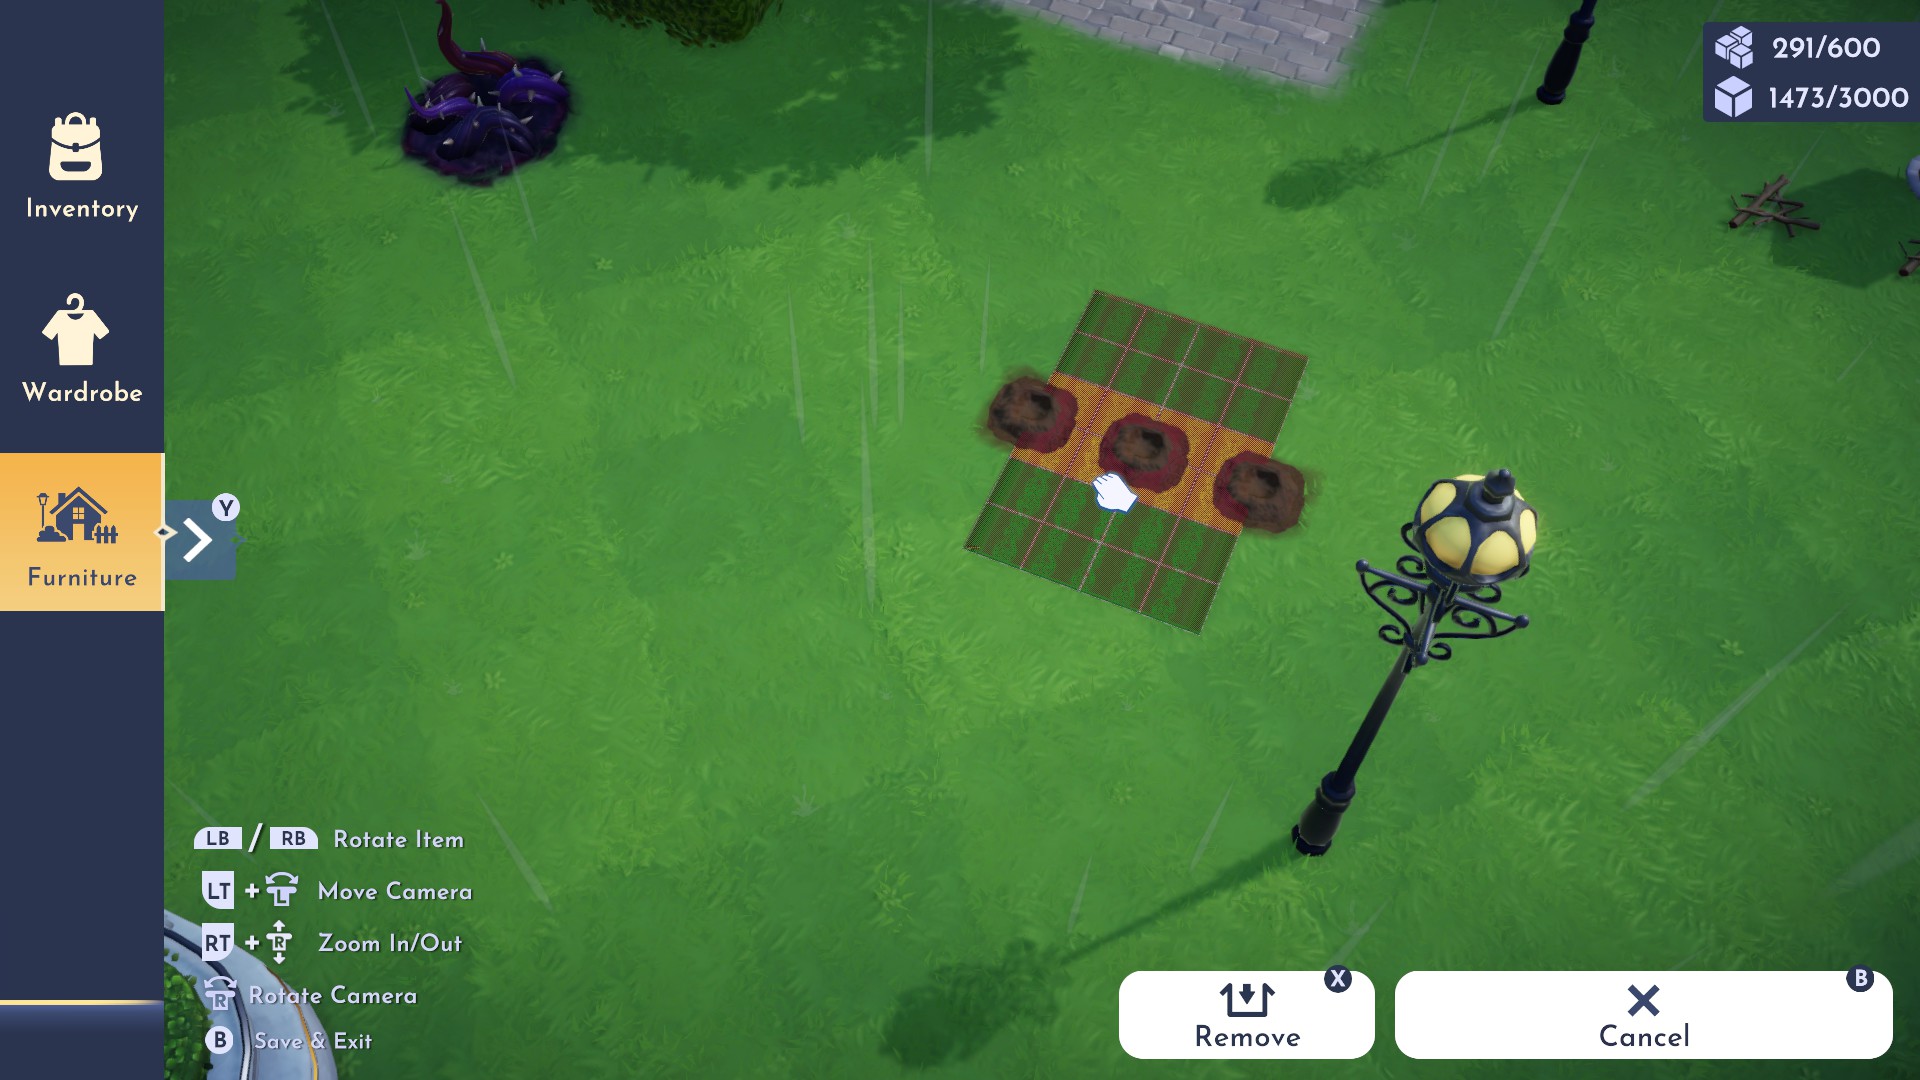
Zamiast, as soon as you own a rug you can go into furniture placement mode and sit the rug right on top of the dig spots and they will vanish. You can move the same rug around several times over a wide spot of holes to cover them all. Then just save the rug wherever you sat it last, go back to furniture mode and remove it and save again, and all your holes are filled easy peasy. Once you know what to do it takes only a couple seconds to clear.
Nearly Everything Can Be Moved

Almost everything can be moved. Houses do not have to stay where they are originally set, and that includes your own. The same principle extends to Moana’s boat, Wall-E’s garden, Scrooge’s store, Remy’s Restaurant, so on so forth. The possibilities are truly endless so don’t limit yourself by thinking these things are region or location locked. You can even move the ocean homes to other water areas if they fit.
Your wells can also be moved, which became a widely used exploit at the start of the game. Players would unlock the well and move it behind the obstacles (grzyby, kości, itp) to access the unreachable materials. Since this is clearly not what the devs intended I can’t recommend it and it may be patched in the future, but I can confirm that the process does work and you can freely move your wells at your discretion.

The only restrictions I’ve seen are that pillars must be fixed to move, wells and Goofy stalls must stay in their region of origin, you can’t place items on the main village center platform or move the village well at all, and there are a few stationary locations such as the Glade tree and Ice Cavern that cannot move. Niestety, we can’t have a farmer’s market of all of Goofy’s seed stalls, but maybe they’ll adjust these restrictions in the future.
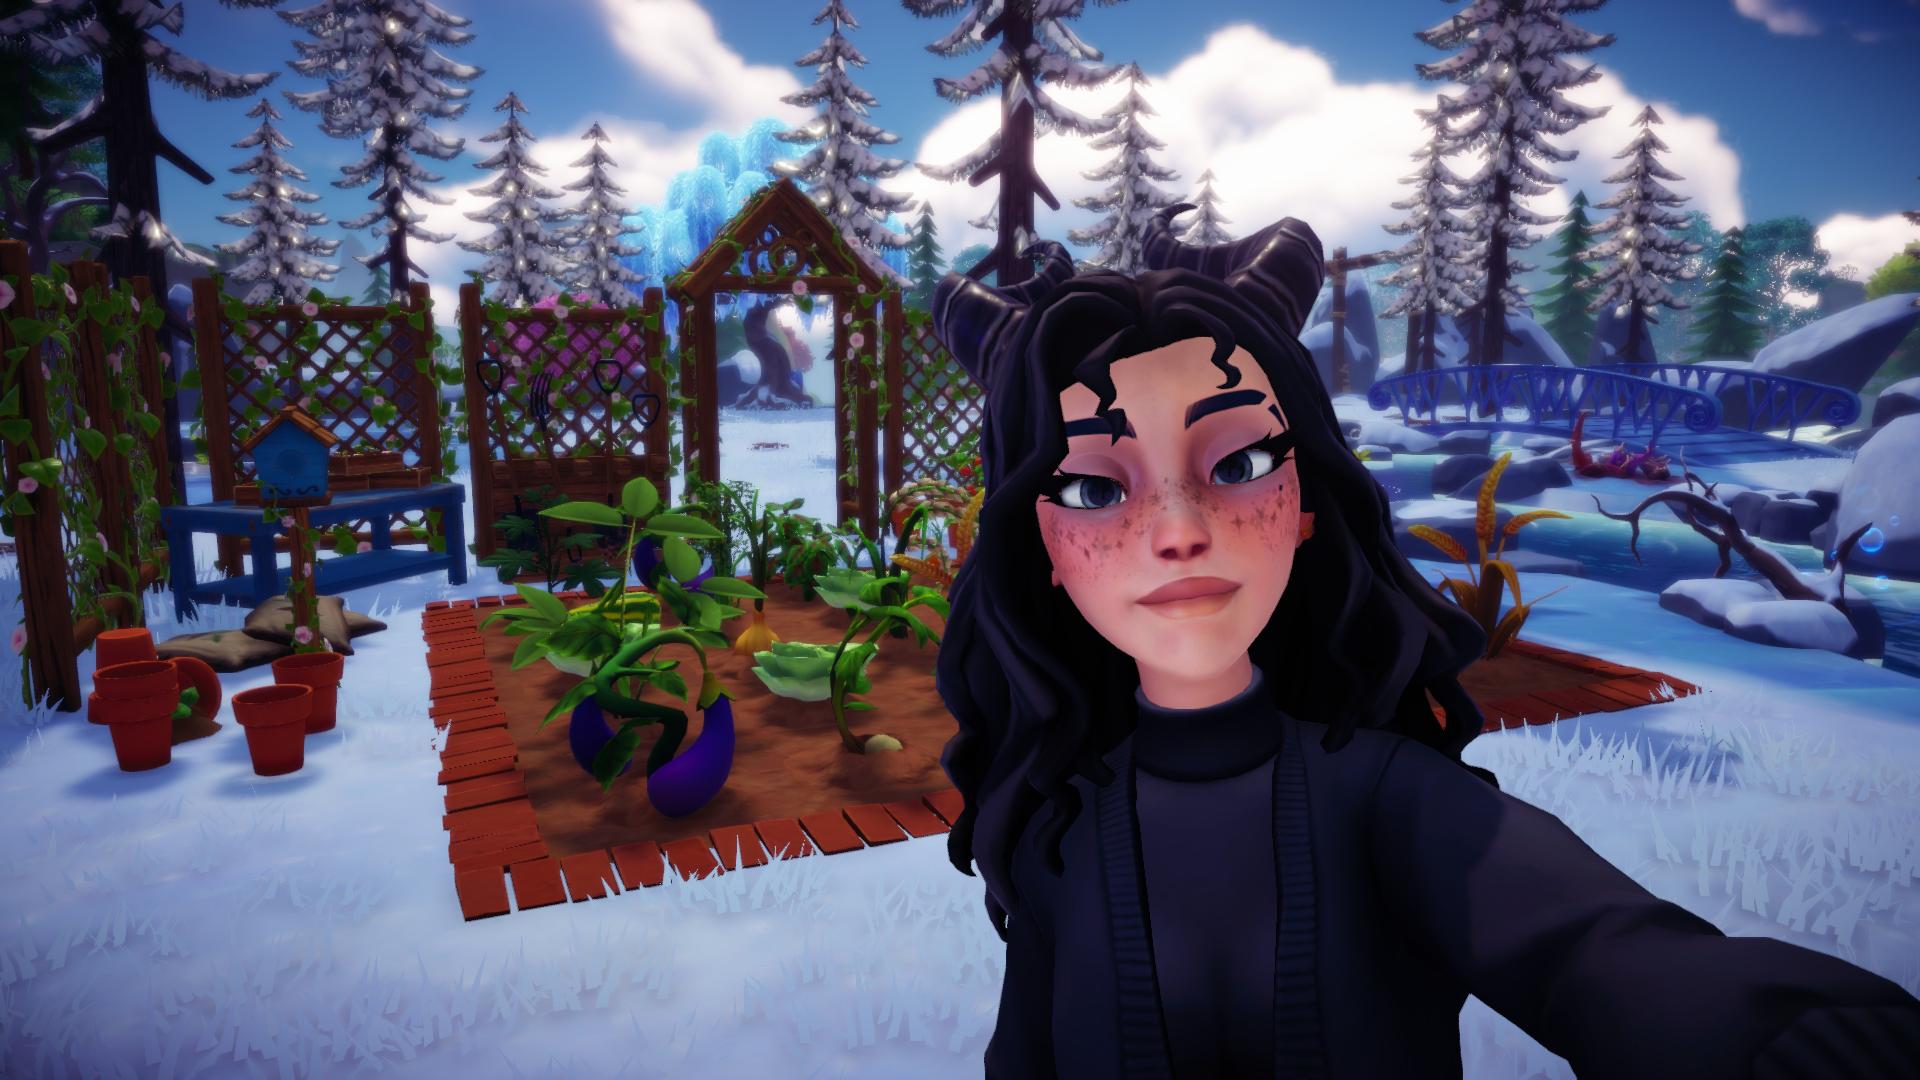
Collect Everything
As soon as you secure enough materials to start making extra chests I highly recommend that you do so. With the overwhelming amount of rooms we get to have in our house you should turn one of them into a storage room and try to keep at least one stack of every item in the game whenever you possibly can. Quests tend to throw curveballs and request large quantities of a specific item and the last thing you want is to be held up digging hundreds of clay all in one batch or desperately searching for 60 blue flowers.
As soon as you have crafted the stall for purchasing building materials you should clear it out every day. W przeszłości, there was no limit on purchases but now there is a unique limit on each of the sold items so you should take as much as you can to reduce your own crafting needs.
This extends to night shards and dreamlight shards!!! I made the mistake of crafting batches of dreamlight with my shards. It is NOT worth it! So many quests are going to request night/dreamlight shards and purified shards. You will be doing yourself a tremendous favor by having a stack of them in storage to pull from.
As for the actual act of collection, I suggest you follow the rule of using every drop of energy in each outing and maximizing your inventory space as often as possible. If you’ve been mining and ran out of energy with a bunch of empty slots start grabbing flowers or wood around you since they require no energy to pick up. Make each trip to the storage room to unload useful.
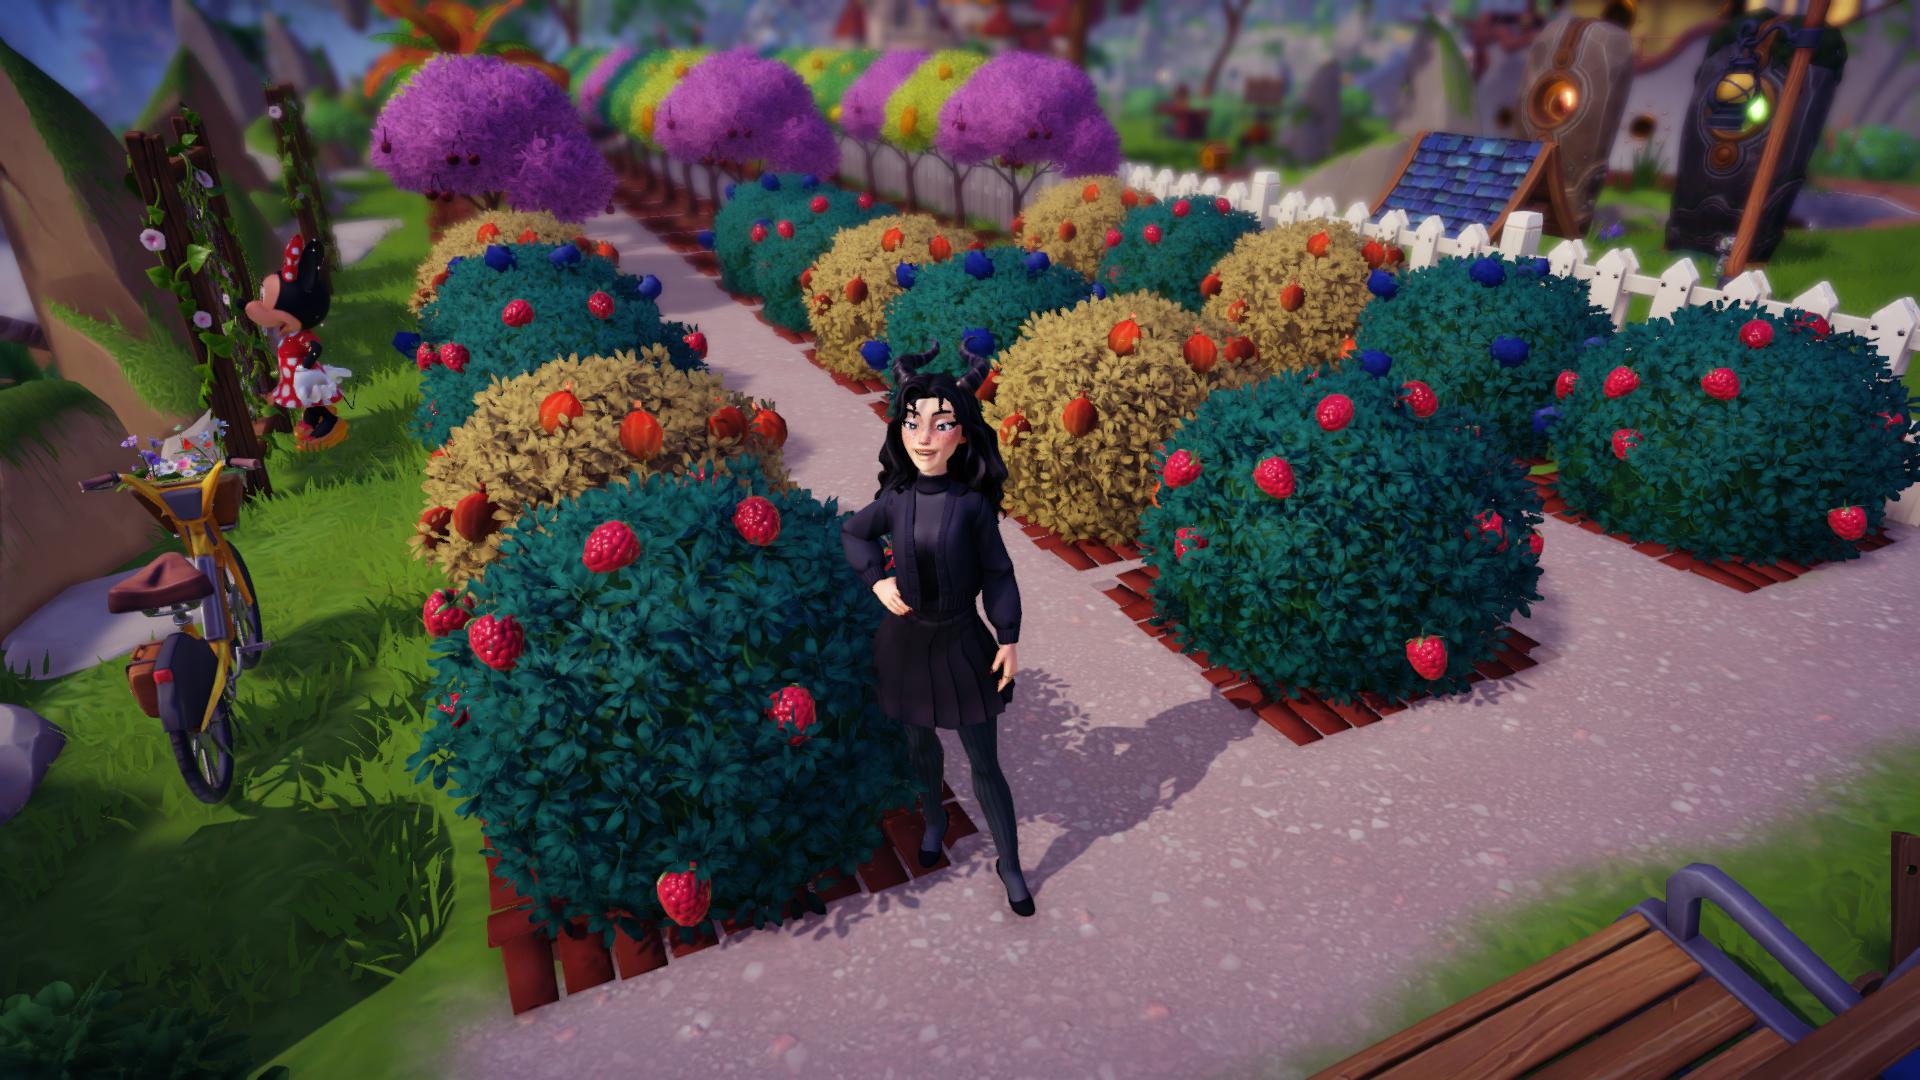
Dodatkowo, consider collecting all your bushes & trees together to form an orchard for speedy gathering. In my experience there are 6 cocoa, lemon, and cherry trees ; 5 apple and banana trees ; 3 coconut trees (once unlocked) ; 6 raspberry and gooseberry bushes ; I 5 blueberry bushes.
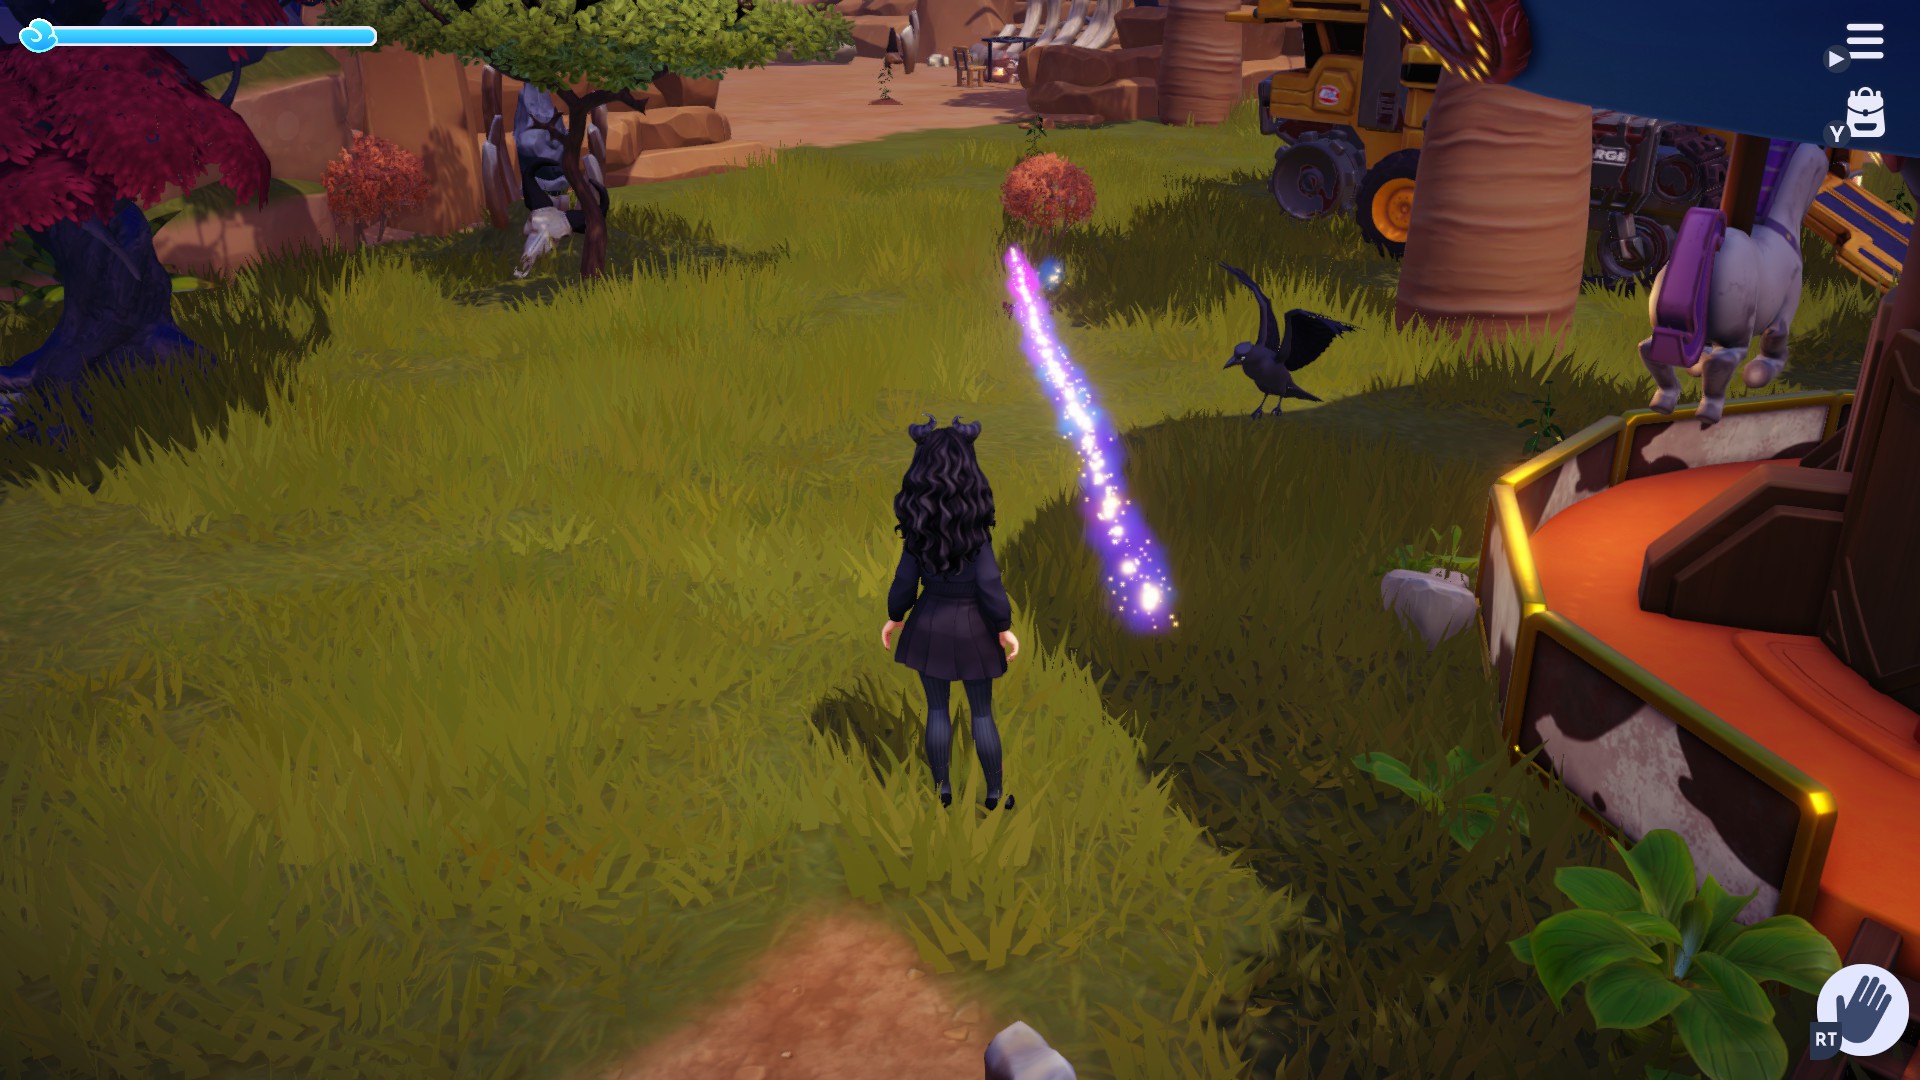
Mapping Trail
Have you ever been searching for one of the small characters like Remy or Buzz and you just can’t see them? Or maybe you checked the map and saw that the villager you’re looking for is all the way in Frosted Heights so you run there from the Glade only to then see that they’re now on the Beach? Dobrze, there’s an easy fix to that.
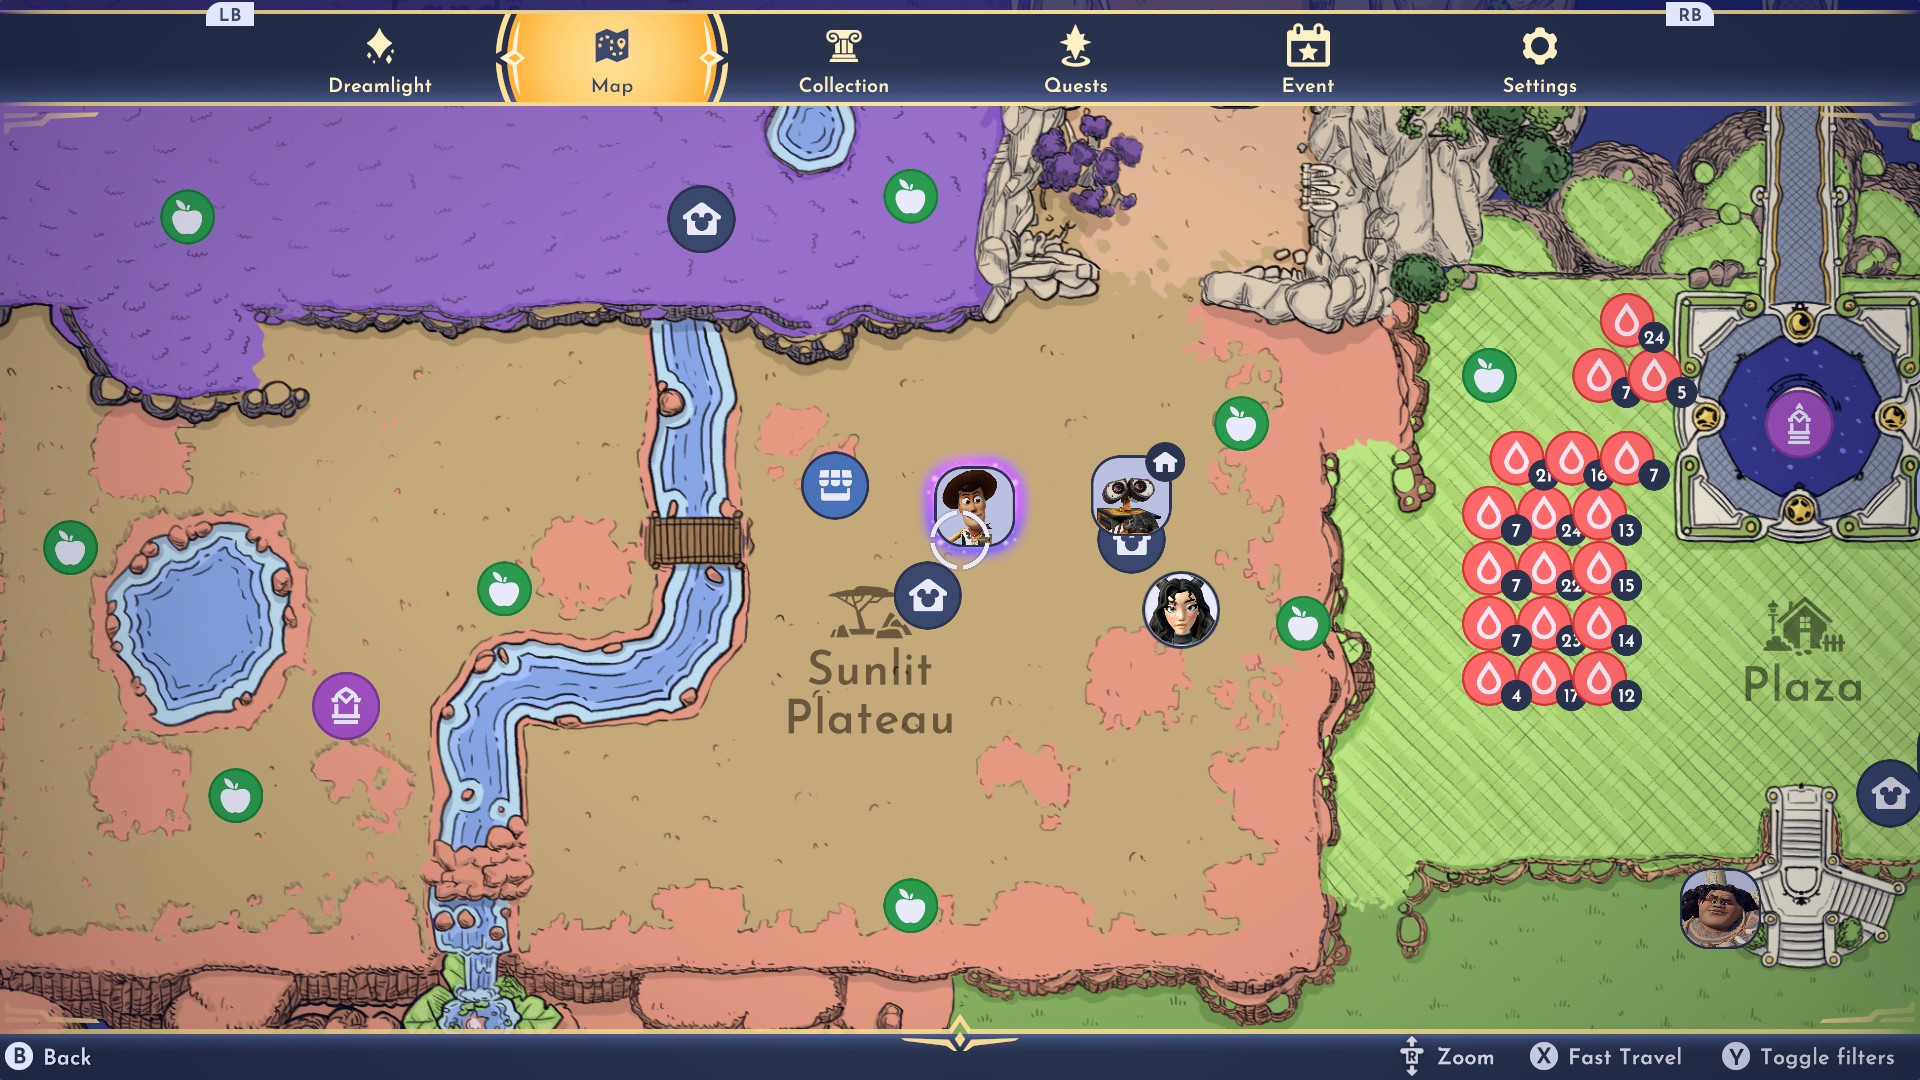
I never really used the map except to quickly look for villagers and such, but then I discovered that you can click on their image on the map and it will highlight in purple. Then when you leave the map there will be a purple glitter trail that will lead you right to them, adjusting as they move around the map.
You can do the same thing with any of the houses or landmarks though that’s not as necessary since they are stationary, but you do you!
Farming for Profit

I am embarrassed to admit how many frustrating hours I spent selling low price gatherable items, fruits, gold ore, and gems to Goofy desperately trying to get that next 10,000 gold to build up a house – let alone shopping for items or clothes, in this economy?! I wish I had realized back then how much I was missing out on by skimping on farming.
Farming is the best way to earn gold!
If you want to be swimming in gold and no longer worrying about having enough for your next project you need to dedicate some time to setting up and maintaining a big crop plot. The best procedure for profit on crops is to have a large crop plot capable of holding 99, 198, Lub 297 rośliny. This allows you to just buy your crops in sets of 99 from Goofy.
As you farm
ALWAYS bring a farming friend!
They will throw out extra crops (more per villager who is set to farming!) which tremendously adds to your profits. When your crops glow gold you can also harvest them repeatedly over a short period of time and your farming friend will interpret the extra harvests as more opportunities to give you extra!
Choose the best producing plant in whatever region you have unlocked. Here’s a quick run-through!
Easily Check Villager Favorites
Every day each of our characters wants three specific items as their favorites for extra experience in their friend level. I used to think that in order to see the items they wanted for the day I had to go up to them and try to gift them. That’s not the case!
At any time or place you can see exactly what items a villager wants for the day from their entry on your character collection tab. I recommend that when first logging in for the day you immediately check the items for the character you’re leveling and then grab them from your house chest if you have the items. It saves so much time!

Eat More Meals
The food mechanic is something I’m still so bad about using. When you eat meals it doesn’t just refill spent energy, it gives you bonus energy on top of an already full bar too. You’ll see the bar turn gold and fill up for a full second time, which gives you tons more freedom to get stuff done before needing to top up again.

Jednakże, my primary reason for bringing this up is the speed boost! While your bar is gold from food you’ll not only walk much faster as you travel around but you’ll find that all of your tools can be used faster too. I find this most beneficial when harvesting large plots since you don’t expend energy to harvest so even a one star meal on a full bar of energy is enough to greatly improve your harvest speed on your entire massive crop field.
Bits & Bobs
- The Fugu fish can only be caught in rainy and stormy weather in gold bubbles. Jednakże, once Moana’s boat is fully upgraded you have the chance of getting the fugu from her boat seemingly regardless of weather. Her max level boat spawns a fish every 6 minutes with a cap of 20.
- You can pet your companion animal and they will be excited about it.
- Feeding a critter their favorite food on two days will award you them as a companion. They will also give out rewards like furniture or clothing bags and dreamlight shards the first time they are fed each day.
- Don’t forget to buy craft recipes at Eric’s table every day once it’s unlocked for nautical crafting recipes. They’re sold unlabled so you’ll have to check your crafting table to see what you get.
- If you want a clothing item in a flat color just customize it. You don’t have to add design layers. This saves the wait time of hoping Scrooge eventually has it in the color you wanted.
- There are memory pieces for EVERYTHING, even feeding critters and watering dried flowers.
- With the new limit on Kristoff’s shop, mine for coal as often as possible as it’s essential for cooking. Always mine with a buddy since they can give you extra coal if you find rocks that only give stone and coal.
- Character sleep times aren’t random, they are consistent daily naps. Just search up when they wake.
- If you’re crafting a lot of a single food to sell (for example trying to only use pumpkins for veggie platters) remove any of the food items you don’t want to use from your chests and set them on the floor. Then the cooking auto-fill only uses the food you still have in the chests.
- If you have to revisit a castle realm for a quest you don’t have to walk there. Use the fast travel option on your map, choose realms & select where you’re going. When you exit the realm to return home you’ll be right back where you fast traveled from.
To wszystko, co dzisiaj udostępniamy w tym celu Dolina Dreamlight Disneya przewodnik. Ten przewodnik został pierwotnie stworzony i napisany przez Sable Ann. Na wypadek, gdybyśmy nie zaktualizowali tego przewodnika, możesz znaleźć najnowszą aktualizację, postępując zgodnie z tym połączyć.