
- Tytuł: Call of Duty'a: Black Ops III
- Data wydania:
- Wywoływacz:
- Wydawca:
Informacje o Call of Duty: Black Ops III is still incomplete. Pomóż nam wypełnić szczegóły gry za pomocą tego formularz kontaktowy.
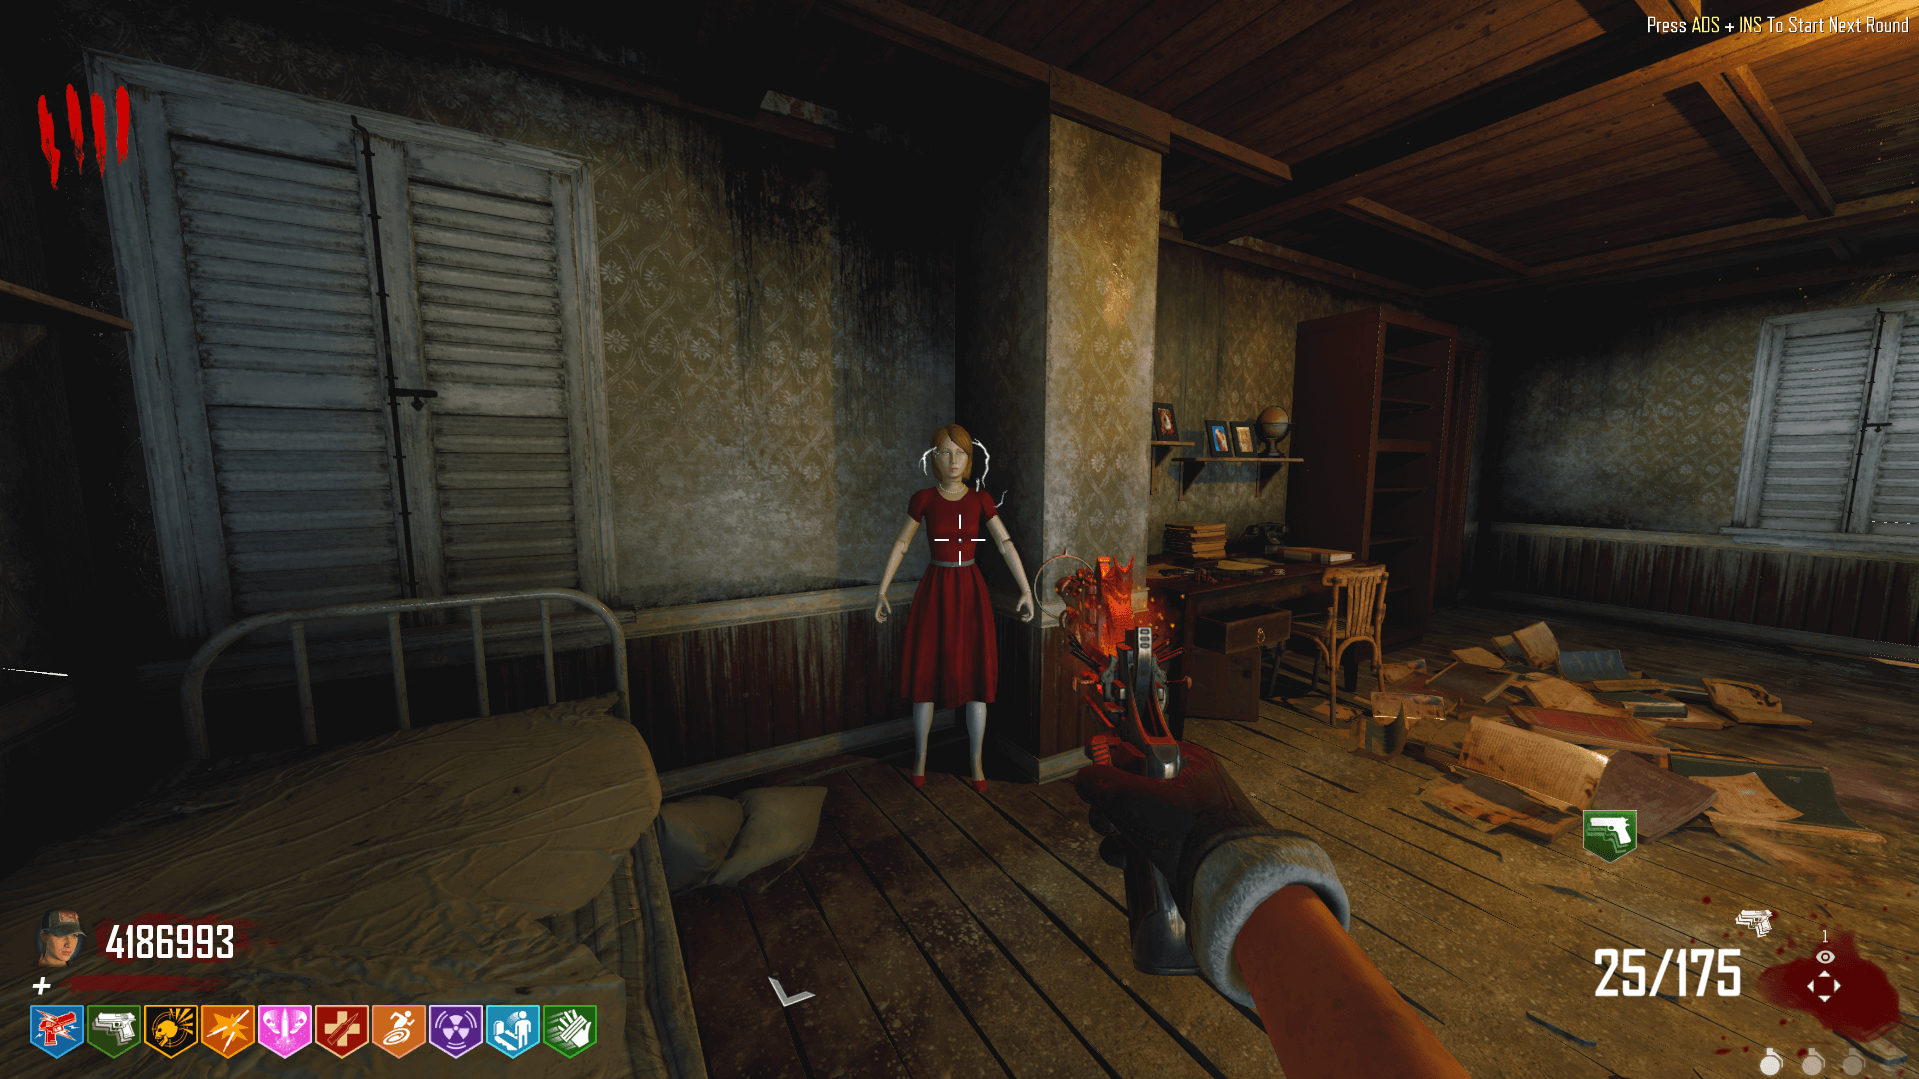
This is a full map guide for MORI REBIRTH. Tutaj, you will find a guide for the main easter egg, side easter eggs, all Keypad codes, and all part locations. Because this map is fairly small, I would recommend getting yourself acquainted with the layout of the map before proceeding with the guide, since it will make it much easier to understand what you’re doing. Oczywiście, if you’re confused or lost, you can leave a comment and I’ll do my best to help you out.
Przy okazji, contrary to my screenshots, this map does not have a flashlight. If you have trouble seeing some things, you may need to turn your brightness up a bit.
Wskazówka: Use the Guide Index to the right of this page to find stuff a lot easier.
Main Easter Egg
Krok 1: Turn on the Power
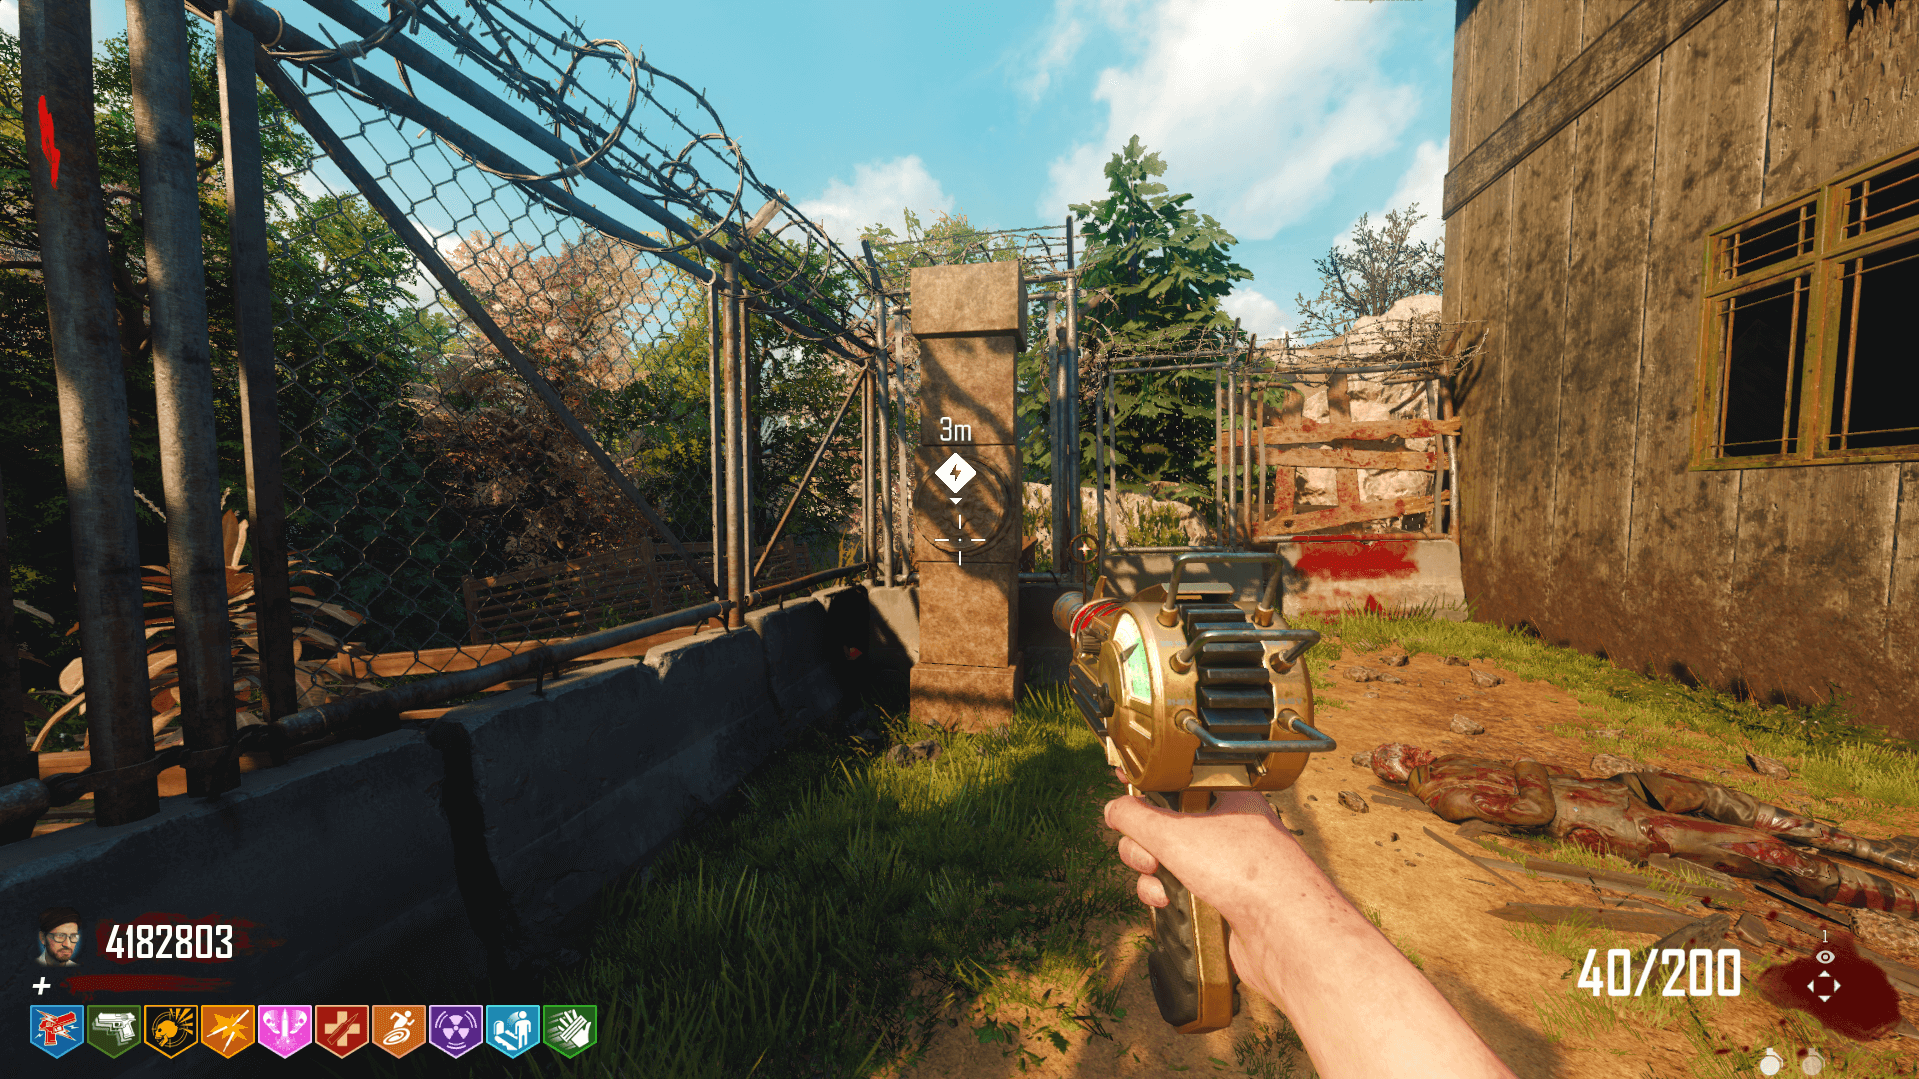
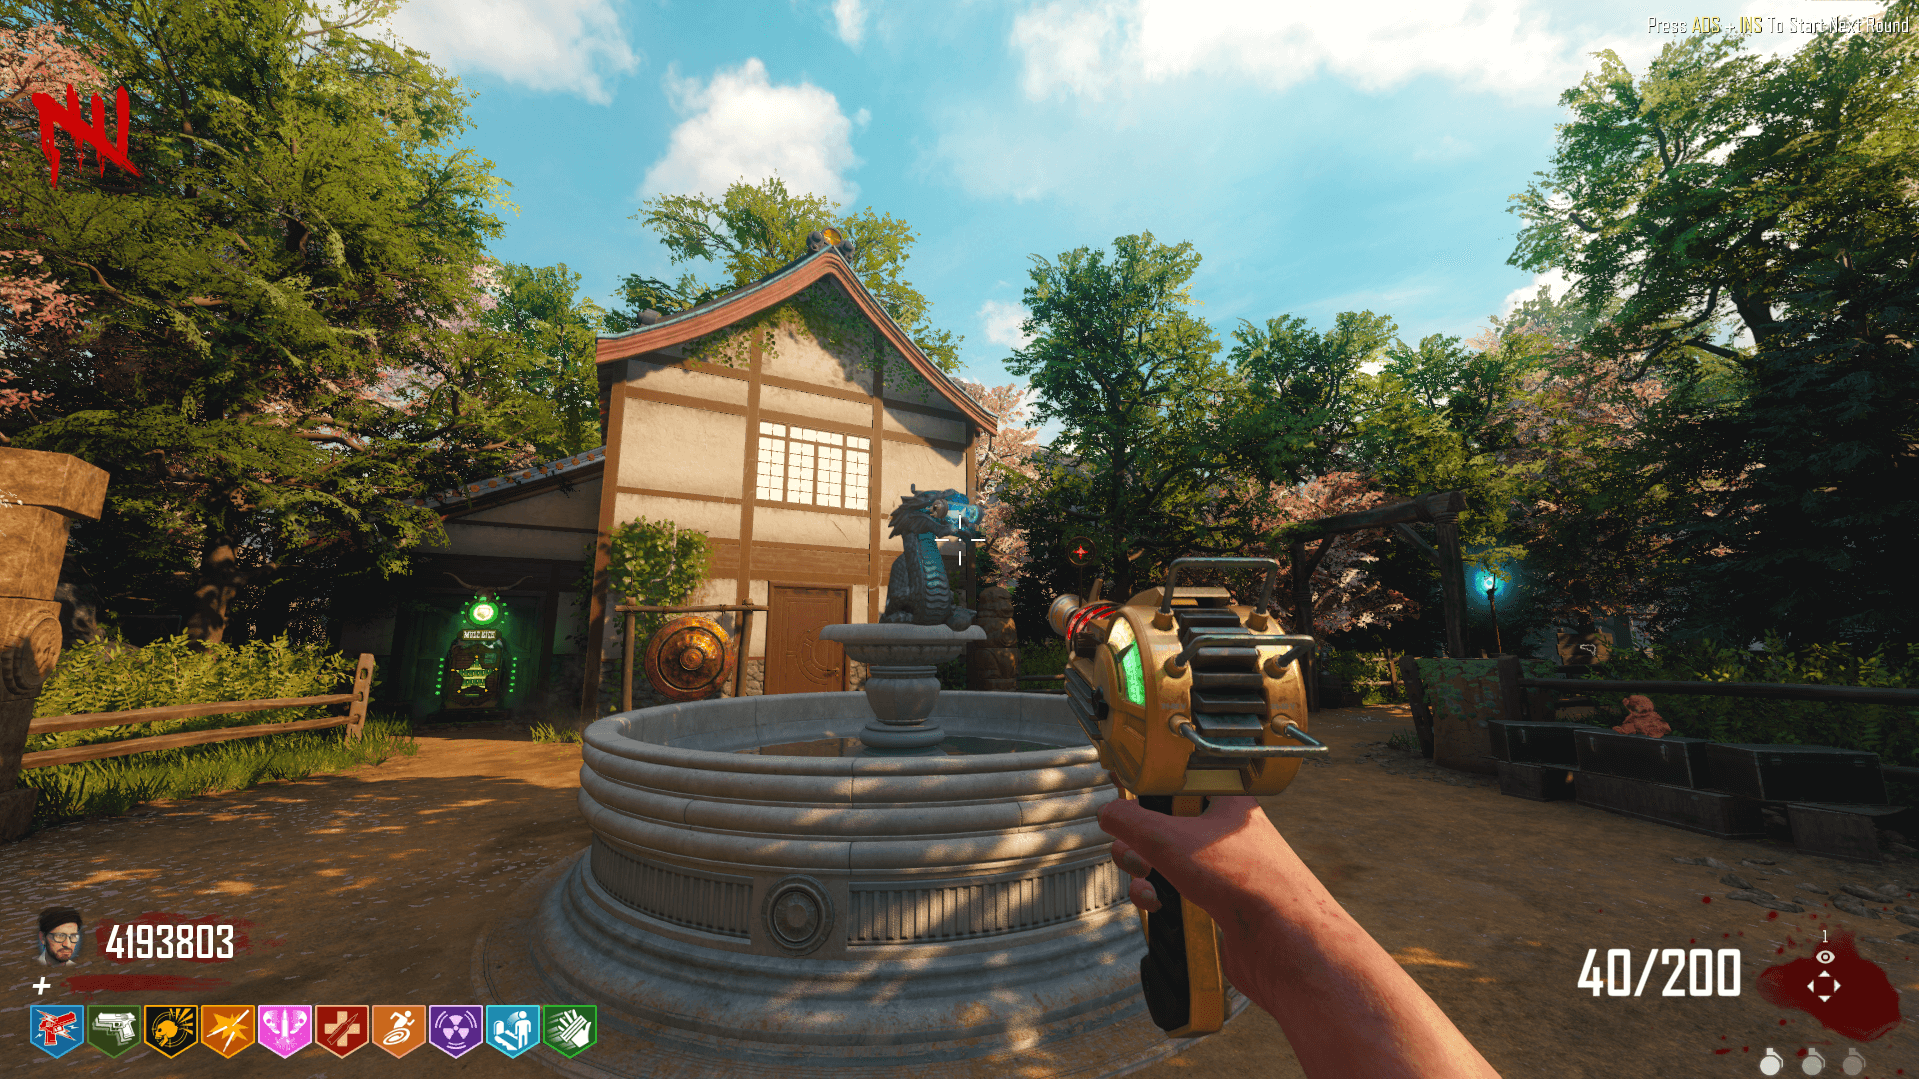
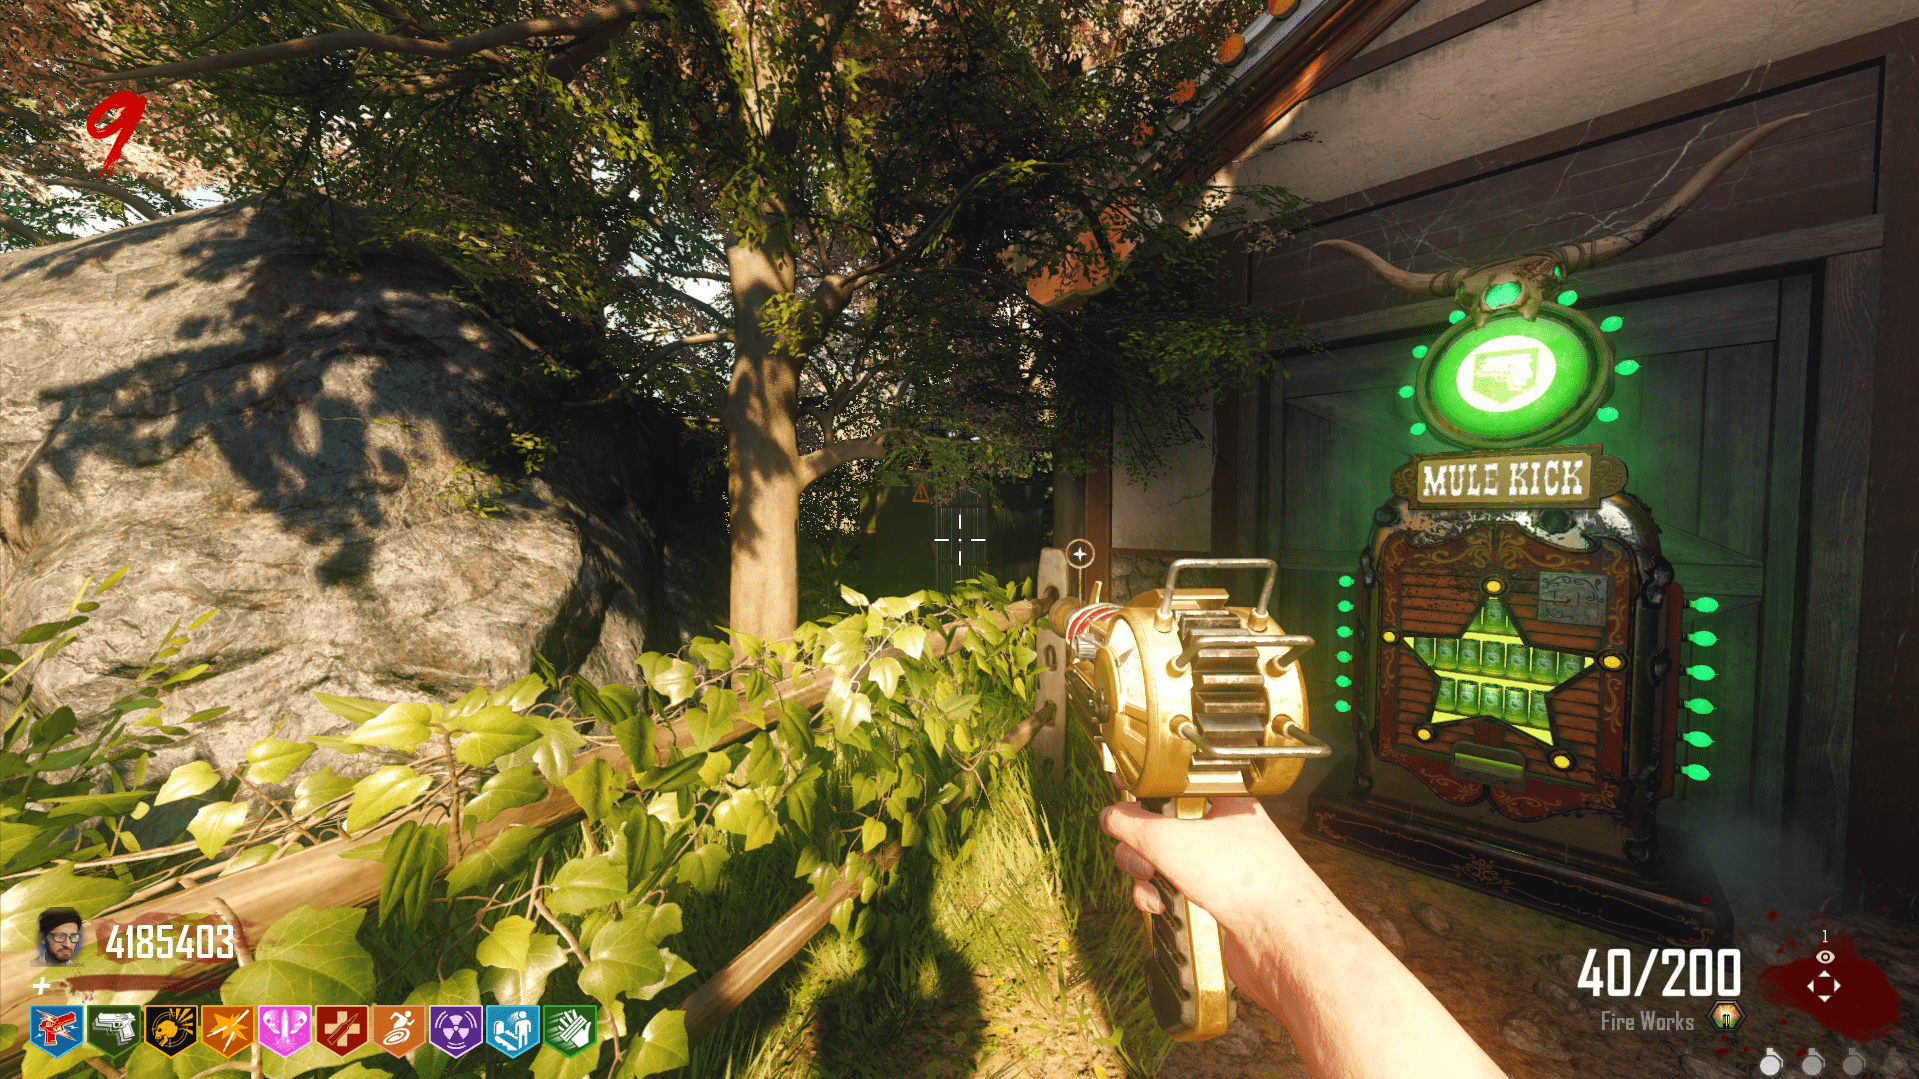
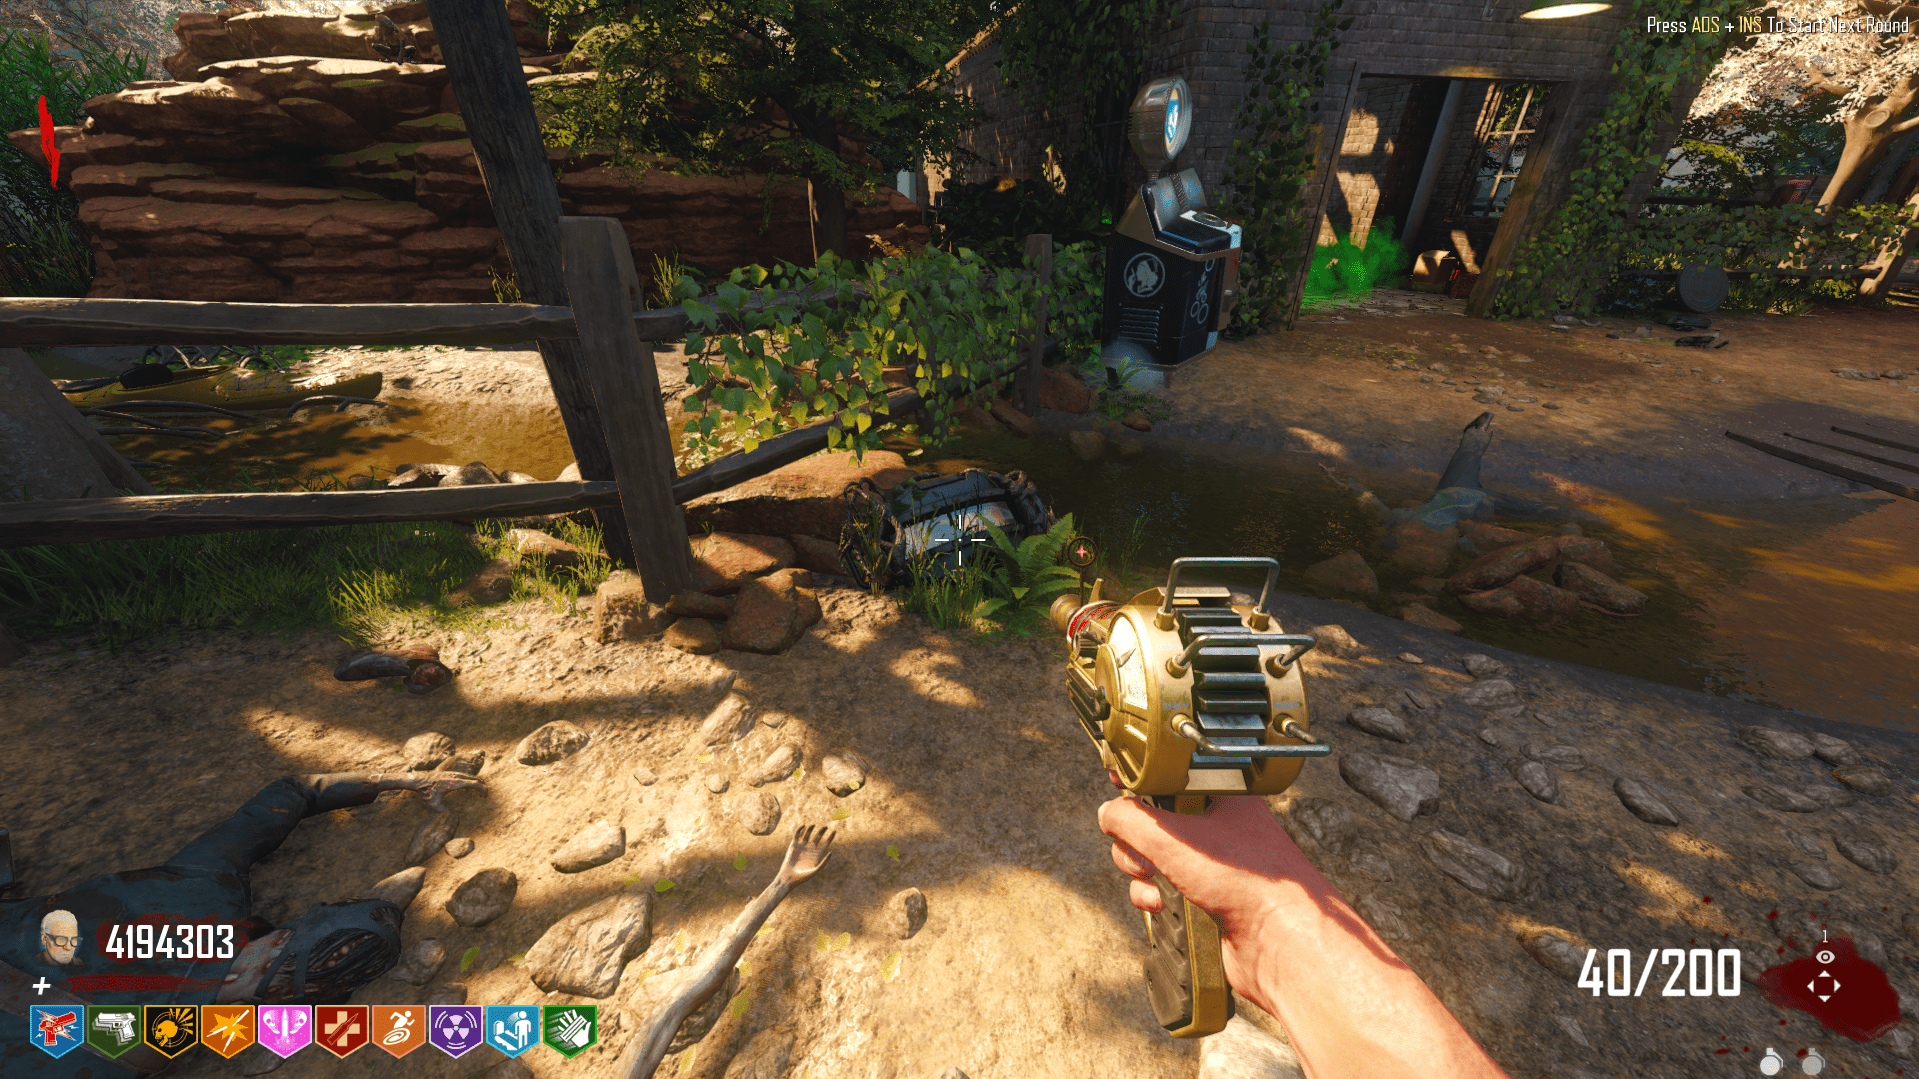
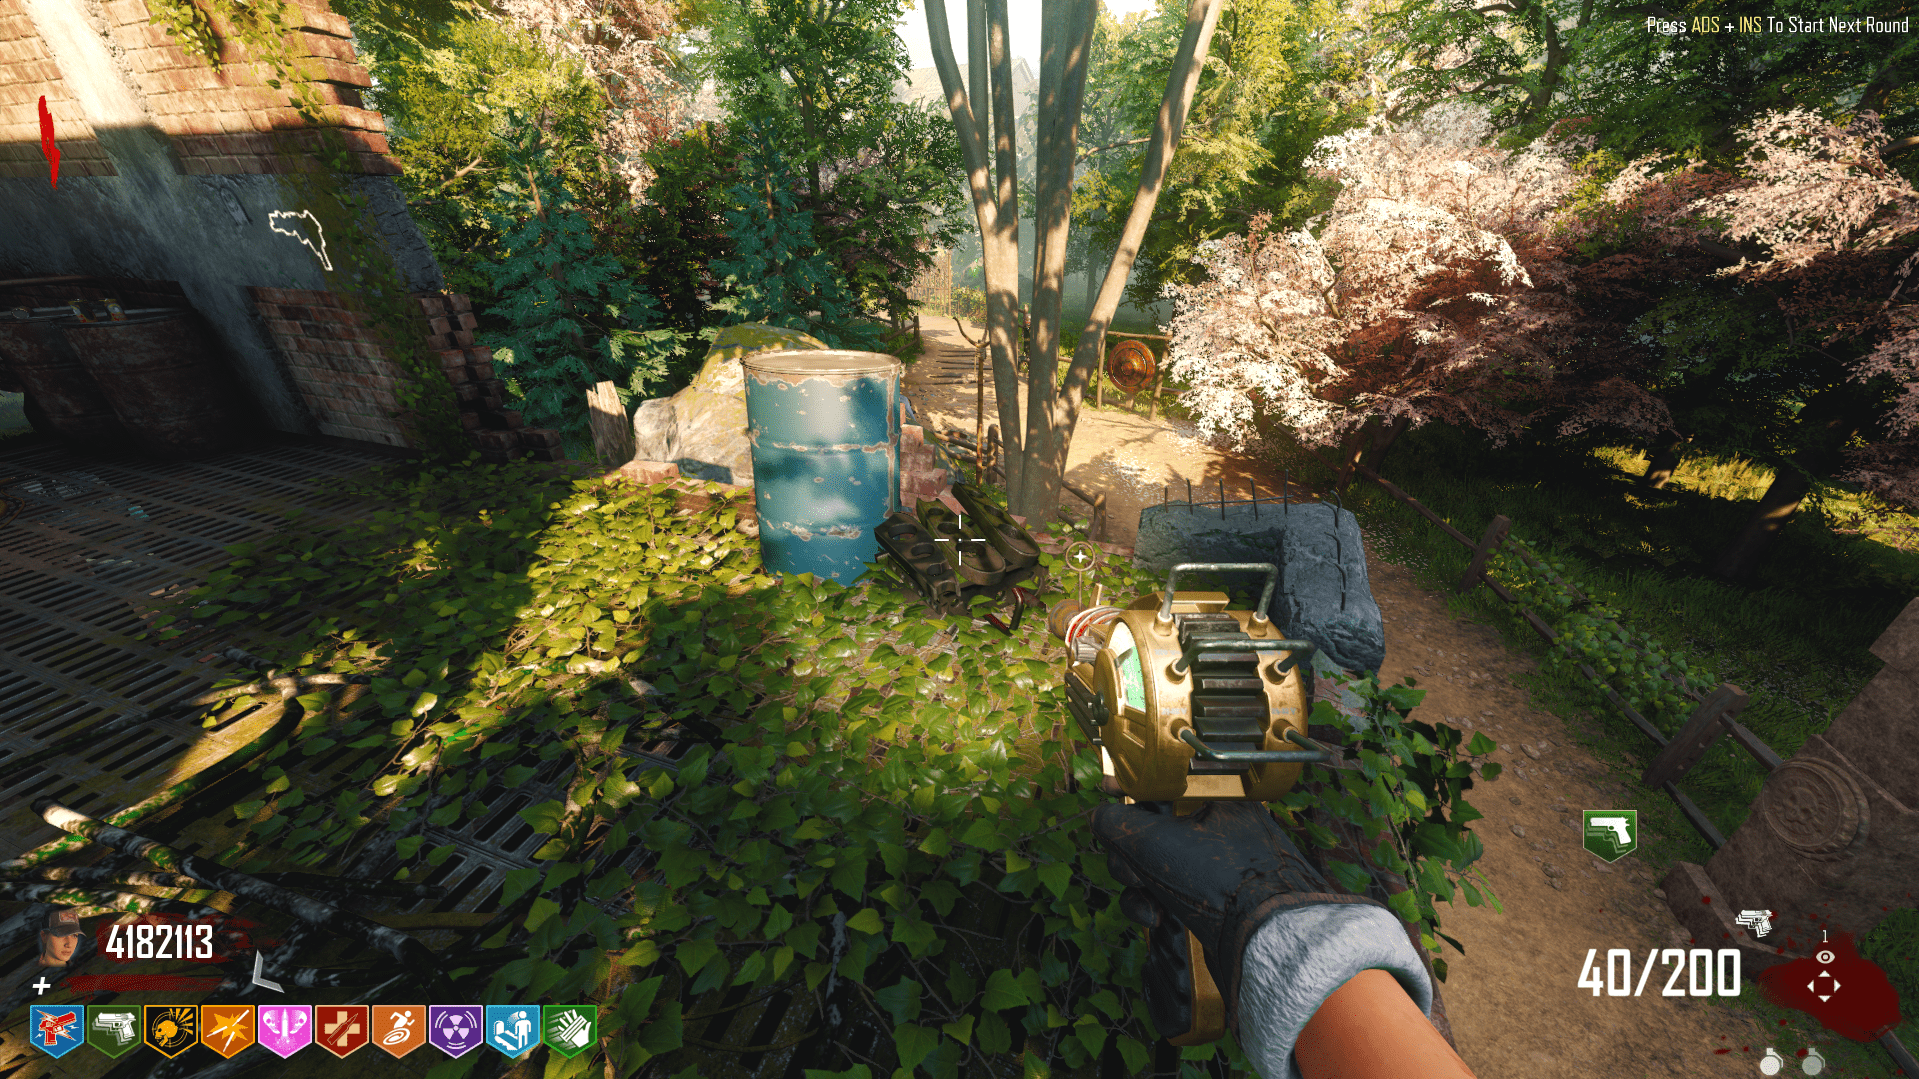
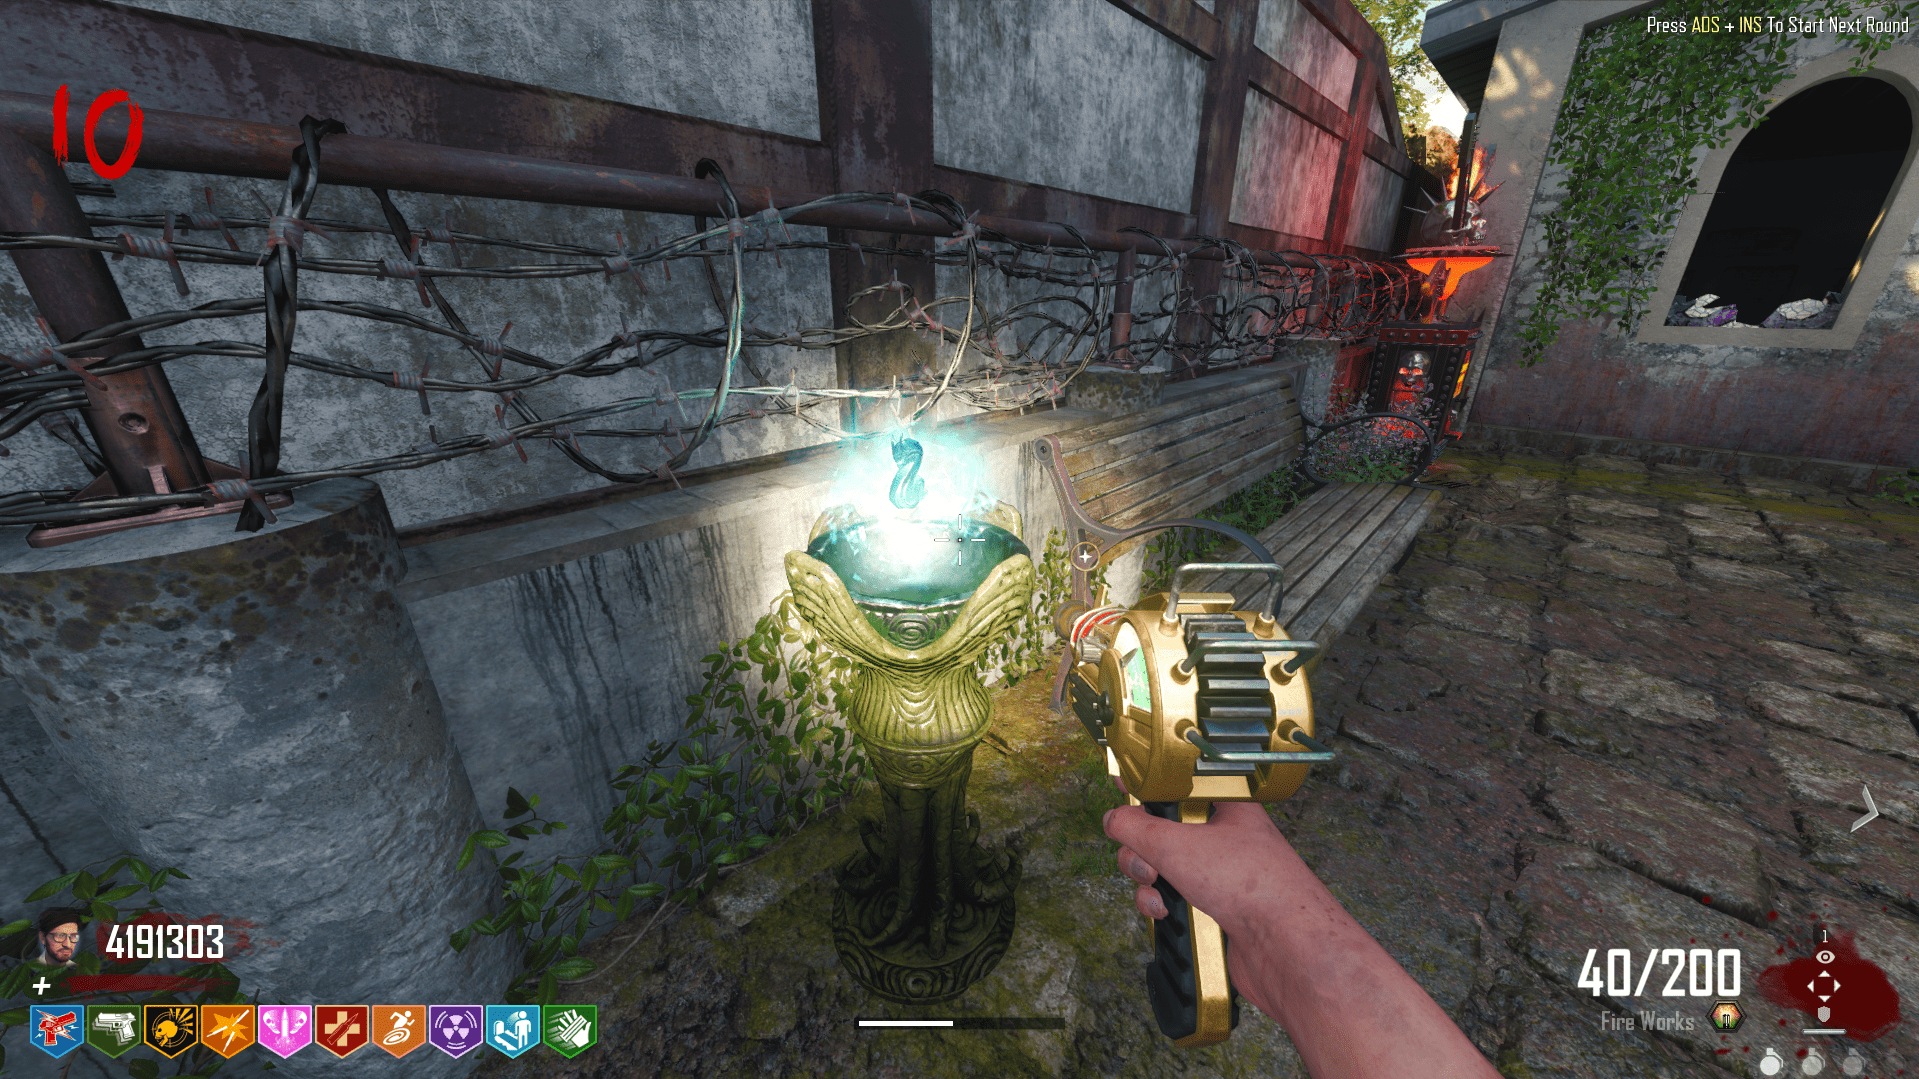
Turning on the power in this map is pretty easy. There are five power sources around the map that you’ll need to find and turn on. The first one is located by the Fountain, where Mule Kick is.

The second can be found by passing through the bunker from the Fountain to 32 Yungaro Way. It is by the Escargot wallbuy.
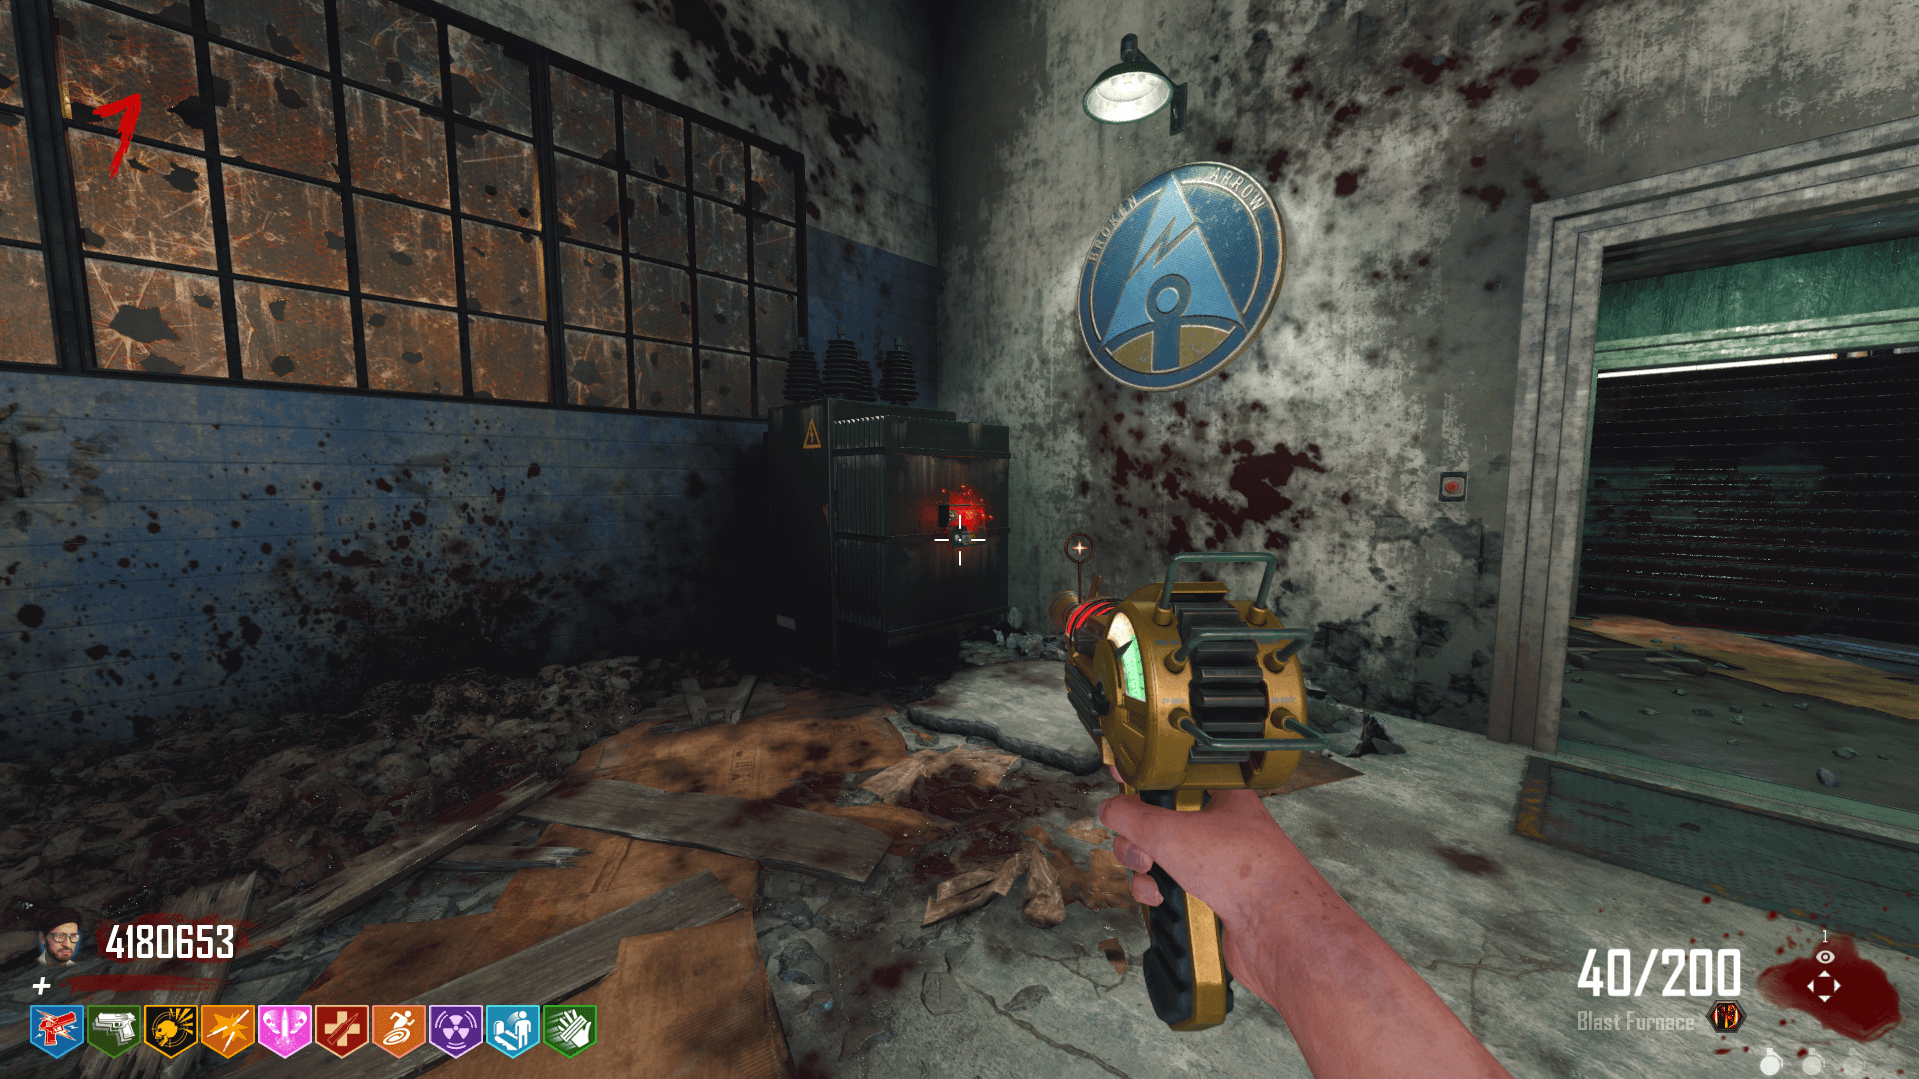
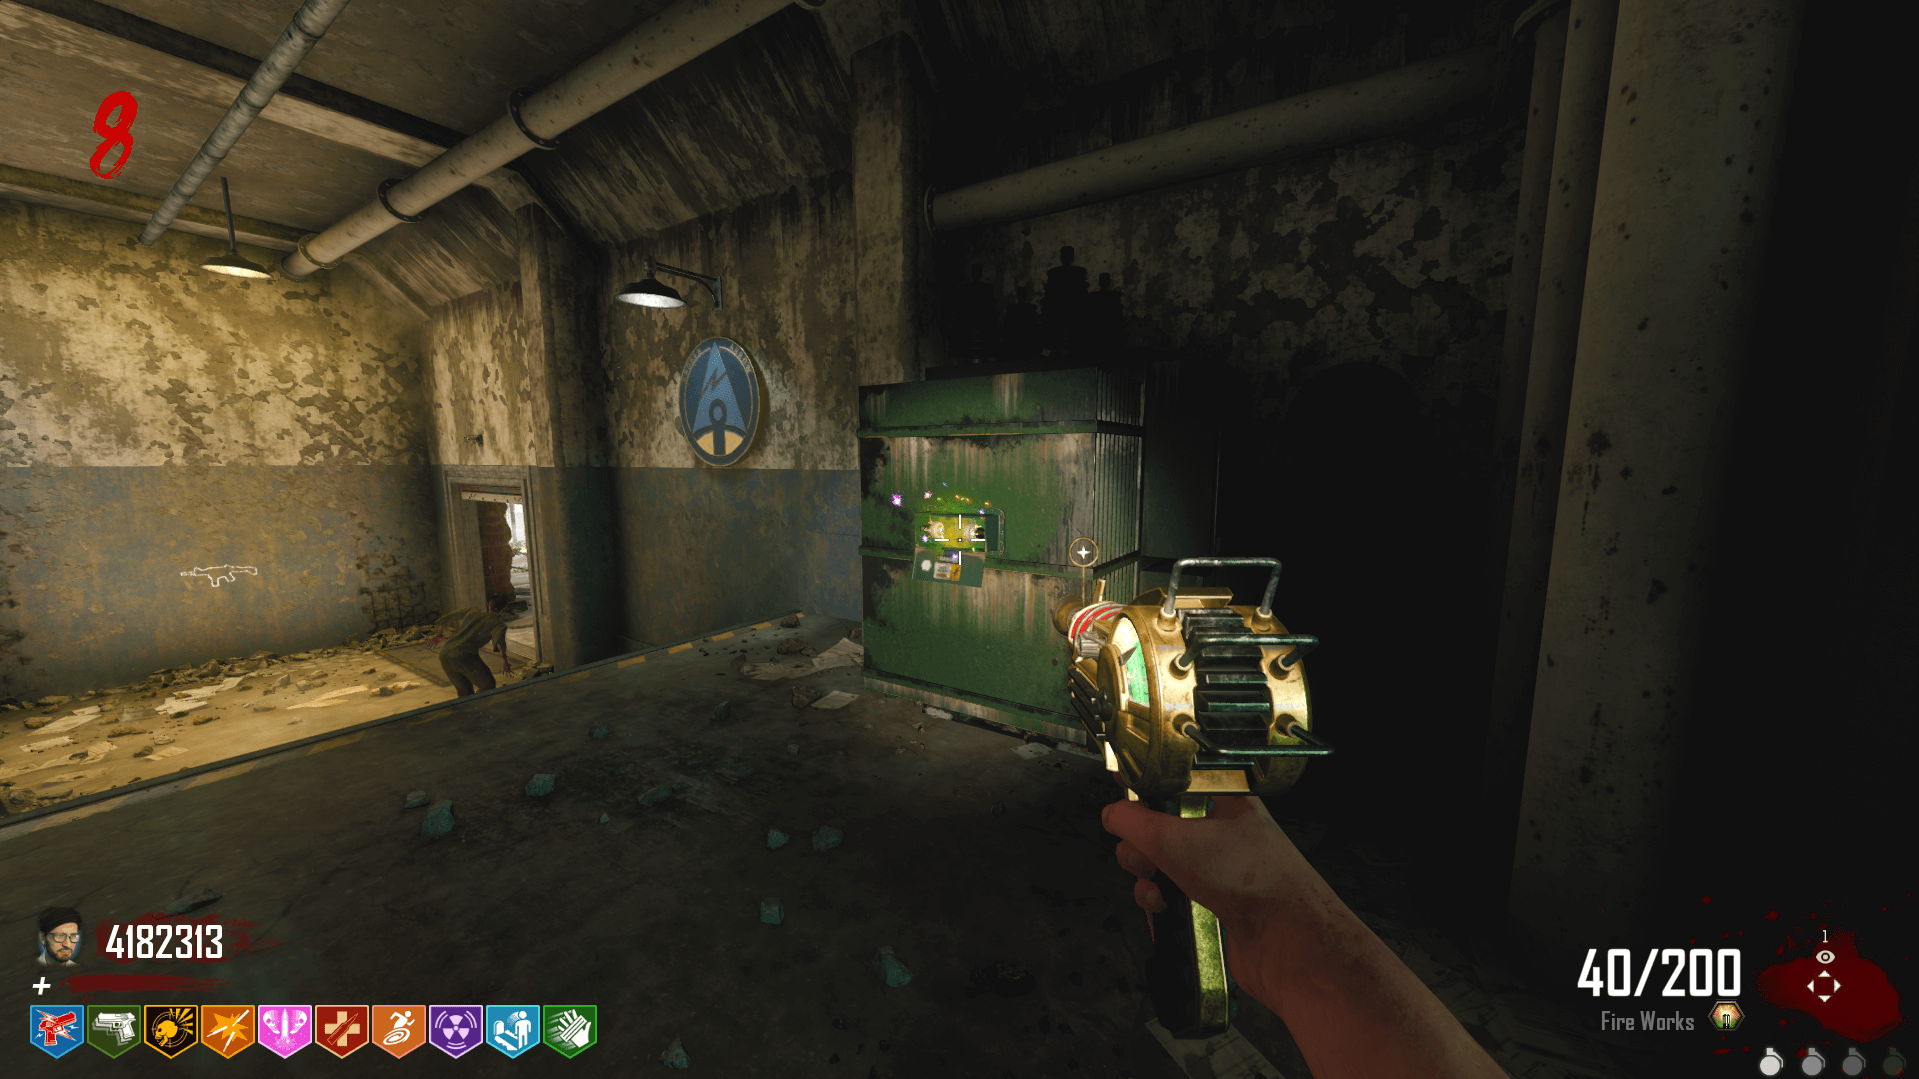
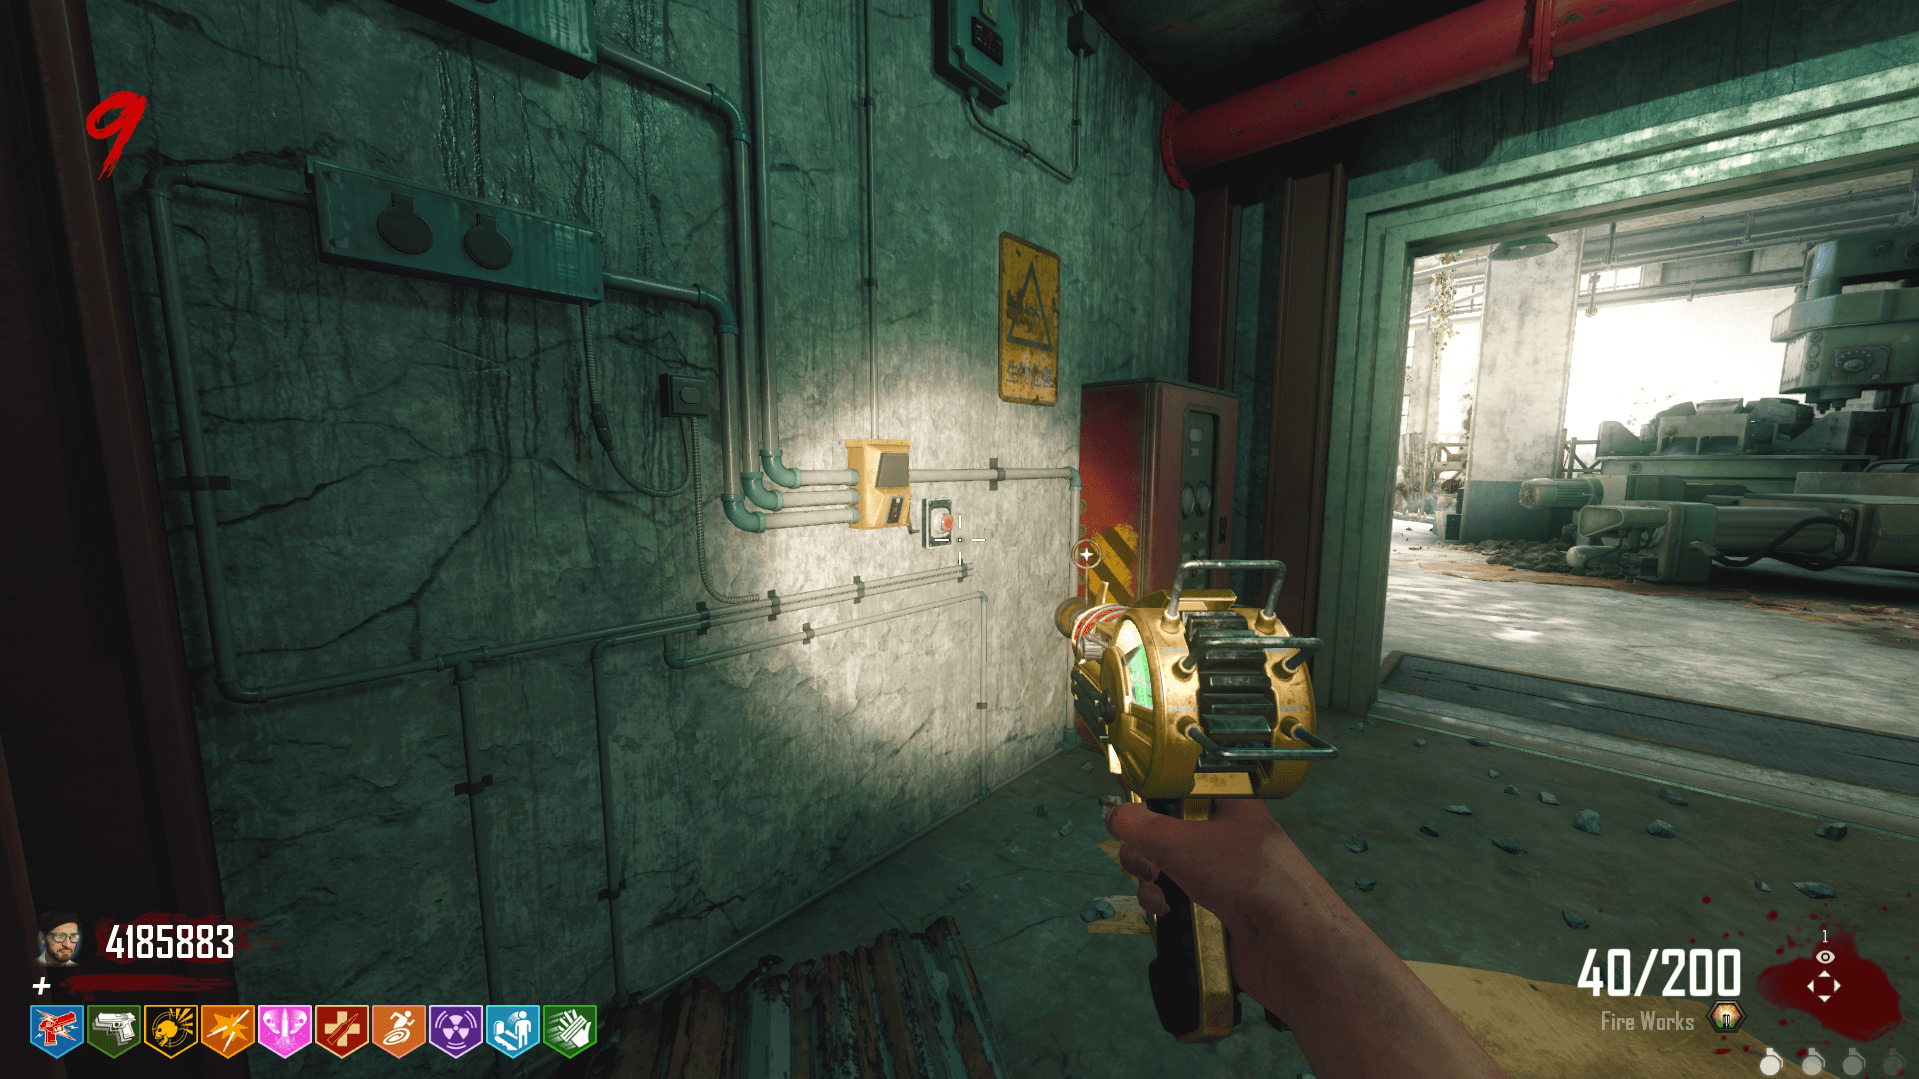
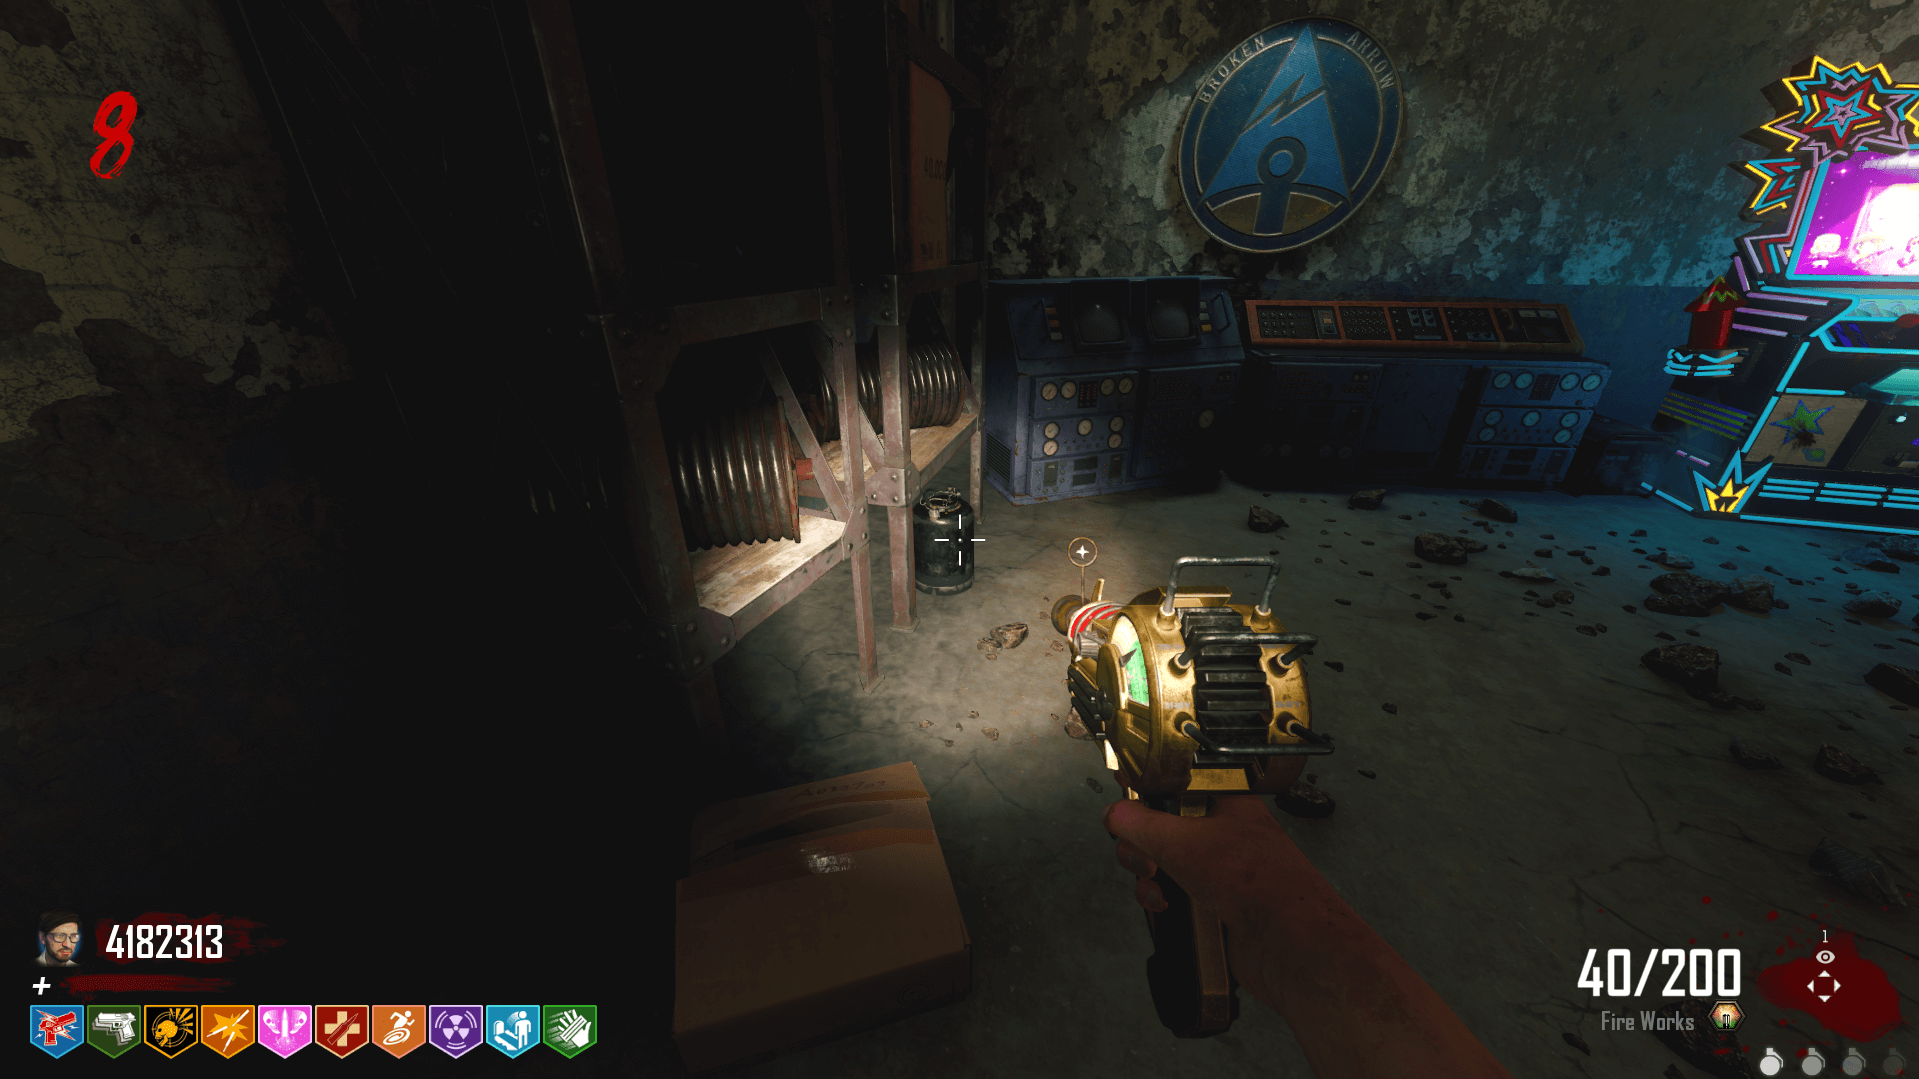
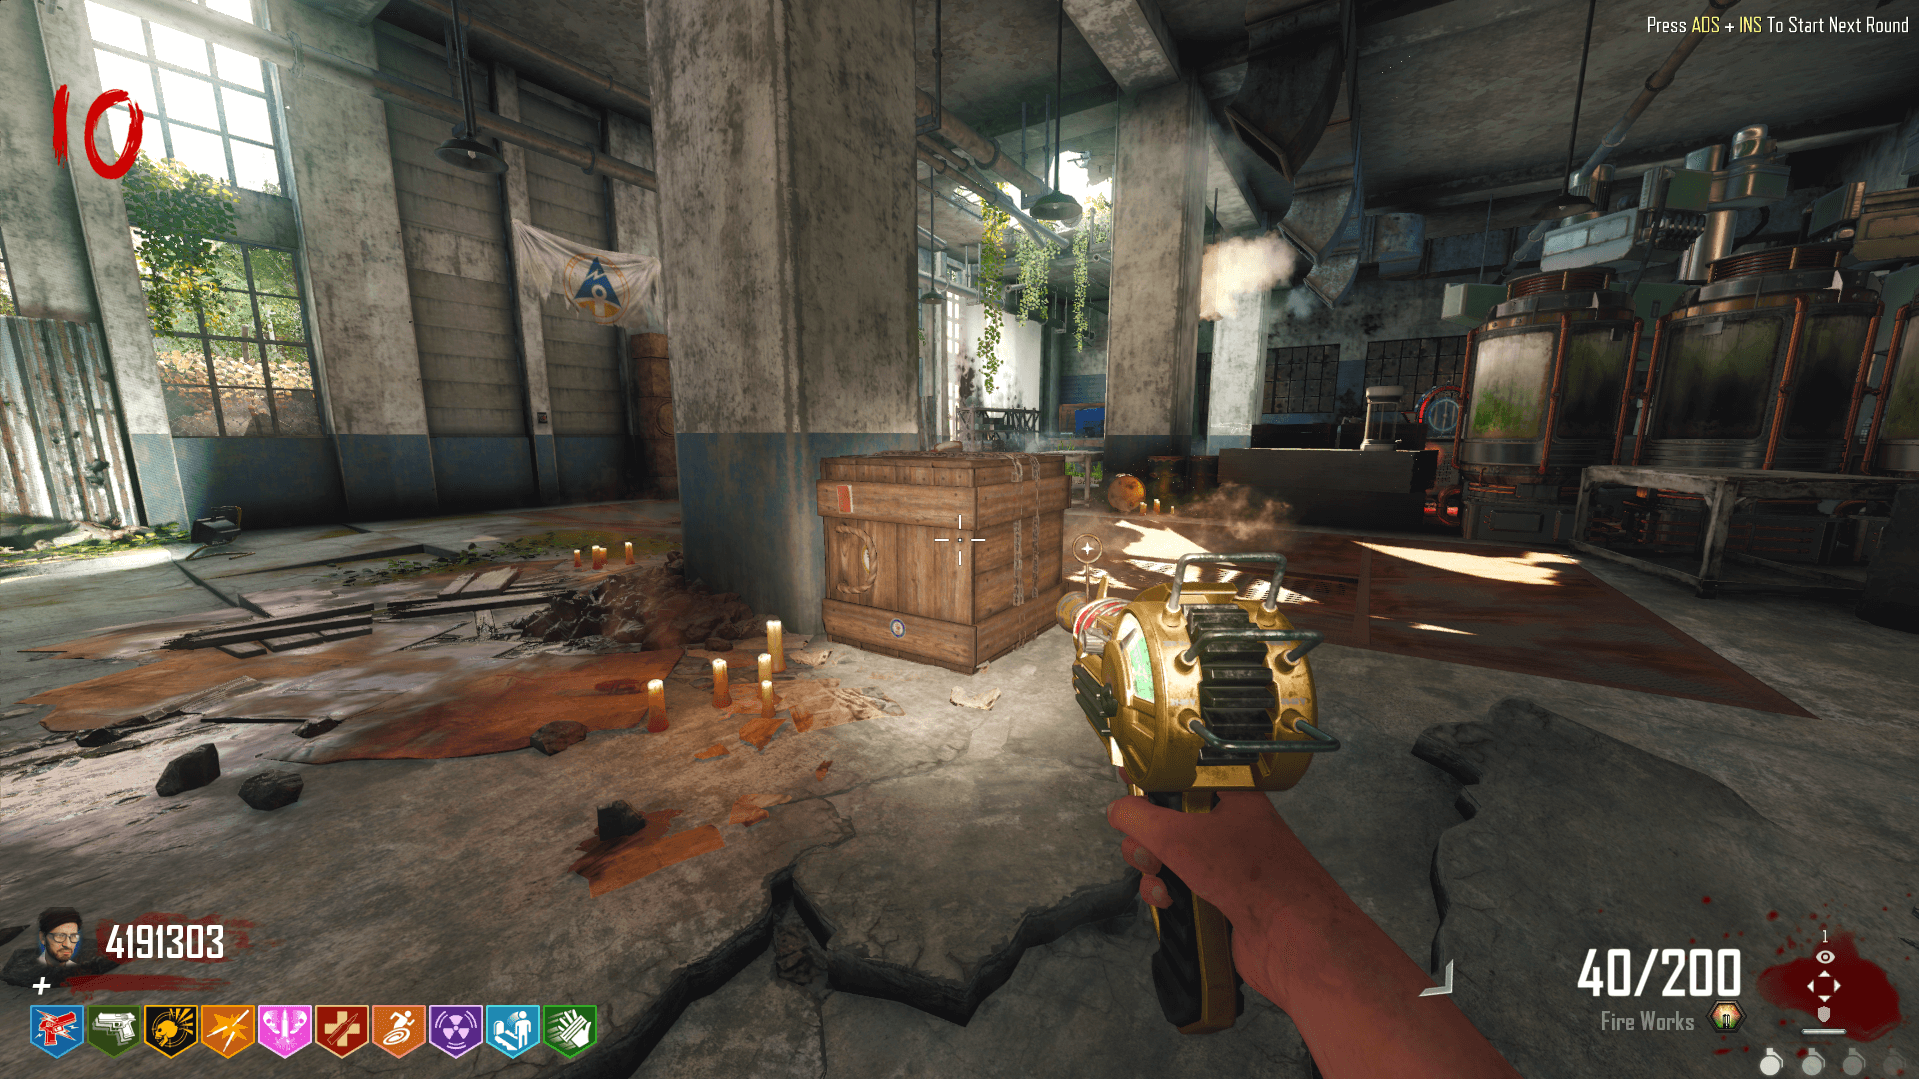
The third is in the middle of the Broken Arrow Factory. This is the same room with the Keypad that we’ll get to later.
The fourth is through the TranZit Power Station, in front of the broken stairs where PhD Slider is.
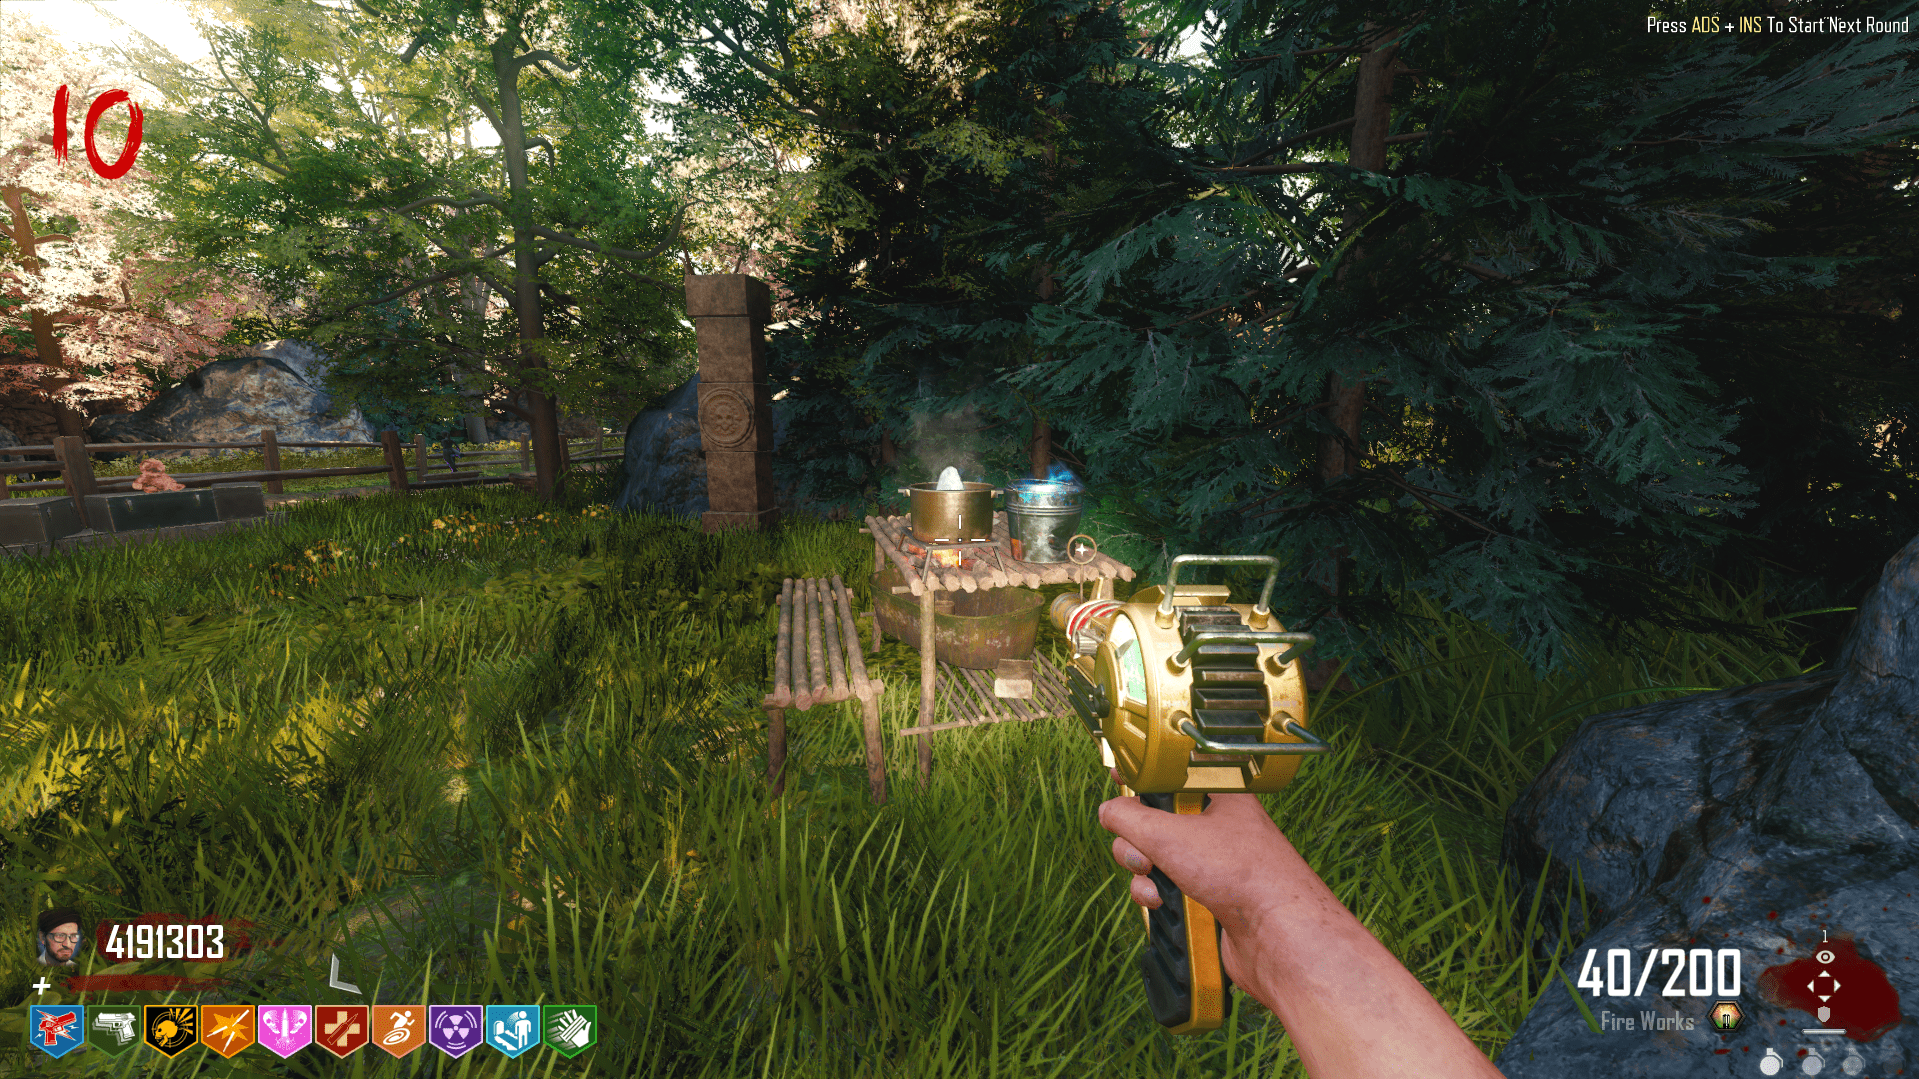
The fifth and final power source is located at the Refugee’s Farm, by the barrier next to the barn.
Once you turn on the final power source, the power is on and you can now proceed with the easter egg.
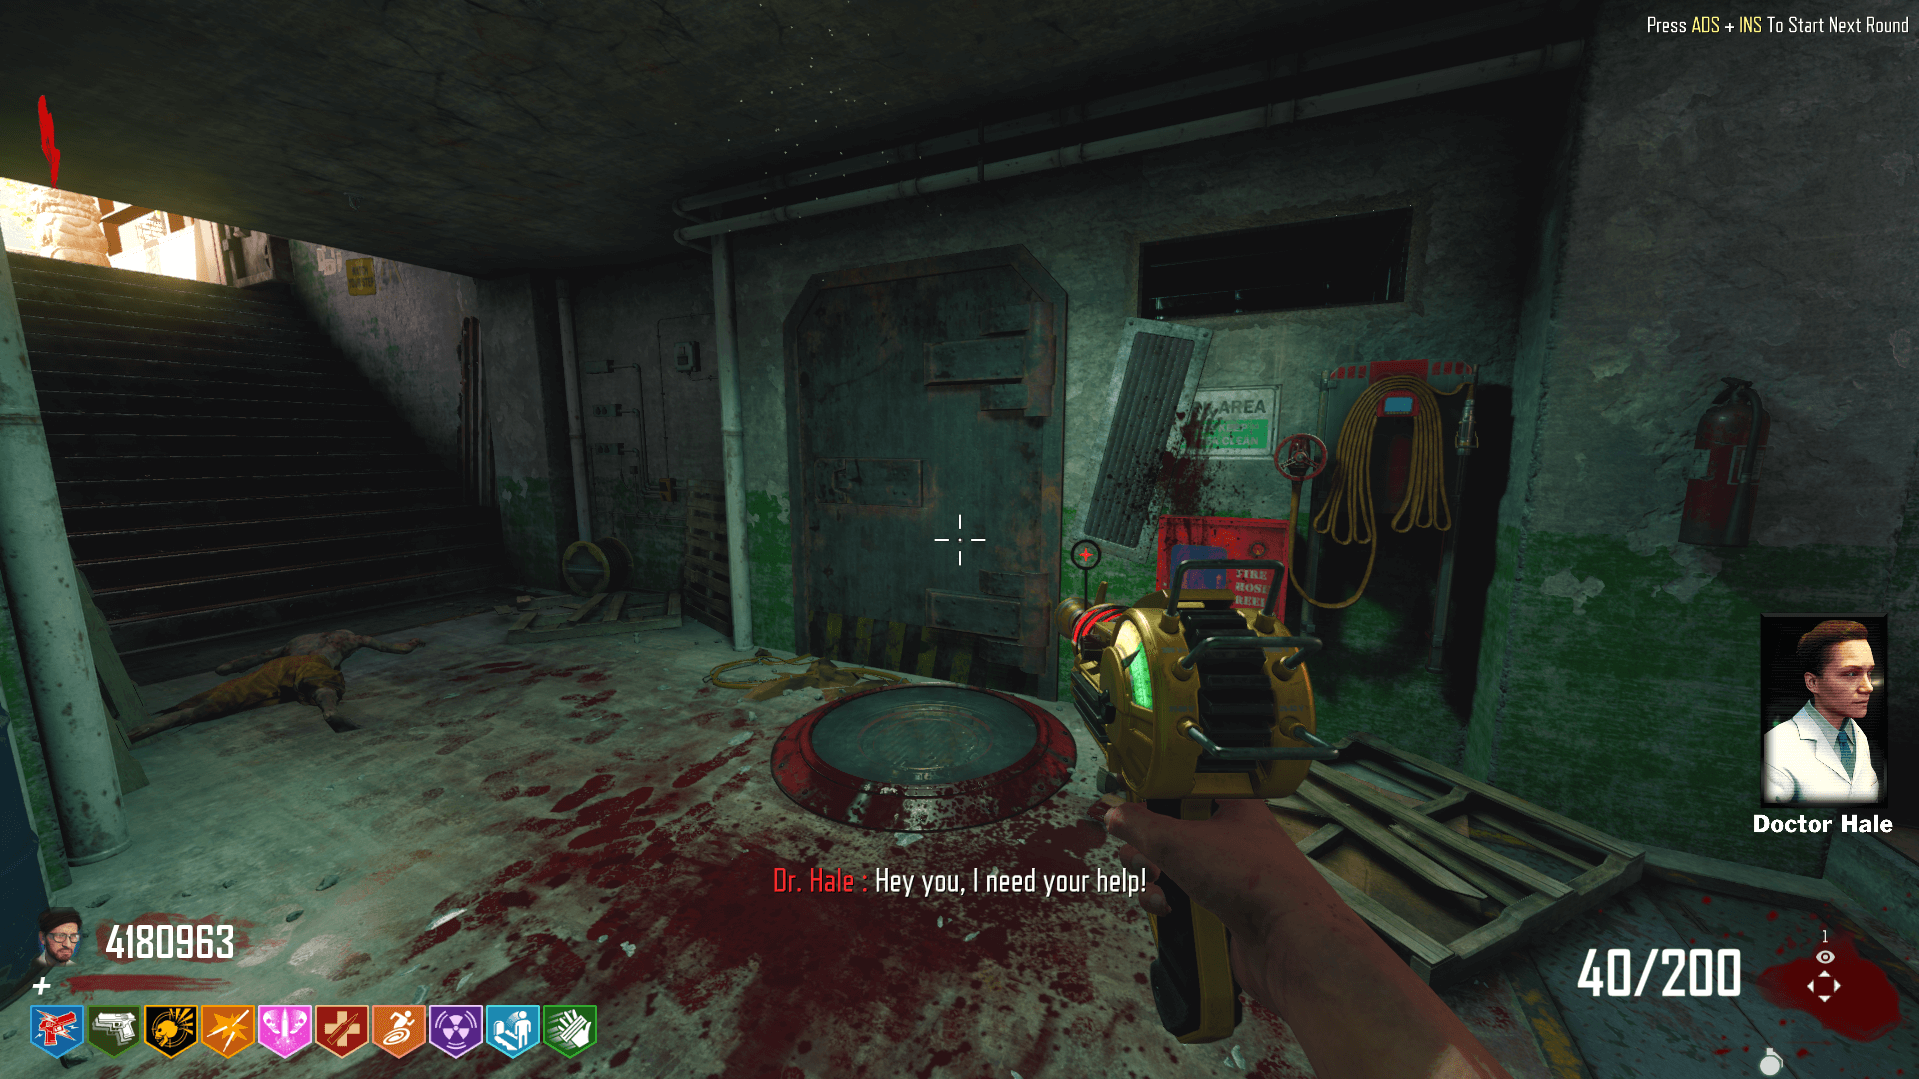
Krok 2: Give Dr. Hale a Battery
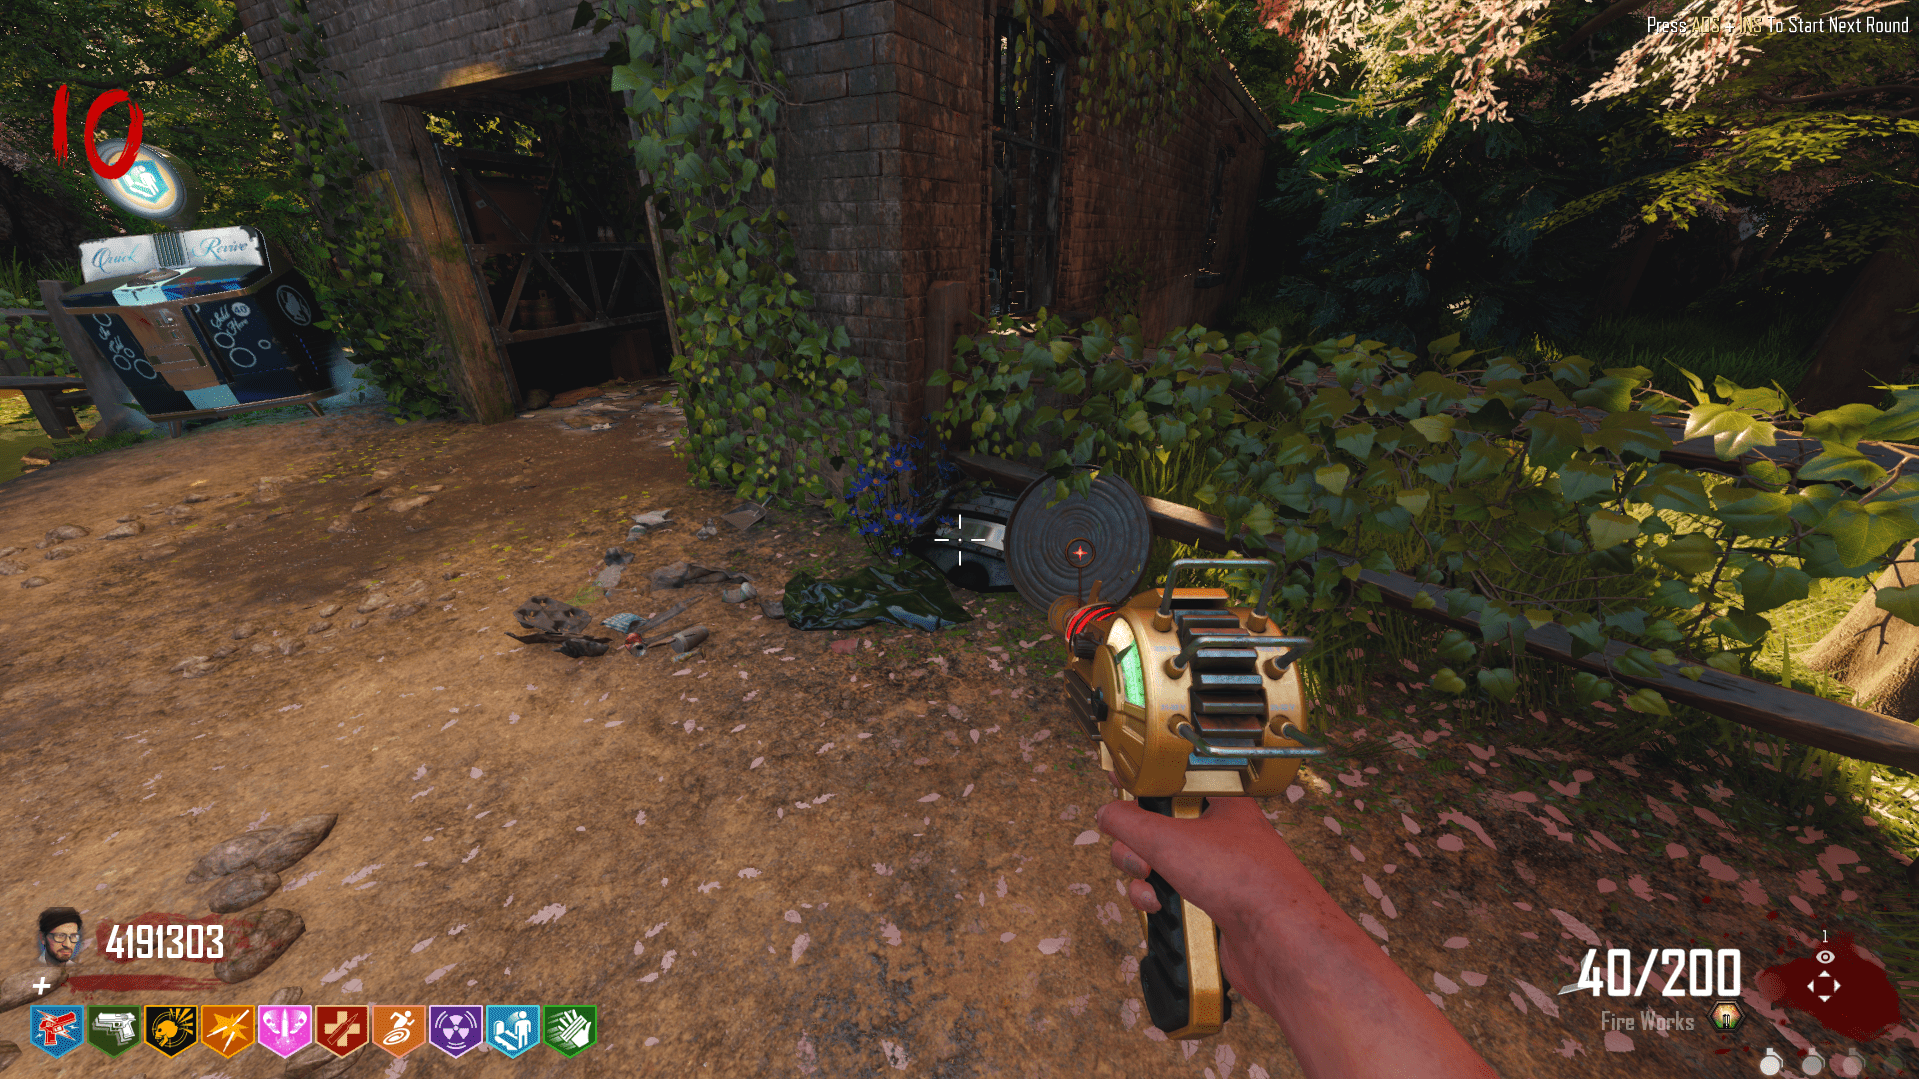
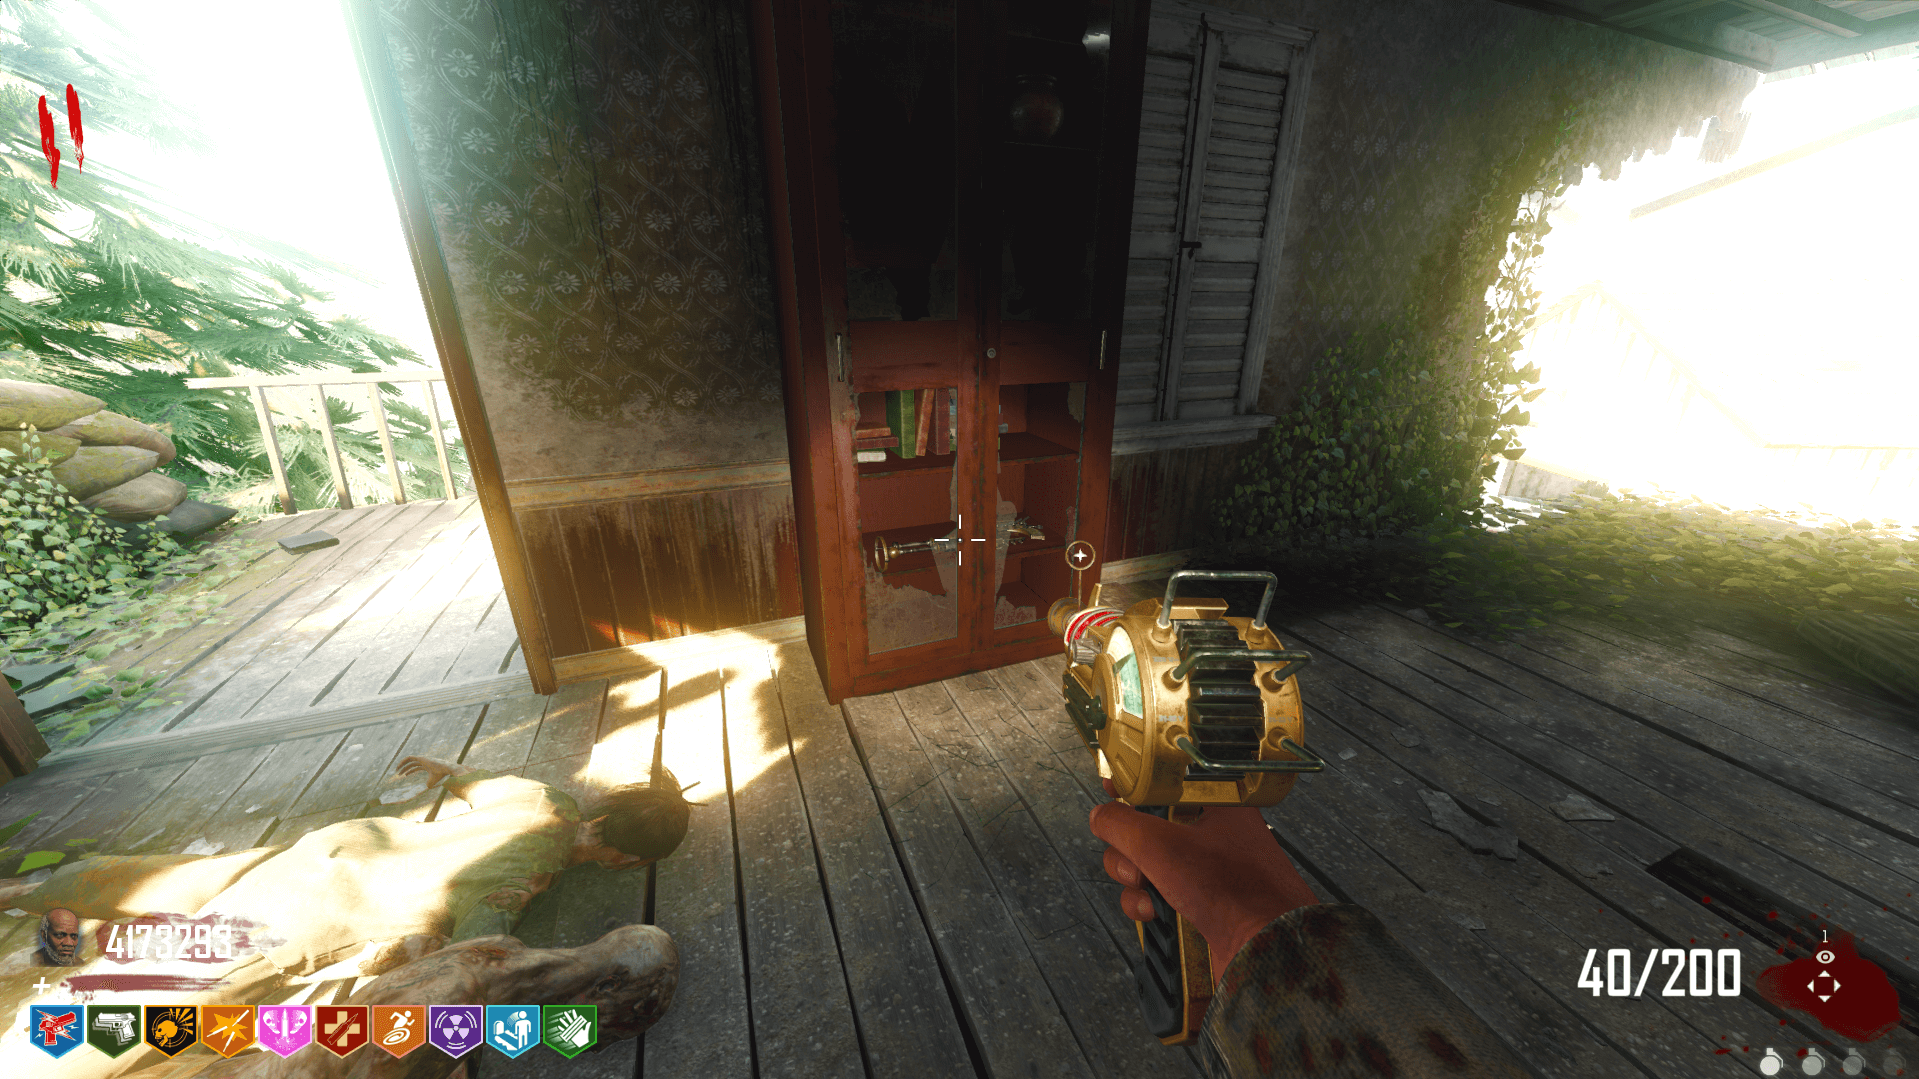
The second step is to talk to Dr. Hale. You can find Dr. Hale in the bunker between the Fountain and 32 Yungaro Way. Melee her door and she’ll let you know that she needs your help looking for a battery.
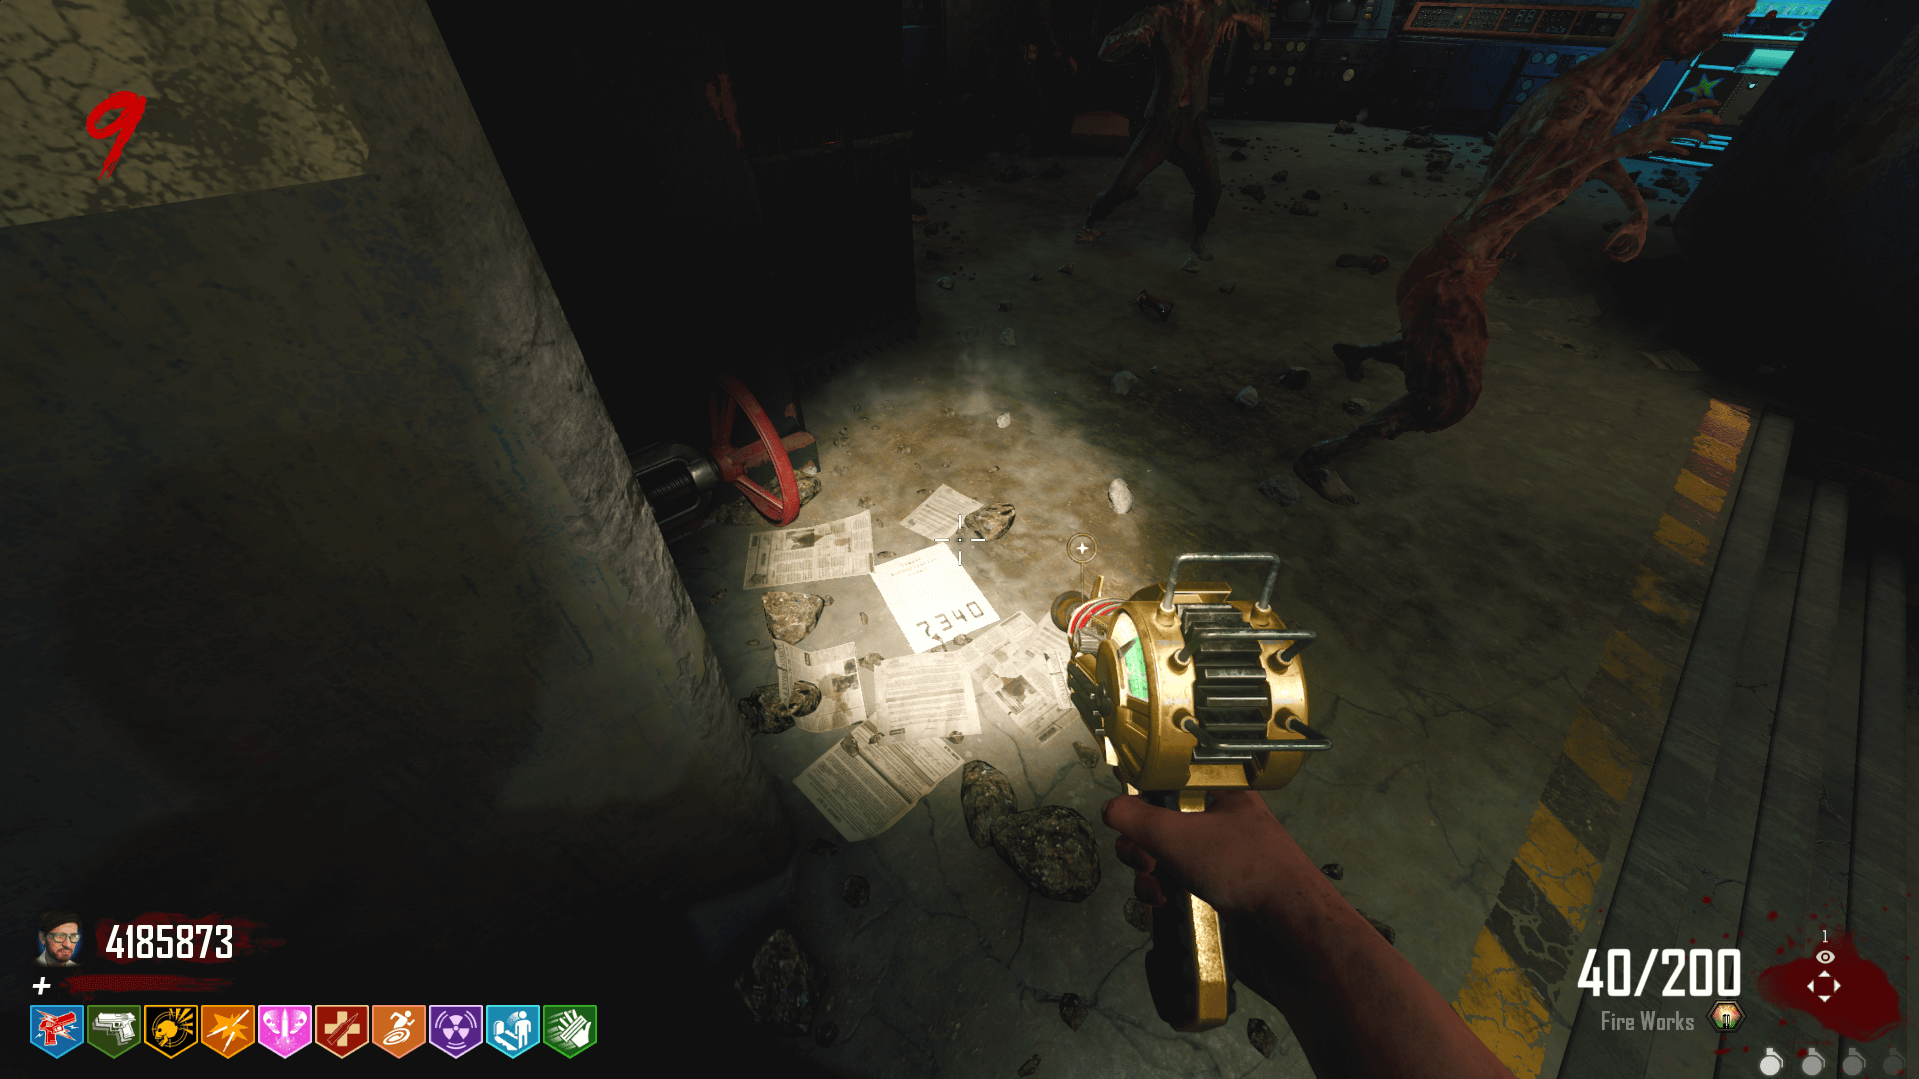
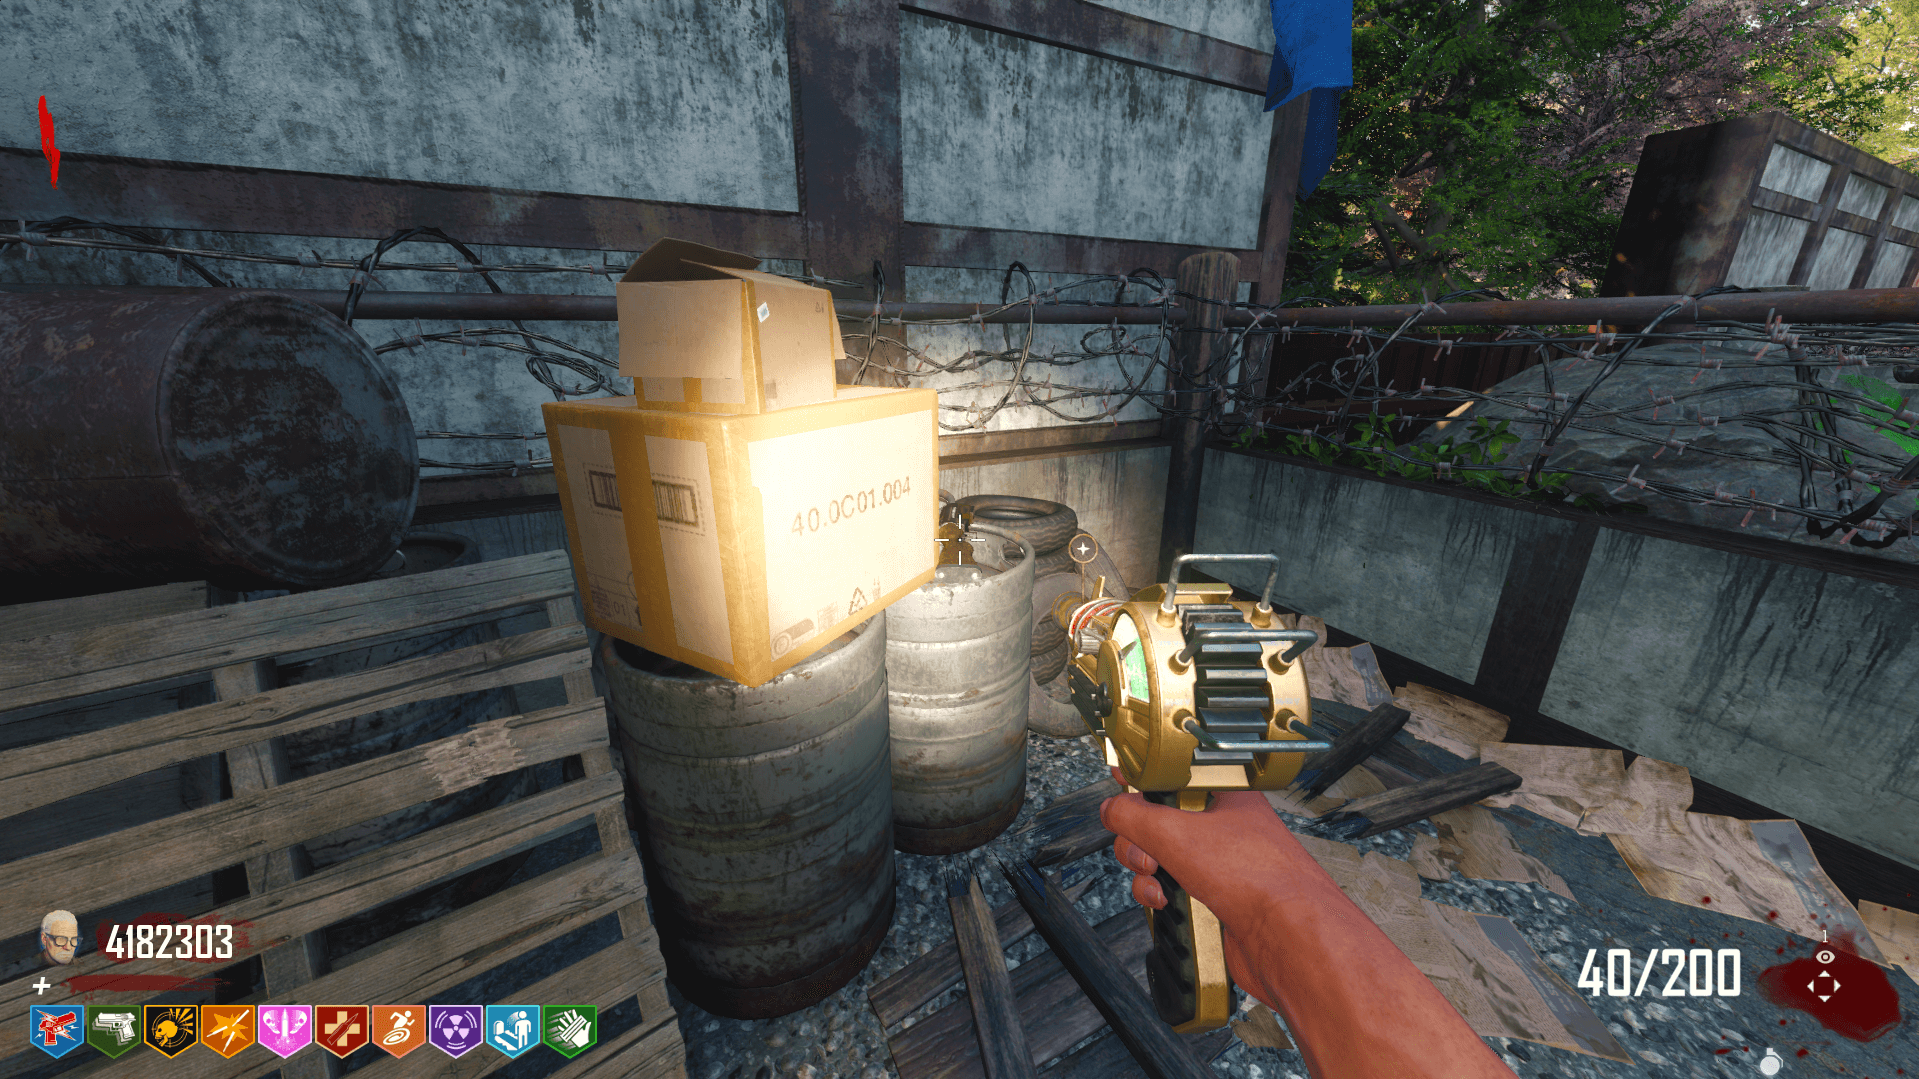
The battery can spawn in the Broken Arrow Factory across from Electric Cherry, the bottom floor of the TranZit Power Station, or in the hallway between those two.

Once you collect the battery, go back to the bunker, melee Hale’s door, and give her the battery. She’ll ask you to give her some time to plug it in, meaning you’ll need to go on to the next round. Once you finish the round, melee her door again and, this time, she’ll ask for a crystal.
Krok 3: Give Dr. Hale a Crystal
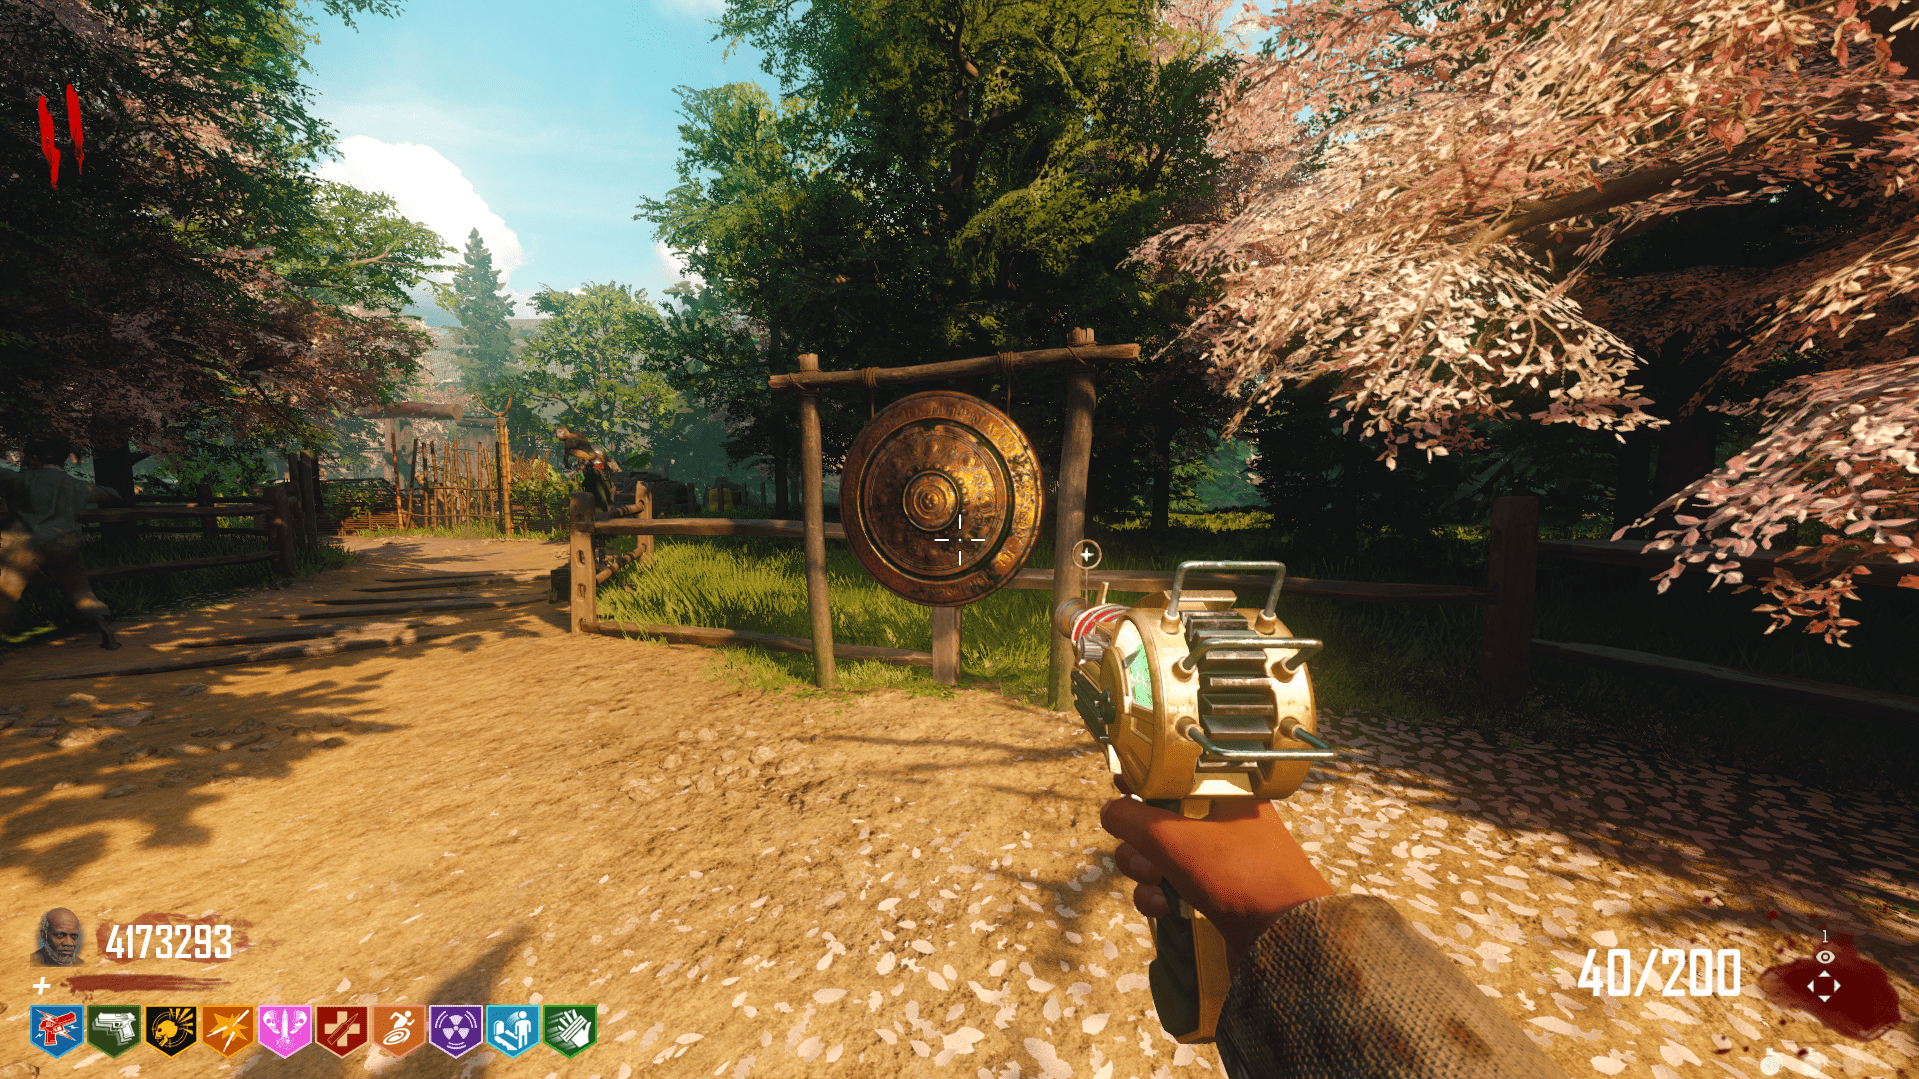
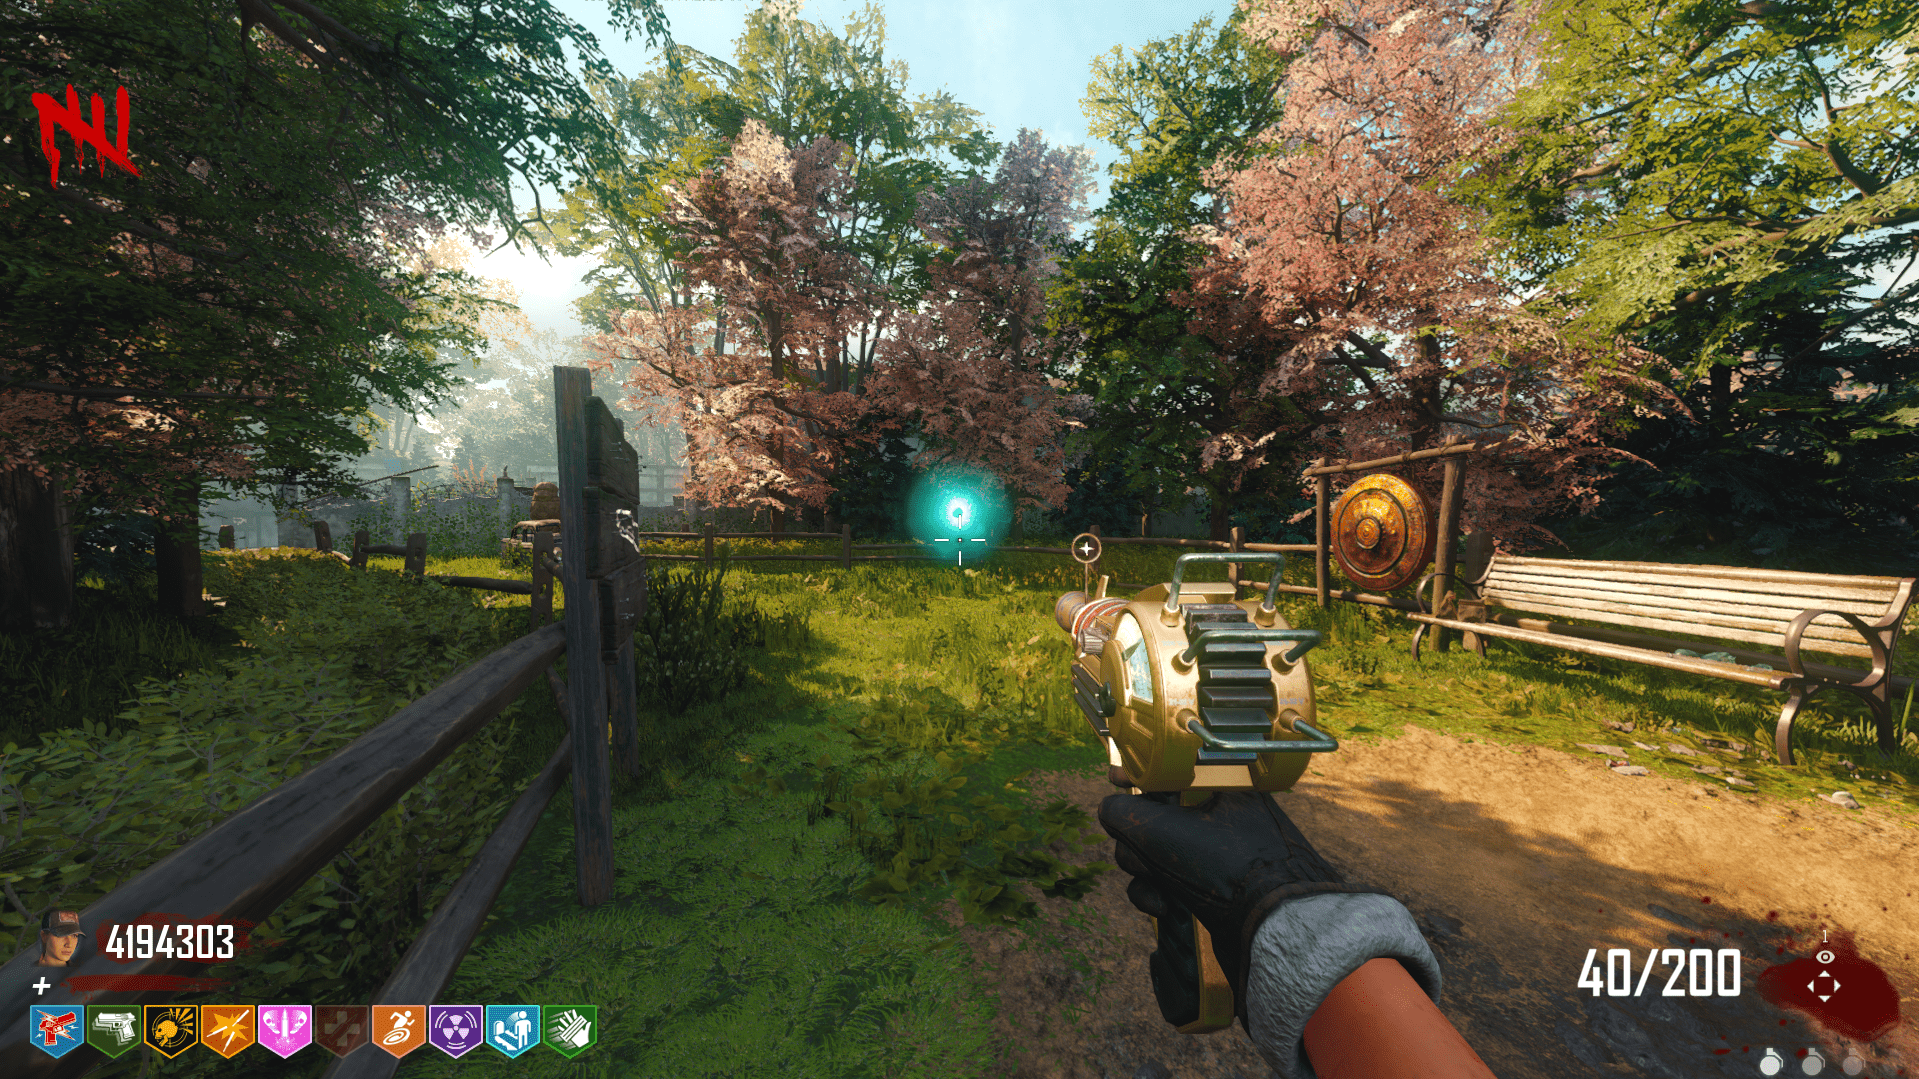
To find the crystal, you’ll need to melee four gongs around the map in the correct order. The order is random so there will be a little trial and error. You’ll know if you hit the wrong one if you hear a high-pitched whirring sound after hitting it. Kinda sounds like someone saying “WOO”.
The first gong is in the spawn room.
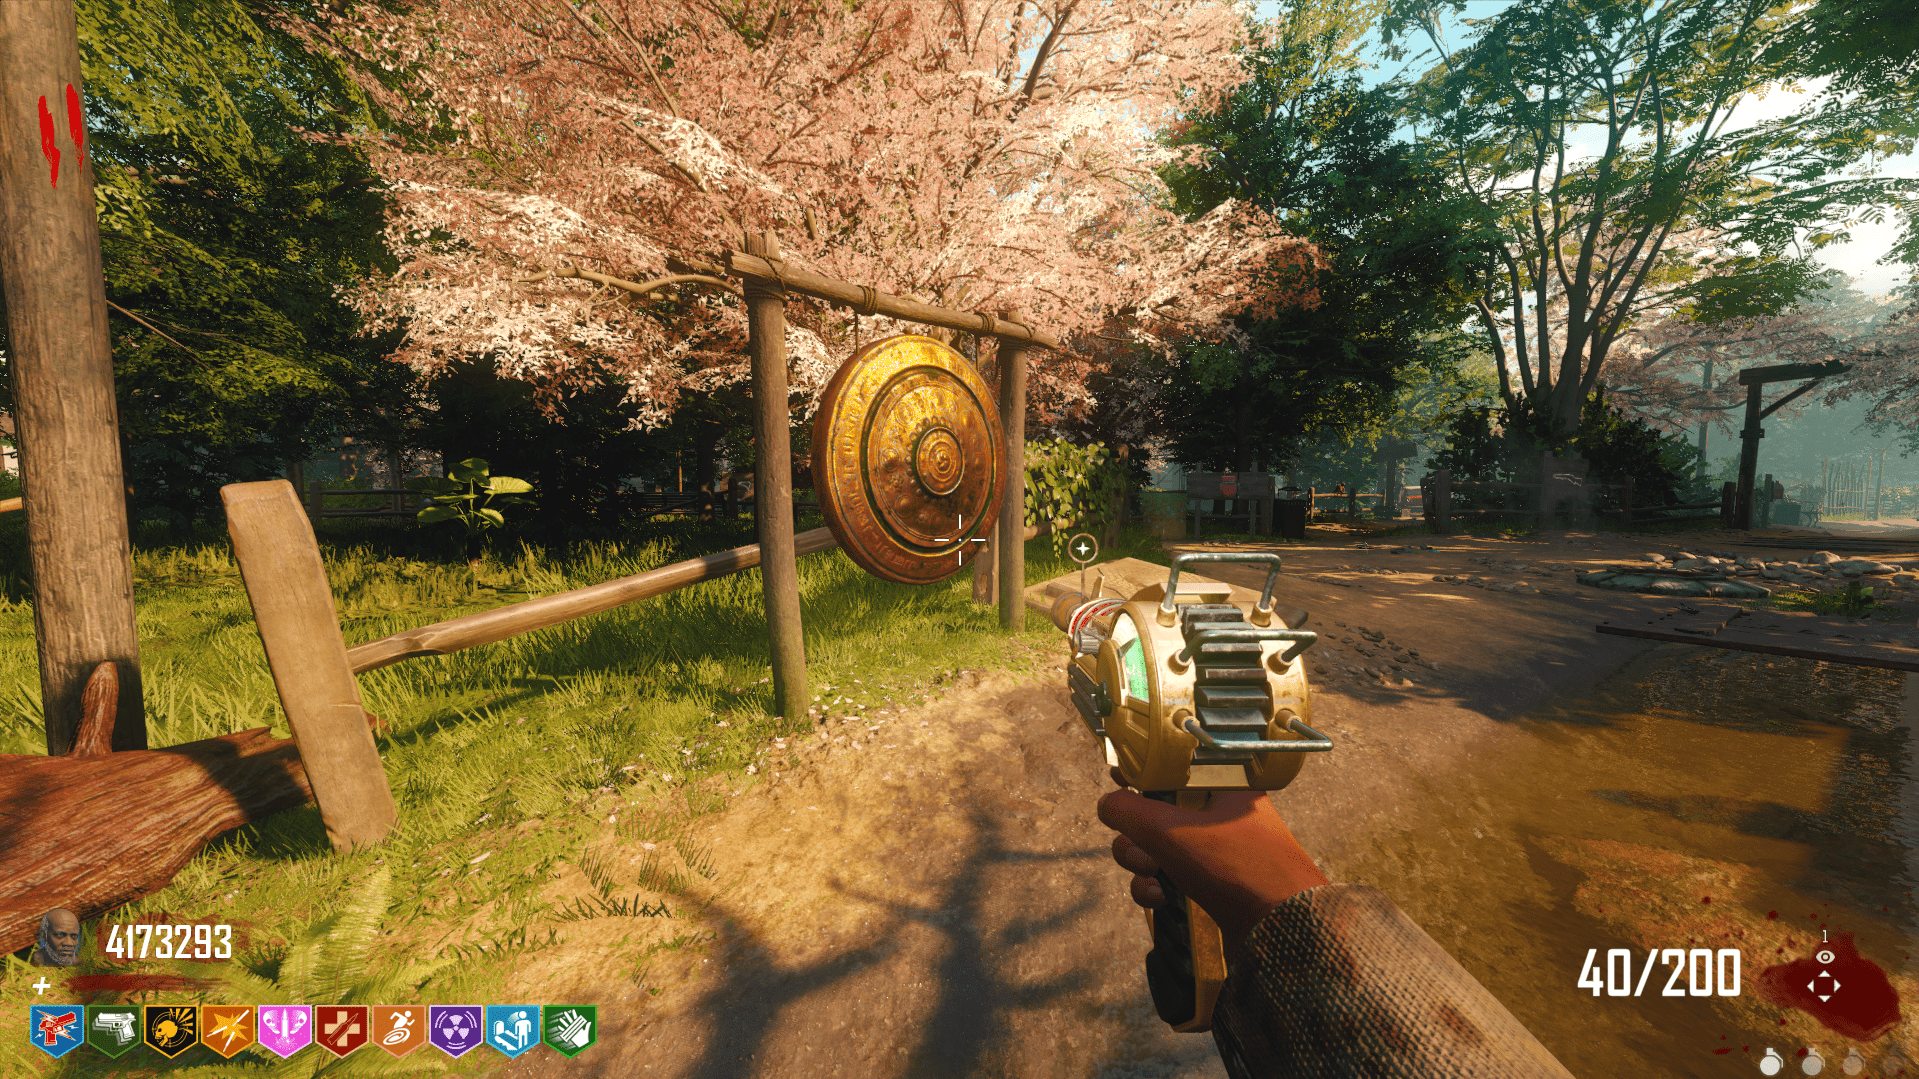
The second gong is by the Fountain.
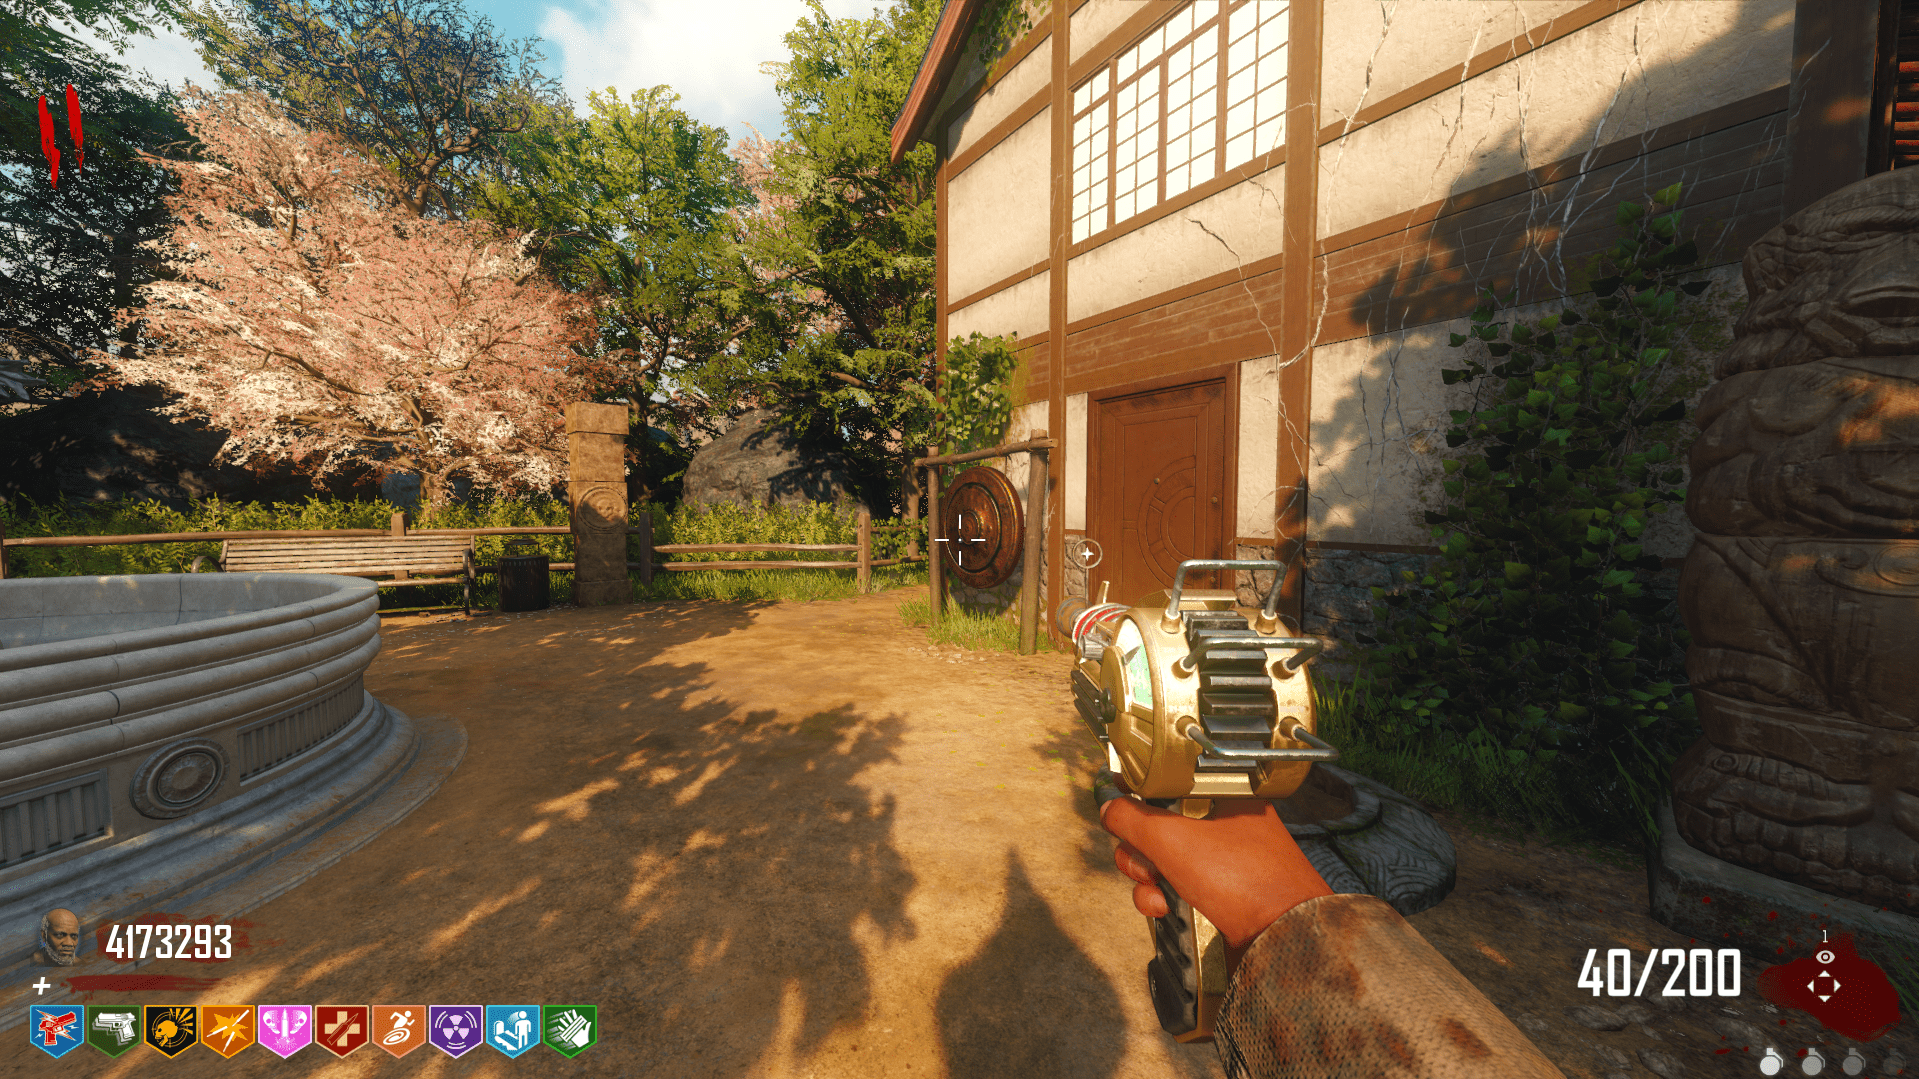
The third is in the middle of the pathway to church, near Double Tap.
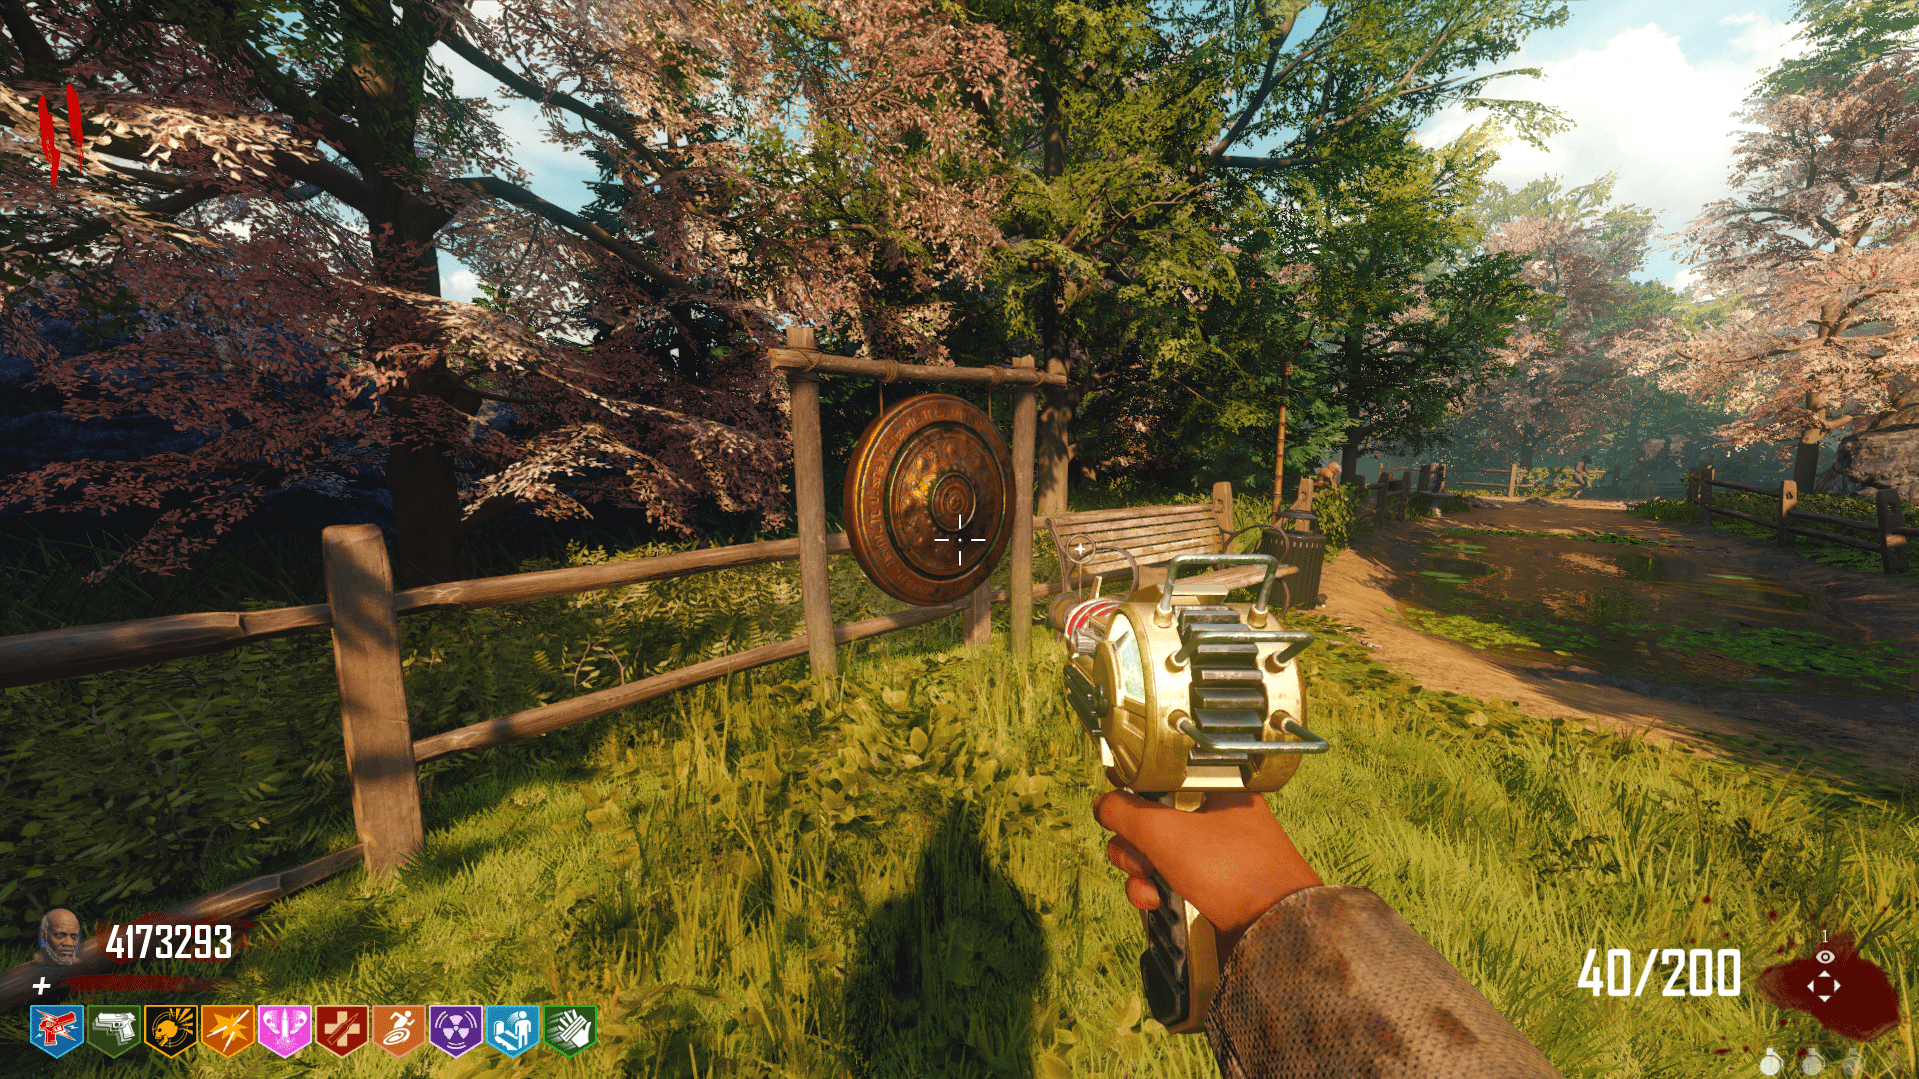
The last gong is in the middle of the path to the TranZit Power Station, across from PhD Slider.
If you hit all of the gongs in the correct order, a number of monkeys will spawn and attack you. One of these monkeys will be holding the crystal you’ll need.
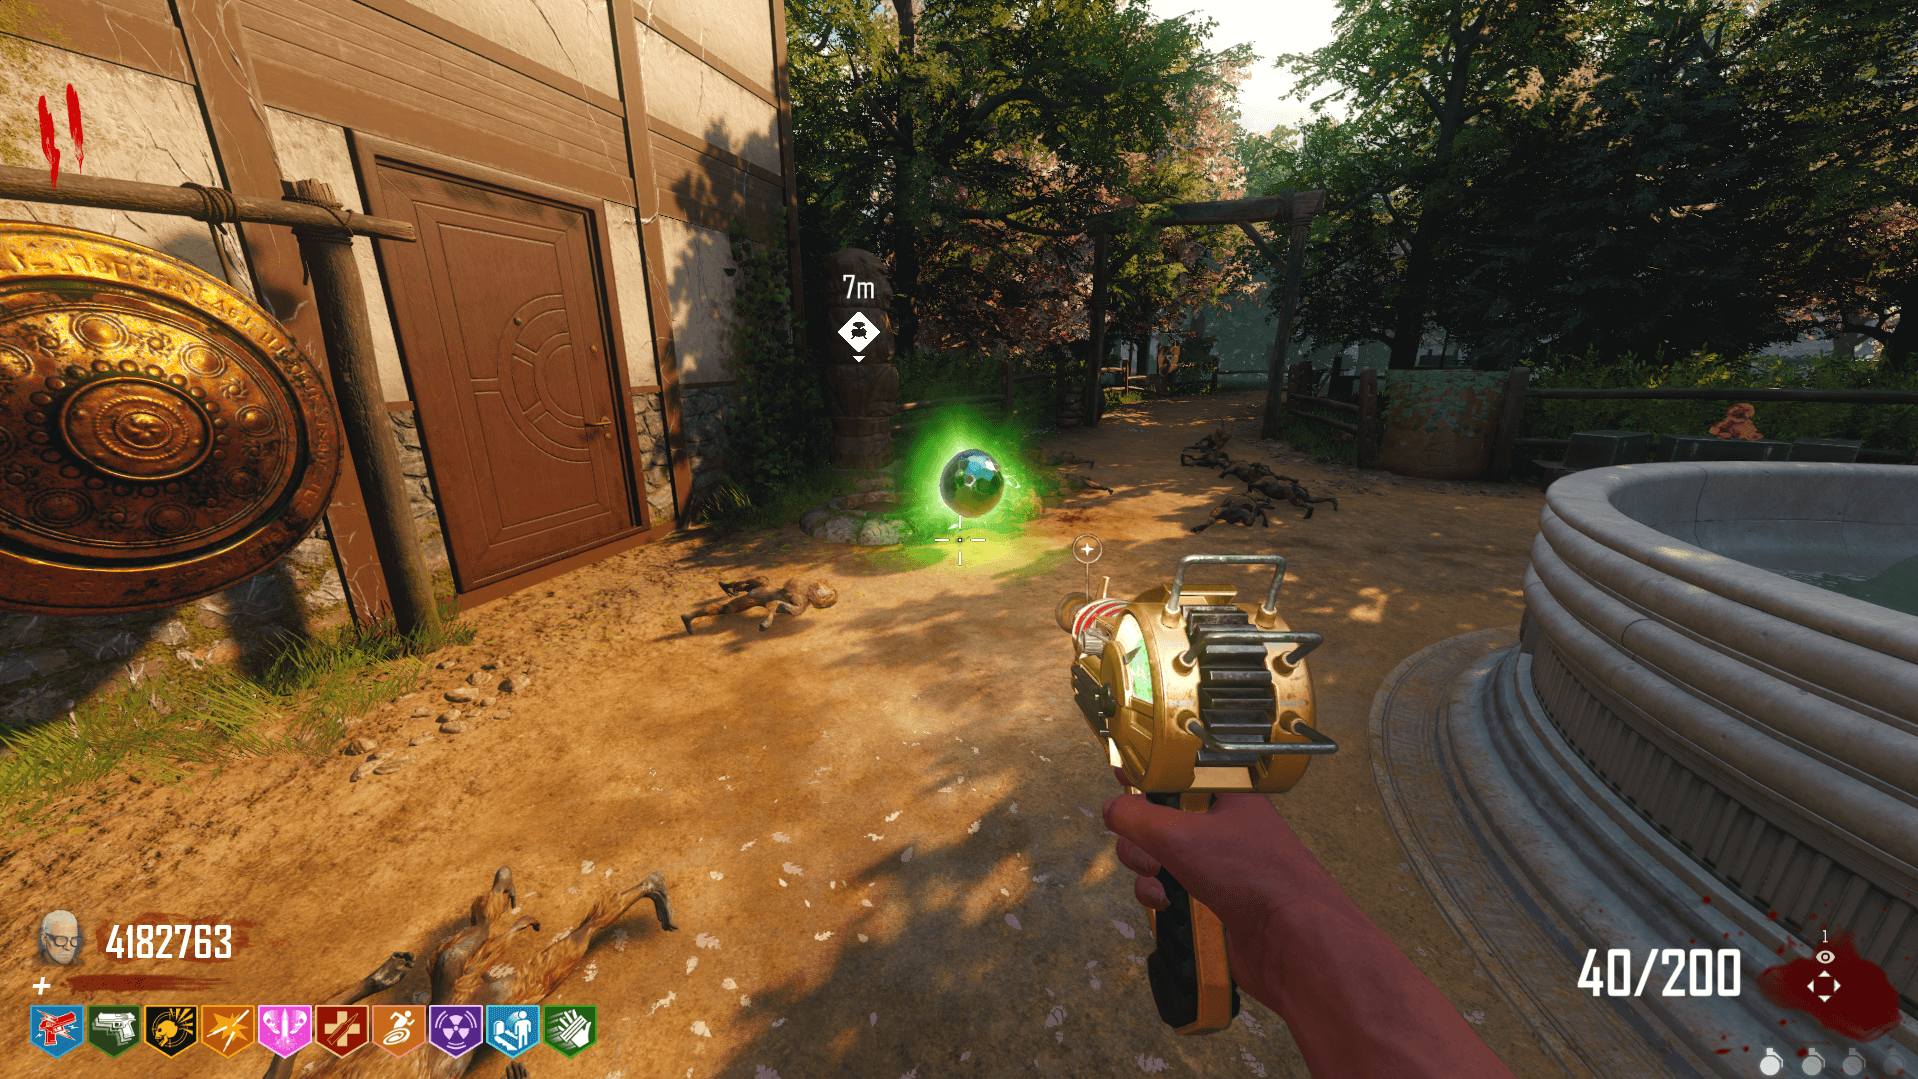
Kill all of the monkeys, pick up the crystal, melee Hale’s door again, and give her the crystal. She’ll complain that it’s too big (hehe) and you’ll need to find another way to get it through the conduit.
Teraz, you’ll need to craft the 31-79 JGb215, or the Shrink Ray (Baby Gun from Shangri-La). You can find out how to do that by visiting the “Crafting the 31-79 JGb215 (Shrink Ray)” tab in the Guide Index to the right of this page.
Once you craft the Shrink Ray, go to the church area where Deadshot Daiquiri is and place the crystal on the pedestal.

Wreszcie, shoot the crystal with the Shrink Ray. This will make it small enough to pass through the conduit. Pick the crystal up and give it to Dr. Hale. She’ll ask you to give her enough time to inspect the crystal, once again meaning you’ll have to go to the next round.
Krok 4: Give Dr. Hale Tools
After proceeding to the next round, melee her door again. Tym razem, she’ll need some tools and a container. Quite greedy, isn’t she? There are three locations you can find the tools in. The first is in the back of a car by the church, near Double Tap.
The second is in the barn in Refugee’s Farm.
The third is on the ground in front of the green Keypad in the Broken Arrow Factory.
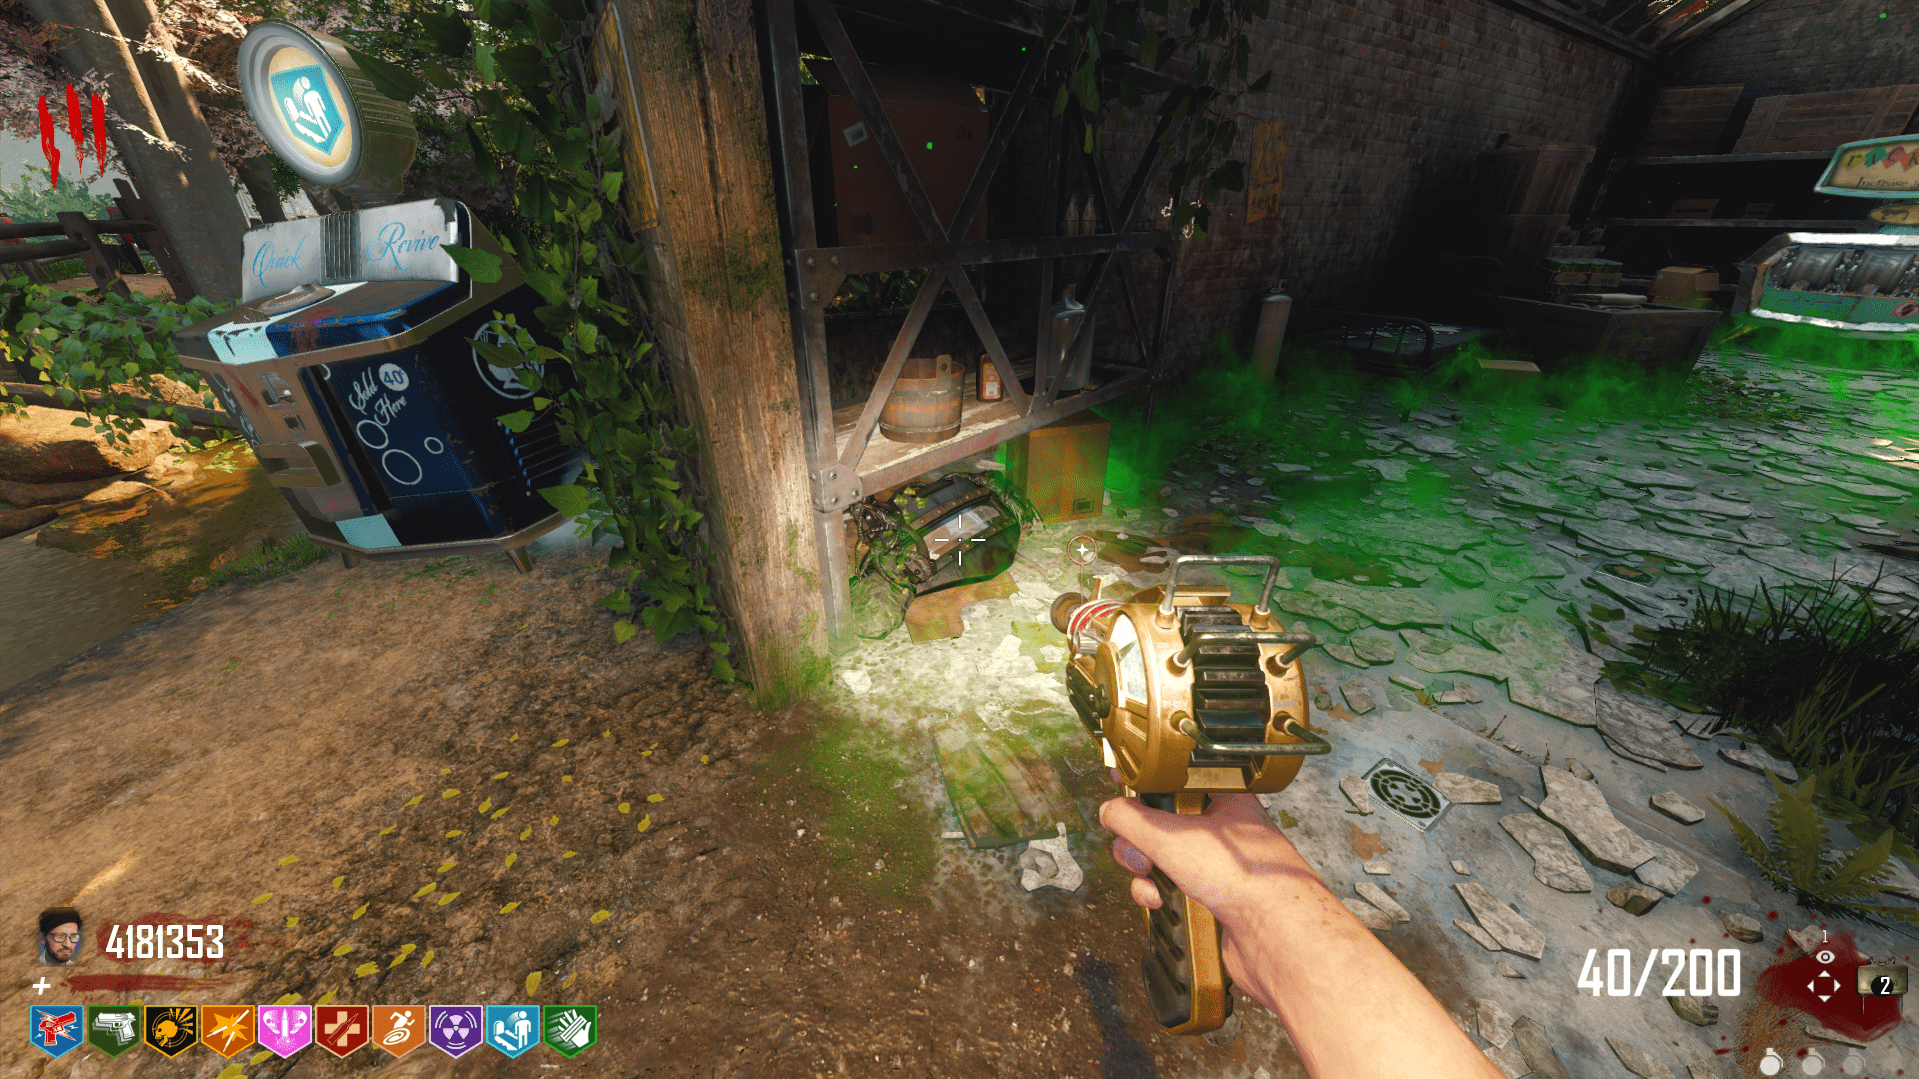
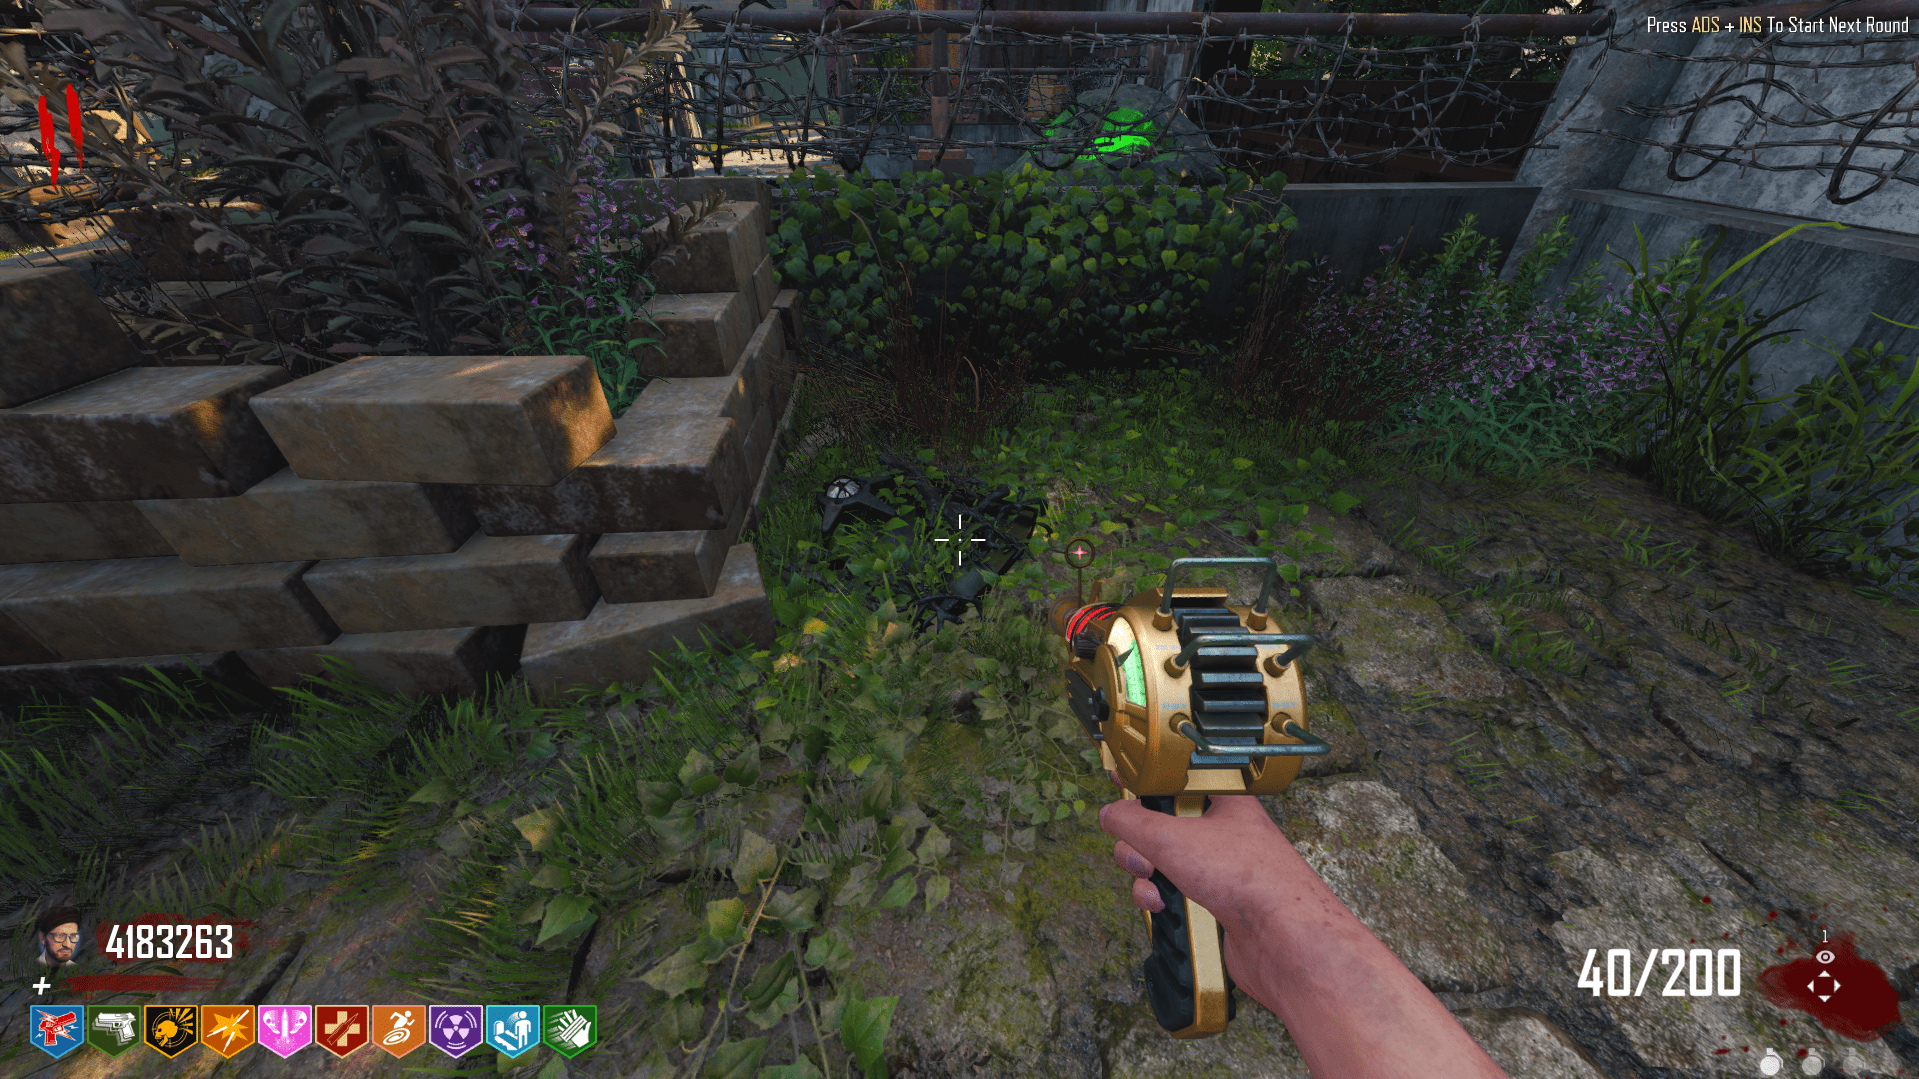
The next thing you’ll need to find is a container. The container also has three locations. The first is just outside the bunker, right next to Stamin-Up.
The second location is in the Pack-A-Punch room in spawn (read the “Turning on Pack-A-Punch” tab to clear the green smoke).

The final location is on the ground in the Picnic Area, right next to the RK 7 Garrison wallbuy.
Jeszcze raz, pick up the tools and container and bring it to Dr. Hale. Give her the tools and melee her door. She’ll now ask for you to find something to “overpower” a zombie.
Krok 5: Escort a Zombie to Dr. Hale
OSTRZEŻENIE: DO NOT USE A PACK-A-PUNCHED WEAPON WITH THE THUNDER WALL AAT FOR THIS STEP! THIS CAN SOFT-LOCK THE EASTER EGG AND YOU’LL HAVE TO RESTART!
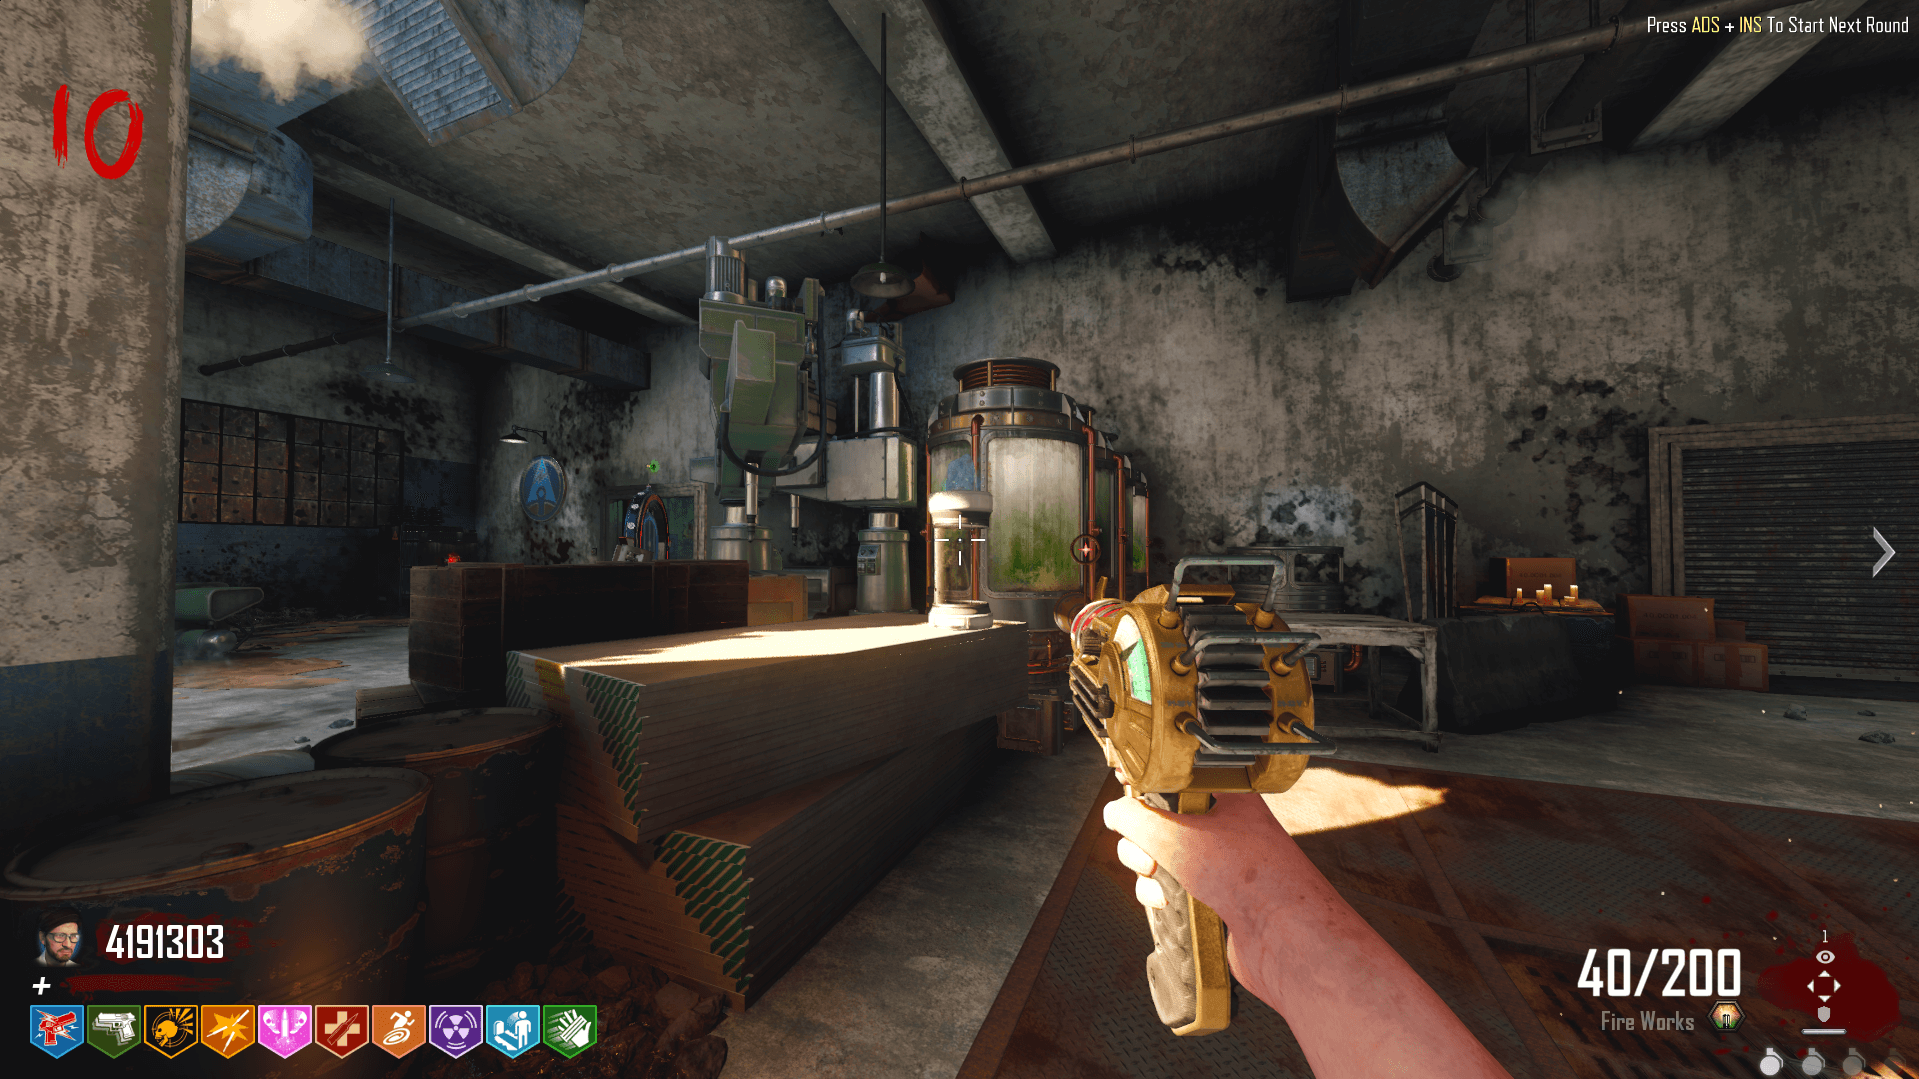
The tool to “overpower” a zombie is the Puke Ray, which is MORI REBIRTH’s custom wonder weapon. It is a revolver with a barrel similar to the Shrink Ray, and you’ll need to find it in the Mystery Box. Wszystkiego najlepszego 🙂
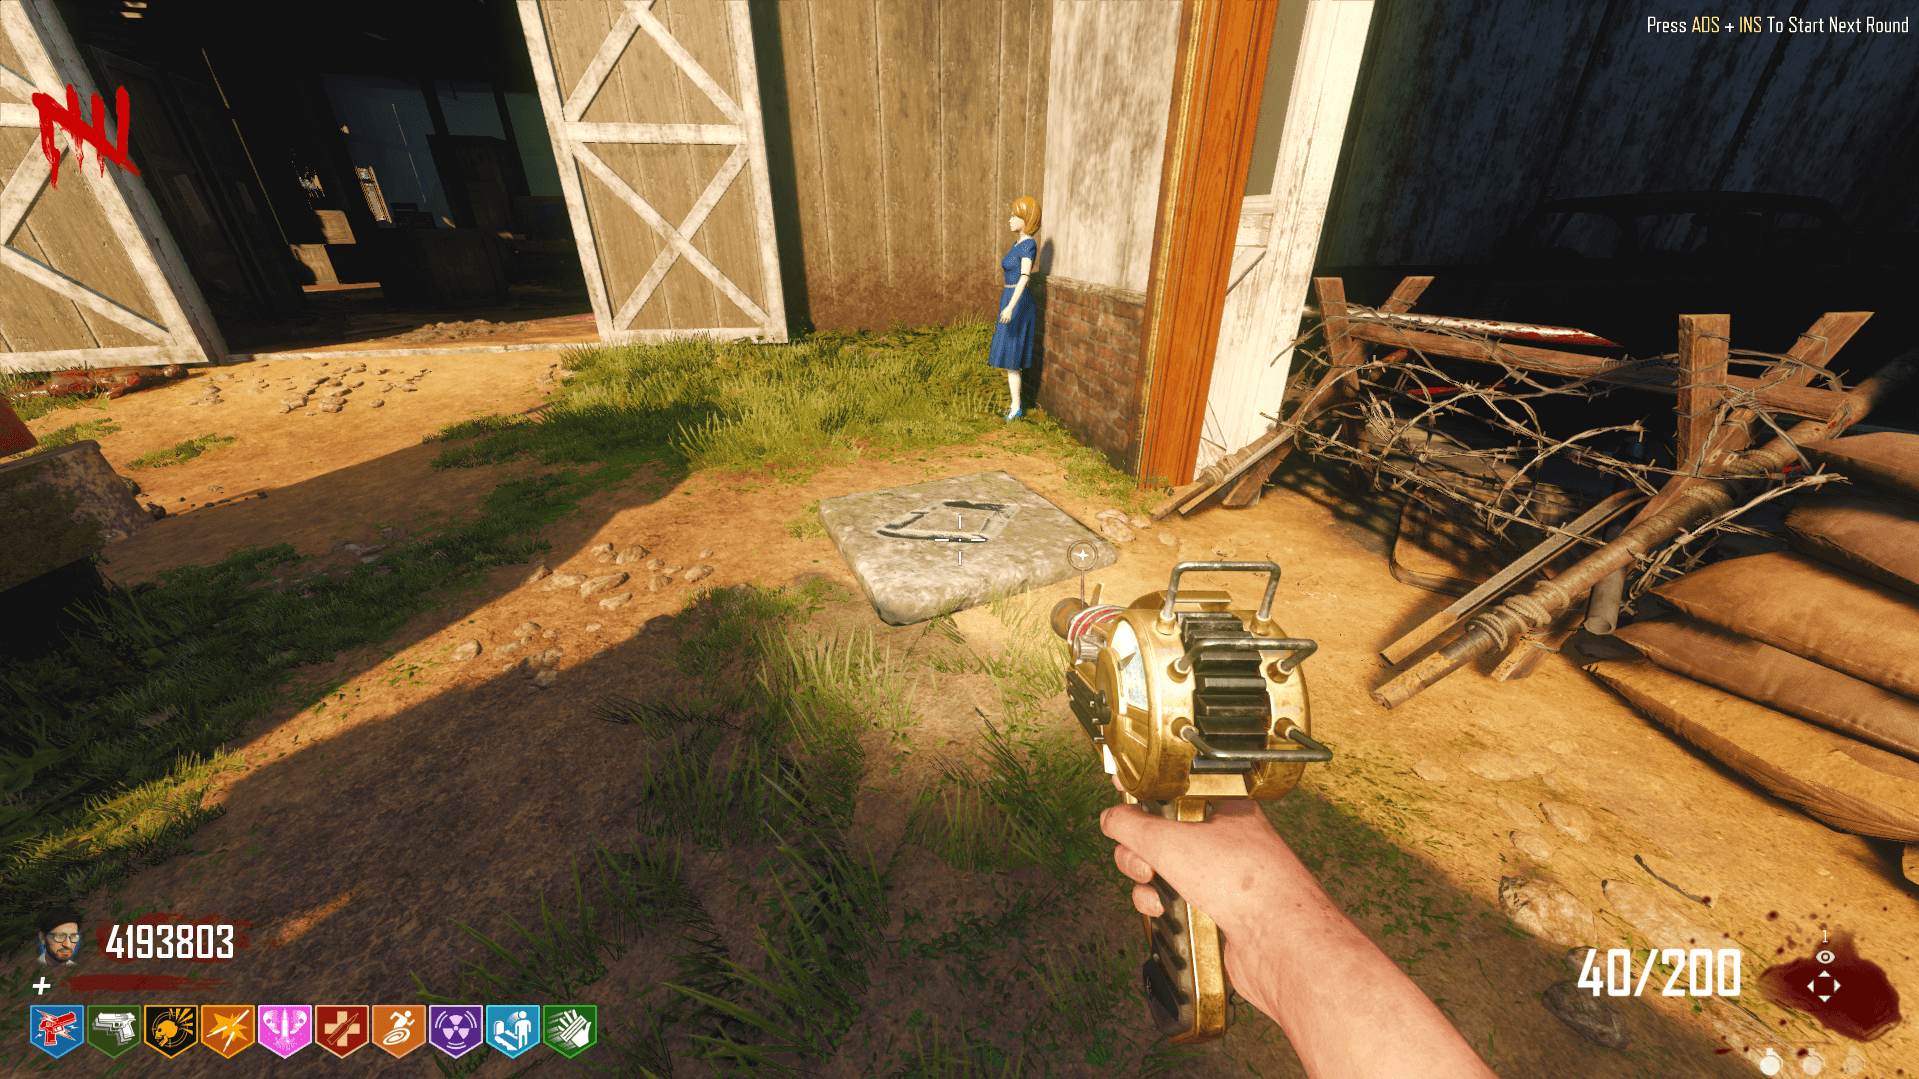
Once you get the Puke Ray, melee Hale’s door again and she’ll ask you to bring a specific kind of zombie to her. W tym momencie, a zombie with a glowing orange mist around it will spawn in front of the house at Refugee’s Farm.

Shoot this zombie with the Puke Ray and inject it by interacting with it. Teraz, you have to escort this zombie to Dr. Hale’s bunker by staying very close to him. A ton of monkeys will spawn and attack you, but don’t worry about accidentally shooting the zombie, he’s invincible (jeszcze raz, do NOT shoot him with a Thunder Wall weapon.)
Once you reach the bunker, he’ll be teleported to Dr. Hale and she will now ask for a chip.
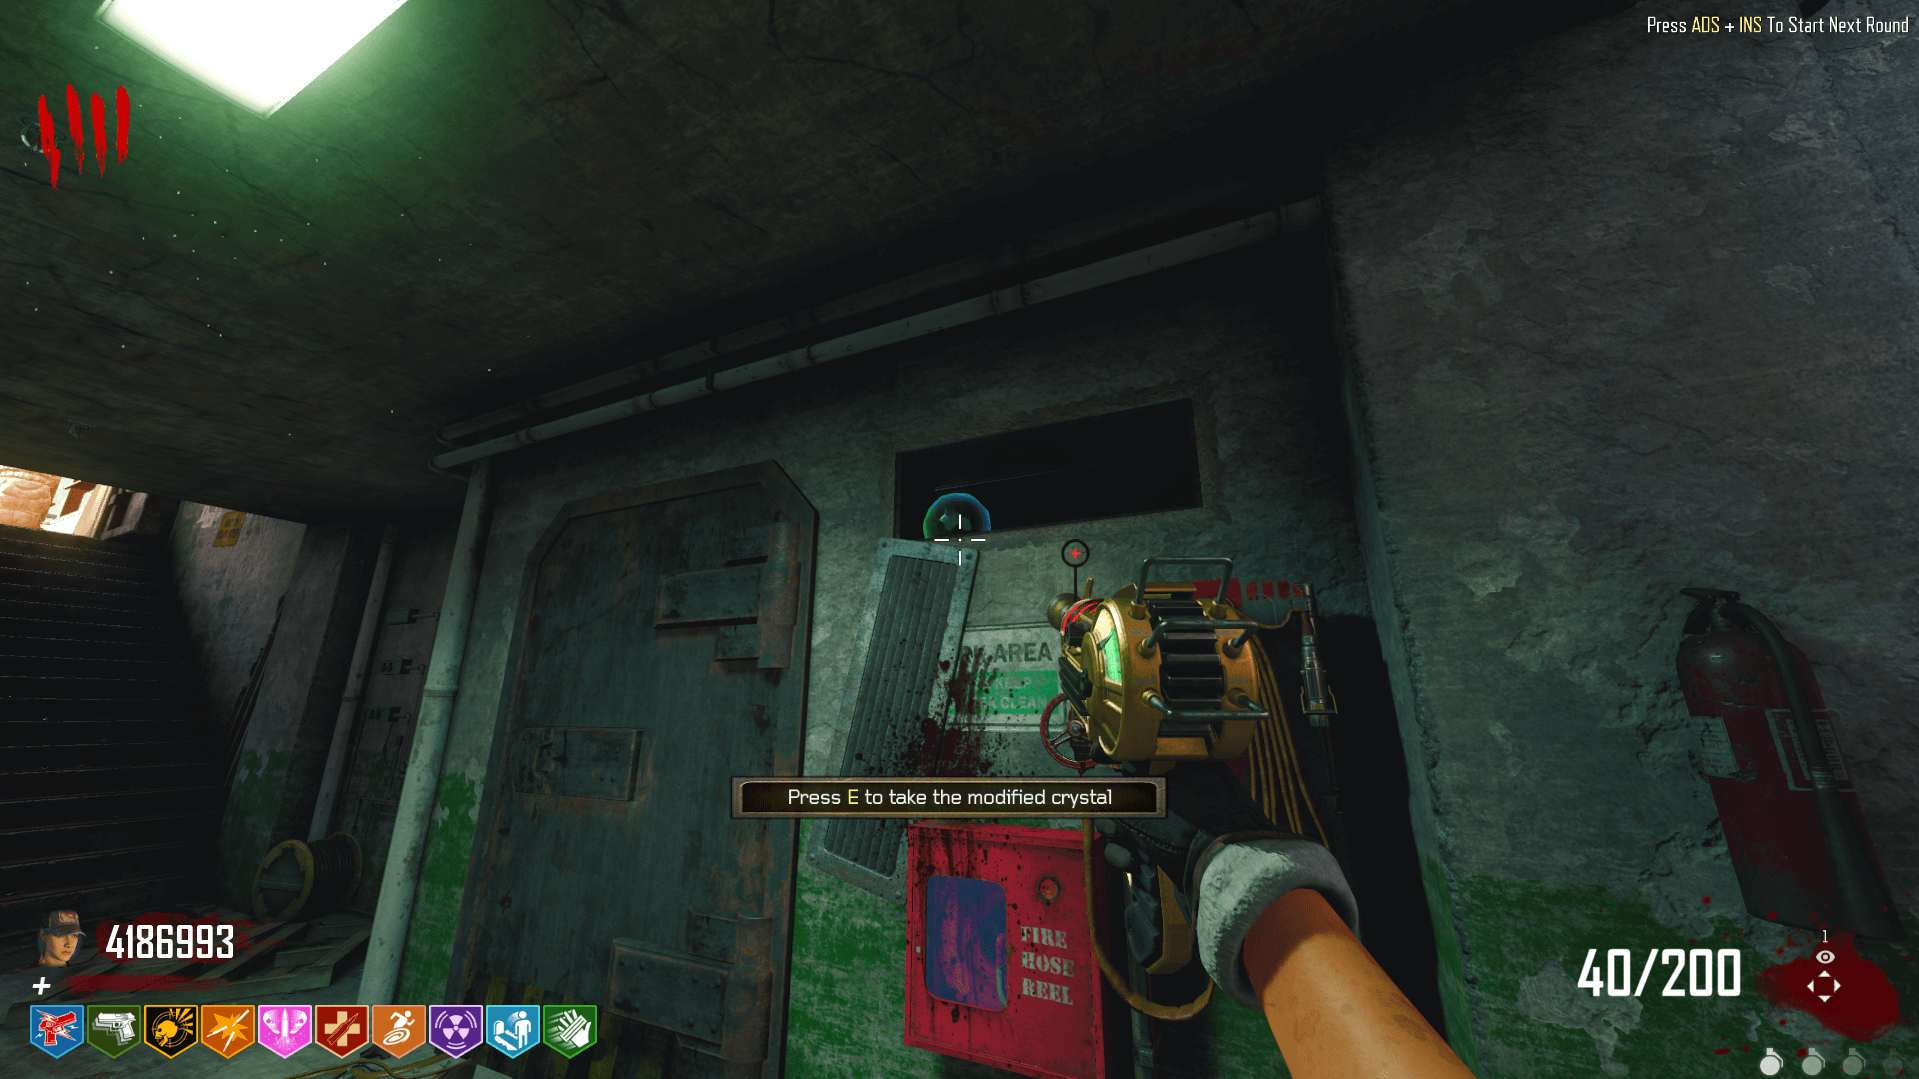
Krok 6: Give Dr. Hale a Chip
This one is rather tricky. To find the chip, go to the Refugee’s Farm and find the red button on the bottom floor of the house. Press this button.

Once you press this button, the mannequins around the Farm will start rotating their heads. Your job here is to rotate three of their heads to a forward facing position, tak.
Niestety, the three mannequins are random, and you won’t know which ones they are unless you fail the rest of them. A little trick I’ve found for this step is to rotate every single one of their heads once (there’s a total of seven mannequins), and if you hear a beep, it’s the wrong one. Once you find a mannequin you can rotate without beeping, you’ll need to rotate their head to face forward. You’ll have to do this to three different mannequins, Jednakże, if you rotate the wrong one, you’ll need to do it all over again. Just like the gong step, this requires a little trial and error.
Once you rotate three of their heads to face forward, you’ll start to hear some music and a good amount of sprinting zombies and nova crawlers will spawn. After killing the zombies, find a mannequin who’s head is surrounded with electricity. Na tym obrazie, mine was upstairs in the house, but yours may be elsewhere. Take the chip from the mannequin.
Now that you have your chip, go back to Dr. Hale and give it to her. She’ll take the chip and give you back the crystal.
Krok 7: Give Dr. Hale a Charged Fuse
Pierwszy, put the modified crystal back on the pedestal by Deadshot Daiquiri. You’ll need to charge this crystal by progressing one round.
Once you progress a round and pick up the charged crystal, a fuse will spawn in the hallway between the TranZit Power Station and the Broken Arrow Factory. Pick this up and place it in the generator on the bottom floor of the TranZit Power Station.

You’ll need to charge this fuse with zombie souls. Pretty simple, just kill zombies near it. Kiedy to się skończy, pick it up and take it back to Dr. Hale.
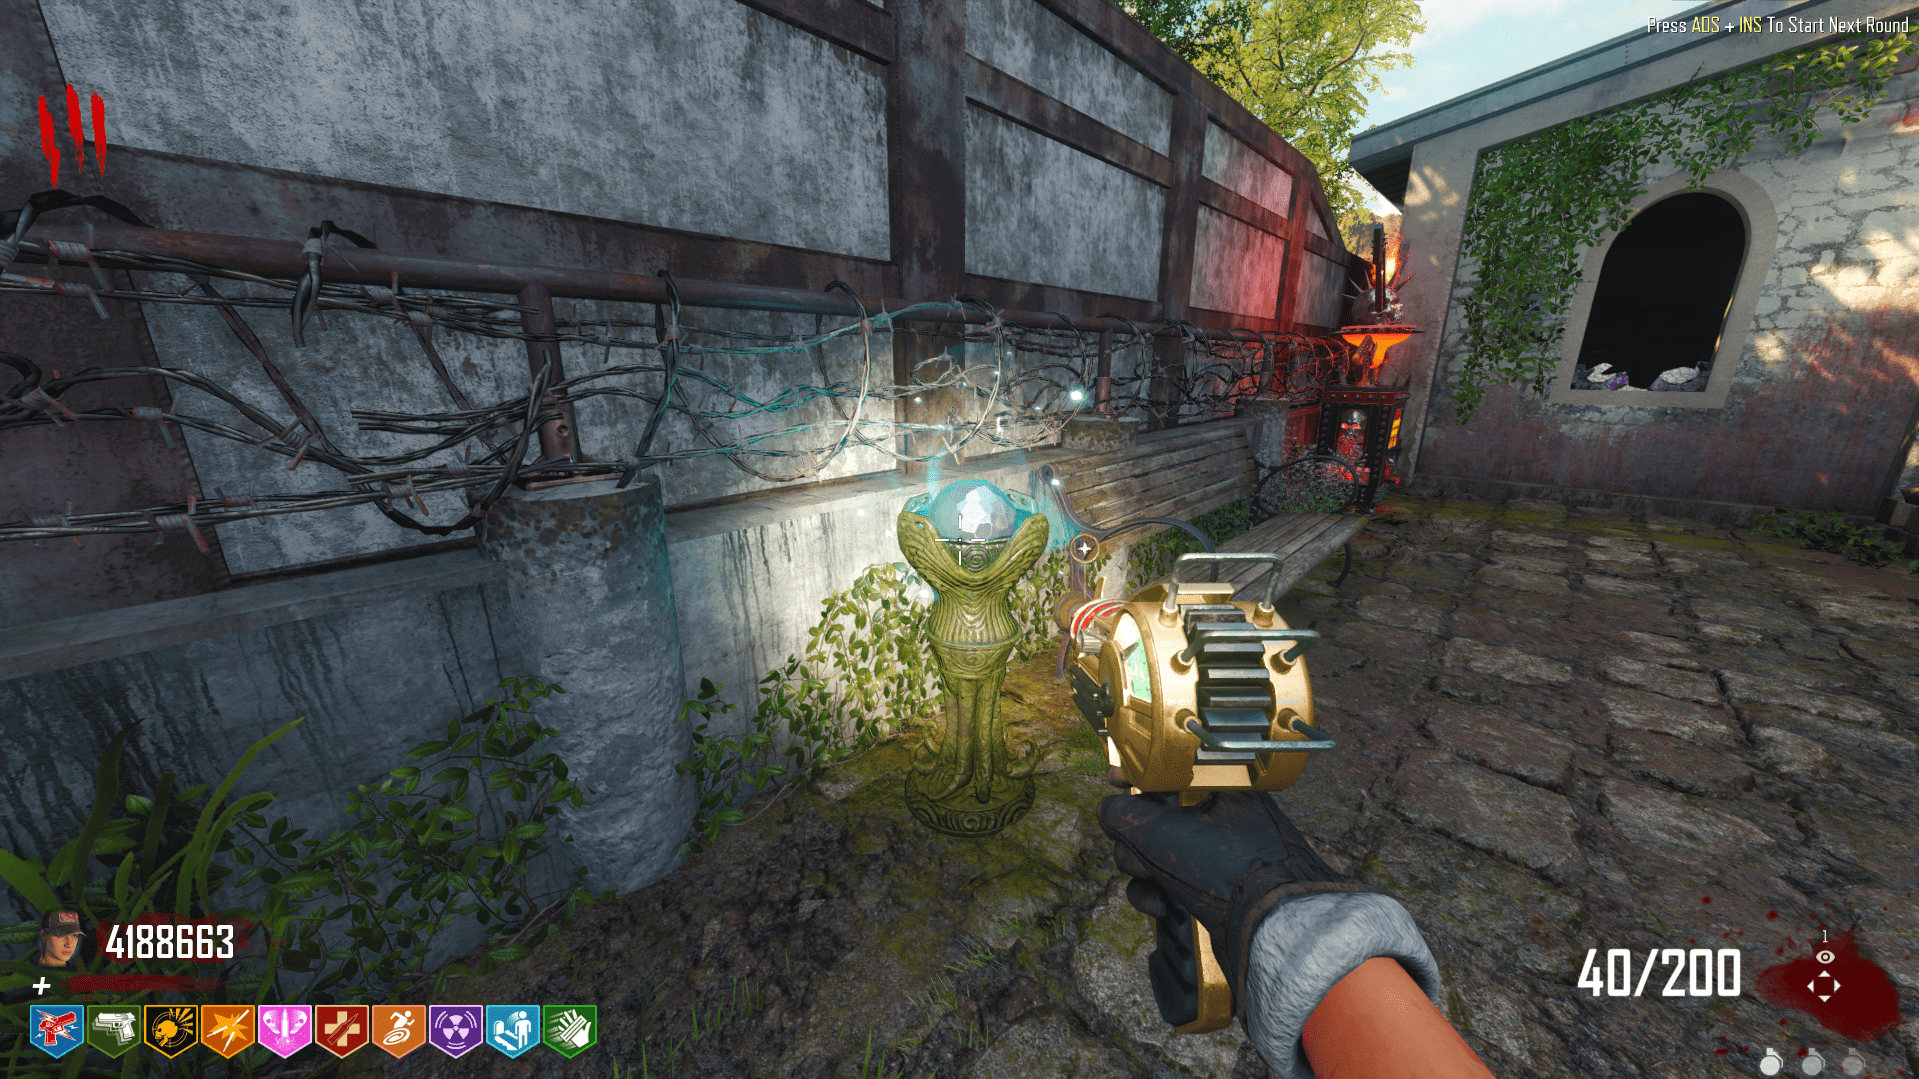
Krok 8: Put the Blue Orbs in Place
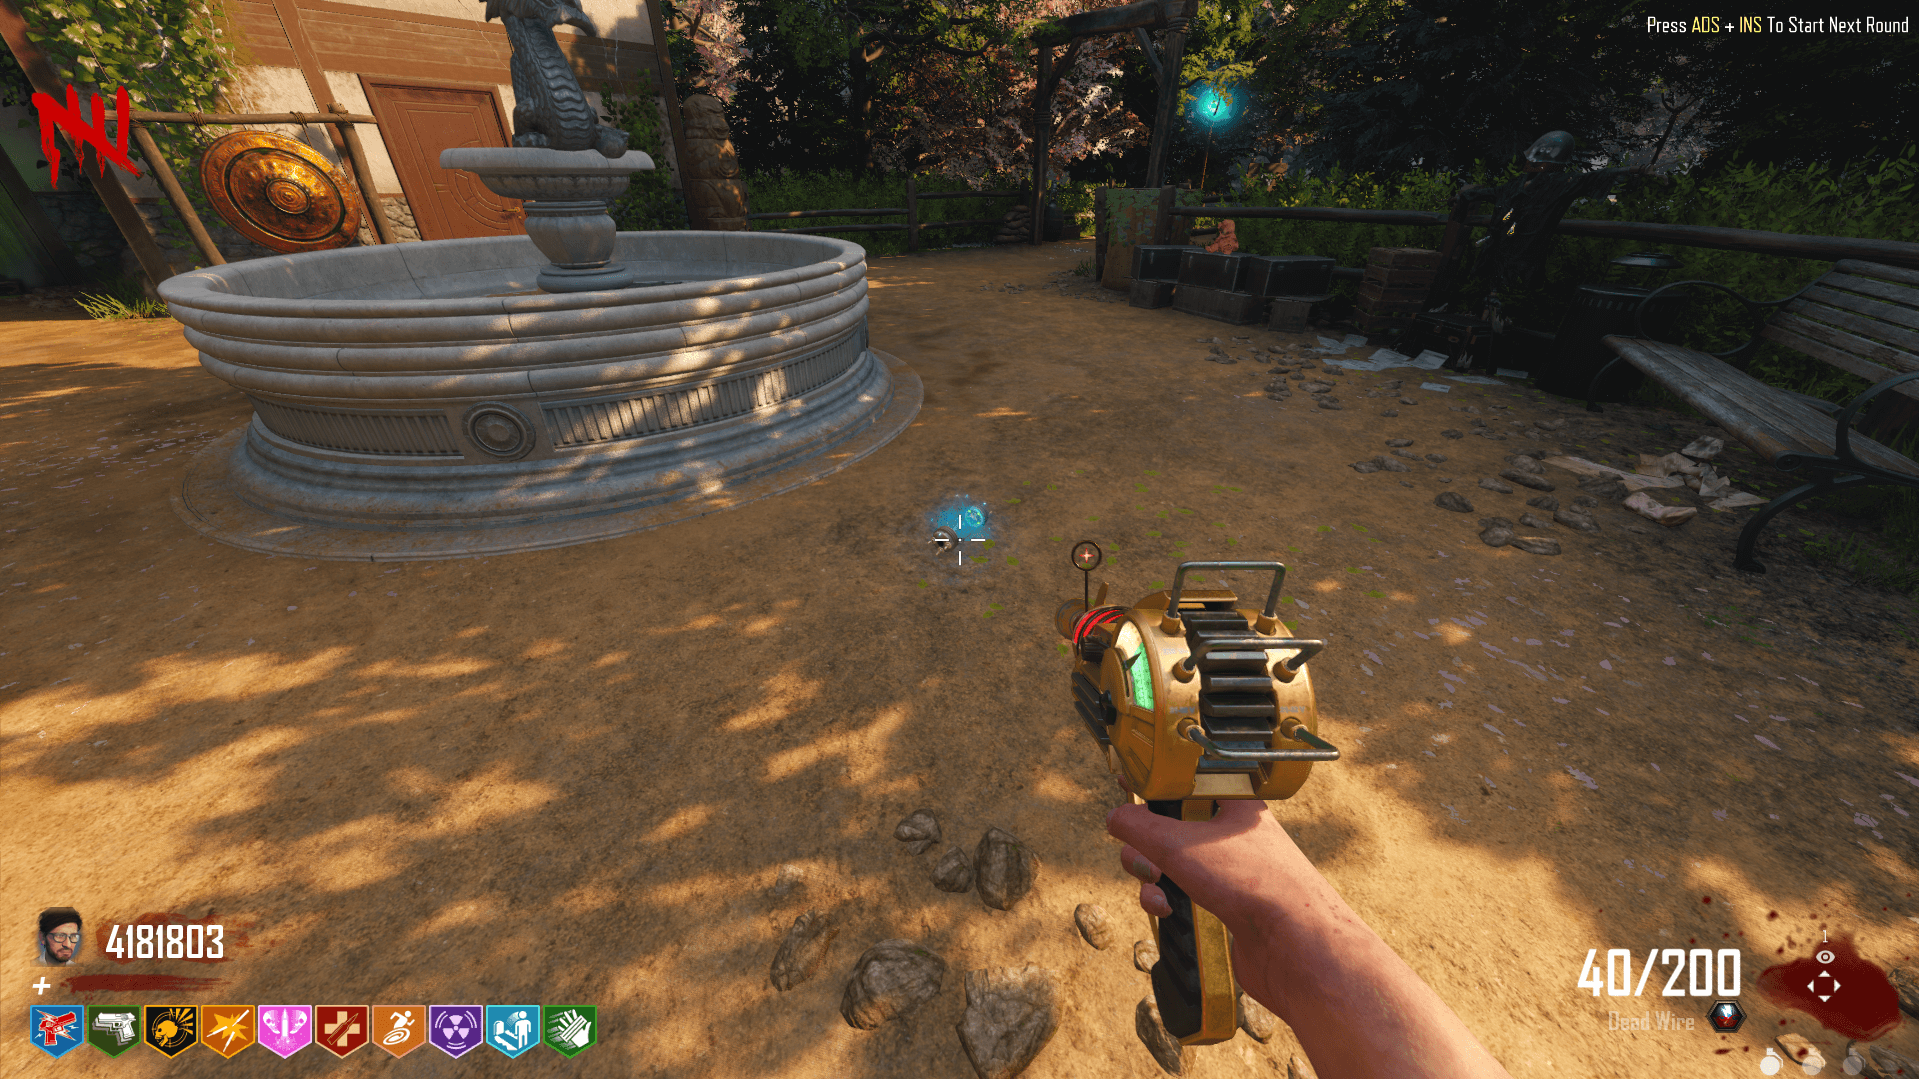
There will now be three glowing blue orbs around the map. You’ll need to get each of these into their wooden poles. There’s quite a number of these poles so you shouldn’t have too much of a problem, but be careful, getting too close to the orb will cause it to teleport somewhere else.
In order to get the orbs into the poles, you’ll have to throw a grenade at them near one of the poles. If the orb is close enough, it will float up into the pole. W przeciwnym razie, you’ll need to keep making it teleport until it is. Pamiętać, you’ll have to do this three times, but don’t worry about wasting grenades, there’s a grenade wallbuy on the wall next to PhD Slider.
As you’re putting the orbs into their poles, interact with them to charge them. Once you’ve put all three orbs into their poles and charged them, melee Hale’s door to talk to her again.
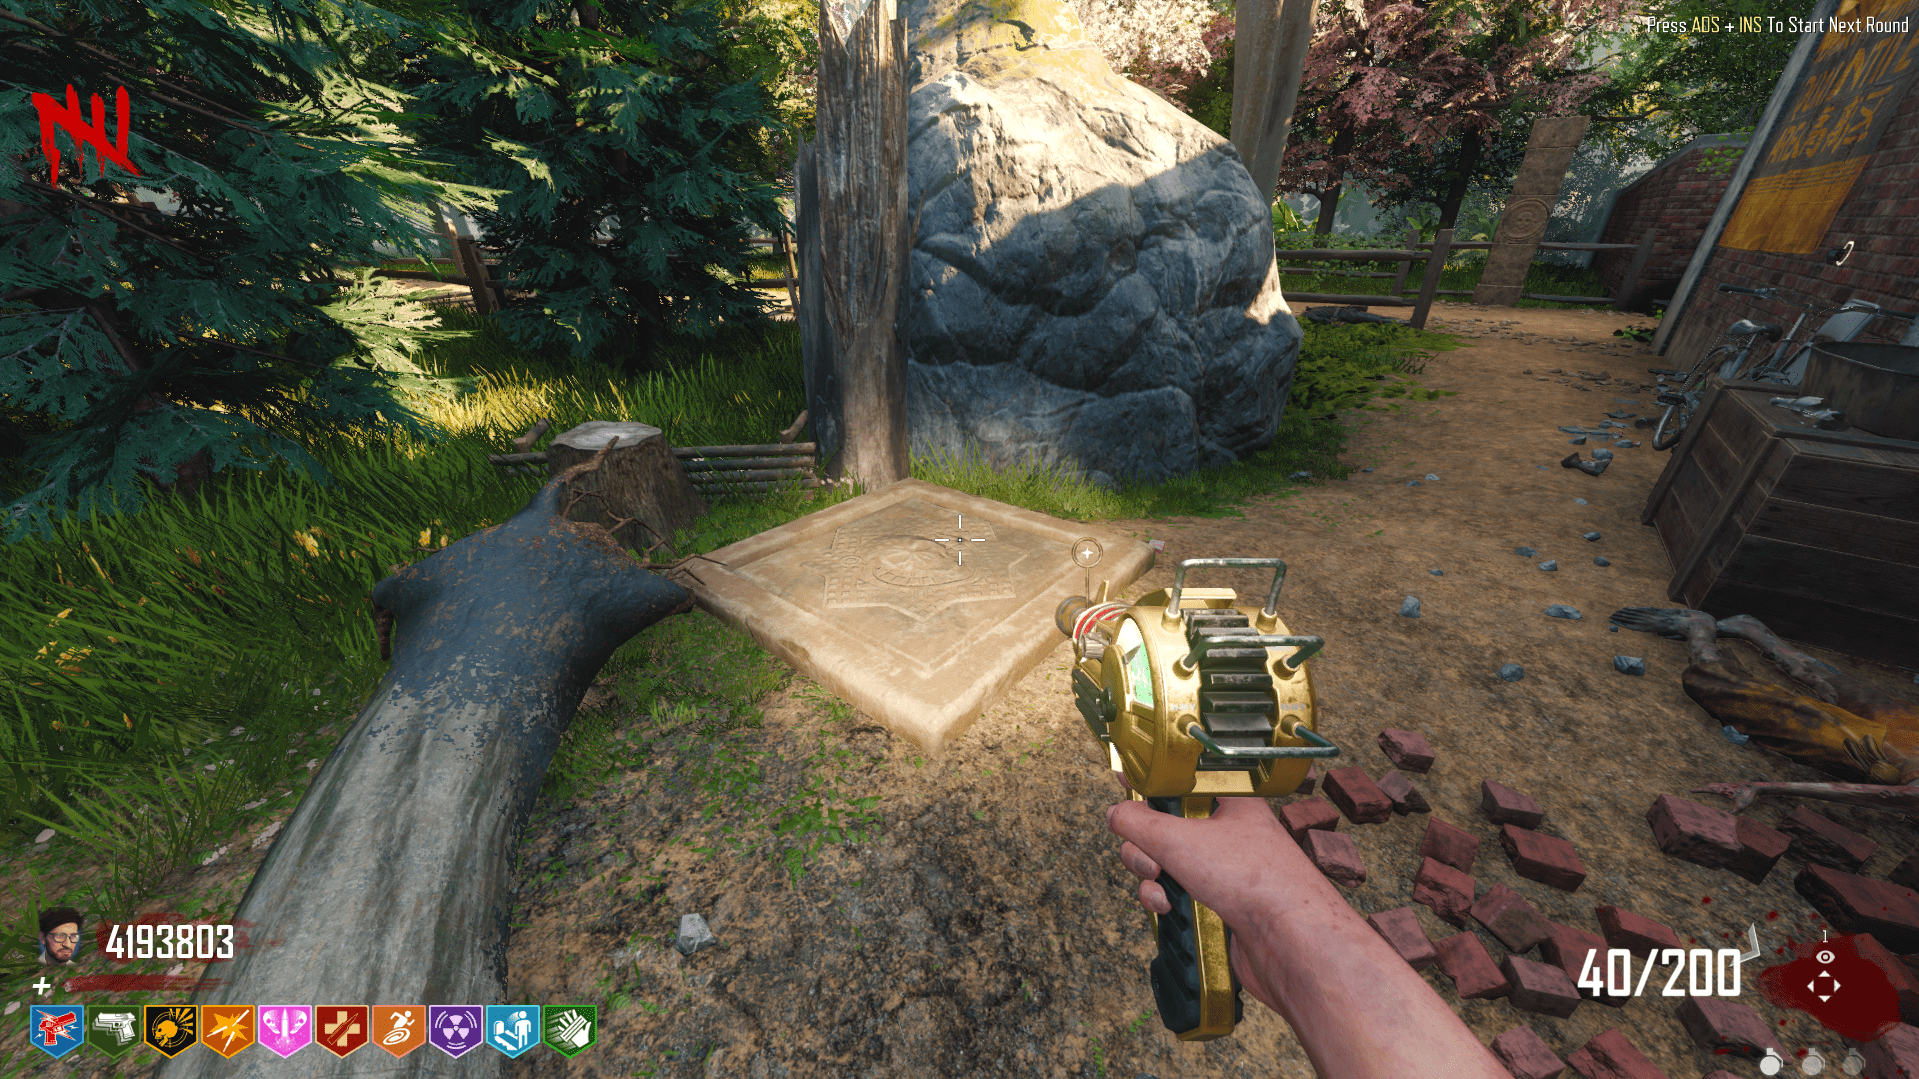
Krok 9: Pressure Plates and Symbols
OSTRZEŻENIE: MAKE SURE TO READ THIS STEP VERY CLOSELY, AS IT COULD CAUSE A LOT OF PAIN IF YOU DON’T!
The next step is to stand on each of the four pressure plates around the map. You do not need four people to do this simultaneously, you just need to stand on it for a second so it stays down. Pierwszy jest, Oczywiście, in the spawn room.

The next one is by the Fountain, across from Mule Kick.
The third plate is in the church area, across from Deadshot Daiquiri.
The last plate is outside the TranZit Power Station.
After stepping on all four, you’ll need to go into the Pack-A-Punch room in spawn. Like I said previously, visit the “Turning on Pack-A-Punch” tab in the Guide Index if you have yet to turn it on.
Once you’re in there, there will be six tablets on the wall with random symbols on them. You’ll need to interact with each of the symbols until one of them stays glowing rather than turning off.
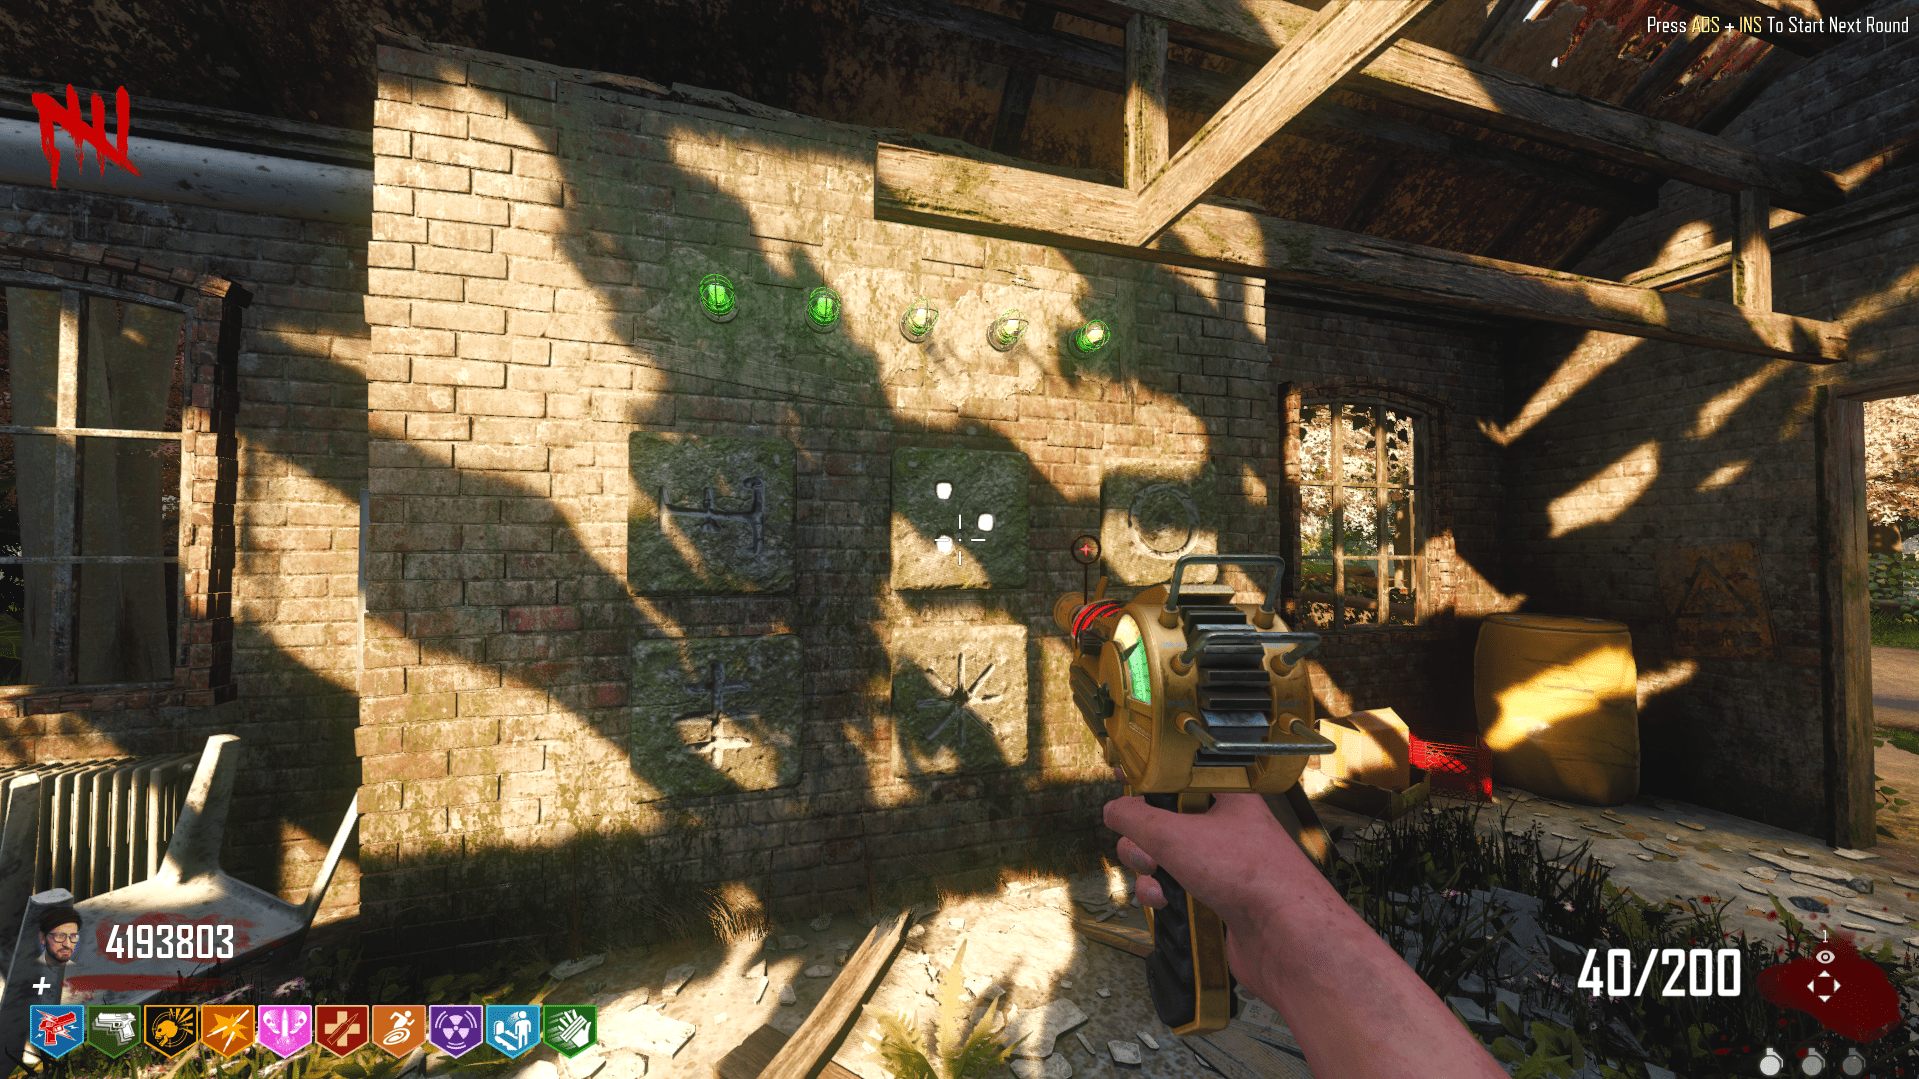
Once one of the tablets begins glowing, there will be a total of twelve symbols that spawn on the ground around the map, with one of them being the symbol you need. You’ll need to find your tablet’s correct symbol and stand on it (locations below). Kiedy już to zrobisz, go back to Pack-A-Punch and your tablet should be permanently glowing. You’ll now need to do this to each of the six tablets.
Make sure not to fail as standing on the wrong one will cause it to reset, and you’ll need to start all over. Speaking of failing, there will be six extra symbols on the ground that are not a part of your six tablets. If you find one of these, DO NOT STEP ON IT. You will fail immediately and will have to restart.
Również, before you begin this step, make sure to MEMORIZE the exact order you complete the symbols, as you’ll need that order later. You may need to use a pen and paper or a notes app. Also remember that the symbols in the screenshots below are random, and while the plates themselves will be in the same spots, the symbols may be different.
The first symbol is in front of Mule Kick. The second symbol is outside the bunker, in front of Stamin-Up.
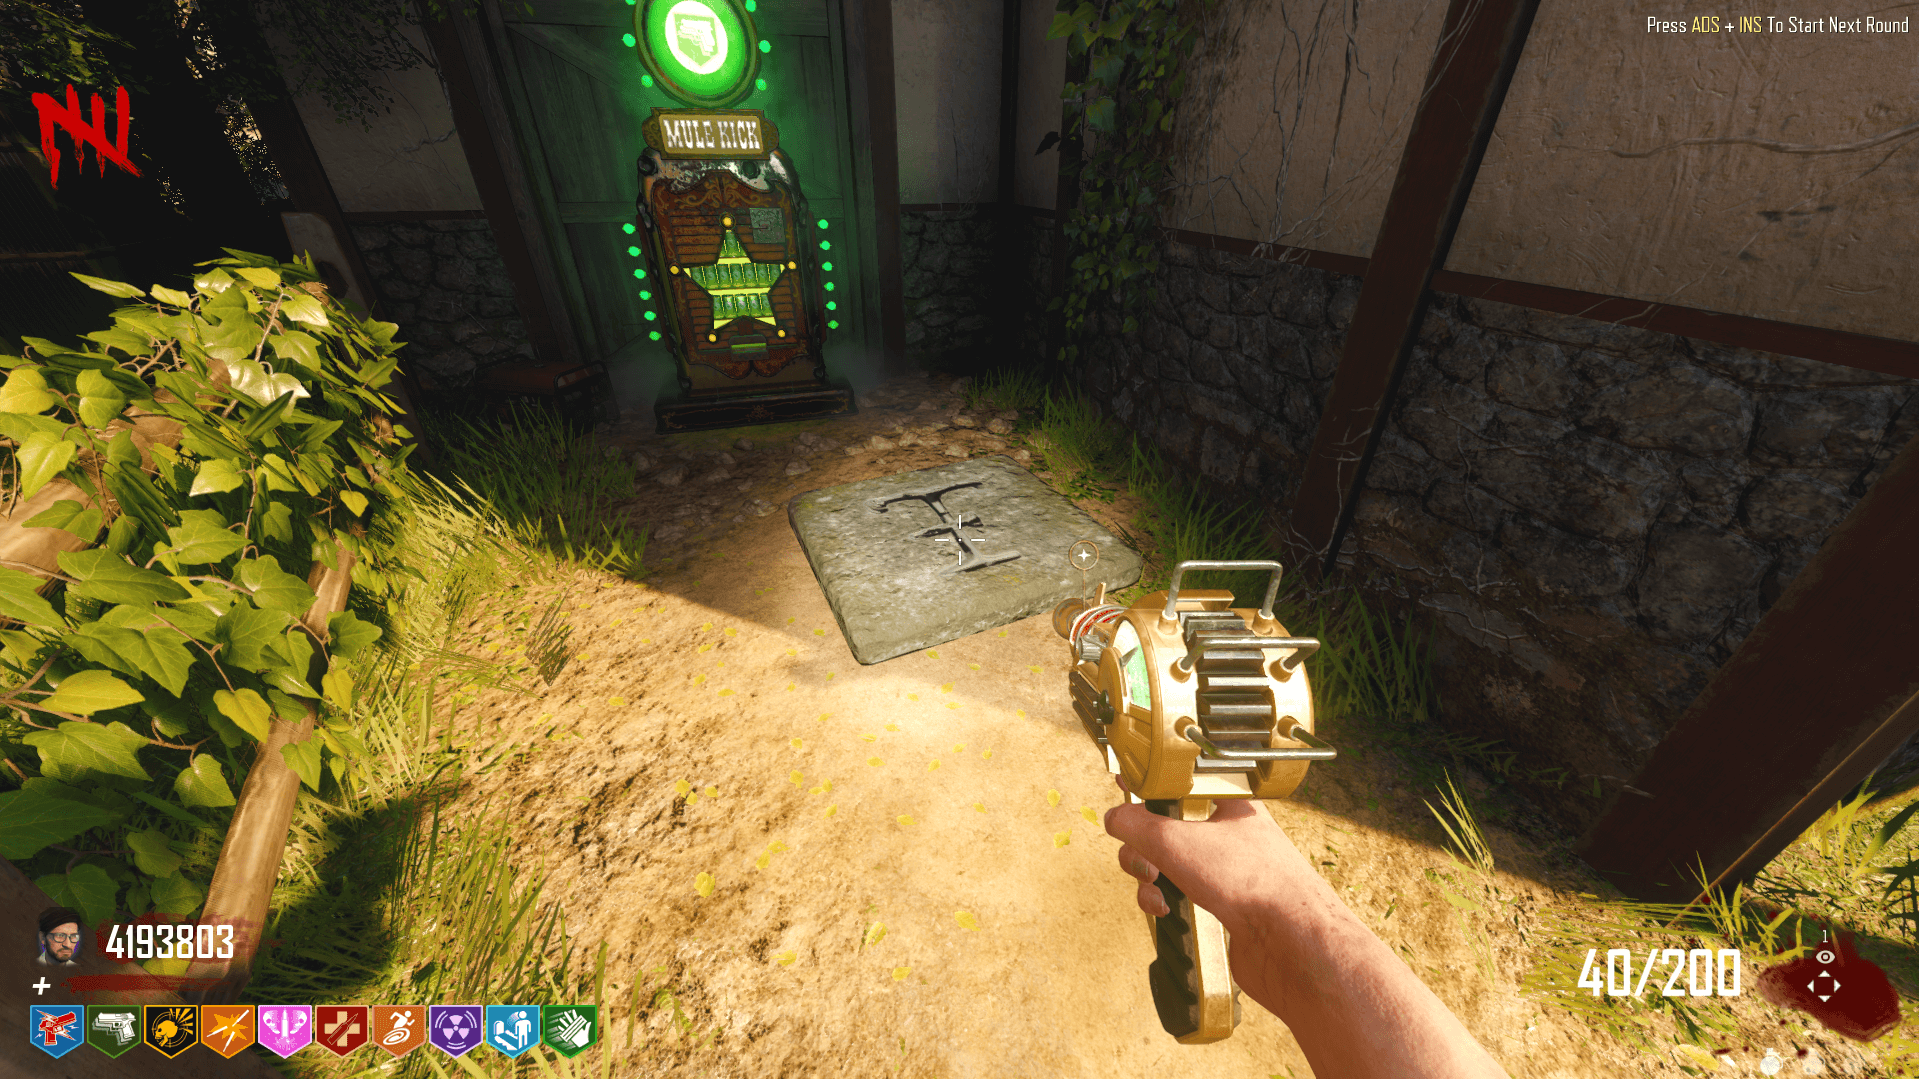
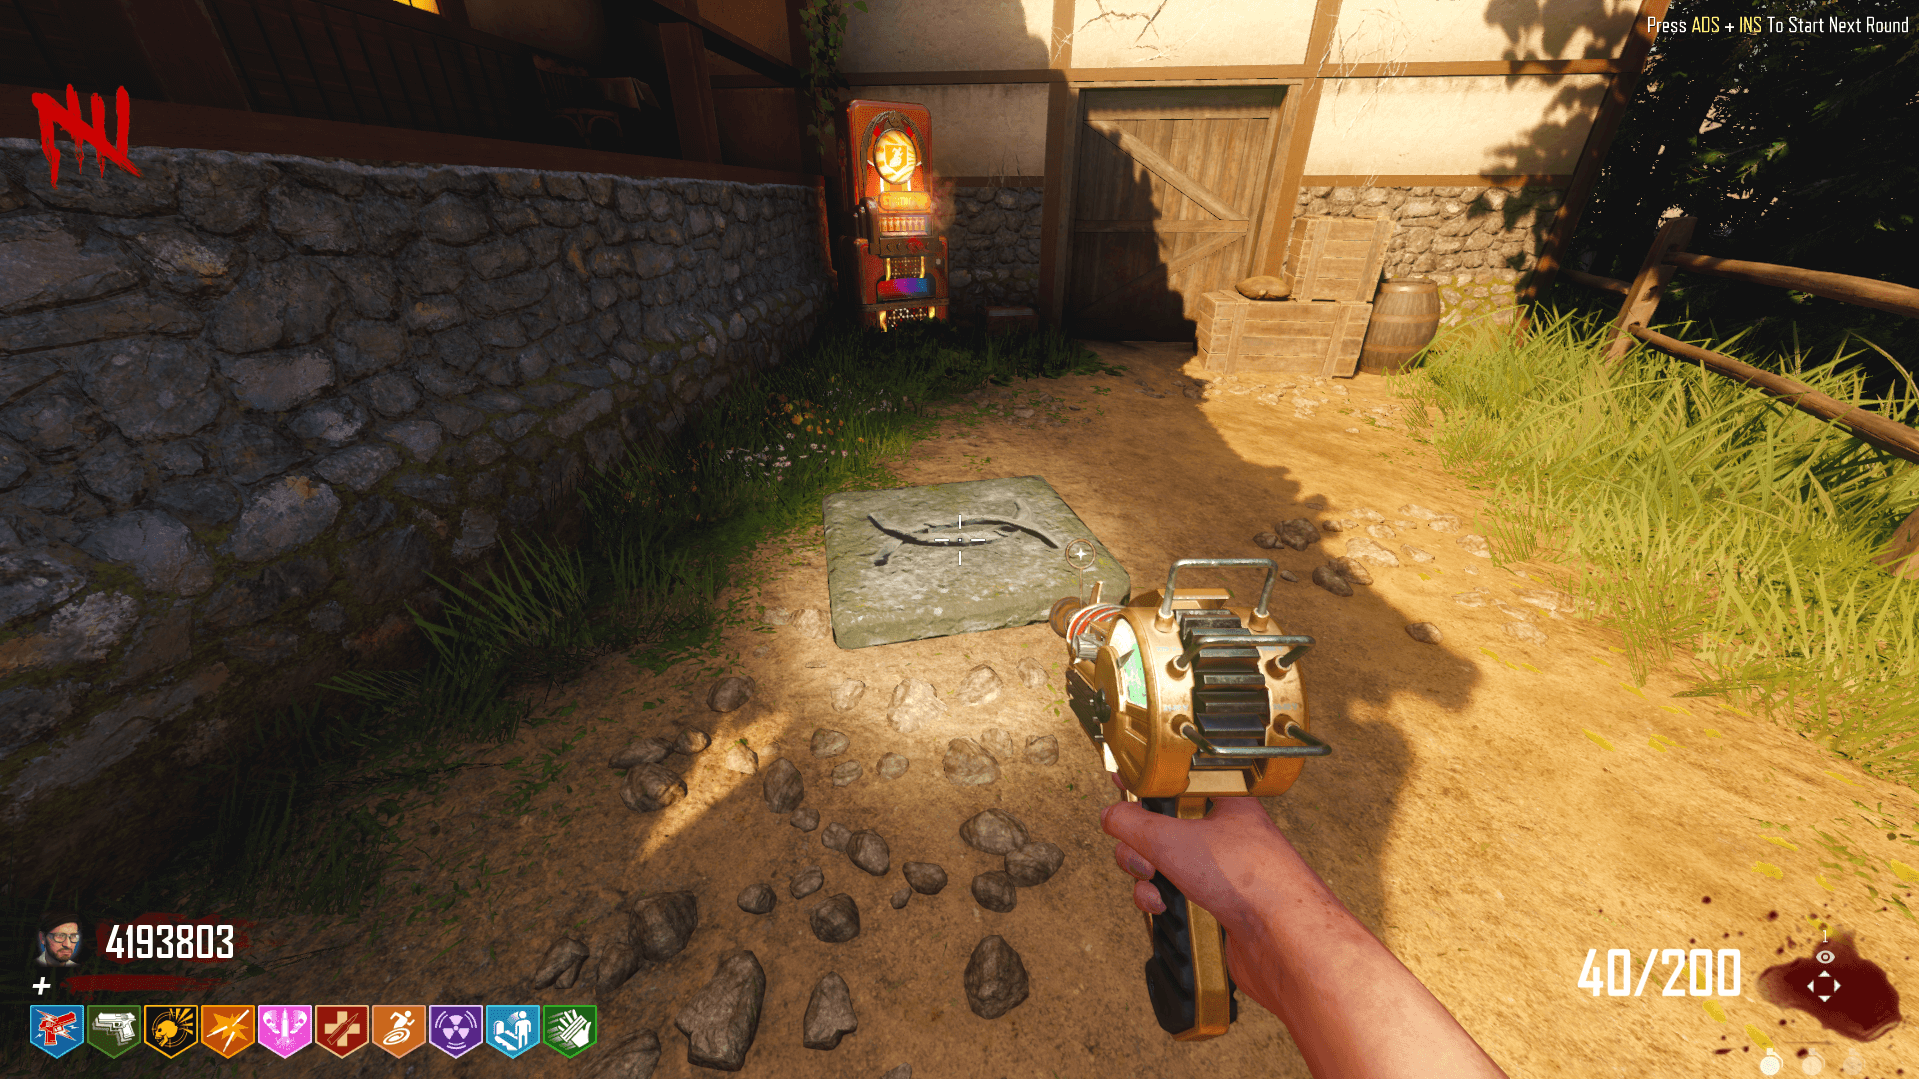
The third symbol is in the middle of the path to church. The fourth symbol is next to Deadshot Daiquiri.
The fifth symbol is in Hale’s Garden, in front of the Broken Arrow Factory entrance. The sixth symbol is in the Broken Arrow Factory, at the entrance from Hale’s Garden.
The seventh symbol is on the other side of the Broken Arrow Factory, next to the Keypad. The eighth symbol is in the Elemental Pop room, right across from the perk machine.
The ninth symbol is on the bottom floor of the TranZit Power Station, by Speed Cola. The tenth symbol is at the entrance to the Picnic Area.
The eleventh symbol is at the entrance to the Refugee’s Farm. The twelfth and final symbol is in front of the shed in Refugee’s Farm.
Once you have successfully completed all six tablets, you’ll now need to step on all four of the pressure plates again. Once you step on the last plate, the ten symbols will appear again. Tym razem, you’ll have to step on them in the EXACT same order you did it the first time. This is why you needed to memorize them earlier. If you fail, you’ll have to restart.
You’ll know if you did it right if you hear a sound after stepping on the final one. Once you hear the sound, talk to Dr. Hale again.
Krok 10: Charge the Fuses
The next step is to charge three fuses around the map. The first one is just outside the bunker on the Fountain.
You’ll have to shoot each of the three fuses with a certain AAT. The color of the fuse determines the AAT you’ll need. Blue means Dead Wire, Red means Blast Furnace, Green-Yellow means Fireworks. Since my first fuse is glowing blue, I’m going to shoot it with a Pack-A-Punched weapon with the Dead Wire AAT.
Once you shoot it, it will fall on the ground for you to pick up. The same will happen with each of the three fuses.
Pick up the fuse and take it to Hale’s Garden, and place it into the generator by the Titan wallbuy. You’ll now need to fill up the fuse like a soul box, but you must kill zombies using a gun with the same AAT you used to shoot it. You do NOT have to kill the zombies with the AAT itself, just shooting them works fine.
Once you fill that fuse, go to the church and look on the roof above Deadshot Daiquiri. That will be your next fuse. Jeszcze raz, shoot it with the correct AAT and pick it up.
Take the second fuse inside the Broken Arrow Factory, and to the right of the entrance will be the generator you’ll need to put it in. Tak jak wcześniej, kill zombies using a gun that has the same AAT you used to shoot the fuse.
Your final fuse will be in the TranZit Power Station, above the box location. Shoot it with the respective AAT (w moim przypadku, Fajerwerki) I podnieś to.
Wreszcie, put the fuse in the generator directly across from Elemental Pop, and do the same as the last two… kill zombies with a gun that has the correct AAT. Jednakże, once your done with this fuse, one of the three fuses will break, and you’ll need to interact with it to fix it.
Teraz, you can go back to talk to Dr. Hale once again.
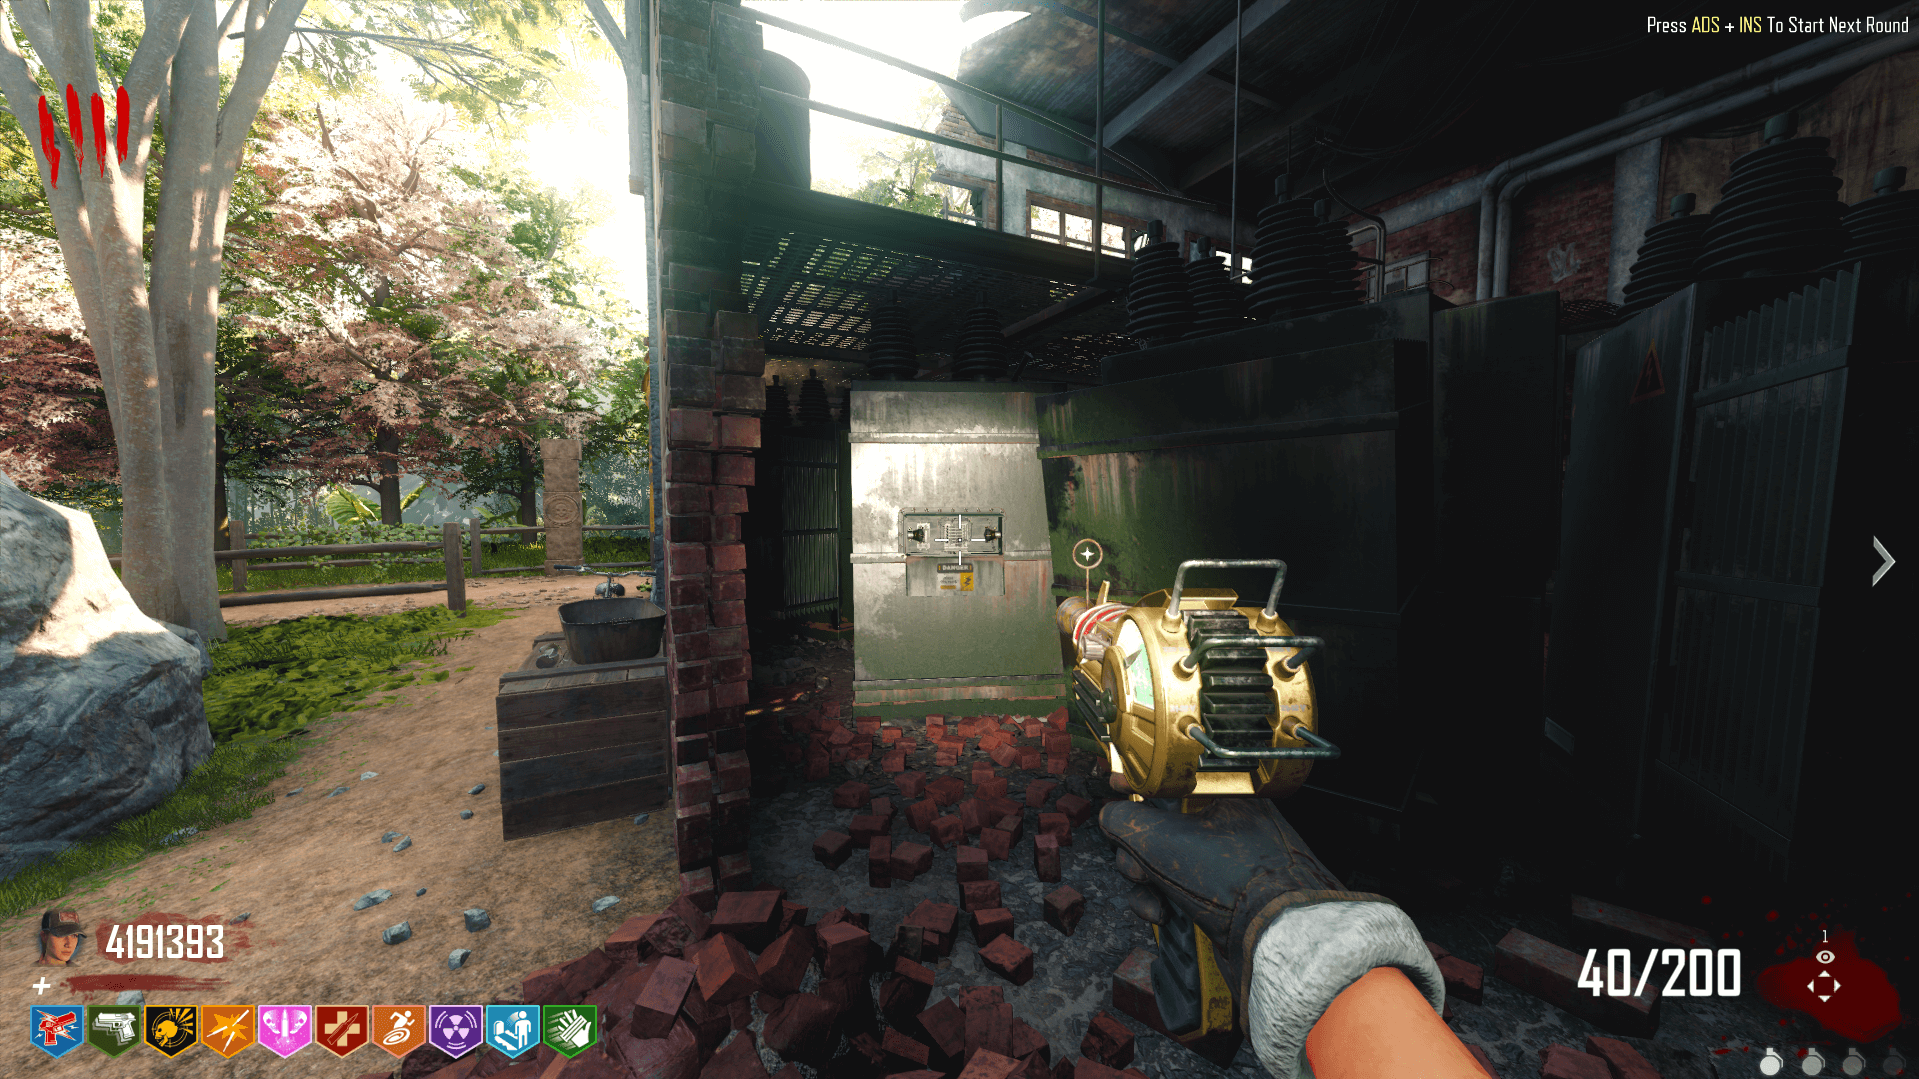
Krok 11: Destroy the Generators
Hale will now ask you to turn off the Broken Arrow protection system. Aby to zrobić, you’ll need to destroy a few generators around the map. The first is outside the bunker by Stamin-Up. It’ll be a large green generator outside the map, but pretty close to the fence.

The second generator is to the right of the first one, in between the two bunker entrances.
The third is right next to Mule Kick.
The fourth is outside the spawn room, just past the Strife wallbuy.
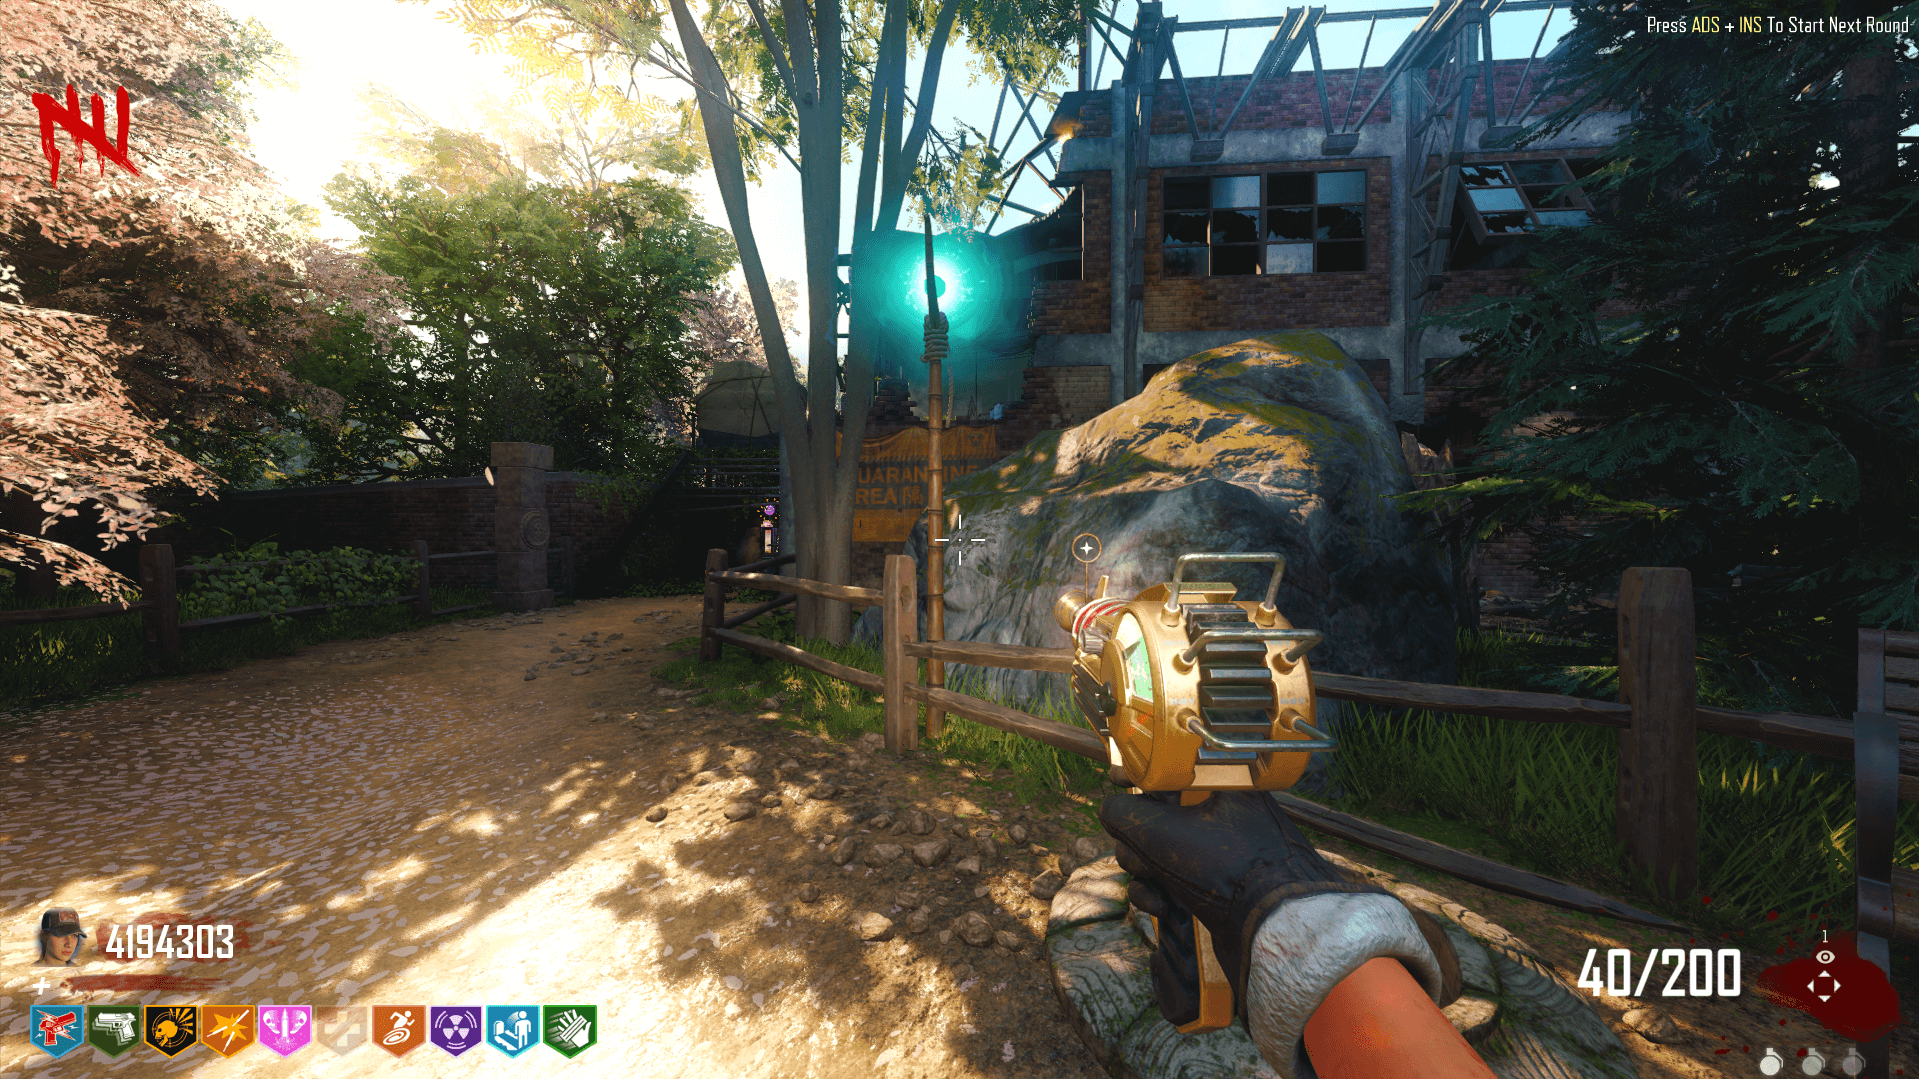
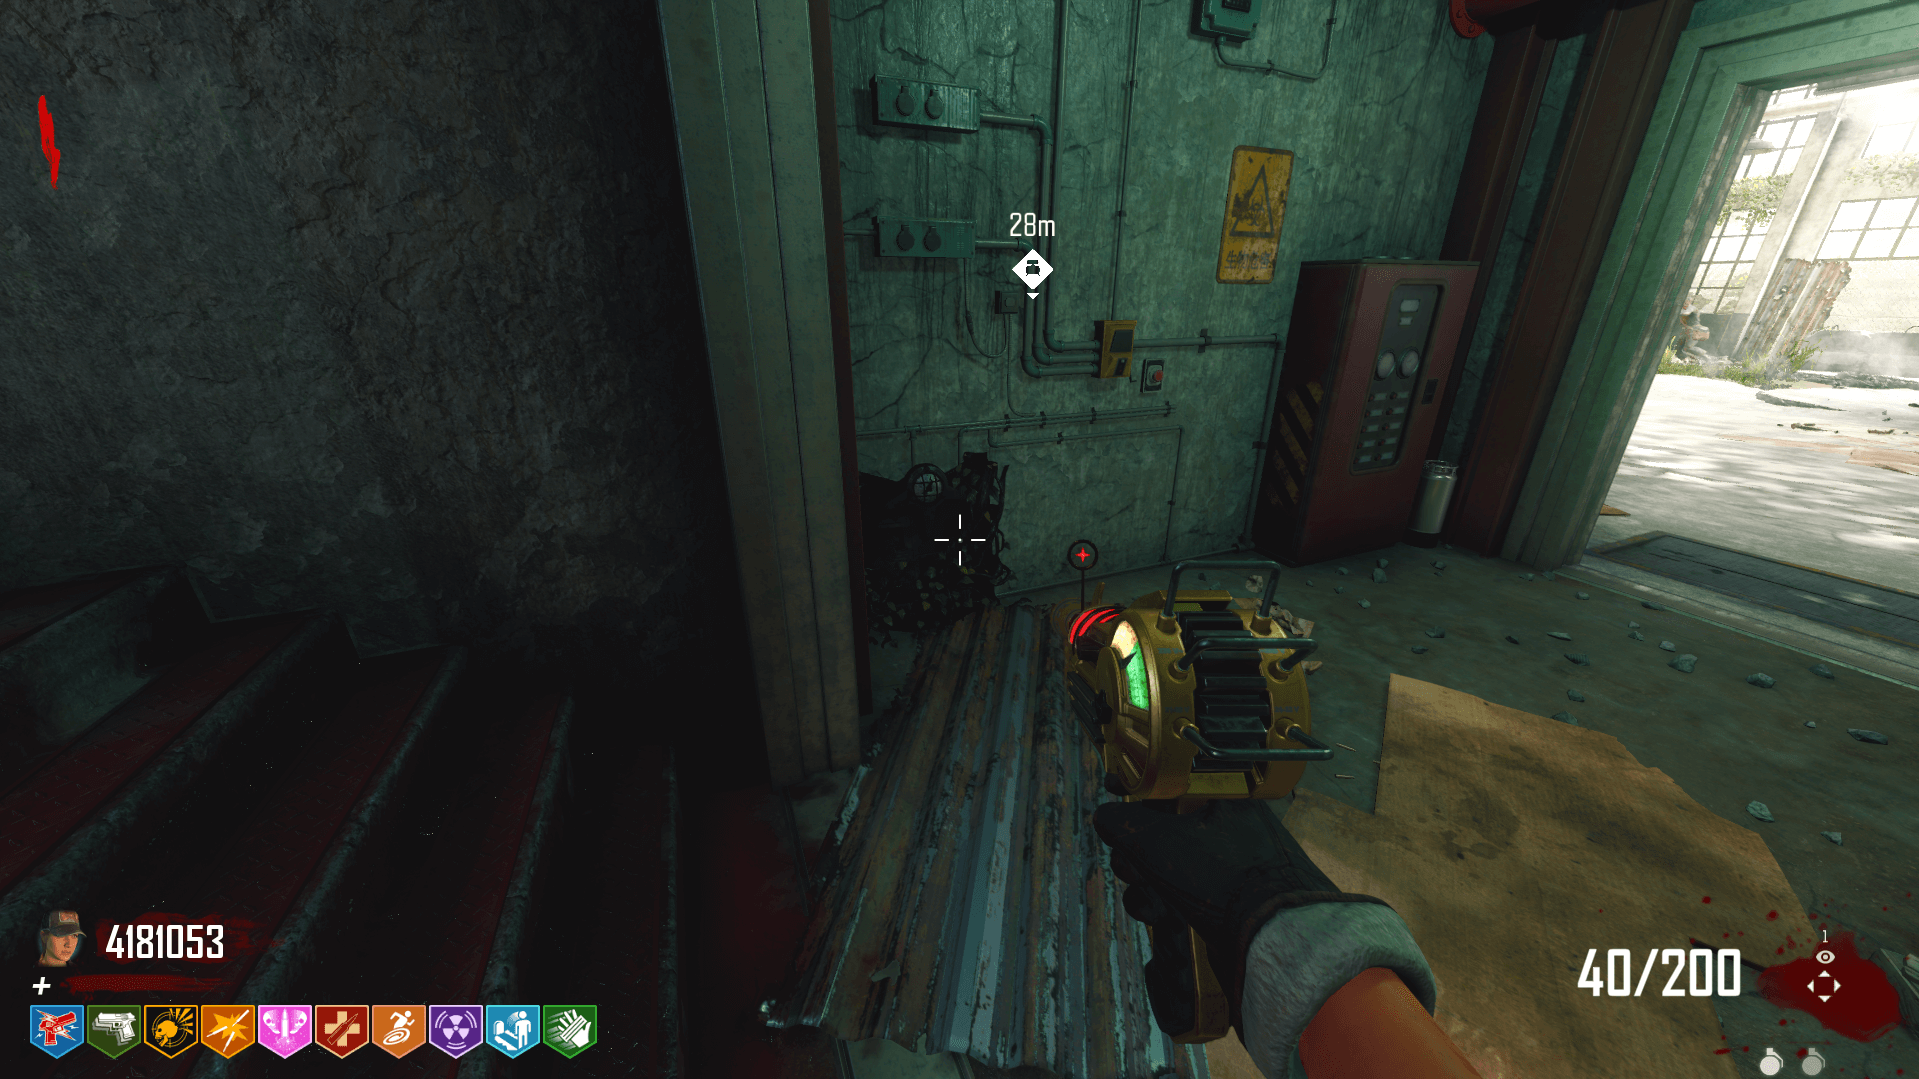
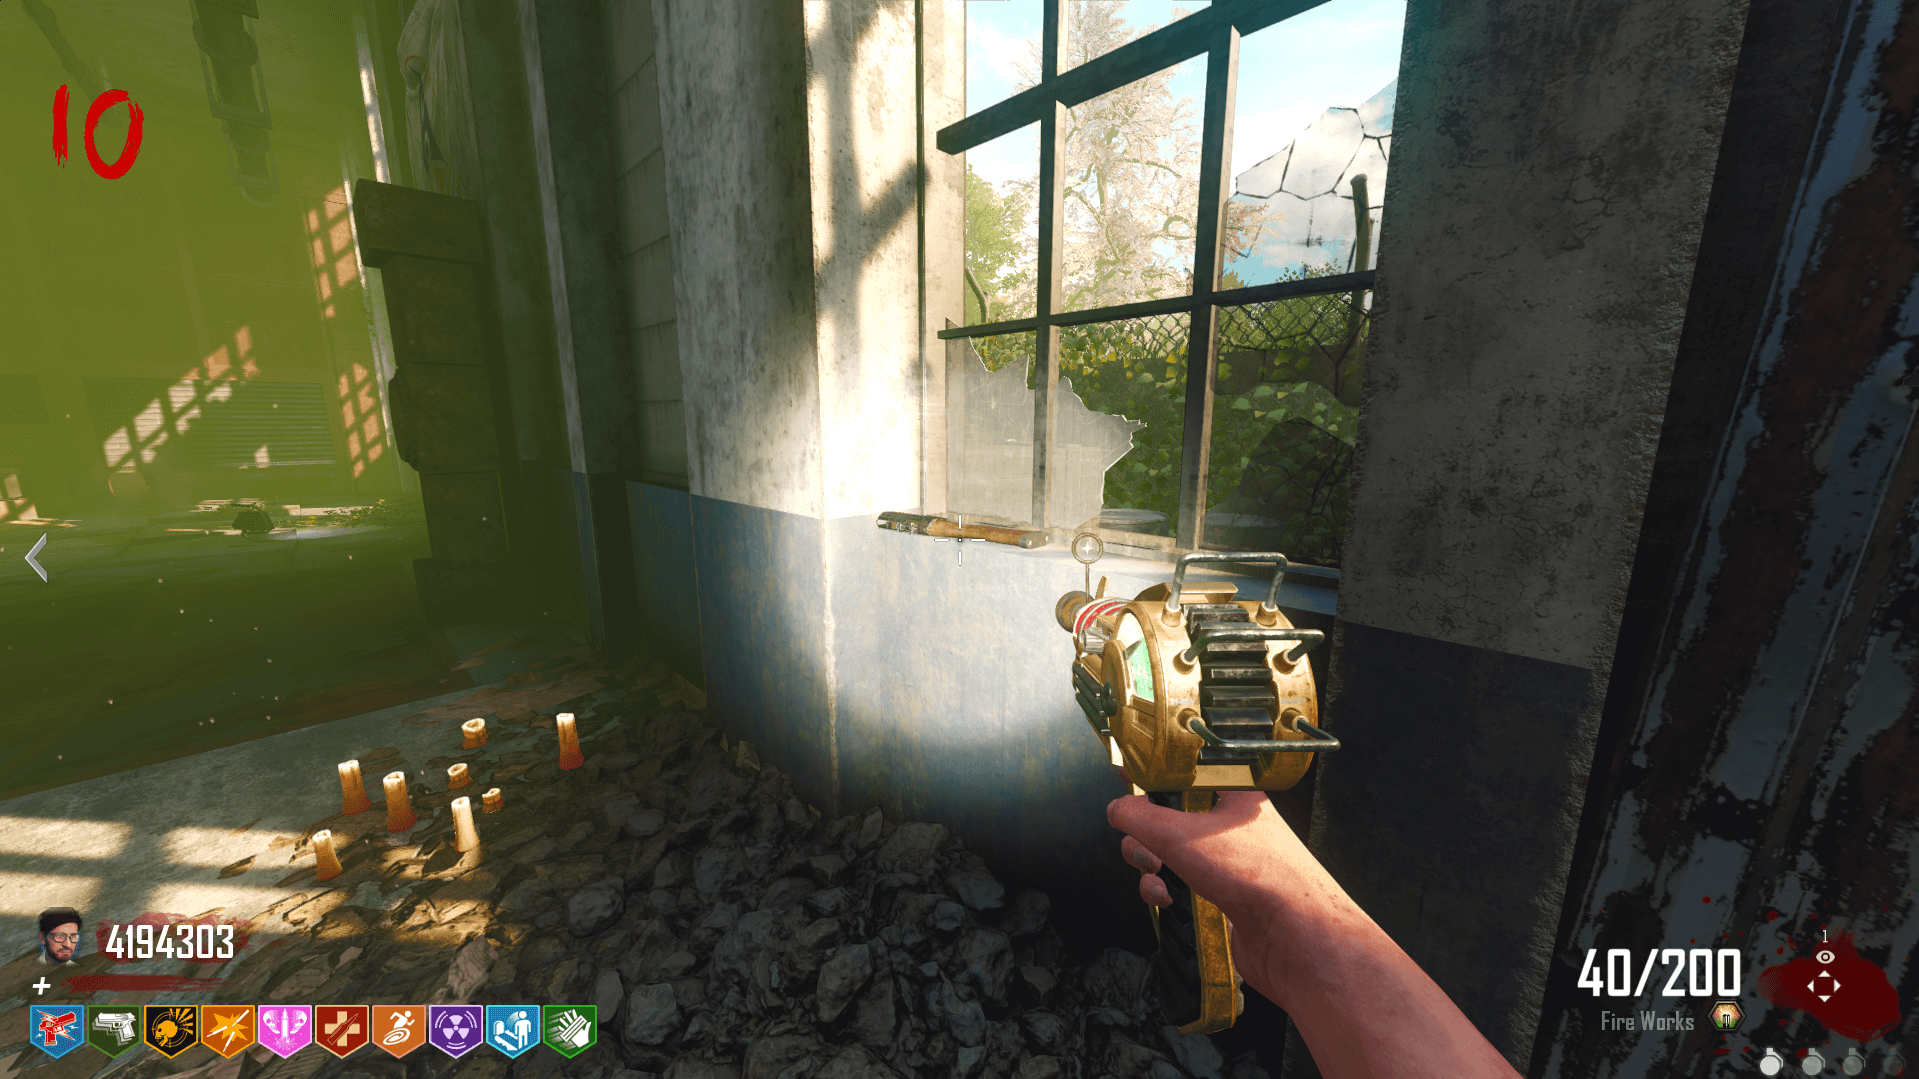
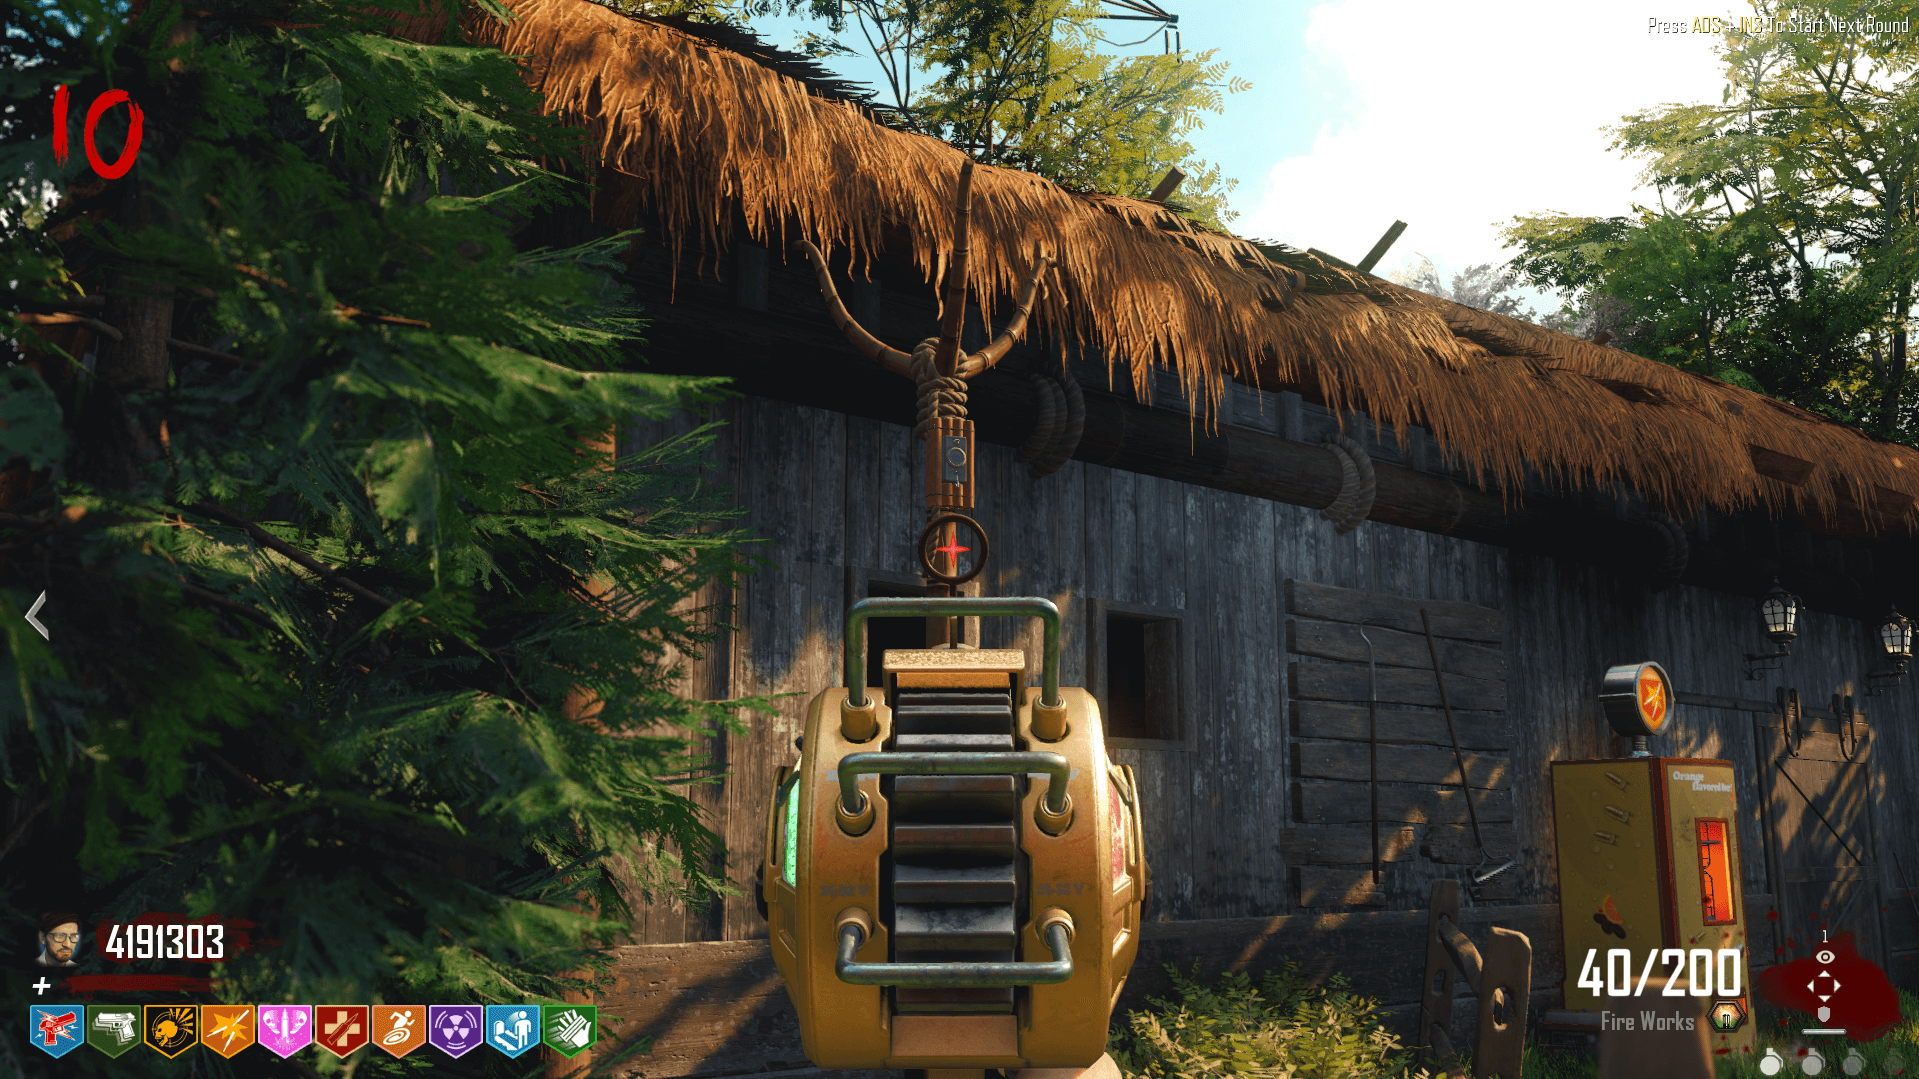
Shoot all four of these and destroy them. Kiedy już to zrobisz, there will a telephone pole somewhere in the map that is making an electrical sound. You’ll have to run around the map and listen closely to find where it is. Here’s a screenshot for reference.
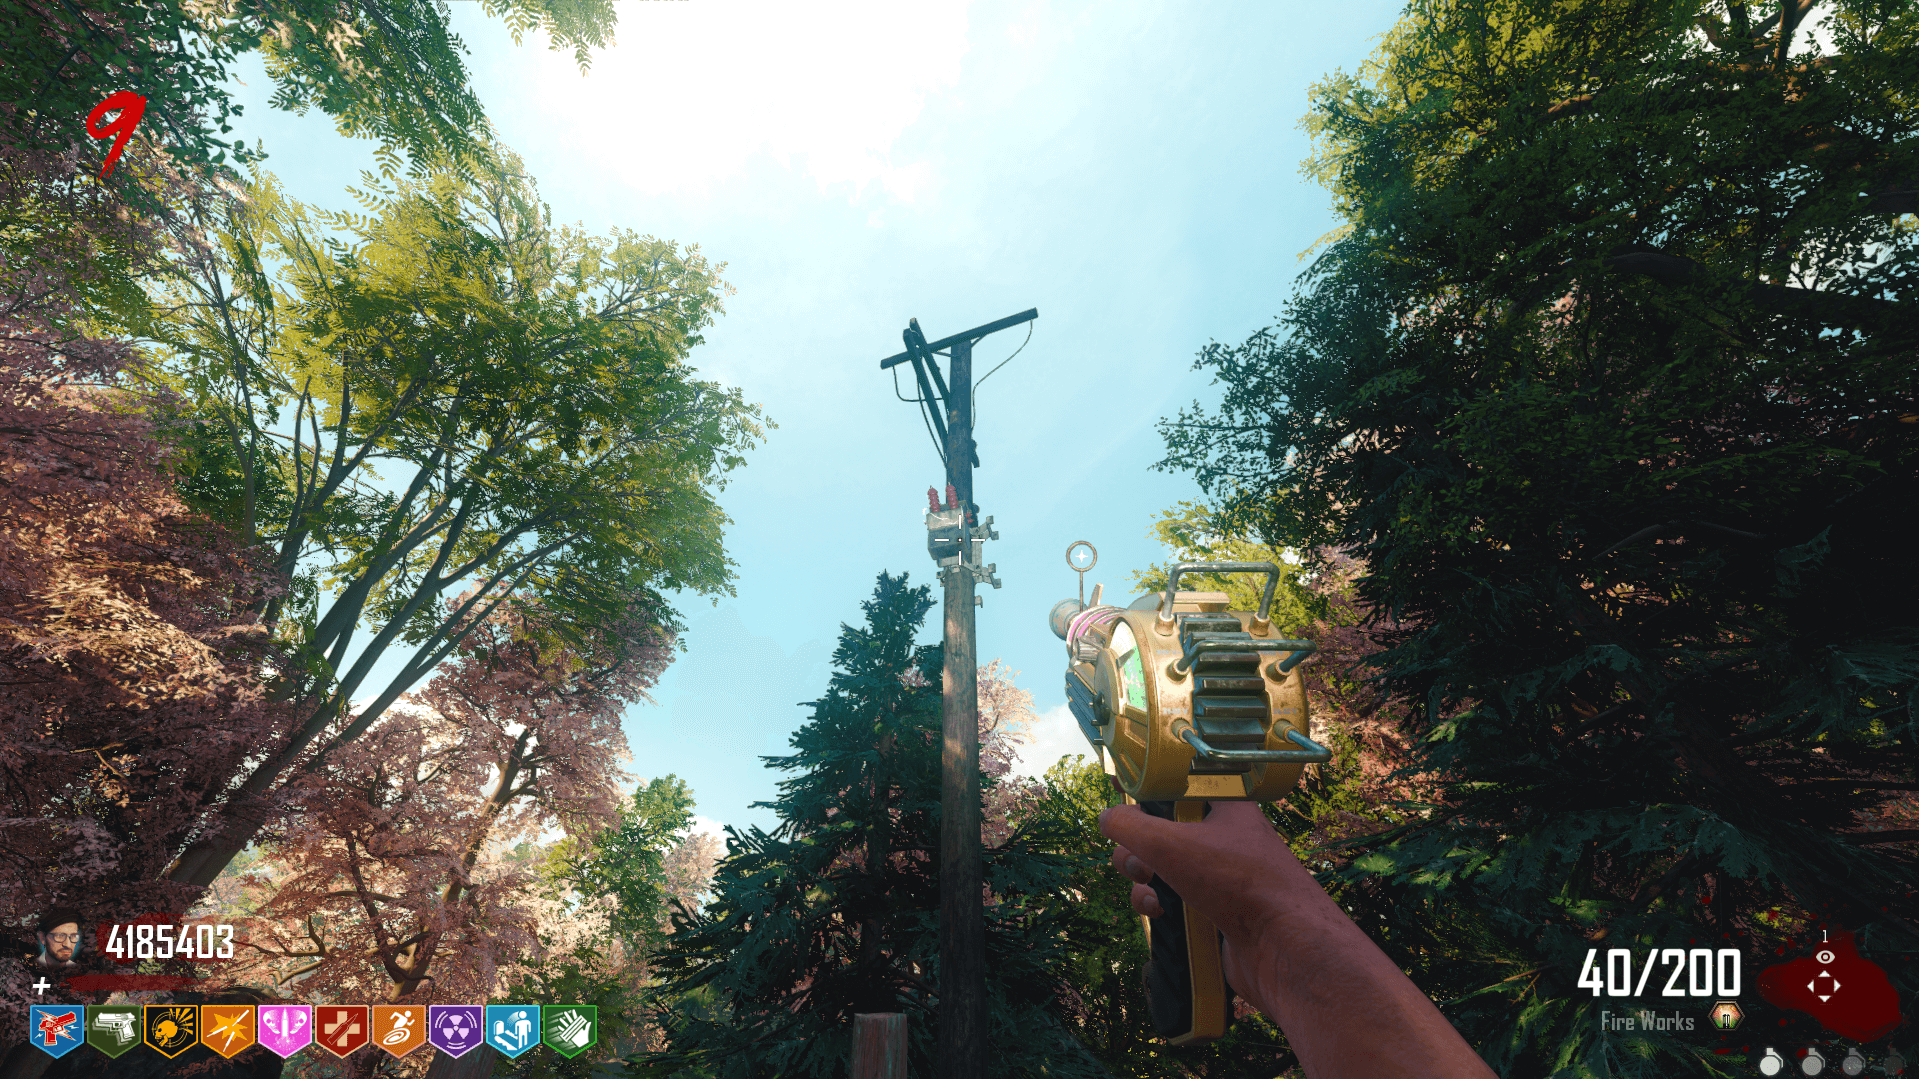
Once you find the telephone pole, shoot it and it’ll stop. You’ll have to do this six times, with each pole being in a different location. Since the map is rather small and there are not many paths to take, the easiest way of doing this is just walking around slowly along the entirety of the map until you get all six. Very tedious, Ja wiem.
Once you finish that step, melee Dr. Hale’s door yet again.
Krok 12: Give Dr. Hale the Access Codes
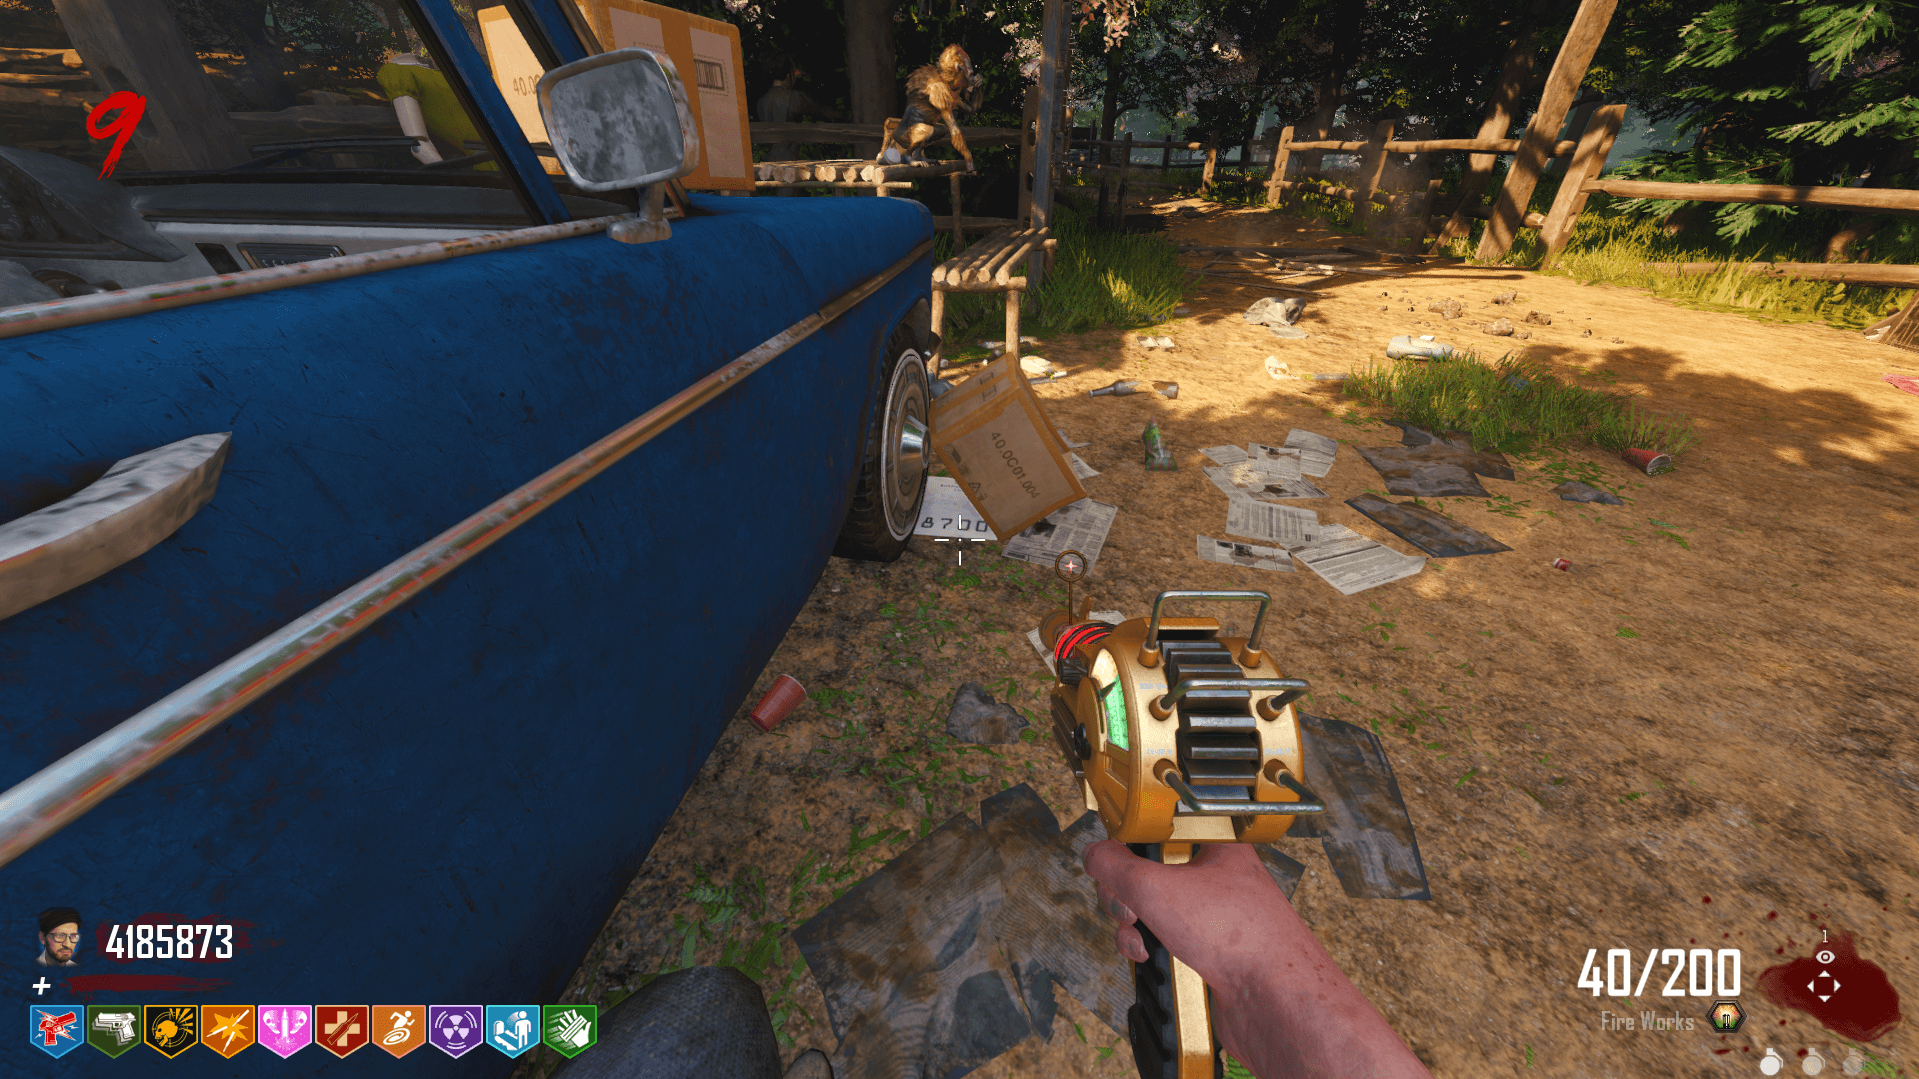
Hale now needs the access codes. There’s a few numbers that you’ll need to note down, so you might wanna pull that pen and paper out again, or your notes app if you’re lazy like me. The first access code is under the blue car in the Picnic Area.
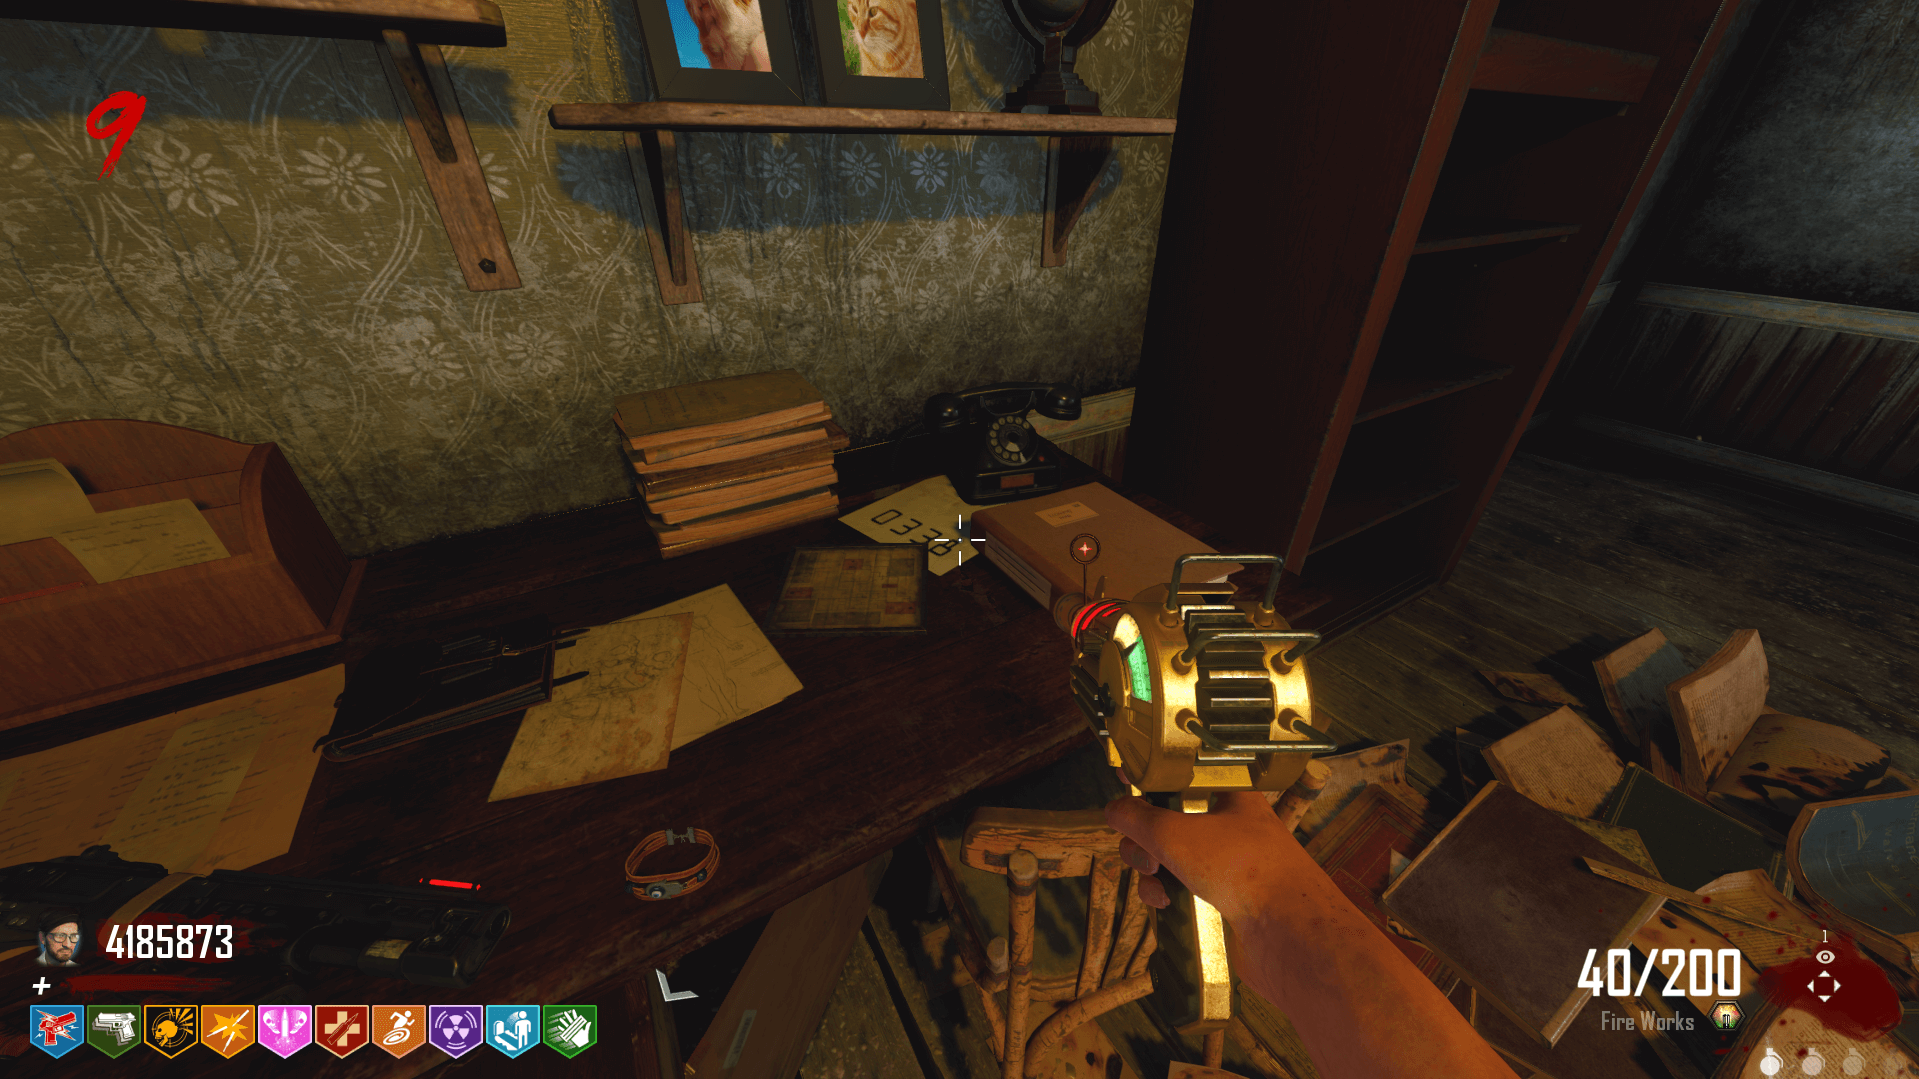
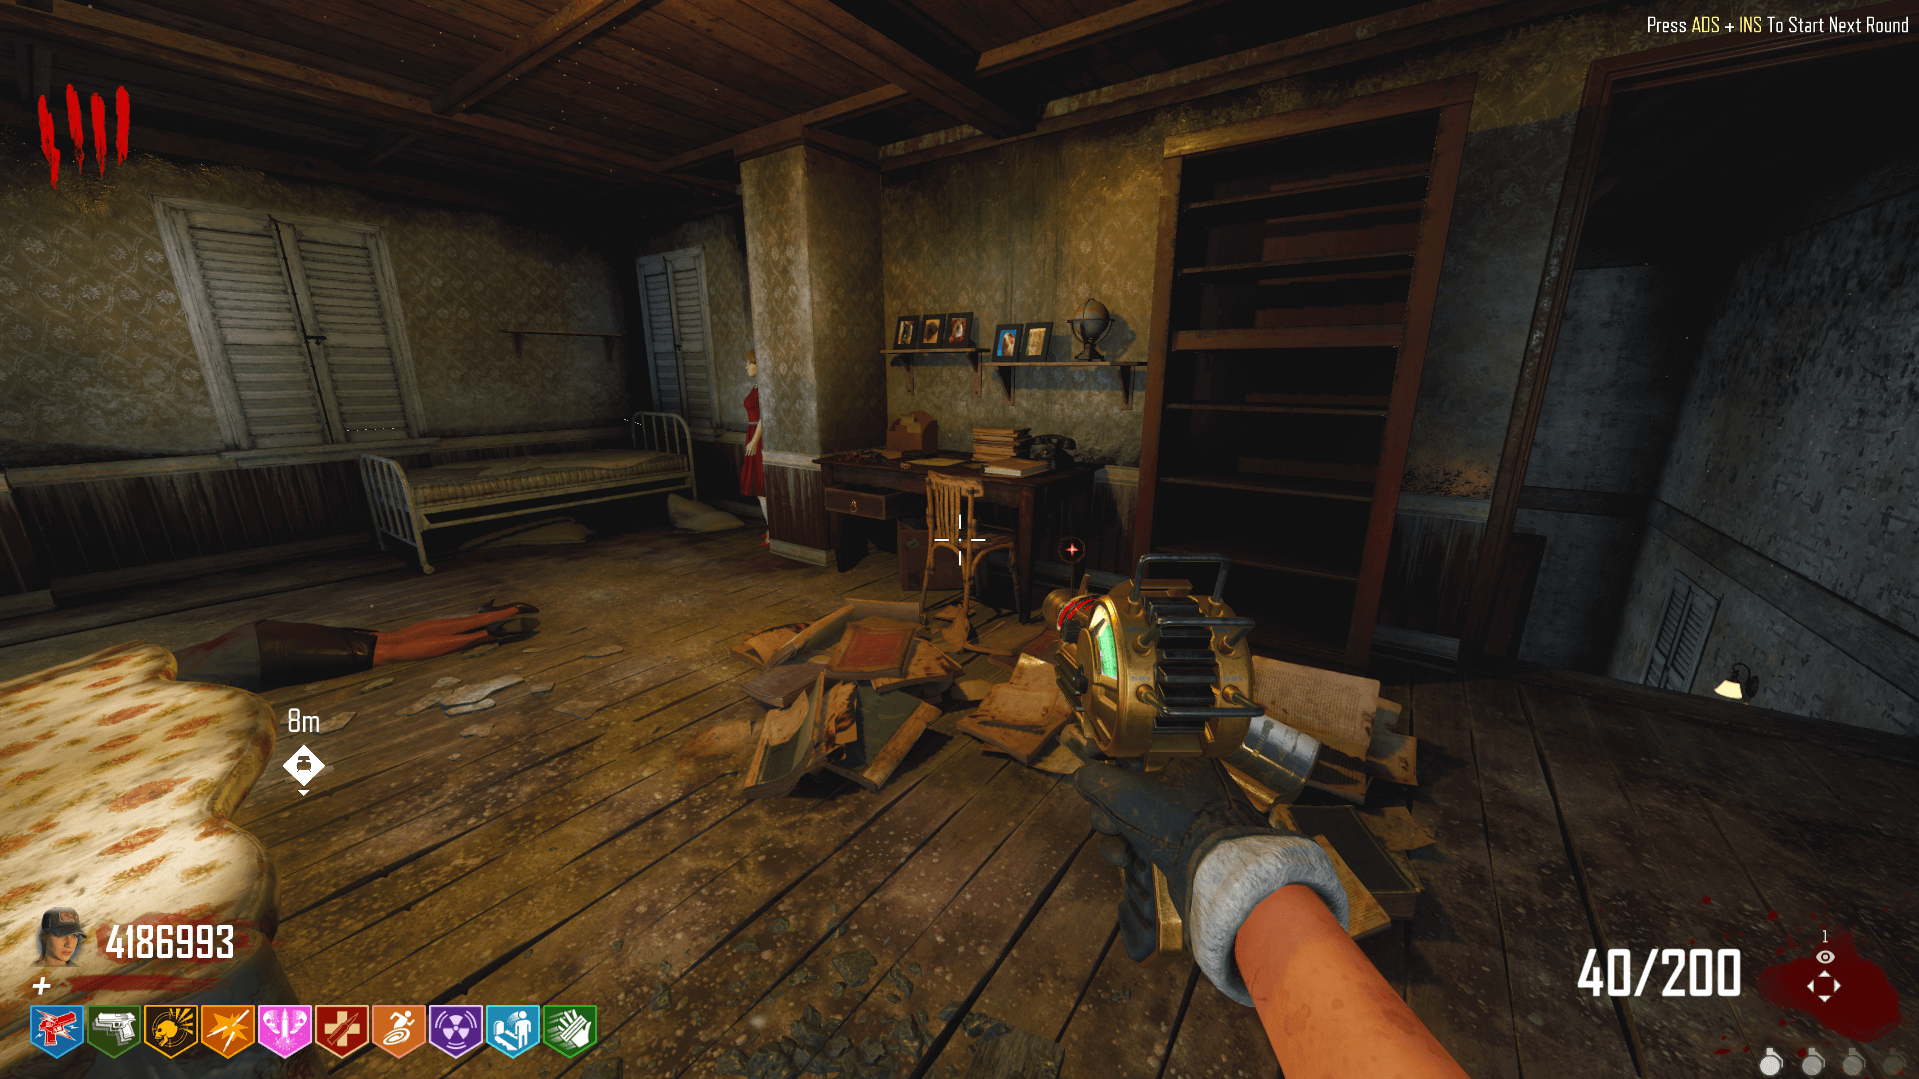
The second access code is on the desk in the house in Refugee’s Farm. This is the same desk you picked up the Keycard from earlier.
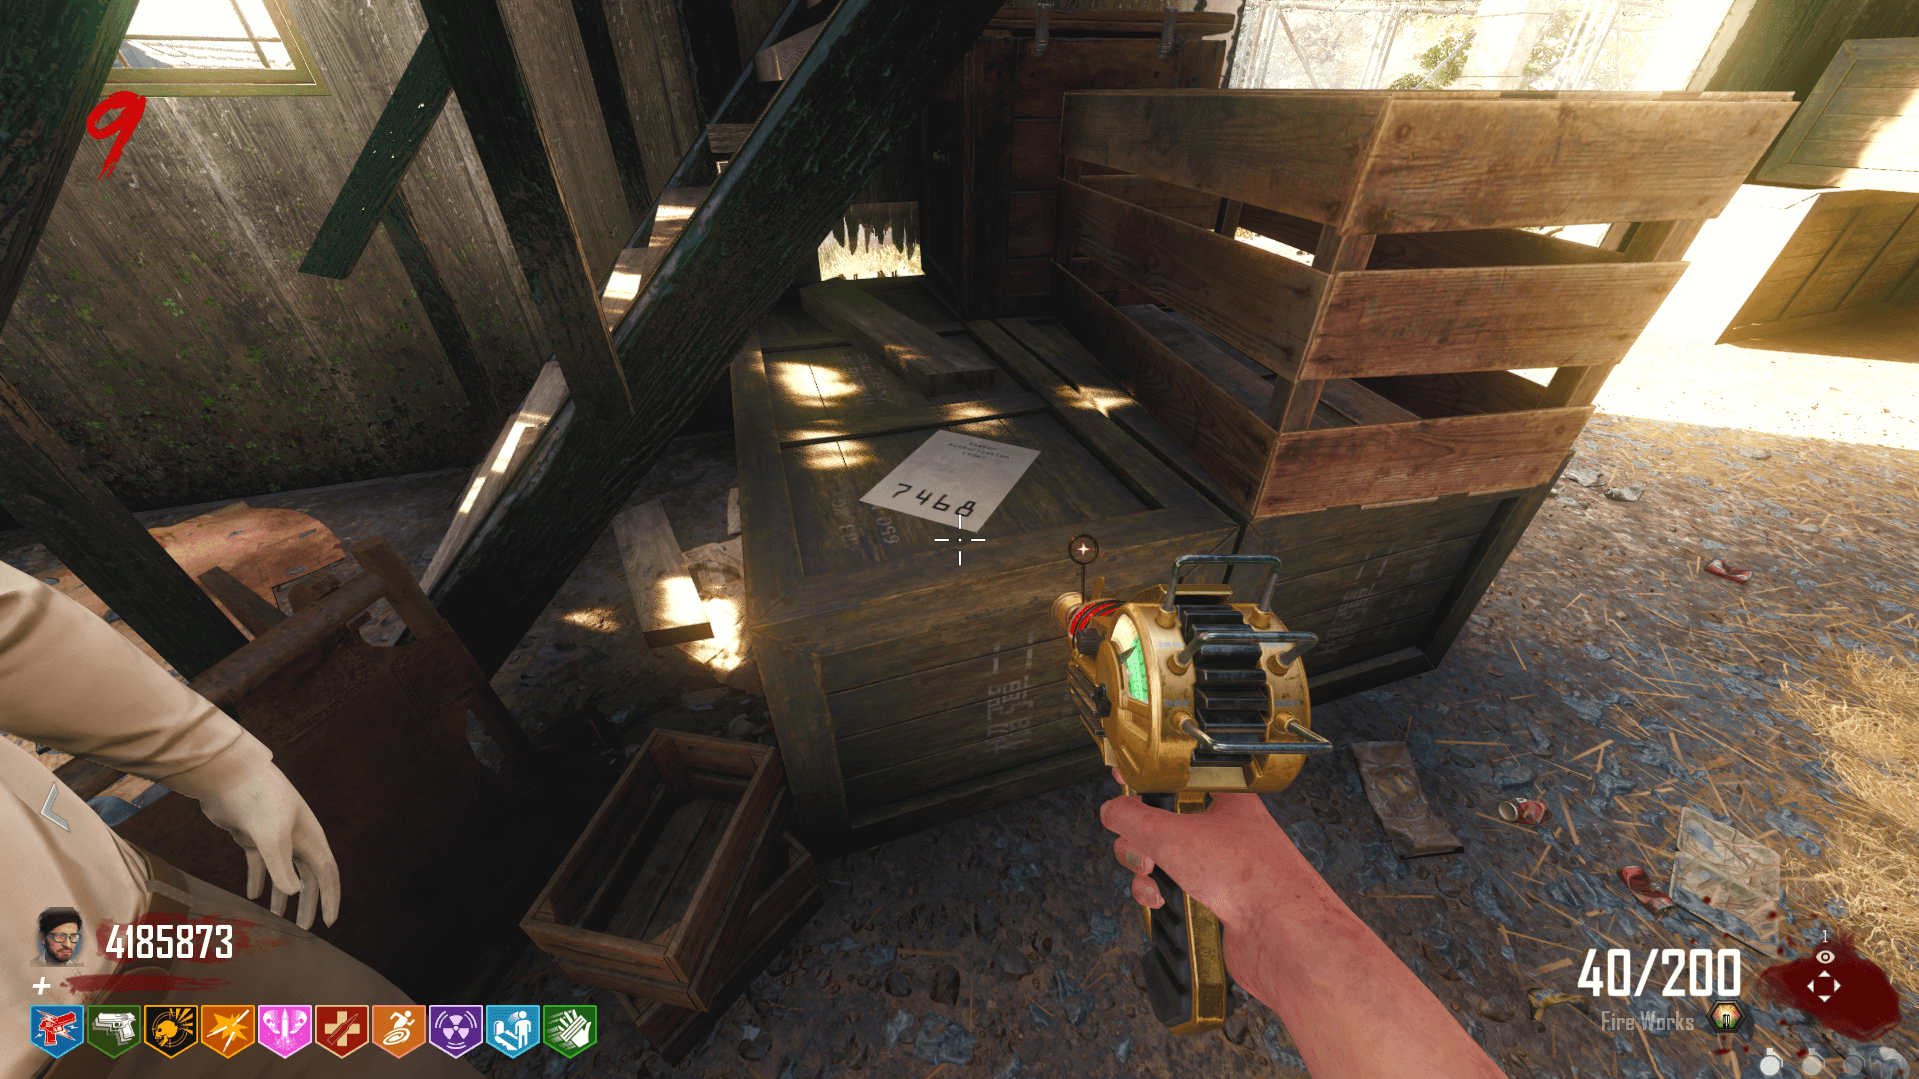
The third code is in the corner of the barn next to the male mannequin.
The last code is directly across from Elemental Pop, next to the third generator you used when charging the fuses.
Now that you have all of those numbers written down, go into the Broken Arrow Factory and type them into the Keypad, one at a time, w żadnej kolejności. You’ll hear a happy little tune when you enter each one correctly.
Krok 13: Lockdown
OSTRZEŻENIE: THIS IS THE VERY LAST STEP AND IT WILL CONTAIN A LOCKDOWN SEGMENT! MAKE SURE YOU HAVE THE PROPER PERKS AND WEAPONS TO SURVIVE!
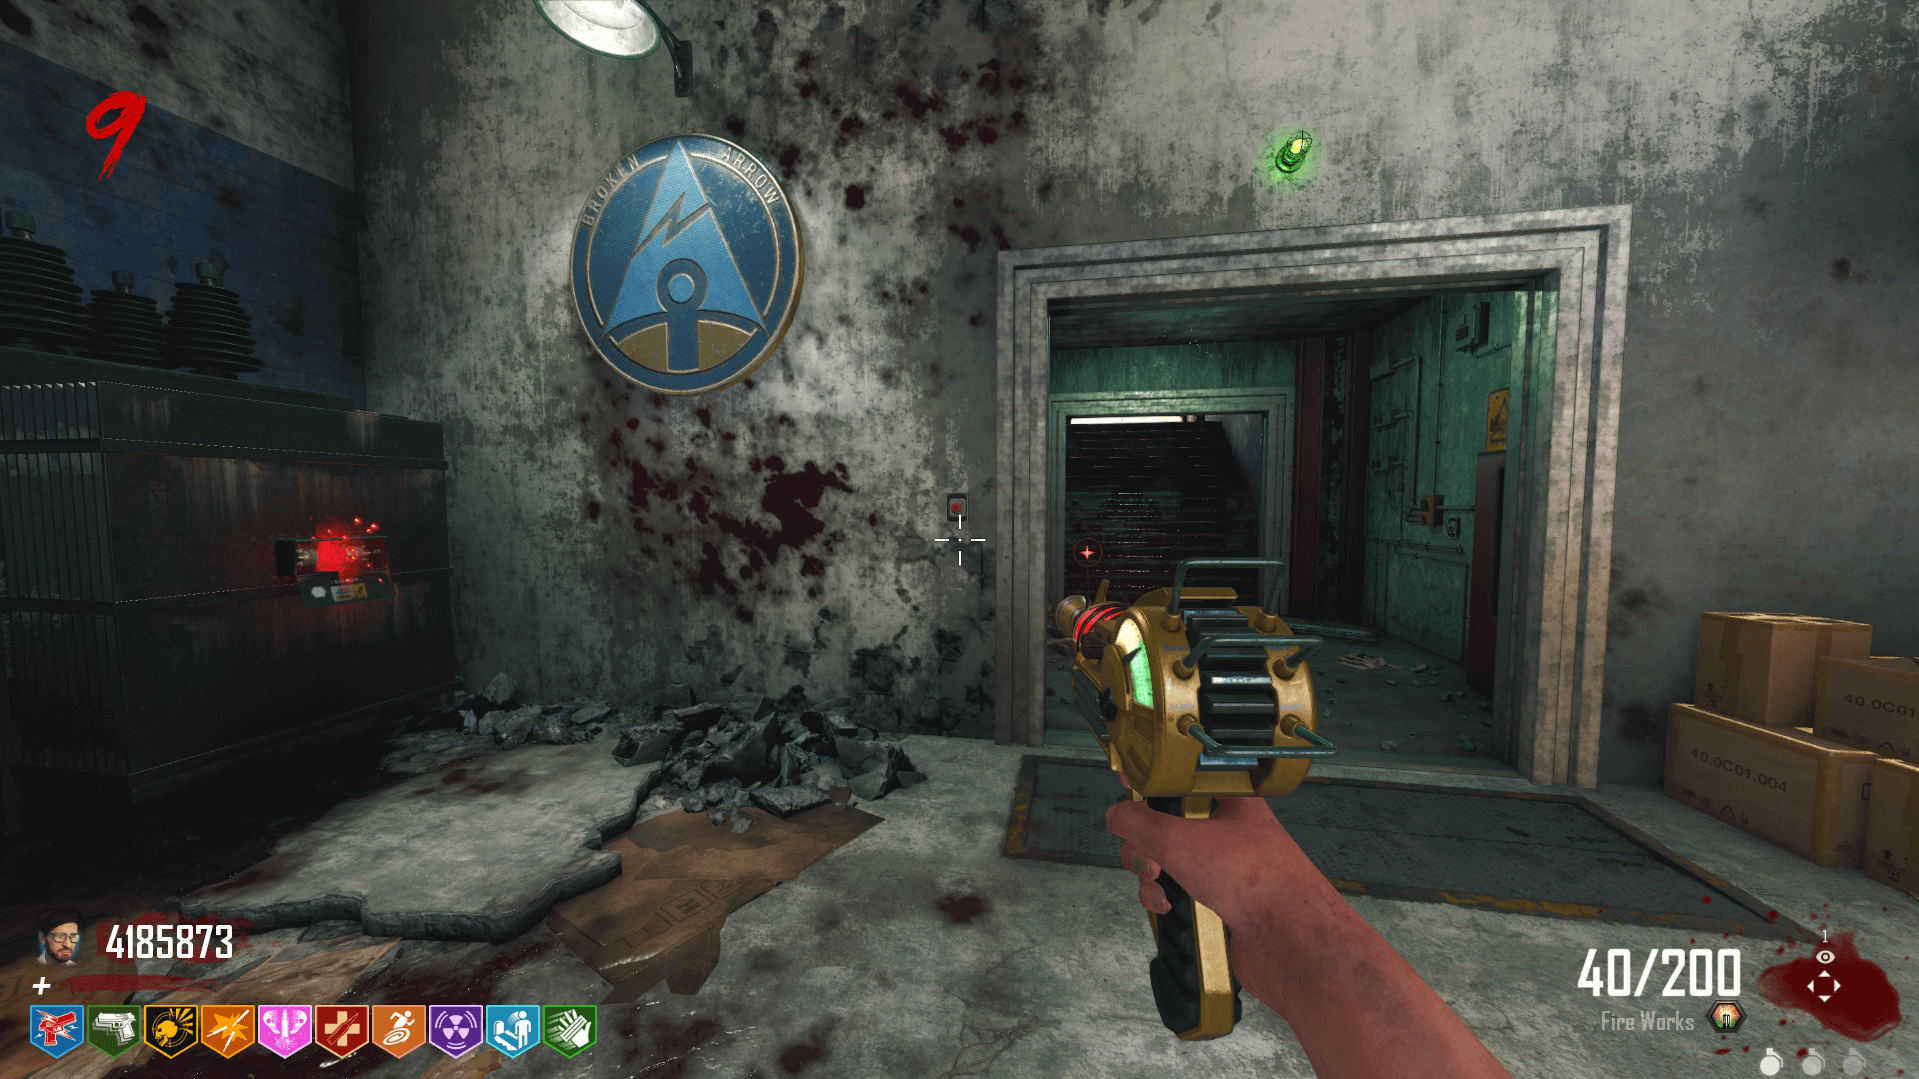
Wreszcie, the final step. I typed this whole guide in (prawie) one sitting, so imagine how much my fingers are hurting right now. Niemniej jednak, to proceed with the last step, you’ll need to interact with four red buttons in the Broken Arrow Factory, jeszcze raz, w żadnej kolejności.
The first button is in the entrance to the Broken Arrow Factory from Hale’s Garden.
The second is next to the first generator you used when charging the fuses.
The third is next to the power source.
The final button is in the Elemental Pop room, next to the third generator you used when charging the fuses.

Teraz, you can initiate the lockdown by simply walking into Dr. Hale’s bunker. The lockdown will last a couple of minutes, and you be stuck between the Fountain to 32 Yungaro Way. Like I said in the warning, make sure you have the proper equipment before starting this lockdown. I’d recommend crafting the Vine Shield by visiting the “Crafting the Vine Shield” tab in the Guide Index.
After completing the lockdown, dr. Hale will abandon you like the little ♥♥♥♥♥ she is. Zgadza się, the chick you just spent 2 hours collecting stuff for just left you behind. Sounds like my 2 exes.
Teraz, you can start the boss fight.
Krok 14: Walka z bossem
OSTRZEŻENIE: DO NOT ENTER THE FARM AREA UNLESS YOU WANT TO START THE BOSS FIGHT! ONCE YOU ENTER, YOU’RE STUCK THERE UNTIL THE FIGHT IS DONE!
Yea, I kinda lied. THIS is the last step. This easter egg definitely had a few more steps than Reznov’s plan. W każdym razie, now that Dr. Hale has abandoned you, you can start the boss fight. Like the warning says, this fight will take place in the Refugee’s Farm area and you will be stuck there until you complete it.
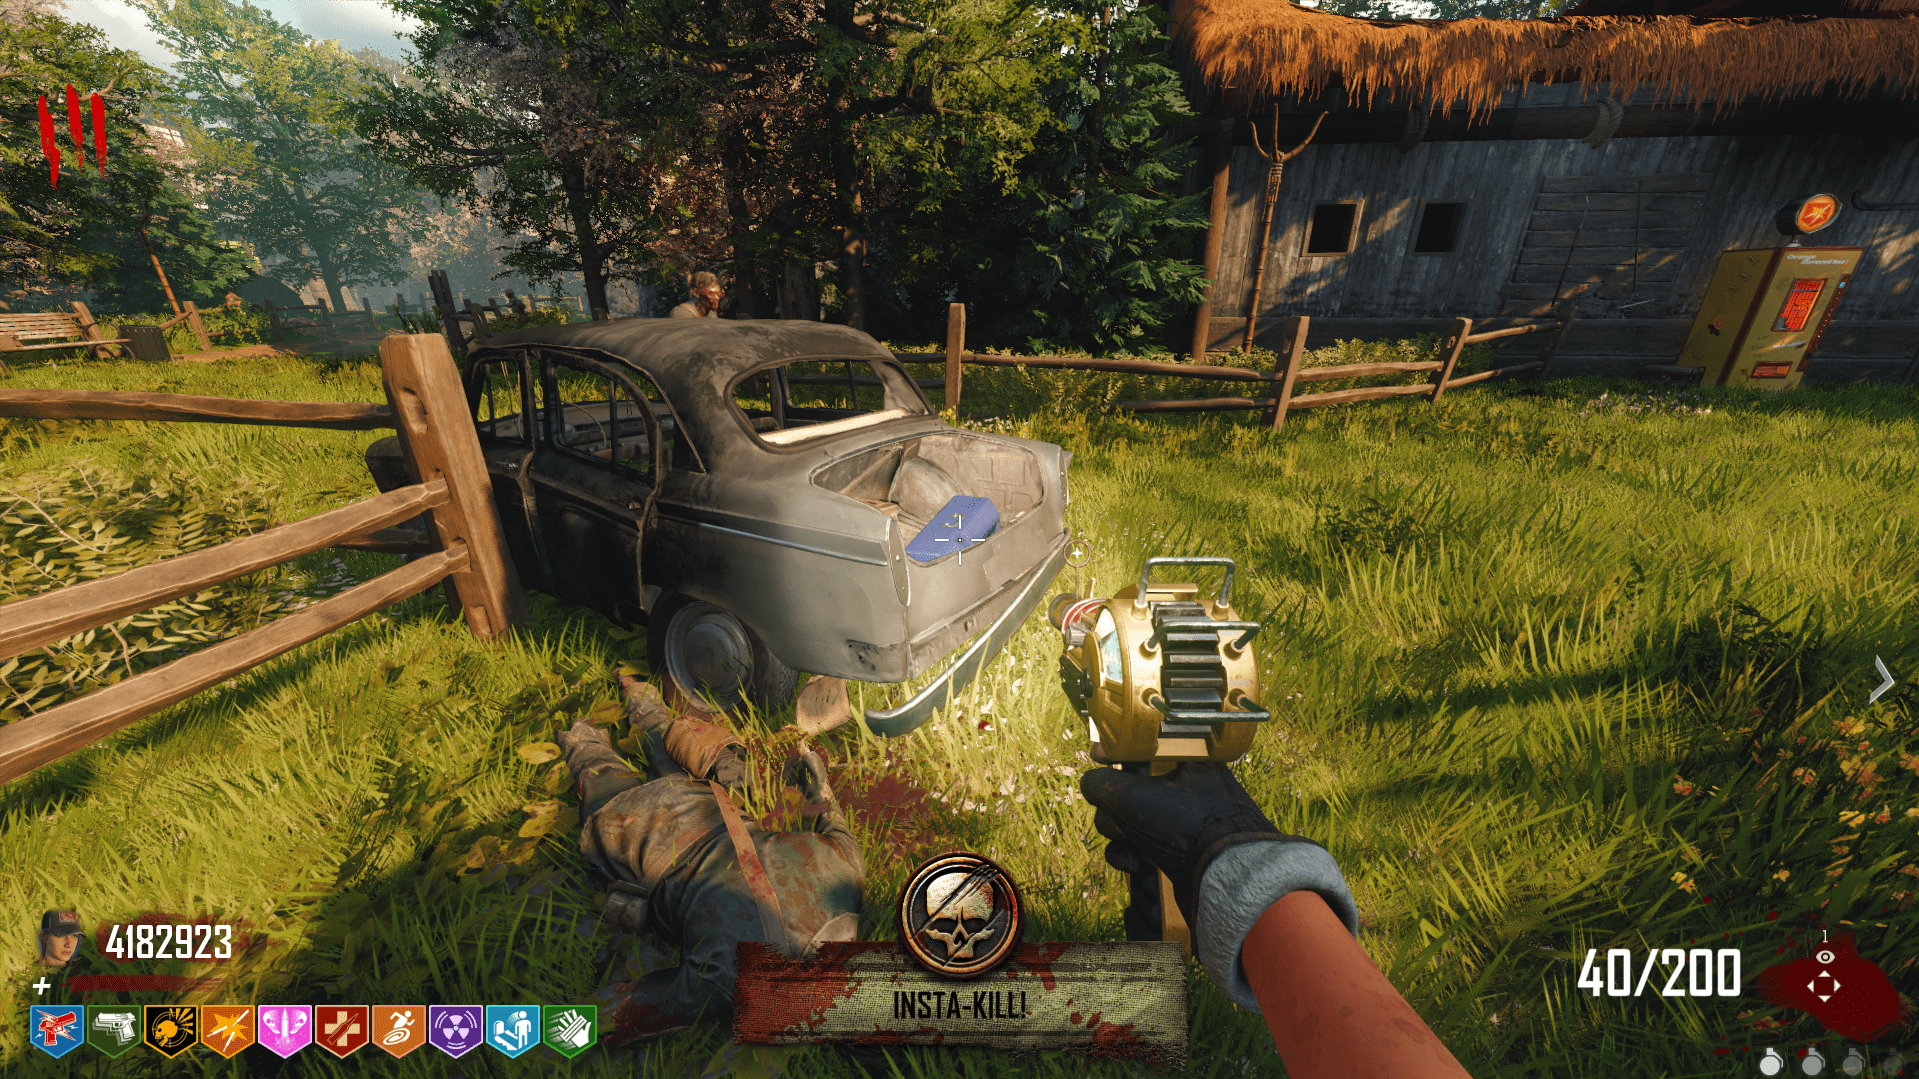
Przed rozpoczęciem, I would highly recommend you to get the Pack-A-Punched SG12, lub “Breccius Rebornus” as this shotgun does insane amounts of damage to the boss. Również, Juggernog, Stamin-Up, and Double Tap are pretty much requirements for this, unless you’re a madman.
Once you go in, your best bet will be training the boss and the zombies around the truck or the bus while shooting him as much as you can. He is very fast and does a ton of damage, so try to keep your distance and pick at his health whenever you get the chance. There will also be some intervals where he’ll glow red. This means he is invincible and won’t take any damage. W tym czasie, try to kill as many zombies as you can to get them out of the way.
Po “killing” him once, his health bar will regen again, this time to half. While his health bar is regenerating, he is invincible. Do not try to attack him, just train him and kill the zombies until it is done. Następnie, jeszcze raz, train him and shoot him as much as possible.
Ammo should not be too much of an issue with this fight, since he’ll drop a few max ammos. If you’re worried about ammo though, I’d recommend taking a Pack-A-Punched Hitchcock. The SG12 and the Hitchcock is pretty much the best loadout you can have here, since the wonder weapons are essentially useless against him.
Once the fight is finally over (zaufaj mi, it’ll probably take a few minutes), you can end the game by interacting with Dr. Hale’s bunker door.
Gratulacje, you just beat perhaps the most tedious easter egg I’ve ever completed. May our lord and savior Volodymyr Zelenskyy have mercy on your soul.
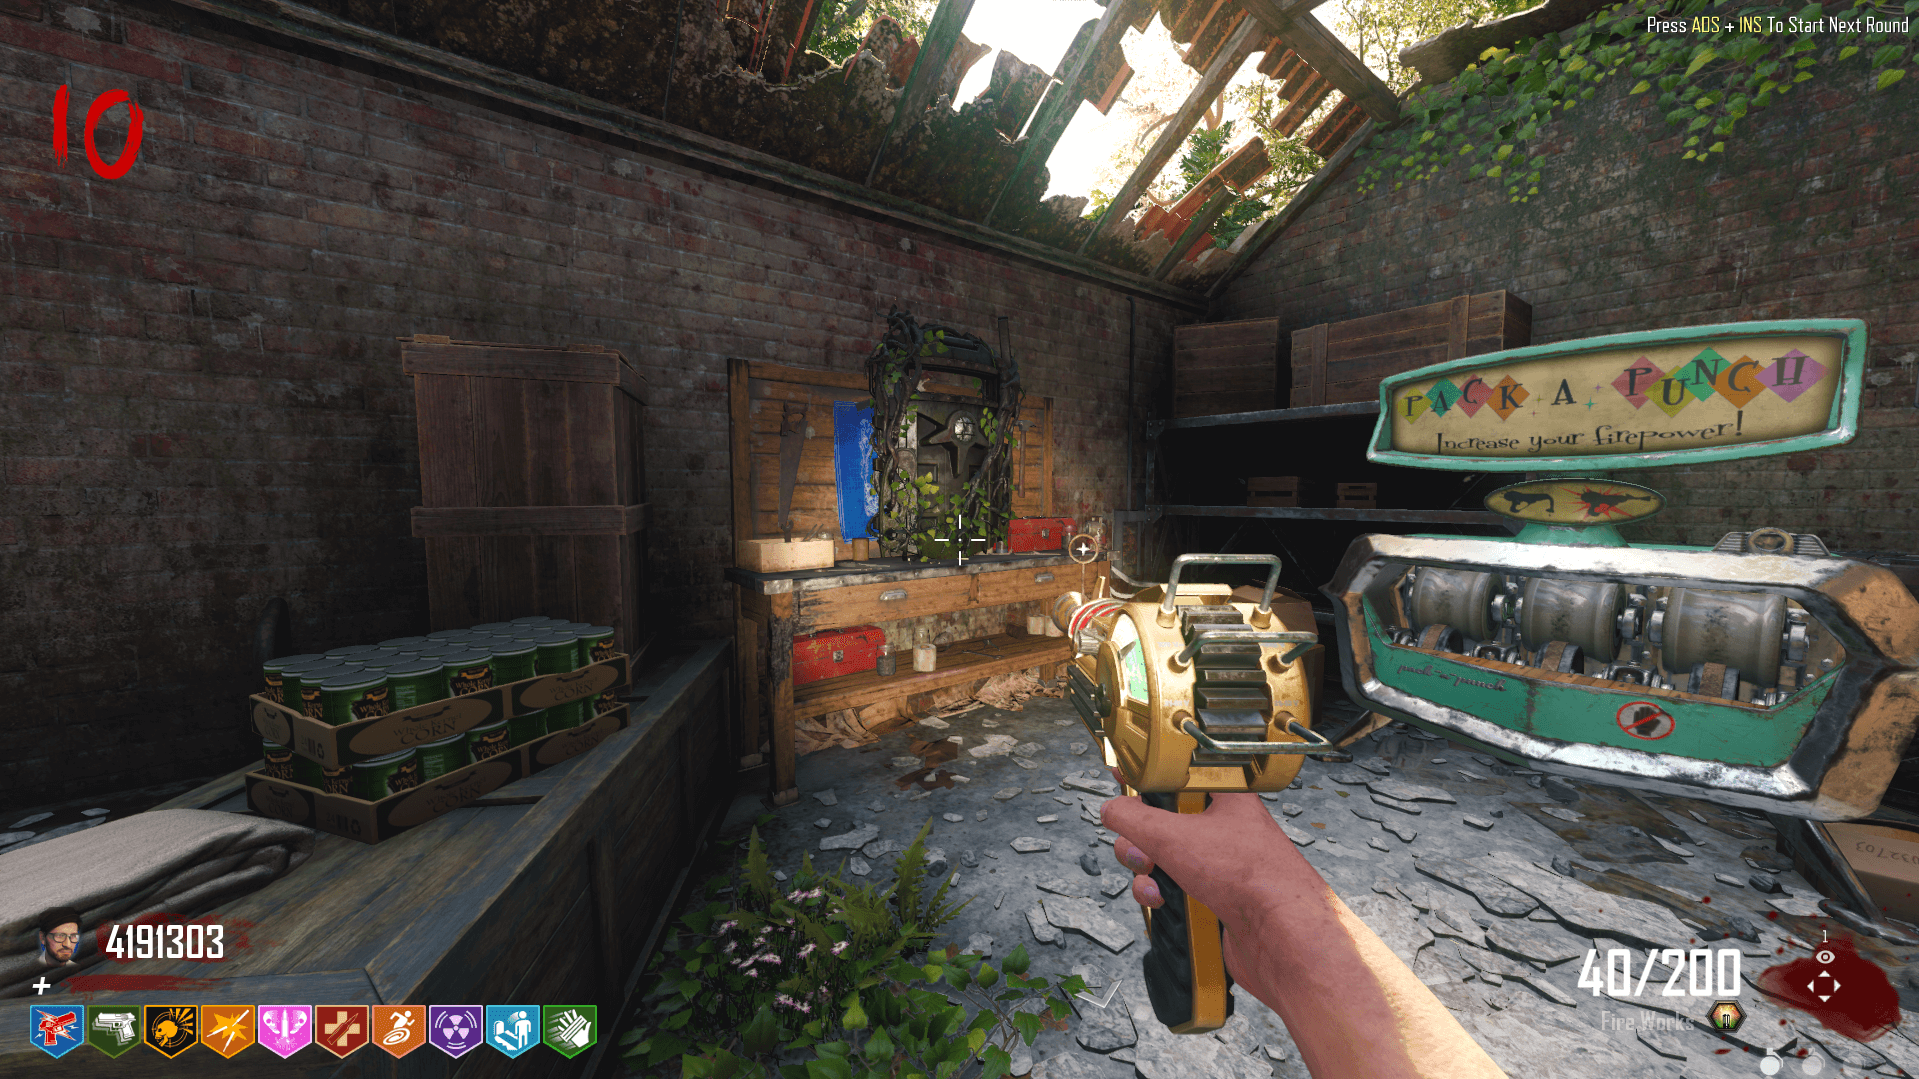
Turning on Pack-A-Punch
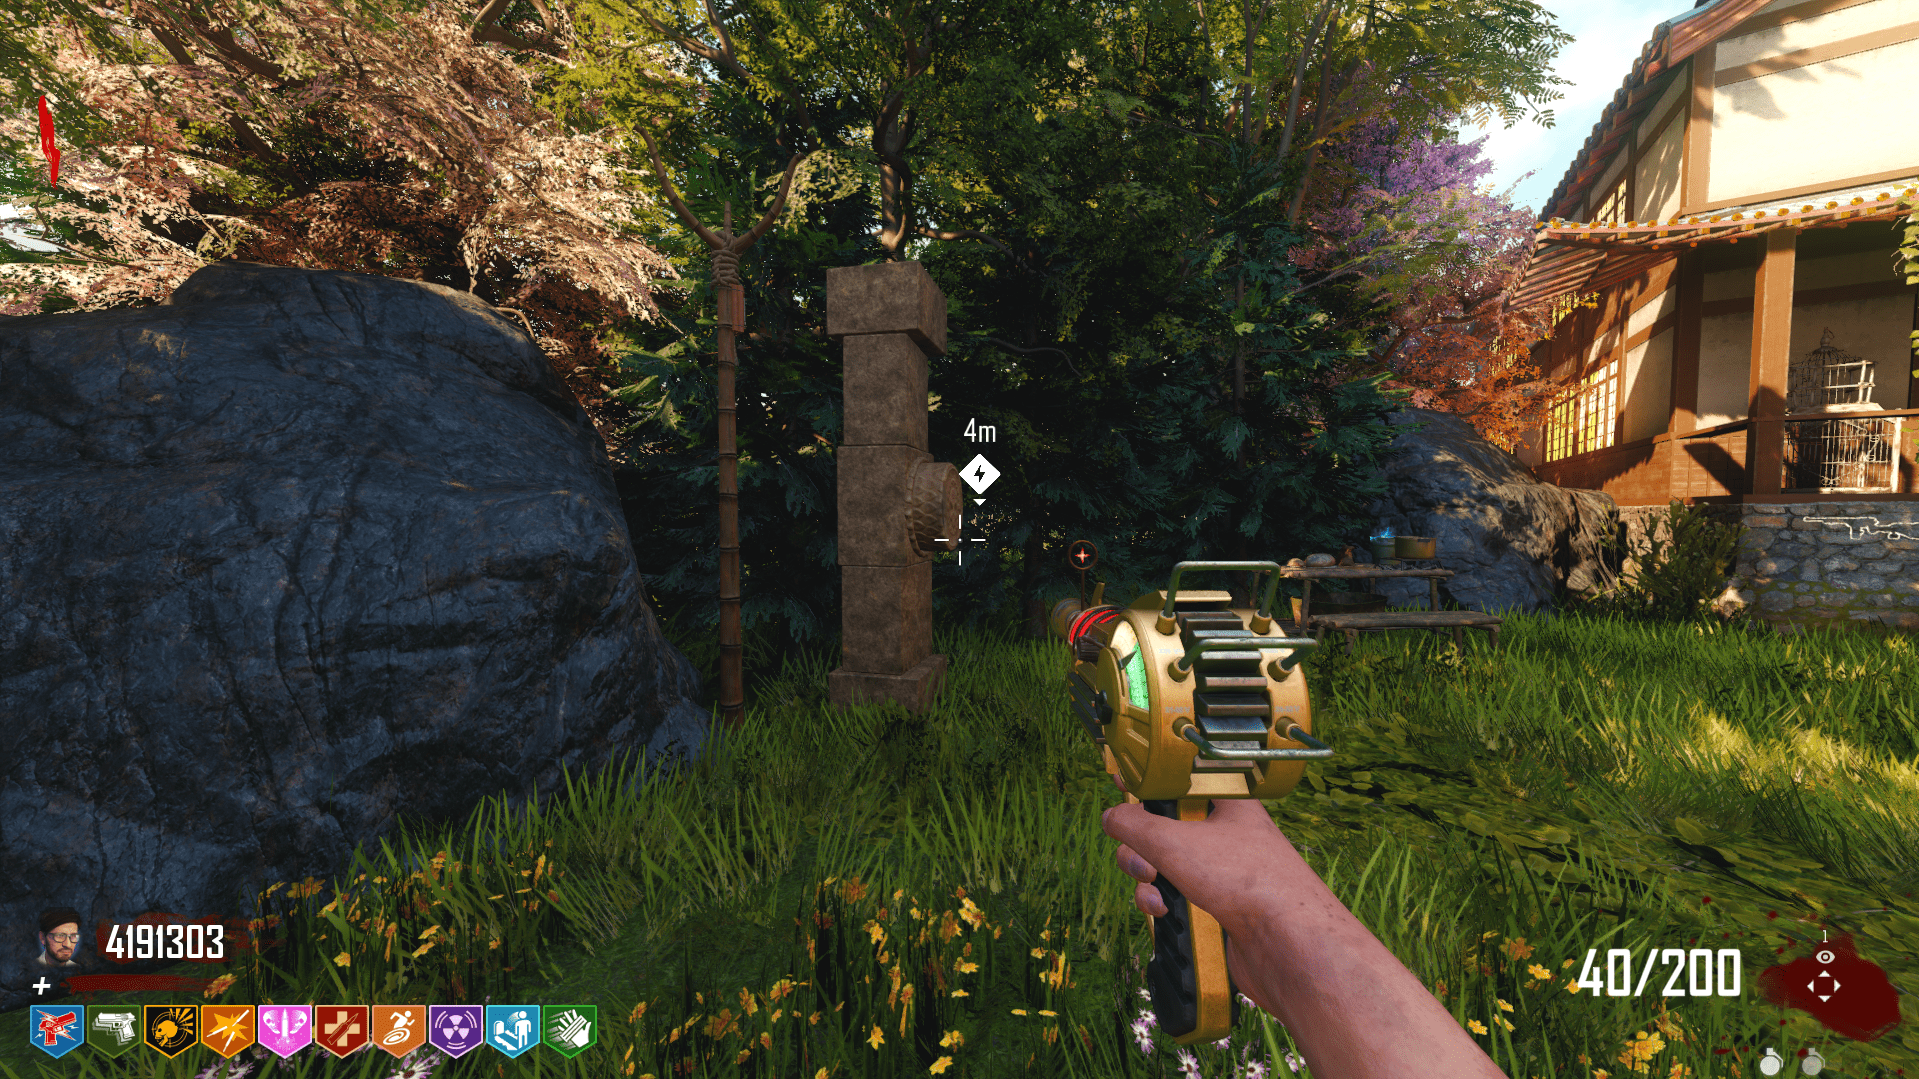
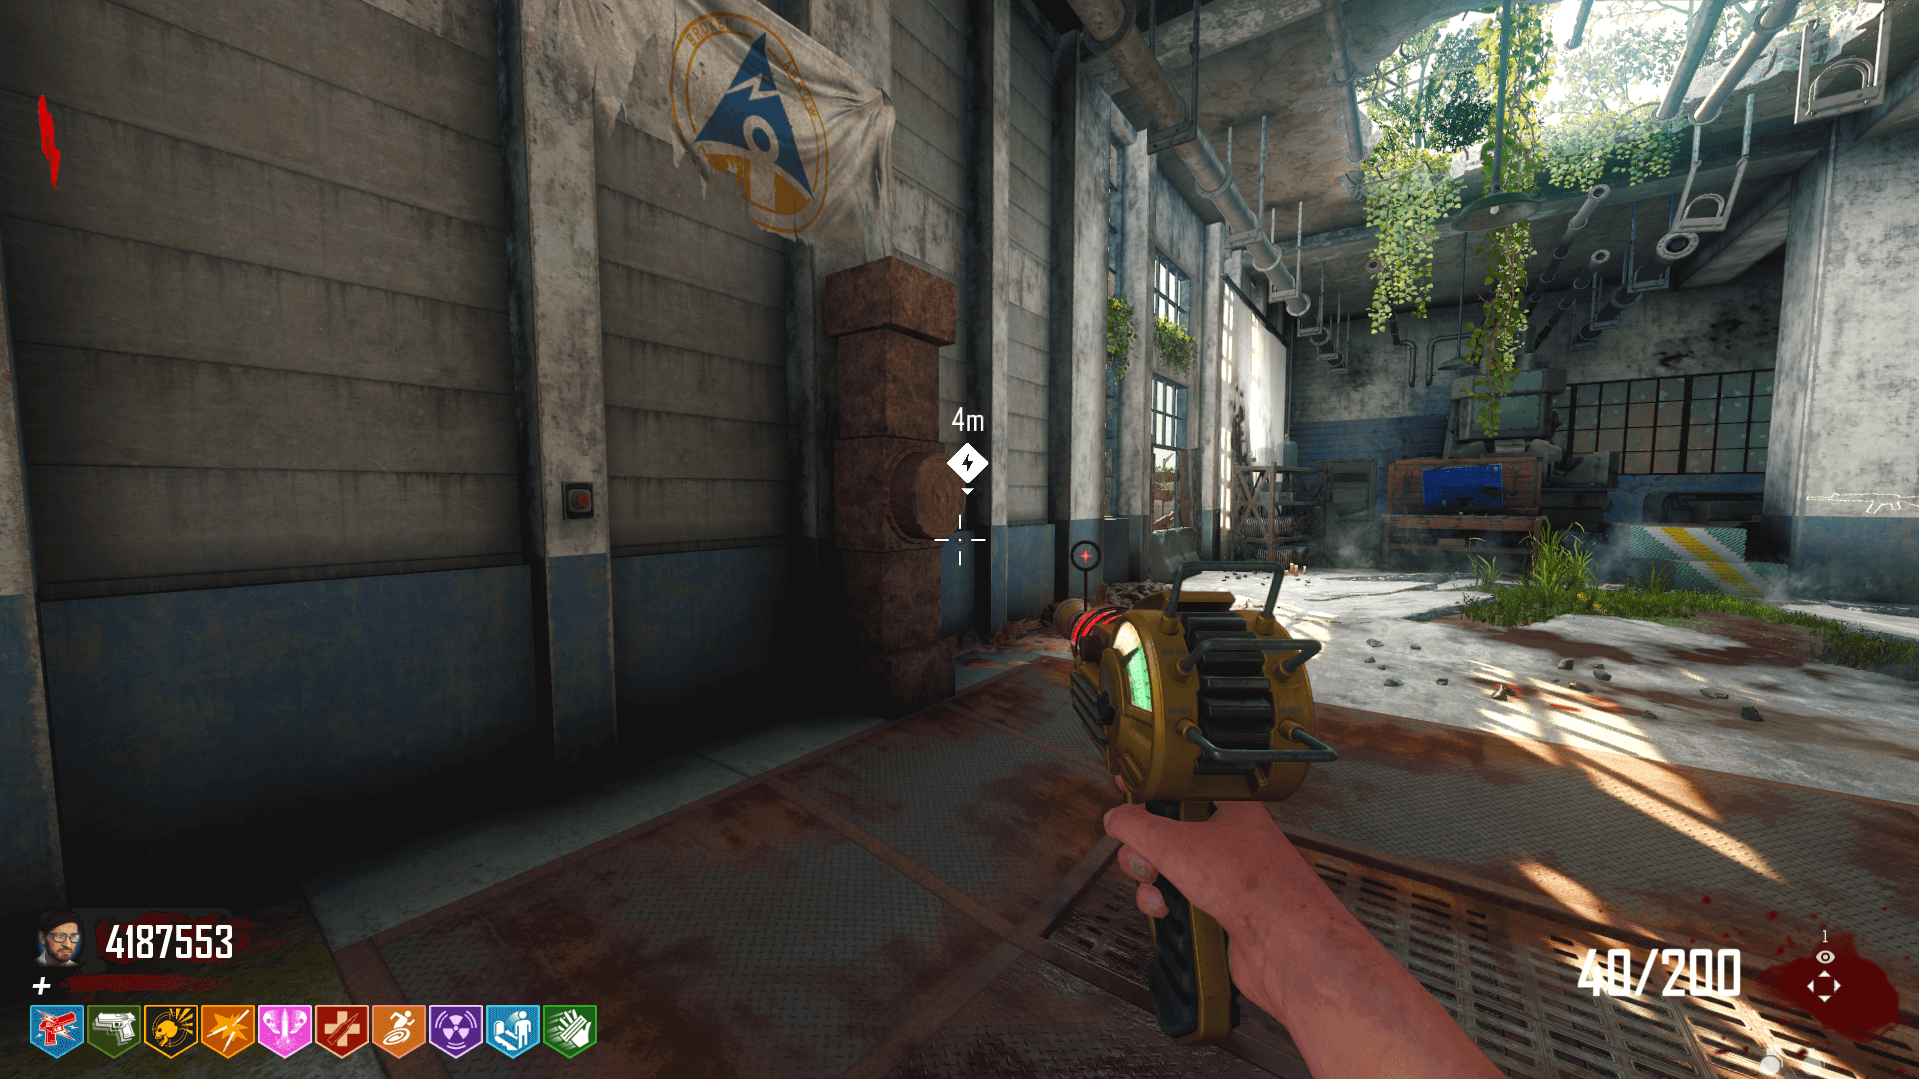
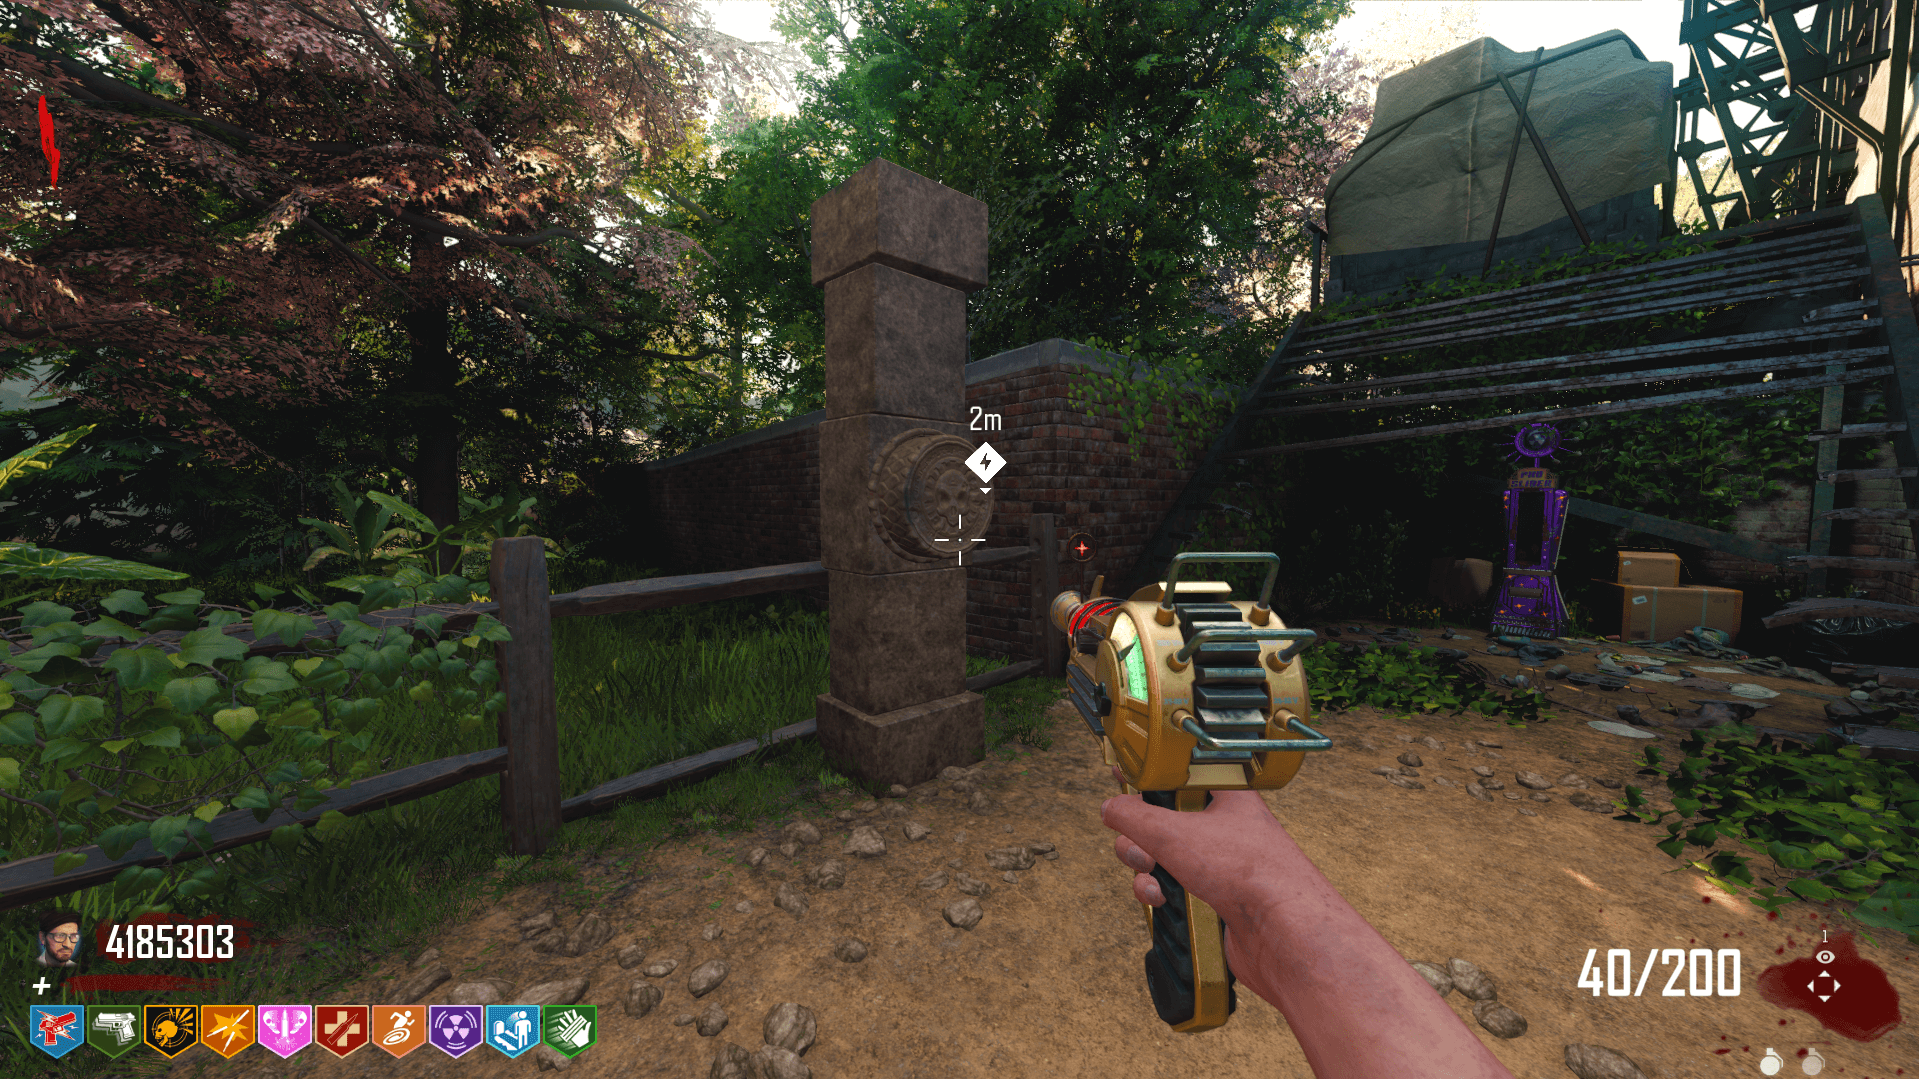
To turn on Pack-A-Punch and get rid of the deadly green smoke, you’ll need to find five totems around the map and rotate them between one to three times. The first one is by the Fountain, in front of the first power source.

The second totem is in 32 Yungaro Way, a straight shot from the bunker.
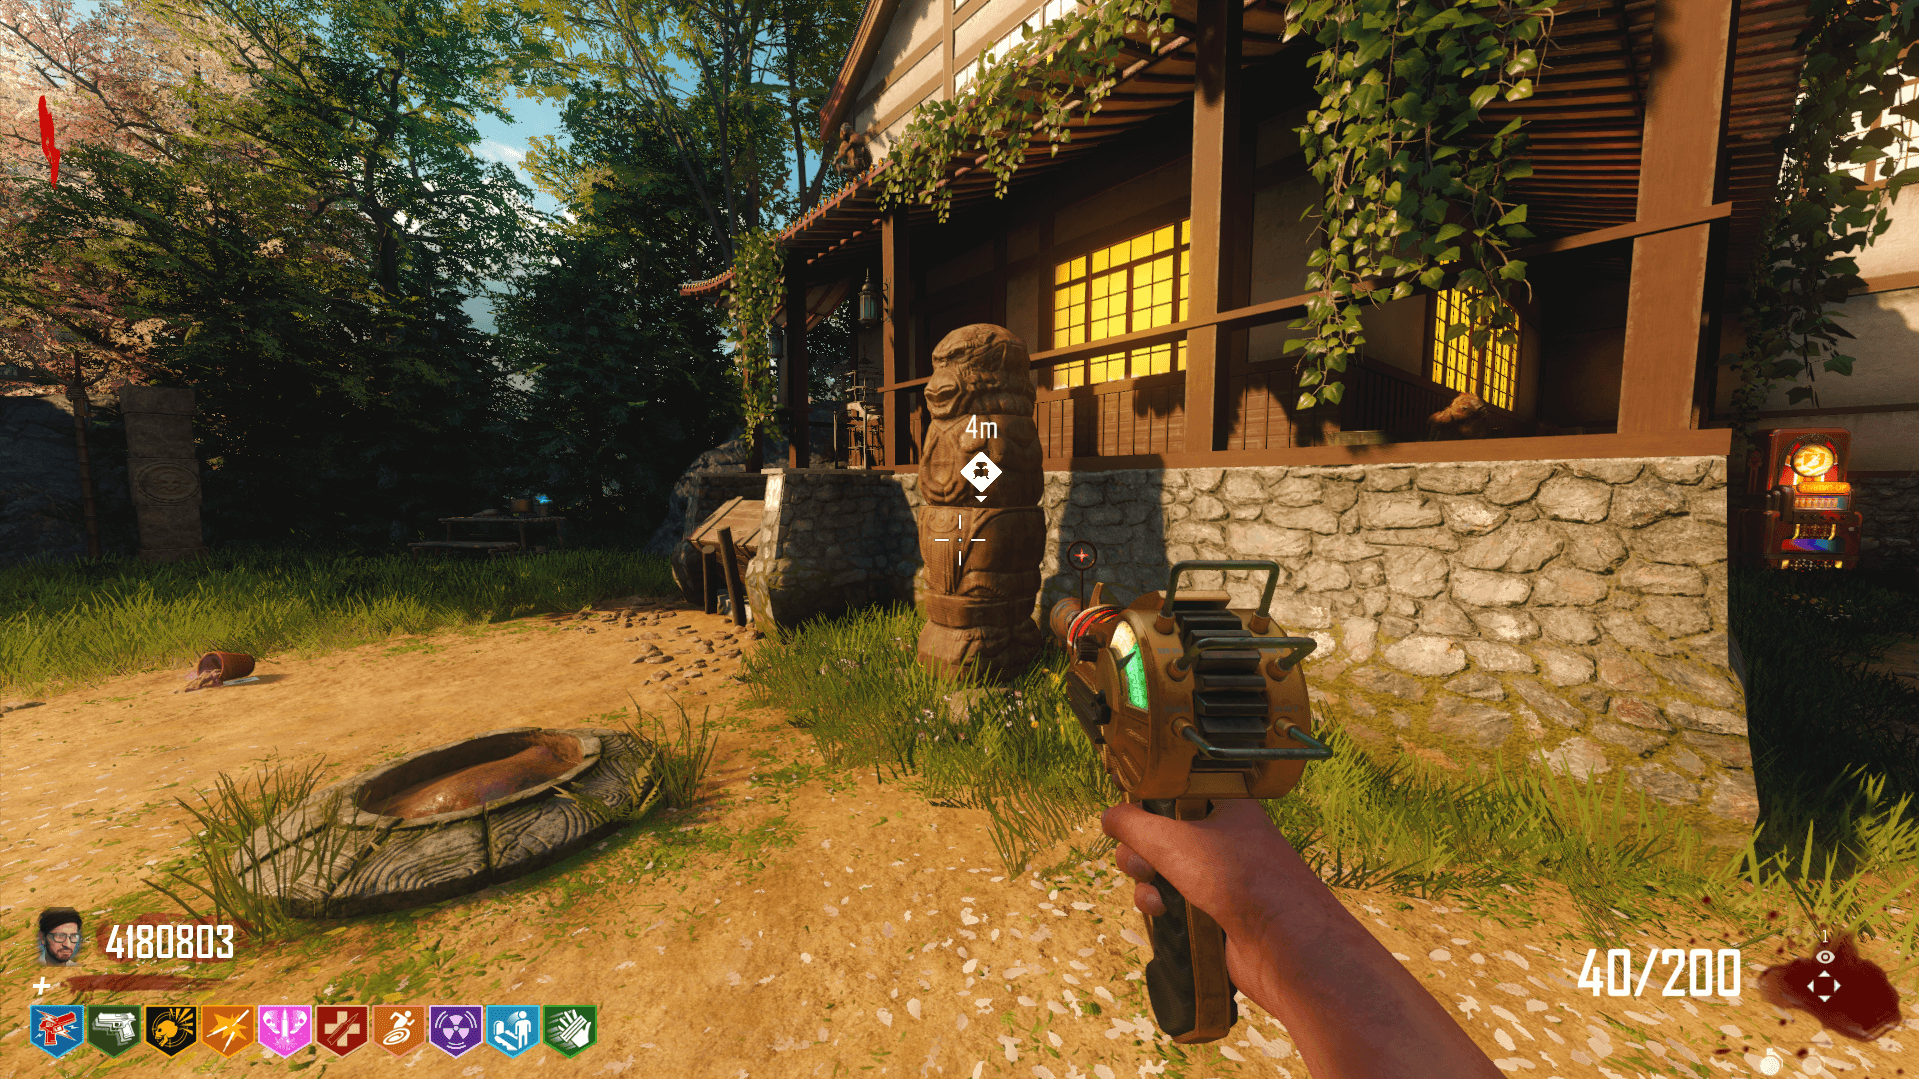
The third totem is in the pathway to church, across from Double Tap.
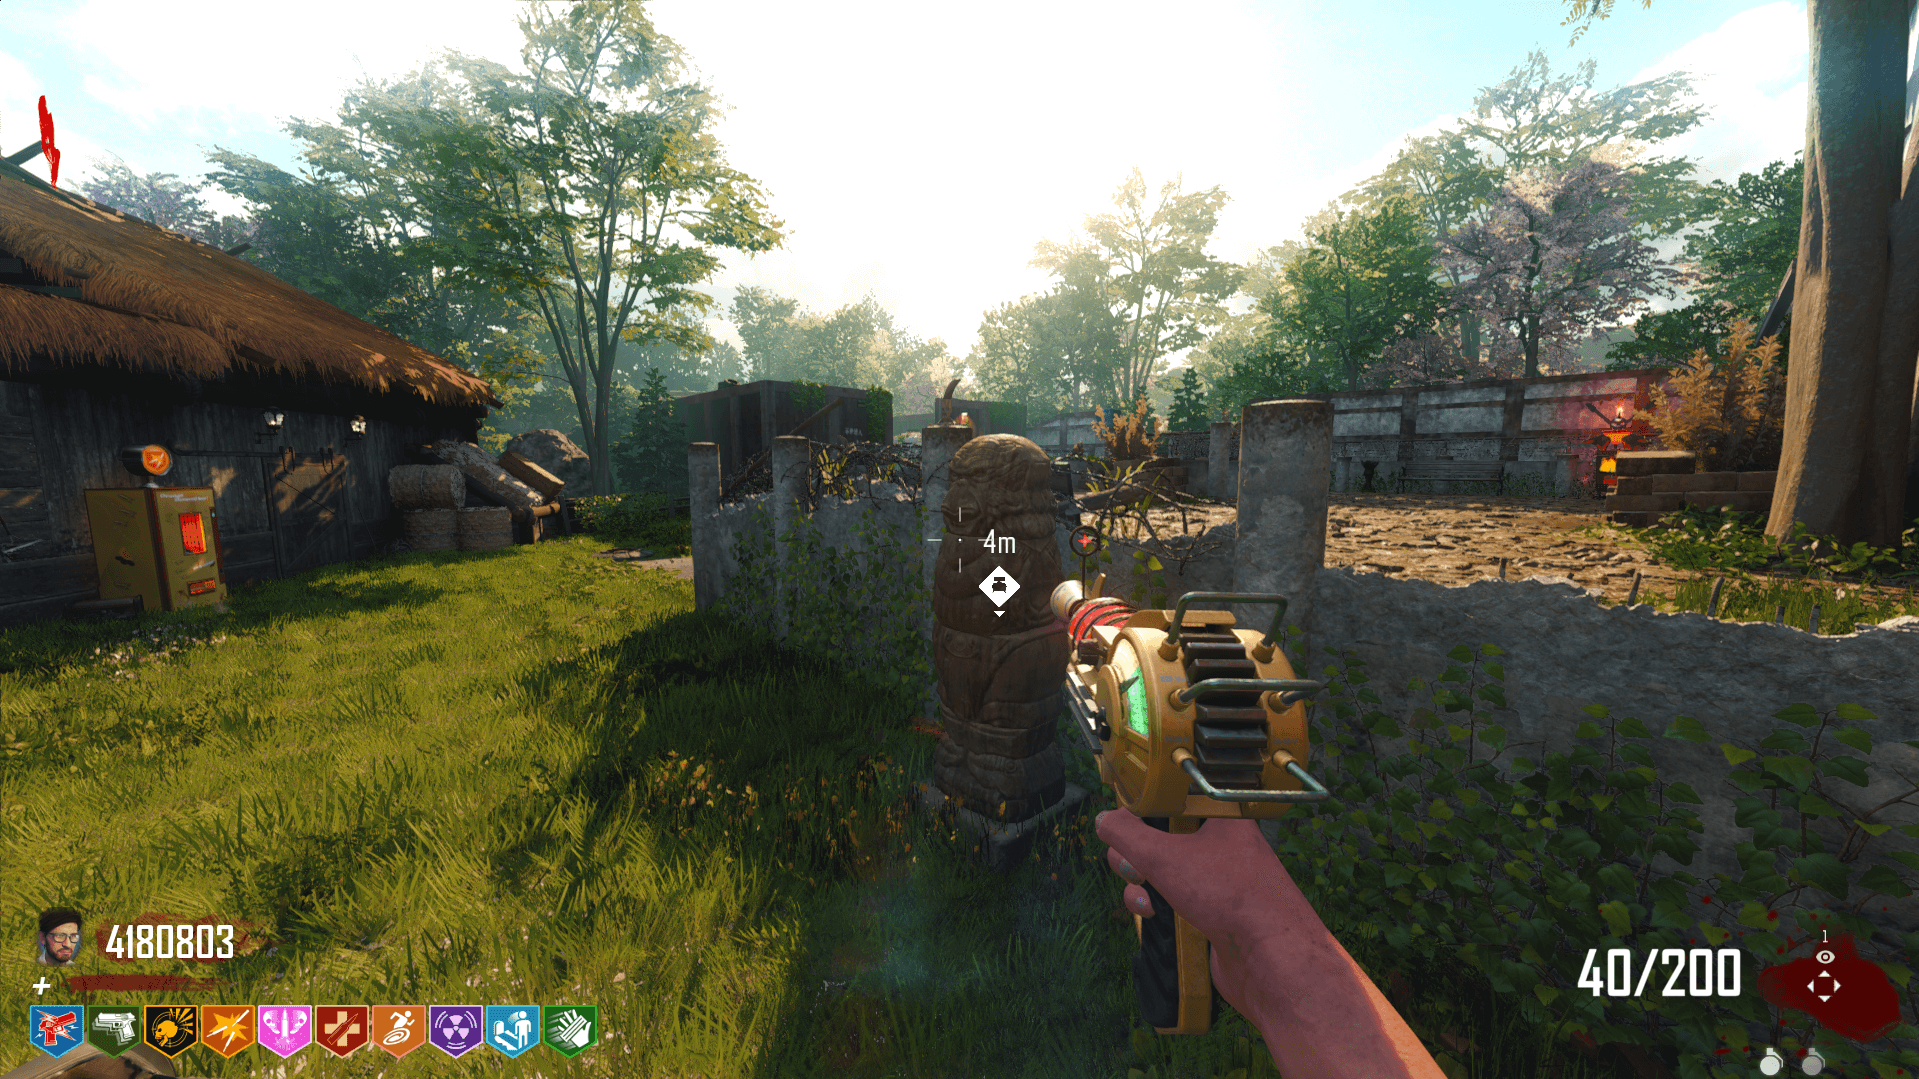
The fourth totem is in the Broken Arrow Factory.
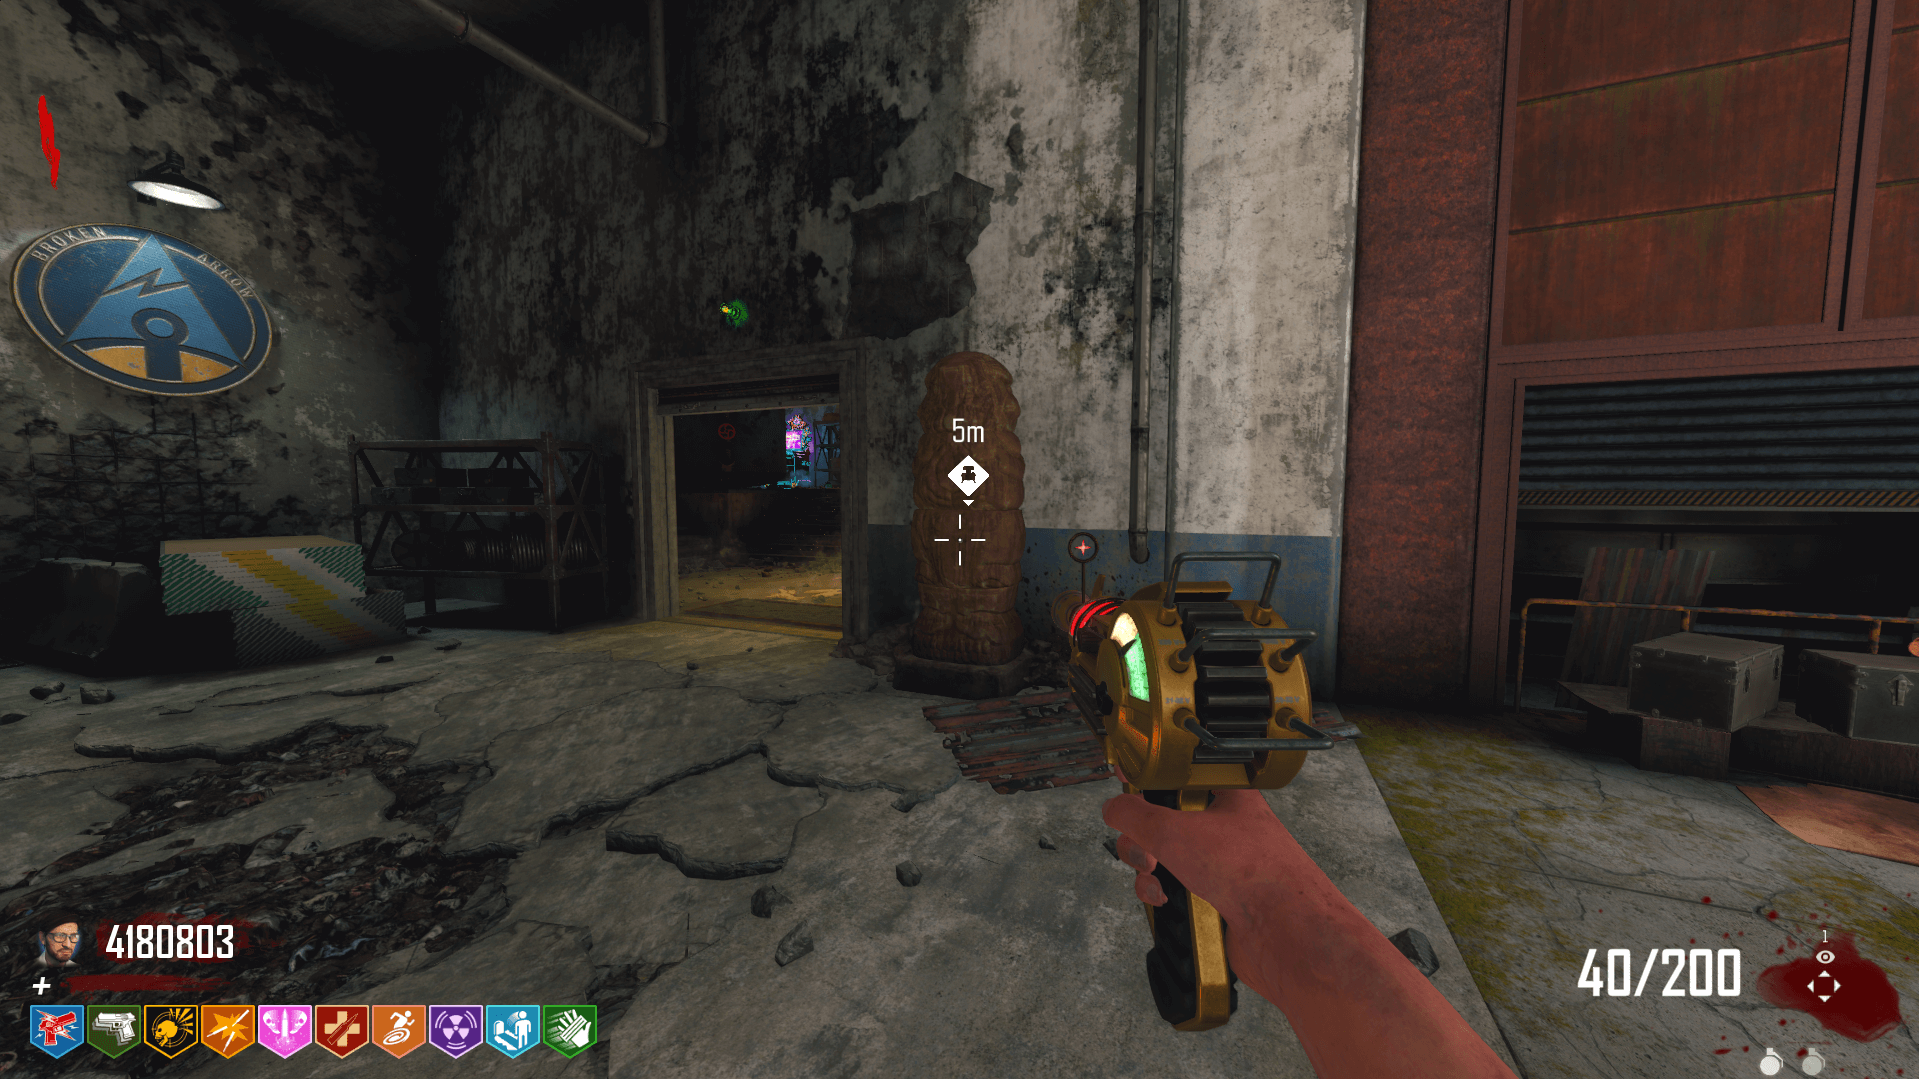
The last totem is behind the house in the Refugee’s Farm.
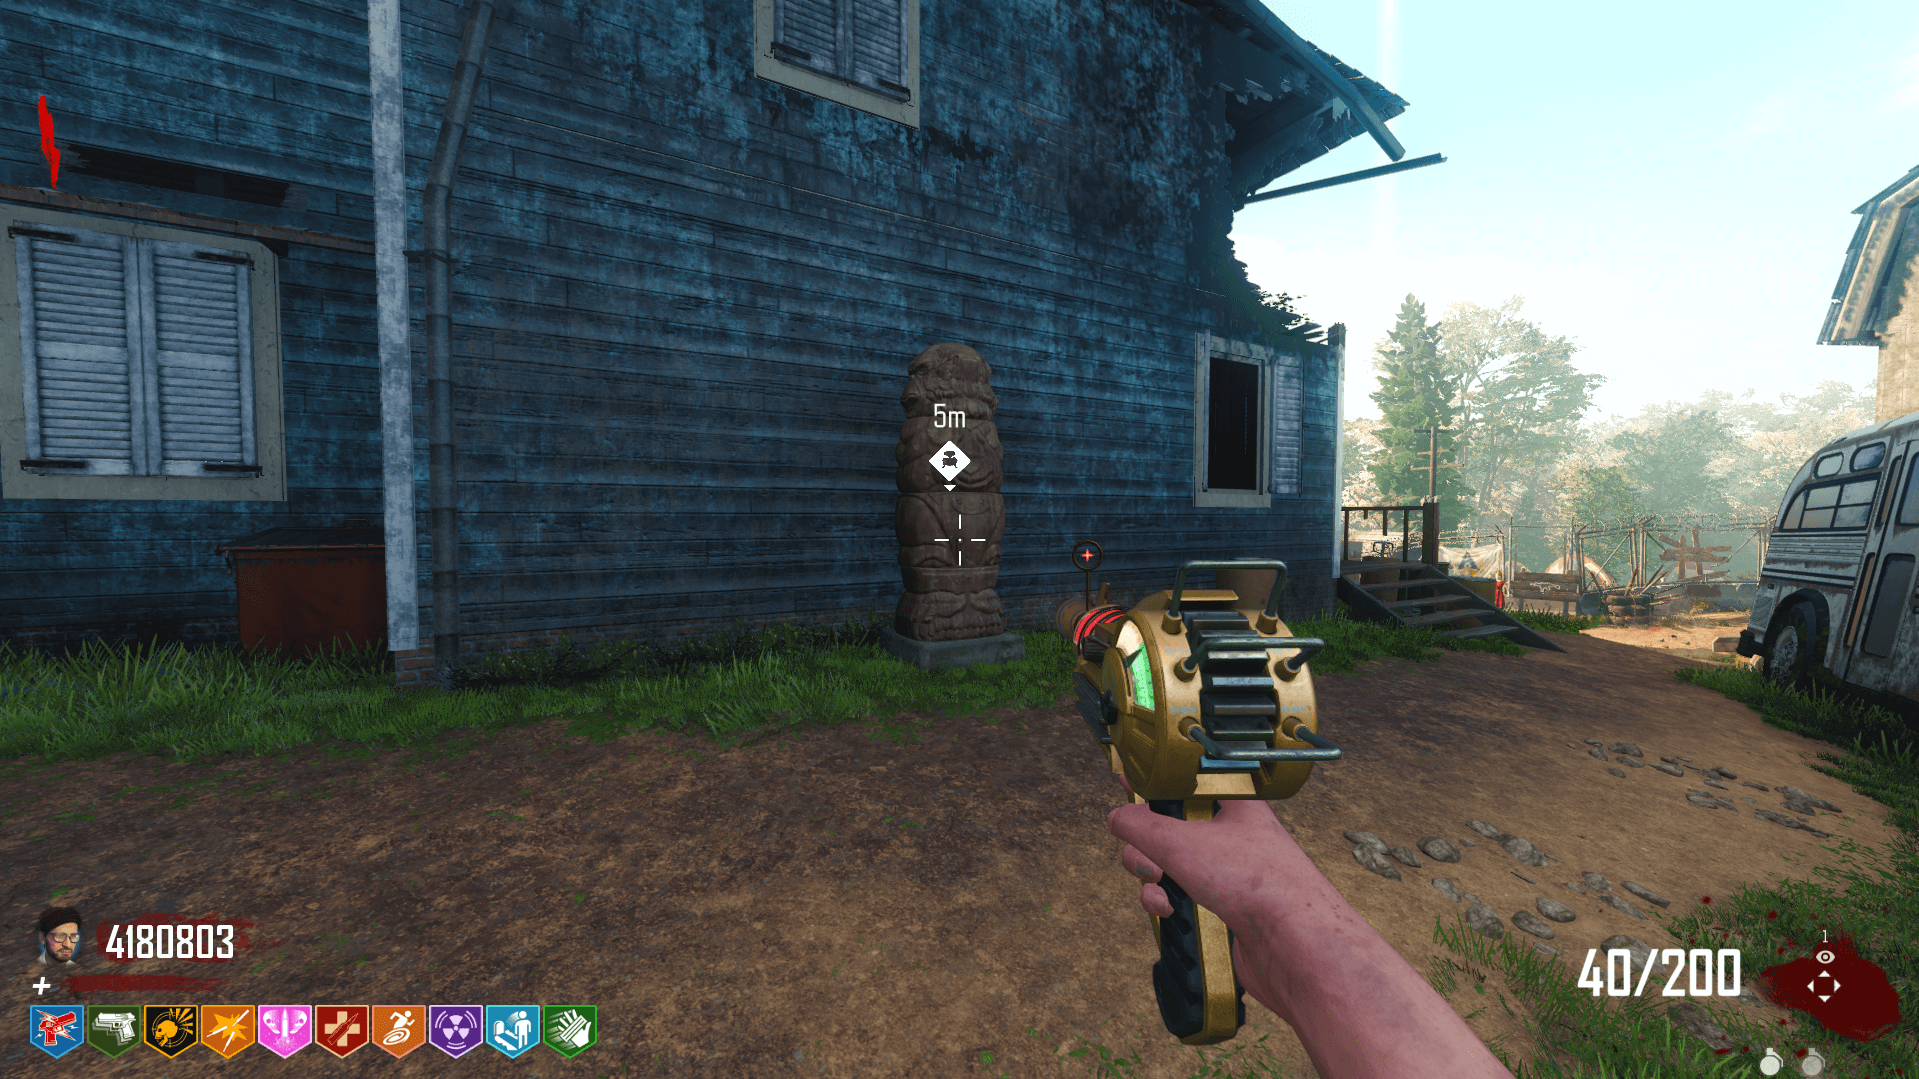
Once you activate all five totems, the green smoke will go away and you’ll be able to Pack-A-Punch your guns. Jednakże, every few rounds, some of the totems will re-rotate themselves. Kiedy to się stanie, you’ll have to find which of them it was and rotate it back.
Crafting the Vine Shield
Just like all shields, the Vine Shield has three parts, all of which have three locations.
The first part is the window, which can be found to the left of Quick Revive, next to the Pack-A-Punch entrance, and at the entrance to the Pack-A-Punch room.
The second part is the body, which can be found in the church area to the left of Deadshot Daiquiri, next to the stairs at the entrance of Hale’s Garden, or on the wall in the entrance to the Broken Arrow Factory.
The last part is the handle, which can be found at the TranZit Power Station. The first location is next to Speed Cola. The second is on the stairs that go to the top floor, and the third is on the top floor on a barrel.
Wreszcie, the Vine Shield can be crafted in the Pack-A-Punch room.
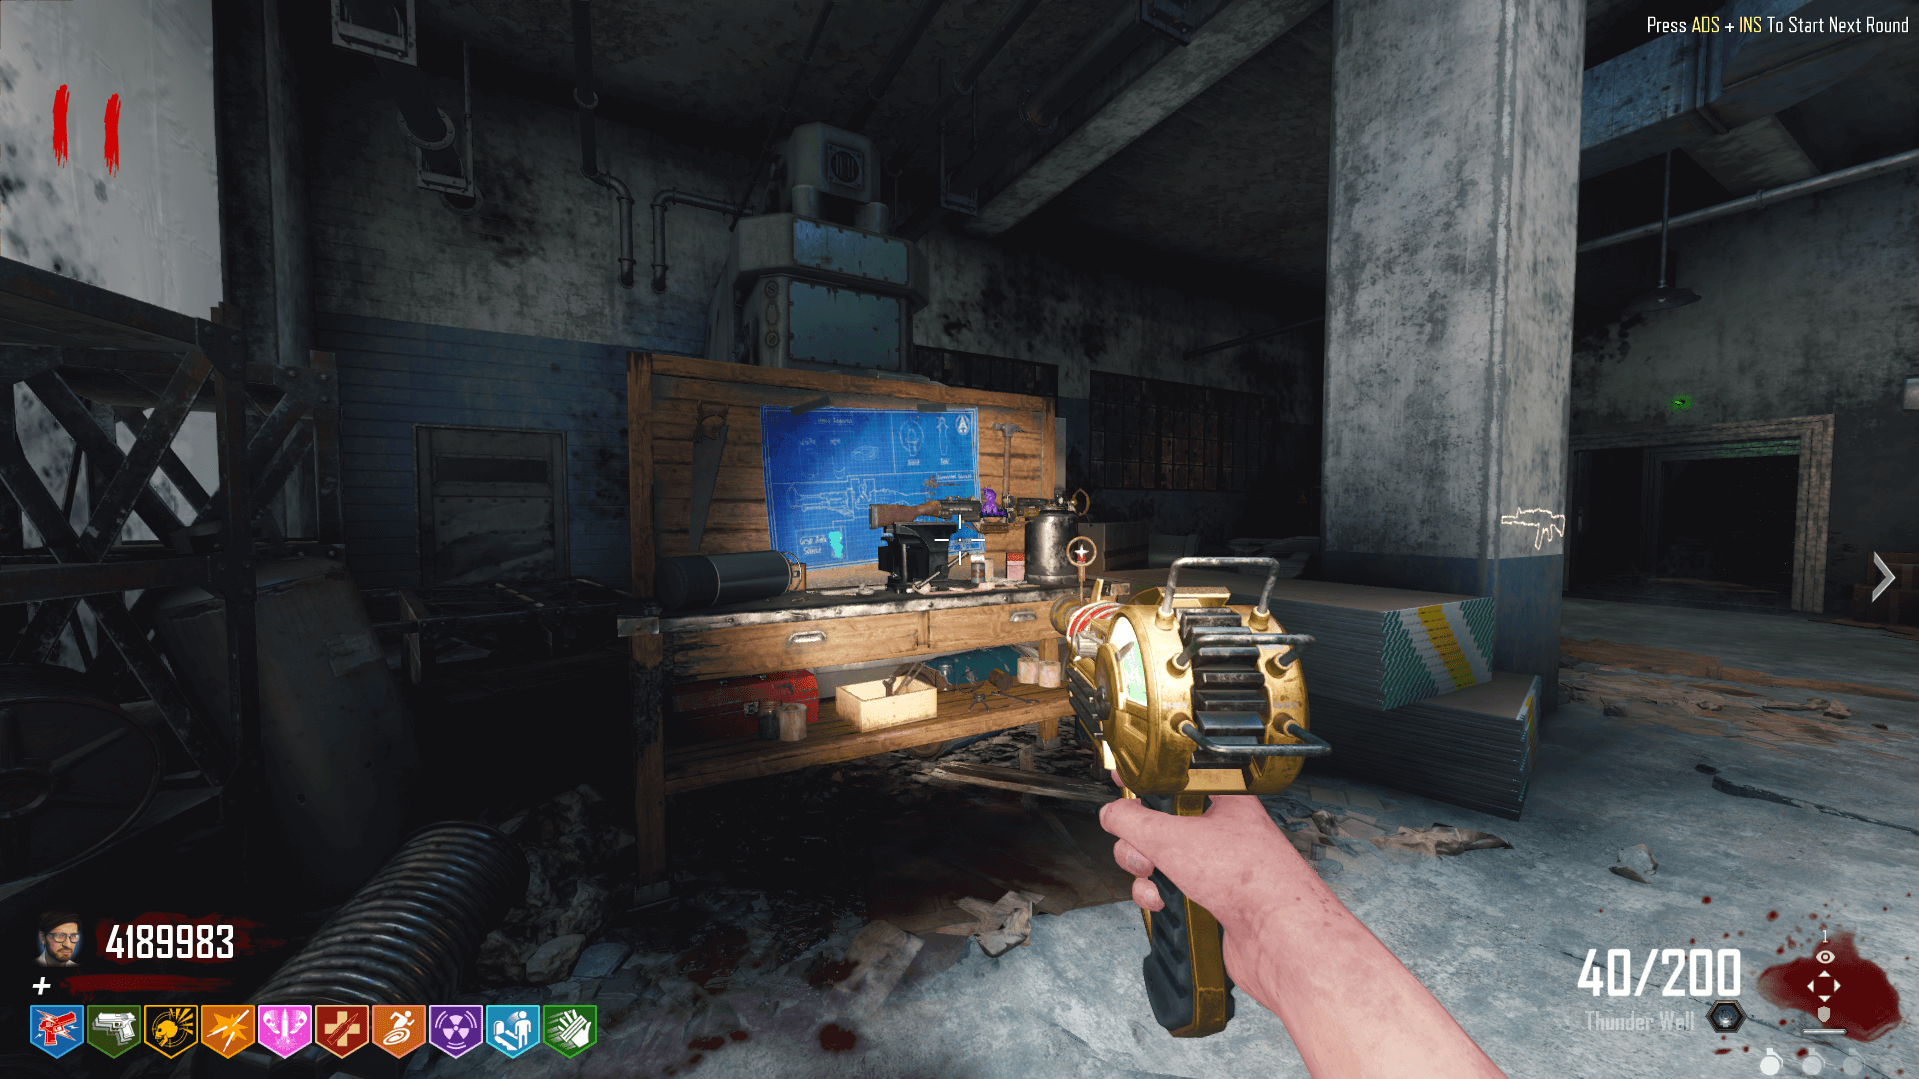
Crafting the 31-79 JGb215 (Shrink Ray)
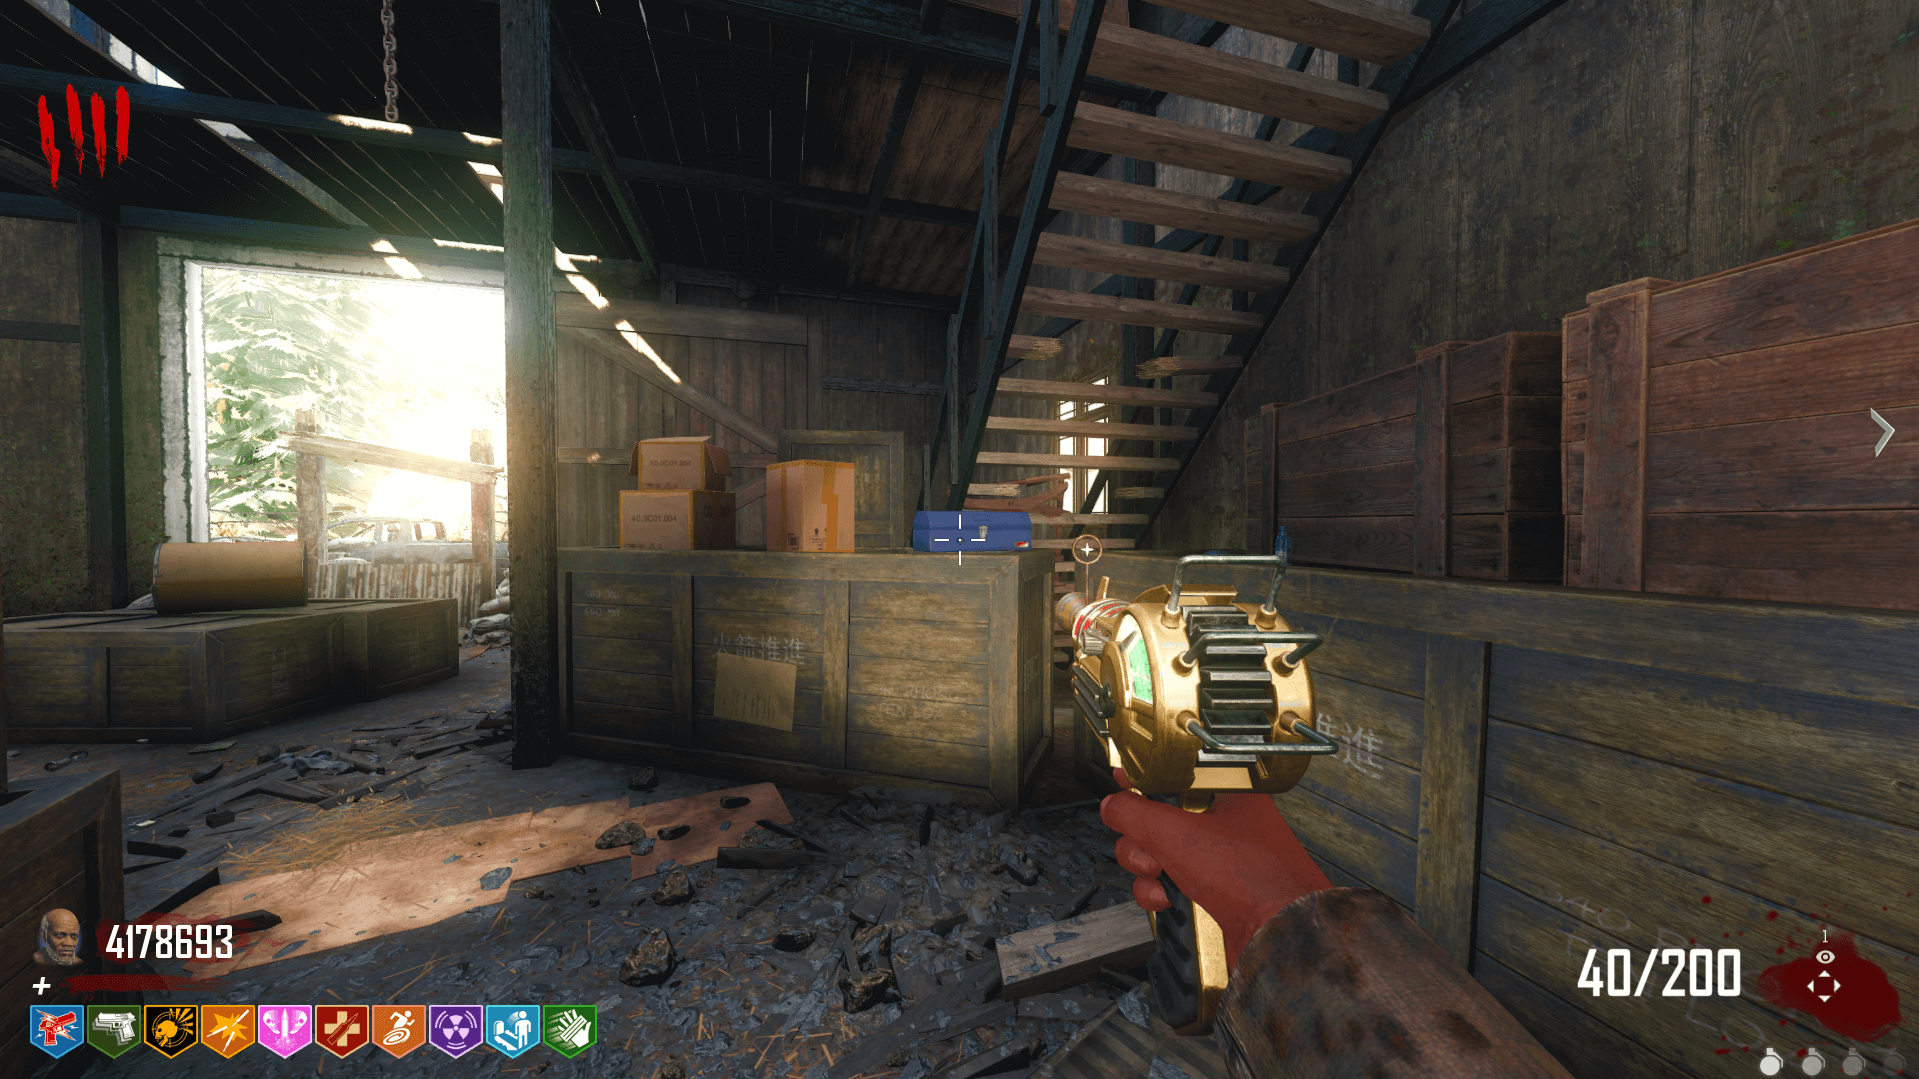
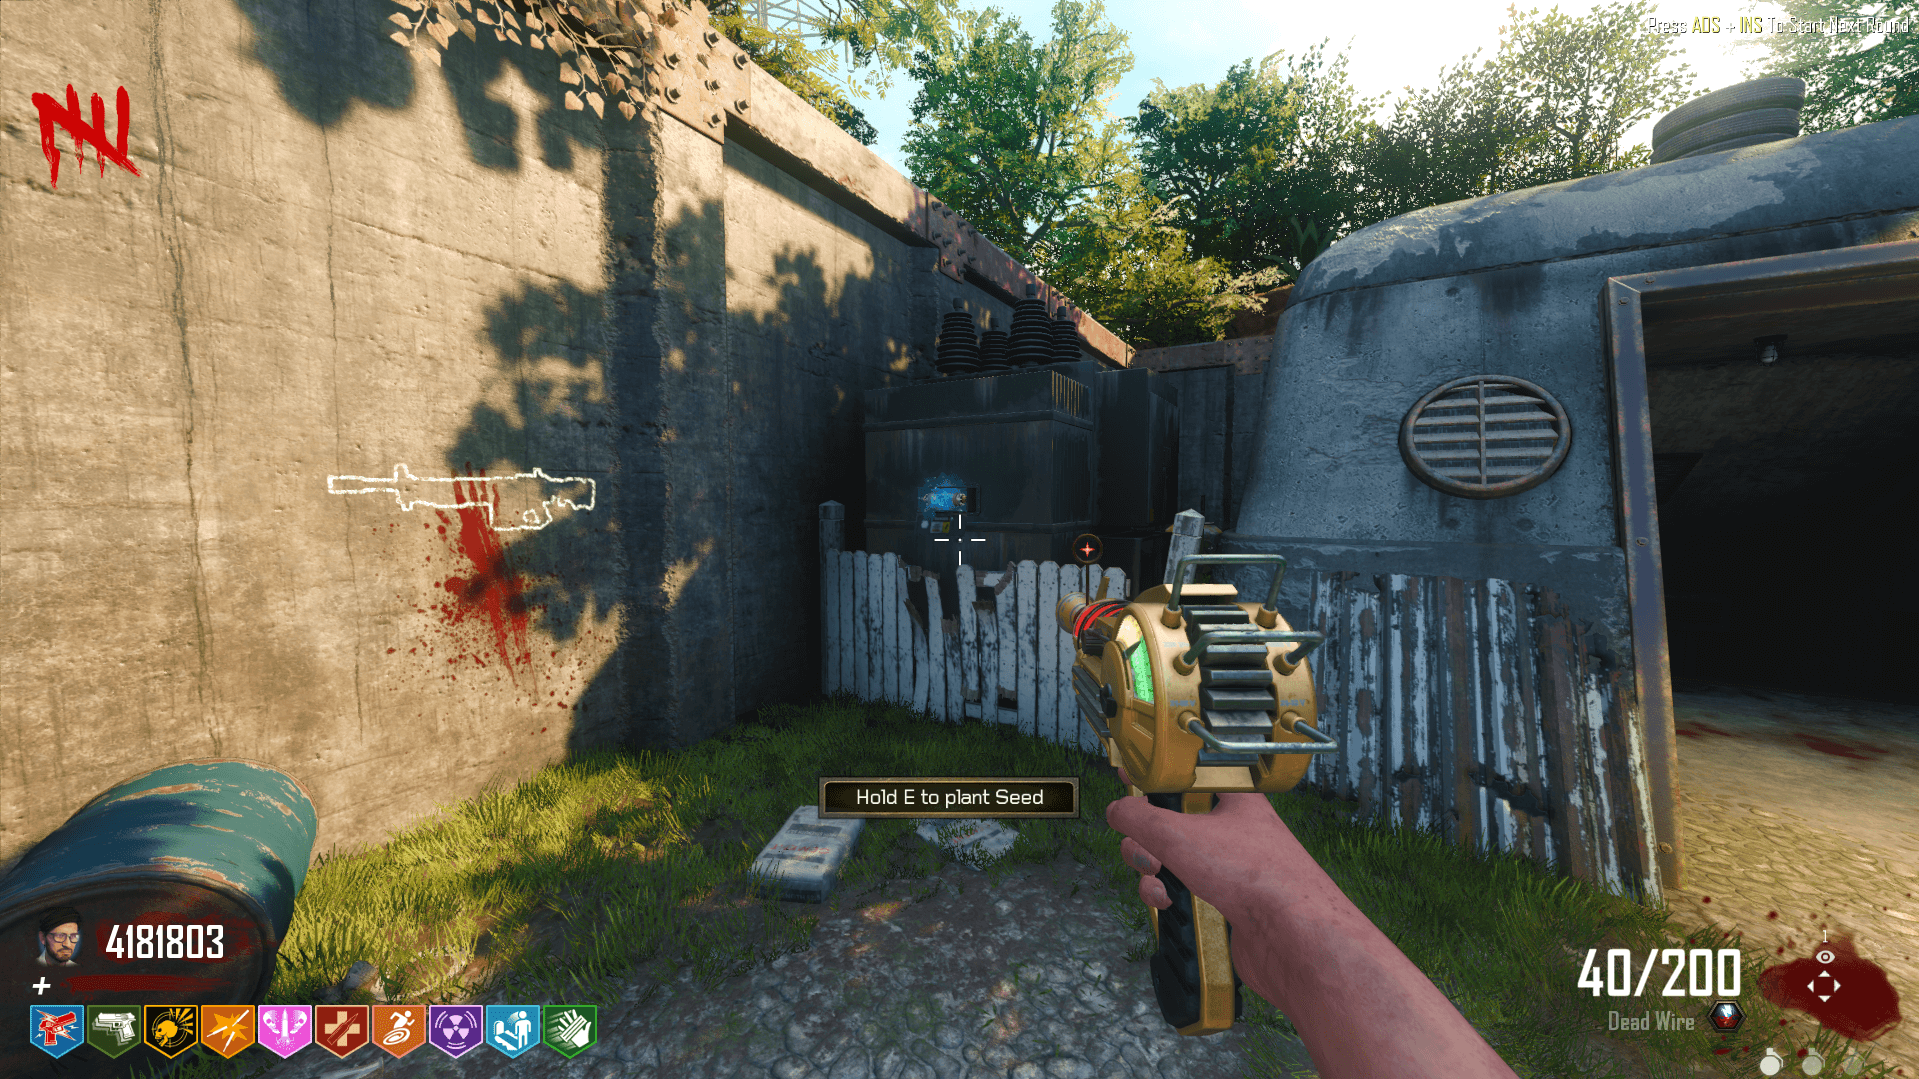
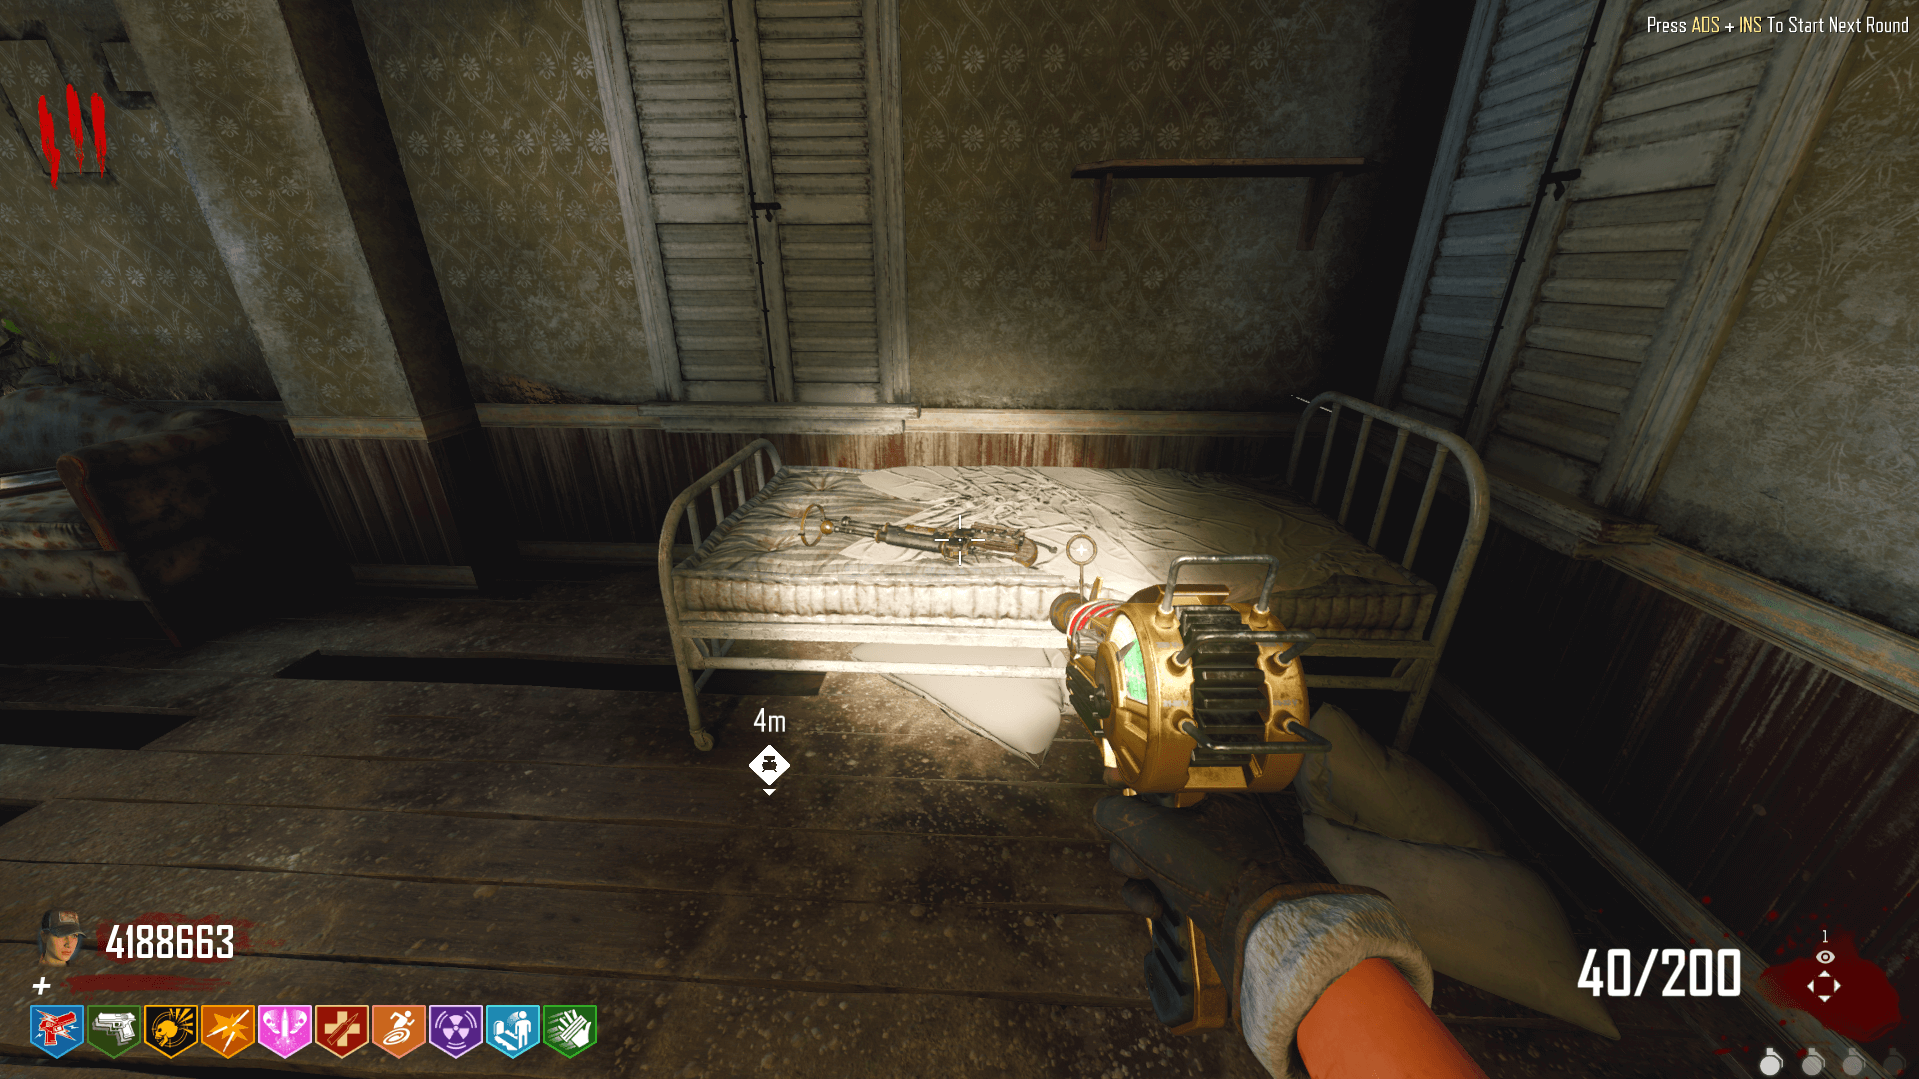
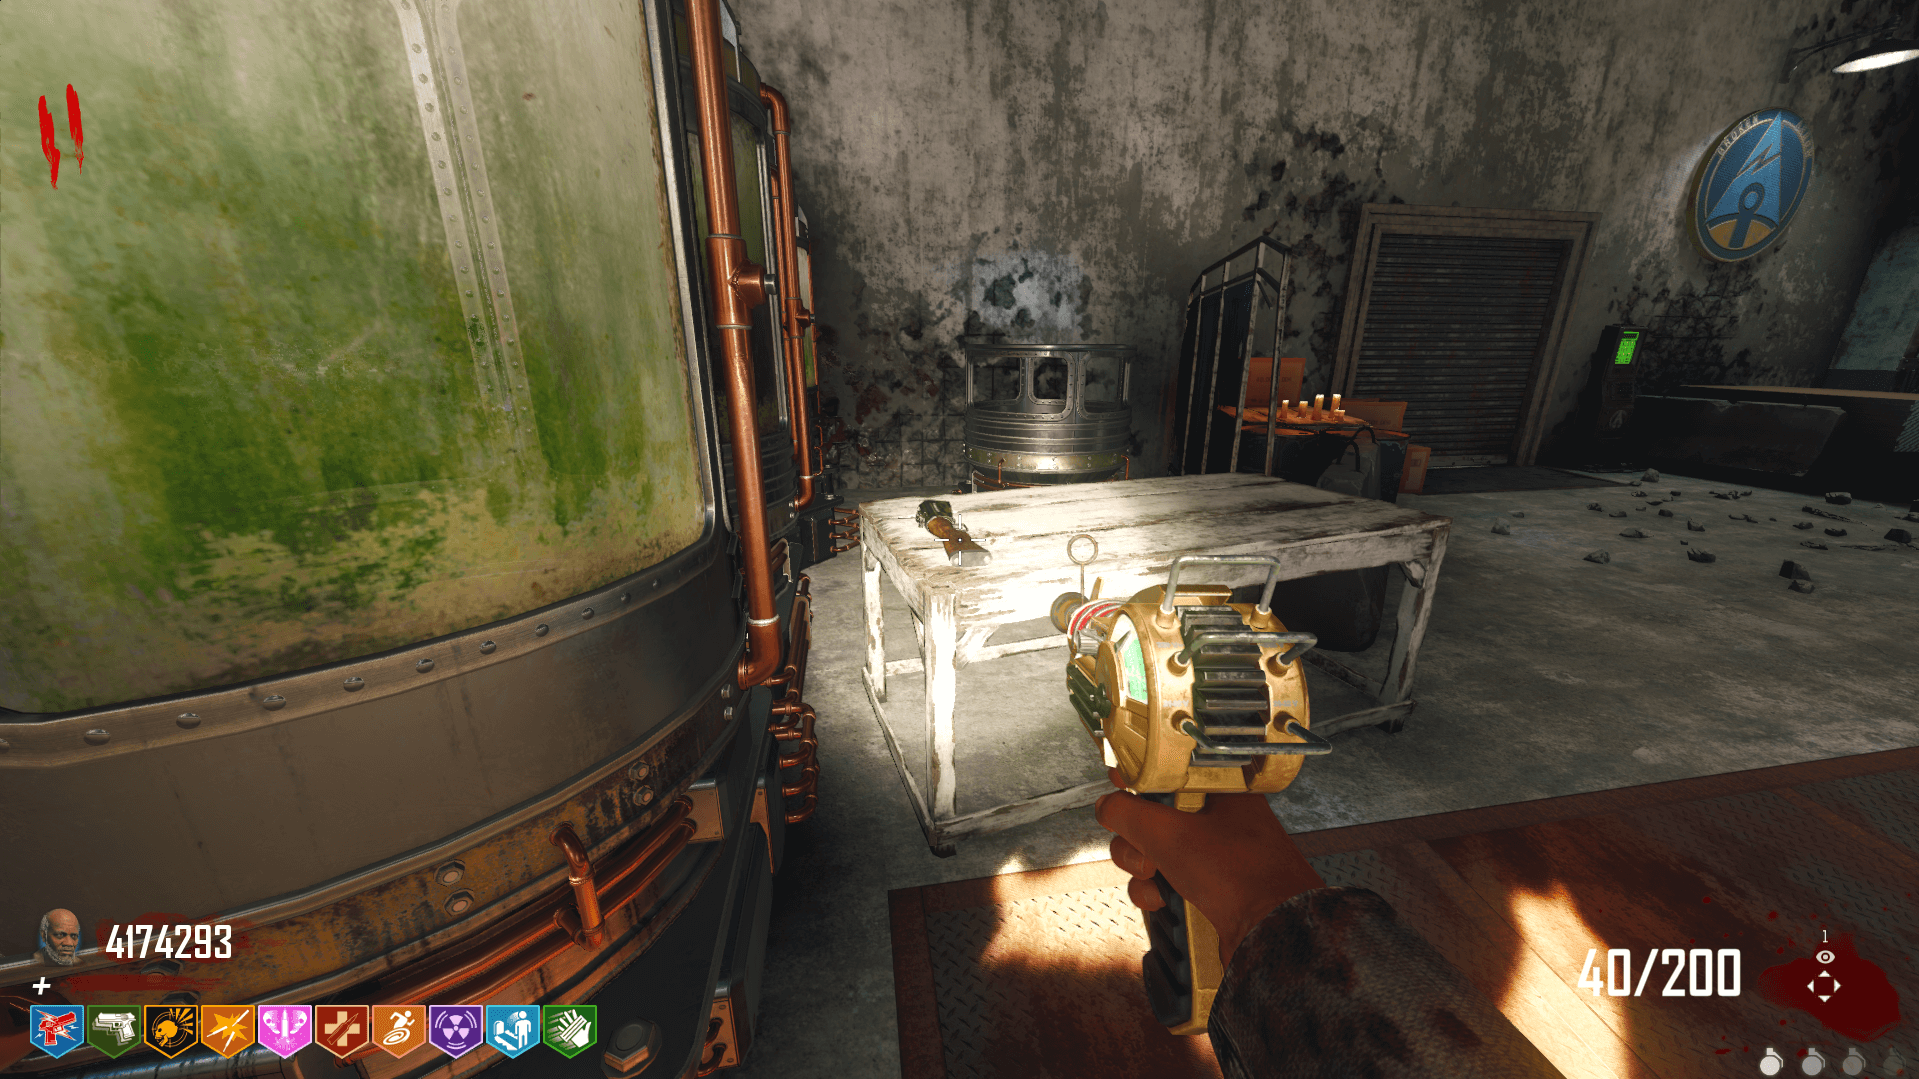
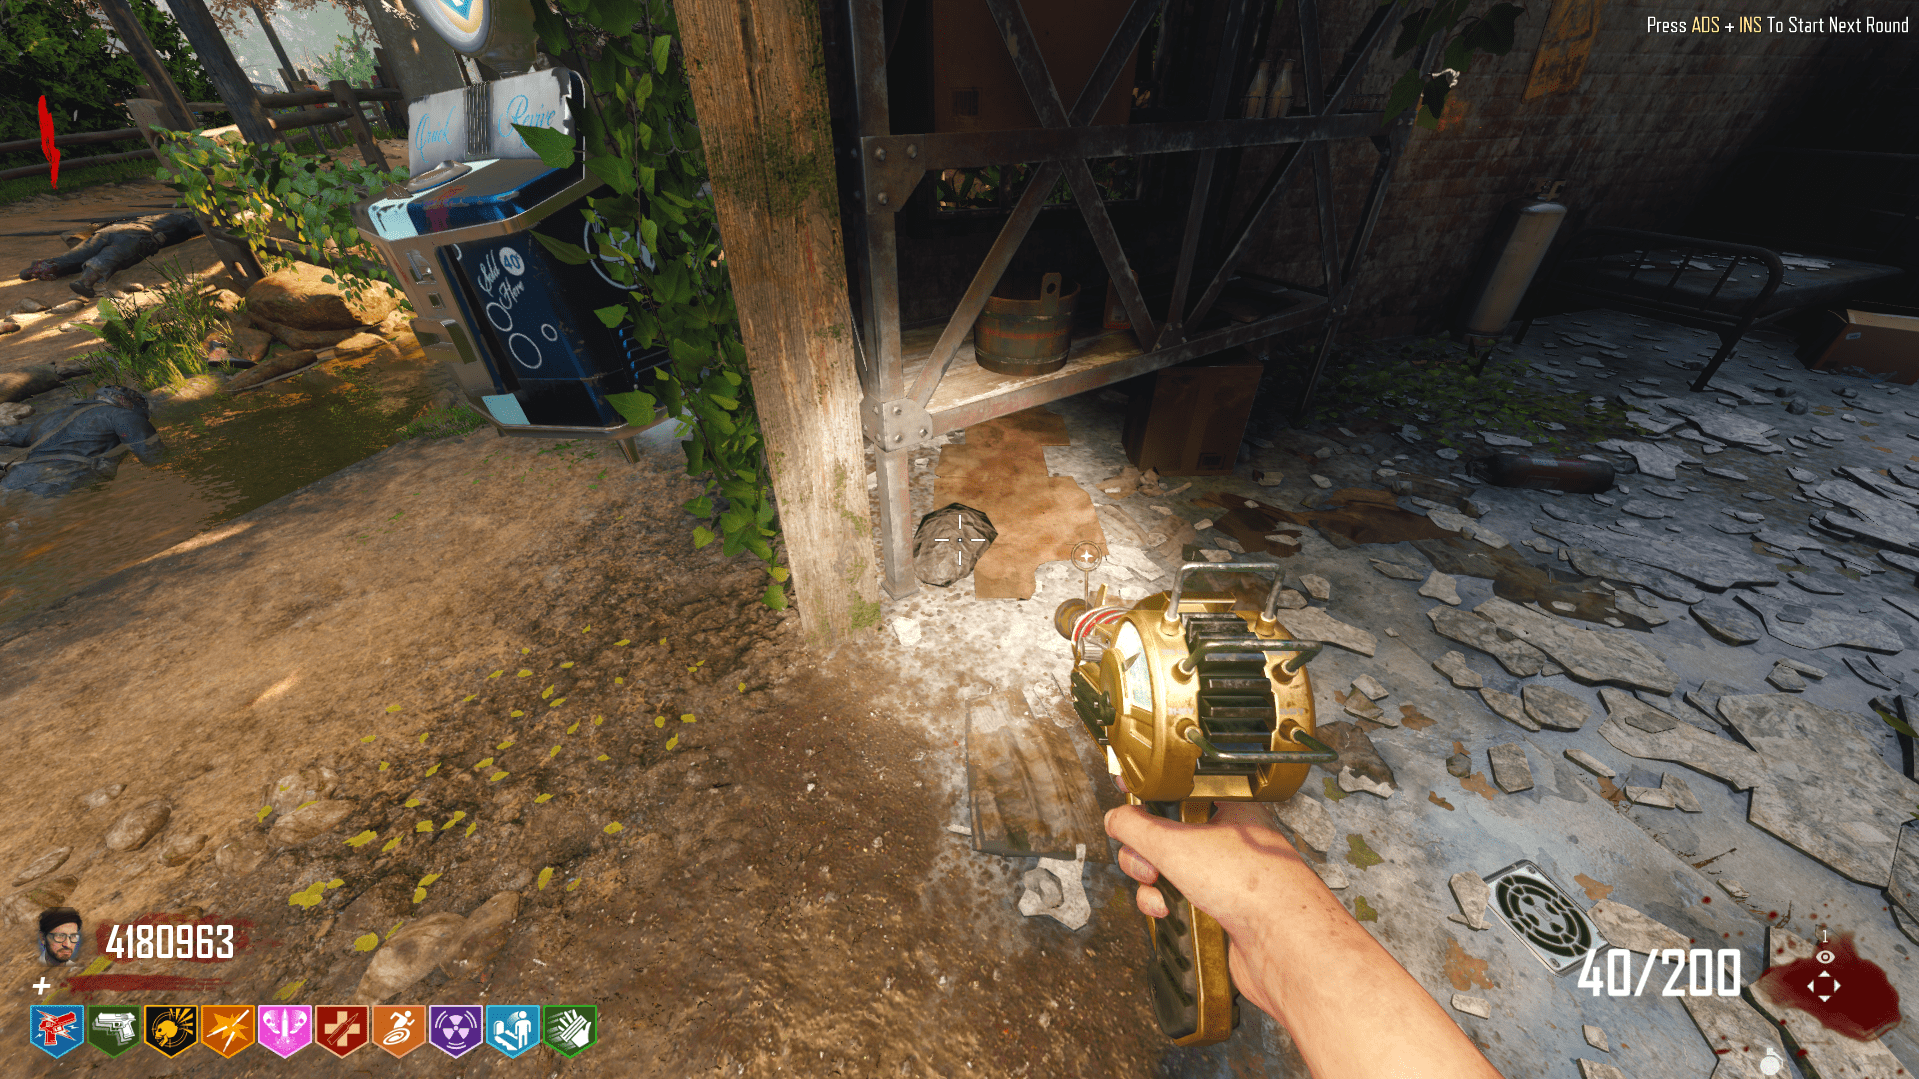
To craft the Shrink Ray, you’ll need to find three parts. The first part is the barrel. The barrel can be found in three locations, the first of which being by the fridge in the house in Refugee’s Farm.
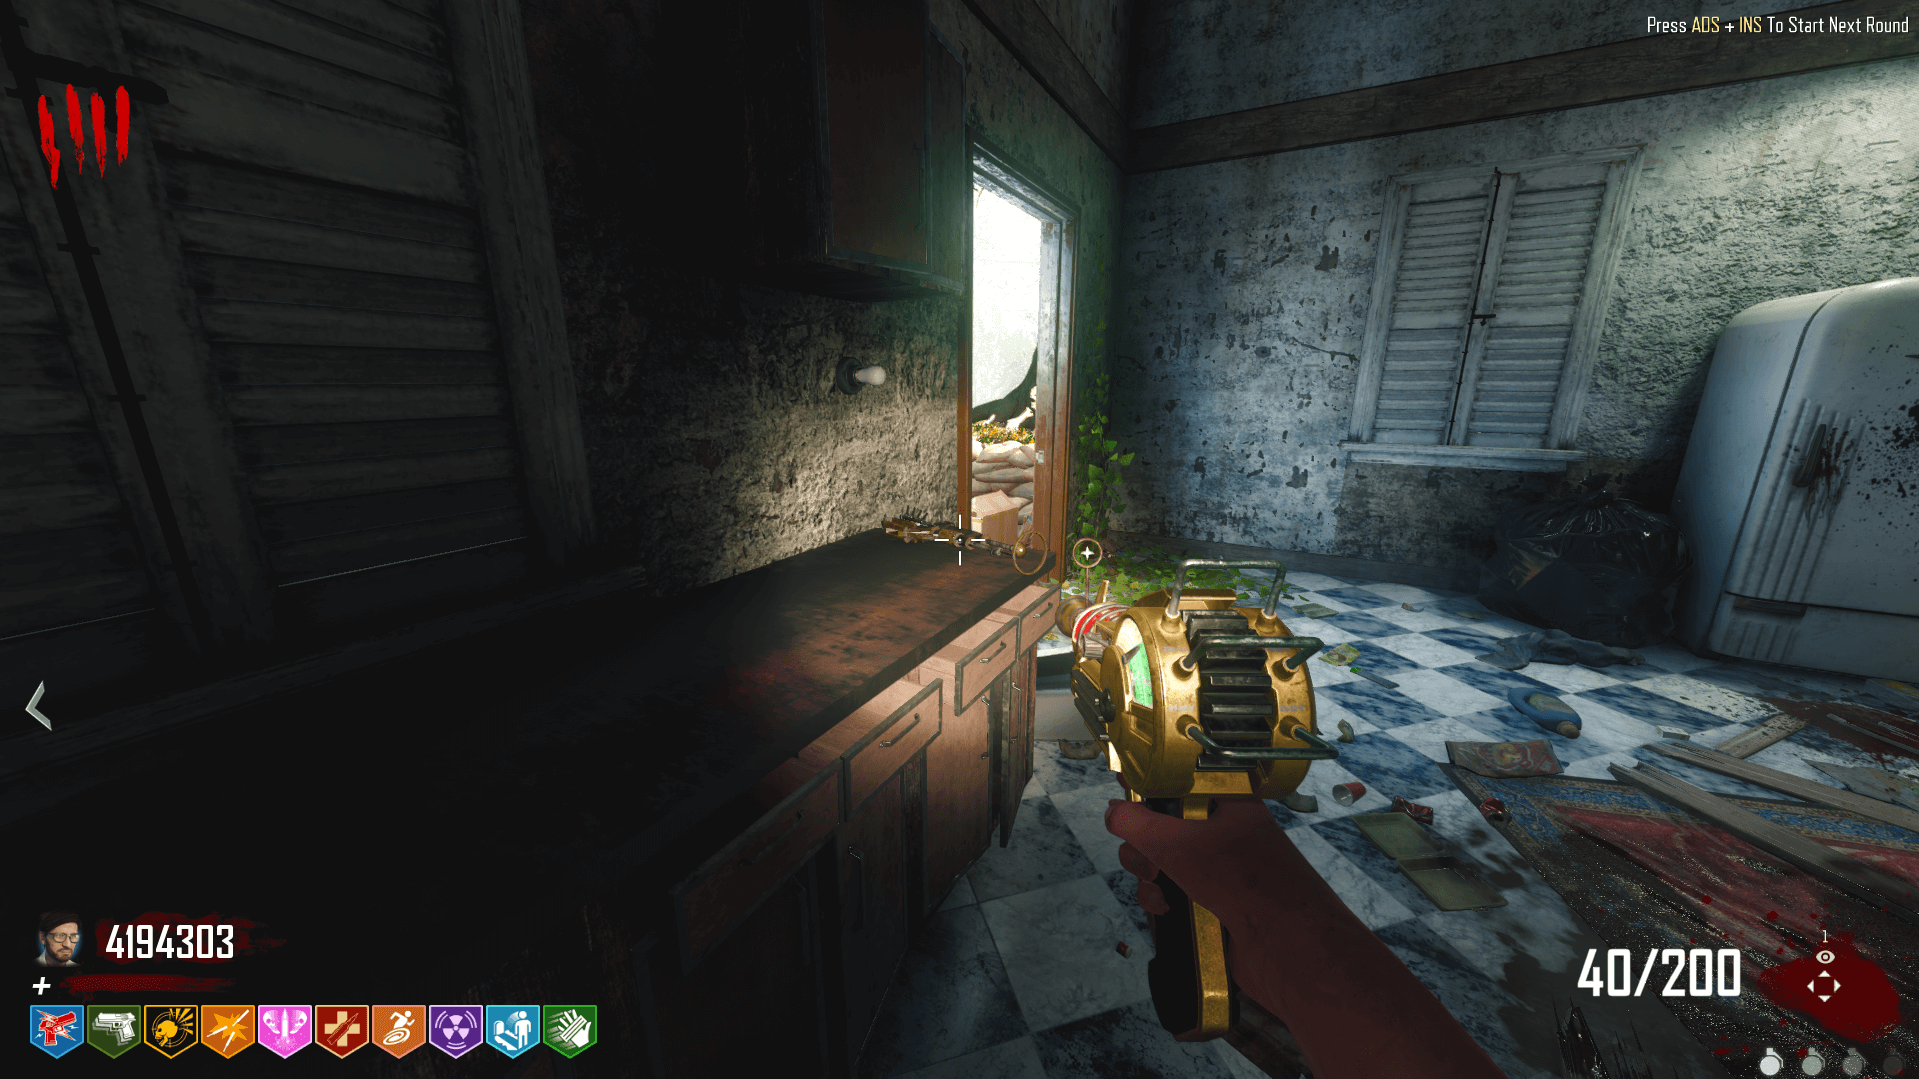
The next two locations are upstairs, one on a bed to the right and one in a cabinet.
Następny w kolejce, the handle. The handle also has three locations. The first is on a metal barrel to the right of the stairs at the entrance to Hale’s Garden.
The last two locations for the handle are in the Broken Arrow Factory, one on a window next to the power source and one on a table across from the power source.
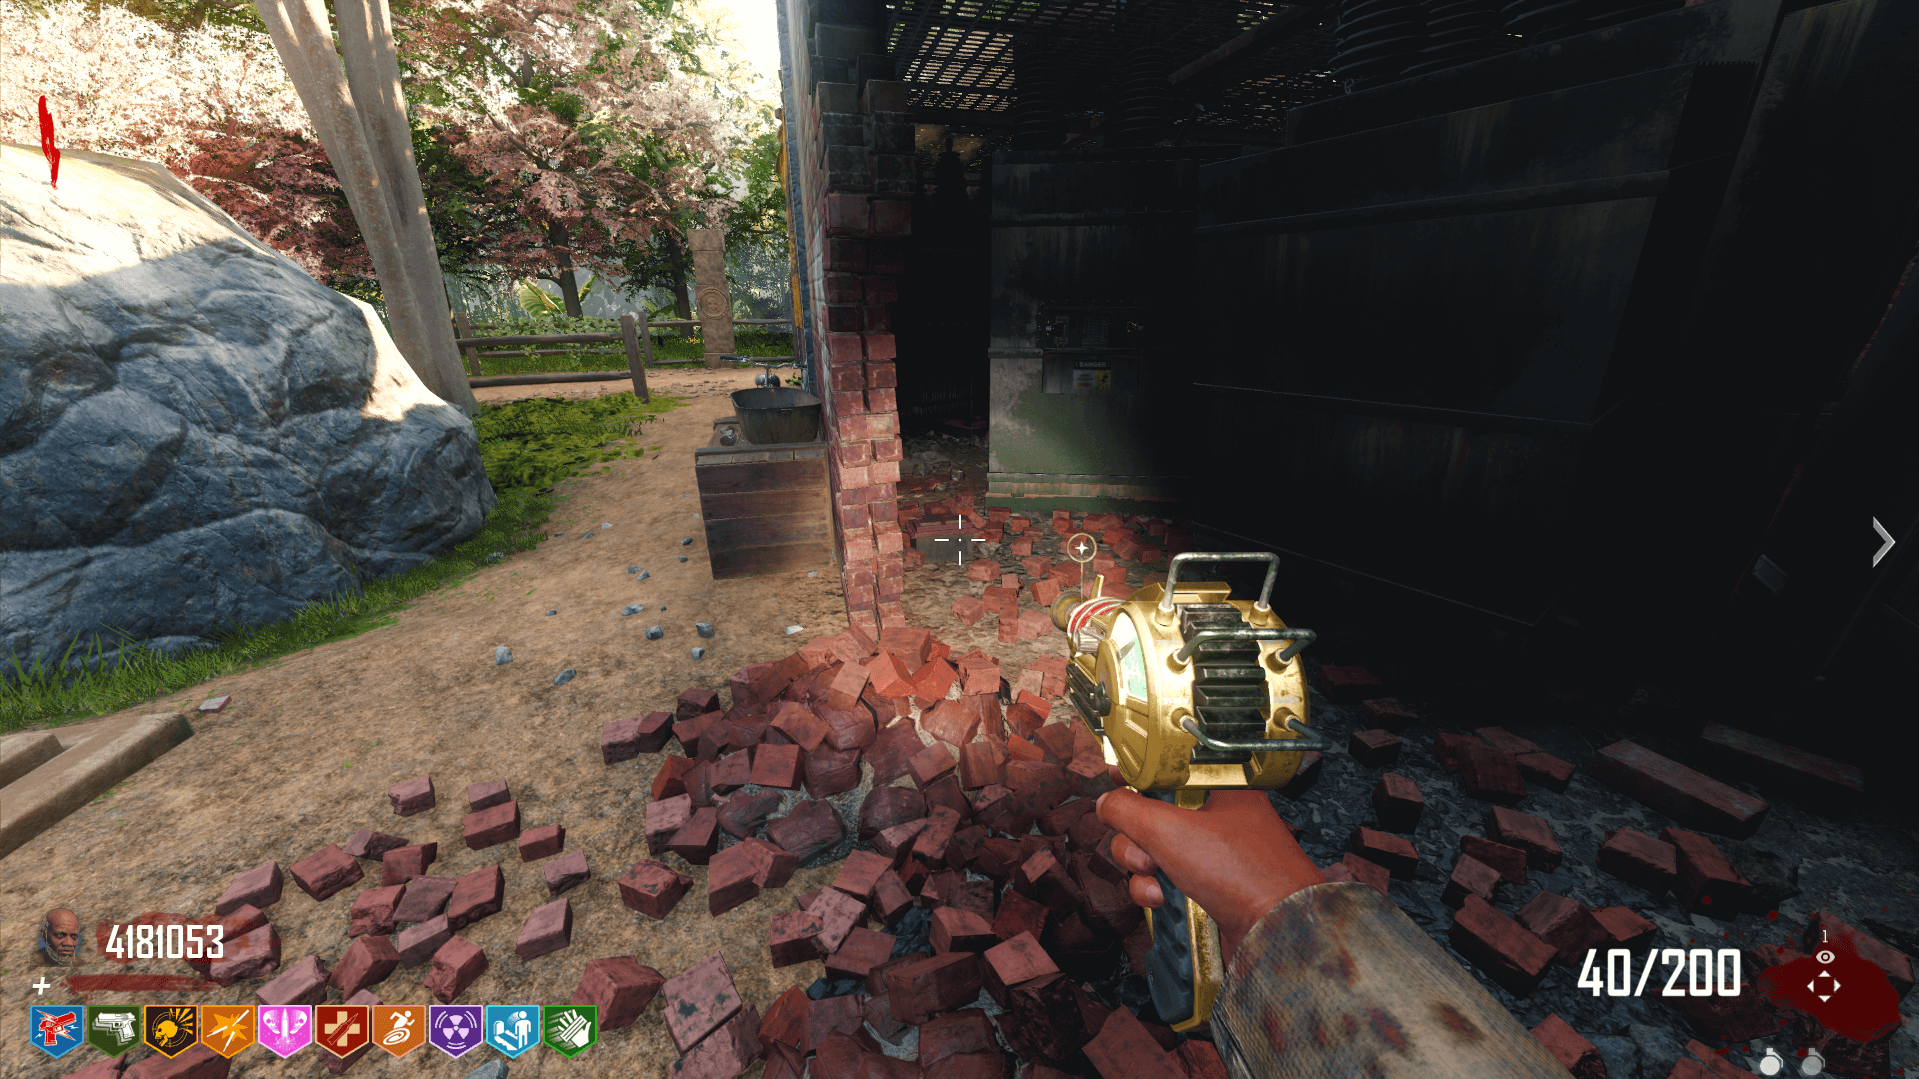
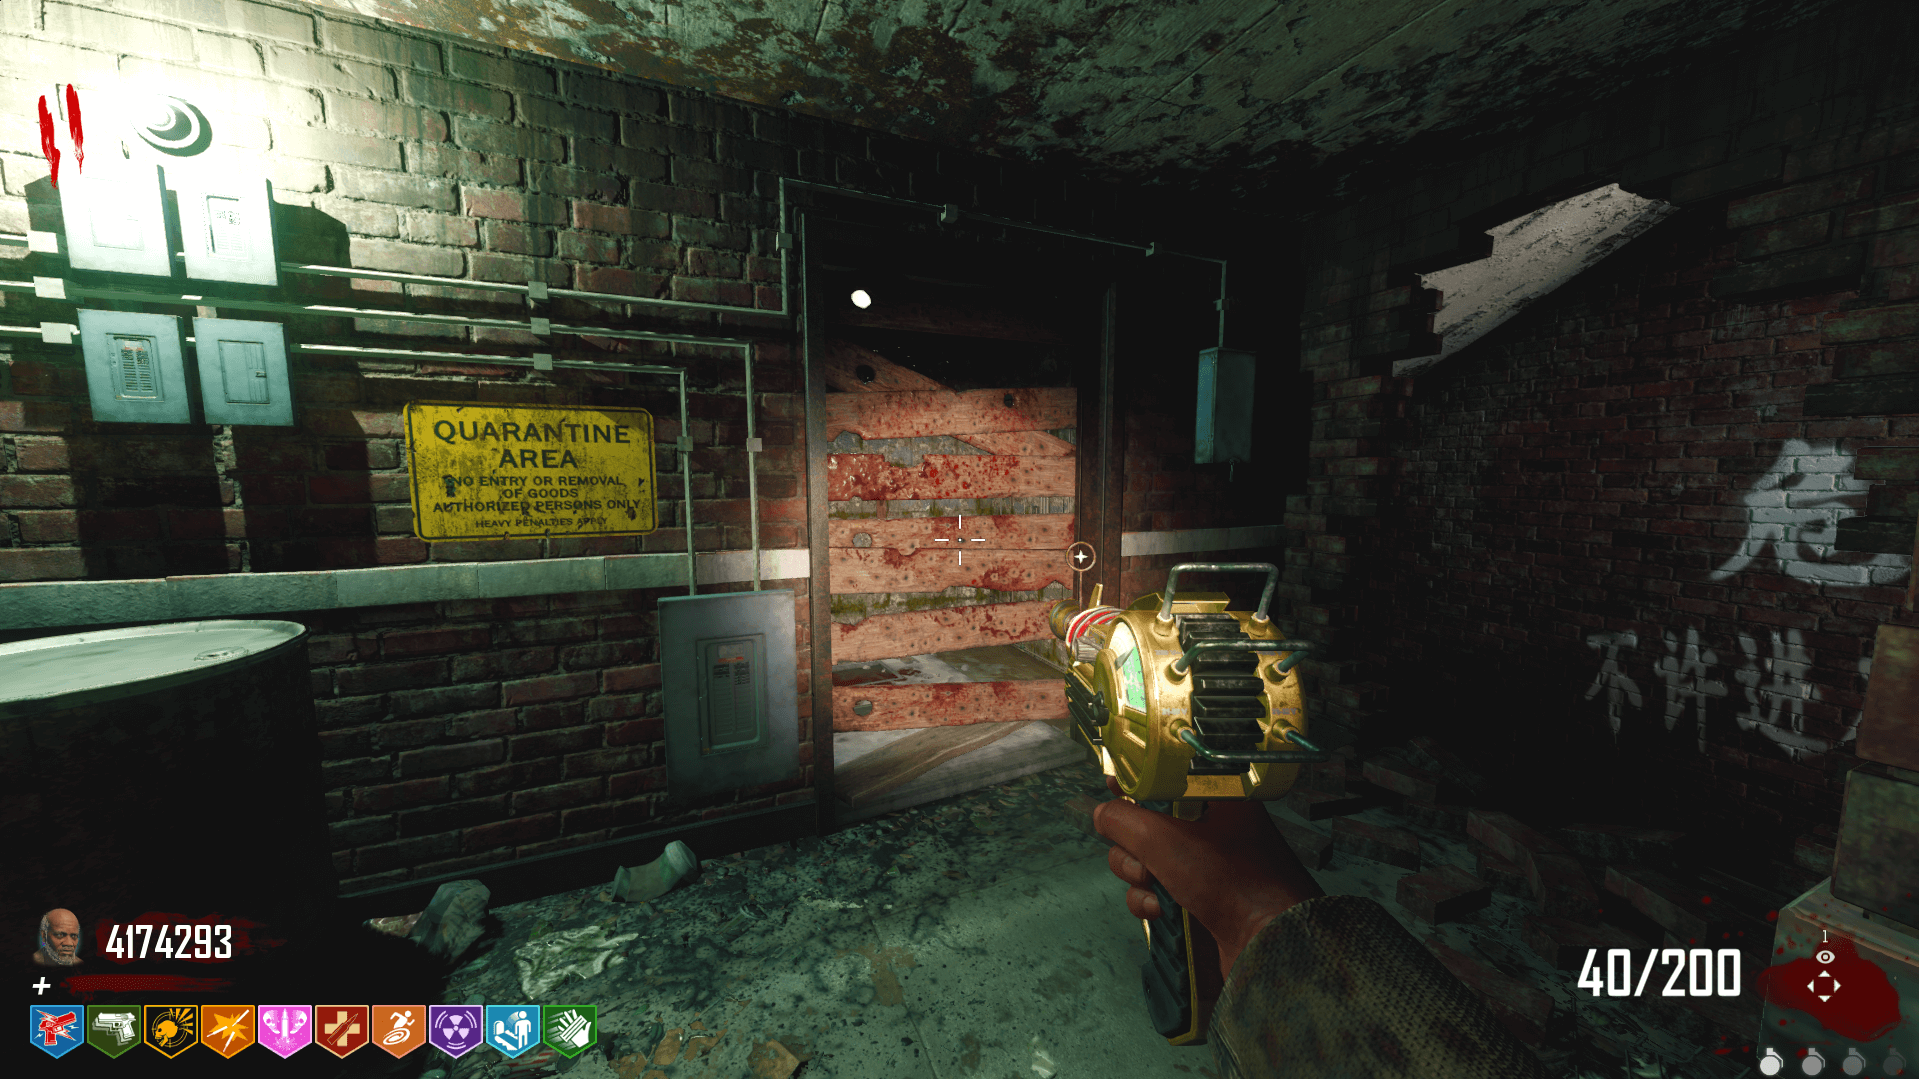
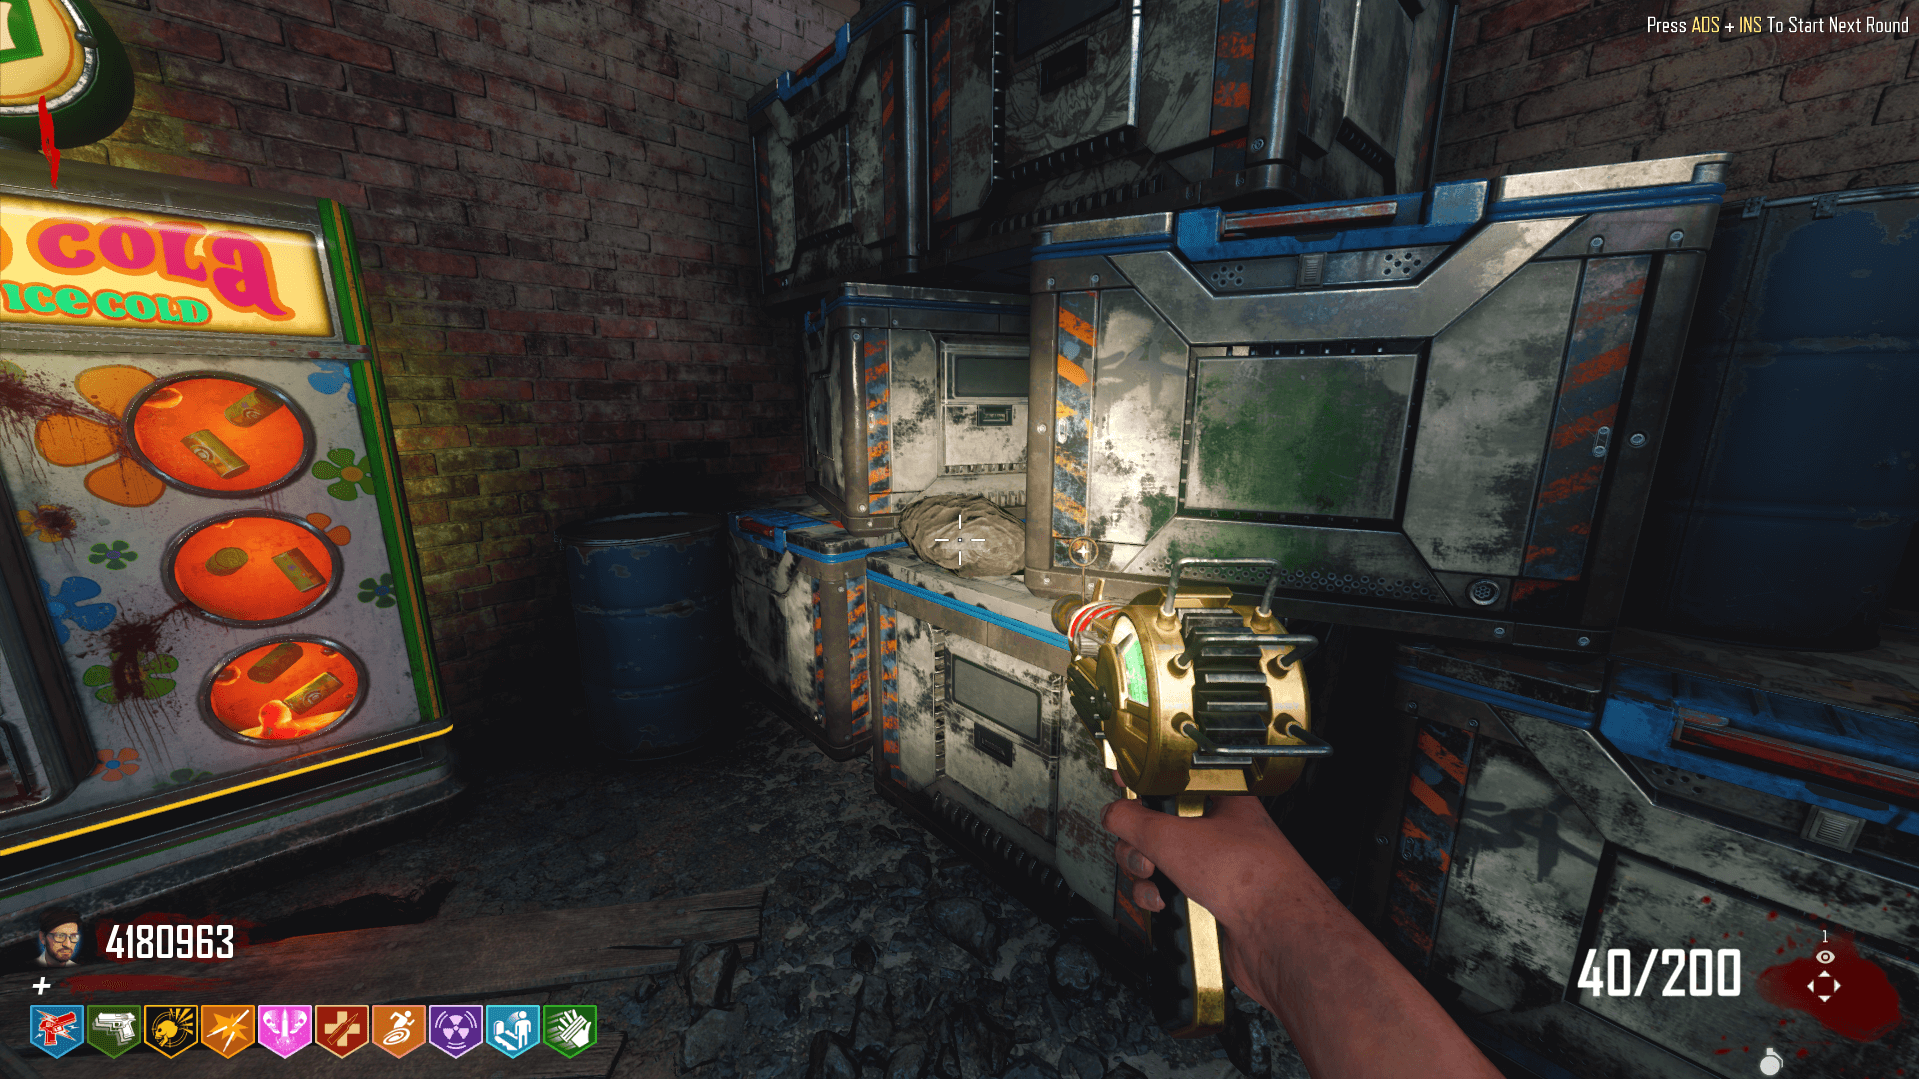
The last part is the Jade, which only has one spawn location. You can find this by entering the hallway between the Broken Arrow Factory and the TranZit Power Station and meleeing all of the wooden planks on this door. Once you destroy all of the planks, you can enter the room and pick up the final piece.
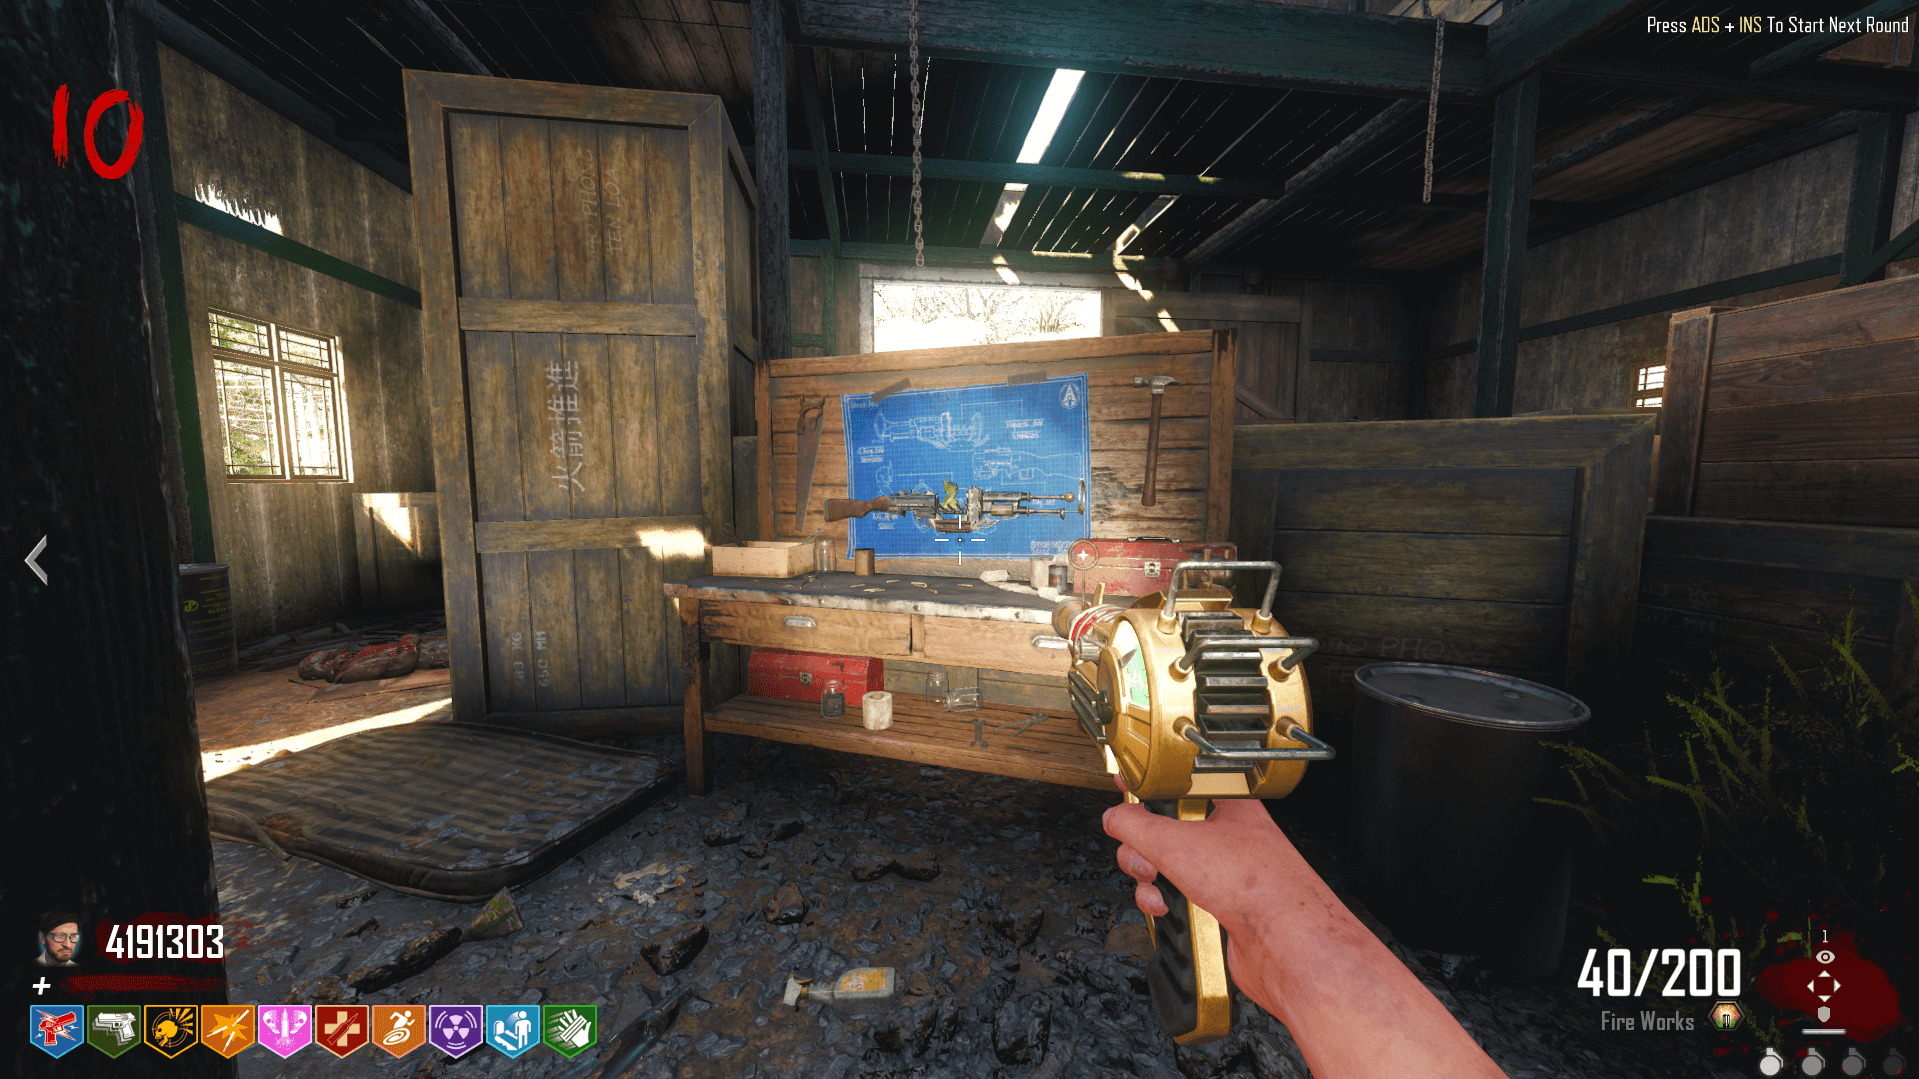
Wreszcie, you can craft the Shrink Ray in the barn at Refugee’s Farm.
Crafting the Kit
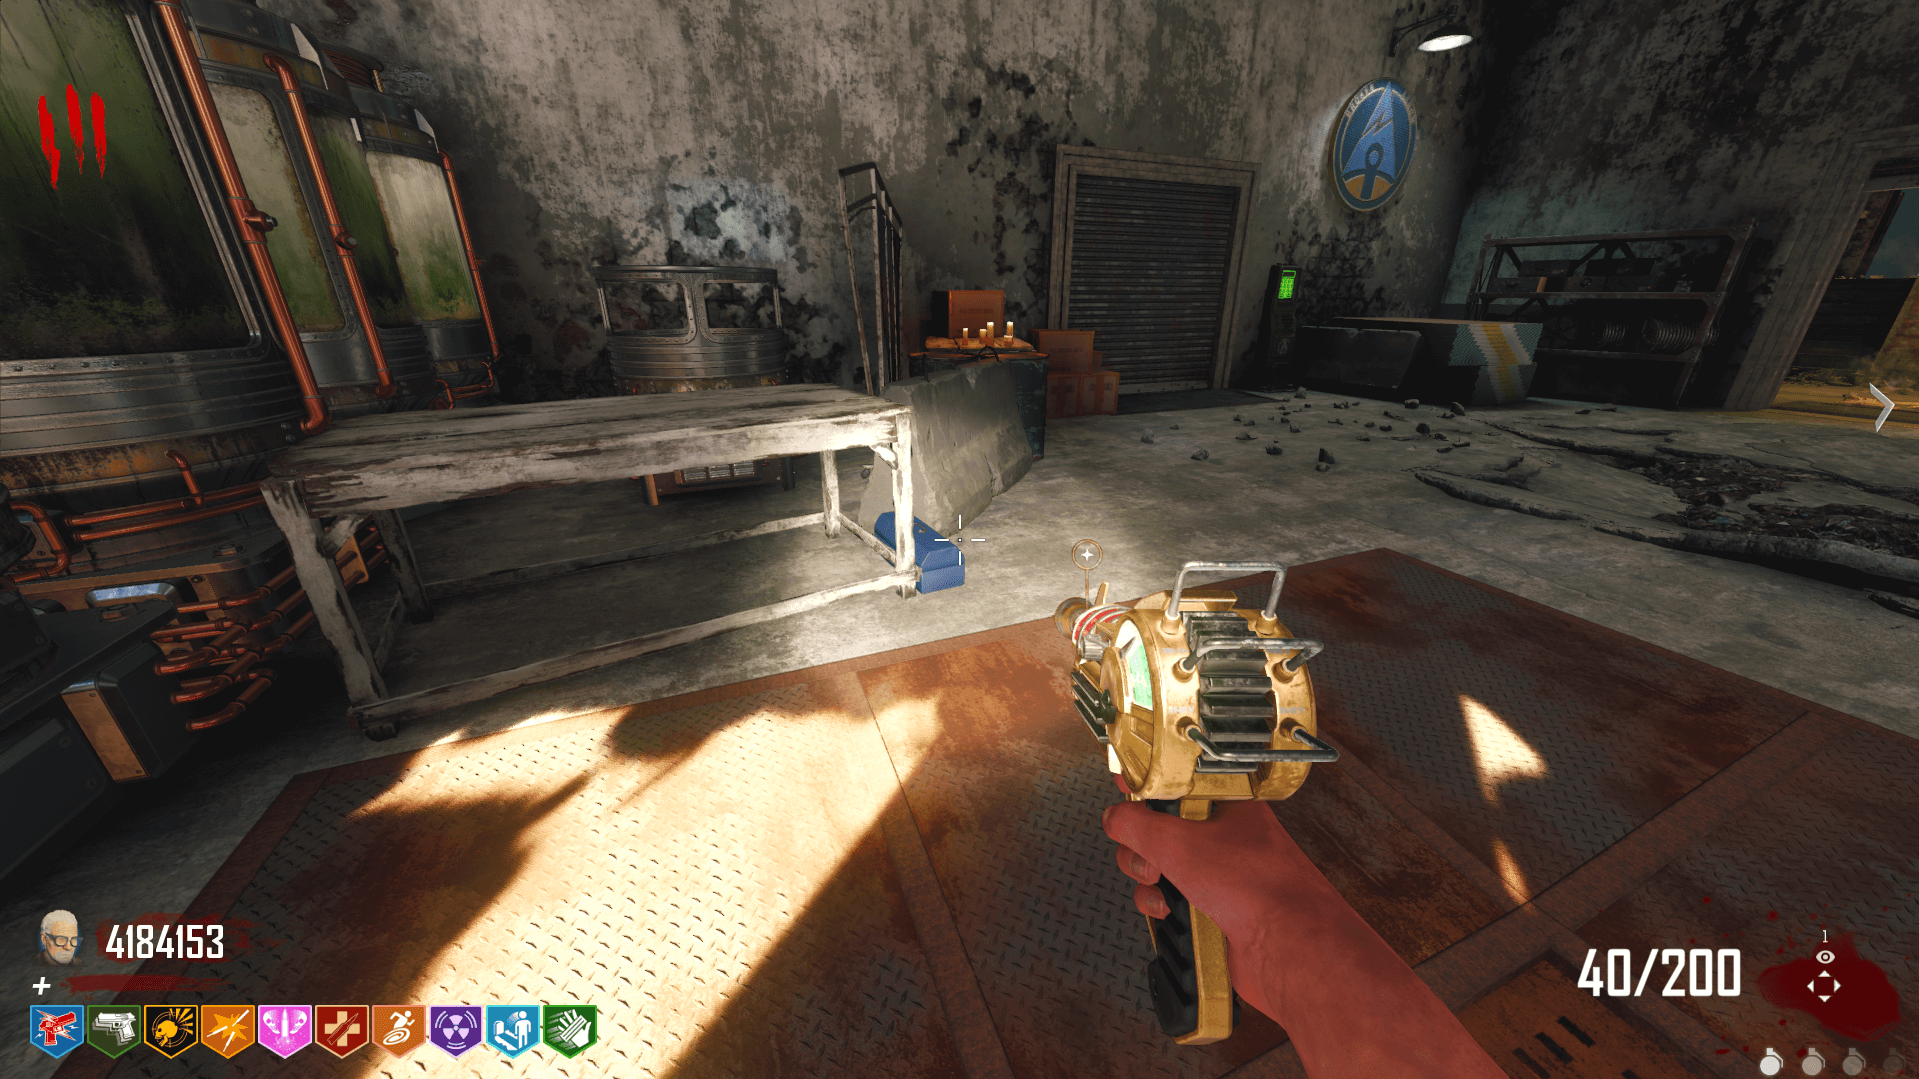
The Kit is used to create the two Shrink Ray variants. There are three parts to the kit, all of which have only one location.
The first part is on the first floor of the house in the Refugee’s Farm. The second part is in the Elemental Pop room, right next to the perk machine. The last part is in the entrance to the Broken Arrow Factory from Hale’s Garden.
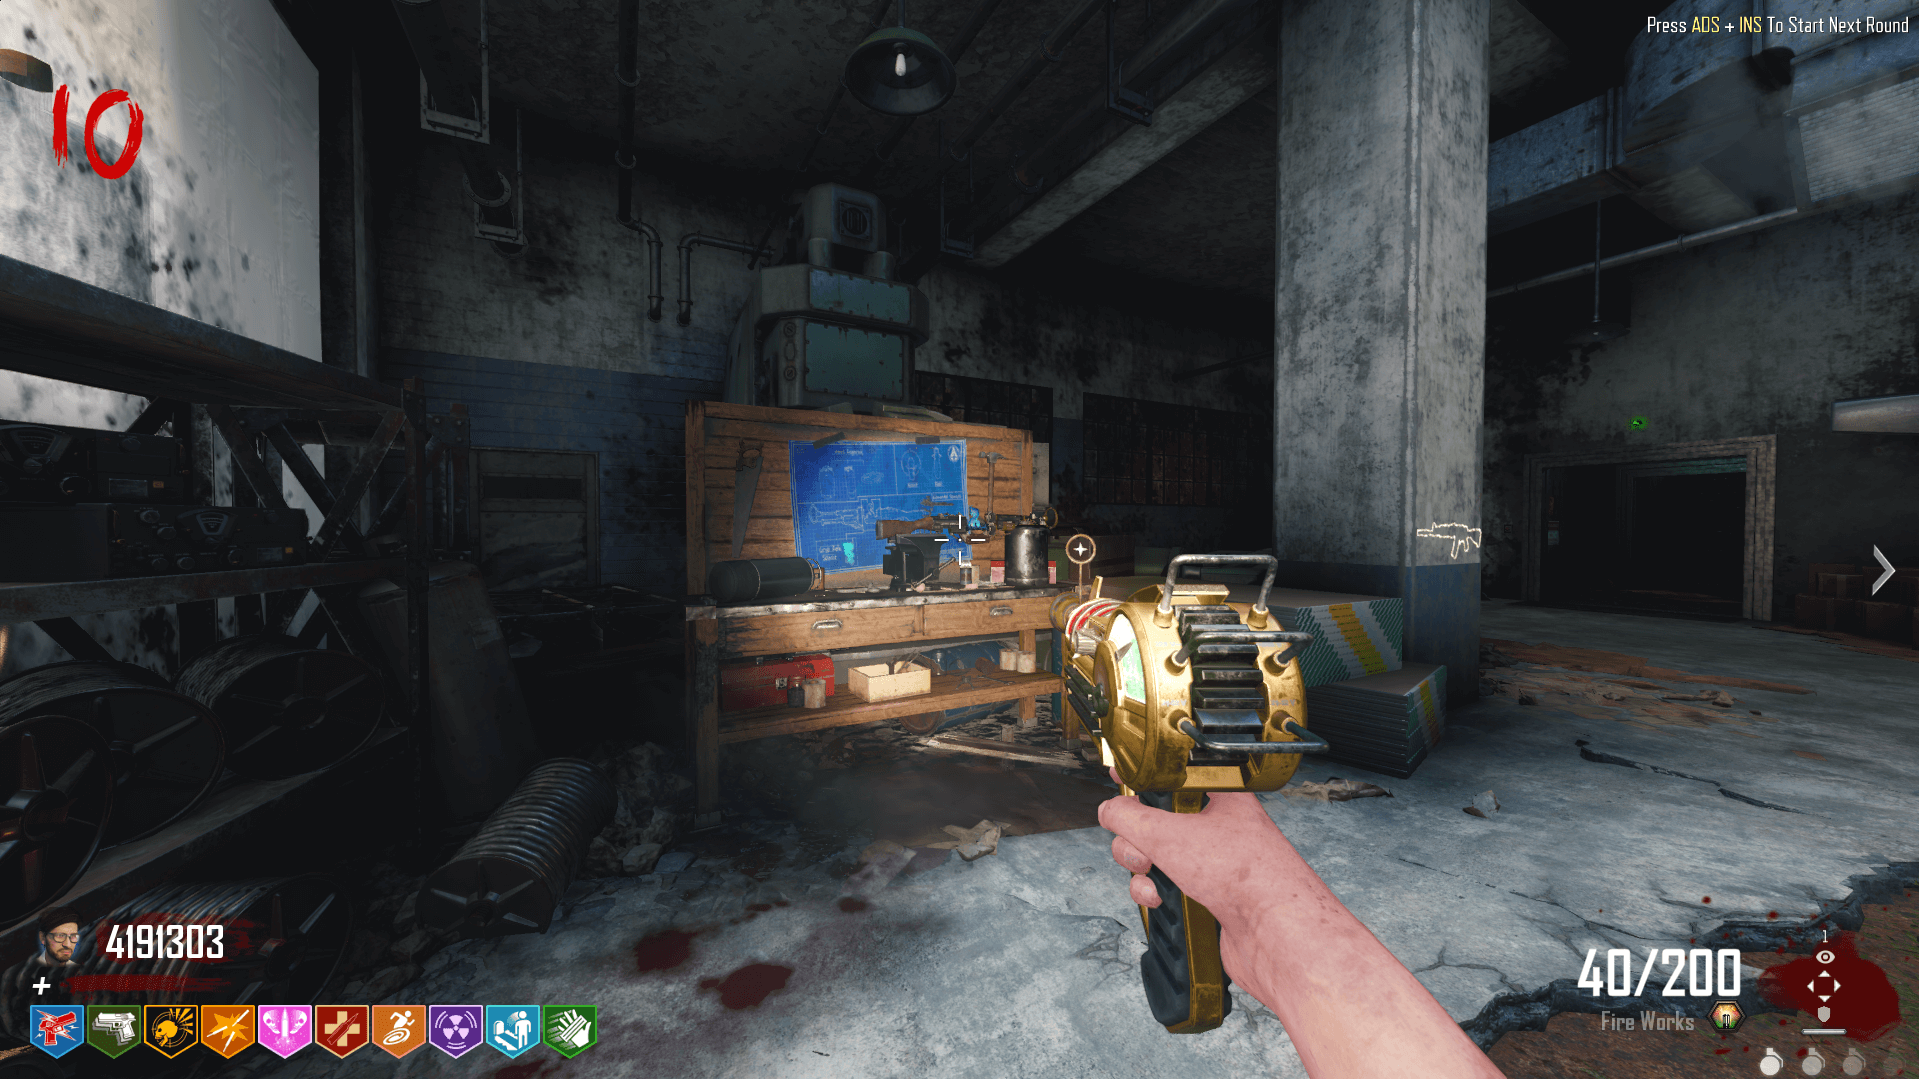
The Kit can be crafted at the crafting table in the Broken Arrow Factory.
Crafting the BA-H.CryoProject
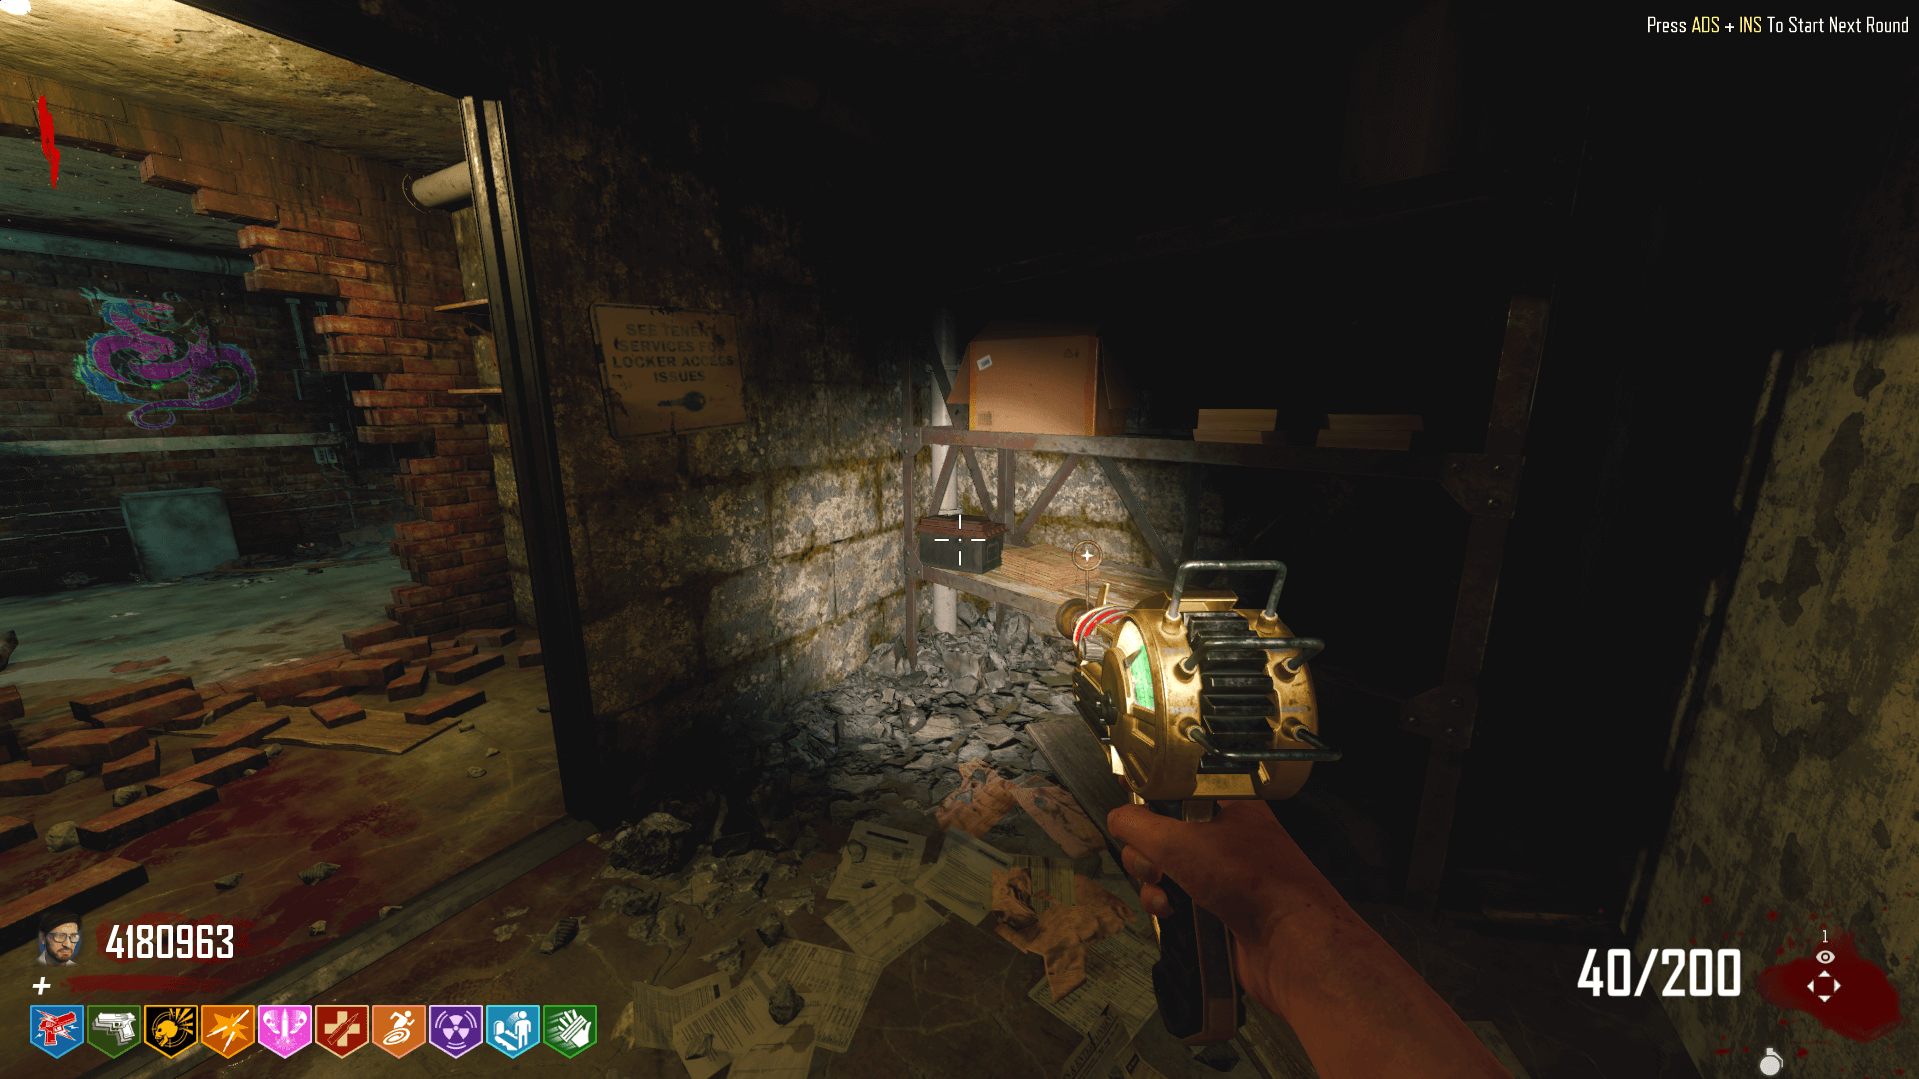
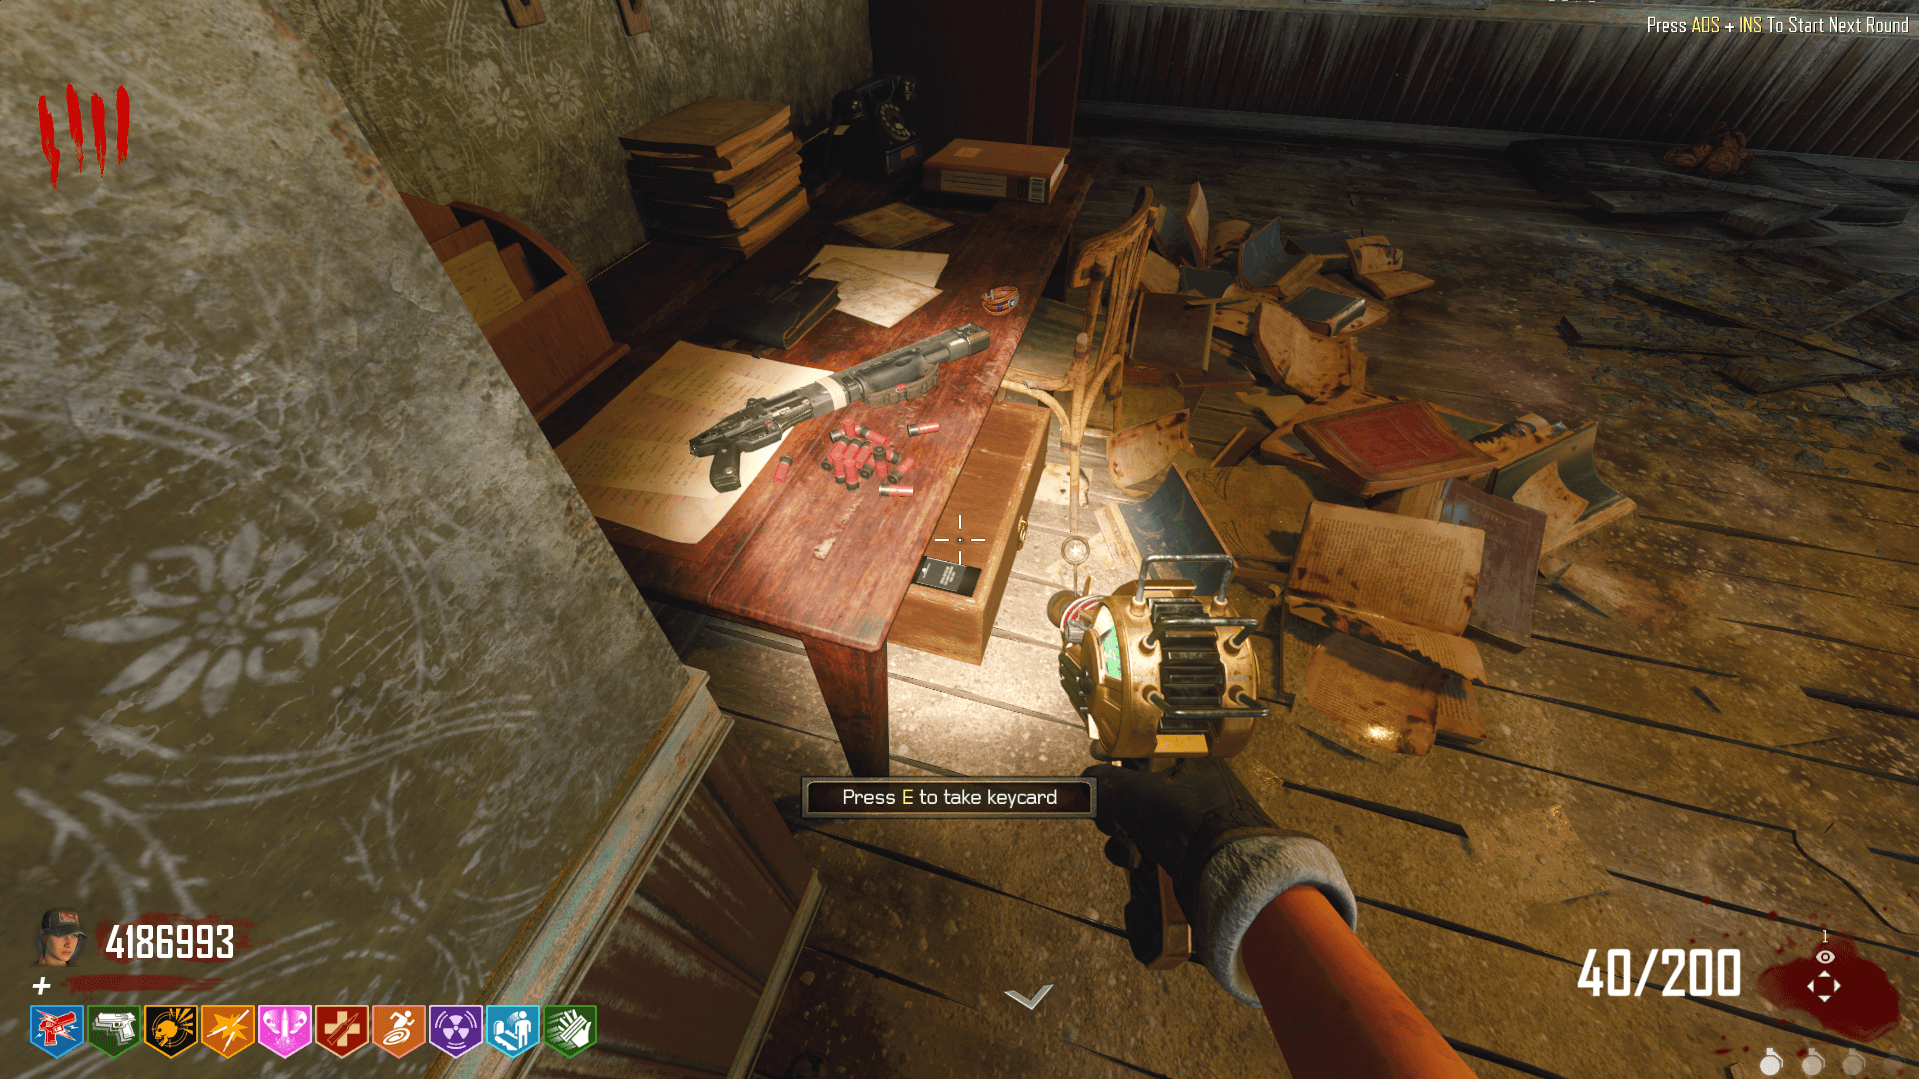
The BA-H.CryoProject is a variant of the Shrink Ray that freezes zombies instead of making them small. To craft it, you’ll first need to make your way to the second floor of the house in the Refugee’s Farm. Up there will be a desk.
Interact with this desk to open the drawer. Inside will be a Keycard, pick it up.
Teraz, go back to the Broken Arrow Factory and pick up the freeze relic from its container, which is now open because we have the Keycard.
Następny w kolejce, we’ll have to take the freeze relic to a pot in 32 Yungaro Way. Put the relic in the pot and wait a few seconds for it to defrost.
Teraz, take the freeze relic to the pedestal next to Deadshot Daiquiri, the same pedestal we used for the crystal during the easter egg. You’ll have to hold the interact button for a few seconds for it to finish.
Wreszcie, you’ll need to grab some TNT. The TNT can spawn on any of the poles that the blue glowing orbs can be sent to. There’s a pretty decent amount of the poles, so just walk around the map (except for the TranZit Power Station and Refugee’s Farm) and you should be able to find it. W mojej grze, it was next to Double Tap.
Shoot the TNT to drop it and pick it up. Take it to the Broken Arrow Factory and use it on the brown box in the middle of the room.
When the box blows up, pick up one of the two frames. Take these to the Kit you just crafted and place both the frame and the relic. You’ll now have the BA-H.CryoProject. If you craft both variants, you will be able to swap them with each other at this table.
Crafting the BA-H.GravitProject
The BA-H.GravitProject is, like the CryoProject, a variant of the Shrink Ray. This one pretty much just succs the zombies into a black hole. How lovely? The GravitProject is much easier to craft than the CryoProject, all you have to do is… kill a zombie on a piece of paper with Thunder Wall…
Sounds interesting, so here’s the piece of paper. It’s in the middle of 32 Yungaro Way and has a little tornado on it.
Now you just gotta use the Thunder Wall AAT to kill a zombie on top of this paper (much easier to do with a horde). Kiedy już to zrobisz, the Gravit relic will be ready to pick up on the paper. Po odebraniu, eleven of these purple orbs will spawn around the map.
All you gotta do is walk into these orbs. They’re everywhere, so make sure you go to each location and find one. You can tell when you’re done if the second relic on the scoreboard HUD turns purple.
If you already crafted the CryoProject, you can go ahead and skip this TNT step. If you haven’t, keep reading.
Teraz, you’ll need to grab some TNT. The TNT can spawn on any of the poles that the blue glowing orbs can be sent to. There’s a pretty decent amount of the poles, so just walk around the map (except for the TranZit Power Station and Refugee’s Farm) and you should be able to find it. W mojej grze, it was next to Double Tap.
Shoot the TNT to drop it and pick it up. Take it to the Broken Arrow Factory and use it on the brown box in the middle of the room.
When the box blows up, pick up one of the two frames. Take these to the Kit you just crafted and place both the frame and the relic. You’ll now have the BA-H.GravitProject. If you craft both variants, you will be able to swap them with each other at this table.
Music Easter Egg
To activate the music easter egg, you’ll need to find three asteroids around the map. The first one is in the entrance to the Pack-A-Punch room (same place as one of the window locations for the Vine Shield.)
The next one is in the church, on the bricks to the right of Deadshot Daiquiri.
The last one is on the bottom floor of the TranZit Power Station, right next to Speed Cola.
Ray Gun Wallbuy Easter Egg
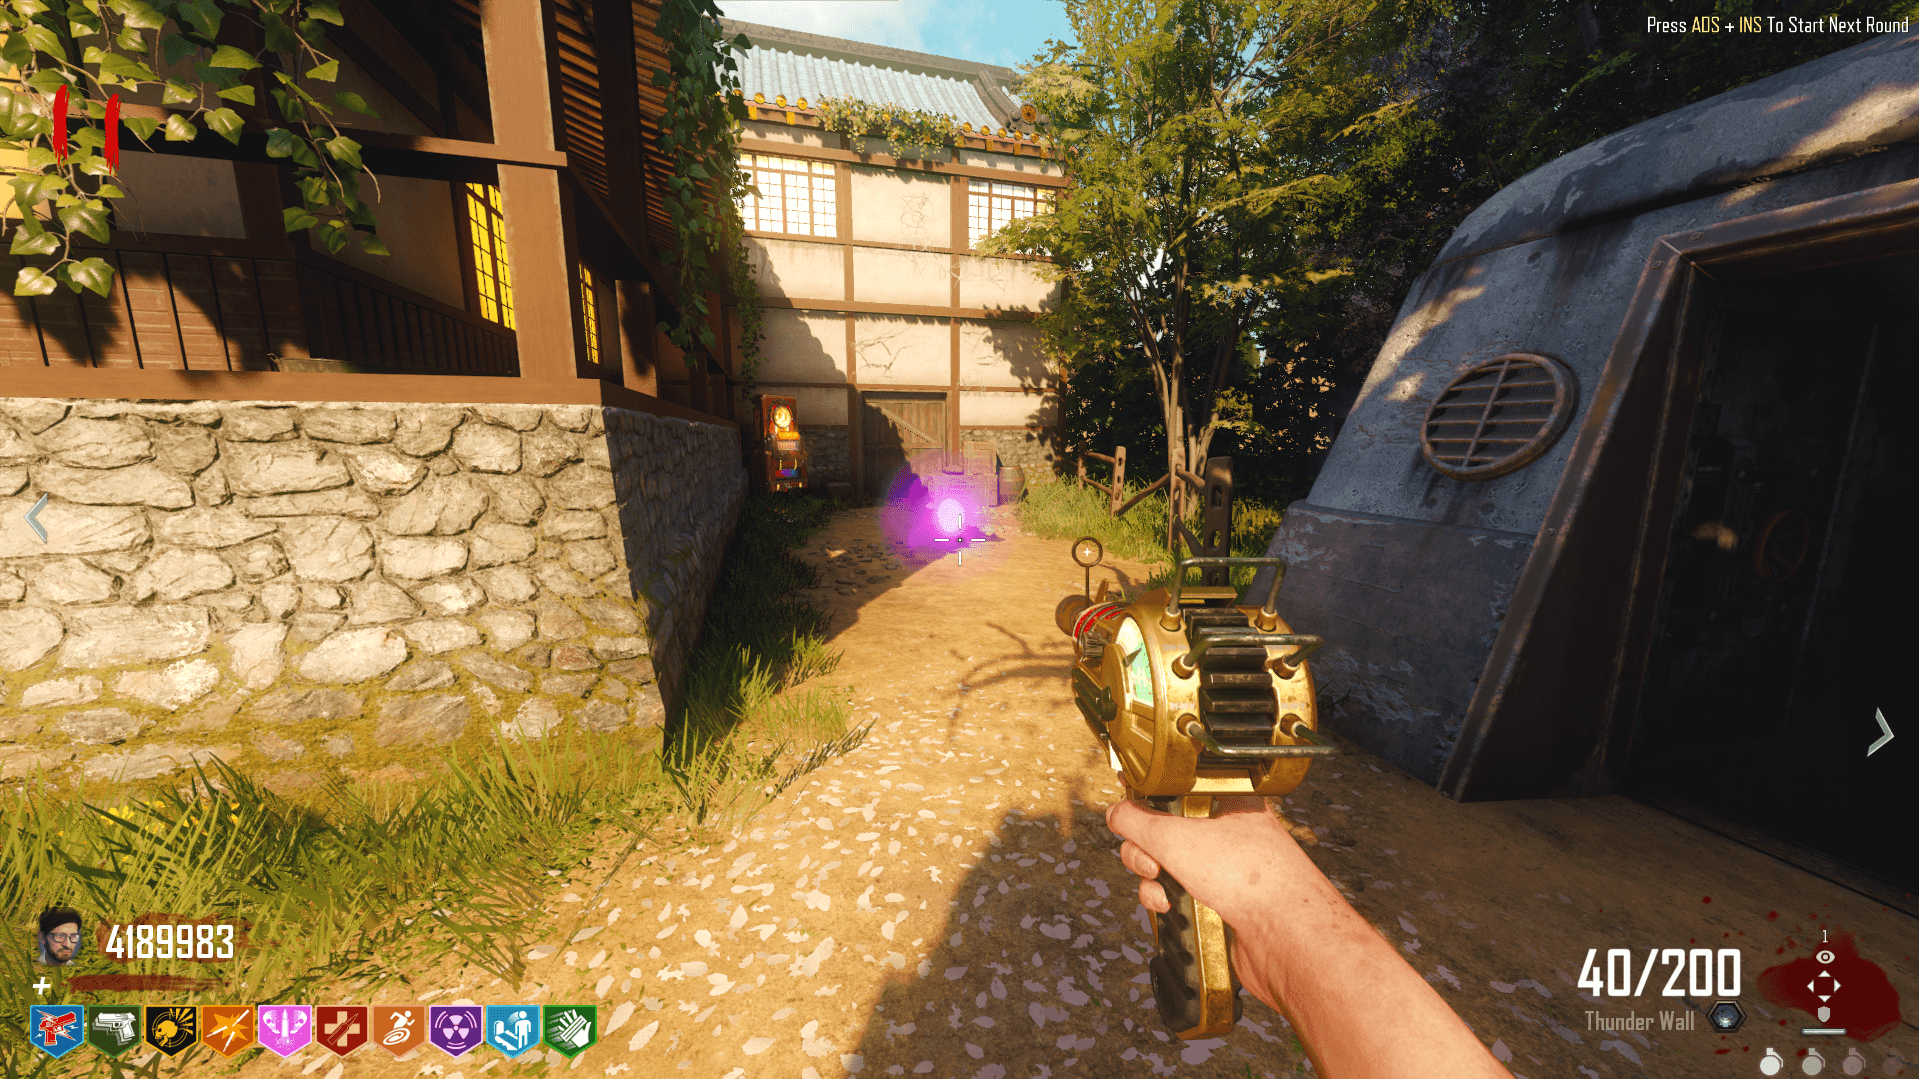
You may have already seen the non-functional Ray Gun wallbuy in the Pack-A-Punch room. To make it functional, you’ll need to find the orange glowing orb that’s on the wall at the TranZit Power Station.
You’ll want to throw a grenade at it to bring it down to the ground. It may be easier to cook the grenade for a second before throwing it. Once it reaches the ground, it’ll be somewhere along that path. Mine showed up along the fence, but it could be anywhere in the path.
Następny w kolejce, melee the orb. Each time you melee it, it’ll move closer to the Pack-A-Punch room. You should only have to melee it two to three times. Once it reaches the Pack-A-Punch room, it’ll fly towards the wallbuy where you can now purchase the Ray Gun for 7500 zwrotnica, or ammo for 3750 zwrotnica.
Banana Colada Easter Egg
Do tego czasu, you’ve definitely noticed the passive monkeys sitting around the map. W sumie jest 21 z nich, and shooting all of them will reward you with the Banana Colada perk. Because there are so many monkeys, it would be much easier for you to watch this short 2 minute long video by Monkey_Ray_4 Gaming.
Once you shoot all 21 z nich, you can find a golden banana in the barn in Refugee’s Farm. Pick it up and you’ll be rewarded with Banana Colada (it doesn’t have a perk icon but it’s there.)
Keypad Codes
The codes will be updated as more are discovered.
The Keypad can be found in the Broken Arrow Facility opposite of the power source. Below are the codes that have been discovered so far. If you find any more, leave a comment and let me know.
- AMUNICJA (2666) – Spawns a Max Ammo
- SALE (7253) – Spawns a Fire Sale
- PACK (7225) – Spawns a Bonfire Sale
- SLOT (7568) – Spawns a Perk Slot
- KILL (5455) – Spawns an Insta Kill
- NUKE (6853) – Spawns a Nuke
- SUDO (7836) – Spawns a Grenade
- PERK (7375) – 50% off of perks for 2 protokół
- BANK (2265) – Bonus Points
- DOOR (3667) – Free Random Door
- TIME (8463) – Freezes zombies for 30 towary drugiej jakości
- NOOB (6662) – Slows zombies for 5 protokół
- WARP (9277) – Anywhere But Here
- GRAV (4728) – Newtonian Negation
- GUNS (4867) – Disorderly Combat
To wszystko, co dzisiaj udostępniamy w tym celu Call of Duty'a: Black Ops III przewodnik. Ten przewodnik został pierwotnie stworzony i napisany przez Mazikeen. Na wypadek, gdybyśmy nie zaktualizowali tego przewodnika, możesz znaleźć najnowszą aktualizację, postępując zgodnie z tym połączyć.