The Steam version of Ballance is quite basic and similar to the original release. Jednakże, for today’s players who are accustomed to quality of life features common in recent games, a little adjustment is needed. This guide aims to assist you in setting up the game on both your PC and Steam Deck. It will address issues like widescreen resolutions, unlocked framerates, the Level 13 pack, and custom maps.
Setting up Ballance on Steam may seem straightforward, but there are some aspects that may not align with modern gaming expectations. This guide is designed to walk you through the process of making adjustments for a smoother experience on both your PC and Steam Deck. It covers essential elements such as widescreen resolutions, unlocked framerates, the inclusion of the Level 13 pack, and the integration of custom maps.
BallancePlayer (NewPlayerPatch)
The initial task is to employ the recently developed BallancePlayer. This is a reverse-engineered initiative to create an open-source modern launcher binary for the game, incorporating additional features such as custom resolutions, aspect ratios, an unlocked framerate, intro logo skipping, and a few other enhancements.
Aby rozpocząć, obtain a precompiled version by visiting the provided MEGA link. Download the file named ‘NewPlayerPatch-v0.3.0.zip’.
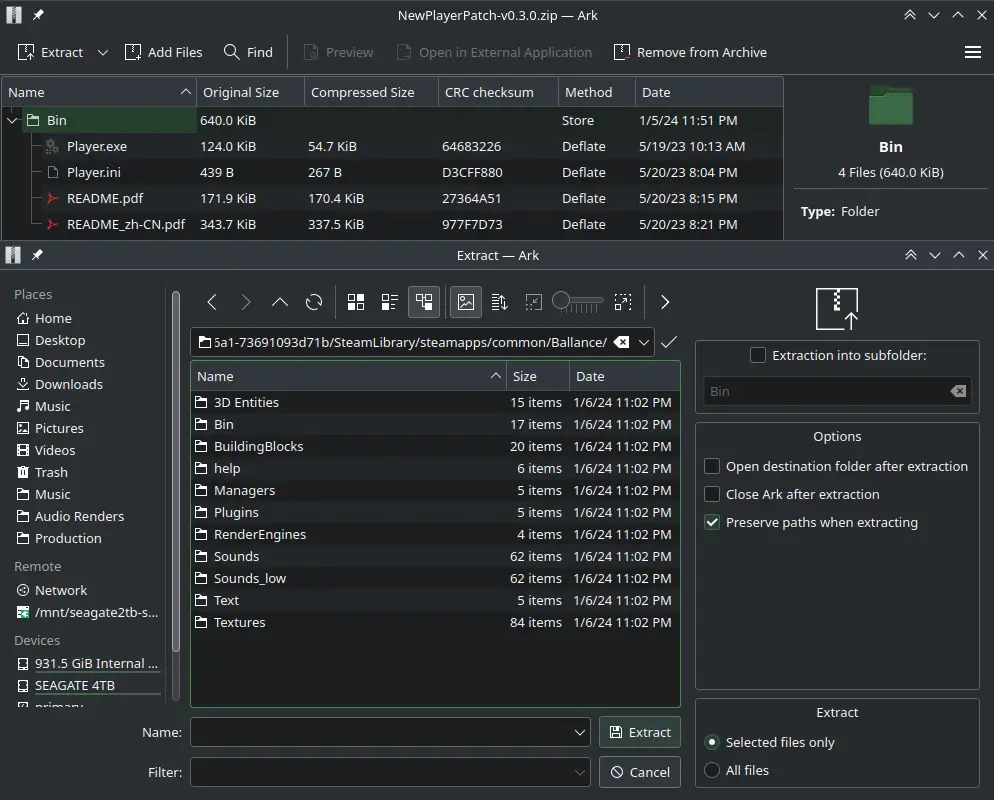
Następny, go ahead and extract the contents of the zip file into your game installation directory, following the visual guide displayed in the provided image. Ensure that you unzip the archive directly into the main game folder so that all the contents within the ‘Bin’ folder are extracted in the same directory. When prompted to replace the existing ‘Player.exe’ plik, confirm the overwrite action.
Take note that ‘Player.ini’ serves as the configuration file for BallancePlayer, offering various settings to customize. The primary tasks involve adjusting parameters like ‘Width’, ‘Height’, ‘UnlockWidescreen’, ‘Fullscreen’, and ‘SkipOpening’. To simplify this process, I’m supplying a sample configuration that I personally use on my Steam Deck. For Deck users, simply copy this configuration, and you can further adjust settings according to your preferences.
Framerate Unlocking
Domyślnie, Ballance’s in-game speed is linked to the framerate. This implies that if you raise the framerate limit through the configuration file, the game accelerates significantly, rendering it unplayable. To address this concern, BallanceModLoader comes to the rescue. The process is straightforward – it’s just a matter of dragging and dropping, and this applies to Linux users as well, eliminating the need for any launch parameters.
Aby rozpocząć, obtain BallanceModLoaderPlusPatch from this source. Następnie, extract the contents directly into the game directory. That’s all there is to it!
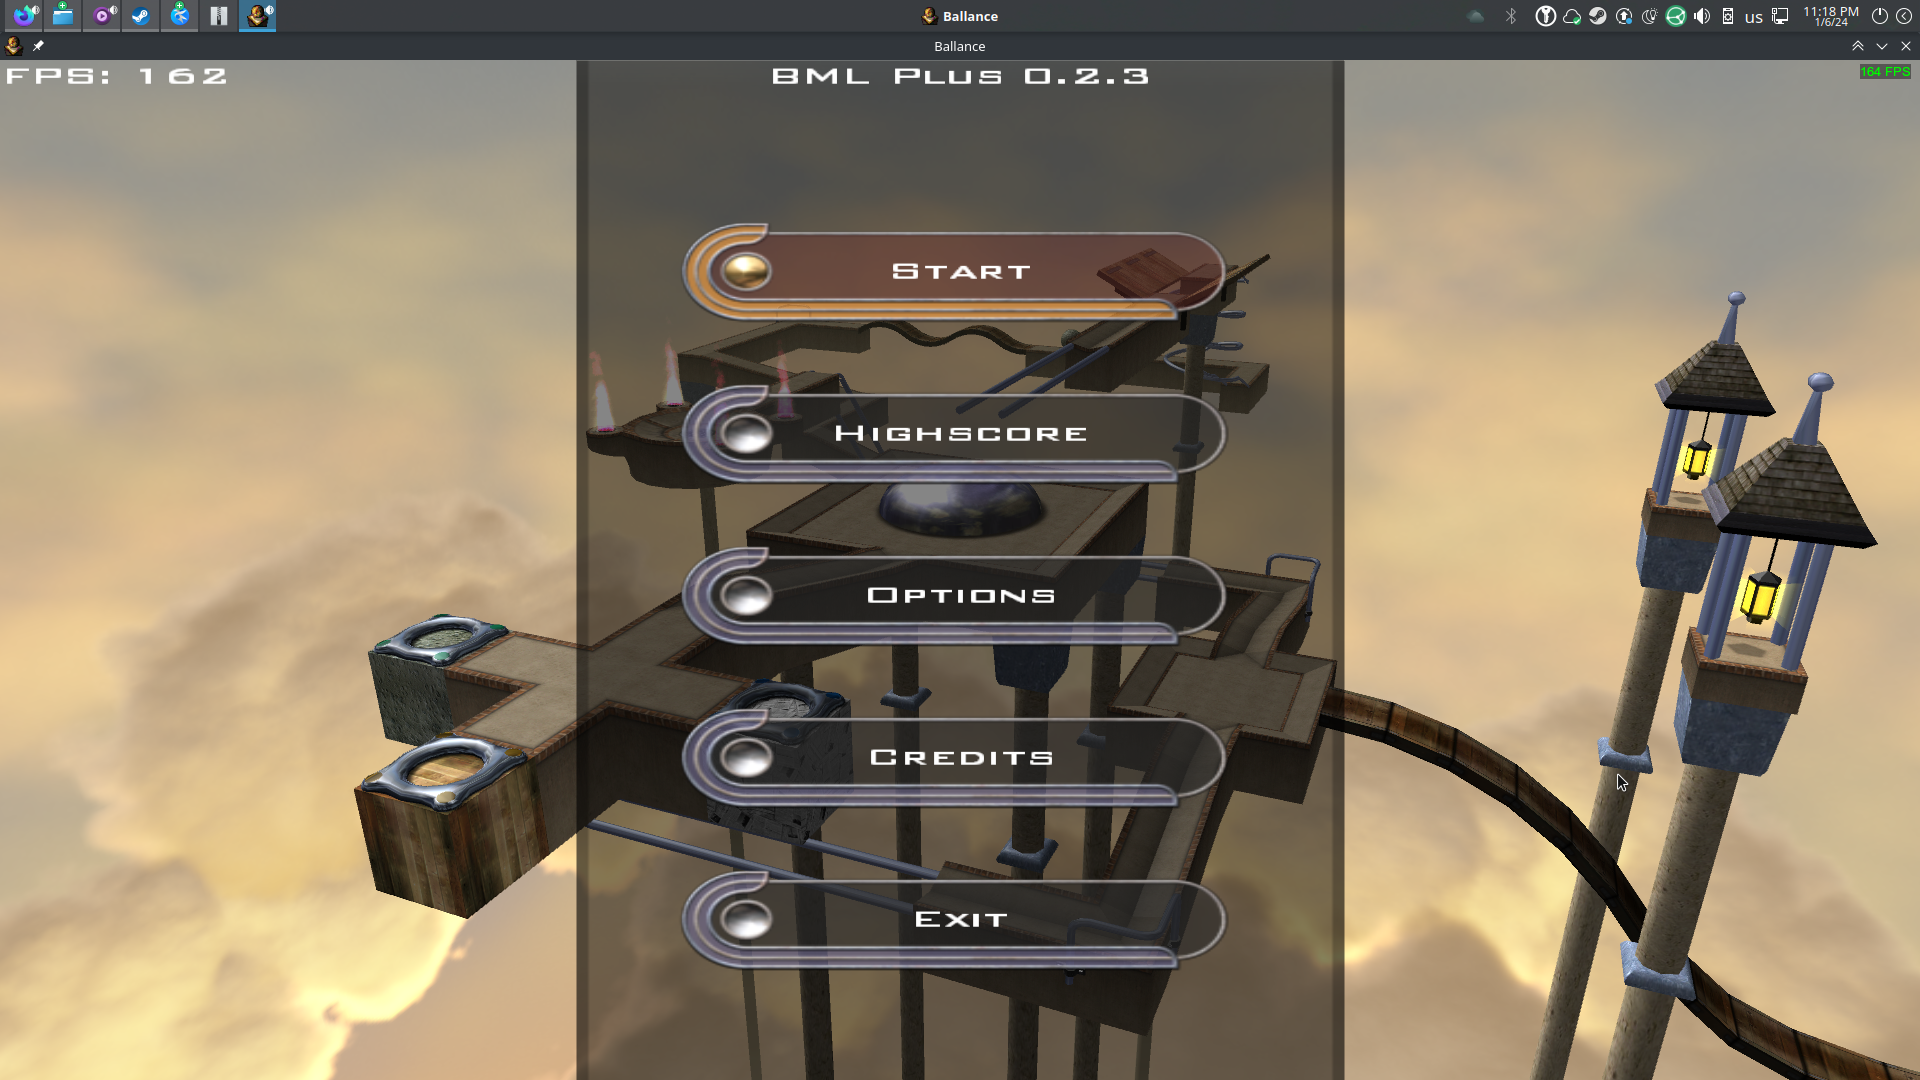
To confirm a successful installation, upon launching the game, you should immediately notice the presence of ‘BML PLUS 0.2.3’ displayed at the top of the screen, as depicted in the provided screenshot. Dodatkowo, a framerate counter will be visible in the top-left corner. In the example image, the FPS counter reaches a maximum of 164FPS, matching my monitor’s refresh rate. This signifies that the game now outputs at a higher framerate without affecting its internal clock speed. Keep in mind that you can toggle the displayed mod information in-game on or off through the game’s settings, specifically under ‘Mods/BML’.
Custom Maps
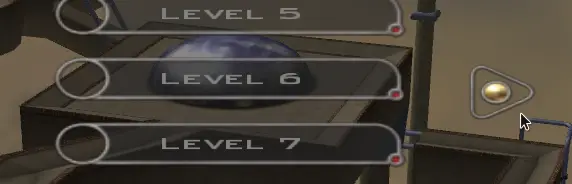
Once BallanceModLoader is successfully installed, you gain the capability to play custom maps directly from the main menu. When you click on ‘Start,’ you’ll encounter the standard game level list along with a right arrow positioned to the side. Custom maps are sourced from the ‘Ballance/ModLoader/Maps/’ informator. To include any ‘.NMO’ map files, simply copy them into this directory. After restarting the game, you’ll find these custom maps listed in the side menu, ready for exploration.
Poziom 13 – The Twilight Zone
Here’s an additional free level released by the original development team that, Niestety, isn’t included in the Steam release. Jednakże, with BallanceModLoader, you can still enjoy this level pack. Begin by downloading the Zip file from ten link and extract the ‘3D Entities’ folder directly into the game directory. When you launch the game again, “The Twilight Zone” should now be visible in the level select screen, positioned at the very bottom.
Steam Deck Input Layout
Although the default layout for the game functions well, I’ve crafted a customized one. In this layout, the camera toggles are bound to both shoulder buttons (left and right), and there are adjustments to some of the face button bindings. Niestety, Steam lacks an efficient method for sharing Steam Input layouts through URLs for easy saving. To access this layout, I suggest searching for “Ballance – Better Deck Layout” in the Steam Input community layouts section. Feel free to give it a try, and don’t hesitate to make any further modifications according to your preferences!
Save File Synchronization
Here’s a crucial point, and while Ballance might not be an extensively long game that necessarily warrants save file synchronization, I find it important to address nonetheless.
The game’s save file, named ‘Database.tdb,’ is situated in the base directory of the game. To facilitate synchronization between Windows and Steam Deck, you can employ a program like Syncthing. Jednakże, it’s essential to configure an ignore list to exclusively sync the ‘Database.tdb’ plik. Syncthing, domyślnie, is set to synchronize entire directories and subdirectories.
If there’s a demand for further details in this section, I’m more than willing to expand upon it! Feel free to express any additional requests or questions in the comments section!
To wszystko, co dzisiaj udostępniamy w tym celu Ballance przewodnik. Ten przewodnik został pierwotnie stworzony i napisany przez hell i/o. Na wypadek, gdybyśmy nie zaktualizowali tego przewodnika, możesz znaleźć najnowszą aktualizację, postępując zgodnie z tym połączyć.