- Title: Onryo | 怨霊
- Release Date:
- Developer:
- Publisher:
Information about Onryo | 怨霊 is still incomplete. Please help us fill the details of the game using this contact form.
Complete Guide to all Achievements in Onryo – Including all 7 Gachapons + Both Endings
Introduction
This guide will break up the achievements into two separate runs in order to optimize completion in as few runs as possible – A minimum of two playthroughs are required for 100% completion, however the second run will take much less time due to skipping all the collectibles.
During the first run I suggest finding all Notes and Gachapons, as well as the Magatama and the Secret Item. This gets all the fiddly collecting achievements out of the way so the second run can just be a quick cleanup of the remaining few left over.
The guide will split up the achievements accordingly, so can be read from top to bottom in order to easily follow along. The collectibles are all grouped together by achievement rather than in order of acquisition, as the map is free to roam and there are no missable areas. Once you’re at the final boss door you can go back and finish any collectibles you missed. The point of no return is using the
Oonusa Divine Tool in the room beyond the 3 crest pedestals in the hair rooms.
General Tips
You can press “Q” to drop the currently held item. It will persist where you leave it indefinitely.
The Storage Keys are only used one time.
The Bathroom Key is used multiple times.
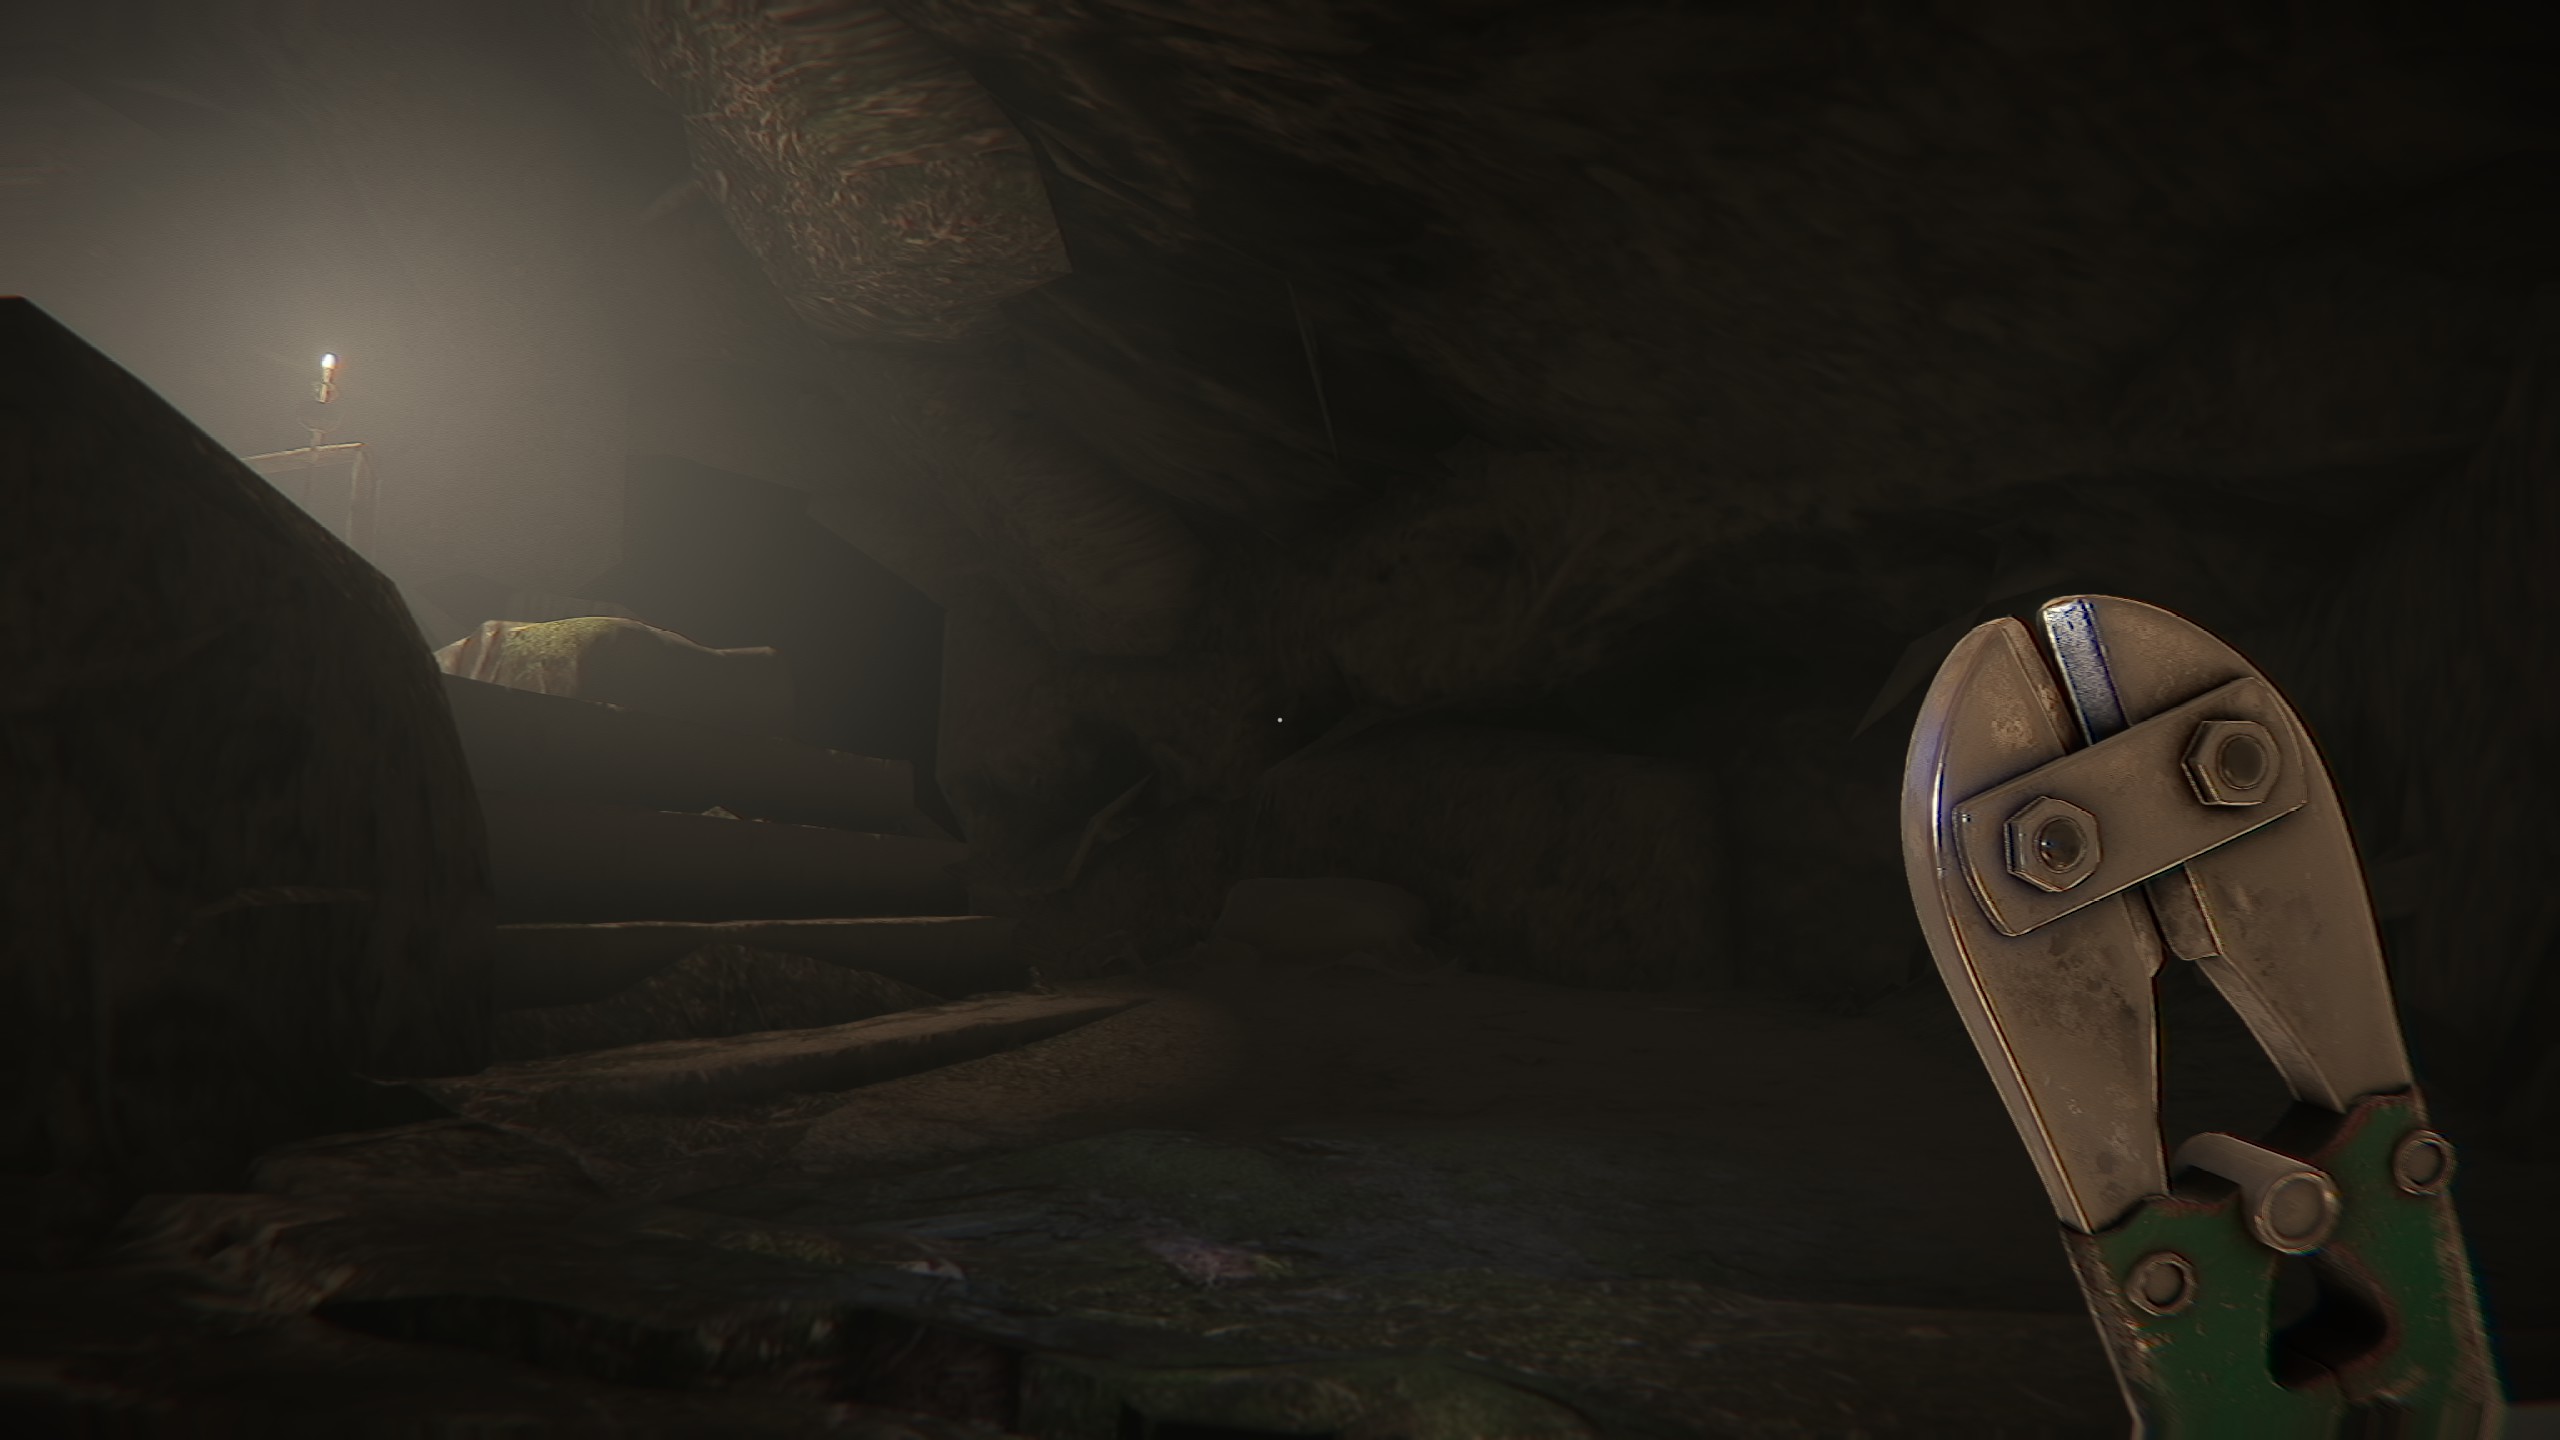
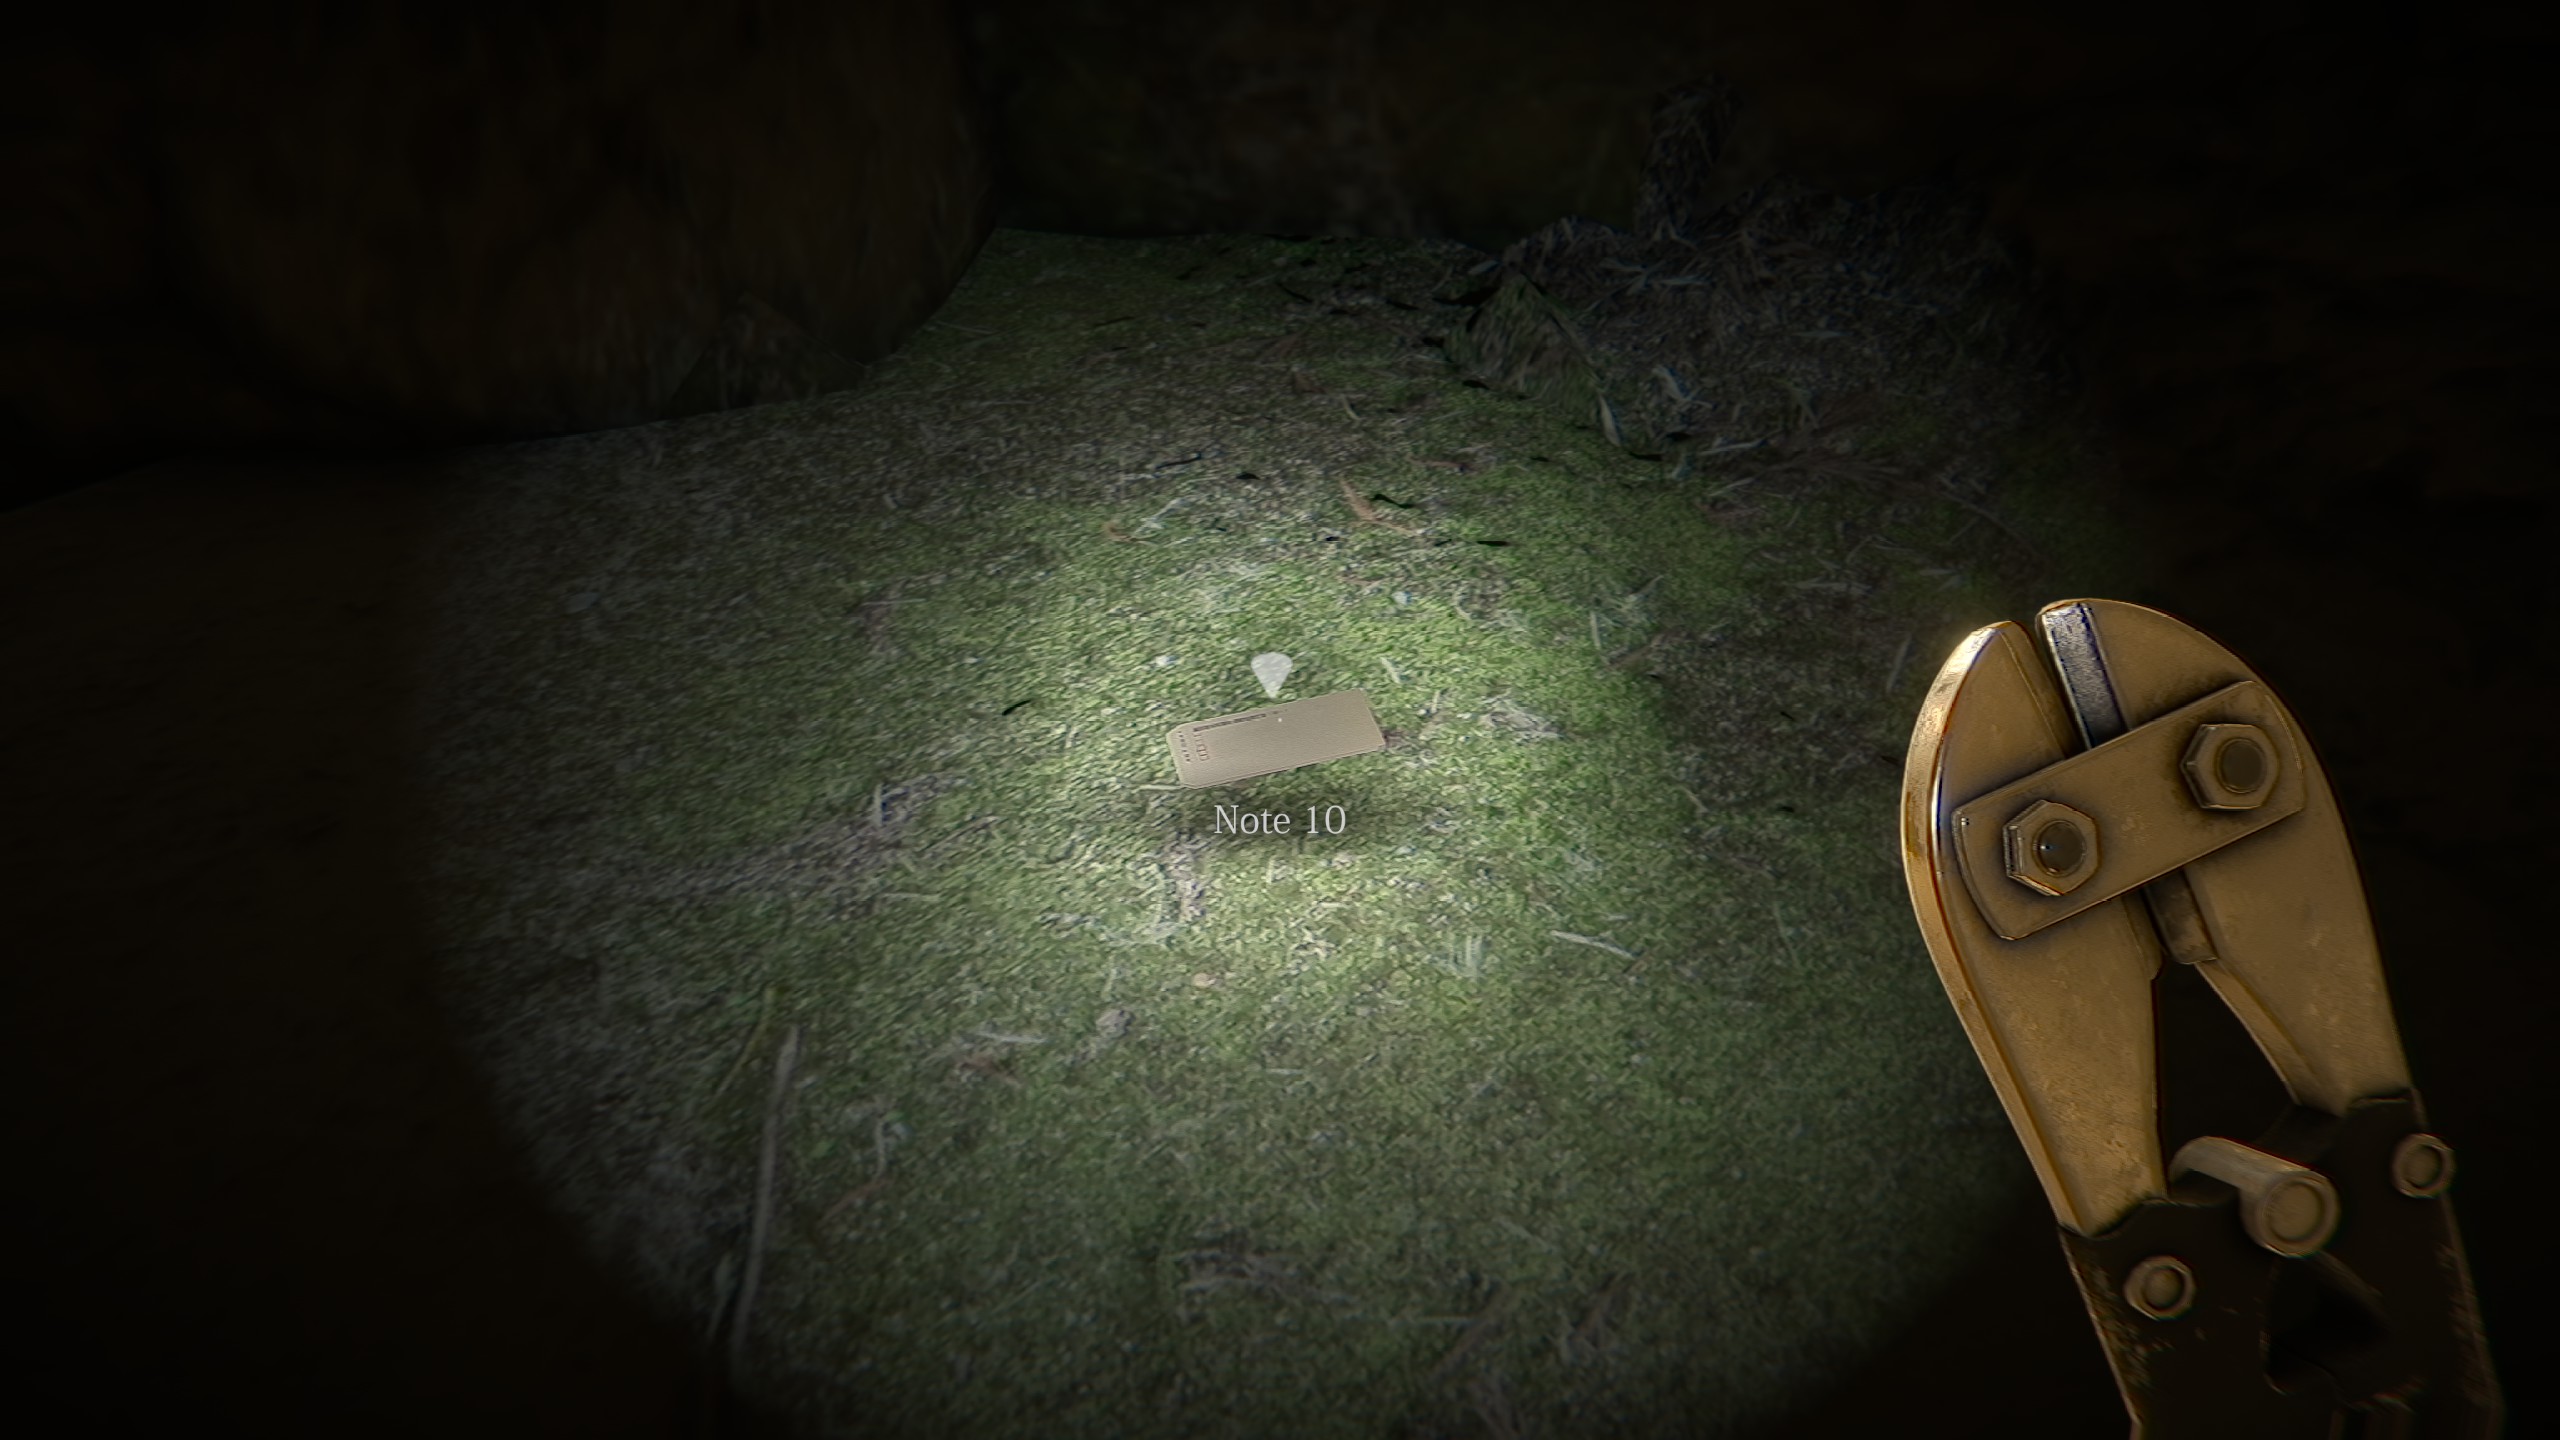
The Bolt Cutters are used 3 times.
The Crests need to be pulled back out of the Cavern area once the
Oonusa Divine Tooland Secret Key are retrieved from the Cavern. The crests are then used to unlock the burial room past the Hair Doors.
The general flow of item progression is to locate the Stepladder on the first floor, use it to climb into the ceiling into the second floor, then use the Crank arm to open up the two staircases that lead back to the first floor. This frees up the Stepladder to use in the square hole room on the second floor, which contains the Magatama for an achievement, and a key required to progress.
Then, the Crank and Bolt Cutters are used to open up secret areas to retrieve 2 Crests as well as 3 Plates, which are brought back to the stands in the kitchen to unlock the final Crest.
The Crank also opens up grates to the Cavern area and the gated Saferoom with the ghost boy on the first floor.
The Scissors are only used once, to cut the hair blocking the double doors on the first floor.
The spirit in the hay suit with the machete can be outrun, the tall spirit with the pitchfork must be evaded by ducking into any room (other than the square pit room or the hair rooms). He can however swing into the rooms, so move far enough in to be outside his reach and be careful of using small rooms such as the bathrooms to avoid him.
Playthrough 1
The first playthrough will complete the following achievements:
Help The Kid

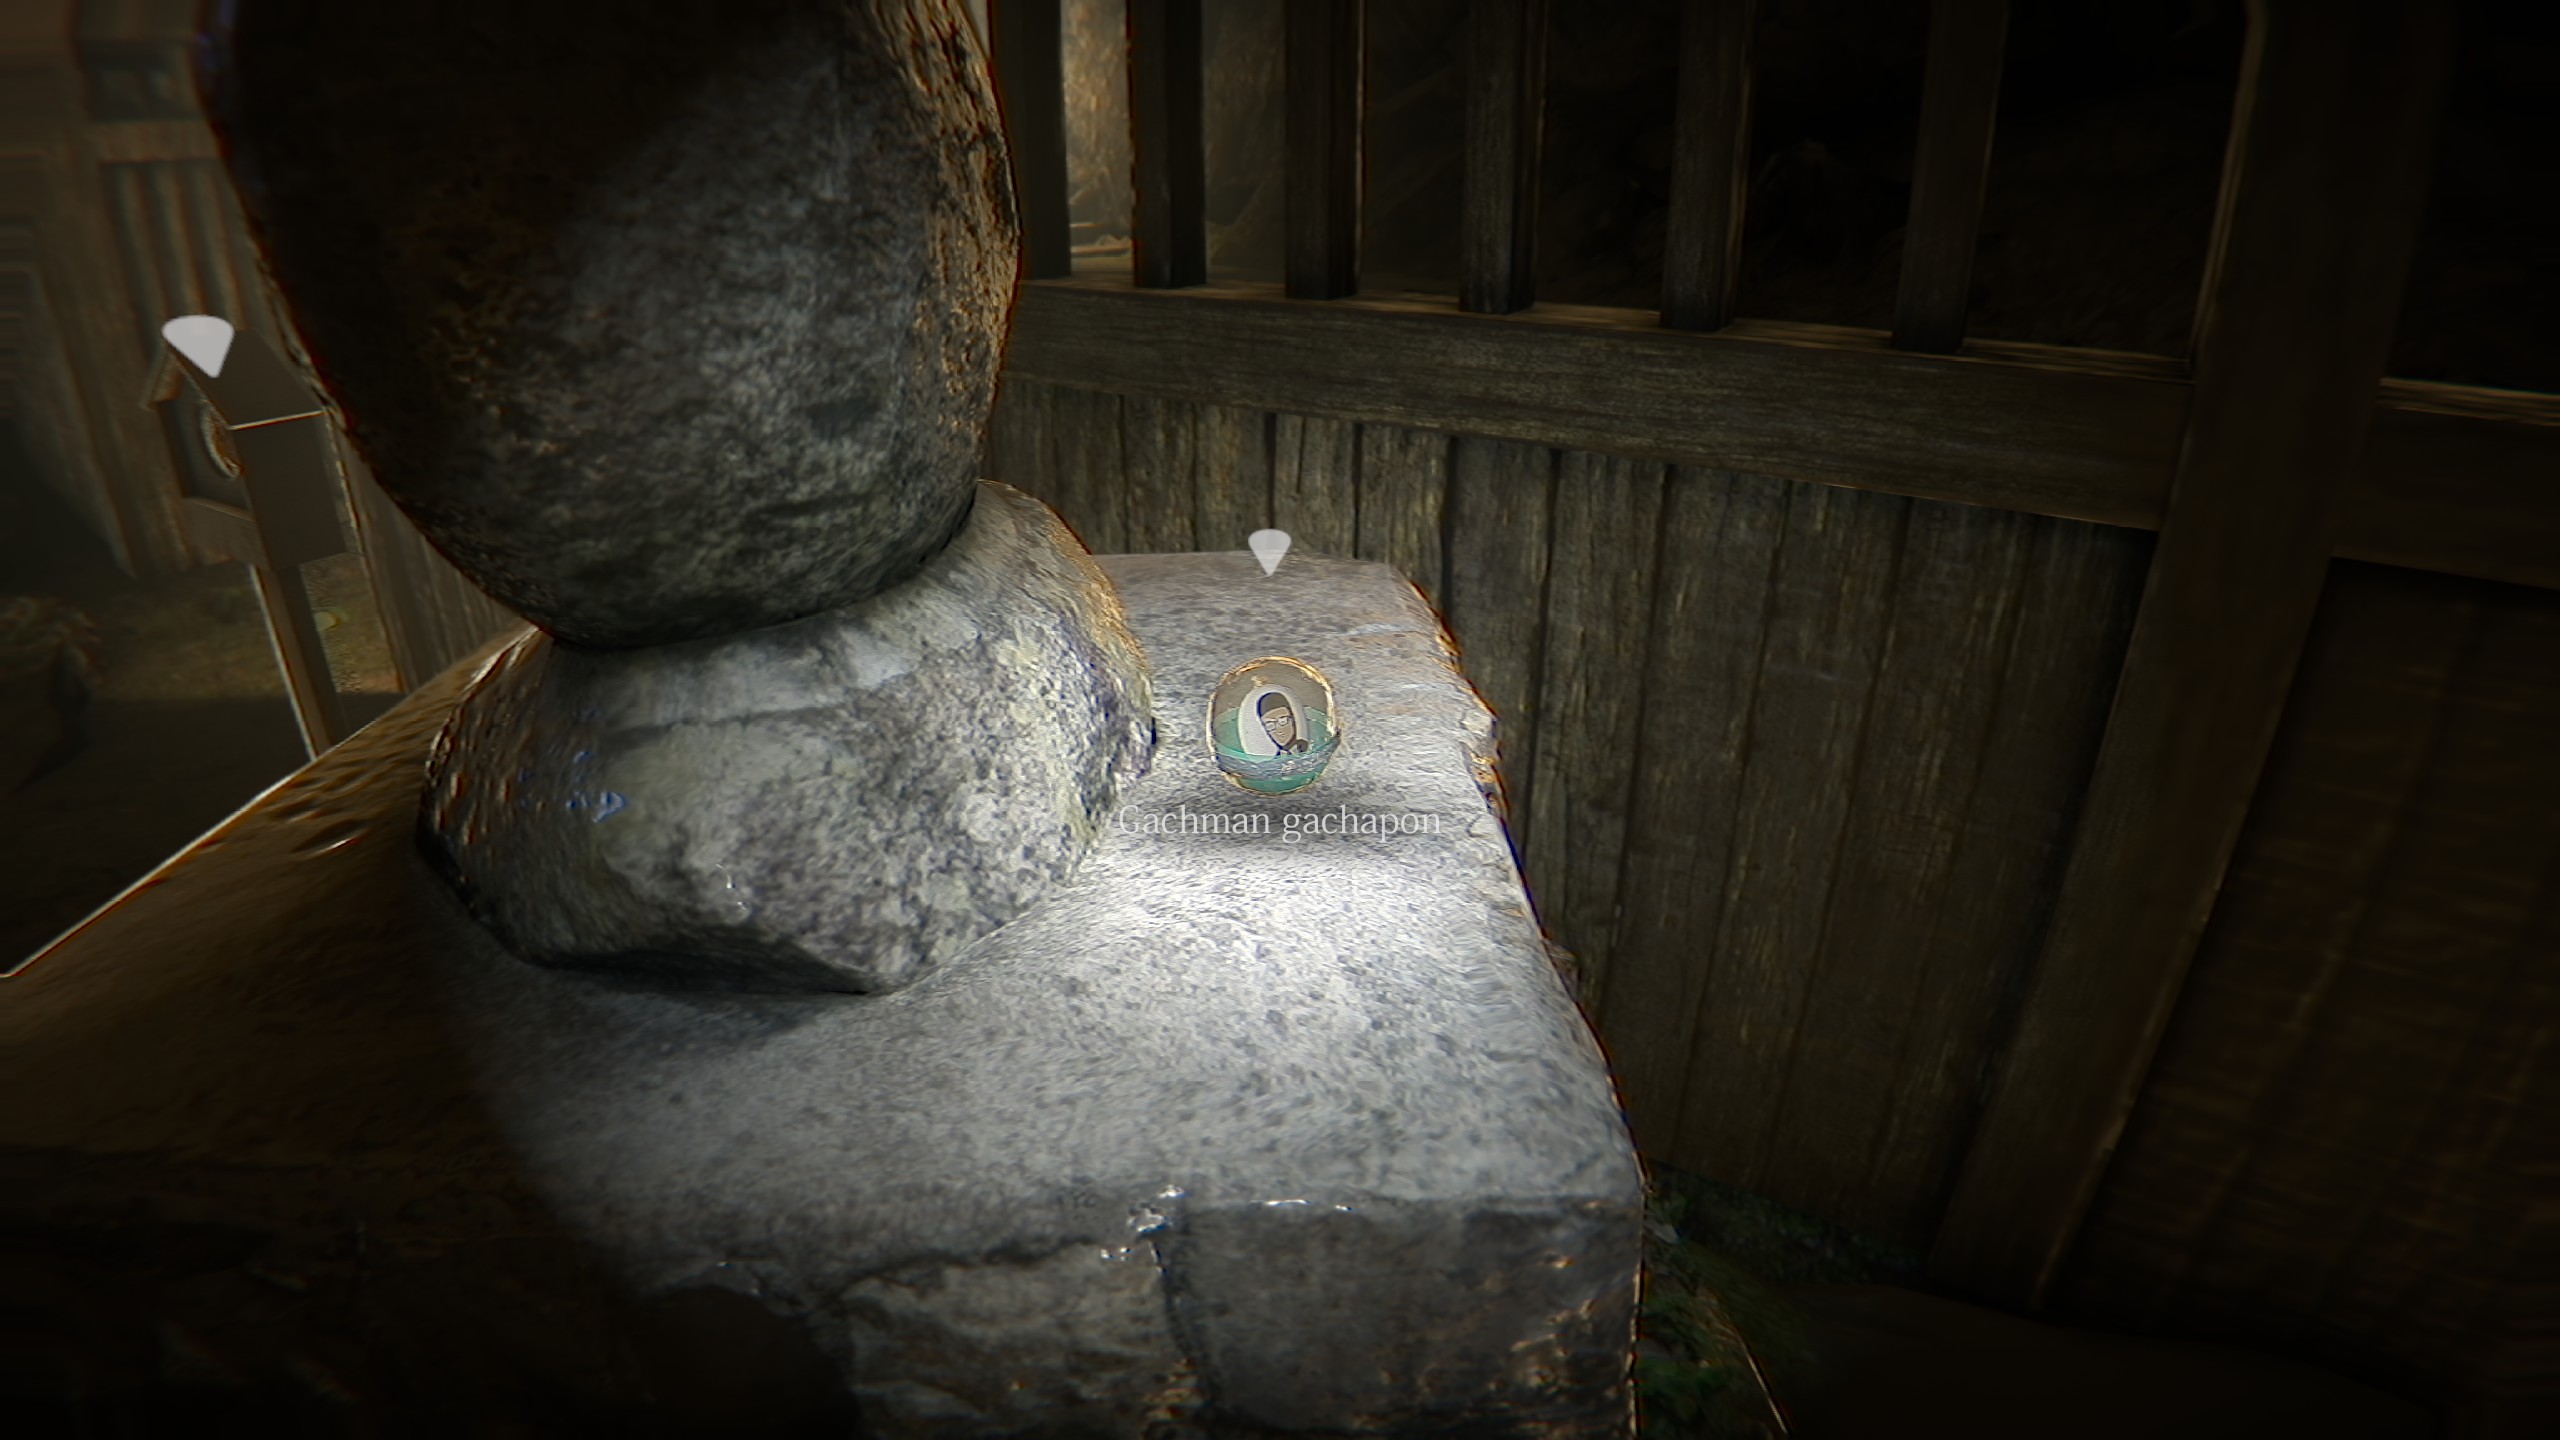
Collect all Gachapons
Notes

Read all 10 notes
Magatama

Use a Magatama
Secret Item

Find the Secret Item
Ending 2

Achieve Ending 2
Expert Exorcist

Get rid of the Daughters 10 times
Master Exorcist

Defeat the Mother
Help The Kid
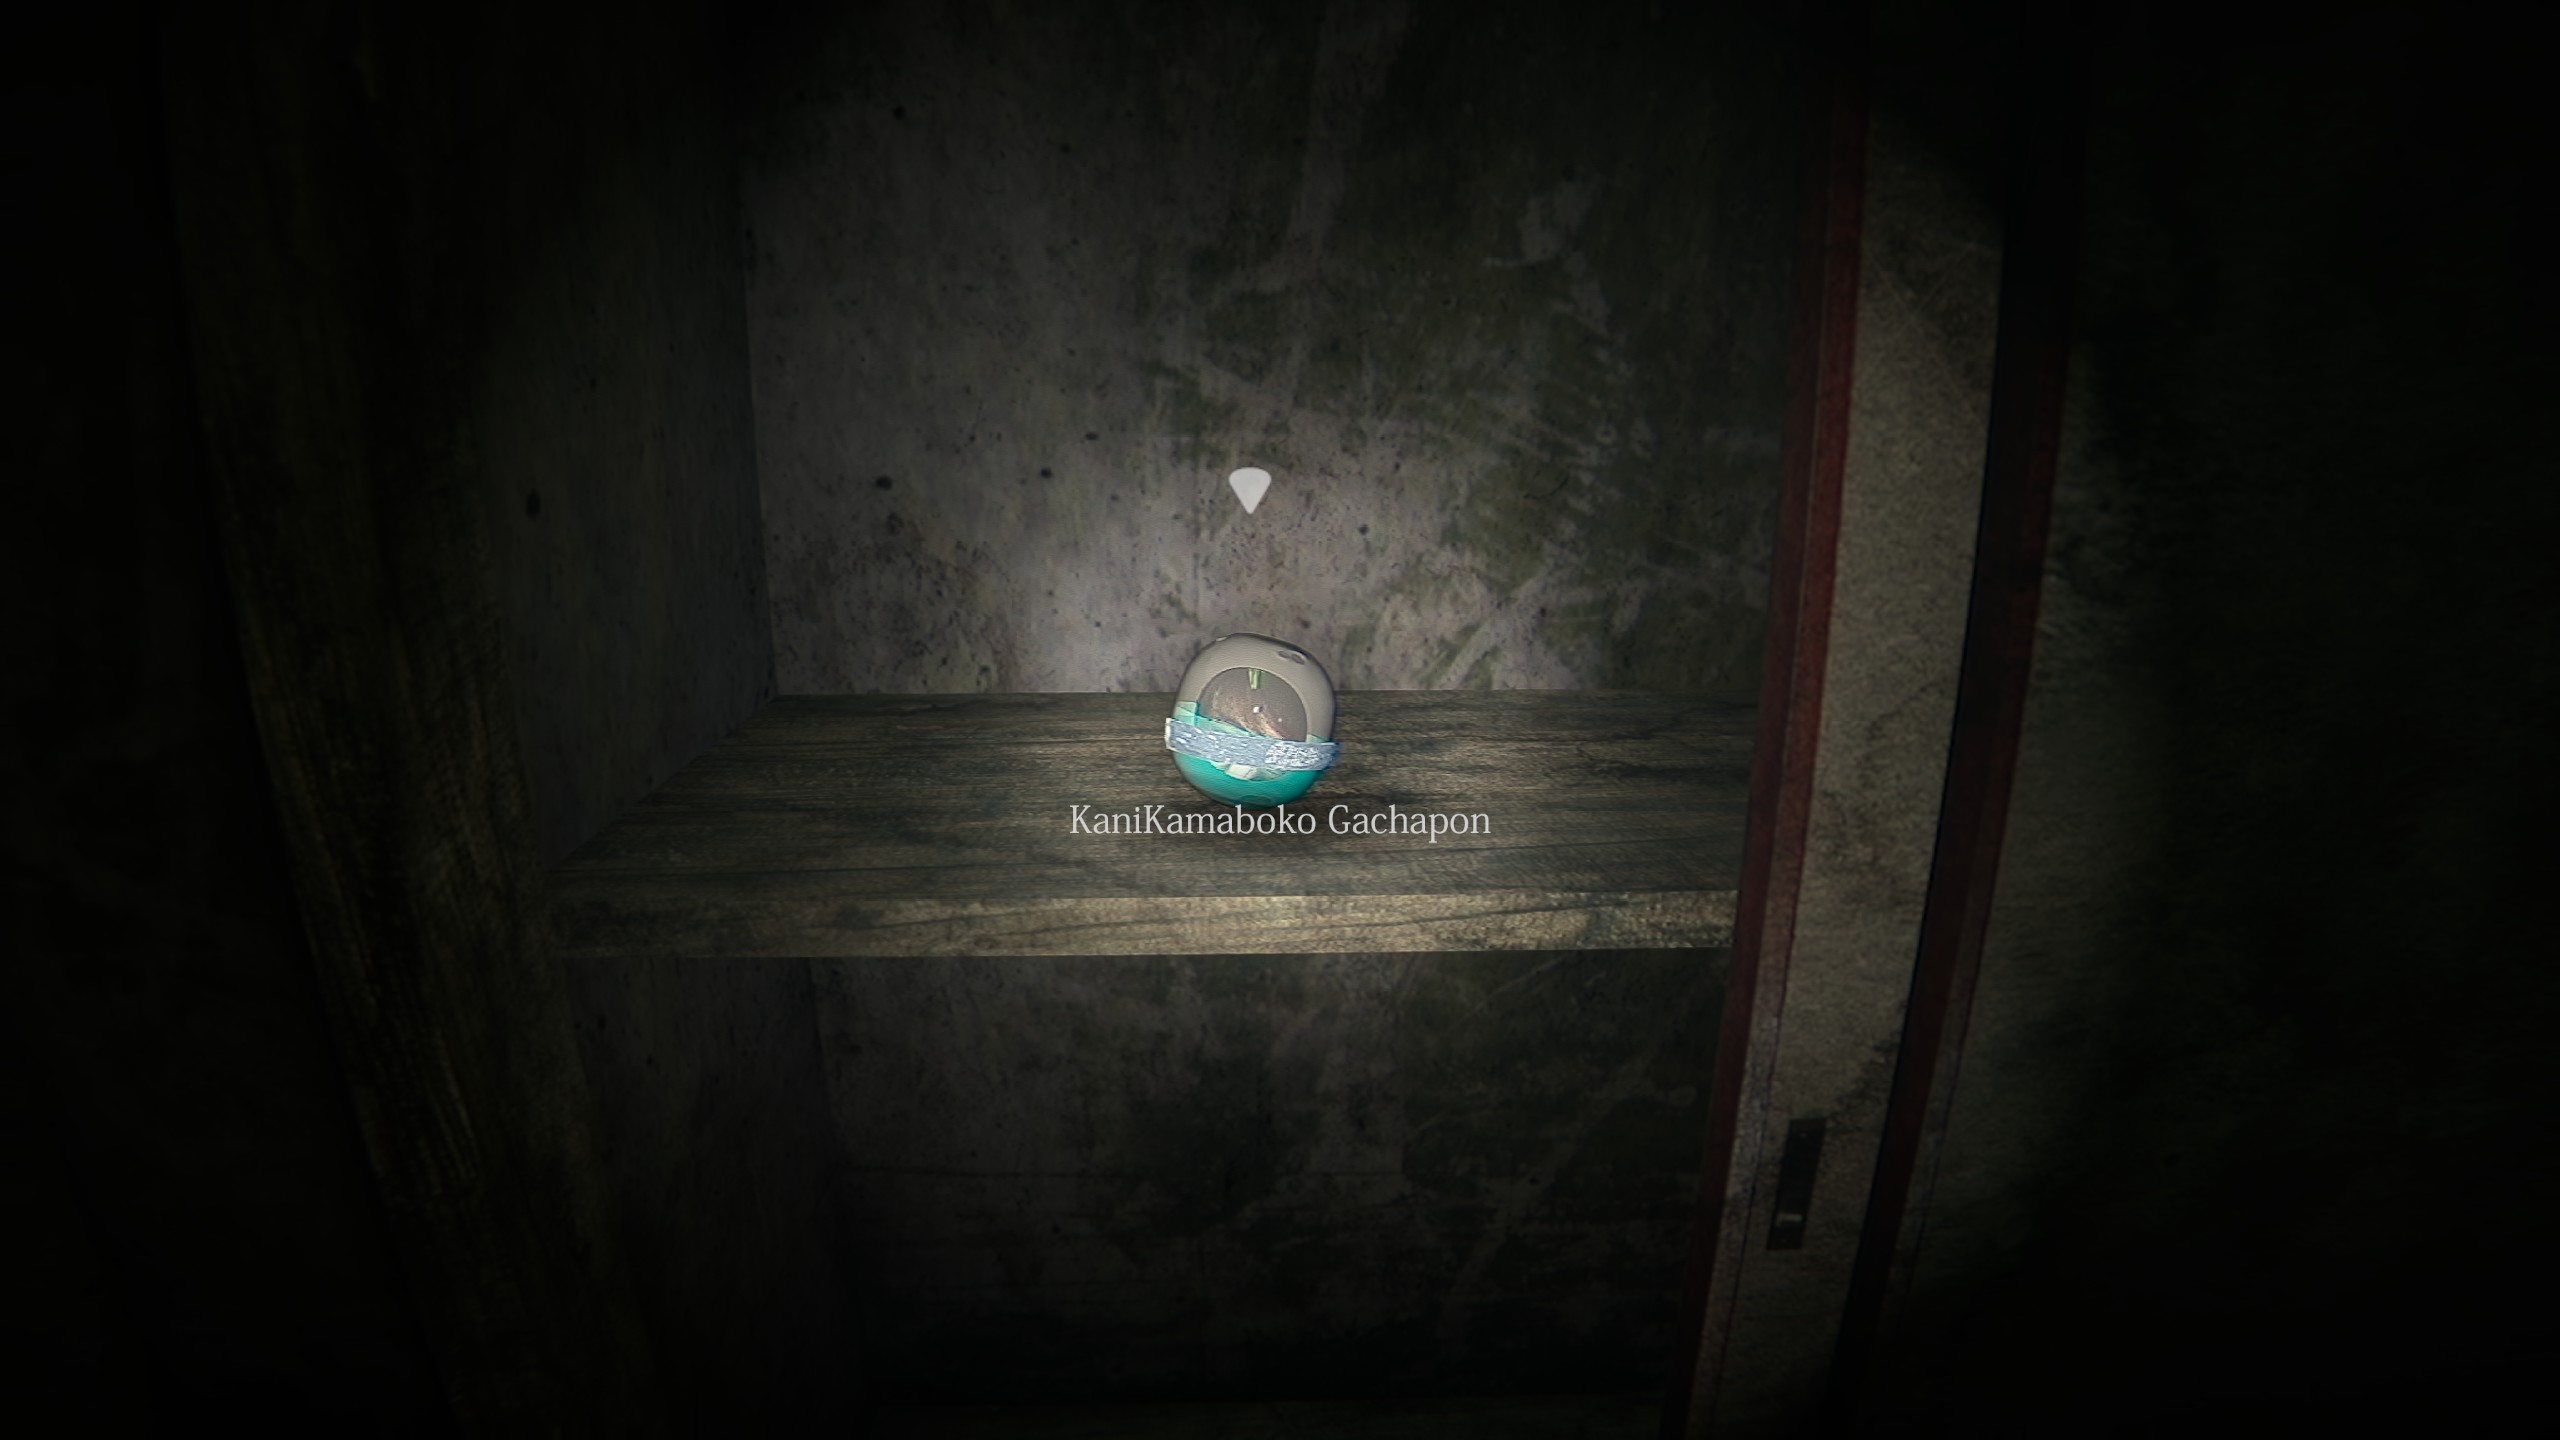
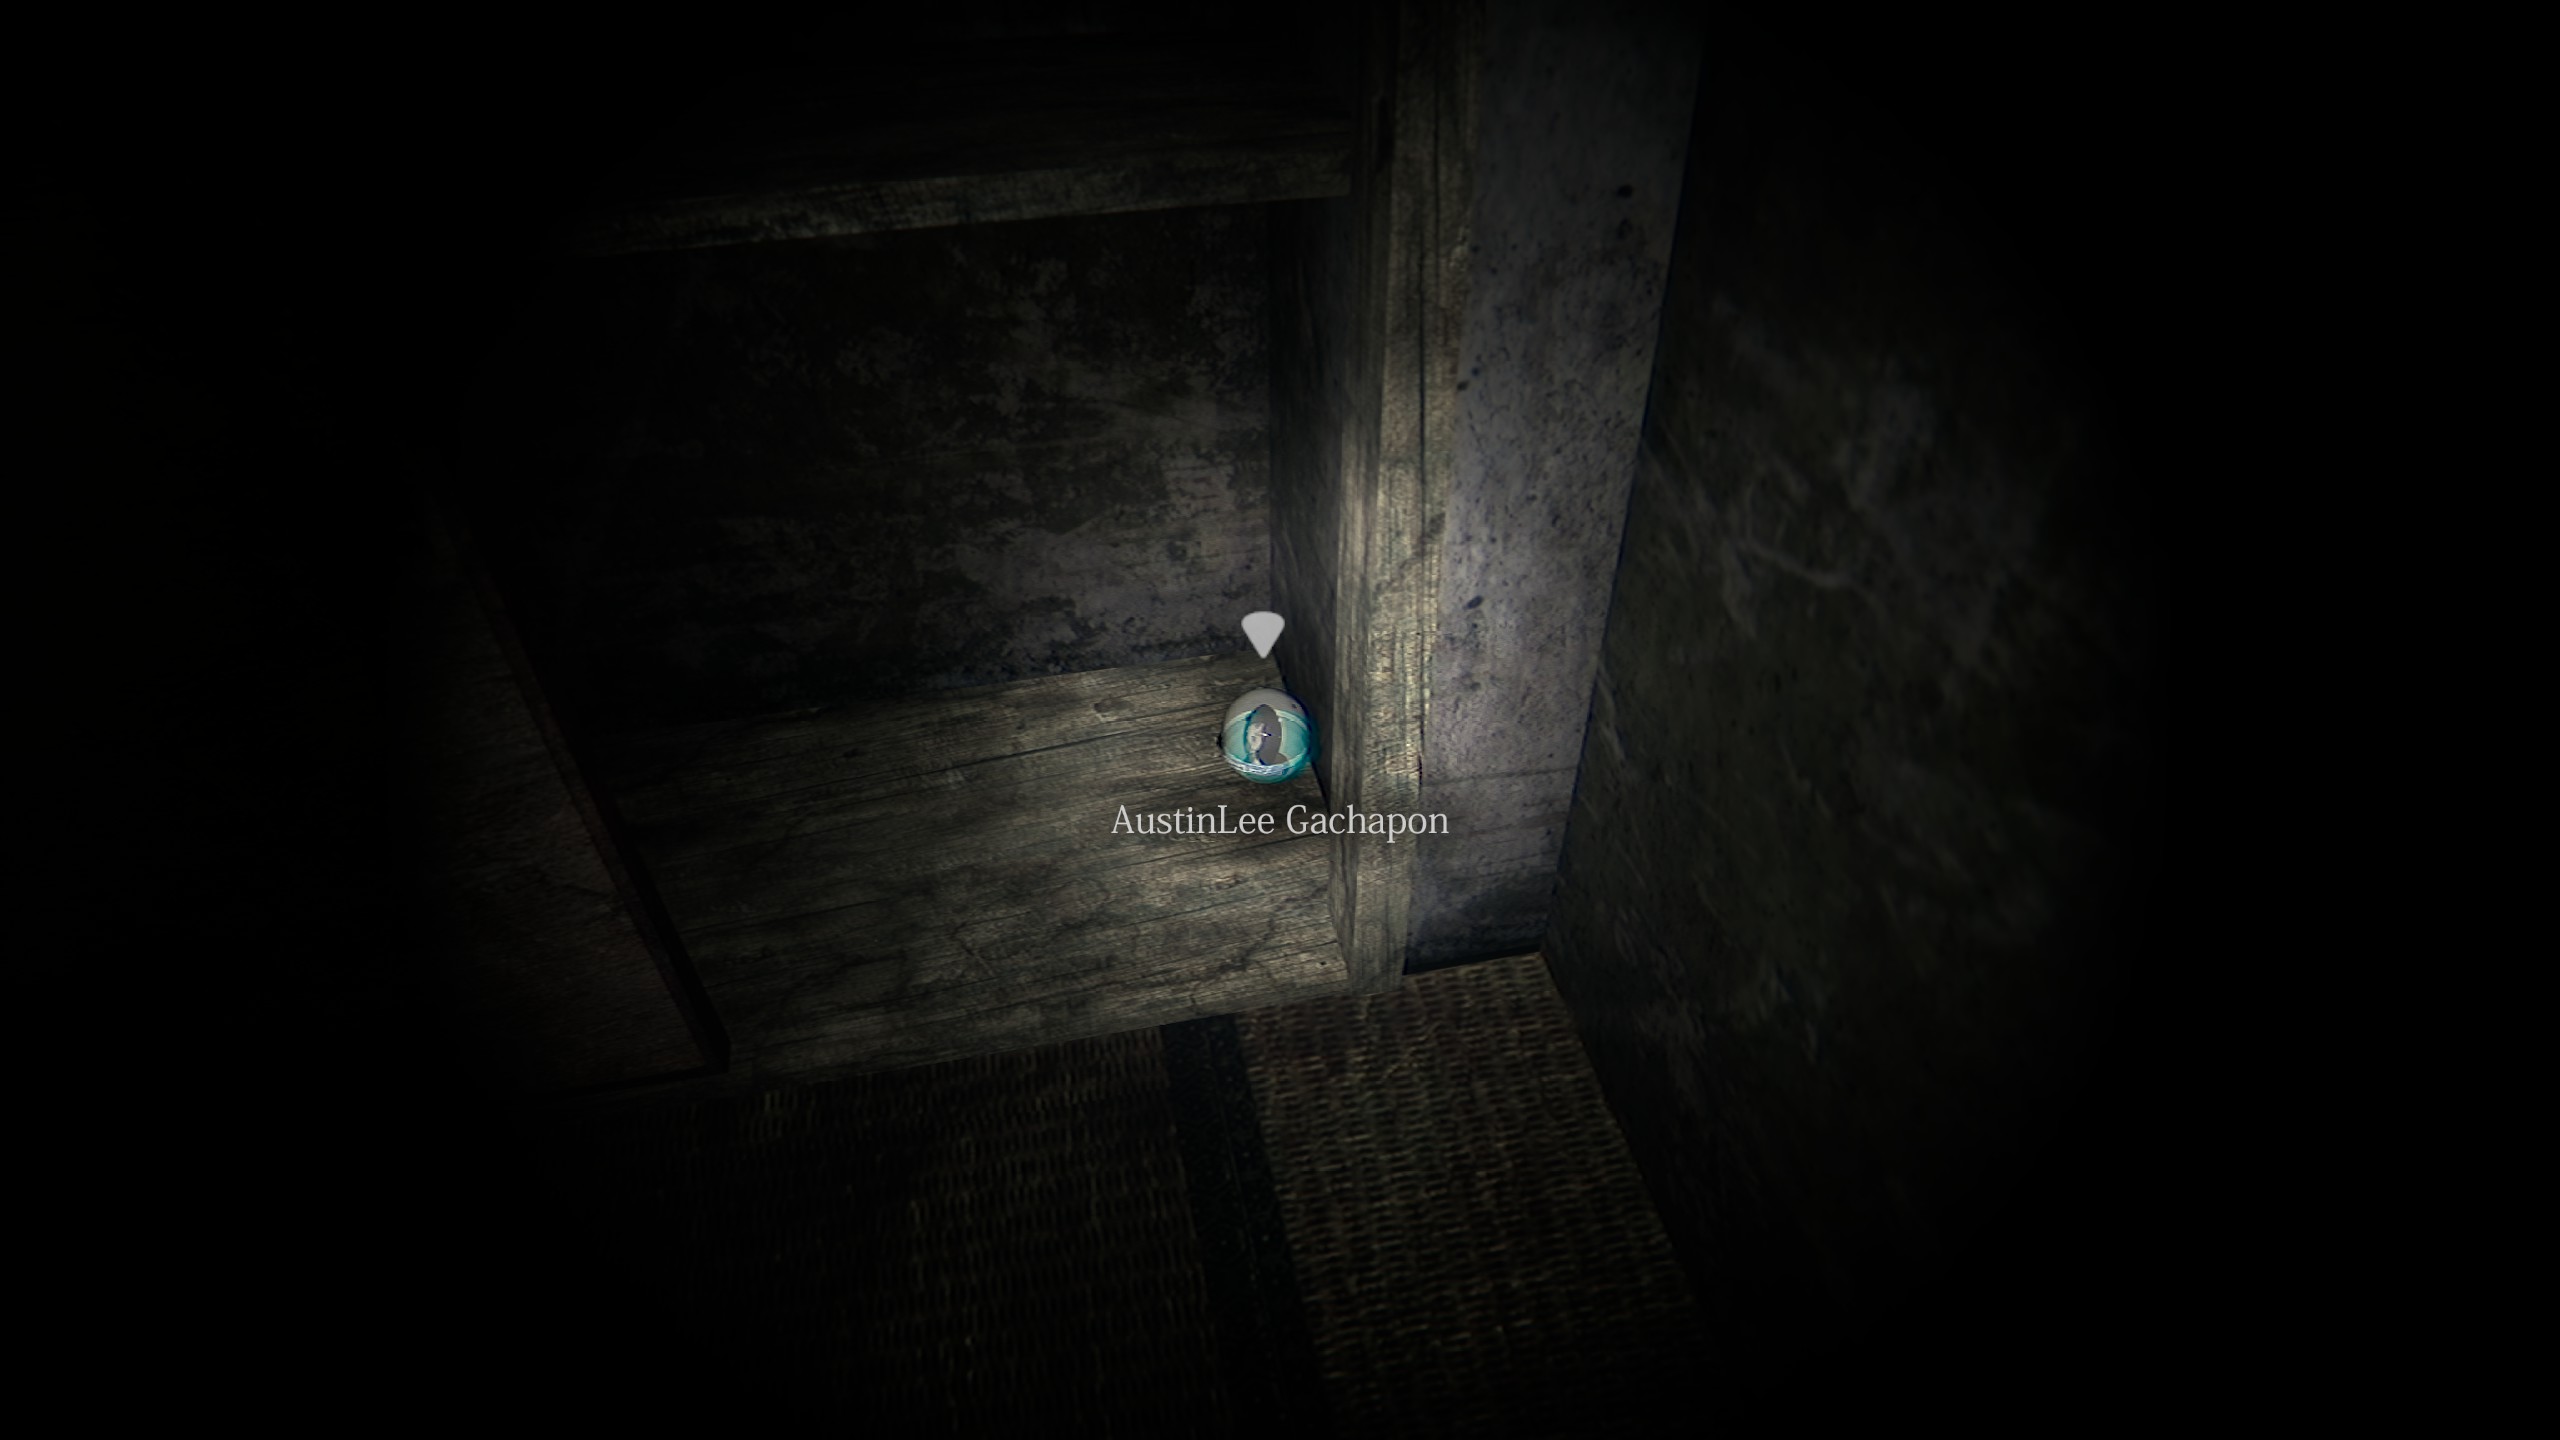
There are 7 Gachapons scattered throughout the game as of Version 1.25. You must turn all 7 in to the ghost boy in the gated first floor Saferoom. I suggest storing the Gachapons in the room with the boy, to track how many are still missing, then turning in all 7 at once. You will need to turn in all 7 before initiating the final fight in order to achieve ending 2.
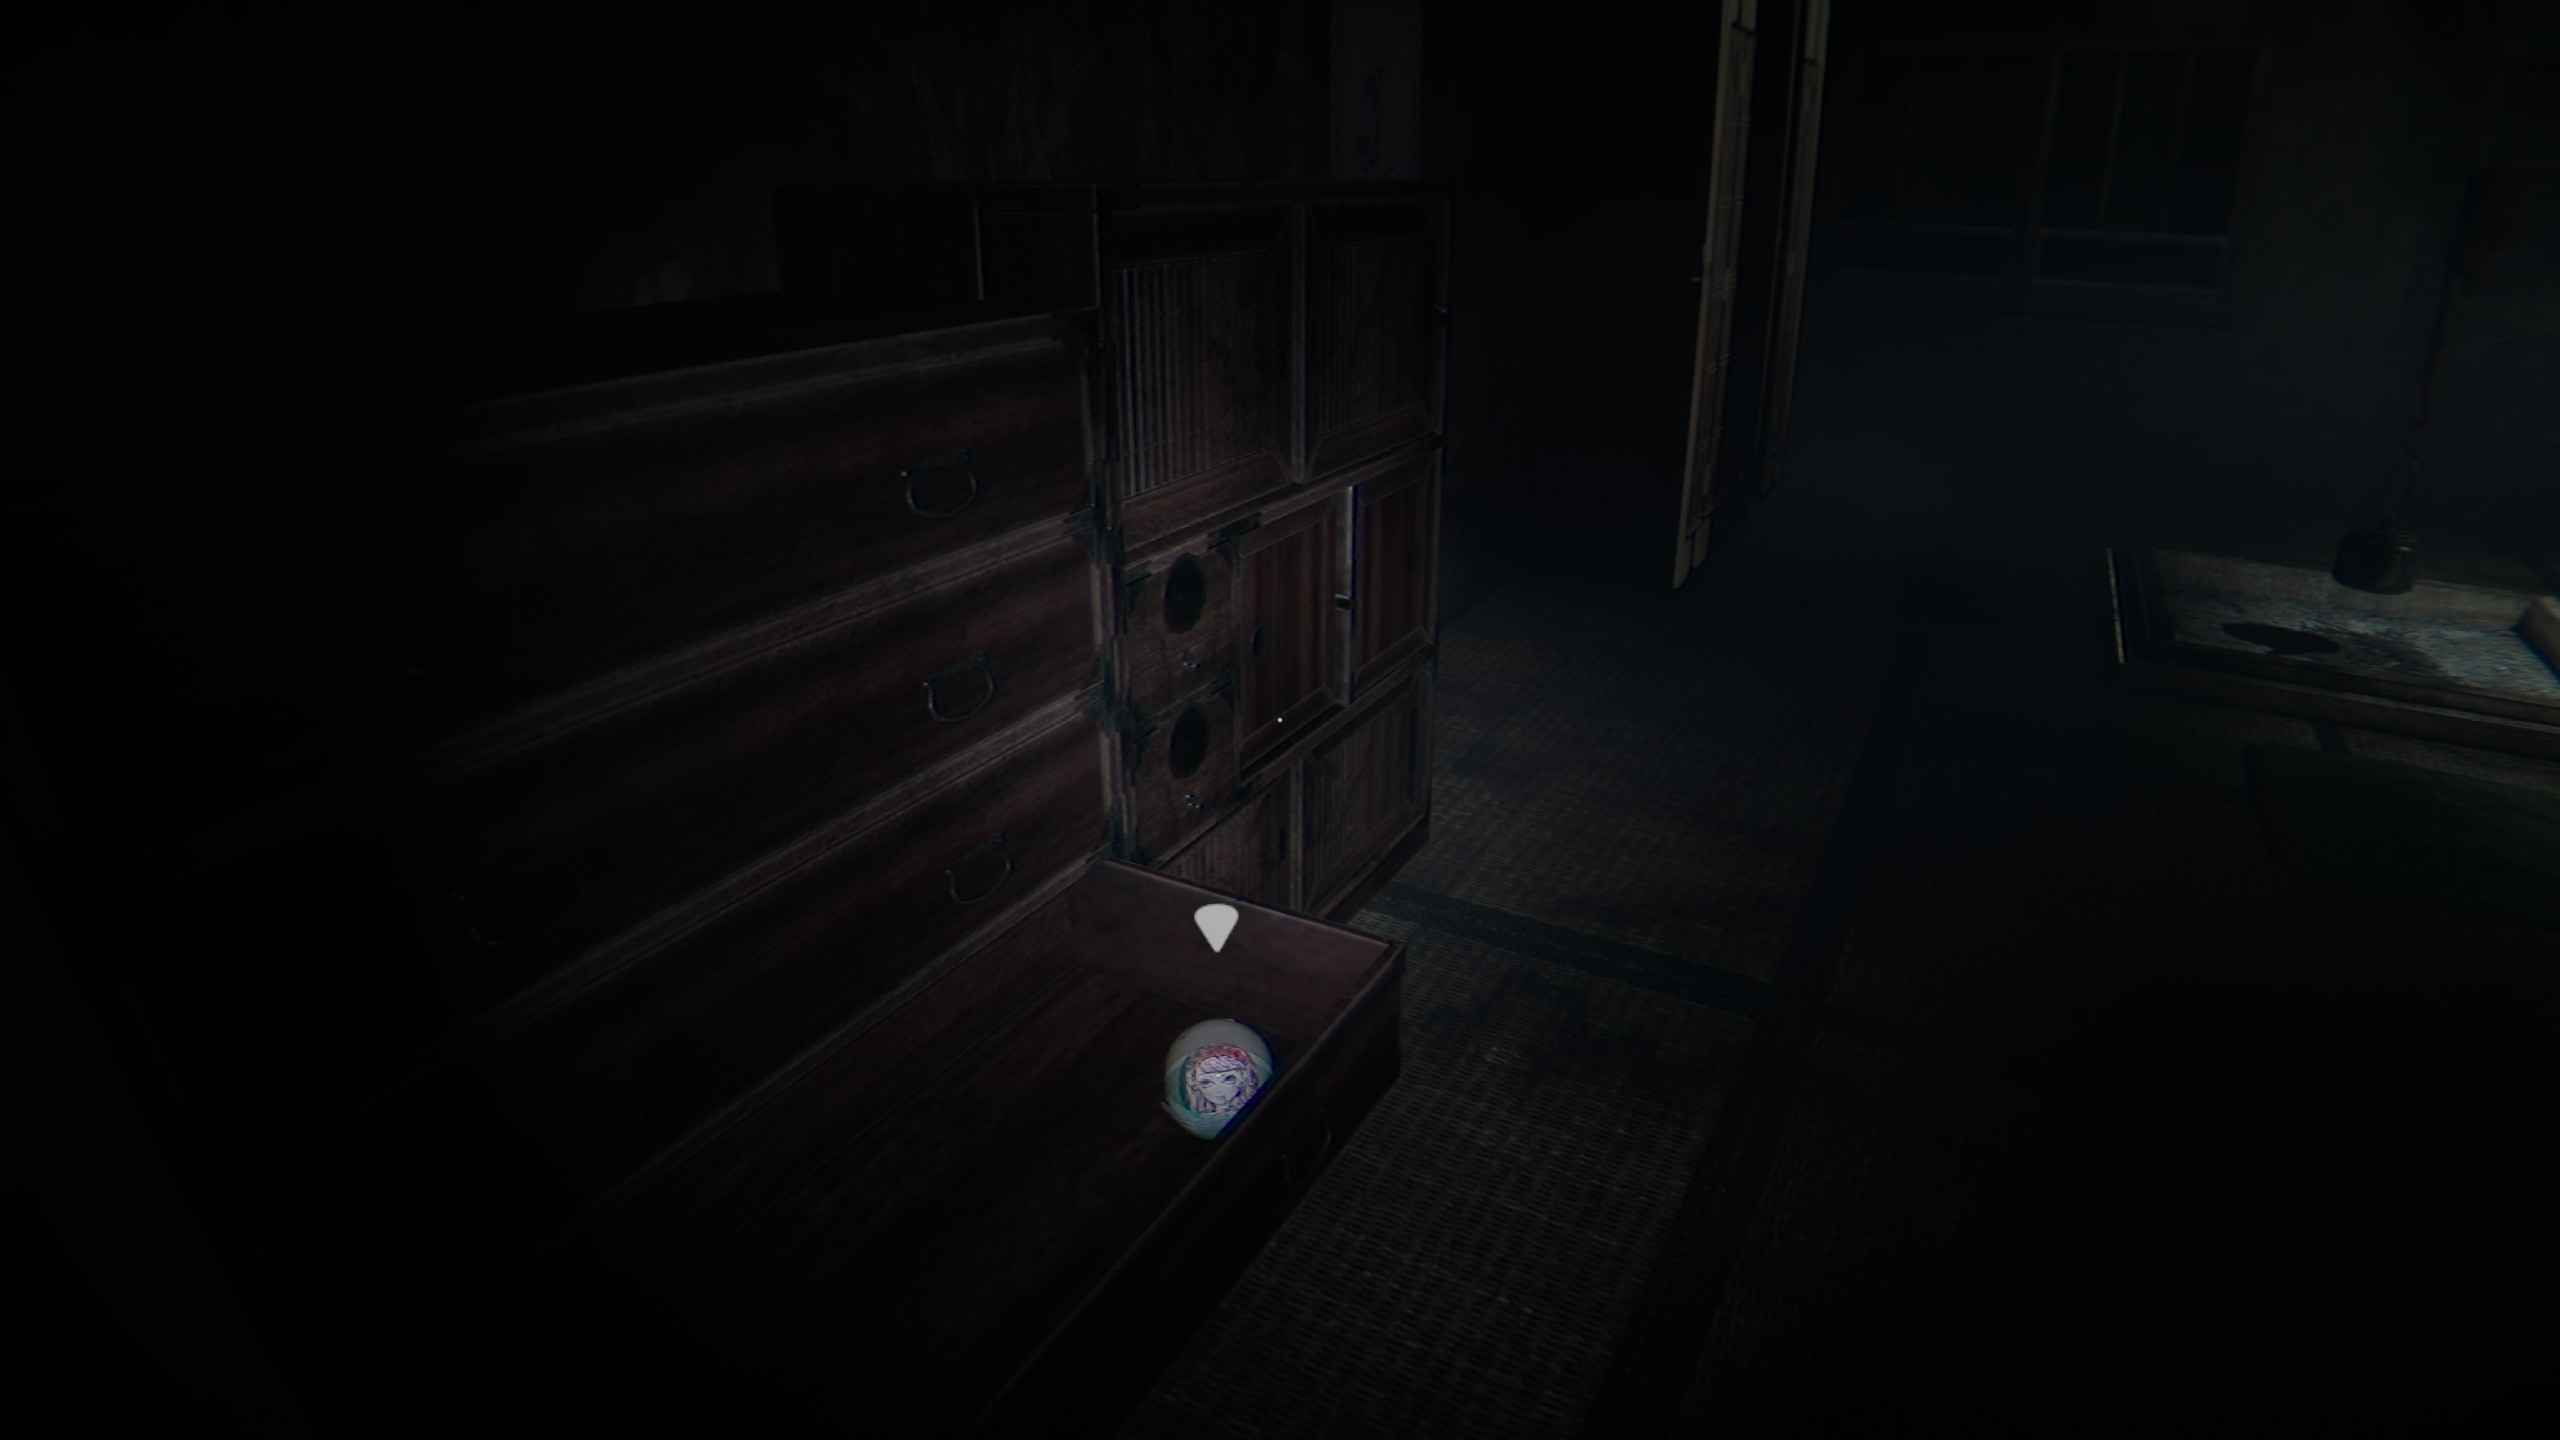
Entering the large room with the bookshelf across from the entrance, to the left of the entryway from the hall with the gated door, the Gachapon is in the second drawer from the bottom.
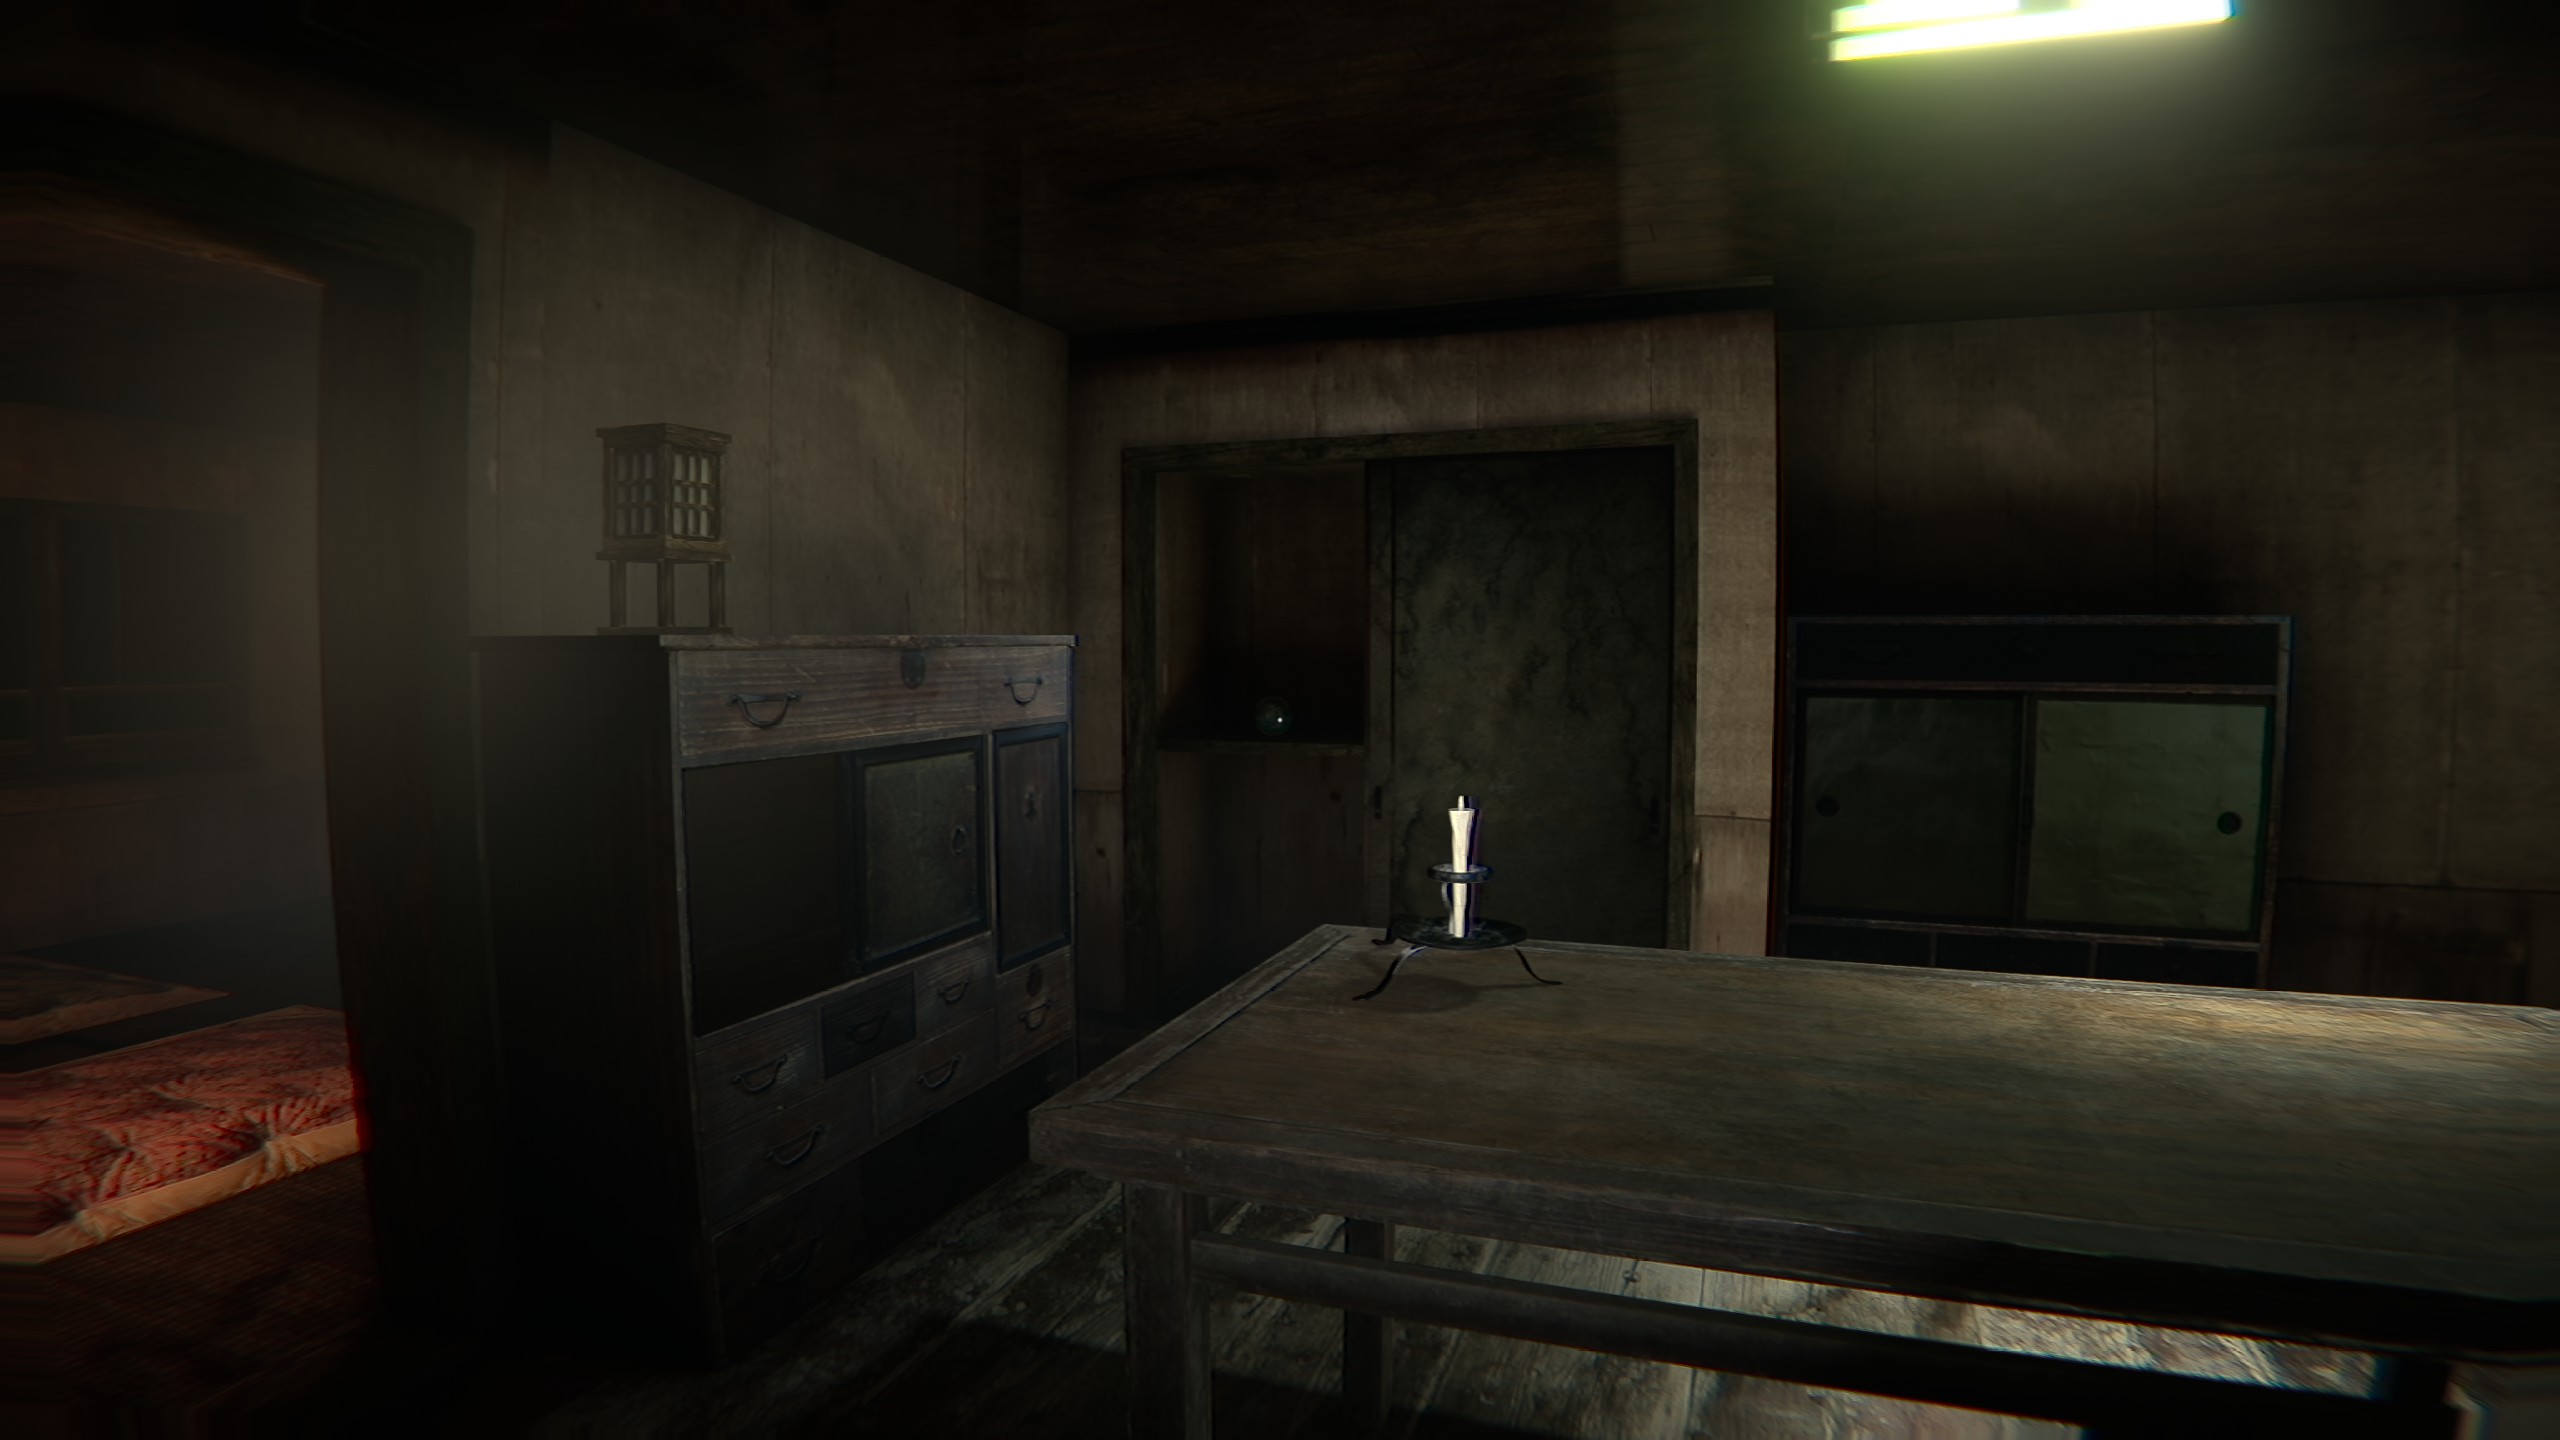
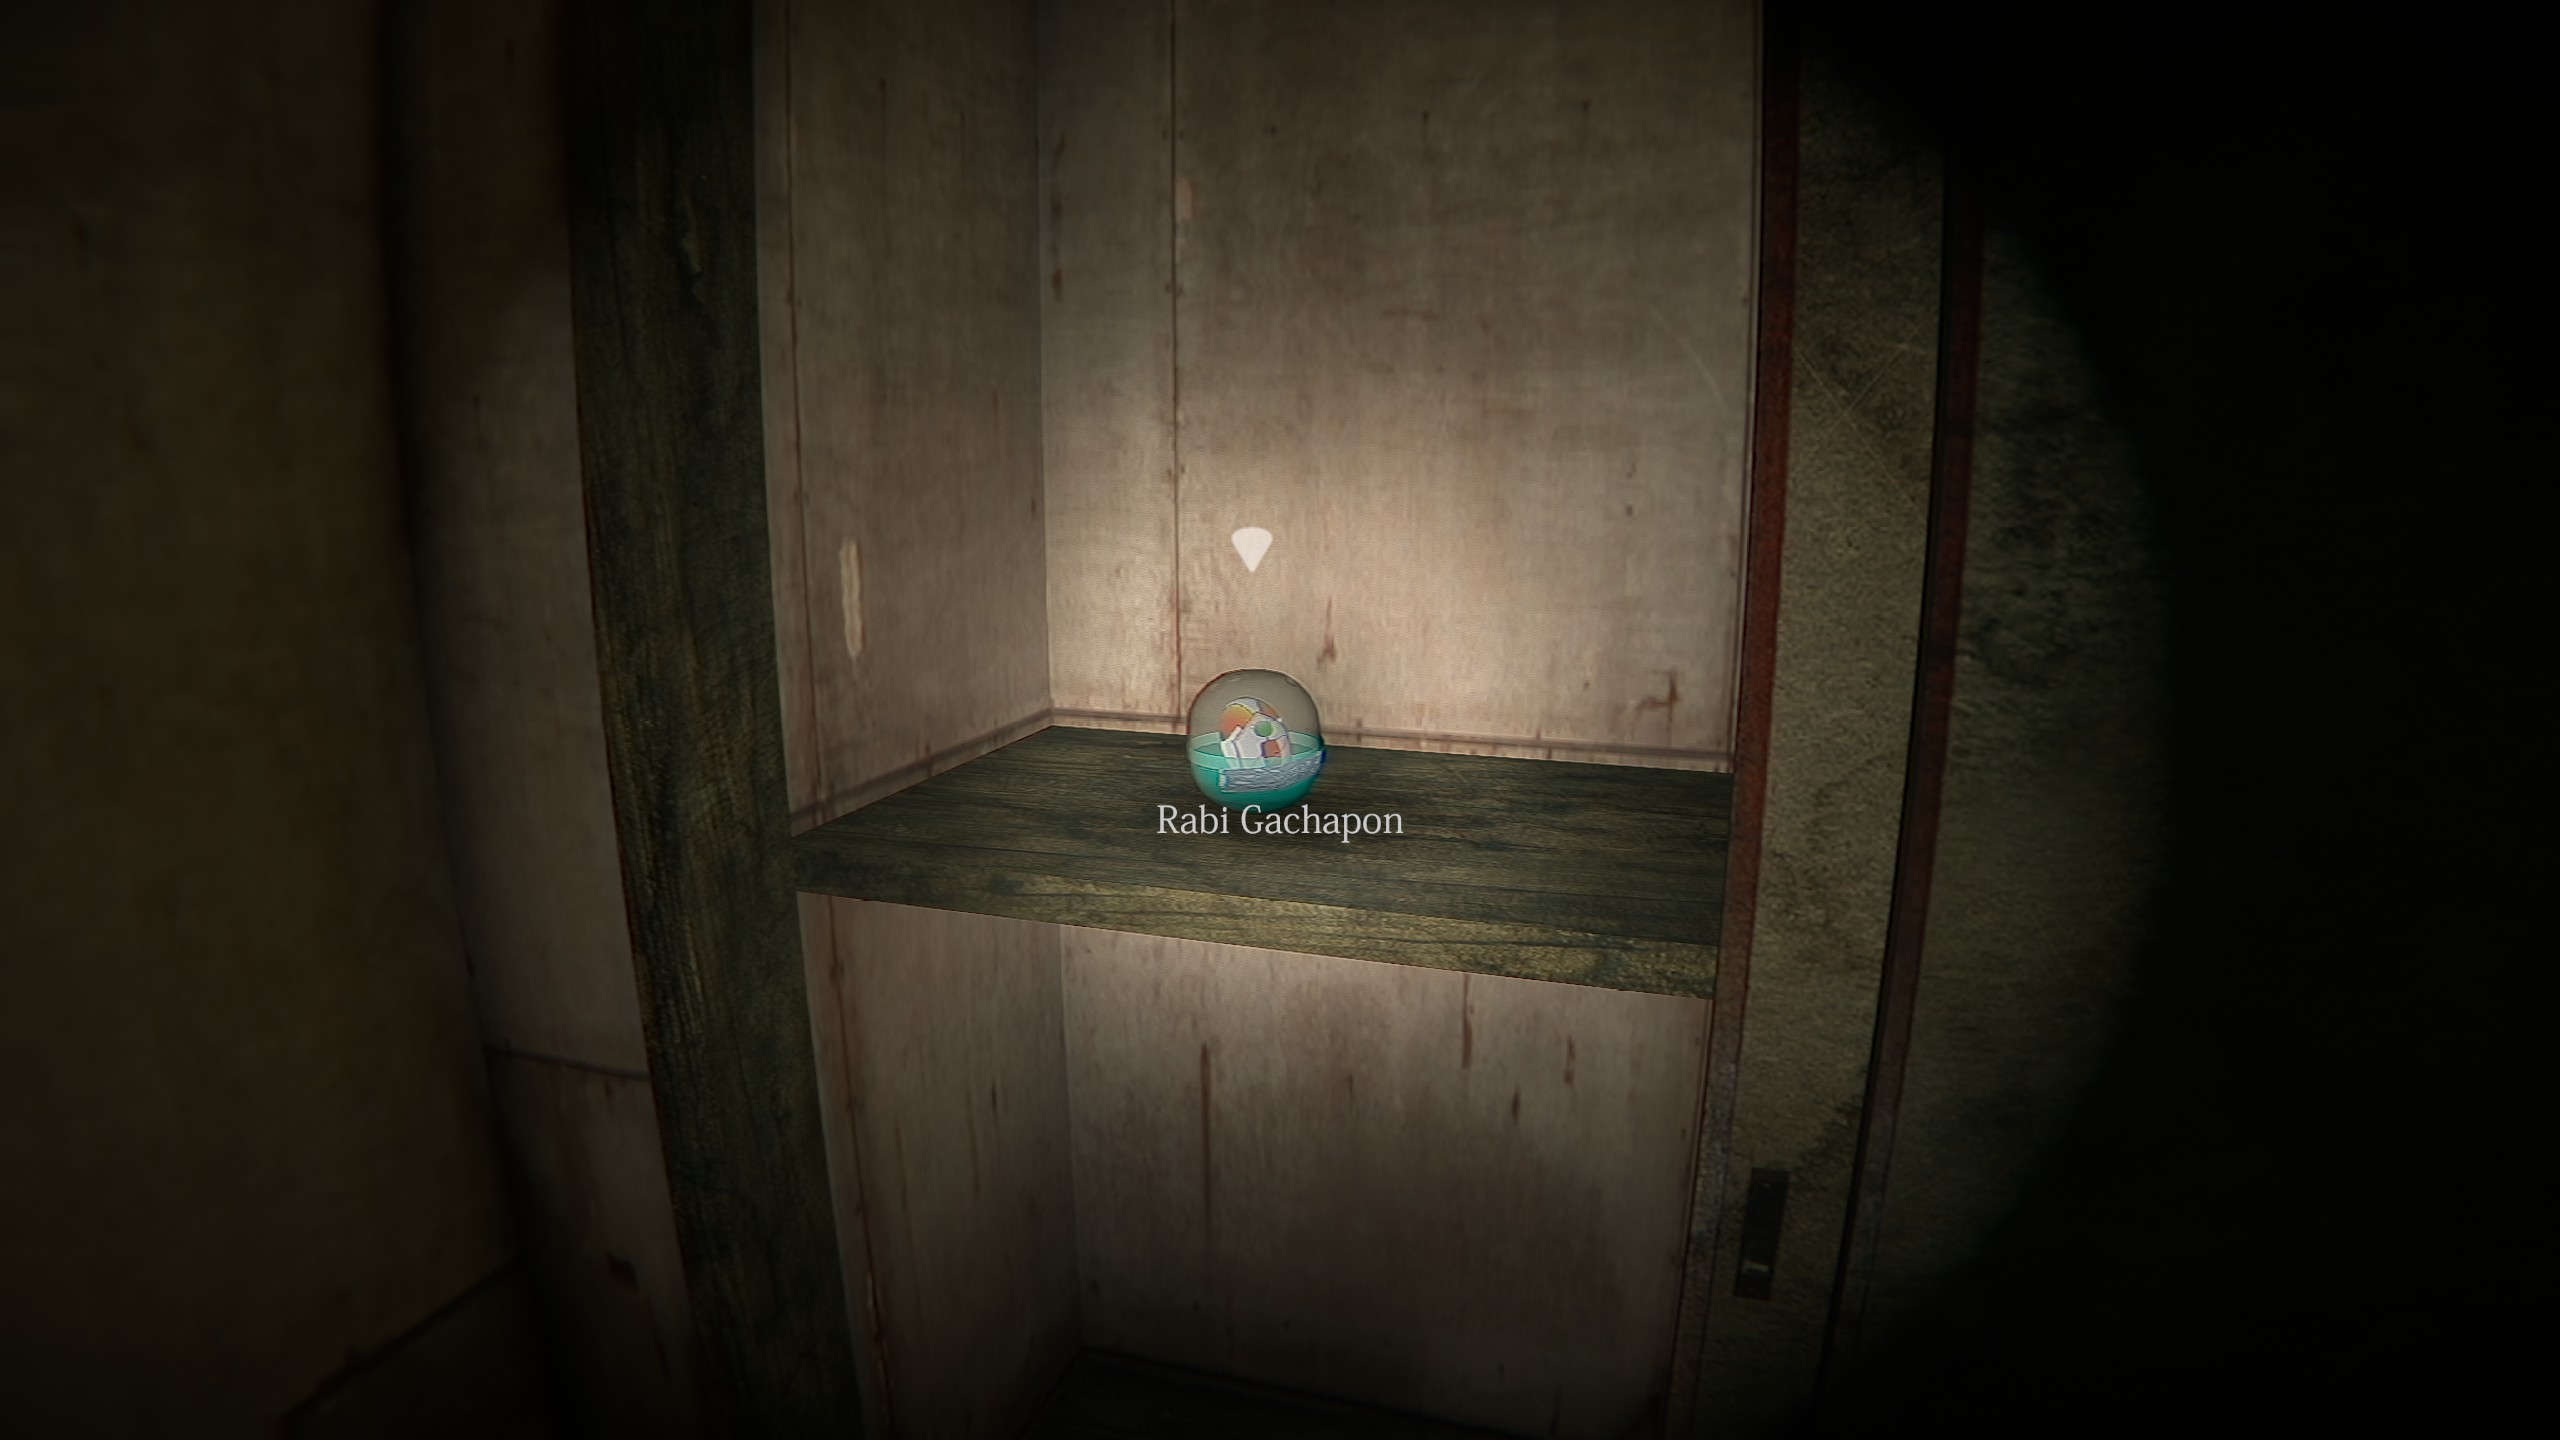
In second of the kimono rooms, in the closet to the right of the door.
Inside the series of rooms behind the double doors locked with hair, at the bottom of the closet past the chained cabinet.
After climbing the Stepladder to the second floor, in the first room on the bottom shelf of the drawer.

In the closet with the Wall Picture item, on top of the display case.
In the room slightly adjacent to the staircase, inside the closet across from the entrance, in the room next to the one with the chained cabinet.
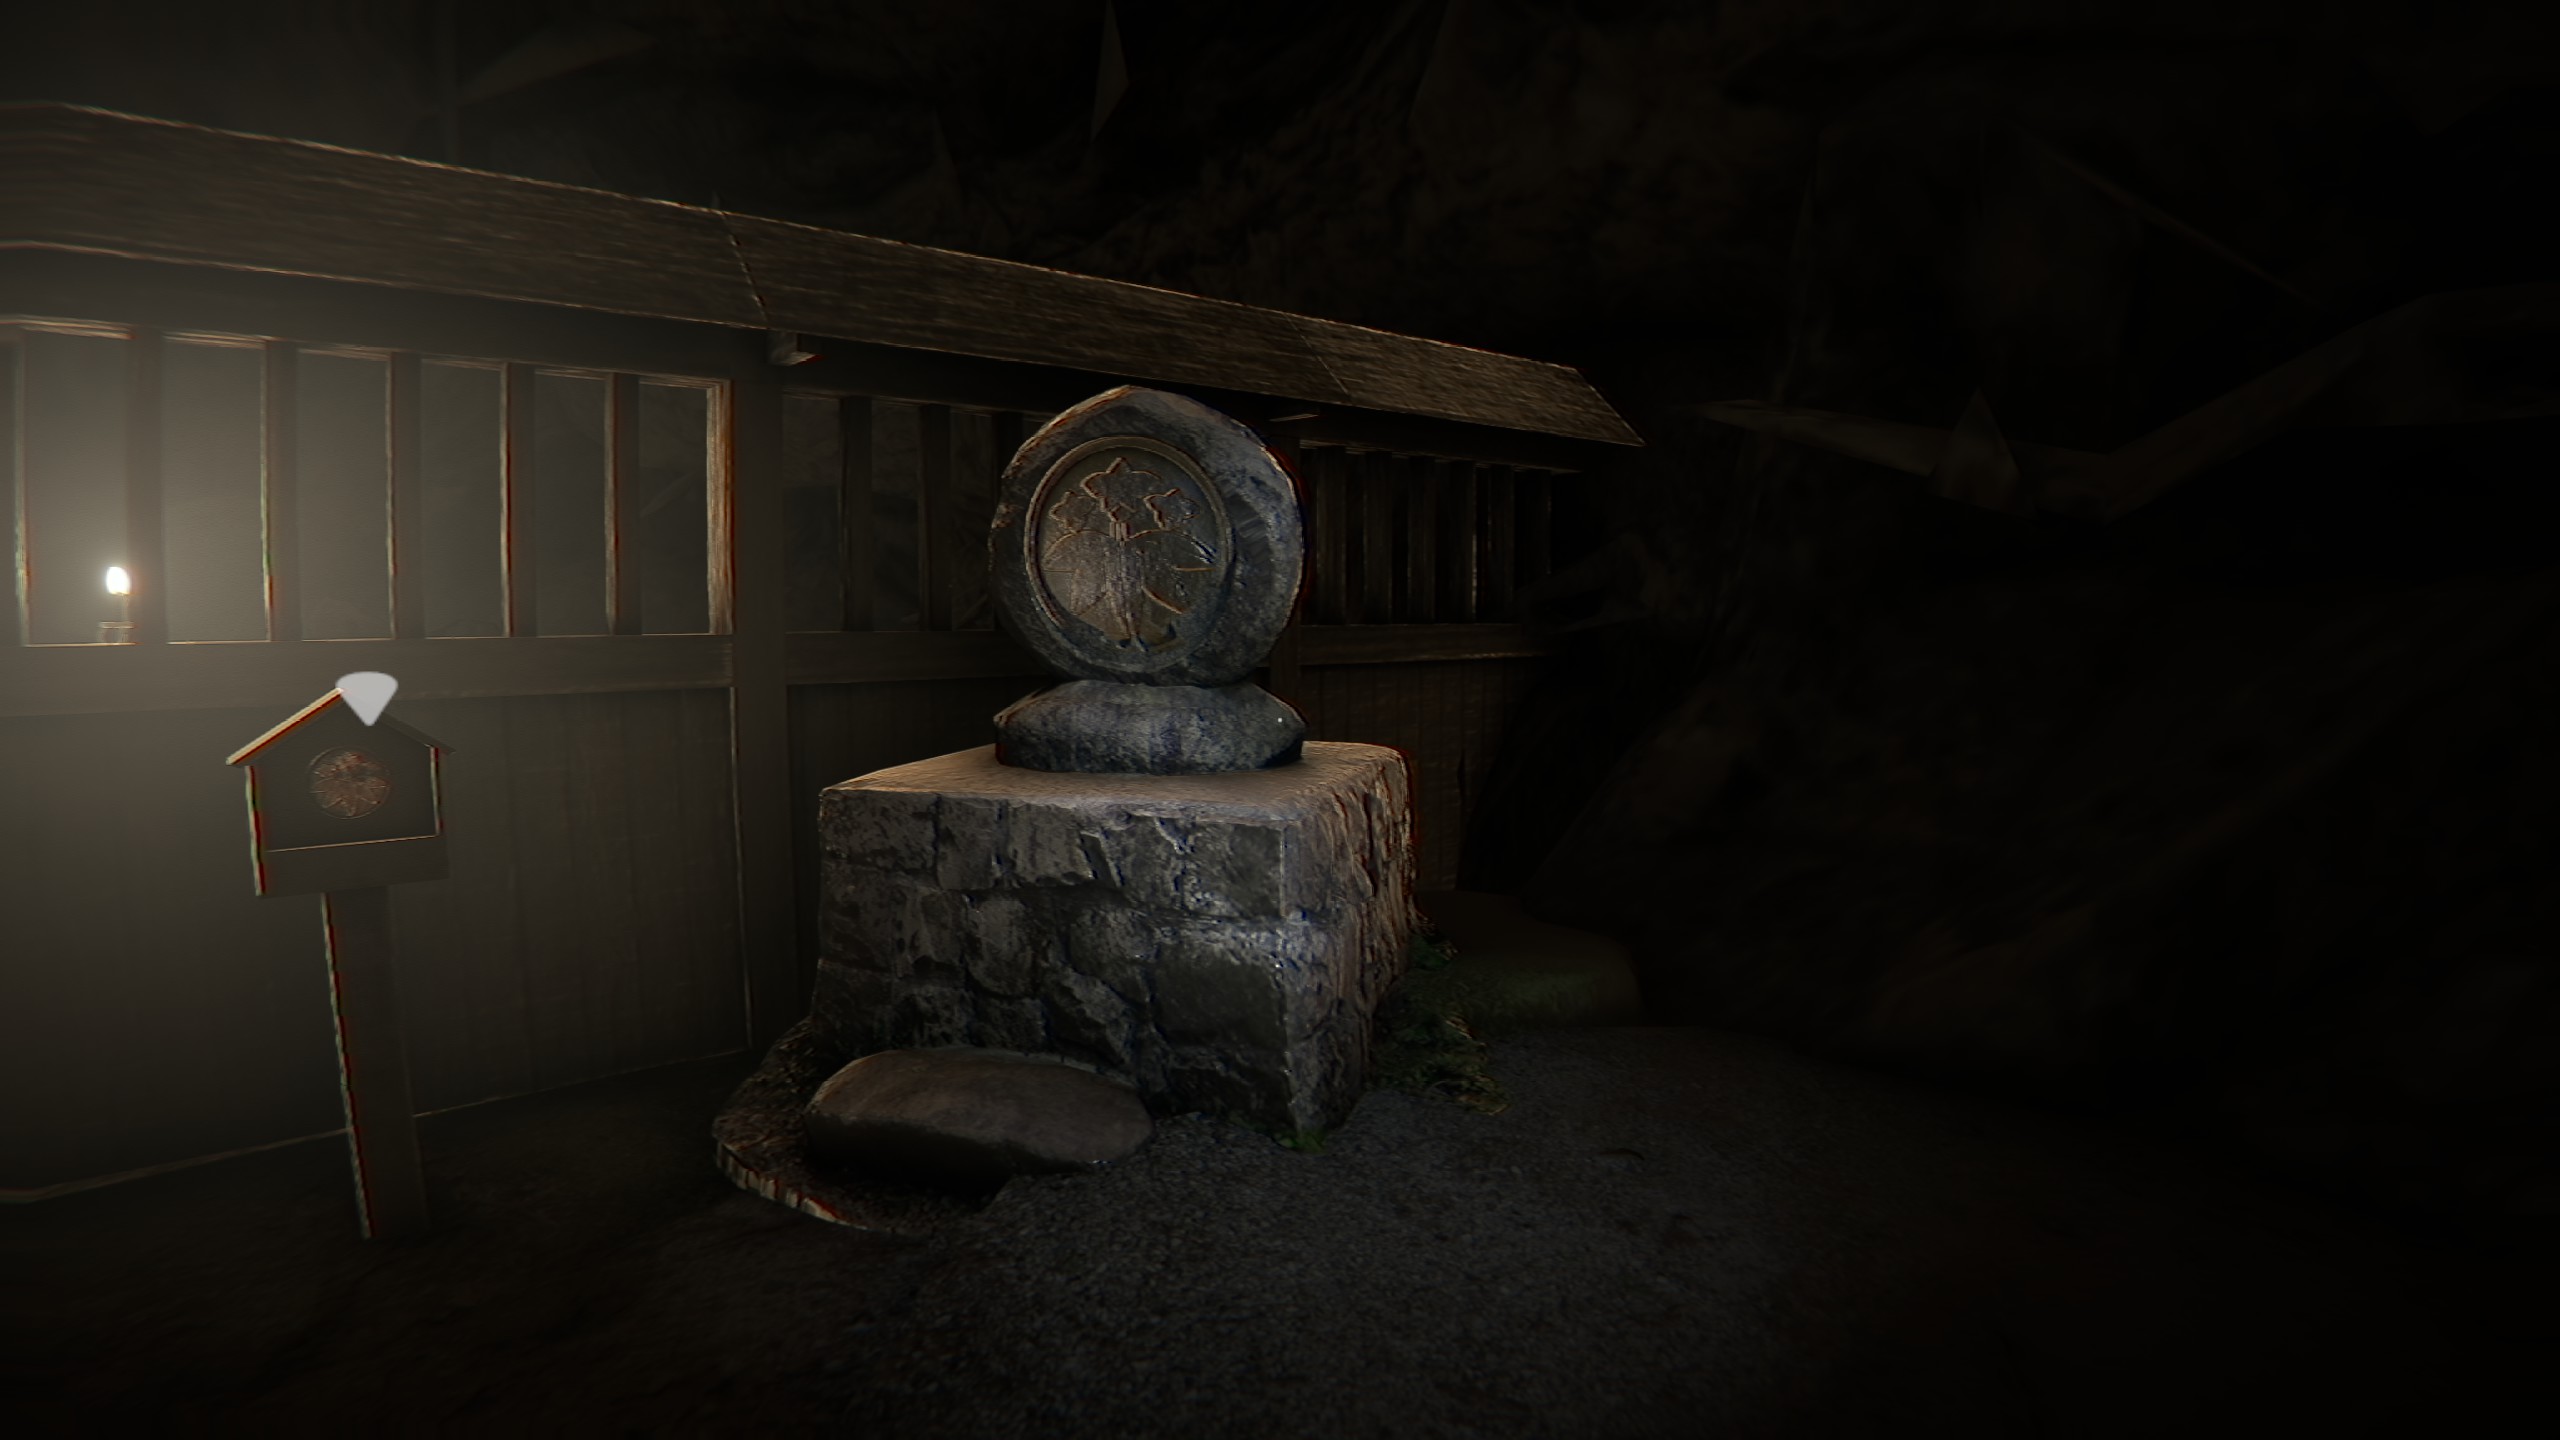
Behind the stone Crest corresponding to Crest B, the second door in the Cave area.
Notes
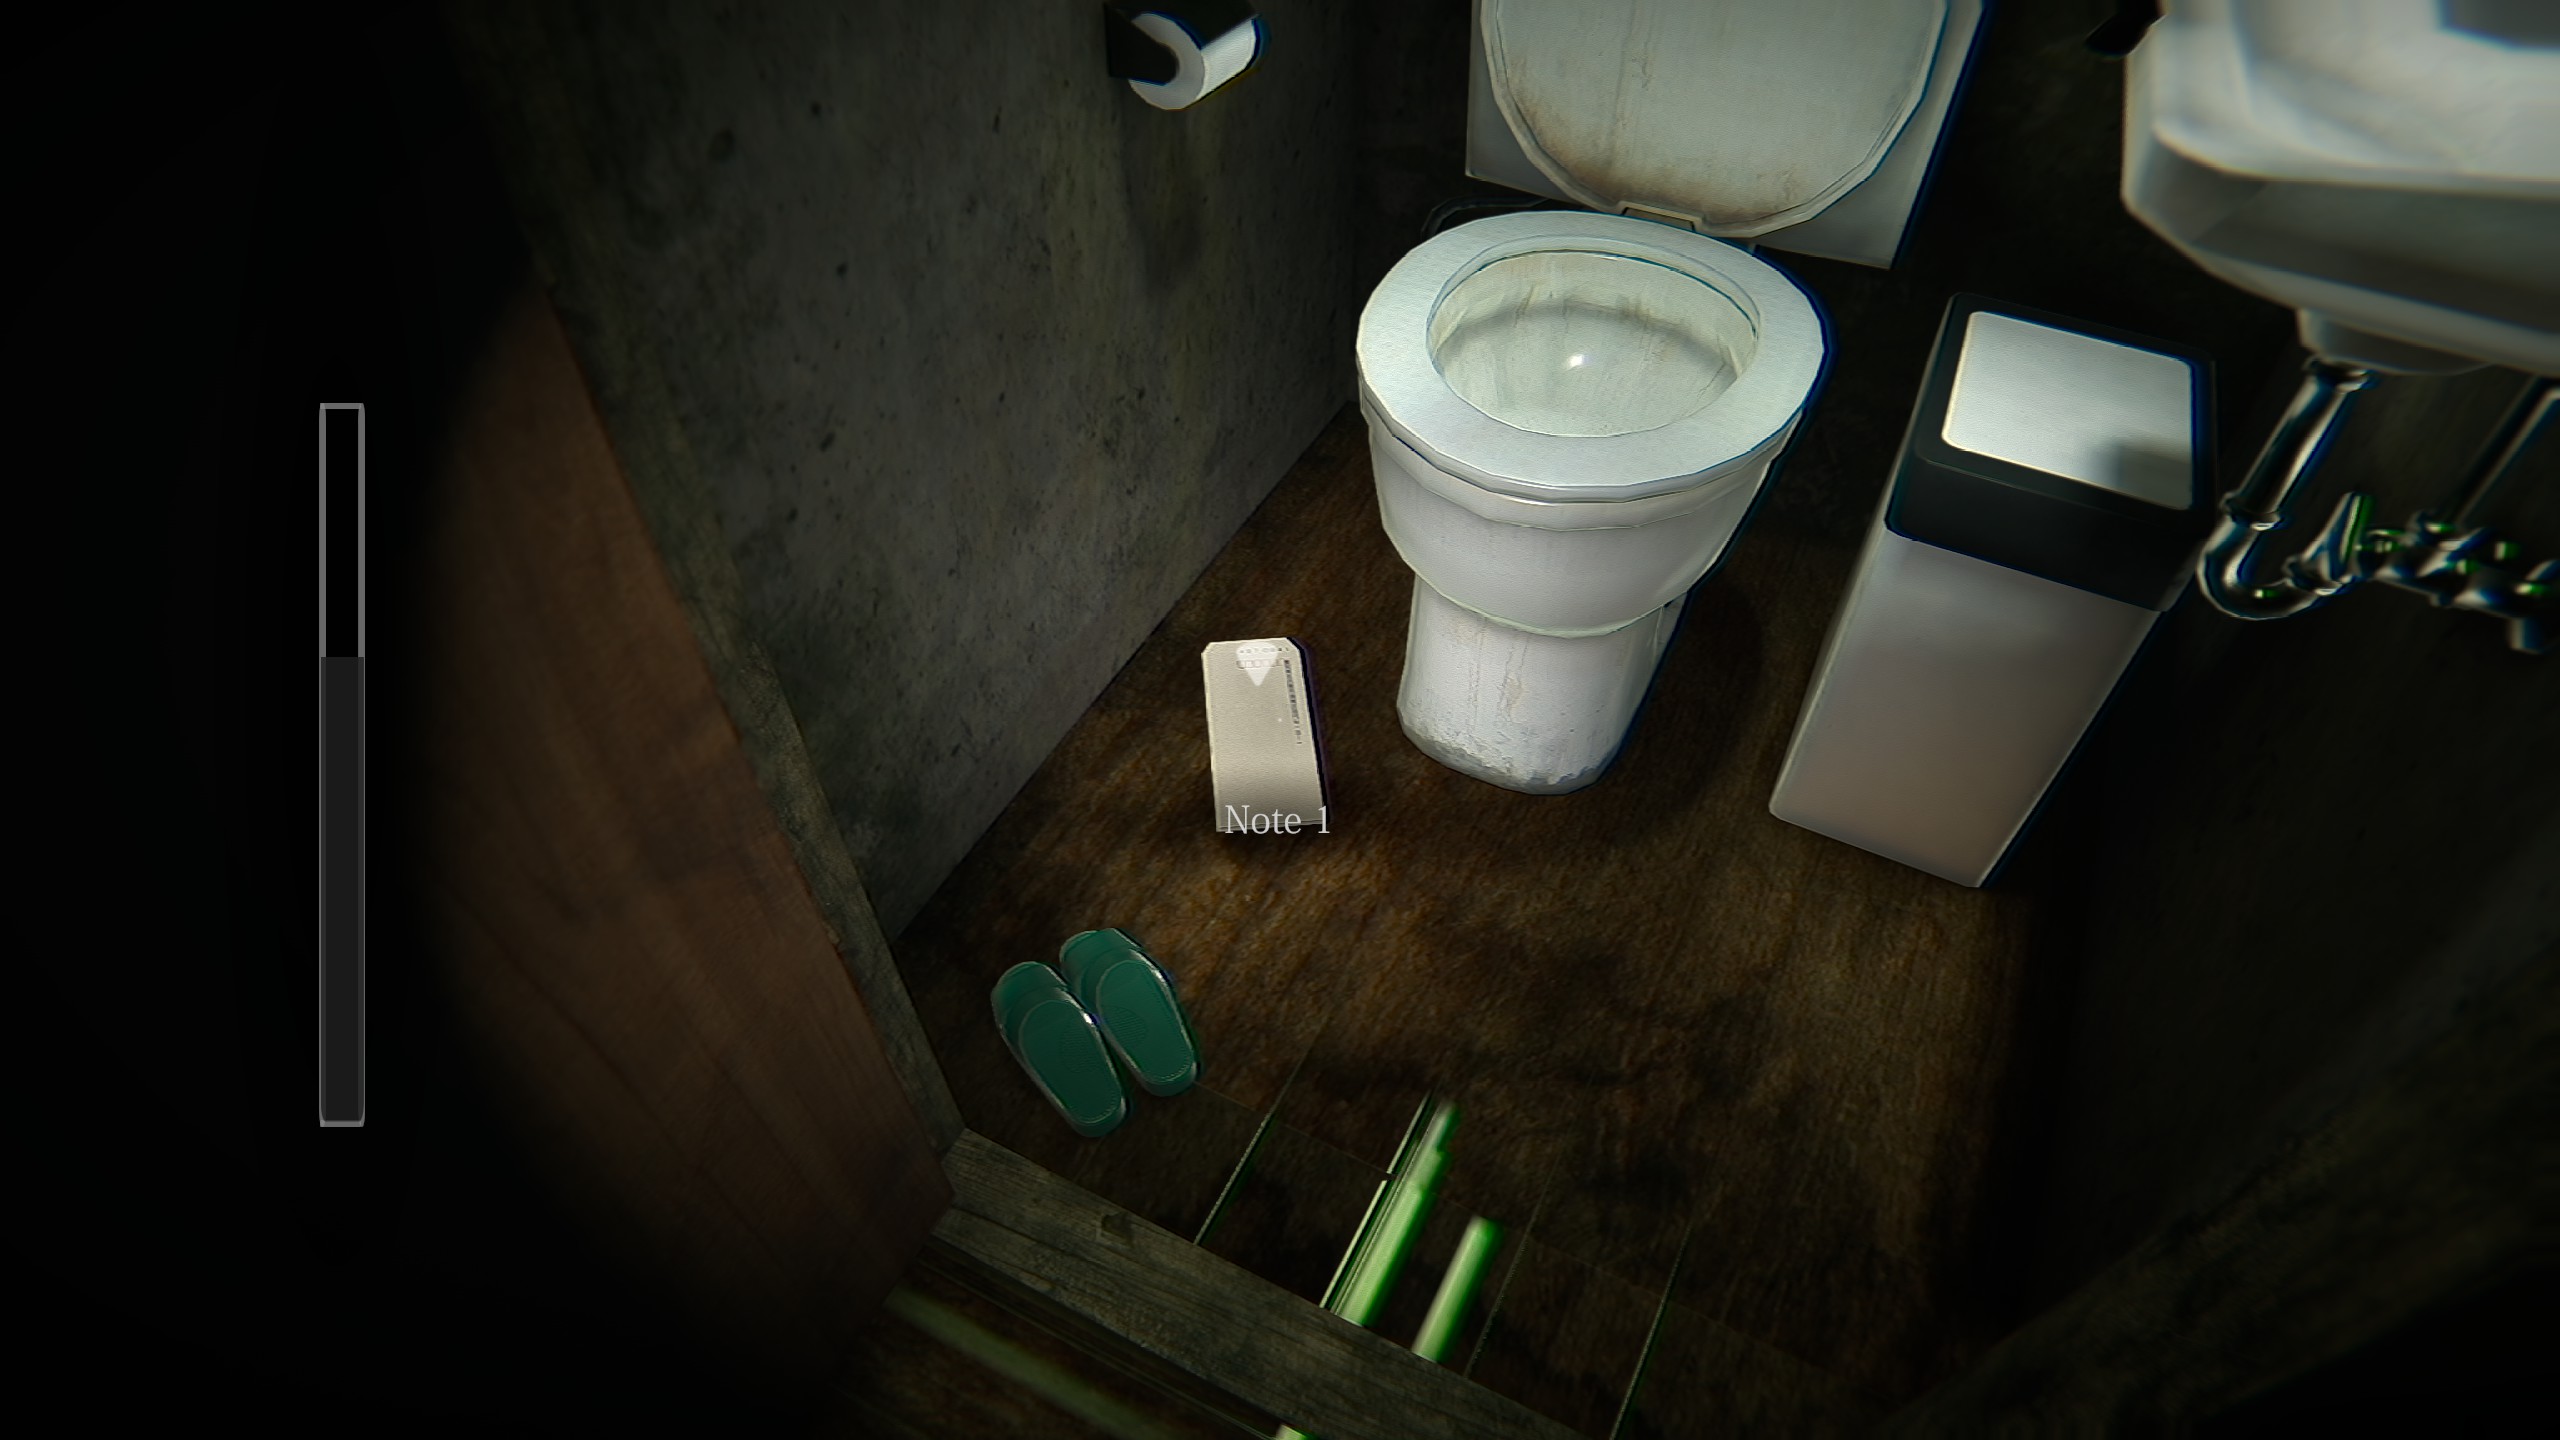
Inside the bathroom on the first floor. Requires Bathroom Key.
In the room with the two pairs of shoes across from the entrance, on the bottom shelf.
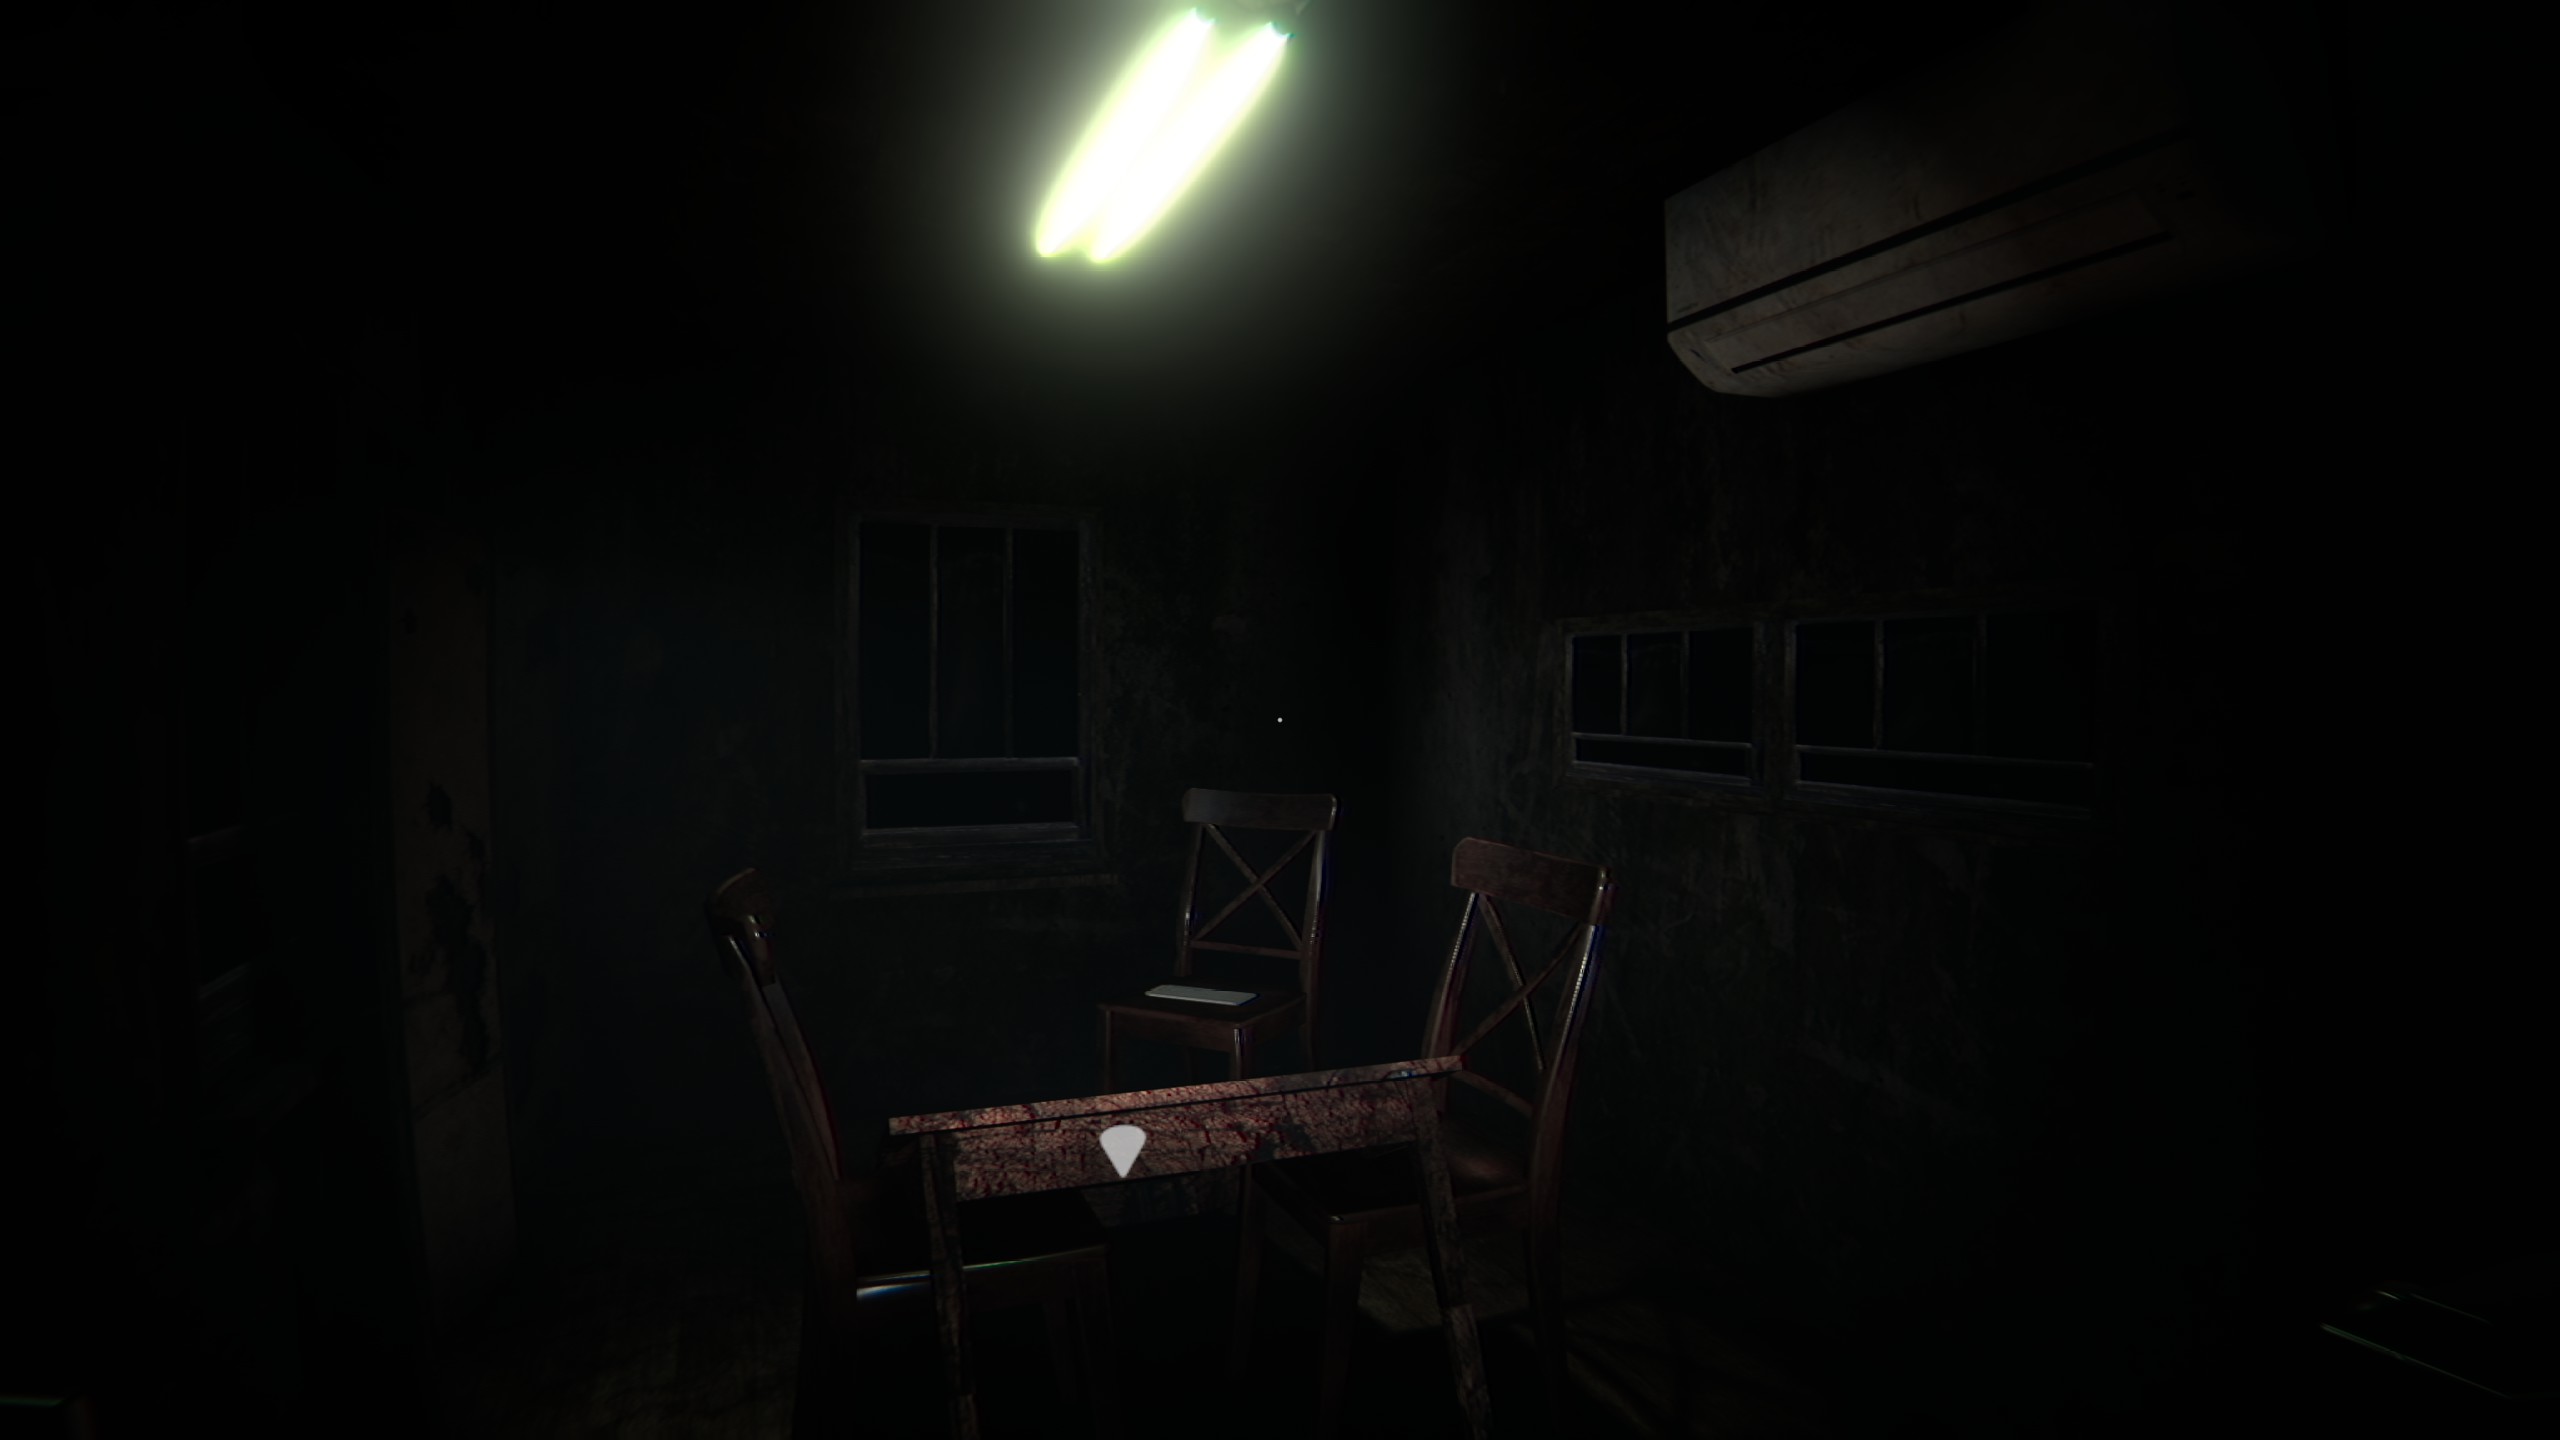
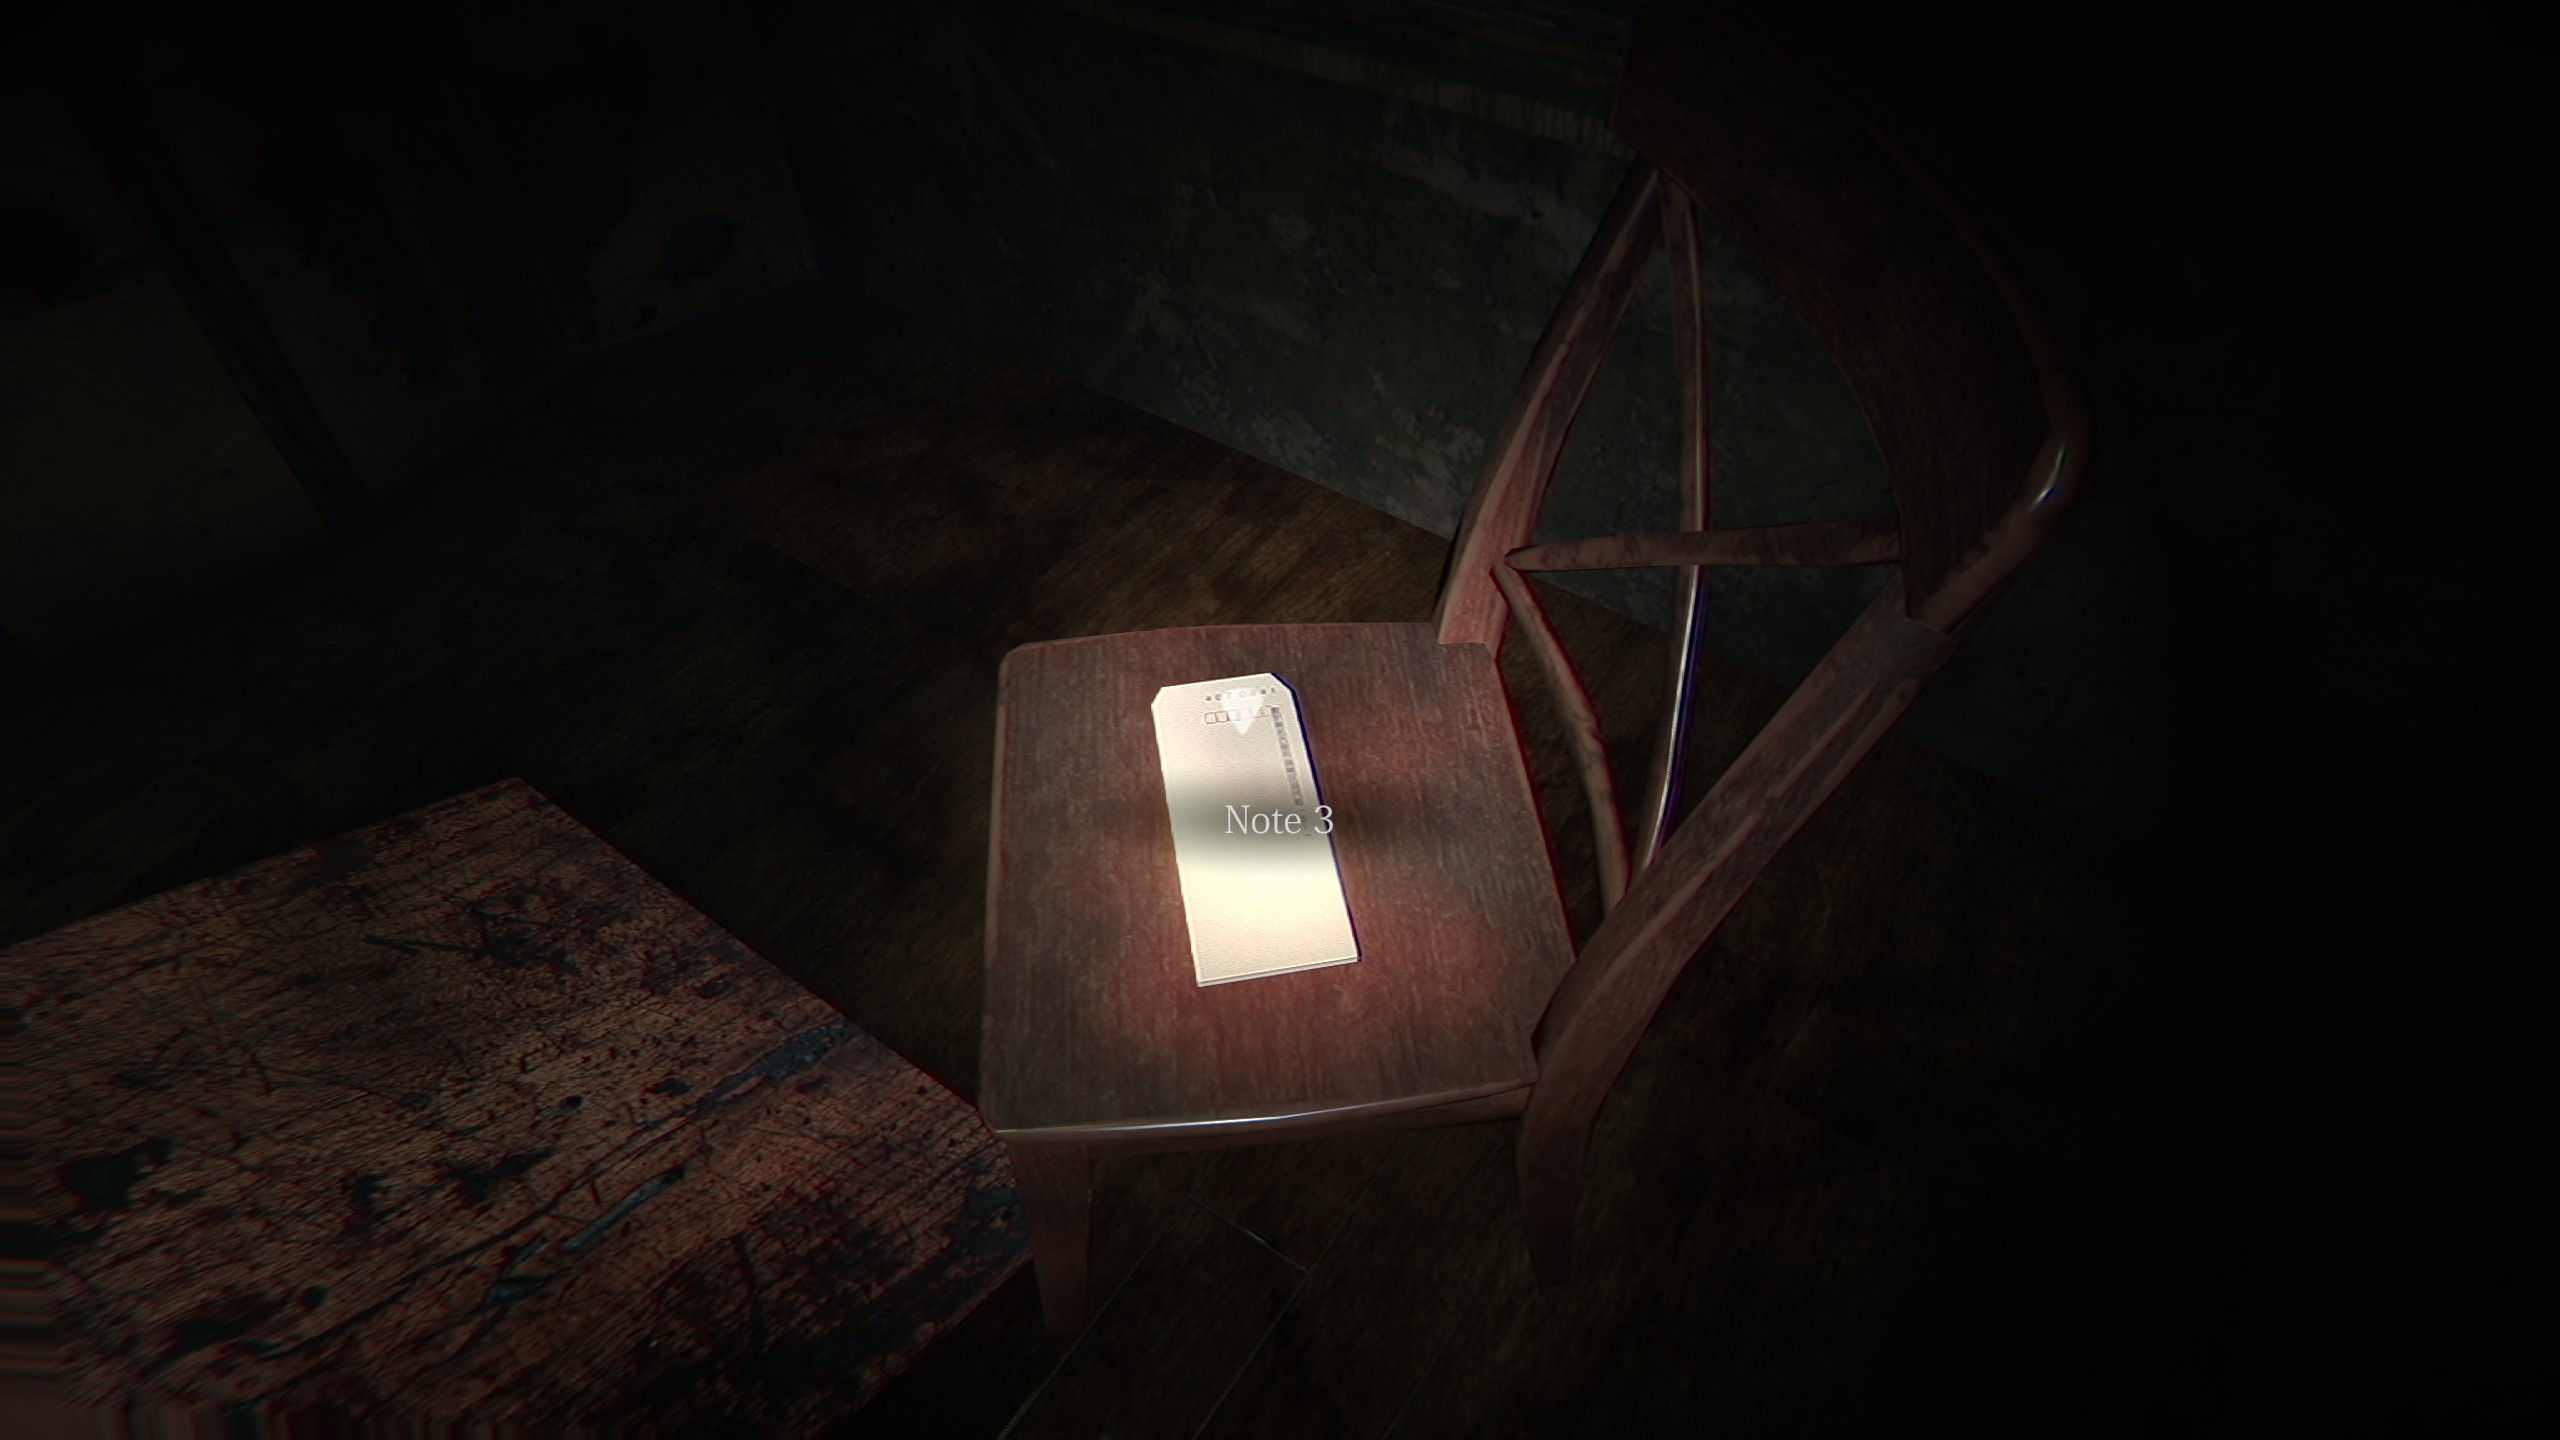
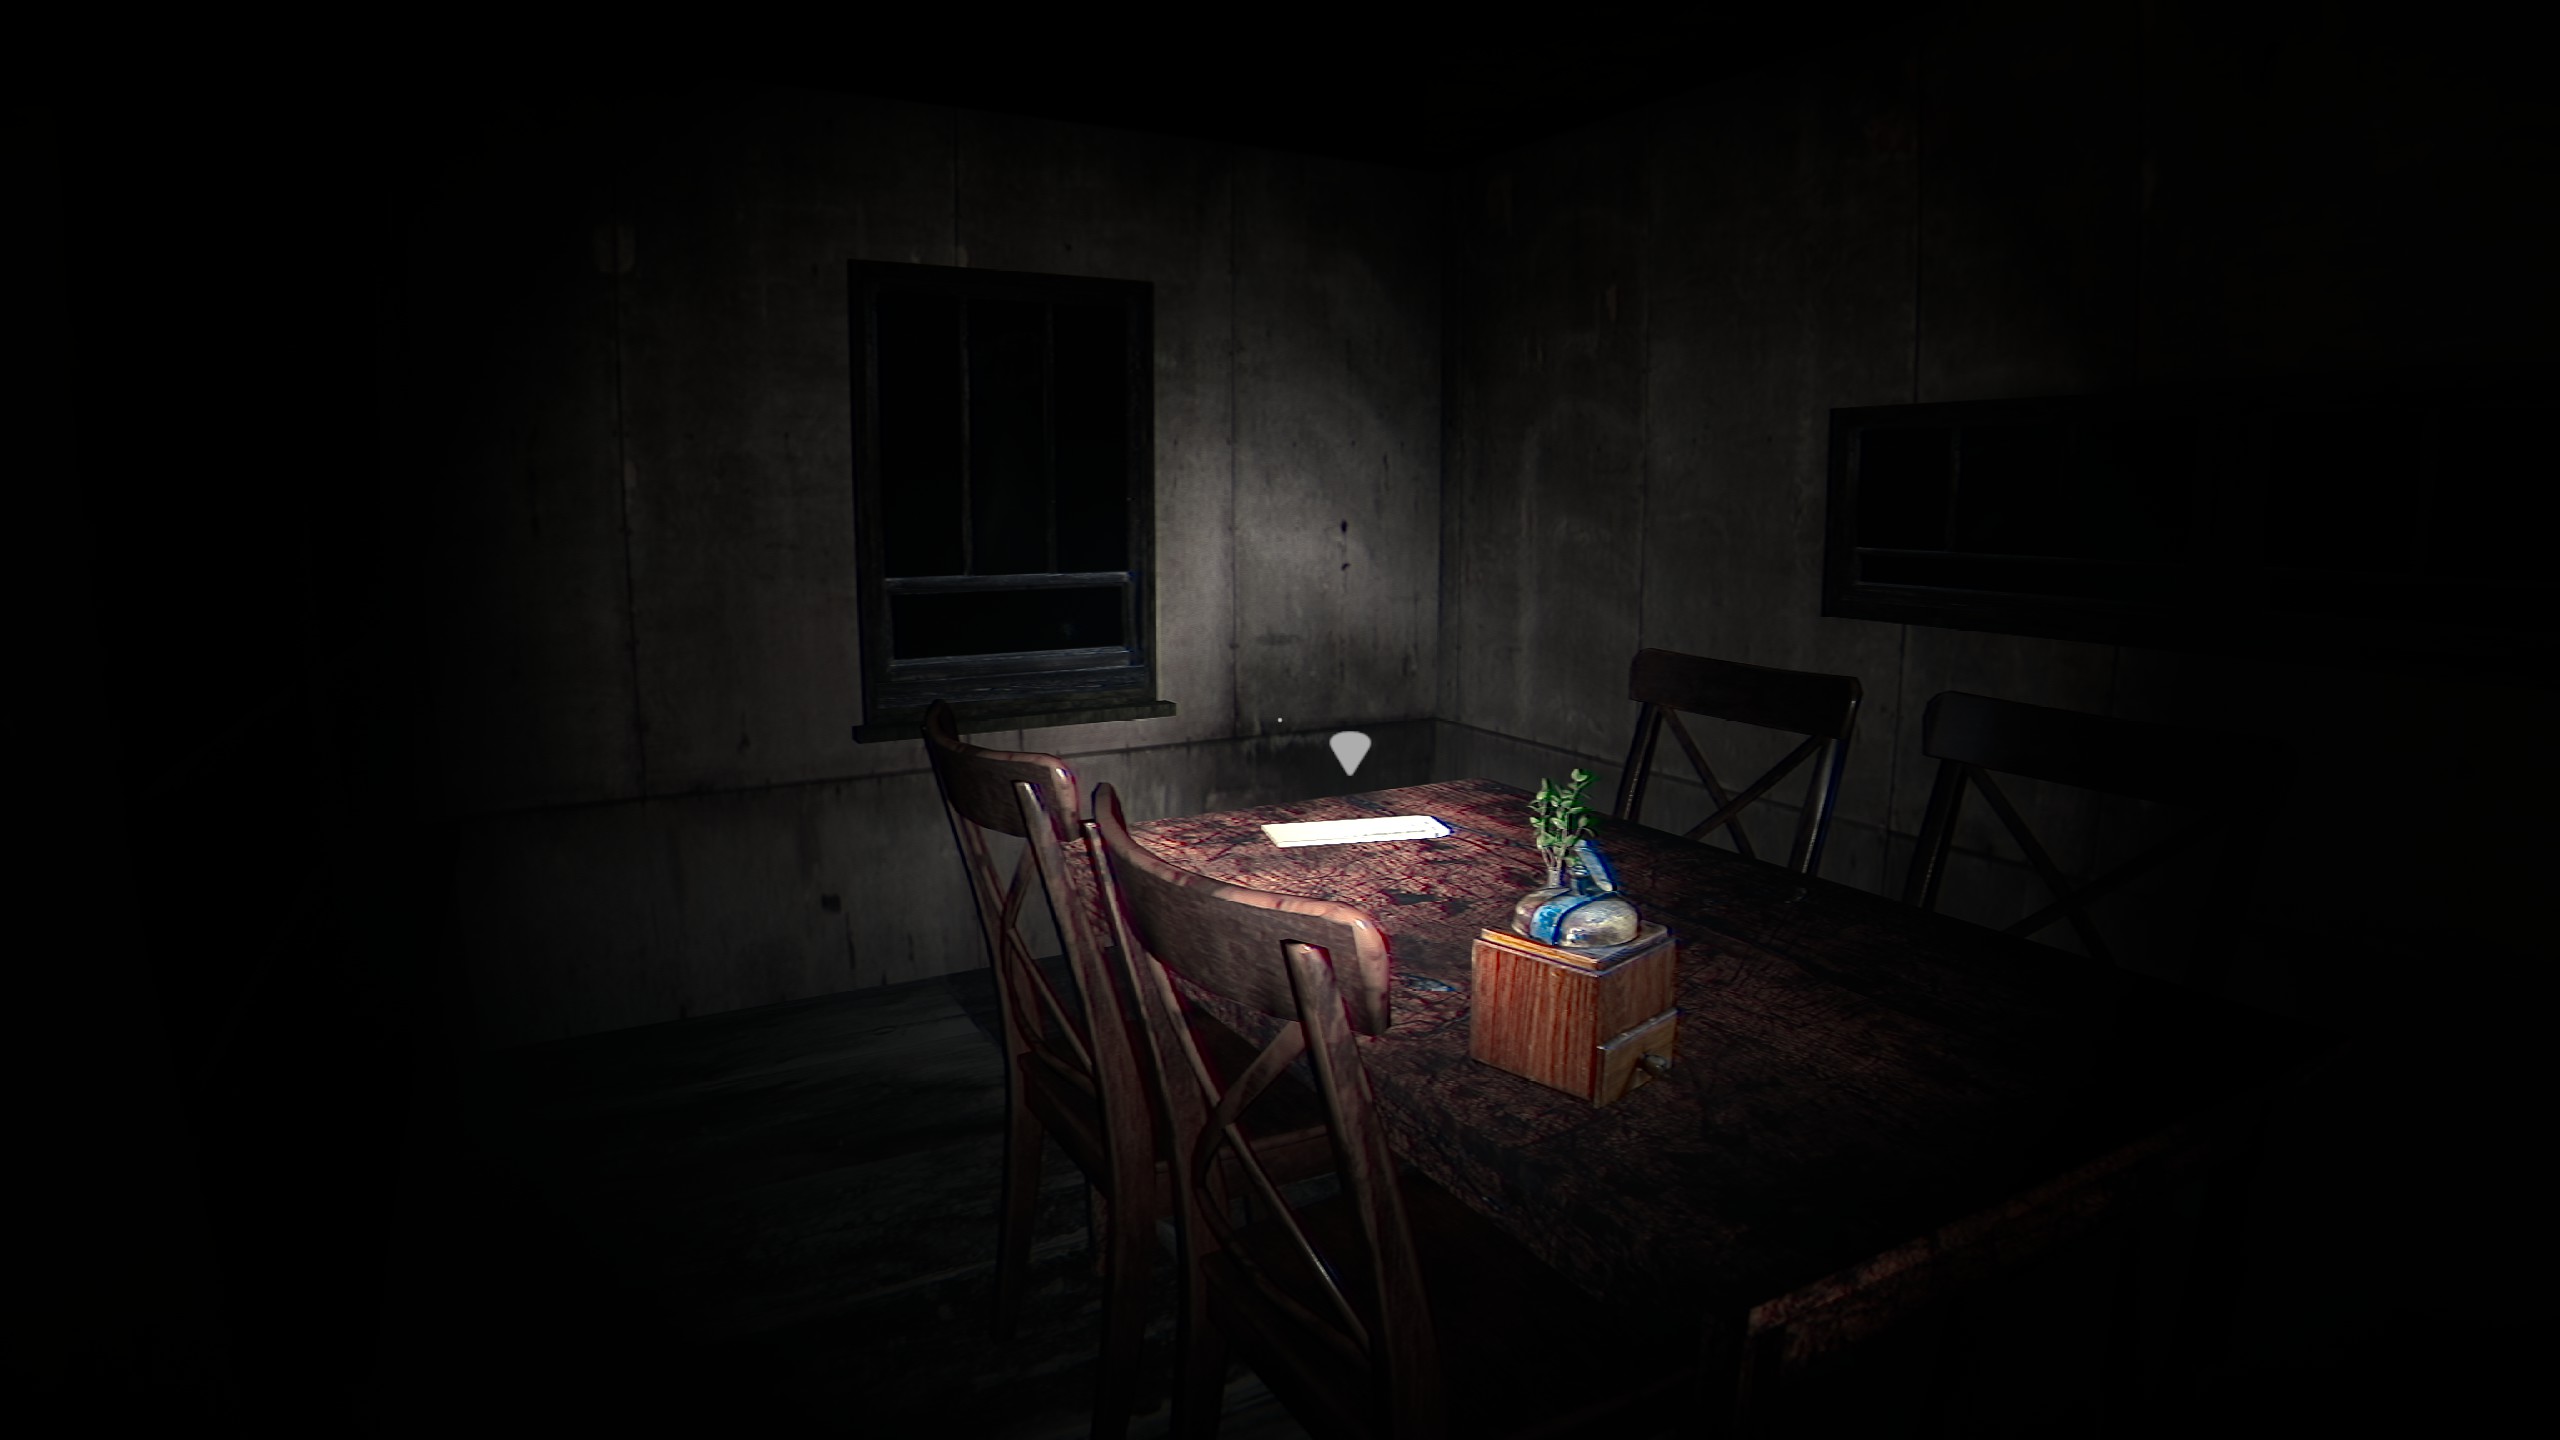
Down the hall past the restroom near where you first start, through the kitchen room, it can be found sitting on a chair behind a broken table.
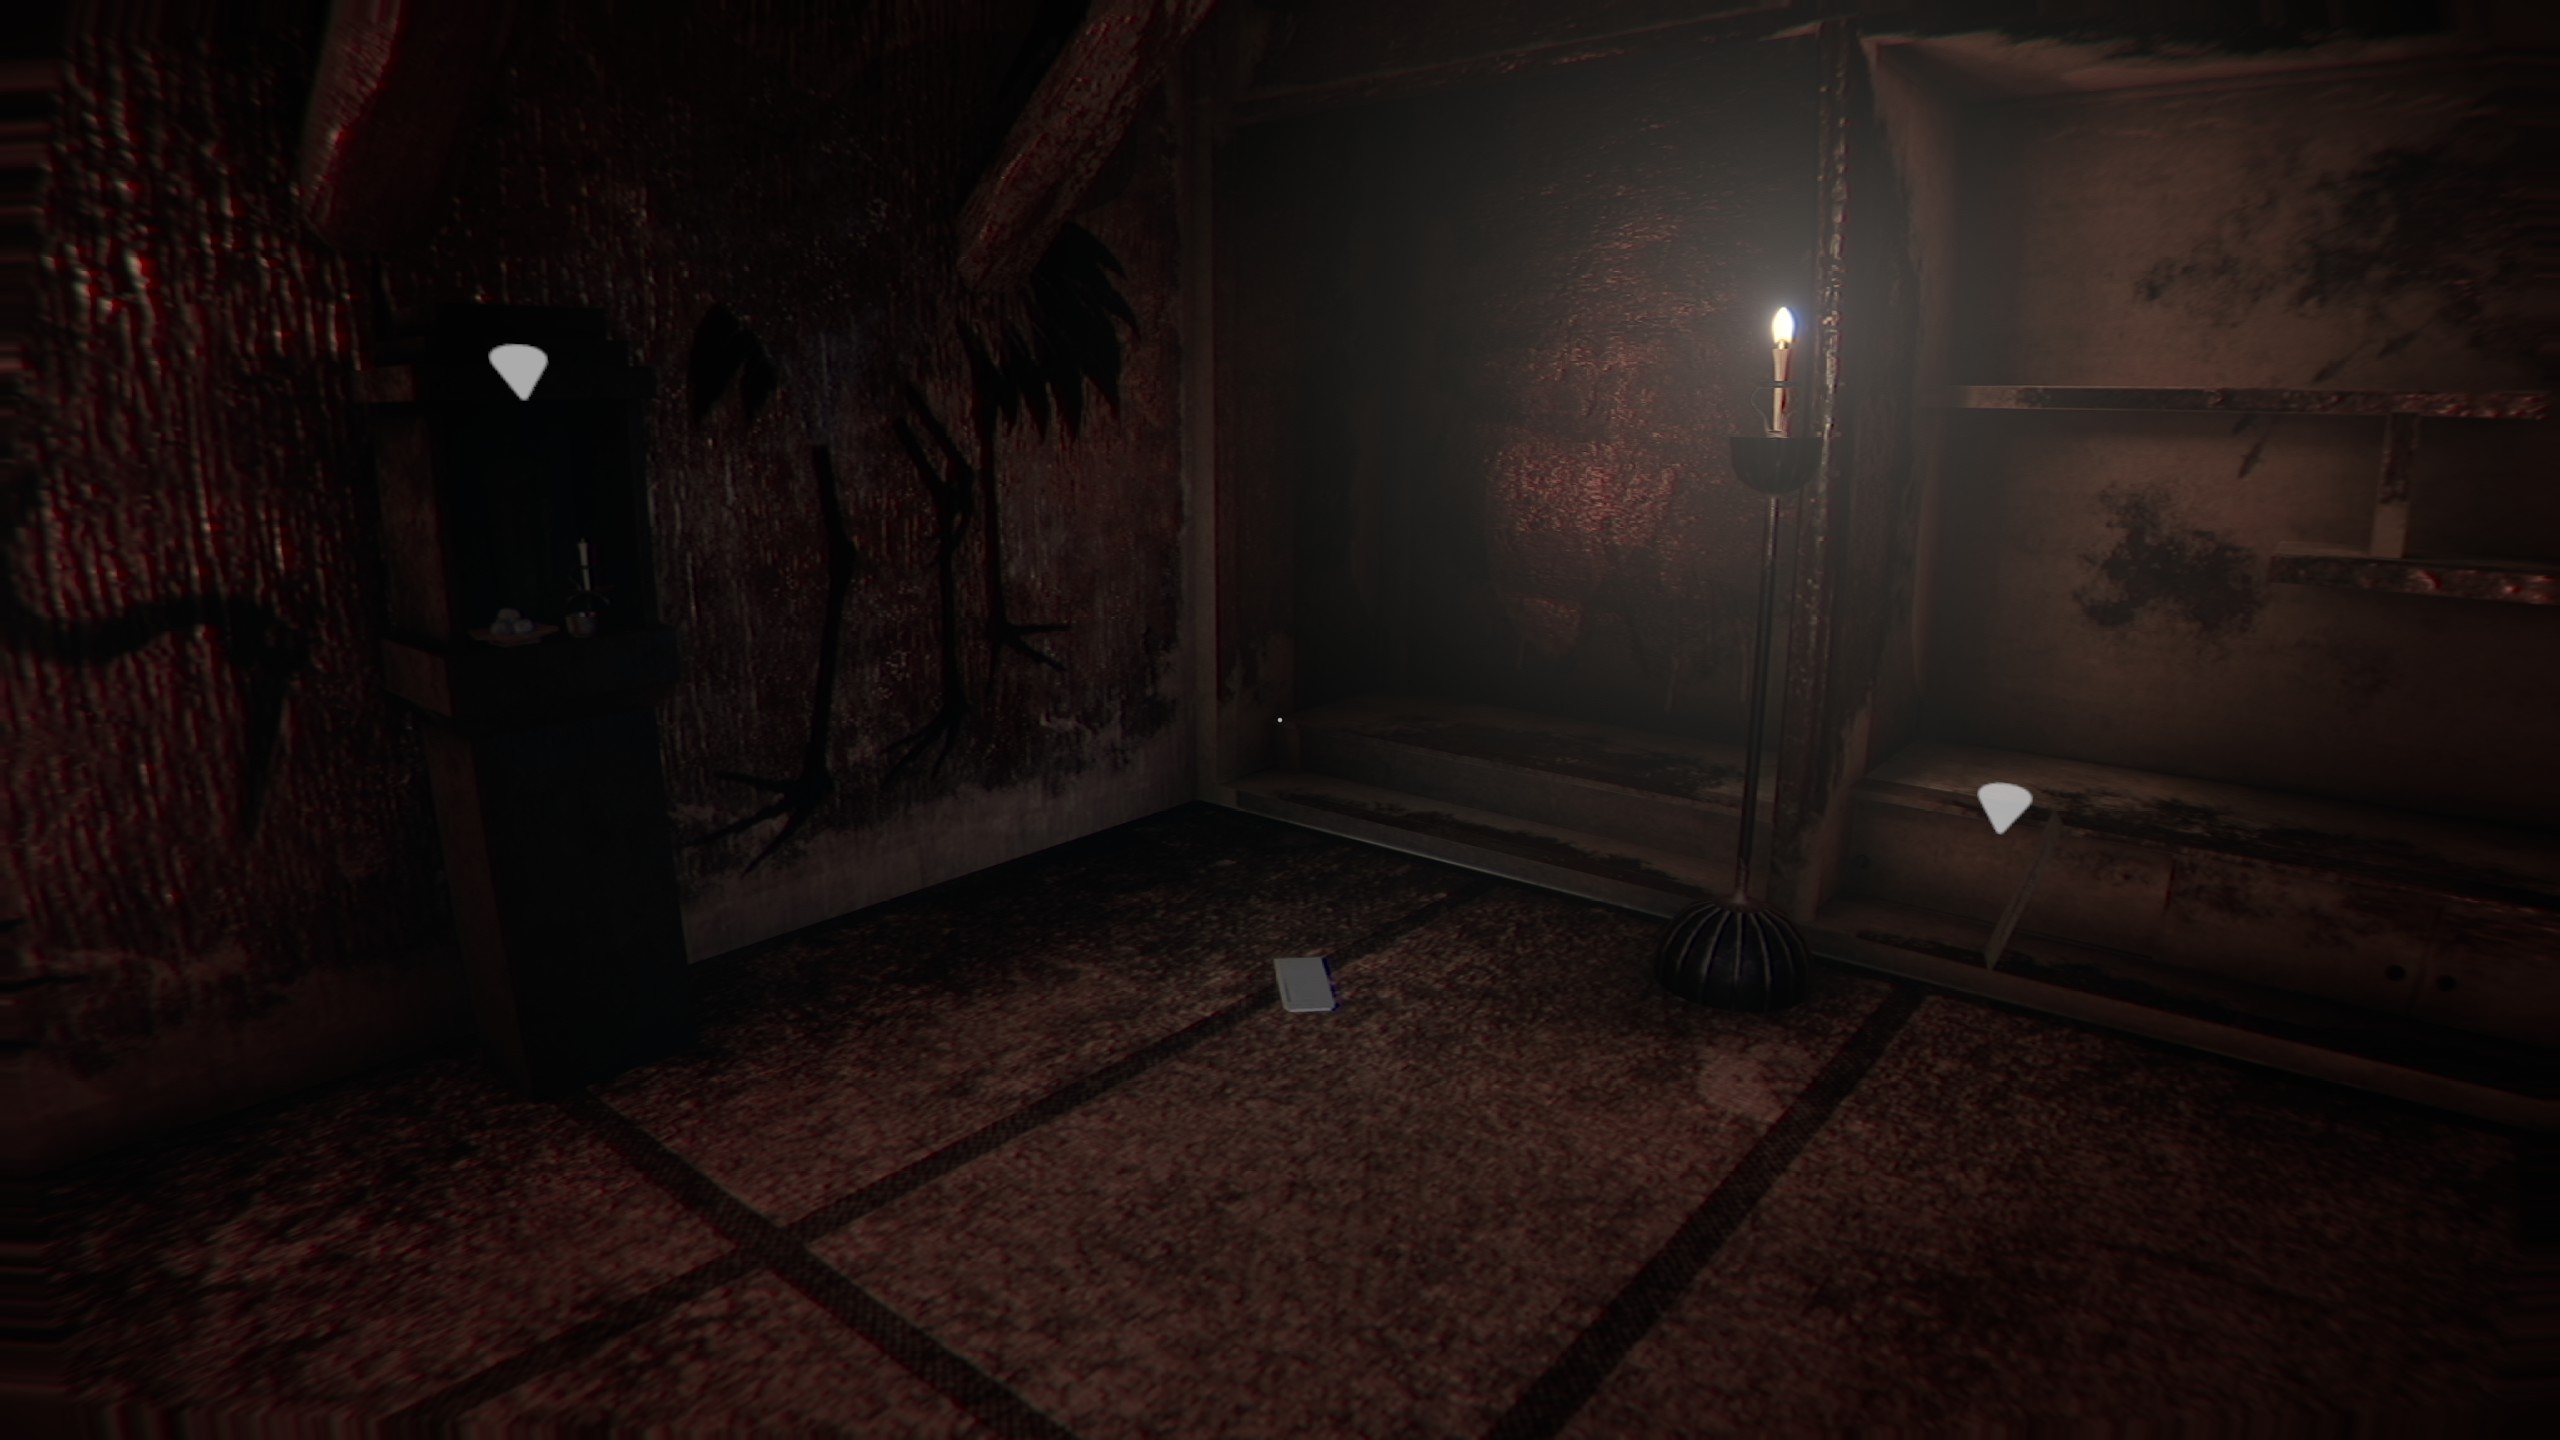
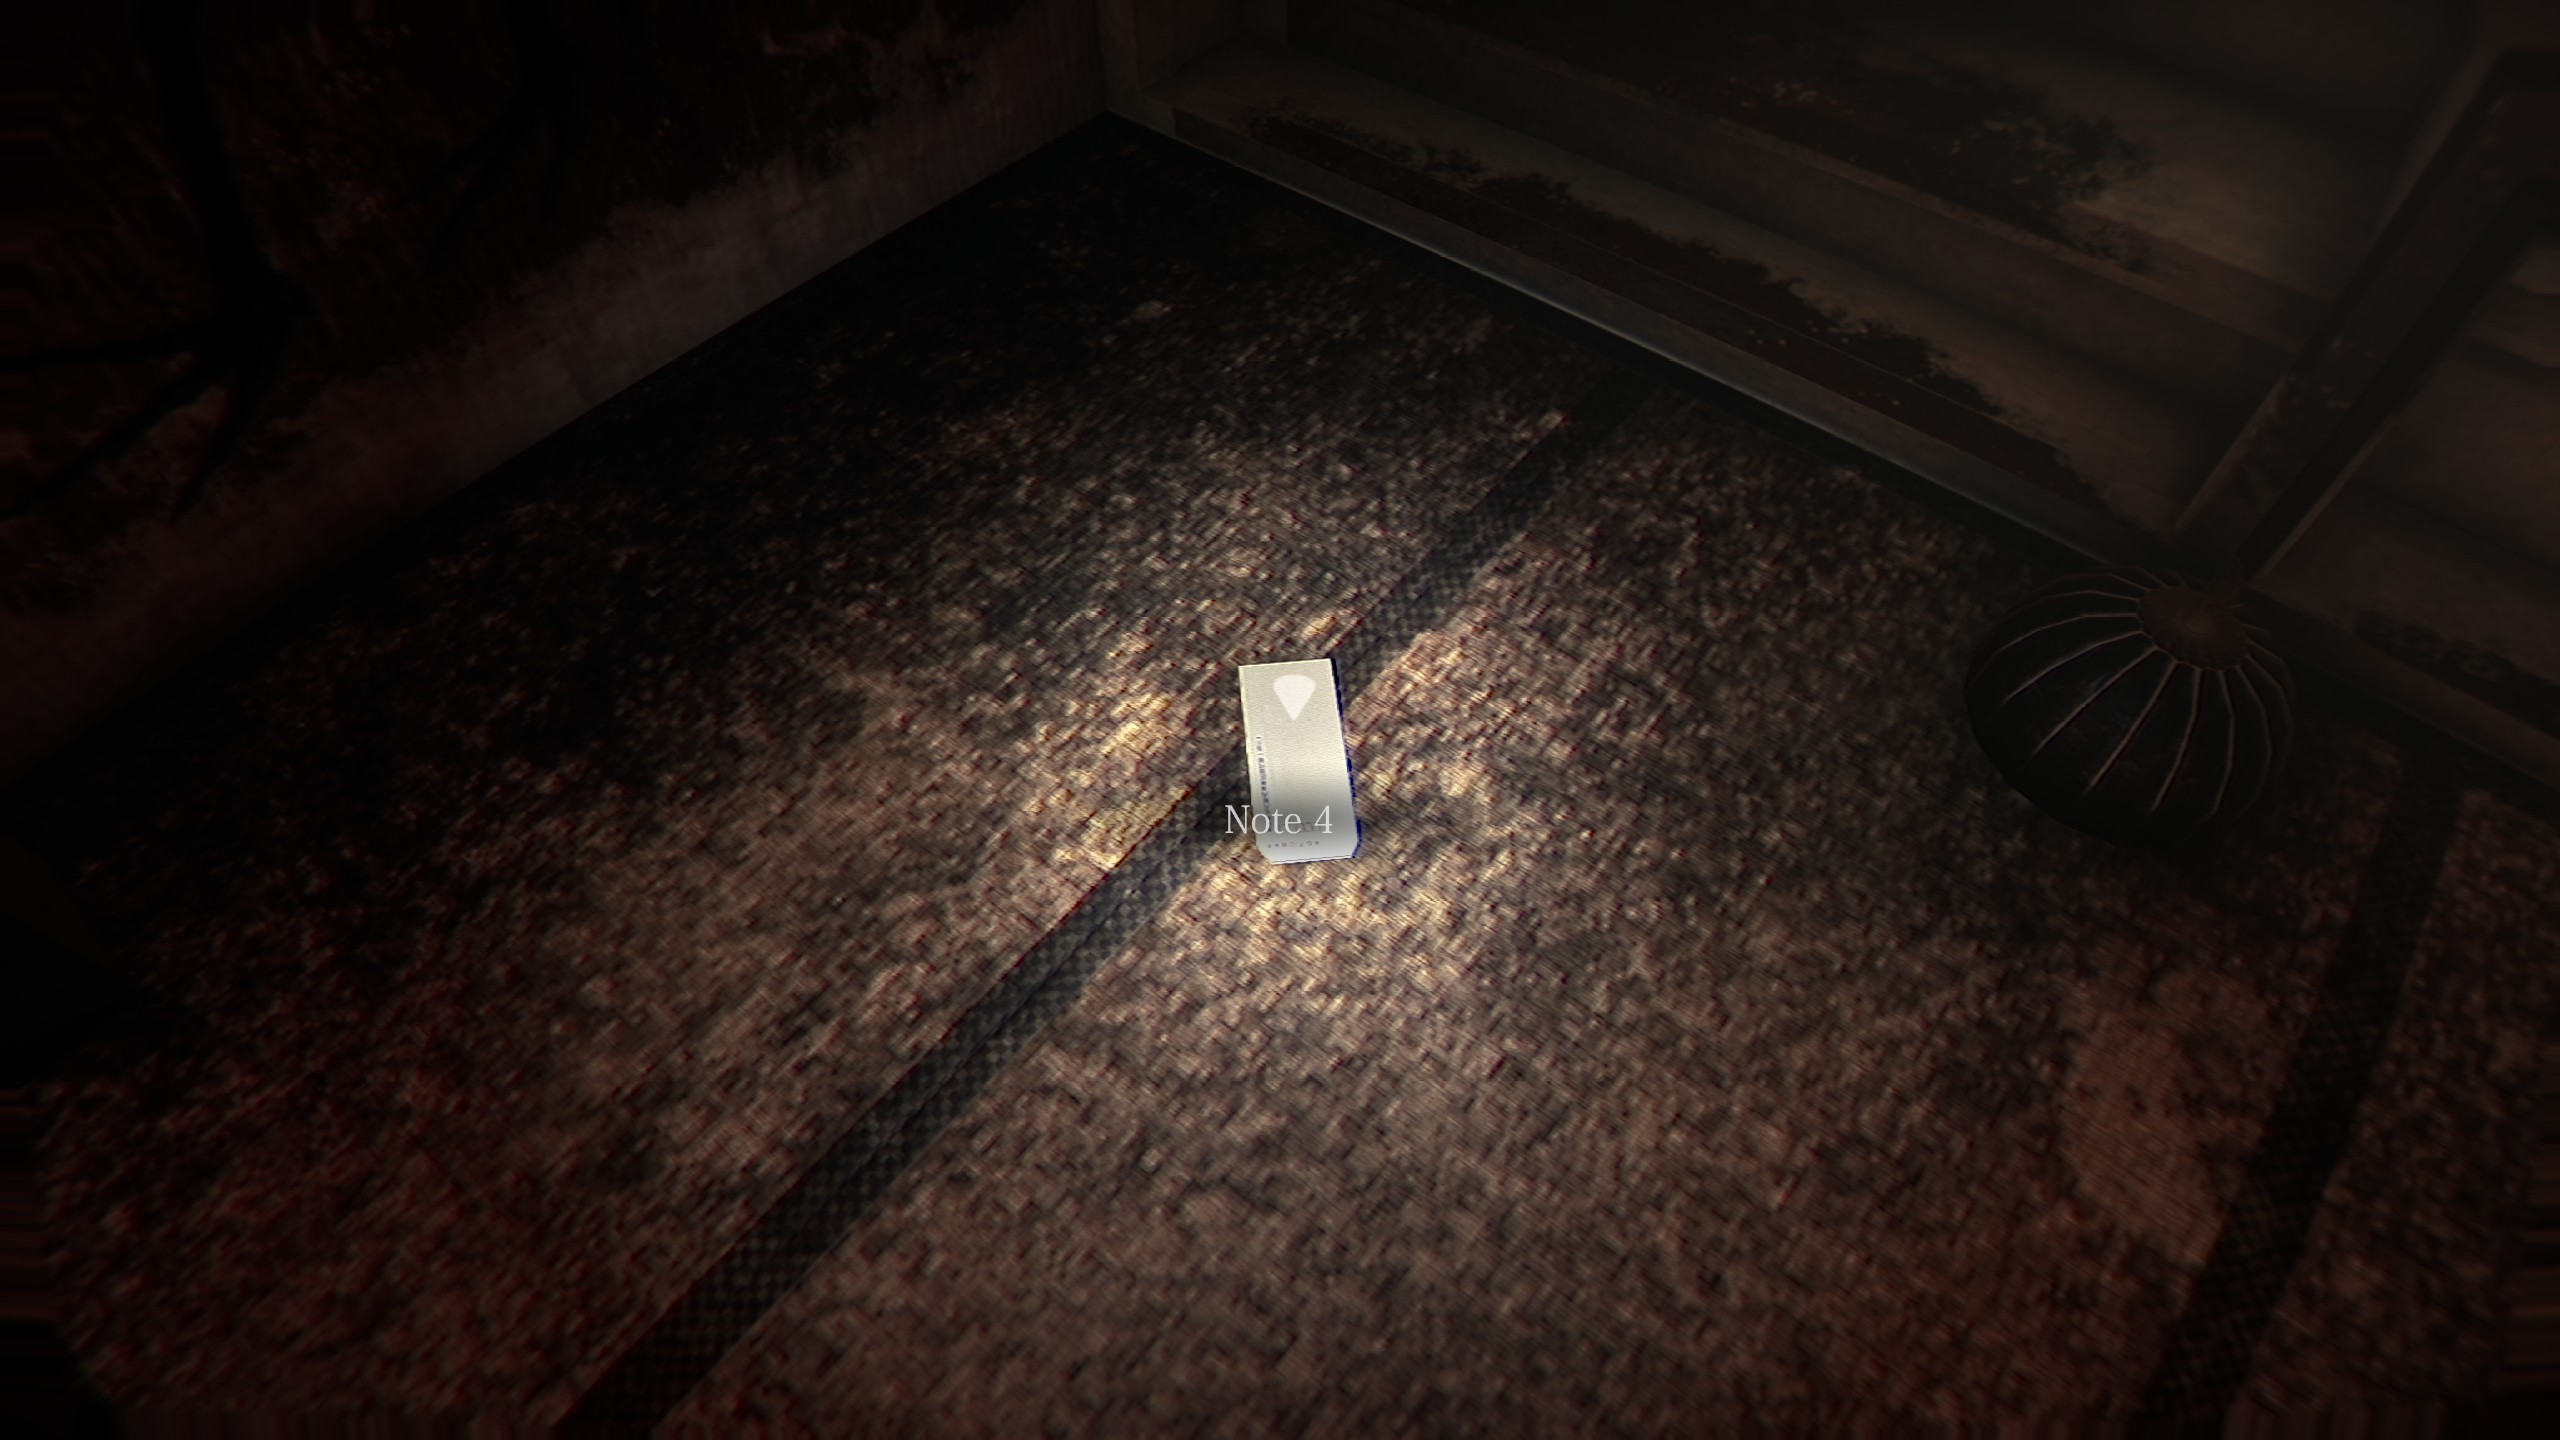
In the Saferoom (cranes on the wall with the save shrine), across from the entrance on the floor.
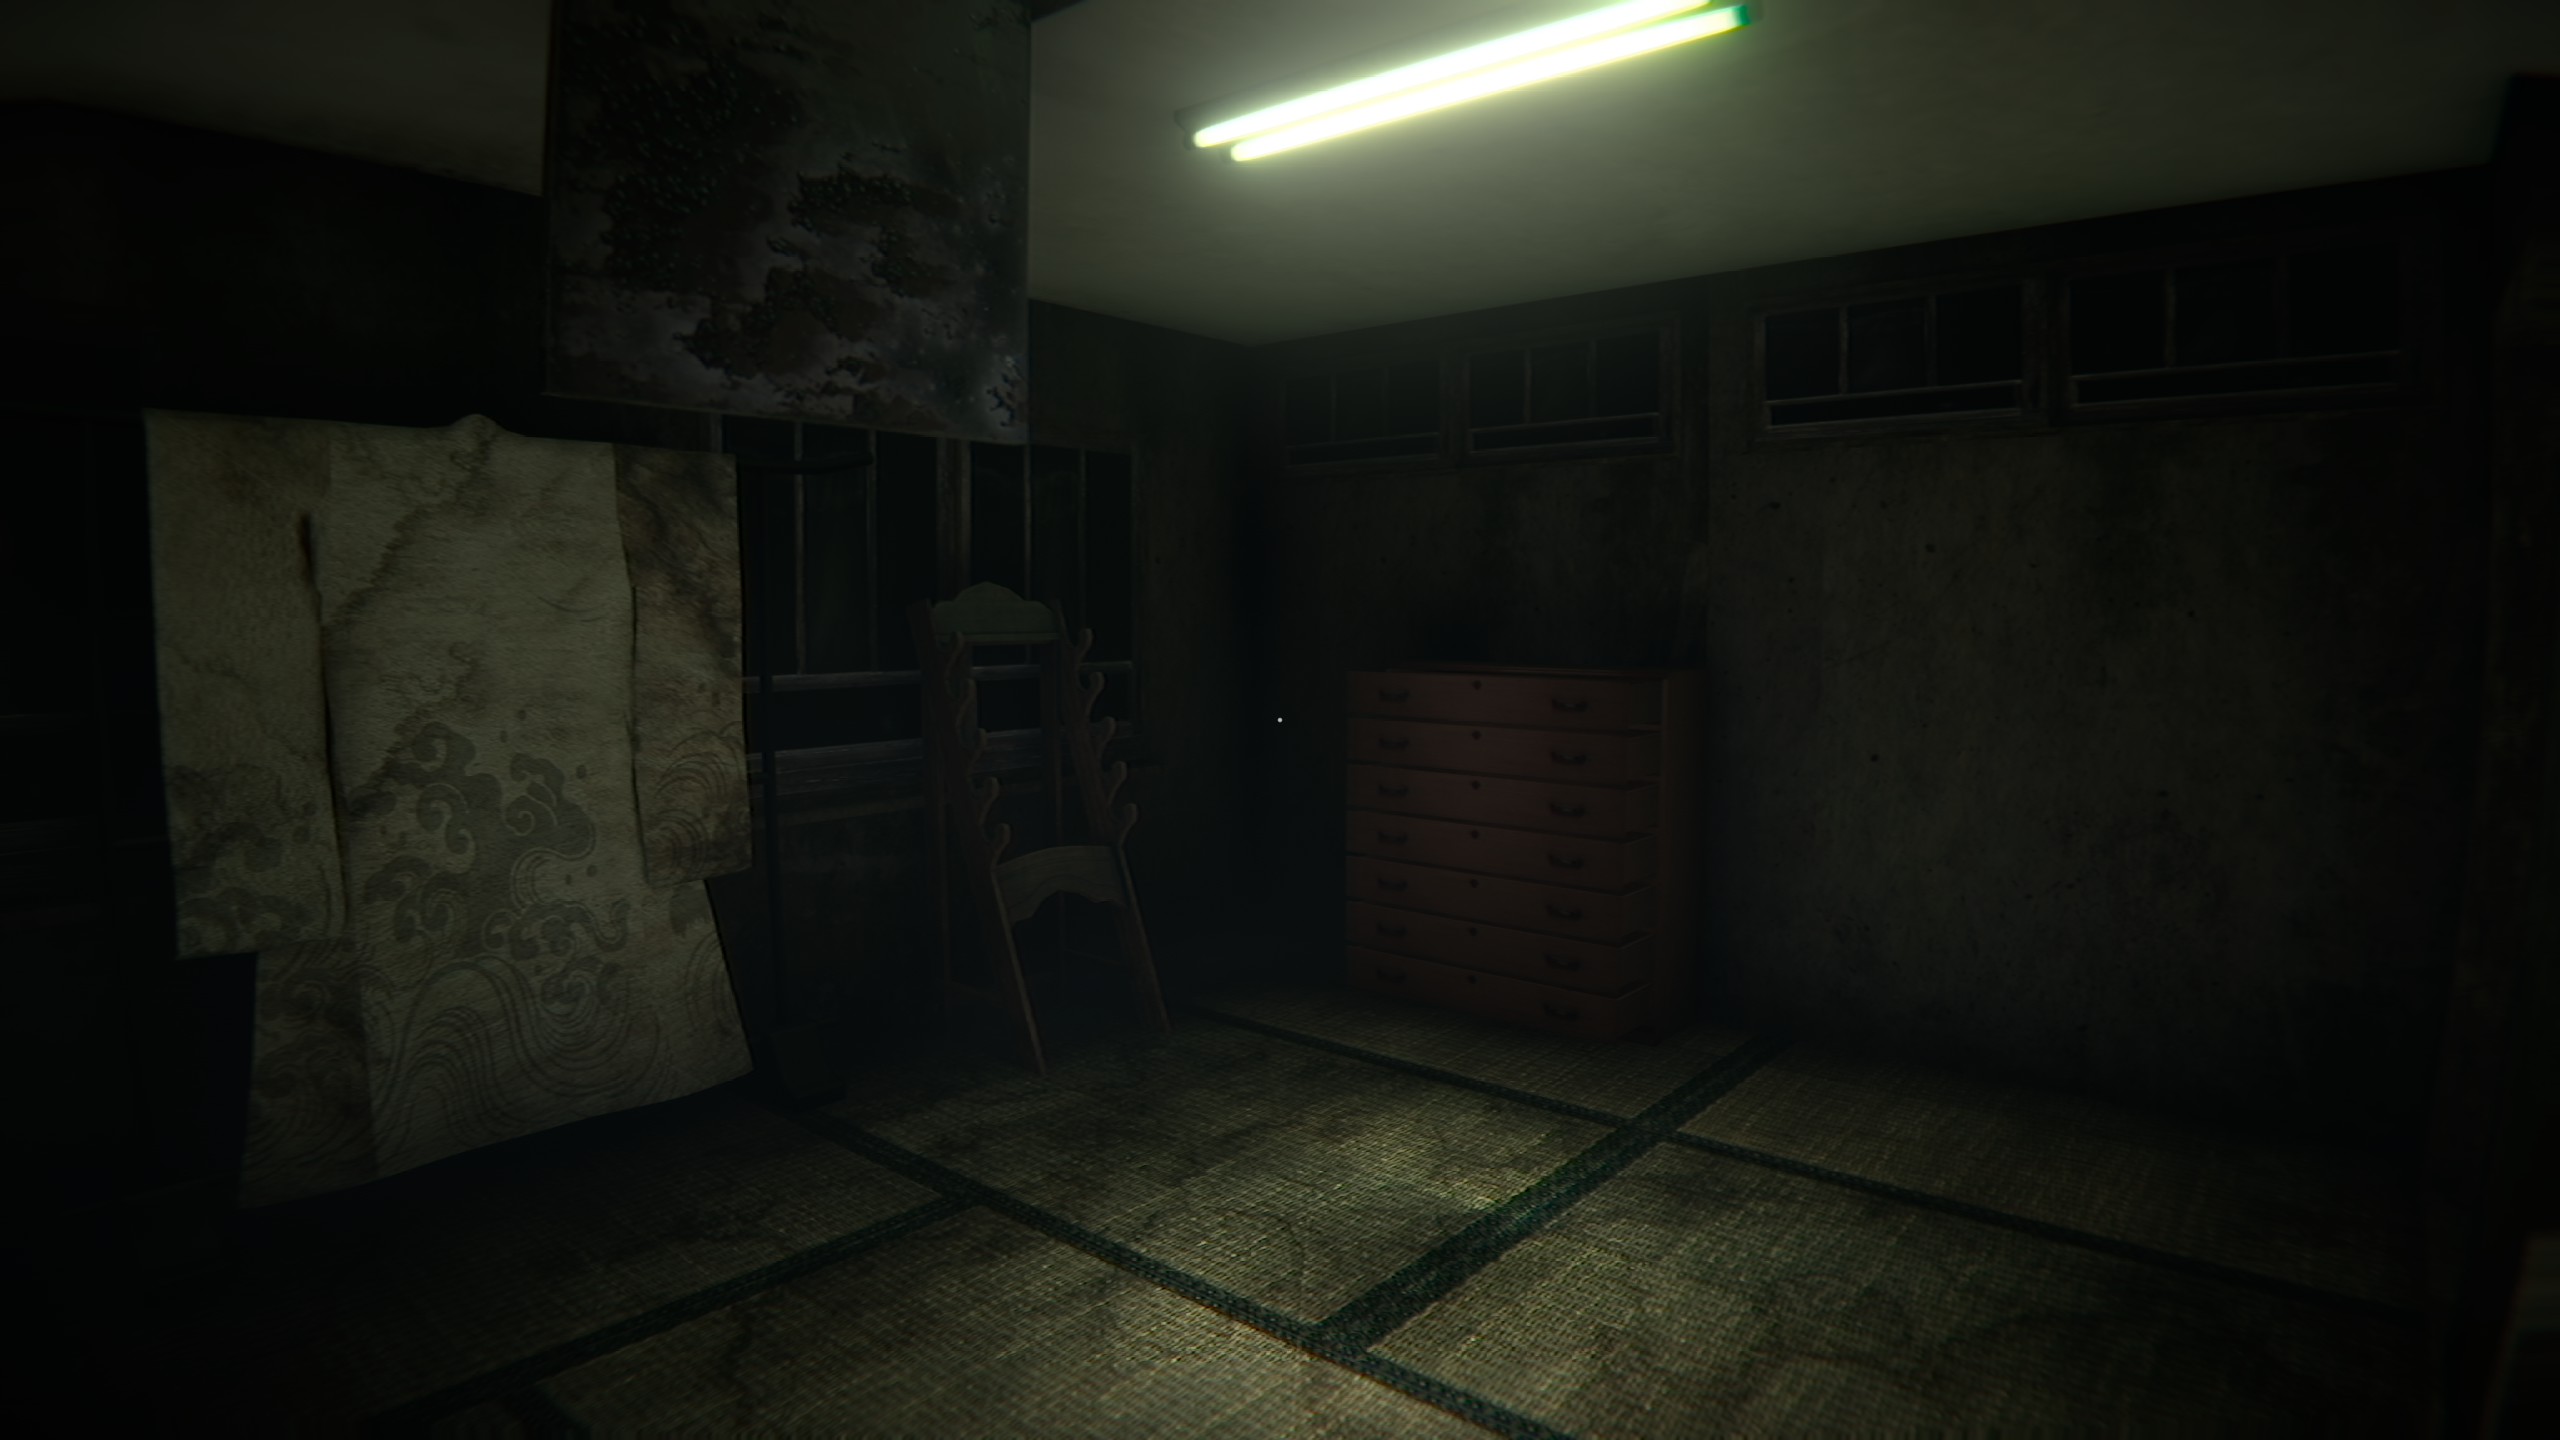
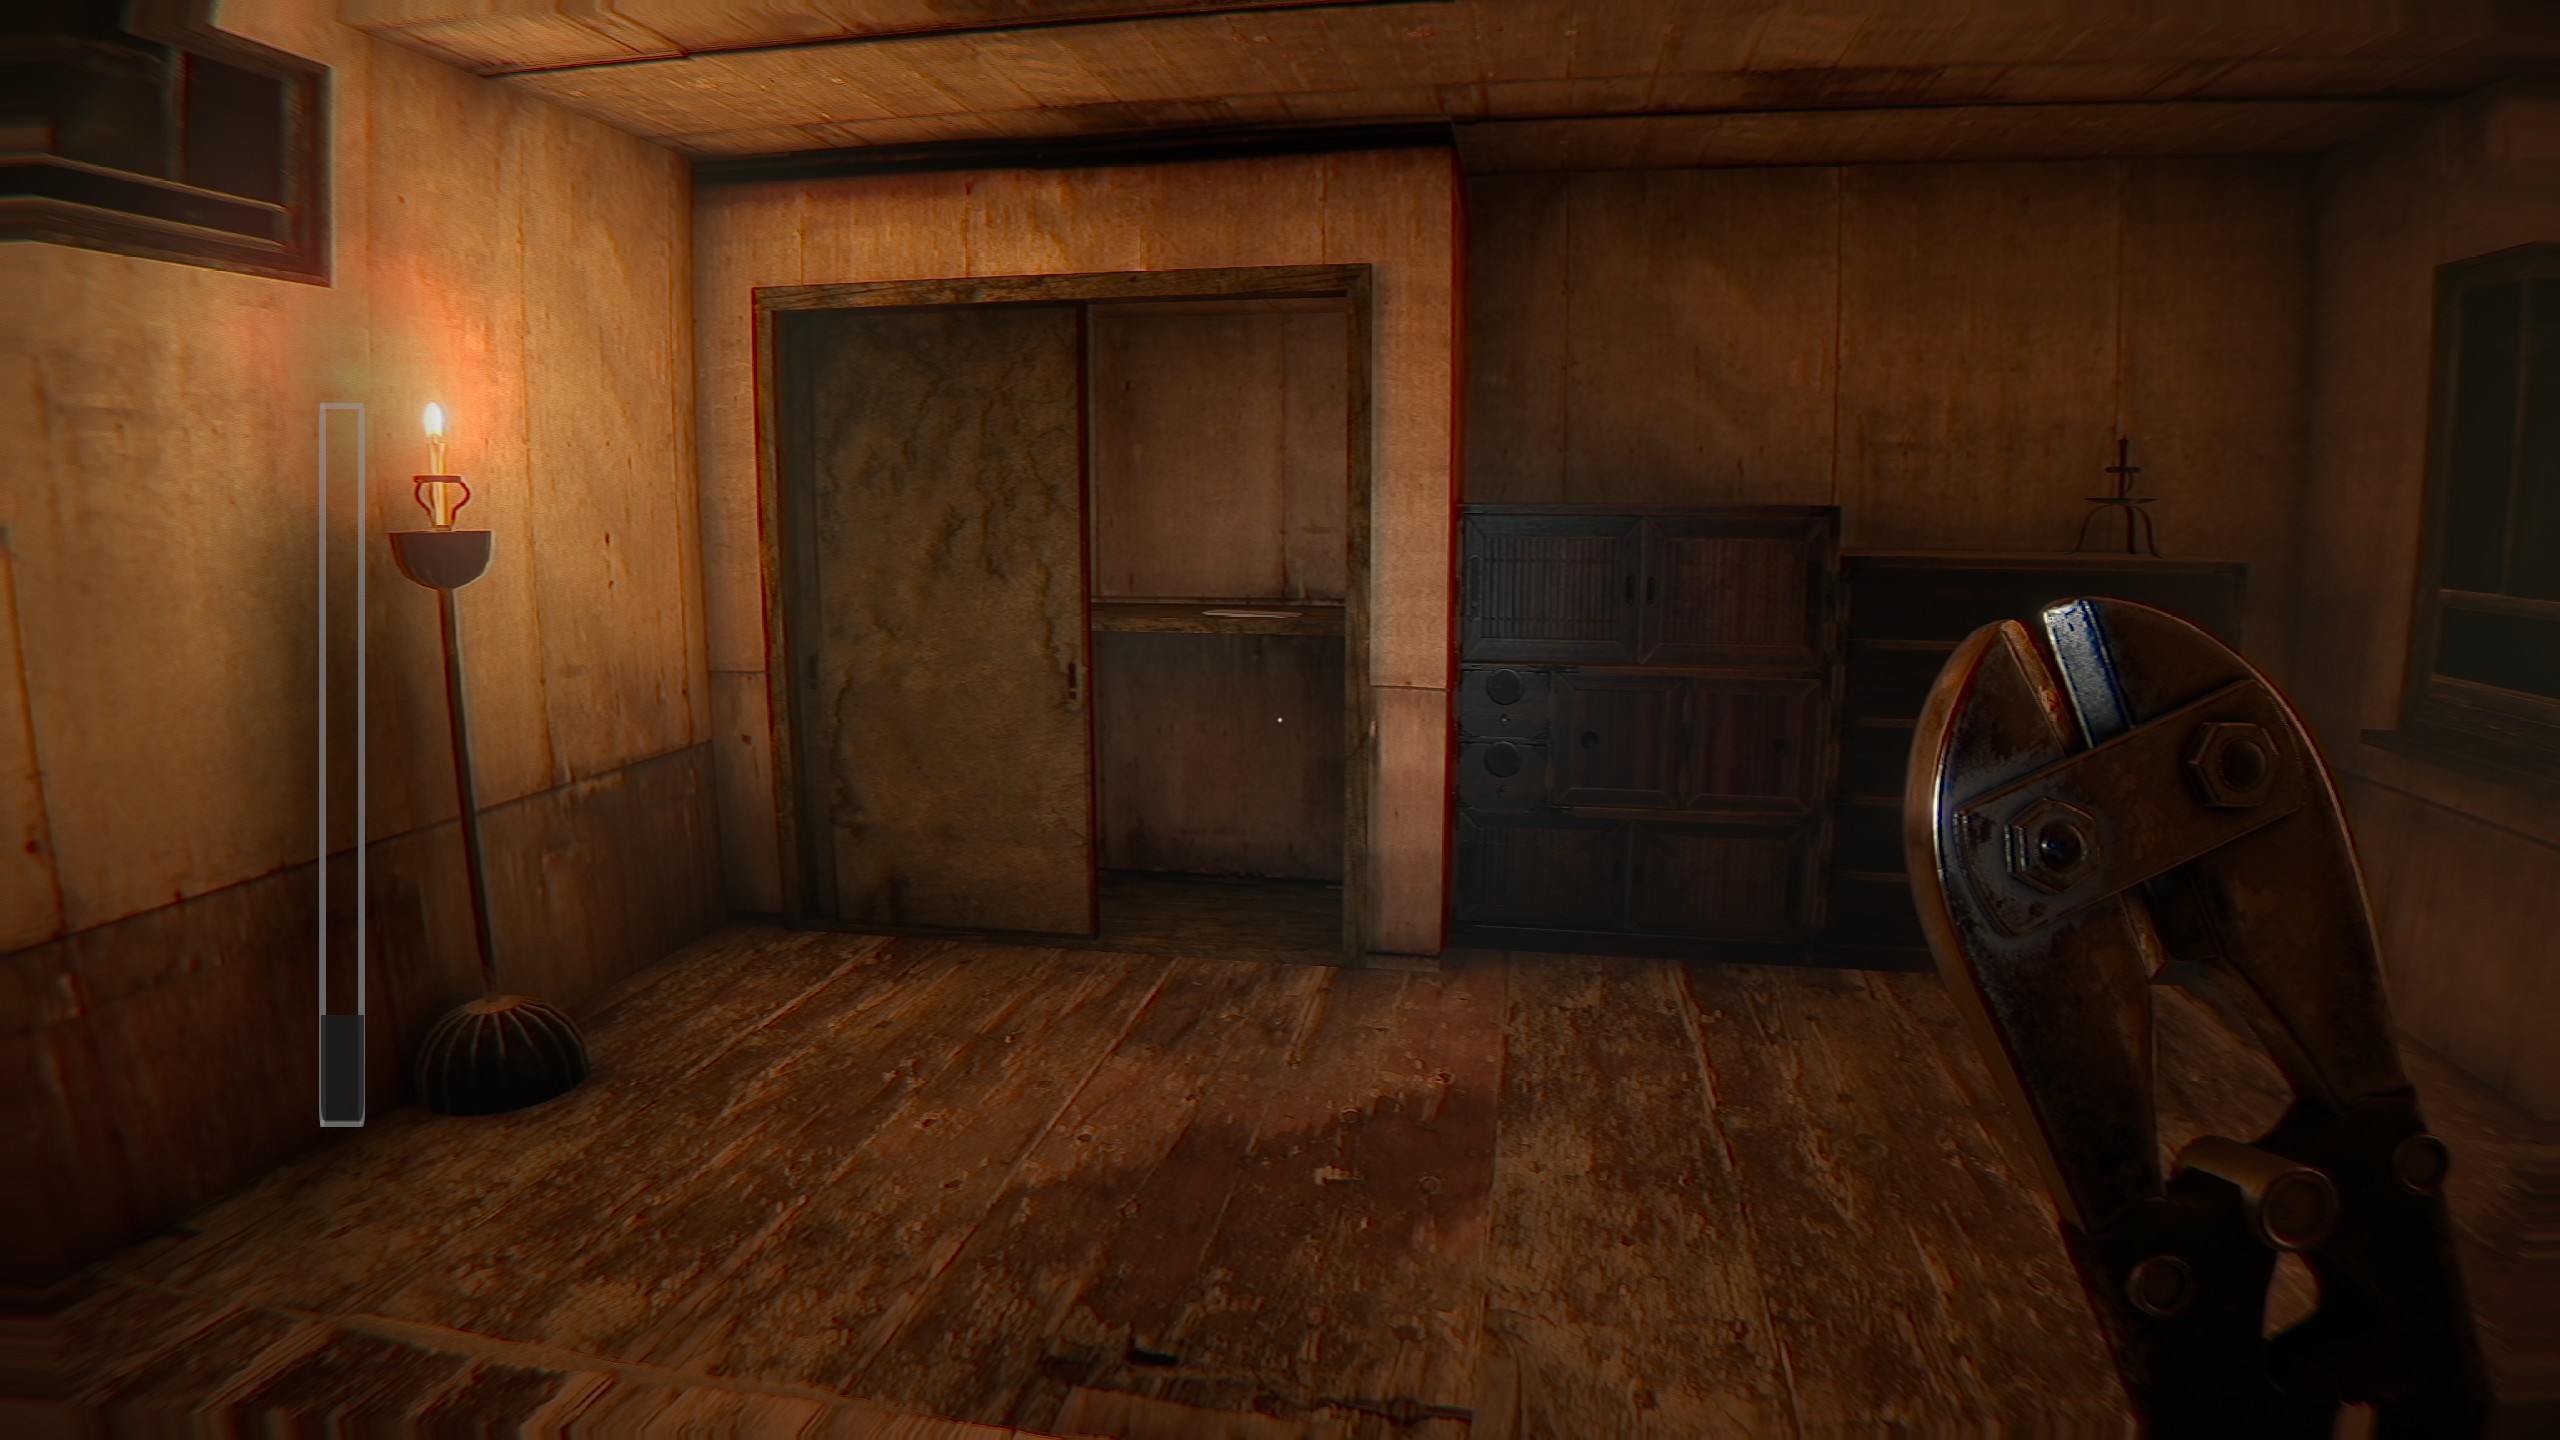
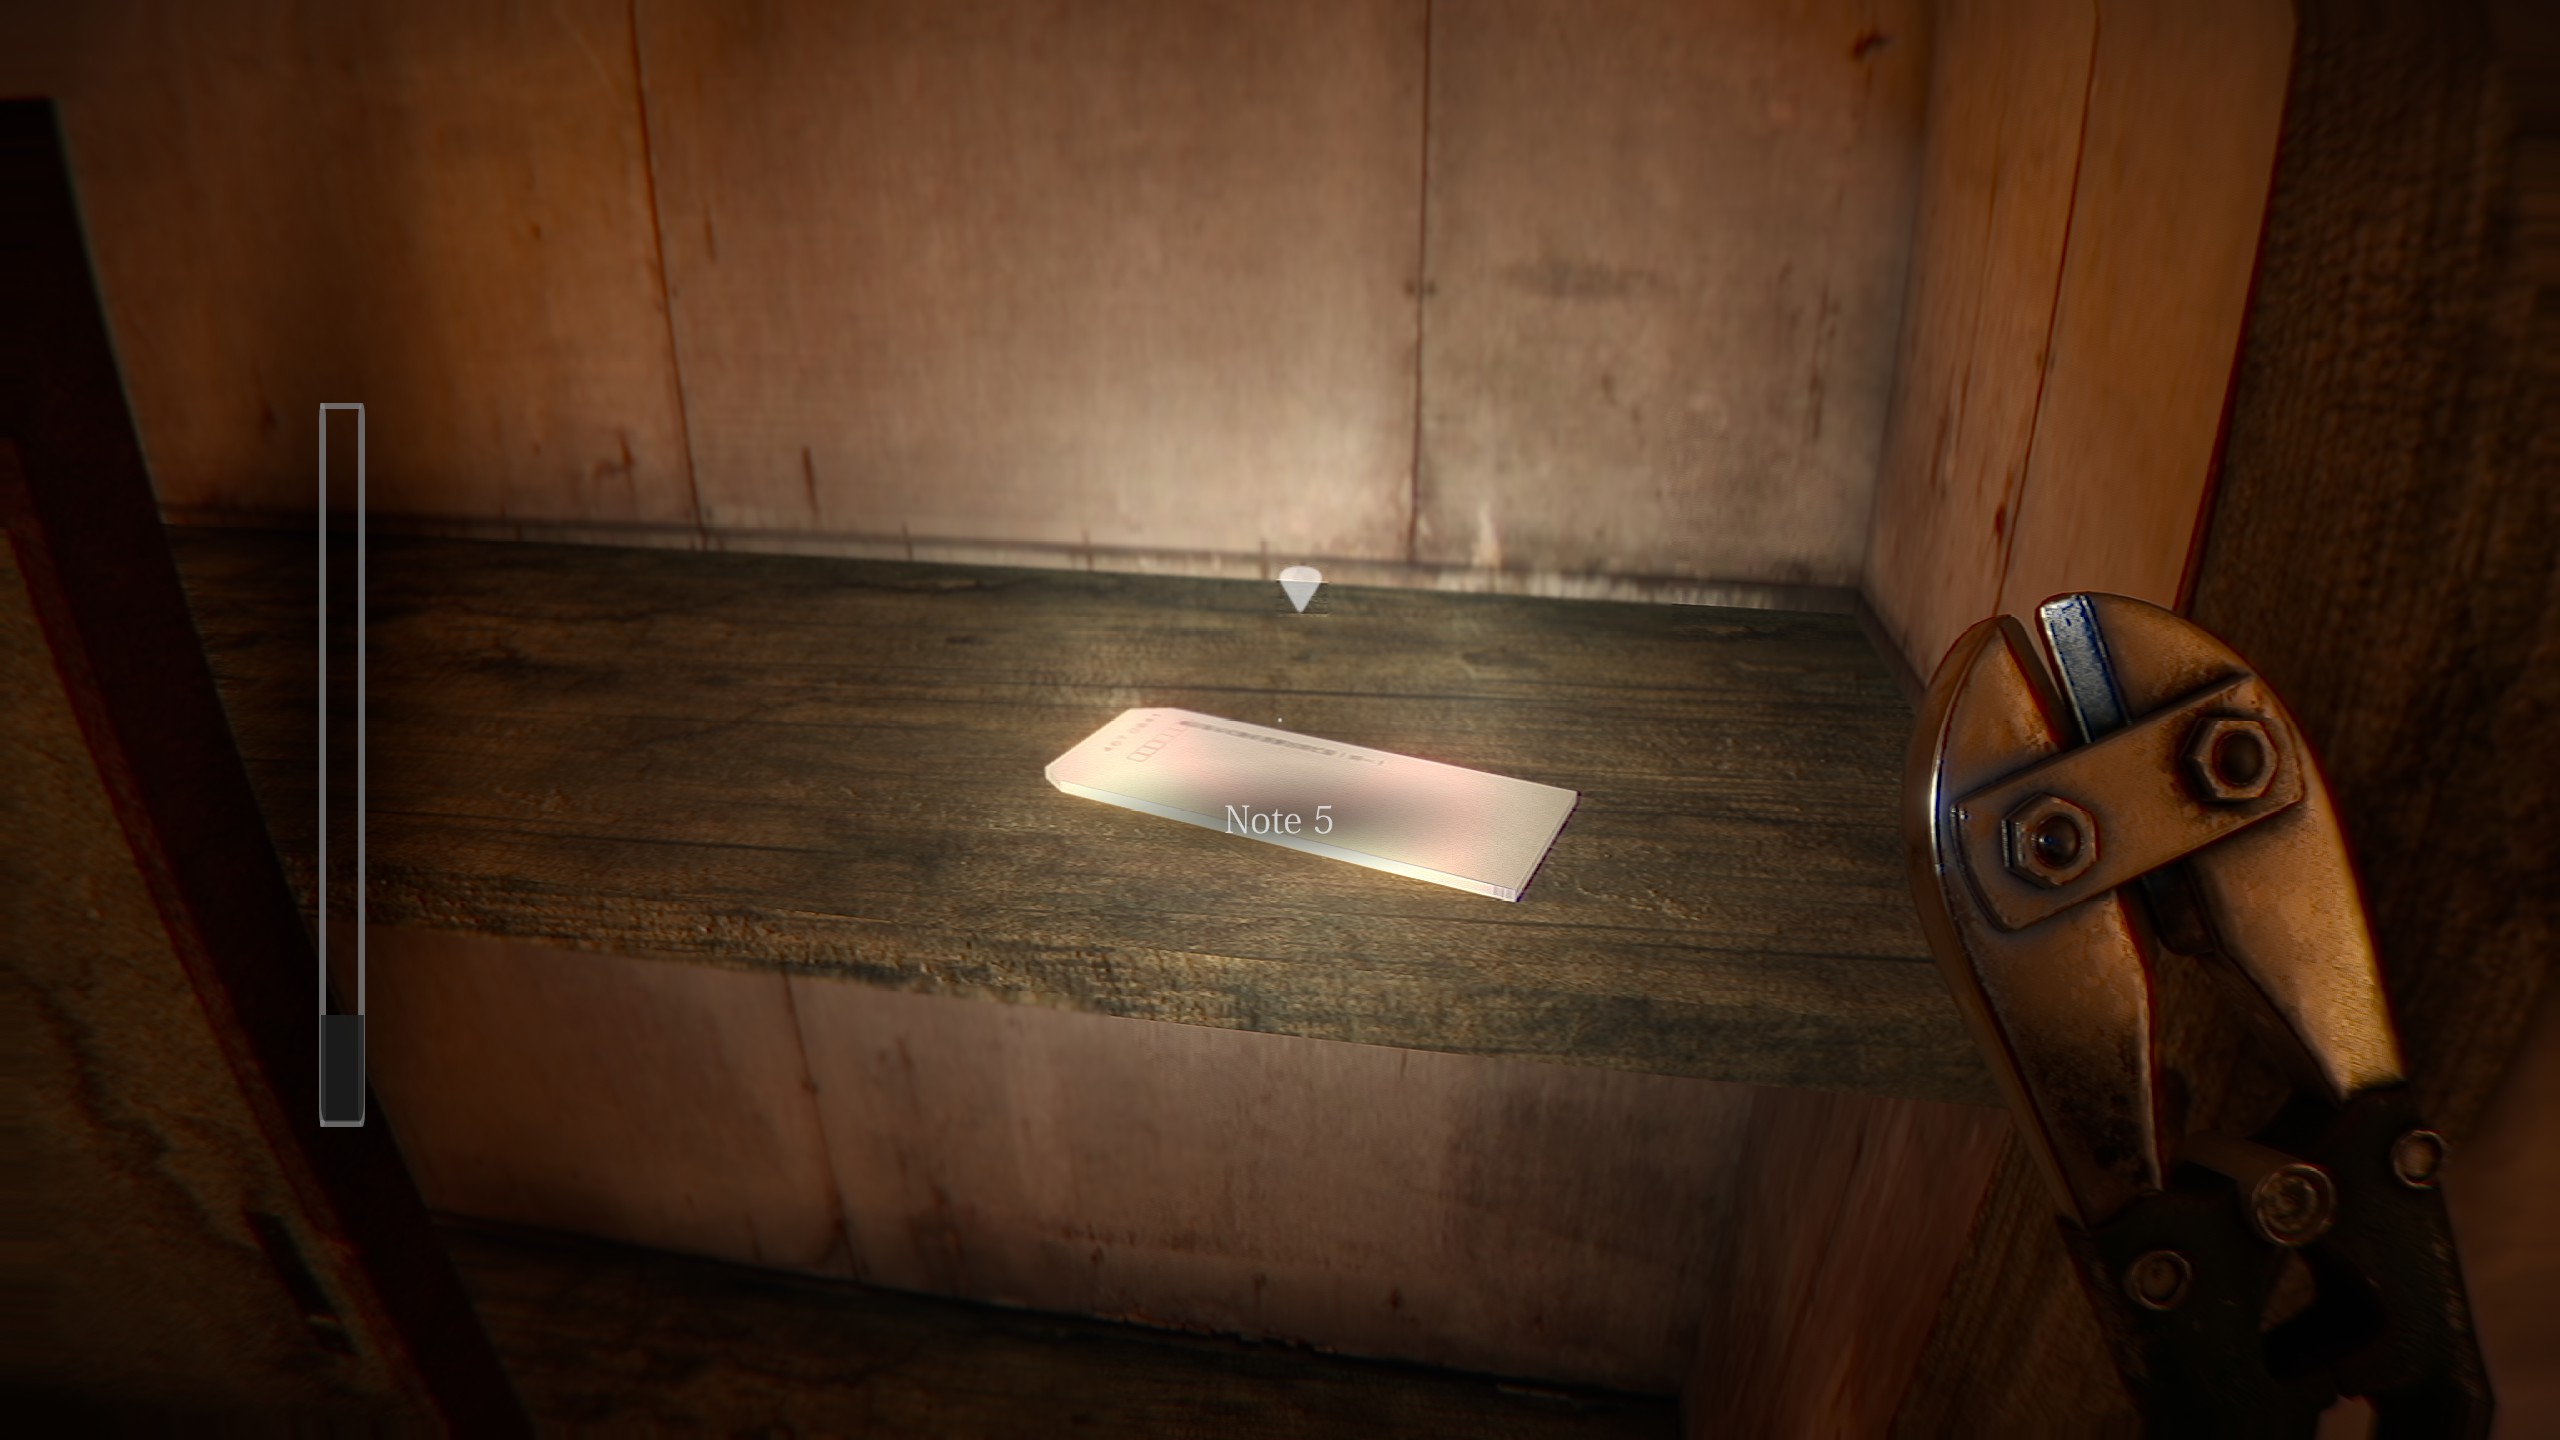
In a warmly lit empty room, at the far end in the closet.
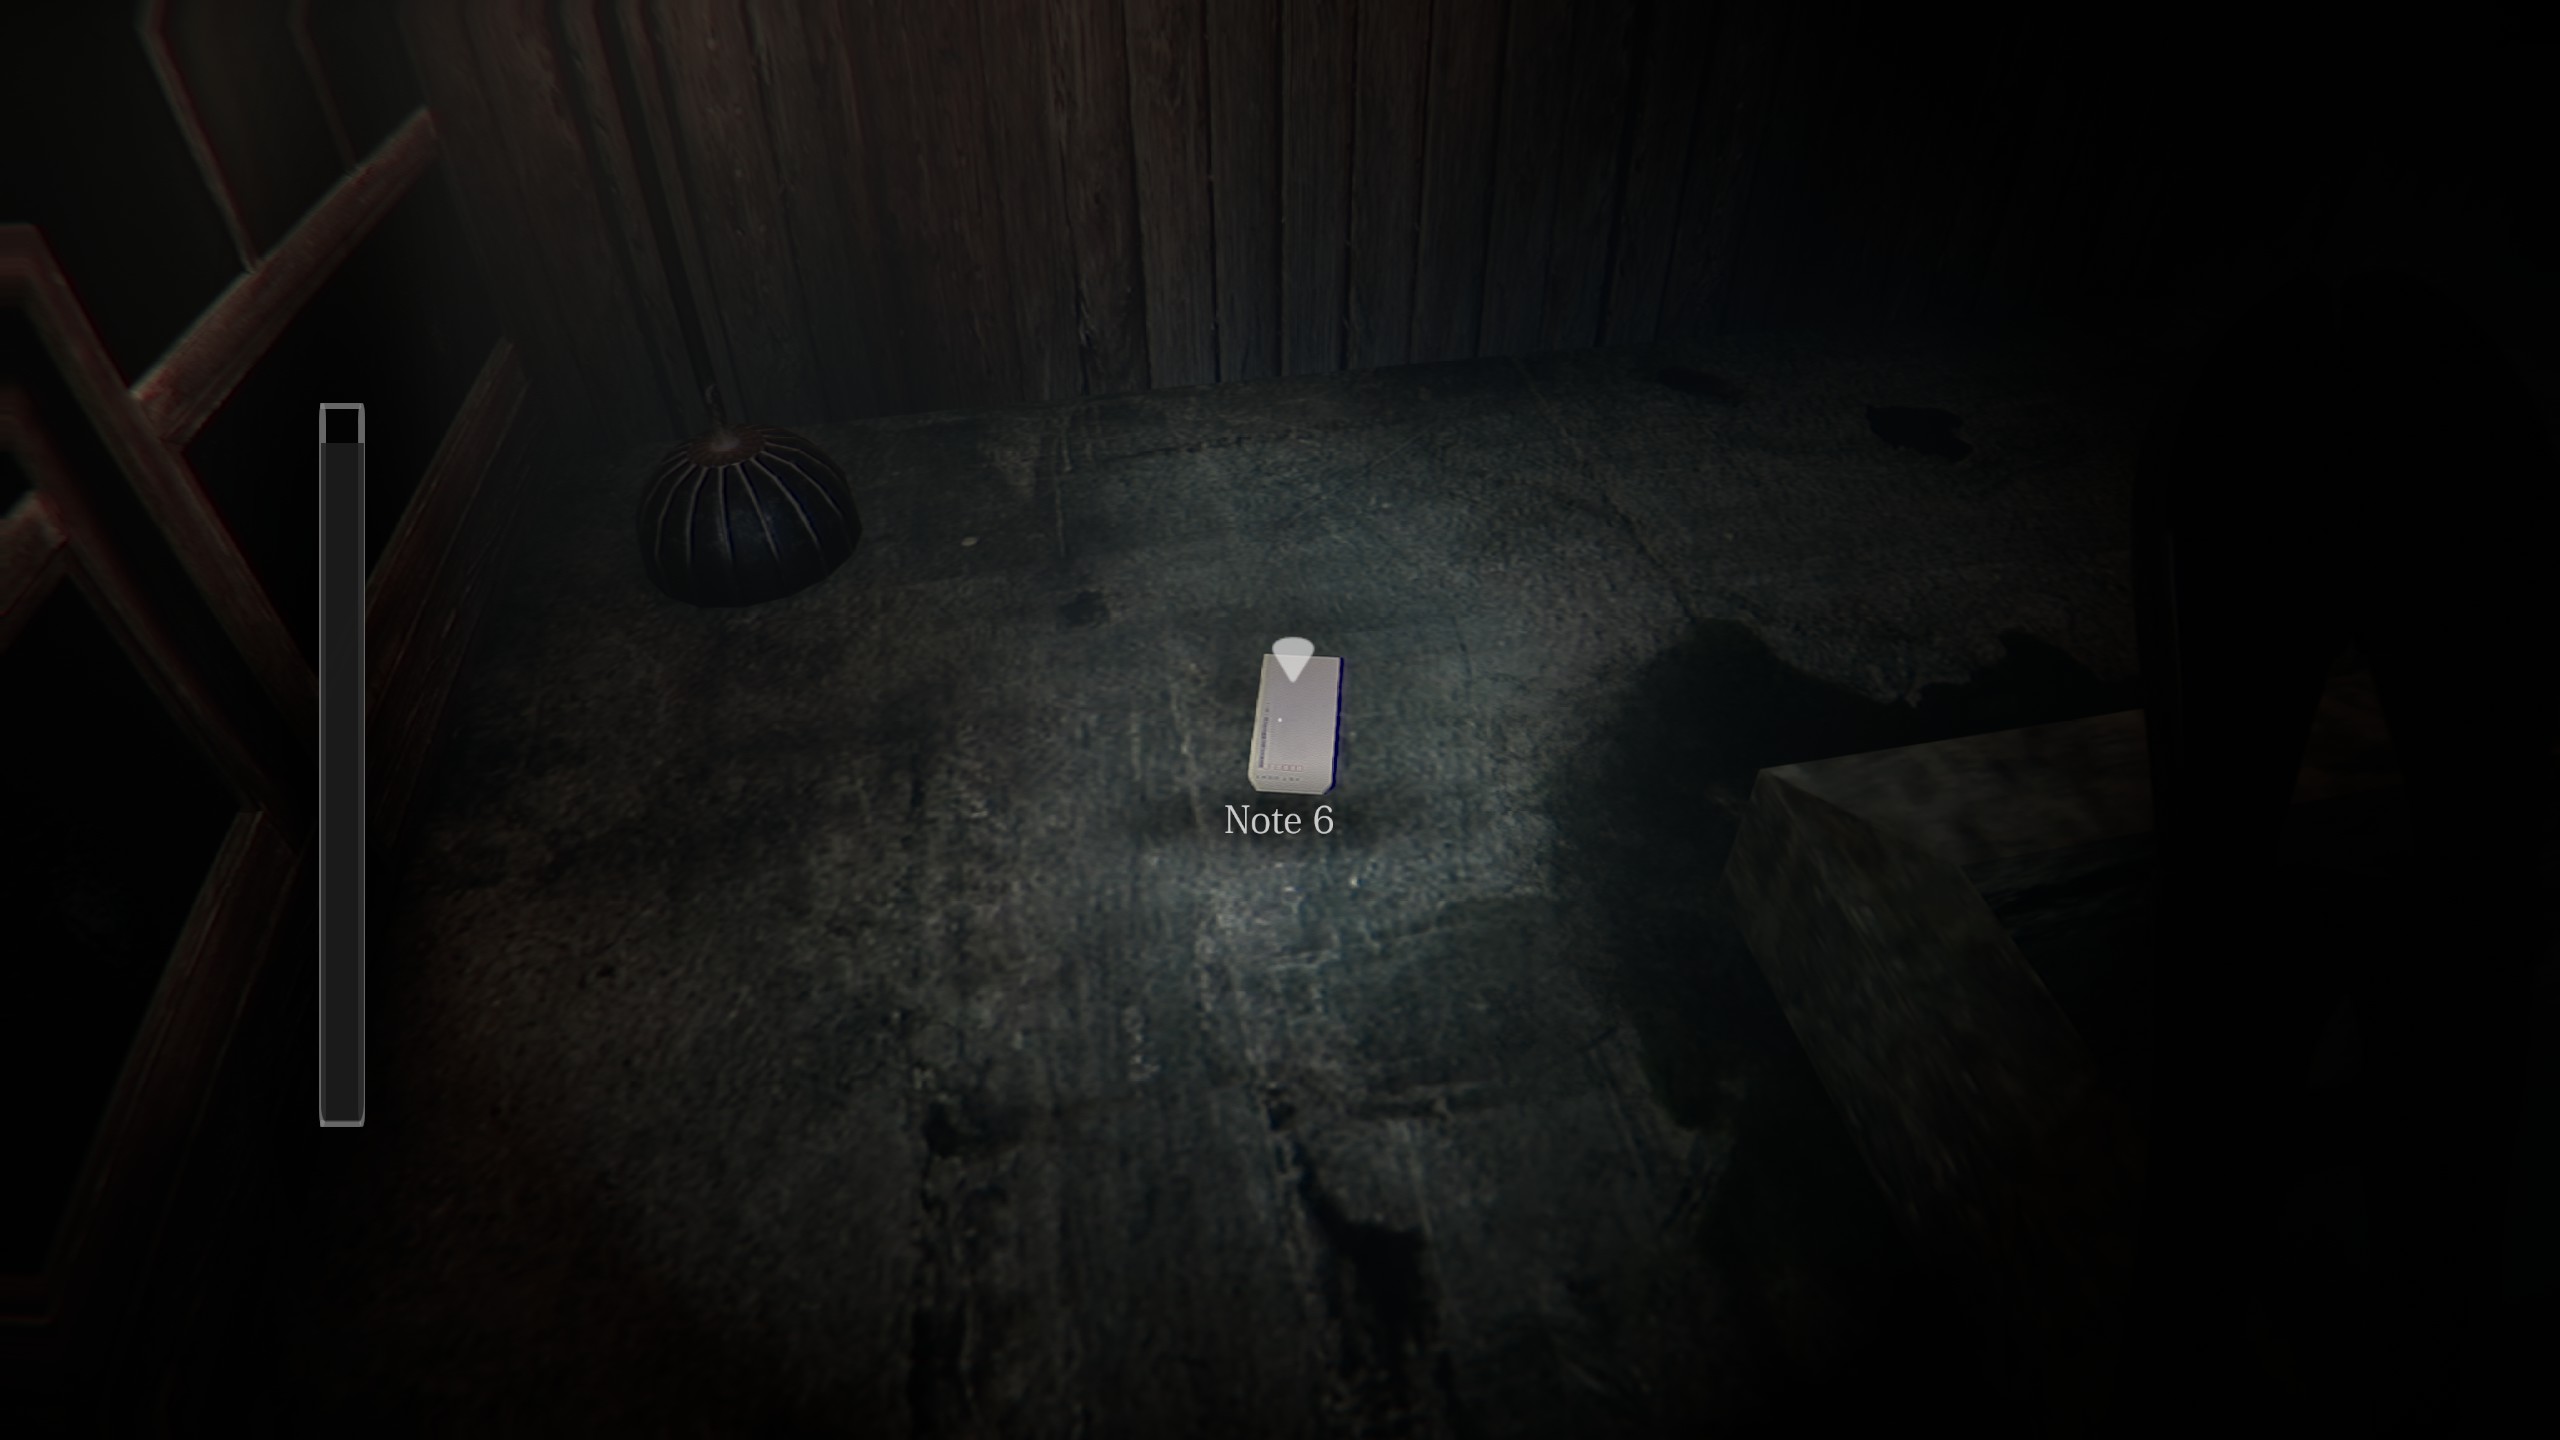
In the large room with the square hole in the floor, at the far end.
In the room past the 2nd story Safehouse, on the table with the Crank lever.
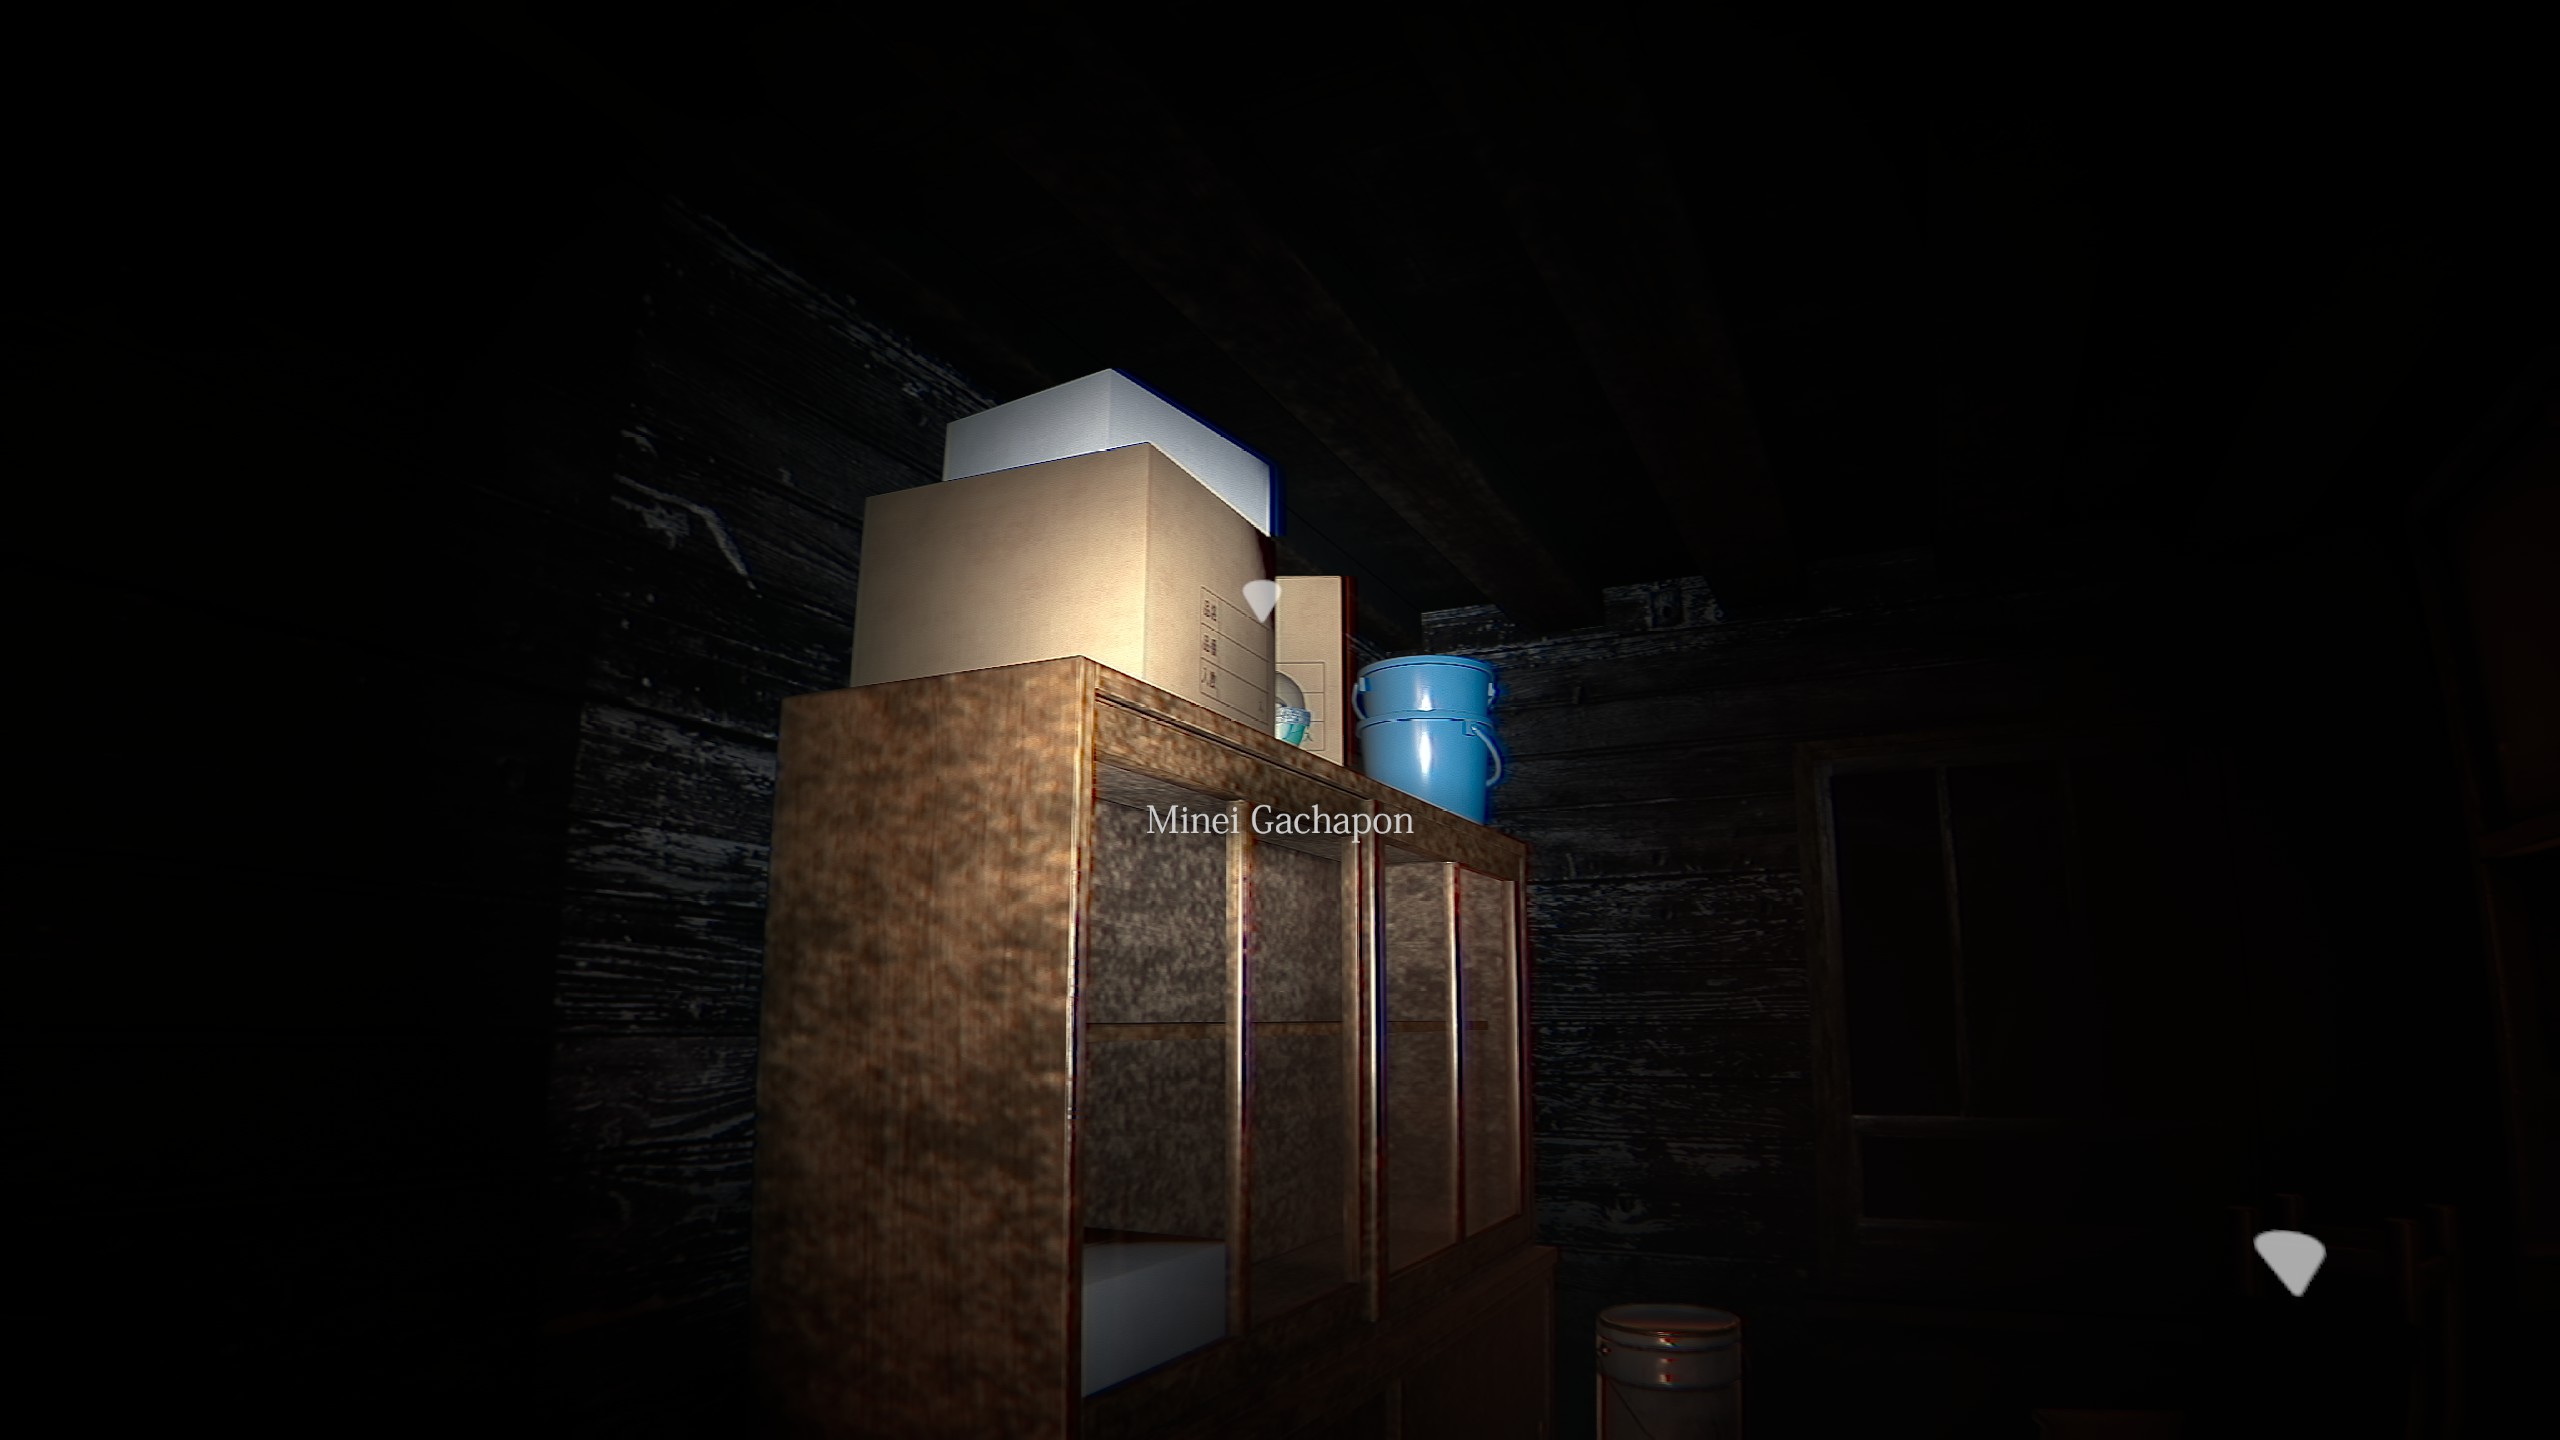
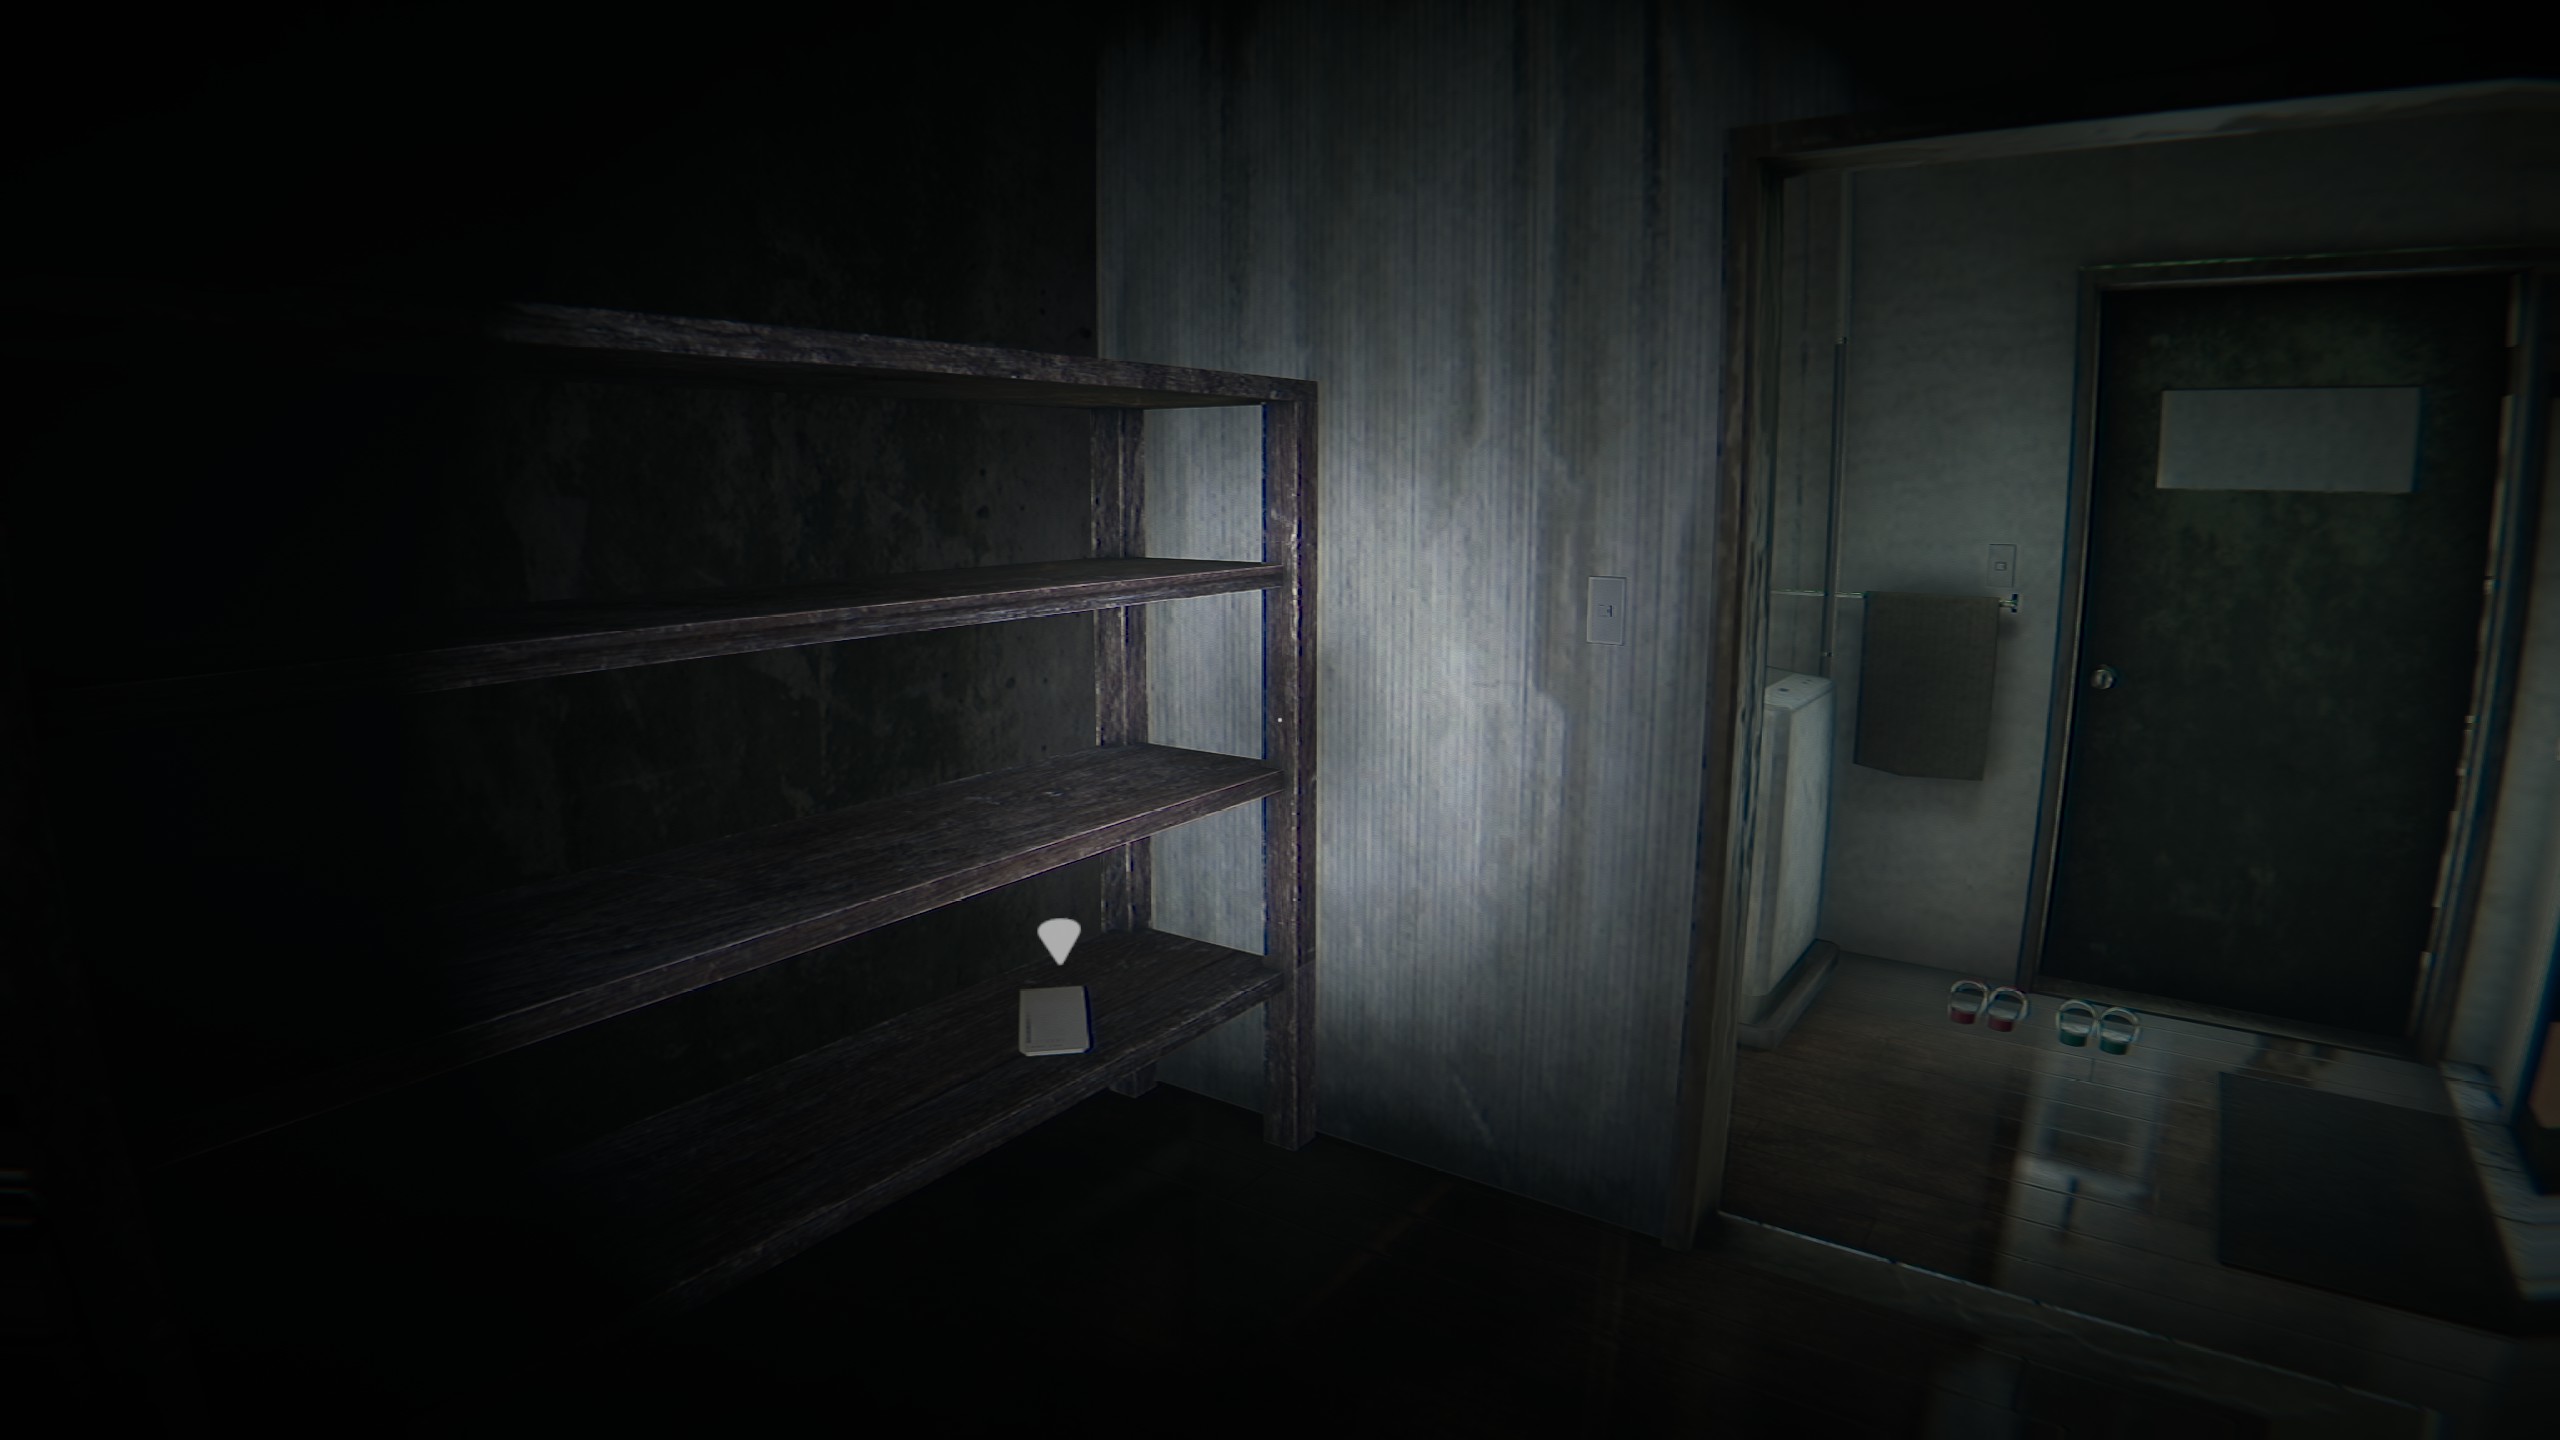
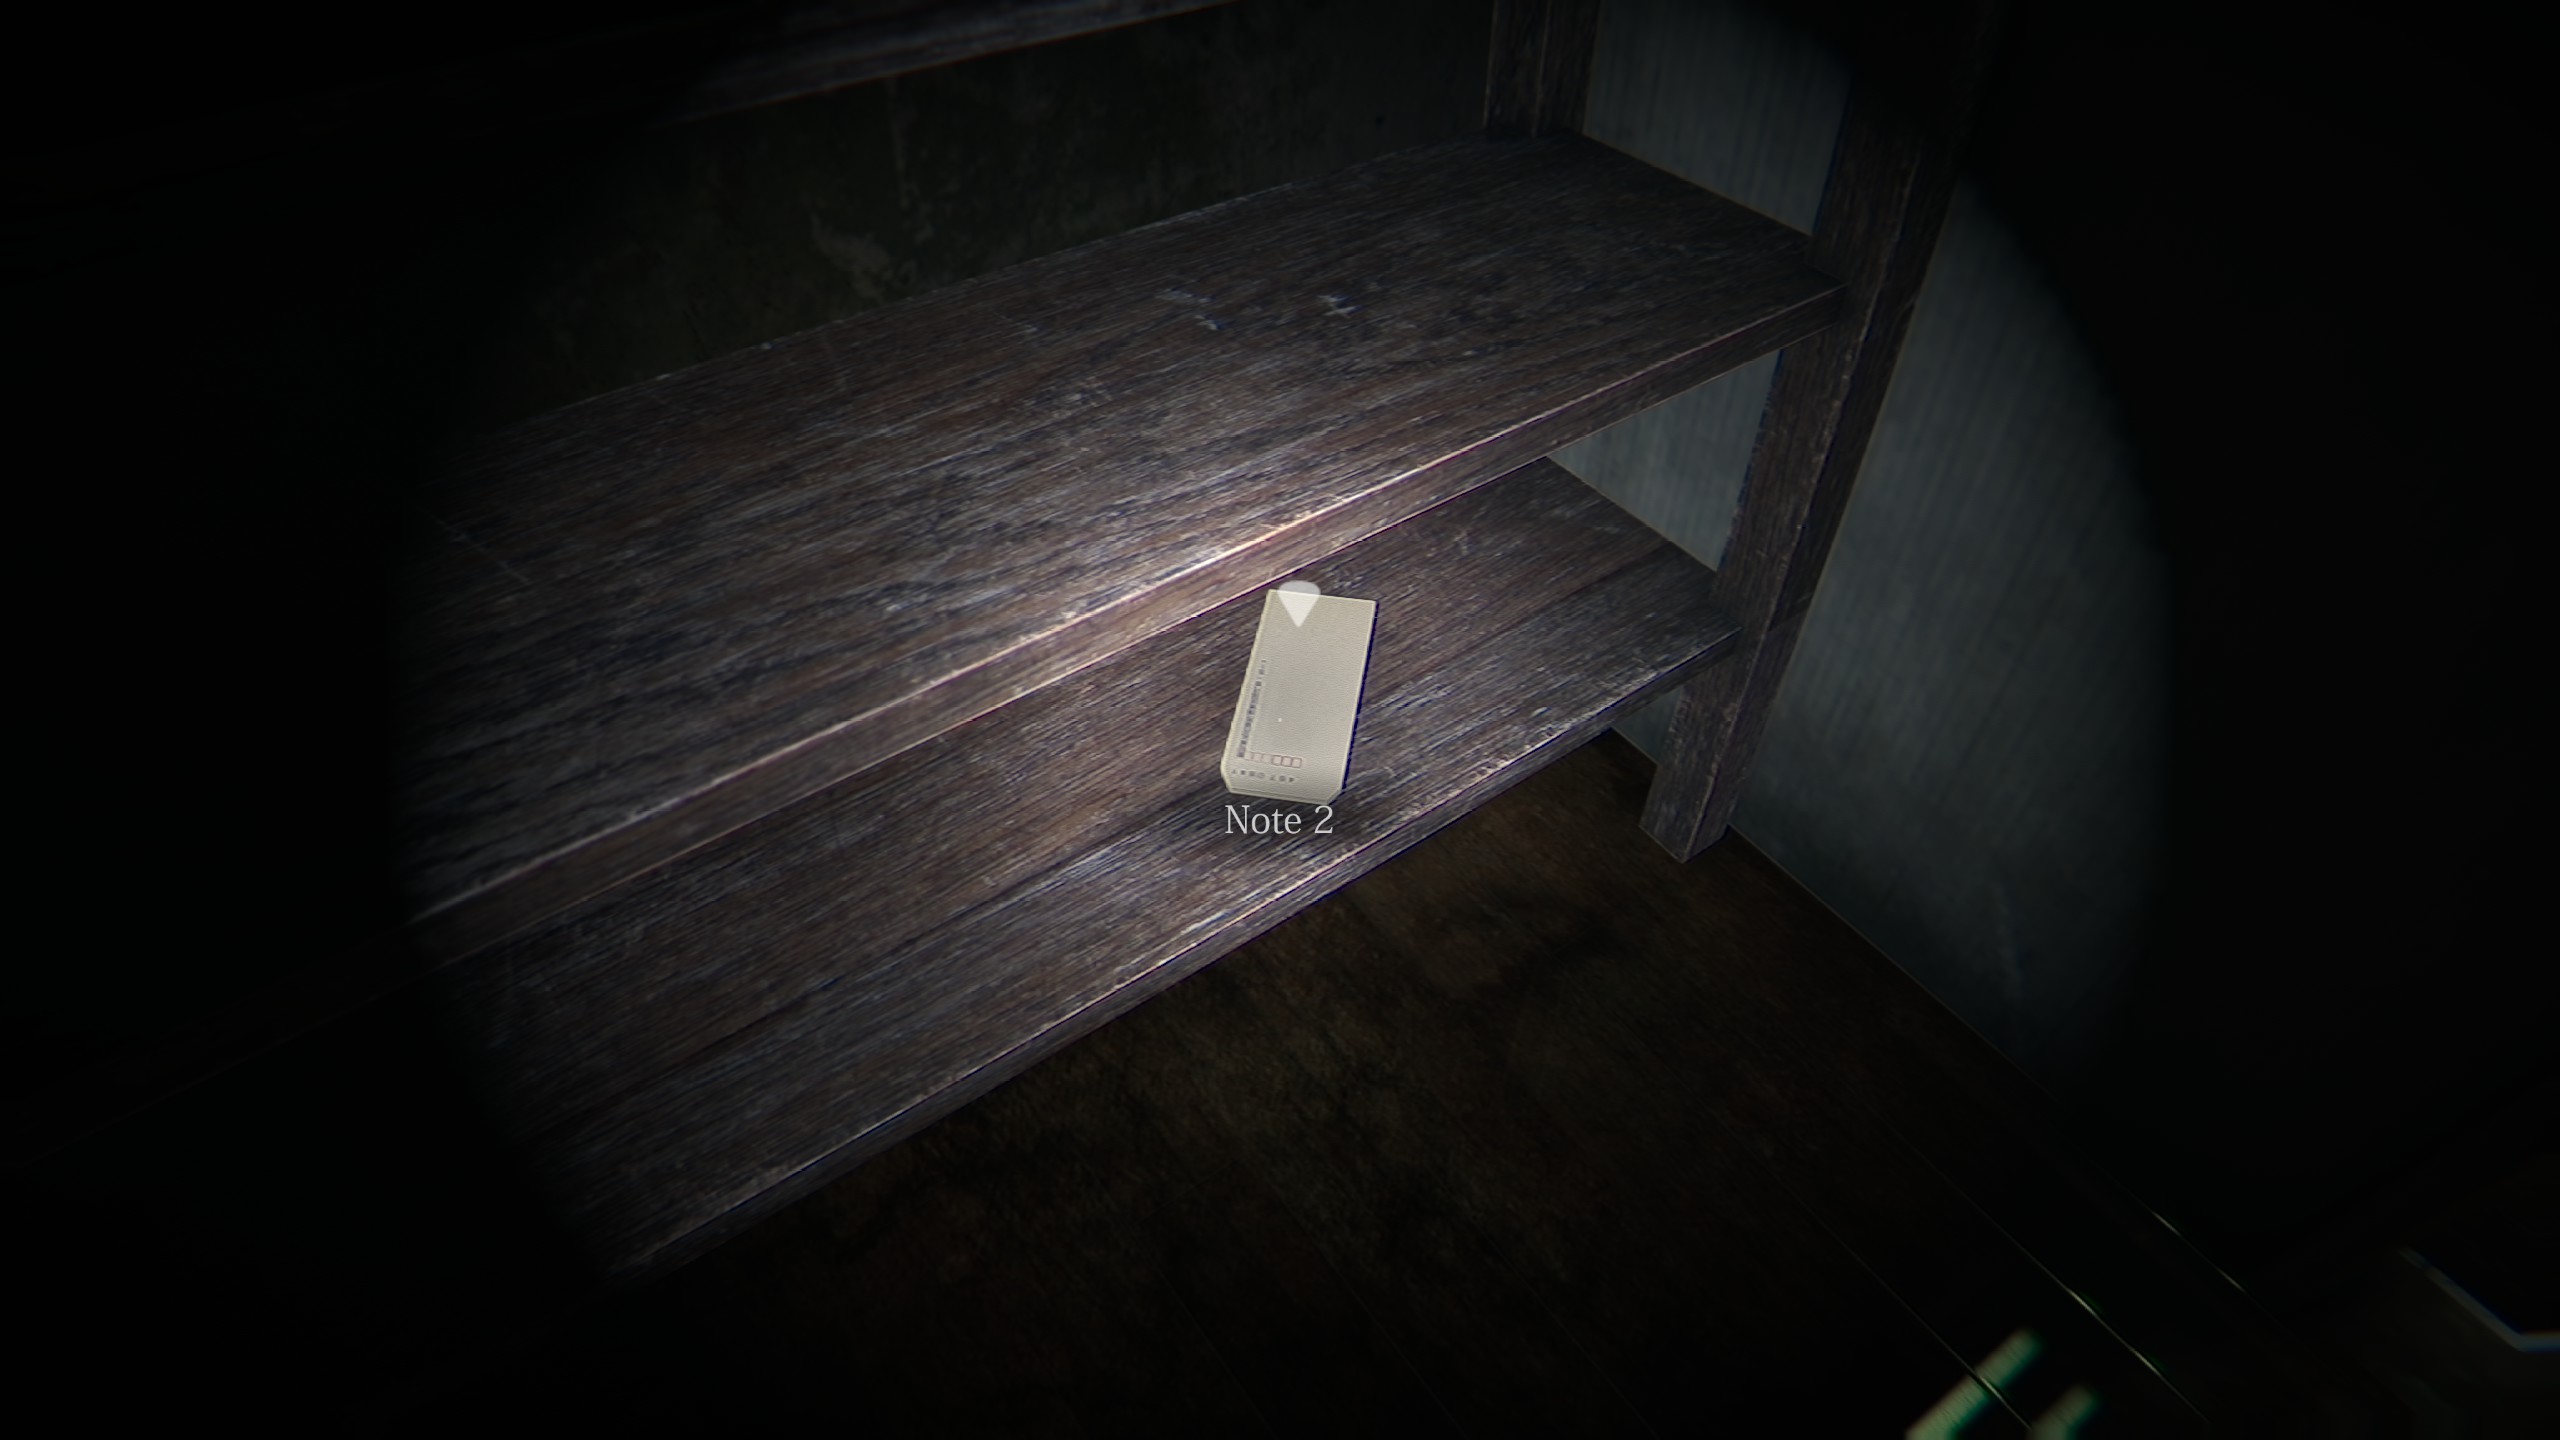
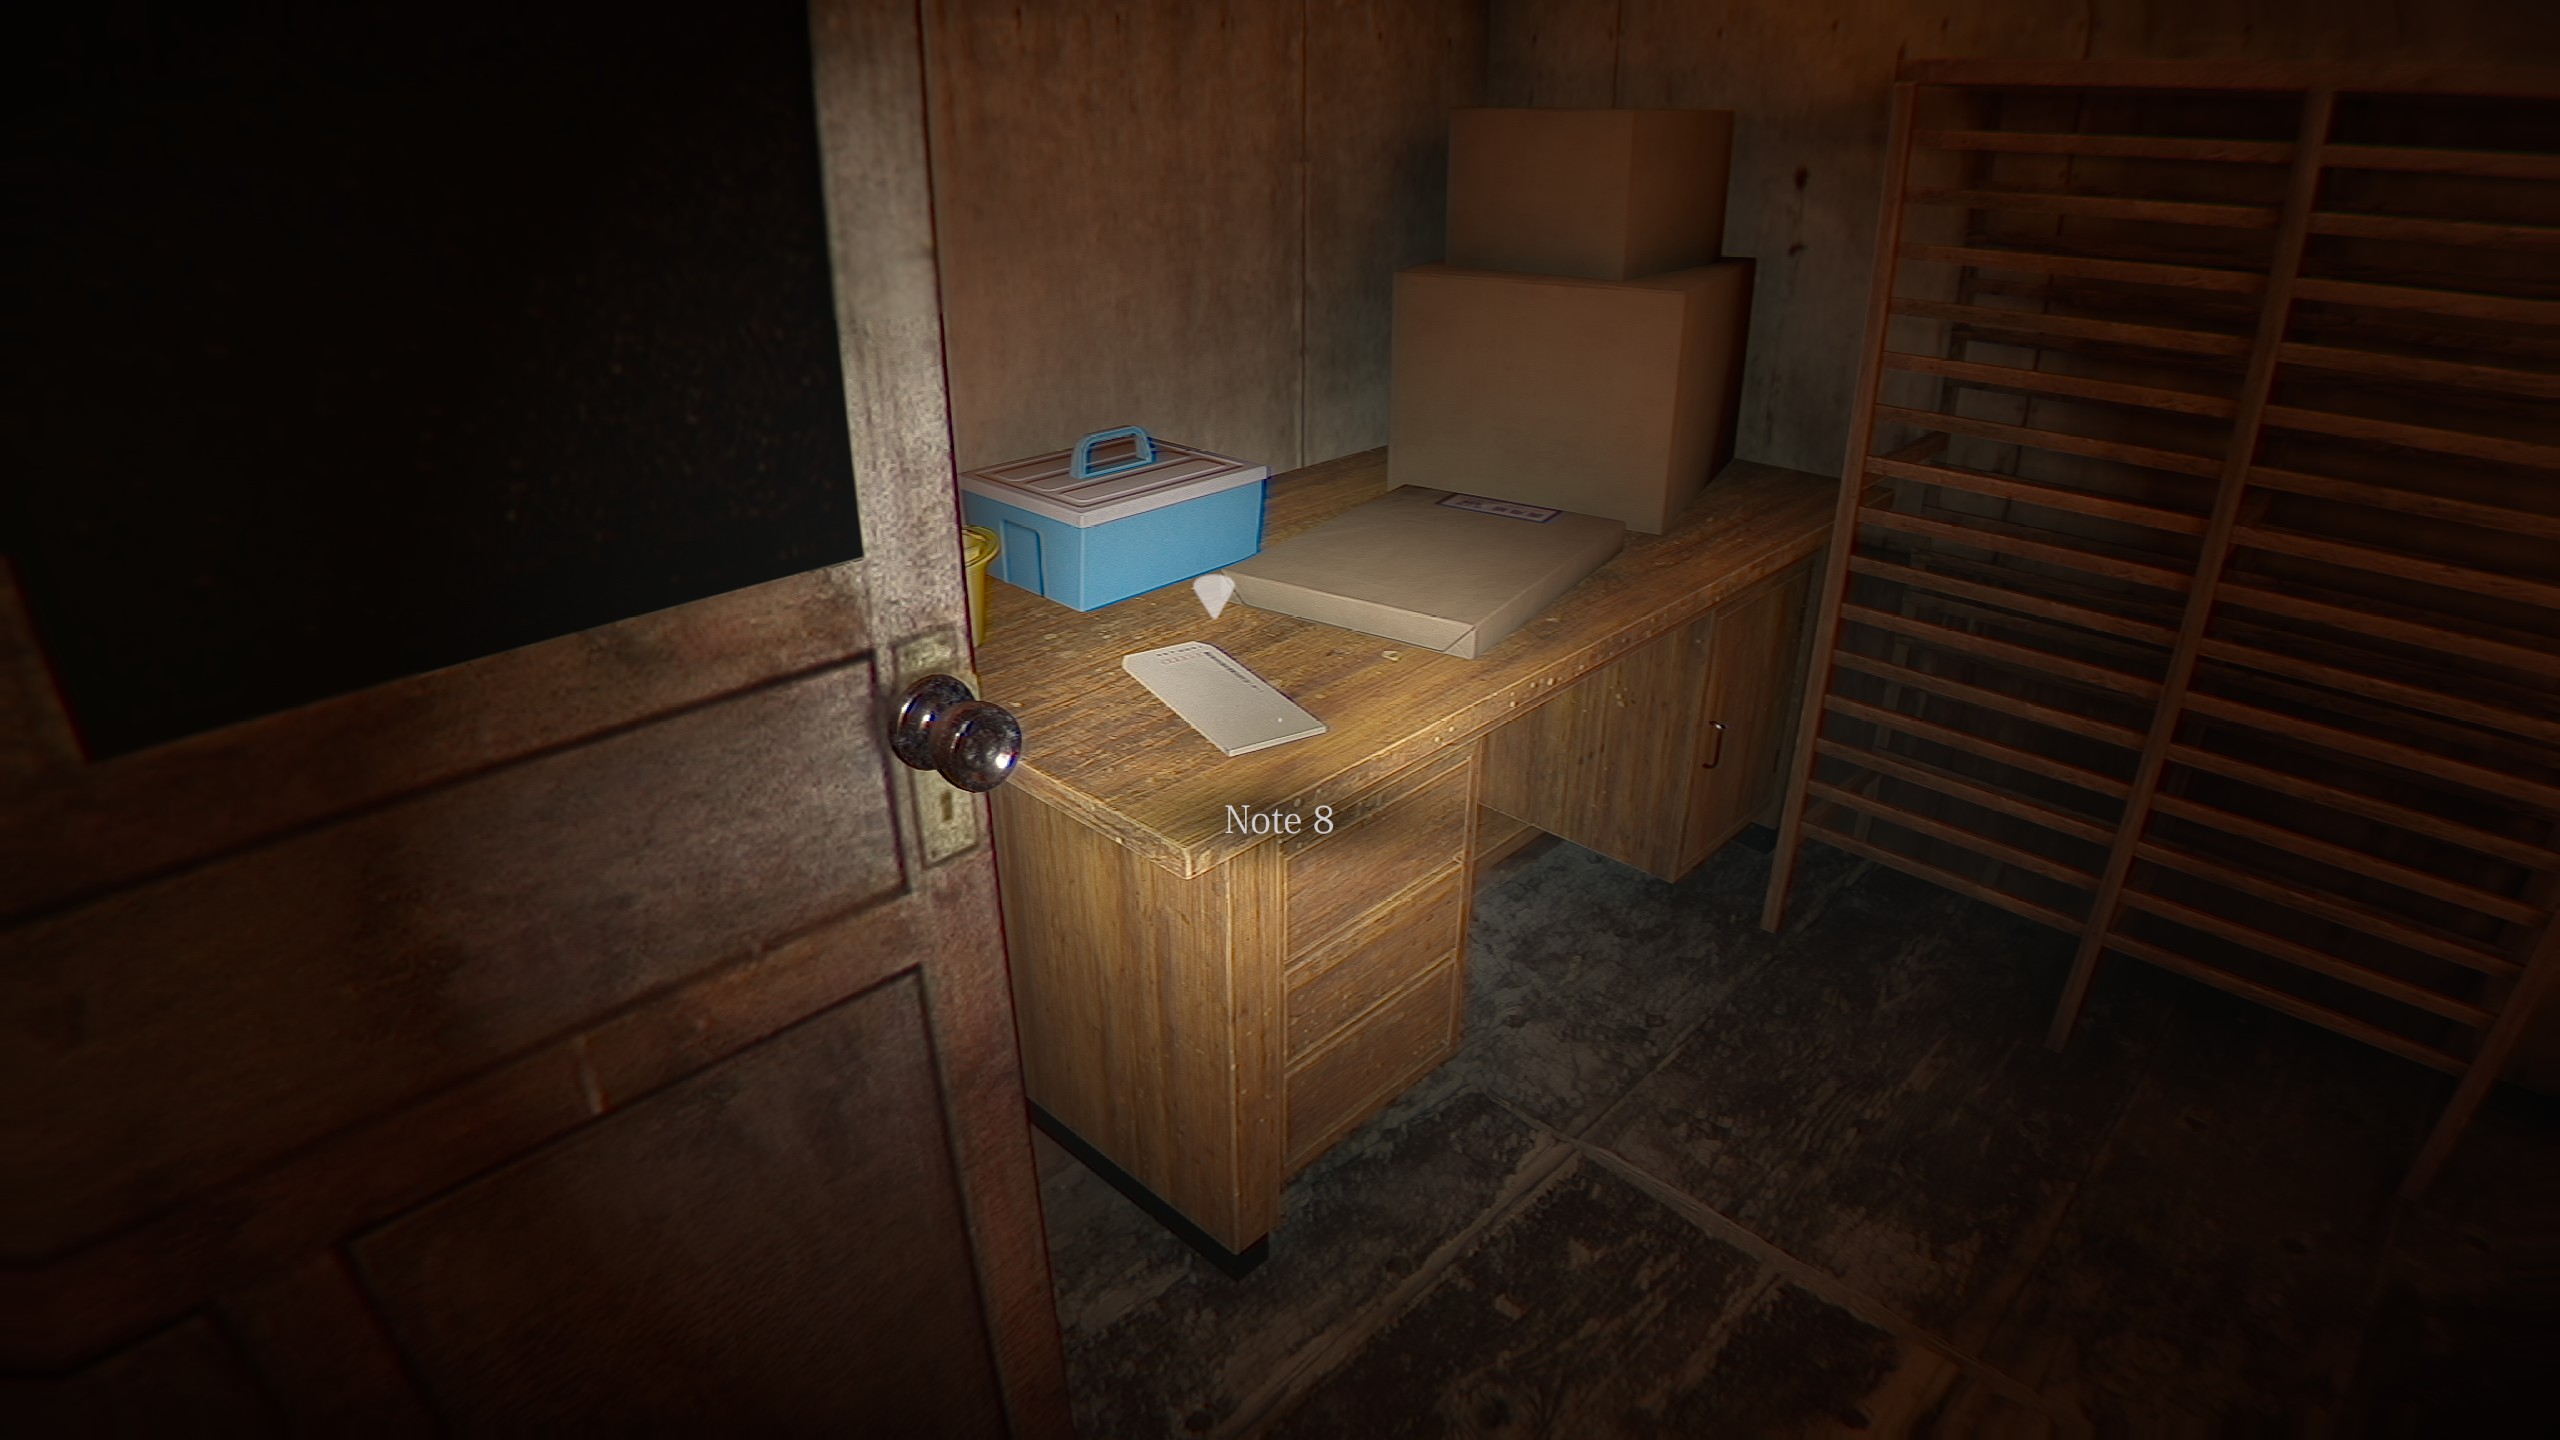
In a small room with an empty wooden slatted shelf, on the desk with packages stacked on it.
In Storage Room 2, on a rock right in front of the door.
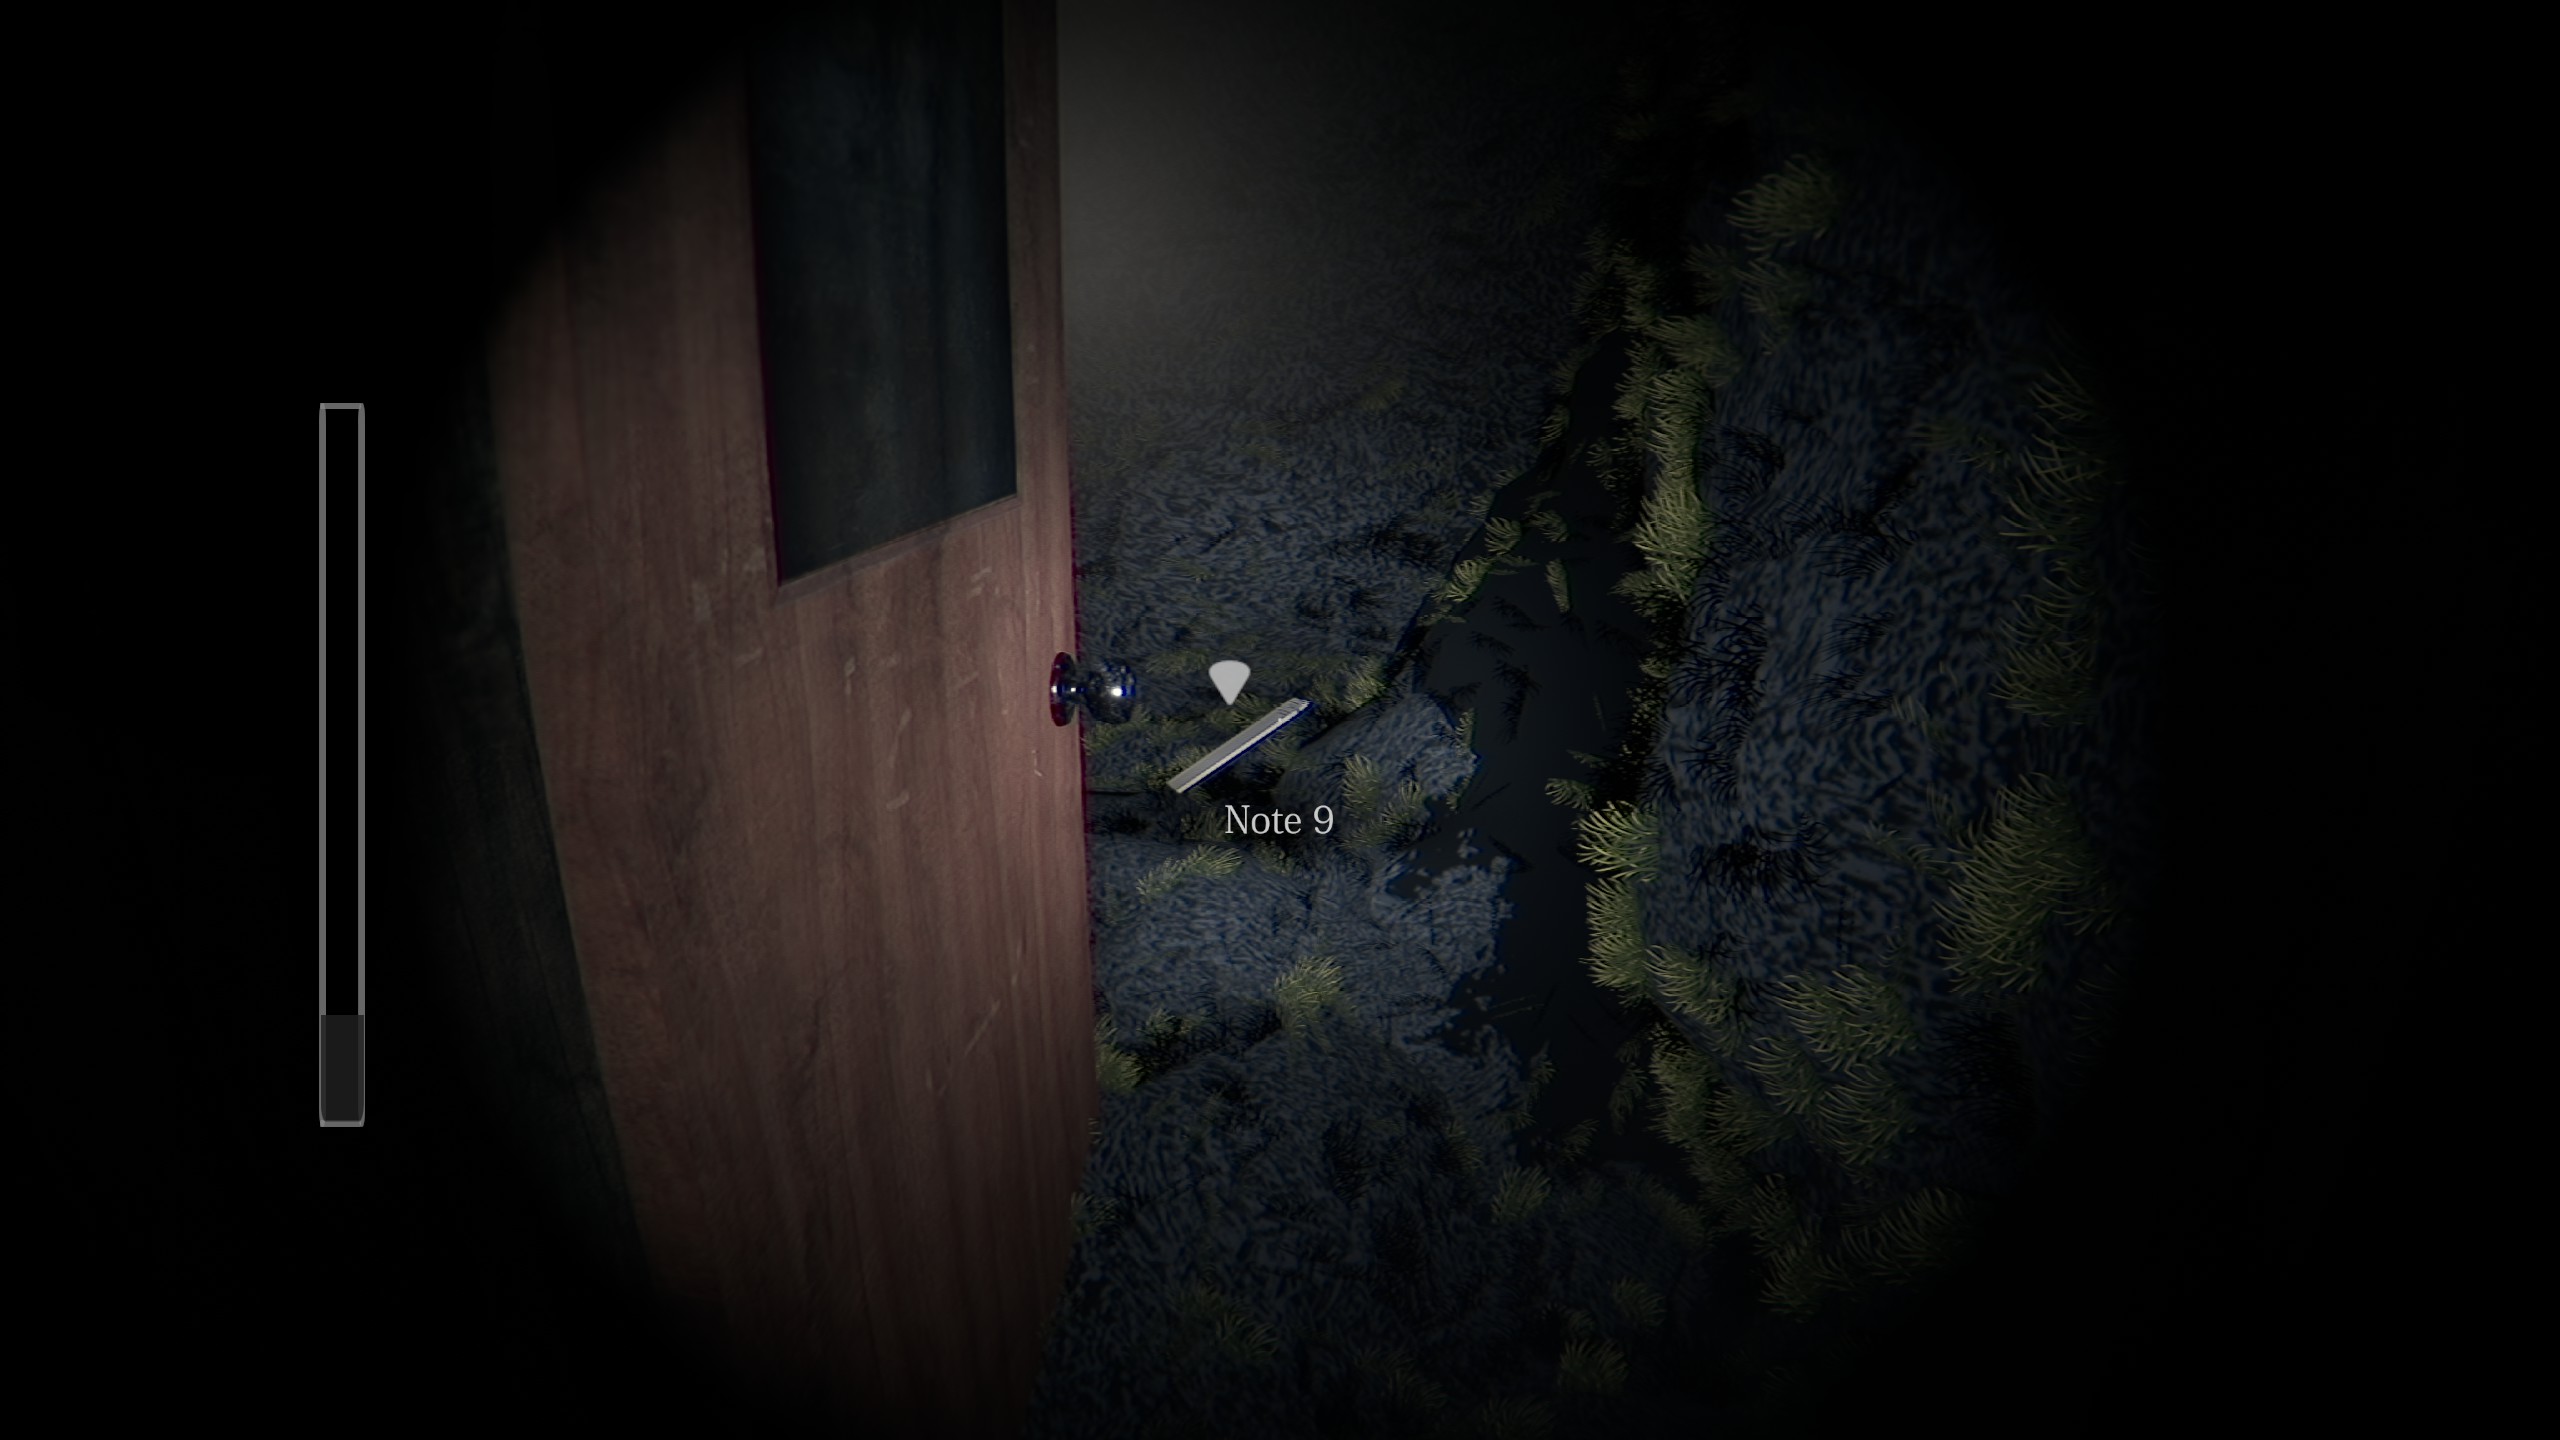
In the corner of the landing after the first, long flight of stone stairs behind the second wooden gates.
Magatama
The Magatama is found at the bottom of the square hole in a large room on the second floor. Use the Stepladder you left on the first floor to descend and grab it. This does not take up a slot in the inventory. The Magatama will be used in the final boss fight, detailed in the Master Exorcist achievement.
Secret Item
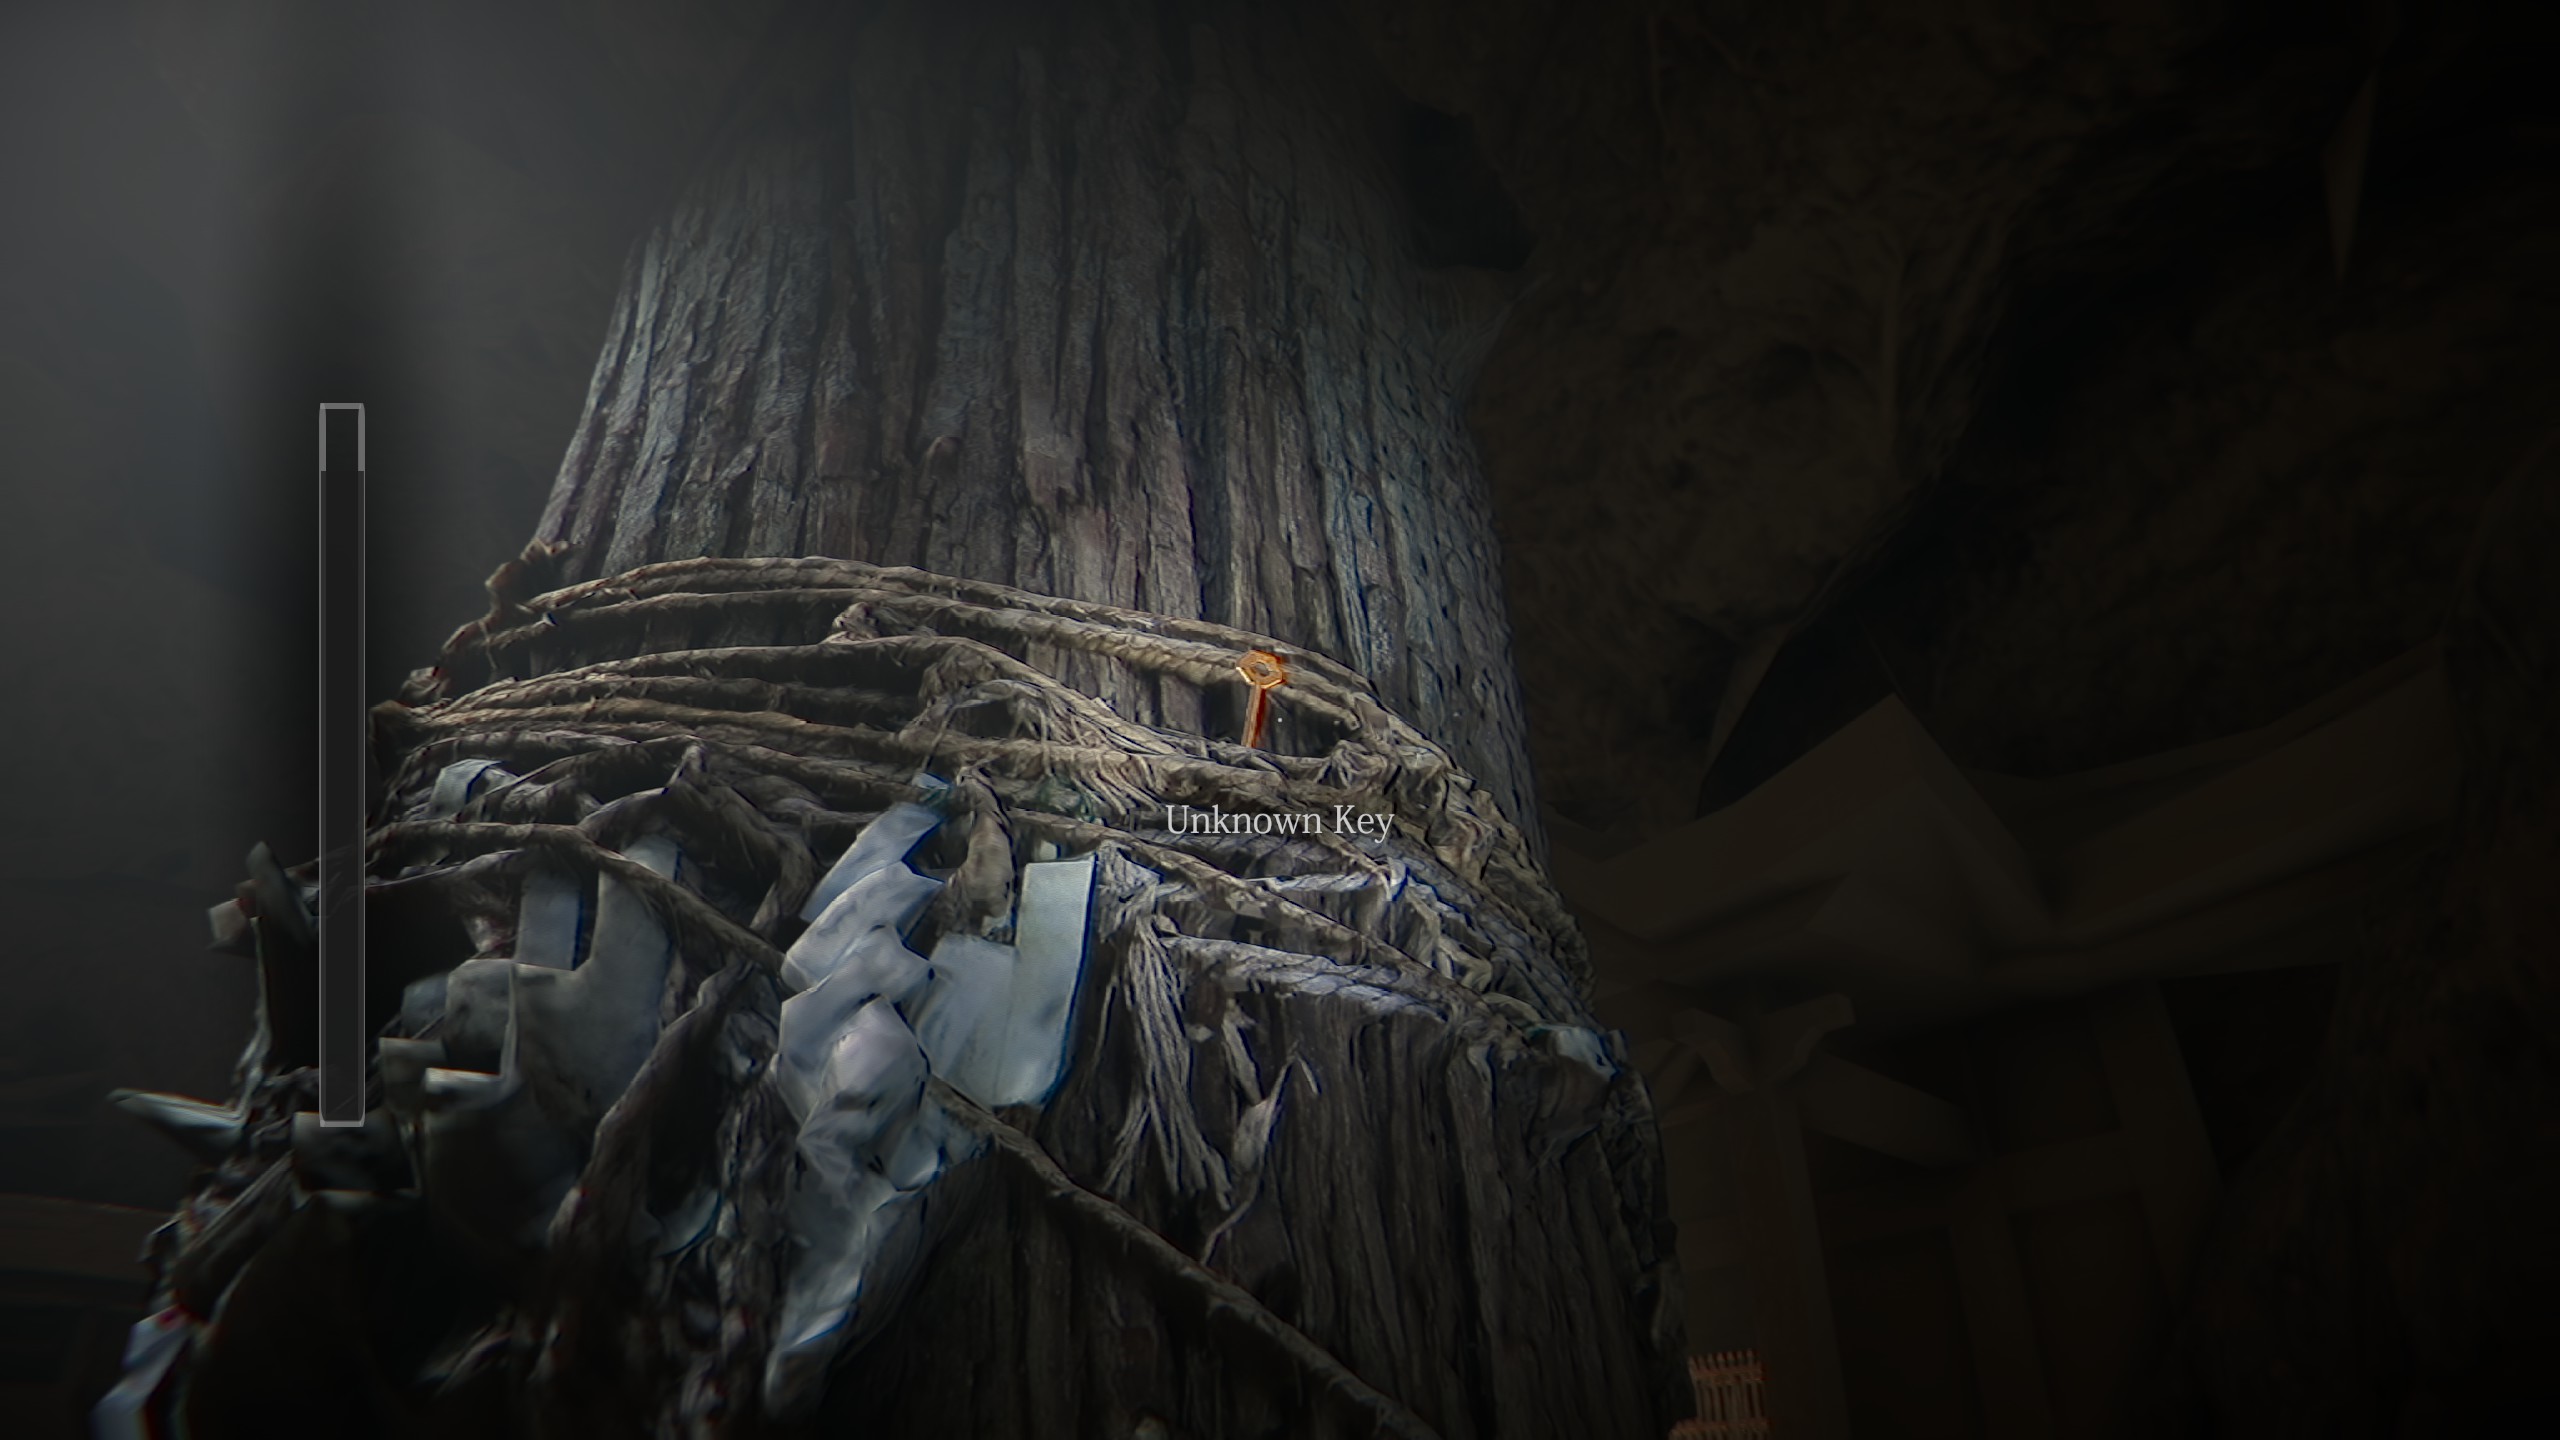
You need the Magatama and the Secret Key.
Ensure that you bring the Secret Key in your inventory for the final boss fight. You will need to have the Magatama equipped, however this does not take up an inventory slot. During the final boss fight, allow the Motherto kill you. The Magatama will revive you in a special Saferoom. Use the key to open the red sliding Saferoom door.
Note that there is a bug that will act as if the door is not open. Once the key disappears from your inventory, walk into the door and continue attempting to open the door. Try both sides and use the side that does not make the “locked” sound. Eventually you should be able to pass through into the room beyond. Pick up the Antique Lens at the far end of the room.
The Secret Key is stuck high up in the large tree in the center of the Cave area’s wooden fencing.
Expert Exorcist
At random intervals the room you’re currently in will lock and a ghost will spawn. You must kill it to leave. This is done by using the camera to take a photo of it when it flashes red. Fight these battles 10 times. This needs to be done in one playthough, ideally in one continuous session. It is unconfirmed if this is a hard requirement but some players report that they could not close the game or the count reset. I suggest doing this in the first playthrough, as collecting all the Gachapons/Notes means you’ll spend a lot of time in rooms.
The Daughters seem to have a random chance to spawn that checks against an unknown interval anytime you’re in a non-saferoom. They may spawn as soon as you enter or anytime before you leave. If the exit is locked, you are in an encounter and must kill them to leave. One or two may spawn, and each take 3 hits to banish.
Master Exorcist
Beat the final boss, exorcising the Mother. Same process as the Daughters – use the camera when she flashes red.
For playthrough 1, turn in the Gachapons to the ghost boy prior to initiating the fight. You must allow her to kill you. If you have the Magatama and the Secret Key on you when she does, you will be taken to a special saferoom, where you can retrieve the Antique Lens, as detailed in the Secret Item achievement above. Once you leave the Saferoom, you will be back in the boss area for round 2. This time, you must kill her.
She can be a little tricky in that due to the nature of the camera using your health as ammo for the flash, you can end up in a situation where your health drops below your ability to fire the camera, so you cannot stun her. By the time your health passes the minimum for the camera, you’ll get hit again. The only workaround to this is to try and kite her around various obstacles and hope she gets stuck long enough for you to recharge and aim. The easiest way to avoid this situation is to not miss and take no hits, which can be difficult as she seems to often spawn inside you when the fight starts and immediately hits you.
Ending 2
If you give all 7 Gachapons to the boy, and proceed to defeat the Mother, you will achieve ending 2.
Playthrough 2
This will be much faster to finish, as we can bypass most of the collectibles.
The second playthrough will complete the following achievements:
Ending 1

Achieve Ending 1
Never Give Up

Die Once
For this run, proceed to progress the game, but do not:
- Turn in Gachapons to the ghost boy
- Collect the Magatama
- Collect the Secret Key
Instead, just grab the items needed to gather the 3 Crests and proceed to the final fight.
If you managed to avoid death the first time through, let one of the patrolling spirits kill you for the final achievement.
Never Give Up
You need to die once by any means, however note that the Magatama death in the final fight does not count.
Ending 1
Complete the game, without providing the Gachapons to the ghost boy.
That's everything we are sharing today for this Onryo | 怨霊 guide. This guide was originally created and written by Doktor Folozi. In case we fail to update this guide, you can find the latest update by following this link.