- Titel: To The Core
- Releasedatum:
- Ontwikkelaar:
- Uitgever:
Information about To The Core is still incomplete. Help ons alstublieft de details van het spel hiermee in te vullen contactformulier.
This guide will be showing you the complete step-by-step walkthrough on how to beat To The Core.
Aan de slag
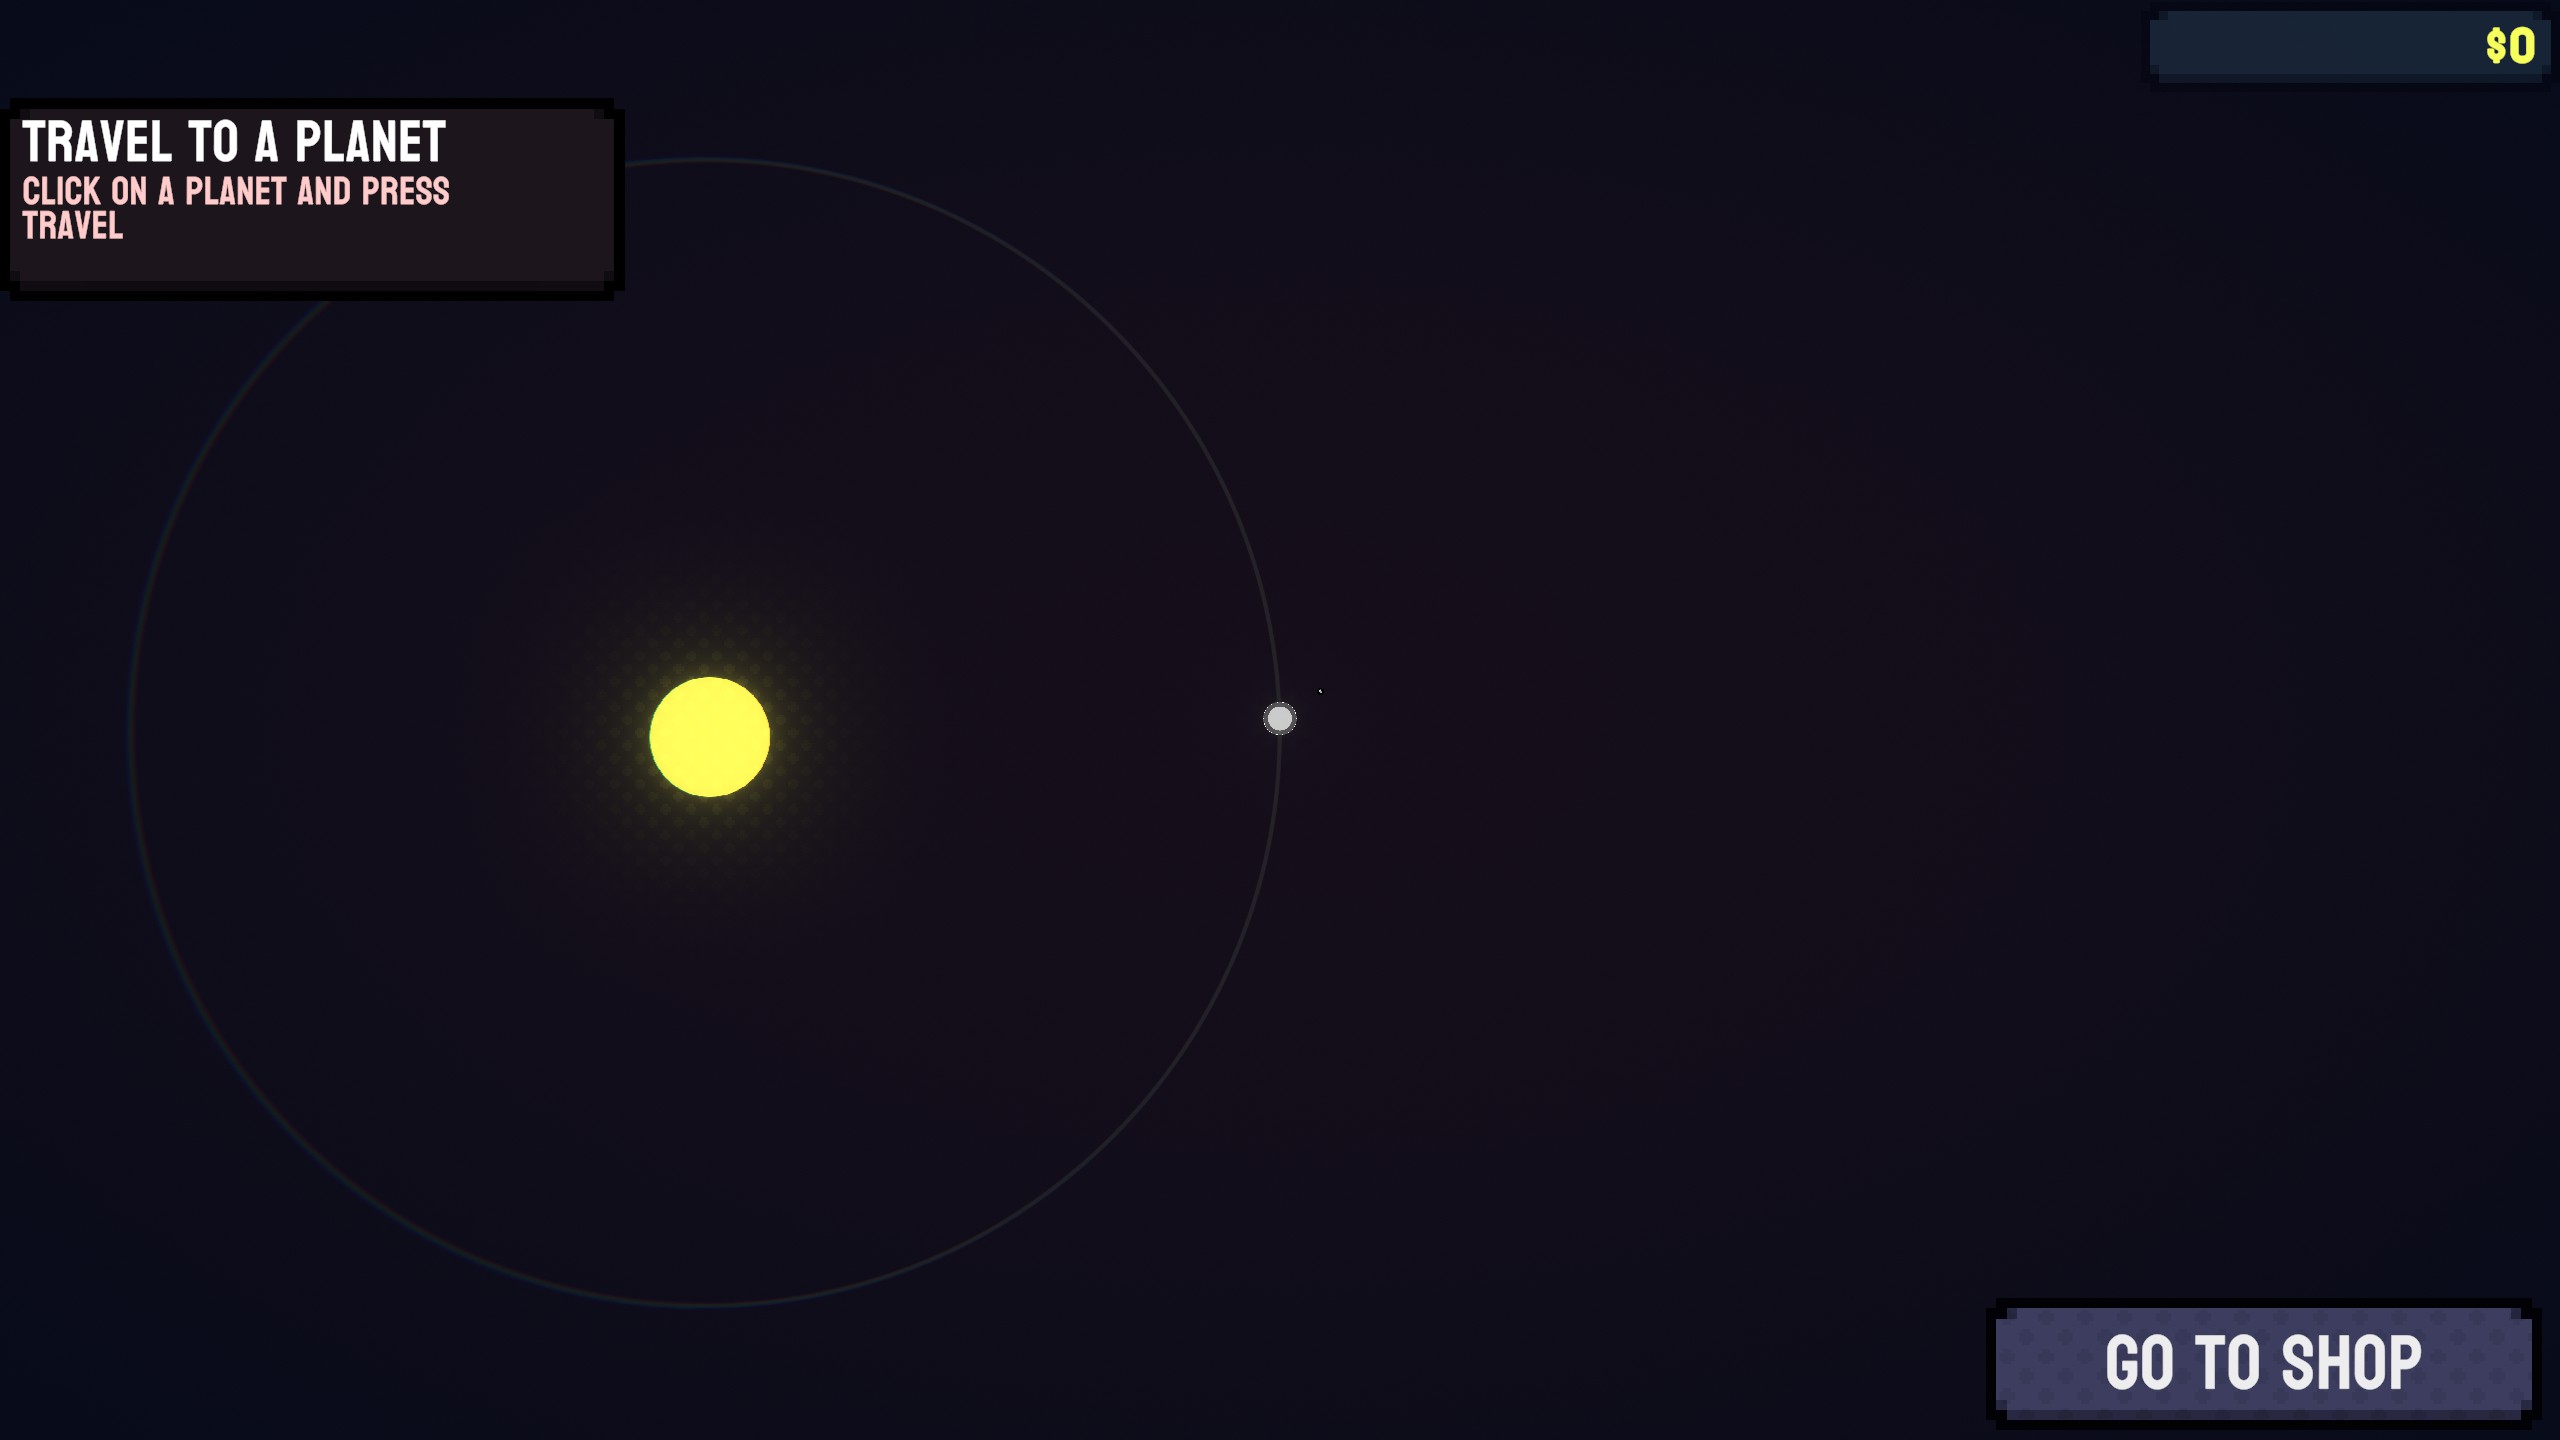
Starting right from the very beginning, you’ll only have access to one planet called “Home.” While you’ll be able to see its moon, you won’t be able to visit it initially. There’s also a shop you can go to, but since you start without any money, it won’t be very useful at first.
When you first visit Home, you’ll have 60 units of “fuel” for mining. In dit spel, fuel serves a dual purpose—it’s like your health, as it decreases over time just from existing on the planet (the rate depends on the planet), and you also lose fuel when you hit rocks. The tougher the rock, the more fuel you lose, similar to taking damage from thorns or reflecting damage.
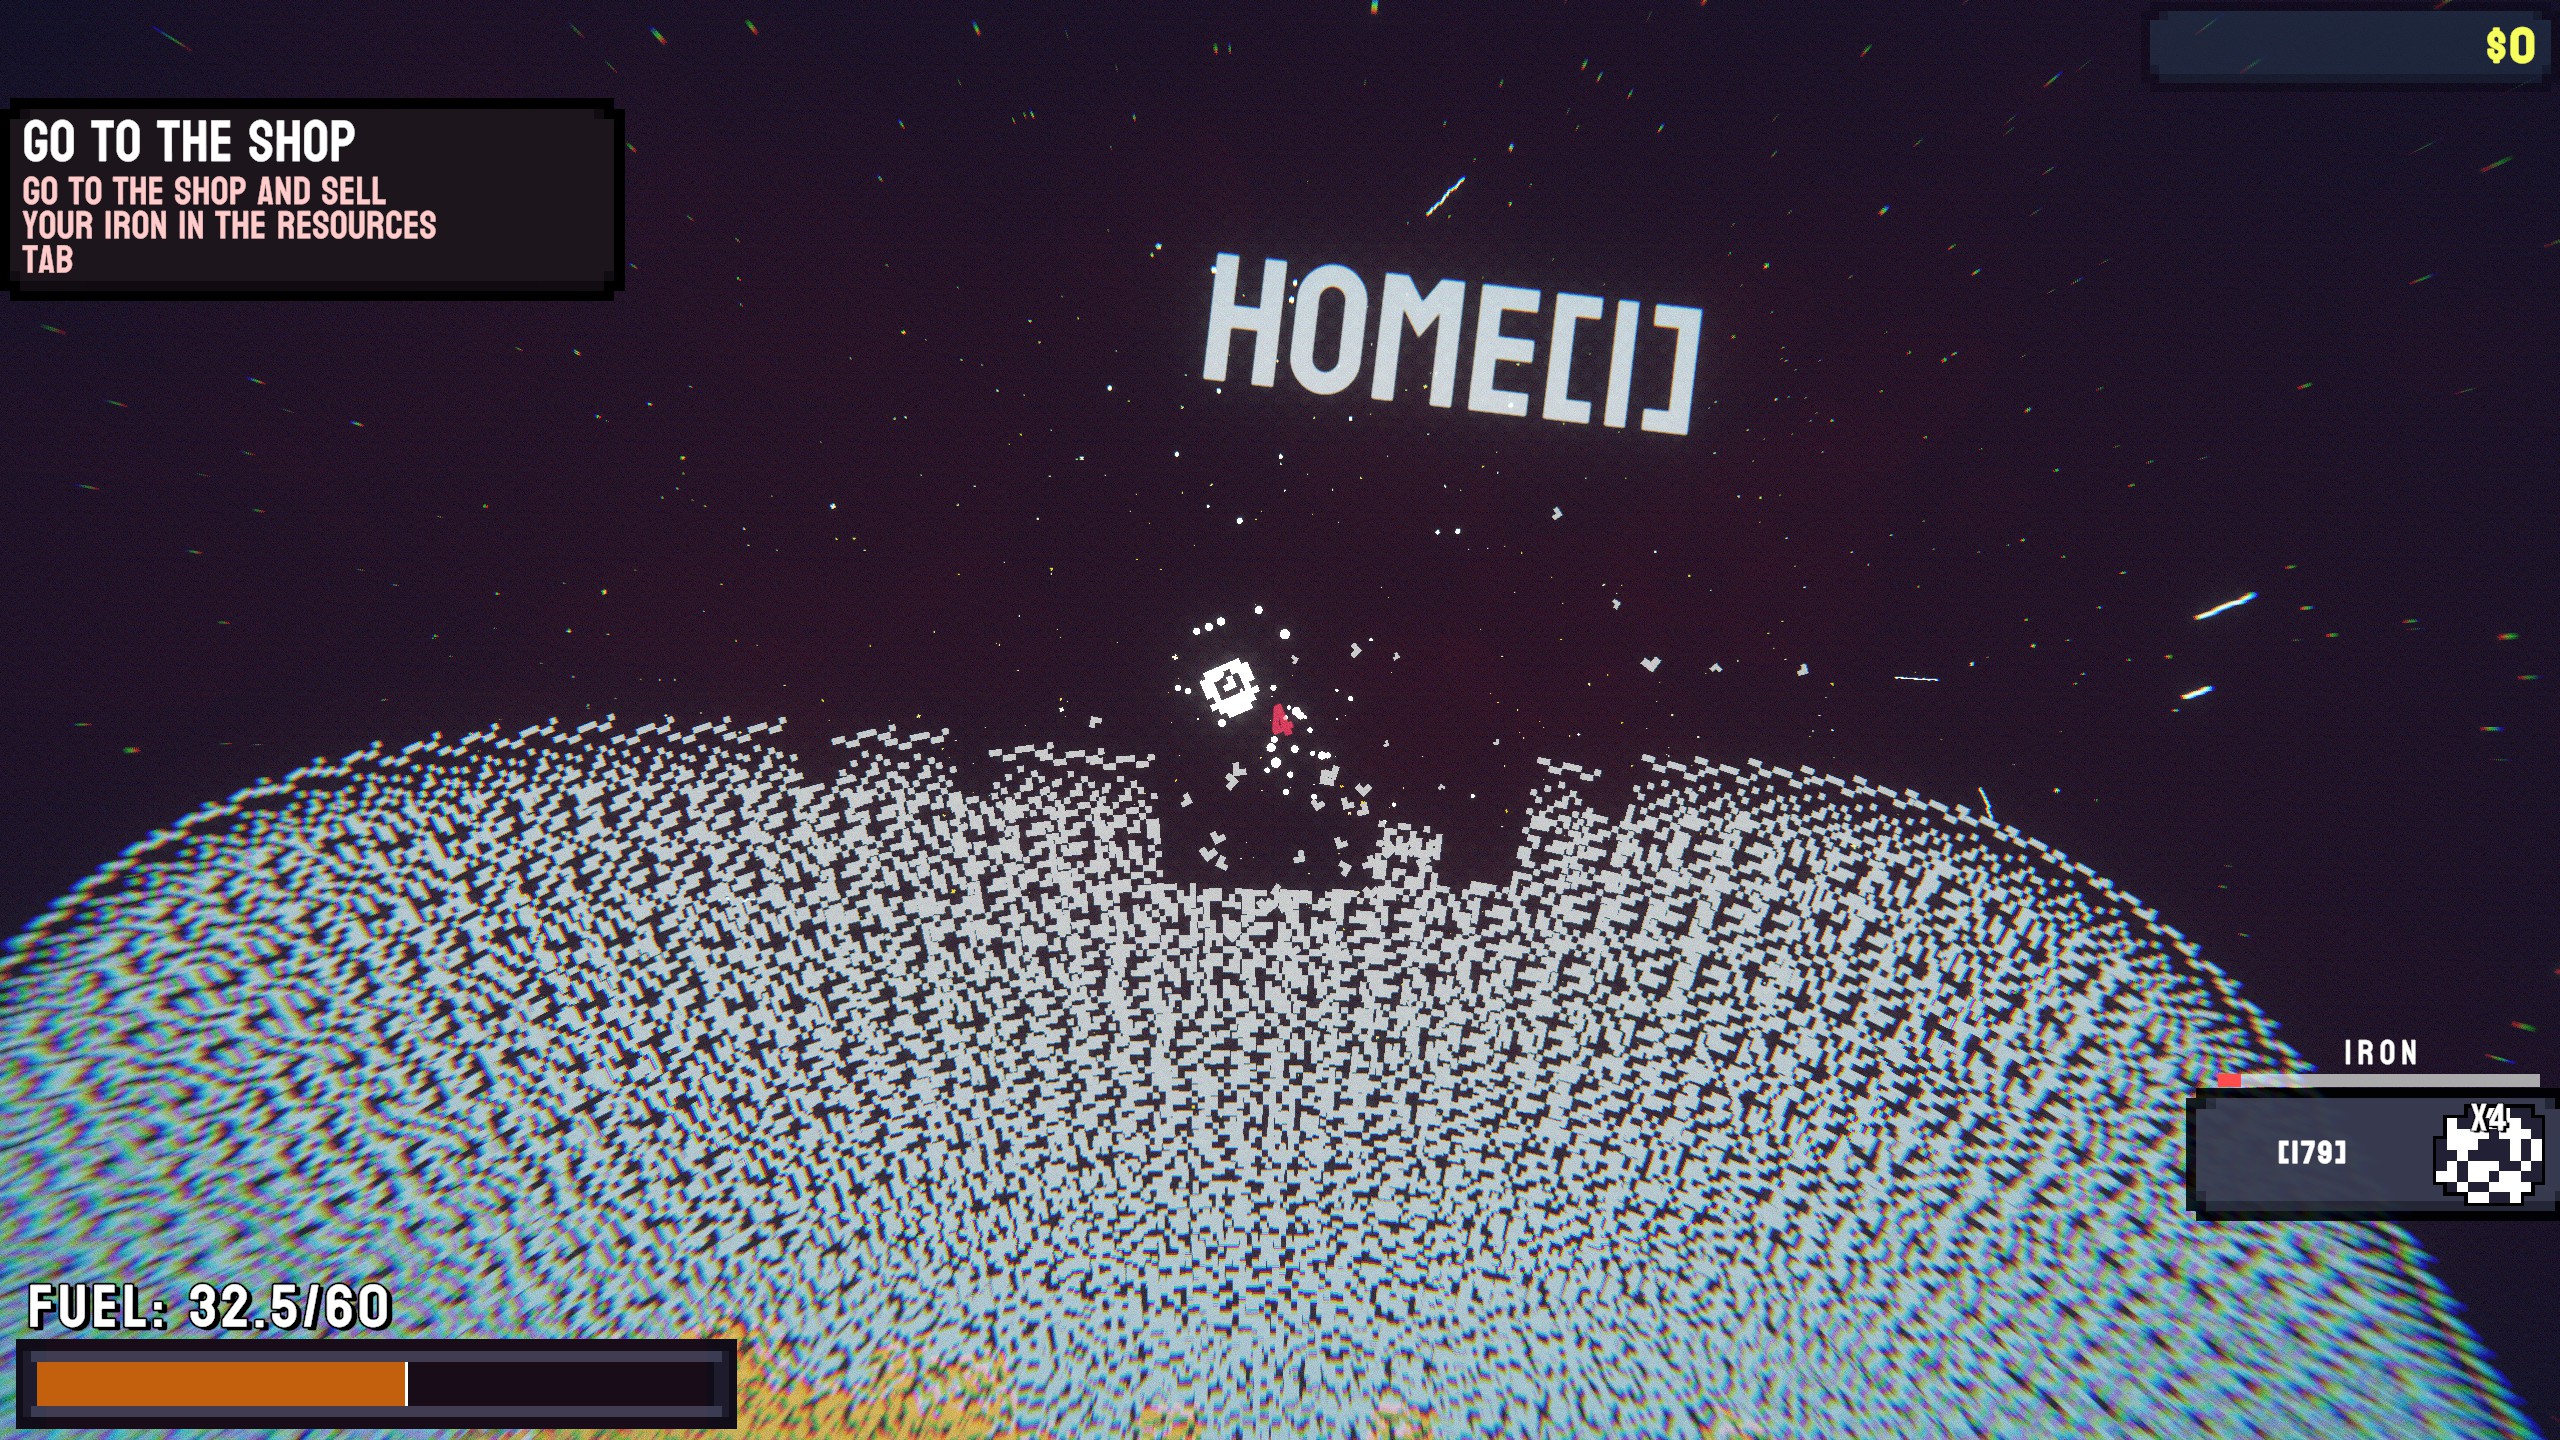
At the start, you won’t have complete control over your spaceship. You’ll use the mouse to aim where you want to point, and only the tip of your drill will break blocks. You can use the A and D keys to move left and right. When you hit a rock, gravity will bounce you back quite a bit, which can be used to move upward again. Your goal is to gather as much iron as possible (you won’t have enough fuel to go deeper yet). Once you’ve collected as much iron as you can or when you die, you can go to the shop from the pause menu.
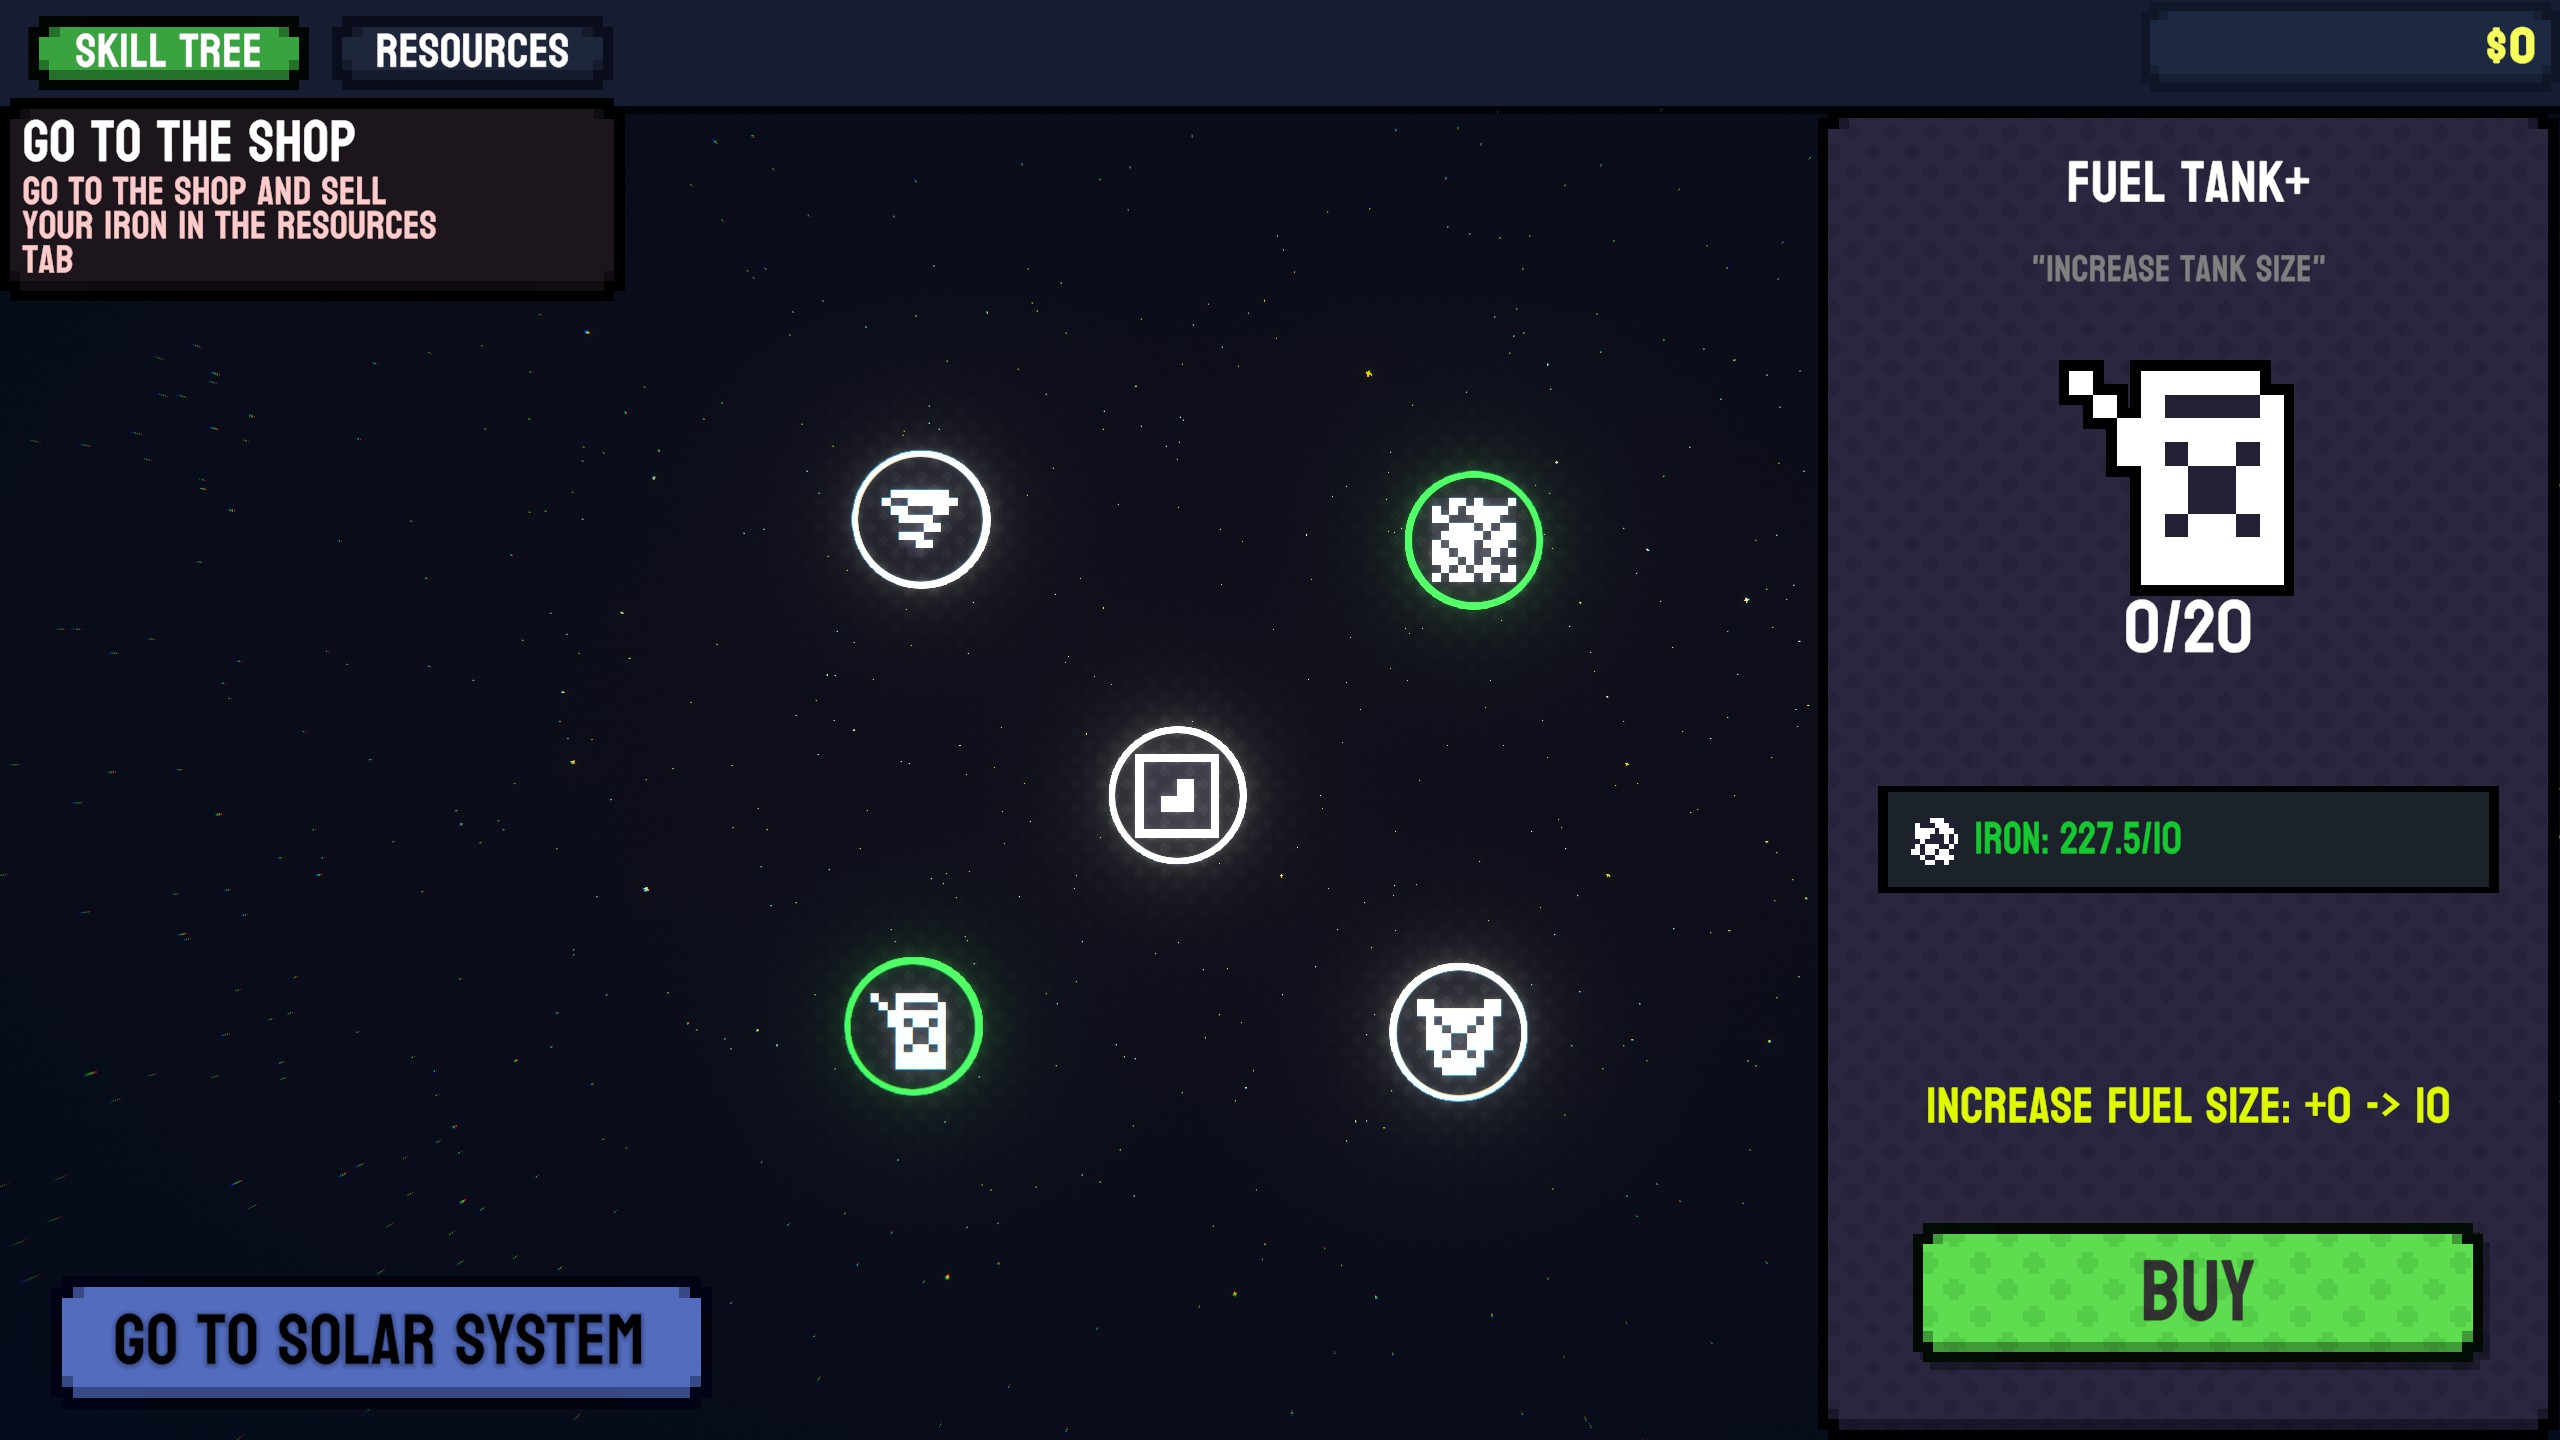
The first time you visit the shop, you’ll see 5 visible upgrades: Drill Damage, Vision Upgrade, Silicon Plating, Ore Extraction, and Fuel Tank+. The last two should be available to purchase at least a couple of tiers. Upgrades require different materials in addition to money, so you’ll need to strategically collect the right materials for the upgrades you want to buy.
Here’s a quick overview of what these upgrades offer:
- Drill Damage: Increases the speed at which you break rocks.
- Silicon Plating: Reduces the damage your ship takes when hitting rocks.
- Ore Extraction: Increases the materials dropped by rocks.
- Fuel Tank+: Increases your fuel capacity.
- Vision Upgrade: Expands your view of planets on the planetary map. This upgrade, along with its later versions, is important because it unlocks new materials for other upgrades.
From the store menu, you can also access the resources menu at the top of the screen. This menu allows you to see all the materials you’ve gathered and gives you the option to sell them for money (opmerking: there’s a slider in the top right that lets you select the percentage to sell at a time). There’s also a section for buffs and a progress bar. Every material in the game will “level up” as you gather more of it. When a material reaches its next rank, it gains buffs that make it easier to collect in the future.
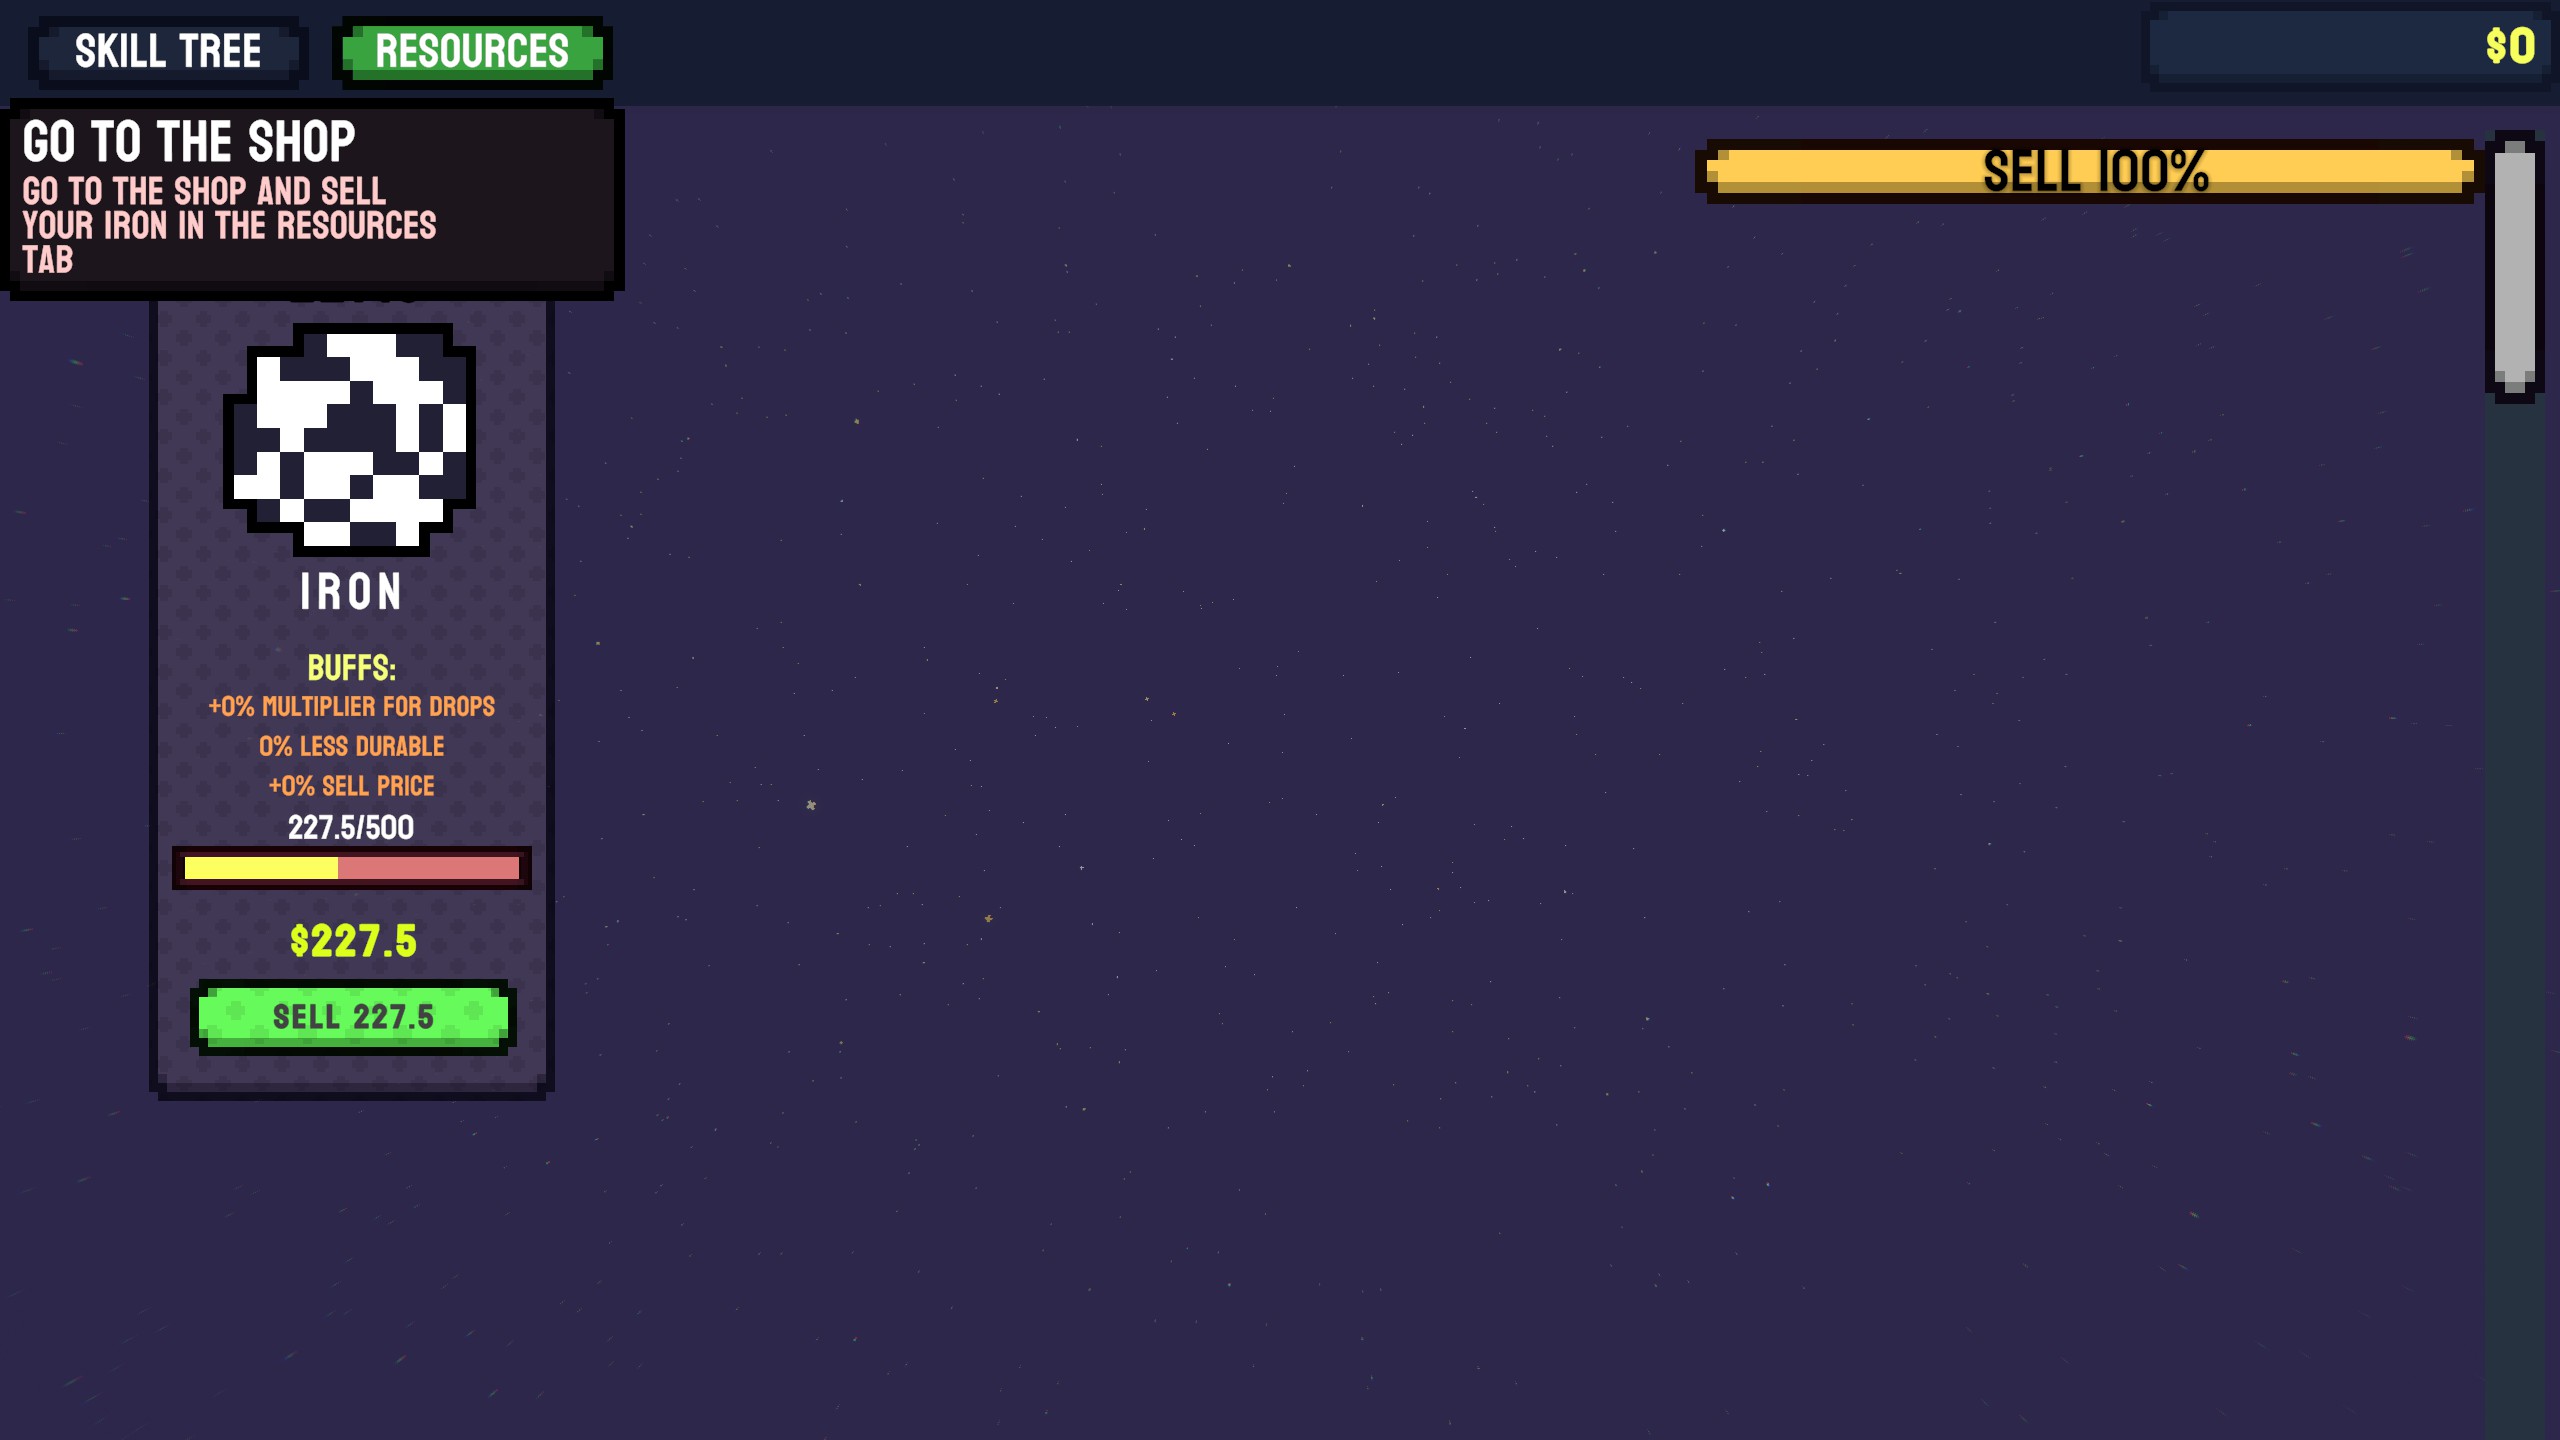
Once you sell your iron and buy the Drill Damage upgrade, you’ll have completed the tutorial and experienced the basic gameplay loop. Now you’re ready to explore and progress on your own!
De Kern
The main goal is straightforward: at the center of each planet lies a white core. These cores possess a considerable amount of health (relative to the planet’s size) and can deliver a fatal blow to your ship with a single hit if you lack adequate shielding, fuel, and regeneration. When you damage a core, it will diminish in size (unless it’s instantly destroyed), based on the extent of the damage dealt. Echter, it’s crucial to note that the core’s hitbox does not change.
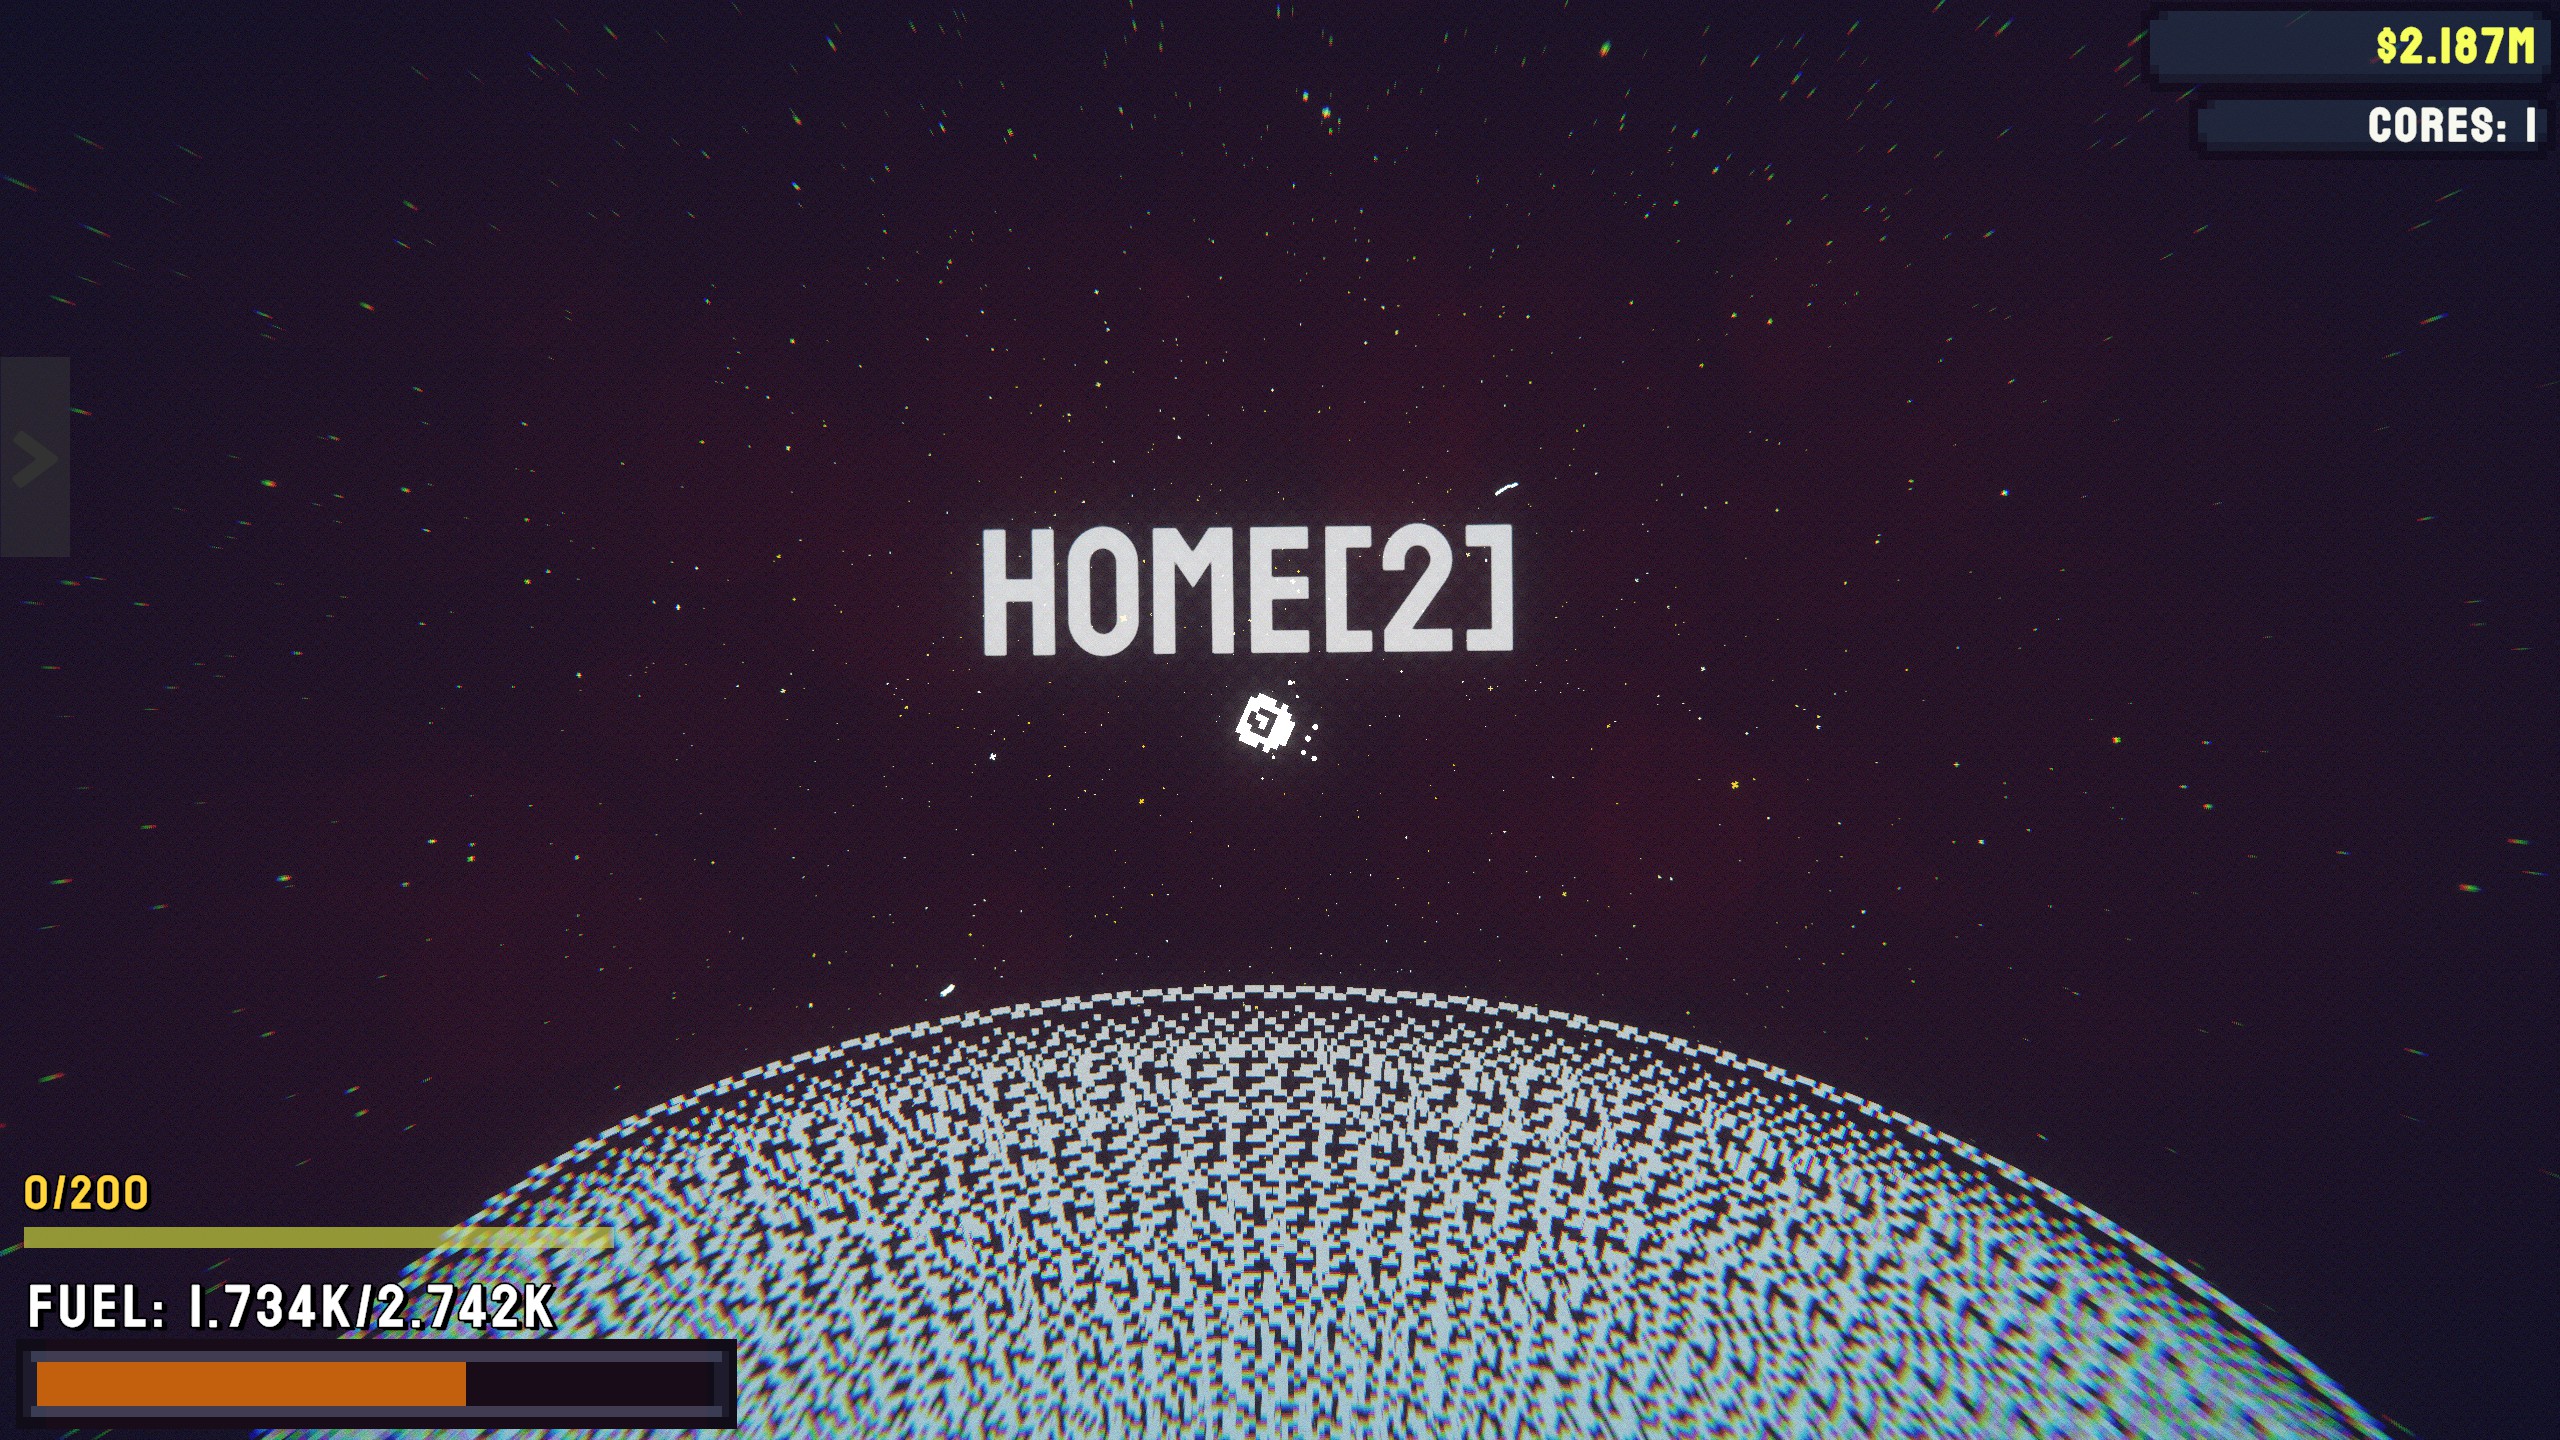
When you become powerful enough to destroy a core, you’ll encounter the following message:
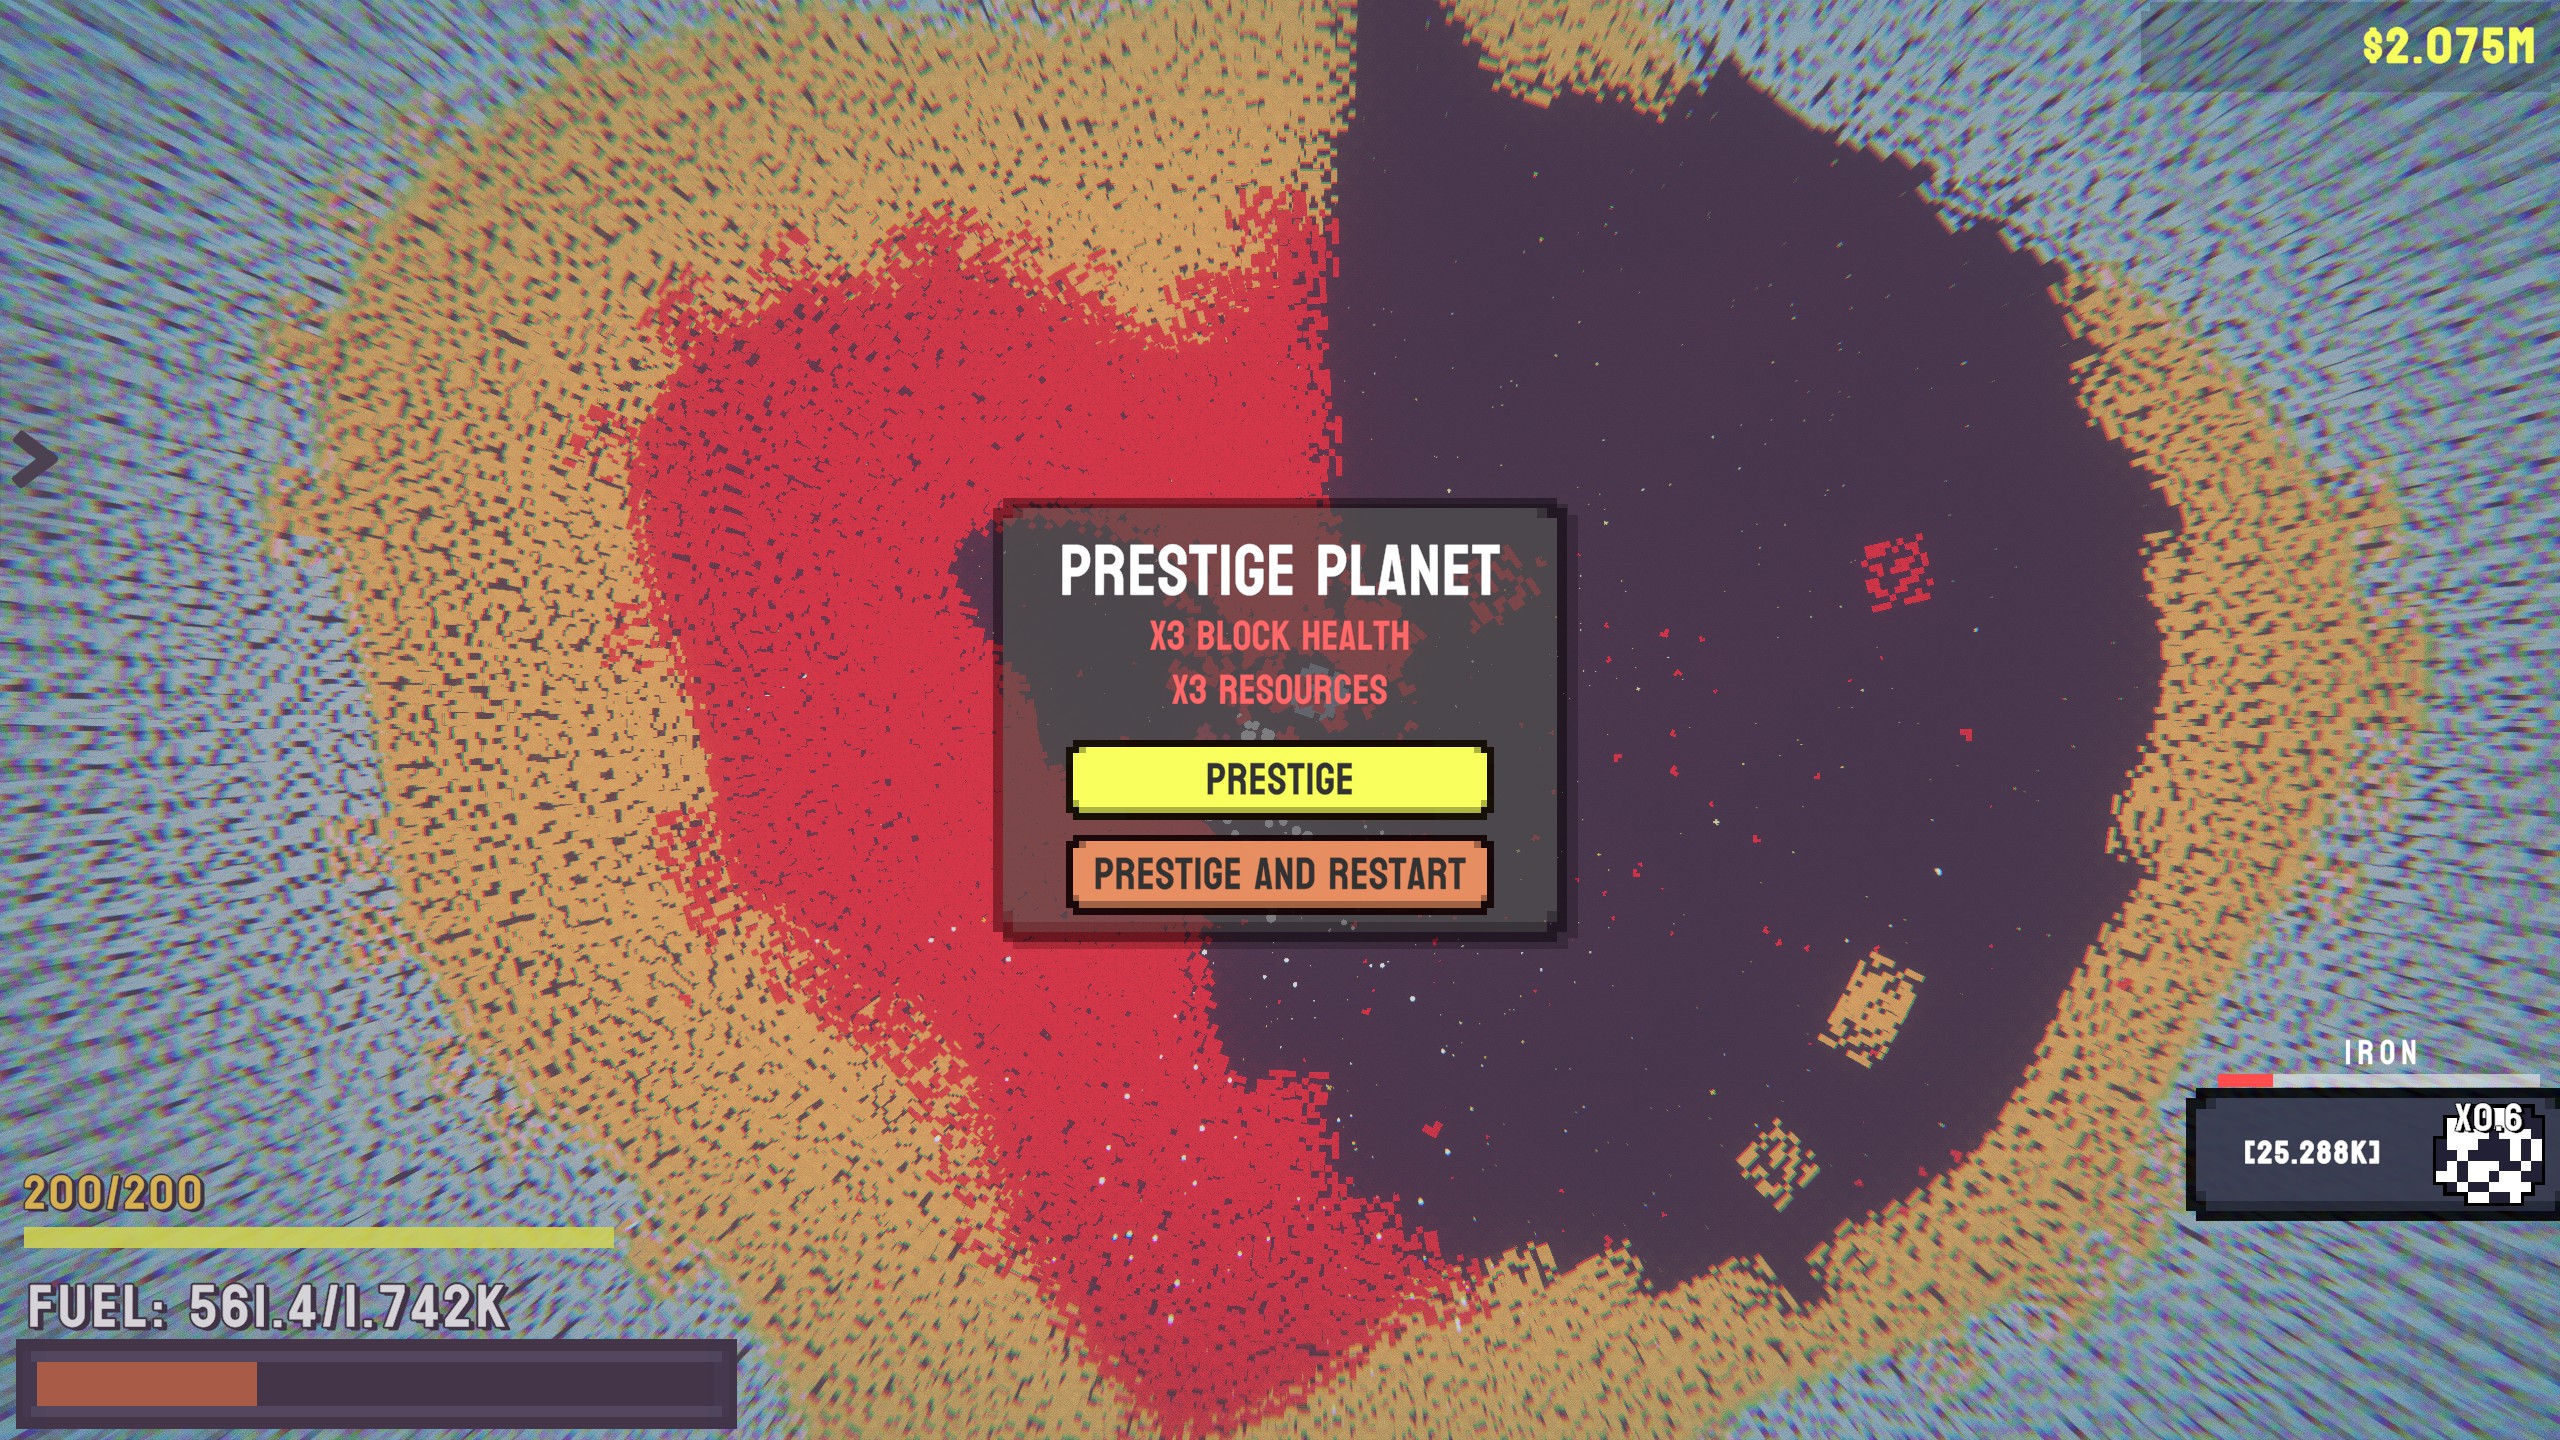
If you choose to prestige a planet, you’ll continue your current run at the same level. Opting to restart gives you a fresh planet at the next level of prestige, as indicated by the number beside the planet’s name upon spawning.
If you find a planet’s new prestige level too challenging for your ship at the moment, you can switch to any unlocked level of prestige for that planet on the planetary map. You can also view the precise multiplier for a level from this map.
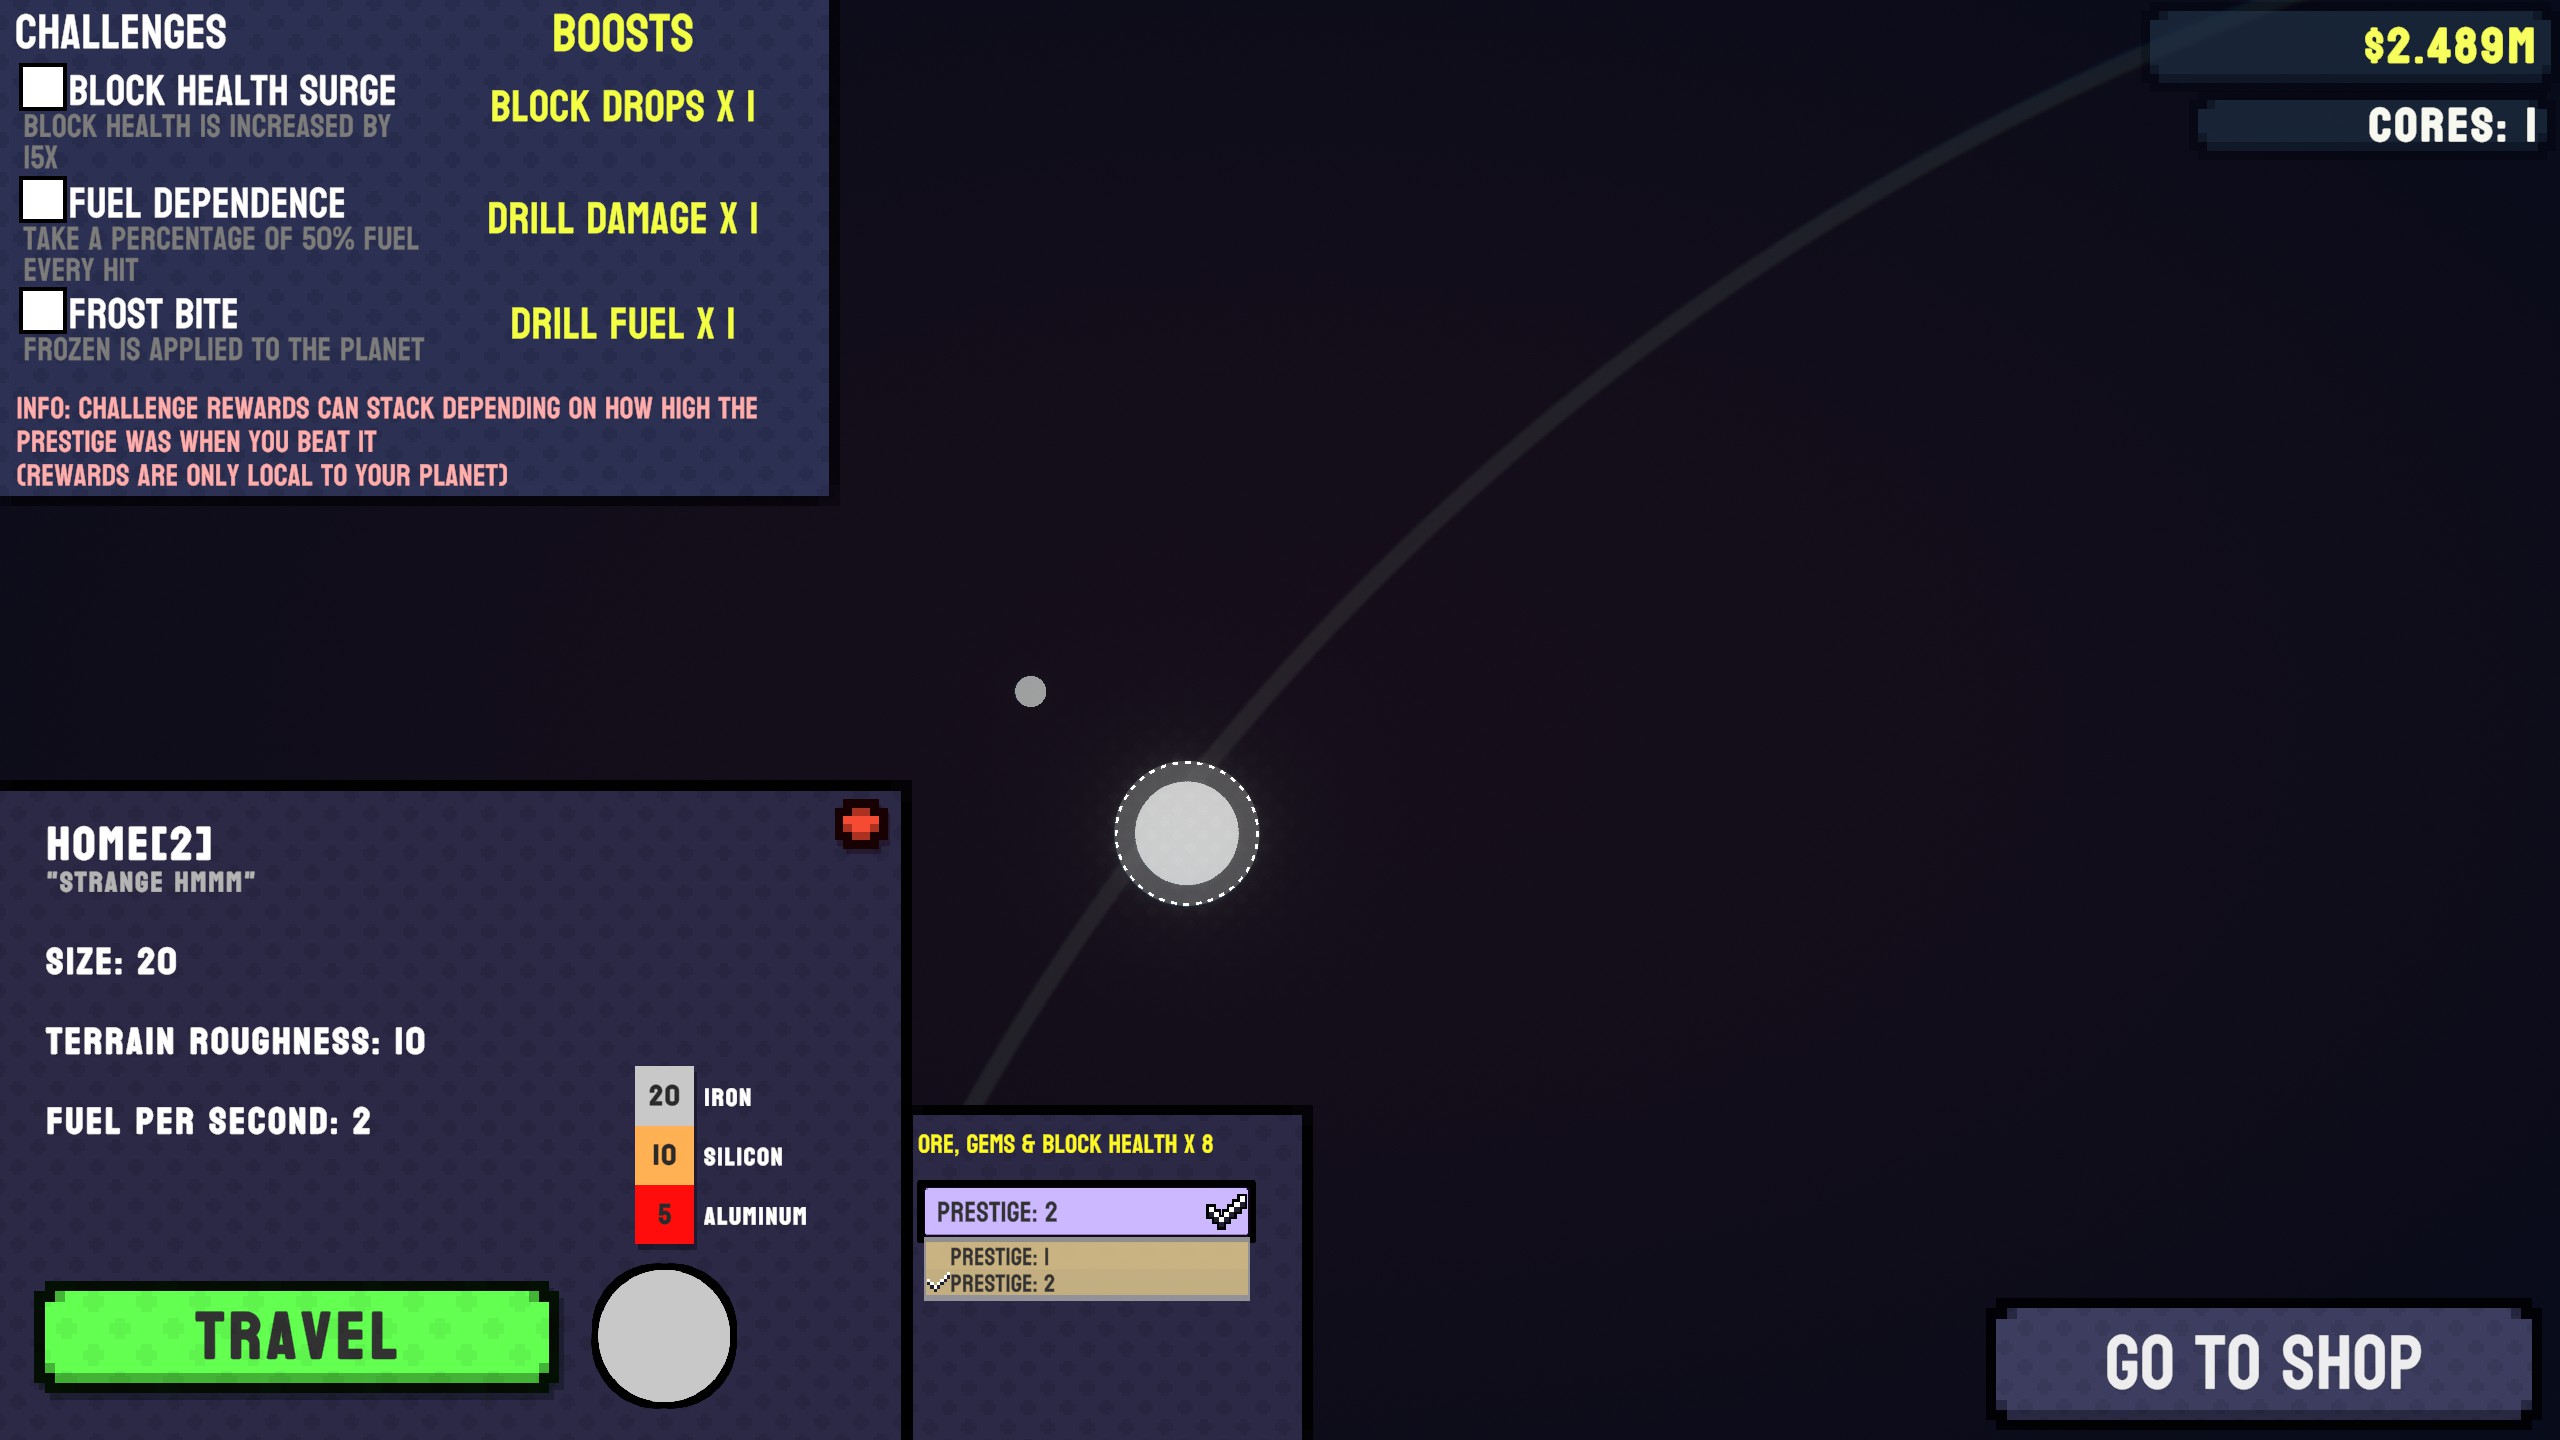
You can also opt to undertake challenges on completed planets. Completing a planet (destroying the core) with a challenge enabled rewards you with a stat boost while playing on that planet in the future. The buffs acquired are permanent across prestiges, although challenges can only be completed once per prestige. The challenge you complete defines the buff obtained. If you completed a challenge on prestige level 3, you can’t go back and complete it on prestige level 2 to receive a different buff—you’ll simply retain the larger one.
Upgrades: Better Movement
One of the initial upgrade sets to focus on is Gravity Lock and Thrusters, both tied to Drill Damage and Silicon Plated Drills (which is in turn linked to Drill Damage).
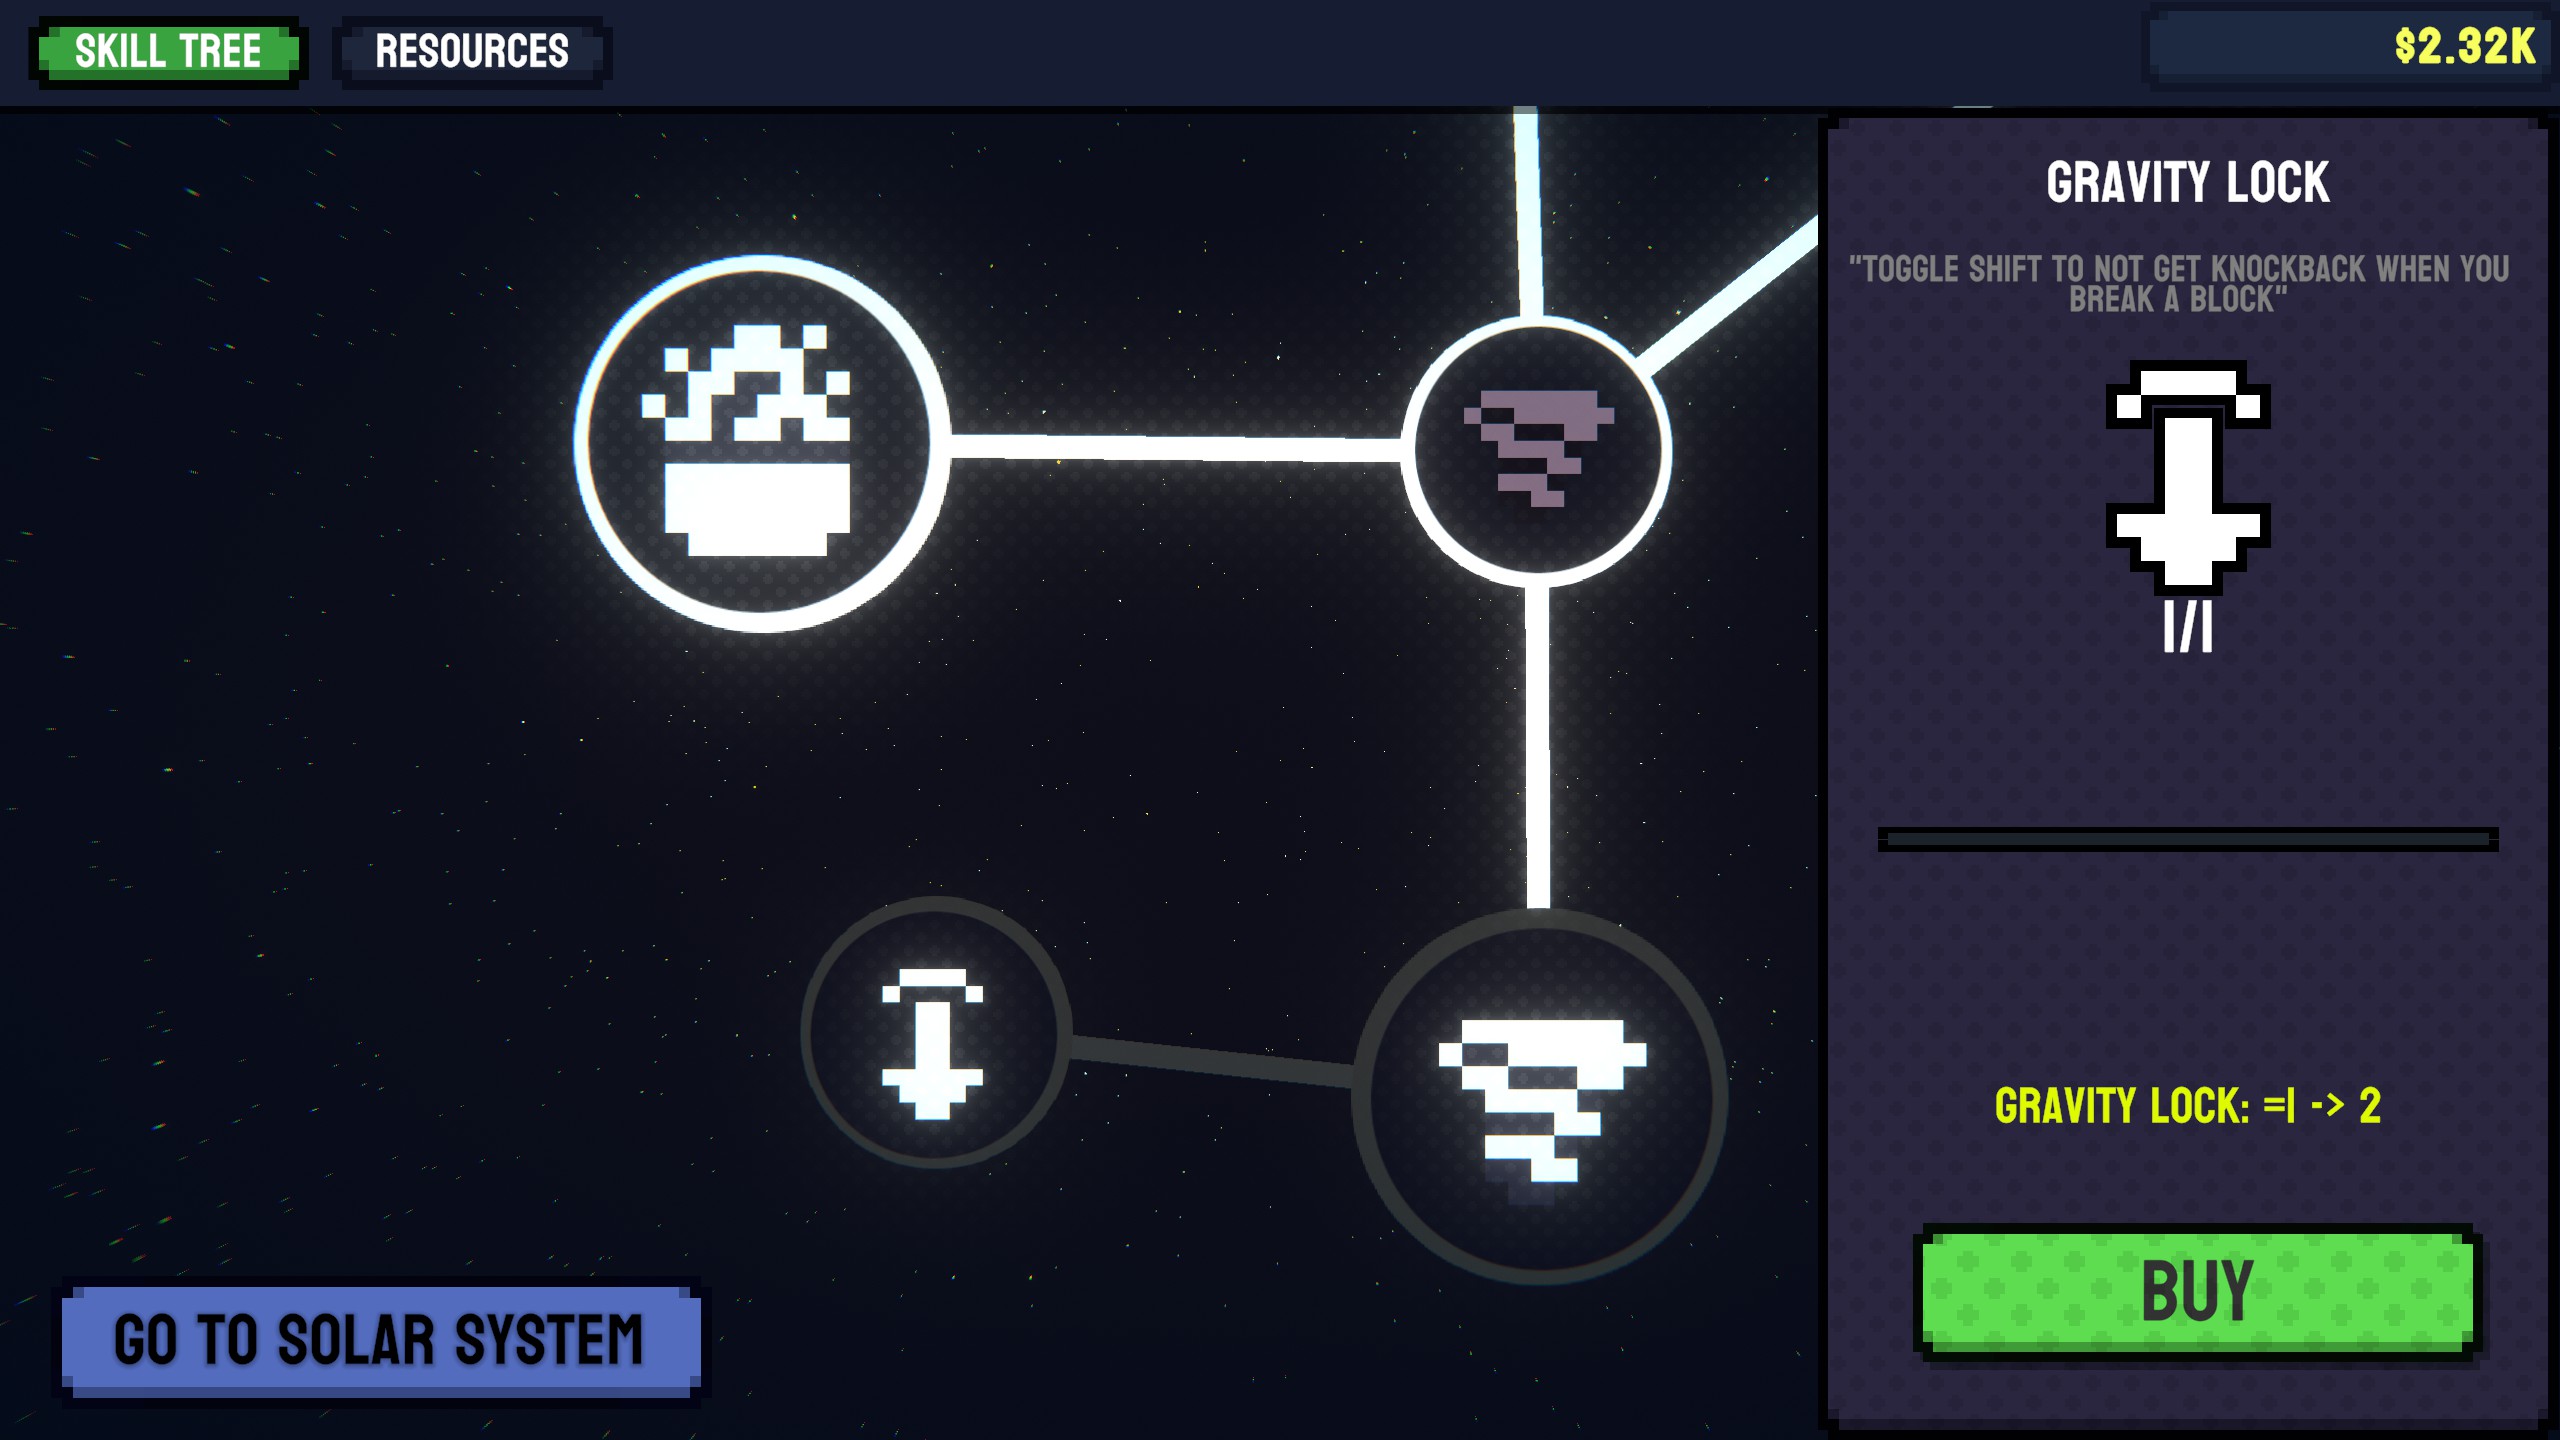
- Gravity Lock Upgrade: This allows you to press Shift to counteract much of the rebound when mining rocks, making it easier to smash through weak rocks quickly. Your ship’s appearance will darken when this mode is activated. This upgrade is reasonably priced and should be obtained early on.
- Thrusters Upgrade: This is pricier and requires Aluminum, but it grants you control over your vertical movement using W and S. This greatly improves your ship’s maneuverability.
Upgrades: Milestones
Milestones should be a priority after achieving Vision 1. Although it’s tied to Vision 2, you can purchase Milestones immediately after Vision 1. With a cost of $900,000, it might take some time to unlock, and you could alternatively save up $1,000,000 to unlock Home’s Moon. This might grant you more fundamental upgrades through the use of new materials.
Upon purchasing the Milestones upgrade, a new milestones unlocked menu becomes available (unless you’ve already destroyed a core). This menu offers several features:

The primary element is the blocks broken milestones. This tracks the number of blocks you’ve broken after obtaining the Milestones upgrade. Reaching each target grants you rewards like materials, stat boosts, and skins. Once you destroy a core, a second milestone tracks the number of cores broken, offering similar rewards.
The skins sub-menu allows you to customize your ship with different skins as you complete milestones.

And just because Jimmy’s task involves breaking 30 million blocks doesn’t mean it’s not the most worthwhile one.
Upgrade: Het knutselen
After unlocking a craftable item (likely Gunpowder or potentially Circuit Boards), the crafting menu becomes accessible.
In this menu, you can craft various products unlocked through upgrades. These products are then used to purchase specific other upgrades. Similar to the resources menu, a slider in the top right lets you choose the percentage to craft.
For each product, you’re provided with its name, the quantity per craft (defaulting to 1), the available amount of the item, the amount being crafted, and the potential quantity to craft in parentheses. The required materials for crafting are listed. At the bottom of each item, a progress bar indicates the time until the craft is complete. While this time can’t be shortened, you can spend gems to increase the amount crafted per action.
If you haven’t encountered gems yet, maak je geen zorgen—these are materials obtained through gameplay, not microtransactions. They have a chance of being a secondary drop from any rocks you break.
Upgrade: Apparatuur
The equipment menu becomes accessible when you purchase any equipment upgrade (likely Lens Enhancer or Siphon Expander).
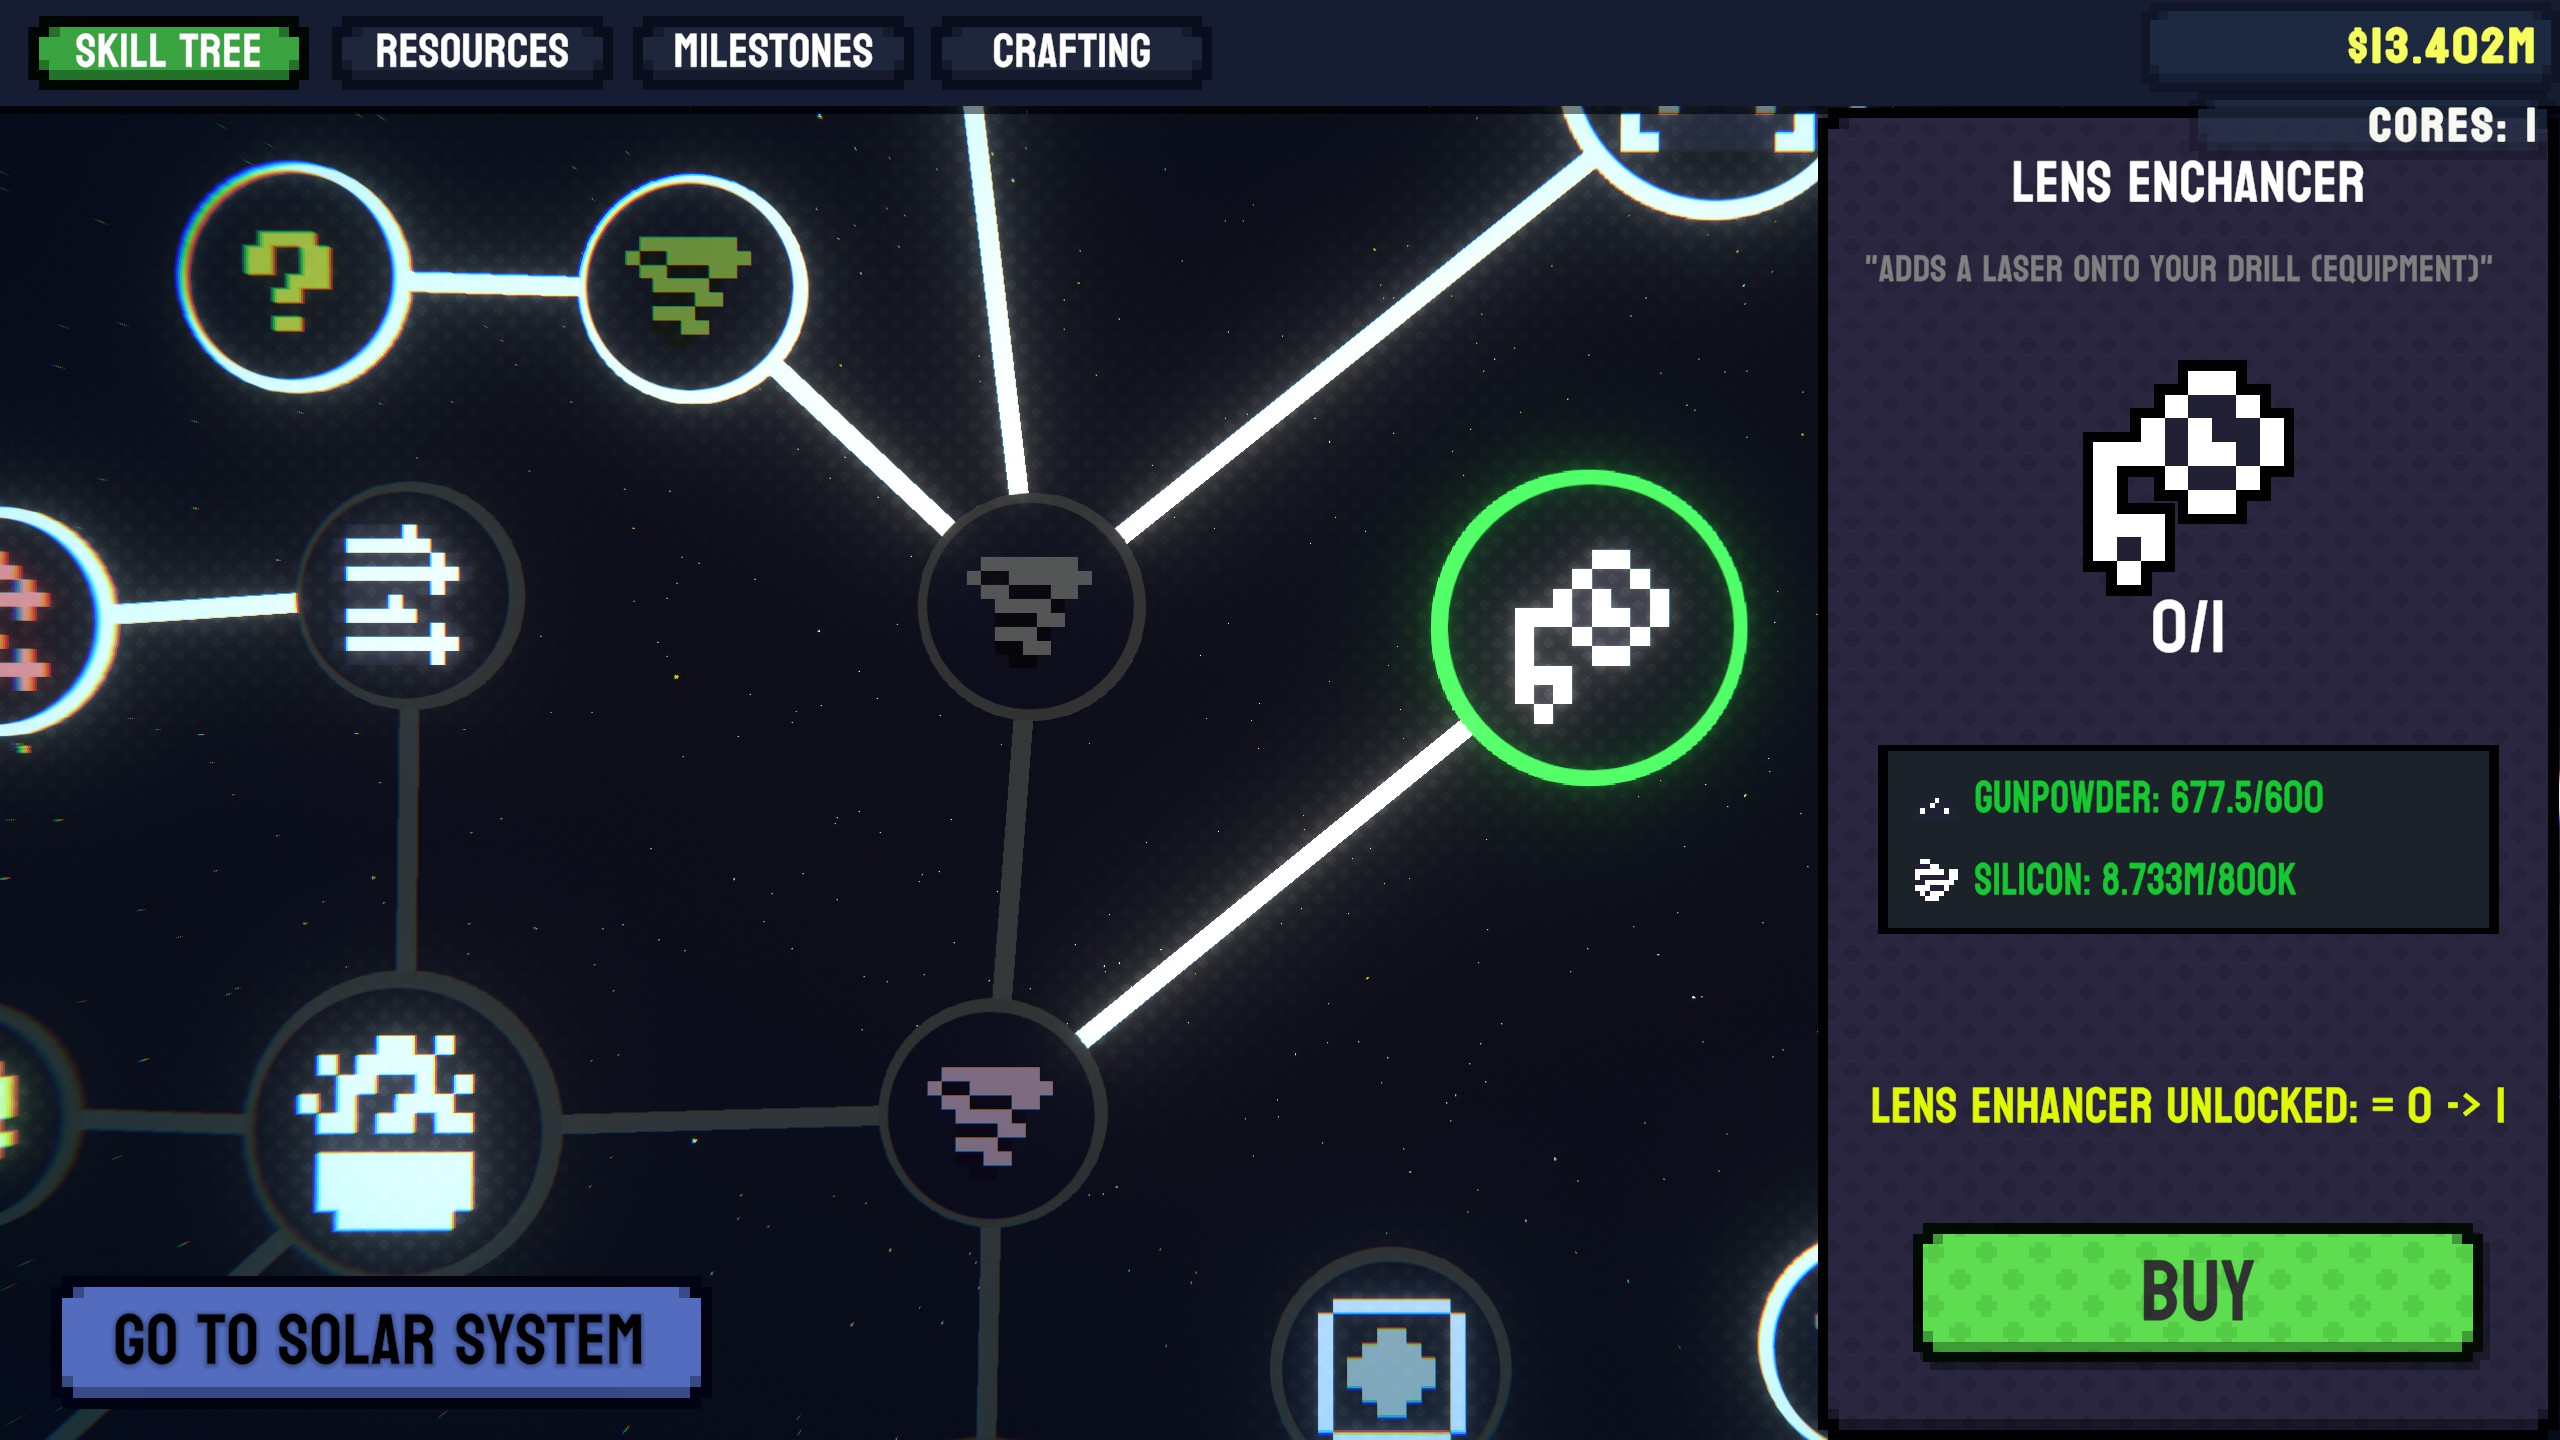
Equipment functions as a sort of “ally” systeem. You can equip one piece of equipment at a time, which provides various buffs. Bijvoorbeeld, the Lens Enhancer provides a laser that can be fired with the left mouse button to destroy blocks at a distance, using fuel. Other equipment, like the Siphon Expander, offers stat boosts.
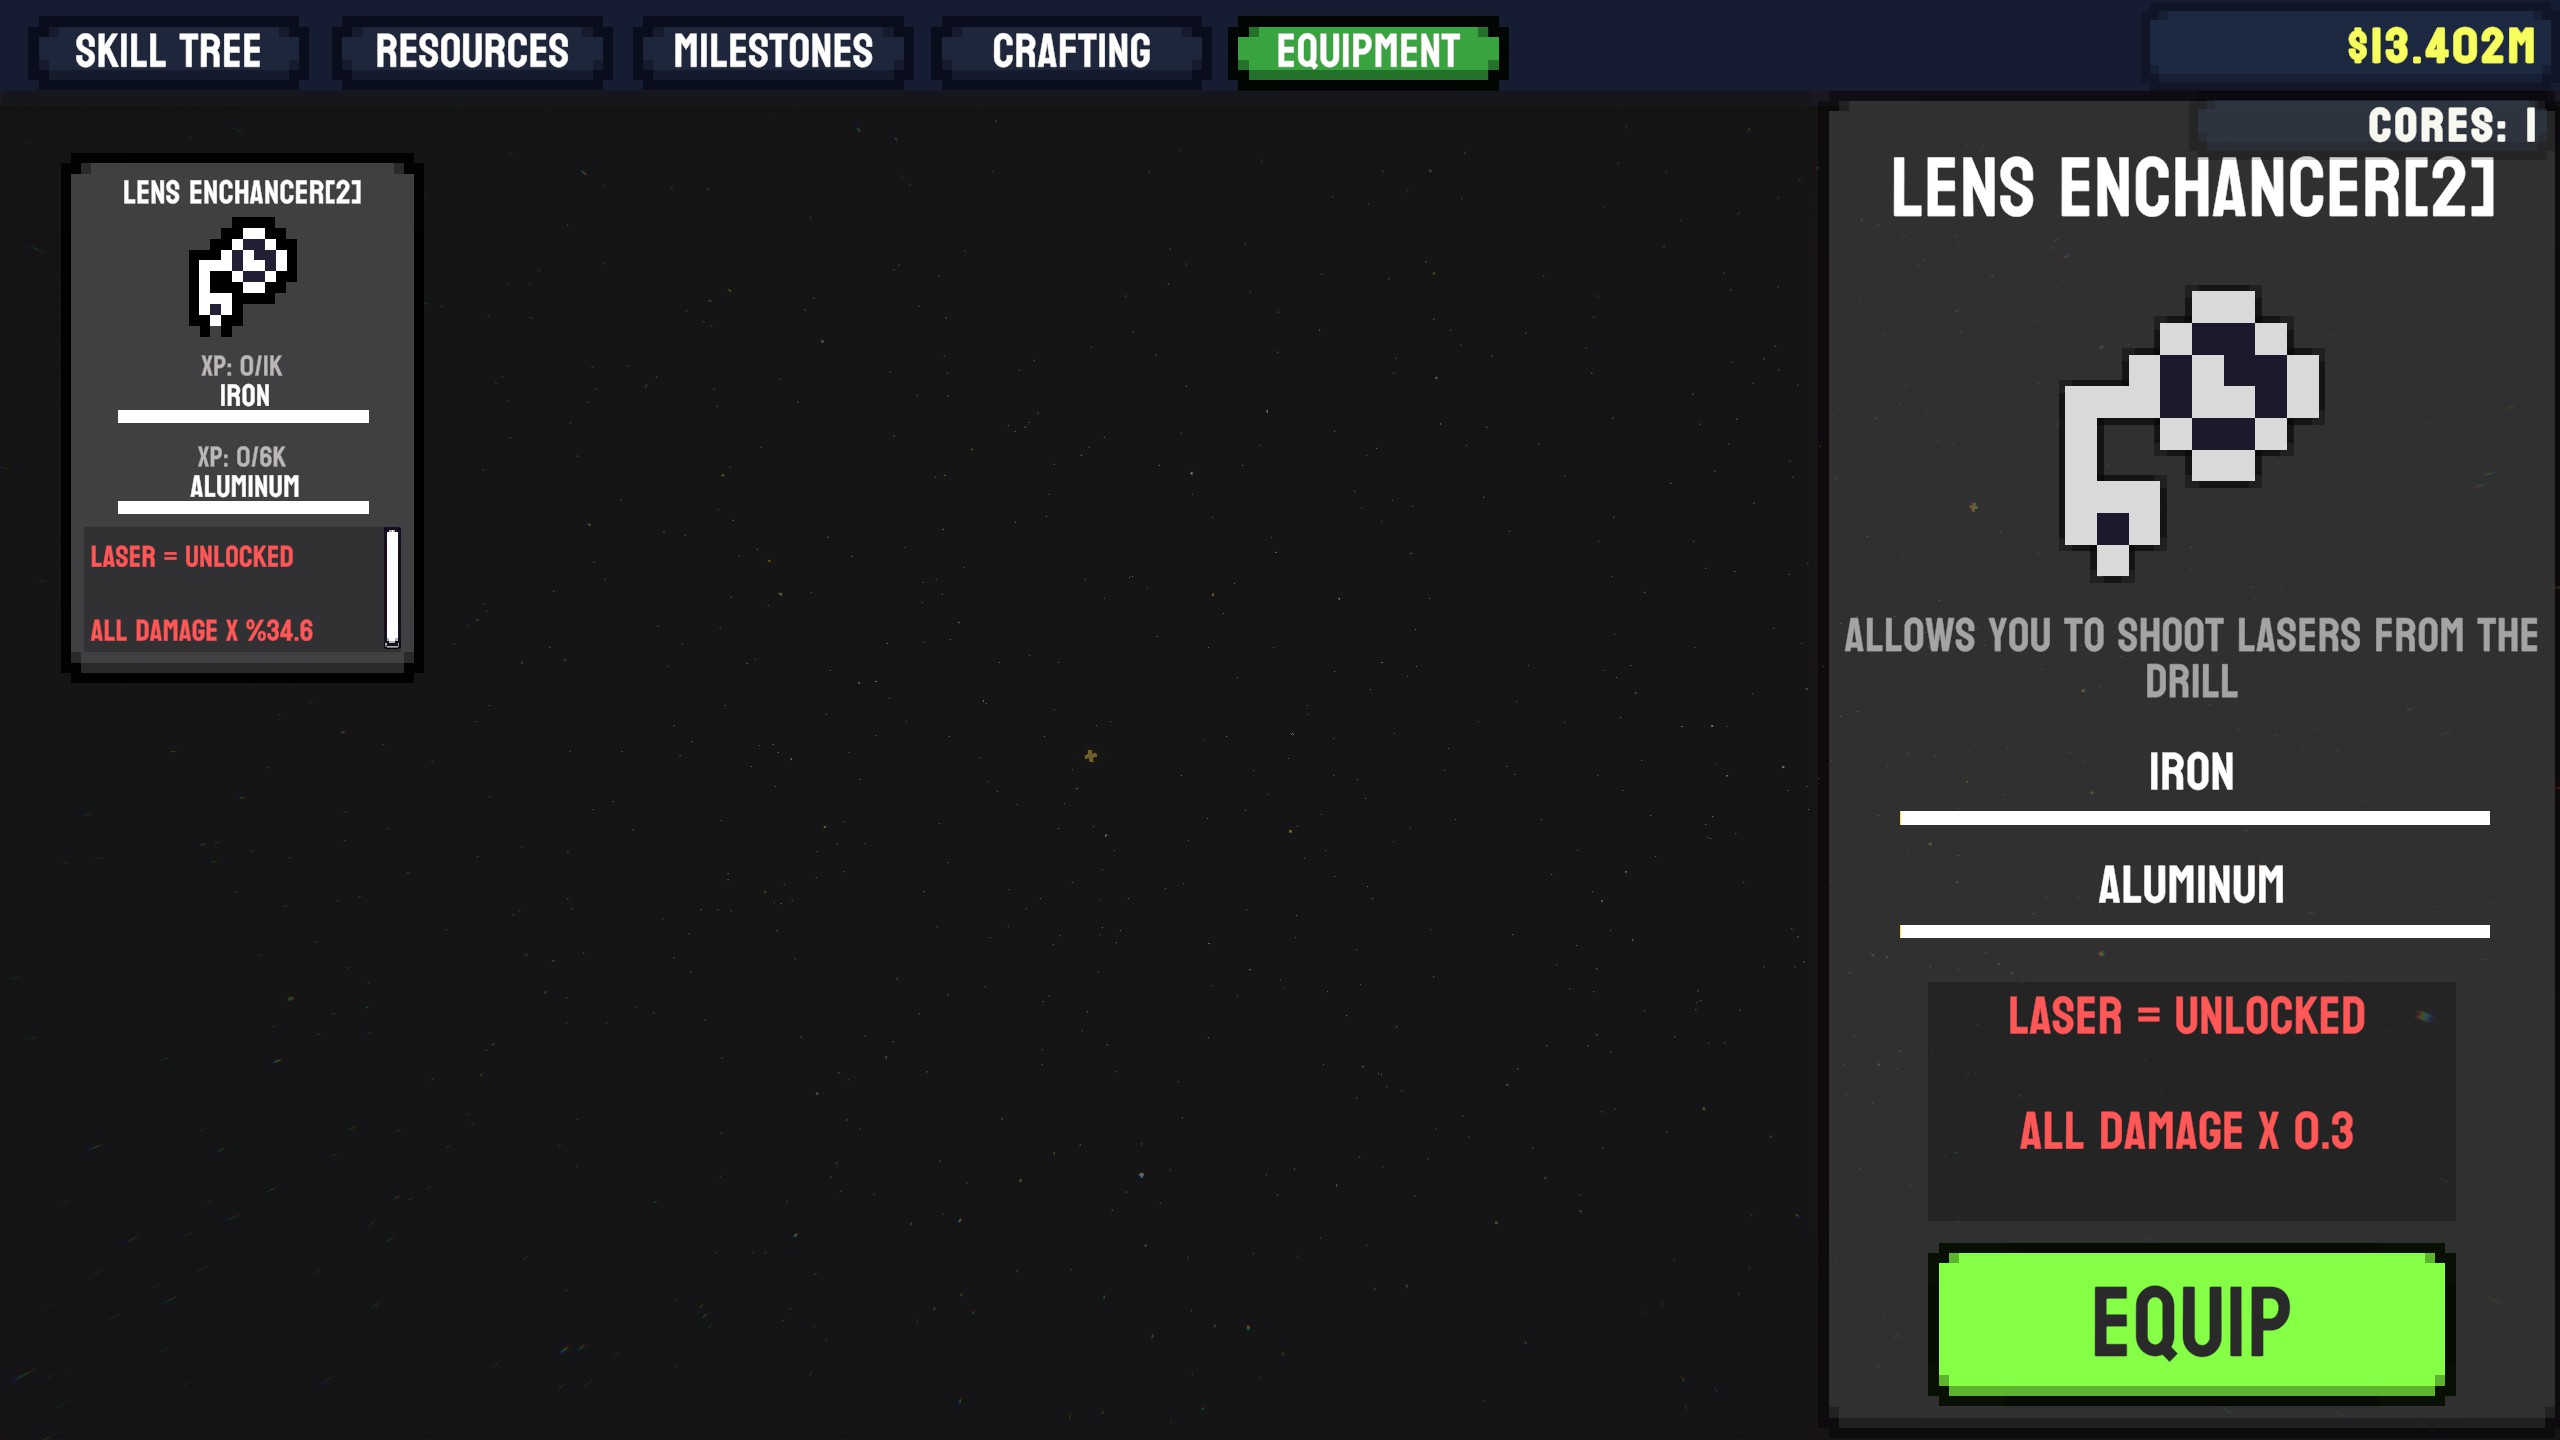
While all equipment starts with reasonable stats, they can be upgraded. Each item has two materials that grant relevant XP upon collection. Once the required amount is reached for both materials, the item levels up, enhancing its bonuses. The current level of an item is shown next to its name in parentheses. Items have a maximum level, indicated by “MAX” rather than a number.
Upgrade: Farms
Farms can only be unlocked after Vision 3, as the preceding Ore Infusion upgrade necessitates Diamonds. Als gevolg hiervan, farms are a late-game feature.
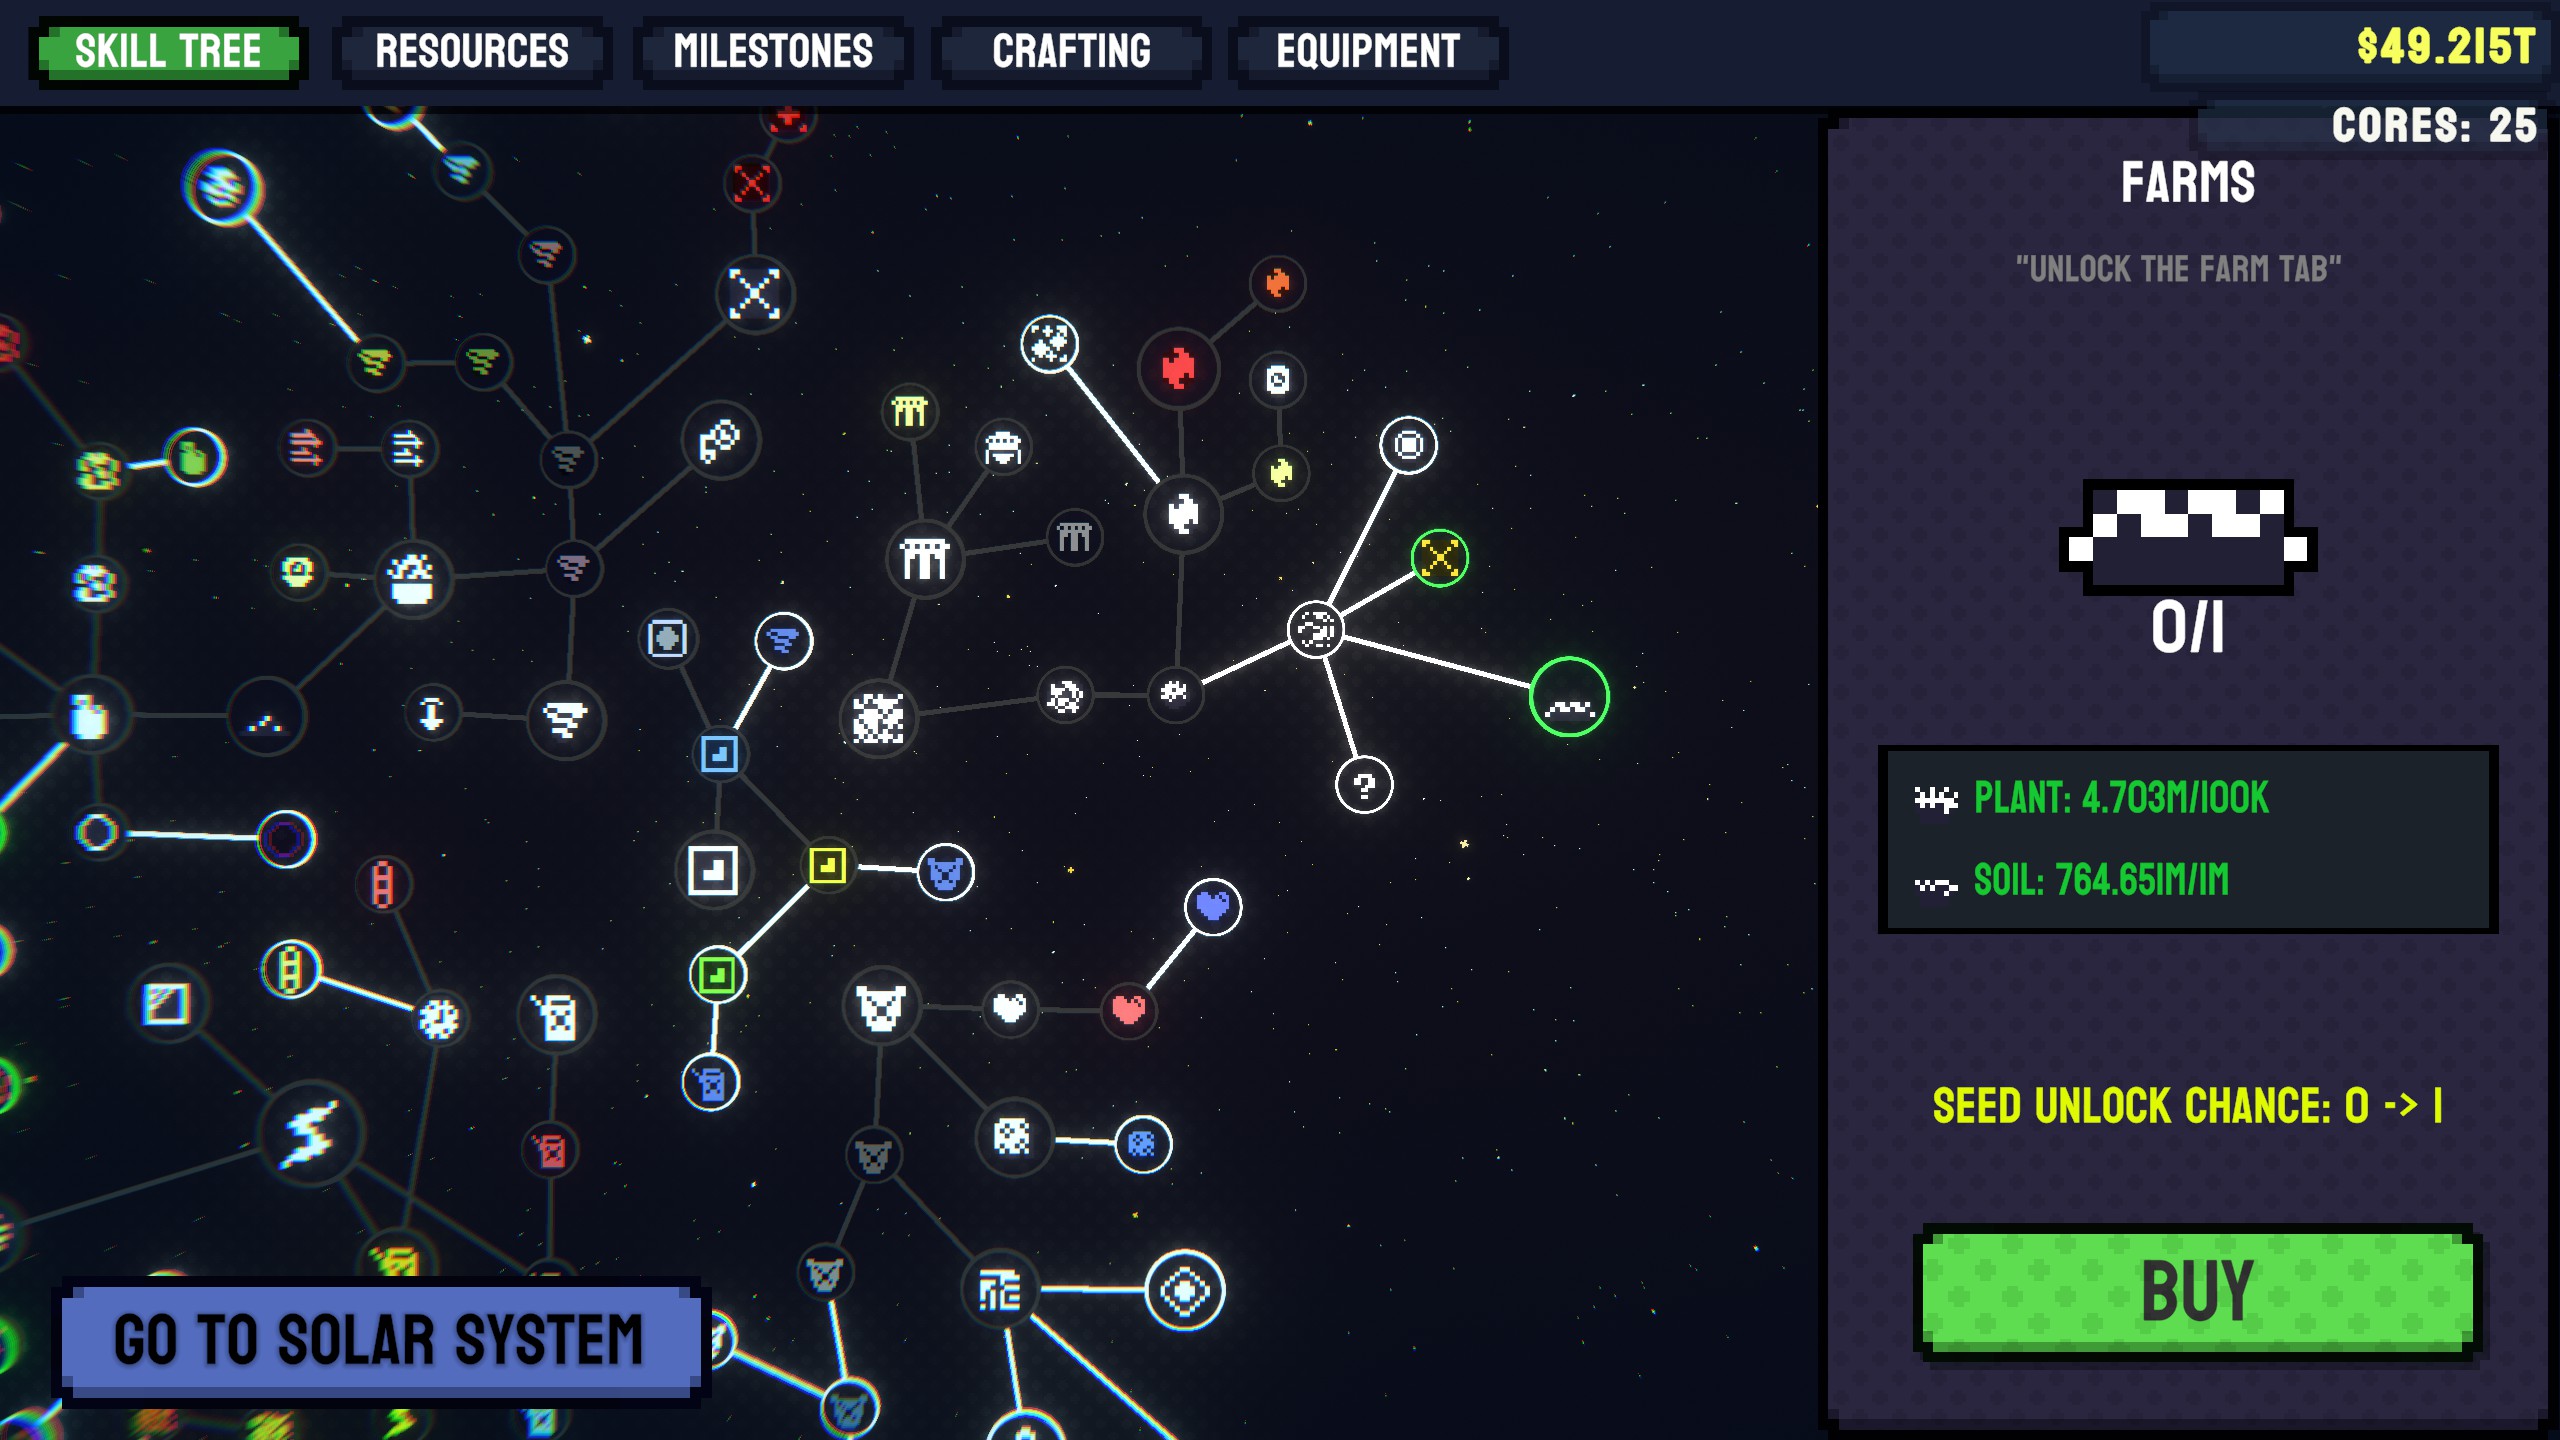
The Farming menu is a potent and useful feature that enables material growth. After purchase, the menu is initially empty, and you must start by collecting seeds. To acquire seeds, select a material you need and gather it as usual. This should yield some seeds of that type. Zo niet, an upgrade following the Farms upgrade increases the odds of obtaining seeds.
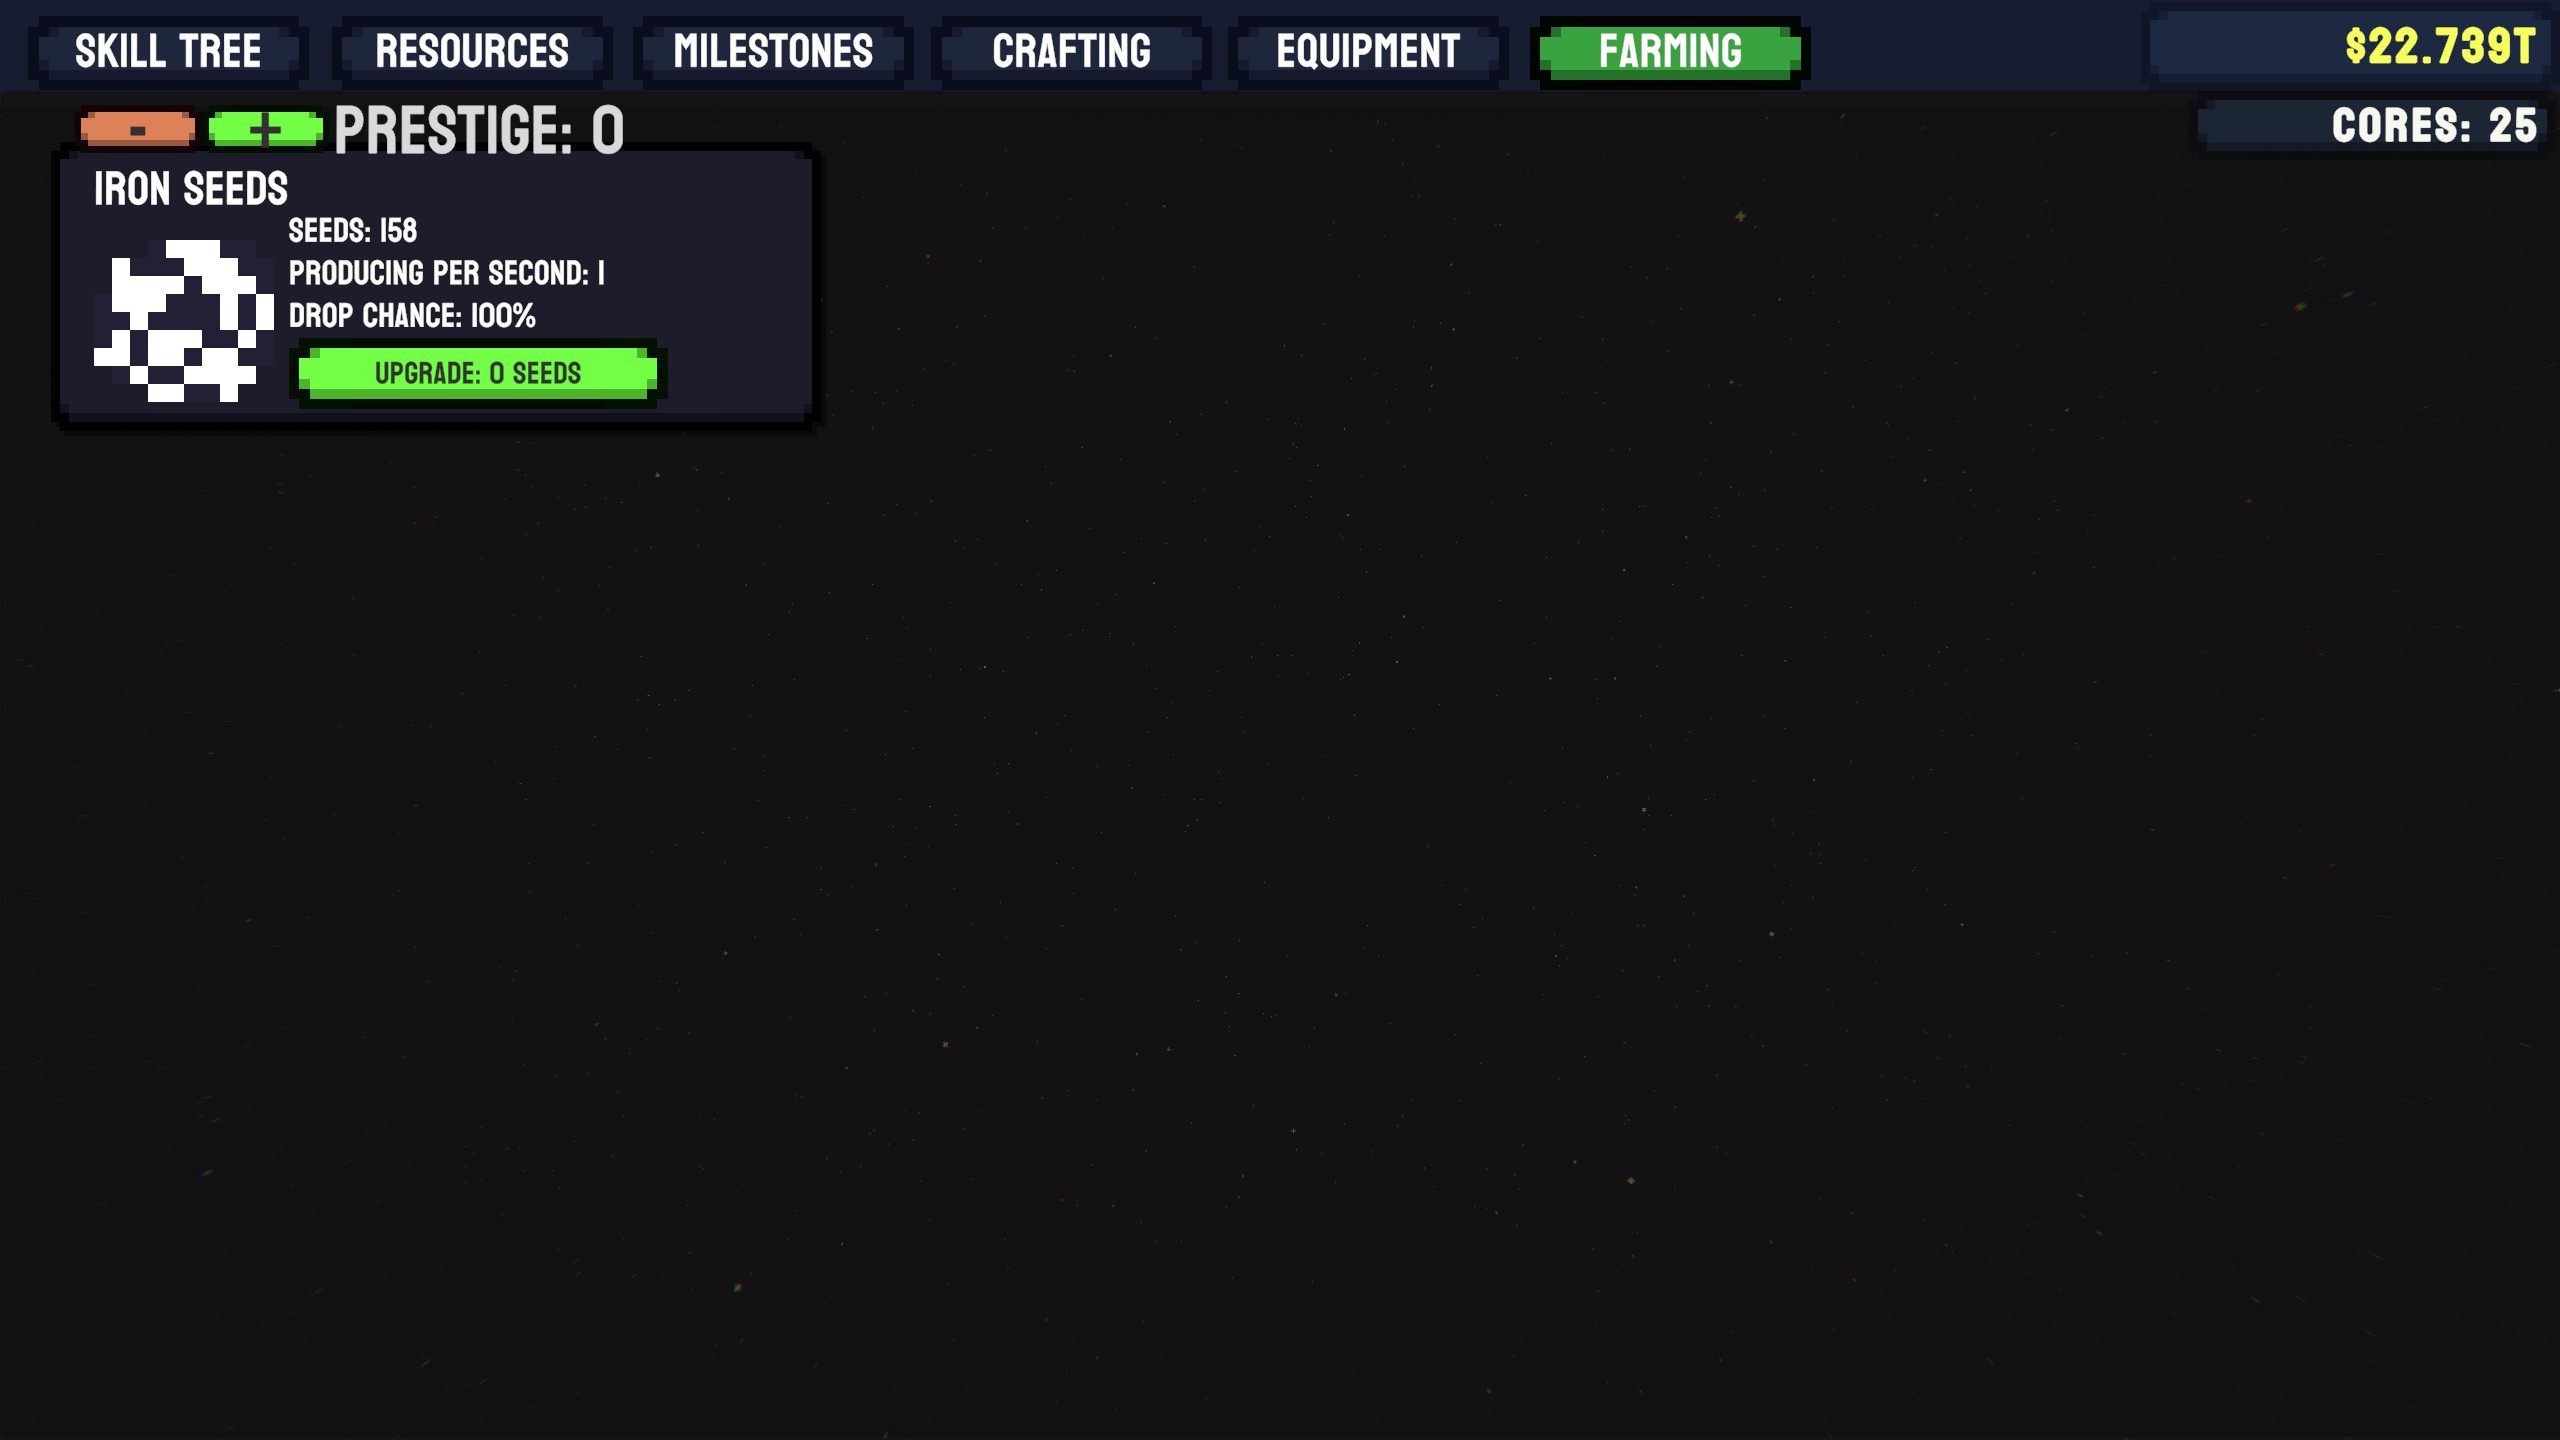
Once you possess seeds for a material, they’ll be displayed. All unlocked materials produce one unit of their material per second. You can upgrade a crop using additional seeds, but note that this won’t increase the materials per second. This is where cores come into play. Cores can be used to prestige crops. Each level of prestige updates the materials per second based on the seed’s level, and subsequent prestiges multiply this amount. You can add and remove prestige points to crops as needed.
This is a powerful way to farm materials in the late game.
Upgrade: The Infinity Box
The Infinity Box, one of the final upgrades you’ll unlock, is also the most potent.
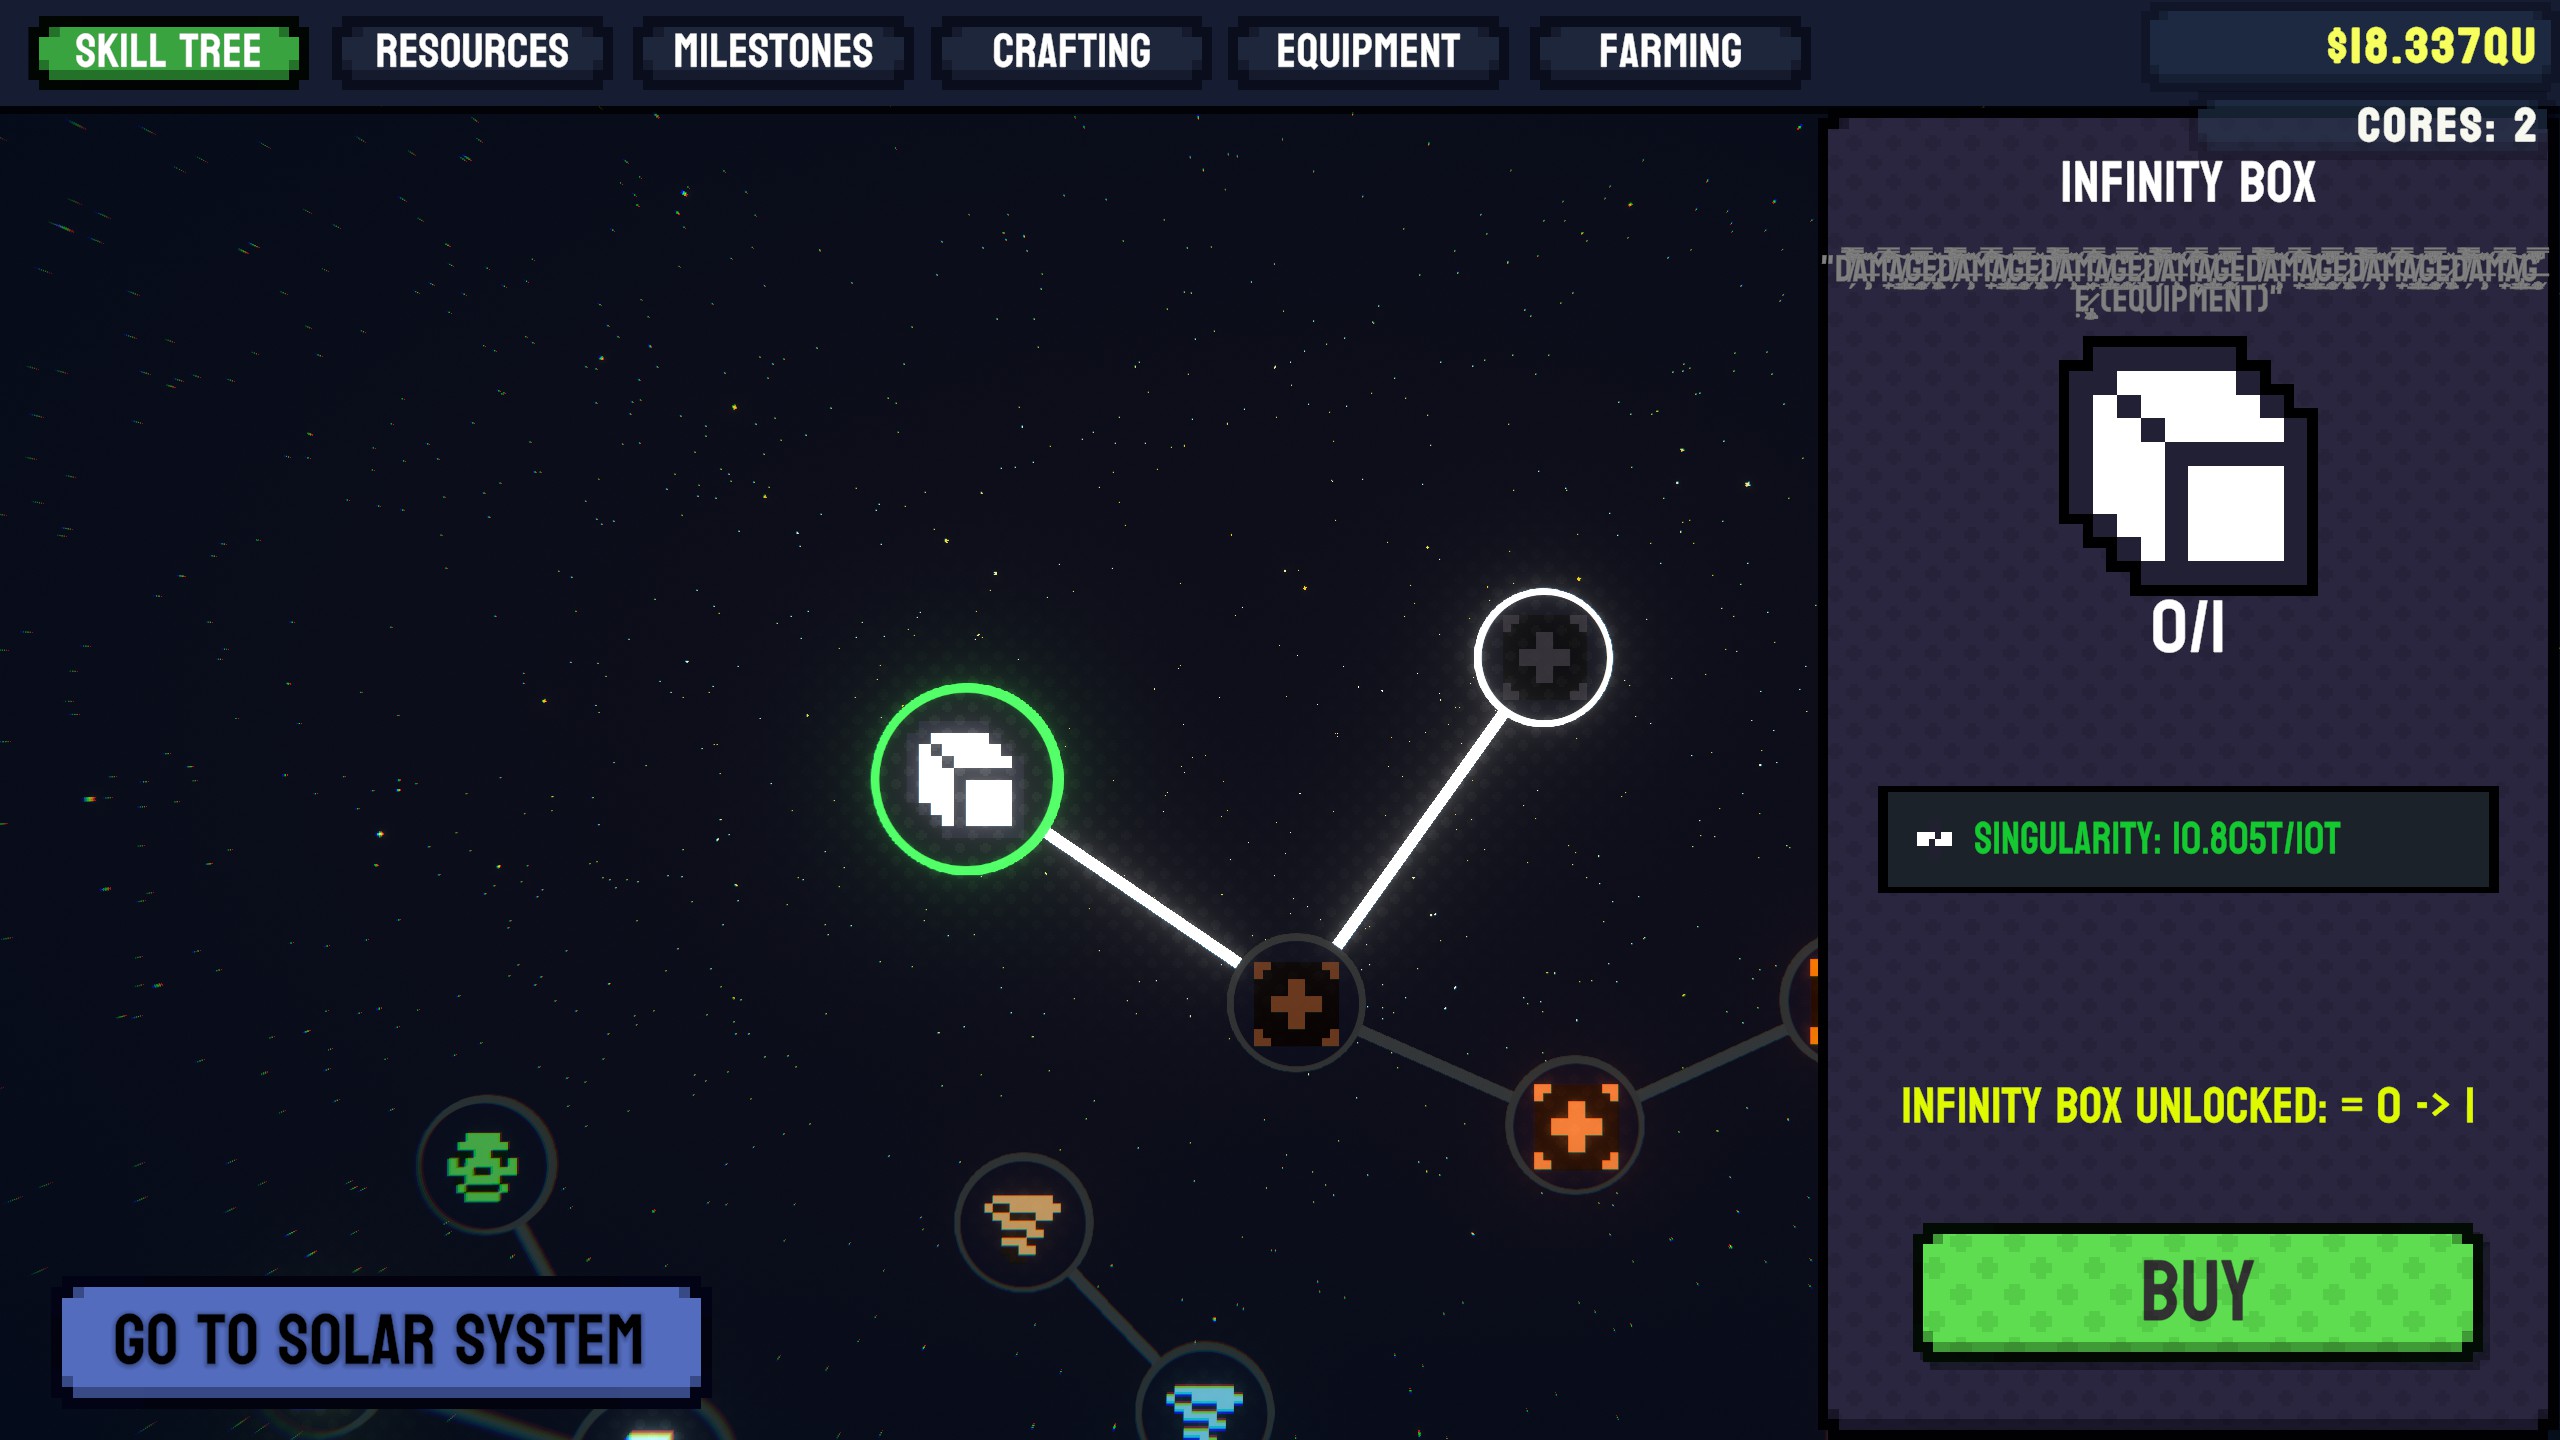
The Infinity Box serves as the fifth and last piece of equipment. Aanvankelijk, it provides a 3x damage boost to ALL damage and levels up exclusively with Singularity from the Blackhole.

While the buff is initially powerful but not overwhelming, at the maximum level of 500, the buff becomes a remarkable 500x damage!

Planets
Planets are the primary levels where you’ll play the game. Each time you visit a planet, it’s randomly generated based on certain rules, primarily size, roughness, and composition. These details can be seen on the planetary map when selecting a world, alongside the fuel drain per second.
- Size indicates the planet’s size. Smaller planets have fewer mineable rocks, while larger ones have more.
- Roughness determines the planet’s overall shape. A higher roughness results in a more irregular and less spherical planet.
- Composition indicates the materials present on the planet, their order (with the top being the surface), and the material ratio. Bijvoorbeeld, Home’s composition is 20 ijzer, 10 silicon, en 5 aluminium. This means it has a silicon layer half the distance from the core as the iron layer.
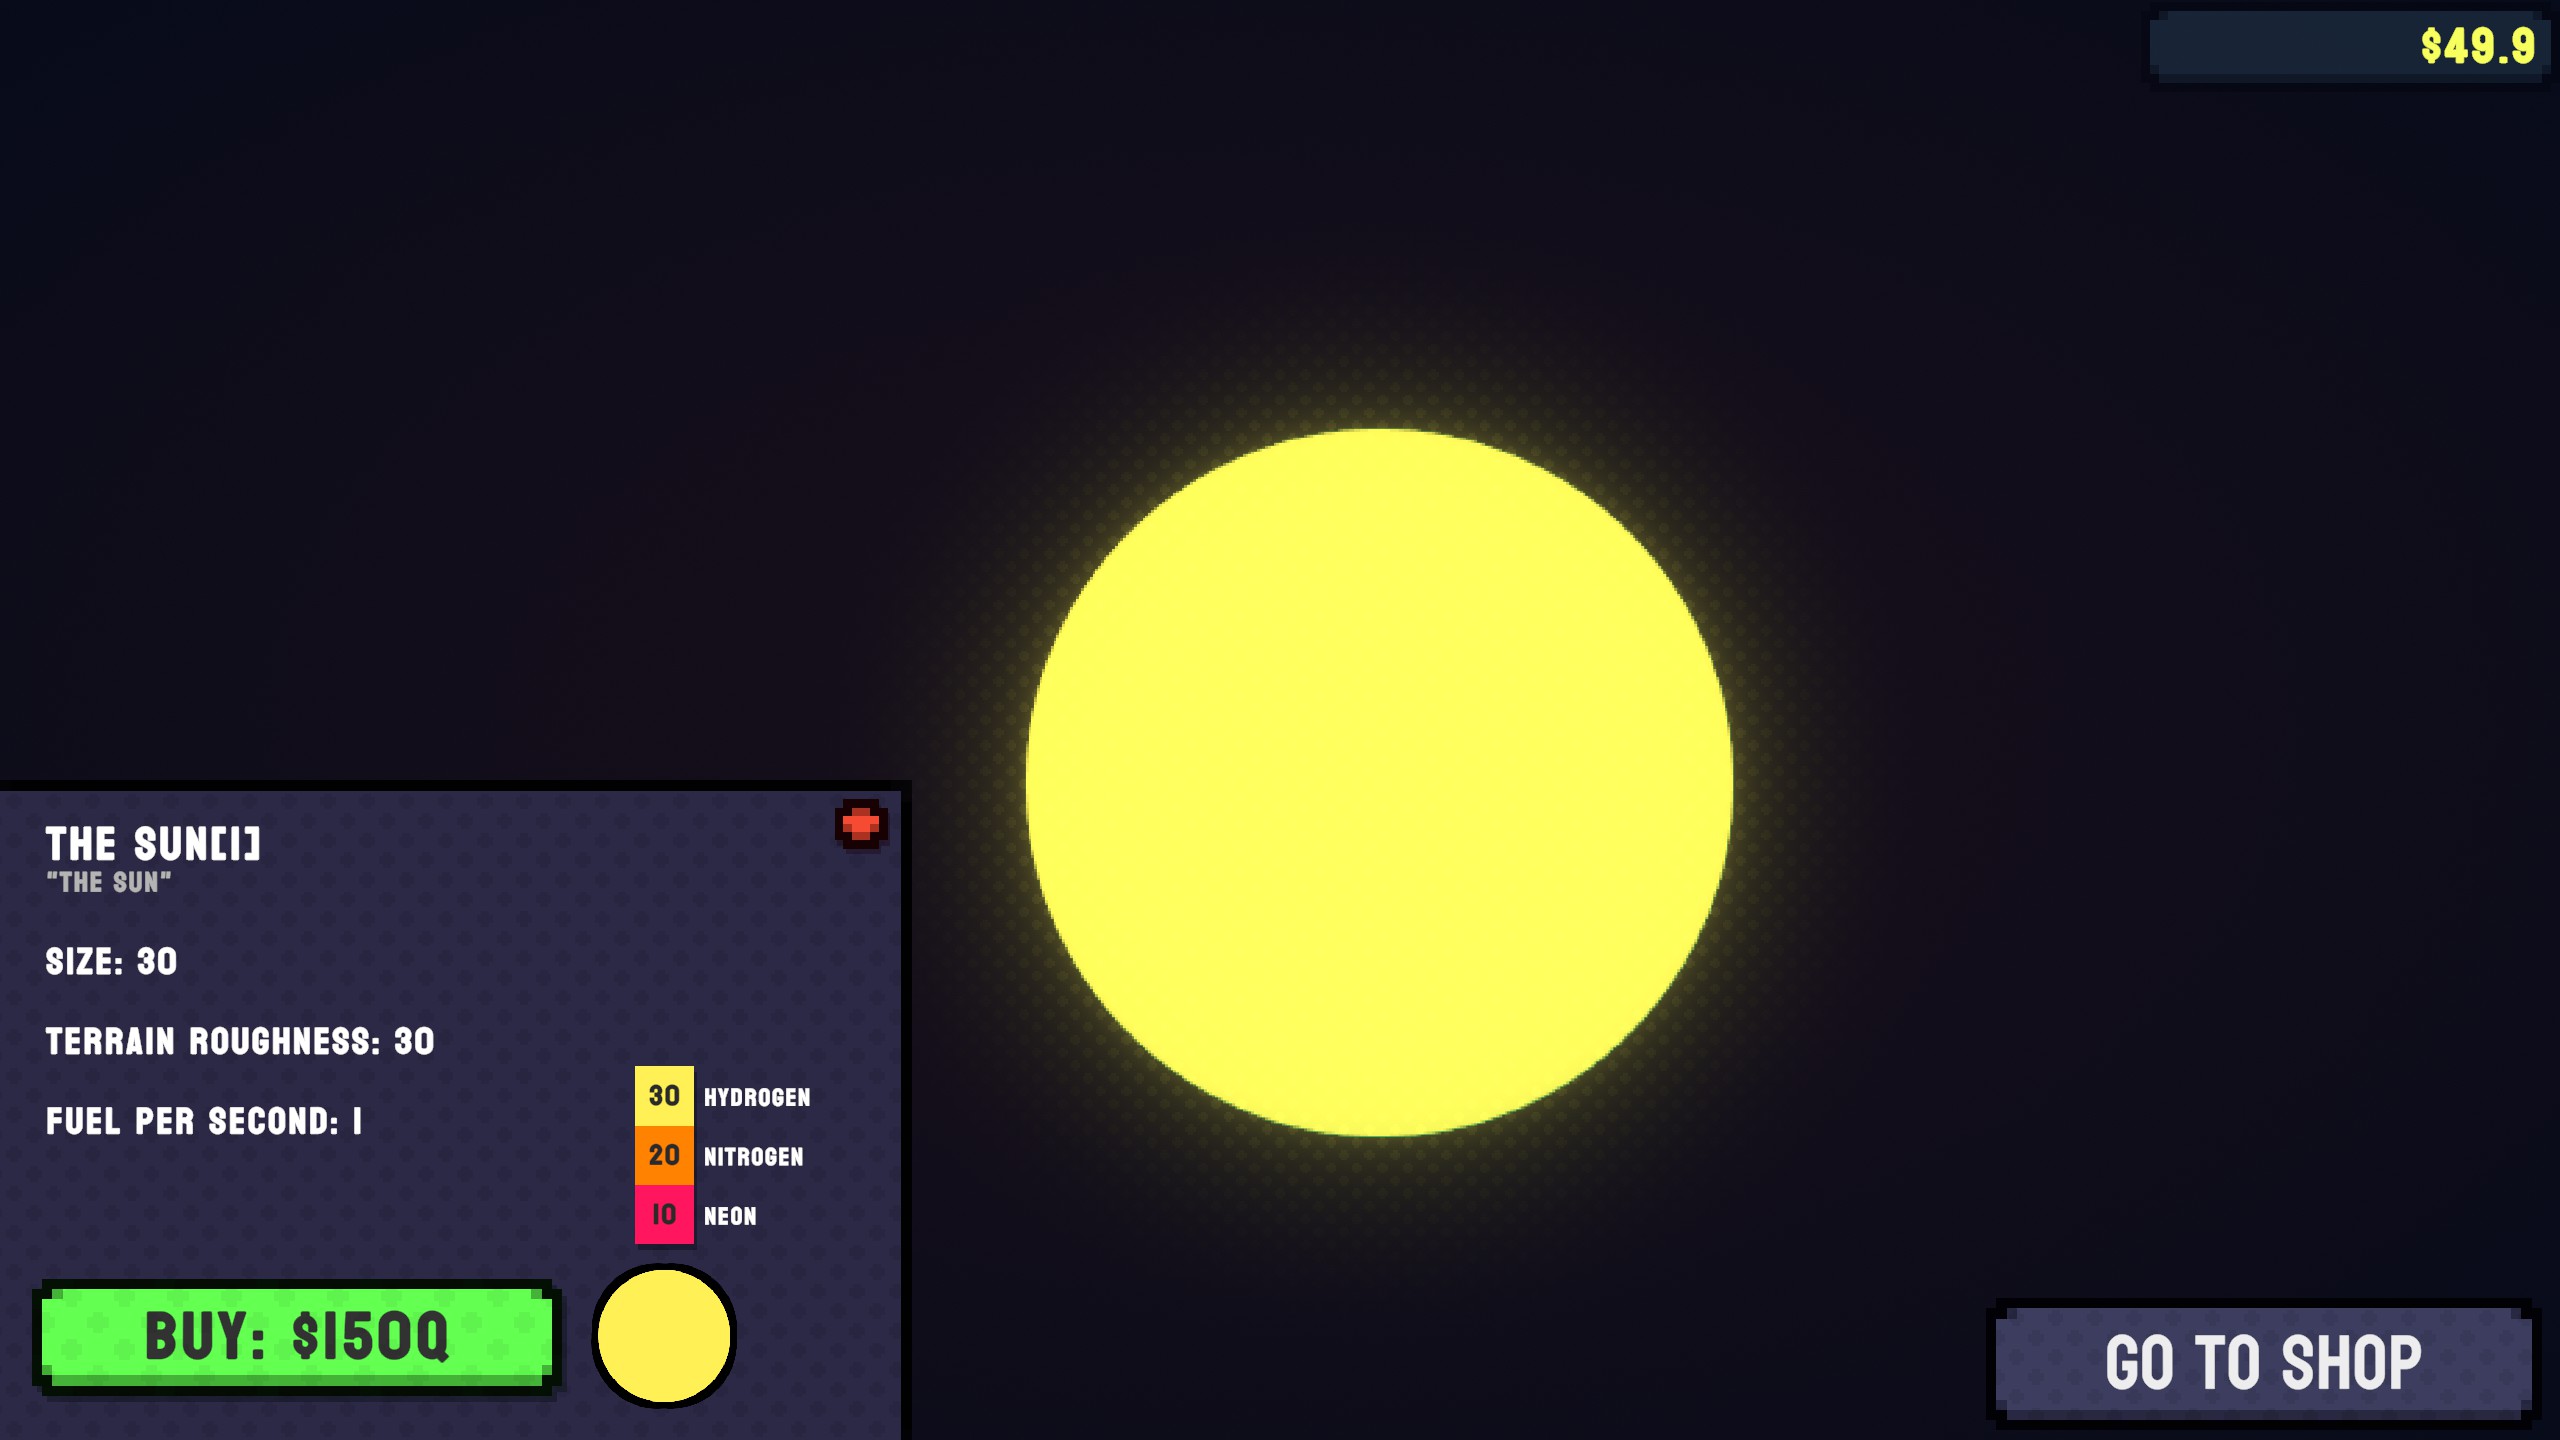
Planet: De zon
| Quote | “De zon” |
|---|---|
| Maat | 30 |
| Terrain Roughness | 30 |
| Fuel Per Second | ~ |
| Composition | 30 Waterstof, 20 Nitrogen, 10 Neon |
| Vision Tier to Unlock | 0 |
| Kosten | $150,000,000,000,000,000 ($150Q) |
Opmerkingen: While you can theoretically get to The Sun at the beginning of the game the cost would make it very time consuming. The fuel per second also changes depending on what level of vision you have unlocked.
It should also be noted the surface moves and is not like the other planets, the terrain roughness is not very accurate for this.
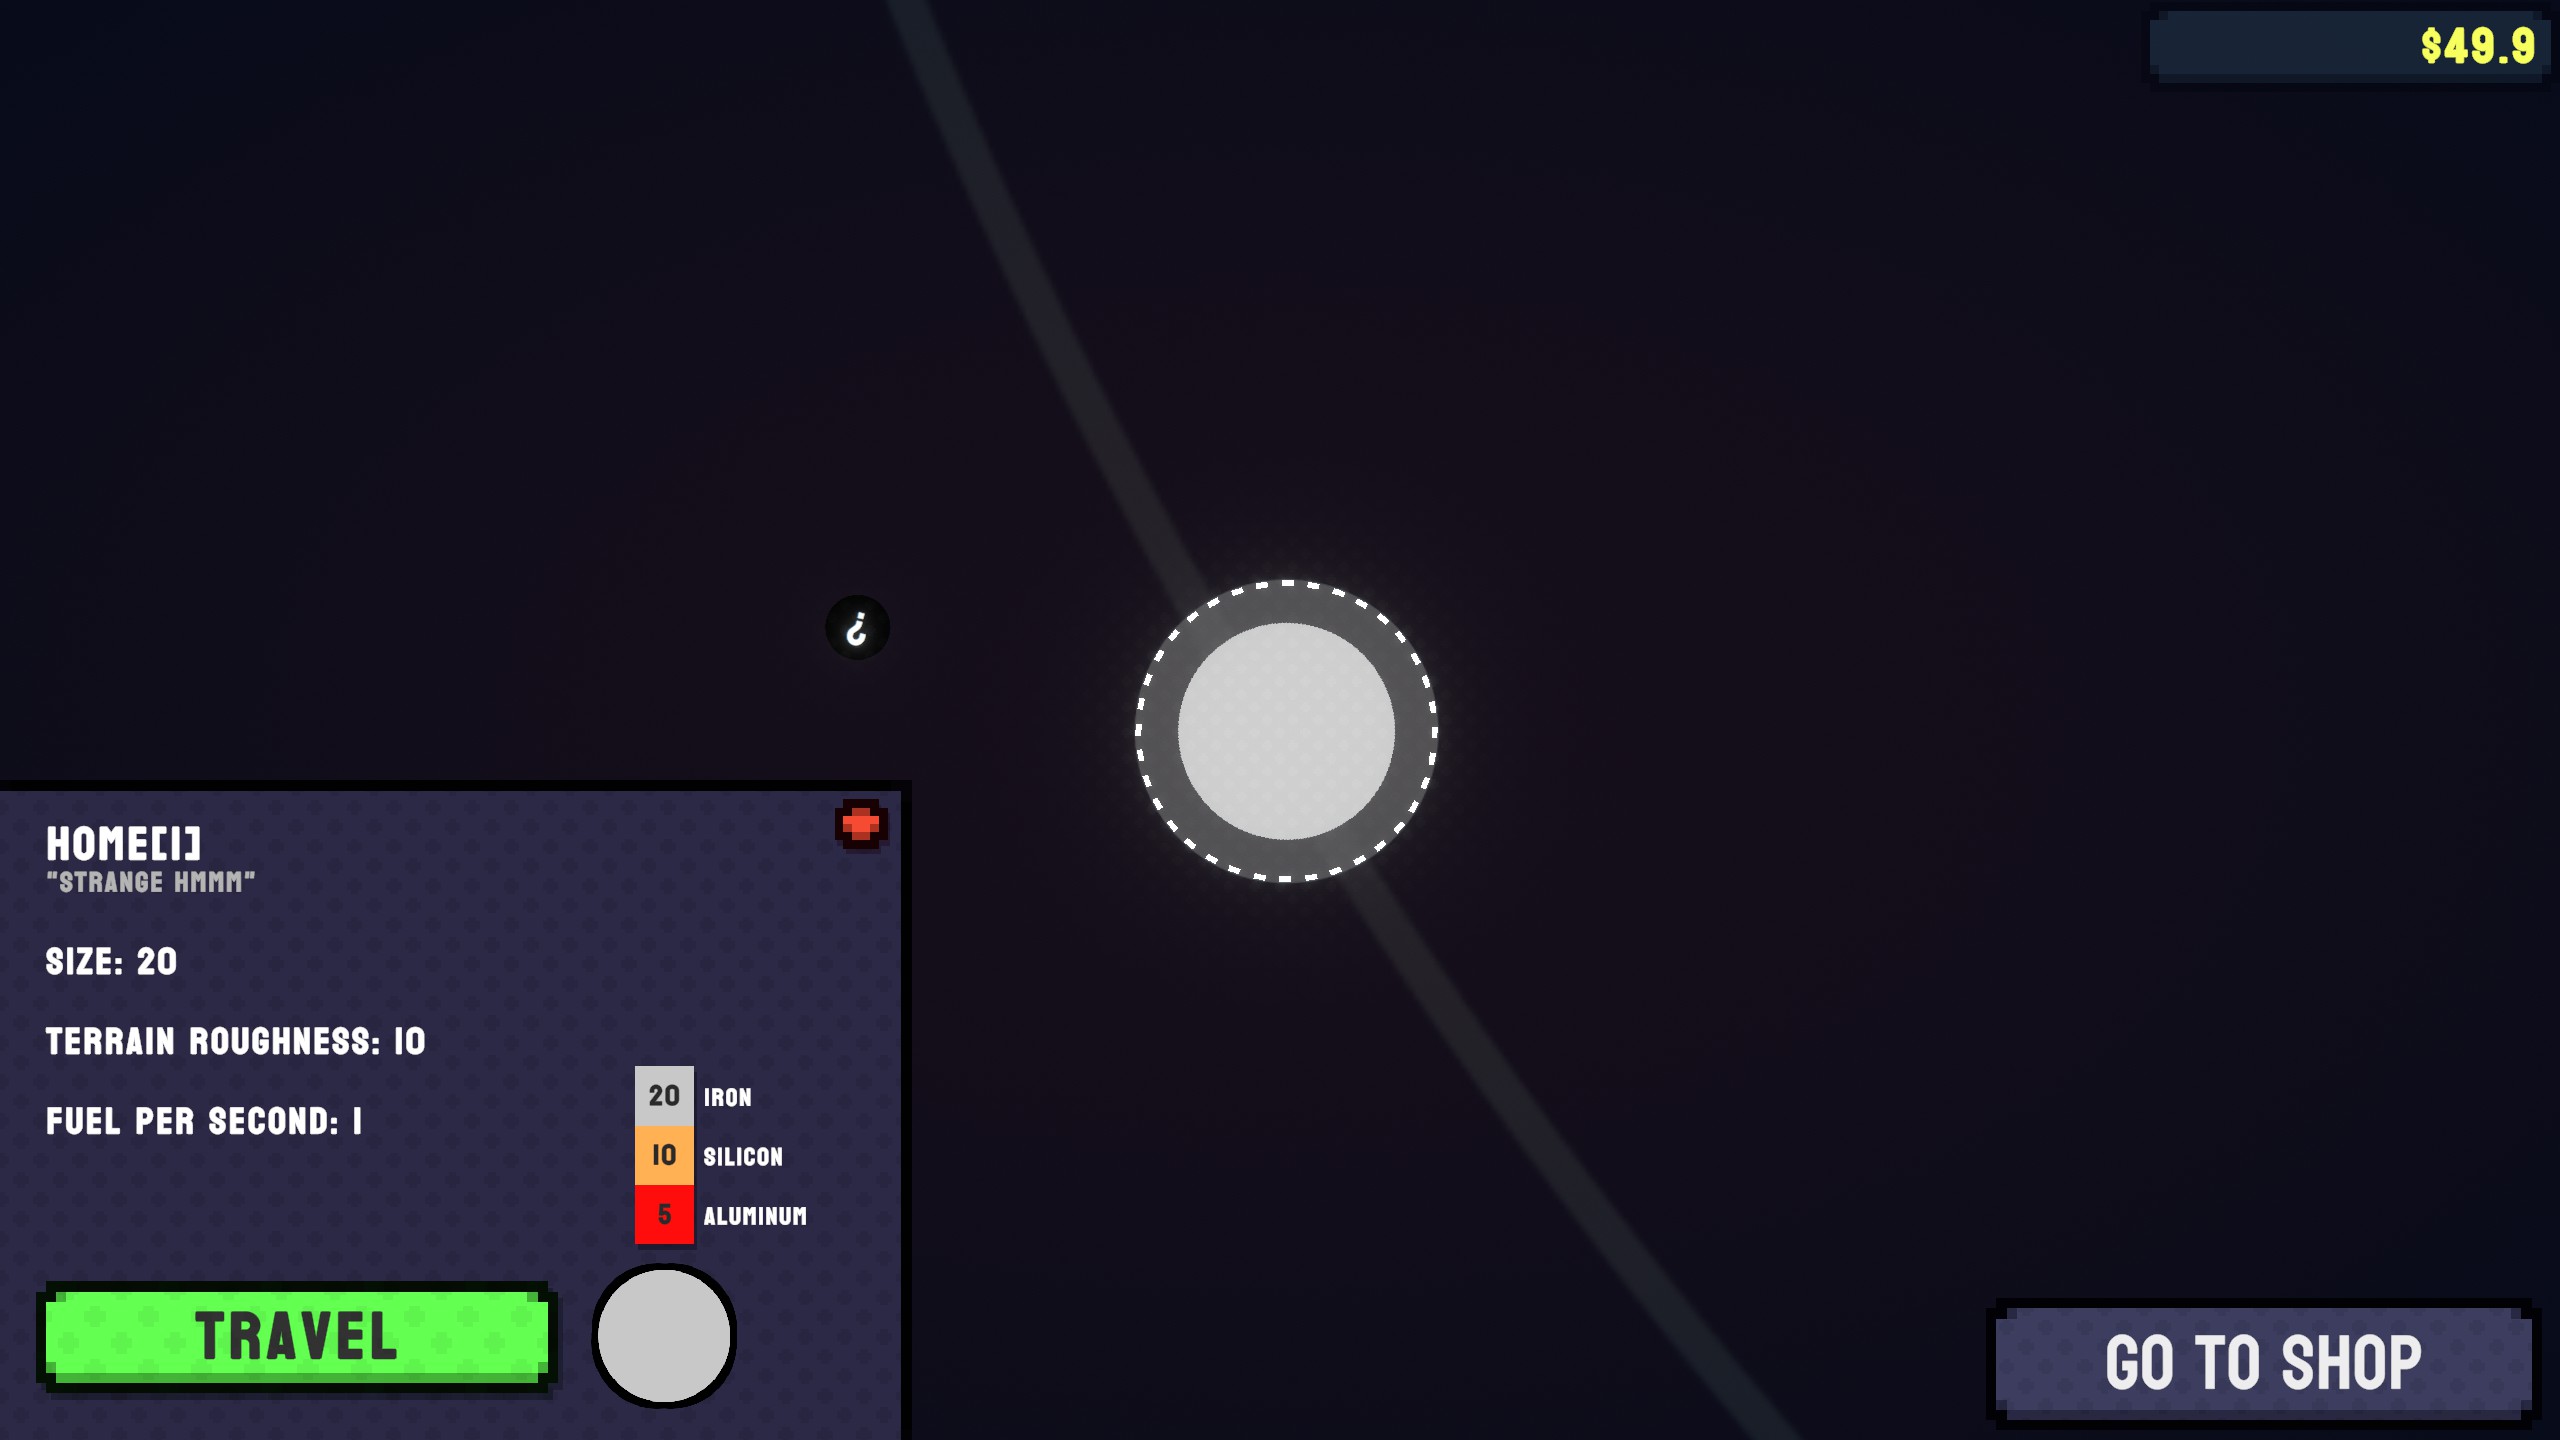
Planet: Thuis
| Quote | “Strange Hmmm” |
|---|---|
| Maat | 20 |
| Terrain Roughness | 10 |
| Fuel Per Second | 1 |
| Composition | 20 Ijzer, 10 Silicium, 5 Aluminium |
| Vision Tier to Unlock | 0 |
| Kosten | $0 |
Opmerkingen: Is unlocked when starting. Feels a little wrong to be destroying a planet literally called Home…
Planet: Home’s Moon
| Quote | “More strange hmmm” |
|---|---|
| Maat | 10 |
| Terrain Roughness | 8 |
| Fuel Per Second | 5 |
| Composition | 10 Steen, 8 Kolen, 4 Sulfur |
| Vision Tier to Unlock | 1 |
| Kosten | $1,000,000 ($1M) |
Planets: Glacies
| Quote | “Applies frostbite which causes you to take more damage and slow you the more frost you have” |
|---|---|
| Maat | 30 |
| Terrain Roughness | 6 |
| Fuel Per Second | 12 |
| Composition | 30 Ijs, 15 Zand, 5 Steen |
| Vision Tier to Unlock | 2 |
| Kosten | $80,000,000 ($80M) |
Opmerkingen: Causes frostbite, a meter will show at the top of the screen while playing on the planet indicating how much frostbite you have. This is the same frostbite as the one used in one of Home’s challenges.
Planet: Endura
| Quote | “Moon of Glacies” |
|---|---|
| Maat | 15 |
| Terrain Roughness | 6 |
| Fuel Per Second | 50 |
| Composition | 15 Zand, 12 Kolen, 5 Cobalt |
| Vision Tier to Unlock | 2 |
| Kosten | $500,000,000 ($500M) |
Planet: Vita
| Quote | “Life finds a way, enemies spawn on this planet” |
|---|---|
| Maat | 25 |
| Terrain Roughness | 20 |
| Fuel Per Second | 20 |
| Composition | 25 Plant, 22 Bodem, 5 Klei |
| Vision Tier to Unlock | 2 |
| Kosten | $2,000,000,000 ($2B) |
Opmerkingen: Enemies periodically spawn around this planet, destroy them to gain Organic Matter.
Planet: Diamond Glaciers
| Quote | “Diamond wasteland” |
|---|---|
| Maat | 20 |
| Terrain Roughness | 14 |
| Fuel Per Second | 60 |
| Composition | 20 Diamant, 10 Diamant, 5 Diamant |
| Vision Tier to Unlock | 3 |
| Kosten | $2,000,000,000,000 ($2T) |
Planet: Agaricus
| Quote | “Moon of Diamond Glaciers” |
|---|---|
| Maat | 15 |
| Terrain Roughness | 50 |
| Fuel Per Second | 900 |
| Composition | 15 Sulfur, 12 Steen, 5 Goud |
| Vision Tier to Unlock | 3 |
| Kosten | $10,000,000,000,000 ($10T) |
Planet: Mortem
| Quote | “Radiation effect applied on this planet, will remove fuel every second” |
|---|---|
| Maat | 20 |
| Terrain Roughness | 20 |
| Fuel Per Second | 20 |
| Composition | 20 Uranium, 10 Uranium, 5 Uranium |
| Vision Tier to Unlock | 3 |
| Kosten | $700,000,000,000,000 ($700T) |
Opmerkingen: While the fuel per second is low the radiation effect will considerably raise the actual amount. The core of the planet is solidly encased in rocks making accessing it a little more difficult than most. The planet also has a trippy visual effect.
Planet: Letum
| Quote | “Meteors fall from the sky” |
|---|---|
| Maat | 30 |
| Terrain Roughness | 5 |
| Fuel Per Second | 10 |
| Composition | 30 Wolfraam, 20 Leiding, 10 Mercury |
| Vision Tier to Unlock | 4 |
| Kosten | $10,000,000,000,000,000 ($10Q) |
Opmerkingen: Meteors will spawn on this planet which can be mined for the Meteor material.
Dat is alles wat we vandaag hiervoor delen To The Core gids. Deze handleiding is oorspronkelijk gemaakt en geschreven door NialMontana. Voor het geval we er niet in slagen deze handleiding bij te werken, U kunt de laatste update vinden door dit te volgen link.