
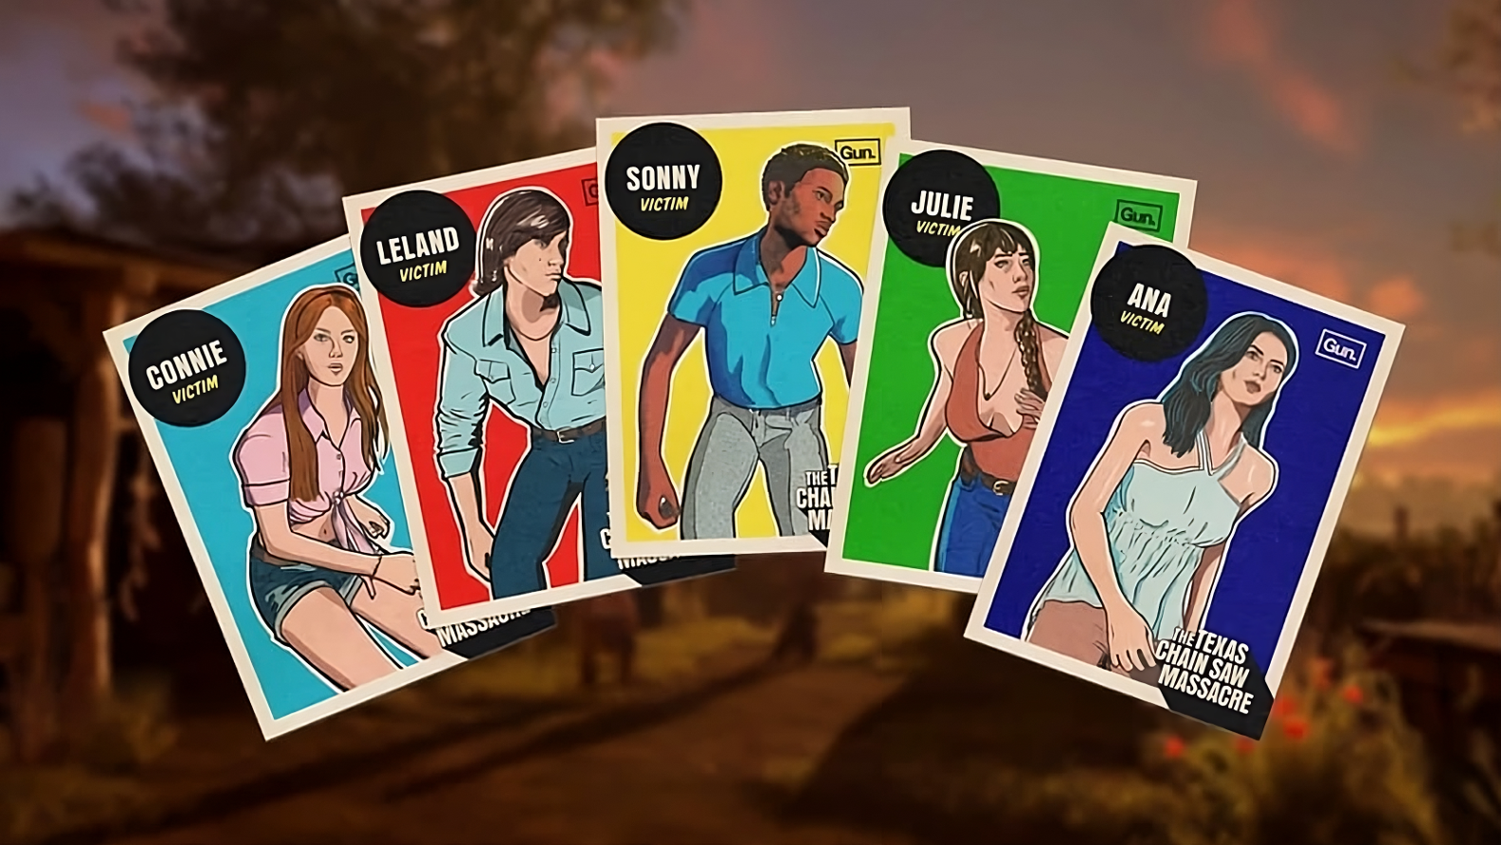
- Titel: De Texas -ketting zag bloedbad
- Releasedatum:
- Ontwikkelaar:
- Uitgever:
Information about The Texas Chain Saw Massacre is still incomplete. Help ons alstublieft de details van het spel hiermee in te vullen contactformulier.
This guide will teach you some awesome secrets for when you’re acting like a victim in The Texas Chain Saw Massacre.
Perks
Having the right gear is super important for winning. You should also focus on upgrading the right skills early on to save time. In this part of the guide, I’ll explain why I choose certain skills and attributes for my character builds in each situation.
Choose Flight (S-niveau)
- This is a super good ability.
- When your energy runs out, it fills up right away.
- You get this three times.
Why it’s great:
- The family usually catches people by chasing them until they’re too tired to run.
- The best way to get away is to do tasks fast and head to the exits.
- This power helps with both those things because you can refill your energy three times whenever you want.
When to use the energy refills:
- When you know you won’t make it to safety before a family member hits you, especially if it’s Leatherface charging at you.
- When you’re rushing to a fuse exit to beat blockers.
- When you’re sprinting to an open, contested pressure gate exit.
- When you’re hurrying to the main road exit near the Family House after turning off a generator.
- When you’re going to do tasks like opening locked doors or gates, putting in car batteries, enz., while the family is distracted, especially when they’re really angry (Laag 2/3).
When not to use them:
- Always keep a bit of energy left so you don’t use up your refills by mistake.
- You can crouch while dashing to make sure you don’t use up a refill.
- Watch your energy bar so you don’t accidentally waste a refill.
- Eventueel, you’ll get a feel for it and won’t need to check your energy bar all the time.
No Sell (S-niveau)
- This is a super special ability.
- When a family member hits you, it only does 20% of the regular damage.
- You have this three times.
Why it’s awesome:
- It’s like the one thing that really messes up Leatherface.
- Leatherface is the toughest killer around. He’s faster than people dashing, and he can either knock them out in one hit or combo them with one or two hits.
- With this power, you only take 20% damage from three of his heavy hits. That messes up his style because he usually hits when you’re trying to get away, like going through gaps, crawl spaces, barricades, or ladders. But this makes it so his follow-up hits don’t hurt much.
Times to use it:
- If you’re running to a pressure valve gate exit, and Leatherface is charging at you to guard it, you’re pretty safe if you have at least 1 charge of No Sell. He can’t really finish you with his combo because his big hit only does 20% schade, and his smaller hit won’t hurt much either. This works for other exits too, where you know he can’t get you right before you escape.
- If you’re in the basement and can’t reach a gap, crawl space, or barricade in time, maak je geen zorgen! You can use 2 charges to resist getting knocked out. You’ll still have 1 charge left to deal with the next big hit. Remember to go through gaps and crawl spaces to save your charges and avoid combos.
- Maar onthoud, all of this only works if you don’t waste your charges. That’s why you should use the Choose Flight power wisely to dodge hits.
- If you’re going to fight a family member up close or push them, do it in a hidden spot (like a corner) so they don’t use up your No Sell charges. You can also try to make them attack first and then get close if there aren’t any hidden spots you can use.
- Getting taken out early in the basement is really bad news for the rest of the game. If you use this power right, it should stop those early basement takedowns and make Leatherface way less scary as the game goes on.
Bomb Squad (Een niveau)
- This is a super cool ability.
- You can take apart a trap without using a bone shard.
- Zijn 80% faster to do this.
Why it’s great:
- Victims should always carry a bone shard to defend themselves from attackers. Bomb Squad is extra powerful because Hitchhiker’s traps usually make you use a bone shard to get rid of just one trap, leaving you with no defense. This perk lets you get rid of his traps super fast, which is really important in busy places like the stairs in the family house.
When to use it:
- Without Bomb Squad, imagine you’re at the Gas Station, and you’ve unlocked the first battery gate. You have a lockpick for tasks and a bone shard for defense. You see a Hitchhiker trap on the battery, and you decide to remove it, using up your bone shard because you don’t want to alert him and his team early. You remove the trap, turn off the car battery, and start lockpicking the last gate to escape. You get most of the way through it, but then Cook sneaks up and hits you from behind right before you finish. He’s smirking, guarding the final gate, and then calls in Leatherface, who takes you out with a charging attack.
- Nu, with Bomb Squad equipped, it’s the same situation. But this time, you take out the trap without using your bone shard. You’re almost done lockpicking the final gate with just two segments left, but then Cook surprises you from behind again. You decide to fight back! You start a close encounter struggle, and you punch Cook where it counts. Dan, you quickly get back to lockpicking the door while Cook is in pain. You see Leatherface coming, but you’re safe and hurry through the final gate.
- This works for everything, like doors, poorten, batteries, generatoren, fuse boxes, and valves. Bone shards are way more useful for giving family members a taste of their own medicine than for wasting them on Hitchhiker traps. He can reset his traps endlessly and put lots of them where you have to keep restocking your limited bone shards.
Choose Fight (Een niveau)
- This is a really good ability.
- Sneak attacks and close encounters stun family members for an extra 5 seconden.
Why it’s awesome:
- People don’t realize how useful close encounters are. They not only stop an attacker but also distract multiple family members.
- If you have a bone shard and you’re near a basement door or well, you’re almost untouchable by a single family member.
- With this perk, any family member chasing you alone will be unable to kill you for a long time after being stunned.
- It’s important to know that perks that increase stun durations don’t affect the big stun animations (hard stuns). In plaats van, they make attackers unable to run or attack, which really messes up their ability to chase and take you out.
- Without this perk, family members like Johnny can start sprinting and using their lunge attack right away to catch up to you fast.
Efficient Locksmith (Een niveau)
- This is a really handy ability.
- When you’re unlocking doors, there’s a 40% chance you won’t use up your lockpick.
Why it’s great:
- The best way to get away is to finish tasks fast and head to the exits. Instead of wasting precious time searching for extra lockpicks, you can move through the map without stopping.
- Think about maps like Slaughterhouse, where you need to unlock four doors to escape. This perk is super useful for rushing through because you won’t run out of lockpicks as quickly.
Stunt Double (B-niveau)
- This is a special ability you can only use in the Family House.
- It helps you take way less damage when you jump out of windows or climb down wells, and you recover faster.
- You only take 30% of the regular damage.
Why it’s useful:
- This perk is great for jumping out of the window AFTER you activate the fuse in the Family House. I’ll explain more about this later in the guide.
When not to use it:
- Don’t use this perk if Hitchhiker is in the match during Family House, unless you’re Sonny. In dat geval, Bomb Squad is much more important than Stunt Double.
- It’s also good against the Family Windoom perk, which makes window damage worse for victims. This perk helps you take less damage from that.
What Doesn’t Kill You (B-niveau)
- This perk is okay.
- If someone hurts you with a melee attack, and you don’t get hurt again for 15 seconden, you’ll get all your lost health back.
Why it’s not always the best choice:
- This perk can be hard to use for many victims because it might stop you from using more important perks like Choose Flight and Bomb Squad.
- We’re only going to use this perk for Sonny, who can’t use No Sell, Choose Fight, or Bomb Squad. For other victims, there are usually better options.
Lucky Lockpicker (B-niveau)
- This perk is kind of like Efficient Locksmith.
- The very first time you use a lockpick to open a door, there’s a 50% chance it won’t be used up.
Why it’s not the best for everyone:
- It’s similar to Efficient Locksmith but not as strong.
- We’ll use it for Connie because there aren’t better perks for her.
- In deze gids, Connie’s build will use both perks, giving her a 90% chance to keep her lockpick when she opens the first door.
Attributen

Vaardigheid (1st Priority)
- Proficiency is super important in the game.
- It decides how fast you do important stuff like lockpicking, gathering items, fixing fuse boxes, and disabling car batteries.
- Most families use the Grandpa perk that makes locks harder by 40%.
- You usually need to unlock about 4 doors to escape Slaughterhouse.
- High Proficiency makes you do everything faster. You’d be silly not to max this out.
- It also speeds up car battery, fuse box, and pressure valve tasks a lot at max level. You can surprise family members by quickly working on the final gate after escaping the basement while they’re busy with Leland.
- It’s frustrating to see people who didn’t invest in proficiency taking forever to lockpick doors and do tasks. I’ve seen many folks get taken out right before finishing the final gate.

Stealth (2nd Priority)
- Stealth helps you do stuff quietly, based on the noise meter.
- It’s good for gathering lockpicks and getting past Tier 1/2 doors without making noise.

Endurance (3rd Priority)
Endurance determines the Victim’s total stamina capacity, along with stamina drain and regeneration rate.
- Stamina is more important than toughness, especially considering the presence of the No Sell perk.


Endurance (3rd Priority)
- Endurance decides how much stamina you have, how fast it drains, and how quickly it comes back.
- Stamina is more important than toughness, especially because of the No Sell perk.
Toughness and Strength (4th and 5th Priority)
- These attributes aren’t as important as the others. You don’t need to put points into them.
Builds
How to Get These Builds:
- Go to a victim’s skill tree and fully reveal it.
- The perks already on the tree can’t be random perks for that victim.
- Click a perk to see all the possible perks that victim can have.
- The perks not on the tree but in the possible perks menu can be random perks.
- Choose the path to get all the perks I mention in the builds and try to get as many attribute points as possible.
- Connie doesn’t need random perk rolls.
- All other victims except Leland need 2 random perk rolls.
- Leland needs 3 random perk rolls and it takes a long time to get.
- Use the loadouts feature to quickly switch perks based on the situation.
- The ability builds are for level 3 capaciteiten. If you have a lower-ranked ability, adjust as you see fit.
- I’ll add pictures of the skill paths to this guide later.

Ana (Hitchhiker not in the game):
- Vaardigheid: +30
- Stealth: +2
- Abilities: Pain Is Nothing (Increased Duration 1, Stamina Hit Recovery 2, Reduced Damage 3)
- Perks: Choose Flight, No Sell, Choose Fight
Ana (Hitchhiker in the game):
- Vaardigheid: +30
- Stealth: +2
- Abilities: Pain Is Nothing (Increased Duration 1, Stamina Hit Recovery 2, Reduced Damage 3)
- Perks: Choose Flight, No Sell, Bomb Squad
Connie (Hitchhiker not in the game):
- Vaardigheid: +15
- Stealth: +10
- Endurance: +3
- Abilities: Focused (Quicker Recharge 1, Quicker Recharge 2, No Stamina Cost 3)
- Perks: Choose Flight, Efficient Locksmith, Lucky Lockpicker
Connie (Hitchhiker in the game):
- Vaardigheid: +15
- Stealth: +10
- Endurance: +3
- Abilities: Focused (Quicker Recharge 1, Quicker Recharge 2, No Stamina Cost 3)
- Perks: Choose Flight, Efficient Locksmith, Bomb Squad

Julie (Hitchhiker not in the game):
- Vaardigheid: +29
- Abilities: Ultimate Escape (Increased Duration 1, Increased Duration 2, Decreased Sprint Stamina 3)
- Perks: Choose Flight, No Sell, Choose Fight
Julie (Hitchhiker in the game, includes Family House map):
- Vaardigheid: +29
- Abilities: Ultimate Escape (Increased Duration 1, Increased Duration 2, Decreased Sprint Stamina 3)
- Perks: Choose Flight, No Sell, Bomb Squad
Julie (Family House map, Hitchhiker not in the game):
- Vaardigheid: +29
- Abilities: Ultimate Escape (Increased Duration 1, Increased Duration 2, Decreased Sprint Stamina 3)
- Perks: Choose Flight, No Sell, Stunt Double

Leland (Hitchhiker not in the game):
- Vaardigheid: +25
- Stealth: +2
- Abilities: Life Saver (Increased Stun Duration 1, Restore Stamina 2, Quicker Recharge 3)
- Perks: Choose Flight, No Sell, Choose Fight
Leland (Hitchhiker in the game, includes Family House map):
- Vaardigheid: +25
- Stealth: +2
- Abilities: Life Saver (Increased Stun Duration 1, Restore Stamina 2, Quicker Recharge 3)
- Perks: Choose Flight, No Sell, Bomb Squad
Leland (Family House map, Hitchhiker not in the game):
- Vaardigheid: +25
- Stealth: +2
- Abilities: Life Saver (Increased Stun Duration 1, Restore Stamina 2, Quicker Recharge 3)
- Perks: Choose Flight, No Sell, Stunt Double

Sonny (Map not Family House):
- Vaardigheid: +25
- Stealth: +4
- Abilities: Heightened Senses (Shorter Cooldown 1, Ability Drain Reduction 2, All Knowing 3)
- Perks: Choose Flight, Efficient Locksmith, What Doesn’t Kill You
Sonny (Family House map):
- Vaardigheid: +25
- Stealth: +4
- Abilities: Heightened Senses (Shorter Cooldown 1, Ability Drain Reduction 2, All Knowing 3)
- Perks: Choose Flight, Efficient Locksmith, Stunt Double
Pregame and Early Game Gameplay
Pregame
- If you’re not familiar with the maps, check out the Interactive Map.
- During gameplay, keep these fixed reference maps open on a second monitor to see where objectives might appear.
Familiehuis

Tankstation

There have been some changes:
- The locations of 2 valves have been moved.
- The bottom left fuse box is no longer there, but there’s a possible fuse location in its place.

Vroeg spel

Restraints Minigame
- Don’t worry about being quiet during the restraints game; escape as fast as possible.
- Leatherface is still in his cutscene and can’t see or hear you making noise.
Searching for Supplies
- Look for a lockpick and a bone shard as soon as you can. The order doesn’t matter; just grab them when you find them.
- Don’t double up on lockpicks or bone shards. You need to defend yourself while also completing objectives.
- Avoid carrying health items; only pick them up if you plan to use them immediately.
Defending Yourself
- Grandpa may have woken up by now, and there might be an extra family member in the basement.
- If you’re spotted, use the bone shard to close encounter the family member, preferably away from Leatherface and past gaps and barricades.
Unlocking Doors
- With a lockpick and a bone shard, unlock a STAIRS basement exit, especially if there’s a Hitchhiker on the Family side.
- After unlocking the basement door, step outside to get the “Player has escaped basement” notification. This scores points and makes the family think you’ve escaped.
- Never leave the basement after unlocking a door unless you’ve restocked your lockpick or it wasn’t consumed by using perks.
- Once you have both a lockpick and a bone shard, you can leave the basement.
Why Don’t Care About Waking Up Grandpa Early:
- The other family members will wake up Grandpa with blood in about 1 minute anyway, making the time spent avoiding it pointless.
- An untargeted victim should have already unlocked a basement door (waking up Grandpa) within 45 seconds to start pressuring the surface level, which means slow victims will be under-equipped in supplies and unlocked doors.
- The benefits to the family from Grandpa waking up early are minimal, as the basement doors may be unlocked by them, and Grandpa does a single sonar scream.
- Victims should always aim to pressure the surface quickly to lure Leatherface out of the basement and stop the other family members from feeding Grandpa.
Why It’s Worth Waking Up Grandpa Early:
- Family members rushing into the basement are essentially wasting their time. Victims should always carry a bone shard, making it impossible for family members to kill them in the basement.
- The basement has too many obstacles and line of sight blockers for the family members to be effective.
- Family members chasing victims in the basement create space on the surface, where other victims can open doors, work on critical objectives, and create escape paths.
- This strategy puts pressure on the surface and rewards chased victims in the basement with progress on objectives above.
Mid Game and Late Game Gameplay
Mid Game

Mid Game: Opening 1st Basement Door and Restocking Lockpick in Basement
- Focus on opening basement doors that lead to stairs rather than ladders to have an easy retreat from family members and avoid Hitchhiker traps.
- Unlock a stair basement door, step outside enough to trigger the “Victim has left the basement” notification for more scoreboard points, then return to the basement to get another lockpick.
- Never leave the basement without having another unlock tool. This tactic fools family members into thinking you’ve left, which gets Leatherface out of the basement and patrolling outer exits.
- The goal is to minimize the risk of a basement kill by making Leatherface leave as soon as he sees a victim with too many points (left the basement).
- It also prevents family members from feeding blood to Grandpa and allows you to restock on supplies.
What to Do Next?
- Once you’ve restocked your lockpick and have a bone shard, safely make your way up the basement.
- Ensure that Leatherface or another family member in the basement doesn’t see you going up the stairs to avoid being sandwiched between the surface and the basement.
- Prevent sandwiching to defend yourself effectively.
If a Family Member from the Surface Sees You:
- Run back down into the basement exit you opened and close encounter the family member when they follow you down.
- Try to lose them or break line of sight after close encountering them to waste their time in the basement.
- This buys time and space for your victim teammates to work on surface objectives.
- After close encountering, gather another bone shard and be ready to close encounter again if needed.
Heading Toward Battery or Generator Doors:
- Stealthily move towards either the battery or generator escape while looking for possible fuse or valve locations in the 1st main area.
- There are usually 3 fuses and 3 valves on every map.
- Prioritize the normal escapes first, as valve and fuse escapes can be harder to find, take longer, and don’t expand the “Victim Play Area” as quickly as unlocking a normal critical door.
Dat is alles wat we vandaag hiervoor delen De Texas -ketting zag bloedbad gids. Deze handleiding is oorspronkelijk gemaakt en geschreven door A Paper Clip. Voor het geval we er niet in slagen deze handleiding bij te werken, U kunt de laatste update vinden door dit te volgen link.