
- Titel: The Isle
- Releasedatum:
- Ontwikkelaar:
- Uitgever:
Information about The Isle is still incomplete. Help ons alstublieft de details van het spel hiermee in te vullen contactformulier.
A guide covering the deeper mechanics of the pteranodon in The Isle Evrima. Assumes the reader is already somewhat familiar with The Isle, and knows the basics like controls, general map layout, and how to find food. The guide is focused on how to make the most out of your ability to fly, and make your stamina last longer. Also includes some tips like good spots to grow/nest/hunt, and how to most easily get to 100% growth quickly.
Invoering
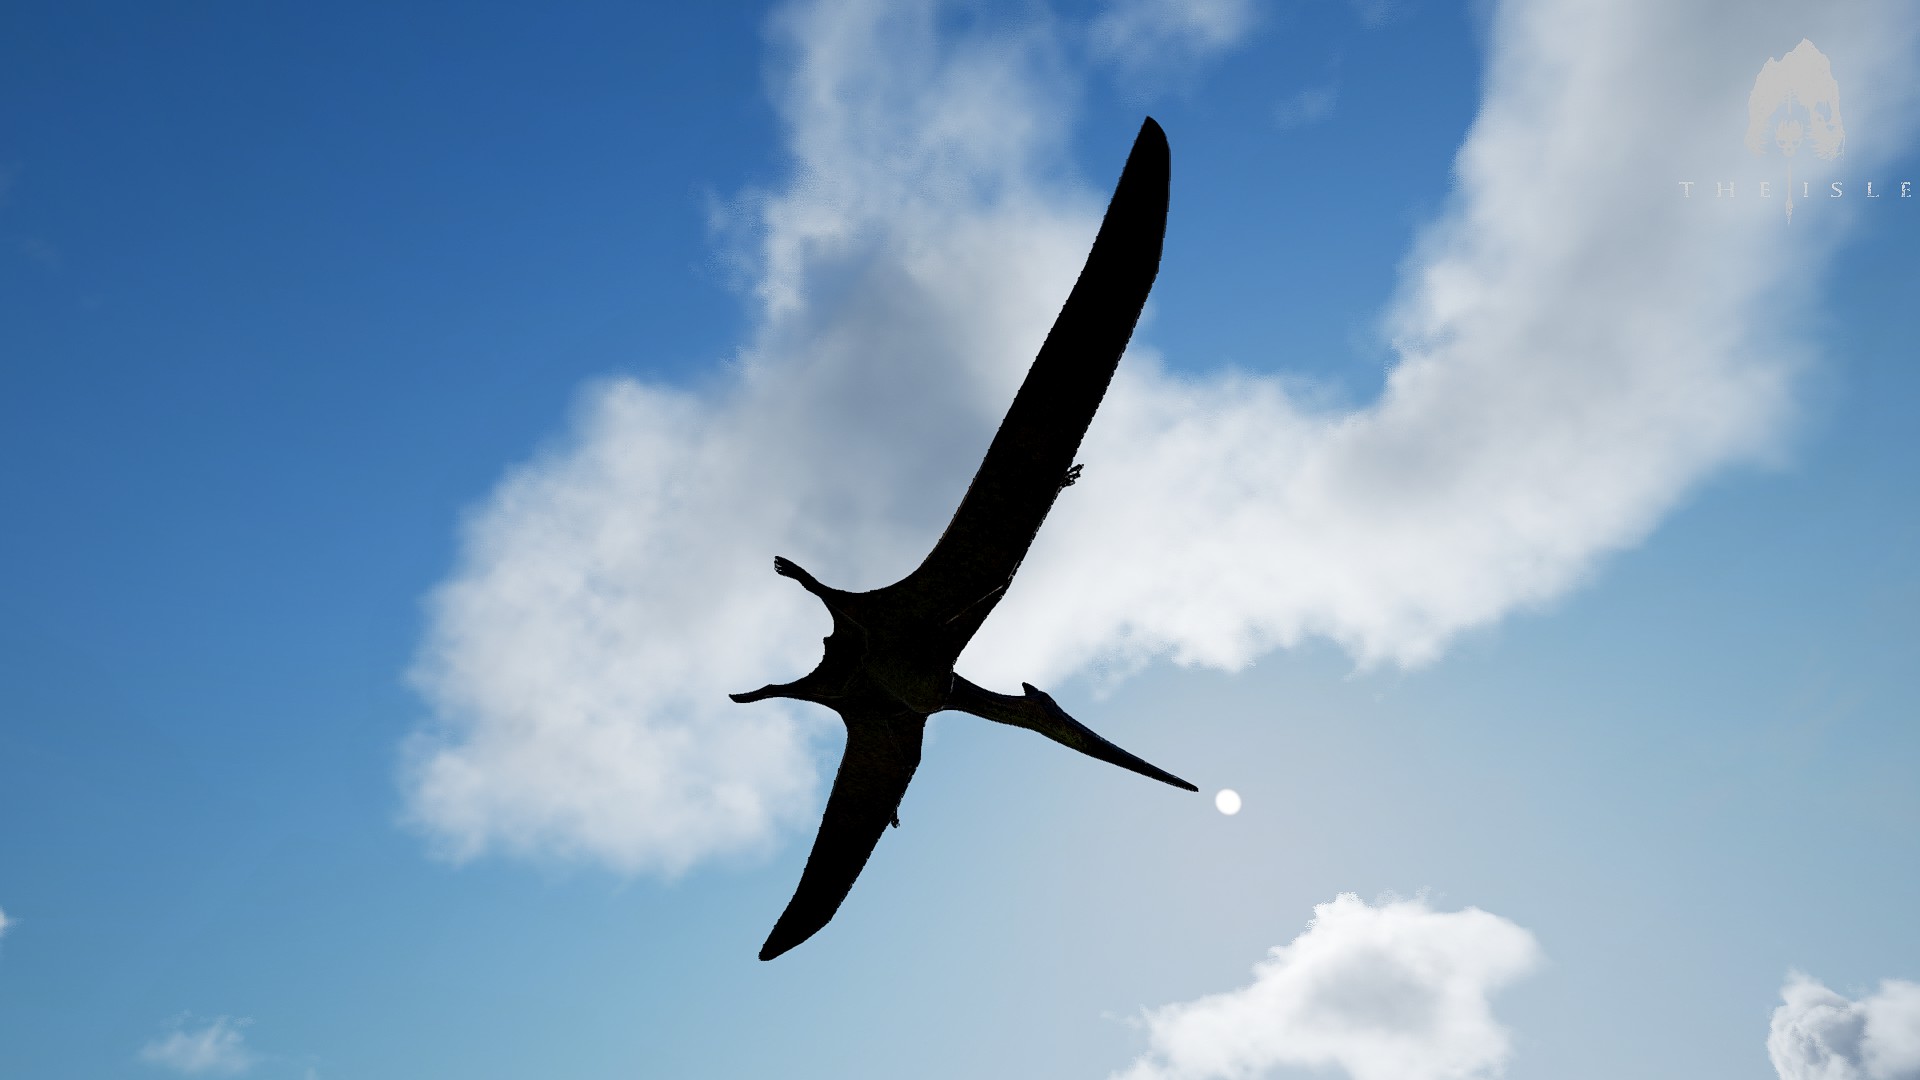
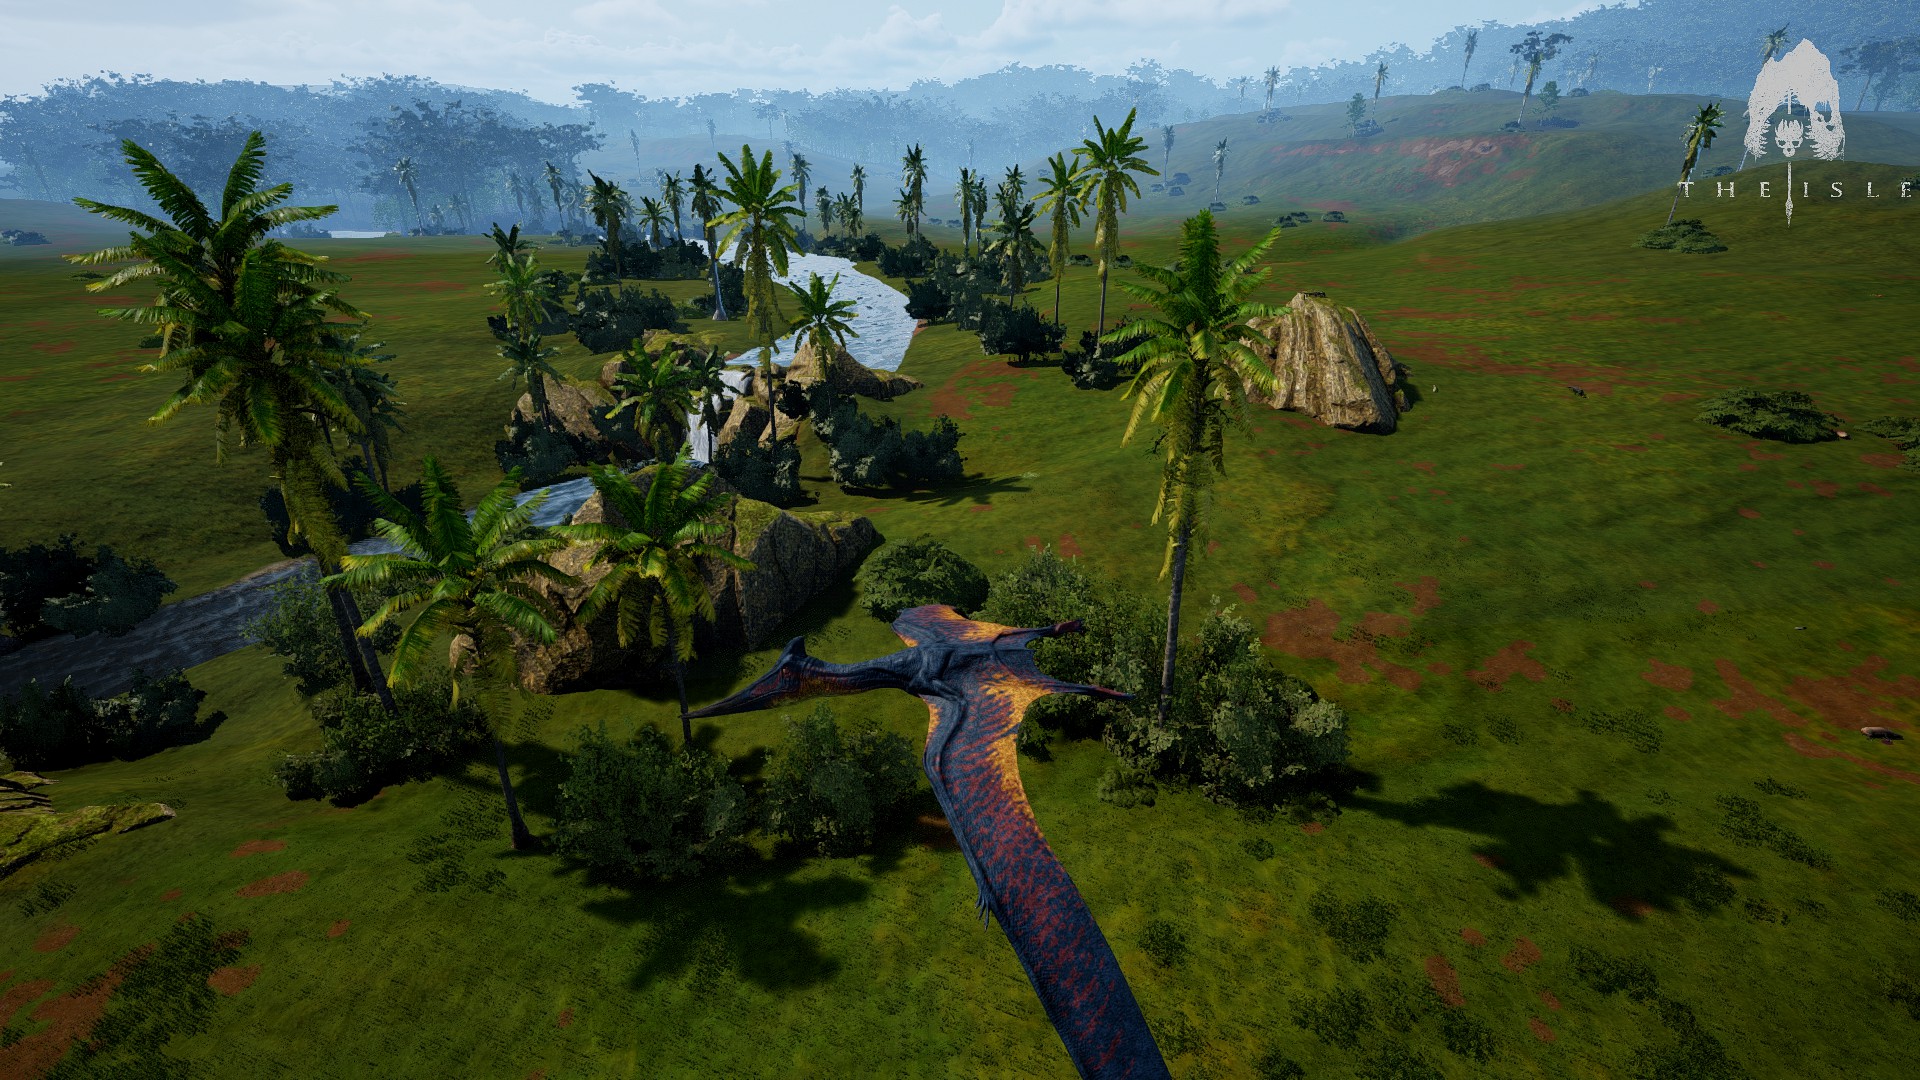
This guide will teach you to make the most of your time playing the pteranodon, and showcase some tricks that I have discovered throughout my time playing to maximize your mobility in the air. Hopelijk, when you finish this guide you will know both how to thrive with the pteranodon, and how to control it to fly faster and farther than anyone else. This guide assumes that the reader already knows the basics of The Isle Evrima, such as controls and how to find food, as well as the basics of the diet system.
Groei
When first starting out on any server with the pteranodon, you will have to make a few choices. Before you spawn you must choose a skin, a sex, and a spawn location. For skins, the choice is largely trivial, as camouflage is not often useful for the pteranodon, so go wild! When it comes to choosing an asset sex, the majority of players will be male, since that is the default sex, and due to them having access to the male display colors. If you are planning on nesting, I suggest you instead pick female, to increase your odds of finding a mate. Eindelijk, for spawn location, this depends on what your plan is as soon as you spawn in. There are a few good growing spots that I can recommend you head to when you are a fresh spawn. Dit zijn, in no particular order:
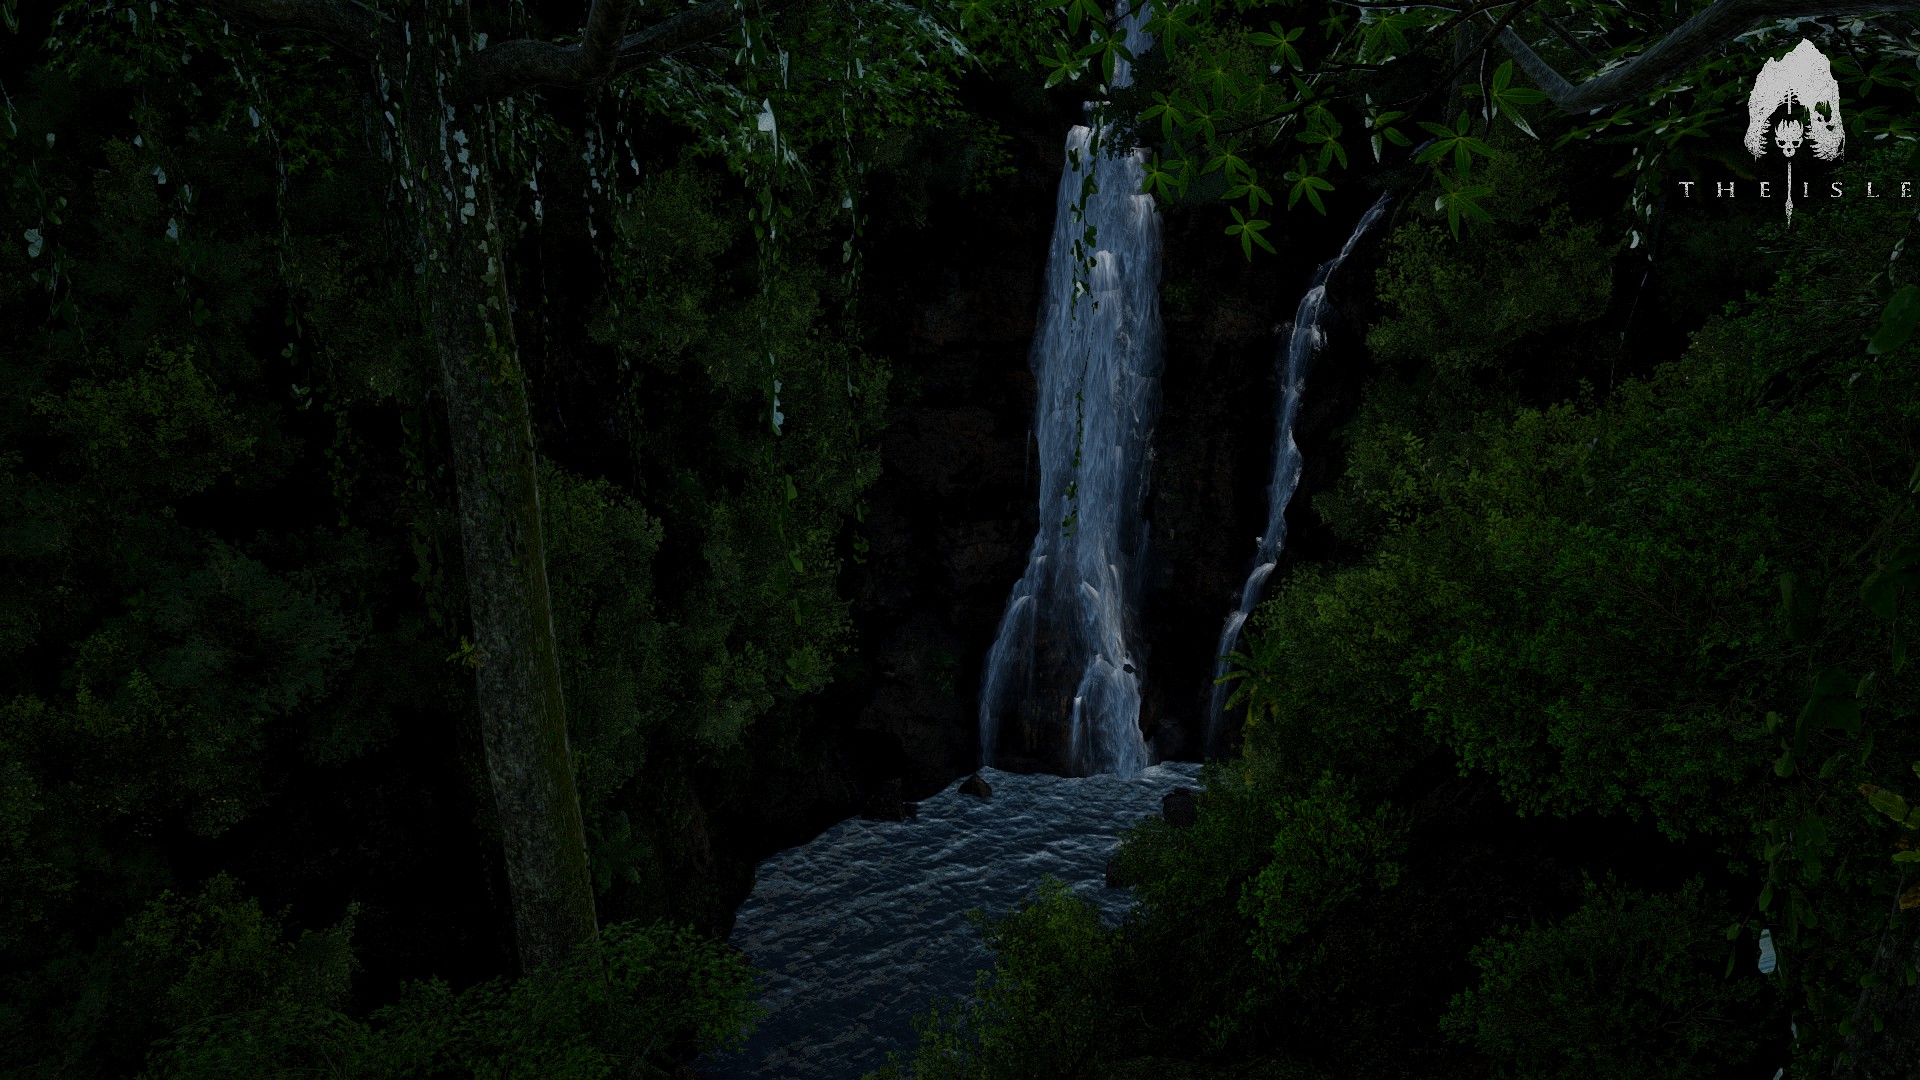
- The pond and waterfall underneath the radio tower (south of the map, aka pocket pool)
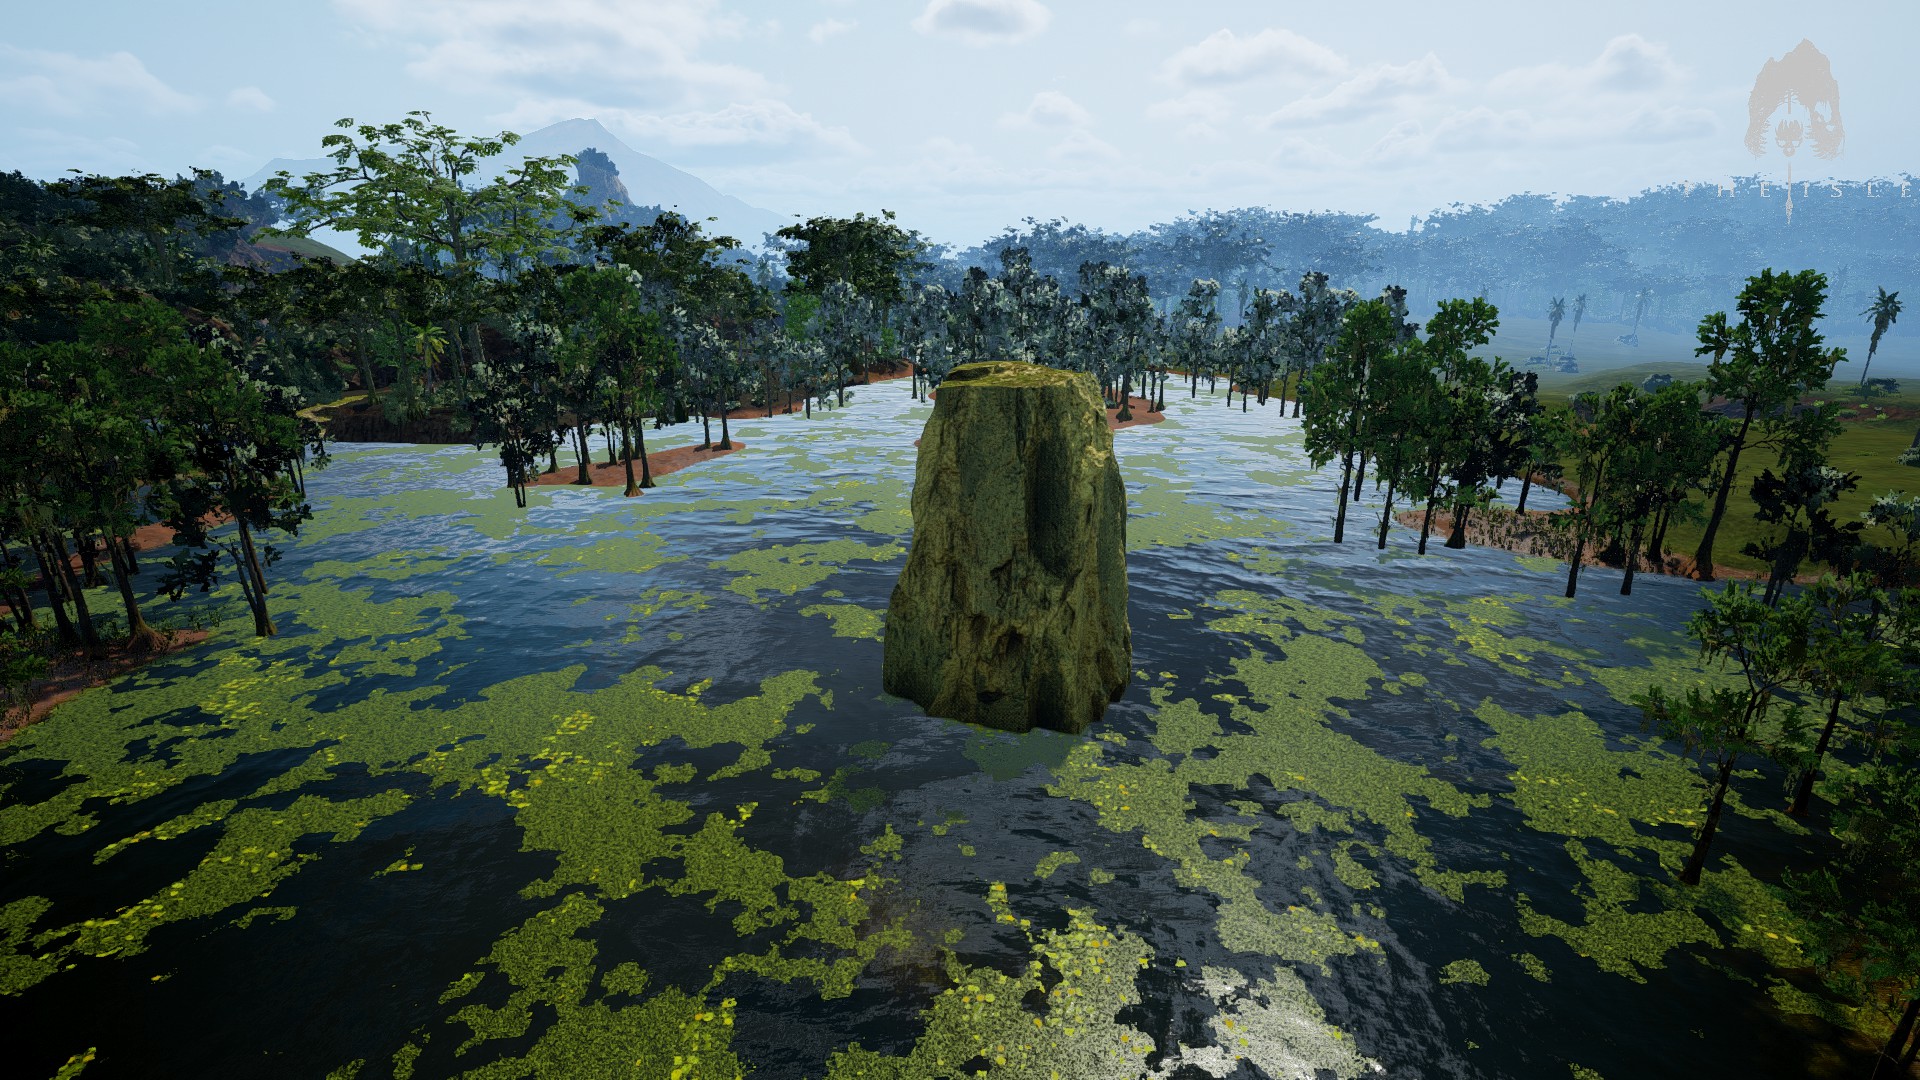
- The rock pillar in the east delta swamp (SE of the map)
- Any secluded river such as:
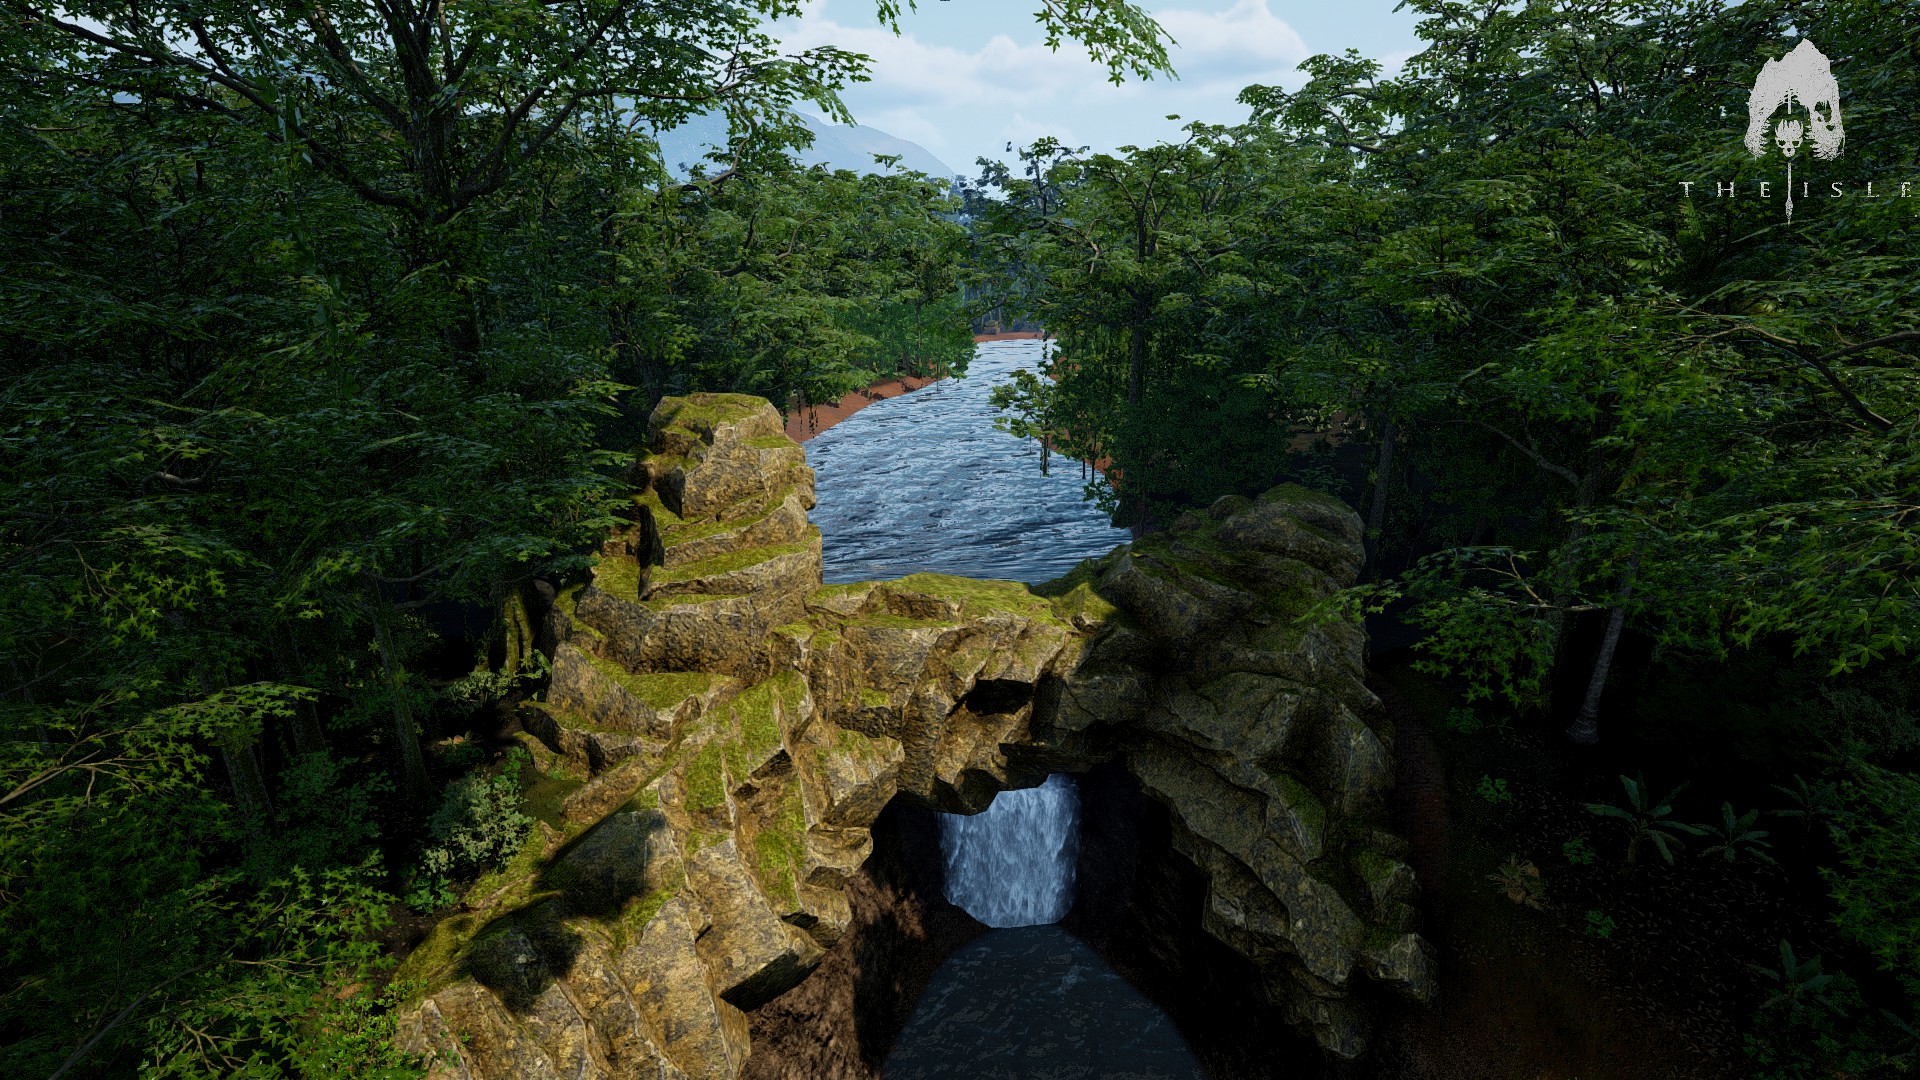
- The NE river section by the log bridge
- The western parts of the arch river
If you are unfamiliar with these names or the map of The Isle Evrima in general, then check out
When first starting out, know that until you reach about 38% growth, you will gain all nutrients from eating anything except for other pteras. So make sure to fill up completely on food before then, so that you have full nutrients when you get your actual diet. A full set of all three nutrients will be enough to last you for the entirety of the pteras short 45 min growth time, so you don’t have to worry about it again until you are an adult. By then, there are few reasons to even bother with diets unless you want to nest or care about one of the small buffs from having a good diet.
The spots that I have selected here all have easy access to fish, which is your best and safest food source early on. This is the main reason that I chose not to recommend either of the two large beaches in the game, since they rely on turtles to provide you with food. Killing these as a juvenile takes a very long time, and is just too annoying in my opinion to be worth it, so just go for fish, it doesn’t matter until you get your diet anyway.
Eindelijk, don’t be afraid to move around and migrate as a juvenile. Unlike earlier updates, the juvenile ptera now has really good stamina economy, allowing you to easily cross distances similar to the adult ptera. I haven’t tested this, but I believe the juvie ptera might even be able to fly farther and higher than the adult version. So just fill up on food and nutrients when you spawn, then you are really free to go anywhere on the map pretty much.
General Survival
Dus, you have spawned in and filled up on food and water, what now? How do you stay alive, keep your nutrients topped up, and link up with other pteras?
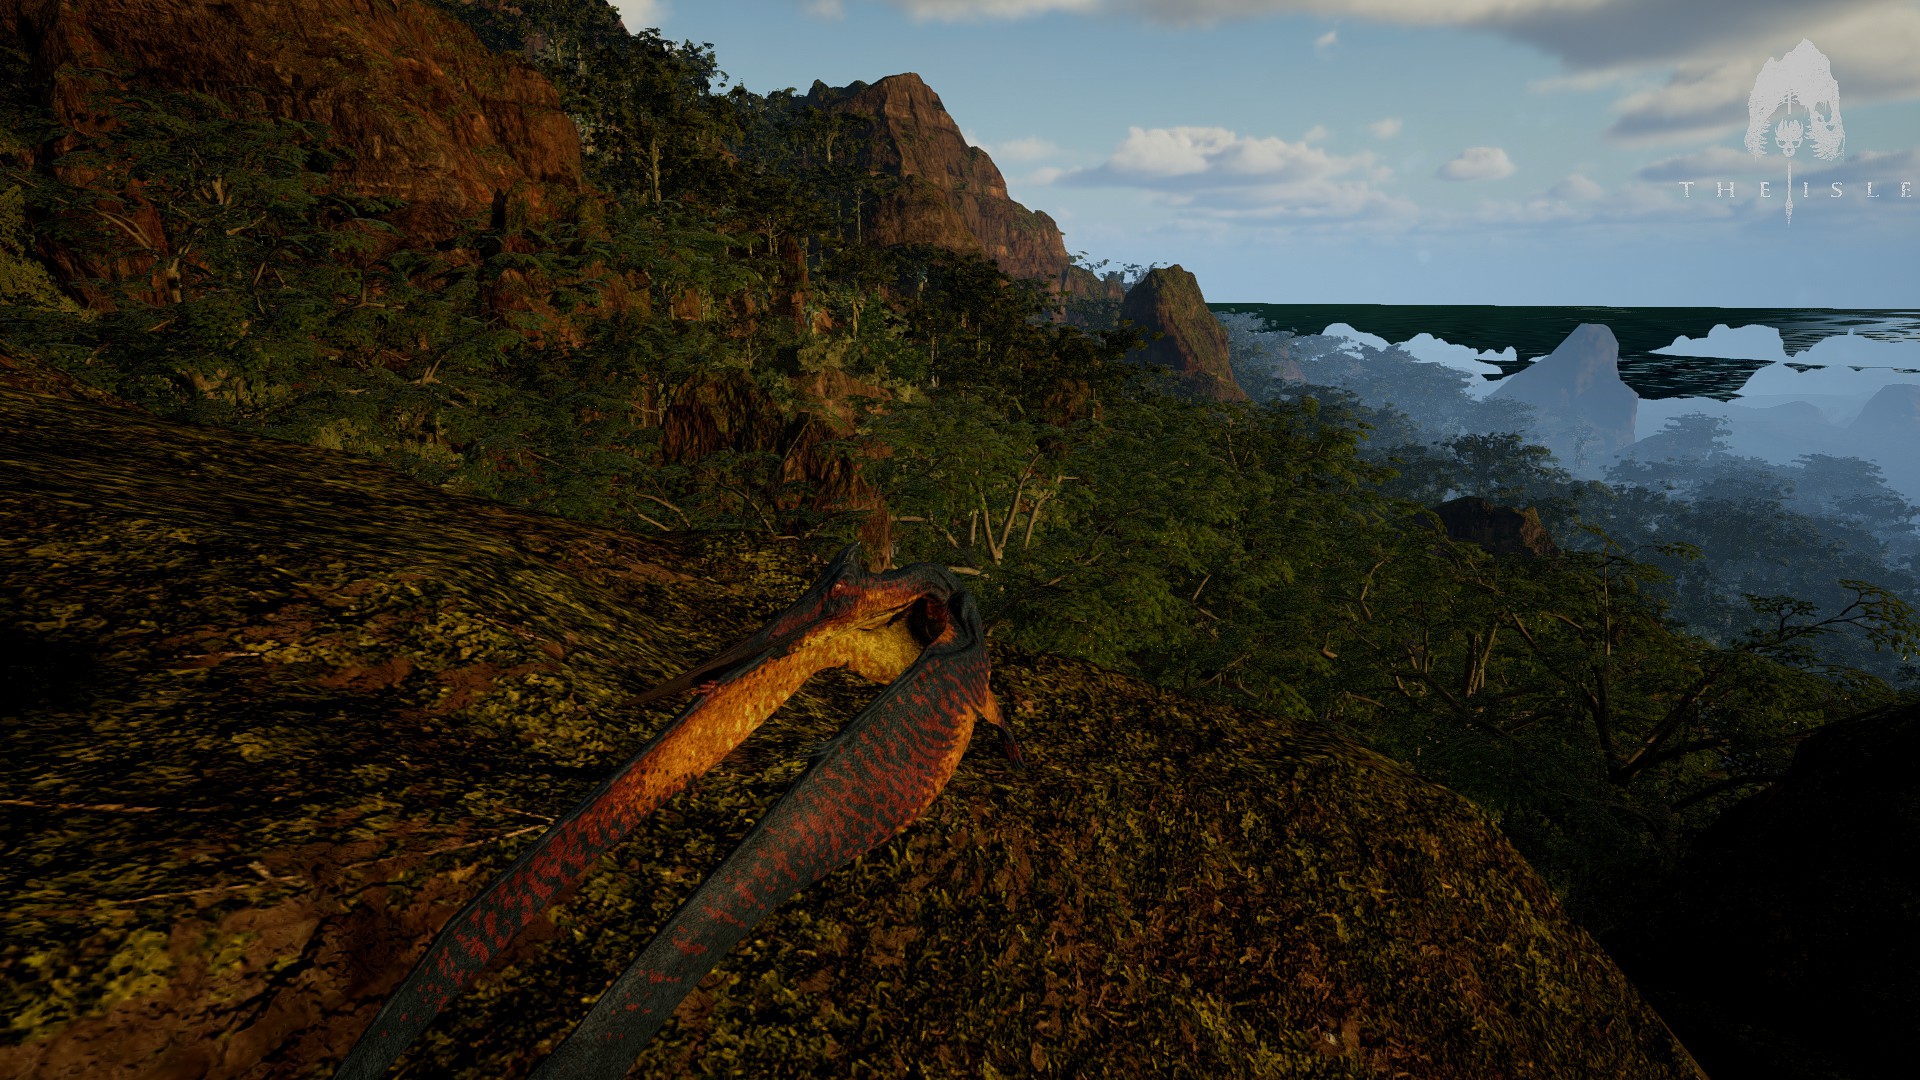
Avoiding predators – The most important part of playing a pteranodon is to always utilize your flight to the utmost of your abilities. Always be alert when on the ground, and if possible, don’t even touch it if you can help it. The best way to avoid being eaten is to never be where anyone else can get to you. Rest on inaccessible cliffs or in trees(see Landing Technique section), and always keep enough stamina when flying so that you have a bit left to find a safe perch at your destination. In a pinch, utilize the pteras latch ability to avoid having to land in risky spots when out of stam.
Use your high speed and mobility to drink and eat in remote places where deinosuchus or other predators are unlikely to be. Spend some time scouting a potential landing site from the air before you go down and drink/eat, and look for potential predators nearby. A lot of the times that I have died to a predator as a ptera, it has been because I did not check my landing sites. When traveling long distances, it can be easy to just pop down for a quick drink/snack without checking your surroundings first, and then die to an opportunistic utah or croc. When you are playing ptera, 99% of your pvp deaths will be due to you being unattentive or getting overconfident. As a flying animal, no one will ever be able to get to you unless you somehow let them or make a mistake (unless it’s the 1% of cases where you fight another ptera).
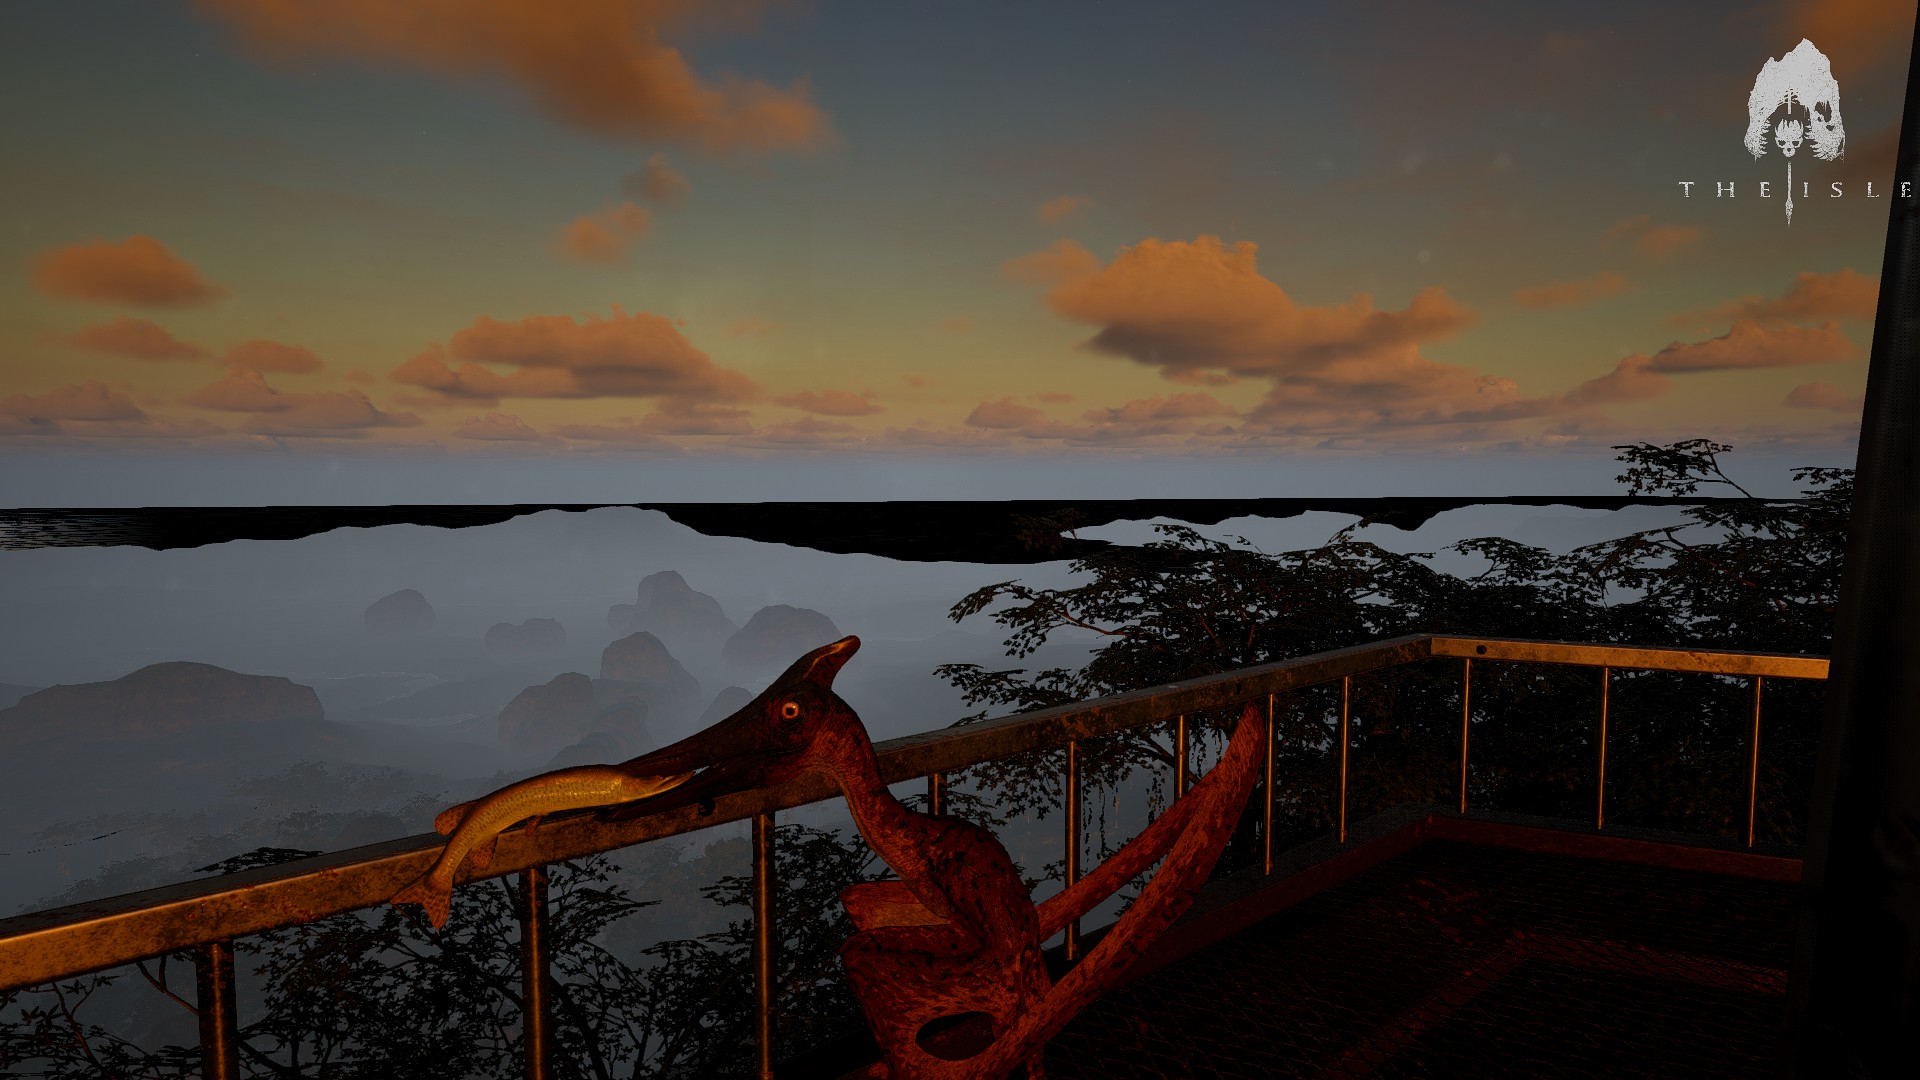
Food and hunting – If you are playing ptera, you really should never have to worry about starvation, unless an update somehow breaks animal spawns. Fish and turtles will easily sustain you and fill 2/3 nutrients, so the only one you really have to worry about is the left (Z)nutrient (is that supposed to be protein?). You can get this nutrient from three sources, hypsies, frogs and chickens. Frogs can semi-reliably be found around water and around mud pools. They are pretty small, making them both hard to spot from far away, and not a very big meal should you catch one. One upside to their size, Echter, is that you can often snatch them up and carry them away if you are fully grown. If you see a frog in the open or in a river, peck at them and then carry them away to a safe spot to eat. Chickens are also not entirely easy to find, as they have a very large range of places they can spawn, so you might need to patrol the map for some time to find on. They are however much easier to spot than frogs.
Eindelijk, we have hypsies. They are commonly found in areas of high player activity like NW plains or center, and are often part of larger herds of herbivores. Listen out for their calls and you will eventually find them. They take two hits to kill from an adult ptera, and will give you enough meat to fill up fully. Hunting them takes some aerial skill however, as they are very nimble, and can force you to do some difficult maneuvers to hit them, possibly resulting in you crashing. To help with tight maneuvers, I suggest rebinding the airbrake key to something more accessible than z, like shift, capslock or control. Op deze manier, you can quicly get to it, while kepping your thumb on the spacebar for altitude control. Try to not let your prey out of sight, as they can quickly throw you off in dense foliage or forest terrain. Try to get a hit in during your initial attack run, and then be very aggressive and try to kill them before they can find shelter. If they hide, and you know their hiding place, don’t be afraid to chase them on the ground, and go for the kill there, just watch your stamina, as it quickly drains when sprinting. If you lose track of a hypsie, it is in my experience often best to stay in the air and scout for them, rather than to go on the ground and look for tracks, since you lose a lot of visibility by going down to the ground, possibly allowing them to escape. If you know that the hypsie is nearby, perch some place hidden, like a tree, and wait for them to come out of hiding to deliver the killing blow.
Popular hangout spots – Pteras can be found pretty much anywhere on the map, just listen for other ptera’s screeches and respond to them, and you should find someone. Here are some common places that people hang out and sometimes nest:
- Rock pillars on SW beach

- Rocks above the log bridge river to the NE
- Pocket pool to the south
- Eastern swamp rock pillar in the SE
- Rocks at the hotspot by the river to the NW
Nesting
As a pteranodon, you have a lot more options when it comes to nest sites than other playables. Unlike some other animals, you require sticks(10 to be precise) to make your nest, which can make your nesting experience very annoying depending on your chosen site. Sticks tend to spawn close to the nest, and have a very annoying tendency to spawn in awkward, out of reach places like on steep cliff walls or inside the ground. Keep this in mind when selecting a nest site, as rough terrain like cliffs will worsen this trend, and make bugged or hard to reach sticks much more common. You often don’t need to think that hard about things like access food and water, as you can quite quickly pop over to the nearest river and get water/fish. Any of the popular hangout spots should make ok nesting spots, provided you make a nest where it is safe from predators. I tend to choose nest spots primarily from an aesthetic point of view.
Also think about the altitude of your nest. Ideaal, you will want your nest at an altitude where nothing except pteras will be able to get to you, but not high enough that getting food or sticks will drain too much of your stam. An added bonus of high up nest sites is that you will be able to glide from them at no stamina cost, but weigh this against the amount of stamina that will be required to get back up every time you leave.
As far as building the nest goes, all I can advise you to do is to stay close to the nest and sniff for sticks, and don’t wander off too far, like I see a lot of people doing. If you find bugged sticks, just ignore them, they will despawn pretty fast, but that also goes for sticks that you collect, so use them for the nest. If you leave them on the ground they will quickly despawn.
When the nest is complete, the time will come to lay your eggs. Don’t worry too much about your diet at this point. The female diet will decide the amount of eggs laid, and the male diet the chance that any eggs are rotten. This is all random, Echter, so you don’t need to spend loads of time getting a perfect diet to nest. If you get a bad batch of eggs, just attack the nest a few times. It will take damage and go back to its unfinished state, then just add another stick and you can lay again! Do this until you have your desired amount of eggs.
Your diet
willhowever have an effect on how fast the hatchlings grow, so keep that in mind. And make sure you have food ready for them when they reach 18% growth. This is the percentage when they will be able to fly and eat by themselves. Na 18%, the juveniles should pretty much just play as any other fresh spawns, and get as much food as possible before they reach 38% growth and gain their prefered food.
Takeoff Technique
Taking off is the most straight forward part of flight with the pteranodon. Ther are three main ways to take off:
- Stationary launch (hold spacebar)
- Falling launch (tap spacebar while falling)
- Running launch (hold spacebar while running, release to take off)
Out of these three, you should be doing the stationary launch most of the time. Het kost 8% weerstand, and also gives you a bit of height when you use it, though you do not gain a lot of speed from the launch.
The falling launch is great because it does not cost stamina, and also gives you a fair bit of speed that you pick up while falling. A pure falling launch is only possible from very large heights however, as the altitude loss is significant, so try to avoid foolishly plummeting to your death while doing this, and learn the height required for a successful falling launch. If you are launching from a cliff, it can often be a good idea to sprint off the cliff to gain more clearance from the wall, and avoid an unfortunate collision. It will cost a small amount of stamina though, but it is pretty much always worth sprinting because of the extra safety factor. You can also jump before you reach the edge, which will give you even more clearance, but will cost you about 5% stam. You can use this to do a falling launch from lower heights, but at a cost of 5% stam, you might as well do a stationary lanuch instead, as it will give you a lot more height. Use the falling launch when you are on a height, and are heading to a spot nearby that you can glide to. For long distance trips, the extra height gained from a stationary launch is preferable to maximize range.
Finally we have the running launch. Never use this unless you are being chased and are panicking. It takes a pretty long time to “wind up” before you actually launch, and letting go to early will leave you on the ground to die. It also takes loads of stamina, far more than the other two methods. Tot slot; Only use this method if you are running and urgently need to take off, and also for whatever reason are unable to stop to do a stationary takeoff.
Landing Technique
Precision landing – Landing is pretty straight forward as the ptera. Just use the airbrake to slow down enough so that you don’t crash when you touch the ground. But sometimes you will want to be more precise than just using the airbrake on its own. If you hold w at the same time as the airbrake, you will be able to direct your exact heading and angle of descent with your camera. Use this to aim at small landing spots like cliff ledges and tree tops.
The airbrake will slow you down a lot, but as long as you hold the button down, you won’t fall out of the sky. If you have held the button down for too long, and then release it, you will fall from the sky due to lack of speed. You can stop this from happening by looking forward and holding w to get as much forward speed as possible before releasing the airbrake key. If you do fall, just press space to recover, but it will cost you some altitude, so be careful when close to the ground. Sometimes you will want to drop intentionally. If you are aiming for a small landing site and are about to overshoot, you can look down and then release tha airbrake so that you drop straight down onto your target location. This is also useful if you are landing in a spot that is easy to accidentally walk off of, such as the top of a tree.
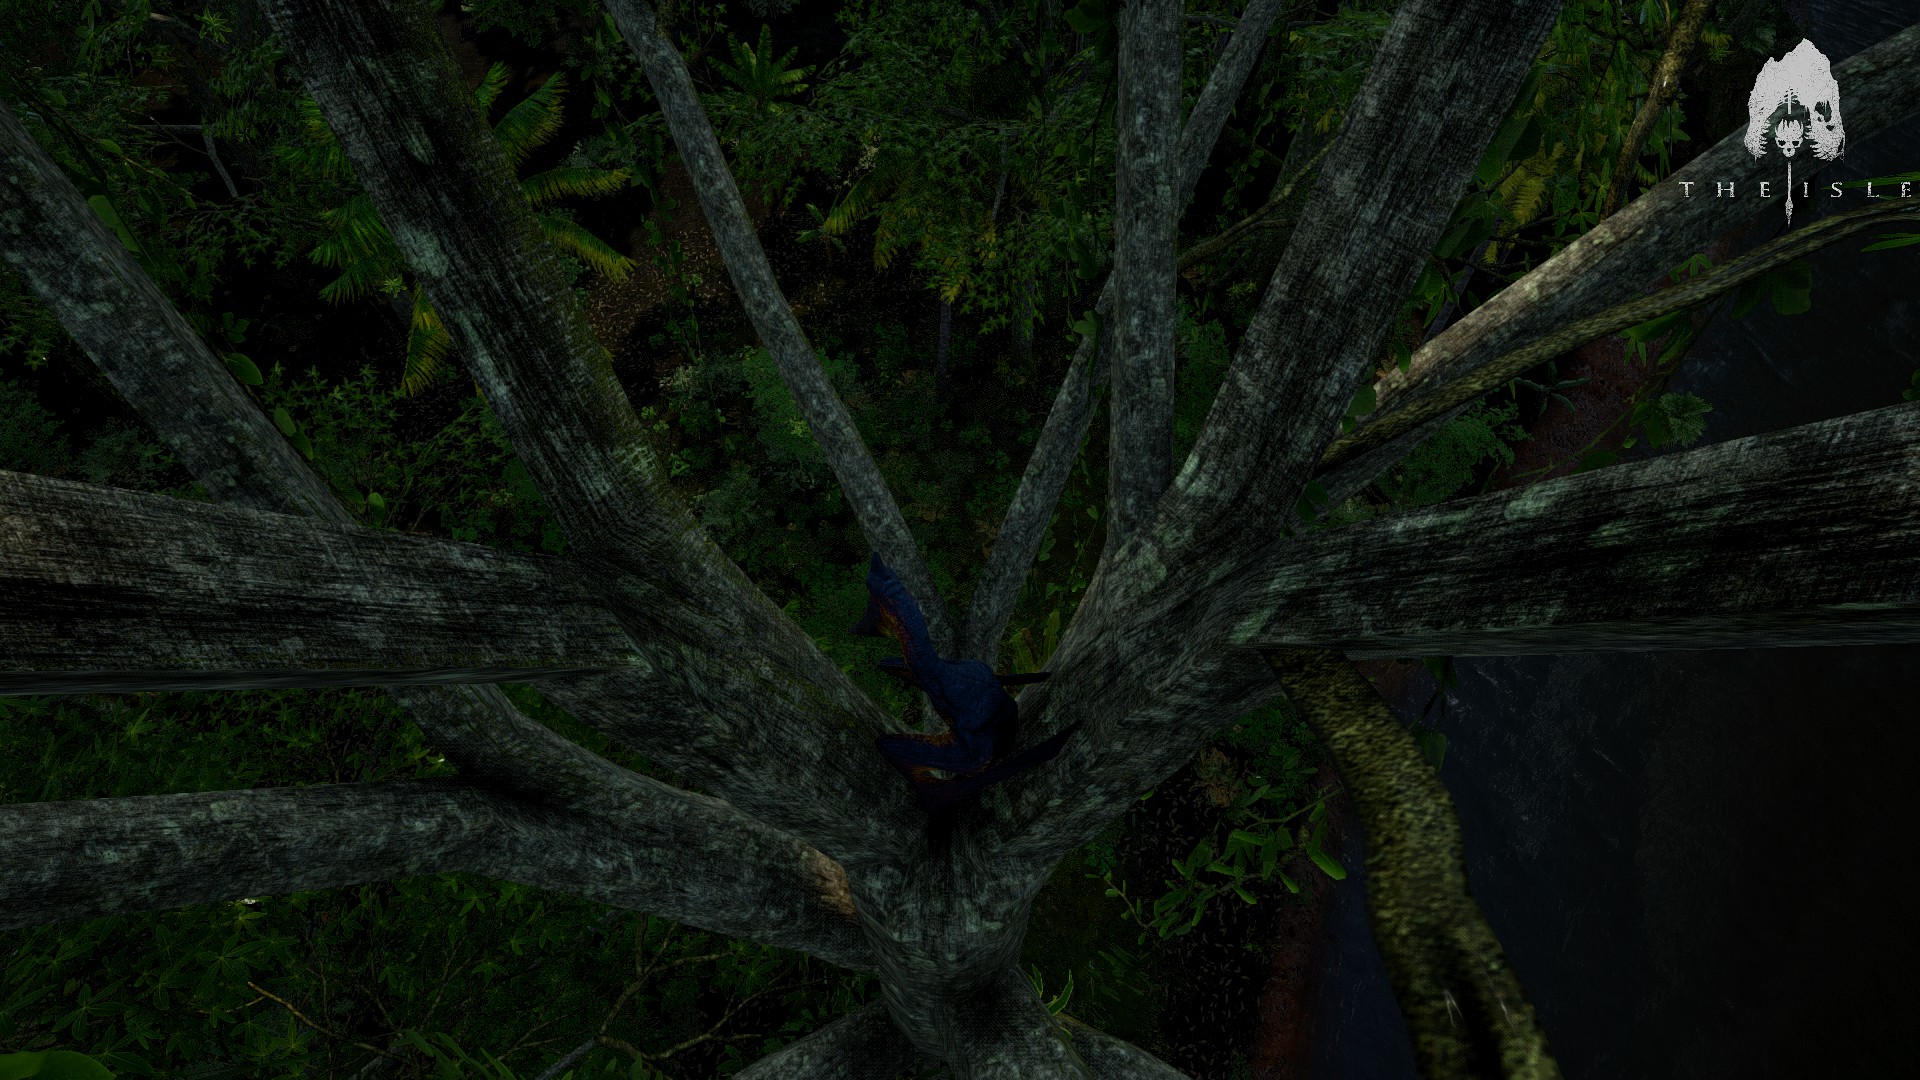
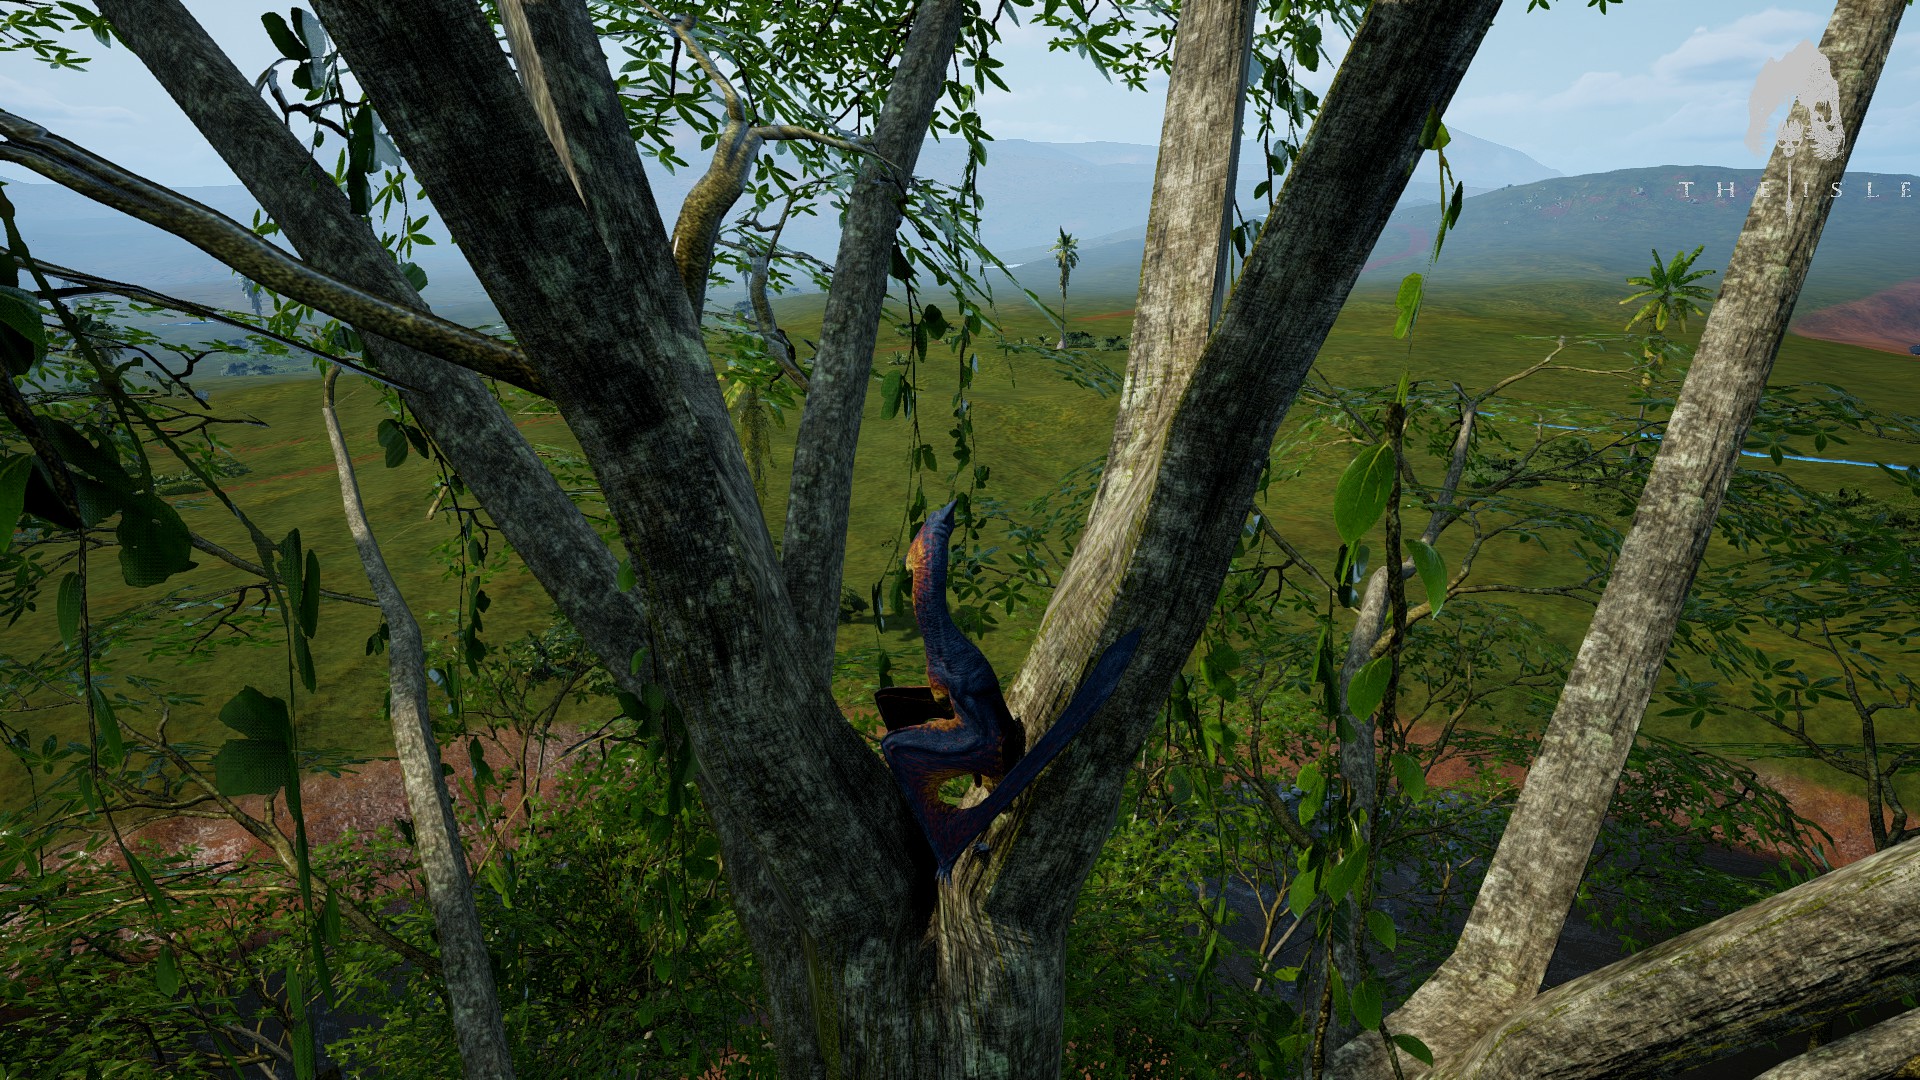
Landing in trees – Landing in trees is one of the most useful skills to have as a ptera player. It allows you to rest in safety almost anywhere on the map, and also saves you stamina by giving you a height to fly off when you launch, instead of you having to spend stam to climb from ground level. I always save about 20% or so of my stam so that I have a safety margin, and can do some maneuvering at my destination such as landing in a tree or some other good perch.
Not all trees are possible to land in. Palm trees are very risky to attempt landings in. You have a high chance to get stuck in them, as well as a high chance of falling and injuring yourself if you miss, since they are often not tall enough for you to spread your wings before you hit the ground. Instead go for the large forest trees littered across the map. Aim for the top of the trunk. There should be a pair of Y-shaped branches at the top of the trunk, that is where the trees collision starts. The trunk is the only part that actually has collision, so try to land where those two top branches meet, and you will be standing on top of the solid cylinder that is the tree trunk’s collision model. I try to follow the Y-branches in, keepin a steep approach, and being very careful to release all movement inputs as I touch the trunk, to avoid walking off the edge. If you are having trouble with walking off, I suggest trying to fly straight above the top of the trunk and the Y-branches, and then looking down and releasing the airbrake and all movement controls, so that you drop down on the trunk.
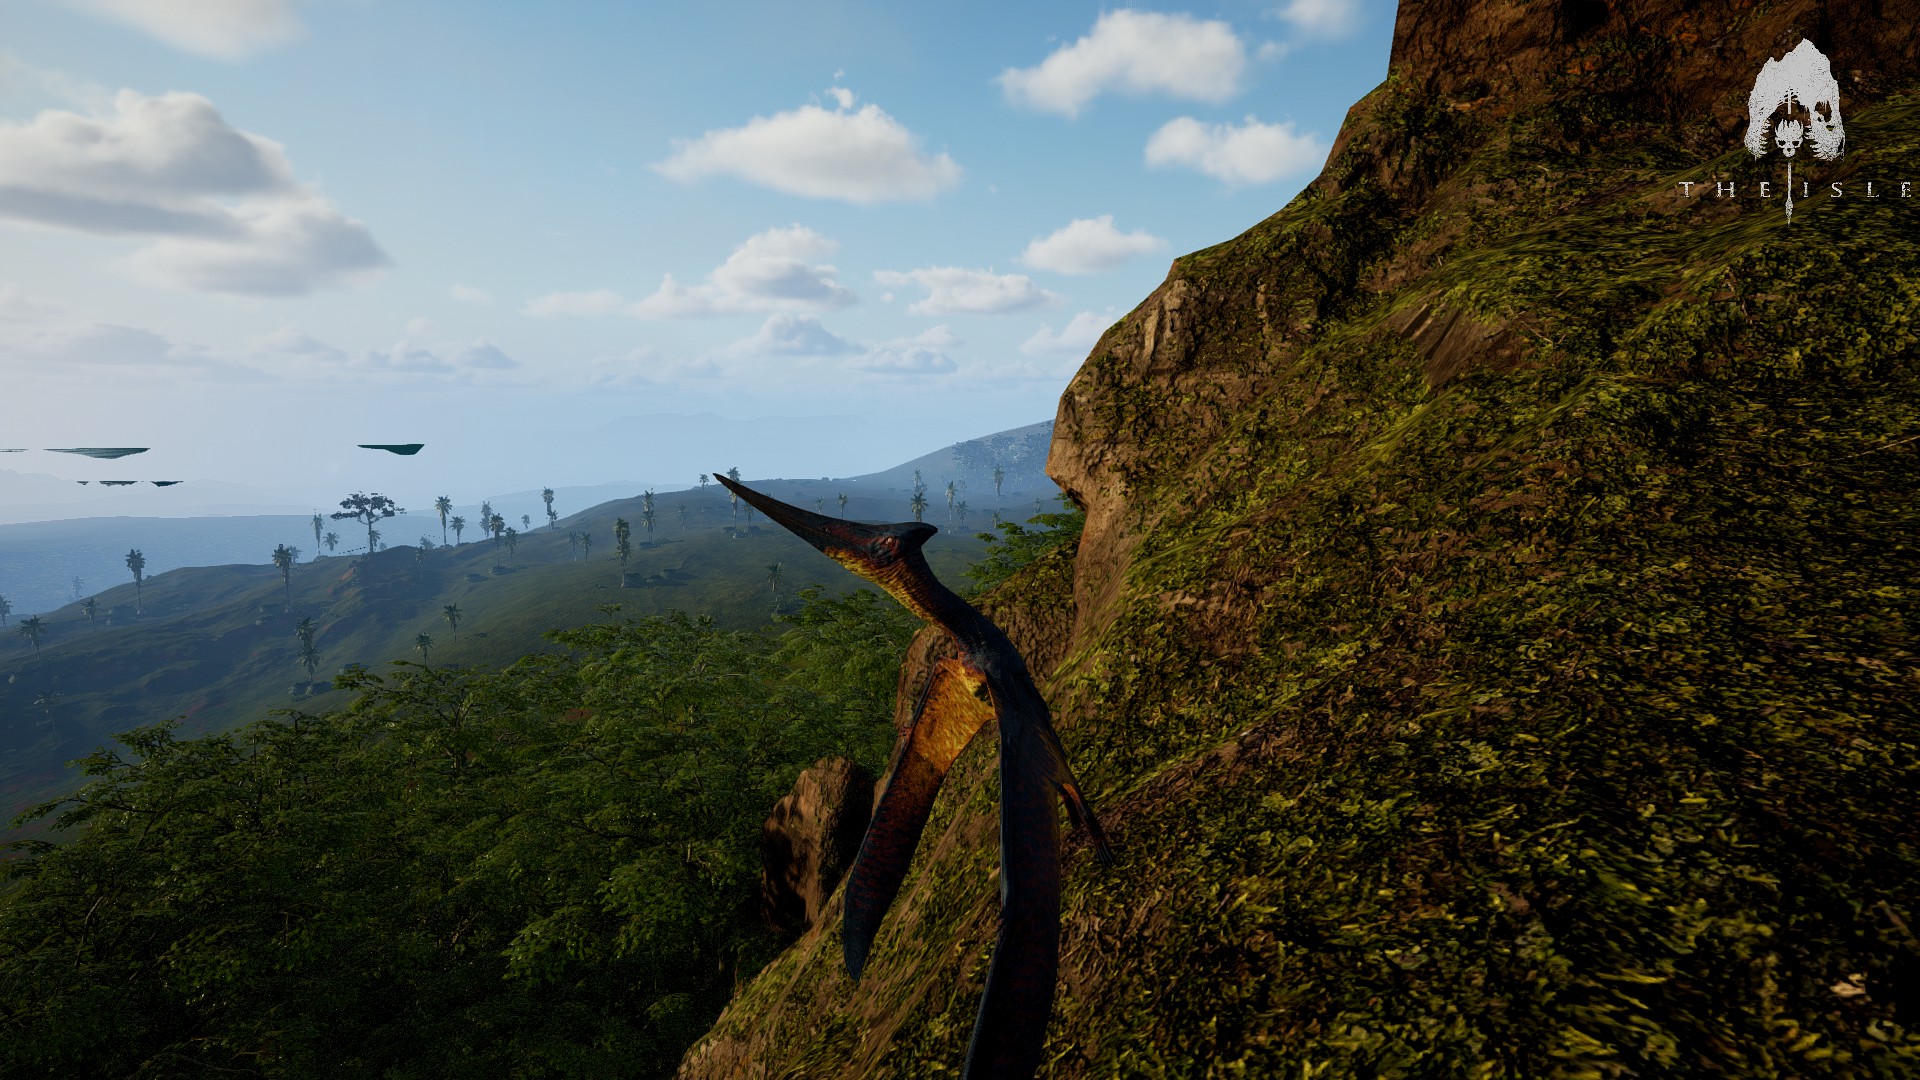
Latching – You can latch on to vertical surfaces by flying slowly using the aribrake, and holding the right mouse button. You can then just hang there until you press RMB again to let go, or space to fly away. Note that you do not gain stamina back while doing this. It is not generally very useful, but can be used to hide, or gain a good overview over something like a nest site or unaware prey. Also it kinda looks cool.
Climbing Technique
Tests – With the pteranodon, altitude is range. The more height you can gain, the longer and farther you will be able to glide. I have done some testing to determine the most efficient climbing technique, using the in-game coordinate system and a fixed height. I used each of these techniques from a stationary launch until my stamina bar was empty, and then recorded the units of height gained.
- Holding spacebar – 14 eenheden
- Economy spacebar – 24 eenheden
(Spacebar is held and then released in rythm with the pteras wings flapping. Release space when they are on their way up, hold when they are on their way down.) - Holding spacebar and sprint key – 25 eenheden
- Economy spacebar and sprint key together – 20 eenheden
(Same technique as economy spacebar, but simultaneously holding sprint together with spacbar.)
Conclusie – From my testing, the two best ways of gaining altitude with the ptera are either by rythmically holding spacebar, or just straight up sprinting while holding space. Sprinting is much faster, but less controlled. For general use, these are the only two climbing techniques anyone should use. Ruimte + sprint for maximum distance, and rythmically pressing spacebar for smaller corrections or height increments.
Snelheid, Range, and Supercruise
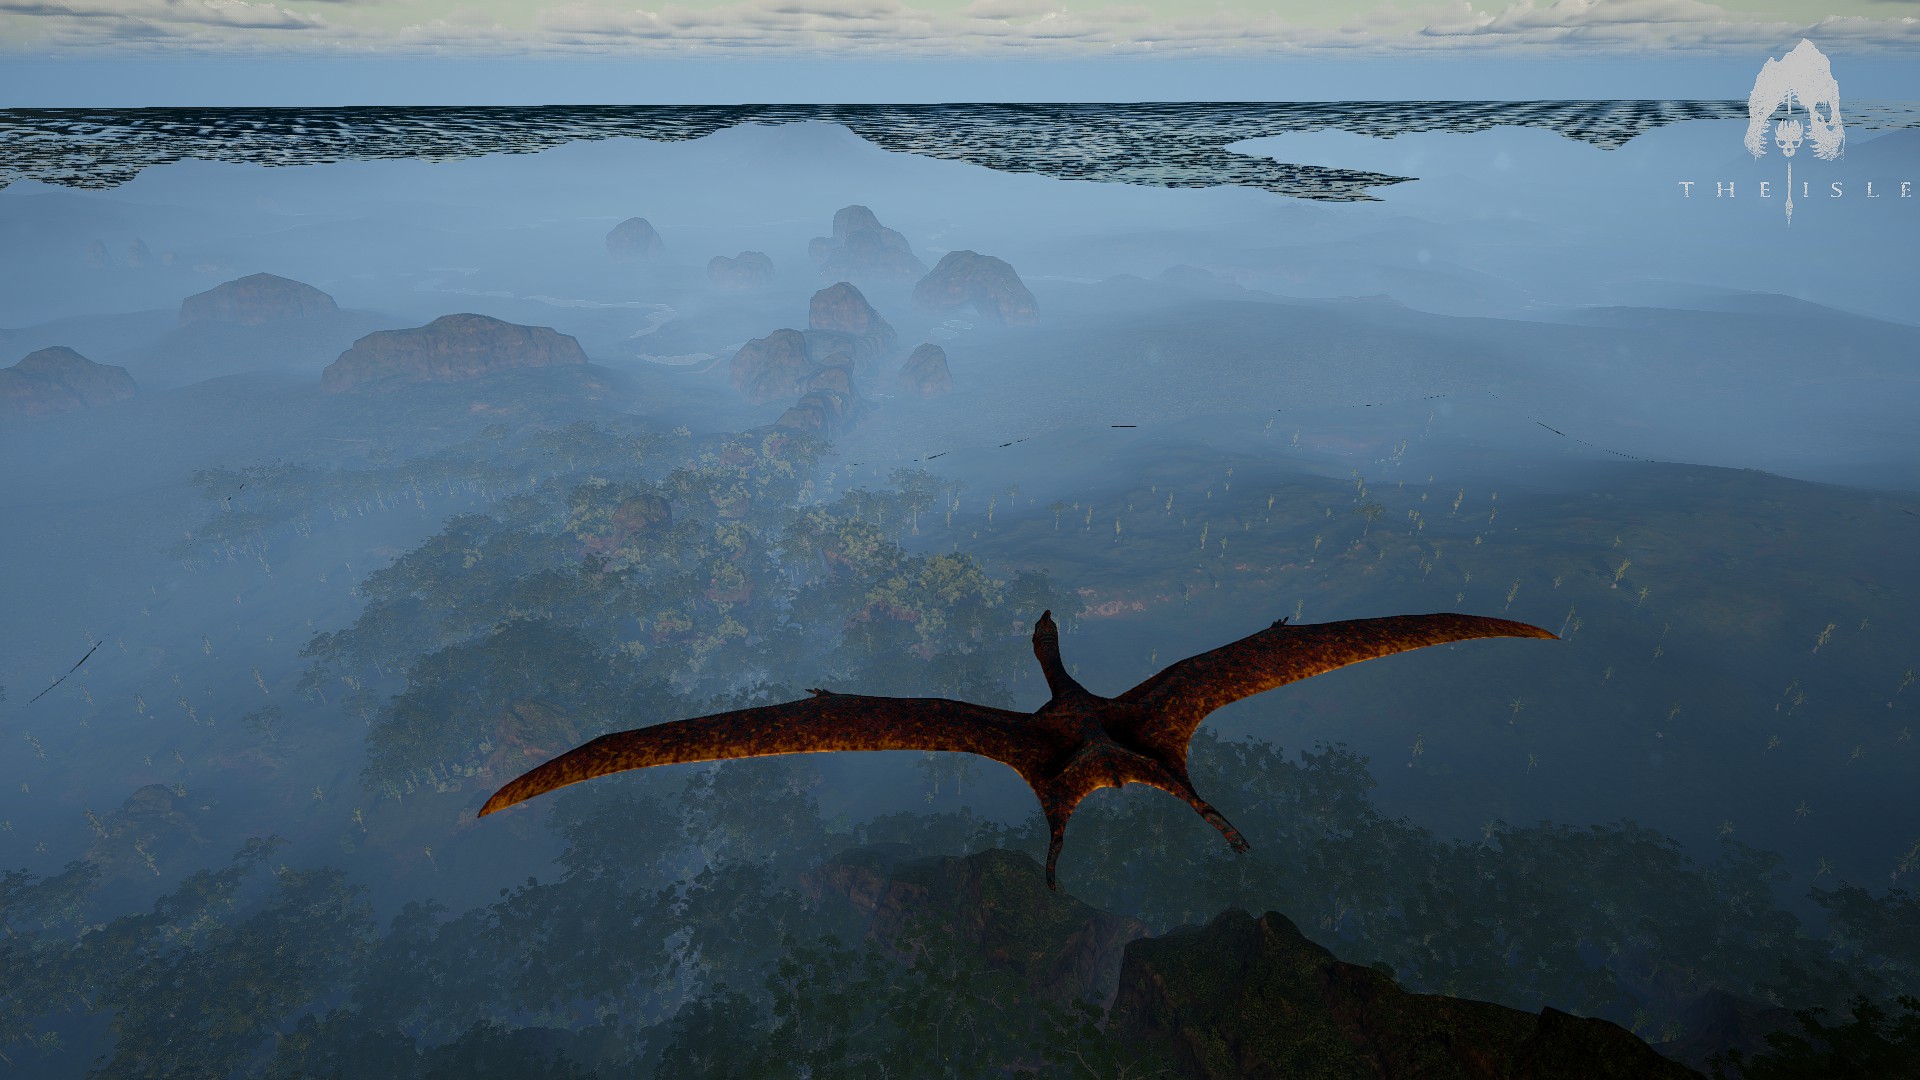
Now for the (naar mijn mening) most useful tip in this entire guide, I will teach you to fly at sprinting speed without using any stamina, what I’m calling “Supercruise”. To understand how this works you must first understand how stamina drain works for the ptera.
Speeds and stamina drain – Stamina drain when flying is based on your speed. If you are goind slow enough, you will be able to glide without losing stamina. If you sprint or dive and increase your speed above a certain threshold, and continue flying normally after that, your ptera will occasionally flap its wings, draining a small amount of stam every ~7 seconds or so. The default speed you get if you just do a stationary lauch is below this threshold, henceforth refered to as “economy speed”. If you hold spacebar to climb, the speed you end up at after you level out will also be below economy speed, so if you are worried about wasting stam due to your speed, just hold spacebar for one flap of your wings, and you should be good.
Diving – If you dive by looking anywhere below the horizon, and also holding w, you will descend at an angle. During a dive like this, sprinting will not cost stamina. This is one component that makes up the supercruise technique. This knowledge can be used by itself though, to quickly reach lower elevations without stamina use. This will already allow you to travel great distances using no stam and at high speed, by looking slightly below the horizon, at the same time holding sprint and w.
Supercruise – Supercruise is a travel technique that is based on a combination of two quirks of the stamina system. One is the fact that diving removes the stam cost for sprinting, the other is the way stamina drain itself works. Stamina drain in the Isle seems to happen in “ticks” of “chunks”. As an example, when you sprint, chunks of stam of a few percent each are removed in sequence, not as a smooth drain on your stamina. Using diving, I have found a way to cancel the stamina drain tick from sprinting at the cost of a tiny bit of altitude. If you very briefly hold/tap your sprint key, and immediately after tap w while looking down to do a dive, you will interrupt the stamina tick from sprinting, making you gaina a small bit of speed at no stamina cost. You can repeat this multiple times, gaining full sprint speed after only a few presses. You do lose a tiny bit of altitude with each press of w, but this can be minimized by only looking down at a very shallow angle, and only tapping w instead of holding it like a normal dive.
After you are up to sprinting speed, you can also interrupt the stamina drain from being at high speed by occasionally looking slightly down and tapping w. Just like with the sprint, this interrupts the ongoing stam ticks from flying fast. These stam drain ticks happen every ~7 seconds in my experience, so if you just tap w every few seconds, you will remain at your current stam level. You will naturally slow down after a while, so you will have to boost up to sprint speed again using the supercruise technique during long flights.
If you are having trouble with the tapping technique to boost up to sprint speed, try doing a very shallow dive and sprinting at the same time. It is easier to pull off, but wastes a bit more height. For this to be the most effective the angle of the dive has to be as shallow as you can make it without losing stam.
Efficiency and range – My testing seems to show that your ptera’s descent rate is completely unchanged regardless of your speed. This means that, for maximum range, you want to go as fast as possible. So the optimal way to travel far with the ptera in my testing and experience, is to climb using one of the two climbing techniques outlined in the previous section, and then supercruise from there. The small amount of height you lose from supercruising compared to normal sprinting is
faroutweighed by the extra stam you save and can use for additional altitude gain. Depending on your starting altitude, it is possible to fly across the entire map using this technique, all the while being much faster than anyone not using supercruise.
Opmerking, Echter, that range is very highly dependant on height. If you want to cross a large section of the map, it helps a lot to start somewhere like at the top of a cliff or tree. The worst spot to start in would be one of the beaches, at sea level. Keep this in mind if you are on the beach, that if you don’t rest in a high place, your range will be vastly reduced since you need to spend a large poriton of your stam just to climb up to normal ground level.
Dat is alles wat we vandaag hiervoor delen The Isle gids. Deze handleiding is oorspronkelijk gemaakt en geschreven door 0bservator. Voor het geval we er niet in slagen deze handleiding bij te werken, U kunt de laatste update vinden door dit te volgen link.
to gain altitude without using almost any stam just hold W and point slightly upward, the more you point up the more stam it uses obviously, but this way you can get extremely high with barely any stam used.