
This guide talks about the approximate rules for constructing things in Saleblazers. During the Early Access period, these details might change, so I’ll try to keep it current with the developer’s changes.
False Negatives
When you’re constructing in Saleblazers, you might come across a false “can’t build here” message. This can happen because the game might not be properly connecting to the snap point, which is usually at the corner of a wall. The game can be a bit finicky with building sometimes. Maar maak je geen zorgen, keep trying. If you follow the guidelines below, you should find a way.
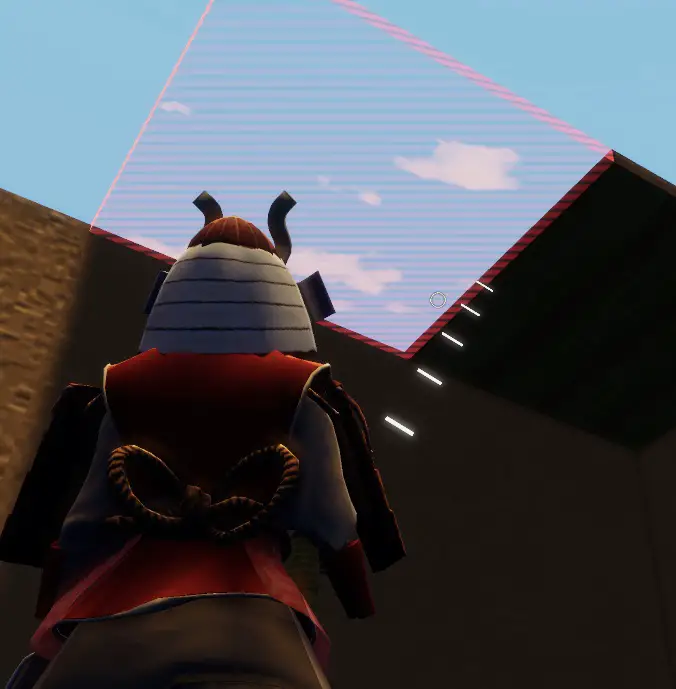
If you’re a bit of a perfectionist like me, you’ll want all your floors and ceilings to face the same direction. You can achieve this by doing a full 180-degree rotation on a piece, even though it might look the same from a graphics perspective. This can help, but sometimes the assignments might still be upside down, although you won’t usually notice. What really works is placing the pieces the best you can, and then when you’re done, go back and adjust the ones that were tricky. Sometimes it’s easier when the surrounding pieces are in place. The last picture you see in the guide is a yellow silhouette. This means the next piece might not have enough structural support to extend further, but you can still place the yellow one.


Max Build Distance
Let’s talk about what’s acceptable when expanding your construction outward. The general guideline here is that you can extend 2 pieces from a snap point of something with structural support. The pictures below show that you can go 2 pieces from each side, but that center piece won’t connect. If you’re in a square room, you could fill in every piece except the center of a 5×5 rooster. In the example I used, er zijn 4 vertical beams to support the placement of that center piece, but you could also use horizontal beams (as you’ll see later on).
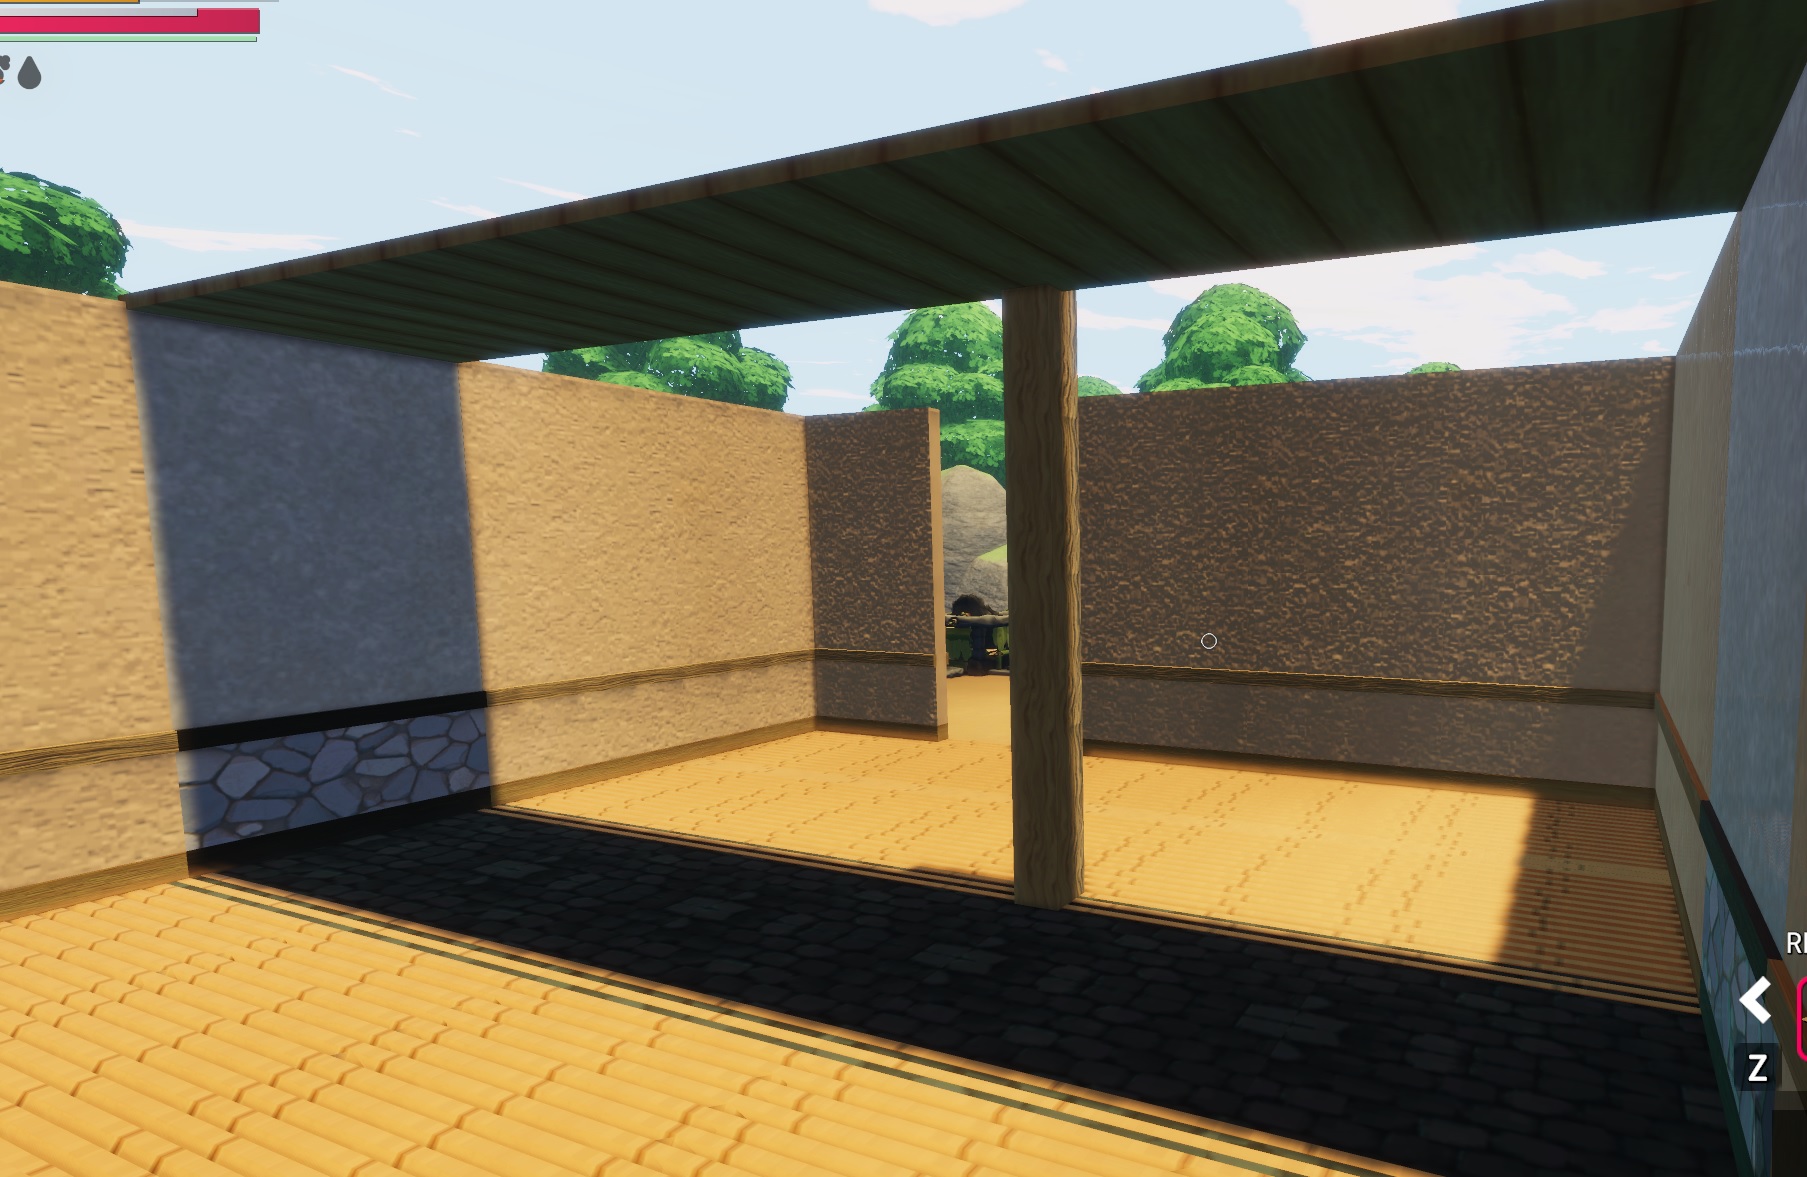


From the information above, the key thing to remember is that if you want to avoid using beams in your construction, the widest ceiling you can have is 4 pieces across. You can get creative and use transparent walls, but there still needs to be some form of structural support. Any wall that goes vertically (omhoog) can support a full 4×4 area of ceiling from a Vertical Integrity Point. In the fourth picture, you can see how a single wall can hold up a 5×4 ceiling area. The last picture illustrates a 5×5 ceiling with a single beam supporting it in the center. The outer edge has yellow integrity upon placement but is still functional, though it can affect how much weight it can hold at the outer edges.
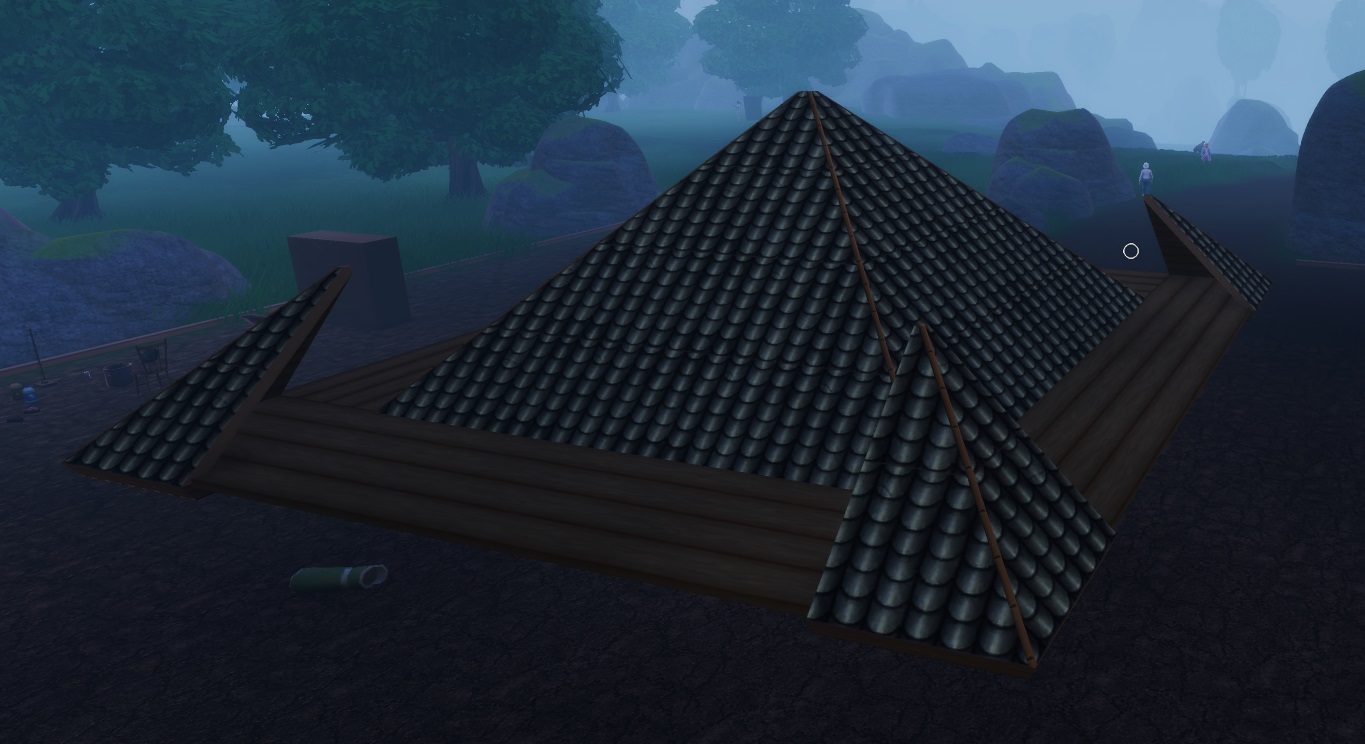
Max Roofing Off Max Distance
As we’ve seen, a Wall is a bit less sturdy than a Vertical Beam when used as a Vertical Integrity Point. While you can construct a 5×4 flooring structure off the top of a single wall, you can’t build upward on all the flooring points. In the case of the Vertical Beam, you can only connect the corners in a 5×5 patroon, but in a 4×4 arrangement, you can build a complete roof. The edges leading out to the 5×5 can still support a Wall, but the very outer edge cannot.


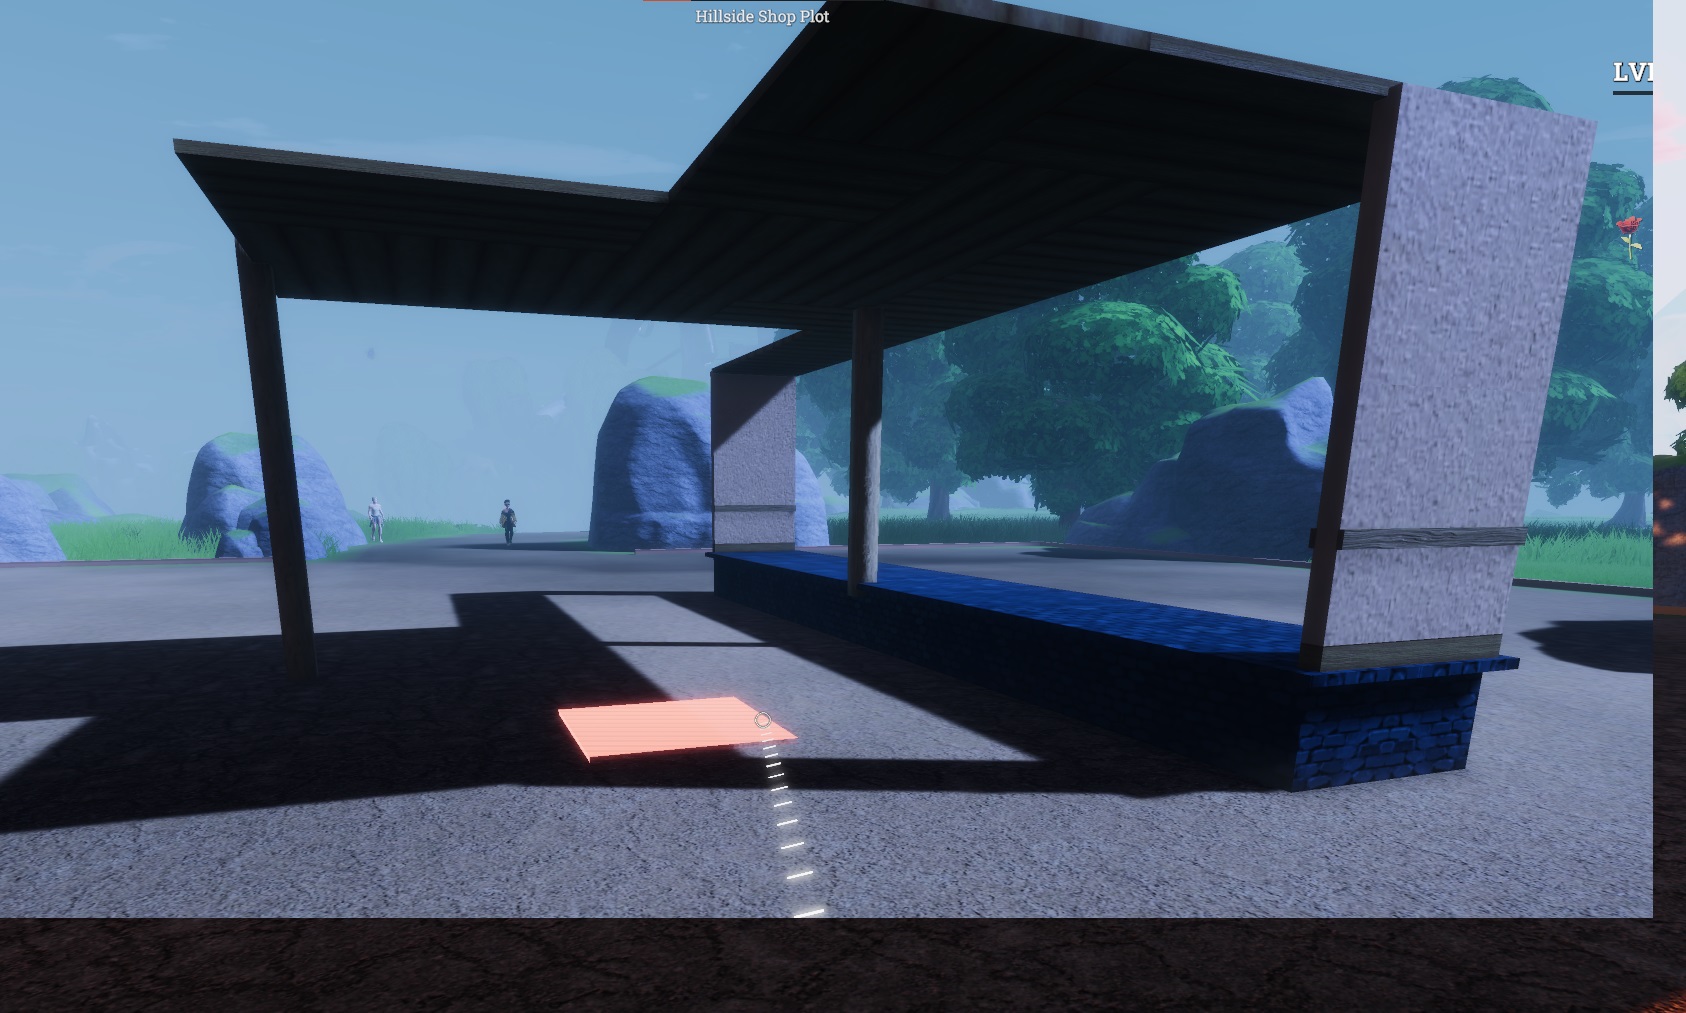
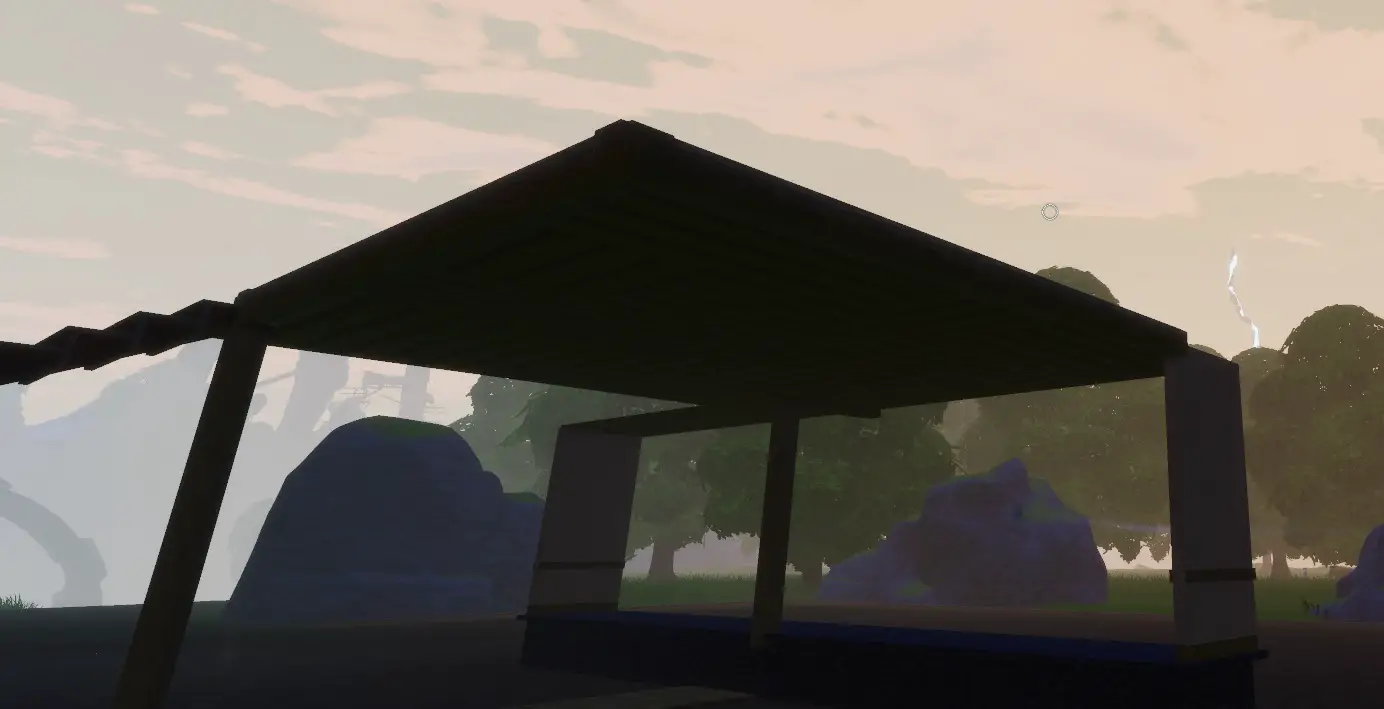
Horizontal Beams
If you’re looking to expand even further, Horizontal beams can come in handy. By positioning them from one wall to another, you can now extend 3 floor tiles out. The images below showcase a combination of walls and vertical beams and show the maximum distance before and after adding horizontal beams. You can observe that adding the horizontal framework provides additional reach. Echter, it’s worth noting that they might not look the best when you stand on them, but they can still be used as ceiling rafters if you’re focusing on aesthetics.


Stairs
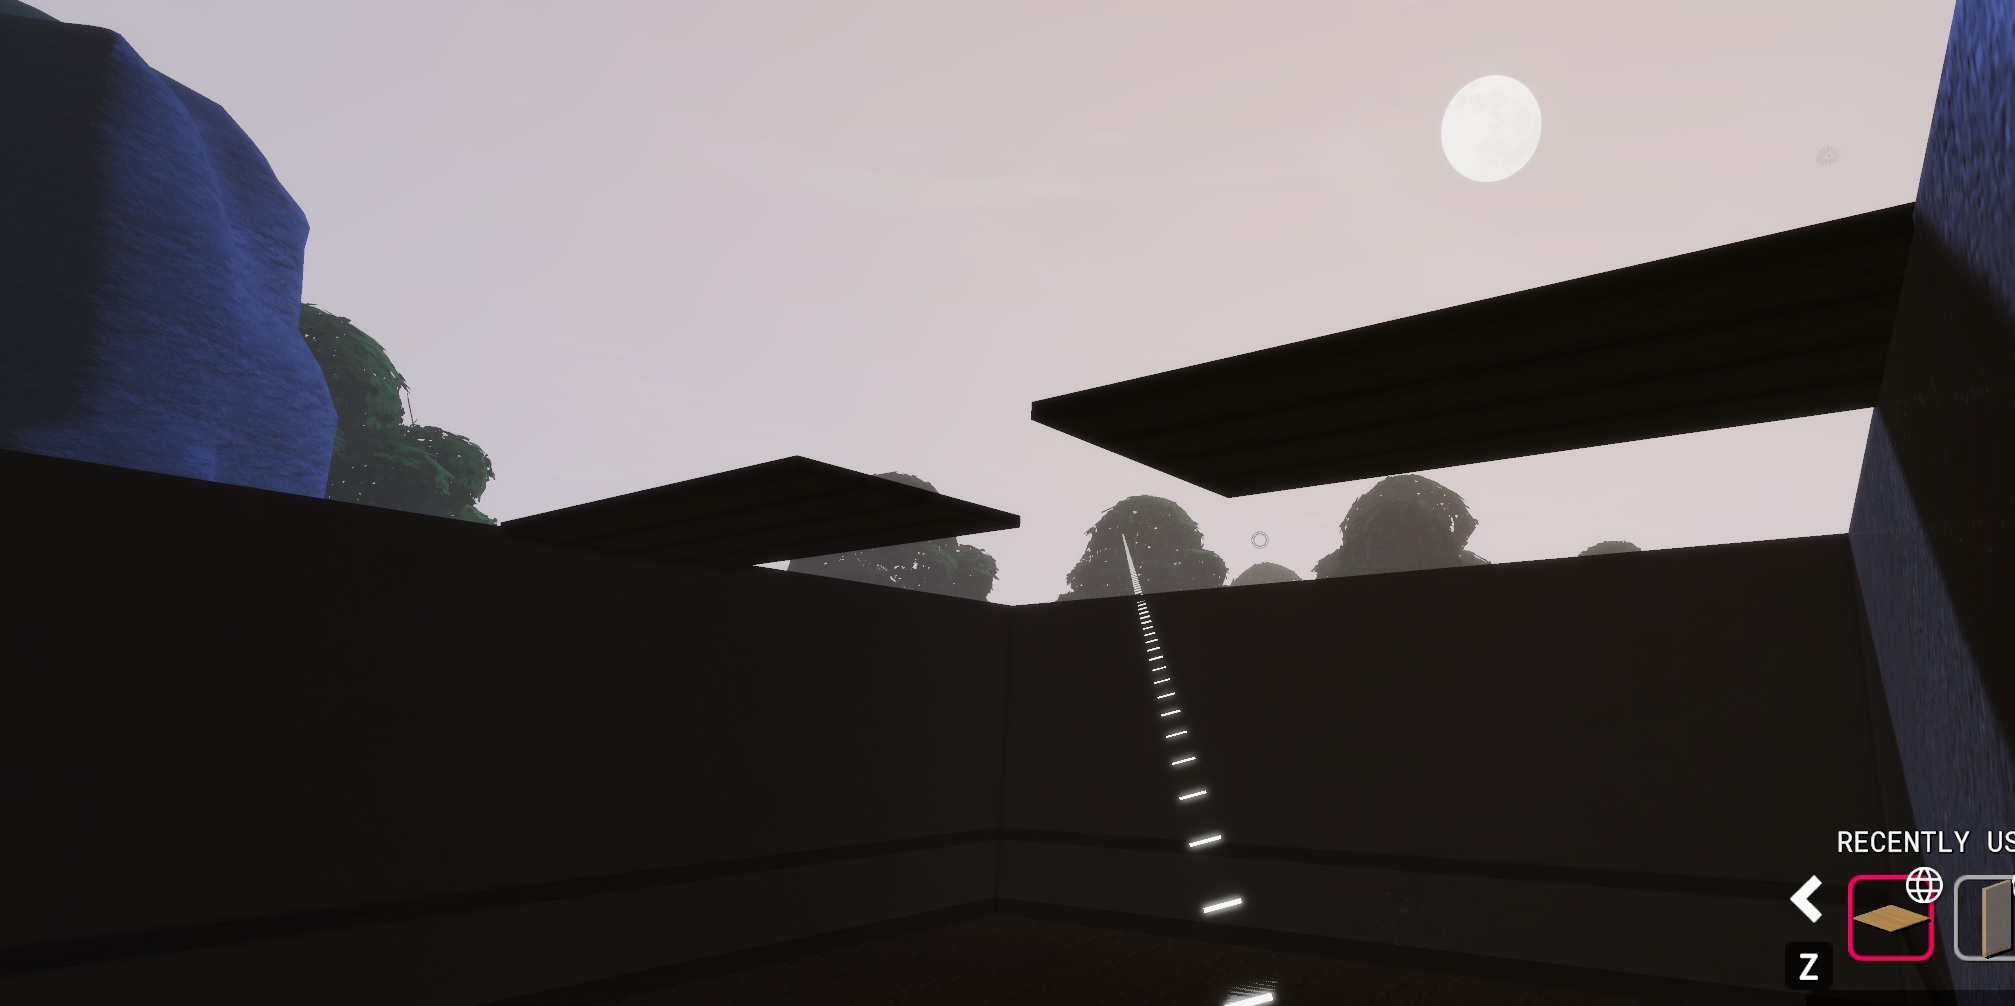
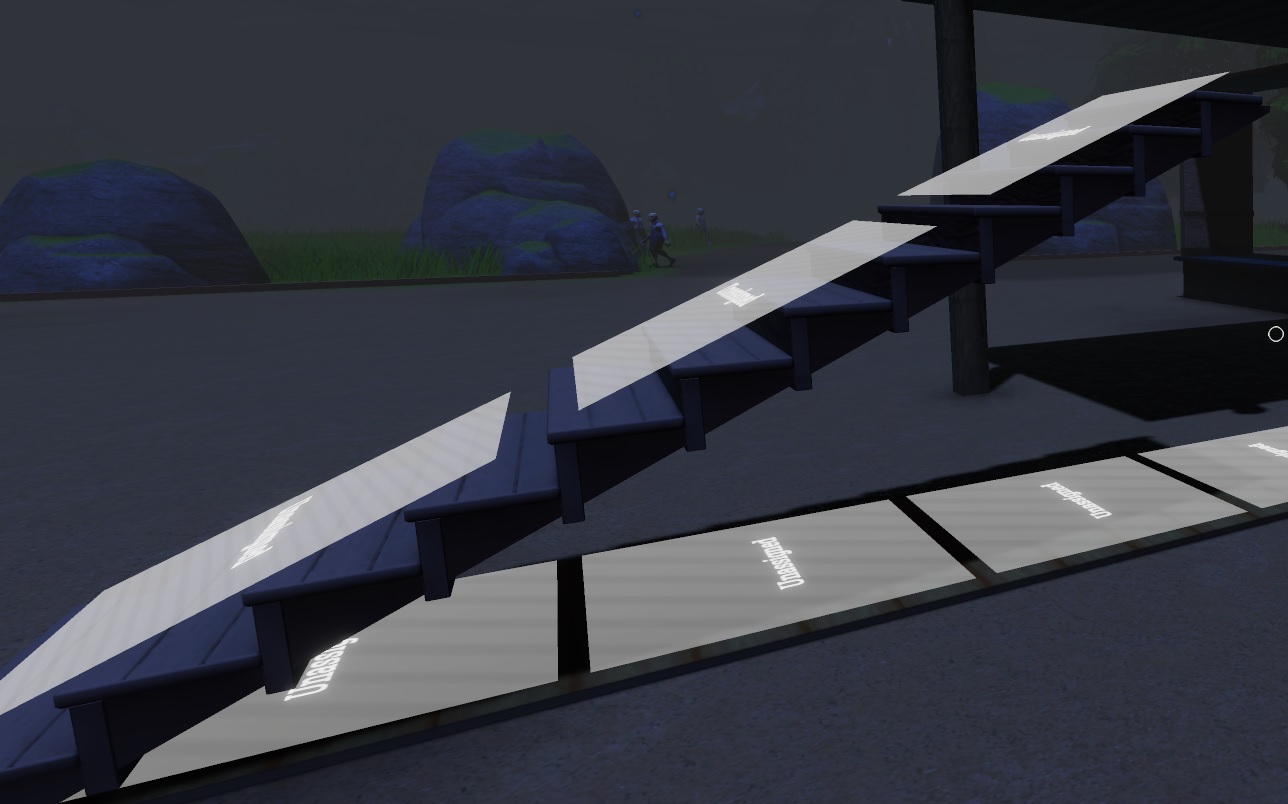
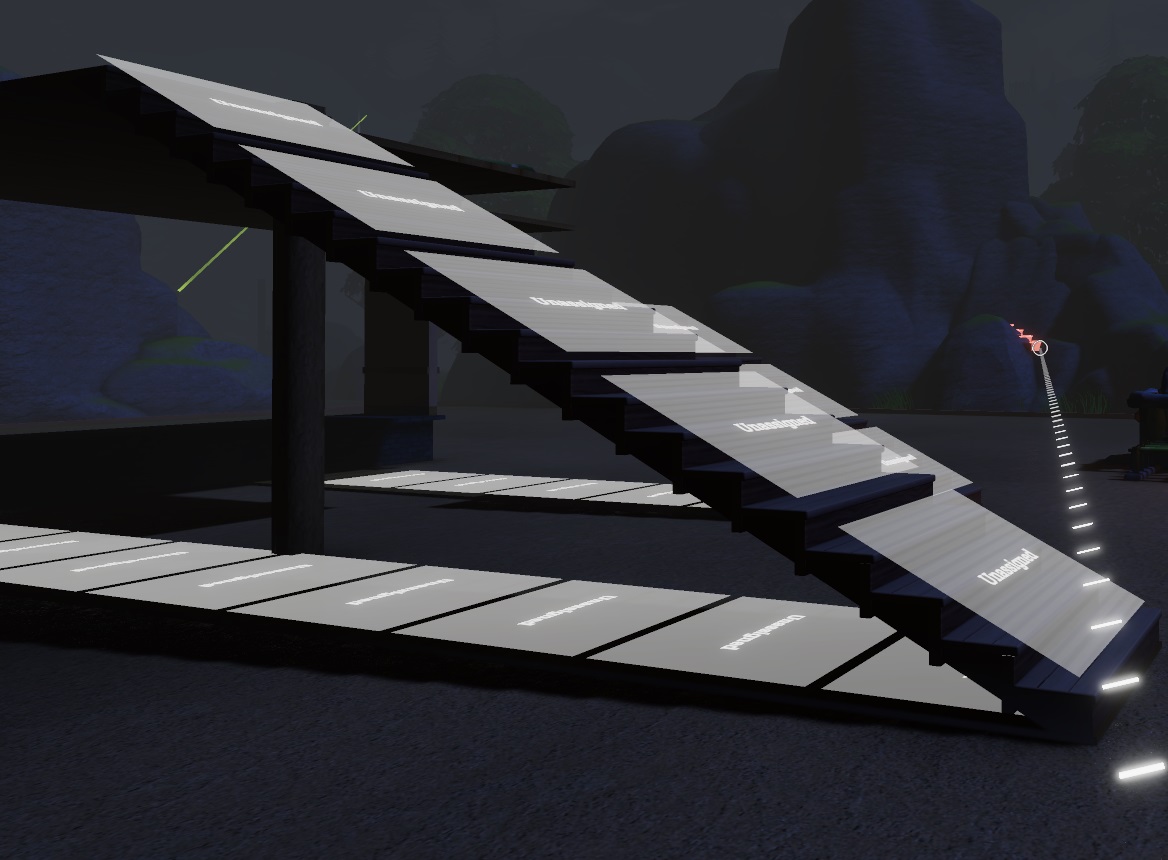
Stairs don’t serve as Integrity Points by themselves, so you’ll need the help of walls or beams to build them. You can construct stairs that are 3 steps high above the ground without any additional support. Support can be provided in a couple of ways. You can build a wall on the side of the stairs, effectively having a wall follow them as they go up. alternatief, you can use vertical beams from underneath to give them proper support. If you’re quick enough with your construction, you can go 3 steps high and then add up to another 3 steps to quickly connect to a ceiling of the same height (as shown in the example with 5 steps below).
Regarding height markers, a regular wall is 4 markers high. The 5-high staircase below has a wall foundation going down to the ground. The highest you can build is 14 stairs up, but I believe that 13 is the highest “build point” because constructing 4 walls on top of one another is technically 16 measurements high.


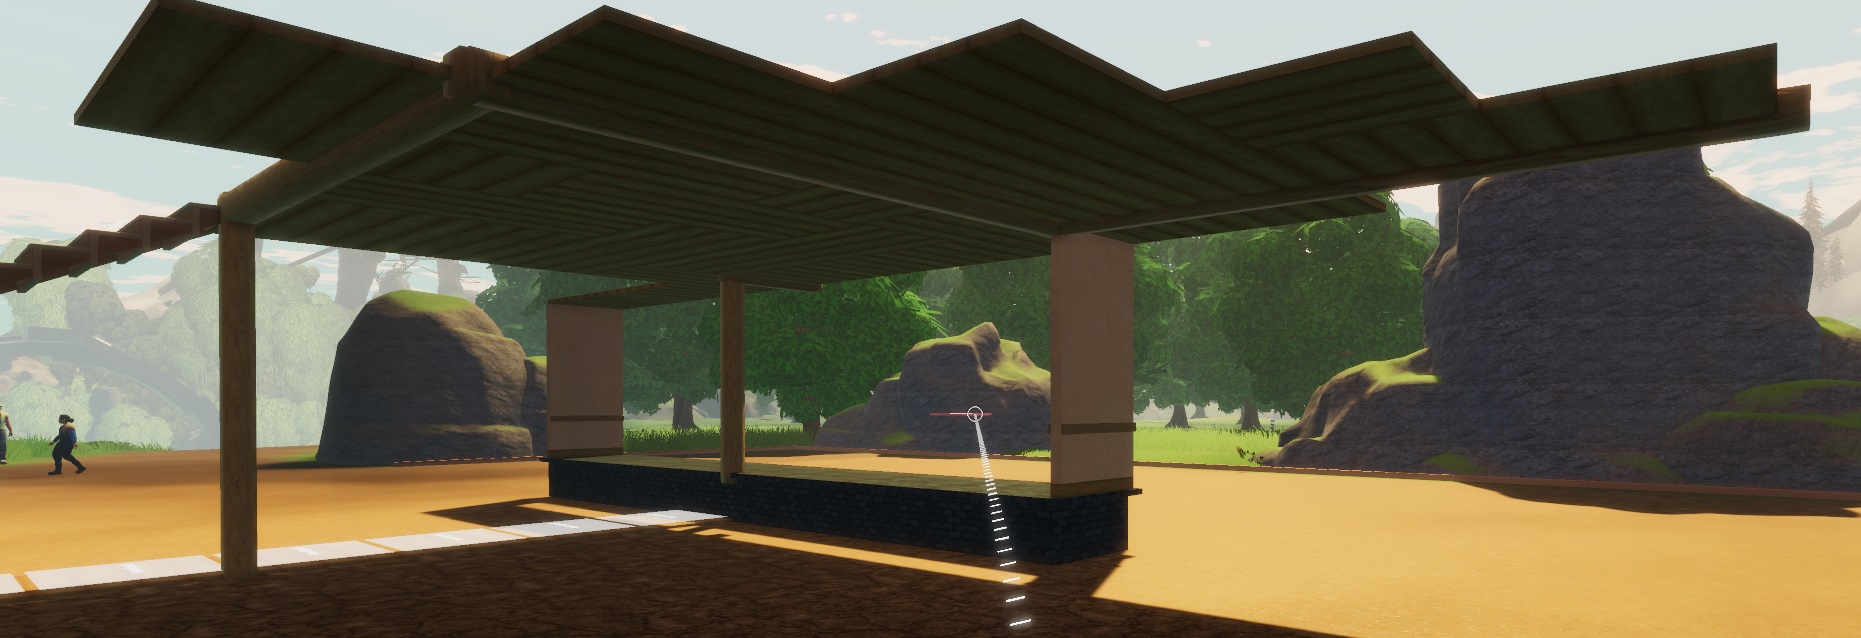
Other Considerations
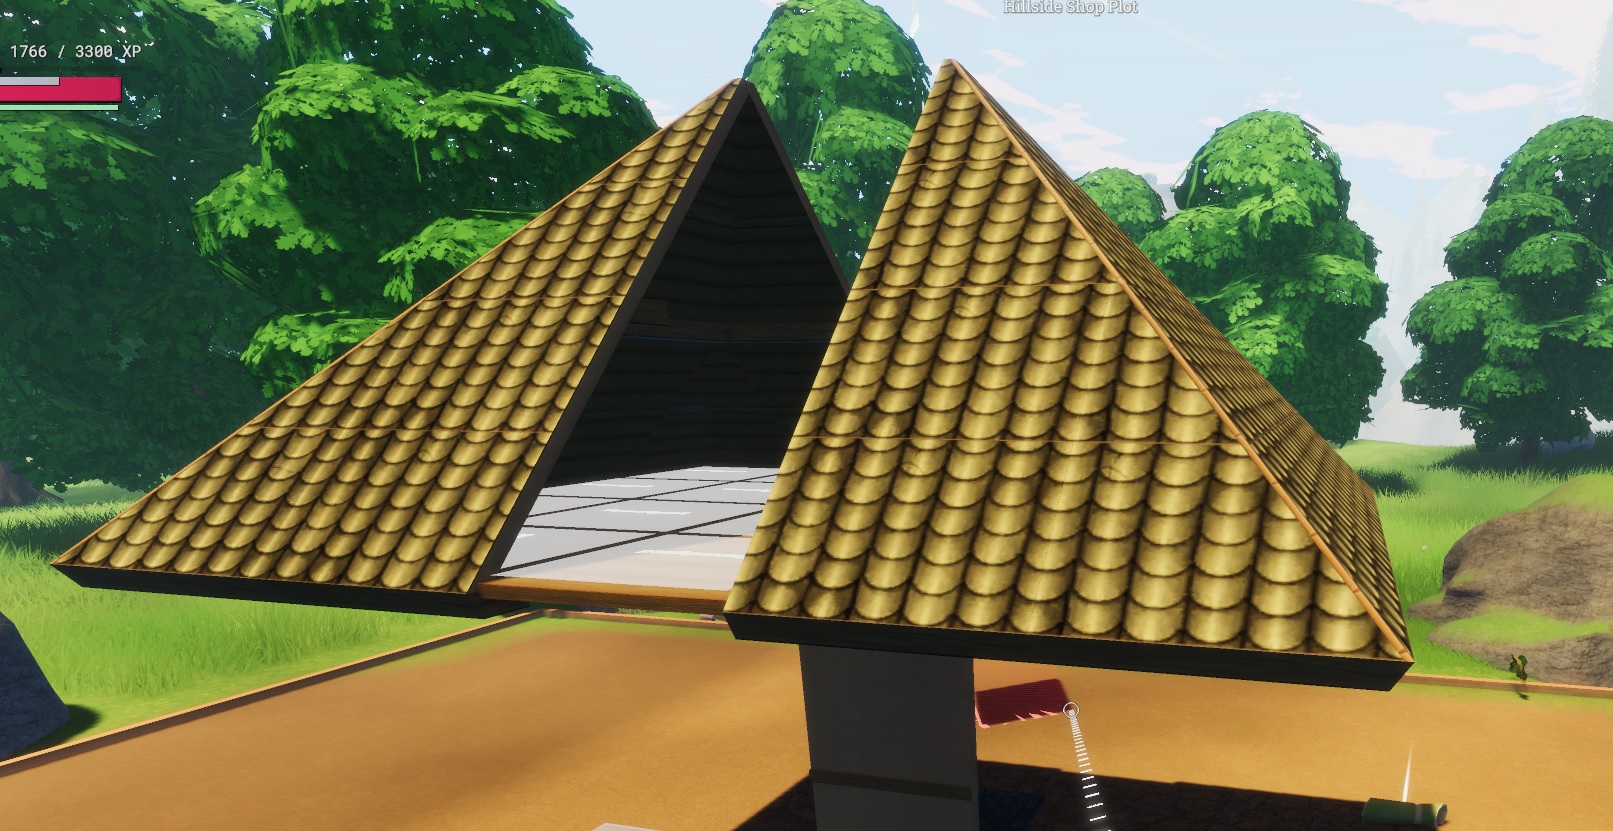
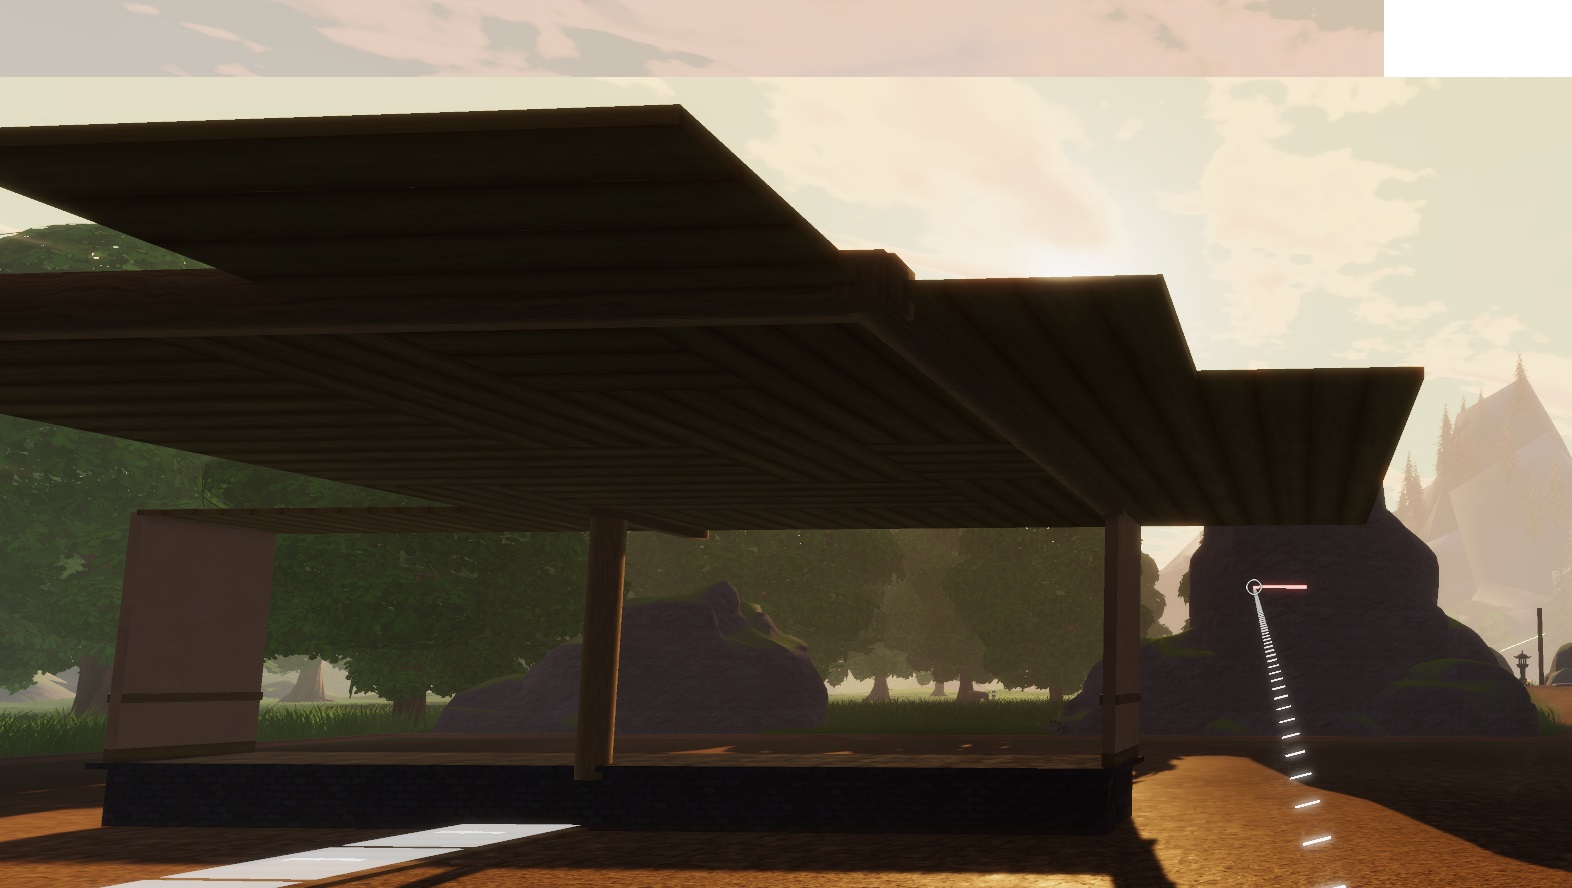
While it’s technically possible to have 6 floor tiles in between two individual vertical beams, it’s not very practical because it’s challenging to build where the two edges meet on top. Echter, if you’re going for a flea market tent-like appearance and want to keep it at ground level, you can construct a flat roof, open store with a minimal number of Vertical Beams and no walls. It’s important to note that the building system in Saleblazers is still evolving and being refined, so some of this information may change, and I’ll update the guide accordingly if there are significant changes. More detailed information about all the possible building pieces will also be added to the wiki. Momenteel, there’s a start on different types of wallpaper for decoration at Saleblazer’s wiki page, along with various other resources!
Dat is alles wat we vandaag hiervoor delen Zoutblazers gids. Deze handleiding is oorspronkelijk gemaakt en geschreven door Kylatae. Voor het geval we er niet in slagen deze handleiding bij te werken, U kunt de laatste update vinden door dit te volgen link.