
A guide to help you set up a keyboard splitter with Steam Remote Play!
Getting the program
This whole guide is aimed at being able to use your own keyboard as a “controller” instead of using an actual controller or the host’s keyboard.
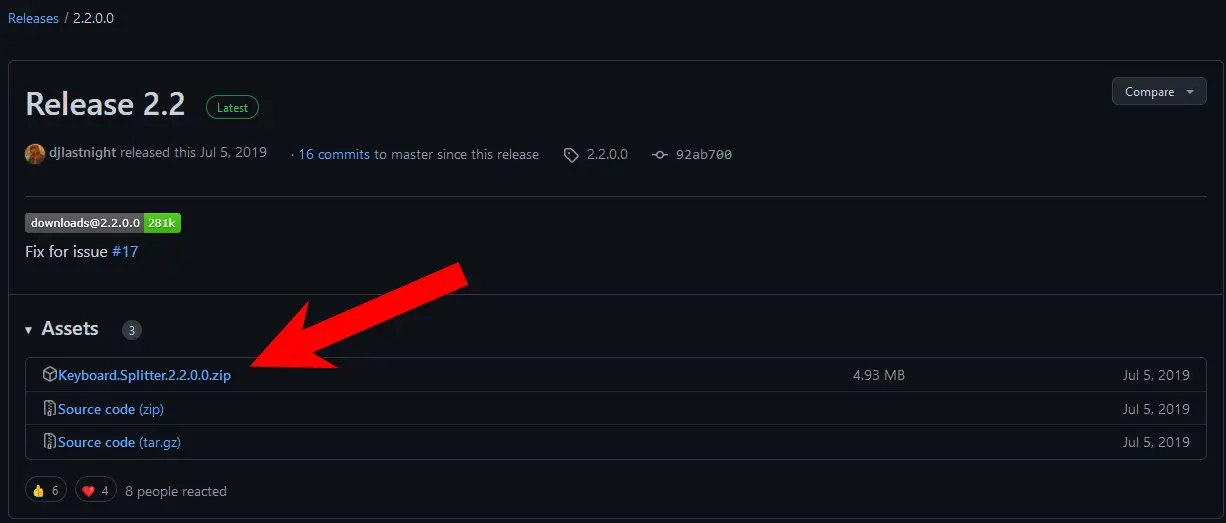
Eerste dingen eerst, you need the keyboard-splitting program.
When you have that, you will have to download the .zip and extract it.
Do note that you will have to restart your computer after the program has finished installing itself and it’s drivers.
Setting up the splitter
Once you have the splitter installed, it’ll be time to bind your keys to it.
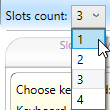
Eerst, remap the splitter to only have one input as seen here (the default should say 3):
To bind your keys, you must first create a new profile by clicking on the “standaard” tab and name it whatever you want to create a new one and to be able to map the keys out:

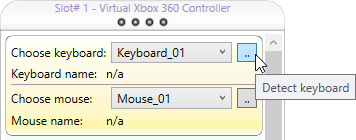
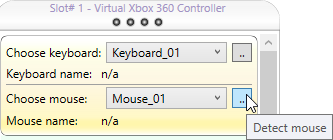
Now that this is done, it’s time to give the program the right inputs (that being your keyboard and mouse), click on both of those and then press any keys to make the splitter detect your keyboard as well as your mouse:
Now we can get into the brunt of this section, that being keybinds.
You don’t have many keys to assign so rest assured this won’t take long.
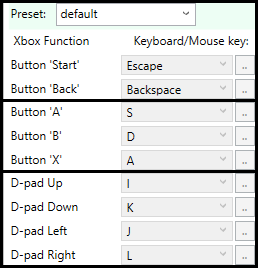
You will have to rebind the following keys (door op de te drukken [..] box):
X (Pickup/Eat)
B (Gooien)
A (Springen)
RB (Kaart)
Rug (Pause)
D-pad (Movements)
The rest doesn’t matter and can stay unmapped.
Here’s the basic layout of an Xbox controller if you need help understanding what keys does what:

These are the buttons you’re looking for in the program, also:
Finalizing (Exporting/Importing)
Now that your keys are all bound and ready to be used, there are a few things to note before leaving this guide.
– The Splitter will, for some reasons unknown to me so far, always reset your bound keys to the default state when closing and re-opening it, to have no keyboard/mouse input detected and to have 3 input slots (re-do these two manually, it takes about two seconds for each) I will explain later how to work around the key losing with configs.
– You will have to start the splitter when you have already joined your friends through Steam Remote Play, starting it early might crash the stream before even joining it.
Met dat in gedachten, we will now proceed on to the next step which is exporting/importing configs (aka what you just did with your key binding)
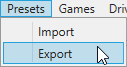
To export a config, click on this tab:
Rename the .xml to something you can easily remember, it should save up in your keyboard splitter file. (Naming it “Rain World” may be the easiest since this guide is aimed towards this game specifically.)
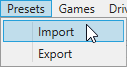
Nu, to import the .xml and regain your keybinds for the next time you boot up the program, simply click “import” as seen here:
Nadat je dit hebt gedaan, I heavily recommend ticking this box off:

As it says, leaving this box ticked on will prevent you from doing actions while the splitter is active (such as Alt-Tabbing out of the game)
You’re done!
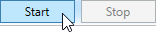
It is now time to hit the “Begin” button and get in the game:
Note that the host should always check who has which controller number while in the Steam Remote Play lobby to assign said controller numbers to players in the game through the settings.
Dat is alles wat we vandaag hiervoor delen Rain World gids. Deze handleiding is oorspronkelijk gemaakt en geschreven door The_Magik_Waffle. Voor het geval we er niet in slagen deze handleiding bij te werken, U kunt de laatste update vinden door dit te volgen link.