This guide features an in-depth explanation of all gameplay mechanics, a full homunculus combination guide, en een 100% achievement completion guide for the base game and for the Inquisitor DLC.
Invoering
Hello all! I absolutely adore this game and felt like the various guides didn’t do it justice, whether that be because they were outdated or because they didn’t include mechanics that I felt deserved to be included. This led to me creating one myself!
I tried to cover all large essential gameplay elements, along with some nonessential ones that I think are under-appreciated. I omitted information about mechanics that I feel were adequately explained through the game’s tutorial, but let me know if you’d like them to be added.
Vrijwaring: er zijn 2 endings that I’m not sure how to get yet. I have ideas, which I included, along with details about which strategies haven’t worked for me.
Save Files
There are several endings in this game that delete the current save file. The feature makes sense, since the ending concluded the story, but it can be tedious to begin an entirely new save file to get another long term ending.
The endings that delete save files are listed below:
- To The After Life
- Persecution
- My Homunculi
- Rich King
I’ll explain how to save a backup of your game and how to reload it after the save has been deleted. Opmerking: This may interfere will completing the gallery. If you get a new ending and reload to before you got it, you will no longer have that ending in the gallery.
Making a backup:
Before you begin, you need to make sure the game is not open. Open your File Explorer and navigate to this location: C:\Users\[your username]\AppData\LocalLow\GameChanger Studio. You should see a folder labelled “My Lovely Daughter”. This is the folder that houses your game information. Simply right click it, copy it, and paste it in another location. I would suggest pasting it to your desktop so you don’t lose it.
You should make your backup shortly before you activate the ending, so that you lose as little progress as possible.
Reloading a save
If your save file was deleted you can easily reload it, provided you had a backup. Simply drag your backup back into the same place you originally copied it from. A prompt should appear, informing you that another folder shares the same name as this one, and asks if you would like to replace it. Select yes.
Doing this removes your backup. Make sure to repeat the backup creation process again before triggering an ending that will delete your save.
Transmution
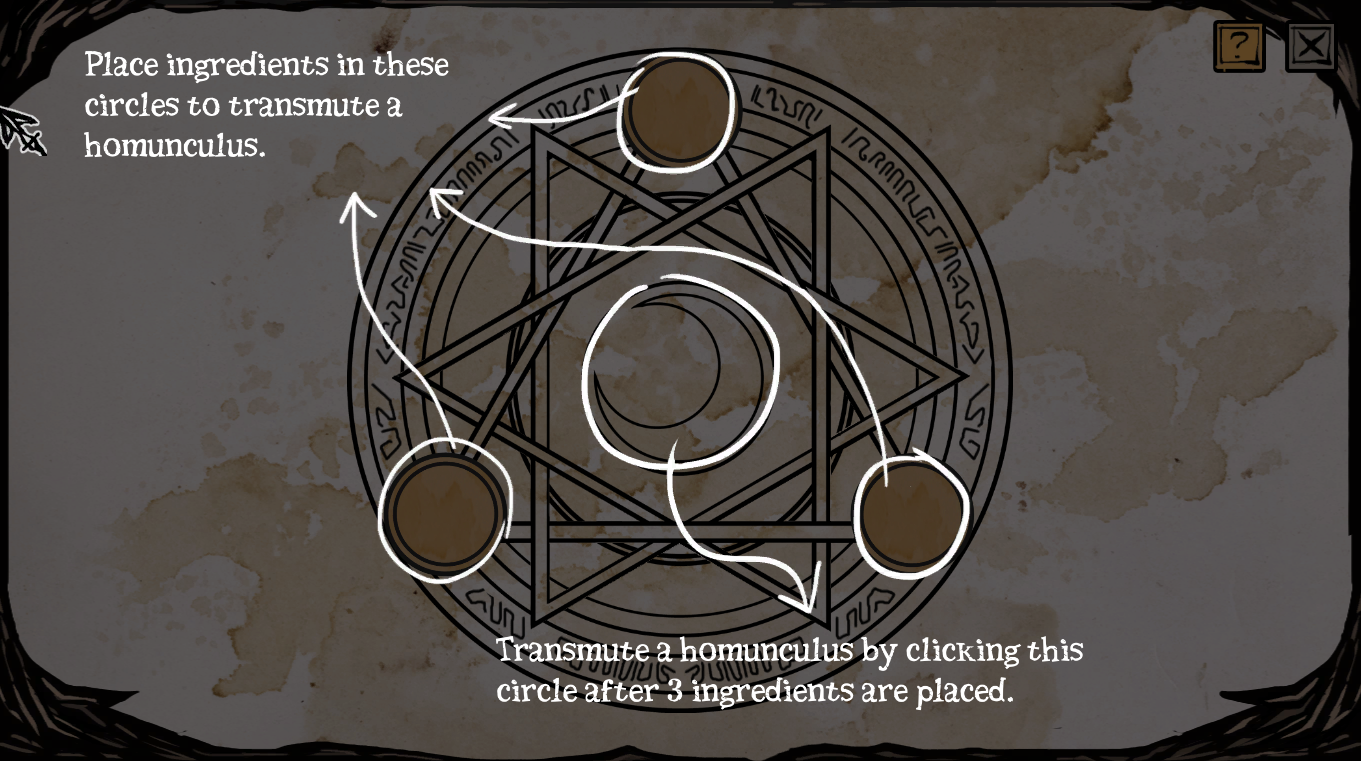
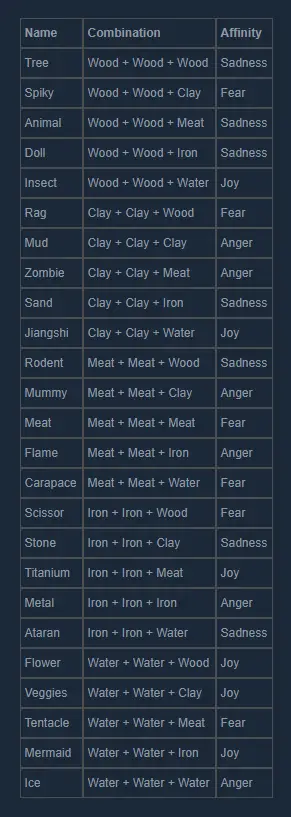
One of the core gameplay mechanics of the game is humunculus transmutation. This is the process of creating a homunculi by placing 3 ingredients into the transmutation circle. You can create 29 total homunculi with the emotional affinities Anger, Sadness, Fear, and Joy.
Here are the successful combinations:
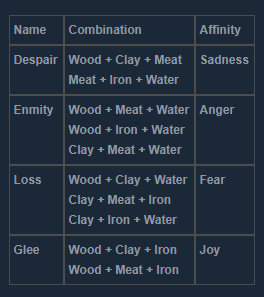
Here are the failed combinations:
The quality of the ingredients used in the transmutation process determines the starting level of the homonculus.

Bijvoorbeeld:
- 3 low-quality ingredients create a level 1 homunculus
- 3 mid-quality ingredients create a level 4 homunculus
- 3 high-quality ingredients create a level 7 homunculus
Werk
Making your homunculi children work is an essential part of the game. This is one of only two ways to make money, and the only way to level up your homunculi.
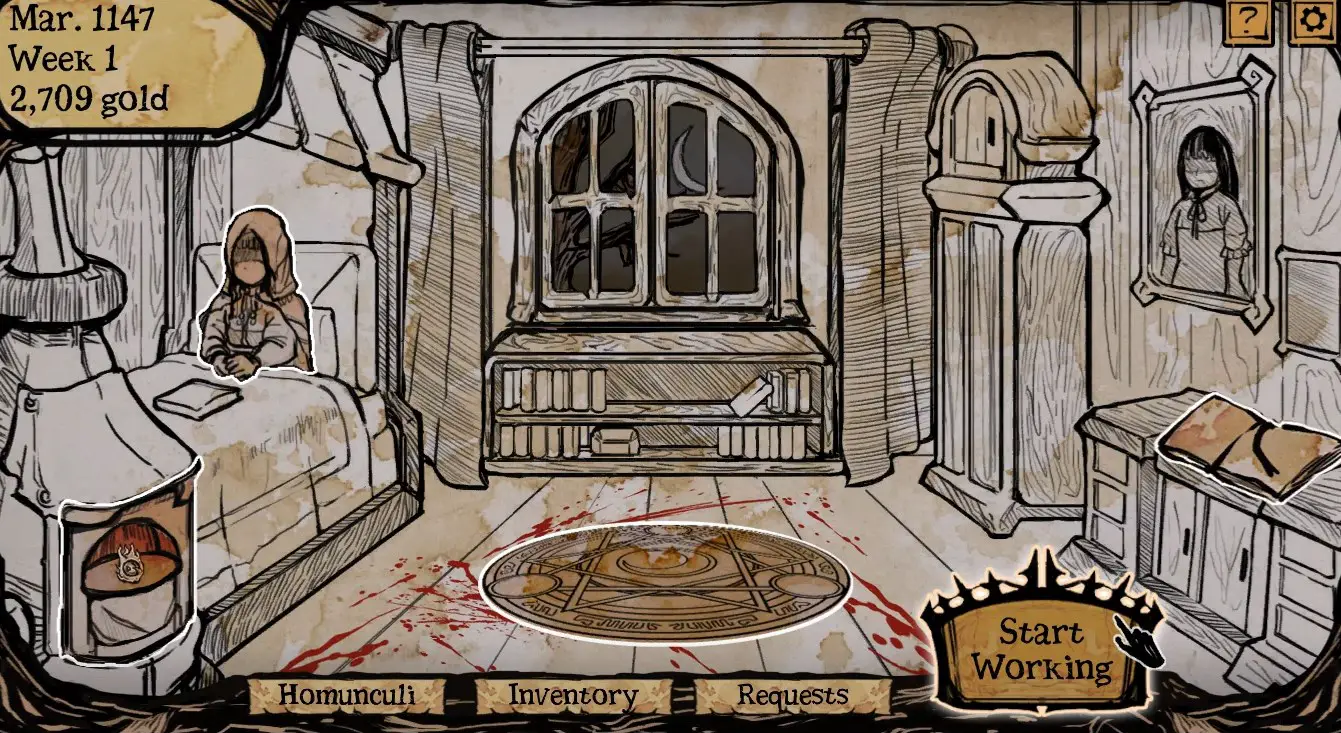
In order to begin work, you must go to town, where you will stay for a week.
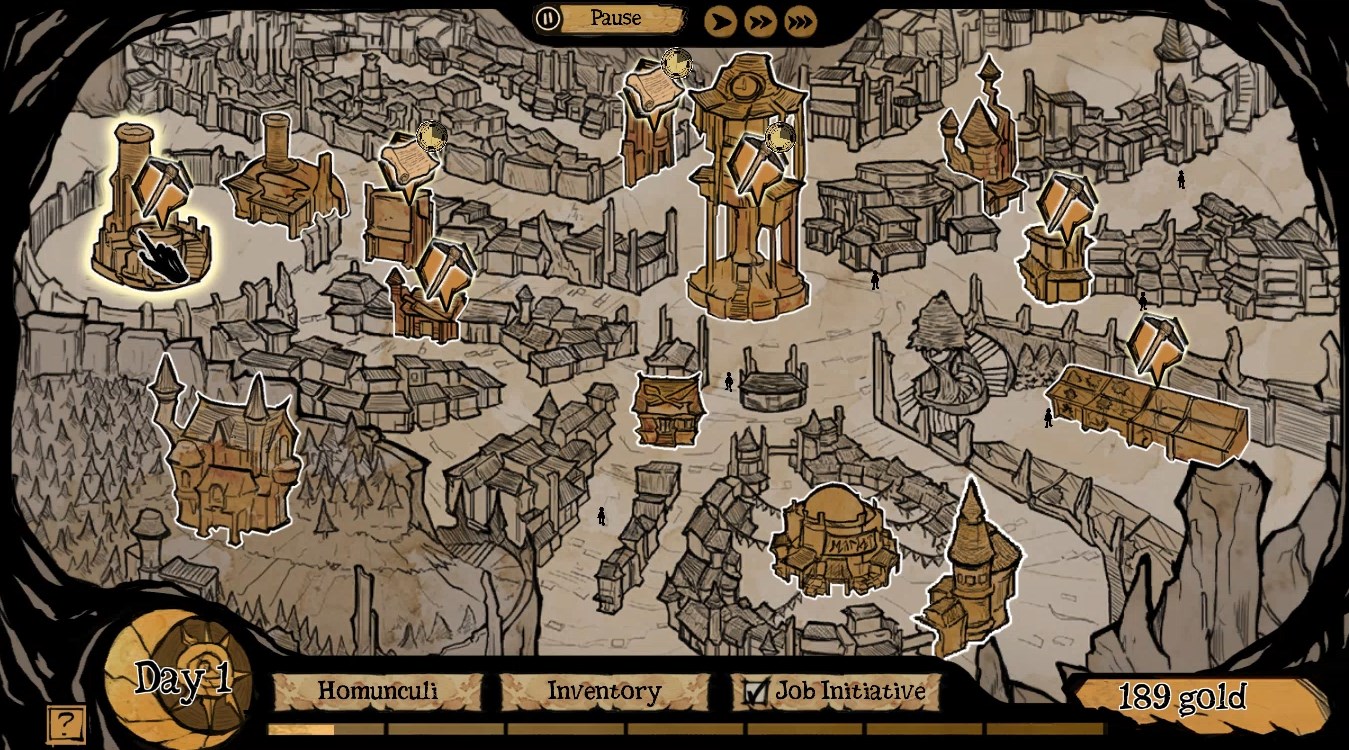
Eenmaal daar, there will be pickaxe bubbles over a variety of locations, some with a timer. These signal that a job is available. Those with timers are only available for a short time.
If you struggle to assign jobs before the end of each day, pause the game using the button at the top. When paused, you can accept jobs for you homonculus!
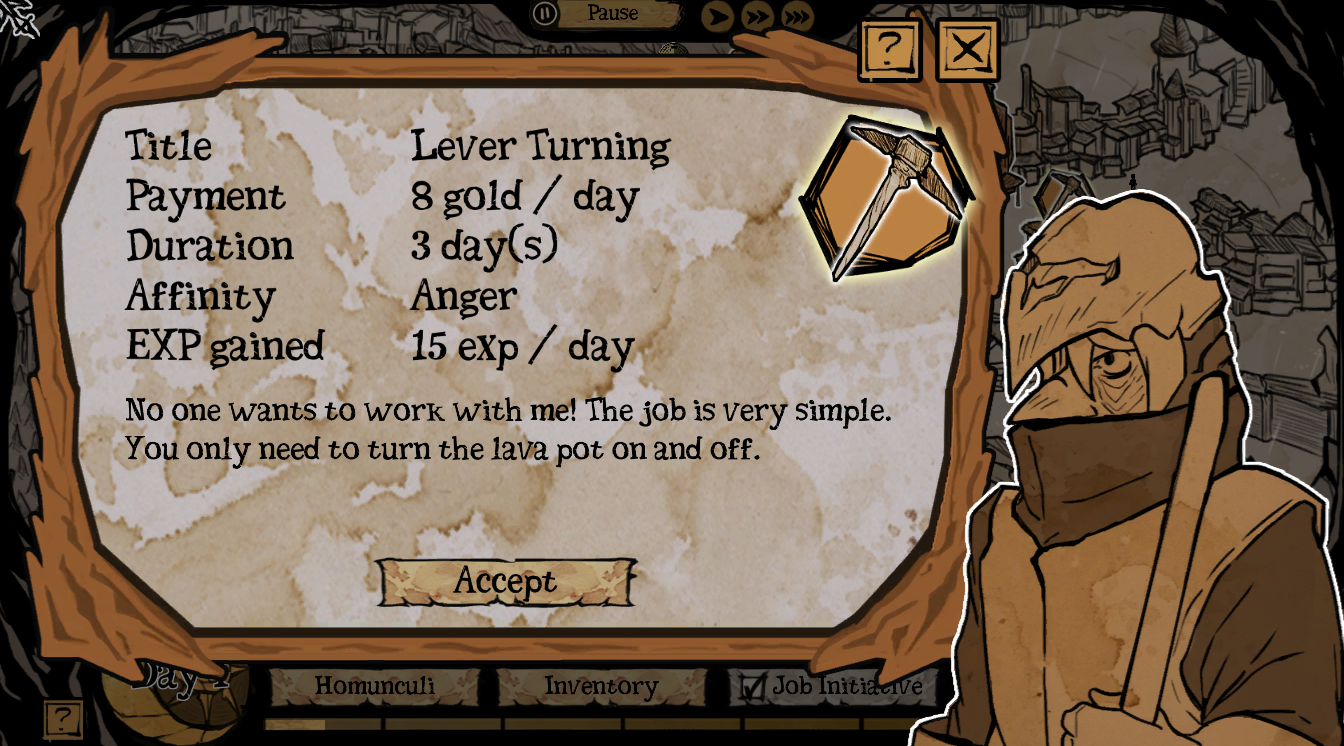
Once you click on a job, the owner will appear and provide job details, such as the length of the job, the experience gain, the favored affinity, and the pay.
Choosing Jobs:
In my experience, pay doesn’t significantly differ from job to job, so I choose jobs primarily based on experience and affinity
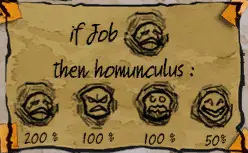
When selecting jobs, it’s important to consider whether the homunculus will love, hate, or tolerate a job, as it affects the experience gain.
Each affinity loves its own, hates its opposite, and tolerates all others.

If the job is loved – experience gain is 200%
If the job is tolerated – experience gain is 100%
If the job is hated – experience gain is 50%
There are four consistent job availabilities, one for each affinity. These allow your homunculus to always have a loved job. Echter, these jobs typically pay less and offer less experience than timer jobs.
The length of the job is typically non-important, since you get paid daily. It doesn’t matter if you accept a 3 day job on the final day. The only thing to note about job length is that once you assign a homunculus to a job, they cannot work at another location until the job is completed.
You can choose to skip a week if you don’t have any homunculi or aren’t interested in making them work. You can do this by selecting the house. You will still receive any gold you earned from requests or work completed if you choose to skip only the last several days.
Requests
When you enter the town for the week, there will often be scroll bubbles with a timer over a variety of locations. These signal that a request is briefly available.
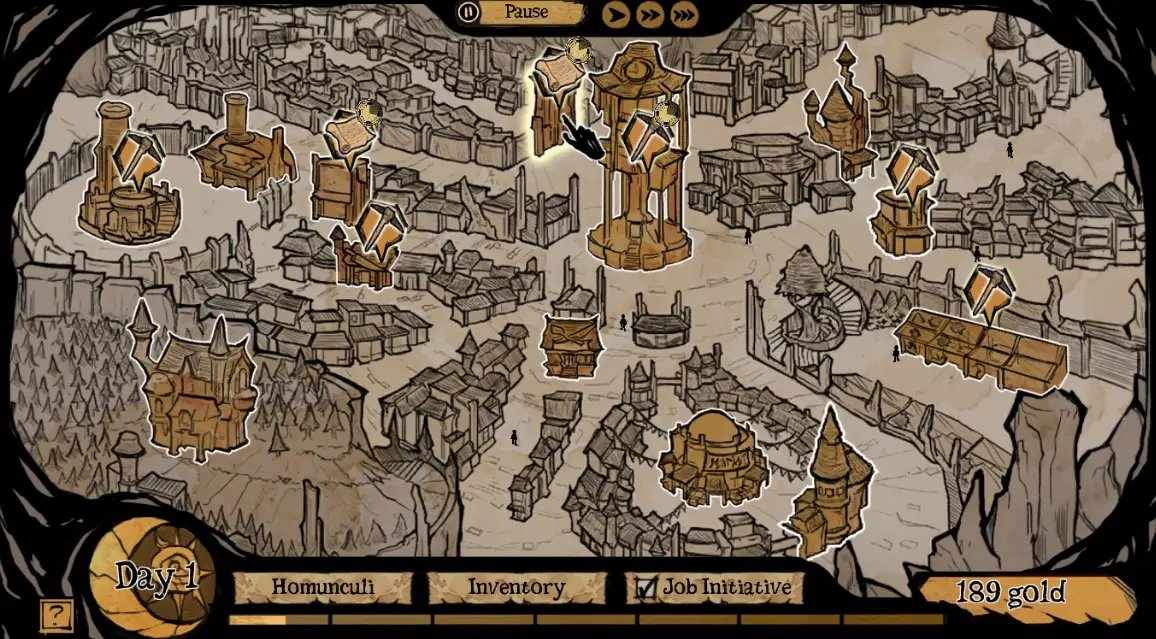
If you click on the location, the owner’s request will display, along with the option to accept the request.
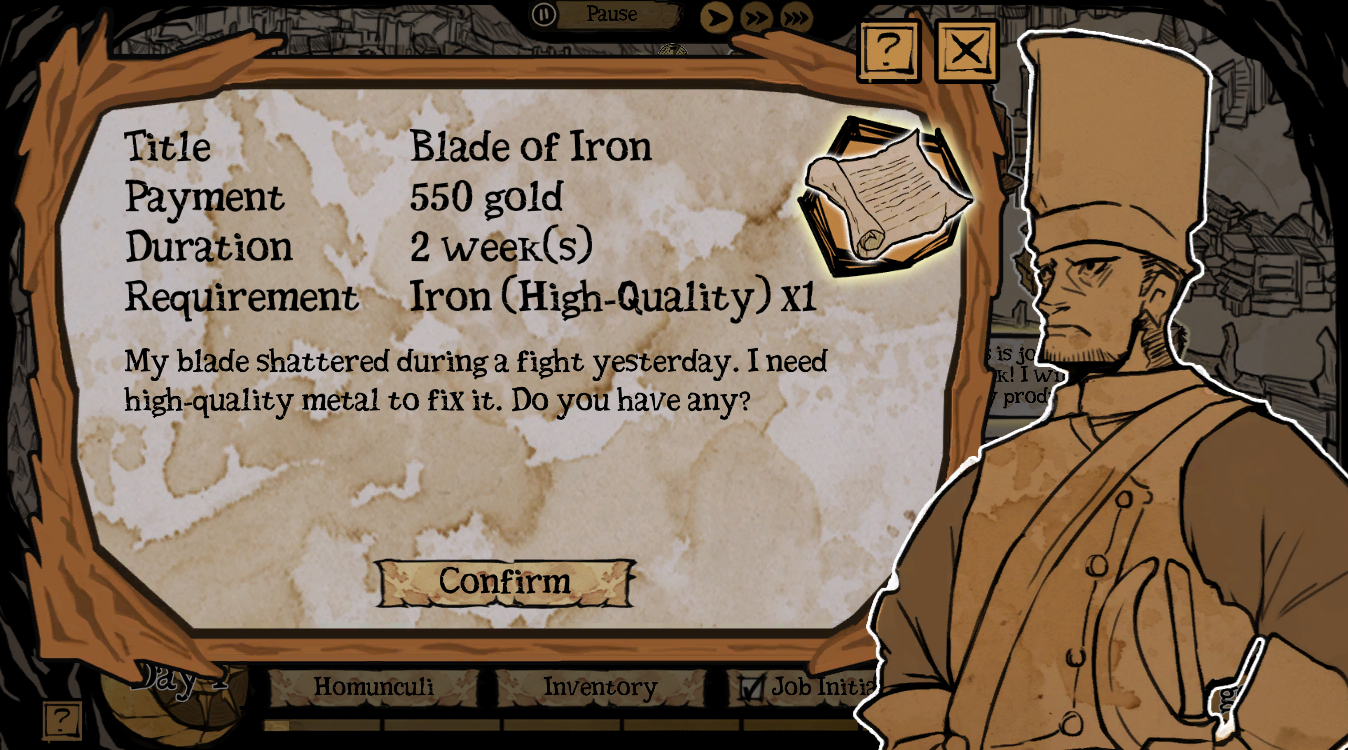
There are many locations a request can originate from, and the contents of the request vary as well. Sometimes they request just one mid-quality or high-quality ingredient while other times they ask for two or three ingredients ranging in quality.
Aanvankelijk, you are only allowed to accept one request at a time. Echter, you unlock a second request slot after completing 4 total requests, and a third after completing 7 total requests.
Once you have the request ingredients in you inventory, you can commit them to the request using the requests button on the bottom of the screen in your daughter’s room., You have to commit the ingredient in order to activate the reward sequence when you next go to town. Once you’ve committed the ingredients, a checkmark will appear on the request.
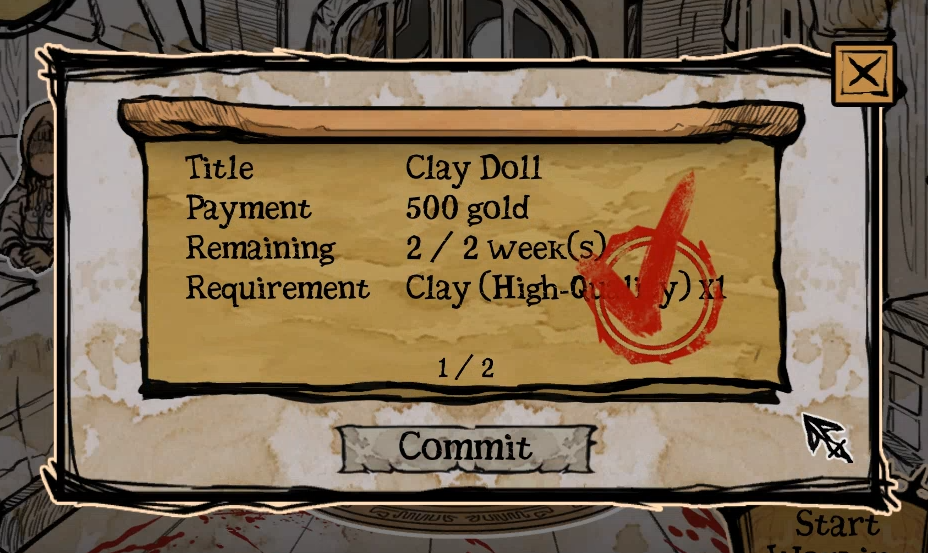
The request will also specify a timeframe in which the request has to be completed. Failure to complete the request in time will result in a decrease in trust between you and the owner. There is no penalty for refusing a request by exiting the prompt. If the request had time remaining on the timer when you selected it, upon exiting the prompt the request will continue to be available until the timer runs out. If completed in time, you will be rewarded with the gold promised and an increase in trust between you and the owner.
I’d recommend that you only accept requests that you already have the ingredients for. You can check your inventory when in town using the inventory button at the bottom of the screen.
Trust
During the week you visit Salach to work. Er zijn 12 villagers here, although only 11 are intractable: Slum Gangster, Guard, Gardener, Old Blacksmith, Toy Maker, Restaurant Chef, Occult Leader, Pet Keeper, Materials Seller, Smelter, and Knife Seller’s Wife. Each of these villagers has a trust level that fluctuates based on your actions.
Increasing Trust:
You can increase trust in 3 ways:
- Werk
- Requests
- Interactions
- Trades (Inquisitor DLC)
Werk:
Each time you send a homunculus to work for a villager, your trust will increase, regardless of affinity matching.
Requests:
Accepting and completing a request for a villager will increase trust. Wees echter voorzichtig, failing to complete a request will lower trust.
Interactions:
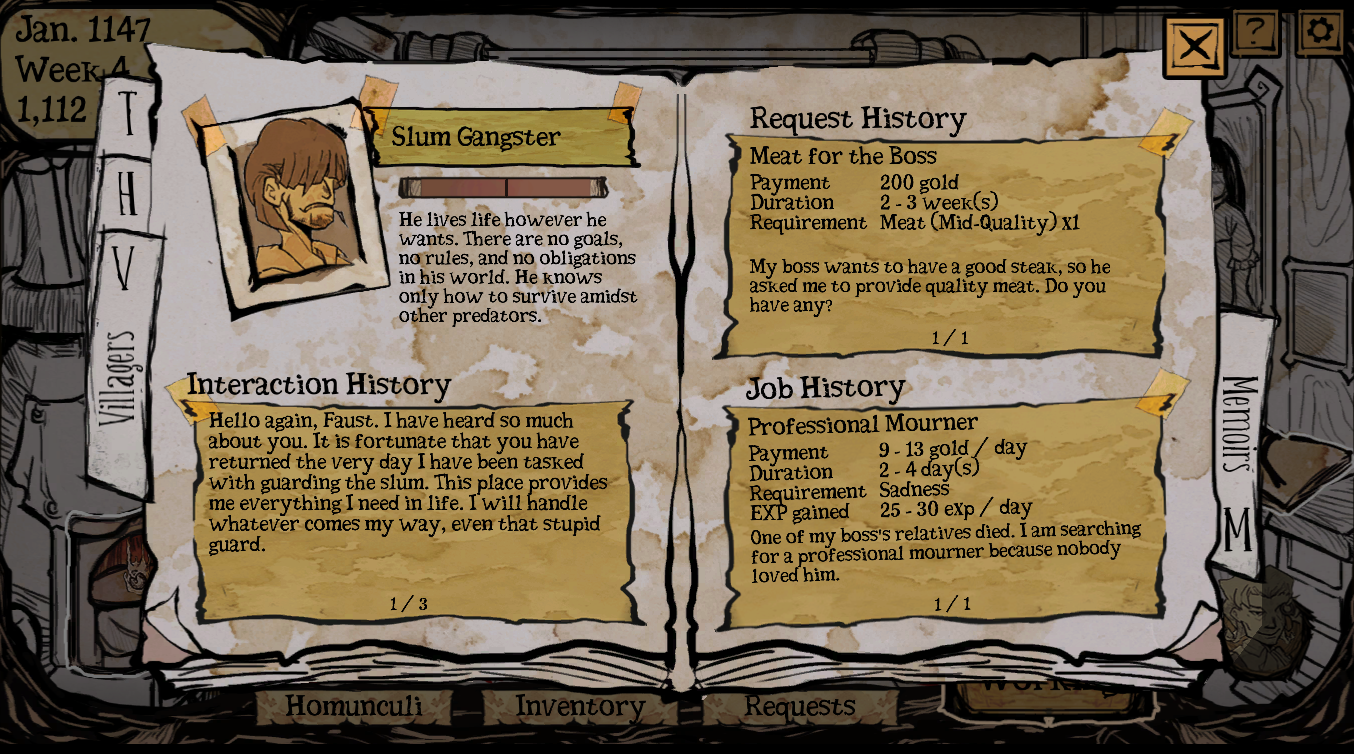
Every villager has 3 interactions, with the notable exception of Occult Leader, who only has 2. The first interaction occurs if you click on their character in their shop or if you visit their shop when they are not offering any jobs or offers. The second and third interactions activate based on your trust level with them, which can be monitored through the villager information page in the book. The new interaction will take place when you next visit the town, after the request rewards and before the week begins. Only one interaction occurs per week.
Each interaction can be viewed again through the villager information page in the book.
Trades:

The Inquisitor DLC introduces trades, which are available from your daughter’s room. Every so often, you’ll see a villager appear in the bottom right corner of the screen. Clicking on them will bring you to your door, where they will offer to sell or buy an ingredient. Accepting the trade will result in an increase in trust with that villager. Refusing the trade will result in a decrease of trust, hoewel.
Sacrifice
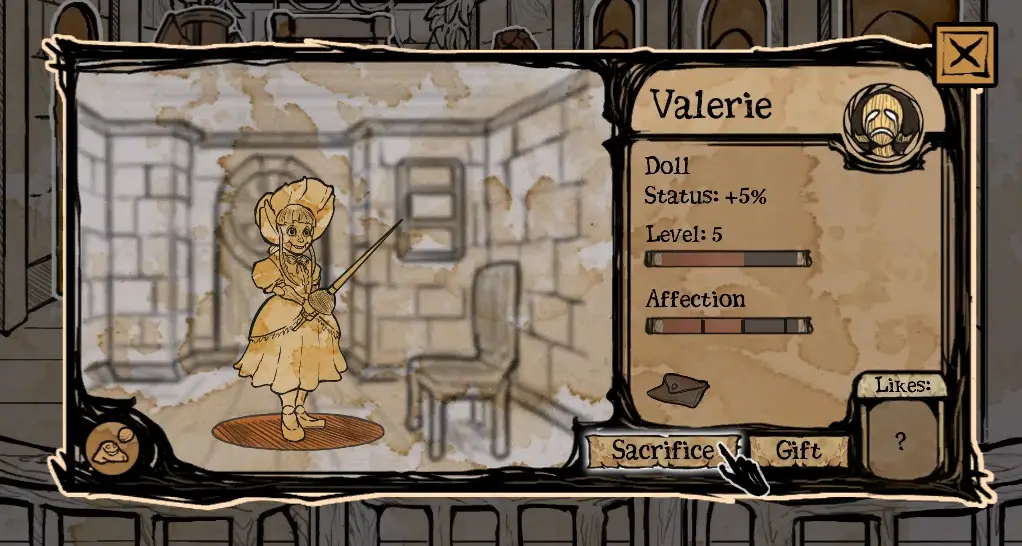
The process of sacrificing your homunculi children is one of the first things you learn in the game, and an essential practice if you plan on reviving your daughter.
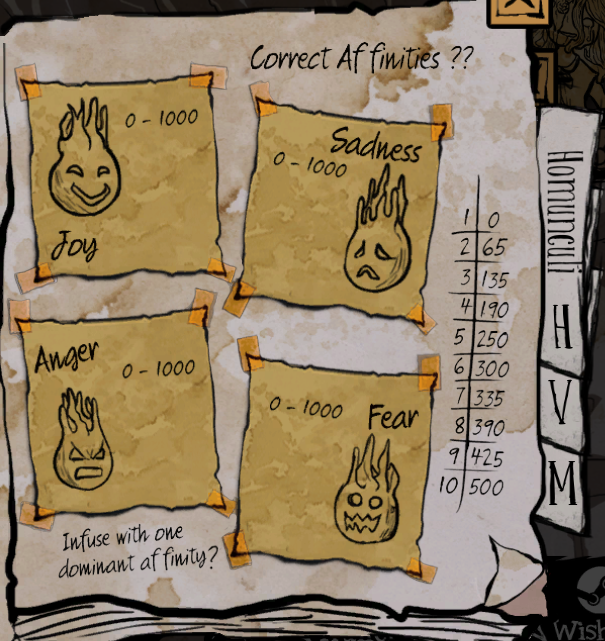
You may have noticed the table on the left in your book. It correlates to how much affinity is gained by sacrificing each level of homunculus.

Bijvoorbeeld:
- niveau 4 Scissor – 190 Fear affinity
- niveau 10 Ijs – 500 Anger affinity
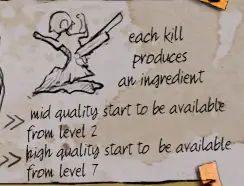
The depiction on the right informs
us of the level thresholds required
to gain mid-quality and high-quality ingredients from sacrifices, 2 en 7, respectievelijk.
Soul Infusion
One of the (naar mijn mening) most frustrating mechanics of the game is that of soul infusion. This is the process through which you fill the soul gem with affinity, and infuse it into your daughter in the hopes of reviving her.
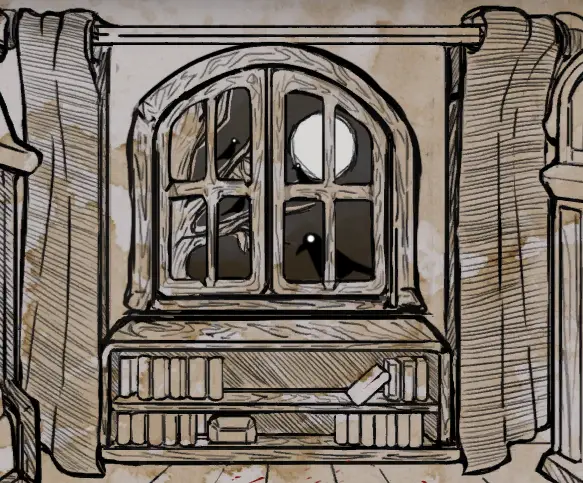
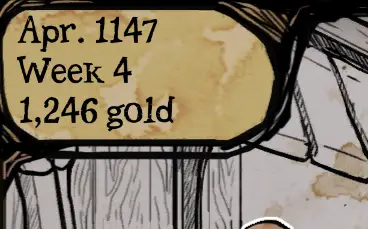
You can only infuse your daughter on a full moon, so try to plan your homunculi growth accordingly. You are not required to infuse on the full moon, so don’t worry if you aren’t ready to yet, you can just catch the next one. You can tell when the next full moon is going to be in two ways: the week of the month, and the phase of the moon. There is always a full moon on the fourth week of the month, listed in the top left corner of the screen in your daughter’s room. The moon can also be seen through the window in your daughter’s room, and goes through 4 phases, from crescent to full.
Aanvankelijk, your book with contain 4 scraps of paper, one for each affinity, each with a range of 0-1000. As you continue to infuse your daughter, these ranges will be scratched out, and replaced with a smaller range. The fourth range you collect will be the correct one. The ranges differ from game to game, they’re randomly generated.
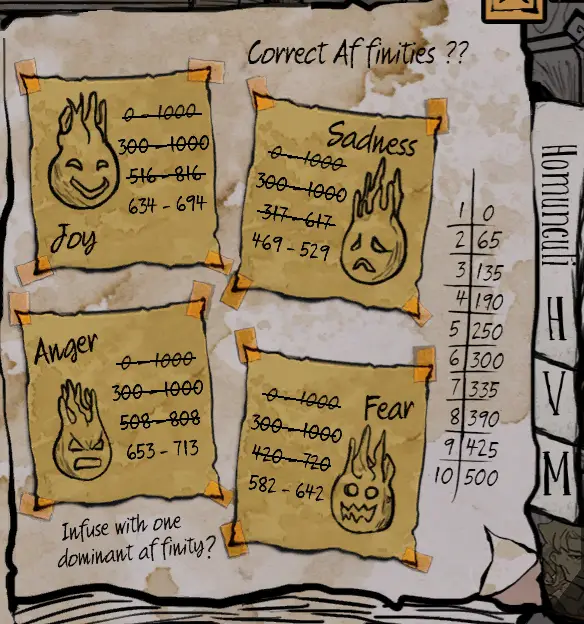
You cannot successfully revive your daughter until all 4 affinities display the fourth range. Op dat moment, you must infuse your daughter with a soul gem filled with each affinity within it’s range. Bijvoorbeeld, if I were to fill the gem with 690 Joy, 500 Sadness, 690 Anger, en 635 Fear, I would successfully infuse my daughter. Echter, if I were to fill the gem the same way, except with 700 Fear, I would fail to infuse my daughter.
If you have too much of an affinity in your soul gem, you can remove some by burning the affinity’s loved treat. A basic treat subtracts 100 points whereas a large treat subtracts 200 punten. For more information on treats, see Gifts. You can burn a gift box to remove 25 points from every affinity.
If you have a Soul Extract, purchasable from the shop for 500 goud, you can burn it in the soul infuser to allow you to infuse twice in one full moon.

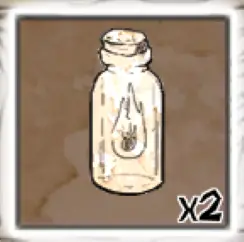
I found that the easiest way to discover all ranges is to fill the gem with one affinity at 1000 and the other three at 500. This will automatically unlock all ranges for the dominant affinity. The simplest way to achieve these numbers is to have all the rooms unlocked and make 5 homunculus, 2 for one affinity and 1 for the other three affinities. Sacrifice them all once they reach level 10.
Affection
It’s important that you keep your homunculi children happy, else they will run away – wasting the ingredients and time you put into their development. When your children have higher levels of affection, they will have a chance of initiating a suitable job for themselves and of leaving a letter under their door. For more information, see Work & Brieven.
There are several different methods that can be used to maintain their affection levels:
- Spending time with them
- Giving them treats
- Placing them in jobs that they enjoy
- Praying to the Wreath of Ecstasy
Spending time with them
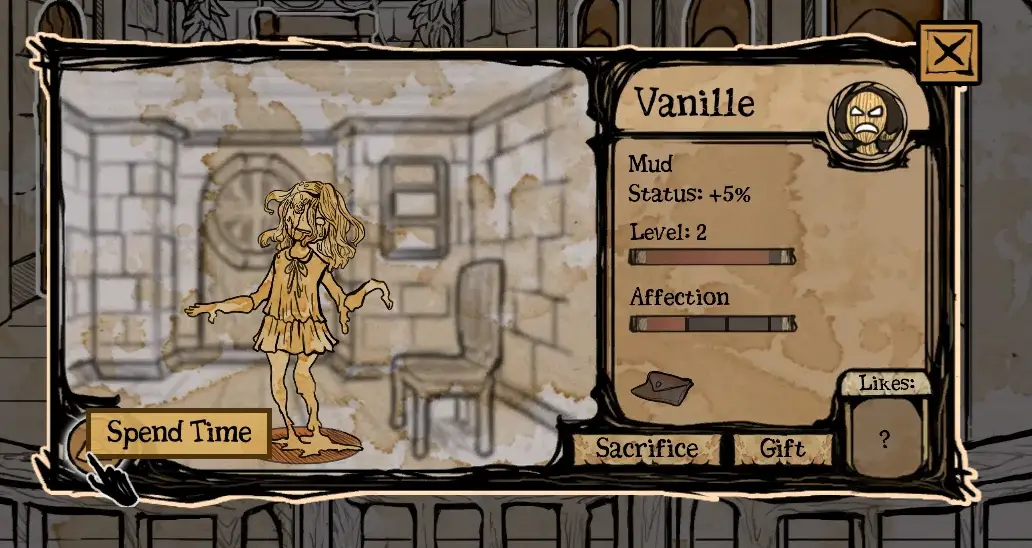
Once a day you can spend time with one child. It requires no resourced and slightly increases affection.
Giving them treats
Er zijn 5 basic treats always available in the shop: candies, chocolate bars, ice cream, almonds, and gift boxes. They cost 40 goud elk, except for the gift box, which costs 30 goud, and slightly increase affection.
Er zijn 4 large treats sometimes available in the shop: lollipops, chocolate treats, ice cream bowls, and roasted almonds. They cost 75 gold each and greatly increase affection.
There are no restrictions on how many treats can be given per day or how many children can receive treats per day.
Each affinity has loved and hated treats, with the rest being neutral:
- Sadness: loves ice cream & ice cream bowls, hates candies & lollipops
- Joy: loves candies & lollipops, hates ice cream & ice cream bowls
- Fear: loves almonds & roasted almonds, hates chocolate bars & chocolate treats
- Anger: loves chocolate bars & chocolate treats, hates almonds & roasted almonds
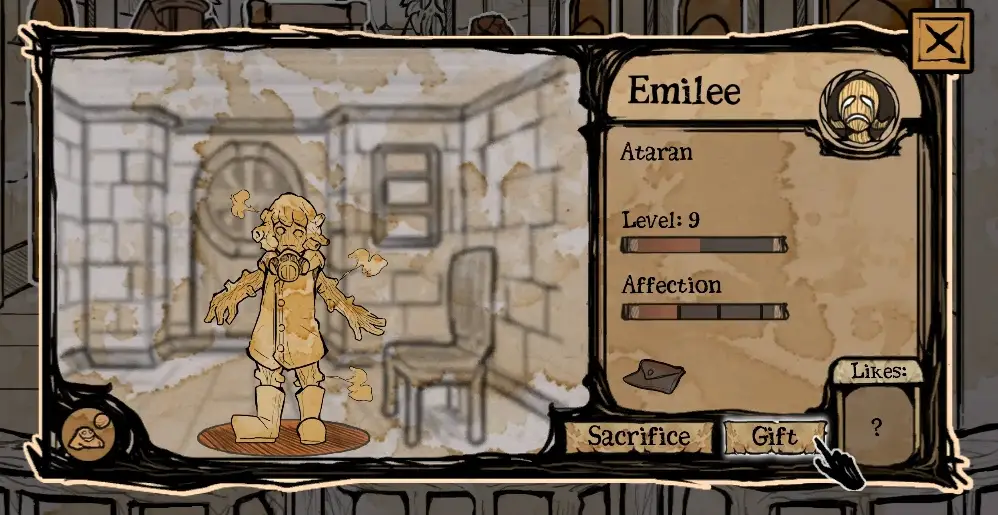
Placing them in jobs that they enjoy
When you make your children work during the week, their affection will decrease each day. Each affinity has loved and hated jobs, with the rest being neutral:

Praying to the Wreath of Ecstasy
Naarmate je door het spel gaat, magical artifacts will become available in the shop. Upon buying the Mirror of Mimicry, the Mask of Prosperity, and the Totem of Maturity, the Wreath of Ecstasy will become available to purchase for 2000 goud. This artifact increases your childrens’ affection levels and decreases the affection penalty for working. This artifact will appear on the wall above the door leading to your daughters room, and requires a prayer to operate. When you first buy the Wreath, the shopkeeper will provide you with one free Cursed Twig, which is used to pray. The Cursed Twig thereafter costs 300 gold in the shop. If you pray once, the effects of the Wreath will last one week, though you can pray for 4 weeks at a time, provided you have 4 Twigs.

Gifts
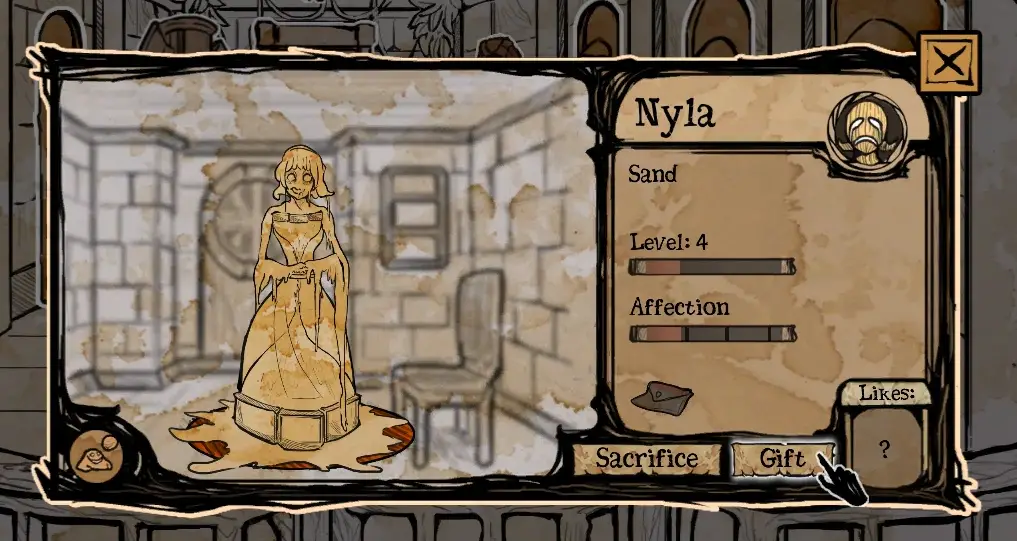
Giving gifts is not required for gameplay, but are beneficial when you can afford them. There a variety of gifting options available:
- Basic Treats
- Large Treats
- Special Gifts
Basic Treats & Large Treats:
Er zijn 5 basic treats always available in the shop: candies, chocolate bars, ice cream, almonds, and gift boxes. They cost 40 goud elk, except for the gift box, which costs 30 goud, and slightly increase affection.
Er zijn 4 large treats sometimes available in the shop: lollipops, chocolate treats, ice cream bowls, and roasted almonds. They cost 75 gold each and greatly increase affection.
There are no restrictions on how many treats can be given per day or how many children can receive treats per day.
Each affinity has loved and hated treats, with the rest being neutral:
- Sadness: loves ice cream & ice cream bowls, hates candies & lollipops
- Joy: loves candies & lollipops, hates ice cream & ice cream bowls
- Fear: loves almonds & roasted almonds, hates chocolate bars & chocolate treats
- Anger: loves chocolate bars & chocolate treats, hates almonds & roasted almonds
Special Gifts:
Special Gifts are infrequently available in the shop for 600 goud elk. Er zijn 4 totaal: the Jigsaw Puzzle, the Music Box, the Stick Horse, and the Book of Tales.
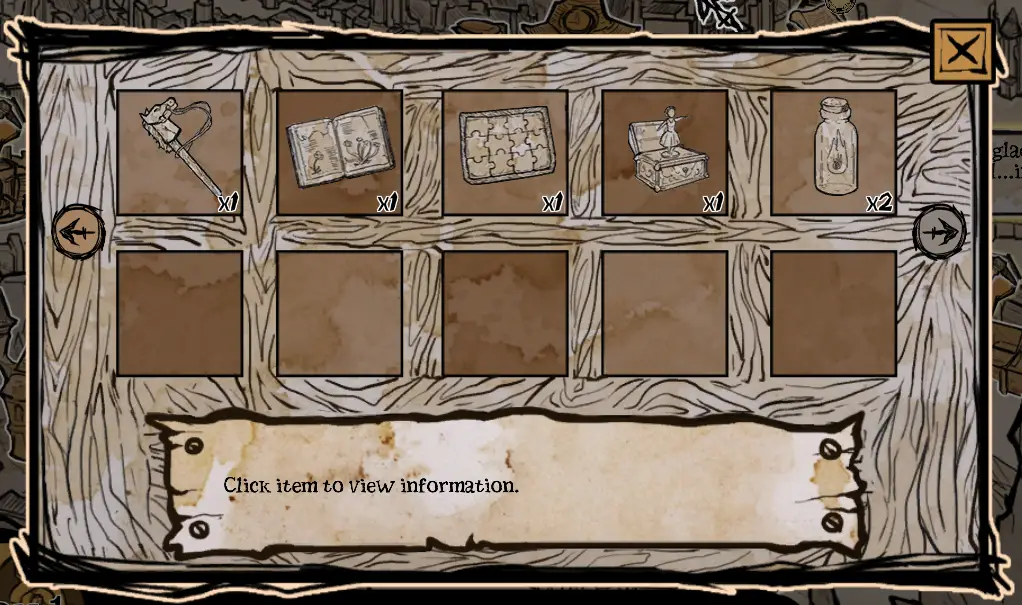
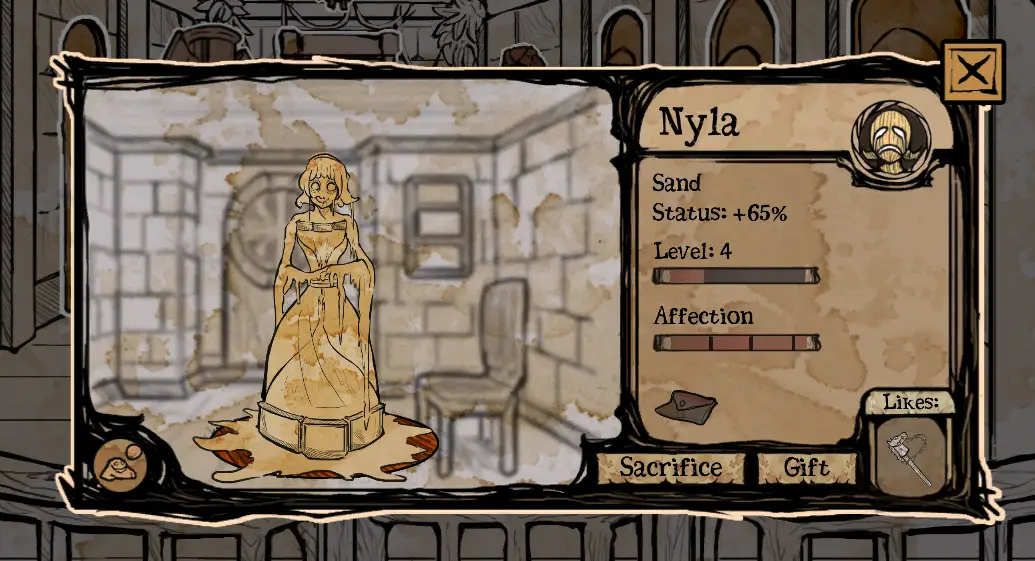
Each individual homunculi has a favorite gift, and hates the other three. You can discover which gift they like by speaking to them when they have a full affection level. Occasionally they will drop keywords relating to the gift they want.
If you give them the correct gift, their status will increase by 50 points and the gift will appear in their informational panel. If you give them a hated gift, their status will decrease by 50 punten. Status indicates how quickly or slowly they will level up. If you had previously given a gift to Zombie and make a new Zombie, you will have to give her the gift again to gain the status boost.
Brieven
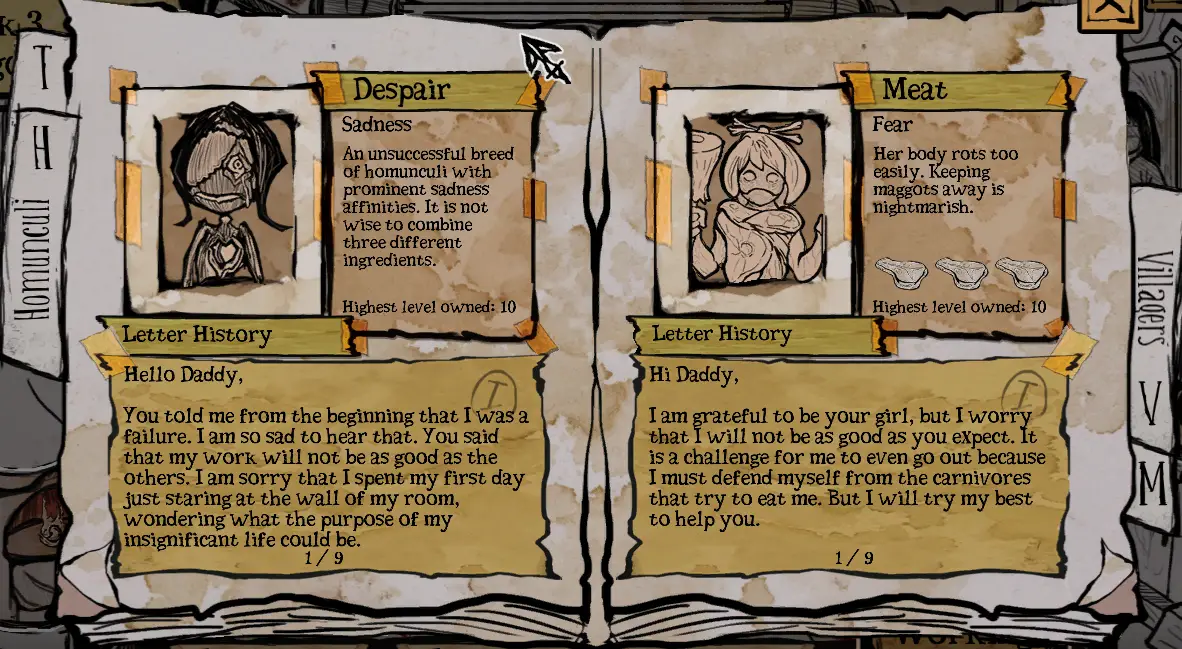
As the affection of your homunculi increases, they will begin to leave letters under your door. These letters do not affect gameplay, but provide a glimpse into each child’s life and personality. Even the failed homunculi have letters!
Er zijn 9 letters per homunculus, but you can only collect 3 from each alive homunculus. d.w.z. you will need a minimum of three different Rag creations to get all of Rag’s letters. In all likelihood, you will need more than 3 creations since the letters are delivered in a totally random order and may repeat.
Once you’ve collected a letter, you can view it in the homunculus information page in the book.
Magical Artifacts
Naarmate je door het spel gaat, three magical artifacts will become available in the shop: the Mirror of Mimicry, the Mask of Prosperity, the Totem of Maturity, and the Wreath of Ecstasy. The Mirror unlocks after you buy your first room repair. The Mask and the Totem will become available after you purchase your second room repair. Once you purchase all three of these artifacts, the Wreath will appear in the shop. When purchased, each artifact appears in your house once you get home from that week.
The Mirror of Mimicry:
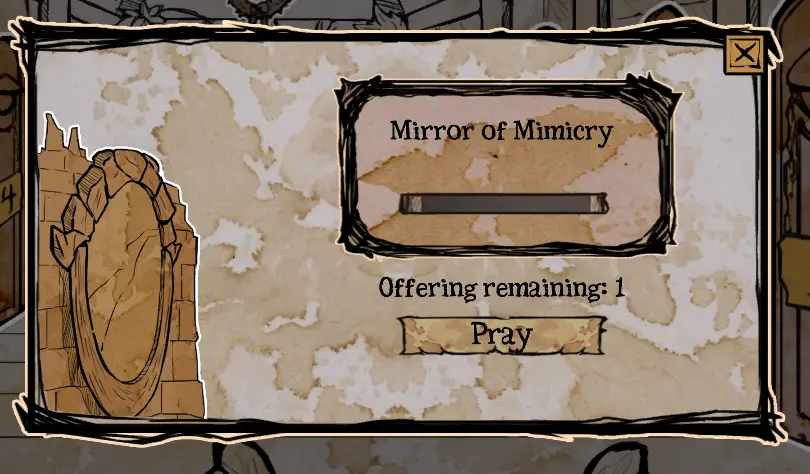
The Mirror of Mimicry costs 1500 gold in the shop. This artifact increases the amount and quality of drops you get from sacrifice. When you first buy the Mirror, the shopkeeper will provide you with one free Blood of the Unborn, which is used to pray. Blood of the Unborn thereafter costs 300 gold in the shop. If you pray once, the effects of the Mirror will last one week, though you can pray for up to 4 weeks at a time, provided you have 4 Blood.
The Mask of Prosperity:
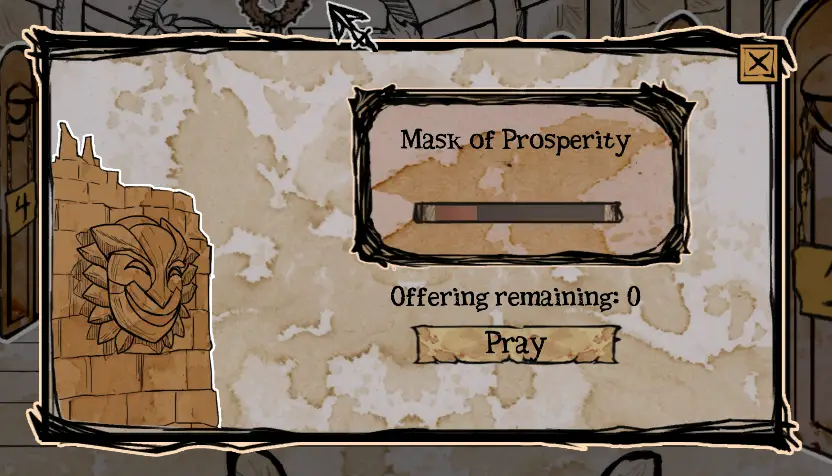
The Mask of Prosperity costs 1500 gold in the shop. This artifact increases your gold gain from working. When you first buy the Mask, the shopkeeper will provide you with one free Candle of the Wicked, which is used to pray. The Candle thereafter costs 300 gold in the shop. If you pray once, the effects of the Mask will last one week, though you can pray for up to 4 weeks at a time, provided you have 4 Candles.
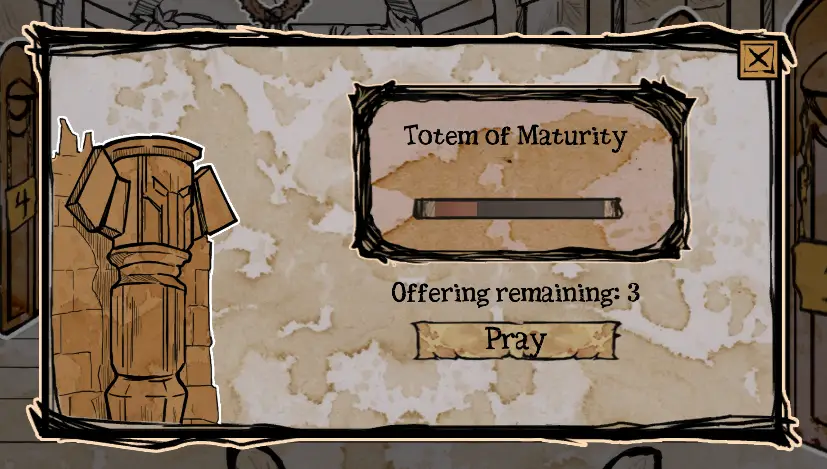
The Totem of Maturity:
The Totem of Maturity costs 1500 gold in the shop. This artifact increases homunculi growth rates. When you first buy the Totem, the shopkeeper will provide you with one free Sacrificial Doll, which is used to pray. The Doll thereafter costs 300 gold in the shop. If you pray once, the effects of the Totem will last one week, though you can pray for up to 4 weeks at a time, provided you have 4 Dolls.
The Wreath of Ecstasy:
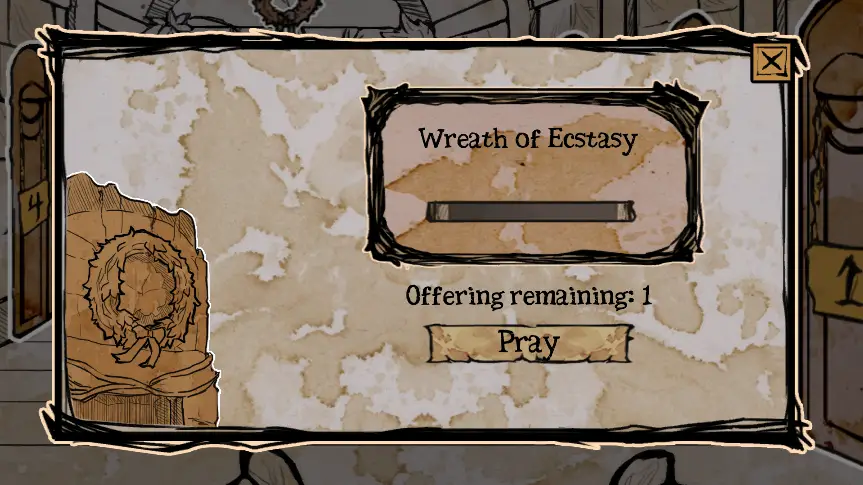
The Wreath of Ecstasy costs 2000 gold in the shop. It may be on the second page. This artifact increases your childrens’ affection levels and decreases the affection penalty for working. When you first buy the Wreath, the shopkeeper will provide you with one free Cursed Twig, which is used to pray. The Cursed Twig thereafter costs 300 gold in the shop. If you pray once, the effects of the Wreath will last one week, though you can pray for up to 4 weeks at a time, provided you have 4 Twigs.
The Inquisitor DLC
This DLC is available from the My Lovely Daughter store page and is free to purchase. It should install automatically and the title screen of the game will indicate that the DLC is intalled.
This DLC adds a new character, the Inquisitor, who introduces himself to you after you buy the second room. Once you finish the conversation with him, the new content will become availible.
Trades:
Perhaps there’s a better name for this mechanic, but this is what came to my mind. When you’re in your daughter’s room, a villager will occasionally appear in the bottom left corner of the screen with a timer. If you choose to click on it, they will appear at your door and offer some kind of trade. I’ve noticed 3 different prompts. Accepting or refusing this trade comes with consequences detailed below. Beware: if you enter the trade menu you cannot leave without accepting or refusing, it does not function like requests or jobs.
They offer to sell you an ingredient:
- Accept: lose gold, gain ingredient, gain trust
- Weigeren: lose trust
They offer to purchase an ingredient:
- Accept: lose ingredient, gain gold, gain trust
- Weigeren: lose trust
They demand that you pay them for something your homunculus did:
- Accept: lose gold
- Weigeren: lose trust, gain affection with the homunculus
Memento Jobs:
When you’re in your daughter’s room, a symbol will occasionally appear in the bottom left corner of the screen with a timer. If you choose to click on it, the Inquisitor will appear at your door and detail a job for you. This job requires a specific homunculus to complete it for it to be considered a successful job. The Inquisitor will give you a hint about which homunculus to use, they do not need to be any particular level. If you forgot what he wanted from you, you can simply click the symbol which now lies just below the date in your daughter’s room.
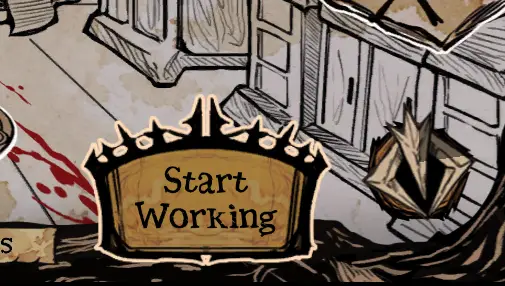
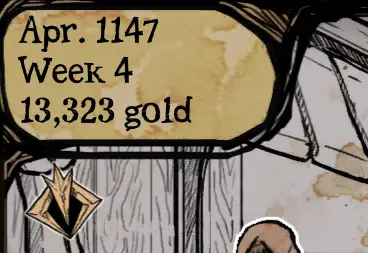
When you next go to town there will be a location with this same symbol over it. This is where you need to send your homunculus to work. The job will take all week, and you will be rewarded with some ingredients or gold. If you don’t assign a homunculus to the task or assign the wrong one, the job will be considered a failure. The job will not be offered again later.
Er zijn 11 jobs total, one for each of the interactable villagers. The jobs are offered in random order. Once you successfully complete a job, a mark will be added to that villager’s information page in the book.
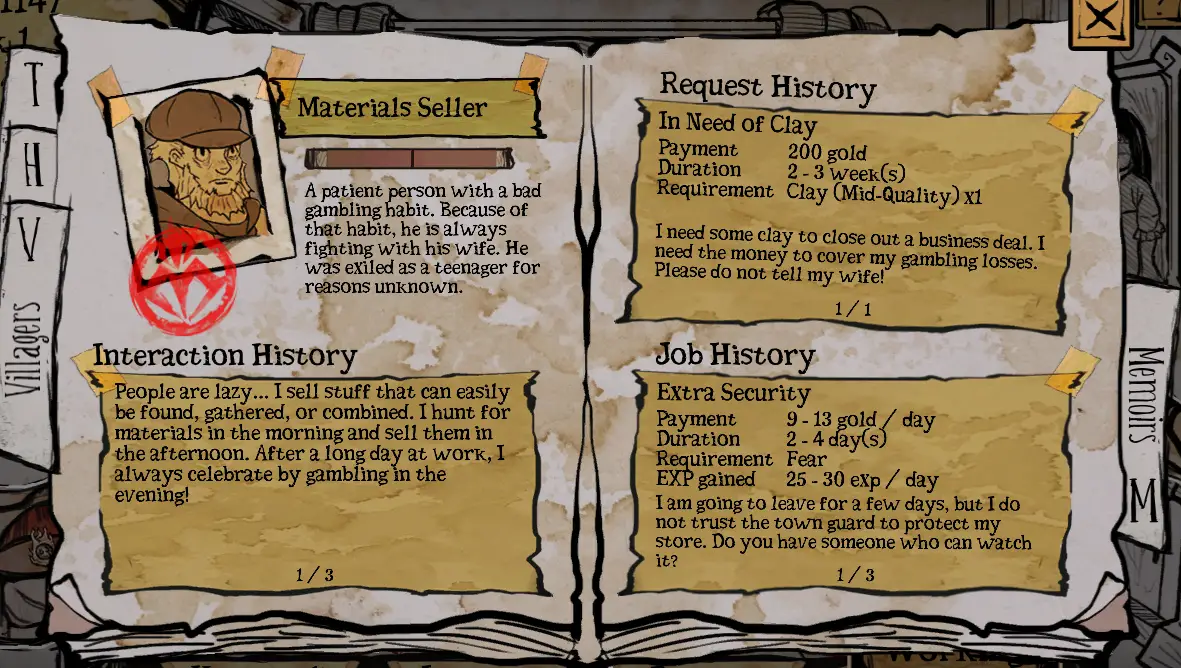
The jobs, keywords, and necessary homunculi are listed below:
- Slum Gangster – sweet-scented homunculus – Flower
- Guard – homunculus with a huge helping hand – Steen
- Gardener – a homunculus who will scare crows away – Rag
- Old Blacksmith – A homunculus who will work well around metal – Metaal
- Toy Maker – fast-swimming homunculus – Mermaid
- Restaurant Chef –a homunculus who will keep track of time – Zand
- Occult Leader – homunculus with many hands – Tentakel
- Pet Keeper –most-animalistic homunculus – Animal
- Materials Seller – homunculus who is comfortable with ancient tombs – Mummy
- Smelter – homunculus who can fly to high places – Insect
- Knife Seller’s Wife – a homunculus who can cool a fire down – Ijs
Prestaties
For the complete achievement guide, feel free to check out this link.
Dat is alles wat we vandaag hiervoor delen My Lovely Daughter gids. Deze handleiding is oorspronkelijk gemaakt en geschreven door Leafpool10120. Voor het geval we er niet in slagen deze handleiding bij te werken, U kunt de laatste update vinden door dit te volgen link.

