- Titel: Limbus Company
- Releasedatum:
- Ontwikkelaar:
- Uitgever:
Information about Limbus Company is still incomplete. Help ons alstublieft de details van het spel hiermee in te vullen contactformulier.
Mastering Mirror Dimension 2, Hard Mode, necessitates a profound comprehension of advanced game mechanics.
Mastering the Hard Mode
Numerous players have voiced concerns about the steep rise in difficulty encountered within the game. This challenge primarily arises from a fundamental underestimation of the intricacies that govern the game mechanics. Many individuals rely on the auto win-rate button, without truly grasping the underlying principles of the game. Although such auto buttons prove beneficial during farming endeavors, employing them in Mirror Dungeons constitutes a significant error.
In deze gids, we will delve into the often underestimated potency of defensive skills, 00 IDs, and the significance of building a complementary team. We’ll also explore the incorporation of EGO gifts acquired during a MD run. Throughout this discourse, we shall address these advanced mechanics, gameplay intricacies, and the significance of team composition in tandem with EGO gifts.
This guide will be presented as a single comprehensive run. Helaas, there is no definitive way to verify its authenticity, thus, I must rely on your trust. Hoe dan ook, the primary intention is to demonstrate that conquering a challenging run is not only feasible but can be predictably improved upon with the application of appropriate strategies.
Niveau 7 – Enduring Strategies
Enduring strategies are fundamental actions that should be consistently pursued, as they invariably lead to favorable outcomes. For the Mirror Dungeon 2 Moeilijk (MD2H), the initial two steps are rather straightforward.
Opt for Enduring Starter Sinners
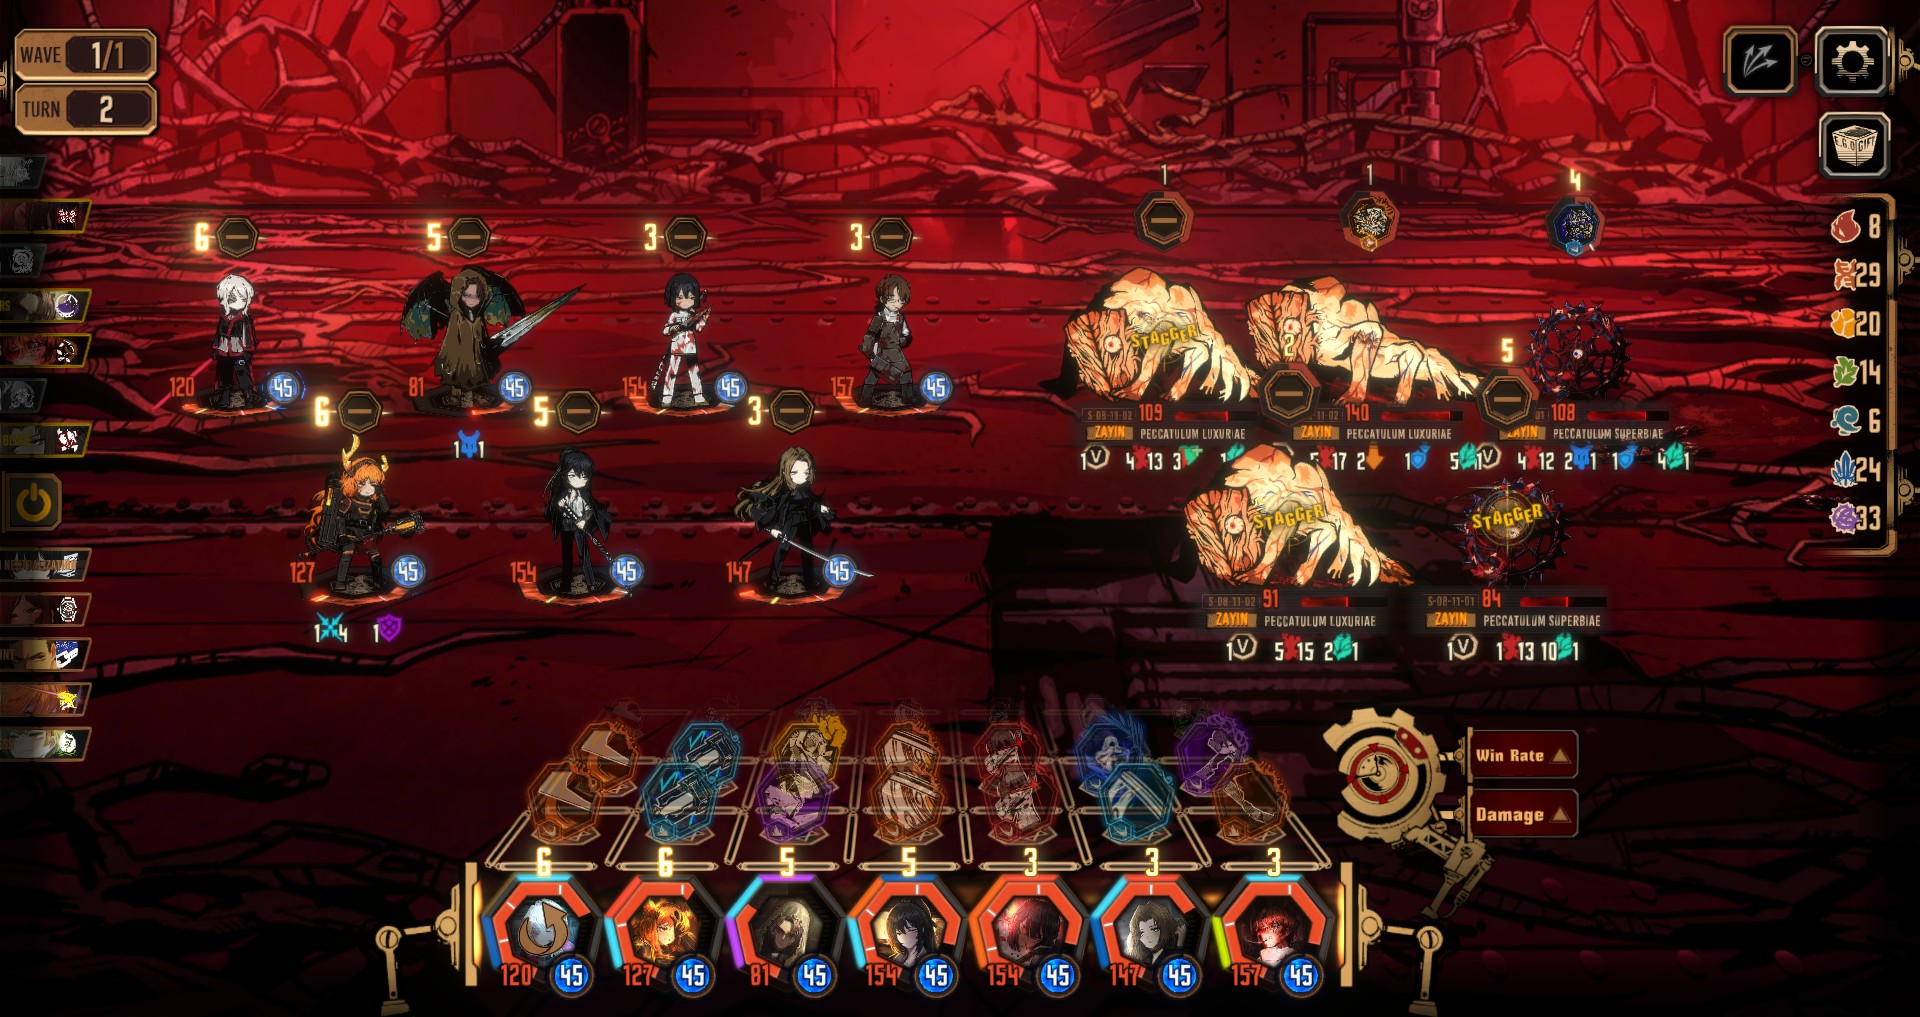
When selecting your starter sinners, you are given a pool of 300 punten (250 before the upgrade) to allocate. This grants you access to 2-3,000 sinners. Although the instinctive choice might be sinners with high base clashing power, it is crucial to recognize that, in MD2H, clashing power should be your least concern.
Enduring sinners refer to IDs that remain valuable regardless of the EGO gifts builds you eventually pursue. This encompasses characters with healing abilities (such as Hong Lu, Faust, Chef Ryoshu, and Gregor) and those capable of coin buffing or debuffing (like Zwei Rodion, L Corp Faust, Sunshower Heathcliff, enz.).
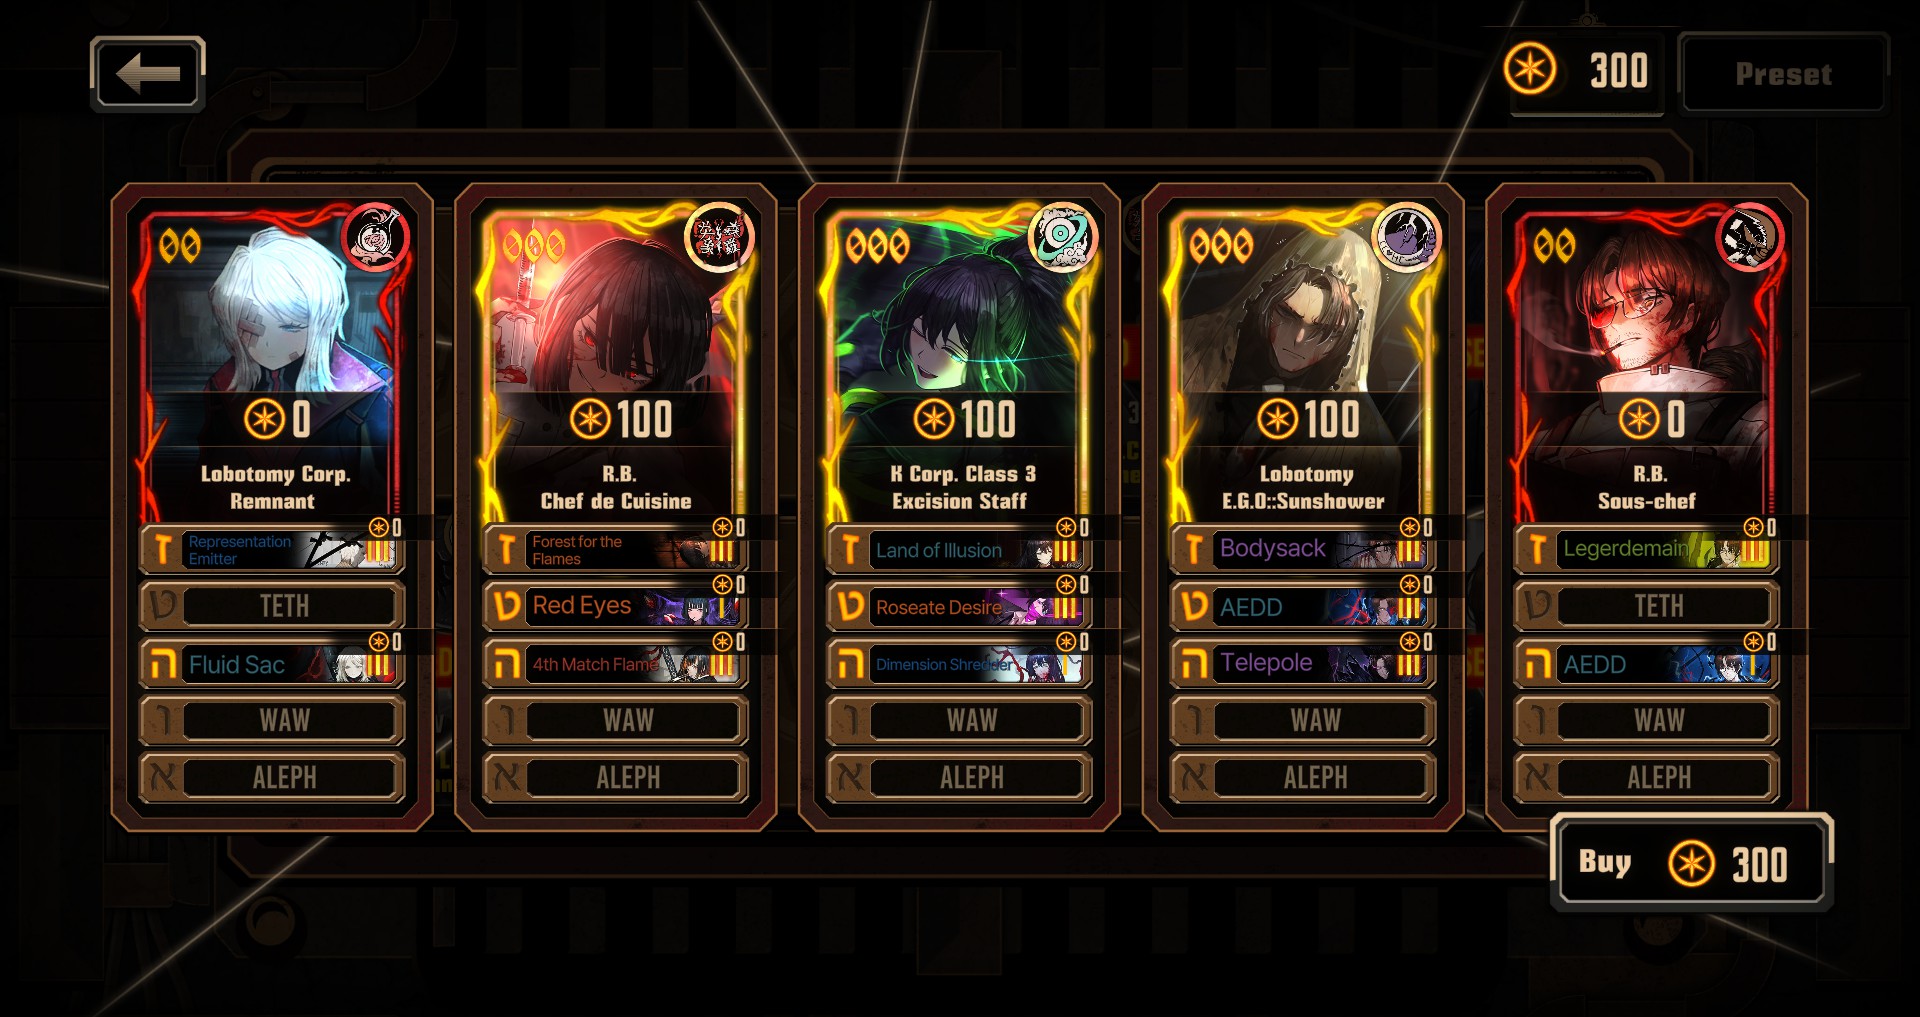
In order to illustrate the insignificance of base clashing powers, I intentionally selected two characters, Sunshower Heathcliff and Chef Gregor, who were considered “low tier” in this aspect at the time of writing the guide. I would have included Zwei Rodion as well, but I have yet to acquire her.
Opting for the Appropriate Course
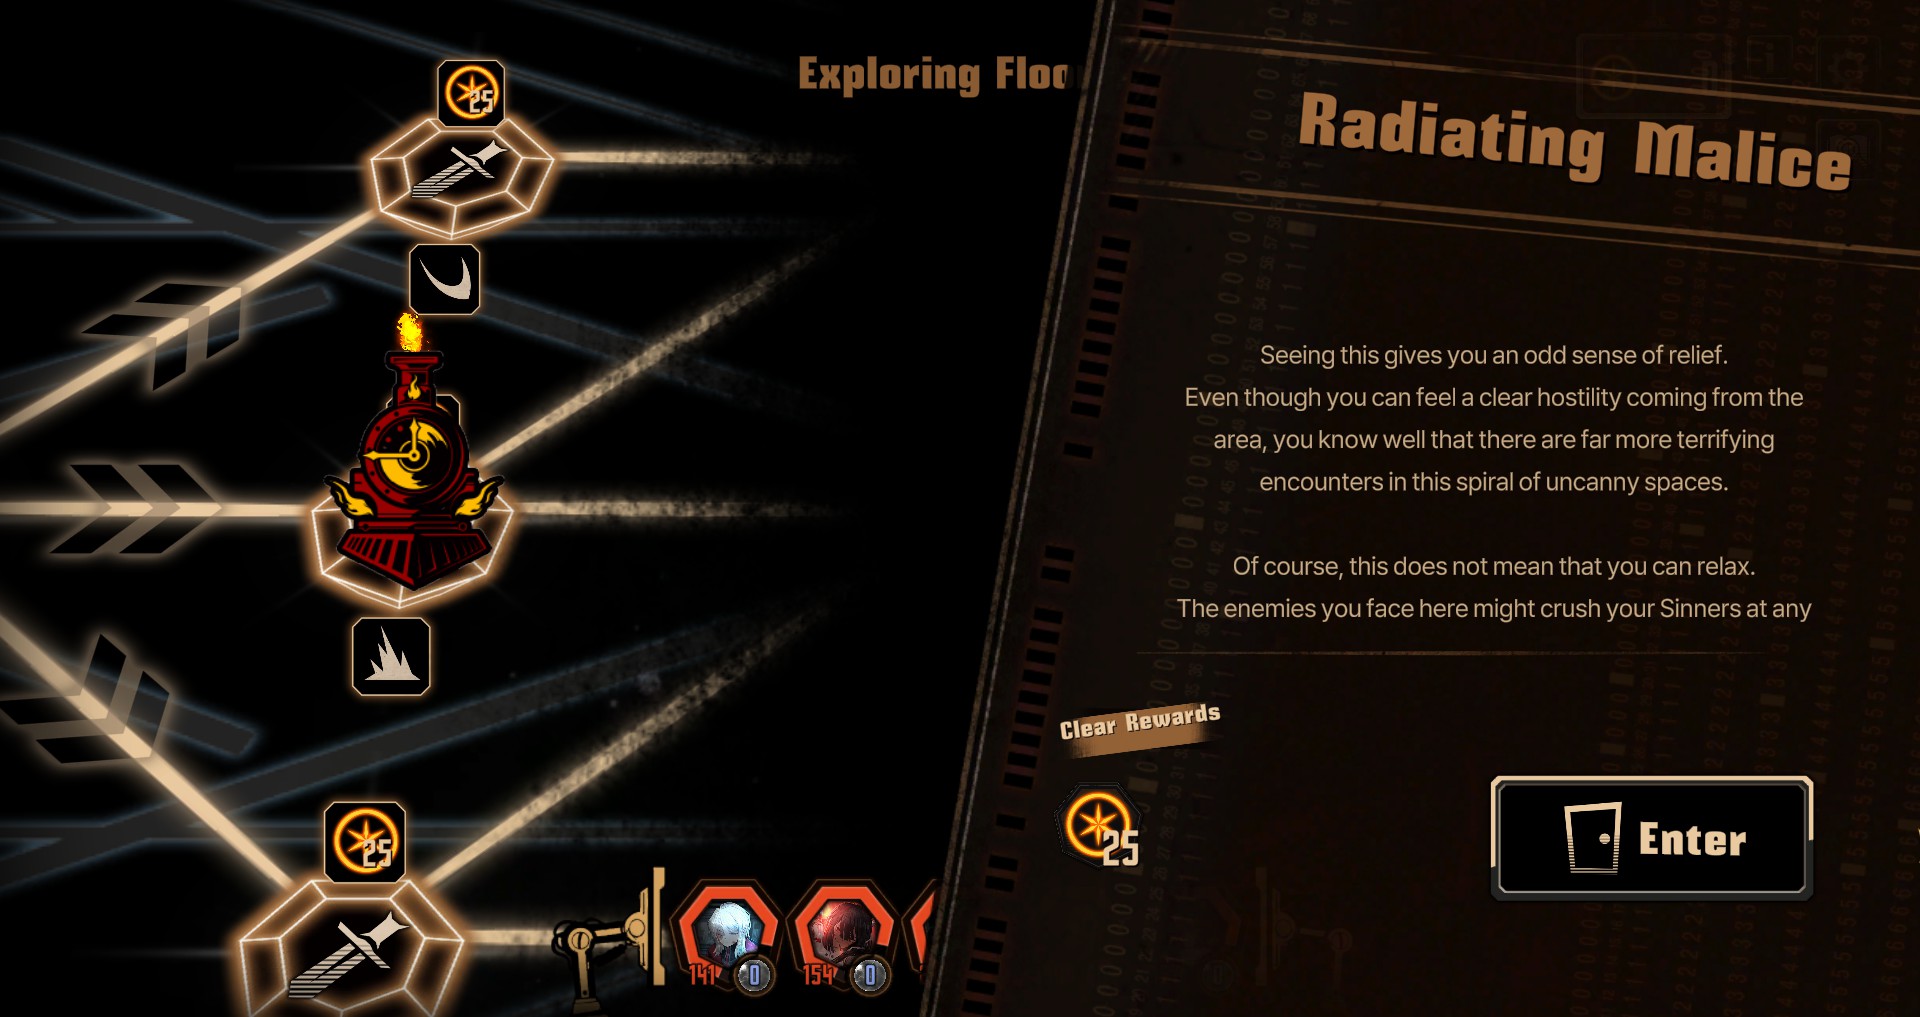
This process is rather straightforward. Its purpose is to enhance your overall experience. When confronted with nodes offering multiple paths, prioritize those with at least two options, and if possible, select the middle nodes. This approach aims to maximize your available choices as you progress.
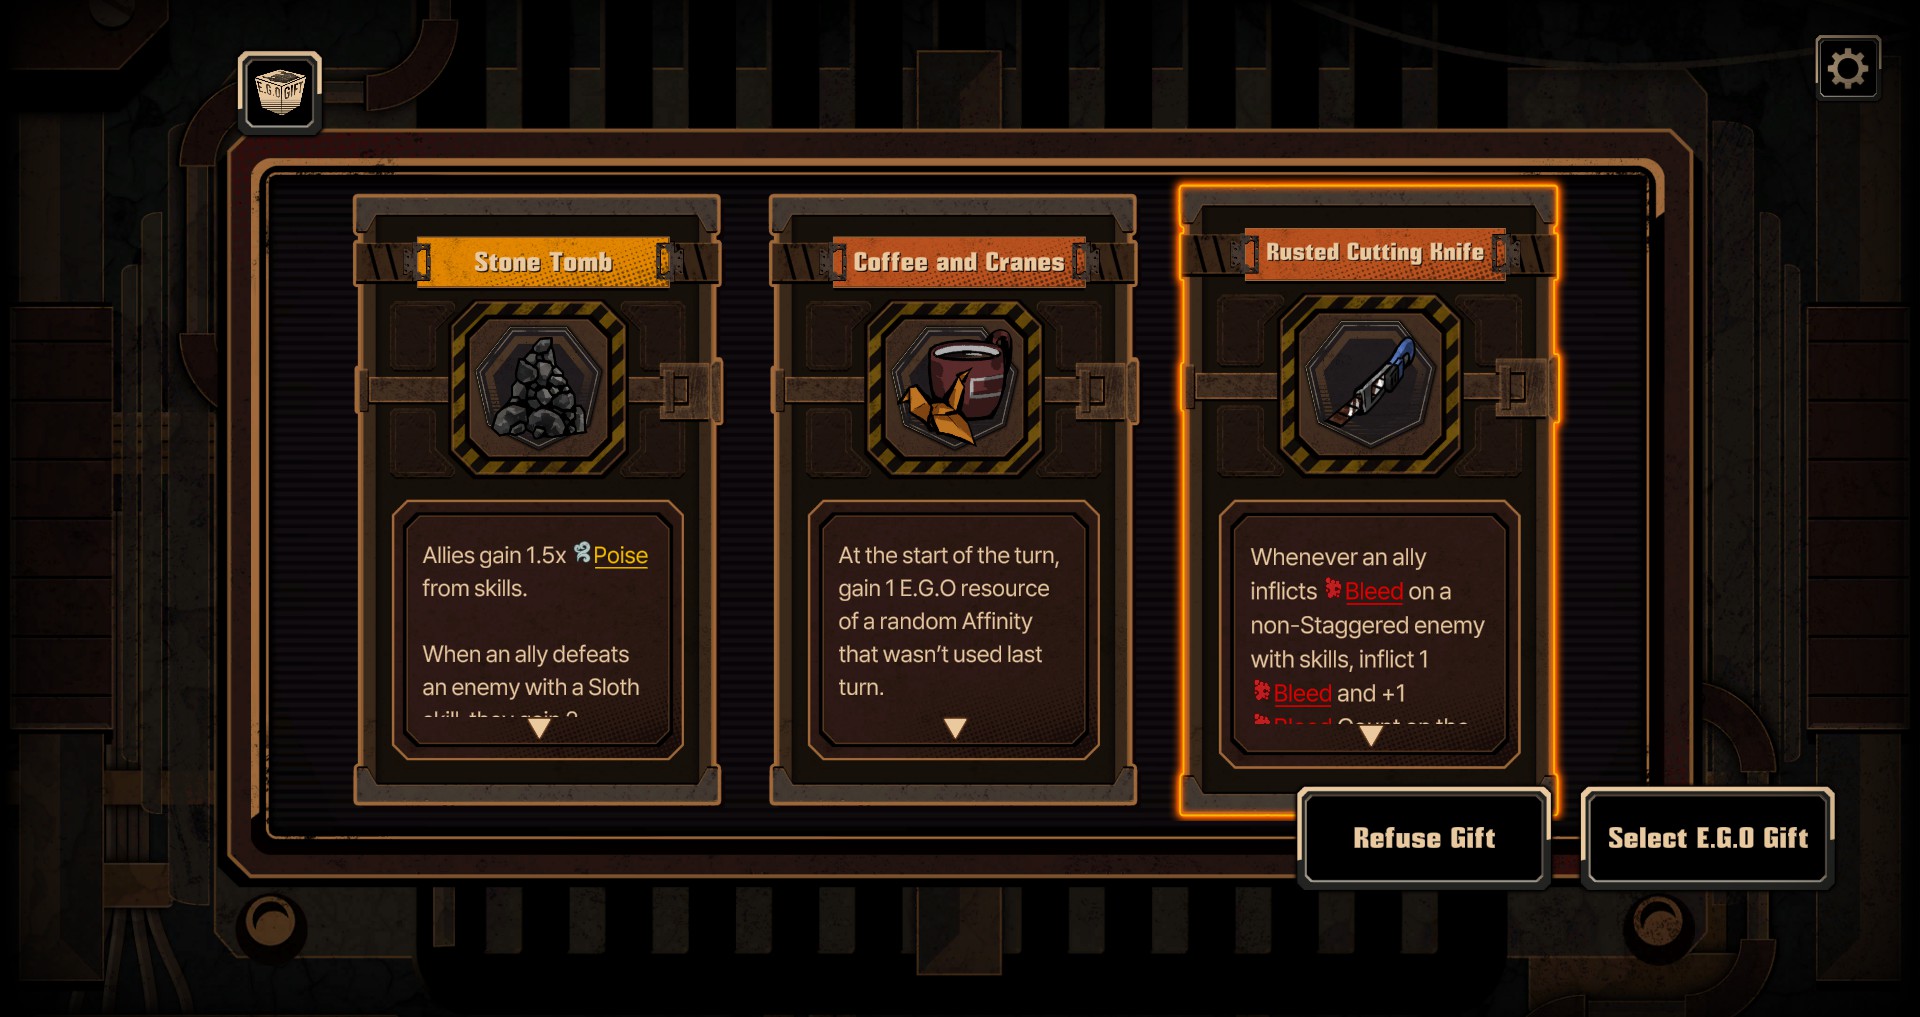
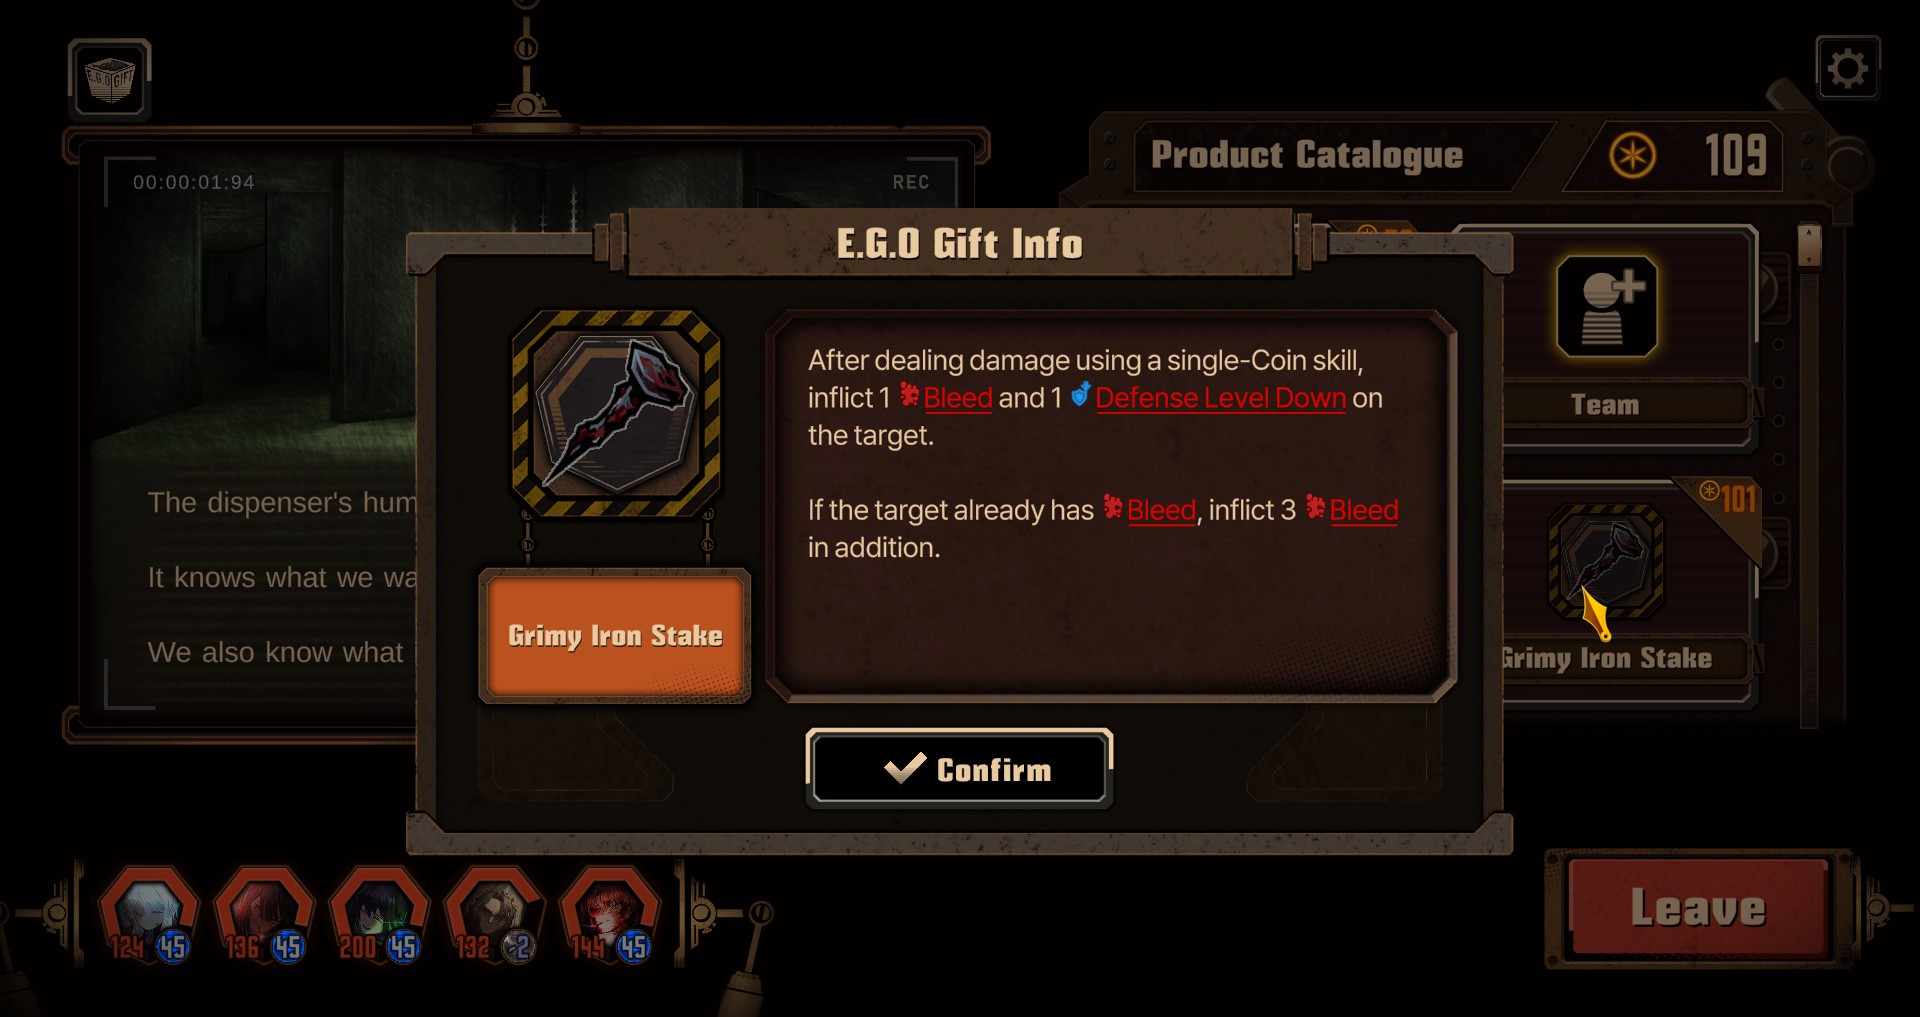
EGO Gift > Alles
In the realm of tactical gaming wisdom, it is unequivocally asserted that the acquisition of an EGO gift outweighs all other considerations. These gifts possess the remarkable ability to amplify the effectiveness of your endeavors. In the current stage of the dungeon, the specific nature of the items obtained may not demand excessive scrutiny. Liever, the primary objective should be to lean towards selecting those gifts that offer a singular or dual category of buff/debuff when presented with a choice.
Verder, healing gifts exhibit absolute superiority over other EGO gifts owing to their evergreen nature. These effects remain consistently advantageous and prove beneficial under various circumstances. As a general guideline, it is recommended to possess at least 2 healing EGO gifts before reaching level 5.
The other category of evergreen EGO gifts comprises EGO resources. Though not as potent as healing gifts, they warrant consideration when a buff or debuff for a specific build is not available. Under such circumstances, EGO resources can serve as a viable alternative or be employed to confront adversaries effectively.
Niveau 2 – Matching T-Shirts
Ensuring Synergy Among EGO Gifts
Once presented with a choice of multiple EGO gifts, it becomes essential to strategize thoughtfully. Opt for gifts that complement each other in their effects and functionality.
One need not engage in meticulous strategizing; a mere observation of my own case would suffice. Were my cognitive capacity to exceed a meager two brain cells, I would undoubtedly have opted for the poise EGO offerings instead, as I possess an abundance of poise-infused characters primed for combat. Hoe dan ook, the chosen approach remains viable, owing to the following insight.
Don’t Be Afraid to Downgrade
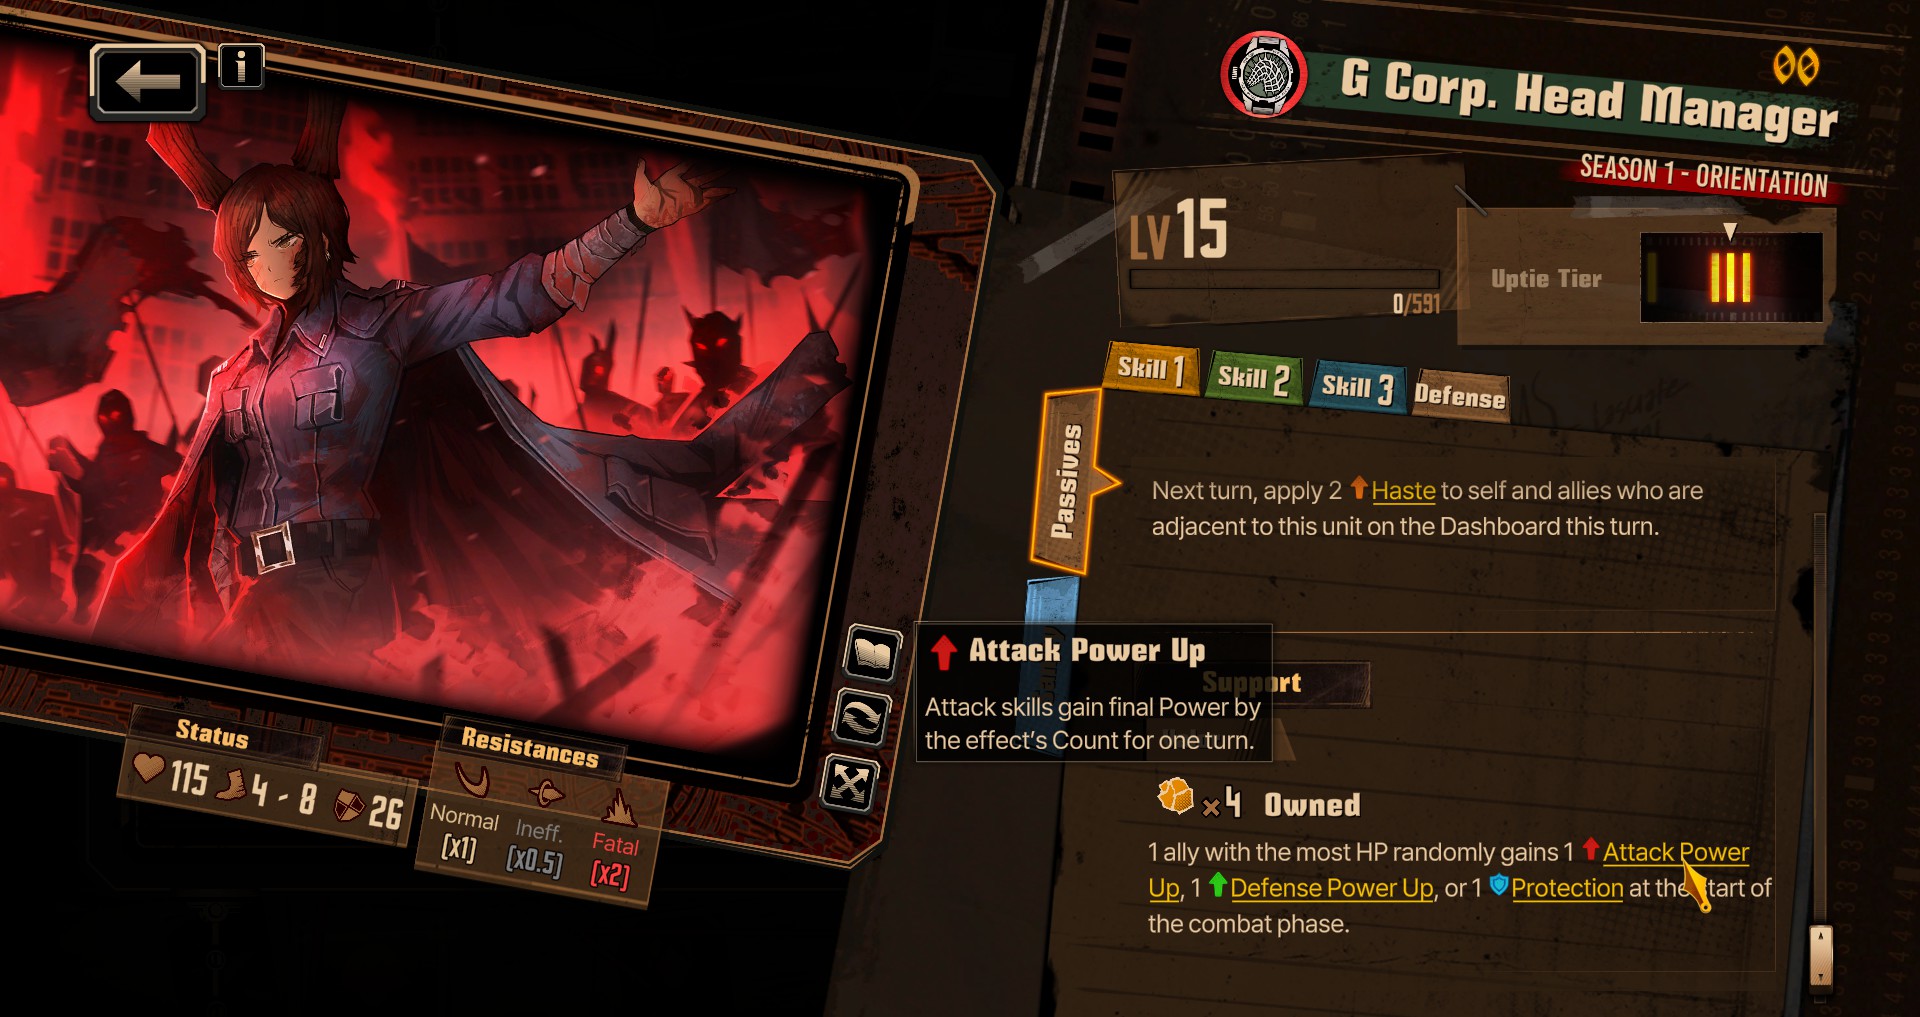
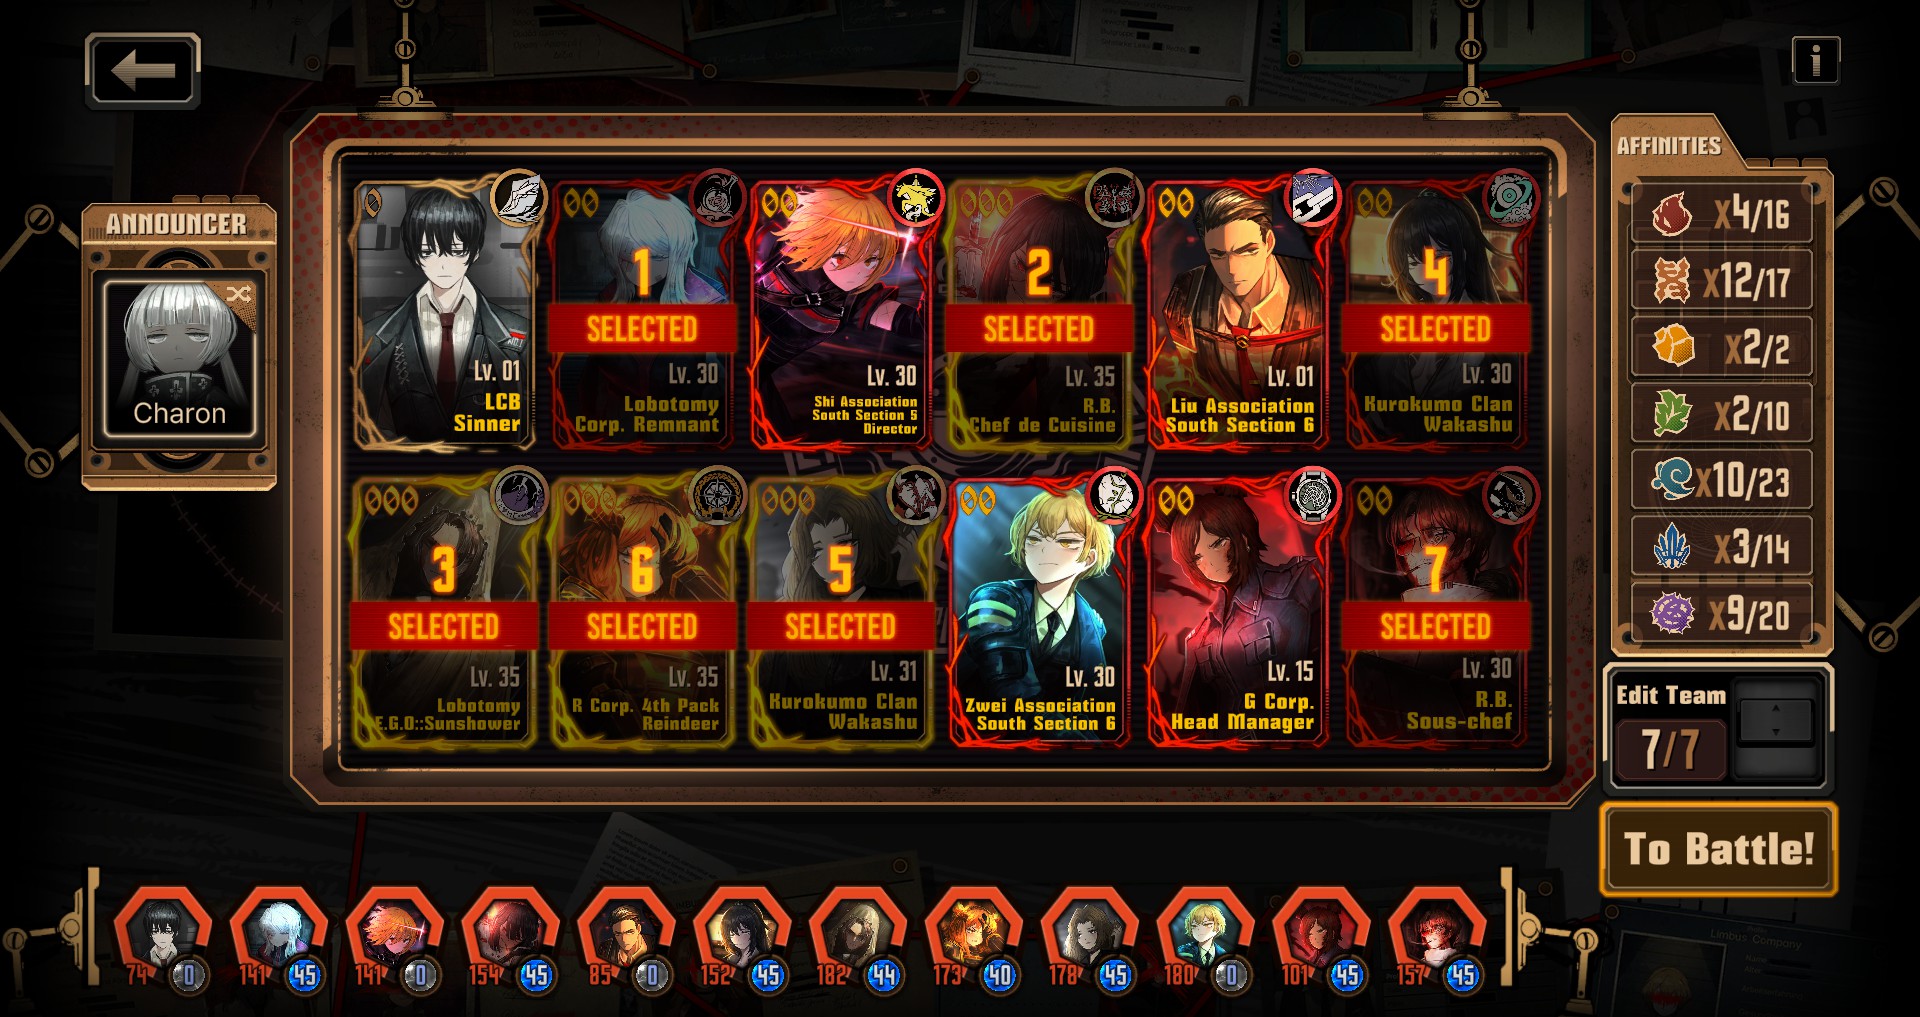
When presented with the initial opportunity to alter your team composition, it is imperative to acknowledge that while rare IDs undoubtedly hold significant value, they should not be perceived as the sole determinant of prowess. Even IDs categorized as 00s or even 0s possess practical utility. Bovendien, IDs that have not undergone substantial leveling can still contribute substantially to bolstering your team’s combat capabilities.
In this instance, due to an error on my part, I opted for bleed gifts over poise gifts, resulting in a limited selection of battle-ready characters. Vervolgens, I decided to revert my 000 KK Hong Lu to his 00 Kurokumo Hong Lu form, as it boasts a superior bleed output, aligning well with the nature of the gifts. Another option was to downgrade Sunshower Heathcliff to N Corp Heathcliff, but I intentionally refrained from doing so to uphold my argument regarding the viability of “low-tier” karakters.
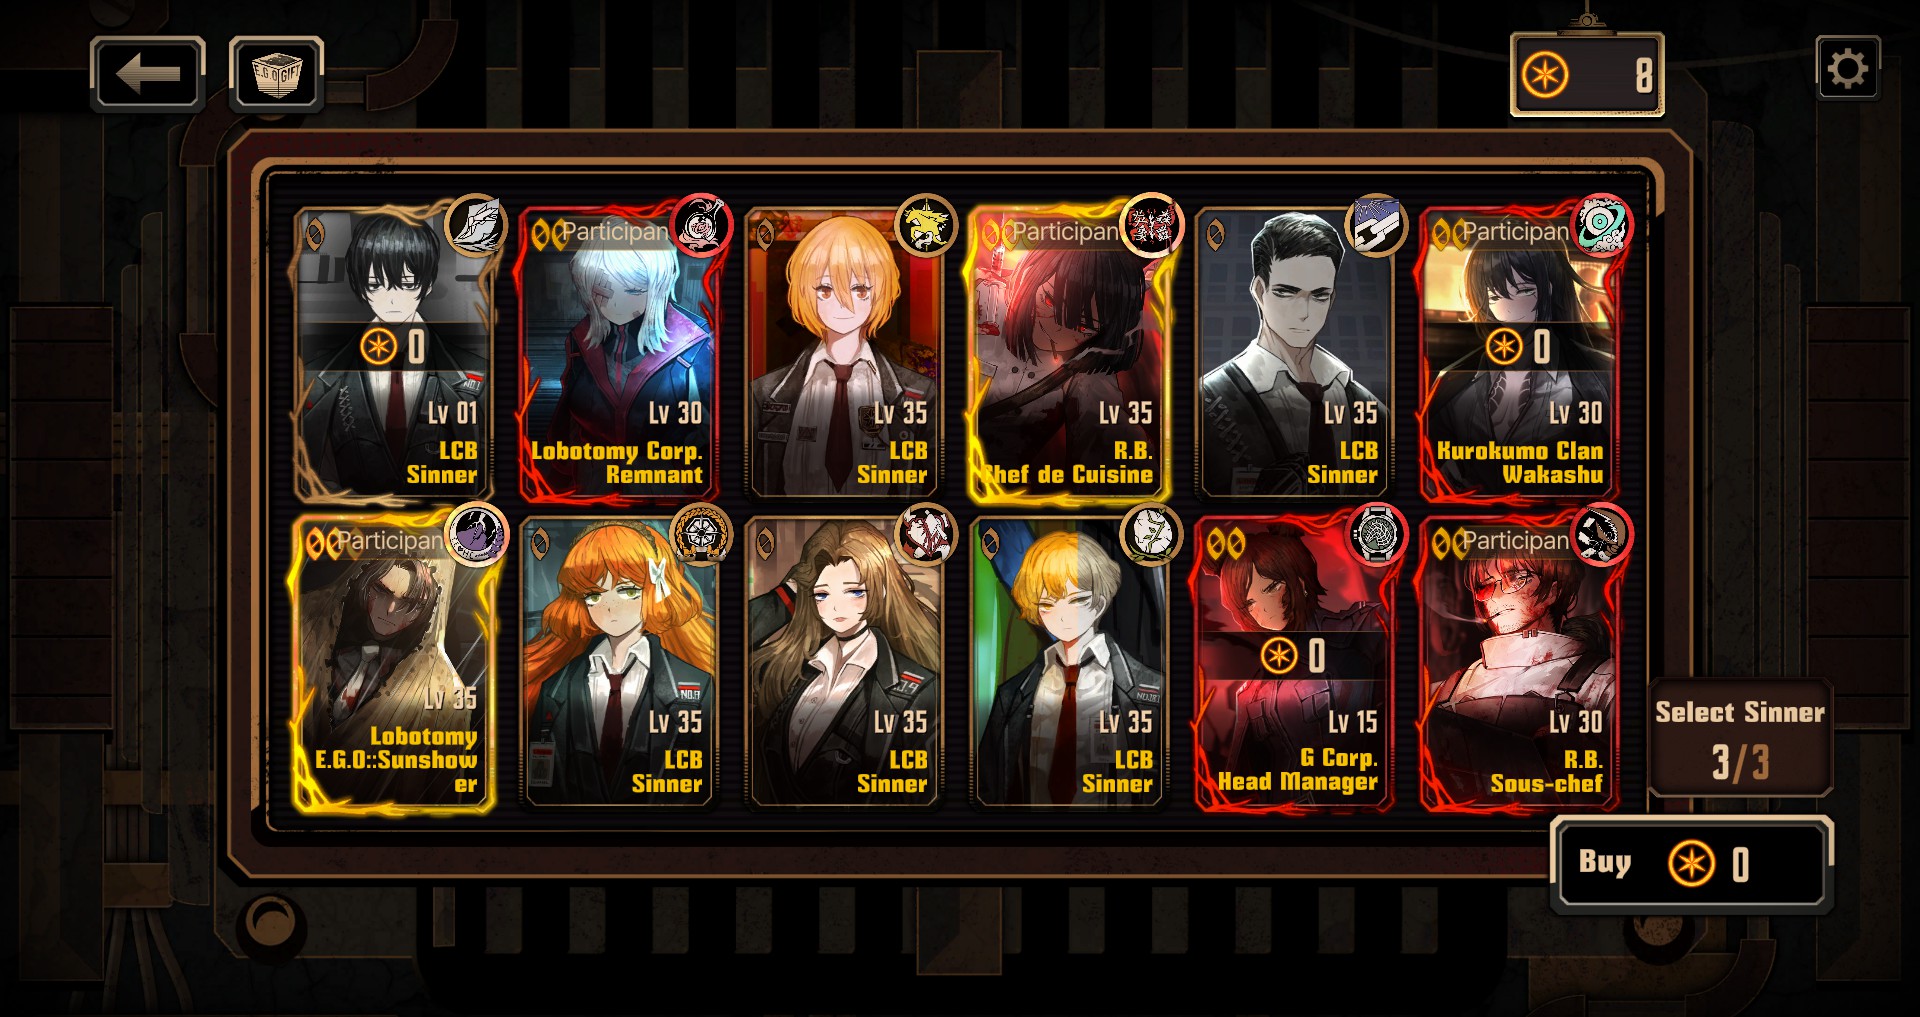
While it is possible to utilize a basic Level 1 LCB ID, some players have demonstrated the capability to clear MD2H using only base IDs. Echter, this approach is not recommended for the general player. The other two IDs I have chosen, namely LCB Yi Sang and G Corp Outis, possess support passives that have enduring effects, such as an SP heal and power buff, respectievelijk.
Op dit punt, you may have observed that I should ideally have slots for 6 IDs, yet I currently have only 5 combat-ready IDs. This is due to a specific reason…
Embrace Vulnerability Now, Gain Strength Later
At the second level of MD2H, there is room for making mistakes without significant repercussions. Dus, you can afford to take more calculated risks. While I am not insisting on this approach, it is worth considering. Als, like myself, you lack sufficient resources to acquire a fully battle-ready ID, it may be best to postpone the purchase for the time being. You will still manage just fine.
The majority of enemies are not yet formidable enough to pose a substantial challenge, allowing you to proceed with confidence and make choices with long-term benefits in mind.
Niveau 3 – Manager Esquire
Sanity Management
At present, a paramount concern to address pertains to one’s mental equilibrium. This state of sanity bears significance not only in the context of activating one’s EGO but also in augmenting the probability of favorable outcomes, akin to a positive coin flip. Vervolgens, certain individuals, particularly those wielding substantial clash power such as Rodion, warrant close attention to maintain their sanity levels at an elevated state.
In the realm of character attributes, some individuals possess a compelling value worth maintaining at a heightened level due to the advantageous nature of their EGOs – a case in point being Faust. These particular characters necessitate an elevated state of mental well-being, not necessarily at its zenith, but hovering above a minimal threshold to enable the activation of their EGO without any undesirable repercussions.
In dit spel, we have negative coin units, such as Sunshower Heathcliff, whose coin strength increases as their sanity decreases. It is acceptable to place them in unfavorable situations, as long as their survival is ensured, and you may utilize their EGO if your sin resources permit.
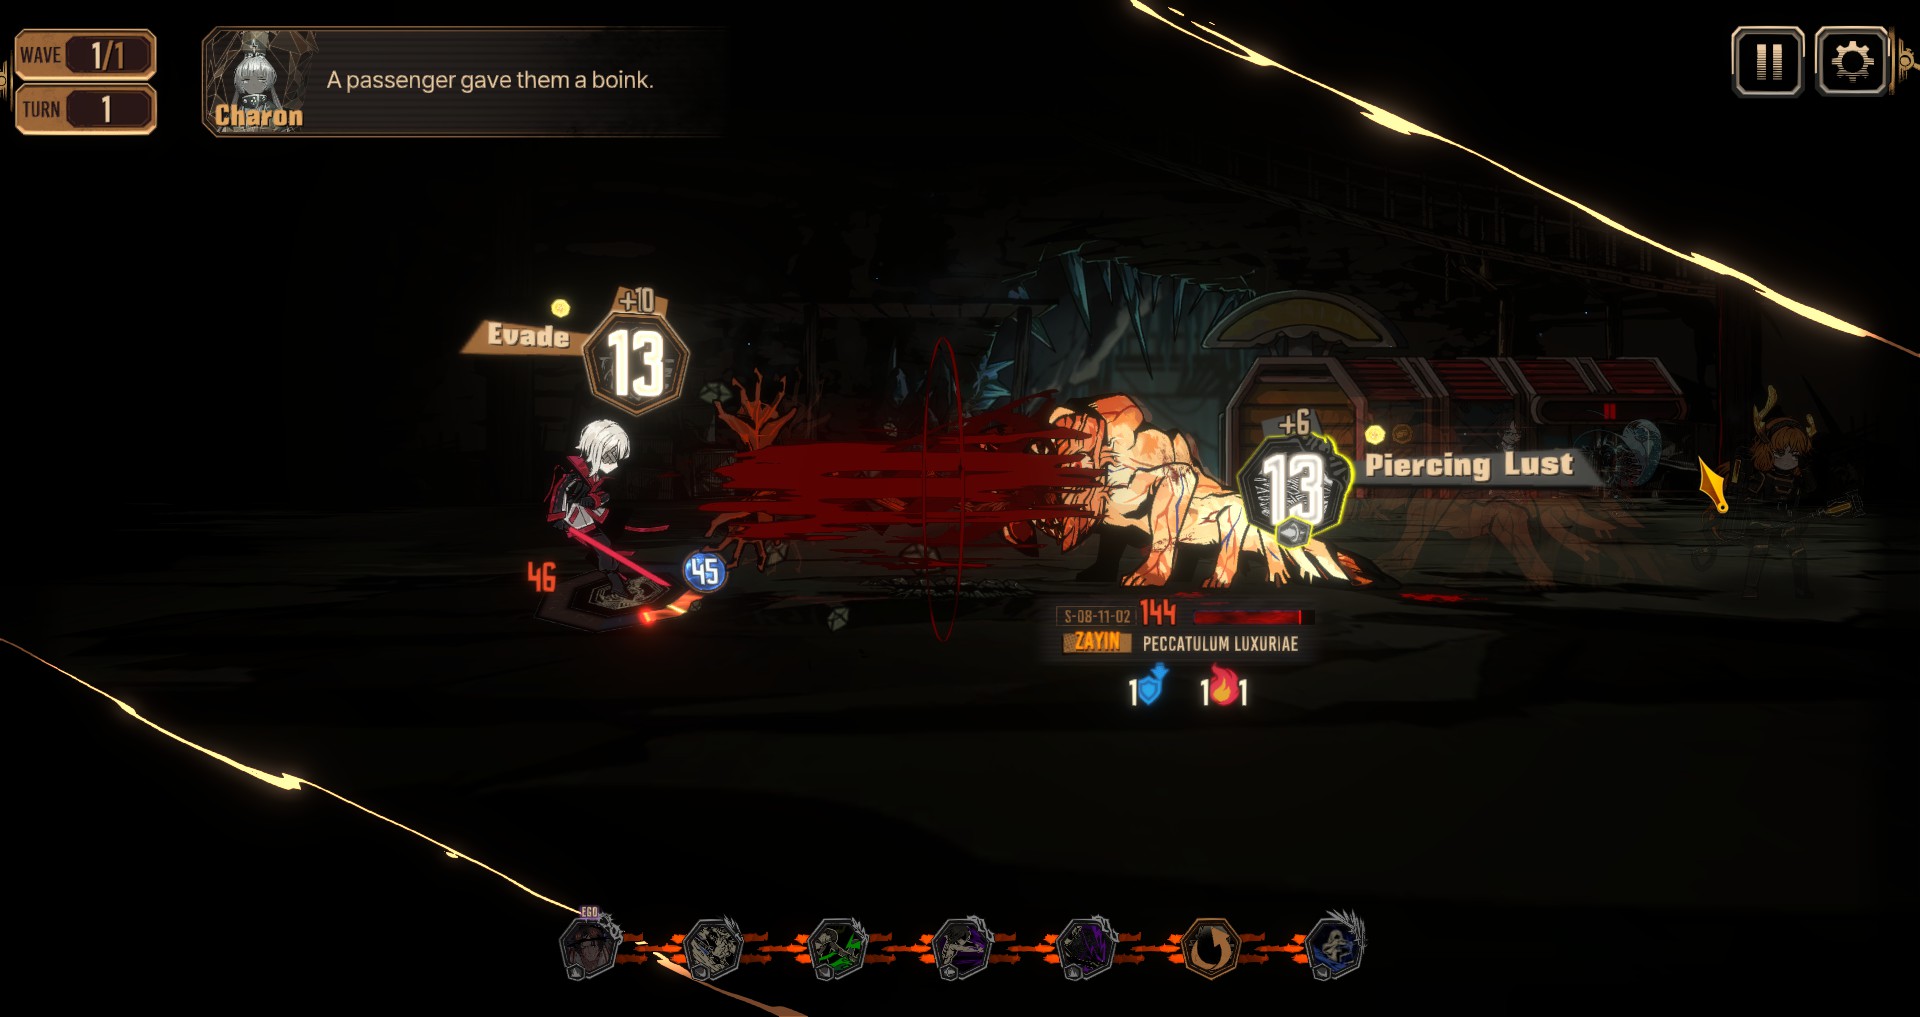
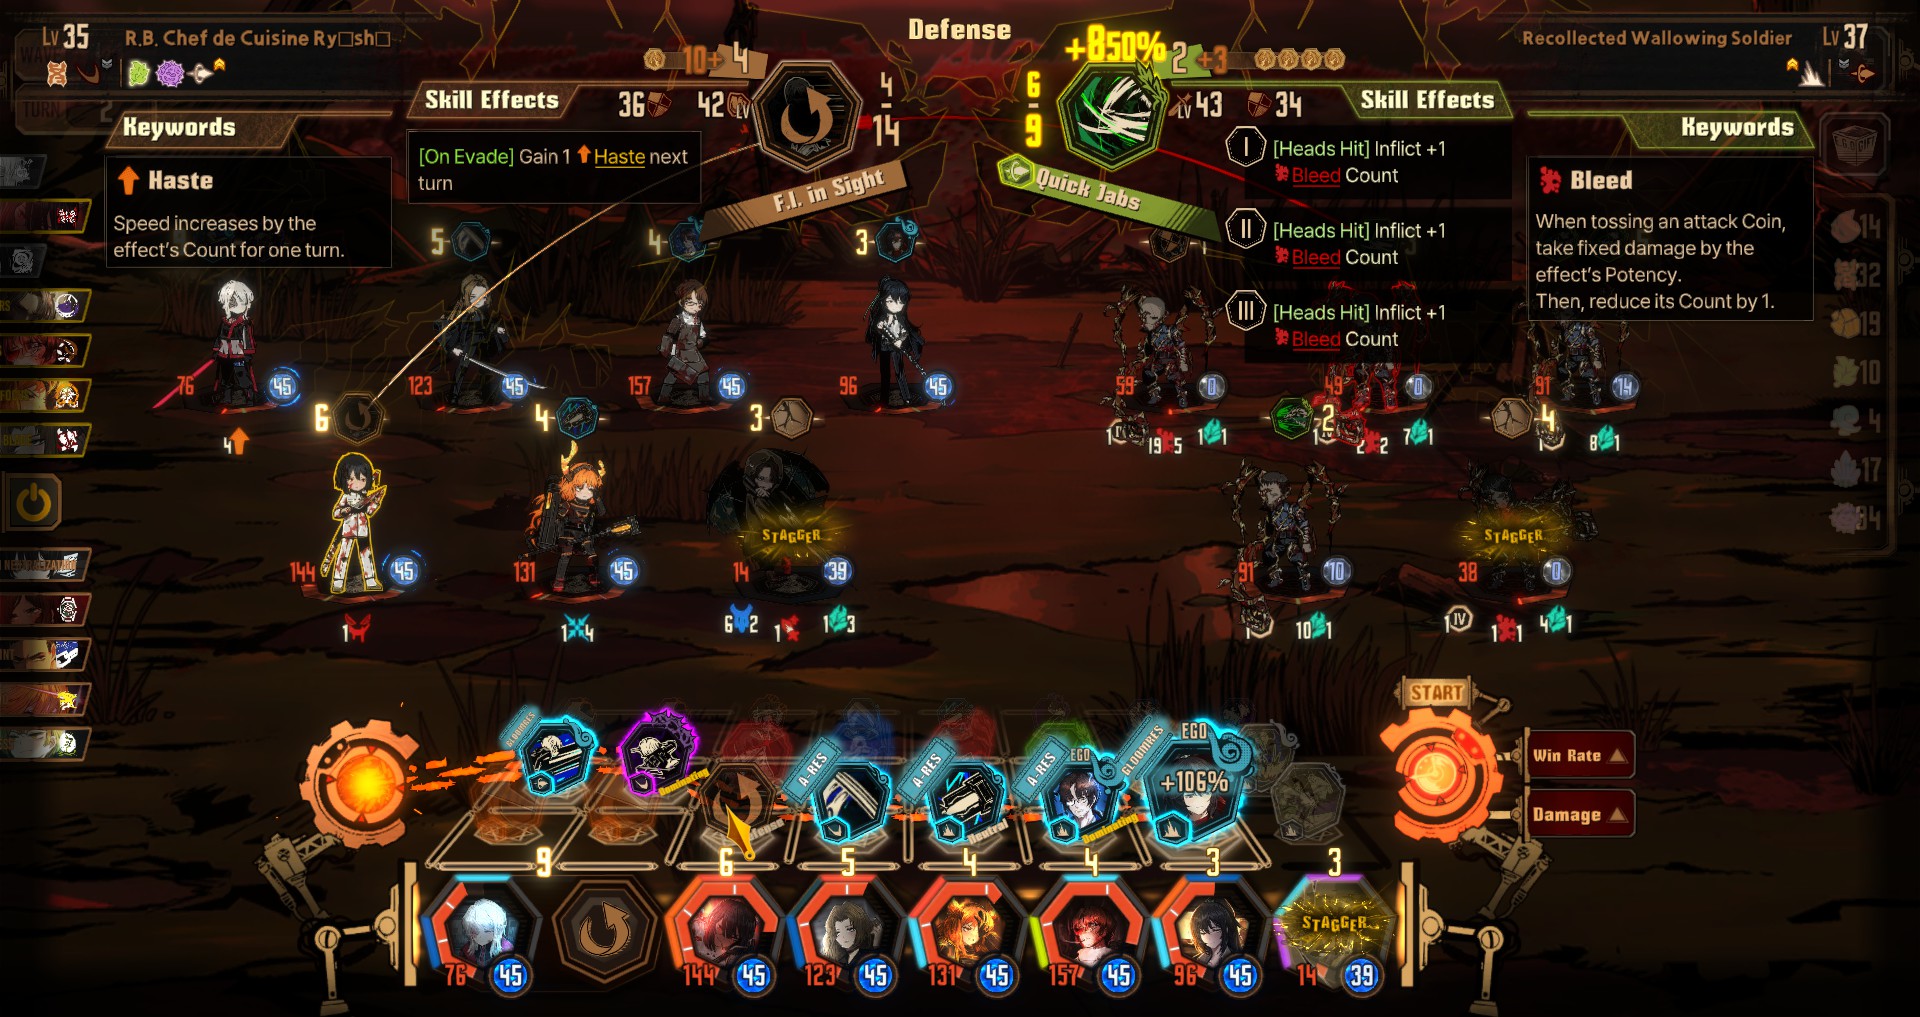
Don’t Forget to Defend
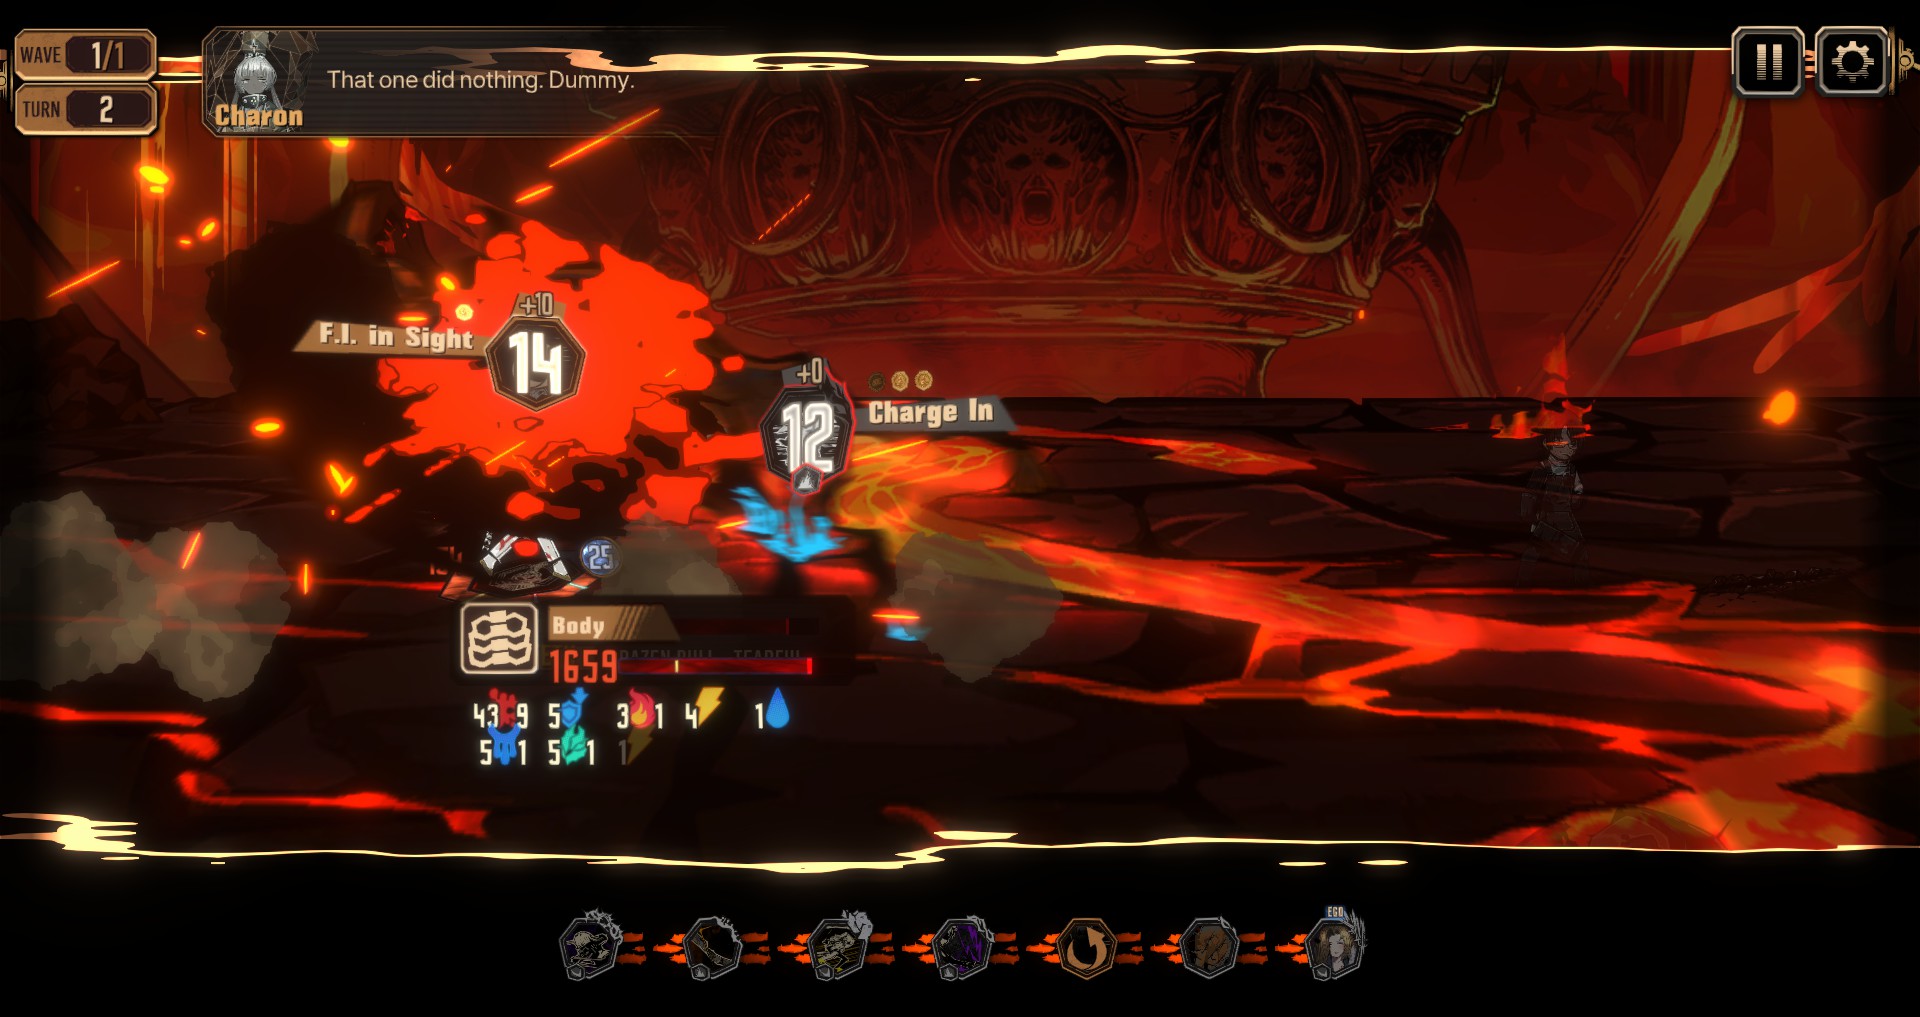
Another important aspect is to emphasize the significance of defensive skills, which is often misunderstood as useless by some. Although the game’s onboarding phase may lead players to overlook defensive abilities due to its easy nature, boss fights should have served as valuable lessons, demonstrating the usefulness of defensive skills.
The matter at hand pertains to the rationale behind tank characters possessing defensive abilities associated with a sin. Allow me to elucidate this point for the sake of simplicity. Defense capabilities exhibit scaling properties, and even colorless defense skills imply an absence of vulnerabilities.
Don’t Forget to Heal
This interactive entertainment experience occasionally gives the impression of a vigorous melee, with emphasis on significant numerical values. Hoe dan ook, it is crucial for players to bear in mind the specific roles assigned to various characters. Among these roles, healers play a significant part. Inderdaad, there exist designated healers, with the most prominent figure being Faust.
But others include:
- Gregor (LCB, Chef, G Corp) in support
- Hong Lu
- Chef Ryoshu
Have at least 2 of them in play at all time. They will severely increase your ability to survive in the dungeon. They can even bring sinners back from near death when used correctly, or save a sinner from corrosion.
Niveau 4 – Advance Mechanics
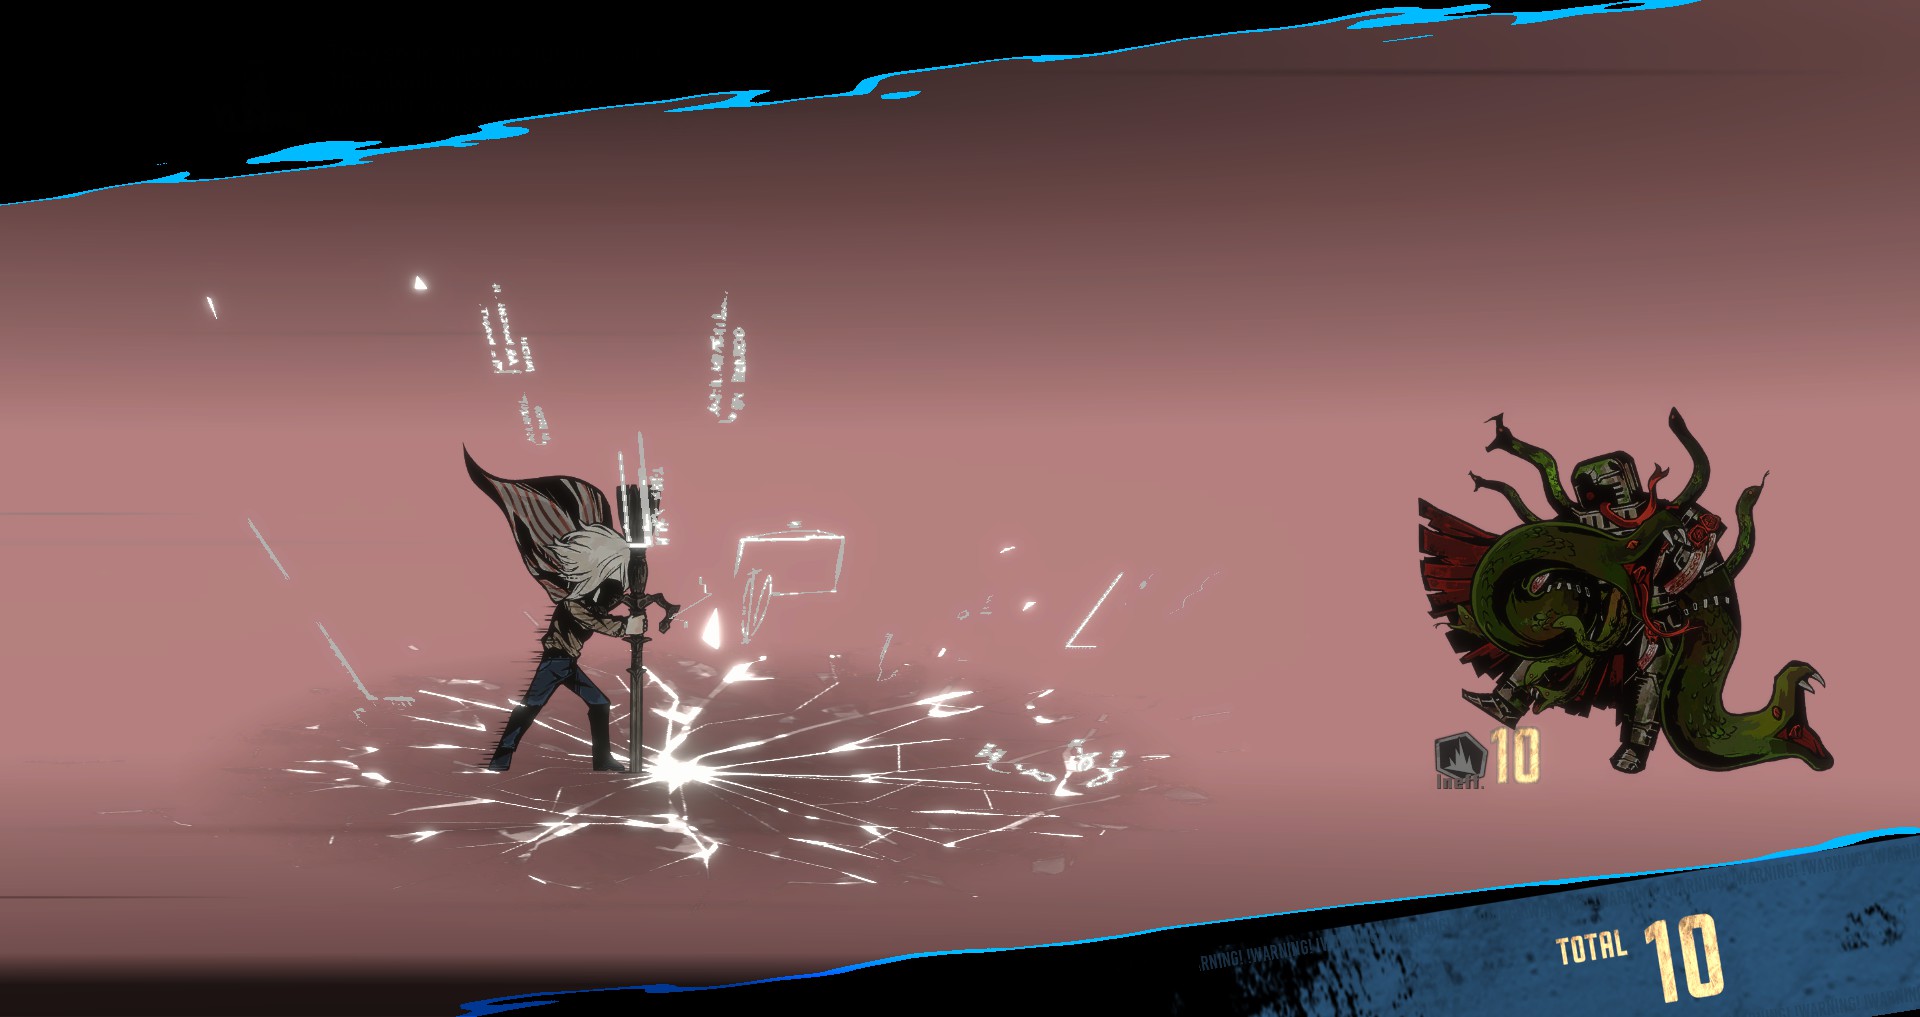
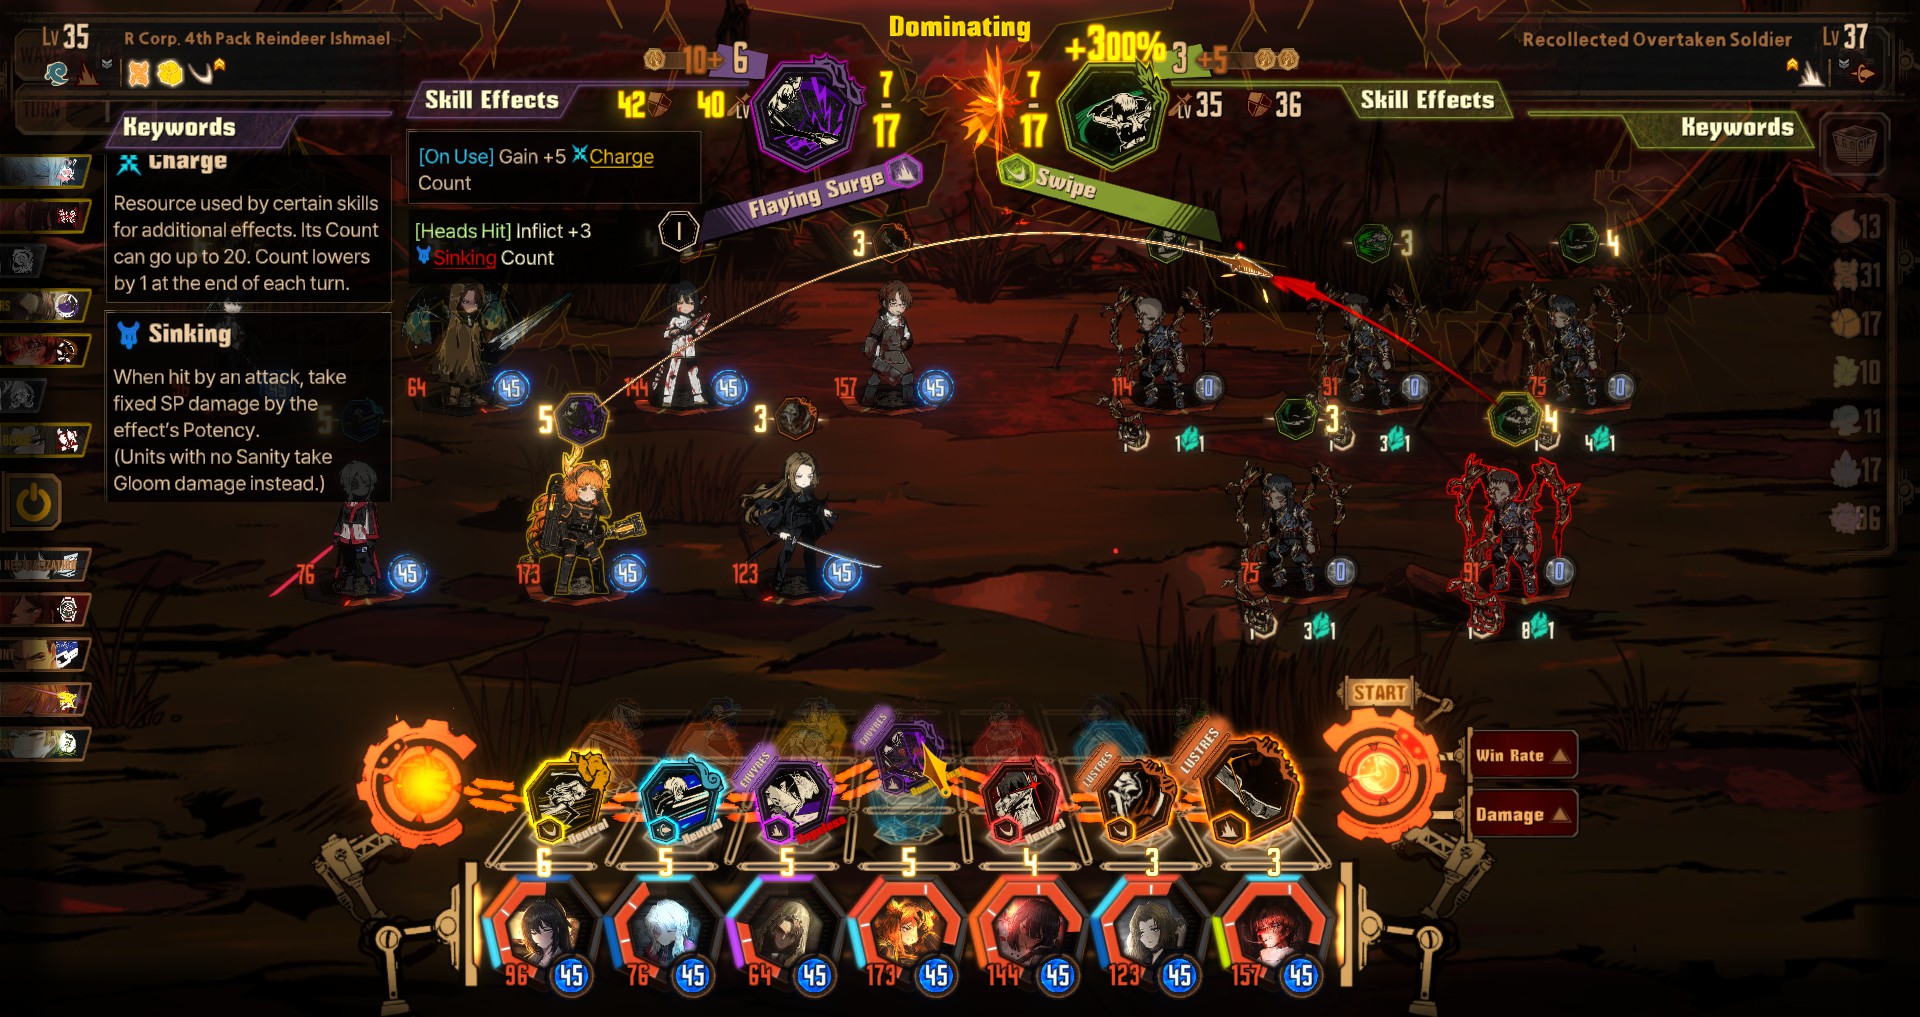
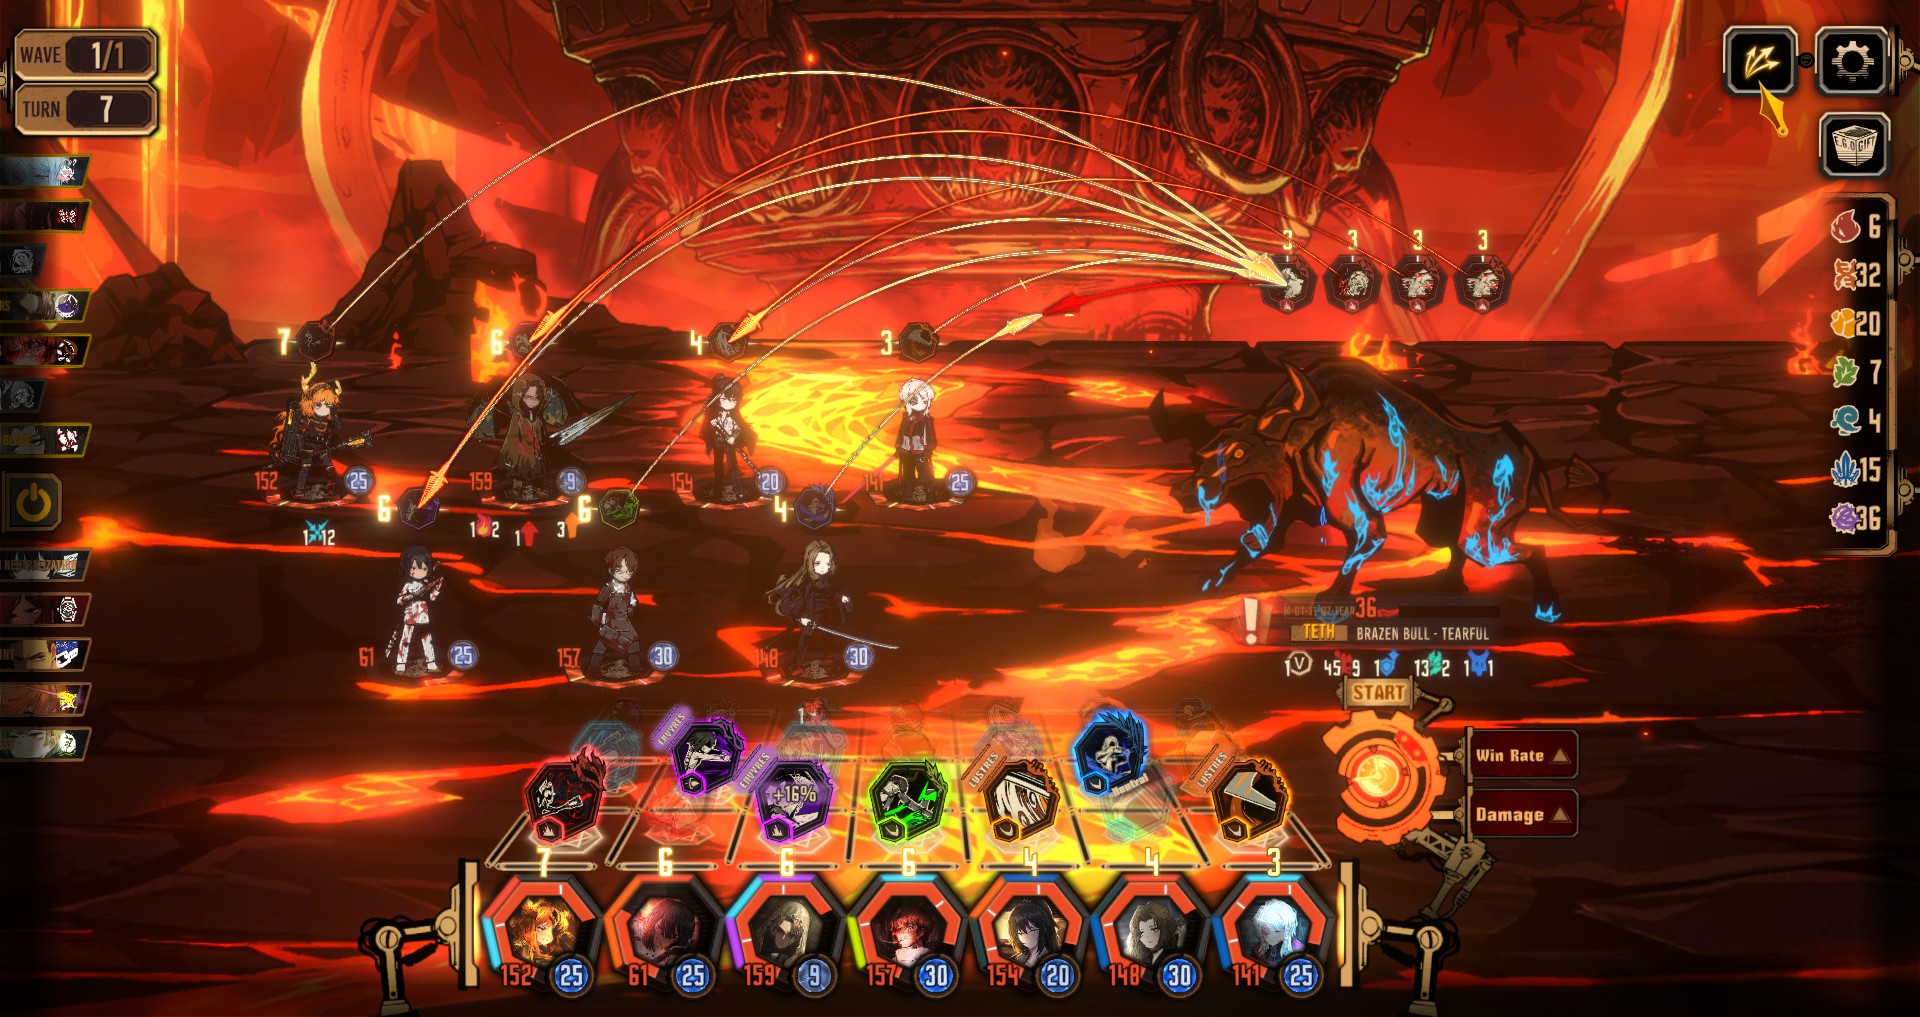
Speed Redirection
As a basic, you should know that you can redirect an attack using a sinner with higher speed. But did you know you can completely bypass an attack by choosing the sinner with just the right speed? In the below example, Rodion has higher speed than the enemy, but lower than her other allies, and a losing clash power.
You can have all the other characters attack first, unopposed, staggering the enemy, while having Rodion as the last attacker, acting as a tank to distract the target. This is why lower speed characters likie Rodion, Meursault, and Heathcliff are important. They are also often tanks for this very reason.
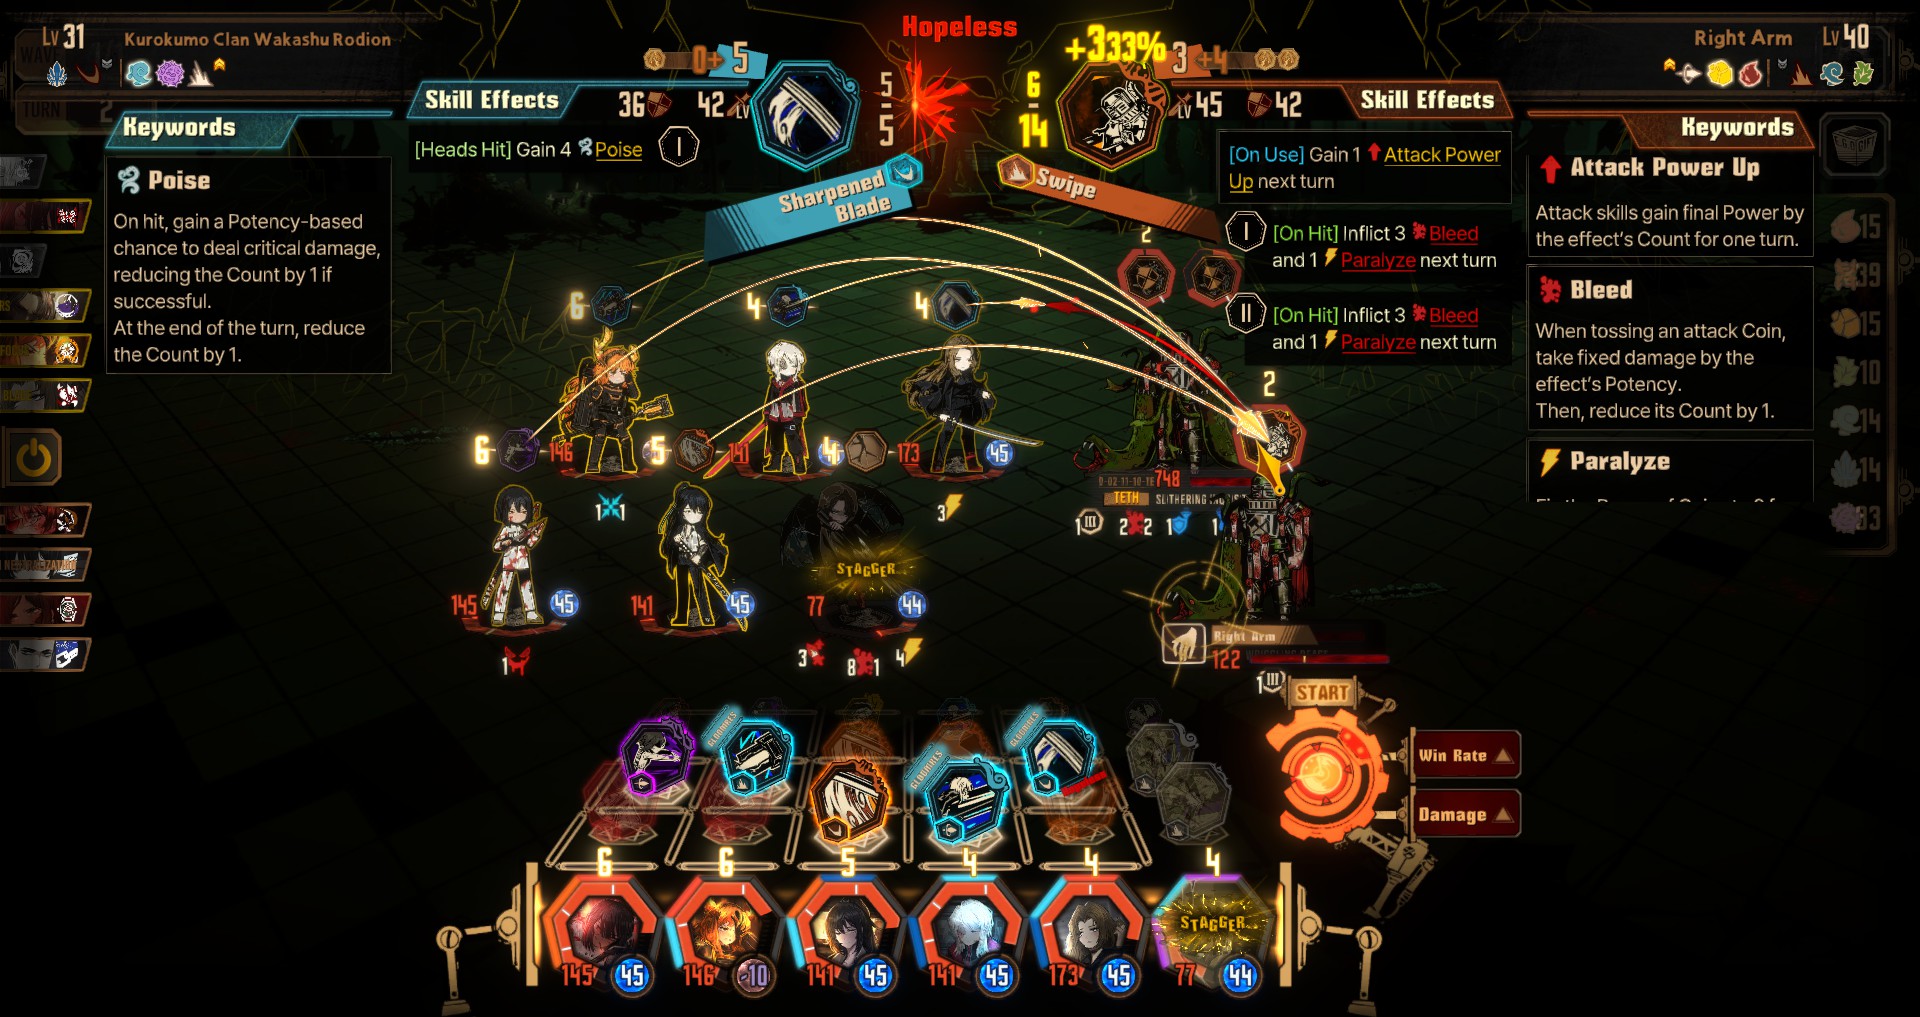
Once staggered, the attack can continue, dealing excessive damage, and ignoring the potential damage that might have come from being hit.
Especially on level 4 en 5 of the dungeon, this mechanic becomes vital, as you can use it to completely avoid damage that you would otherwise take in normal encounters.
Use Resonance
Resonance happens when 2 or more skills have the same sin color. This is not just a match 3 mechanic, but also a planning element that forces you to create complimentary teams that have a high resonance affinity.
Resonance increases not just your damage, but also coin power. If at any point you find yourself in a losing situation by a hair, look for a way to activate resonance to give you that edge. Don’t be afraid to throw out an EGO or two to get that resonance. And remember, don’t forget to defend and heal.
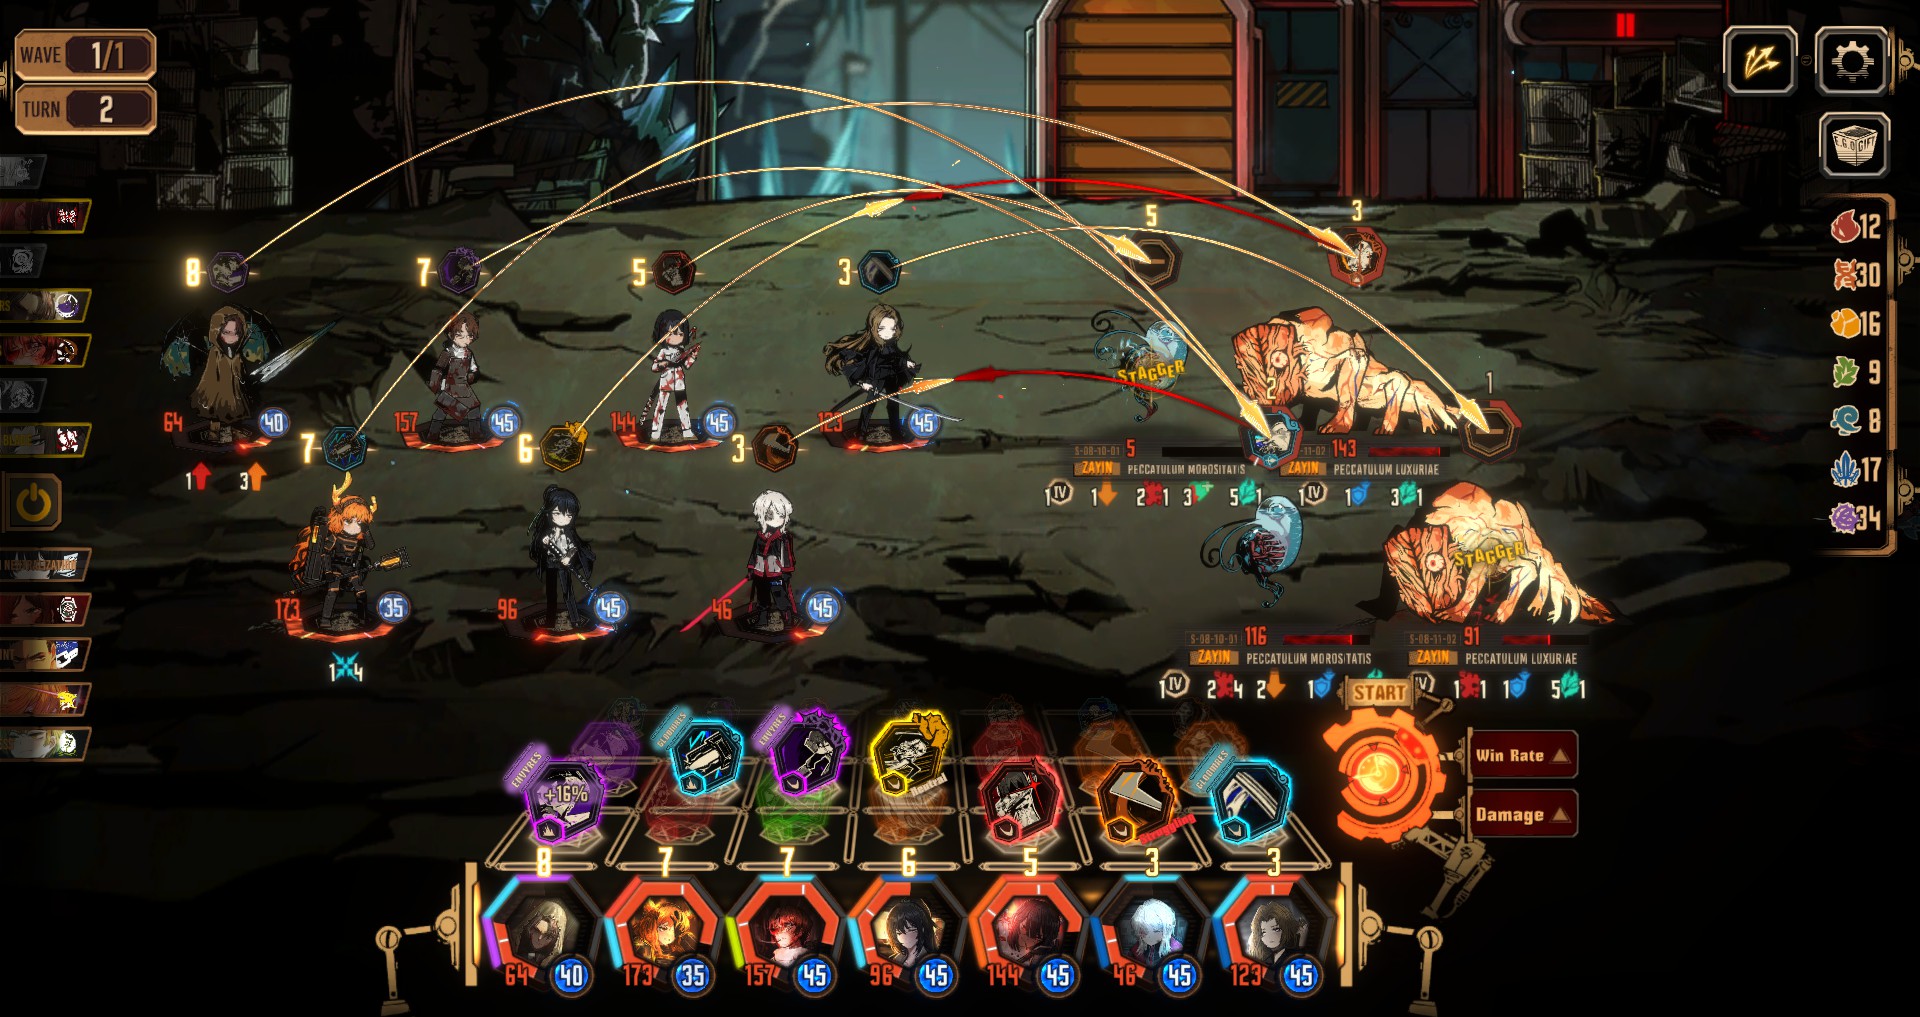
Open with AoE
One frequently voiced concern pertains to the perceived lack of control in human battles. Hoe dan ook, it is more appropriate to consider human combat as an entirely distinct fighting style, necessitating entirely different strategies. While anomalies’ fights can be likened to duels, human fights may be likened to group skirmishes or party battles.
In human fights, all characters commence with a single skill slot, making opening attacks with Area of Effect (AoE) abilities exceedingly formidable, as there is no risk of wasting the attack by targeting the same enemy twice.
Doing this will usually end the fight in 2 draait. I’ve not had any human fights go beyond 3. The second and third turns are just used to restock EGO resources.
Niveau 5 – How to Beat Bosses
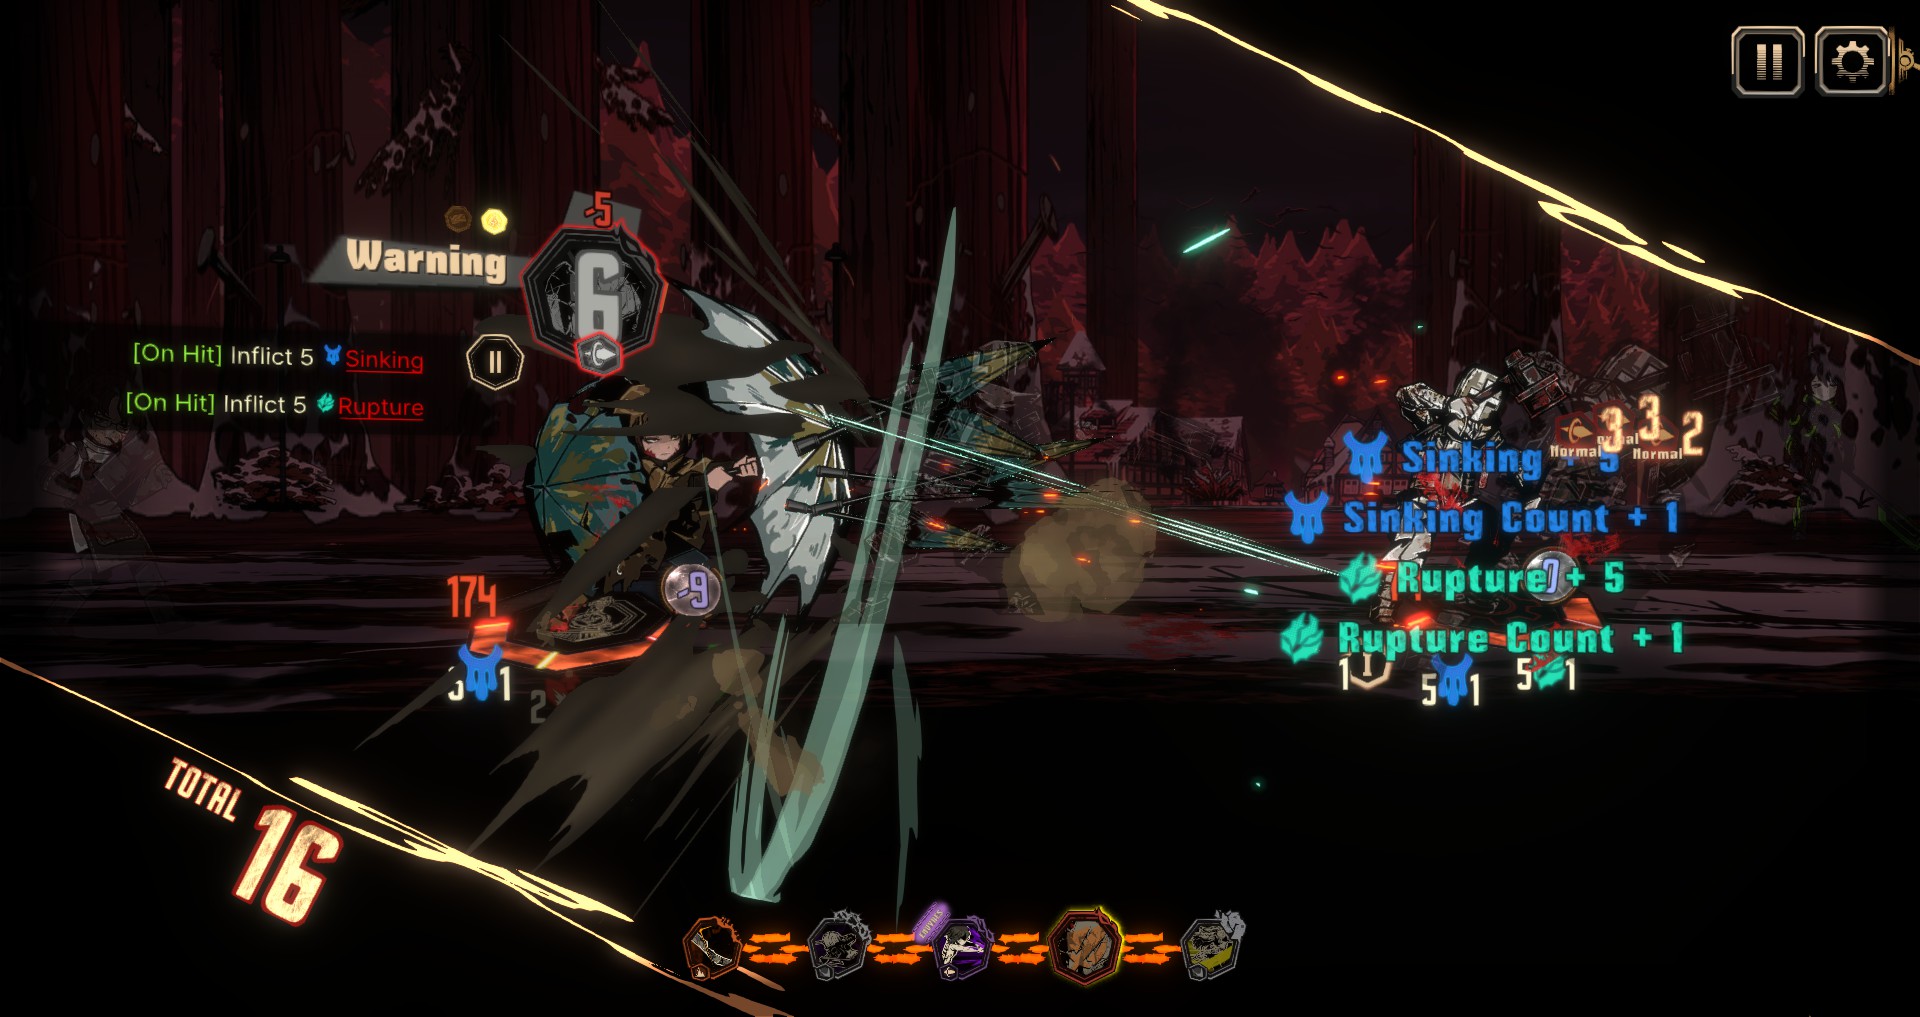
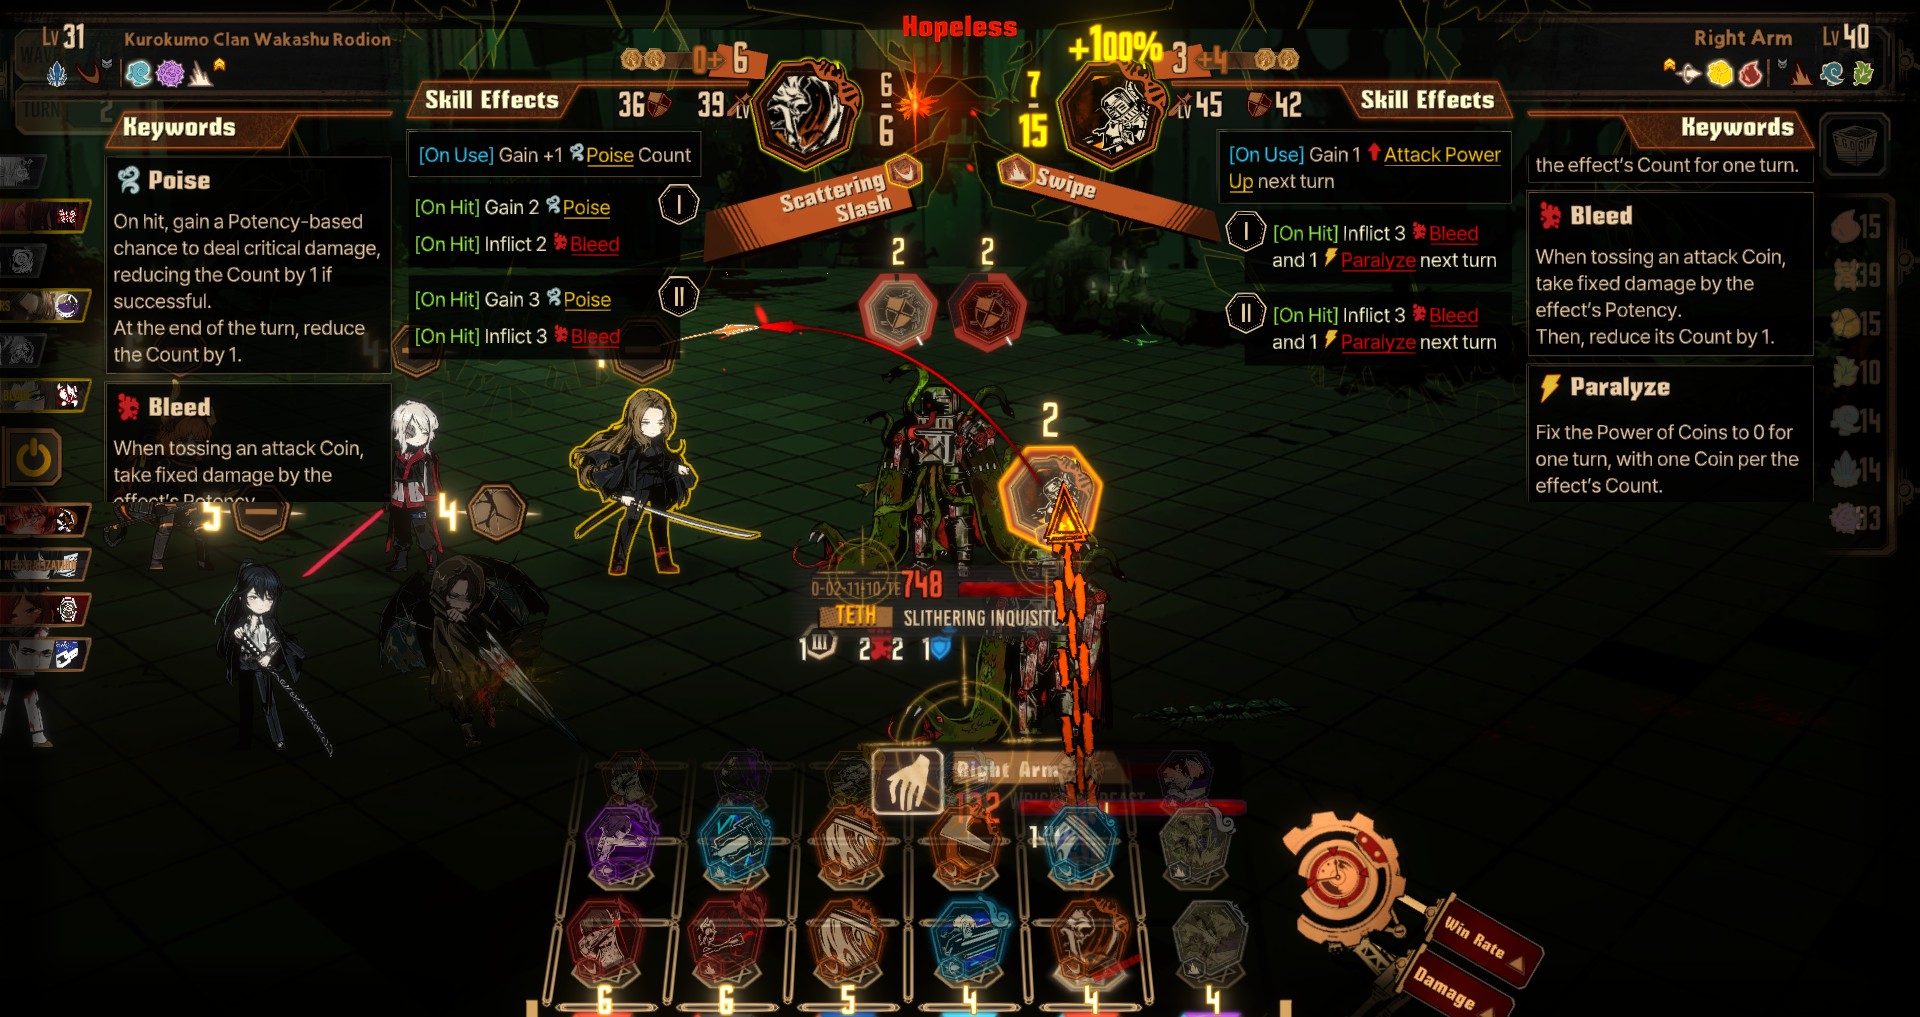
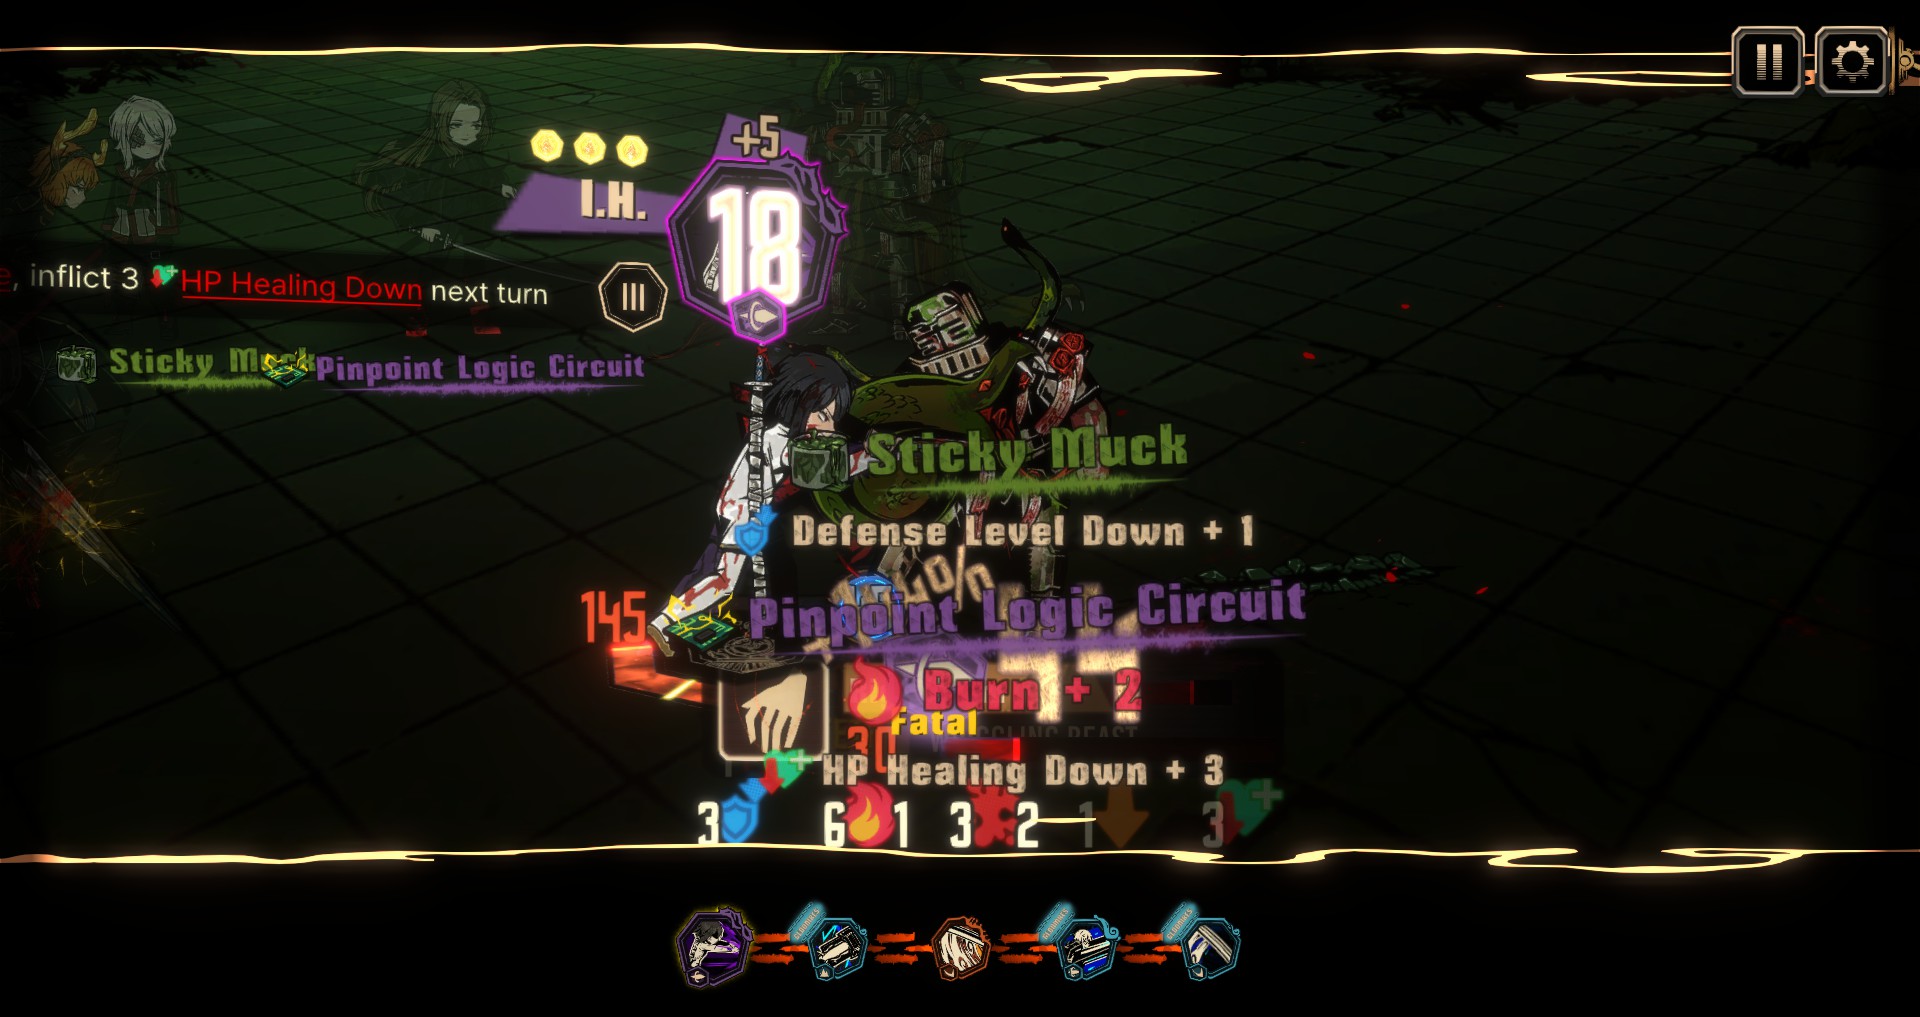
Debuff/Buff Stacking
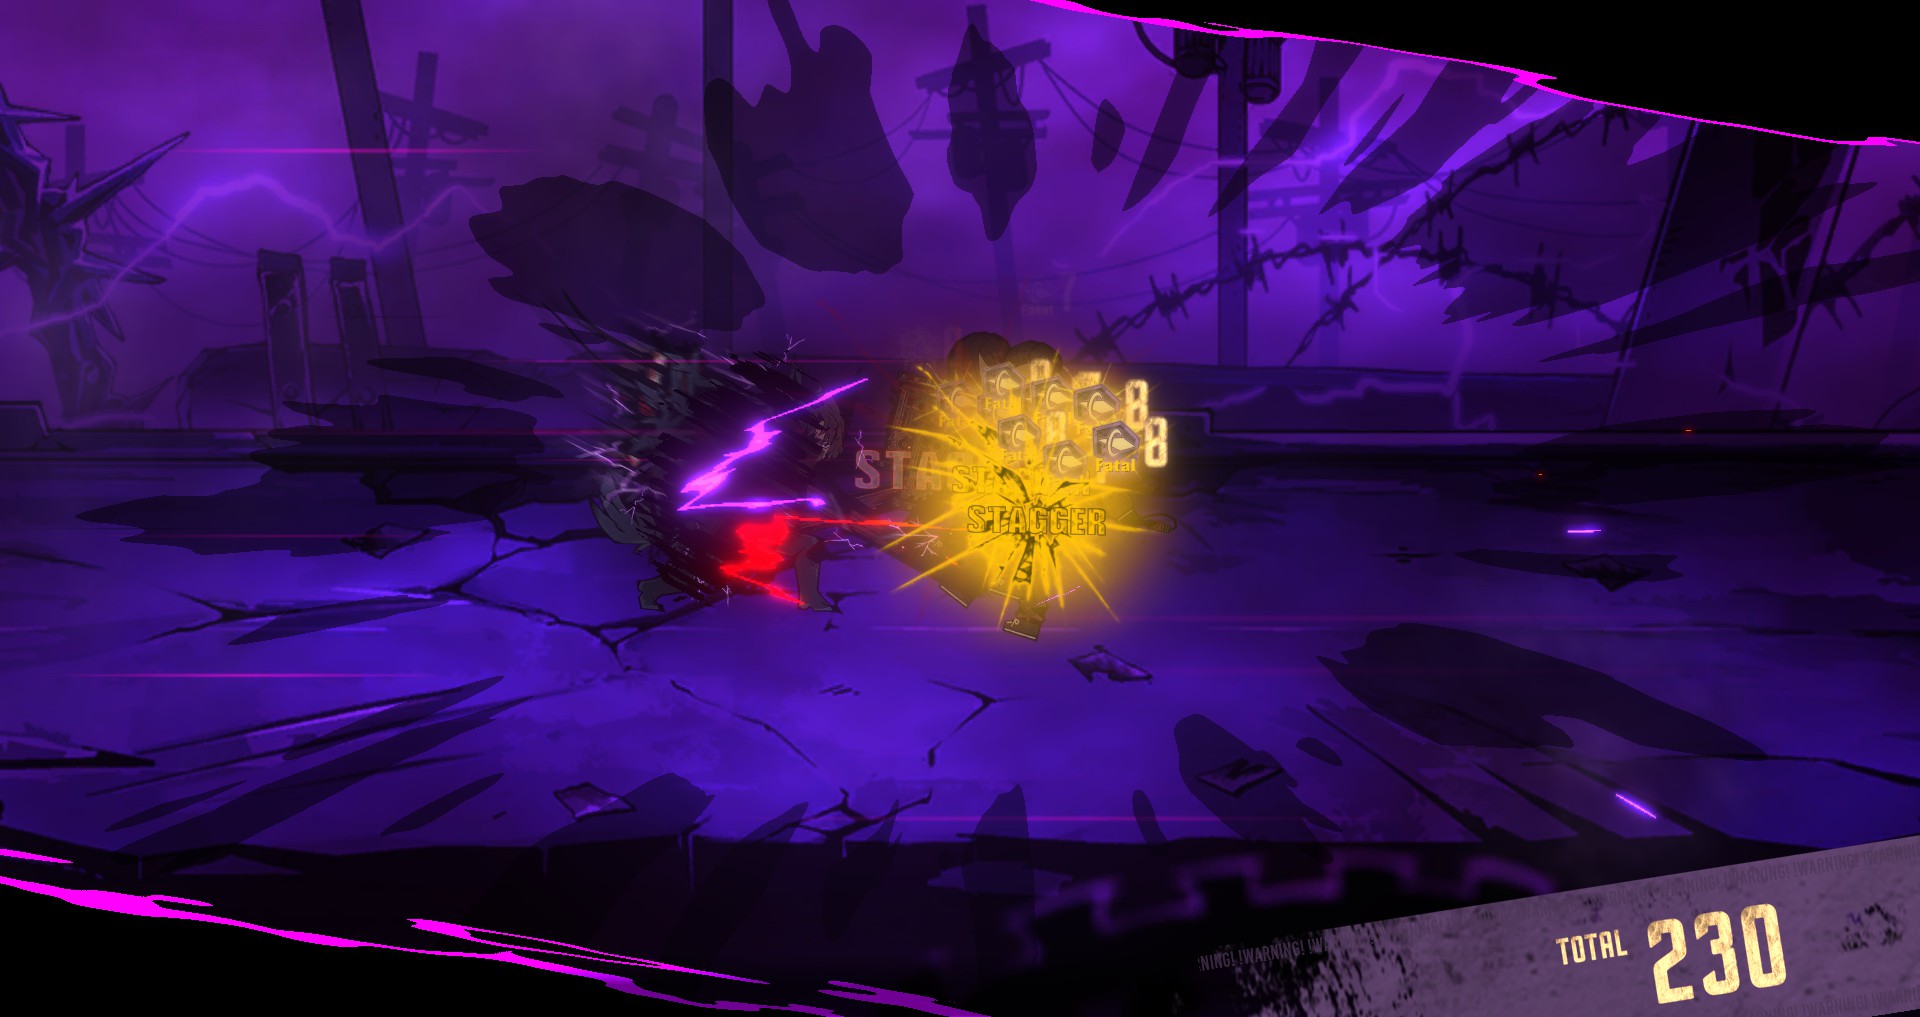
Assuming that you have successfully acquired the appropriate EGO gifts and strategically assembled your team to complement them, you will discover a notable accumulation of debuffs and buffs akin to Santa Claus generously distributing presents. Particularly, you will have the ability to efficiently accumulate bleeding effects, leading to an impressive fixed damage exceeding 1000. These effects shall undoubtedly serve as your predominant means of delivering overwhelming DPS in your future endeavors.
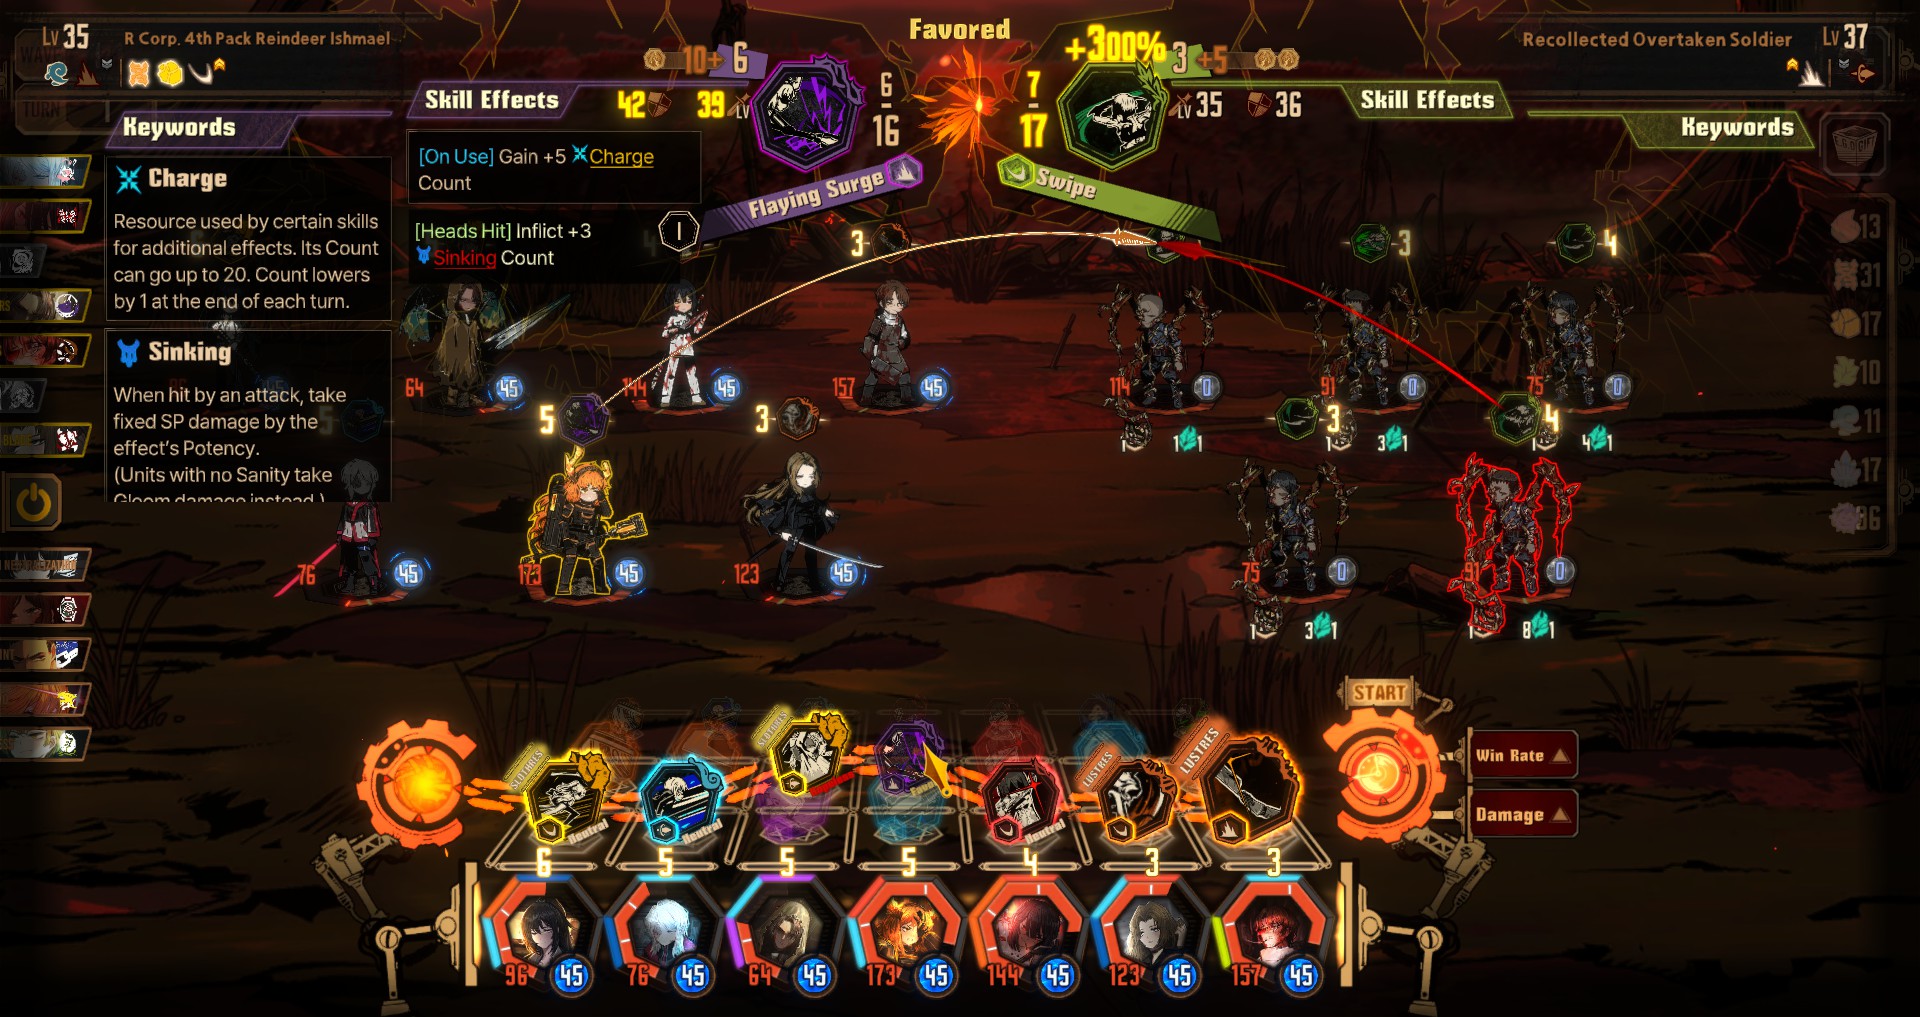
Neutral to Stagger
Op niveau 5 of the dungeon, you’re not going to be winning any easy clashes. Being able to get your coins to neutral will be an achievement. But your tactic right now is not to win clashes, it’s to stagger your opponents as quickly as possible.
Use neutral and defensive clashes to distract a couple of targets while focusing the rest of your firepower on the remaining to get them to stagger. Here’s a simple rule, you don’t have to worry about winning coin clashes if the opponent has no coins for you to clash.
If you meet Brazen Bull or My Form Empties…
Give up. Doei!
Just kidding!
If you’ve followed the guide so far, building your team around EGO gifts and ID affinities, you’ll… still not have a good time, let’s be honest. This is a Project Moon game we’re talking about. If they say something is hard, it’s hard.
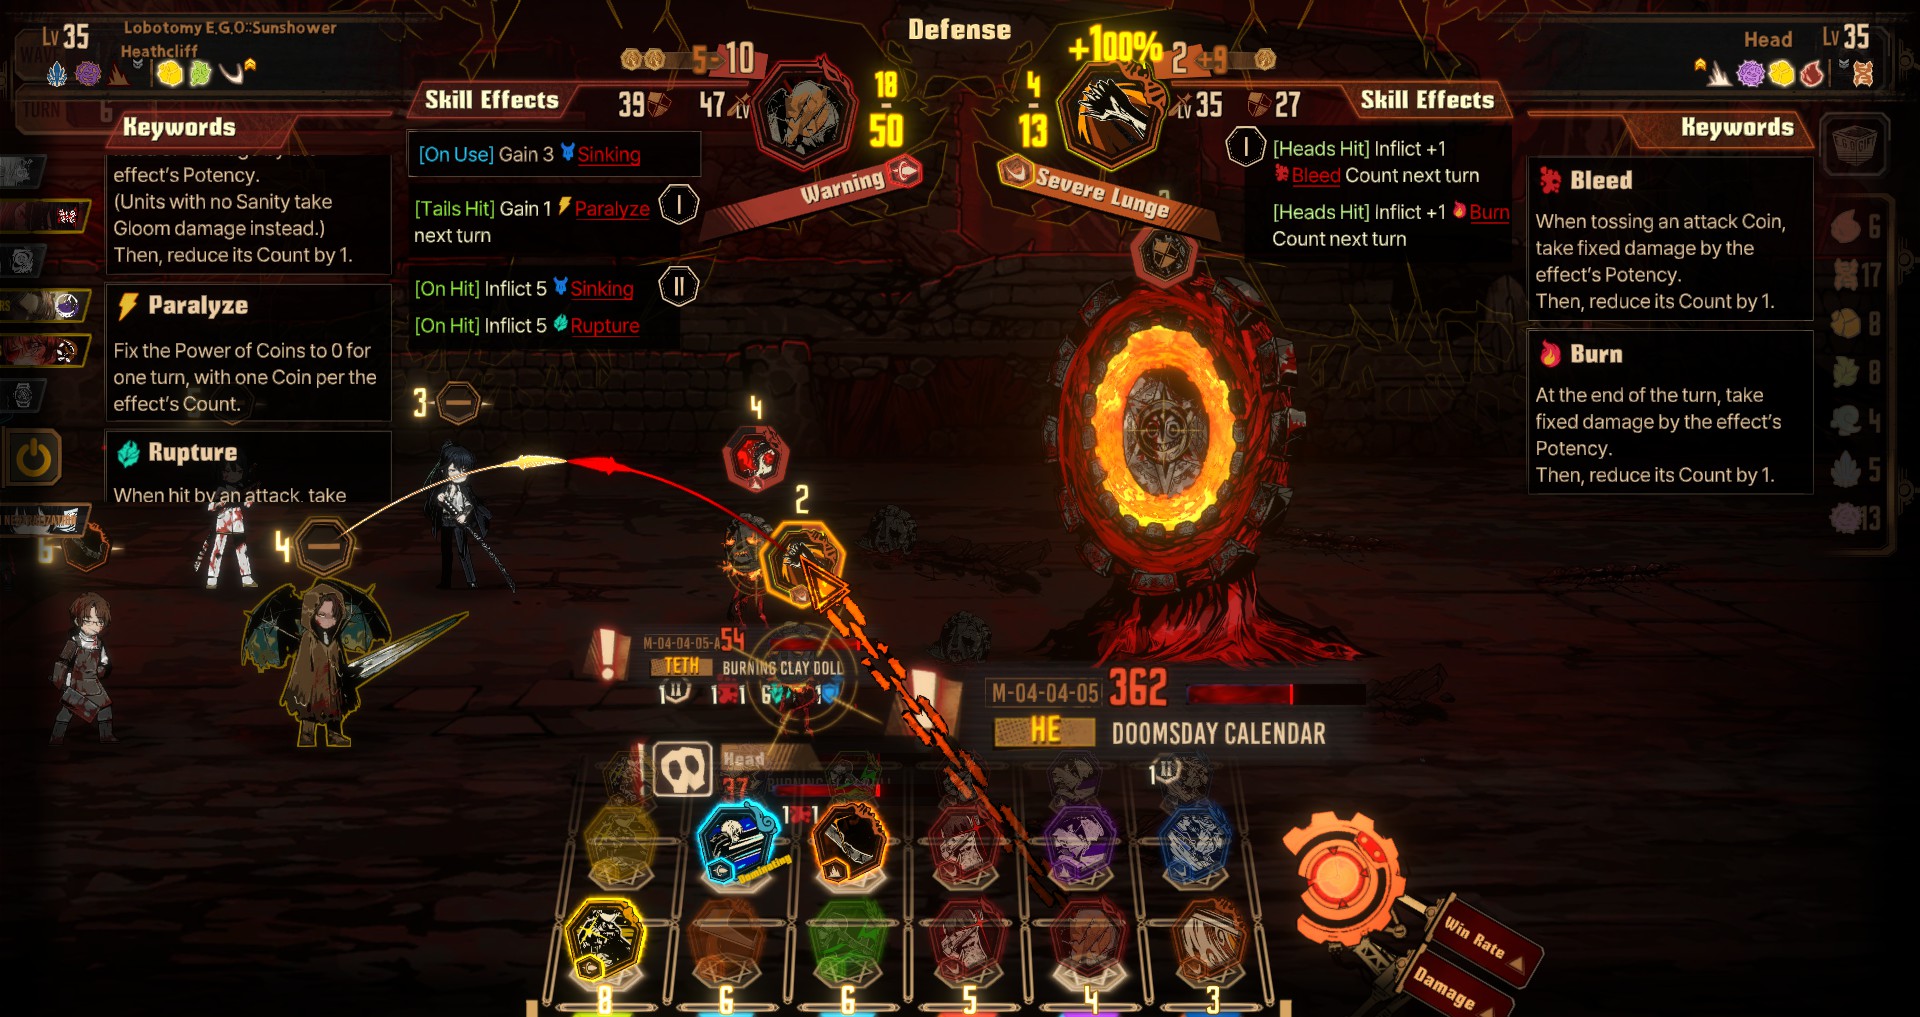
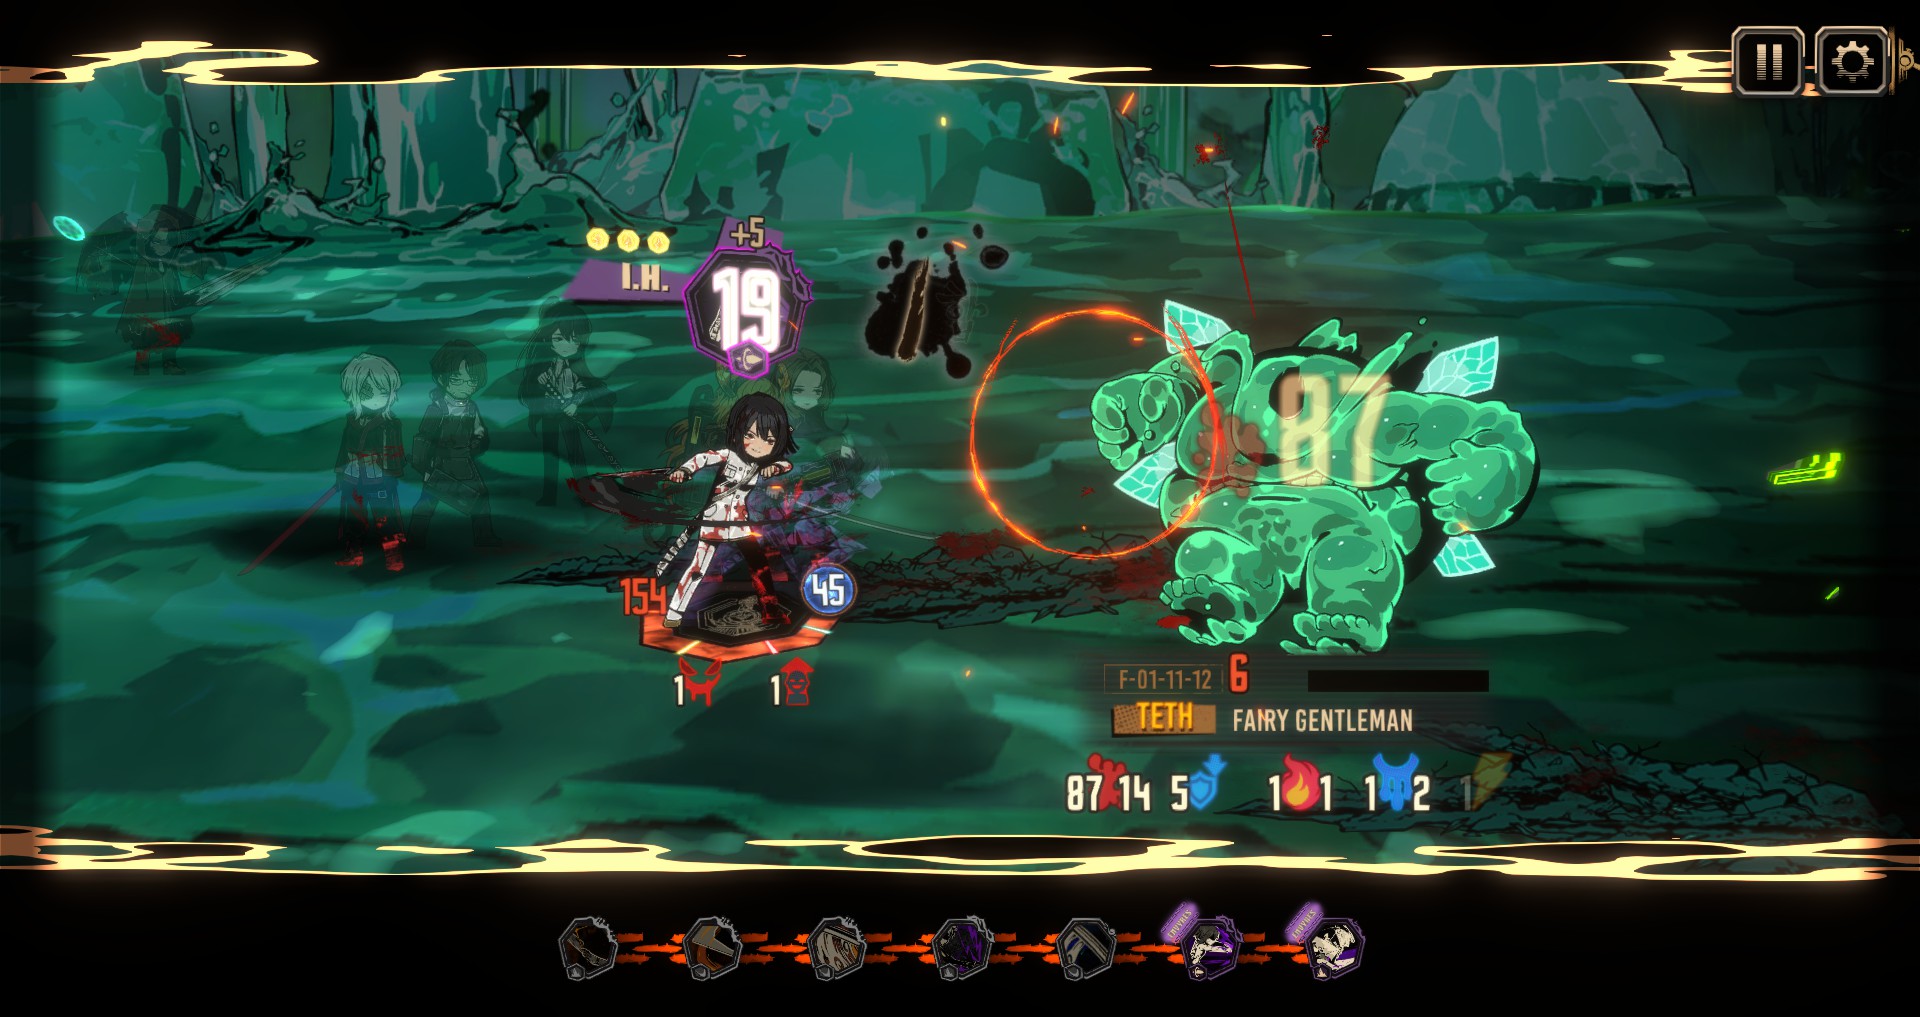
But it honestly does not matter which boss you get. You apply what you know of their mechanics and everything in the guide and play. It’s key that you keep the fight going because all those buffs and debuffs will build up. You won’t see a big number pop up to celebrate your damage but trust that the damage is being done.

The longer you survive, the higher the damage you deal. Dus, and this might seem obvious, don’t die. Use EGOs to redirect, freely drop your sanity if you need to. If you run out of EGO or bodies to throw, just get corrupted.
Make sure you manage your sanity. If you have to use an EGO, try to keep it to negative coin characters or those with high sanity, so that your clash power can remain high enough. En tot slot, I cannot stress this enough, countering and evading is an extremely stable source of clash wins.
Don’t worry about pushing your luck. Even if some of your sinners die, as long as the debuffs are active, keep fighting.
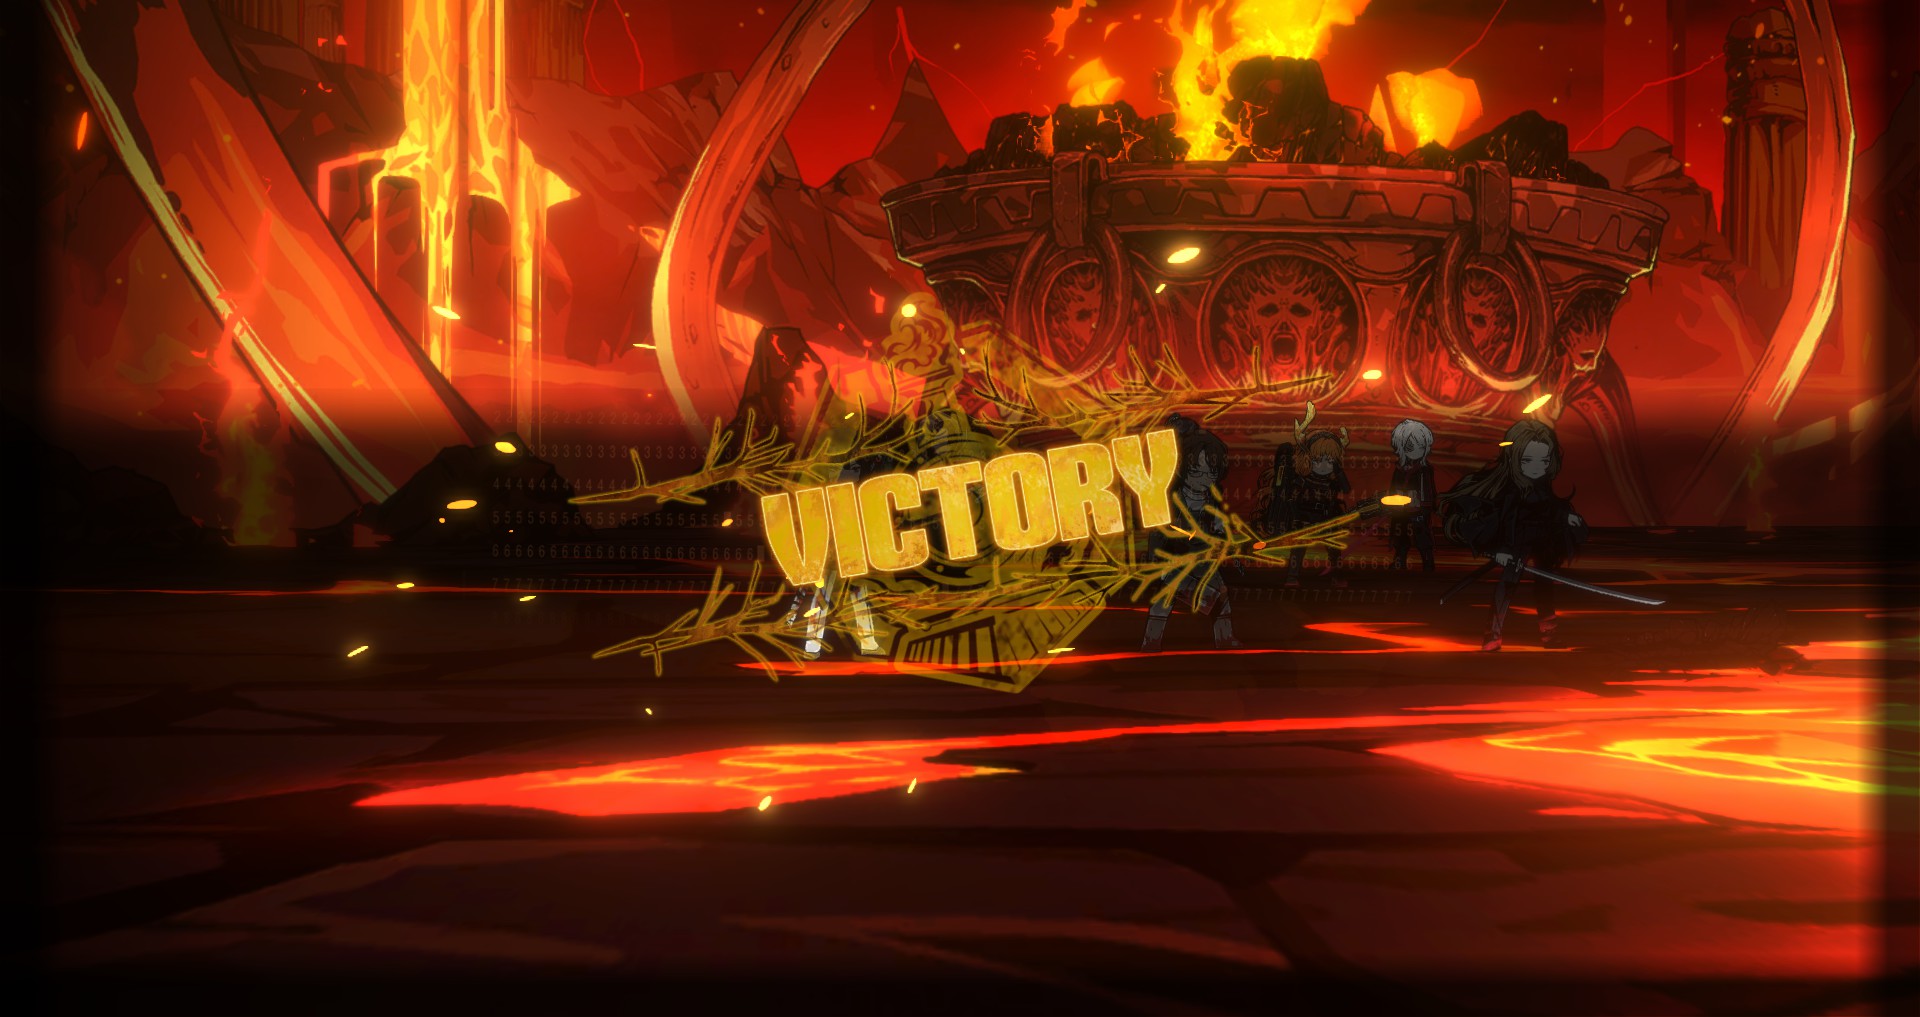
And eventually…
Goed…
See for yourself.
Conclusion and Debunking “Balance”
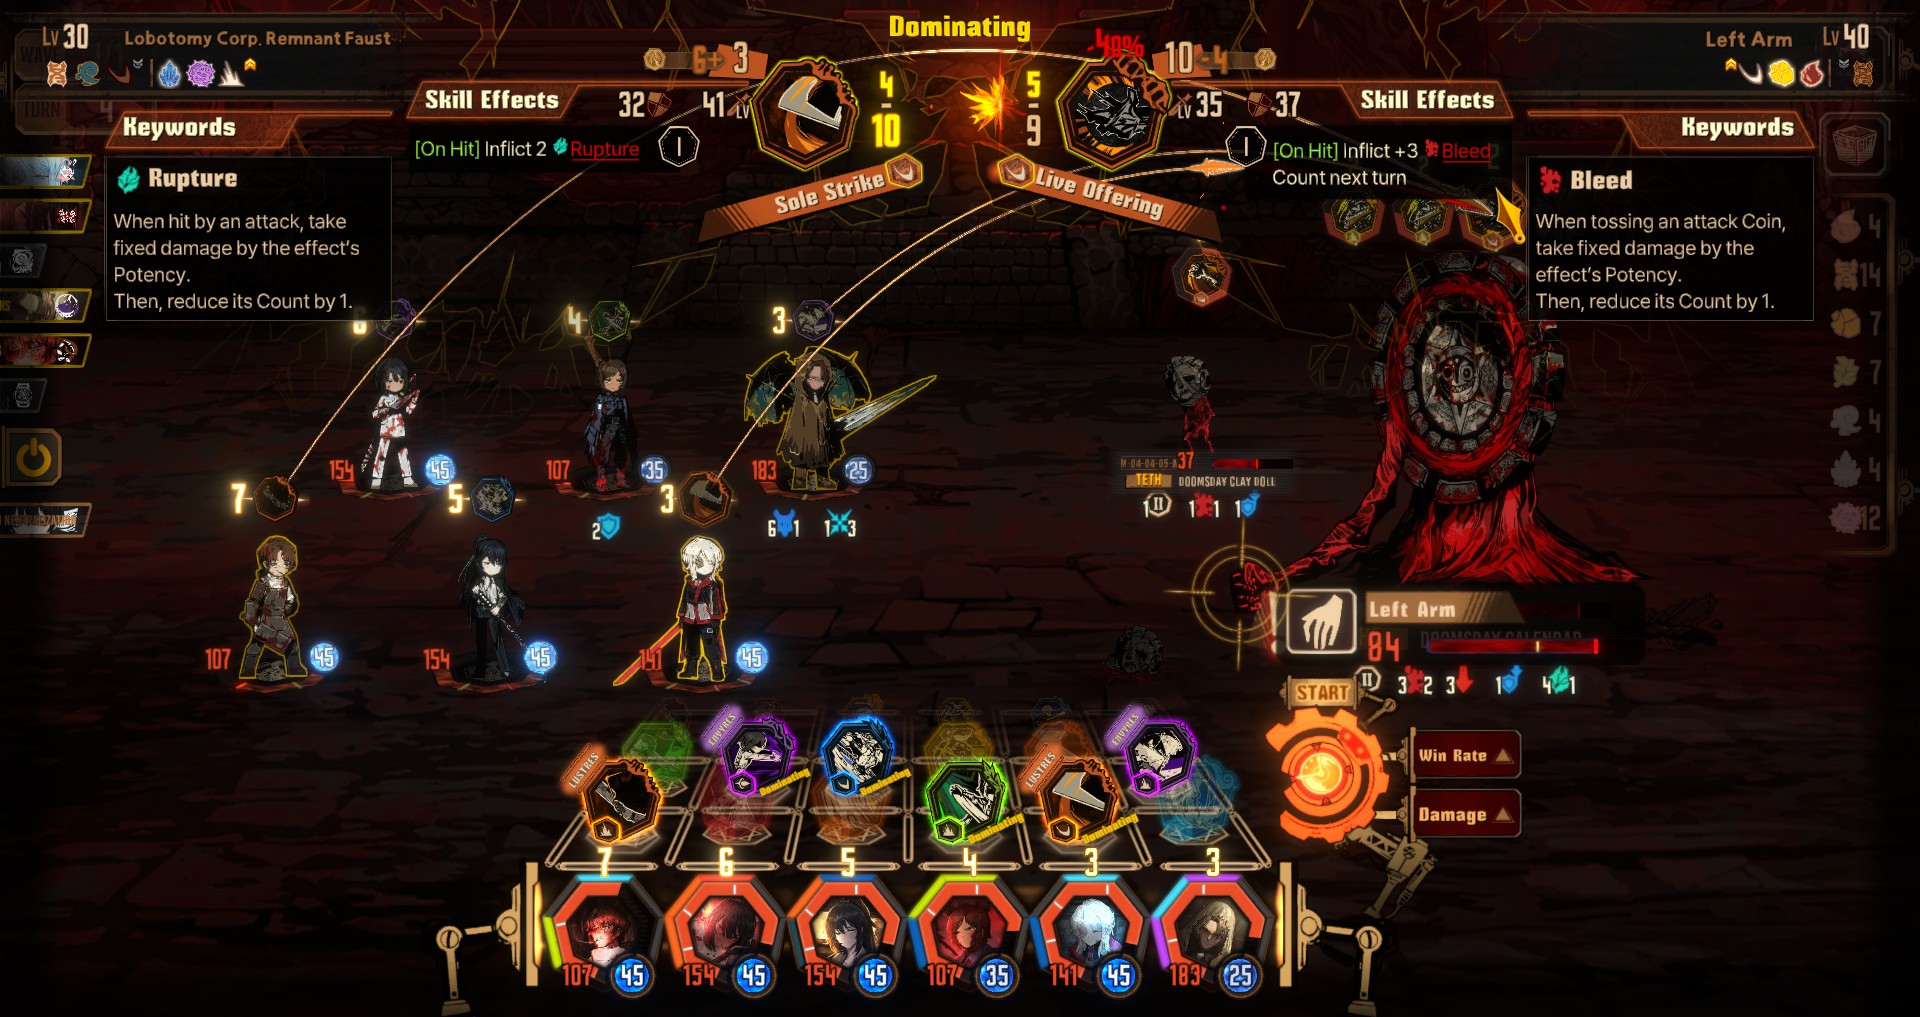
Sunshower Heathcliff and Chef Gregor, the two “low tier” units were my absolute best tanks, soaking up a whopping 1,326 damage between the two of them.
The most damage done was by… L. Corp Faust. That’s right, niet 000 Chef Ryoshu, Maar 00 Faust. That’s because as I’ve said at the start of this guide, there are no low tier characters. They all have their roles to play, and the key to victory is team-EGO-gift composition. While L Corp Faust does not have a high damage output, she is an evergreen clash winner.
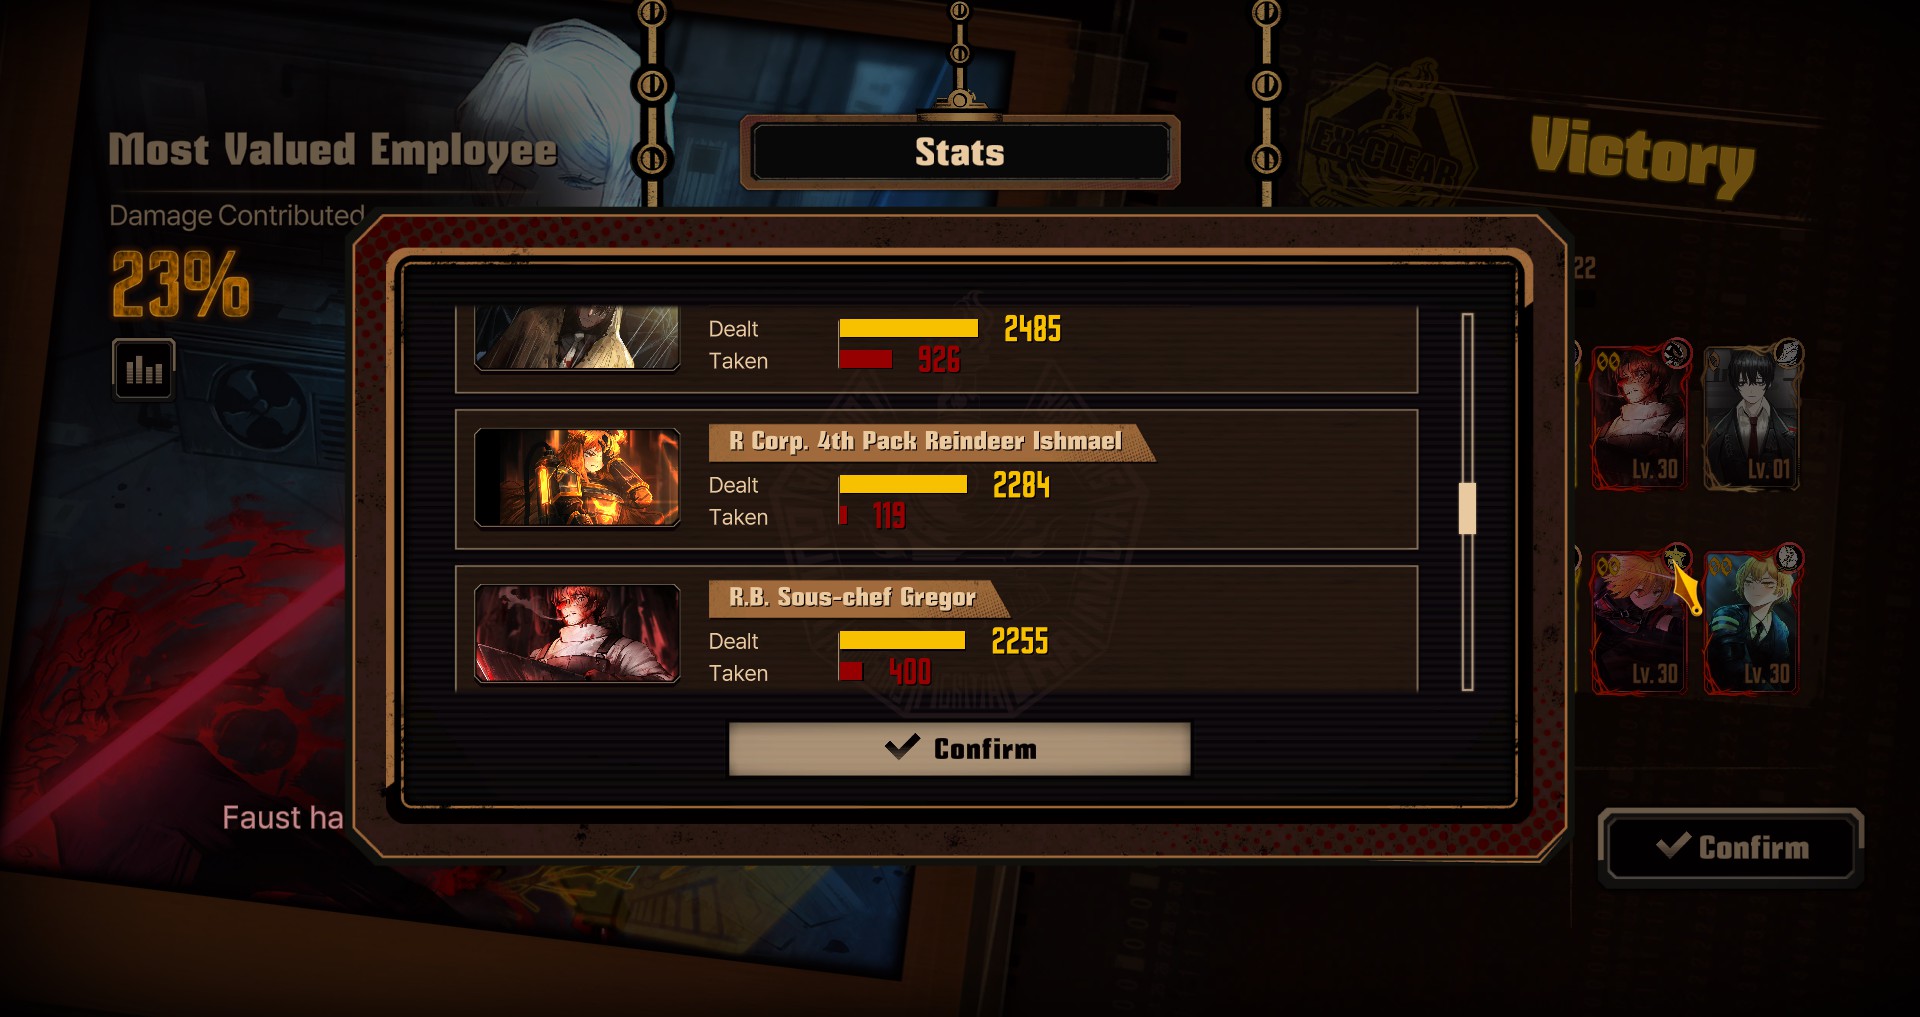
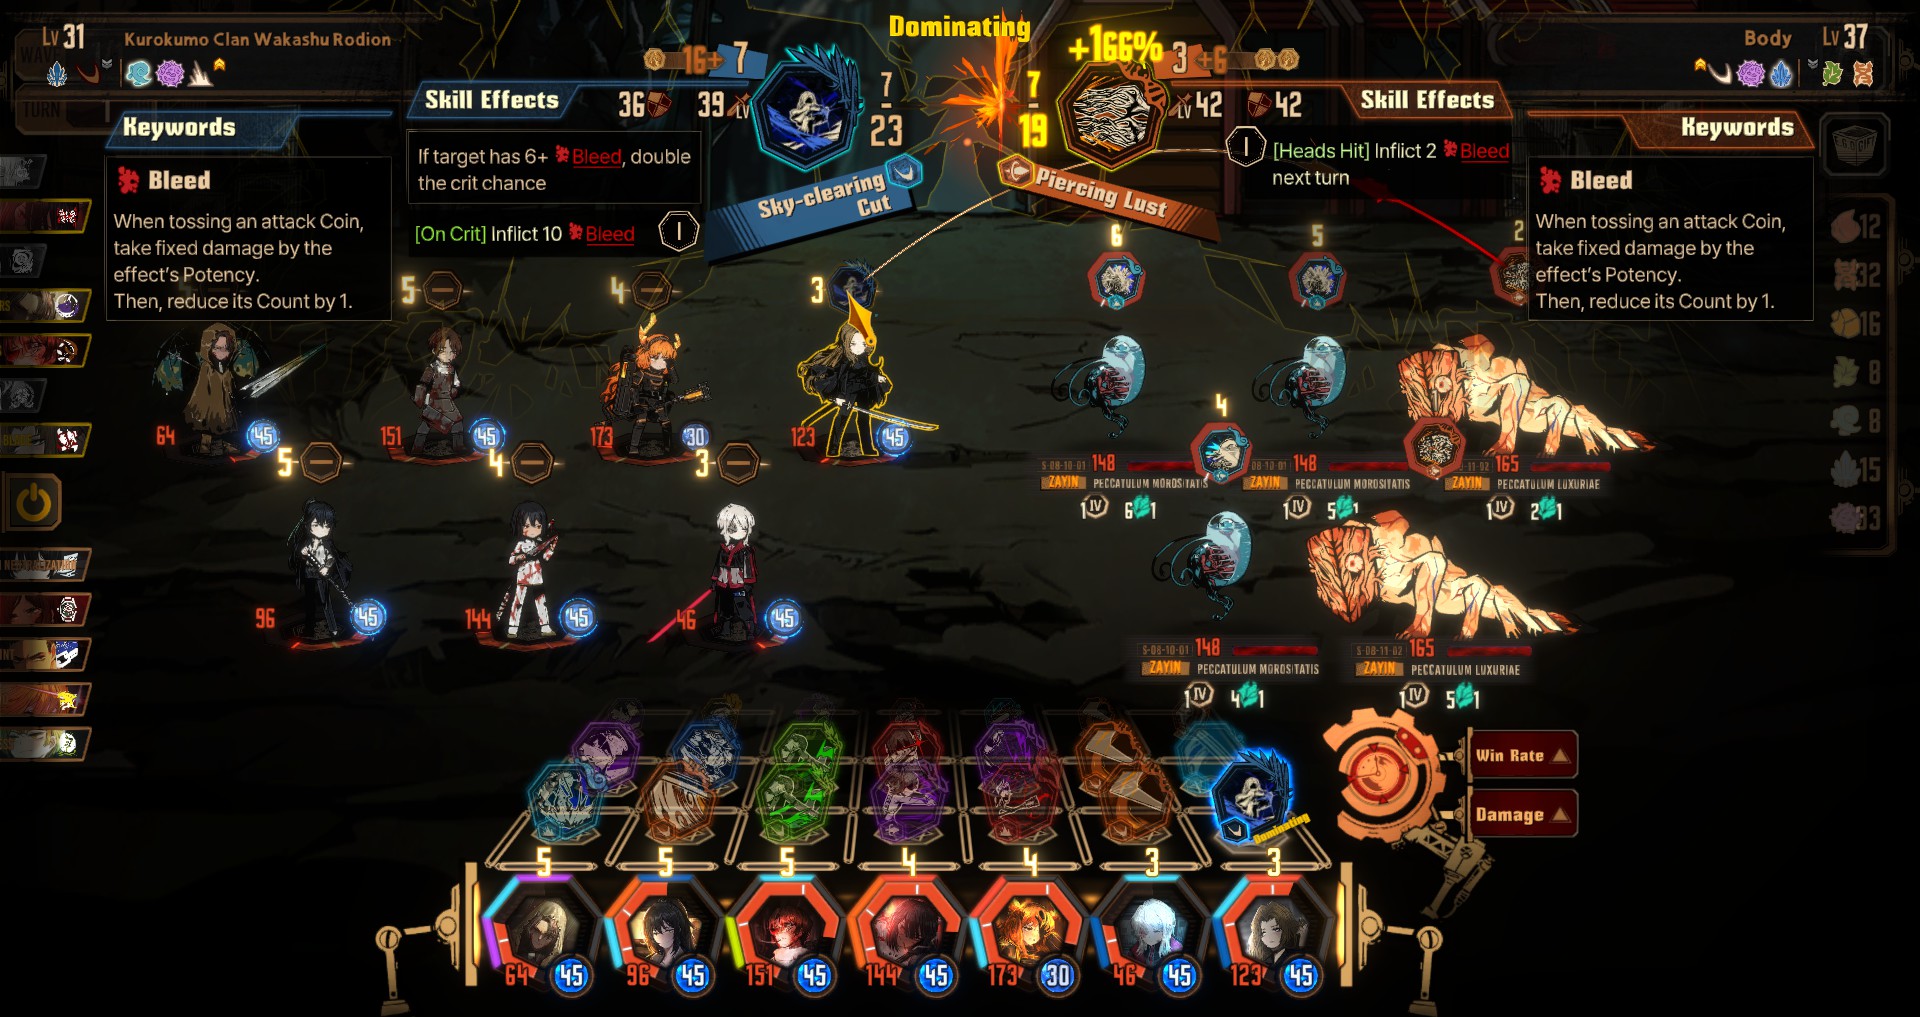
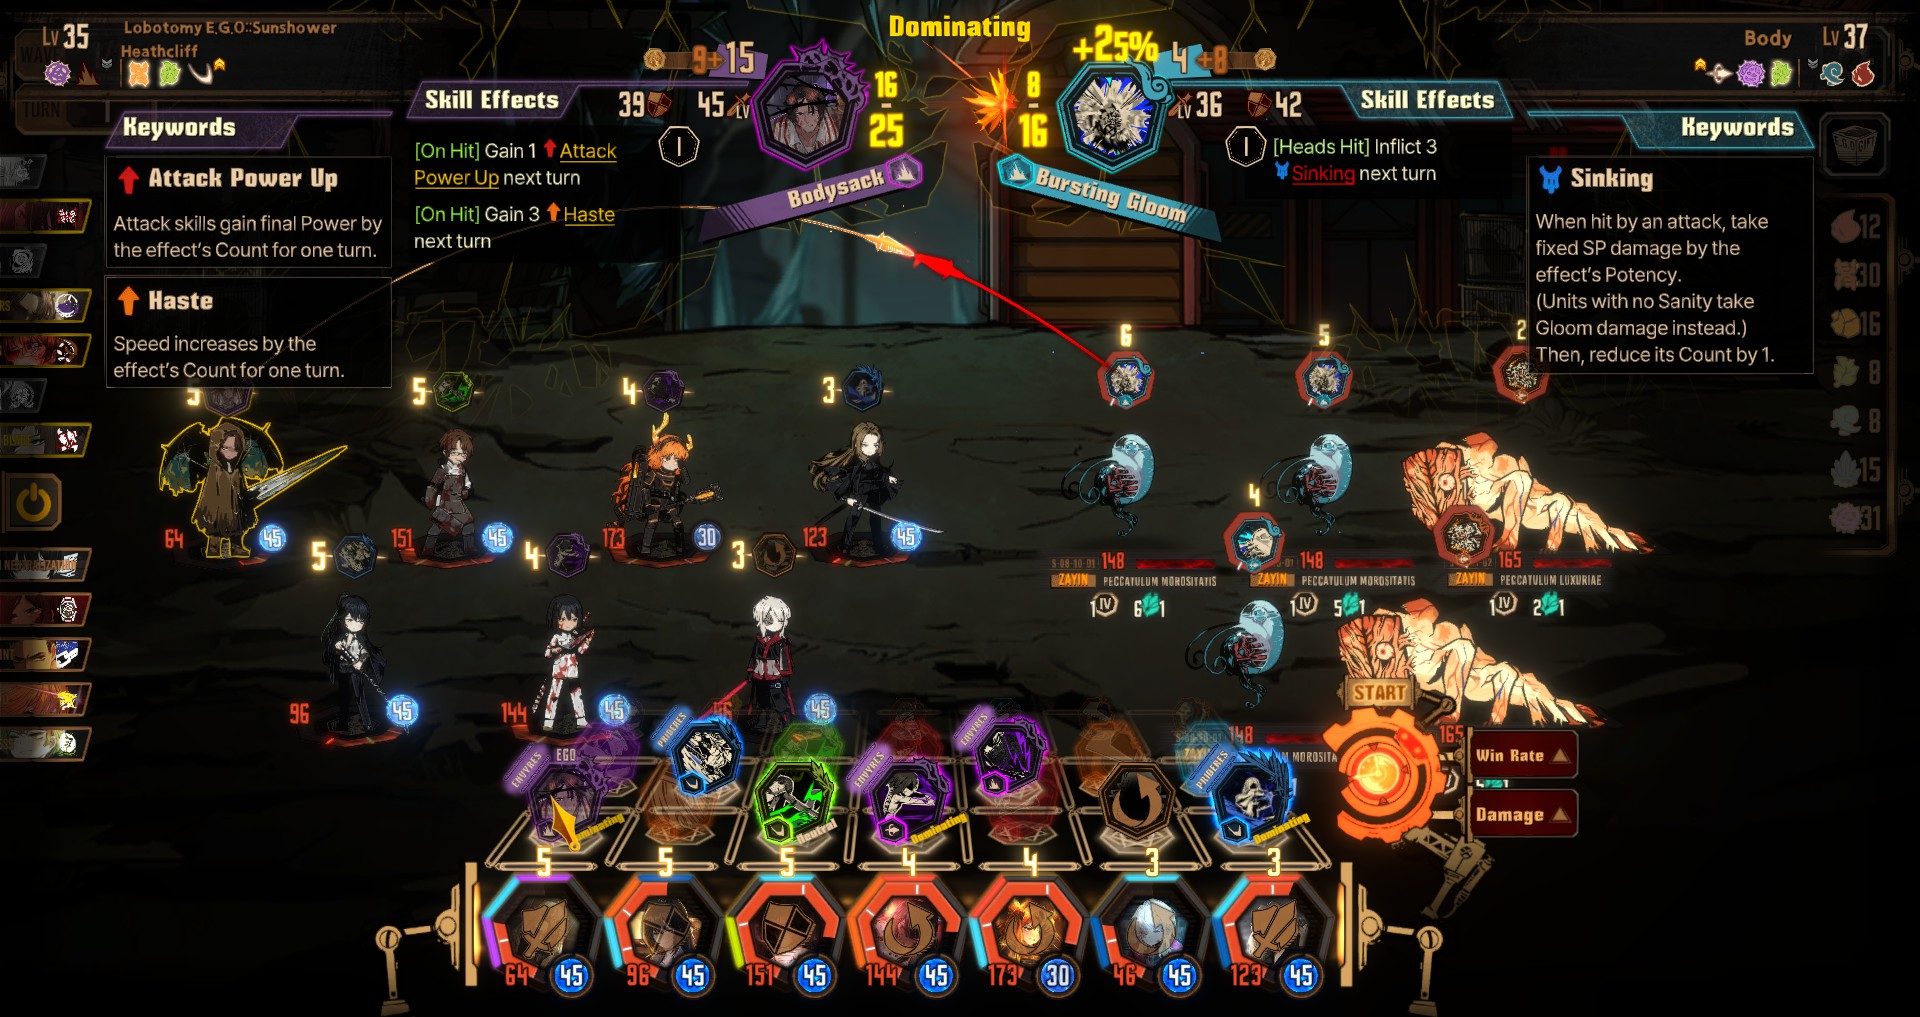
That’s not to discount the other characters. Ryoshu and Hong Lu applied the most bleed, likely doing the most DoT damage. Ishmael and Heathcliff synergised with the sinking EGO gifts I got late in the run, dropping damage done by enemies, reducing the most damage done. Rodion’s Sky-clearing Cut from her Kurokumo ID (considered her weakest 000 ID), won all but 1 of her clash.
And this is why I don’t buy the idea of this game being unbalanced or the hate for some of the units that I hear on forums and subreddits. Tot nu toe, this is the most balanced game I’ve played, where every character is a boon to the possible team composition. Even level 1 characters and base IDs still find roles to play in this hard content.
This is my 4th time completing MD2H, without having to restart a run even once. I’ve completed with poise/bleed, rupture/sink, charge/rupture, and bleed/sink teams. Every run completed had at least 2 00 IDs. I’ve defeated Brazen Bull, My Form Empties, and Kromer. It is 100% doable without hard farming.
Now if you’ll excuse me, I’ll be farming for Zwei Rodion. I think there’s a build where she can make my team immortal.
Dat is alles wat we vandaag hiervoor delen Limbus Company gids. Deze handleiding is oorspronkelijk gemaakt en geschreven door benderboyboy. Voor het geval we er niet in slagen deze handleiding bij te werken, U kunt de laatste update vinden door dit te volgen link.