
- Titel: Lightout 2
- Releasedatum:
- Ontwikkelaar:
- Uitgever:
Information about Lightout 2 is nog steeds onvolledig. Help ons alstublieft de details van het spel hiermee in te vullen contactformulier.
A guide to help players through this short game. Two versions: 1) text and screenshots, 2) video playthrough (2 onderdelen).
Invoering
Basic Keybindings W A S D = movement
LMB = pick up item (add to Inventory) / interact with things in the environment
RMB = carry an item
LeftShift = run
LeftCtrl = crouch
Mousewheel (druk) = zoom (also enhancing sight)
Lab = Inventory (Mousewheel scrolls through items)
F = use lighter
Doors and use of keys: ∙ Open an
unlocked door: LMB (left-click)
Open a locked door met sleutelfrom Inventory:
RMB (klik met de rechtermuisknop) = access picked-up key (Inventory), Dan
LMB (left-click) to unlock the door, en
LMB (left-click) again to open the door.
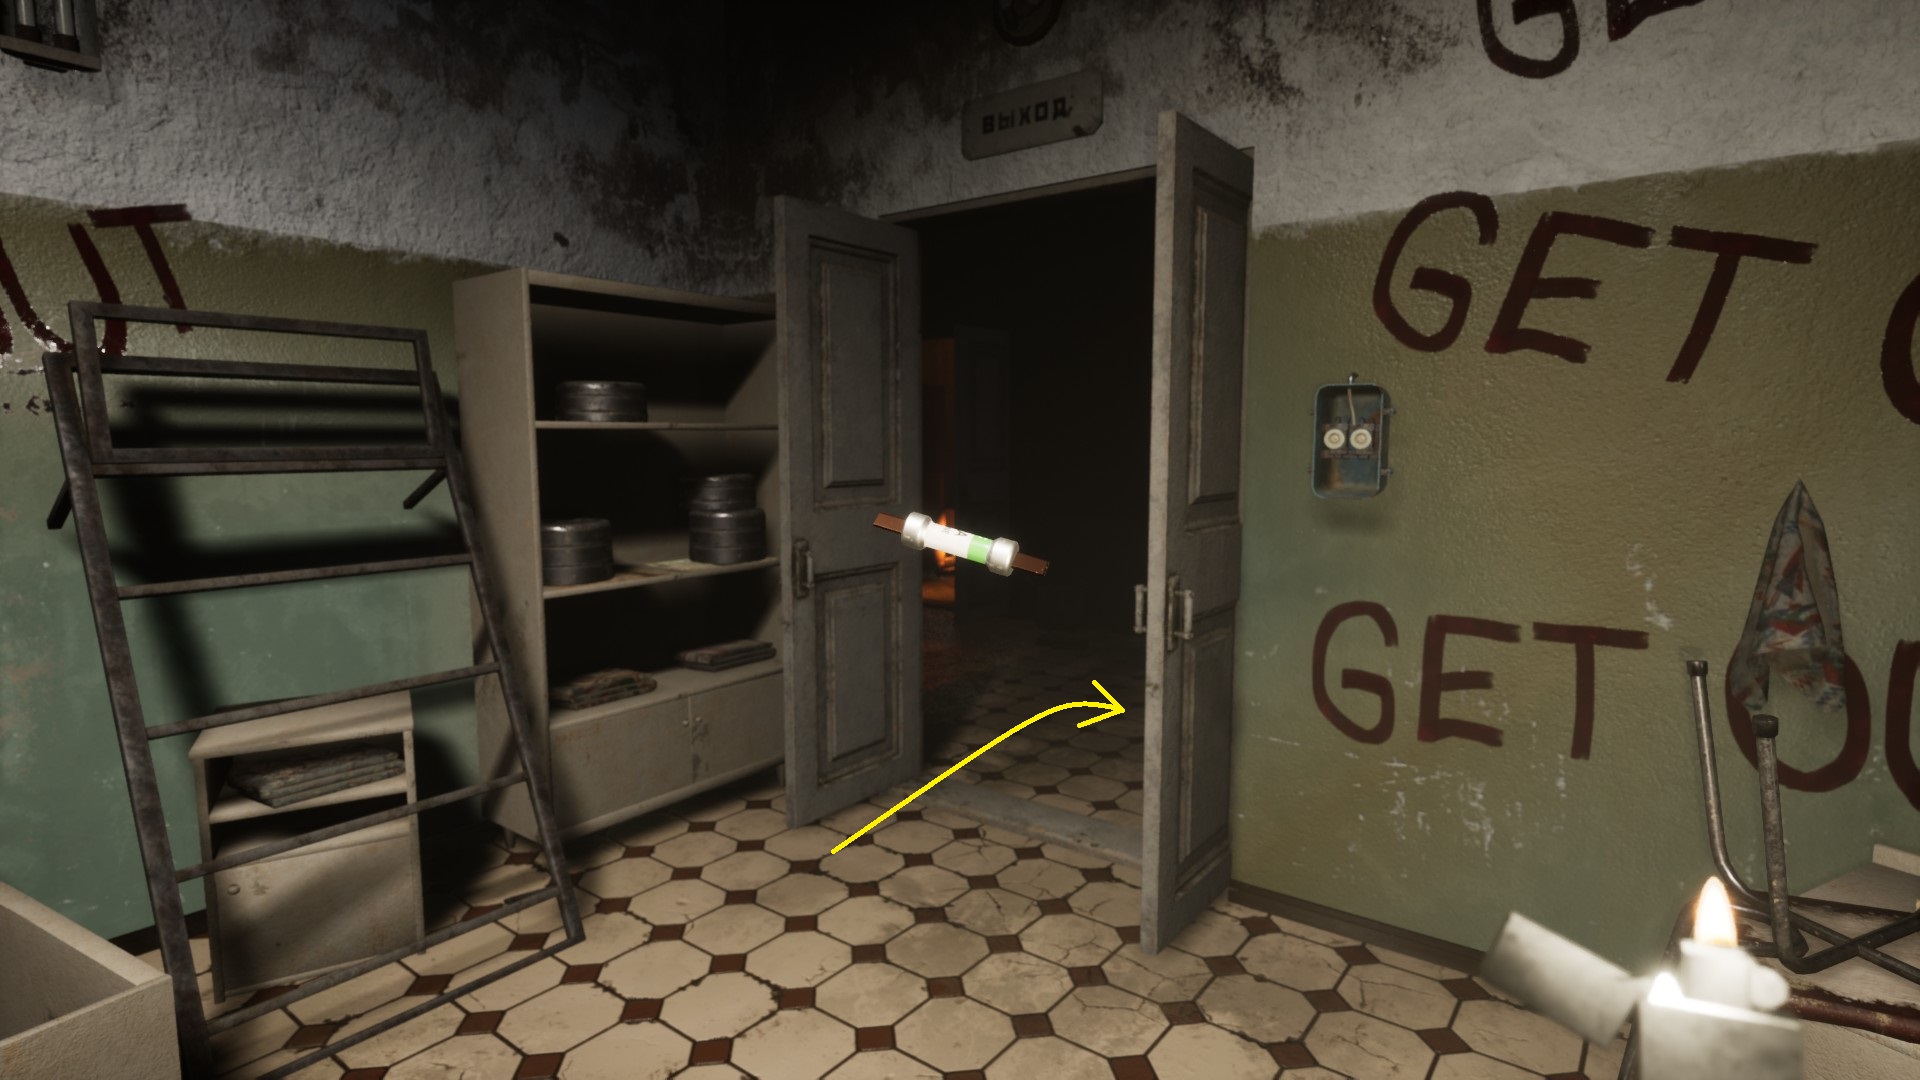
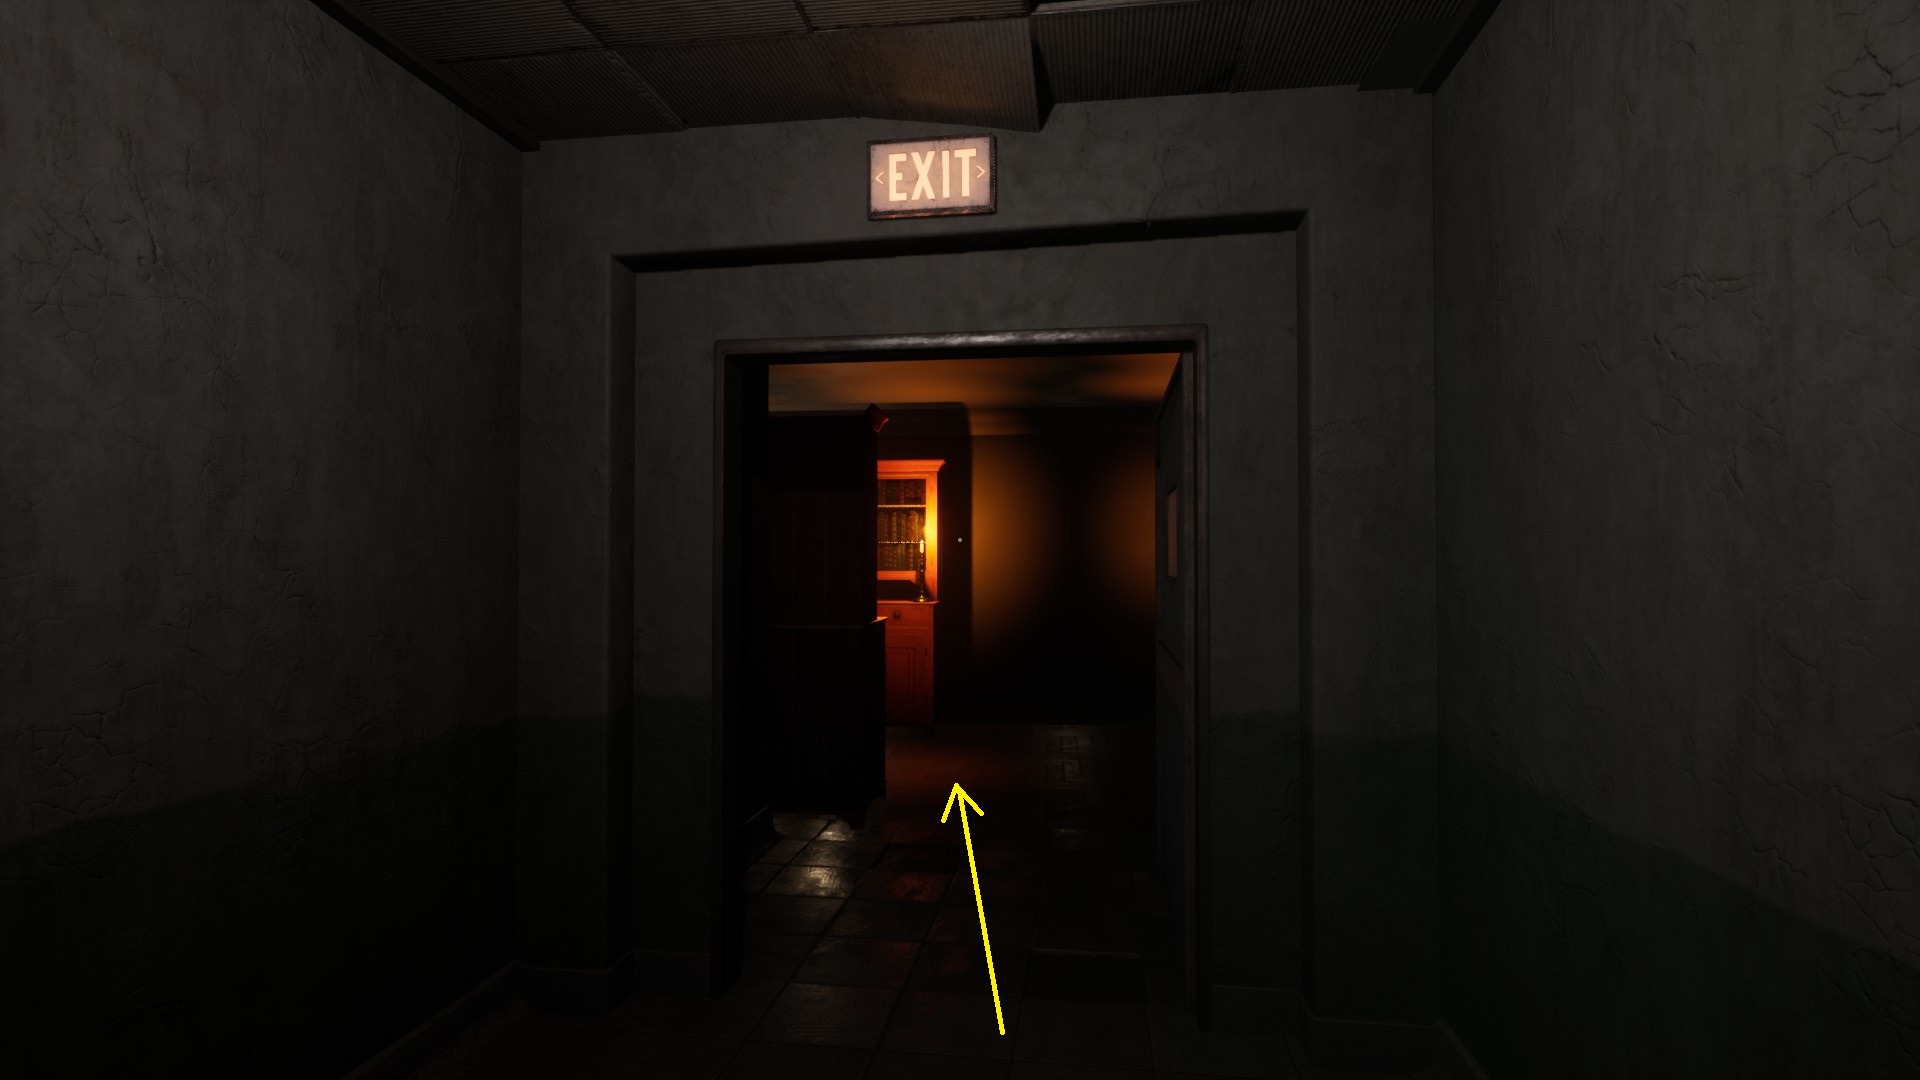
START ROOM AND HALLWAY
Opmerking:To gain full left/right mouse movement, click your mouse.
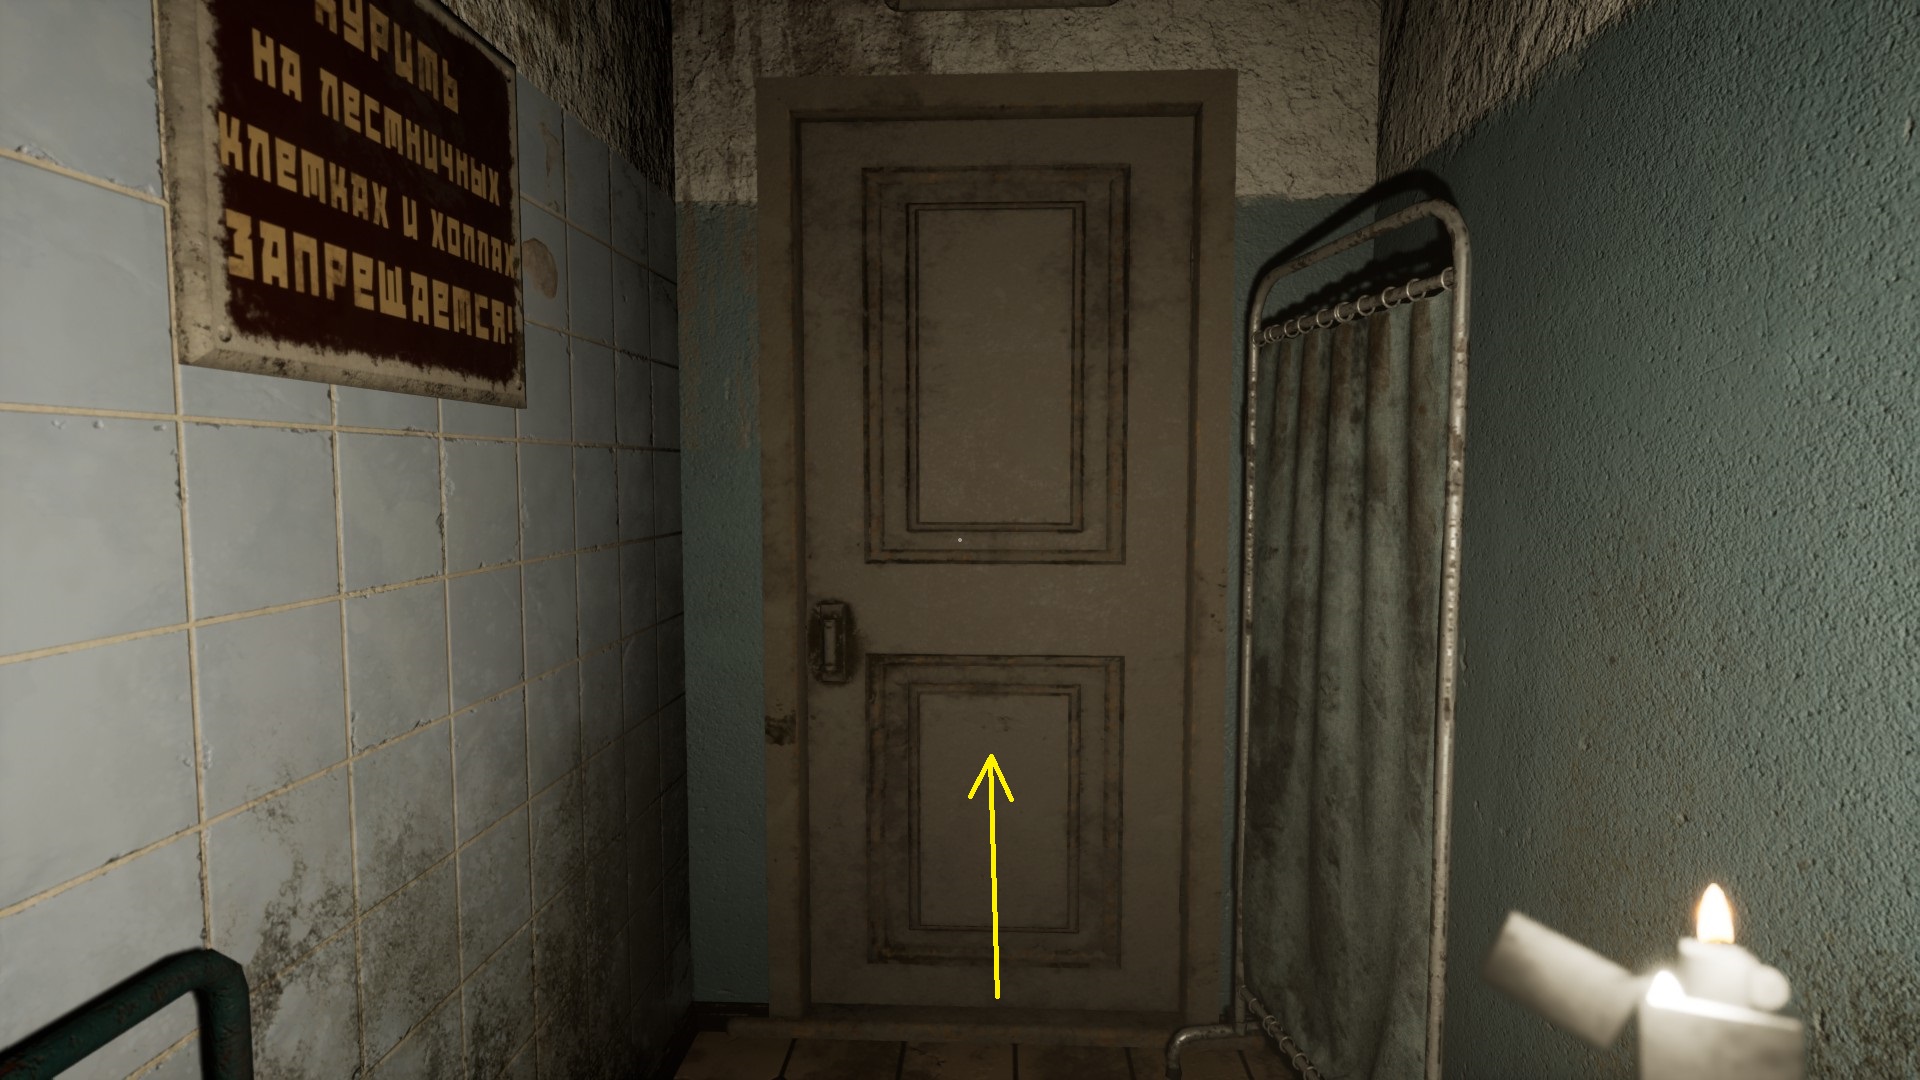
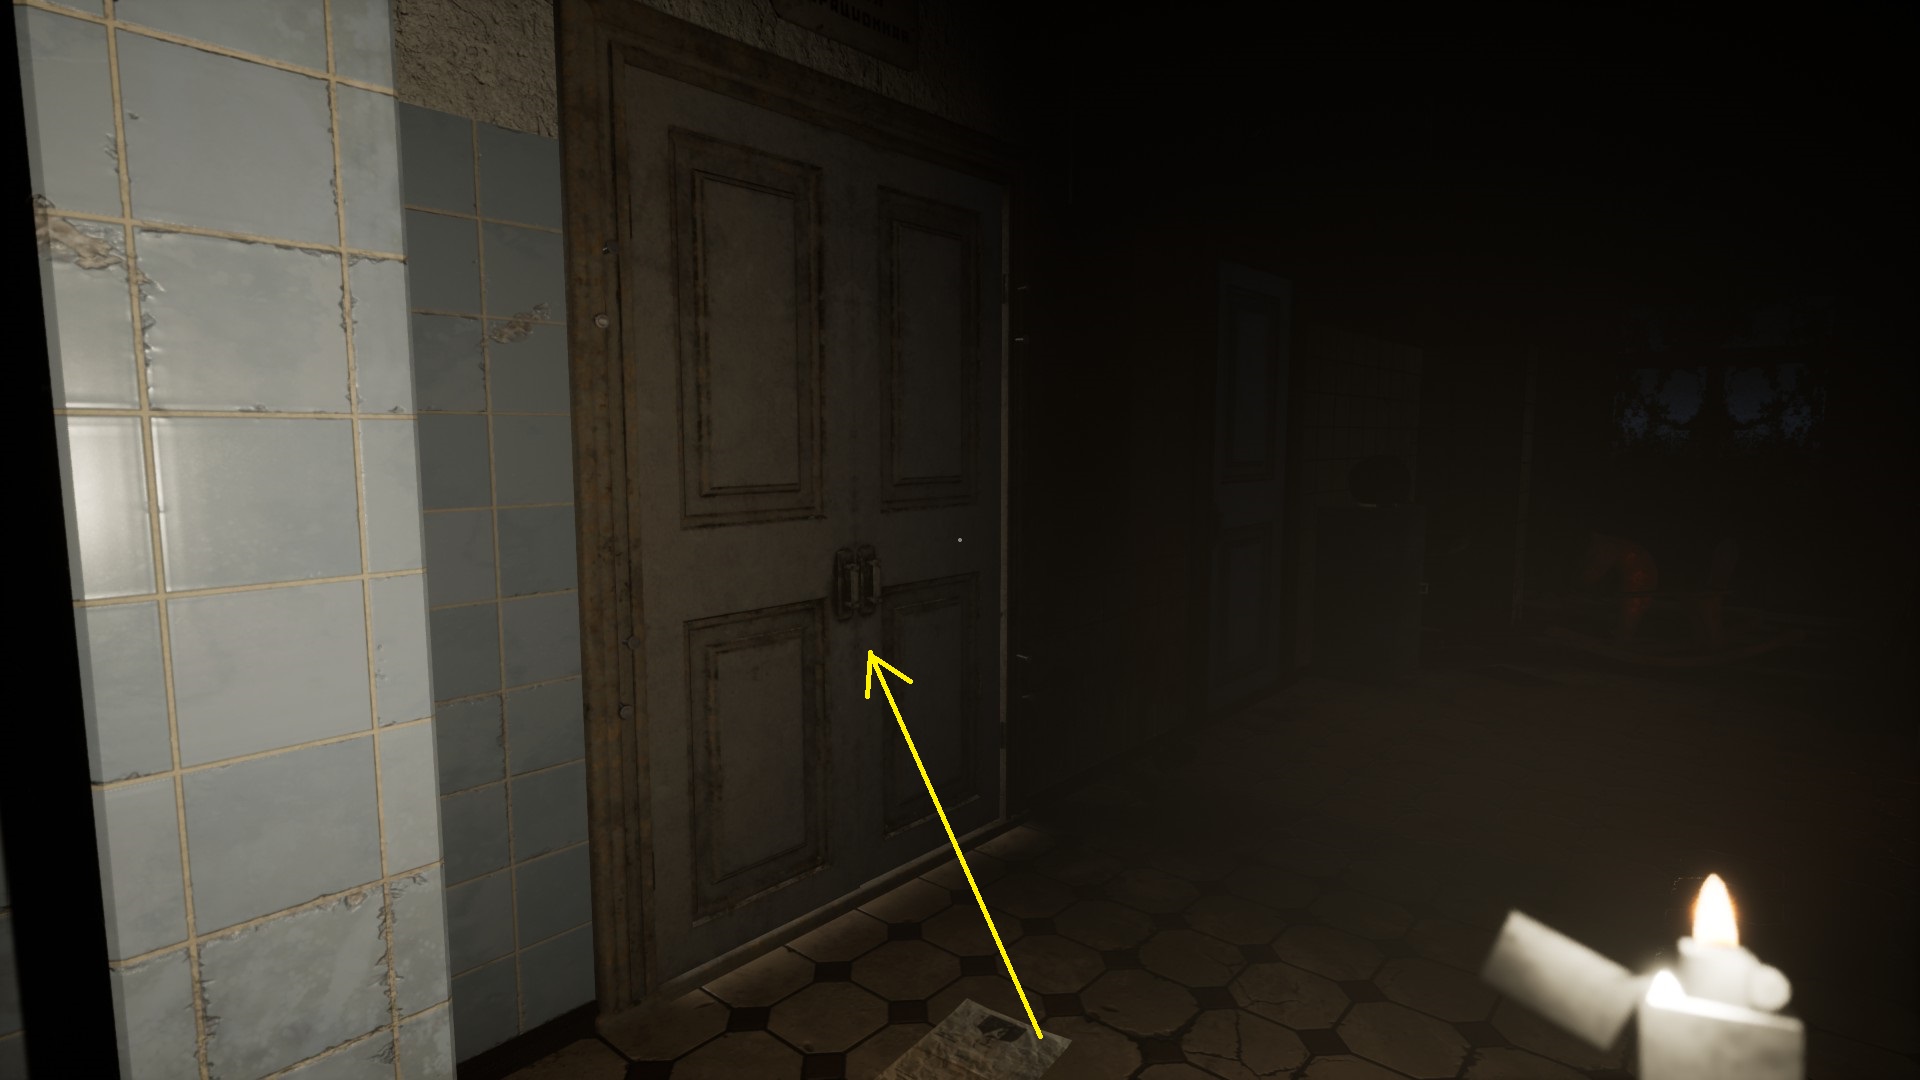
You start in a small room with a bed and two locked doors.
Haal de op sleutel from the nightstand.
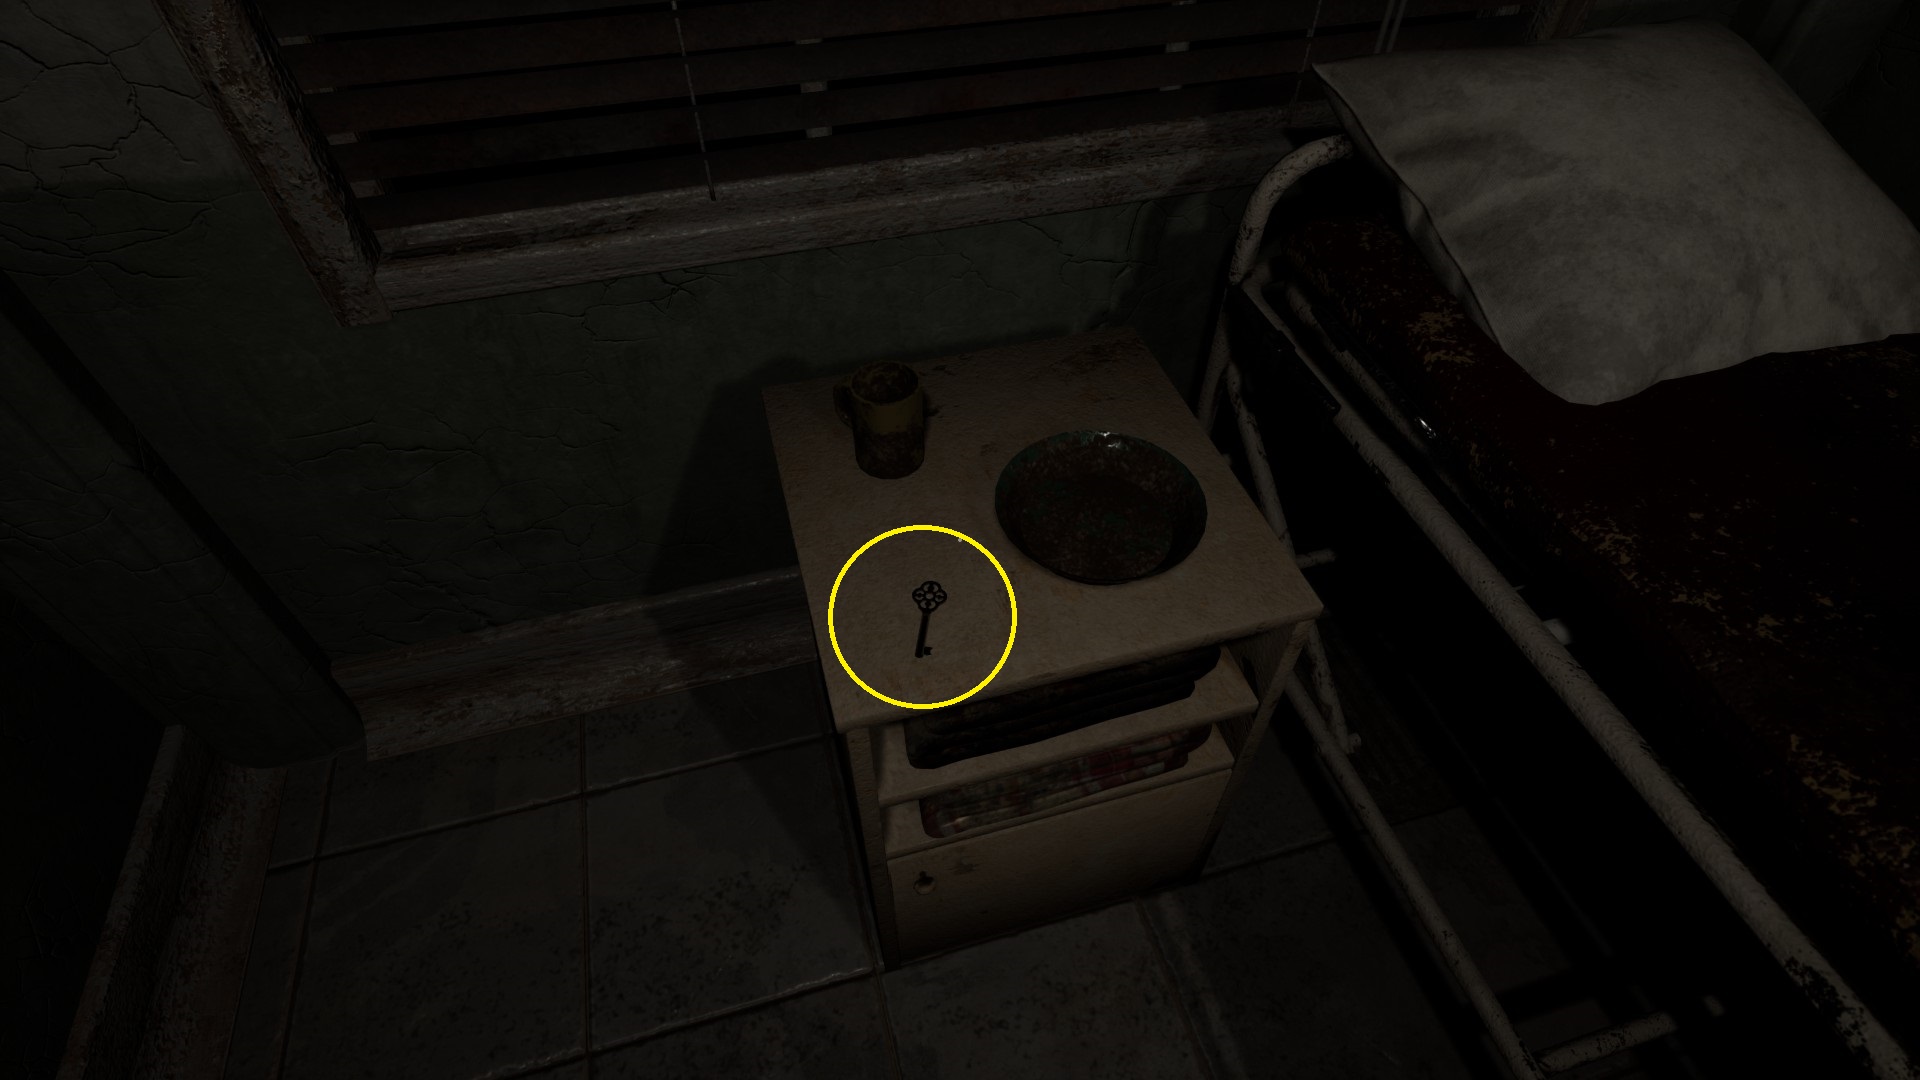
Use it on the closest door (to the side of the bed) – klik met de rechtermuisknop (access key from Inventory), left-click (unlock door), left-click (open door).

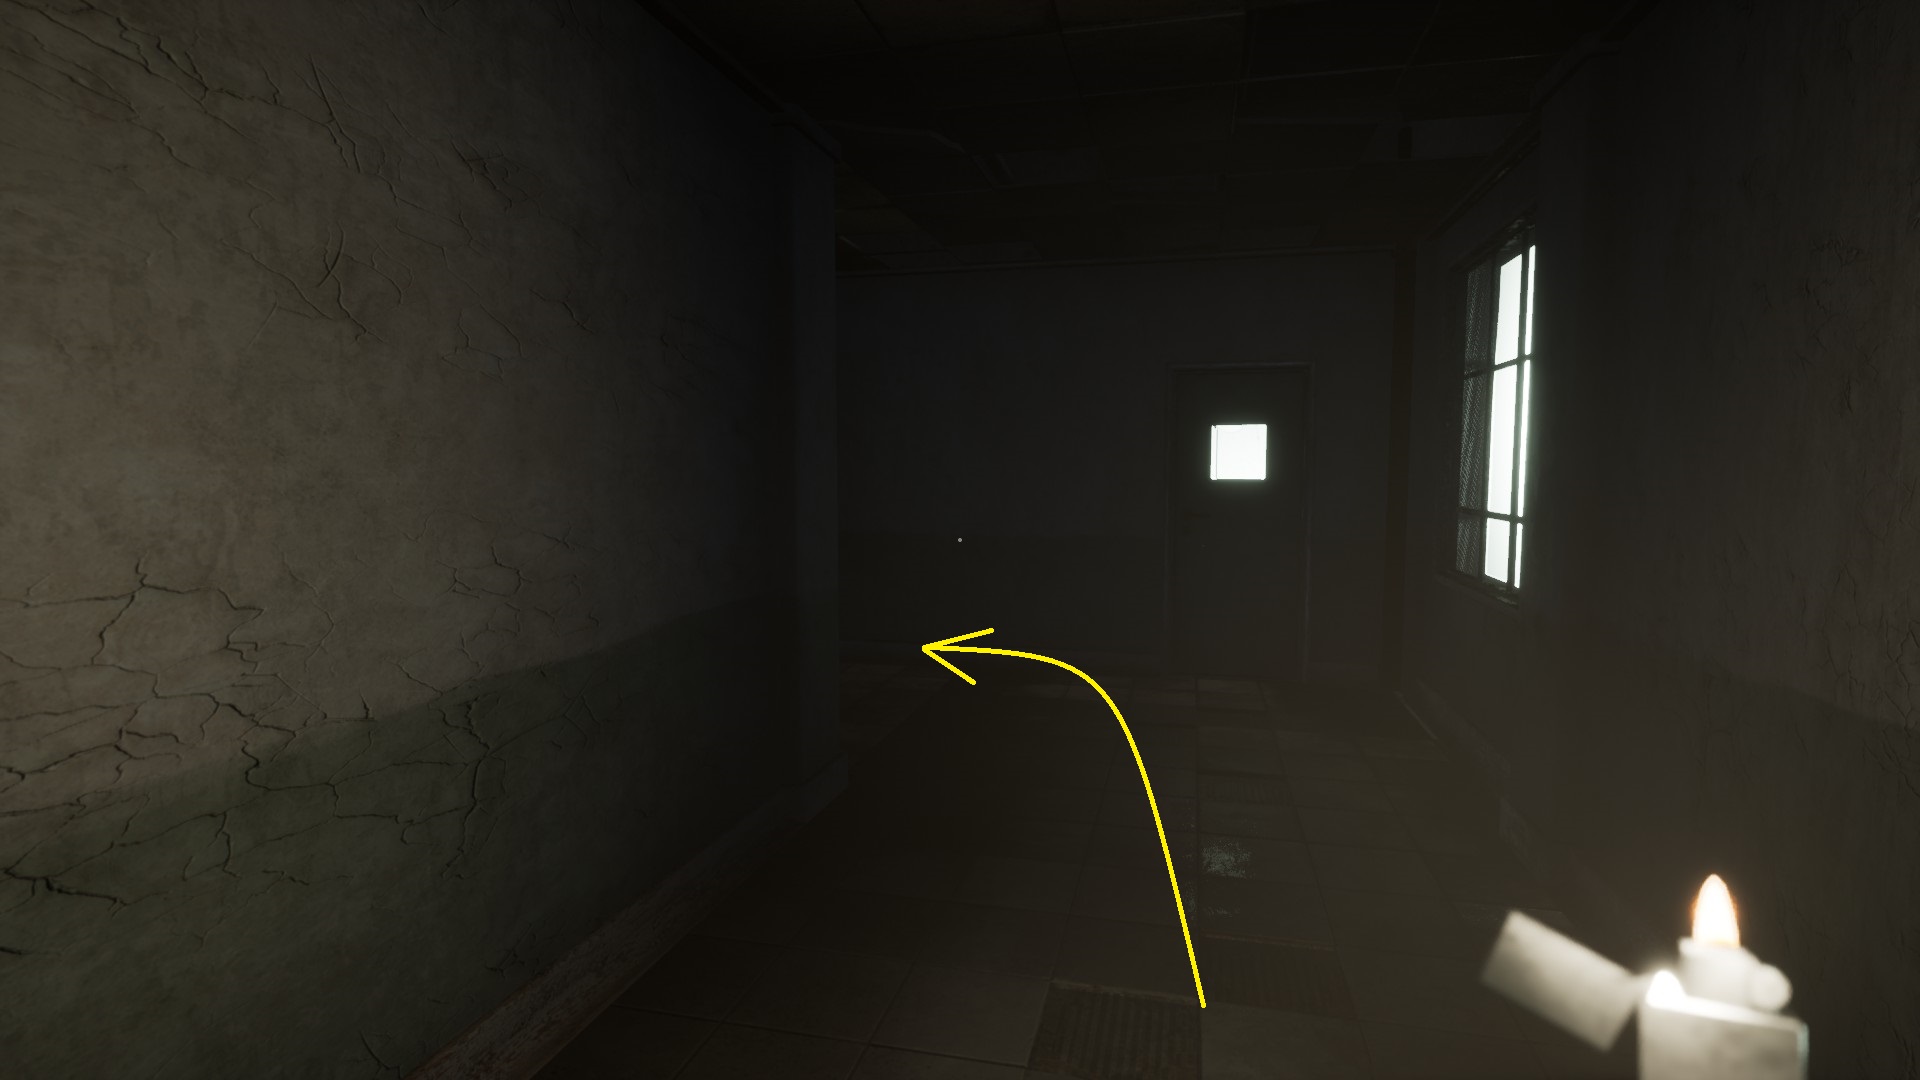
Move down the hallway. The door you just opened closes and locks behind you.

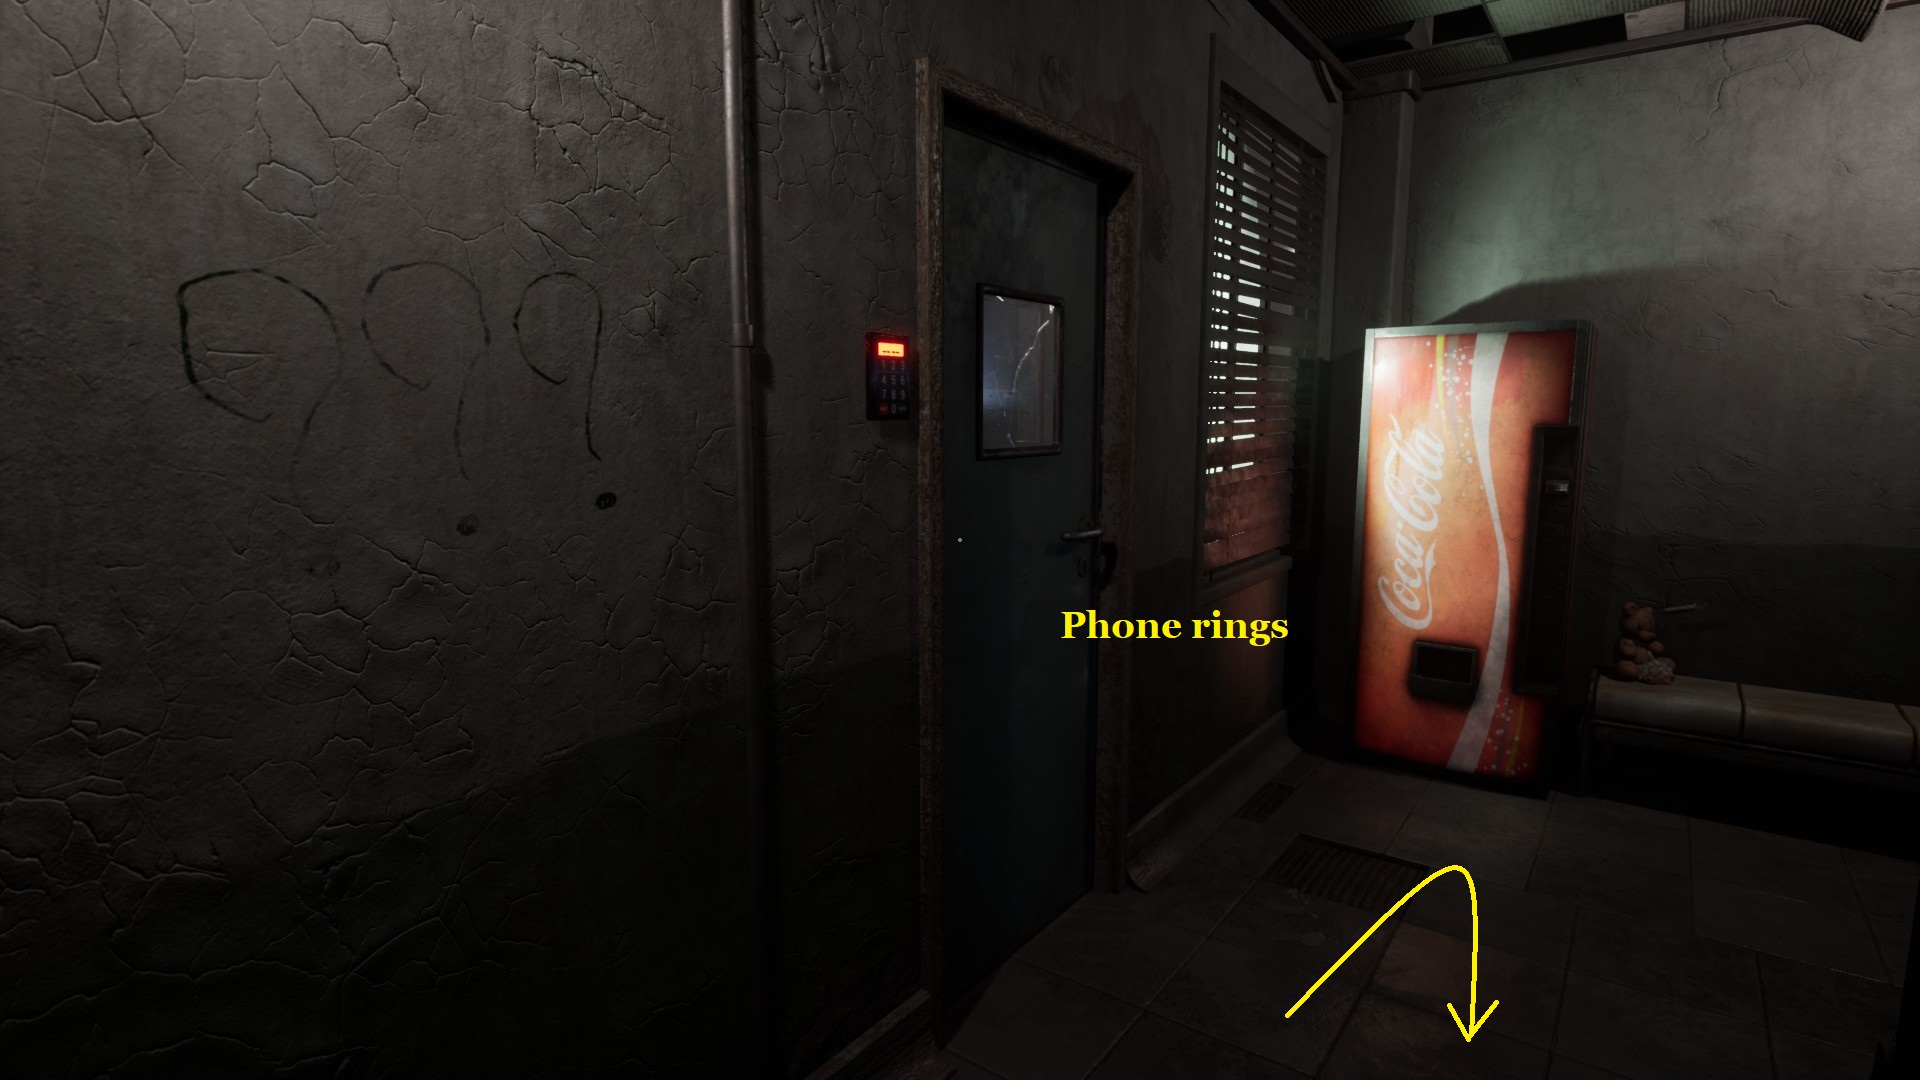
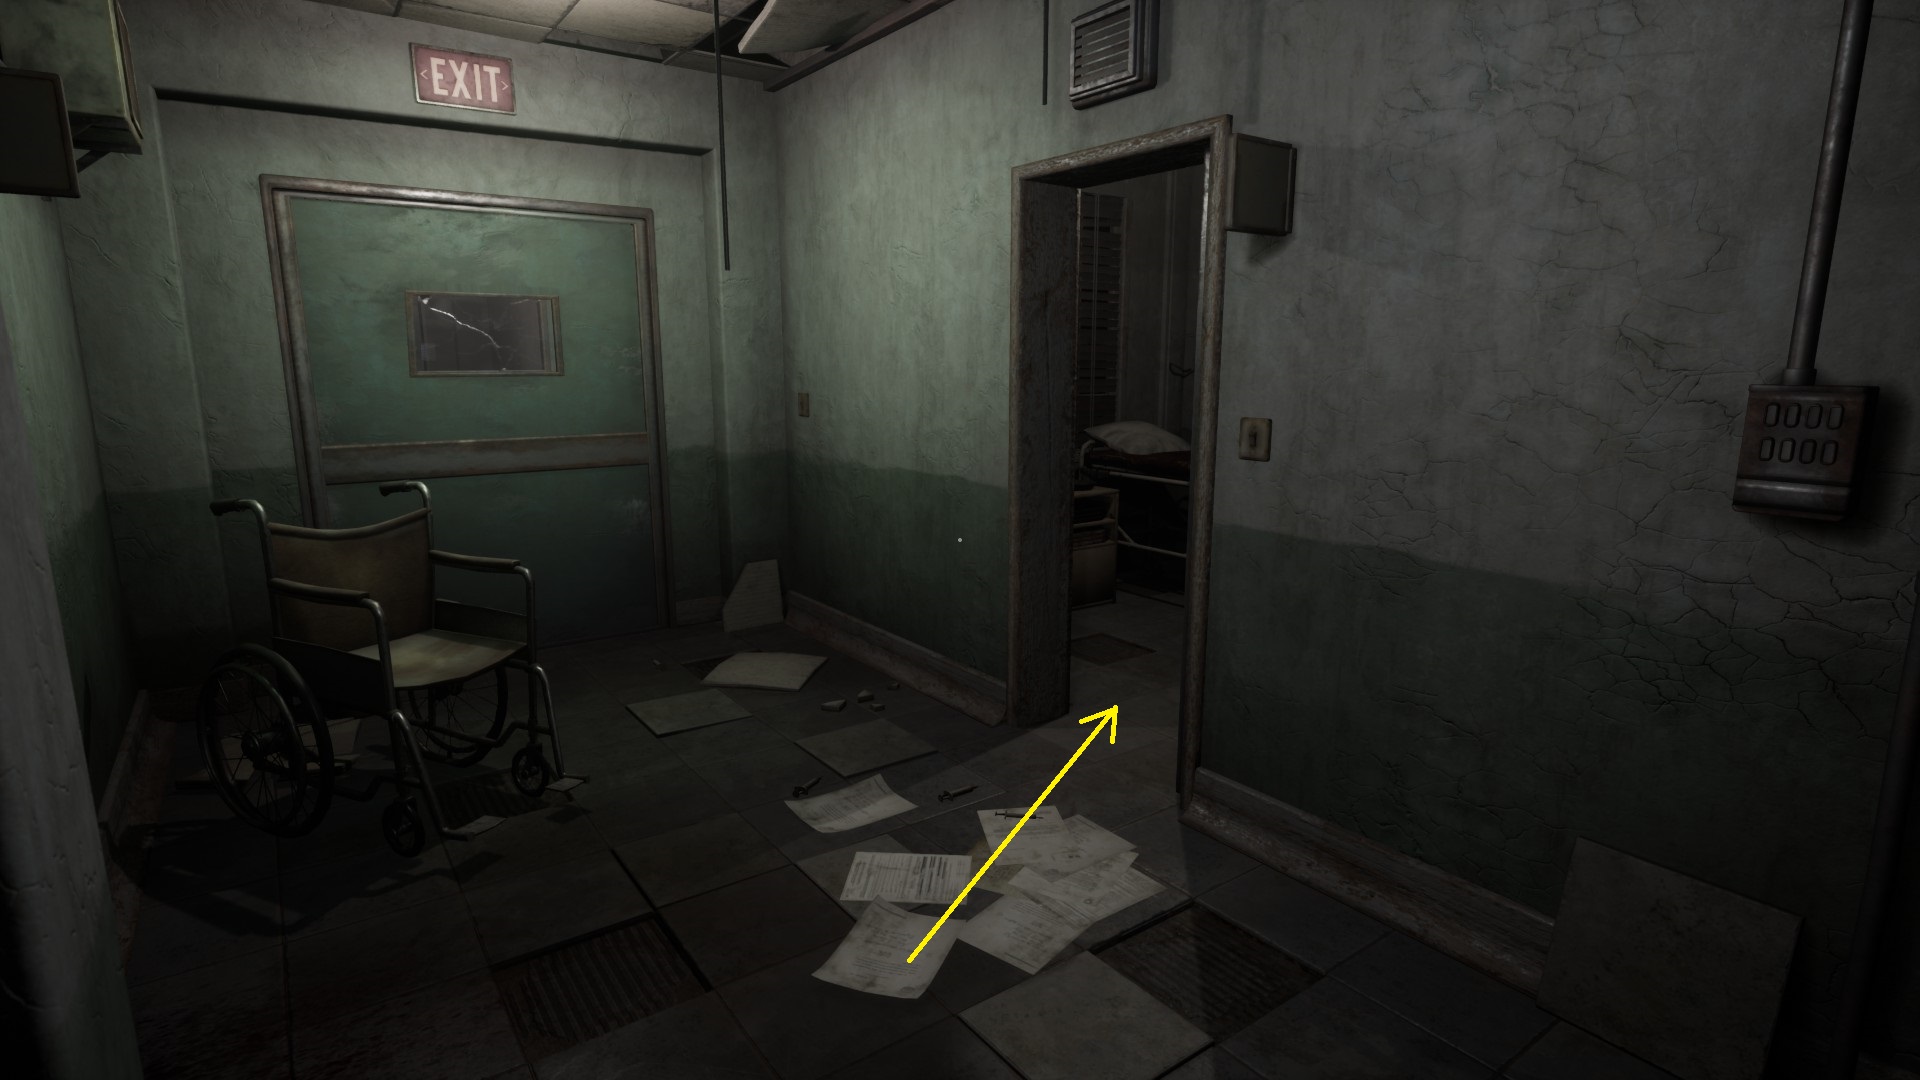
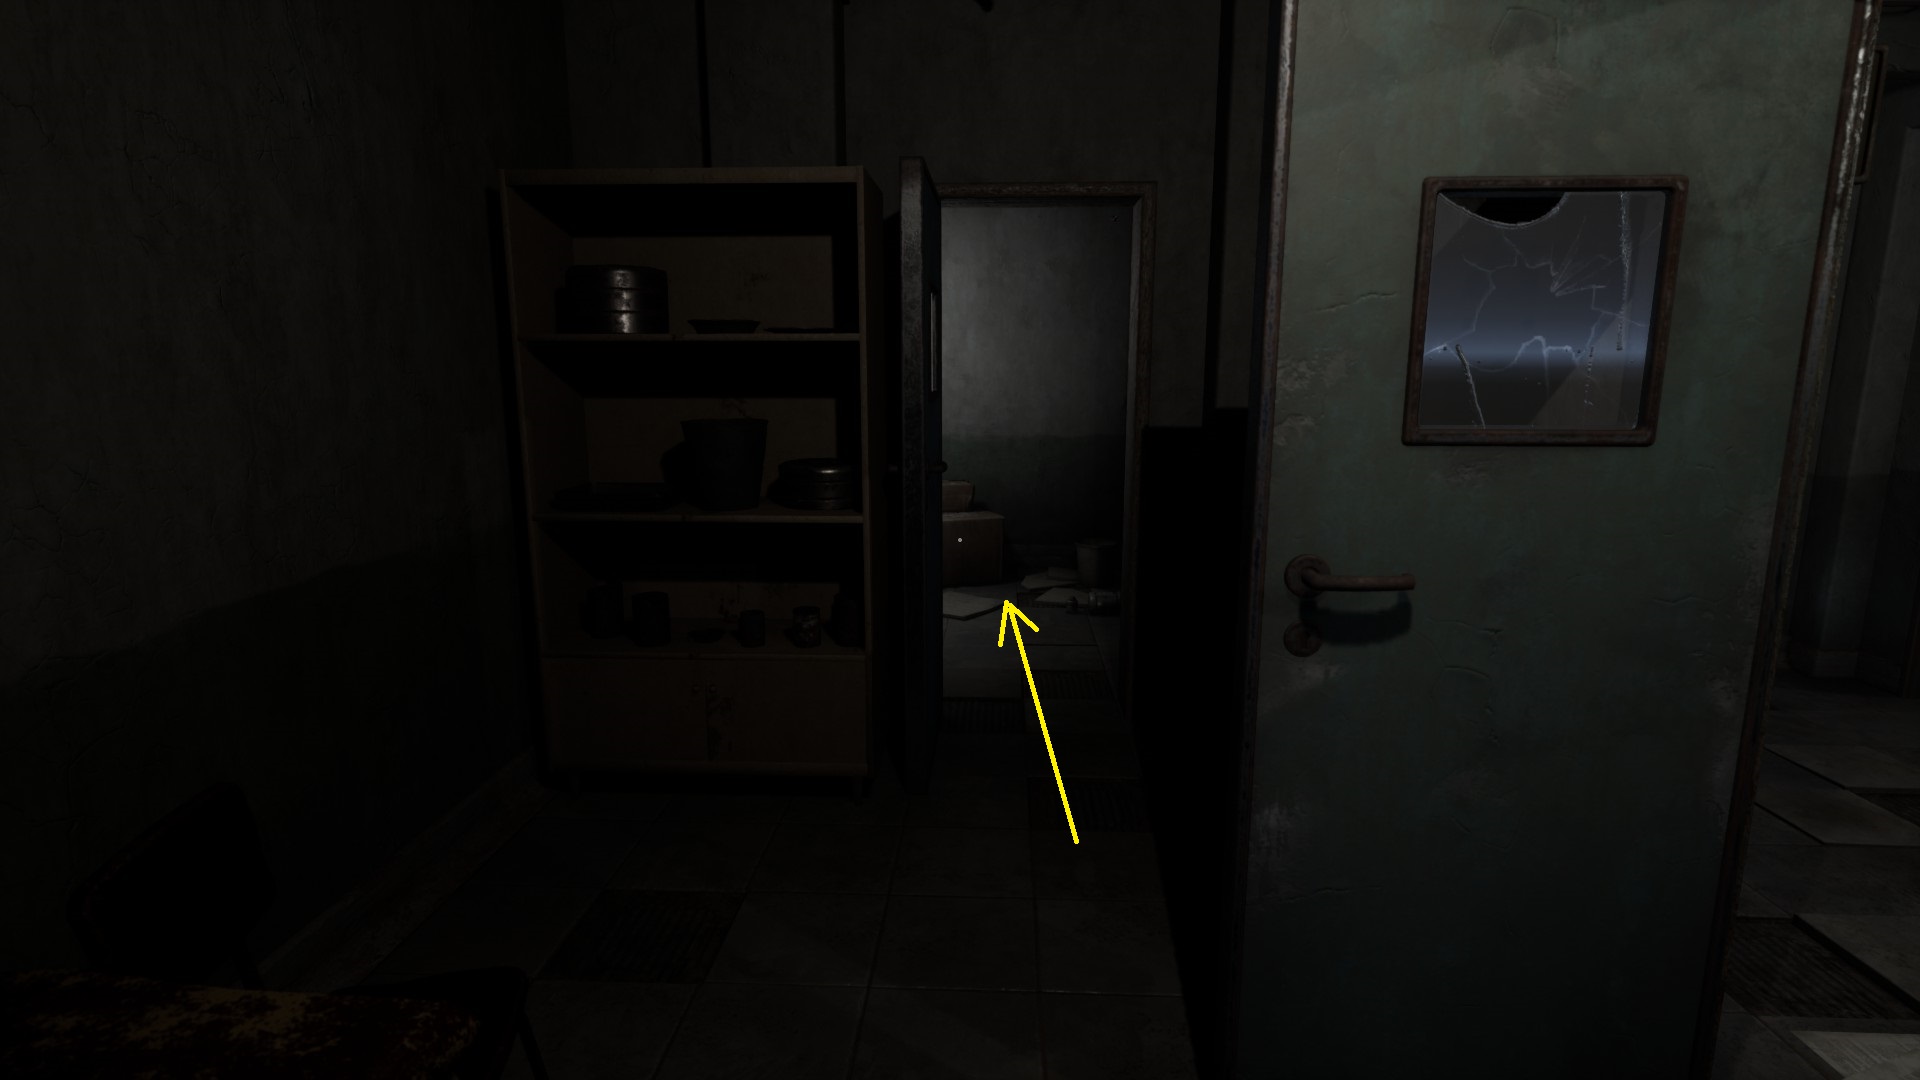
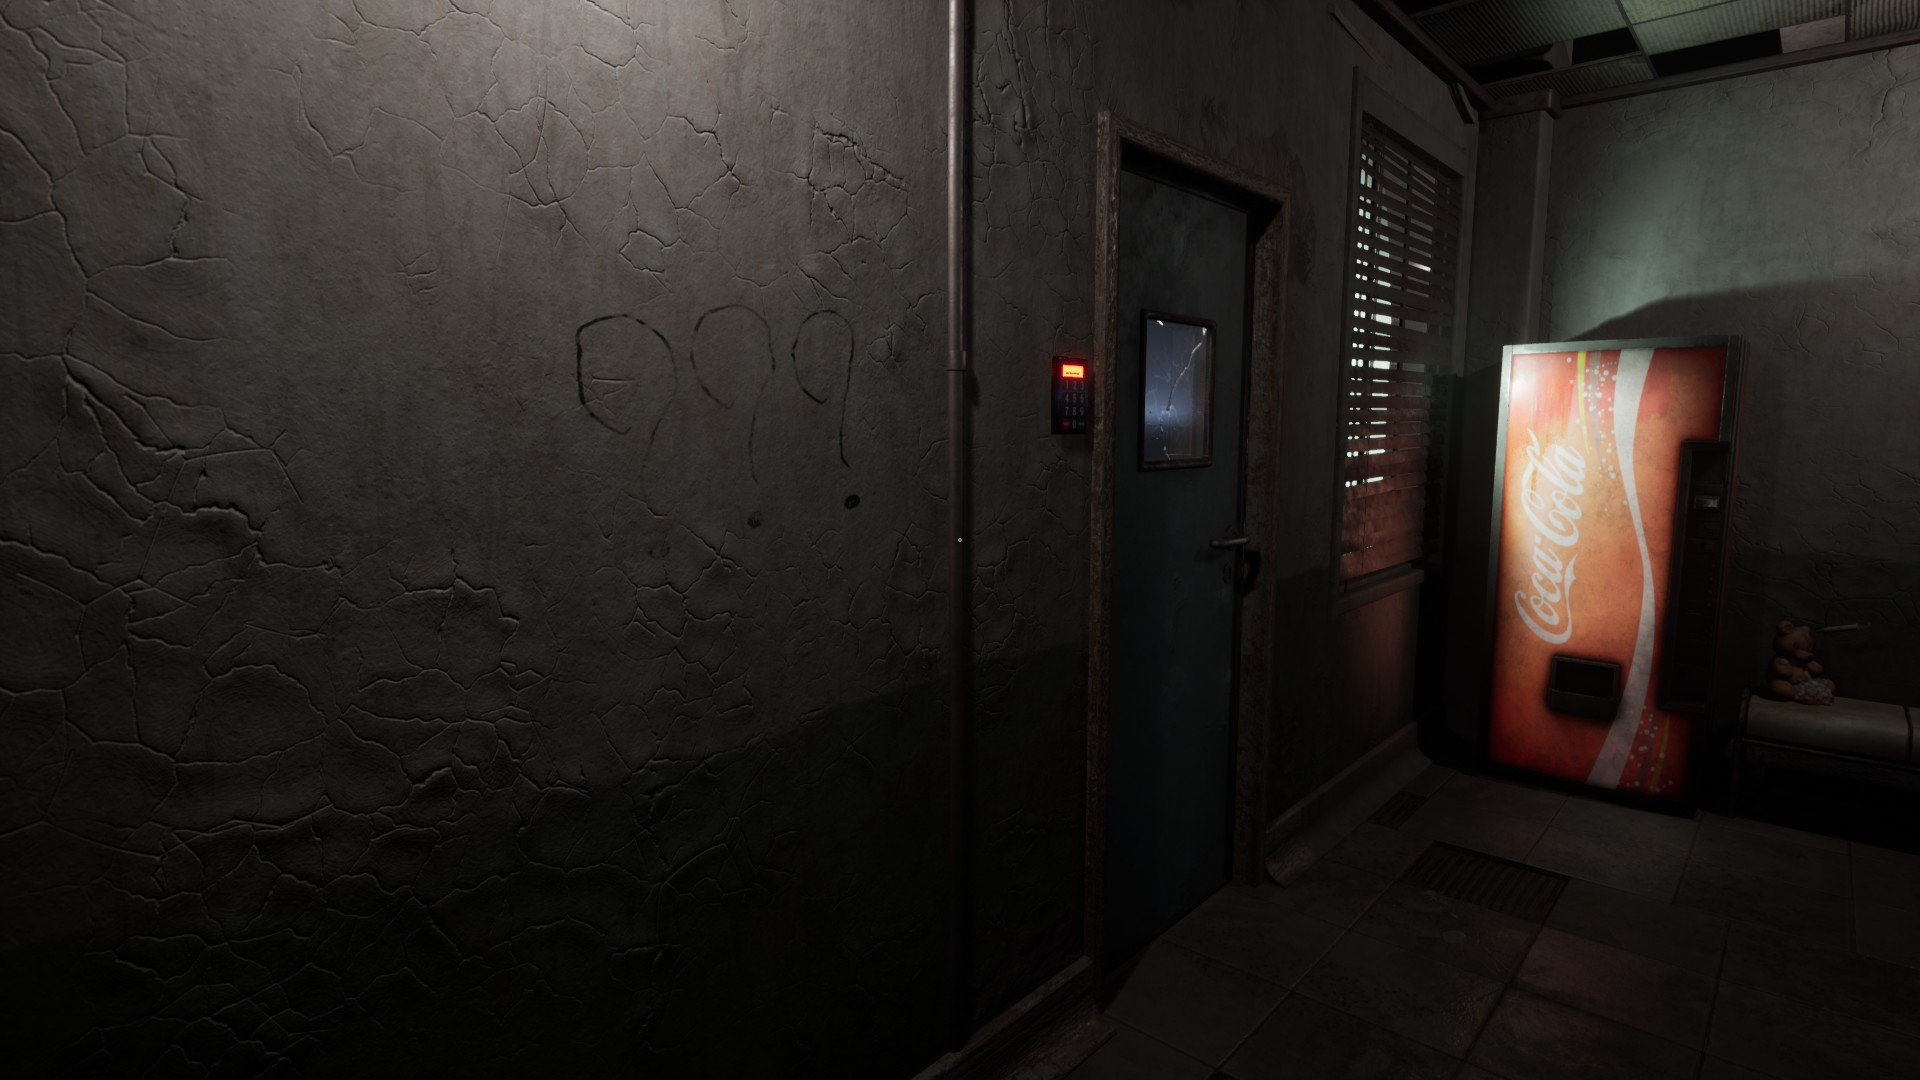
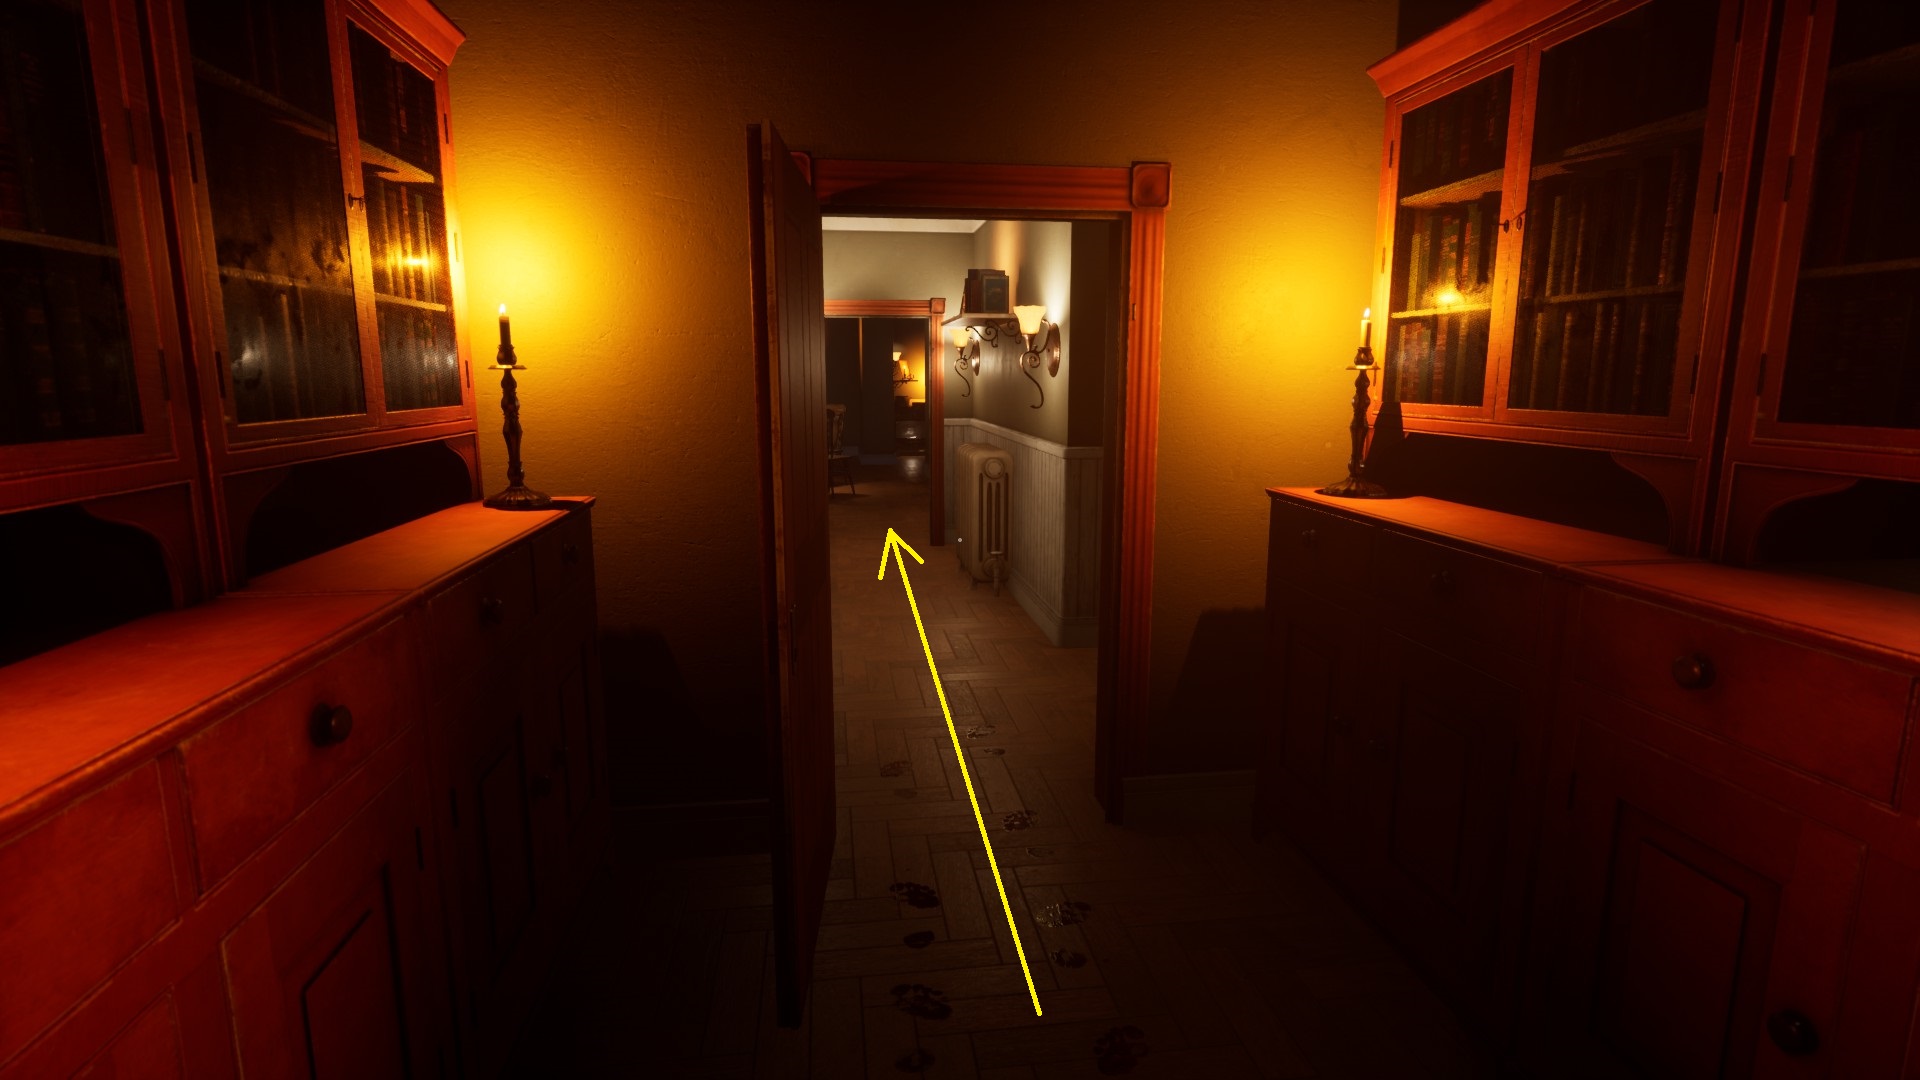
Walk past the vending machine, past a door with a keypad, past a second vending machine (overturned) with two locked doors close by, turning left past the black telephone at the corner …
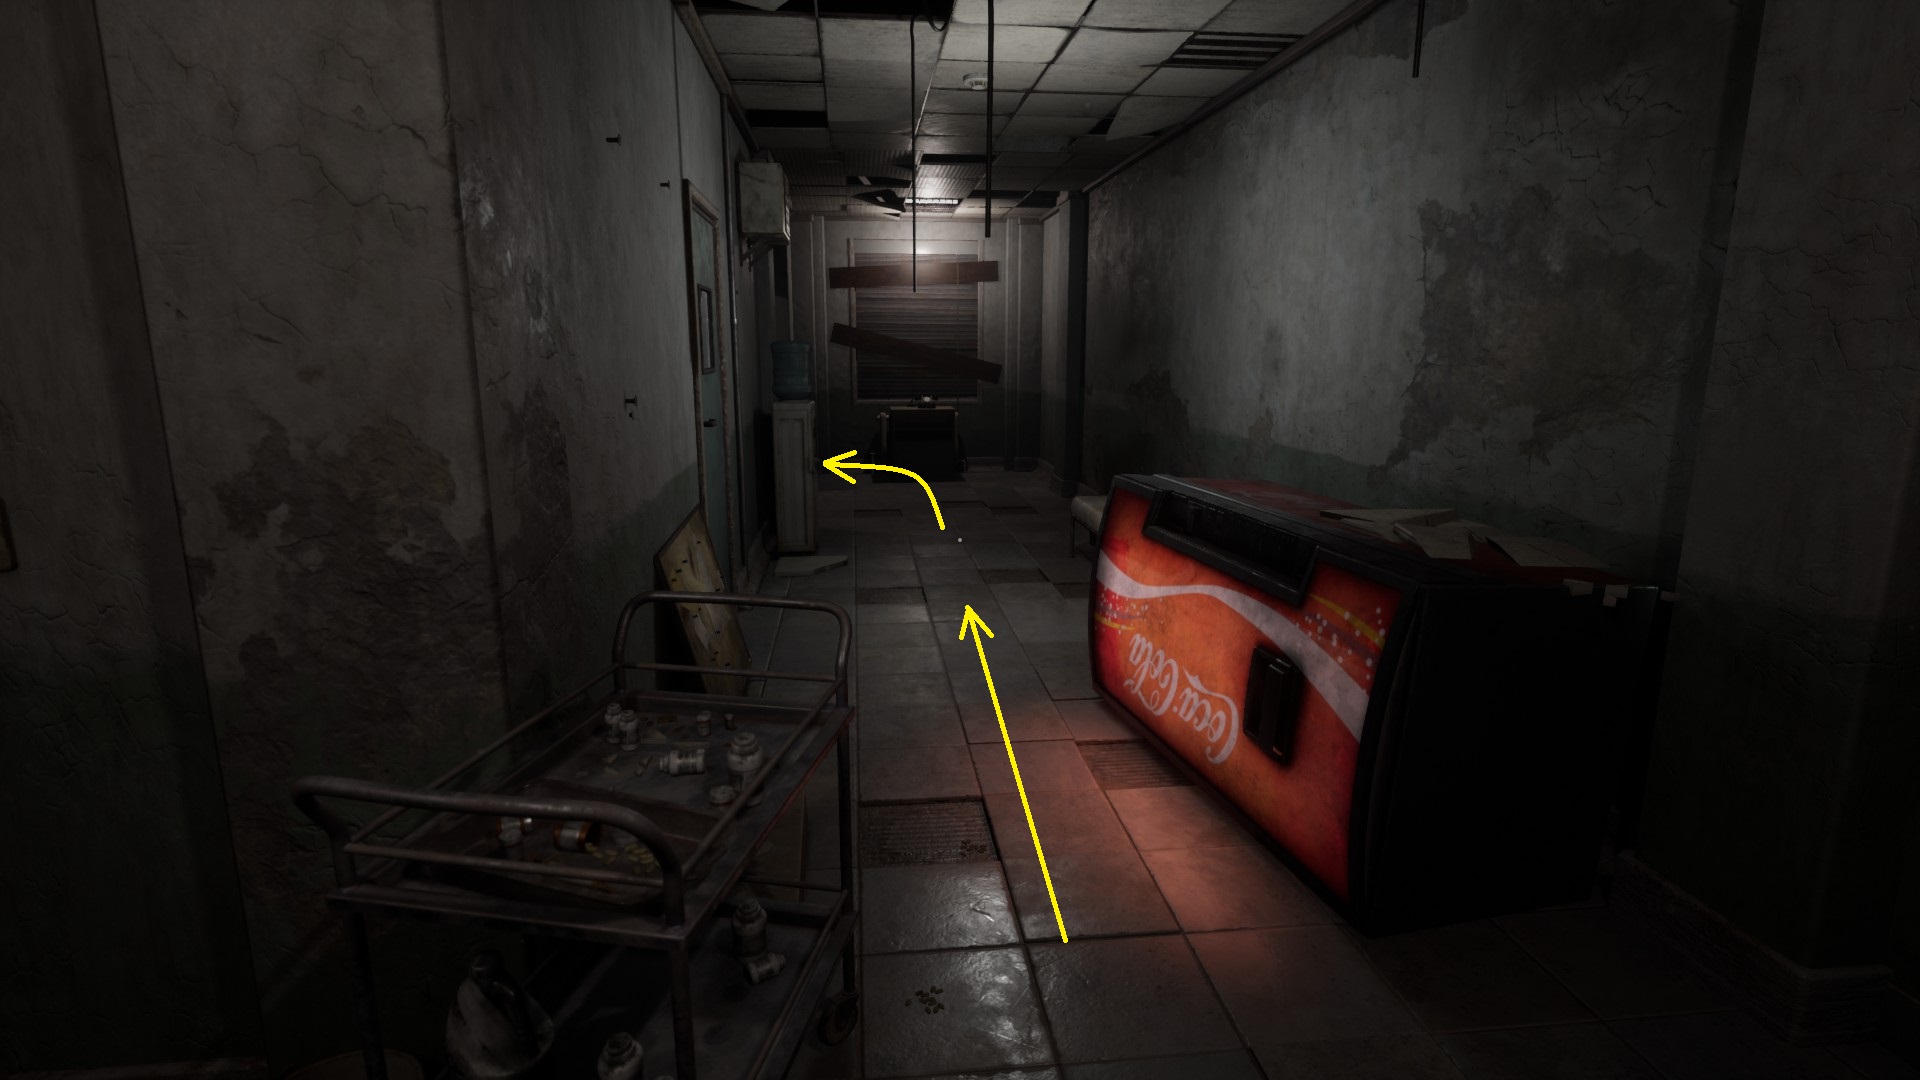
… past a third vending machine until you reach a dead end with two locked doors.

Return all the way back to the door with the keypad.
A phone rings.
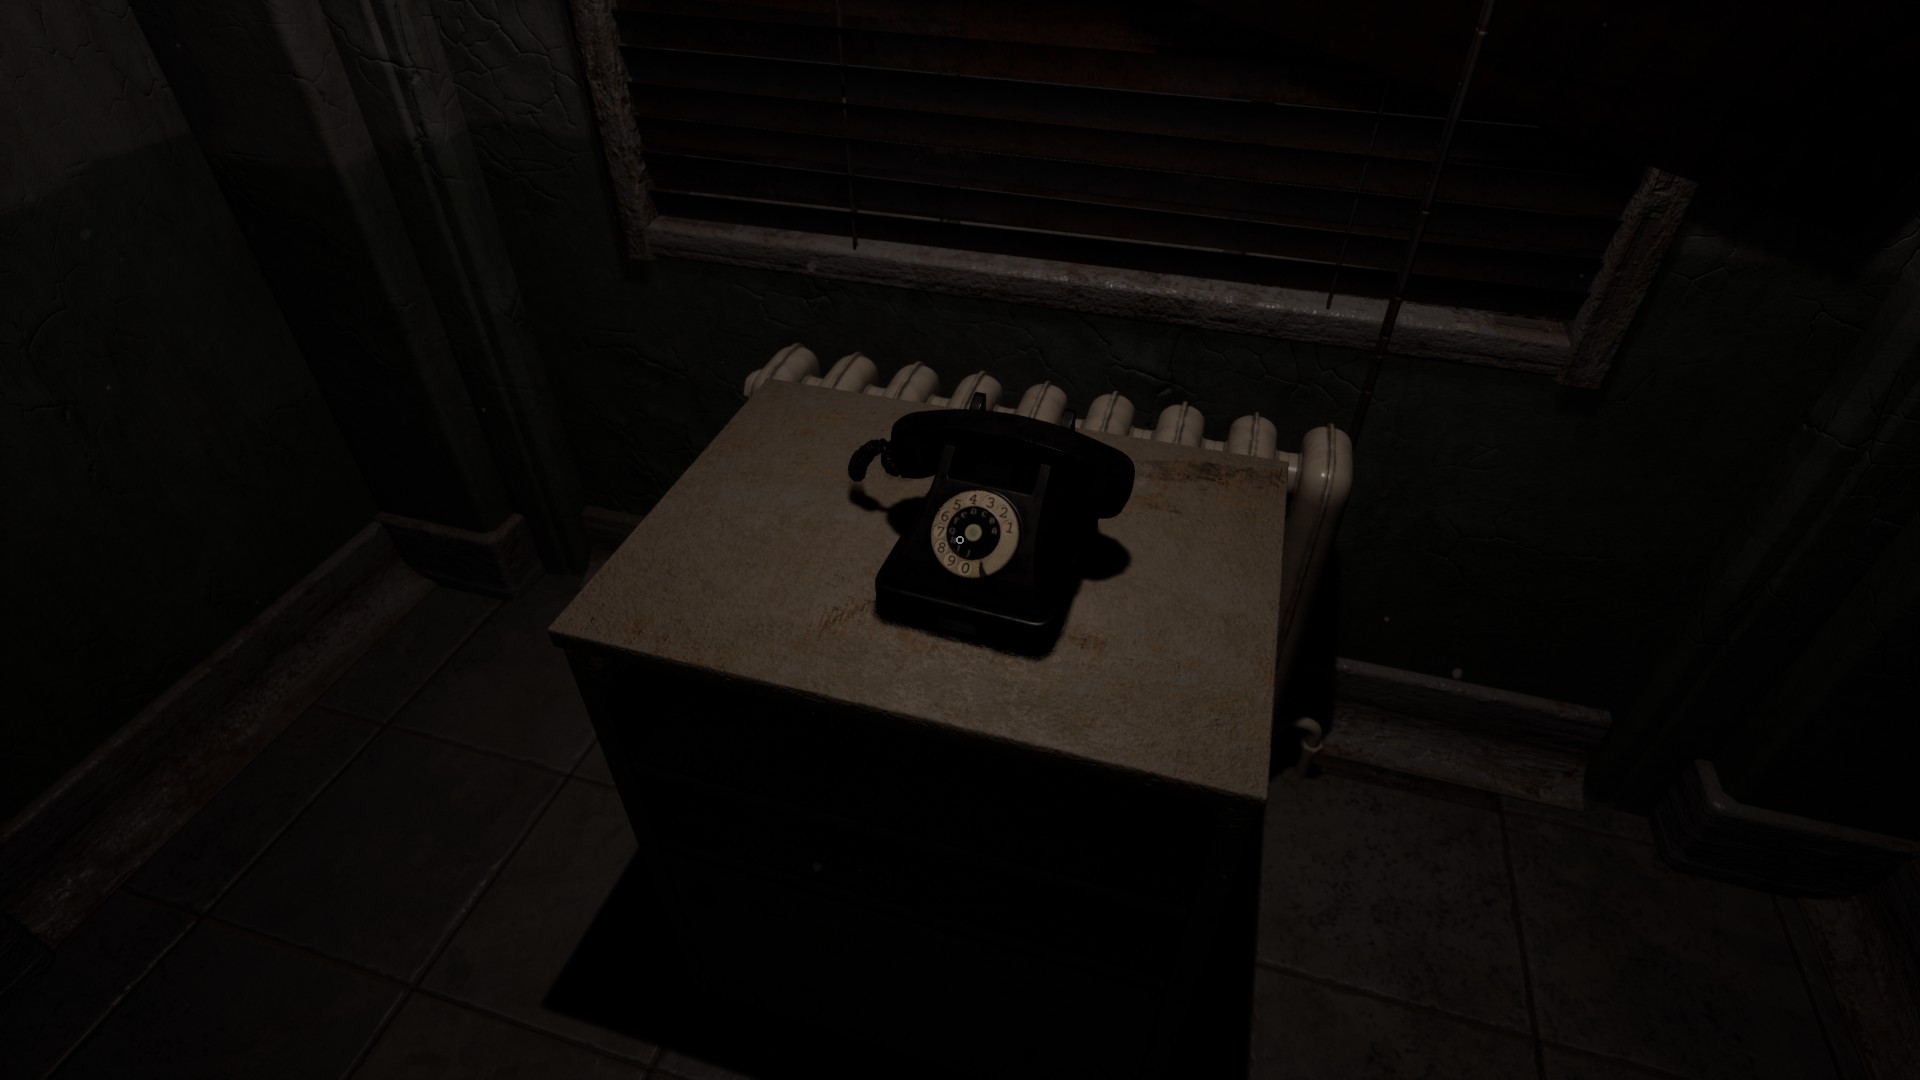
Walk back down the hallway to the black phone .
Left-click it to make it stop ringing.
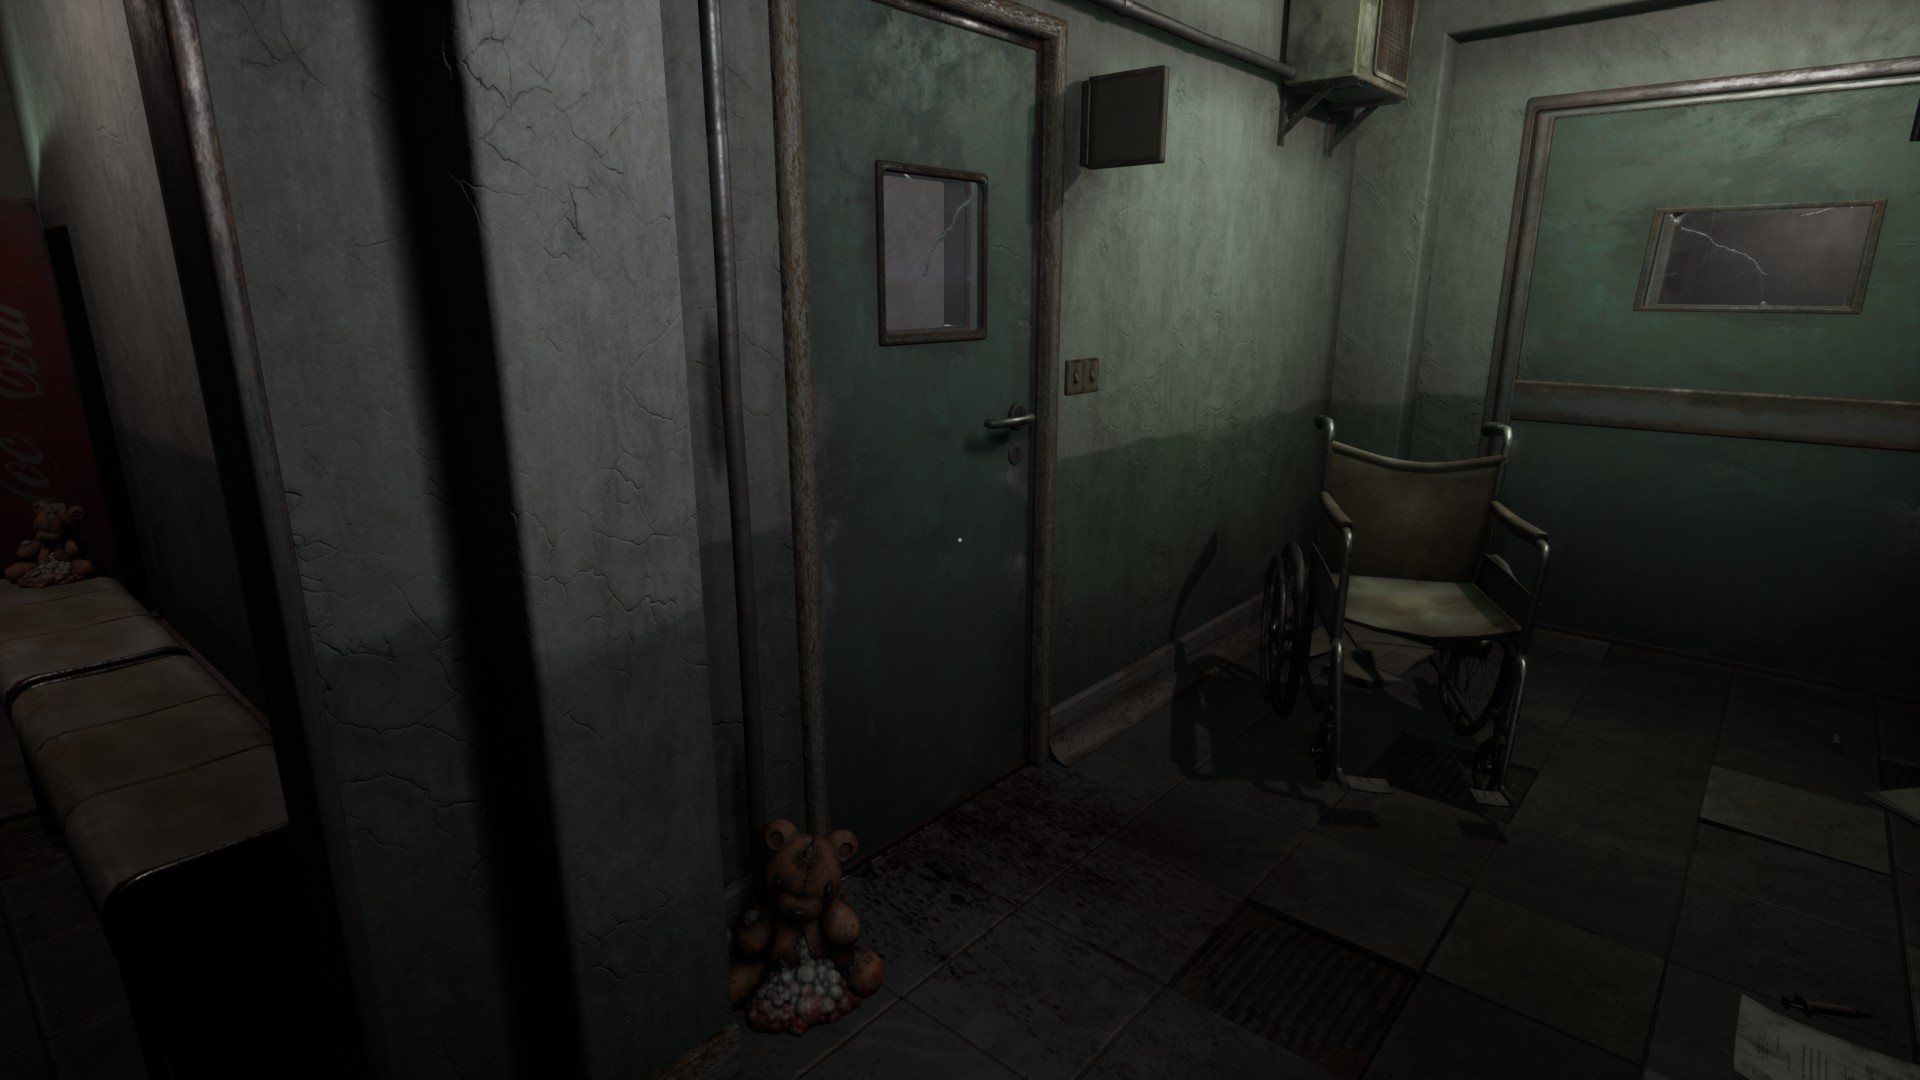
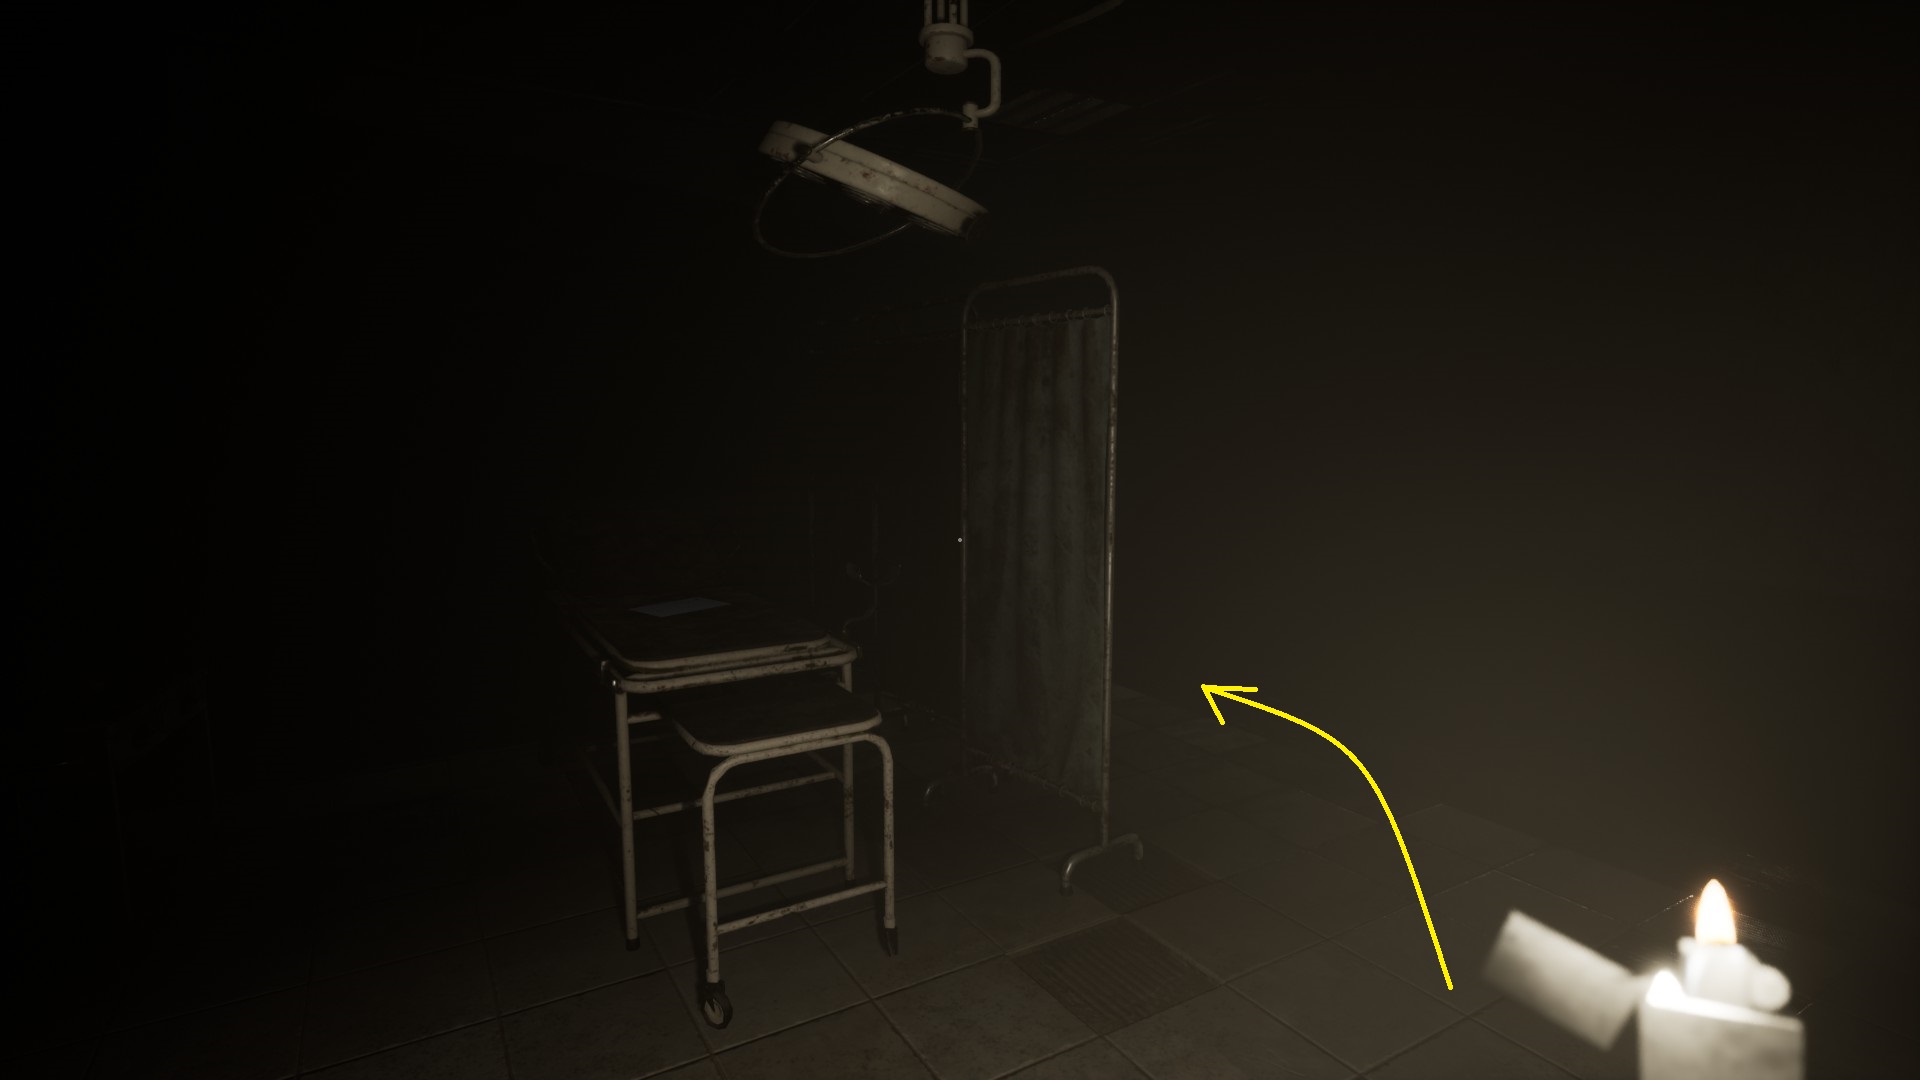
Return to the area with the room where you started from. Something disappears into the room to the left of the wheelchair. All the doors there are locked.
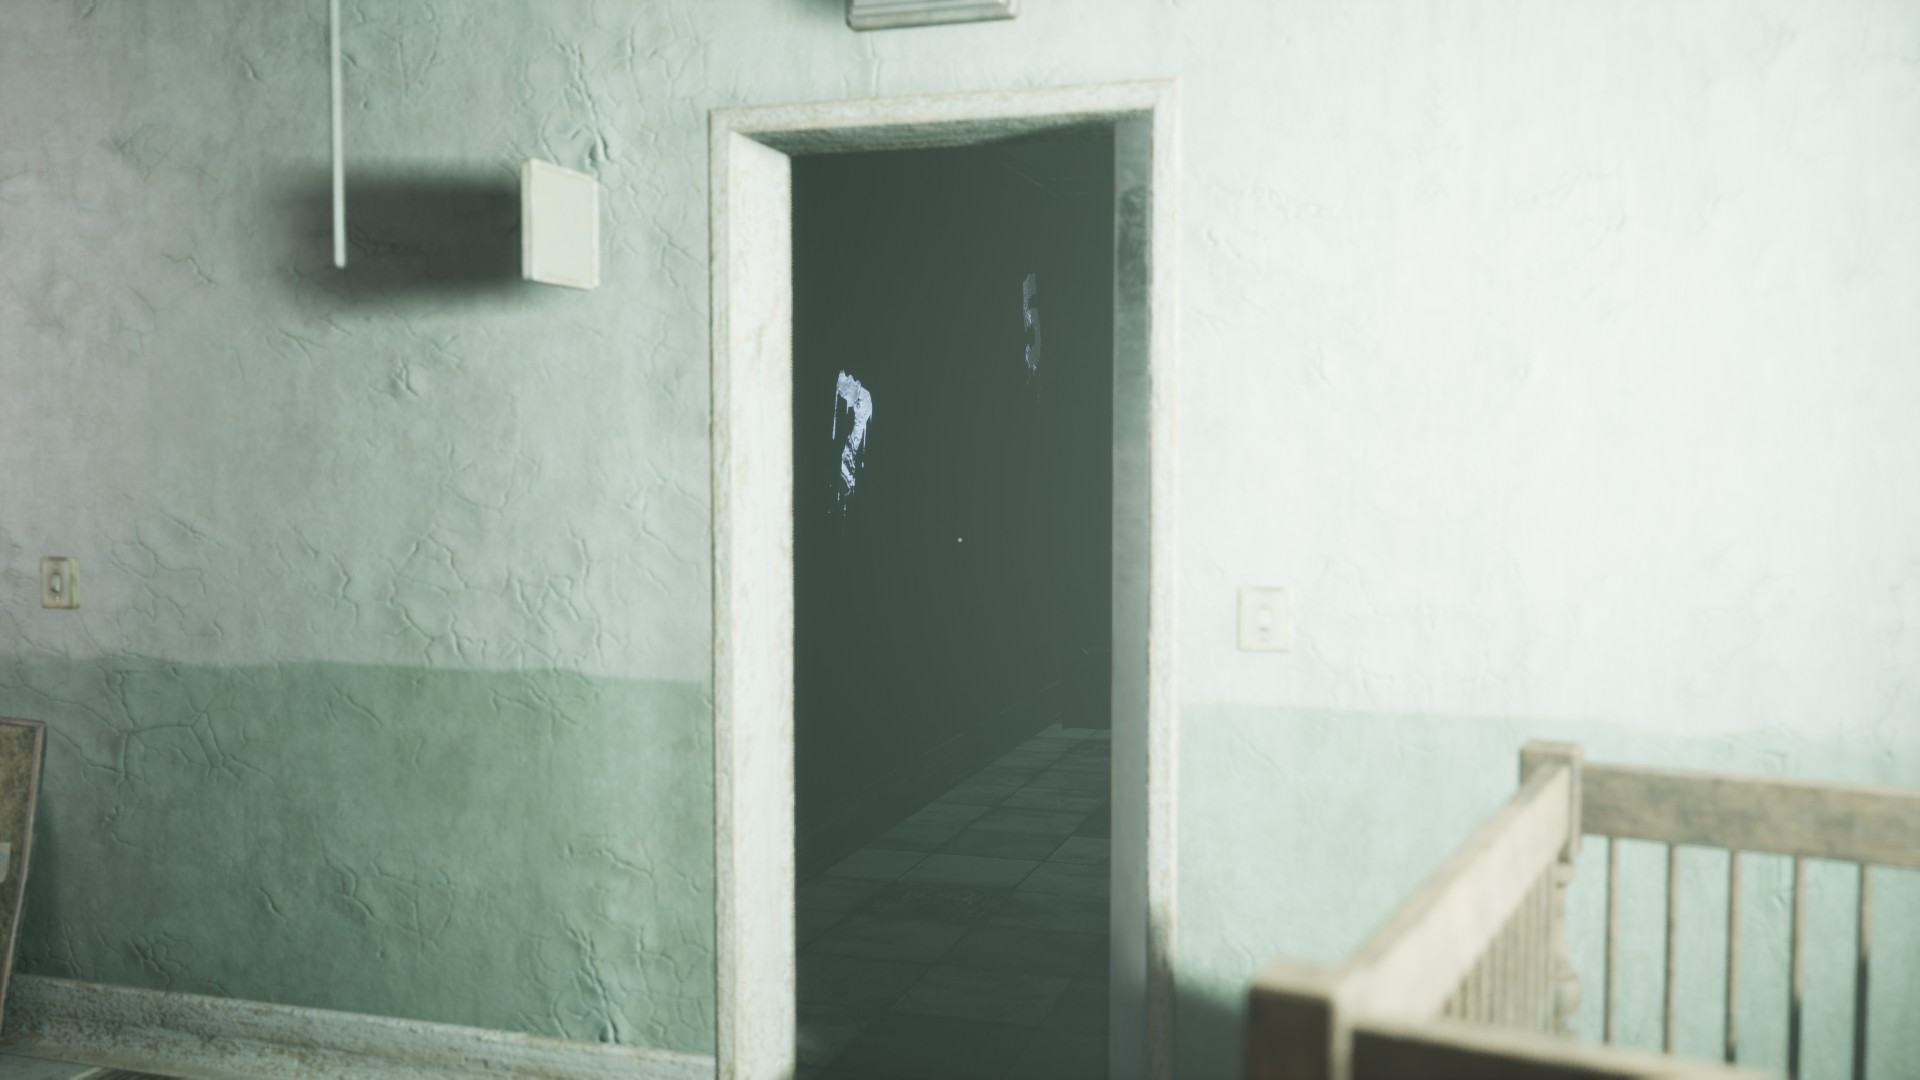
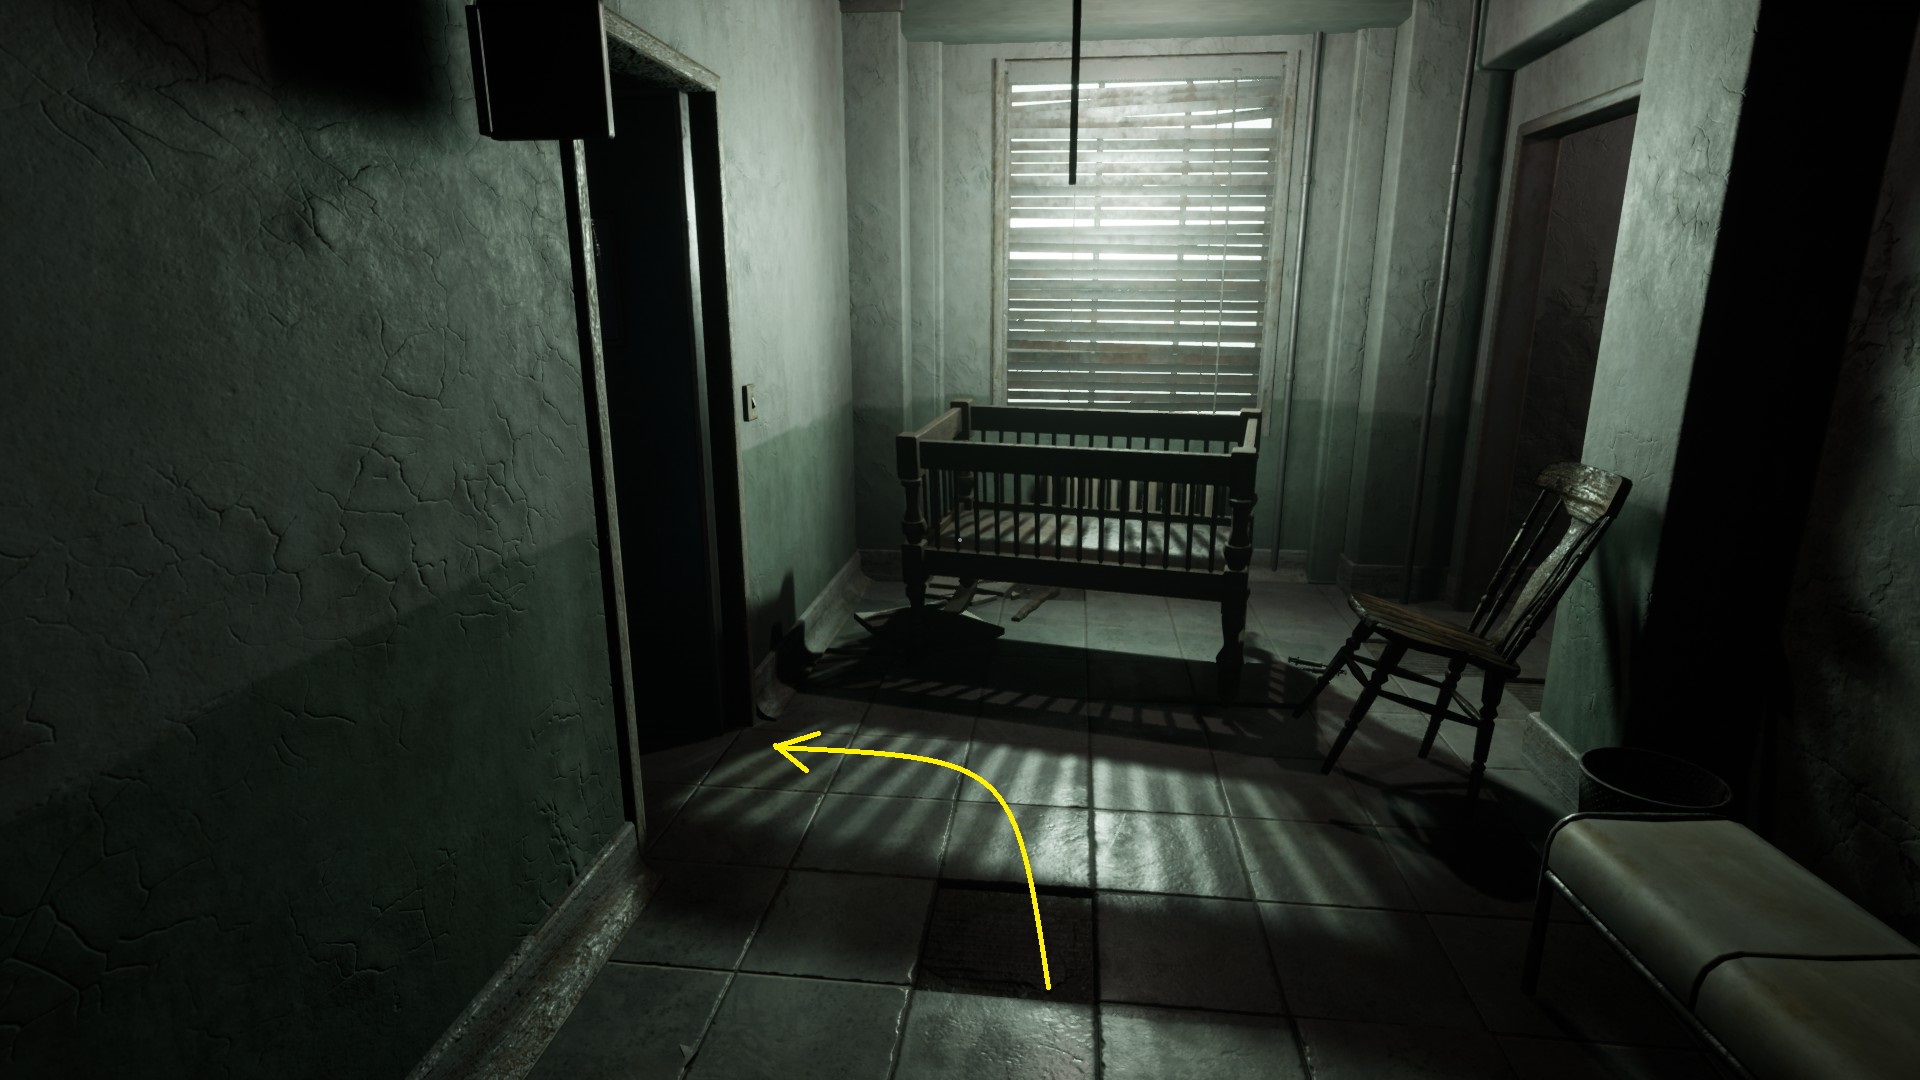
Return to the other end of the hallway, past the black telephone and the third vending machine. This time one of the doors over there has opened up, but a crib blocks the way.
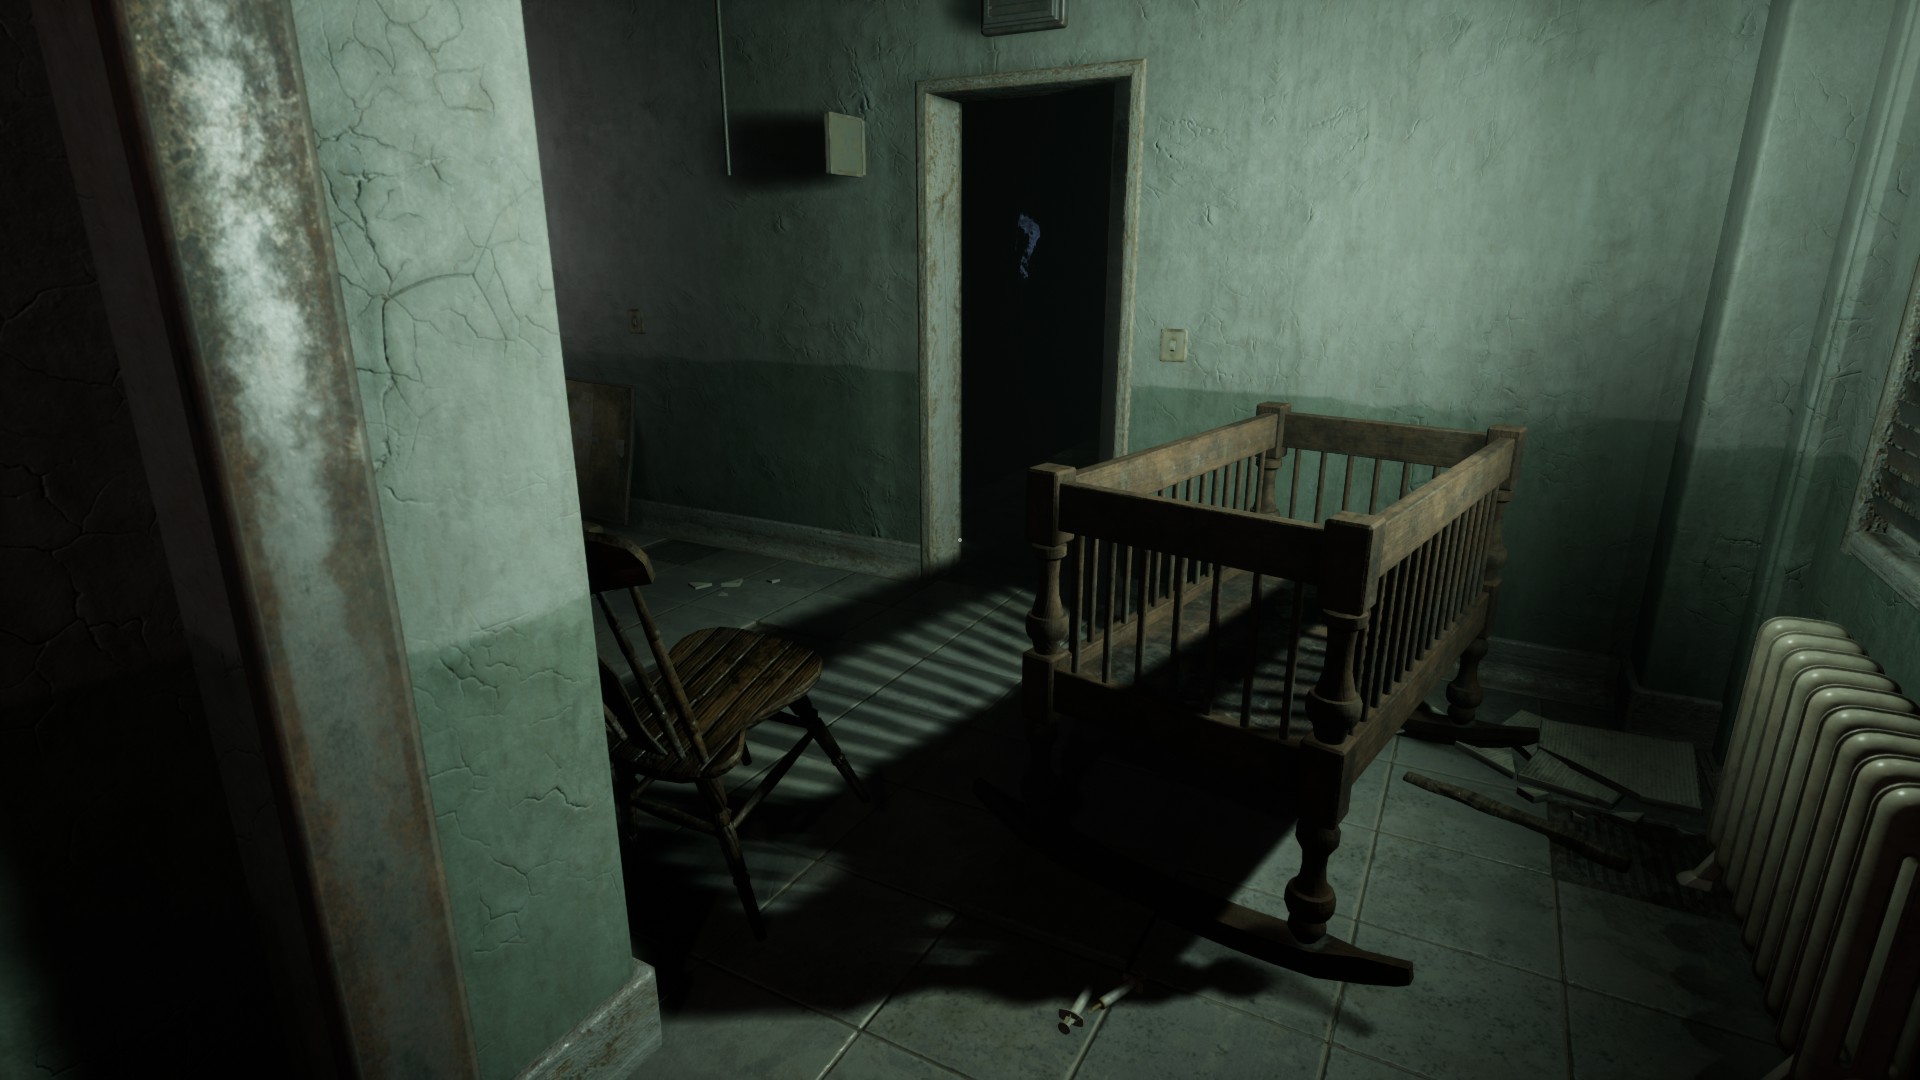
The numbers “7” en “5” are visible inside the room (two of the four numbers you need for the keypad).
Go all the way back to the room where you started van. The door is now open. Binnenkomen.
De other door is now open. Go through it.
De crib starts rocking in the corner of the hallway, then disappears.
Go through the open door naar links.
Jump scare.The door closes and locks behind you.
Neem de opmerking from the bed.
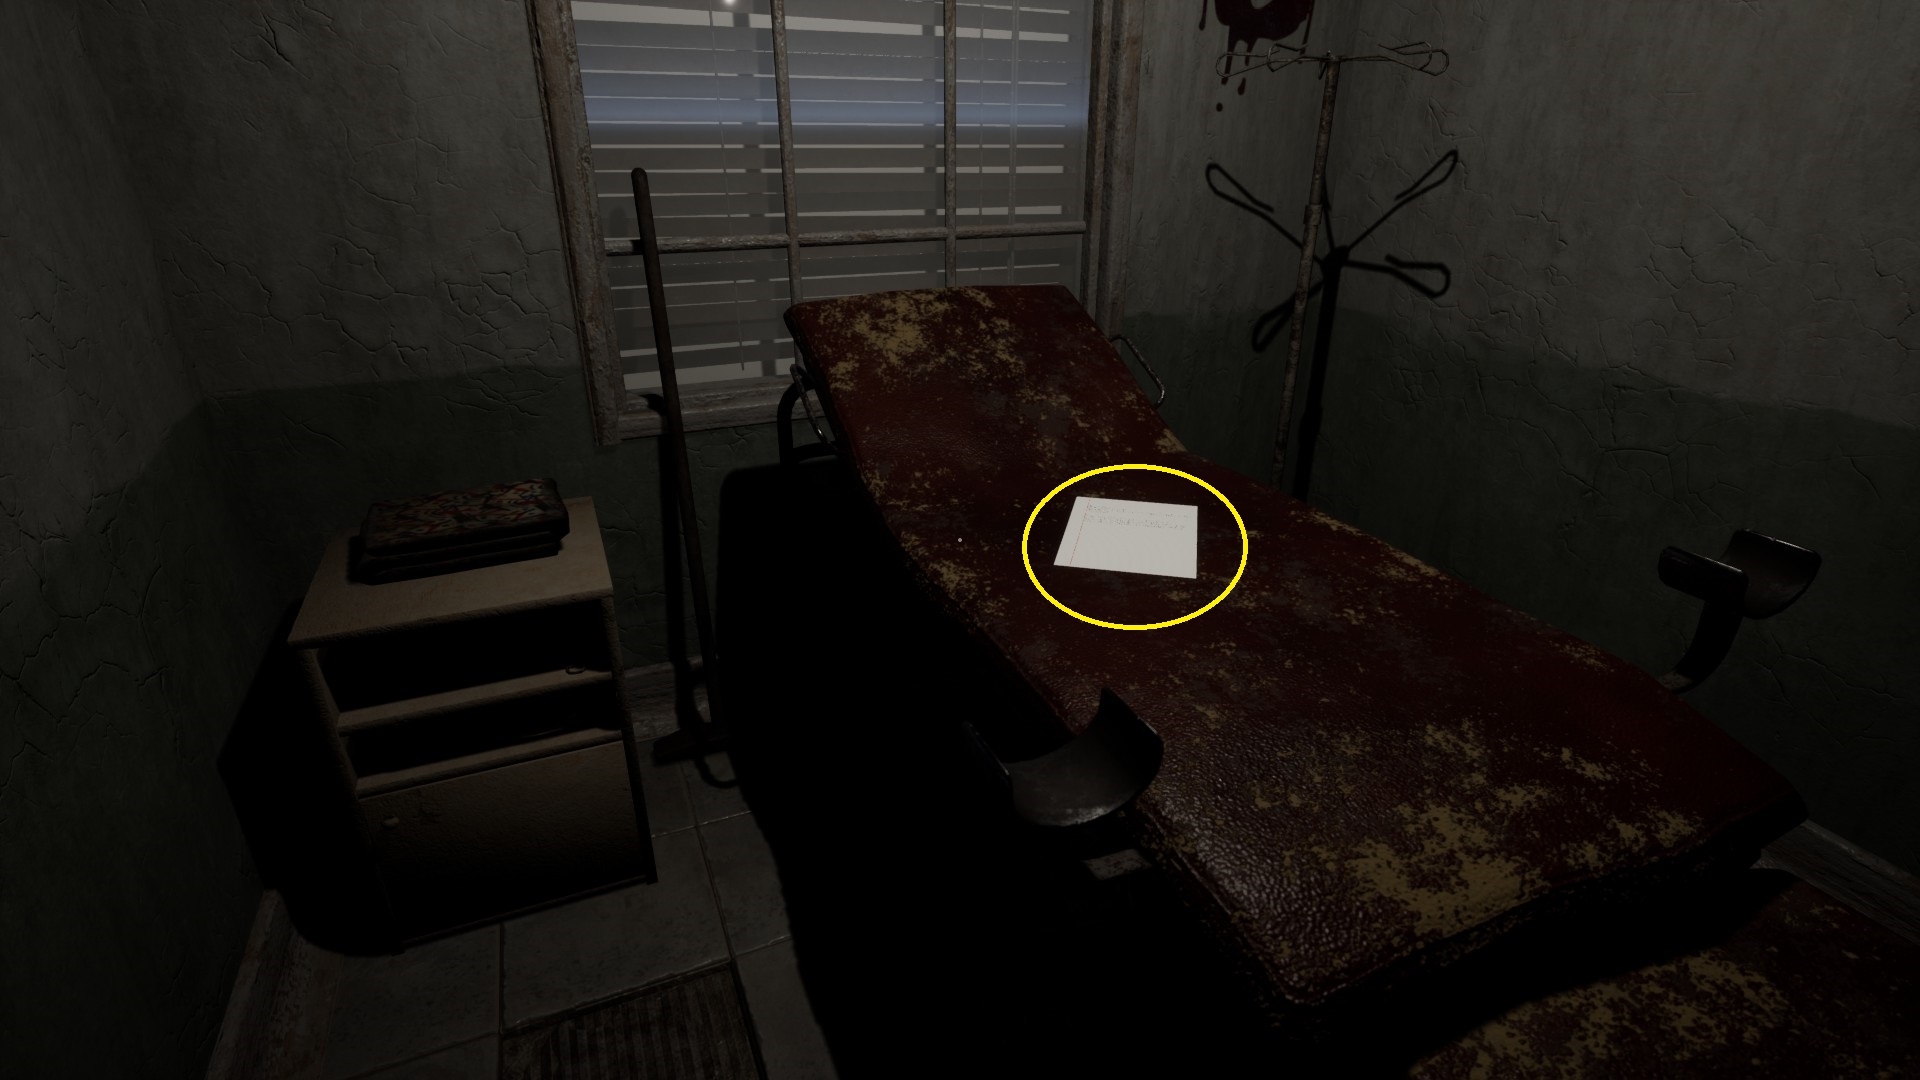
Access your Inventory (Lab) to read the note. It is from someone called Sam.

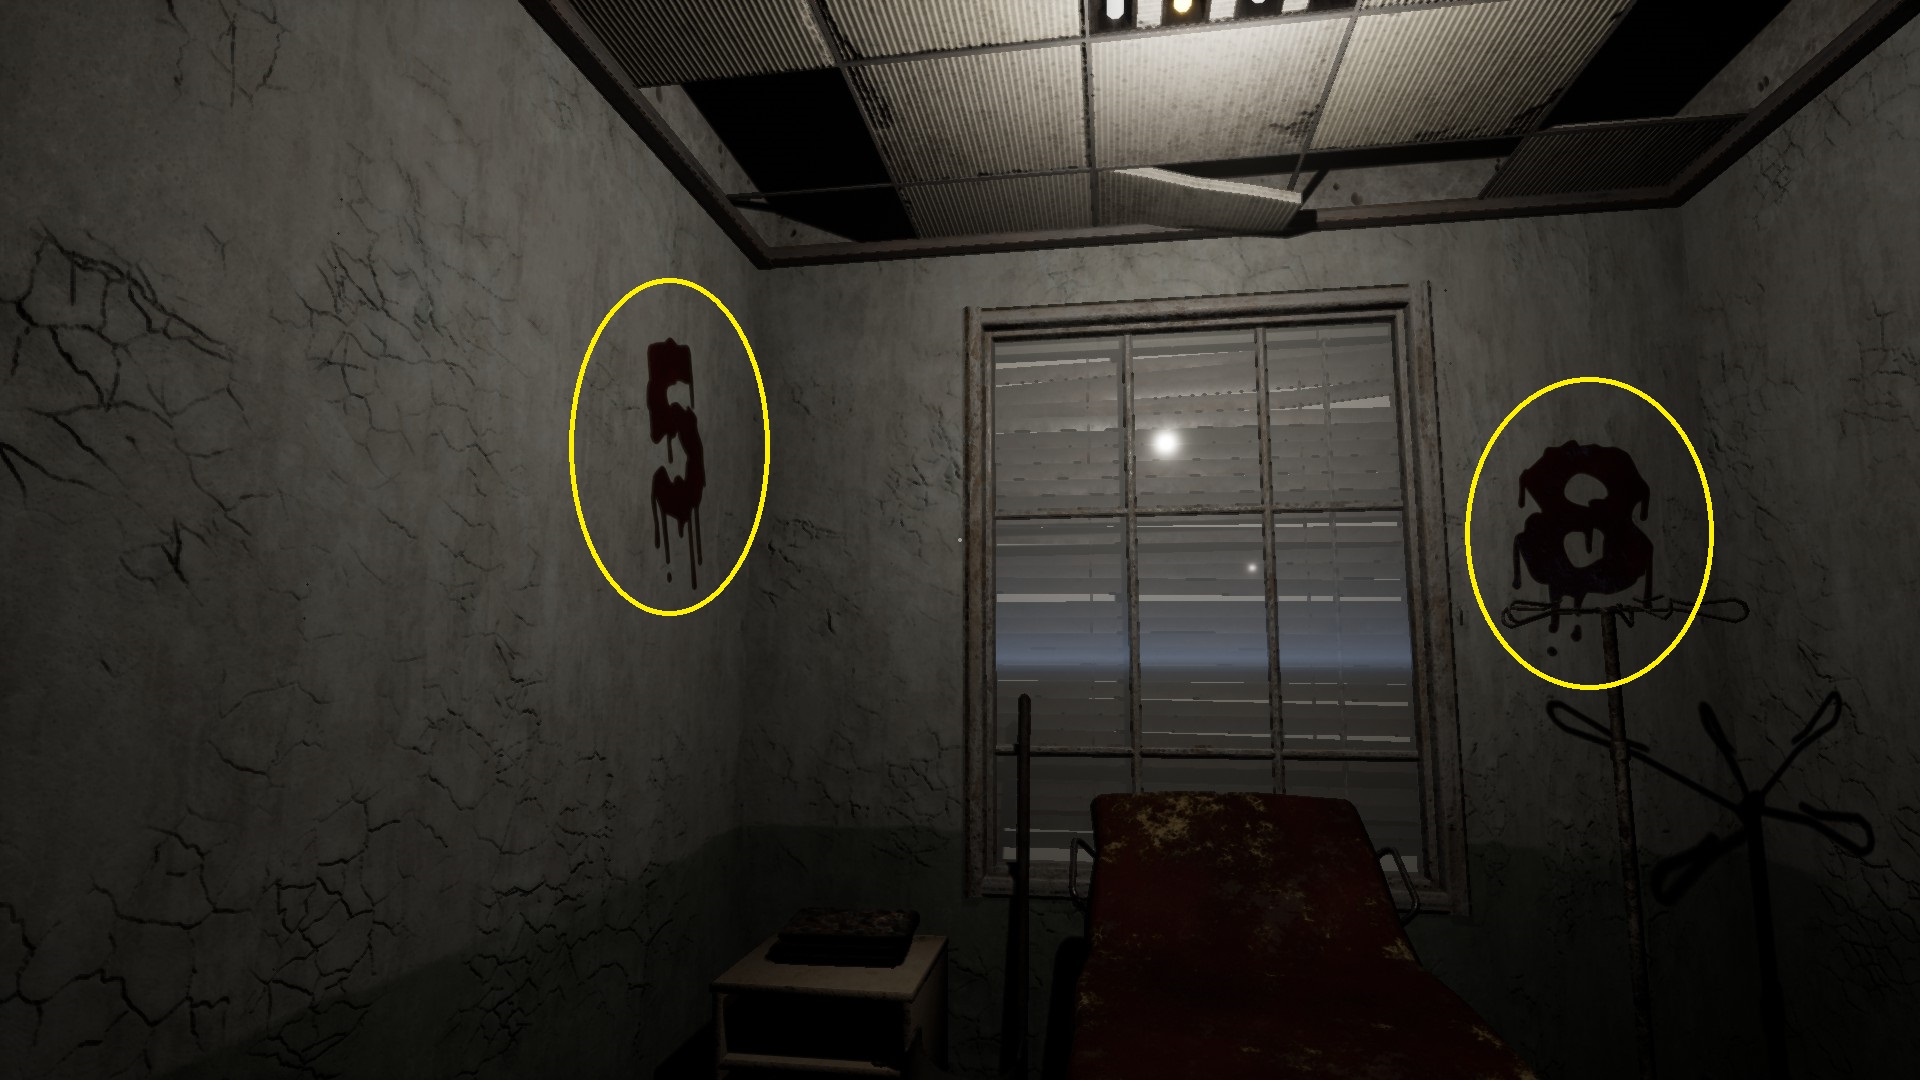
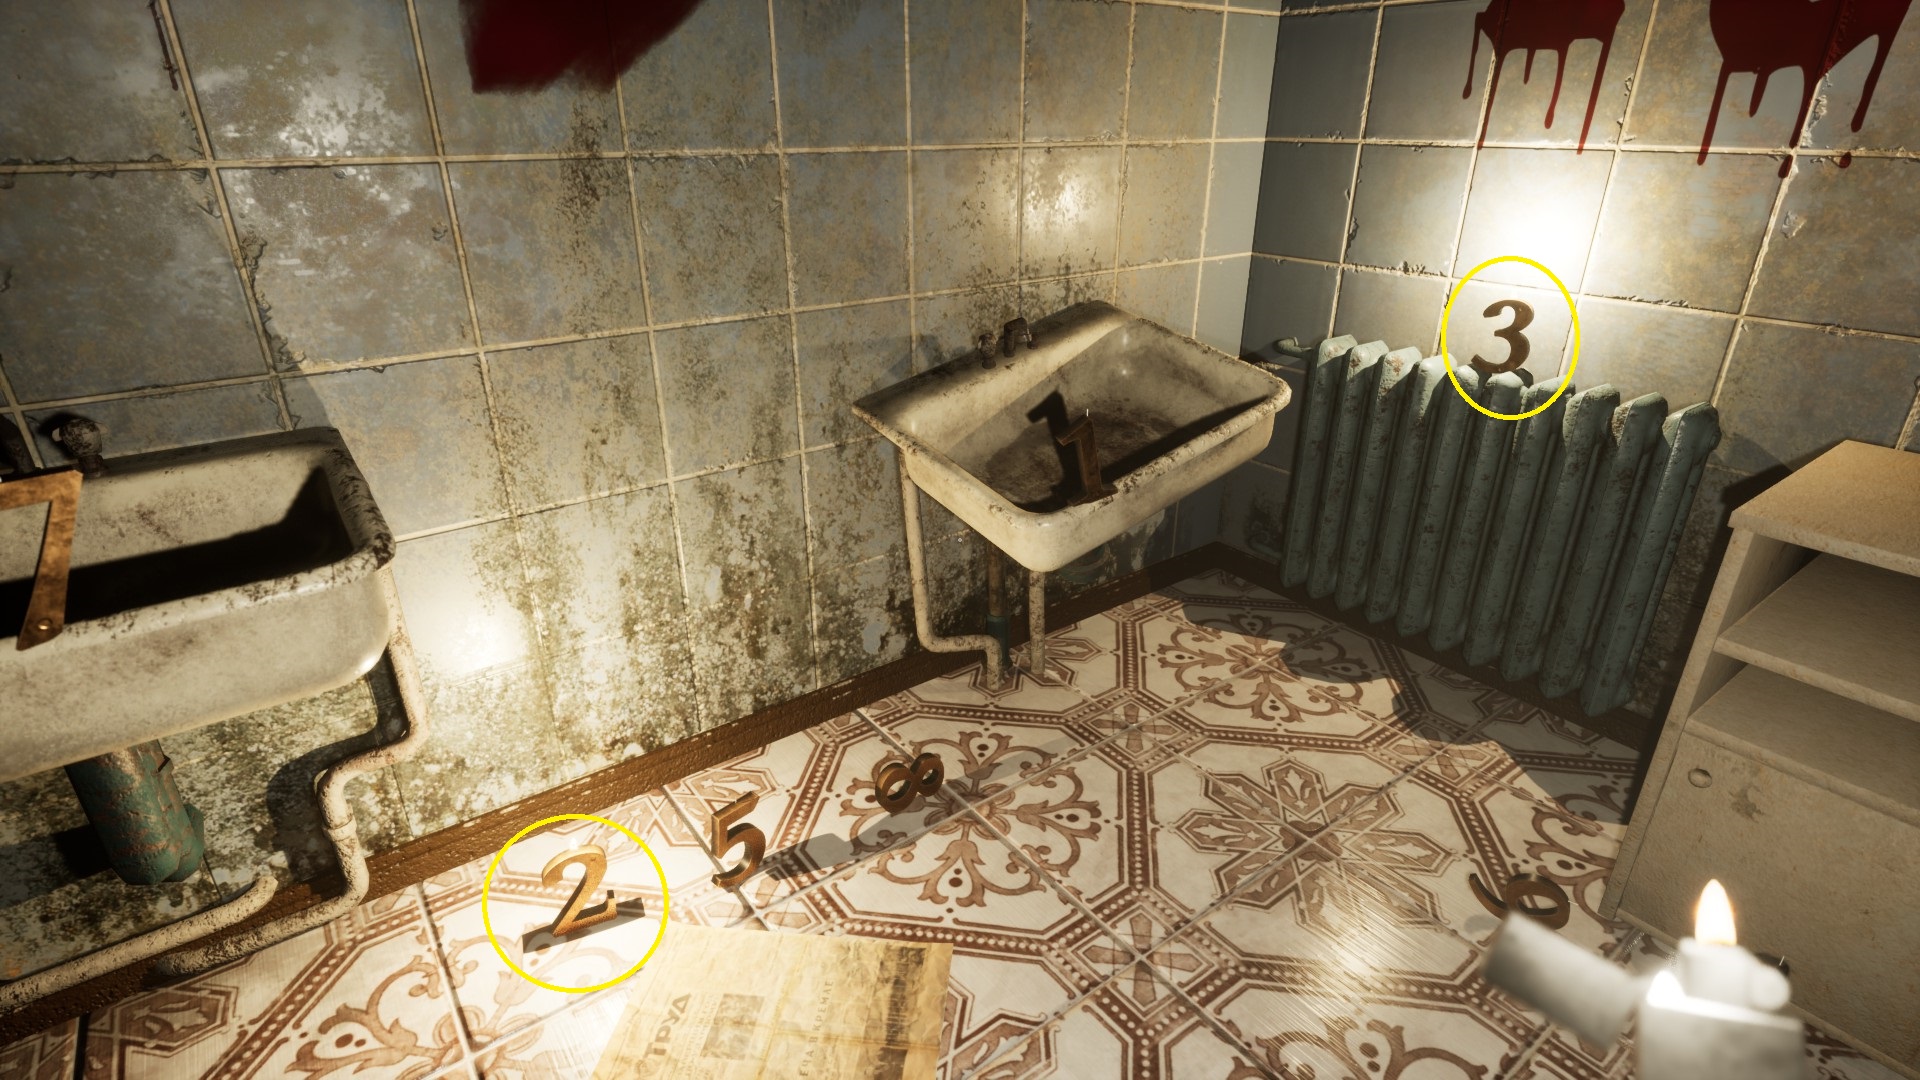
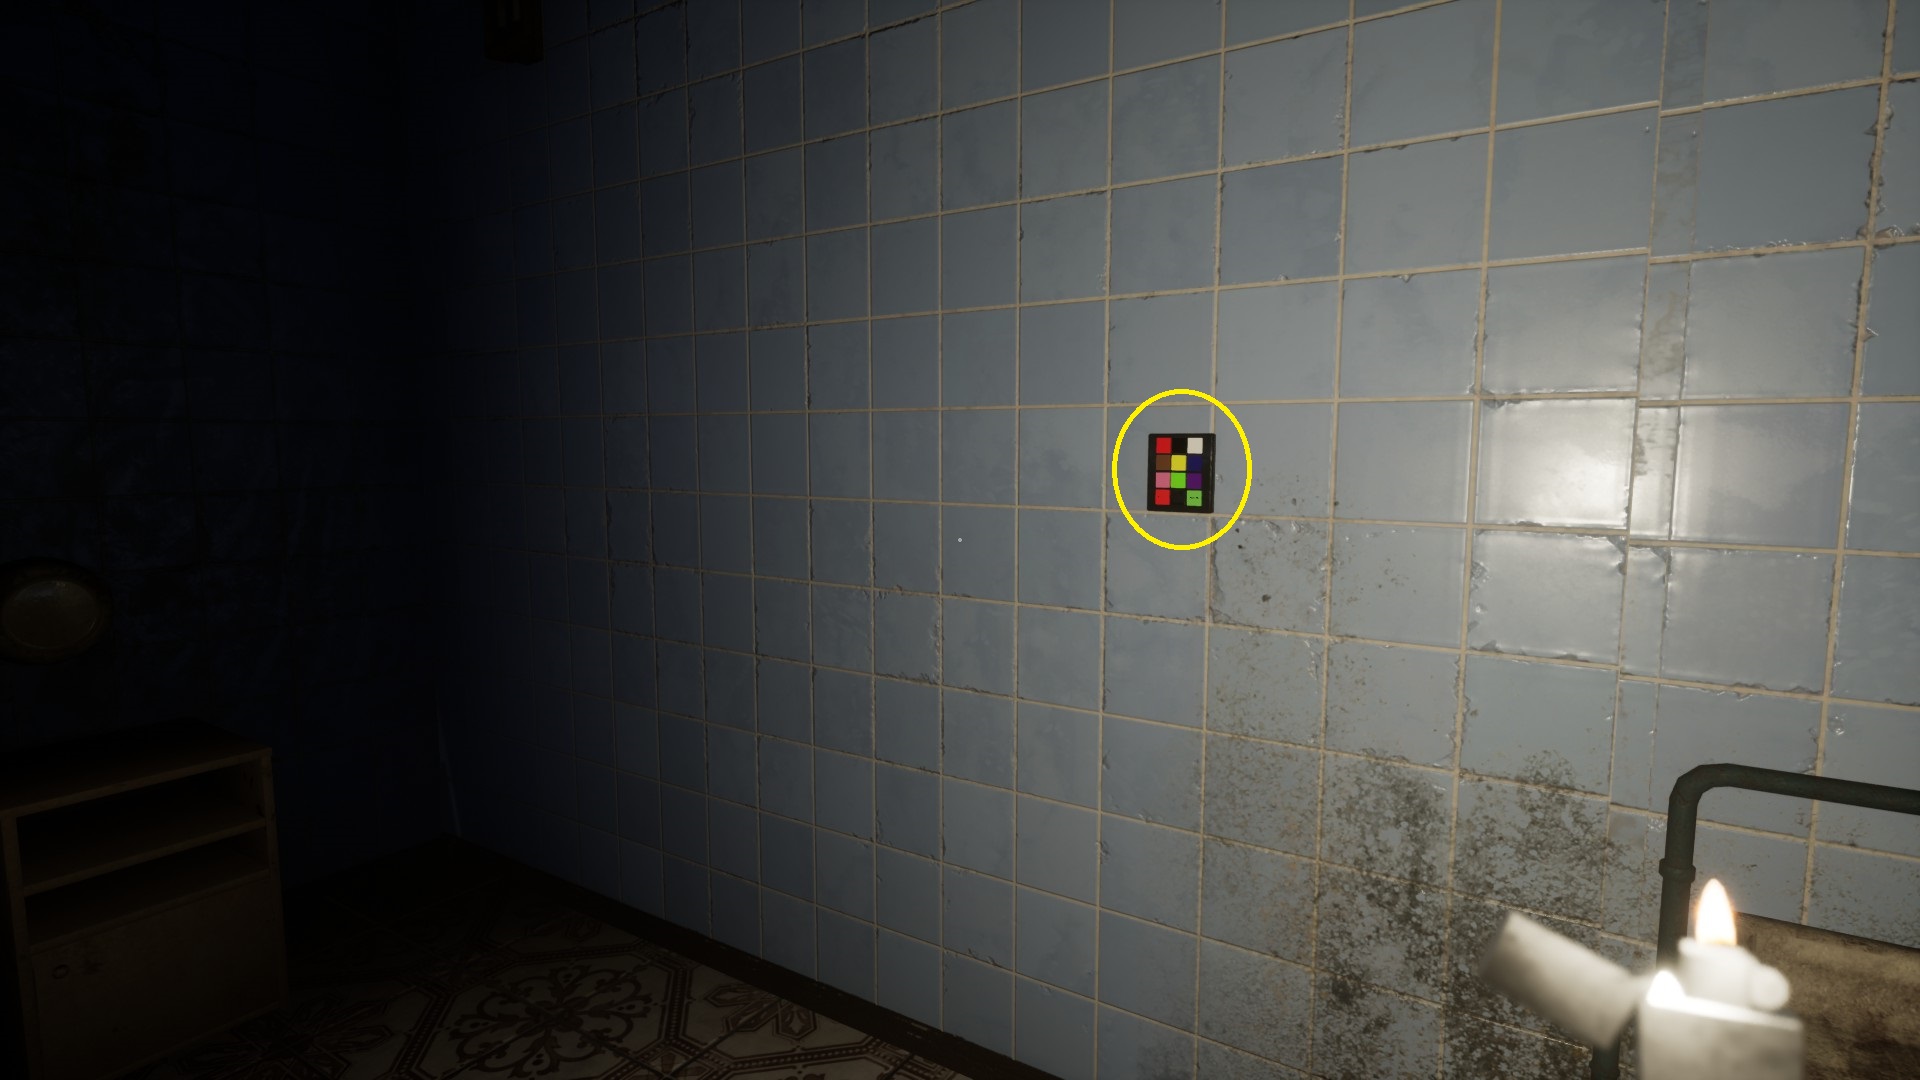
Er zijn four numbers on the walls in the flickering light: 2, 7, 5, 8 . You may have to use zoom (press mousewheel) to clearly see the first number next to the door.

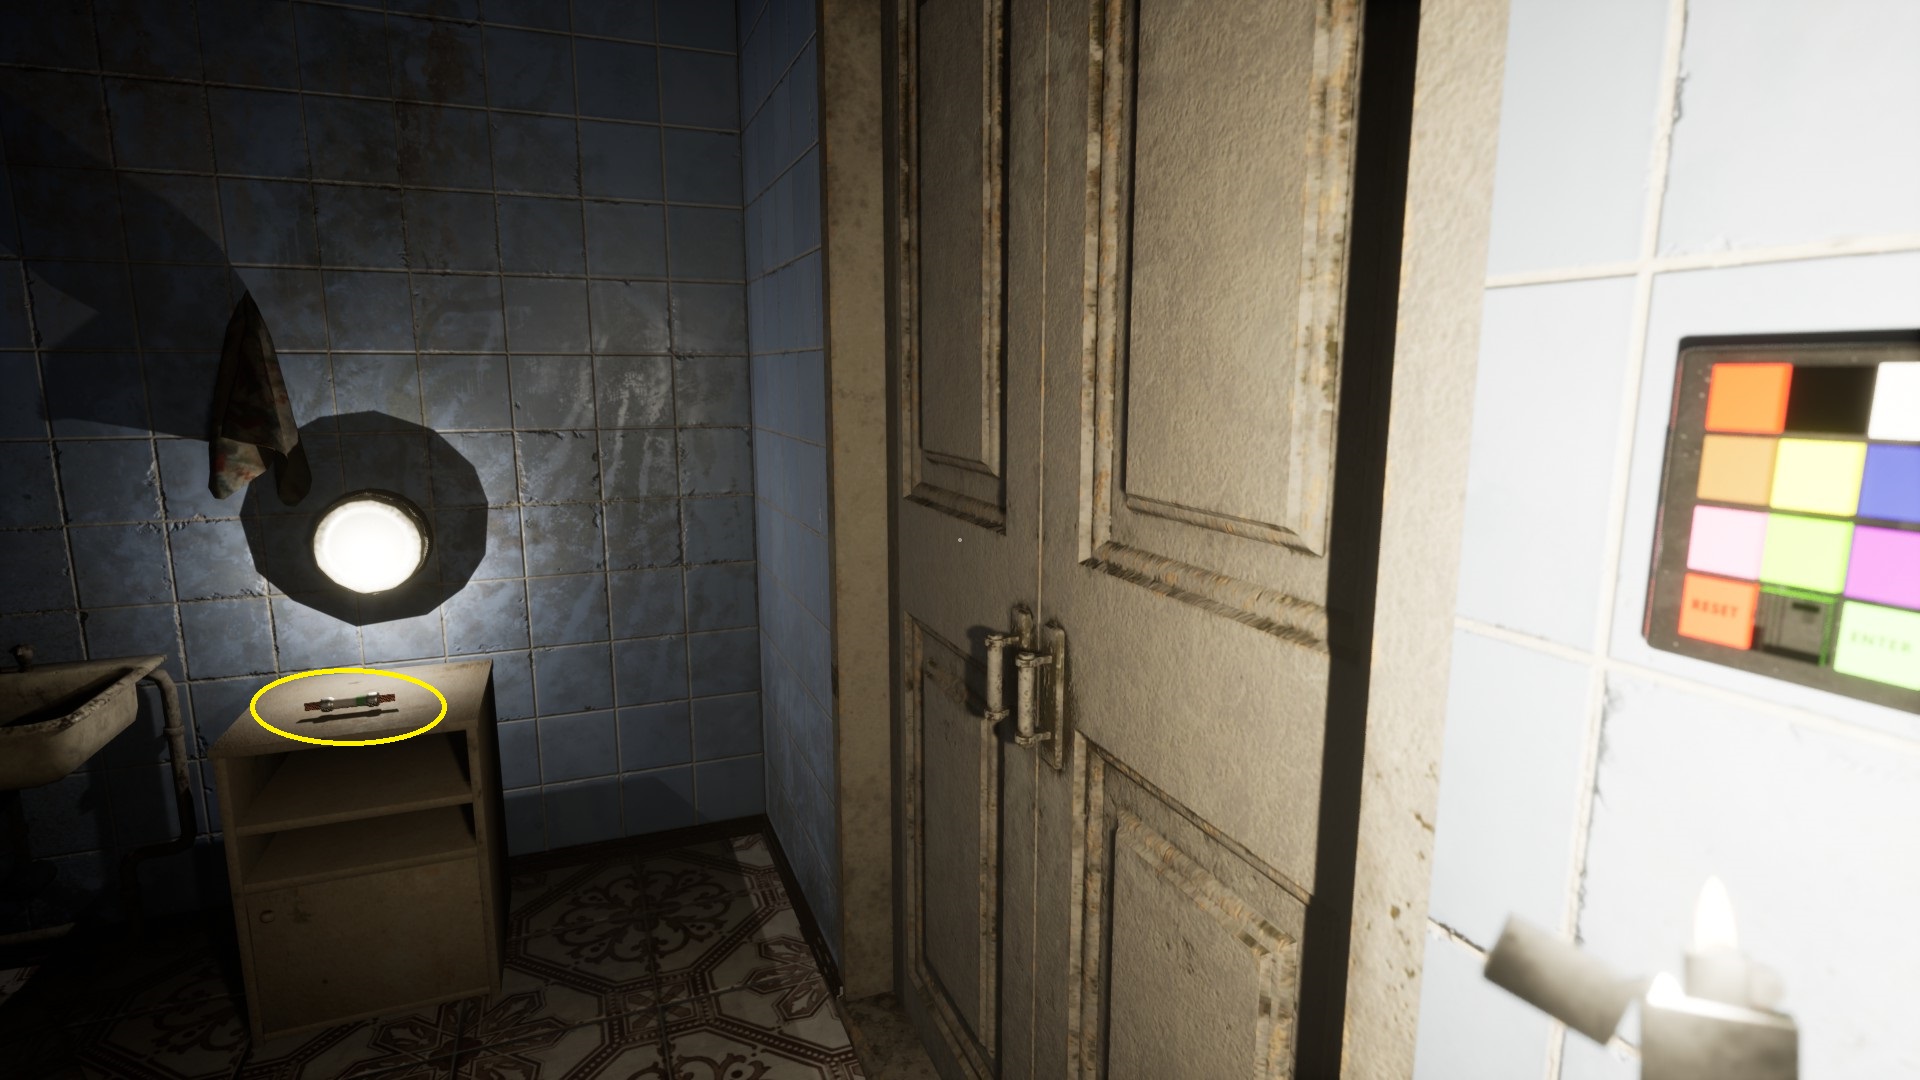
Neem de sleutel van de nightstand in this room.

Gebruik de sleutel op de door to get back out – klik met de rechtermuisknop (access key from Inventory), left-click (unlock door), left-click (open door).
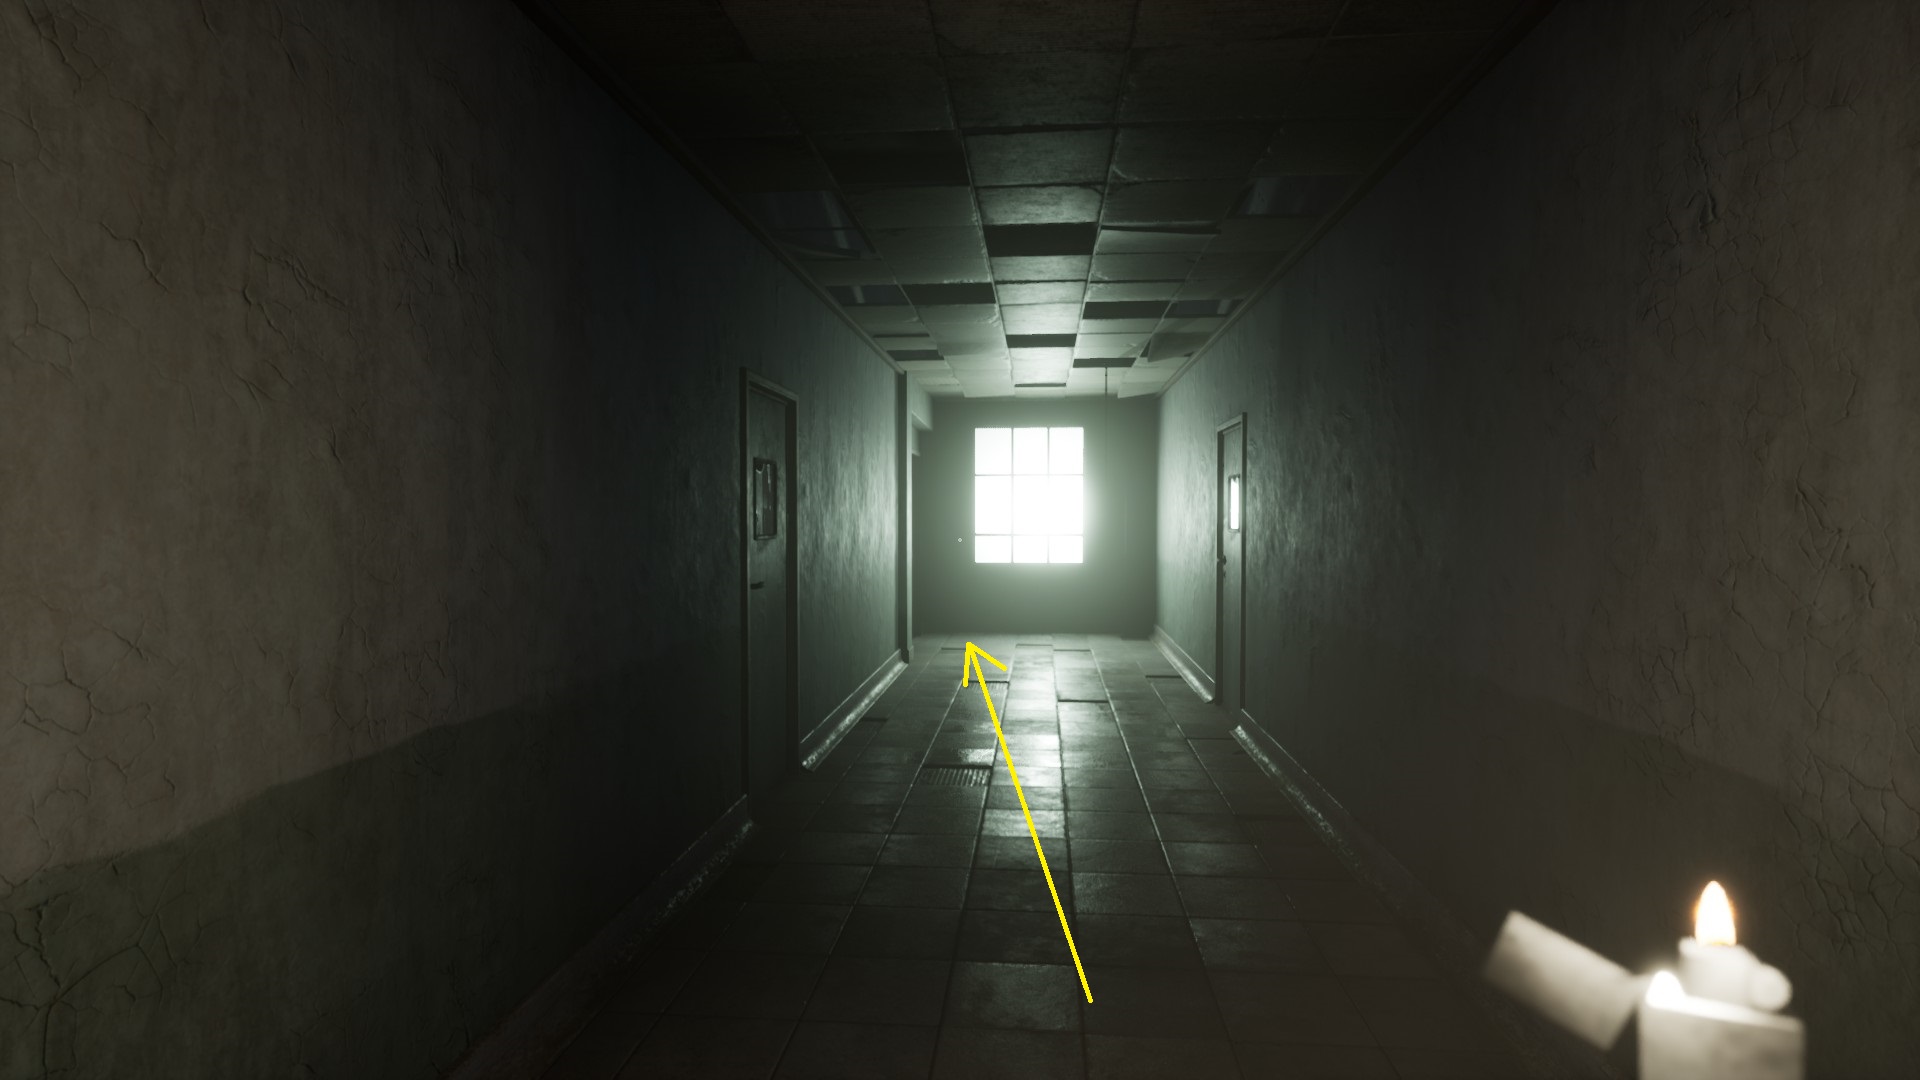
Go back along the hallway – straight on (iets naar links) as you exit the door …

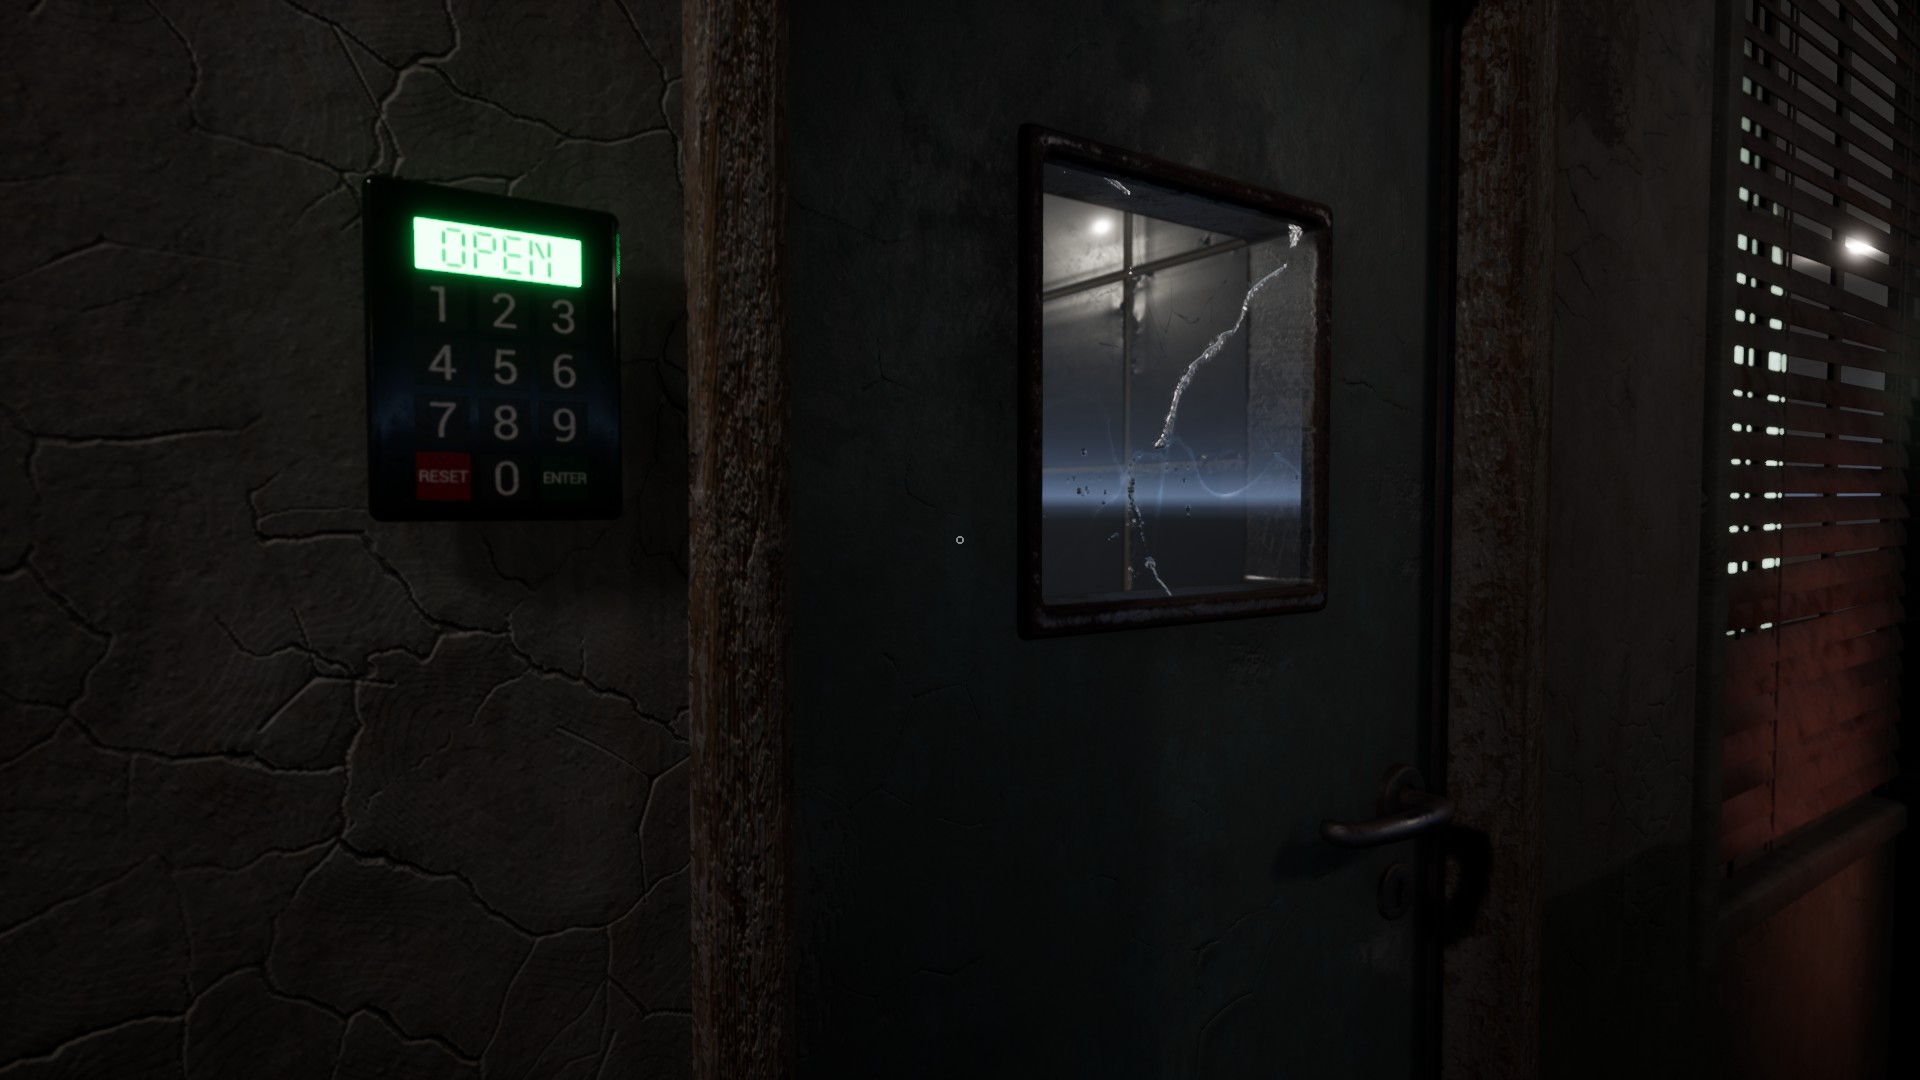
… to return to the door with the keypad.
Type the code 2758 into the keypad to unlock the door.

Left-click the door so it opens. Go through the door.
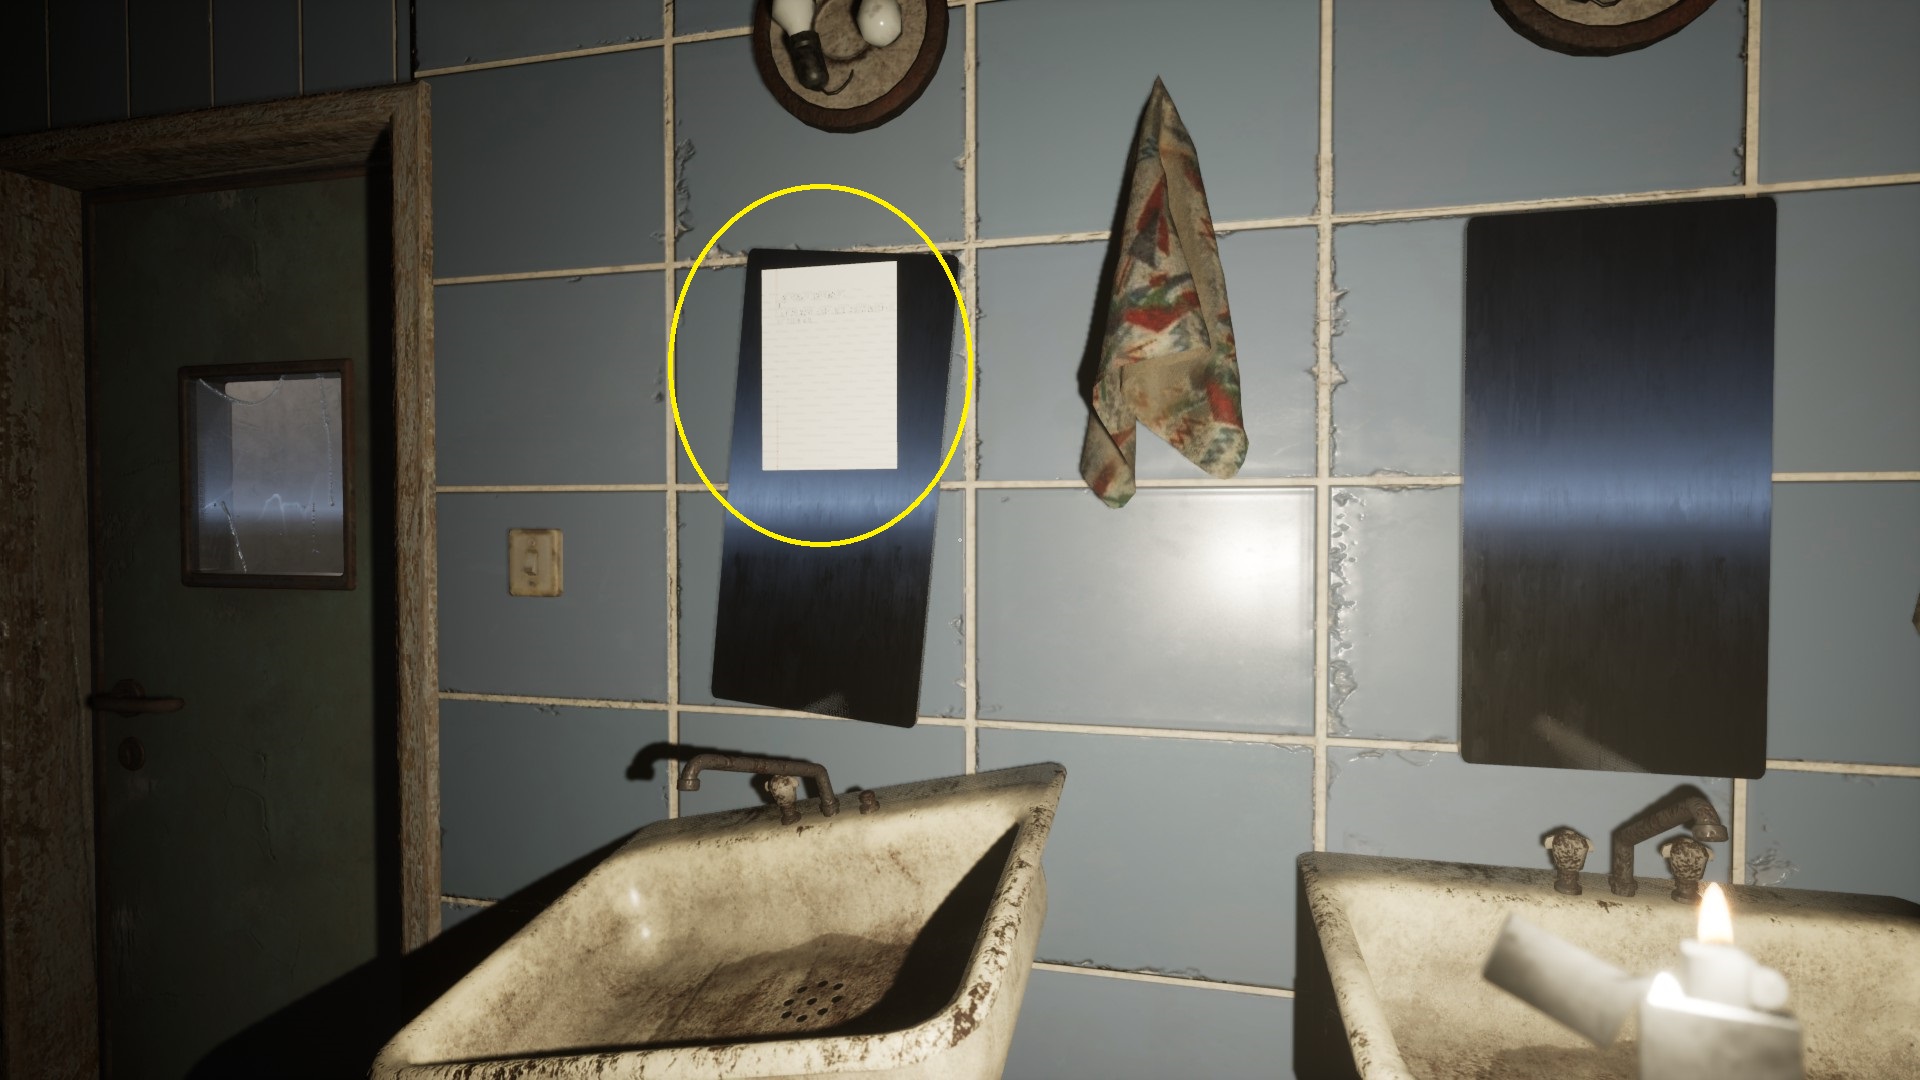
TOILETS
Look around.
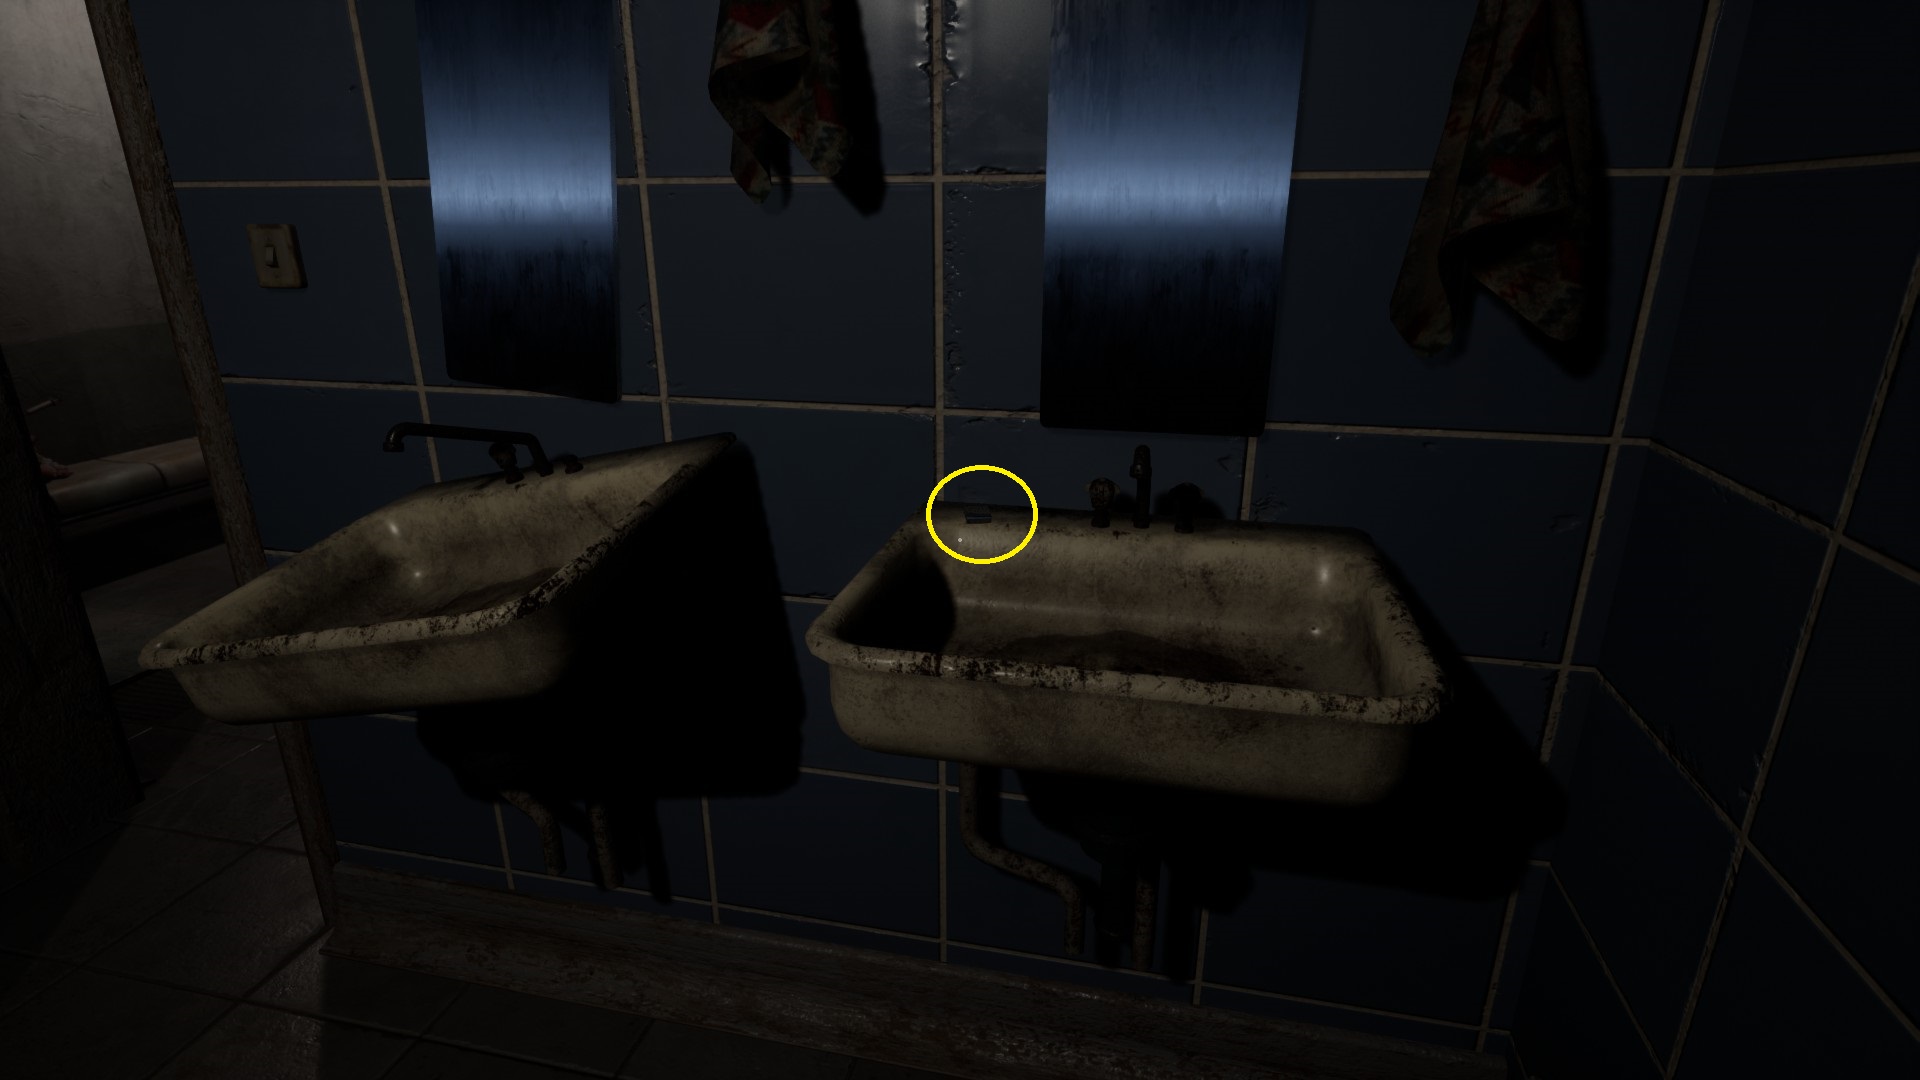
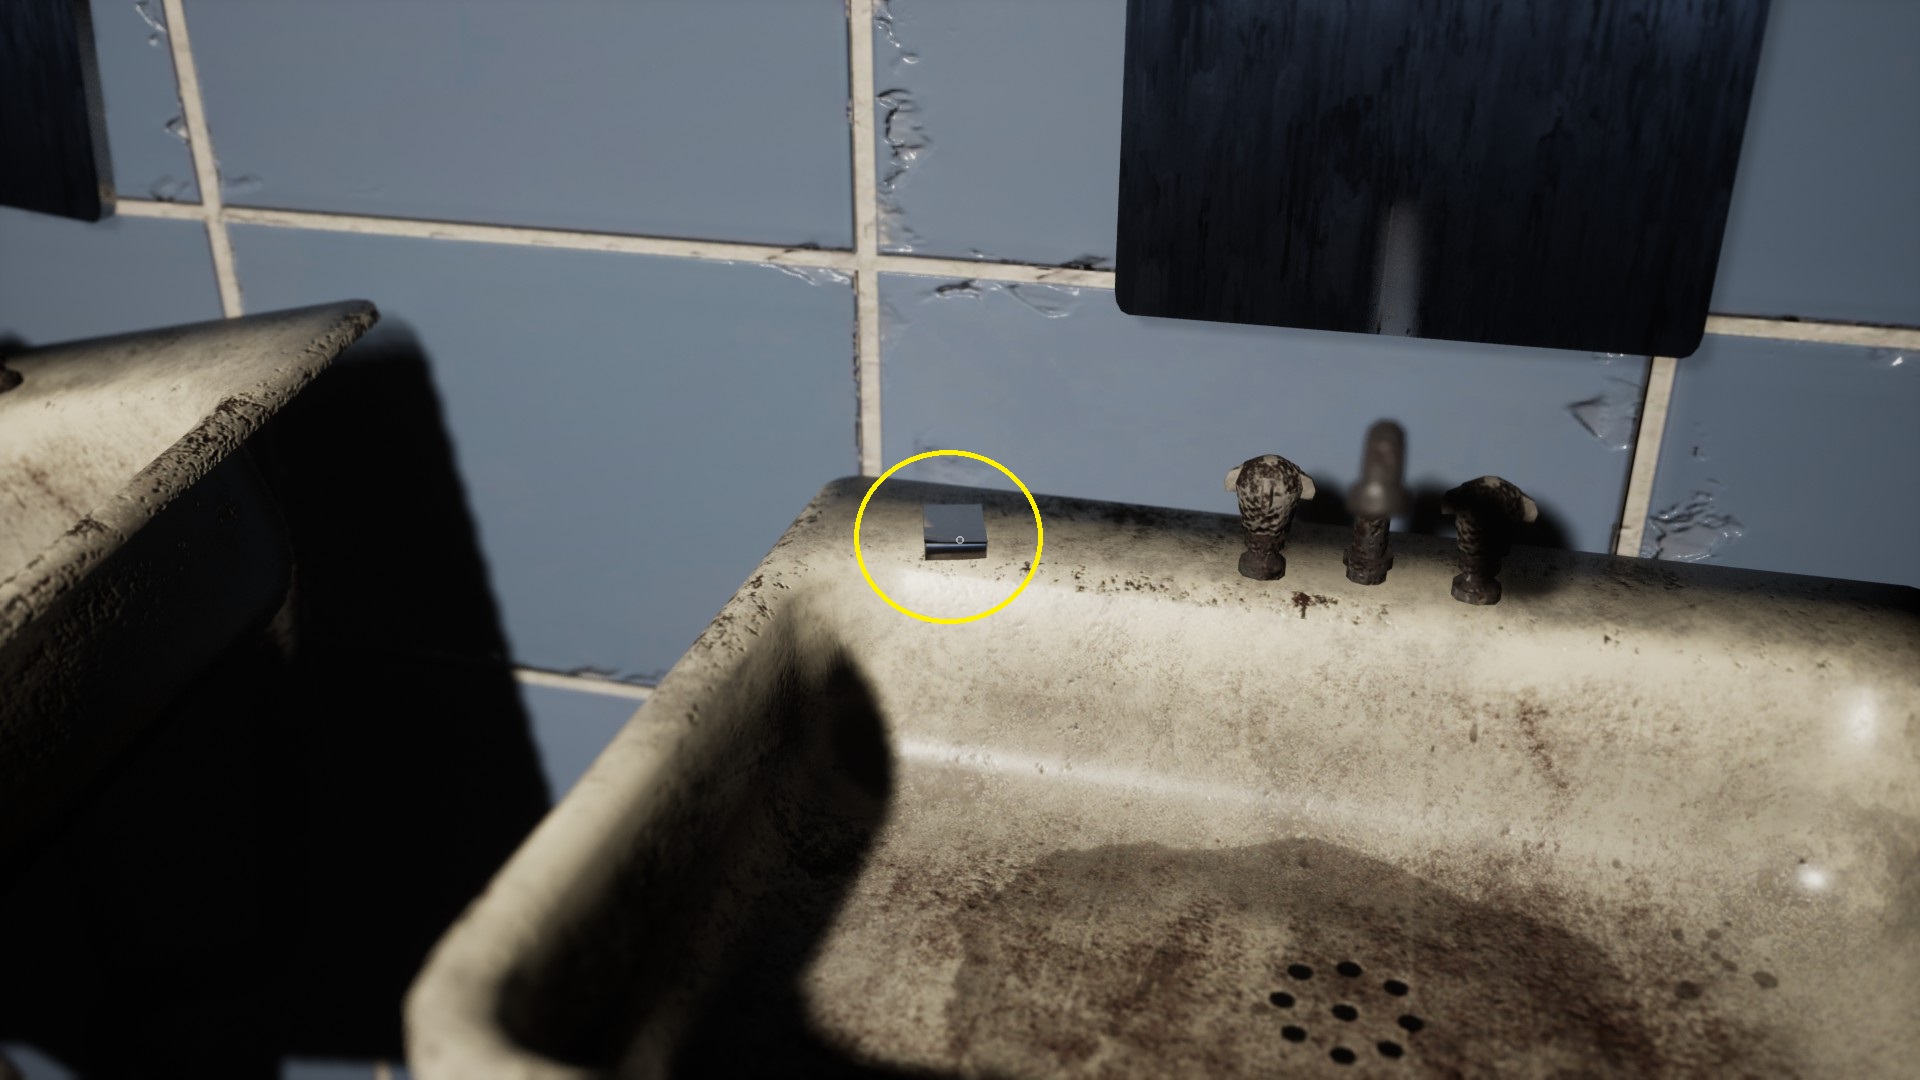
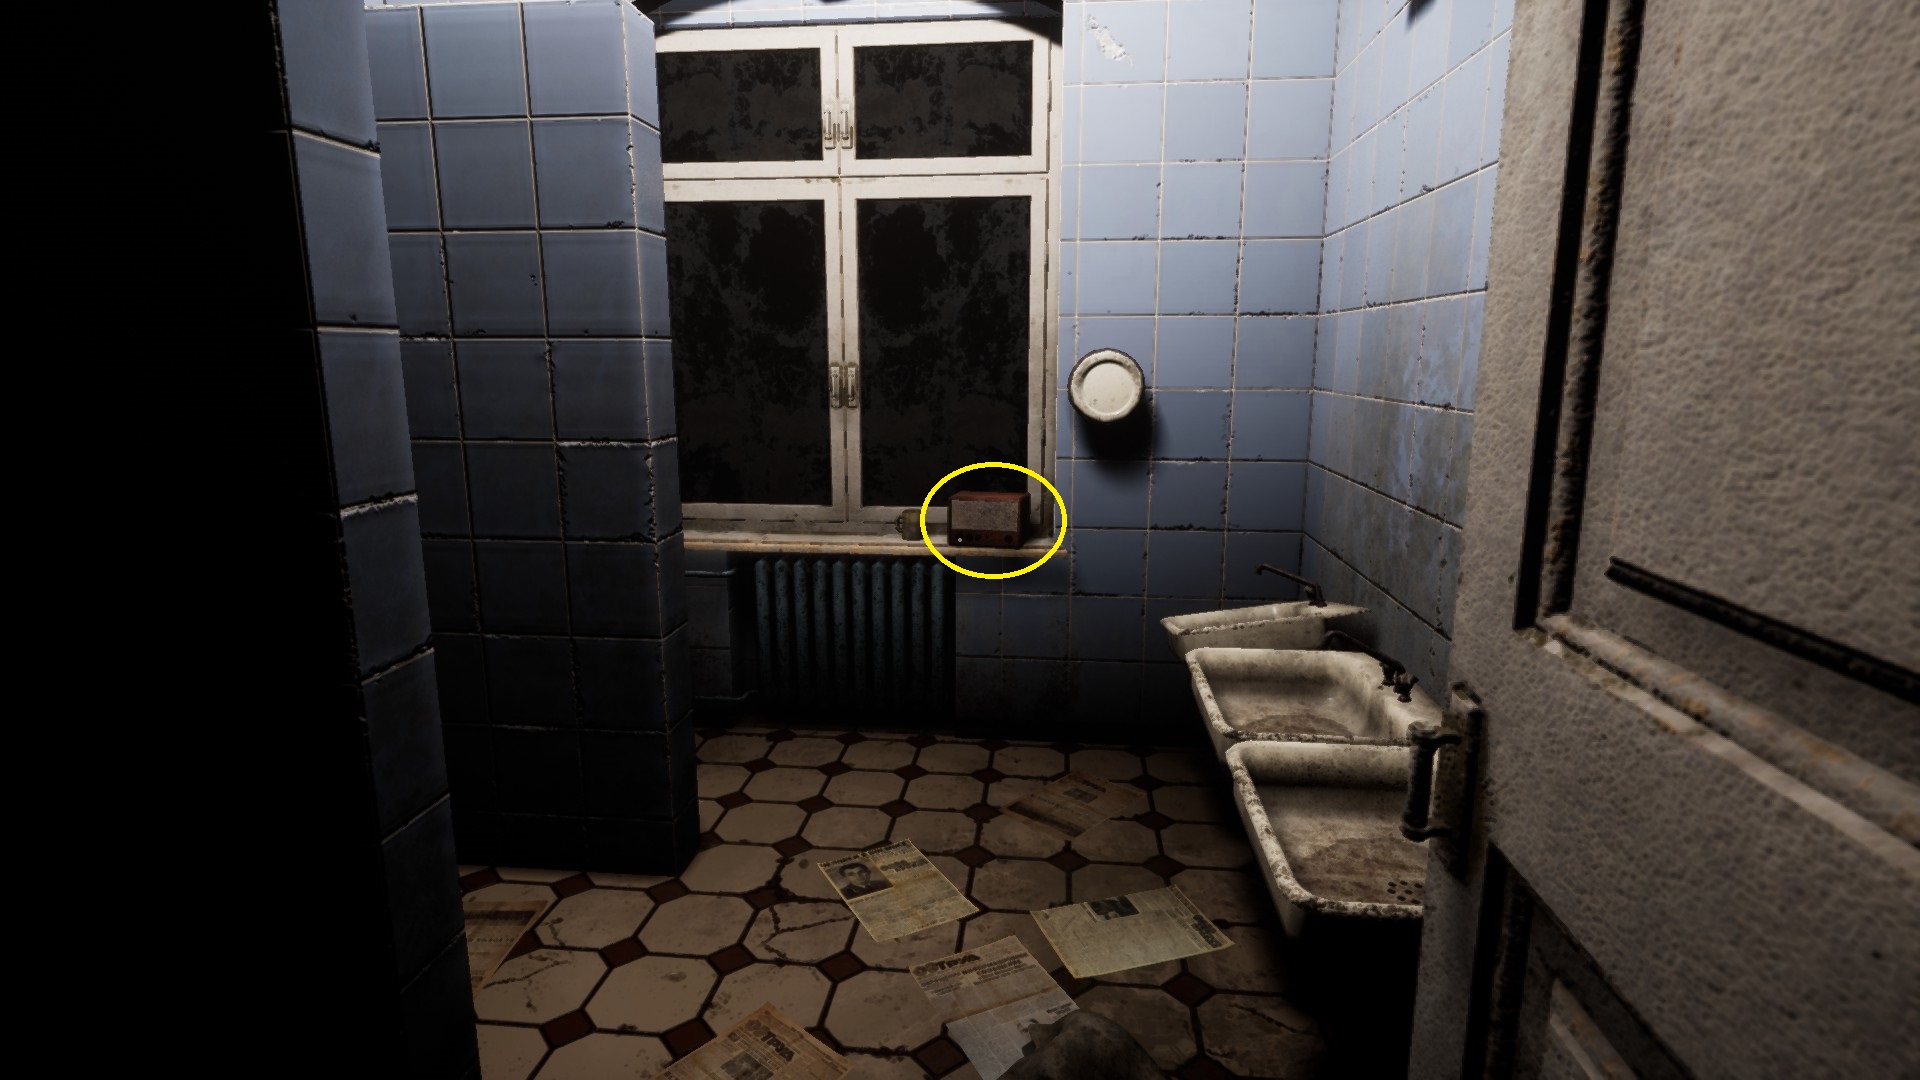
Neem de lichter from the right-side basin .
The lights go out (jumpscare). Gebruik de lichter: (F).
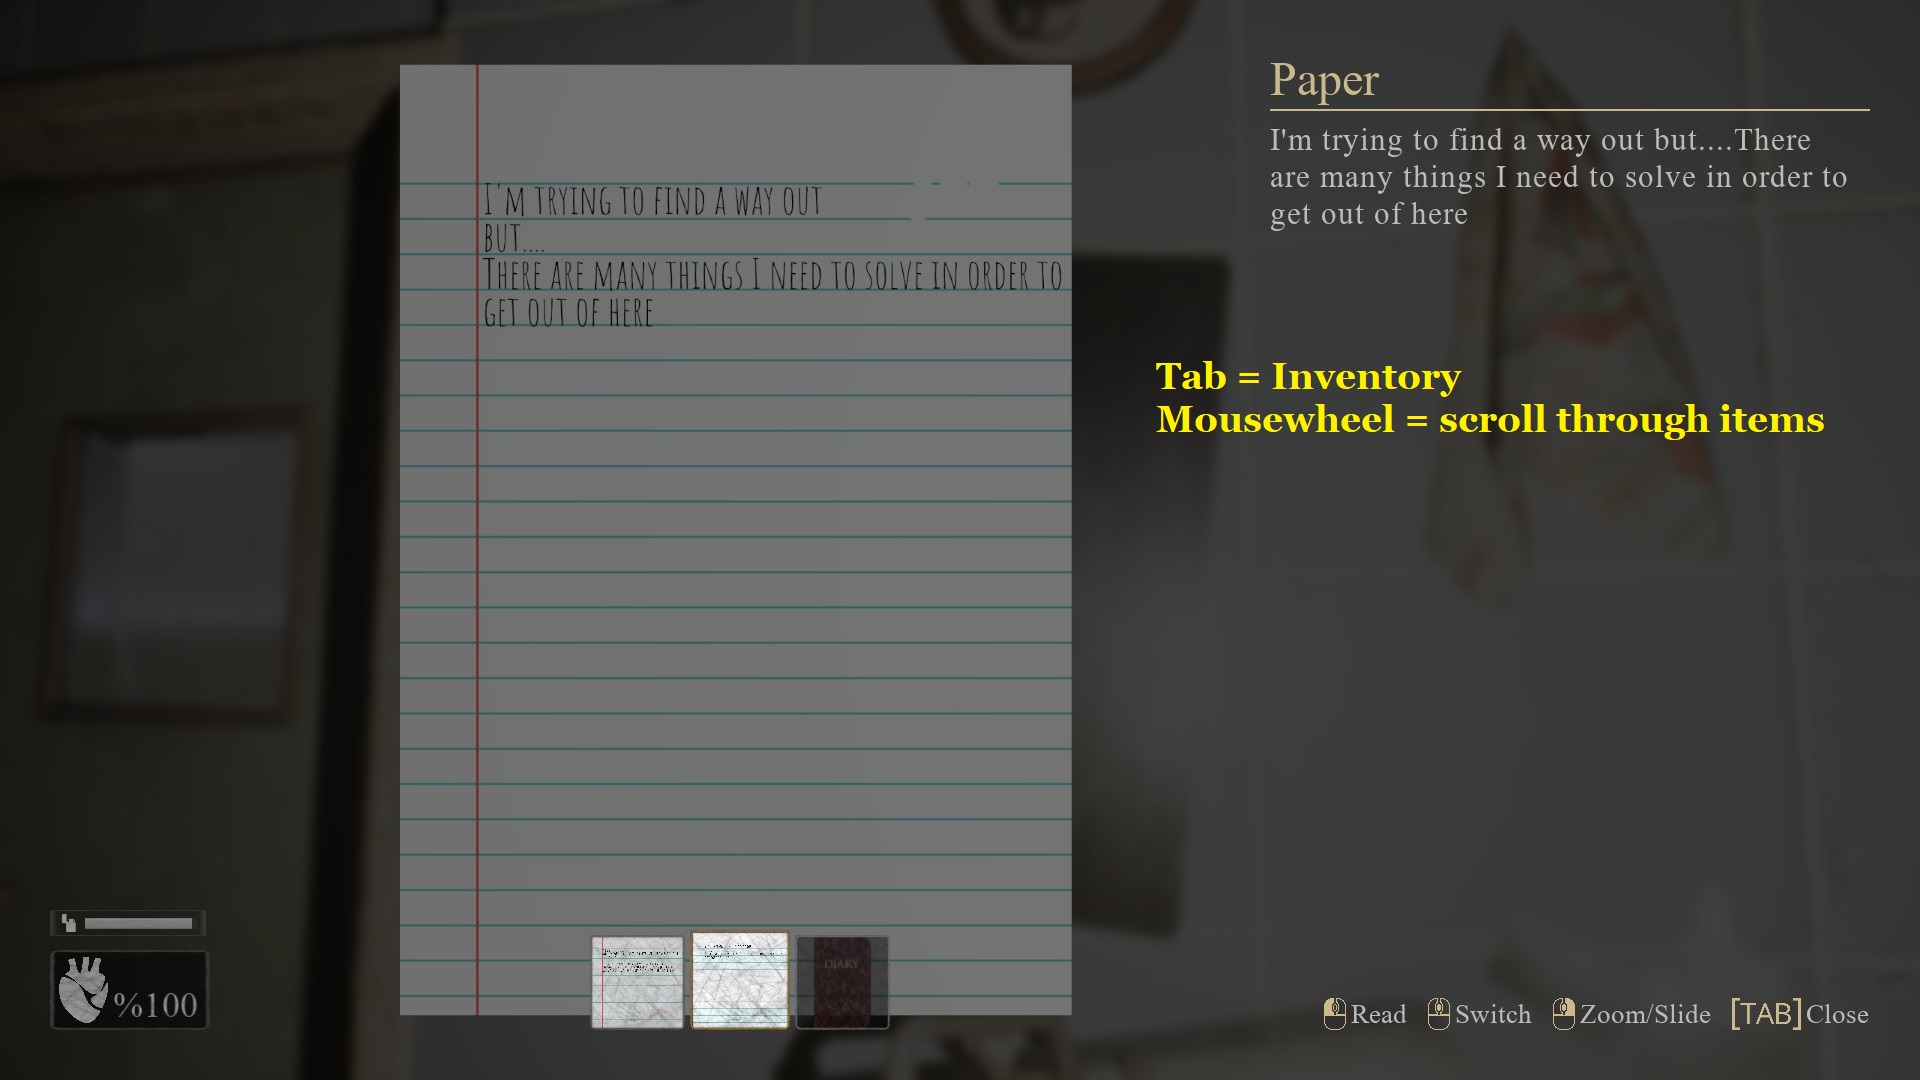
Neem de opmerking van de mirror closest to the door.
Access your Inventory (Lab) to read the second note from Sam. (Use mousewheel to scroll through the items. Tab closes the Inventory again.)
The door unlocks. Left-click the door to open it. Exit. Put away the lighter (F). You can use it whenever you want, but keep in mind that the fuel is finite. You will pick up refills as you progress. Go back down the hallway to the right to where the overturned vending machine is. You hear glass breaking on the other side of the window.

De door to the left, immediately past the overturned machine, is nu ontgrendeld.

Left-click to open it. Binnenkomen.
ROOM WITH TV
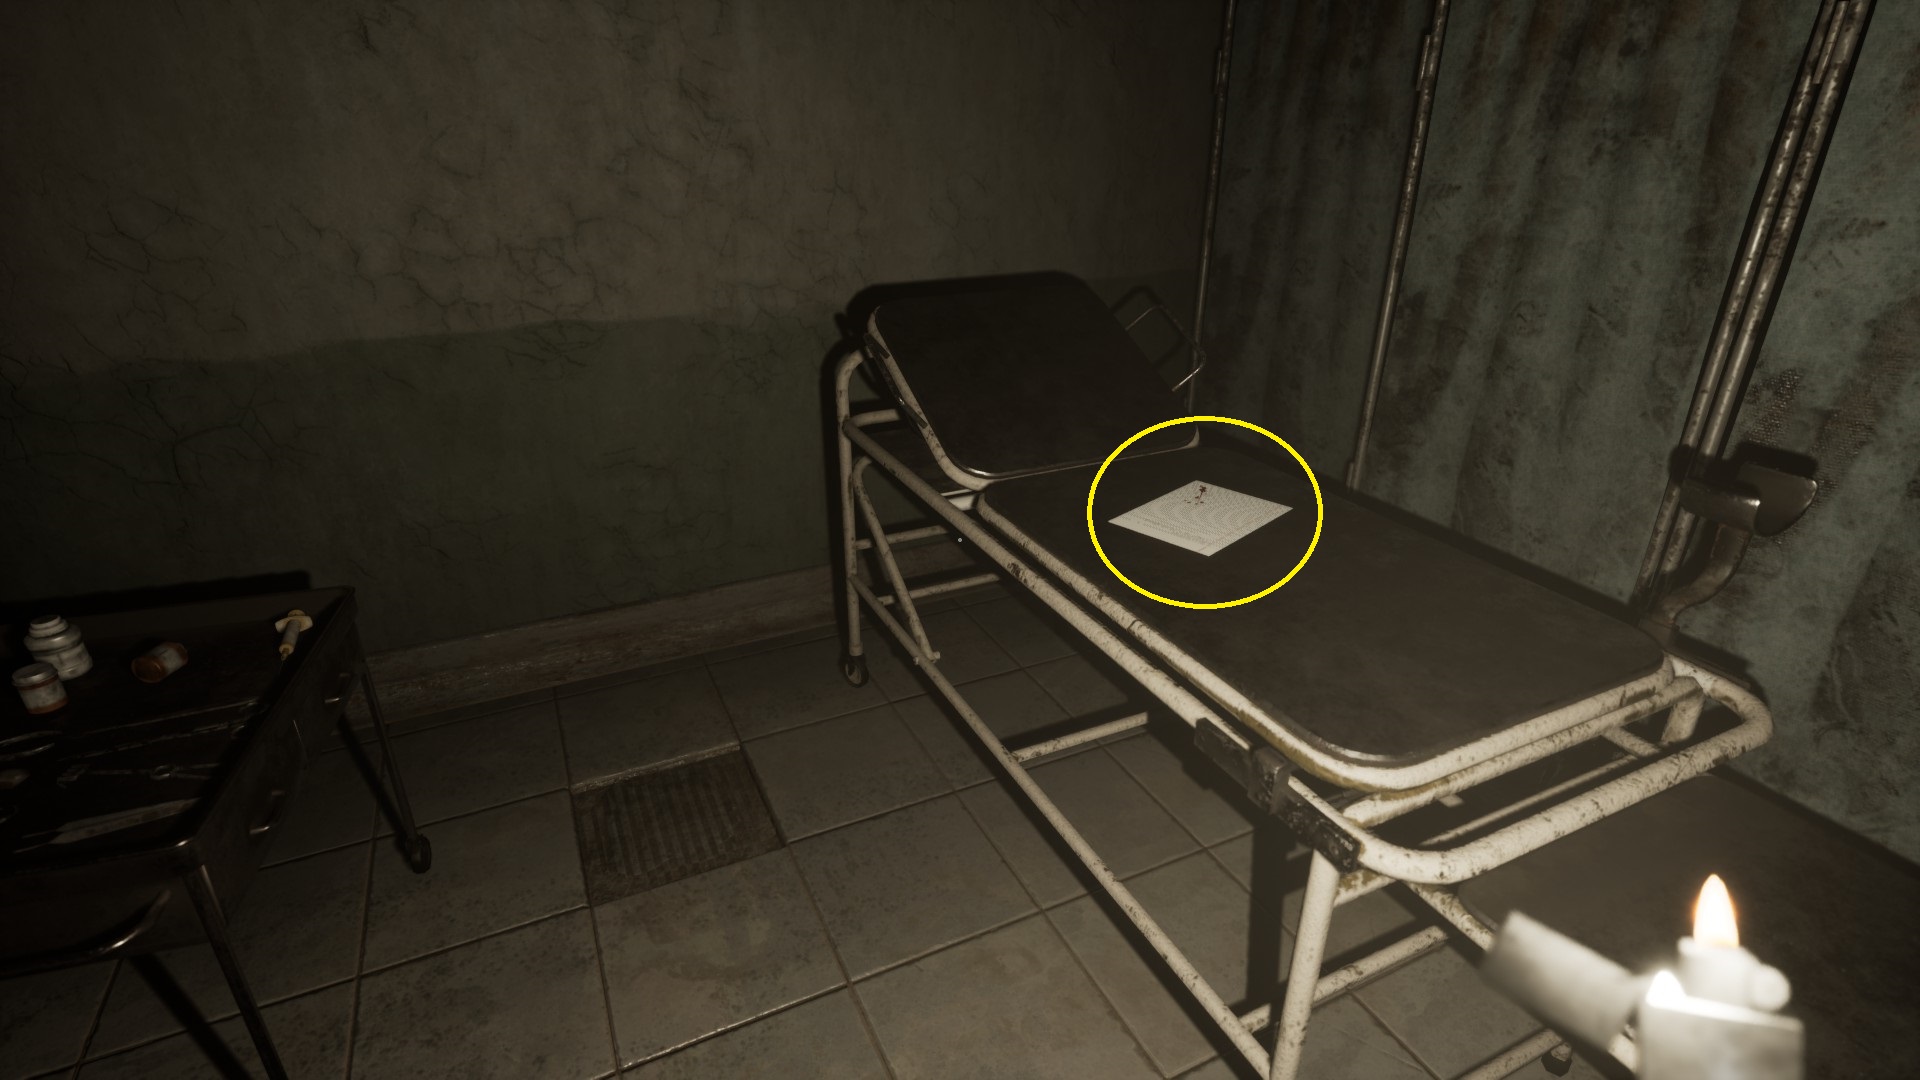
Jump scare:the temporary light from the TV screen reveals a body on a bed . It vanishes and a opmerking lies in its place. As you walk towards the bed the door closes and locks behind you.
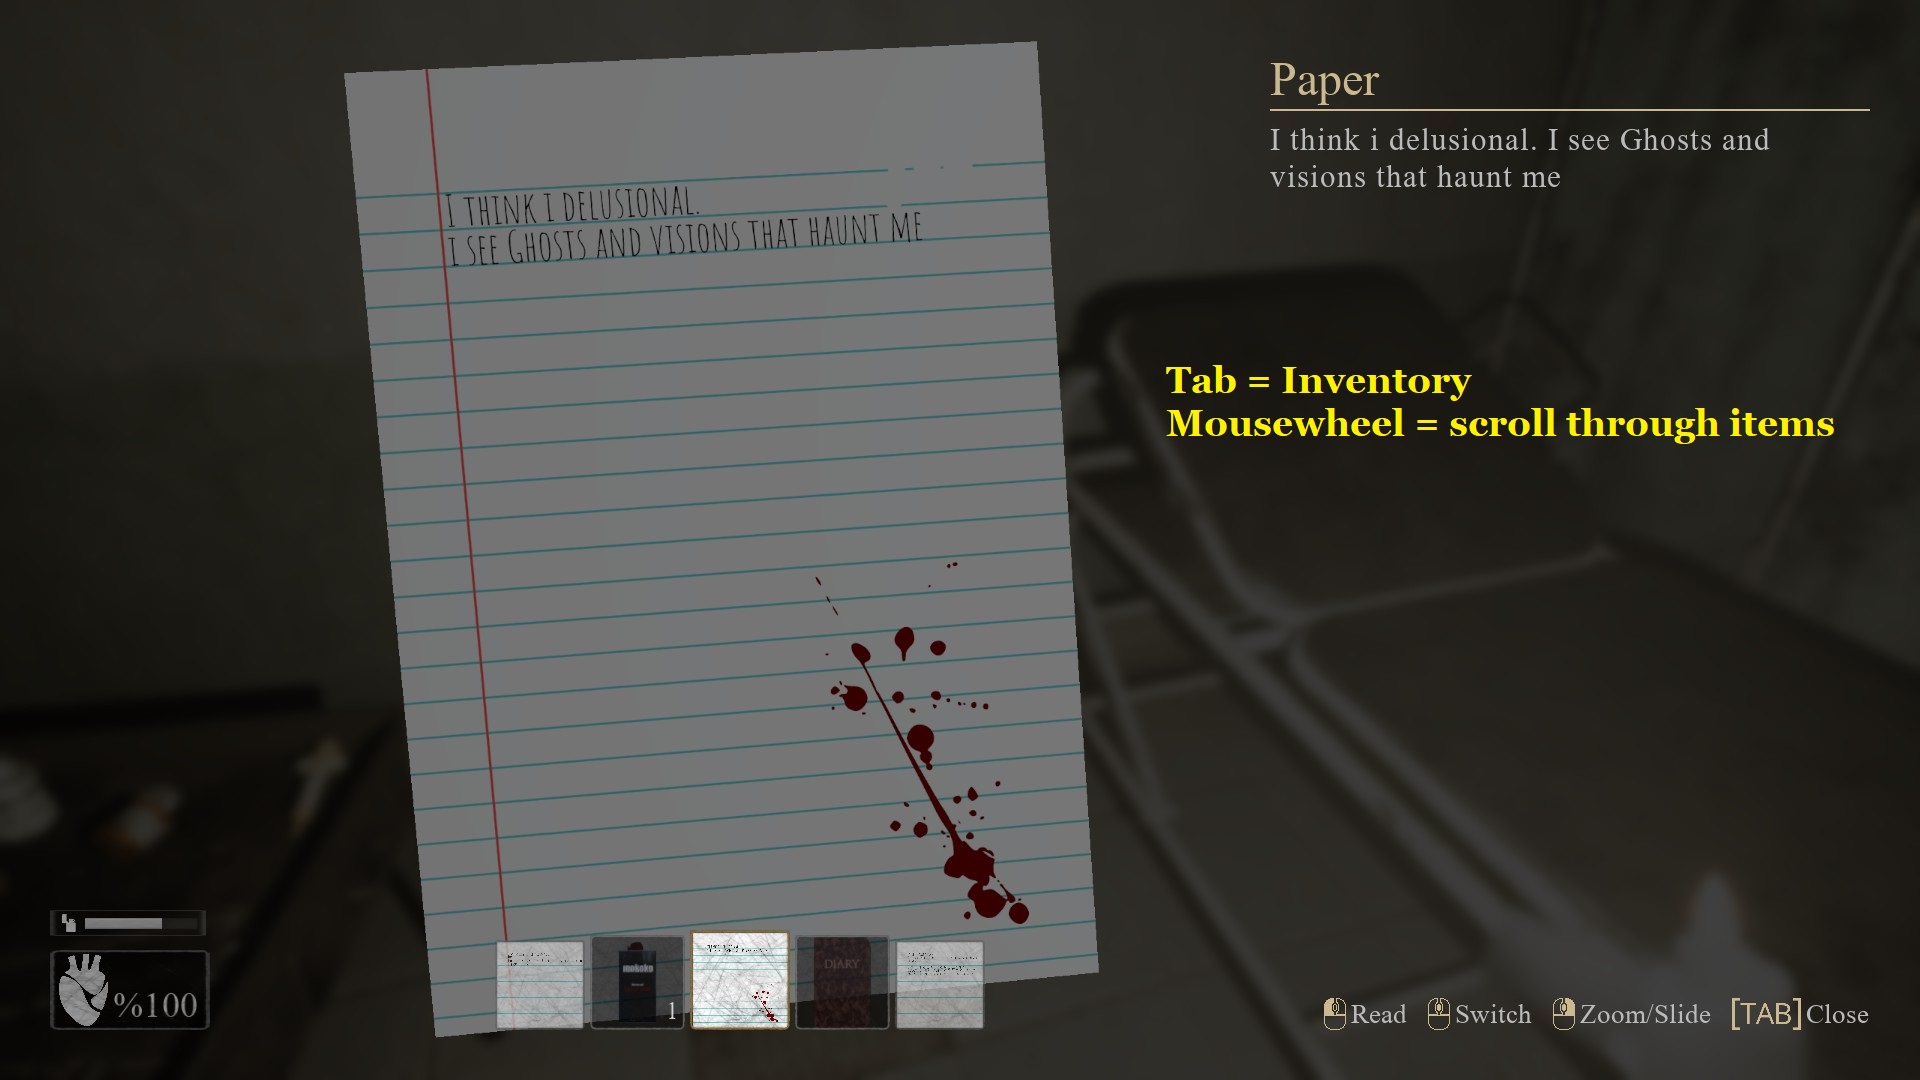
Ophalen (left-click) de opmerking from the bed.
Access the Inventory (Lab) to read the note.
Switching the TV on and off doesn’t appear to do anything much.
Gebruik de lichter (F) to see the lighter fluid on top of the TV. Pak het op.

To the right side of the bed is a screen. Walk into the dark space behind the screen to trigger a jump scare.
The room’s door unlocks. Left-click to open it. Exit and turn right.
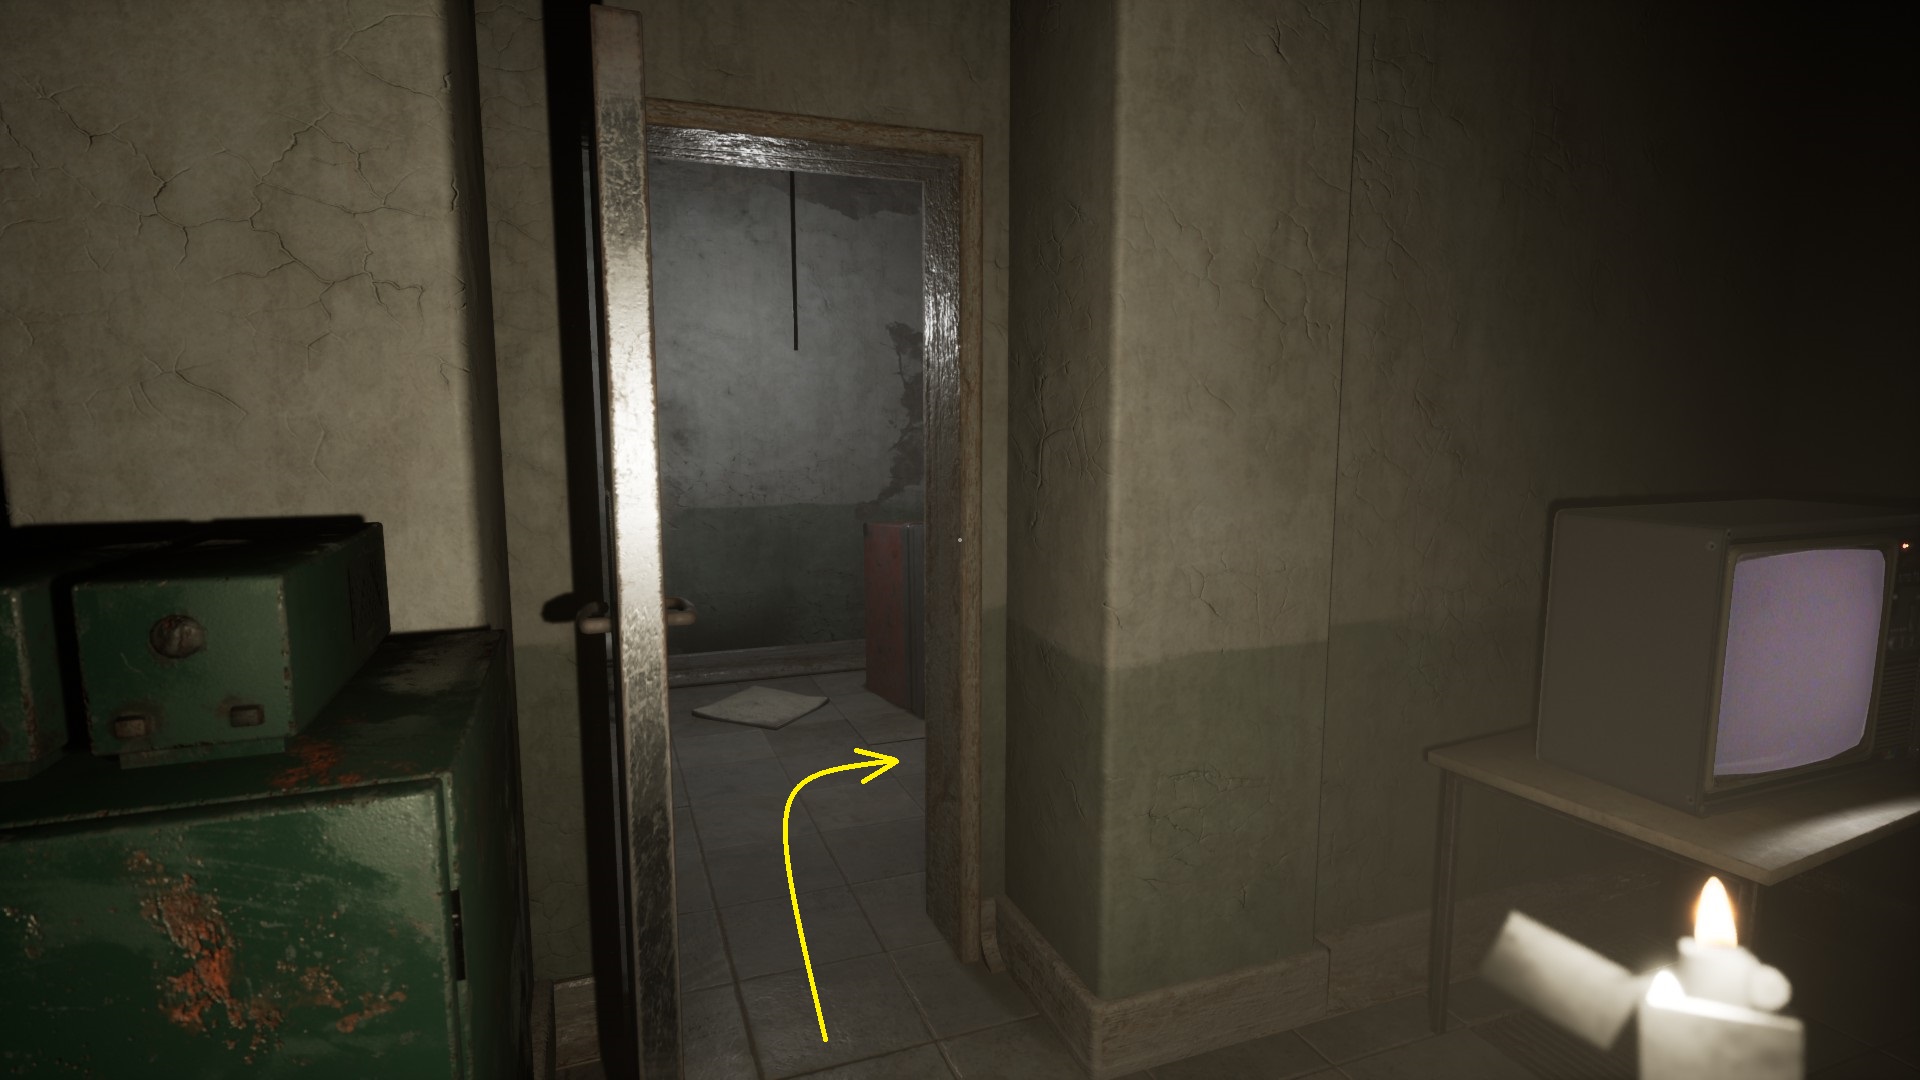
Return to the area where you started van.
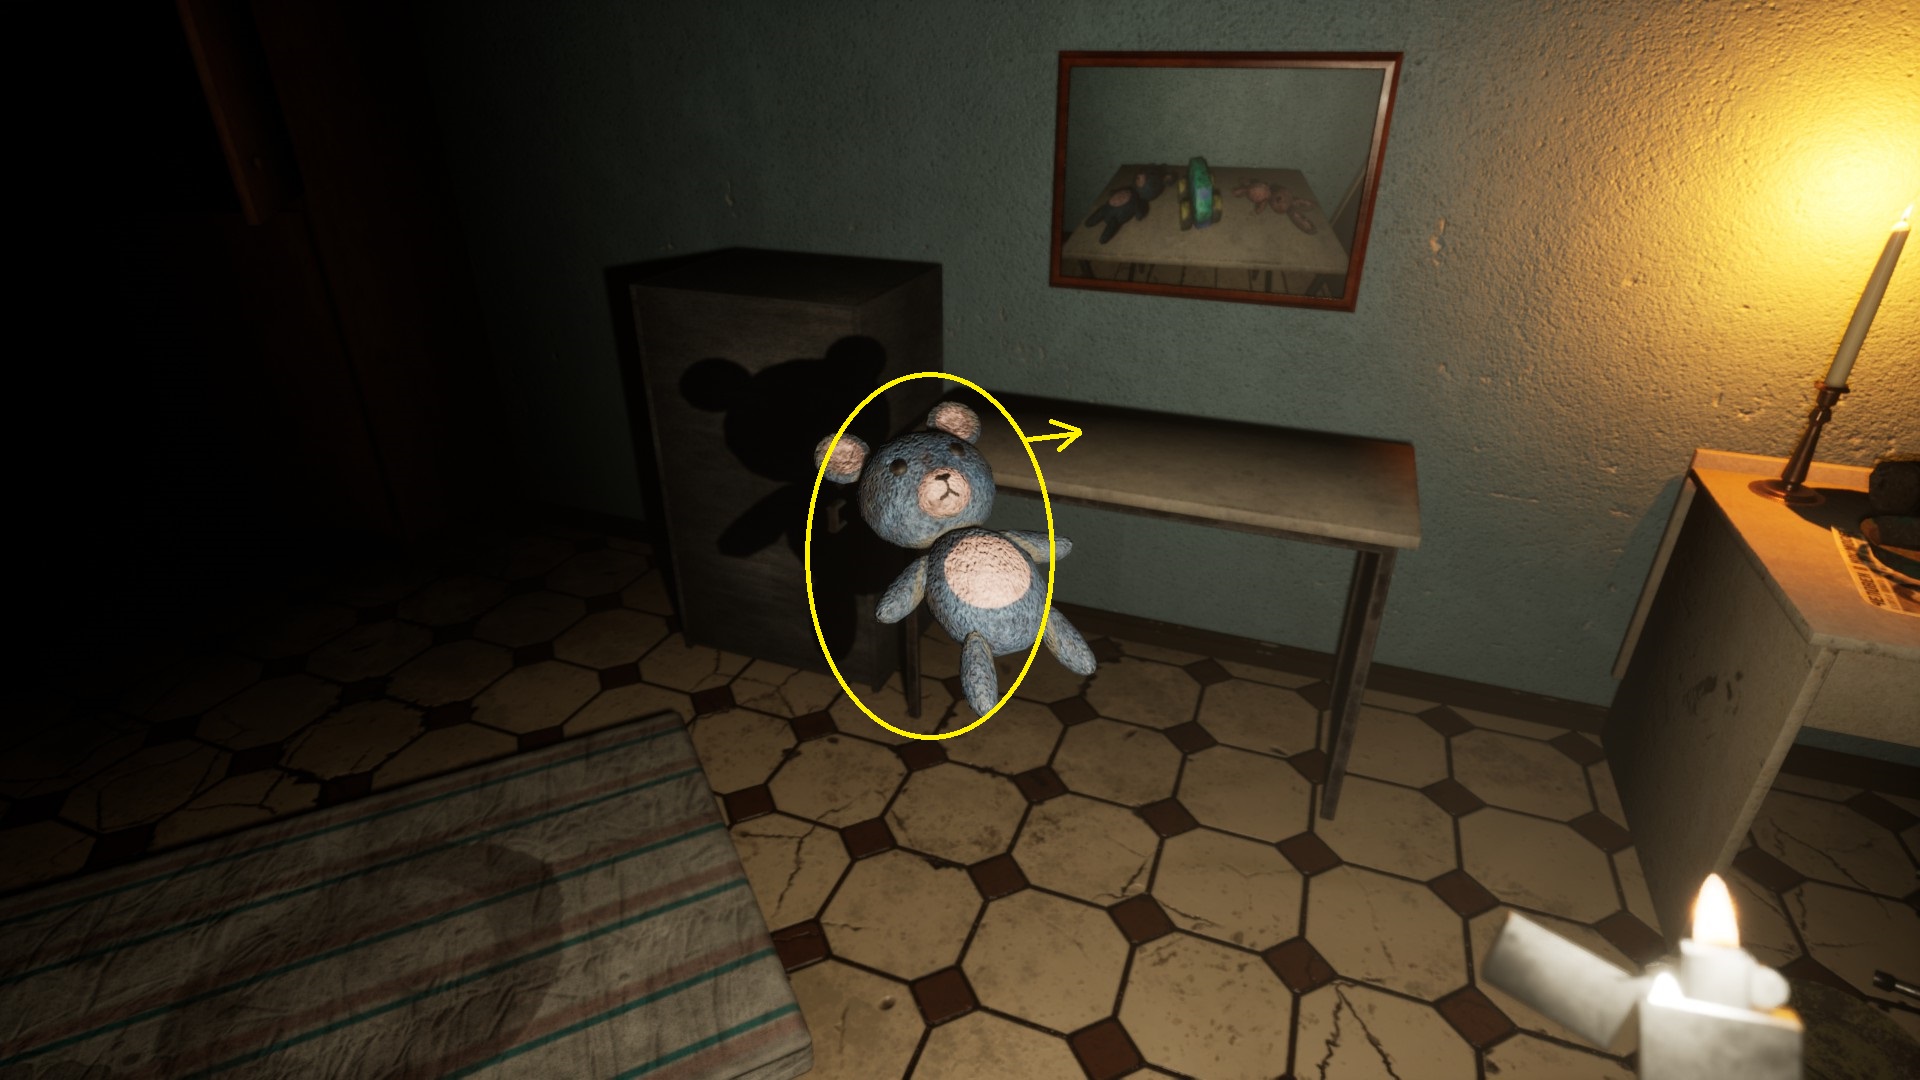
De door to the left of the wheelchair unlocks and opens as you approach (there is a teddy bear on the floor at this door).
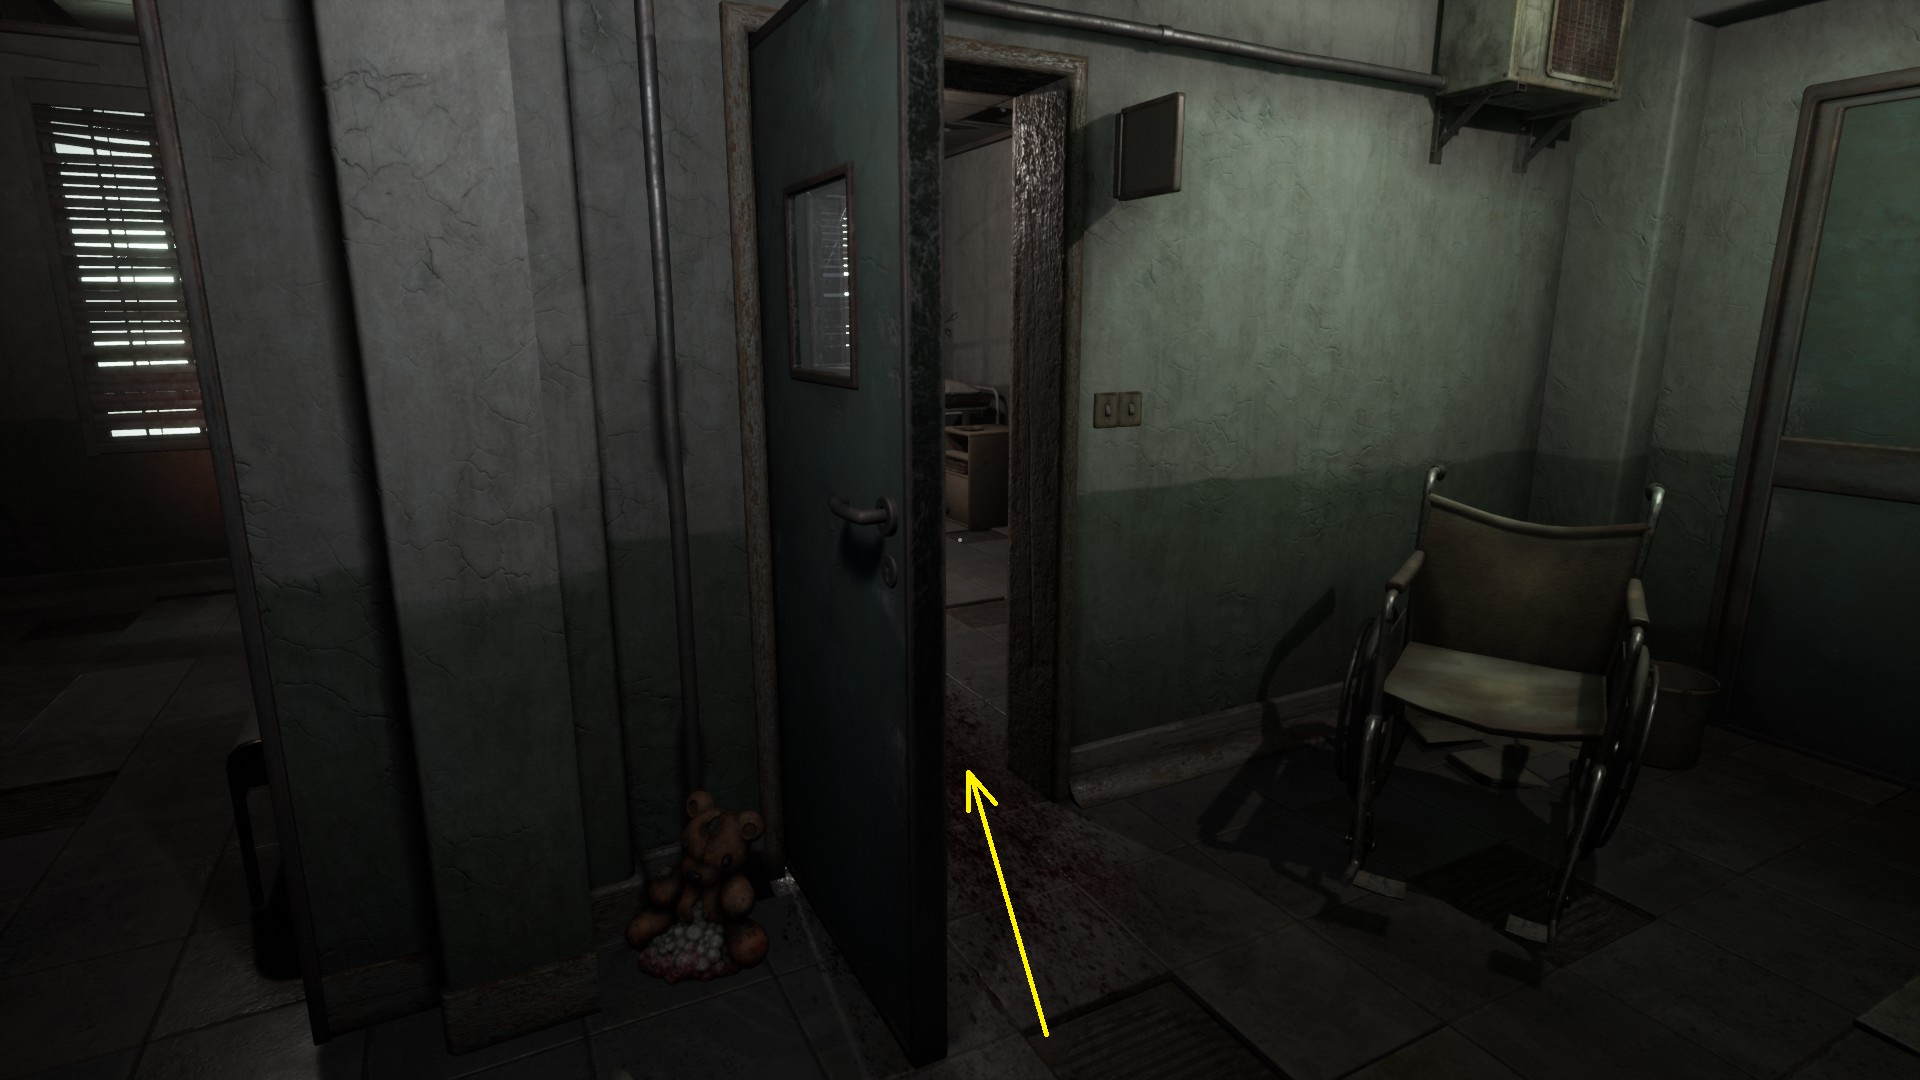
ROOMS WITH BLEEDING CLOSET AND CRYING BABY
Ga de kamer binnen.
The door closes and locks behind you.
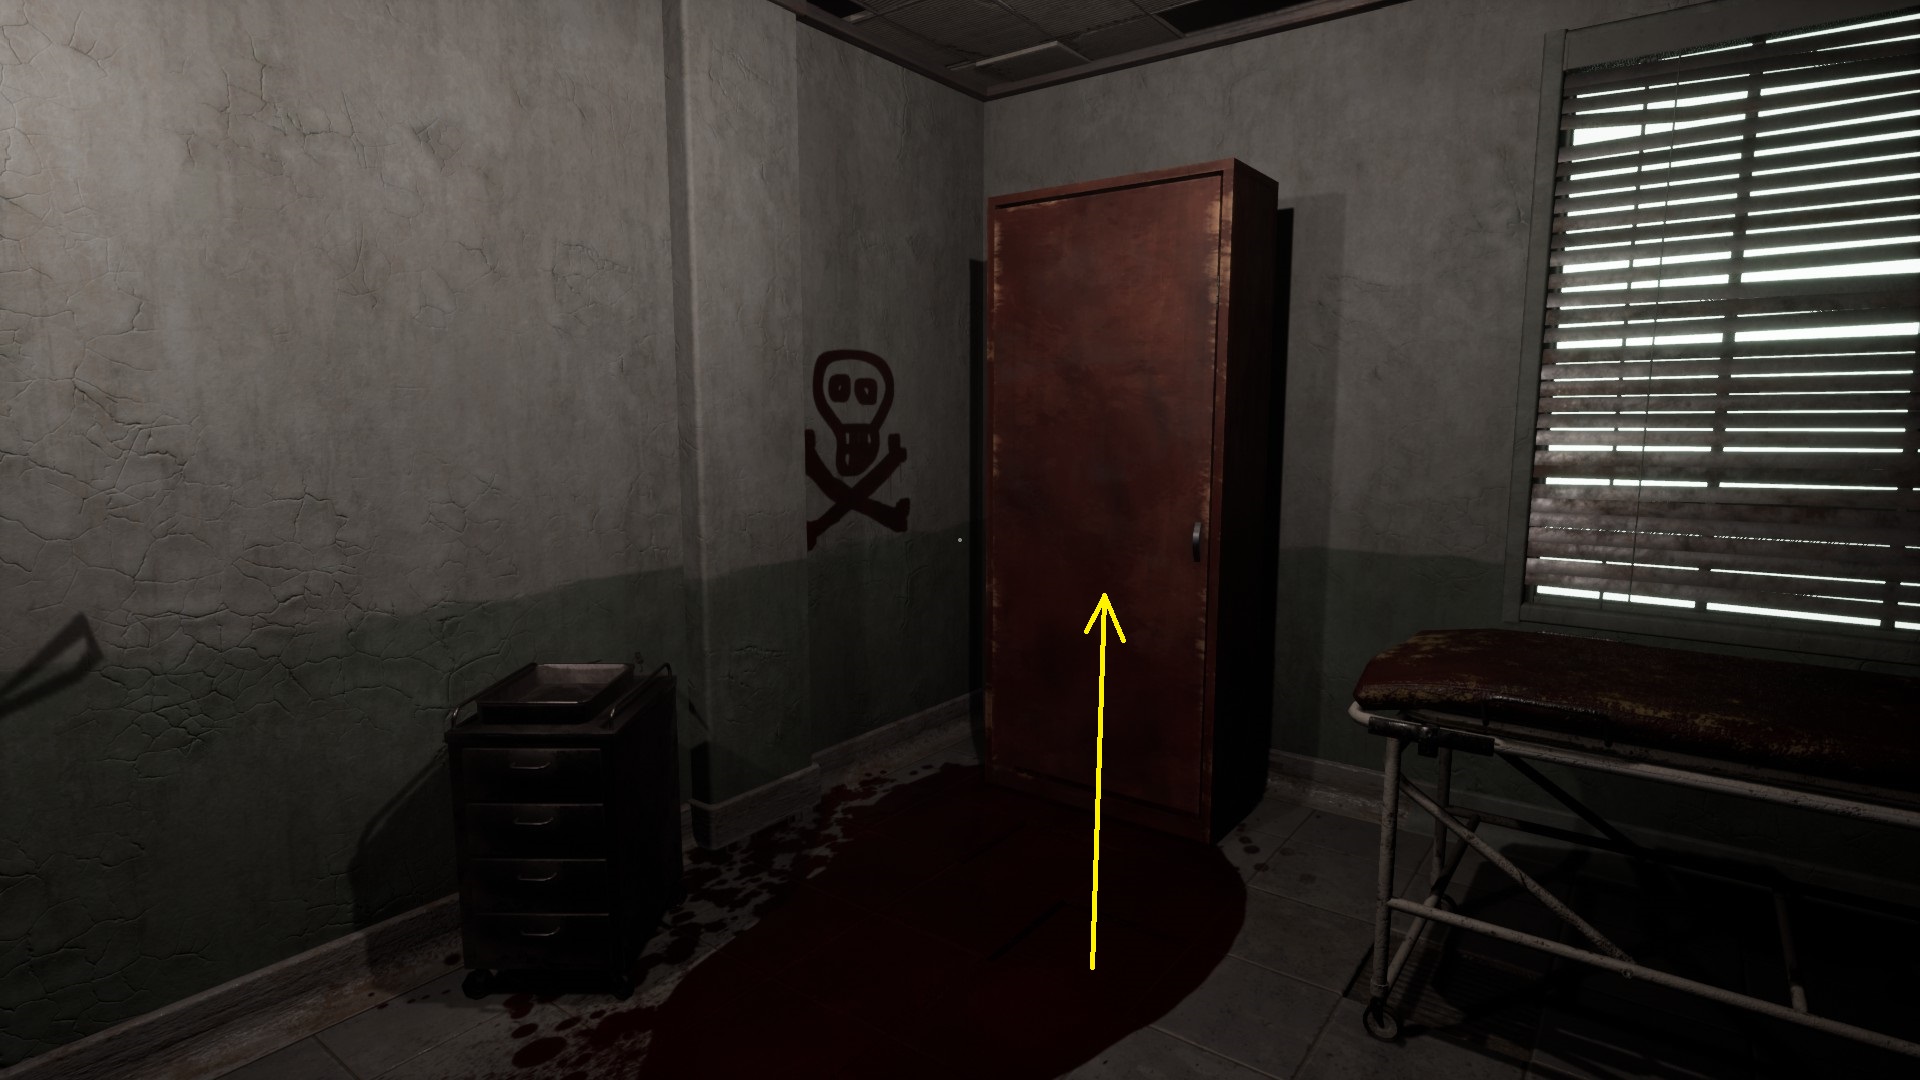
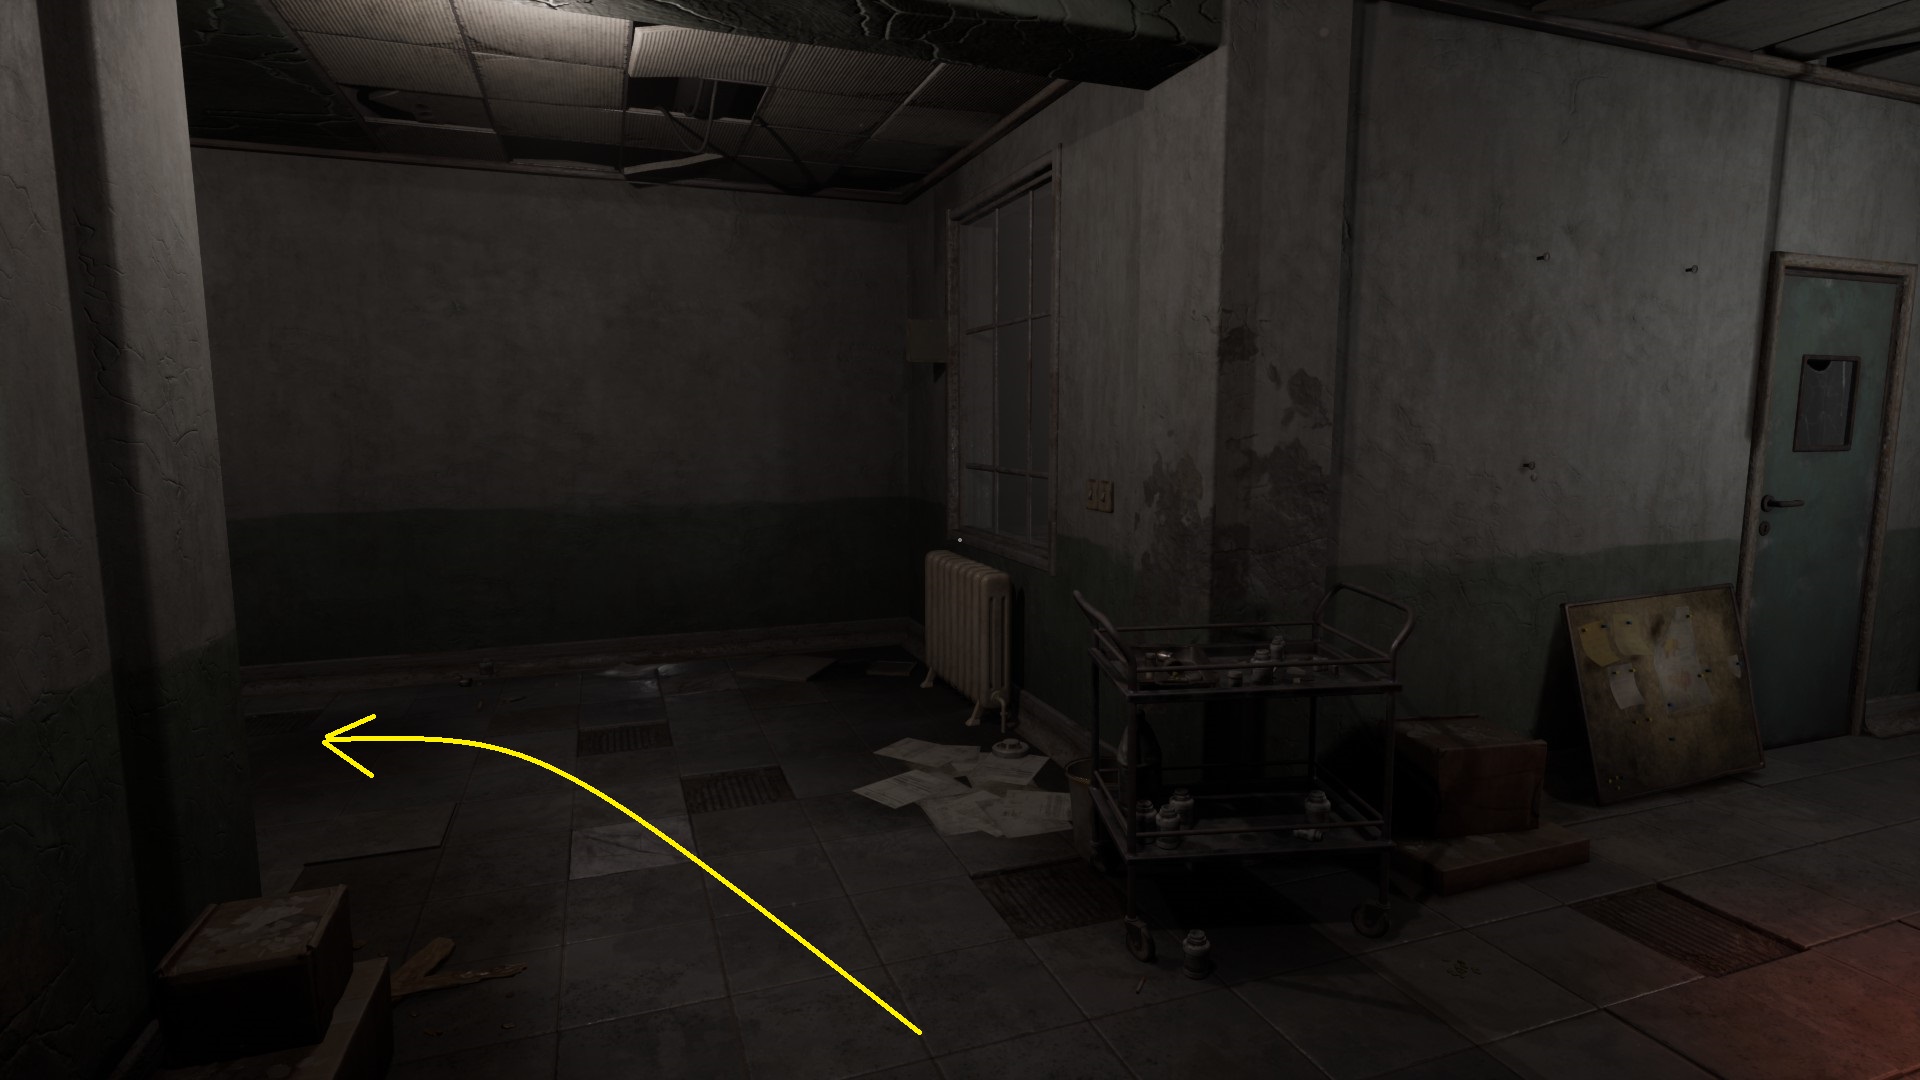
Haal de op lighter fluid from a stand to your right. In the left corner you see a closet with blood seeping from it onto the floor.
Go up to it and left-click to open the closet door and trigger a jump scare.
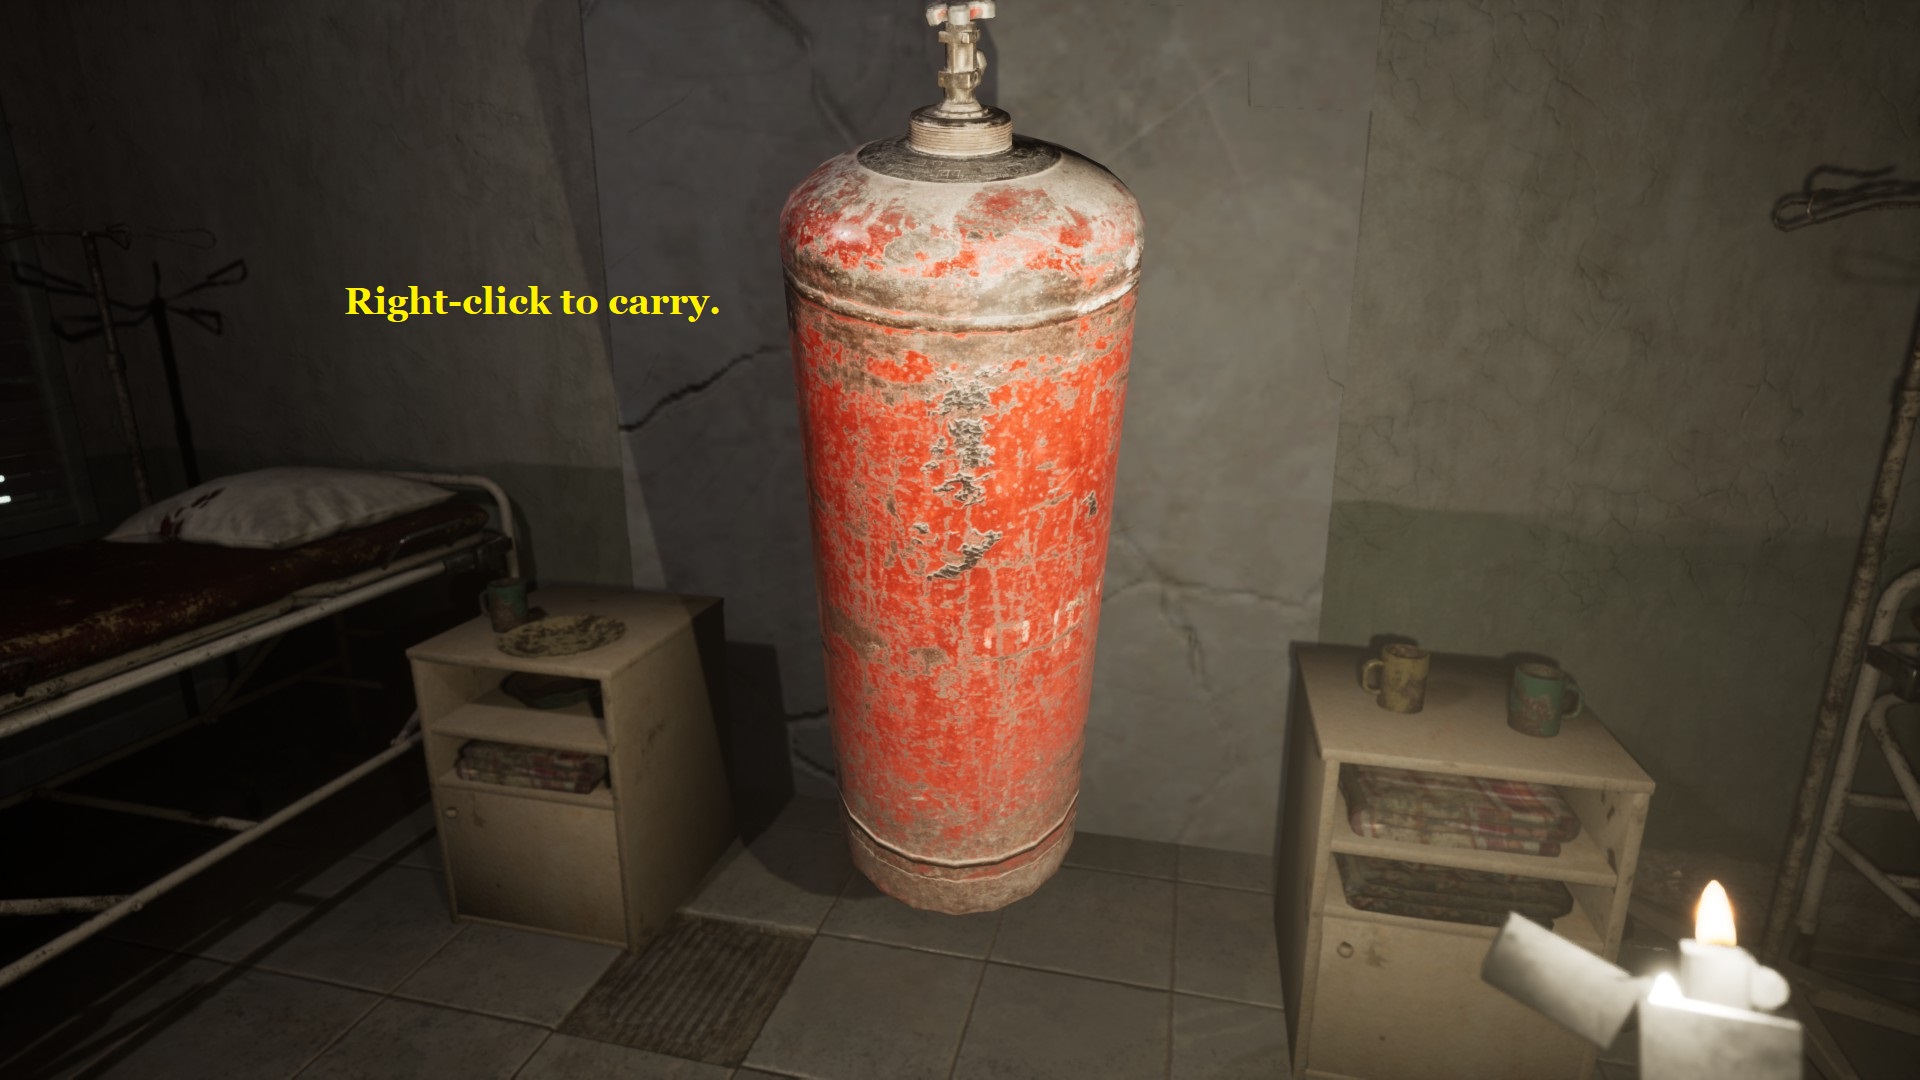
Haal de op red tank from the corner next to the door – right-click to carry this object.

Immediately a baby starts to cry behind the wall in the next room. Dit wall is cracked and brittle. Gebruik de red tank to break it down. (Simply destroy the cracked part of the wall by walking through it while carrying the tank.)
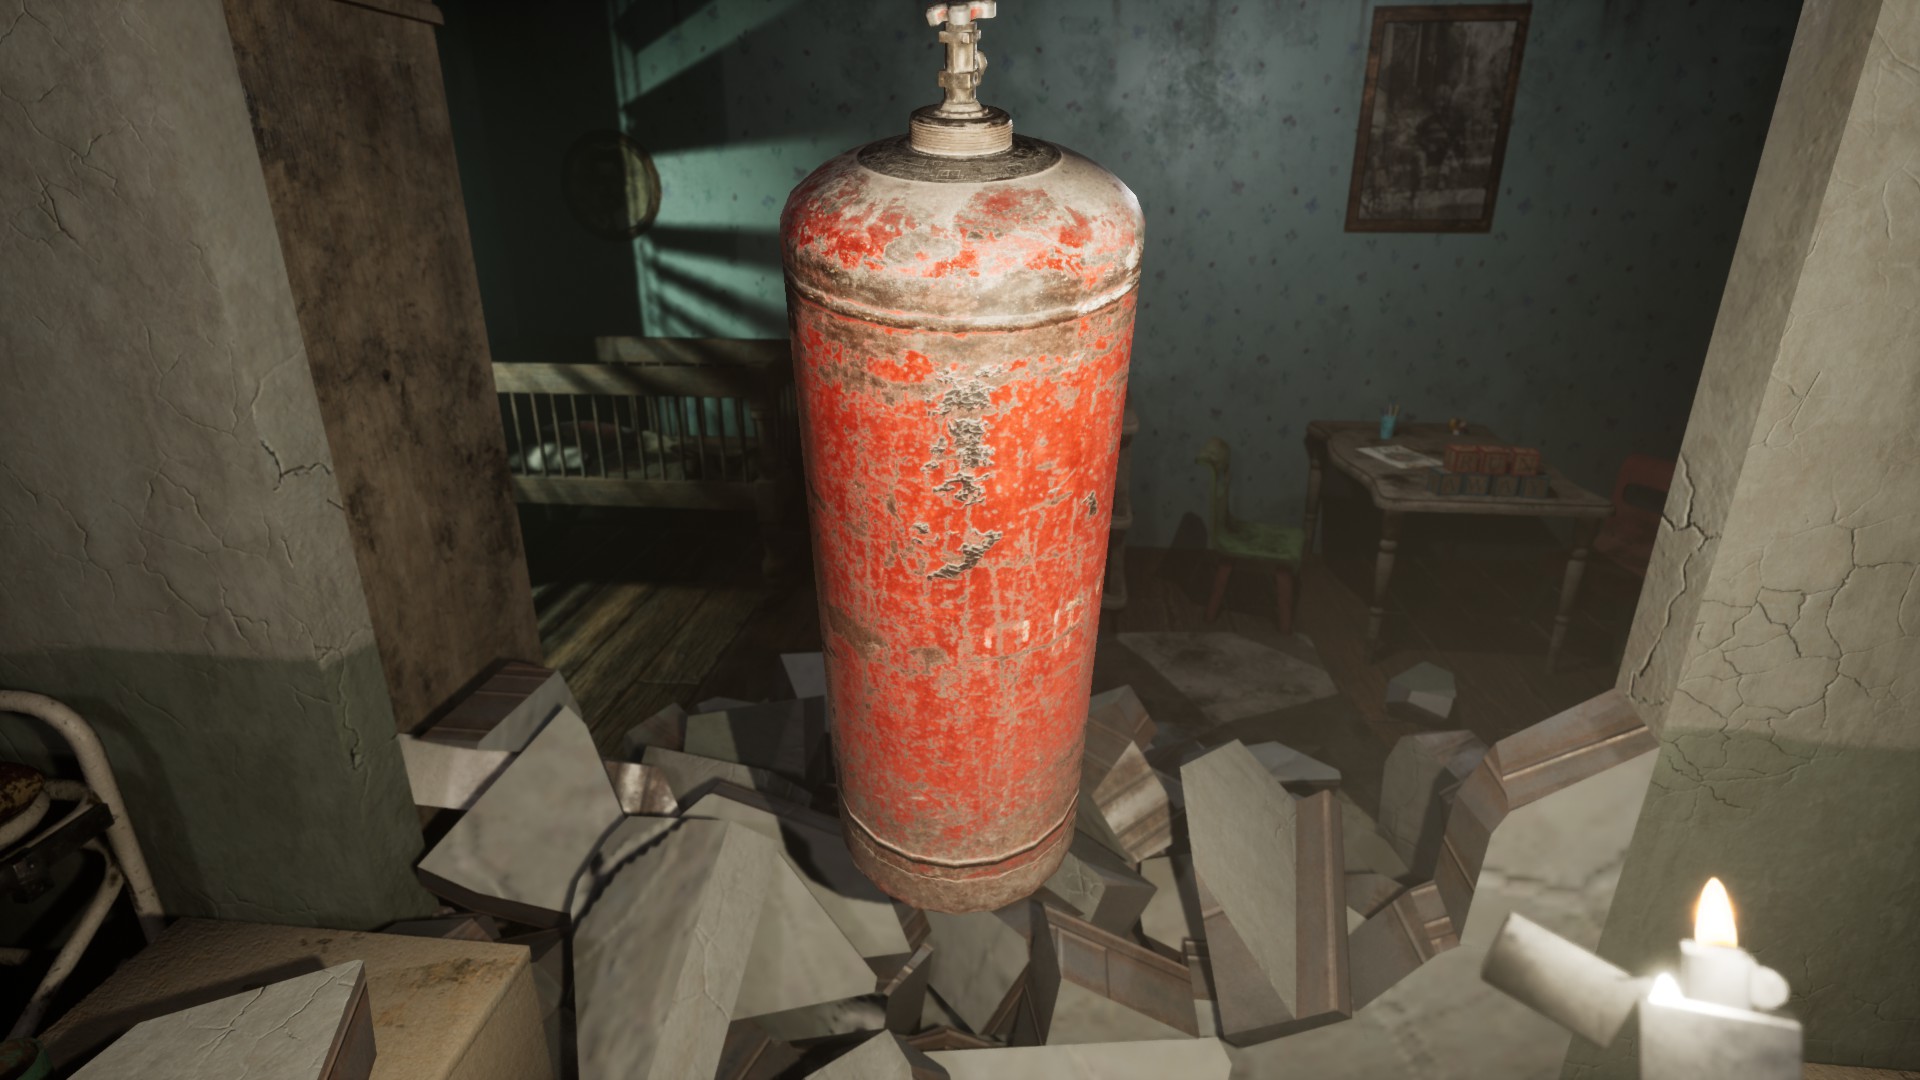
Once you are through to the adjacent room, right-click to drop the tank.
Left-click to open the case with the numbers “550 – 14 / 7126” erop. It triggers a jump scare.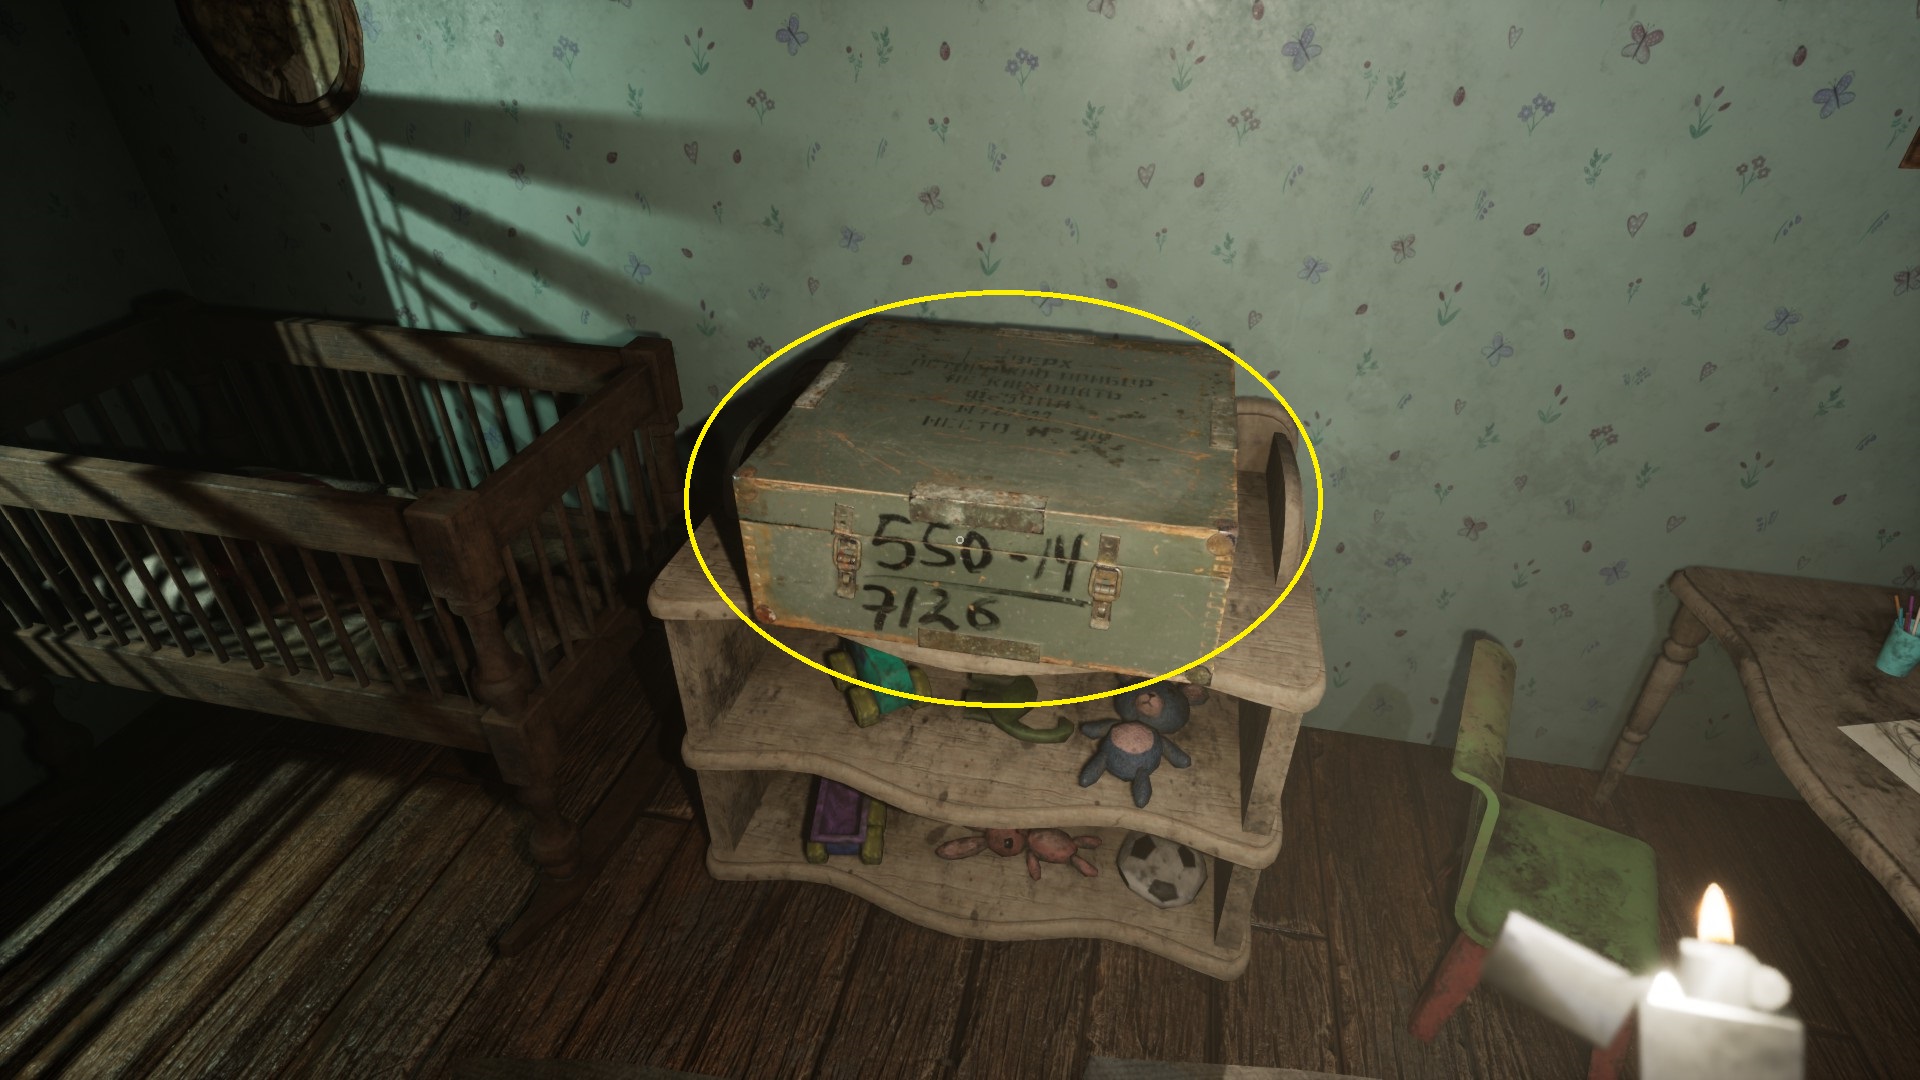
The door to this room unlocks and opens.
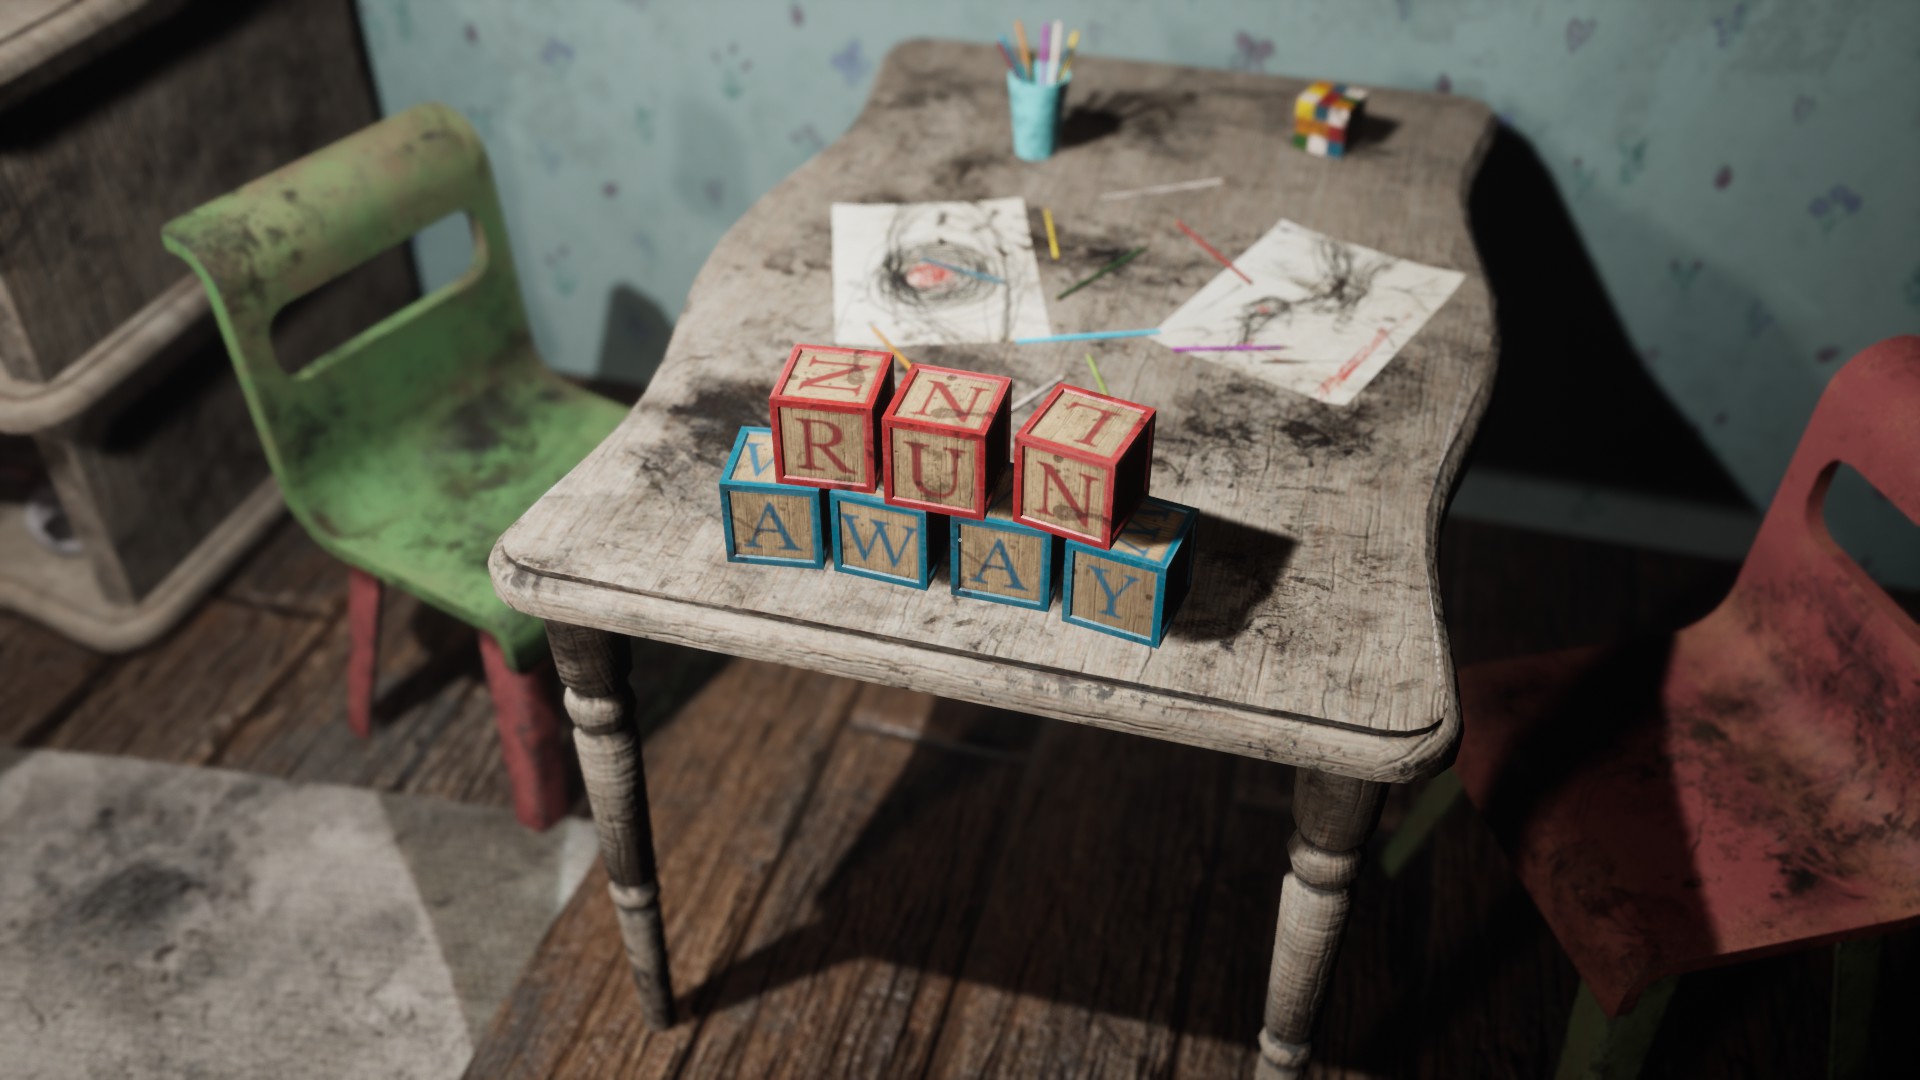
(Note the words “RUN AWAY” spelled out on the building blocks on the small table.)
Exit through the door. (It will close and lock behind you.)

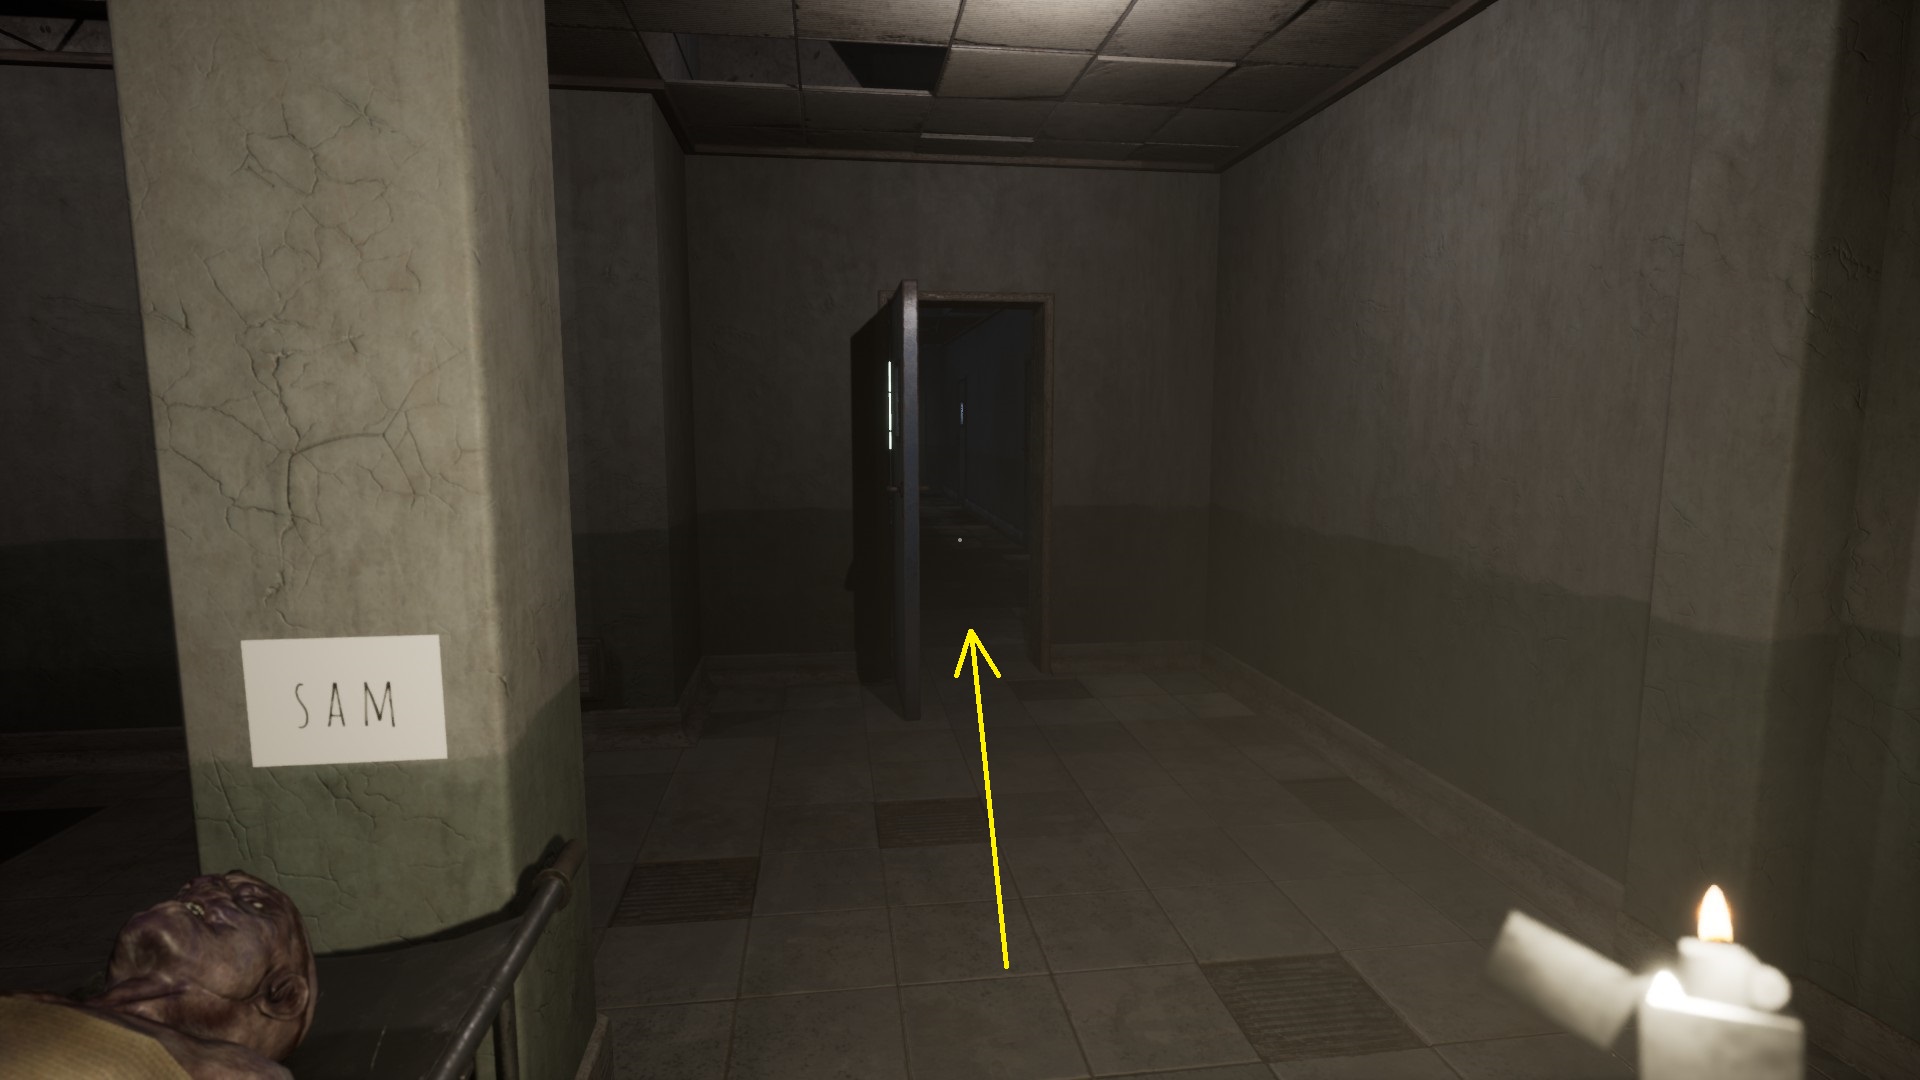
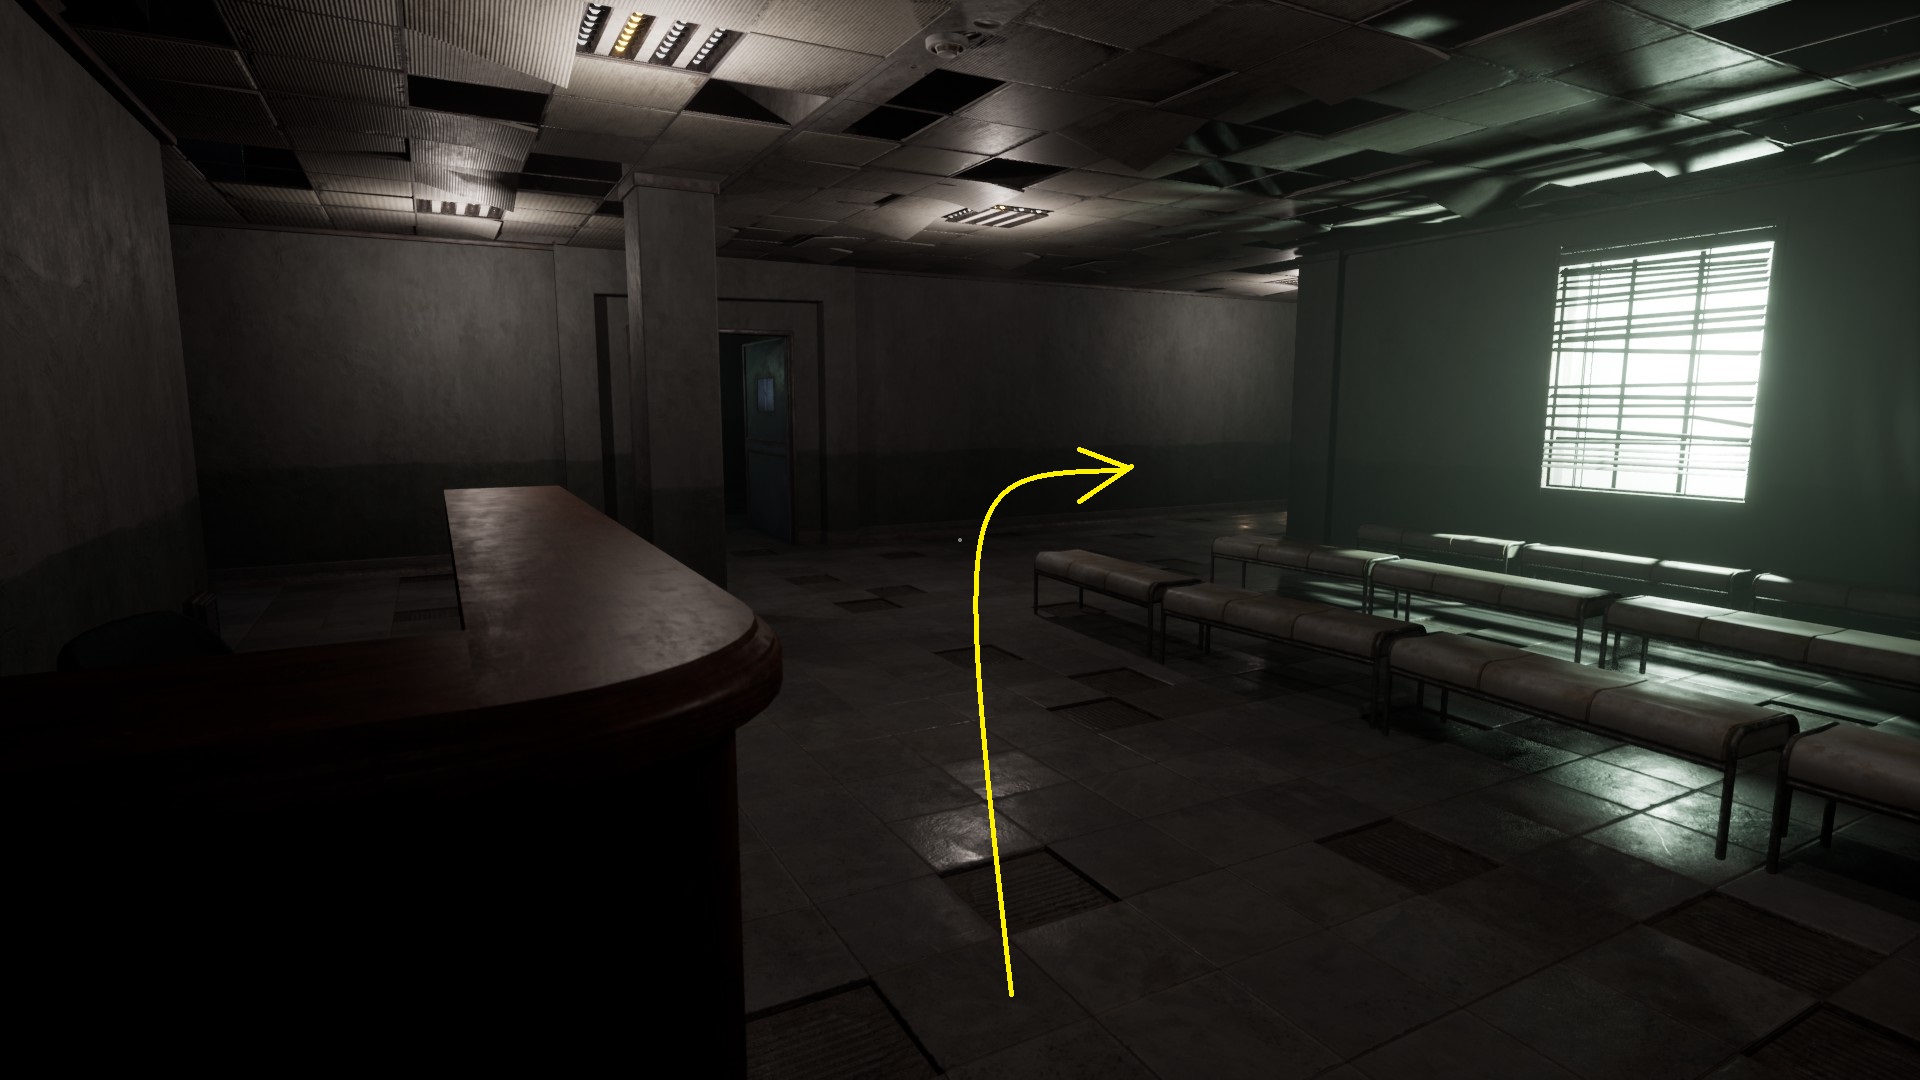
Turn left to walk to a lobby of waiting area . Binnenkomen.

LOBBY (WAITING AREA)
As you approach the lobby, a tricycle rides by itself from the right side and comes to a stop in front of a locked door to the far left.

The exit to the far right is also locked.
Haal de op red key card van de balie naar links. It grants access to the upstairs gebied.

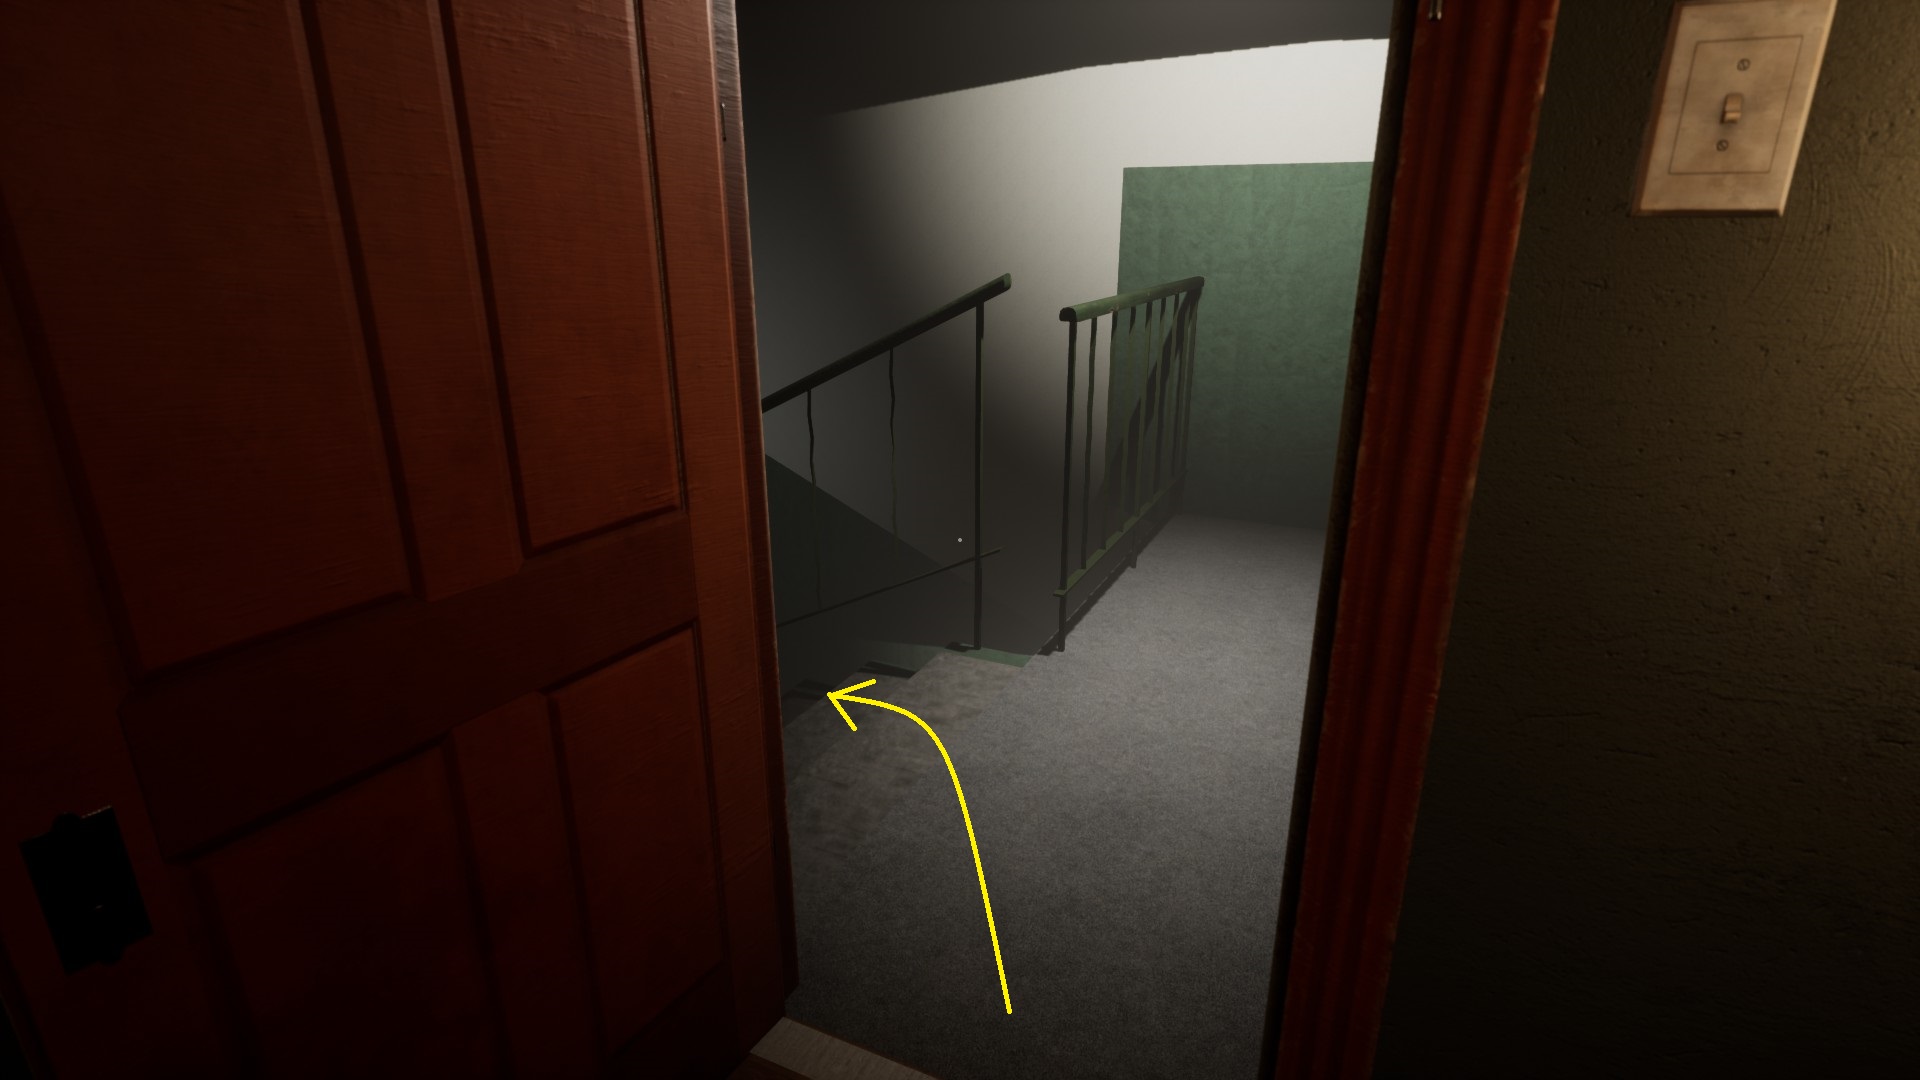
To reach the upper floor, go straight onto the middle door. Left-click to open it. It leads to trap .

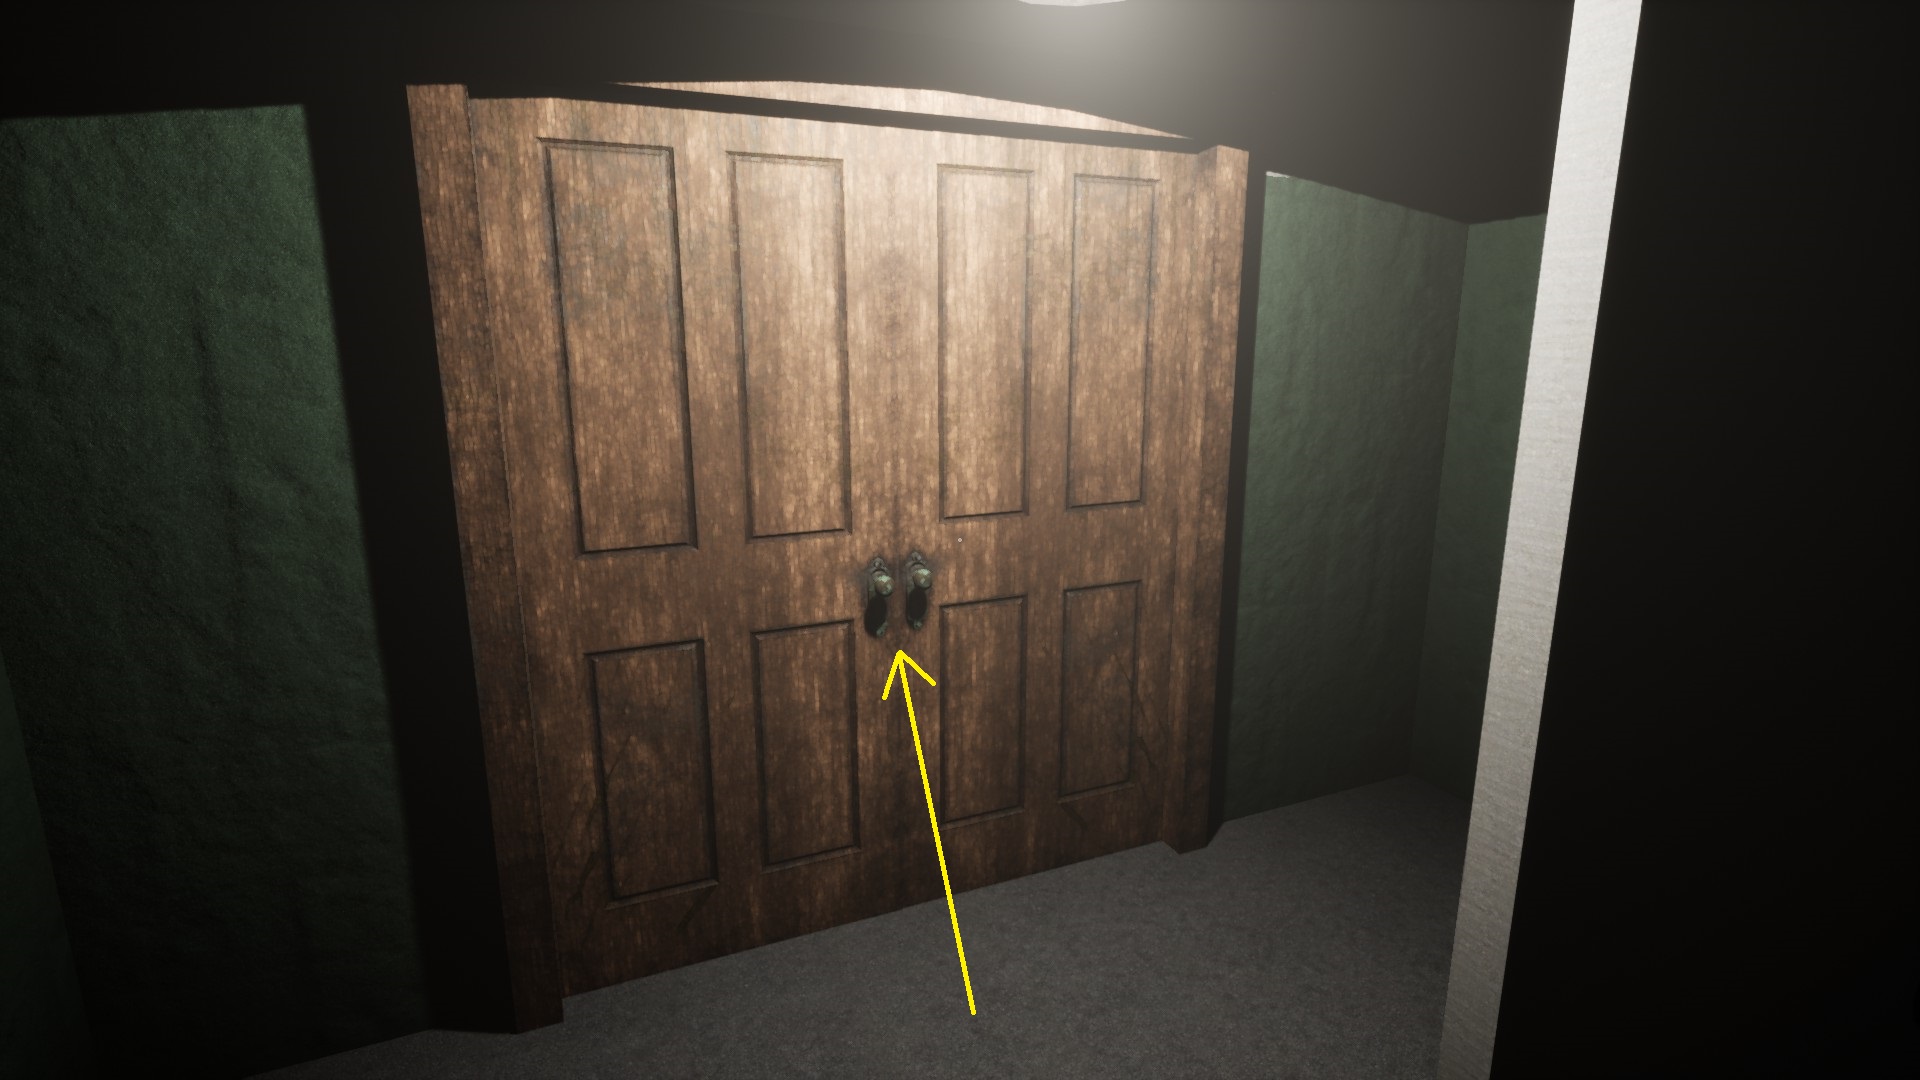
Go up and use the red key card op de lock – klik met de rechtermuisknop (access key card), then left-click (unlock the door), and left-click again to open the door.
Binnenkomen.
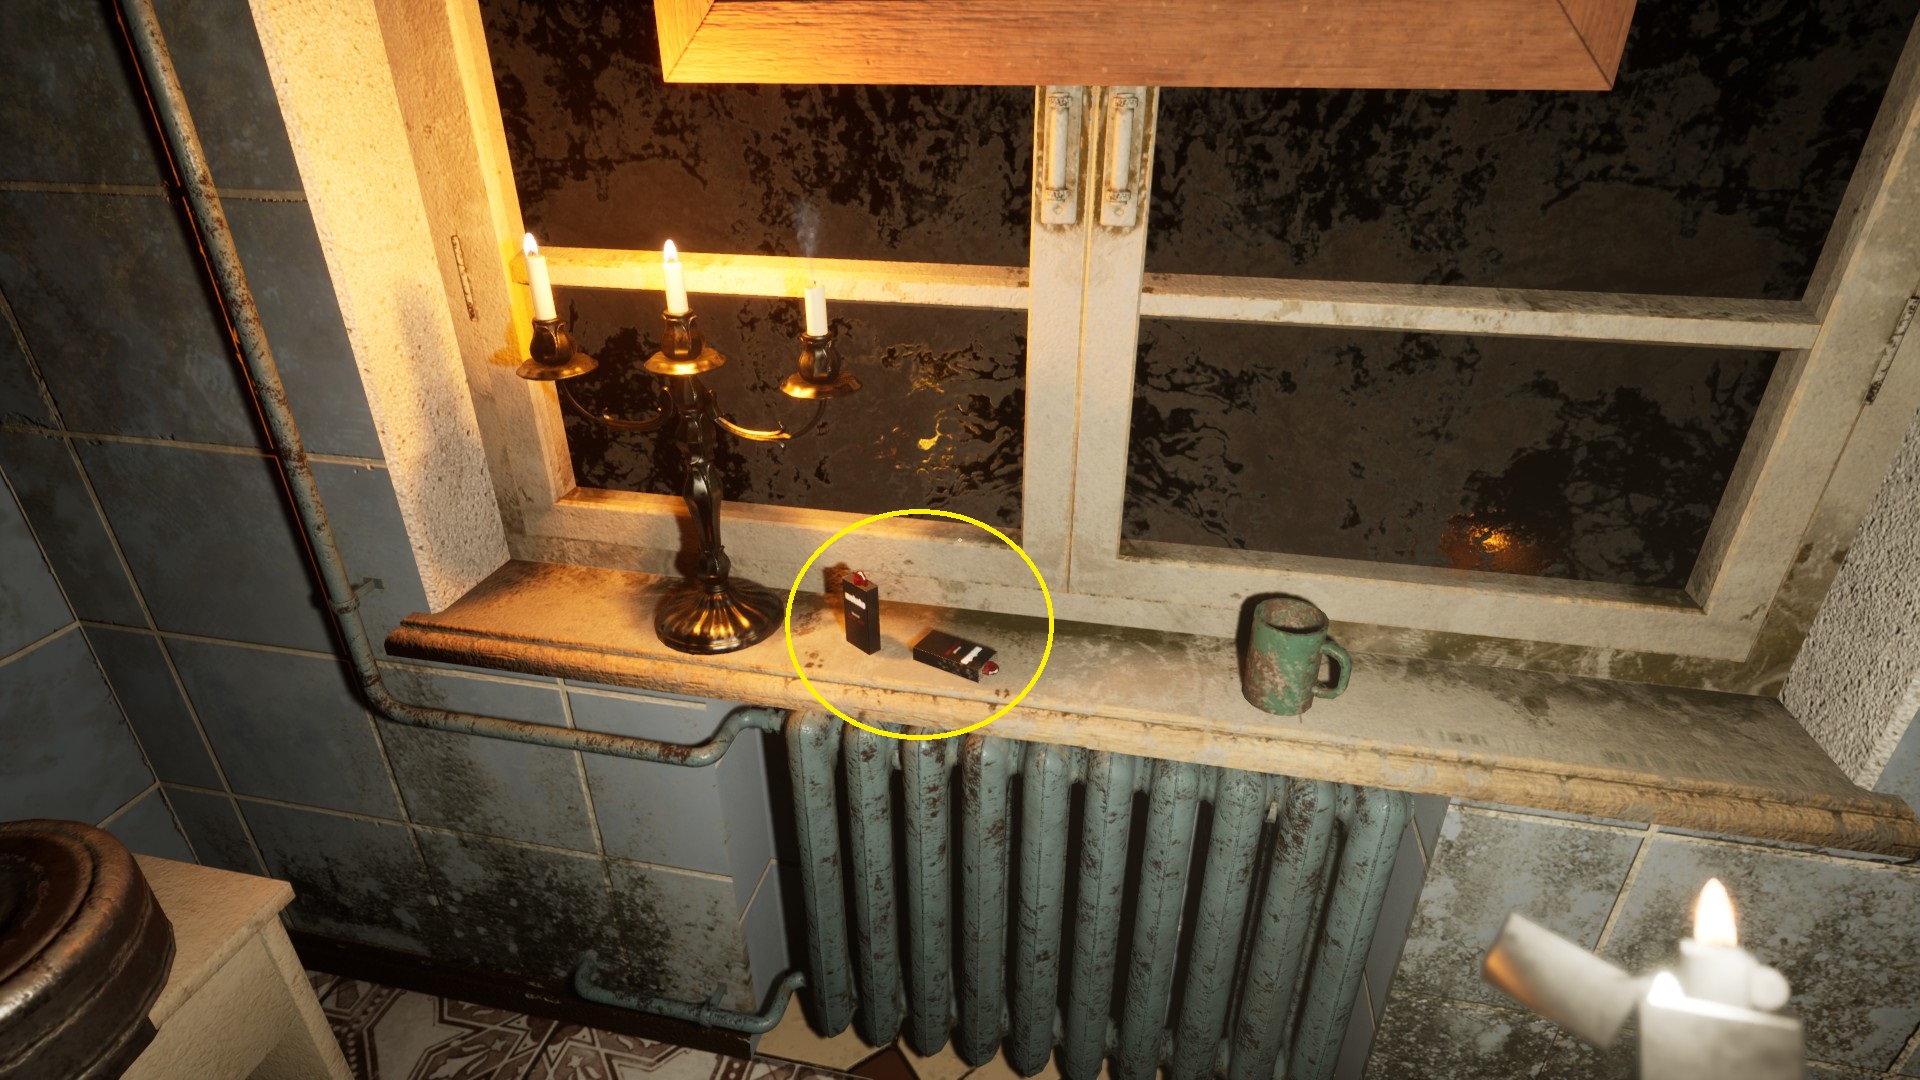
Pick up all the lighter fluid (x4).
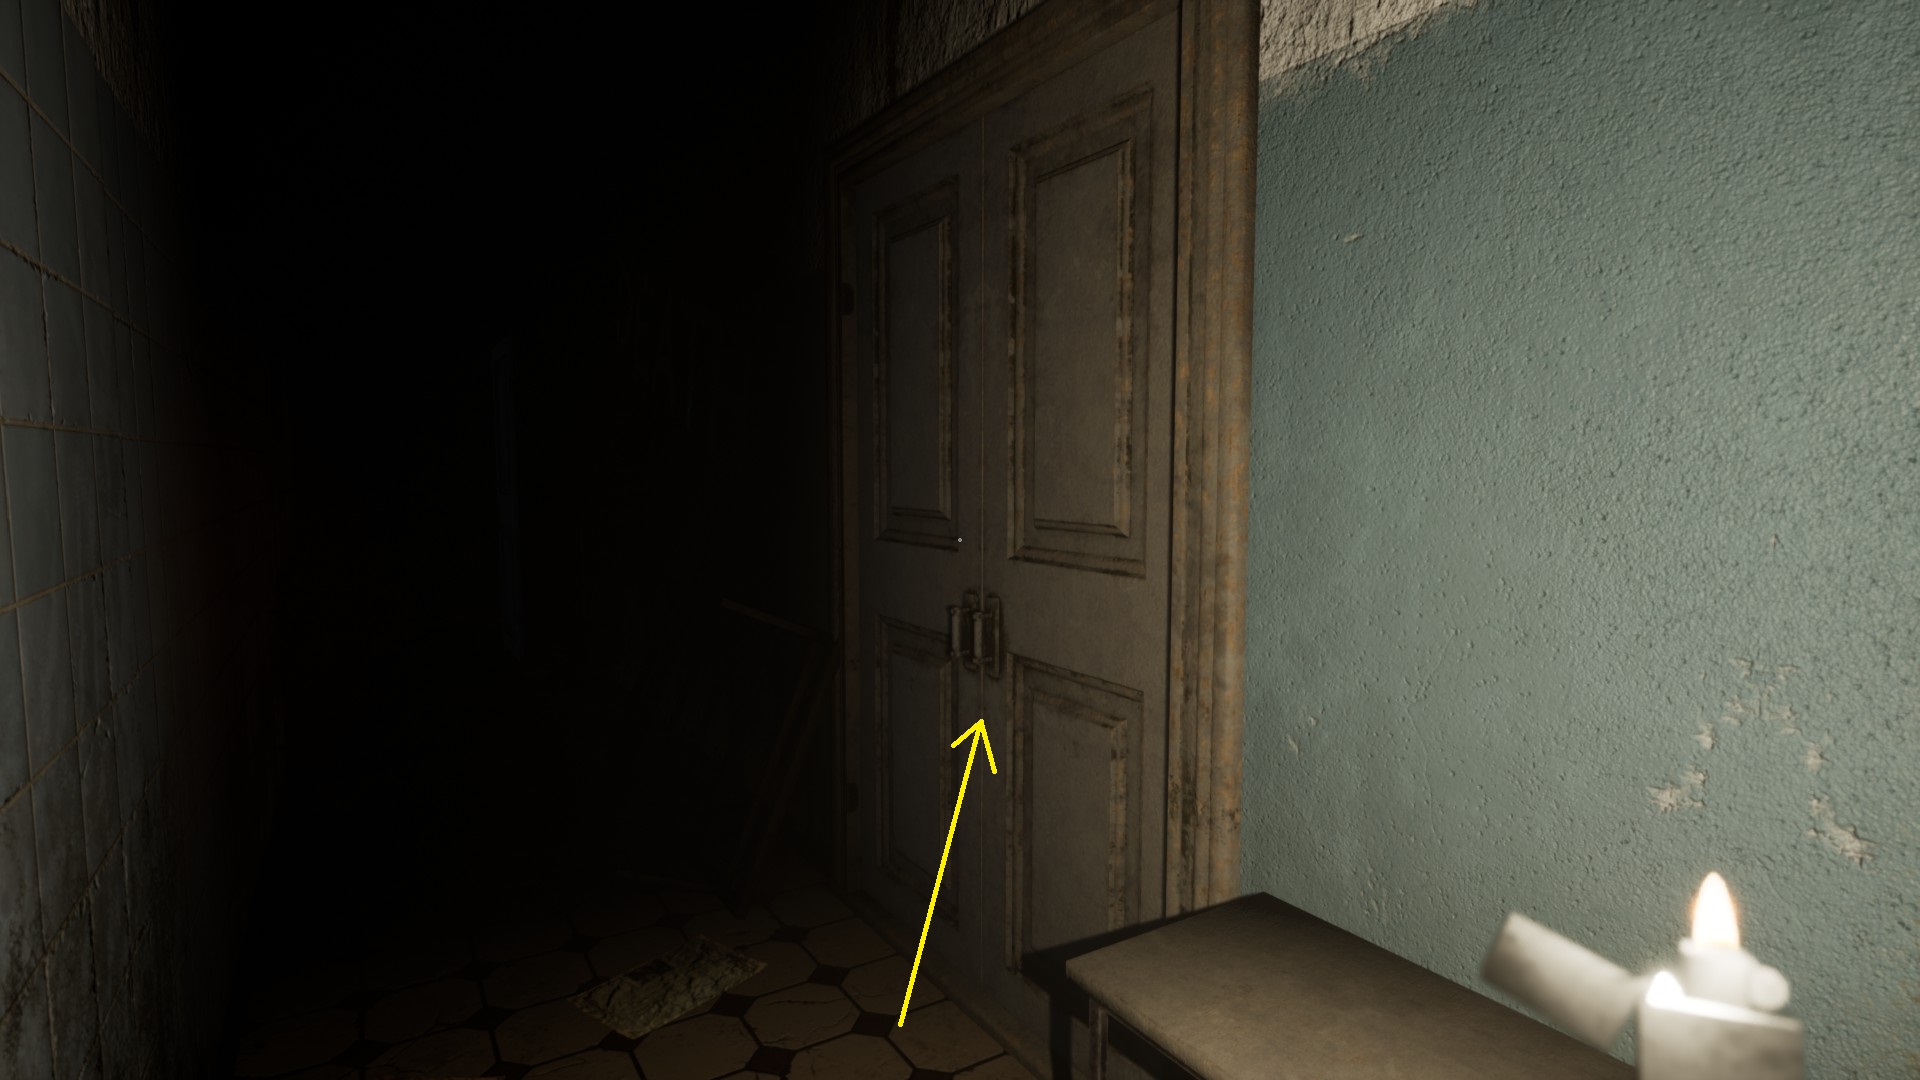
Left-click to open the double doors and enter.

UPSTAIRS AREA
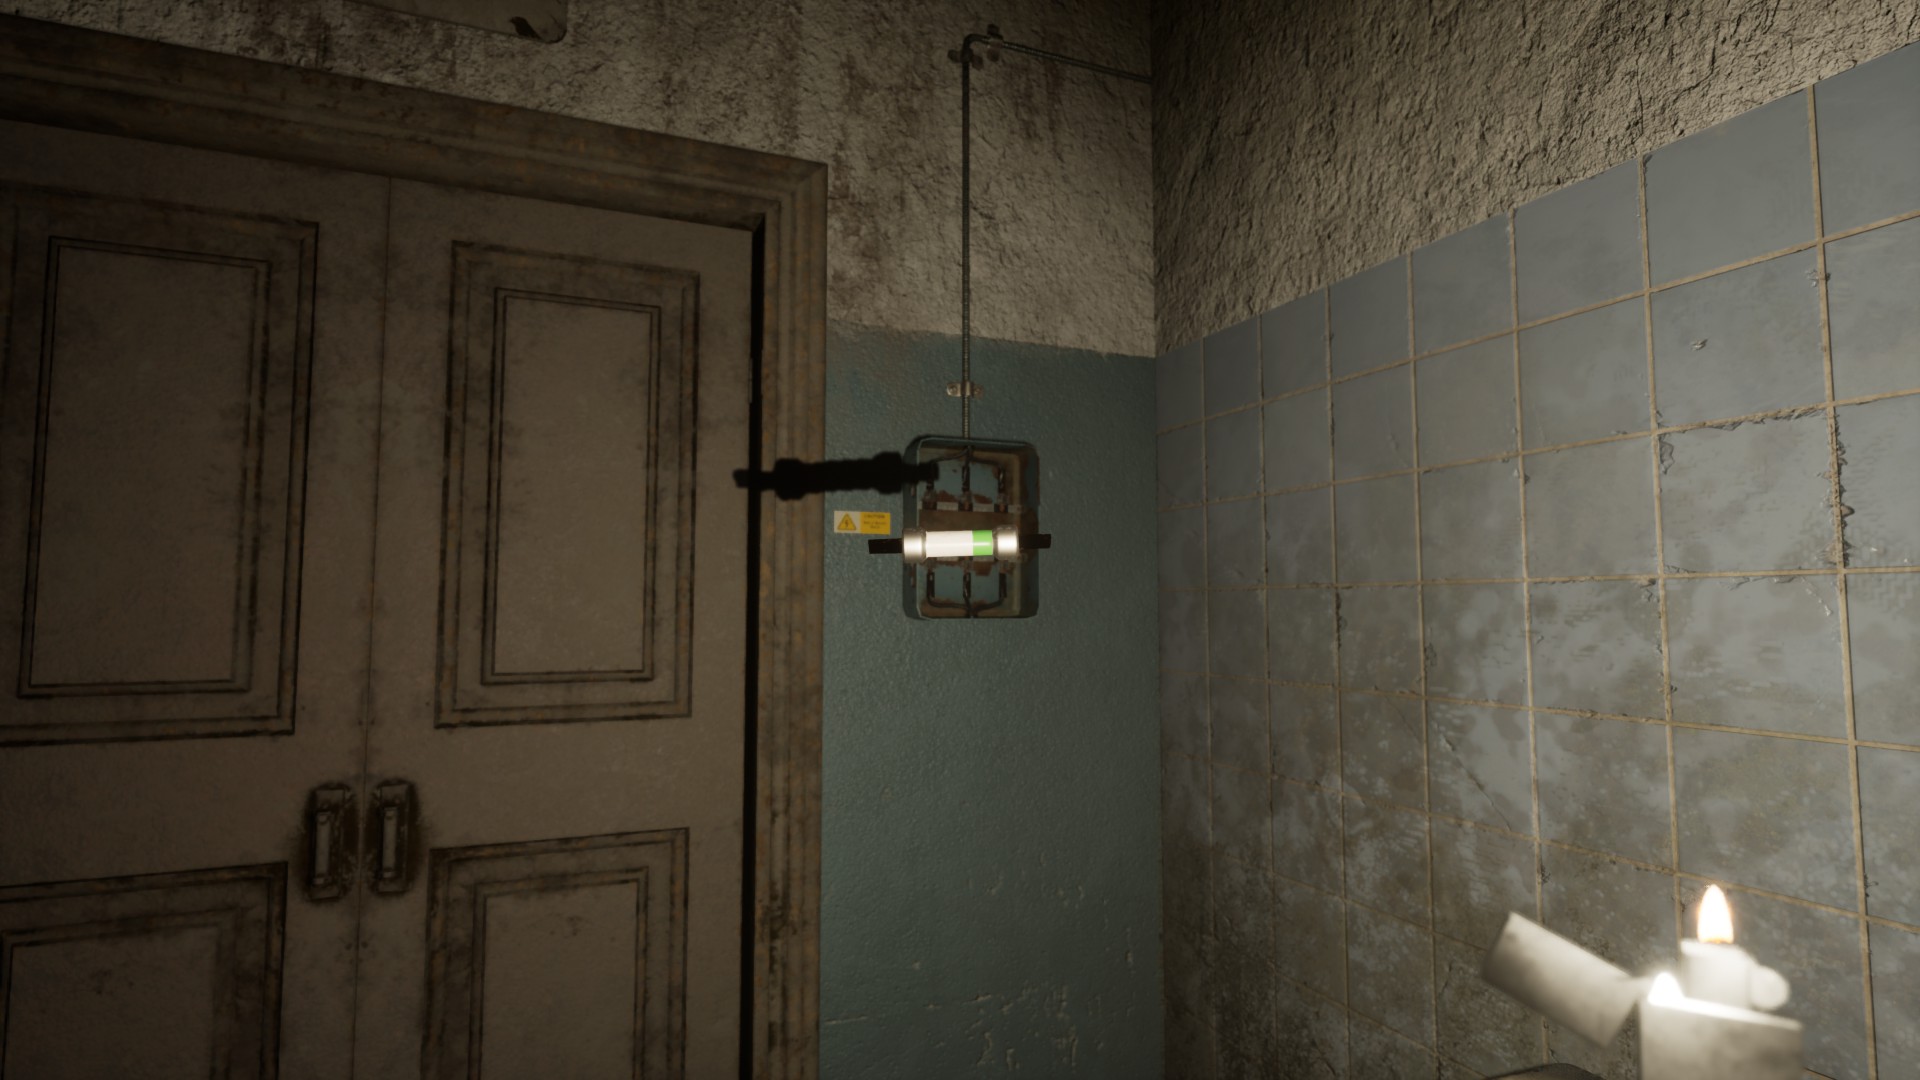
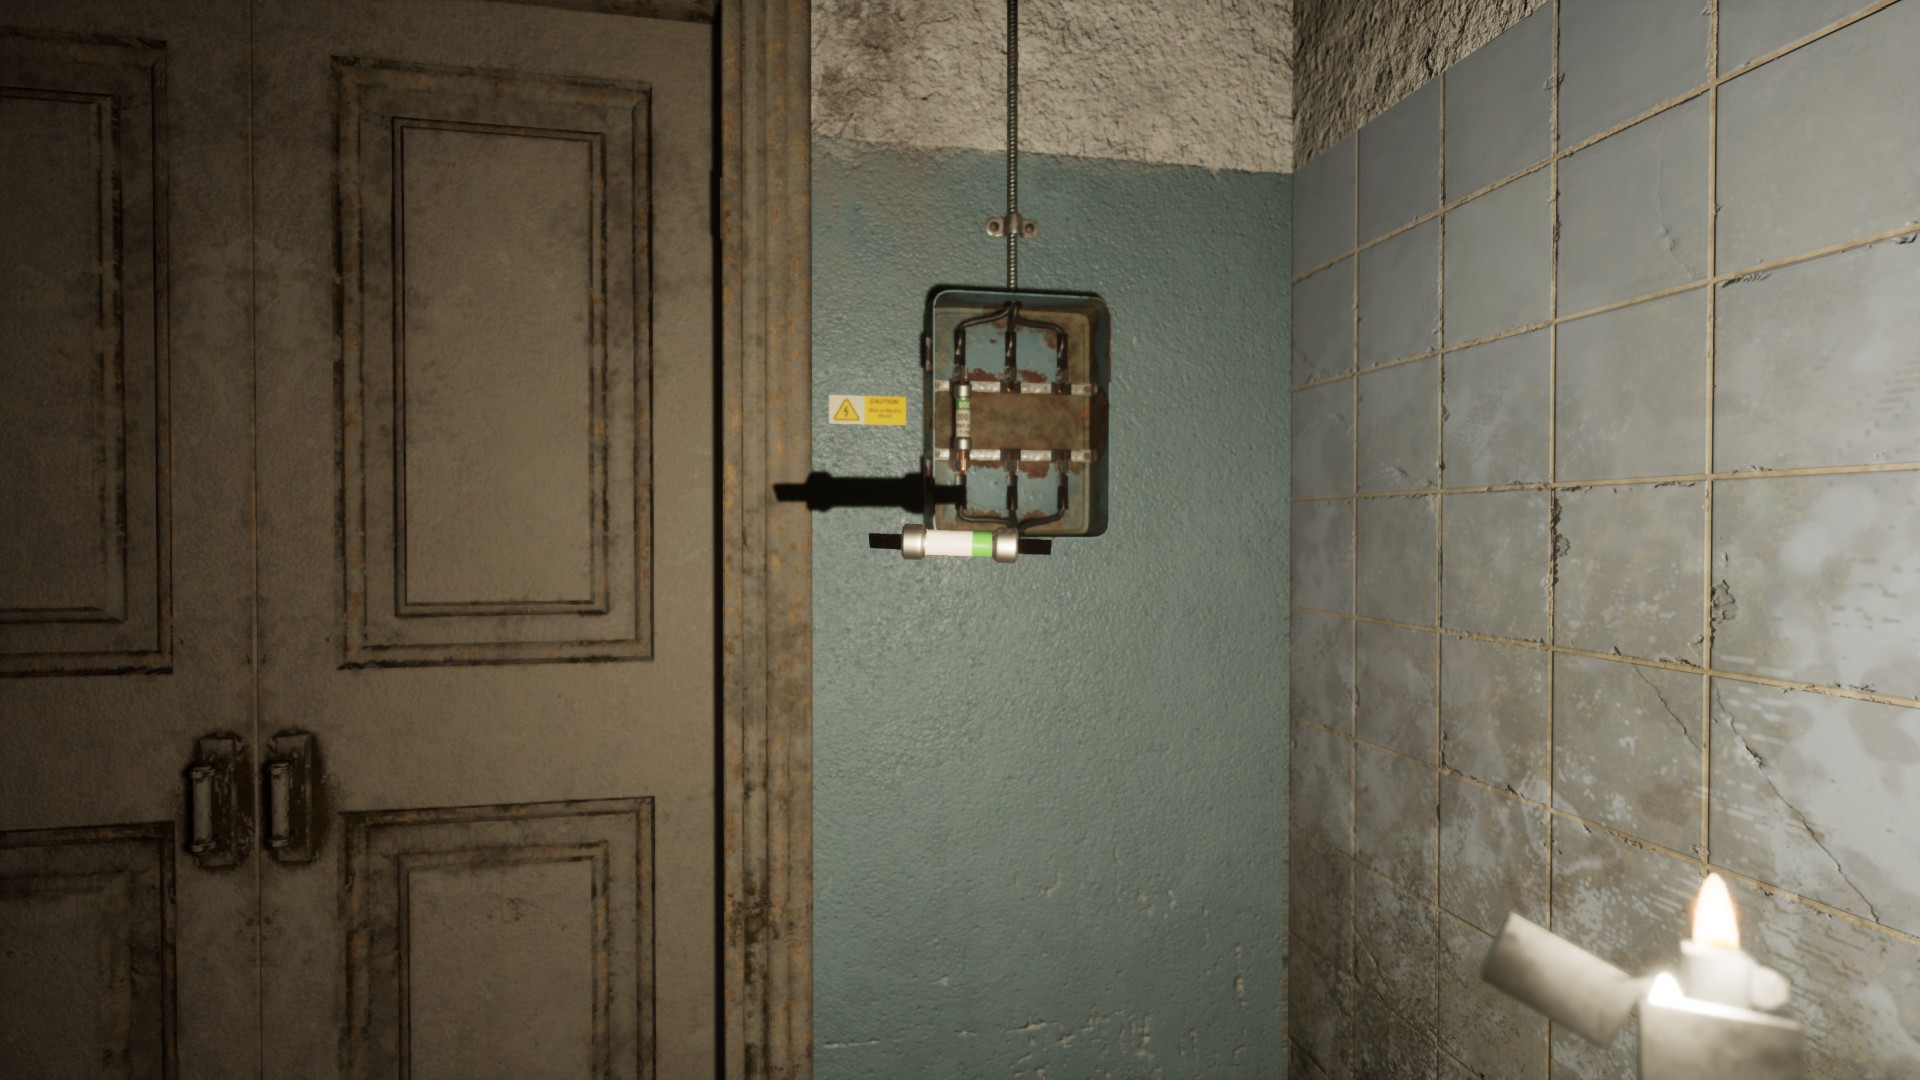
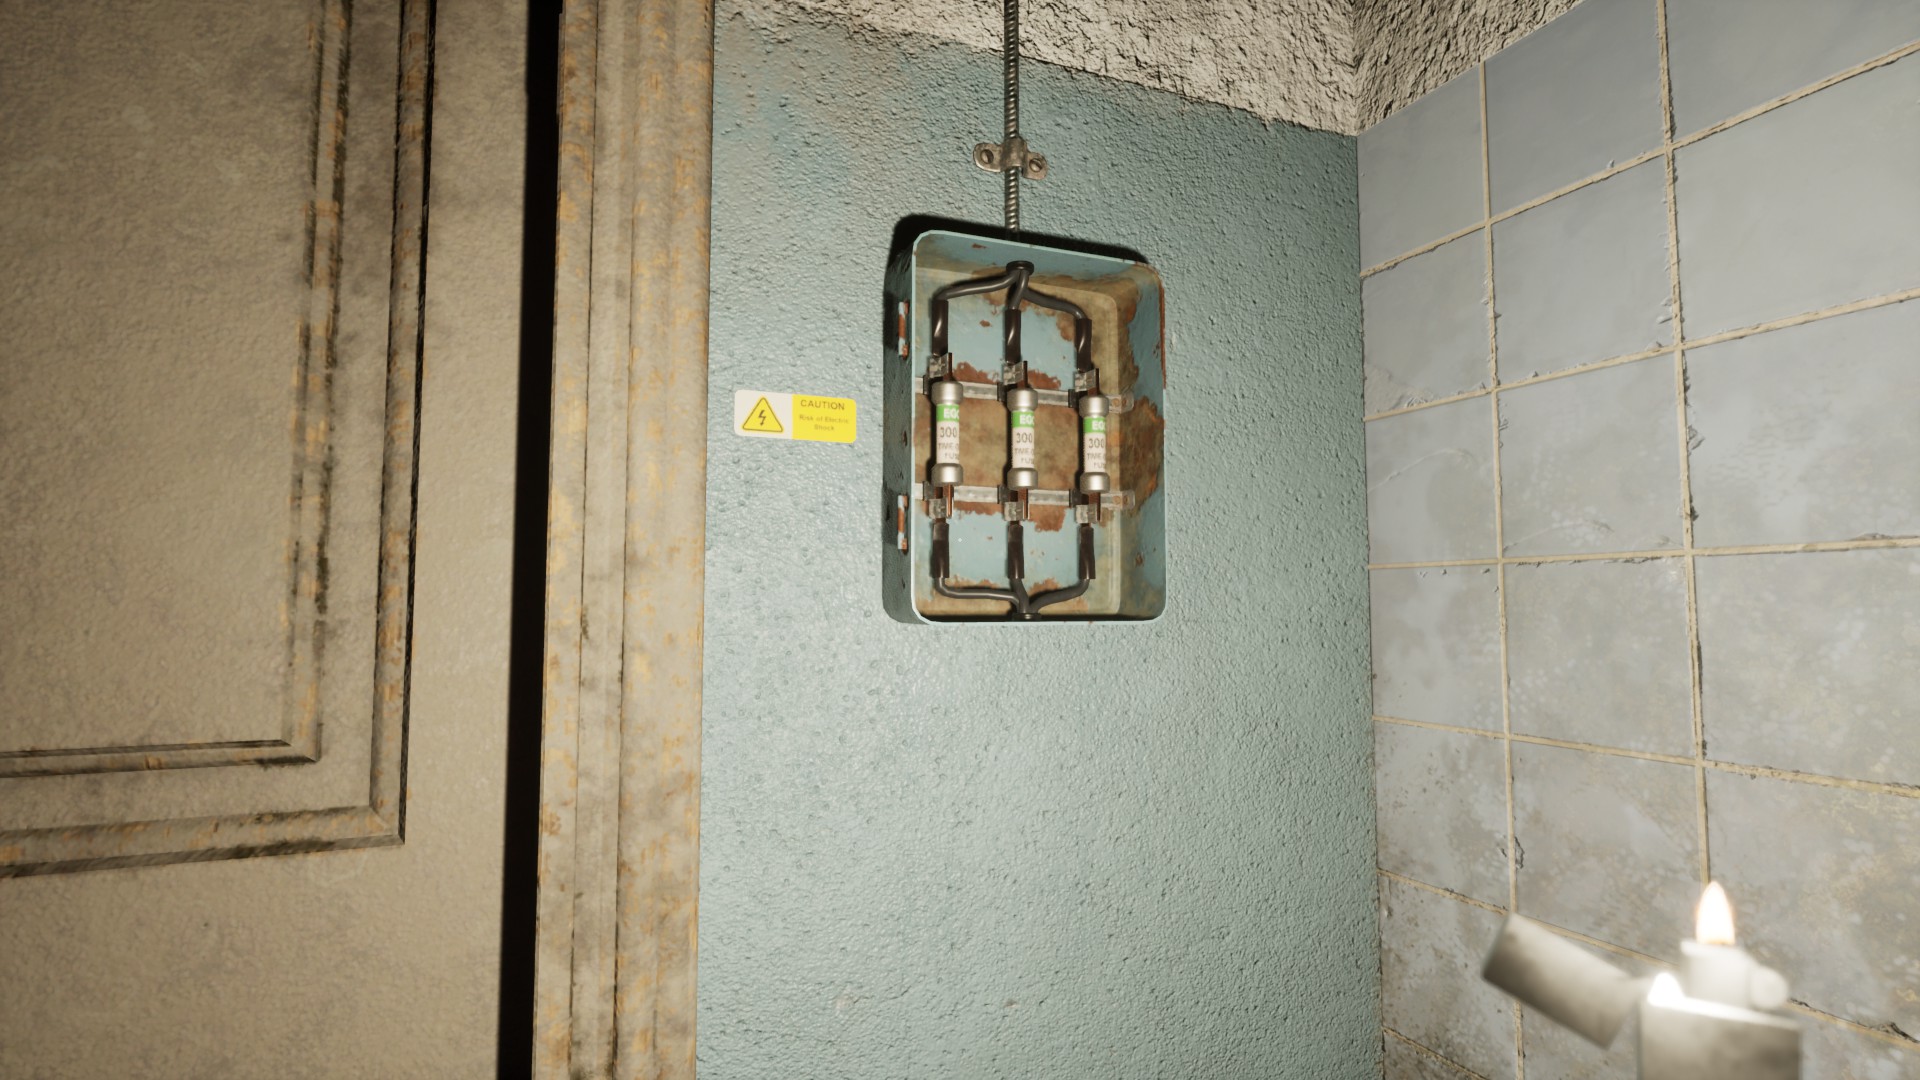
The objective here is to find three fuses in order to progress. Er is een fuse box on the wall right next to the double doors you’ve just entered through.

Zodra je binnenkomt, a music box starts playing. The doors close behind you.
Gebruik uw lichter (F) to light the way. Opmerking: Naar refill the lighter when it runs out of fuel, access the Inventory (Lab), use the mousewheel to select the lighter fluid, then left-click to fill the lighter.
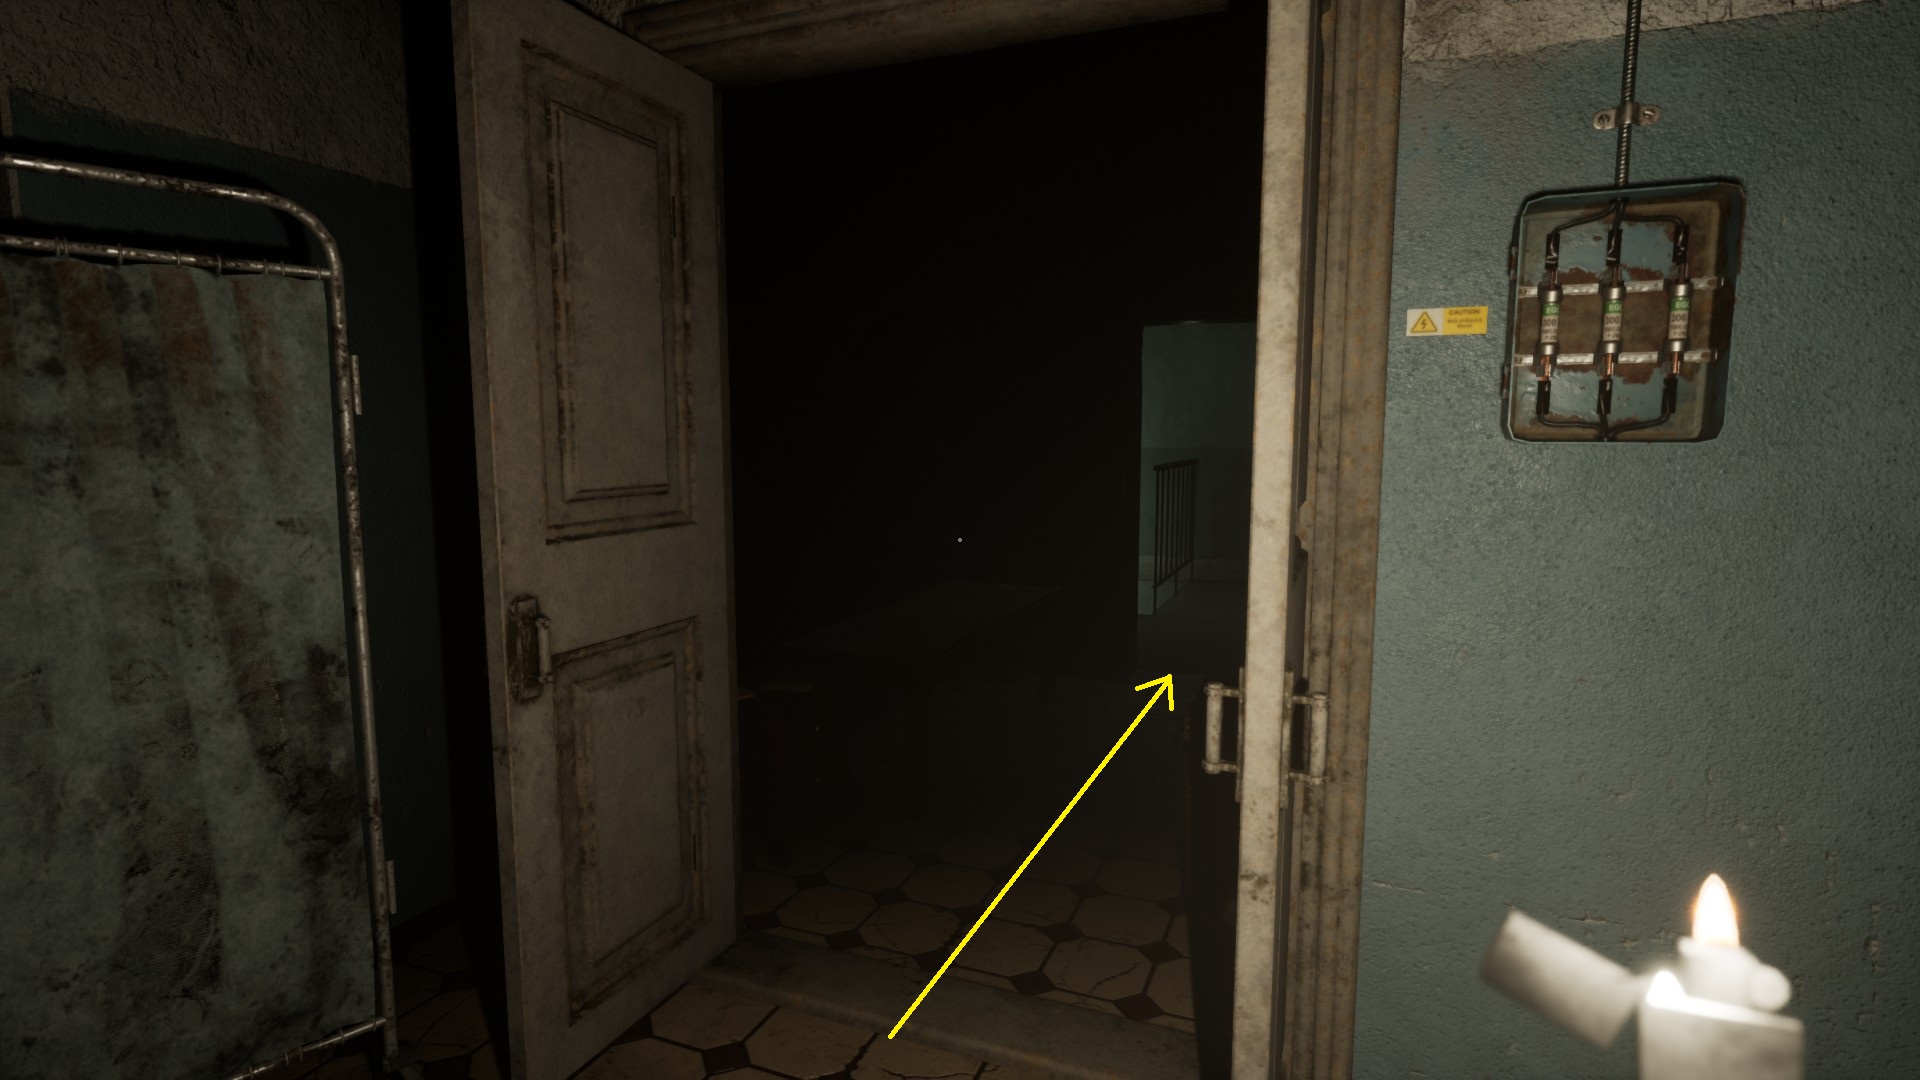
Walk all the way down the hallway to the end, turning left at the corner on your way.

Left-click the door here to open it. (All the other doors are locked or barred.)
Binnenkomen. Ga naar de radio on the window sill at the far end
It stops playing. You are turned around to face a jump scare. When the jump scare creature disappears, you can see the door at the far end (back down at the corner in the hallway) open up.
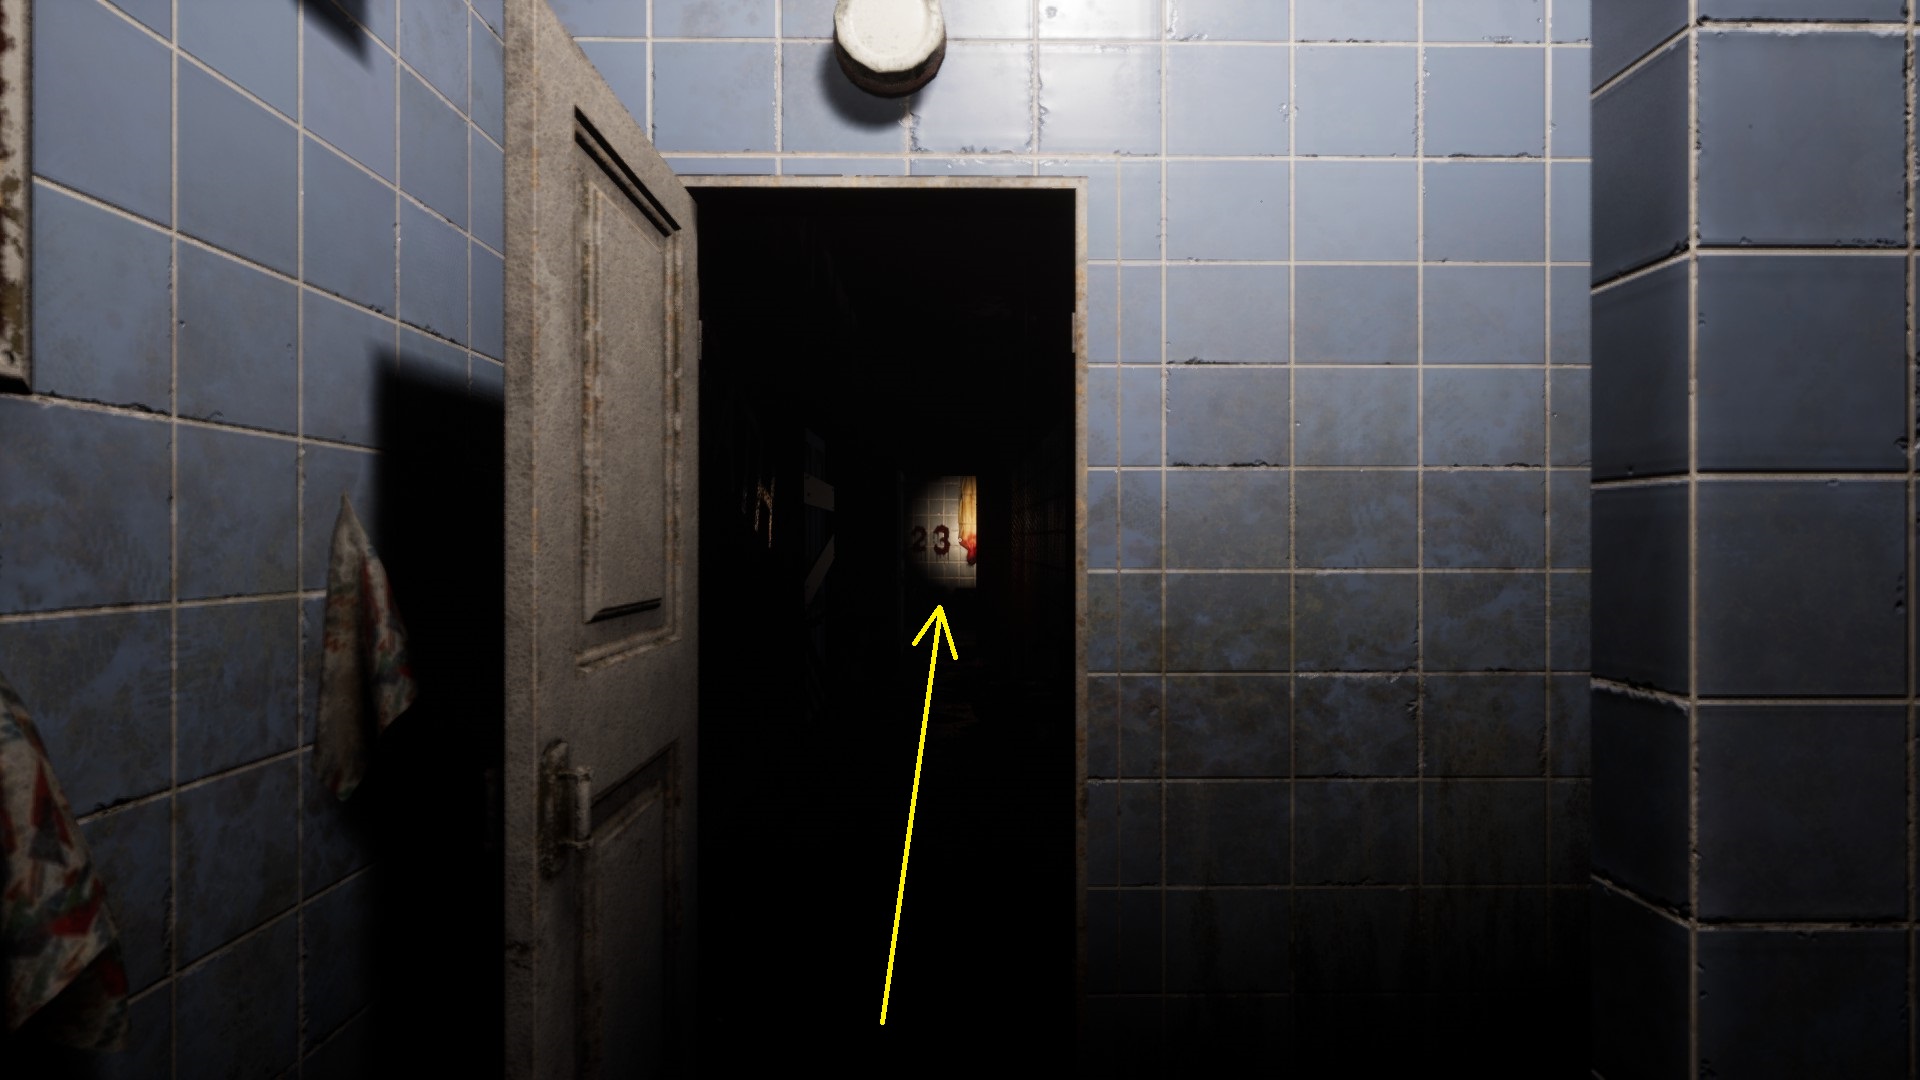
The lights go out as you exit the toilets.
Up ahead, at the corner in the hallway, where the door just opened, you see a lit-up wall with the cijfers 2 en 3, en een wrapped corpse hanging upside down.
Proceed towards it and enter the room they are in.
ROOM WITH UPSIDE-DOWN CORPSE (FUSE 1)
After you enter, the door shuts and locks behind you.
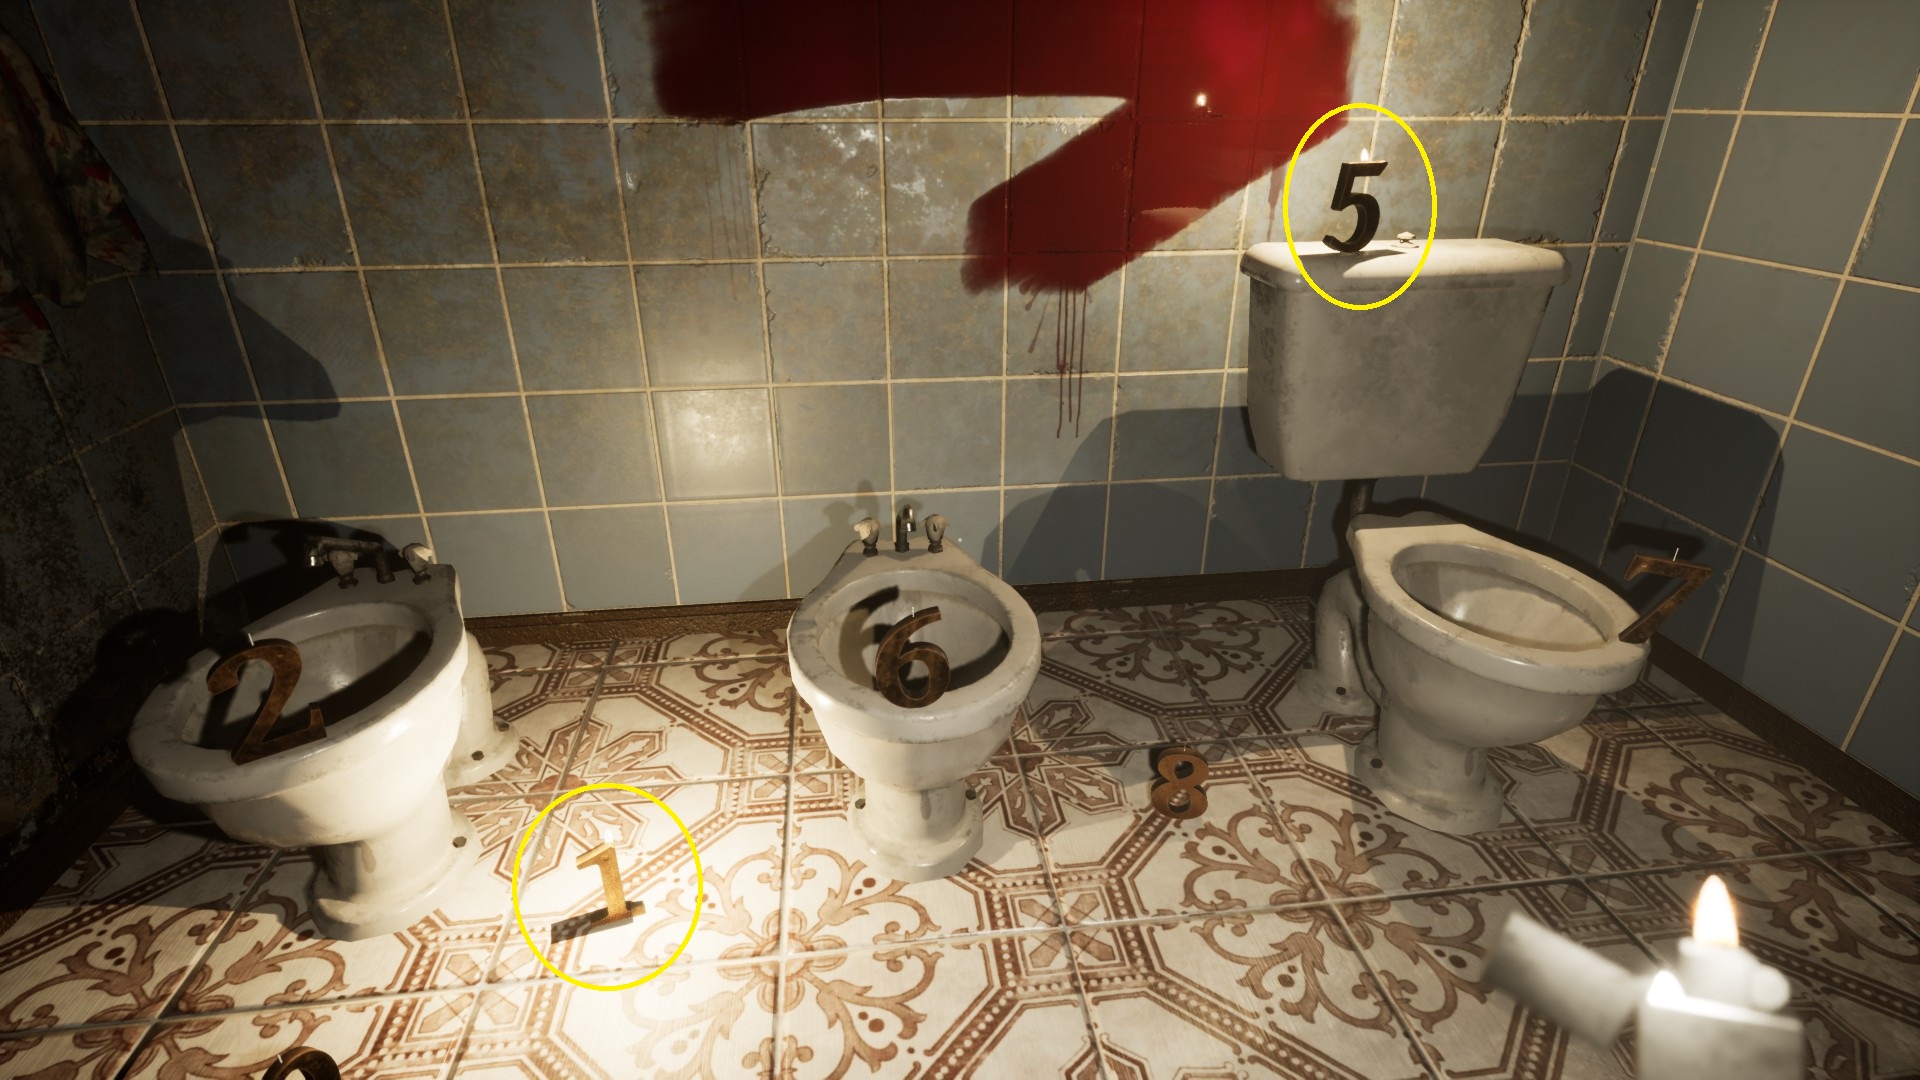
You can see the cijfers 2 en 3 to the left of the hanging corpse, en de cijfers 1 en 5 to the right of it.
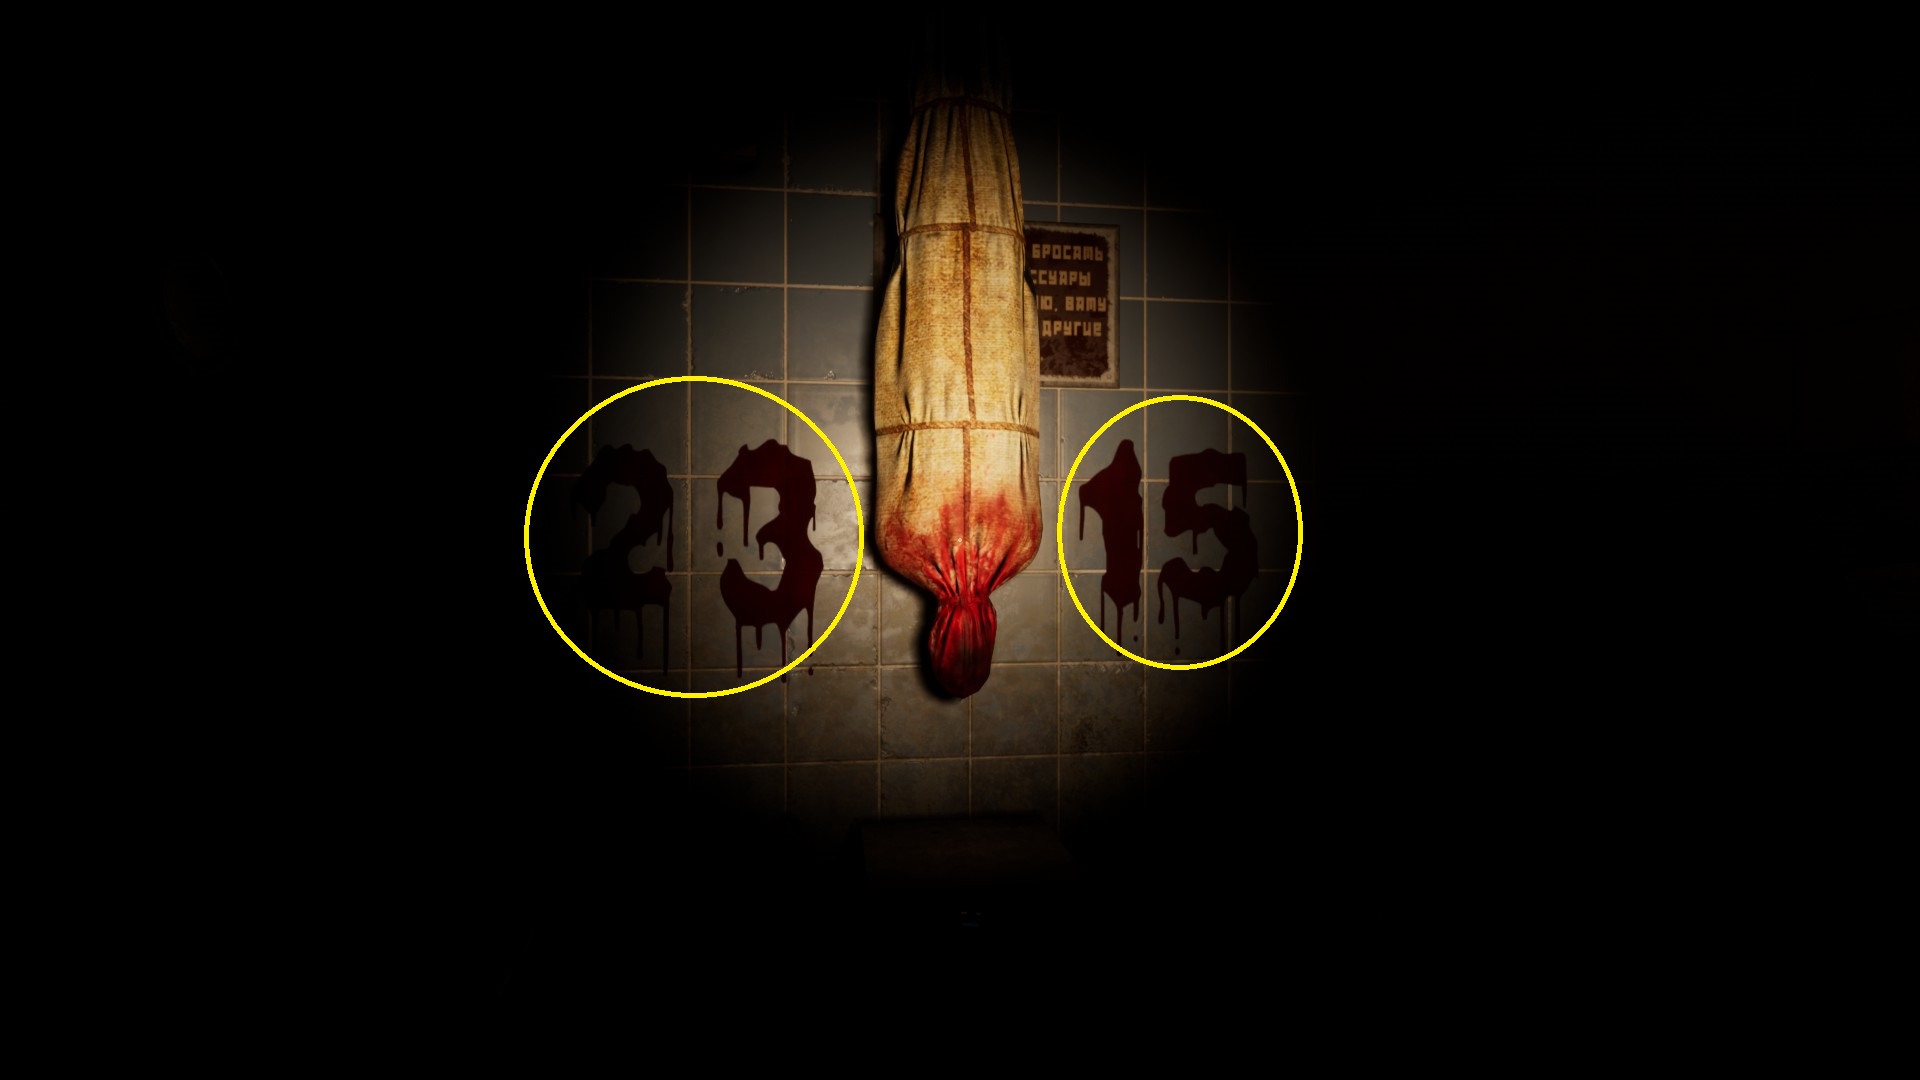
Gebruik uw lichter (F).
You now see cijfers arranged from left to right all over the room. There is more lighter fluid to be picked up from the stand beneath the corpse.
The numbers can be lit like candles.
Gebruik de lichter to light (left-click) de 2 en 3 (left-side of the corpse) …
… en de 1 en 5 (right-side of the corpse). (Ignore the 1 that is to the left of the corpse.) You may have to crouch (LeftCtrl) to be able to light the numbers.
A samensmelten falls from the corpse onto the stand beneath it. The room’s door unlocks and opens.

Haal de op samensmelten (right-click to carry Het) and exit the room.

As you exit, turn left and carry the fuse naar de double doors where you entered this area. (If not already equipped, you may have to drop the fuse first to use the lighter to see where the fuse box is located.)
Put the samensmelten into the fuse box by simply walking into the wall to the right of the doors where the box is located.
A soccer ball drops onto the floor close to you.
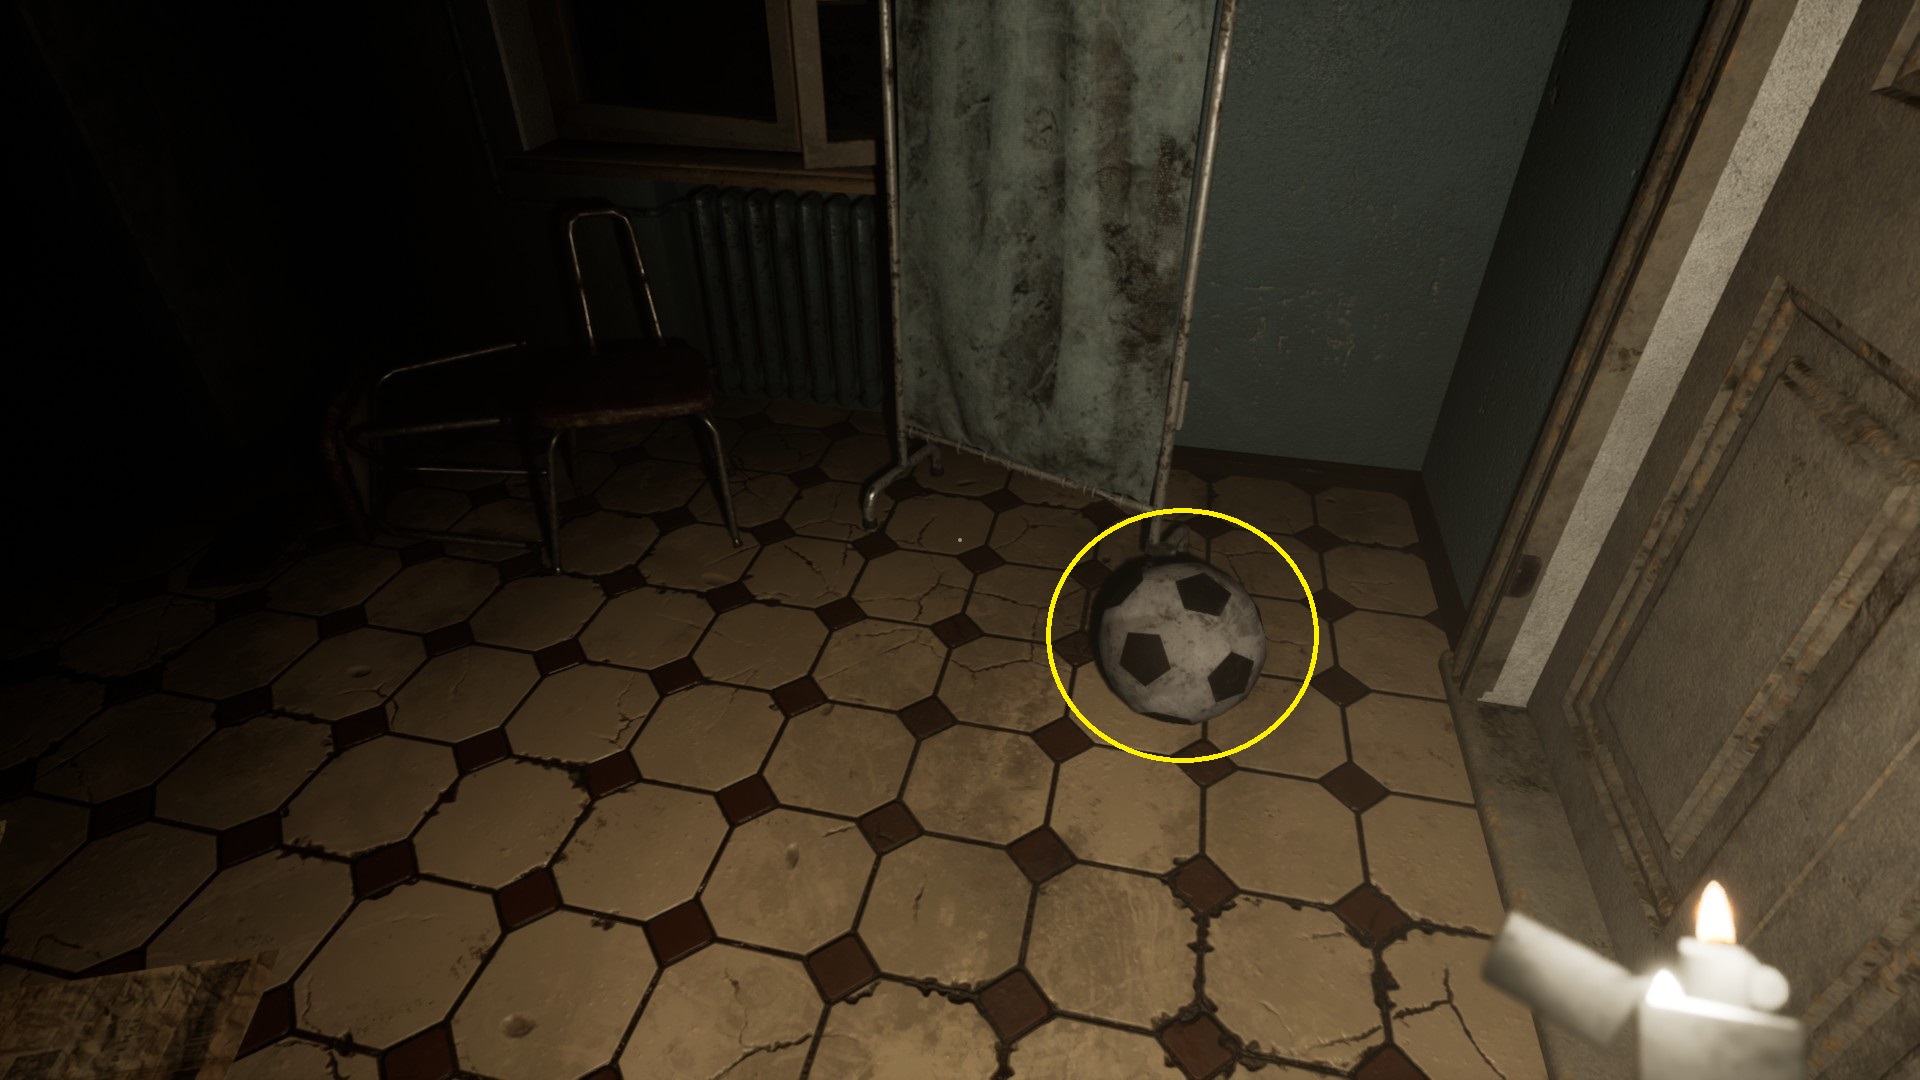
Pick it up and carry Het (klik met de rechtermuisknop ) a short distance down the hallway to the safe (next to a door) aan de linkerkant.
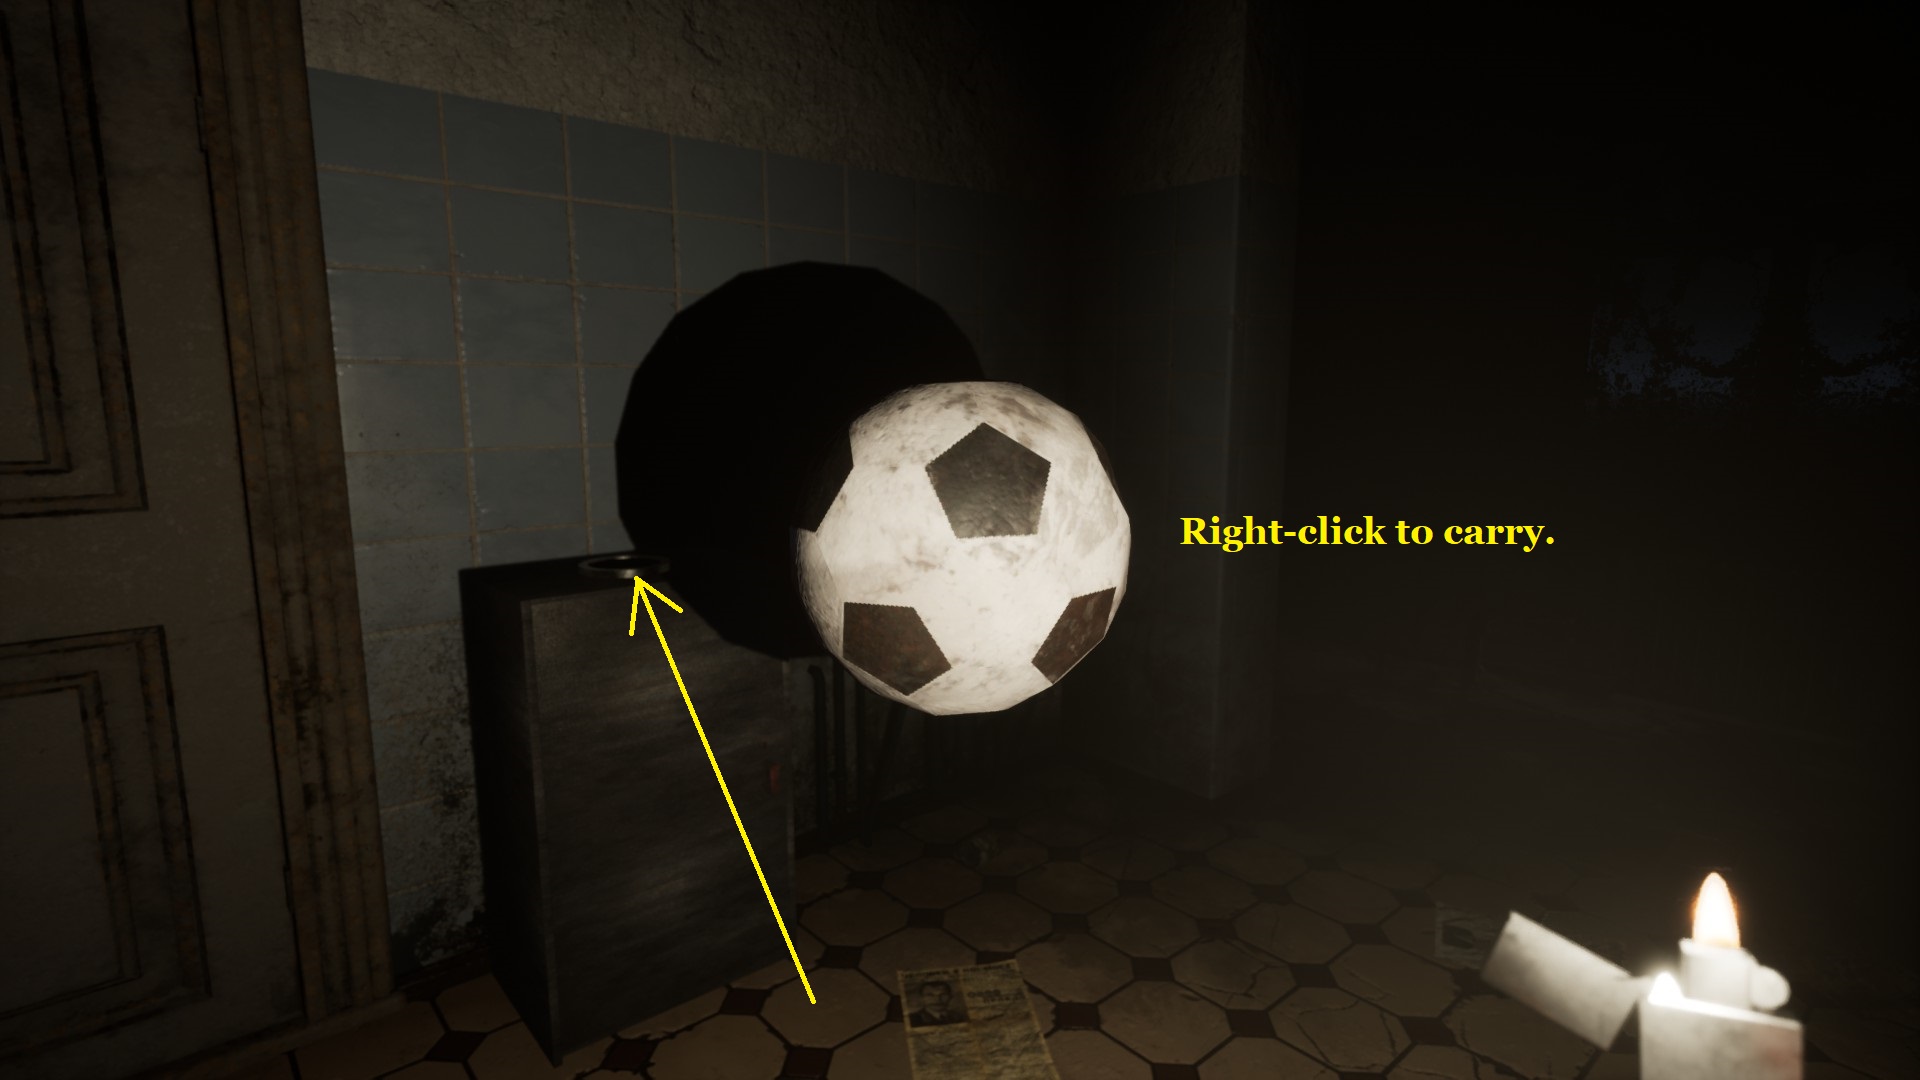
The ball settles on top of the safe, unlocking and opening it. Haal de op sleutel (left-click) from the safe.
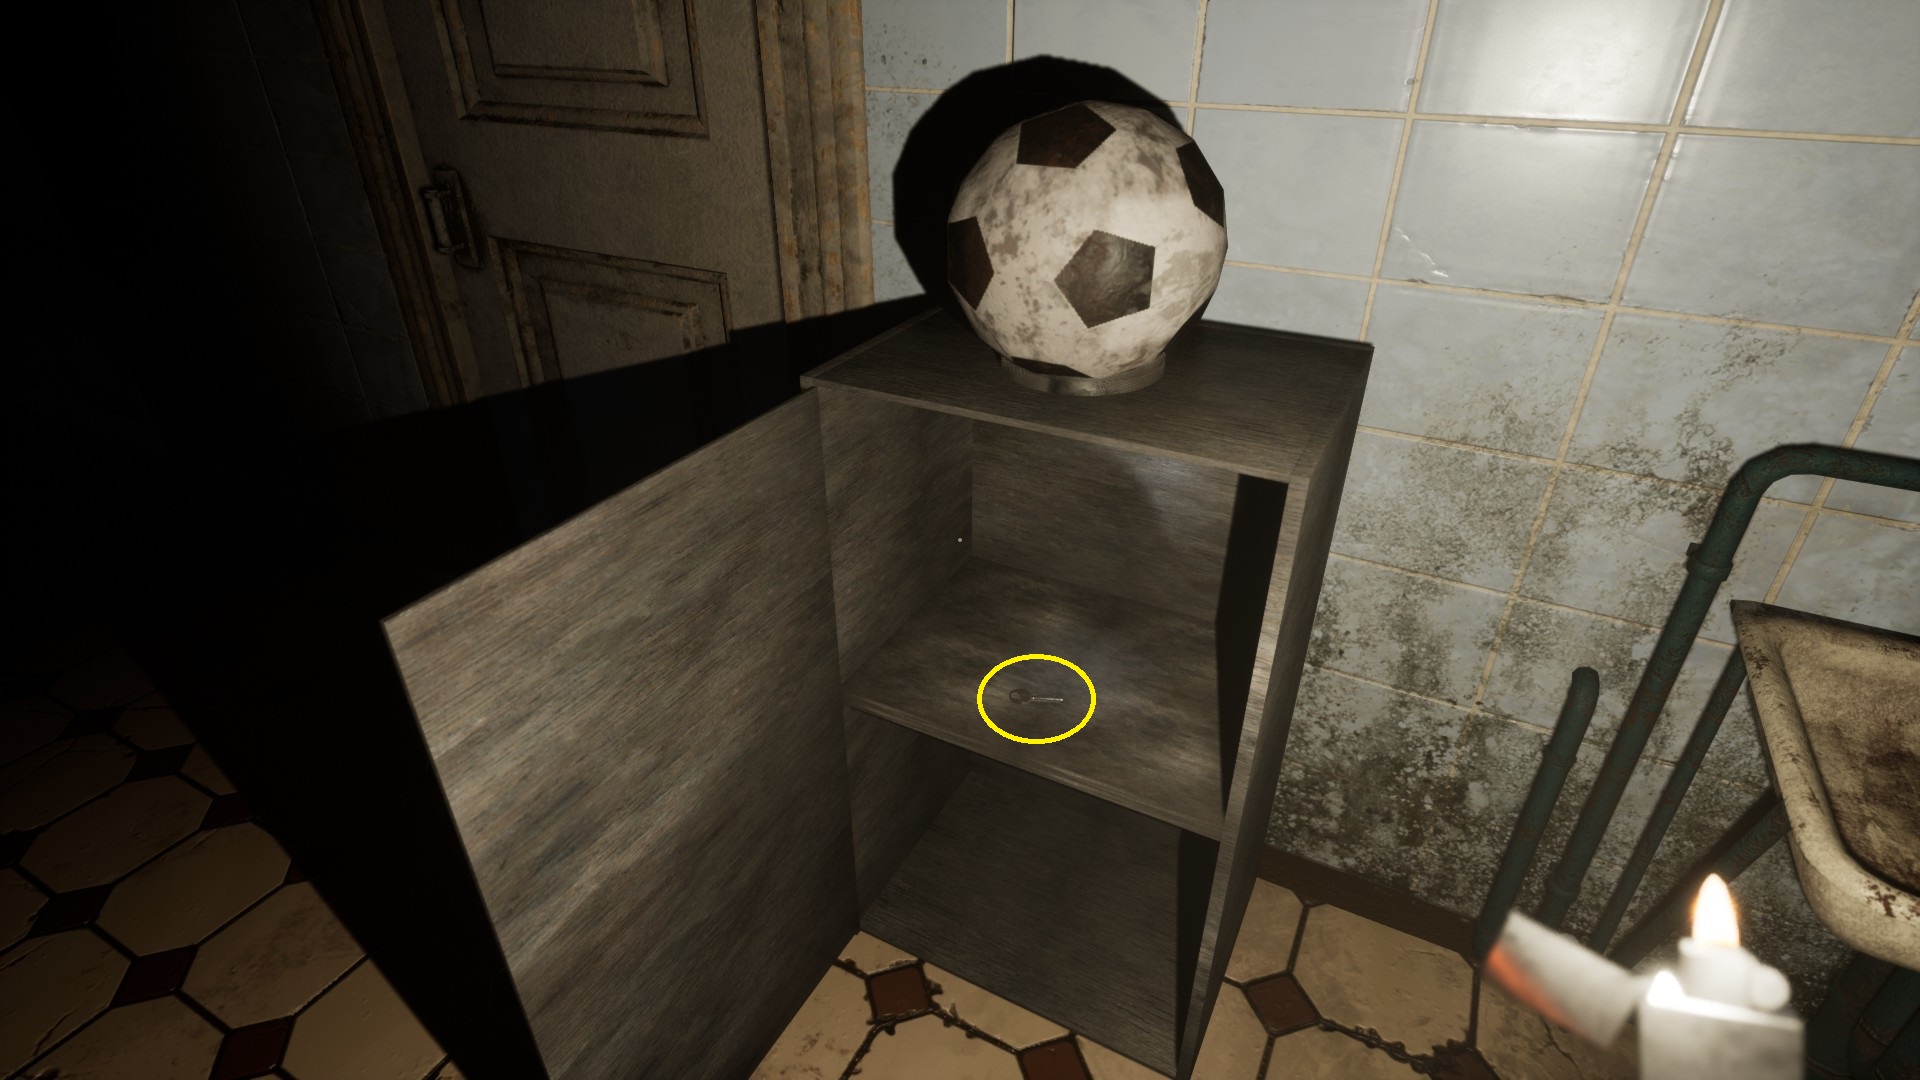
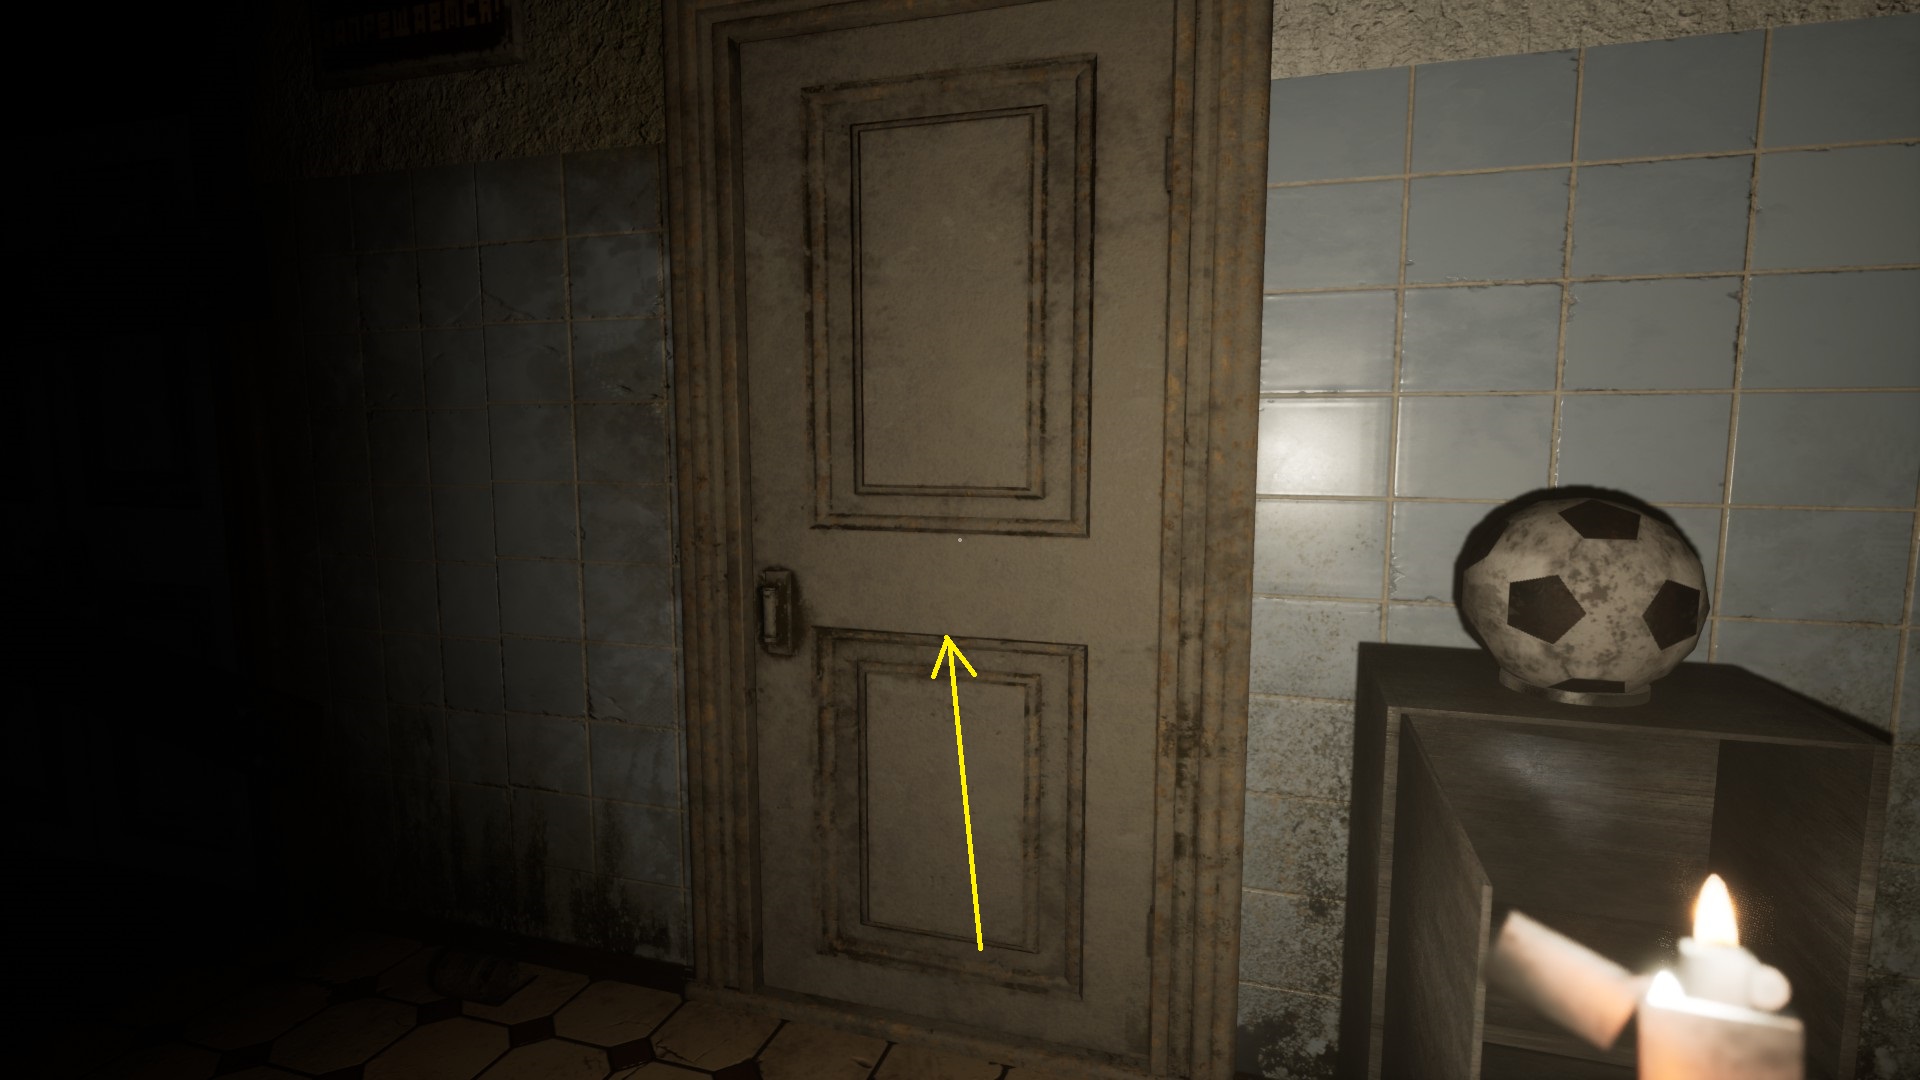
Gebruik de sleutel op de door right next to the safe – klik met de rechtermuisknop (access from the Inventory), left-click (unlocks the door), left-click (opens the door).
ROOM WITH TOYS
Ga de kamer binnen. Eenmaal binnen, notice the picture on the wall immediately to the left. It shows three children’s toys: A bear, A wooden car, en een rabbit.
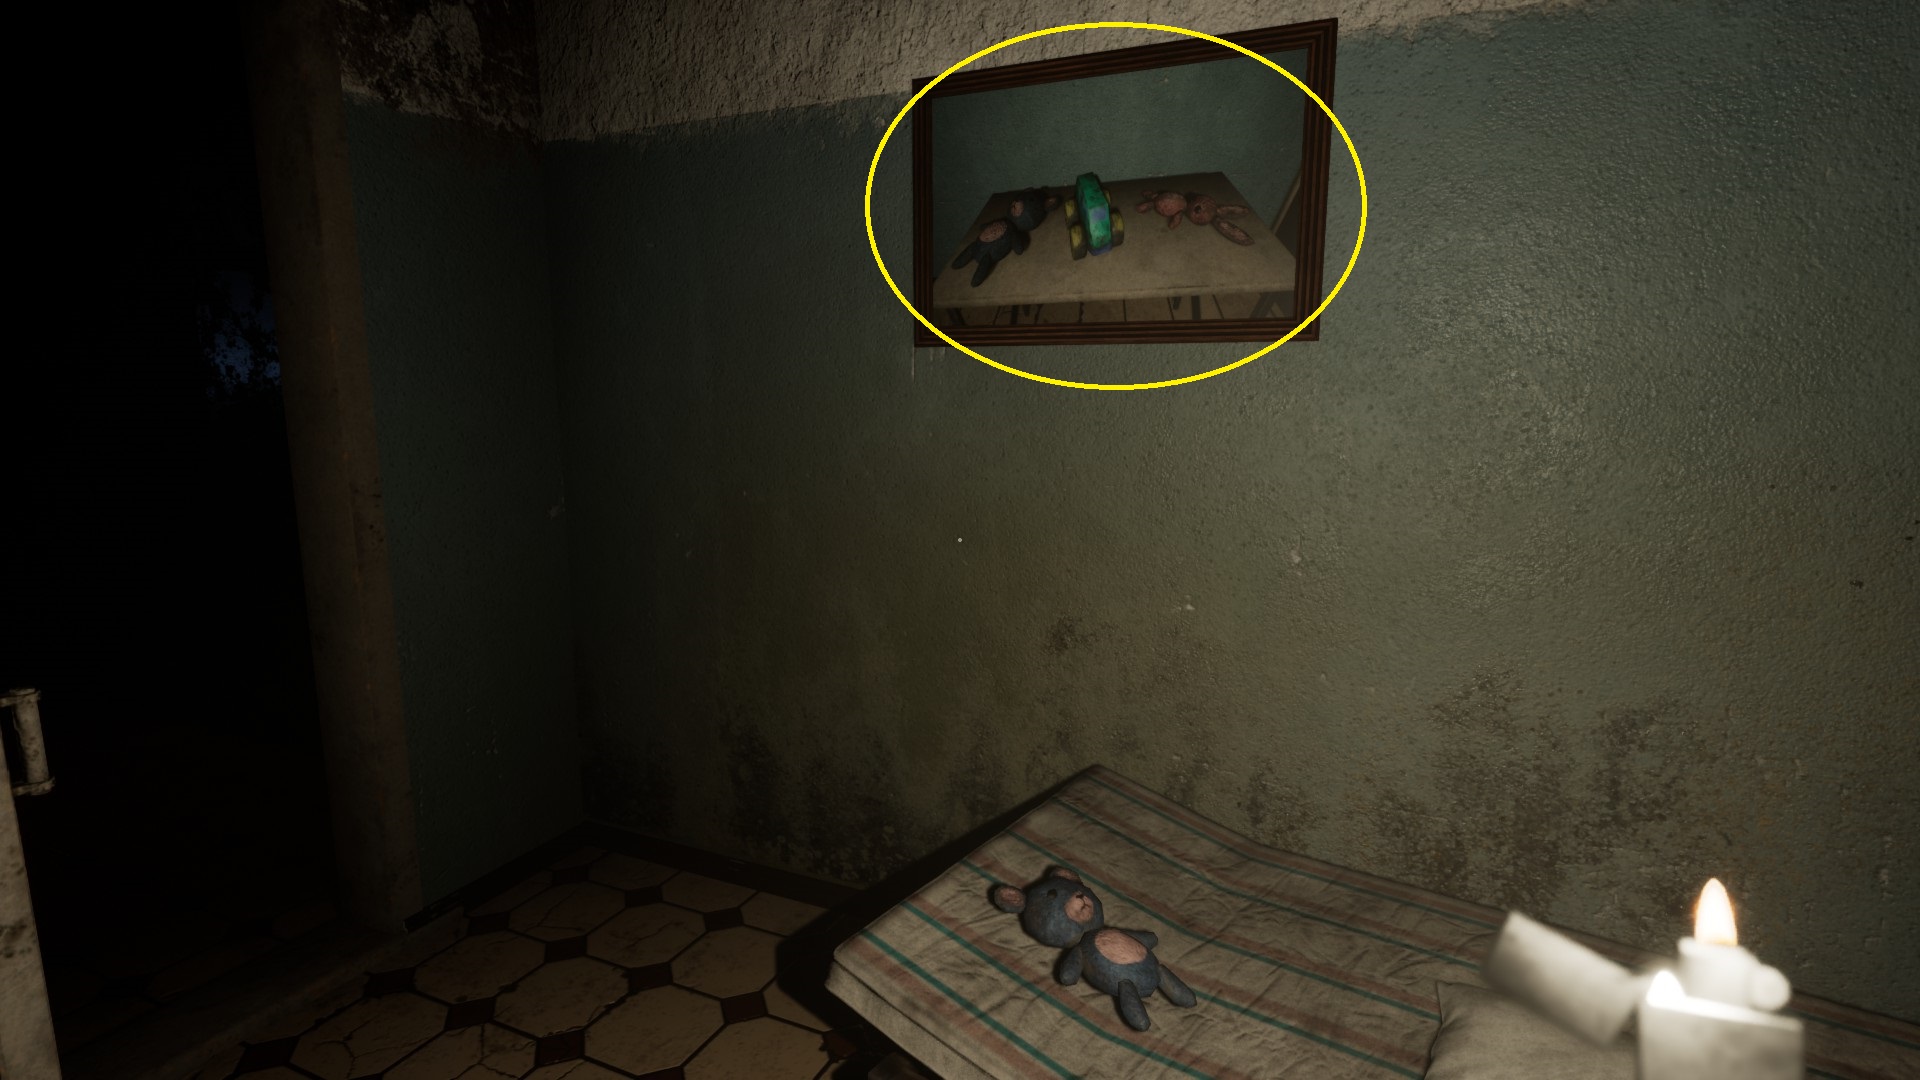
A duplicate of this picture also hangs just above a klein, low table on the opposite wall. You need to find the three objects and place them on the small table.

Haal de op bear van de mattress underneath the first picture. Klik met de rechtermuisknop naar carry it to the small table .

Vind de wooden car. It is on the other bed. Dragen Het ( klik met de rechtermuisknop ) naar de small table.

De safe to the left of the little table unlocks. Left-click the door to open it.
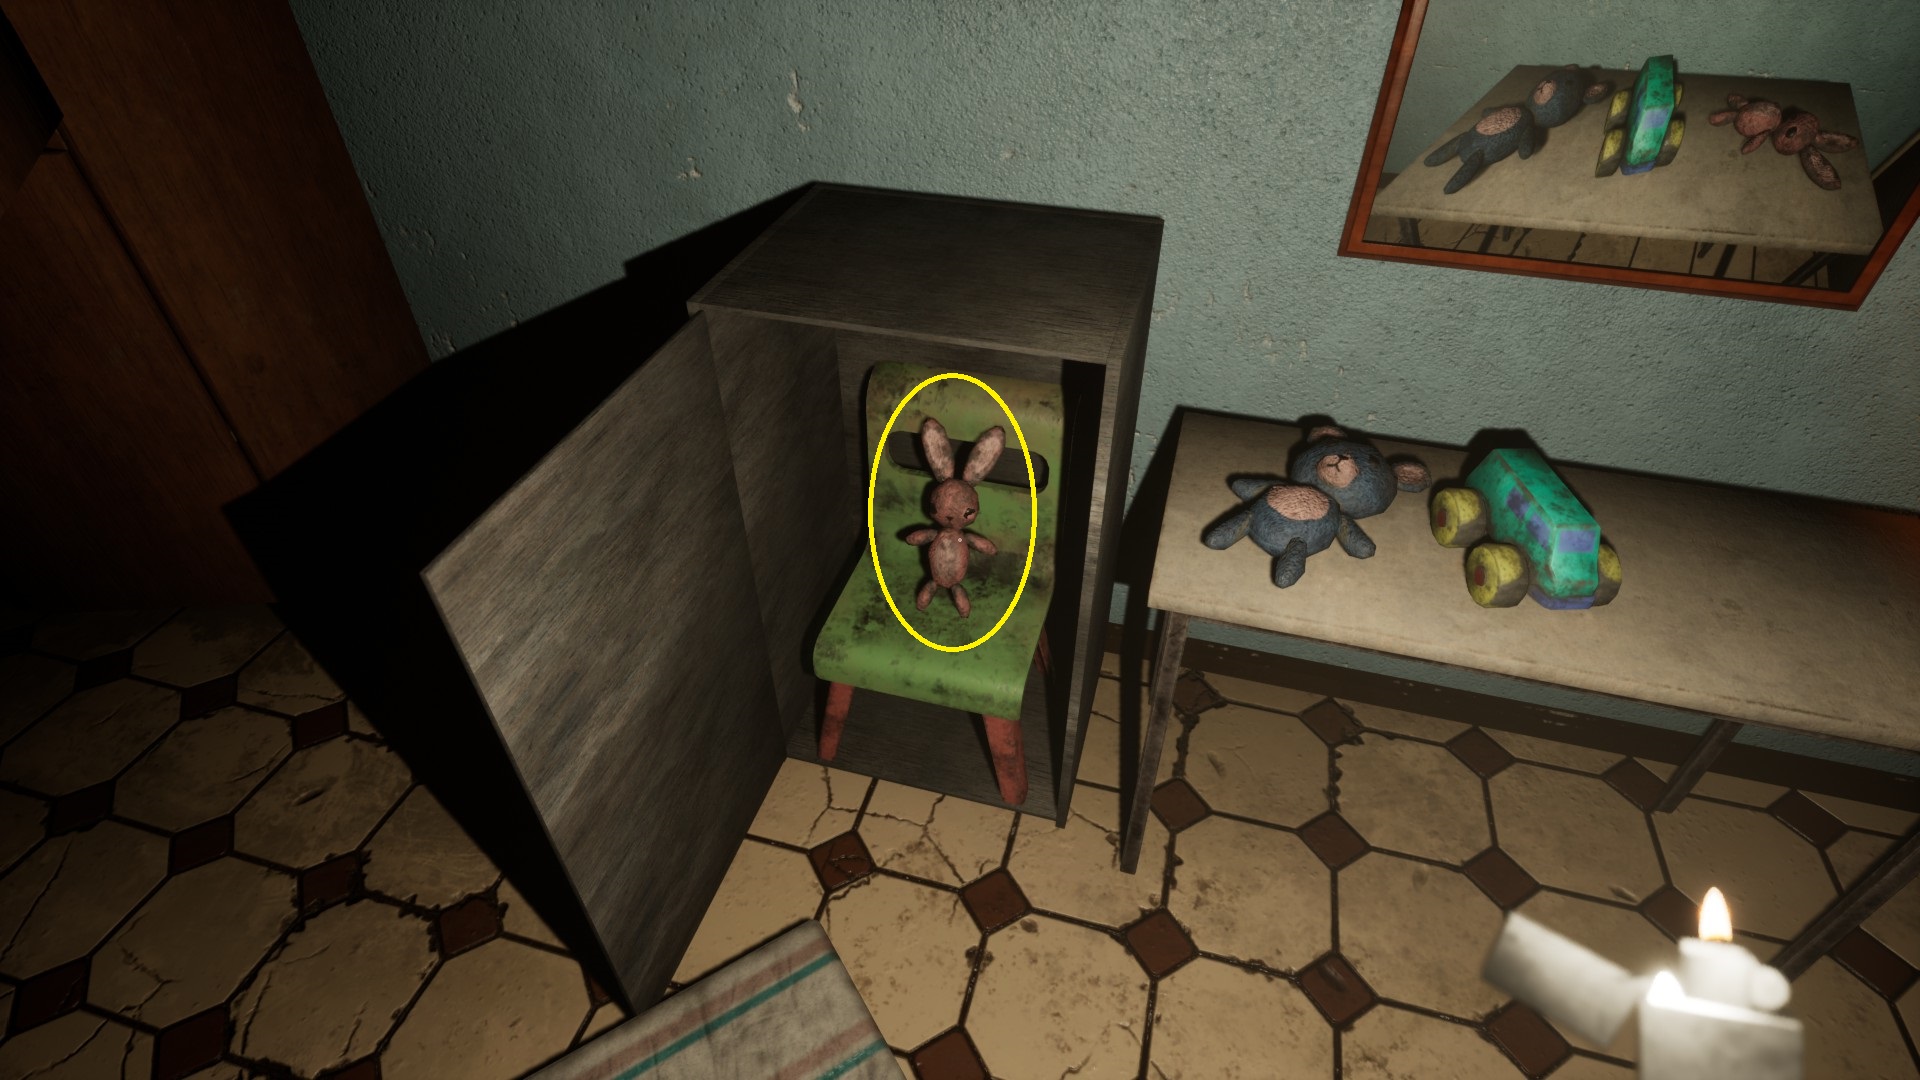
Neem de rabbit from inside it and carry Het (klik met de rechtermuisknop ) naar de table to complete the task.

You hear glass breaking somewhere outside the room.
Exit the room.
ROOM WITH LARGE CLOWN PICTURE
De double door s opposite have now unlocked.

Left-click to open them, The room is lit up by candles. Een groot picture of a clown hangs from the window.

Enter this room to pick up (left-click) de lighter fluid (x2) from the window sill beneath the clown picture .
You trigger a jump scareas you try to leave the room. Exit the room and turn right.

Go to the corner area of the hallway. De double doors hier (to the left of the window) were previously locked/barred.
Left-click to open the doors and enter.

ROOM WITH COLOUR-CODE PUZZLE (FUSE 2)
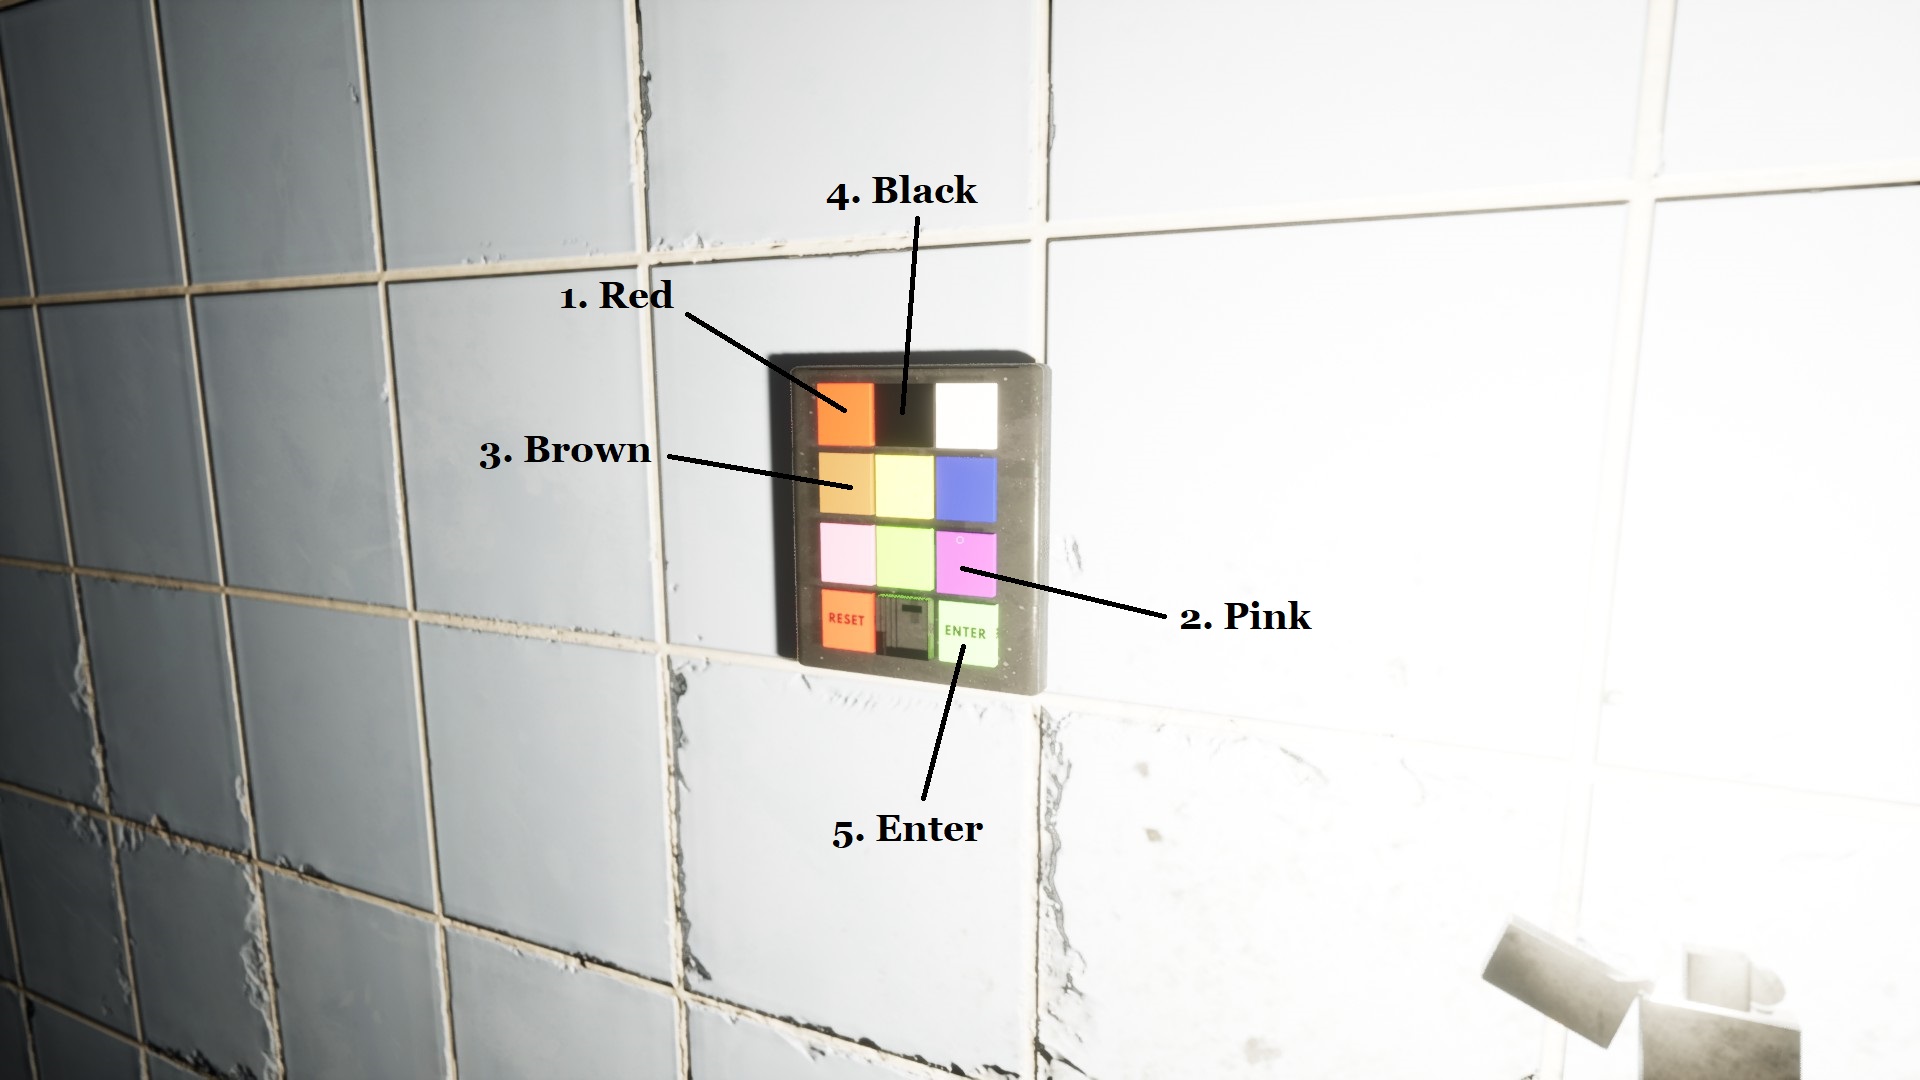
Zodra je binnenkomt, turn back to notice a colour-coded lock on the tiled wall next to the doors.

You will use this soon. But first focus on the heavy breathing you can hear coming from the far left corner from behind a screen .

Approach the screen to trigger a jump scare.

The double doors you entered through has now vanished. In it’s place is a smooth tiled wall with a colour-coded lock next to it.
(There is a container of lighter fluid on a trolley in this room.) De oplossing to the puzzle is found on a piece of paper located on the middle level of a trolley in this room. Equip your lichter (F) . You may have to crouch (LeftCtrl) en gebruik zoom (mouse-wheel) to see all the clues.

De piece of paper reveals: pink = 2 (it looks kind of purple, but pink solves the puzzle) brown = 3 red = 1 black = 4 Once you type the correct code (rood. pink, bruin, zwart, followed by “Binnenkomen”) into the lock …
… another samensmelten drops onto a stand aan uw linkerhand.
Left-click to open the double doors and carry (klik met de rechtermuisknop) de samensmelten back to the fuse box at the area’s enter/exit doors.
ROOM WITH TWO WINDOWS (FUSE 3)
You turn around from the fuse box to see a wooden rocking horse rock at the corner in the hallway. It suddenly stops.
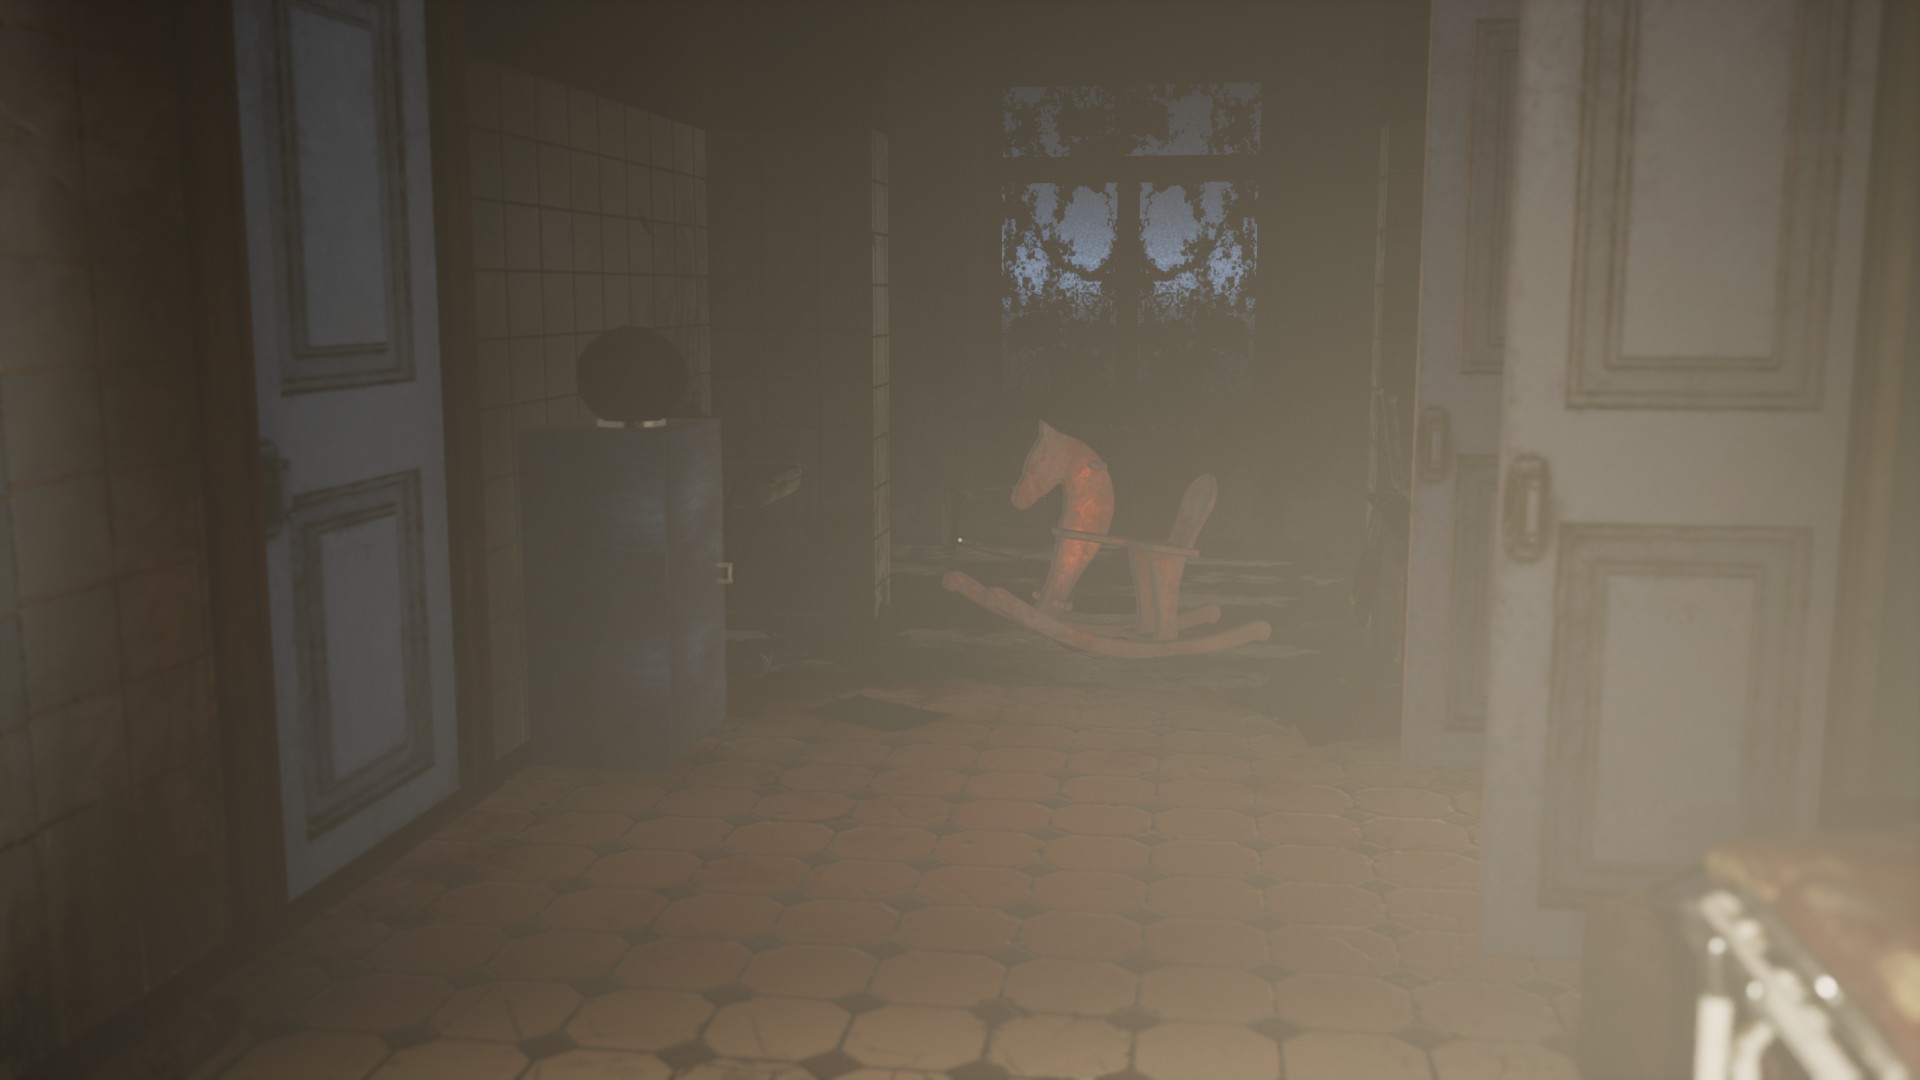
De double doors on the left wall (previously barred) are now accessible.
Left-click to open them, and enter the lit room.
Walk to the raam op de rechterkant of the far wall.

On the little table er zijn two white objects inside a wooden box. Haal de op one on the left.
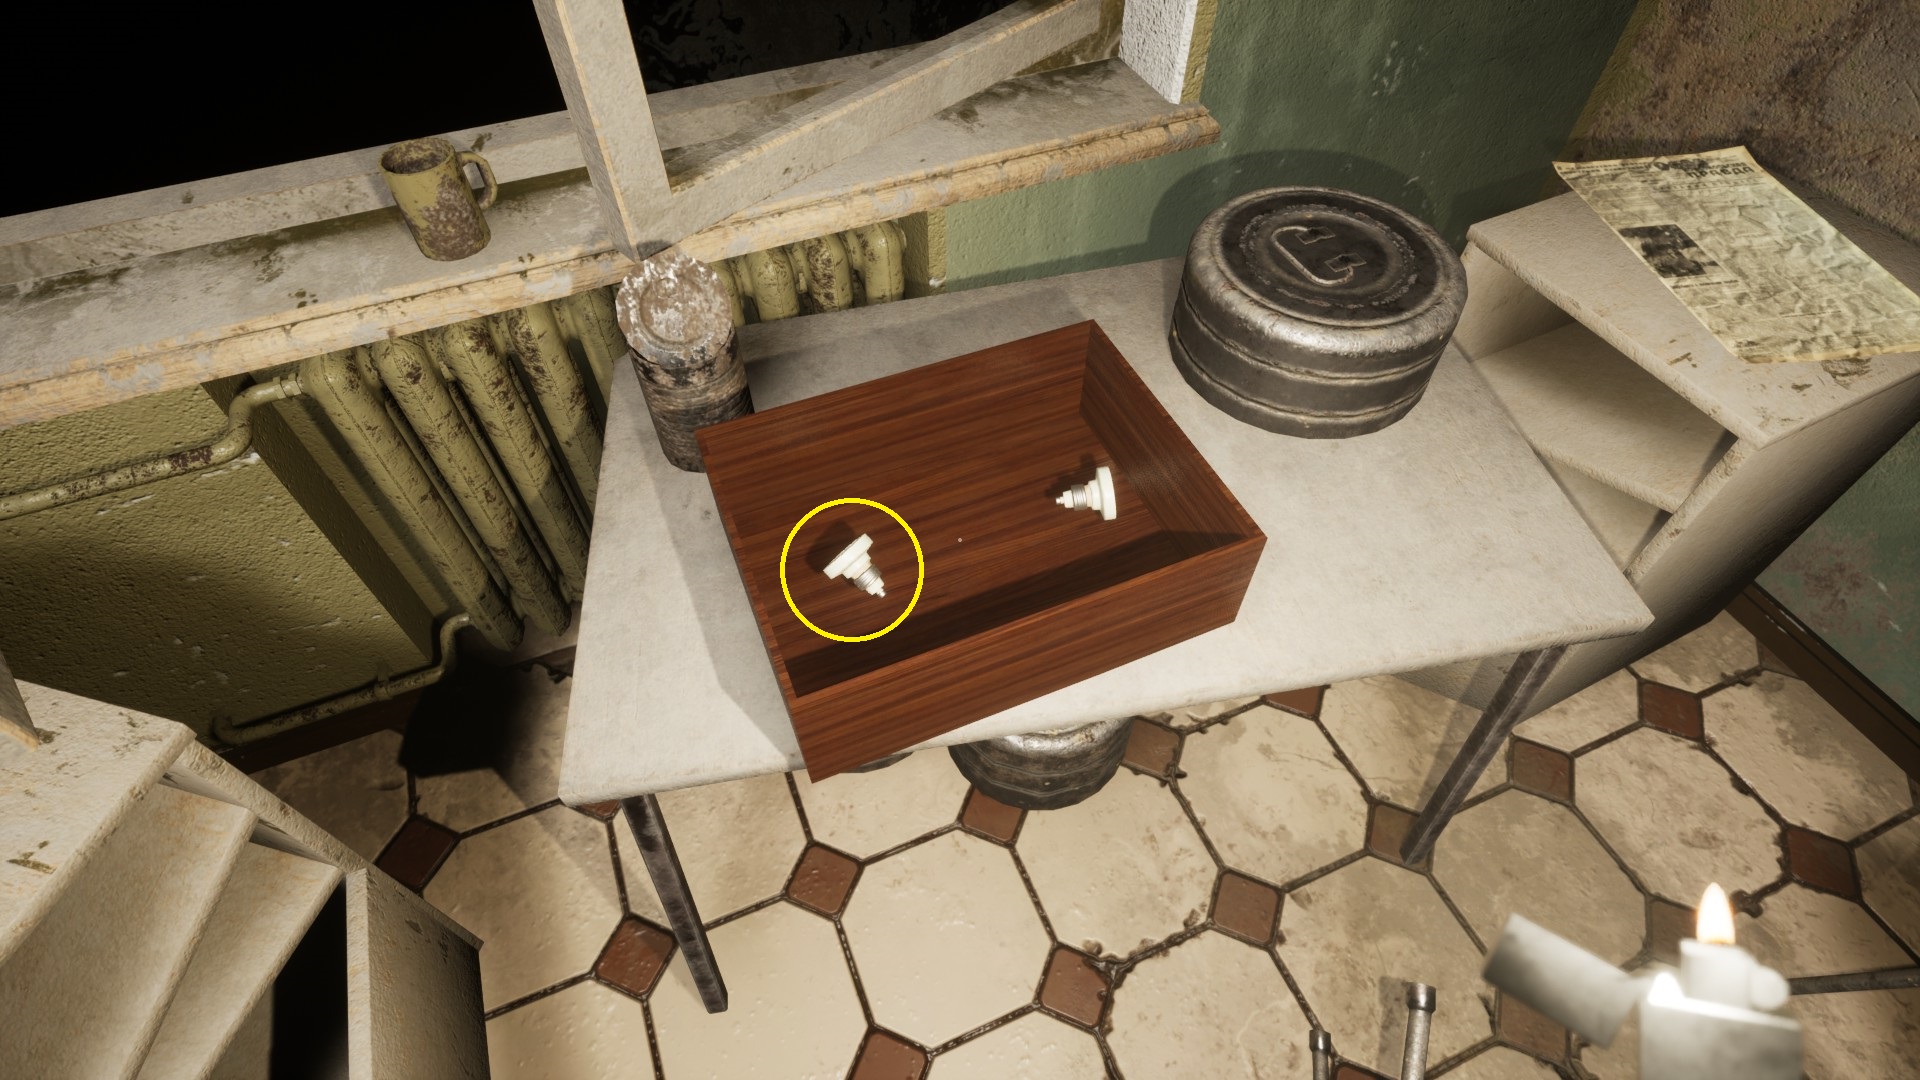
Dragen Het (klik met de rechtermuisknop) naar de box on the wall to the rechts of the doors. It fits into place.
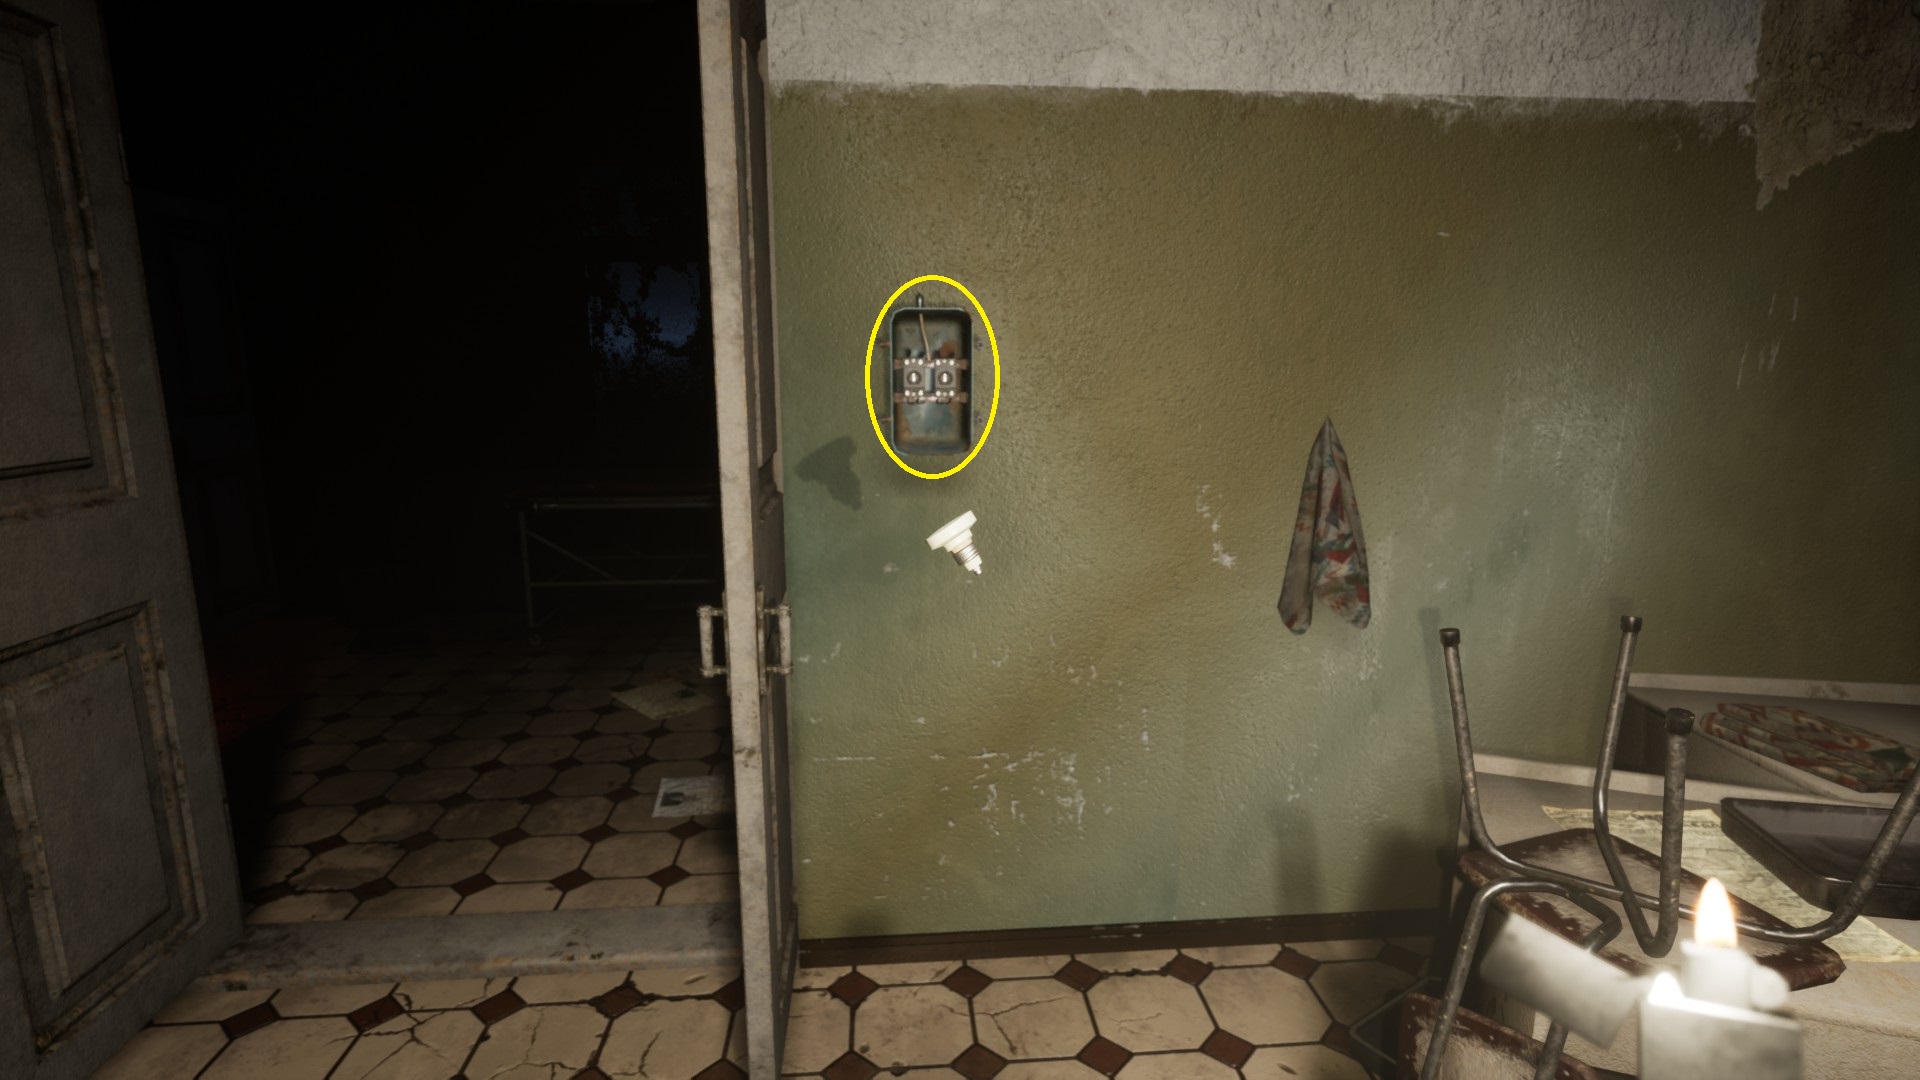
Go back to fetch the other white object and also carry it to this box .

The lights flicker twice. Writing on the walls warn of trouble and to get out.
A third samensmelten has appeared on a stand to the right as you face the doors.

Haal de op samensmelten en carry Het (klik met de rechtermuisknop) back to the fuse box where you have inserted the other fuses.
De door on the other side of the double doors you first entered this area through has now unlocked. Left-click the double doors to open them.
Exit and follow the trap back down to the lobby .
LOBBY (WAITING AREA) (return)
You enter the lobby to see a corpse on a gurney. You are made aware that there is a name card on a pillar at its head that reads, “SAM”.
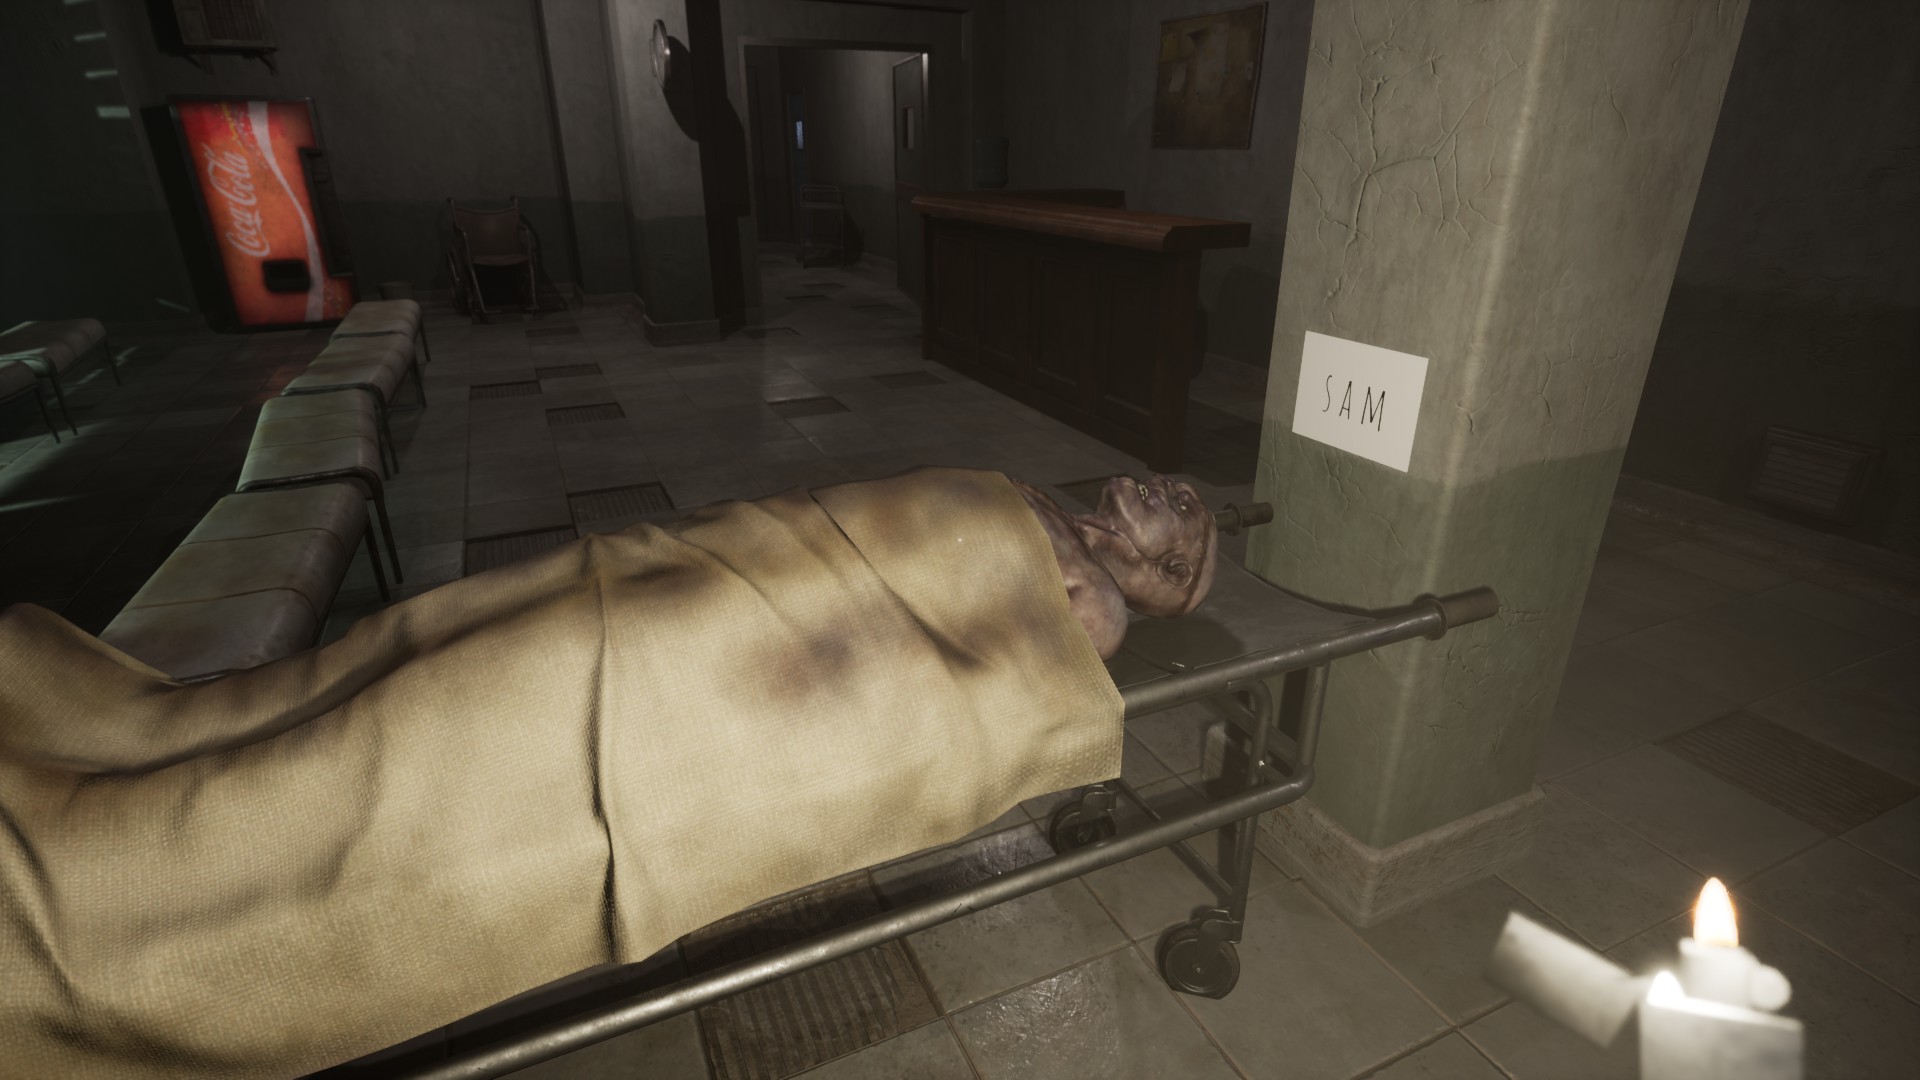
This is the name of the person who wrote the three notes you picked up. It seems Sam didn’t make it.
De door naar rechts, where the tricycle stood before, is now open, so approach.
RUN DOWN THE HALLWAY
Note that you have the ability to sprint (LeftShift). You will need it for the next bit.
Once you exit from the lobby and progress a bit down the new hallway, a cut scene will show that you are being pursued by
someone with a butcher knife. If he reaches you, you will die and will have to start the run from the lobby door again.
You are going to run all the way down the dark hallway, making two left turns. Don’t bother with the small doors on the way.
To escape you have to reach the very end of the hallway.
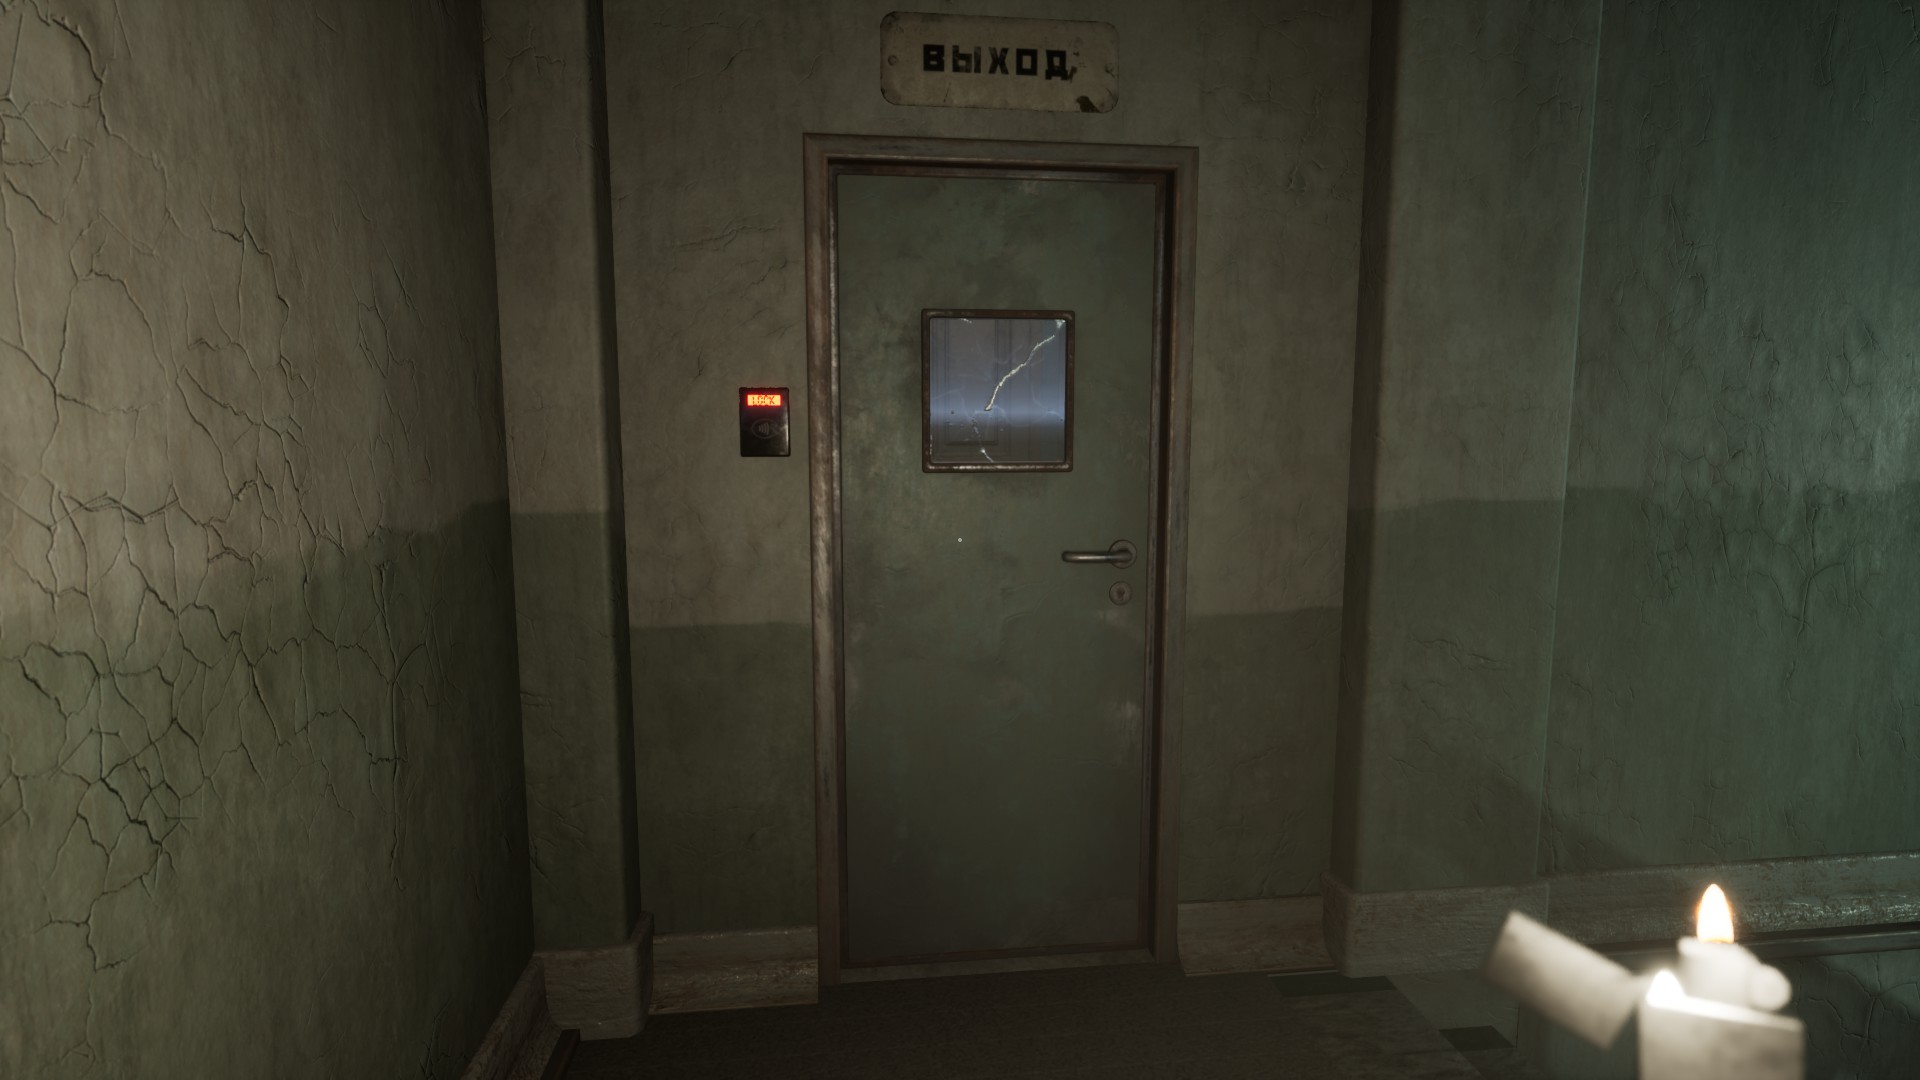
De large door to the left of the large lit-up window unlocks and opens by itself. (You don’t have to click on it at all.) Wait for it to open and quickly exit.

Once you make it through the large door, it will close and lock behind you, and your pursuer can only look on through the glass pane in the door.

LOBBY (WAITING AREA) (2nd return)
You have returned to the first hallway at the start of the game.
Continue to the left (you are prevented from going right) …
… past the very first door with the keypad, the vending machine and the teddy bears.
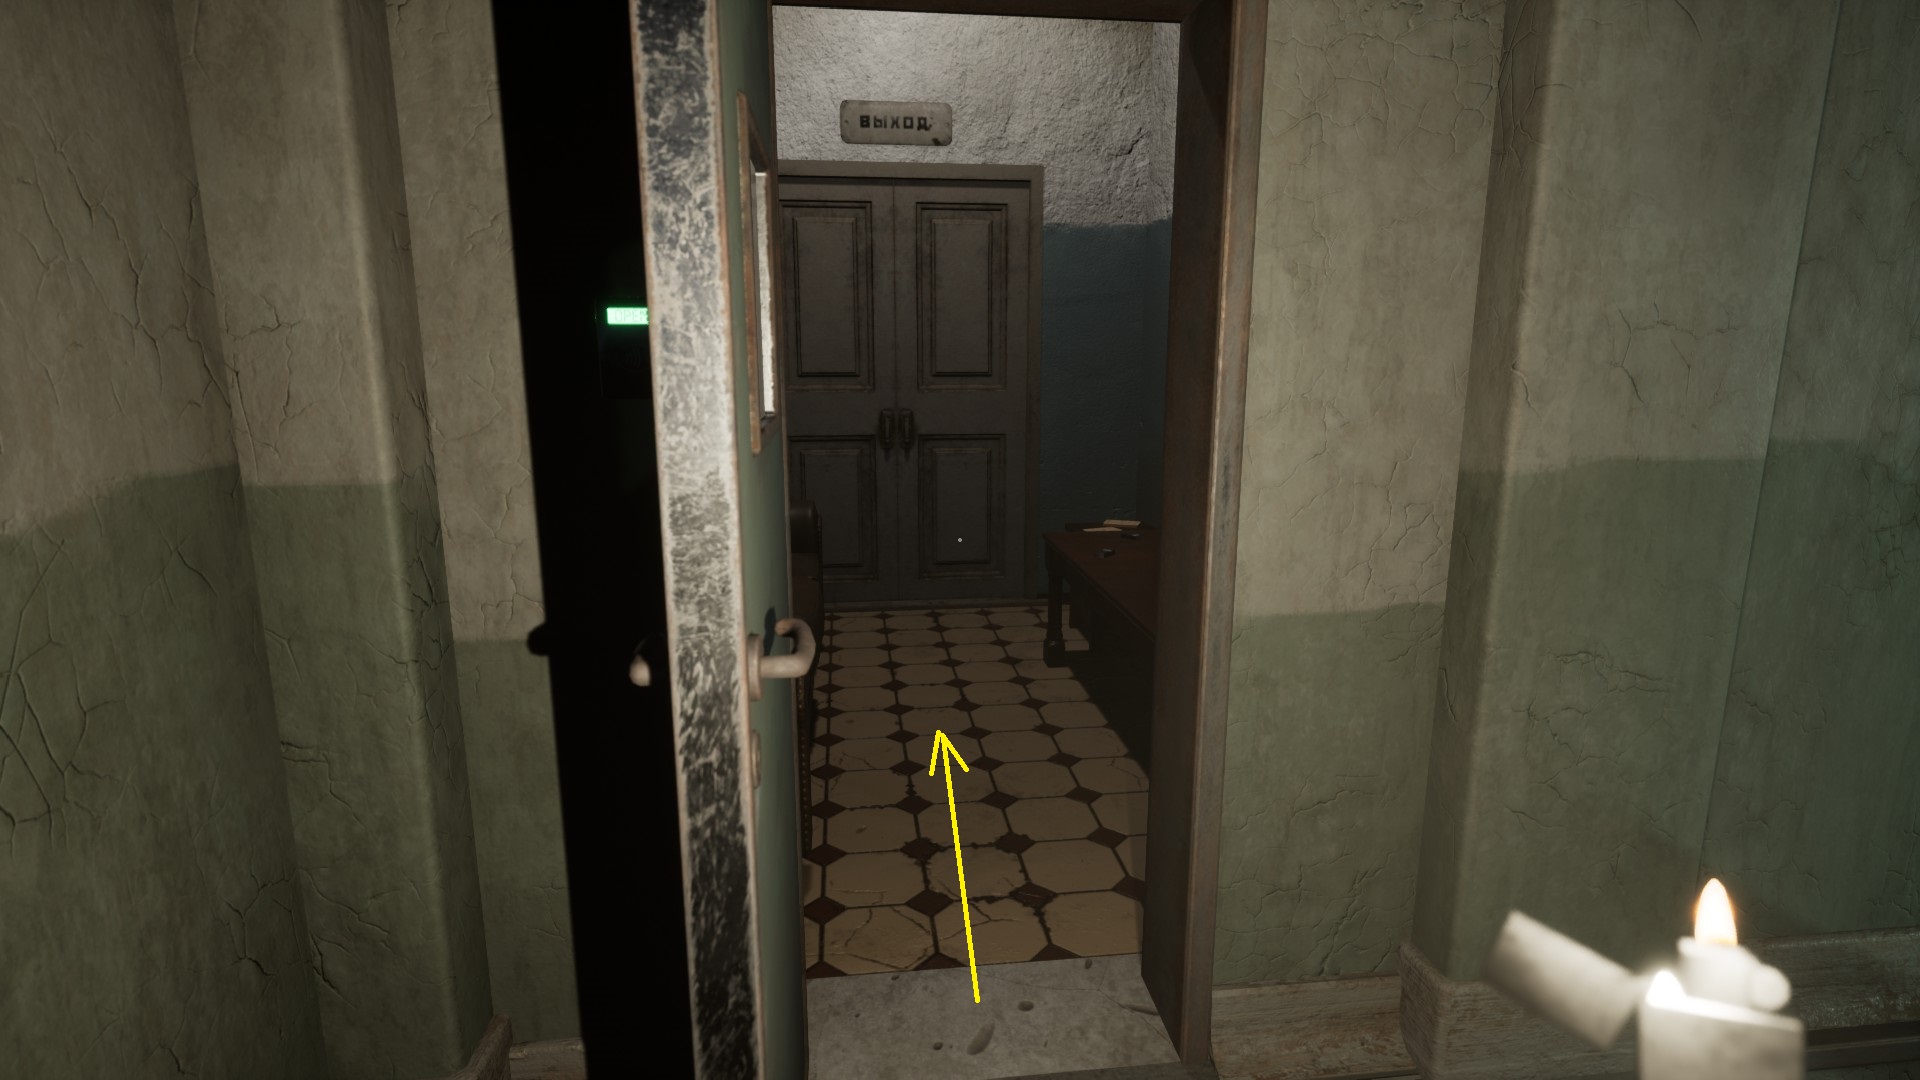
Pass the room where you started from through the large exit door to reach the lobby again.

Once back in the lobby, draai rechts and go through the exit door that was previously locked.
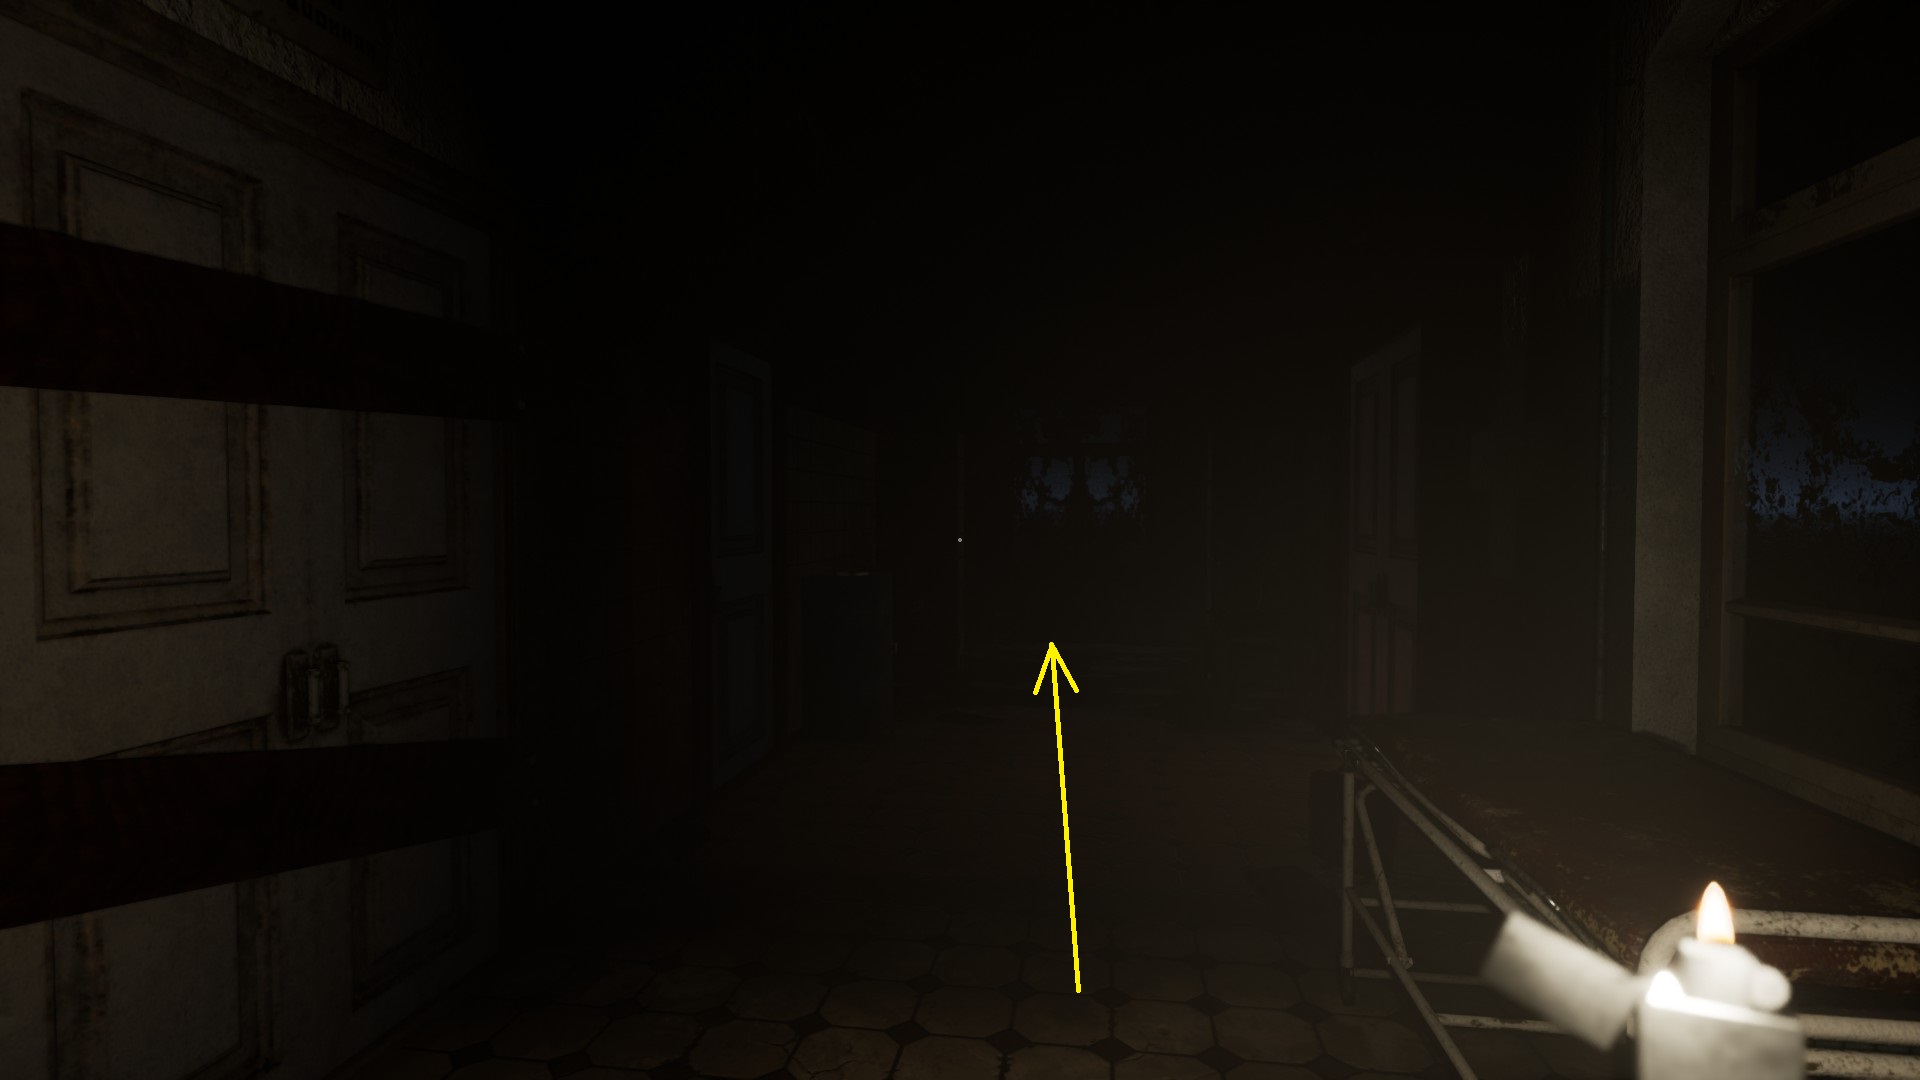
You enter a room with red book cases lit by candles.
Approach the next door up ahead. As soon as you reach it, the door behind you closes and the “butcher” can be seen looking through the glass pane in it.

APARTMENT FROM THE FIRST GAME
If you have played Lightout (1), you will now recognise your surroundings: you have entered into the apartment where that game takes place.
Calming music plays as you move through the apartment’s living area/dining room/kitchen.

De front door is open.
Exit.

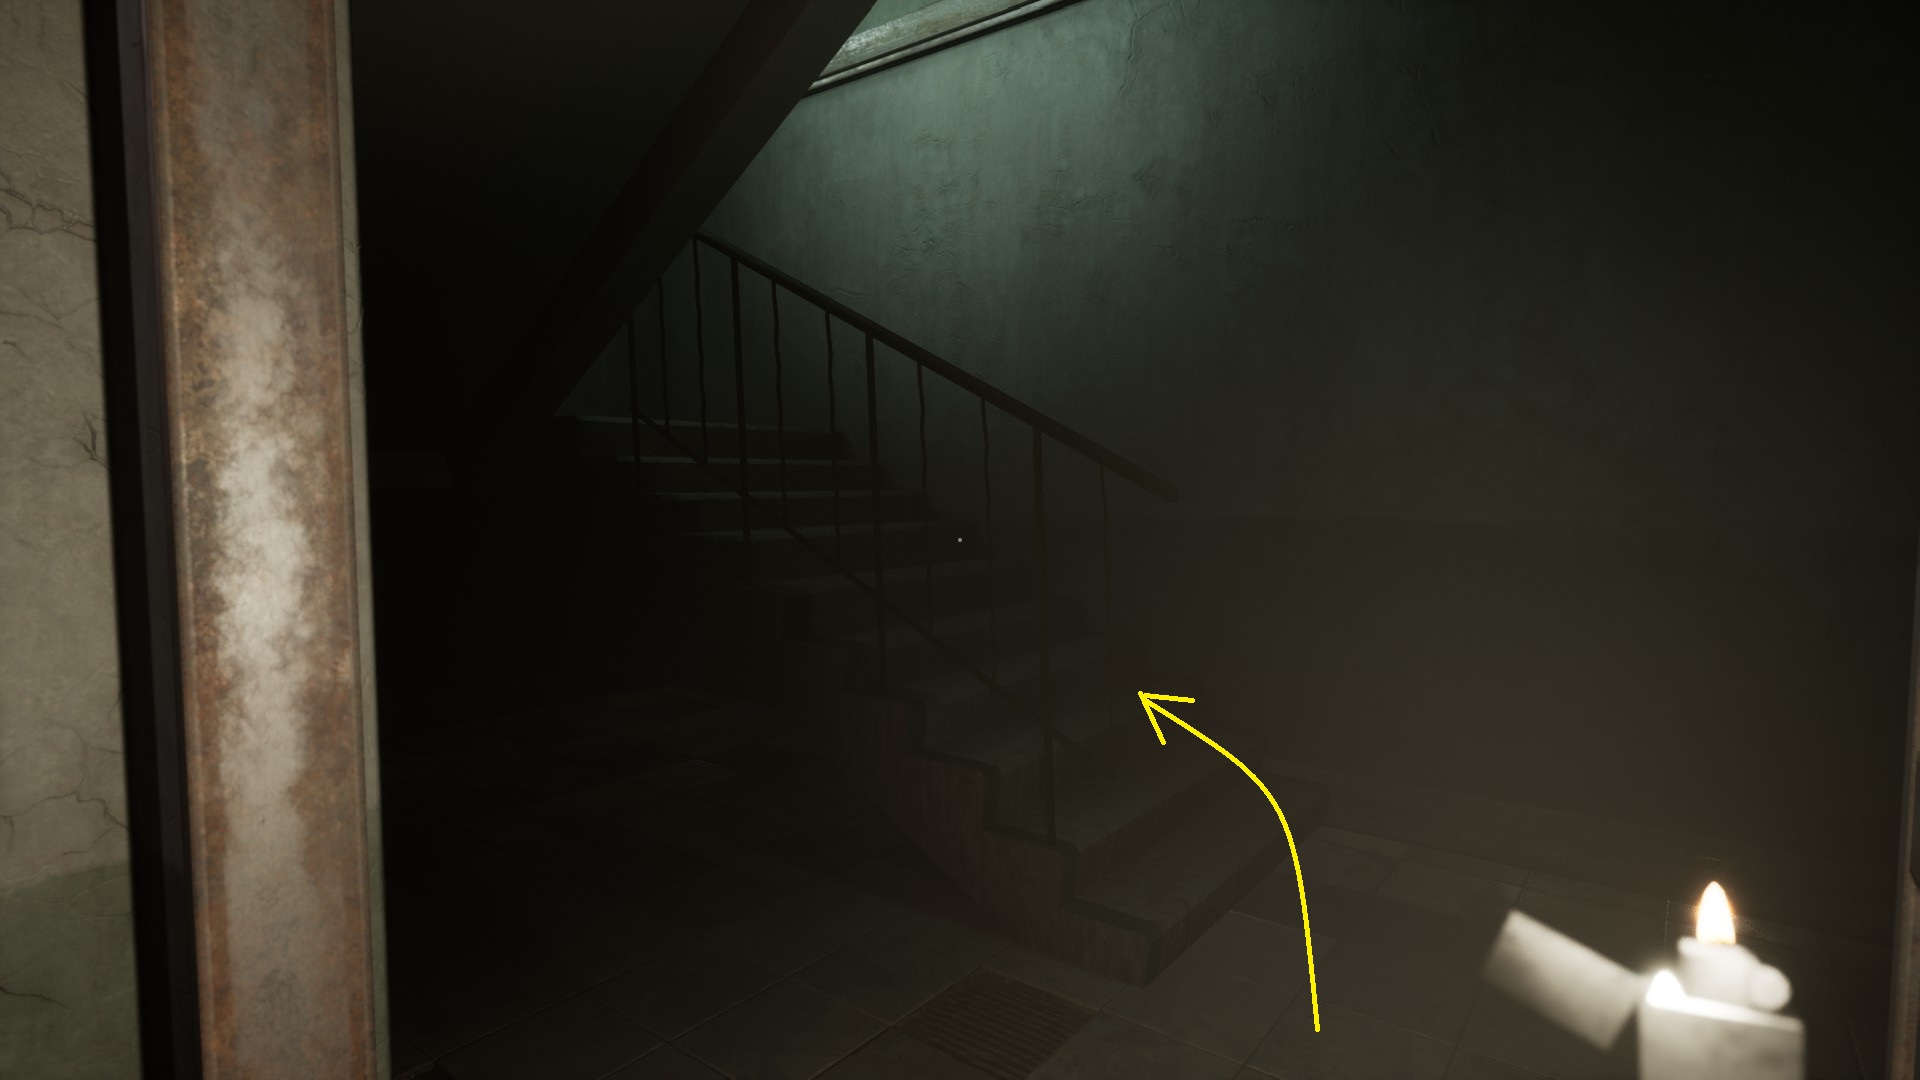
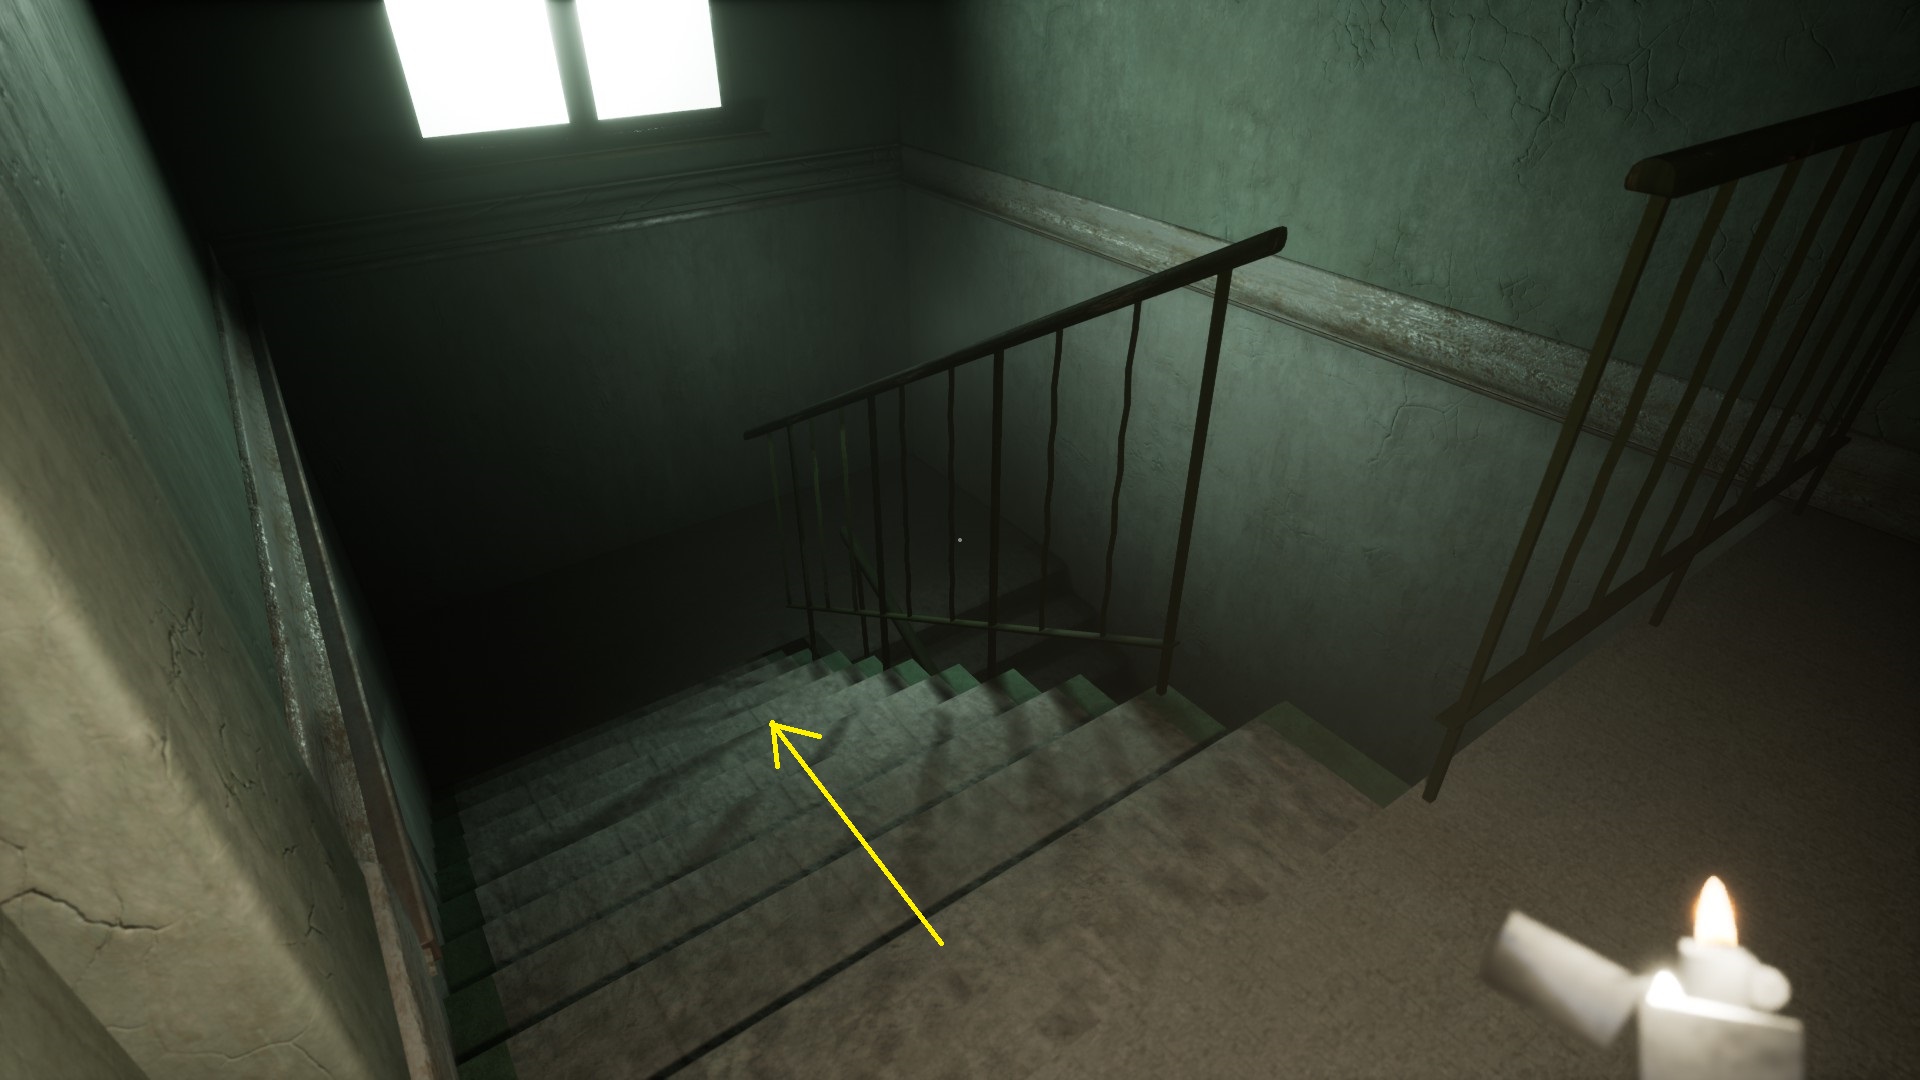
Go down the staircase to the bottom.
Flickering lights illuminate double doors.
Left-click these doors to end the game.
Dat is alles wat we vandaag hiervoor delen Lightout 2 gids. Deze handleiding is oorspronkelijk gemaakt en geschreven door Henrimagne. Voor het geval we er niet in slagen deze handleiding bij te werken, U kunt de laatste update vinden door dit te volgen link.