- Titel: Life is Strange Remastered
- Releasedatum:
- Ontwikkelaar:
- Uitgever:
Information about Life is Strange Remastered is still incomplete. Help ons alstublieft de details van het spel hiermee in te vullen contactformulier.
There are ten optional photos that can be missed in each episode. You can find all of those locations in this spoiler-free guide and you will get 100% completion in this wonderful game. All of the story achievements are non-missable.
Aflevering 1: Chrysalis
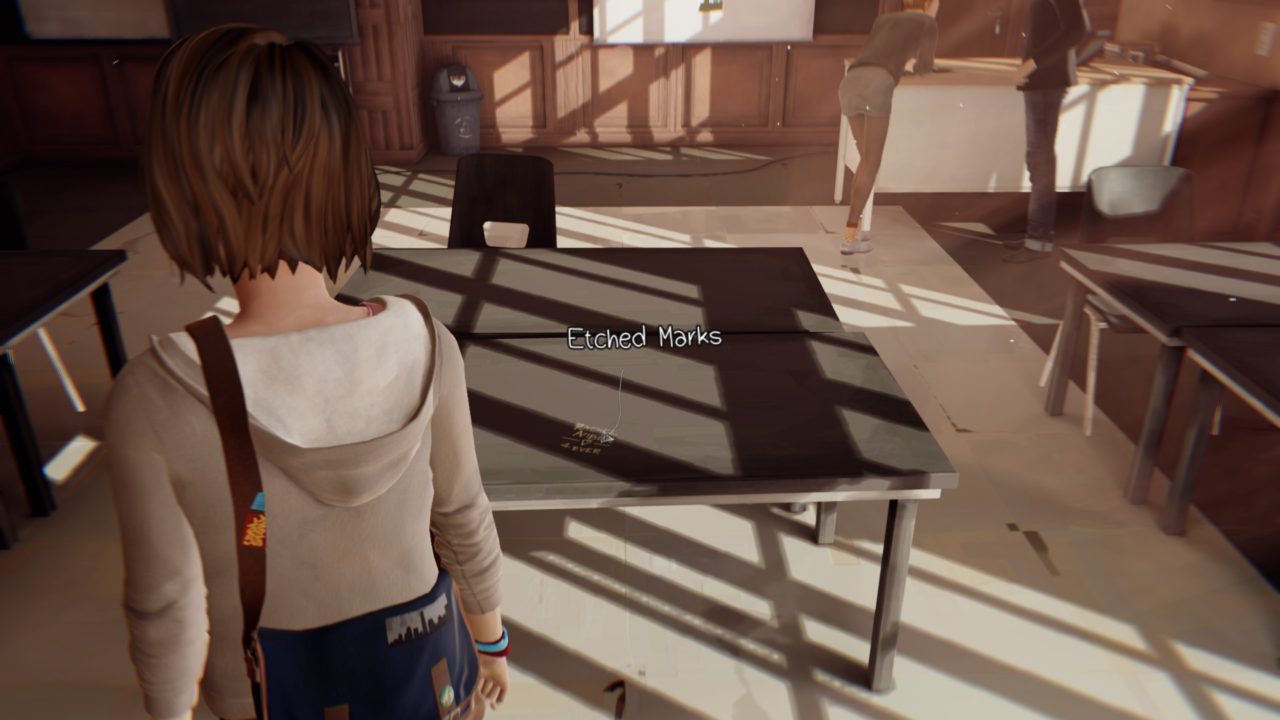
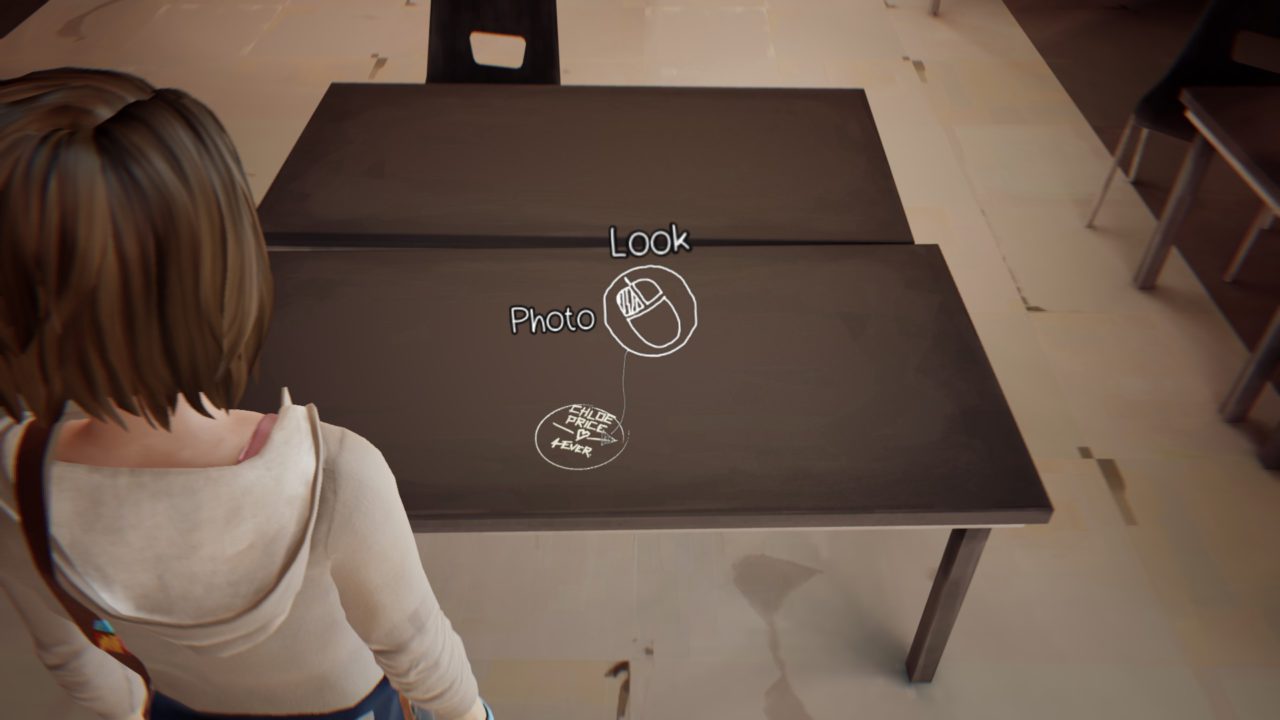
#1 – Right at the table in front of you there are some etched marks.
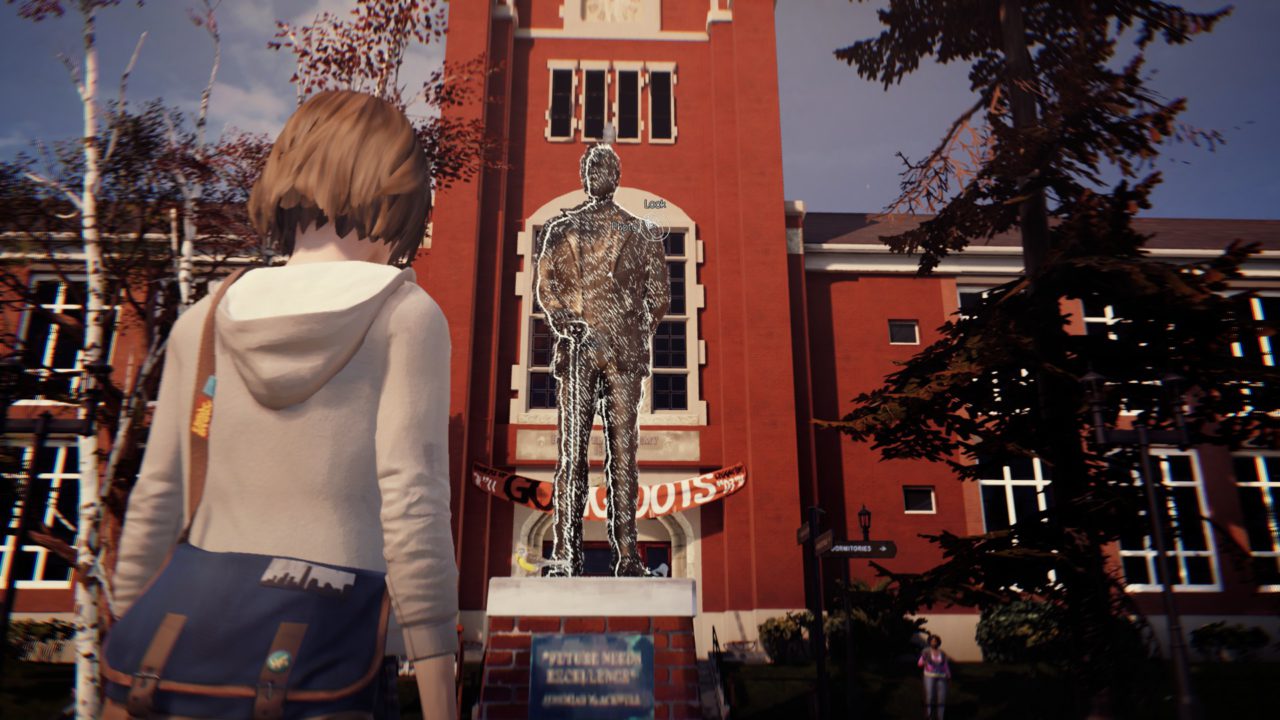
#2 – The statue in front of the school building.
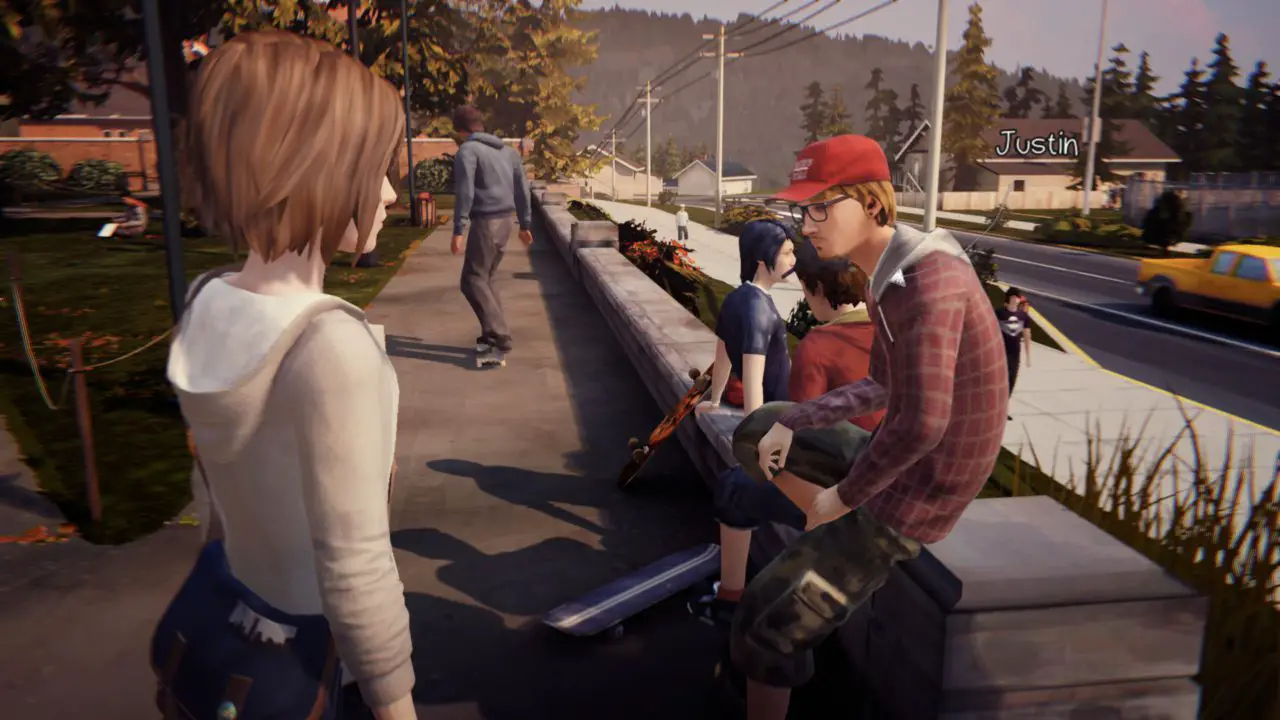
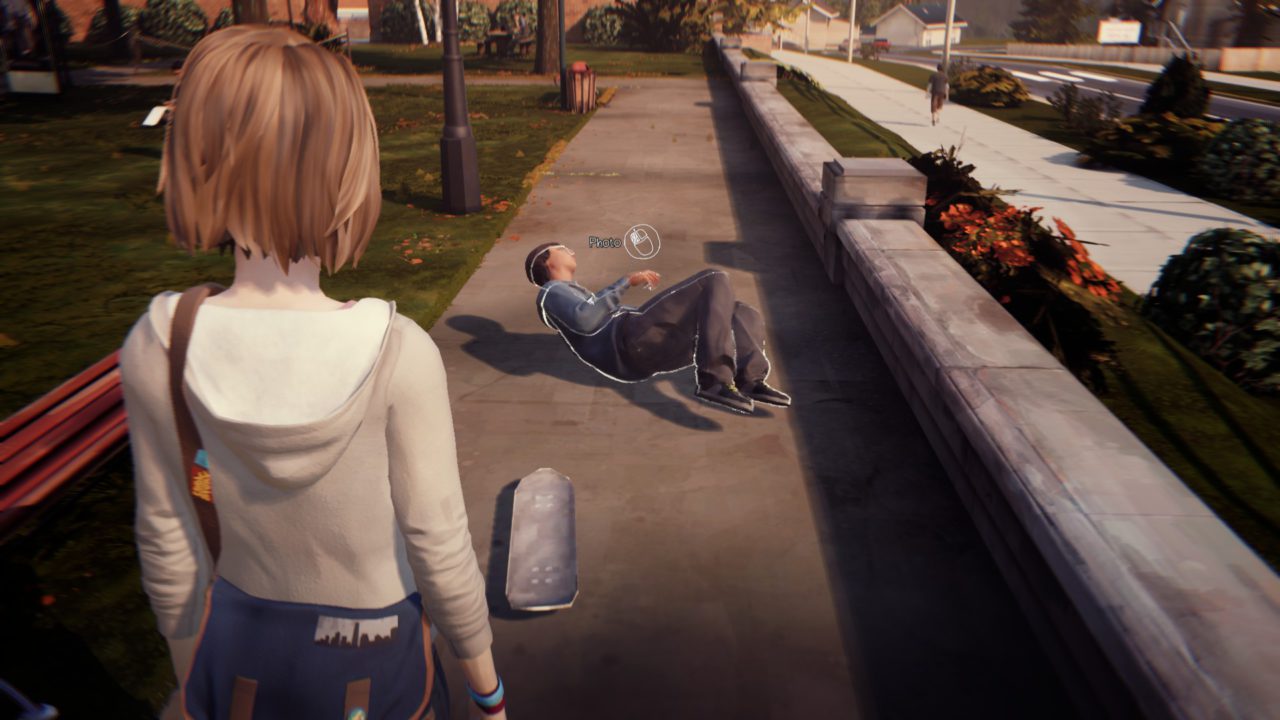
#3 – Near the street, there is a group of skaters. Talk to Justin and rewind, then select the new option “Tre flip”. Trevor will perform the trick and fall, then you can take the photo.
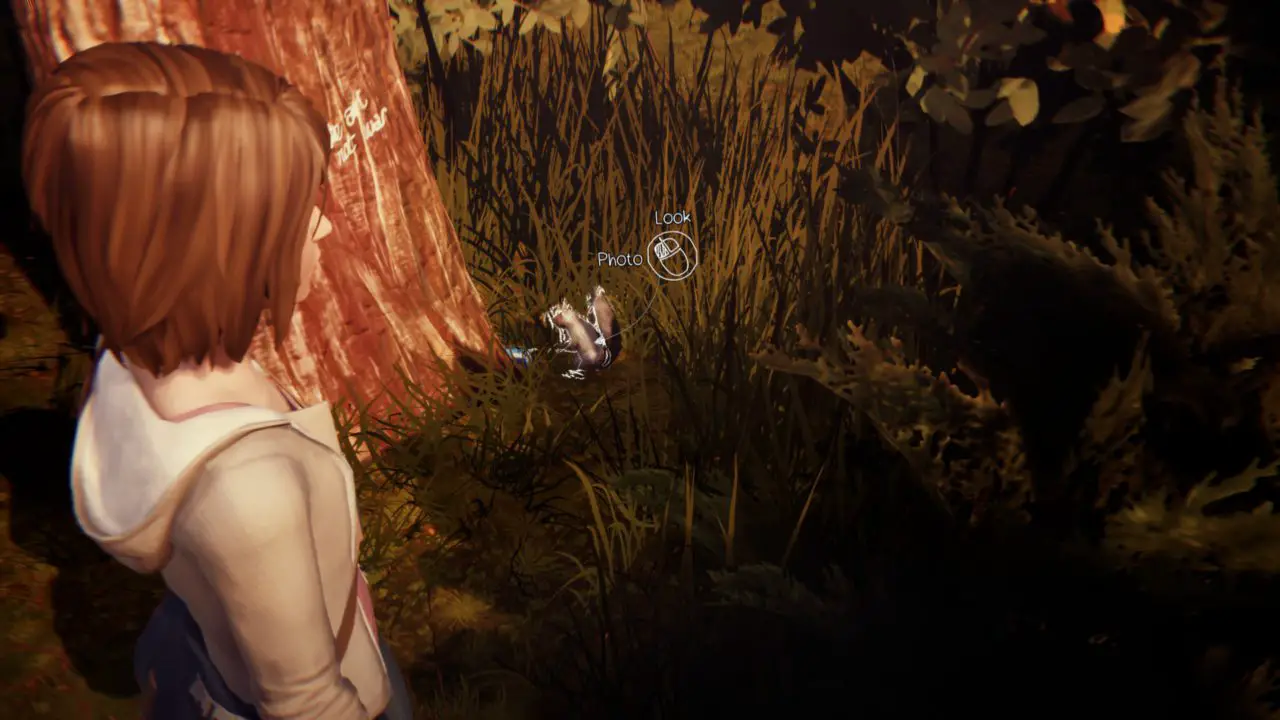
#4 – In front of the dormitory there is a big tree on the left. Walk to it and you can find a squirrel.
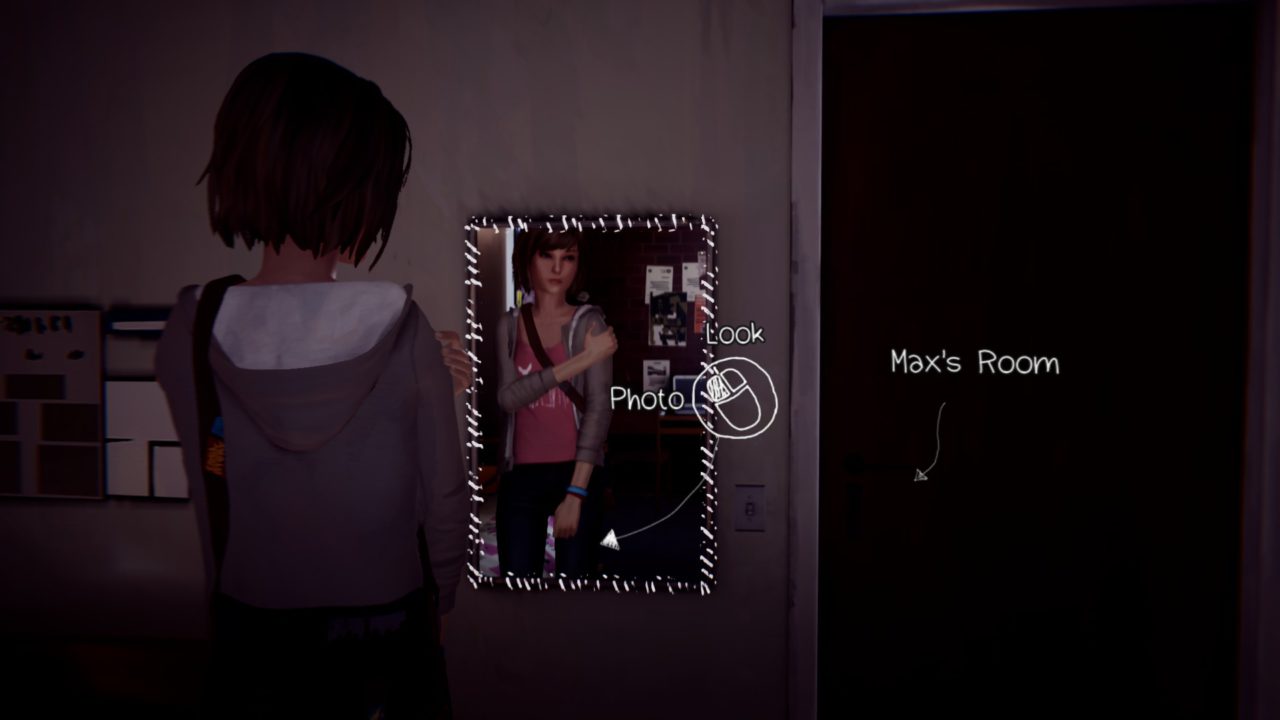
#5 – Inside your room, there is a mirror next to the door. Take another selfie.
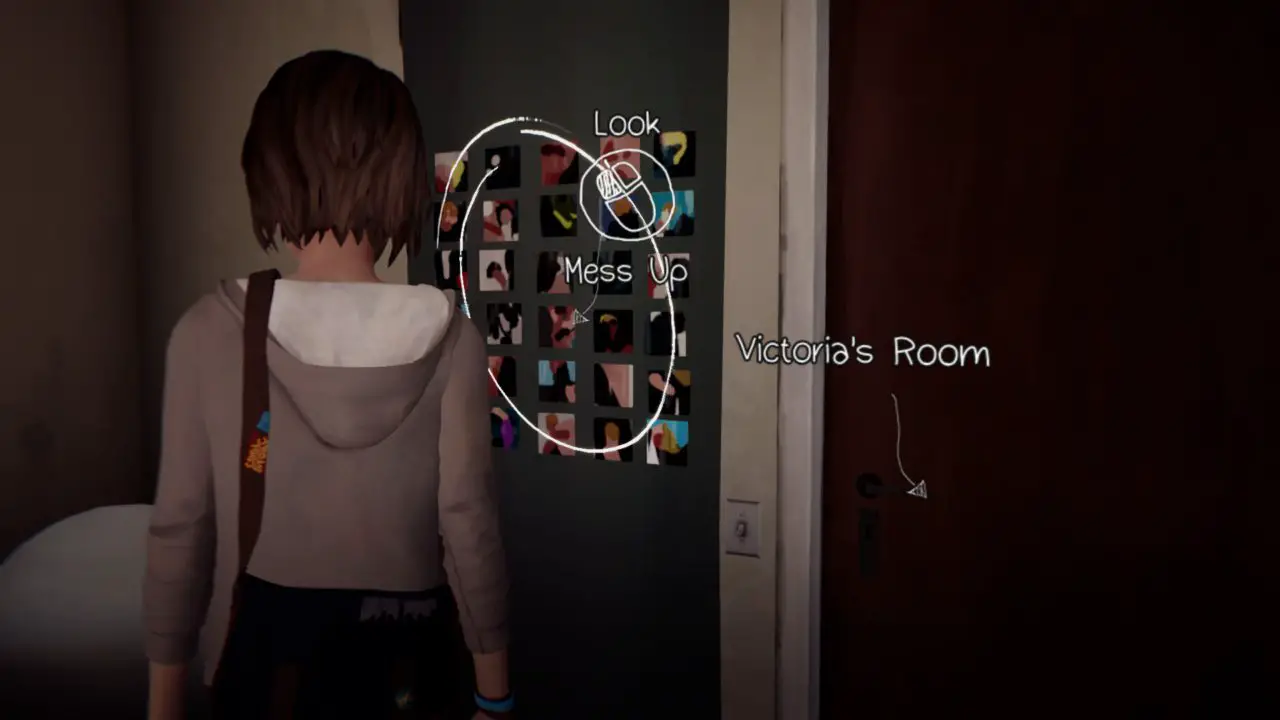
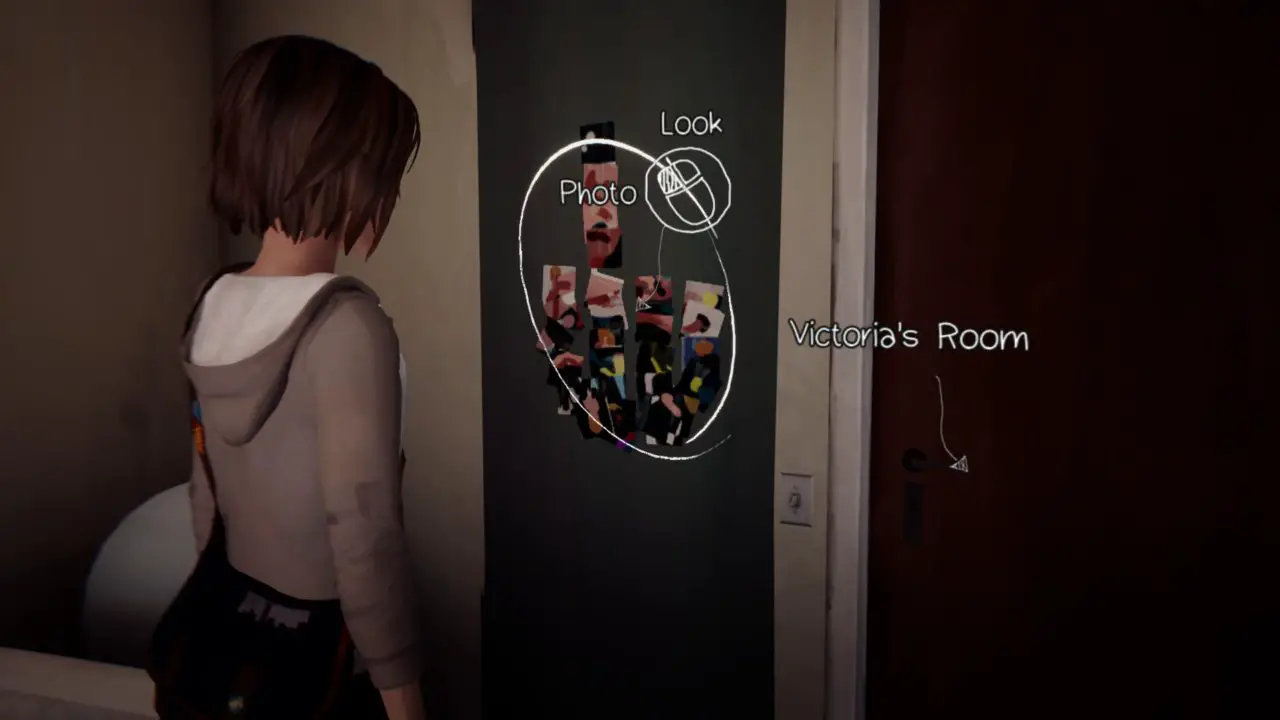
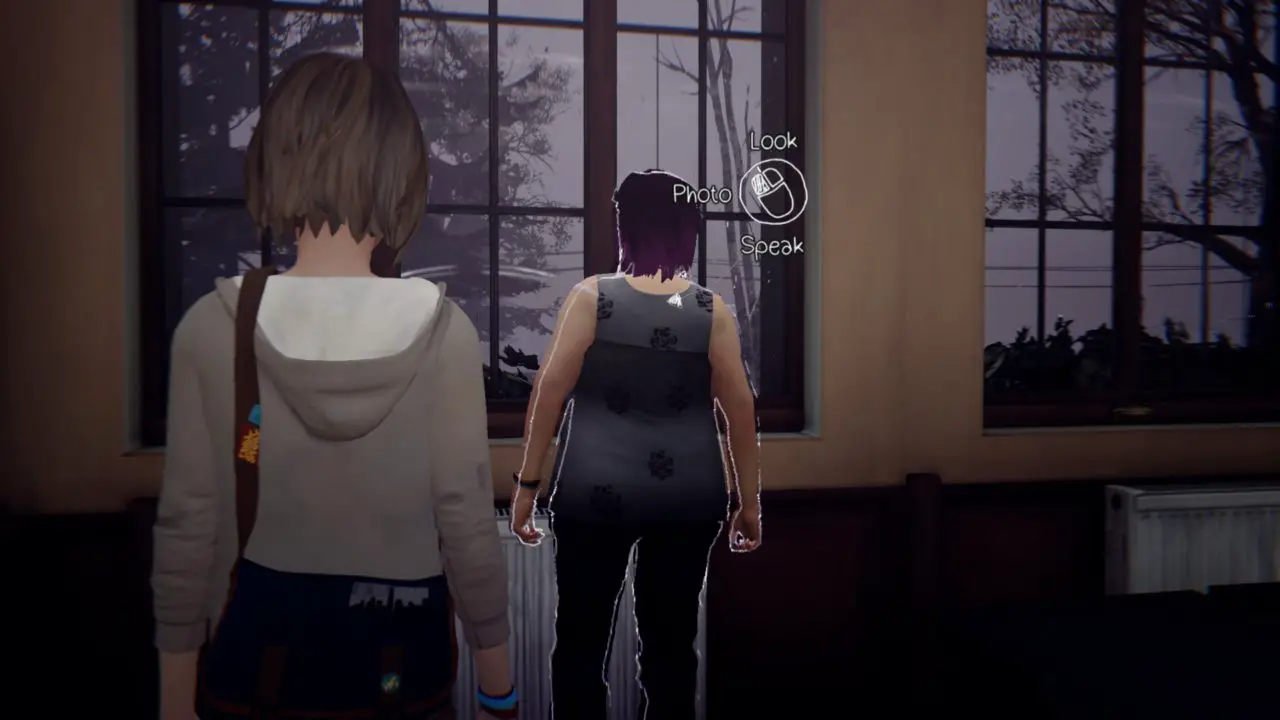
#6 – After you have talked to Juliet in the hallway you can enter Victoria’s room. Next to the door are some photos that need to be rearranged.
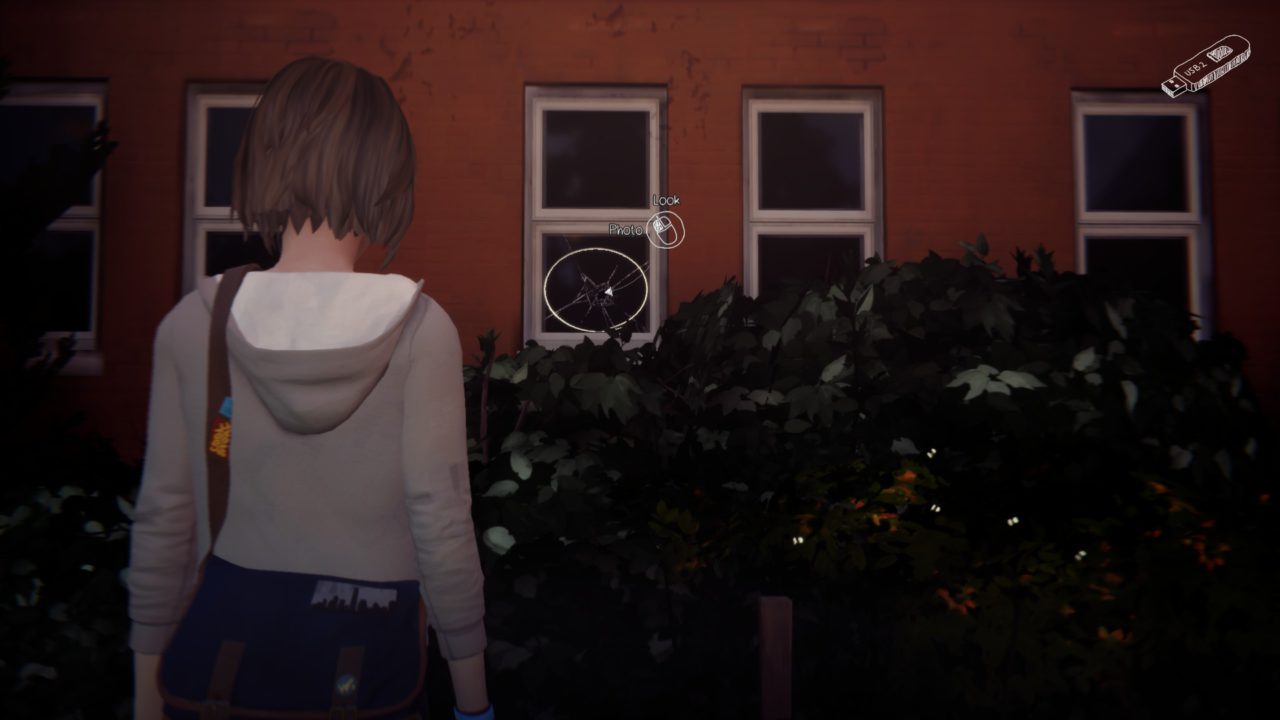
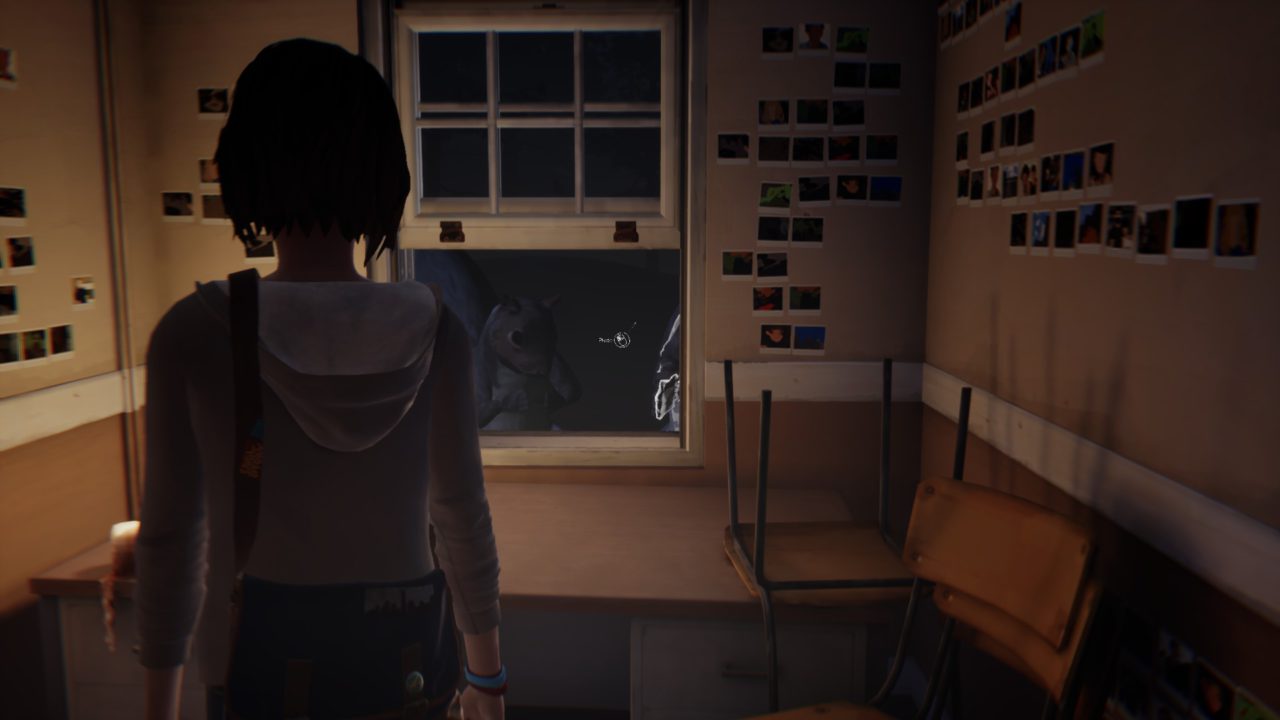
#7 – In front of the dormitory again you have to warn Alyssa about the incoming football (use rewind). After that look at the window that got hit by the ball.
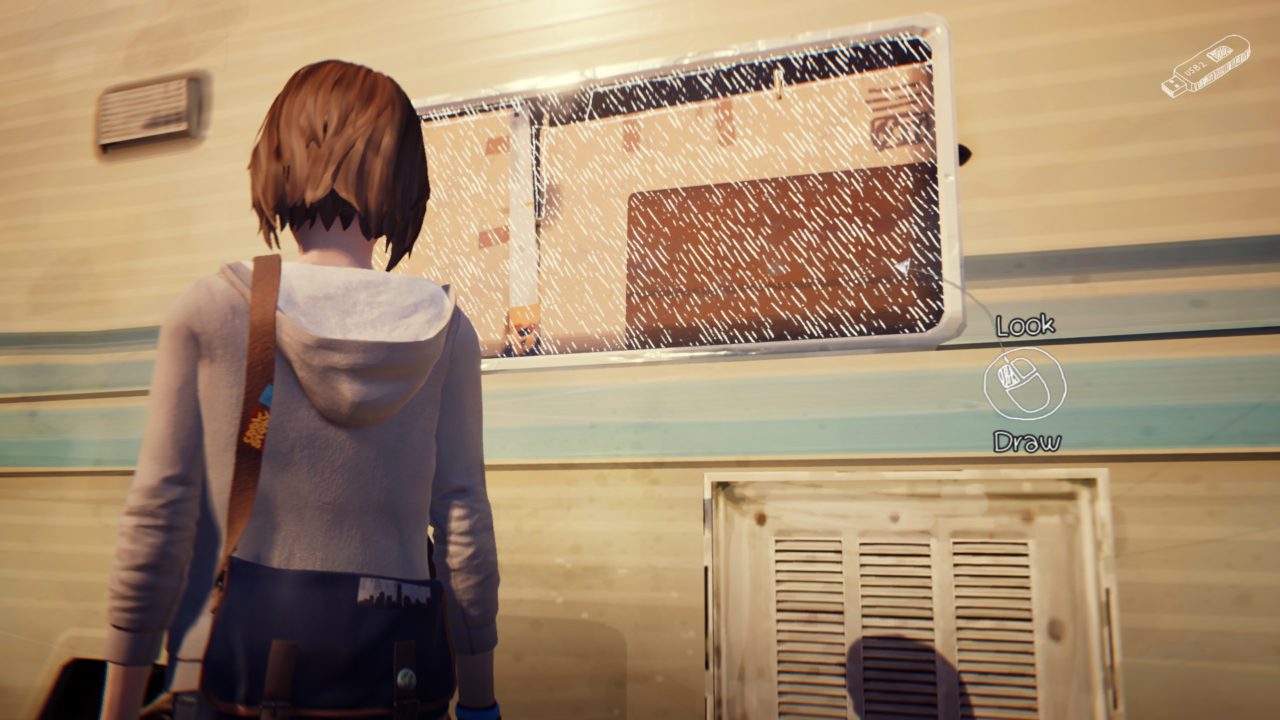
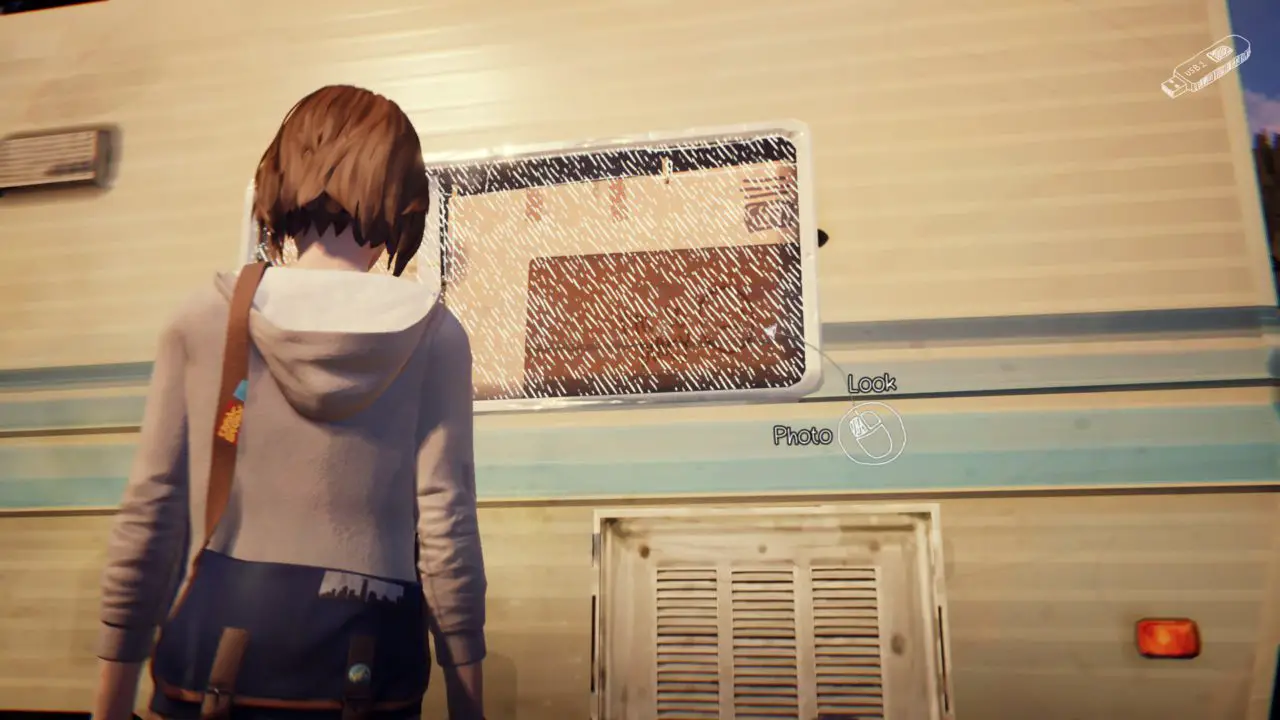
#8 – In the parking lot there is a big RV. Walk close to it and you will be able to leave a message at the dirty window.
#9 – After leaving Chloe’s place you walk towards the lighthouse. On the path you can find a rock with a bird sitting on it.
#10 – Stand behind Chloe to be able to take the last photo in this episode.
Aflevering 2: Out of Time
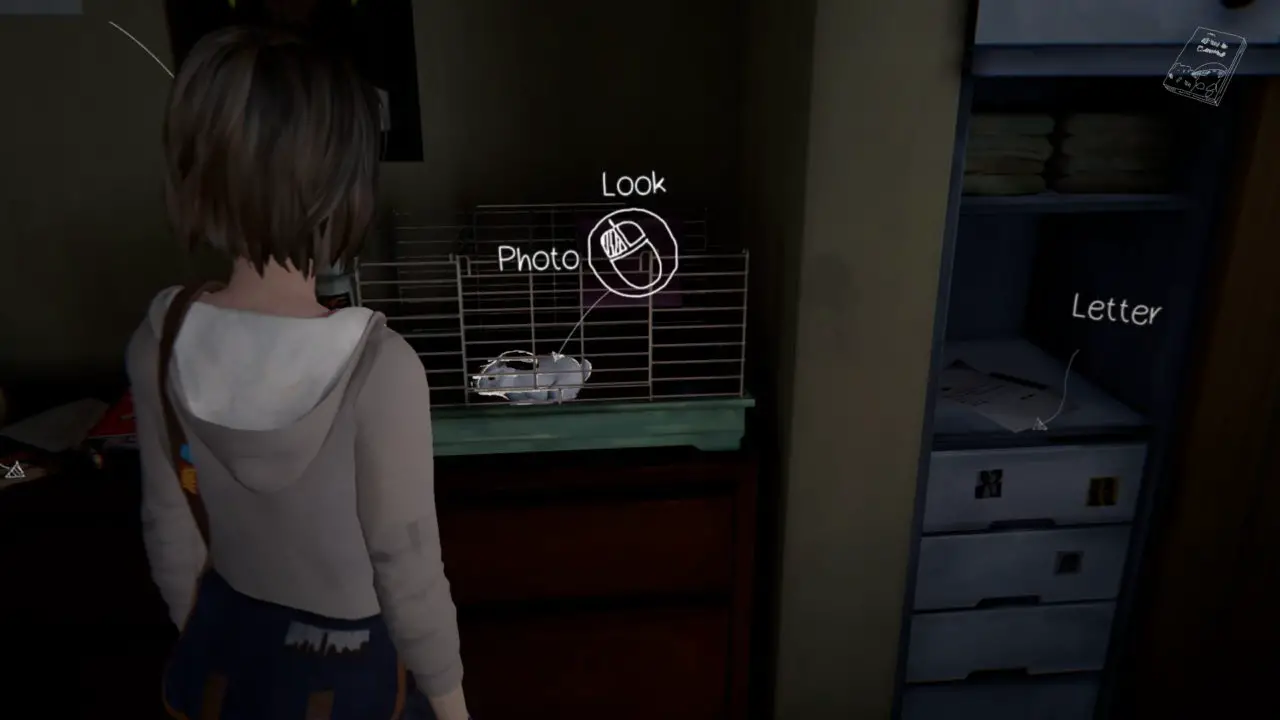
#1 – Inside Kate’s room take a photo of her bunny Alice.
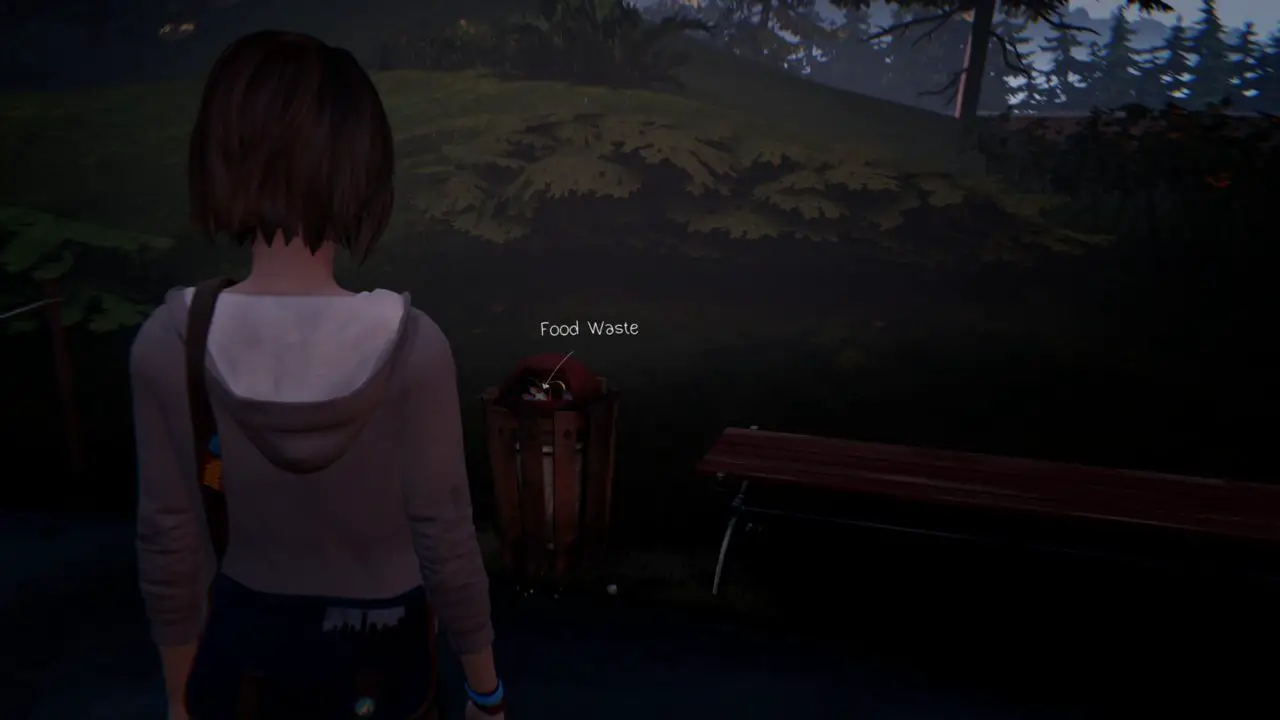
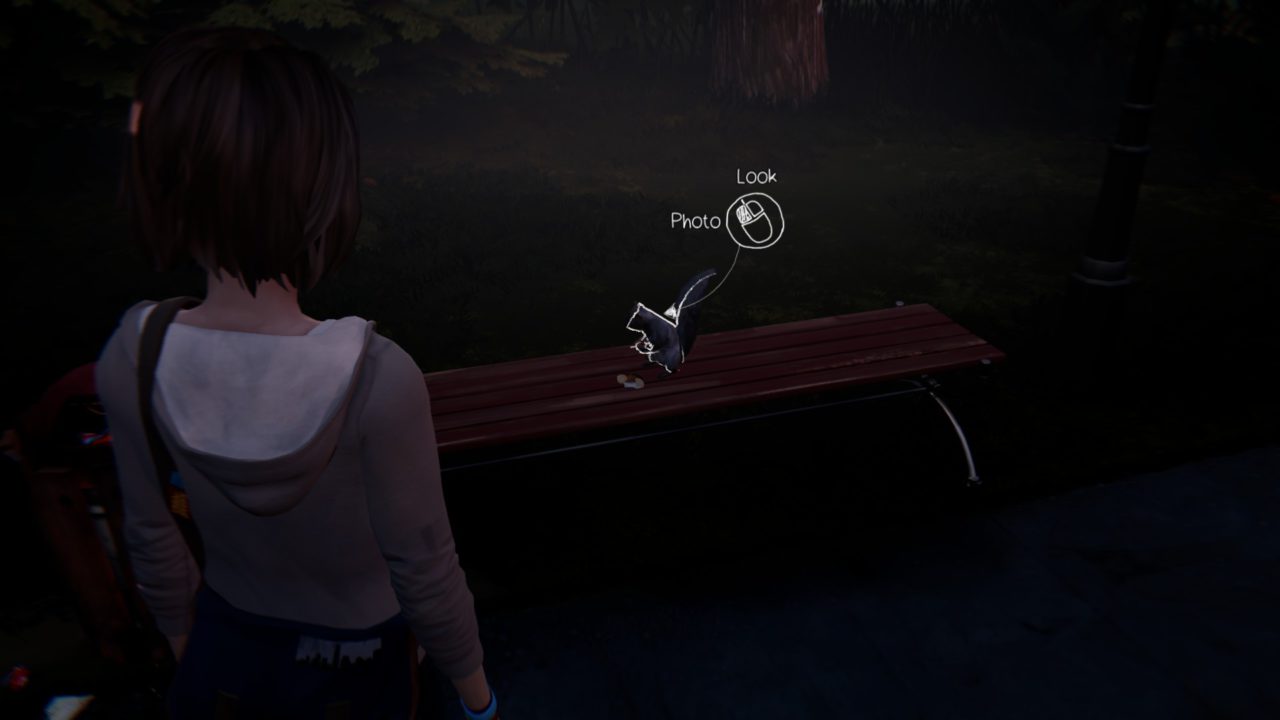
#2 – Locate the bench to the right in front of the dormitory and interact with the waste bin. Walk a few steps away and you will see a squirrel coming over to get the food.
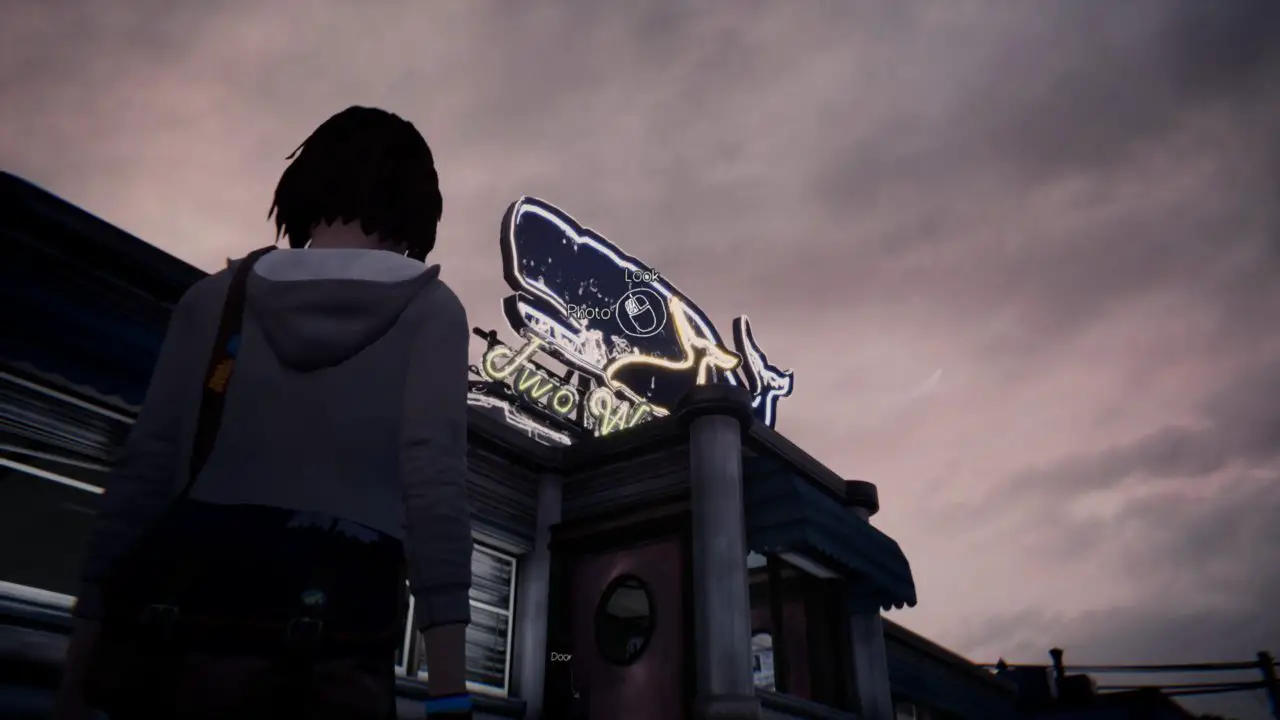
#3 – The sign above the entrance of the Two Whales Diner.
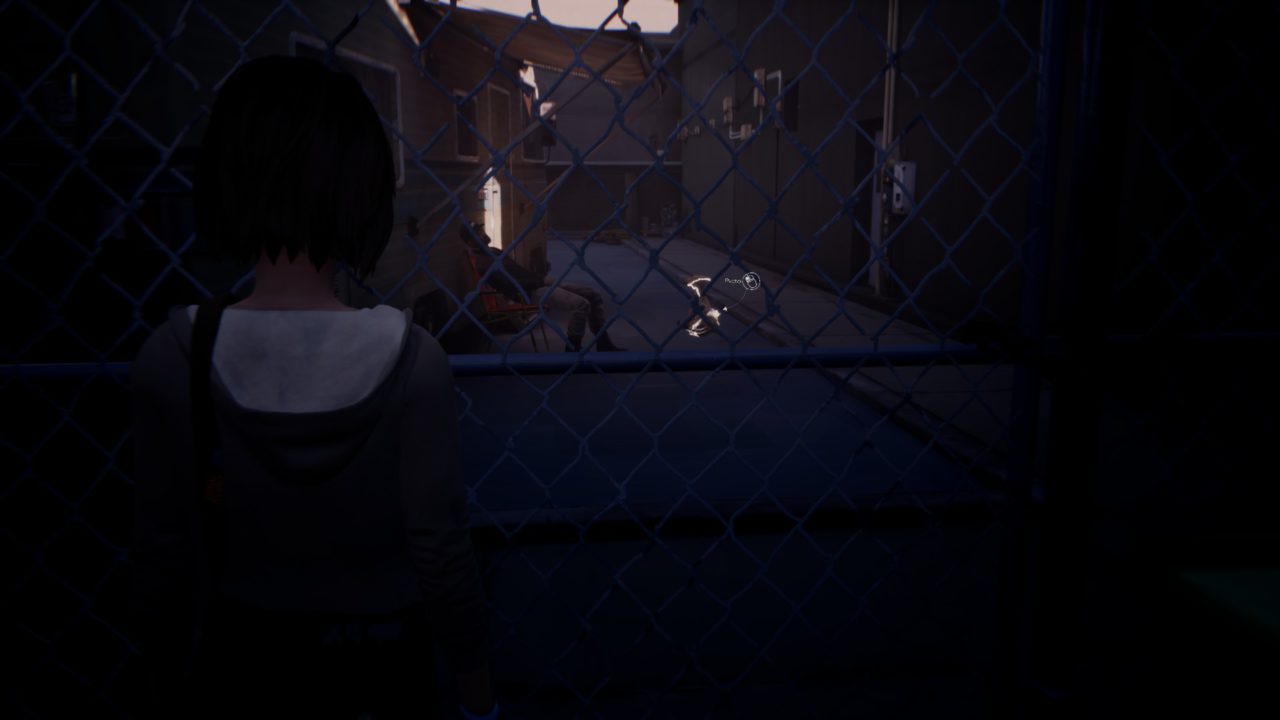
#4 – Walk into the parking lot of the diner to find the RV from the school again. You need to take a picture of the dog but he will bark at you. Ga terug, walk past the diner and turn left so you are in the backyard. Approach the fence and you can take the picture.
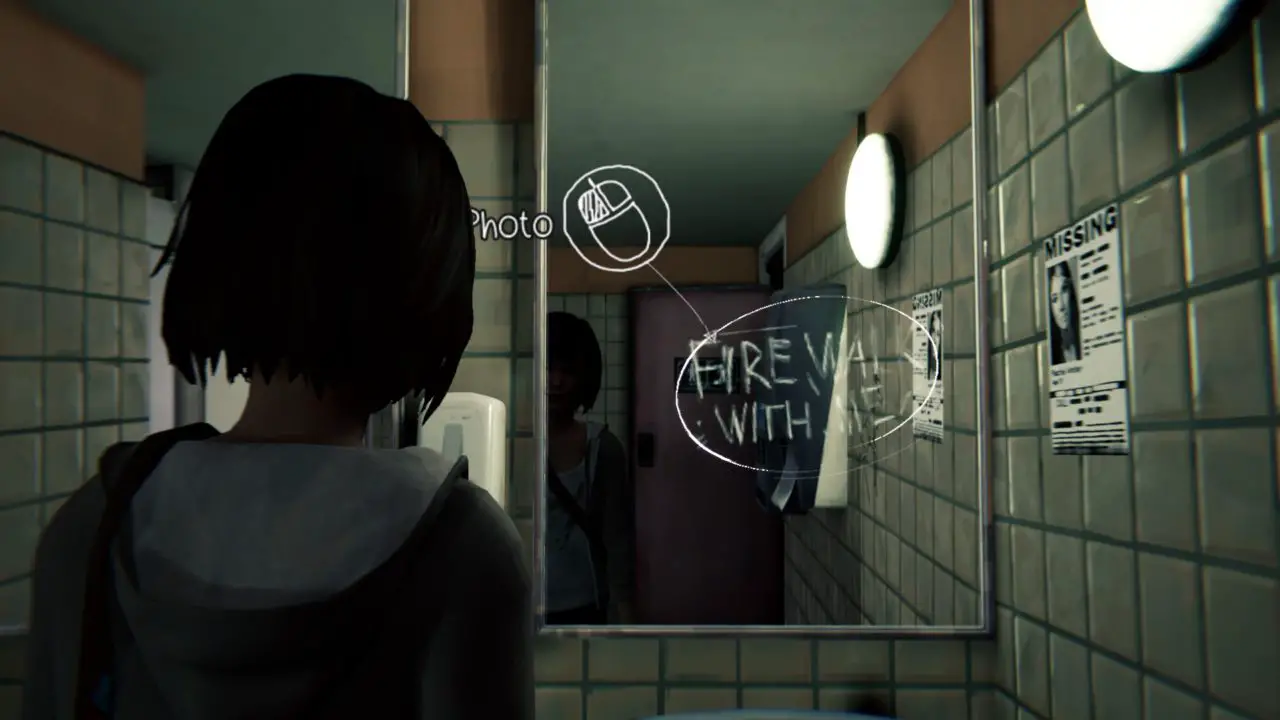
#5 – Inside the diner go to the bathroom.
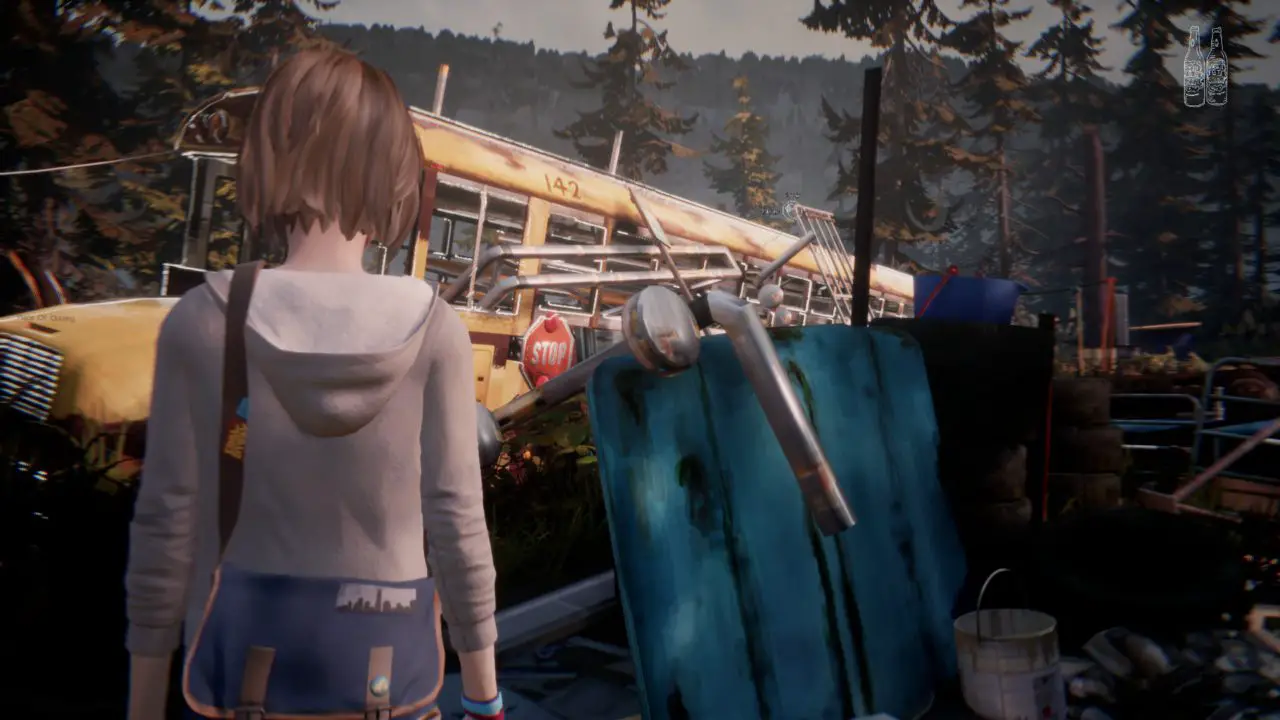
#6 – In the junkyard with Chloe, walk to the schoolbus. You need to stand in the right angle for the photo option to appear.
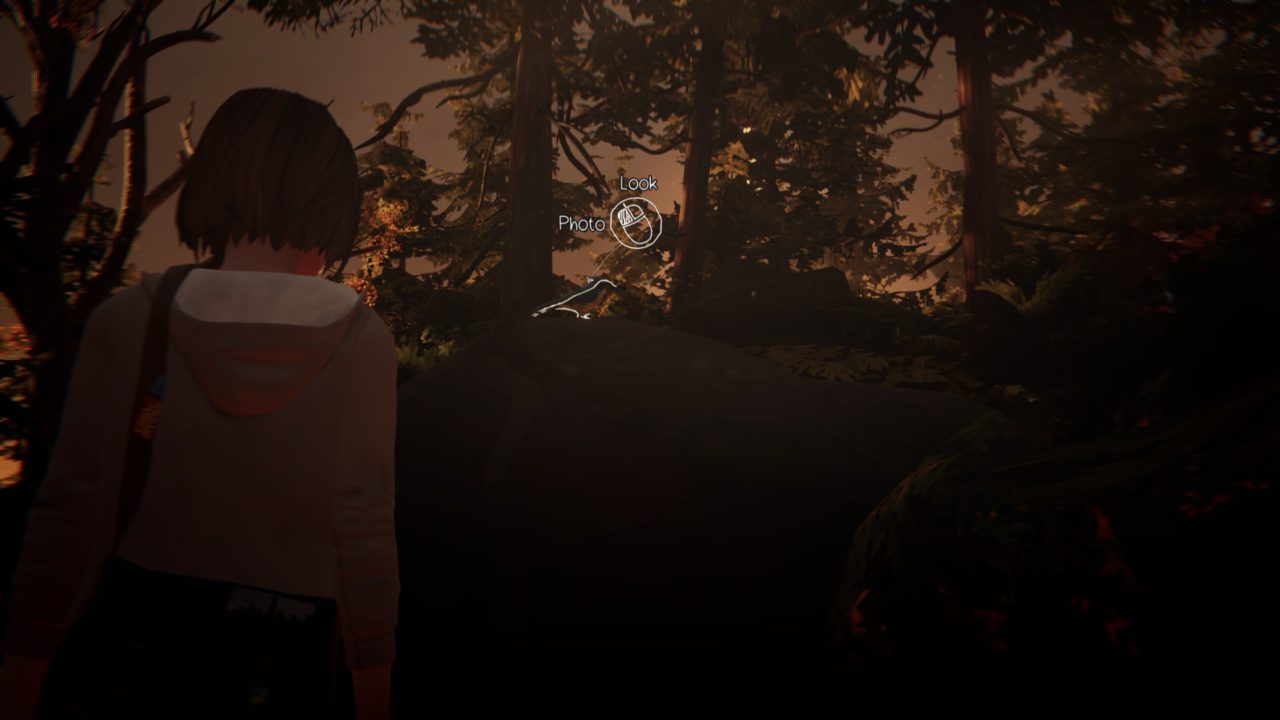
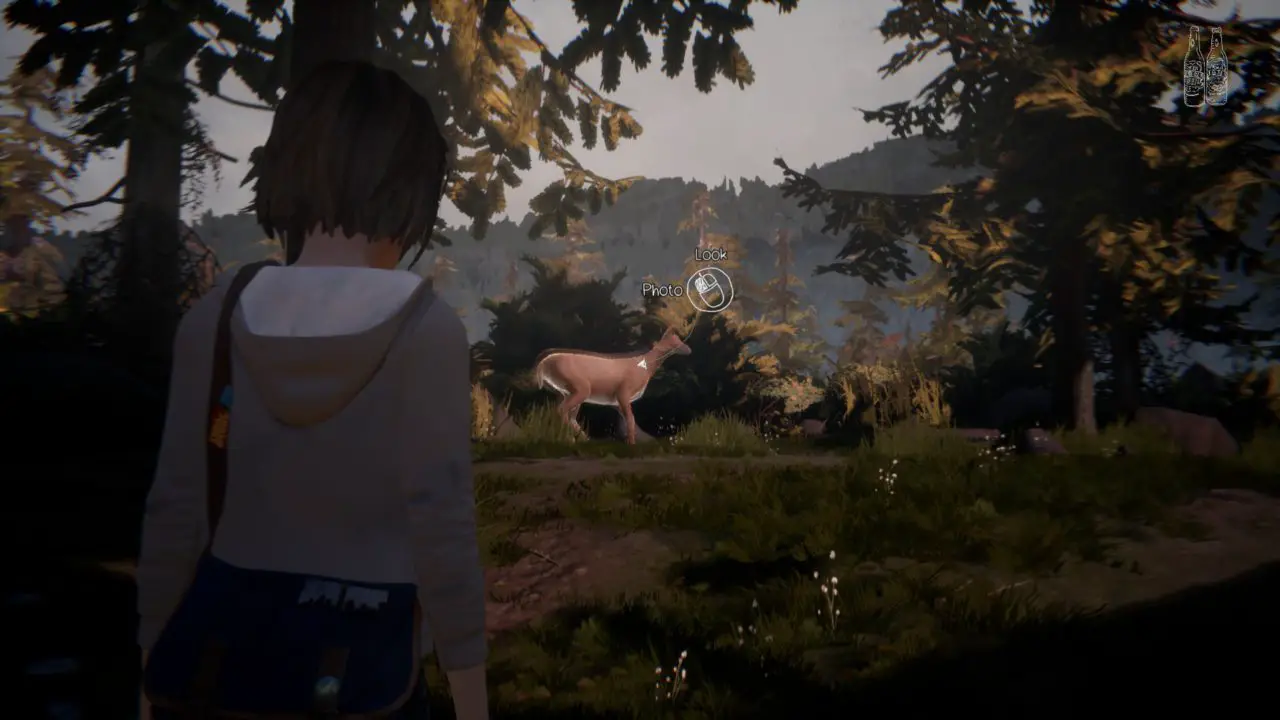
#7 – Walk around the bus and take a photo of the mysterious doe.
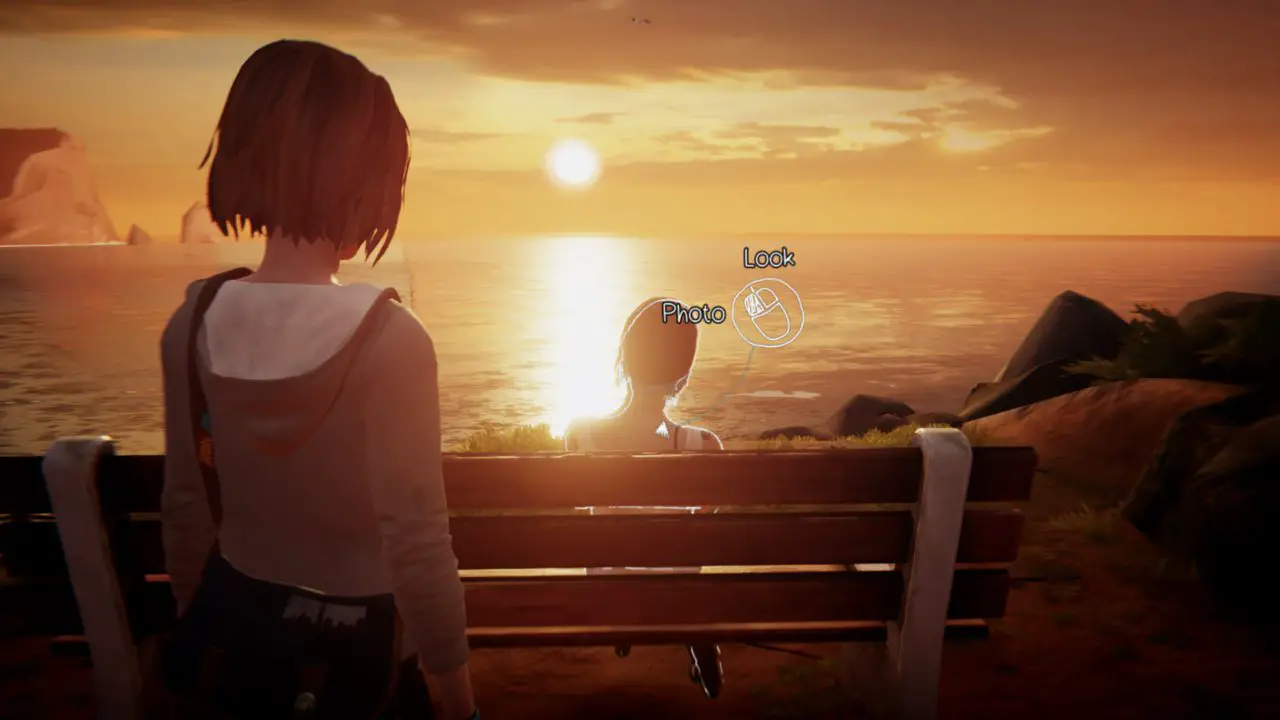
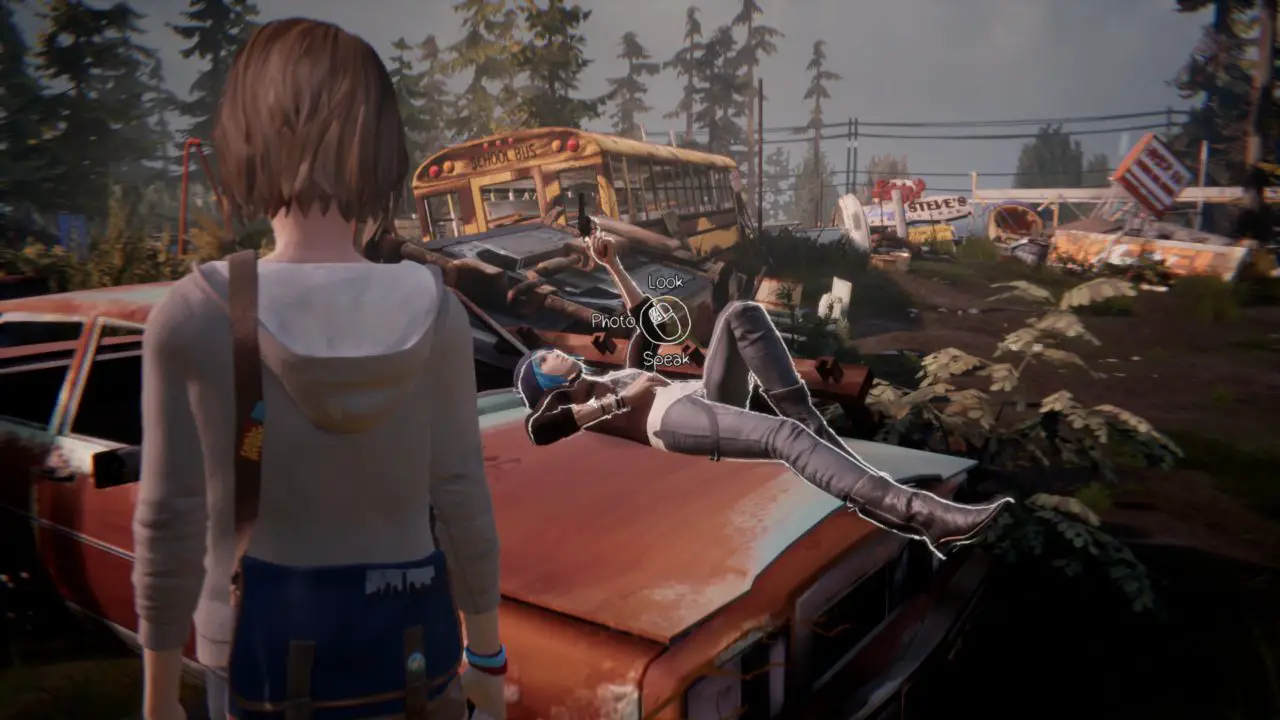
#8 – After you brought all the bottles to Chloe you can take a picture of her.
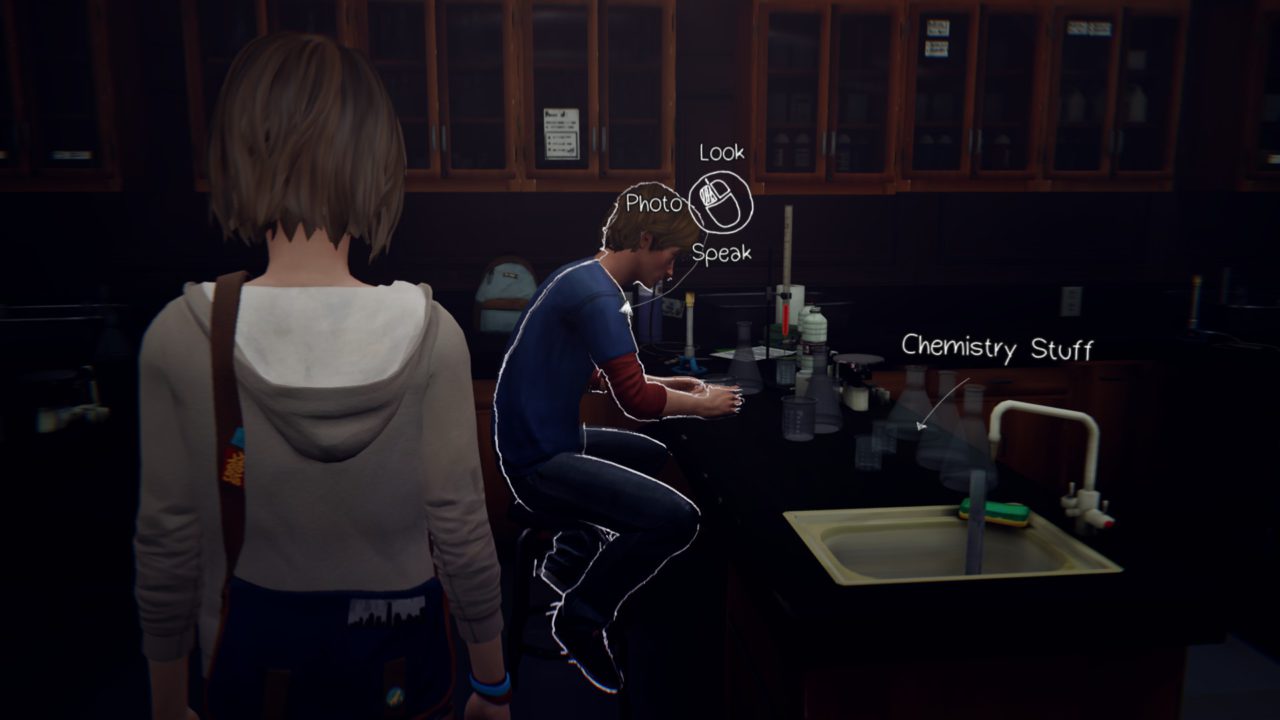
#9 – Talk to Warren in the science room and help him with his experiment. Rewind and talk to the teacher about the experiment. Then talk to Warren again and use the new option “chlorine”.
#10 – Back in your classroom, take a photo of Alyssa standing in front of the window.
Aflevering 3: Chaos Theory
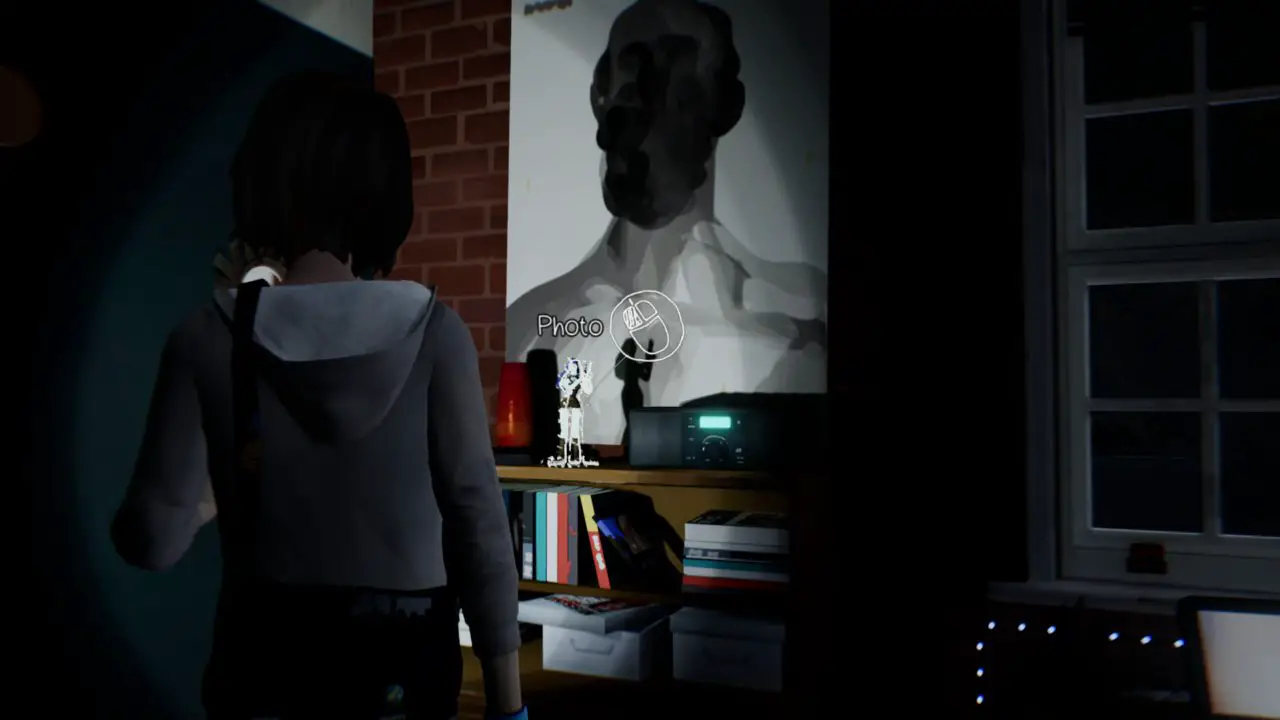
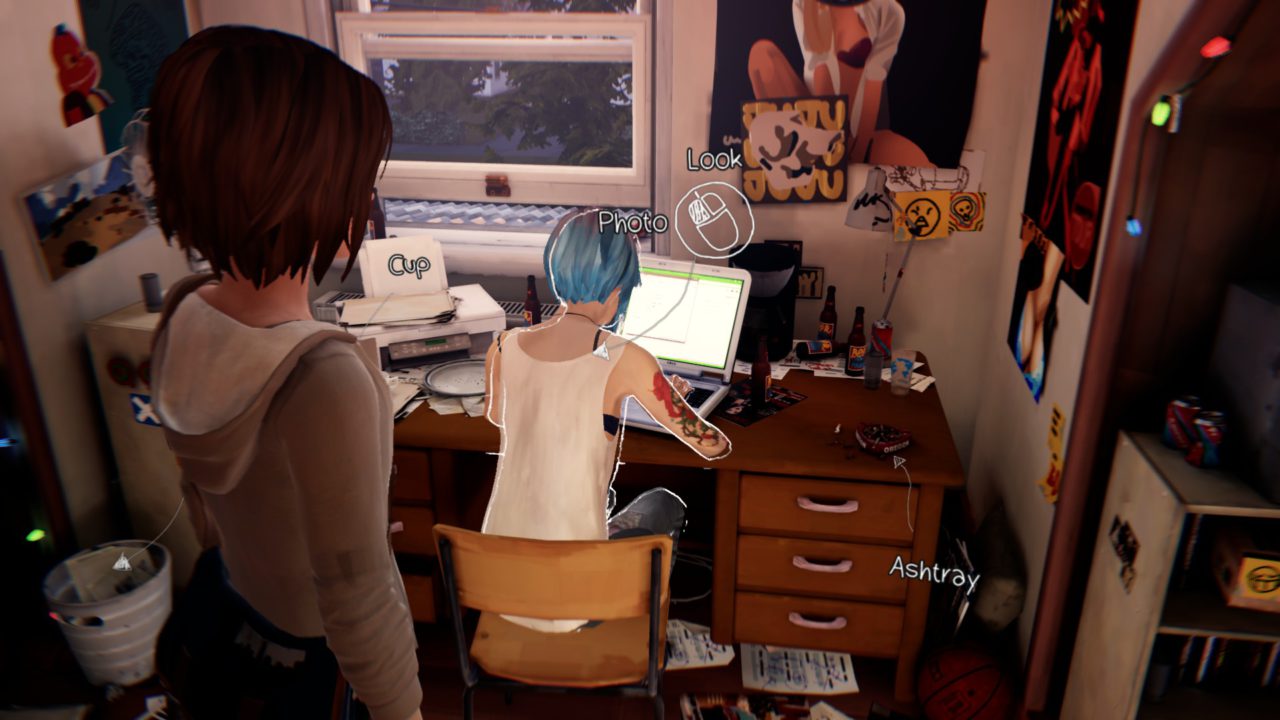
#1 – In Victoria’s room there is a fancy action figurine
#2 – In front of the dormitory go to the bench with the squirrel. Rewind time so it won’t run away and you can take the picture.
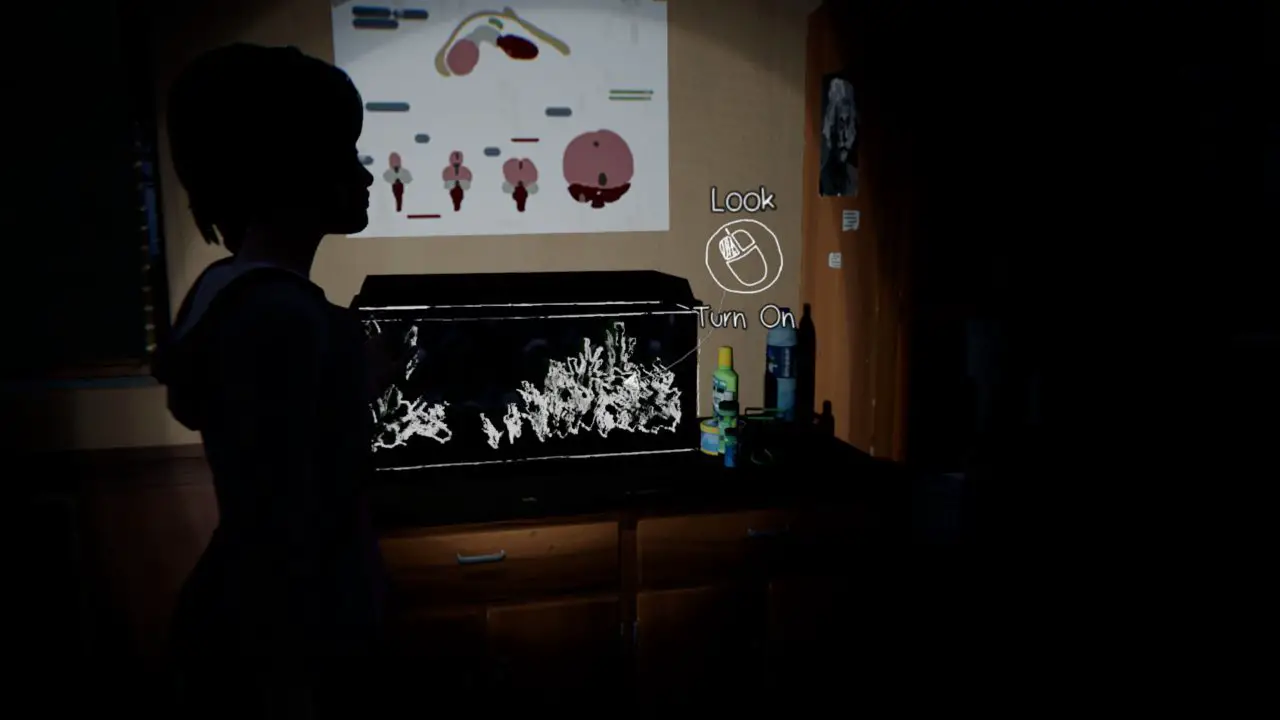
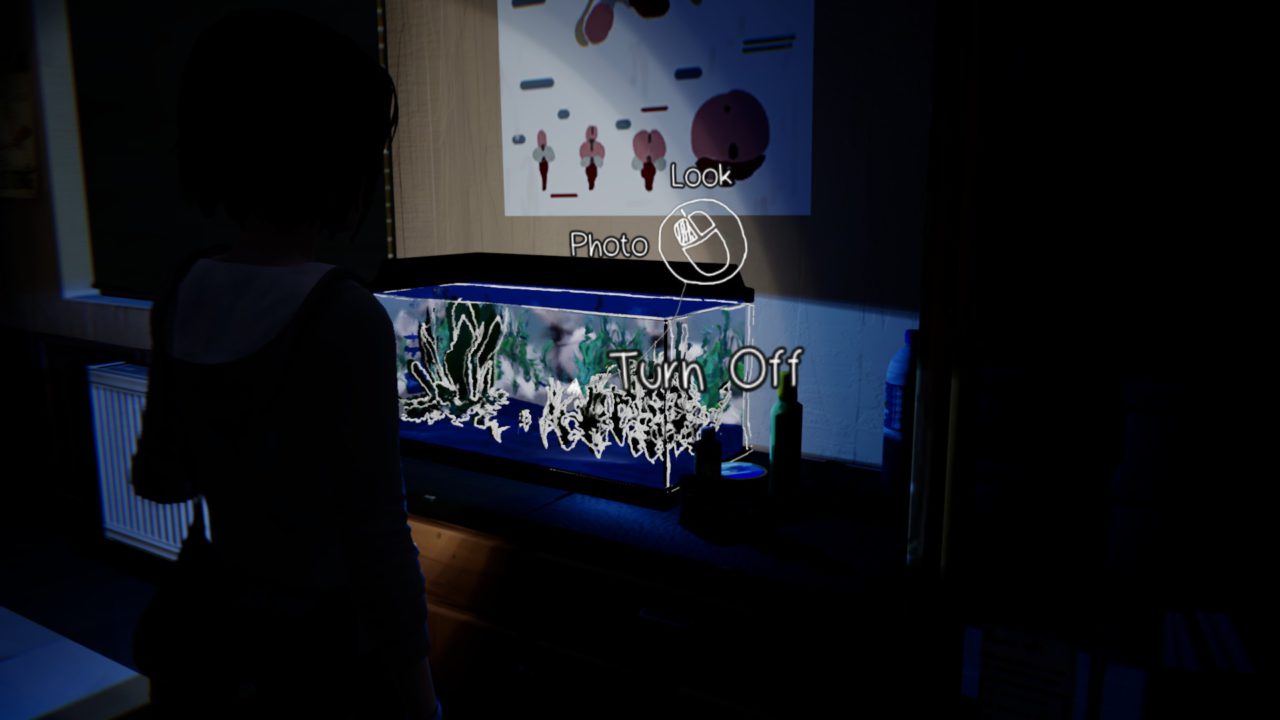
#3 – In the science room walk up to the aquarium and turn the lights on.
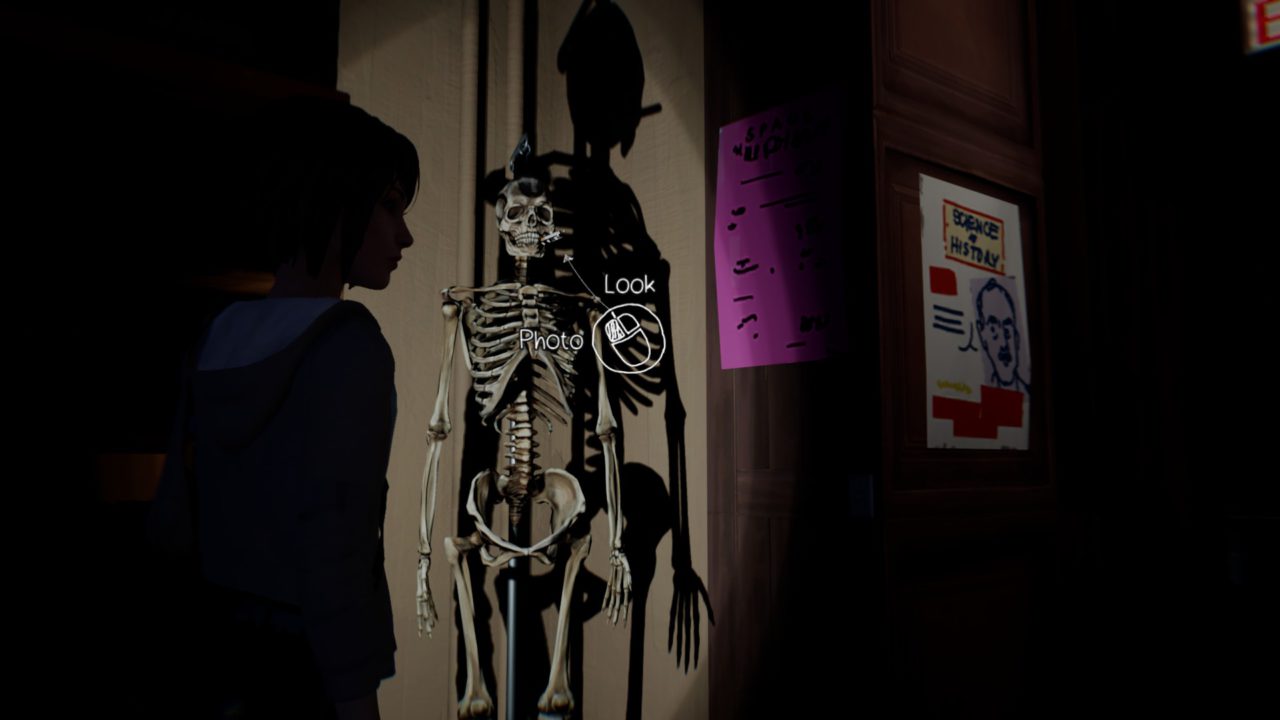
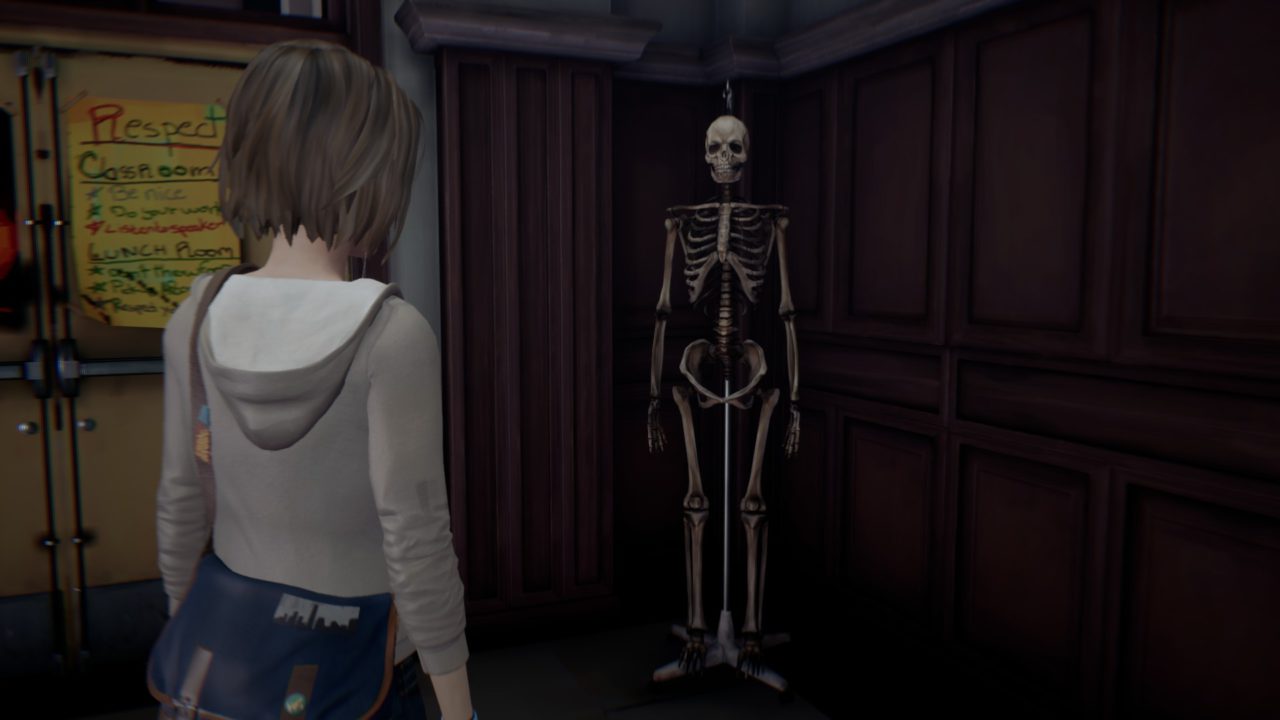
#4 – Same room, walk to the skeleton and take another picture.
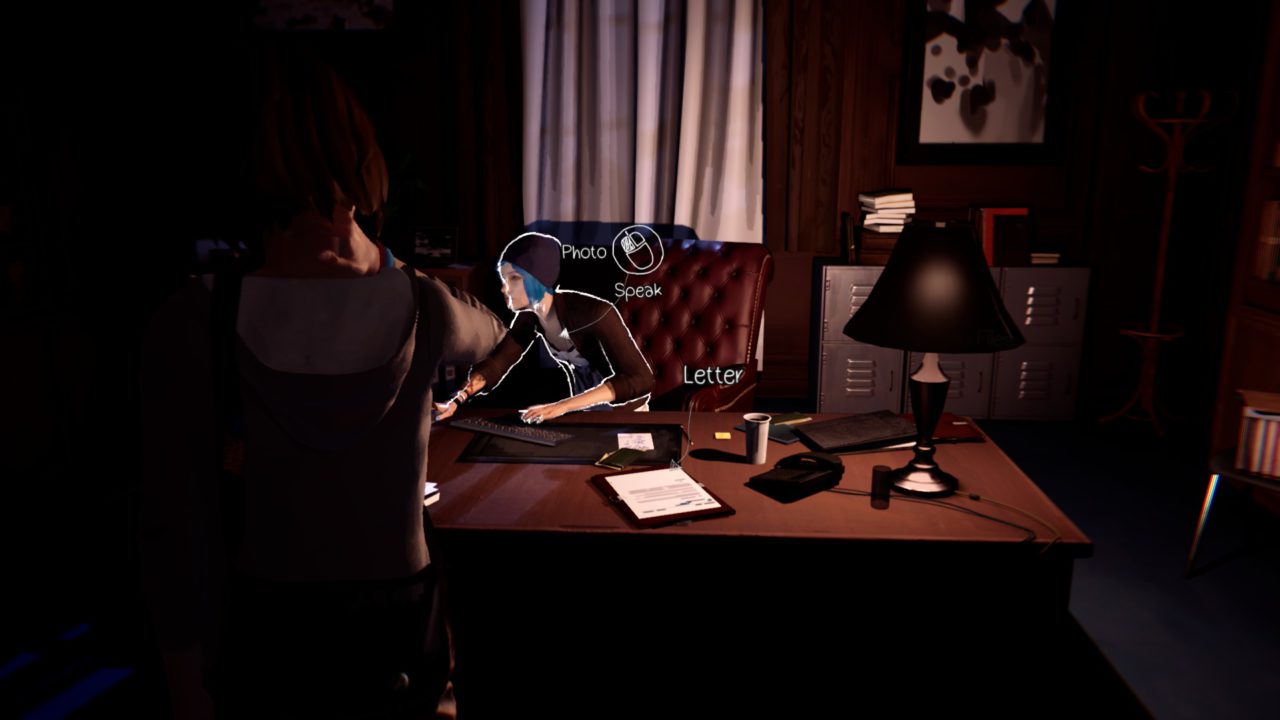
#5 – Inside the principal’s office take a photo of Chloe sitting in the chair.
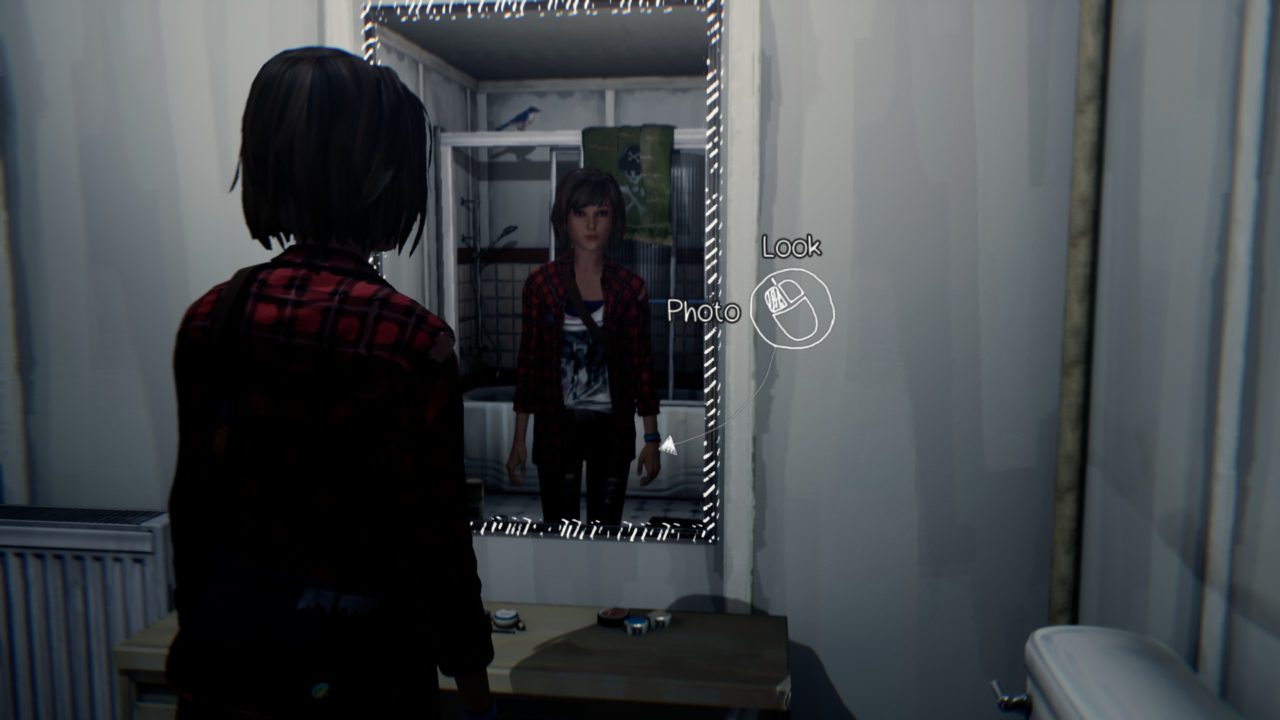
#6 – Back to Chloe’s place. After you leave her room go straight to the bathroom and take another selfie.
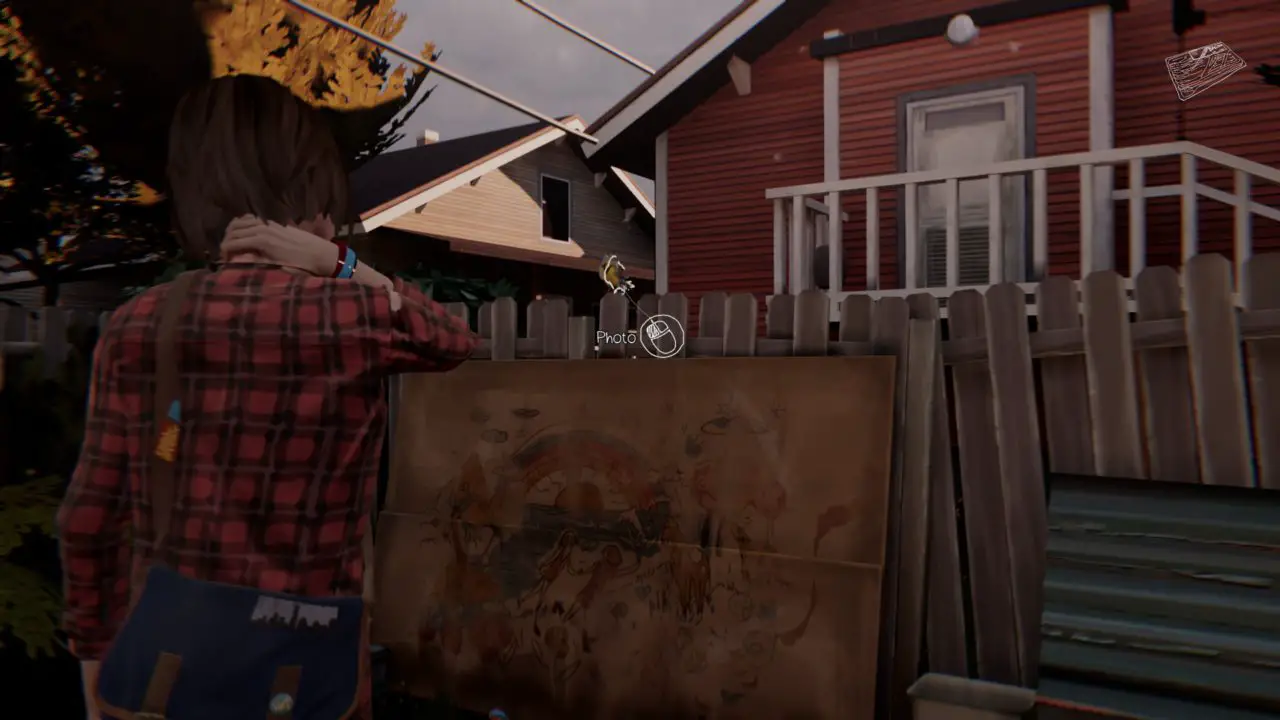
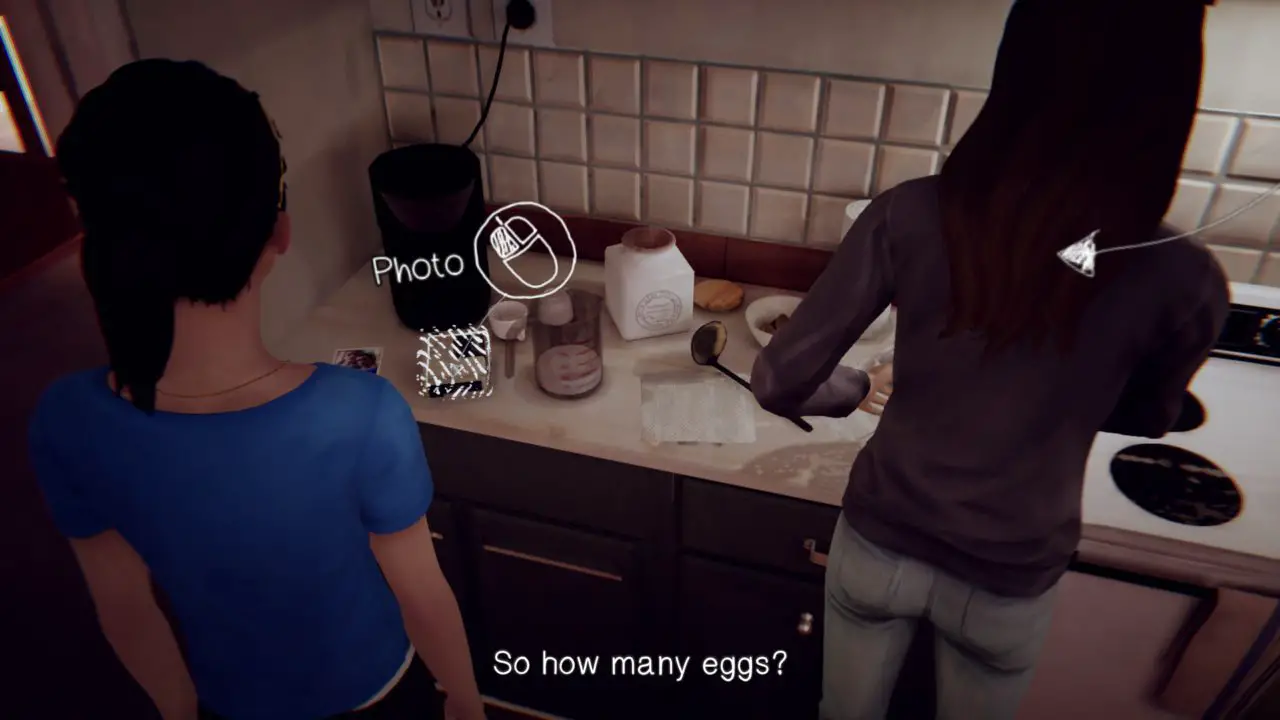
#7 – After you have talked to Joyce she will tell you to scare away a bird that is trapped inside the kitchen. Open the window next to the refrigerator. Interact with the bird and it will fly into the living room, onto the cabinet in the corner. Interact with it again to scare it onto the fireplace and from there it will fly out of the window. Now leave the living room through the sliding door and approach the piece of wood leaning on the fence. The bird will be sitting behind it on that fence and you can finally take the picture.
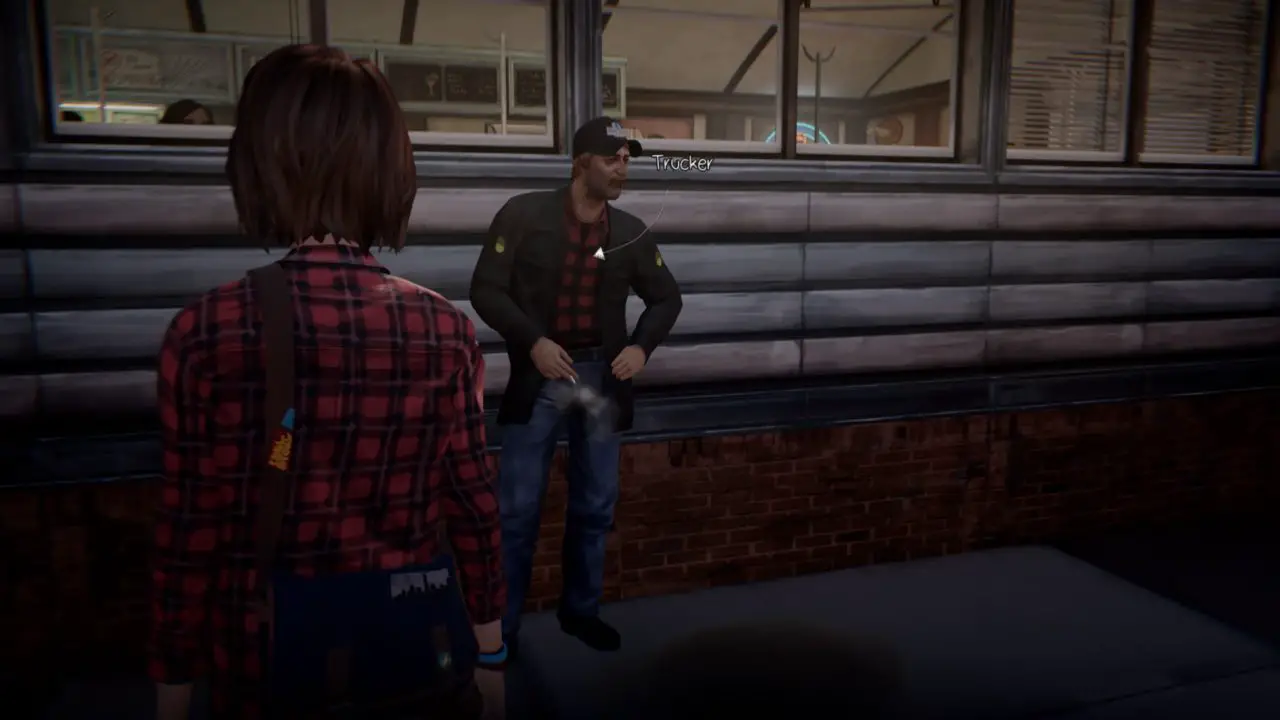
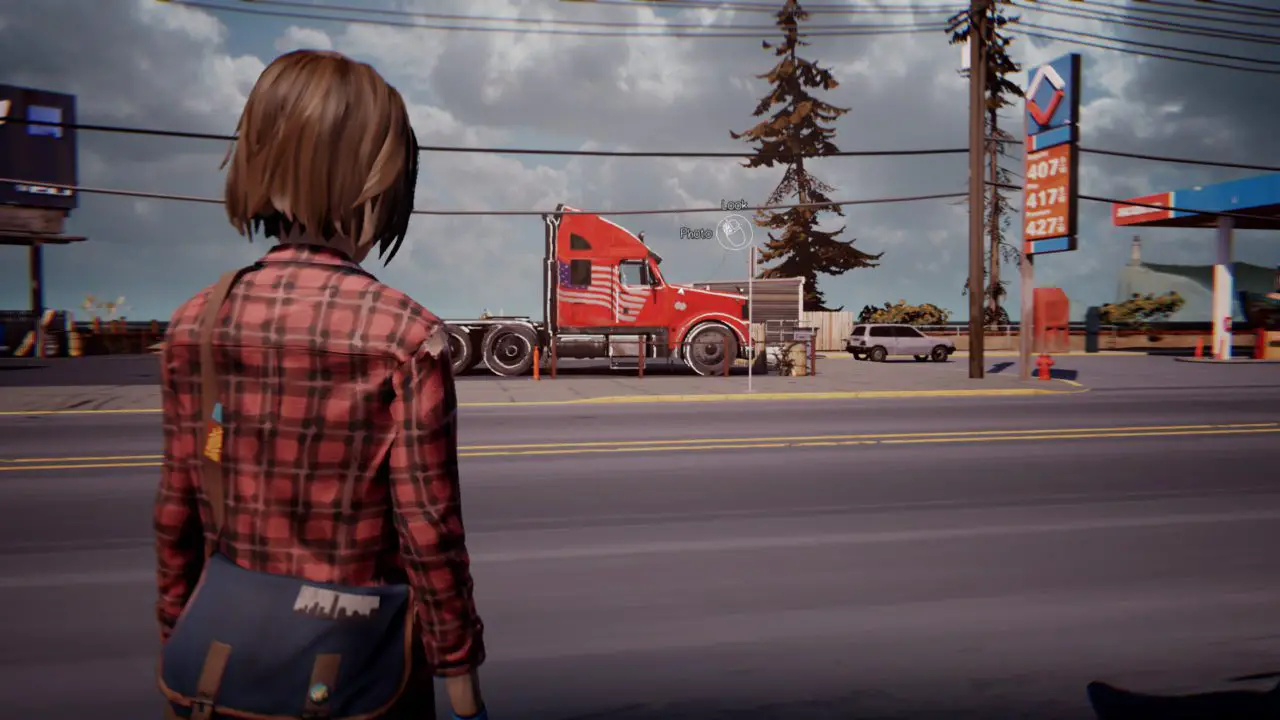
#8 – Talk to the trucker standing in front of the Two Whales Diner and rewind time. Then use the new dialogue option and you can take a picture of his truck that is parked on the other side of the street.
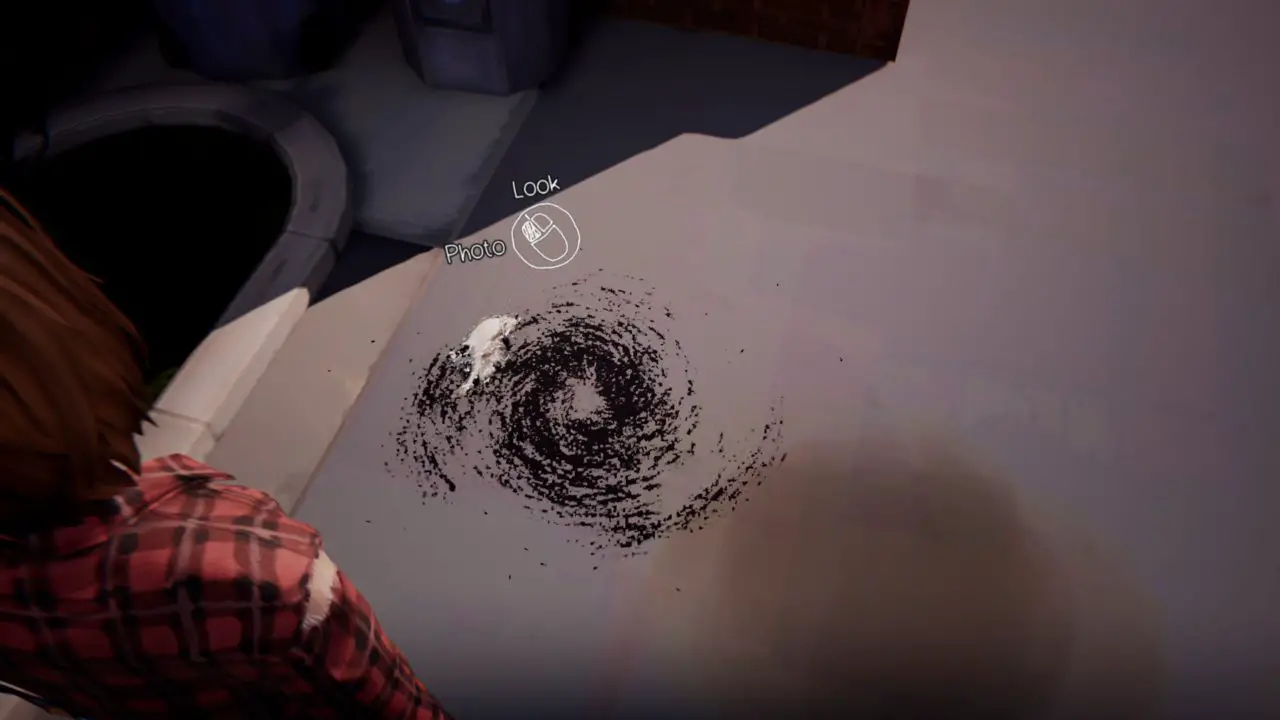
#9 – Walk past the diner again and turn left, you will see a strange vortex on the ground.
#10 – First scene after you have focused on the photo.
Aflevering 4: Dark Room
#1 – Chloë, opnieuw
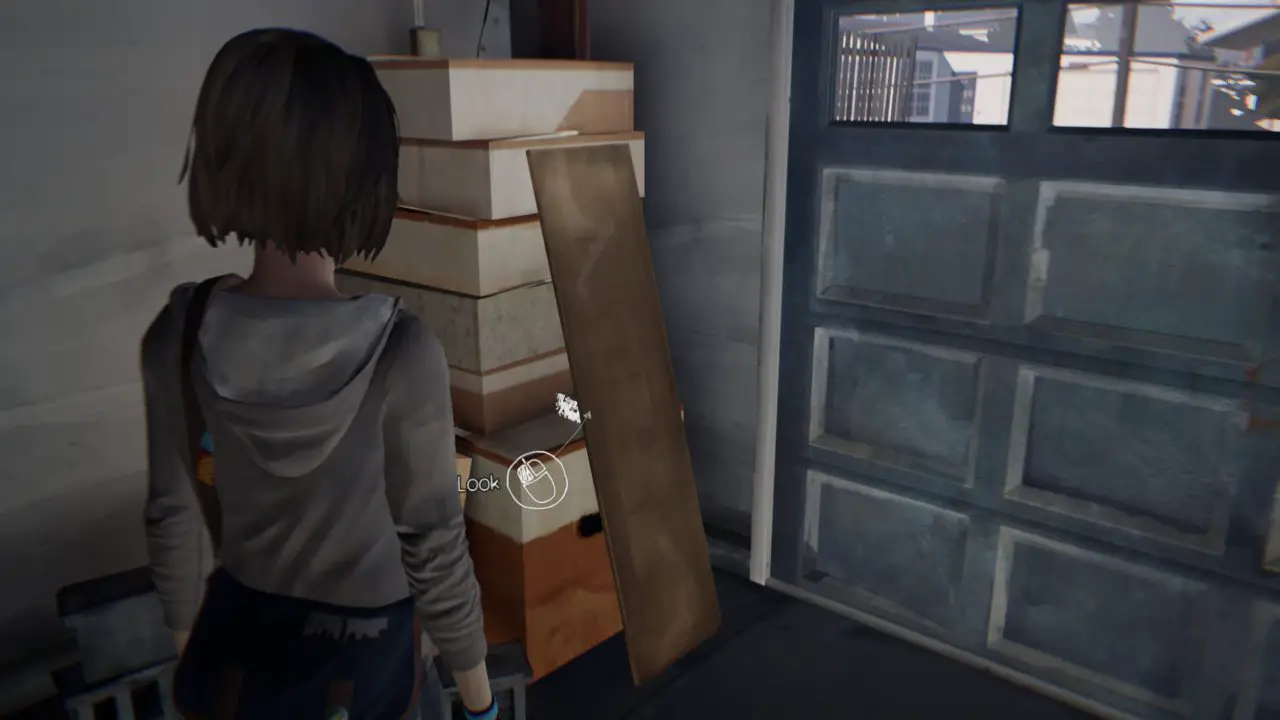
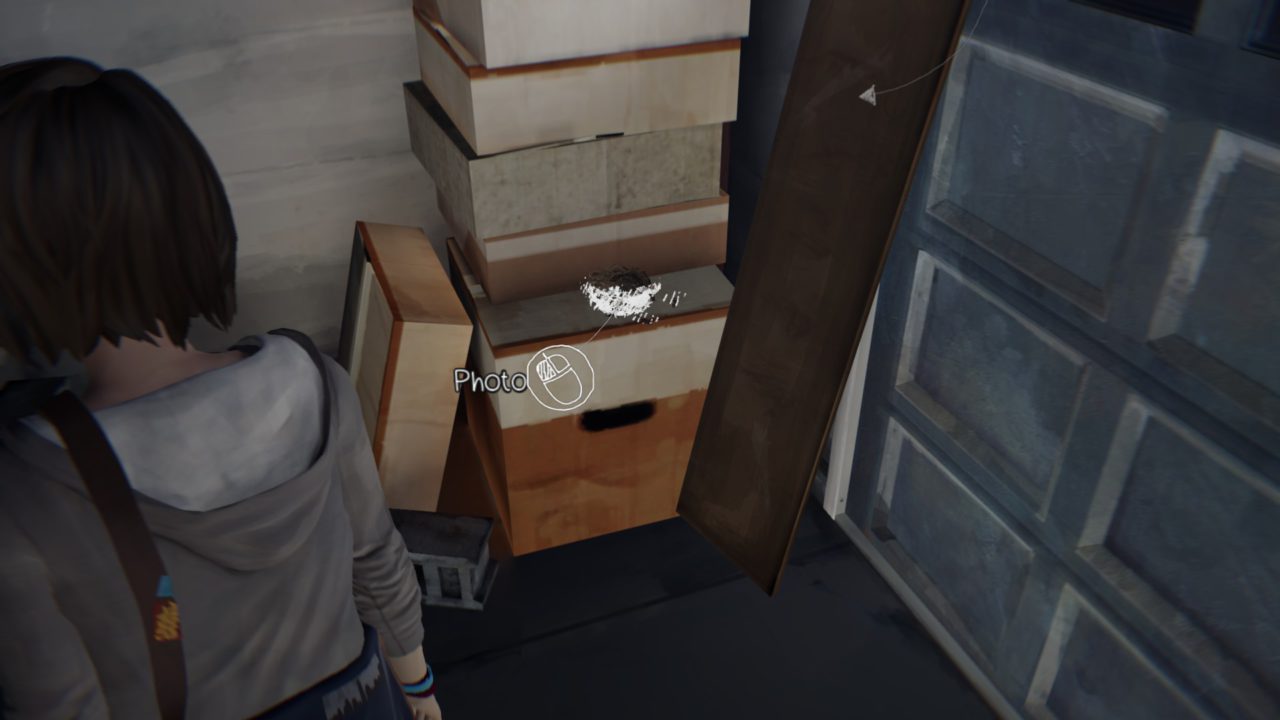
#2 – In the garage walk towards the garage door and you will see a plank. Move that to find a nest.
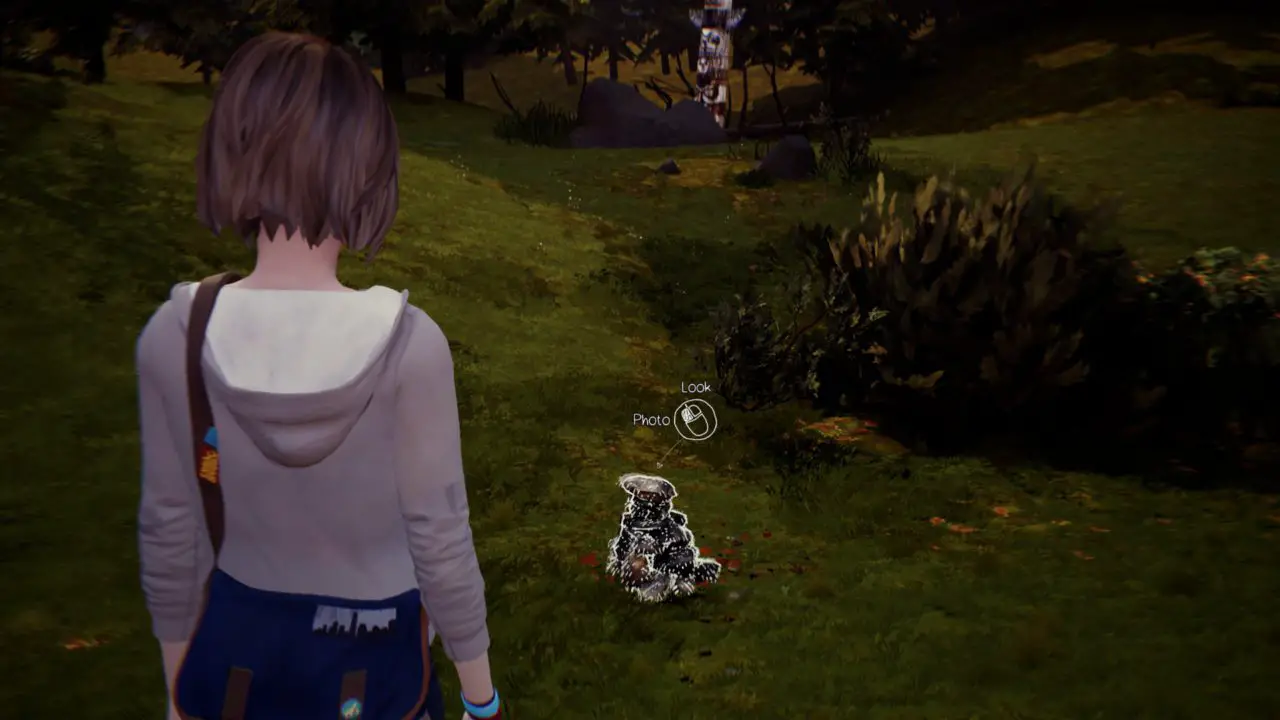
#3 – In front of the dormitory, head towards the totem. You will see a pile of rocks.
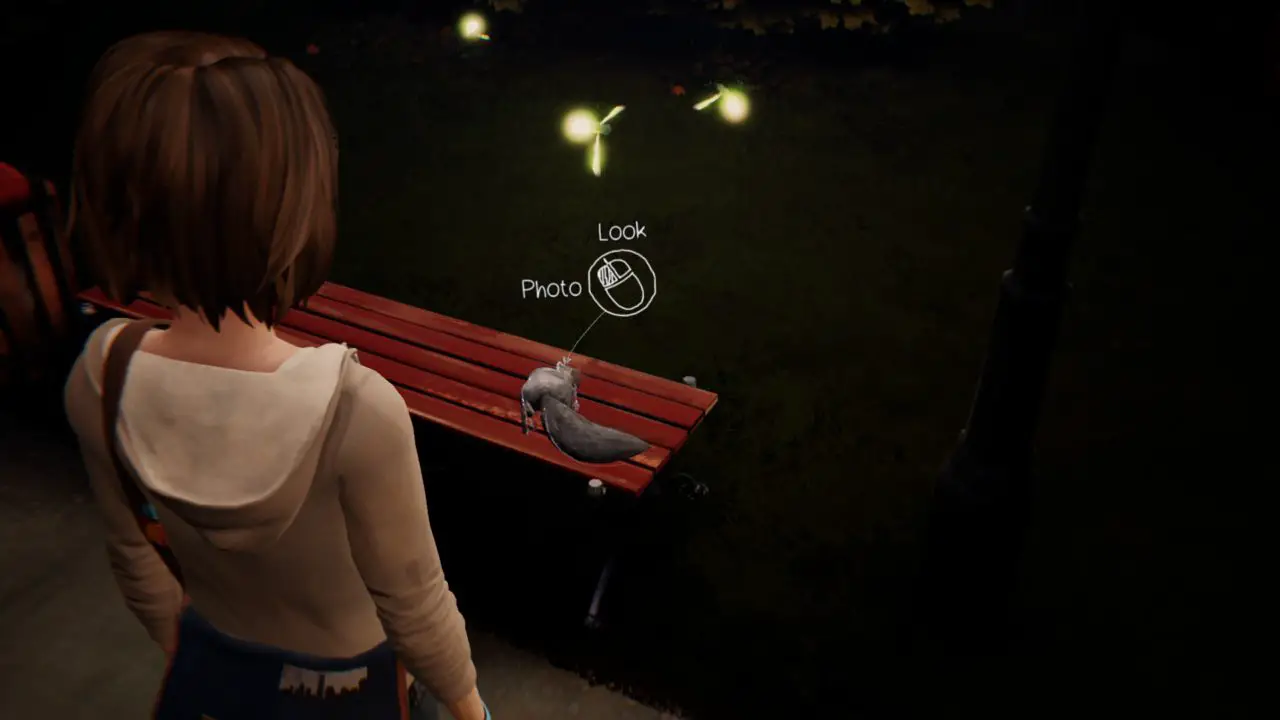
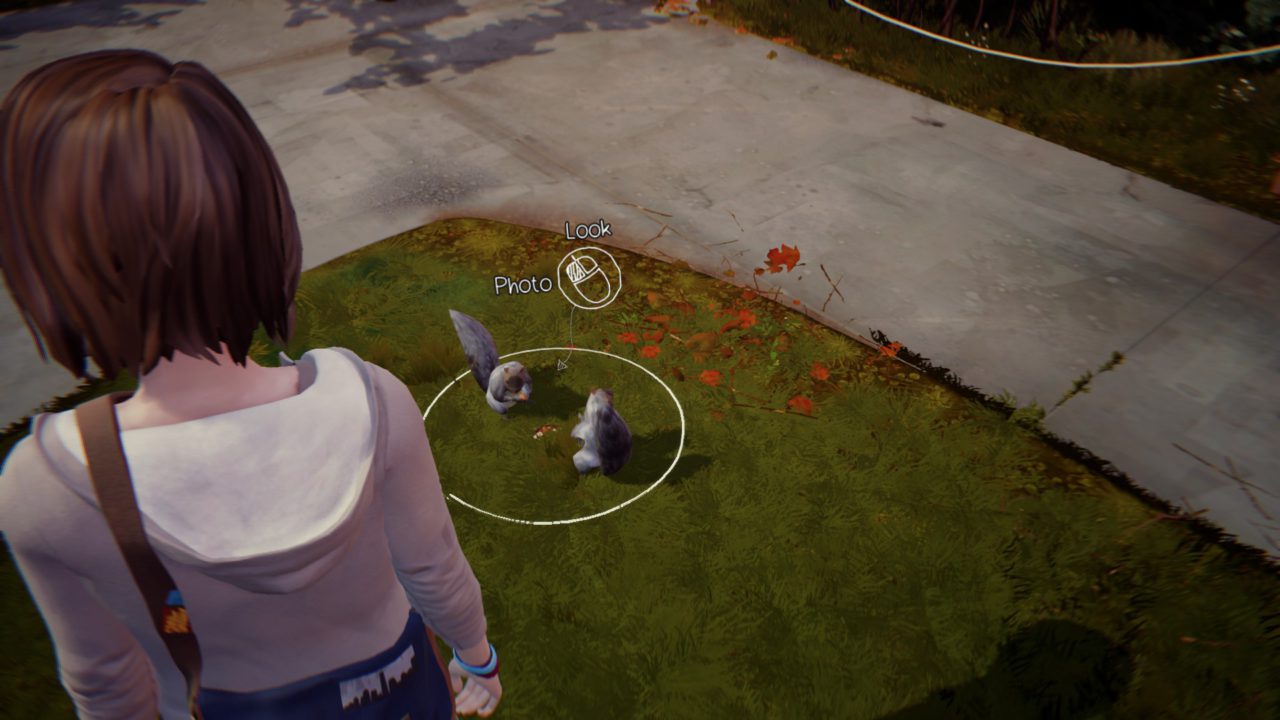
#4 – Talk to Samuel about squirrels. He will start feeding them. Look at the food lying next to Samuel at the bench and use it to lure another squirrel. Then you can take a picture.
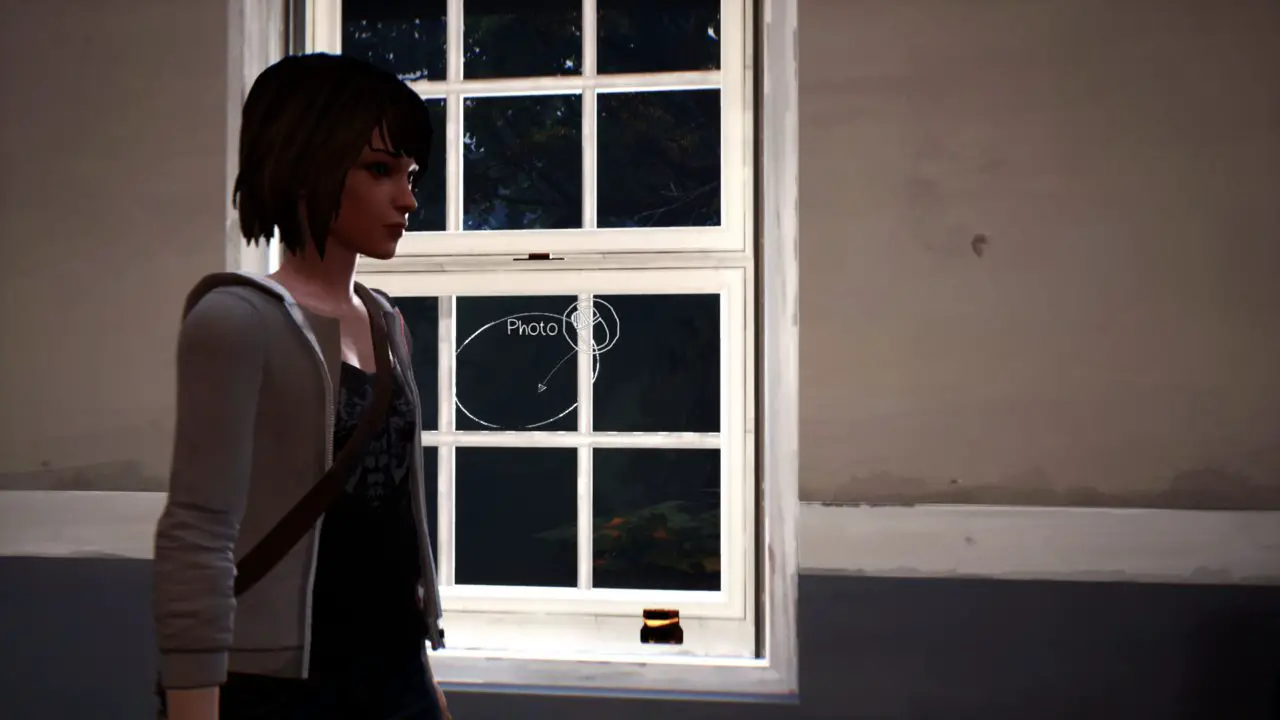
#5 – Inside the dormitory again, before heading to Nathan’s room turn right and look out the window.
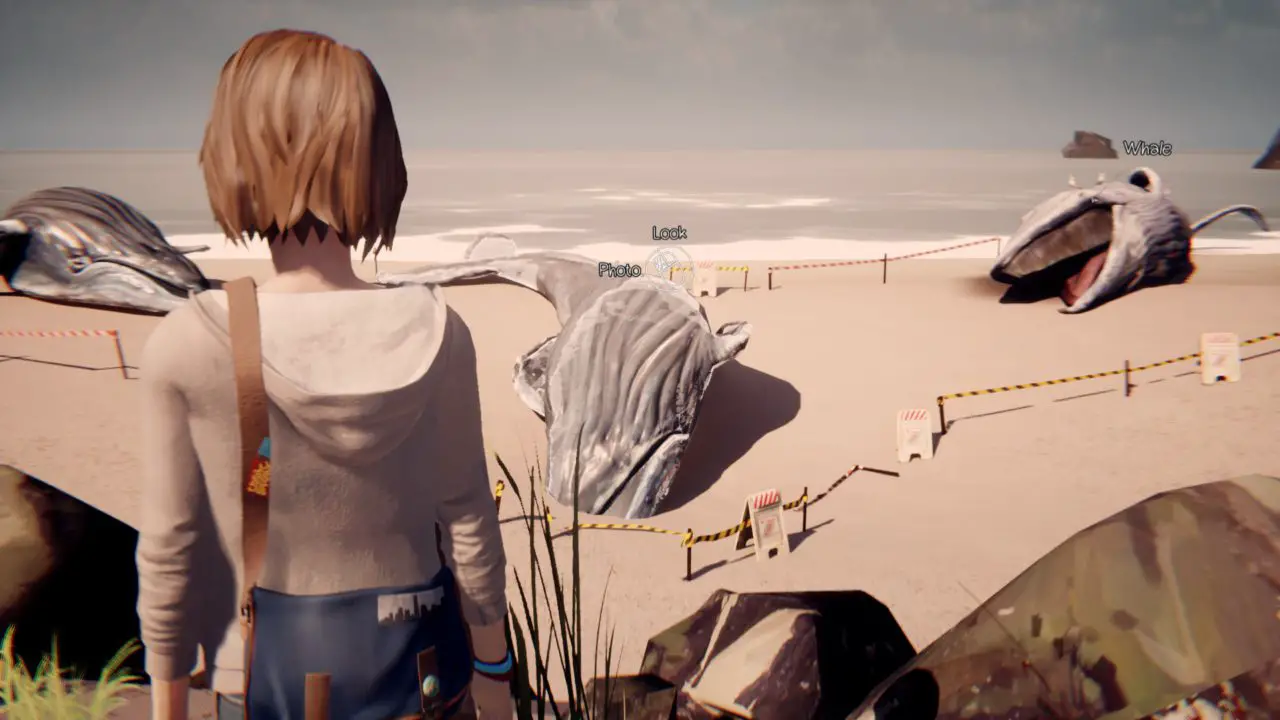
#6 – Before you meet with Frank you can take a picture of the whales.
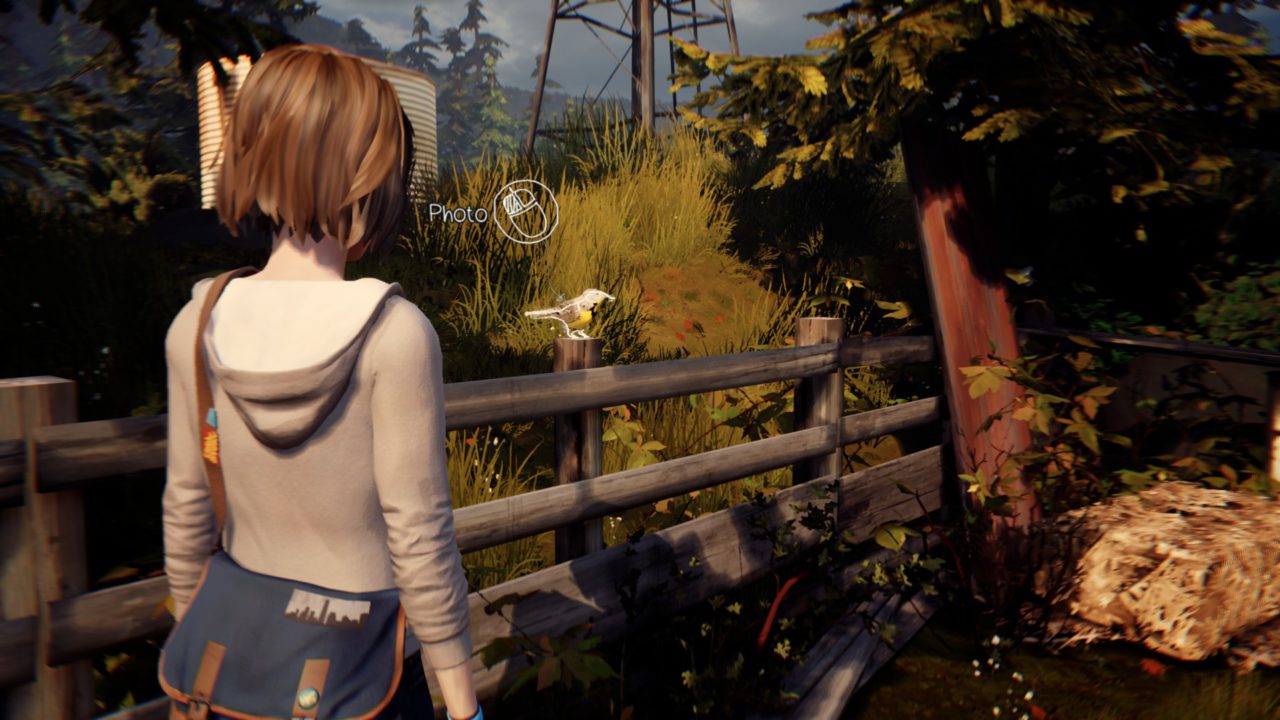
#7 – After you arrived at the barn go left and you will see a bird sitting on the fence. Approach it and rewind time so it won’t fly away.
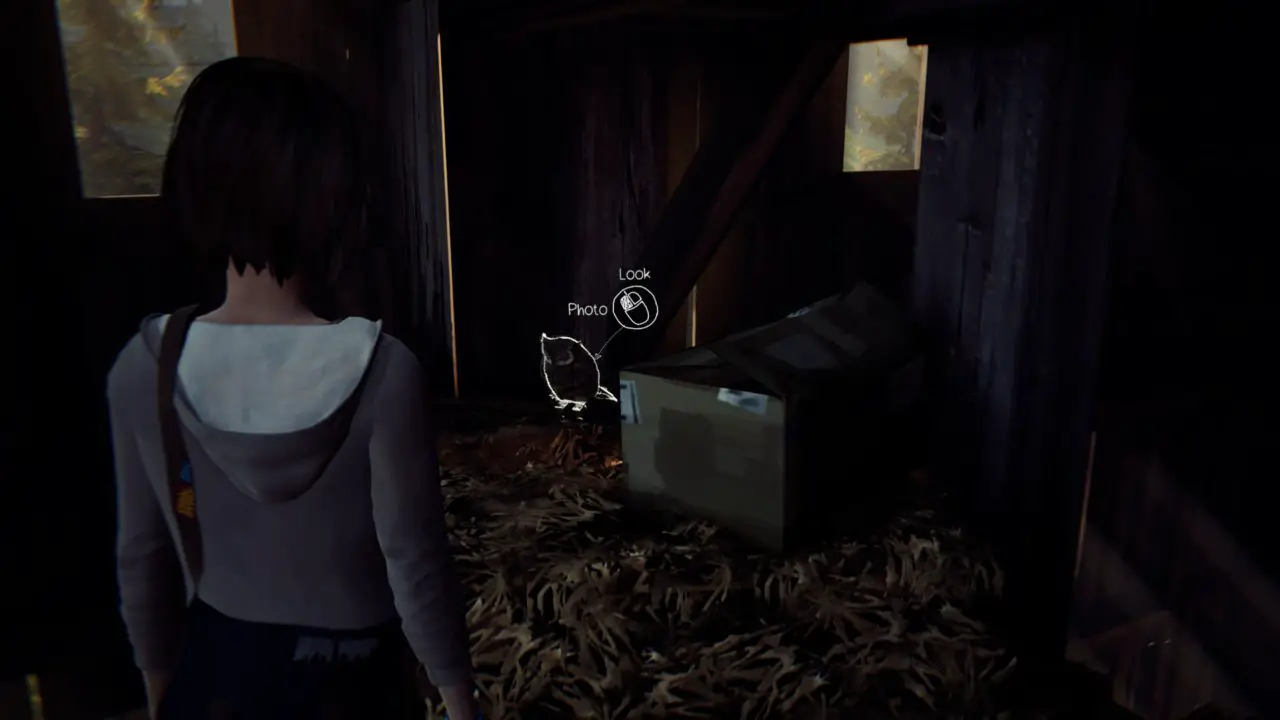
#8 – On the first floor of the barn there is an owl sleeping.
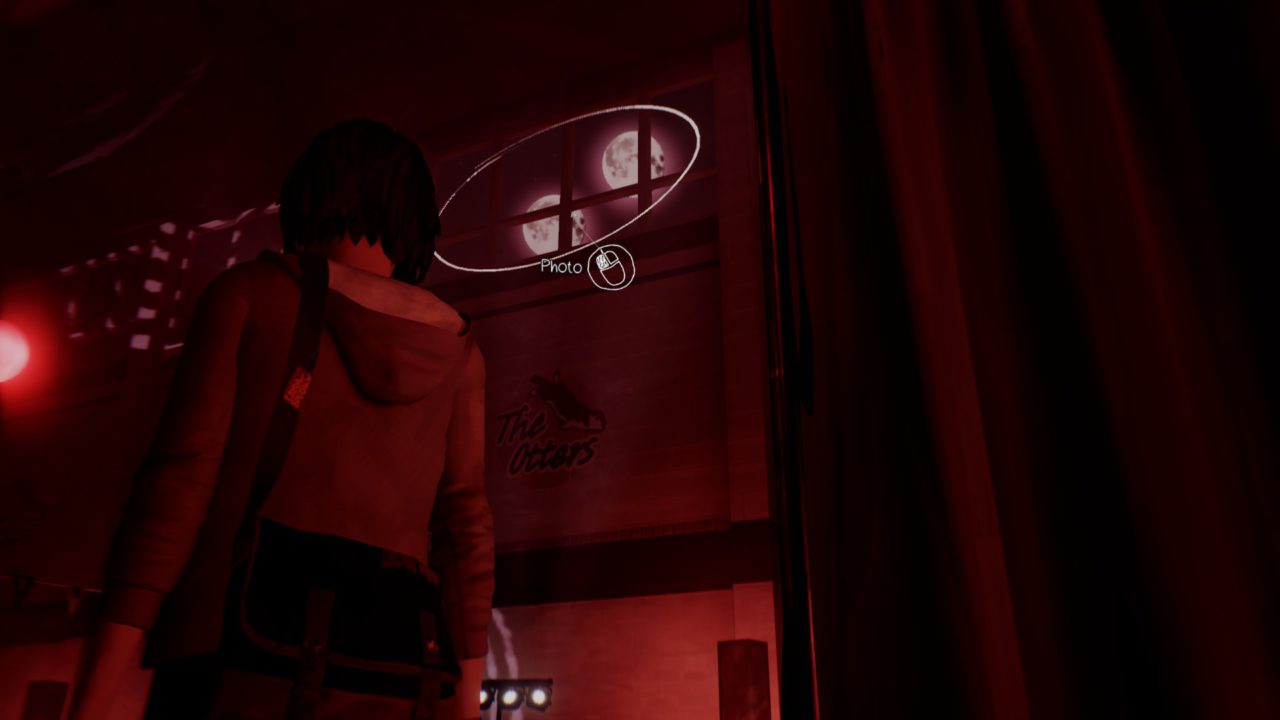
#9 – At the party, have a look outside.
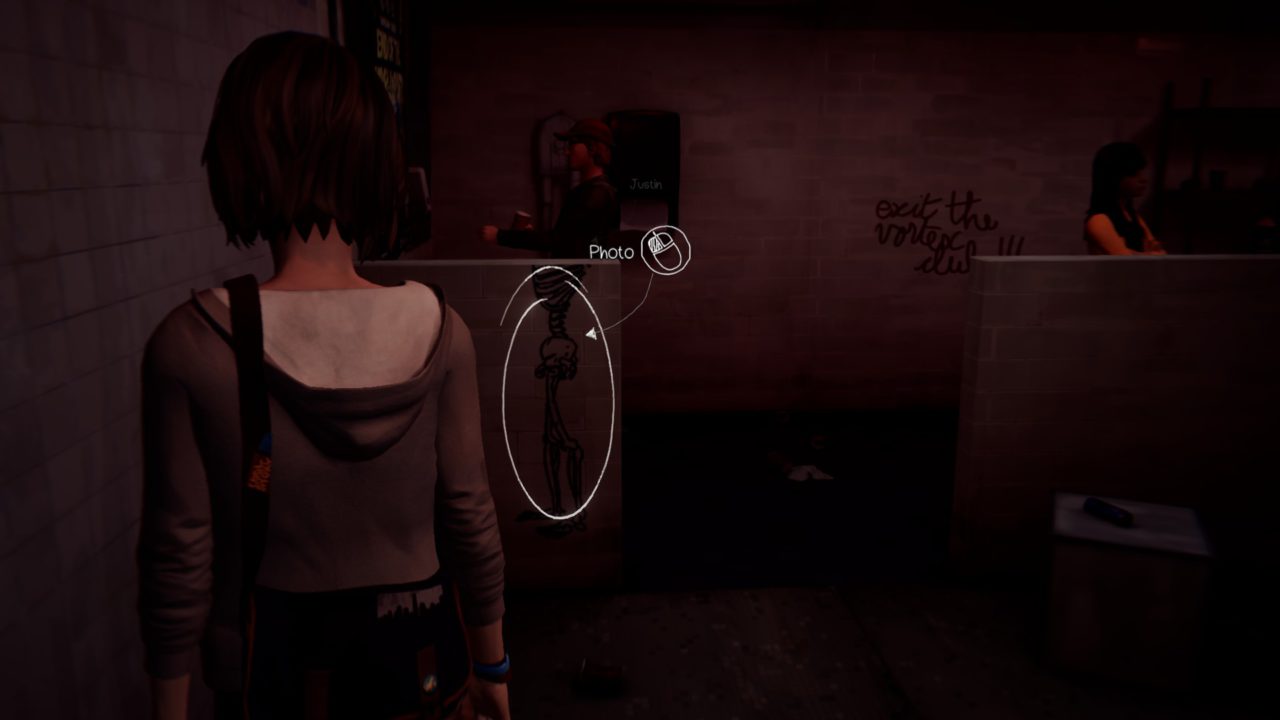
#10 – Enter the bathroom in front of the VIP entrance and position yourself so that Justin is posing as the upper part of the graffiti.
Aflevering 5: Polarized
#1 – Walk to Kate and comfort her, then you will get the option to take a picture.

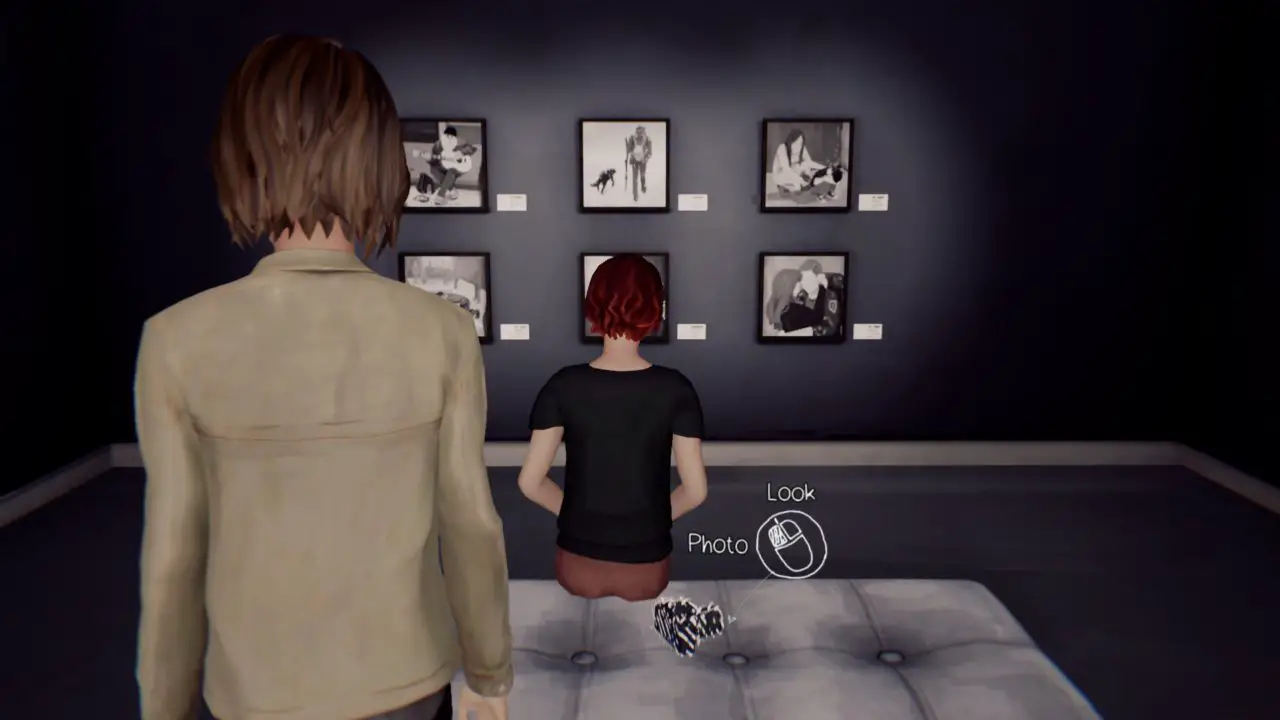
#2 – In the gallery, walk down the stairs on the right and approach the woman sitting on a bench.
#3 – In the dark room. Choose dialogue option “one last picture”.

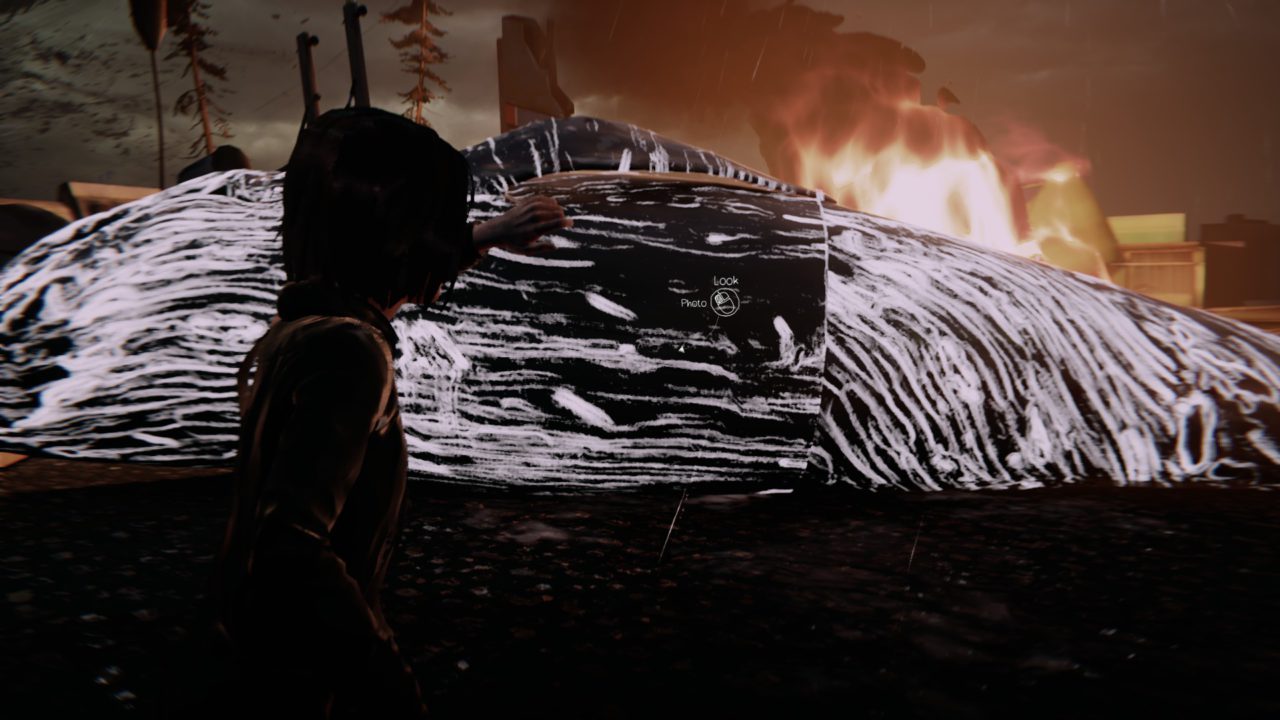
#4 – After you have exited the first building during the storm you will see a fire approaching the diner. Rewind and put out the fire, then you can take a picture of the dead whale.
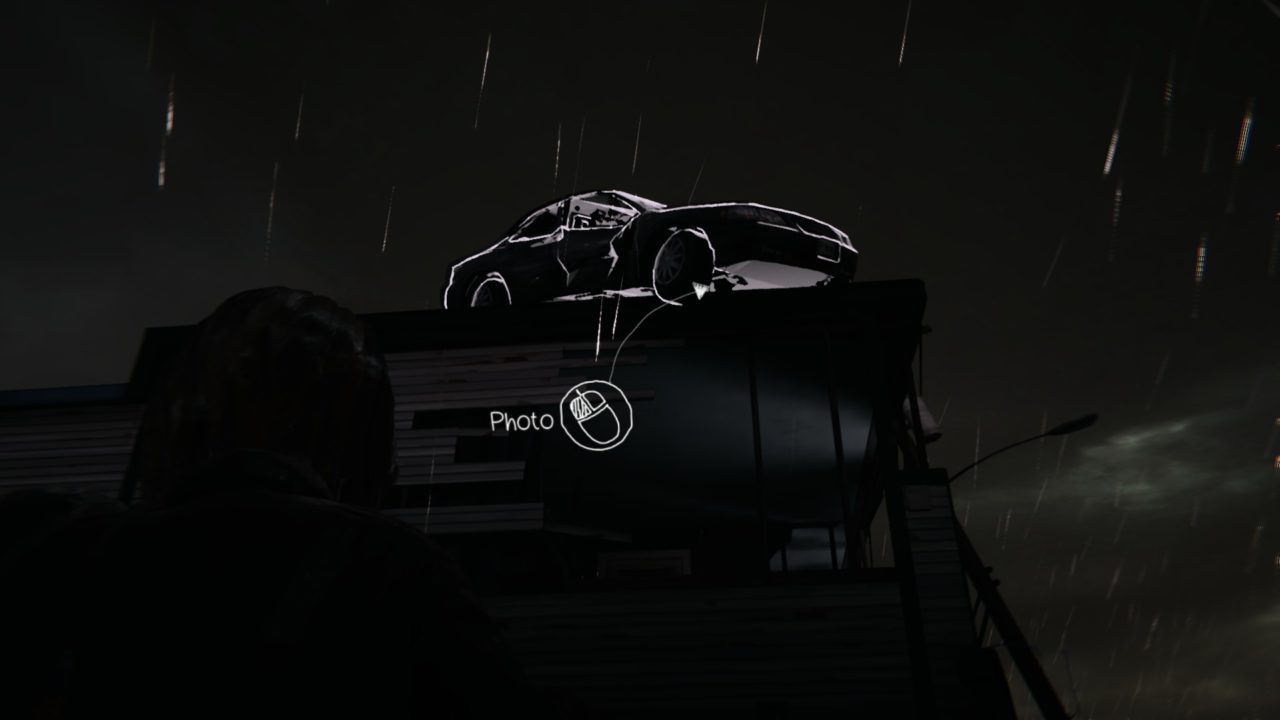
#5 – In front of the diner look right and up, you will see a car.
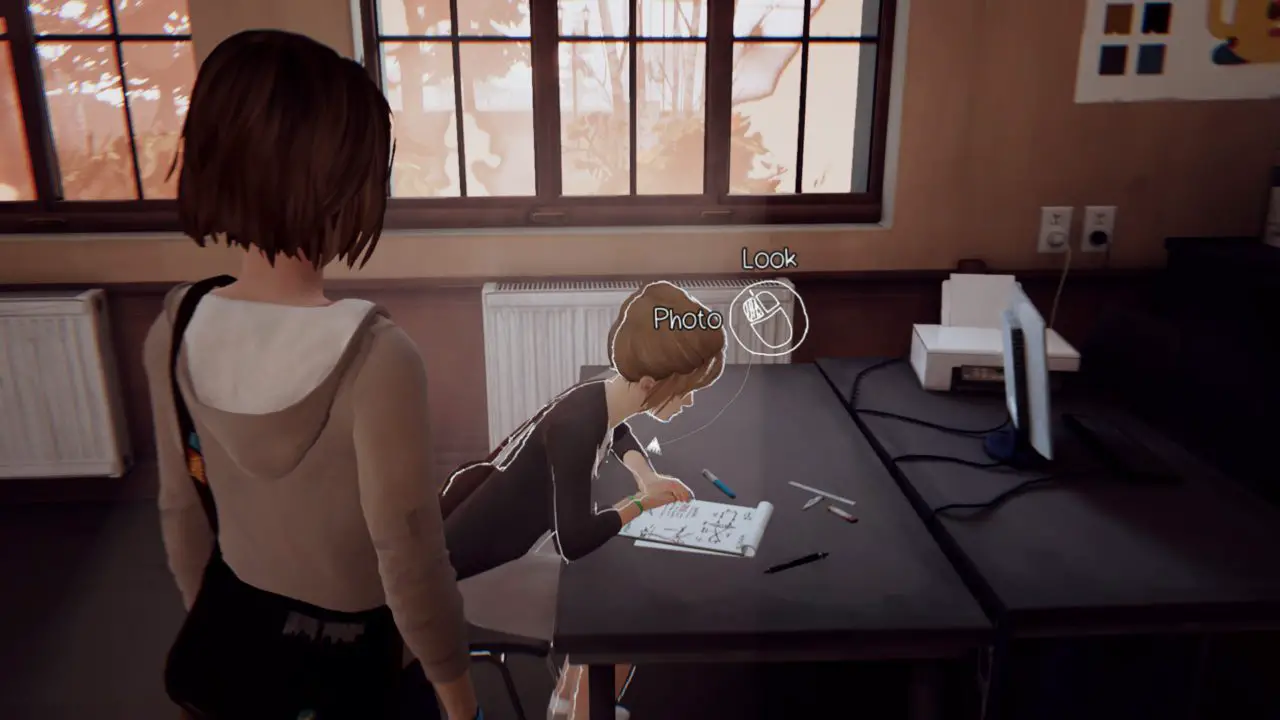
#6 – Back in the classroom, the table where you took the very first picture. Interact with the markings a few times until you can take the photo.
#7 – In the dormitory as Max, don’t enter your room but have another look out the window on the right side.
#8 – School hall. In front of the bathroom you can see the skeleton standing in the corner. Stand in front of it and rewind time as much as possible, Max will automatically take this picture then.
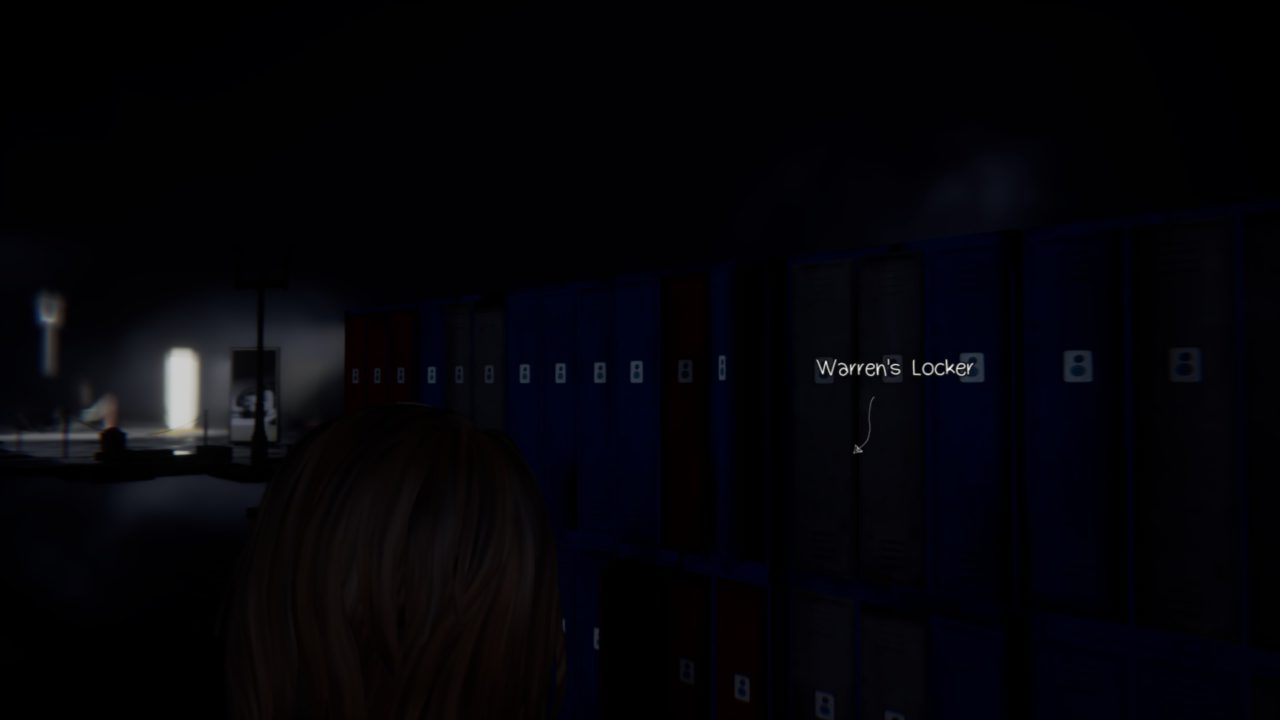
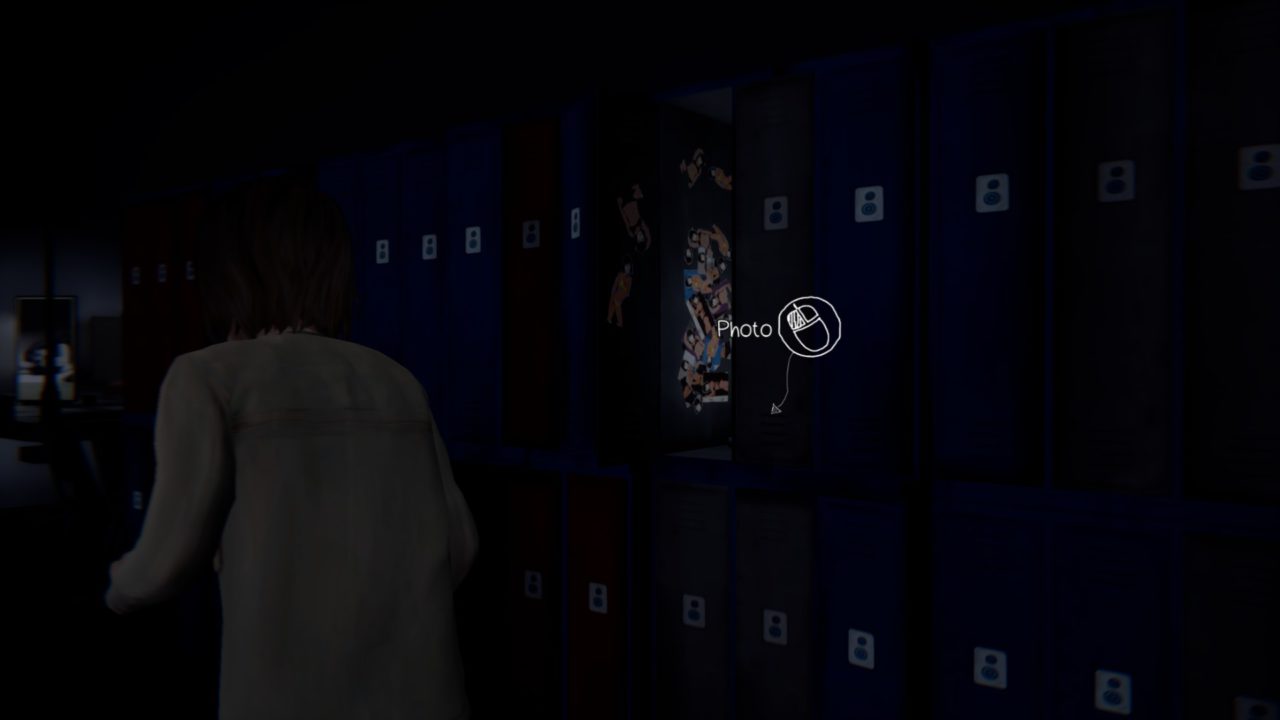
#9 – During the worst section of the whole game you have to sneak around and avoid lights. When you get to the lockers turn right at every possibility and you will find Warren’s locker. Open it and take a picture.
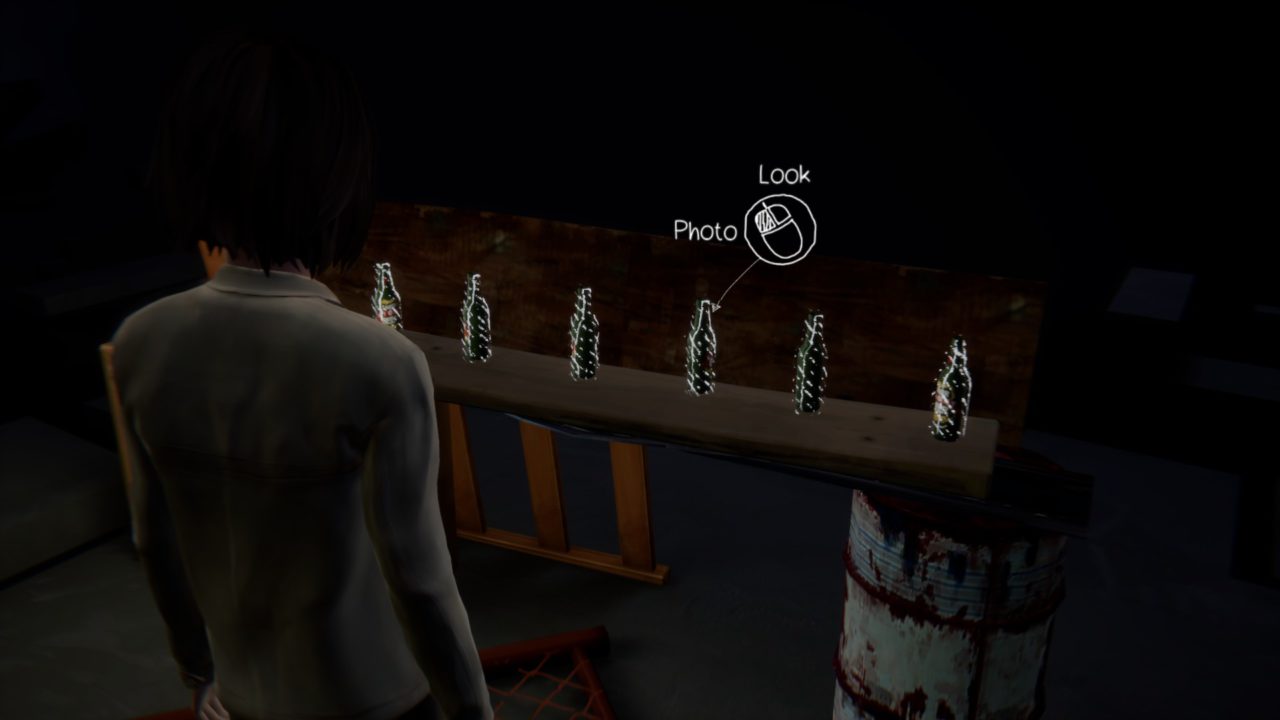
#10 – Junkyard section. There are five bottles to collect. Walk around the area on the left and pick them up. Four are placed on cars and one is in the hideout with the chair. Max will tell you when you need one more bottle. The last one I needed was right after the hideout on the car to the left (if you went clockwise as I did). When Max says “This gotta be the last one” you can proceed to the next section where you can take the final photo.
Dat is alles wat we vandaag hiervoor delen Life is Strange Remastered gids. Deze handleiding is oorspronkelijk gemaakt en geschreven door F.o.B.. Voor het geval we er niet in slagen deze handleiding bij te werken, U kunt de laatste update vinden door dit te volgen link.