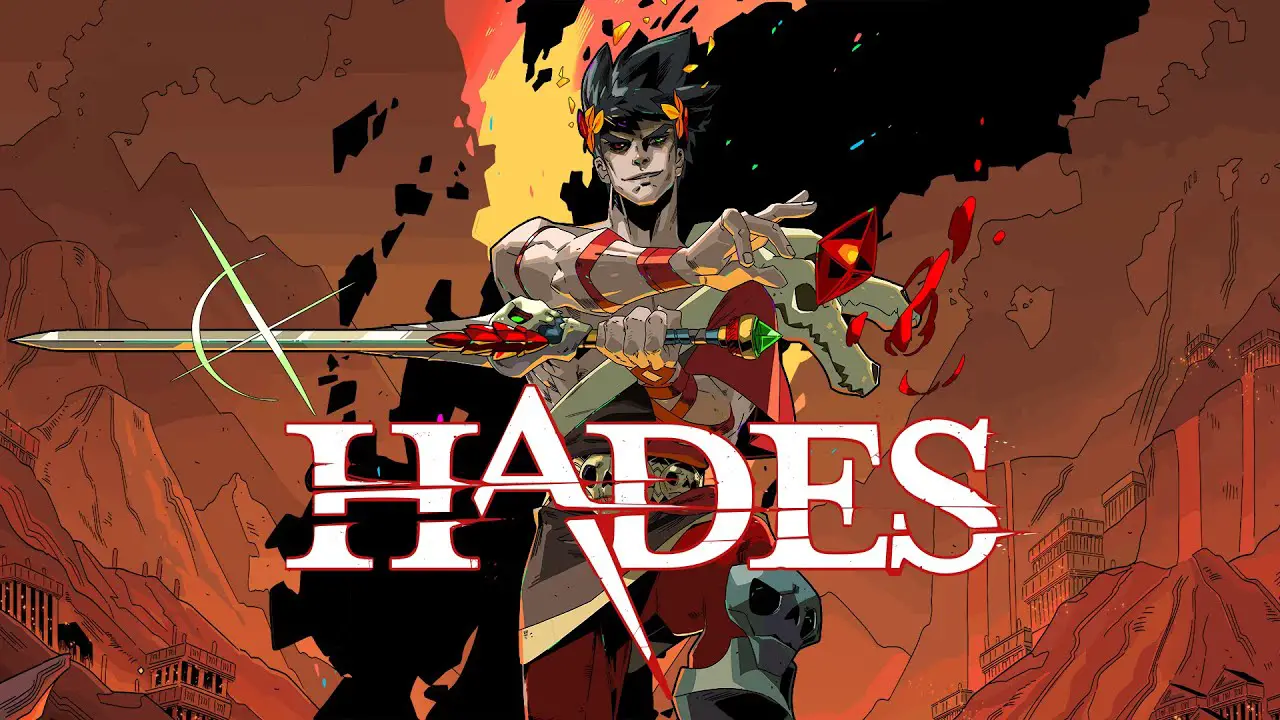
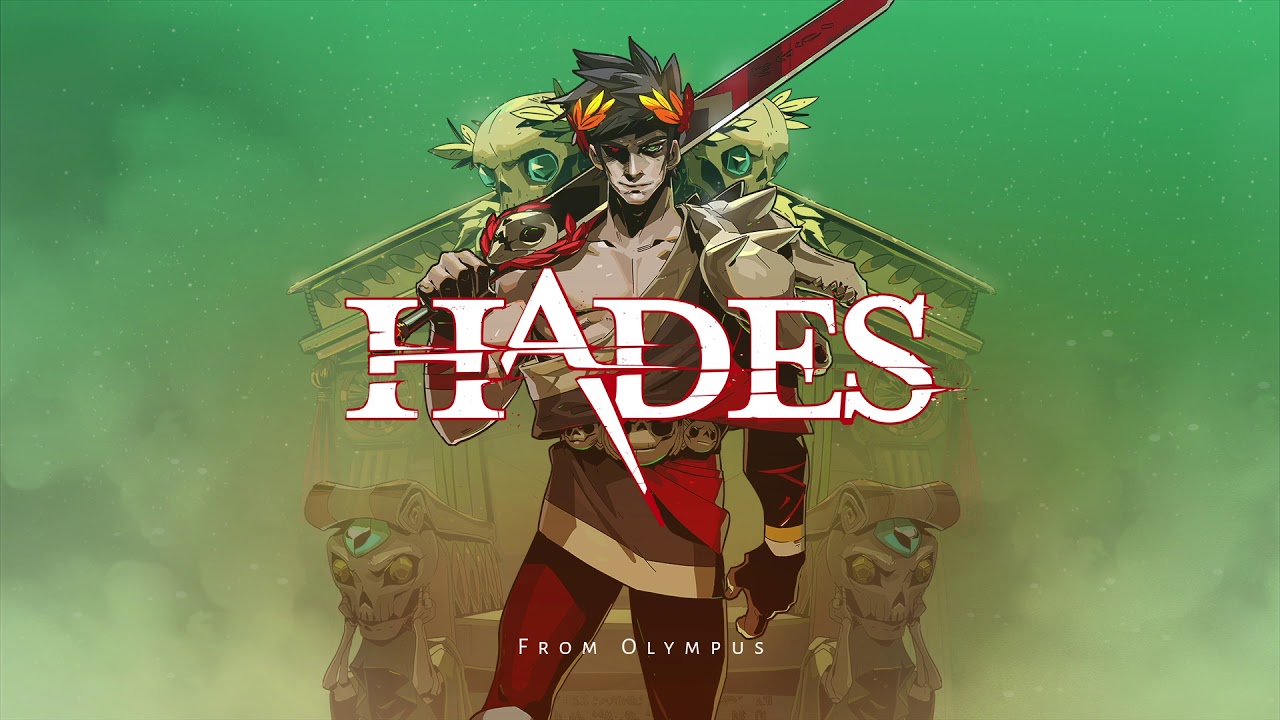
Assuming you’ve made it past one of the Fury sisters, you’ve found yourself at the end of Asphodel, a firey inferno with scorching hot magma and rather large chambers. The boss fight for Asphodel is called the Bone Hydra, the remains of the snake-like creature called the Hydra of Lerna famously defeated by Heracles (or Hercules), and this guide will show you how to be like Hercules and defeat the Bone Hydra.
Aan de slag
The Bone Hydra is by far the easiest boss you’ll encounter. Hel, I defeated it on my first try! Though if it takes you a while, don’t feel upset or stressed. Just read through the guide over and over until you’ve felt like you got the hang of it. And don’t be afraid to die (in-game.) If you’ve read my other guide on how to defeat the Fury sisters, just keep the same setup as mentioned there, but I’ll go over it for anyone who hasn’t read it.
Due to the nature of the roguelike/roguelite genres, it is near impossible to start each boss fight with the same setup and upgrades, but the roguelite genre does give players the opportunity to start each run with cool permanent upgrades, such as keepsakes.
I would recommend starting the run with Skelly’s Lucky Tooth as your keepsake, and the Shield of Chaos as your weapon. The Shield of Chaos is incredibly powerful, especially as you upgrade it with the Daedalus Hammer.
TLDR:
- Wapen: Shield of Chaos
- Herinnering: Skelly’s Lucky Tooth
Main Bone Hydra
The Bone Hydra is stuck to the top middle of the patch of land where the fight takes place, and the variants are all stuck in their own corner. The best way to take out the main Bone Hydra is to avoid standing directly in front of/under its head but stand close enough to inflict damage.
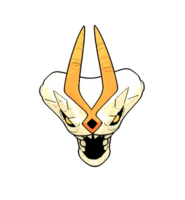
LUNGE: The Hydra’s head charges in the direction of the main character, but due to the nature of the Bone Hydra, it can only extend up to about halfway into the island. Your best bet is to either shield bash past the head or dash towards the outskirts of the island (but not too far, otherwise you may dash into the magma.)
VOLLEY: The Hydra’s head backs up a little bit, then launches a stream of five slow-moving dart projectiles. Your safest bet is to hold up your shield (hold down X on Controller or Left Mouse Click on Keyboard/Mouse) and aim at the Hydra. It’ll be too tough to shield bash him because of how he backs up, so just keep defending and wait out his volley.
GROUND SLAM: The Bone Hydra slams his head down randomly in the area under his head. From my experience, this typically happens when you’re nearby, so try to just dash away from him and wait out his attack. You can try to time it so that when he slams his head, you throw your shield Captain America style with your SPECIAL attack (Y on Controller, Q on Keyboard/Mouse) but this is often too hard to hit, though it doesn’t hurt to try.
One last note to mention, and probably the most important, is that the Bone Hydra tends to just not attack, and sits there. The quickest and easiest way to take it out is to shield bash through it over and over, occasionally dealing damage with your primary attack. Depending on the upgrades you’ve collected throughout the game, you may have a powerful attack but weak special or cast, or you may have a powerful special or powerful cast. These are all factors that determine how you deal the most damage effectively.
Try to stick with one of those three: aanval, special, or cast. Focusing on one allows you to increase its effectiveness, rather than spreading it out for all three. I recommend focusing on the attack or the shield bash, as I find it easier, but depending on your personal playstyle, if you prefer long-range attacks, develop your special or cast. It’s all up to you.
Variant Hydras
The Variant Bone Hydras are like the Main Bone Hydra but with only one or two attacks and much weaker and with far less health. The Main Bone Hydra also becomes invulnerable to damage, meaning you must take out these dudes whenever they appear, but keep note that each time they appear, they’re a little bit stronger. This section will go over each Variant, how it attacks, and the best counters.
When you first deplete the Bone Hydra’s health bar, it regenerates again with full health, then again with 2/3 of its health, Dan 1/3, then it’s dead for good. After each regeneration, 4 Variants will spawn along the edge of the island.
Opmerking: Each variant has access to the Lunge attack and another unique attack.
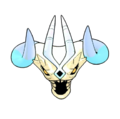
White/Blue Variant
GROUND SLAM
This dude is called the Slammer and is a mix of white and blue. He can do the Ground Slam attack that the Bone Hydra does. When you first meet the variants at the first regeneration, all he will have is the Ground Slam attack (and Lunge), which also causes up to 10 pieces of rubble to fall on the island. I would recommend dashing out of the way, and either focusing on another variant or waiting it out, but once it’s done with the Slam, come back and finish it off.
Bij 66% max HP, Ground Slam becomes Triple Ground Slam and causes the Variant to slam its head into the ground beneath it three times in quick succession. The head is able to move towards the player a short distance between each bounce. Each bounce causes rubble to fall. In dit stadium, you should repeat the step above and just dash away at another variant, but wait for all three slams and avoid the rubble, then finish it off.
Bij 33% max HP, Ground Slam becomes Super Ground Slam and causes the Variant to slam its head into the ground beneath it one to six times in quick succession. The head is able to move towards the player a short distance between each bounce. This attack can cause 10~40 pieces of rubble to fall, regardless of how many times it bounces. In dit stadium, your best bet is to just avoid it entirely until each slam is done and the rubble has stopped falling, then attack when it’s idle or attacking you.
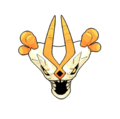
Orange Variant
MAGMA SPITTLE
This dude has a ranged ability, so you may wanna take him out first. He shoots off 3-5 fireballs which affect a small circle near his head, causing damage if you step on the magma. Just avoid the circles and your set, other than that just take him out quickly.
Bij 66% max HP, it’s increased to 8-11 fireballs, making them tougher to avoid. Just be quick on your feet and your set. I would recommend talking to Hermes at some point in your run and collecting any upgrades that make you faster.
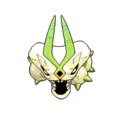
Green Variant
SUPER HYDRA TEETH
These suckers spit out orbs with 50 HP and 35 Armor that spawns an elite Bloodless Bone-Raker unless destroyed within 5 seconden. They can also summon a Skull-Crusher which dies immediately after landing.
Bij 66% max HP, it can spit out 2 orbs at once when Support Heads are inactive. Can also summon two Skull-Crushers in succession. Bij 33% max HP, it can spit out 3 orbs at once when Support Heads are inactive. Can also summon three Skull-Crushers in succession. The orbs are easy to deal with, just shield bash through them over and over, and use an attack or special to take them out quickly. The Skull-Crushers just need you to dash out of their radius and avoid taking damage.
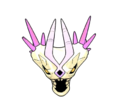
Paars Variant
WAVES
These suckers are probably the worst of the variants. They shoot a row of wave attacks. Just dash or shield bash through them, but stay distant from the variant itself to avoid getting a surprise attack from a wave. After it stops shooting waves, it’s easy to take out.
Dat is alles wat we vandaag hiervoor delen Hades gids. Deze handleiding is oorspronkelijk gemaakt en geschreven door IMAX Screen Cleaner. Voor het geval we er niet in slagen deze handleiding bij te werken, U kunt de laatste update vinden door dit te volgen link.
