This guide focuses on the map maker, and the tools available within it.
Creating Maps
Maps are created within a campaign framework in Dungeon Maker. In order to make new maps first choose the Edit Campaign option from the games main menu. From here you can create a new campaign by giving the campaign a name, and pressing Create Campaign. The new campaign will be added to the list of your campaigns. If a name wasn’t given to it the name will be Default.
Once you have a campaign click on its name to bring up the map list. At first the list of maps will be empty, and only the Edit Campaign Map option will be available. As with creating the campaign you make new maps by first typing a name into the top box, then pressing Create New Map. The new map will appear in the list of maps, and can be clicked on to open the Map Editor. Pressing Edit Campaign Map will bring up the campaign map editor, which acts as a world map for your campaign, which will link together the various encounter and area maps you create.
Campaign Map Editor
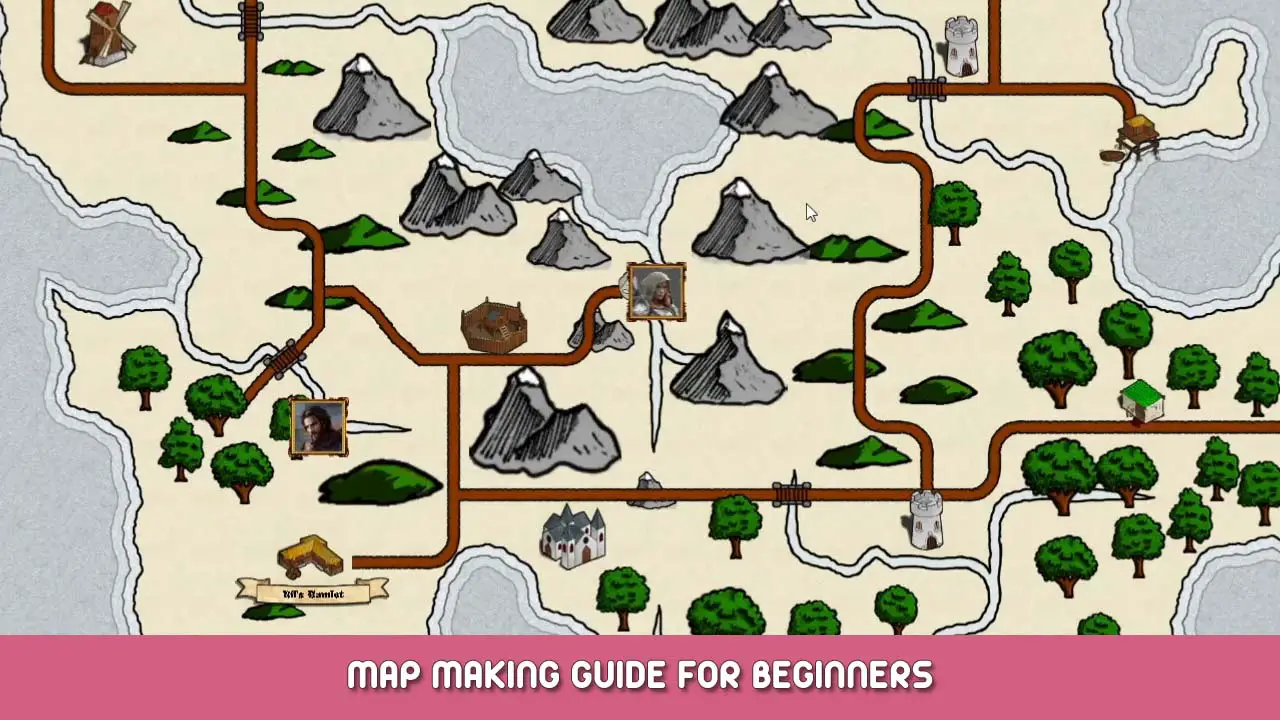
The Campaign map acts as the world map for your campaign, and a hub to link together the various area maps you create. With the Campaign map you can create shorelines for your world, and place roads, icons, and labels on it, all of which will be visible to the player. You can place utility items that will only be visible to the games host on the map. This includes the player spawn location, notes to yourself, and links to the encounter and area maps you’ve made.
Basic Controls
The Campaign Map Maker opens up with a blank canvas for you to work with. You can move the camera around either by clicking the right or middle mouse buttons down, and dragging the camera around before releasing the button, or by using AWSD or the Arrow keys.
You can use the mouse scroll wheel to zoom the camera in and out.
Objects to place are selected by first clicking on the object type from the right most menu, then selecting one of the objects in the submenu that opens up. Once selected a transluscent version of the object will follow your mouse around the screen, and clicking the Left Mouse button will place that object on the map.
Certain objects can be scaled in size by pressing Q and E. This includes icons and the natural objects.
Coastline, Road, and River pieces can be rotated by pressing the R key.
Pressing Escape or clicking on the object again in the selection menu will deselect the object so it will no longer be placed.
With the Eraser selected (bottom right corner) you can erase previously placed items. The Left mouse button will turn the eraser on, and it will erase anything it touches so long as the button is held down. Holding down the Right mouse button and dragging the mouse will draw a red box that will erase everything within it when the button is released. You can limit the types of objects to be erased using the options that appear on the left side of the screen when the eraser is selected.
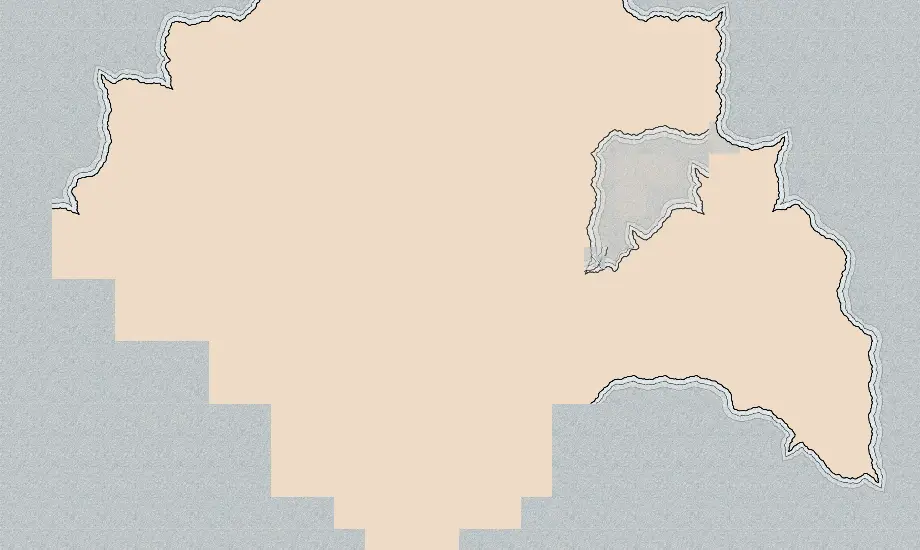
Defining Coastlines
To make the coastlines and oceans of your campaign map you can manually place coastlines as single tiles from the coastlines tab. Clicking and dragging will allow you to place multiple of the same coast object in the area from where you first pressed down the mouse button, to when you release it.
You can also use the freeform coastline tool, which is at the top of the coastlines tab, which will draw a coastline from the point you start clicking the mouse to the point you release, randomizing which coastline shapes it draws on the path. Additionally clicking on an existing coastline piece with the freeform coastline tool selected will randomly replace that piece of coast with another that can also link the surrounding coasts. This can allow you to quickly previously drawn coasts together.
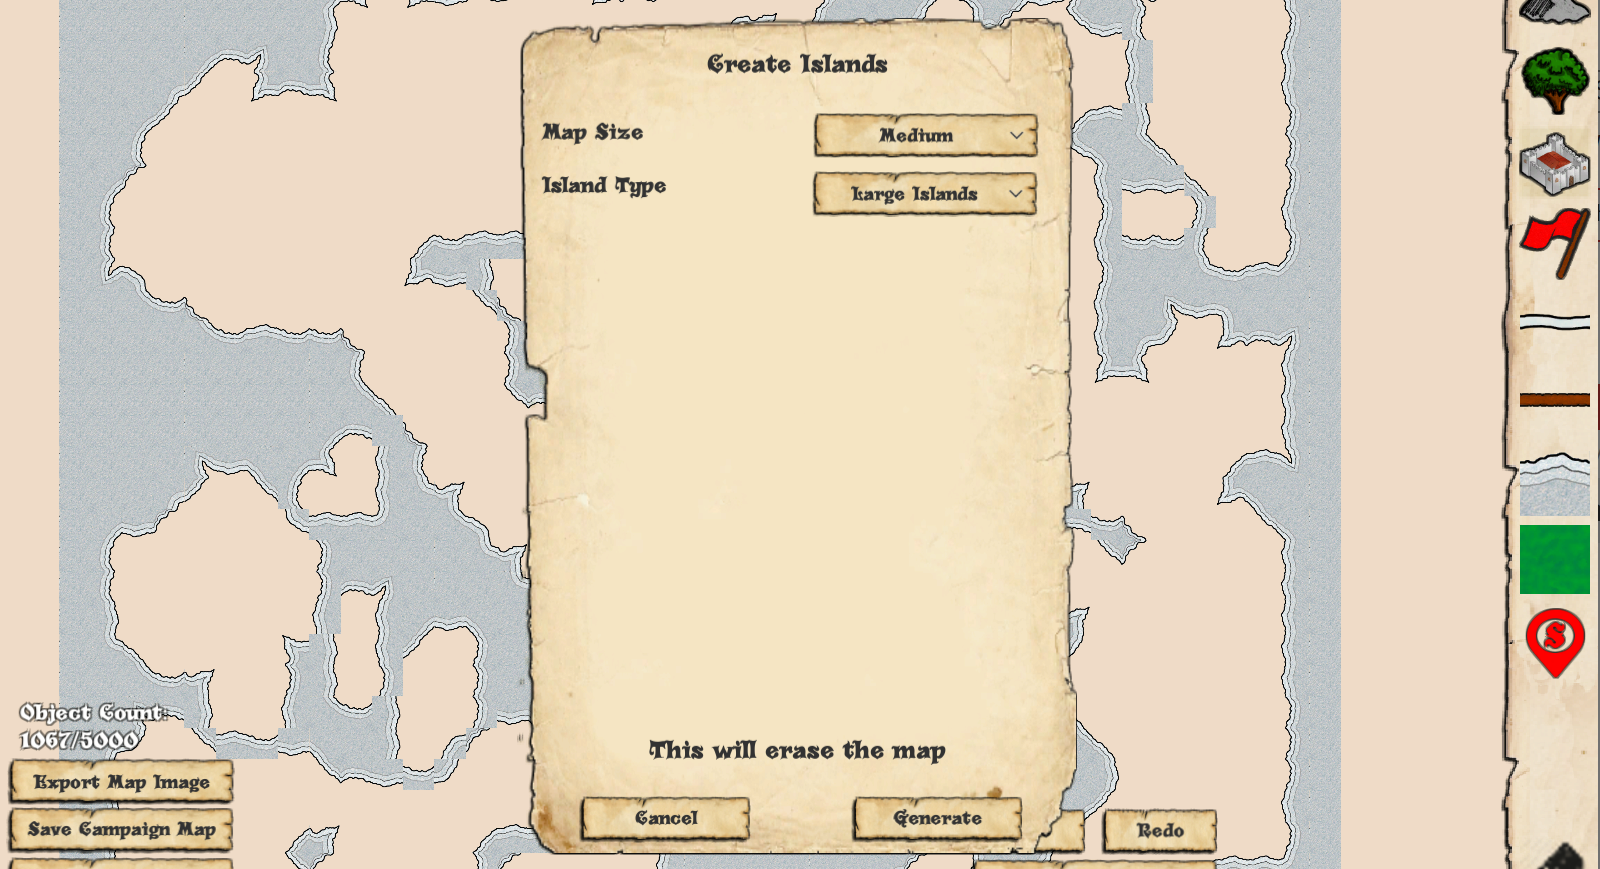
Another option for creating a coastline is to use the Create Random Coasts tool. With this tool you can select the size of the map, and island sizes you wish to generate, and it will create the coastlines randomly. This will erase anything currently placed on the map, so make sure you’re okay with that before using this tool.
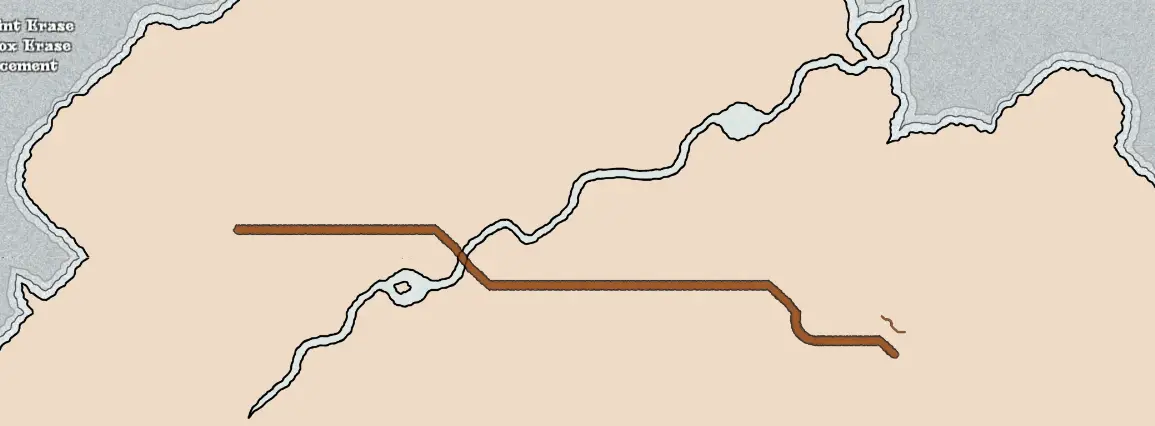
Roads and Rivers
Roads and Rivers are placed similarly to coastlines. With a specific road or river piece selected you can individually place that specific piece, and holding down the left mouse button and dragging it will cover an area of the map in that specific piece.
The freeform road and river tools (found at the top of each menu) will attempt to connect two points with a randomly generated road or river as you drag the mouse while holding down the left mouse button. As with the freeform coastline tool clicking on n existing road or river with the corresponding freeform tool will replace that piece with another piece that links together any surrounding roads or rivers.
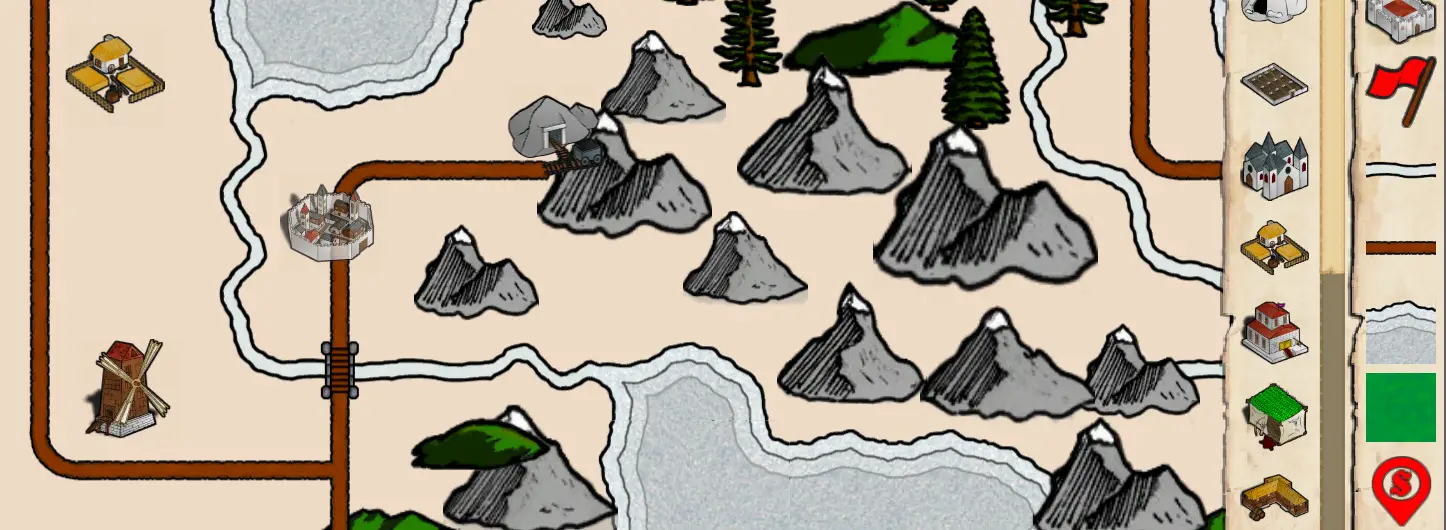
Icons and Natural Objects
There are a variety of icons and images available in the campaign map maker, with more being added periodically, to place on your world maps. These include markers for towns and castles, mountains, hills, and trees.
Selecting an icon from one of the lists will create a translucent placer object that follows your mouse, and will let you place the icon anywhere. Icons can be resized by using the Q and E keys, allowing you to create vary the appearance and scale of the map. Icons are placed individually by clicking the left mouse button, clicking and dragging will not place more than one item.
Nutsvoorzieningen
Utilities are map tools that can be placed that will only be visible to the game’s host, as well as map labels. The first utility you can place is the starting position. You can only place one of these, and it will create a 3×3 red box around itself when placed. This area represents where players will load into the map when they join a game. Trying to place a second starting position object will delete any existing ones on the map, so moving it is quick and easy.
The second type of utility is the encounter map placer which is represented by the red flag in the left most menu. Clicking the flag will bring up a list of maps you have created that are part of this campaign. Select one of the maps to spawn a placer object to that map that you can then place anywhere on the campaign map by left clicking.
You can also place notes to yourself on the map, which are represented by the book icon in the utilities menu. After placing a book on the map it will contain a blank note. Clicking on the book with nothing else selected will open up a note editor, allowing you to type up to 750 characters into the note. Click Save Note to save the typed in text, which can be read when hosting a game by clicking on the book.
Finally there are map labels, which appear as banners when placed on the map and are visible to the players. Labels will place with the word Name on them. Clicking on the banner with nothing else selected will open up the name changer, allowing you to type a new name into it, and saving that name to the banner. With these you can add town and city names to the map, or name countries or anything else you would like.
Encounter Map Maker
The Encounter Map Maker is similar to the campaign maker in how it controls, but it operates on an entirely grid based system, with each grid square representing 5′ x 5′ in grootte. It also features different utilities, and different types of objects. These maps are meant to be close up areas where encounters or activities take place, including towns, dungeons, caves, forests, or whatever else your imagination comes up with.
Another difference with with the encounter map maker is if you try to place the same object in a square the game will instead erase the object, so you can change an objects placement without using the eraser.
Objects to be placed can be rotated by pressing the R key, but they cannot be scaled unlike in the campaign map maker.
Due to limitations in map syncing in multiplayer games a limit of 5,000 objects can be placed on each map. For larger towns and cities you can break them up into multiple separate maps that players can travel between.
Randomly Generated Maps
You can create your maps entirely from scratch, or you can use the random map generating tools available to give you a head start. This includes a Town generator which will create a series of roads with empty buildings placed throughout, a Map Generator that will create a series of linked rooms for your more traditional dungeon crawling experience, and a Forest Generator which will spawn trees, rocks, and pathways.
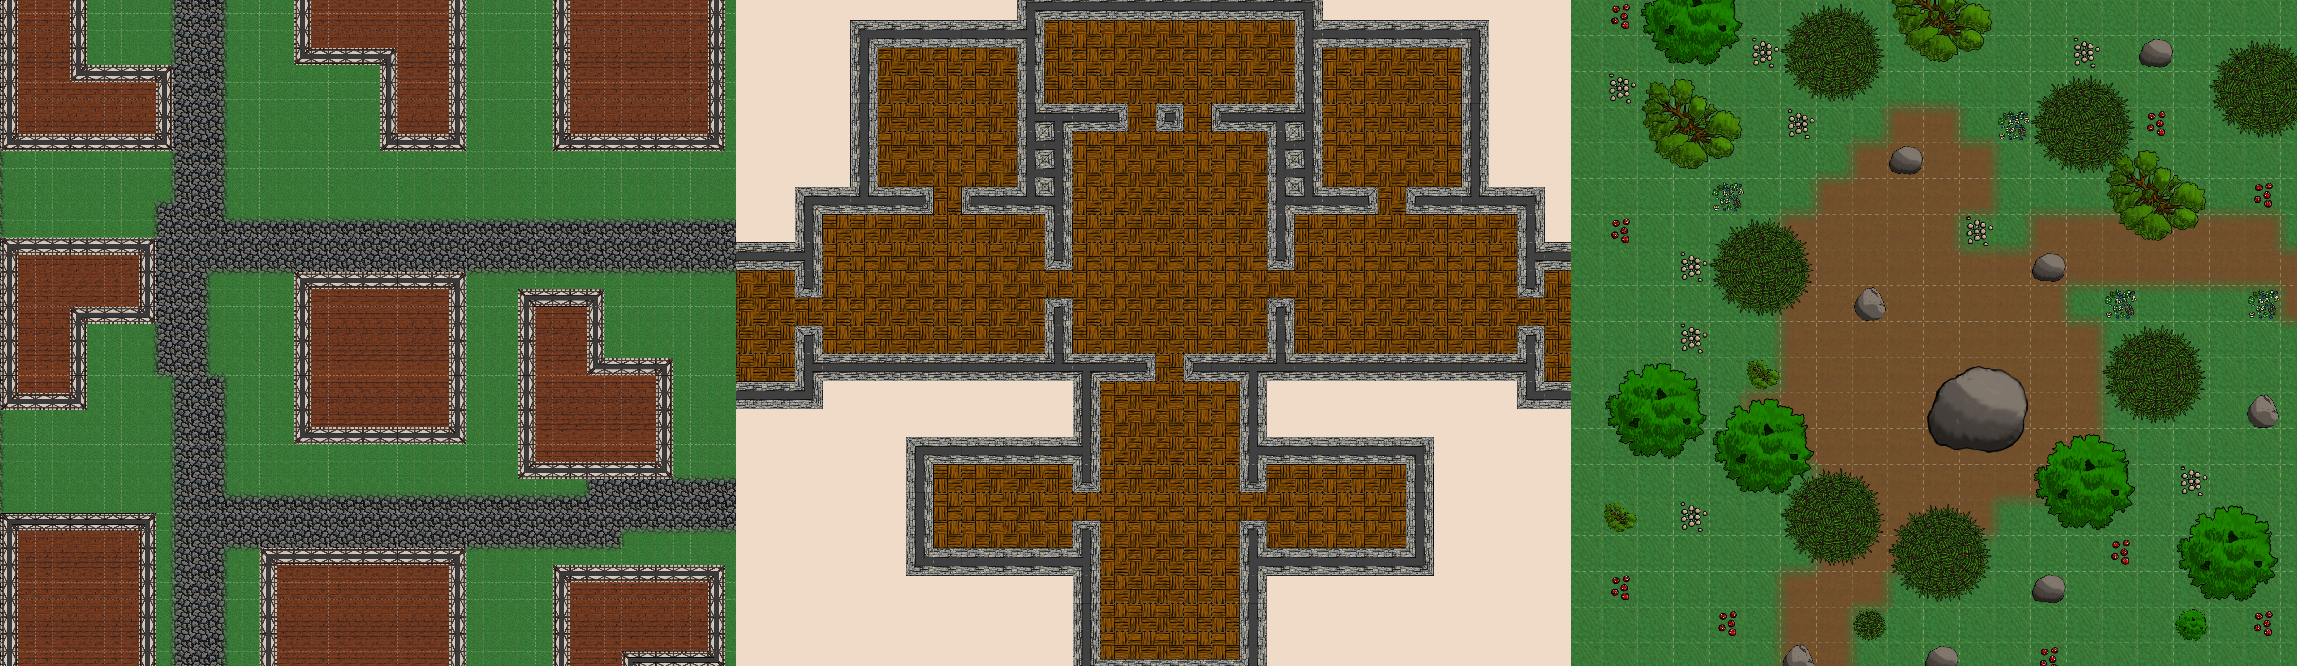
A variety of options are available with each random generator, so play around until you get a good starting point you are happy with. Running any random map generator will erase anything previously placed on the map, so make sure you’re okay with that before generating a new map.
Walls and Floors
Walls and floors can be placed individually or in an area. Clicking and dragging while placing walls will create box or line of walls connecting from the start point to the end point. This can allow you to quickly block out rooms, or create dividers. As for floors clicking and dragging will fill the entire area between the starting point and the end point.
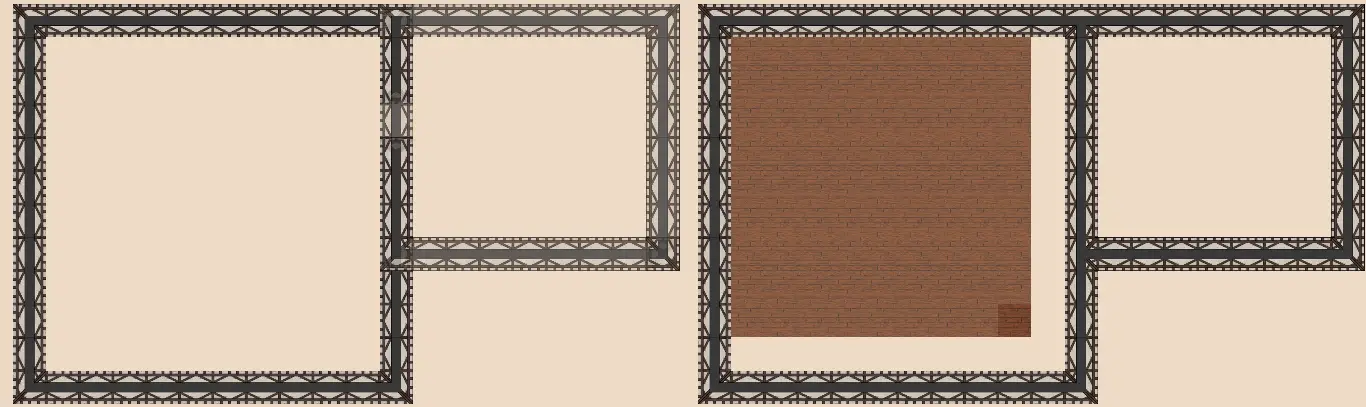
If you place any walls or floors over previously placed walls and floors they will replace the previously placed walls and floors with the new type. You can use this to quickly replace a buildings walls or floors with a new type instead of drawing it again from scratch.
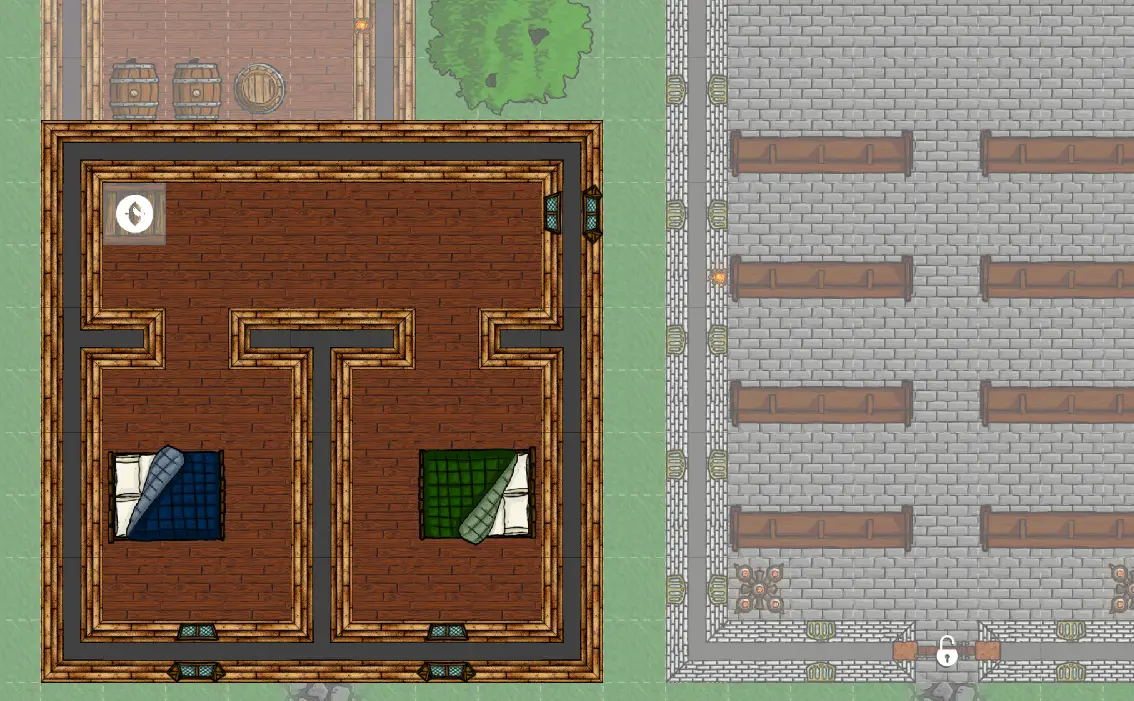
Doors
Doors can be placed anywhere on the map, though only 1 door can occupy each square. one feature of doors visible to the game host only is their lock status. Doors will appear to the map maker (and in game to the host) with a white lock on top of them. By default doors are unlocked, but you can lock them on the map maker by clicking the door with nothing else selected. In game locked doors cannot be opened or passed through by players until the games host unlocks the door by clicking on it.
Furniture and Decor
A variety of furniture objects and decor objects are available. Only one furniture object can be placed on a square (though overlap is possible for furniture that is larger than 1 vierkant). Furniture objects appear above floors and walls, but below any placed decor objects.
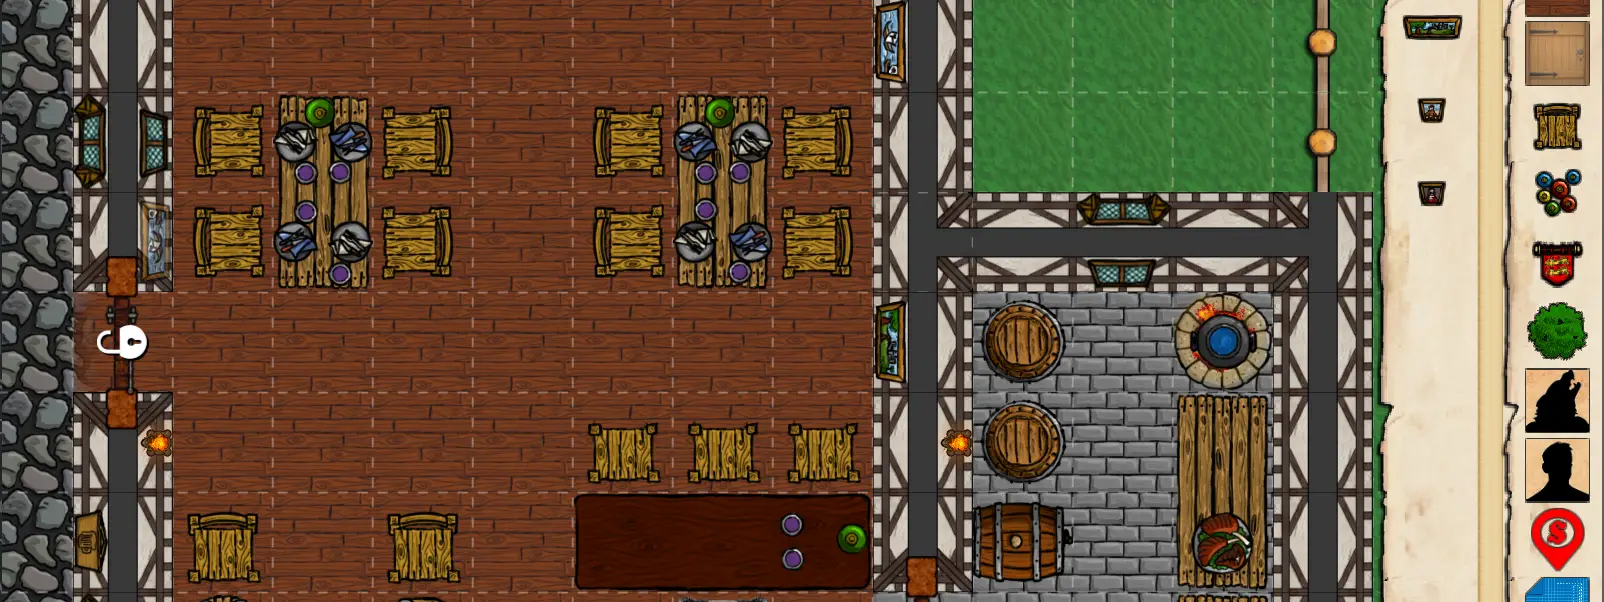
For decor objects there are two types, general decor, and wall decor. With decor objects multiple objects can occupy the same square, though the same object cannot overlap itself. The difference between the two types is wall objects occupy 1 third of a tile (the visible part of a wall), and can be rotated to sit on any side of wall, though you can also place them in tiles without walls. General decor are objects meant to be placed elsewhere on the map, and typically occupy more of a tile.
Enemies and NPCs
Enemies and NPCs can be placed on the map the same way as furniture, but first have to be designed in the NPC and Enemy makers accessible from the main menu of the game. Selecting the Enemy or NPC options from the left menu will open up a list of the enemies and NPCs you have made, allowing you to place them on the map.
As with furniture only 1 enemy or NPC can occupy a tile, though overlap is possible with Large and Huge enemies. Any enemies and NPCs will be controllable by the host in multiplayer games, and have their images synced to the players.
Nutsvoorzieningen
There are a few utilities available to the host that only they can see. The first is the staring position, which acts the same as in the campaign map. Alleen 1 can be placed, and it will define a 3×3 tile square in which players will spawn when they enter the map.
The note option is also the same as the campaign menu. Placing a note, represented as a white book icon, will generate a blank note. Clicking on the blank note with nothing else selected will open up a text input box, allowing you to type a note in for yourself that you can then read in game when hosting.
As with the campaign map you can also place encounter map pins in the map maker, represented by a red flag. This will allow you to link together multiple encounter maps, such as making a large city with different areas as separate maps that link together.
You also have teleporter utility objects. The way these objects work is there is an up arrow that is the beginning square. Once that has been placed you can then place a down arrow which represents the destination. Clicking on the destination arrow with nothing else selected will allow you to move it to a new location. In game if a player steps on either end of a two way teleporter they will be moved to the other end of it. In the case of a one way teleporter (useful for traps), the player will teleport from the beginning tile to the end tile if they step on the beginning tile, but will not travel back if they step on the end tile.
When stairs are placed in game they will automatically generate a two-way teleporter that links the tile the stair is placed on to the same tile one layer above their layer.
Layers
The Dungeon Maker map maker supports up to 6 vertical levels in any map. You can use this to make multi-story buildings, establish fortress walls, place cliffs, or whatever else you can think of to use these layers. Players in game will only see their current layer, and can only travel to a high layer by use of a placed teleporter.
When making a map and when hosting a game you can move up and down layers freely using the , en . keys or the [] sleutels, or by pressing the layer buttons in the corner. Layers of fog appear between layers to make it clear which objects are on the current layer, and which are on lower layers.
When designing your maps it should also be noted that players will fall form a higher layer to lower ones when they do not have a floor below them on a higher layer, as well as take fall damage from falls higher than 1 layer. As such you should place floors on upper layers for your players to walk on.
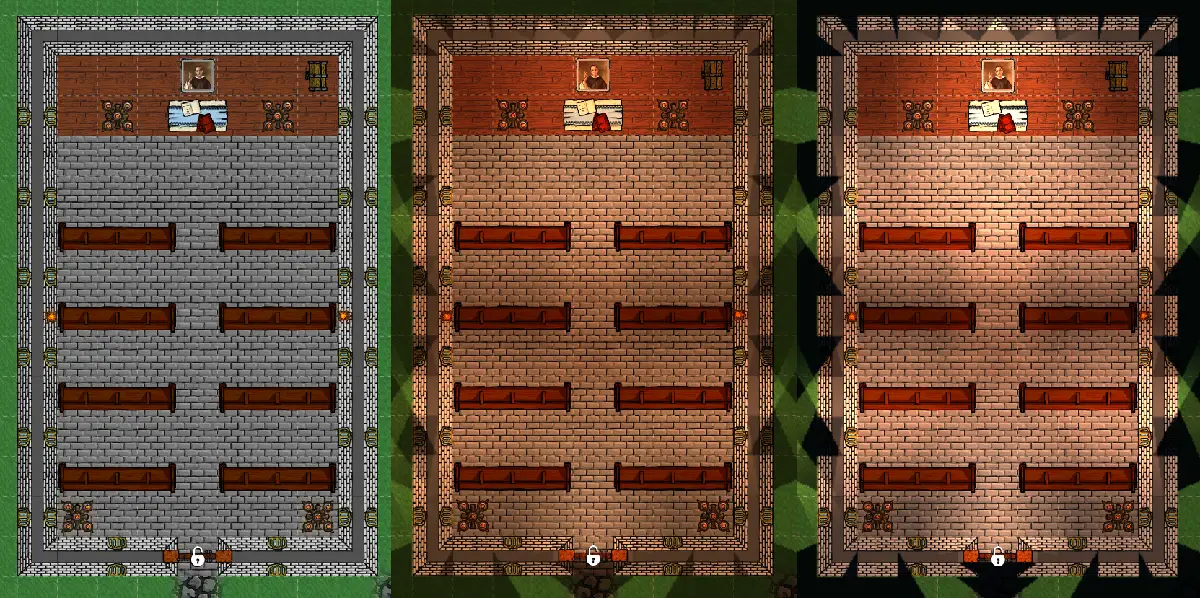
Lighting and Time of Day
You can change the default time of day for the map using the time selector on the bottom right. De 3 options are daytime, dawn/dusk, and nighttime. Lighting can also be changed at anytime when hosting a game and will change for the players. Torches and other sources of light can be placed on the map, and will cast light for players when playing the game in multiplayer.
Dat is alles wat we vandaag hiervoor delen Dungeon Maker gids. Deze handleiding is oorspronkelijk gemaakt en geschreven door Tavarin. Voor het geval we er niet in slagen deze handleiding bij te werken, U kunt de laatste update vinden door dit te volgen link.