
Here’s a guide introducing a fresh approach to Ontspoor Vallei‘s career mode, which I’ve been experimenting with lately to inject more variety and randomness into the game. After discussing it elsewhere, I decided to create this guide for anyone else who might be intrigued.
Invoering
In dit spel, it’s easy to fall into a repetitive routine, sticking to familiar tasks like shunting jobs and local deliveries without fully exploring the map or pushing ourselves. To combat this, I’ve devised a method to simulate a realistic workday within the game, adding a touch of role-playing for extra immersion. It’s a bit niche, I admit, but it’s breathed new life into my gameplay experience.
I’m still ironing out the details, fine-tuning as I play through on my current save. Tot nu toe, hoewel, the results have been promising, injecting some much-needed variety into the game. The inspiration for this approach came from a conversation with another player named Shaunri, who was also seeking ways to spice up their own playthrough. Their interest prompted me to create this guide, hoping others might find it equally engaging.
I’ll do my best to explain the method clearly, though it can get a bit intricate. If you think it would be more beneficial, creating a tutorial video could be a great idea to demonstrate this playthrough style visually.
Work Day Setup
Beginnen, you’ll want to set up the game in career mode, but with some tweaks to the settings for this particular playthrough style.
Begin by creating a new session. I personally named mine “Just another workday” to keep in mind that I’m following the rules outlined in this guide. Feel free to choose any name that resonates with you, but having a distinct title helps reinforce the idea that this isn’t your usual casual session.
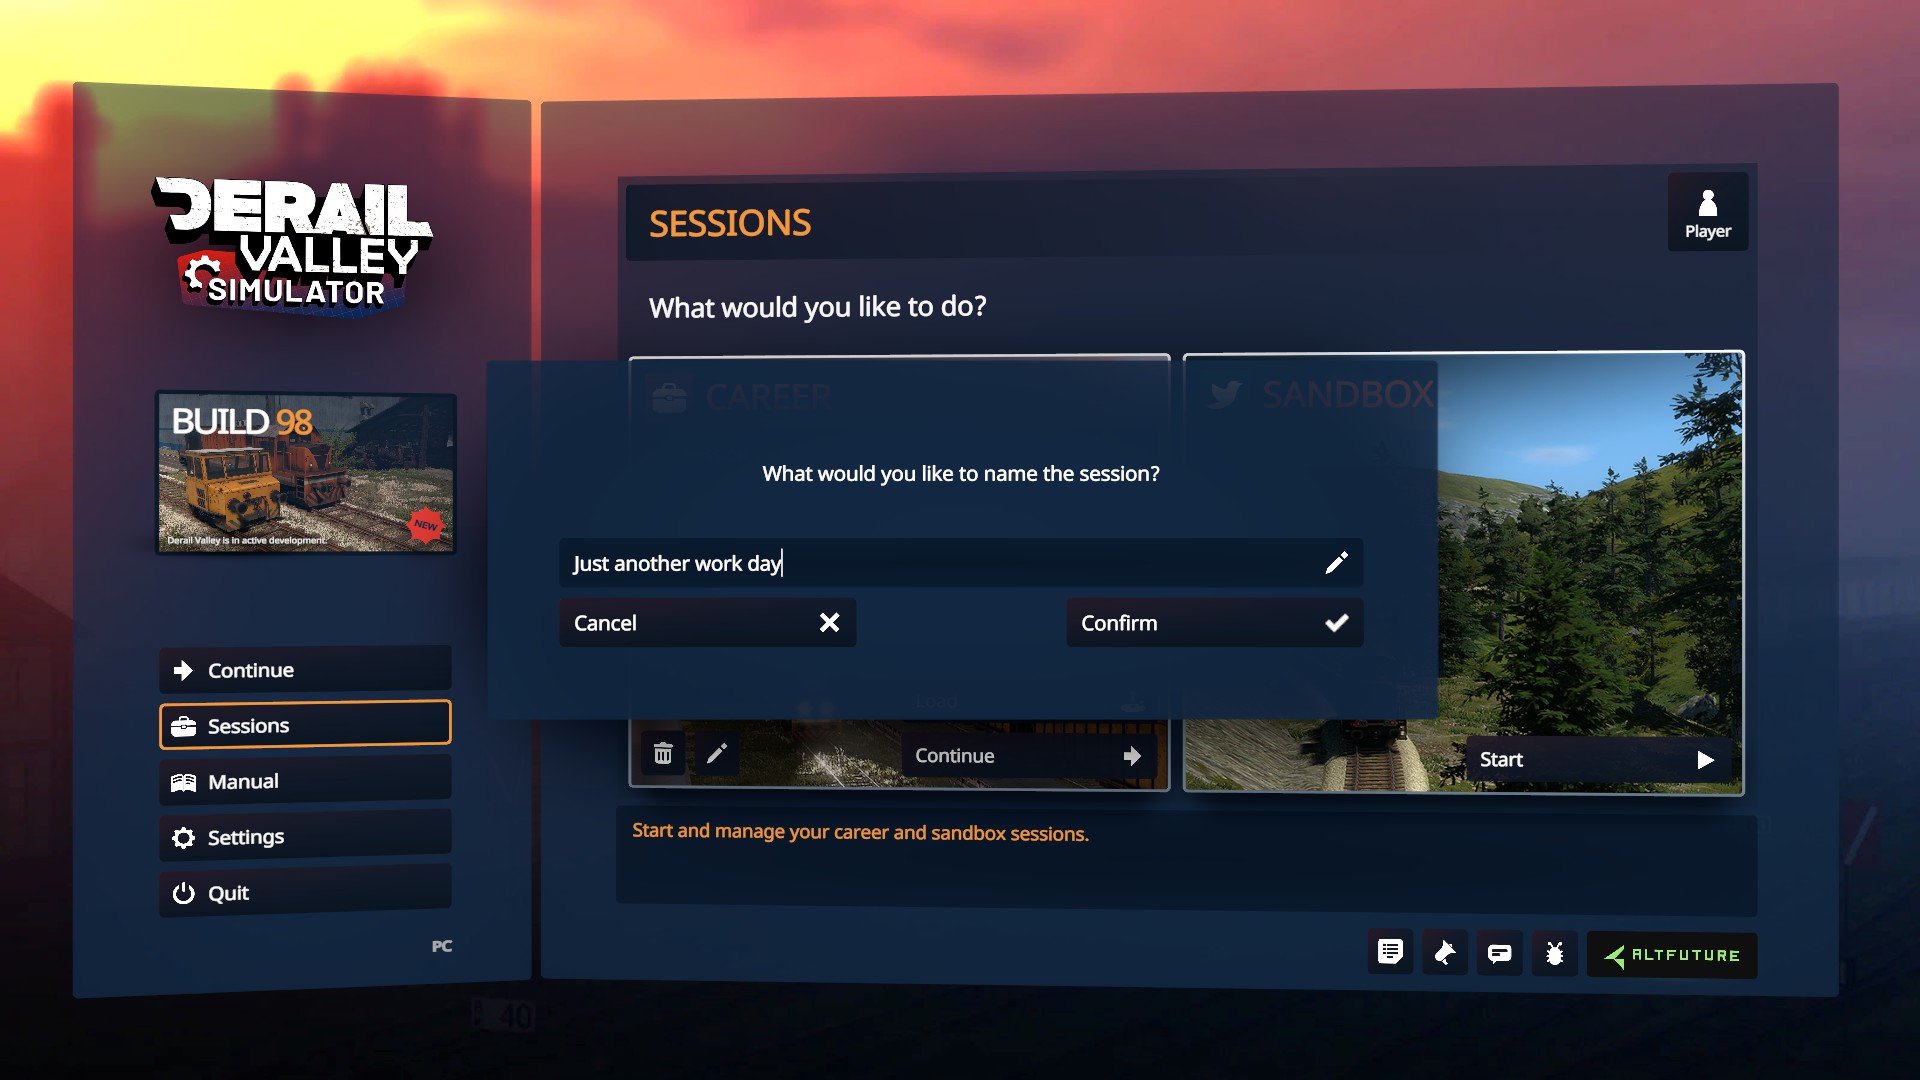
After setting up the session, it’s time to adjust the settings.
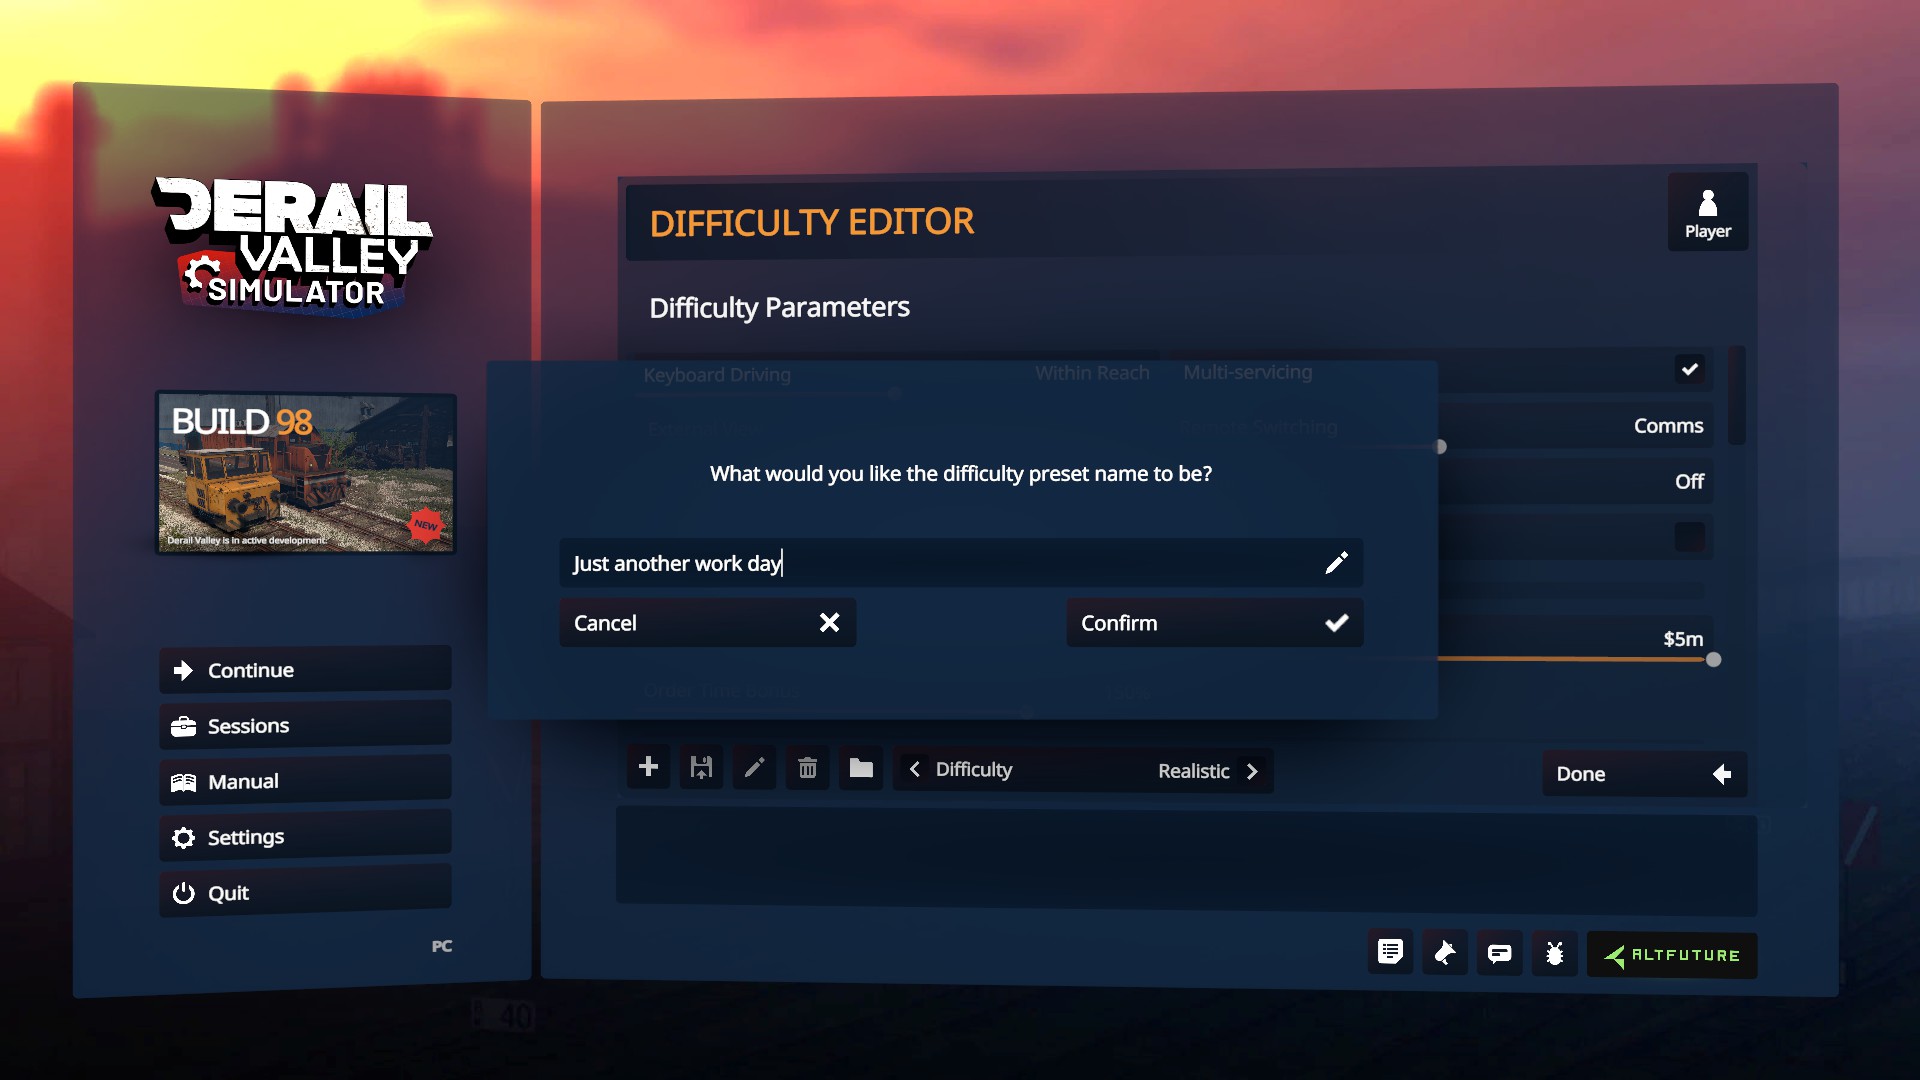
To customize the difficulty settings, Klik op de “plus” sign located at the bottom left corner. This will bring up a popup where you can rename your custom setting. As previously mentioned, I named mine “Just another workday.”
If you haven’t completed the game yet, I recommend selecting the realistic option, as I have. Echter, for those who have already beaten the game, these custom settings will introduce a new level of challenge.
Nu, let’s customize the settings. The parameters I’m about to show you are designed to make the game more challenging, but feel free to adjust them to your preferences.
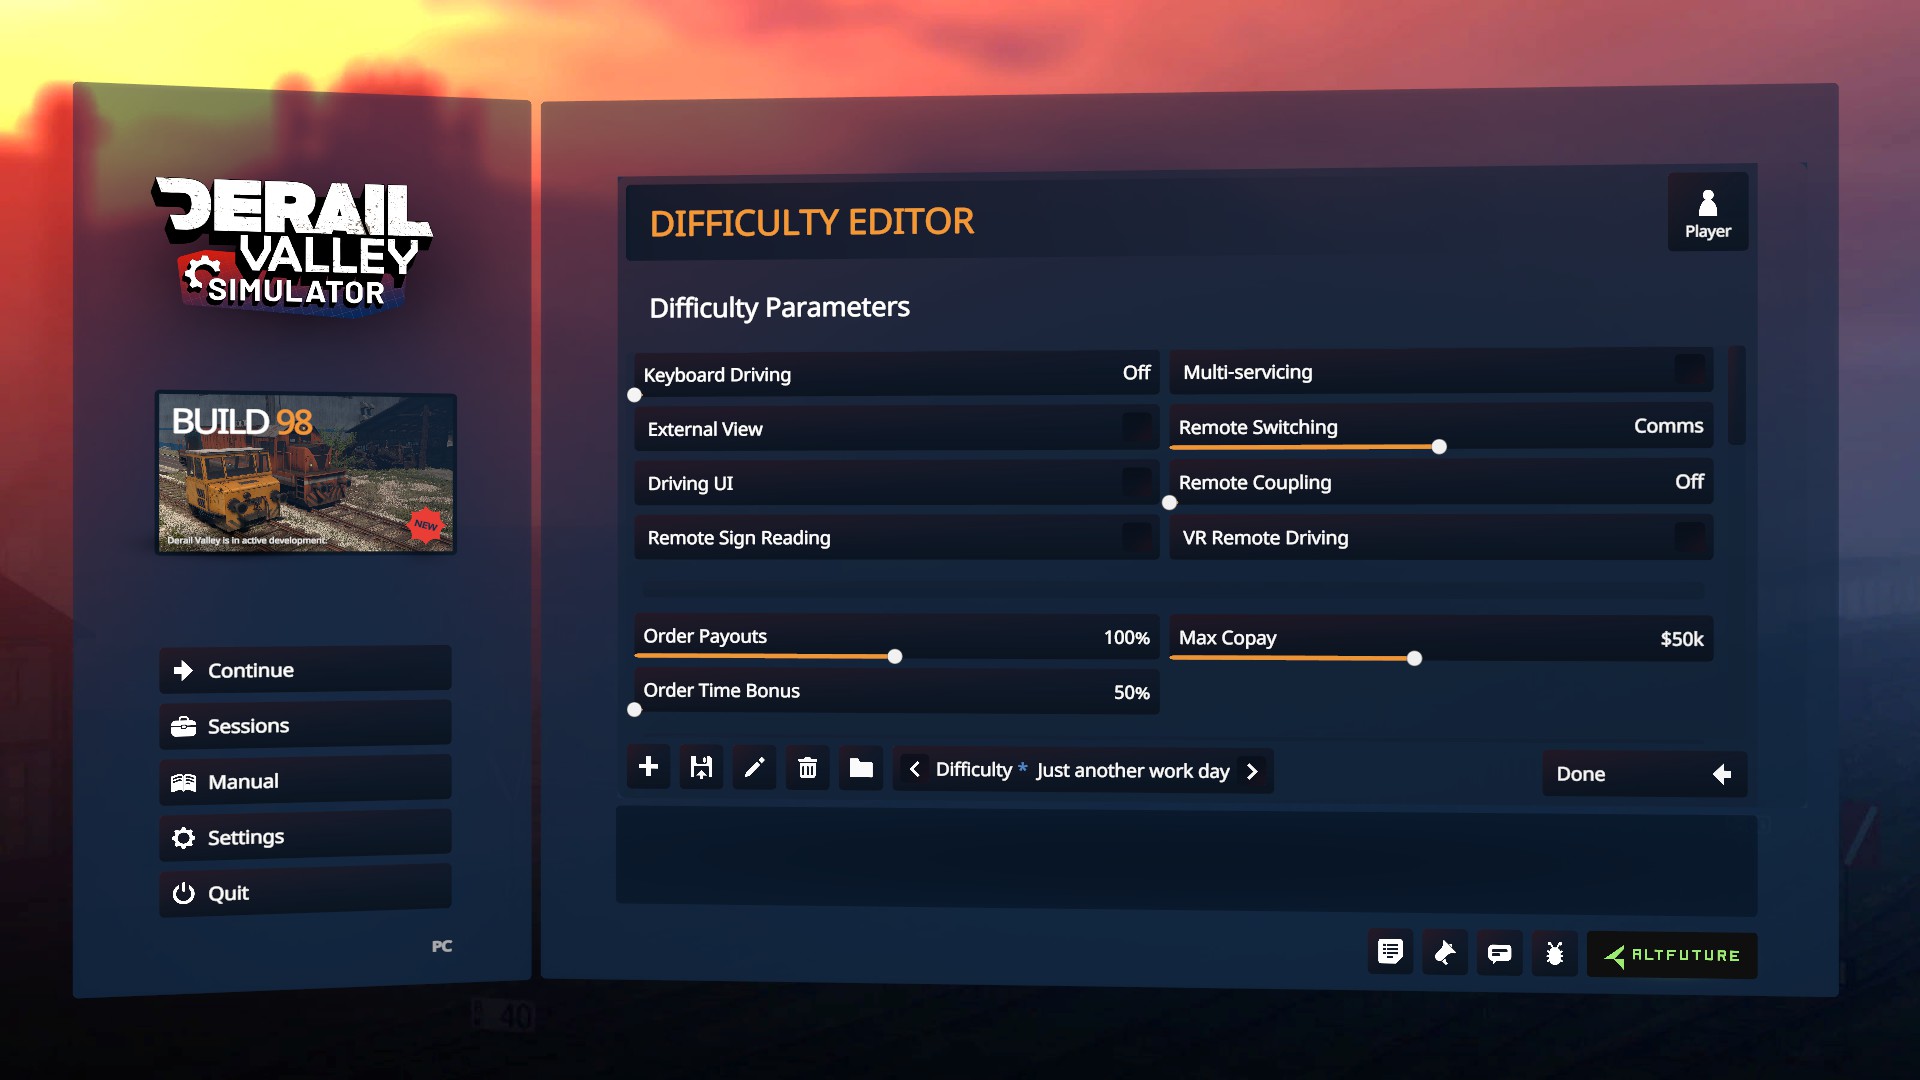
What I’ve done here is deactivate all features except remote switching. This essentially obliges me to drive the train from the cab as intended. Remote switching being left on comms signifies a signalman changing the switches for you.
Echter, if you’re keen on experiencing the full rigors of railway work firsthand, you can disable remote switching and manually change the switches yourself.
Once you’ve adjusted everything to your liking, it’s time to embark on your thrilling new career as a train driver on one of the most treacherous rail systems you’ll ever encounter… of, more accurately, the last one you’ll ever see. (At least there’s decent pay and complimentary sandwiches, rechts?)
Dag 1
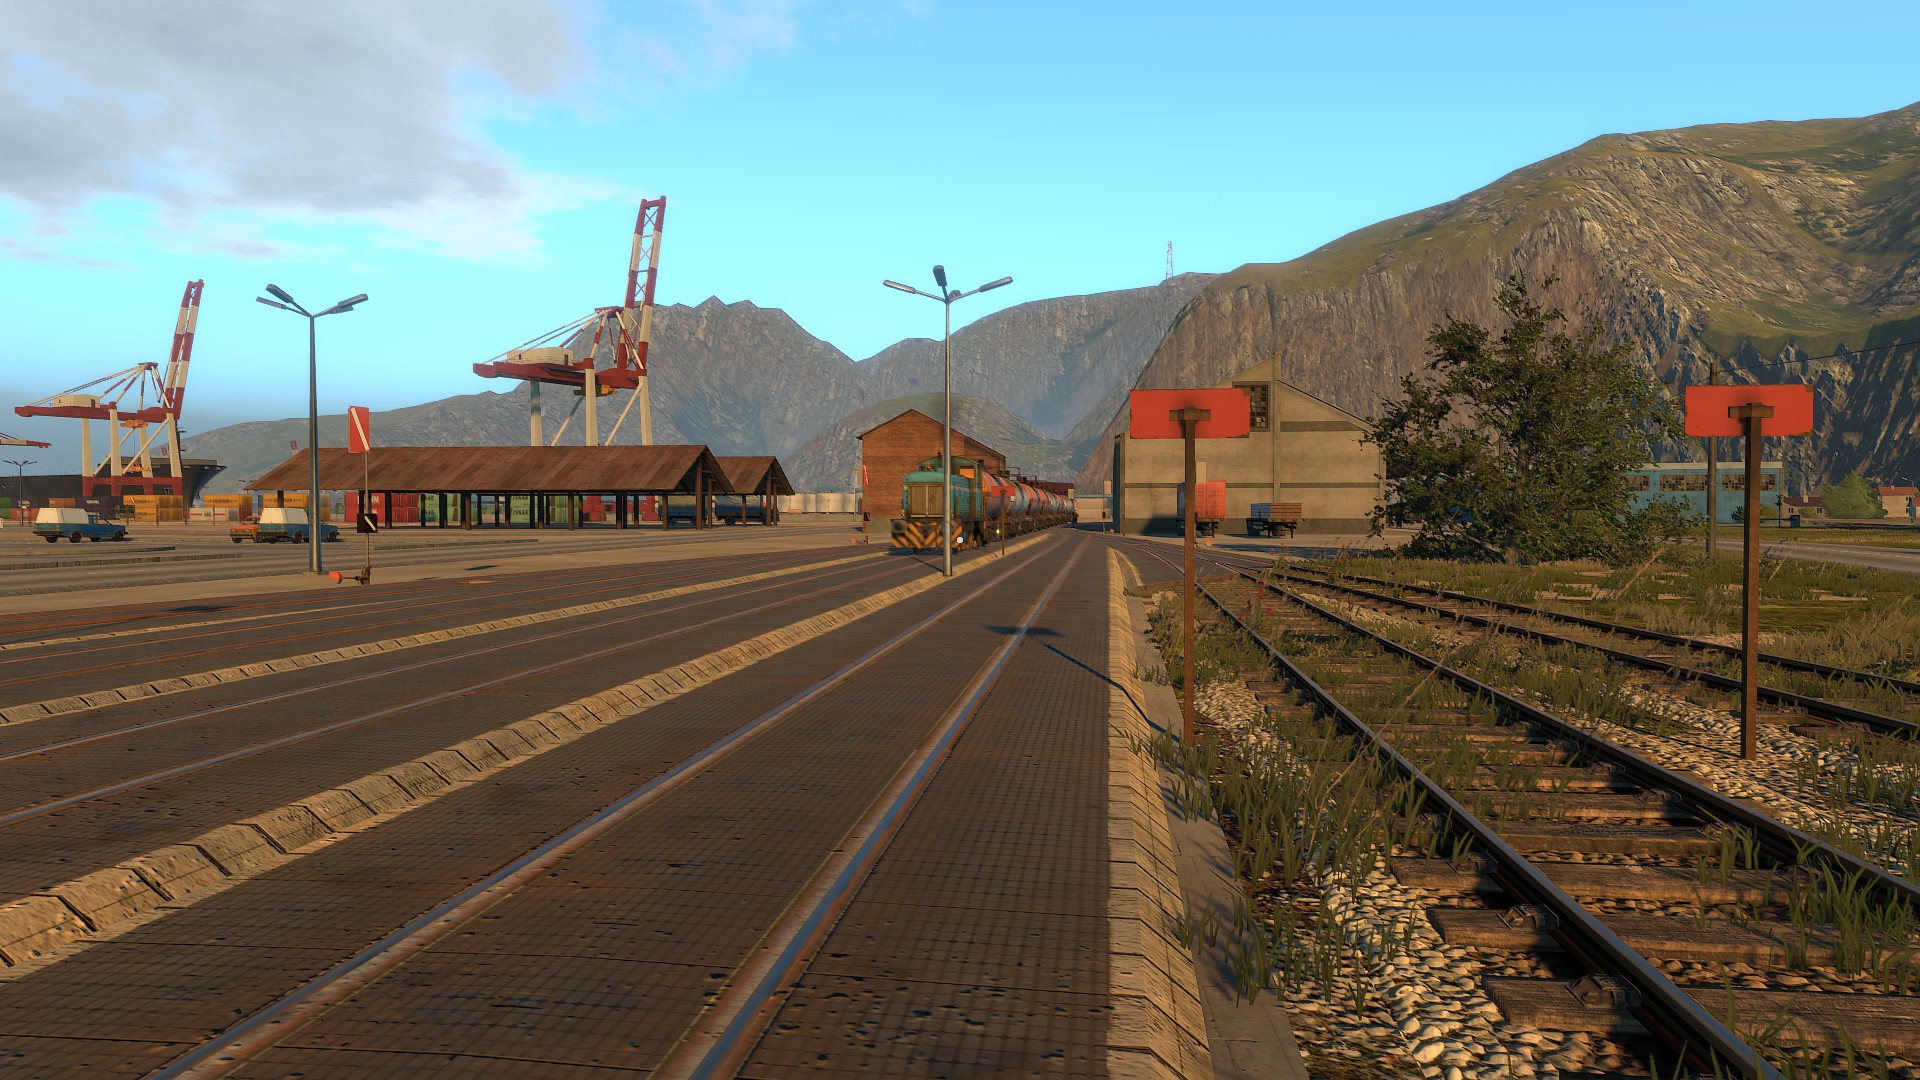
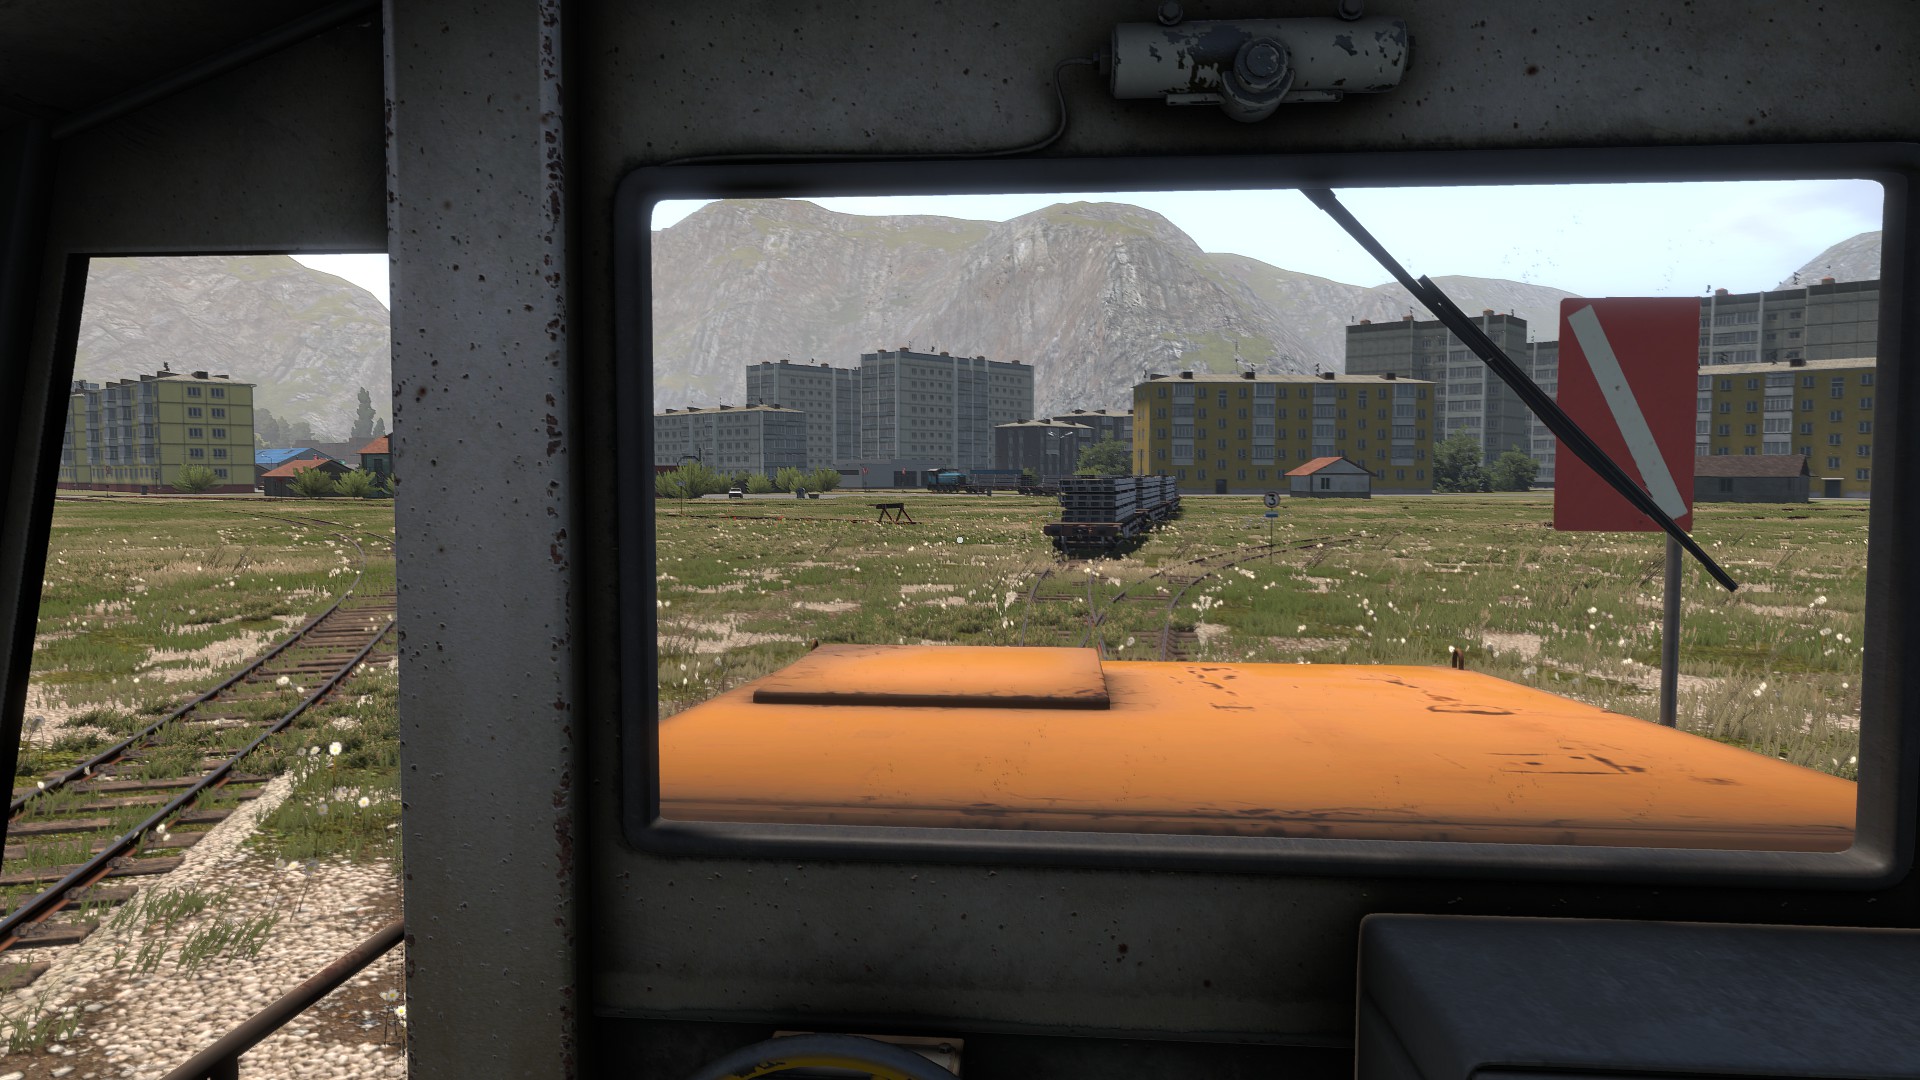
Take a look around – clear blue skies, wide-open spaces, towering mountains, fluttering birds, the occasional cat, and a whole lot of train tracks.
You’ve been honing your skills for this exact moment – speeding past all this scenery while trying not to panic about slowing down in time for the upcoming turn.
Today marks your debut, signifying you’ve aced your training. Give yourself a pat on the back, and maybe consider drafting your will, voor het geval.
Nu, let’s delve into how this game style operates. Allow me to walk you through it.
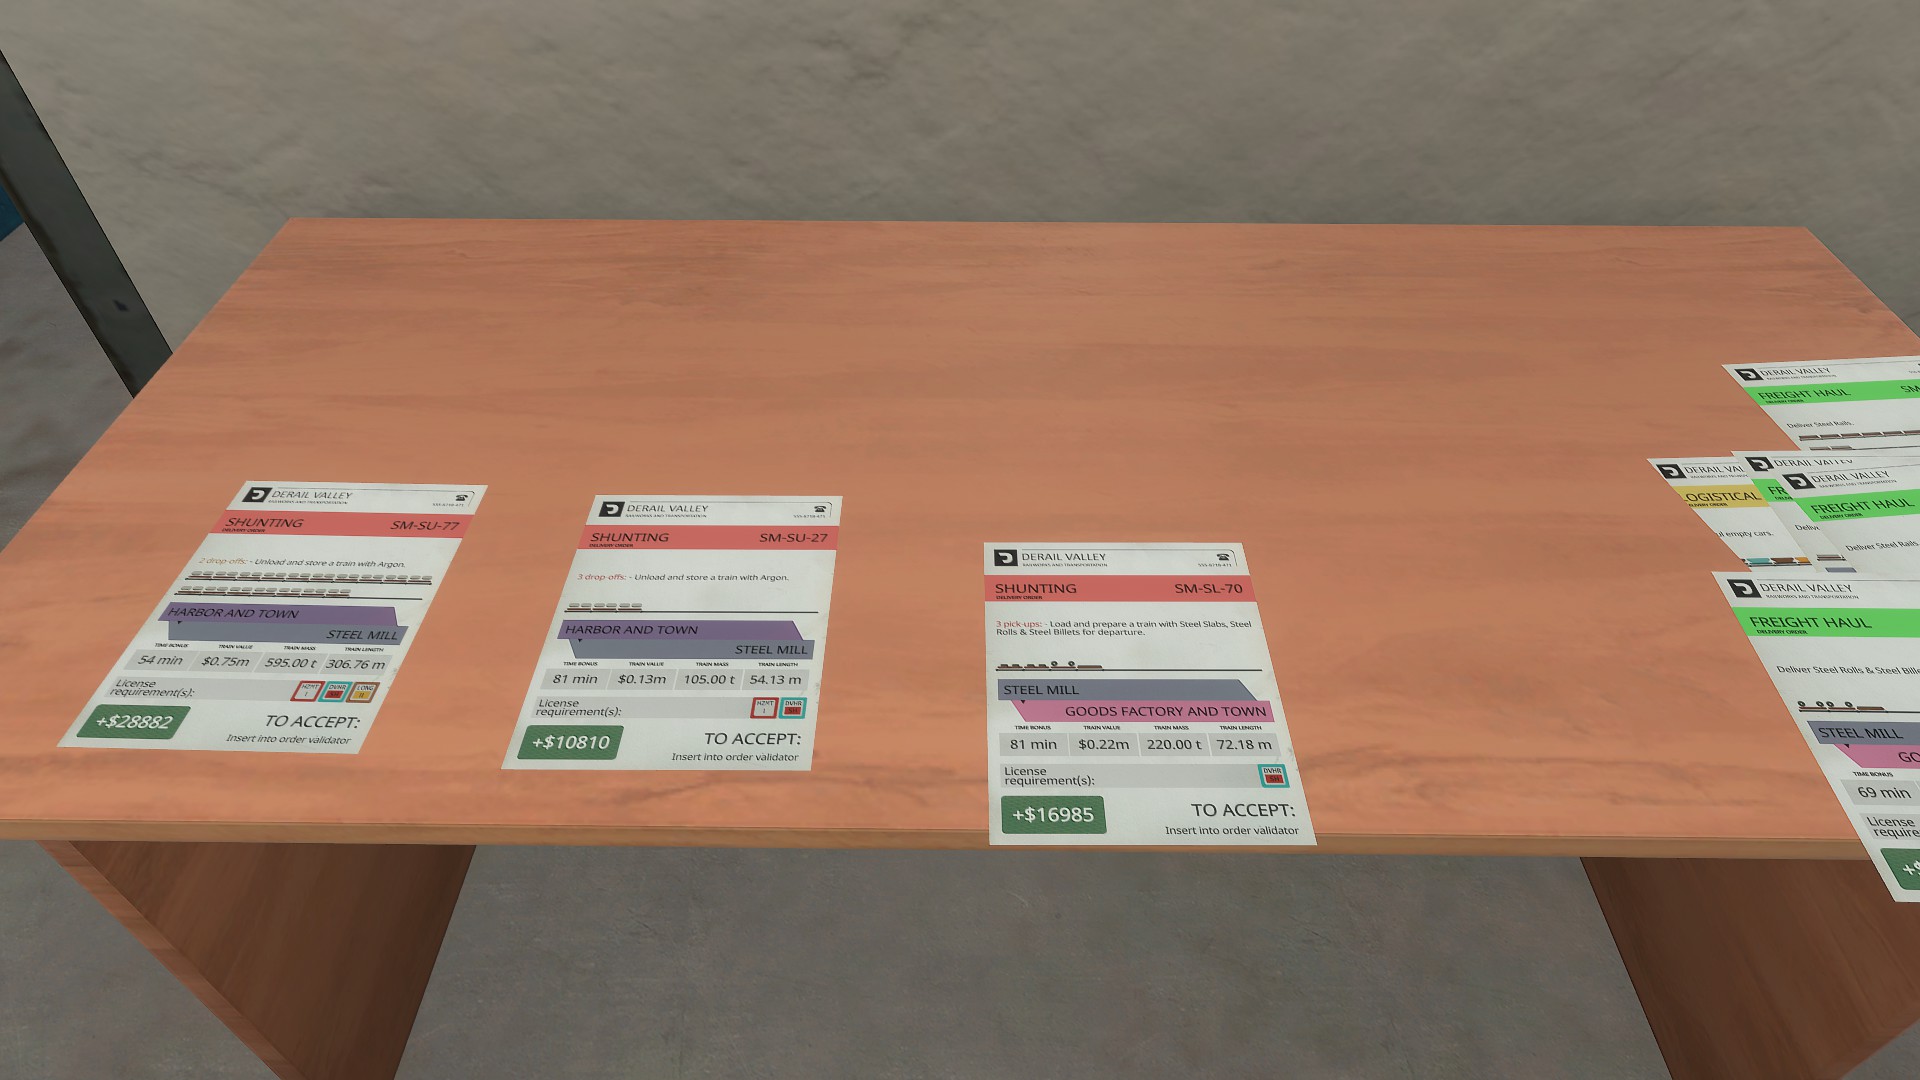
Step confidently into the office and request some tasks. You’ll notice a stack of orders on the nearby table, accompanied by a map and blueprint. Take a good look at that map; it’ll come in handy. alternatief, you can rely on the one tucked in your pocket – both options work just fine.
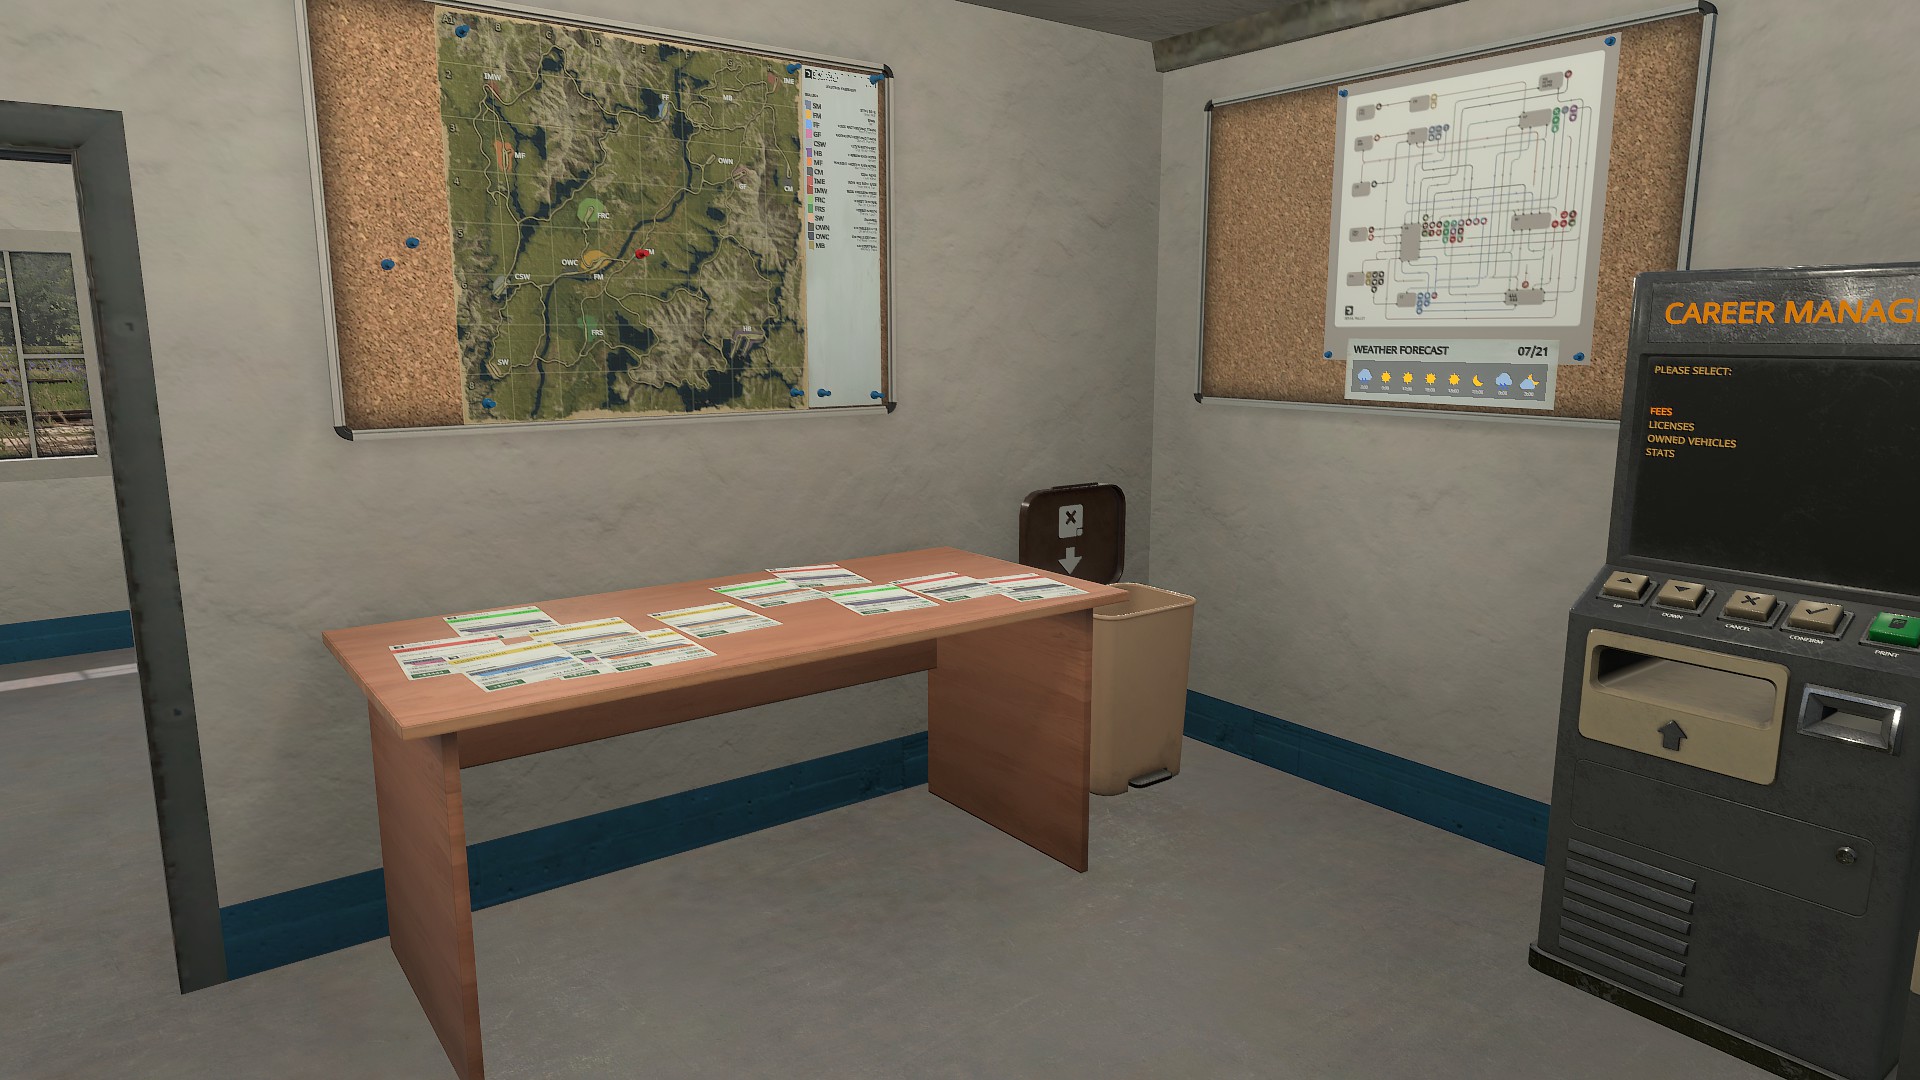
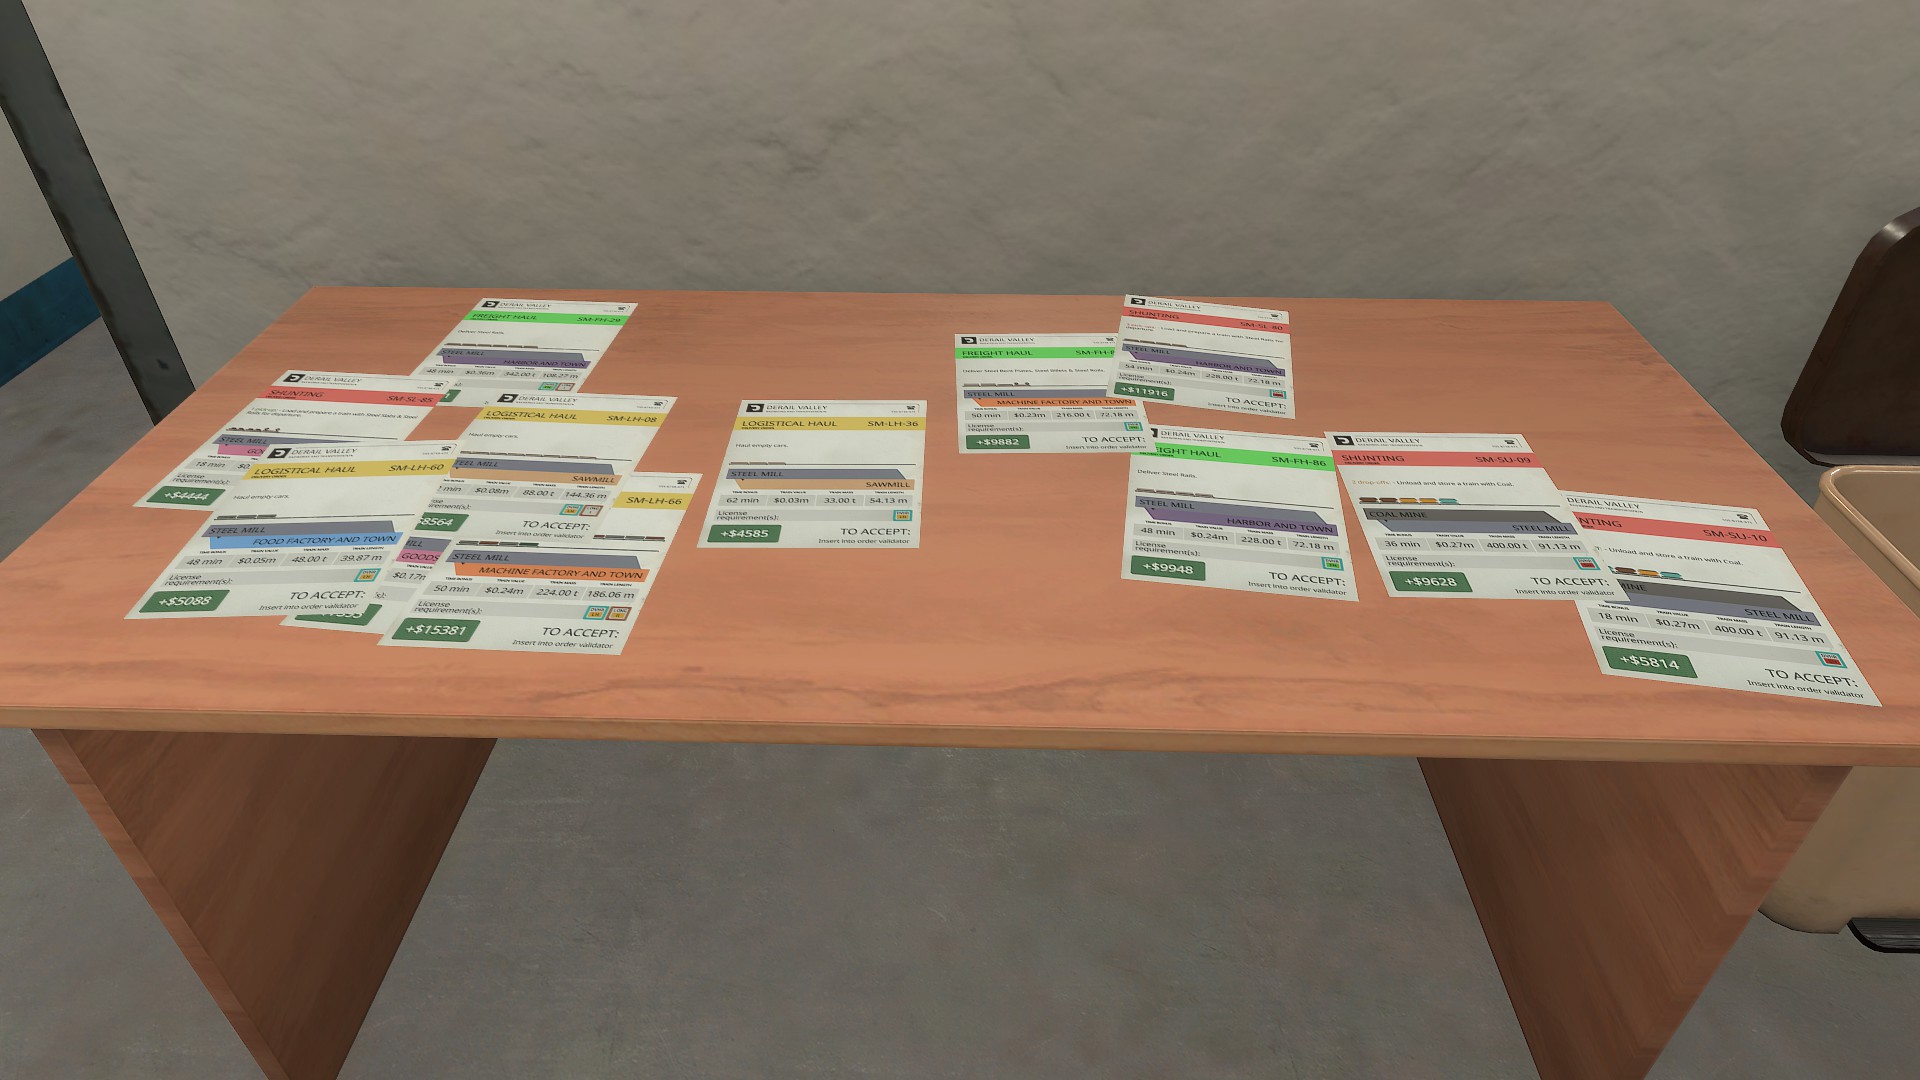
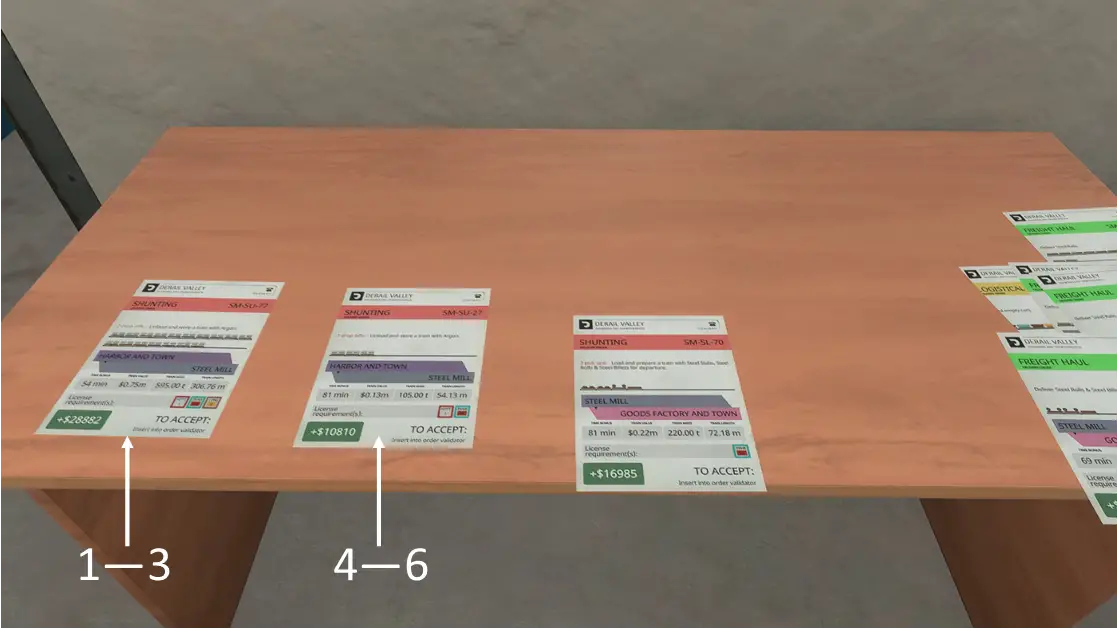
You can refer to the before and after images below for the arranged orders.
Voor:
Na:
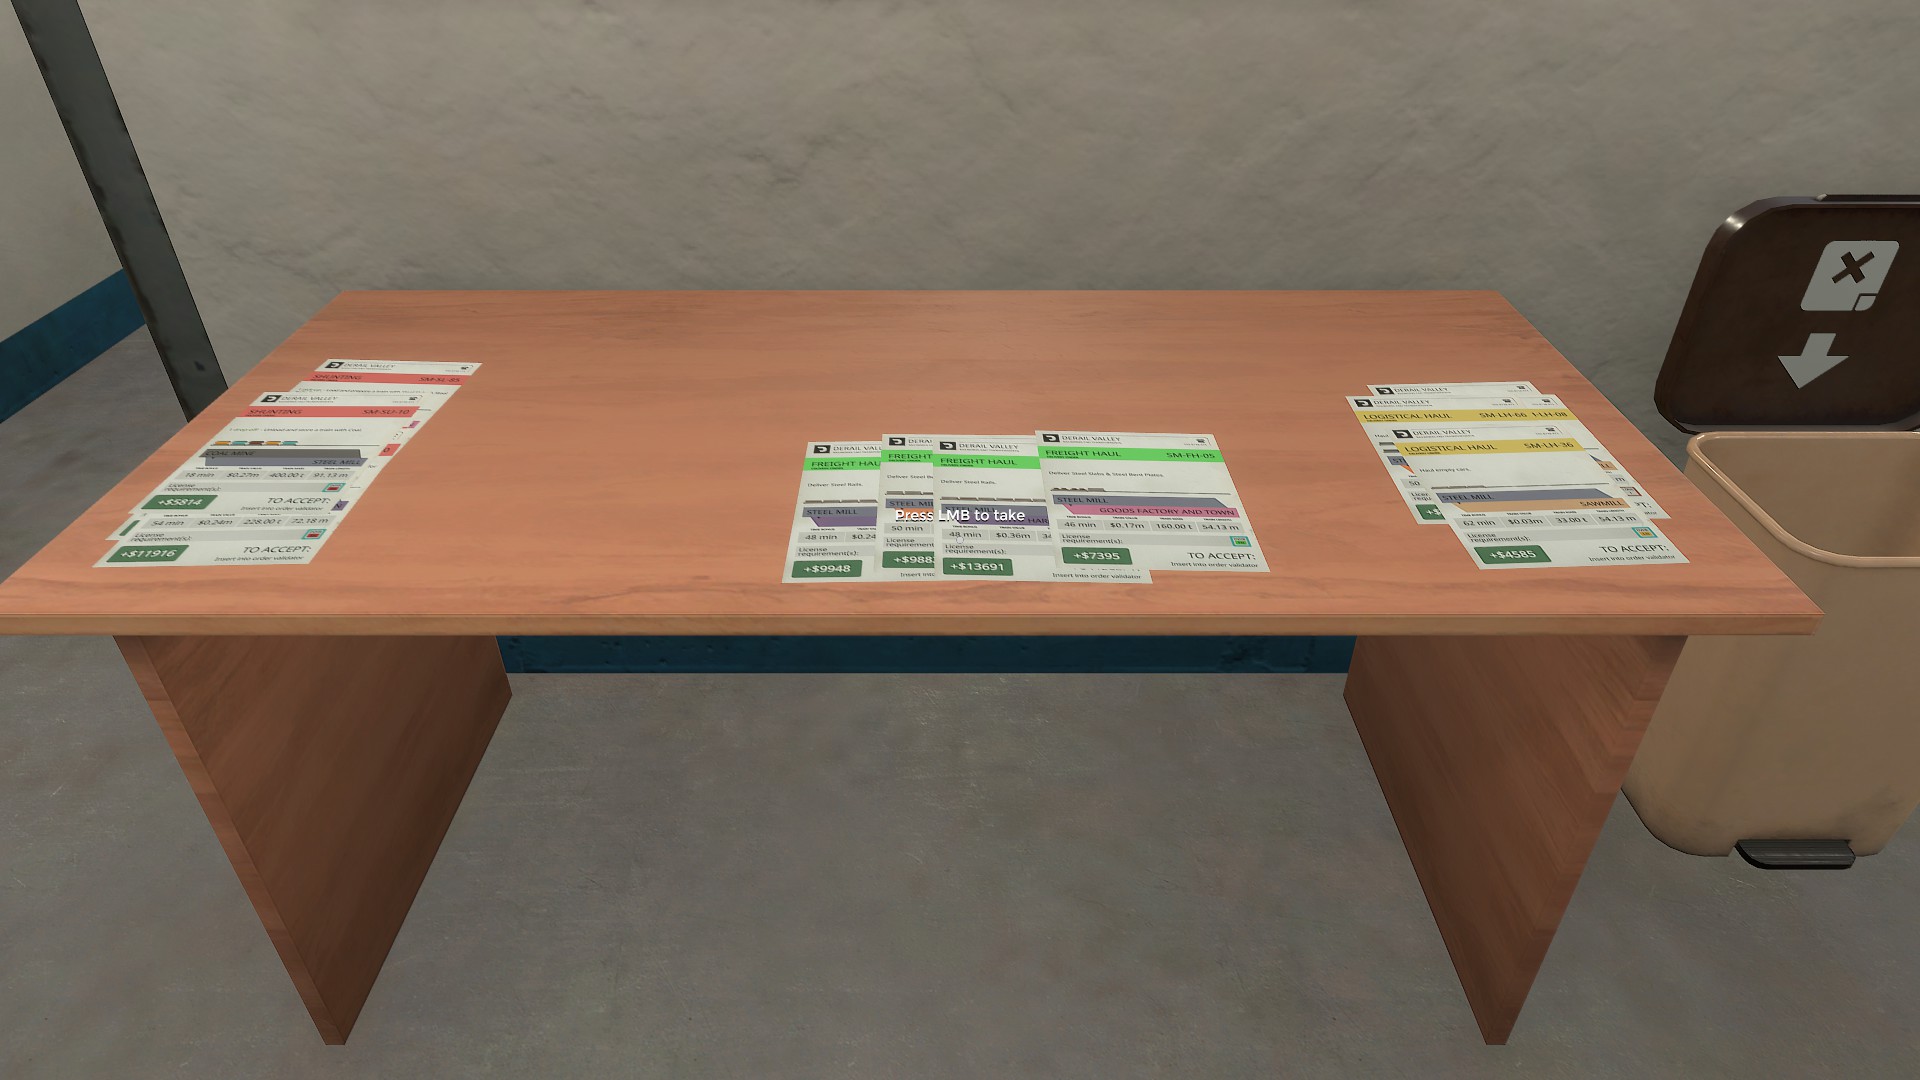
There are three piles, each with the same type of job. You can arrange the groups however you like, such as alphabetically or, in your case, with shunting always on the left.
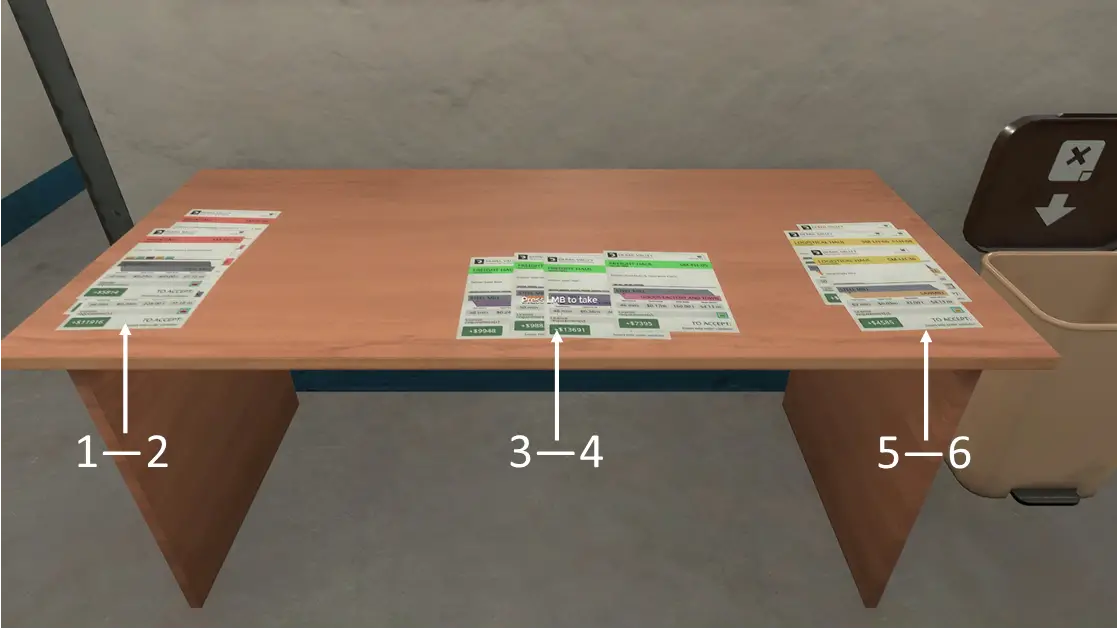
Volgende, assign them numbers. Using a six-sided dice might seem confusing with three groups, but I’ll explain how it works.
Introducing the “Will of the Yard Master” rule.
Label the shunting group as 1 – 2, the middle group as 3 – 4, and the group on the right as 5 – 6.
This means that when you roll the dice, getting a 1 of 2 will result in the shunting group, 3 of 4 will correspond to the middle group, enzovoort.
Go ahead and grab a six-sided dice (or use a random number generator if you prefer, but it’s simpler with a dice) and give it a good roll.
Here’s an example:
Let’s say you rolled a 1, indicating the shunting group. Since there are multiple options within that group, you roll again.
If there are three options (with one hidden under another), de “Will of the Yard Master” applies again. Spread the three orders out in a line, assign them their designated dice numbers, and roll once more.
Wauw, I’m so lucky! I rolled a 5 and landed the standard shunting job, no extra licenses needed.
Just pick up the job, put it into the machine, and start earning some cash. A nice and straightforward first day.

Hold up!
Pause right there, and give that dice another whirl.
If it lands on a 6, the Yard Master’s got some news: one of those tasks from the bunch you’ve got has jumped up in priority and needs tackling pronto.
Nu, glancing back at the remaining two, here’s the twist: both of ‘em require extra licenses to get ‘em done.
But hold onto your hats, ‘cause things are about to get a tad tangled up, and we’ll untangle it in the next section.
The Yard Master Sayeth
Goed, looks like the Yard Master’s not messing around. With one of those tasks suddenly vaulting up the priority ladder, it’s time to think quick.
Nu, since there are still two jobs left, we’ll let fate have a say once more with the “Will of the Yard Master” rule. The job on the left gets the numbers 1 door 3, while the one on the right gets 4 door 6.
Here goes nothing… rolls dice
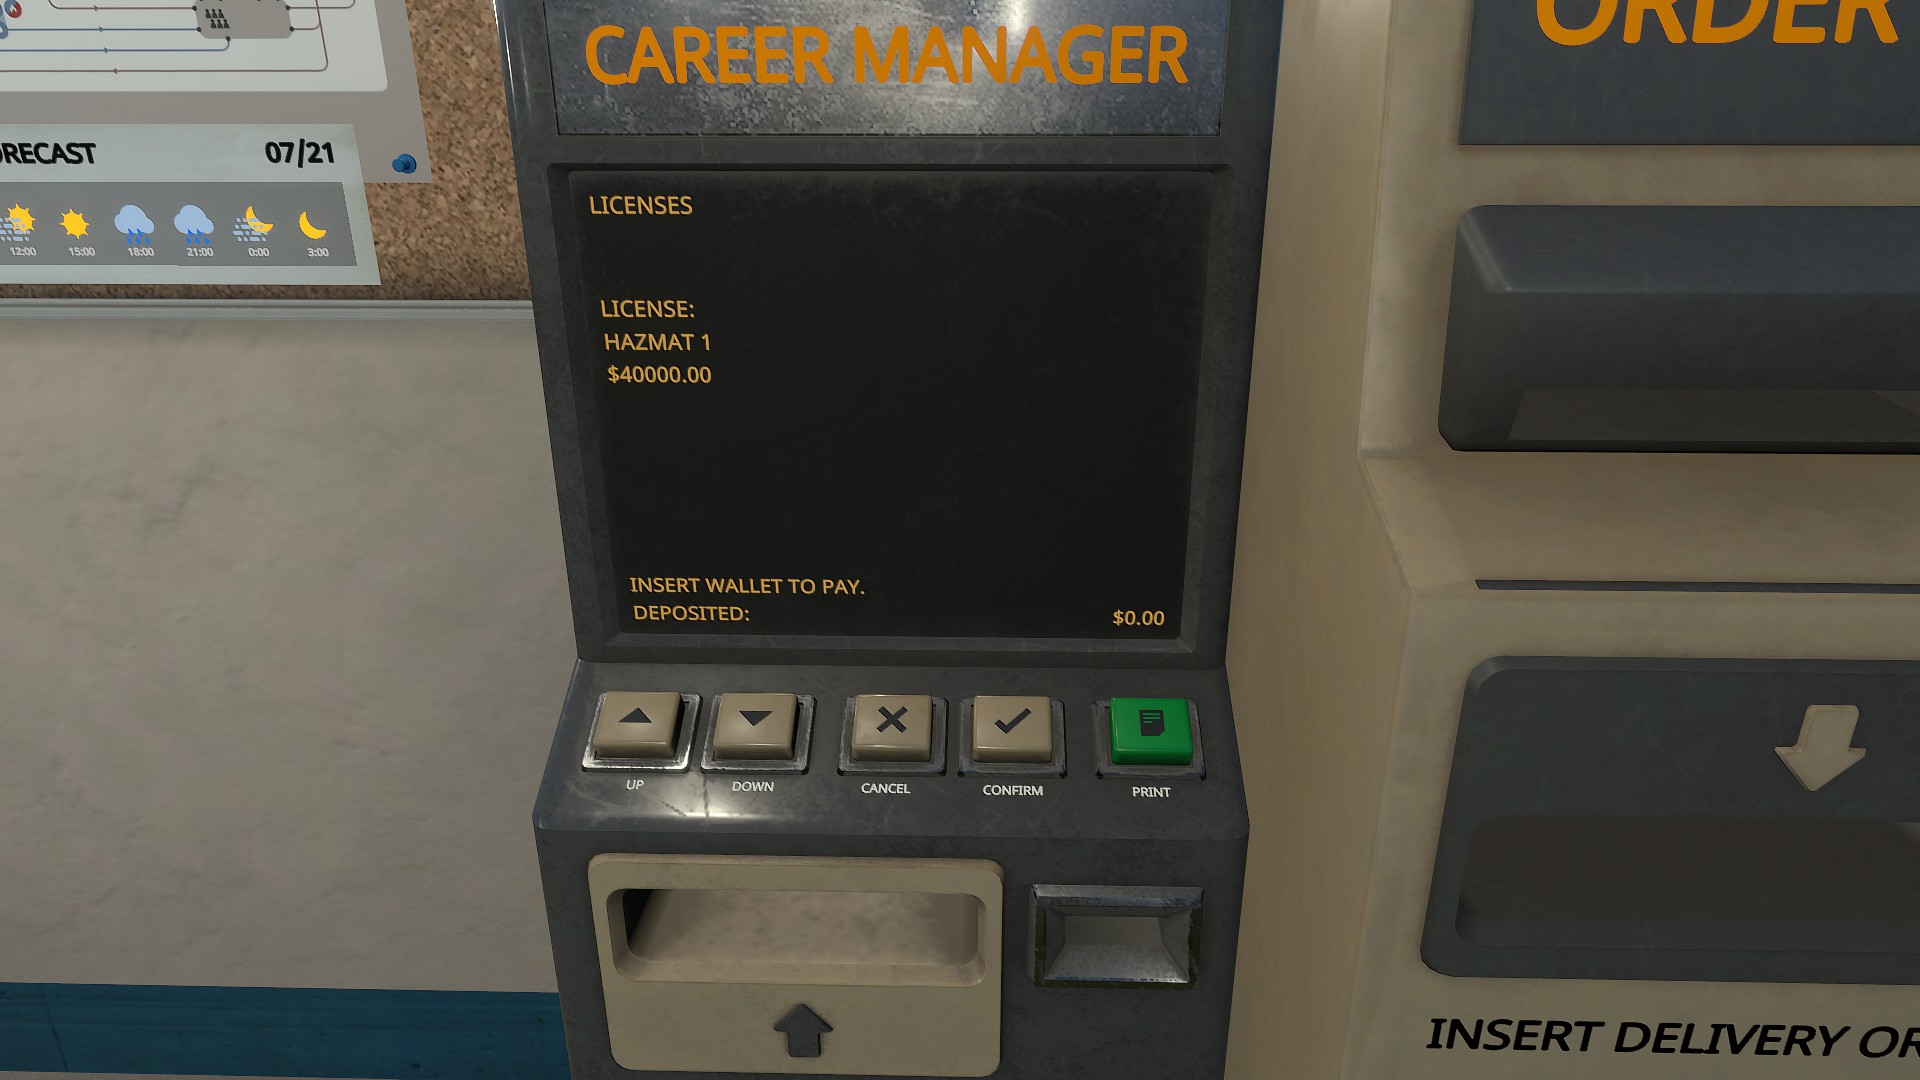
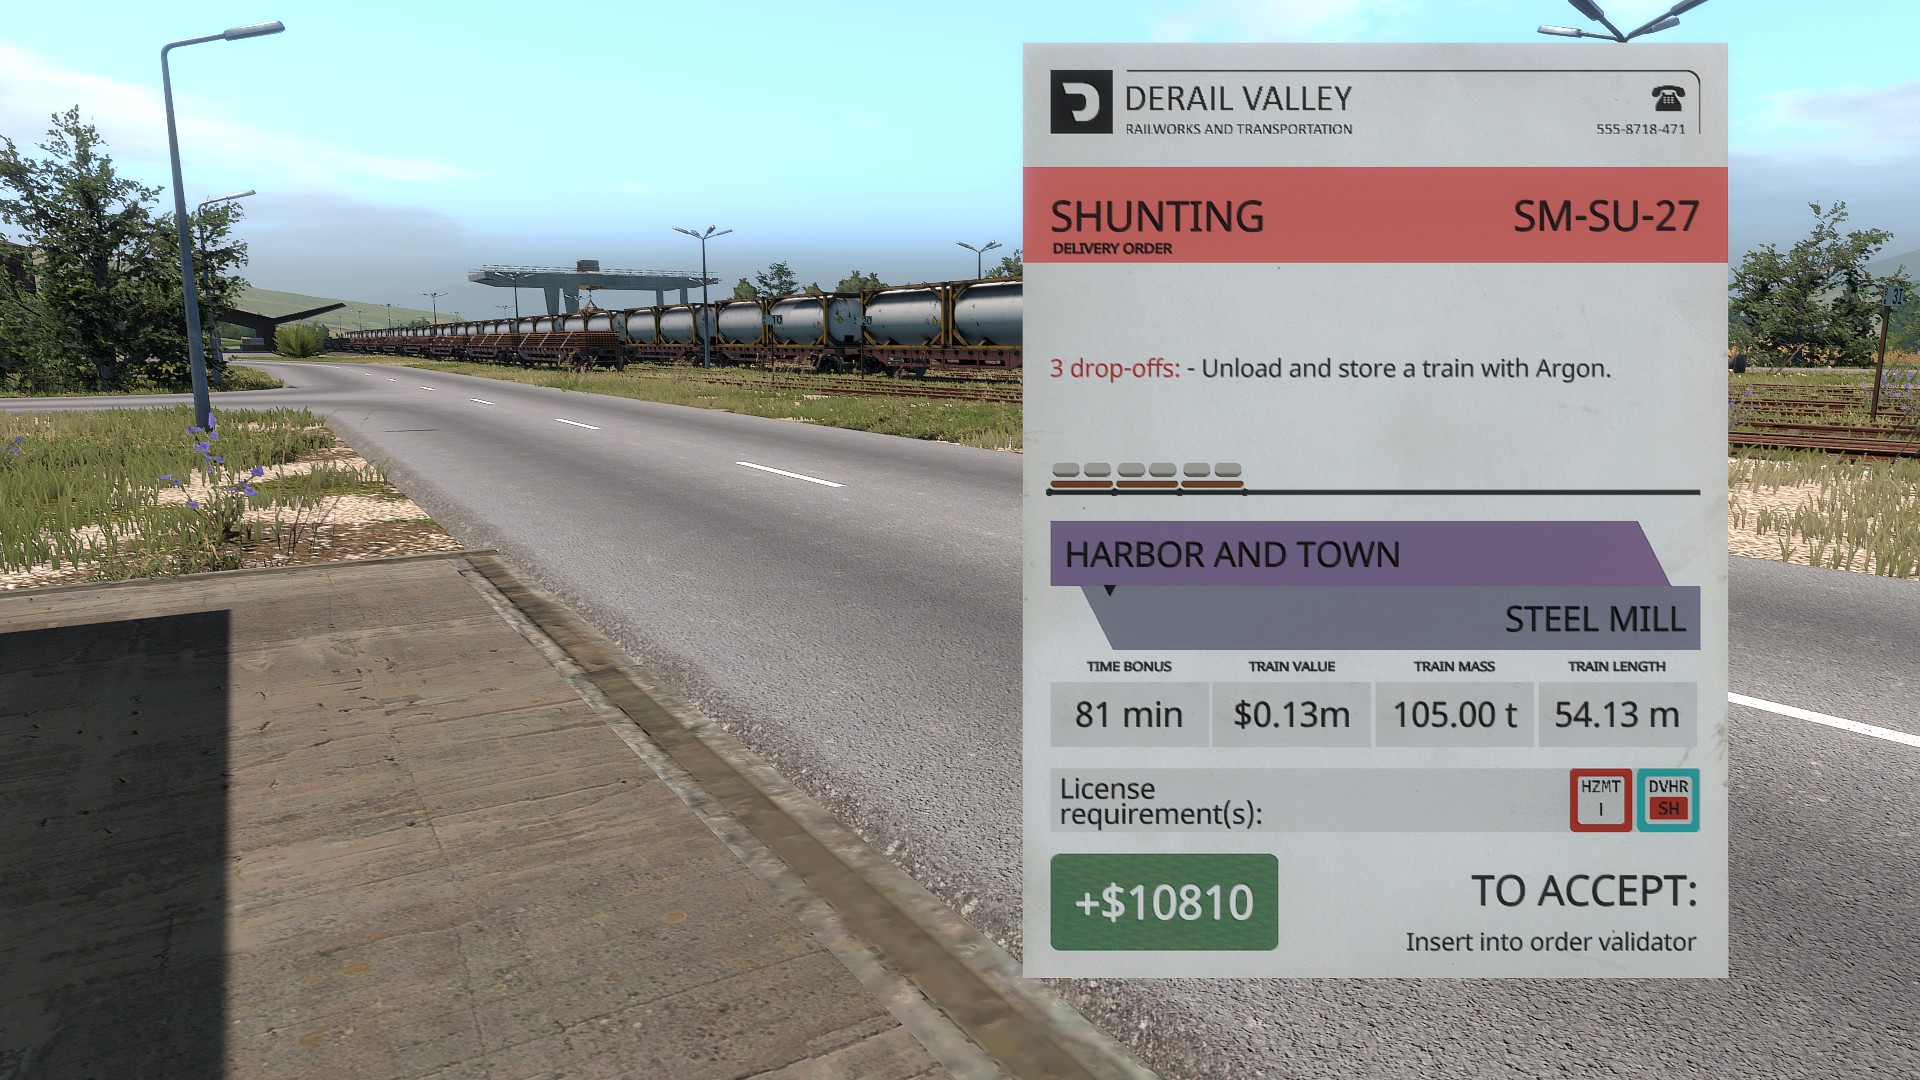
In dit scenario, rolling a four means the high priority task is the one on the right. Helaas, that task requires a Hazmat License.
Things might get tricky here. You could try to obtain the Hazmat license, but it comes with a hefty price tag: $40,000, to be exact.
Hier, you’ve got two choices. You can refuse the Yard Master and leave, but if you do, you’ll lose the time bonus for your current task.
It’s tough, but it adds depth by making you consider the pros and cons of skipping a High Priority Job.
If you don’t have the concurrent work license, this is your only option until you get it.
But when we look at the current order, it’ll bring in about 17k, plus the initial money, giving us a nice sum in hand.
Nu, let’s explore the second option.
After finding out the cost of the Hazardous License, we figure we can afford it after finishing our current task. Instead of rolling for a new job after completing the current one, we accept the next requested job (determined by the “Will of the Yard Master” rule) and hold onto it, even though we can’t start it without the license.
Eerst, we finish the chosen job, collect the payment, and then purchase the license with the money earned.
If you already have the necessary license, you still have the option to decline the High Priority Job and forfeit the time bonus.
Achteloos, the initial job always needs to be completed. There’s no backing out of that one. You can prepare the High Priority Job in advance, getting the train or required equipment ready to go before finishing the initial task to save time.
Since the next job is already assigned, you focus on completing that one instead of rolling for a new job.
Piling up the Jobs
Playing this style can become quite complex and confusing at times, so it’s a good idea to have pen and paper handy for taking notes.
As you progress in your new career, keep count of how many jobs you complete. Every 10 jobs completed earns you a “bonus.”
With a bonus, you can purchase items from shops, licenses to make High Priority Jobs easier, or even a new engine, provided you have enough money.
Echter, it’s essential to be cautious. If you splurge on purchases and then receive a new job requiring a license you don’t possess, what should you do? Let’s revisit this scenario.
Dus, you’ve eagerly acquired a new engine, excited to put it to use.
Nu, just like before, you organize the jobs into groups (unless you’re still in the same location, then you use what’s available there).
In dit scenario, let’s say we roll for a Logistics Haul job, only to realize we lack the necessary license; we were hoping for a Freight Haul instead.
In deze situatie, you’re limited to shunting jobs until you earn enough money to purchase the required license and carry out the desired work for the day.
But what if there are no shunting jobs available?
In dat geval, you head to the nearest town, city, or area (bijvoorbeeld, if you’re at the Steel Mill, you’d head to the farm) and search for work there. Helaas, you miss out on the opportunity to work at the Steel Mill because the “Yard Master” considers you unqualified.
Uh-oh! Looks like there’s trouble with the train. Whether it’s blown up, derailed, or suffered some other misfortune, it’s time to spring into action.
Eerste dingen eerst, grab the little push cart and head back to the nearest station.
Volgende, fetch the beginner engine (DE20) and drive it to the scene of the problem. If any wagons or the engine have derailed, rerail them and connect everything to your DE20.
If it’s too much to move all at once, you might need to make multiple trips to get everything back to the same station where you found the DE20.
Once everything’s on a marshal yard track, hook up to the damaged engine and take it to the workshop.
Herinneren, you can’t just pay for repairs; you’ve got to get your hands dirty and fix it yourself. You broke it, so it’s up to you to make it right.
Once the repairs are done, park the DE20, thank it for its assistance, and cancel your job (or jobs if there were multiple, even if a High Priority Job hadn’t started yet). Dan, get back to work.
Just try to avoid breaking it again; repairs can really dent your wallet. Looks like you got lucky in your example!
Oeps! Made a wrong turn and panicked, which led to lowering the gears too quickly and blowing the engine on the DM3.
Gelukkig, I found the DE20 nearby (from another town since there wasn’t one at the site) en, gelukkig, a repair shed was nearby too.
After turning off all the brakes and putting it into neutral, I managed to push it into the repair shed using the other consists.
Daarna, I moved the consist into a siding and unfortunately had to walk back to the office to cancel the work.
That single mistake ended up costing me 70k. I spent the next two hours working on shunting jobs to cover the repair costs in the shed before I could resume with the “Will of the Yard Master” rule.
Oddly enough, despite the setback, it turned out to be more enjoyable.
Future Rules
As I’m still exploring this concept, there might be many aspects yet to be discovered. We’ve covered the basics, but since this is a new beginning for me, there’s a lot of unlocking to do. Whenever a new rule is created and play-tested, I’ll add it to the guide. It might take some time with real-life commitments, but hopefully, we’ll slowly piece it all together.
I hope you find this style of Role Playing in Derail Valley enjoyable and appreciate the randomness it brings to the game.
Dat is alles wat we vandaag hiervoor delen Ontspoor Vallei gids. Deze handleiding is oorspronkelijk gemaakt en geschreven door Darkest Walnut. Voor het geval we er niet in slagen deze handleiding bij te werken, U kunt de laatste update vinden door dit te volgen link.