This guide will teach you how to get all the achievements in the new Cyberpunk 2077 DLC called Phantom Liberty. Let op, hoewel, that this guide has spoilers, so read at your own risk.
Endings and Story-Related Achievements
Stap 1 – Create a manual save during the main job “Firestarter.”
In your gameplay, you can do things your way until this point. But when you reach it, it’s crucial to make a manual save. Waarom? Because there are 4 different endings in this DLC, and each one comes with an achievement. The choices you make earlier in the game don’t affect these endings.
During a dialogue, you’ll get a choice that determines which ending you’ll experience. The reason for the manual save is to go back to it after getting the first 3 endings. Vanaf daar, you only need to replay the game from the manual save for the last 2 endings. This trick saves you a lot of time, sparing you from replaying the entire story over and over again.

EINDE #1 – King of Wands
In the Firestarter job, when you’re talking to Songbird, your dialogue choice determines which ending mission you’ll experience.
Choose the option “Help Song Escape / Betray Reed (Upload the access codes)” for the following endings: King of Wands, King of Swords, and The Tower.
For the last two endings, waar jij “Help Reed capture Song (Arm the Icebreaker),” you’ll get King of Cups, King of Pentacles, and The Tower.
If you decide to HELP Song, here’s what you need to do:
- You’ll receive a job called “THE KILLING MOON.” Wait for news from Song, skip some in-game time, and complete the job “Run This Town” given by Mr. Handen. If he doesn’t call you, just skip ahead 2-3 in-game dagen. After finishing “Run This Town,” Reed will contact you. Daarna, Song will call you to continue “The Killing Moon” speurtocht. Progress through this quest until you face the black ops and escape on the train at the NCX.
- After the train ride, follow these dialogue options: “Pick up Song > Lay Song Down > Can’t Let You Take Her > Draw Weapon > Shoot.” This will unlock the “King of Wands” ending after the credits. Make sure to create a manual save at this point without overwriting the “Firestarter” redden .

EINDE #2 – King of Swords
To get the “King of Swords” einde, volg deze stappen:
- Reload the save you made during the final train ride with Song.
- Deze keer, choose the OPPOSITE dialogue options from what you did for the “King of Wands” einde. Select the following options: “Call Reed > Wanna Live On > Overeenkomst > Pick up Song > Lay Song Down > Take Care of Her.” After completing these choices, de “King of Swords” ending will unlock after the credits.

EINDE #3 – De Toren
- After achieving the “King of Swords” einde, Reed will contact you, and you’ll begin the main job “Through Pain to Heaven” (if he doesn’t call, wachten op 2-3 in-game dagen). Please note that this main job is ONLY available if you did the “Zwaarden” einde.
- Optionally, you can respond to the text message from Vik regarding software updates. This step is essential as it will open the door to his clinic for an objective later on.
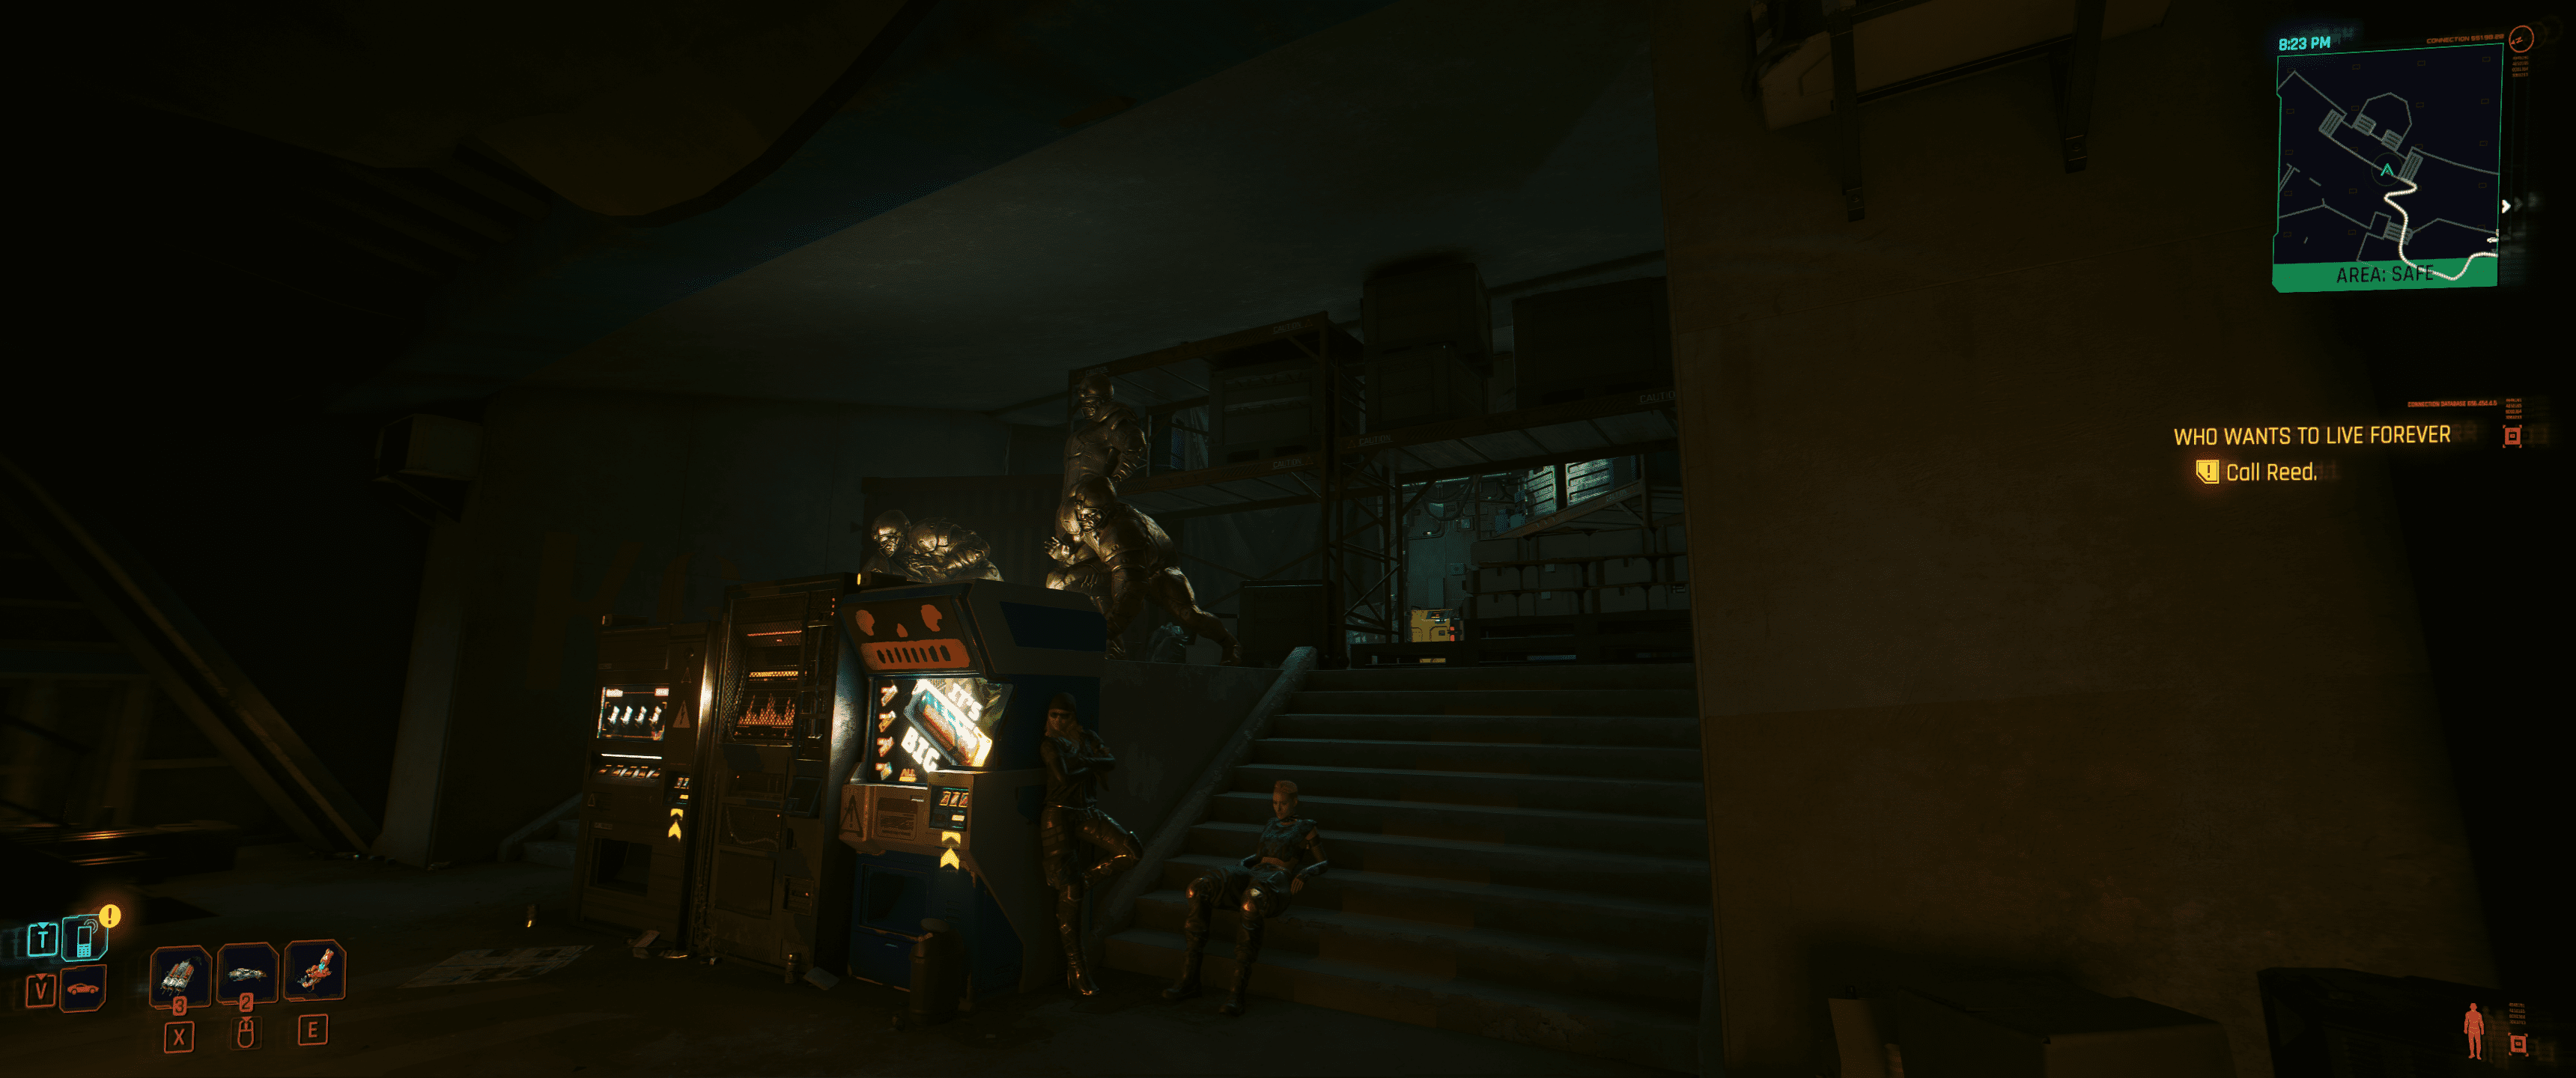
- Complete the following main jobs in order: “Through Pain to Heaven” > “Who Wants to Live Forever” > “Things Done Changed.” After the credits roll, you will unlock “De Toren” einde.

EINDE #4 – King of Cups
- Utilize the manual save you created during the “FIRESTARTER” missie.
- Choose the OPPOSITE option, which should be “Help Reed Capture Song (Arm the ICE Breaker).”
- Keep playing until you reach the “Somewhat Damaged” job. During this part, when you encounter Song in the core, create another manual save.
- In the dialogue options, choose to KILL SONG.
- Continue playing the game, as whatever you do after this point won’t impact the ending. After completing the “Leave in Silence” job, de “King of Cups” ending will be unlocked.

EINDE #5 – King of Pentacles
- Reload the manual save that you created in the Core during the “Somewhat Damaged” missie.
- Deze keer, choose the following dialogue options: “Aint Over > That’s Not a Solution > Won’t Do it.”
- Continue playing the game from this point onward. Whatever actions you take after this won’t affect the ending. After completing the “Leave in Silence” job, de “King of Pentacles” ending will be unlocked.
UNMISSABLE STORY ACHIEVEMENTS

#1 – All the Presidents Men
You will automatically obtain this achievement after saving President Myers.

#2 – Arachnophobia
Simply defeat Chimera. This is unmissable since it’s part of the story.

#3 – Spin Doctor
Complete the job “Run This Town,” which is assigned by Mr. Handen. You will receive a call from him during “The Killing Moon,” a main story quest.
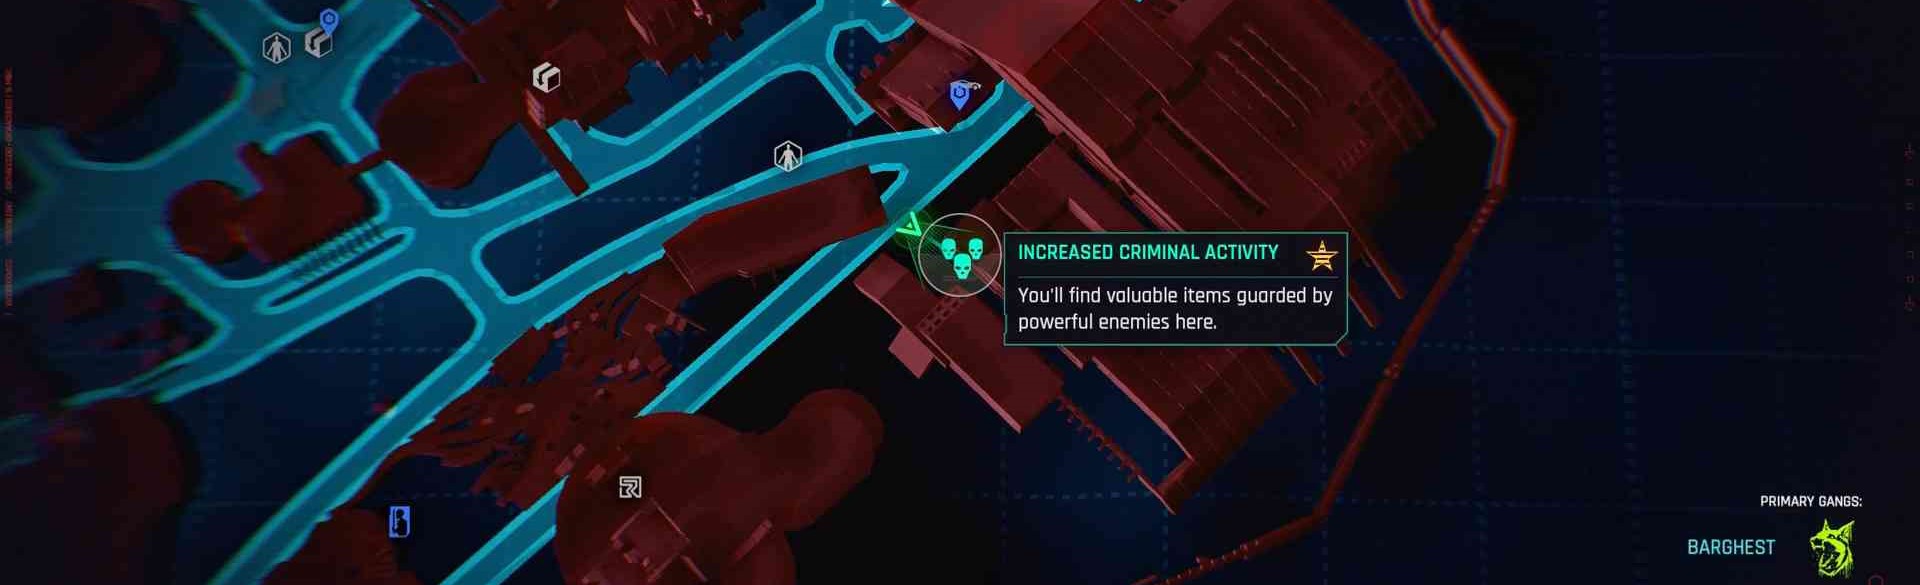
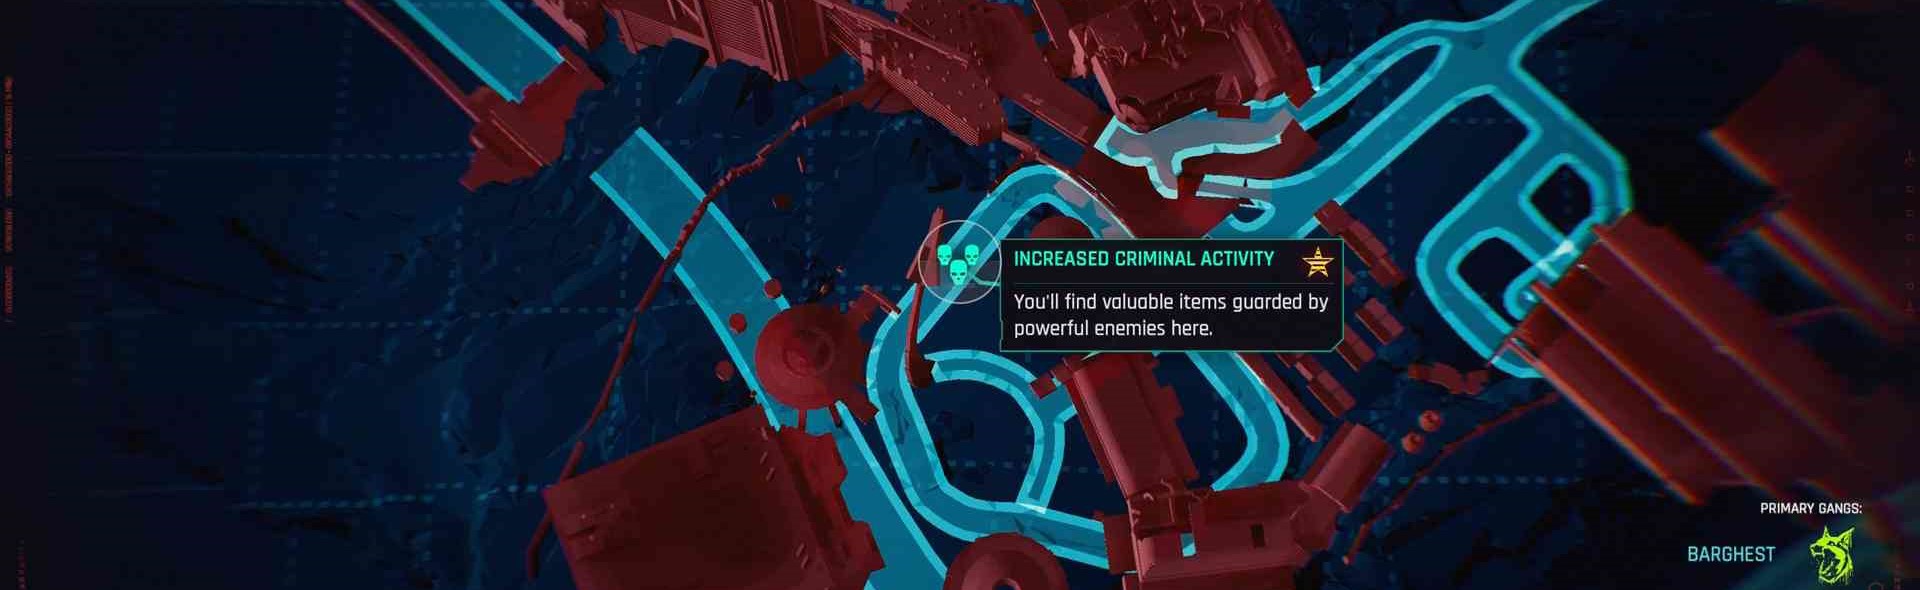
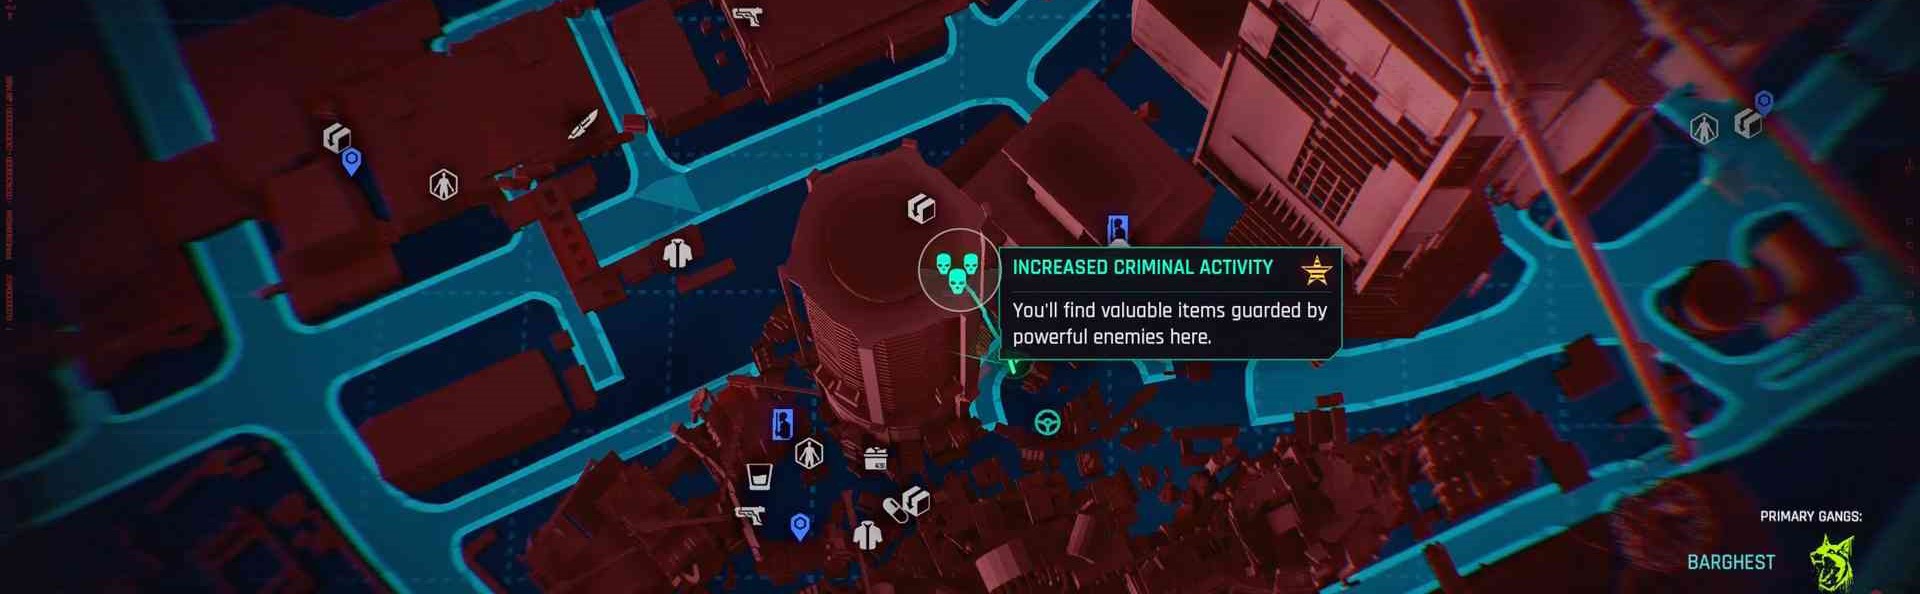
Increased Criminal Activities + 3 Relic Skill Points
LOCATION #1

To reach the KRESS STREET travel terminal, go a bit SOUTH. You’ll spot Barghest soldiers guarding a gate. Defeat them, enter the base, and pass through a tunnel. Eliminate more enemies as you go. Be cautious of mines and turrets. In the next room, you’ll face the final boss with a massive shield. Shoot at their legs or use a sandevistan to take them down. Once defeated, the boss drops a key to a cage at the end, where your rewards await (Look for the 3 green skulls icon).
LOCATION #2
Head to the EASTERN EDGE of Dogtown and find a production hall. Enemies will be in front, and the entrance is near the street. Take down all foes on your way to the boss. The boss is in a large open area with electrified water at the end of the hall. She dodges your shots, so wait for her stamina to run out before striking. Prioritize eliminating other enemies first. After defeating her, grab the key and loot the room, just like in the previous location.
LOCATION #3
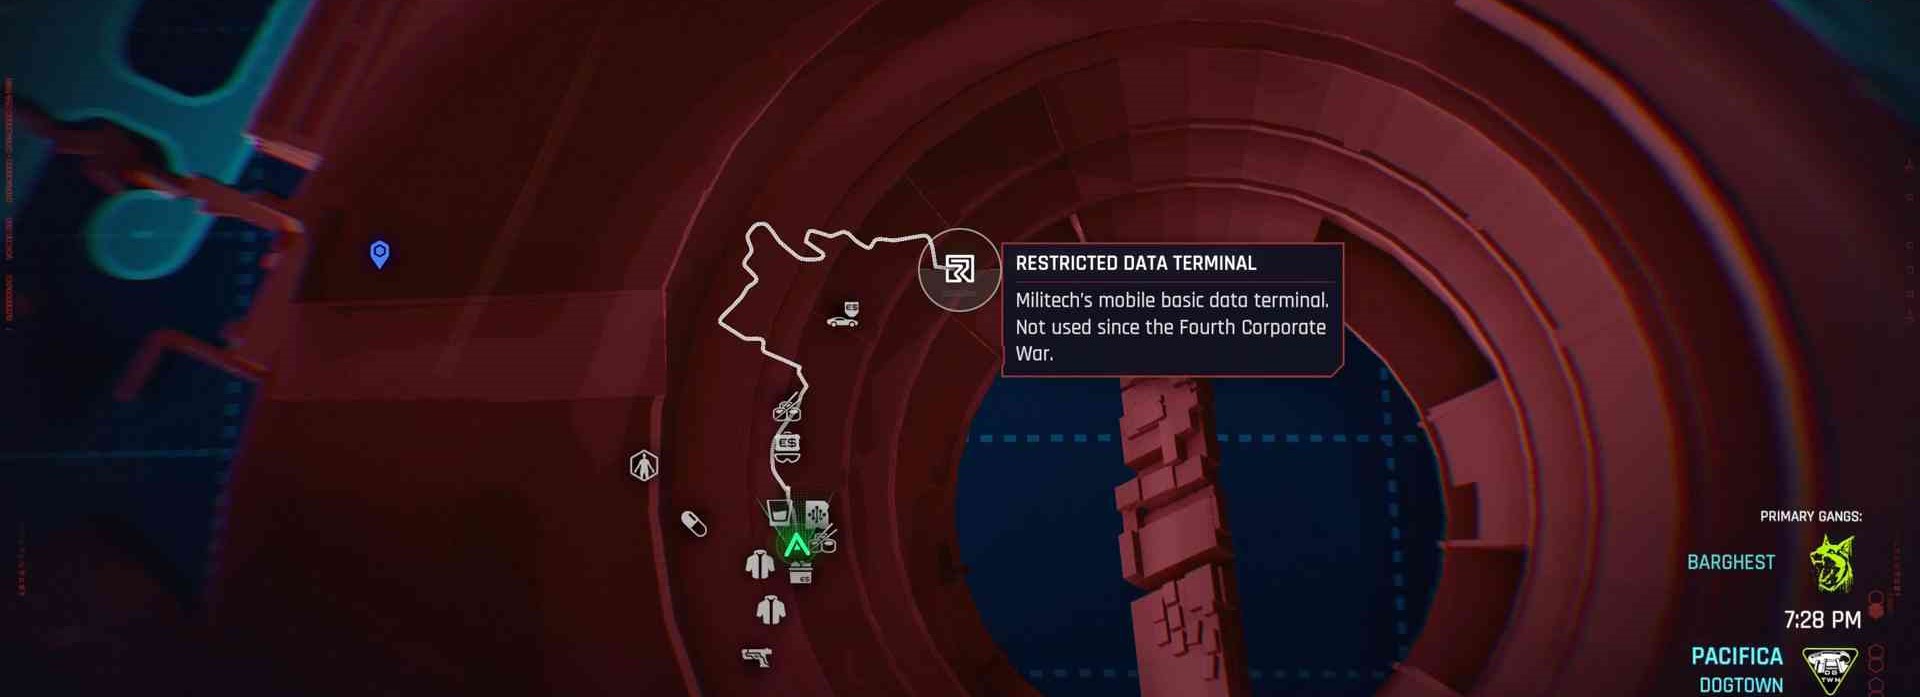
Head to the SOUTH EAST of Dogtown. Look for a space shuttle statue, and beneath it, you’ll find the museum with scavs in front. Defeat the scavs and enter. The boss is a massive Arasaka drone. Start by clearing out all the ground floor enemies and then focus on the drone. Nogmaals, follow the 3 skulls for your loot.

You’ll earn the Achievement right after defeating the third and final boss. No need to visit the reward rooms for it to count. Plus, these bosses won’t respawn, so you’re in the clear once they’re defeated.
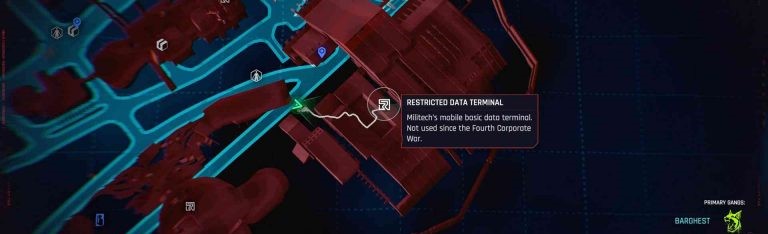
All Relic Dataterms (Relic Skillpoints)

You’ll earn a total of 6 Relic skillpoints as you progress through the story. Aanvullend, er zijn 9 dataterms scattered throughout Dogtown, which will provide you with more skillpoints. Here’s where you can find them:
Story Dataterms:
- 3 dataterms are from the “Dog Eat Dog” missie.
- 3 dataterms are from the “Birds With Broken Wings” missie.
Free Roam Dataterms:
- 3 dataterms are available during free roam, en 3 of them are from the 3 green skull gang hideouts/boss areas. These dataterms are typically quite noisy and will appear on your map when you get close to them.
Here are their specific locations:
Dataterm #1: Located in the Increased Criminal Activity area to the East of Dogtown.
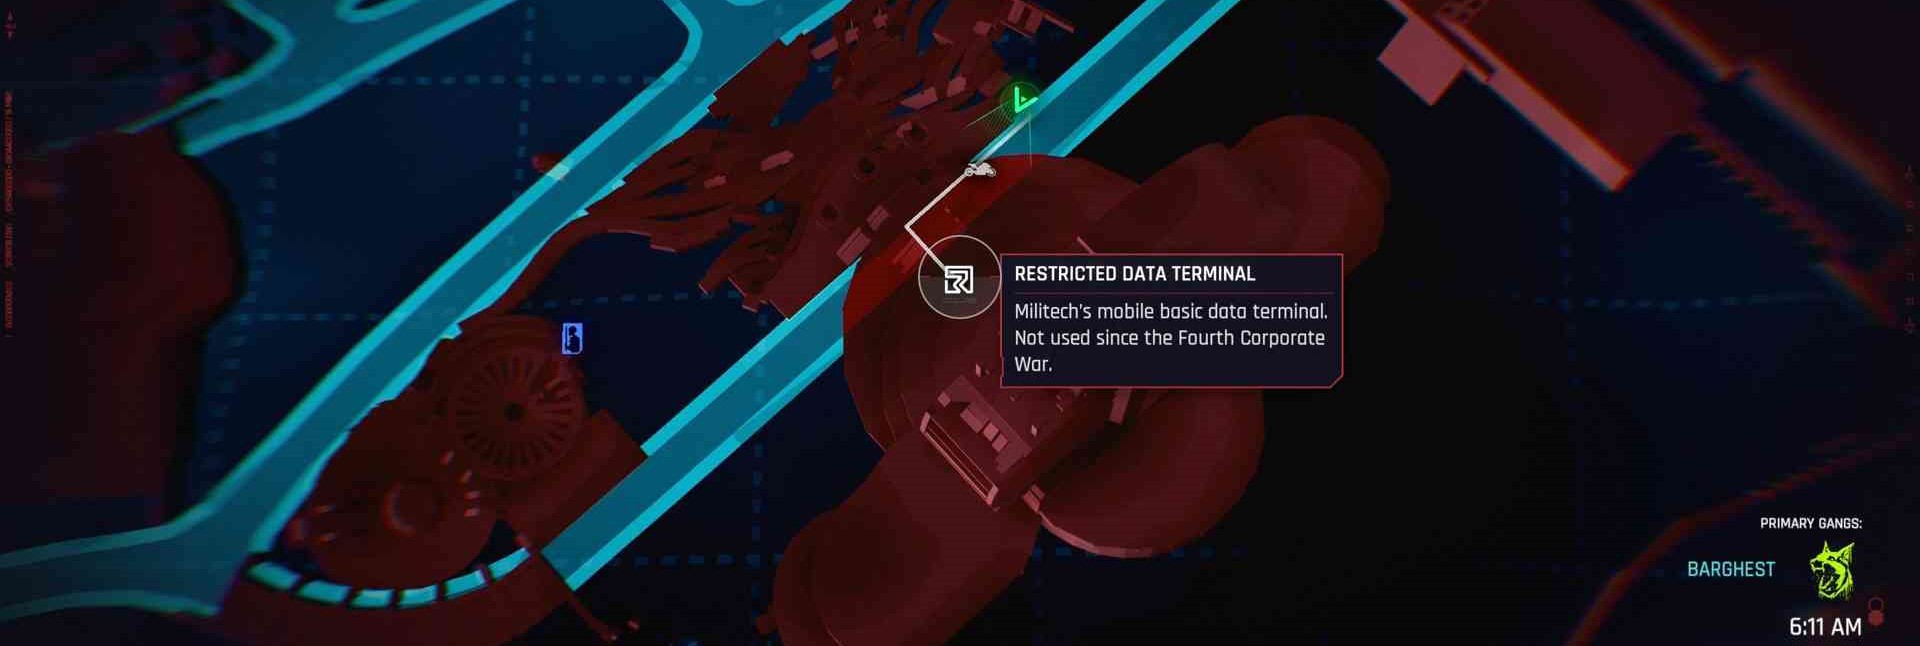
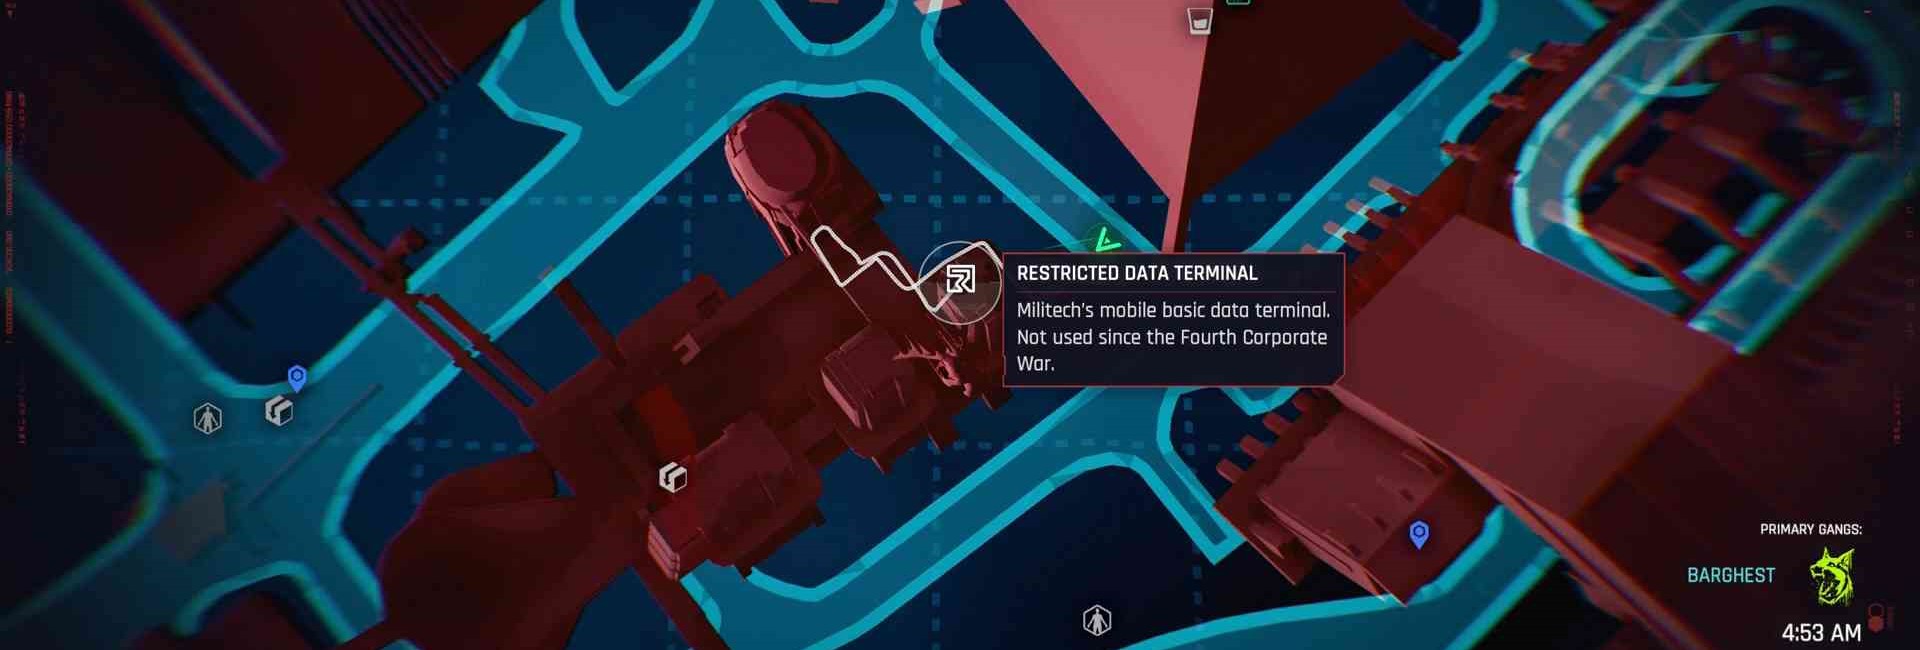
Dataterm #2: You’ll find this one next to the road under a bridge.
Dataterm #3: Inside the space shuttle museum, upstairs on the left side, within another Increased Criminal Activity area.
Dataterm #4: Found in a parking lot building, one floor above street level.
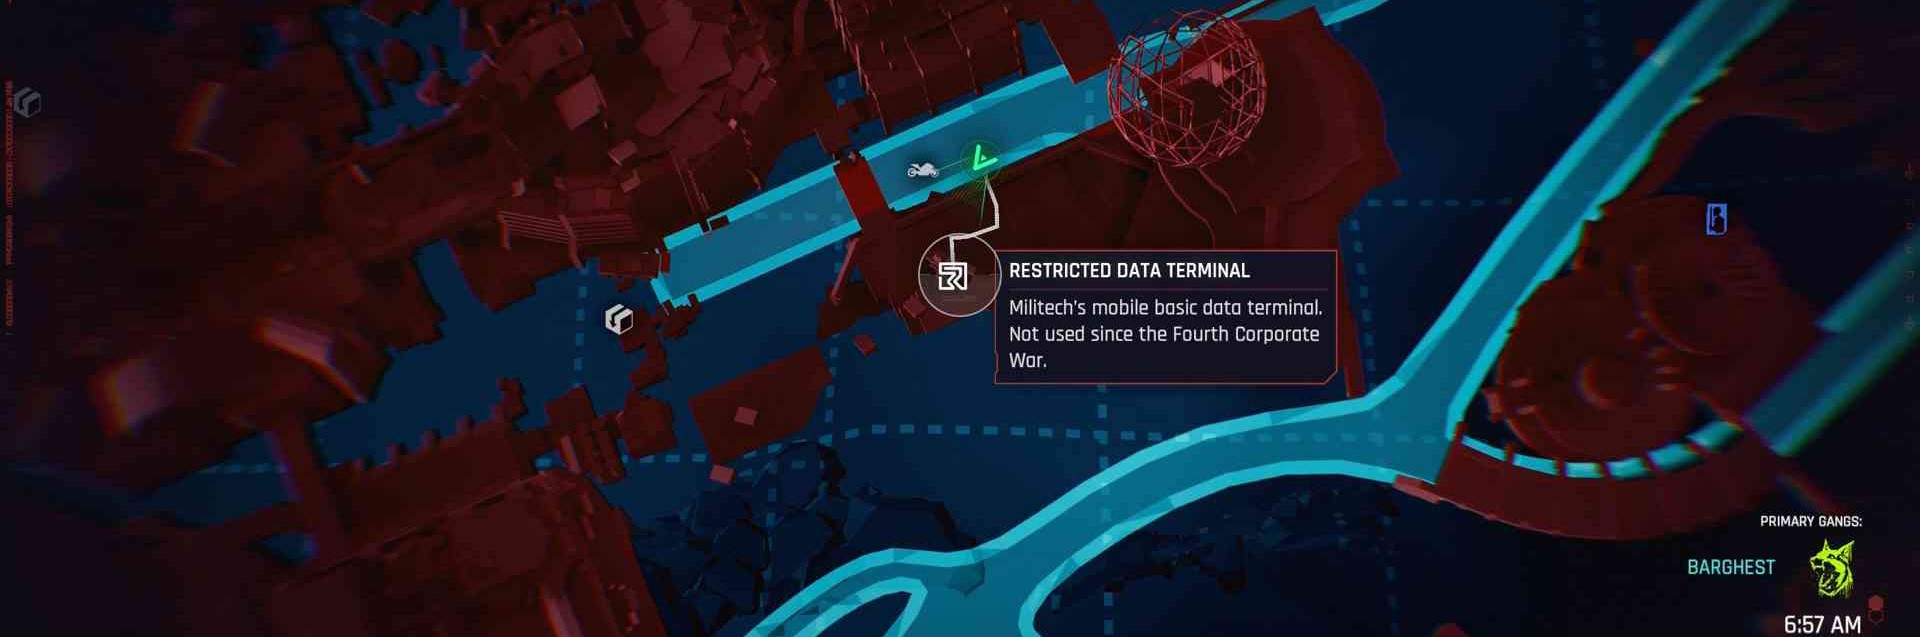
Dataterm #5: Located near the KRESS STREET travel point, outside of the apartment you own in Dogtown.
Dataterm #6: In another Increased Criminal Activity area, past the tunnel in a room filled with enemies. It’s in a locked room on the left.
Dataterm #7: On top of a building, accessible by climbing up the side of the building. You’ll find a ramp and a crane to help you reach it. Beware of mines!
Dataterm #8: Head past all the vendors towards the backside of the stadium. Go straight until the very end, then turn right to find a small set of stairs and a statue of 3 men. Behind them is the dataterm. Note that following the market might lead you in the wrong direction, so follow the provided images.
Dataterm #9: The last dataterm is on a building, one floor above street level. You should be able to access it via the stairs on the side of the building.
Collect these dataterms to gain valuable skillpoints and enhance your abilities throughout the game.
Mysterious Signals (El Capitan Jobs) + Most Wanted Criminal + Side Gigs

Easy Come, Easy go
- Look out for Mysterious Signals, which are green steering wheel icons on your map.
- Compleet 10 of these signals or continue until you’re asked to steal an Arasaka medical truck. Either action will unlock the achievement.

The APB is Not Enough
- Increase your notoriety level by taking out Barghest soldiers until you reach the maximum level, dat is 5 sterren.
- Focus on defeating the red soldiers (law enforcement) and make sure they don’t lose sight of you; anders, you’ll need to start over.

Dirty Deeds
- Er zijn in totaal 10 gigs to complete.
- Nine of these gigs are in Dogtown, and one is an old base game gig in Pacifica called “Two Wrongs Makes Us Right.”
- If you’re missing some gigs, consider progressing further in the Phantom Liberty story; this might make them appear.
Dat is alles wat we vandaag hiervoor delen Cyberpunk 2077 gids. Deze handleiding is oorspronkelijk gemaakt en geschreven door muis. Voor het geval we er niet in slagen deze handleiding bij te werken, U kunt de laatste update vinden door dit te volgen link.