In deze gids, I’ll teach you how to make the Counter-Strike 2 Debug / Build Info disappear from the bottom left of your screen. This will be useful if you’re using an OLED screen or if you find it bothersome.
Console Command
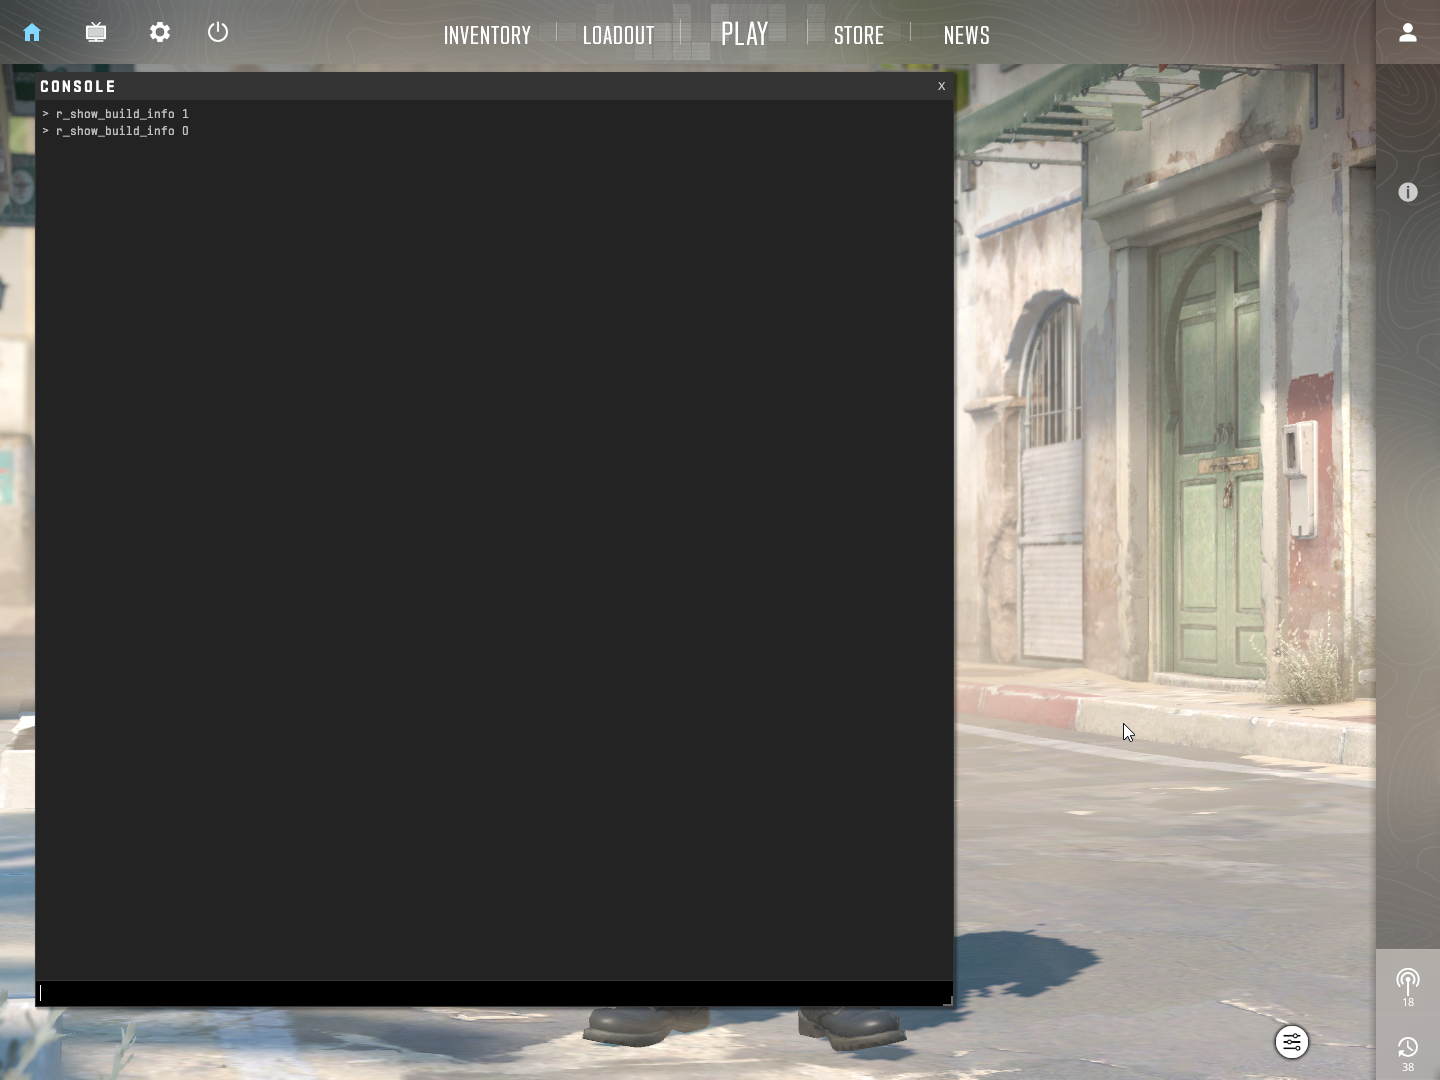
To hide the debug info, you’ll need to type a command in the developer console. If you already have the console enabled, the command to use is:
r_show_build_info 0
If you’re not sure how to open the console or it’s not enabled (it’s usually off by default), keep reading.
Opmerking: If the debug text reappears after restarting your game, you can add it to an autoexec config file. I’ll show you how to create one in just a couple of minutes.
How to Enable Developer Console
If you haven’t enabled the developer console yet, just follow these two easy steps.
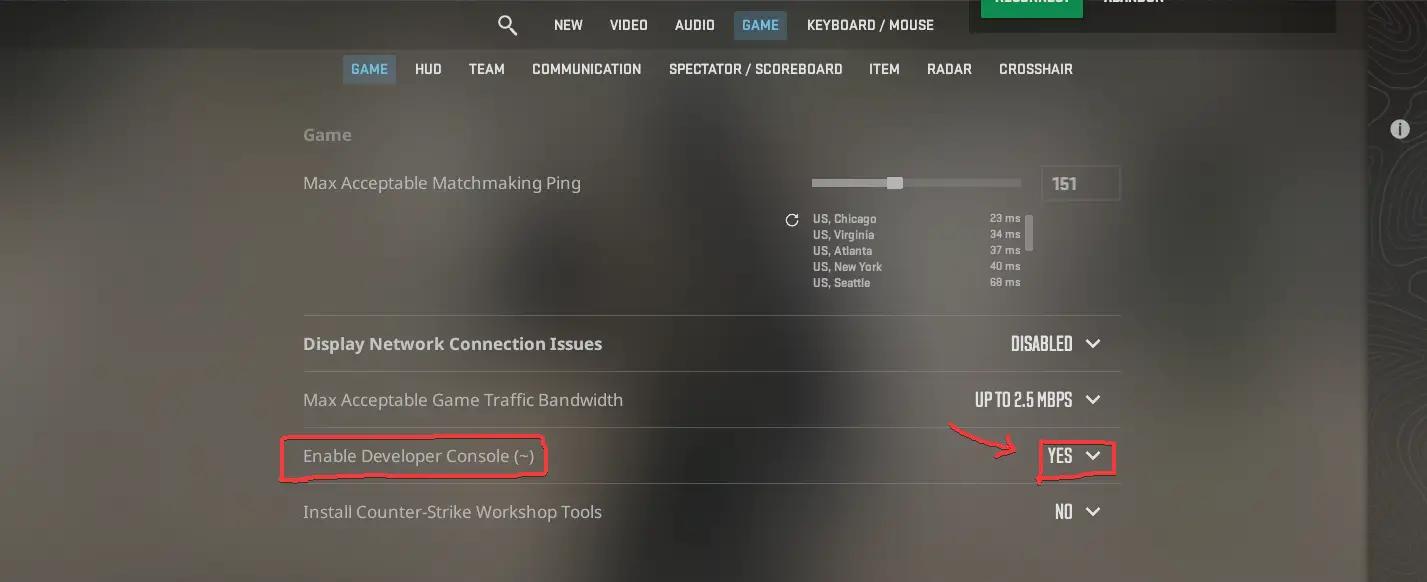
Stap 1: Open the settings in Counter-Strike 2.
Stap 2: Go to GAME, and change “Enable Developer Console (~)” to YES, just like it’s shown in the picture below.
Nu, you’ll be able to press the tilde (~) key located between ESCAPE and TAB on your keyboard.
Once you’ve done this, you can press this key, and you’ll be able to enter the command mentioned above.
Using this console command should remove the debug text, even if it comes back after restarting your game. Echter, if it reappears, keep reading for a solution.
How to Create an Autoexec File
An autoexec file is like a special settings file that runs when you start up Counter-Strike. It’s handy for folks who use the developer console to type in commands that reset each time you start a new game.
Here’s how to set one up:
Stap 1: Open Steam and go to your Library. Find Counter-Strike 2 in your list of games, right-click it, and choose Properties.

Stap 2: In het eigenschappenvenster, click on Installed Files and then hit the Browse button.

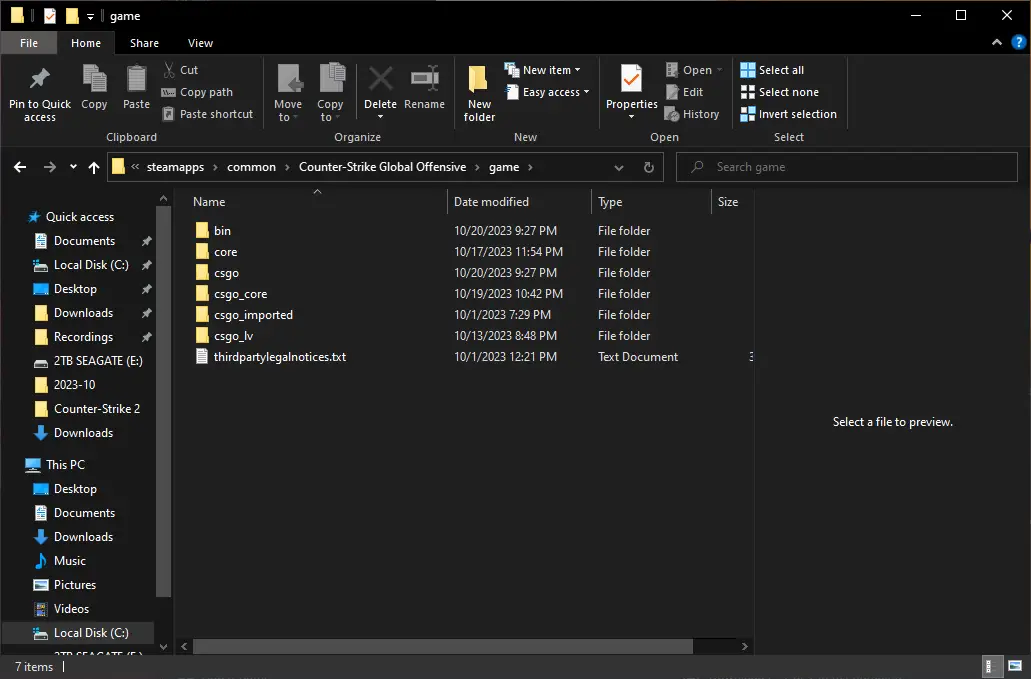
Stap 3: A new window will pop up. Navigeer naar de “spel” map.
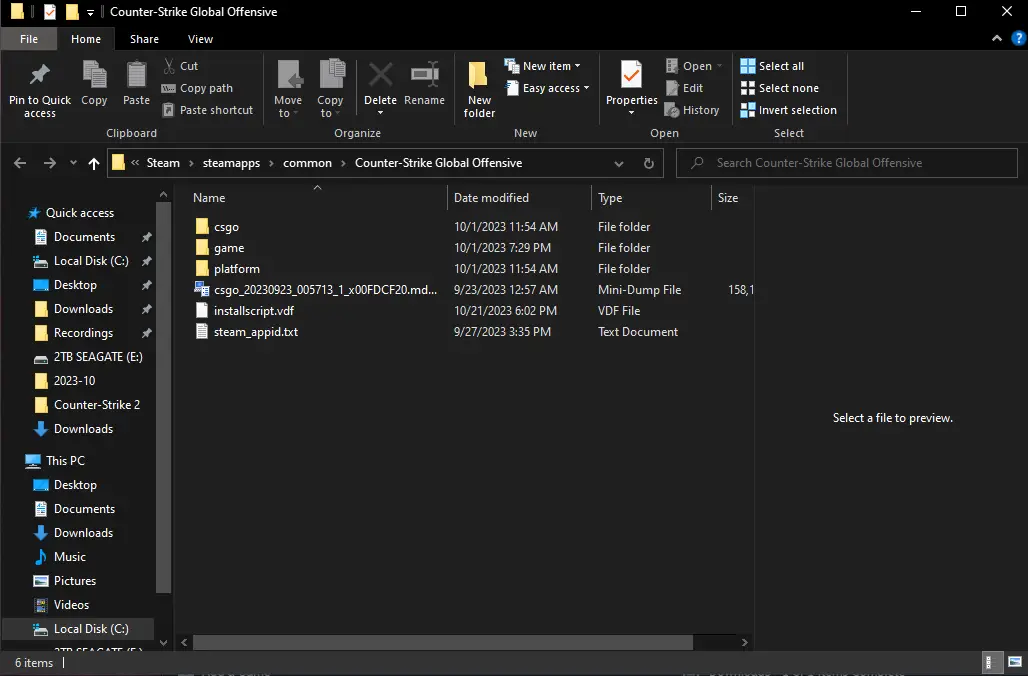
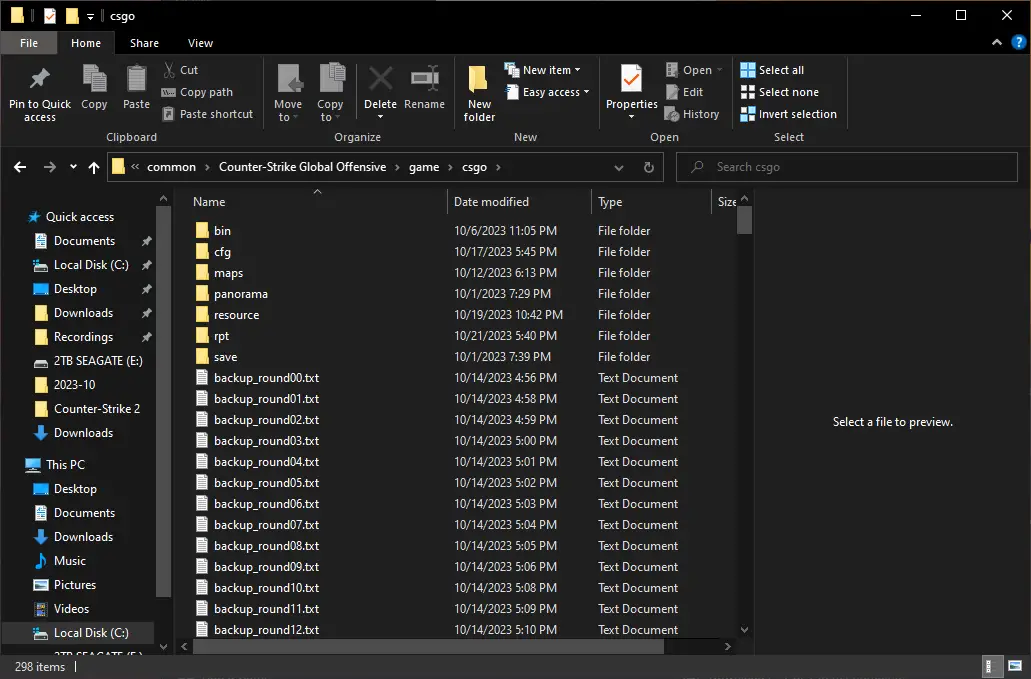
Stap 4: Inside the “spel” map, Zoek naar de “csgo” map.
Stap 5: In de “csgo” map, open de “cfg” map.
Stap 6: Daarna, you’ll need to right-click in the empty areas beside the items in the folder. Create a new Text Document. You can choose any name you like for this file, zoals “autoexec.” You can also delete the file later for cleanup, but it’s not necessary.

Stap 7: Op dit punt, you’ll notice the new text file is highlighted in blue. You can give it any name you prefer. I named mine “autoexec.” Als, om de een of andere reden, a different text editor opens the file, you can use that if you’re comfortable with it, or manually select “Open With Notepad” from the submenu when you right-click on the file.
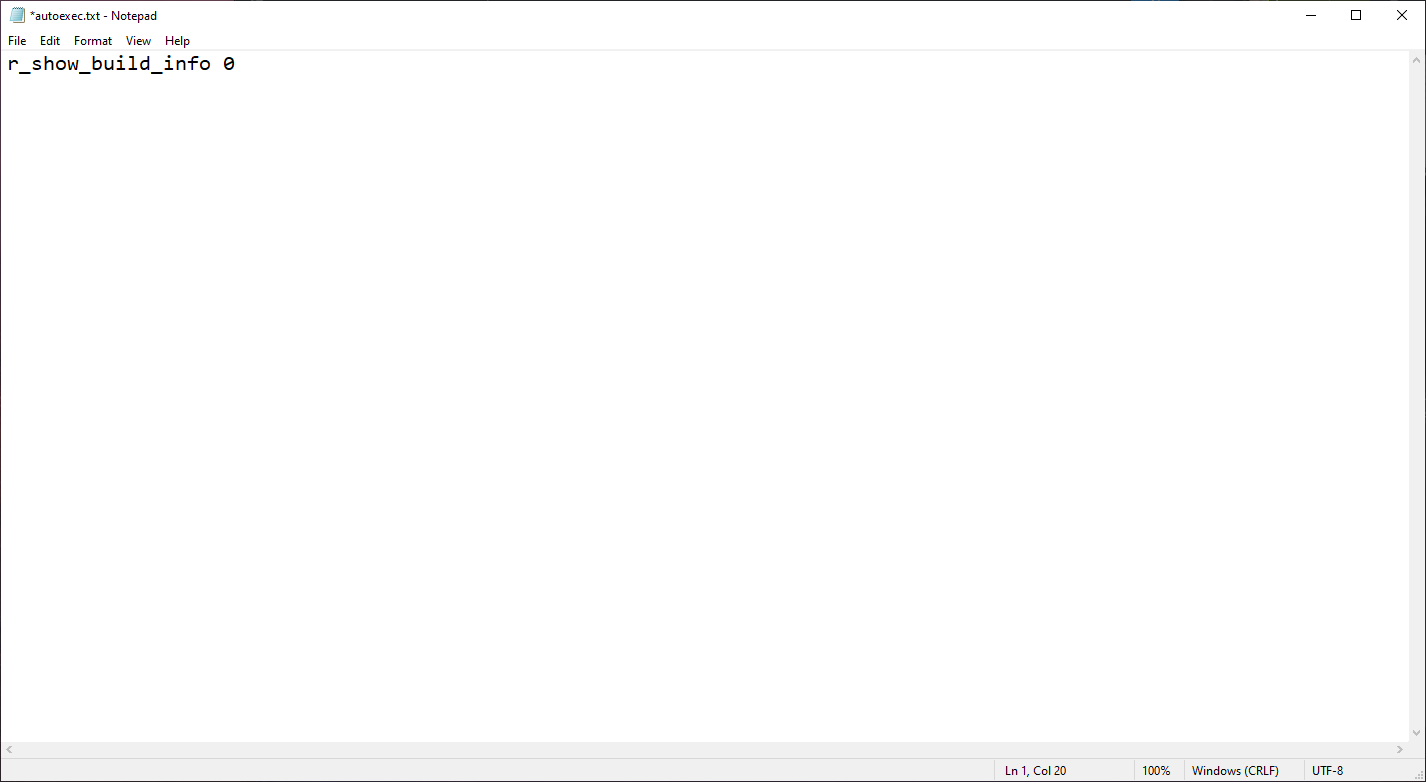
Stap 8: Open the text file and paste in the command “r_show_build_info 0” (without using quotation marks).
Stap 9: This is all the configuration file needs for now. In de toekomst, this file can accept other valid commands and can be used to automatically run them. Klik op “Bestand” in the top-left corner of Notepad, then move your cursor to “Save As…” and click on it.

Stap 10: A new window titled “Save As” will appear. It should look like this:
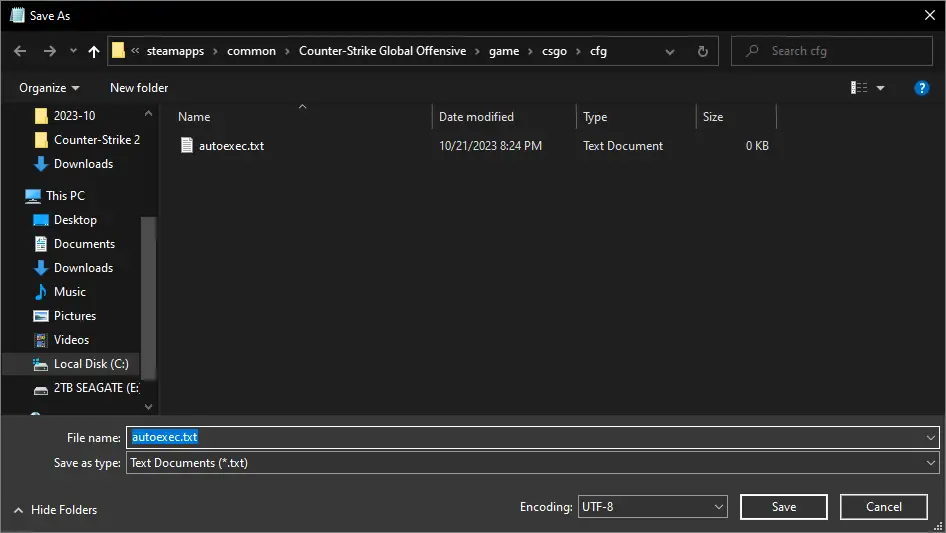
Eerst, change the “Save as type:” drop-down menu from “Tekstdocument (.txt)” naar “All Files (.)”.
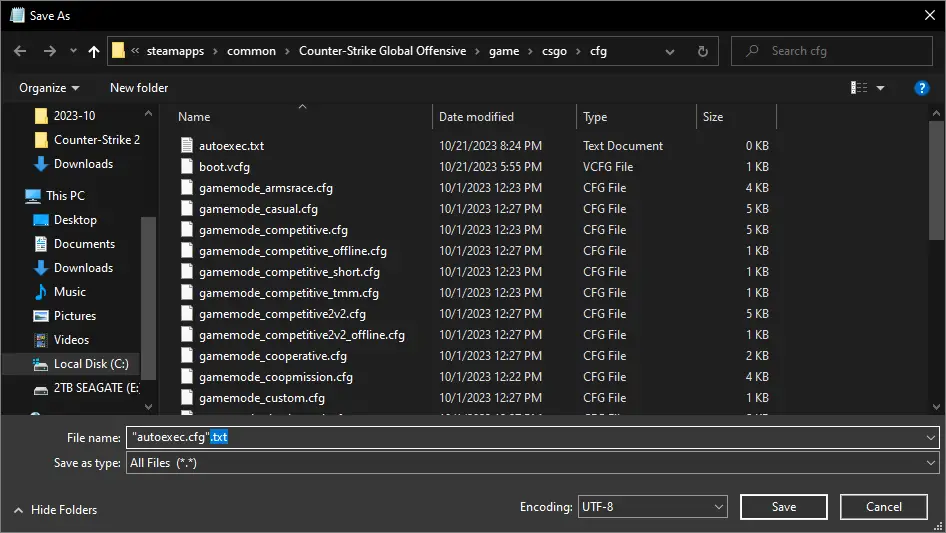
Volgende, delete the existing text in the field, type “autoexec.cfg” in brackets, and click the “Redden” knop.
Stap 11: You can now close all the windows except for the Steam window.

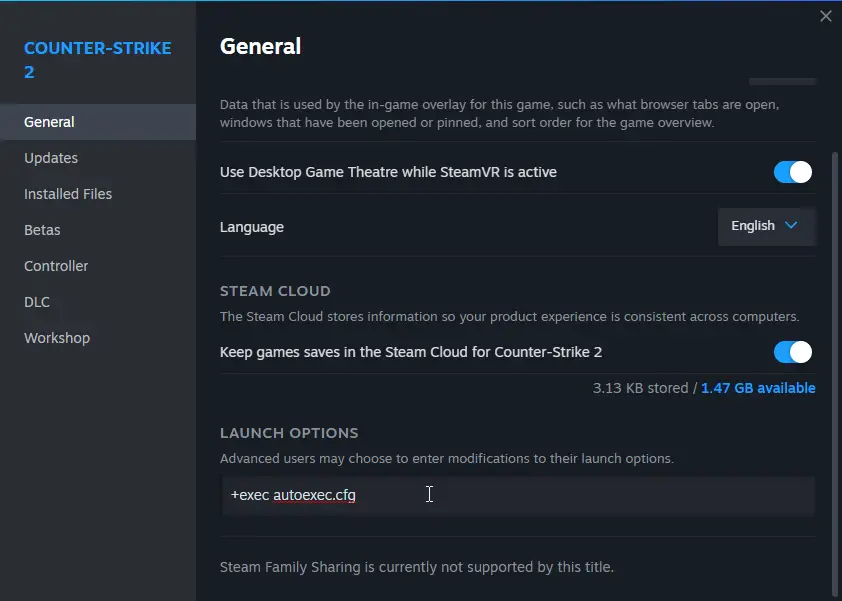
Return to your library, find Counter-Strike 2, right-click on it, en selecteer “Properties.” Dan, go to the General tab if it’s not already selected and scroll down slightly to reveal the LAUNCH OPTIONS. In this field, type the following:
+exec autoexec.cfg
Stap 12: Dat is het! If Counter-Strike 2 isn’t already closed, you may need to restart it.
If you have any questions or need assistance, please feel free to leave a comment, and I’ll do my best to help you.
Dat is alles wat we vandaag hiervoor delen Tegenaanslag 2 gids. Deze handleiding is oorspronkelijk gemaakt en geschreven door bonk!. Voor het geval we er niet in slagen deze handleiding bij te werken, U kunt de laatste update vinden door dit te volgen link.