- Titel: Brutal Orchestra
- Releasedatum:
- Ontwikkelaar:
- Uitgever:
Information about Brutal Orchestra is still incomplete. Help ons alstublieft de details van het spel hiermee in te vullen contactformulier.
Bronzo is a chill dude who always aids you after completing his quest…or is he? Now’s the time to finally get payback!
Invoering
Who’s the bastard?Bronzo seems like a real pain in the neck when you first meet him. He asks for so many coins and with seemingly nothing to give you in return. Echter, after finally paying him off, he becomes more useful by handing you a free shop item or a random number of coins when encountering him in the Far Shore. Pretty cool, rechts?
That being said, now that Exquisite Corpse is out, there is a random chance that he’ll give you…Niets. Wanneer dit gebeurt, you may begin to feel a mixture of excitement and fear, as this will initiate
one of the toughest, if not THE toughest, boss battles in the entire game.It’s worse than the Ungod and worse than the Unfinished Heir. Waarom? Because Bronzo has the power of the fourth wall on his side (you can thank Nico for that). Ondanks dit, there are benefits to engaging in this battle, even if you know for a fact that you’re going to lose. Voor een, there are multiple unlocks tied to this battle. For two, it is impossible to die because all damage to party members takes coins away instead of health. For three, depending on how far you get in the battle before it ends, you will gain a good number of “free” items for your troubles.
Variables to Consider
Variables? What are you talking about?There is a lot more planning and luck involved with getting a good outcome from this fight than usual. Ze zijn als volgt:
1. Whether or not Bronzo decides the fight will even exist (meaning you have to talk to him at least once in The Far Shore)
2. Your team build
3. Your items
4. How much money you can hoard beforehand
5. Which area the fight will spawn in
6. Whatever the hell happens during Bronzo’s final stage
The vast majority of times I’ve gotten the fight to spawn, it was in The Garden. It can spawn as early as The Far Shore, hoewel. Unless you’re content with just getting a bunch of items and moving on, you’re better off trying your luck with Bronzo in The Garden.
Money Making Methods
The amount of money you have prior to facing Bronzo will determine how secure your victory may be, and the best ways of earning money in Purgatory is through the use of certain items. You’re probably well aware of that fact by now, but there could still be a trick or two you haven’t tried yet, especially with some new items introduced in this update.
Colon Coins is currently one of the only treasure items that can give you coins, and it does so every time the party member holding it takes damage. There is a very small chance that the item gets destroyed upon use, so if you come across a fairly easy fight and can get your party member to tank damage numerous times (assuming there’s a healer present), you can really rack up the moolah with enough patience. Eenmaal, I was able to get over 100 coins in a single battle by keeping a spawned Mungling alive until the item finally broke!
Take A Penny, Leave A Penny is the cheapest shop item method of earning coins, albeit not super effectively. Every time the party member holding it performs an action, you get a coin, and there is a 50% chance of that coin being taken away at the end of the turn. Like Colon Coins, there is a small chance of the item being destroyed upon use. As long as this party member can use an ability every turn, you are bound to make a little profit from it. This can be improved if you have a party member that can naturally refresh themselves, d.w.z. Burnout, Kleiver with the cacophony move, and Dimitri with the oil move, allowing for multiple actions per turn.
Stolen Gold received a slight nerf as a shop item due to how powerful doubling money can be. It still doubles the amount of coins received at the end of a battle, but now, it adds a scar to the party member holding it each turn in addition to constricting them. This can cause said party member to die faster if they receive direct damage, turning the item into a proper high risk for high reward.
Zeep? is a new shop item that creates the true coin farming experience. At the end of a battle, whatever yellow pigment is in the pigment bar (not the pigment generator bar) will be exchanged for 1 coin each. This means you can earn up to 10 additional coins per battle this way, which can be more than double the regular coin reward in some instances! Make sure to move generated yellow pigment into the pigment bar so it isn’t wasted at the end of the turn. You can even move the pigment in while in the middle of attacking an enemy to block their pigment from clogging empty spaces (best done with attack animations turned on).
Purple Heart is a cheap shop item that has the potential to give you a boatload of coins (4x the battle reward). The only catch? You have to sacrifice the party member holding it, and it doesn’t work on Nowak anymore. Dus, if you happen to obtain this item and have an extra party member that simply doesn’t work for the team you’re trying to build, try getting them killed during a boss fight. Their death won’t be in vain.
Bronzo’s Two Cents en Counterfeit Coins are shop items unlocked via Bronzo’s boss fight, and it doesn’t take much effort to do so. Echter, their usefulness is more limited than that of the other listed items. Bronzo’s Two Cents is just that – two free coins. Counterfeit Coins is a one-time-use item that gives you 10 coins upon the party member holding it receiving any damage.
Bronzo’s Stupid Hat is only unlocked as a treasure item after fully beating Bronzo for the first time. Unlike most treasure items, which tend to be more powerful than their shop item counterparts, this item is a lesser version of Stolen Gold. It has a 50% chance of doubling rewards…en een 50% chance of halving them. Ja, not the most ideal, but at least it doesn’t add negative effects in battle.
Actually Fighting Bronzo
In Bronzo’s battle, money equals health, and Bronzo has some nasty tricks to try and rob you blind. Niet alleen dat, but his battle has five stages, each stage more chaotic than the last, and changing stages forces the current turn to end. The two most dangerous moves he can possess in terms of stealing money are High Interest (stealing half of your coins) and Bankruptcy (stealing all of your coins). Echter, he also has Formless during most stages, which means those moves can be potentially rerolled into something safer.
Much like the Ungod and Unfinished Heir, Bronzo only produces purple pigment (in all but his final stage, in which he has gray health and Pure). While this would normally be a major hinderance, taking what would be damage from off-coloring will only cost 3 coins no matter how much wrong pigment is used at once. This is considerably better than the alternative of overflow damage, which costs up to 15 coins total and doesn’t help with whittling Bronzo’s health away.
If you don’t feel comfortable with the amount of coins you have, maak je geen zorgen. In Bronzo’s second stage, he summons 4 stacks of money called El Dorado. Attacking these stacks will give you up to 120 munten (30 health per stack), and any remaining stacks will be destroyed once the second stage ends. Aanvullend, if you initiate the battle while already having 0 munten, je krijgt 2 coins for free, so it isn’t completely impossible to face Bronzo while poor.
Even when you have a massive amount of coins at your disposal, you can still get completely screwed over due to the absolute randomness of the final stage. In this stage, Bronzo himself doesn’t attack your party anymore, but he’ll instead summon just about everything possible. From all areas, he’ll bring forth enemies, minibosses, bosses, and even final bosses to aid him in wiping out your bank. If any of these summons have an instakill move, it removes 50 coins instead. The only thing Bronzo isn’t allowed to summon is Sepulchure, as that would be all too convenient for you…
…but you can use this randomness to your advantage. If Bronzo summons weaker enemies, you can choose to keep them alive so he can’t summon anything more deadly.
My First Success
Skill just isn’t enough for a fight like this. I’ve gotten considerably better at playing Brutal Orchestra since writing my Unfinished Heir guide (so much so that defeating Bronzo was the last task I had for 100-percenting the game again), but even so, trying to complete this battle was a nightmare…
Opmerking: I recently created a small visual mod that gives all party members silly hats. That is not official Brutal Orchestra content, but I will be sure to make it public for anyone interested once the game becomes Steam Workshop compatible.
My winning run had some of the best luck I could’ve asked for. At the Far Shore shop, there were no money-making items, but there was the new item War Bond. I bought it on a whim, hoping that sacrificing a battle’s coins for a random item would work in my favor, and sure enough…
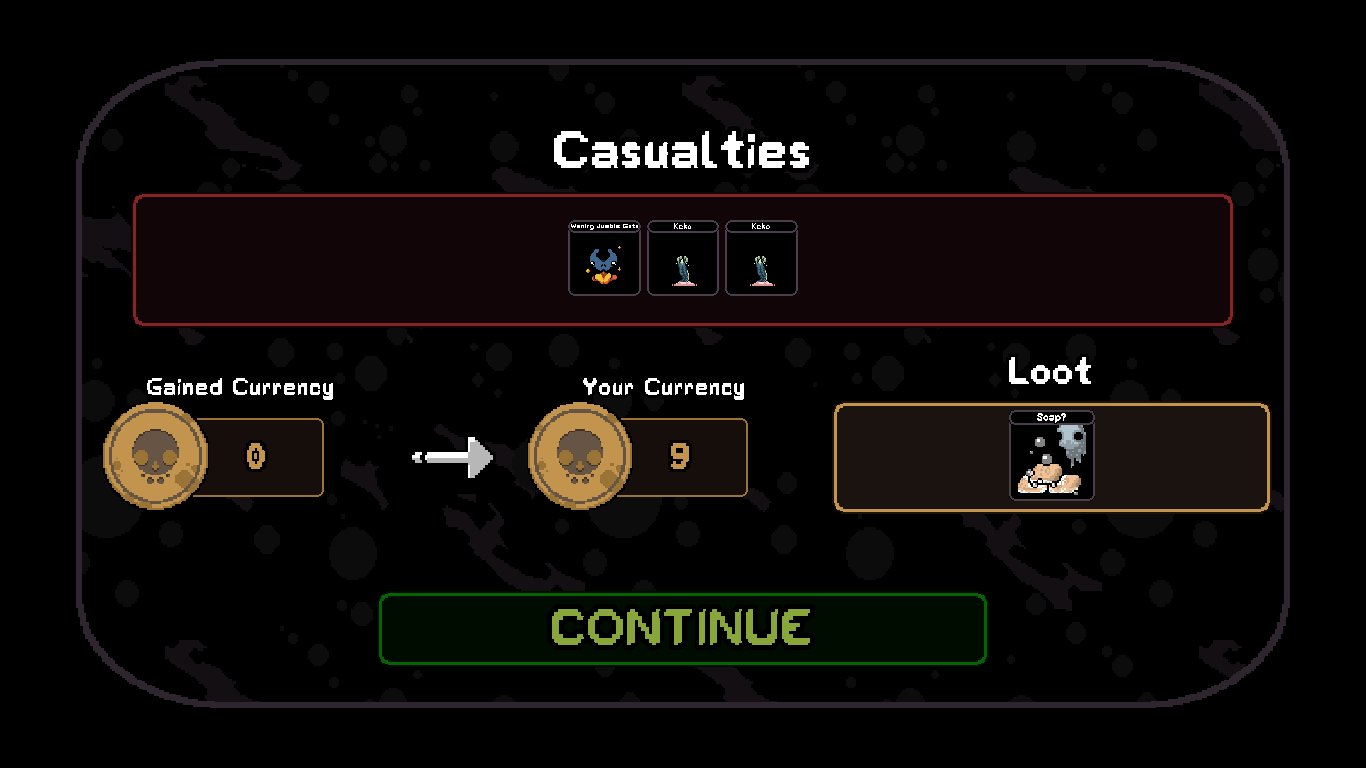
I got exactly what I needed with my first try.
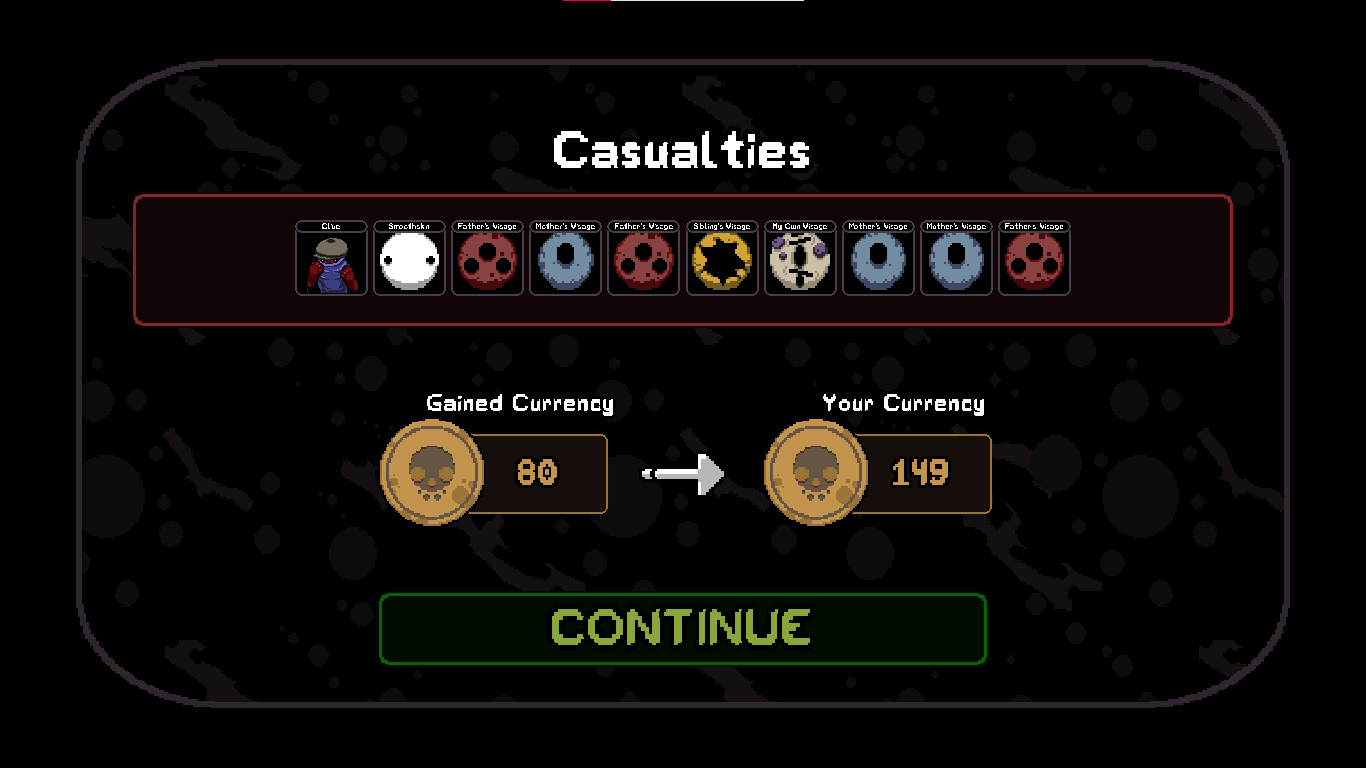
At the Orpheum shop, I bought Purple Heart, and I happened to pick up Clive for free. Dus, I sacrificed him to Smoothskin for even more dosh. Daarnaast, I bought Fly Paper and the new item Gentlemen’s Glove for the Yellow Essence option (an upgrade from when all lucky pigment was forced to be a different color) and more aggressive lucky pigment production respectively.
I chose Pearl with both attack abilities as a starting party member, due to her amazing damage rates without assistance. The other party member I started with was Thype with both healing abilities, meaning I never had to pay for a healer or healing items. At the first fool shop, I bought Leviat for their malpractice move to inflict frail. At the second, I bought Arnold due to his Panic Attack not being allowed to proc in Bronzo’s fight, meaning he could build up his punch for as long as possible. I was so loaded by the time I neared the end of The Garden that I could max out Pearl and boost Arnold while still having over 100 munten.
While items that prevent damage from using wrong pigment don’t work in Bronzo’s fight, shielding does. I happened to obtain two items with shielding properties: Runty Rotter en Funnel Helmet. Runty Rotter in particular was very helpful due to being able to convert pigment of a random color into shields. Combining that with Gentlemen’s Glove meant the shields could get pretty strong at times. The item that practically carried the whole battle was Opulent Egg. Having Spotlight on Pearl is already insane enough, but then adding Leviat’s malpractice on top of that? Bronzo was practically melting.
And then it all boiled down to Bronzo’s final stage…
By Stage 3, I had a little over 200 munten. By Stage 5, it got chopped down to roughly 50. He managed to use High Interest on me. Twice.
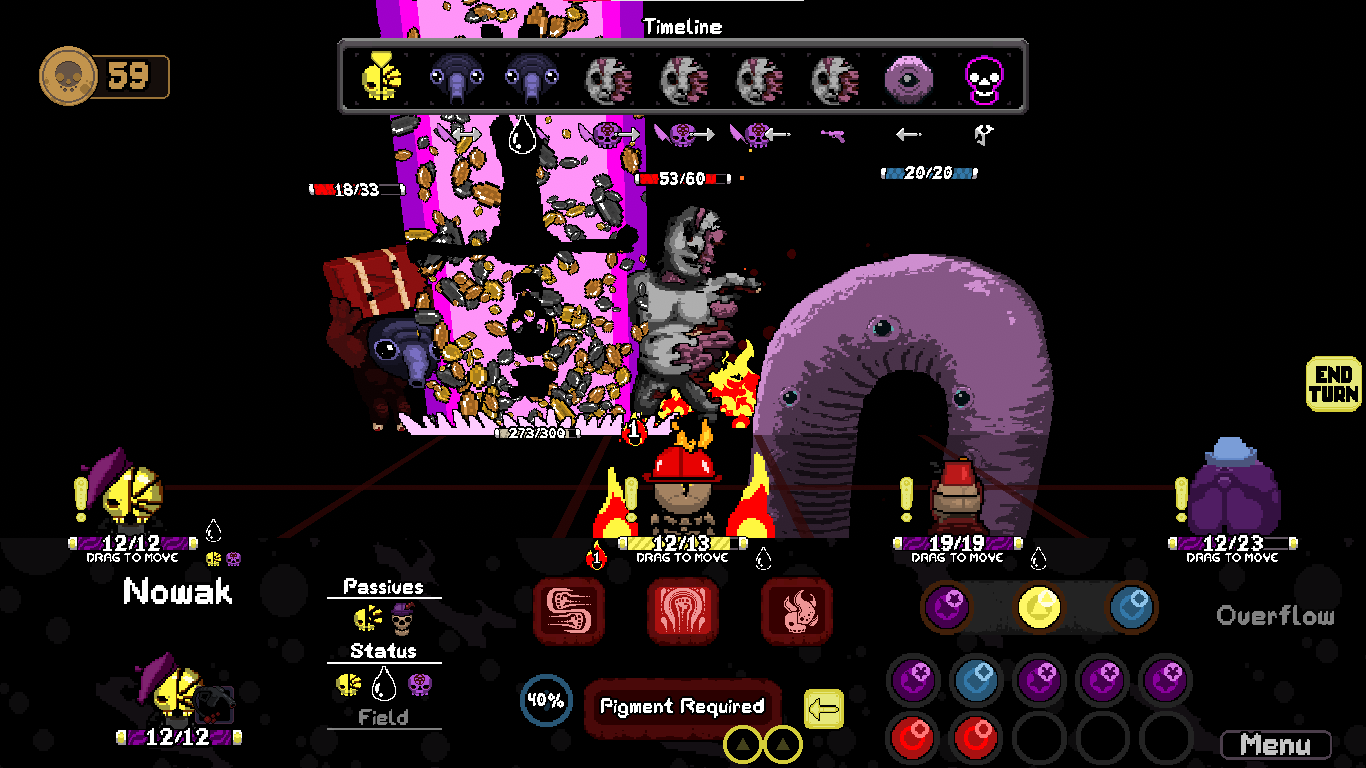
To demonstrate how unpredictable this last stage is, I will now show you Bronzo’s first set of summons vs his second set.

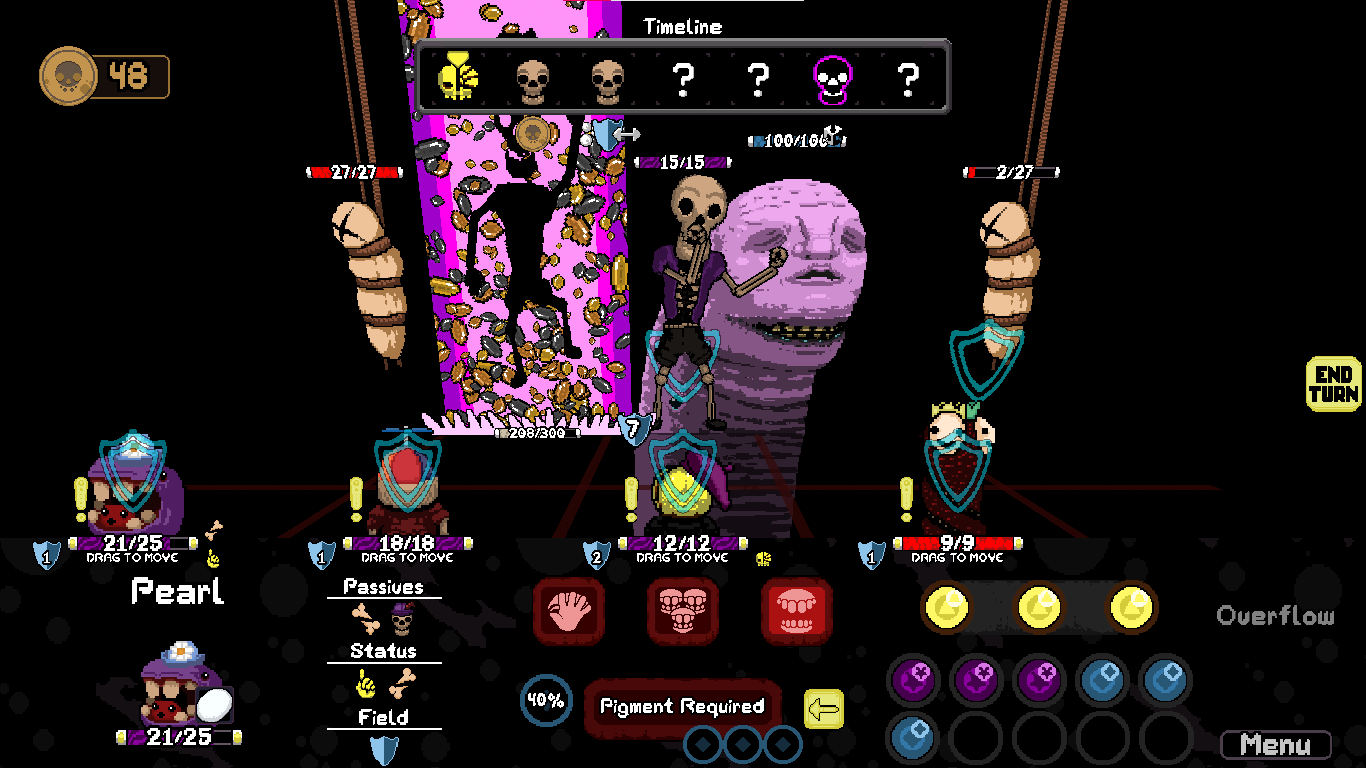
Ironically, having Orro’s head there ended up helping me more than hurting me. Since it has Anchored, it became a sort of barrier that prevented the other enemies from moving around too much. As long as I didn’t place anyone directly in front of the head, I was mostly safe. I was also able to destroy the Wriggling Sacrifices before any Ungods could enter the fray, and all of the enemies spawned afterward were closer to harmless. It’s a much better outcome compared to the previous time I attempted this…
When it was finally over, I only had about 20 coins left. It really was the Brutal Orchestra.
Andere tips
Healers in general are not recommended for this fight unless they can attack in some way or add status effects. Wasting time on healing is pointless, grotendeels. The only exception is if the party member receiving the healing has the new shop item Used Dog Tags, which converts the healing into damage.
Just because you can hebben 5 party members active doesn’t always mean you should. For this fight, leaving a space open can give you a chance at avoiding some of the worst potential coin losses.
Since damage on party members doesn’t really exist in this battle, some items will be rendered useless while others become more powerful. Bijvoorbeeld, the item Norris! normally degrades into the weaker Norris… when the party member takes any damage. Echter, no damage means the item will give all enemies 6 indirect damage every turn no matter what! Norris is truly invincible!
As mentioned before, shielding does work in preventing loss of coins. Fennec can provide great shielding for little cost, though his Bone Spurs will never activate. SmokeStacks can also provide shielding while reducing the chance of pigment overflow.
Bimini is another impressive attack dealer that can quickly wipe out El Dorado and other enemies, and since party damage isn’t a thing, Immortal has no effect. Echter, keep in mind that her attacks are completely useless if Bronzo sets up shields, and the scars she gives herself while attacking will slowly increase the number of coins lost through enemies’ direct attacks.
At max level, both Boyle and Griffin can clobber the left, rechts, and center opposing rows at the same time. Griffin may seem to be the more tantalizing option due to his Spotlight, but Spotlight can also double the number of coins lost via what would be direct damage, and Boyle can create shields.
During Stage 3, Bronzo is capable of fully healing himself using Bailout. Defaced Scripture is an item that can curse him and prevent this move from working.
In Stage 5, Bronzo has a mega version of Skittish that moves him 10 times after bringing forth more summons. An attack that inflicts Rupture on him would work well because of this.
Feel free to comment with other tips and tricks I might not have listed here. To close, here is a sprite I made of an item concept that didn’t make the cut for the fan item contest.
Dat is alles wat we vandaag hiervoor delen Brutal Orchestra gids. Deze handleiding is oorspronkelijk gemaakt en geschreven door embercoral. Voor het geval we er niet in slagen deze handleiding bij te werken, U kunt de laatste update vinden door dit te volgen link.