
- Titel: Beneath the Mountain
- Releasedatum:
- Ontwikkelaar:
- Uitgever:
Information about Beneath the Mountain is still incomplete. Help ons alstublieft de details van het spel hiermee in te vullen contactformulier.
This is a Starter Kill Chamber guide to help out the noobies
Before we get to the Guide
This is my own design and it’s not made for the late game or Nightmare but it should get you to victory on easy and could most likely get you past day 500 on normal but it depends on when you set it up and what difficulty it is on. Also if you are using this in a video or want to tweak it all I ask is some credit. and please remember if this design is flawed it is made for beginners and is really meant to guide beginners into making kill chambers and trap defenses so yeah, let’s get into it.
Goud
First of All. You need gold, A lot of gold, enough gold to make 50 gold thrones. so the first thing to do is start mining gold pockets and make a few Treasuries
Next start making rails, your dwarves need to move around your fortress so make lots of rails for more speed and efficiency. (Side note rails cannot run down staircases so you need to make separate railways for each floor)

Entrance and Protection
Now Before we start beginning you need to explore your mountain Entrance en build walls and a gate nearby the entrance
Ook, make sure there is no other entrance to your fortress besides the main gate. if they’re is seal it quickly with walls and further on traps as well.

Now you need to build a barracks naar train troops to protect yourself before you set up the kill chamber
I personally suggest training up around 10 warriors on easy mode but you at least need some troops to defend against invasions before proper setup
Engineering Parts Factory
This is Not a too complicated step but it is very long and pretty expensive, so first let me introduce you to your new best friend the
Werkplaats

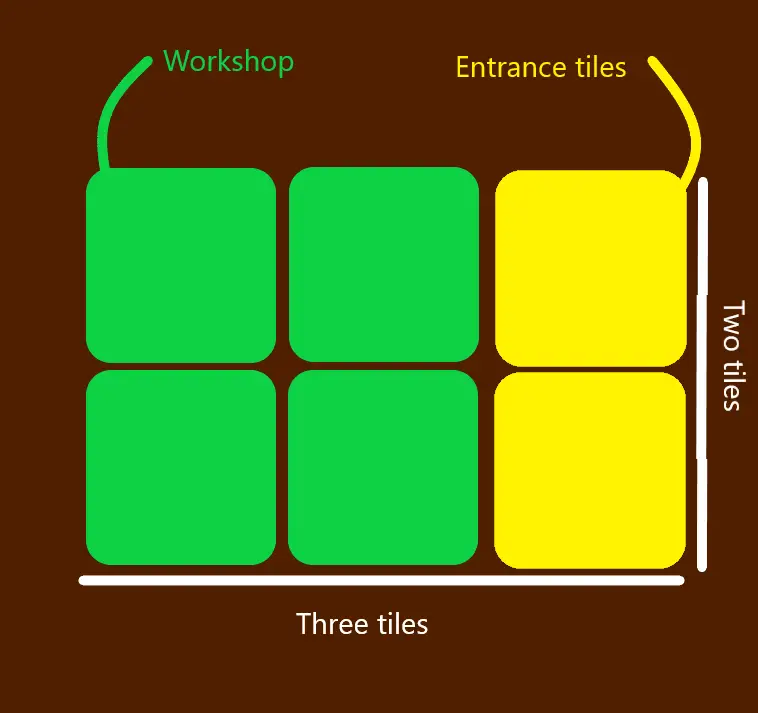
The workshop produces Engineering Parts, it is the main component in building traps and to make this setup in a reasonable time we’ll be setting up a factory of them. so the basics are that each workshop takes up four tiles and needs two entrance tiles or it needs 3×2 tiles or you can look at this diagram I made
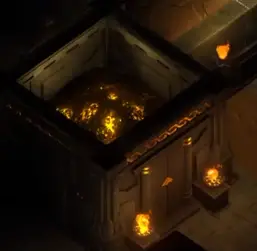
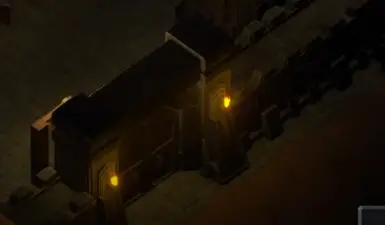
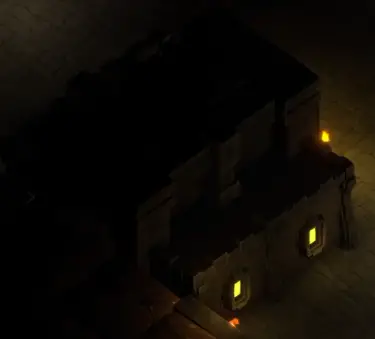
So the actual factory will repeat that formation in a straight line, it will take up a large volume of space but the end result will look a lot like this
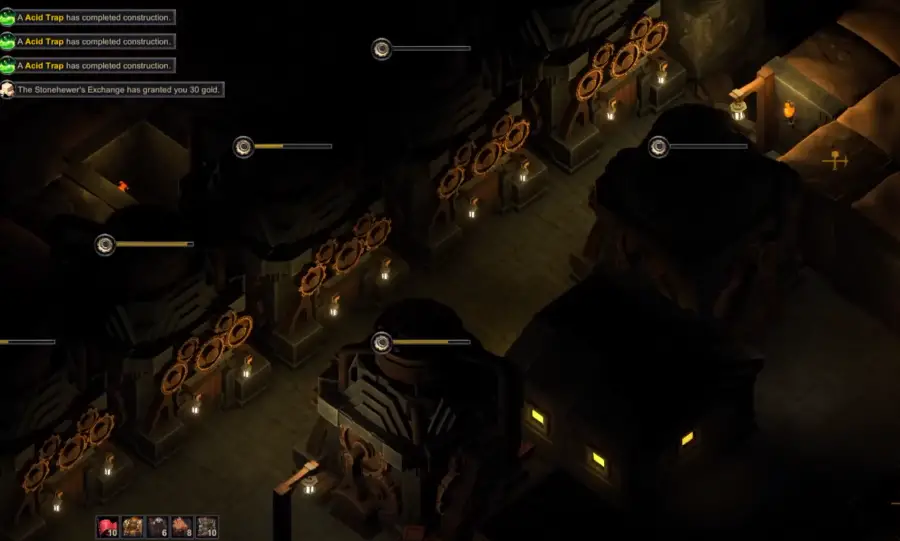
and in turn, if you wanted to double this up you take that pattern and flip it around or continue the line
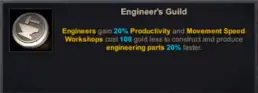
Ook, I highly suggest getting the Engineers Guild runestone as well as upgrading Engineering parts upgrades in the Workshop
Kill Chamber
Now we are at the last leg of our journey and before I begin I will explain the Optimal layout that I found for this kill chamber design.
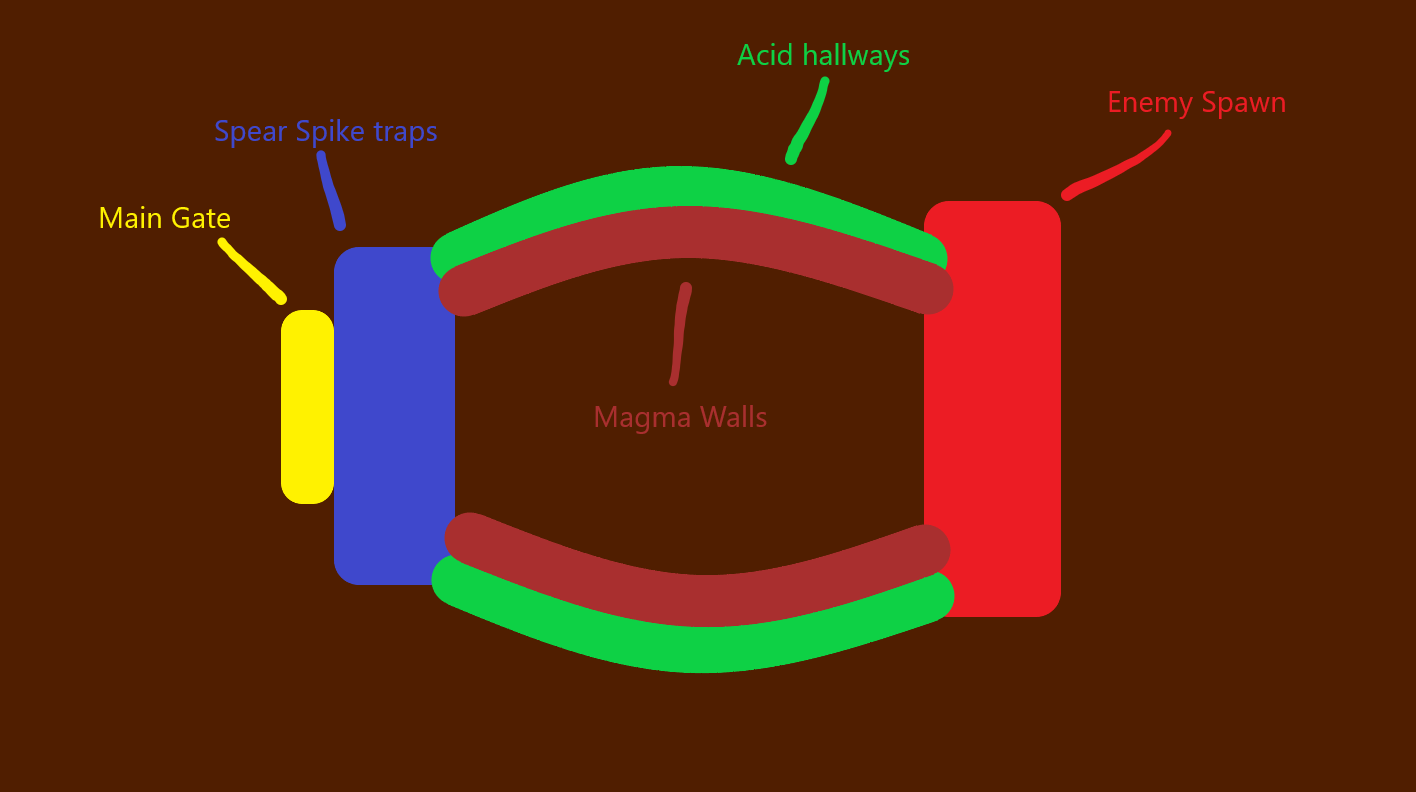
you have a sphere of terrain in the middle with narrow acid trap-filled hallways lined with magma walls, and by your gate, you make a floor of Spike traps for anything that makes it past the hallways
Now you could improve this by making the whole sphere a Maze of walls designed to be long and filled with acid but Acid is the main trap as it deals high damage and can easily kill large swabs of enemies, especially weak ones.
de Magma walls deal damage to enemies too fast to stand in the acid trap they stepped on and just add on a layer of damage
en de Spear Spike traps finish anything that makes it through the hallways
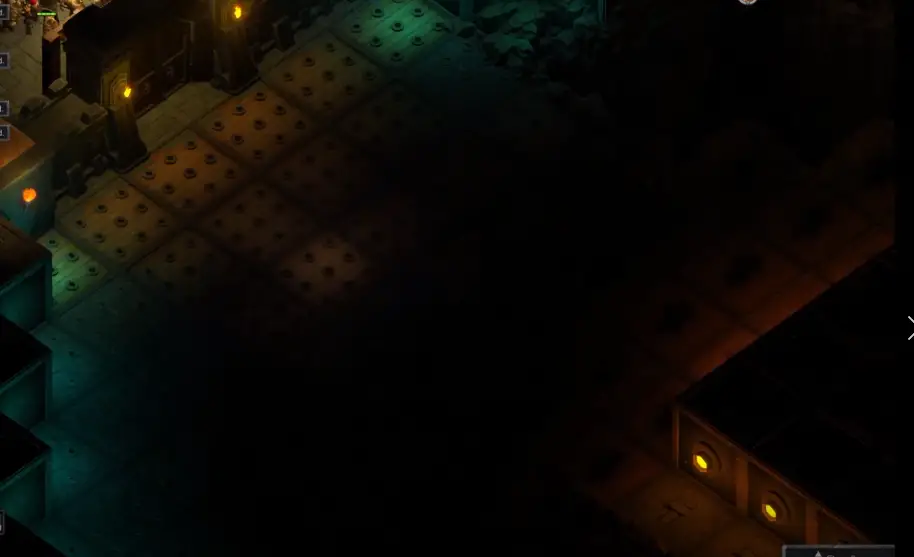
With everything done here are your results

Dat is alles wat we vandaag hiervoor delen Beneath the Mountain gids. Deze handleiding is oorspronkelijk gemaakt en geschreven door Streaming Wretch. Voor het geval we er niet in slagen deze handleiding bij te werken, U kunt de laatste update vinden door dit te volgen link.