- Titel: Armored Core VI: Fires Of Rubicon
- Releasedatum:
- Ontwikkelaar:
- Uitgever:
Information about Armored Core VI: Fires Of Rubicon is still incomplete. Help ons alstublieft de details van het spel hiermee in te vullen contactformulier.
The boost kick is a significant mechanic in the game, and here are the essential details, including the numbers involved:
Basic Information
Unlocking the boost kick ability in the OS Tuning menu will cost you 1 Credit.
Echter, exercise caution, as this ability can lead to accidental actions if you double-tap the Assault Boost button. Instead of boosting away, you may find yourself flying towards your locked-on target.
The base damage of your kick depends on two key factors:
- The Total Weight of your AC. Opmerkelijk, if you use the Weapon Control ability and remove a weapon mid-mission, your kick’s damage will slightly decrease until you retrieve it from a Supply Sherpa.
- The type of leg you have equipped, specifically whether it’s a reverse joint or not.
All legs within the same class perform similarly. Met andere woorden, the nimble wheelchair tank legs deliver the same kick damage as the hefty slab tank legs, assuming all other factors are equal. Dus, a slender Nachtreiher won’t deal less kick damage compared to a bulky Tian-Qiang boot if the ACs have the same weight.
When it comes to the effectiveness of the kick, reaching full speed through Assault Boosting before executing it doesn’t increase the damage over a point-blank jump kick. If the enemy is right in front of you, a quick double-press is sufficient.
The kick proves extremely useful for conserving ammunition, especially when aiming for an S rank. A single dynamic entry can eliminate or stun many MTs, particularly if they are unaware. In cases where the stagger meter isn’t filled, the kick can still interrupt certain larger enemy animations. This tactic is particularly effective against tetrapod MTs as they charge their main weapon. Aanvullend, kicking an enemy experiencing ACS Failure results in 3x kick damage and often extends the stagger window to your advantage.
Echter, it’s worth noting that after executing a kick, there’s a brief post-kick period where you experience reduced mobility, and your camera movement becomes less fluid. Daarom, accuracy is essential to avoid unwanted consequences.
Damage Statistics
In terms of damage modifiers, tank treads, tetrapod (quads), and bipedal legs all share the same modifier. This means that tank kicks don’t inherently deal more damage; it typically seems that way because tank ACs are heavier. Dus, the choice of using tank legs is usually justified by their weight.
Anderzijds, reverse joint legs do significantly more damage when delivering a kick.
Tank
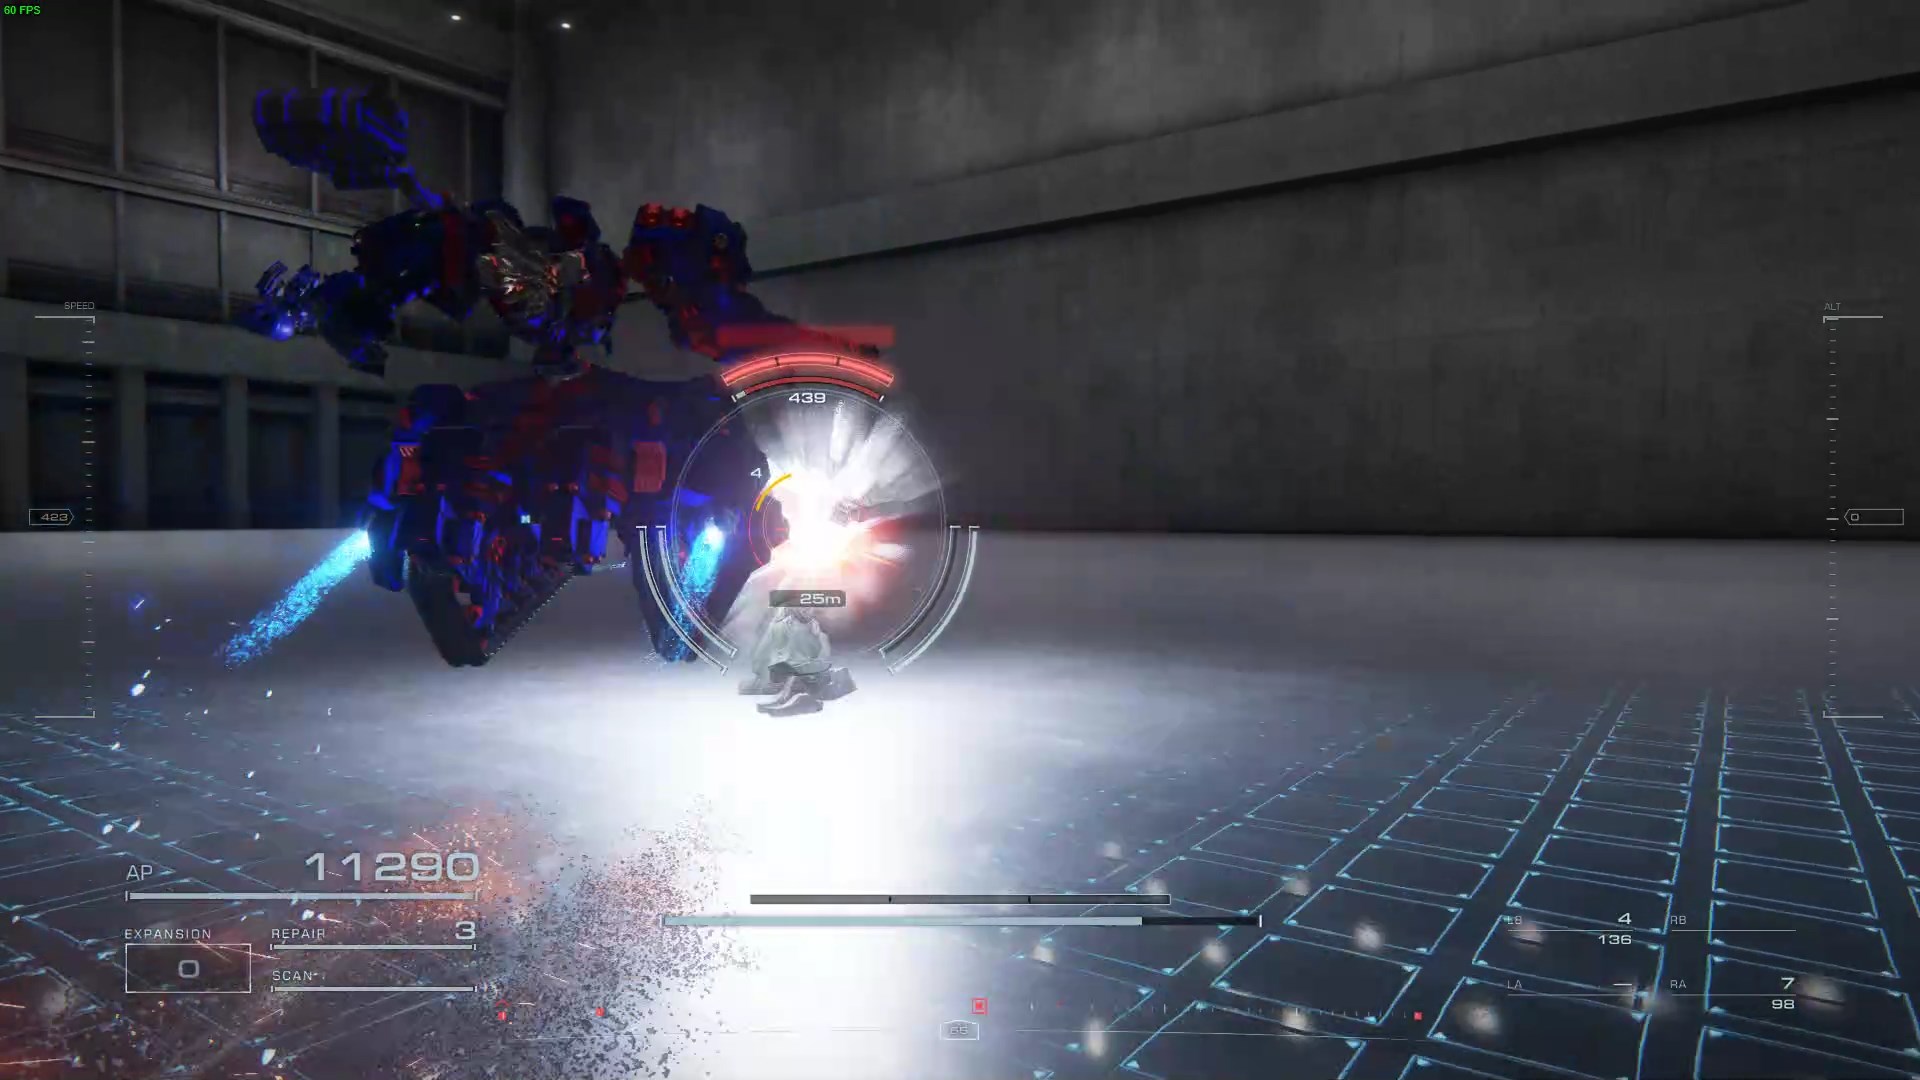
- Weight: 66240
- Schade: 439
Quad
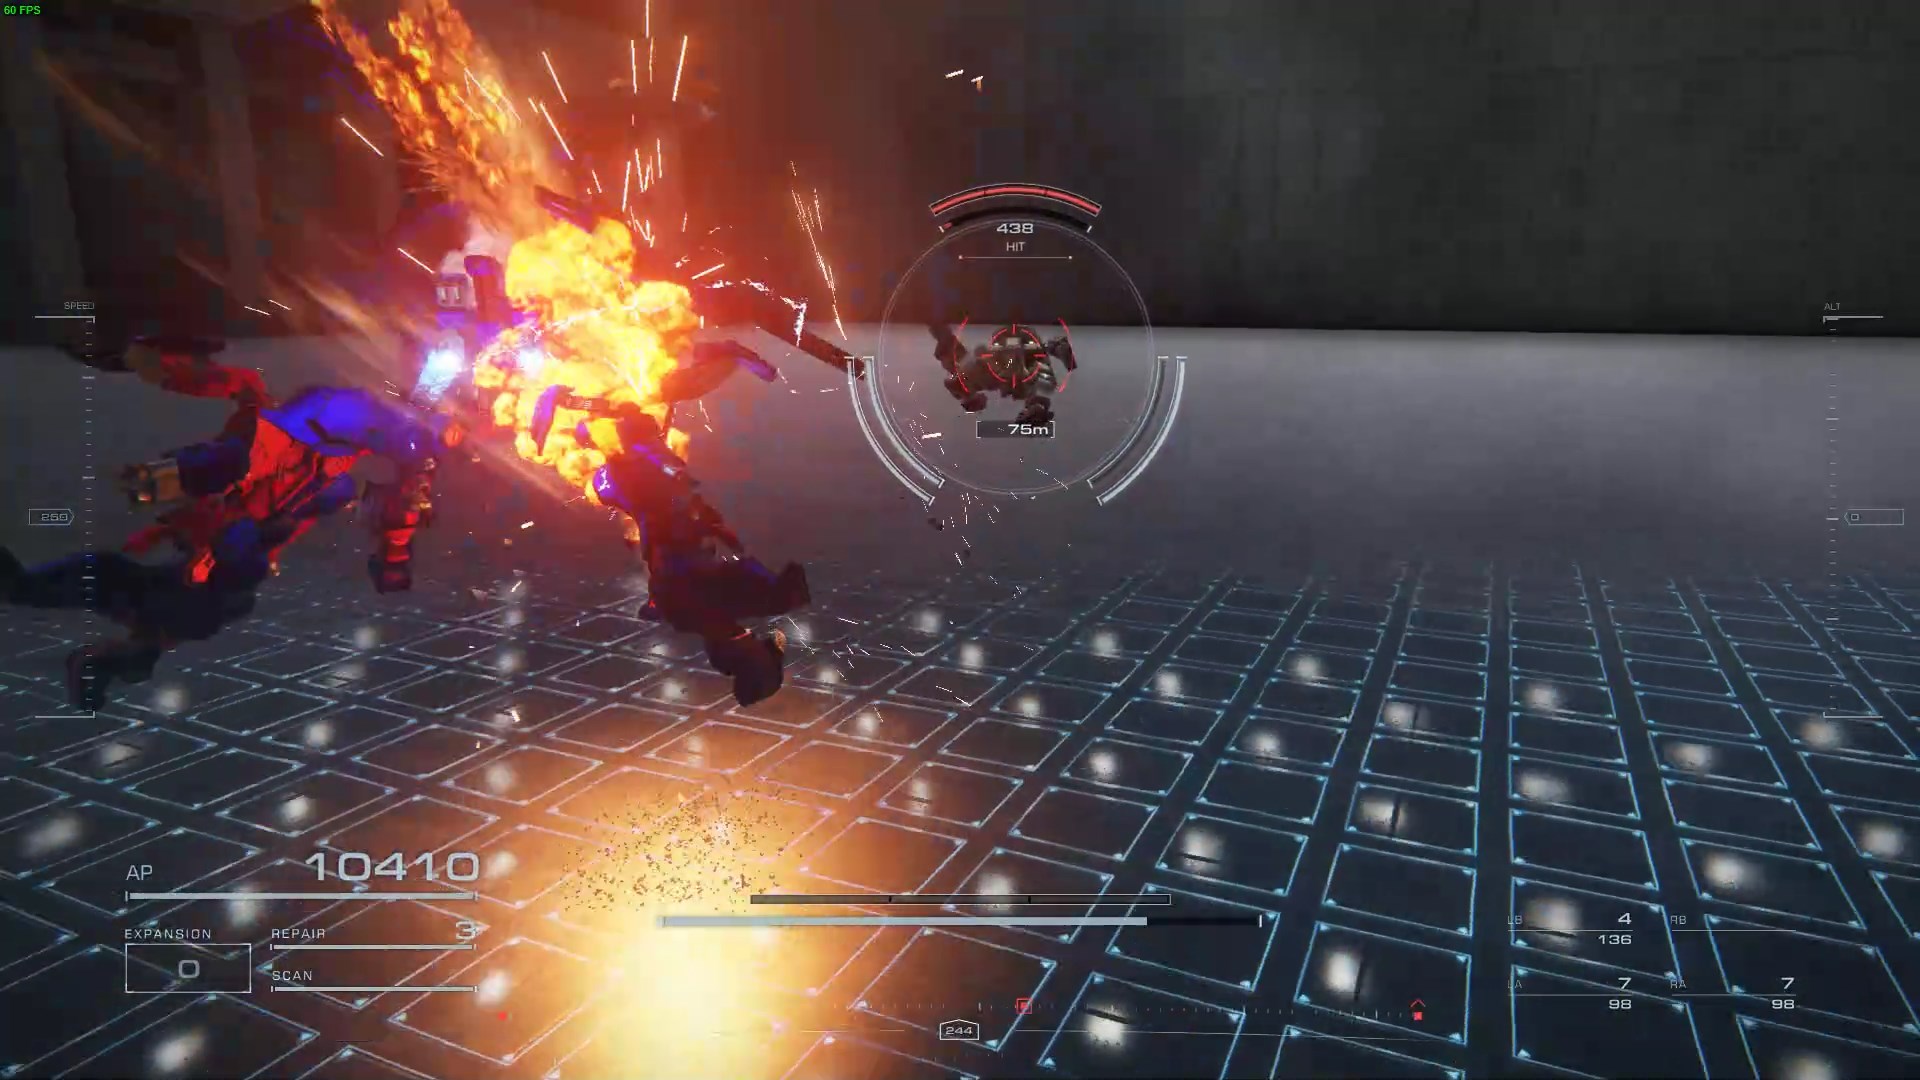
- Weight: 66230
- Schade: 438
Achteruit
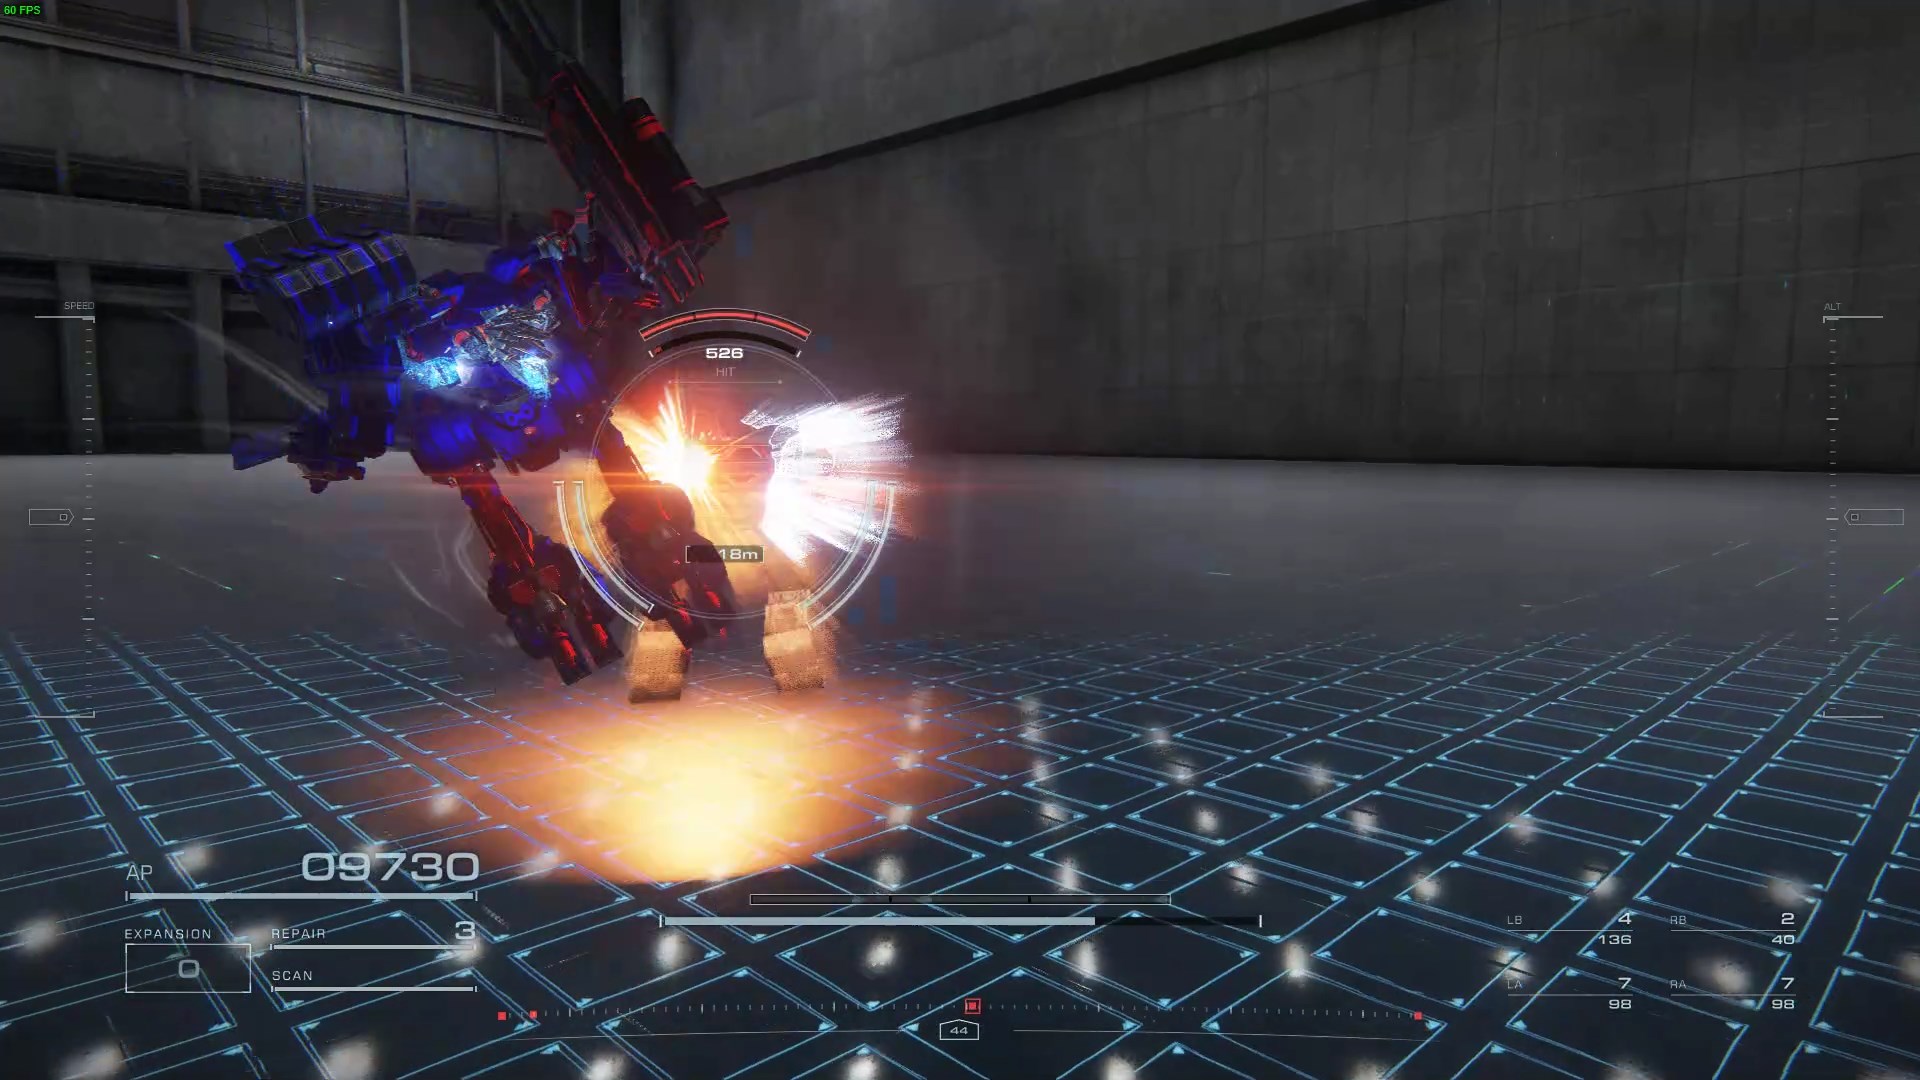
- Weight: 66230
- Schade: 526
Bipedal
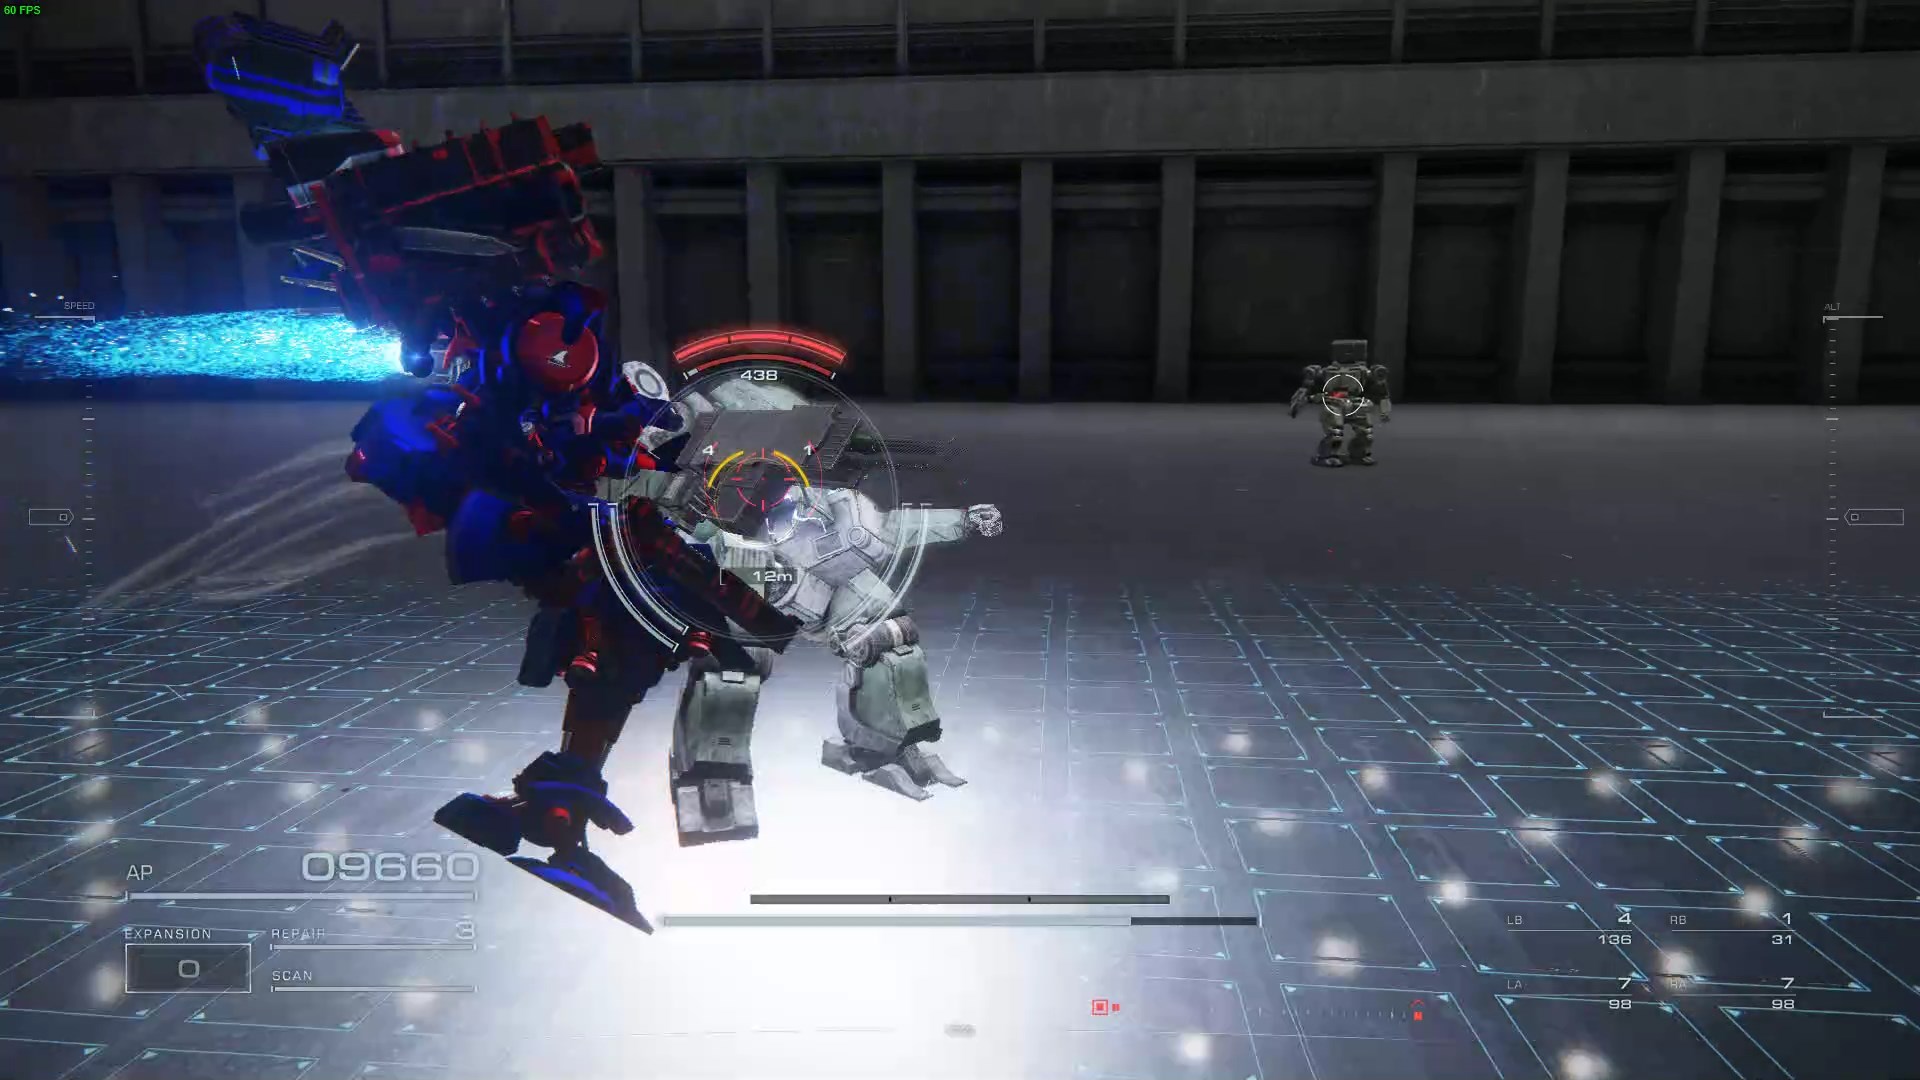
- Weight: 66230
- Schade: 438
The additional 100 is best voordelig, especially when considering the threefold bonus you’ll receive for striking a foe in a Staggered state.
Range/Distance
All the leg classes have the capability to strike multiple foes simultaneously if they are closely grouped together. Onder hen, the tetrapod stands out because its AC executes a helicopter spin during the kick, significantly expanding the hurtbox, even surpassing the large slab tank treads in this regard. Echter, it’s worth noting that you typically can’t hit an enemy more than once with a single kick action, even if you manage to corner them.
Since it’s a boost kick, the initial boost is an unavoidable prerequisite.
When it comes to the effective range of kicks:
- Bipedal en Tank leg kicks will connect at a range of 100 meters from the target.
- Quads will reach within 110 meters due to the way the legs splay out during the spin, although the difference is minor.
- Reverse joints have an impressive reach of just under 120 meter. This slight advantage can sometimes make a significant difference.
Echter, it’s important to note that against mobile opponents, these distinctions become less relevant.
Interessant genoeg, both quad and tank kicks allow the AC to maintain some forward momentum after striking at approximately 100 meter, without consuming additional energy. This feature can be strategically utilized to traverse large gaps and voids by repeatedly employing the Boost Kick instead of attempting a standard Assault Boost.
Dat is alles wat we vandaag hiervoor delen Armored Core VI: Fires Of Rubicon gids. Deze handleiding is oorspronkelijk gemaakt en geschreven door hoimingmissile. Voor het geval we er niet in slagen deze handleiding bij te werken, U kunt de laatste update vinden door dit te volgen link.