Massive detailed maps with efficient routes and detailed information on every relic and where to find them.
소개
I created this guide because although there are other guides with maps, 업적, reliquary and relic locations, there wasn’t one that had everything together in one place.
I thought it would be nice to have some simple to follow routes that anyone can refer to during a run. This kind of turned in to a full walkthrough once I had the maps and routes. The walkthrough is aimed at the singleplayer campaign, though you can use the same routes in multiplayer. From the extra information I gathered creating this guide I also made a skills and levelling guide for singleplayer.
I wanted really high quality maps, so I spent a lot of time taking screenshots of the zoomed in map for each chapter and stitching them together. The maps in this guide are around 2mb each but I have much higher quality versions of each one if anyone is interested in them.
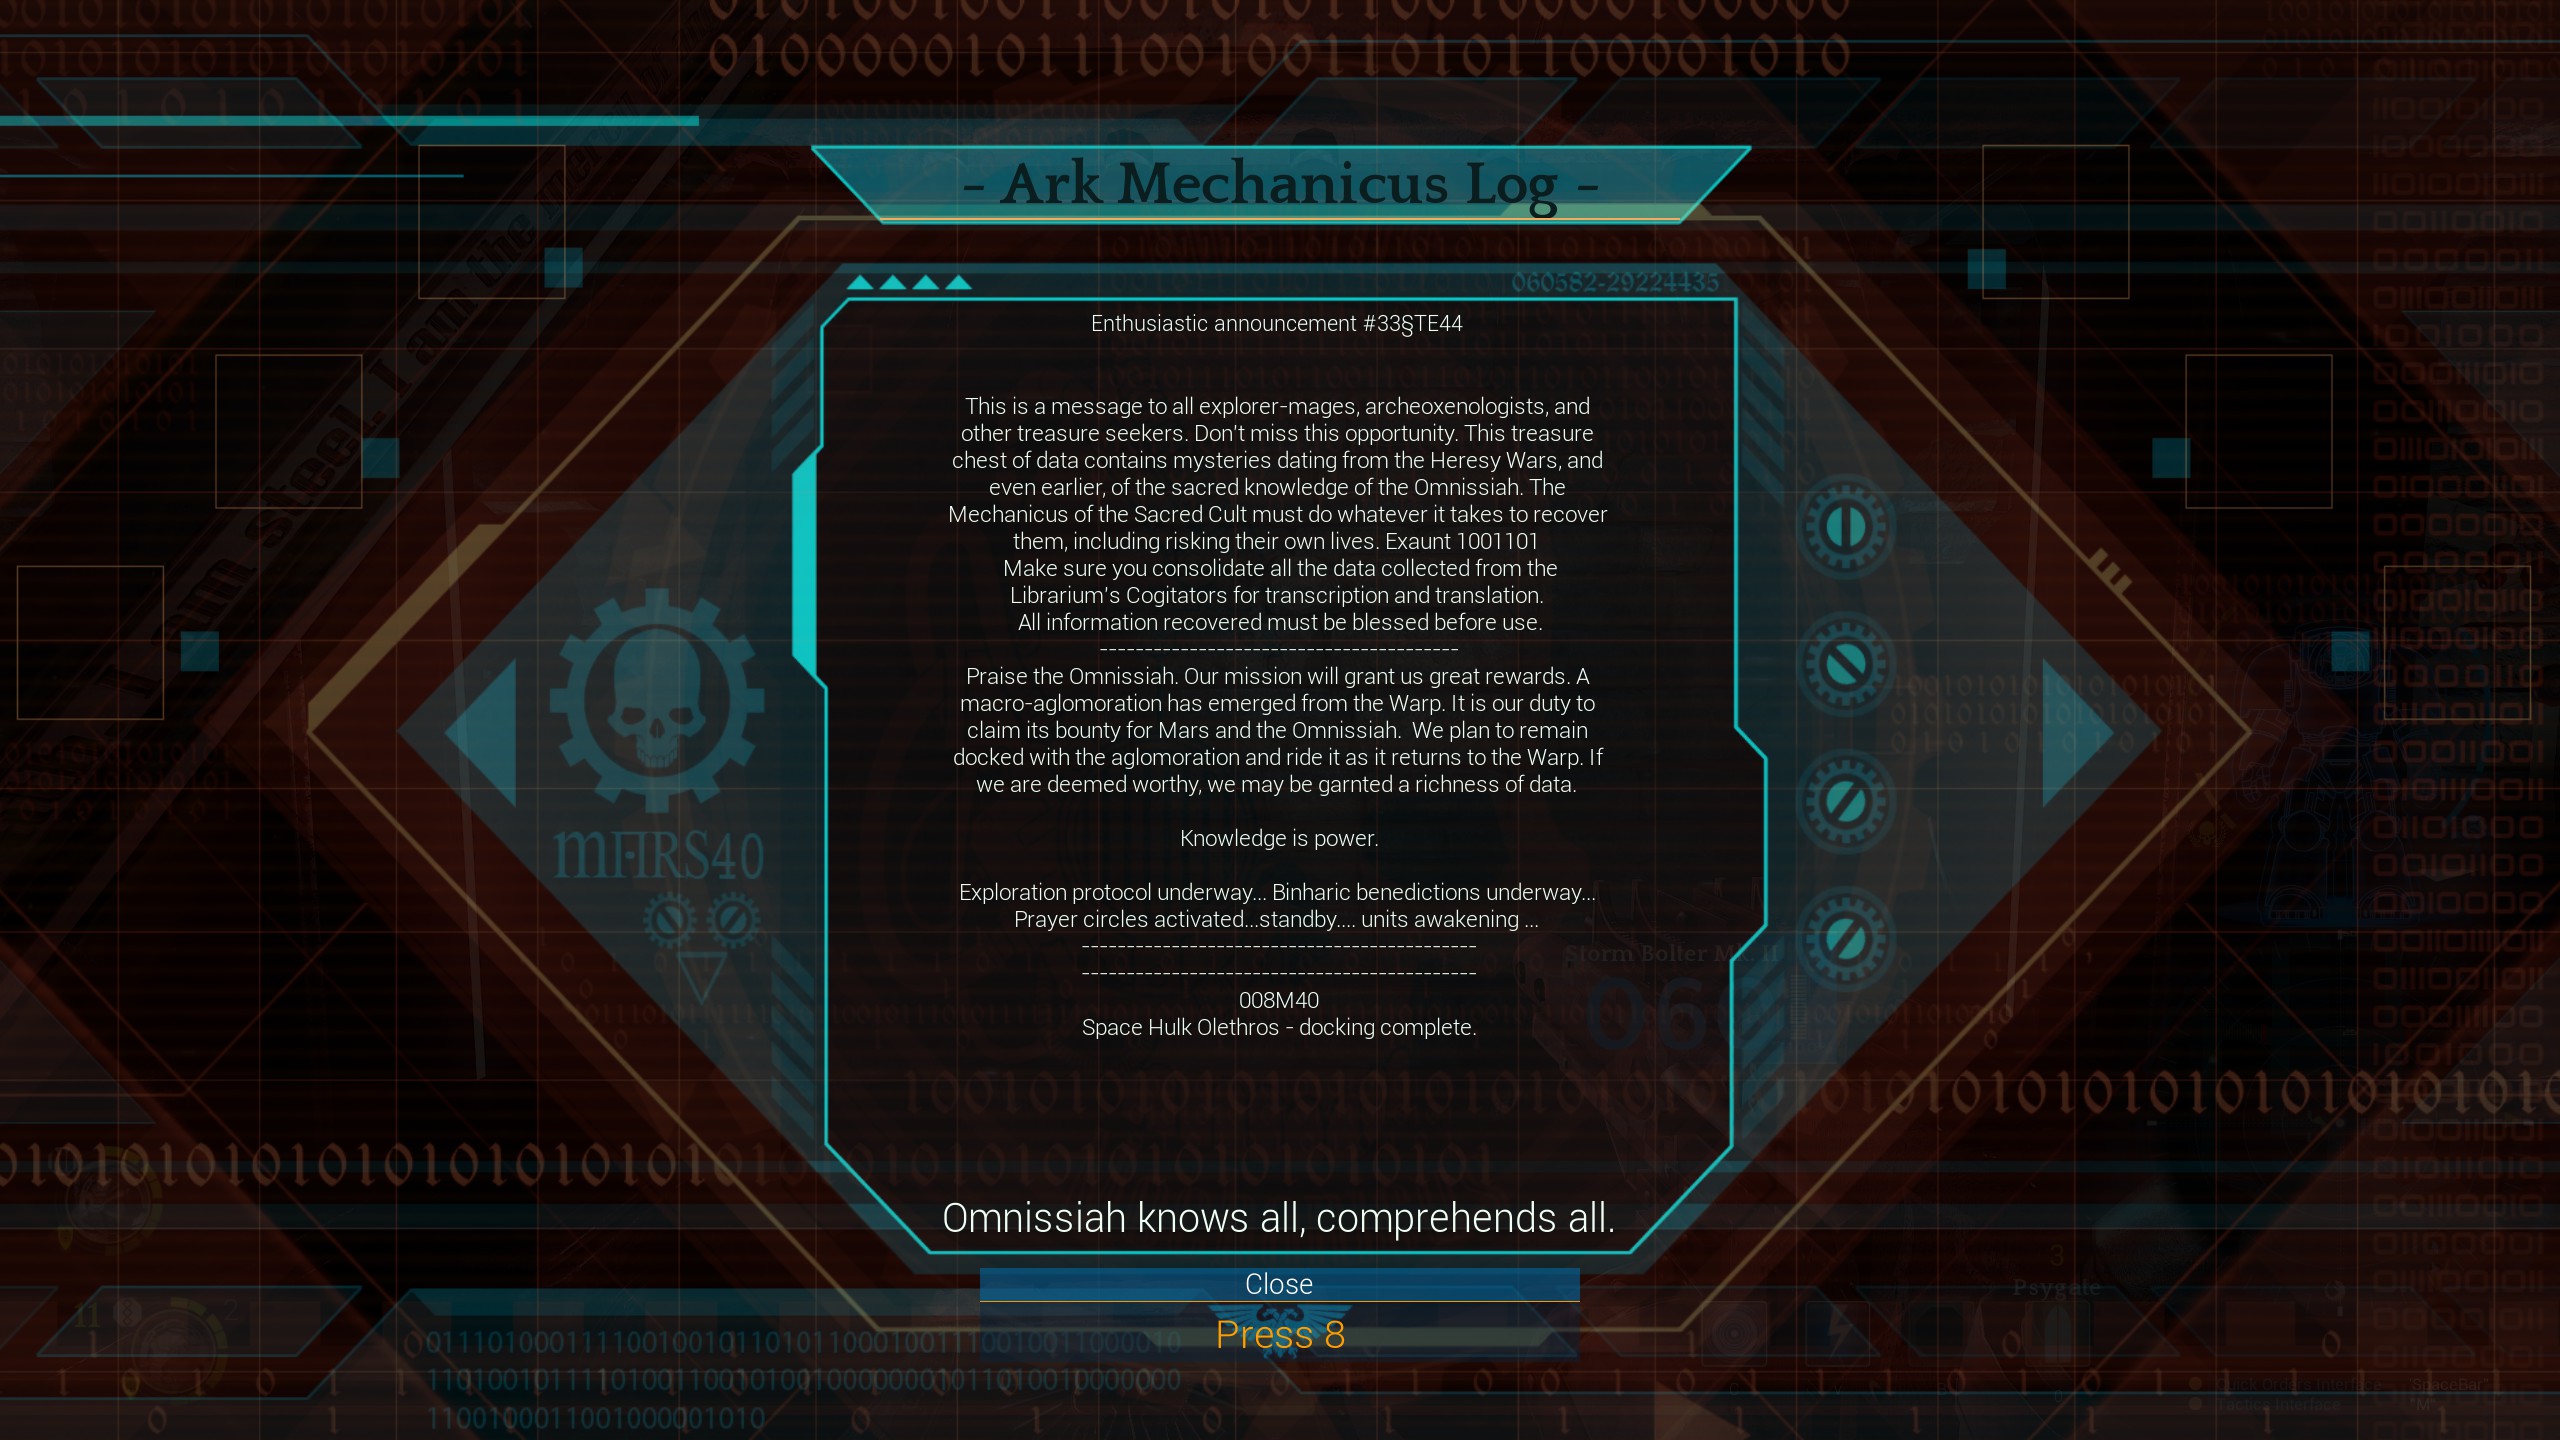
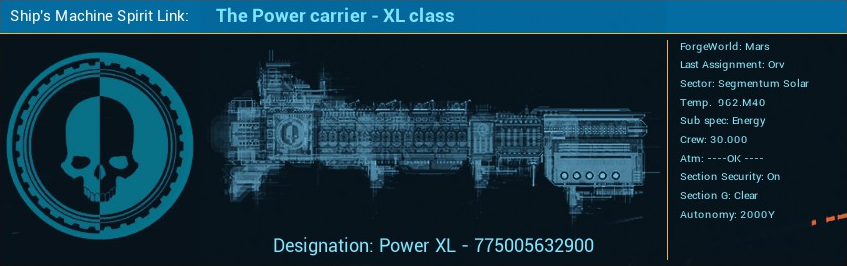
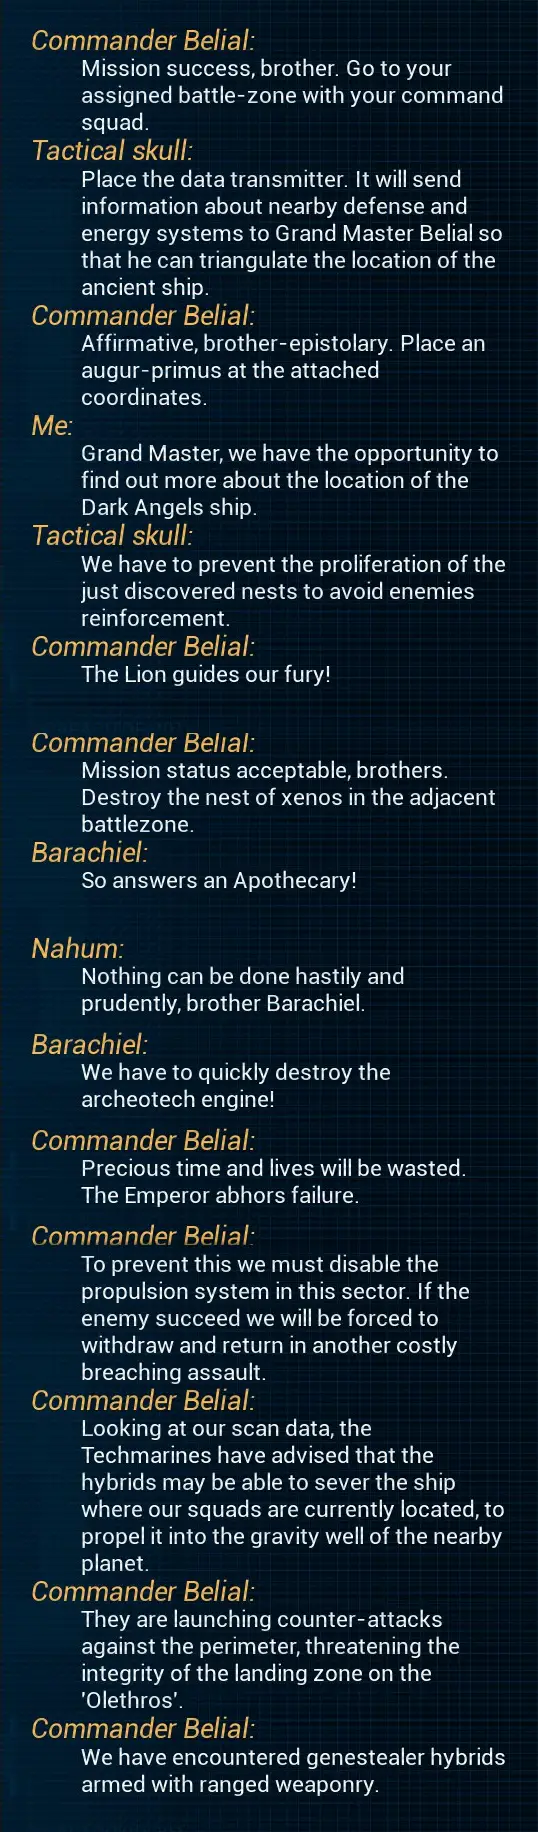
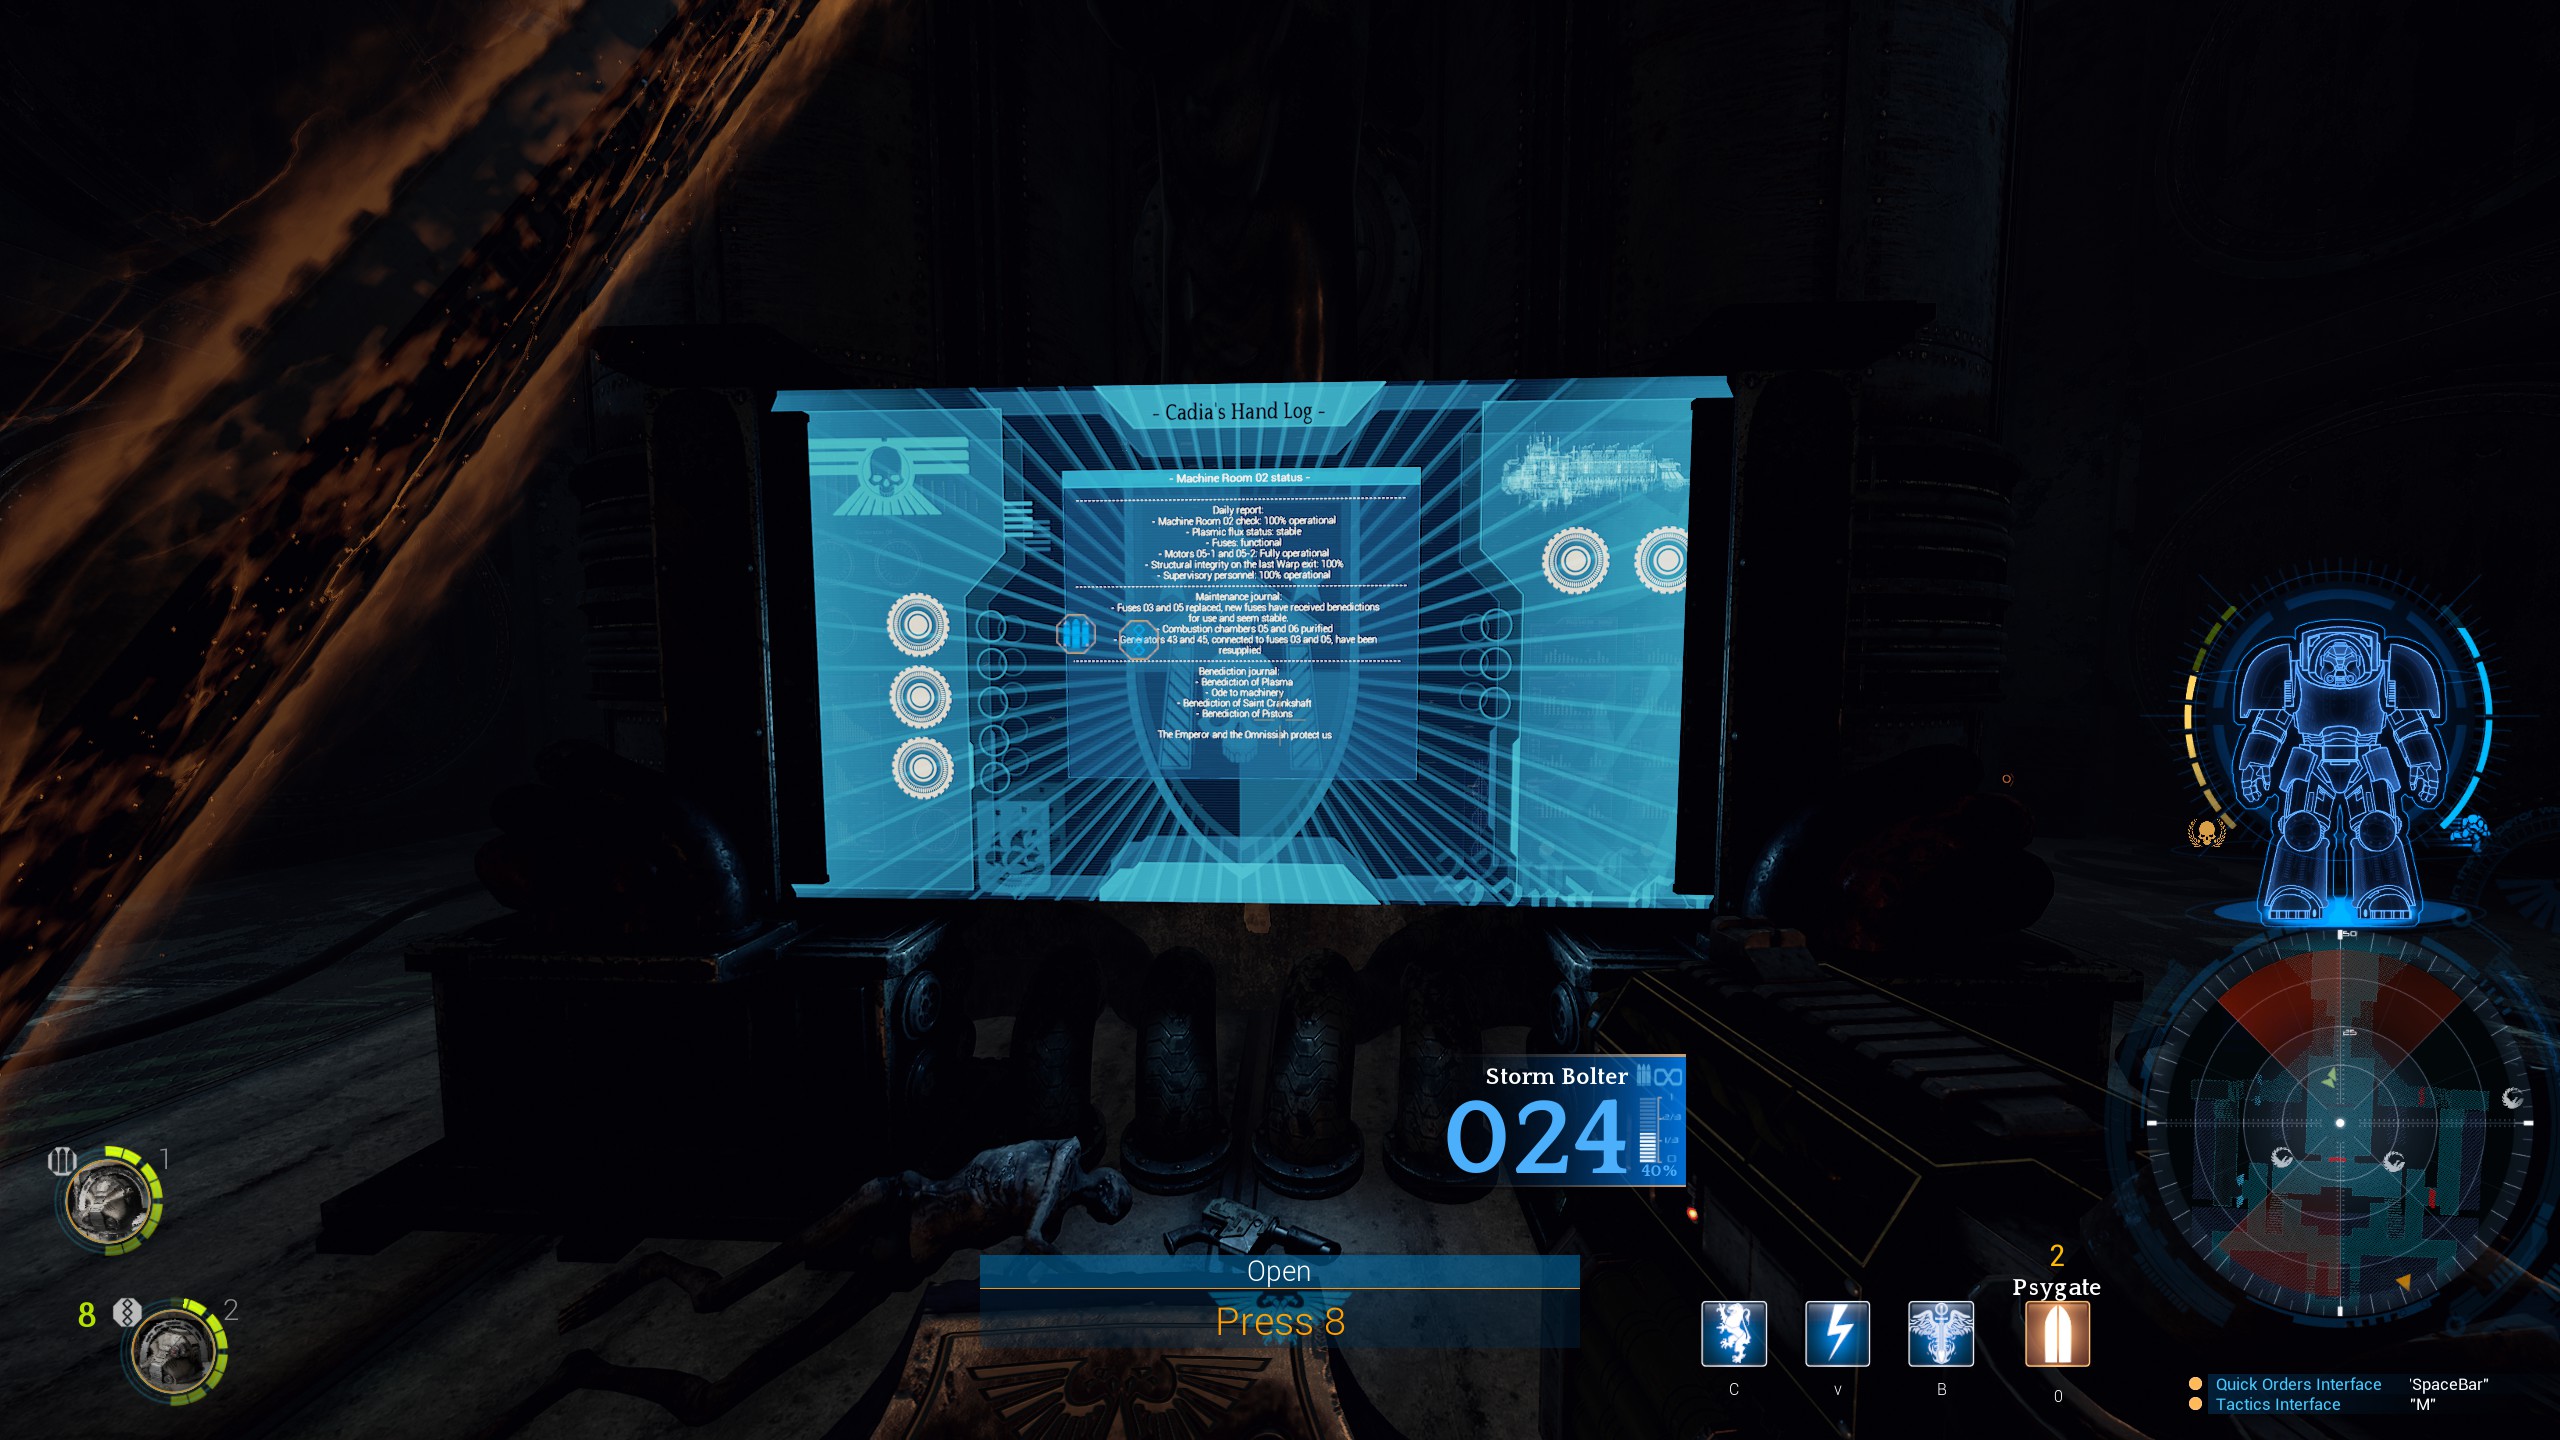
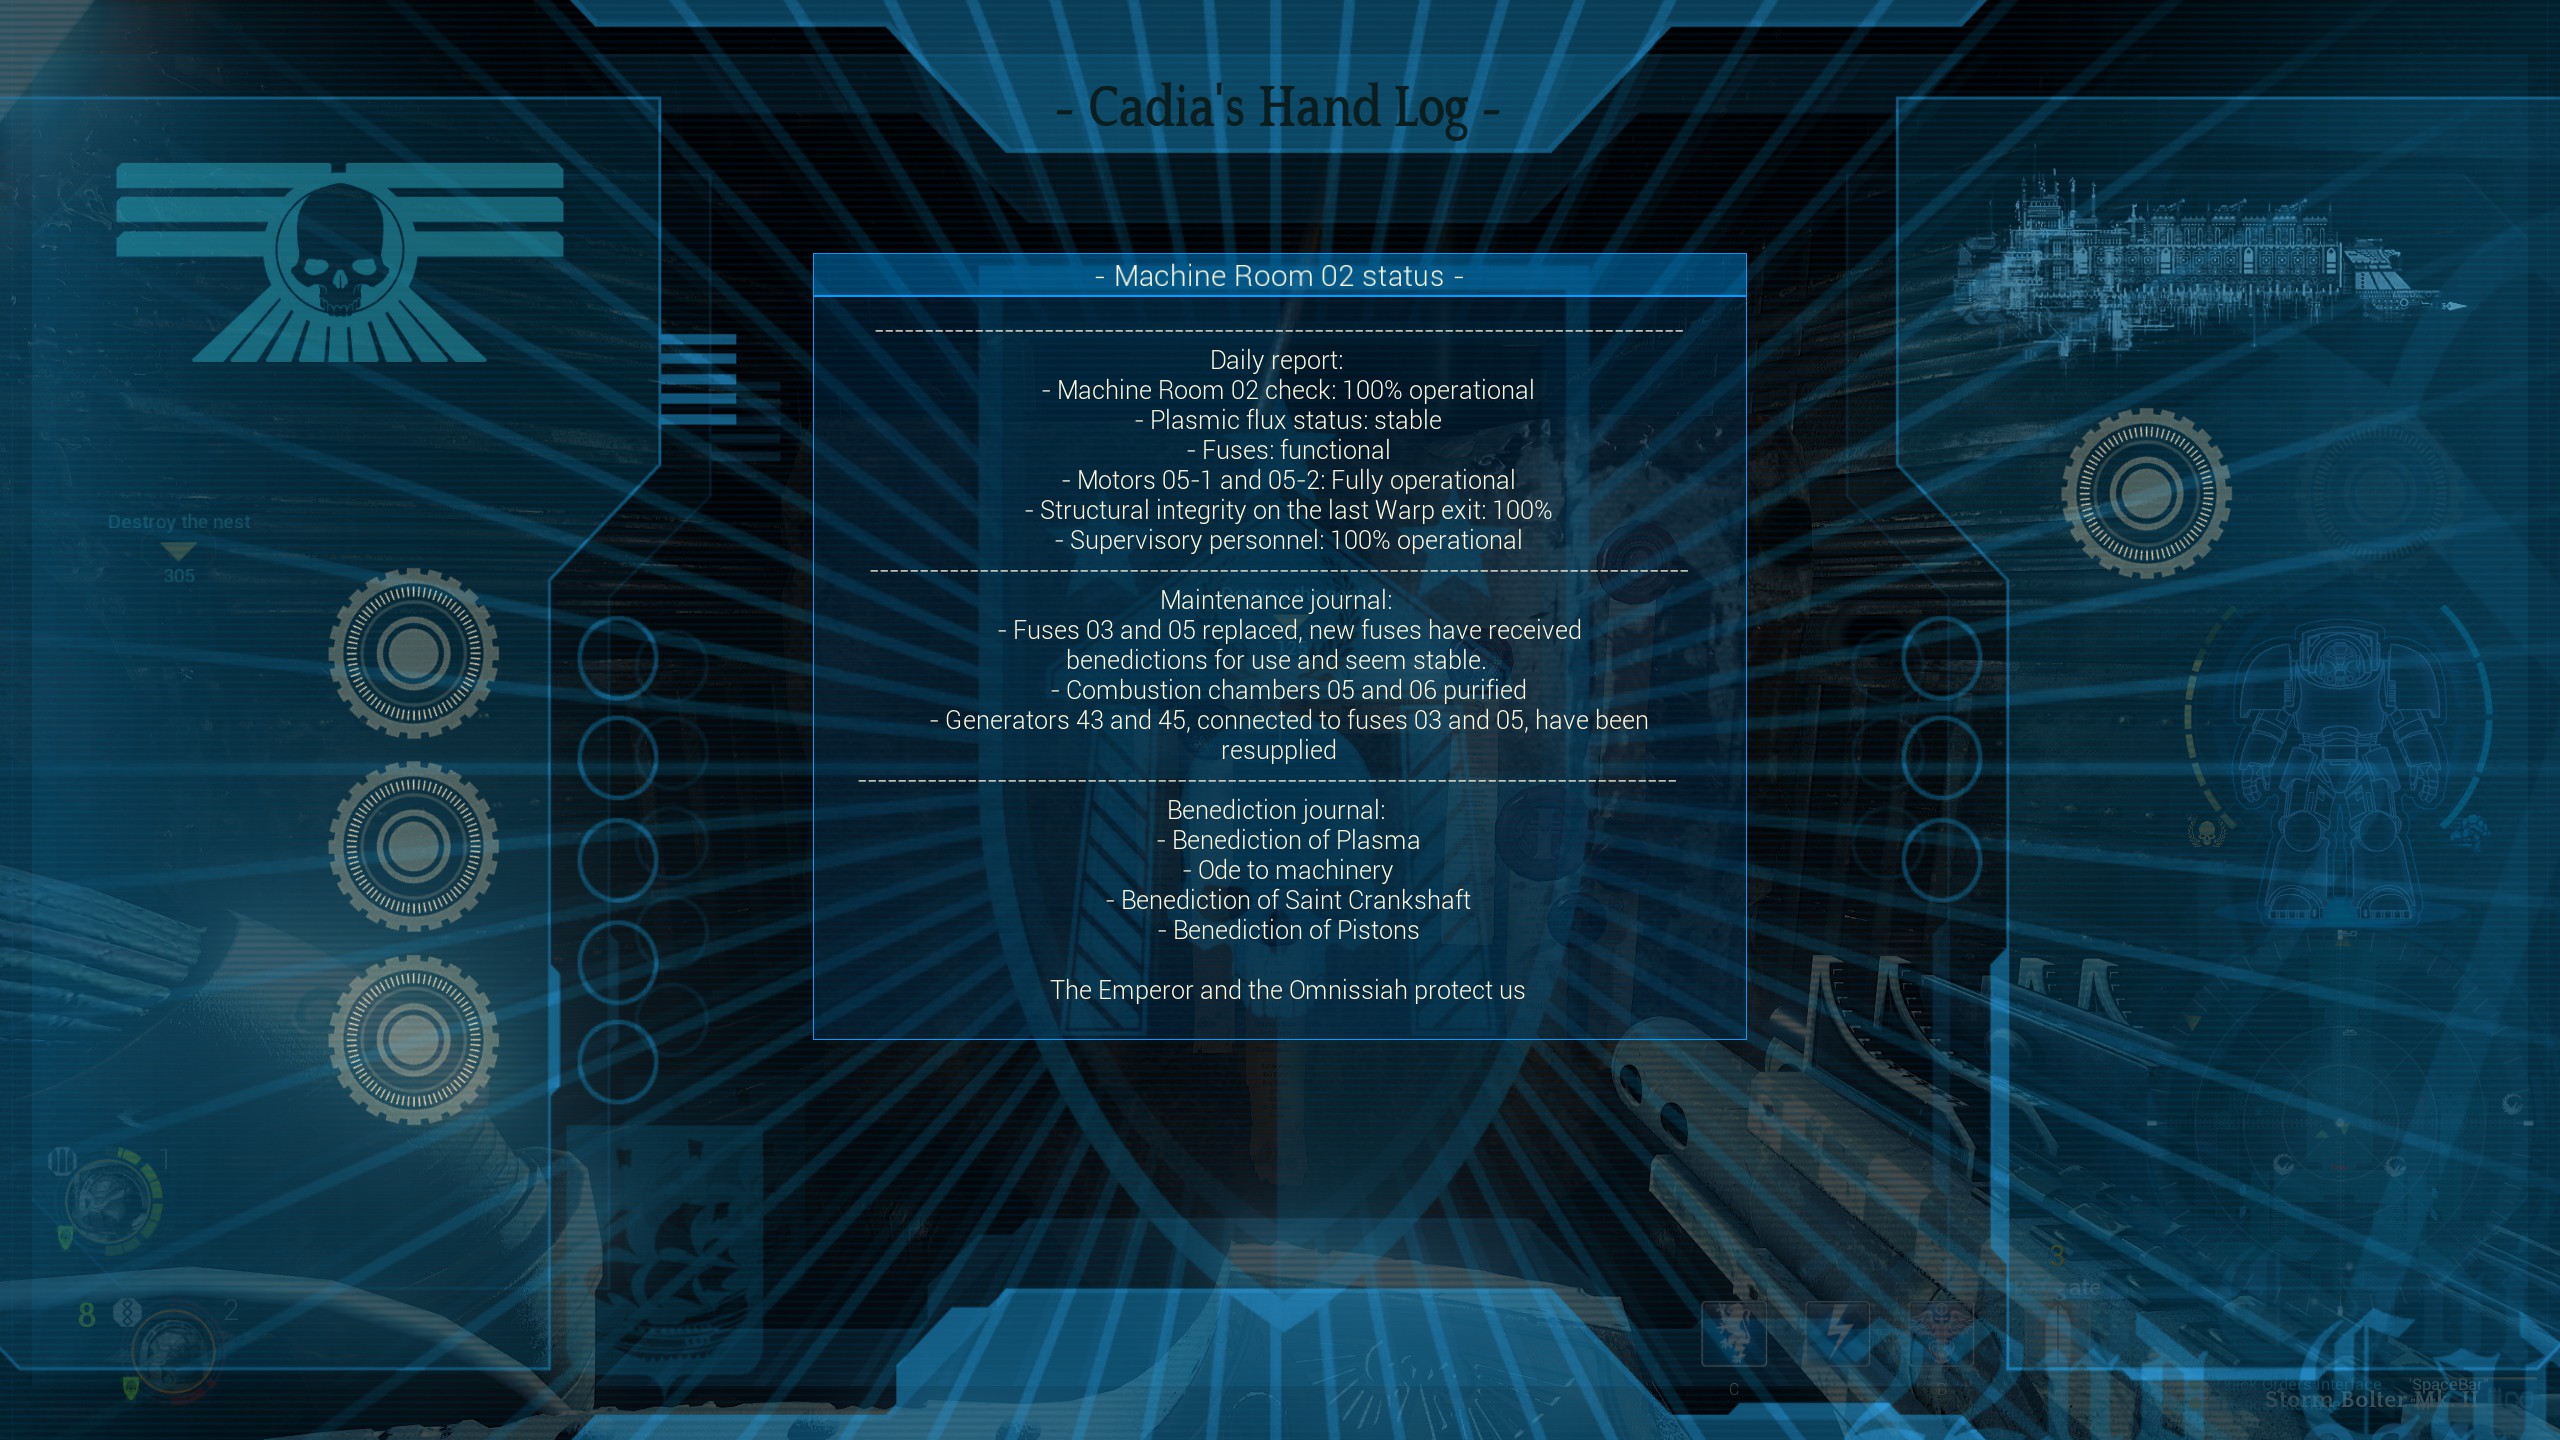
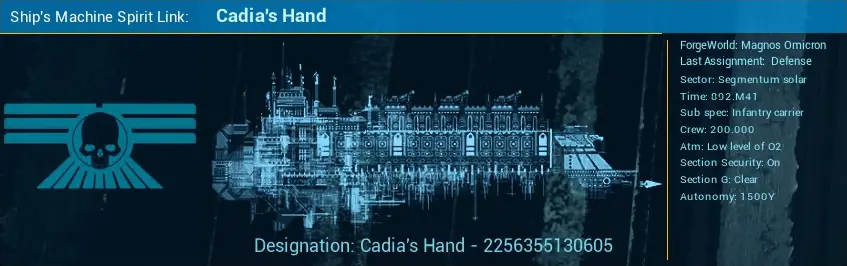
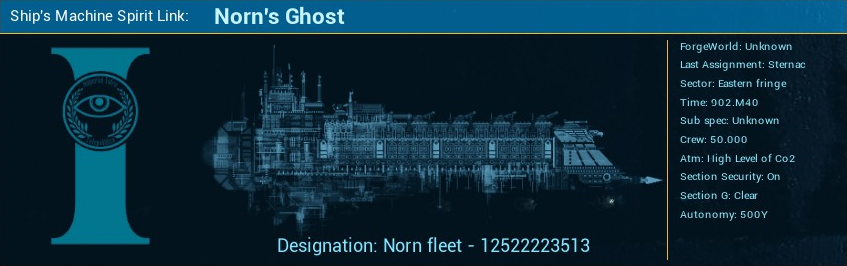
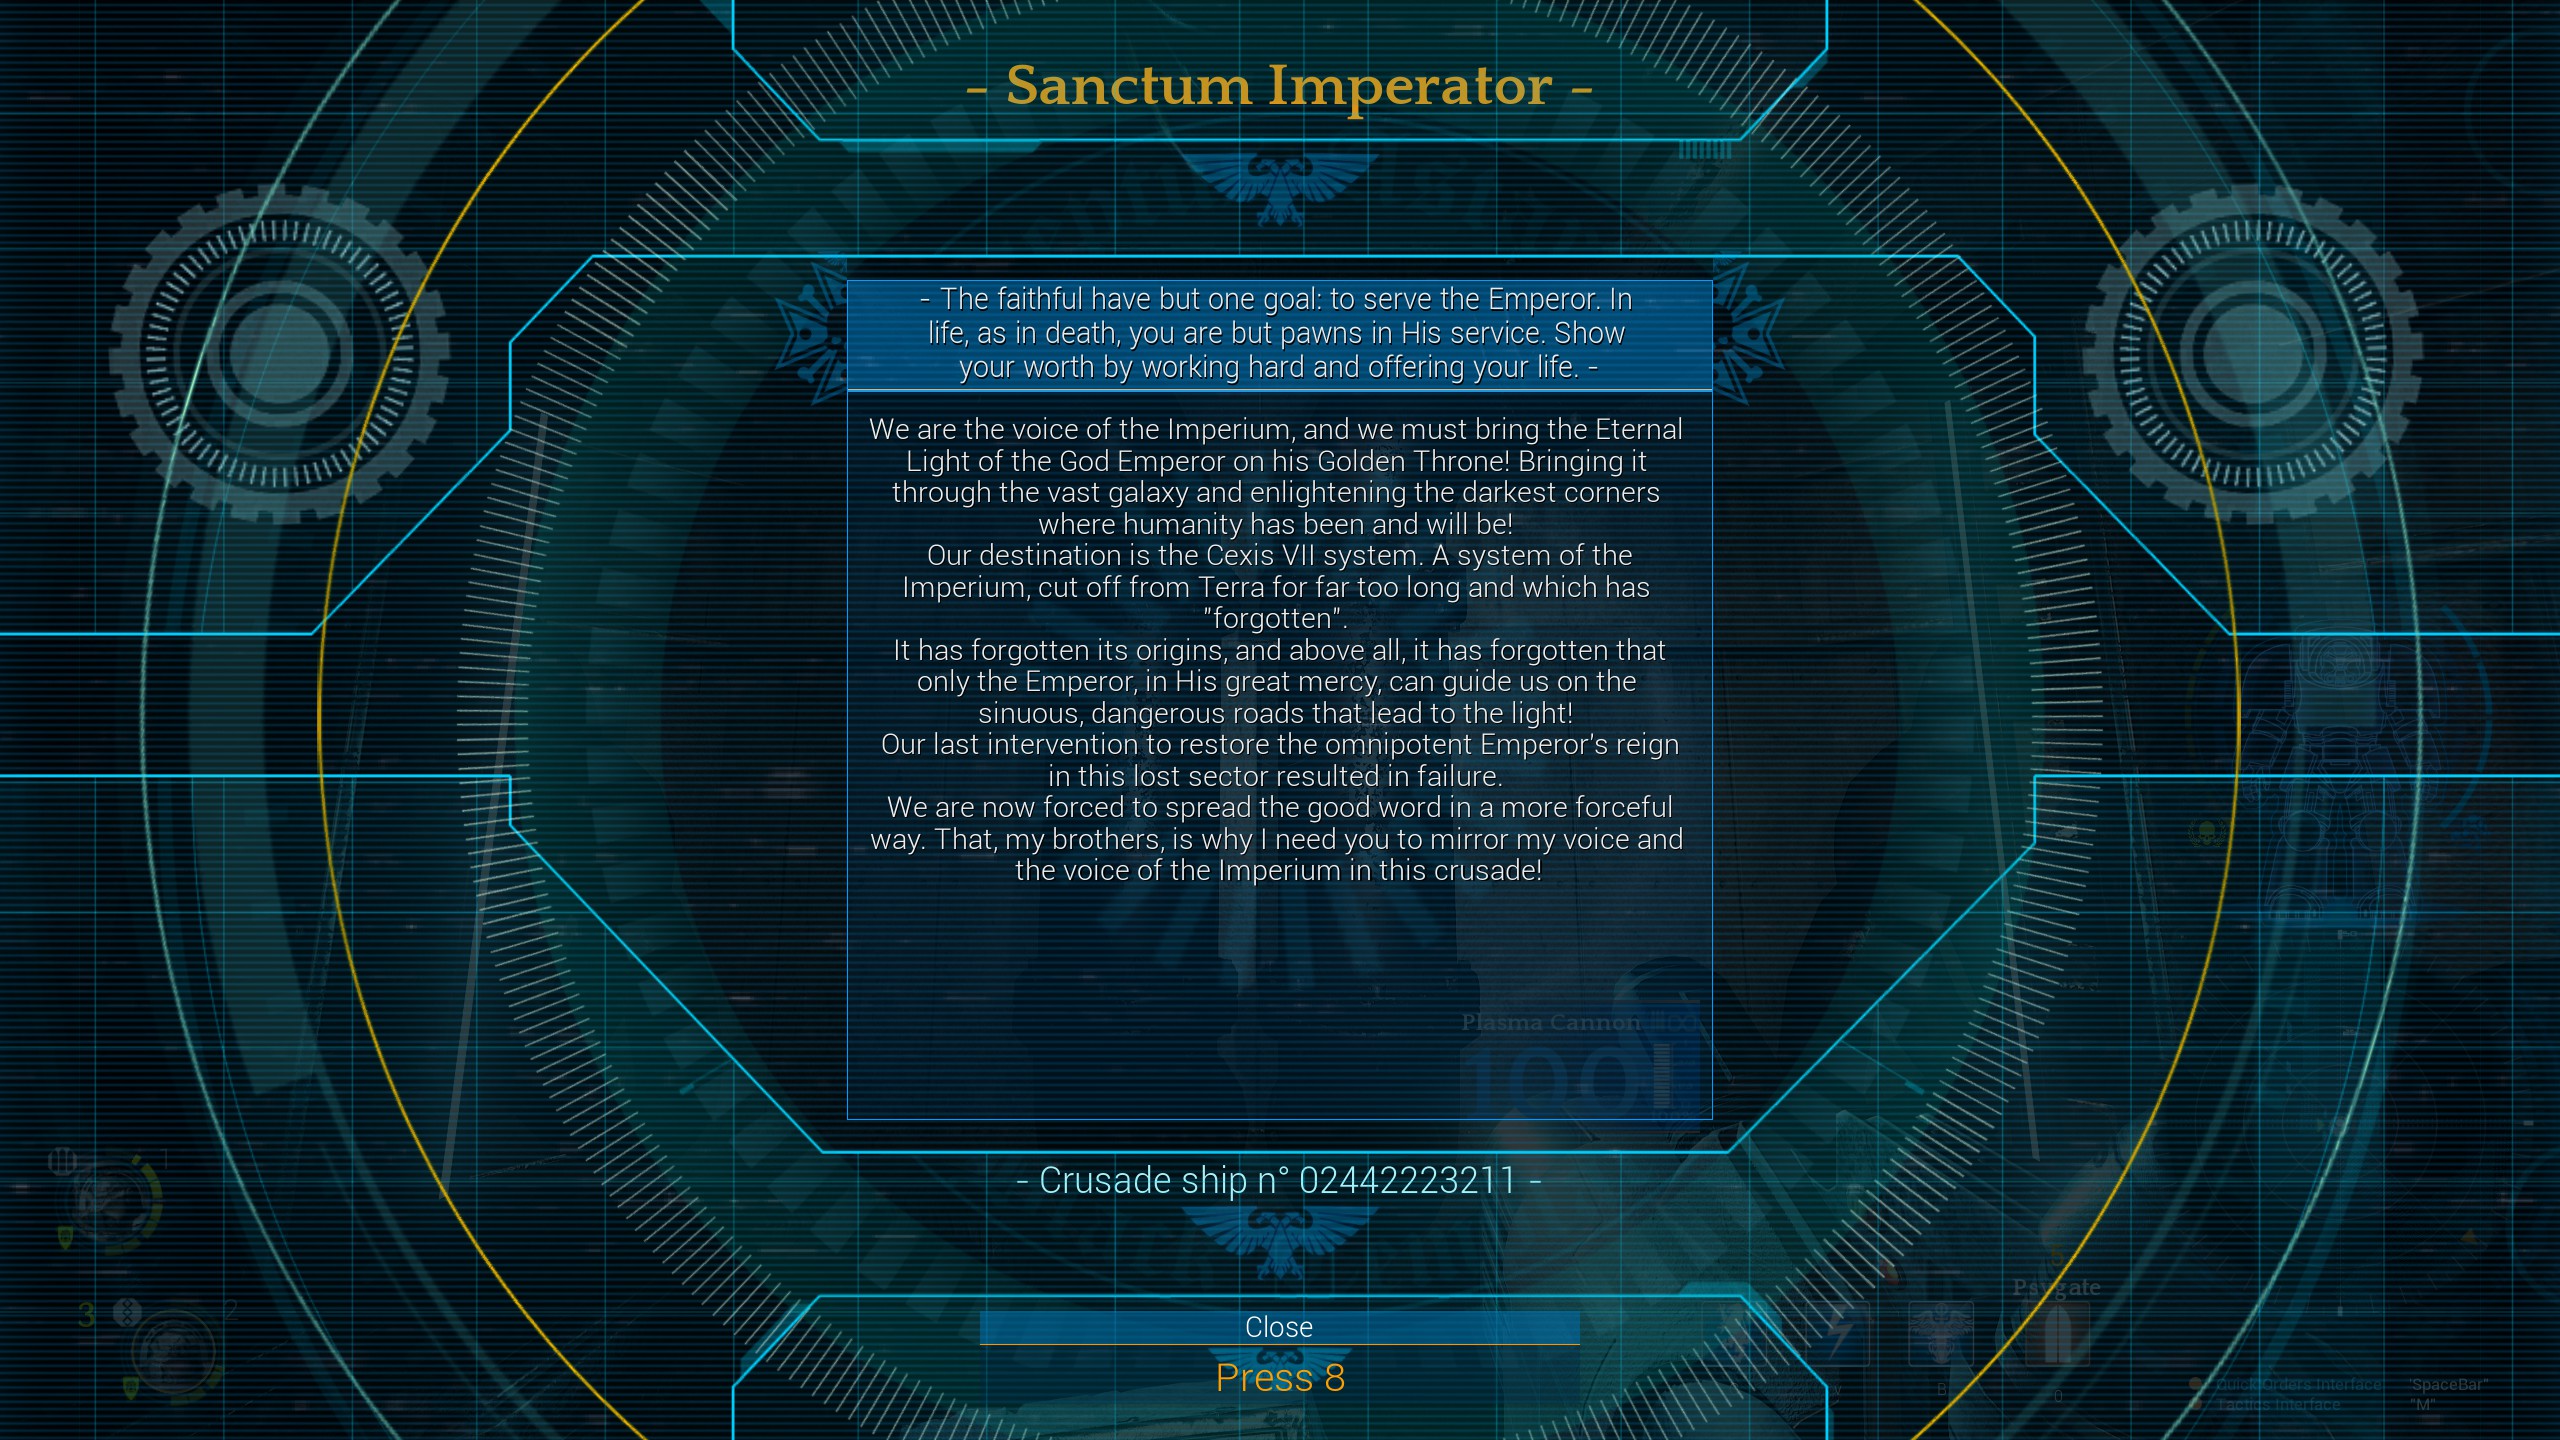
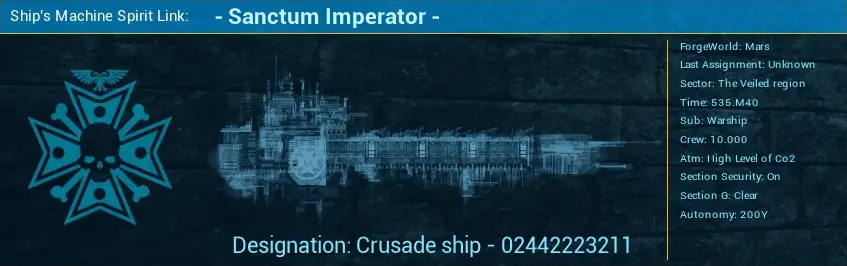
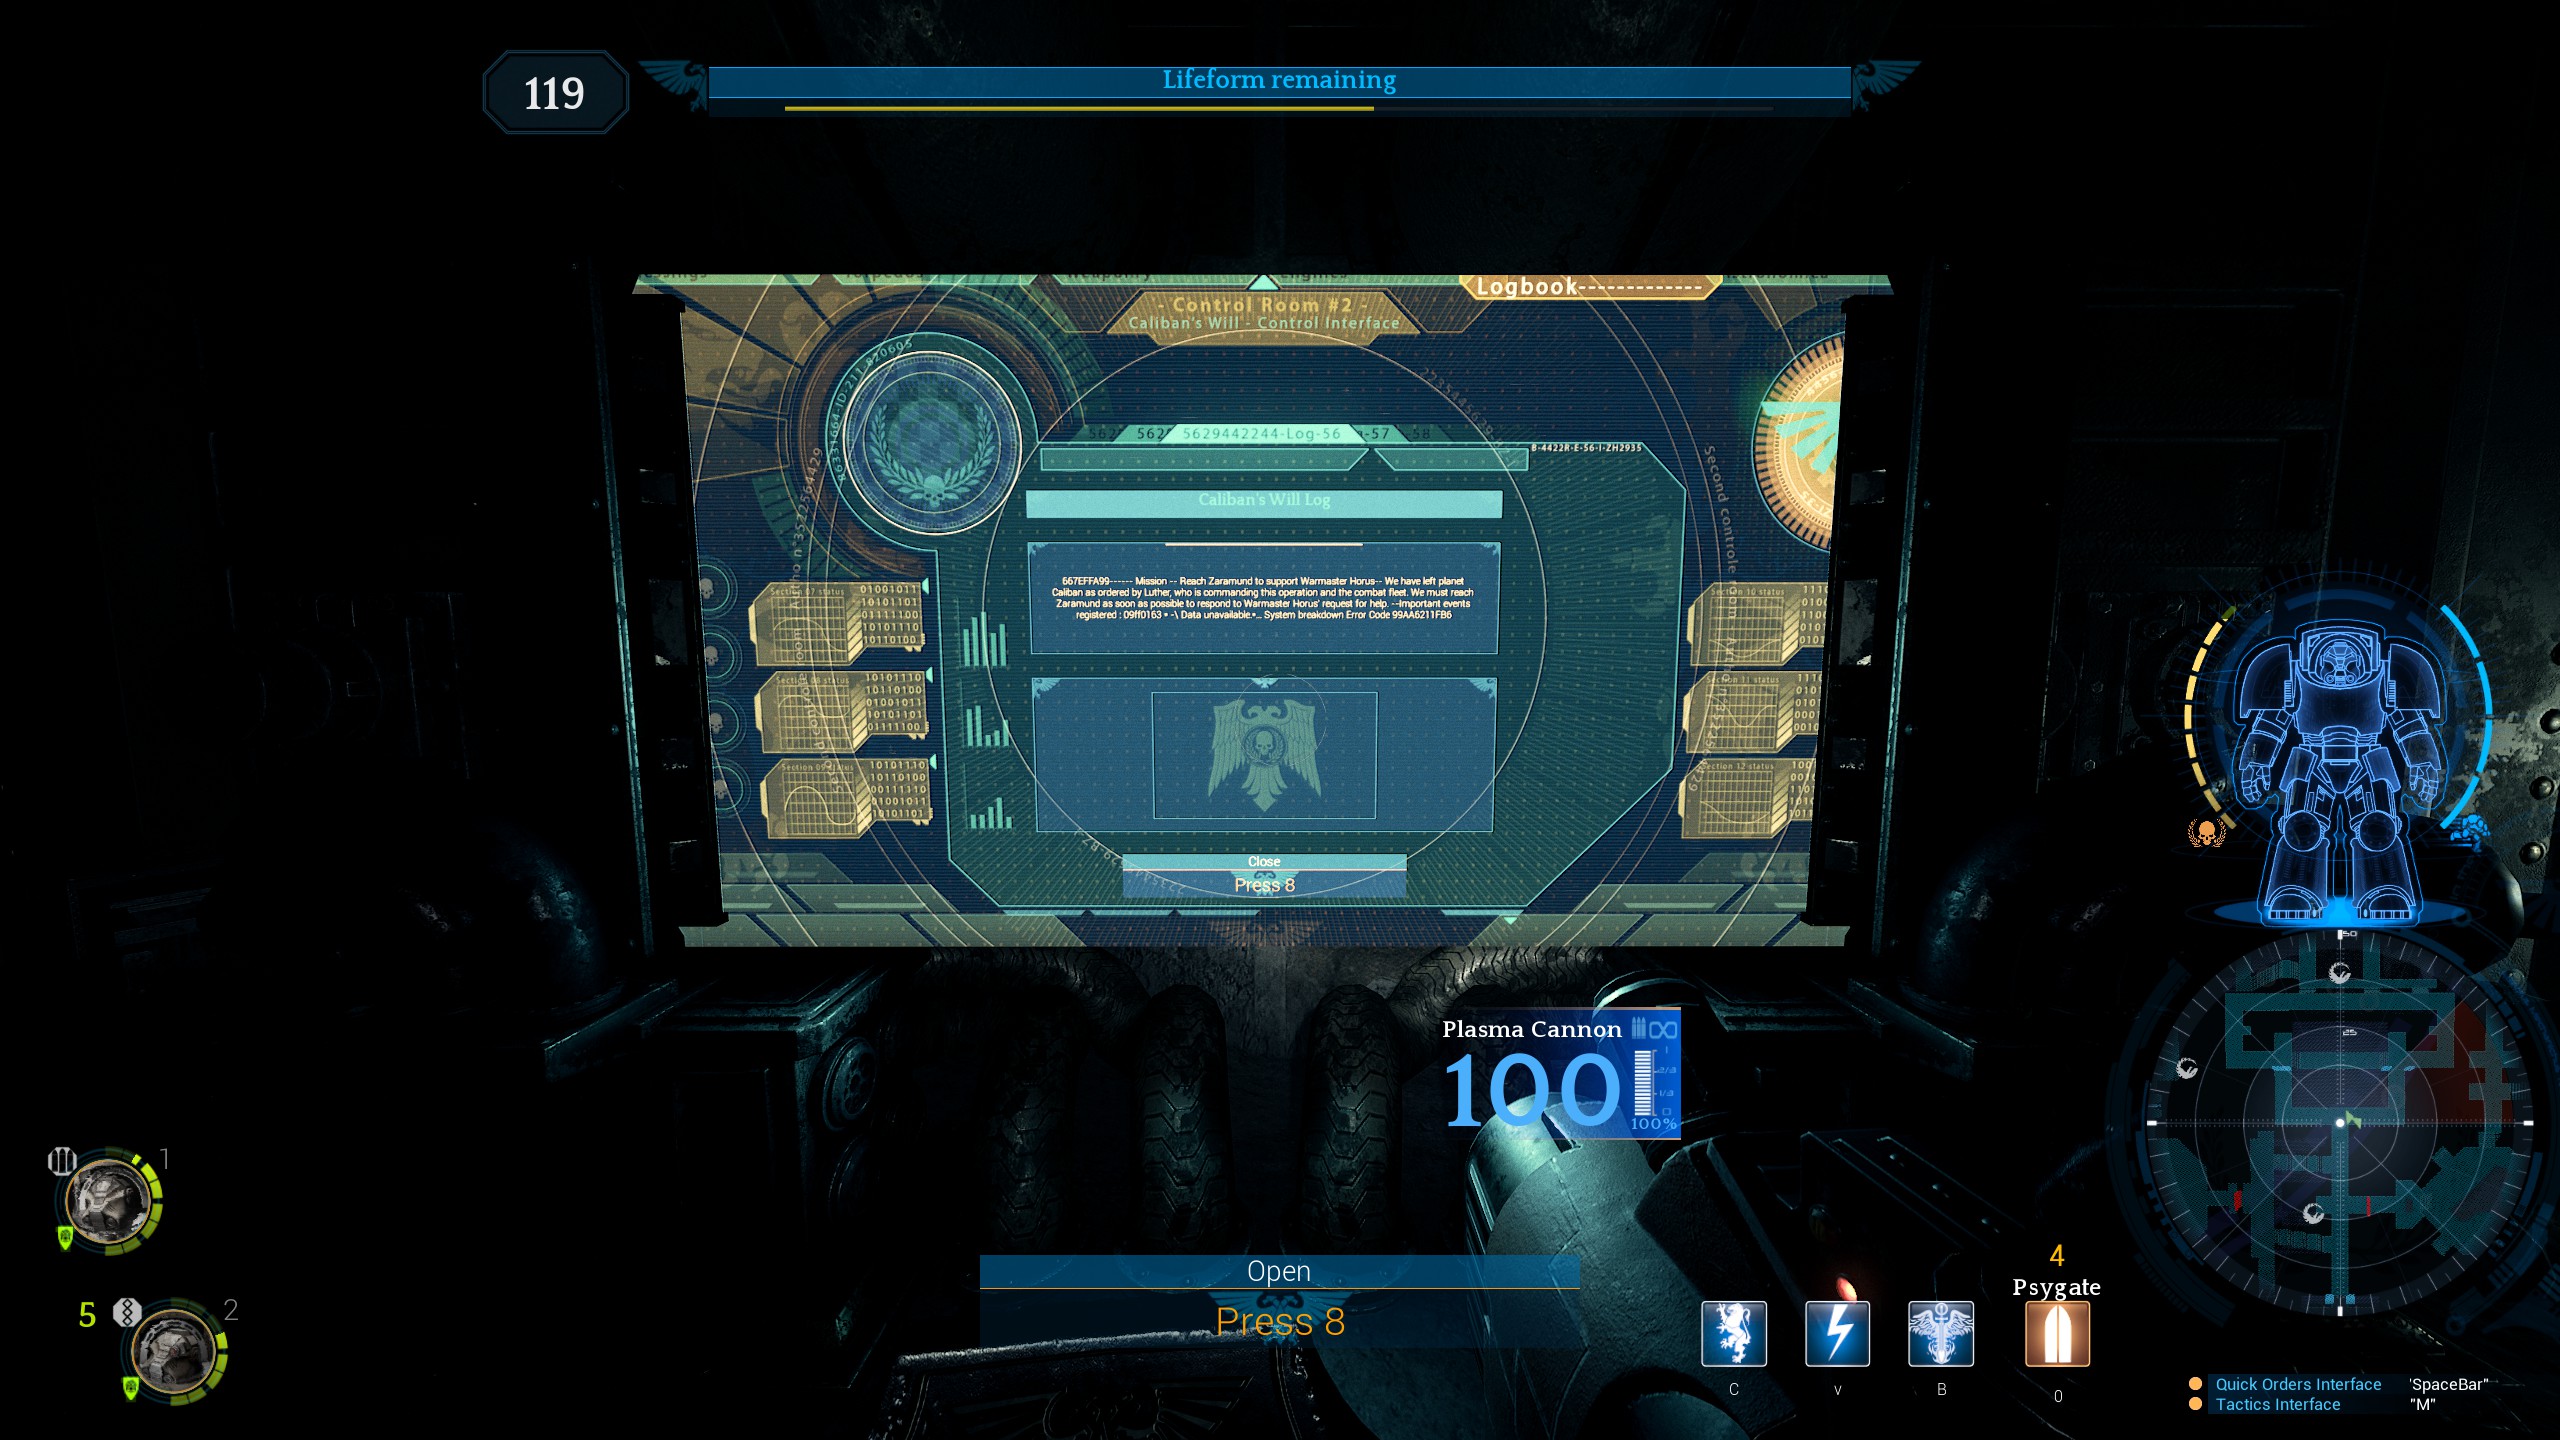
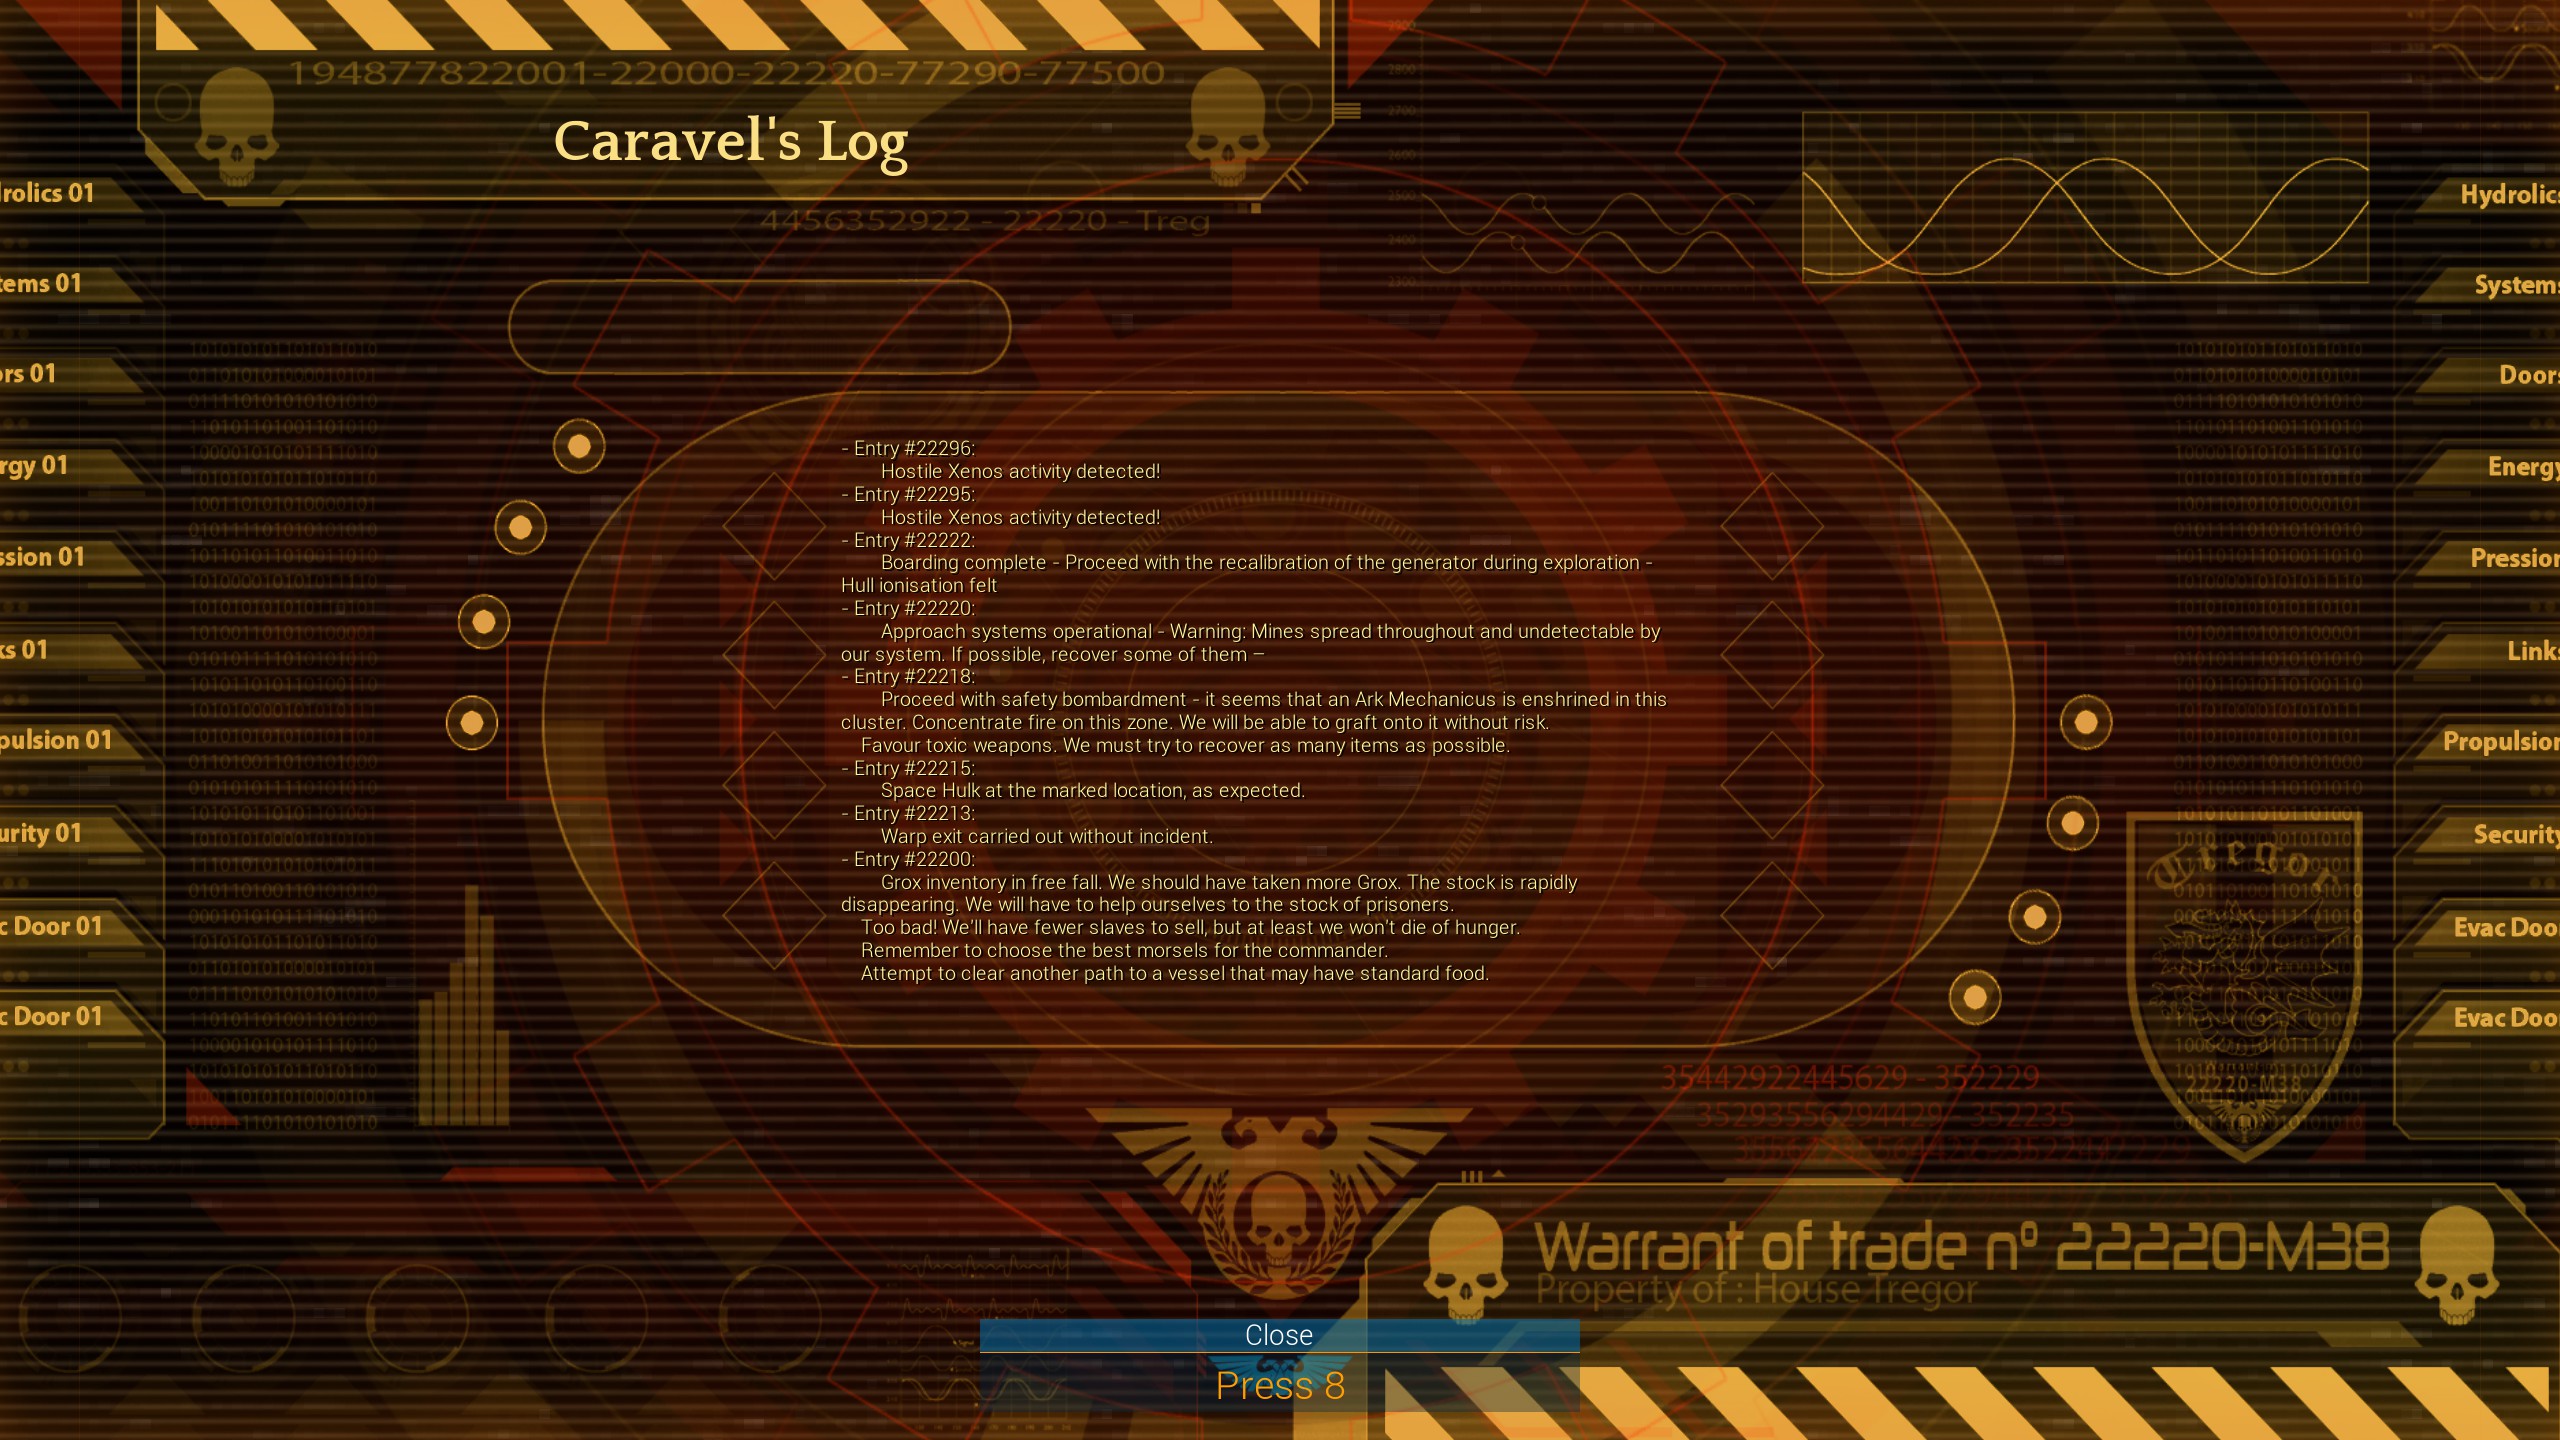
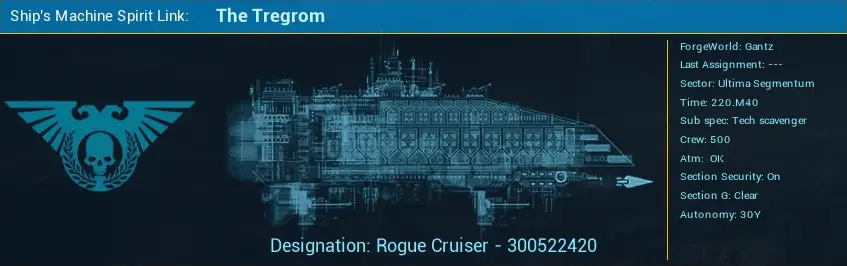
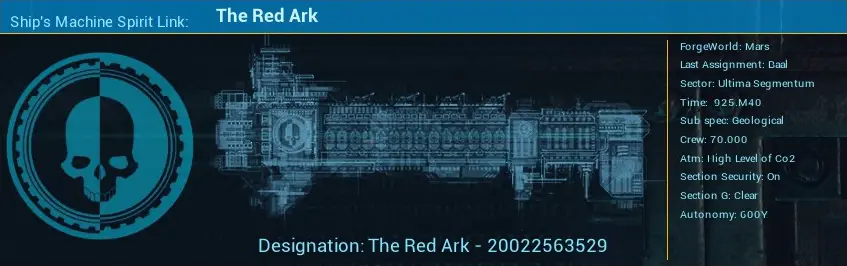
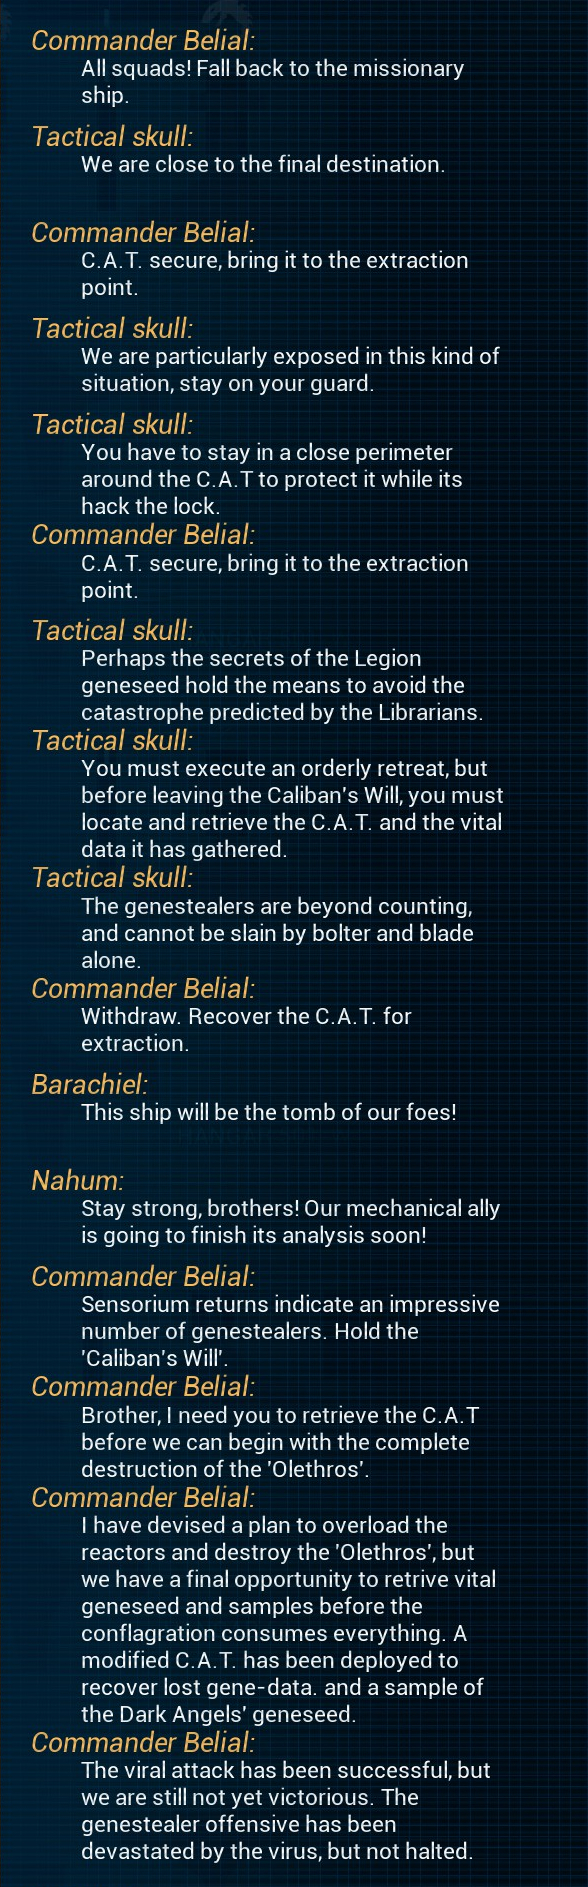
I also included a few miscellandeous snippets at the end of each map including the mission logs, ship details and console save.
Everything in the guide is 100% my opinion, I welcome any feedback.
Using this with my singleplayer skills guide means you should have a simple time of getting all the singleplayer campaign achievements in a couple of playthroughs.
You can easily use the maps themselves in multiplayer to quickly and efficiently work though the maps in a group.
I hope you enjoy!
Reliquary & Timelord Achivement
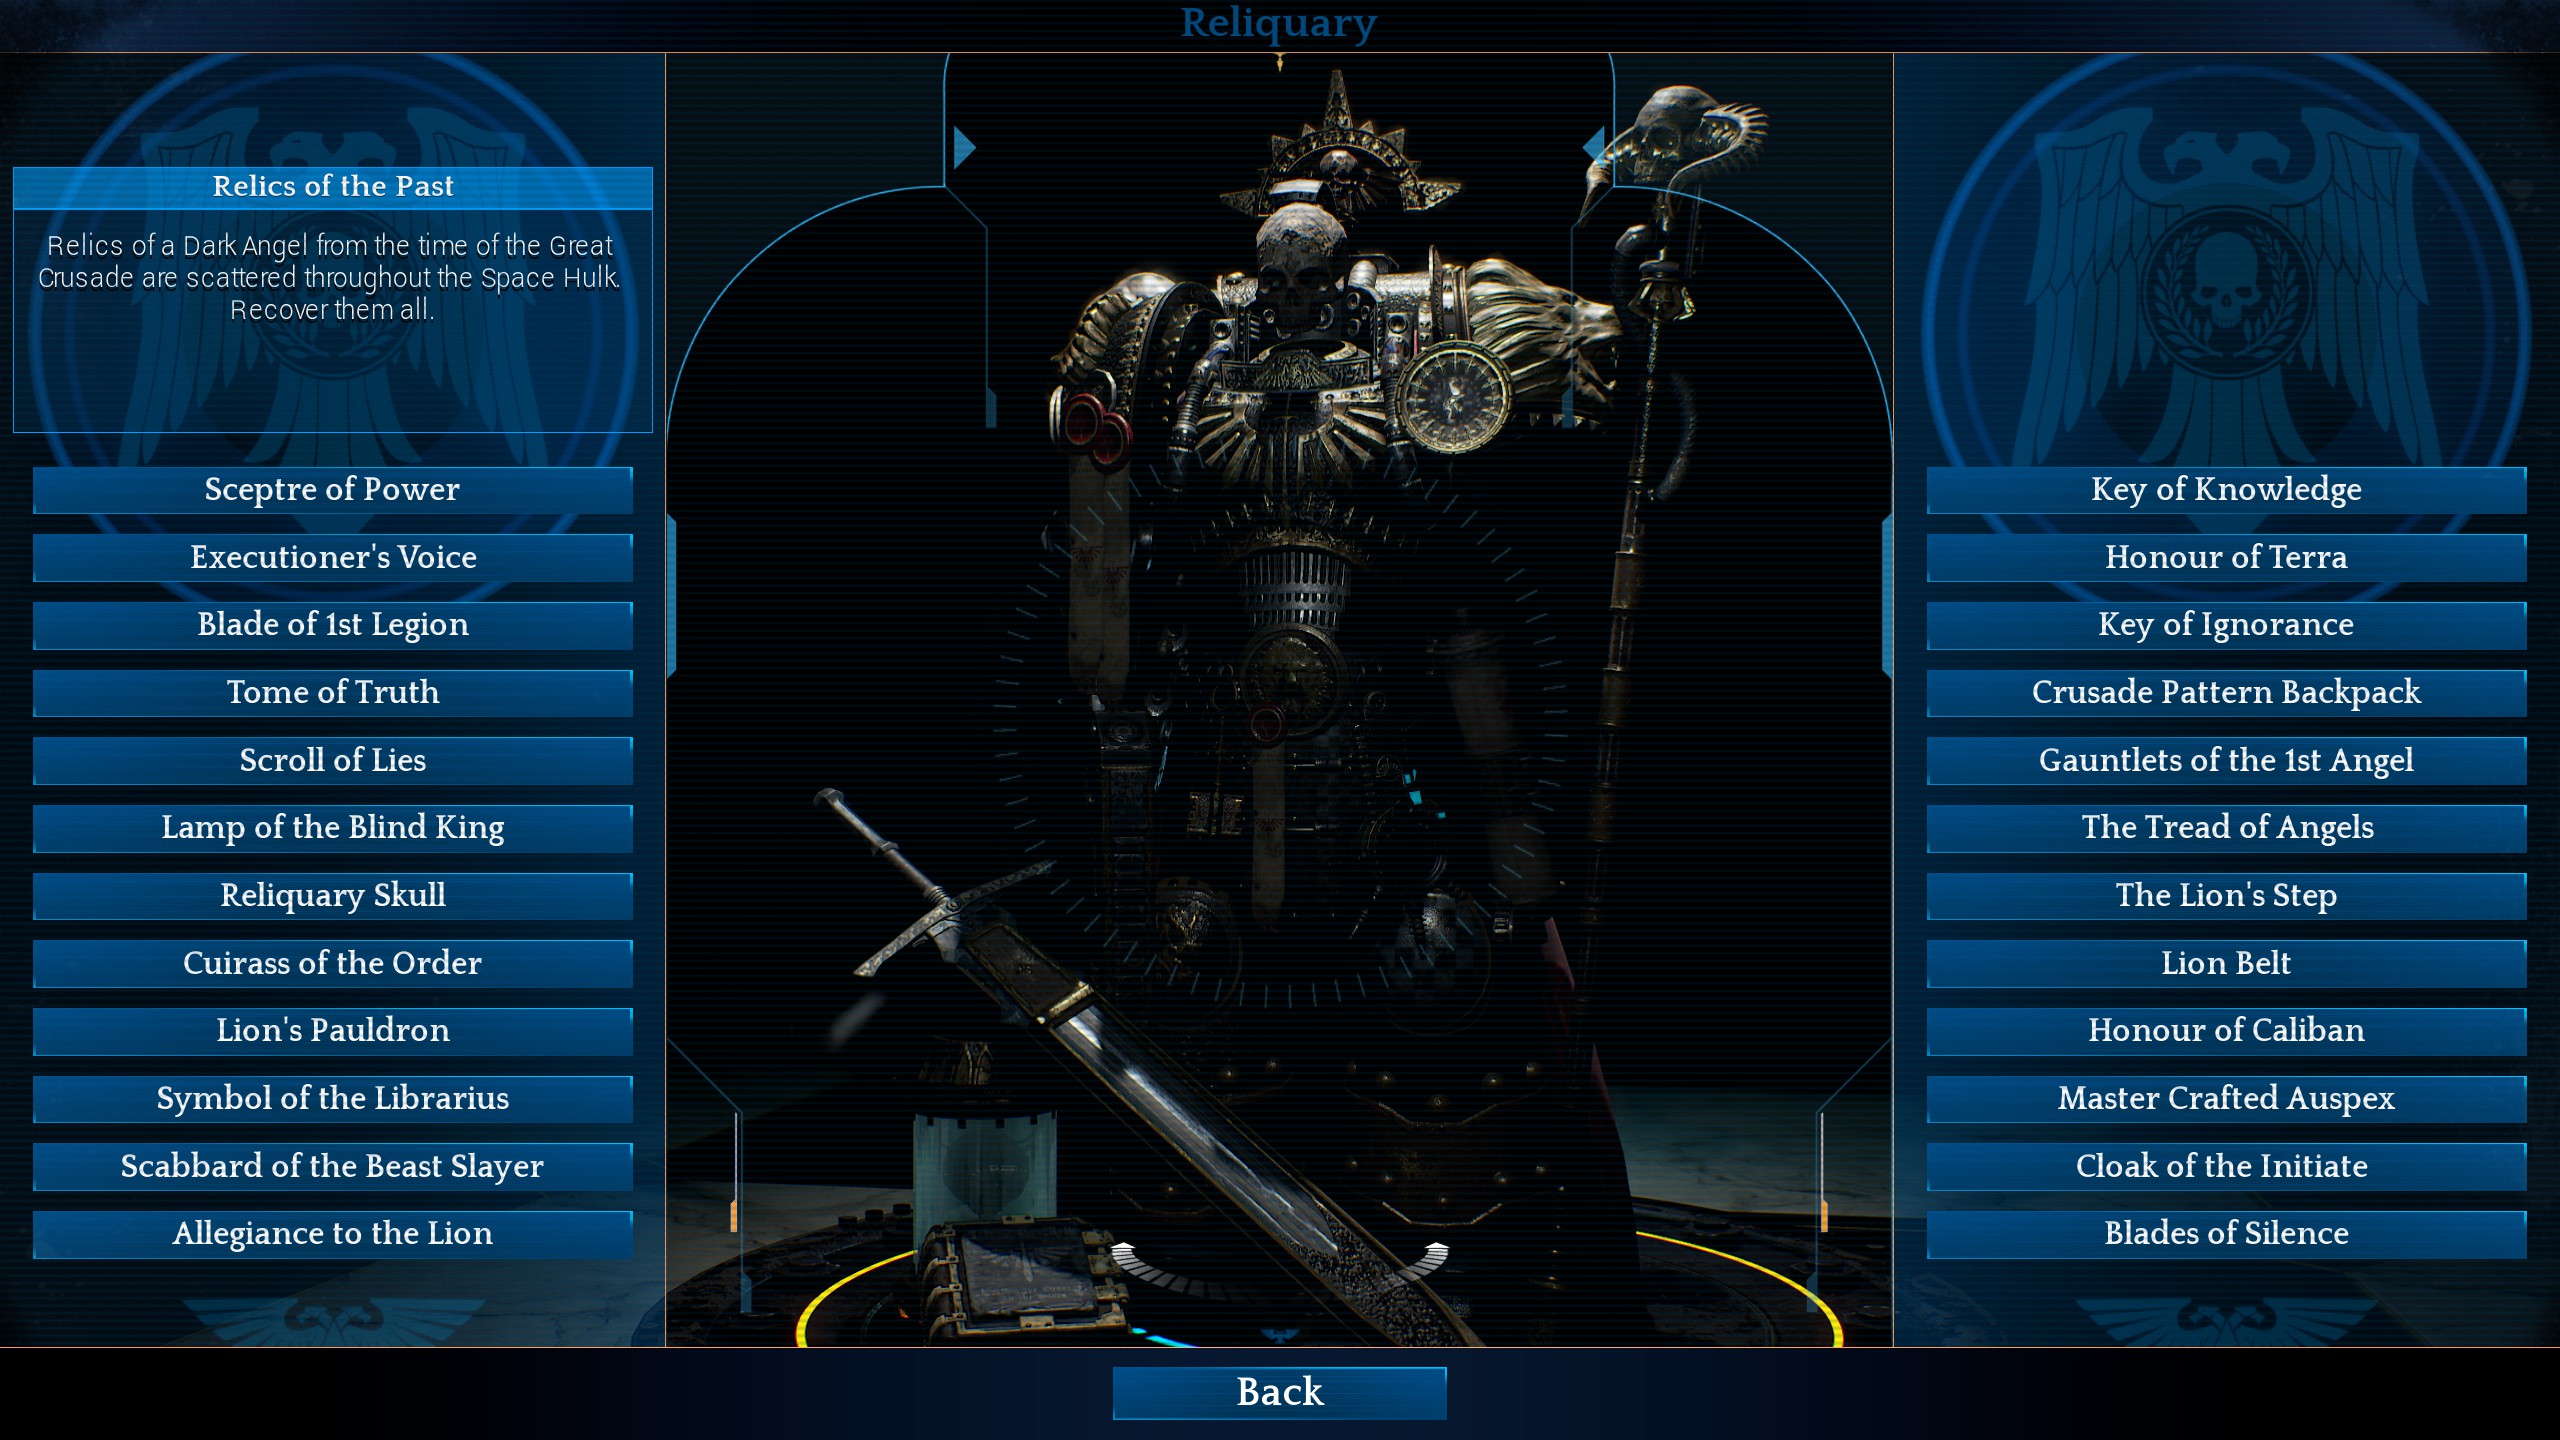
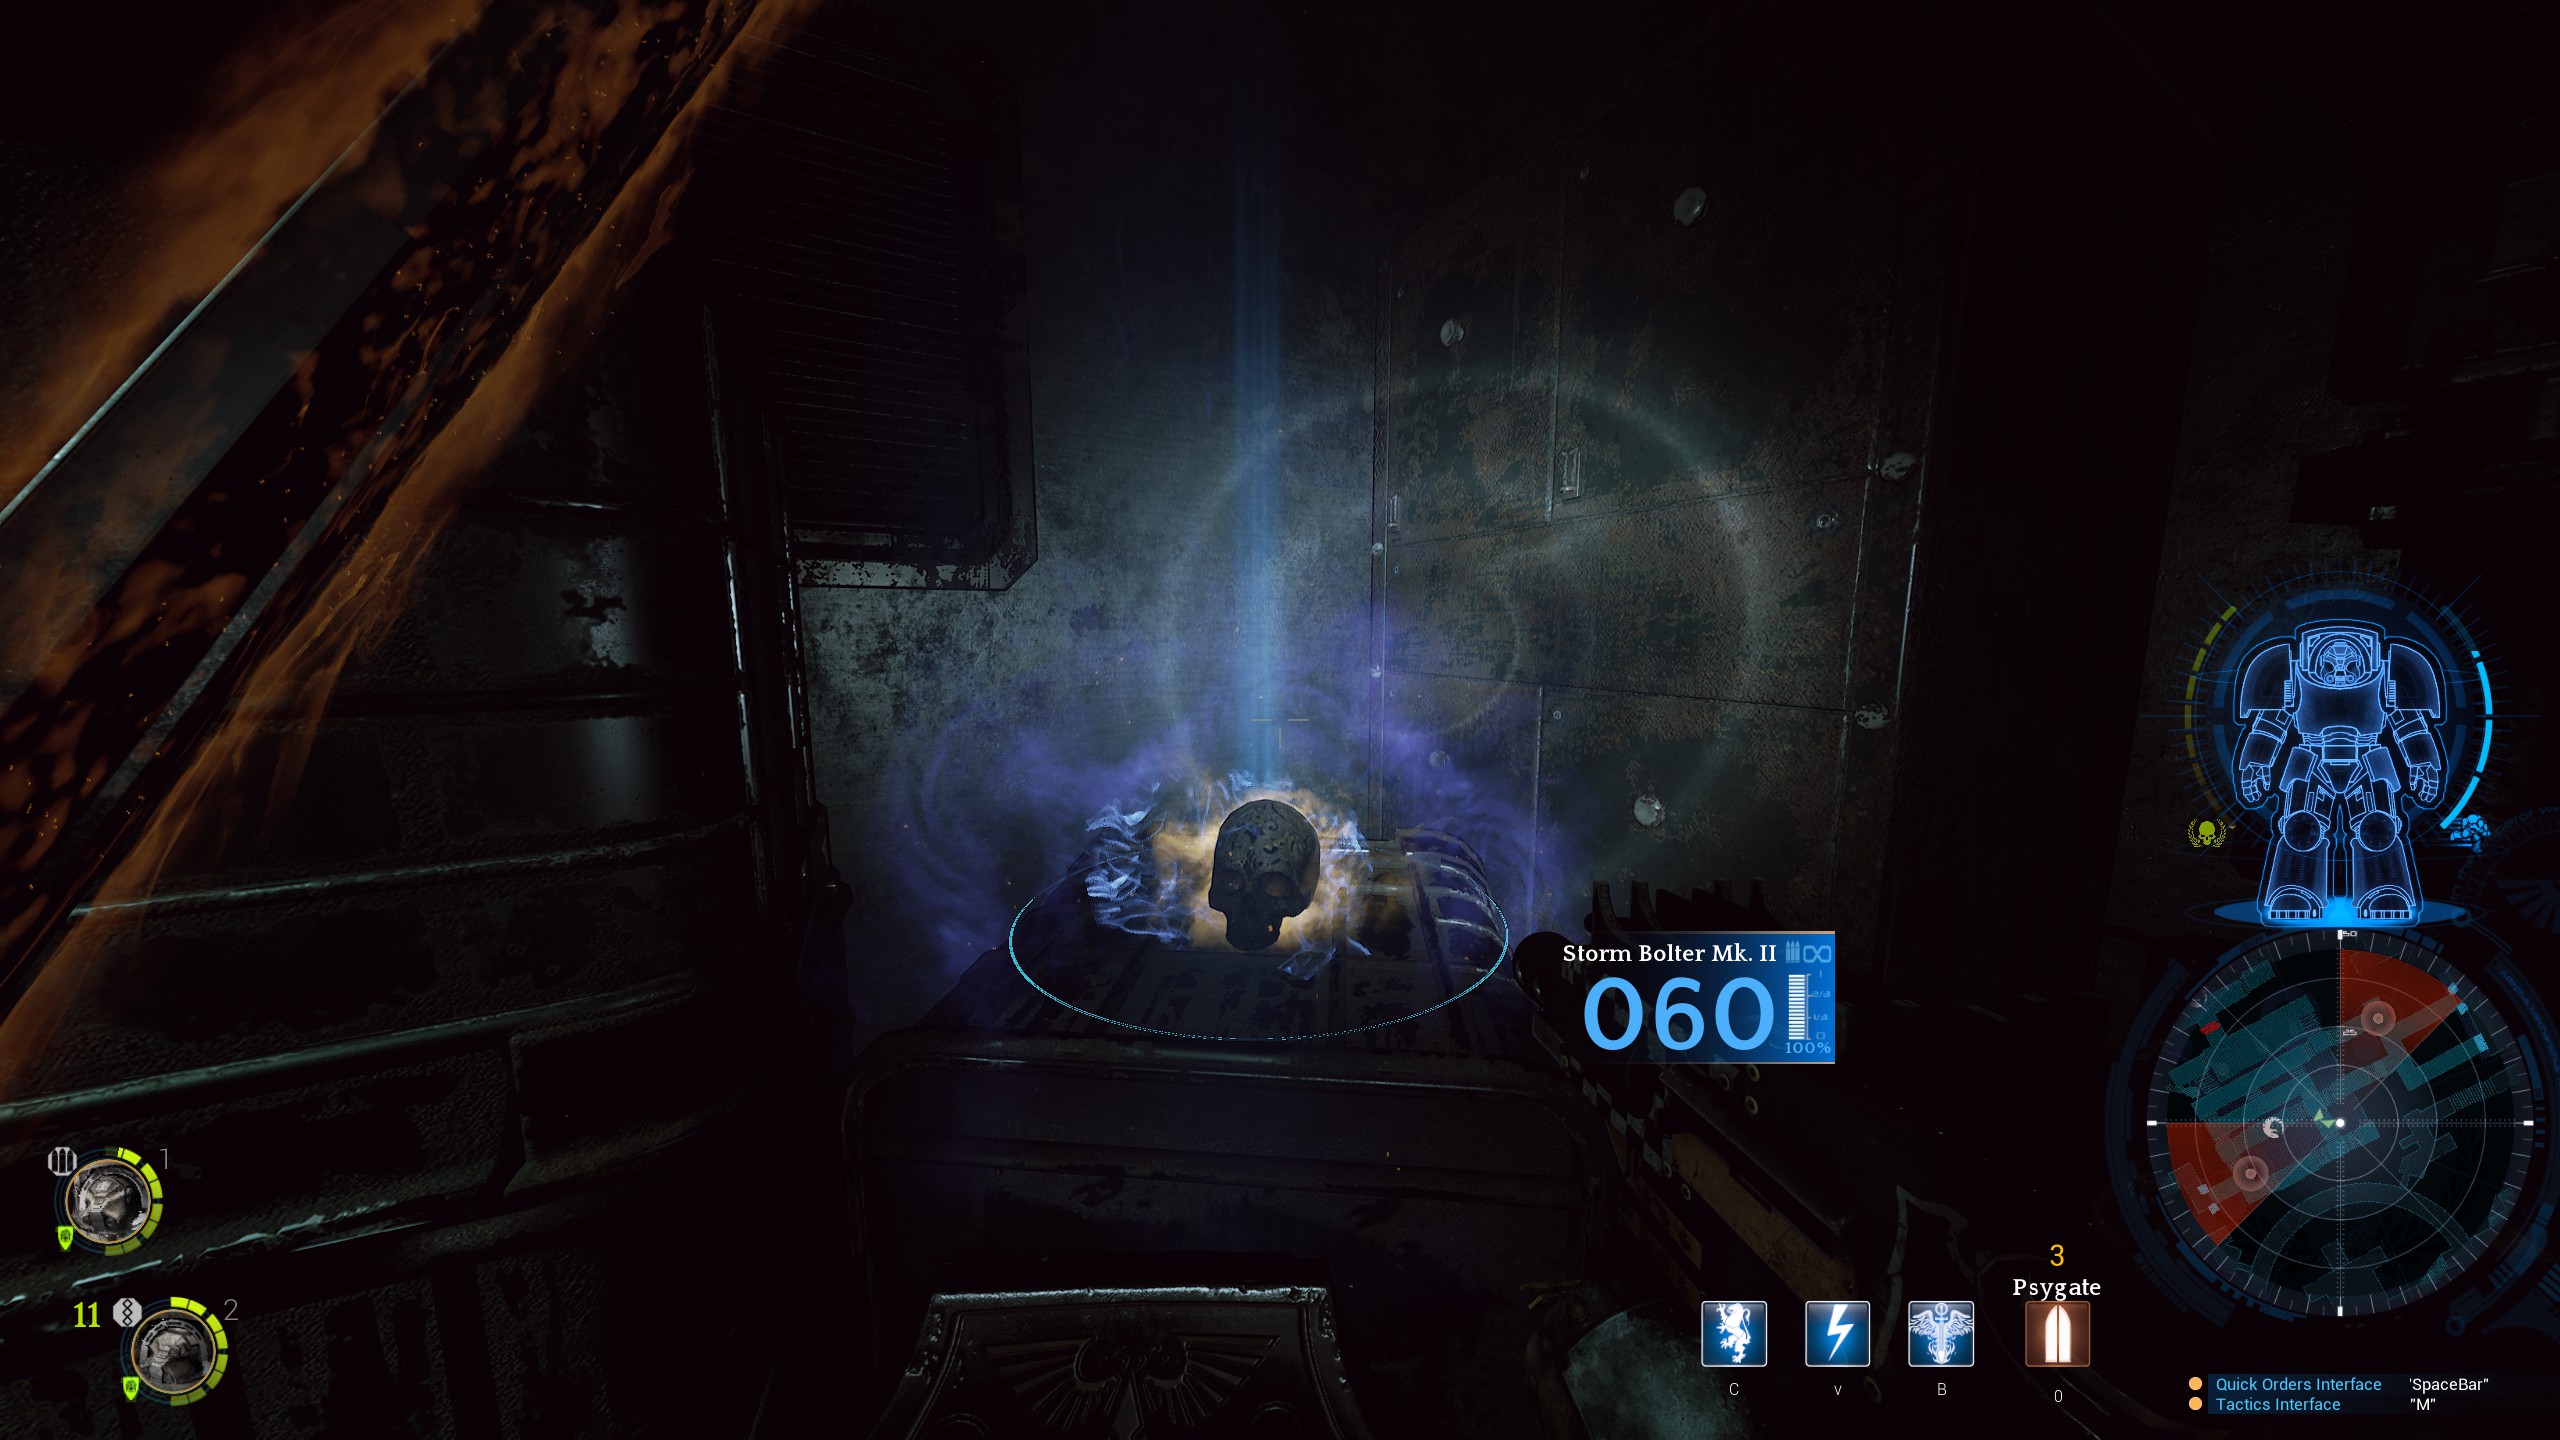
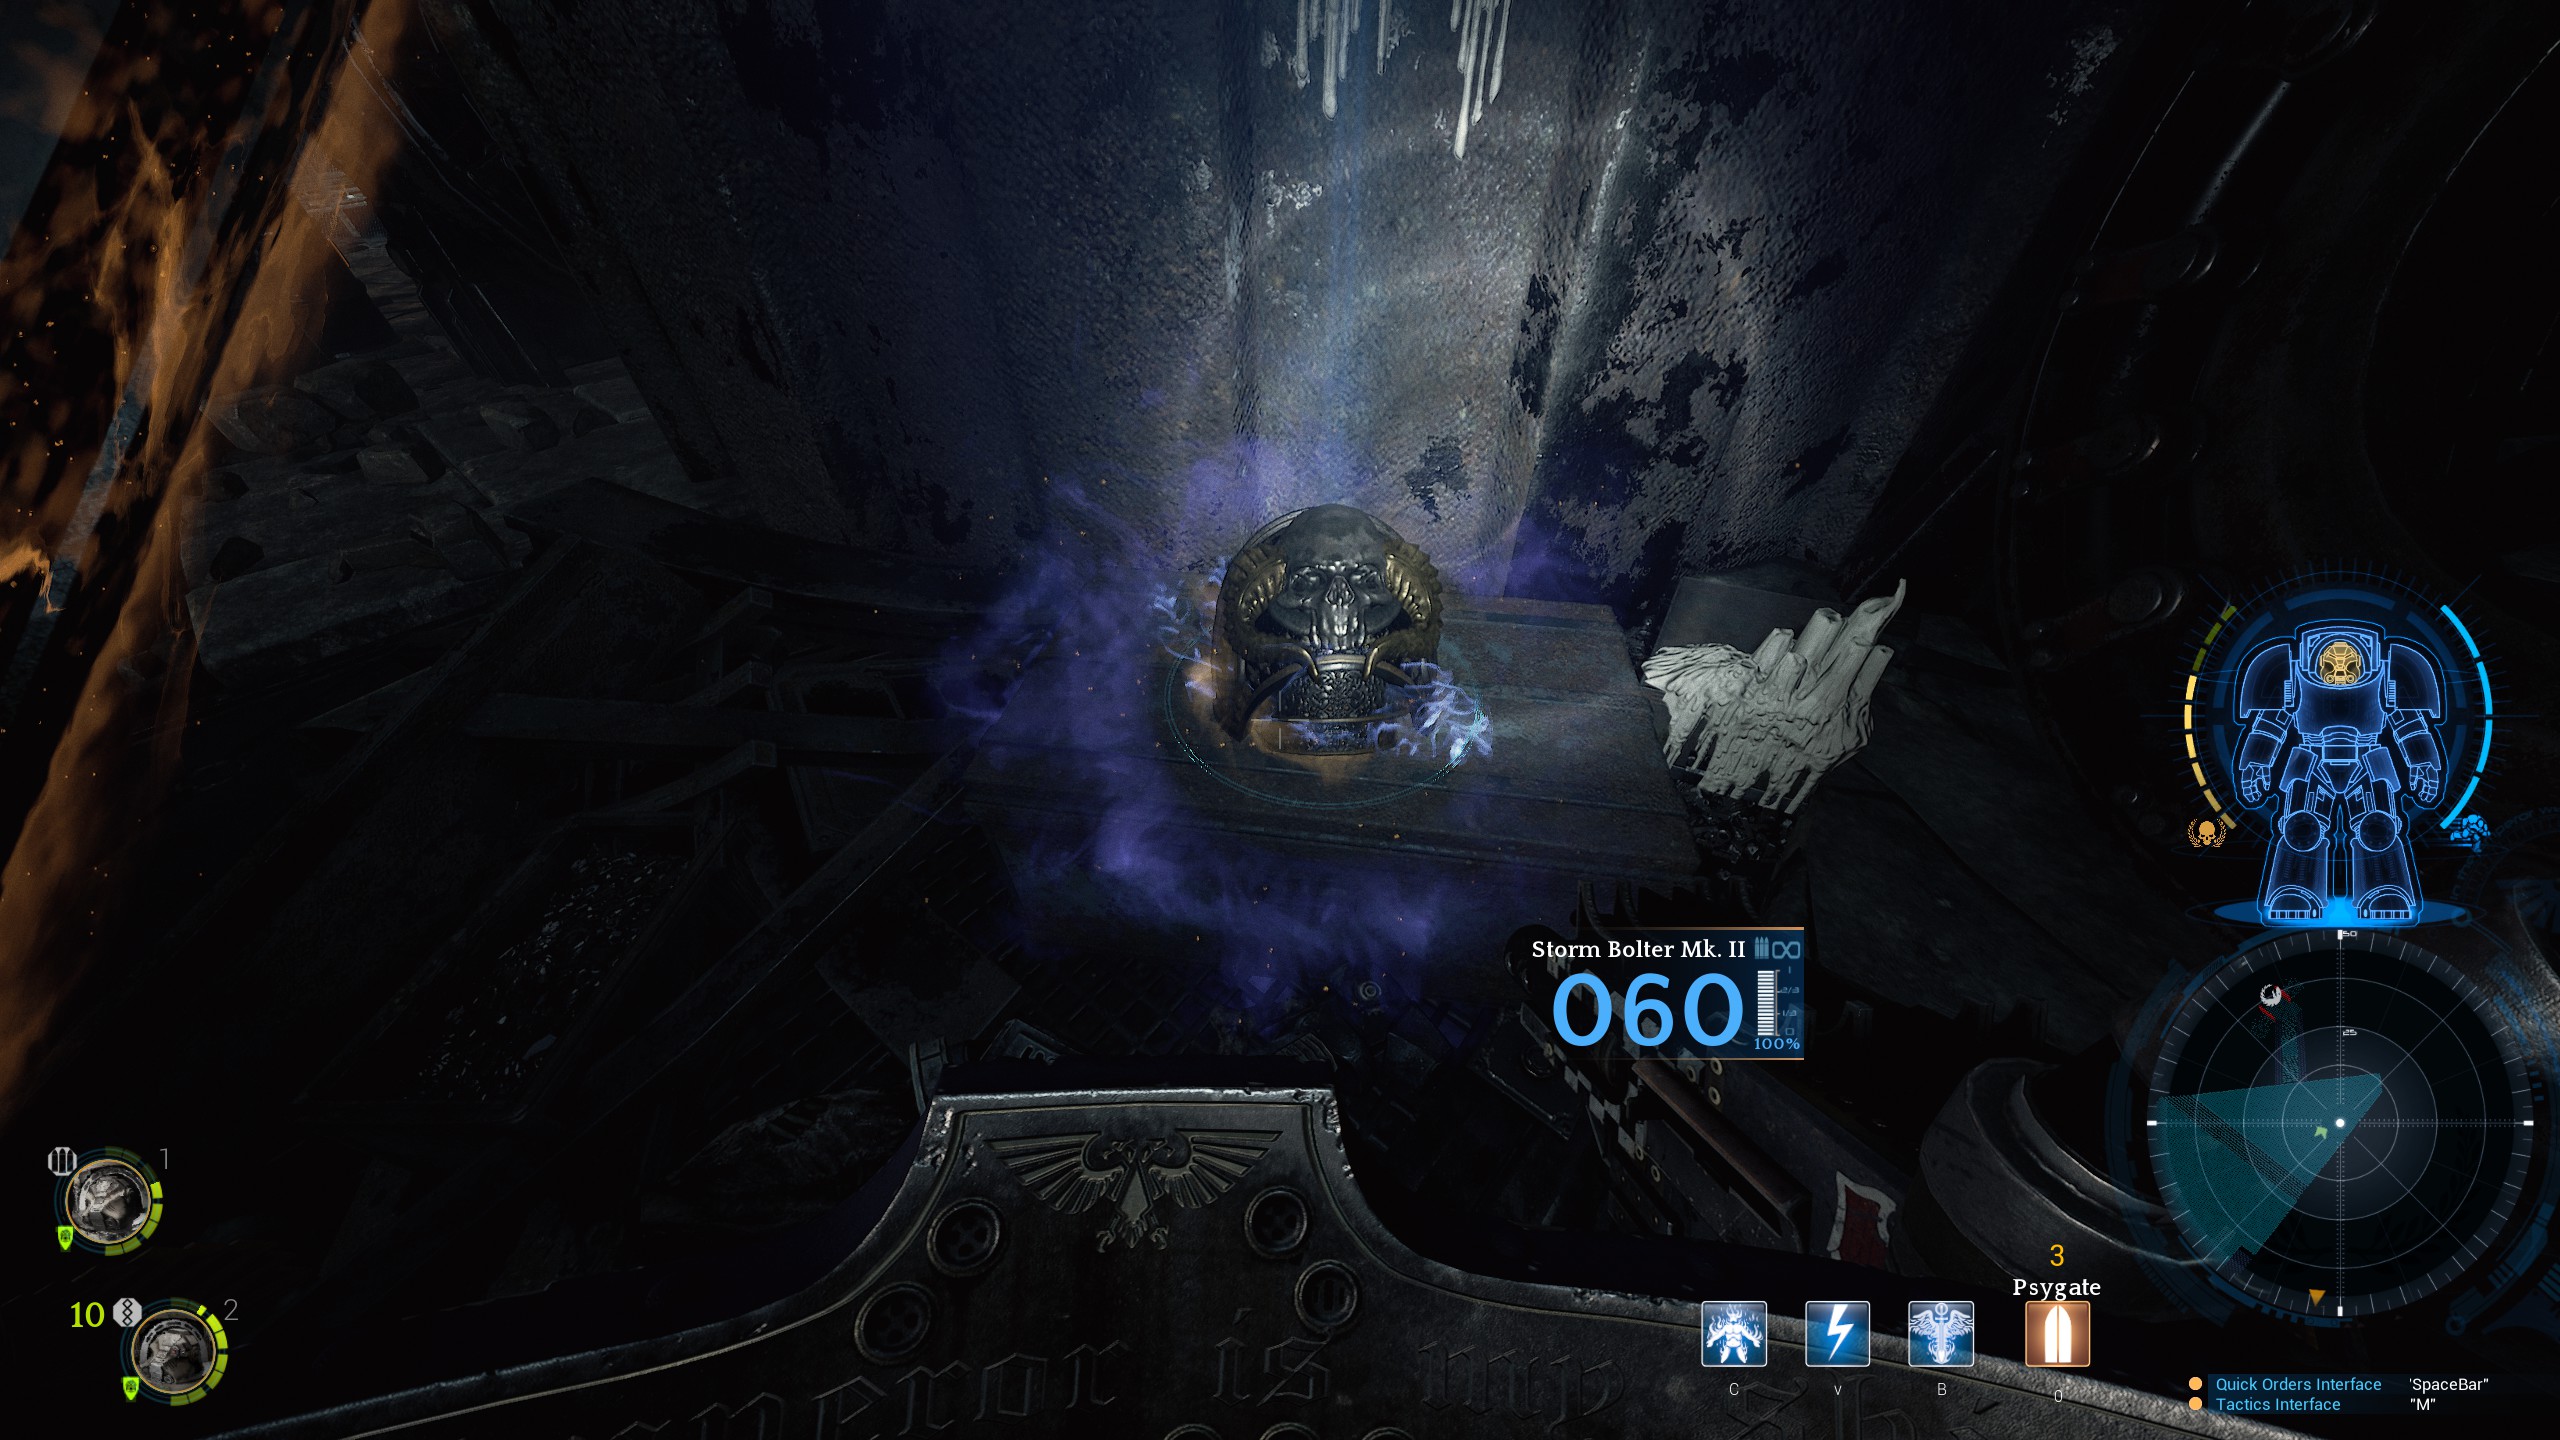
There are two different types of relic hidden throughout each chapter, major relics and minor Relics. Major relics have a blue glow and a unique skin whilst minor relics have a red glow and a generic skin.
There are between 4 그리고 6 relics in each chapter. The number of relics you find per map count towards the amount of Fevour Points (스킬 포인트) you earn per chapter in the singleplayer campaign. In multiplayer the number of relics you find determin how much XP you get after you complete a chapter.
*TEST*The major relics you find in the singleplayer campaign count towards the Time Lord achievement. This will pop up as soon as you’ve found your last relic, you don’t need to finish the chapter.

Time lord
Find all the Major Relics in the main campaign
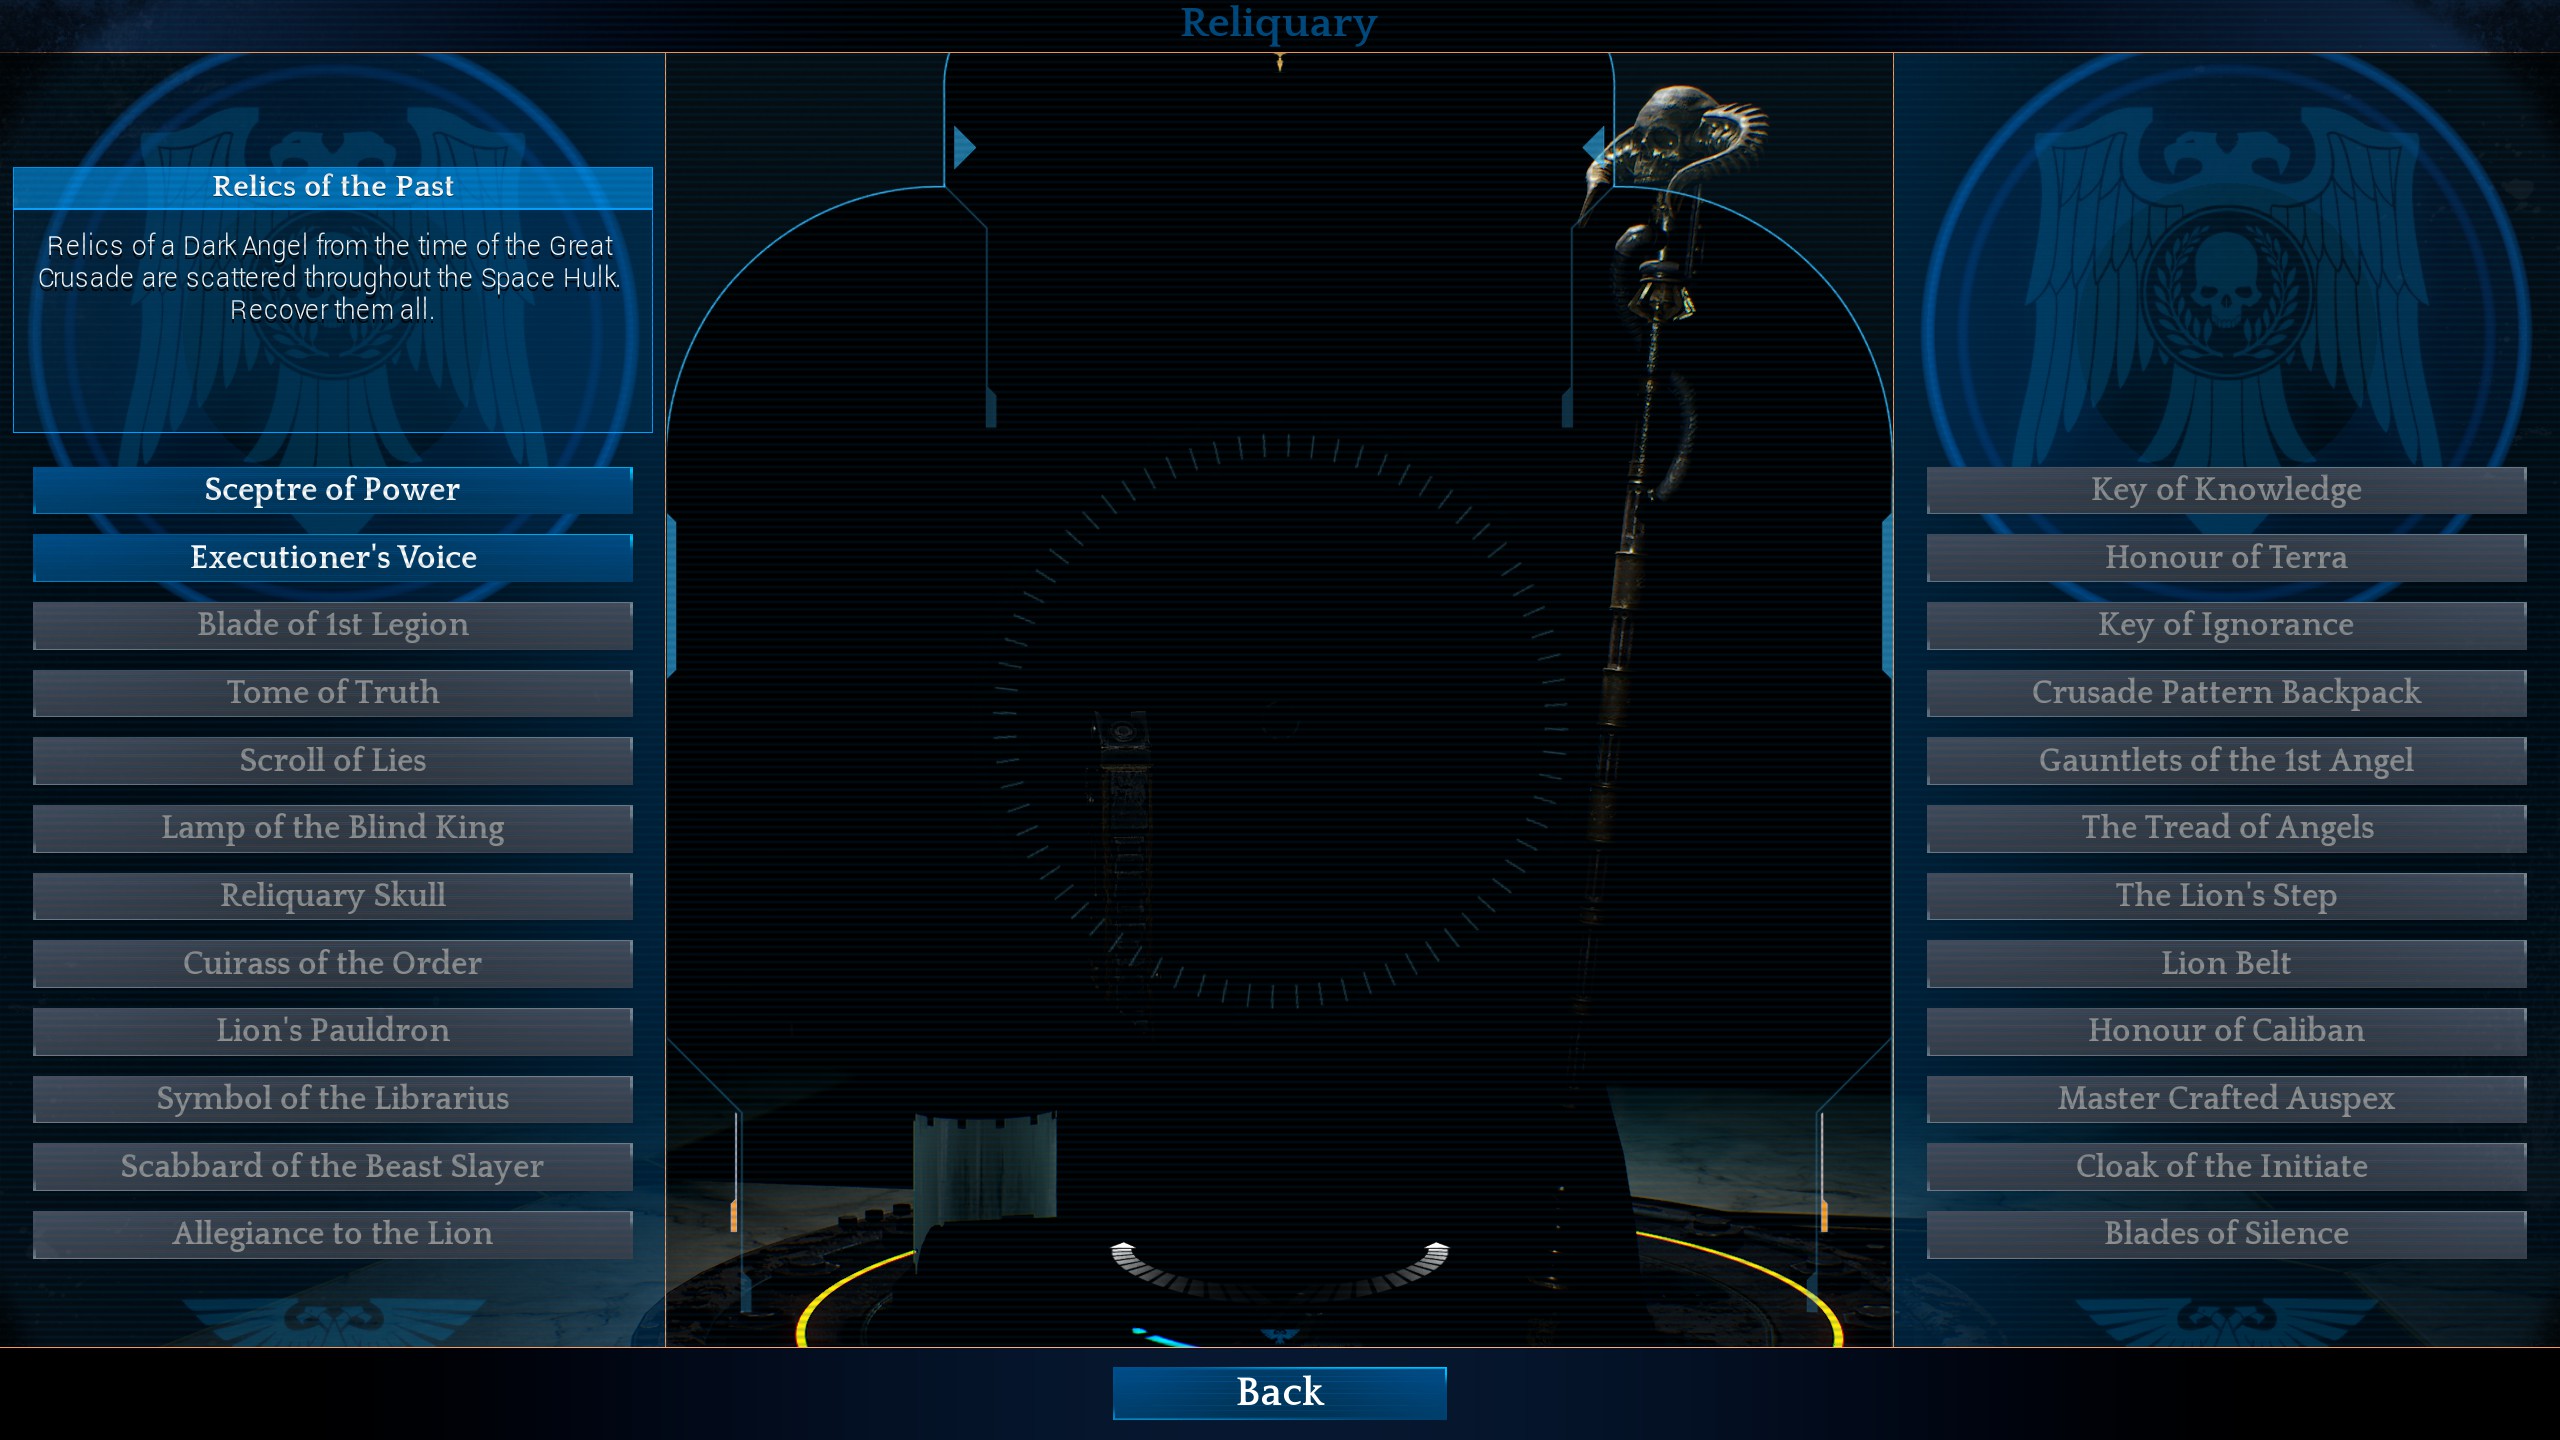
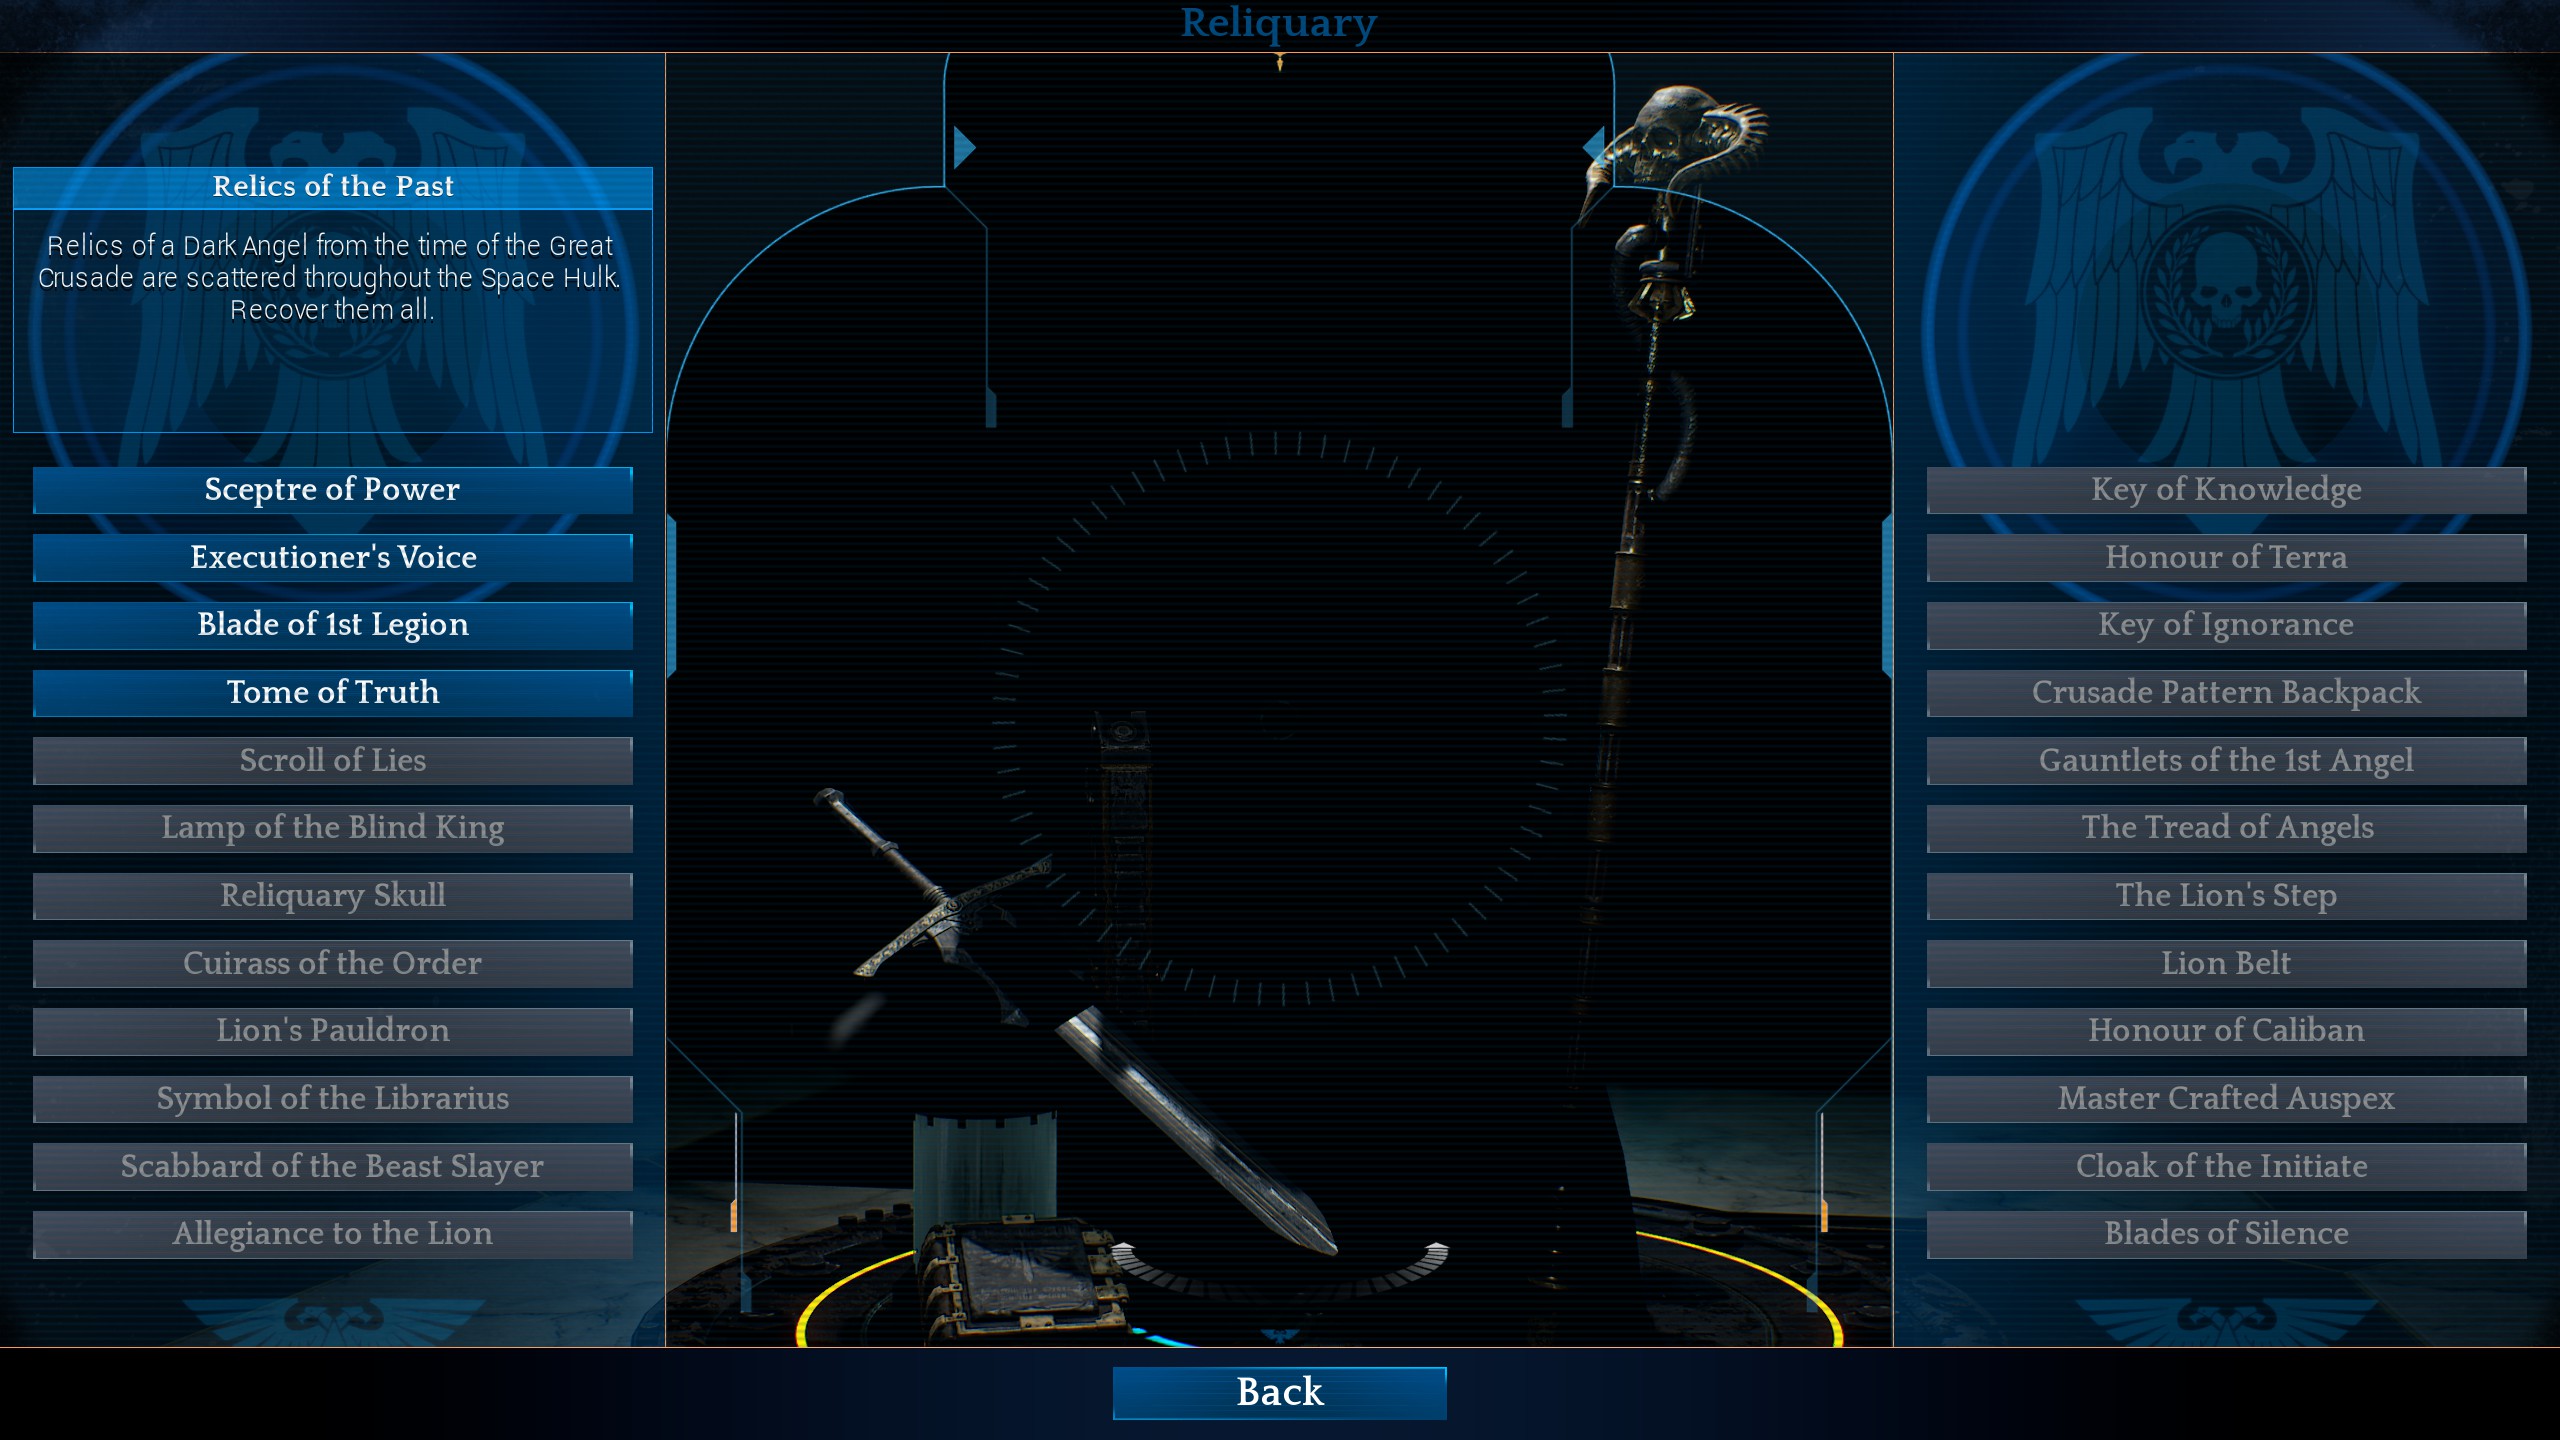
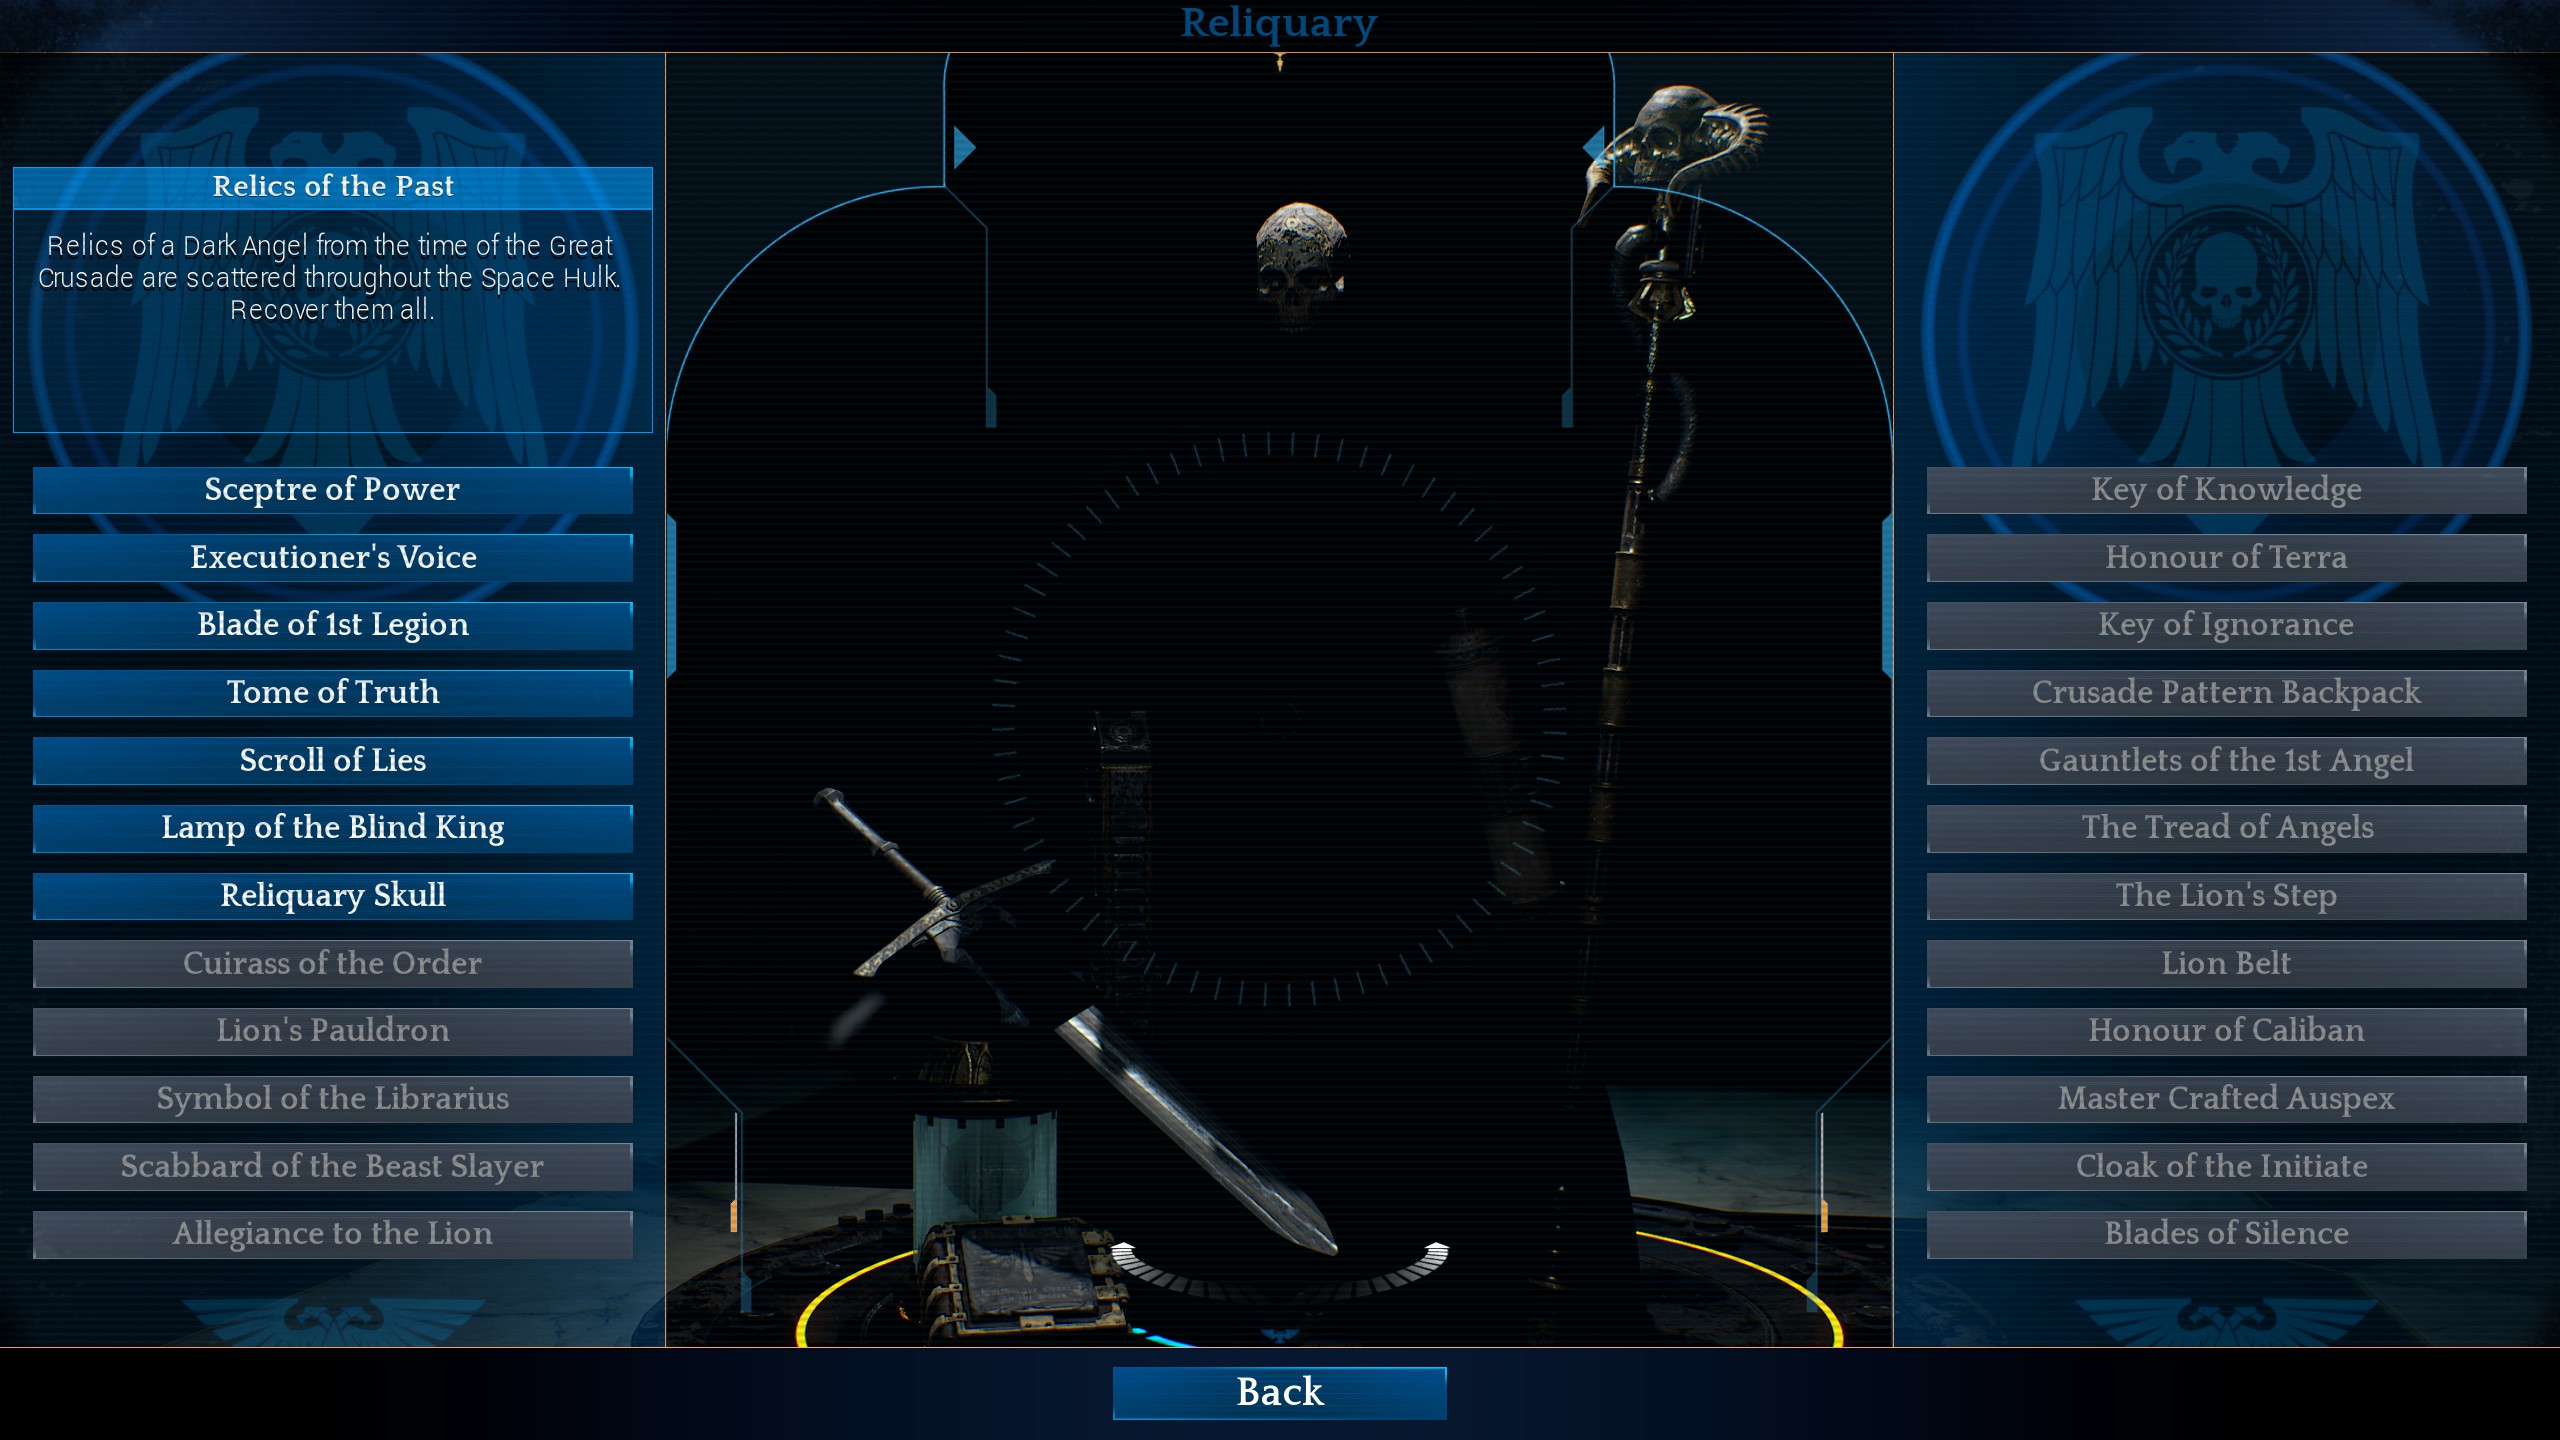
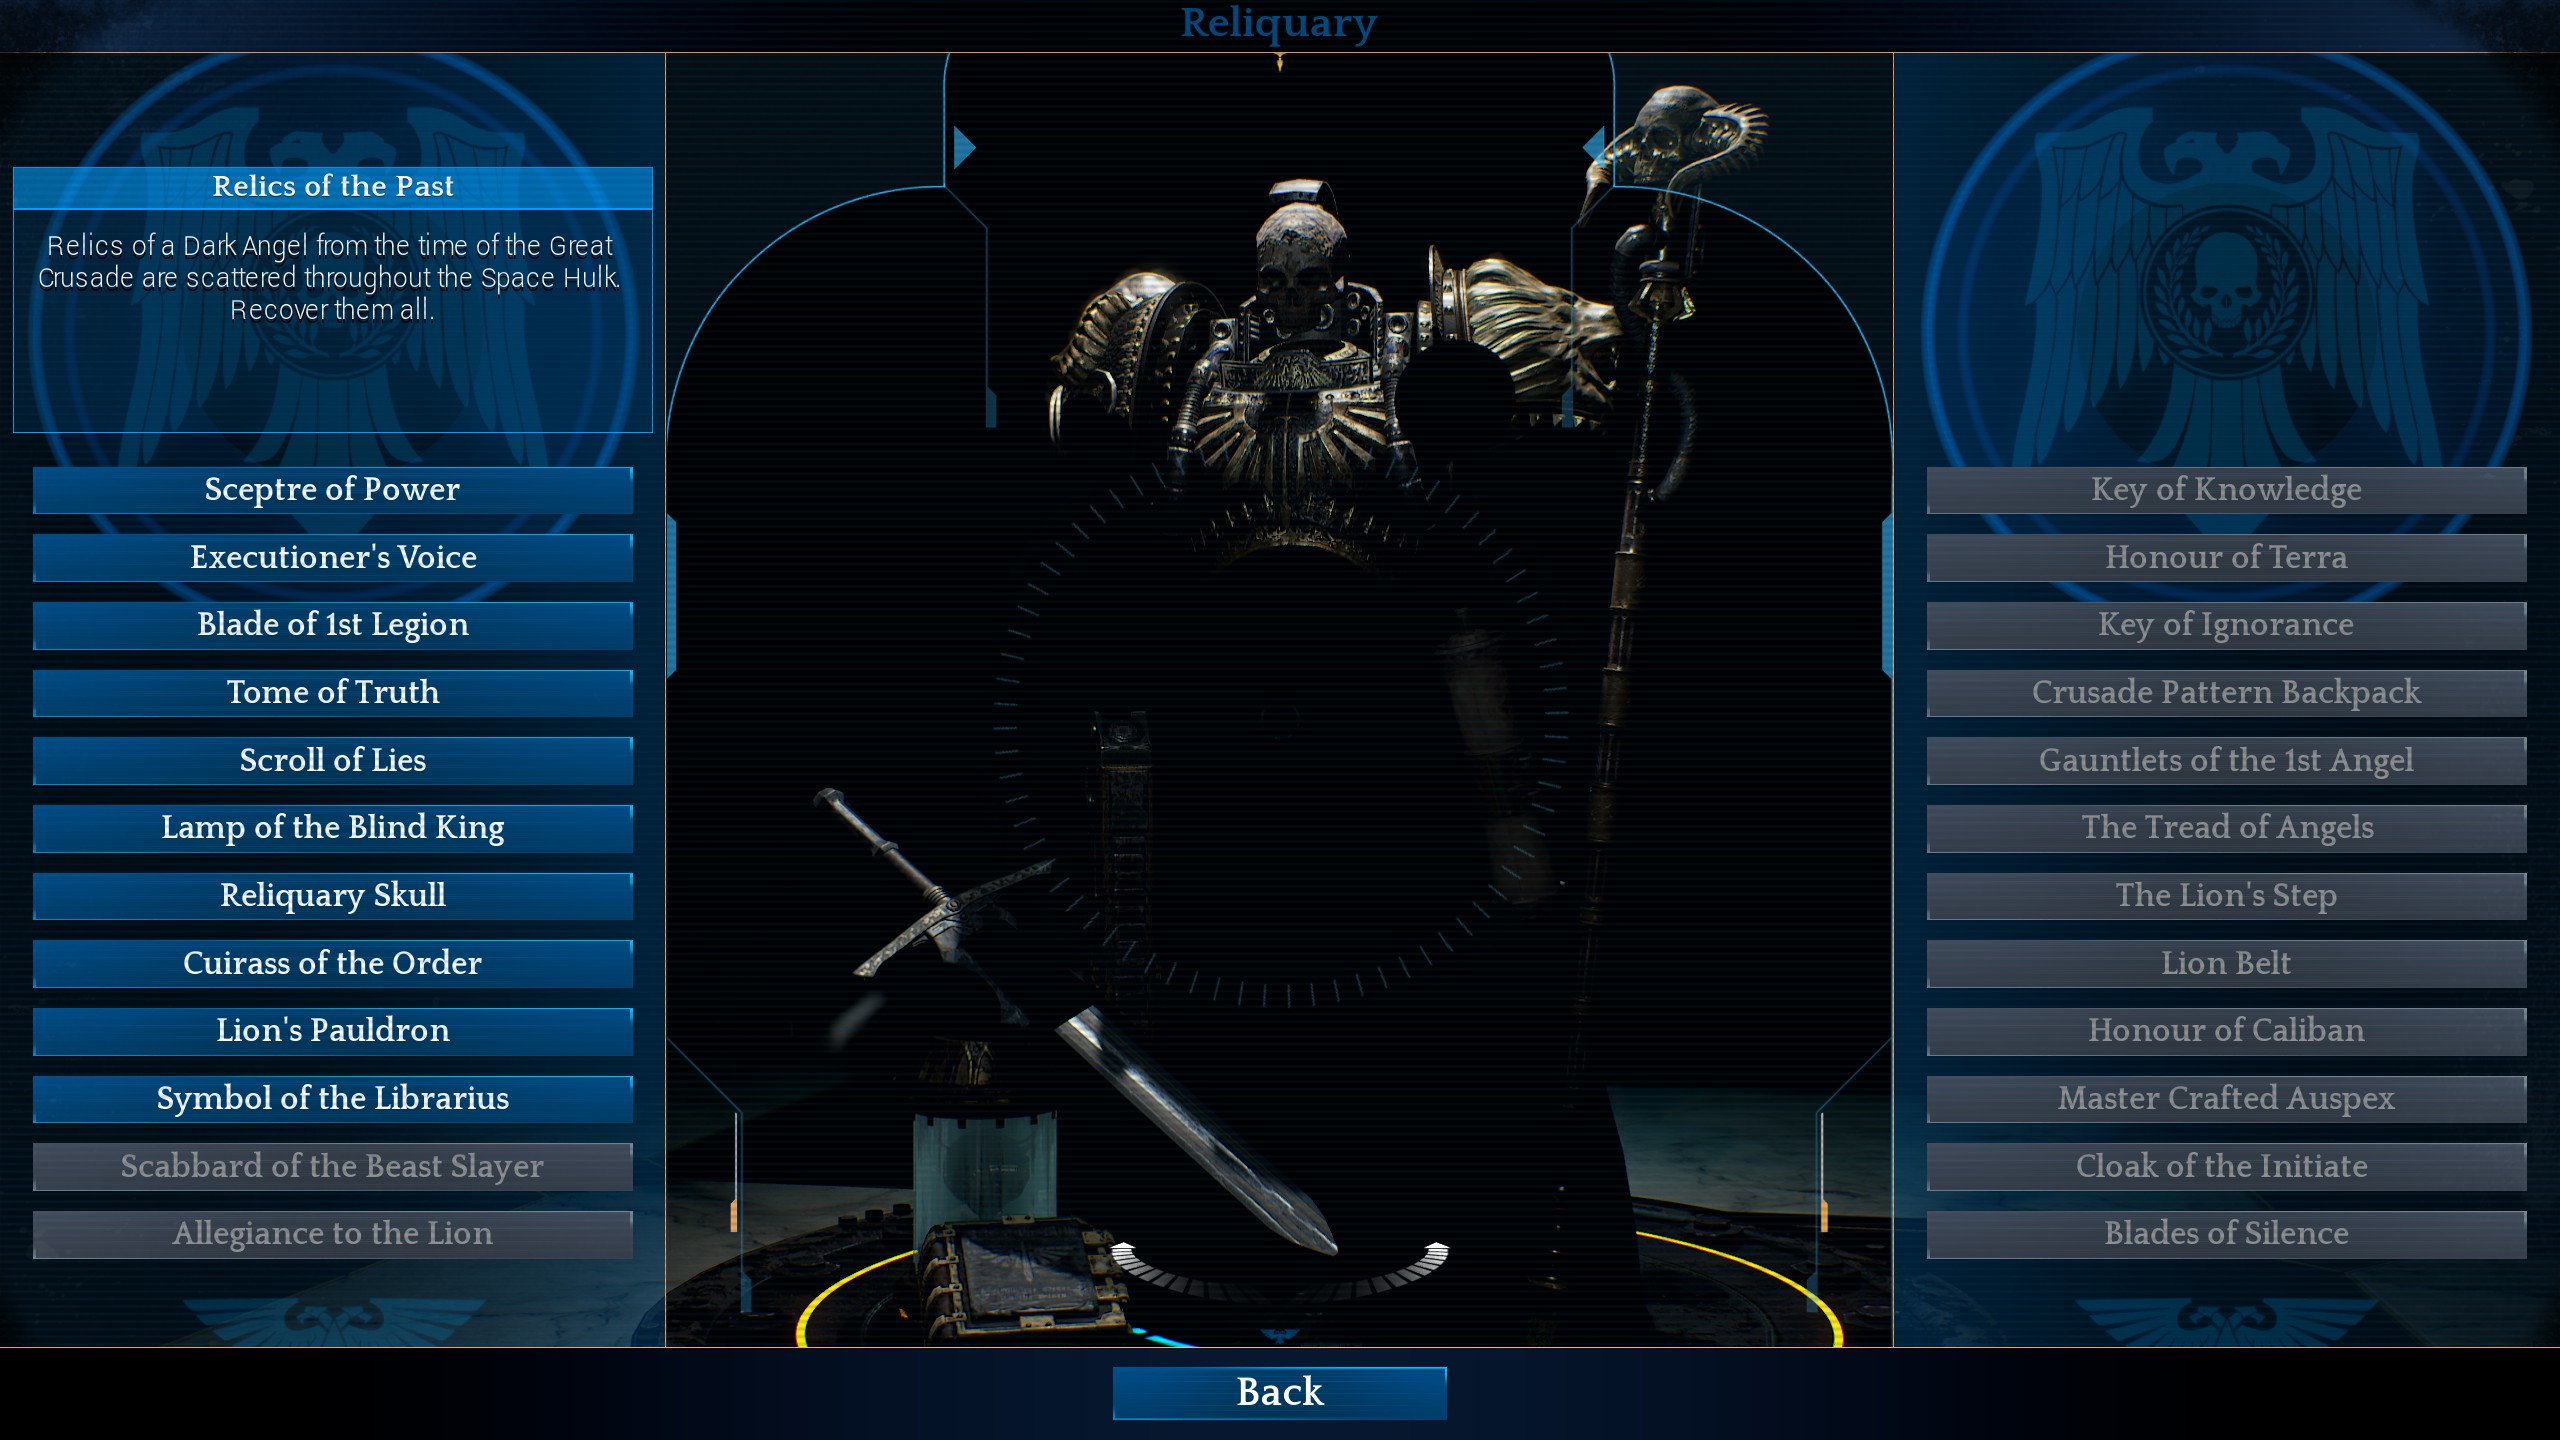
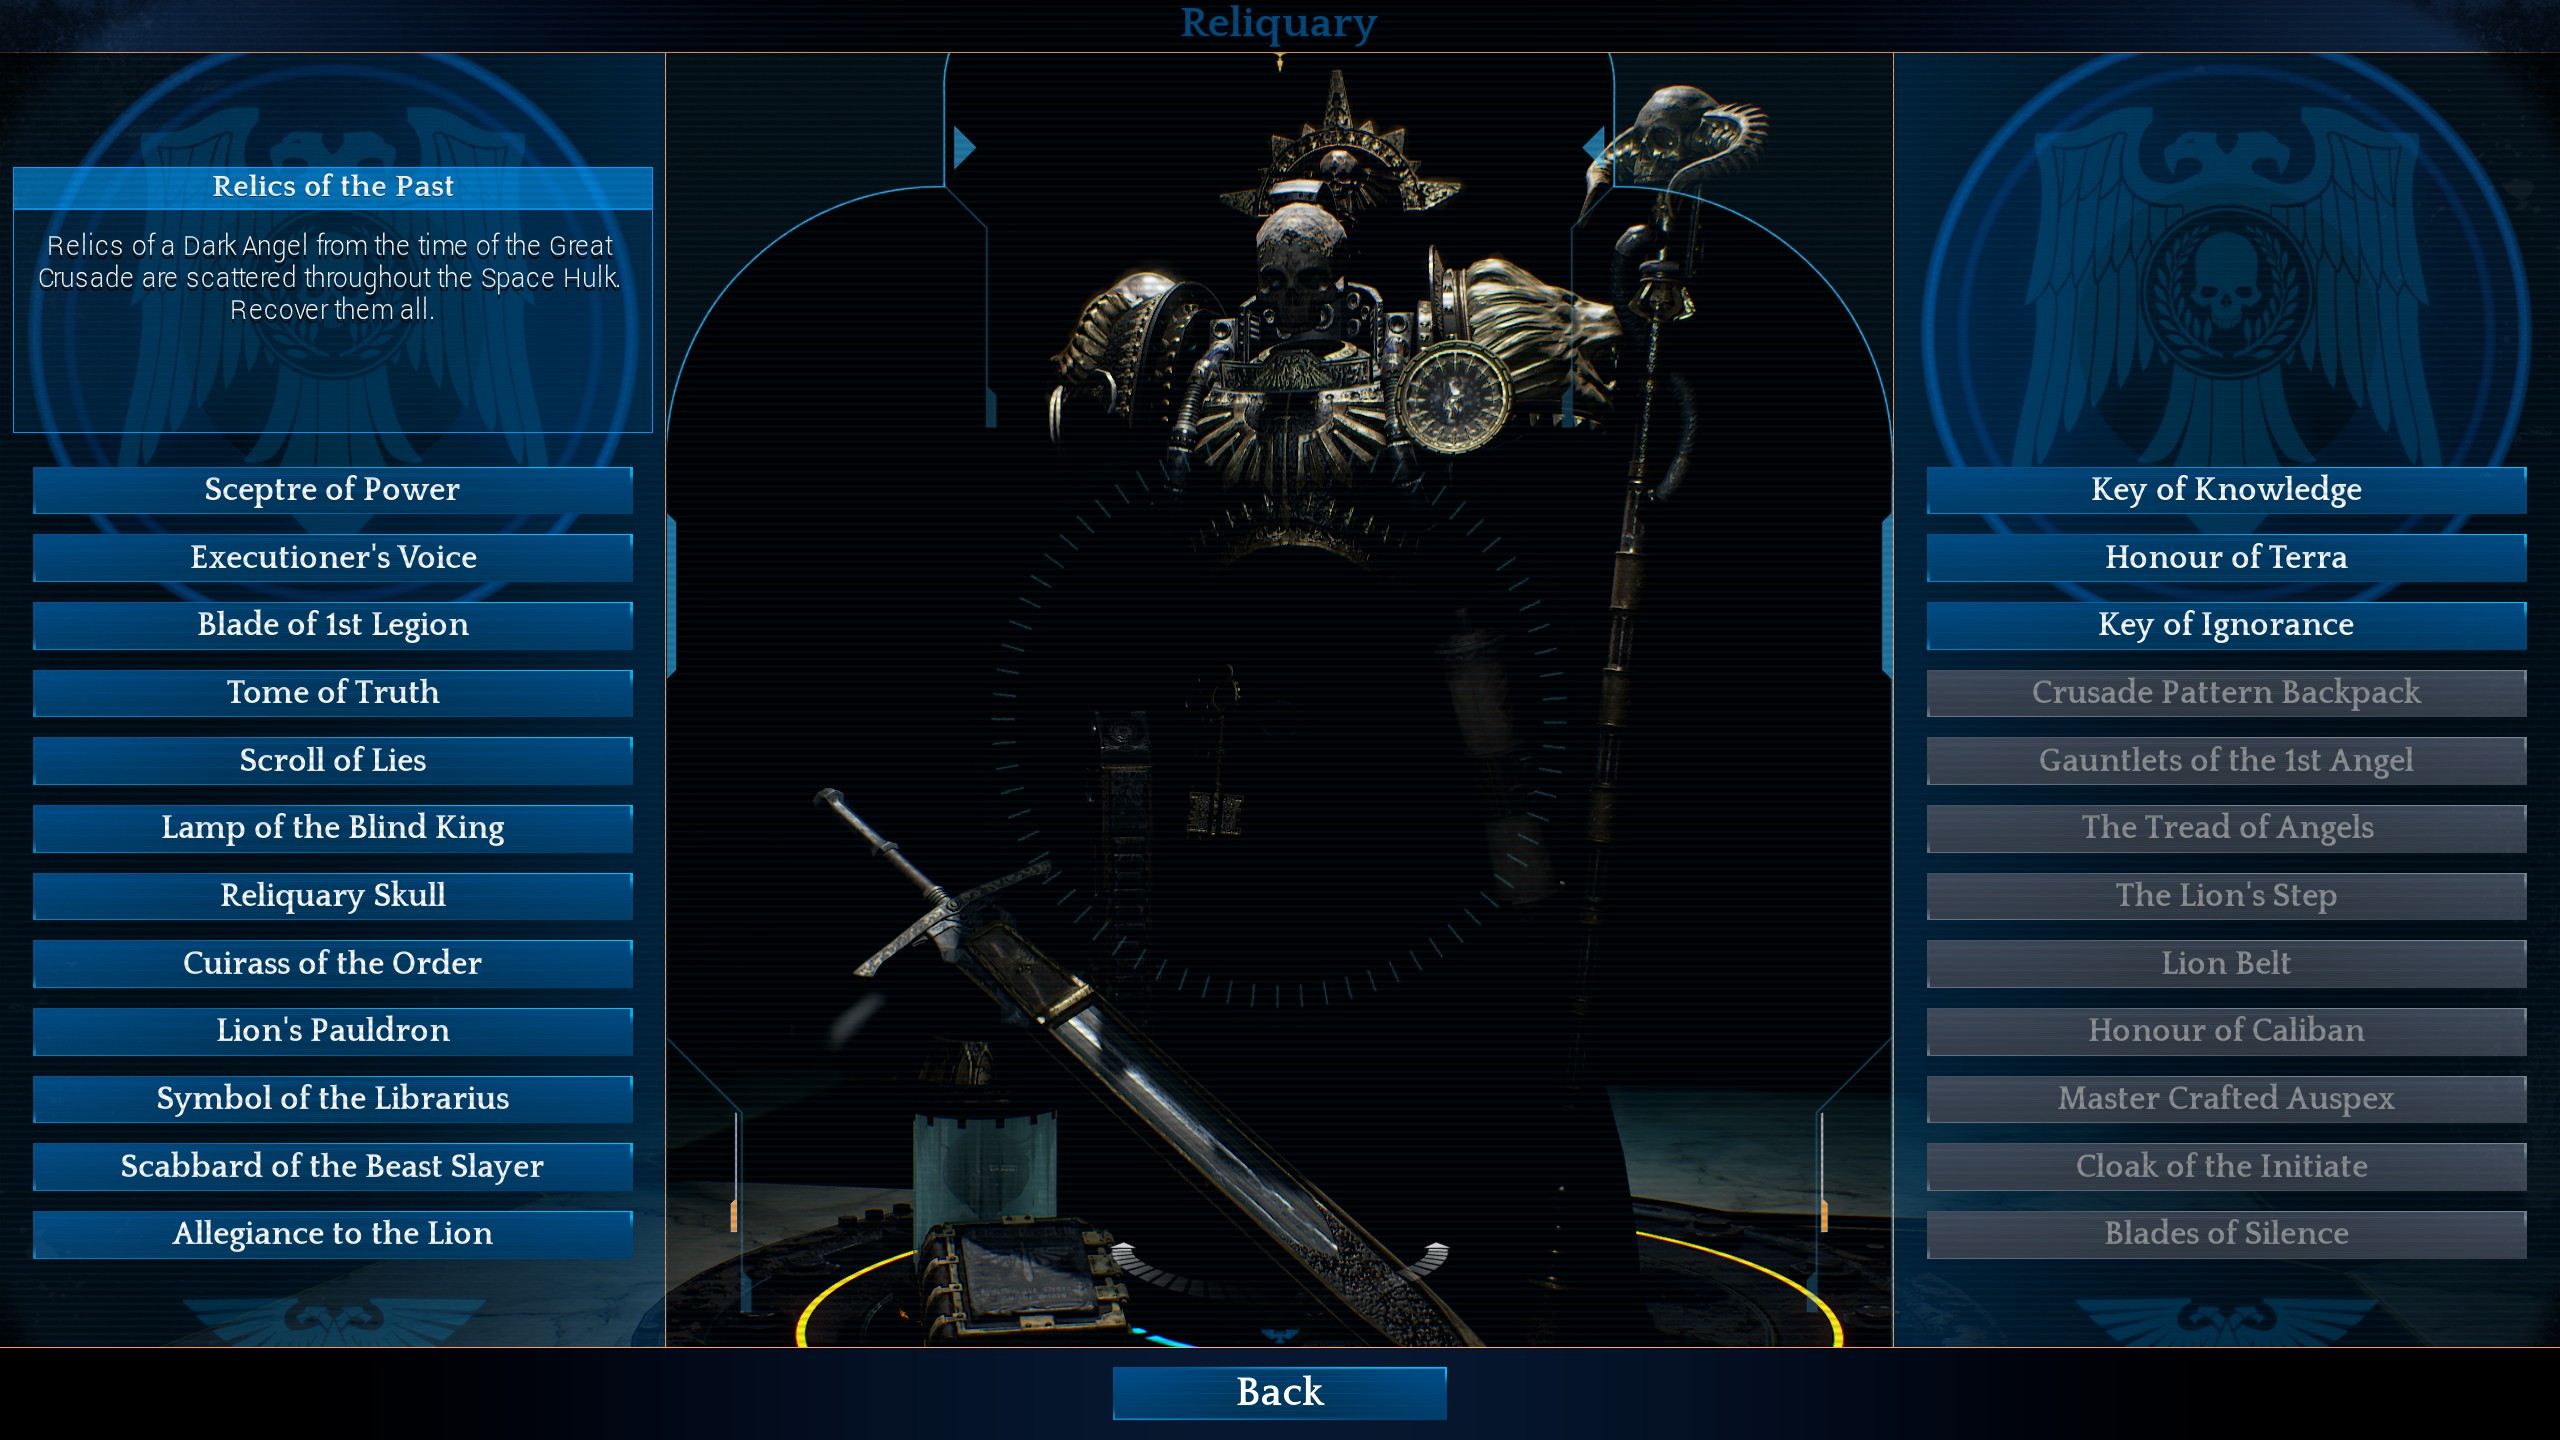
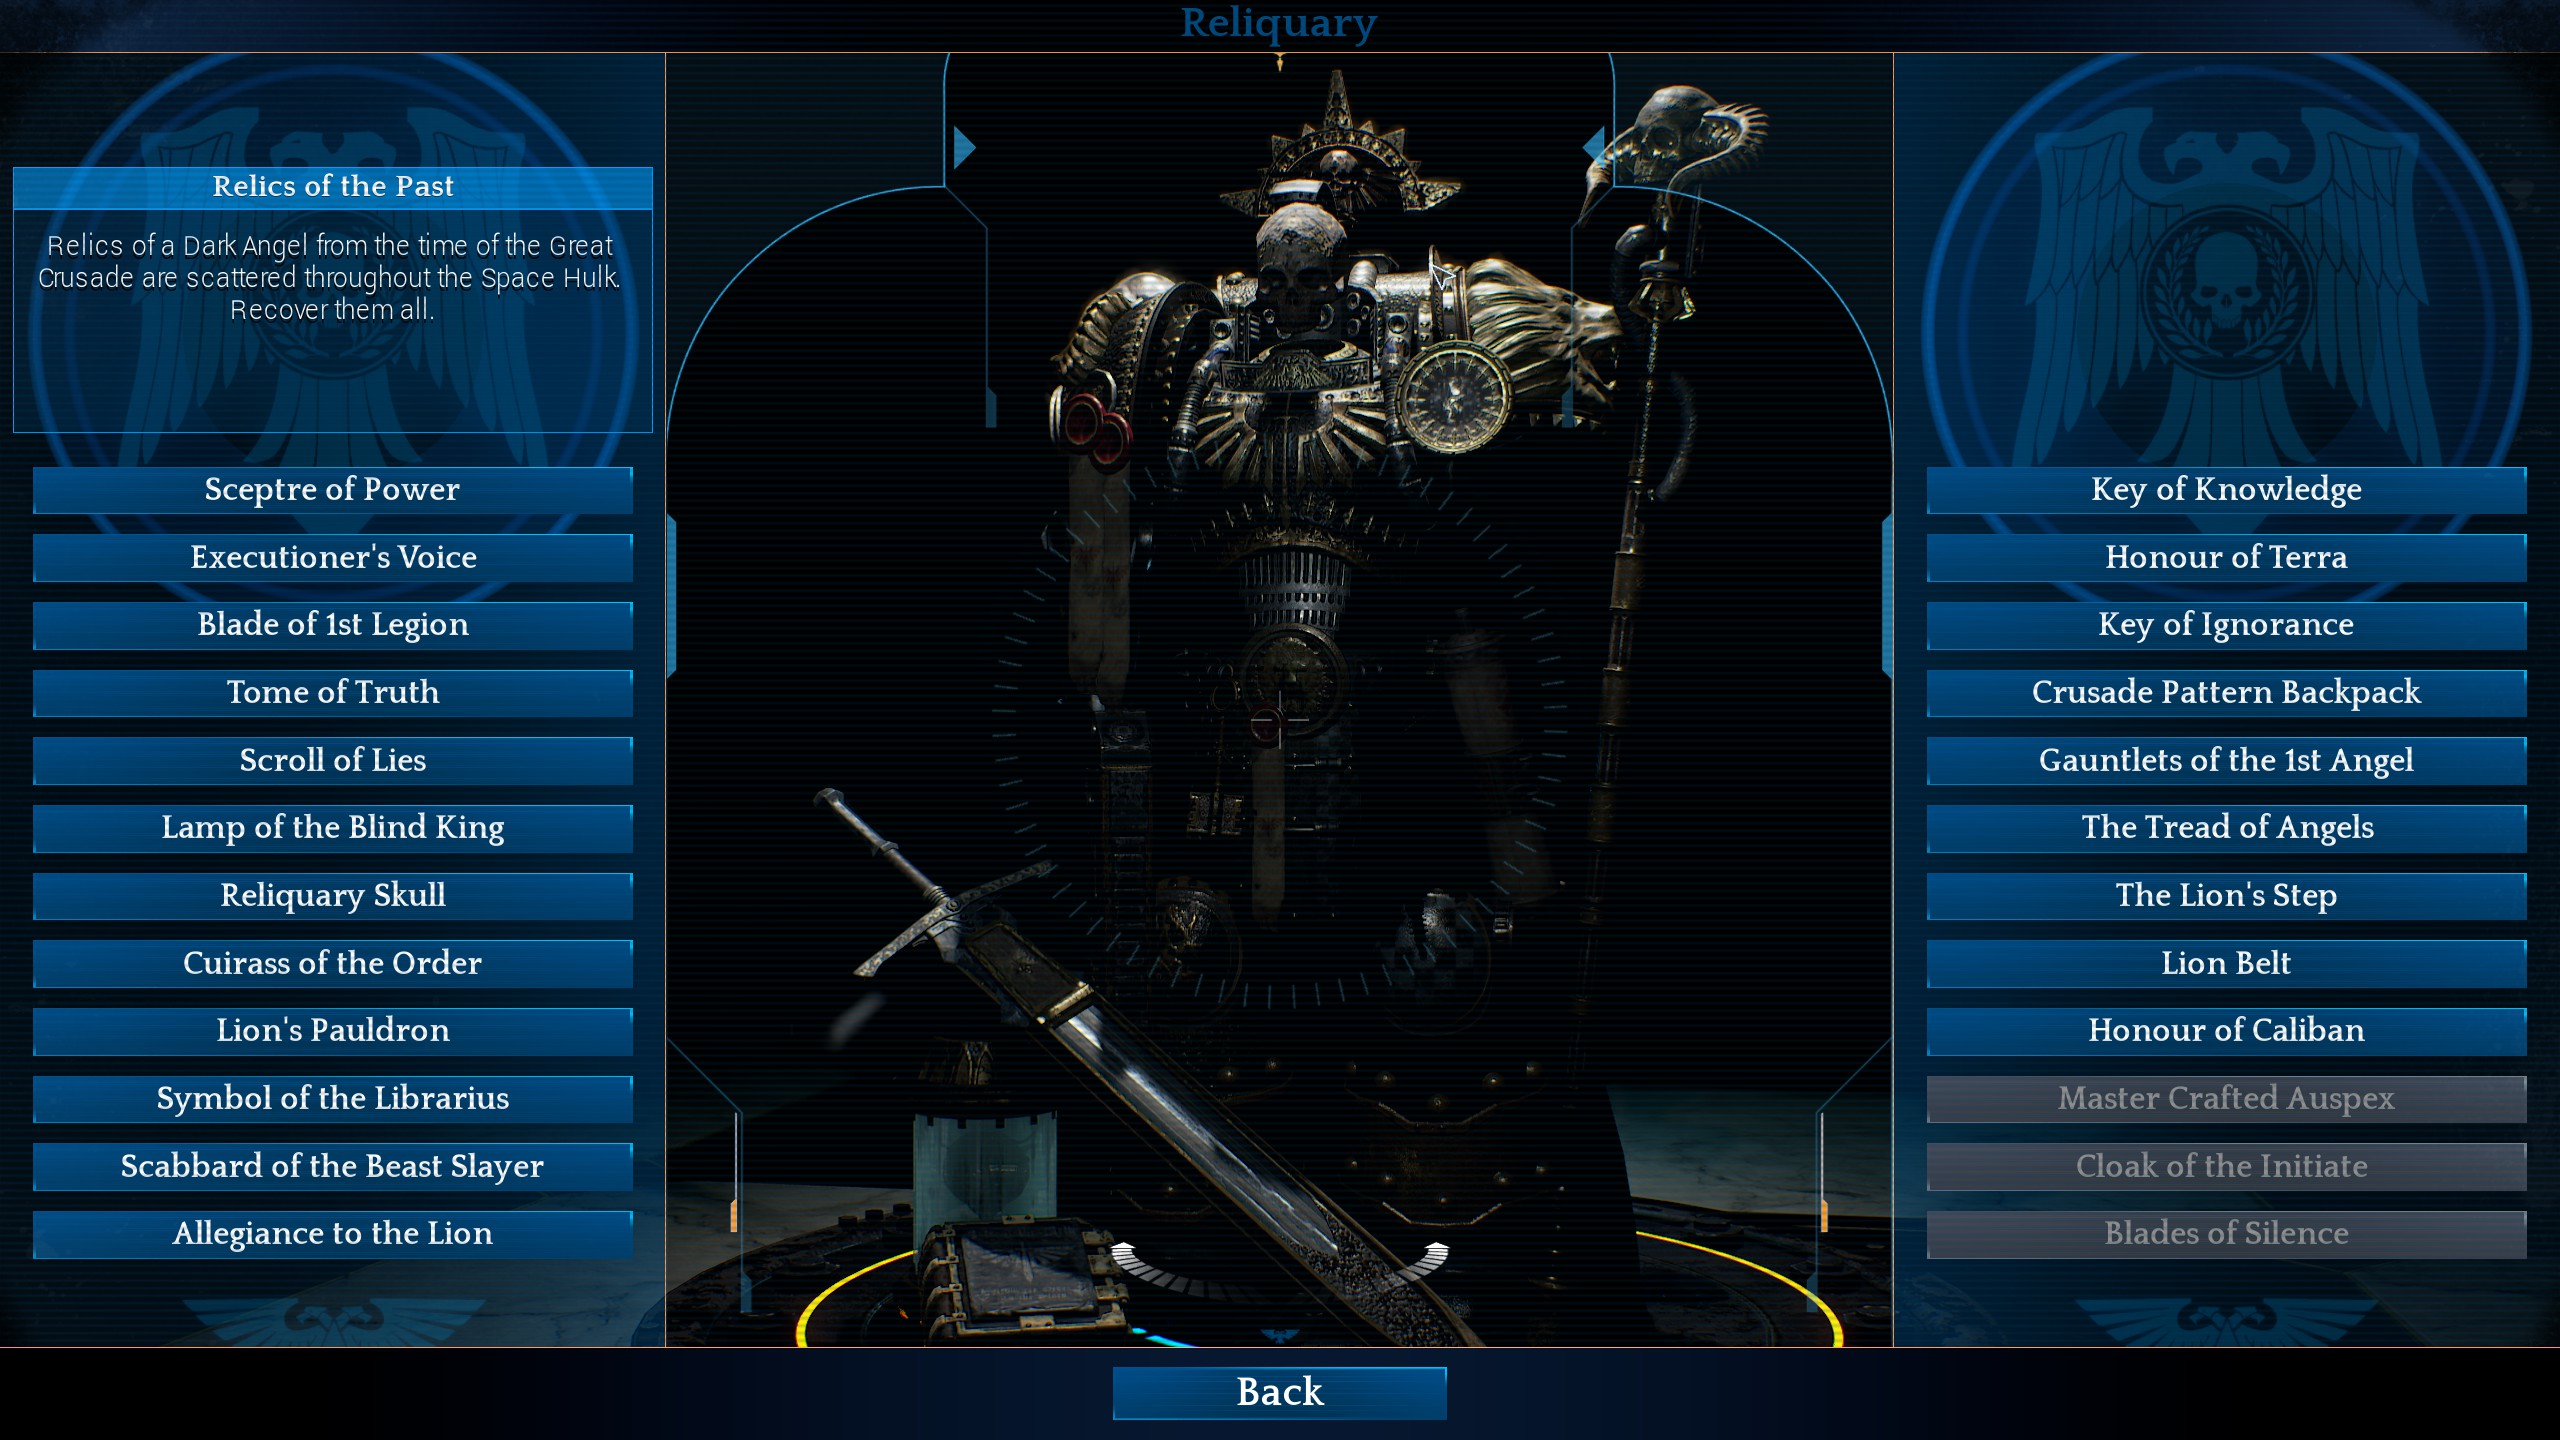
You can check to see which major relics you have found in the reliquary found in the main menu whilst you’re in the singleplayer campaign. This won’t show up in chapter 1 until you have found the first major relic. This is, however one of the objectives in the singleplayer campaign.
You can find each named major relic in specifc chapters. I have numbered them for use in the maps I made so they’re easy to find if you’re missing any. The numbers I’ve assigned the relics are arbitrary and purely based on the route I’m taking through the chapter. The DLC map Chapter 10 only contains minor relics and doesn’t count towards any achievements.
유물 2 = Minor
유물 3 = Sceptre of Power
유물 4 = Executioner’s Voice
유물 5 = Minor
유물 2 = Minor
유물 3 = Minor
유물 4 = Minor
유물 5 = Blade of 1st Legion
유물 2 = Minor
유물 3 = Minor
유물 4 = Lamp of the Blind King
유물 5 = Scroll of Lies
유물 2 = Lion’s Pauldron
유물 3 = Minor
유물 4 = Symbol of the Librarius
유물 5 = Cuirass of the Order

유물 2 = Allegiance to the Lion
유물 3 = Minor
유물 4 = Minor
유물 5 = Minor
유물 6 = Honour of Terra
유물 2 = Key of Ignorance
유물 3 = Minor
유물 4 = Minor

유물 2 = Minor
유물 3 = Minor
유물 4 = Minor
유물 5 = Crusade Pattern Backpack
유물 6 = Gauntlets of the 1st Angel
유물 2 = Minor
유물 3 = Honour of Caliban
유물 4 = Lion Belt
유물 5 = Minor
유물 6 = The Lion’s Step
유물 2 = Minor
유물 3 = Minor
유물 4 = Master Crafted Auspex
유물 5 = Blades of silence
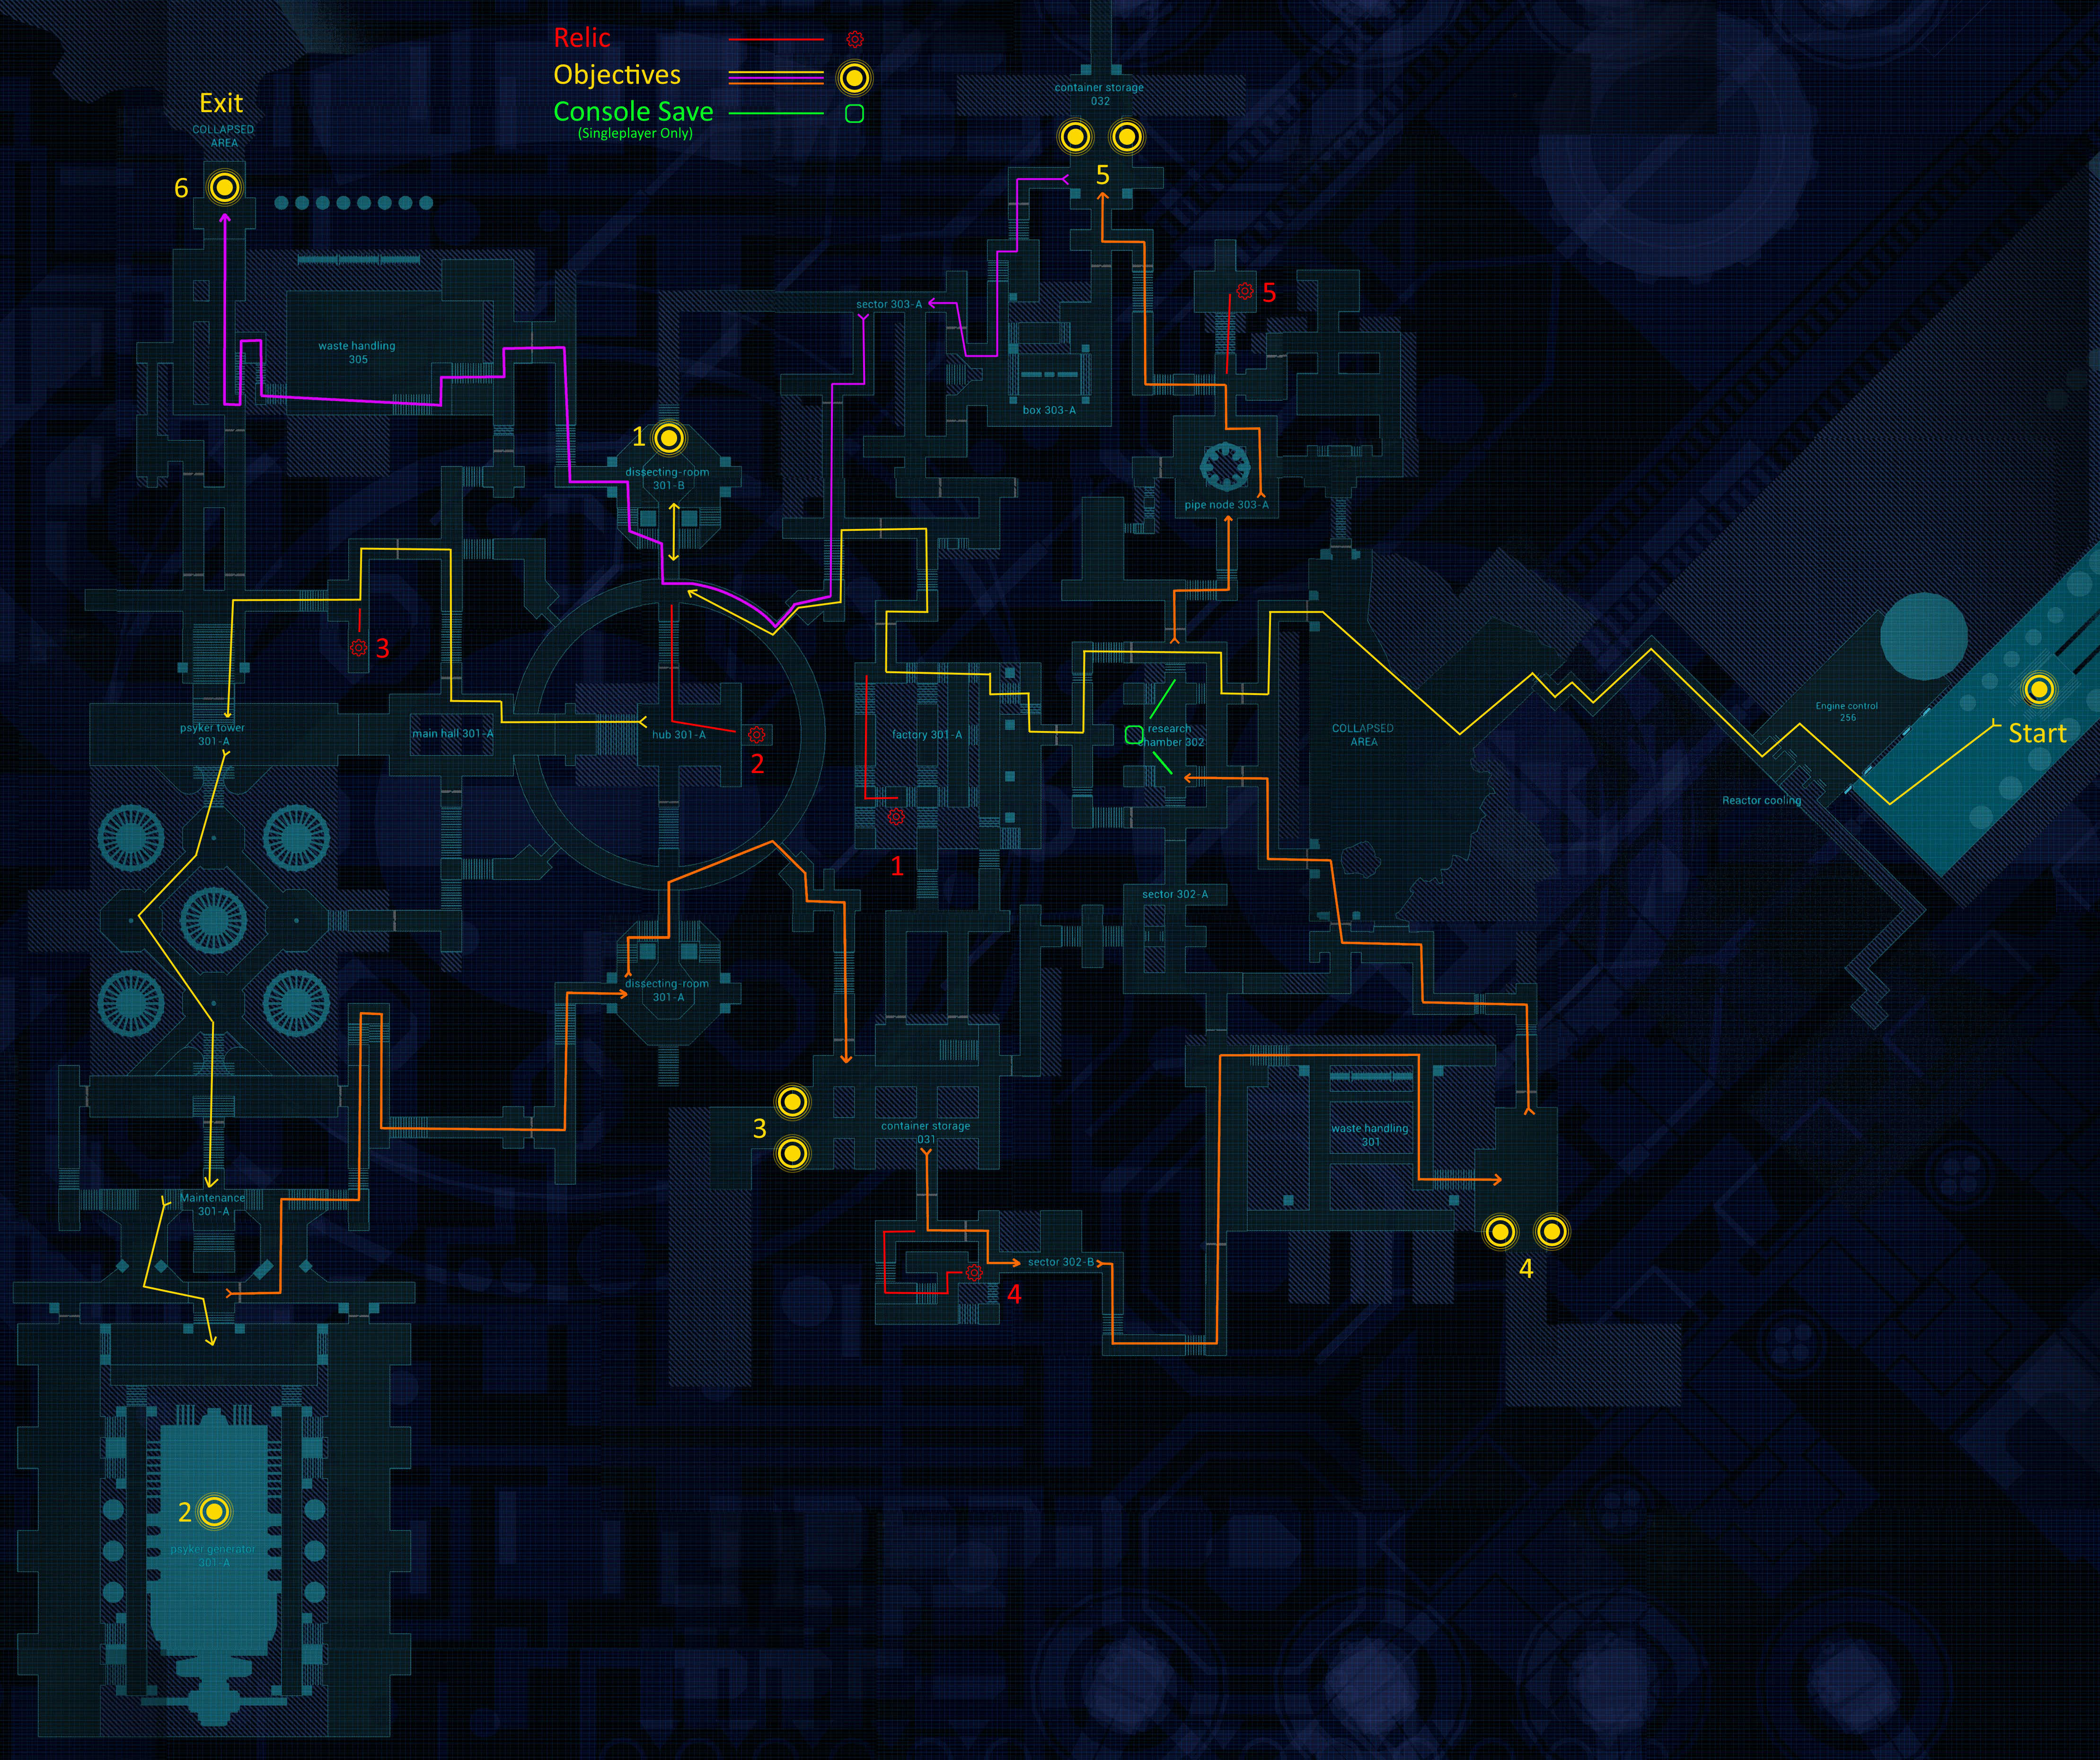
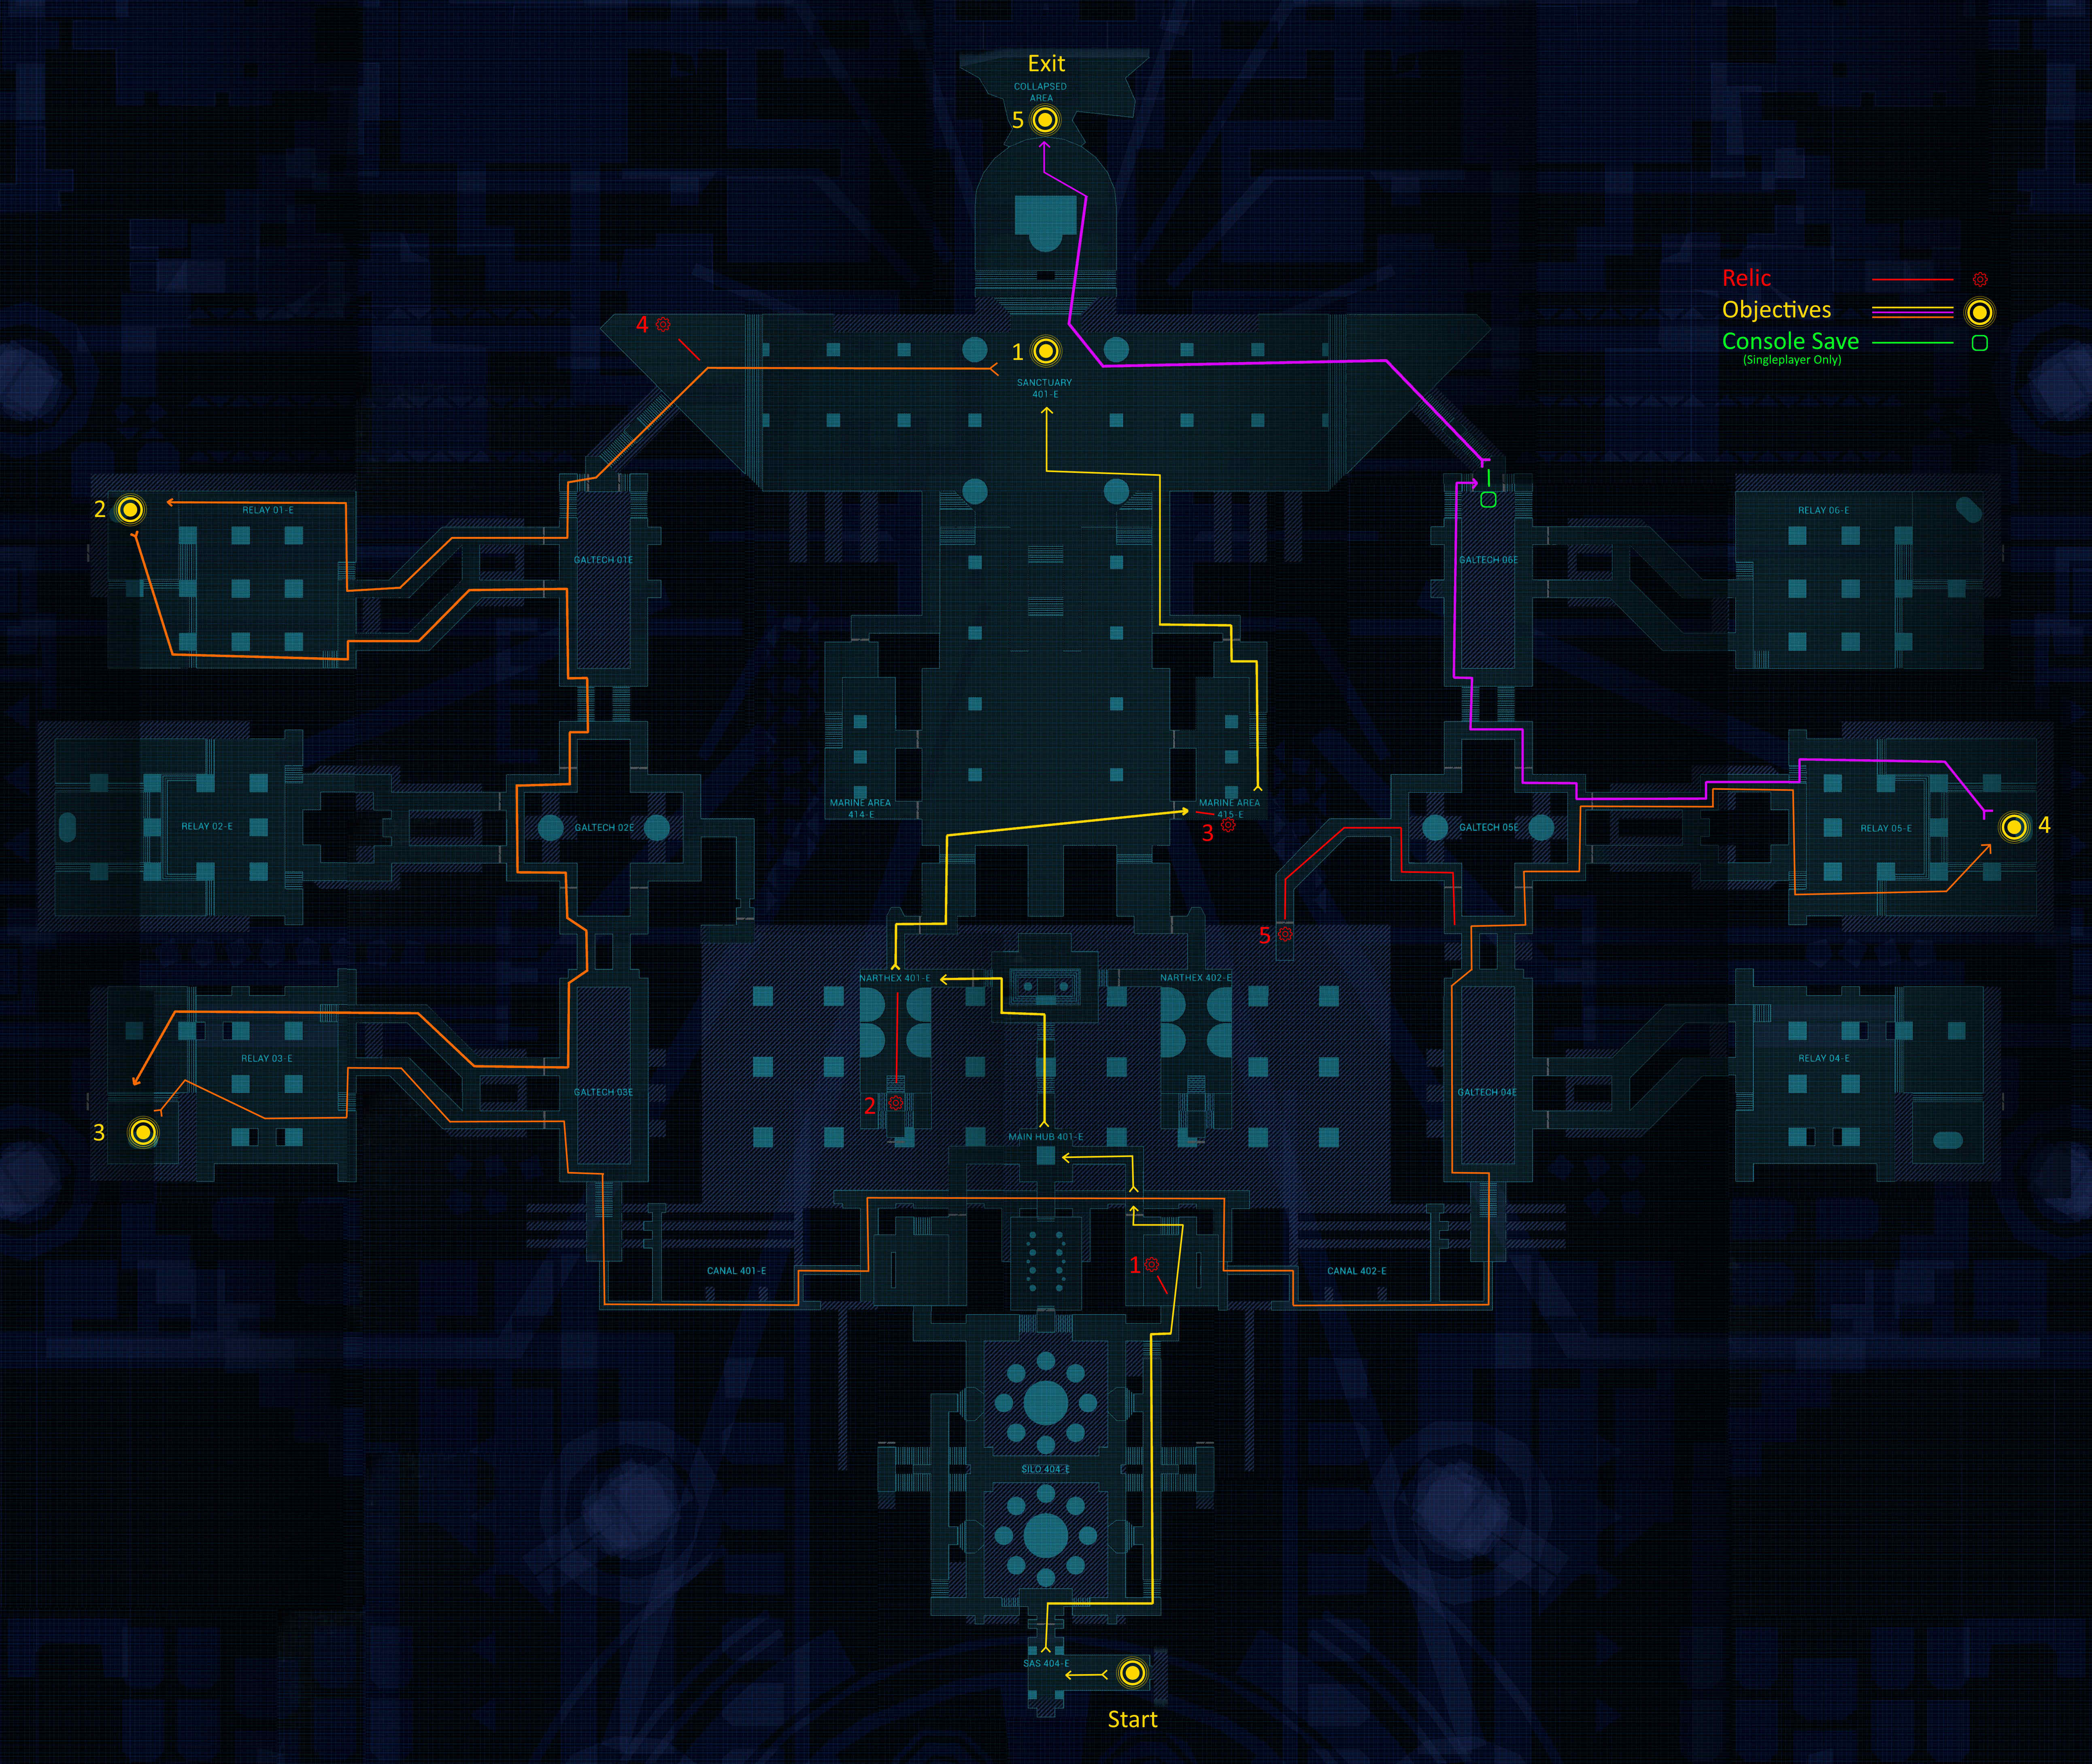
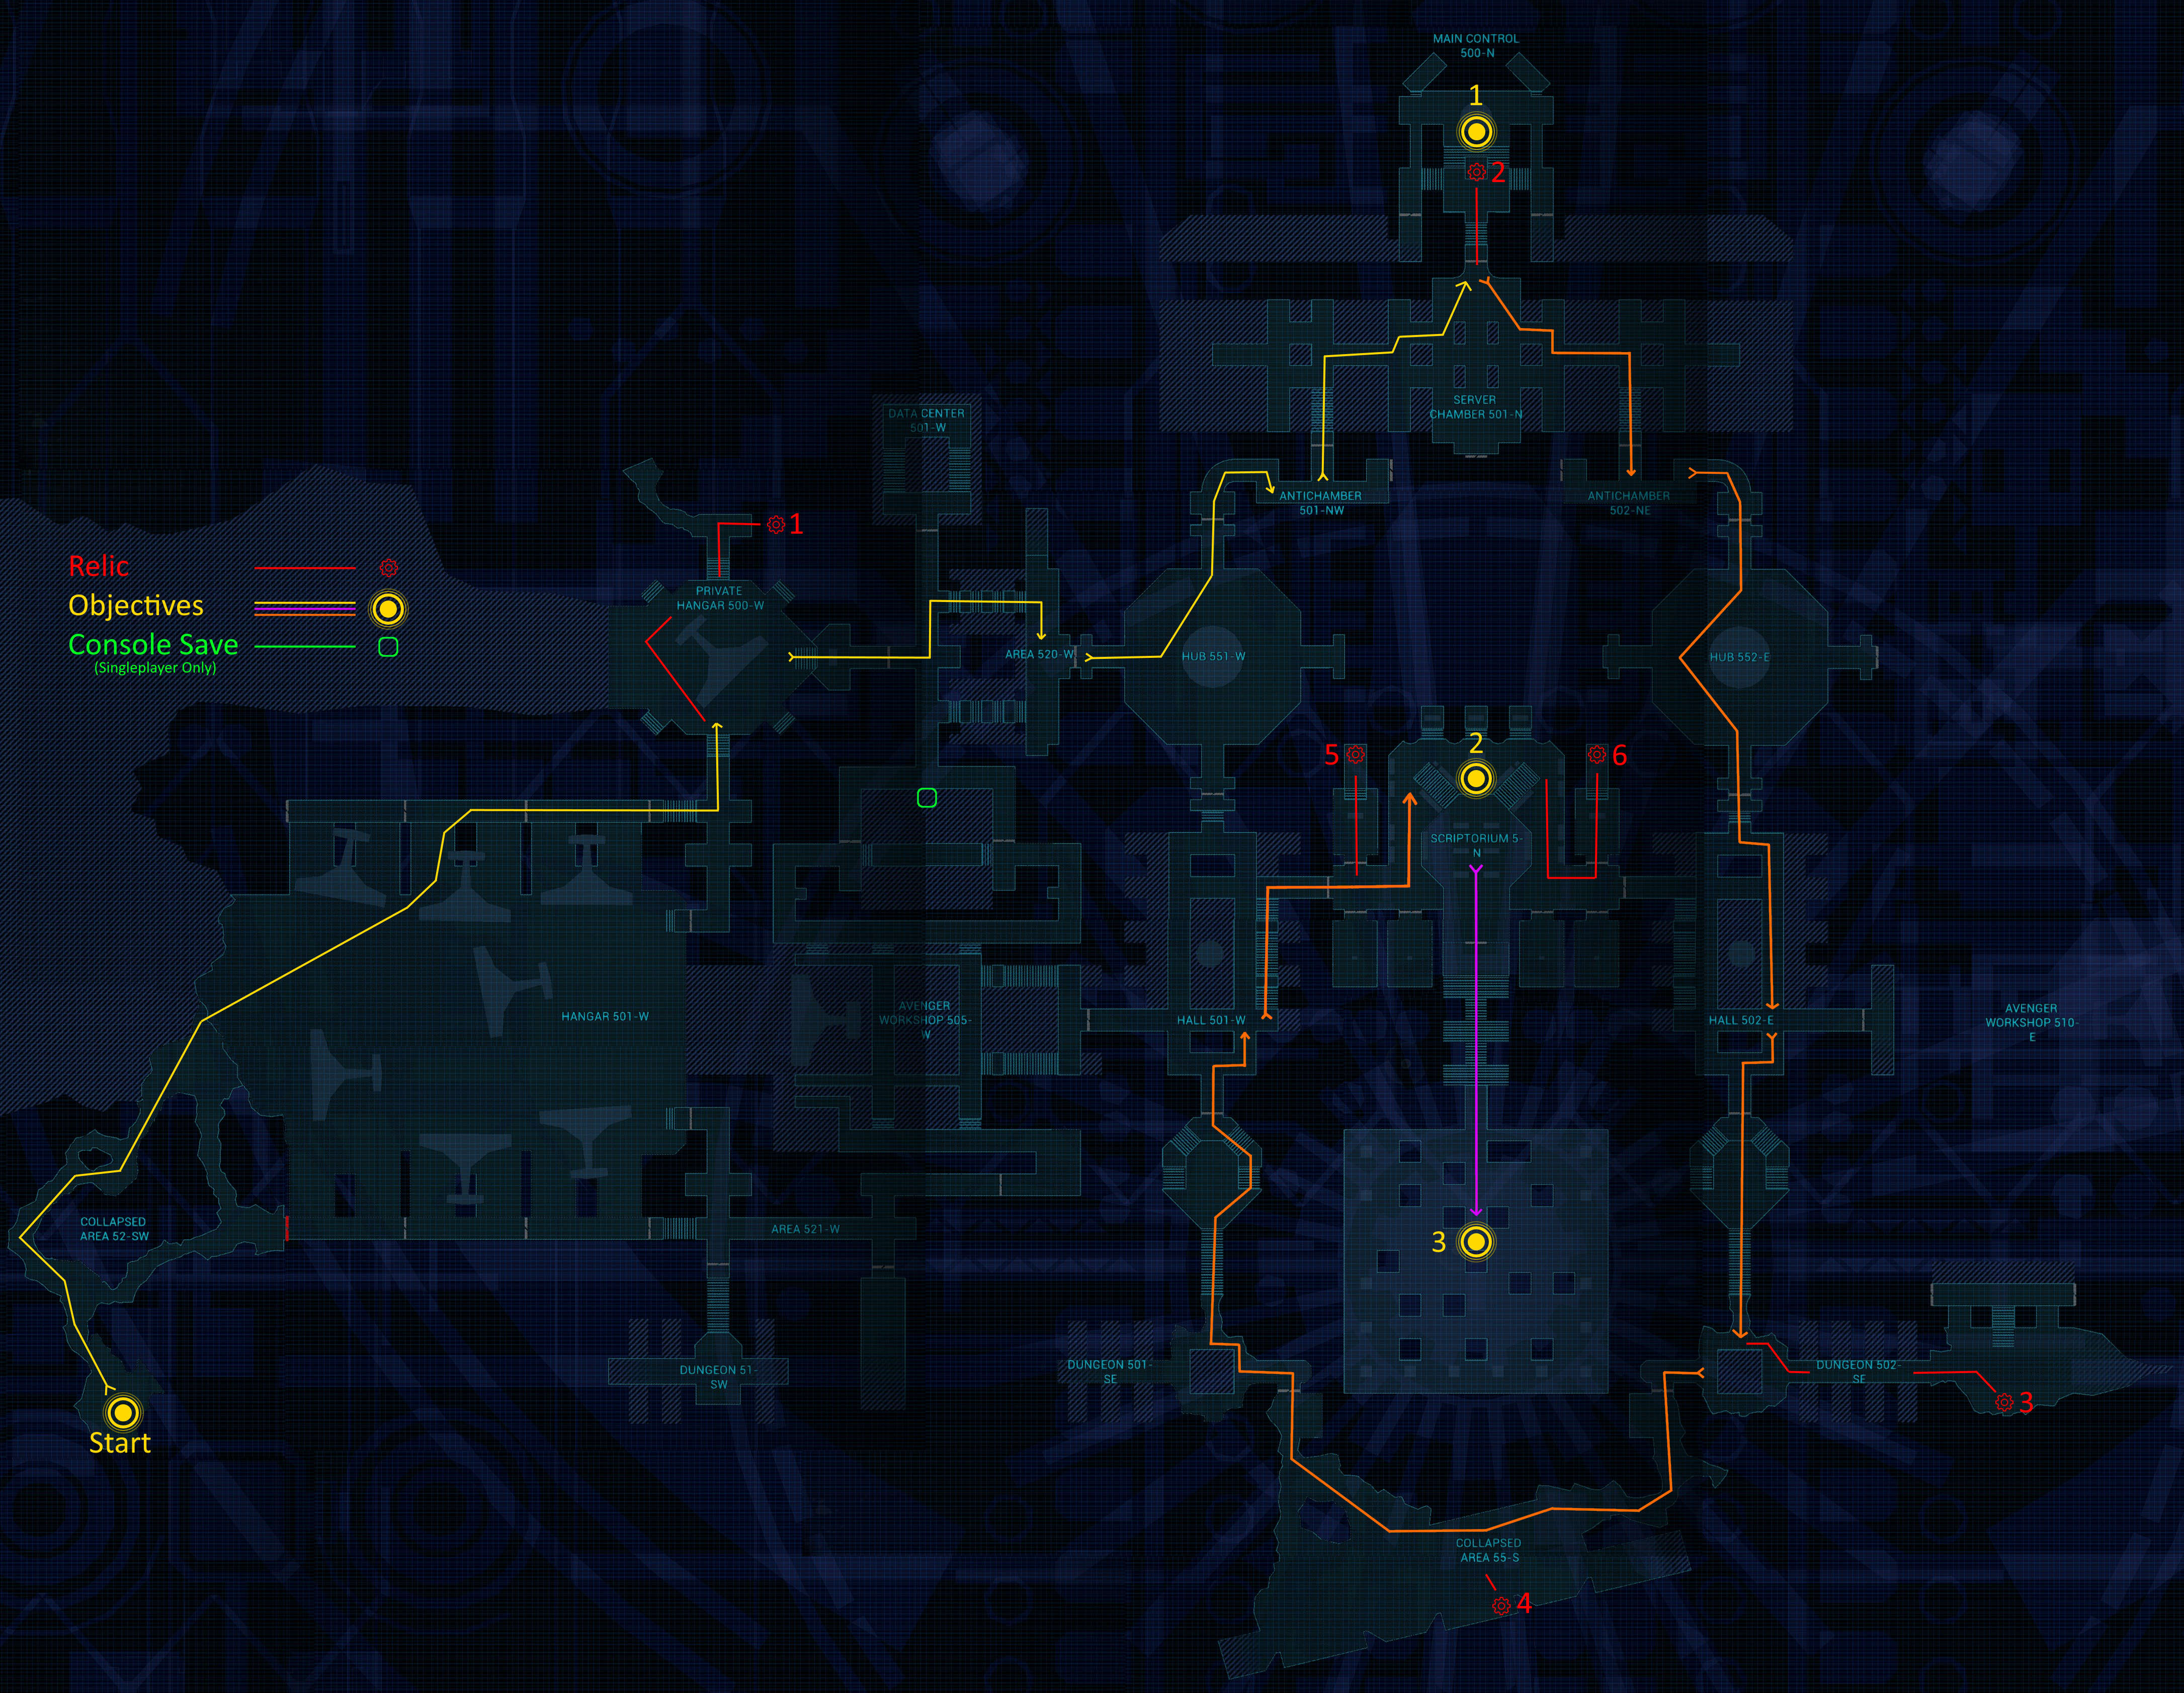
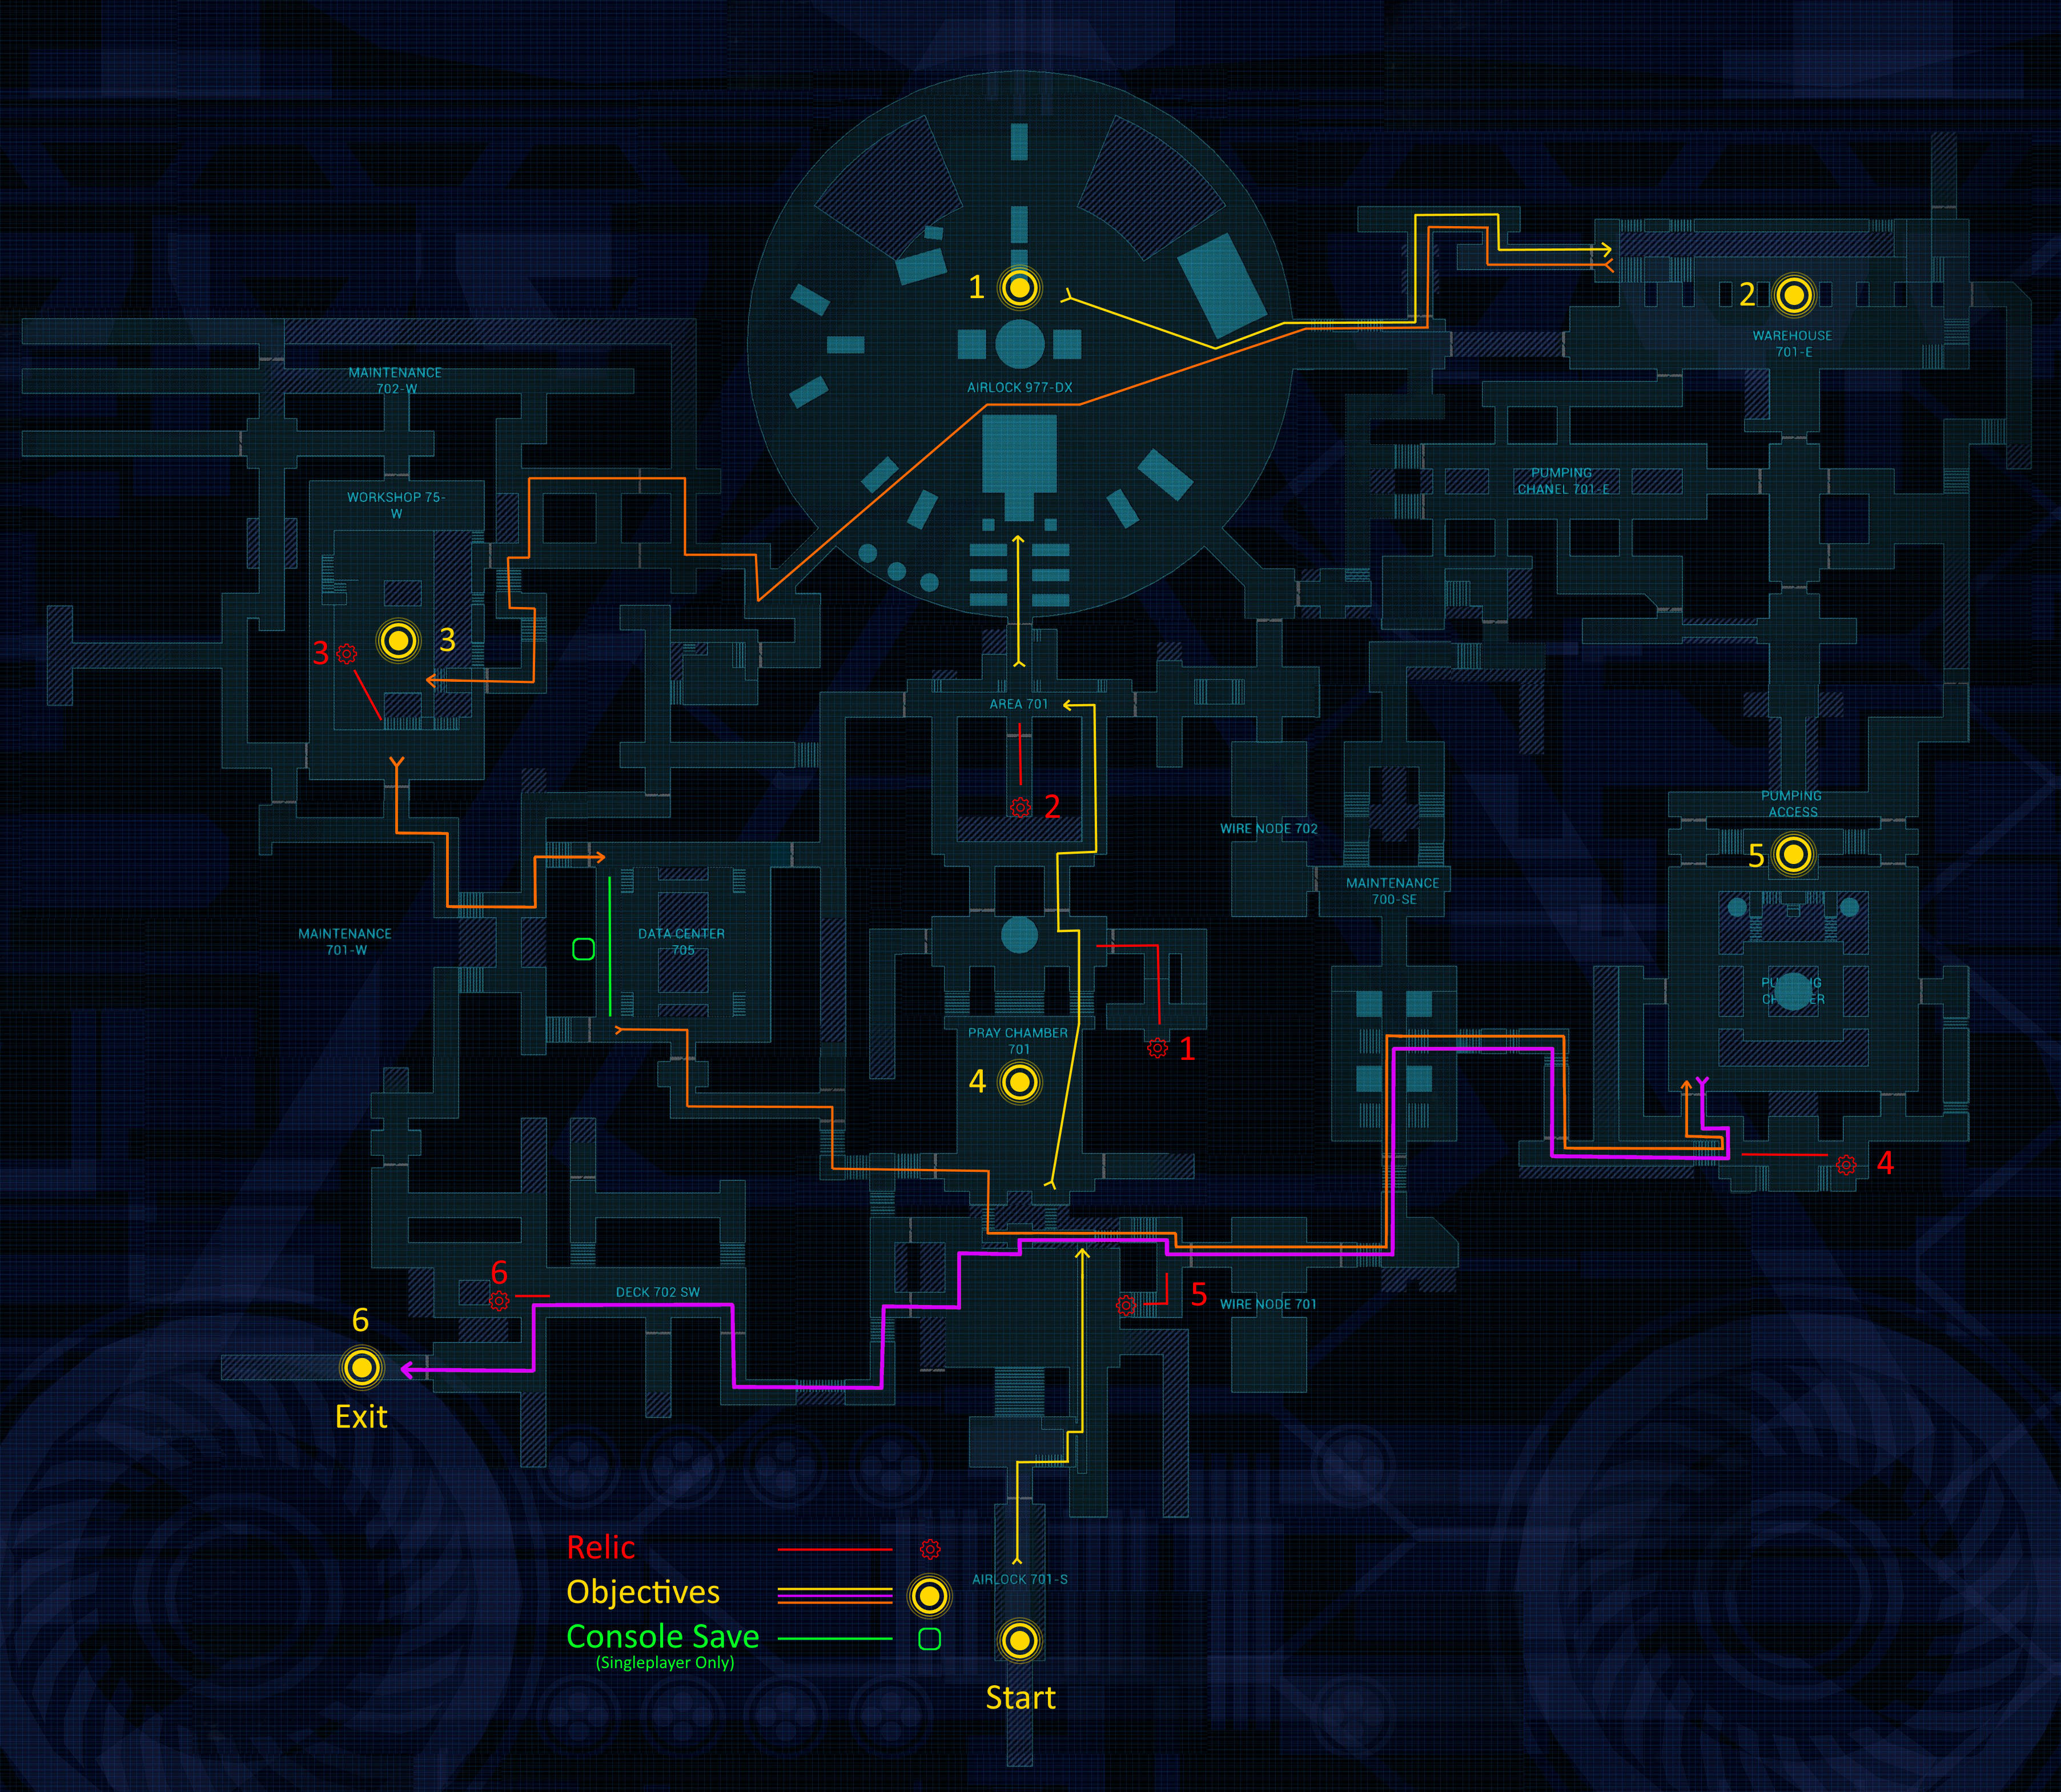
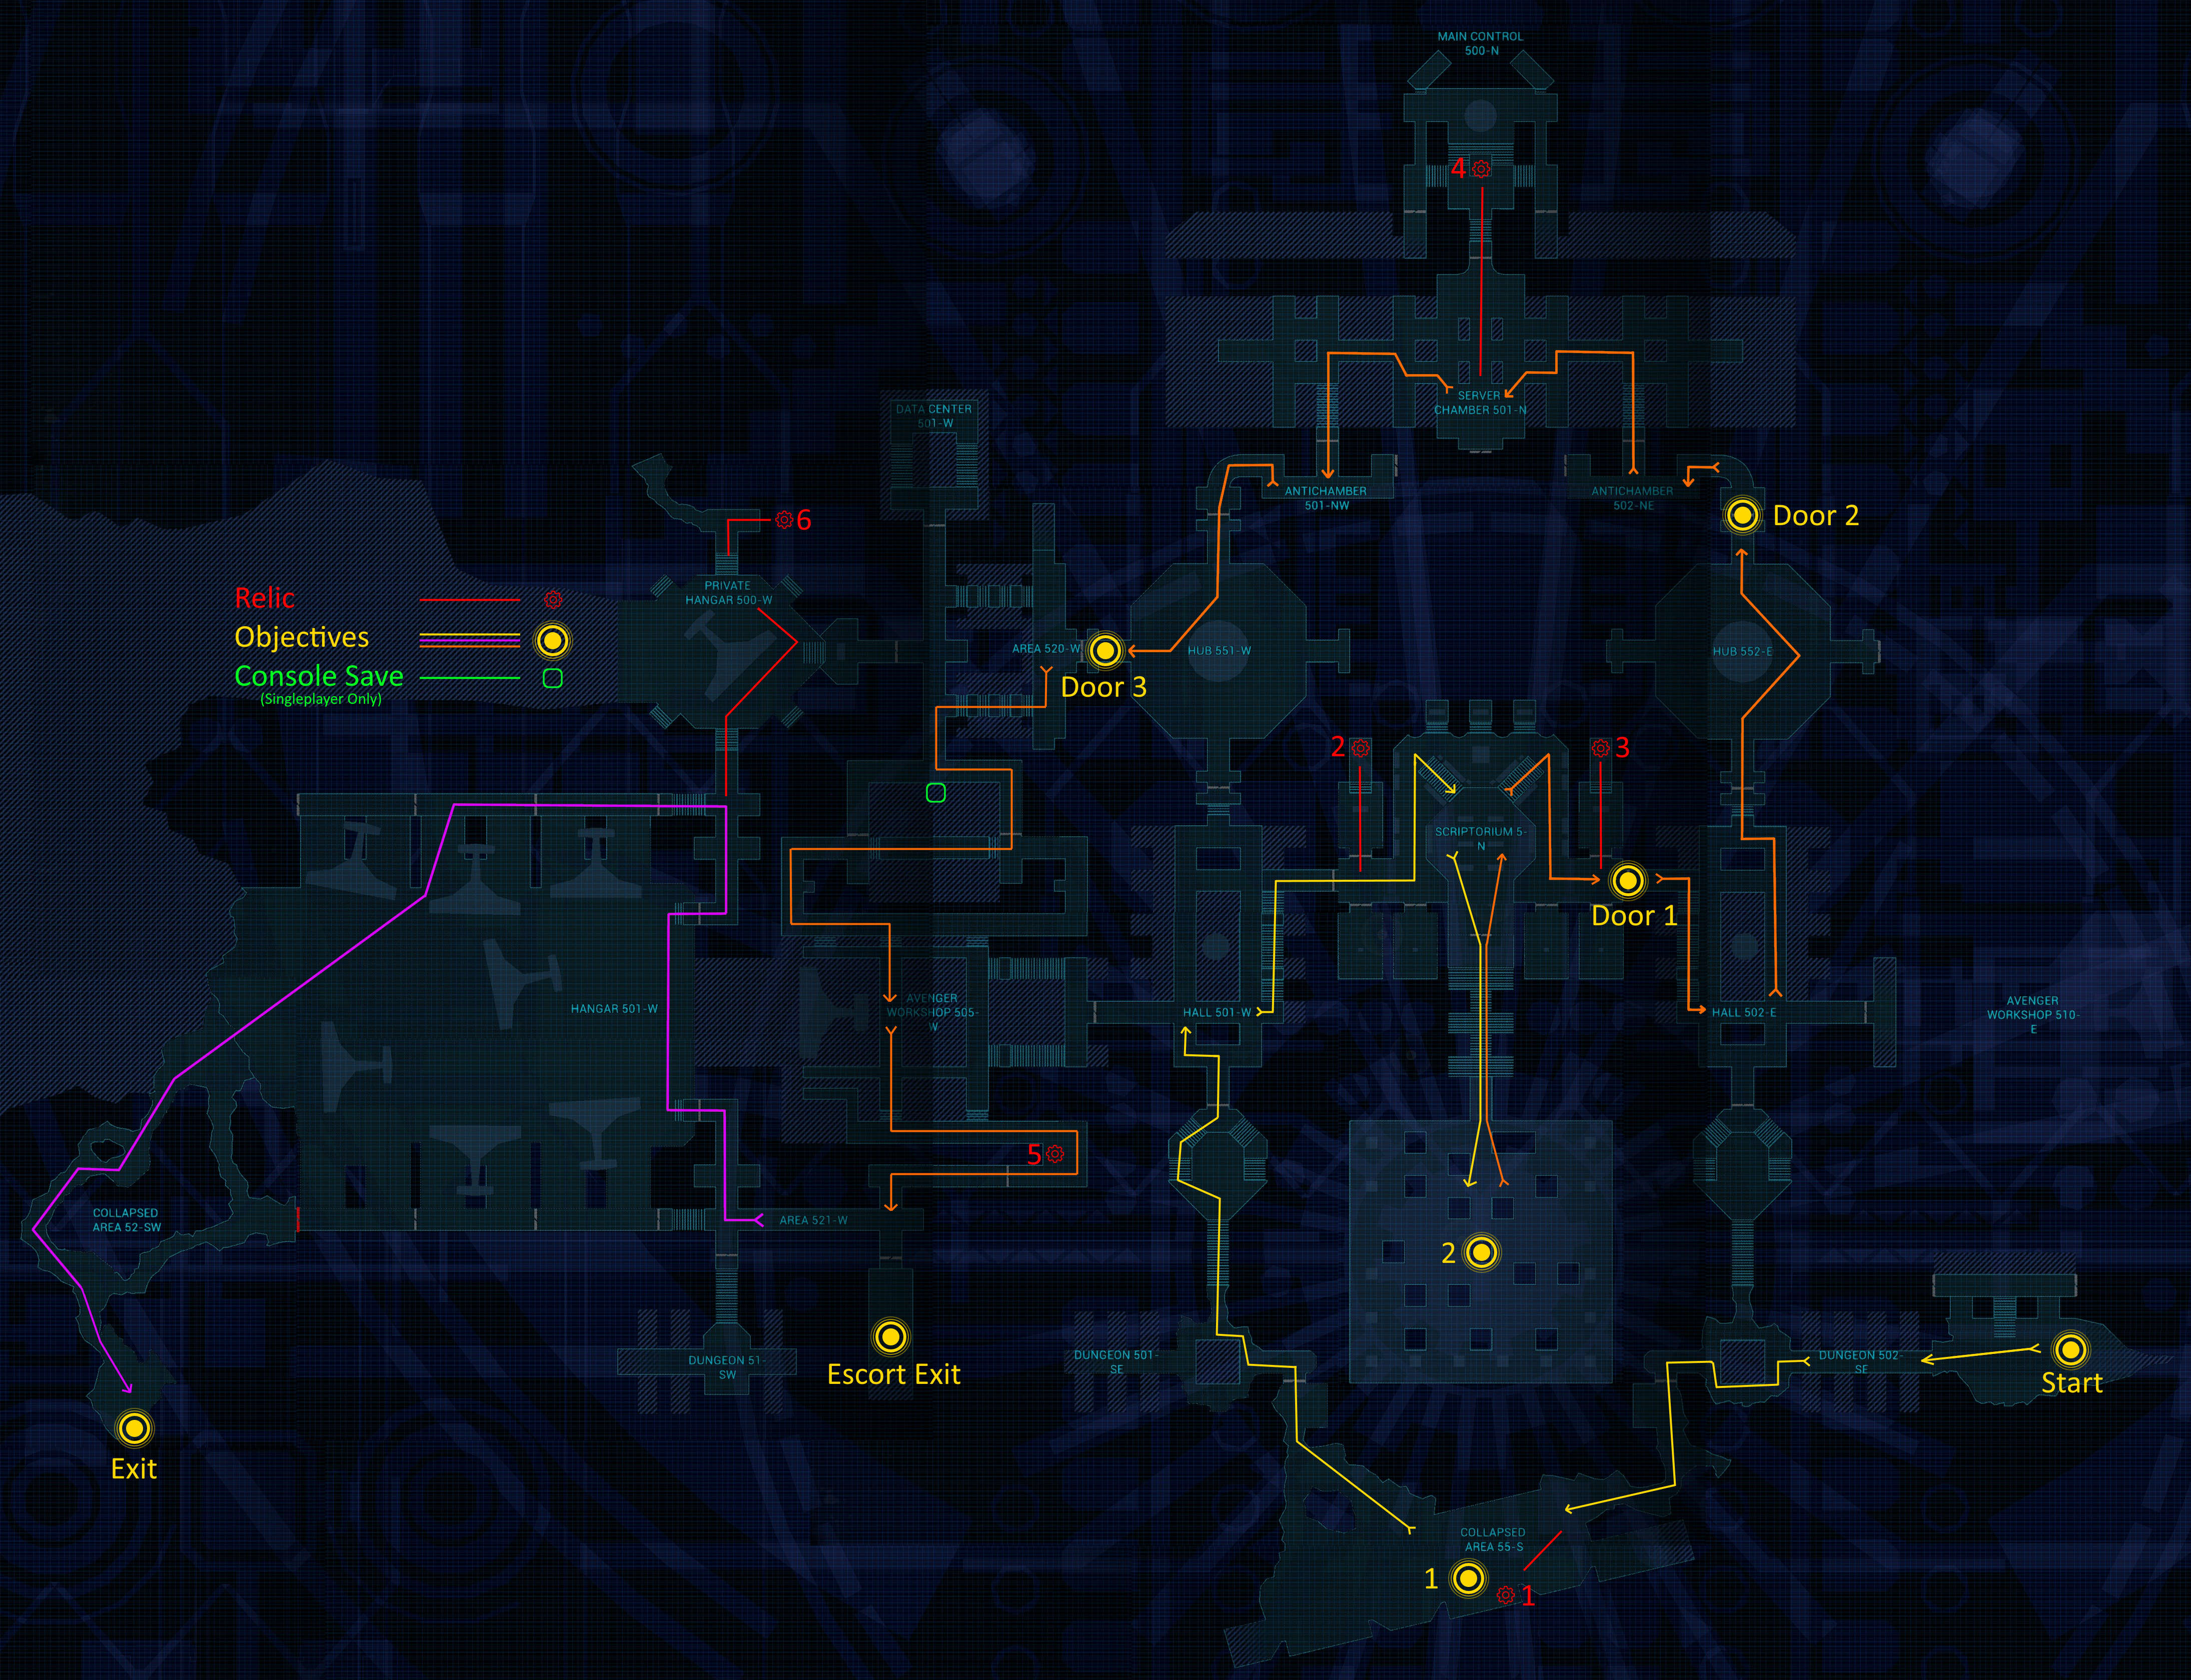
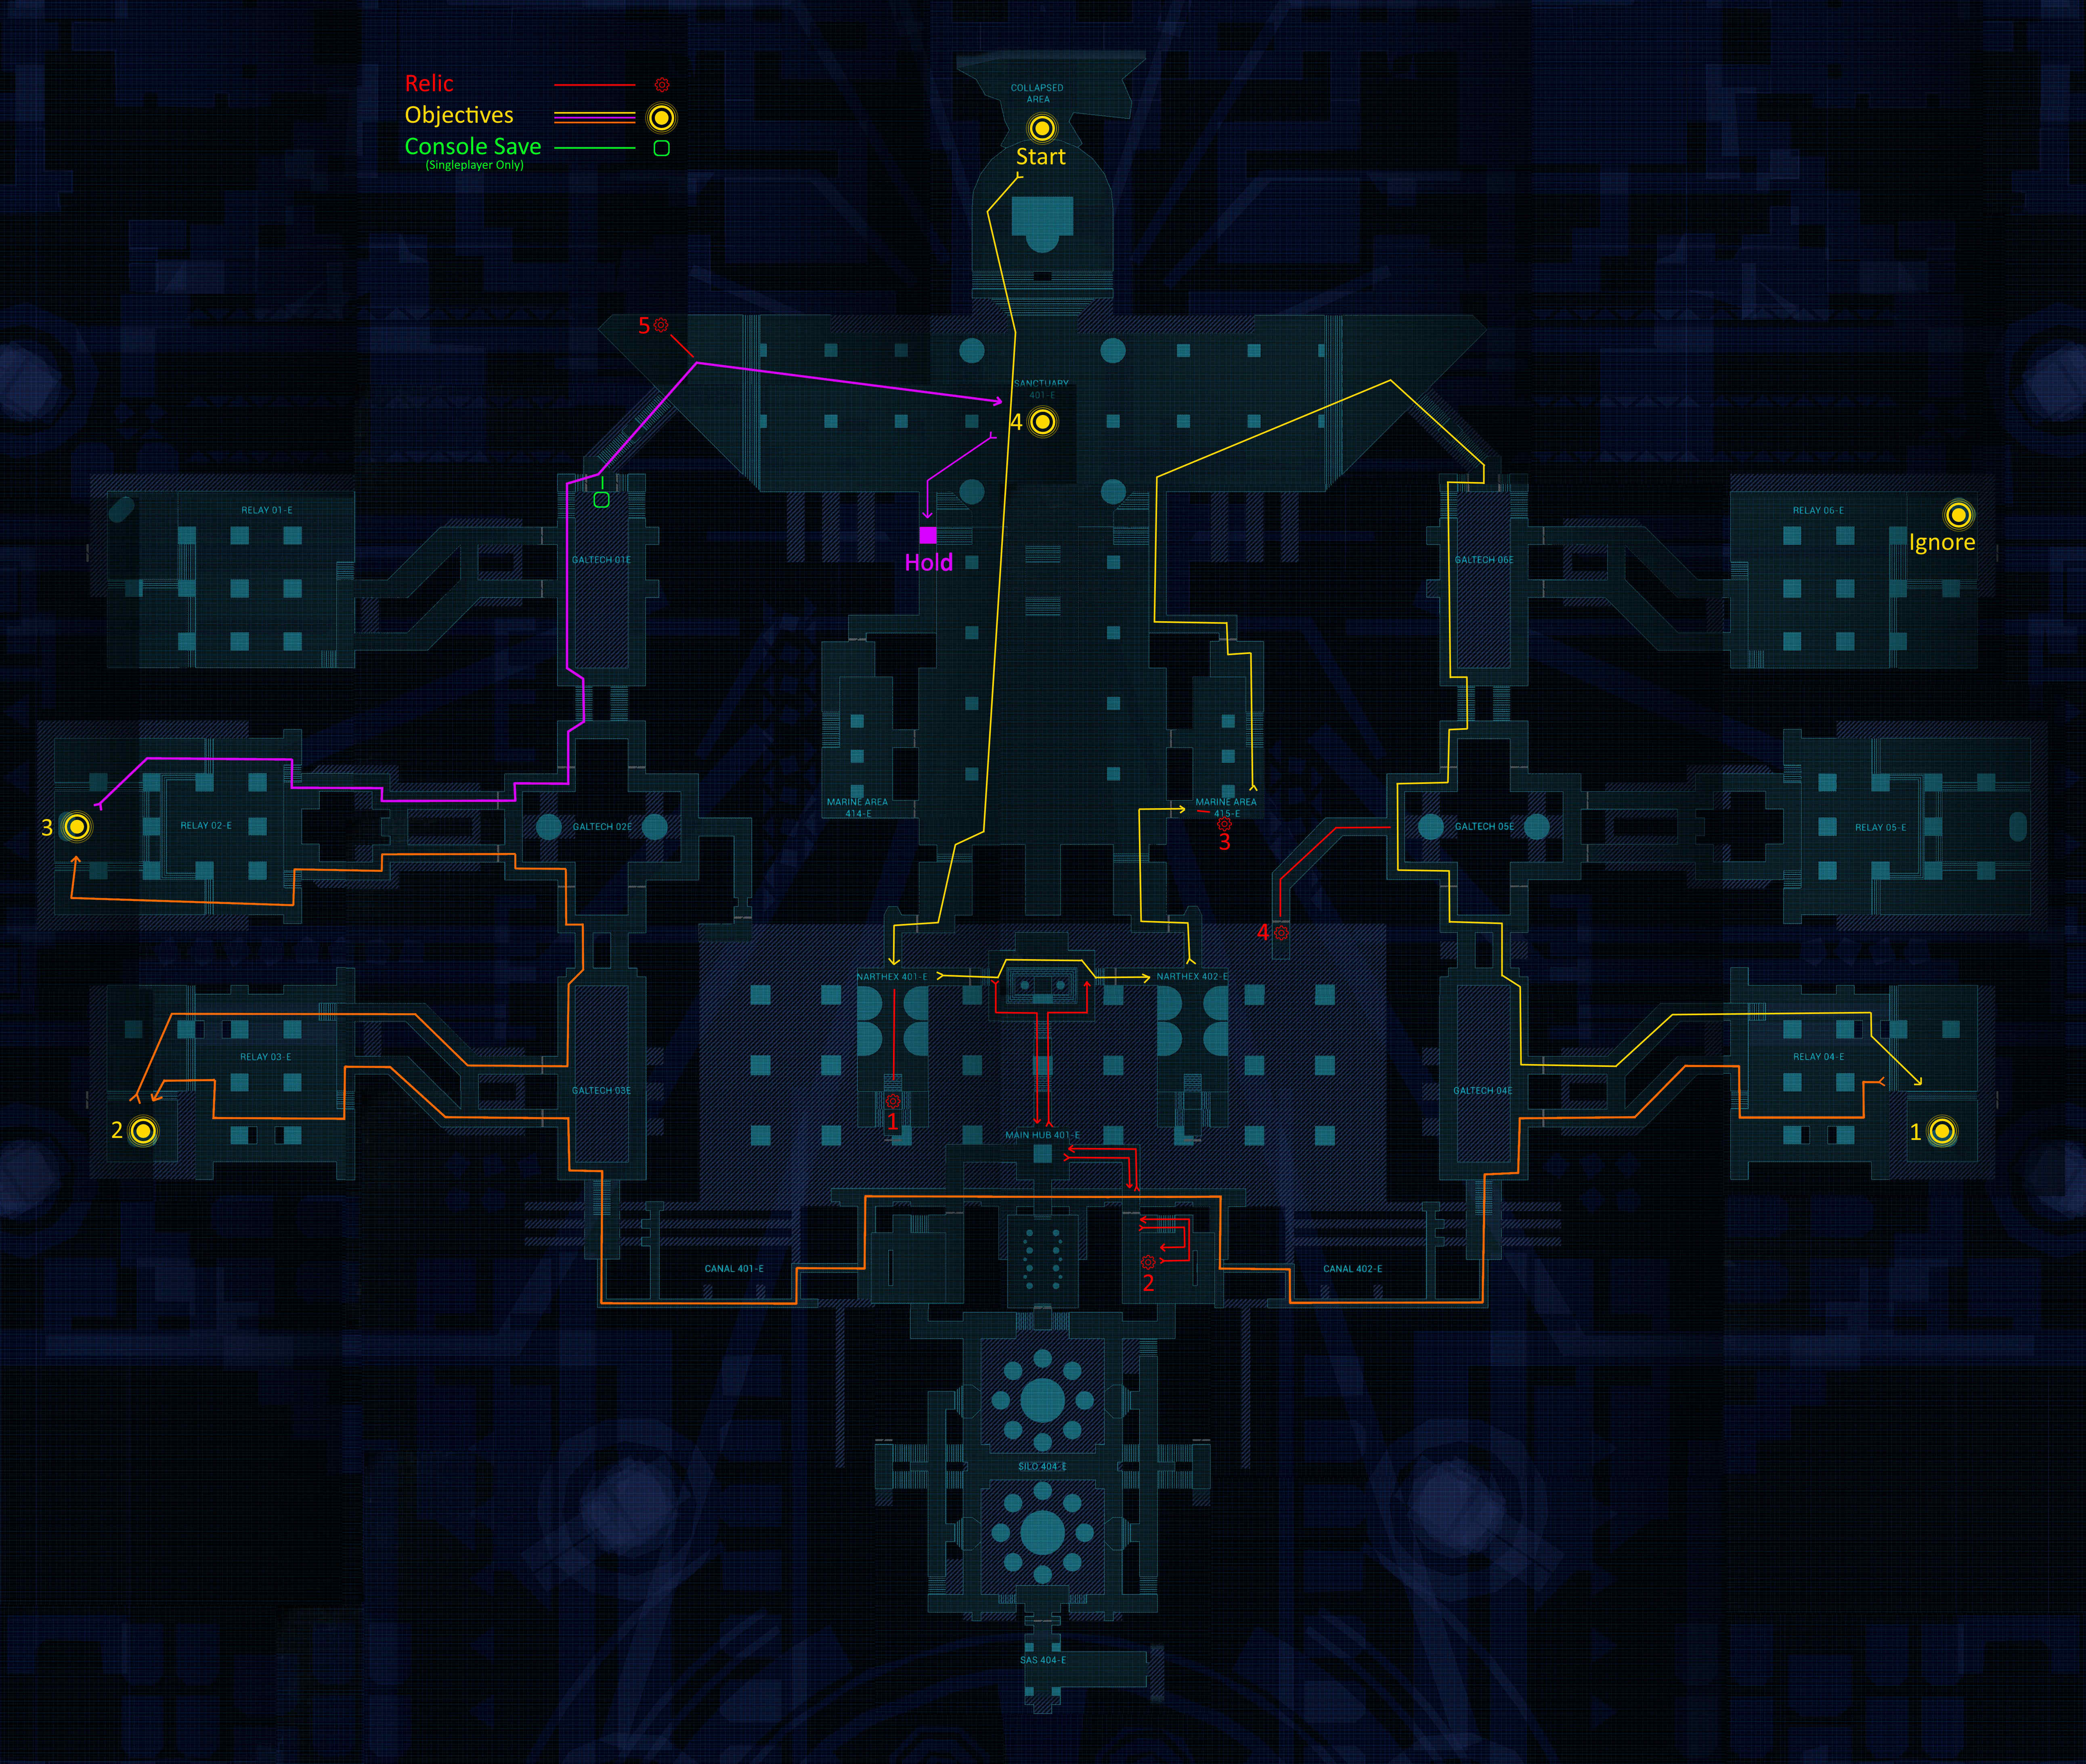
The Chapter Maps
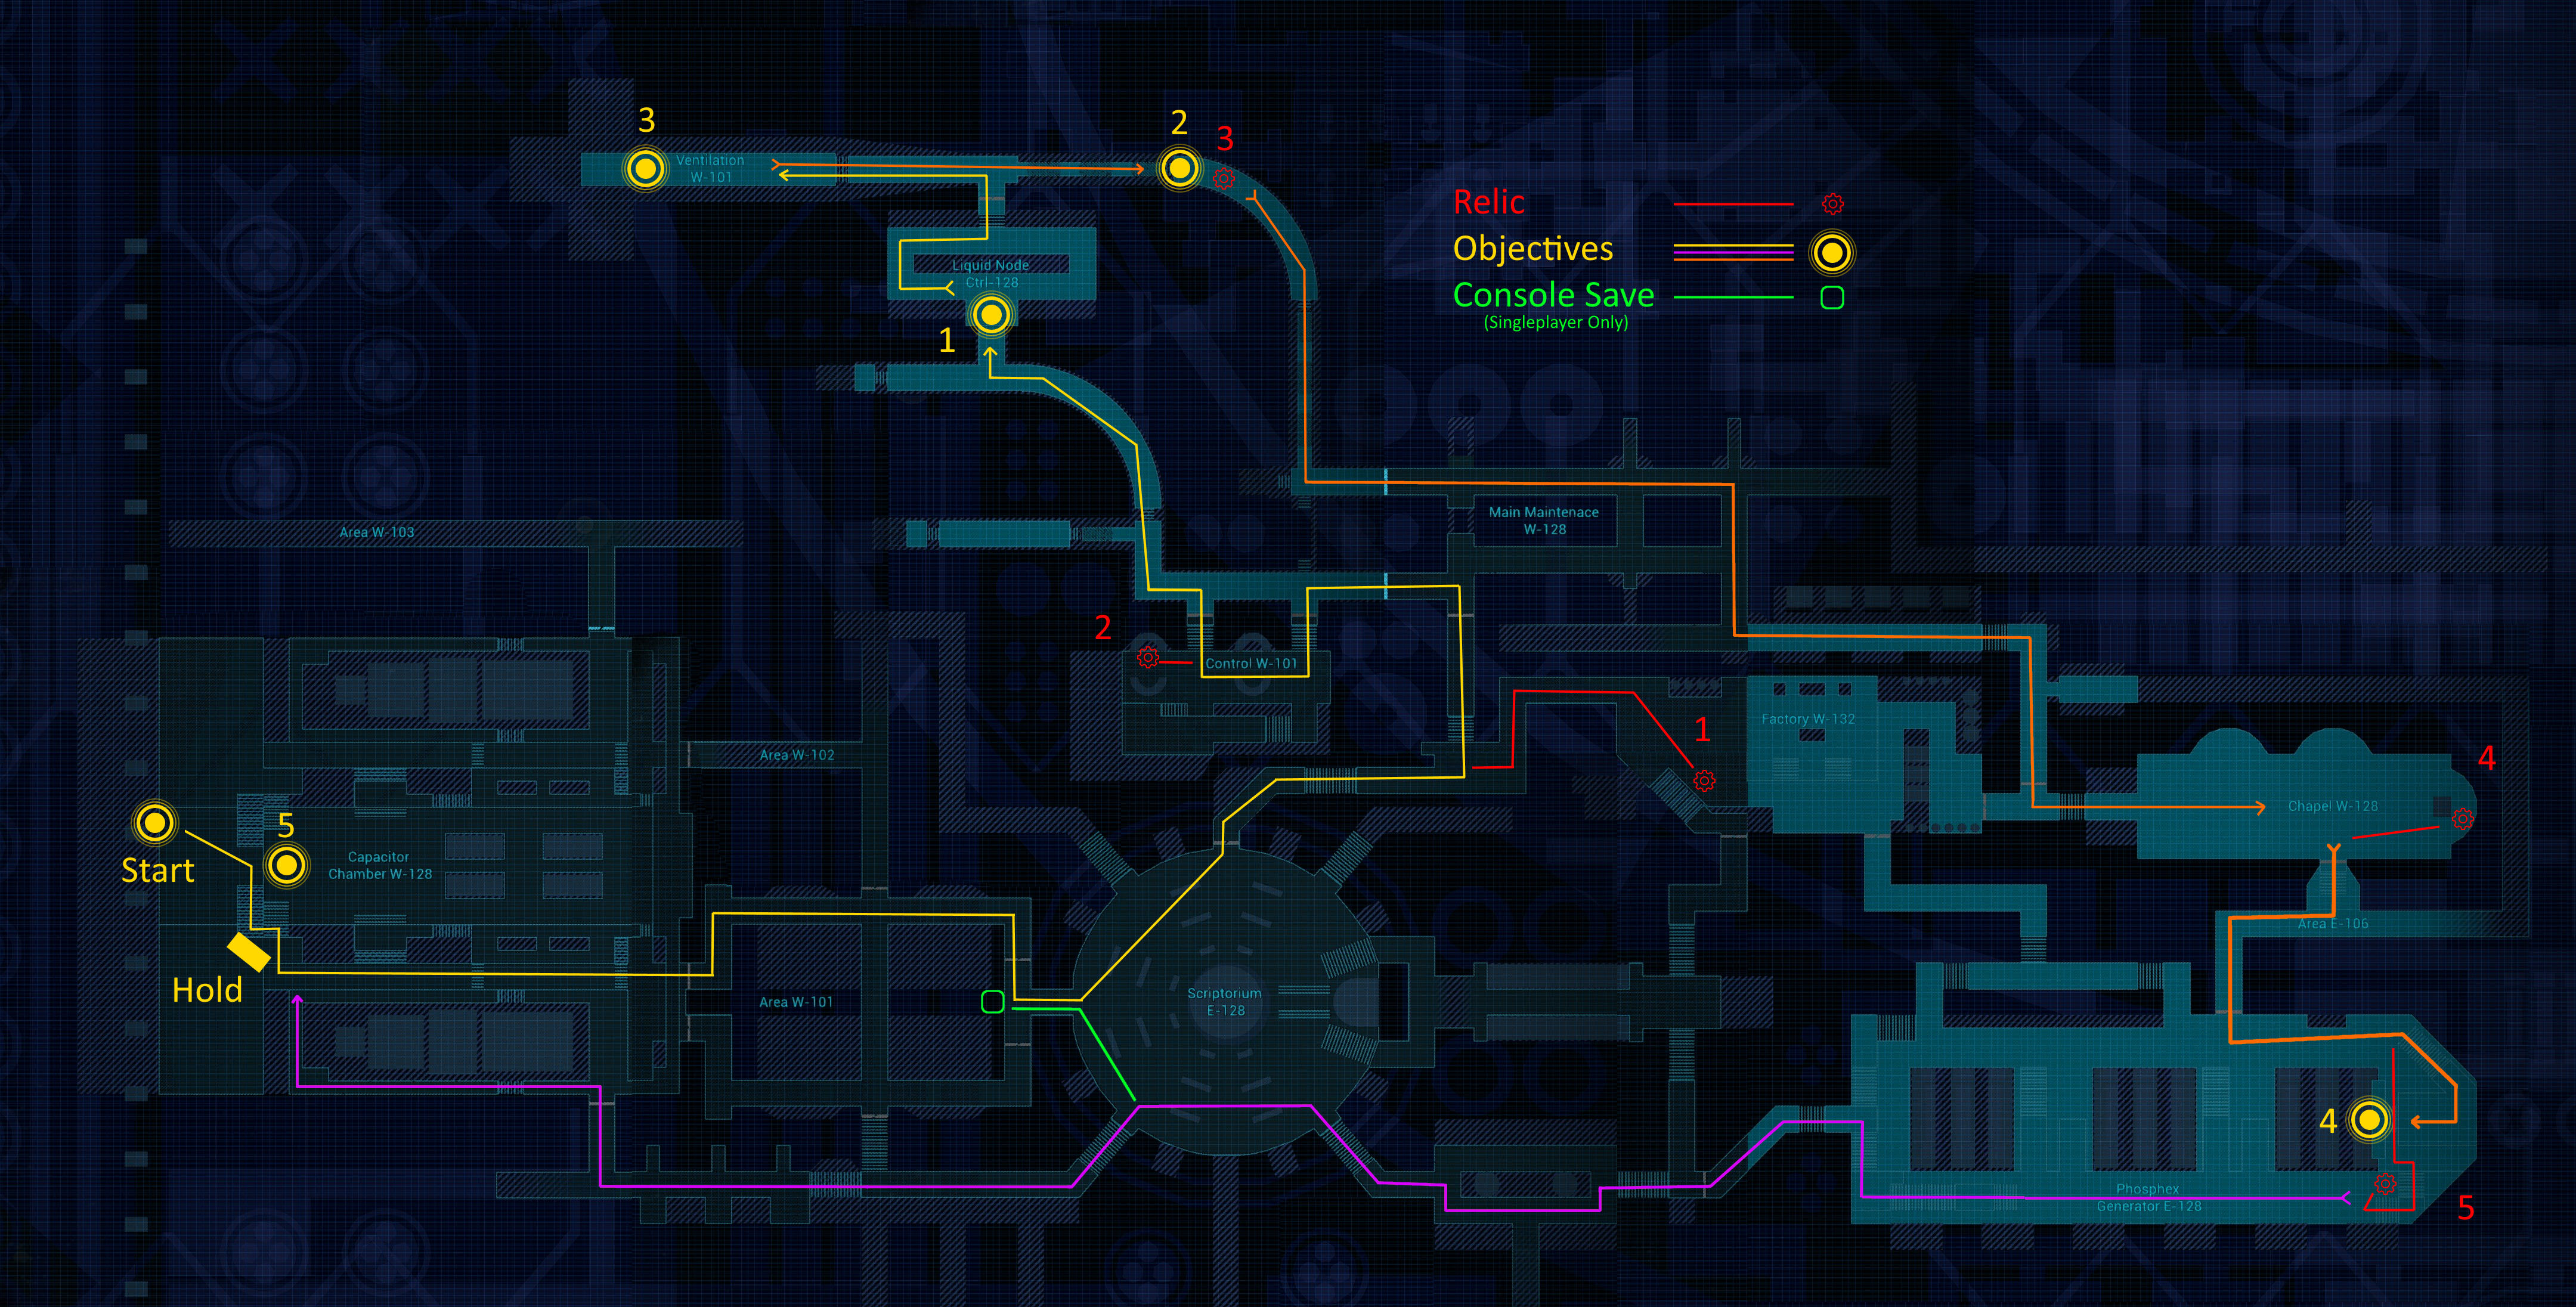
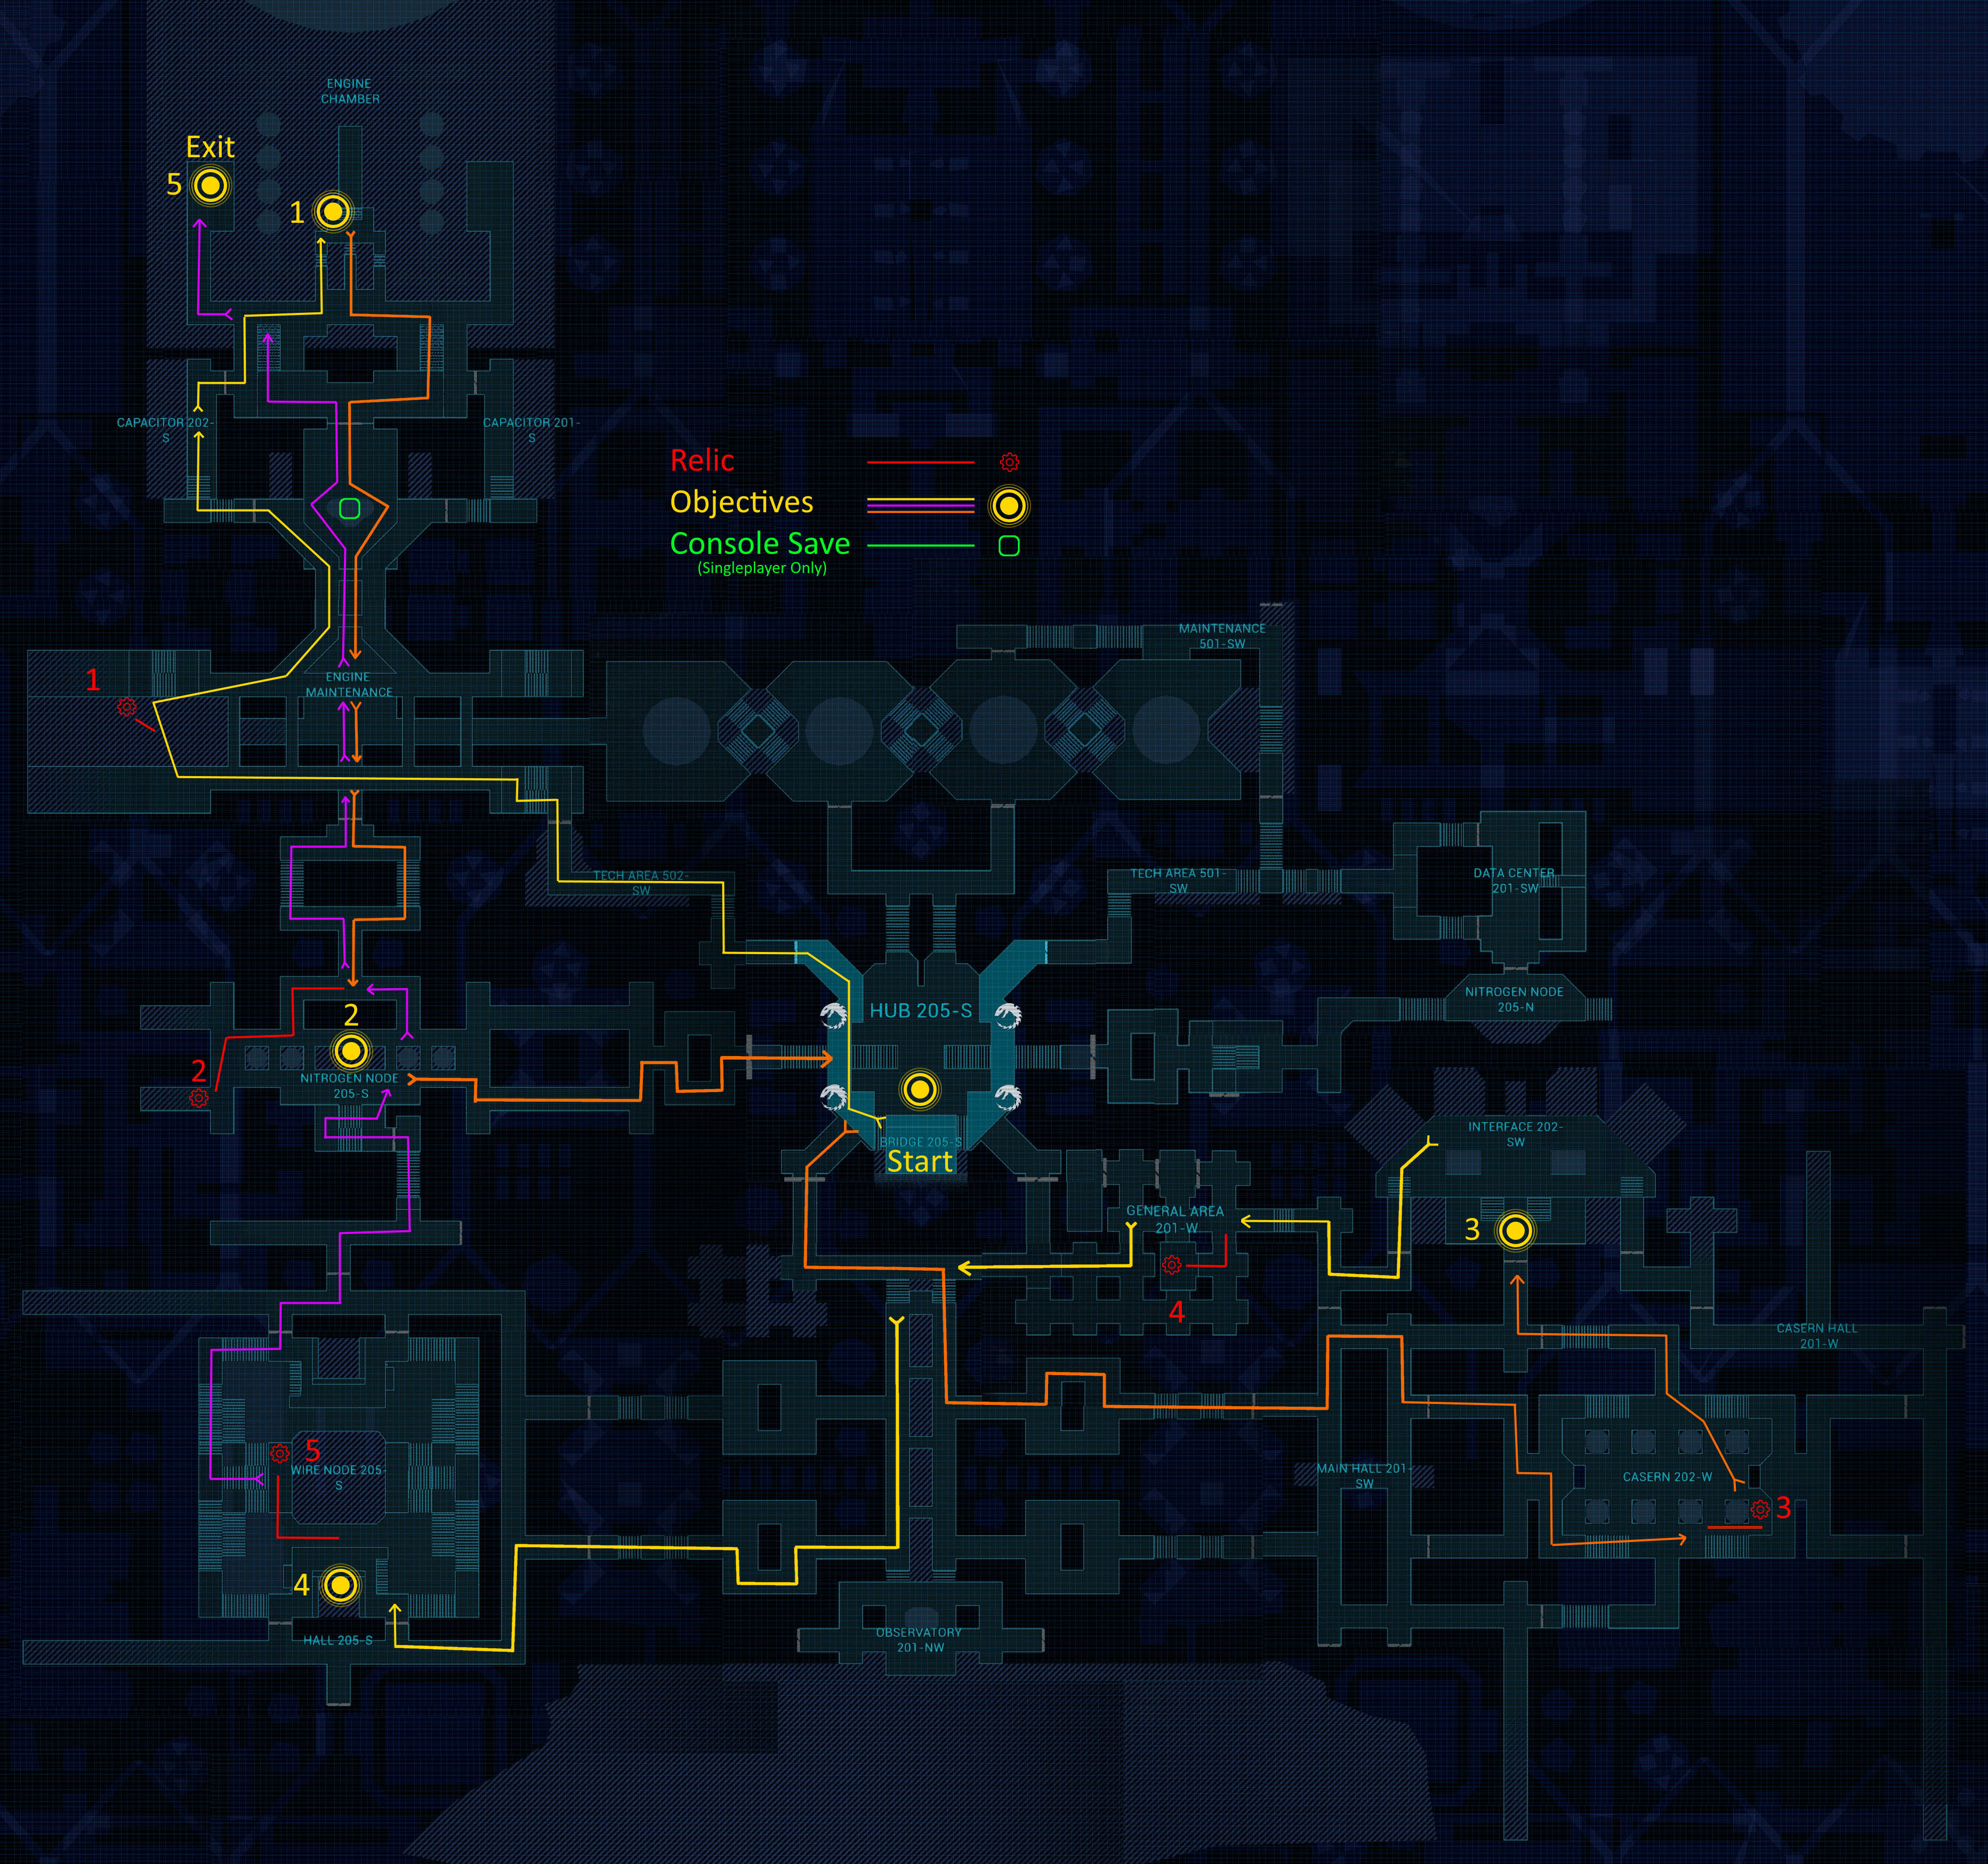
The maps are very detailed and stitched together from multiple zoomed in screenshots.
Everything should be clear and easy to read. I’ve tried my best to keep all the original text on the map readable in case you’re playing with friends and need to call out “Relay 06-E” 등.
The routes I’ve picked are based on the objectives and relics. Most relics will be along the main objective route and you’ll find them naturally. Others might have a red path leading off meaning to go grab the relic then back track to your original path.
In the singleplayer campaign when you interact with one of the in game consoles it acts as a save point. They don’t become active until you get close to them so they can be hard to find from a distance. In multiplayer they’re just flavor text. Most of the time I’ve incorporated them in to the route to use at your leisure. Other times I’ll ignore them completely because they are so far away from the main route they’re pointless. They will still be marked on the map regardless.


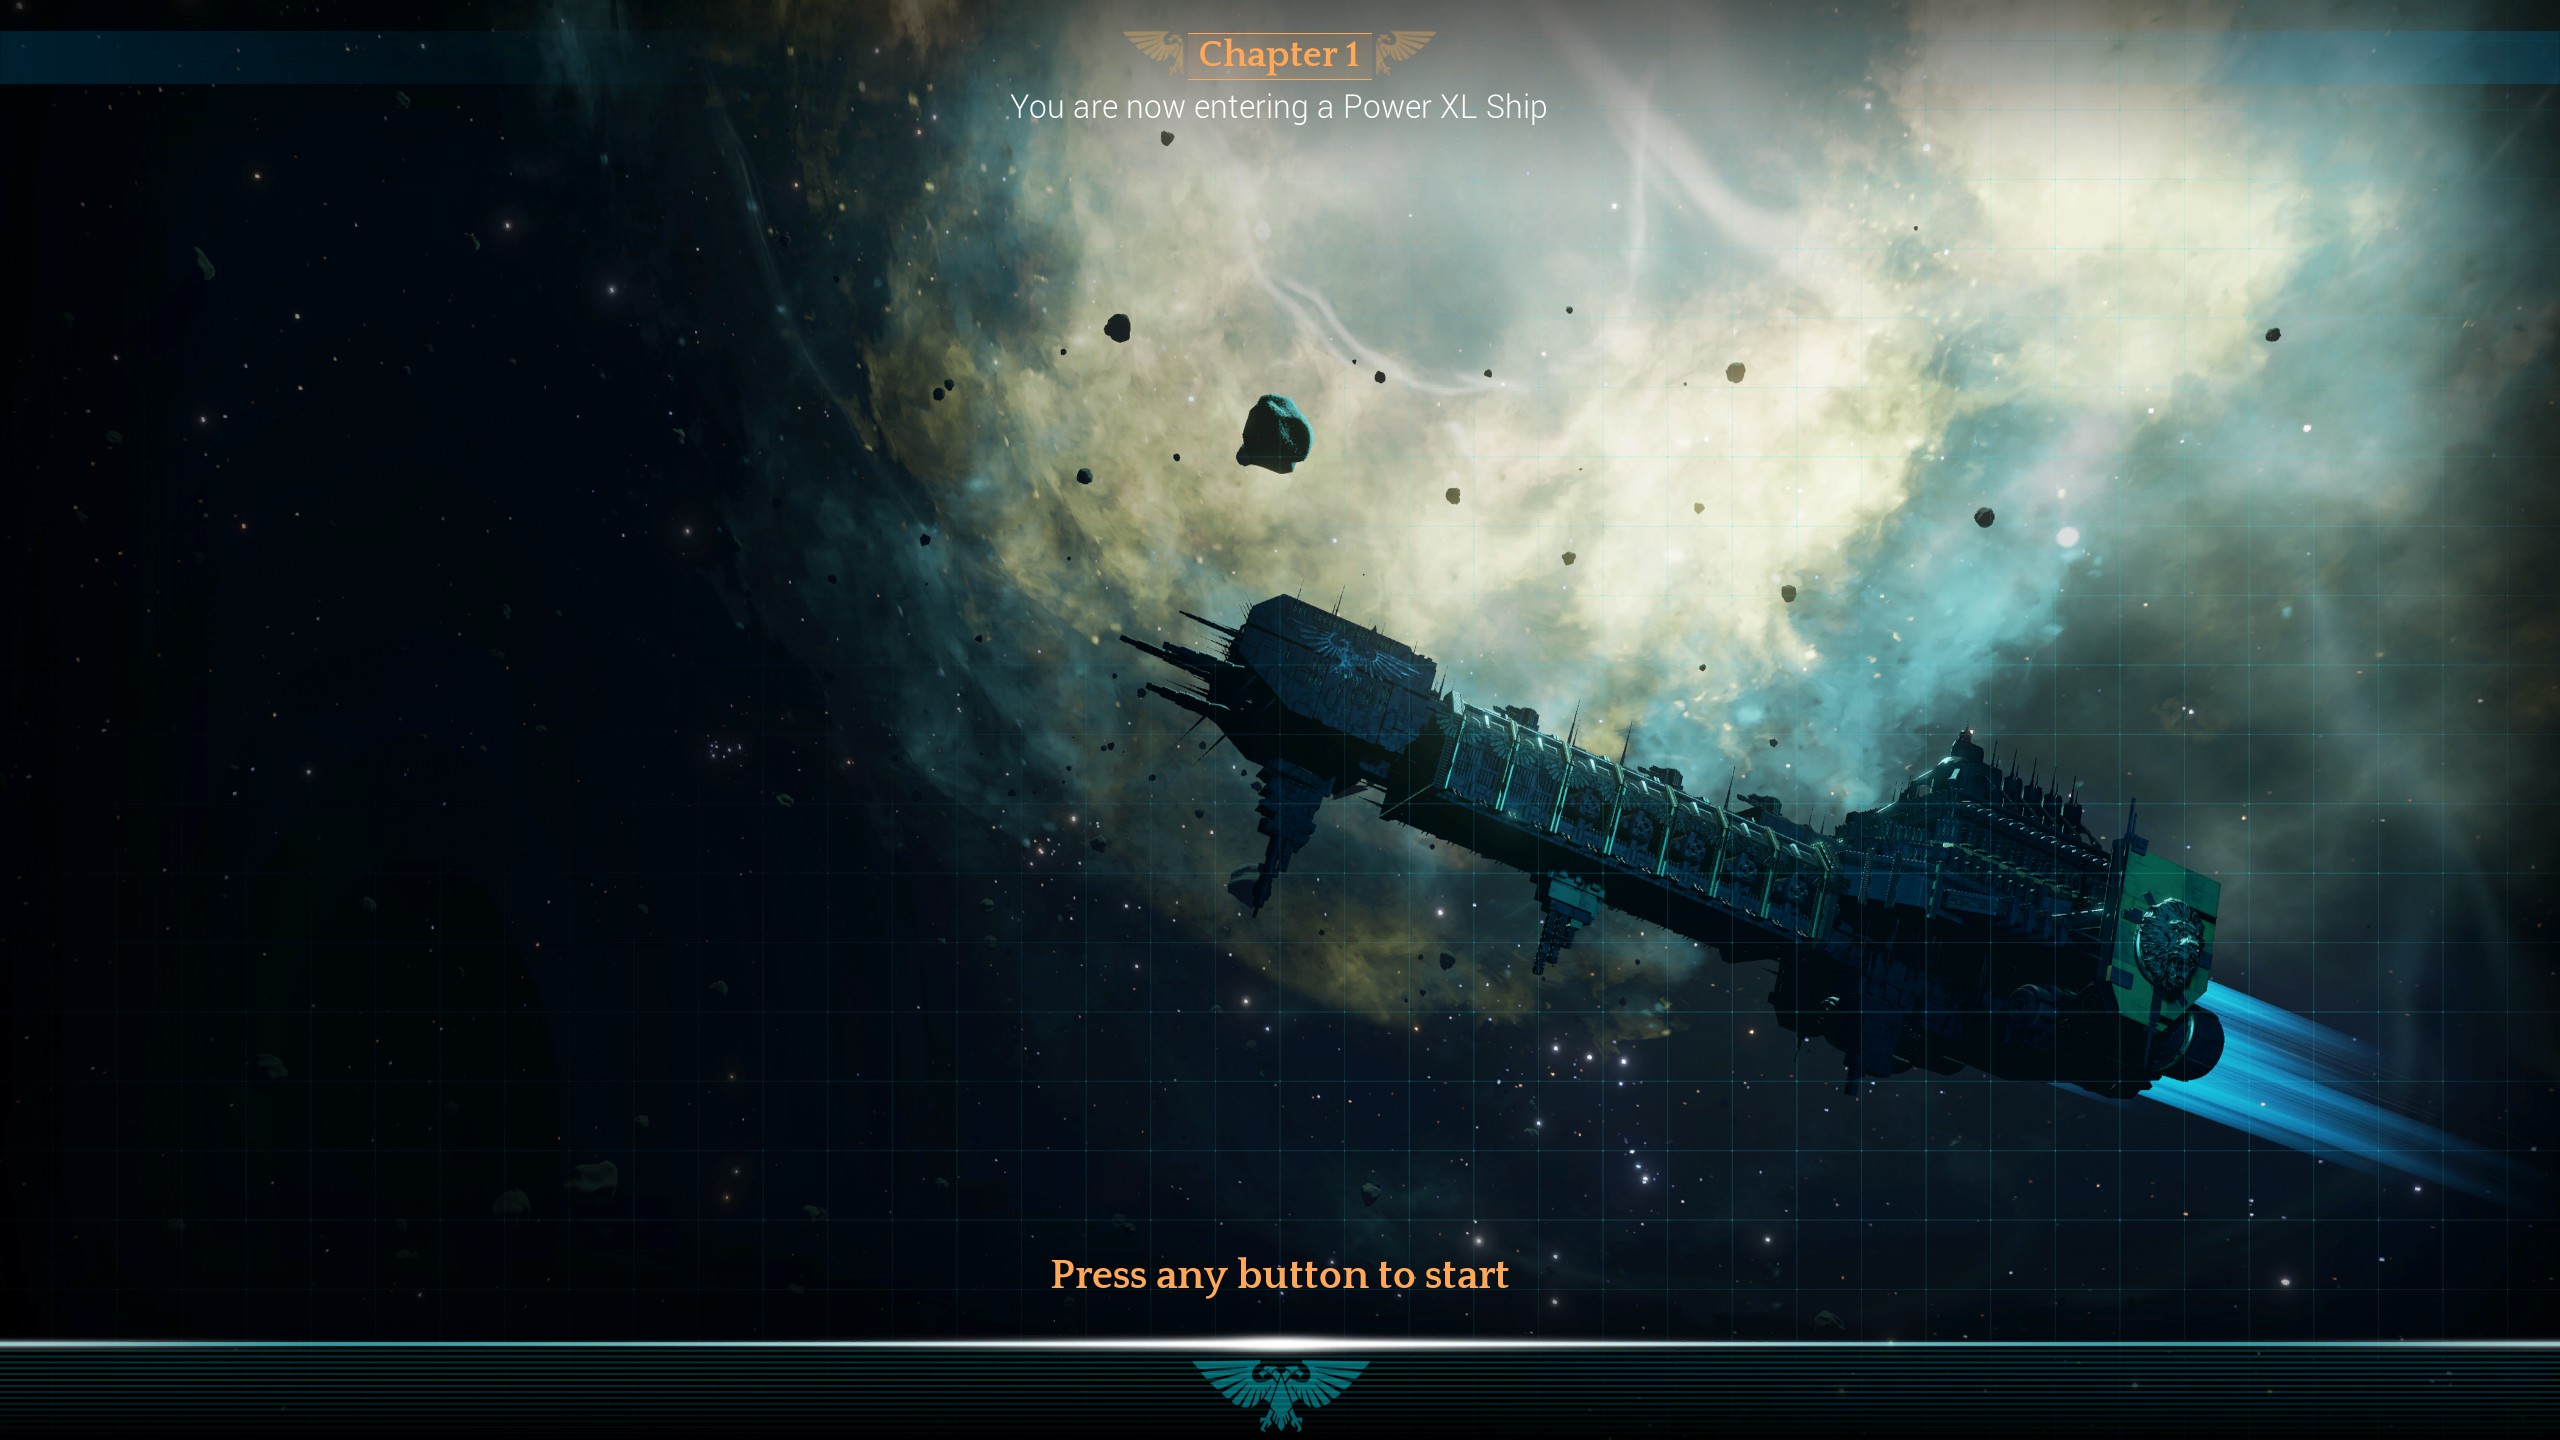
장 01 – The Power Carrier- XL Class
REQUIRES TESTING RELIC INFO IN MULTIPLAYER
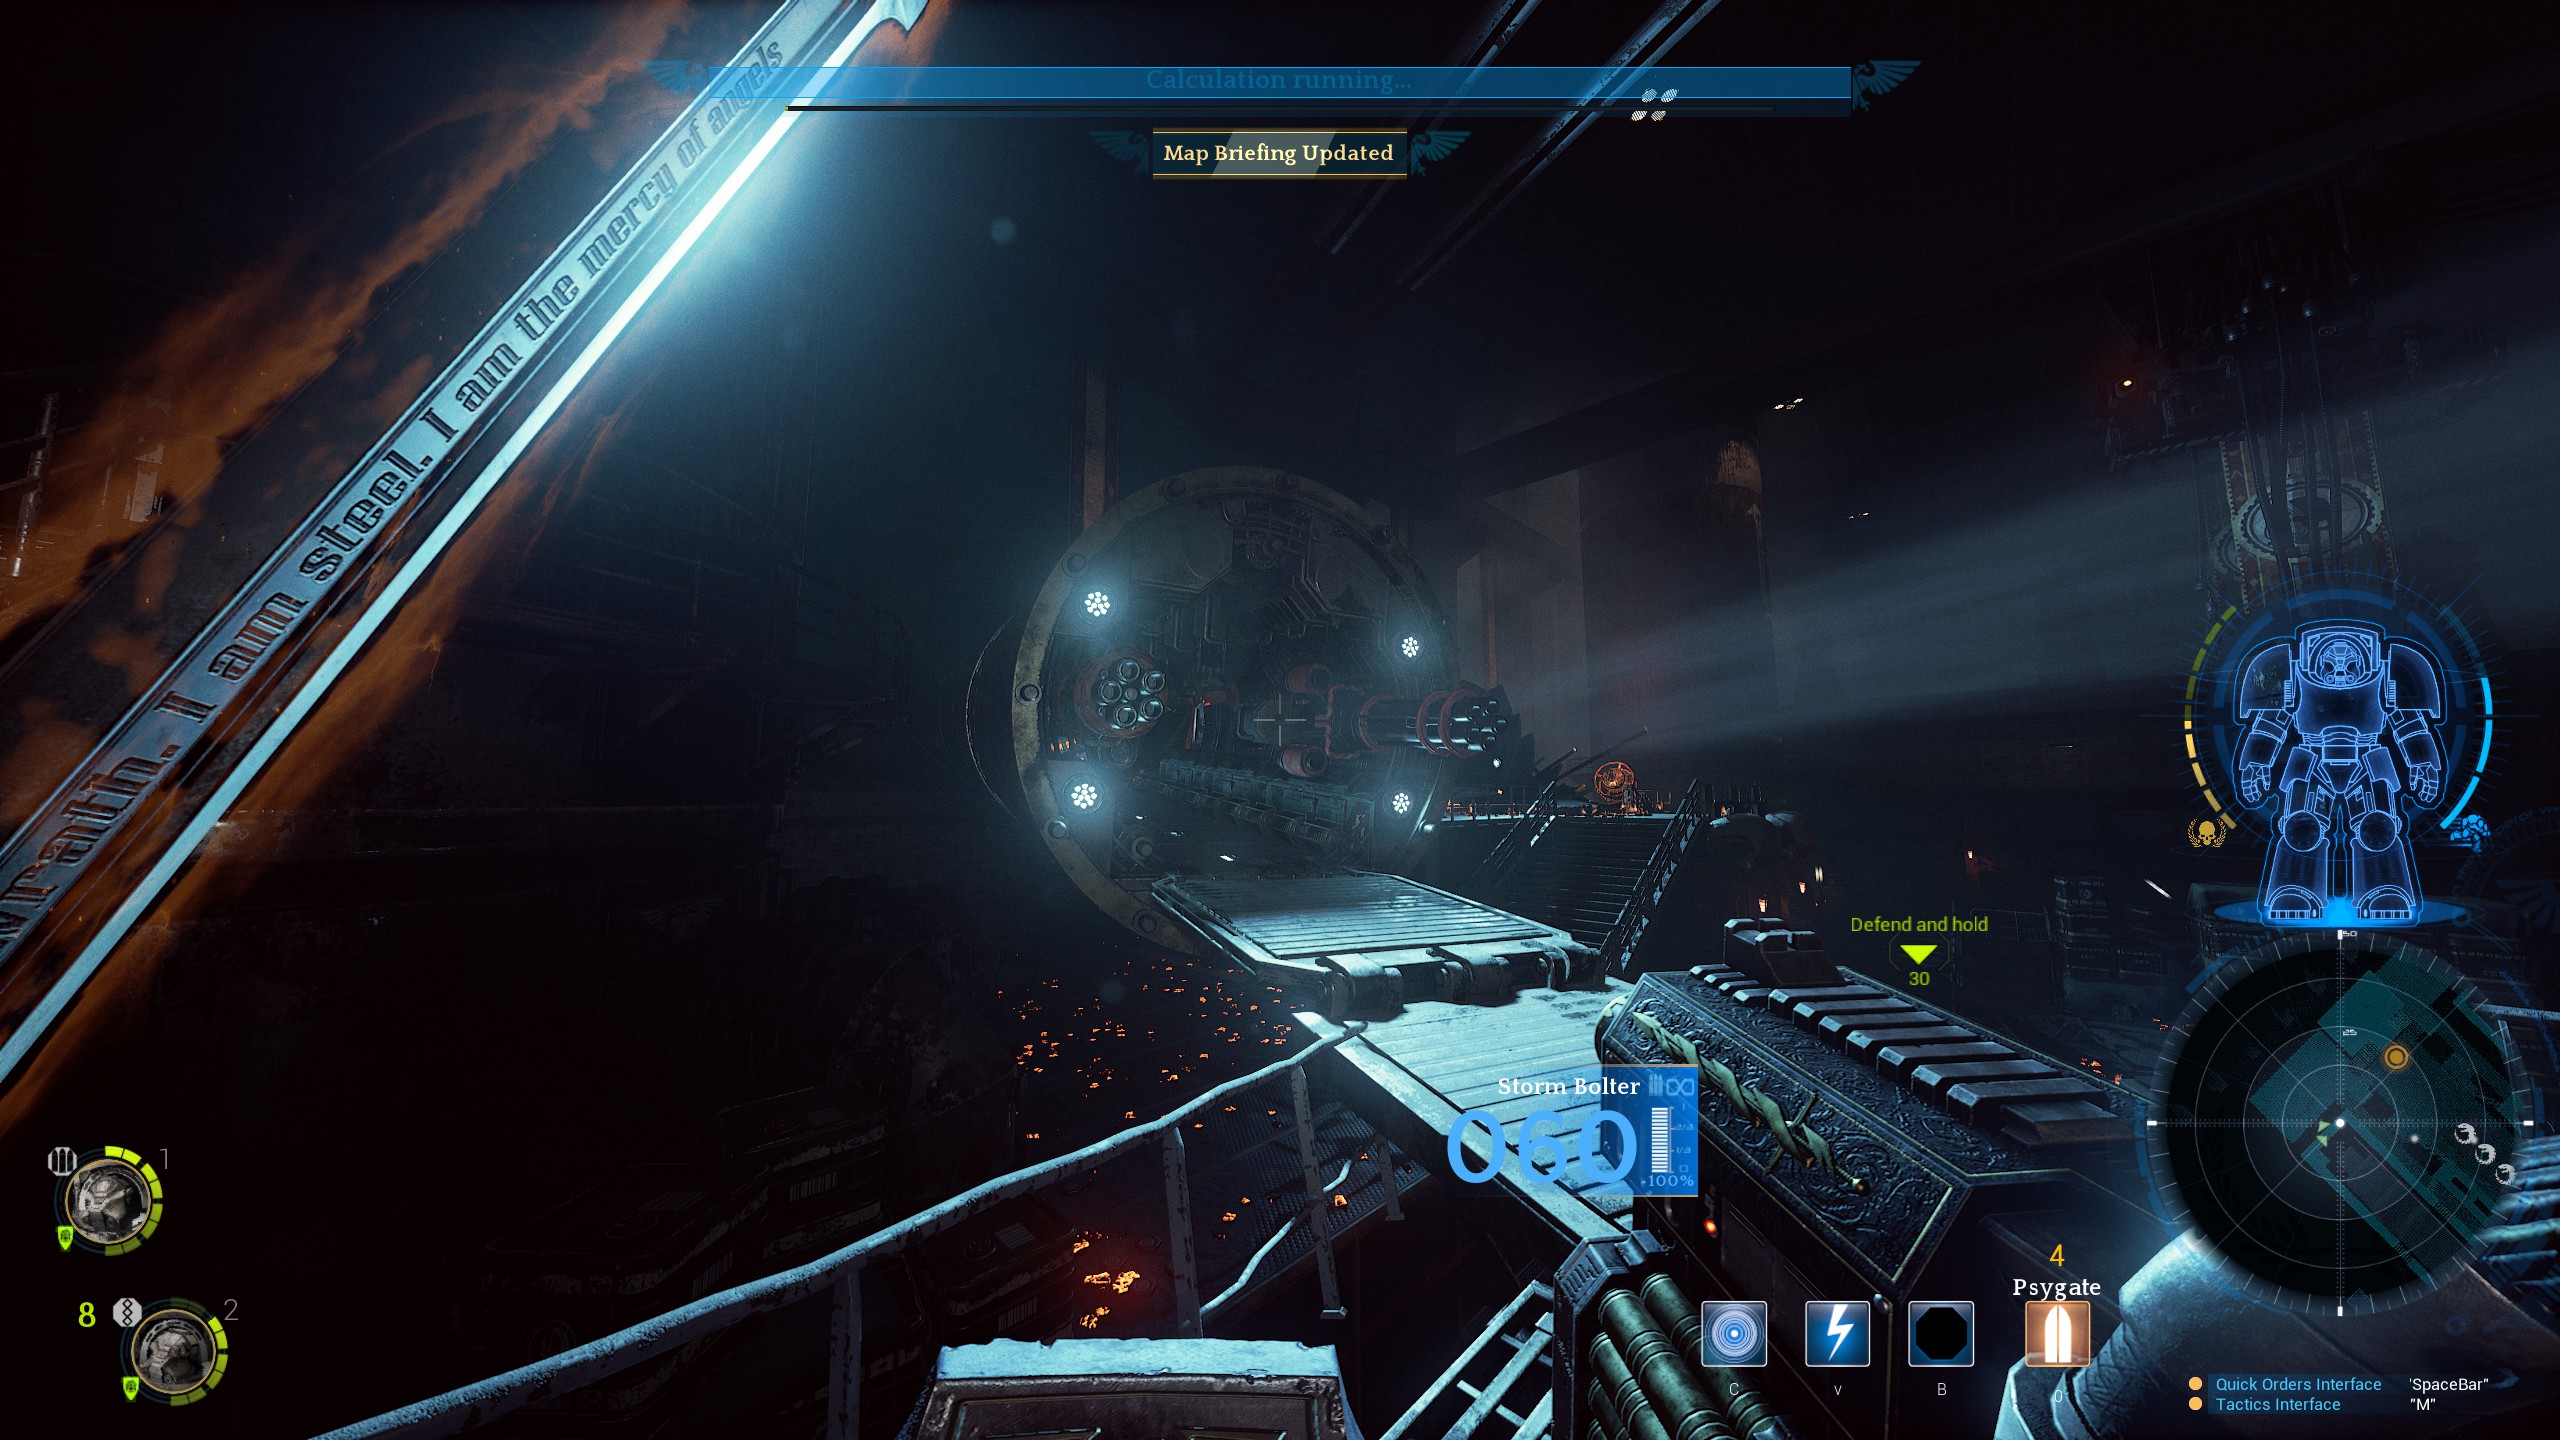
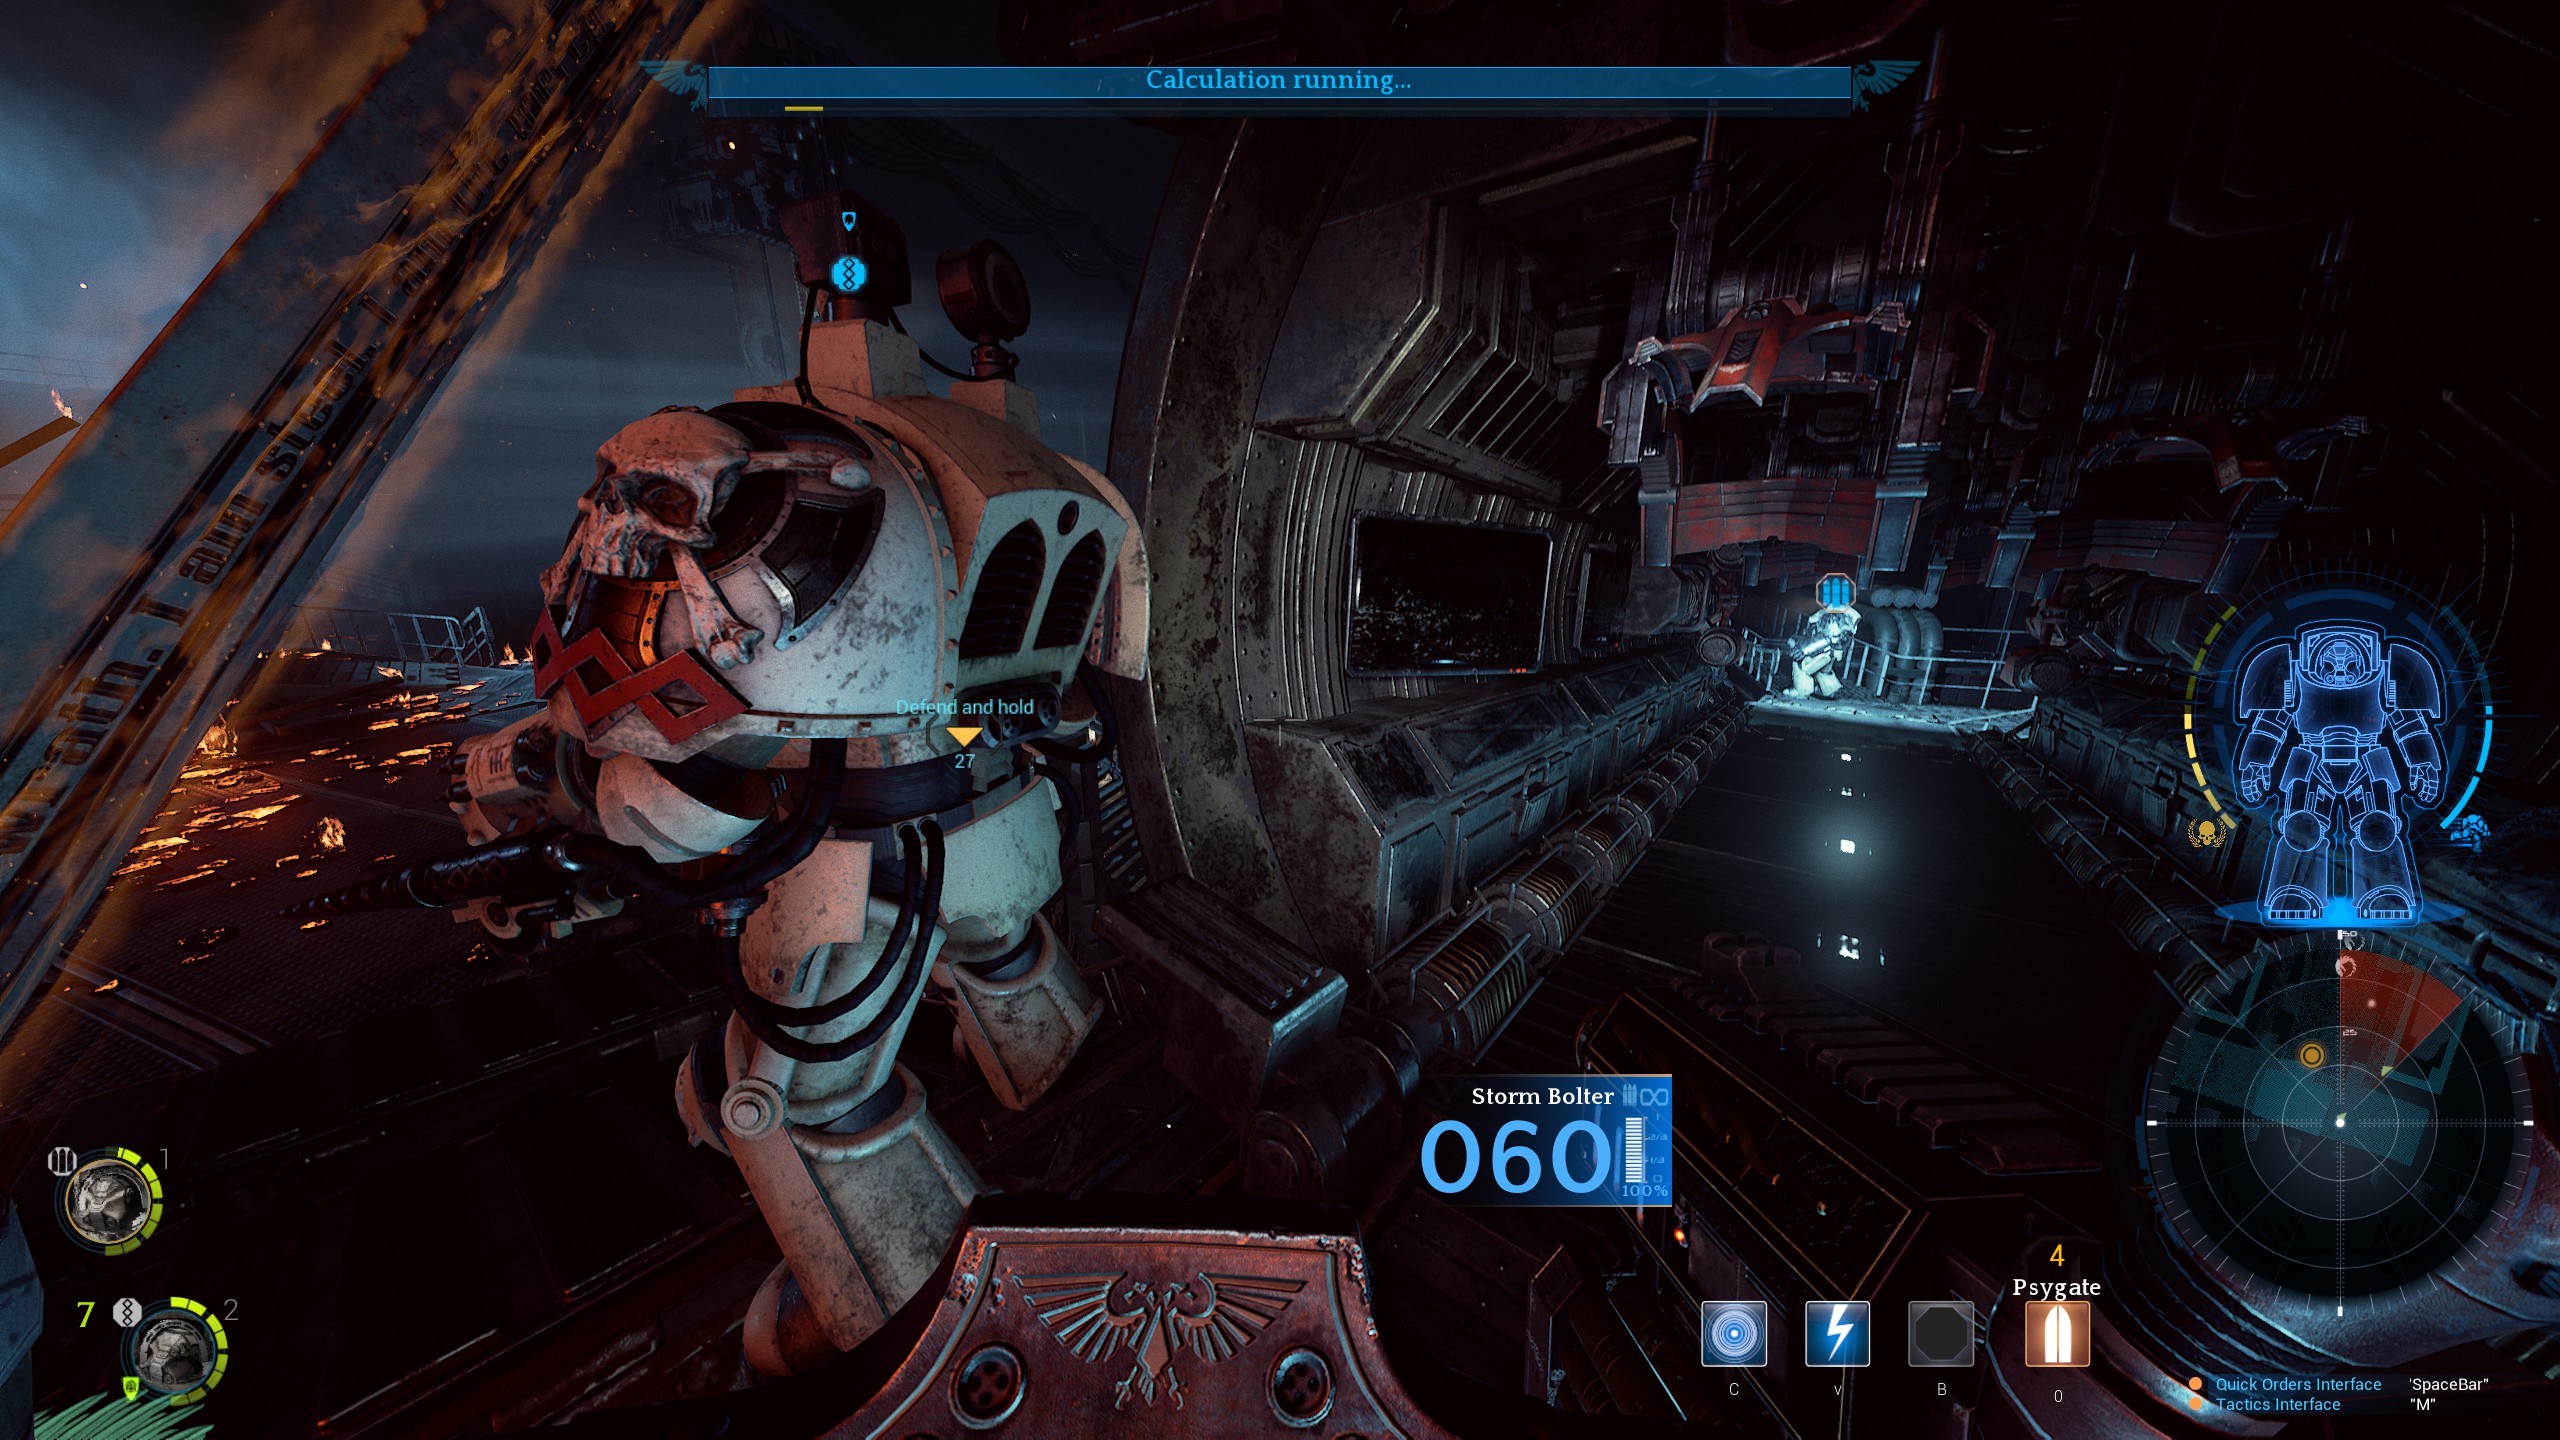
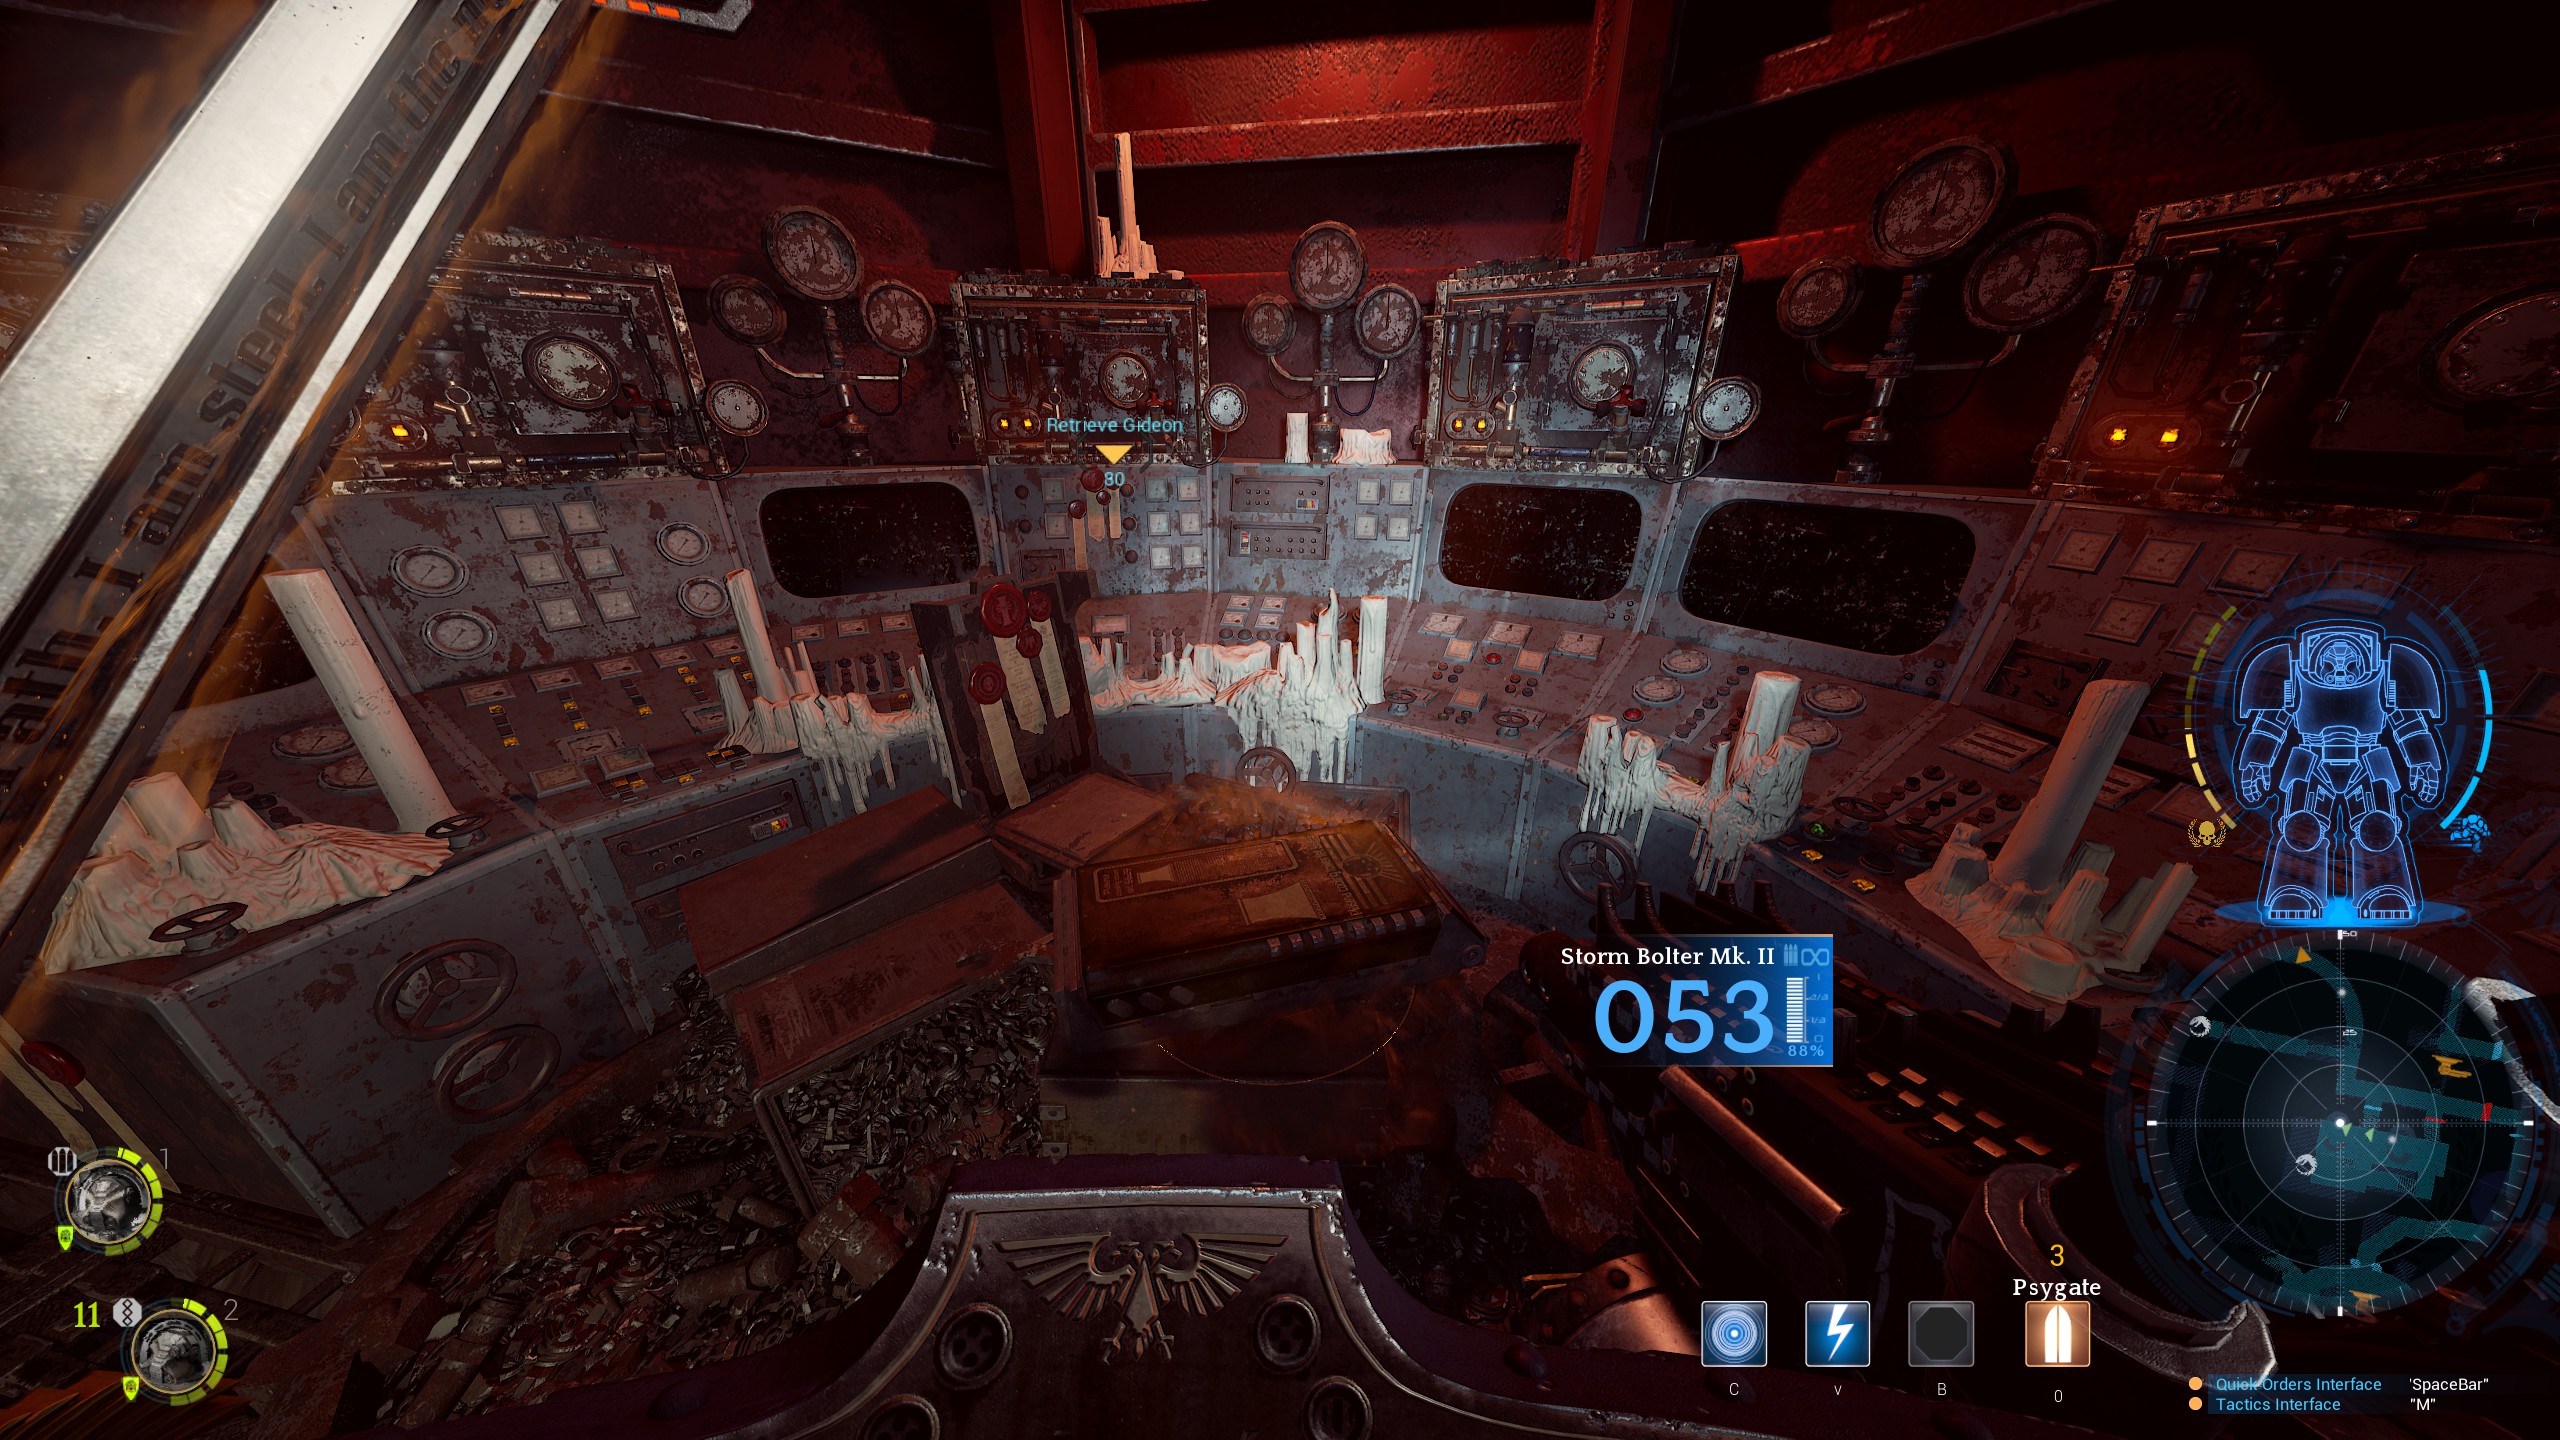
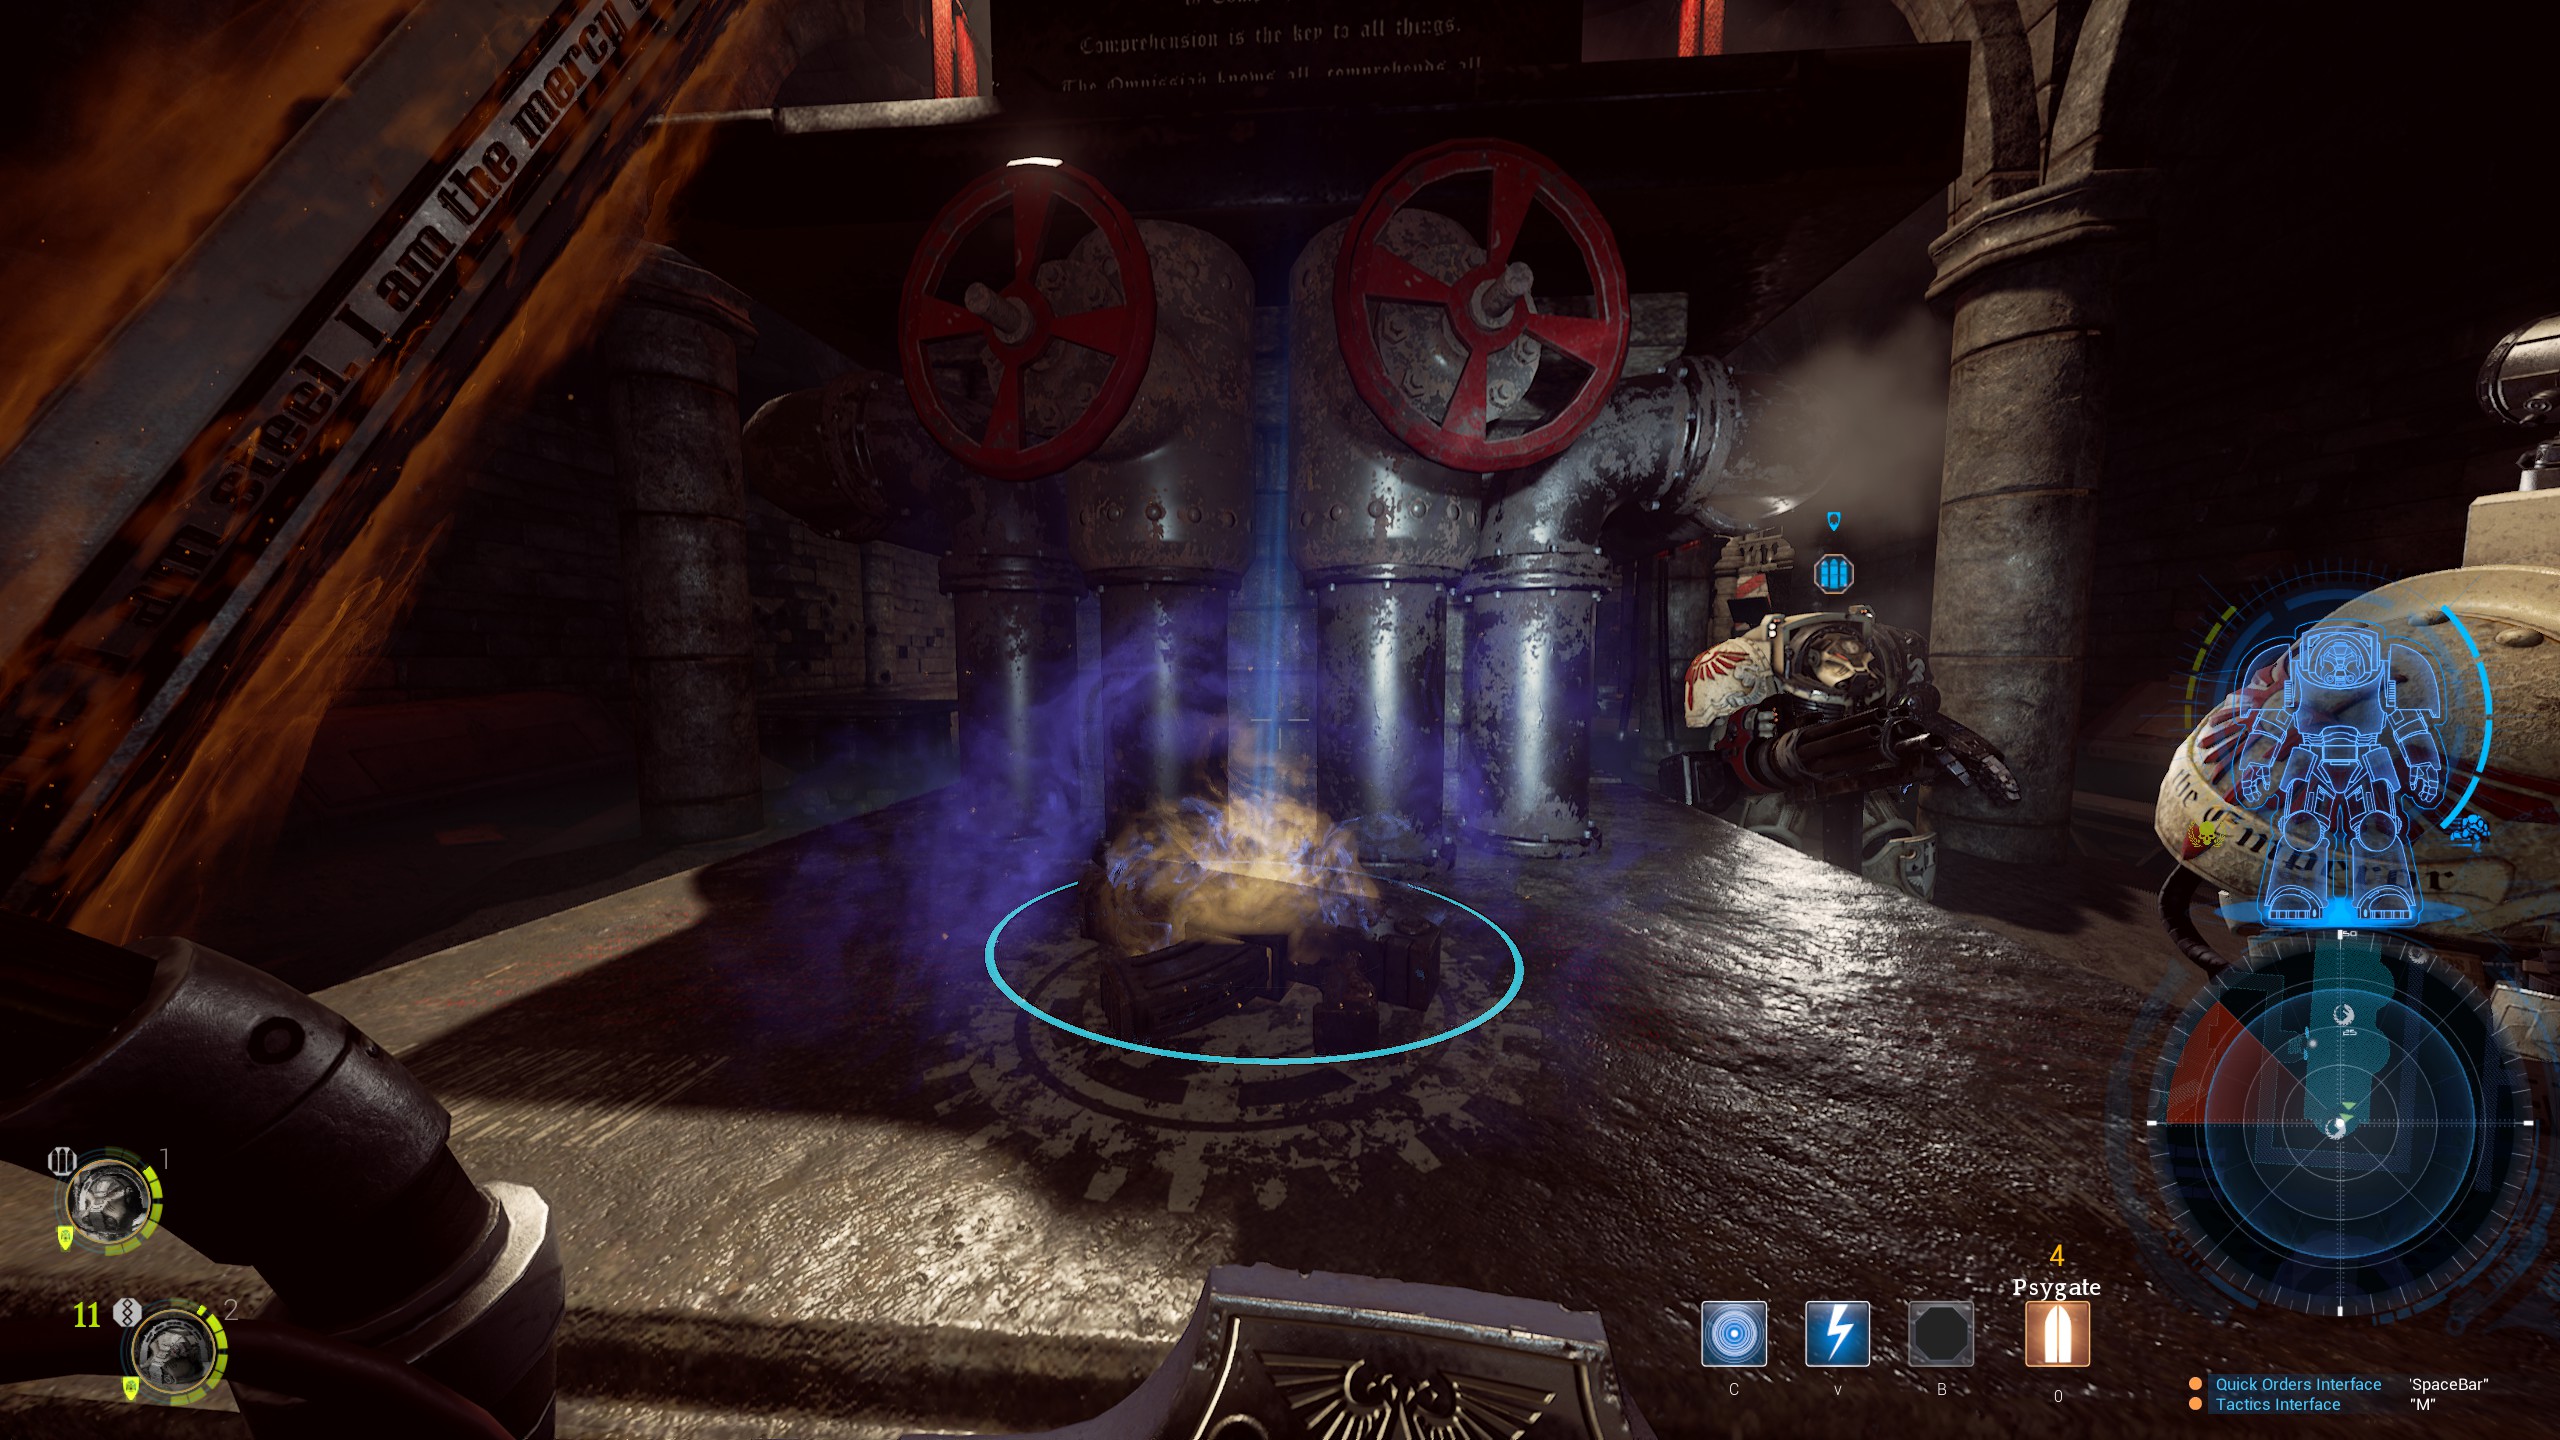
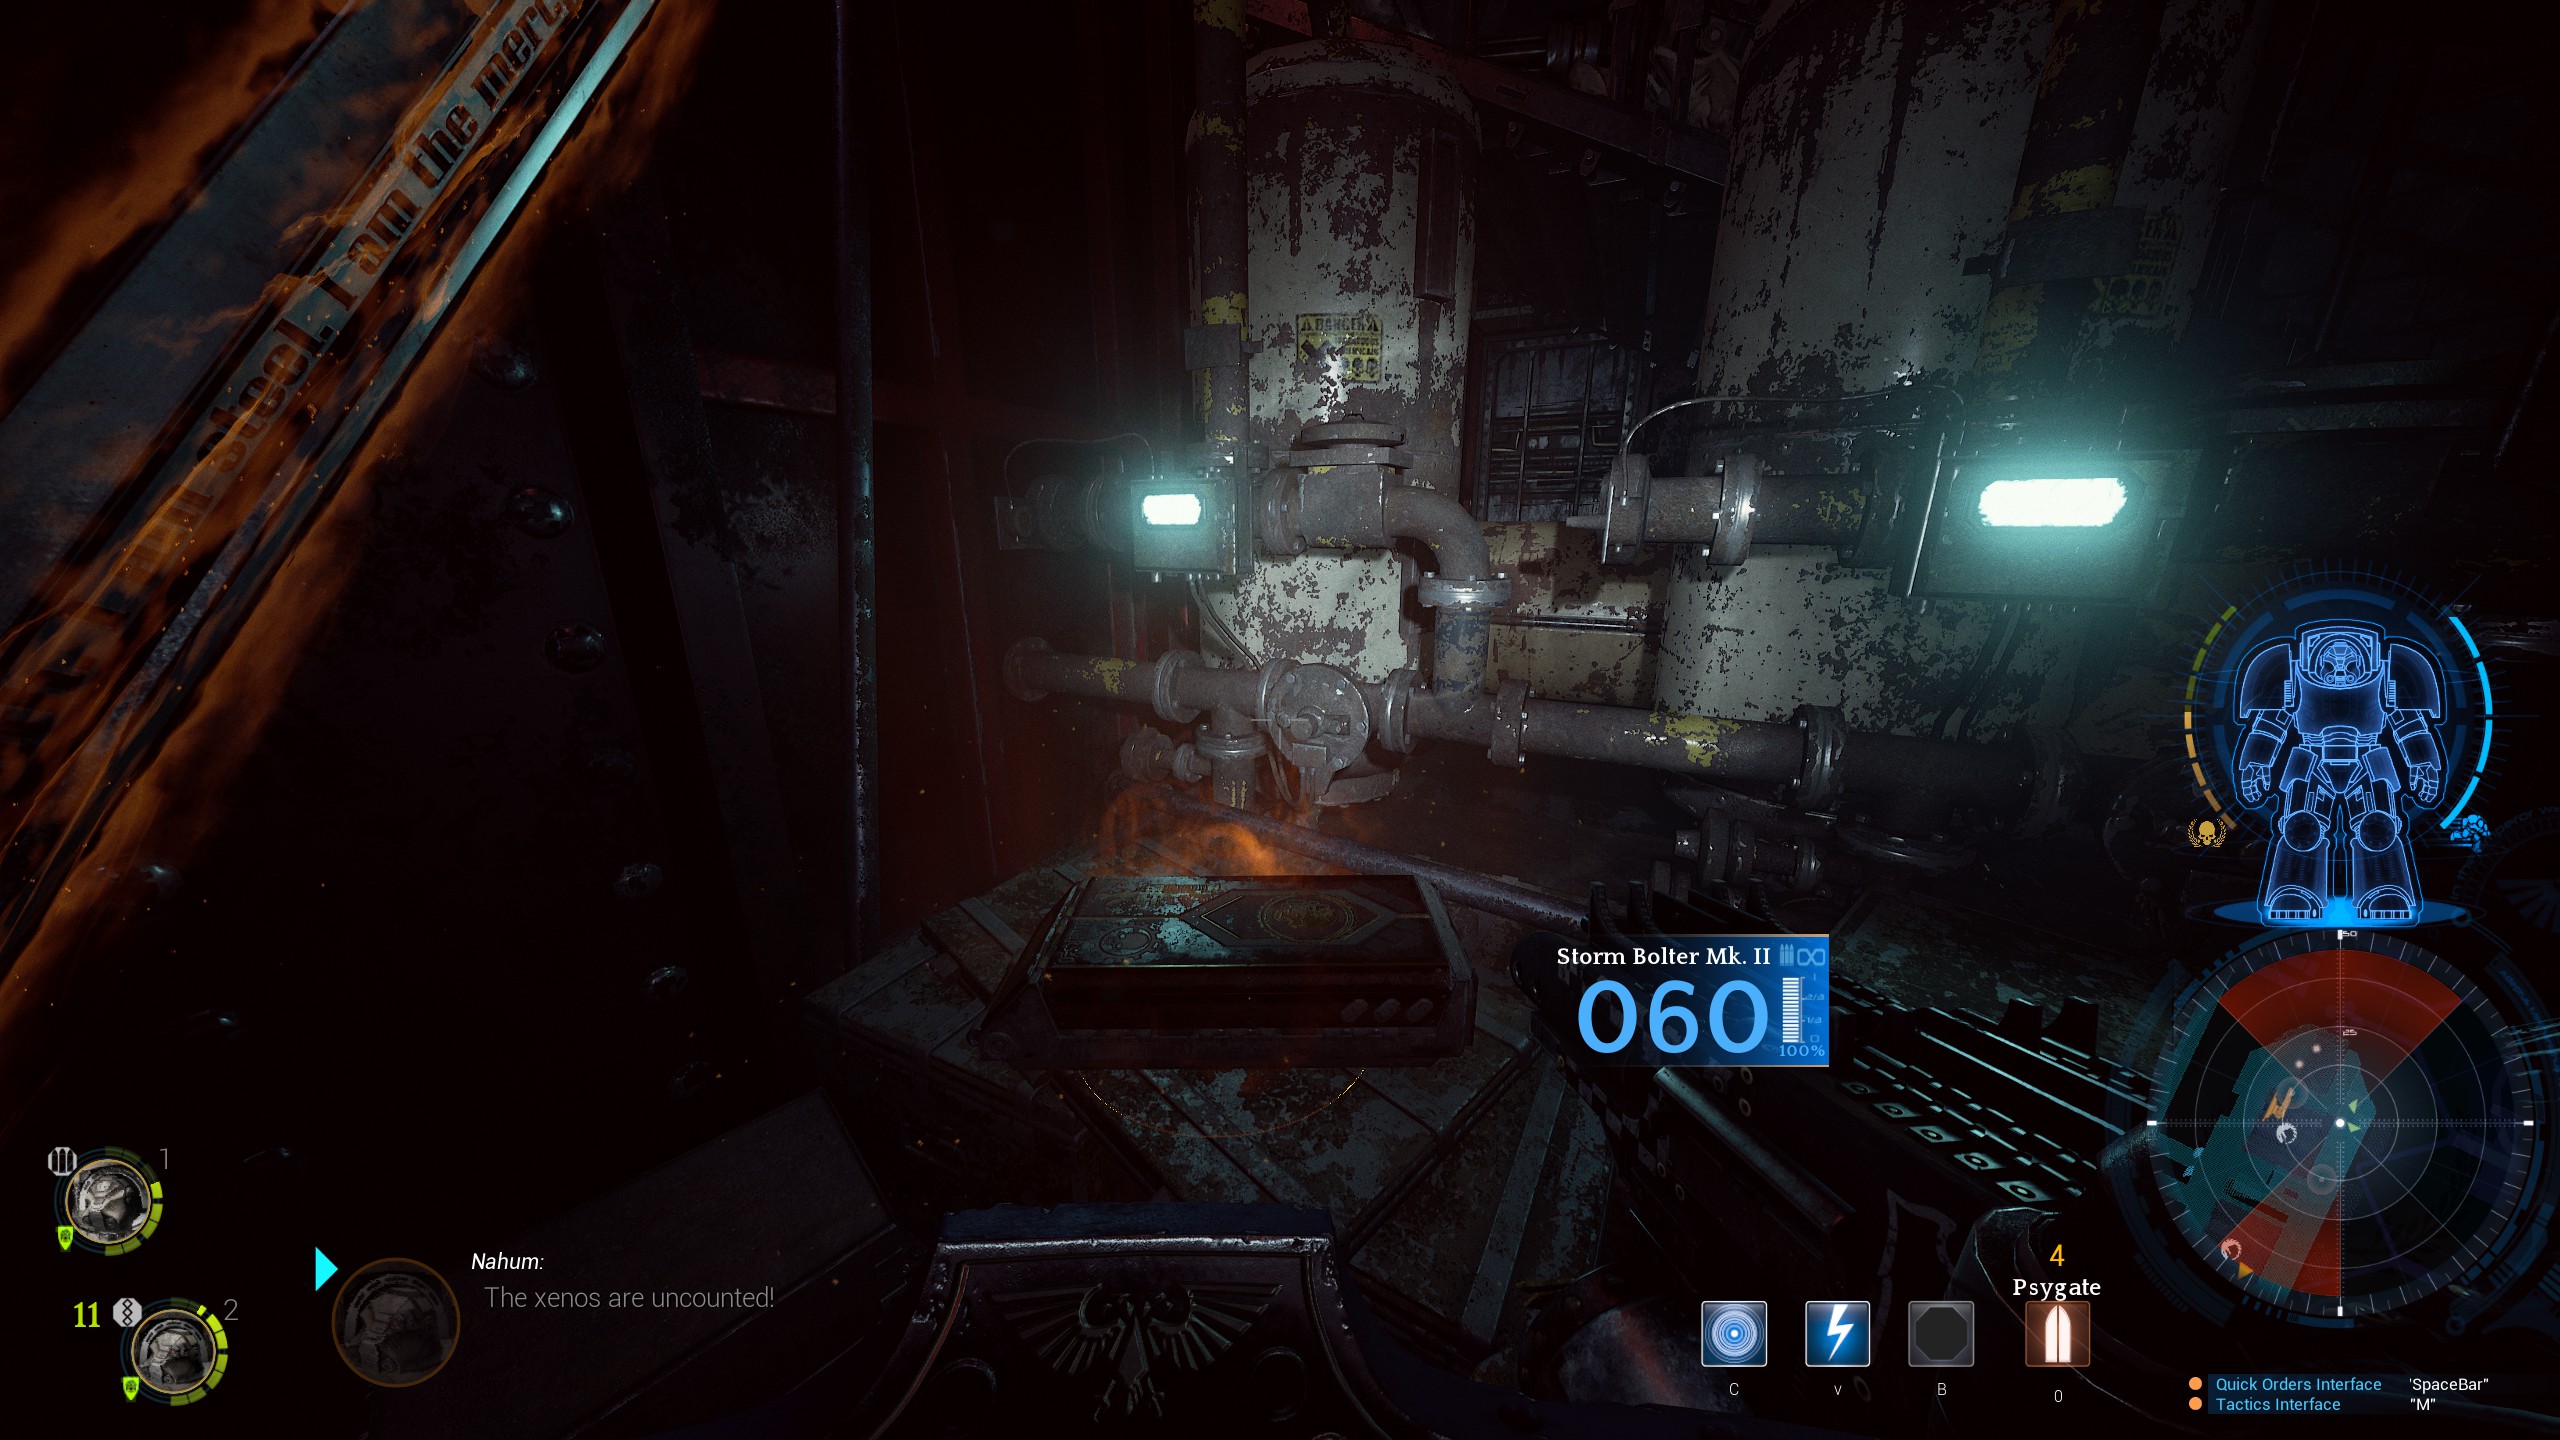
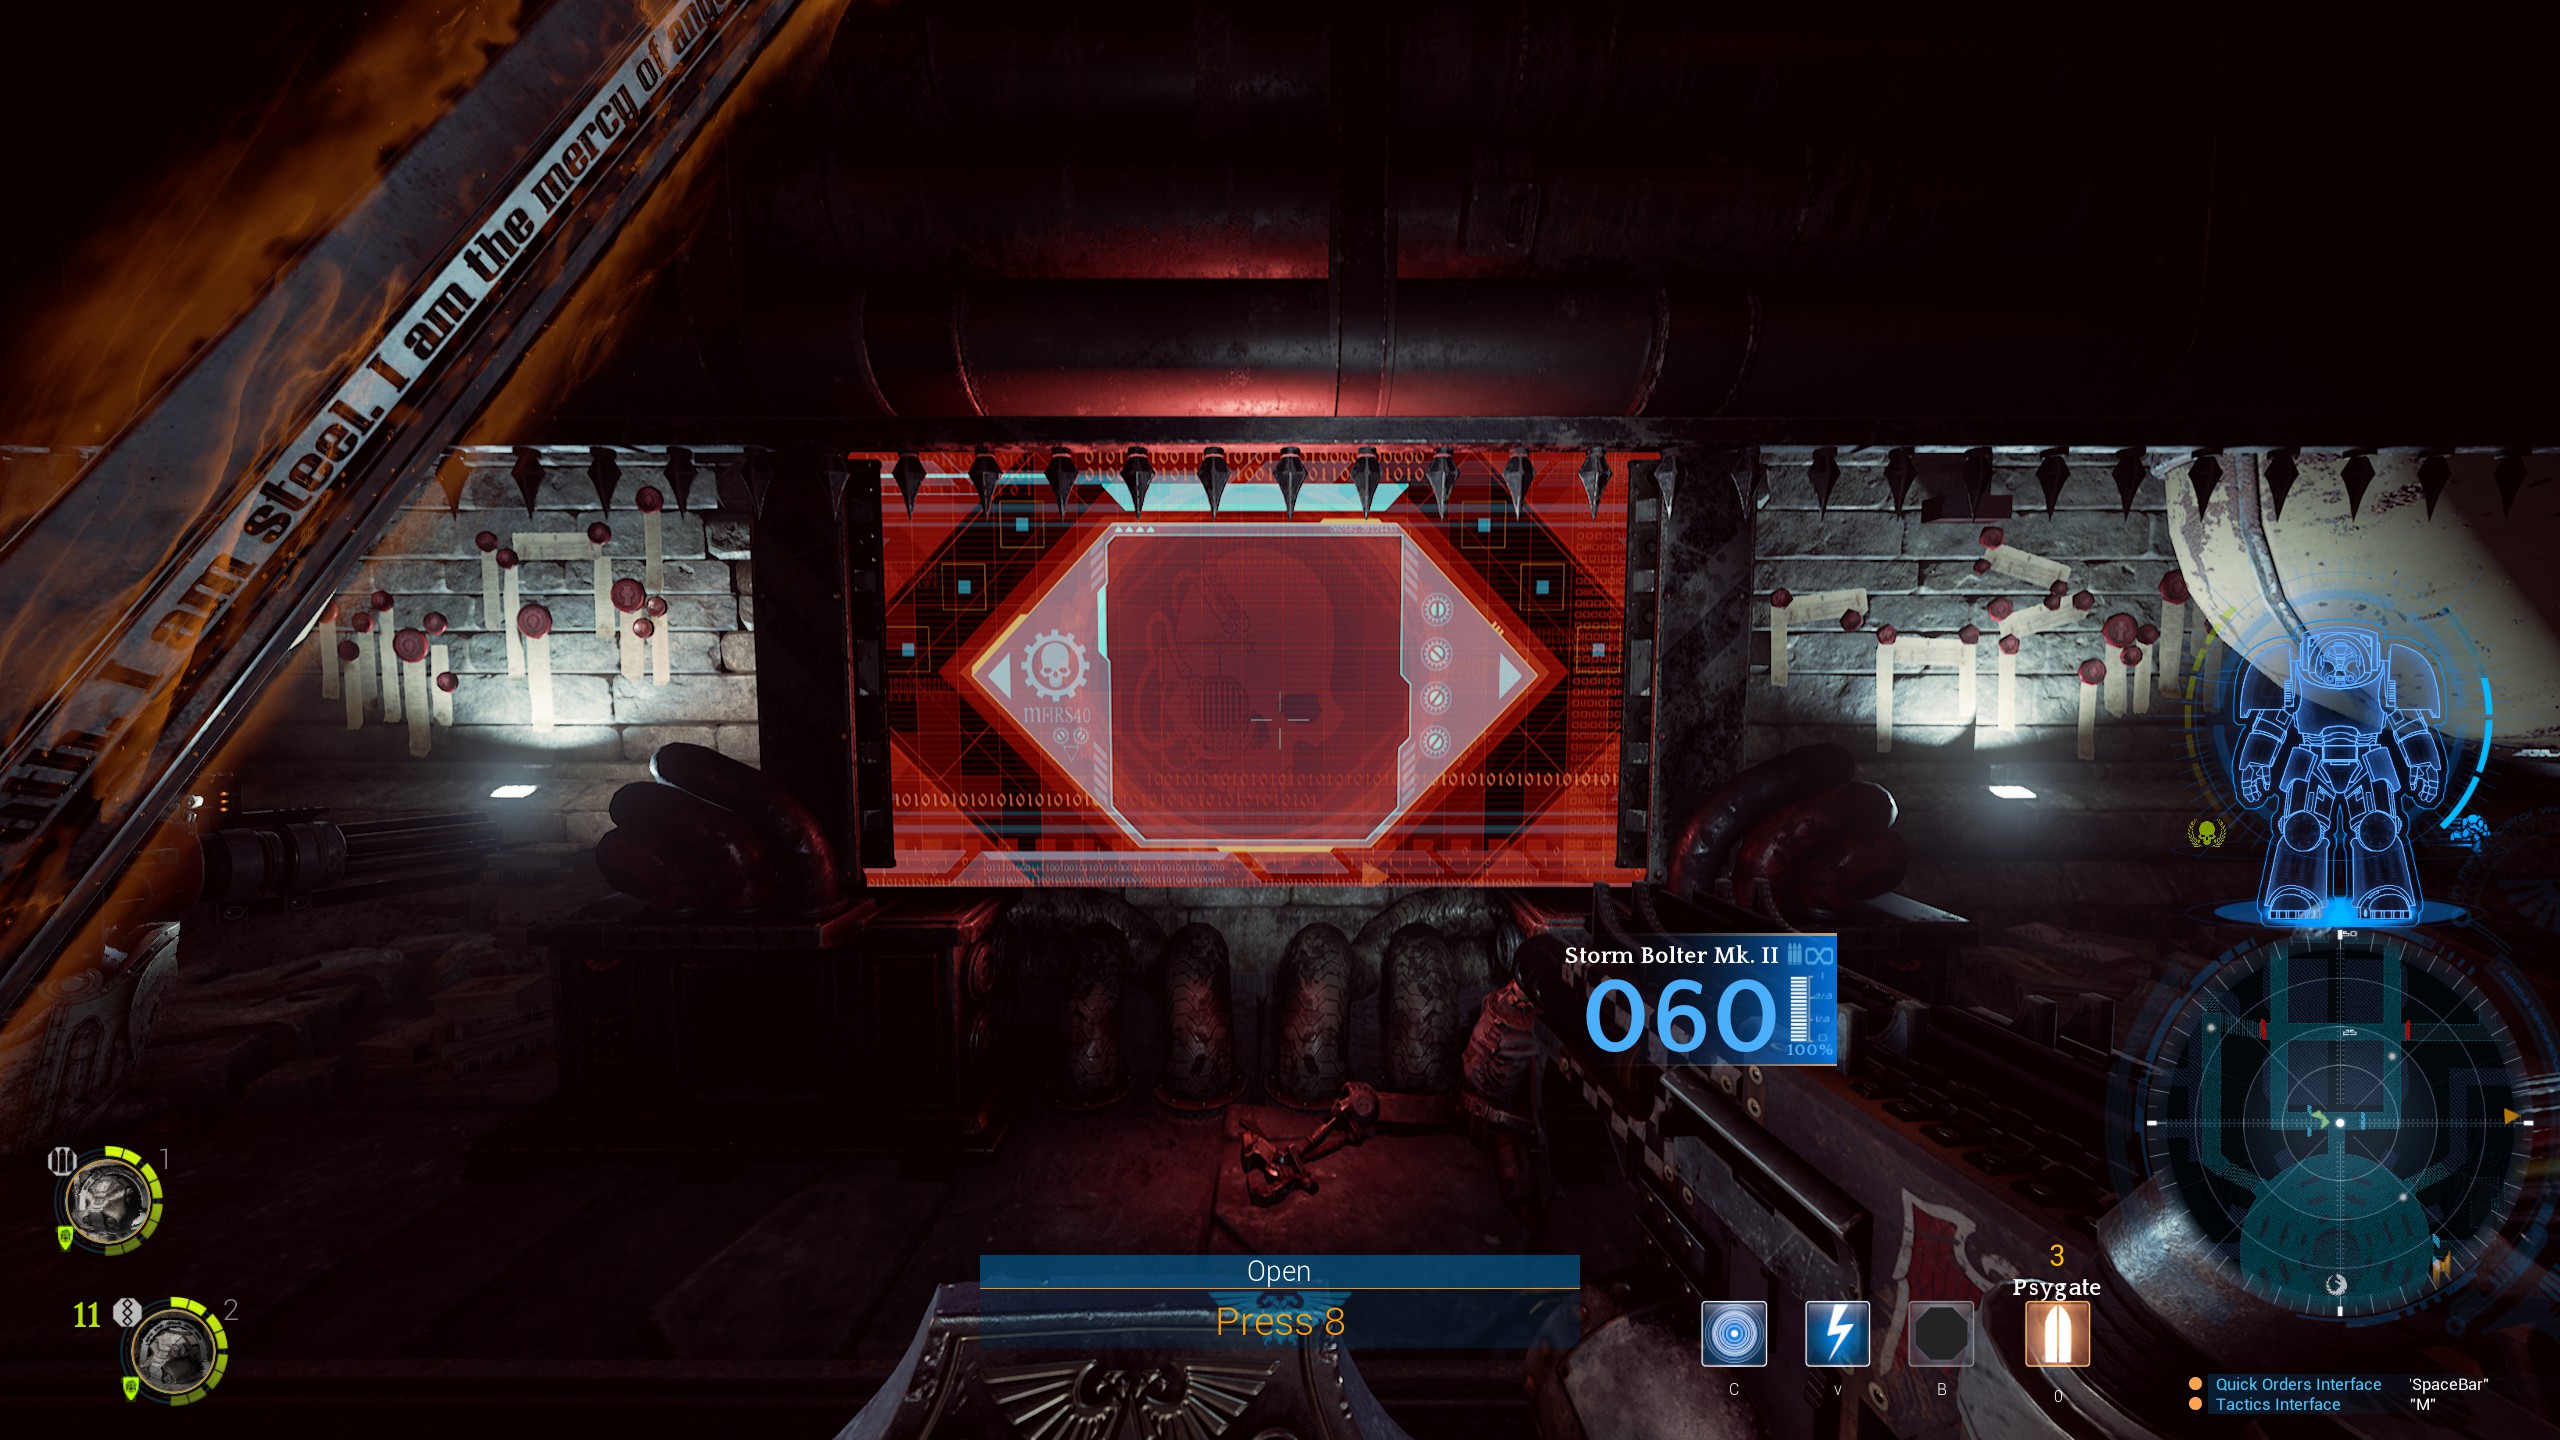
The first and second objectives are to find the remains of Gideon squad. The second objective will also be the first major relic that will unlock the reliquary. The third objective is to investigate a ventilation shaft for life signs. The fourth objective is to find and activate the generators to enable the ships defenses. The fifth objective is to secure the area around the bridge head until reinforcements arrive.
A short cutscene will play when you get close to objective one and when you activate the generators for objective four.
For objective 5 I like to hold out in squad Gideon’s boarding pod marked
잡고 있다지도에. I will send Barachiel to the entrance of the pod to path the enemies to him whilst sending Nahum to watch for stragglers behind me. I’ll then stand to the right of the pipe on the inside so I can stop the horde overwhelming Barachiel.
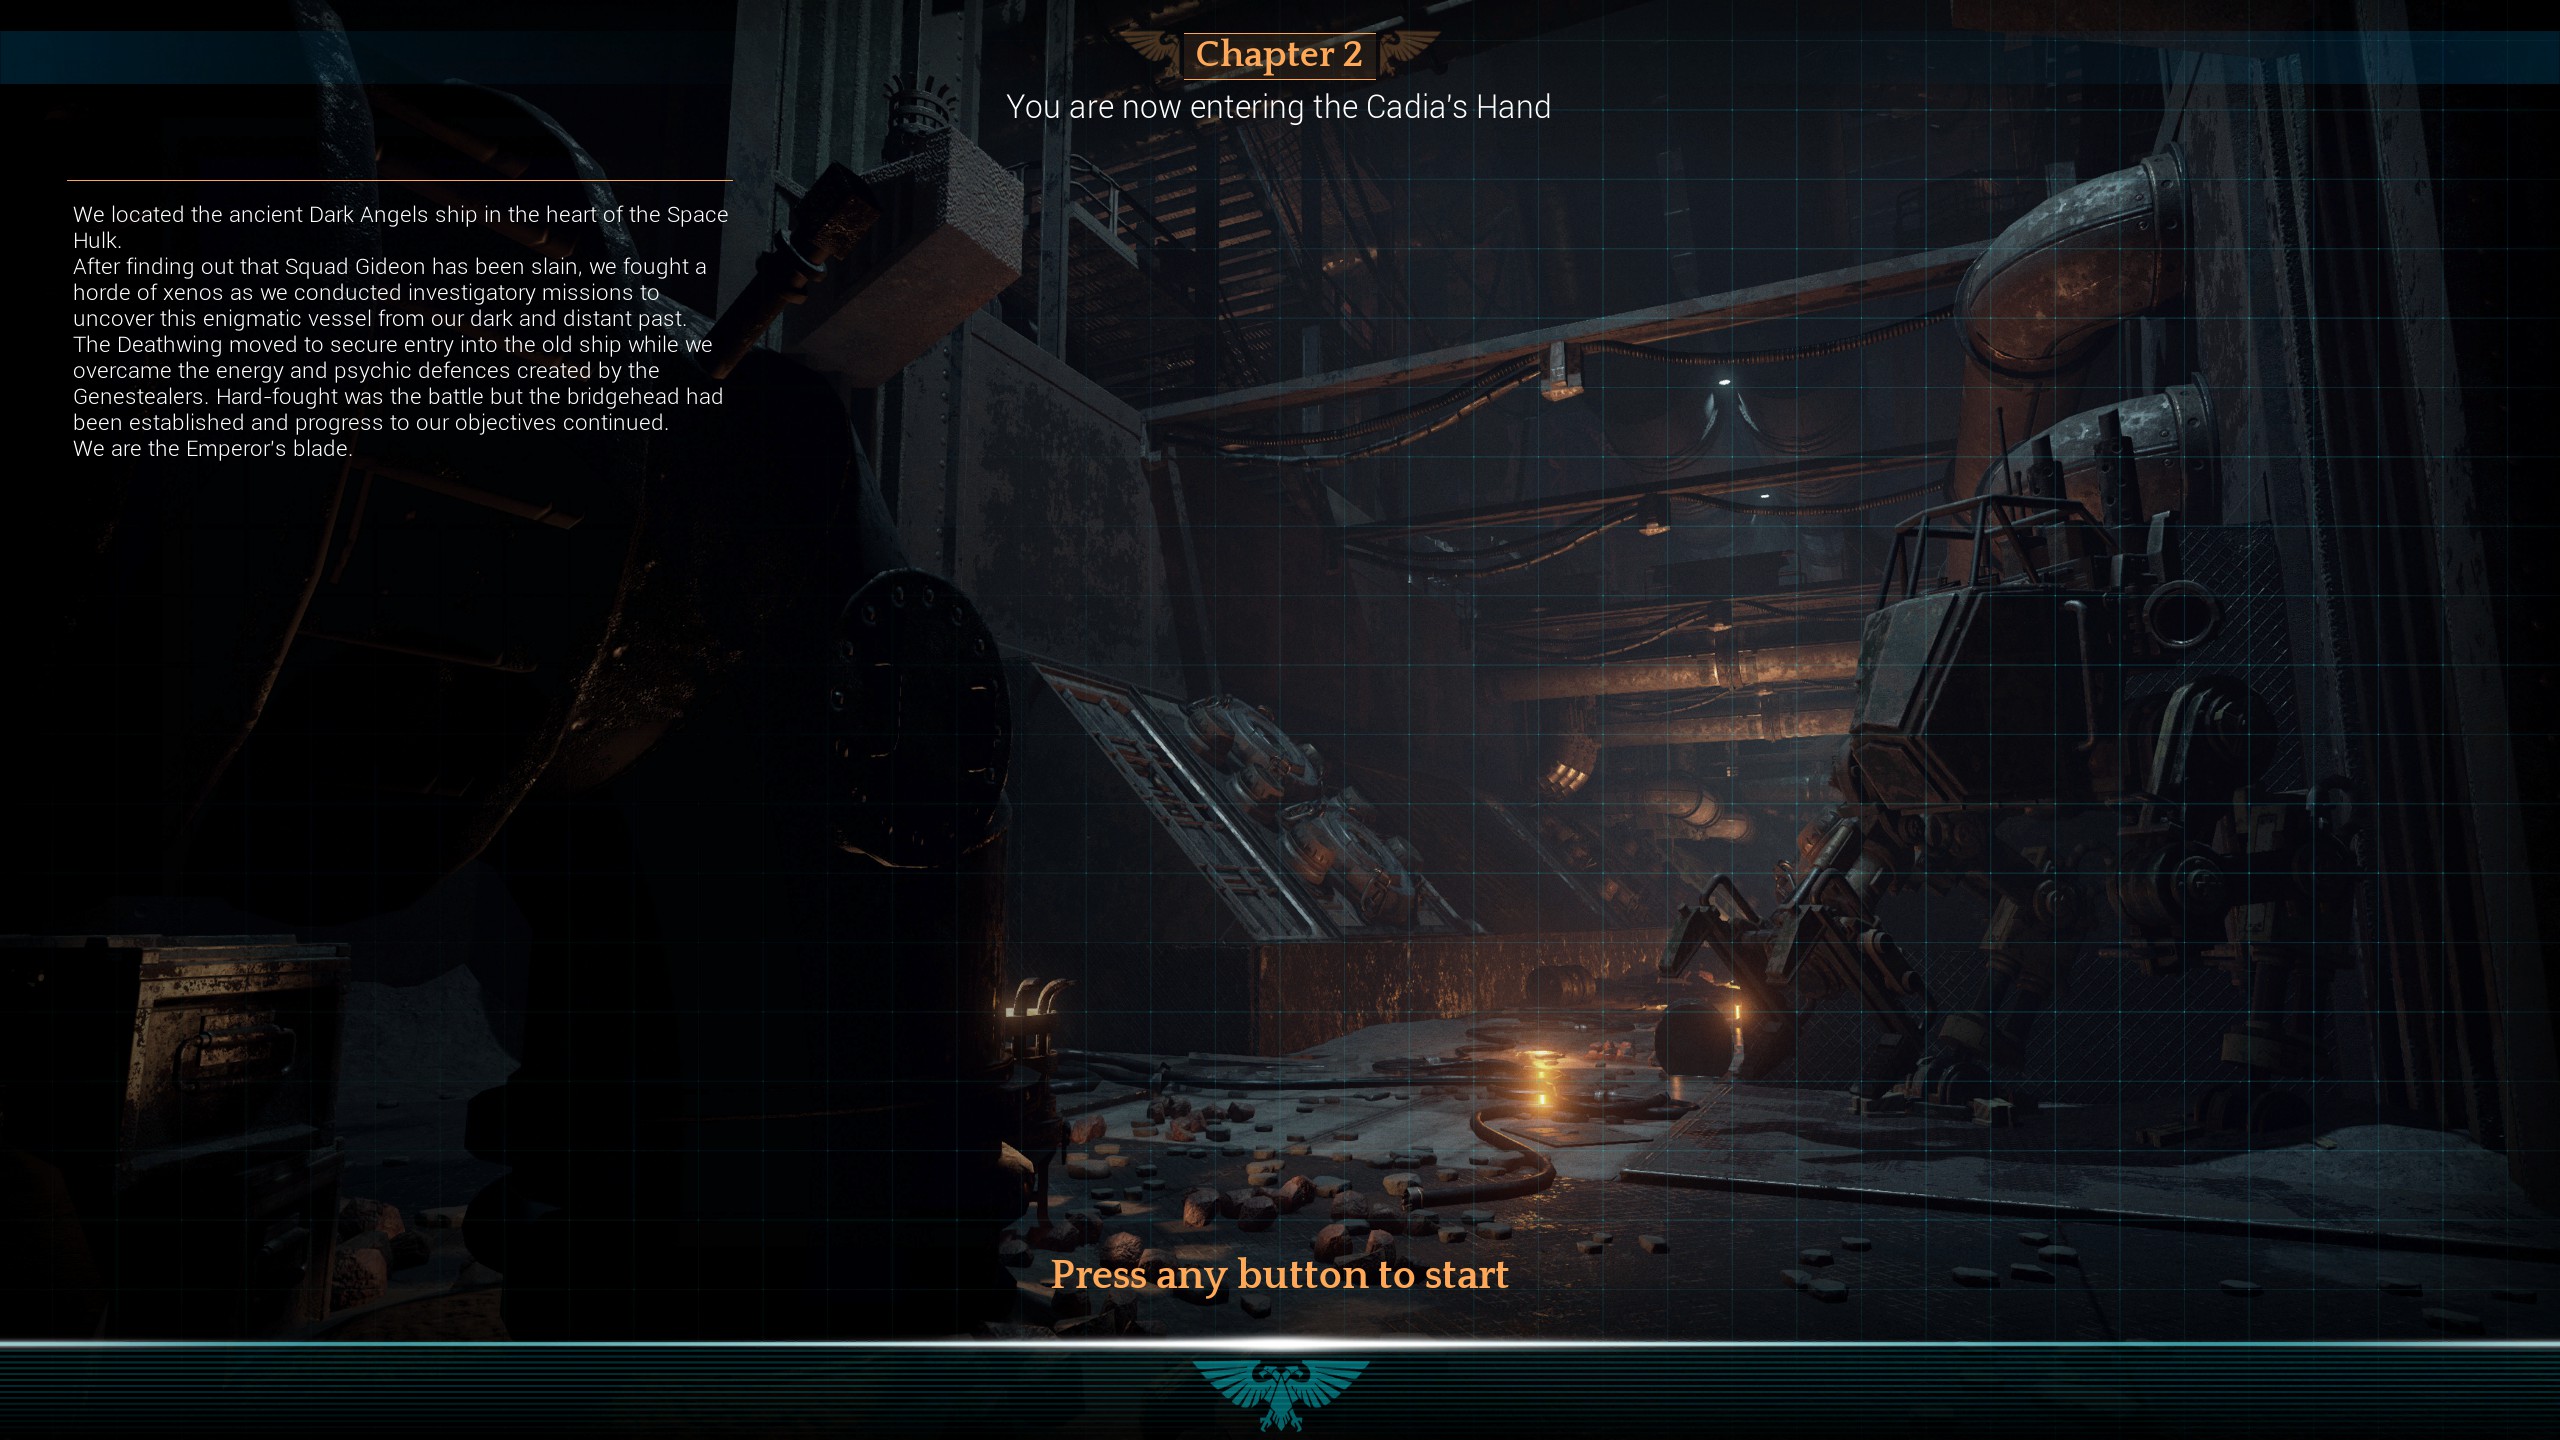
장 02 – Cadia’s Hand
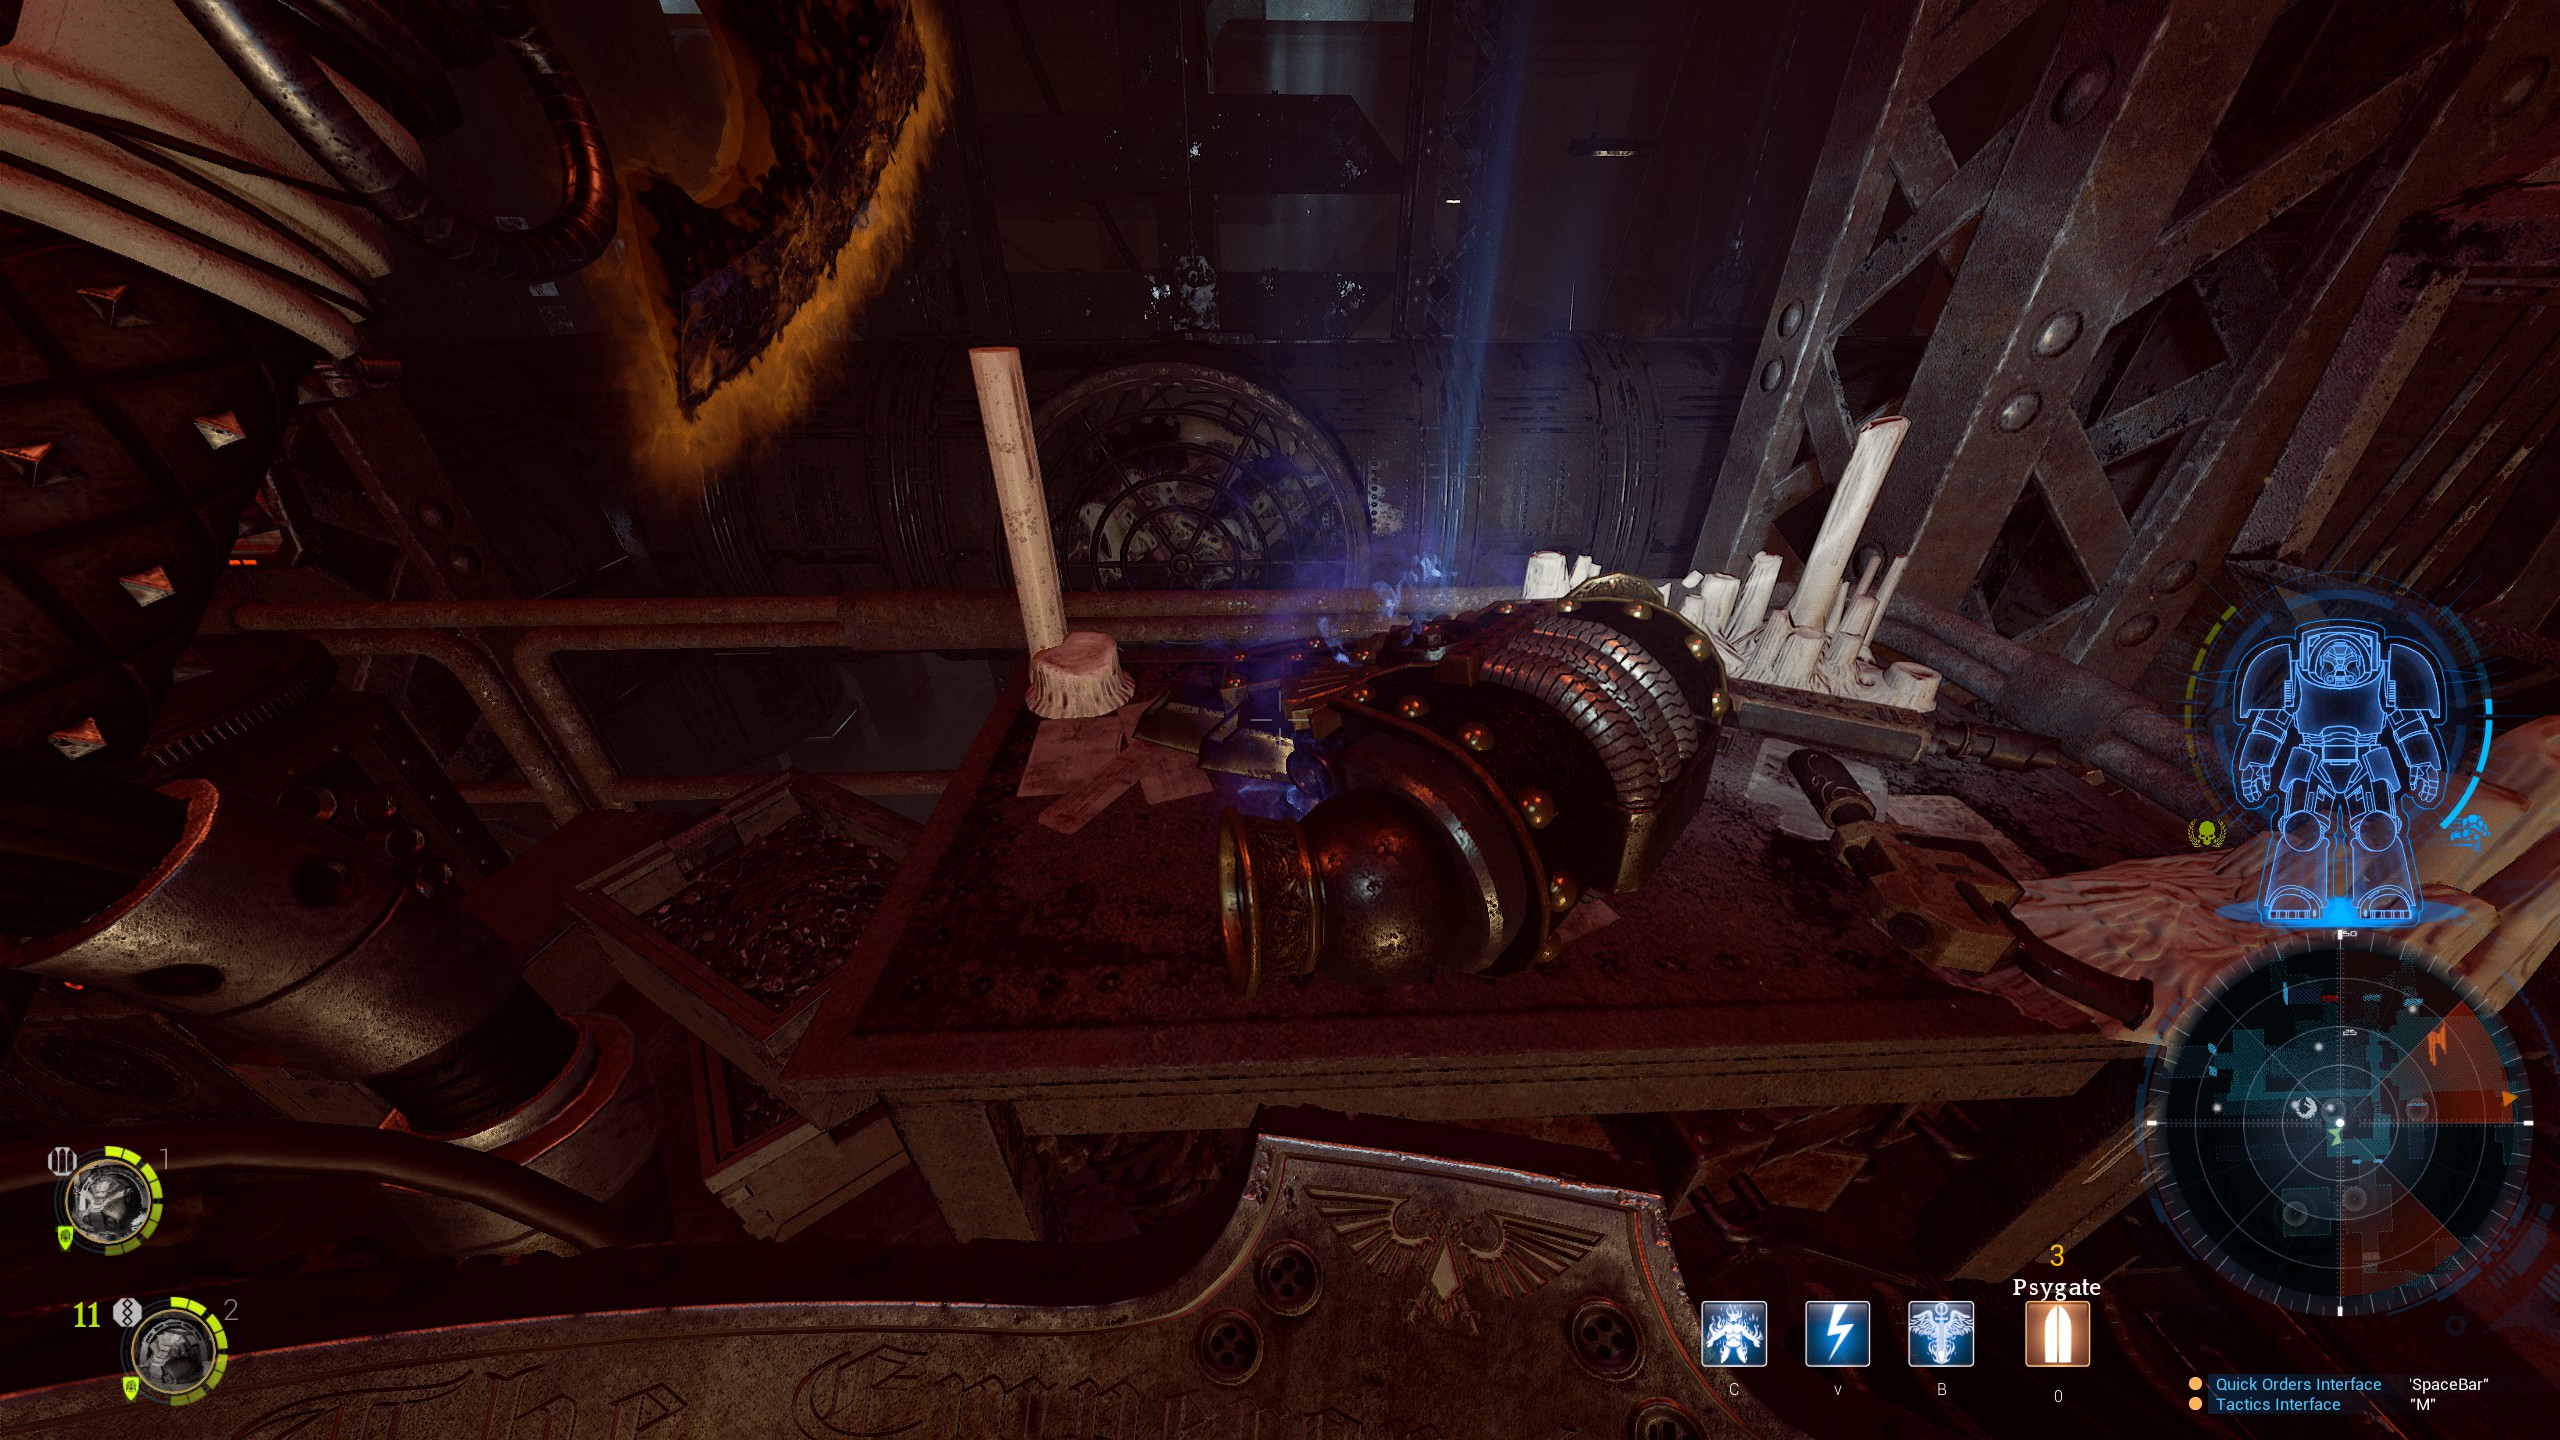
Objective one is to disable the propulsion system on the Cadia’s Hand to stop the Genestealers from sending our ship in to the gravity well of a nearby planet. Once you activate the control panel a small cutscene will play and you will then have to shoot all 6 of the pylons that rise up to shut down the engine. There are two turrets above the pylons that should be taken out as soon as possible. You will also get swarmed at this point.
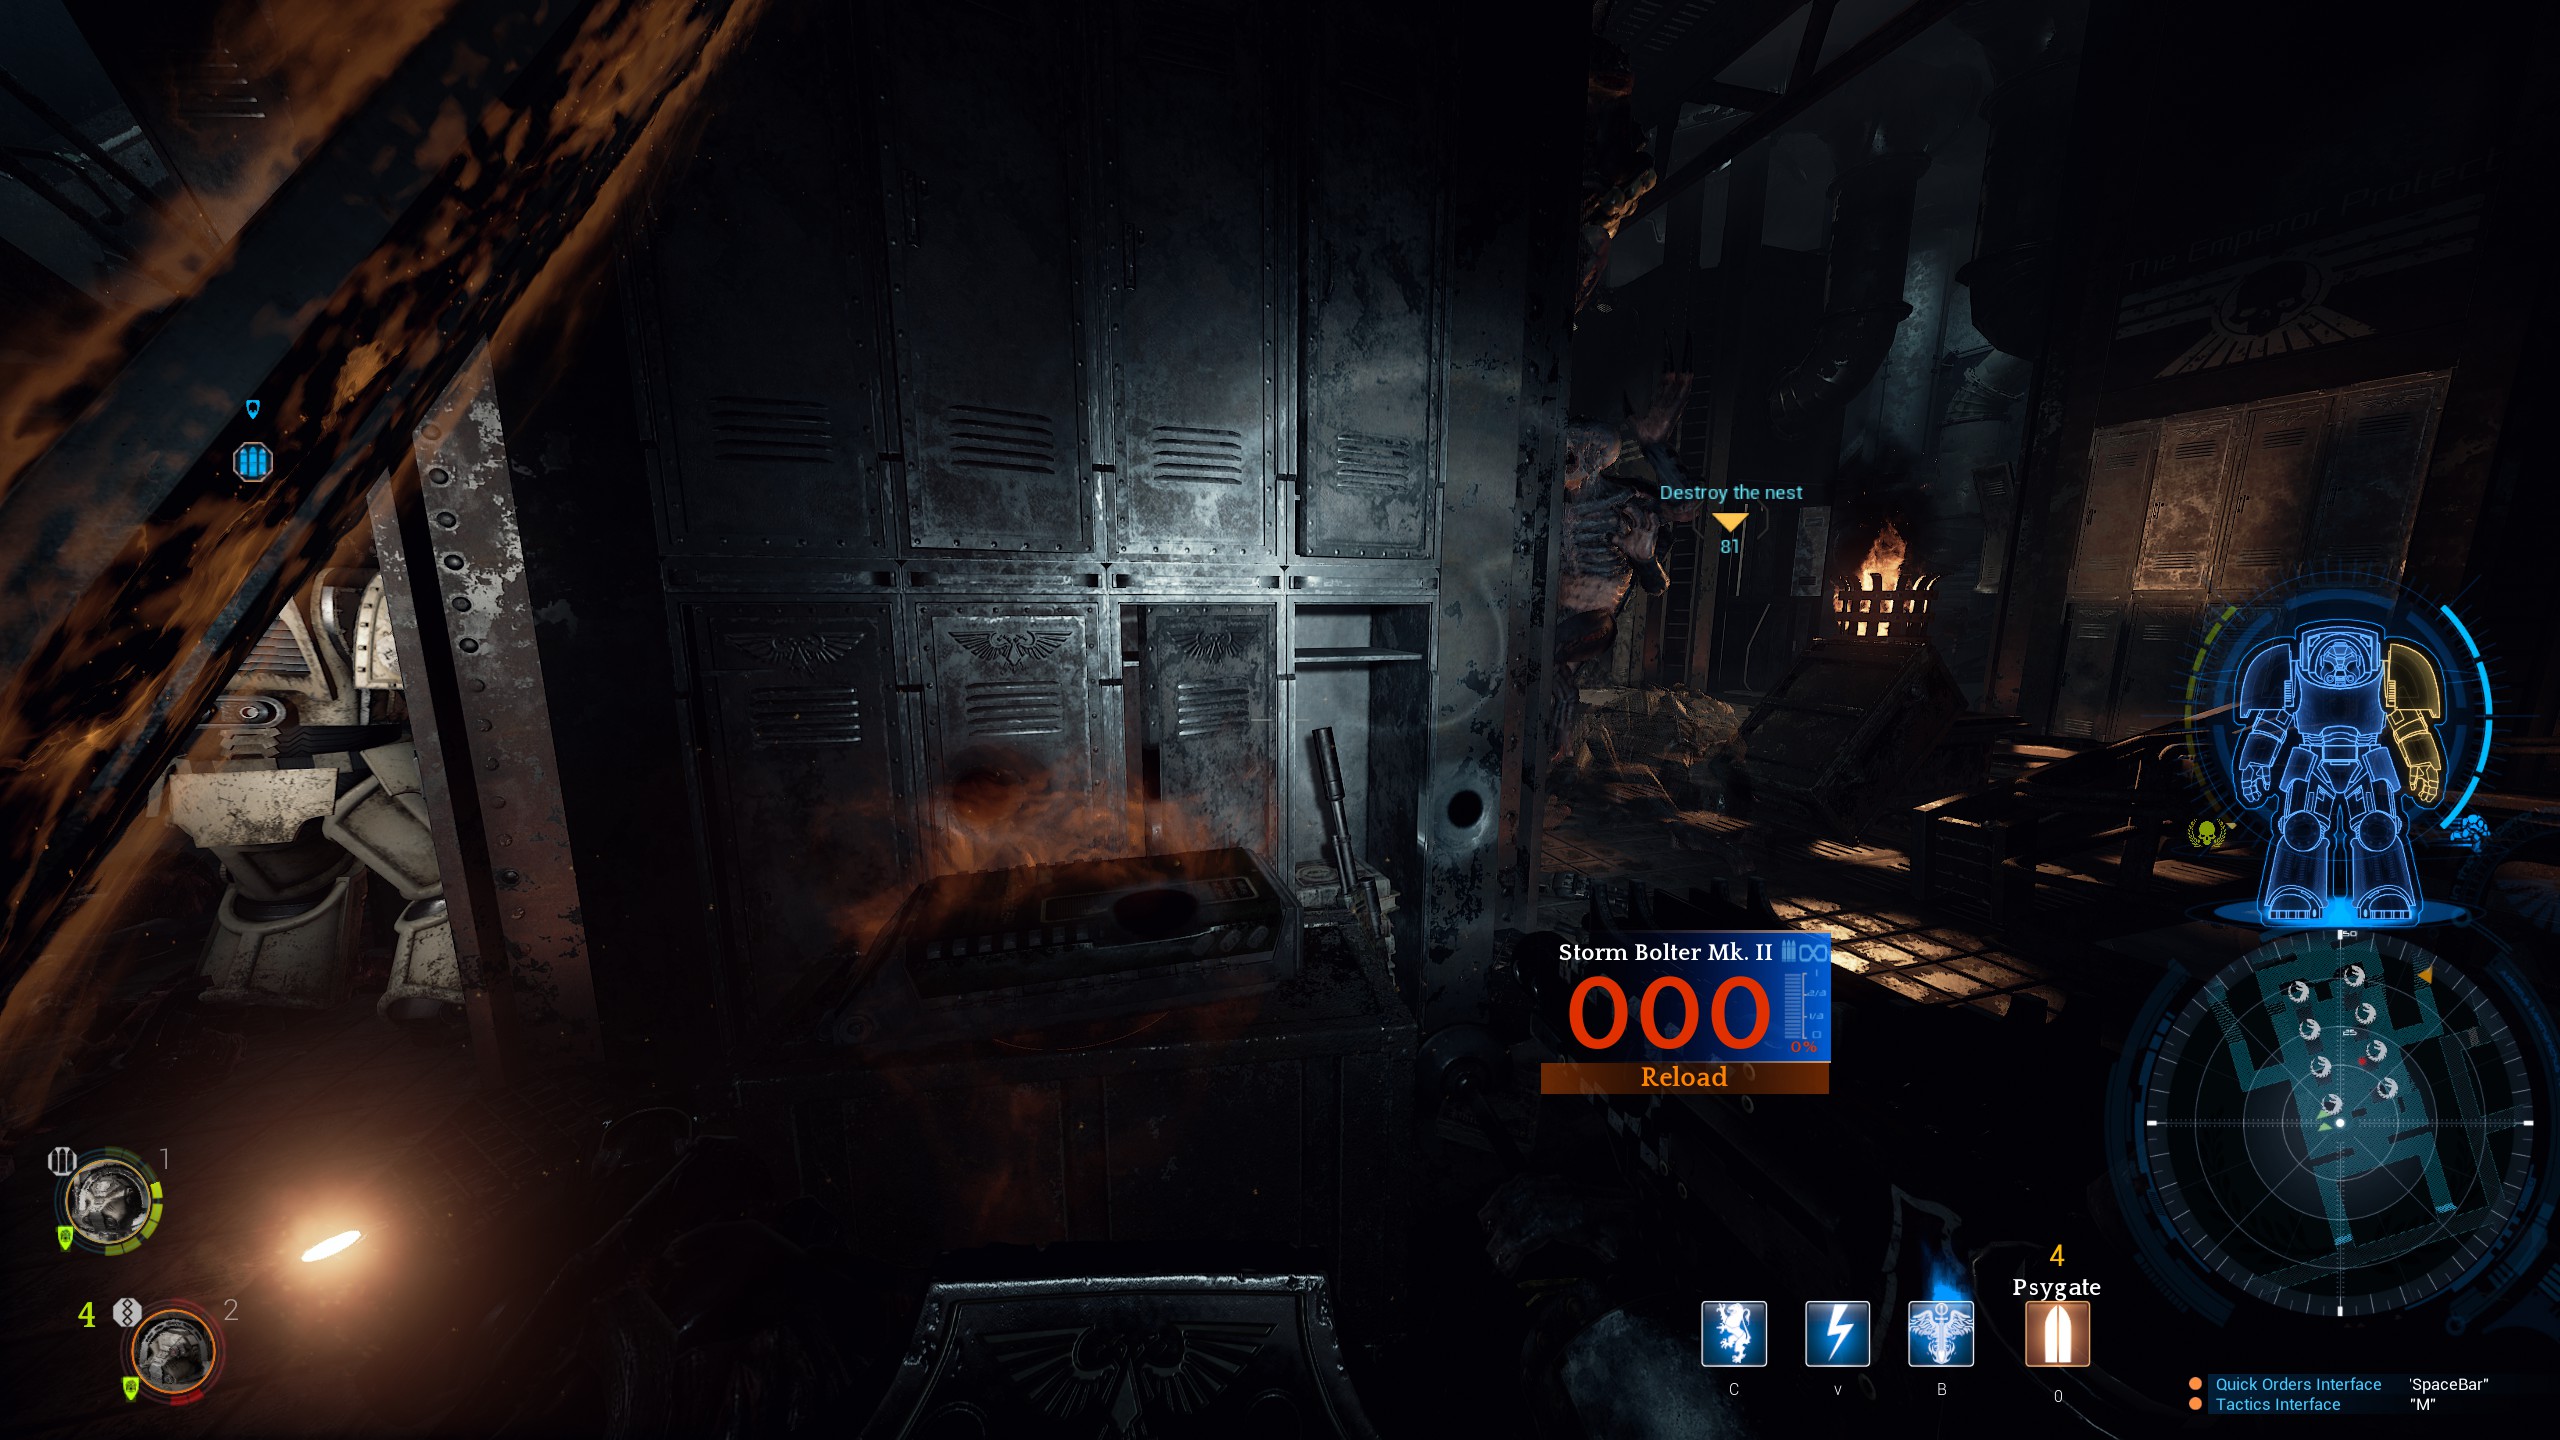
Objectives two and three are to destroy the nests in the area. A cutscene will play when you get close to your first nest. When arrive in the nest the marker will turn in to 4 seperate markers. Each marker has a panel you need to activate to expose a rod you then destroy. You need to do this four times per nest.
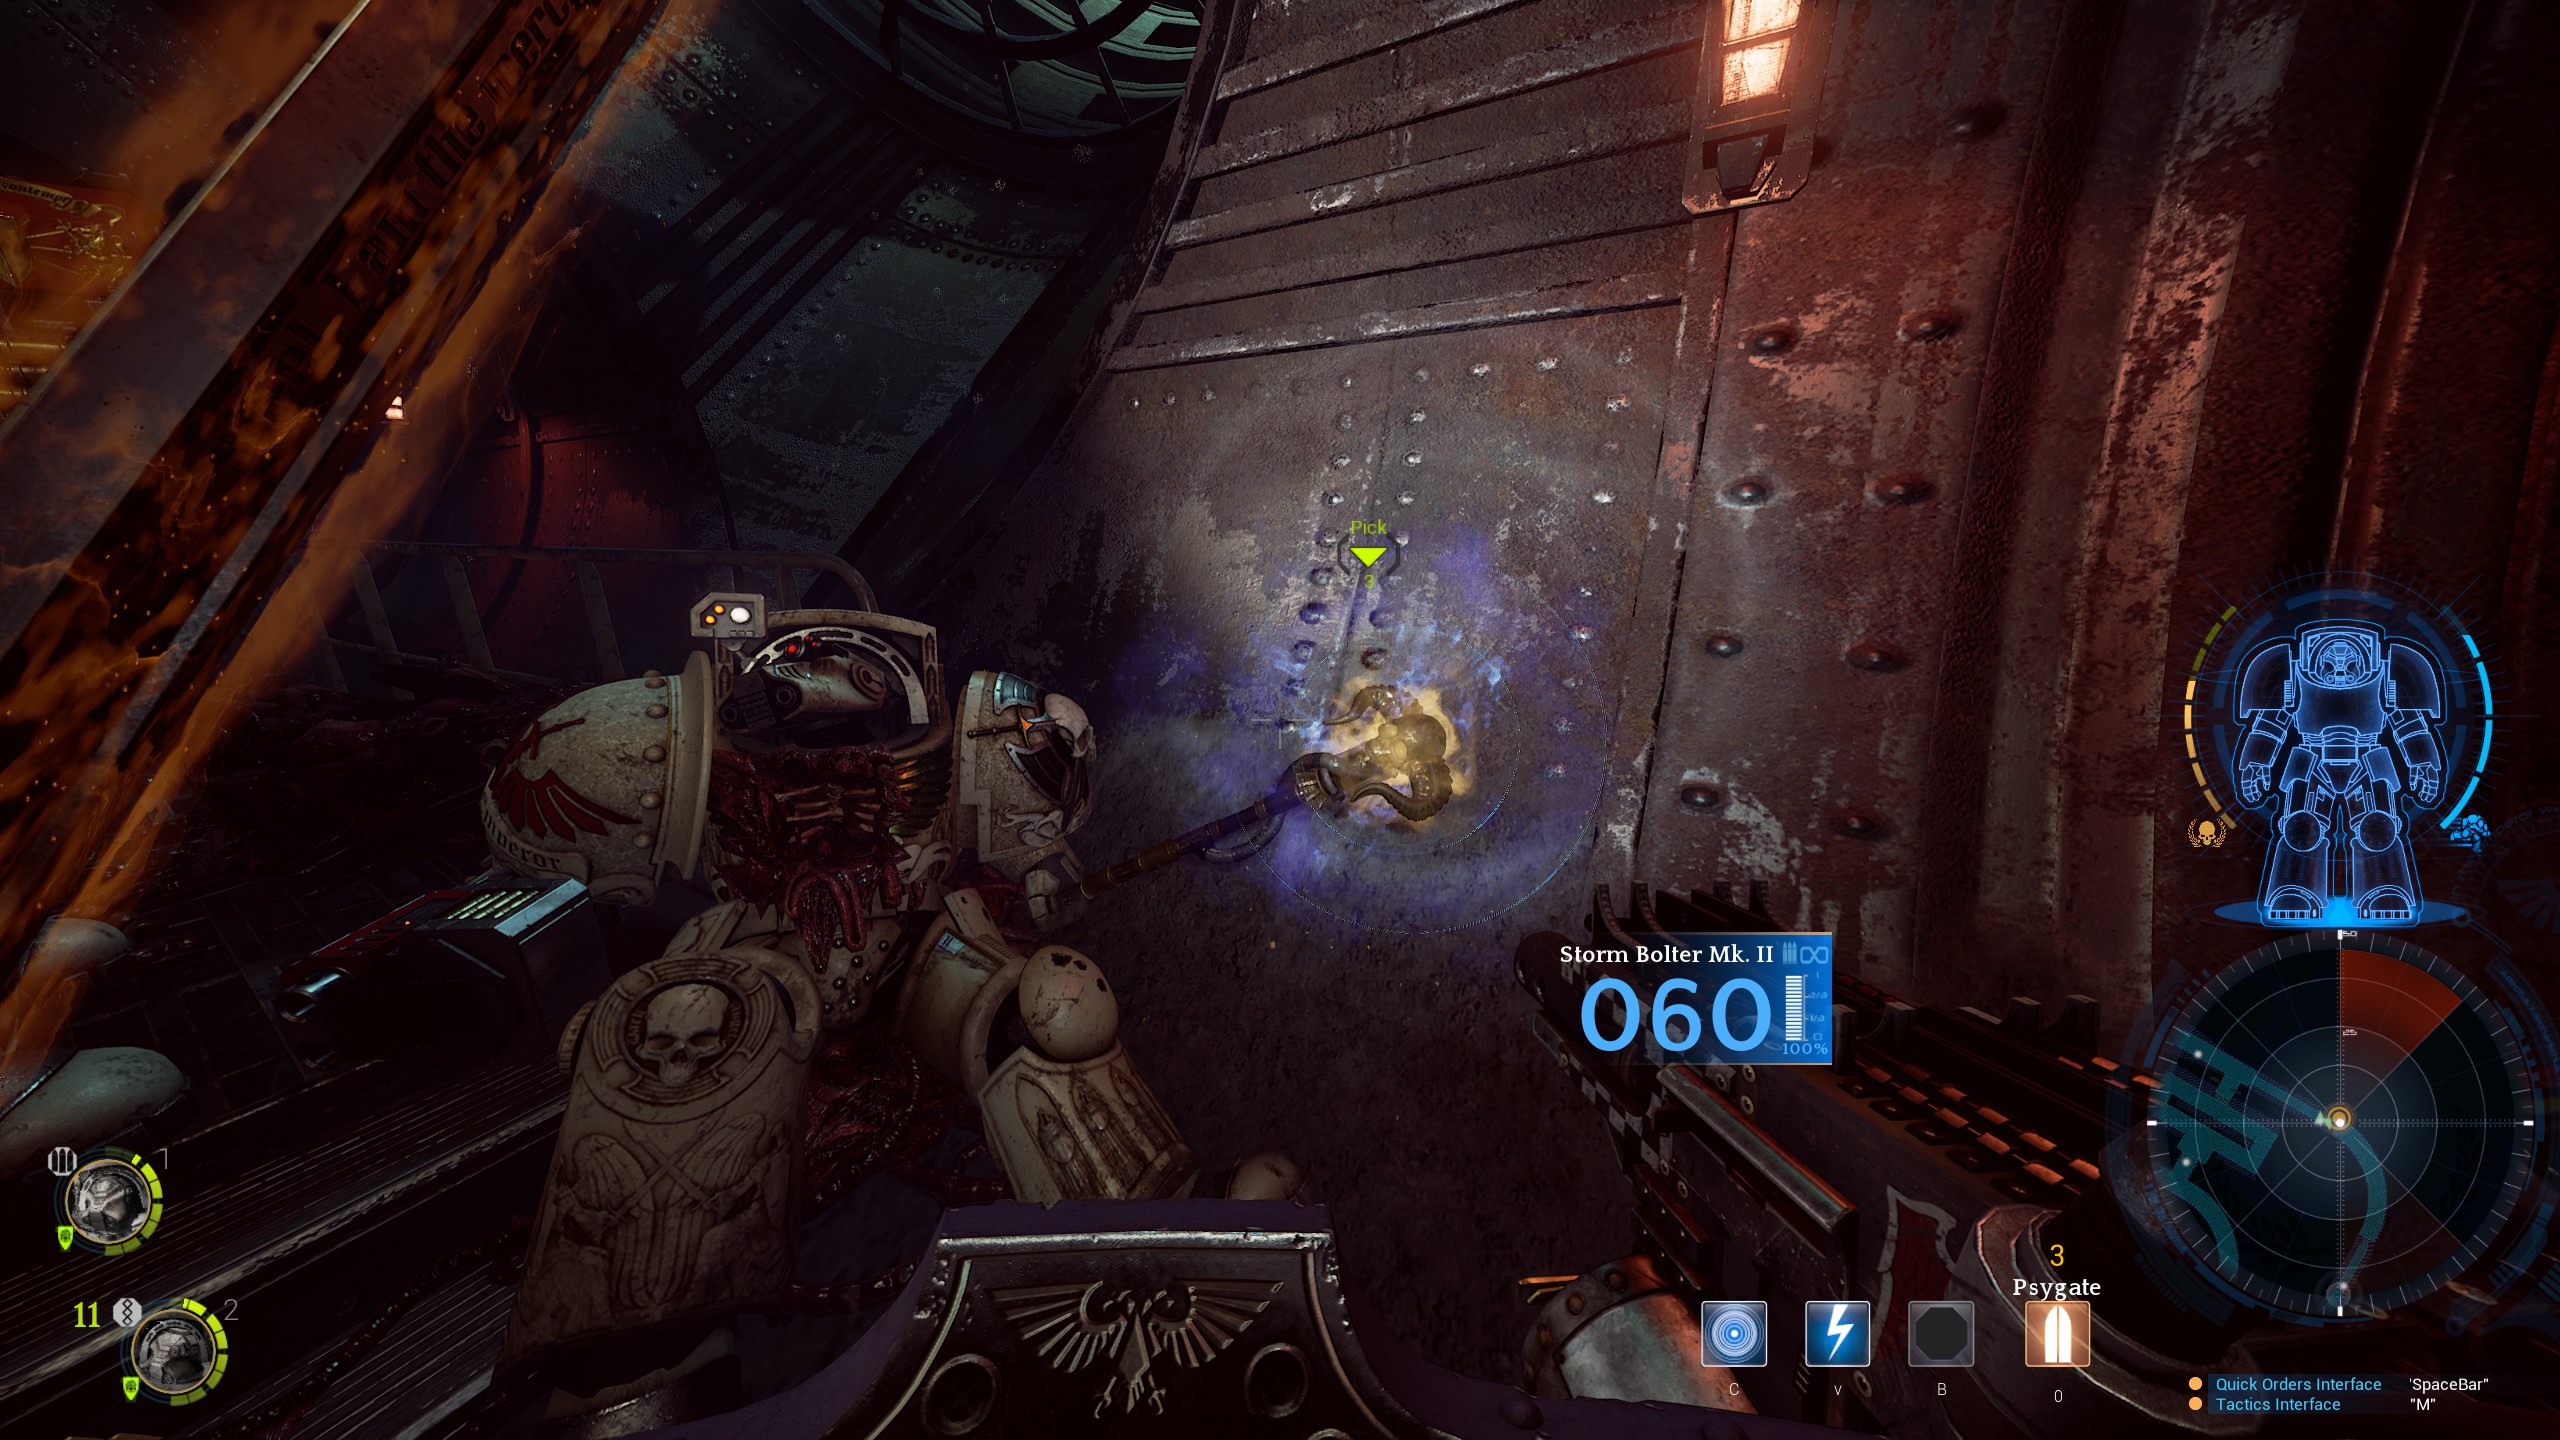
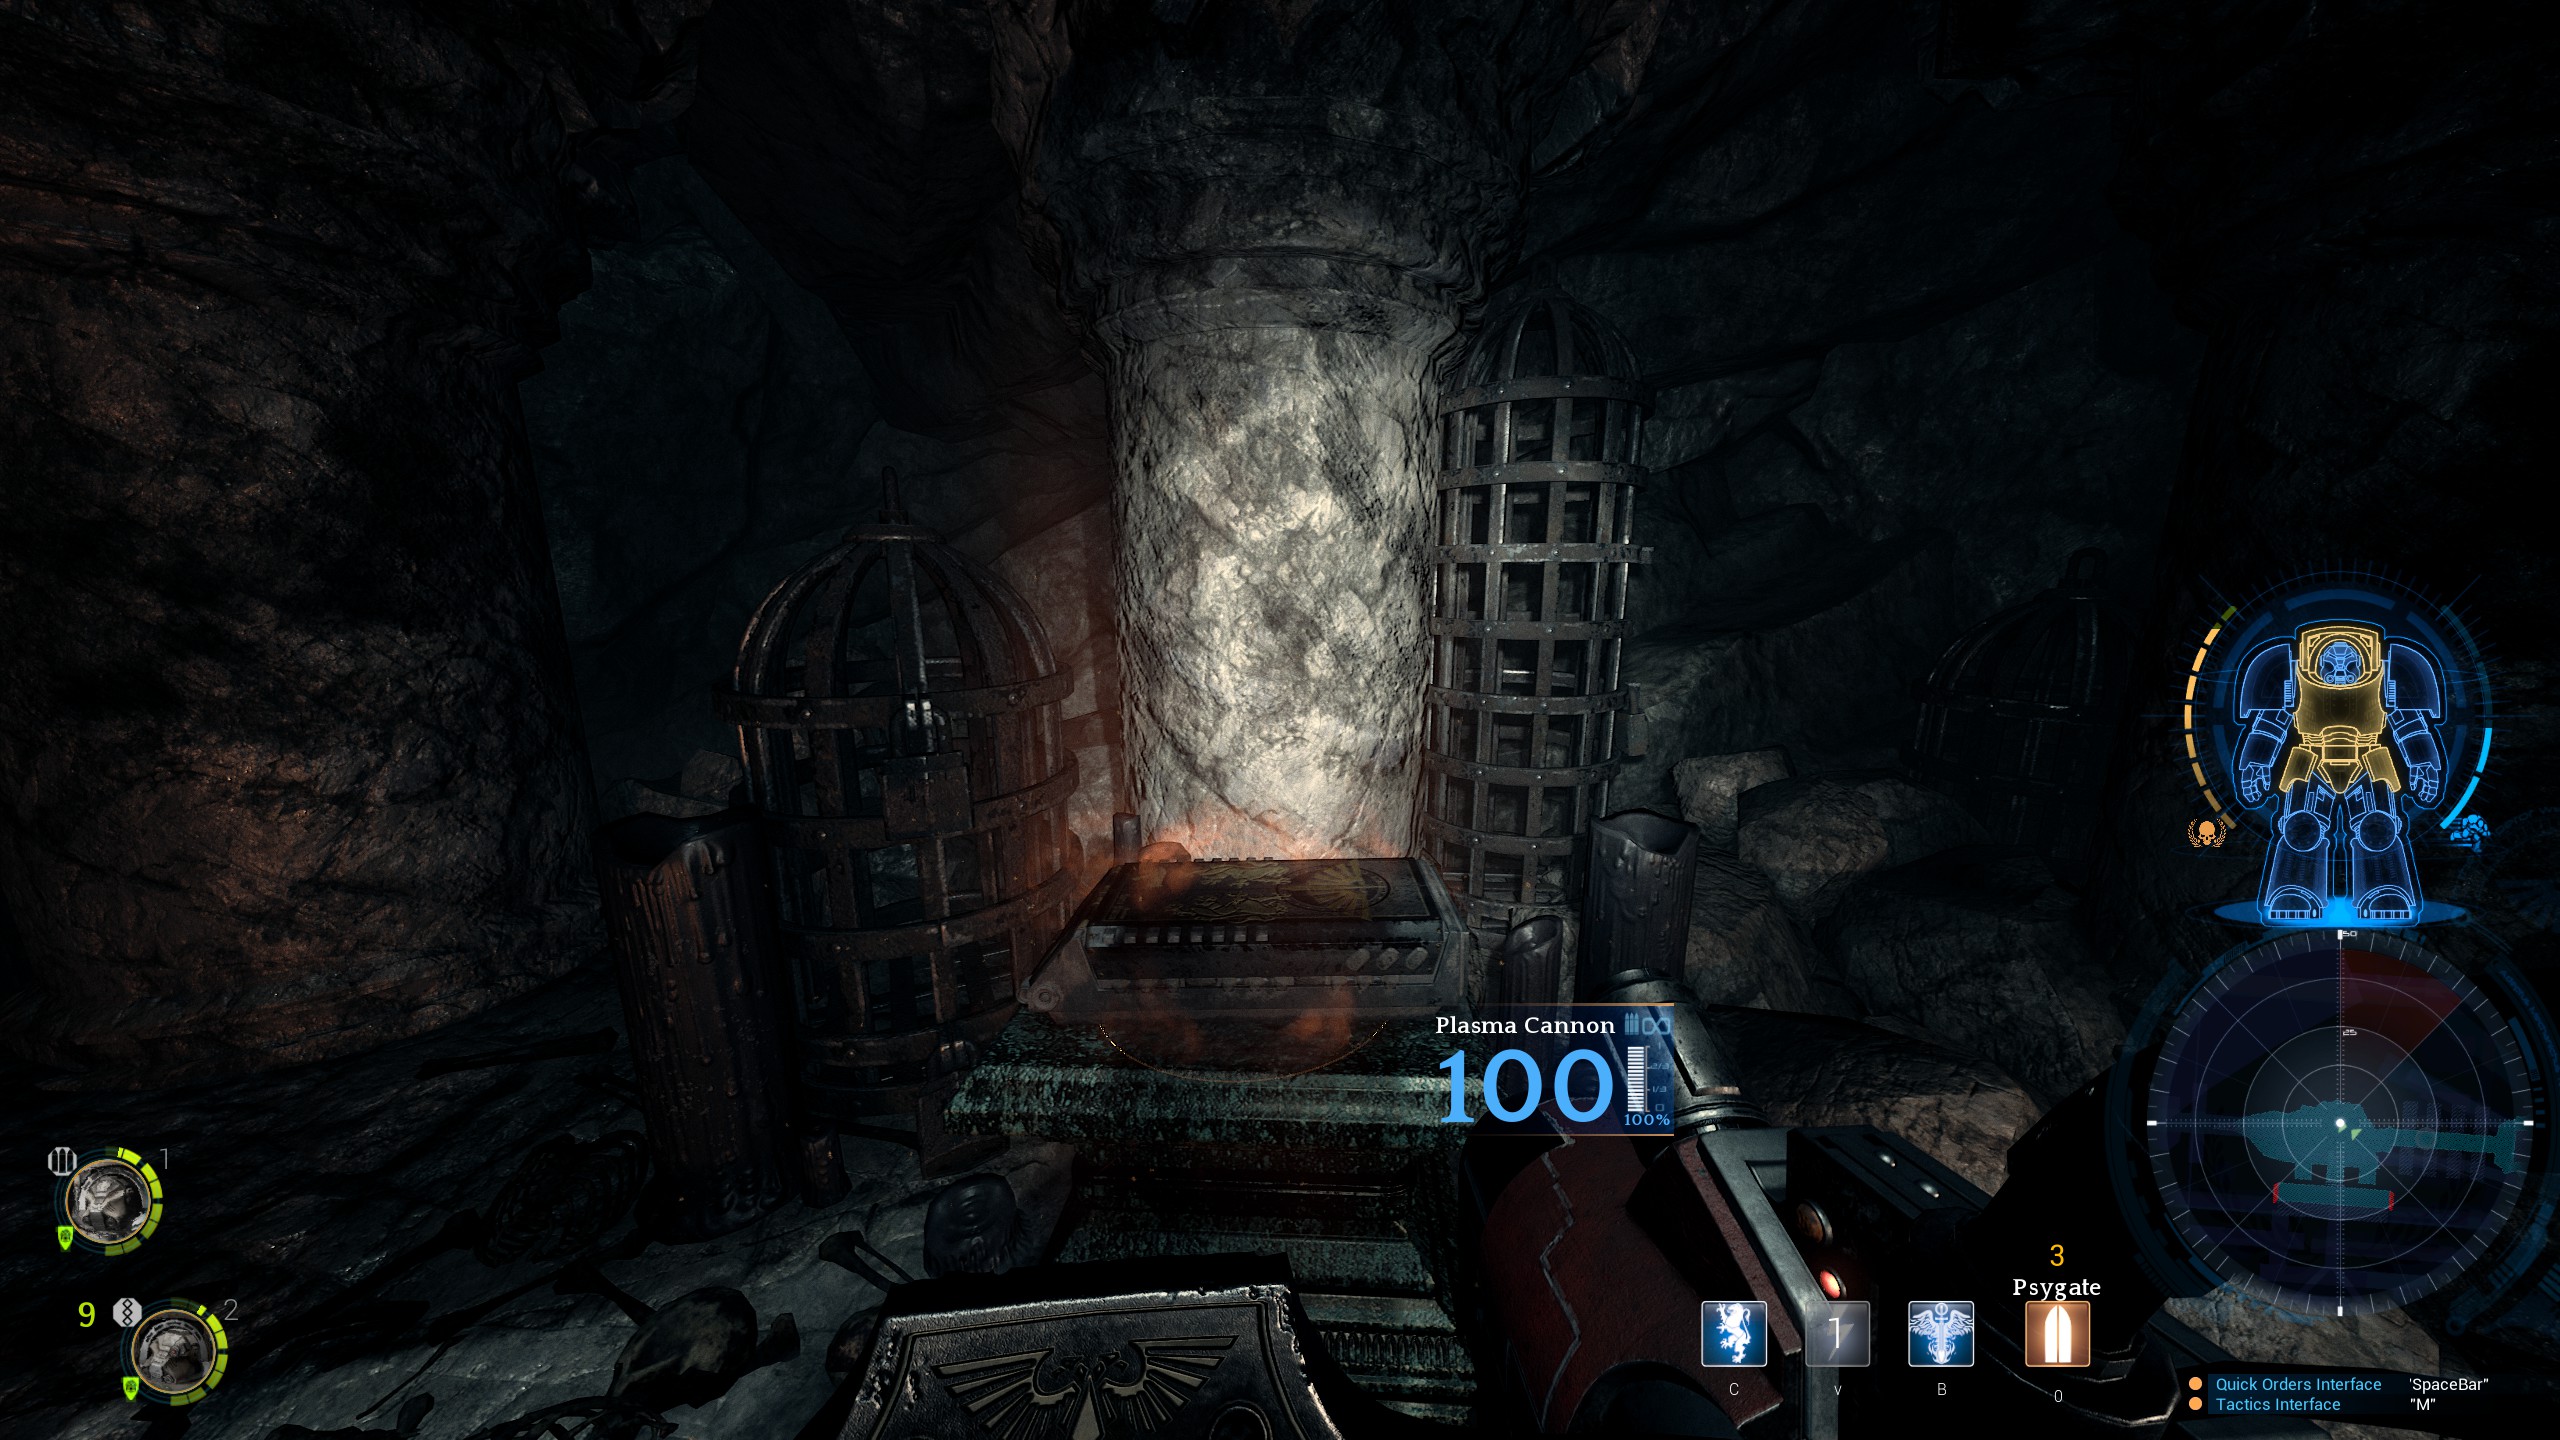
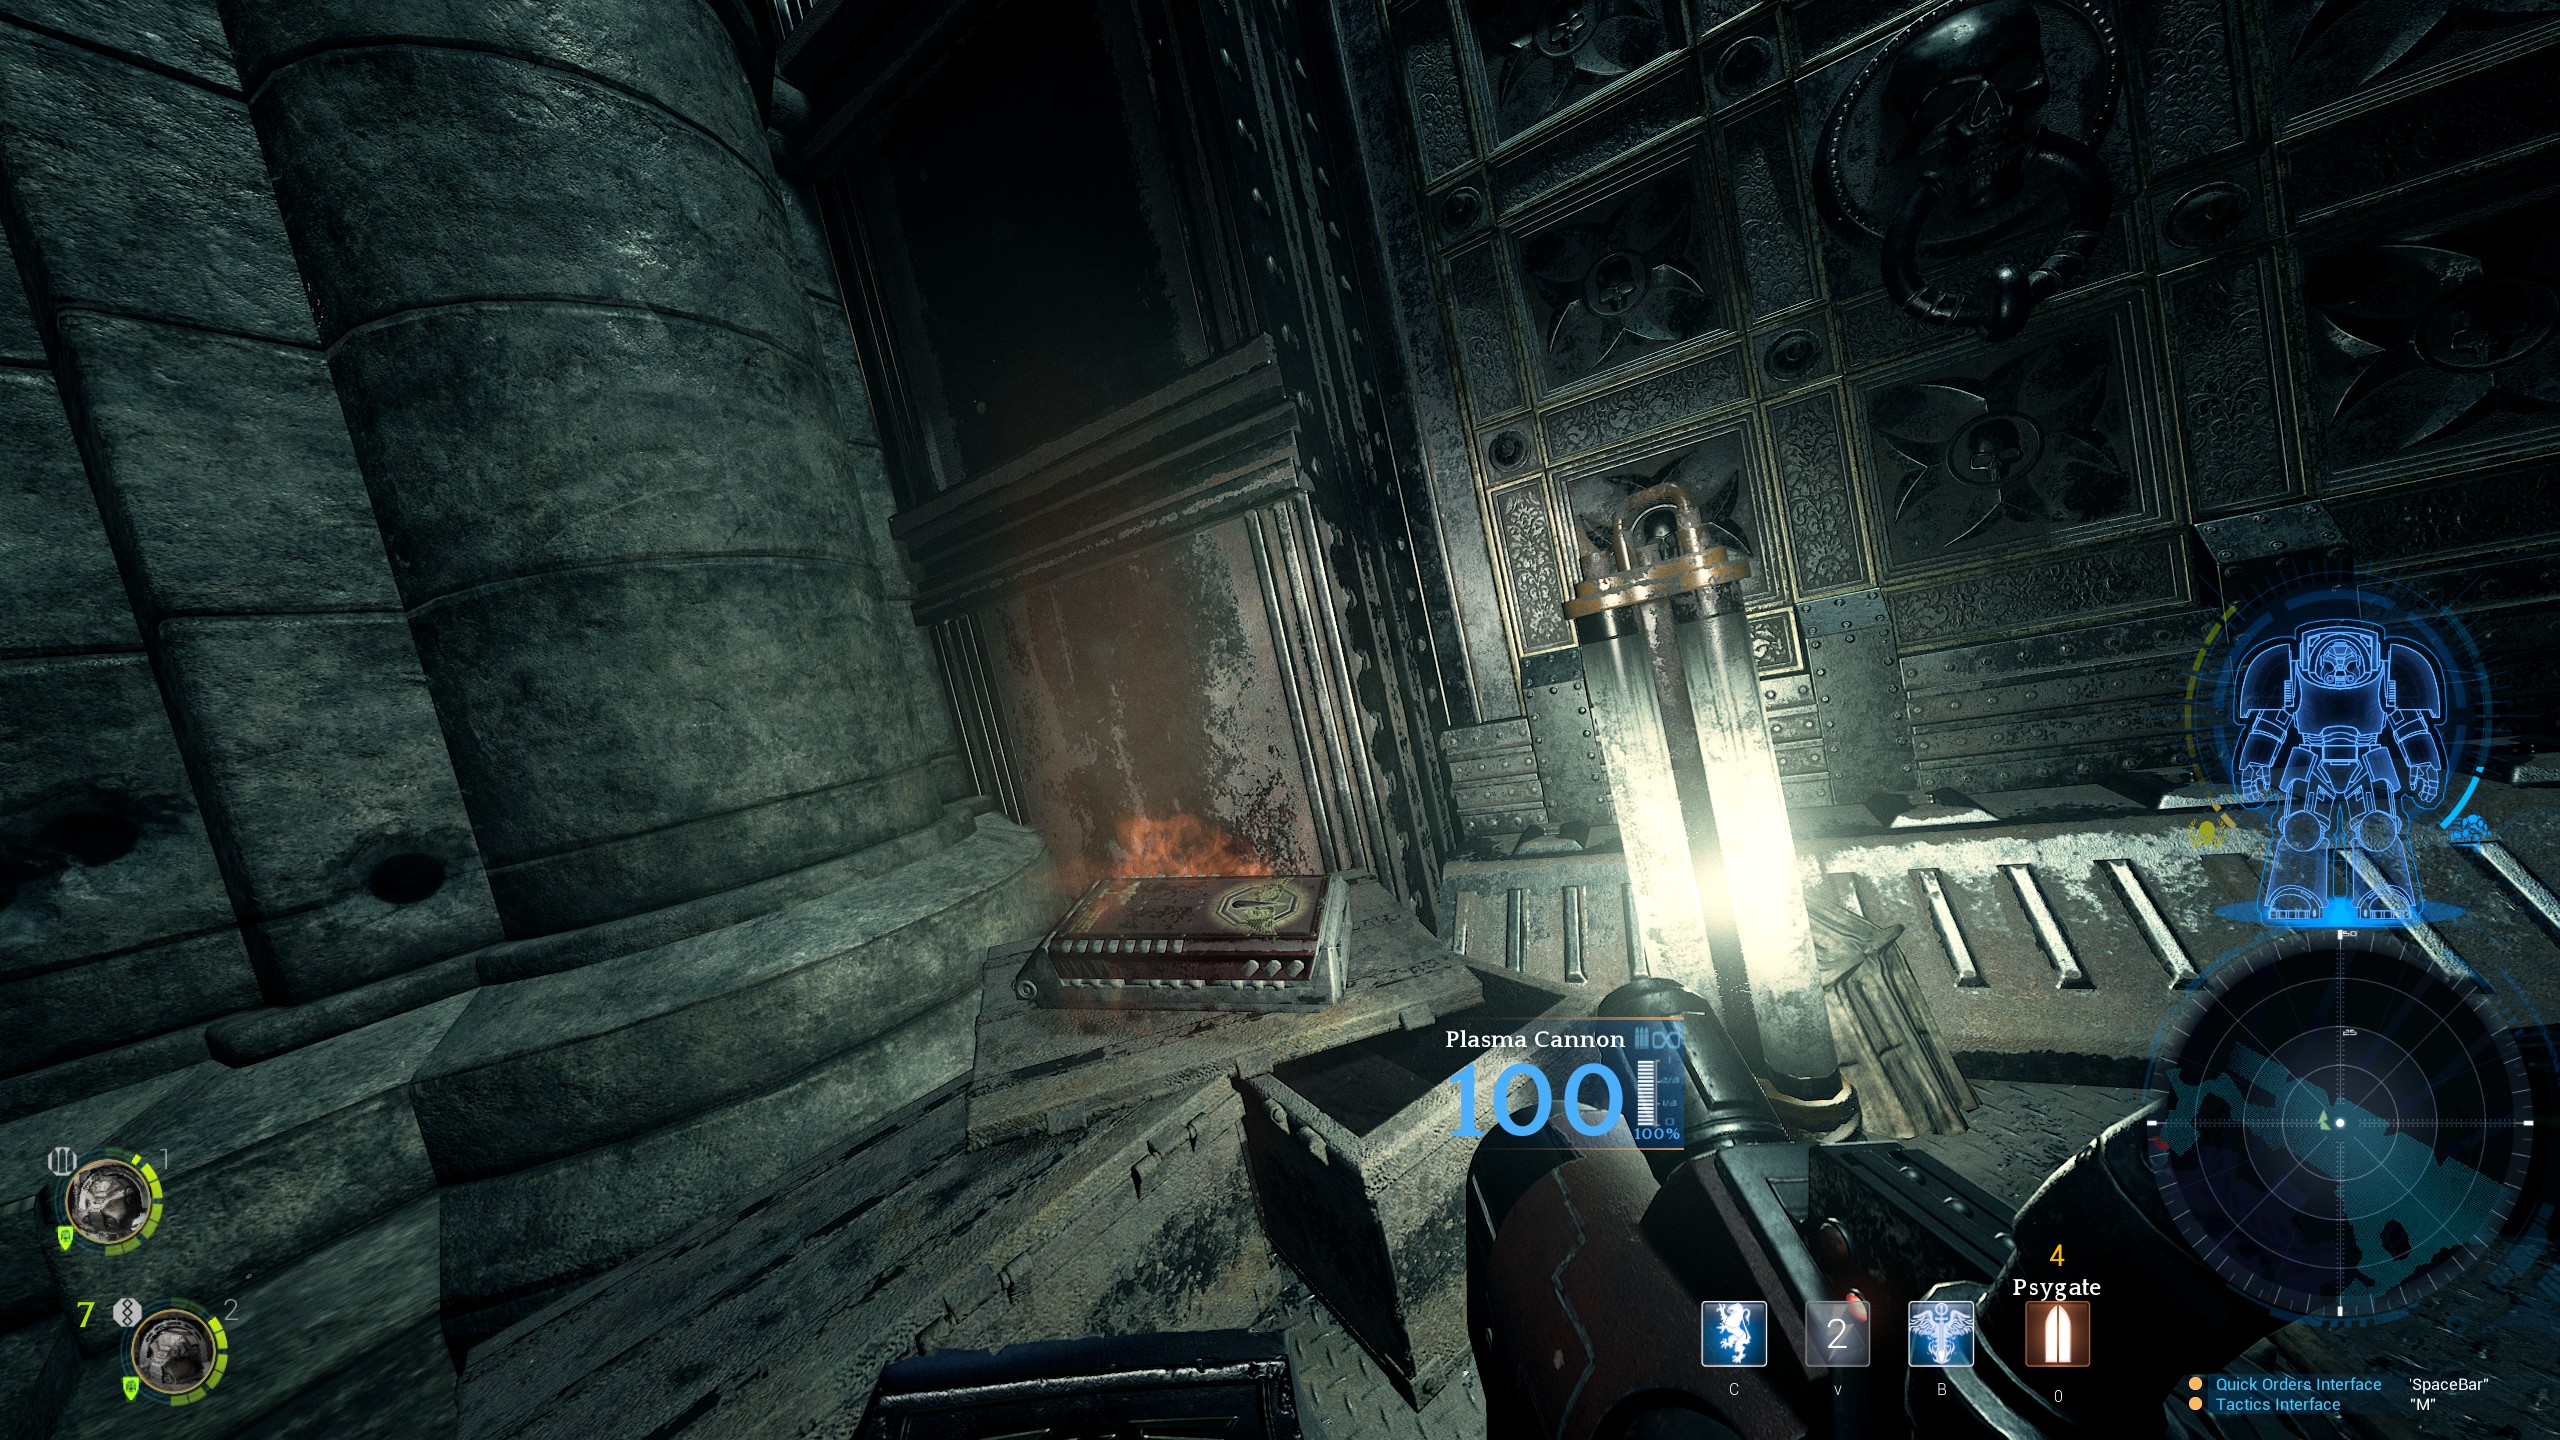
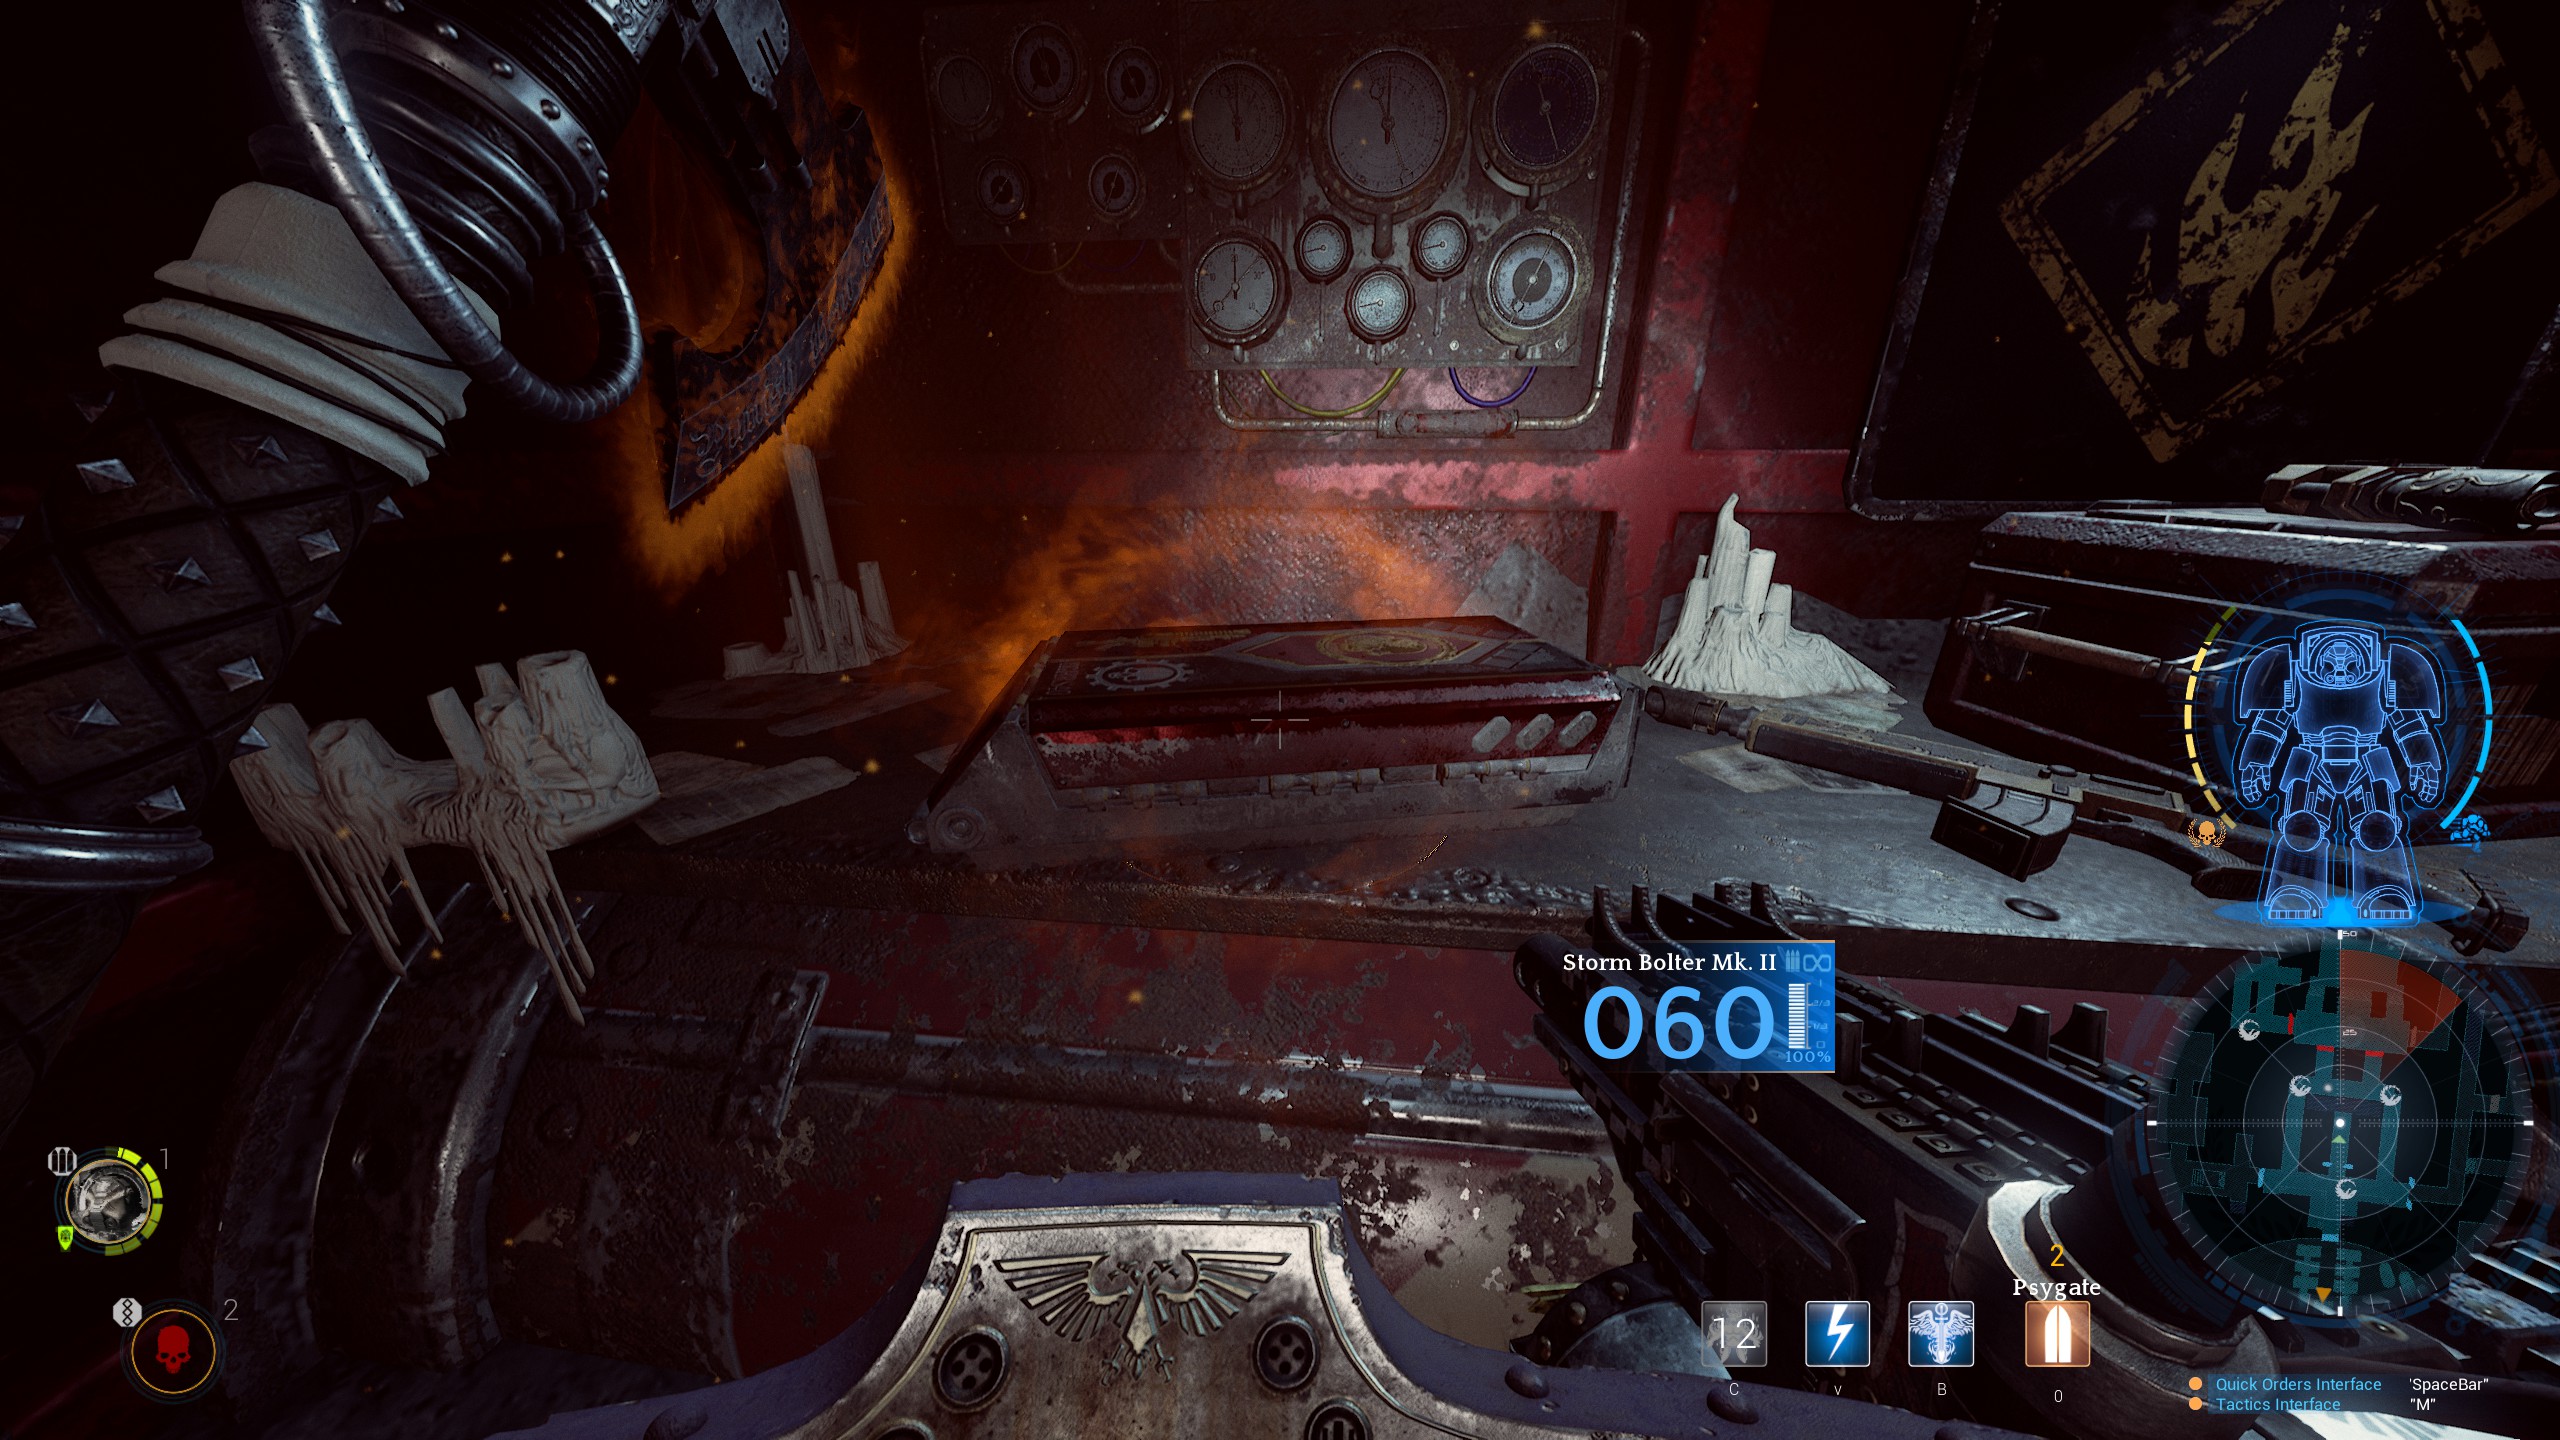
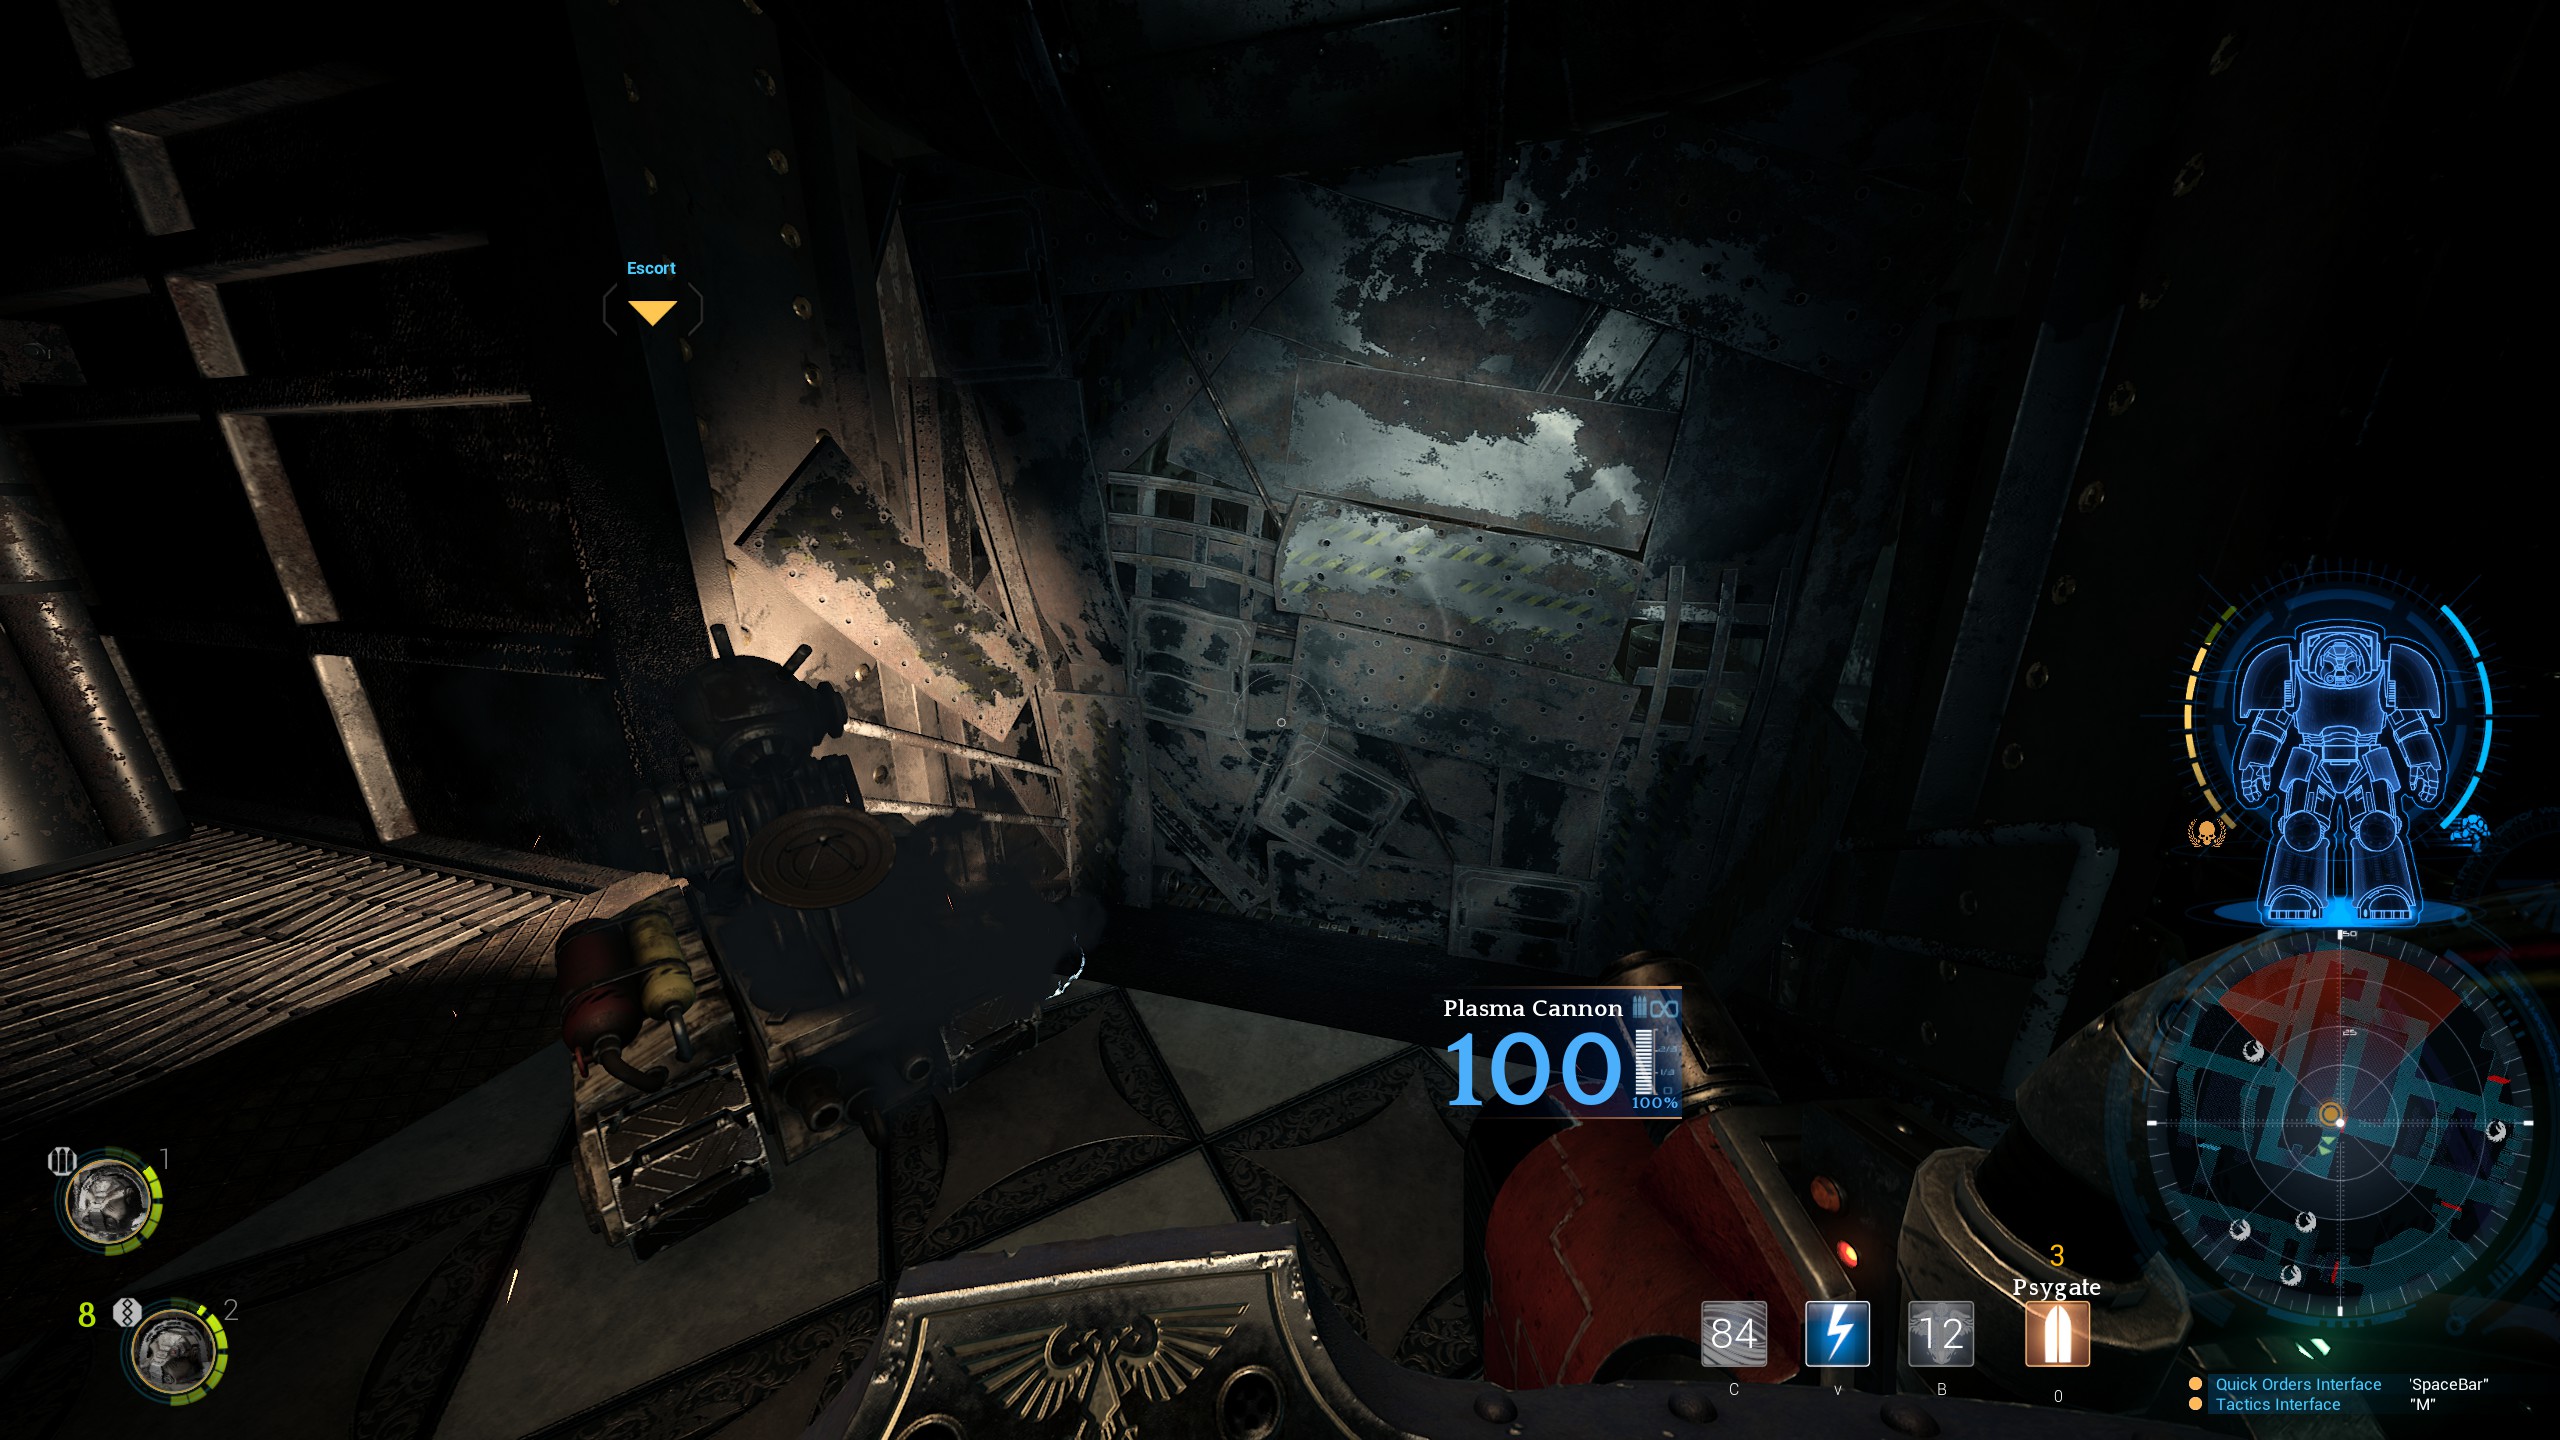
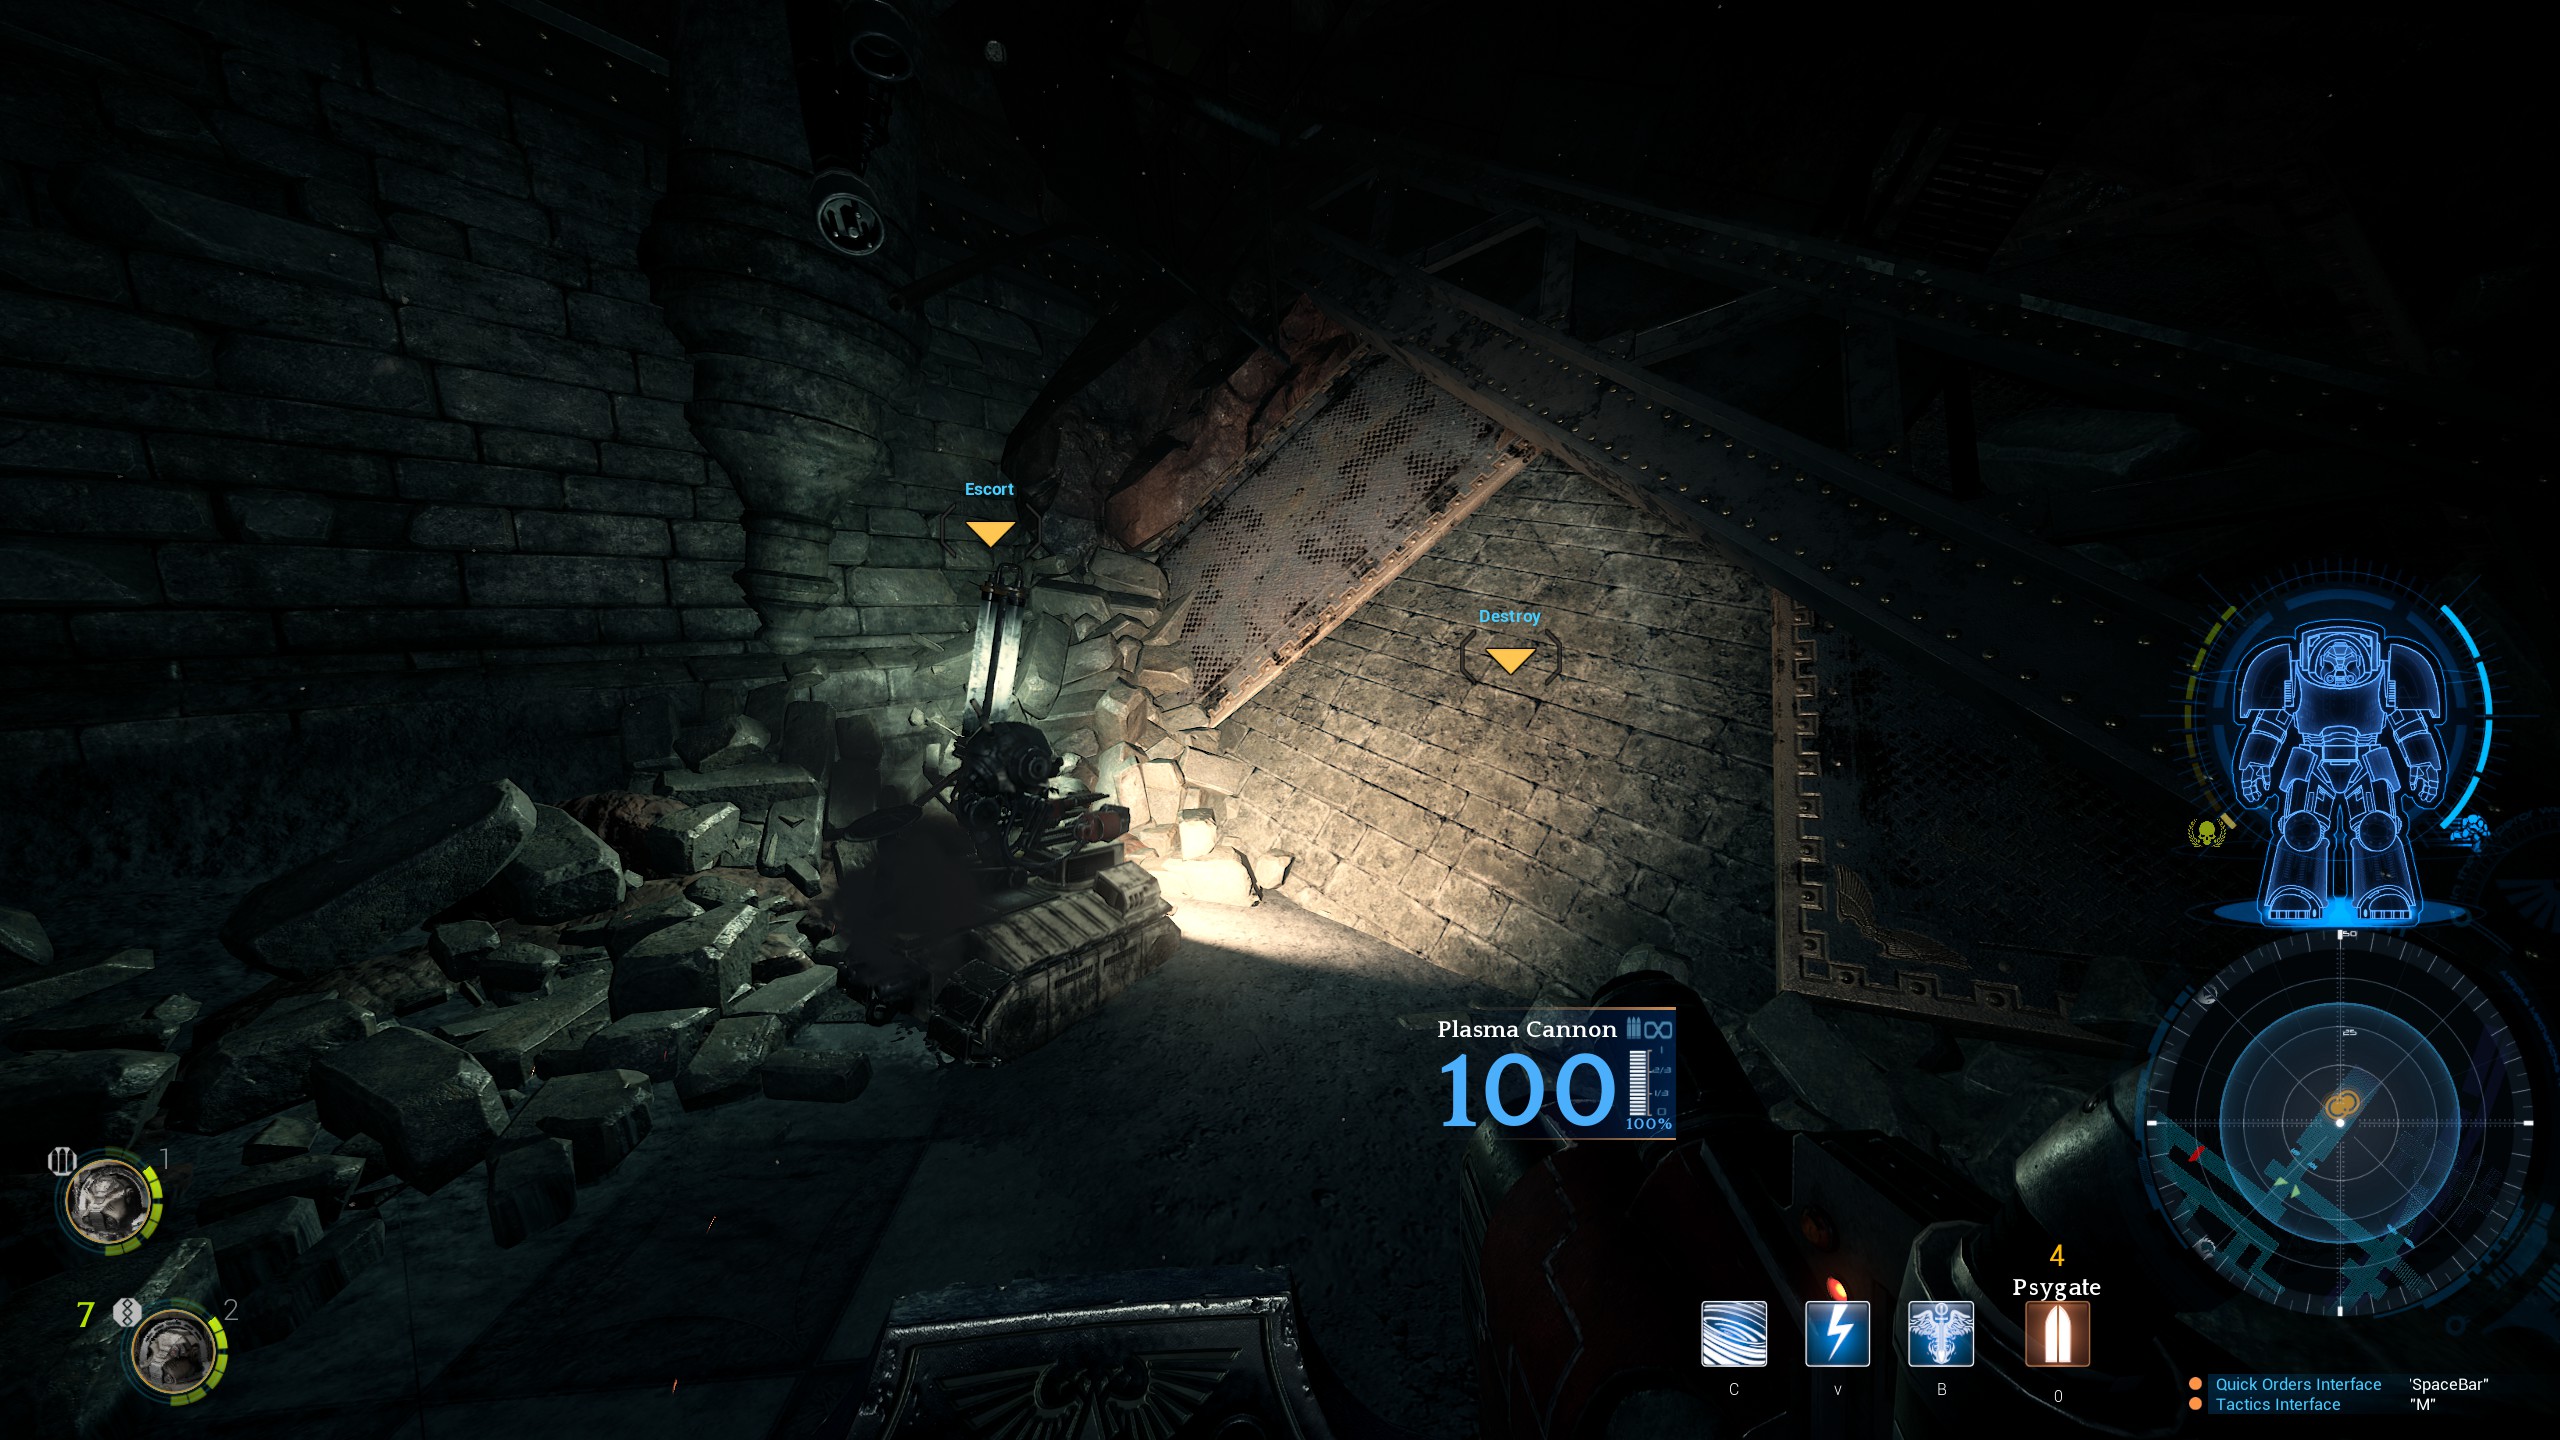
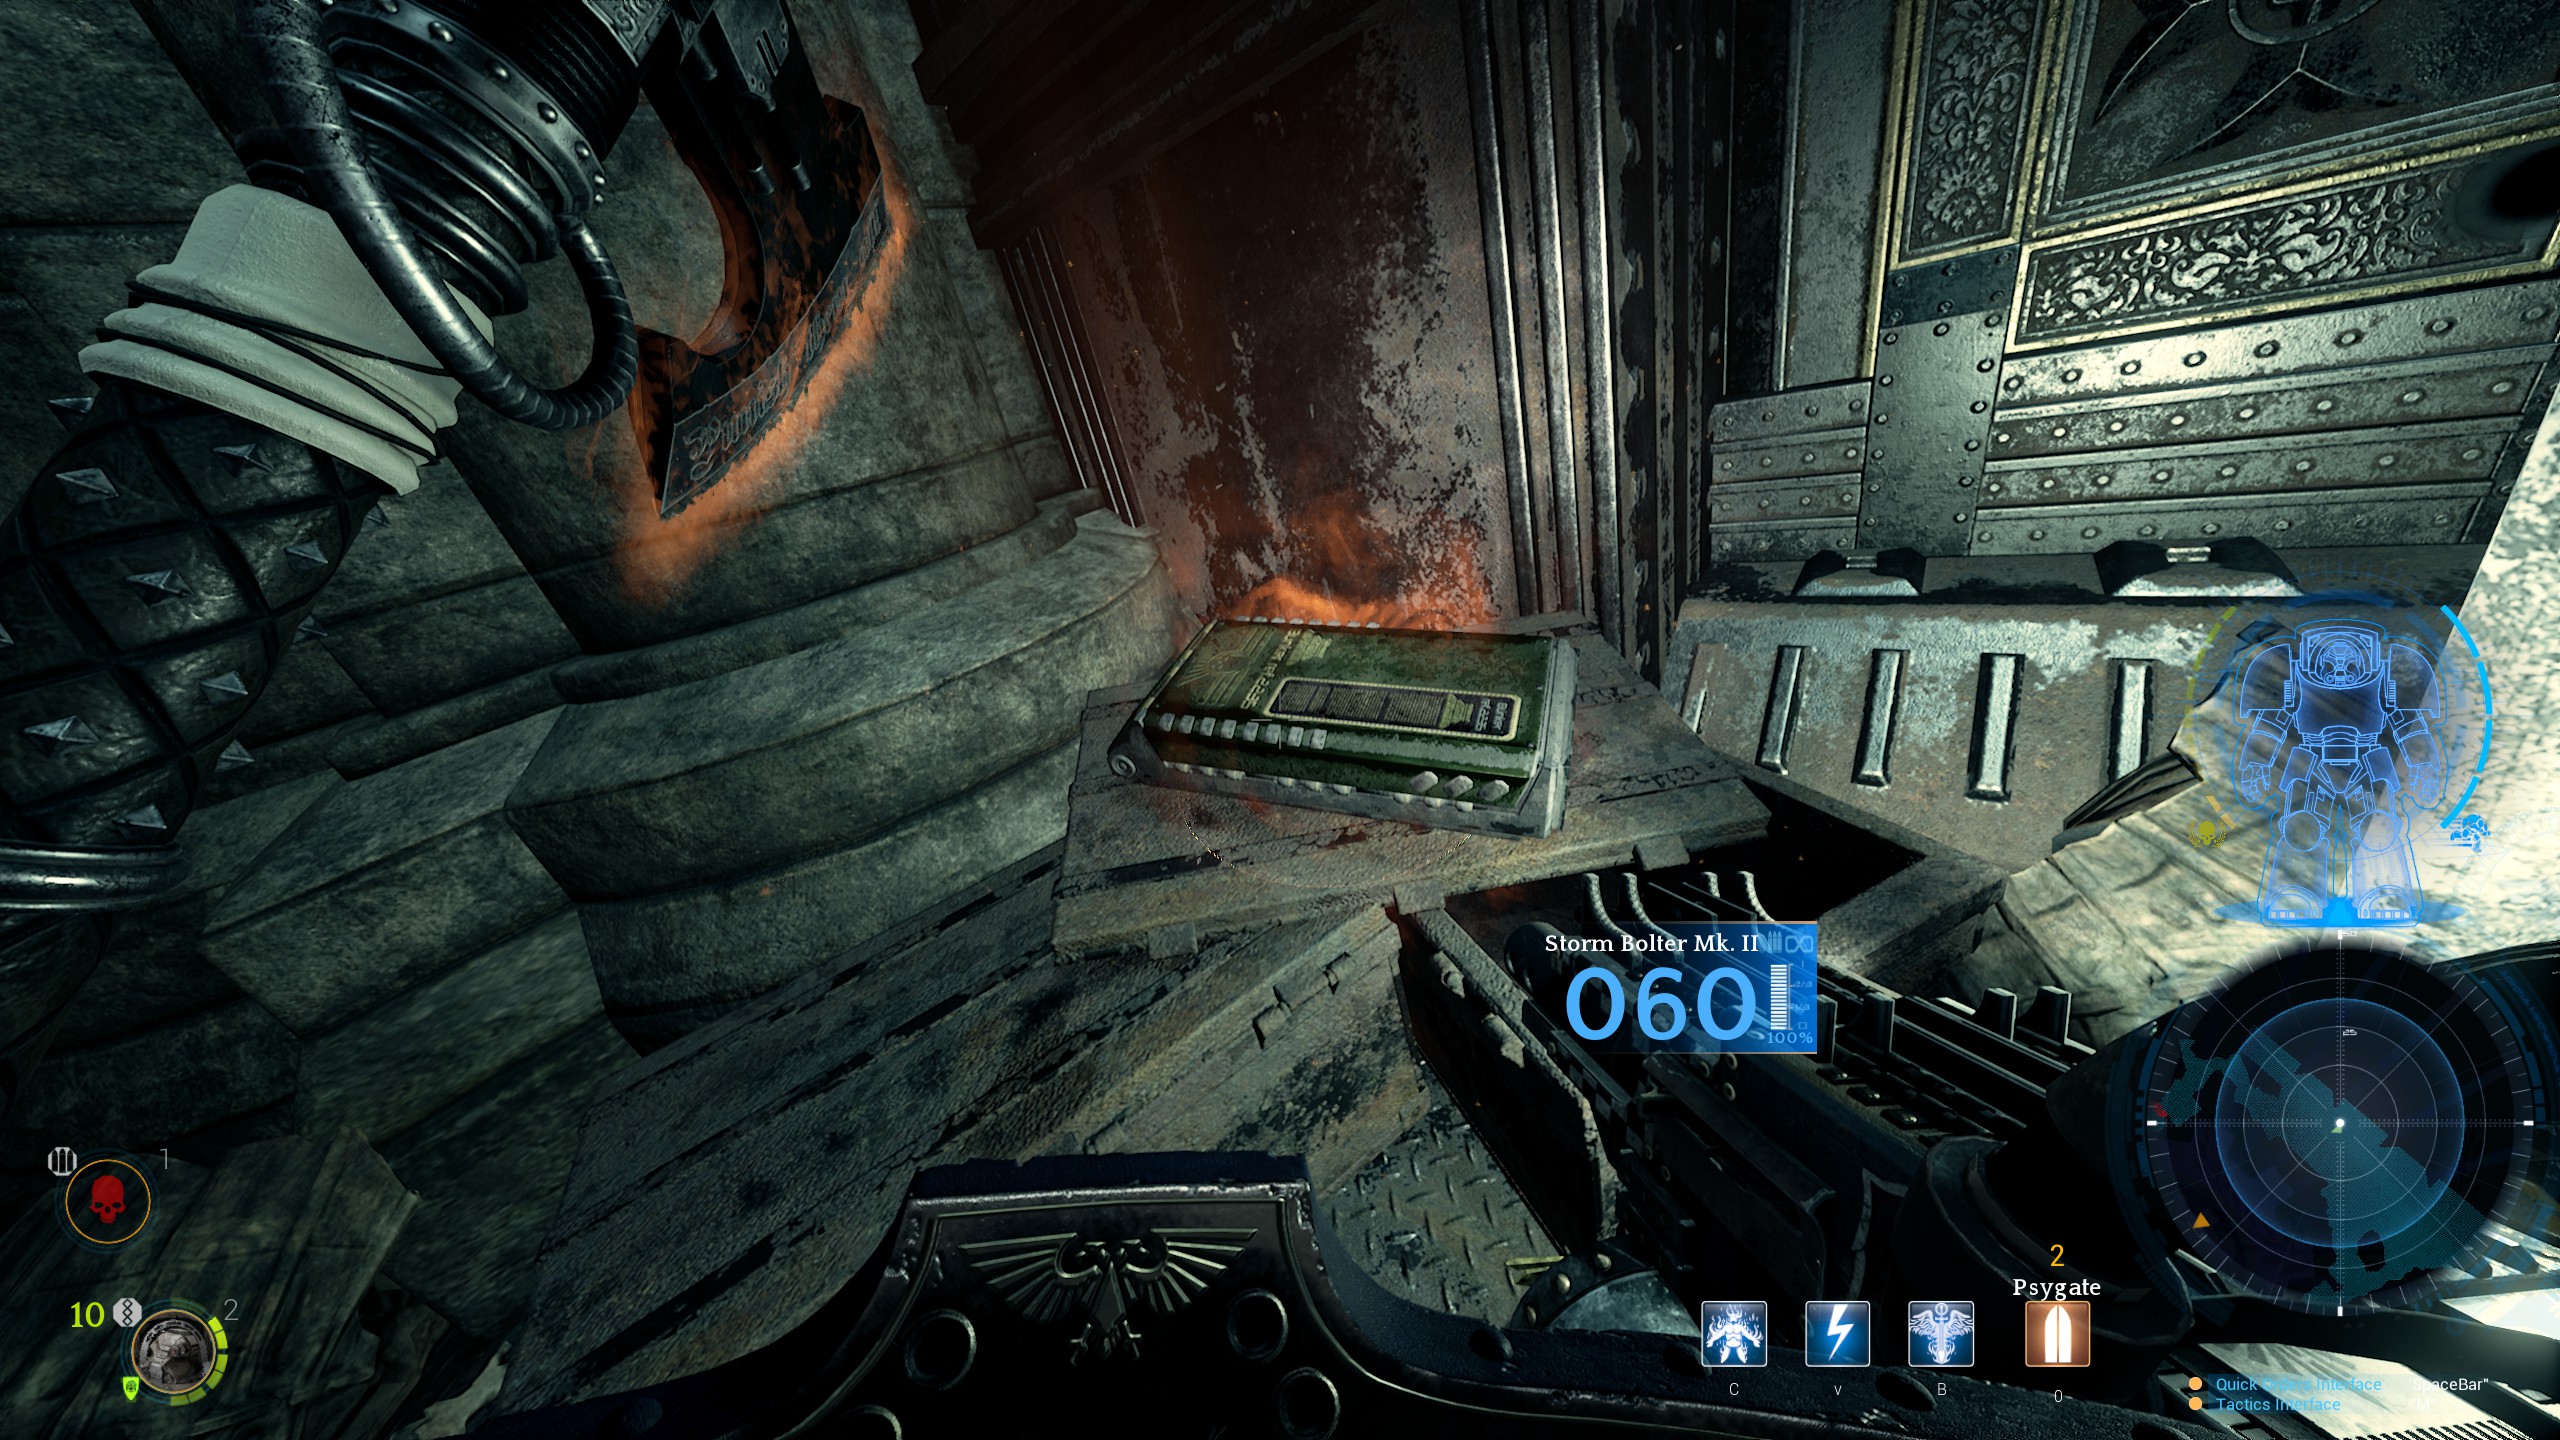
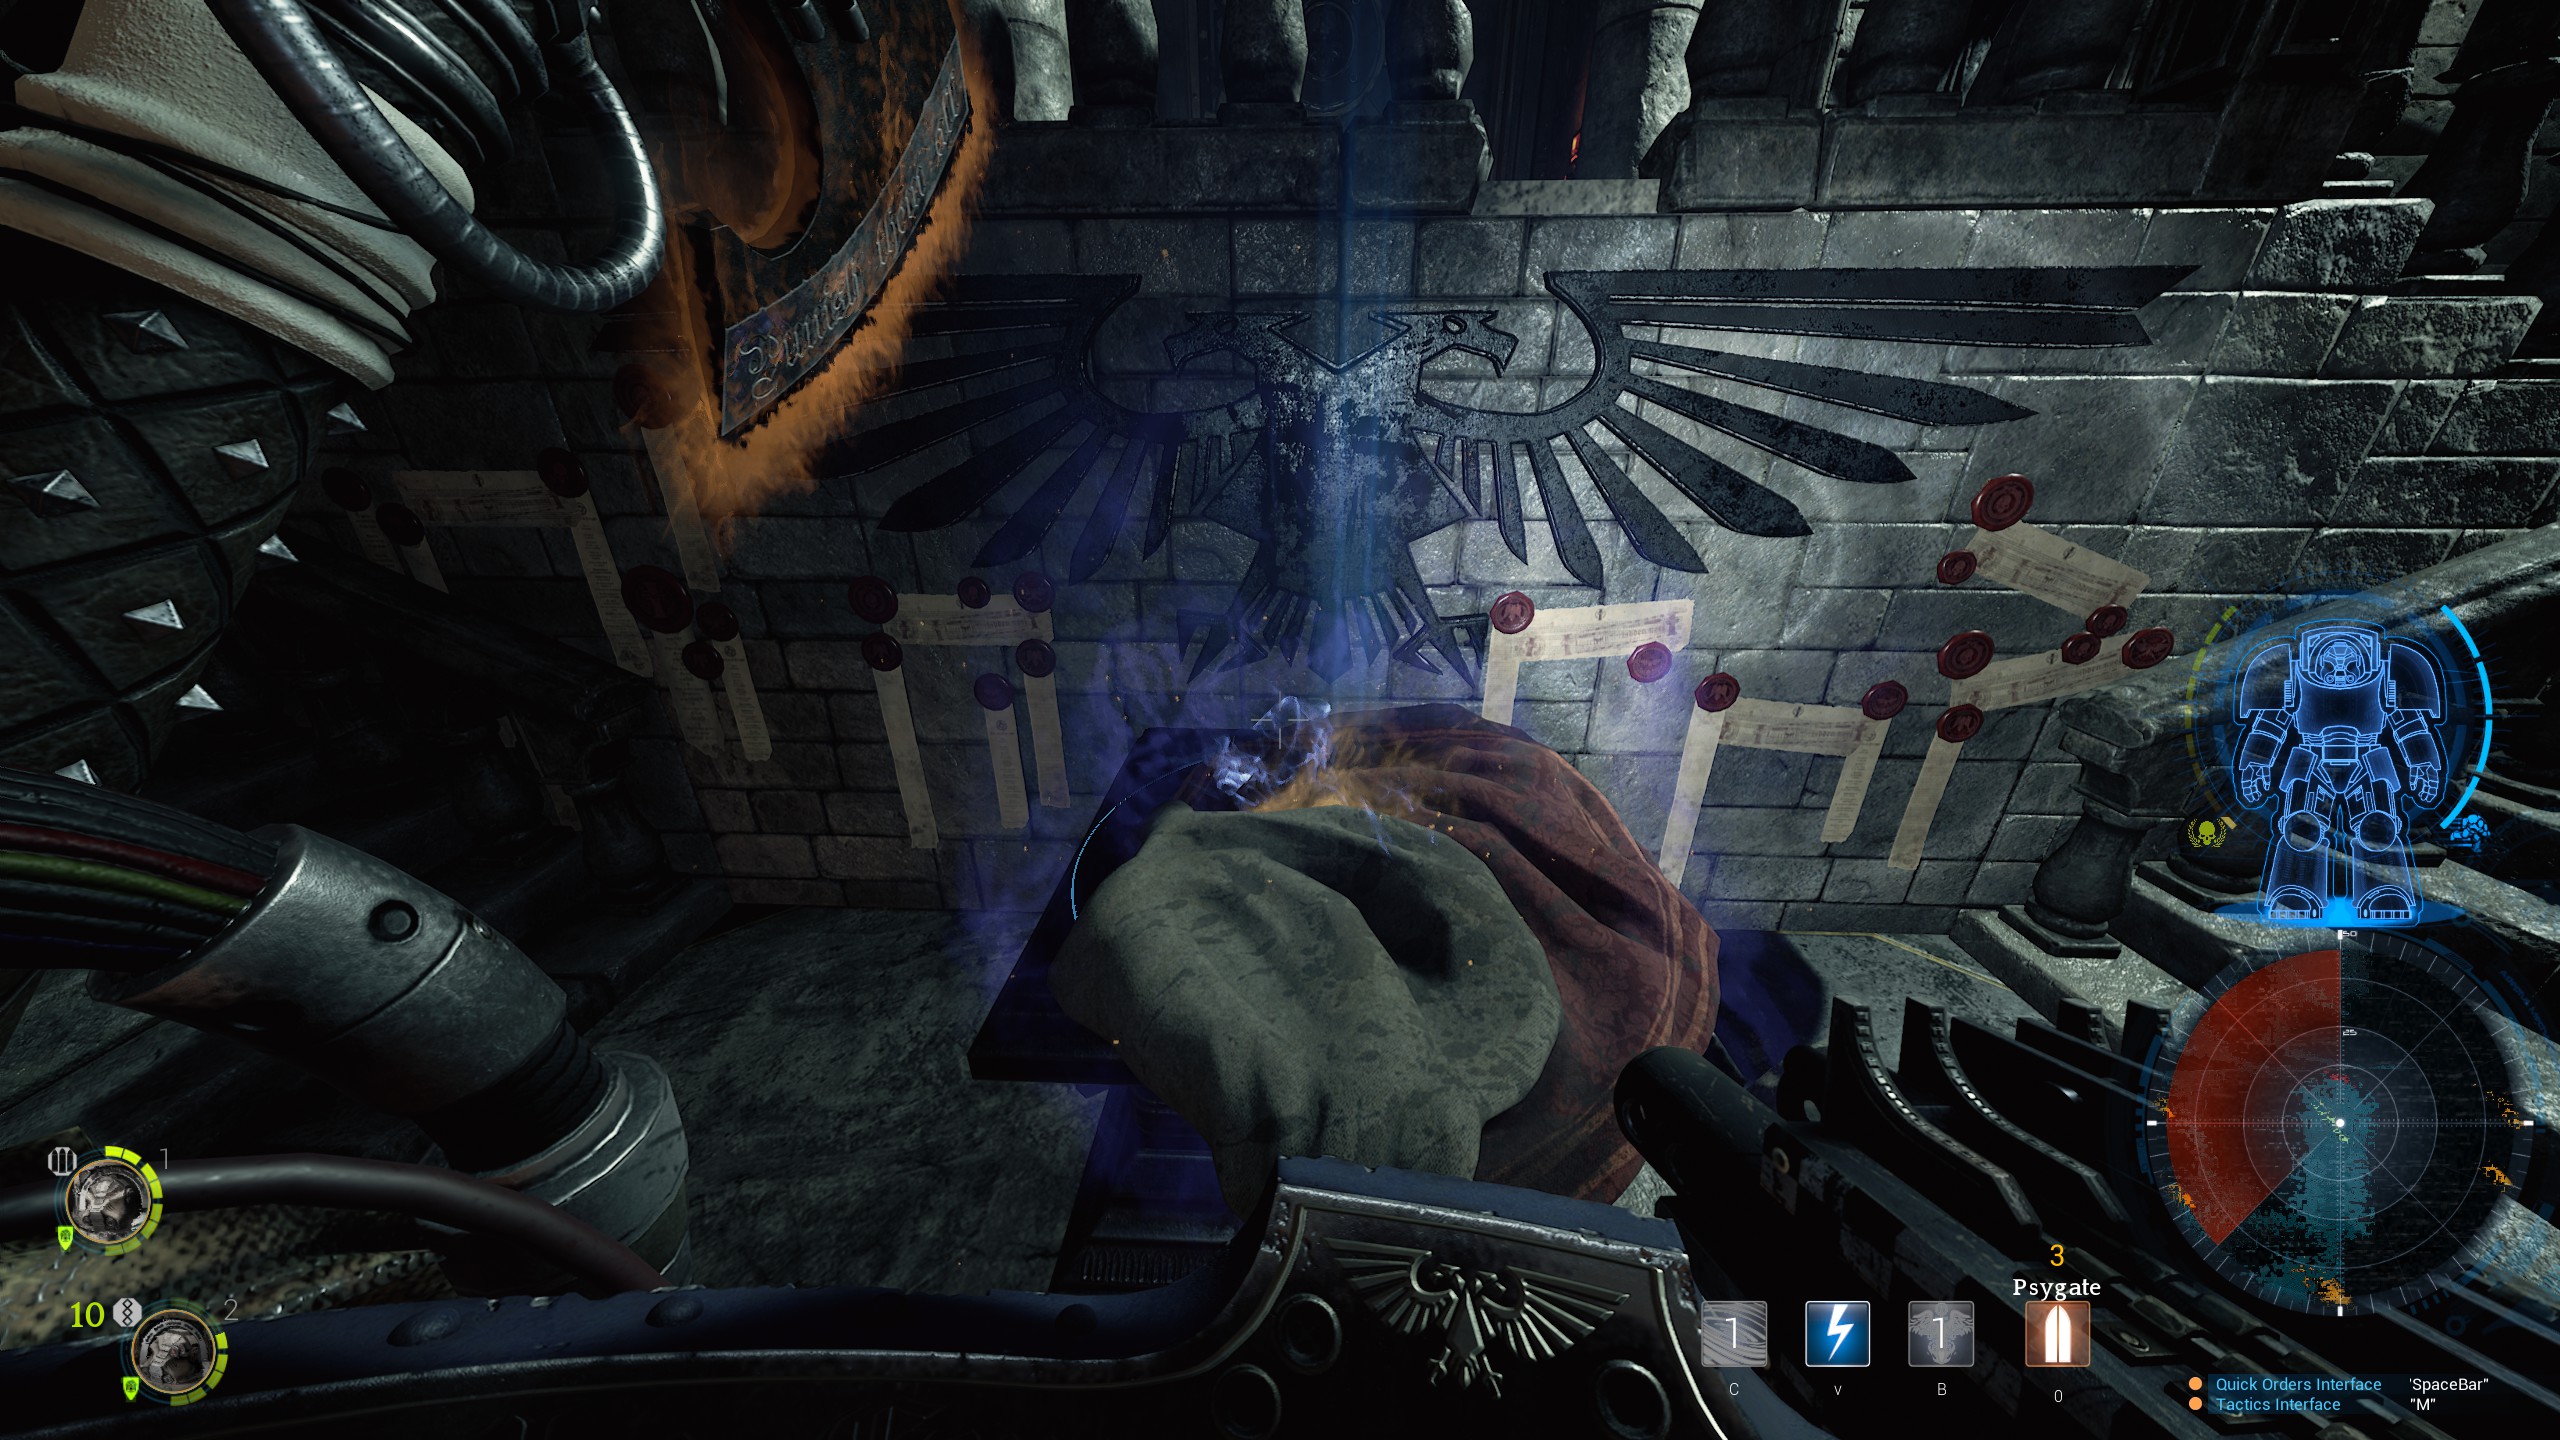
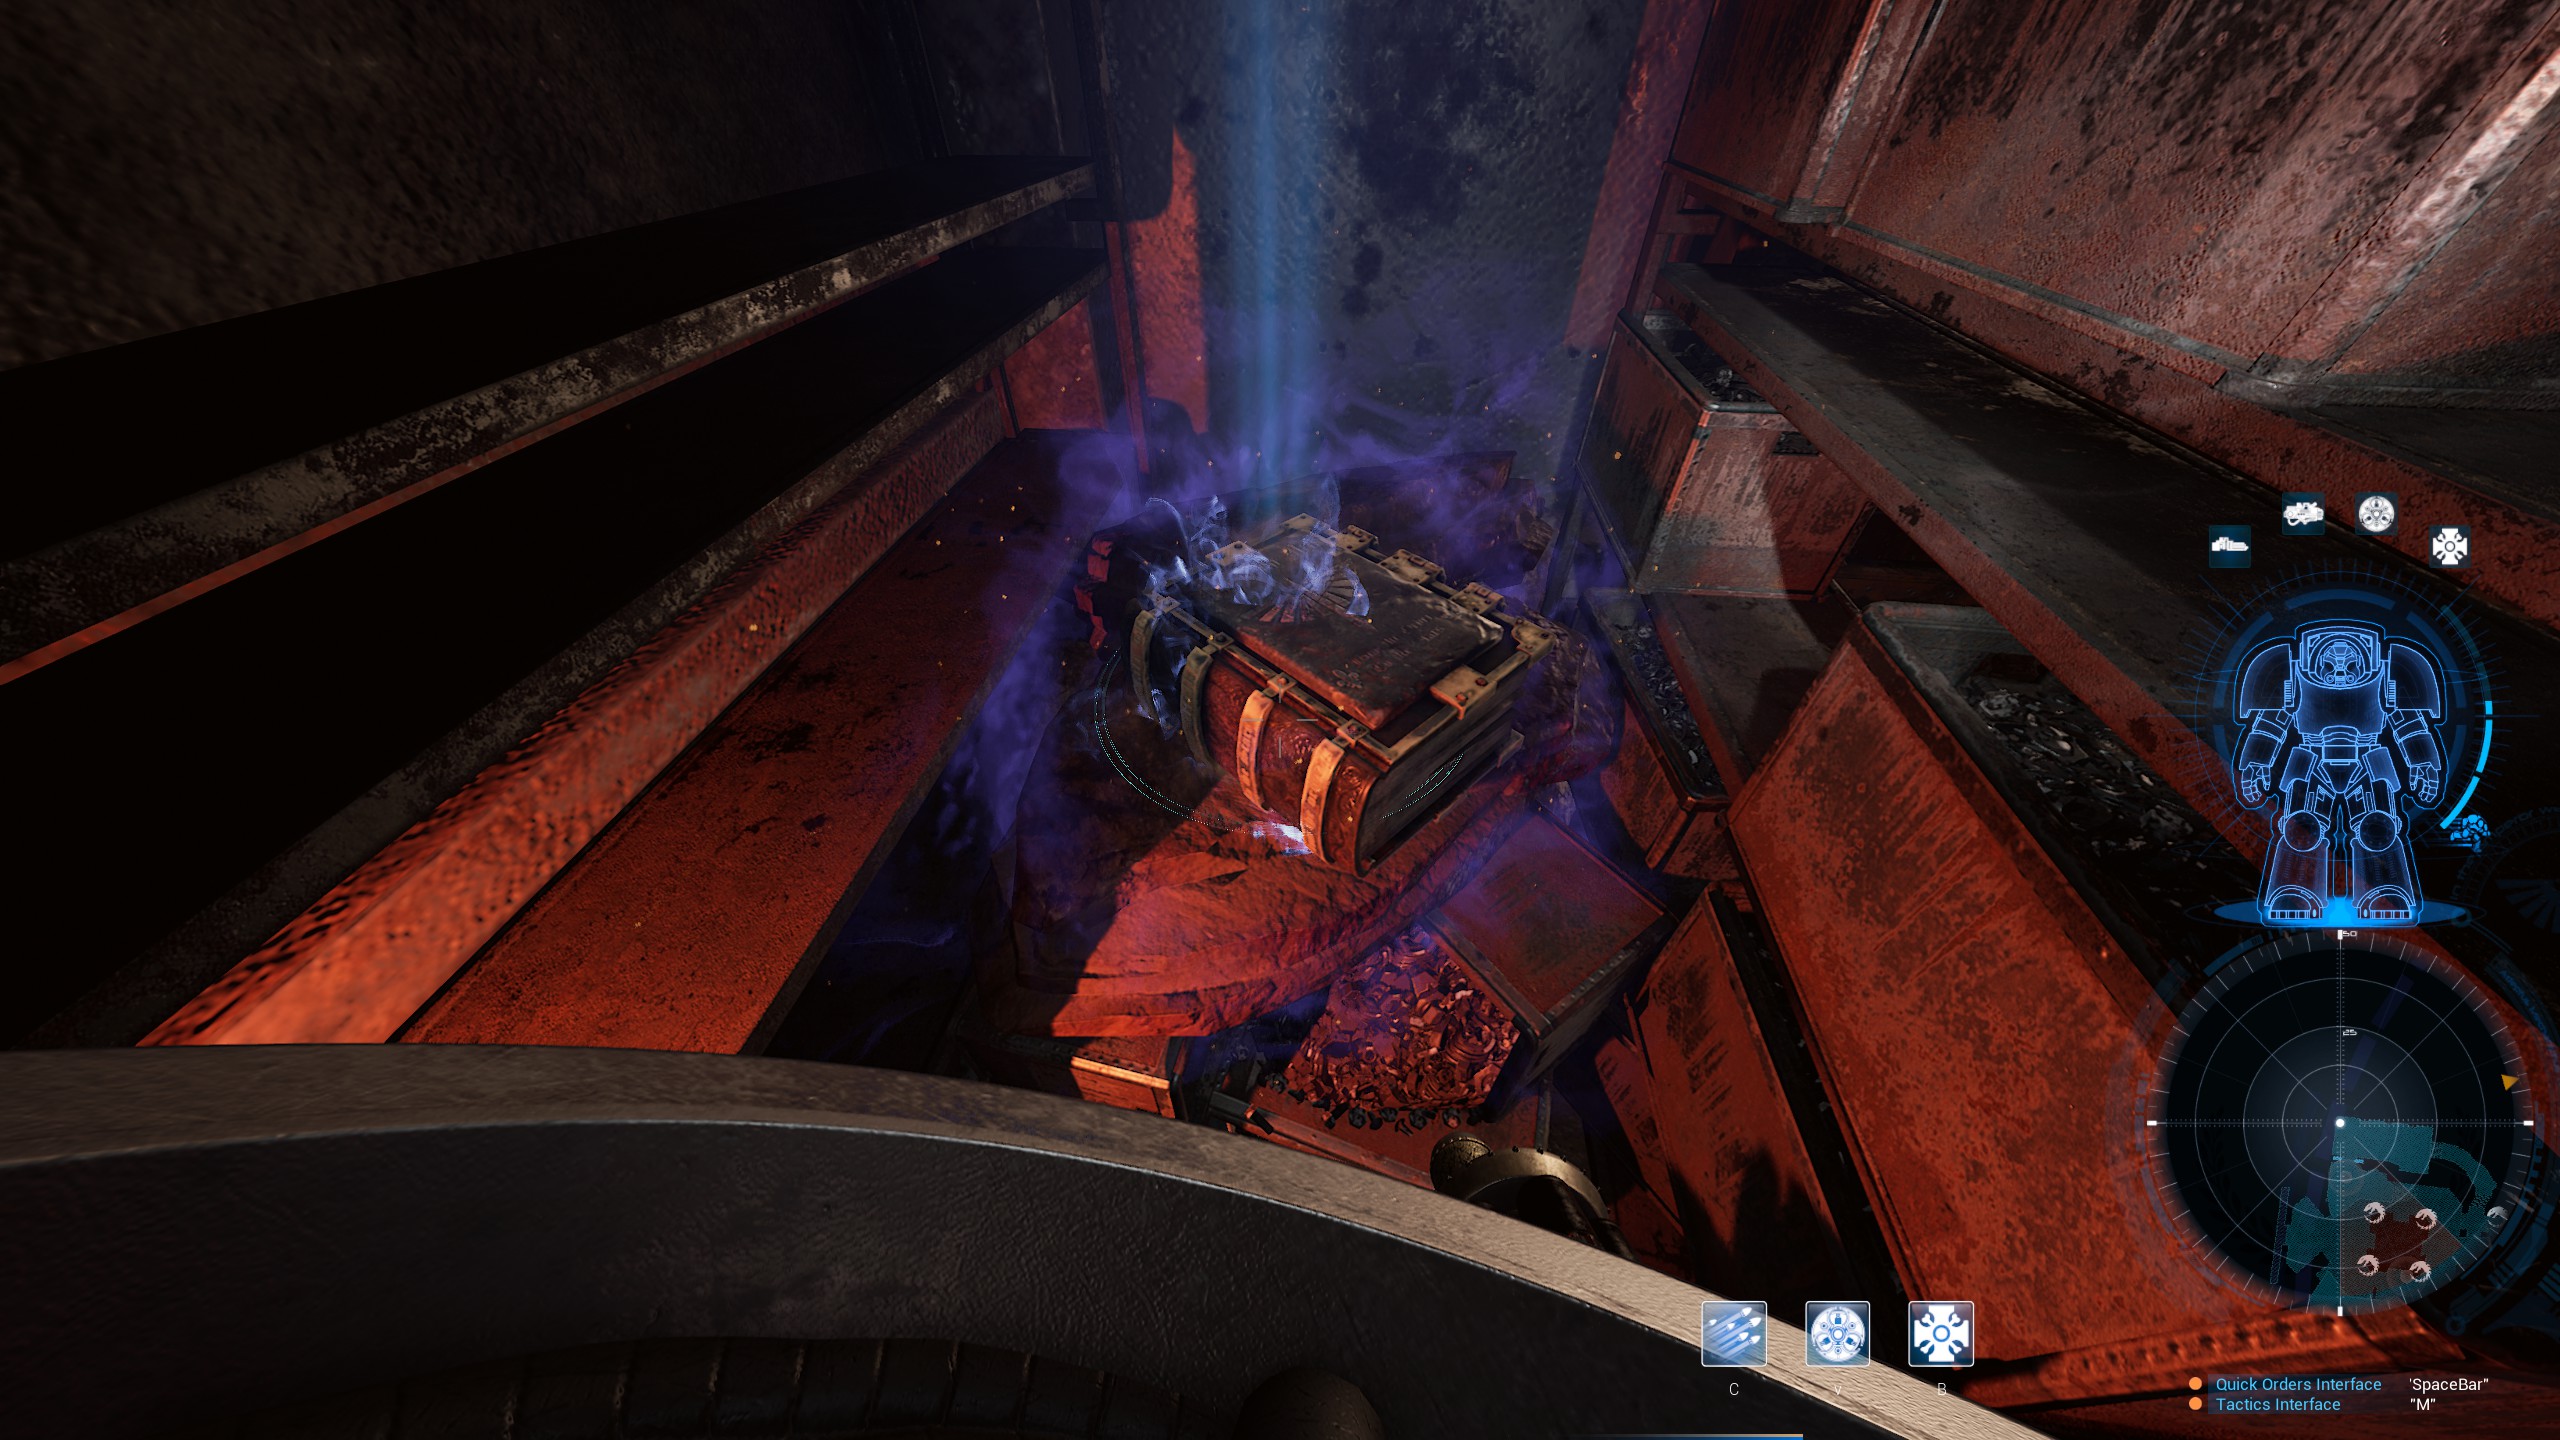
유물 4 is inside a small room with a broken door. You have to melee a wall to enter.
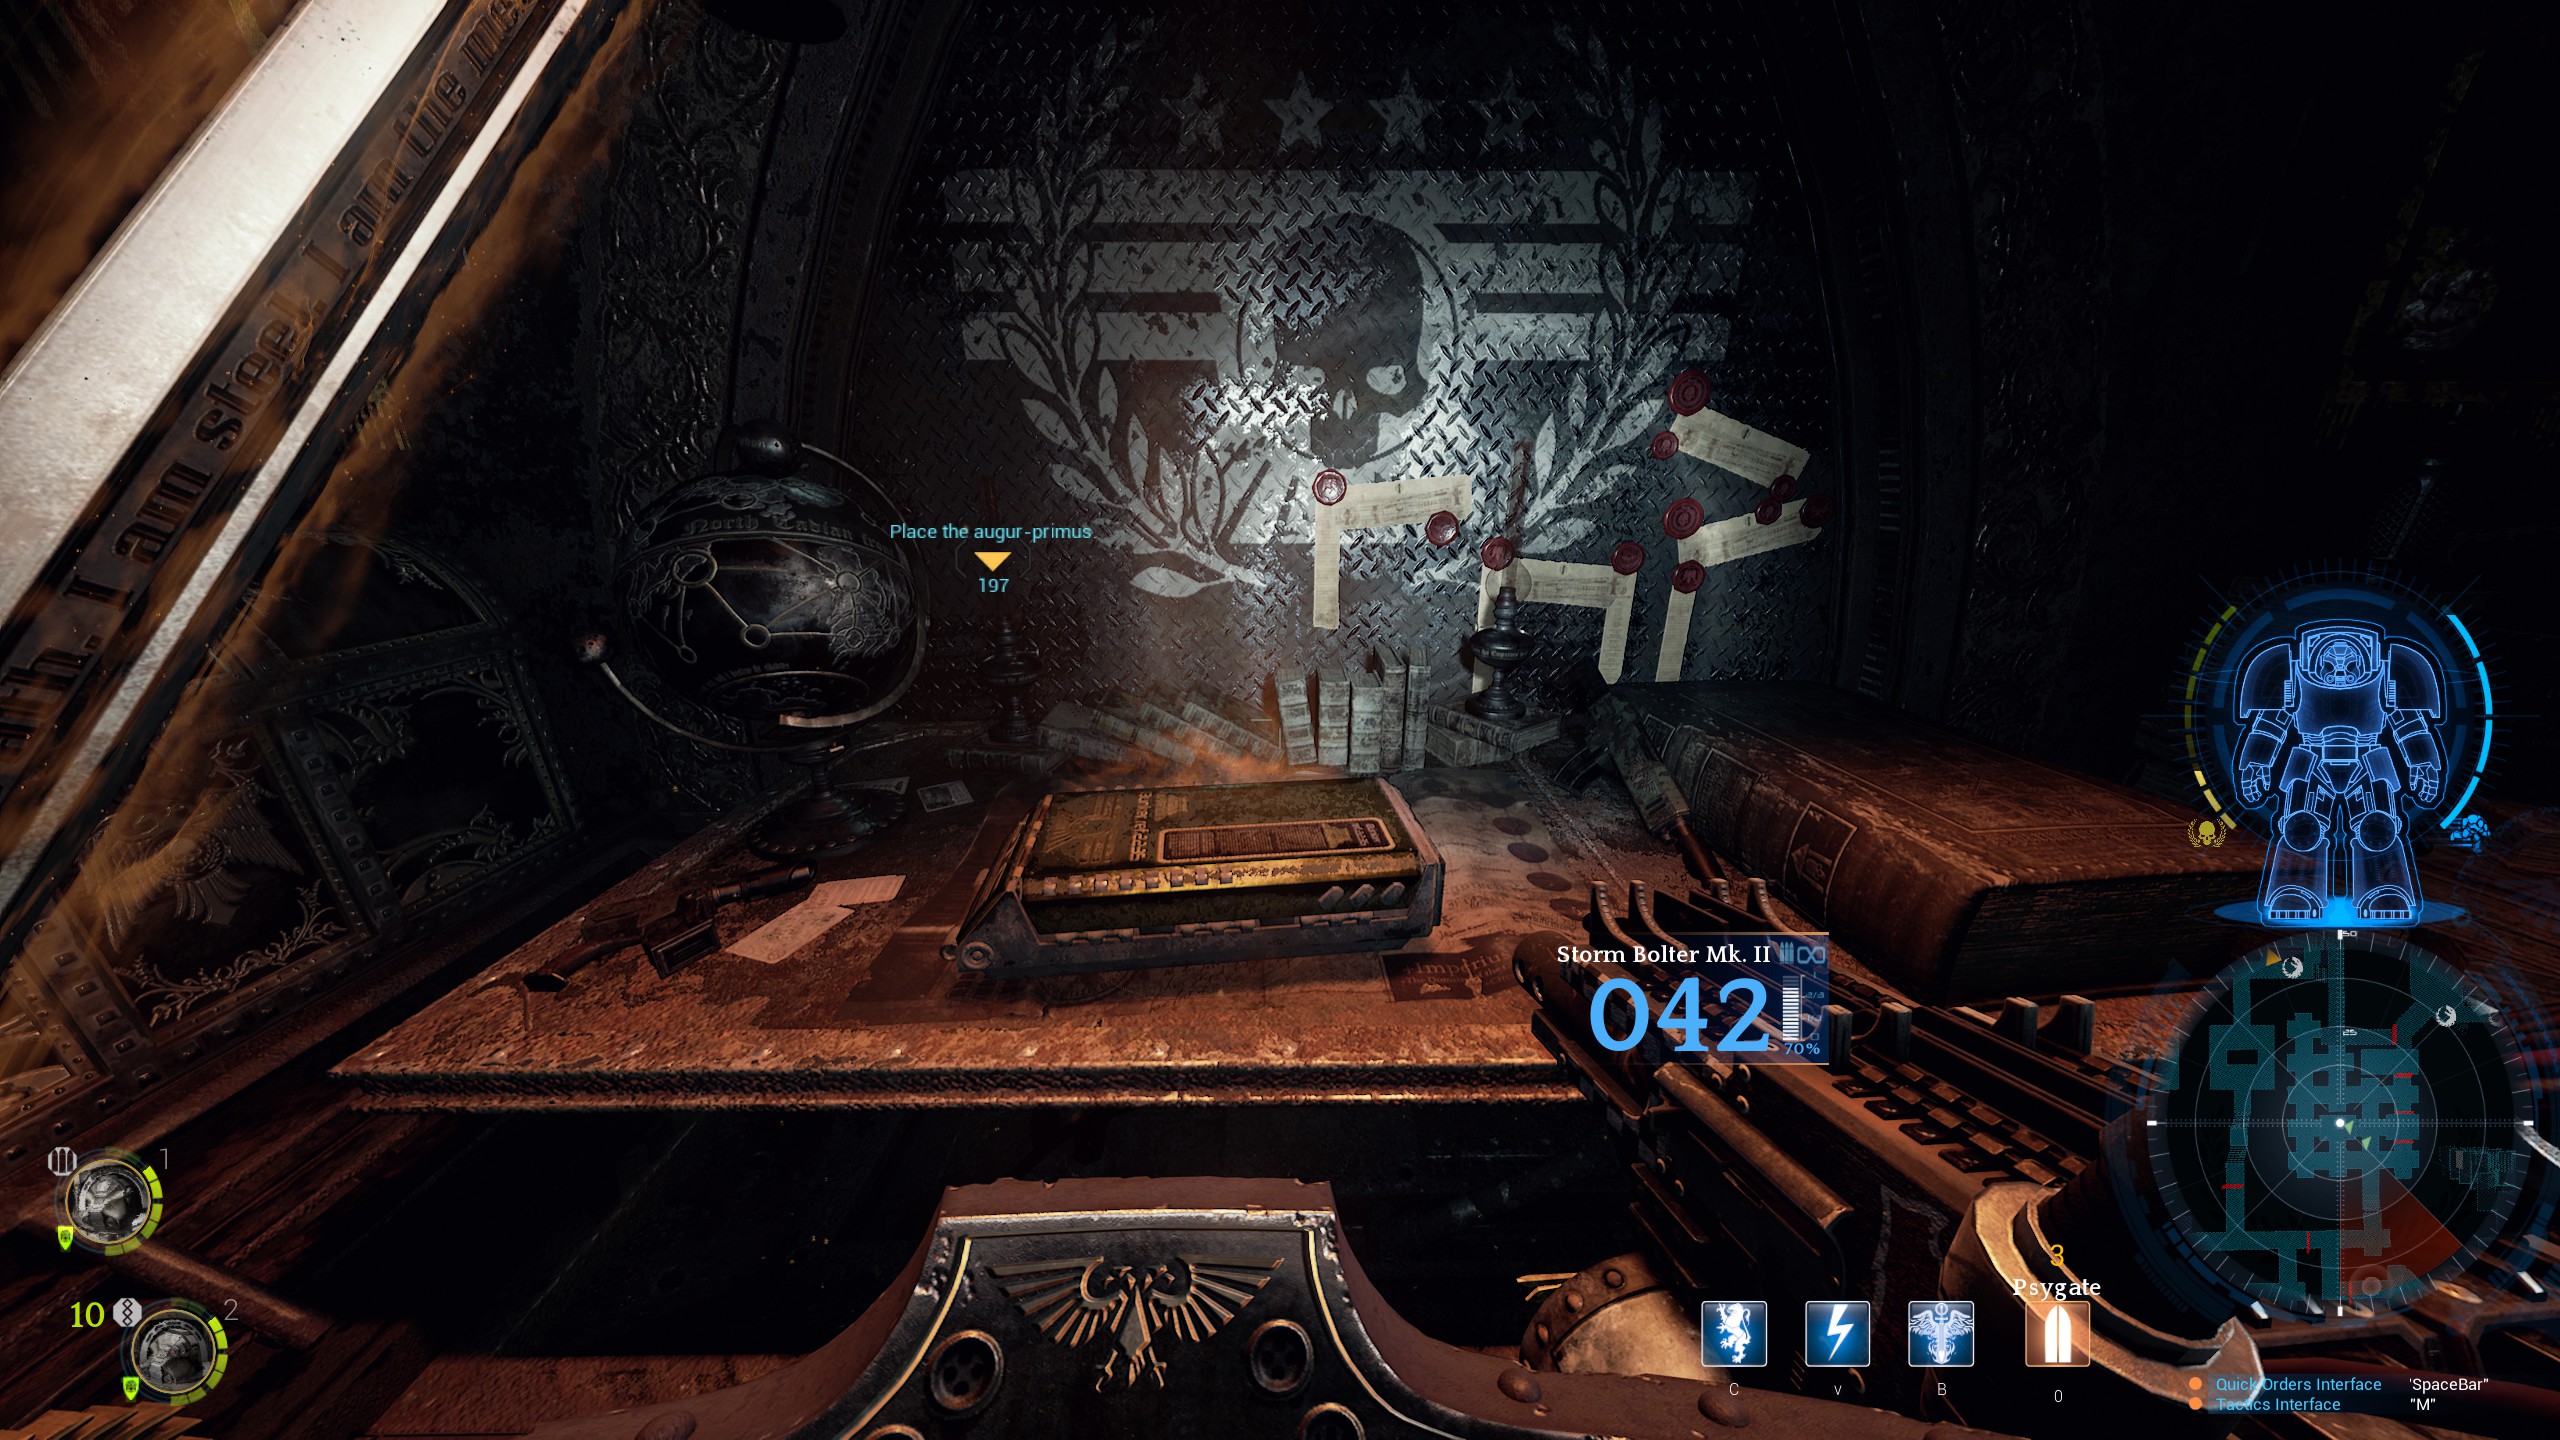
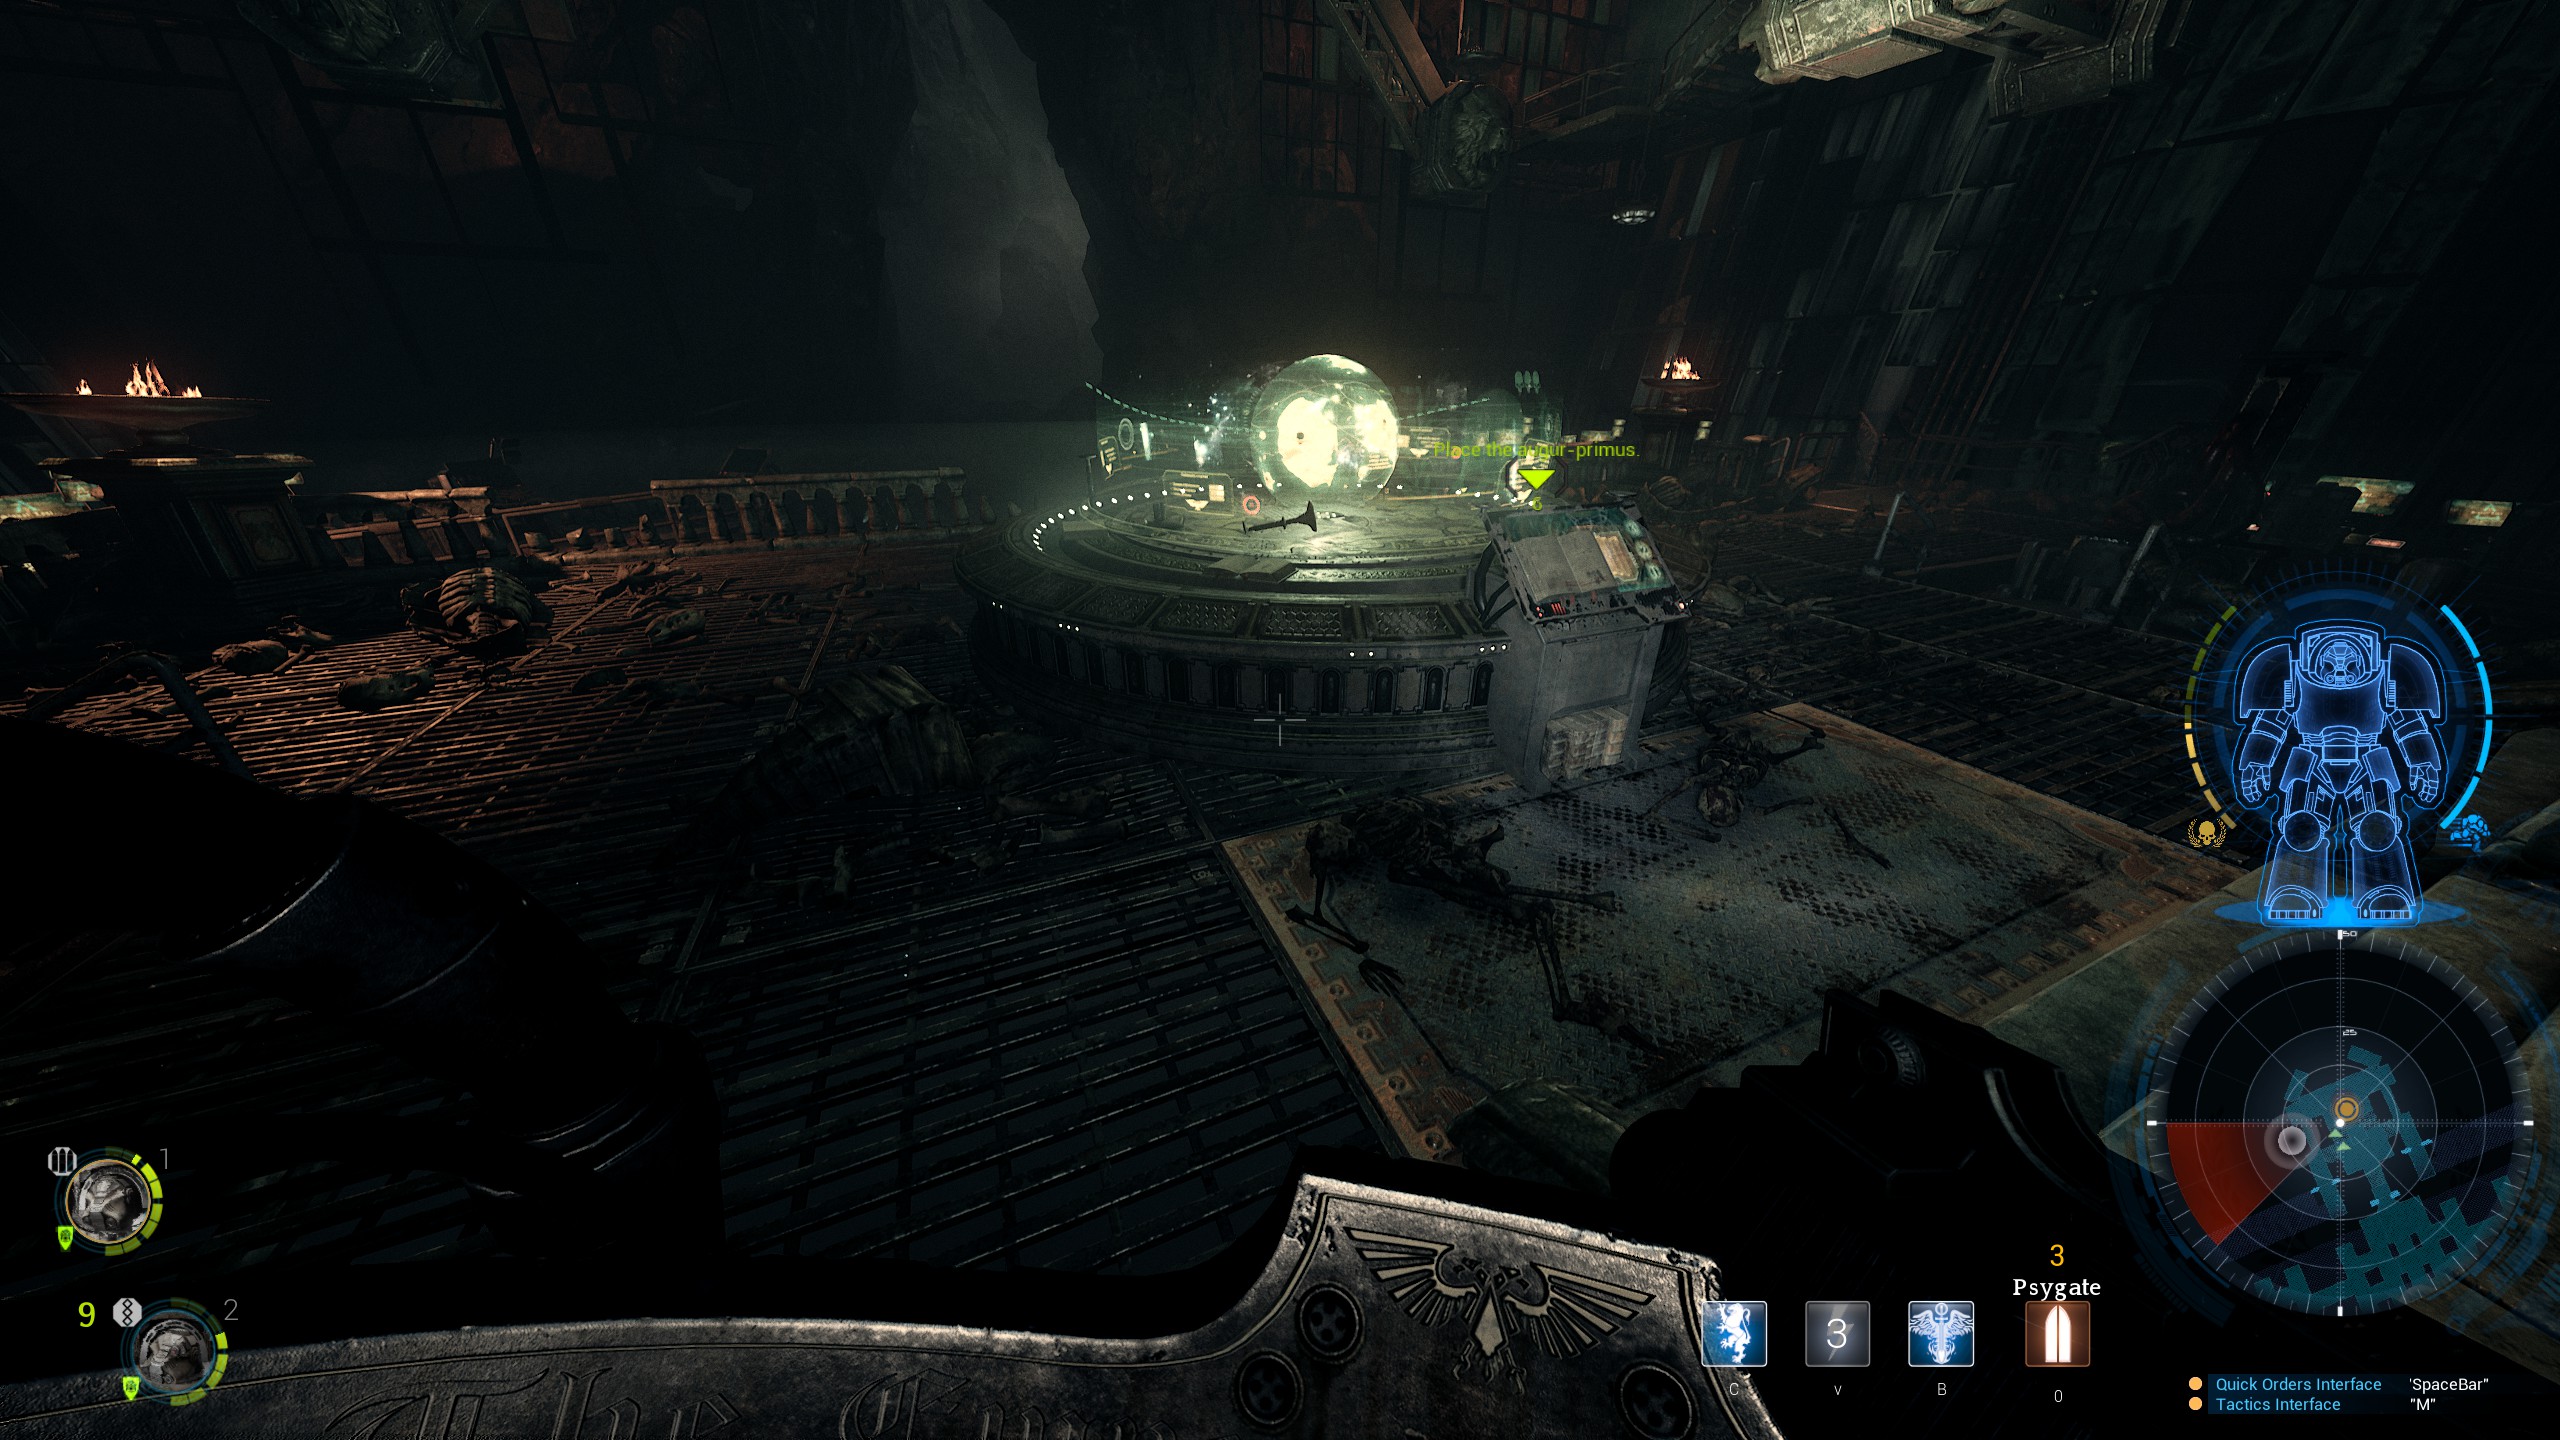
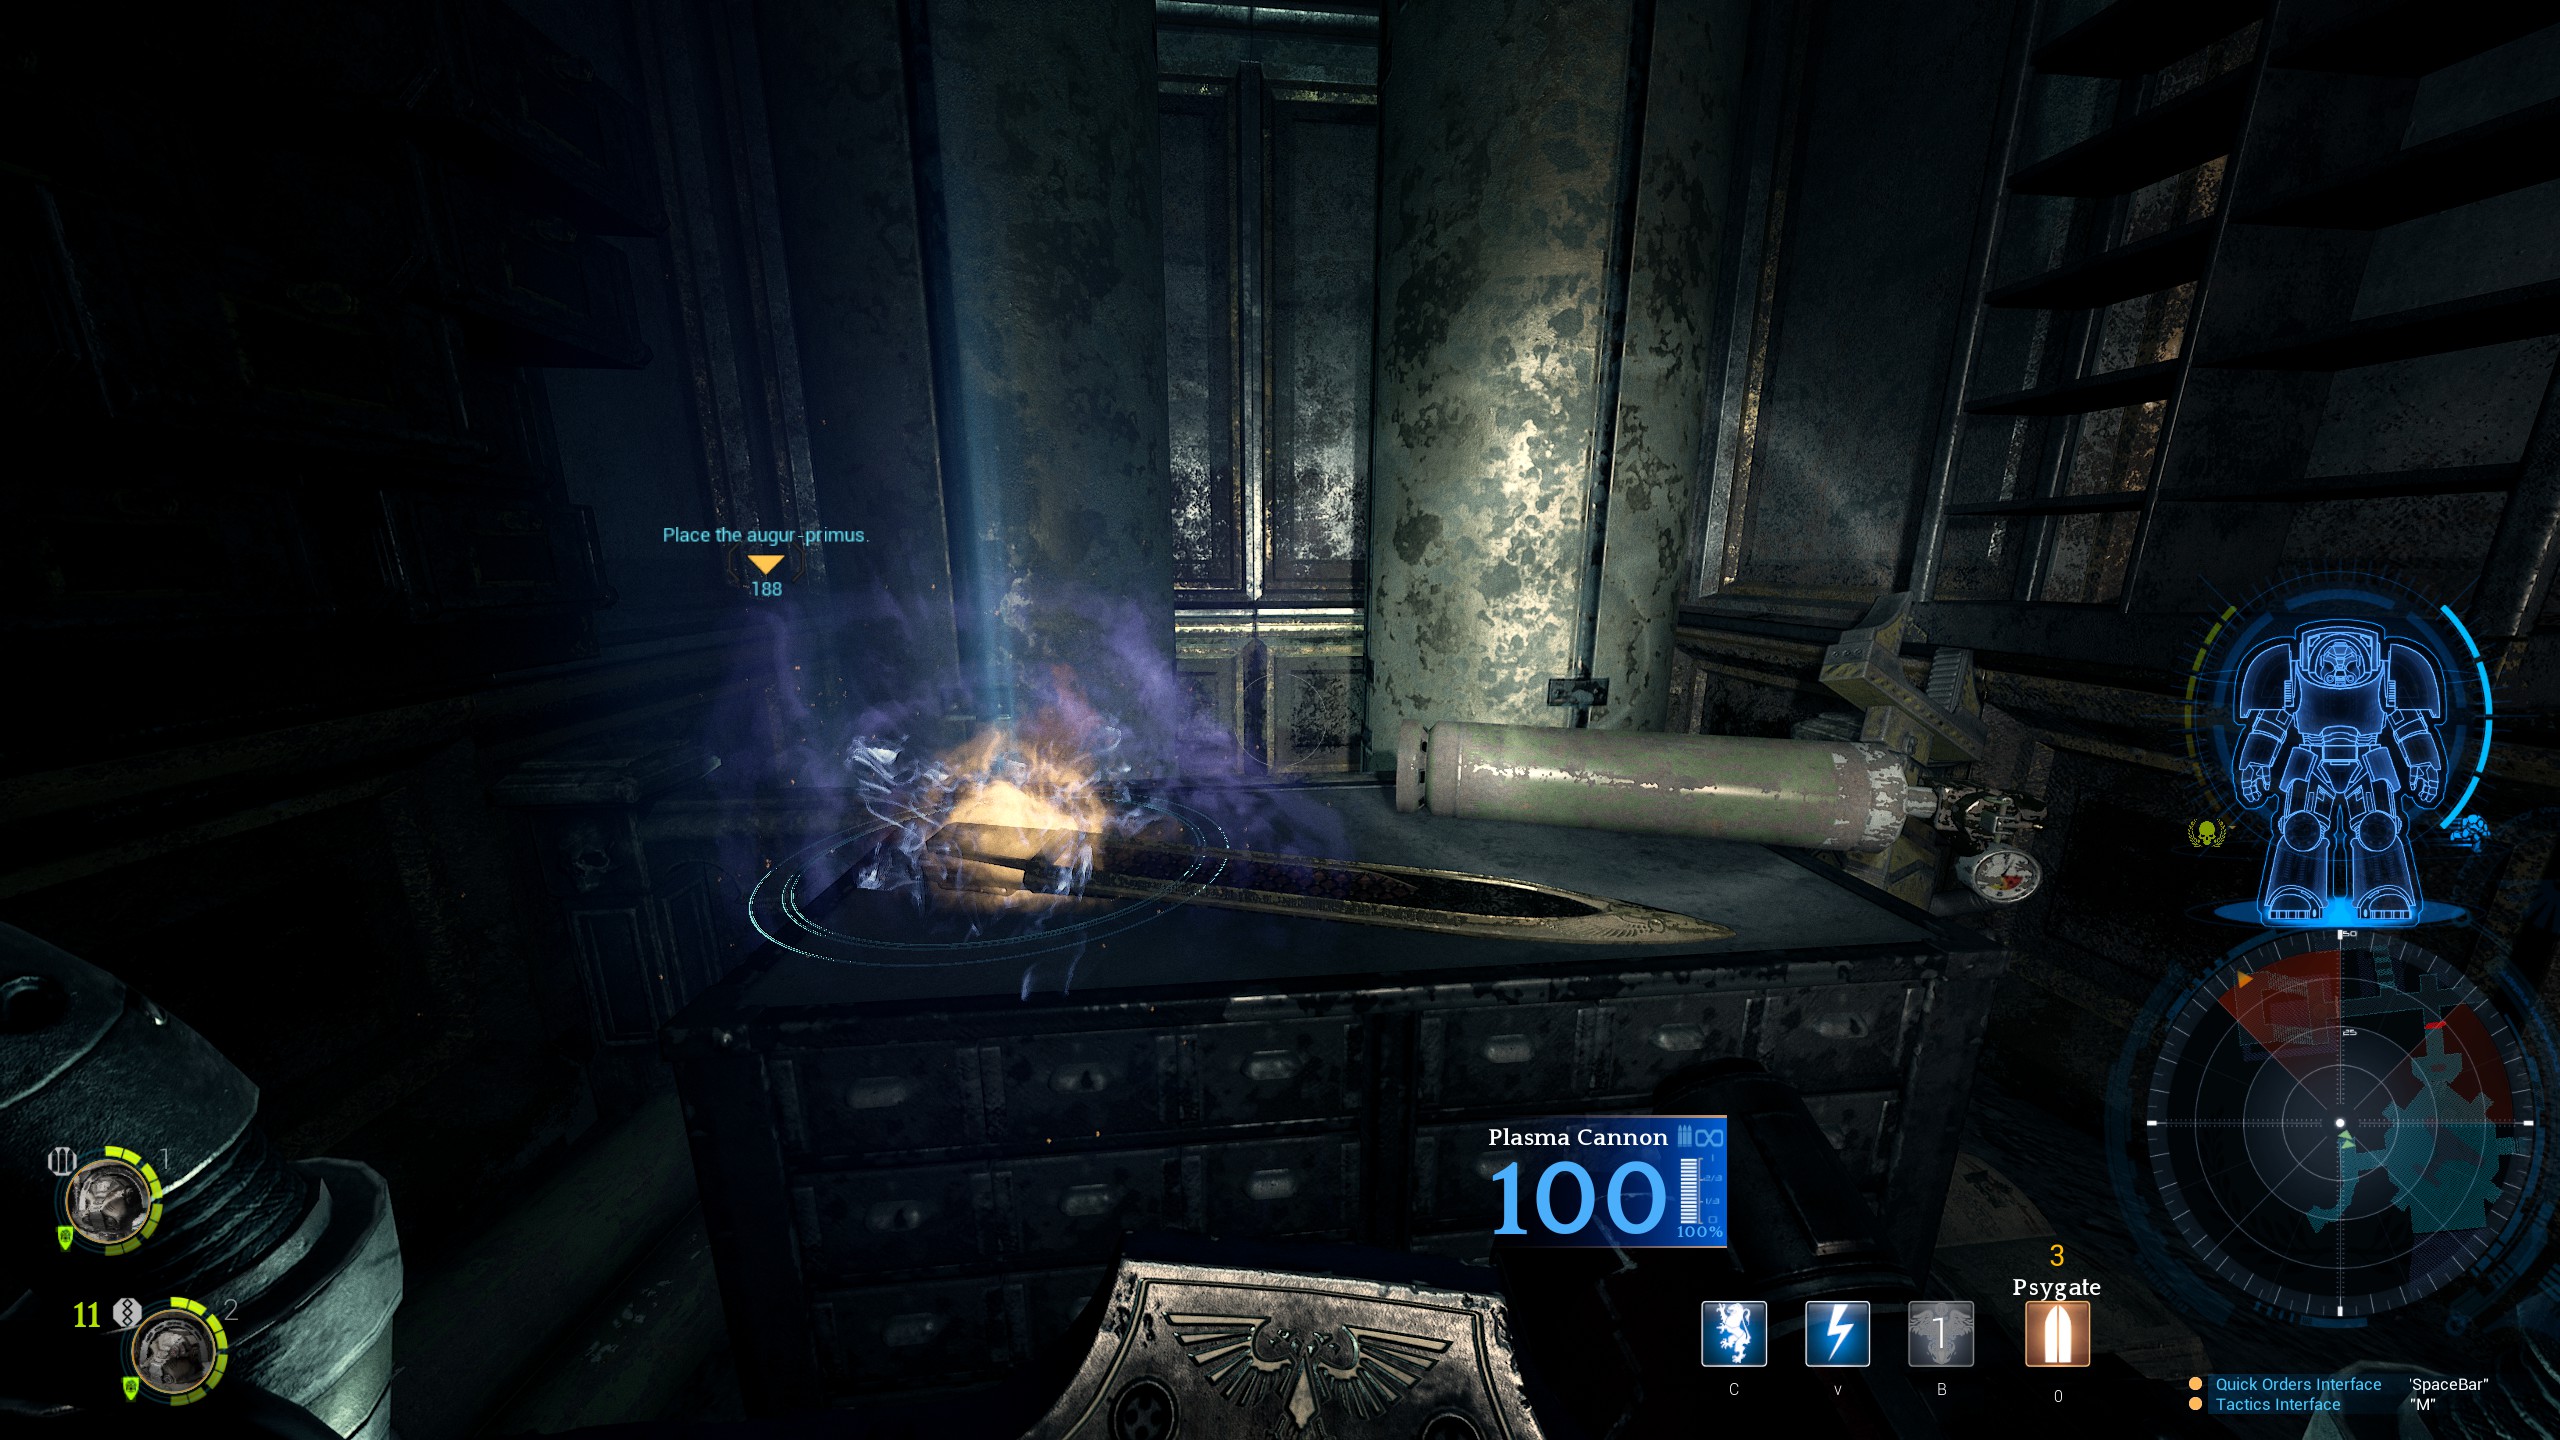
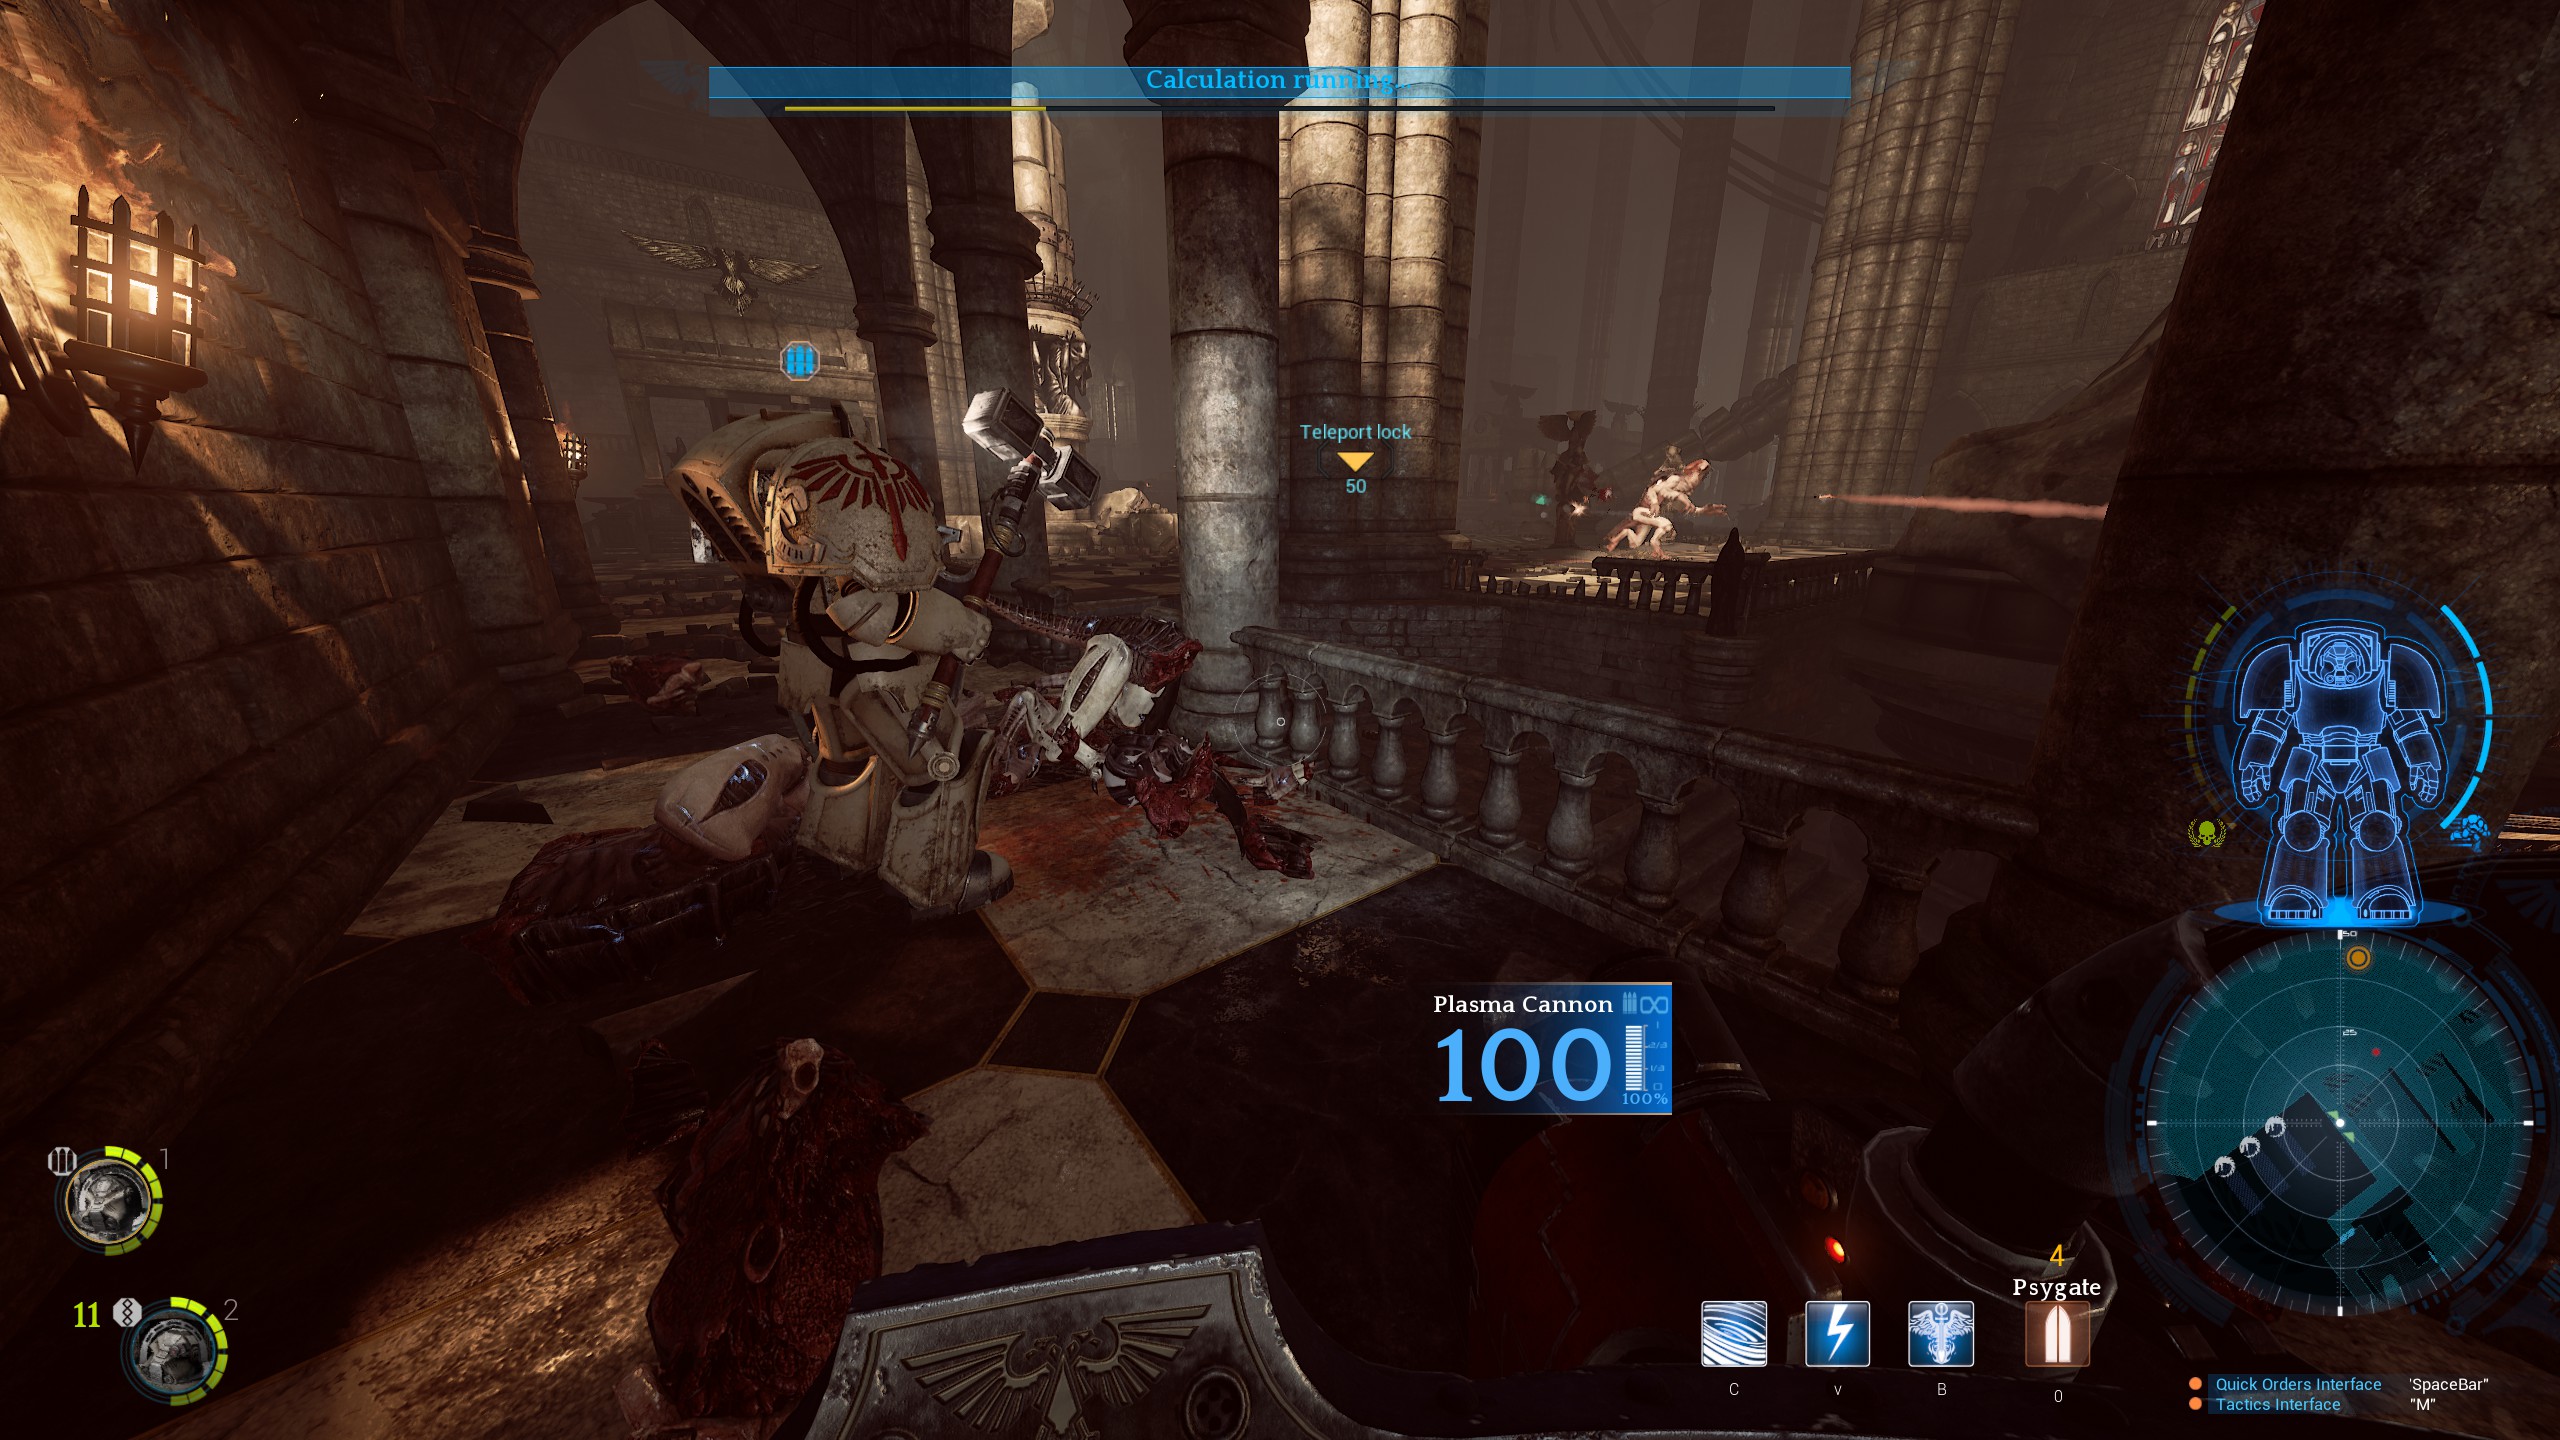
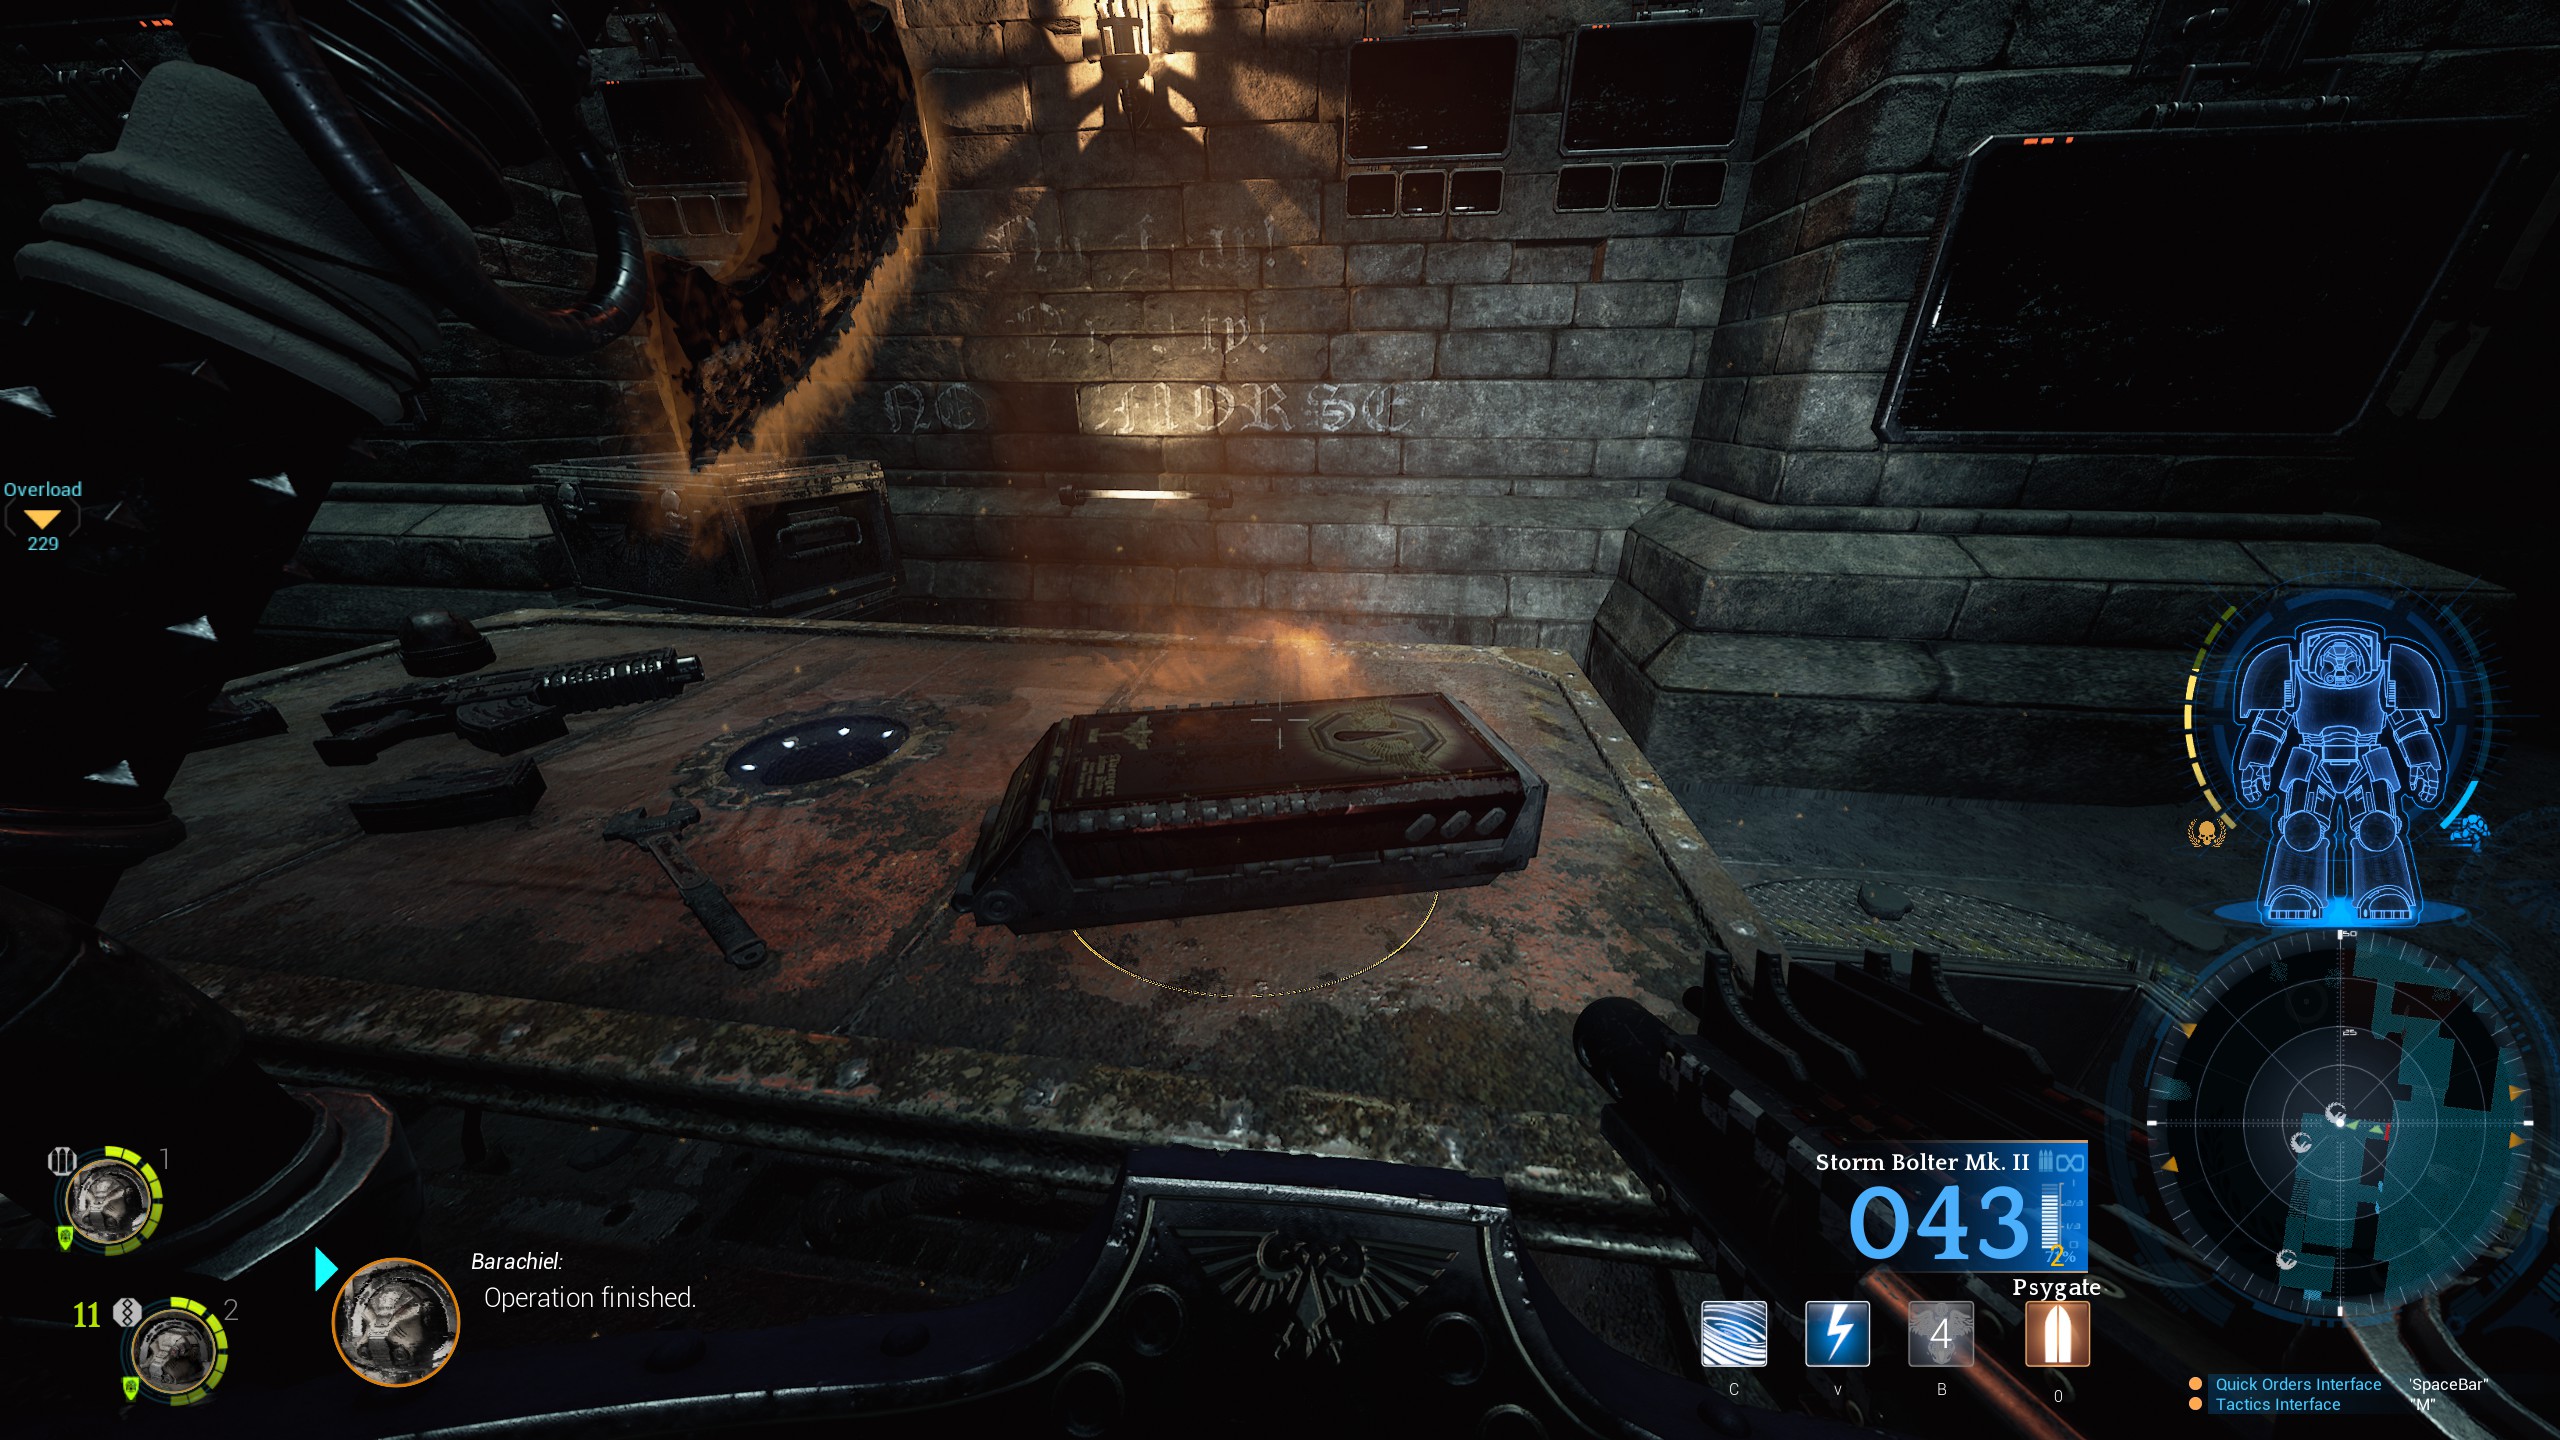
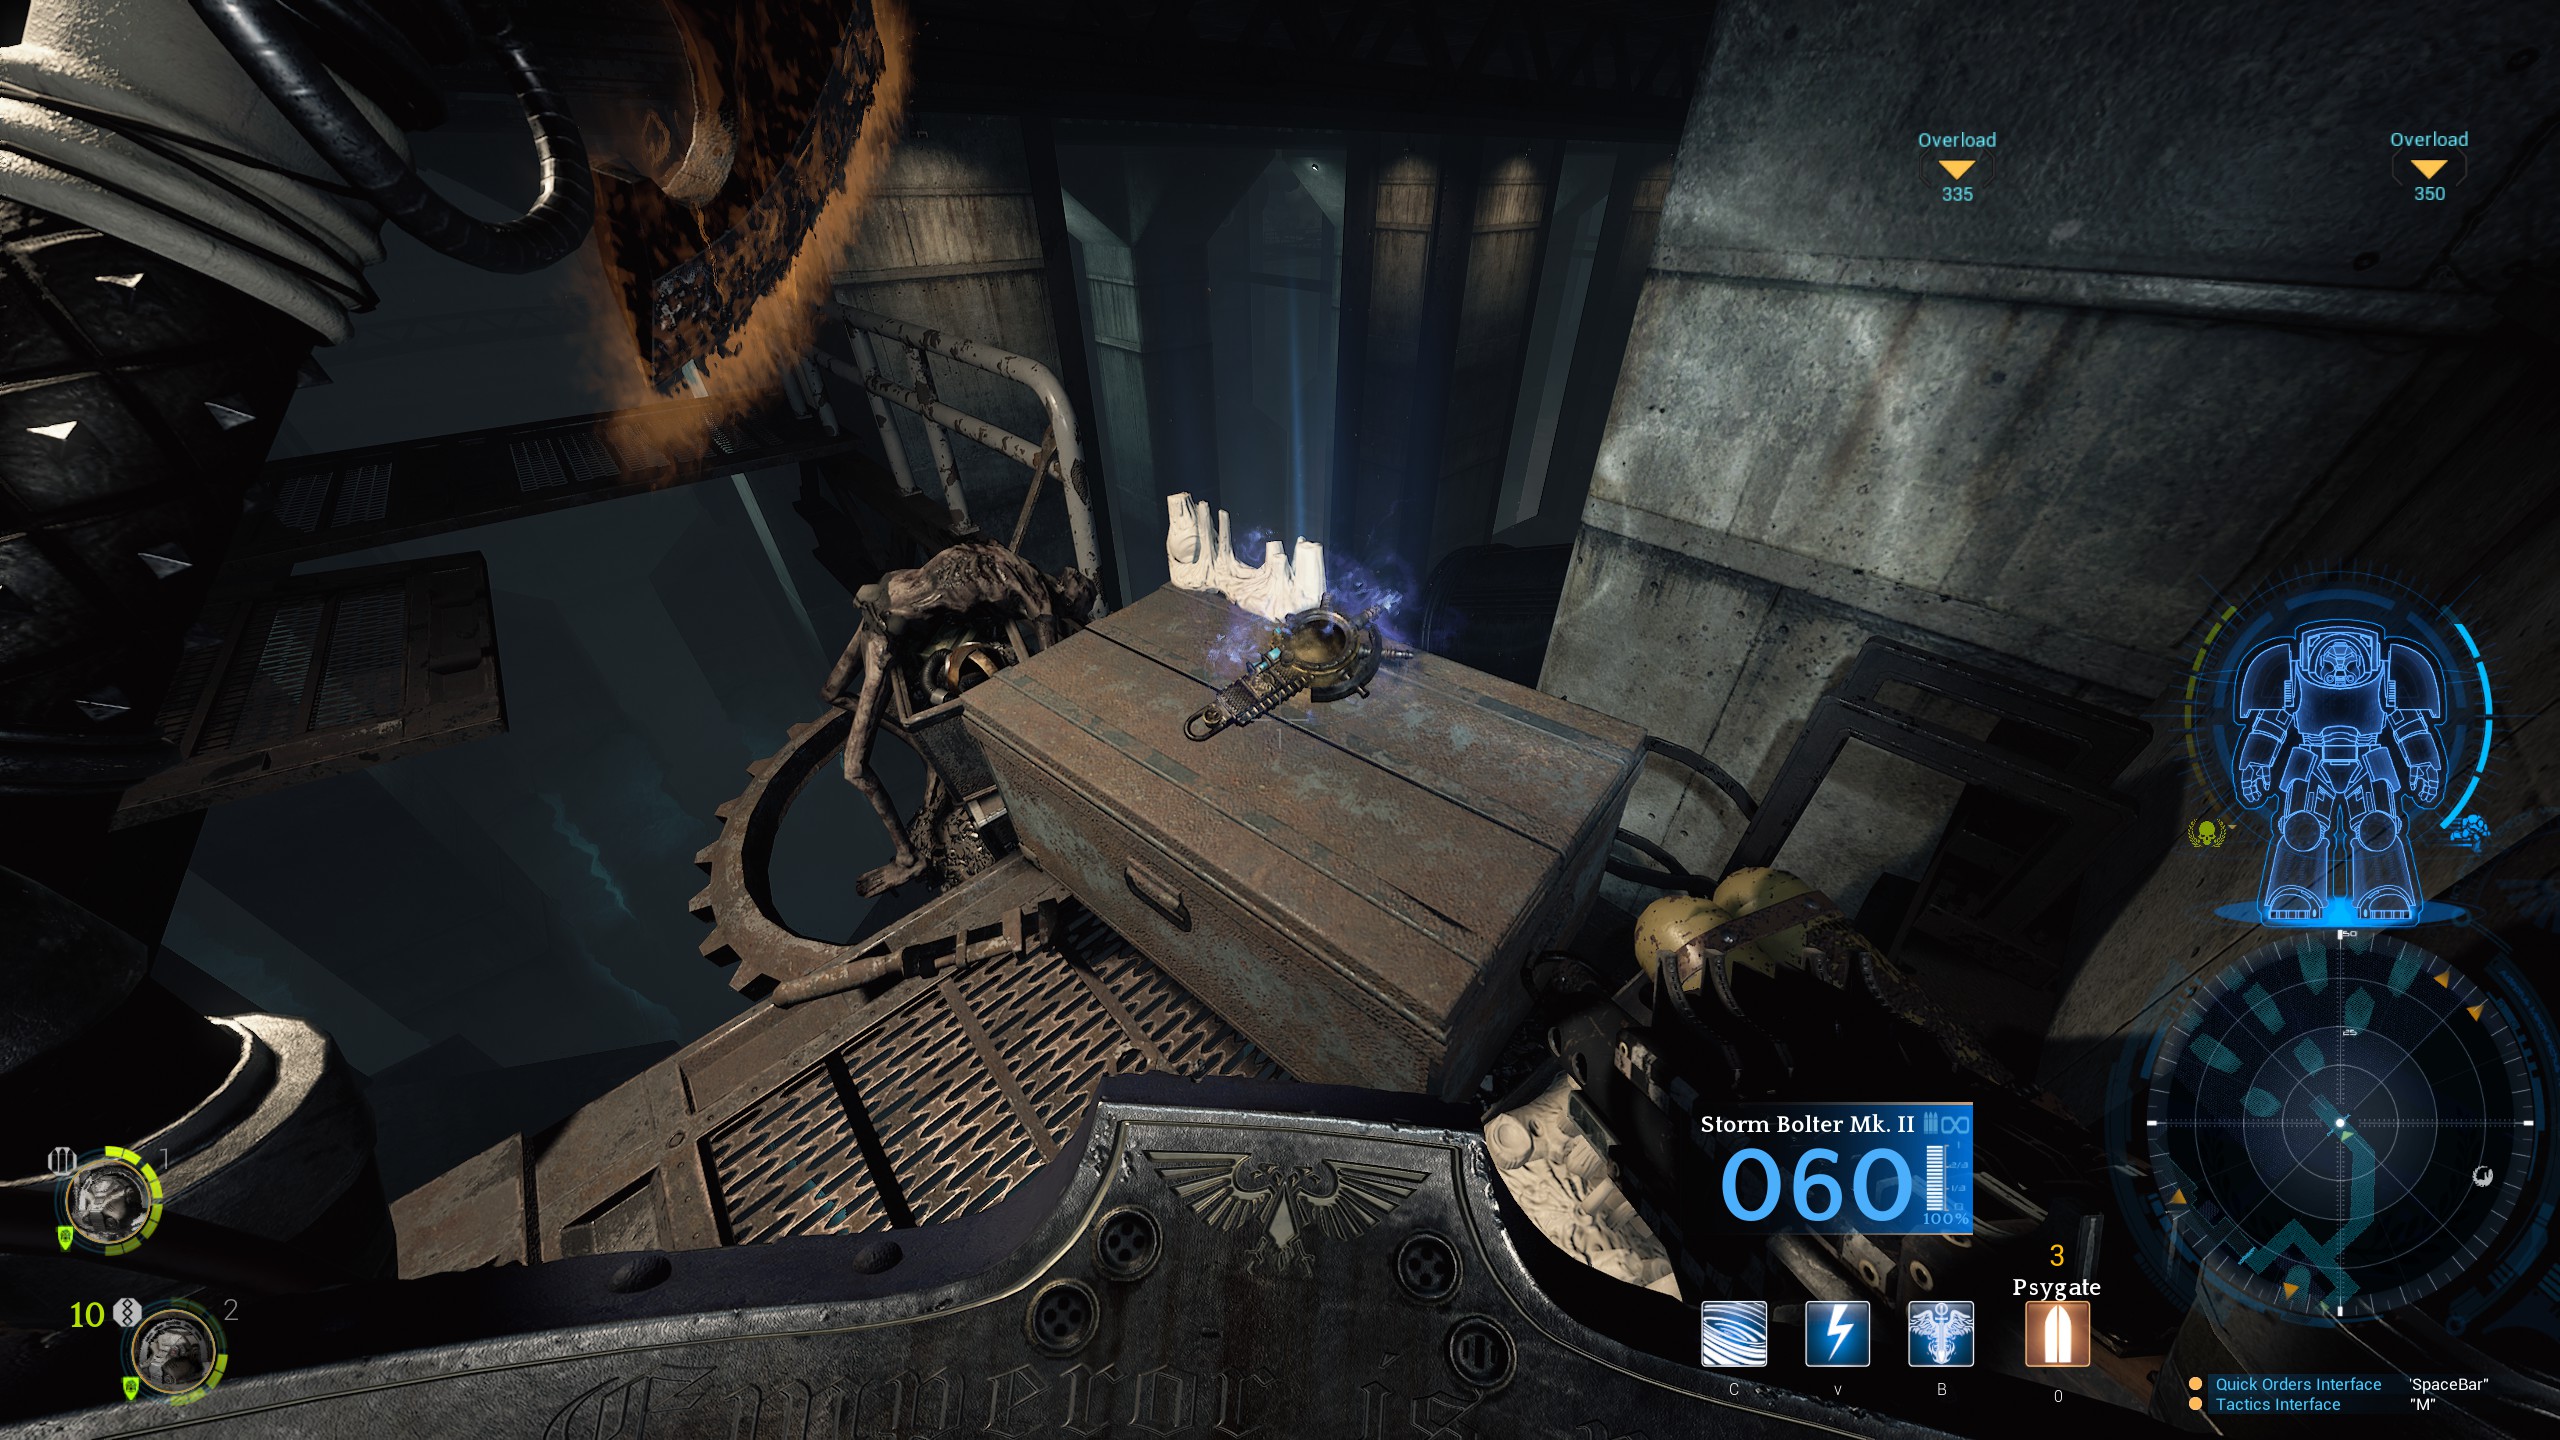
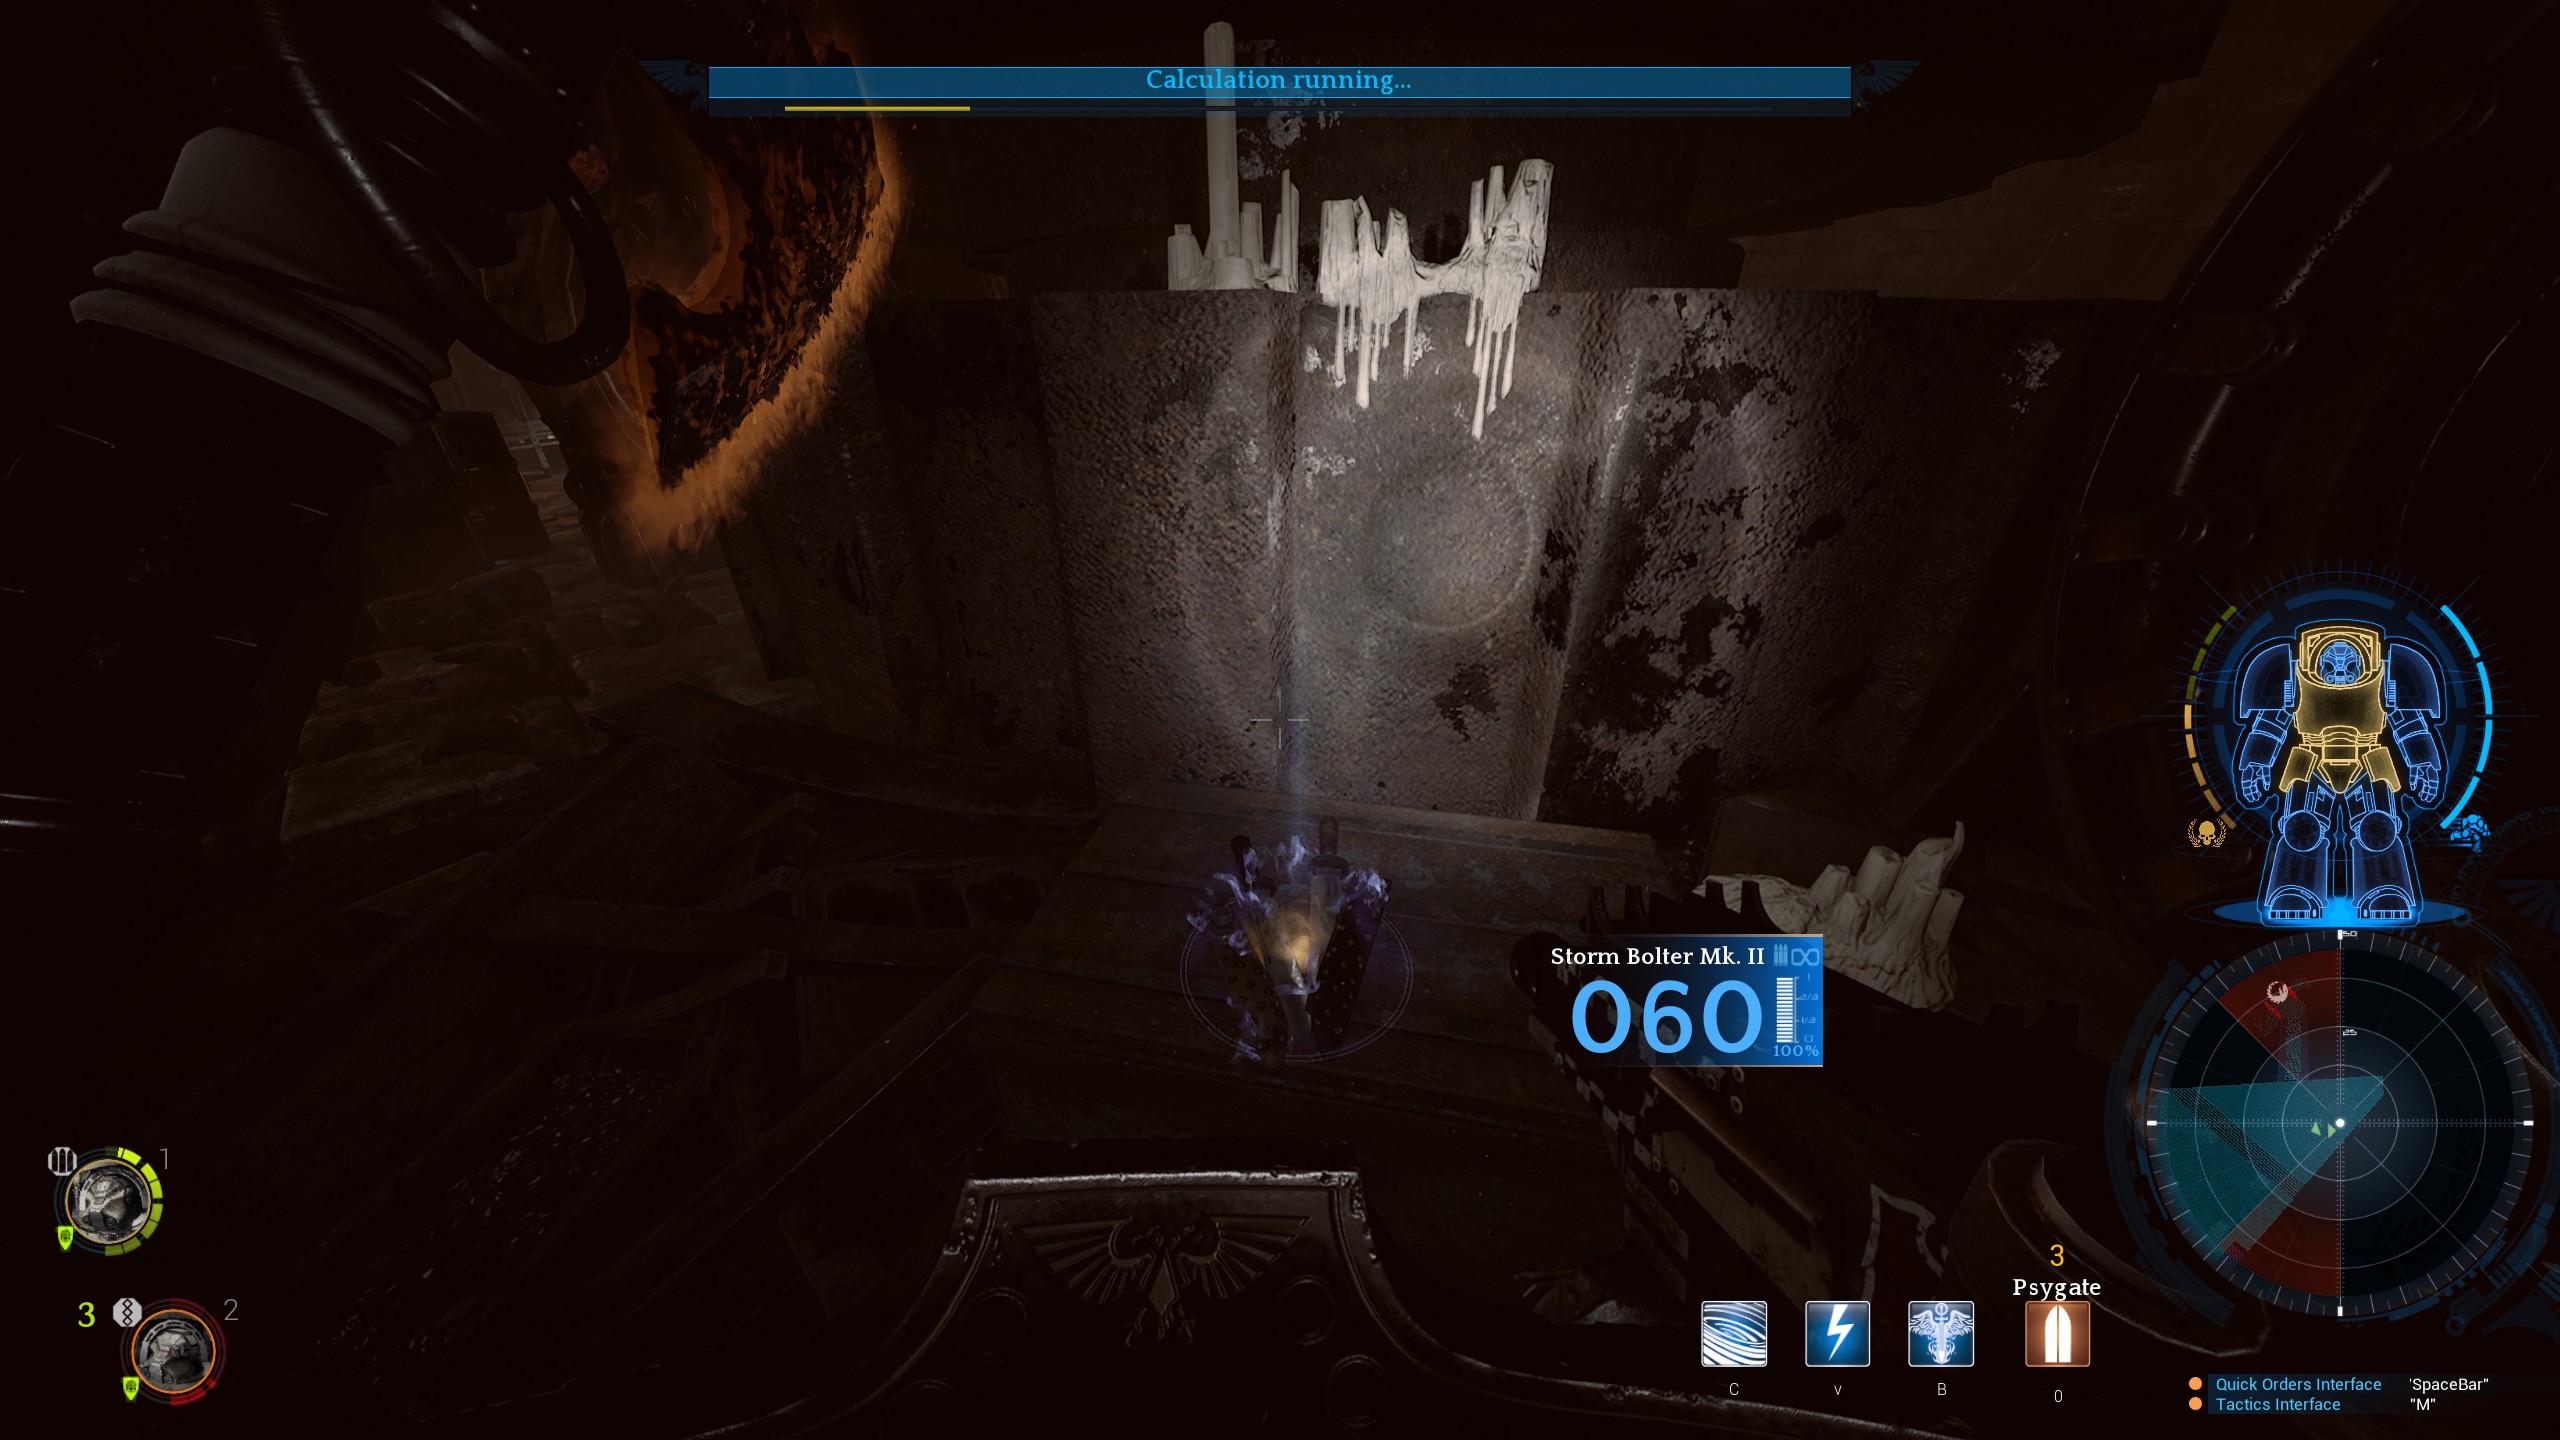
Objective four is to place an augur-primus on at some coordinates to gather information about an old Dark Angel ship. You need to melee the wall to place it. You then have to hold your position until it has finished gathering data. I like to position both Barachiel and Nahum out in front to path the enemies towards them and then stand behind the table to the left of them to hold off the swarm.
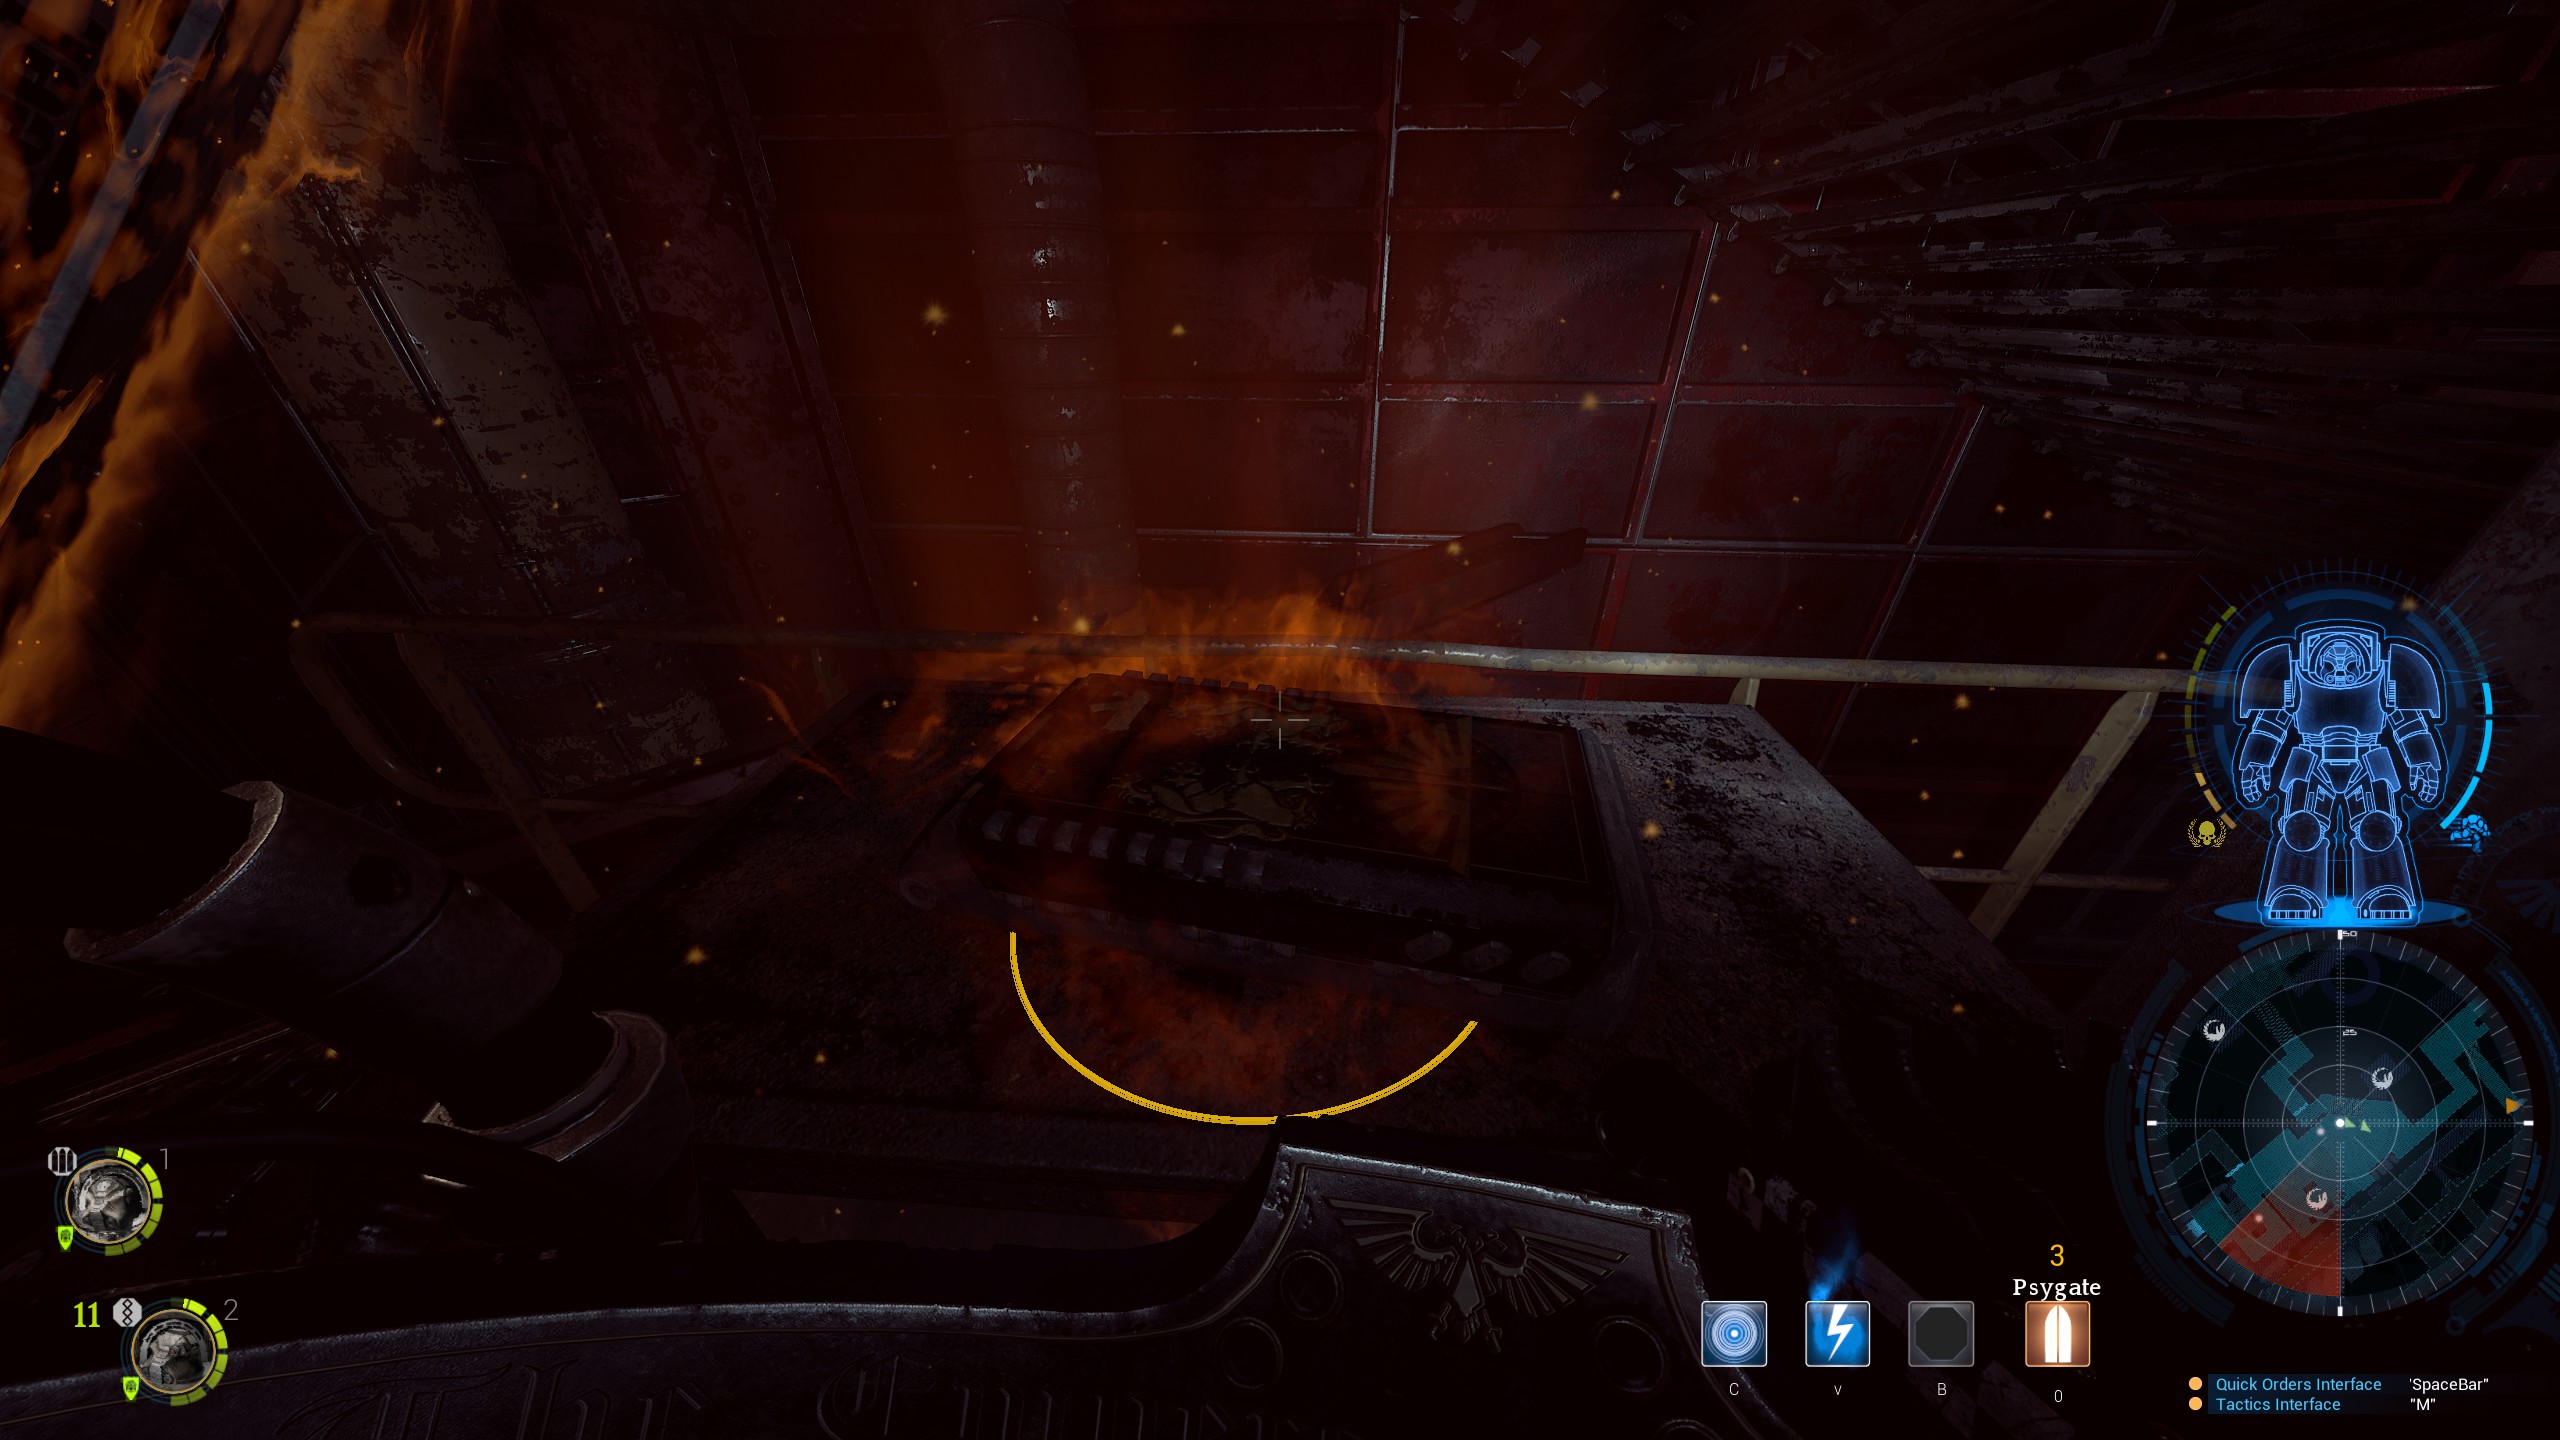
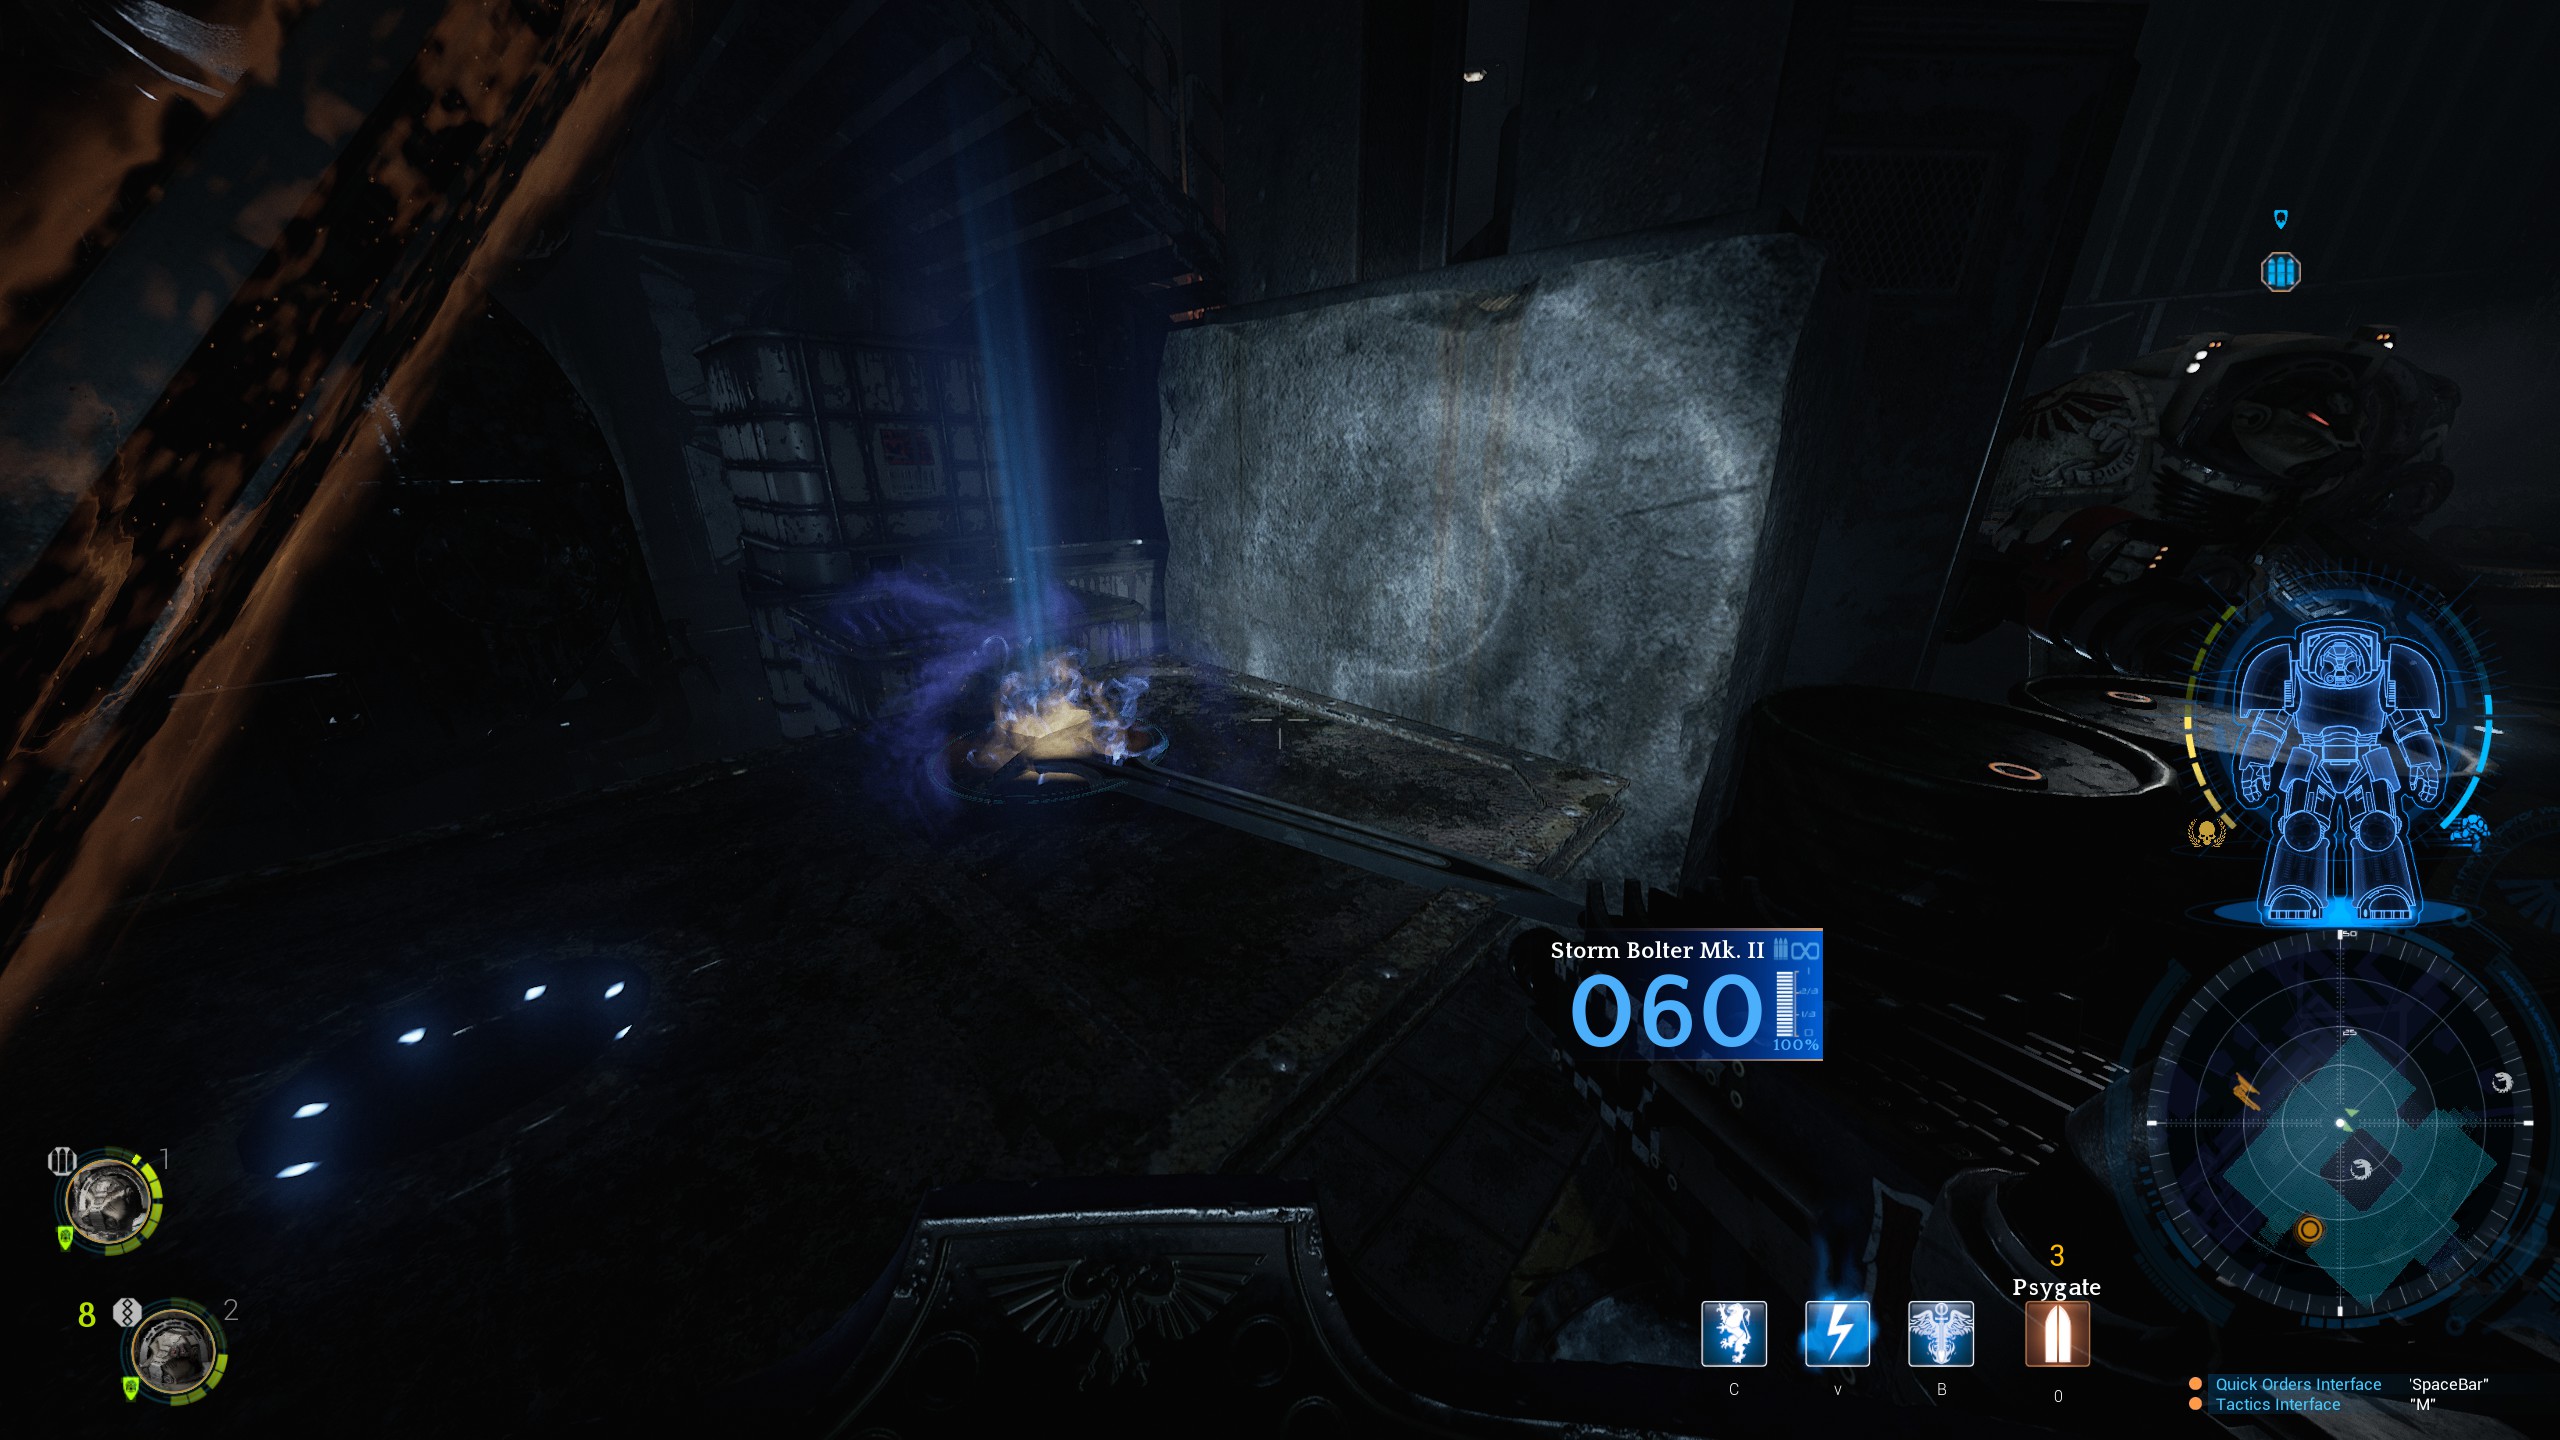
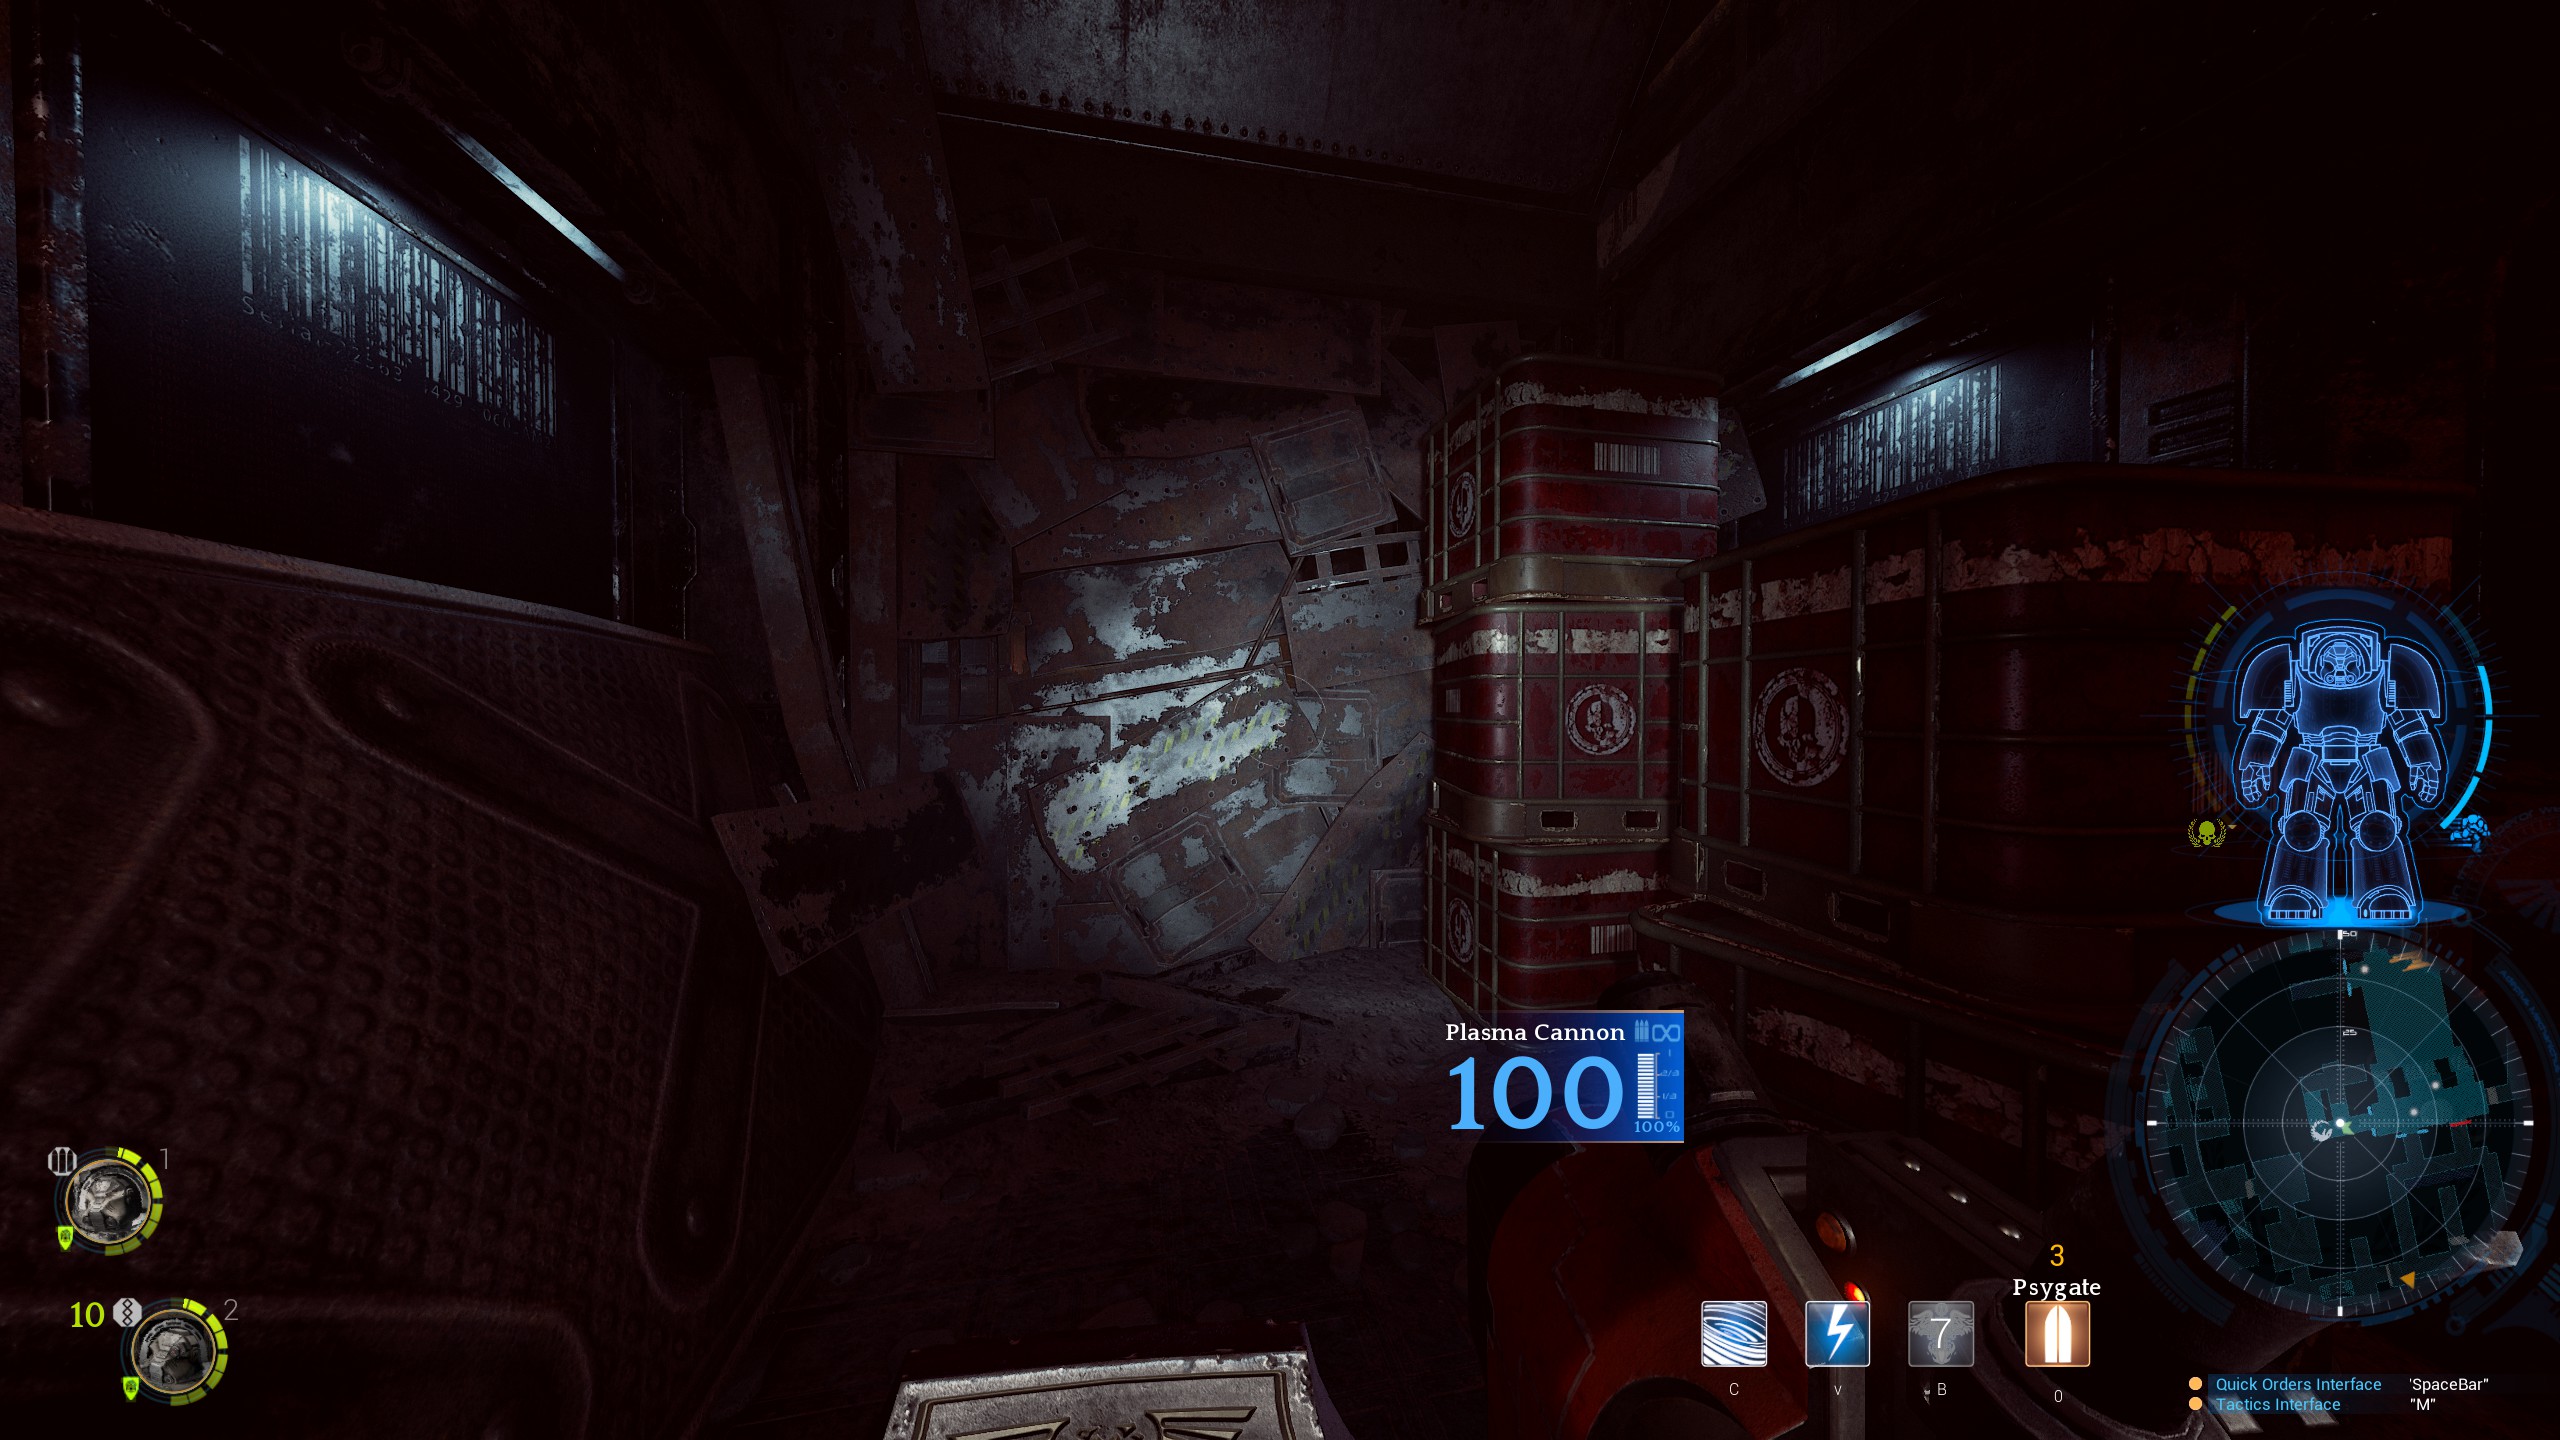
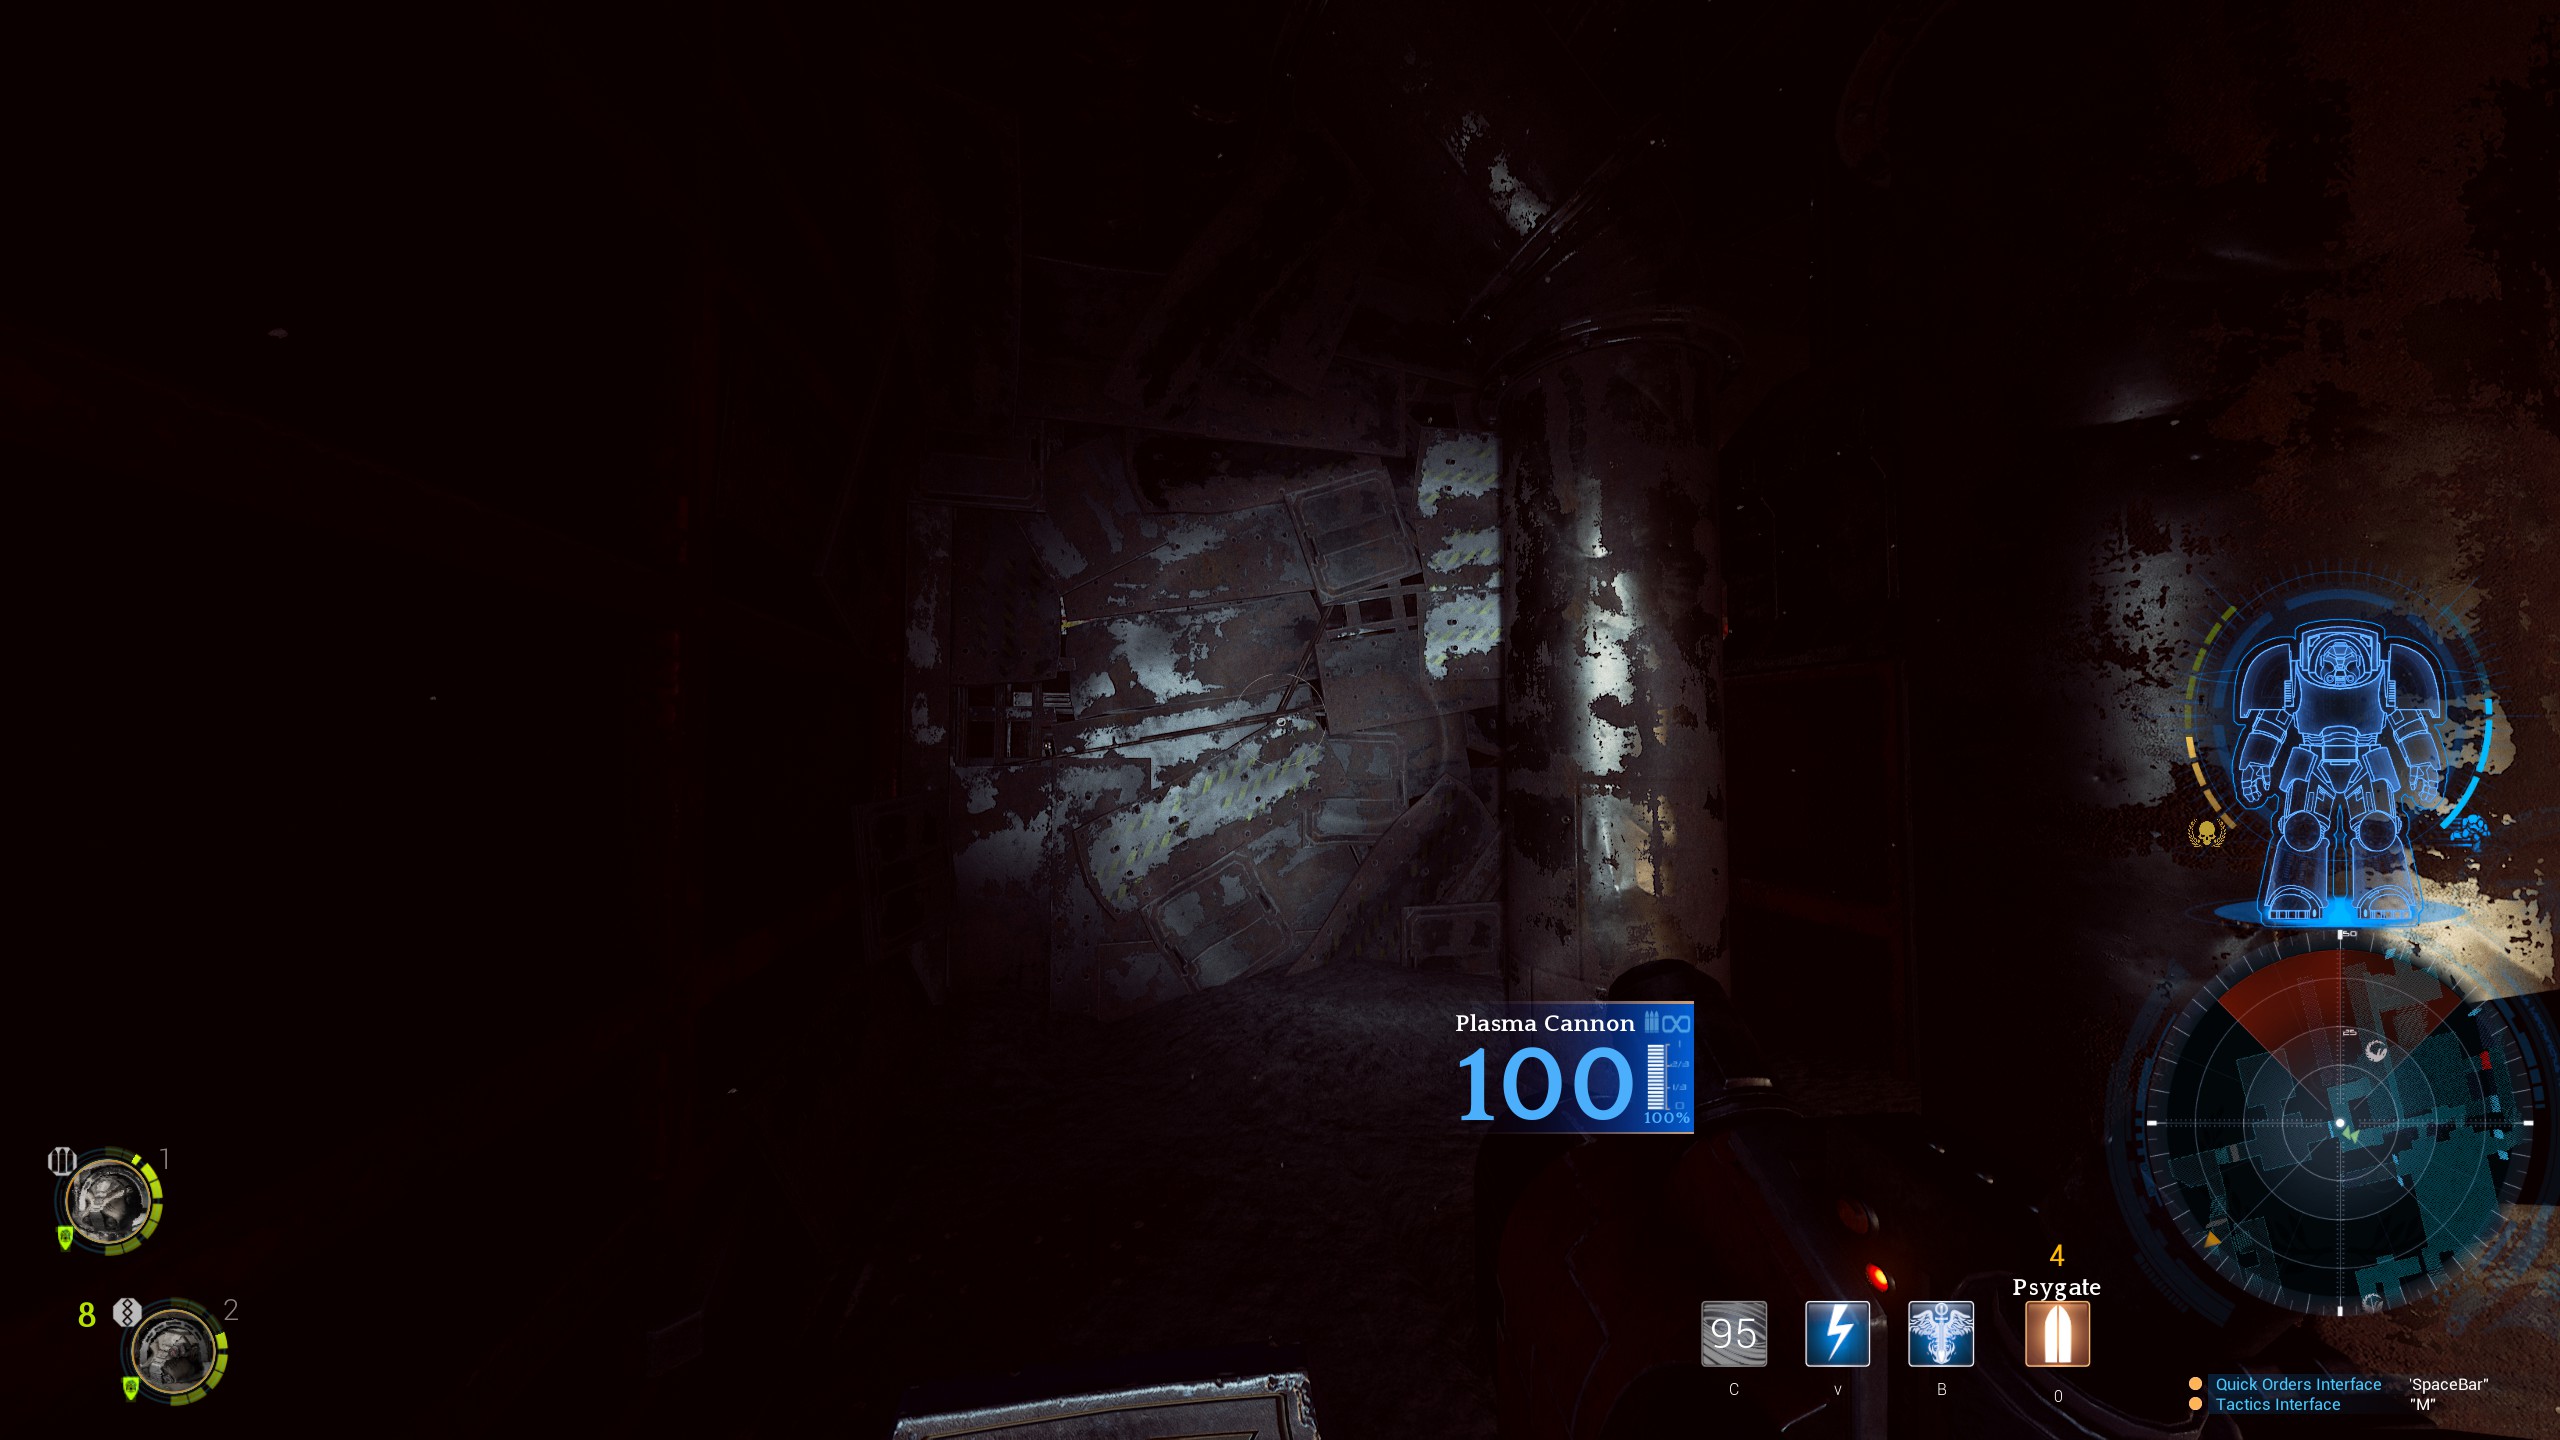
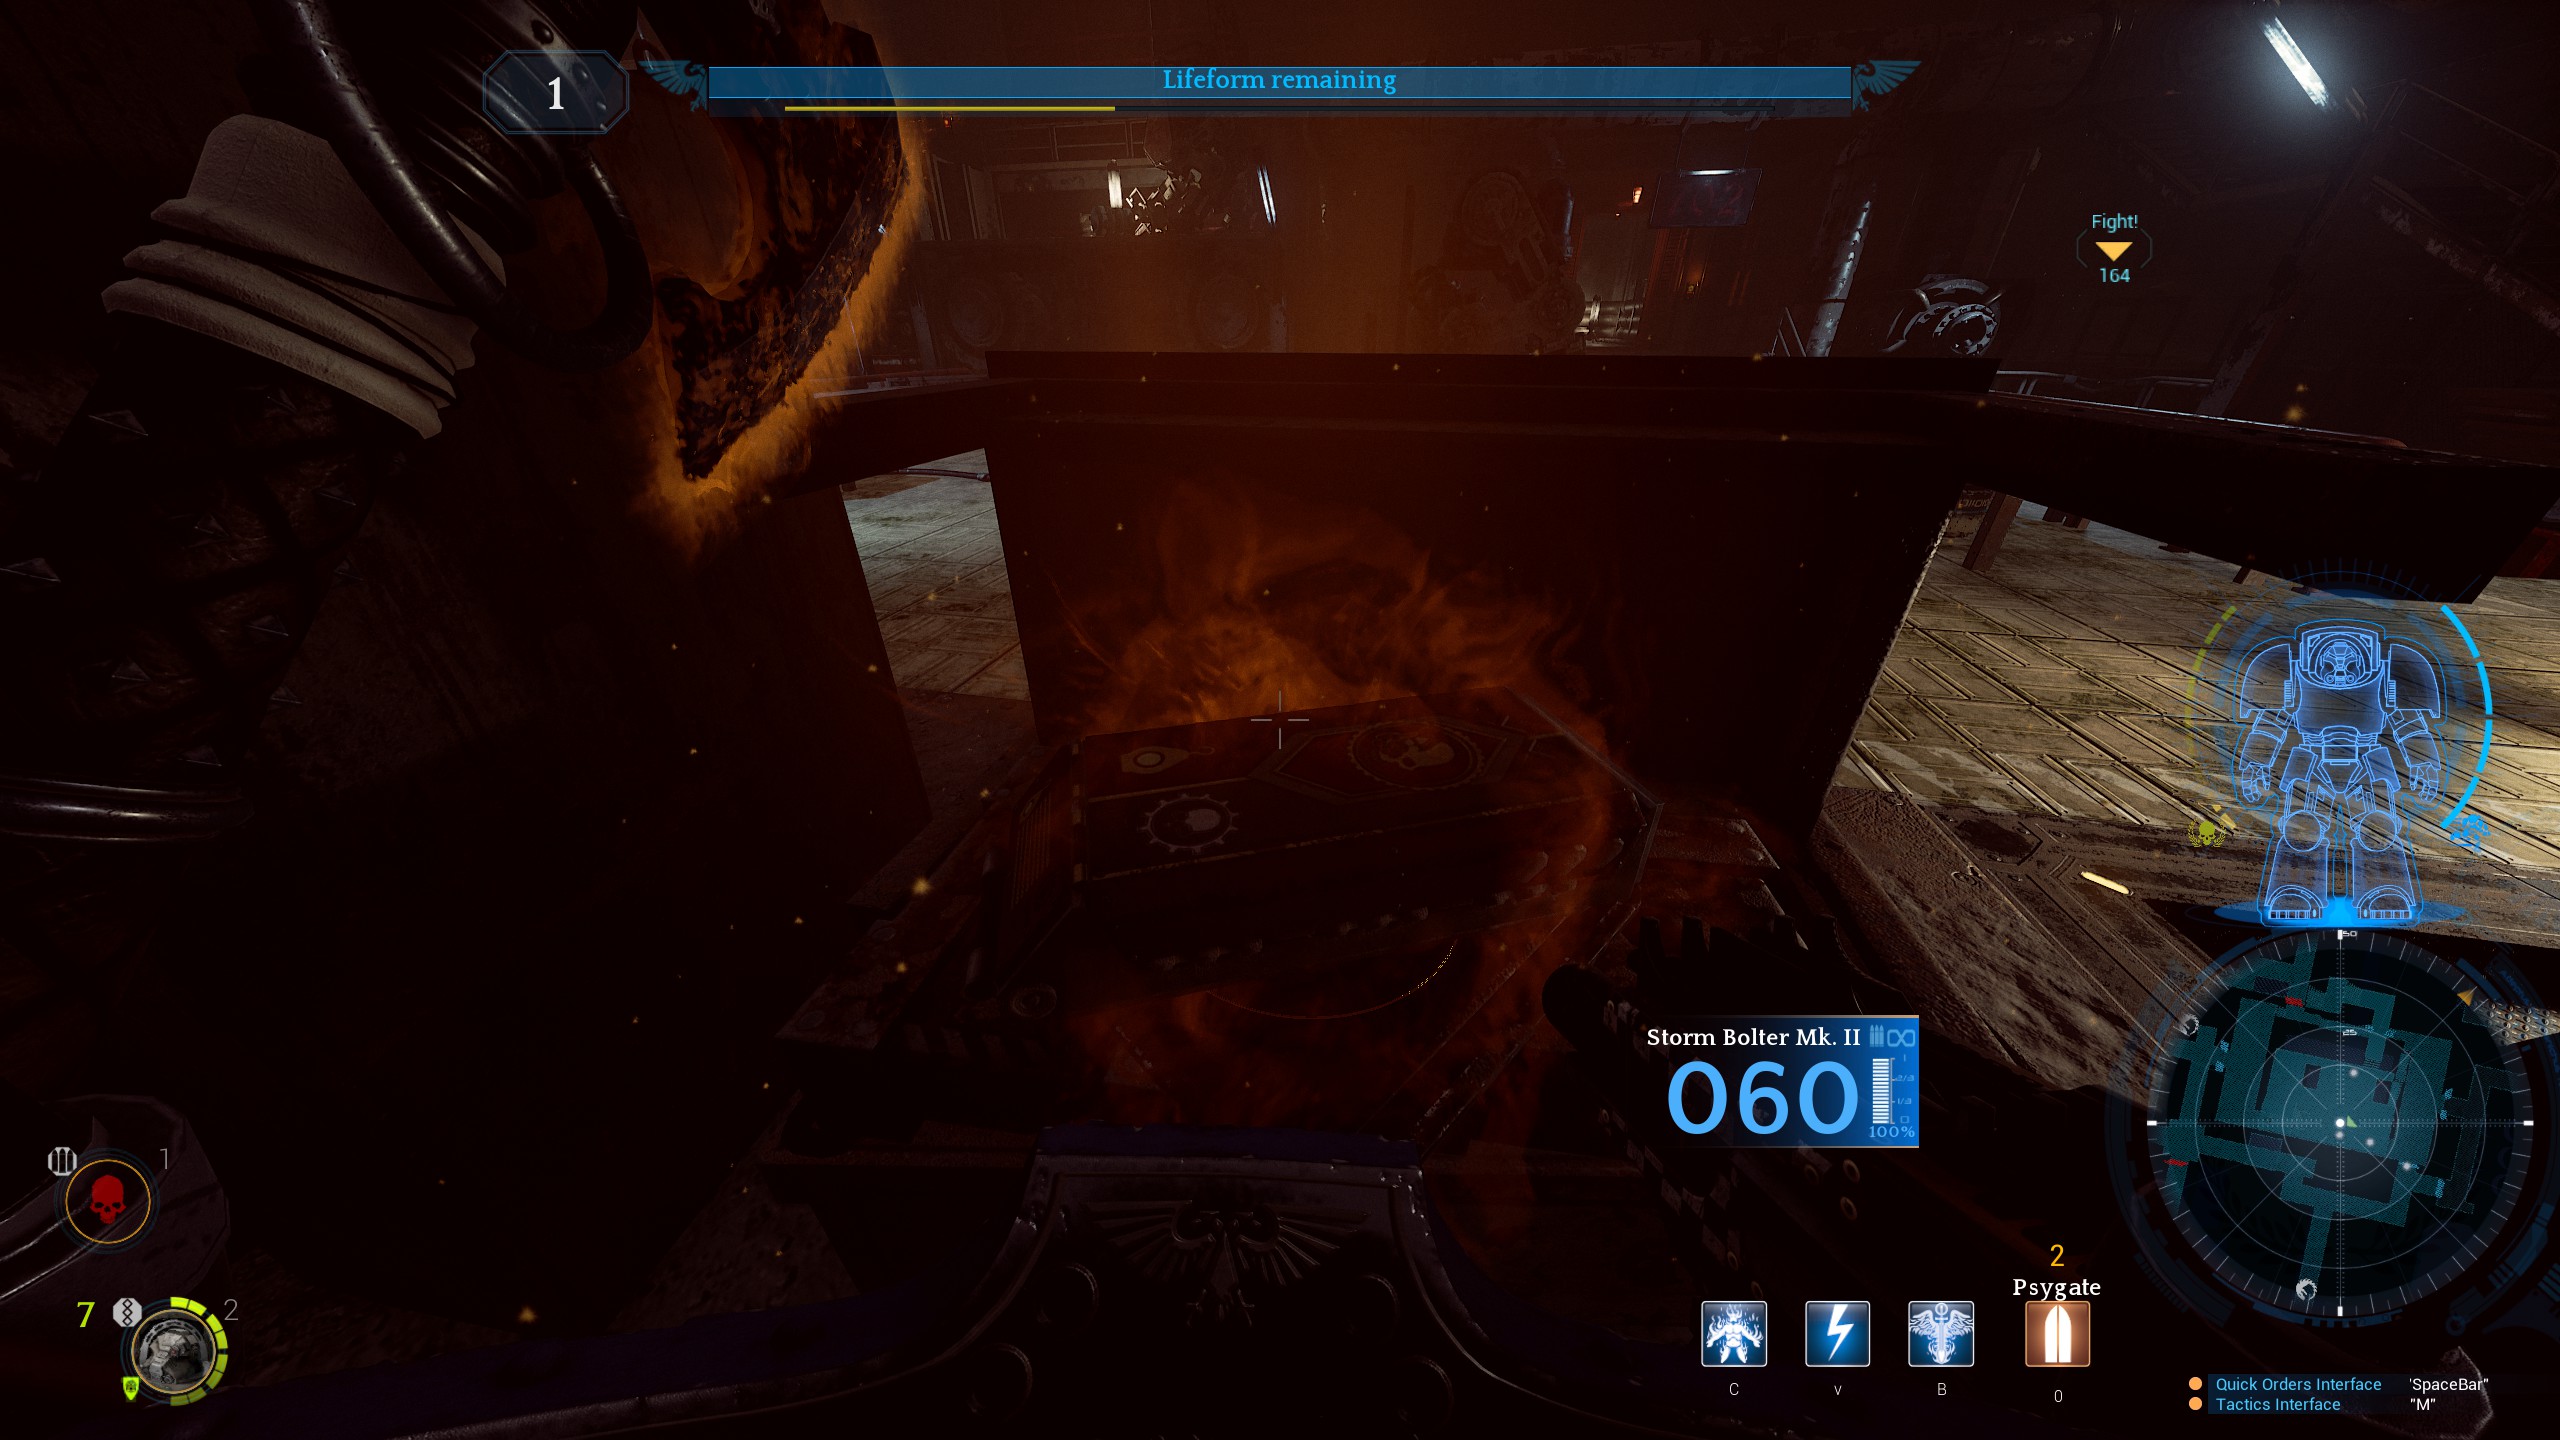
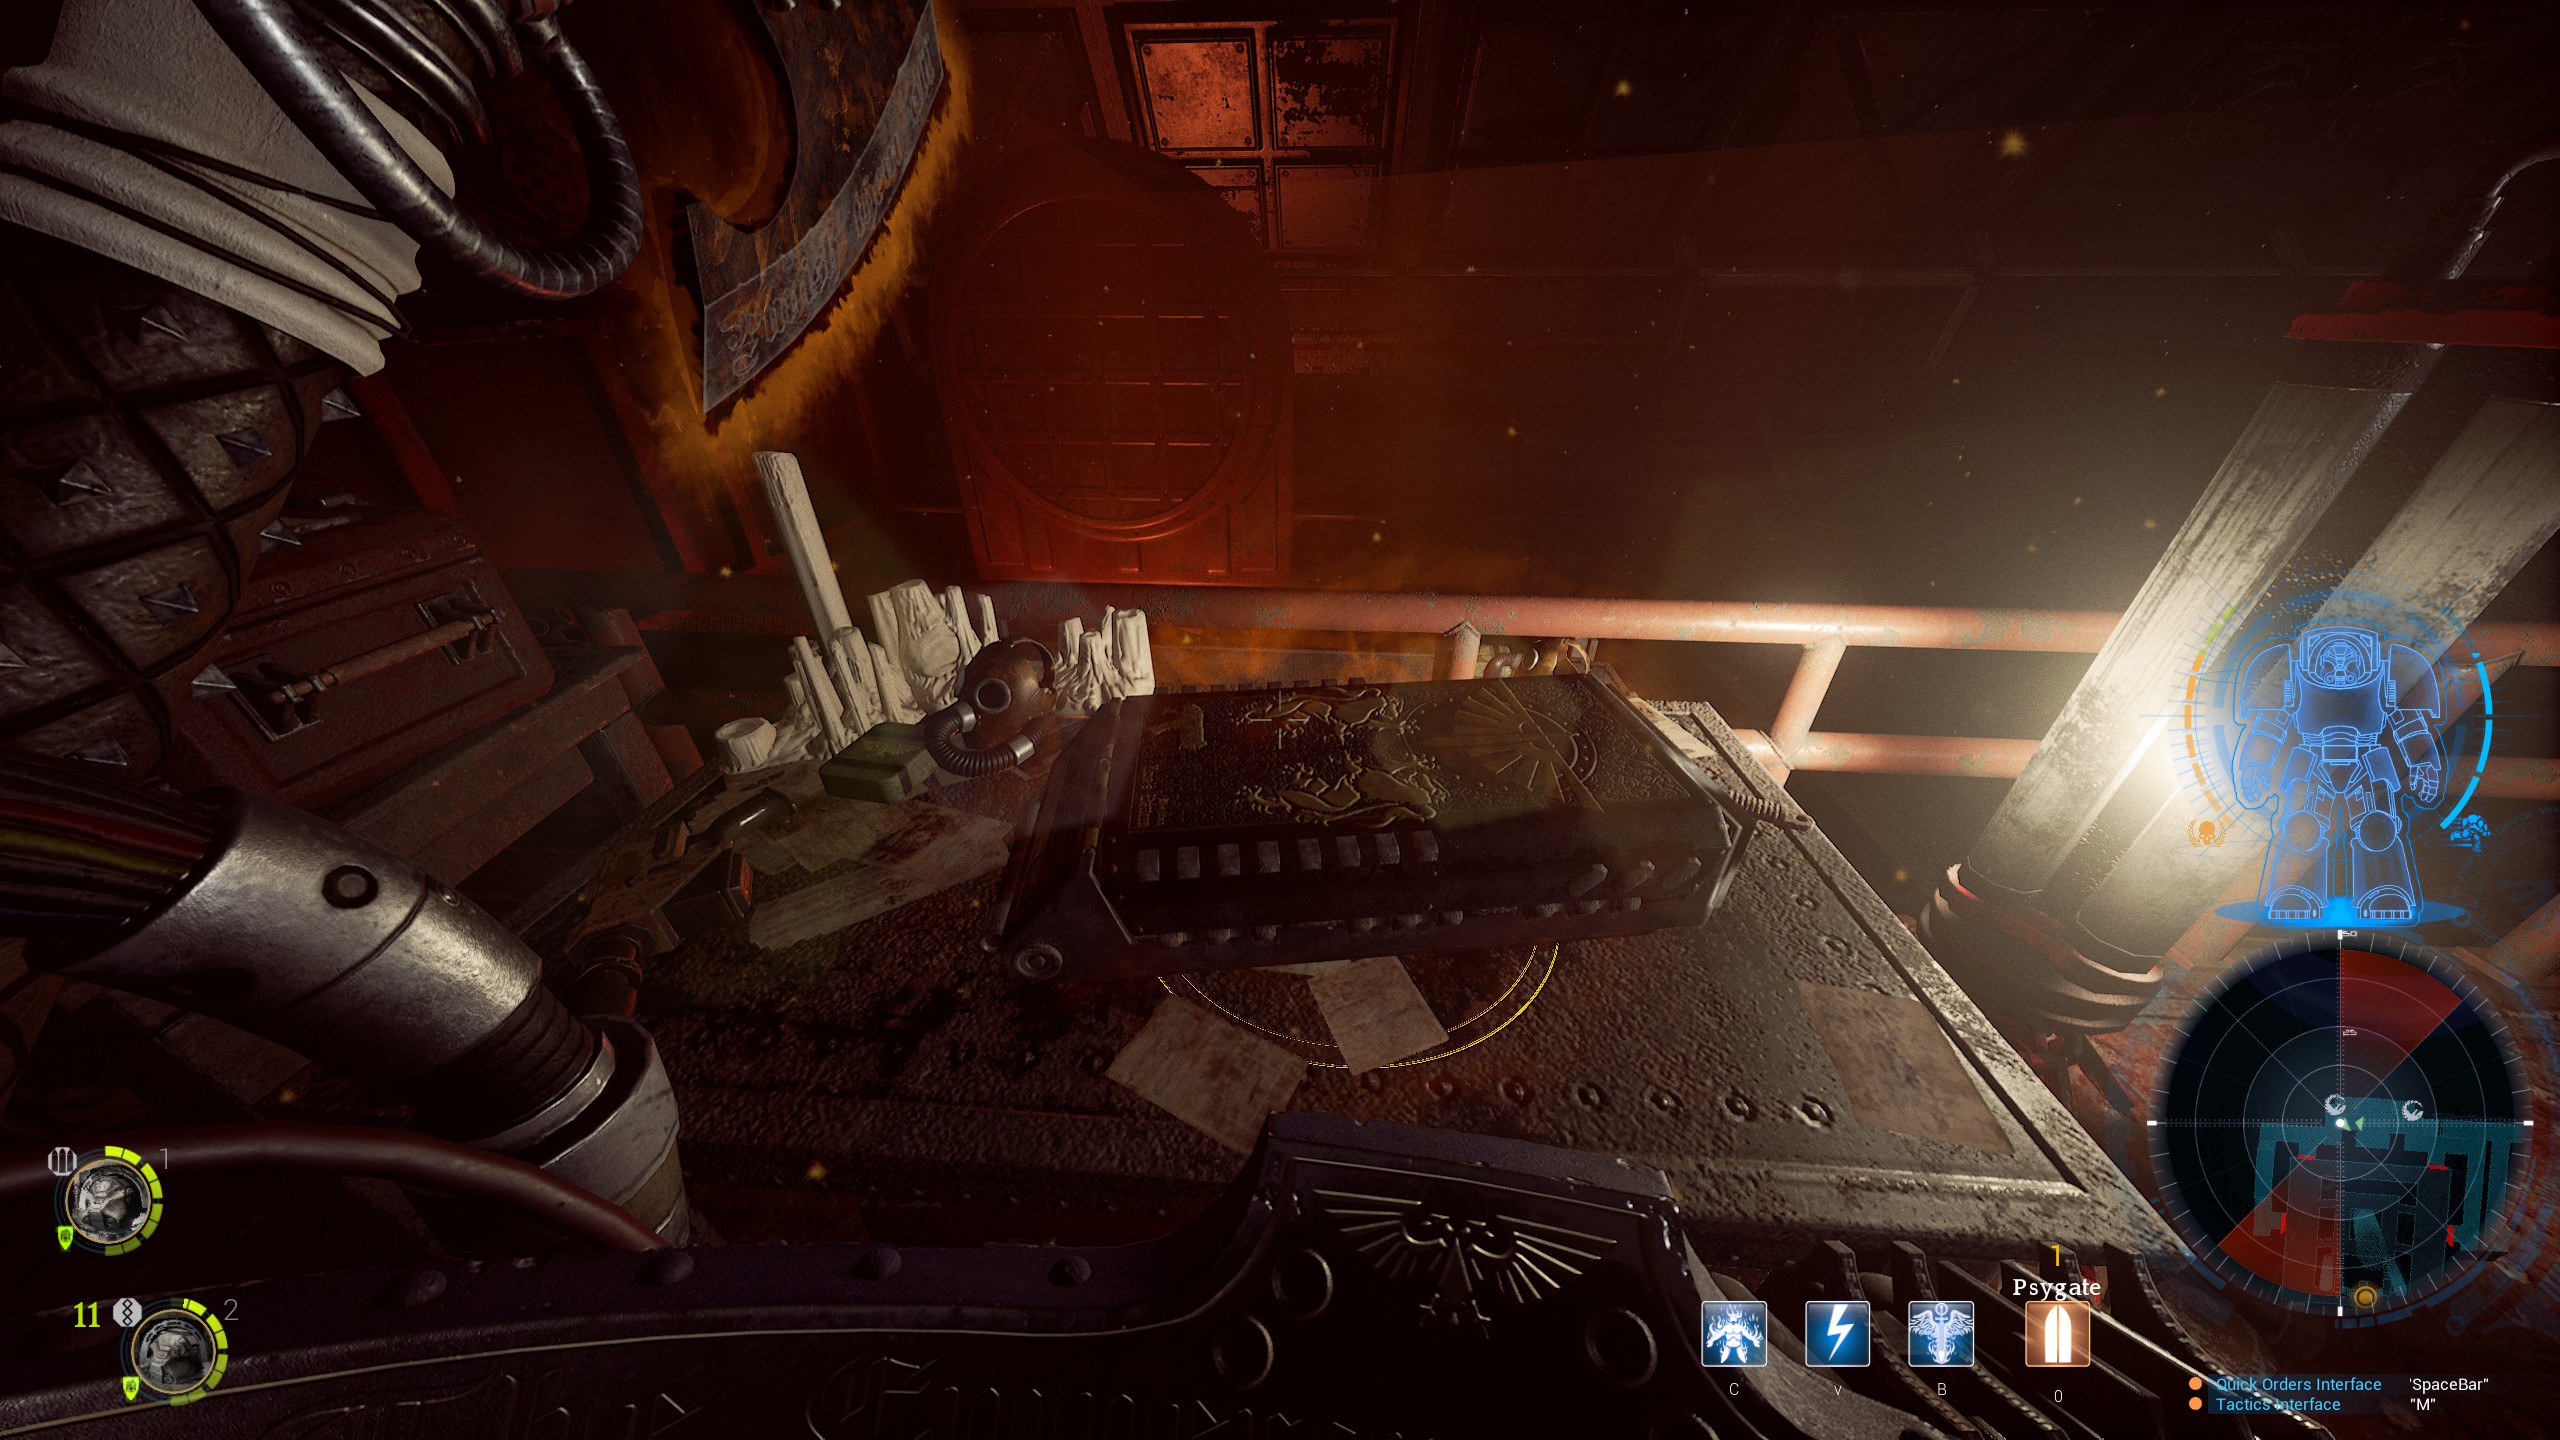
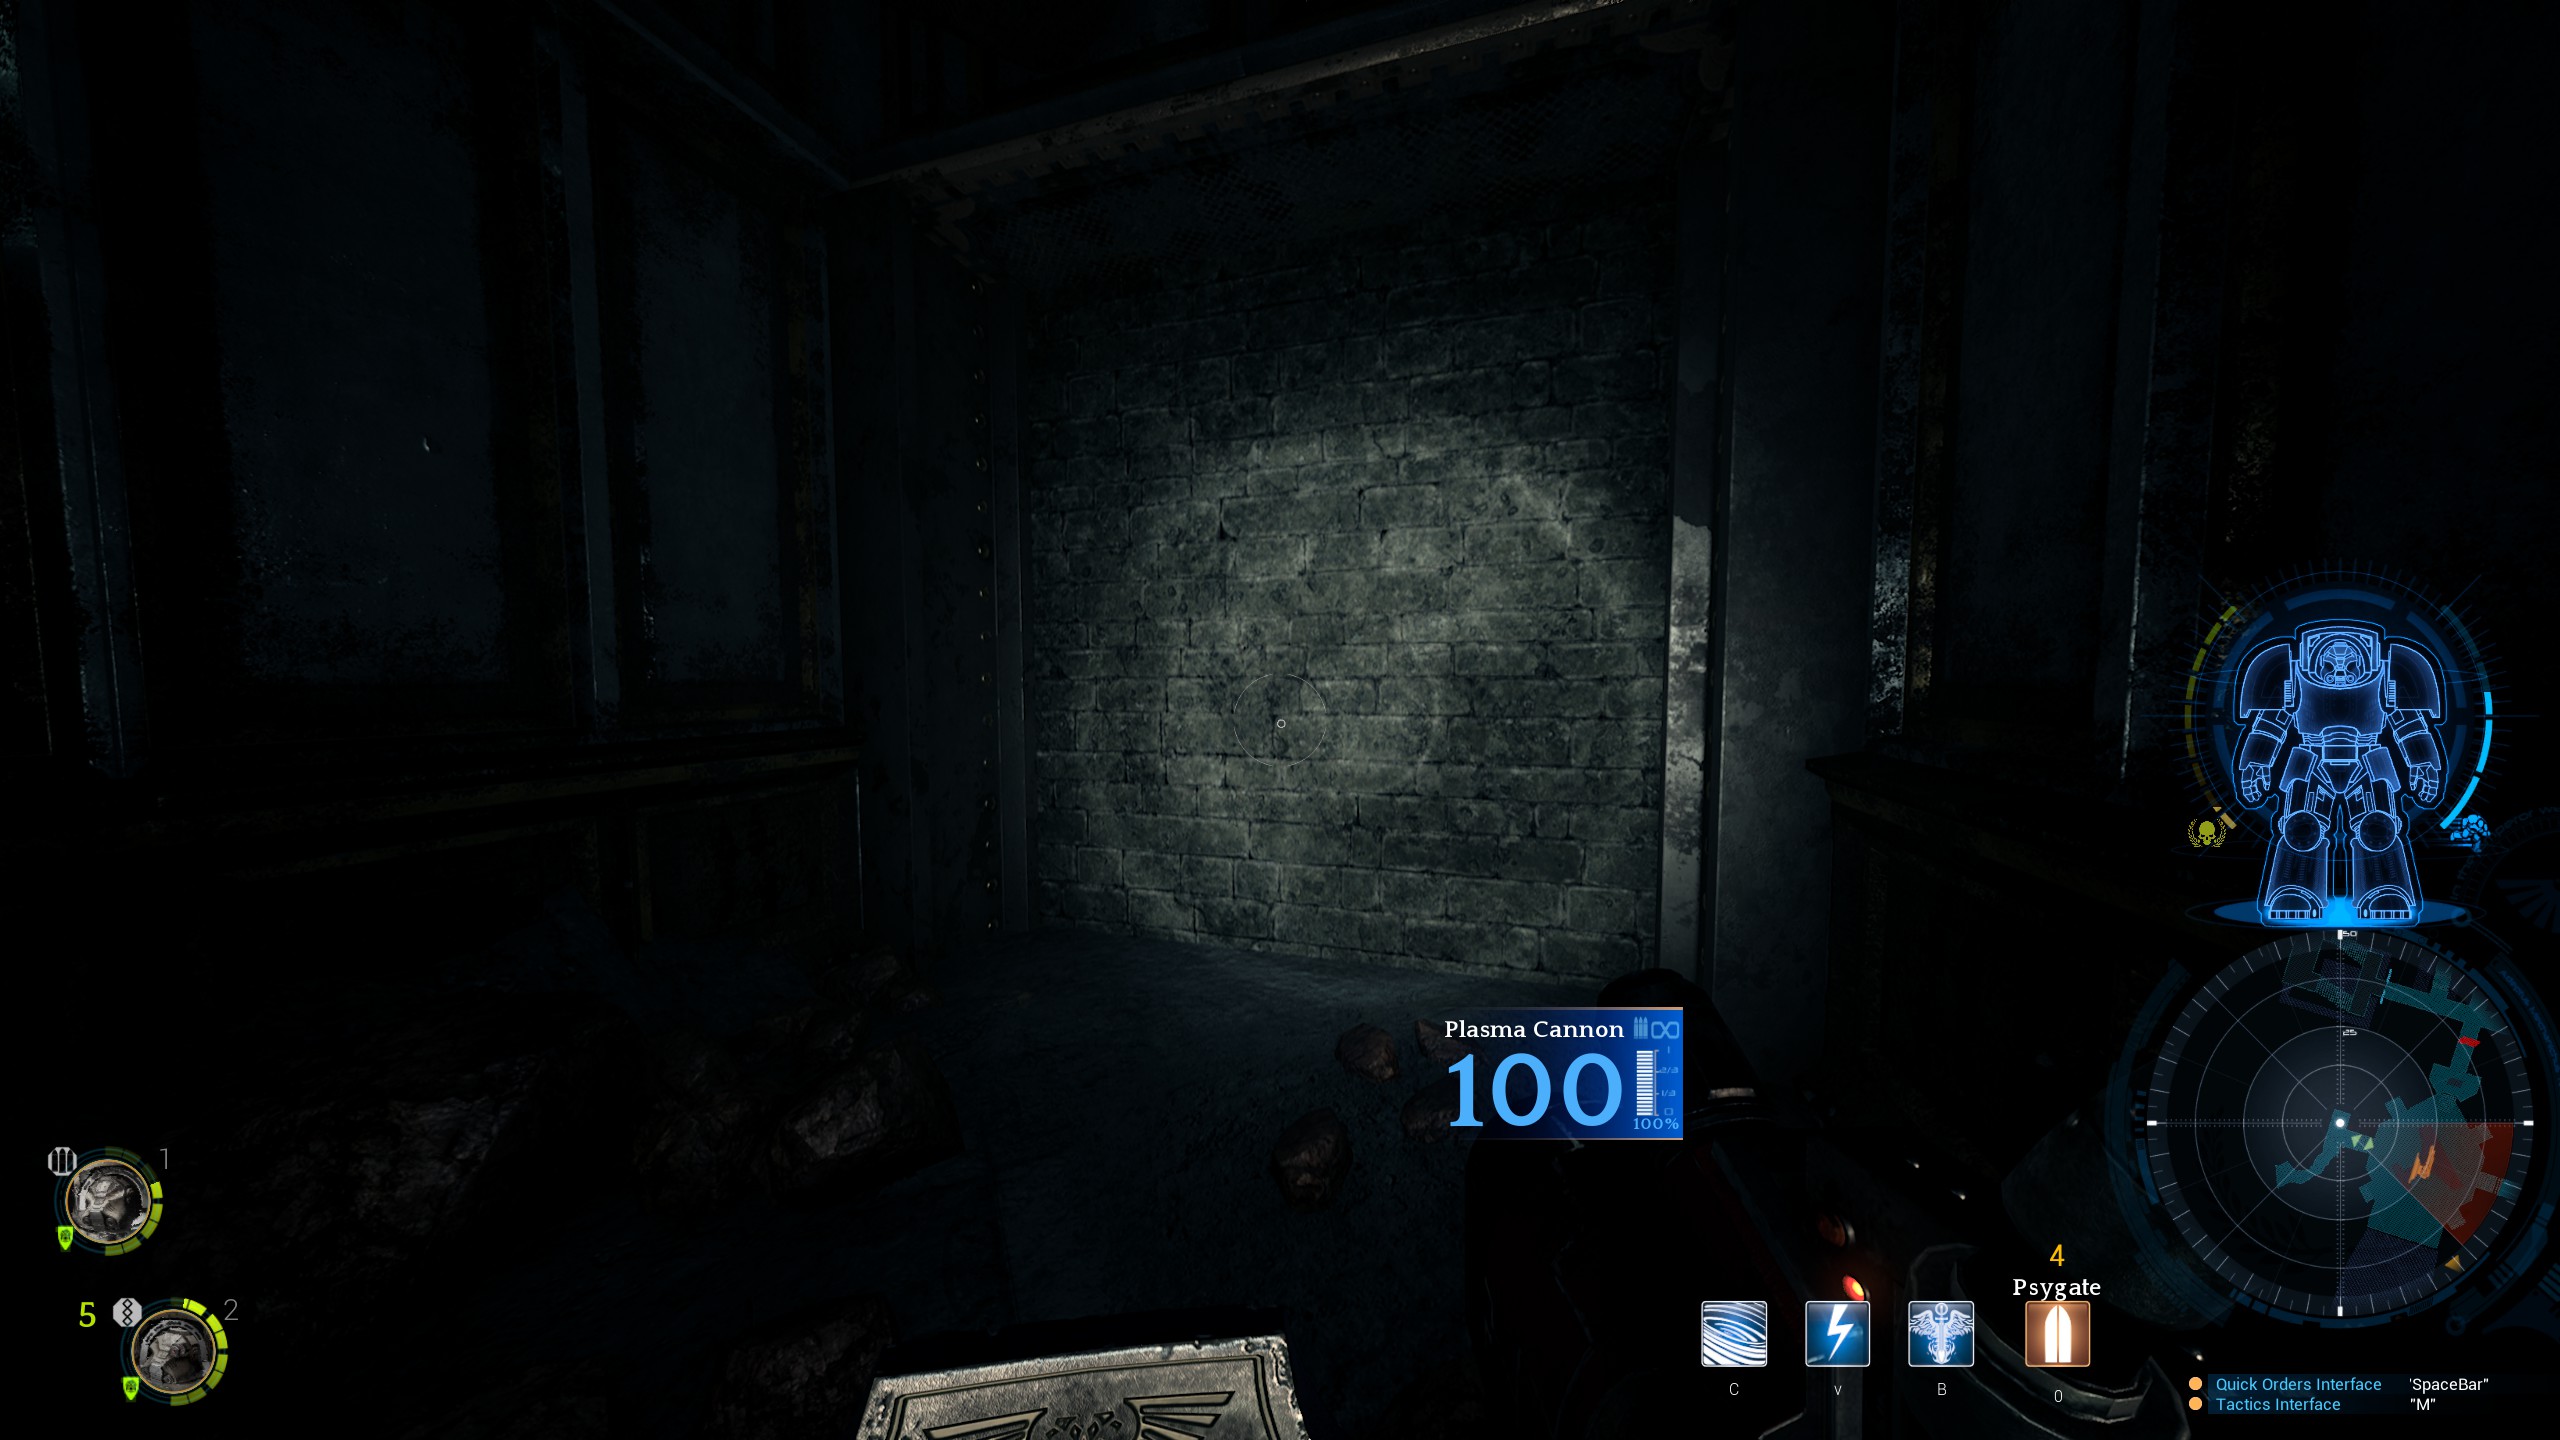
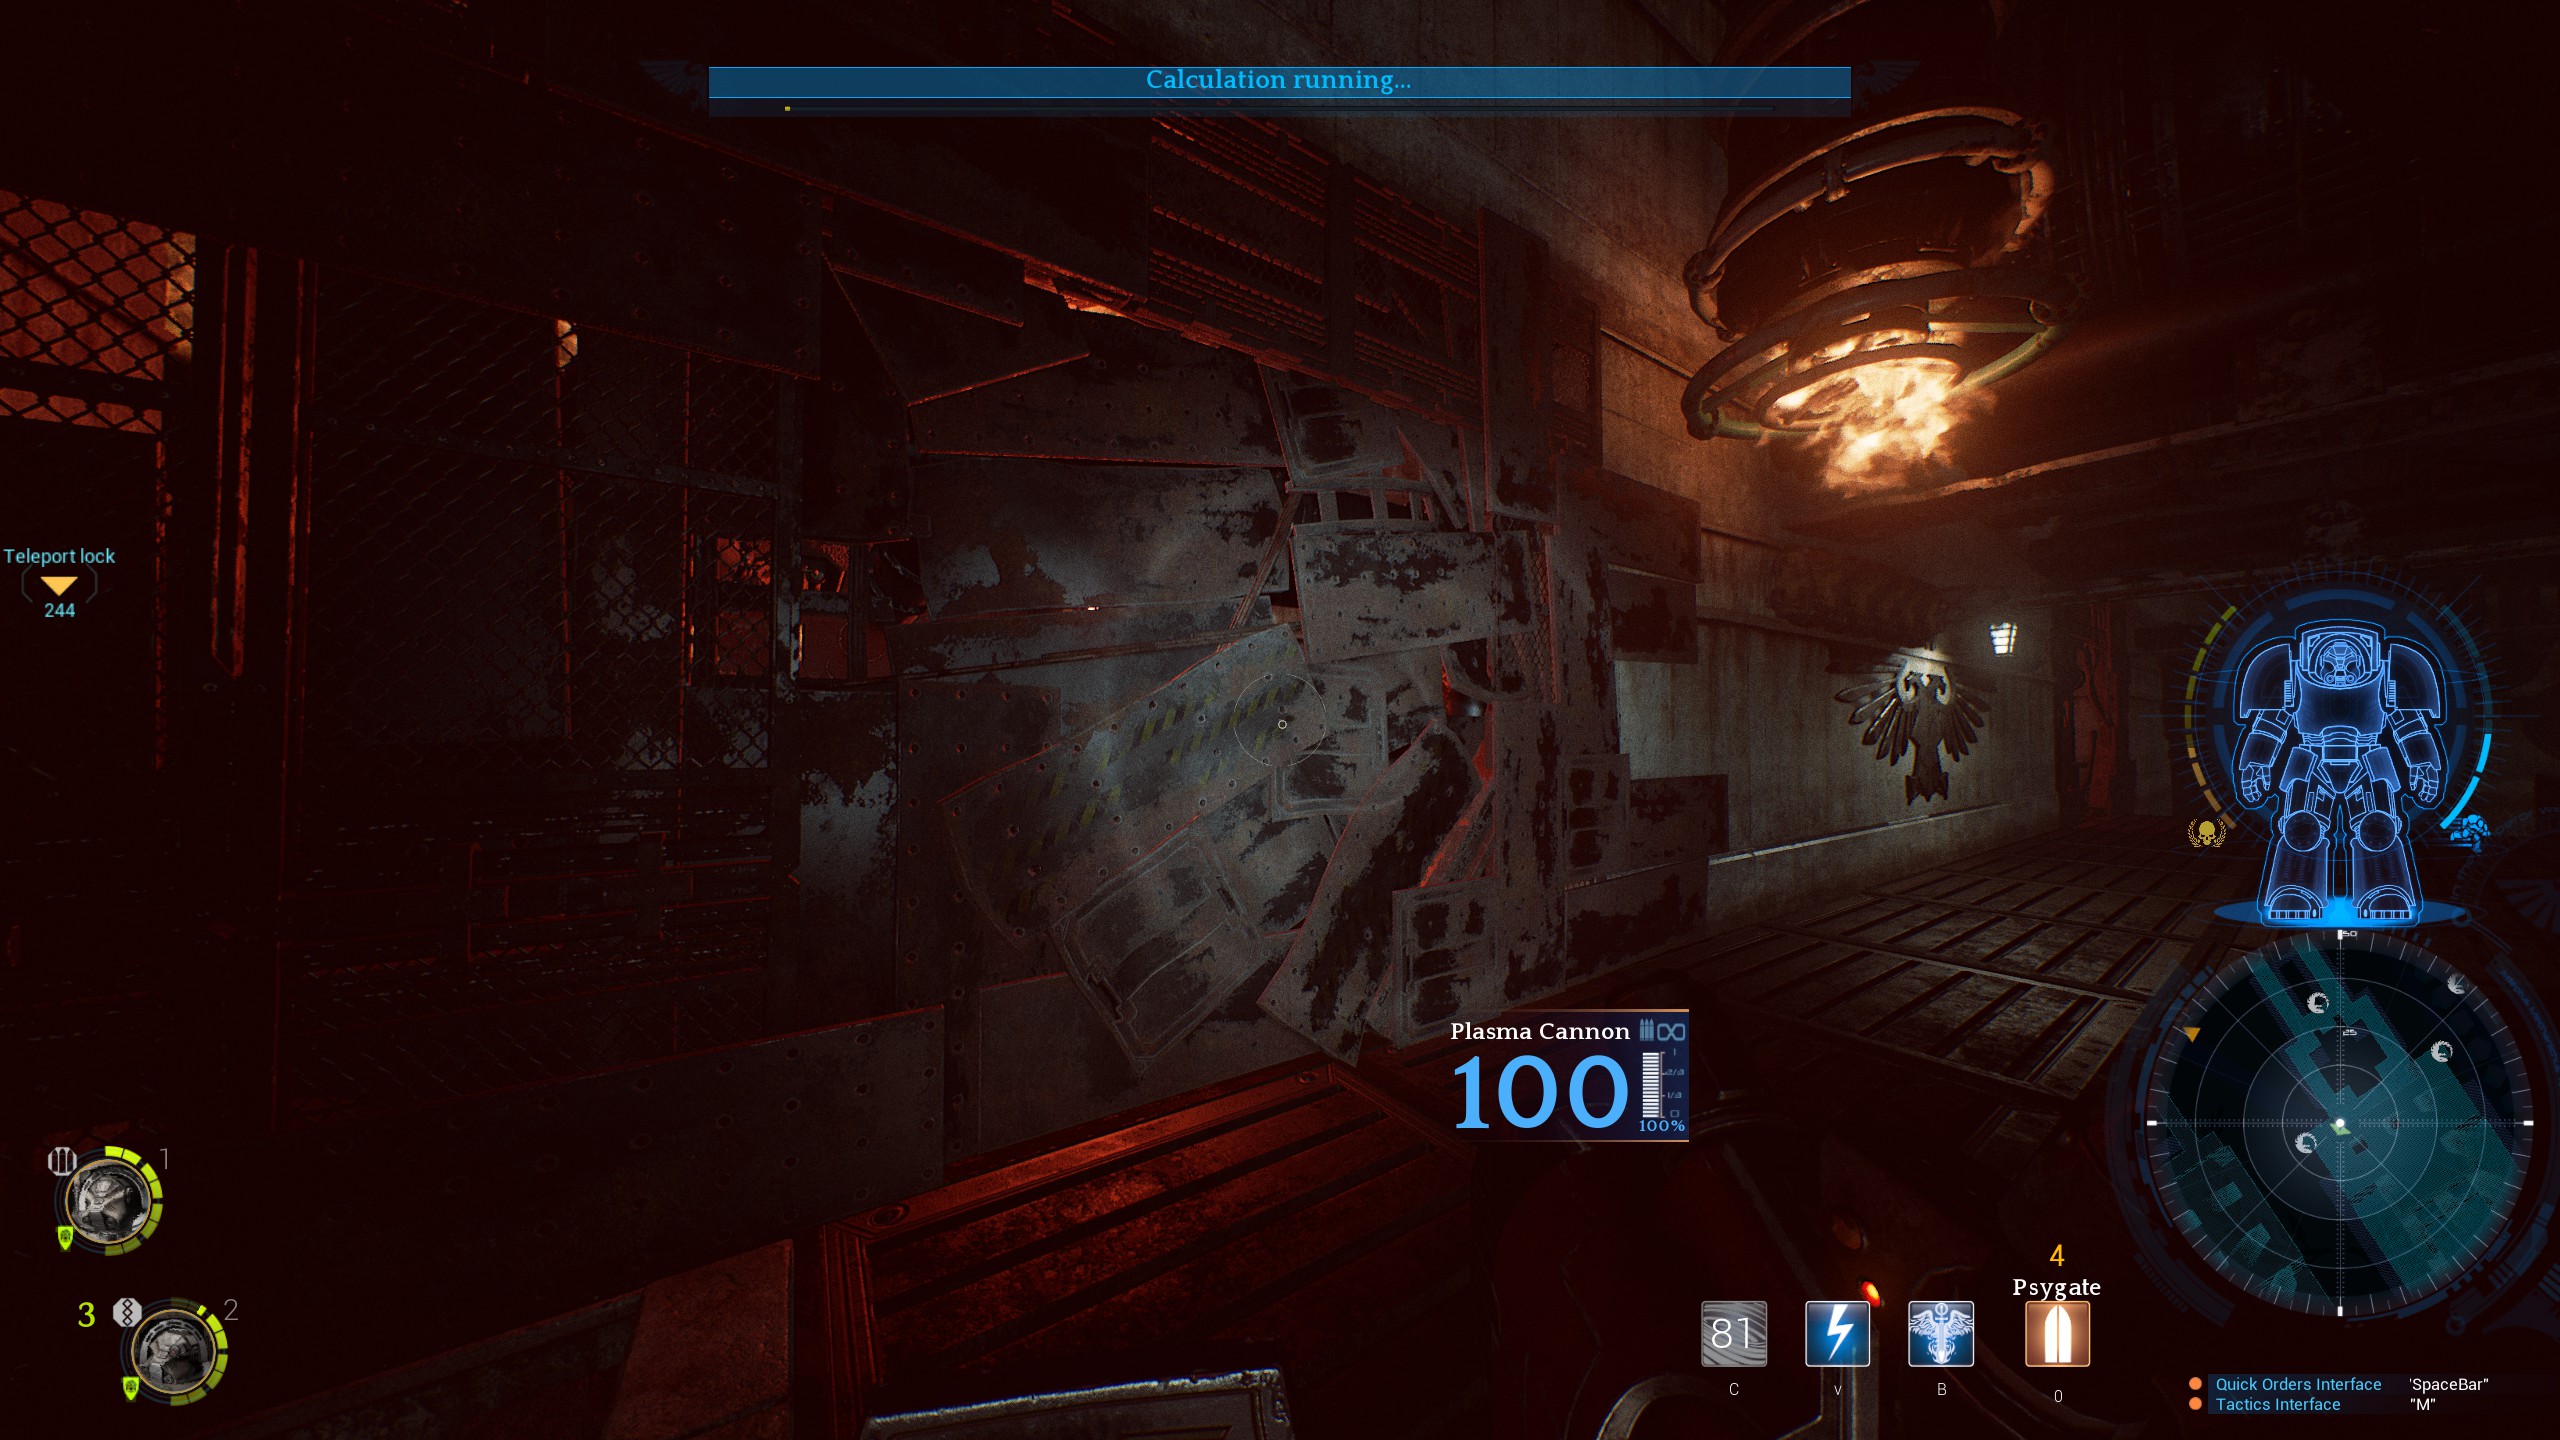
For objective 5 you need to head back to the engine chamber from objective 1 for extraction. If you are following the route you will have to melee a wall to find a hidden path as shown below.
In multiplayer you need to hold off a swarm before you’re extracted. *TEST*
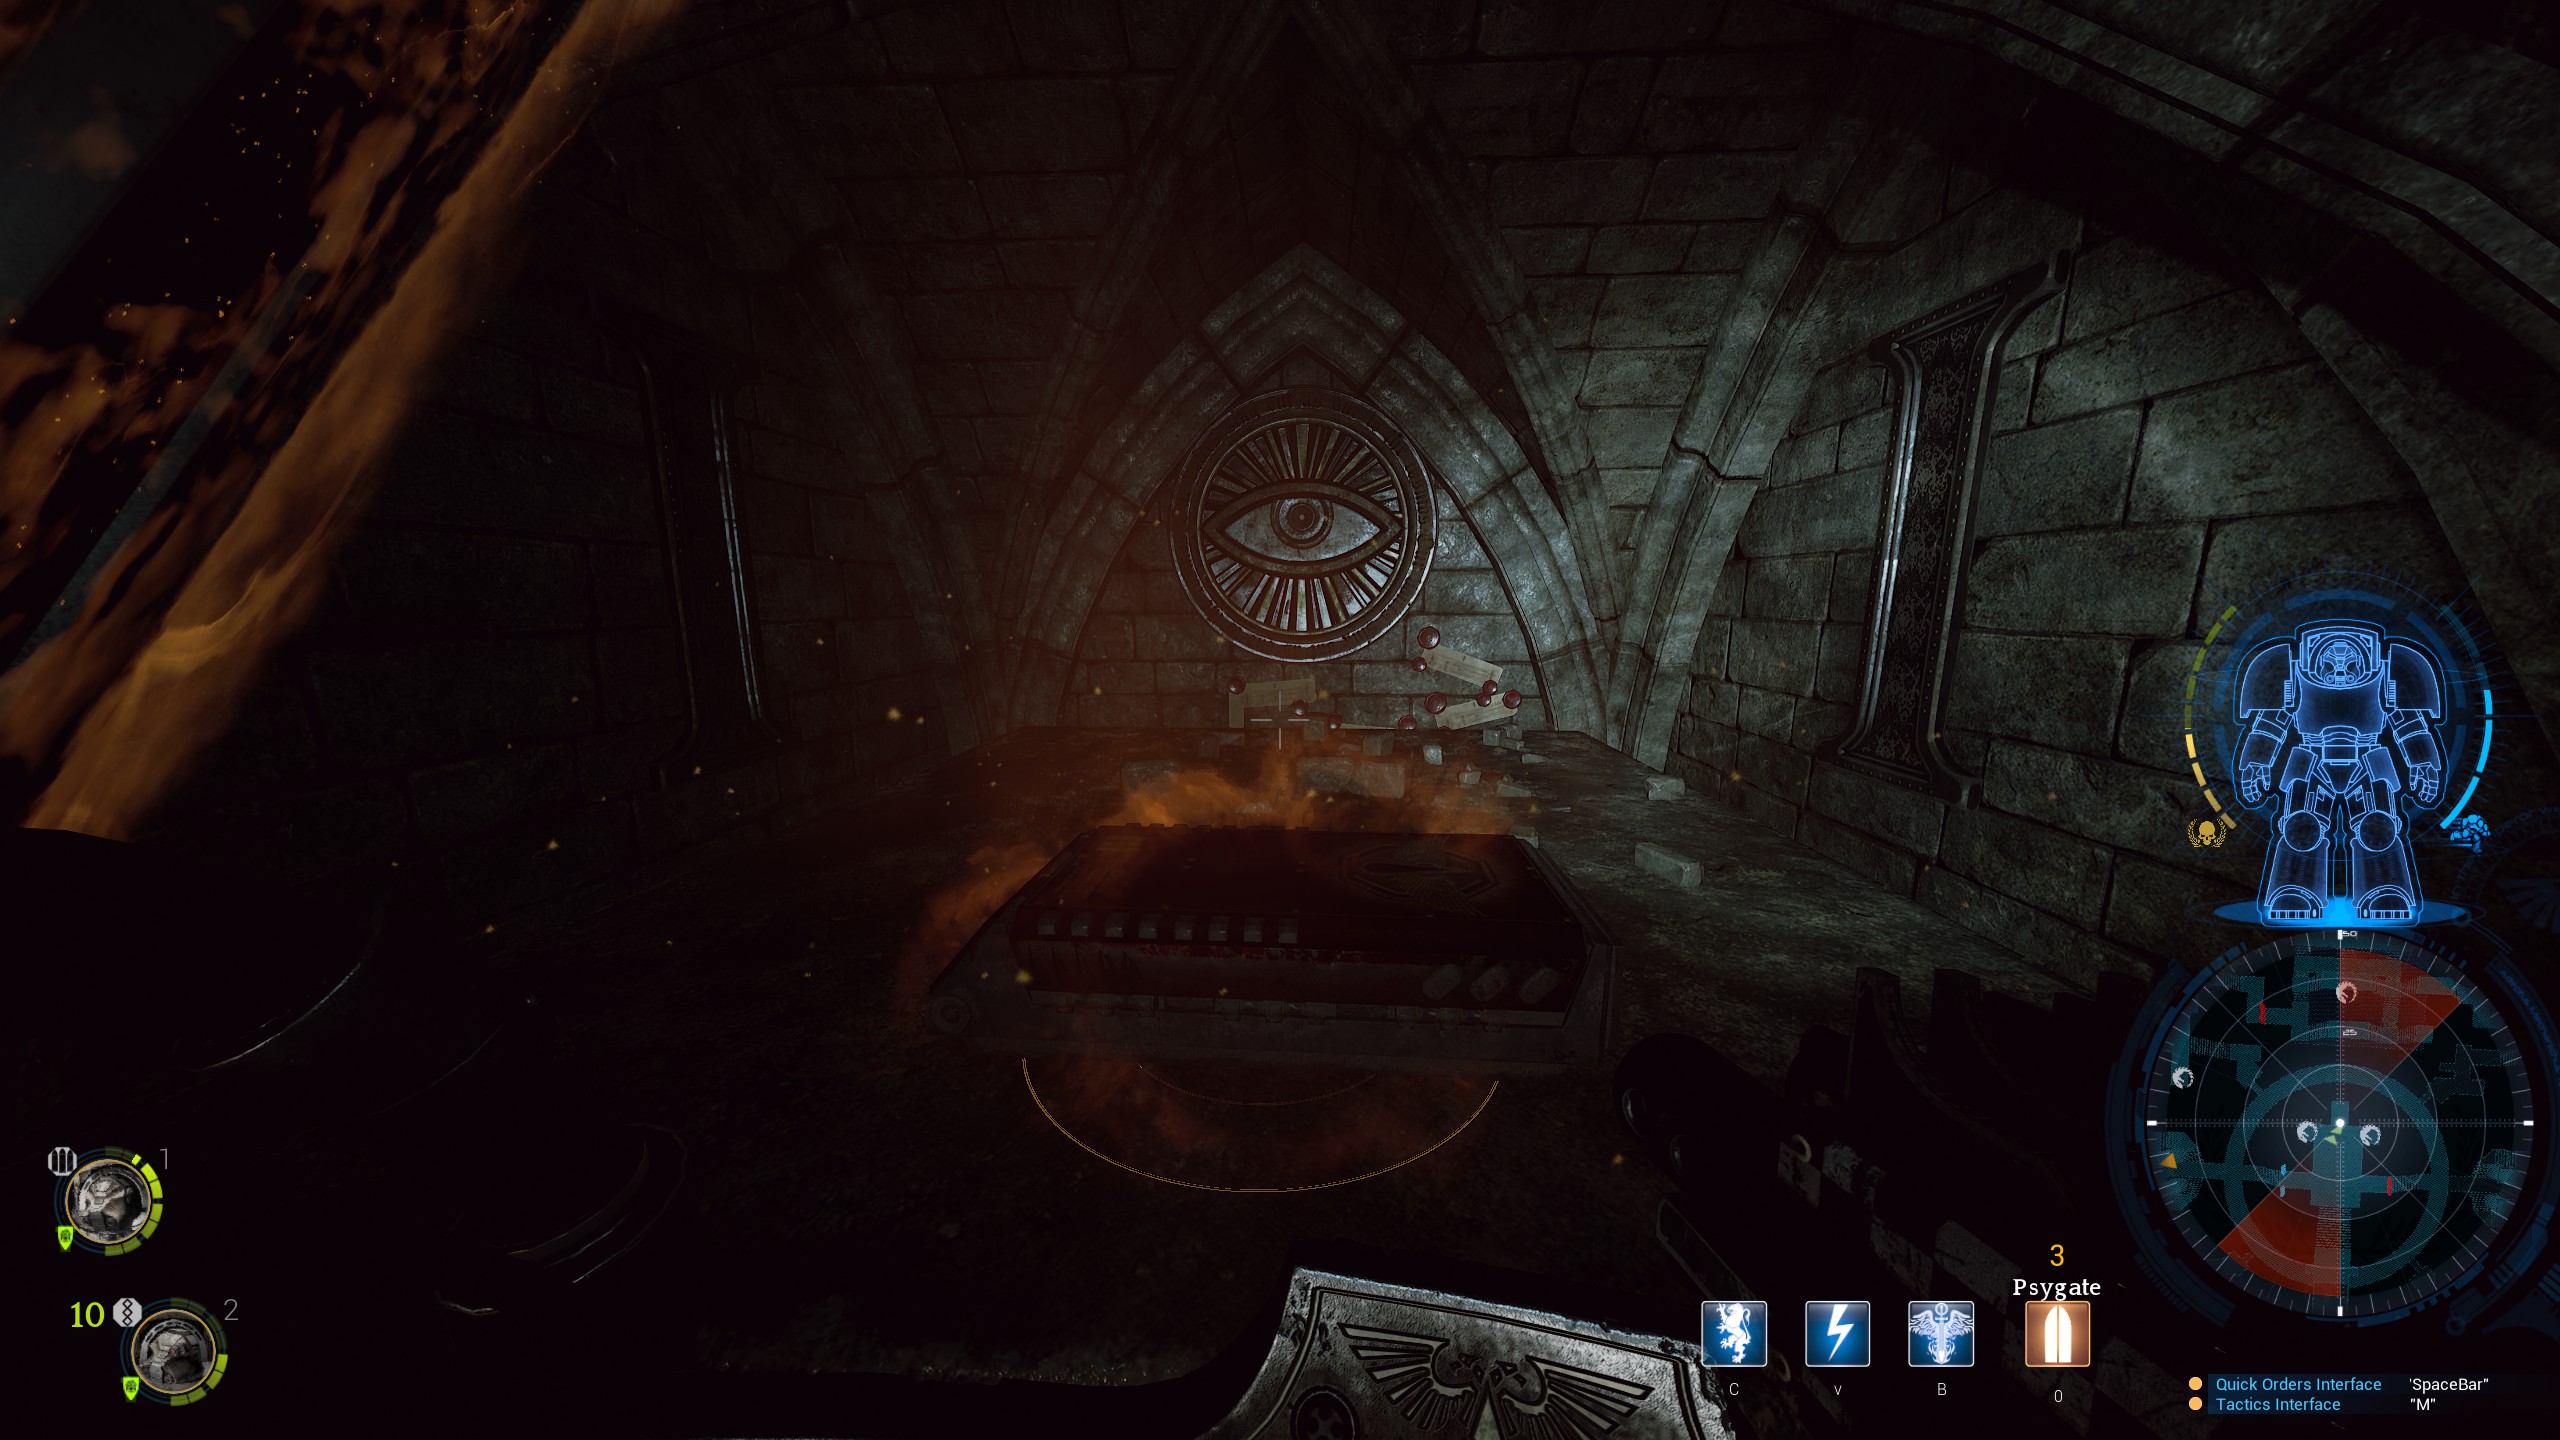
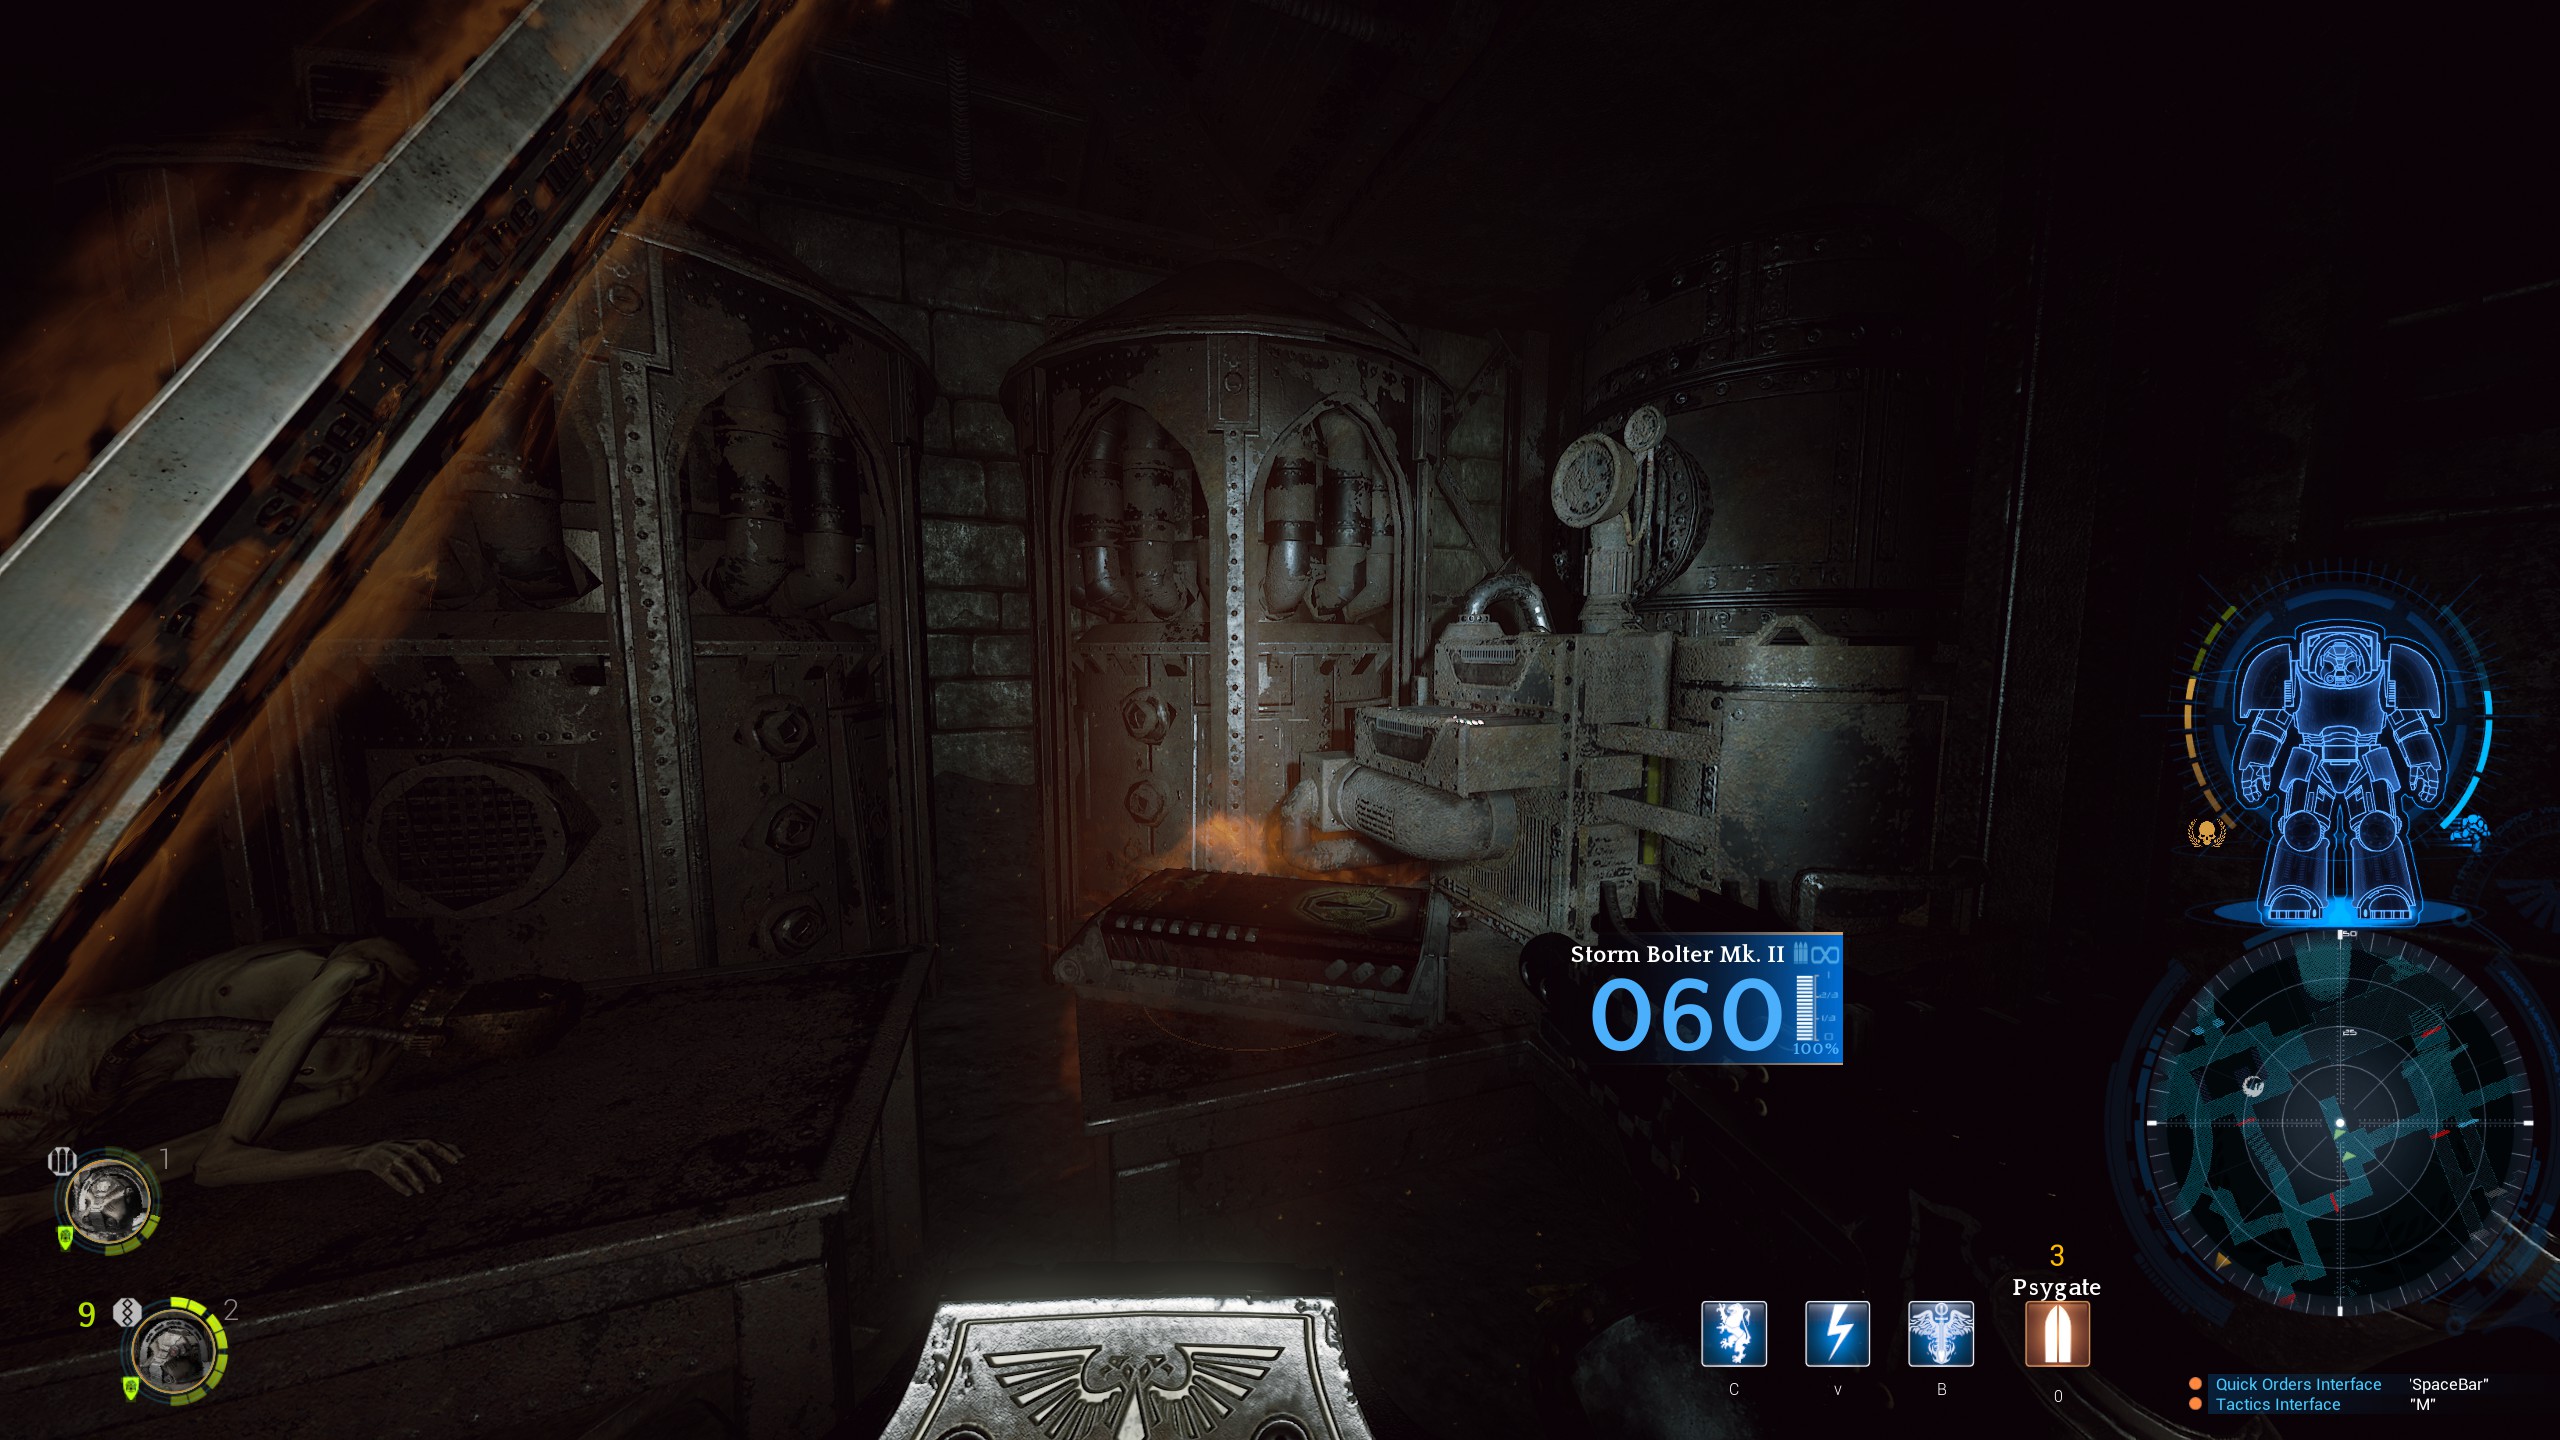
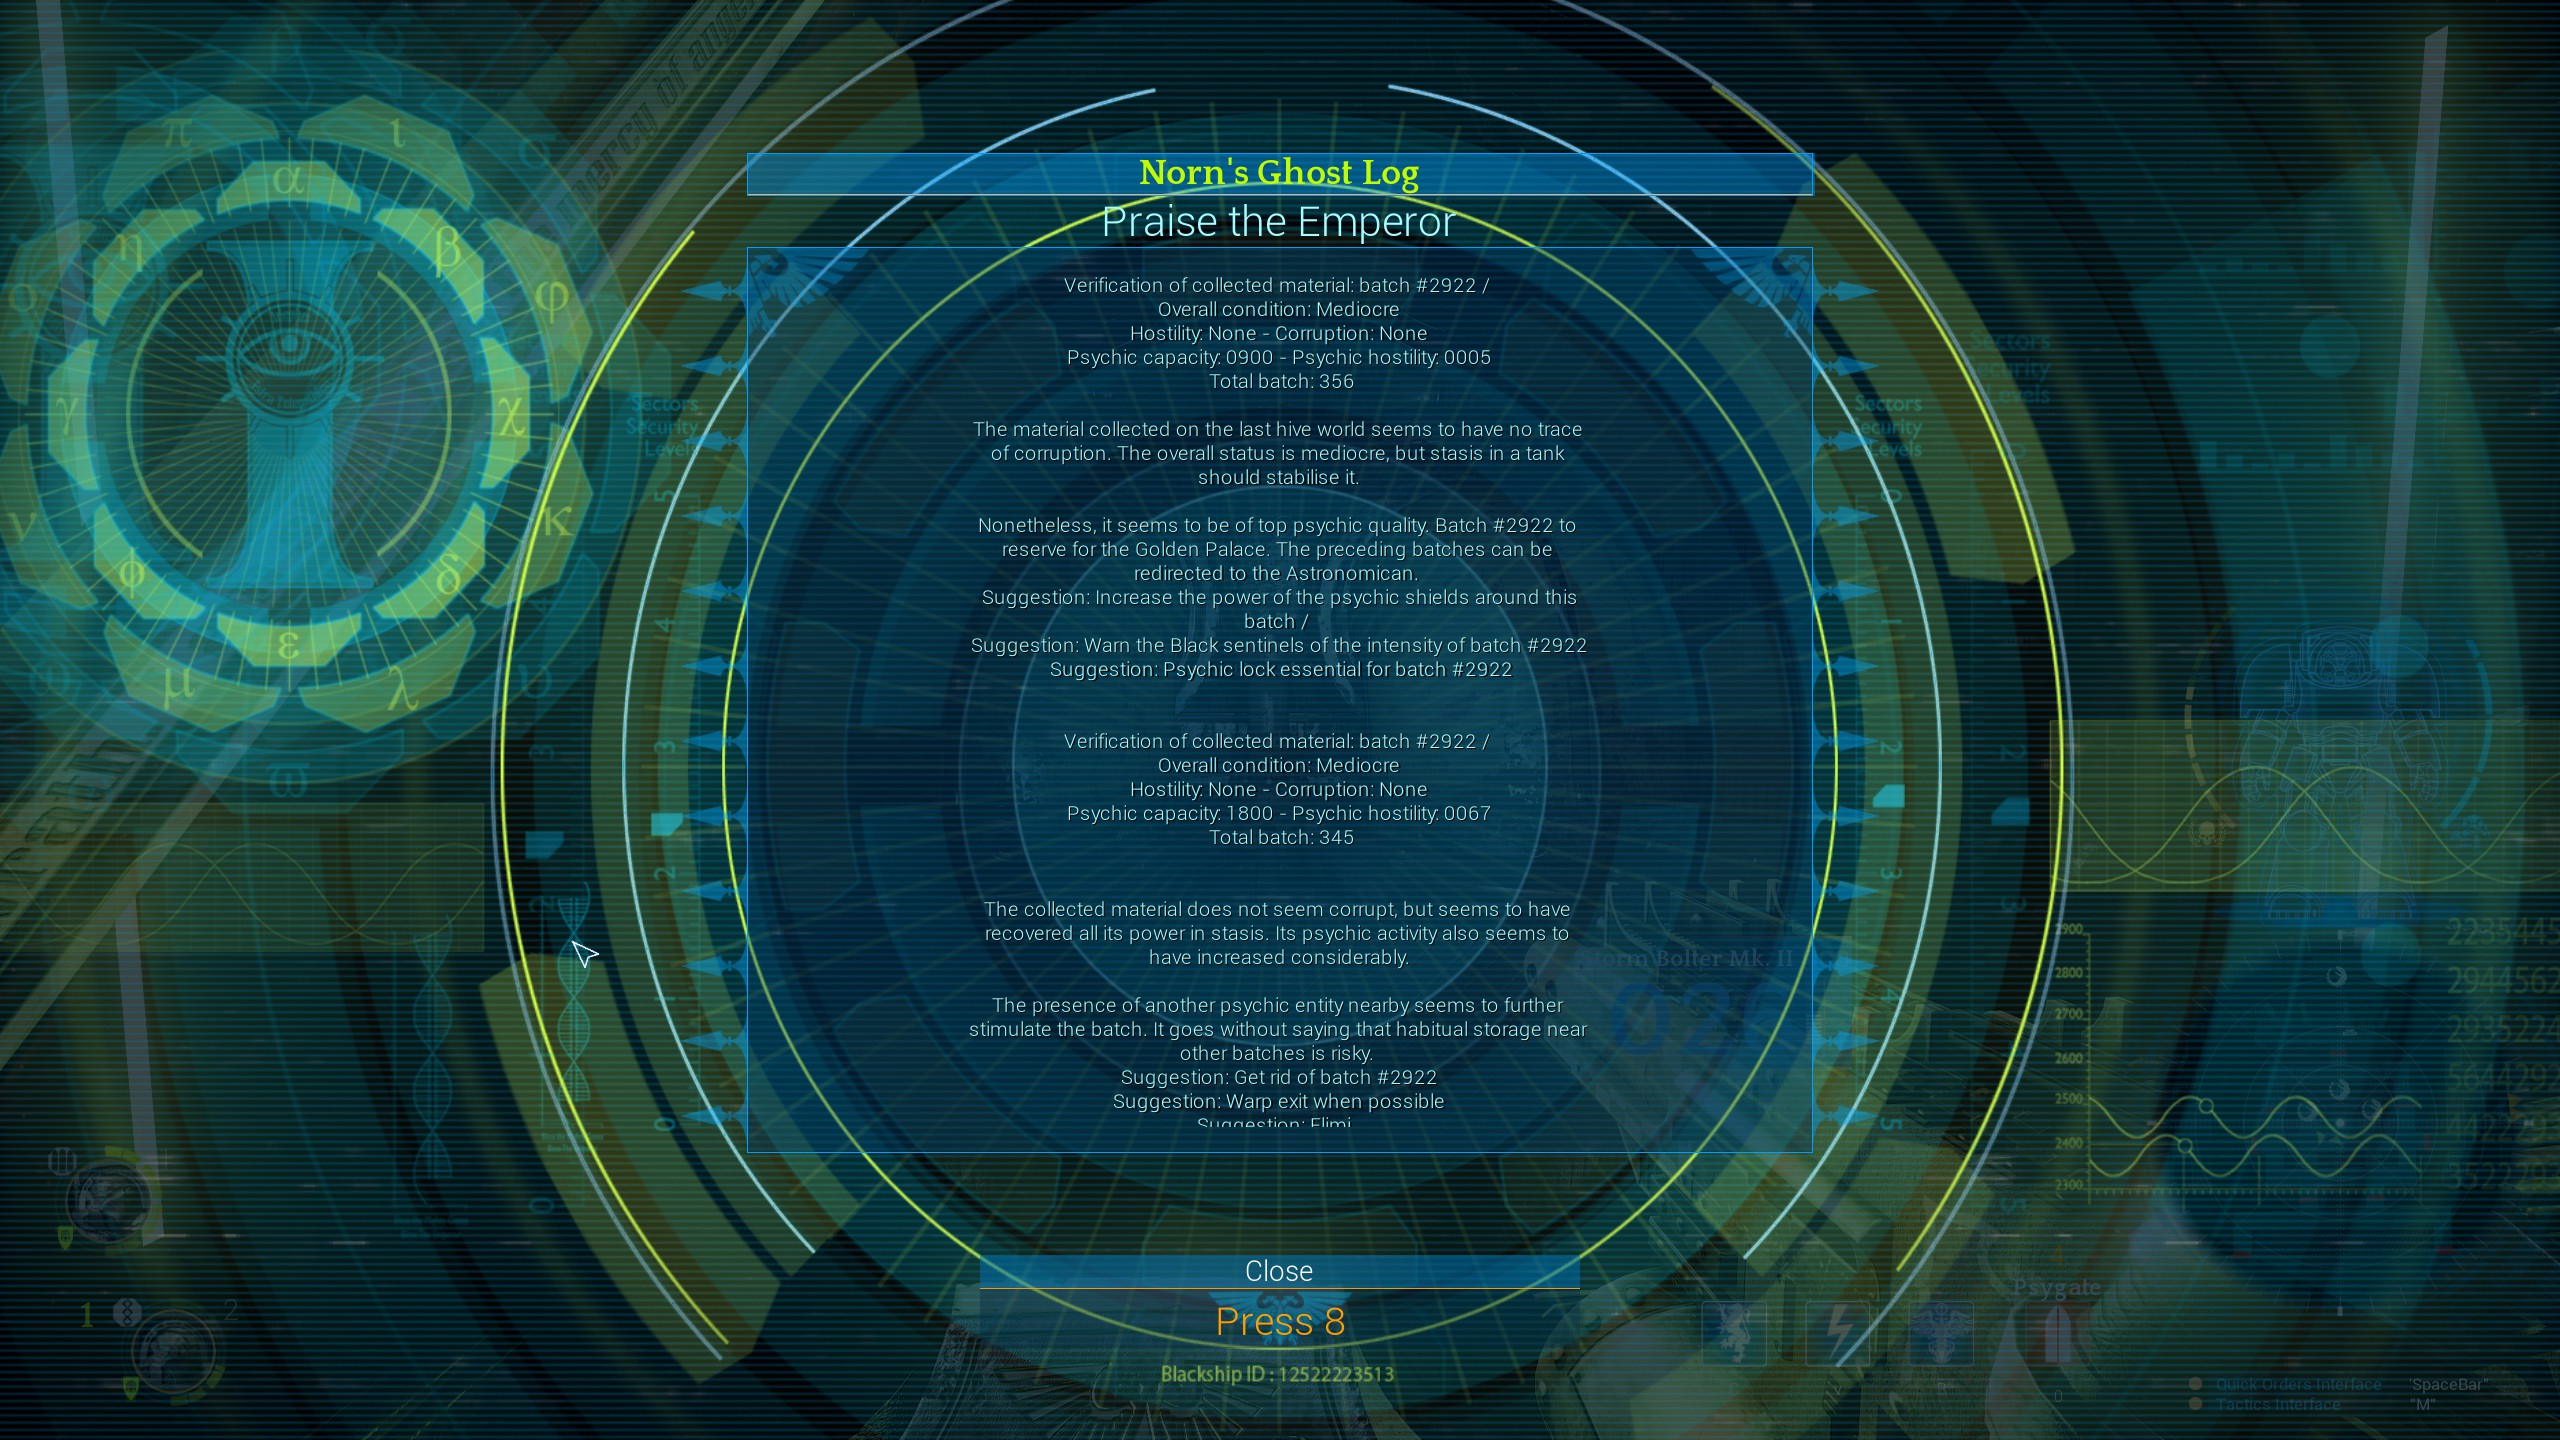
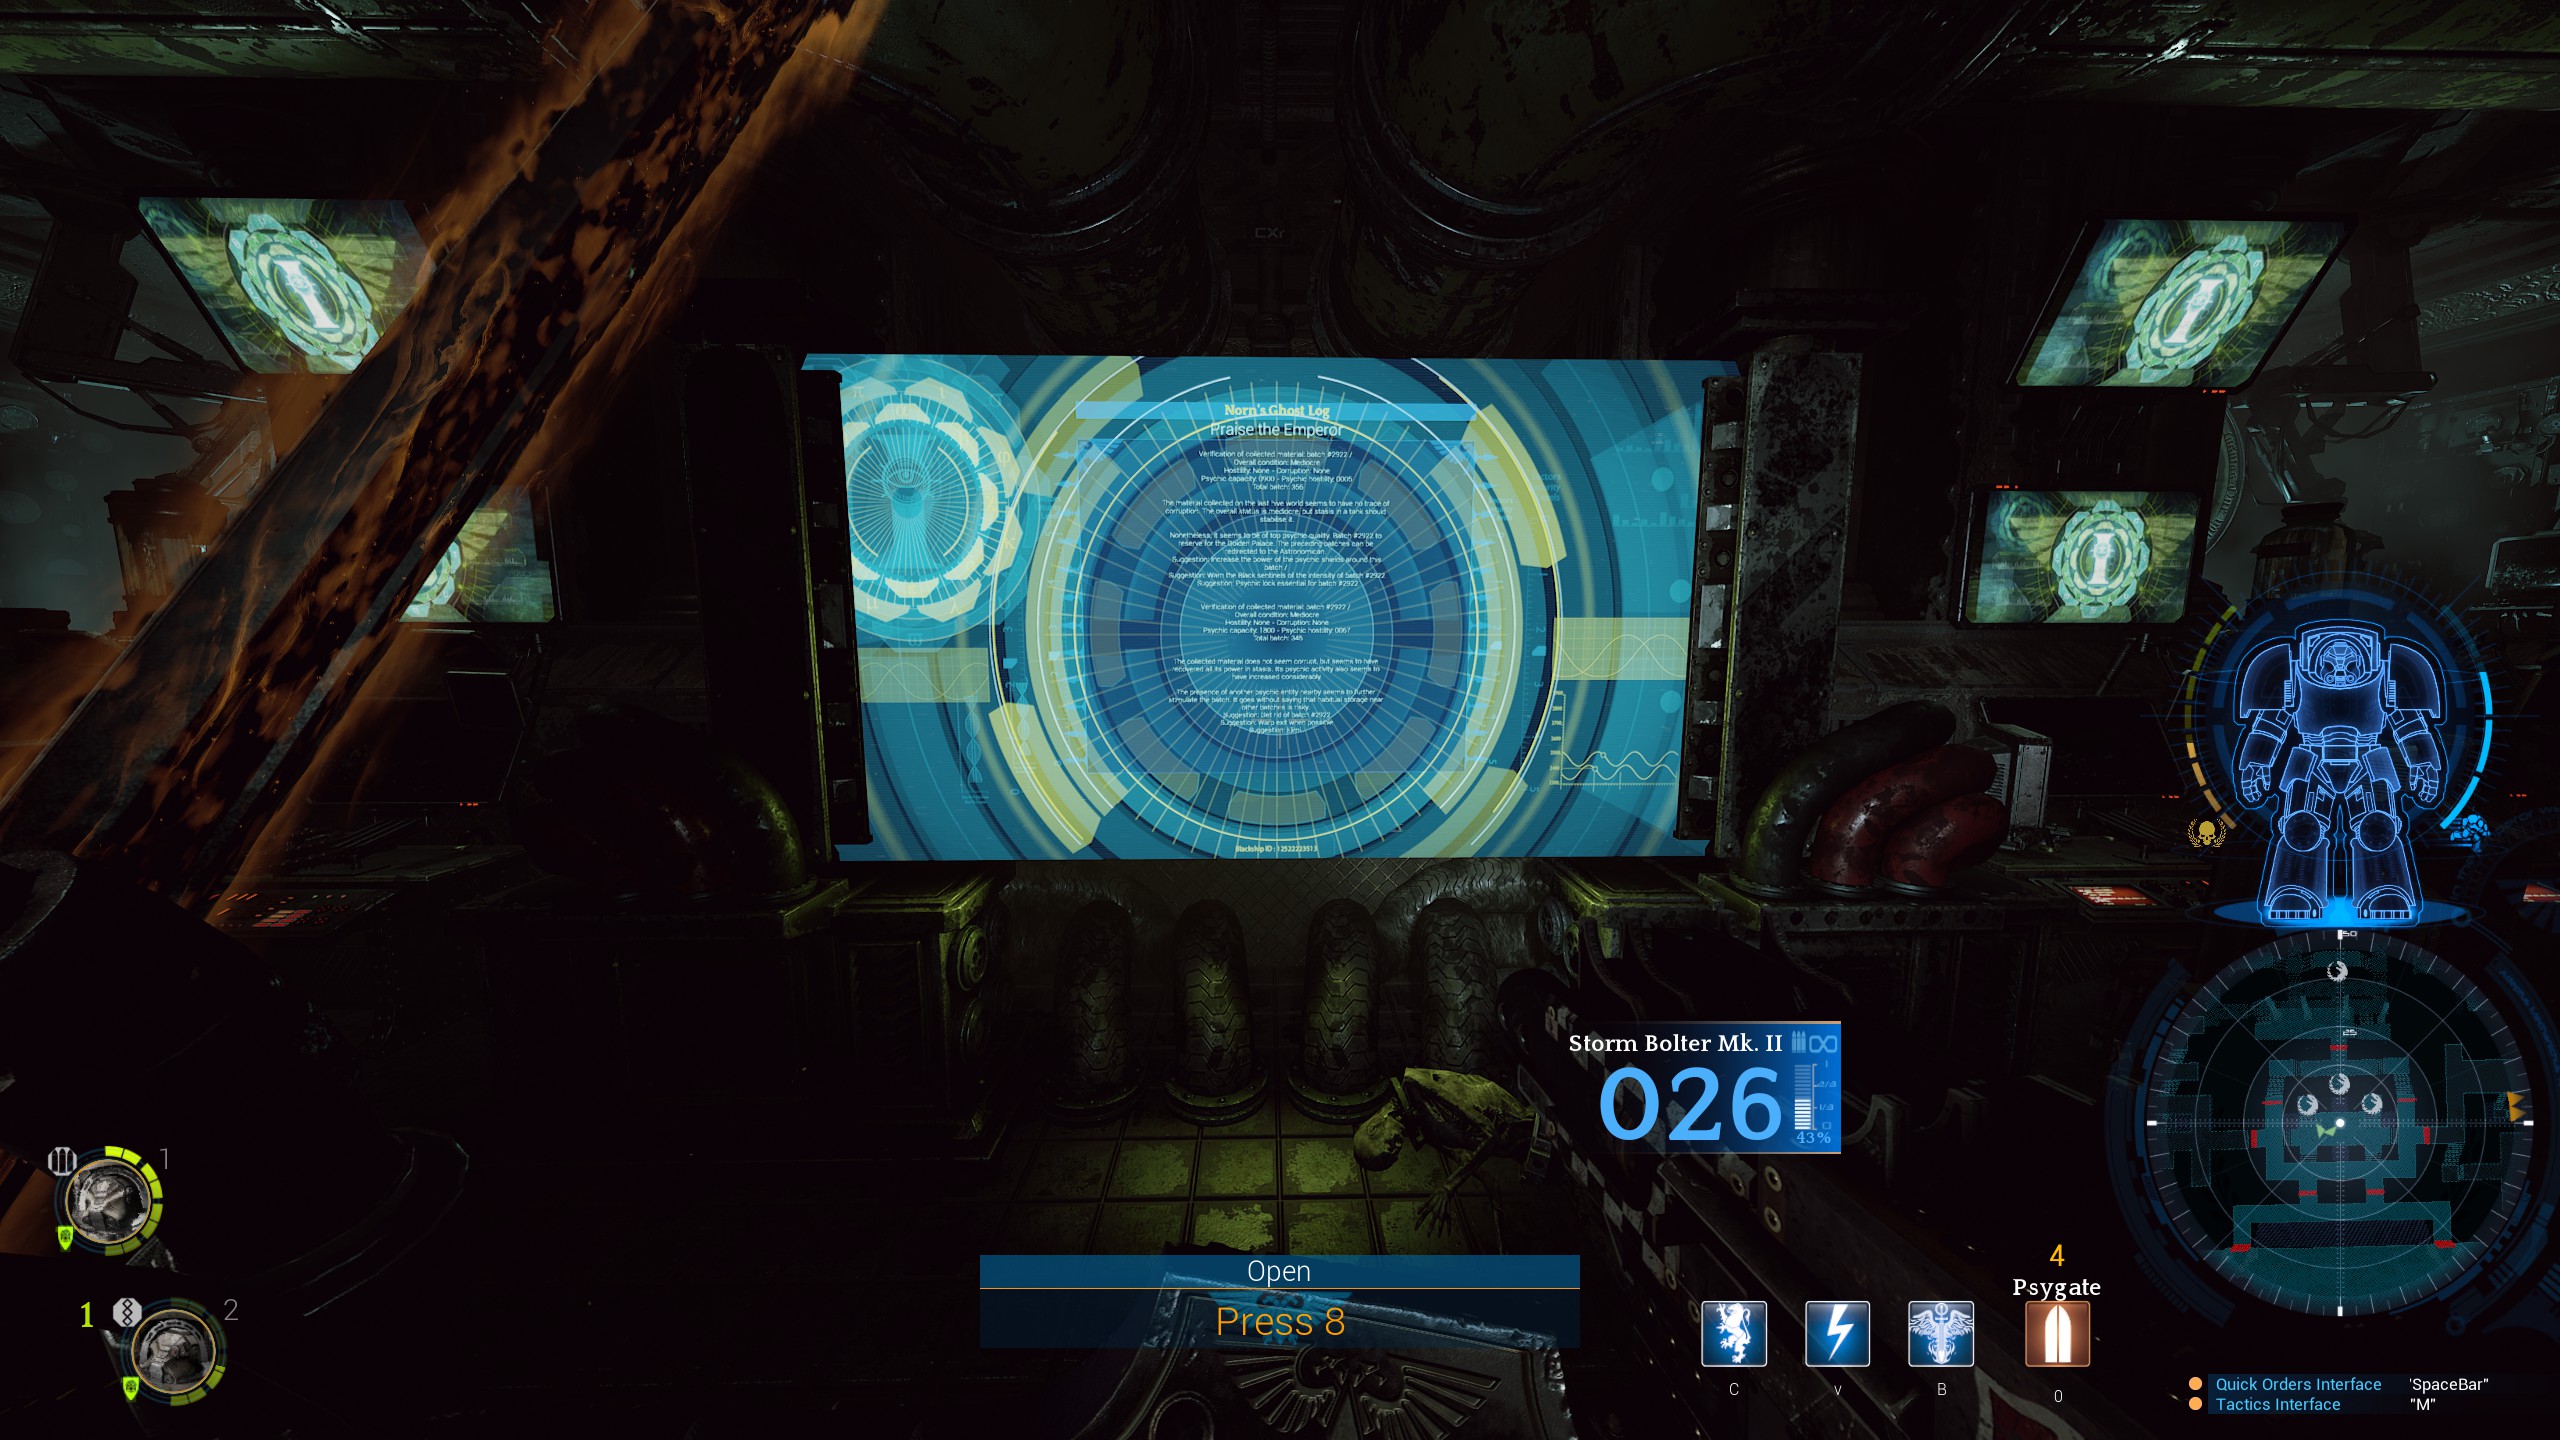
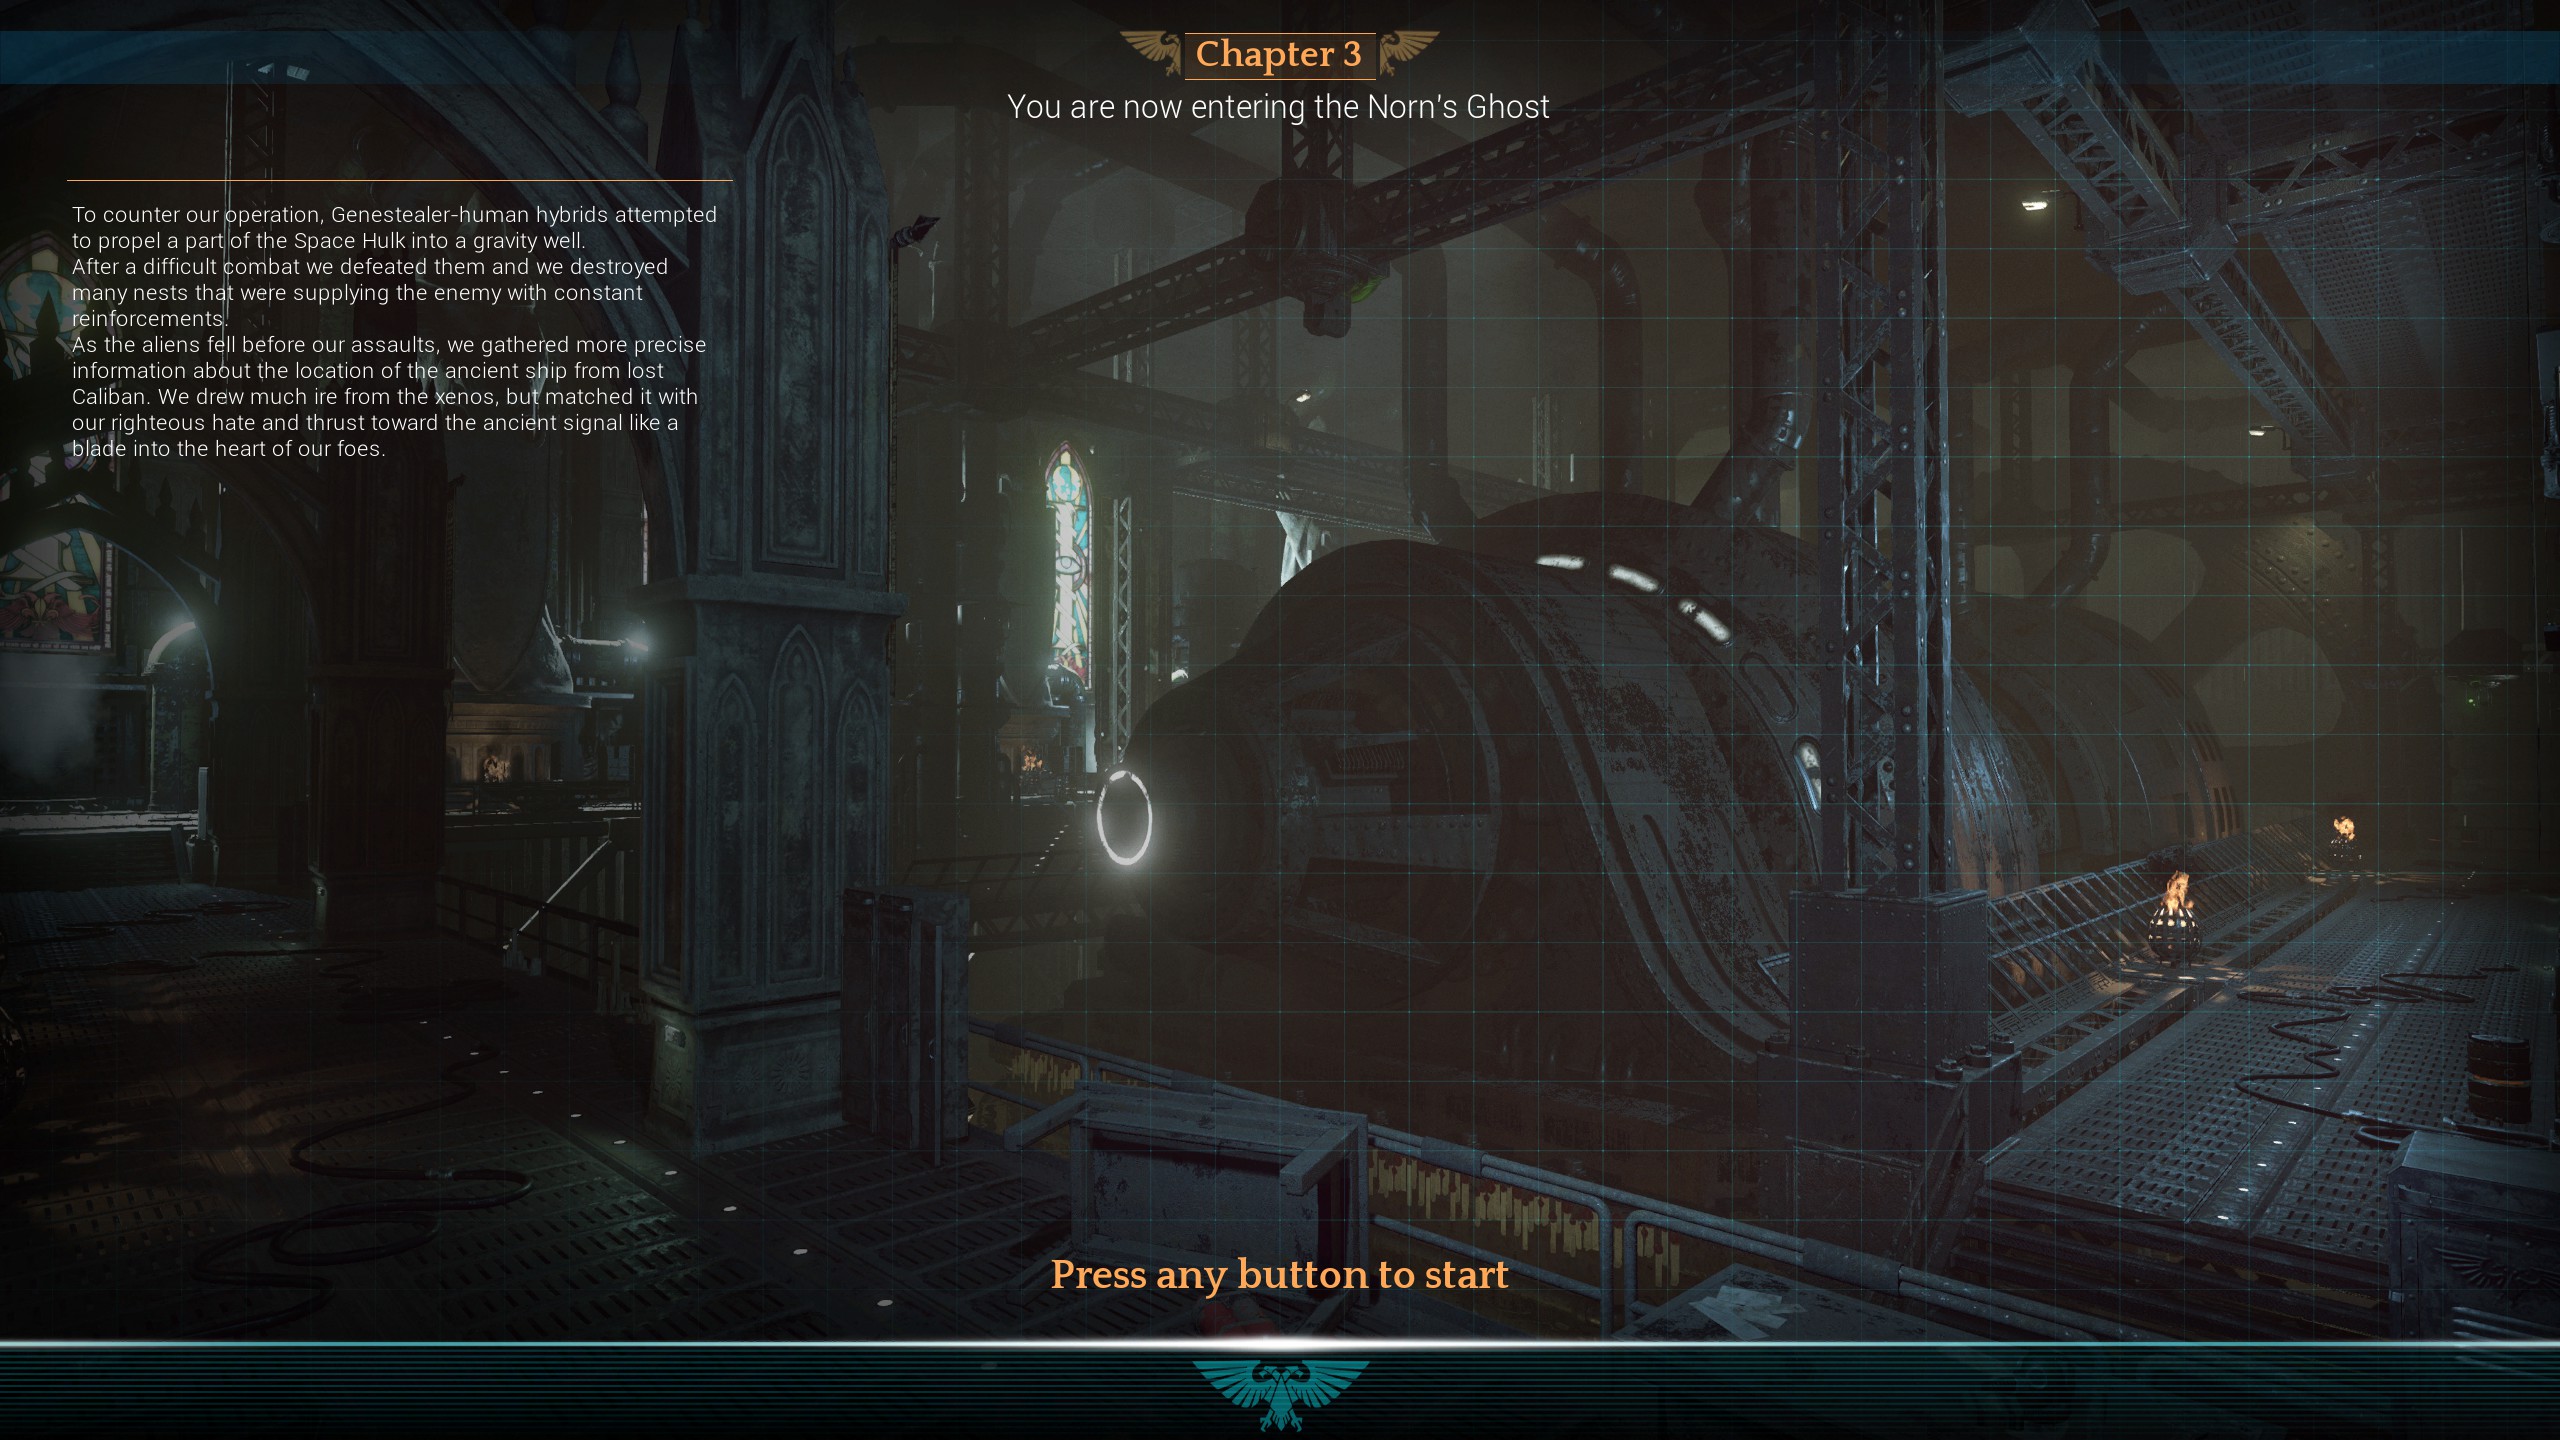
장 03 – Norn’s Ghost
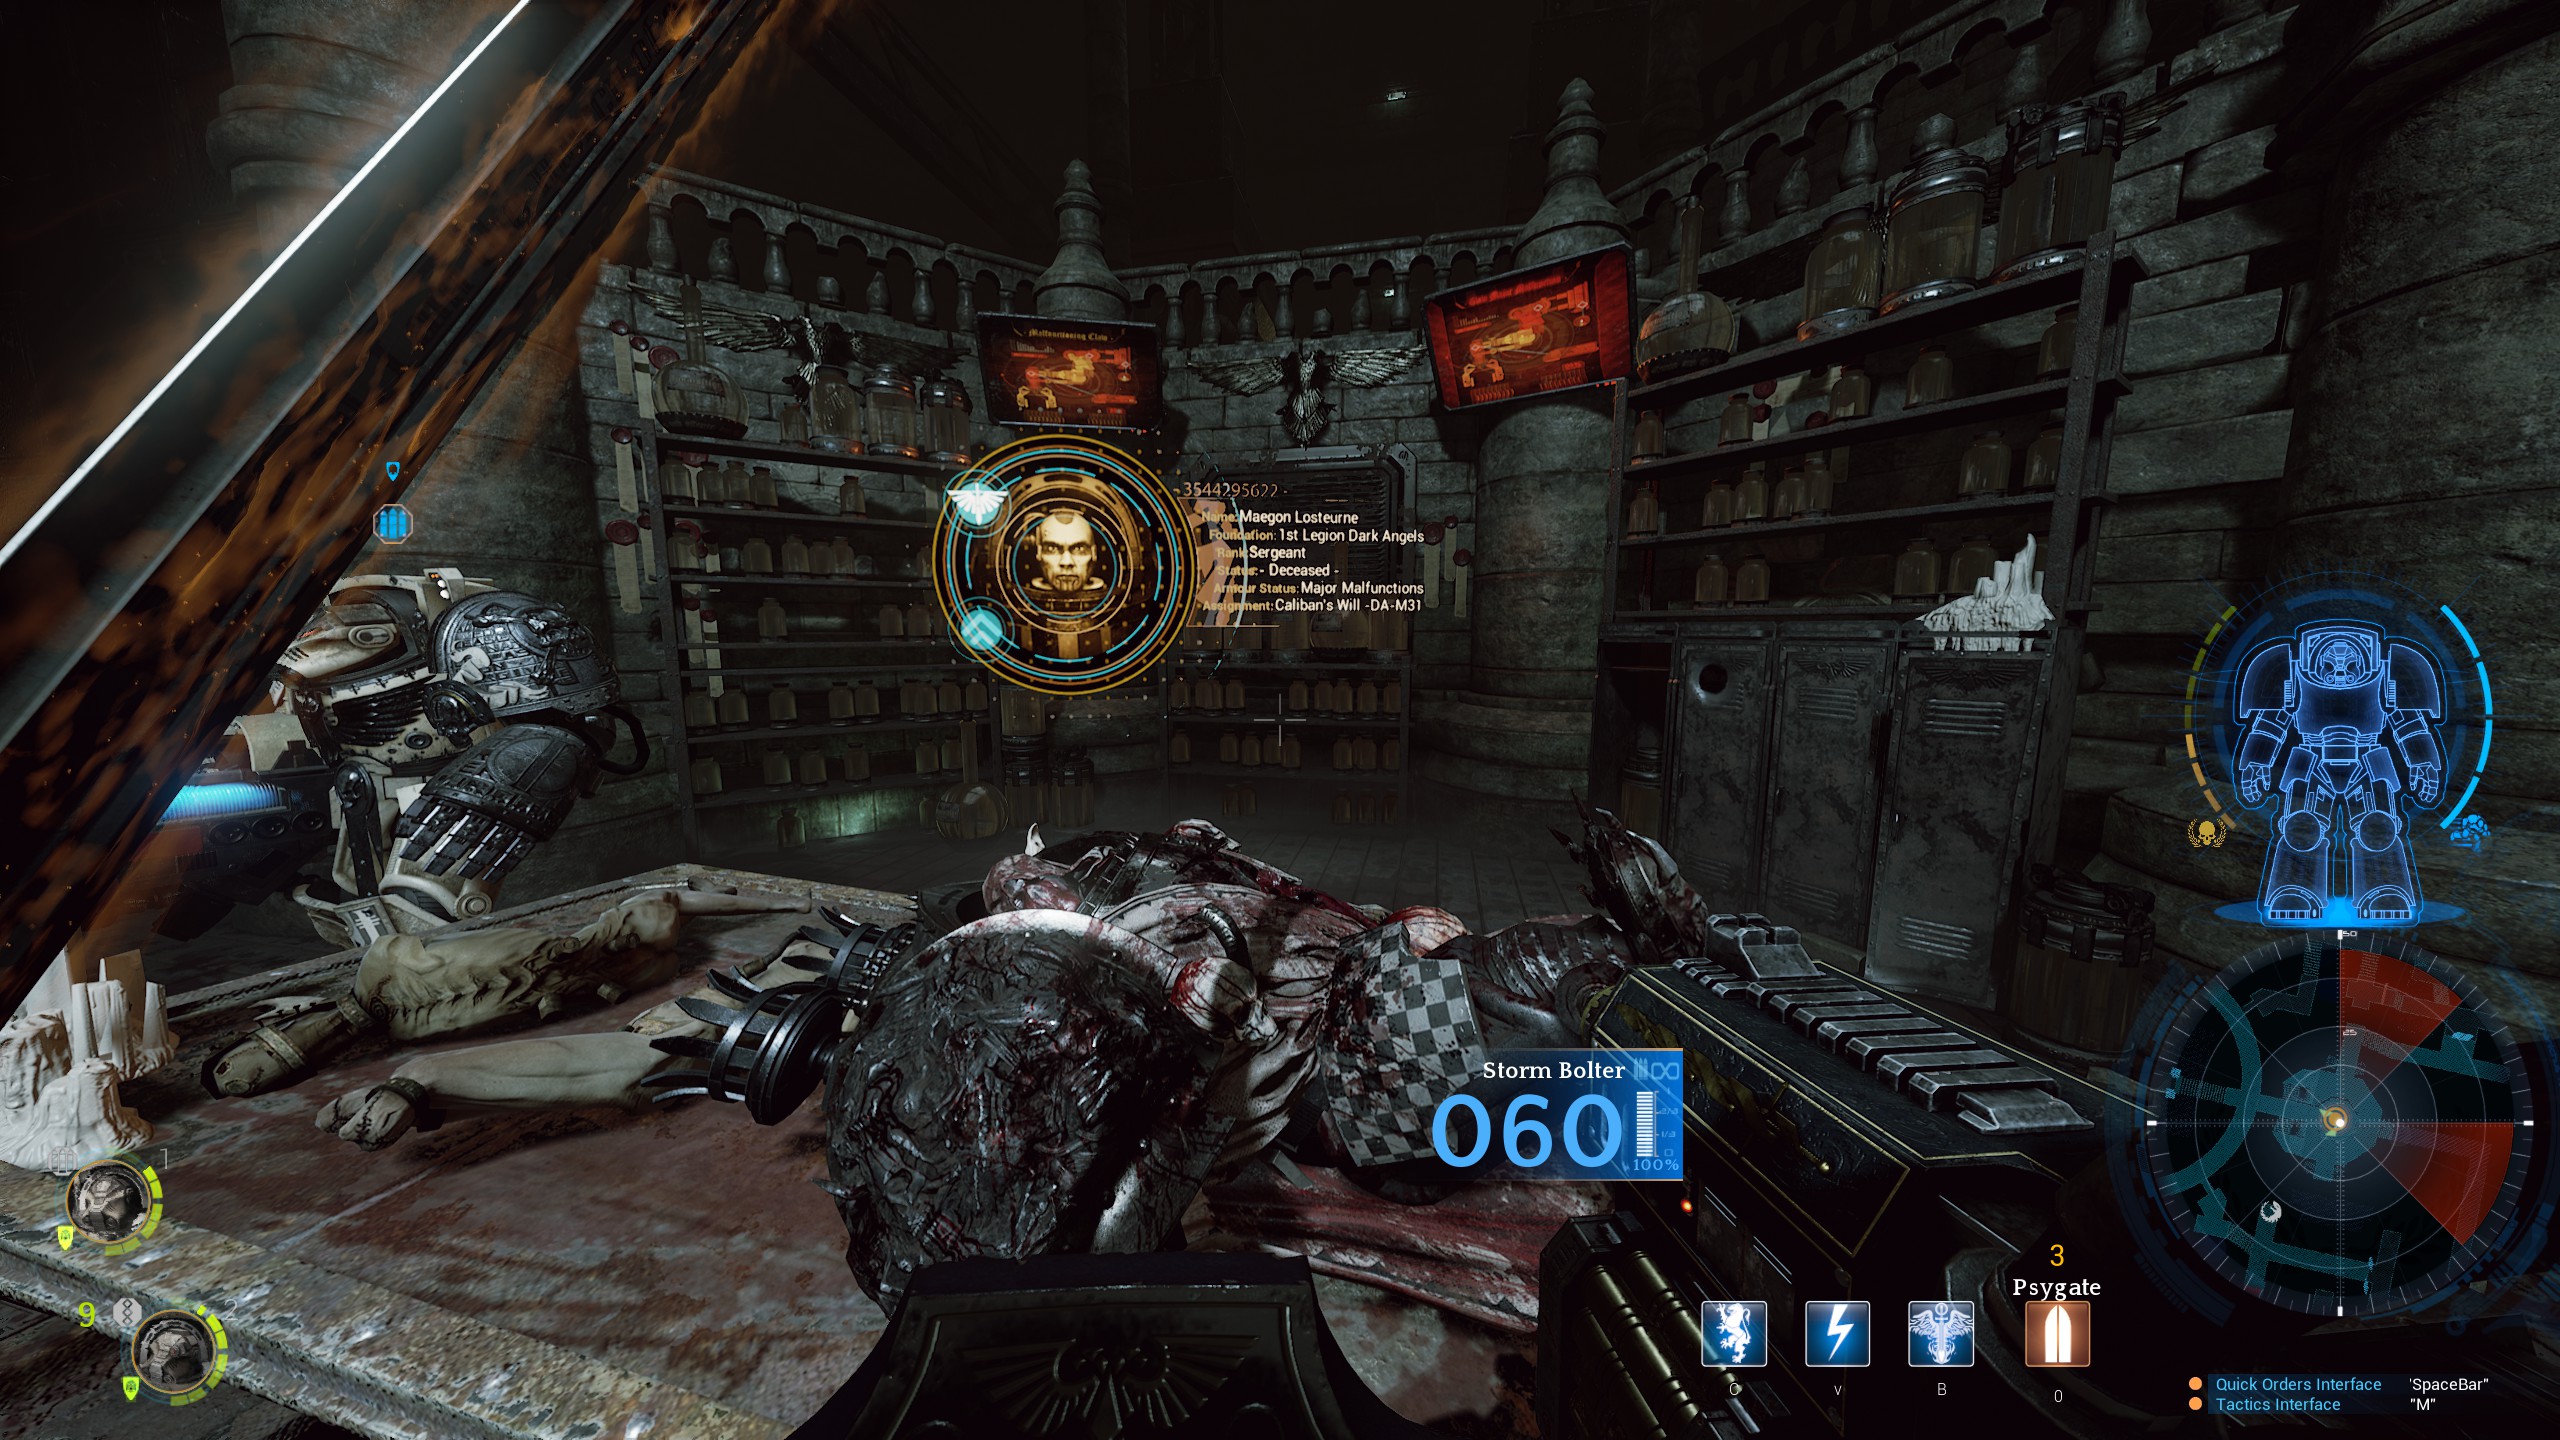
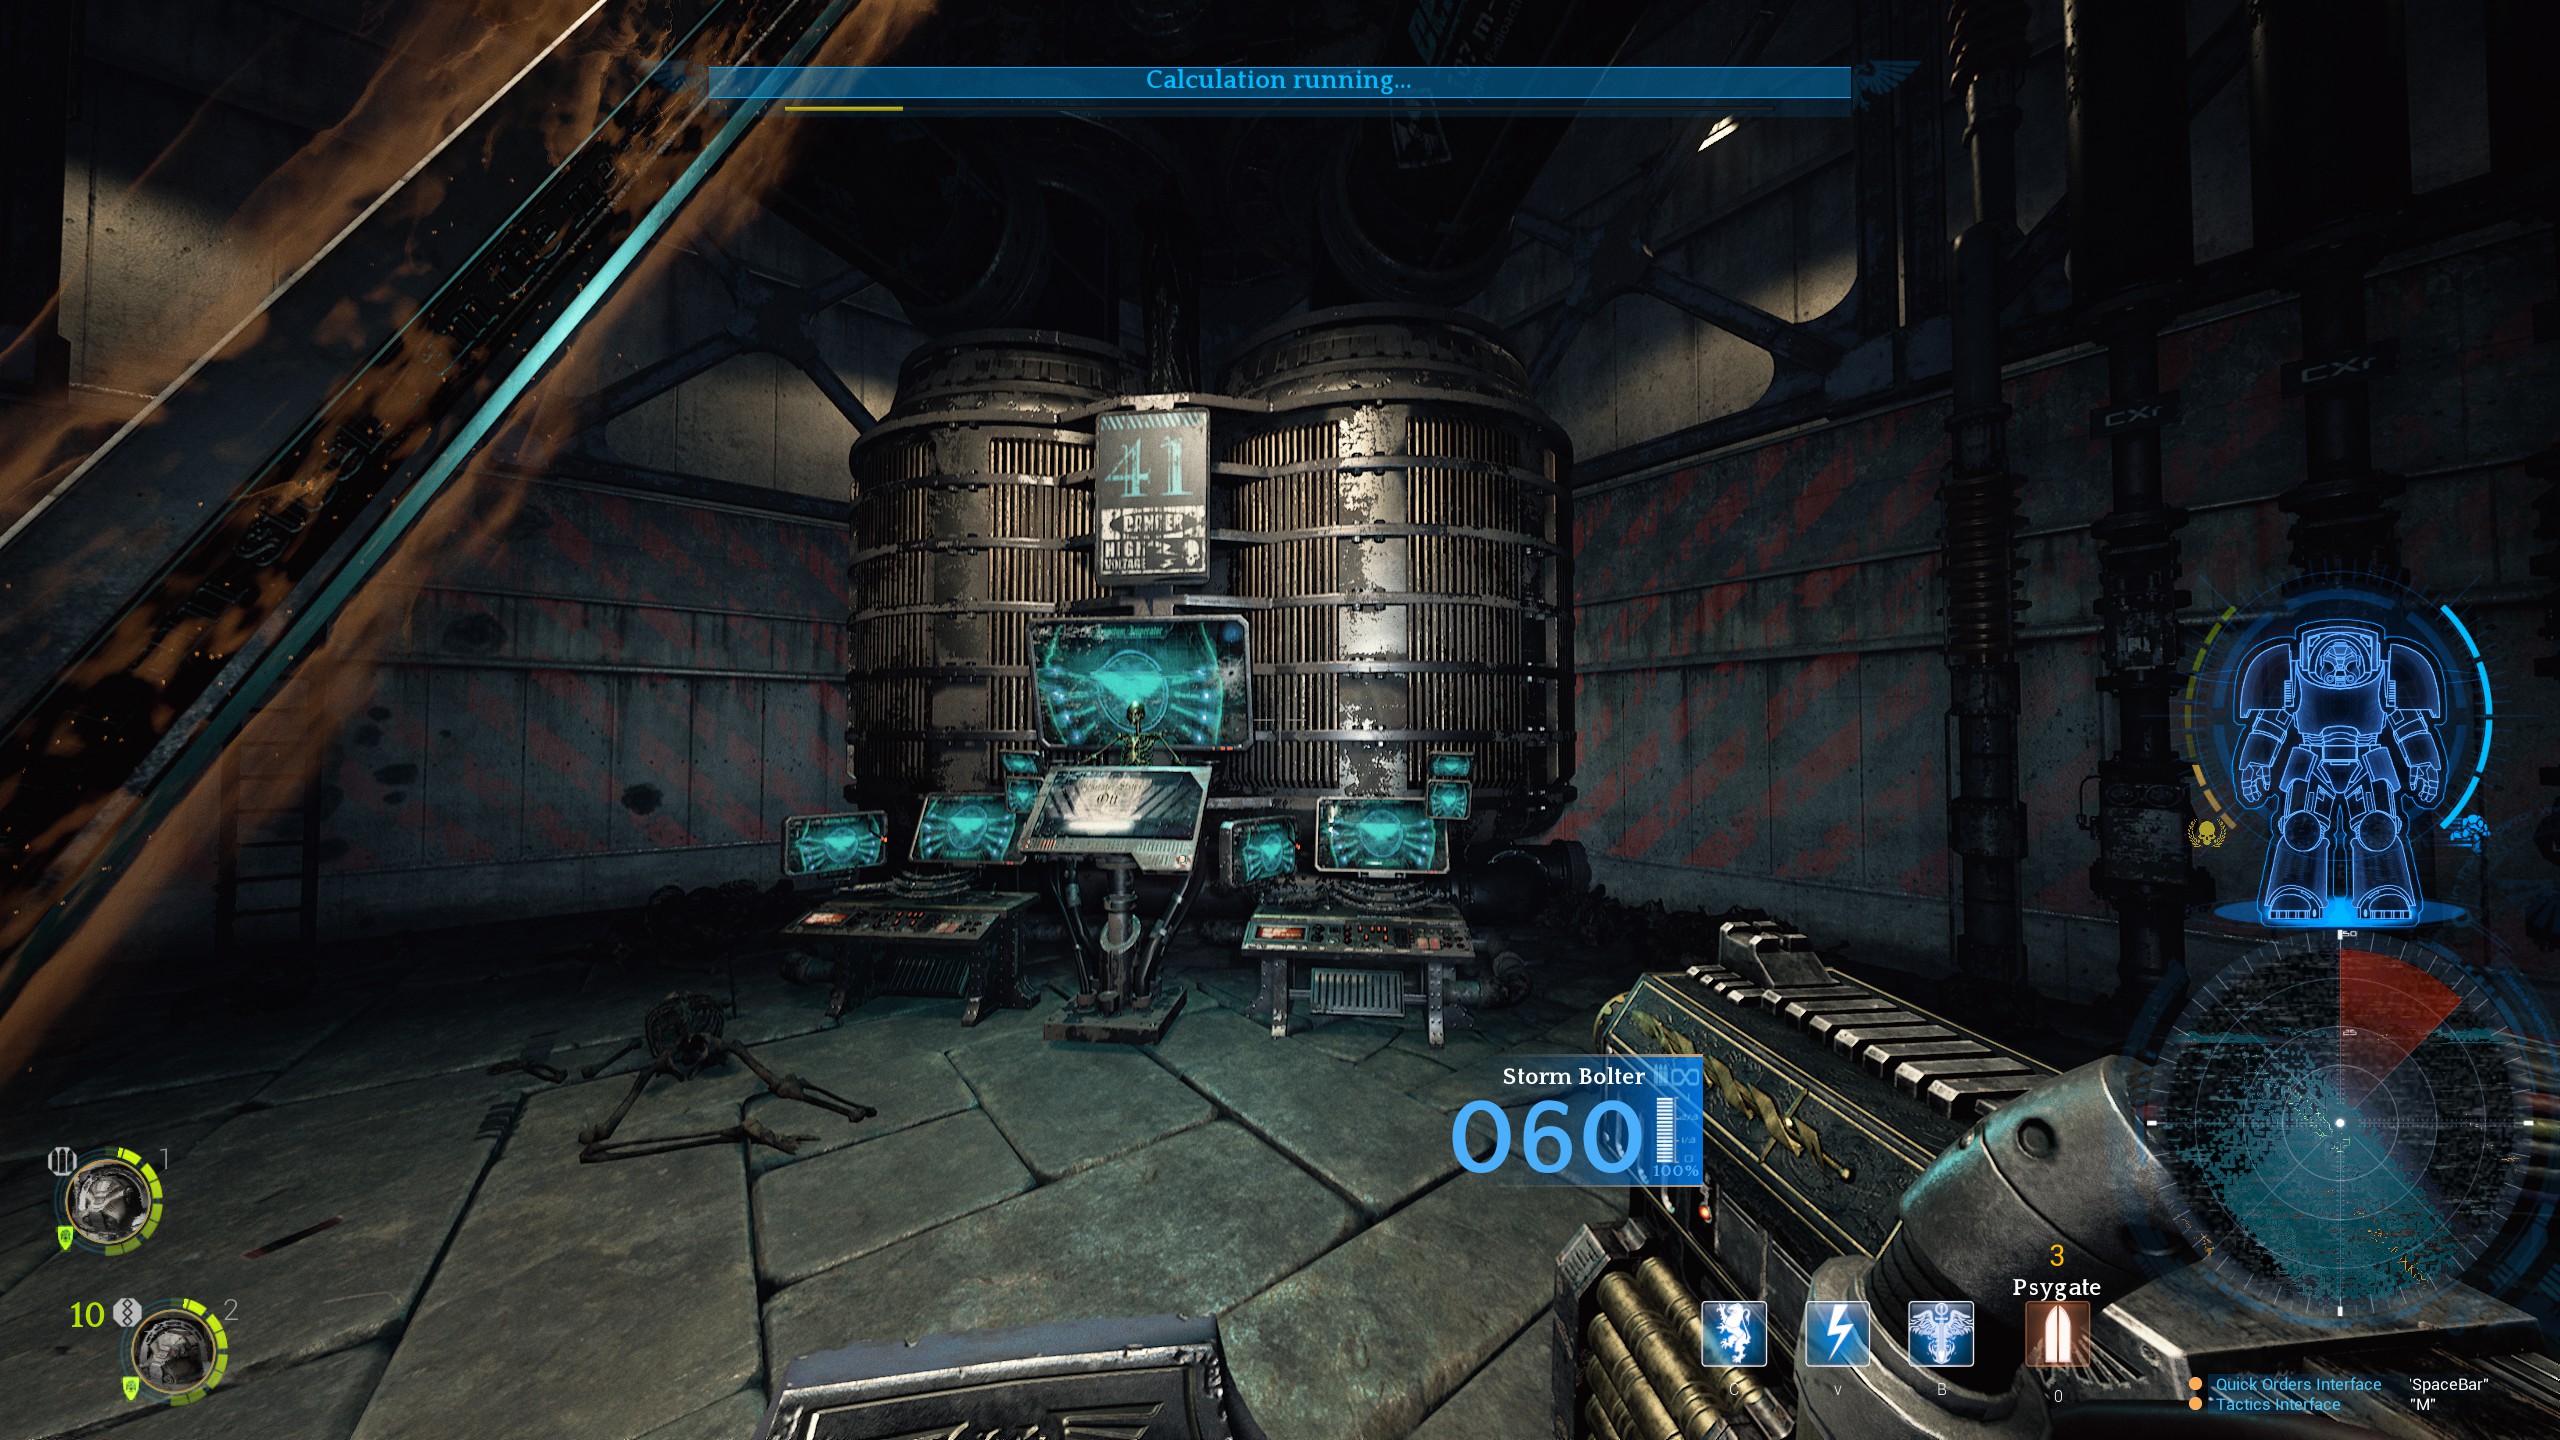
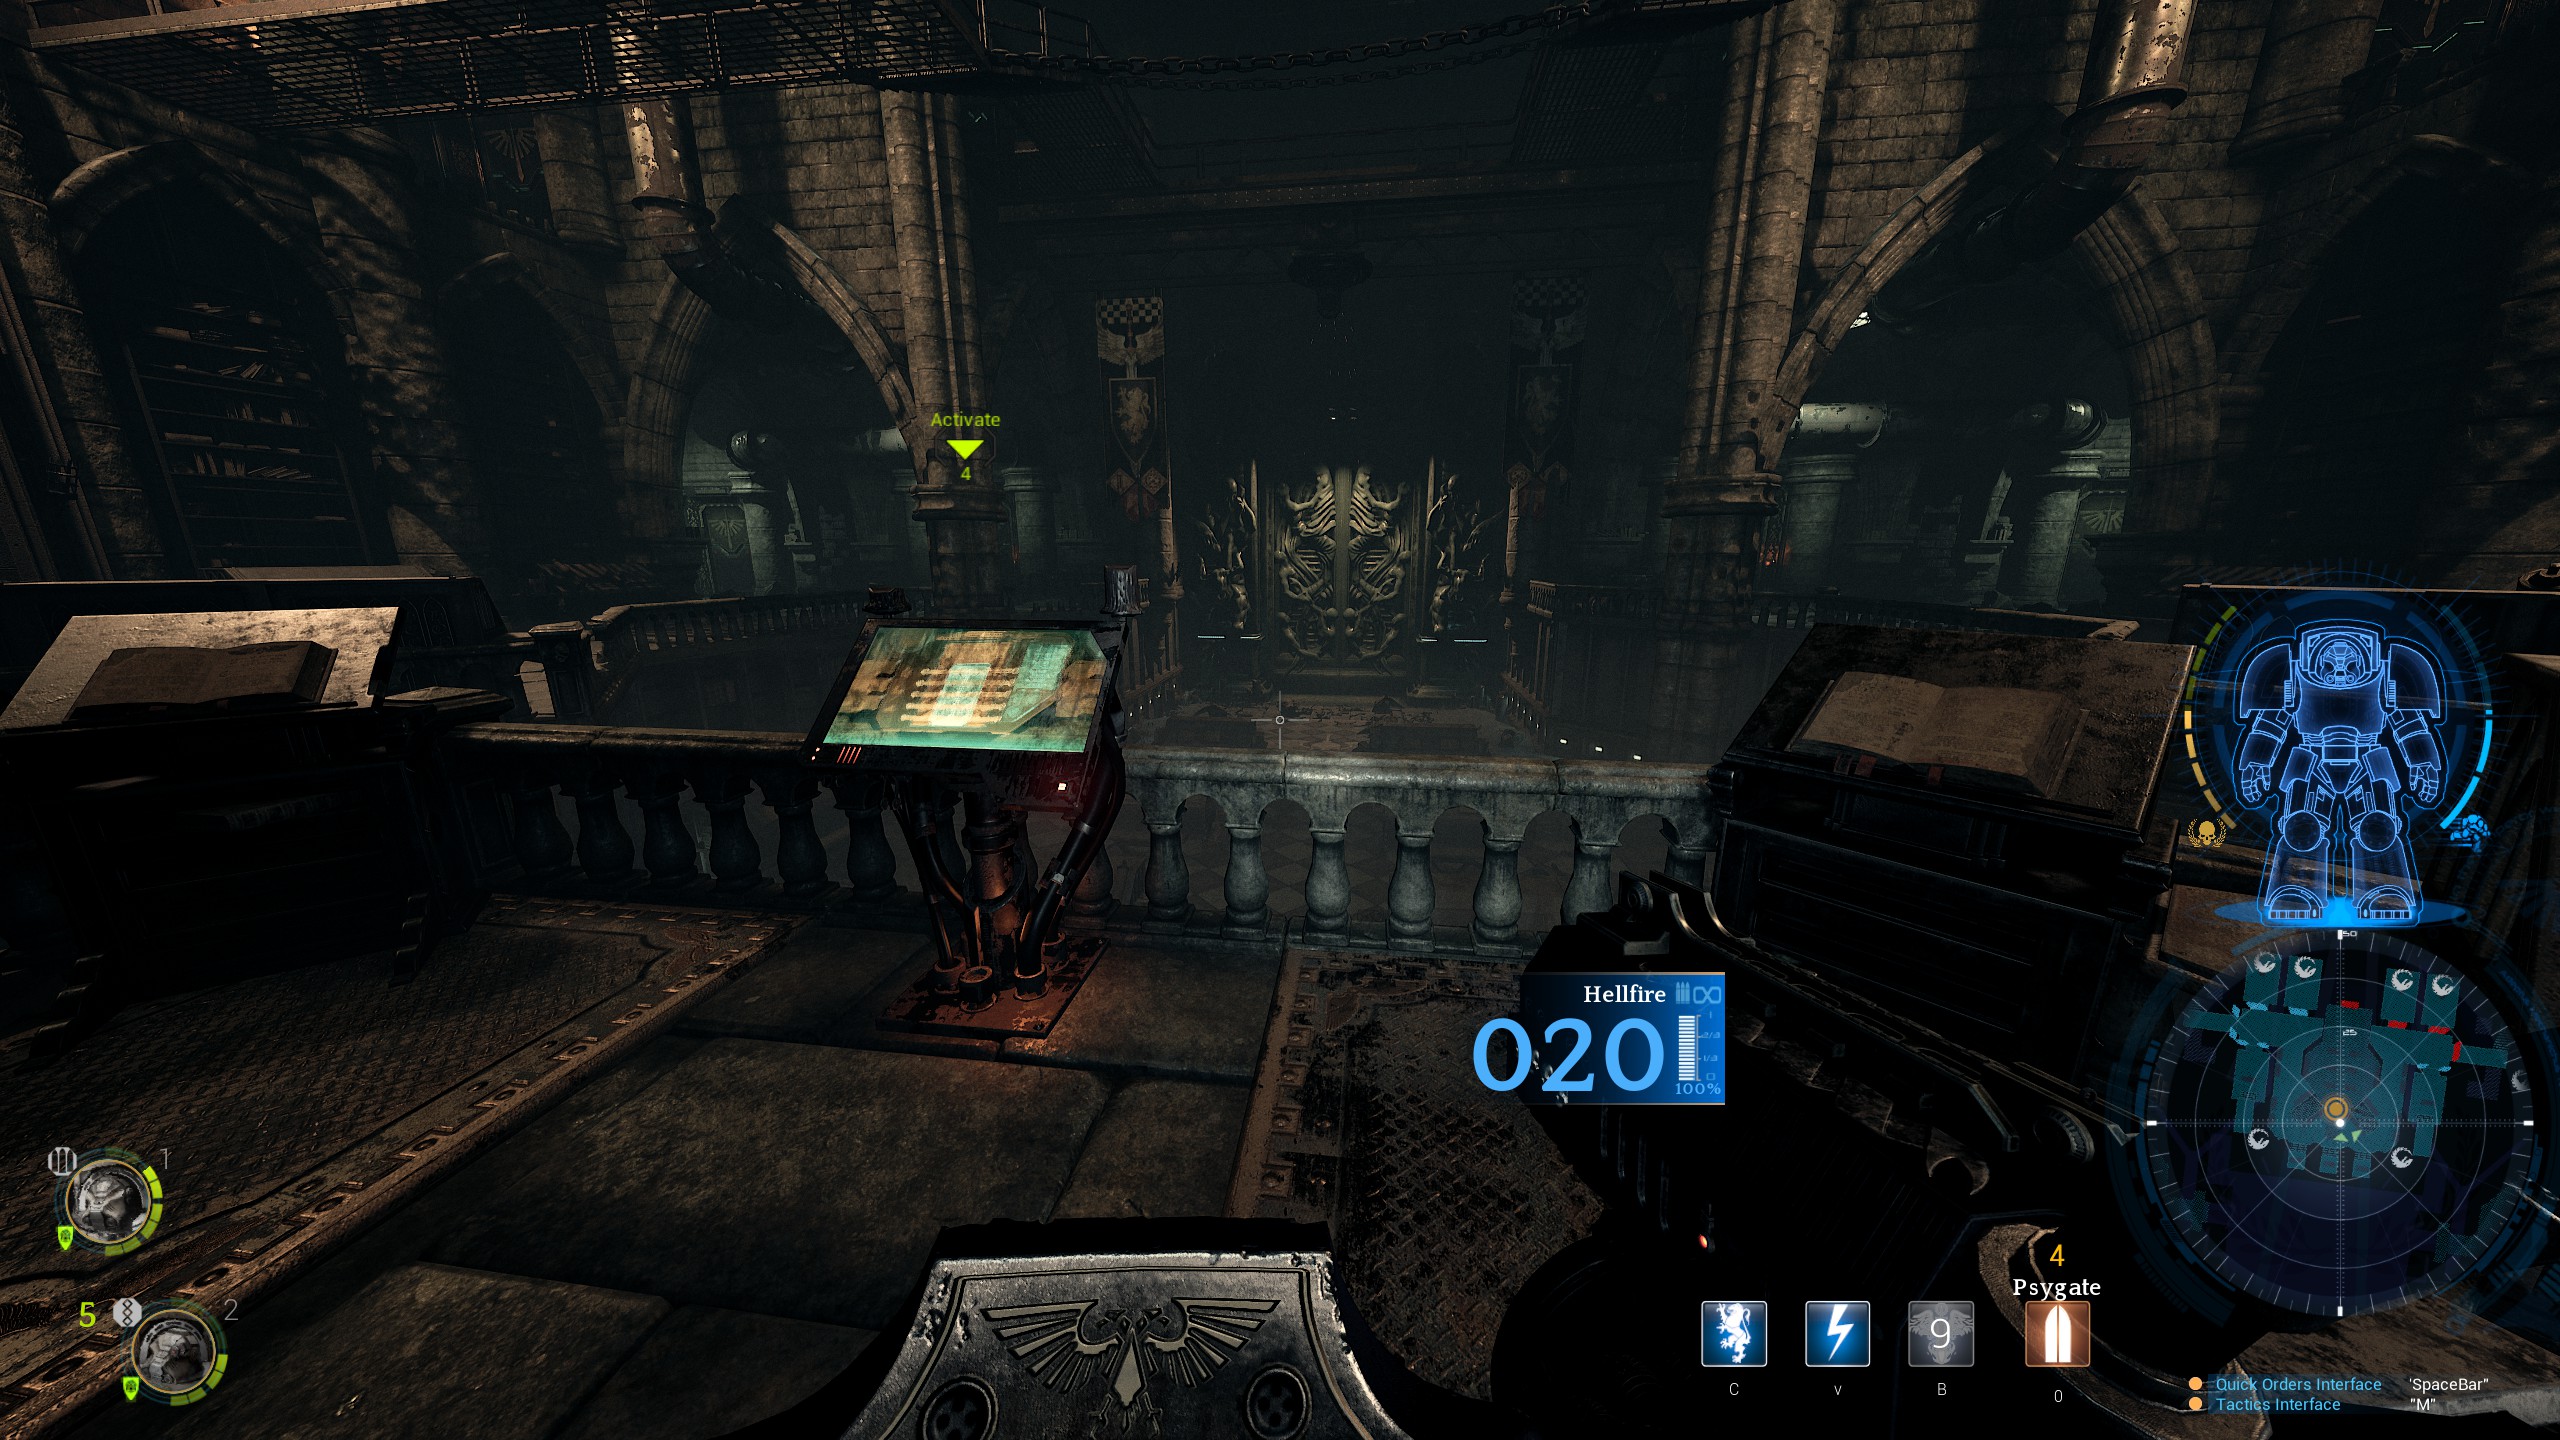
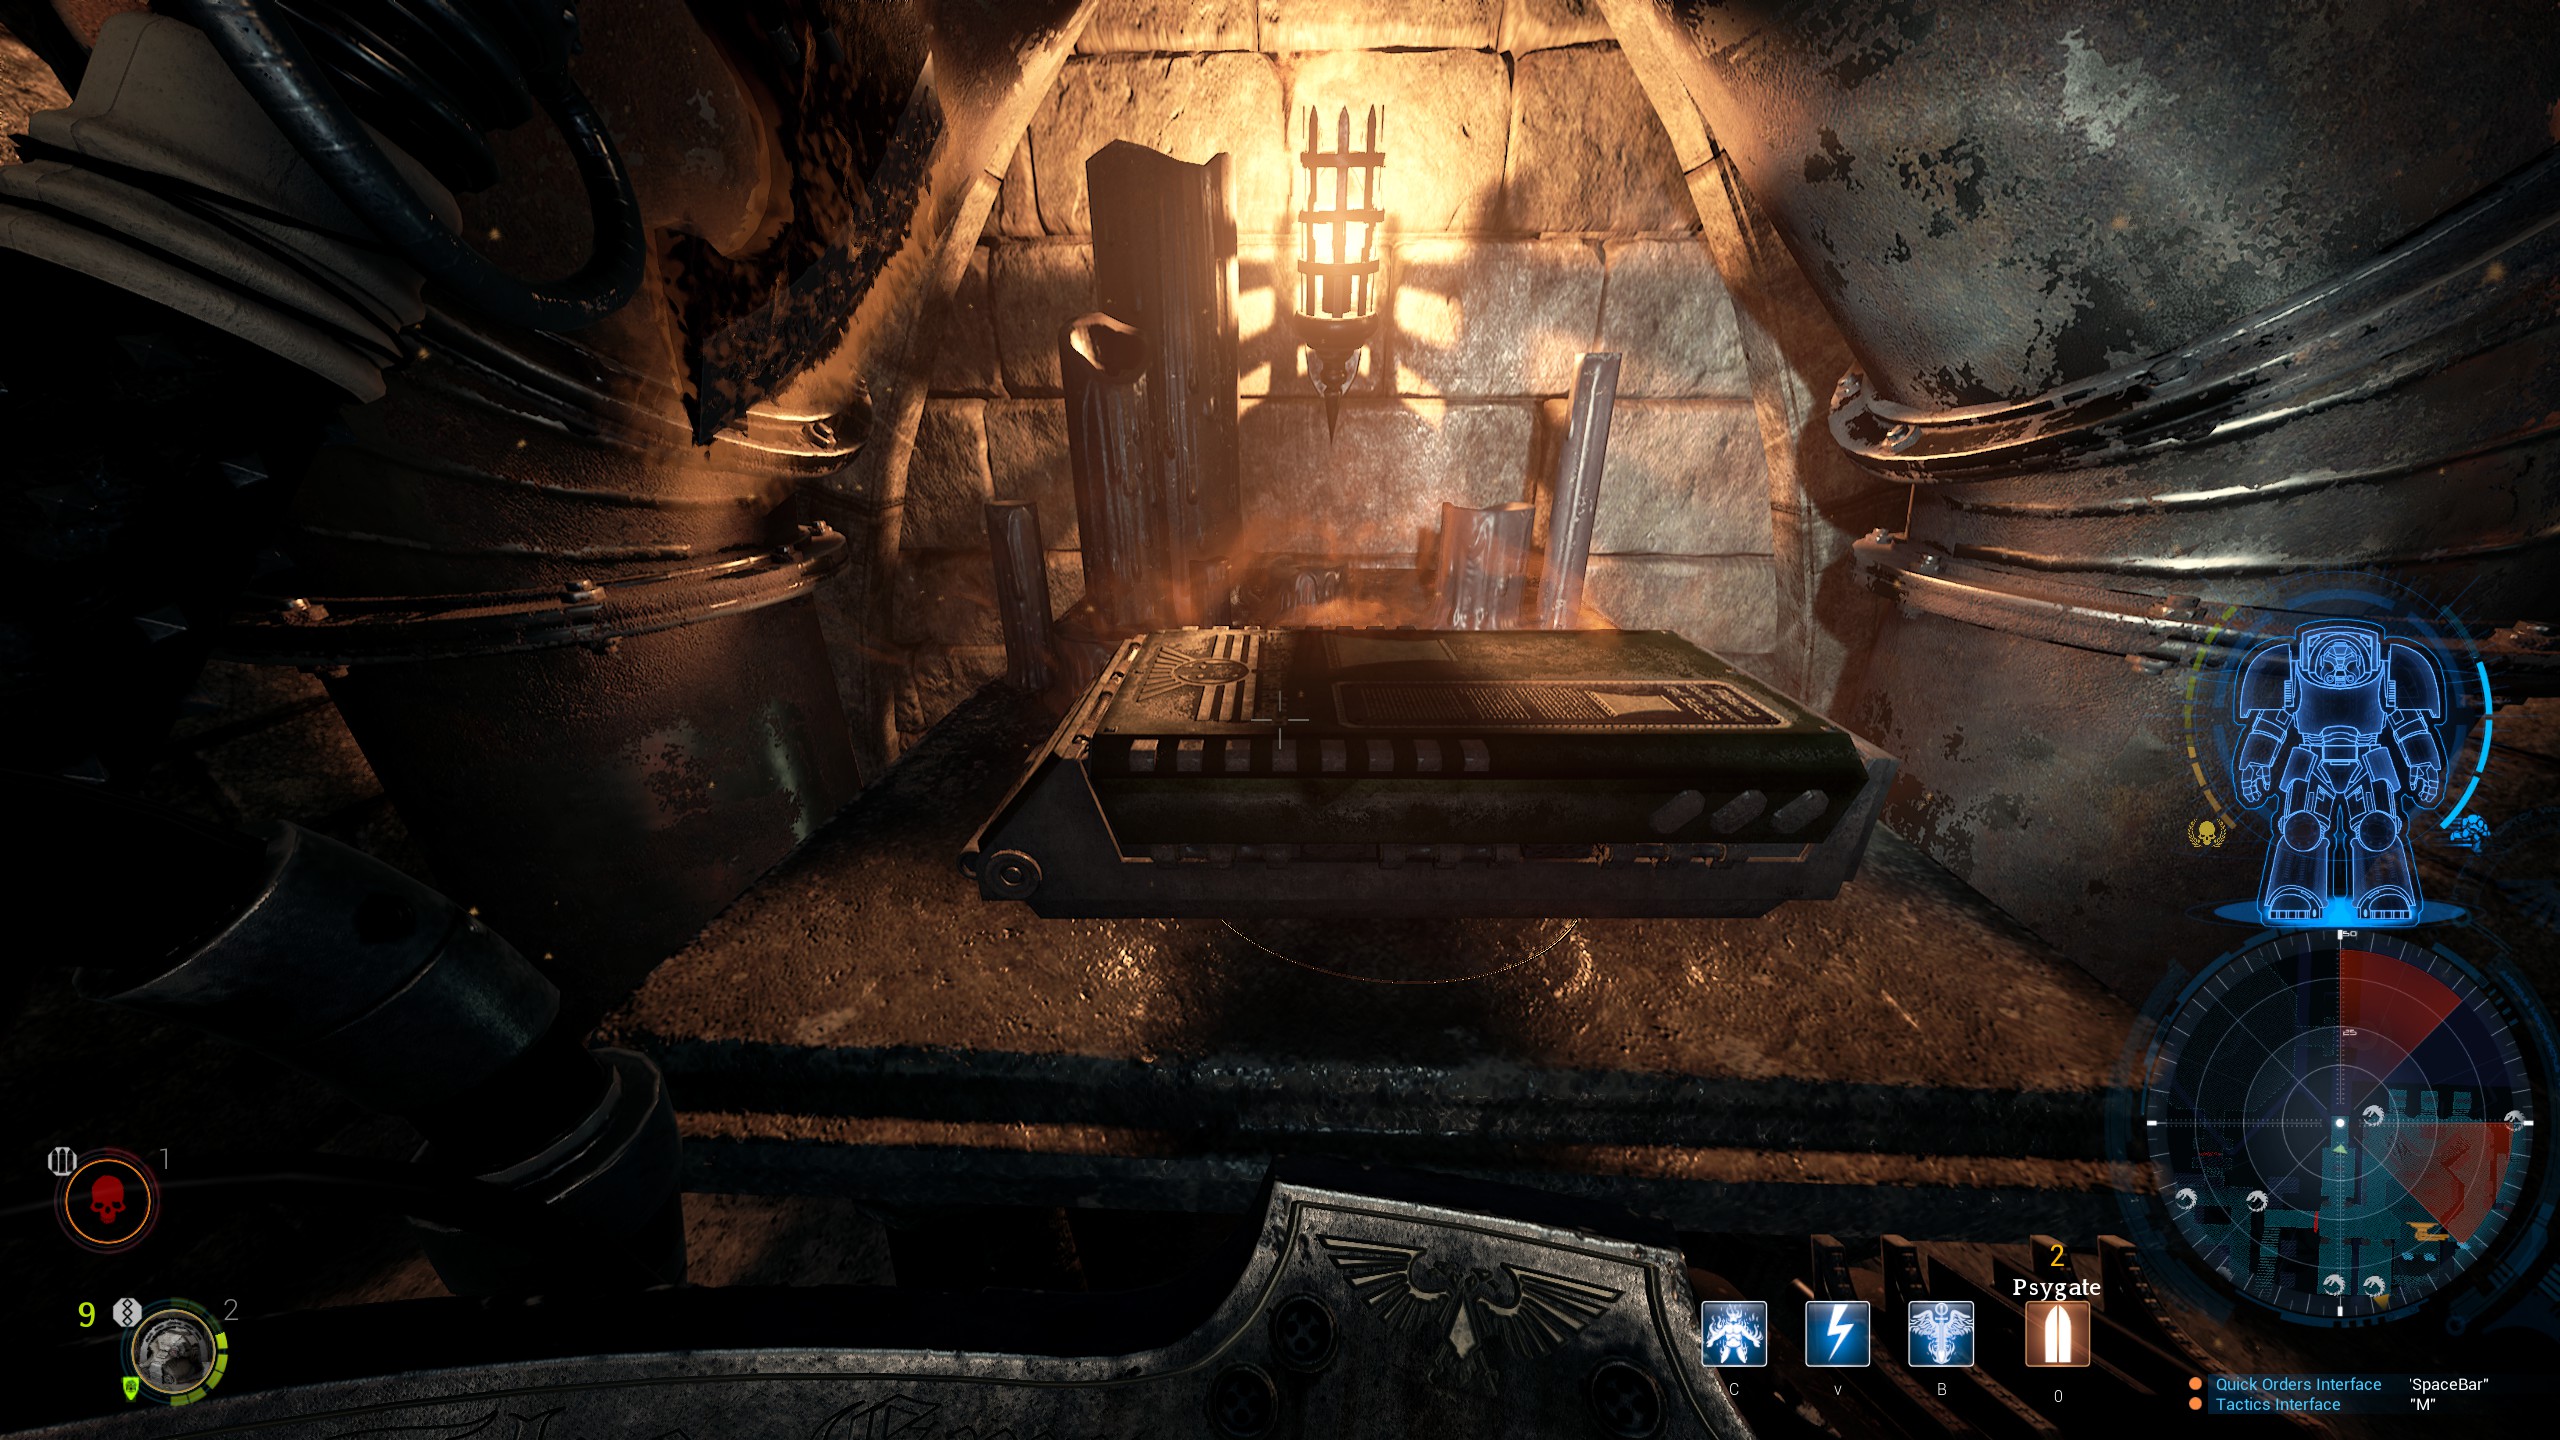
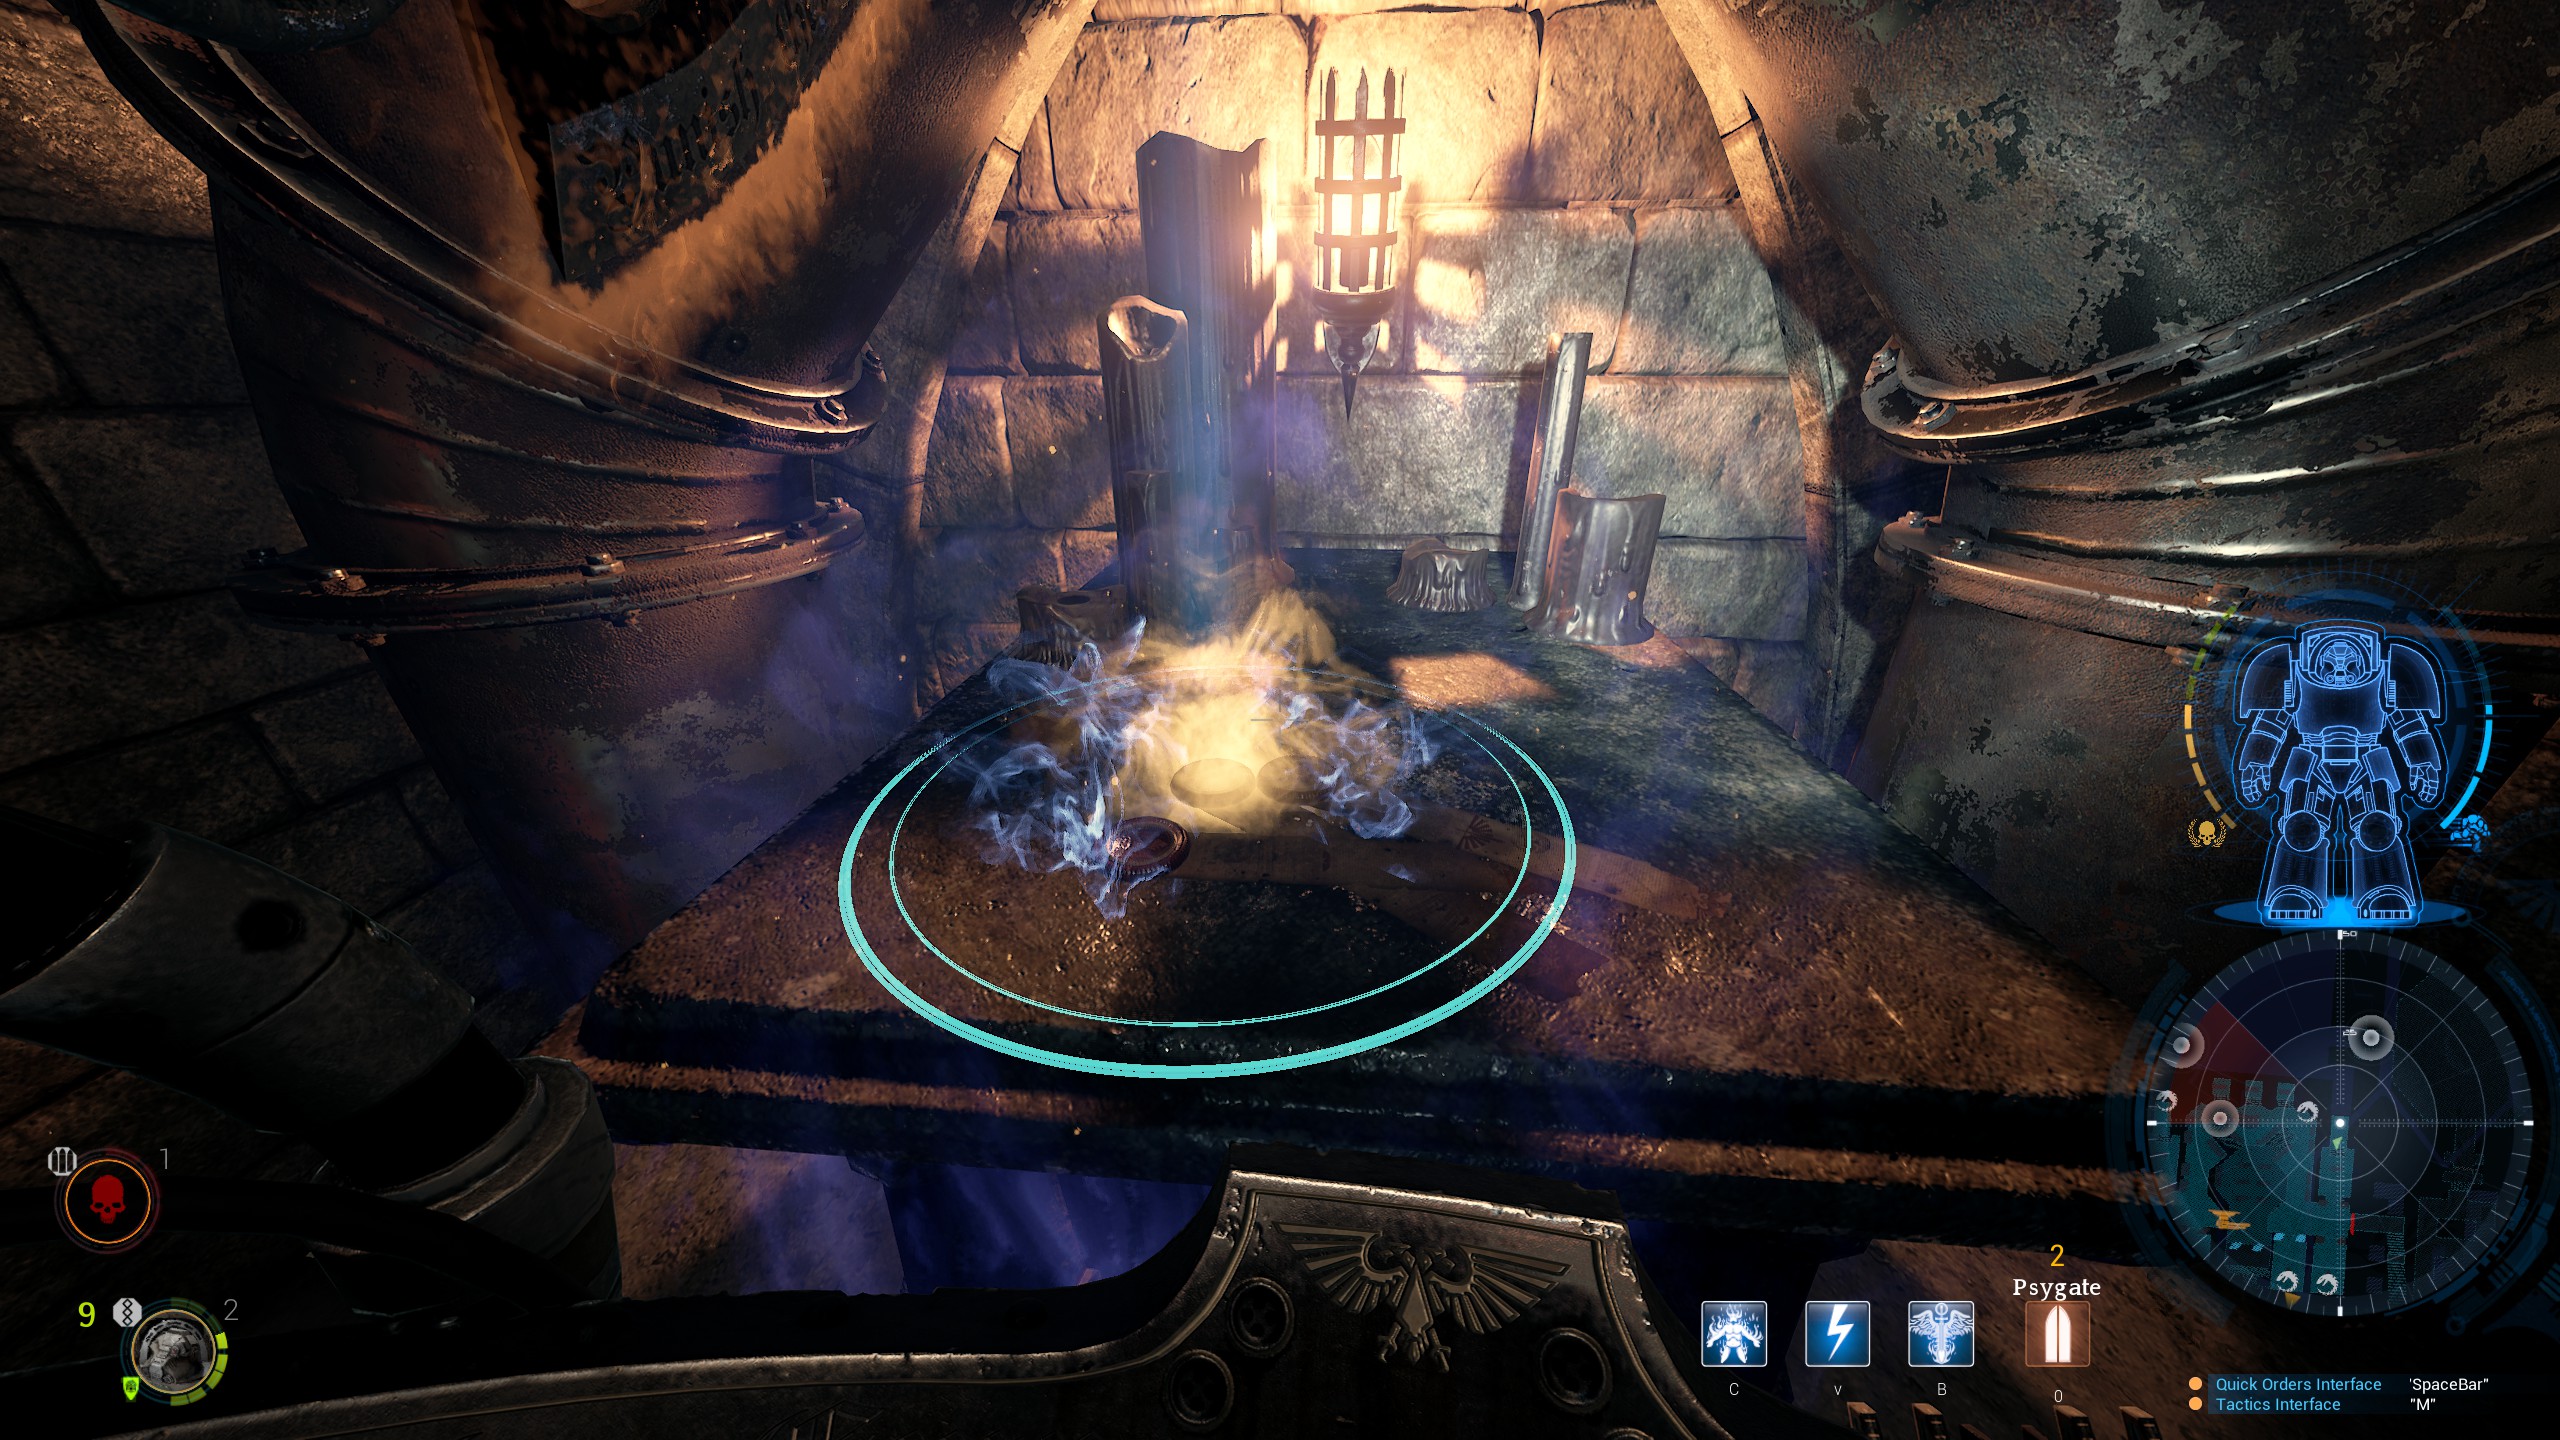
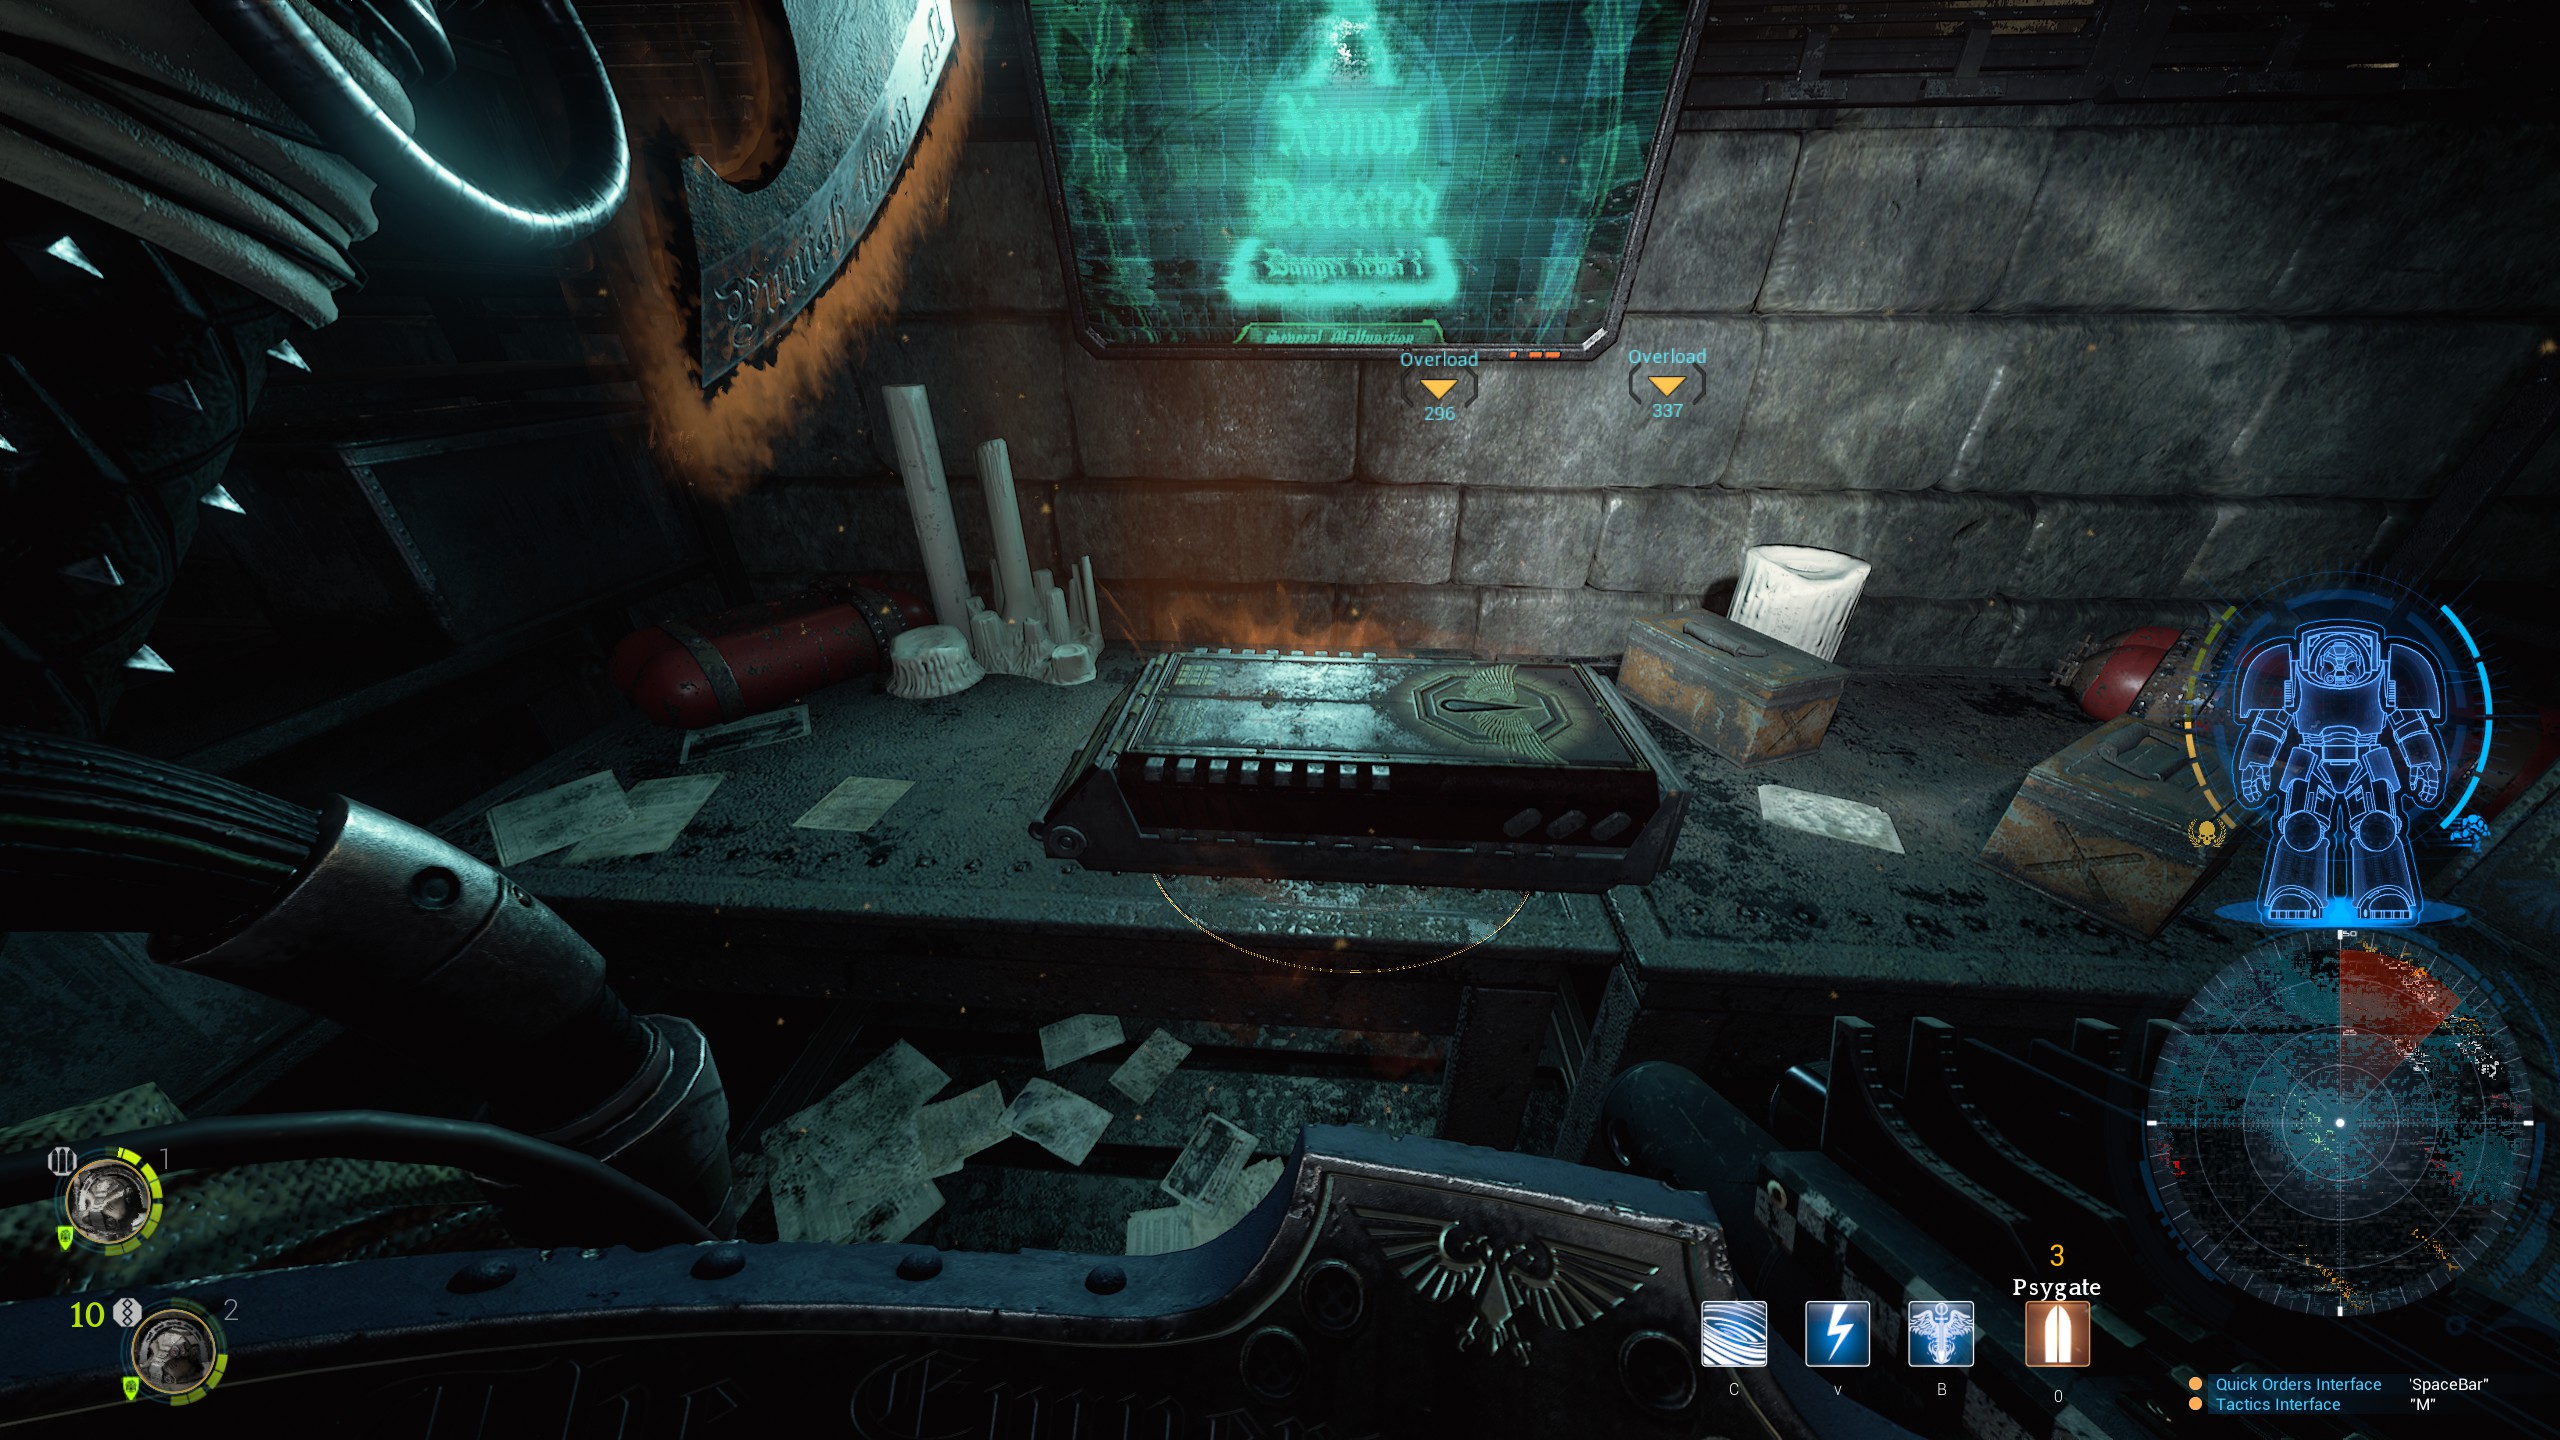
Objective one is to investigate a Dark Angels signal that shouldn’t exist. Once you get to the location you have to kill everything in the area and then wait for the objective to update. You will then need to scan the corpse on the table which will trigger a short interactive cutscene.
You will need to melee a wall to access Relic 3.
목적 2 is to wipe out a swarm before it becomes too strong. I like to hold out in the doorway I enter by and have Barachiel ahead to tank and path the enemies to him. You might get your first Scythe-Strain or Brood Lord here.
When you finish this objective it will trigger a short cutscene. From now on in the campaign you will encounter the invisible Stalker-strain Genestealers. When the Stalker-strains are close it will make your radar glitch out.
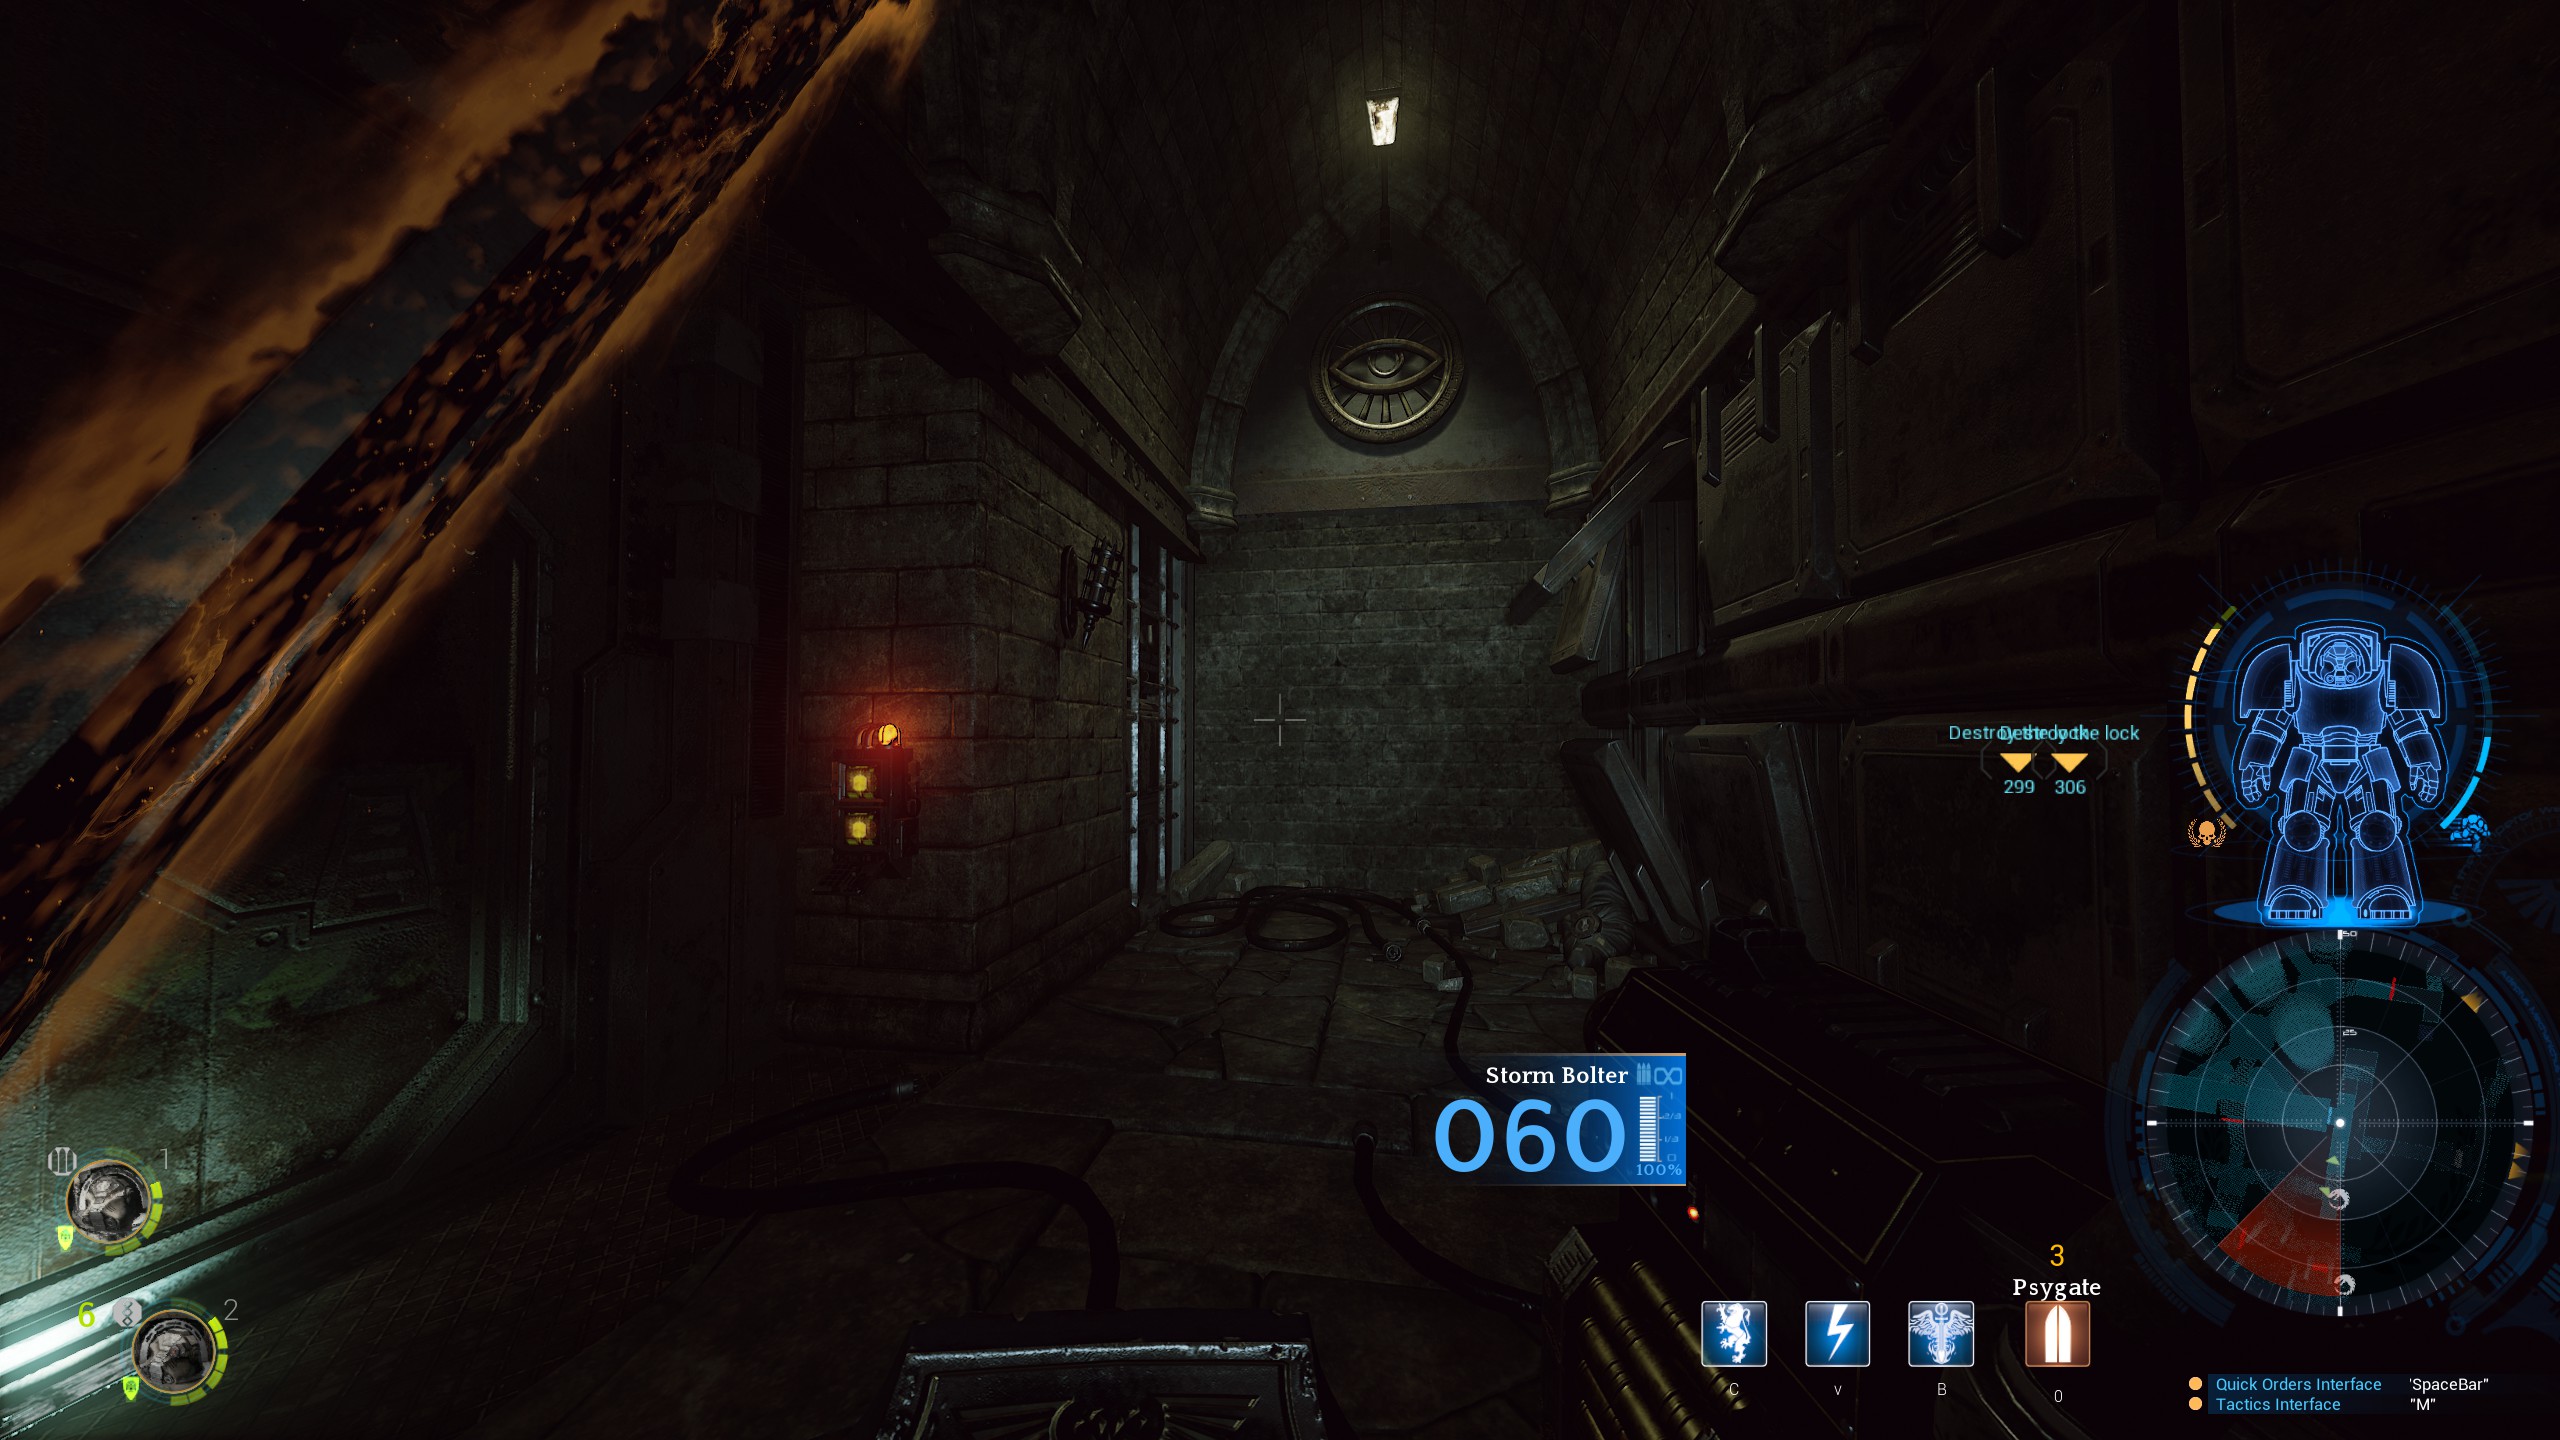
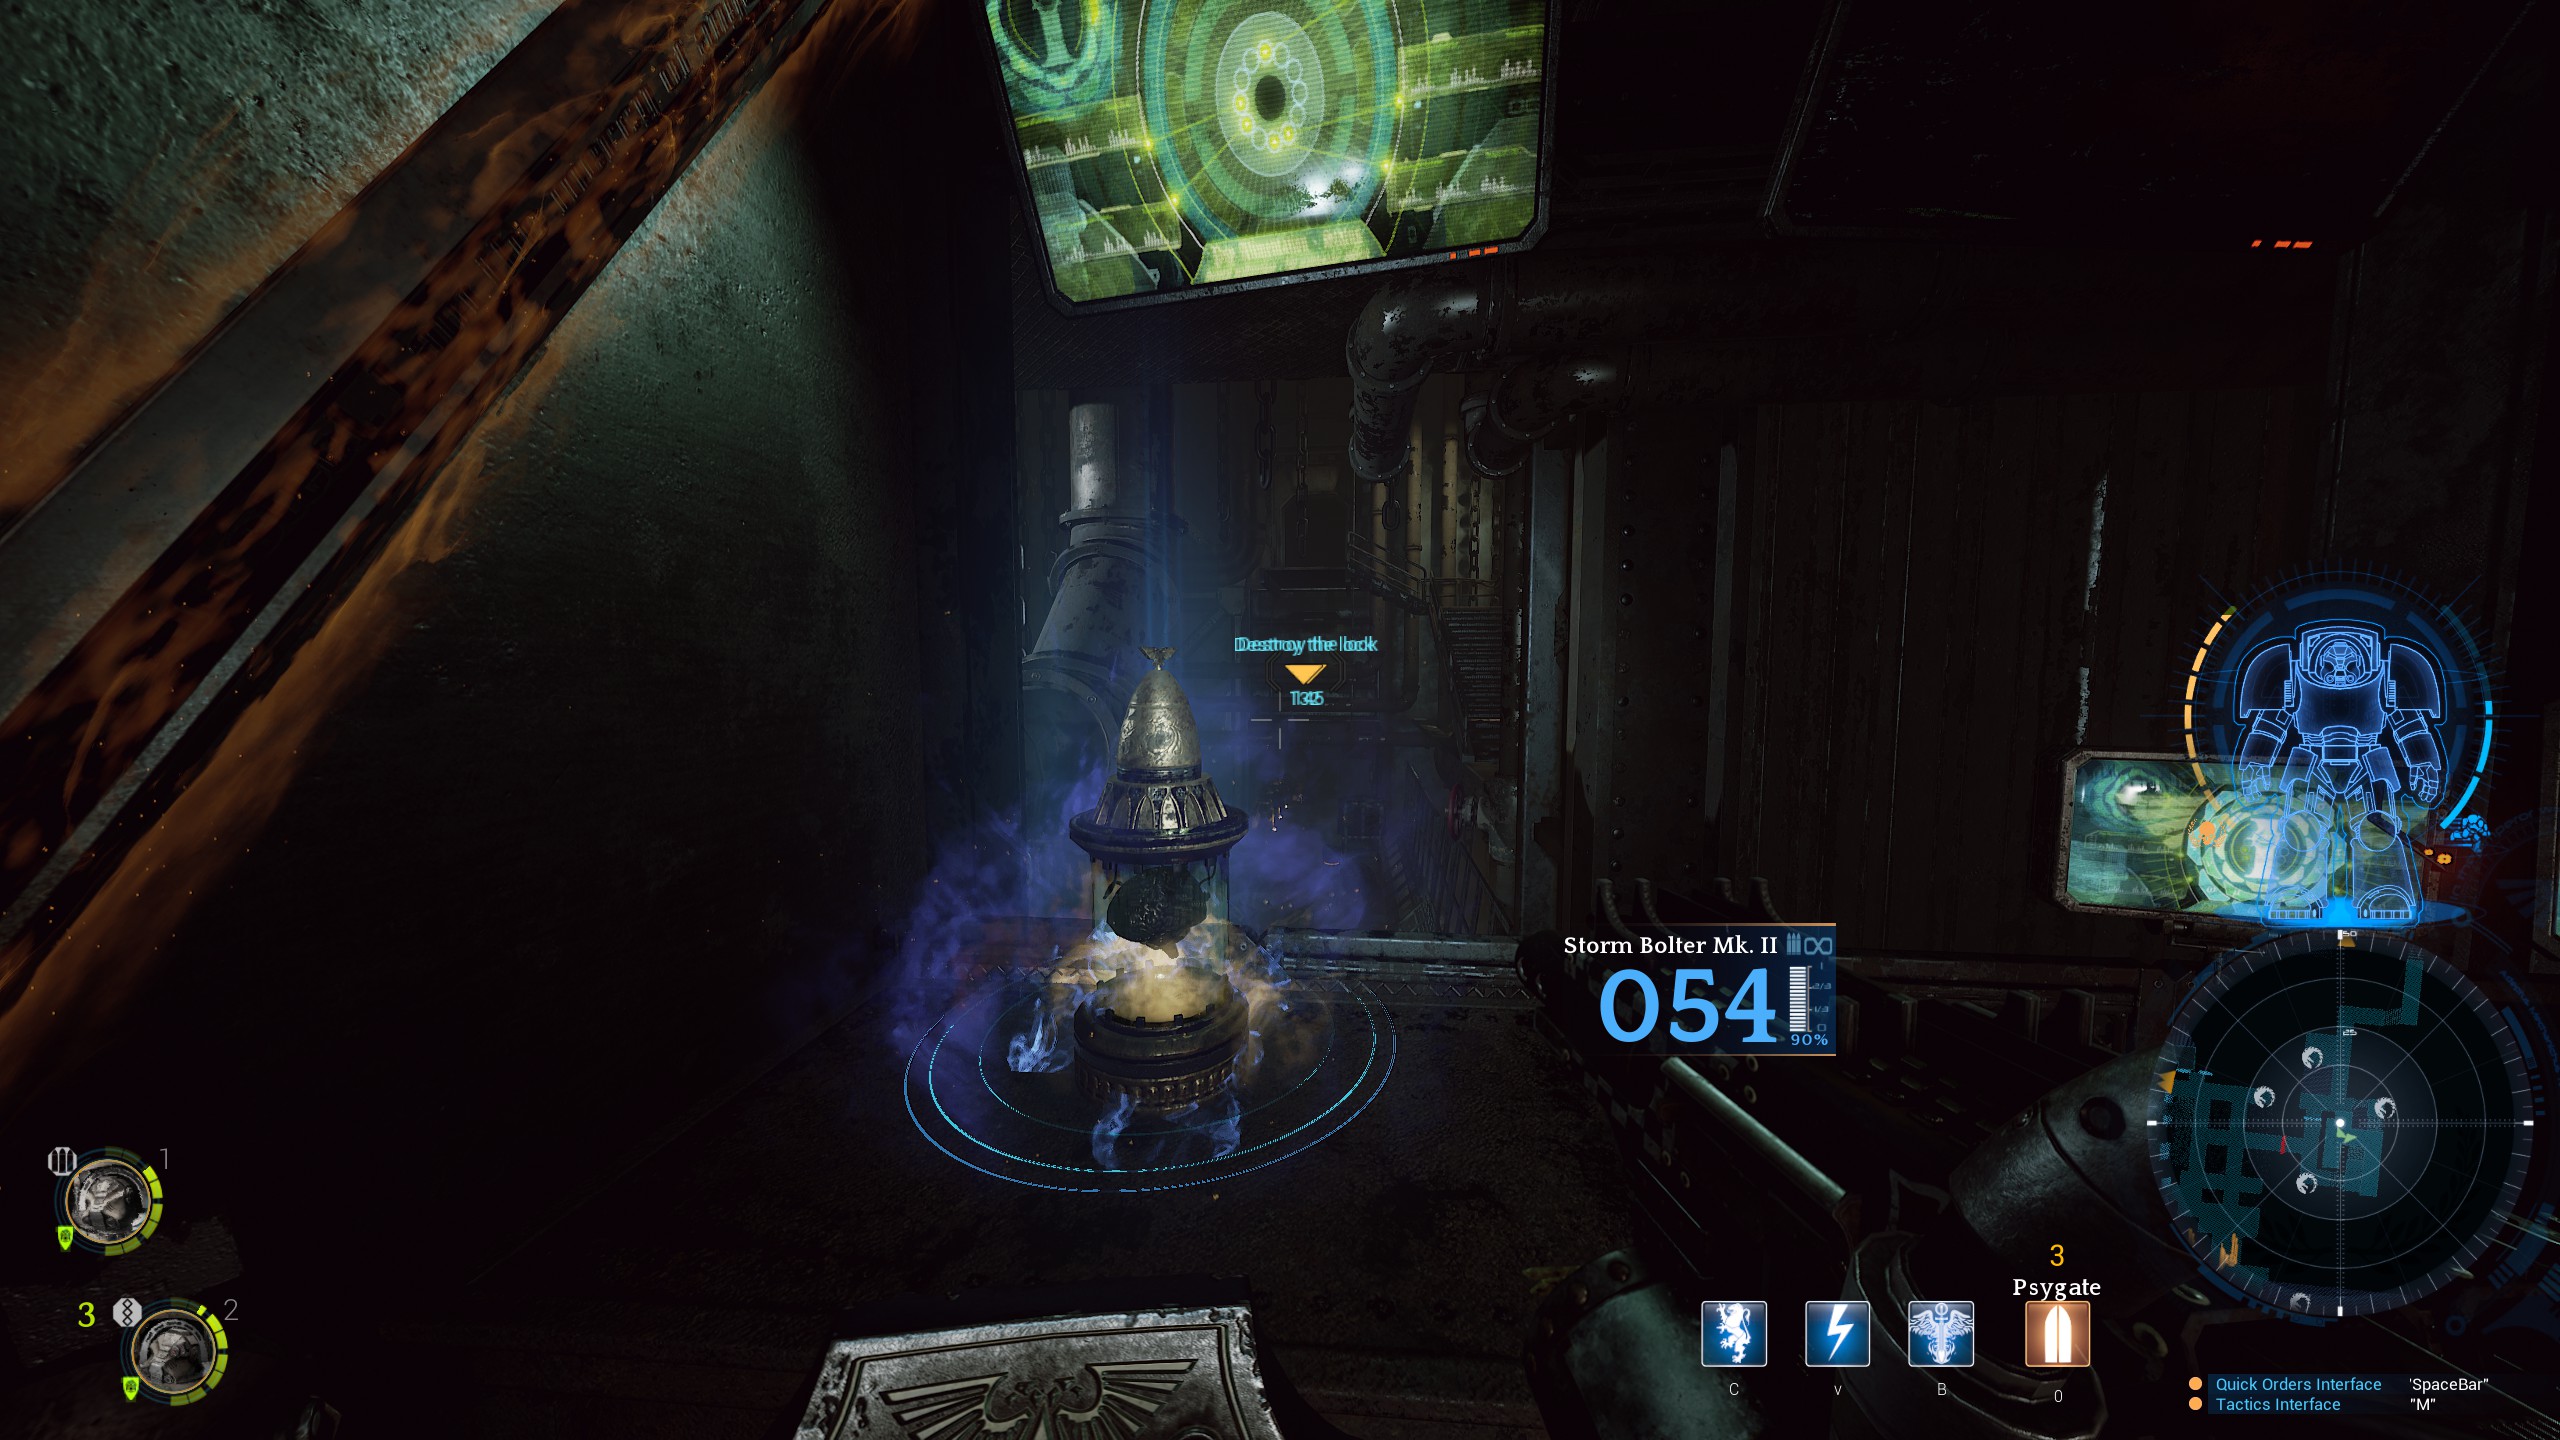
Objectives three, four and five are all to block doors to stop the swarm. In each area whilst you are attacked by a swarm, there will be two door locks that need to be shot to close a massive door. The quicker you shoot both locks the quicker the swarms will stop.
On the way to objective 3, if you are following the marked route you will have to melee a wall to access a hidden path.
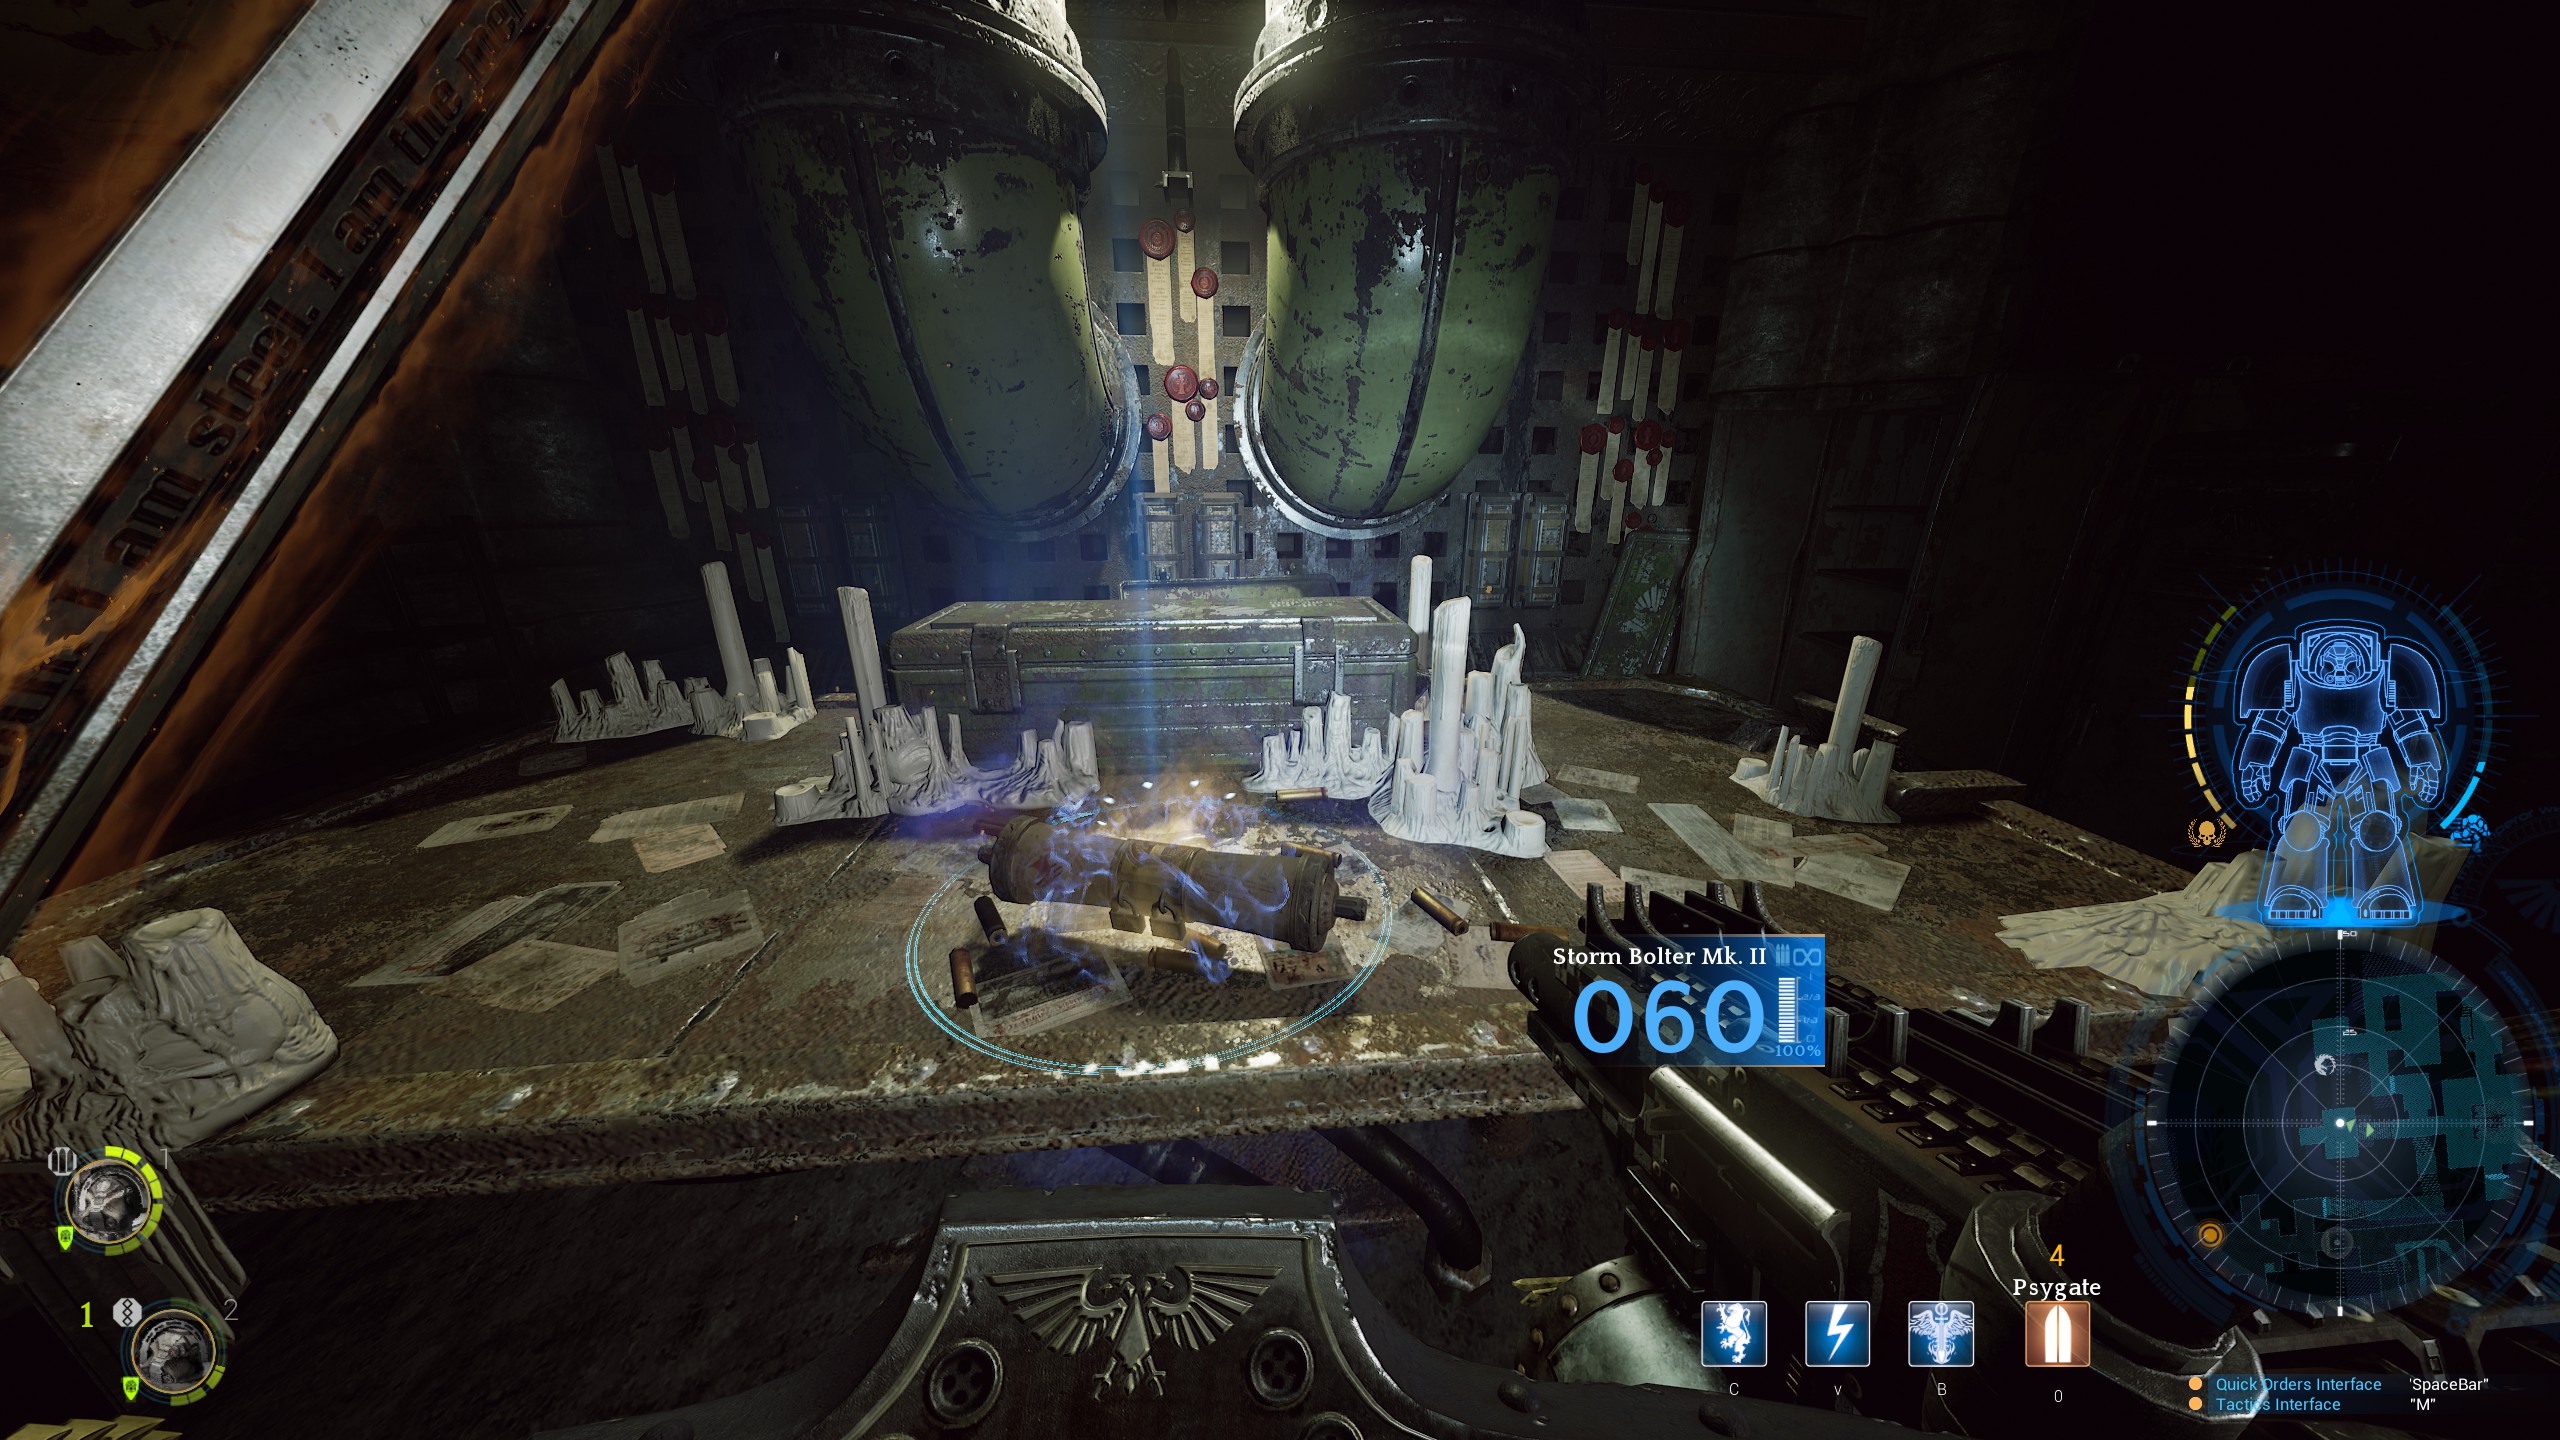
You will need to melee a wall to access Relic 5
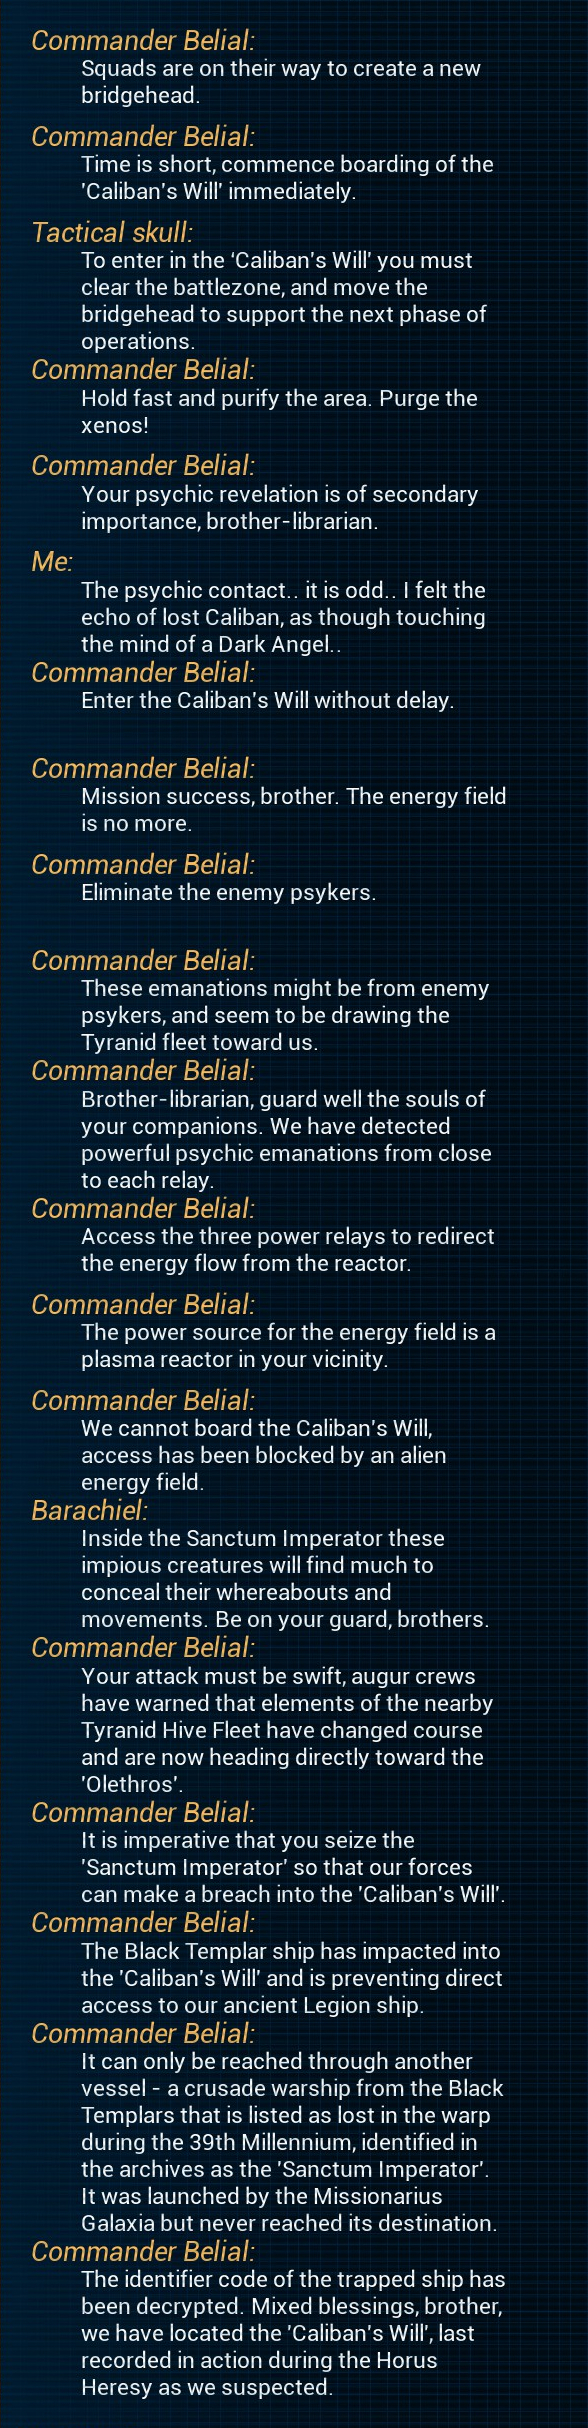
Objective six is to make your way to the collapsed area to access the Caliban’s Will. When you reach the objective area and if it doesn’t complete, it means you have enemies hidden among the shipping containers. You need to kill everything in the area to continue.

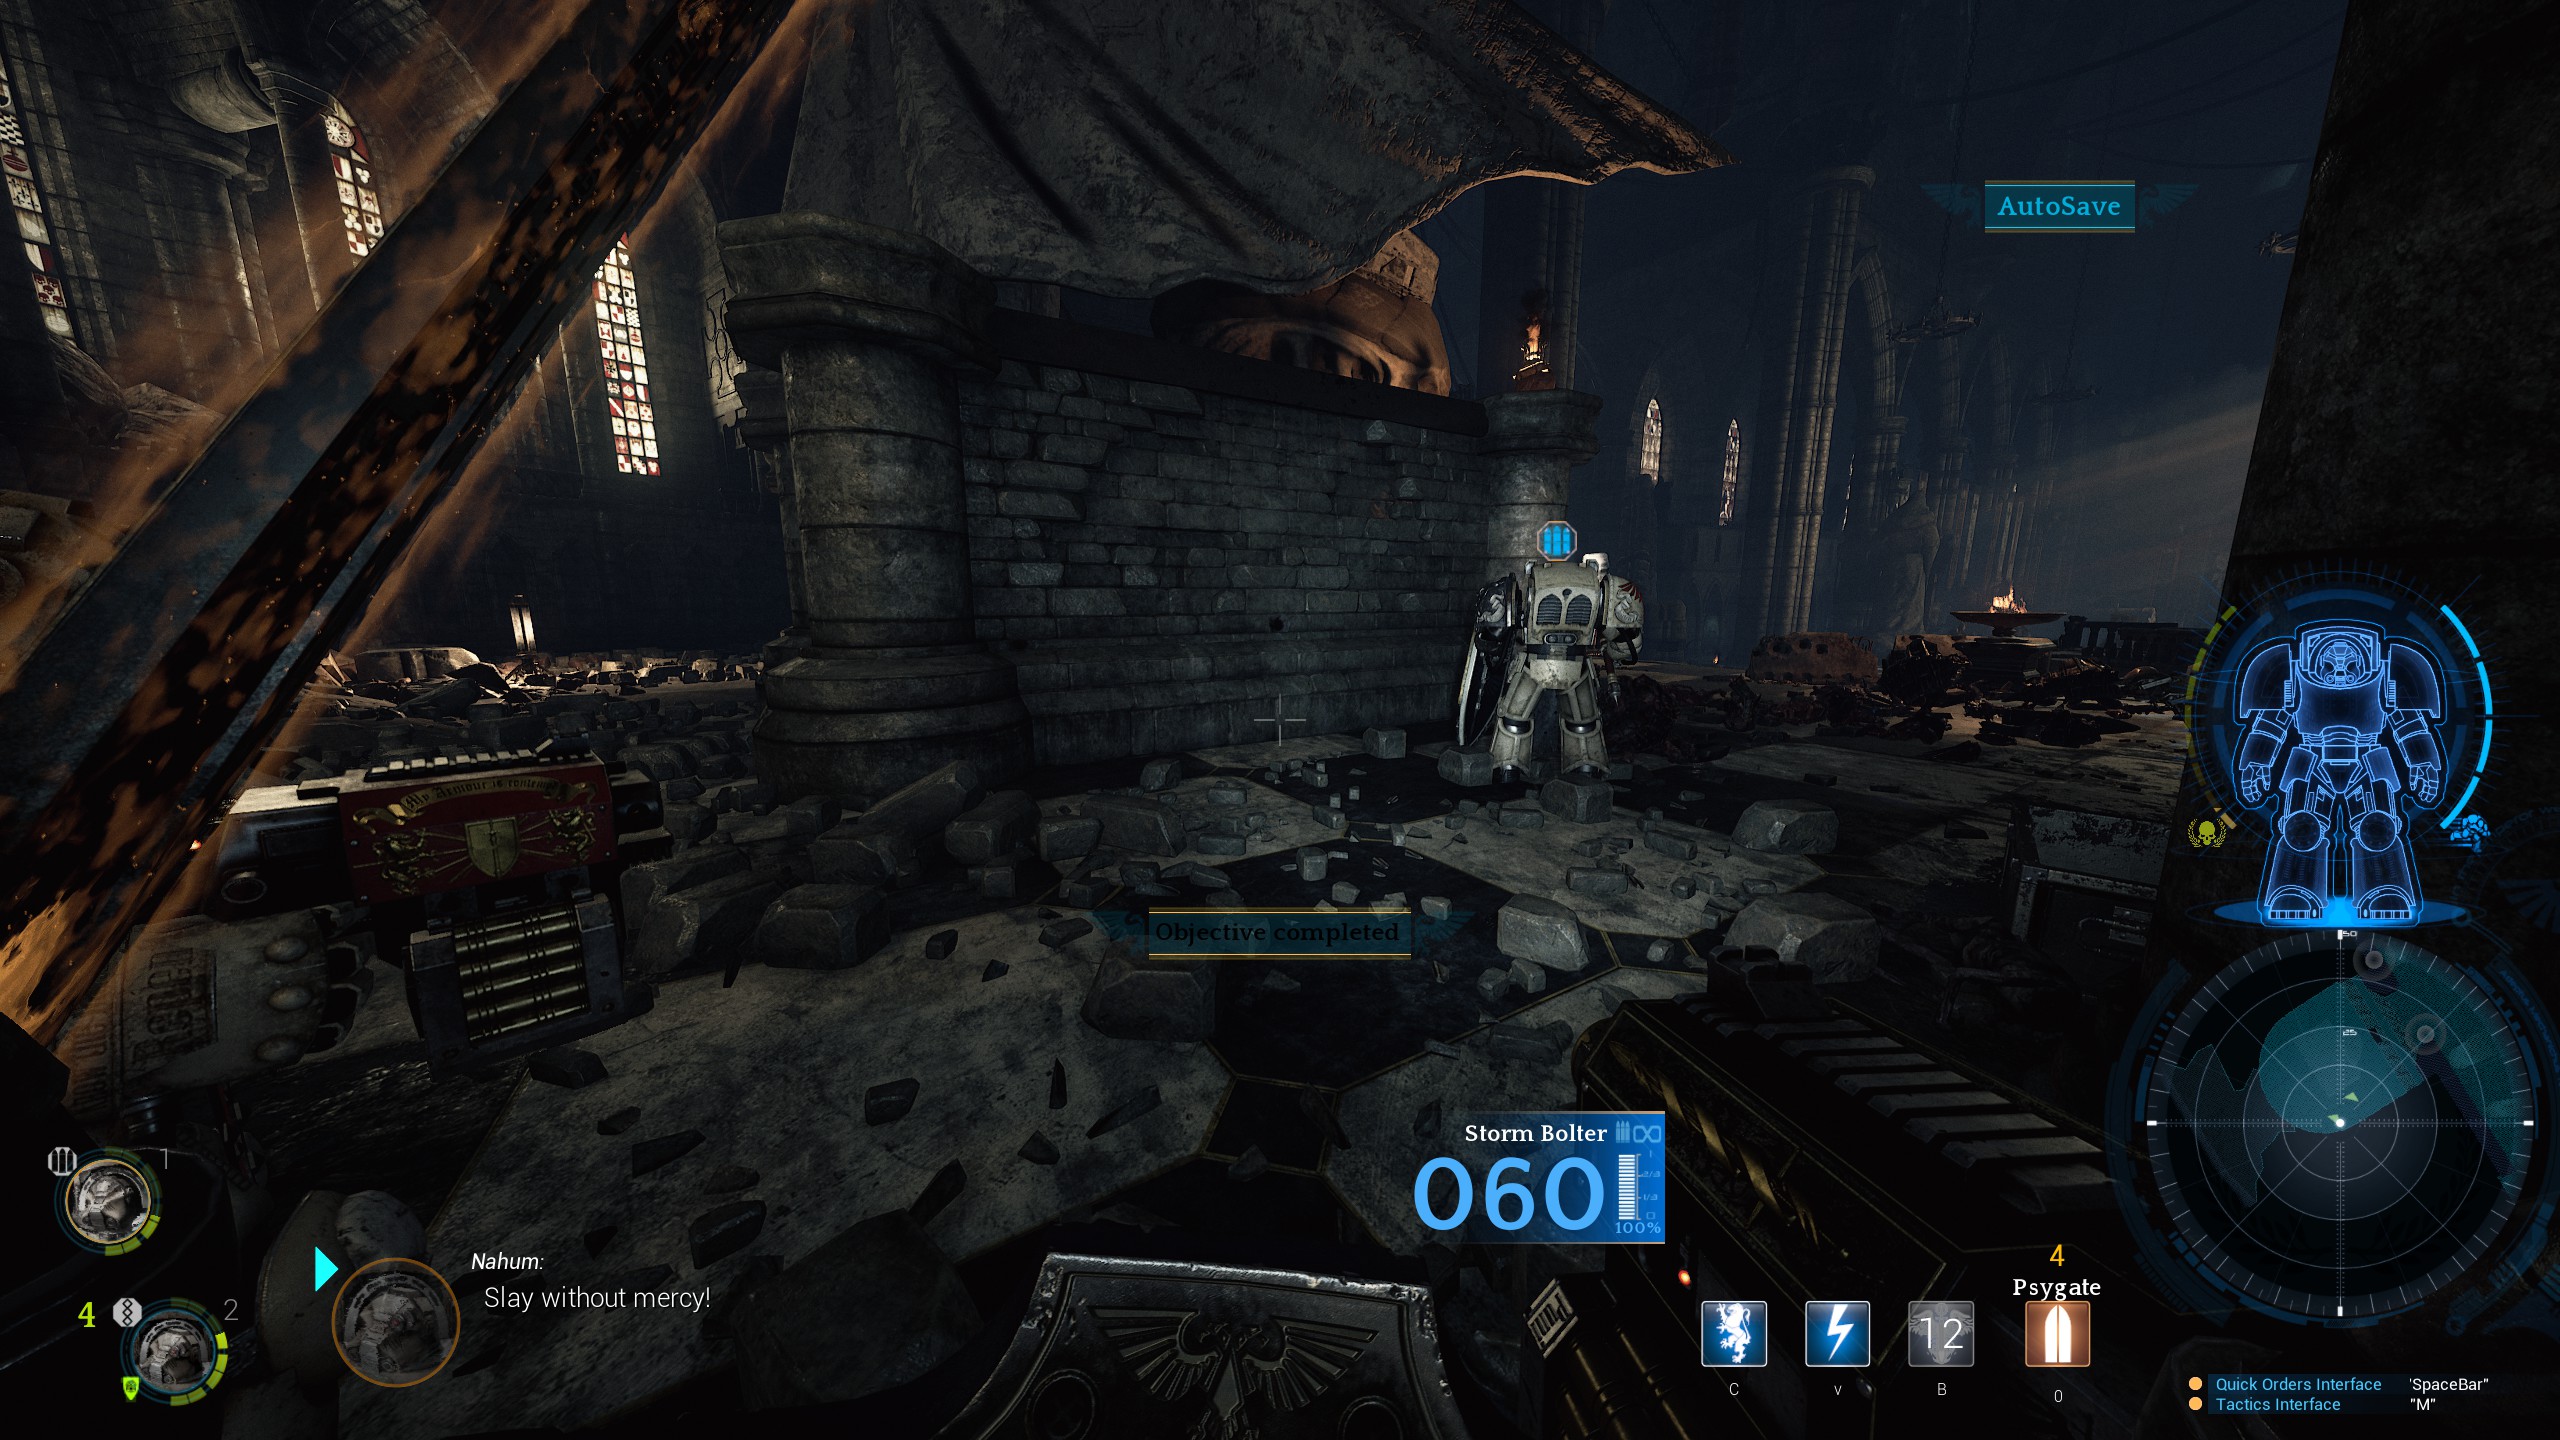
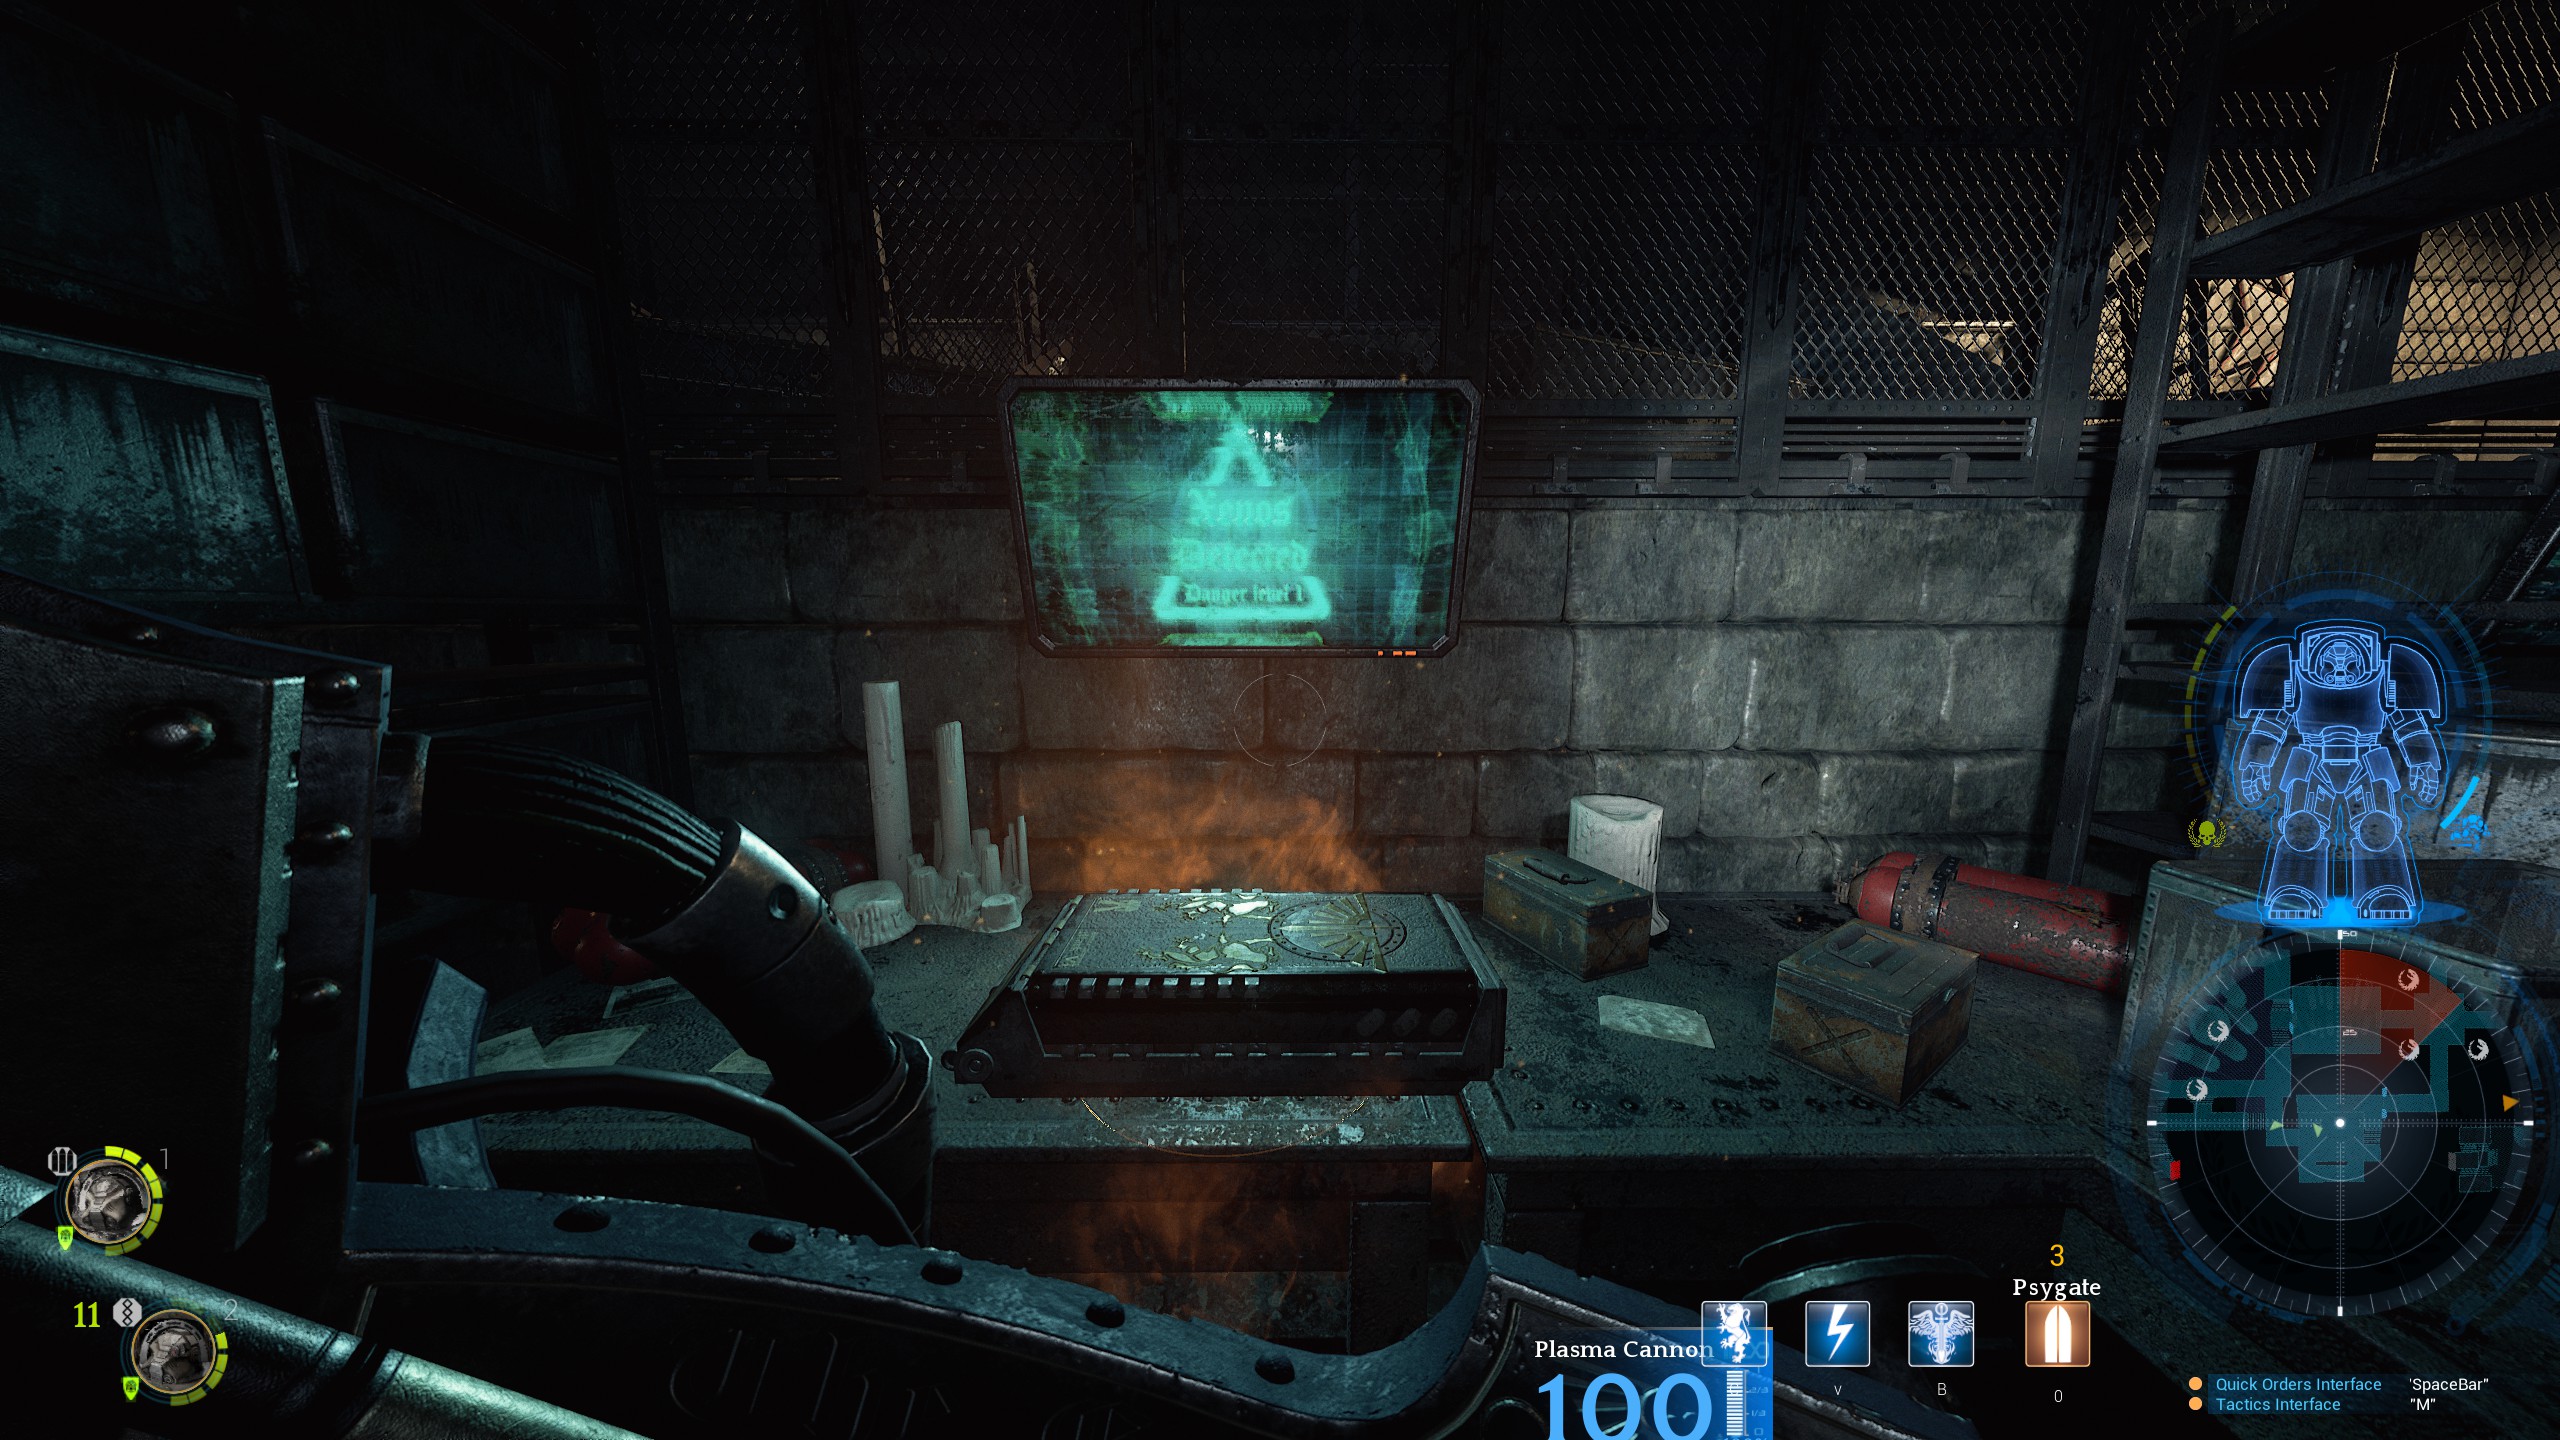
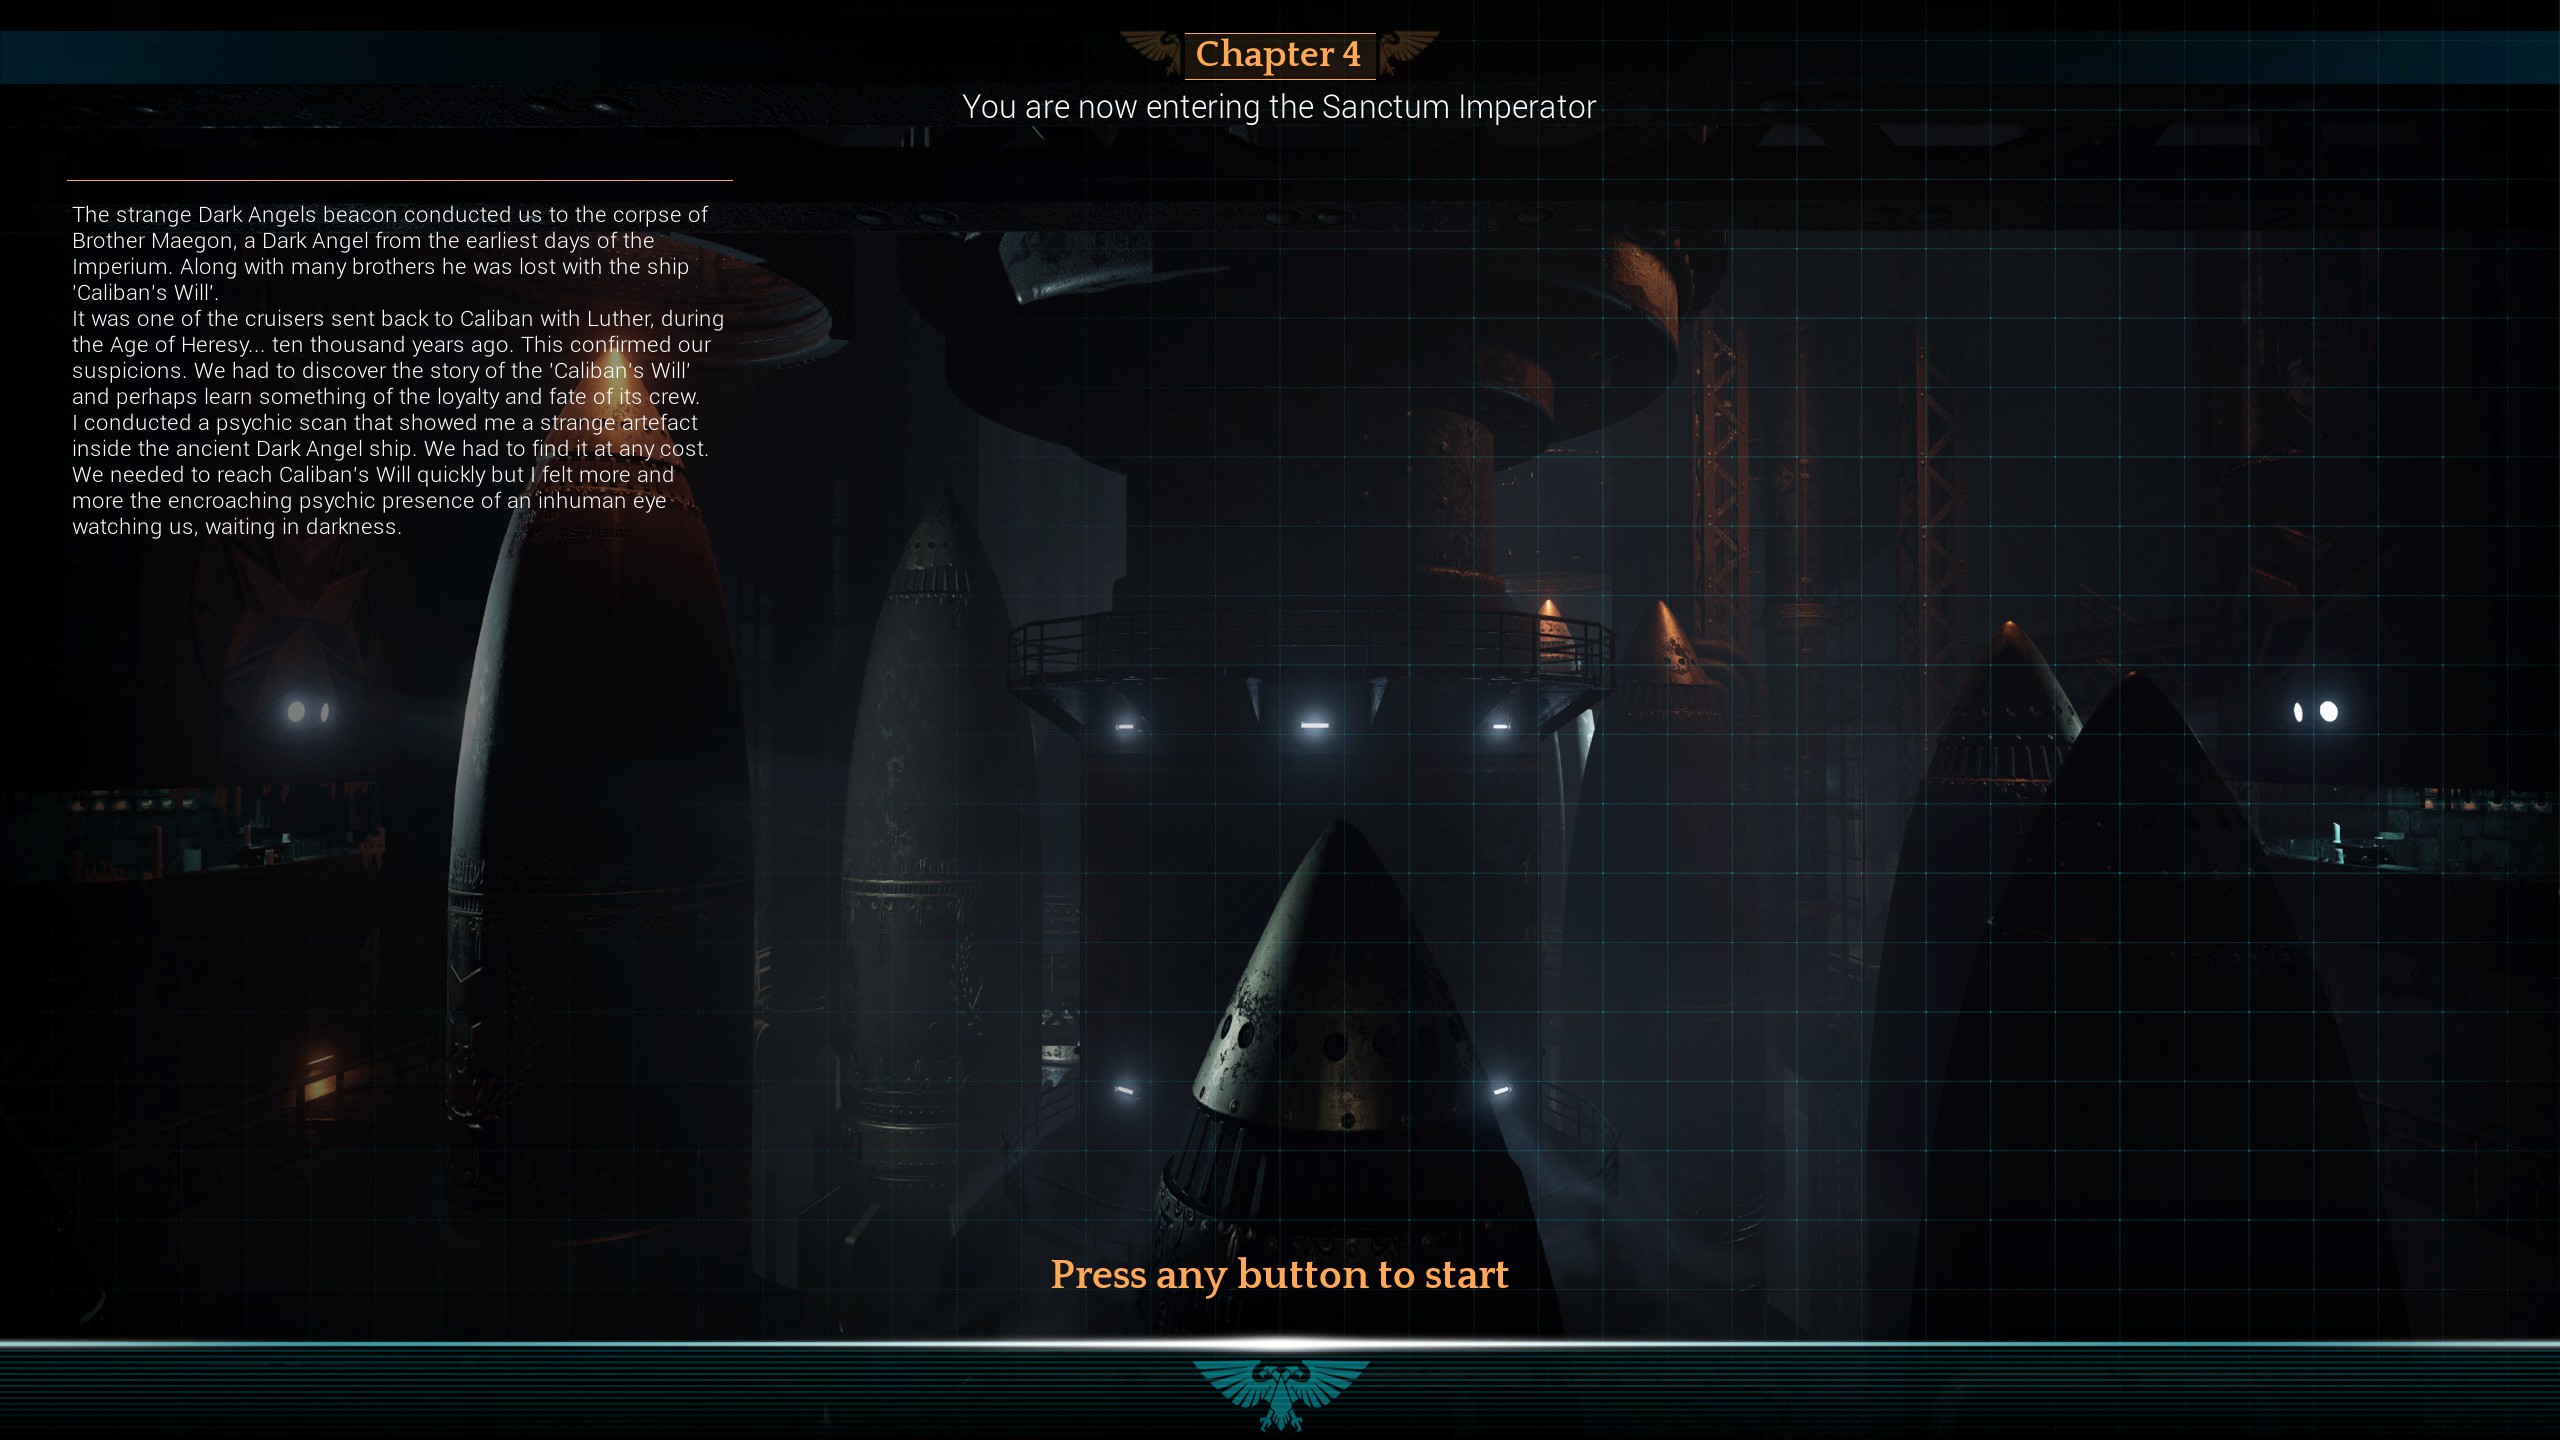
장 04 – Sanctum Imperator
Objective one is to secure the area of the Sanctum Imperator that connects to the Caliban’s Will. When you get close to the objective a short cutscene will show you a view of the room. Once you reach the objective a Scythe-strain will appear from the floor and you’ll have to kill it to complete the objective. You will find the way to the Caliban’s Will is blocked by an energy field and you need to shut down the plasma reactor powering it.
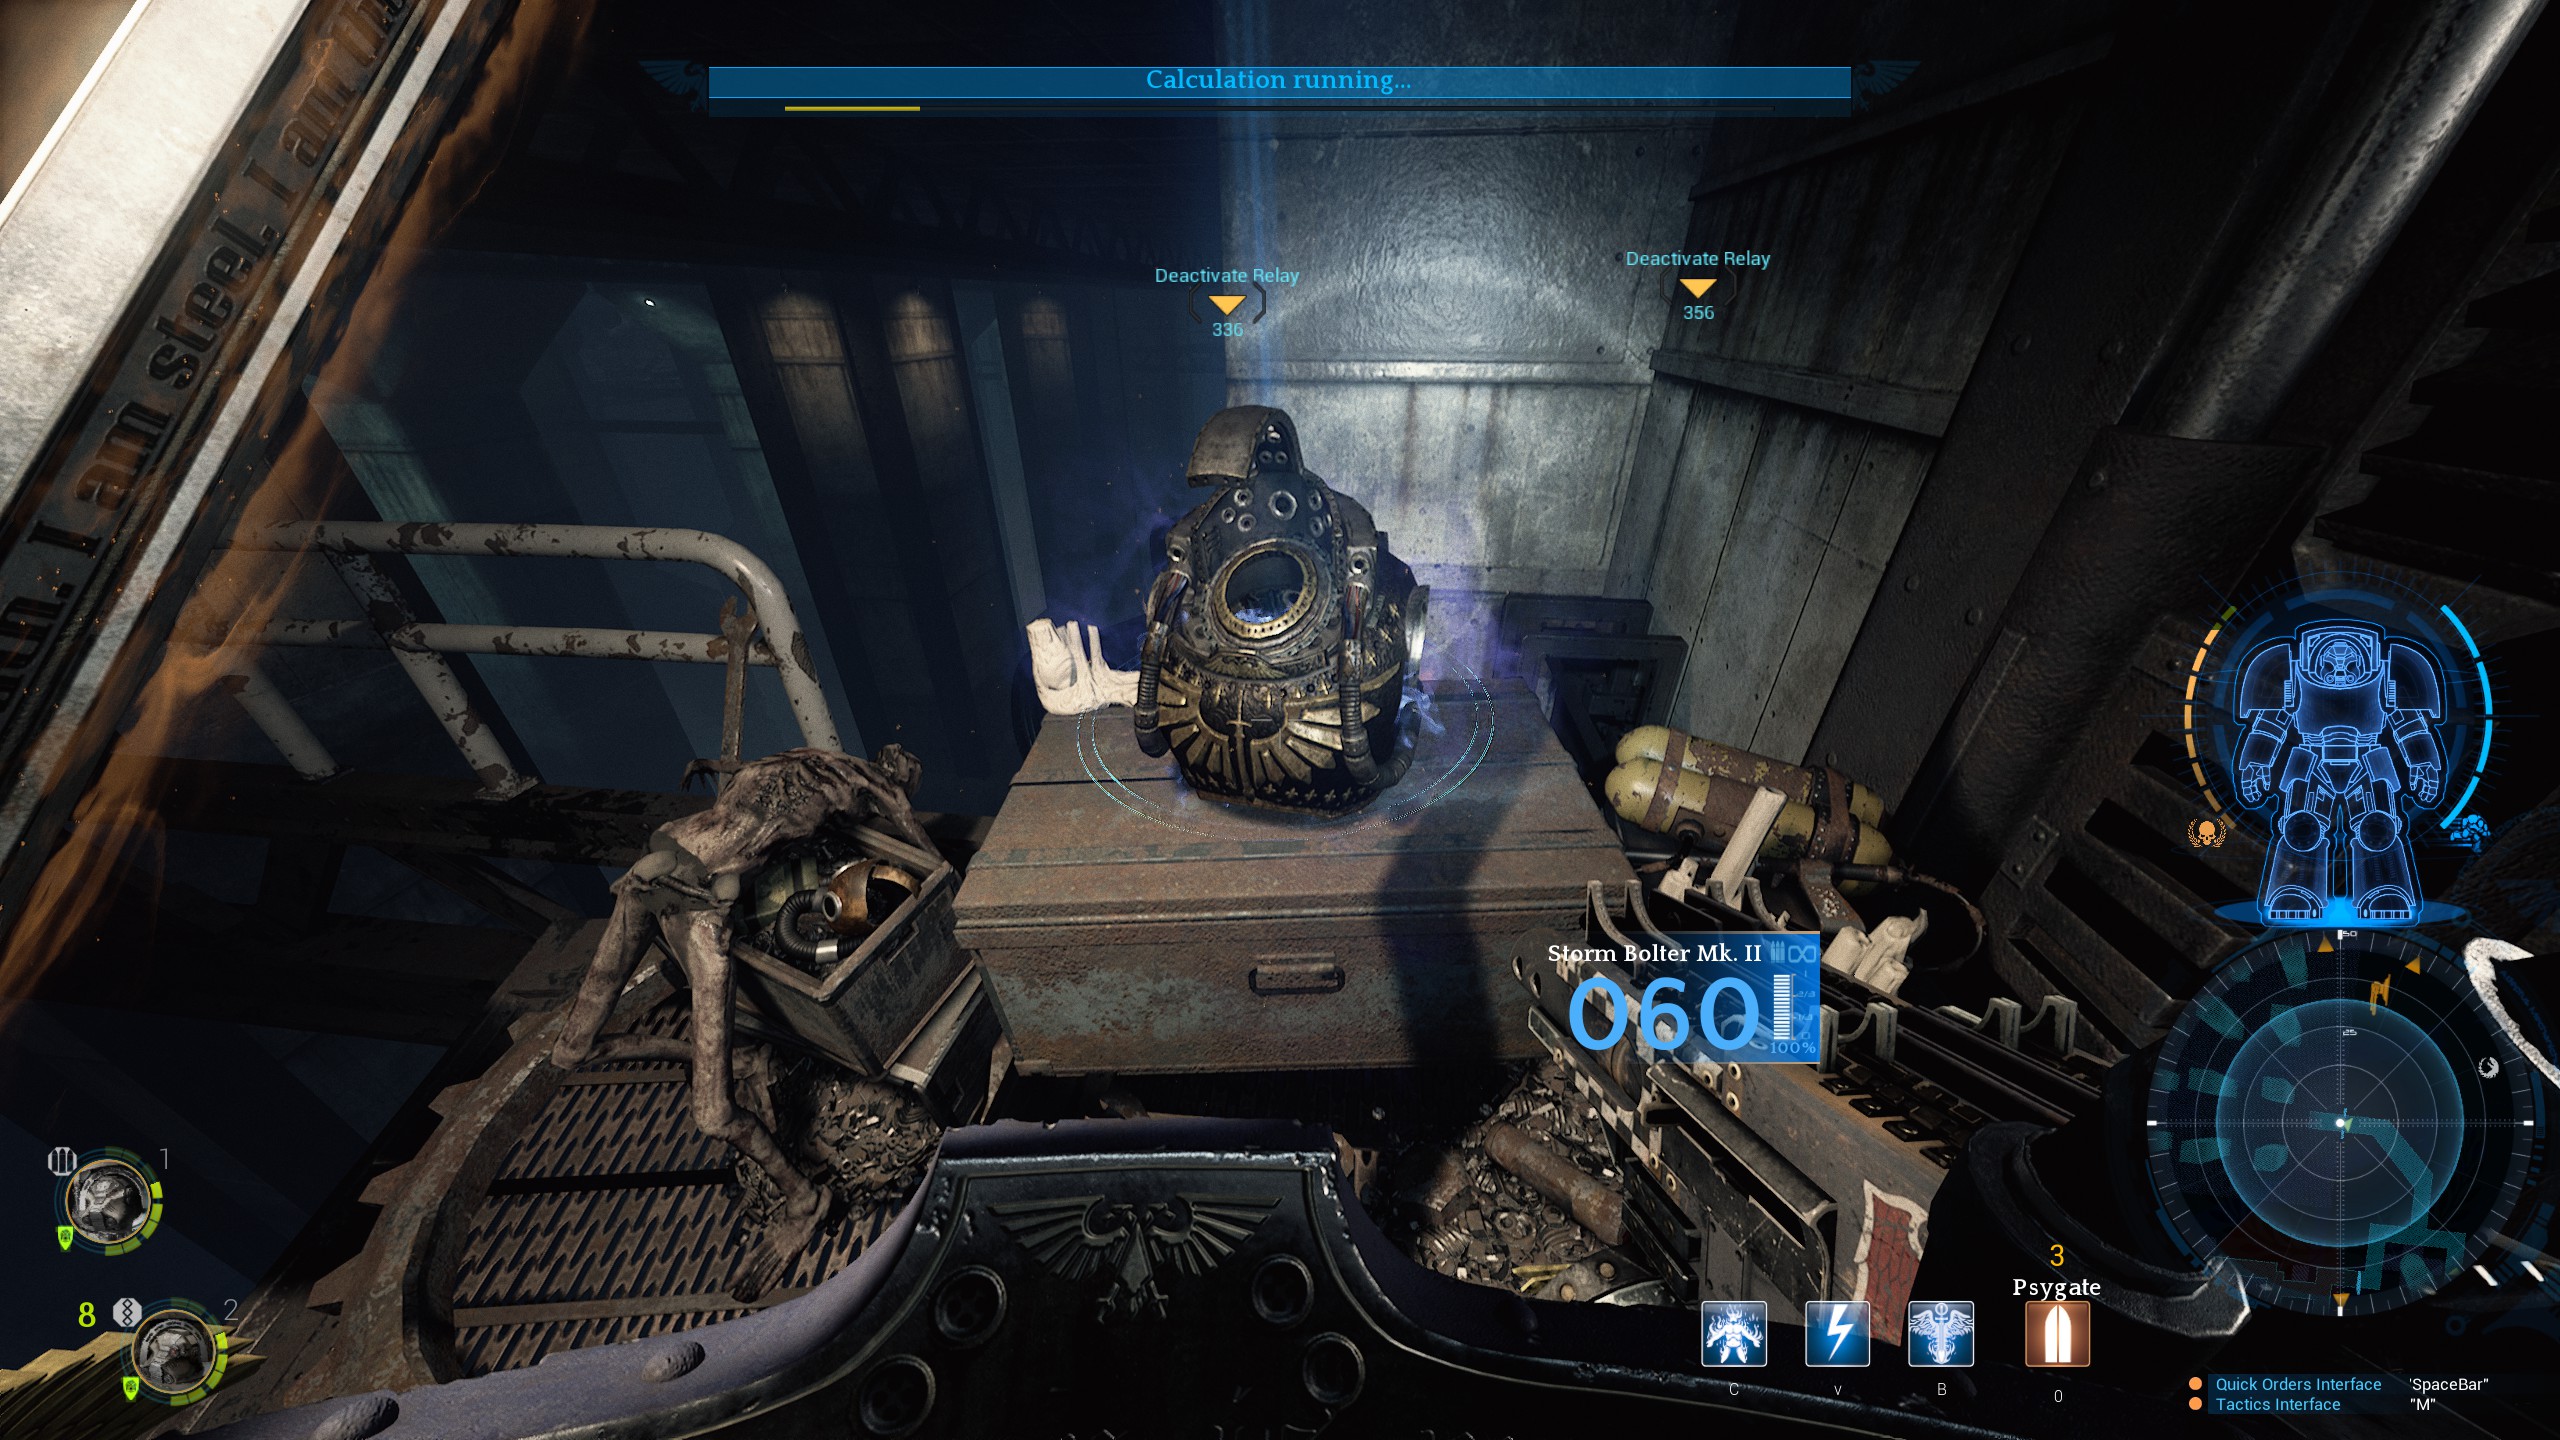
For Objective two, three and four you need to access a power relay in each location and kill the 4th Generation Hybrid Psyker guarding it. This is pretty simple. Go to the room, kill everything in it and then hit the button on the access panel. Rinse and repeat three times.
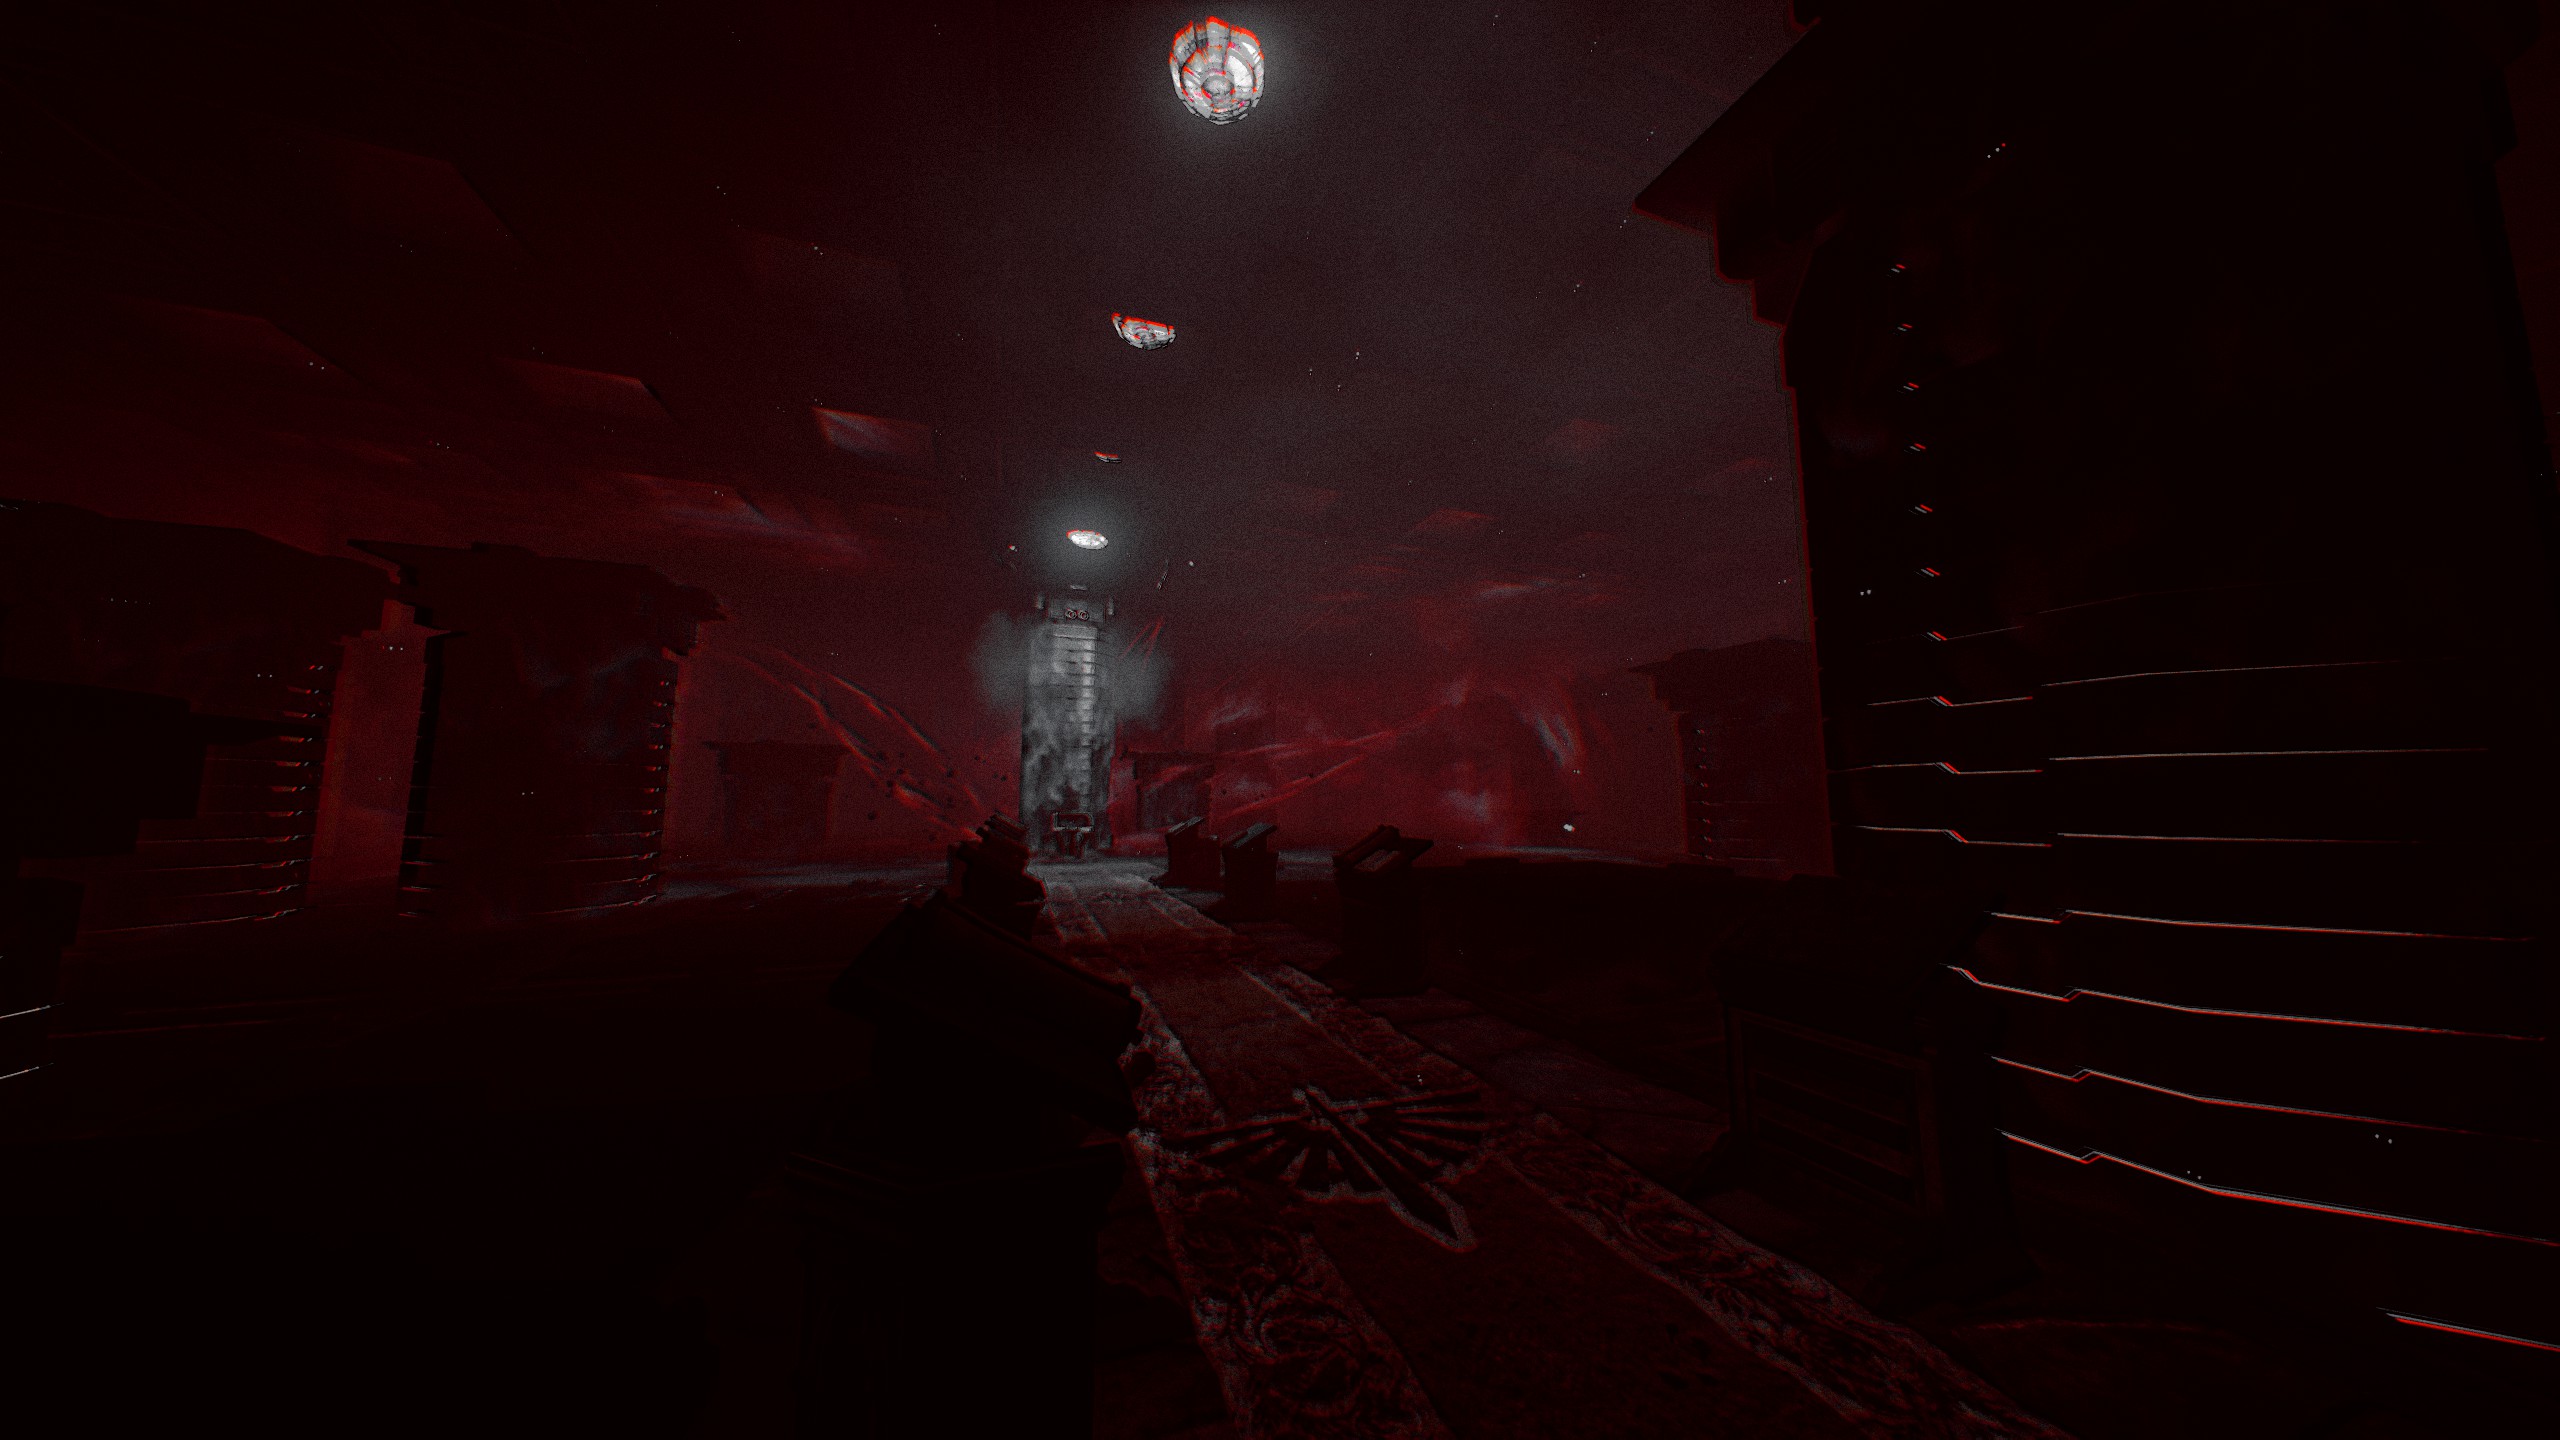
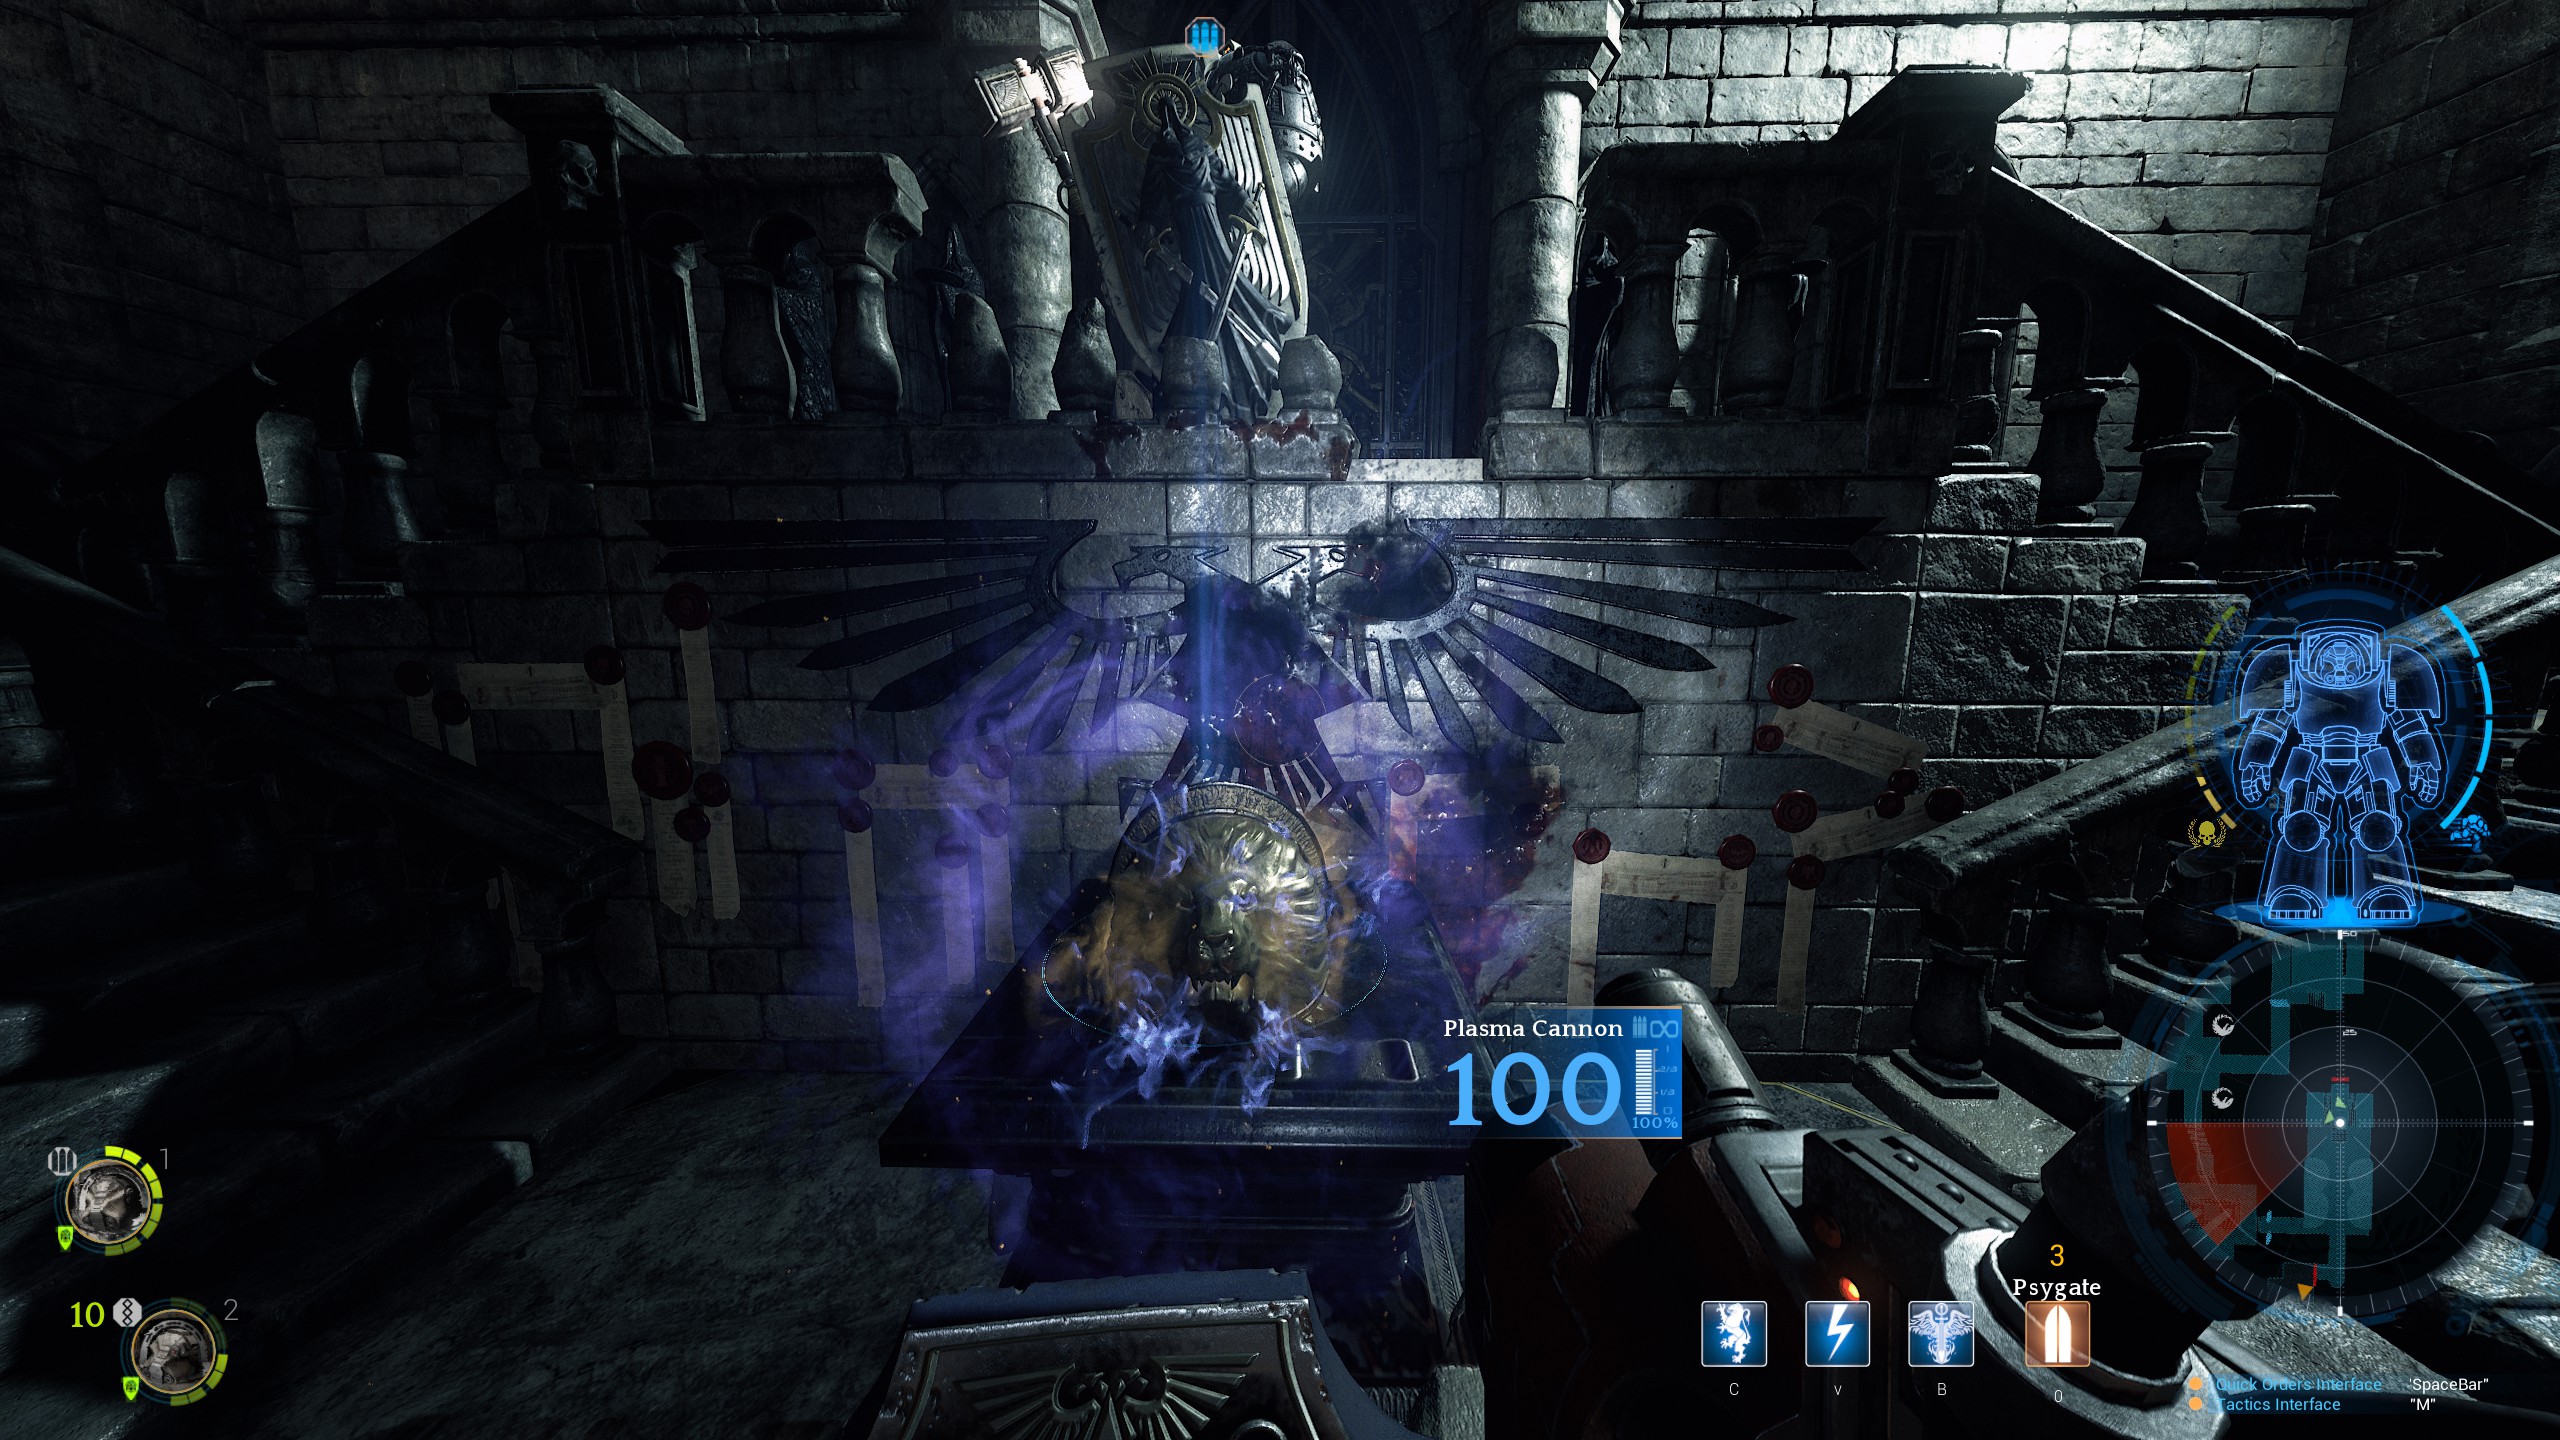
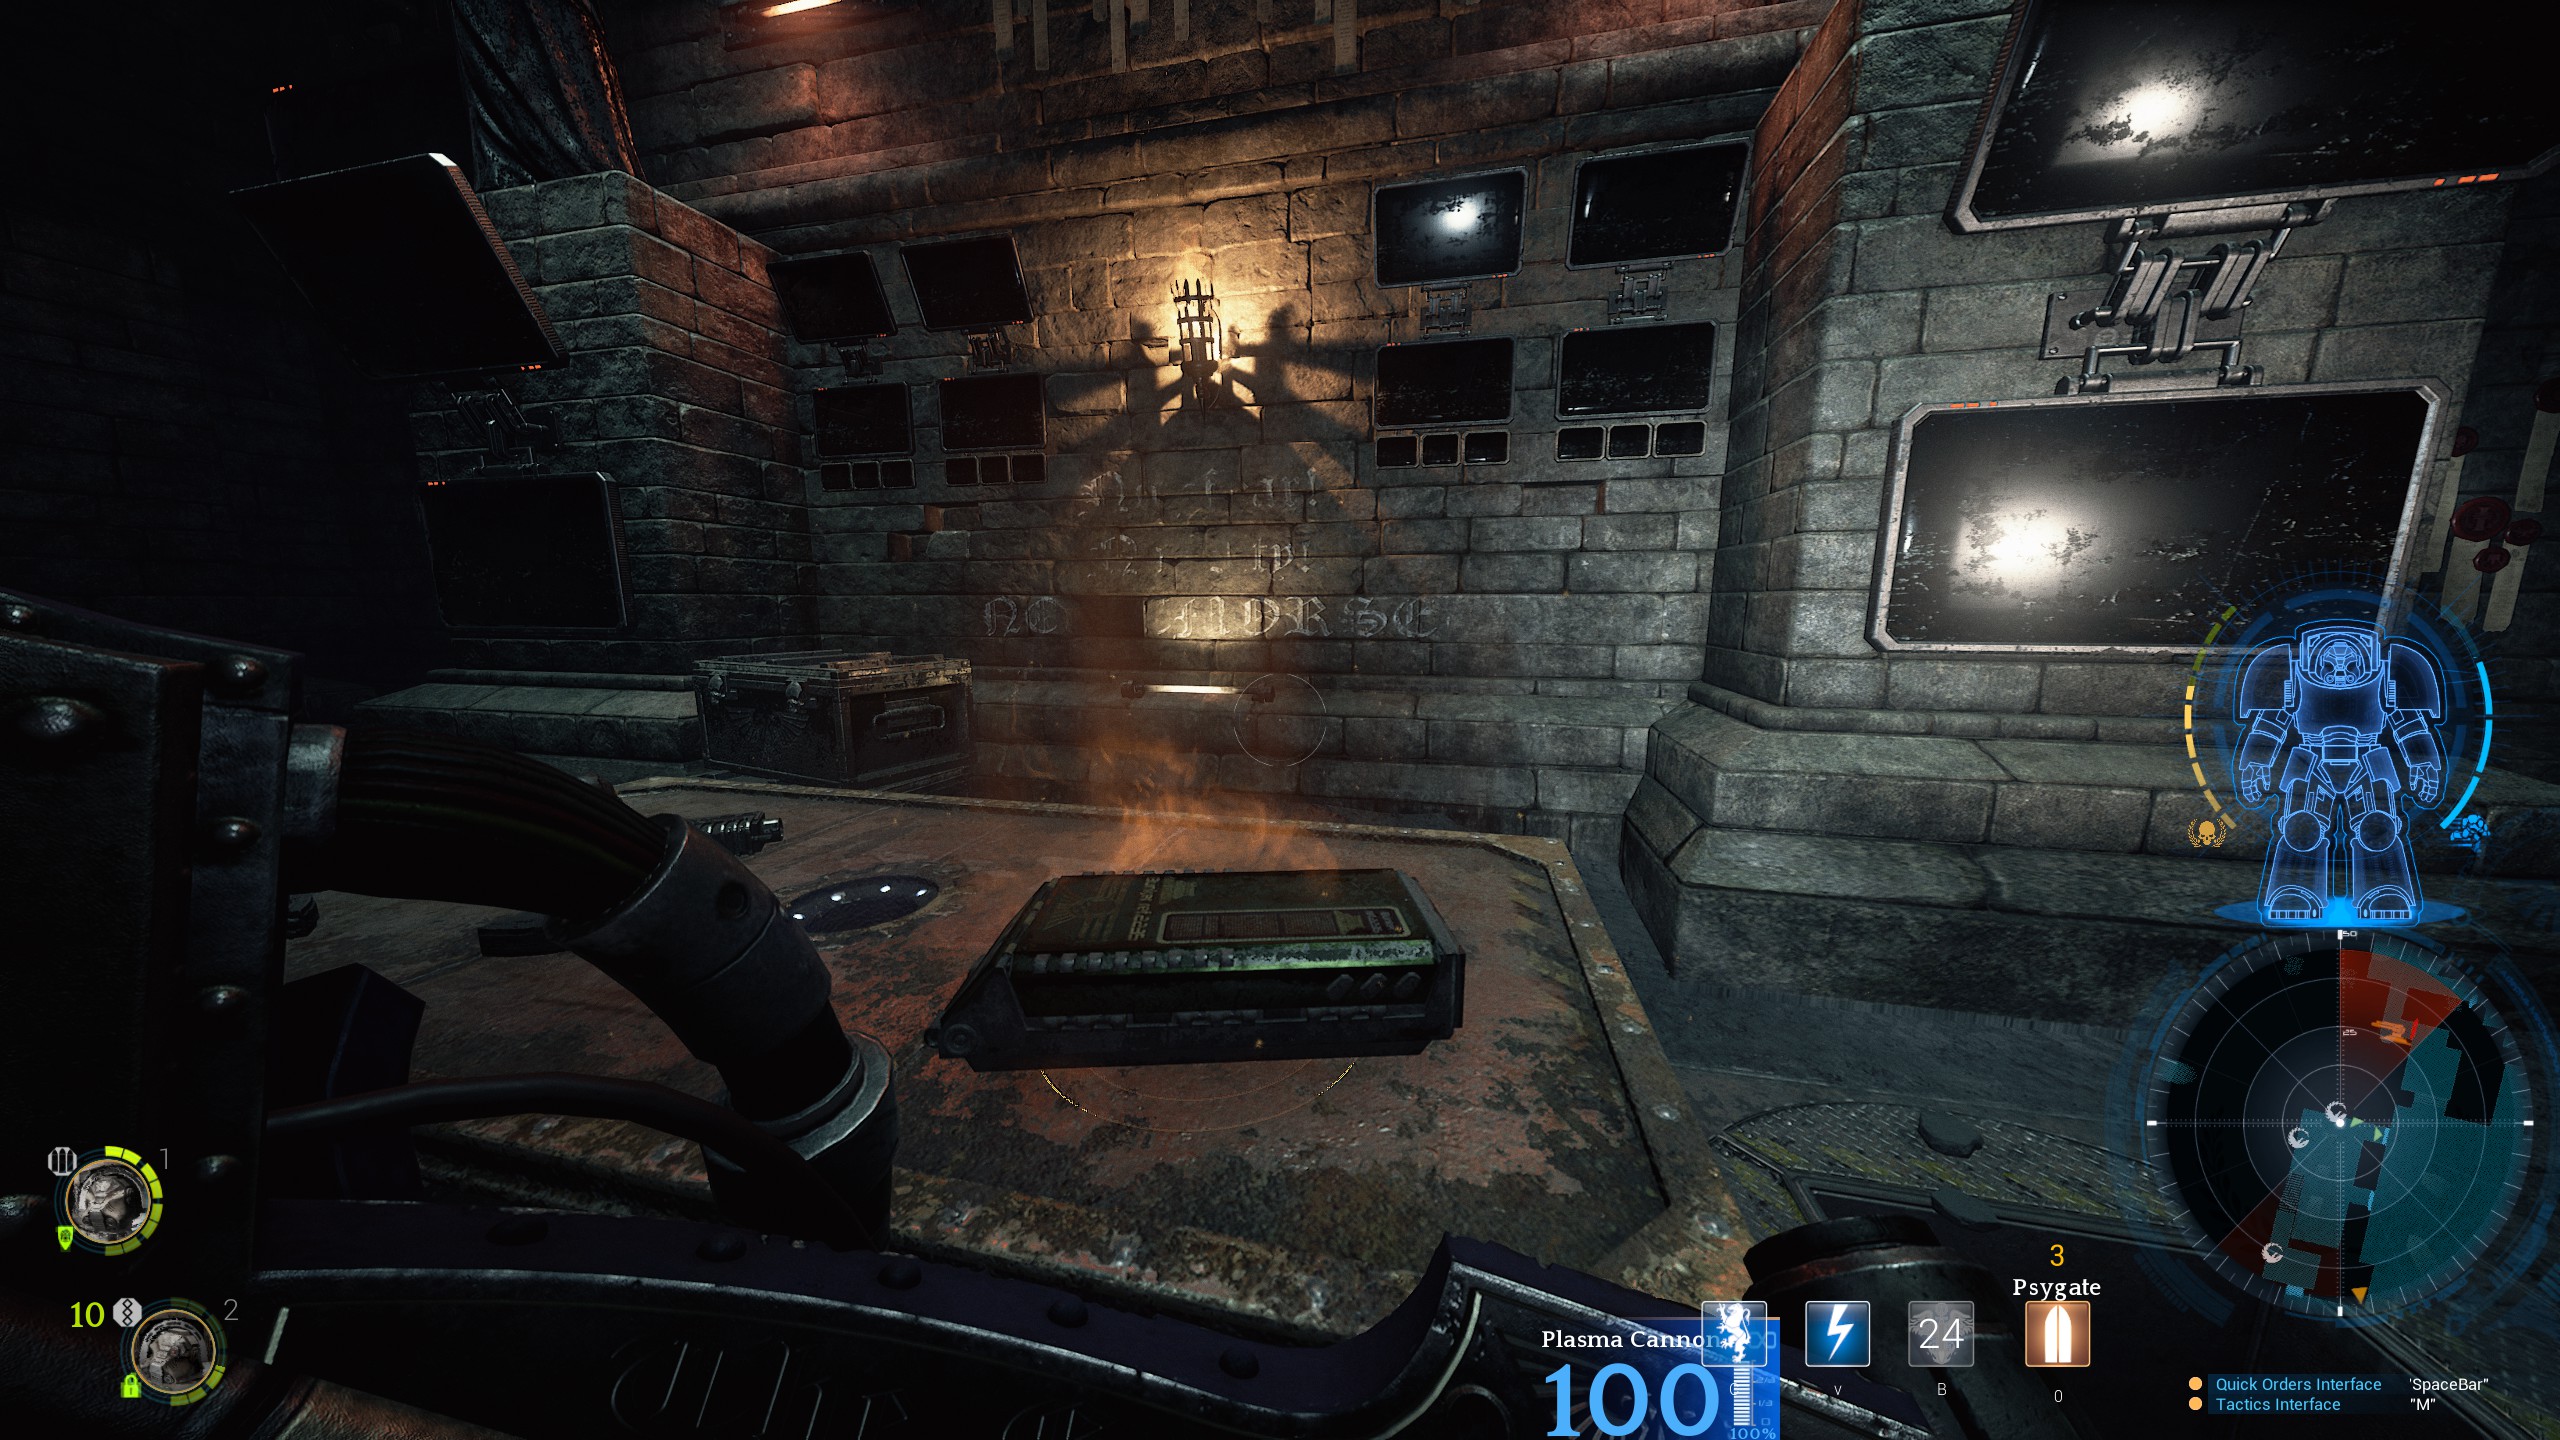
Objective five is to board the Caliban’s Will via the rubble behind the statue in Sanctuary 401-E. Once you arrive at the objective you will be taken to an interactive cutscene. You have find your way through some hallways whilst killing a swarm with a Mace of Absolution and Storm Shield. You’re invincible with infinite stamina during this cutscene. When you find the white-light exit, another short cutscene of a Brood Lord will play and you’ll be dropped back into your body.
Once you’re back in your body you have to hold your position and purge a horde. I like to hold to the side of the statue with Barachiel up front tanking. I try to keep him behind the statue as it shields him from the 3rd Generation Hybrids with missile launchers. Towards the end of the swarm you will have to fight a Scythe-strain. Once this is over you need to walk to the rubble to finish the chapter.

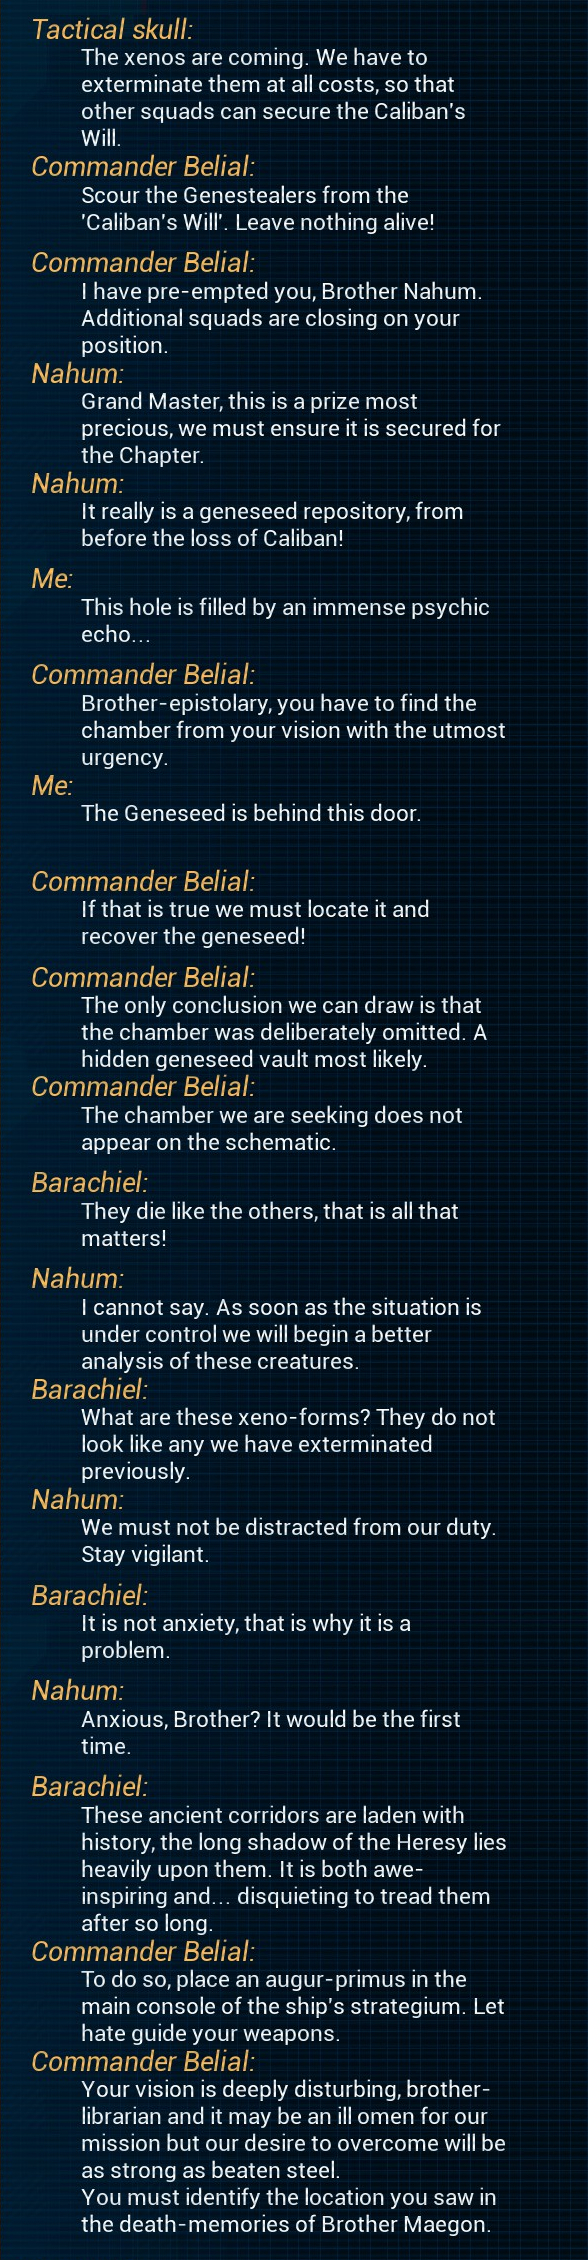
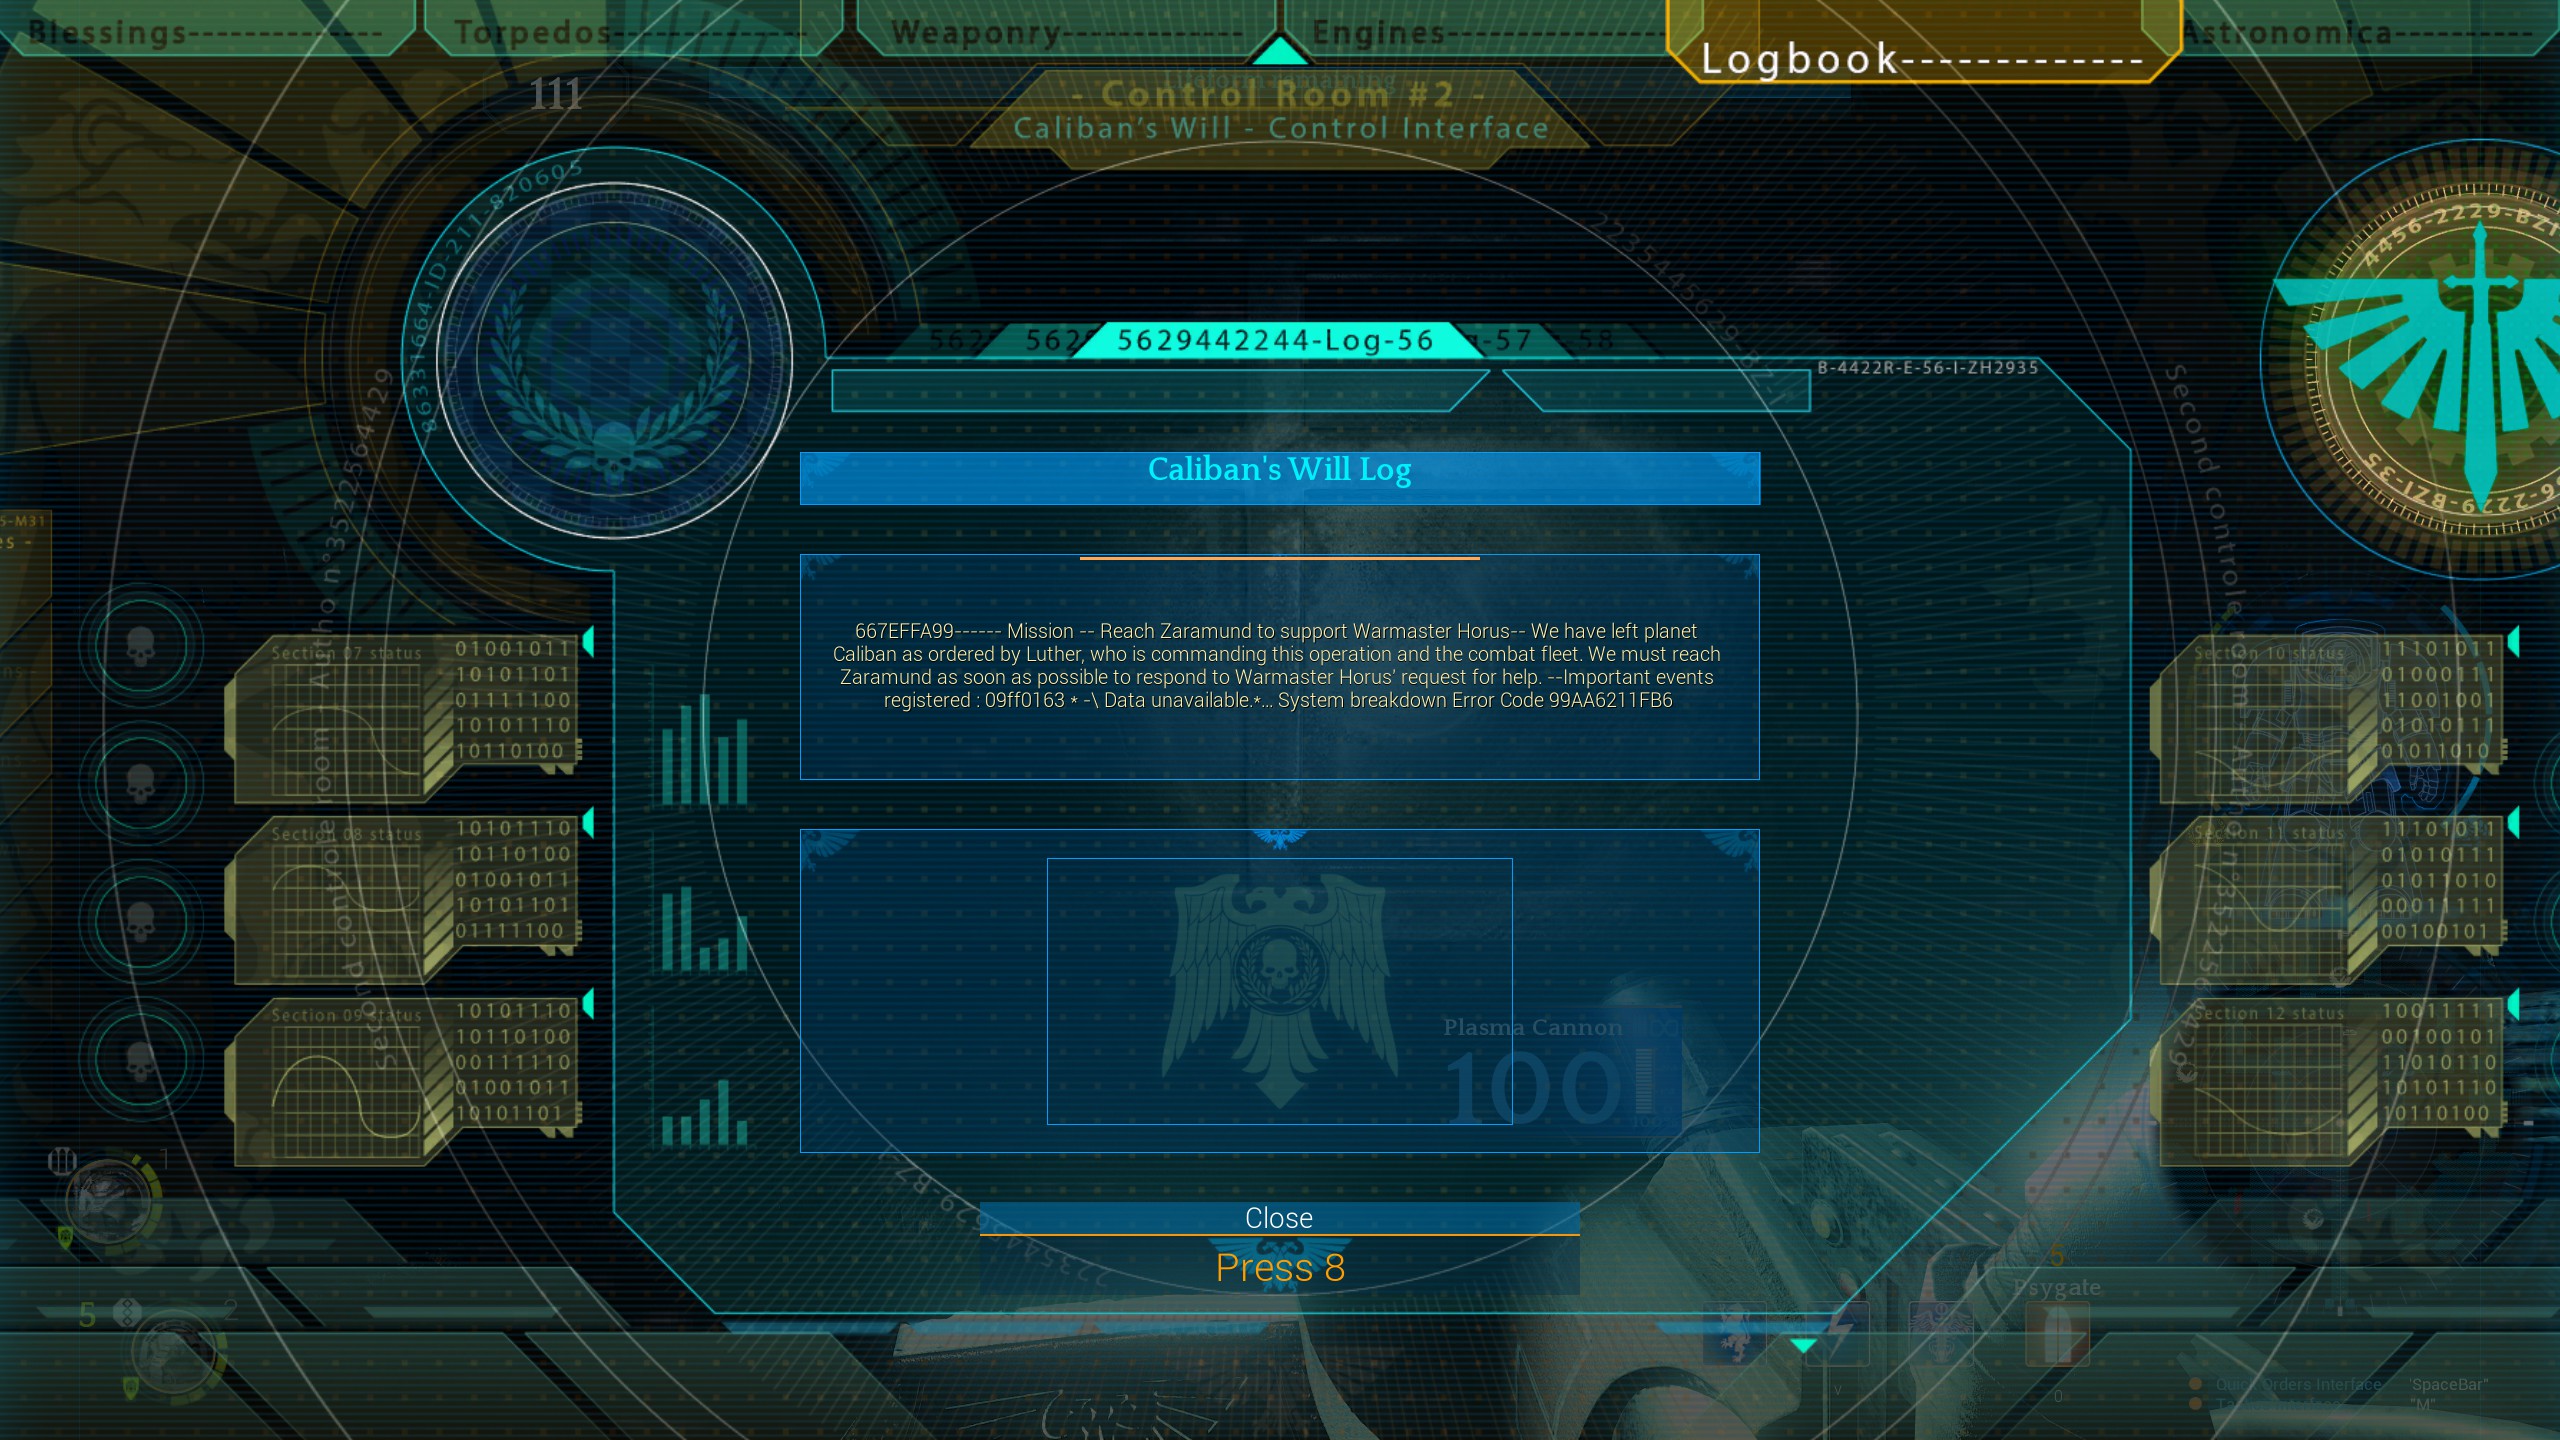
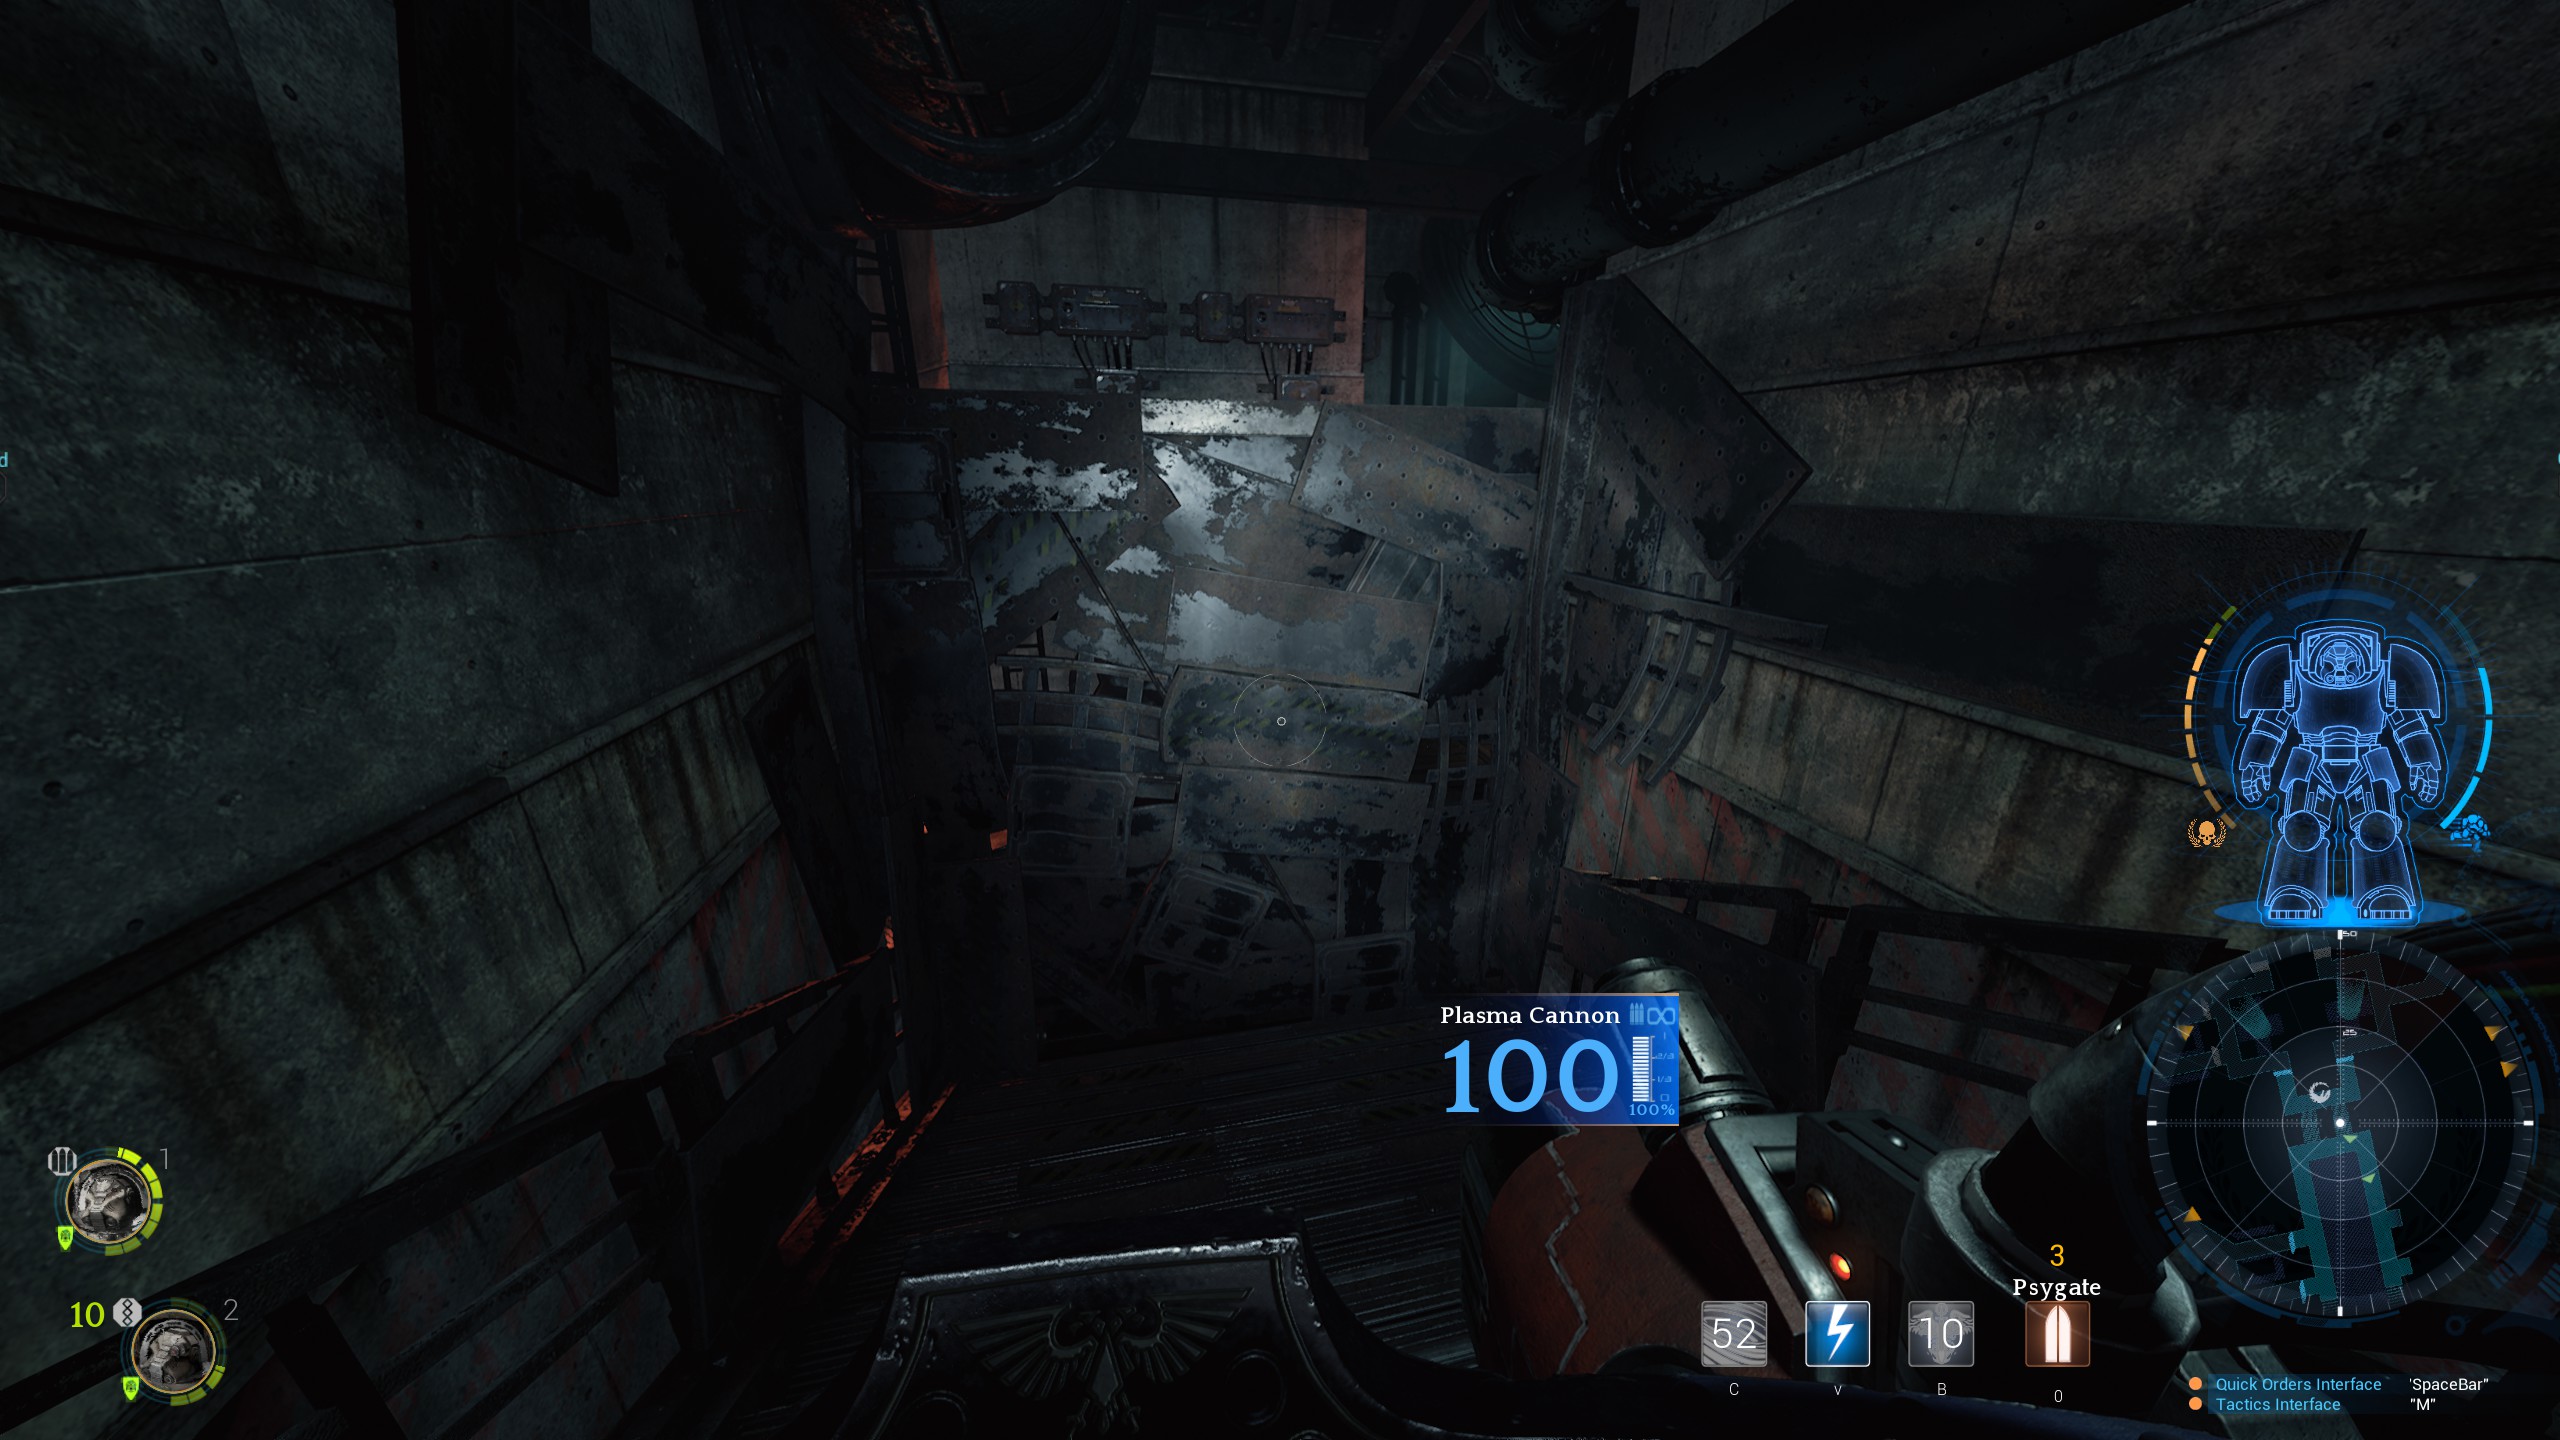
장 05 – Caliban’s Will
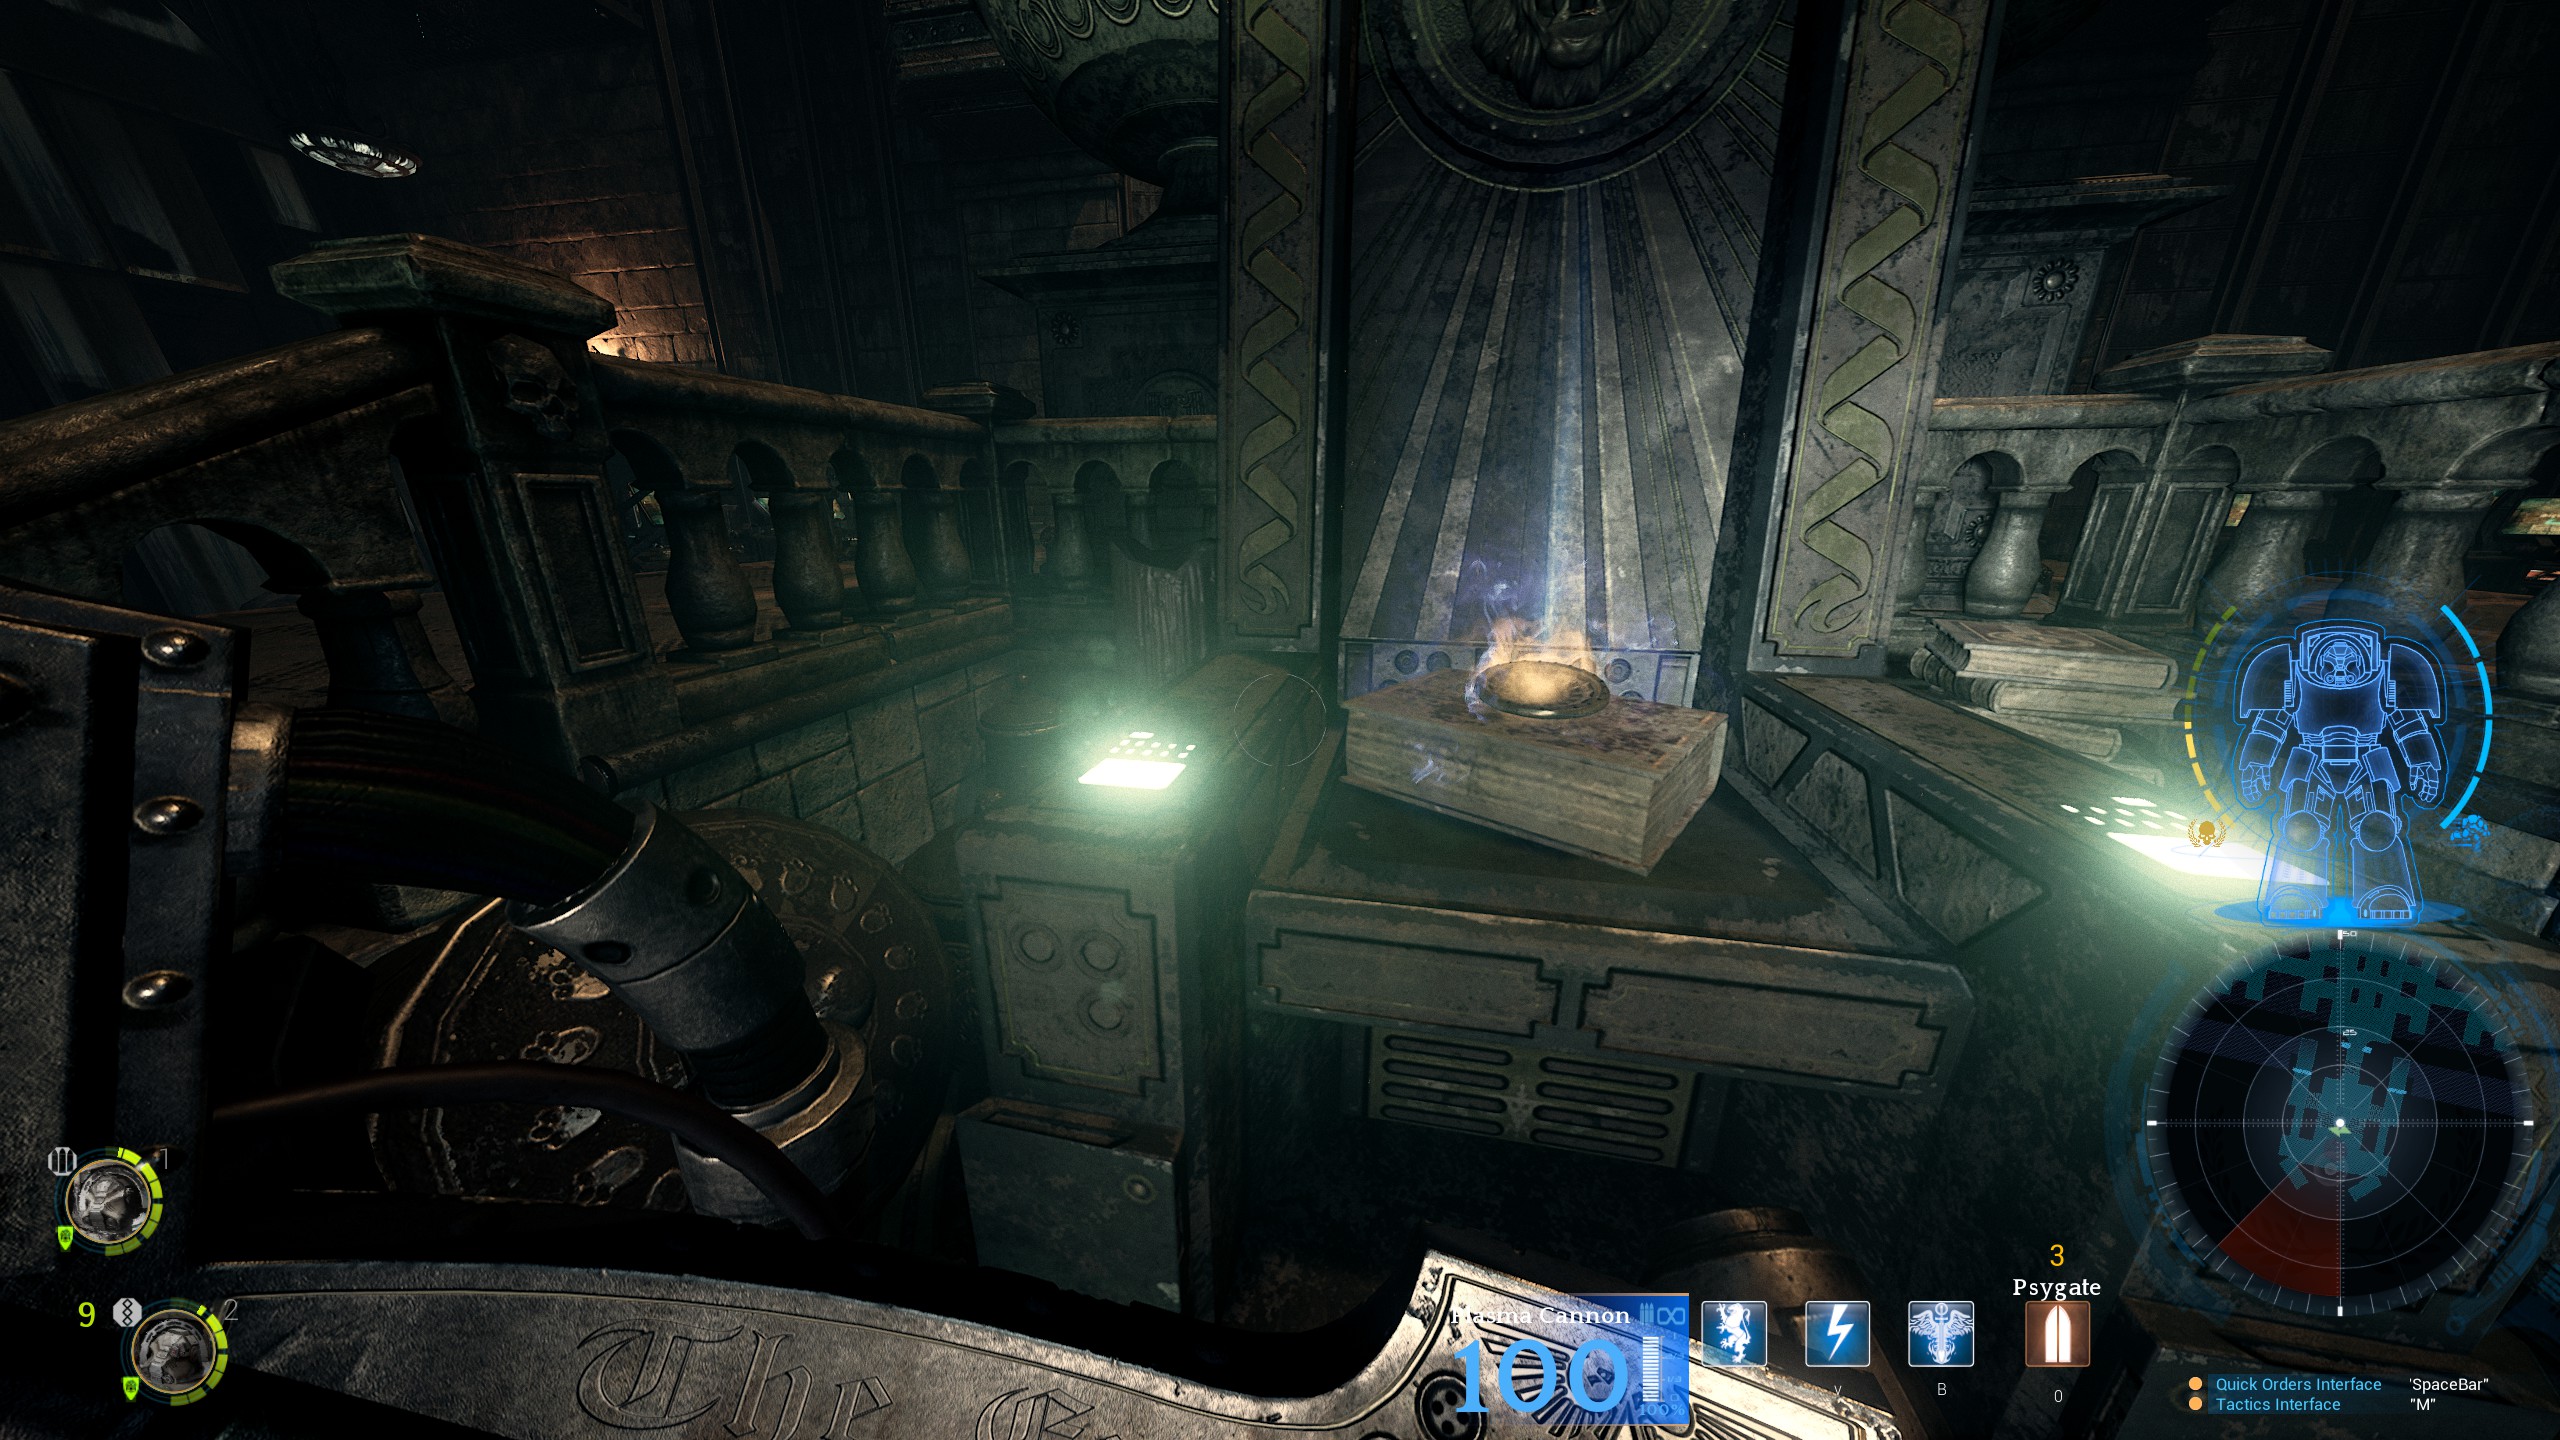
The first objective is to place an augur-primus on a console in Main Control 500-N. You will start to fight white Genestealers.
You will need to melee a wall to access Relic 1. The Console save is too early in the map to be useful.
After you place the augur-primus and the dialogue ends, a short cutscene will play showing the location of the switch to open the hidden vault.
You can go directly to objective 2 and ignore my route if you want. The other two relics are in Dungeon 502-SE 그리고 Collapsed Area 55-S. Both of these are minor relics so not necessary for the Time Lord Achievement.
Objective two is to find the room you saw in the cutscene back in chapter 3, a hidden Geneseed Vault. When you arrive in Scriptorium 5-N the objective will show up which is a control panel you need to hack. The vault won’t be visible on the map until you complete this objective.
Before you go into the Geneseed vault, make sure you have both Relics 5 그리고 6 and have locked all the doors around them.
Objective three is to secure the Geneseed. Once you enter the hidden vault a cutscene will play showing a big pipe. When you get close to the area a Brood Lord will spawn (from the pipe to the east on the room) and must be defeated to progress the mission.
The last objective isn’t on the map. You have to purify a swarm and await reinforcements. It displays a bar with 200 enemies to kill. This doesn’t need to be done in any particular place which is why it’s not on the map. I personally go up near relic 5 또는 6 which I prepared earlier by closing all the doors and hold out there. If Barachiel has the Thunder Hammer and Storm Shield he will wander off towards the spawn point though he can solo it with you watching his back.

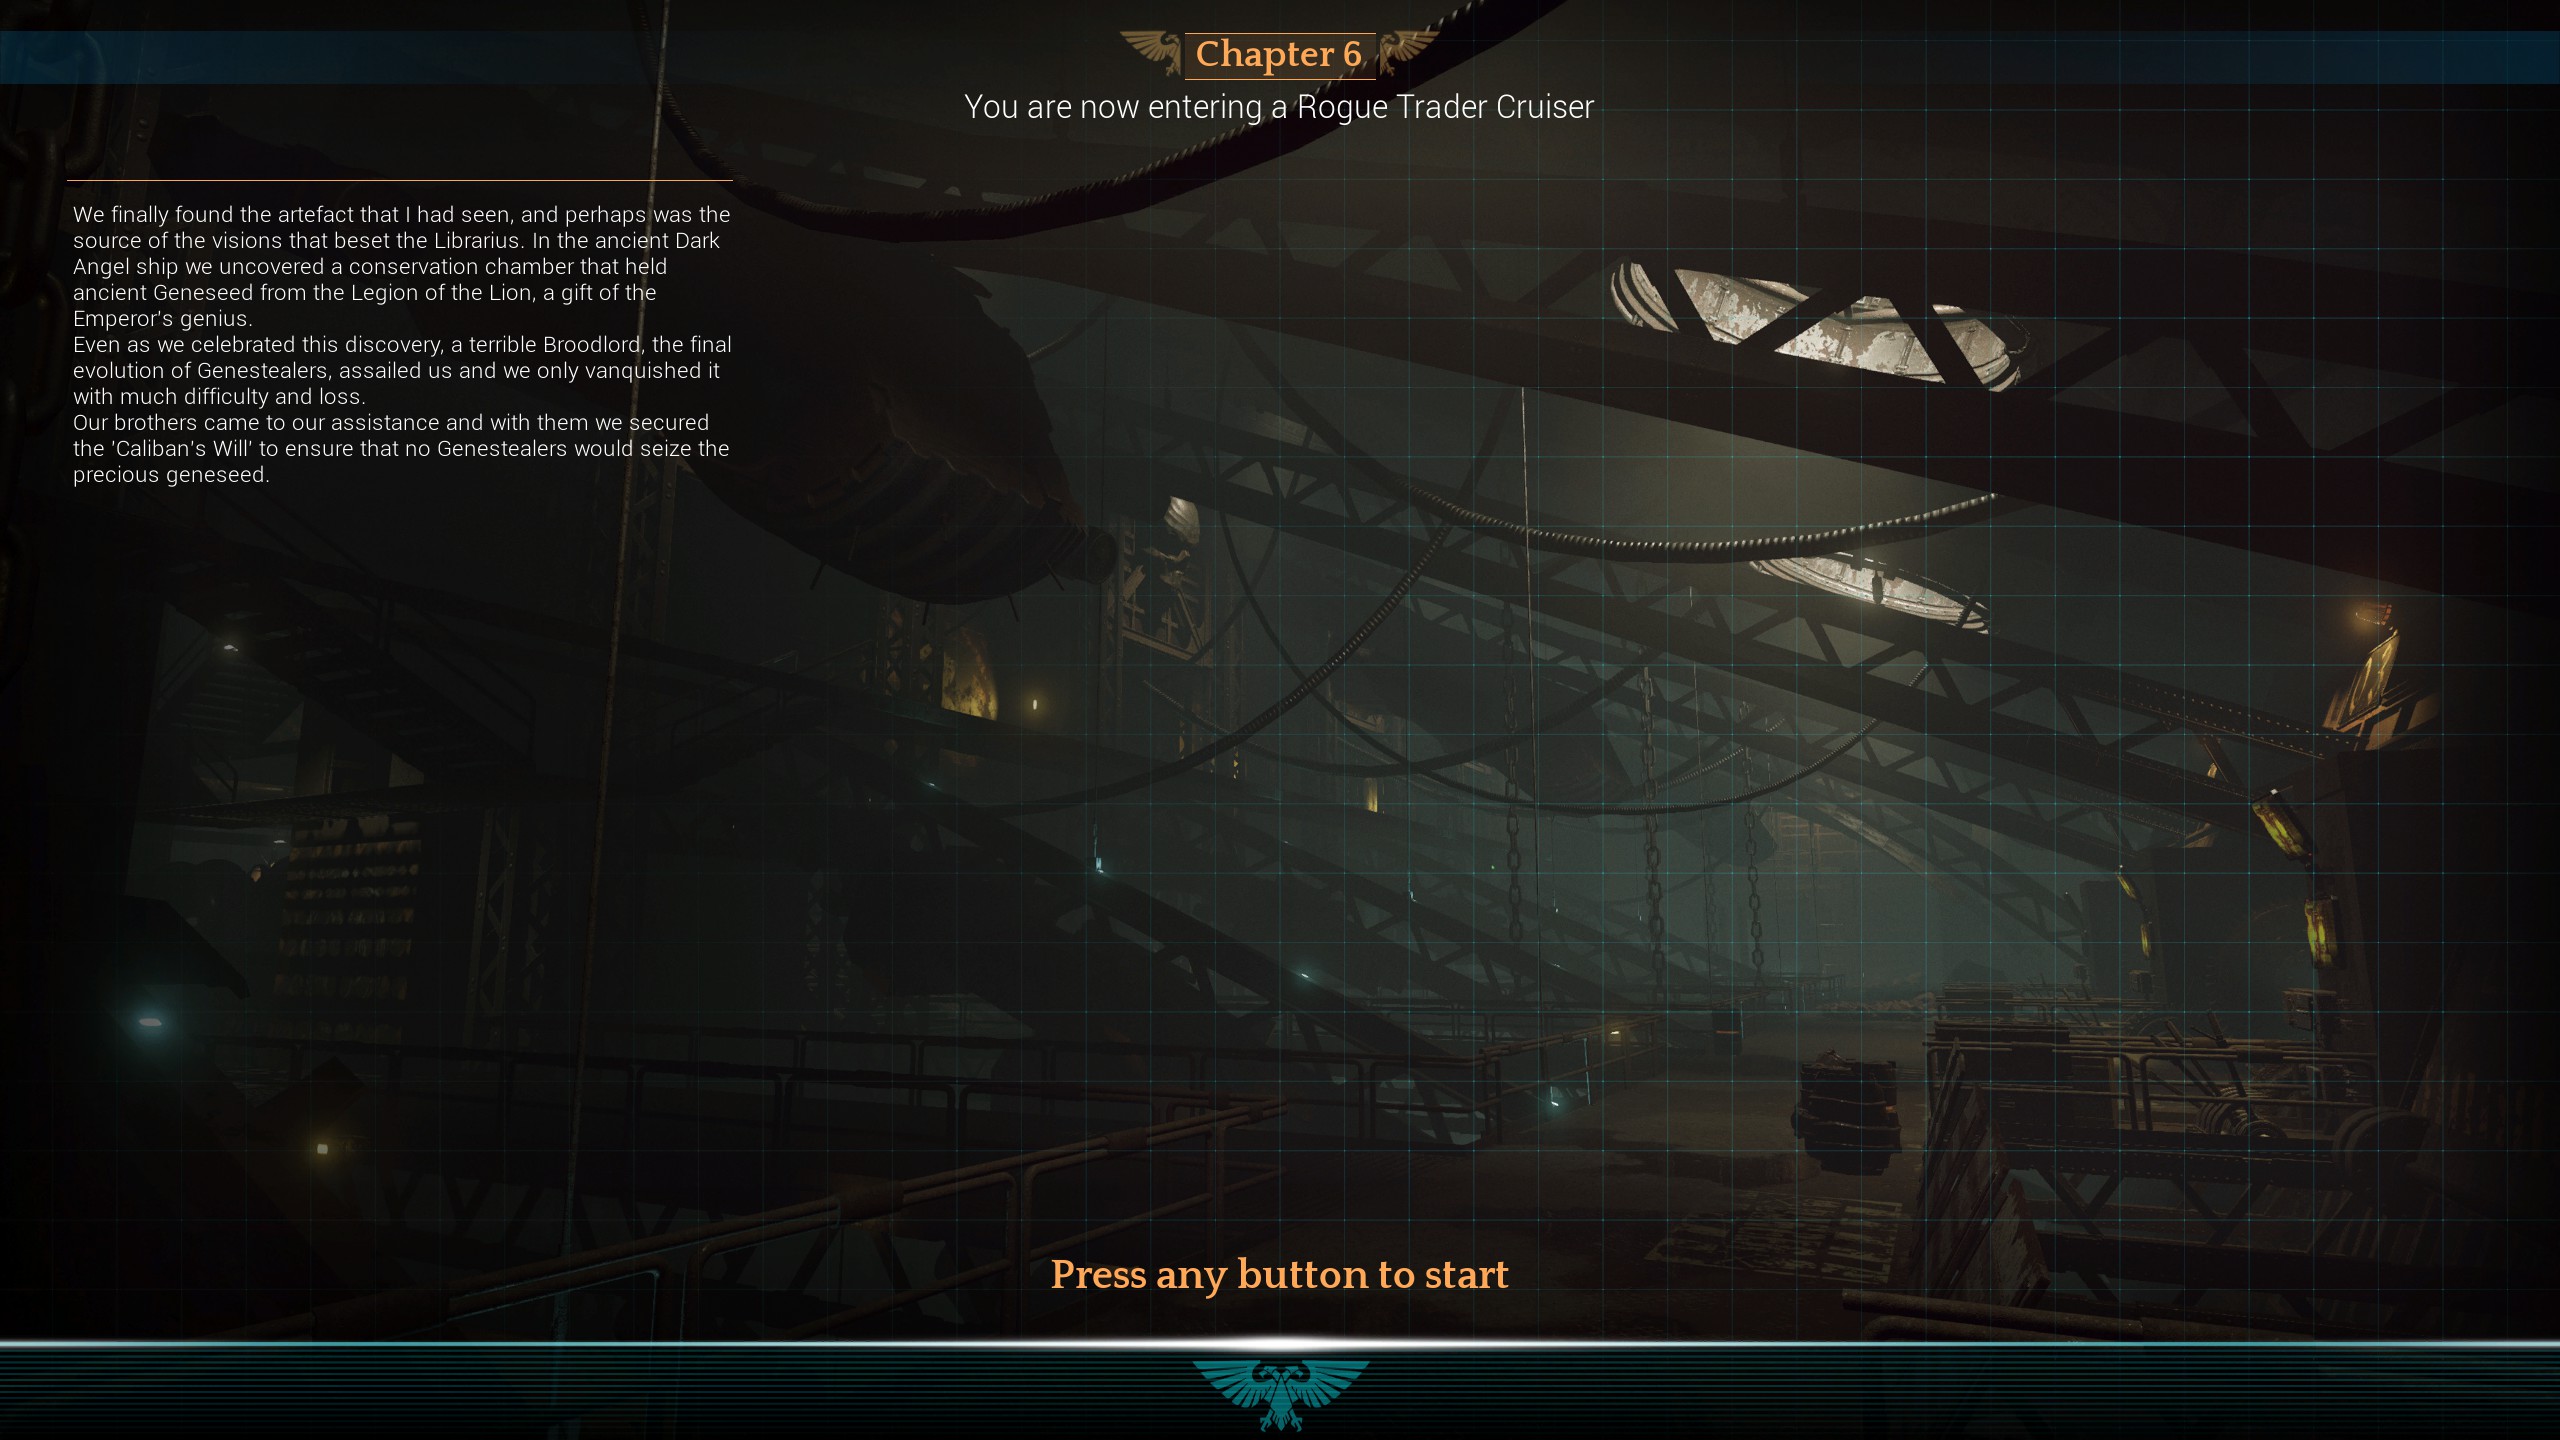
장 06 – The Tregrom
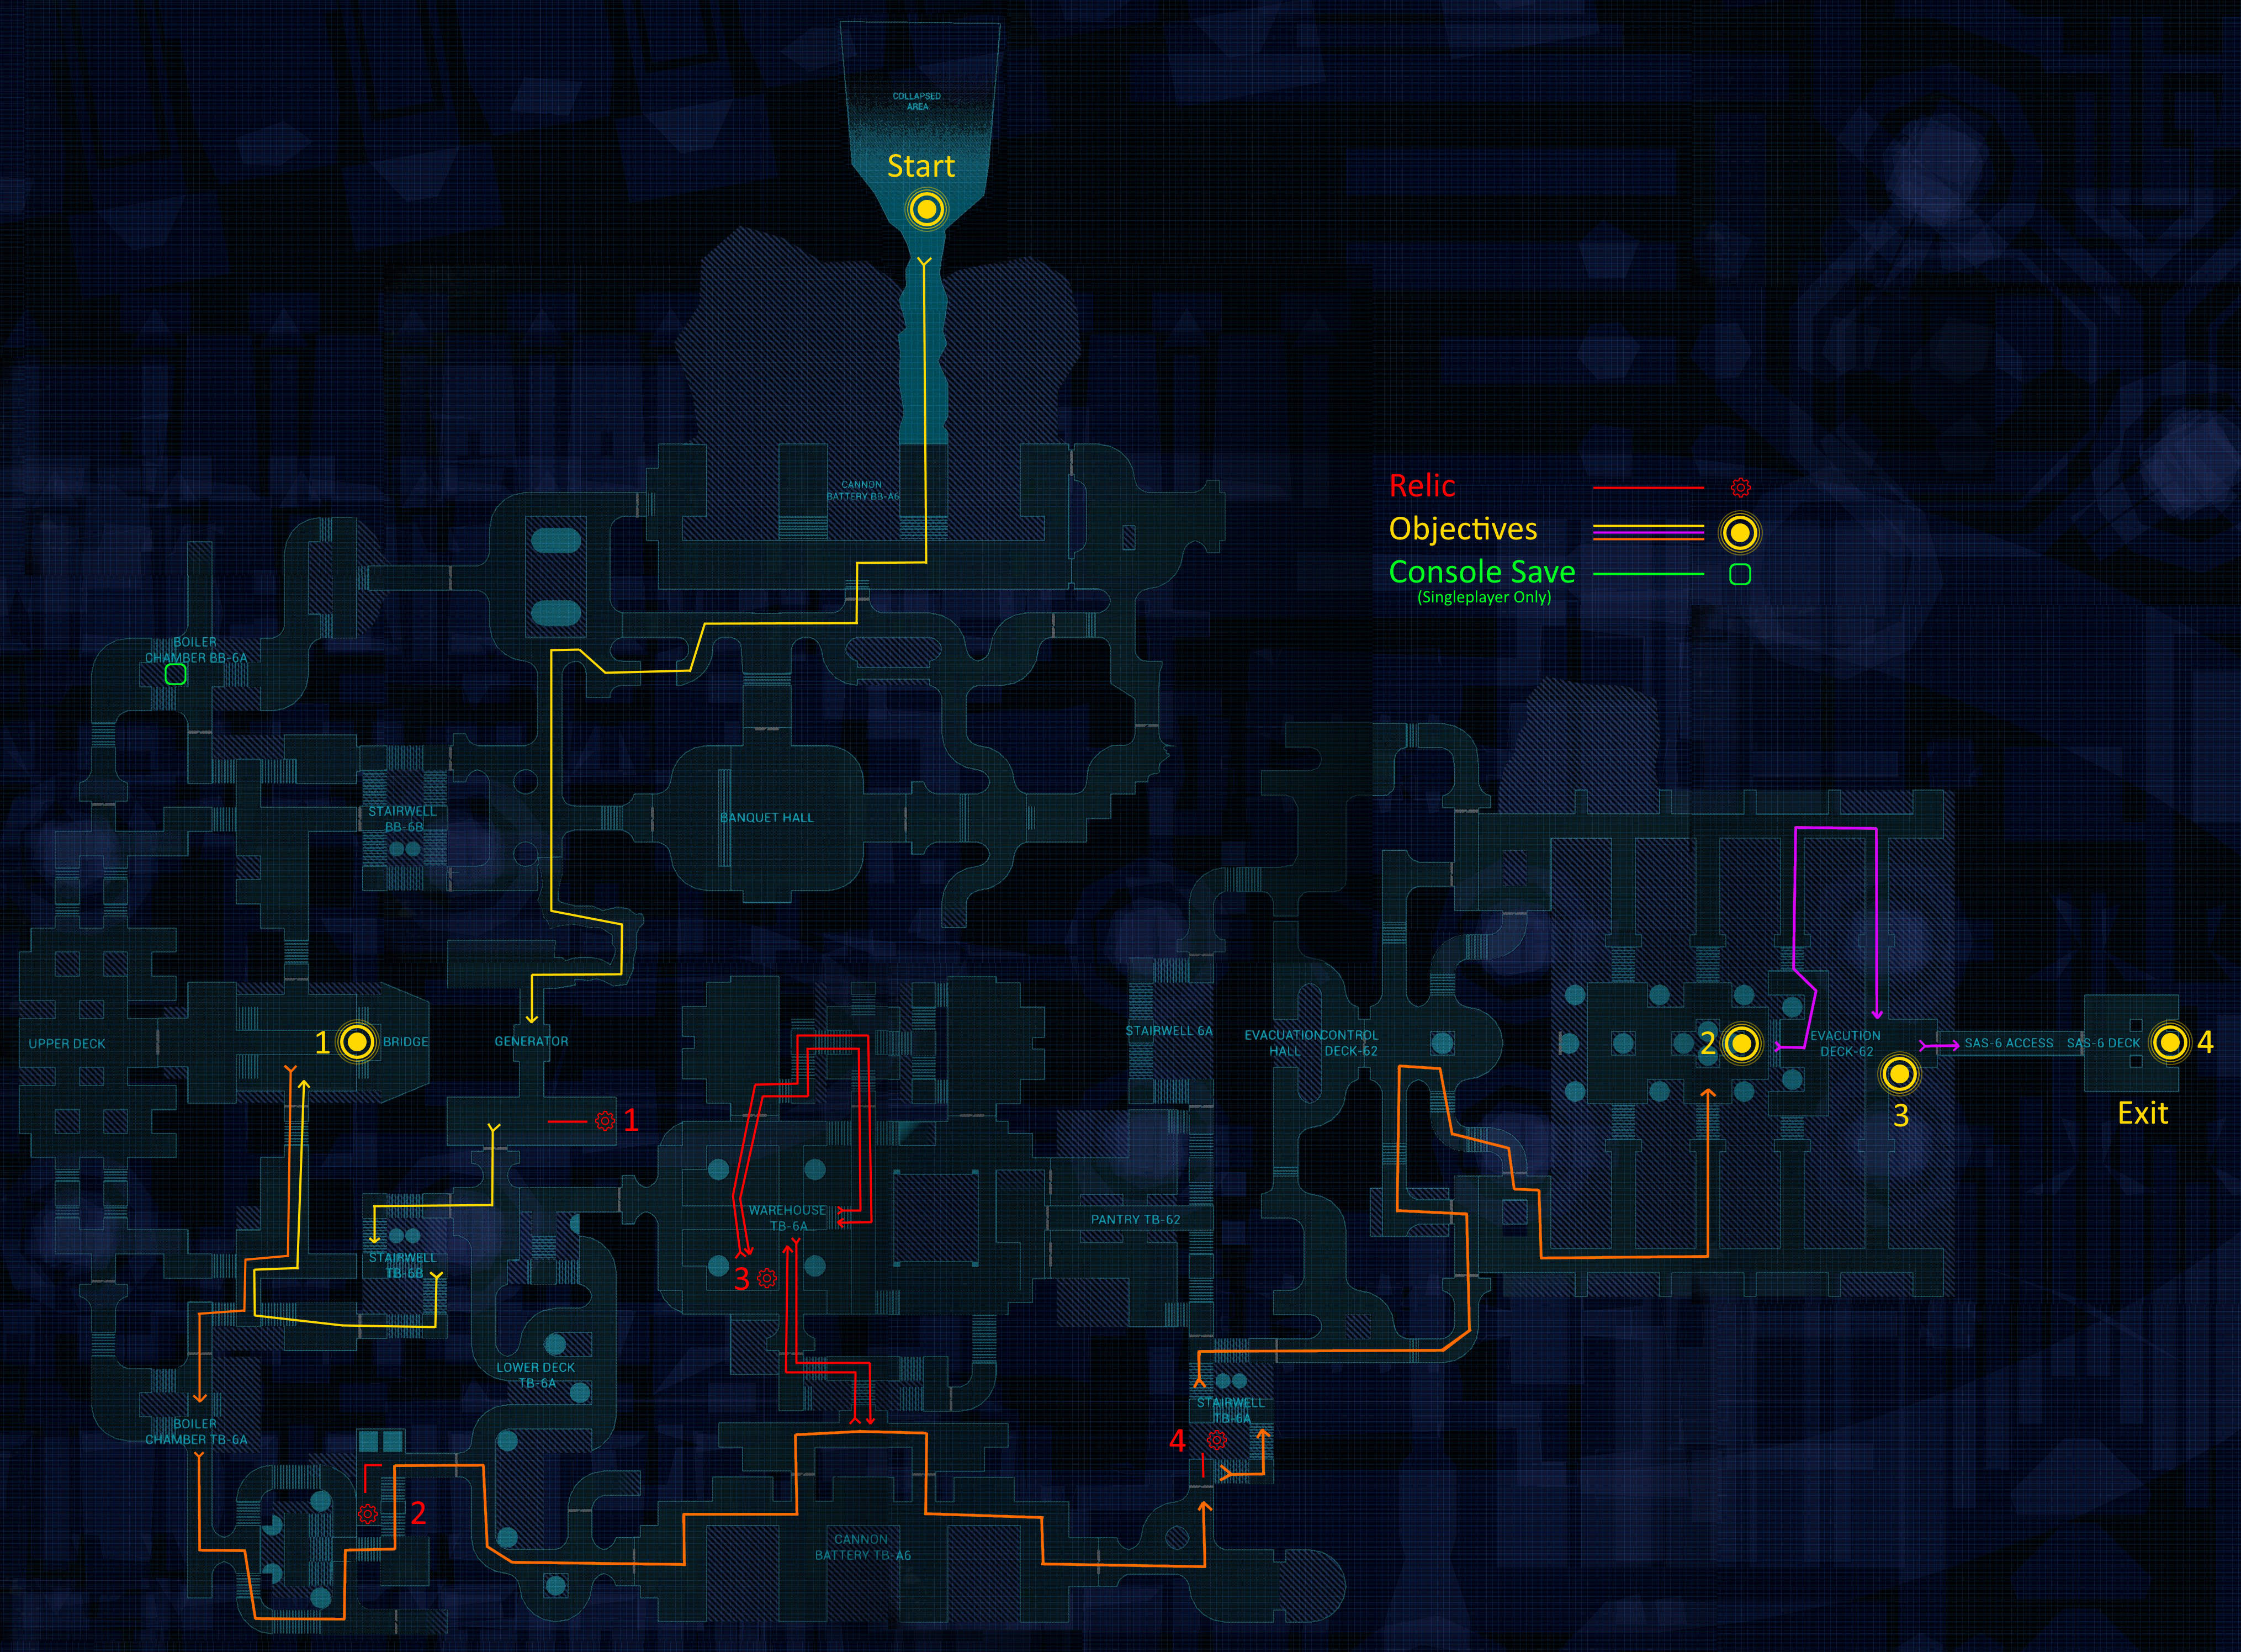
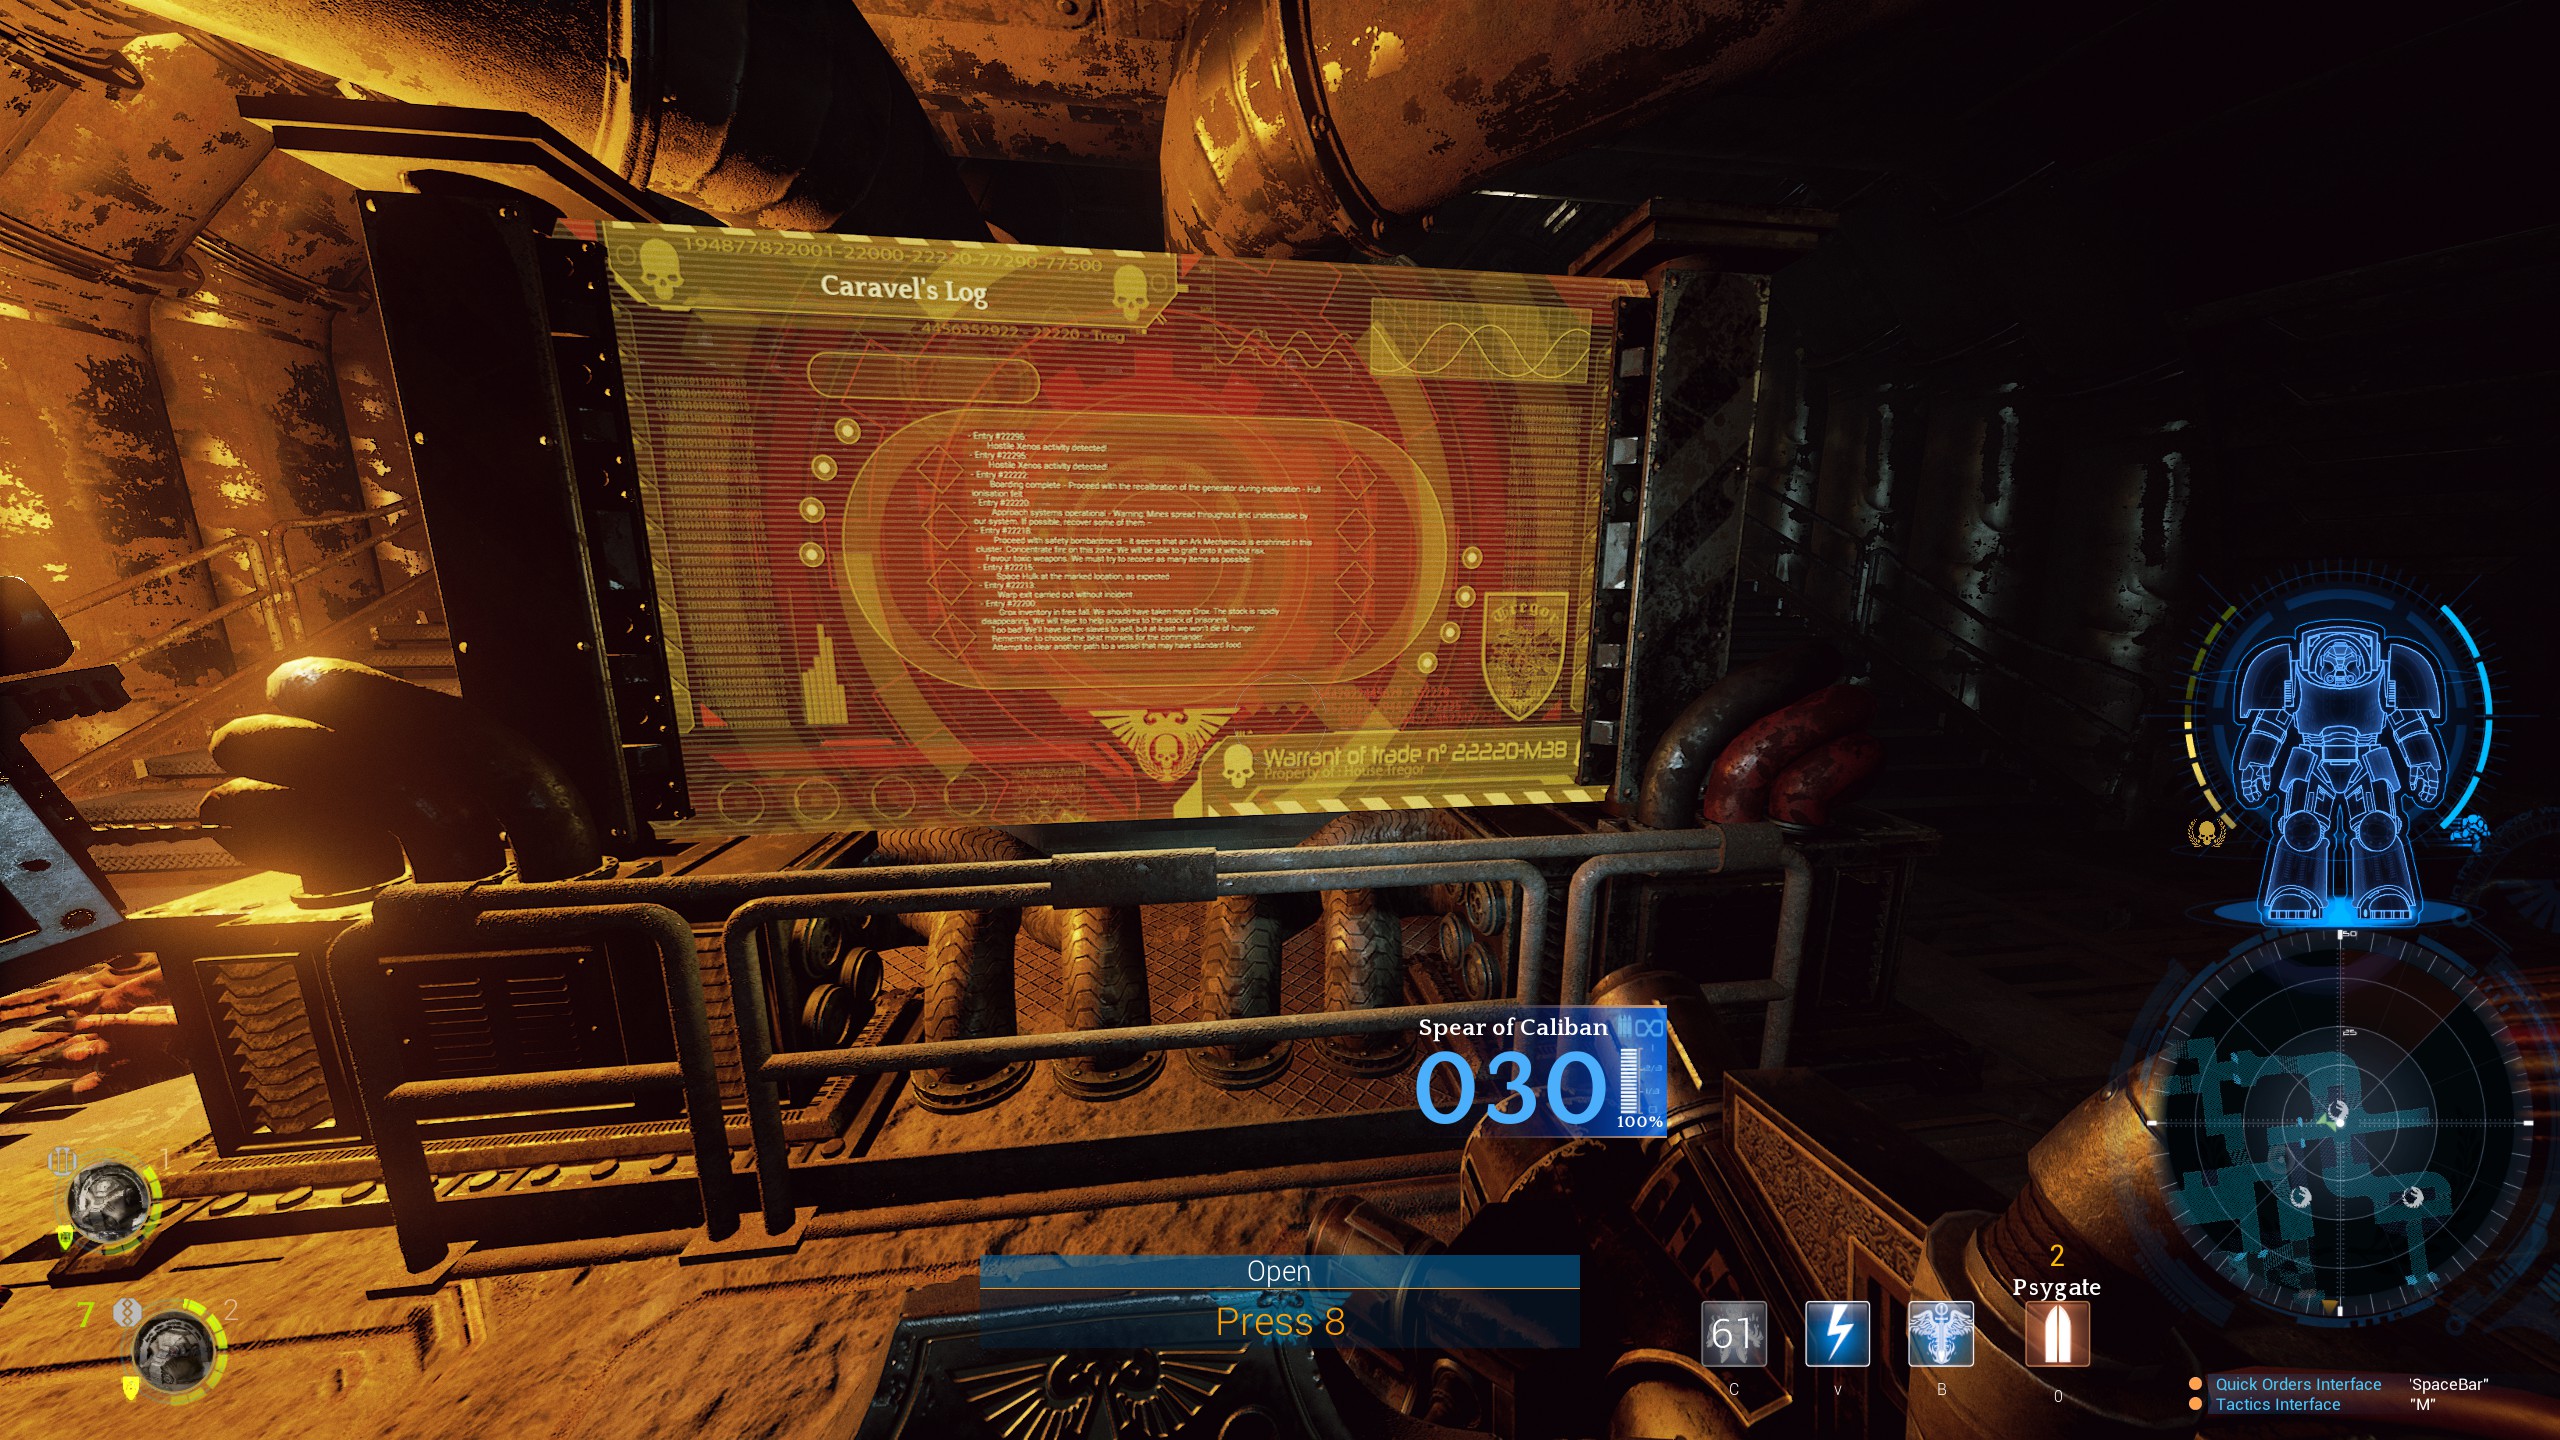
The new white Genestealers contain the genetic code of our ancestors from the Caliban’s Will Geneseed vault. They plan to join up with the Tyranid fleet by using the saviour pods on the Tregrom. The console save on this chapter is so far away from the action it’s not worth pathing to. I put it on the map regardless.
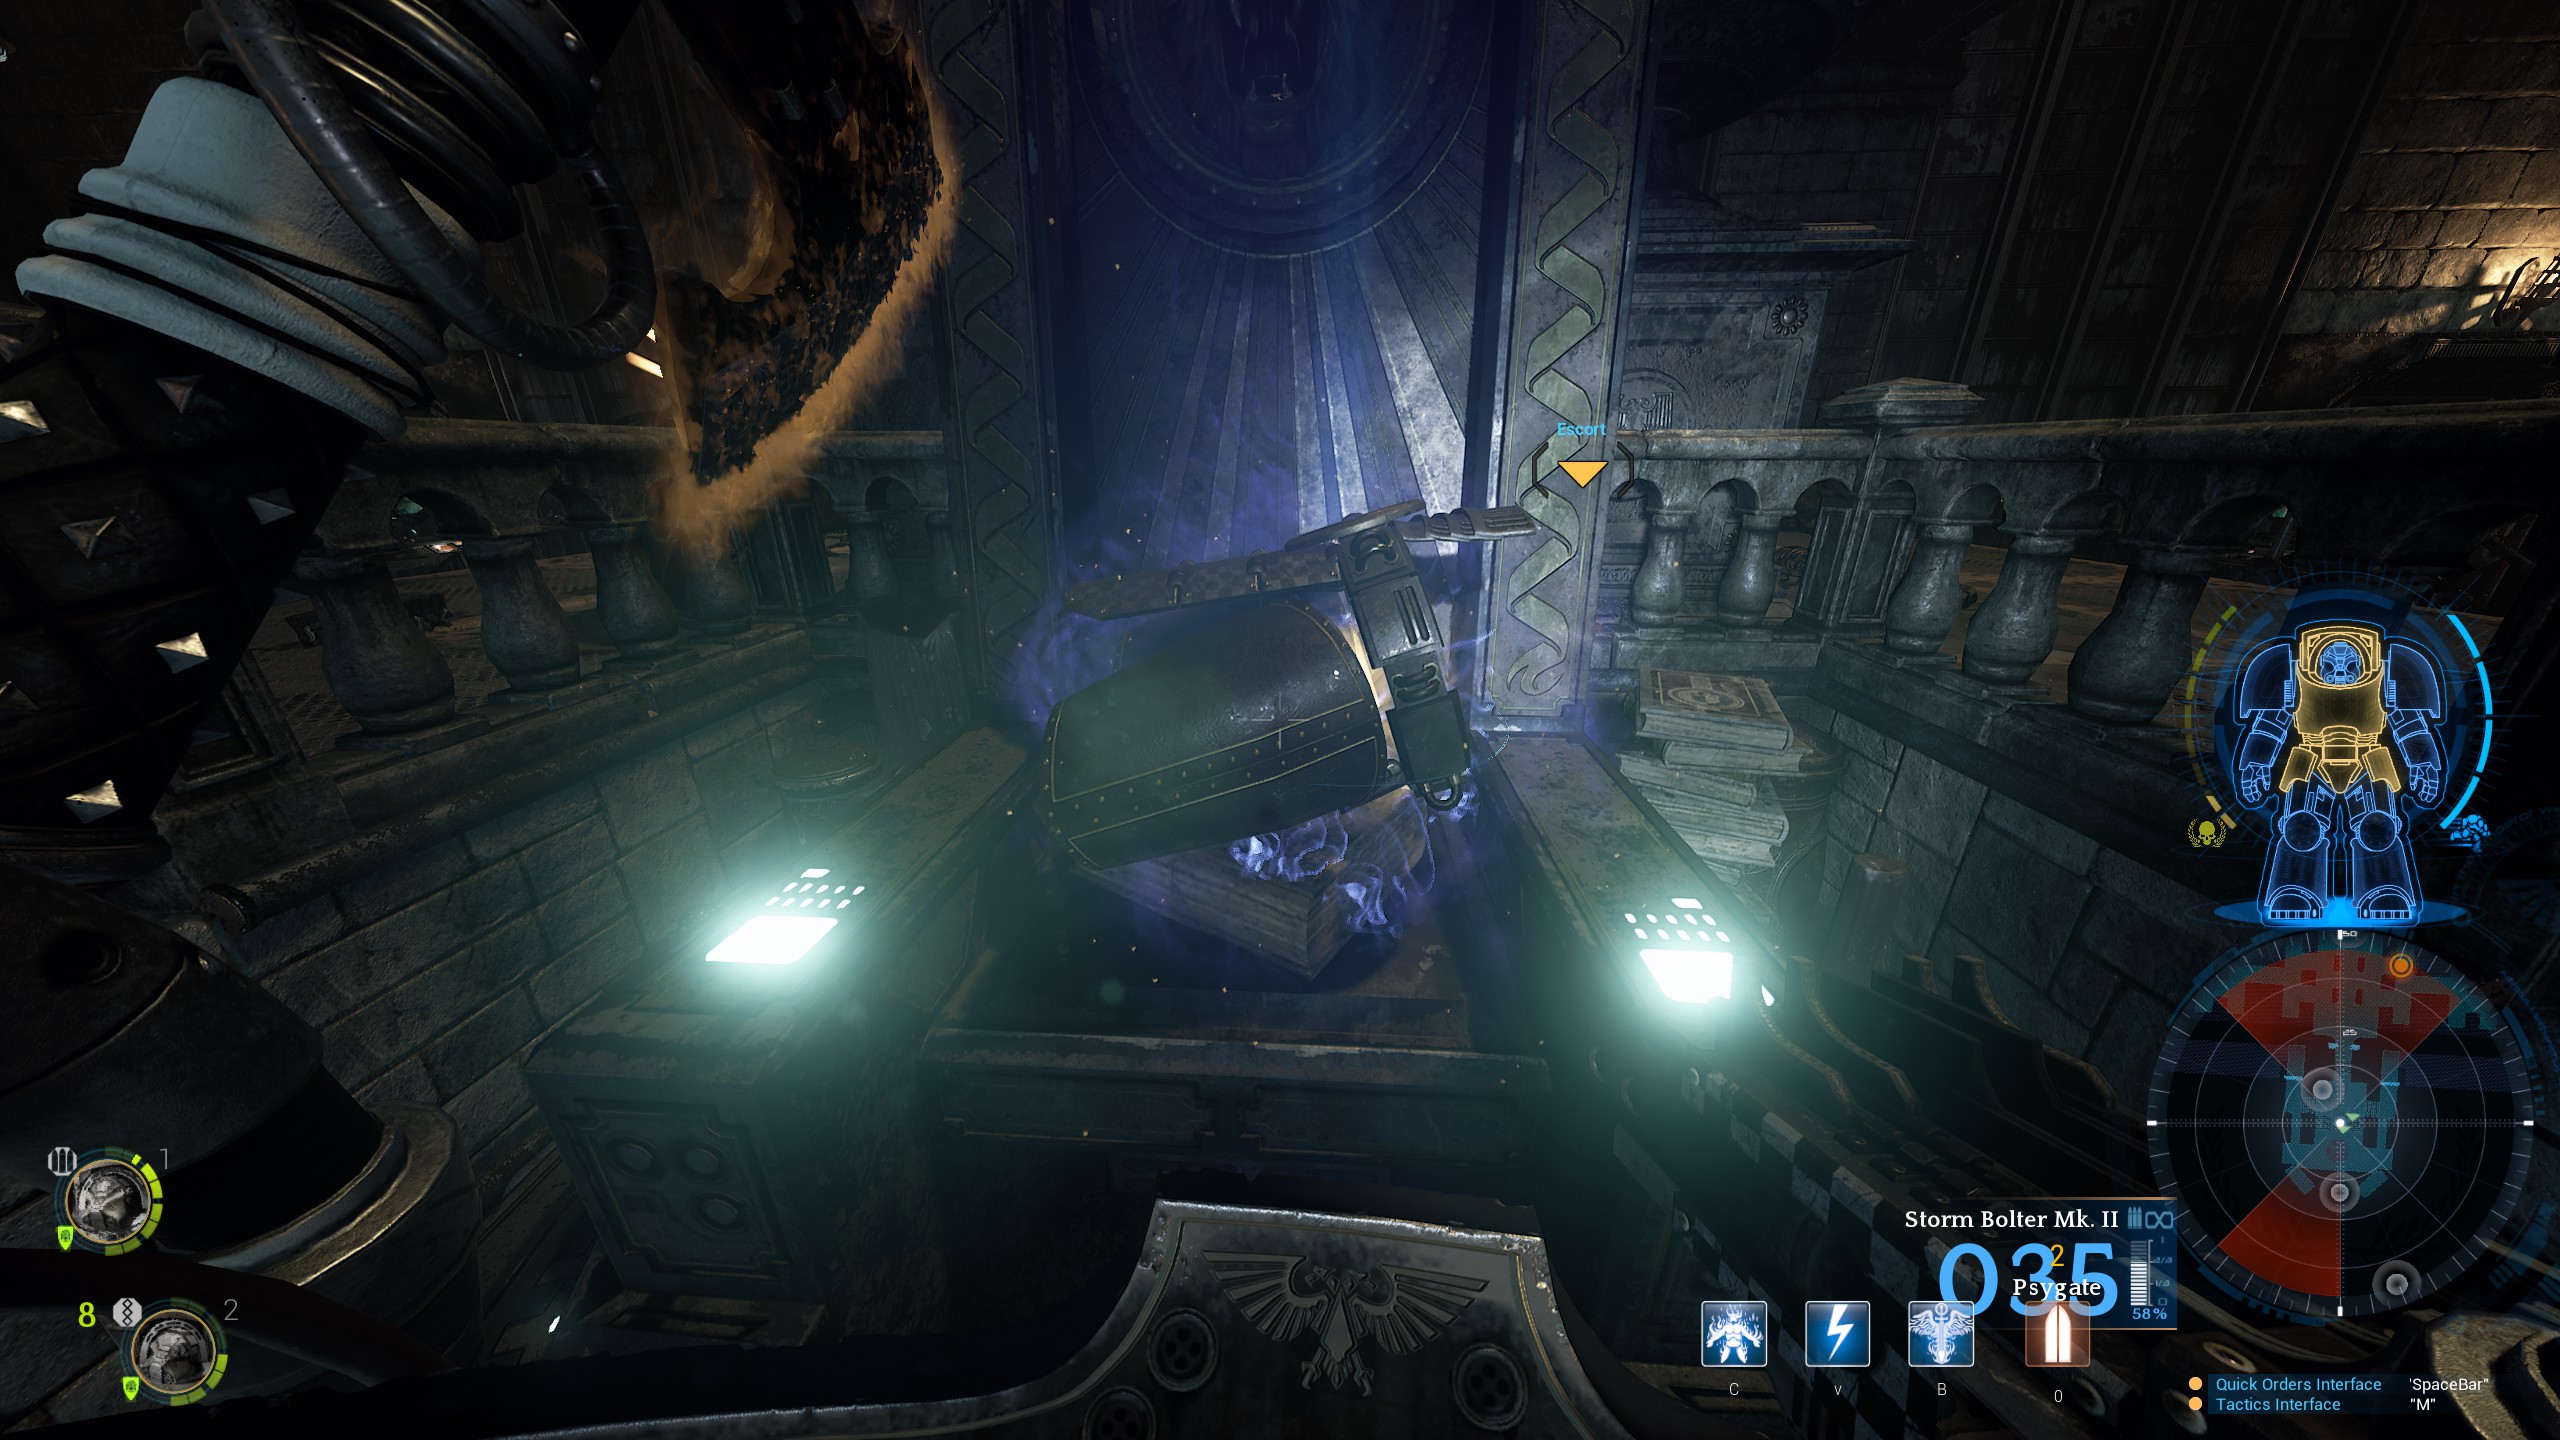
Objective one is to escort Barachiel to the bridge so he can study the pod launching array and devise a precise method for their destruction.
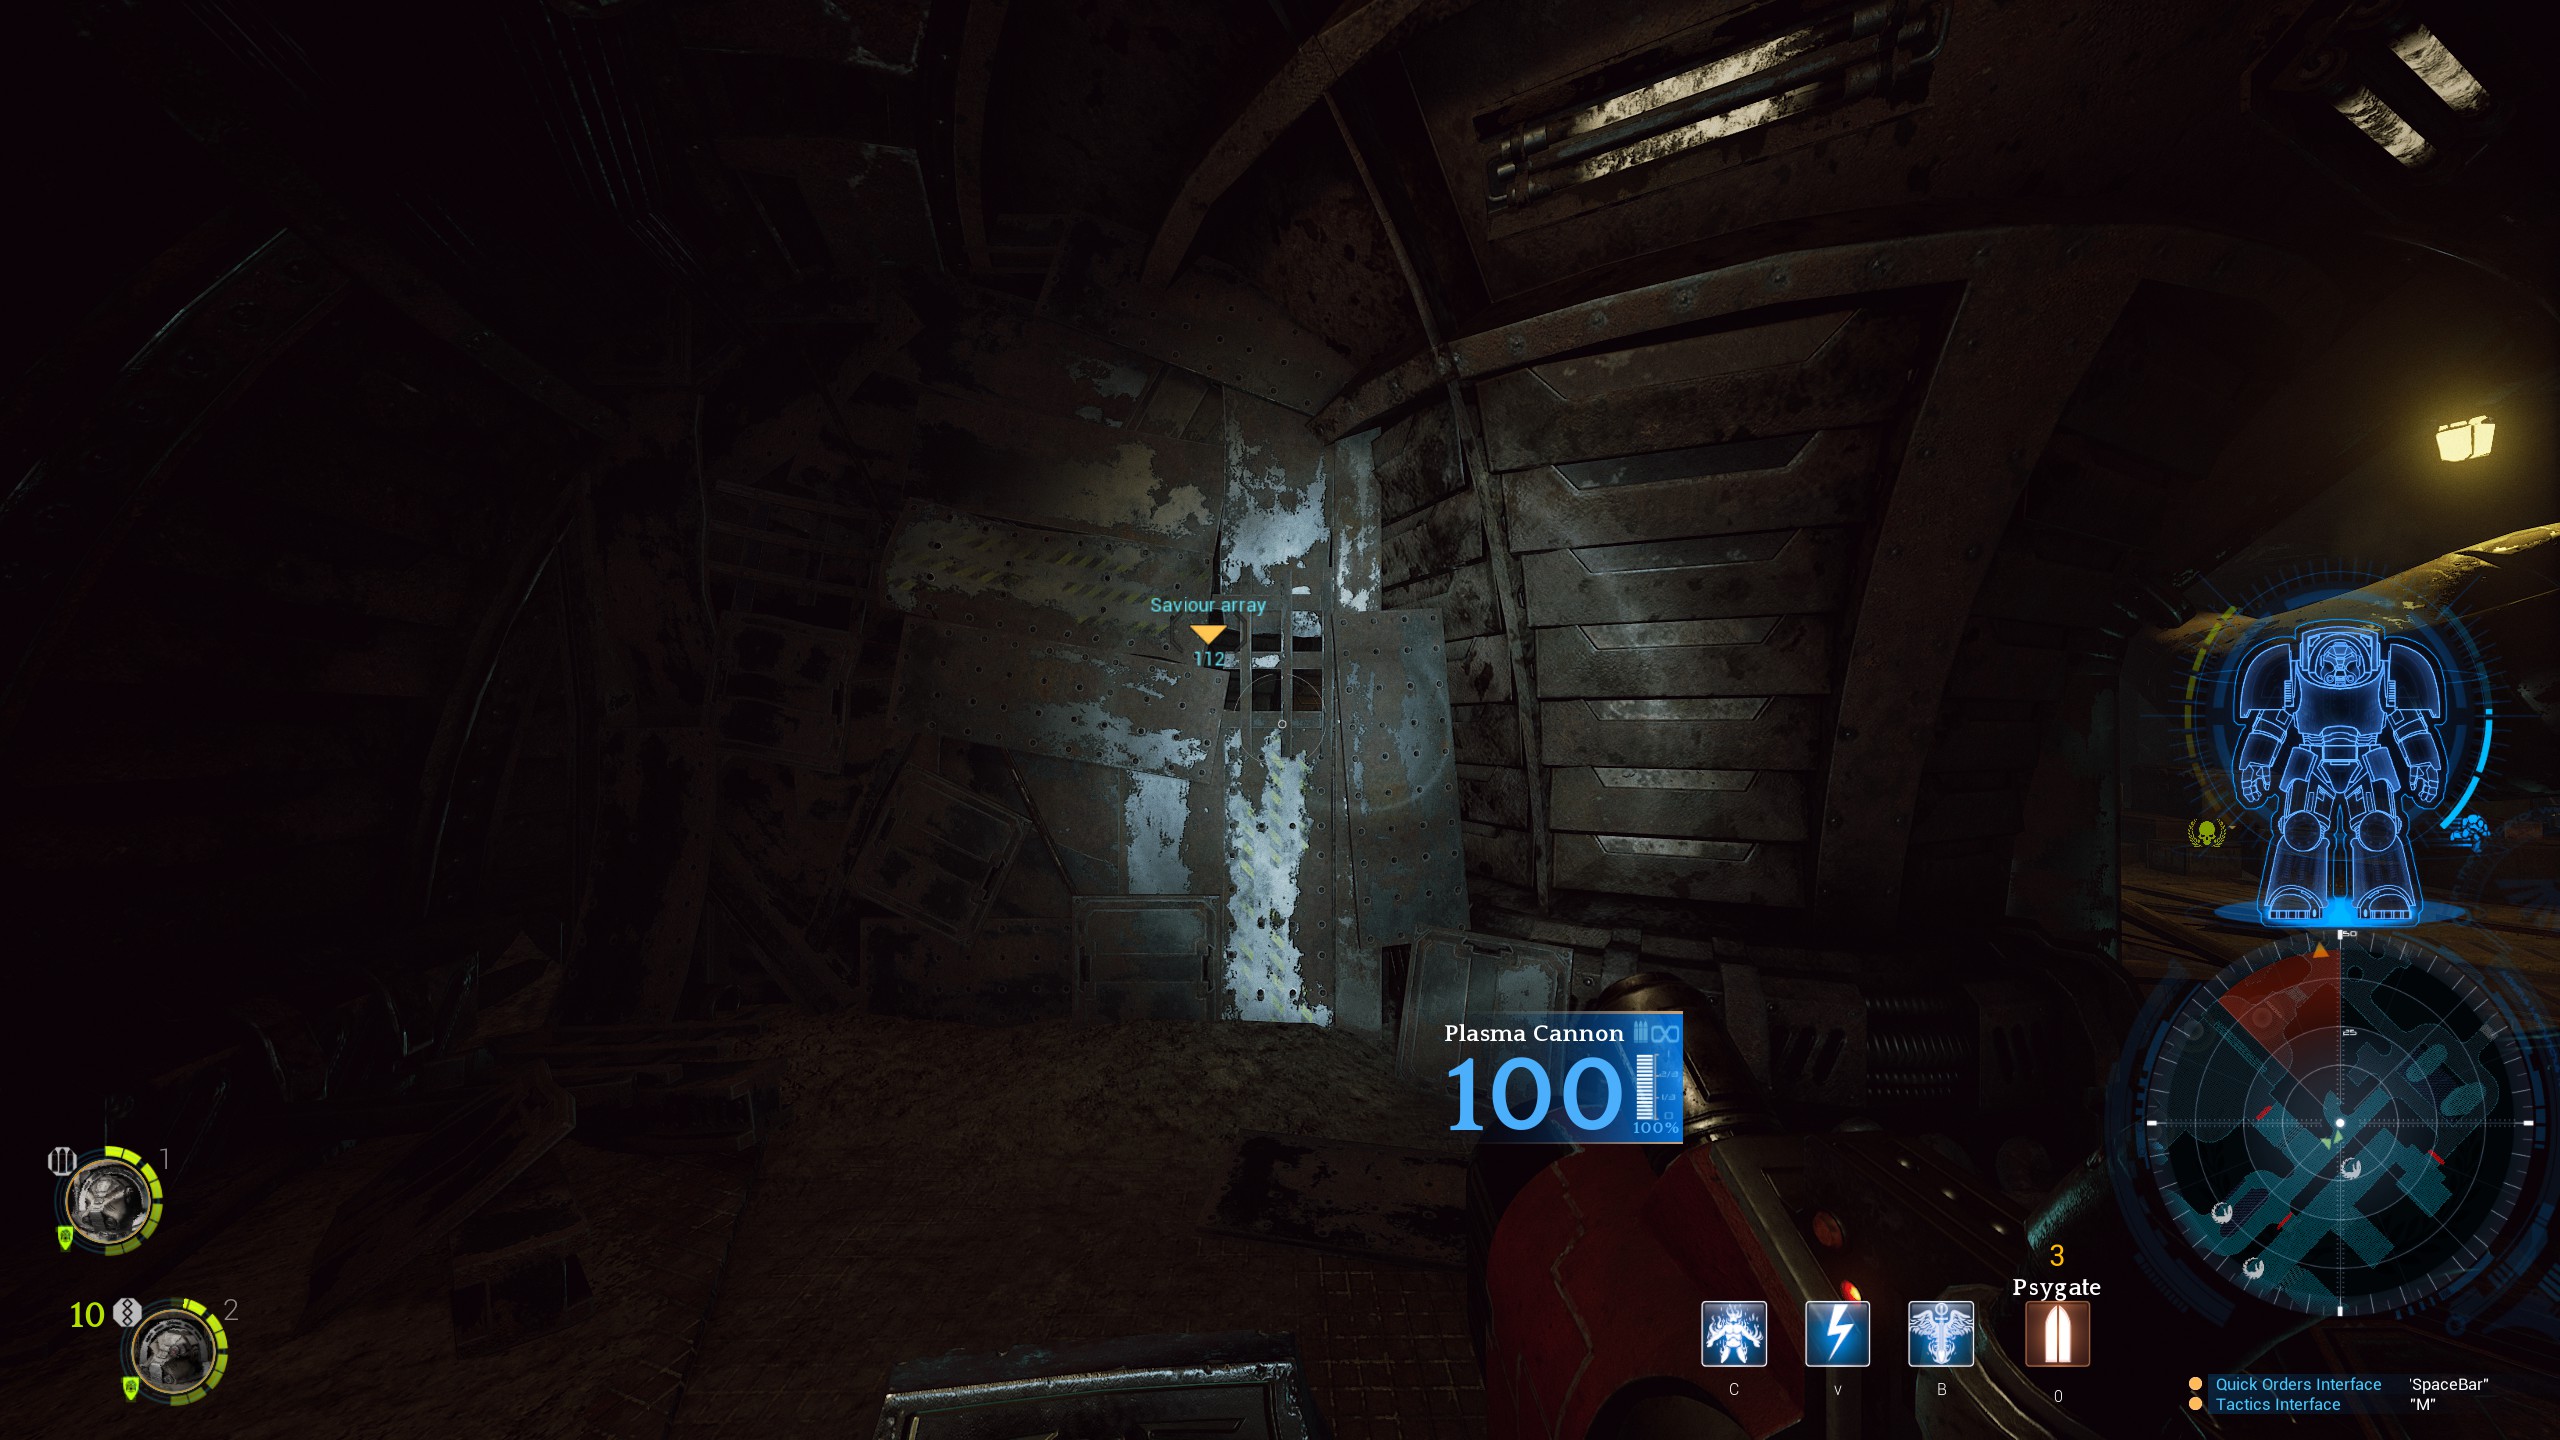
There are two walls to melee through on the route to the
다리.
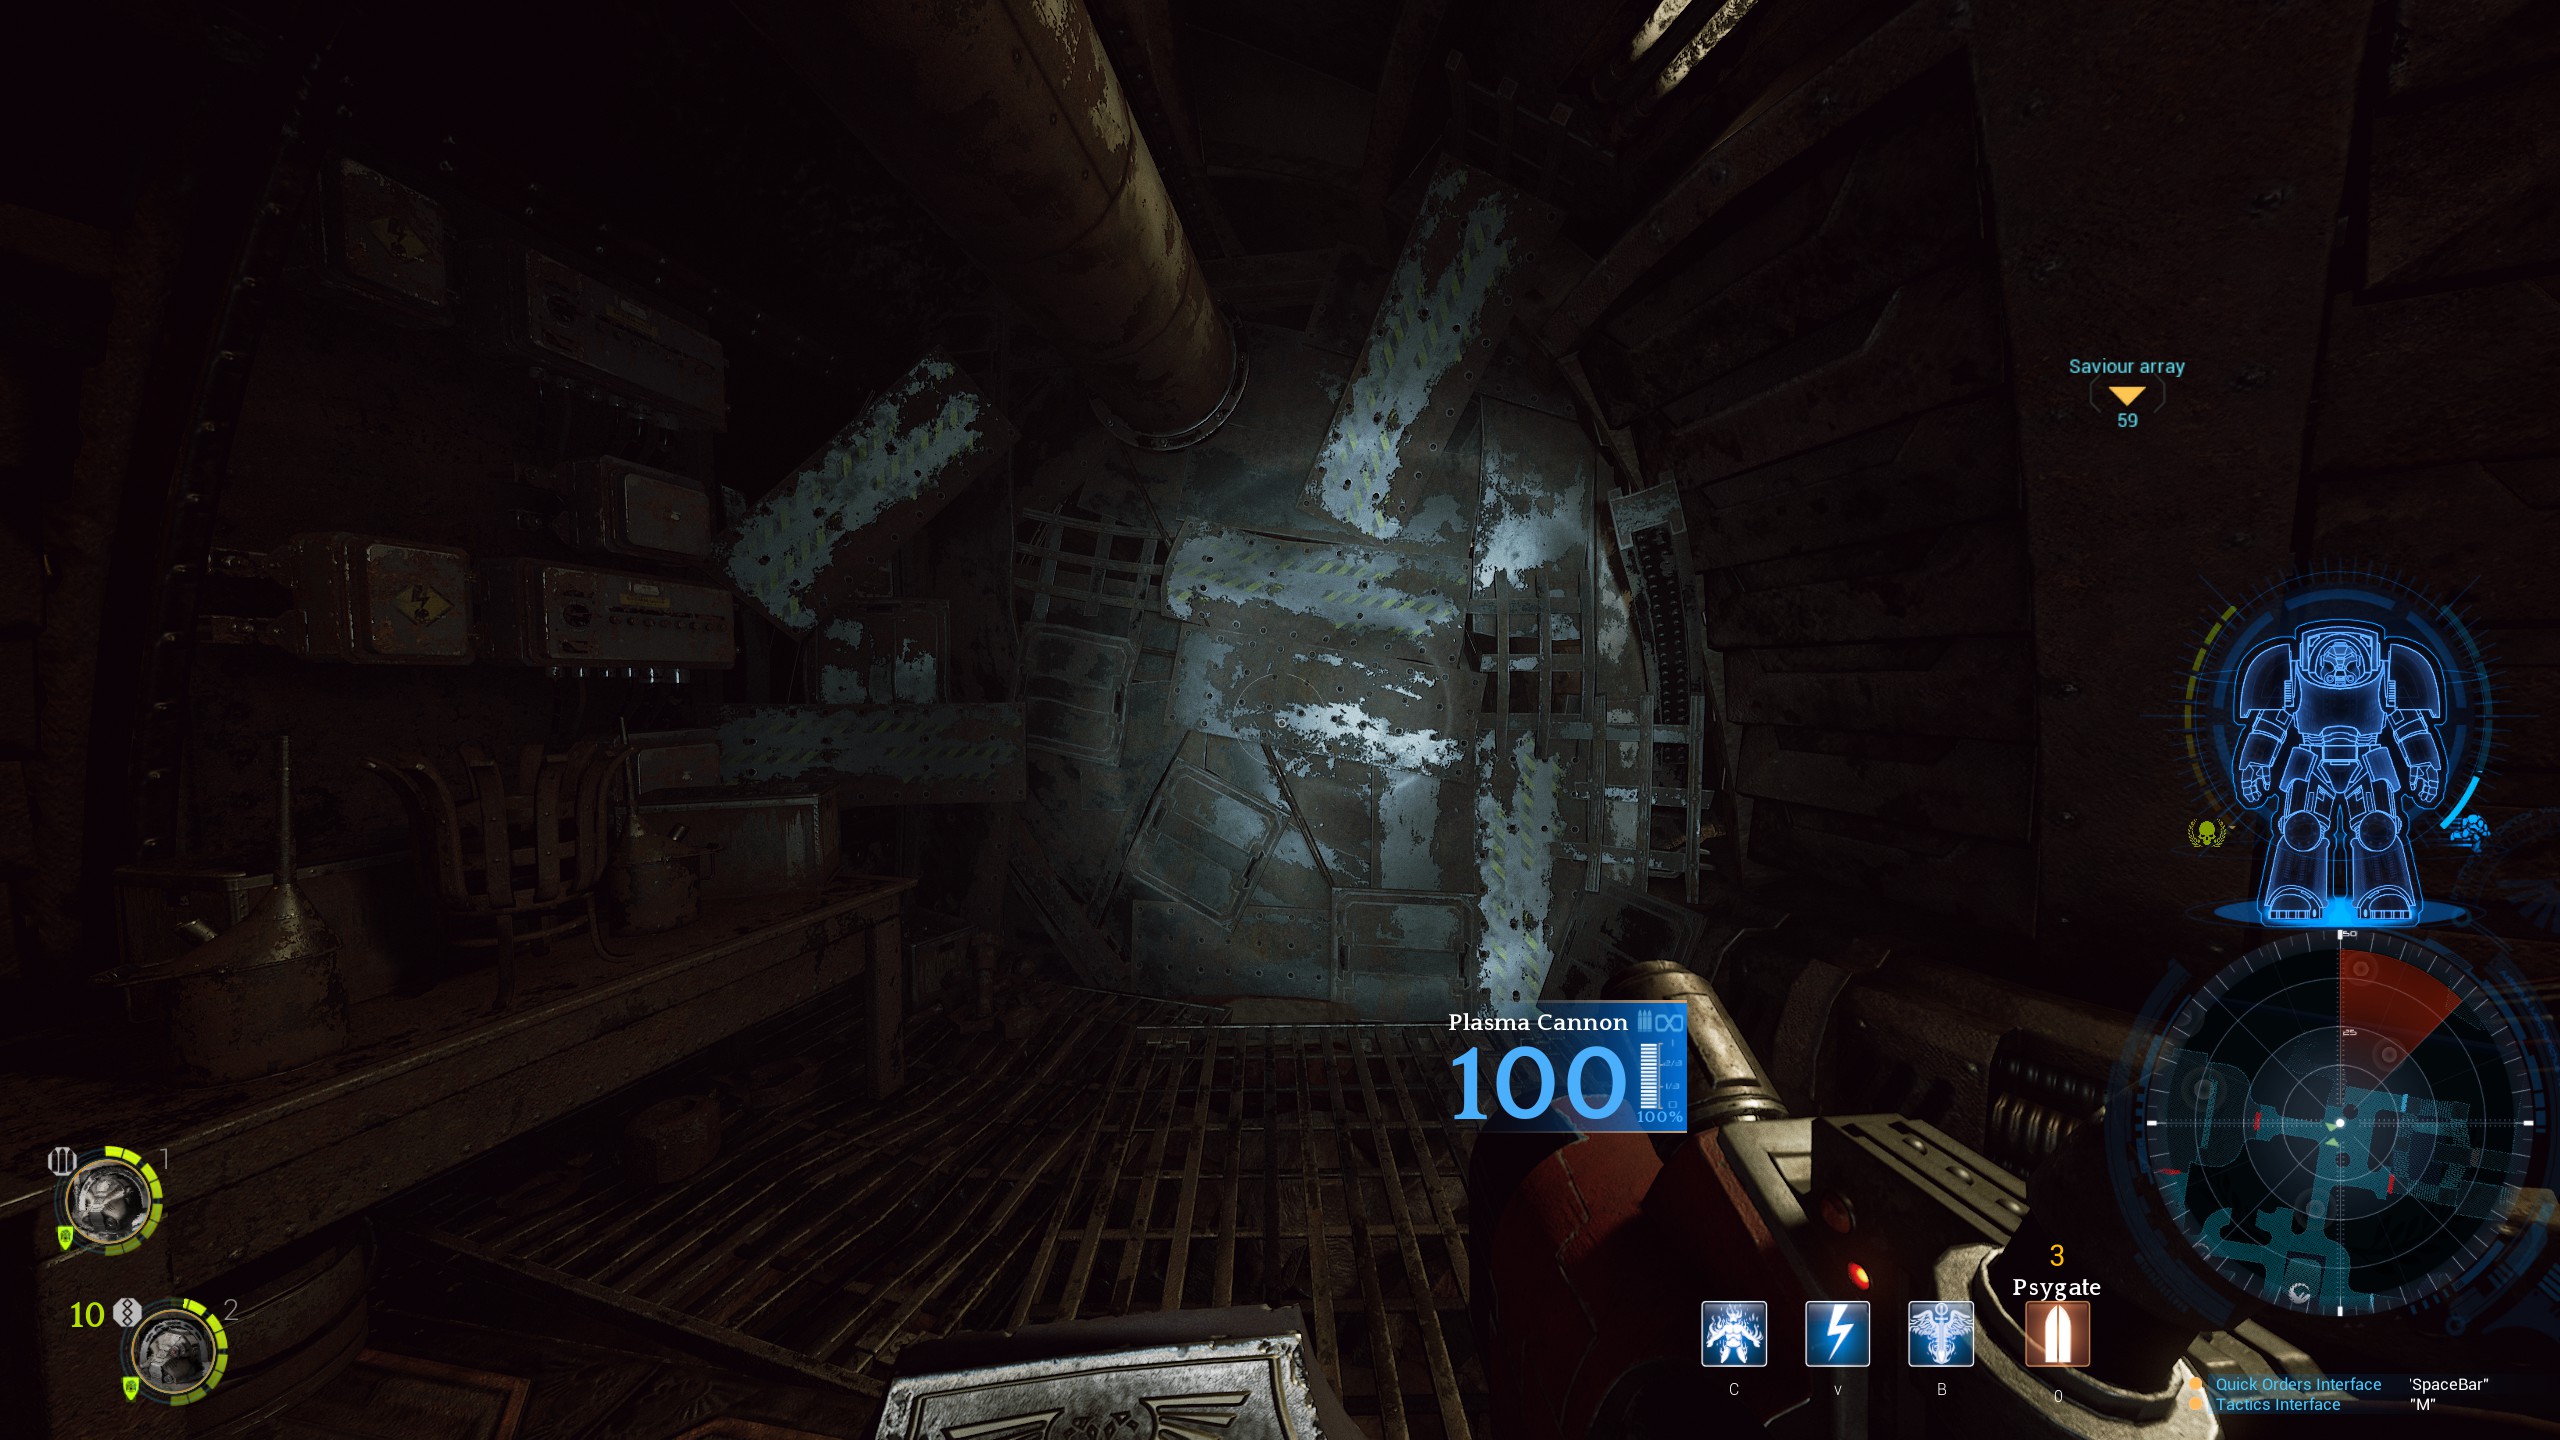
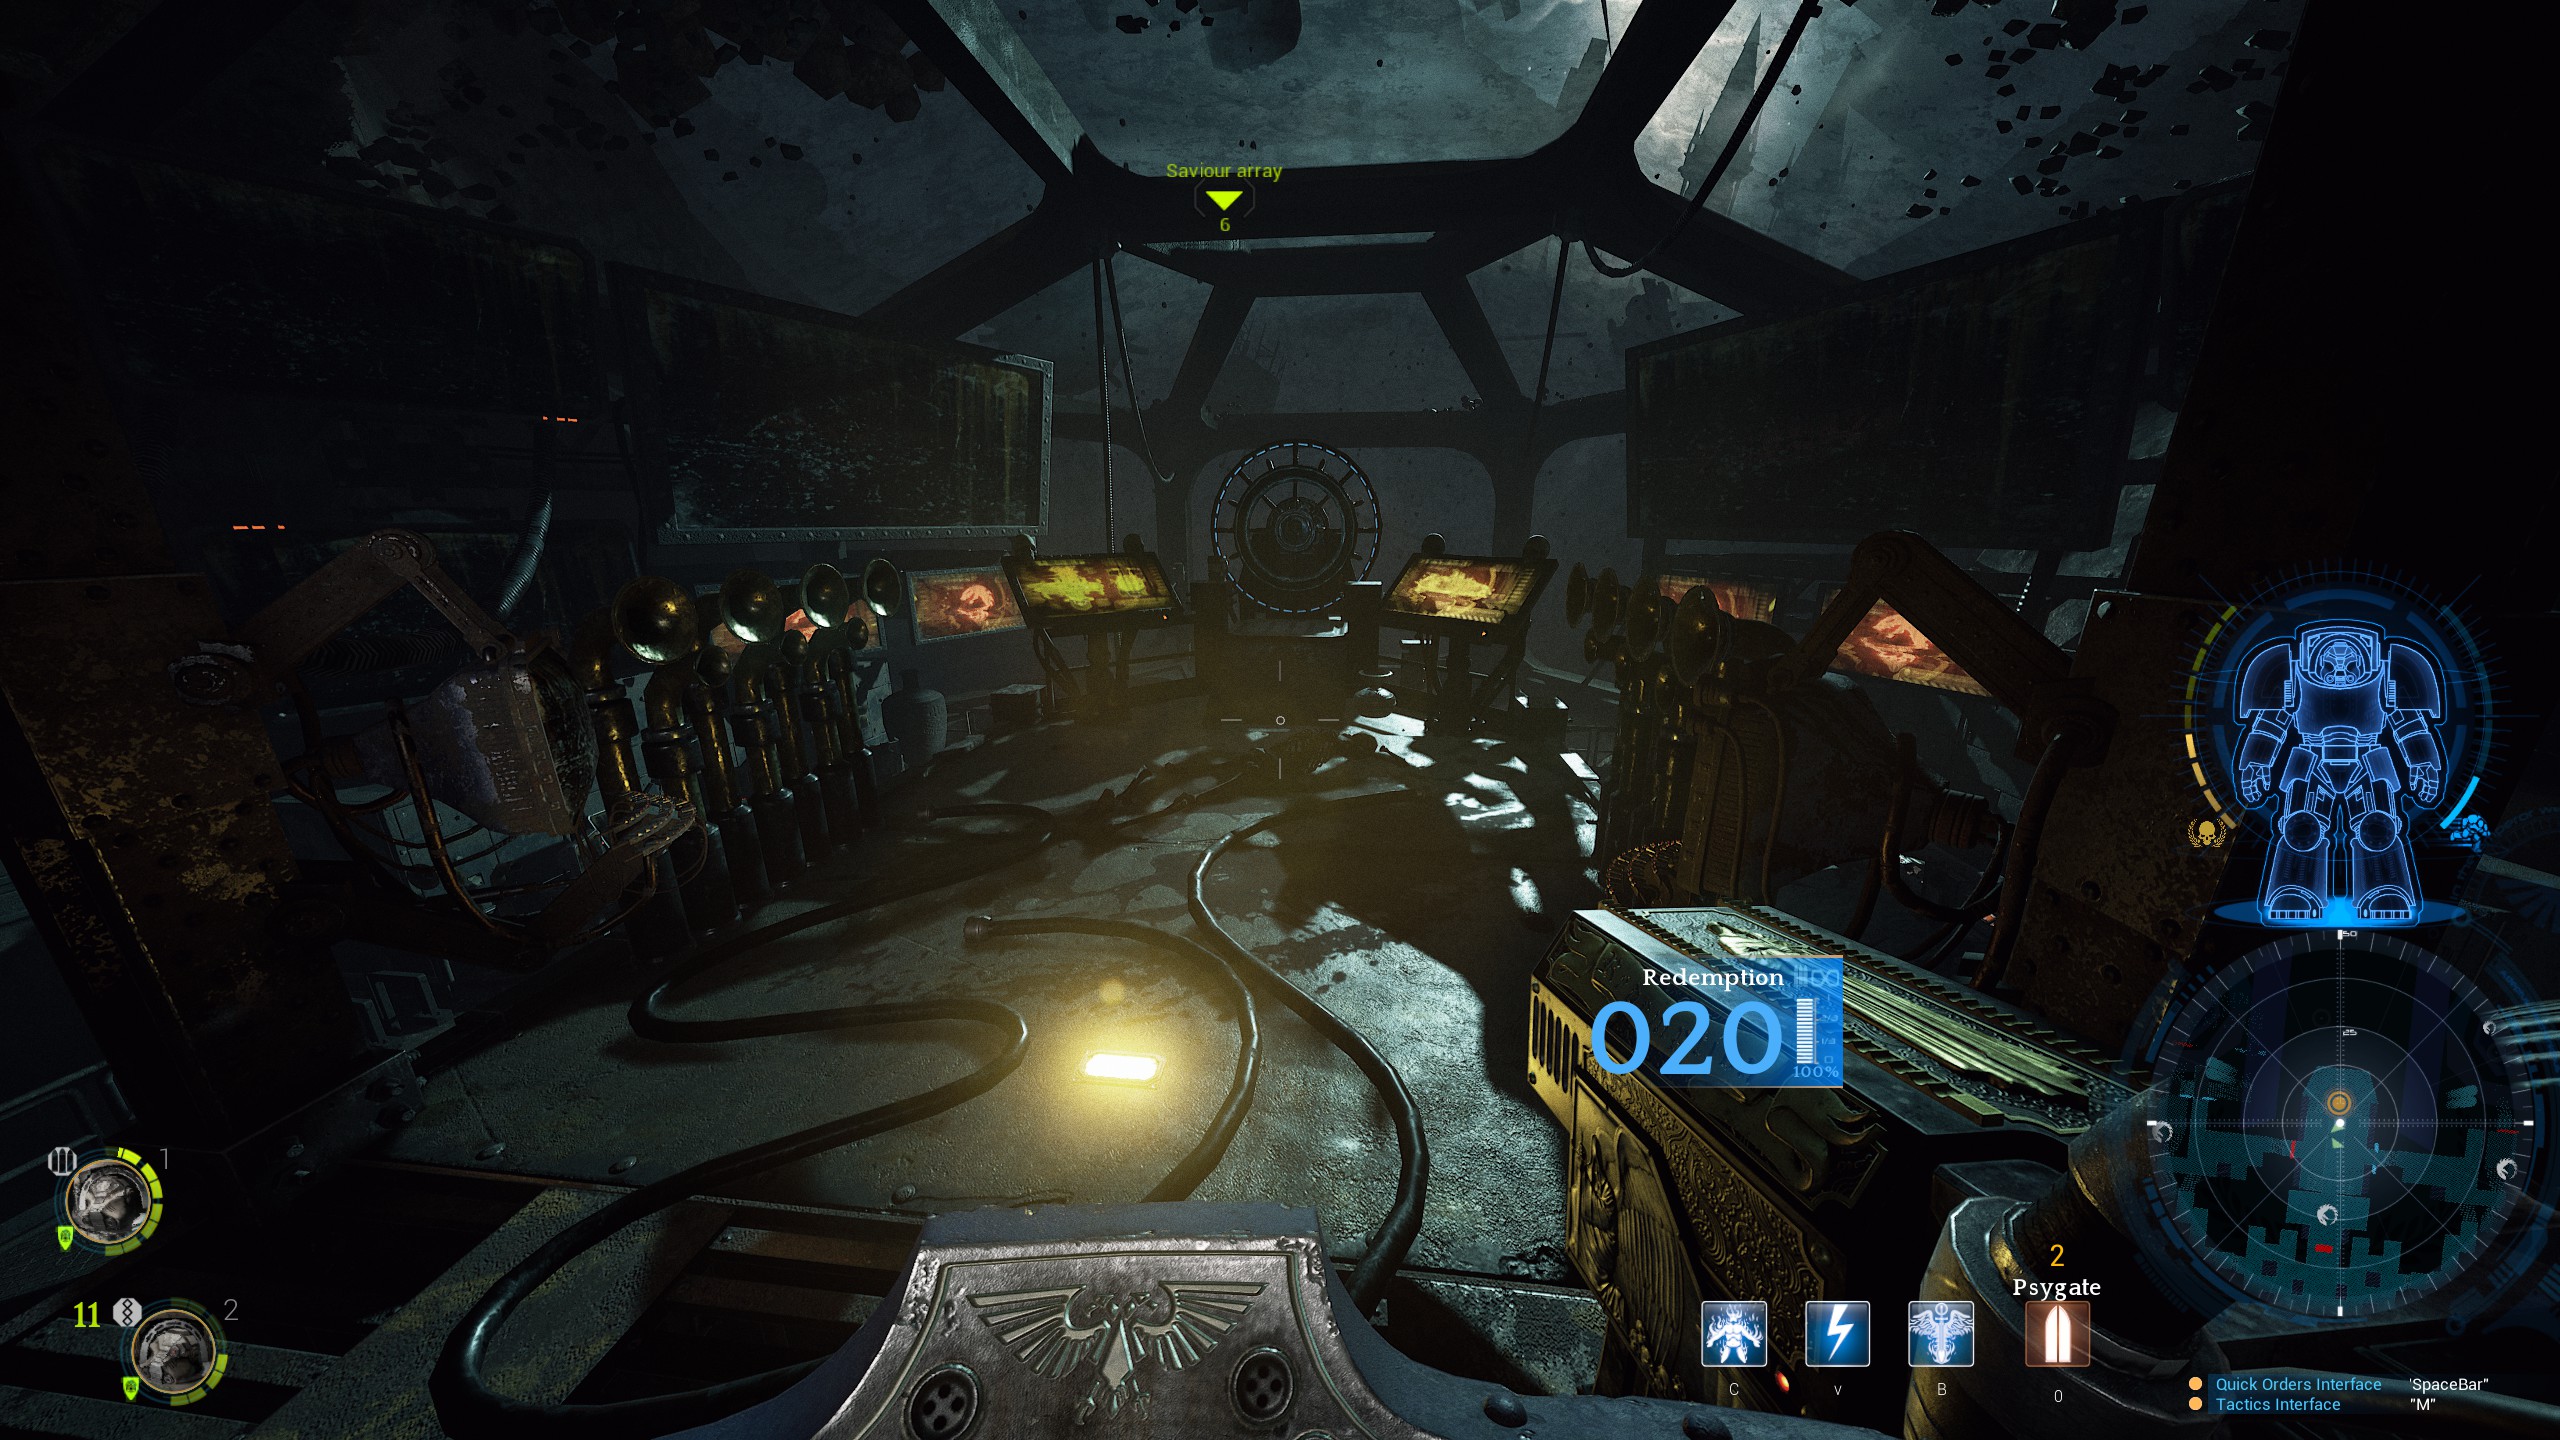
Once you arrive at the objective you need to hold off a swarm whilst Barachiel does his thing. I like to block all the doors before I walk near the
Saviour arrayand trigger the event. This can be a pain as Nahum is prone to falling off of the platform and having to slow walk round again. You’re kind of forced to stand in front of Barachiel as you need to protect him whilst he works. Halfway through there will be a Scythe-strain spawn along with Hybrids with missile launchers and psychic powers which can be overwhelming.
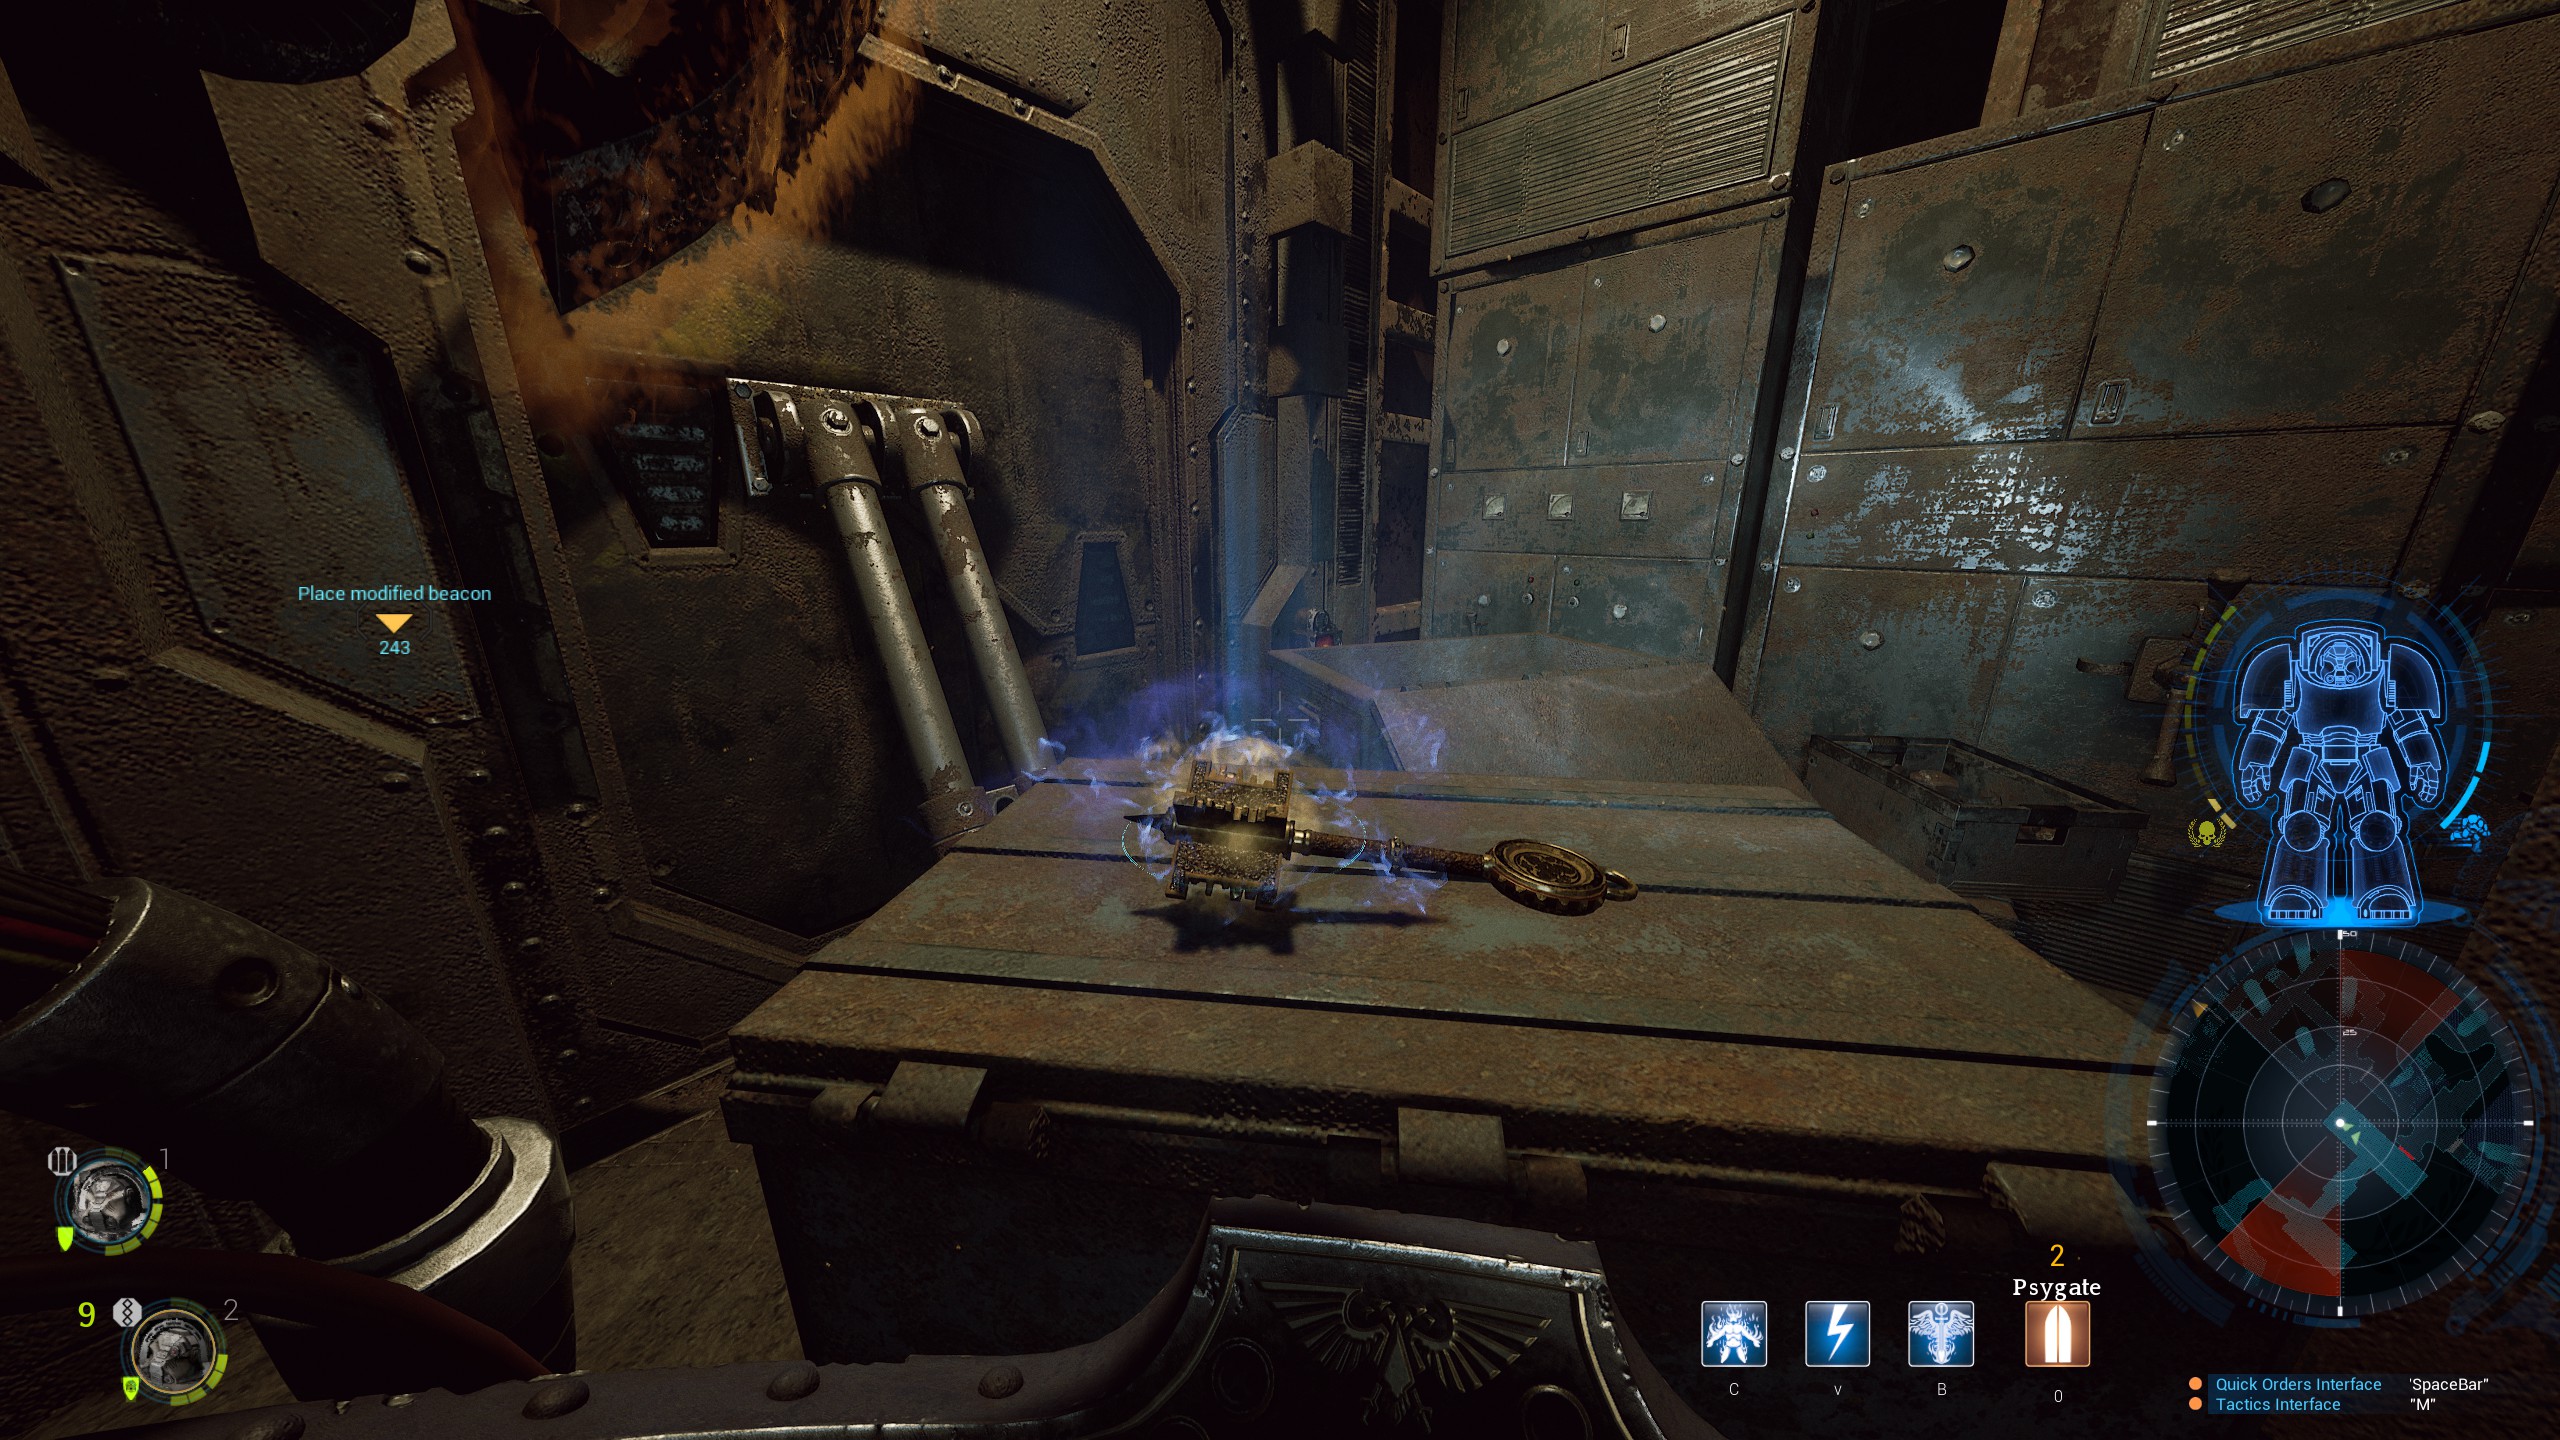
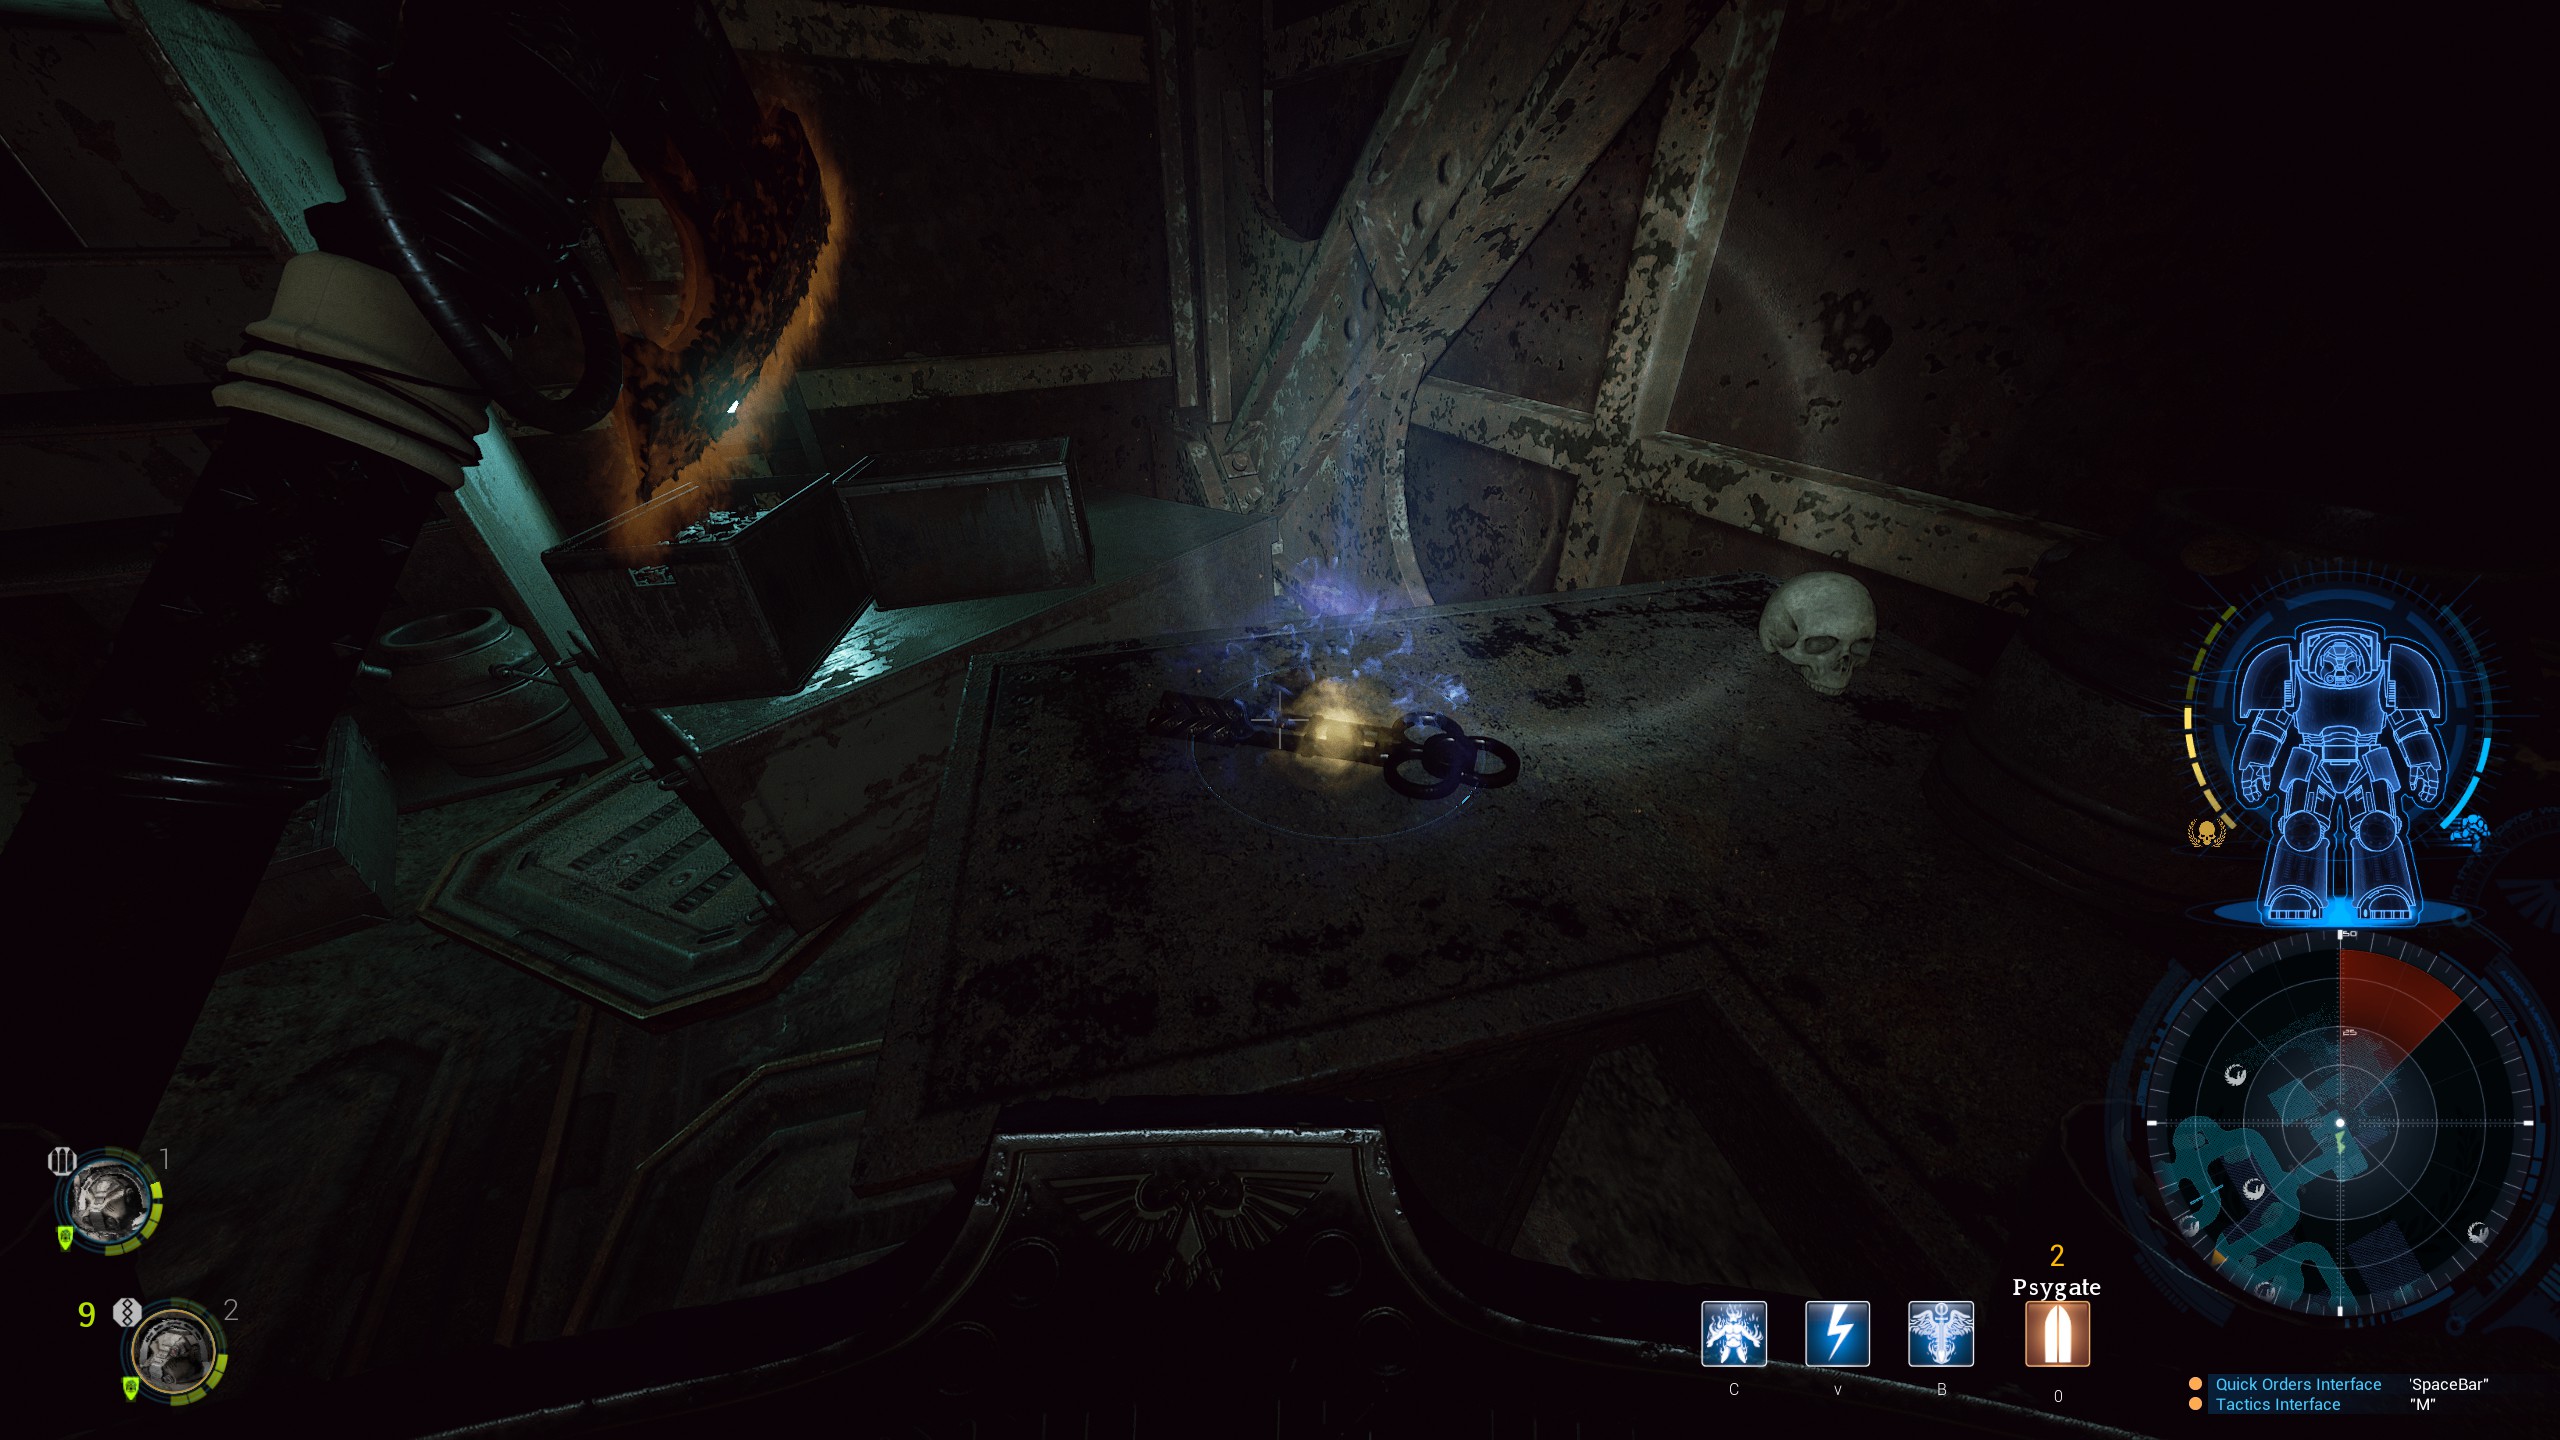
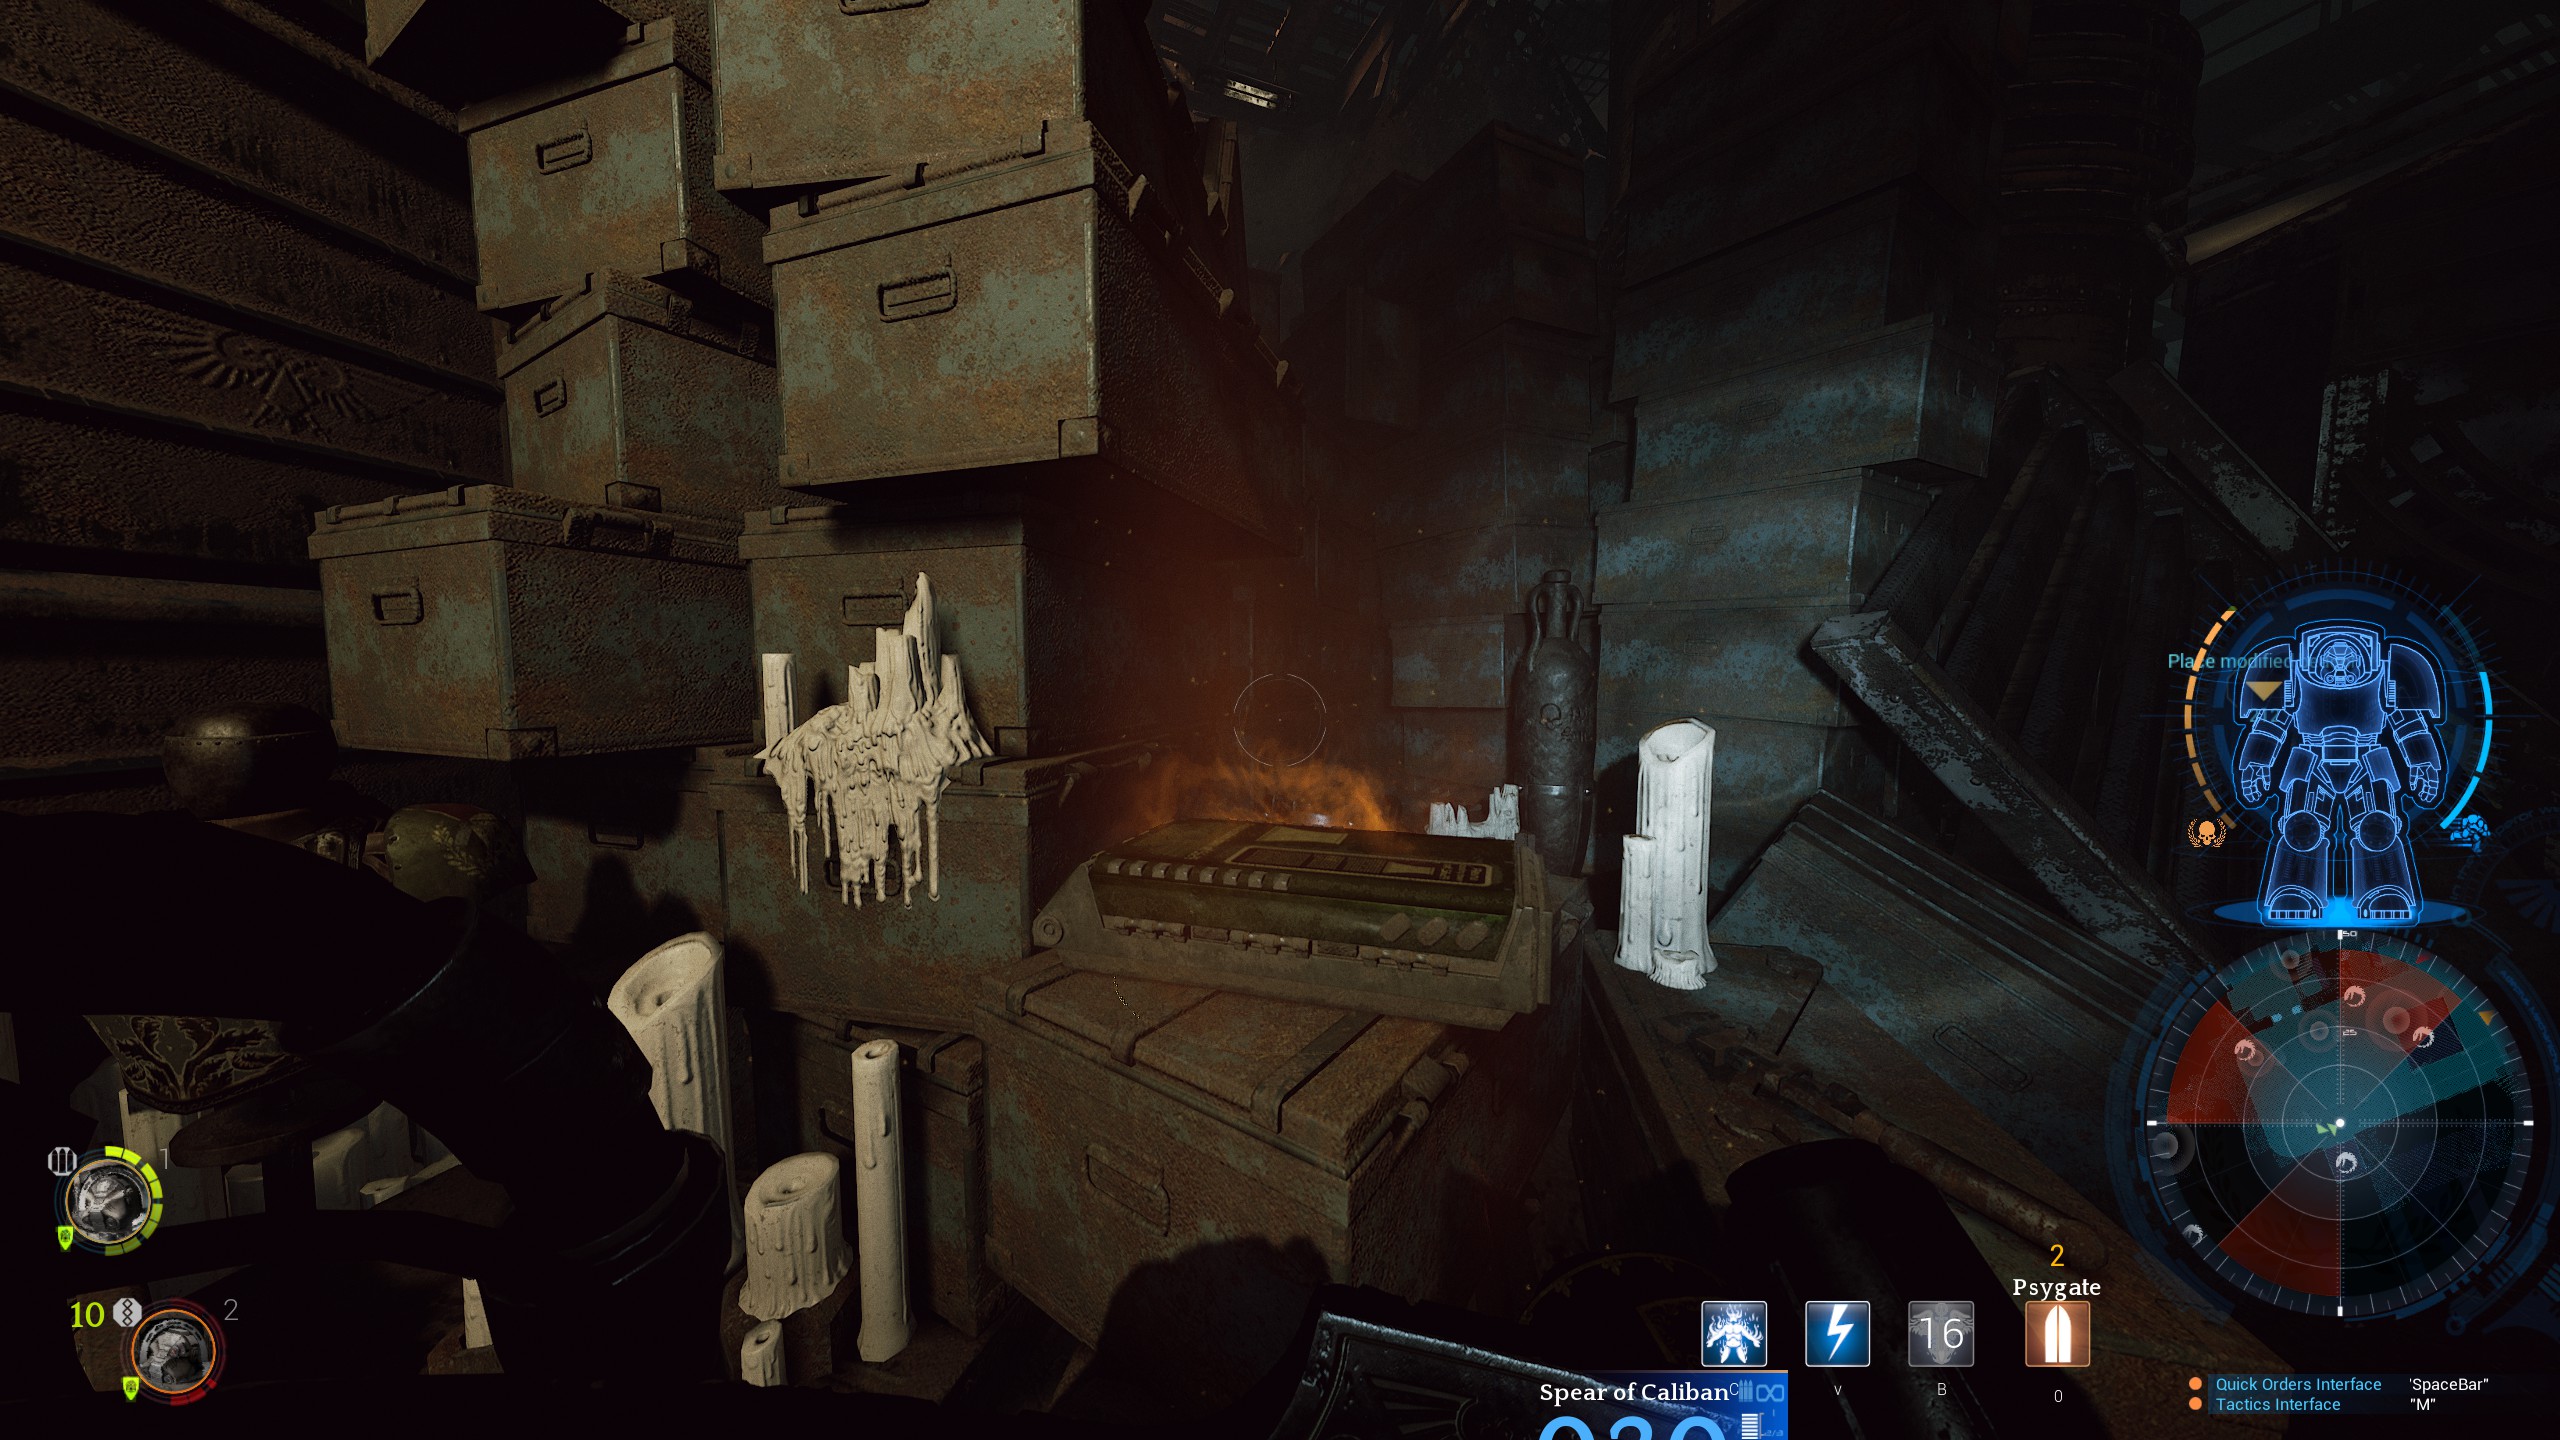
유물 3 is awkward to get to but it is skippable as it’s minor and doesn’t count towards the Time Lord achievement. You need to follow the path on the top gantrys until you reach the stairs heading down. If you follow the line exactly across the bottom floor there is a wall to melee. Go straight forward through the wall, take a left and you should hear or see the relic. There’s no other way in or out of the area so you have to backtrack to get back to the route to objective two.
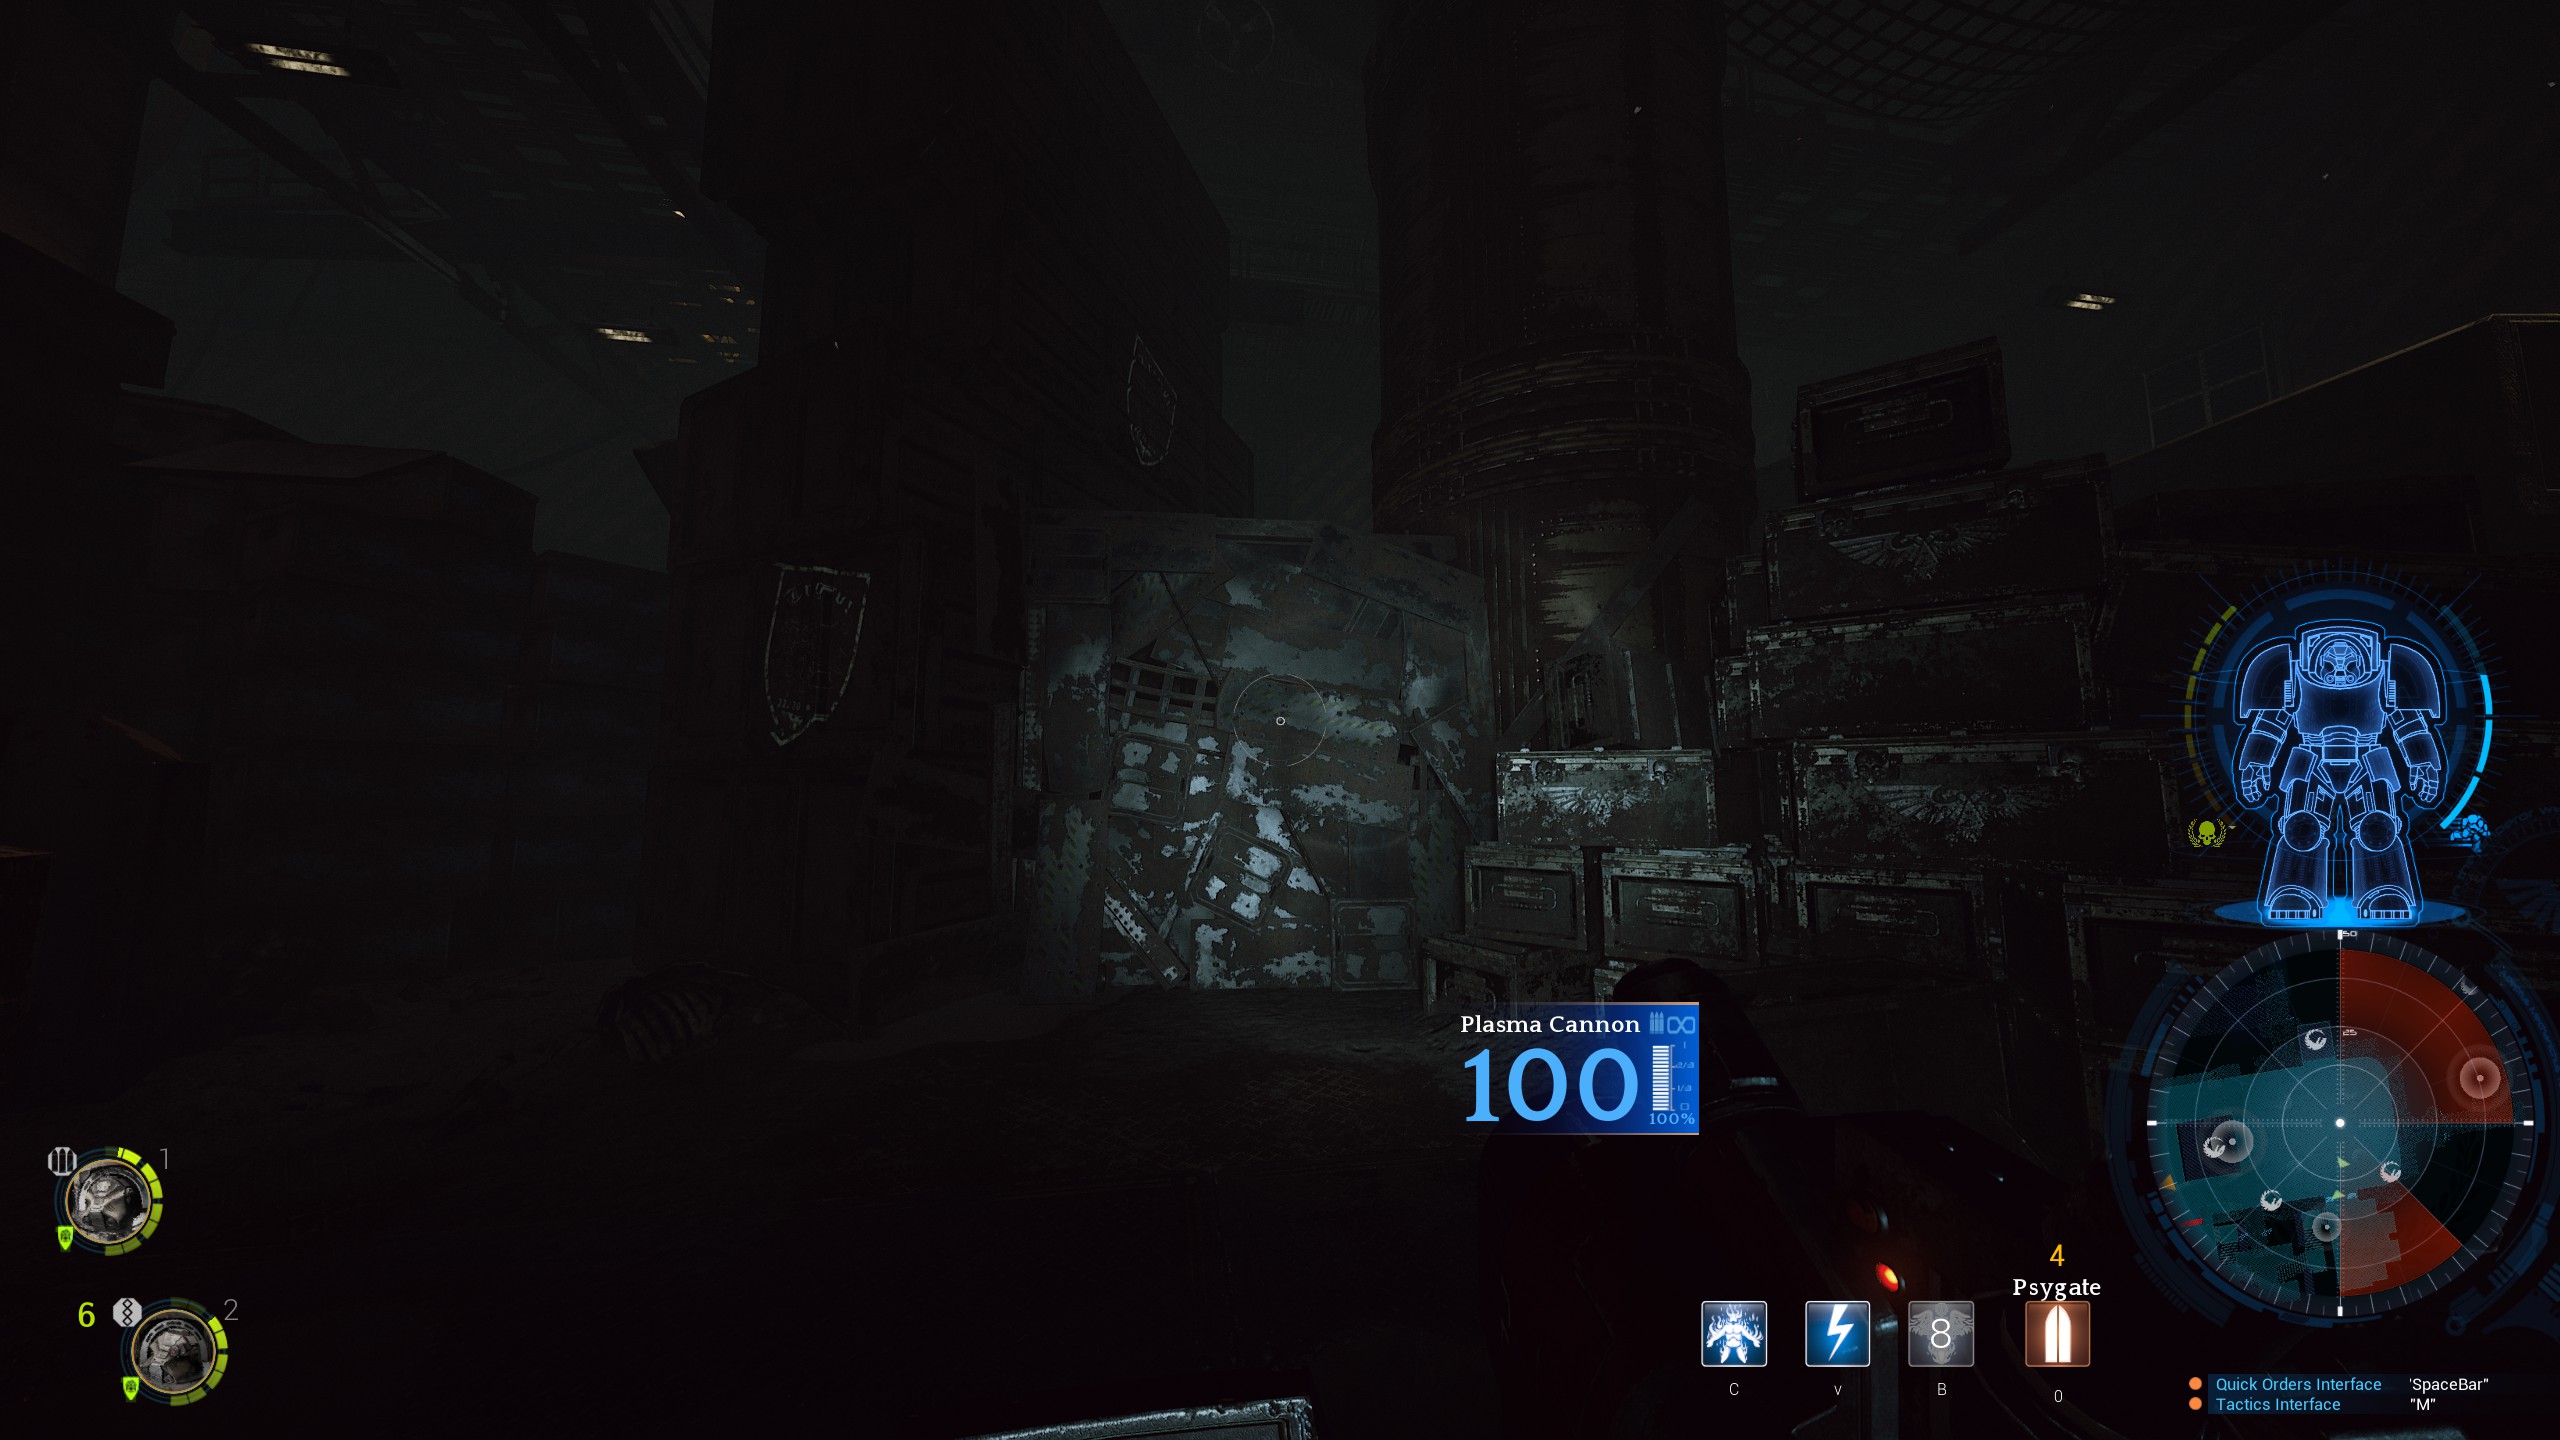
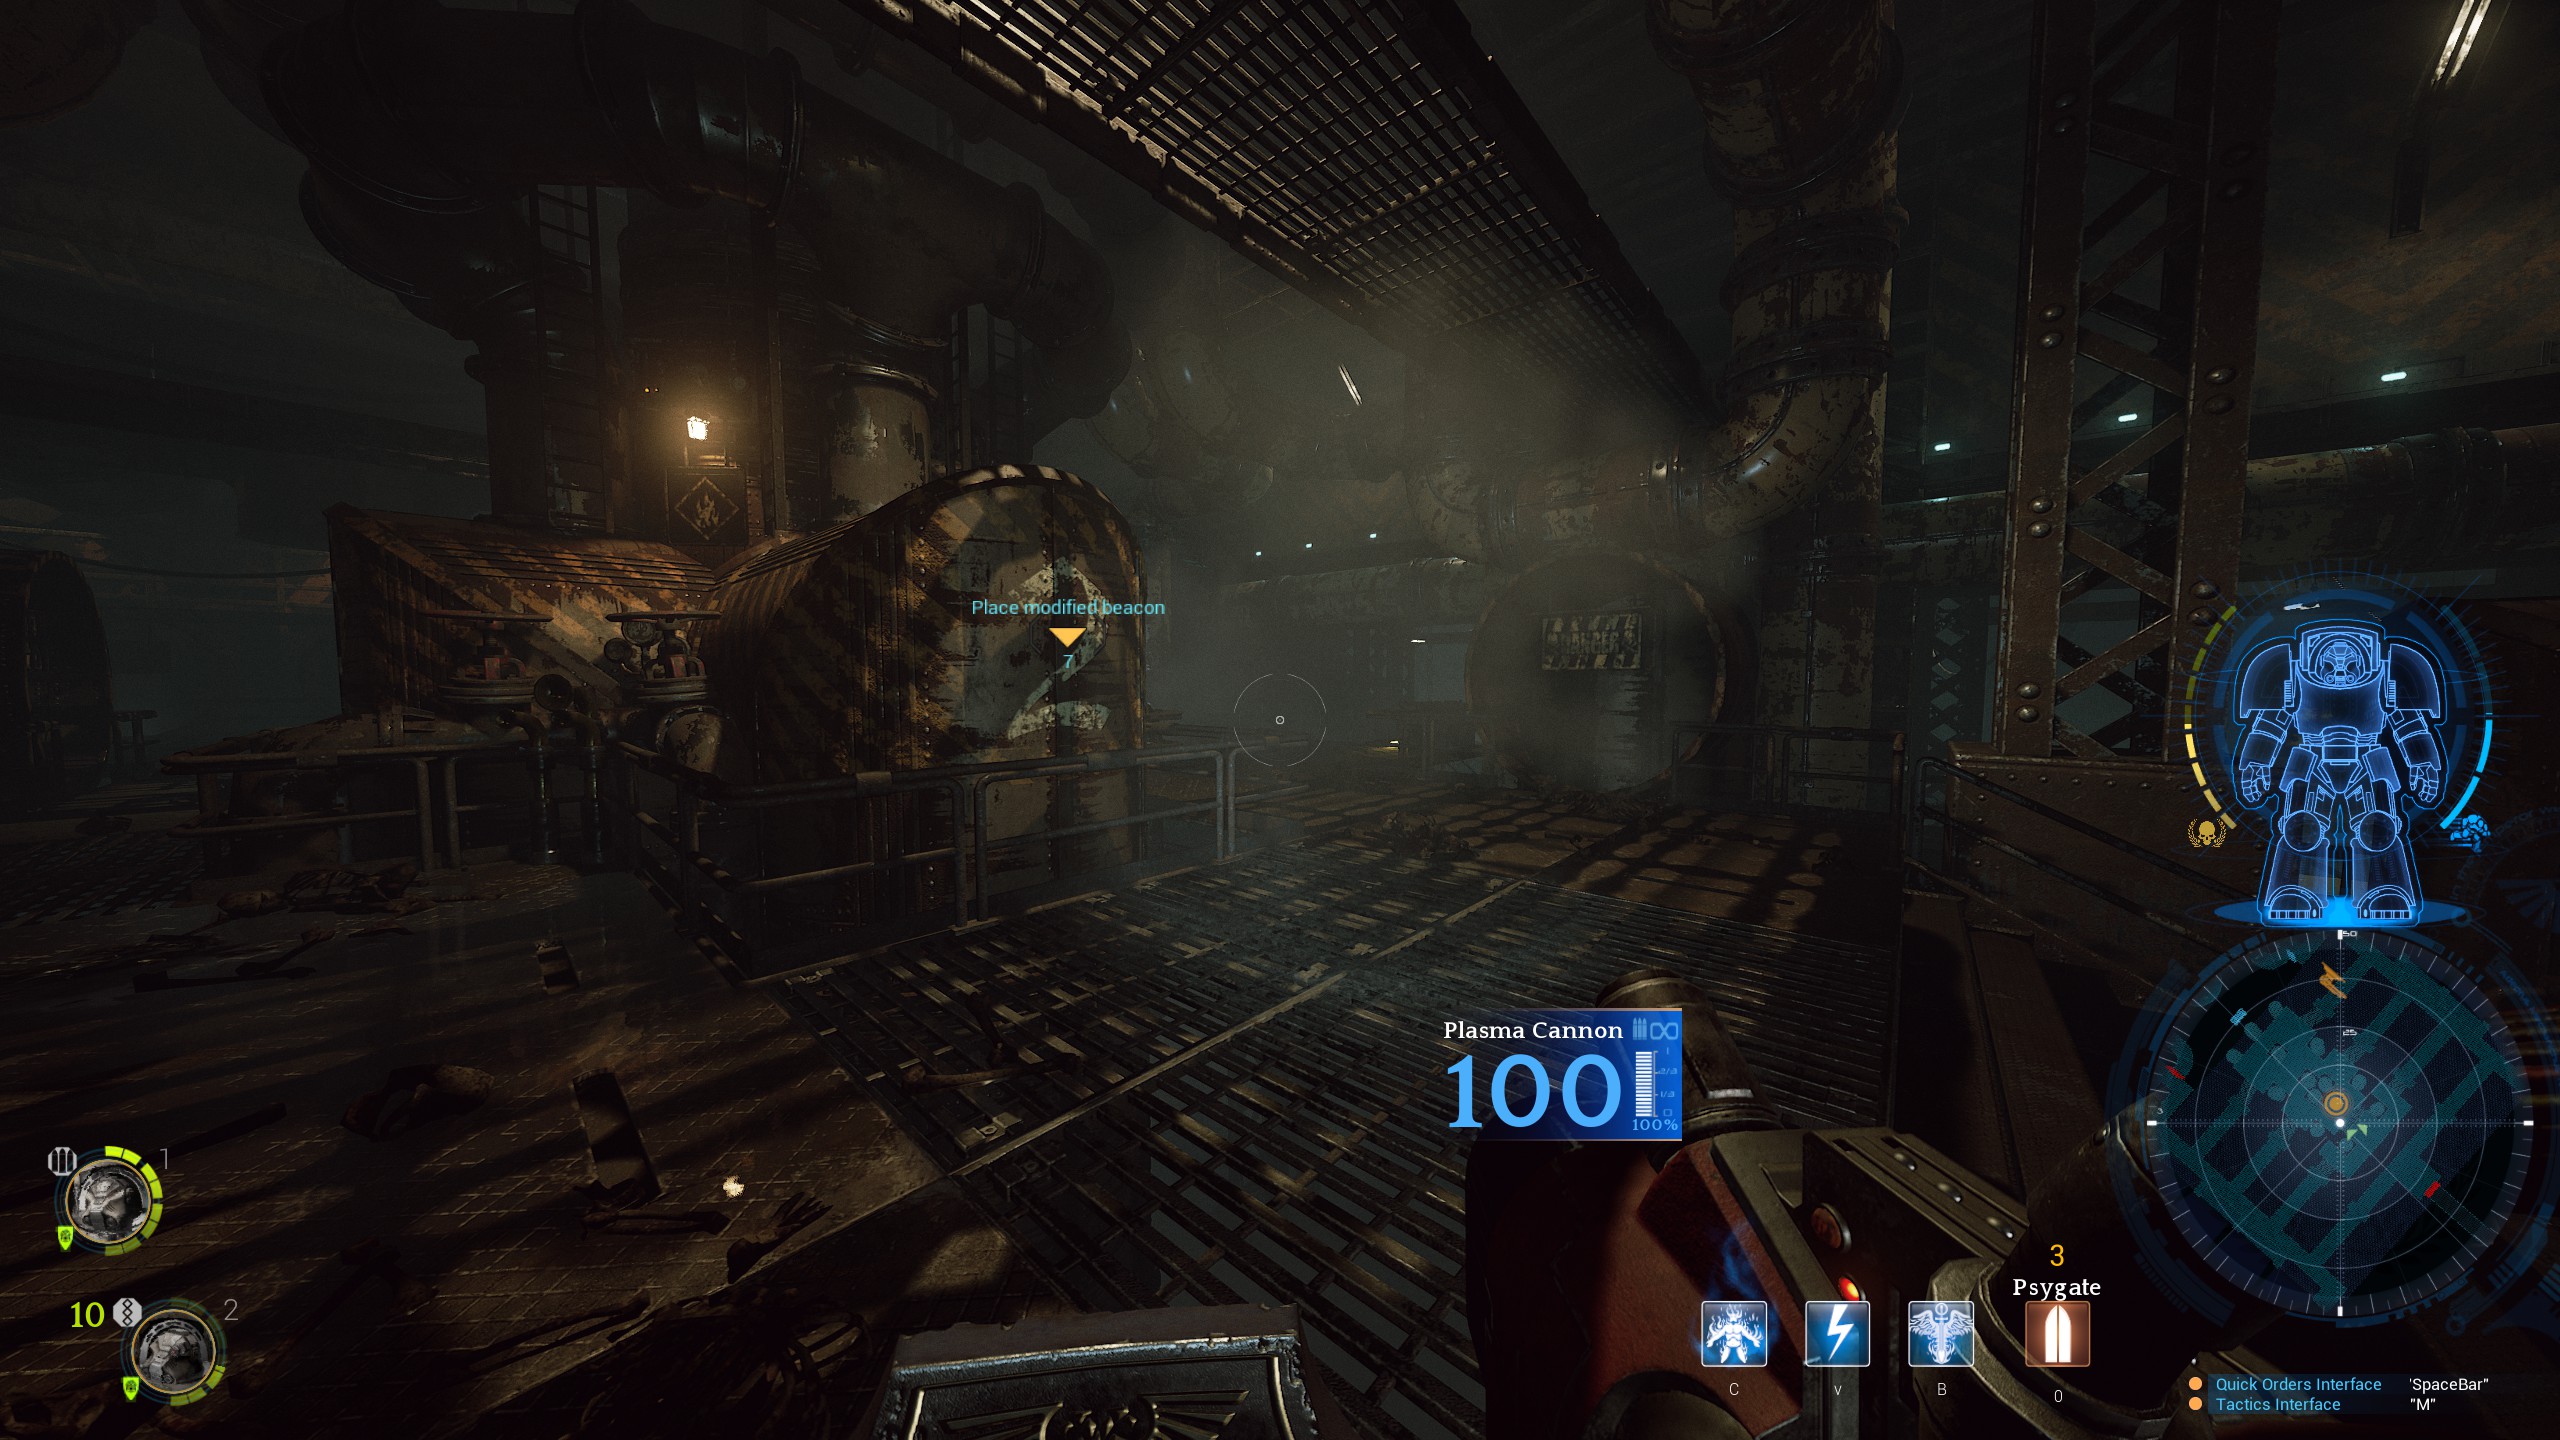
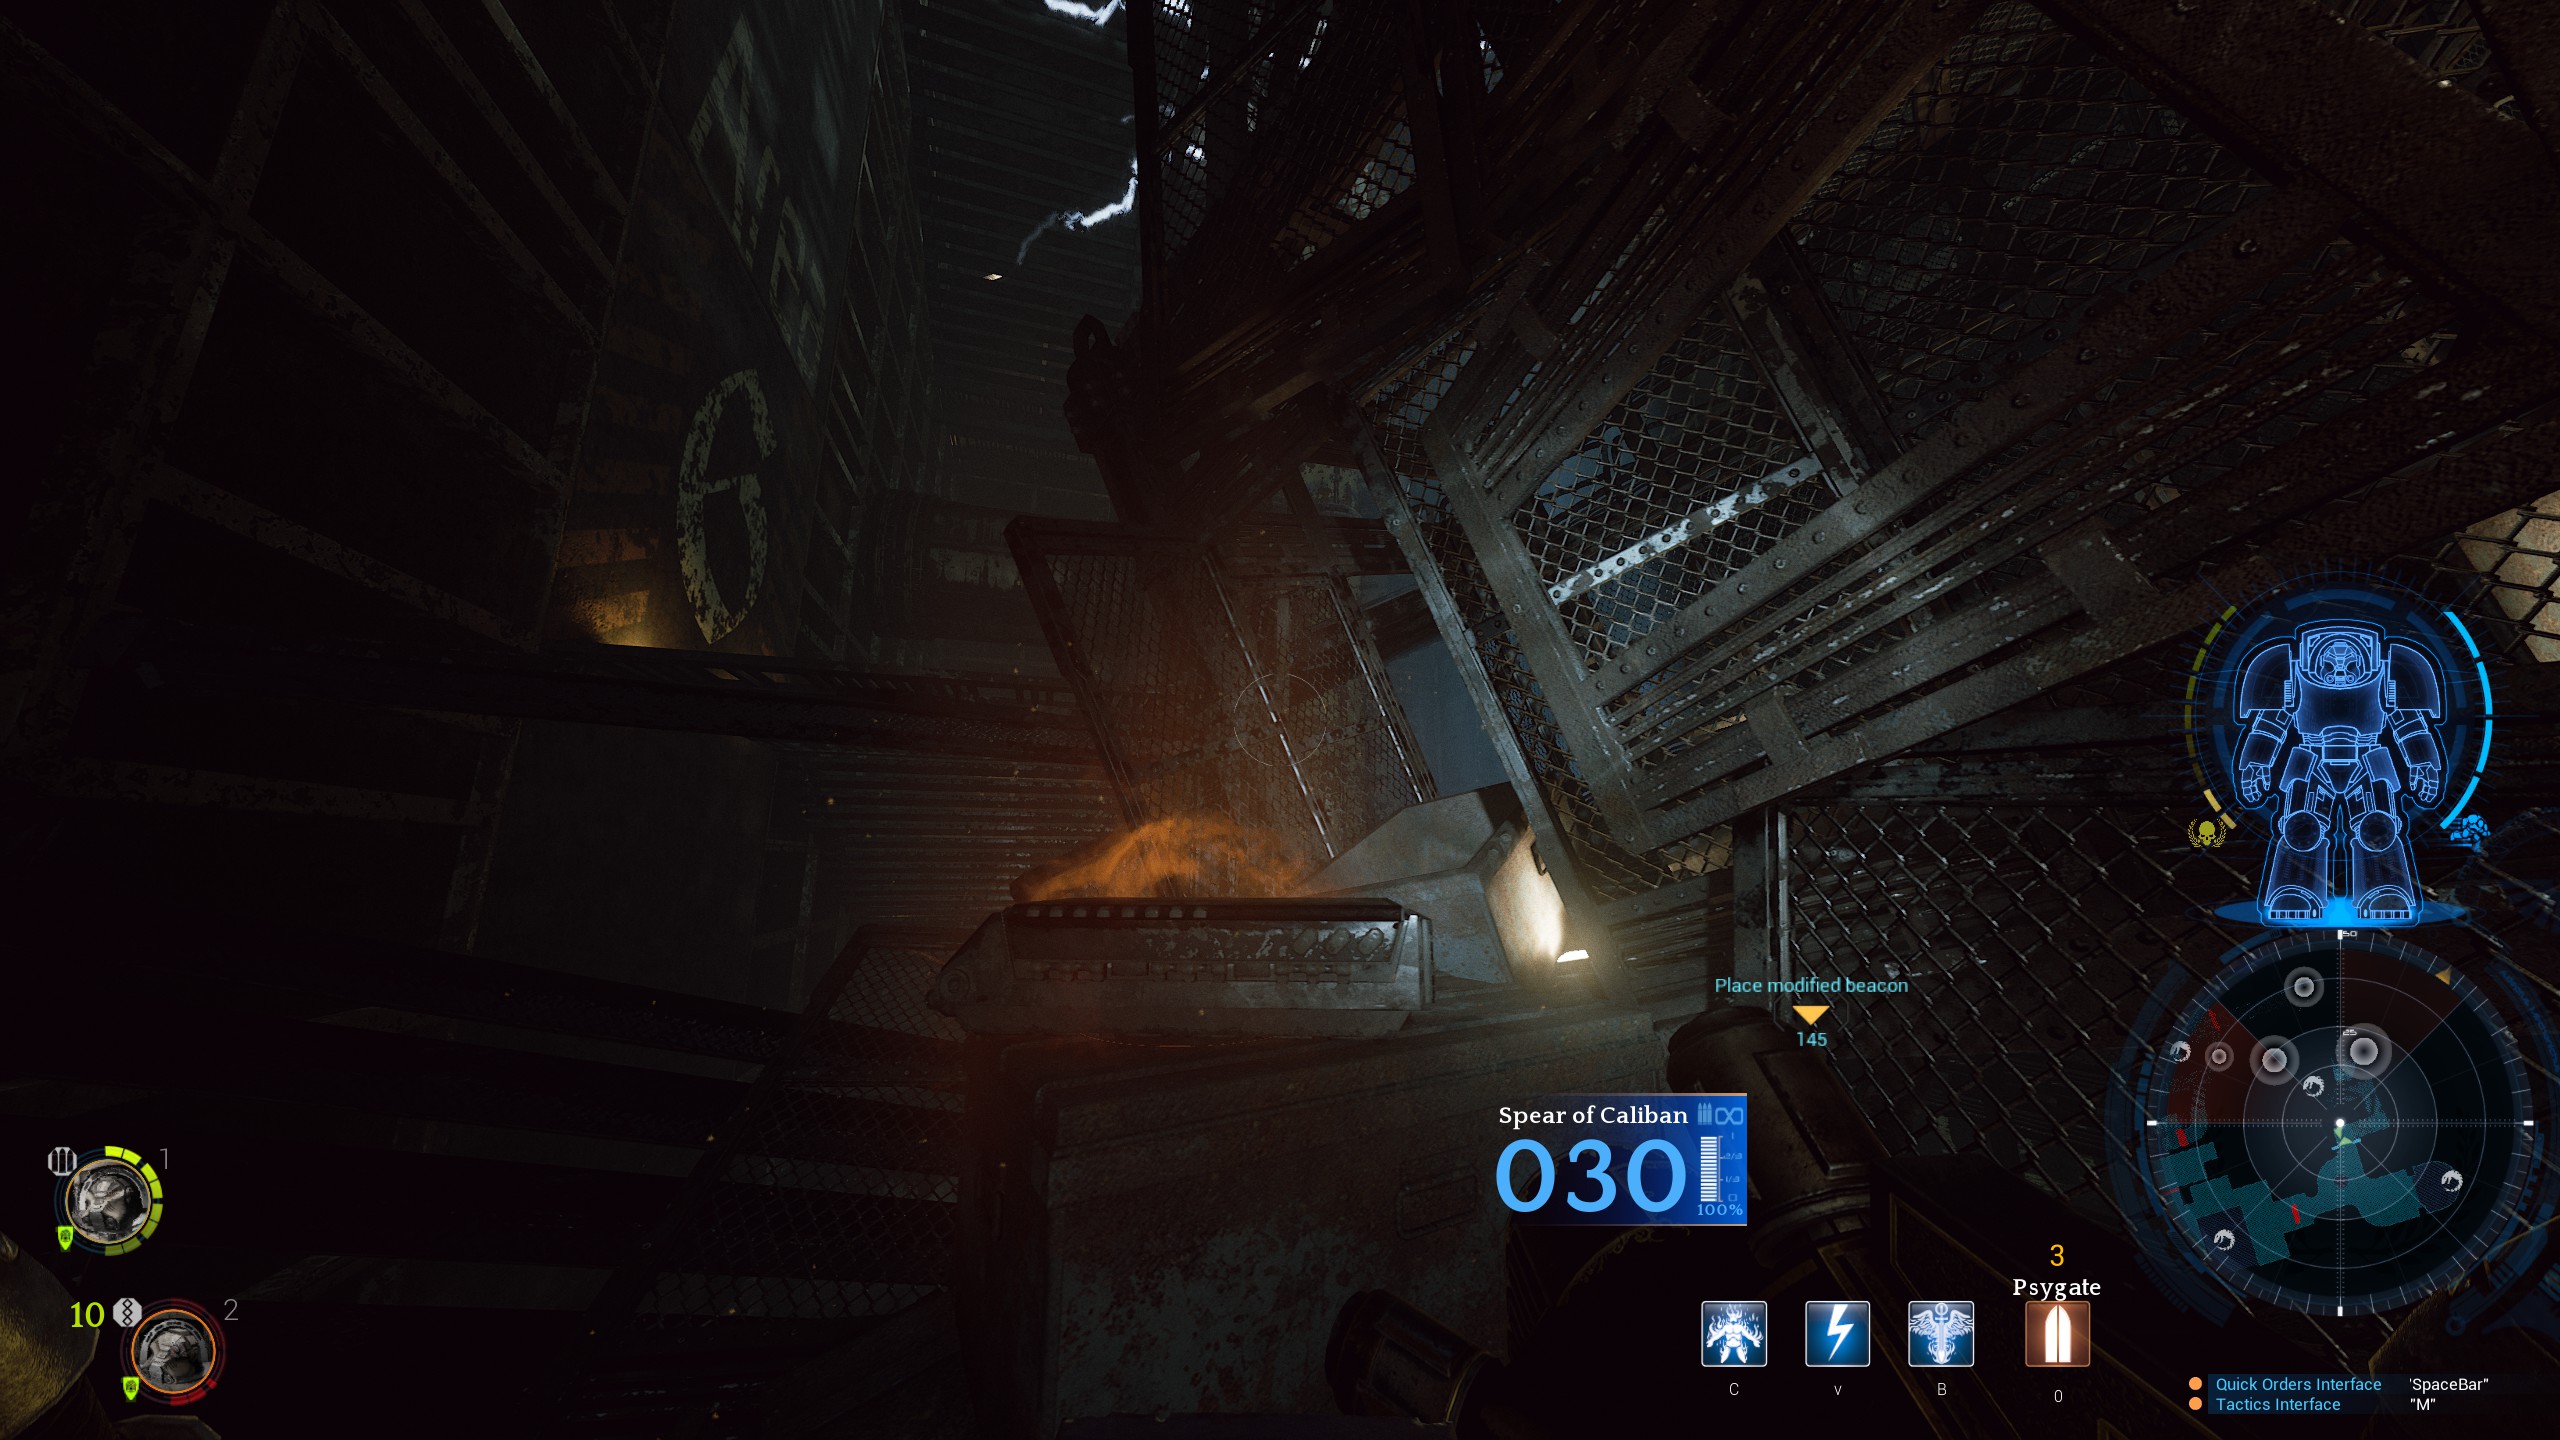
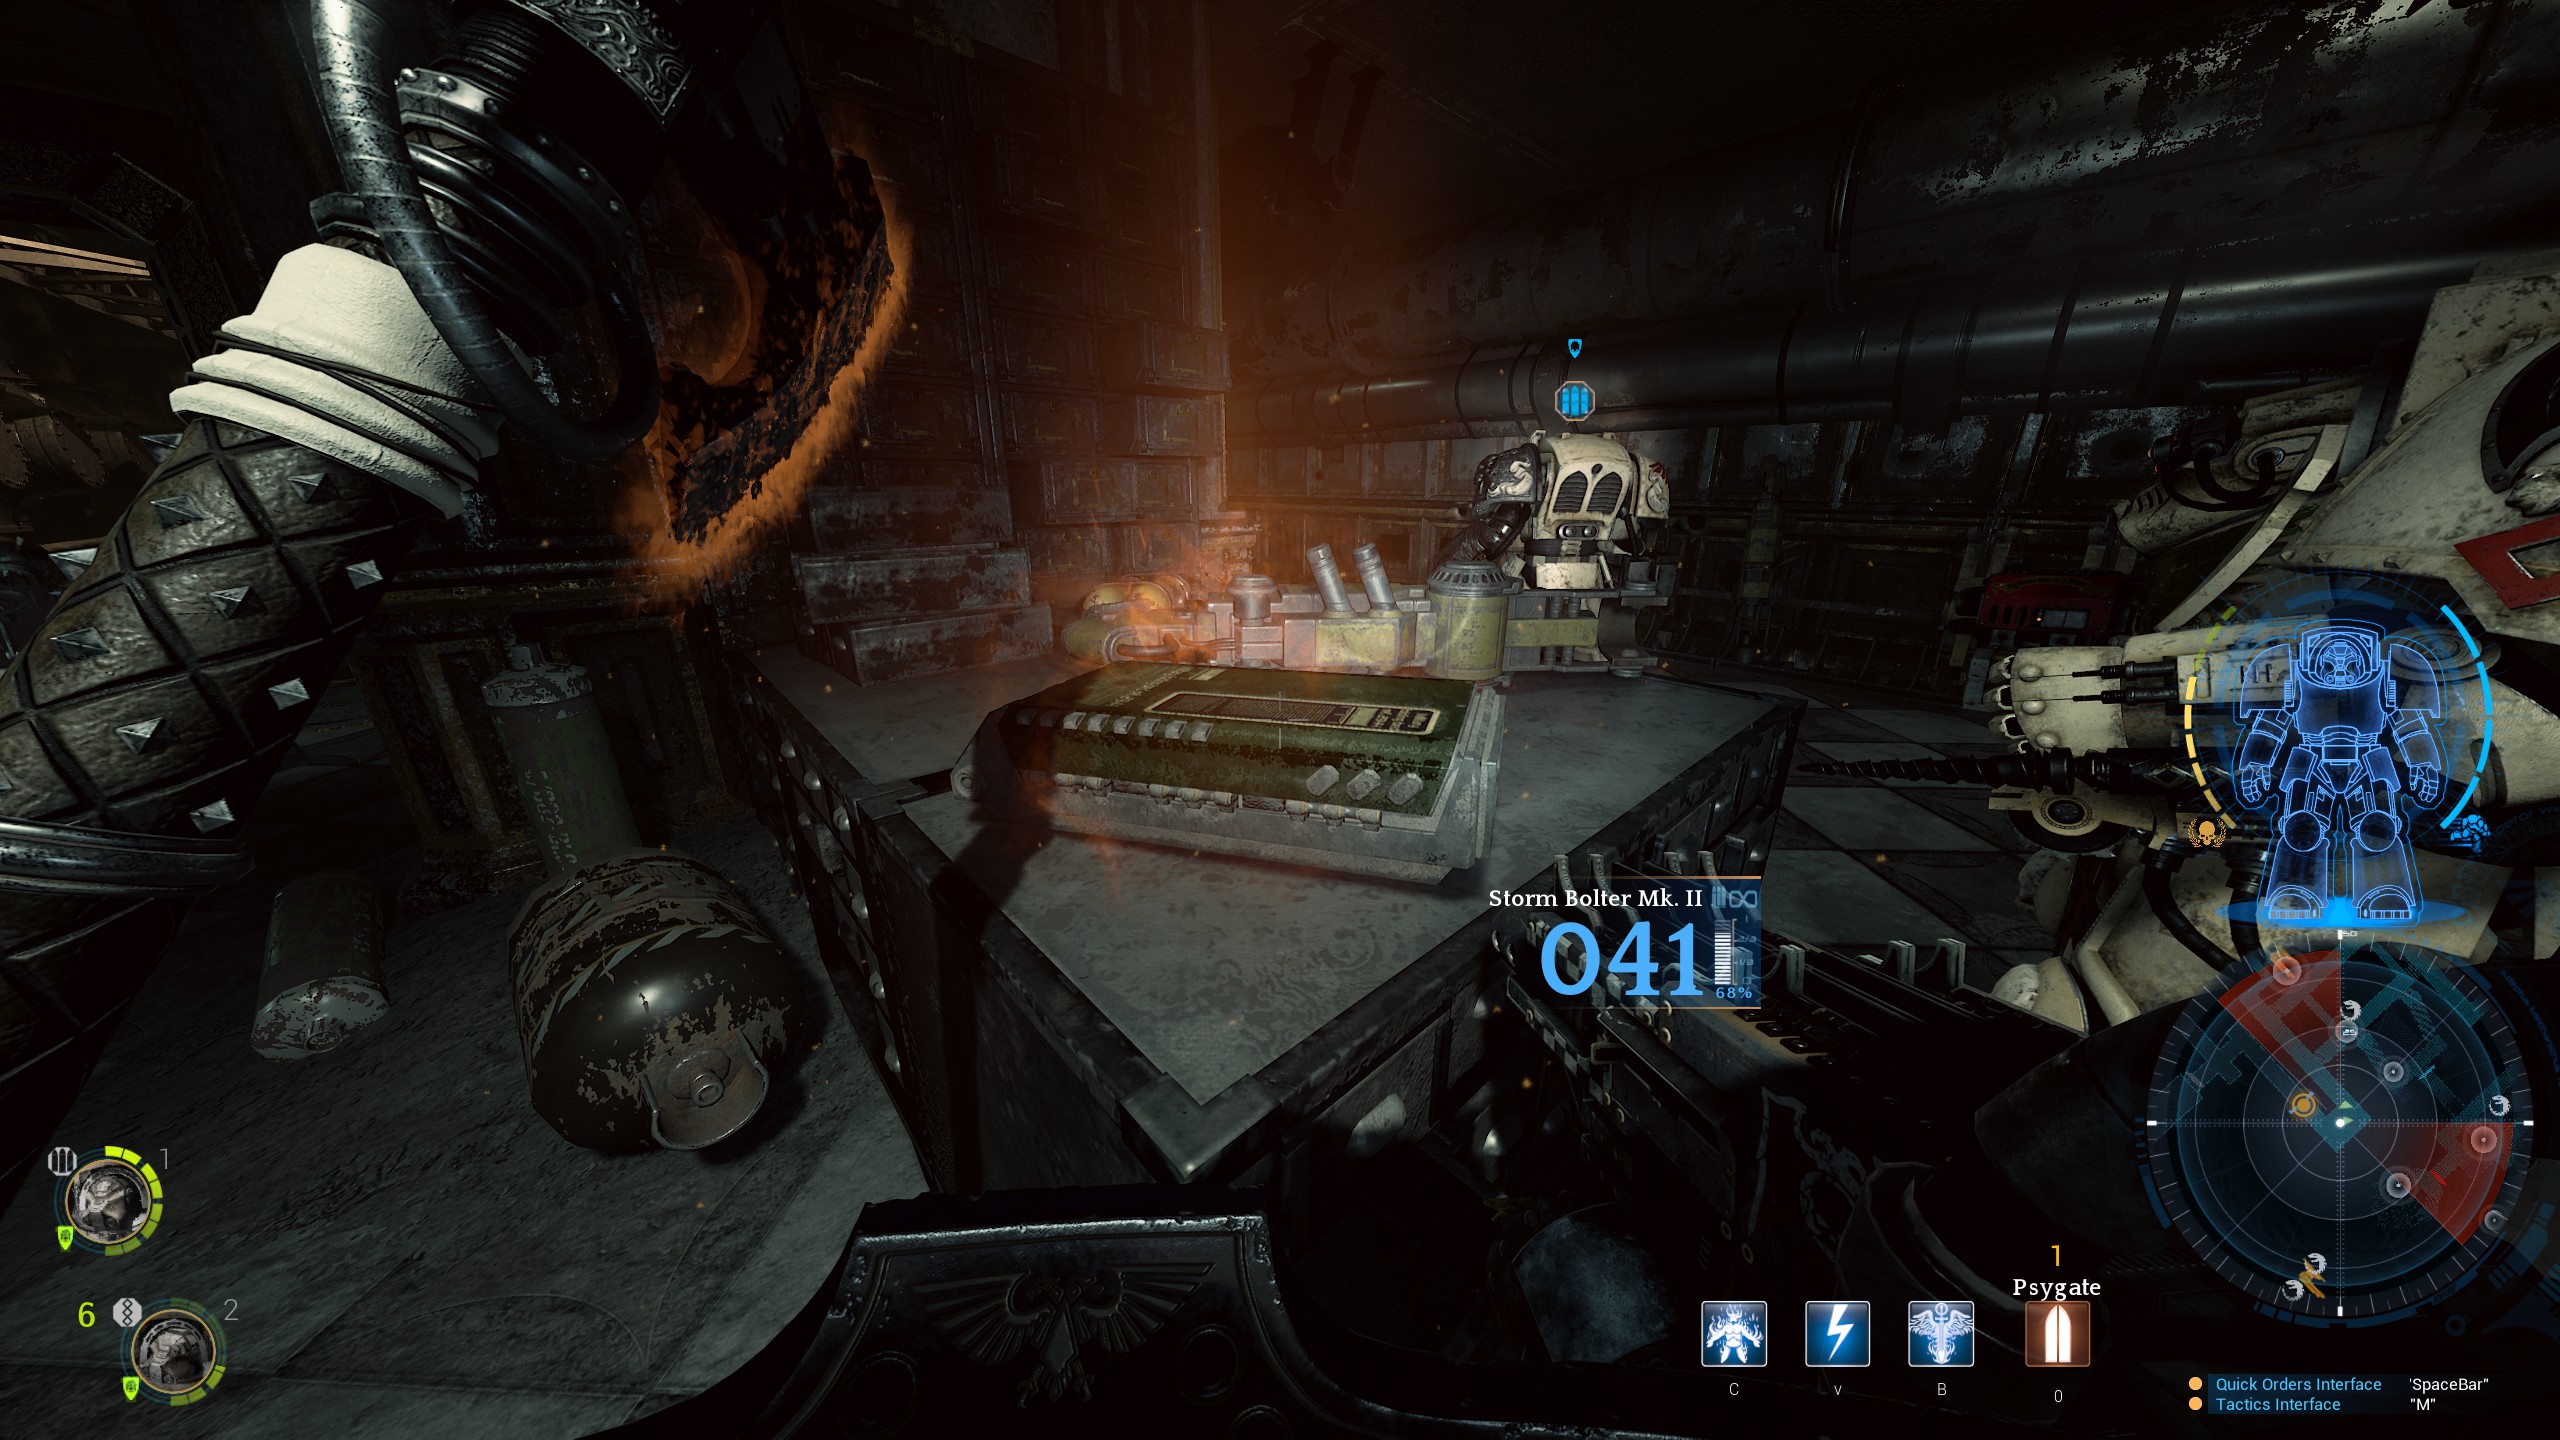
Objective two is to place a modified teleport beacon that will allow our ships gun batteries to target the pods directly, vapourising them. When you arrive in the objective room a short cutscene will play showing the room and it’s contents. Before you place the modified beacon make sure you clean out the room and destroy all the turrets.
Once you’ve placed the beacon for objective 2, 목적 3 is to get to the control panel to open the door to objective 4 and extract your squad. Once the beacon is in place you’re going to get a big swarm with Aberants, two Scythe-strains and some 4th Generation Hybrid Psykers. I generally run to one corner, kill the first Scythe-strain and then push to the control panel and deal with the rest.
Once the second Scythe-strain is dead you can close the pipe and push on regardless of whether or not I’ve killed the rest of the swarm. When you activate the second control panel at objective four, sometimes it won’t complete until you move around a bit.
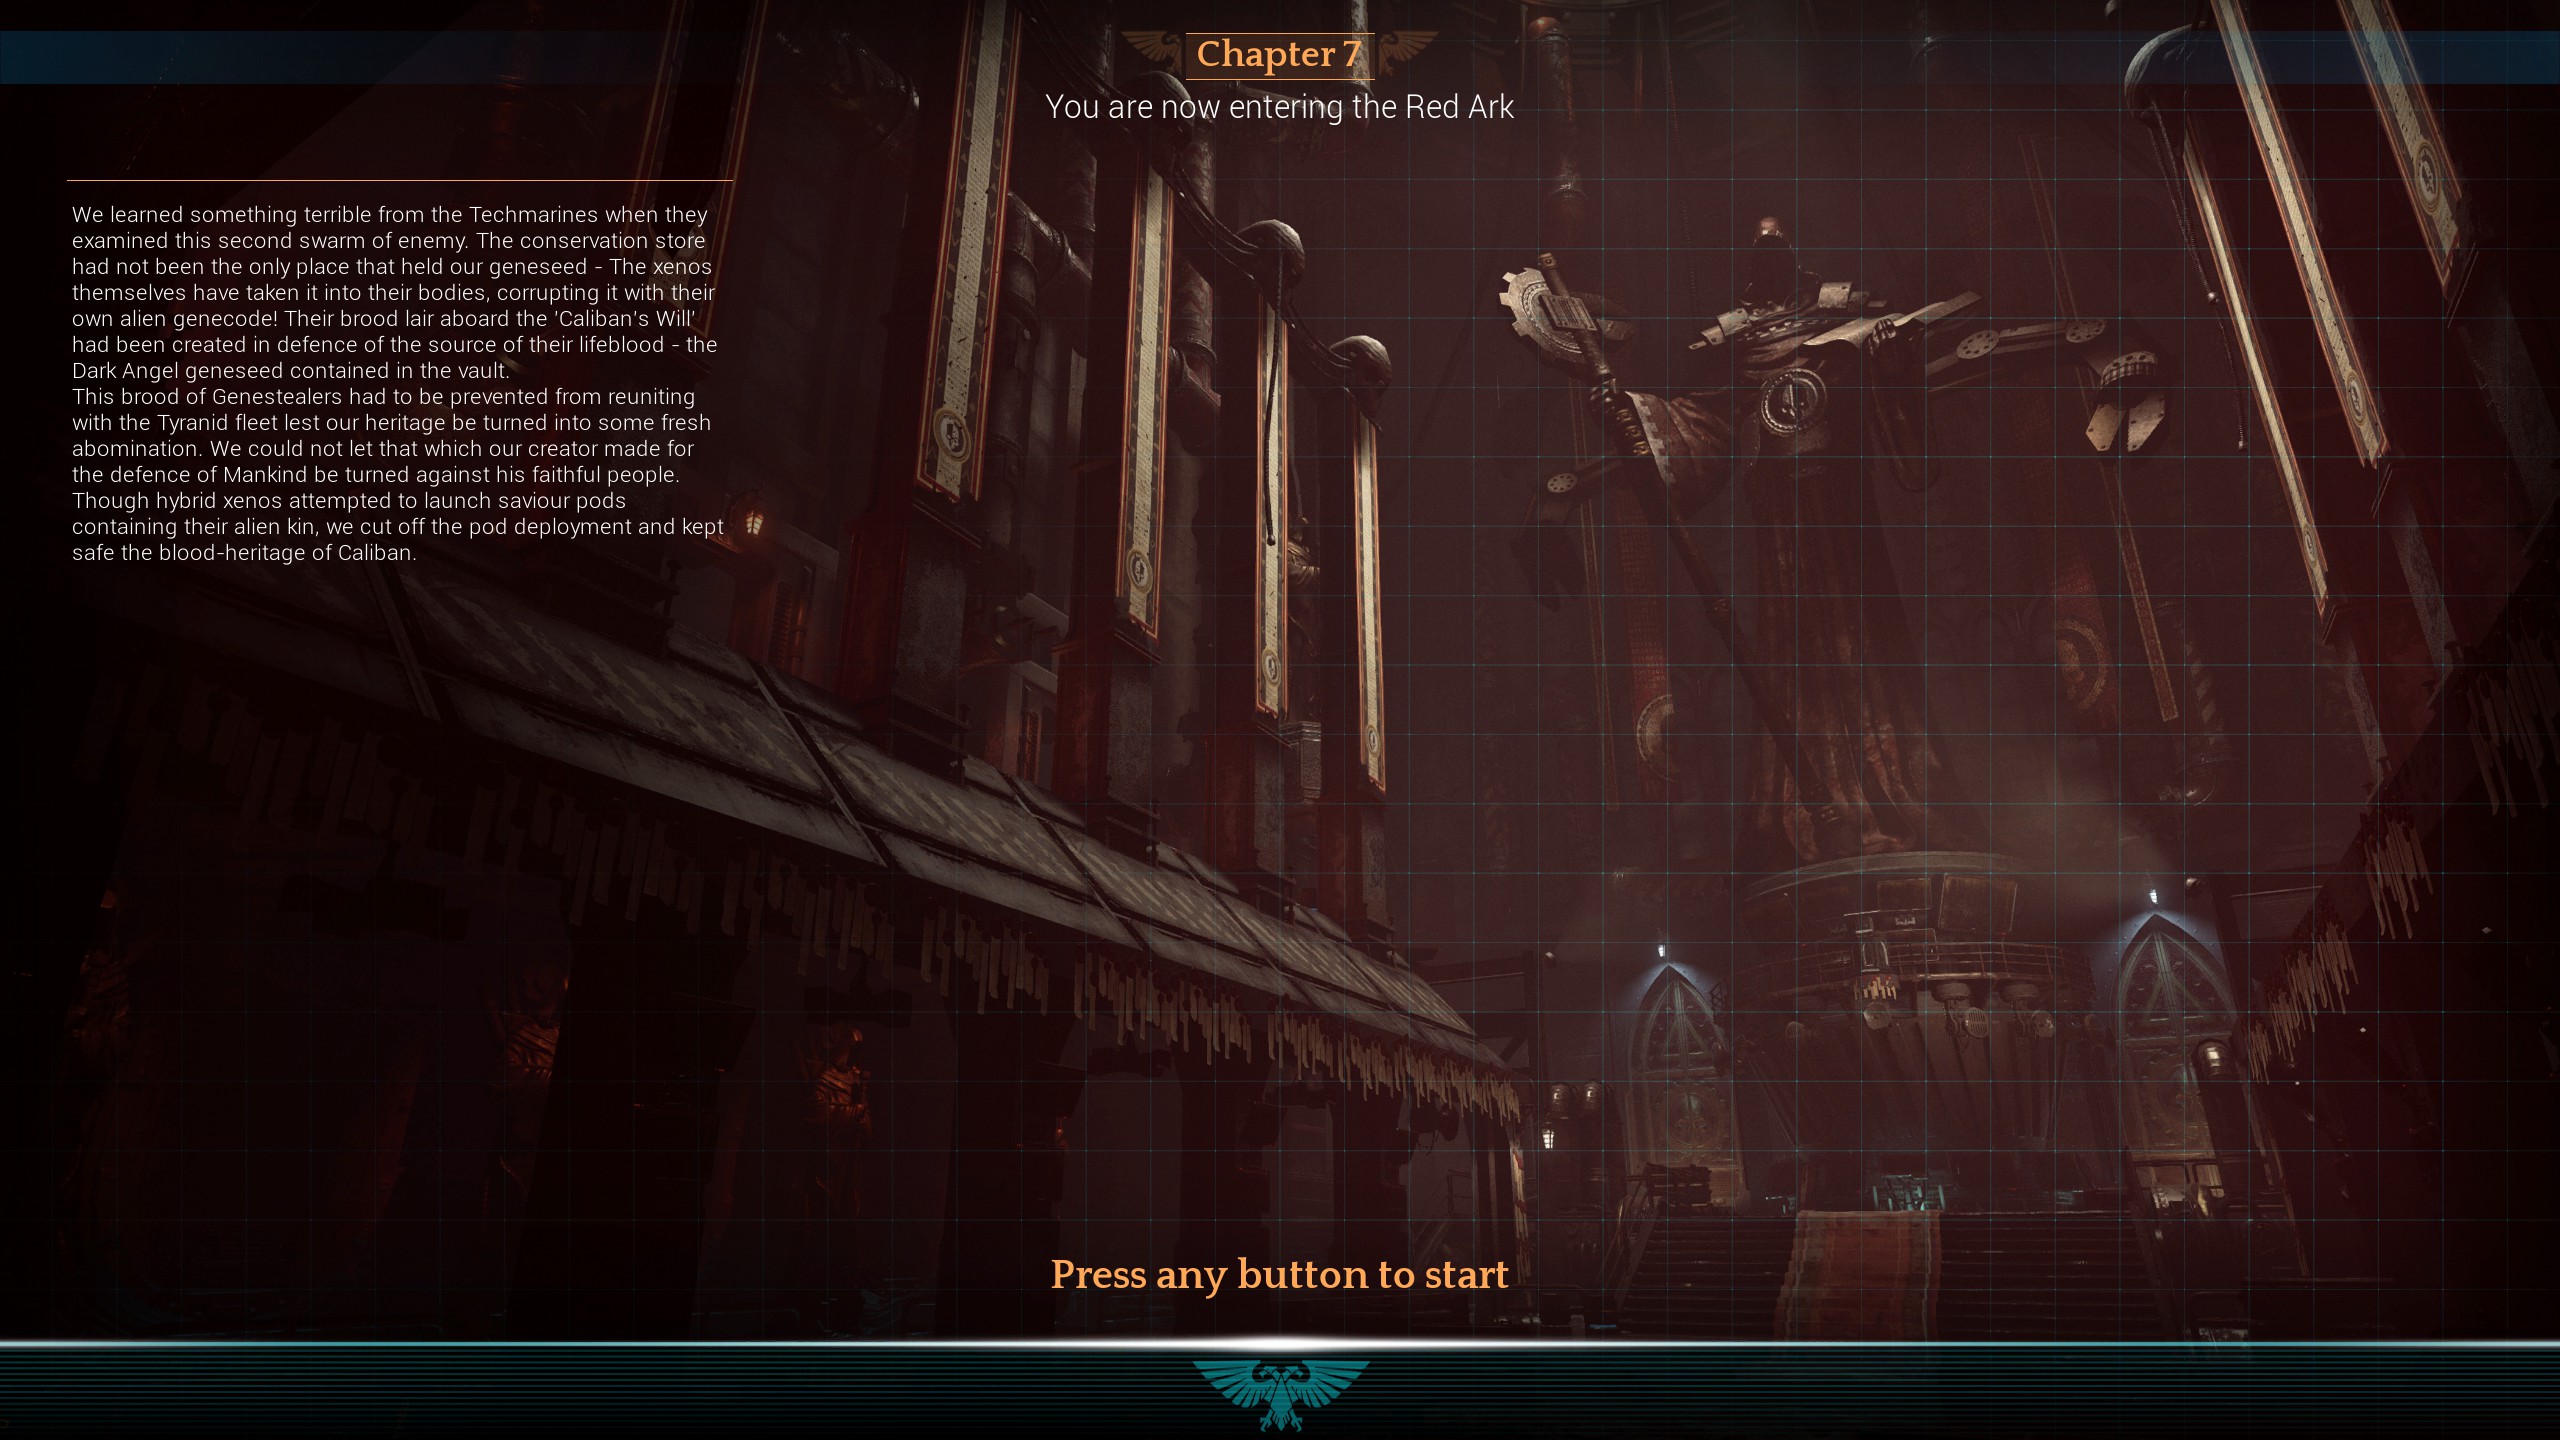
장 07 – The Red Ark
Objective one is to seal off the airlock to stop the swarm from acessing the Caliban’s Will. The first time you enter the
Pray Chamberon the way to the objective, there will be a bunch of Hybrids high up around the room, including Psykers that can do a lot of damage if you’re not paying attention.
You will need to melee a wall to access Relic 1. A Scythe-strain will often spawn around Relic 2.
When you get close to the objective, a short cutscene of the floor will play showing a Brood Lord spawn point. Once you access the panel in the middle of the room, two door locks will be accessible to shoot by the airlock and a swarm will spawn. The quicker you shoot the door locks, the quicker the swarm will stop.
Objectives two, three and four are to find and destroy three Hybrid Psykers. After the first objective completes there will be a short cutscene showing the Psykers and the rooms they’re in.
Following the route will lead you just inside the rooms. Getting close or entering the room will trigger the Psykers to attack. You can poke your head in the door, kill the Psyker and then move on to the next one. This will be the same for each Psyker, though you can expect Aberants and the occasional Scythe-strain in each area as well. The Psykers are well guarded.
Objective five is to find the old atmospheric pump station and spread a mutagenic virus to erradicate the swarm. 에서
Pumping Chamberthere will be heavy resistance, Hybrids with missile launchers taking the high ground and the occasional Aberant.
There is a control panel to activate which then enables 4 wheels to lock. You need to interact with all four wheels and then return to activate the control panel a second time to disperse the virus.
Once the virus is released it will kill all enemies remaining and there will be minimal resitance so your walk to the extraction point should be uneventful.
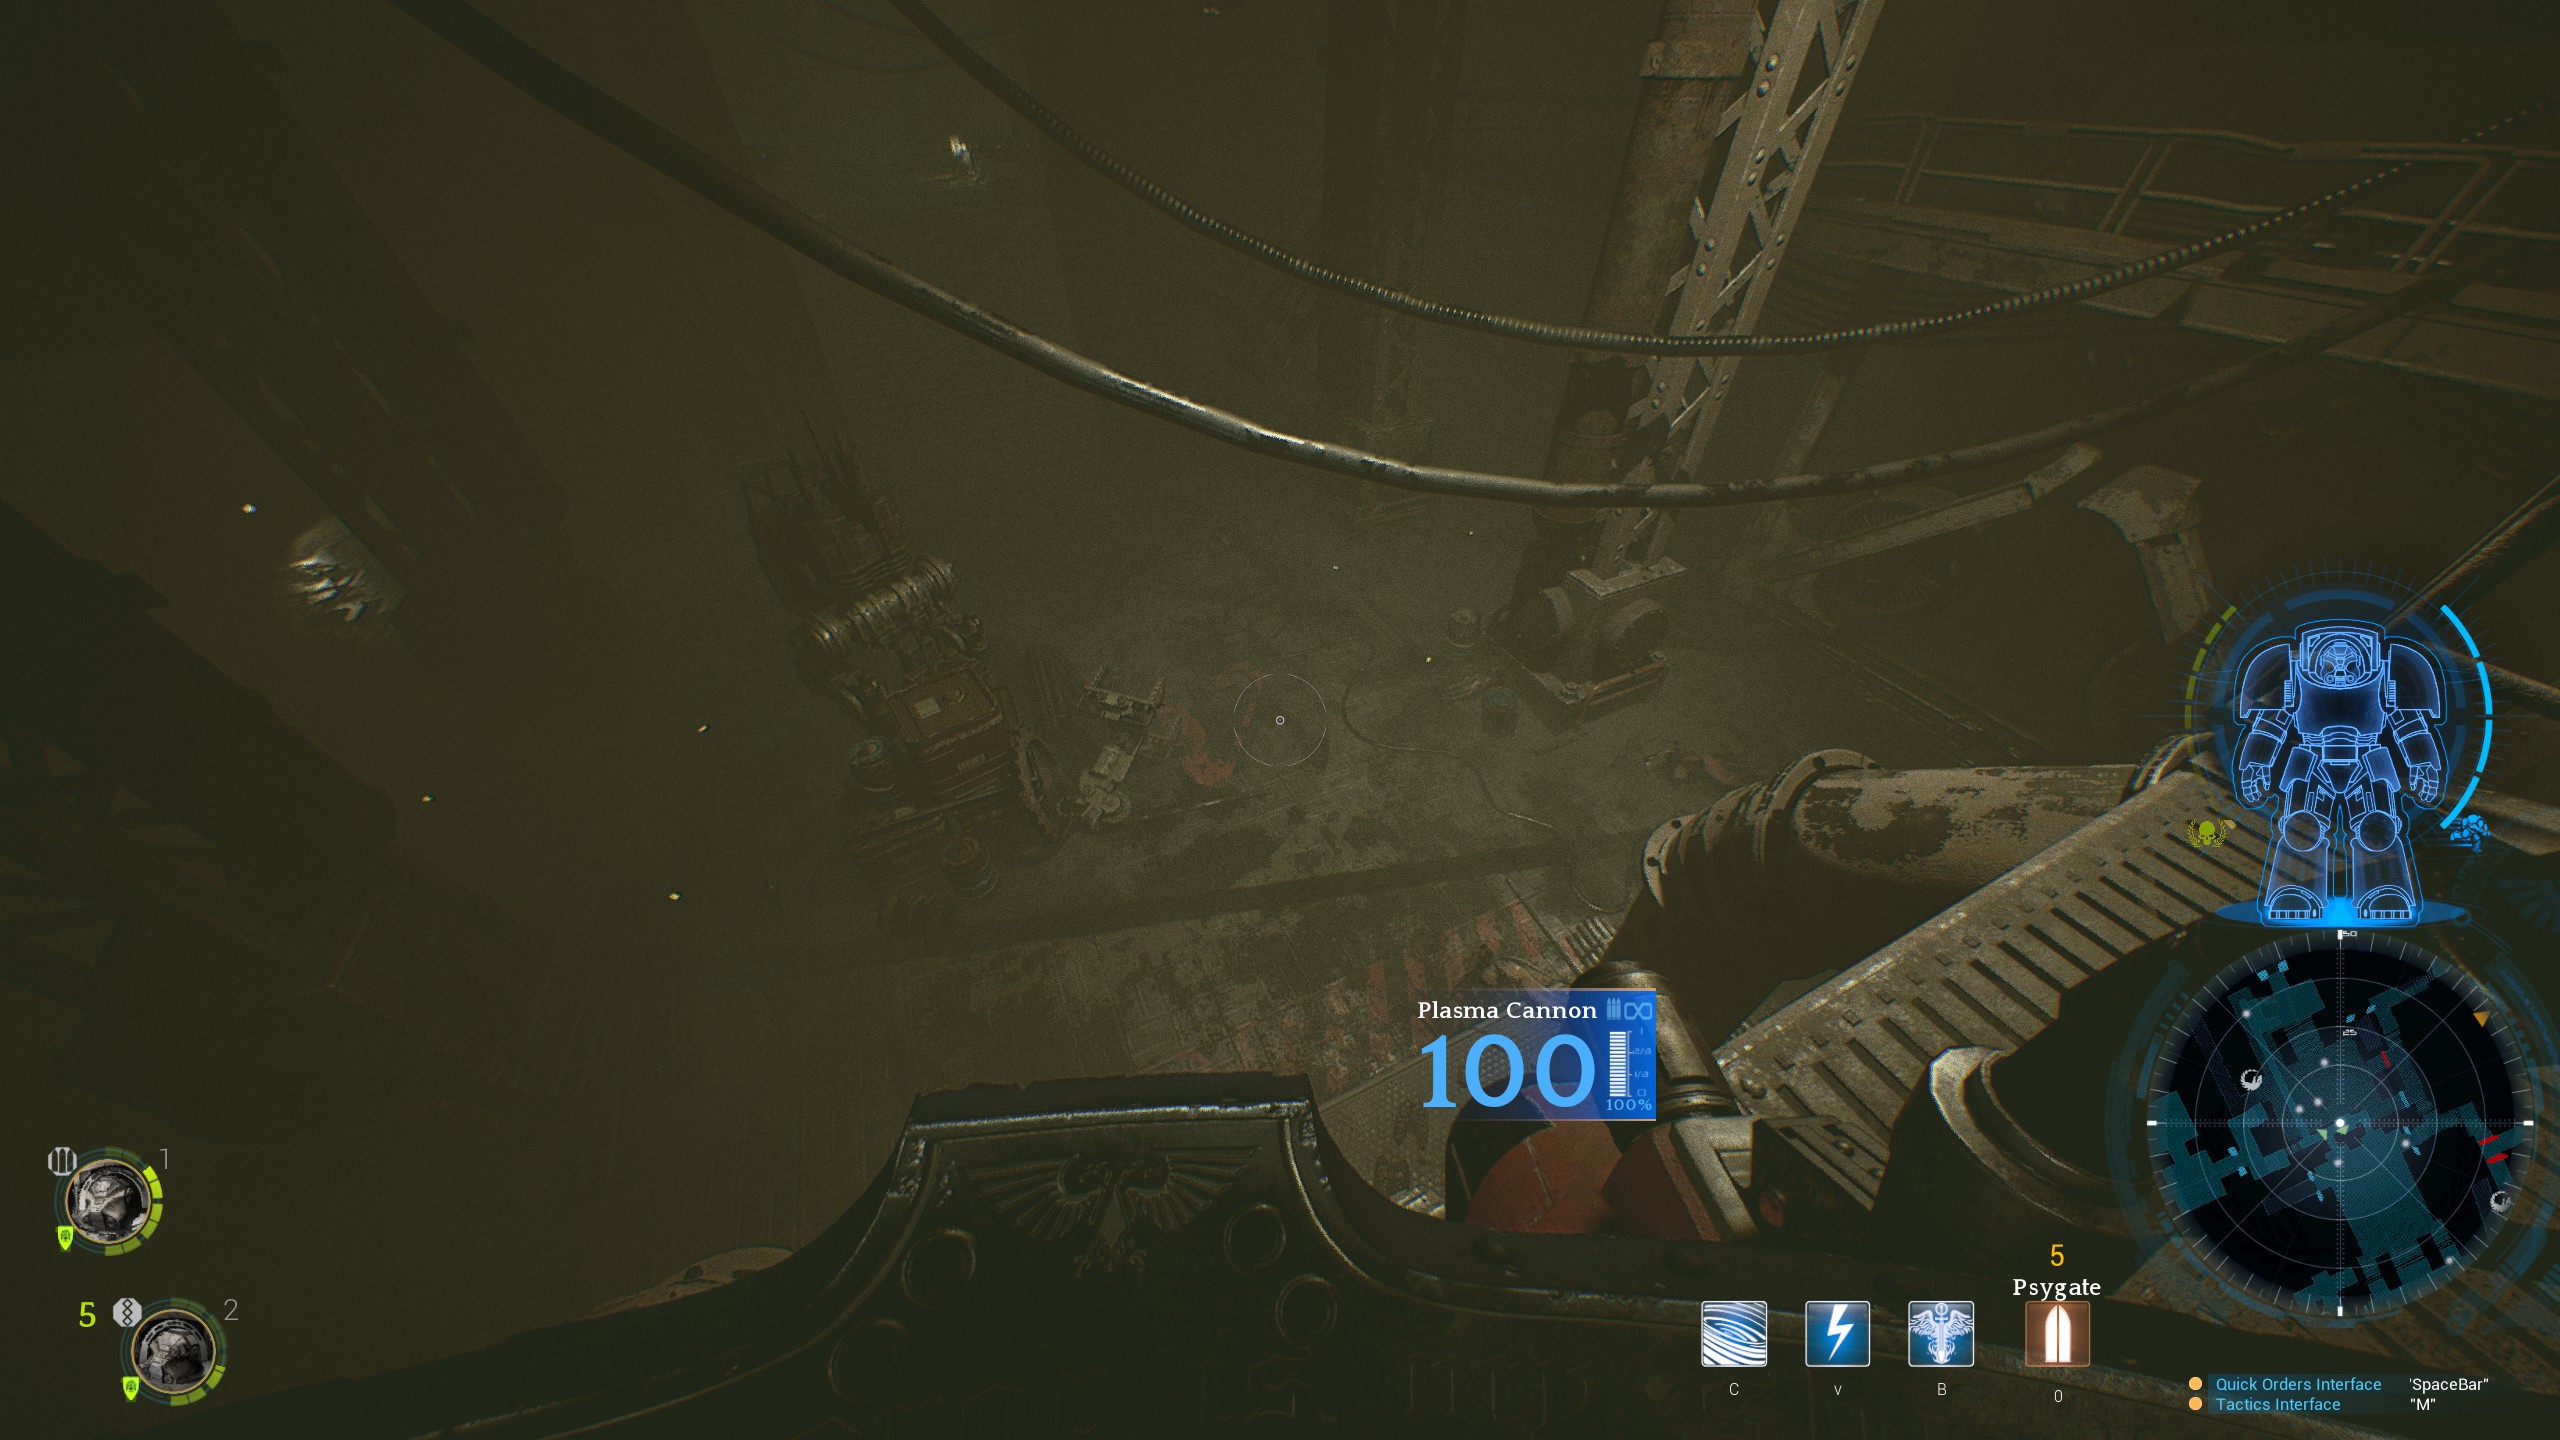
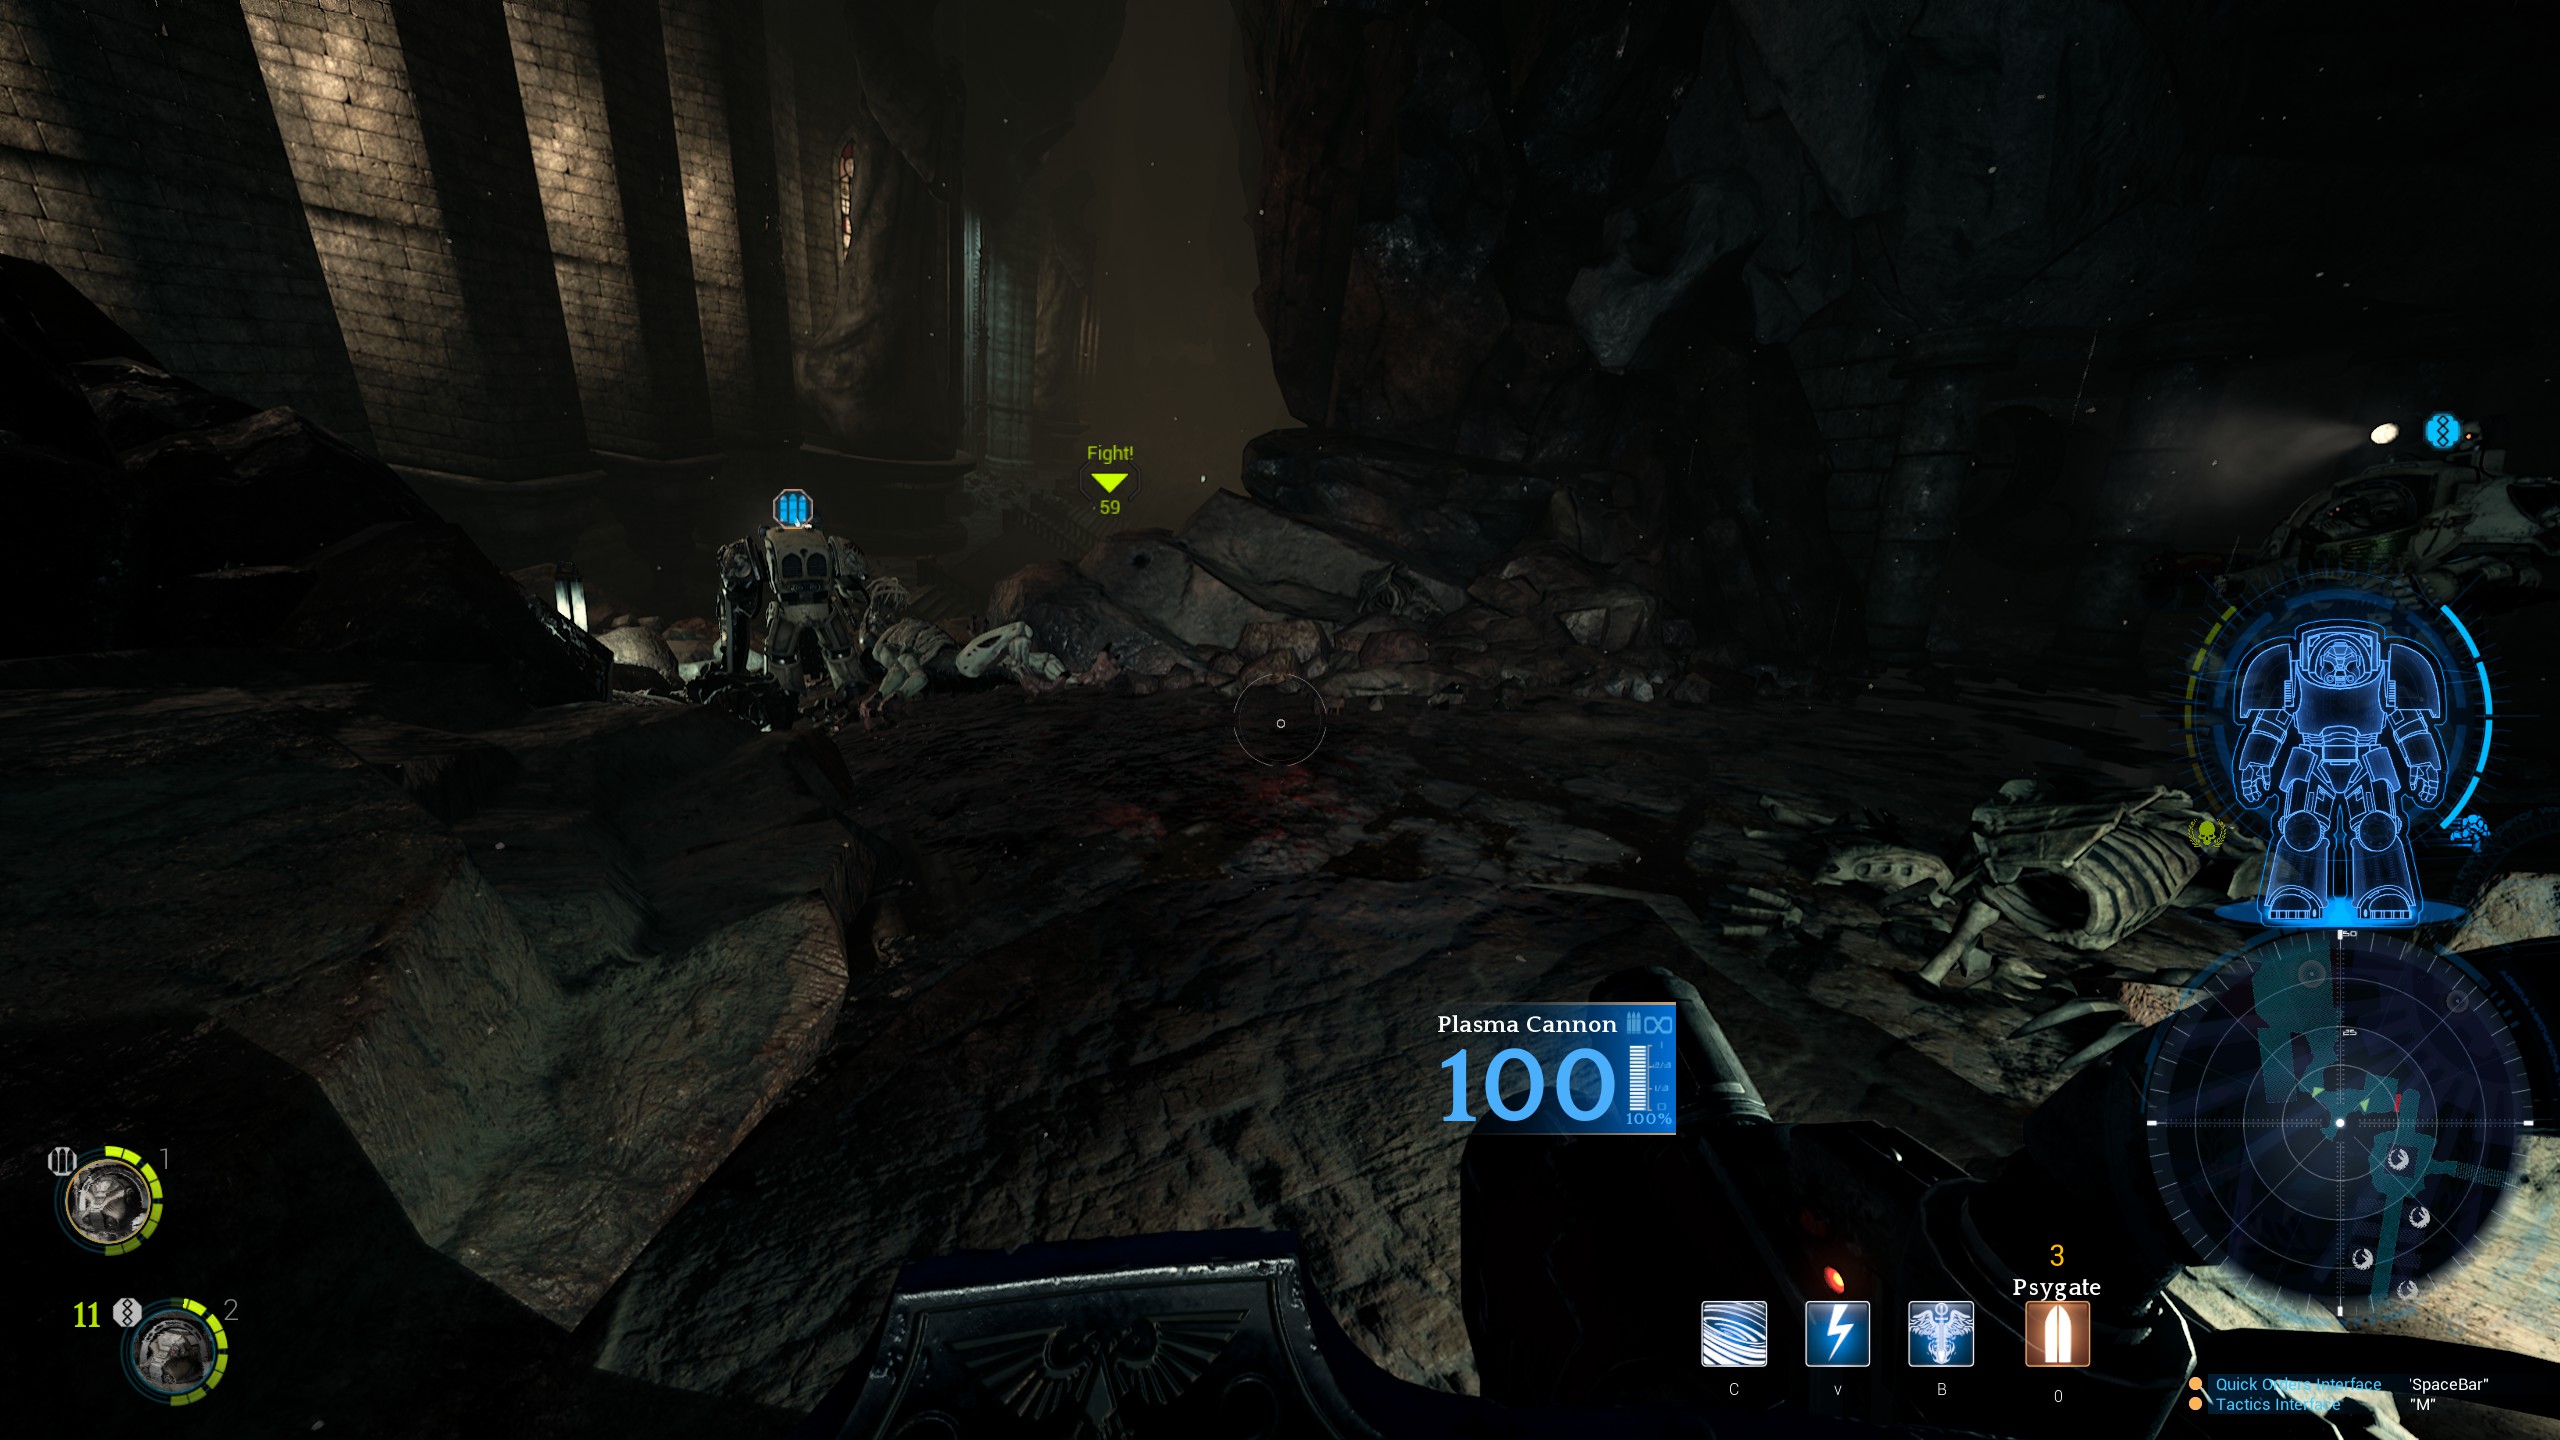
목적 6 is to reach the extraction point. Following the route, when you reach the room below the
Pray Chamberyou will be on a catwalk. Drop down from the middle of the catwalk shown in the the screenshot to the floor below to continue. There is no fall damage.
You need to melee a wall to access Relic 5. I normally leave this for the end though it’s possible to get it earlier if you want.
There are some turrets not affected by the virus around Relic 6.

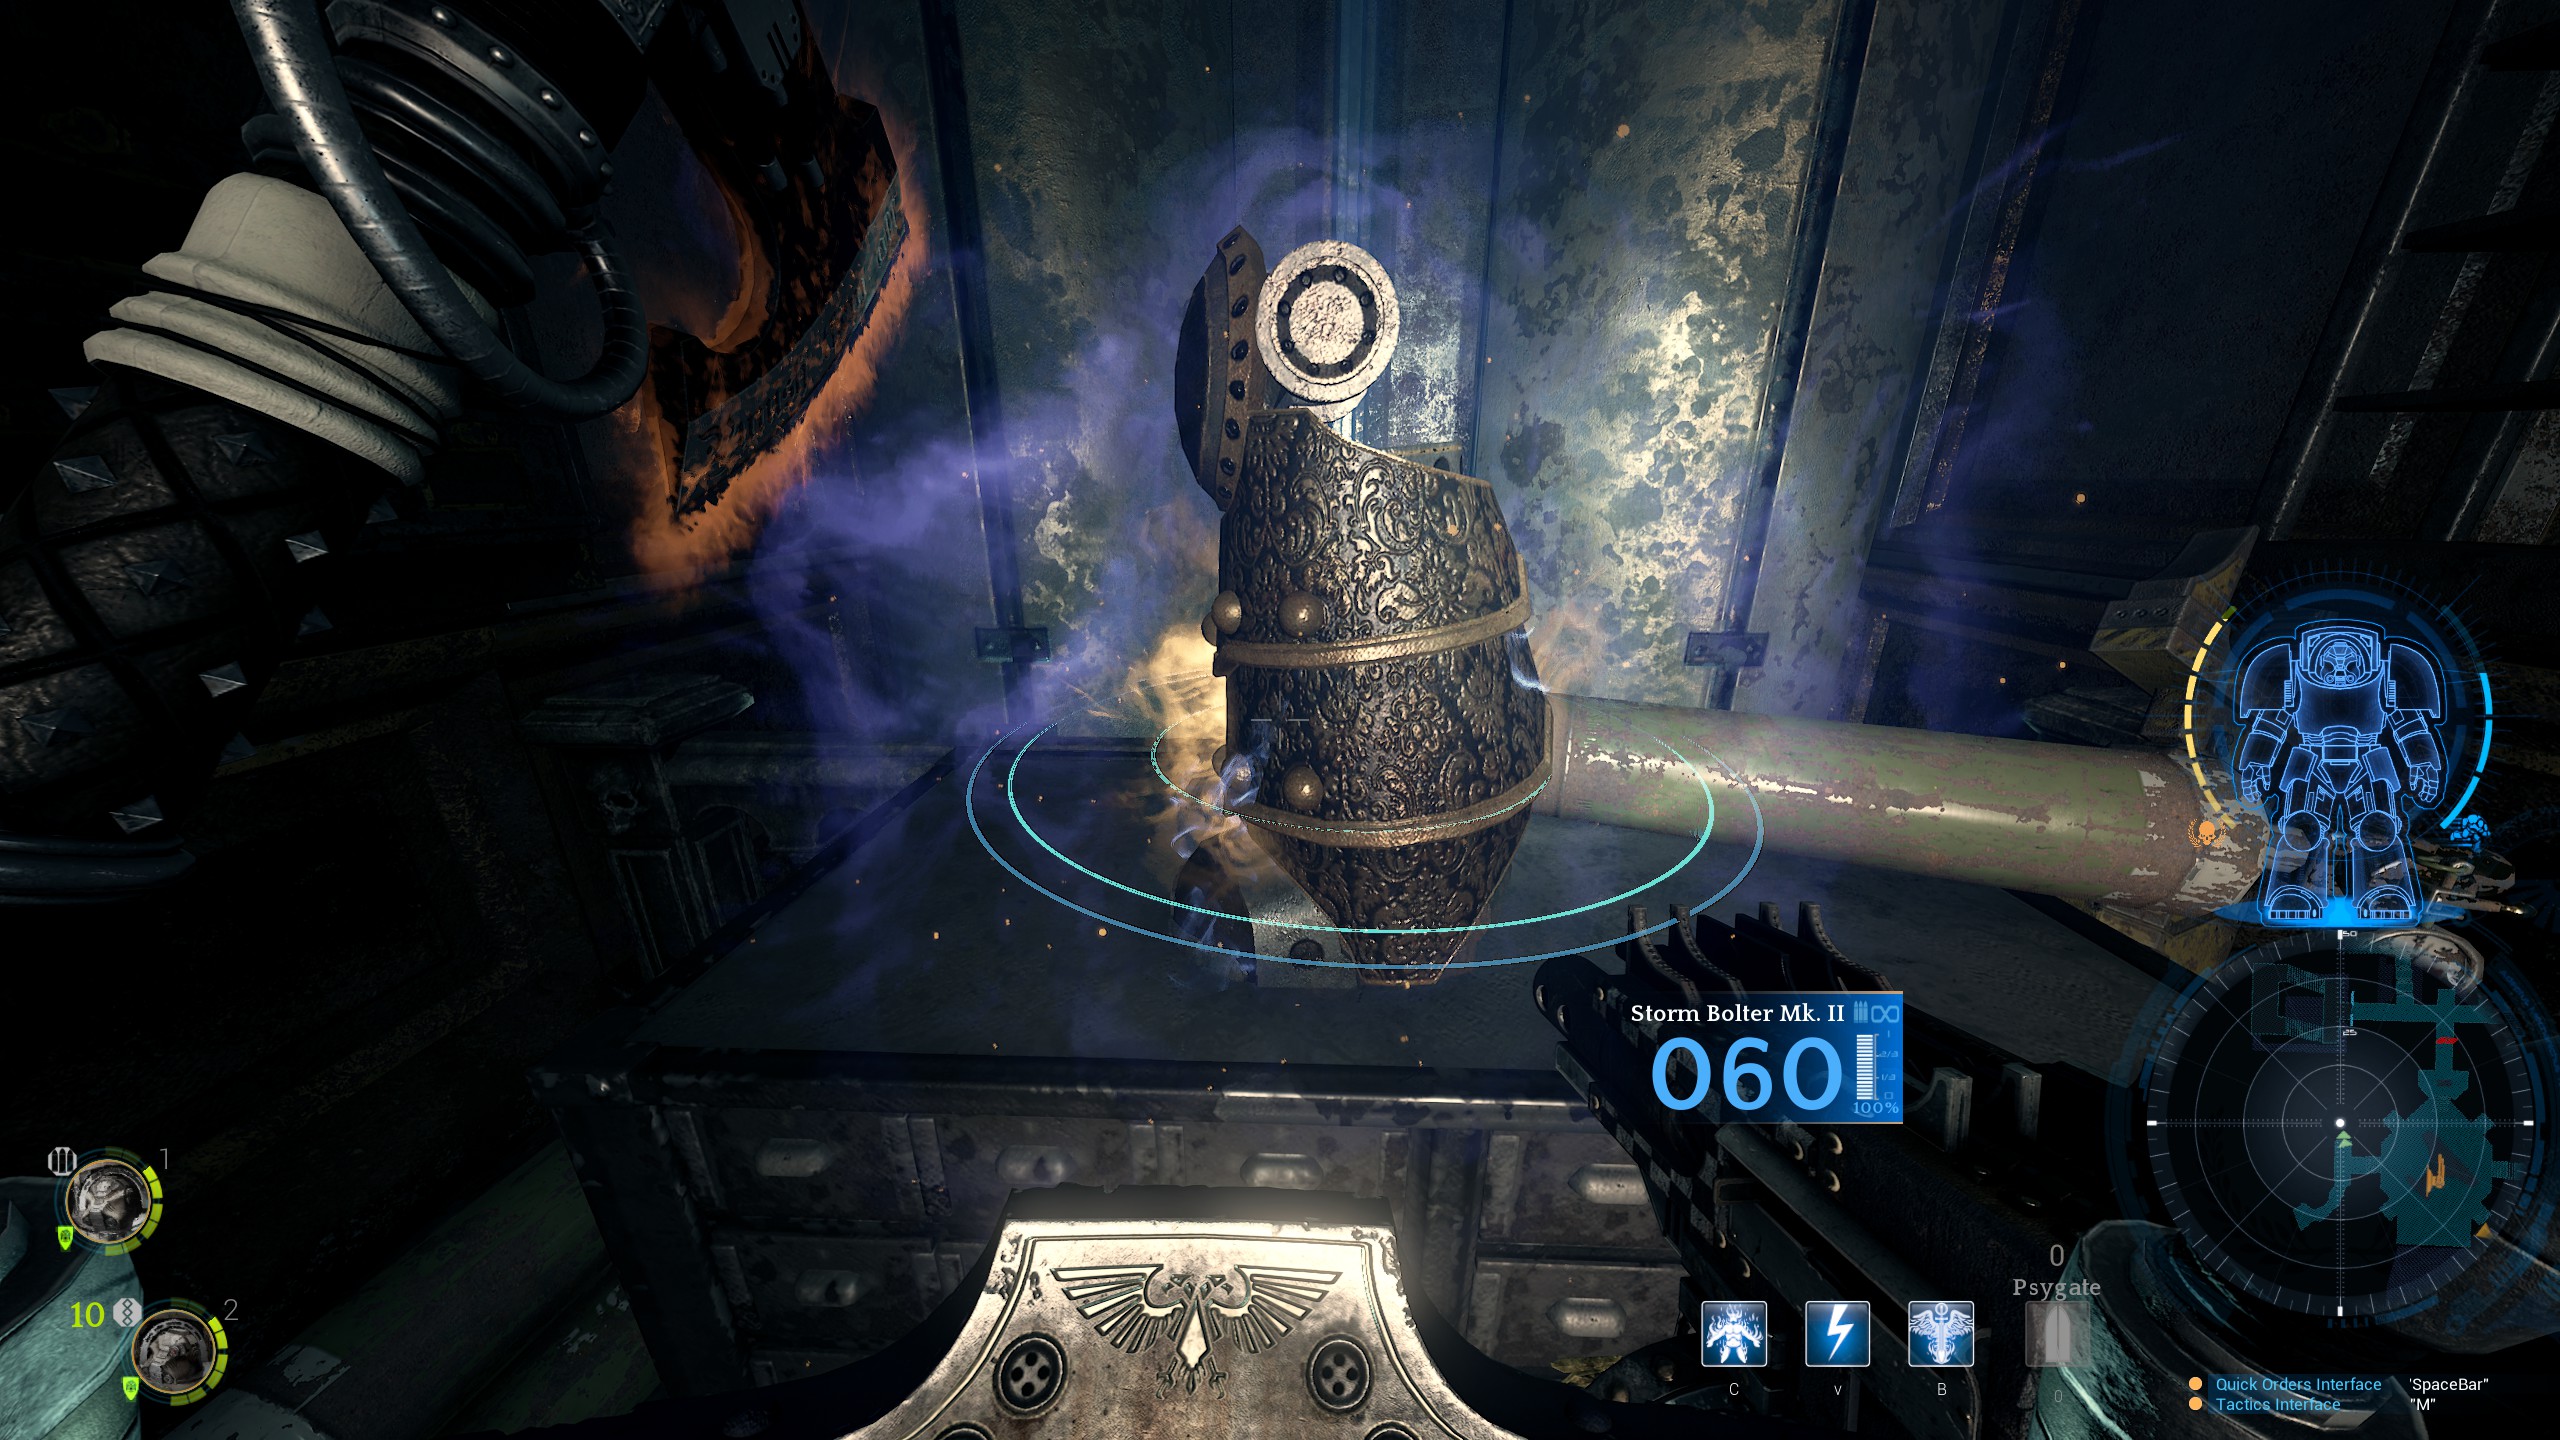
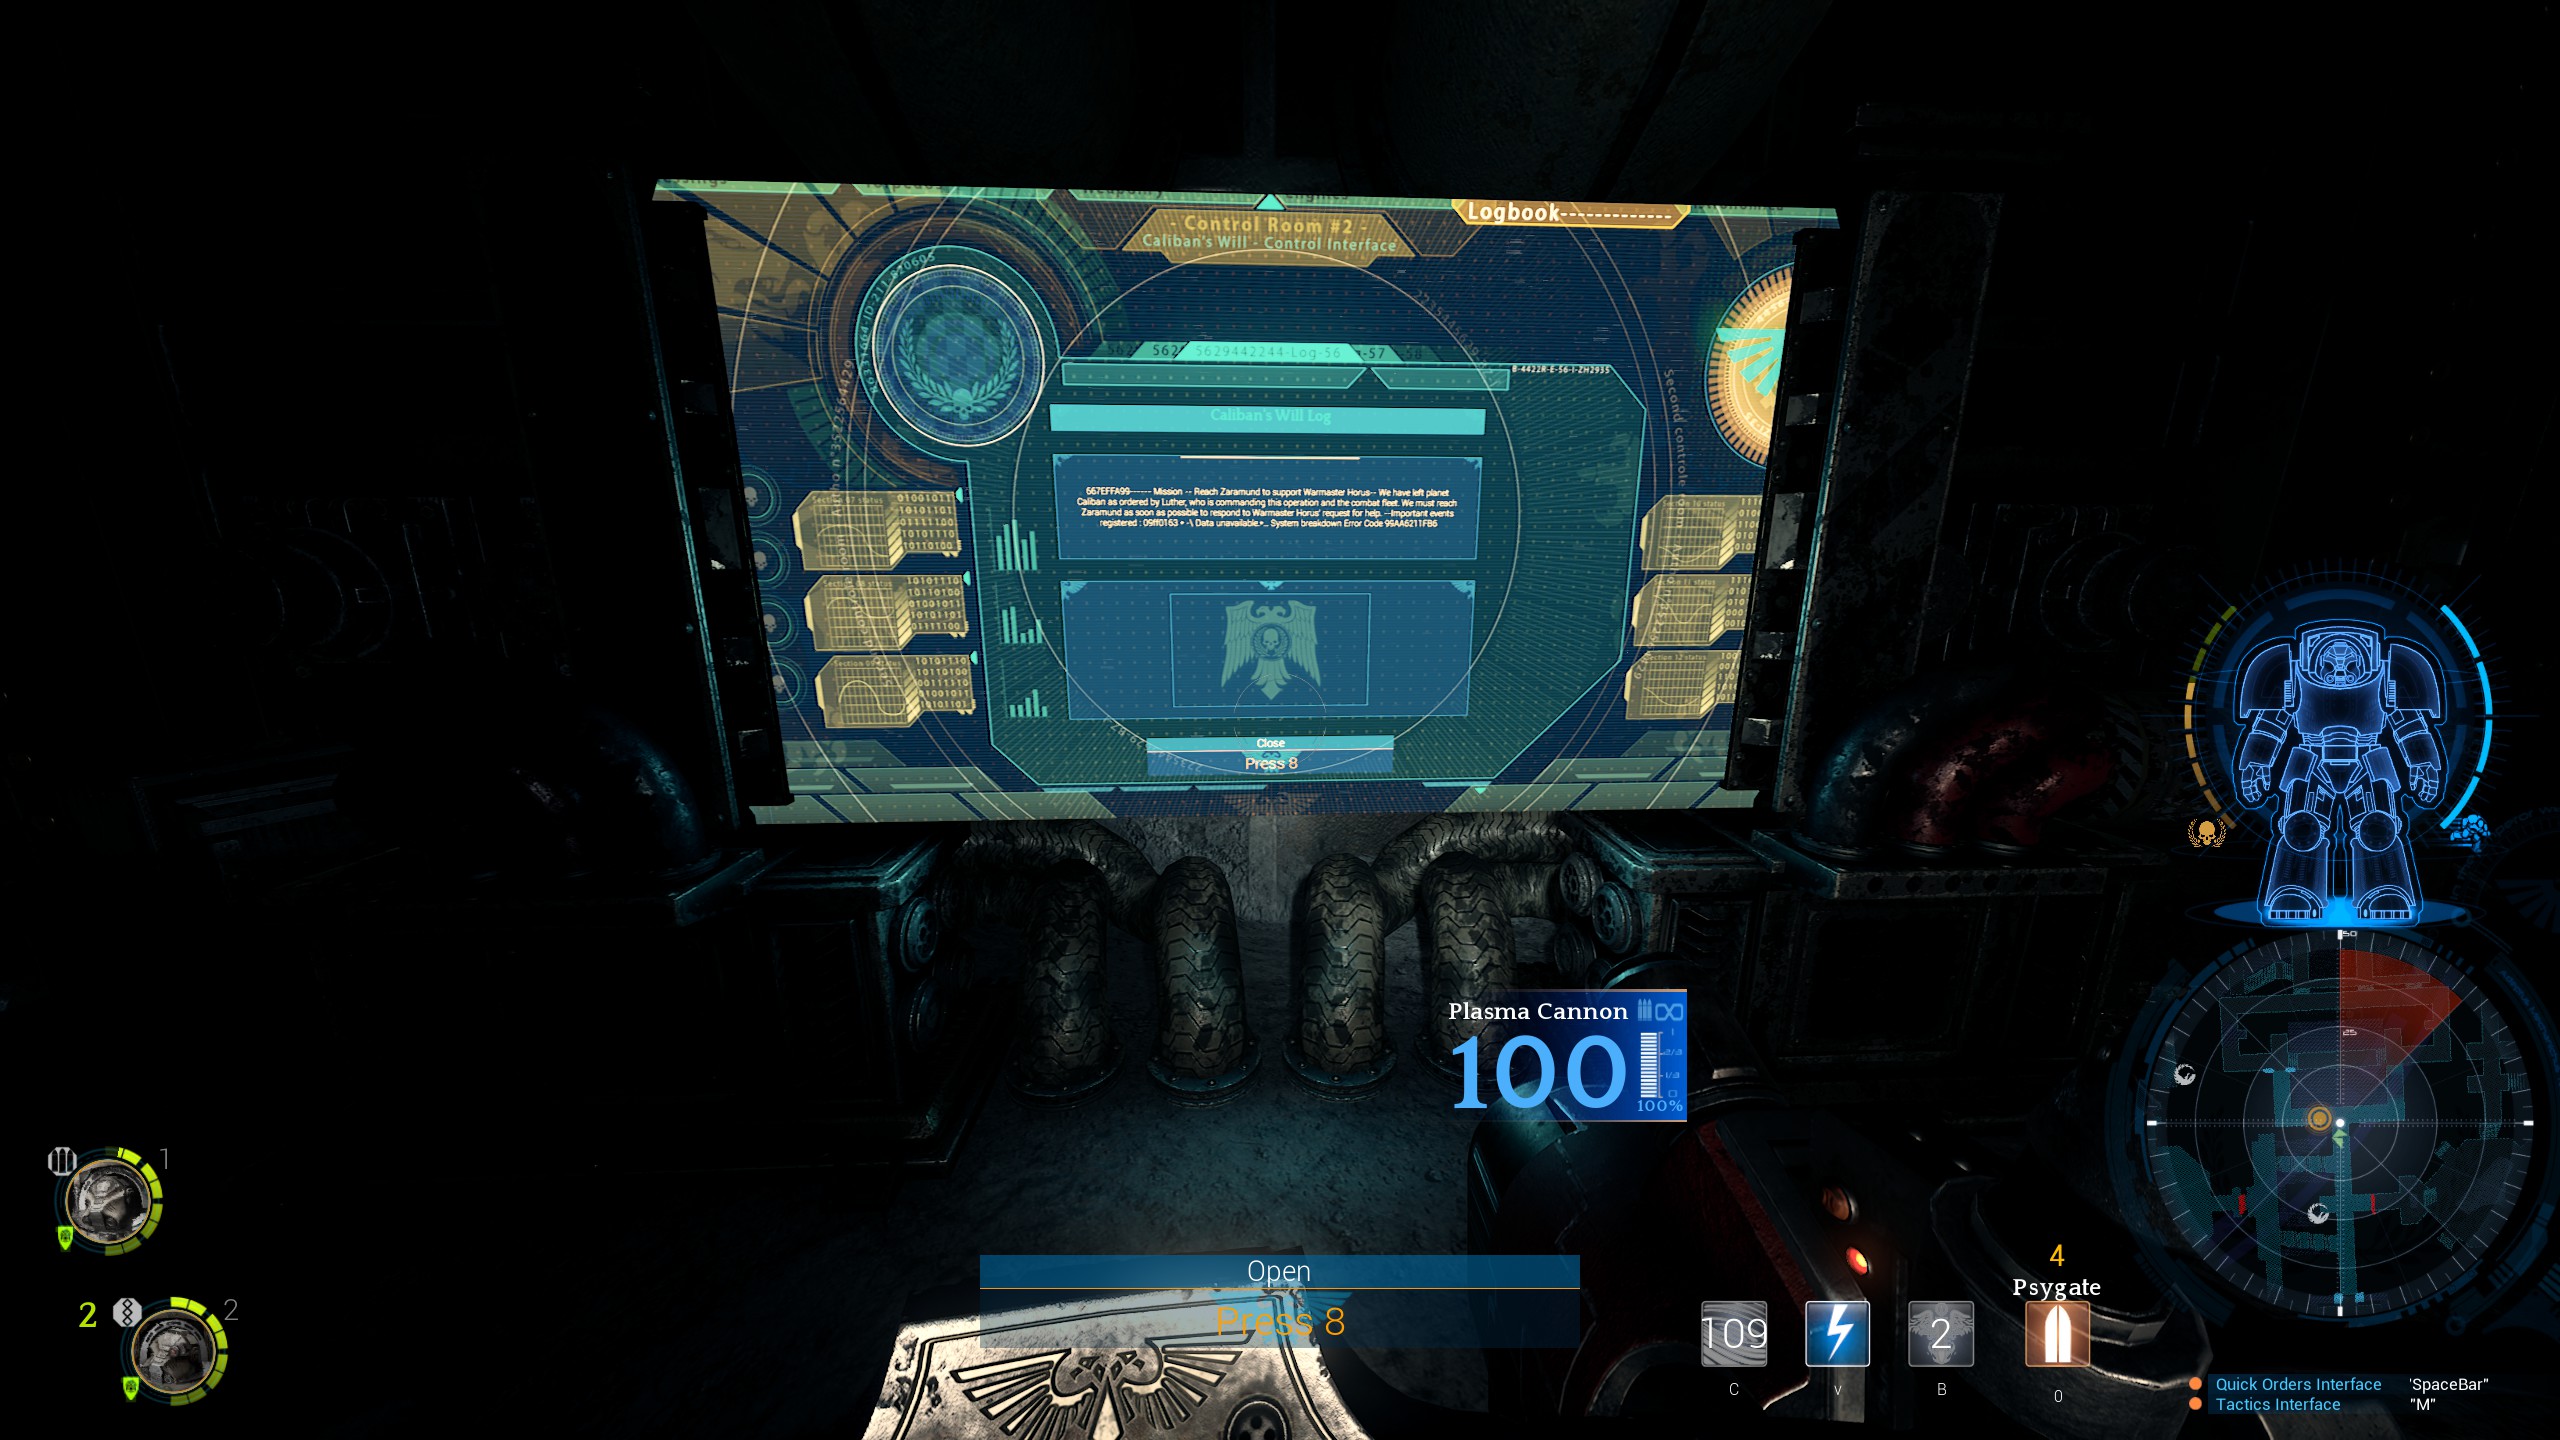
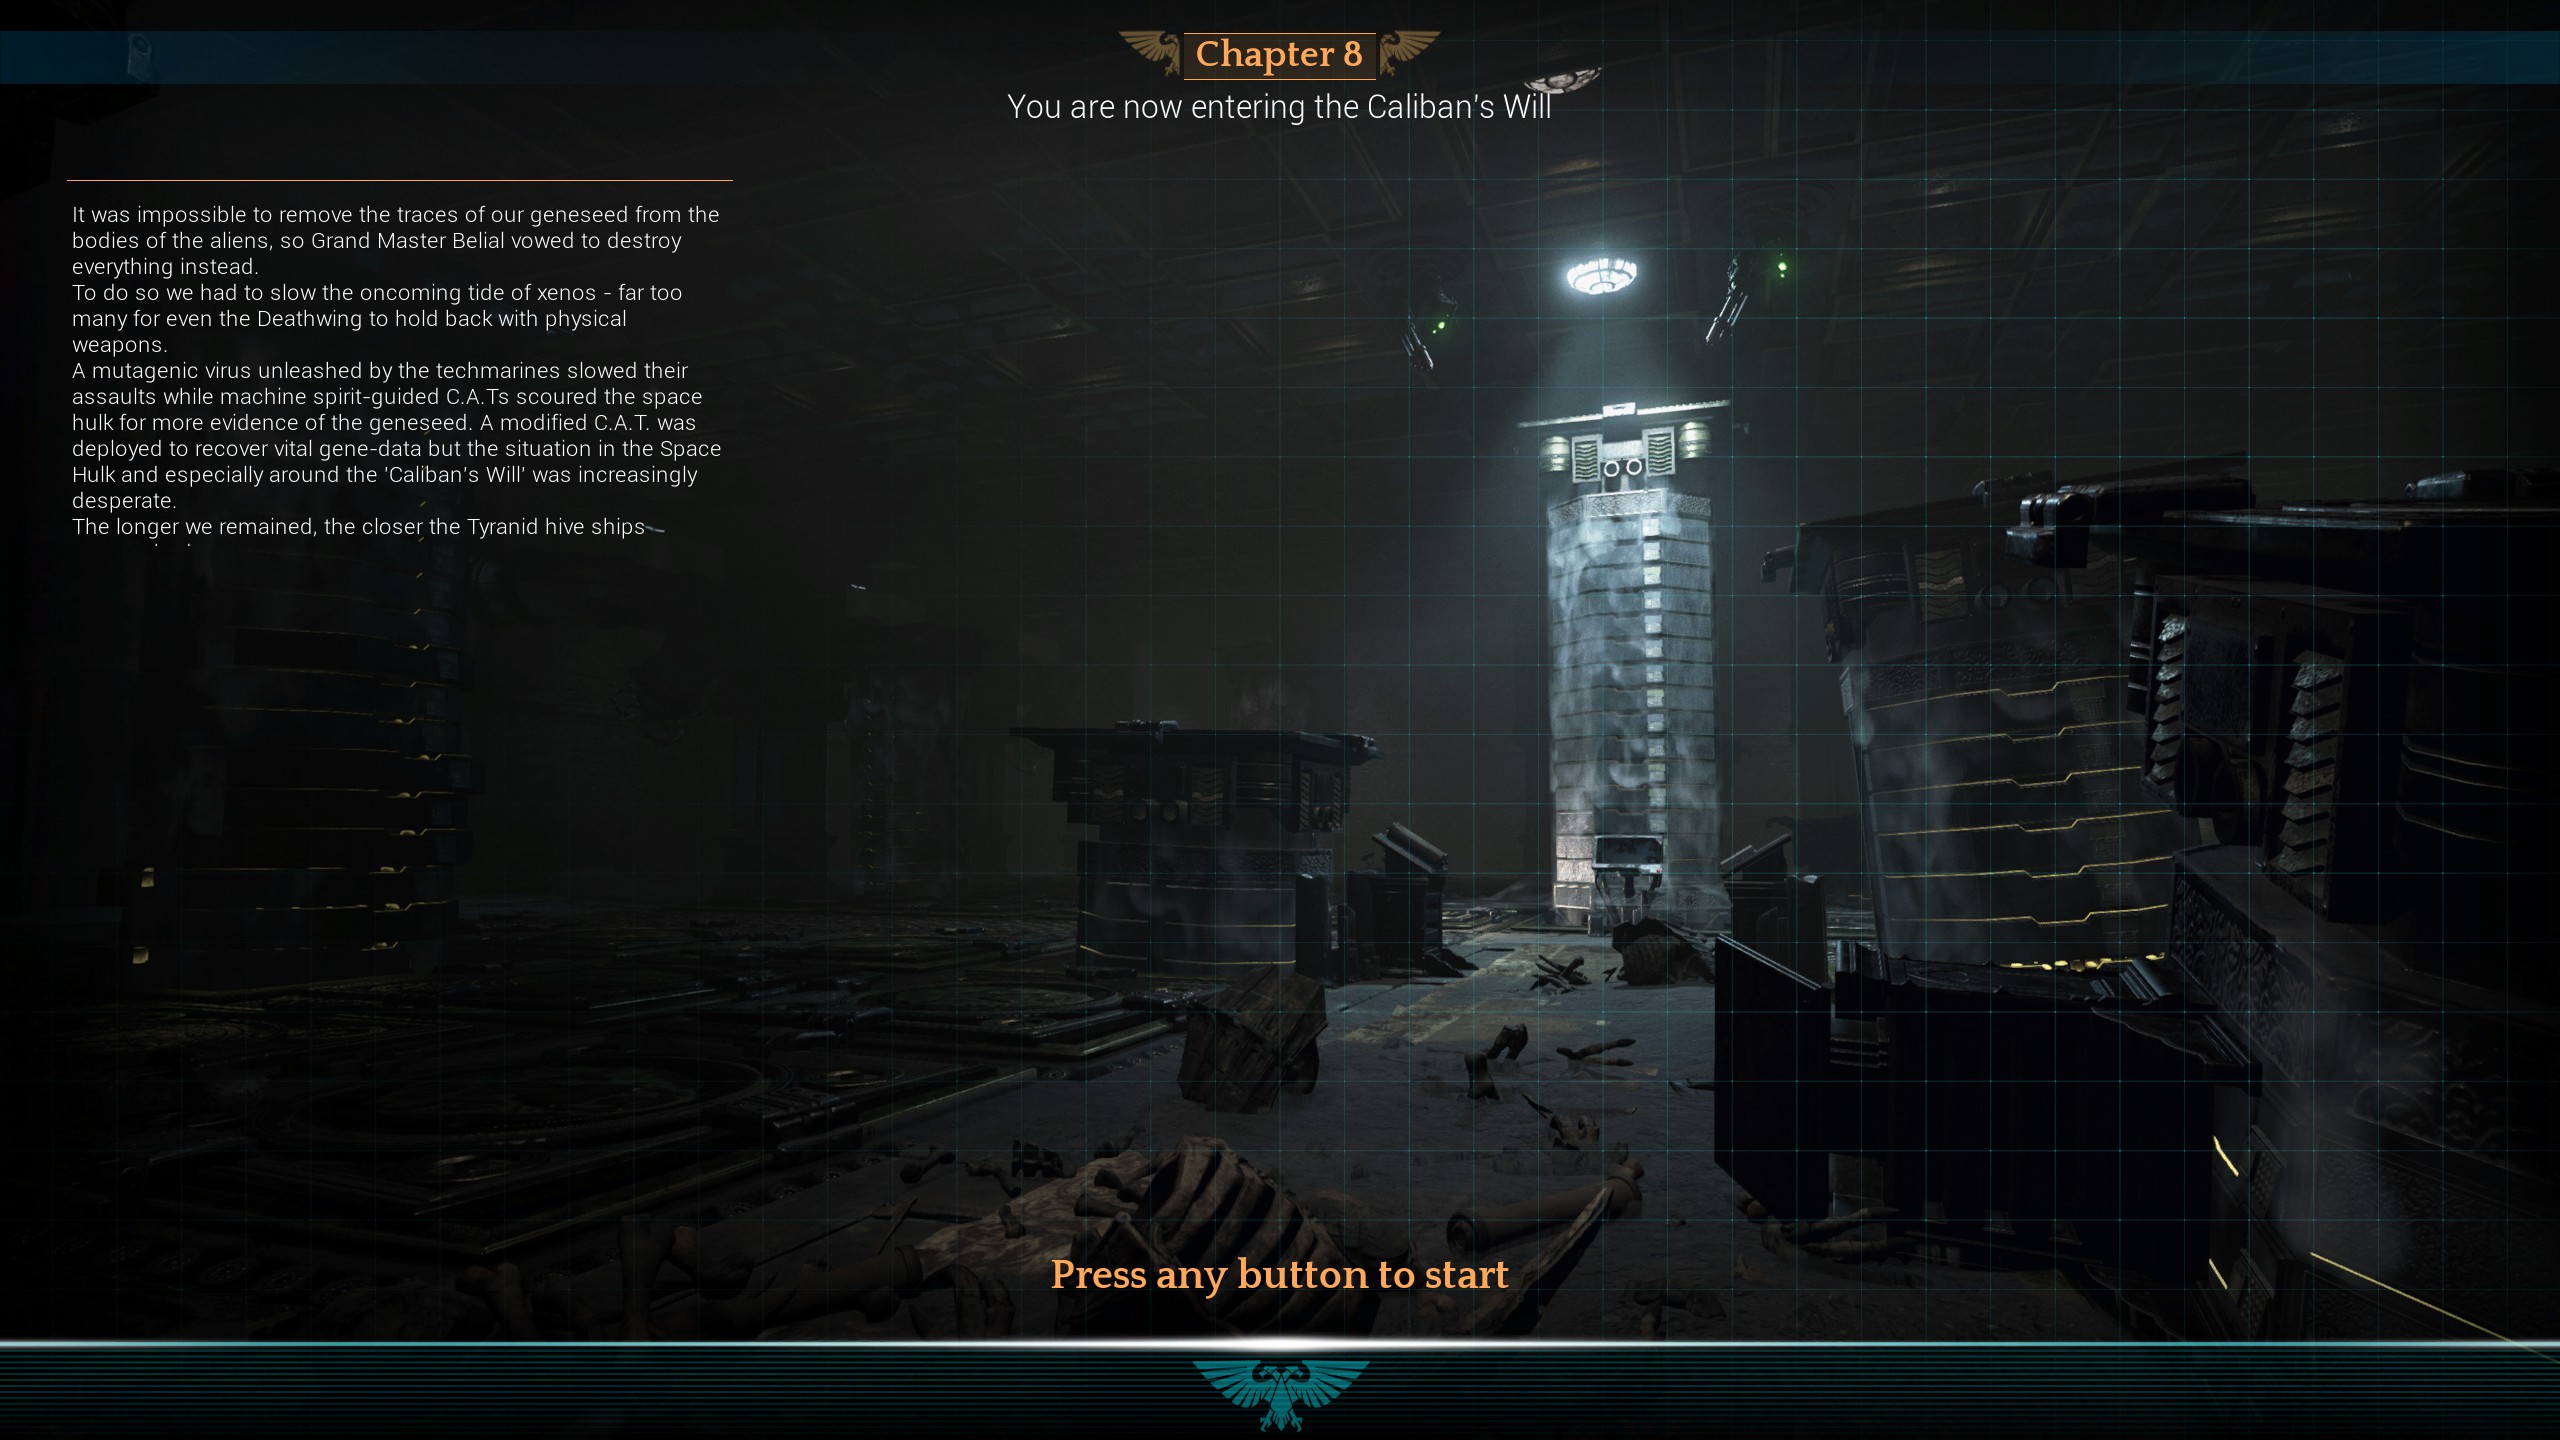
장 08 – Caliban’s Will
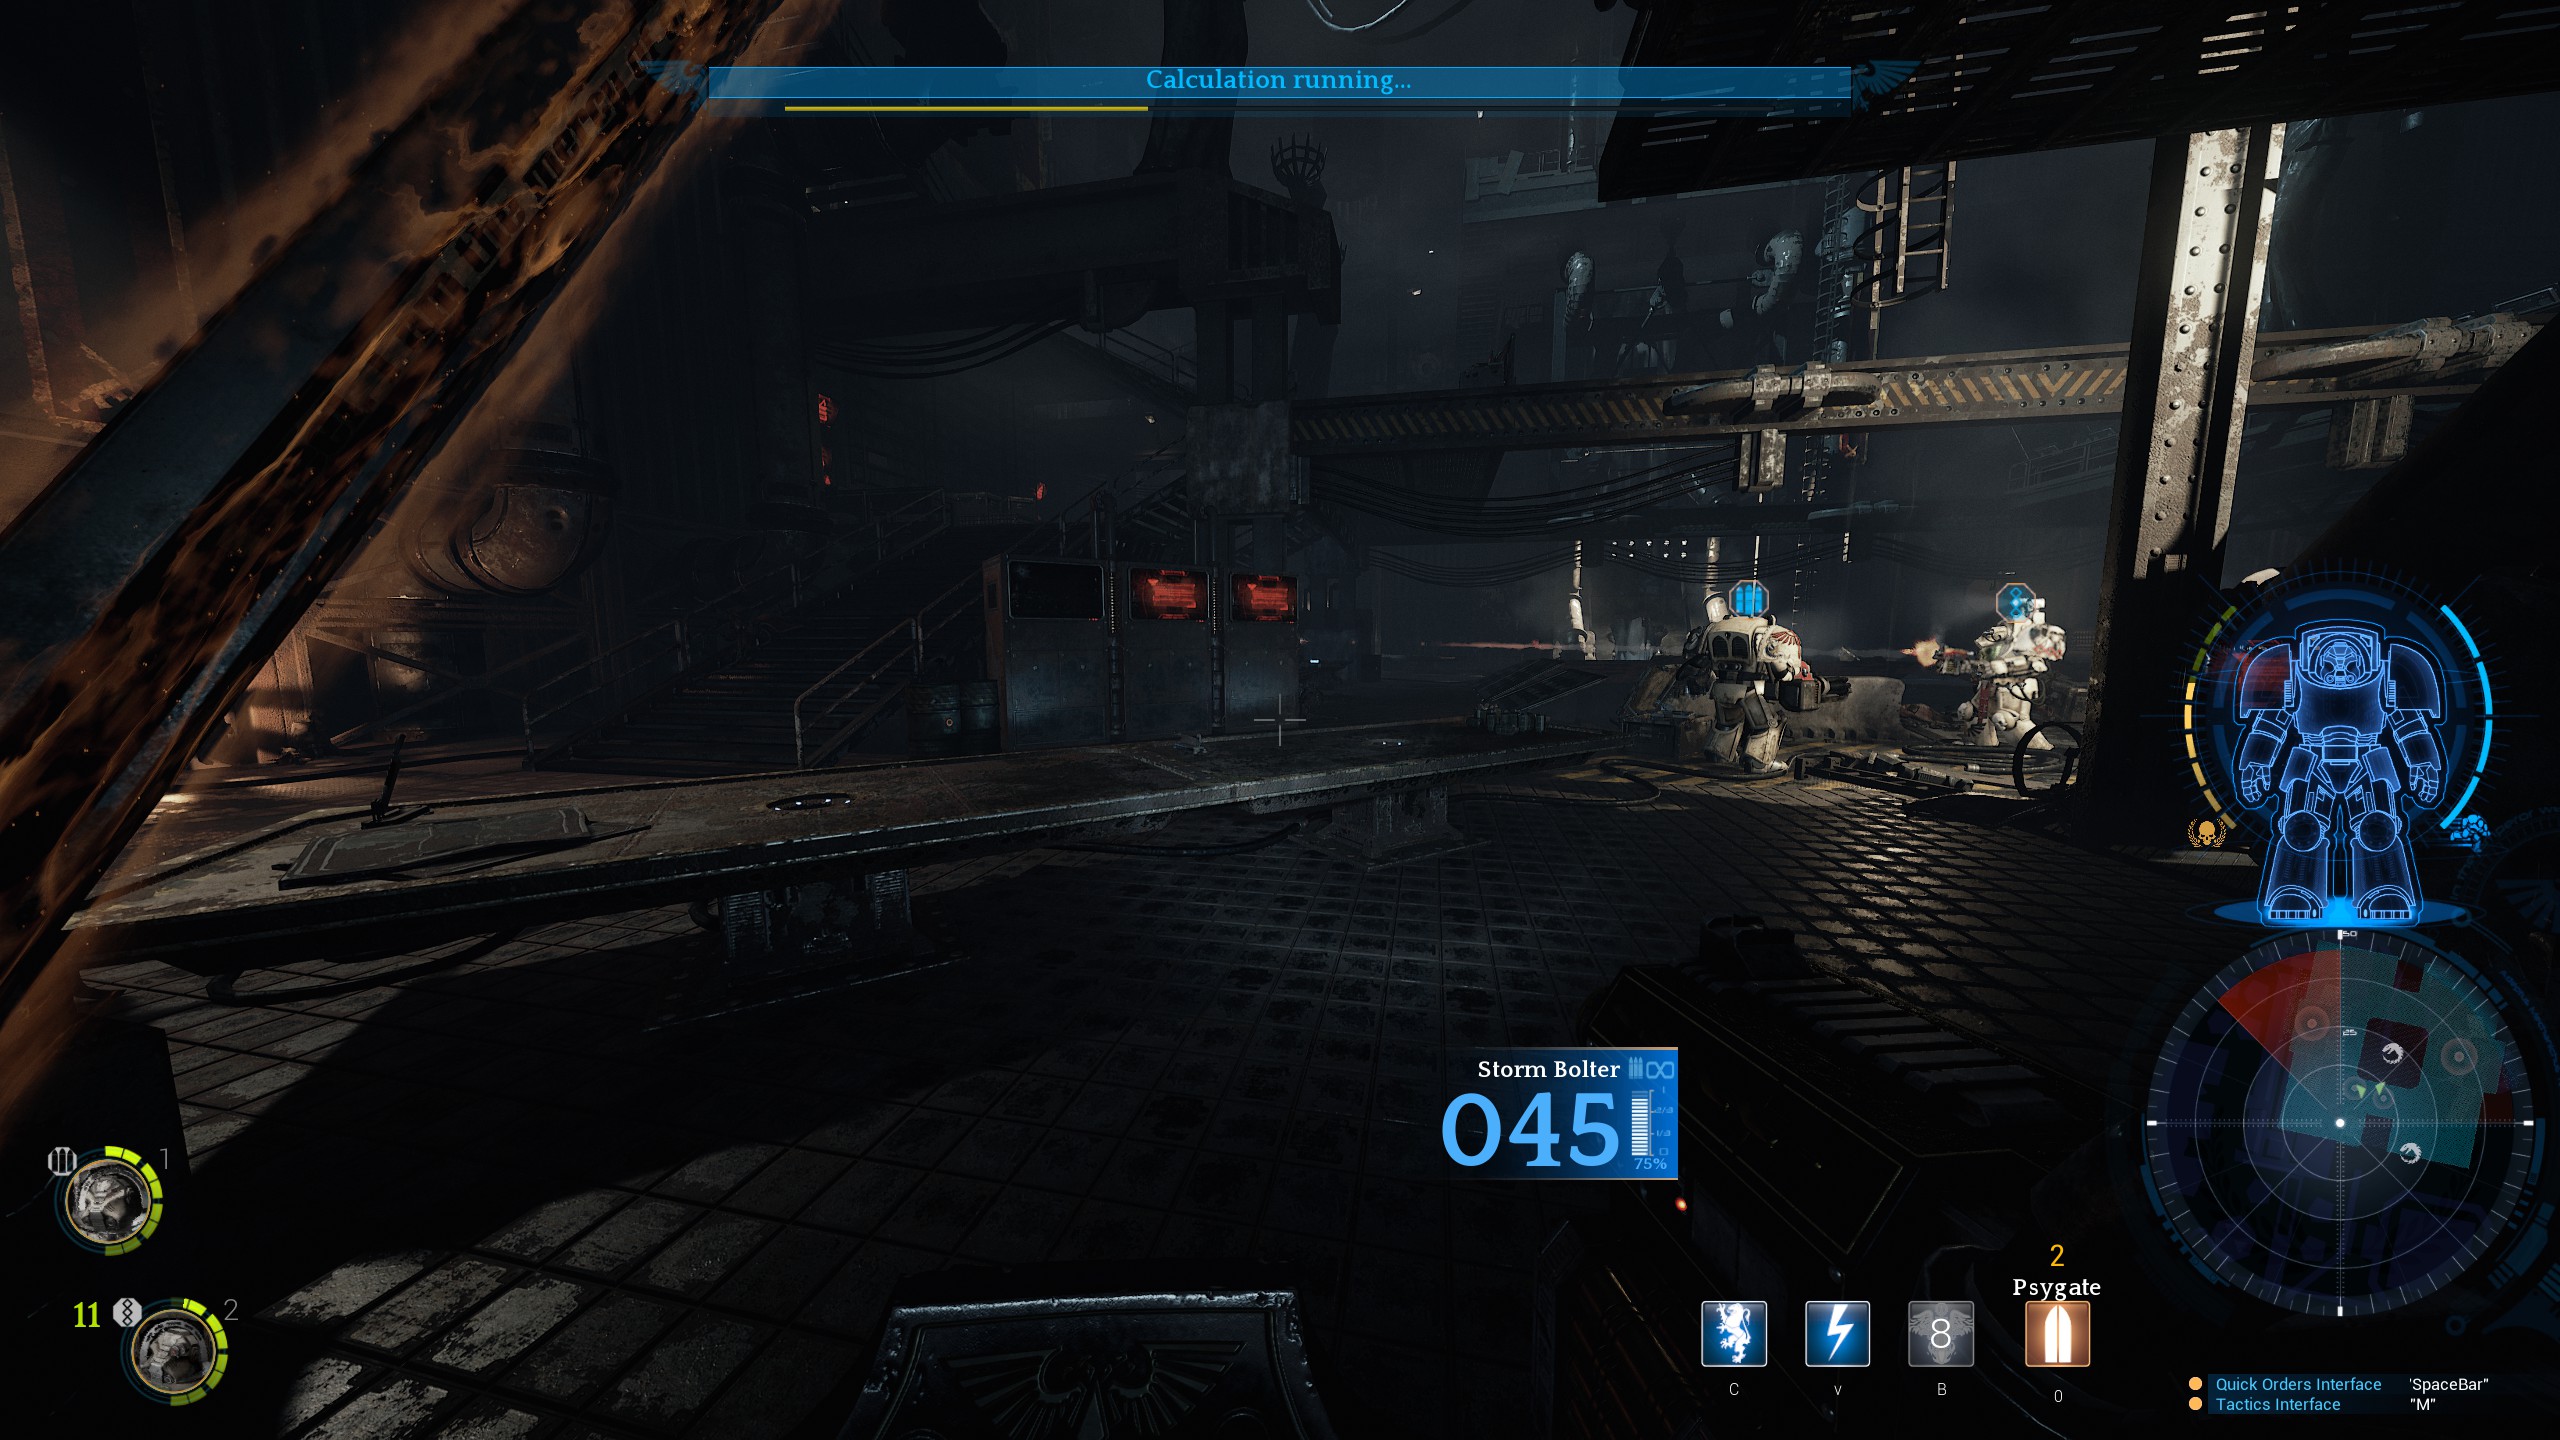
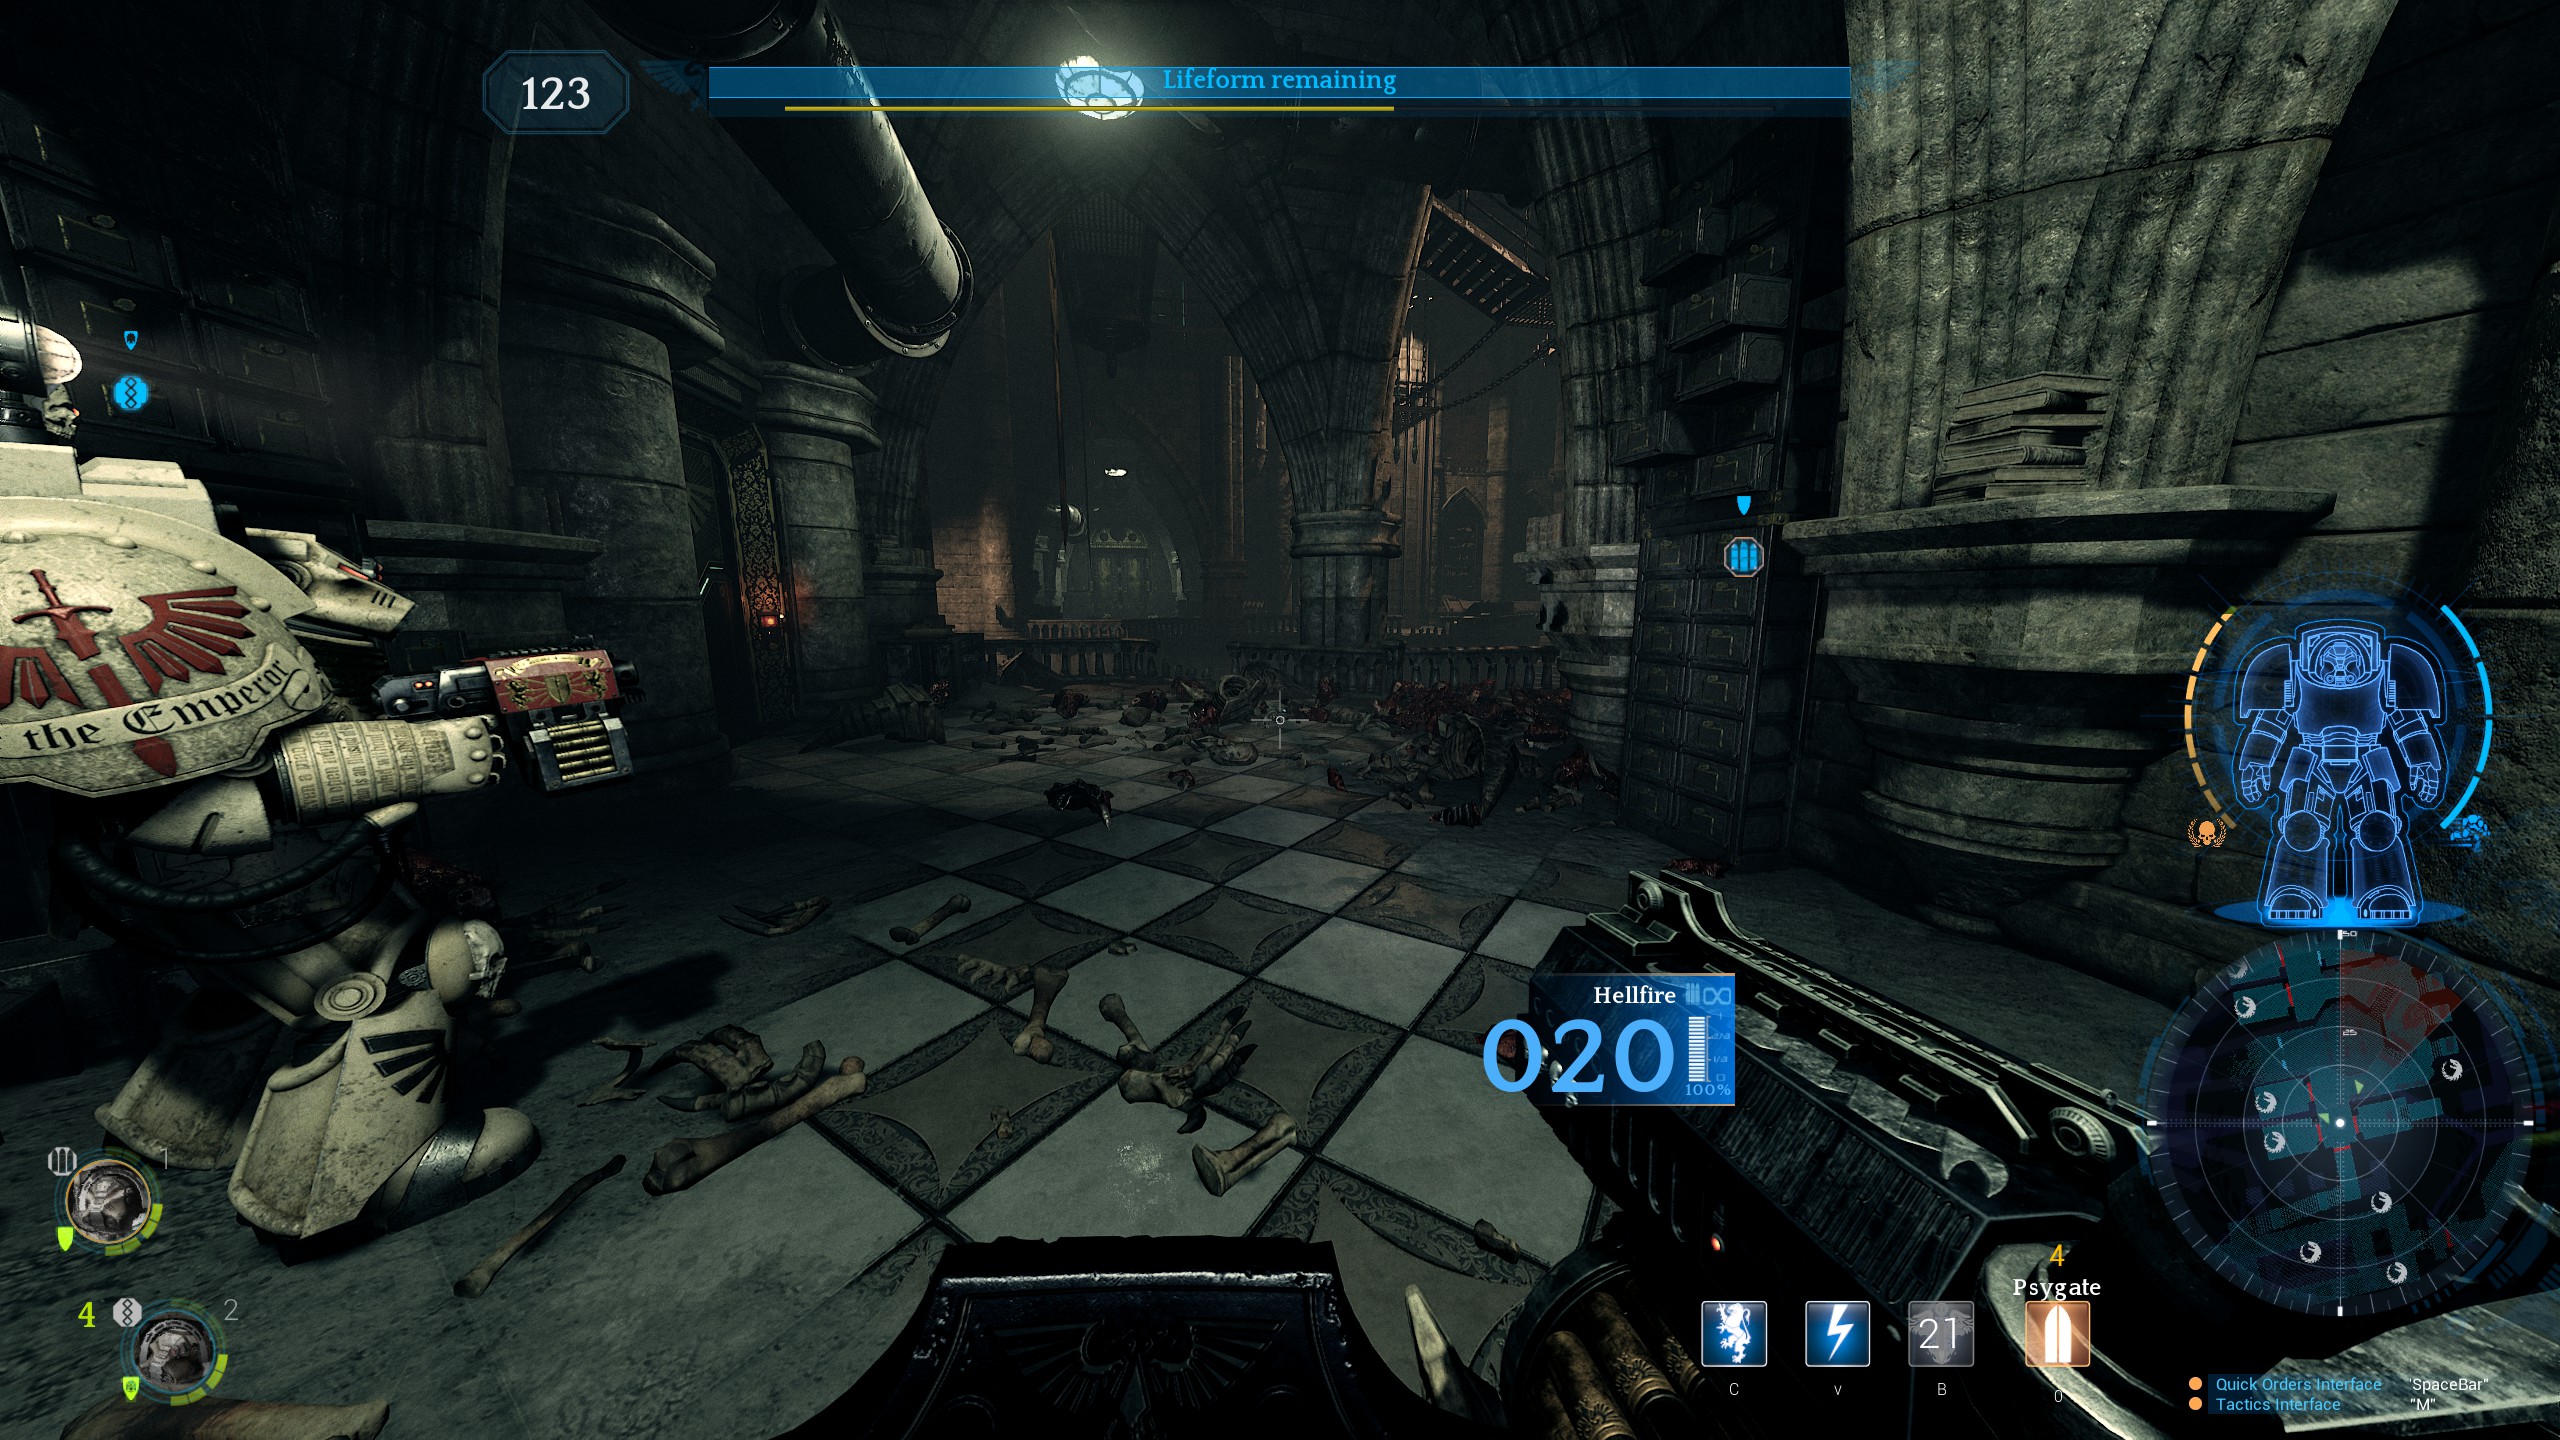
The Genestealers have mounted a massive counter-attack so Objective one is to eliminate the swarm before you proceed.
I generally send Barachiel up front with the Thunder Hammer and Storm Shield to tank whilst I stay back with Nahum and pick off the stragglers as in the screenshot below. You need to walk close to the objective to trigger the swarm before you can fall back to the position shown. Expect a Brood Lord at the start of the swarm and a Scythe-strain towards the end.
Once the swarm is dealt with objective two is to head to the vault to begin escorting the C.A.T. to the extraction point.
When you enter the Scriptorium 5-N you will encounter heavy resistance from Hybrids with missile launchers and Psykers. There will be another small group inside the vault.
Now begins the long, tedious process of excorting the C.A.T. Follow it to a door staying in close range and when it begins work on the door hold off the enemies. The C.A.T. can be finicky and you need to be close for it to move. It can get caught on random bits of detritus on the floor so push away any canisters or barrels you see enroute. The is a Brood Lord spawn at the end of the first door in the Scriptorium.
There’s no grand strategy here. Just follow the cat, split off for the relics along the way and keep alert the spawns outside of the doors. The door spawns aren’t really a problem though the Scythe-strain, Aberant and Psyker spawns can overwhelm you if you’re not paying attention. Aside from the door areas Server Chamber 501-N, Area 520-W 그리고 Avenger Workshop 505-W can be particularly hazardous due to the randomness ofthe spawns.
유물 4 is quite dangerous with some nasty spawns. There is a wall you need to melee between Door 3 and the extraction point.
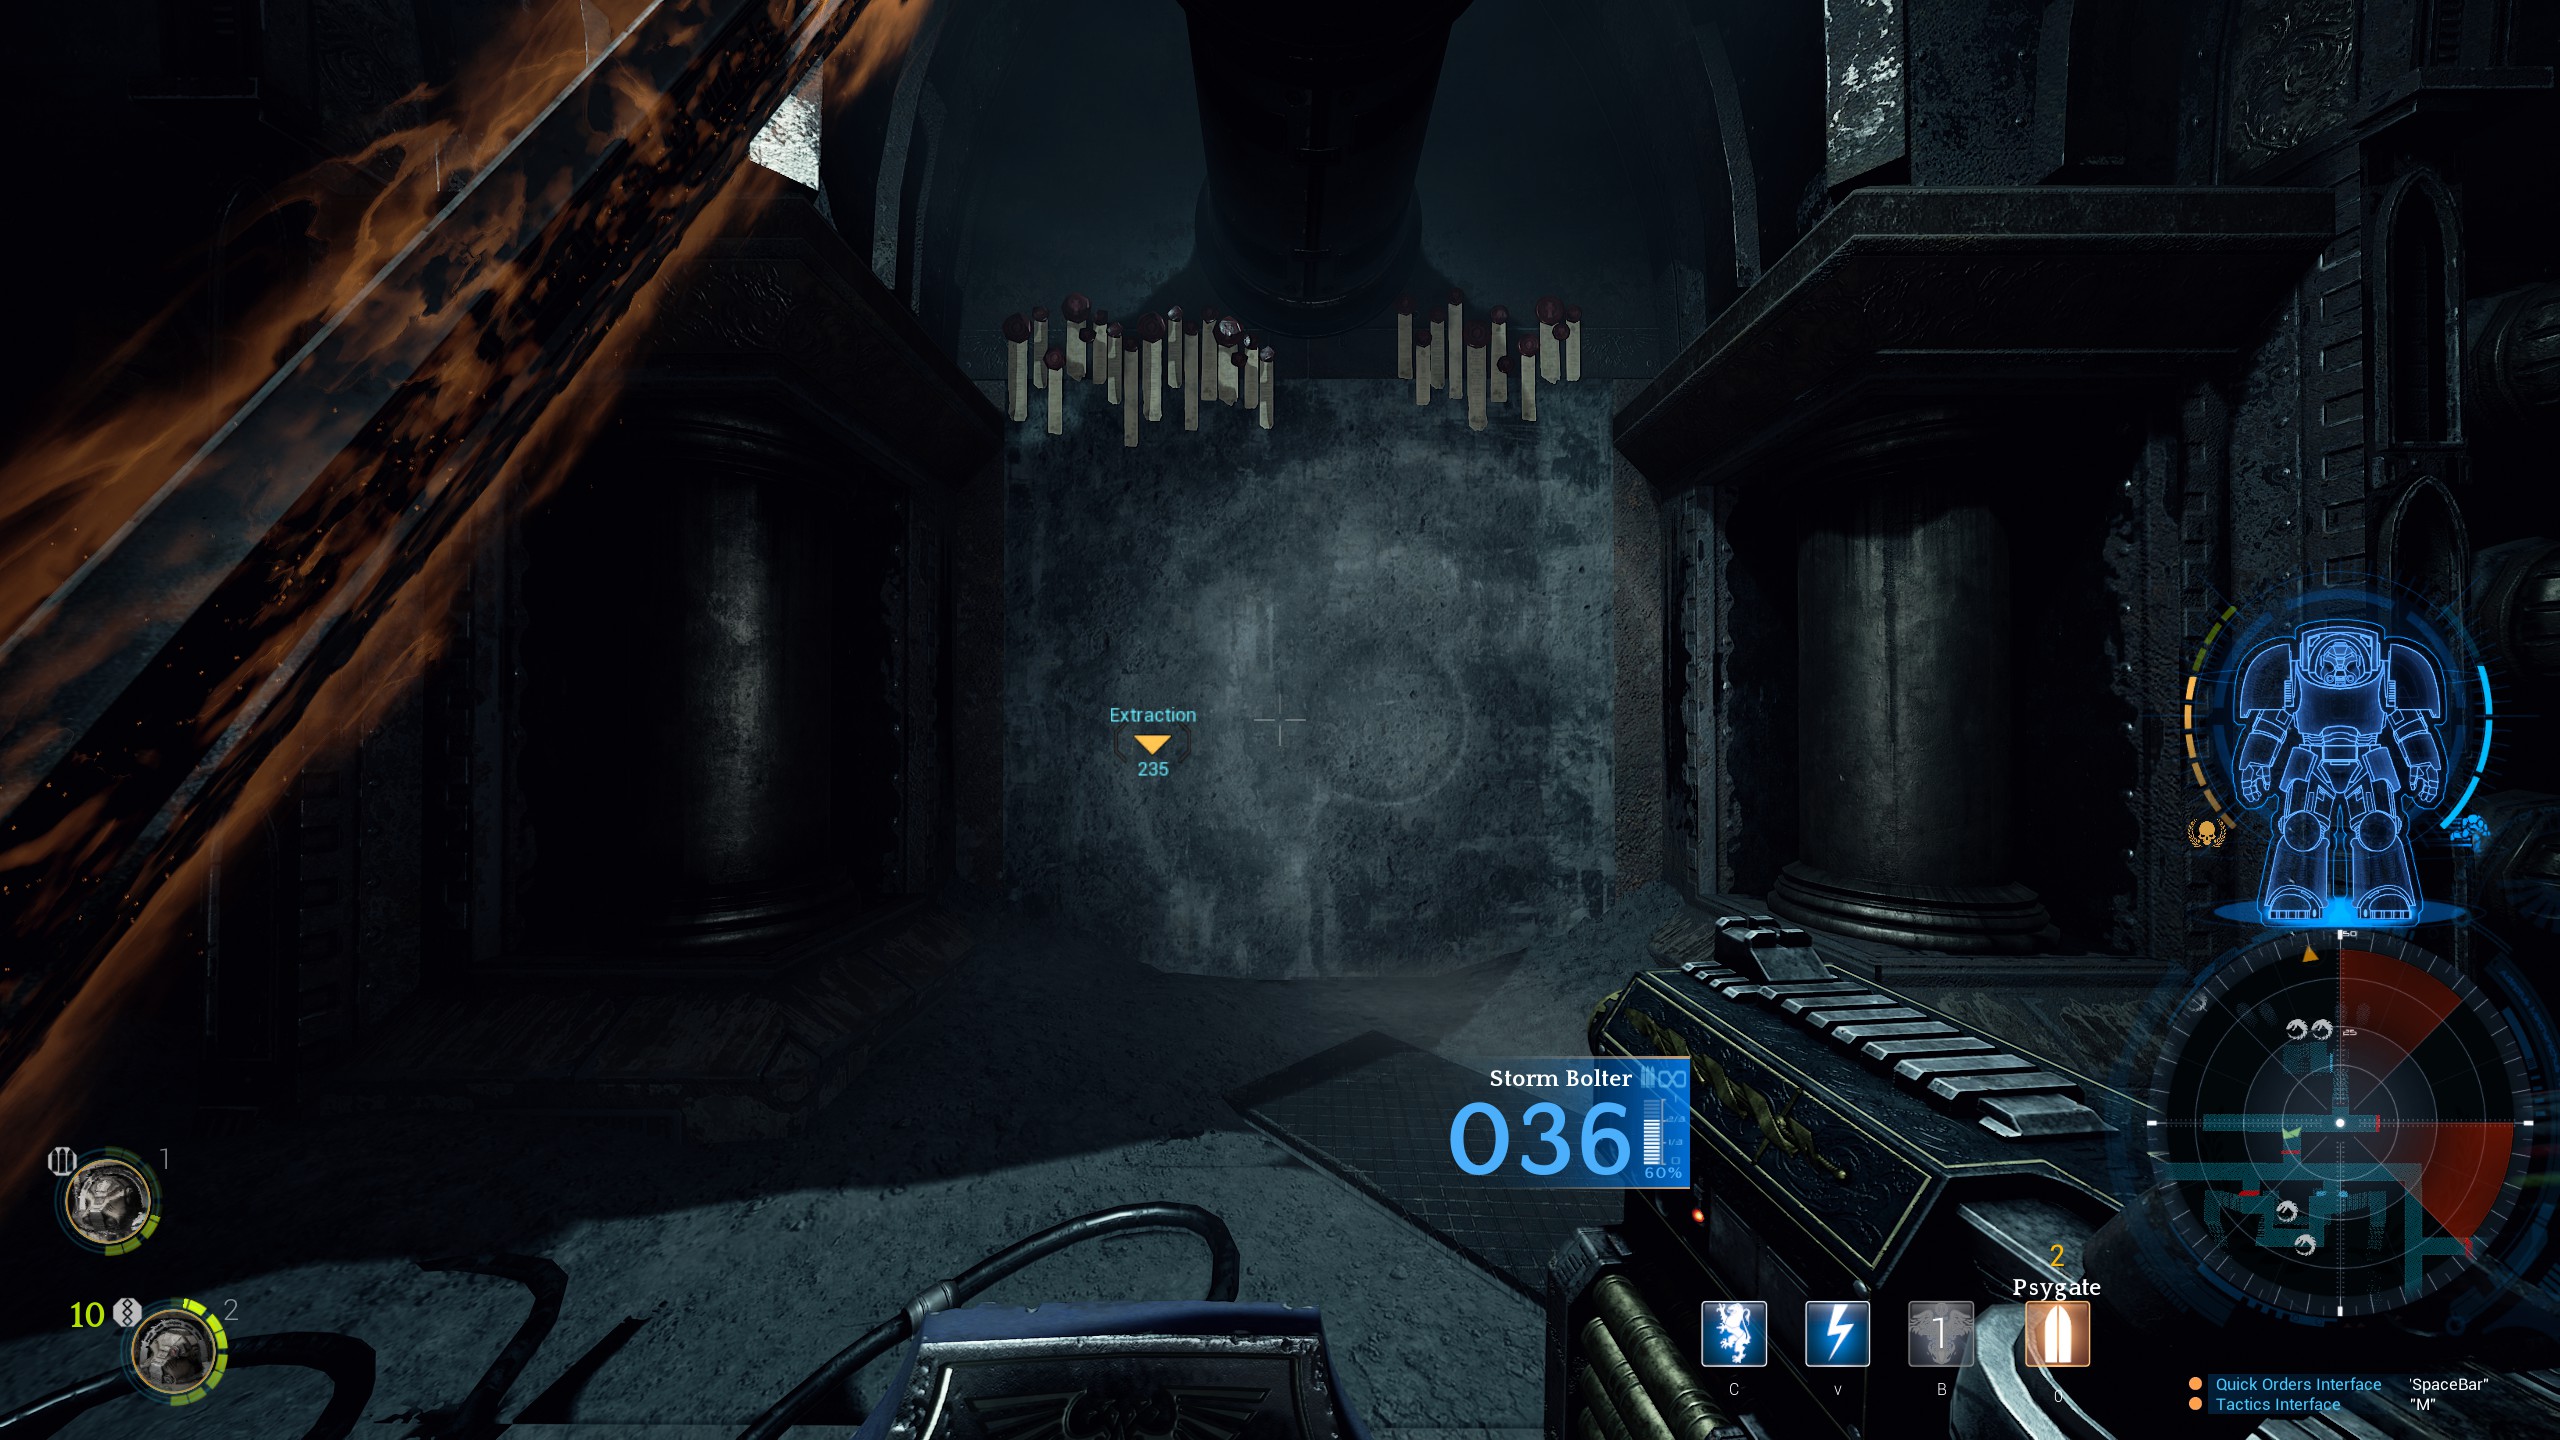
When you arrive at the extraction point you need to melee another wall for the C.A.T. 계속하려면.
Once you’ve completed the C.A.T. extraction you need to also extract yourselves from the Caliban’s Will.
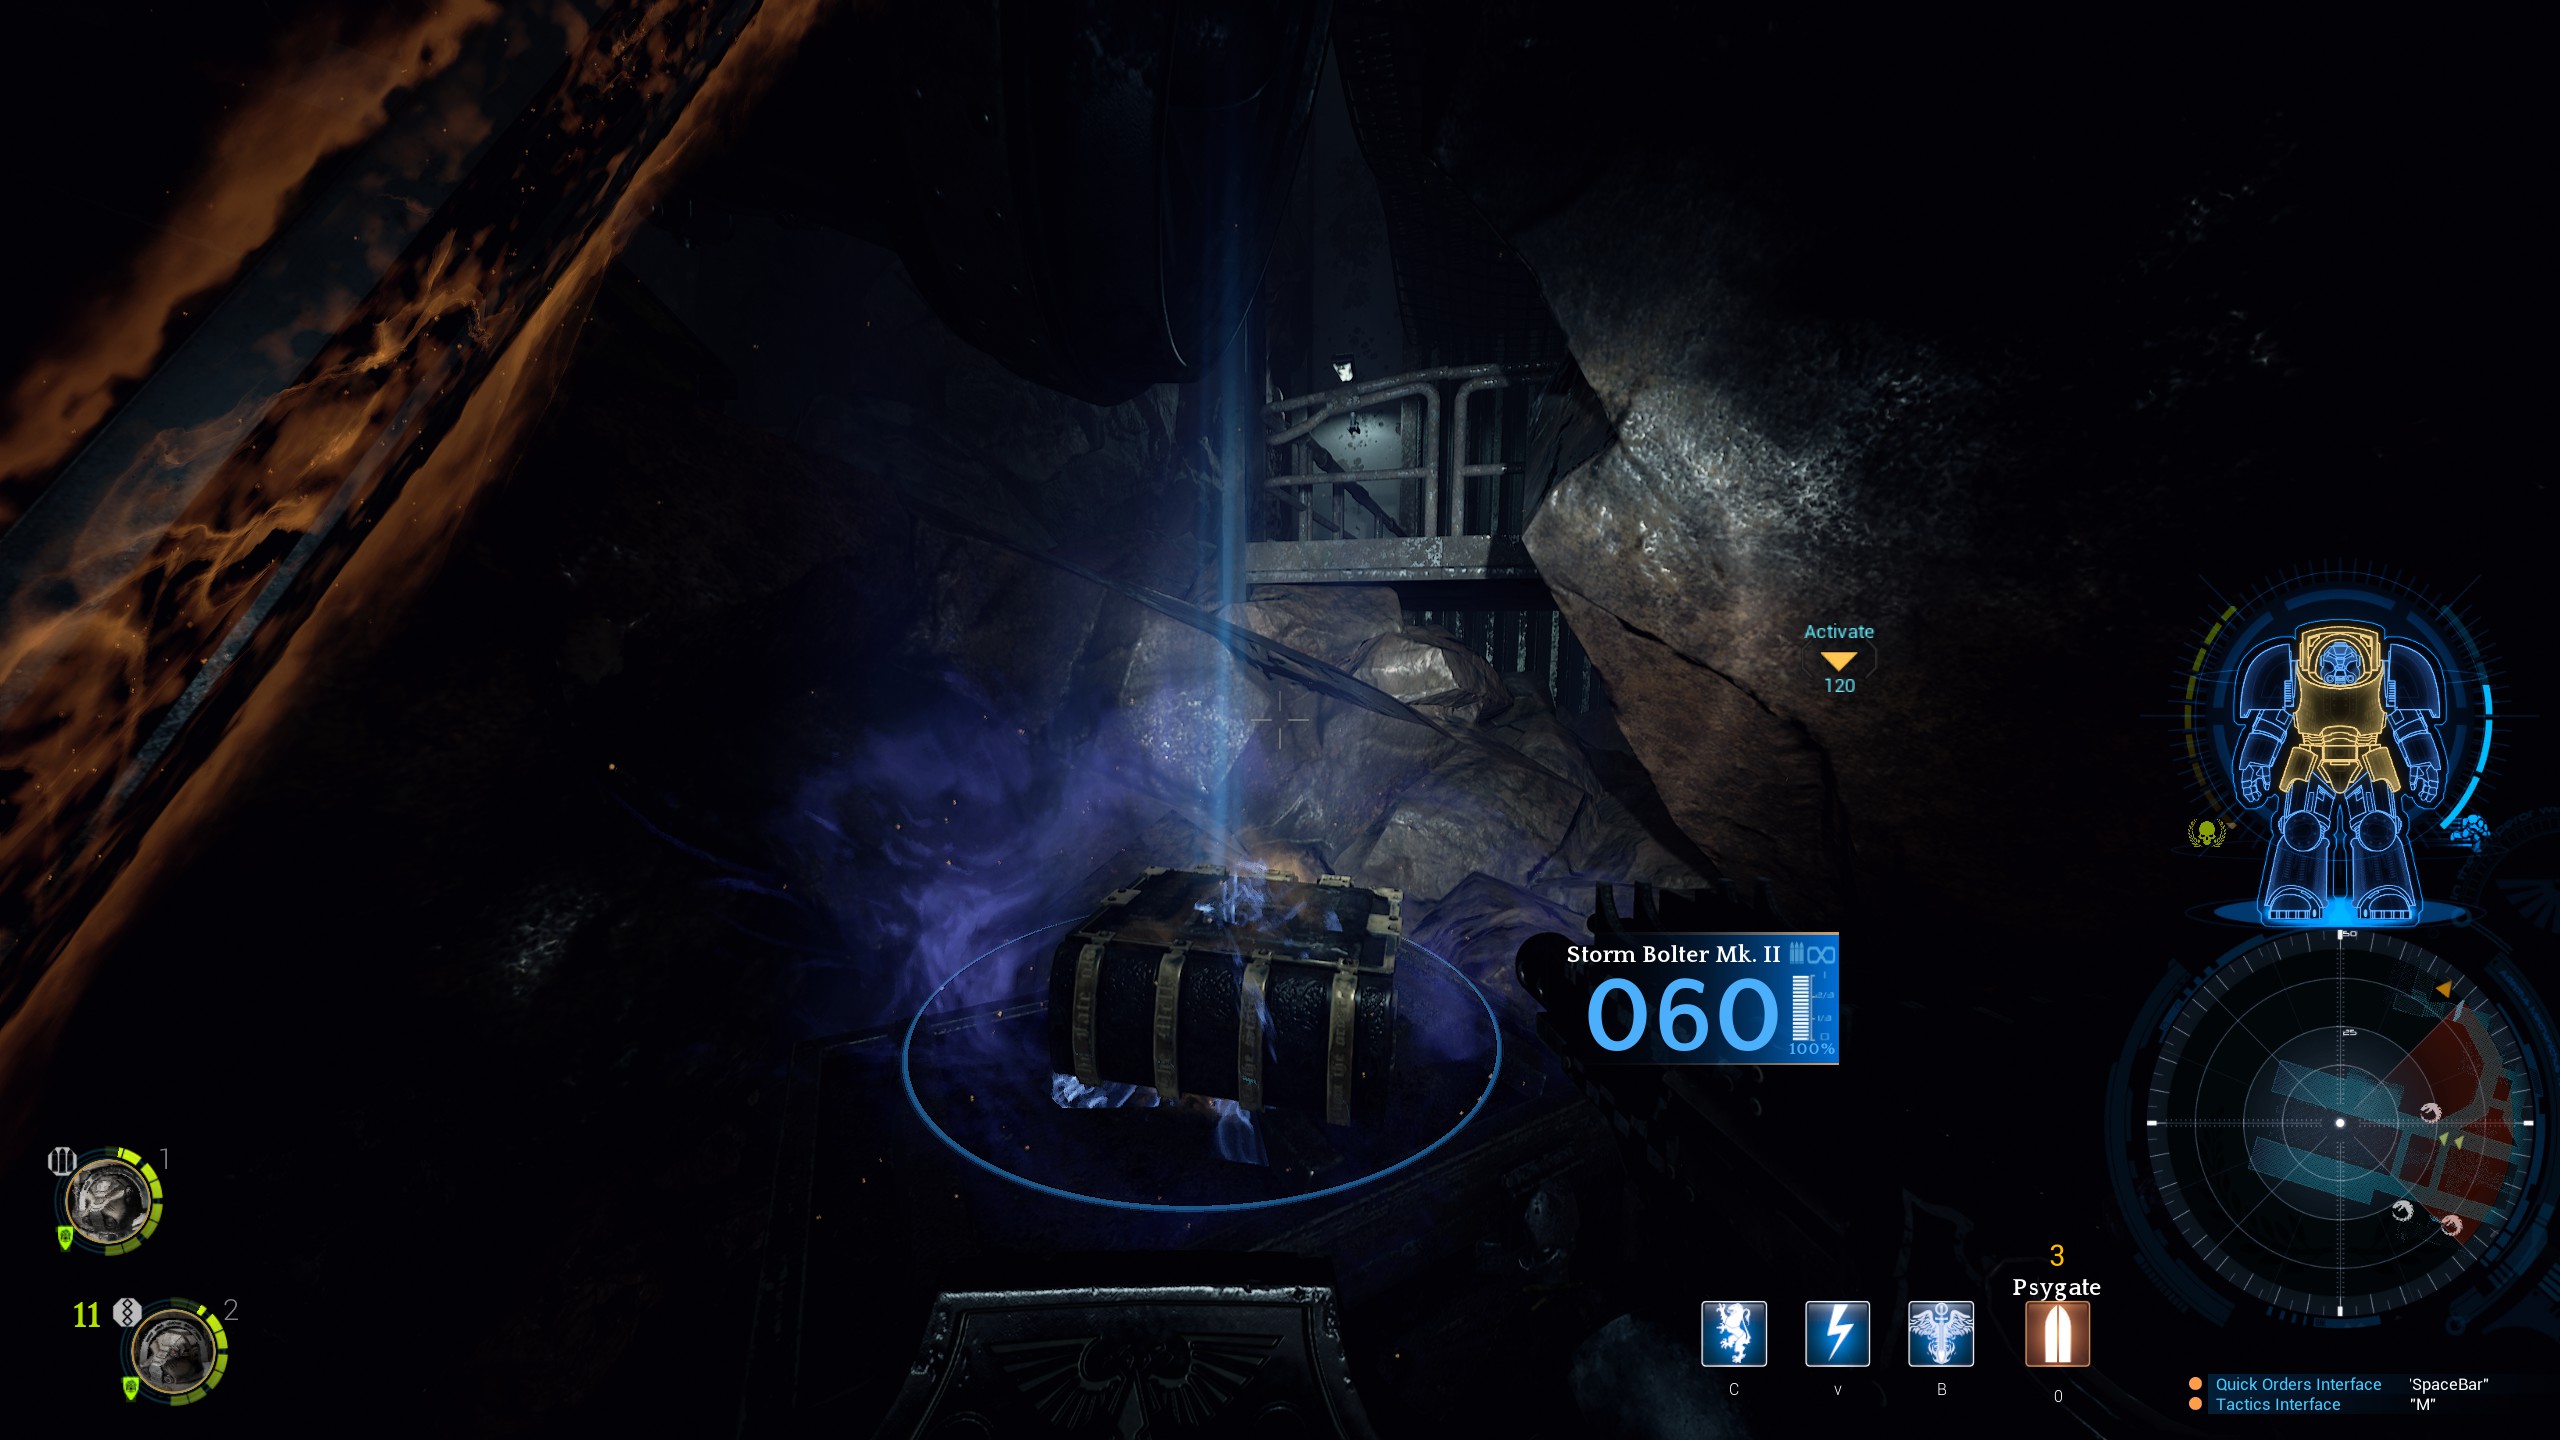
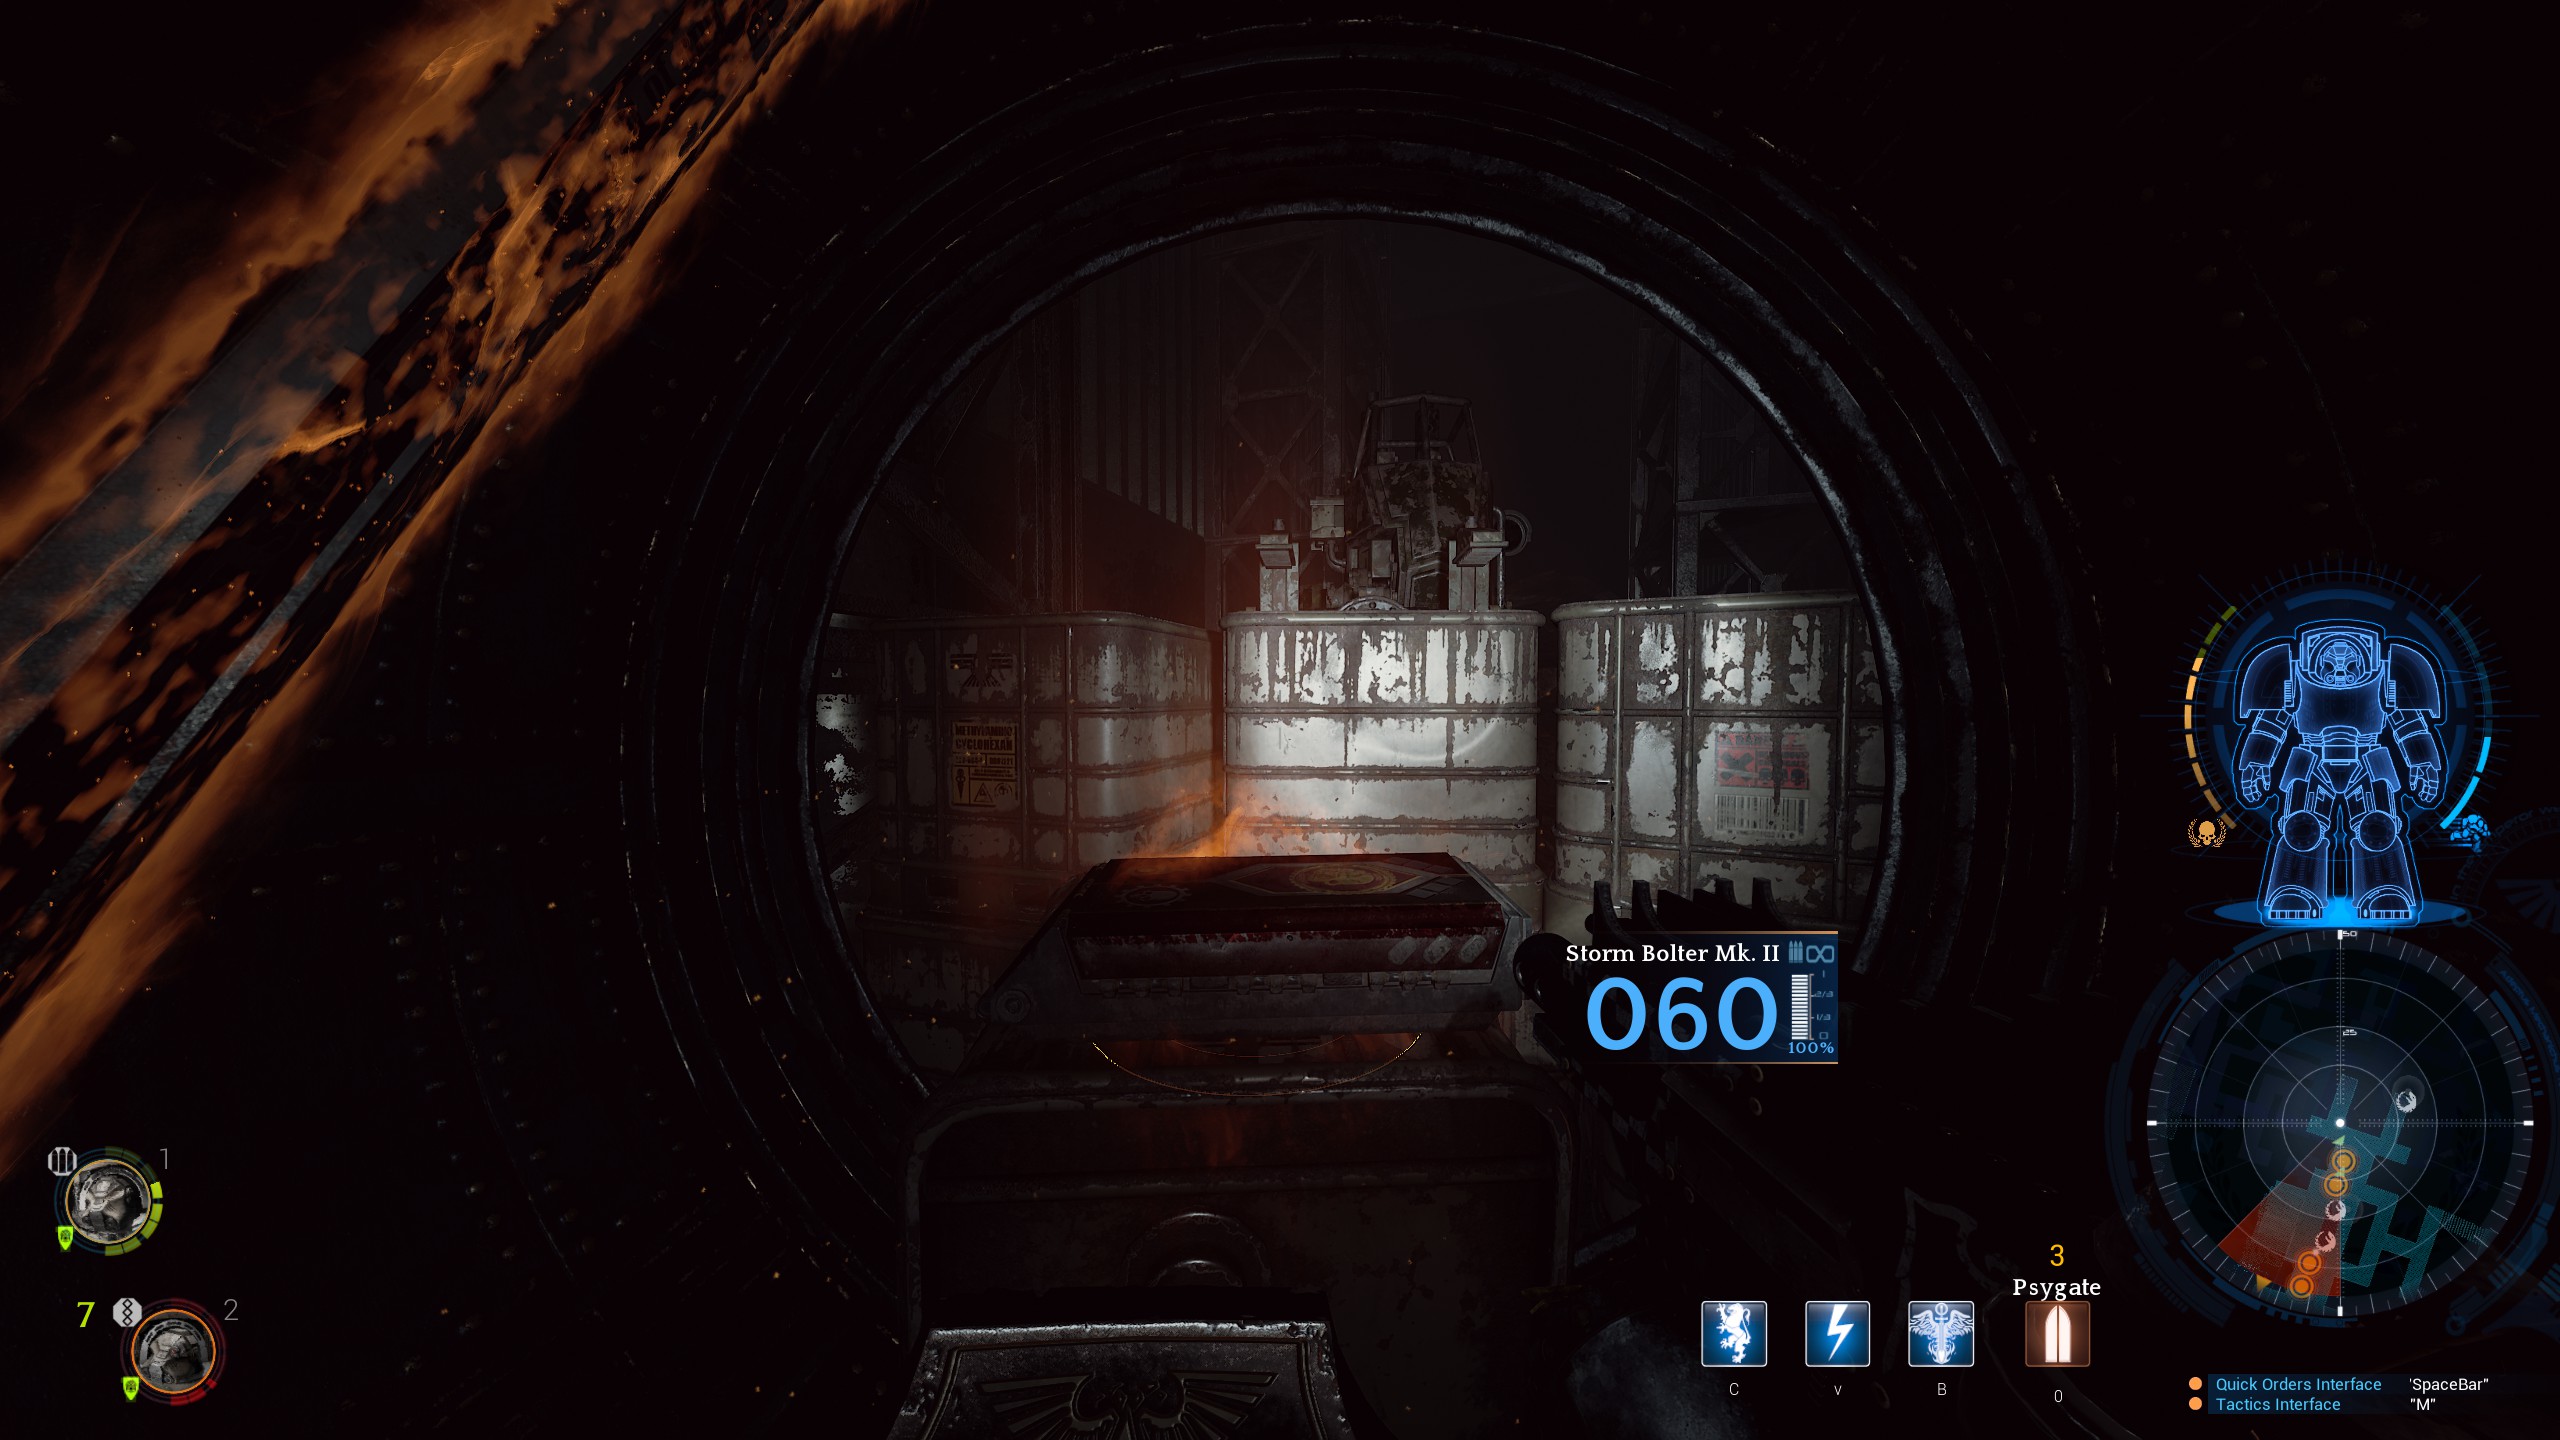
Hanger 501-W can be overwhelming with a couple of Scythe-strain and Brood Lord spawn points. I like to hug the sides as walking through the center is a recipe for failure. Most people will want to split off to go for the last major relic in the chapter, 유물 6. You need to melee a wall to access it.
When you get to the final exit area you need to kill all the enemies for the chapter to complete.

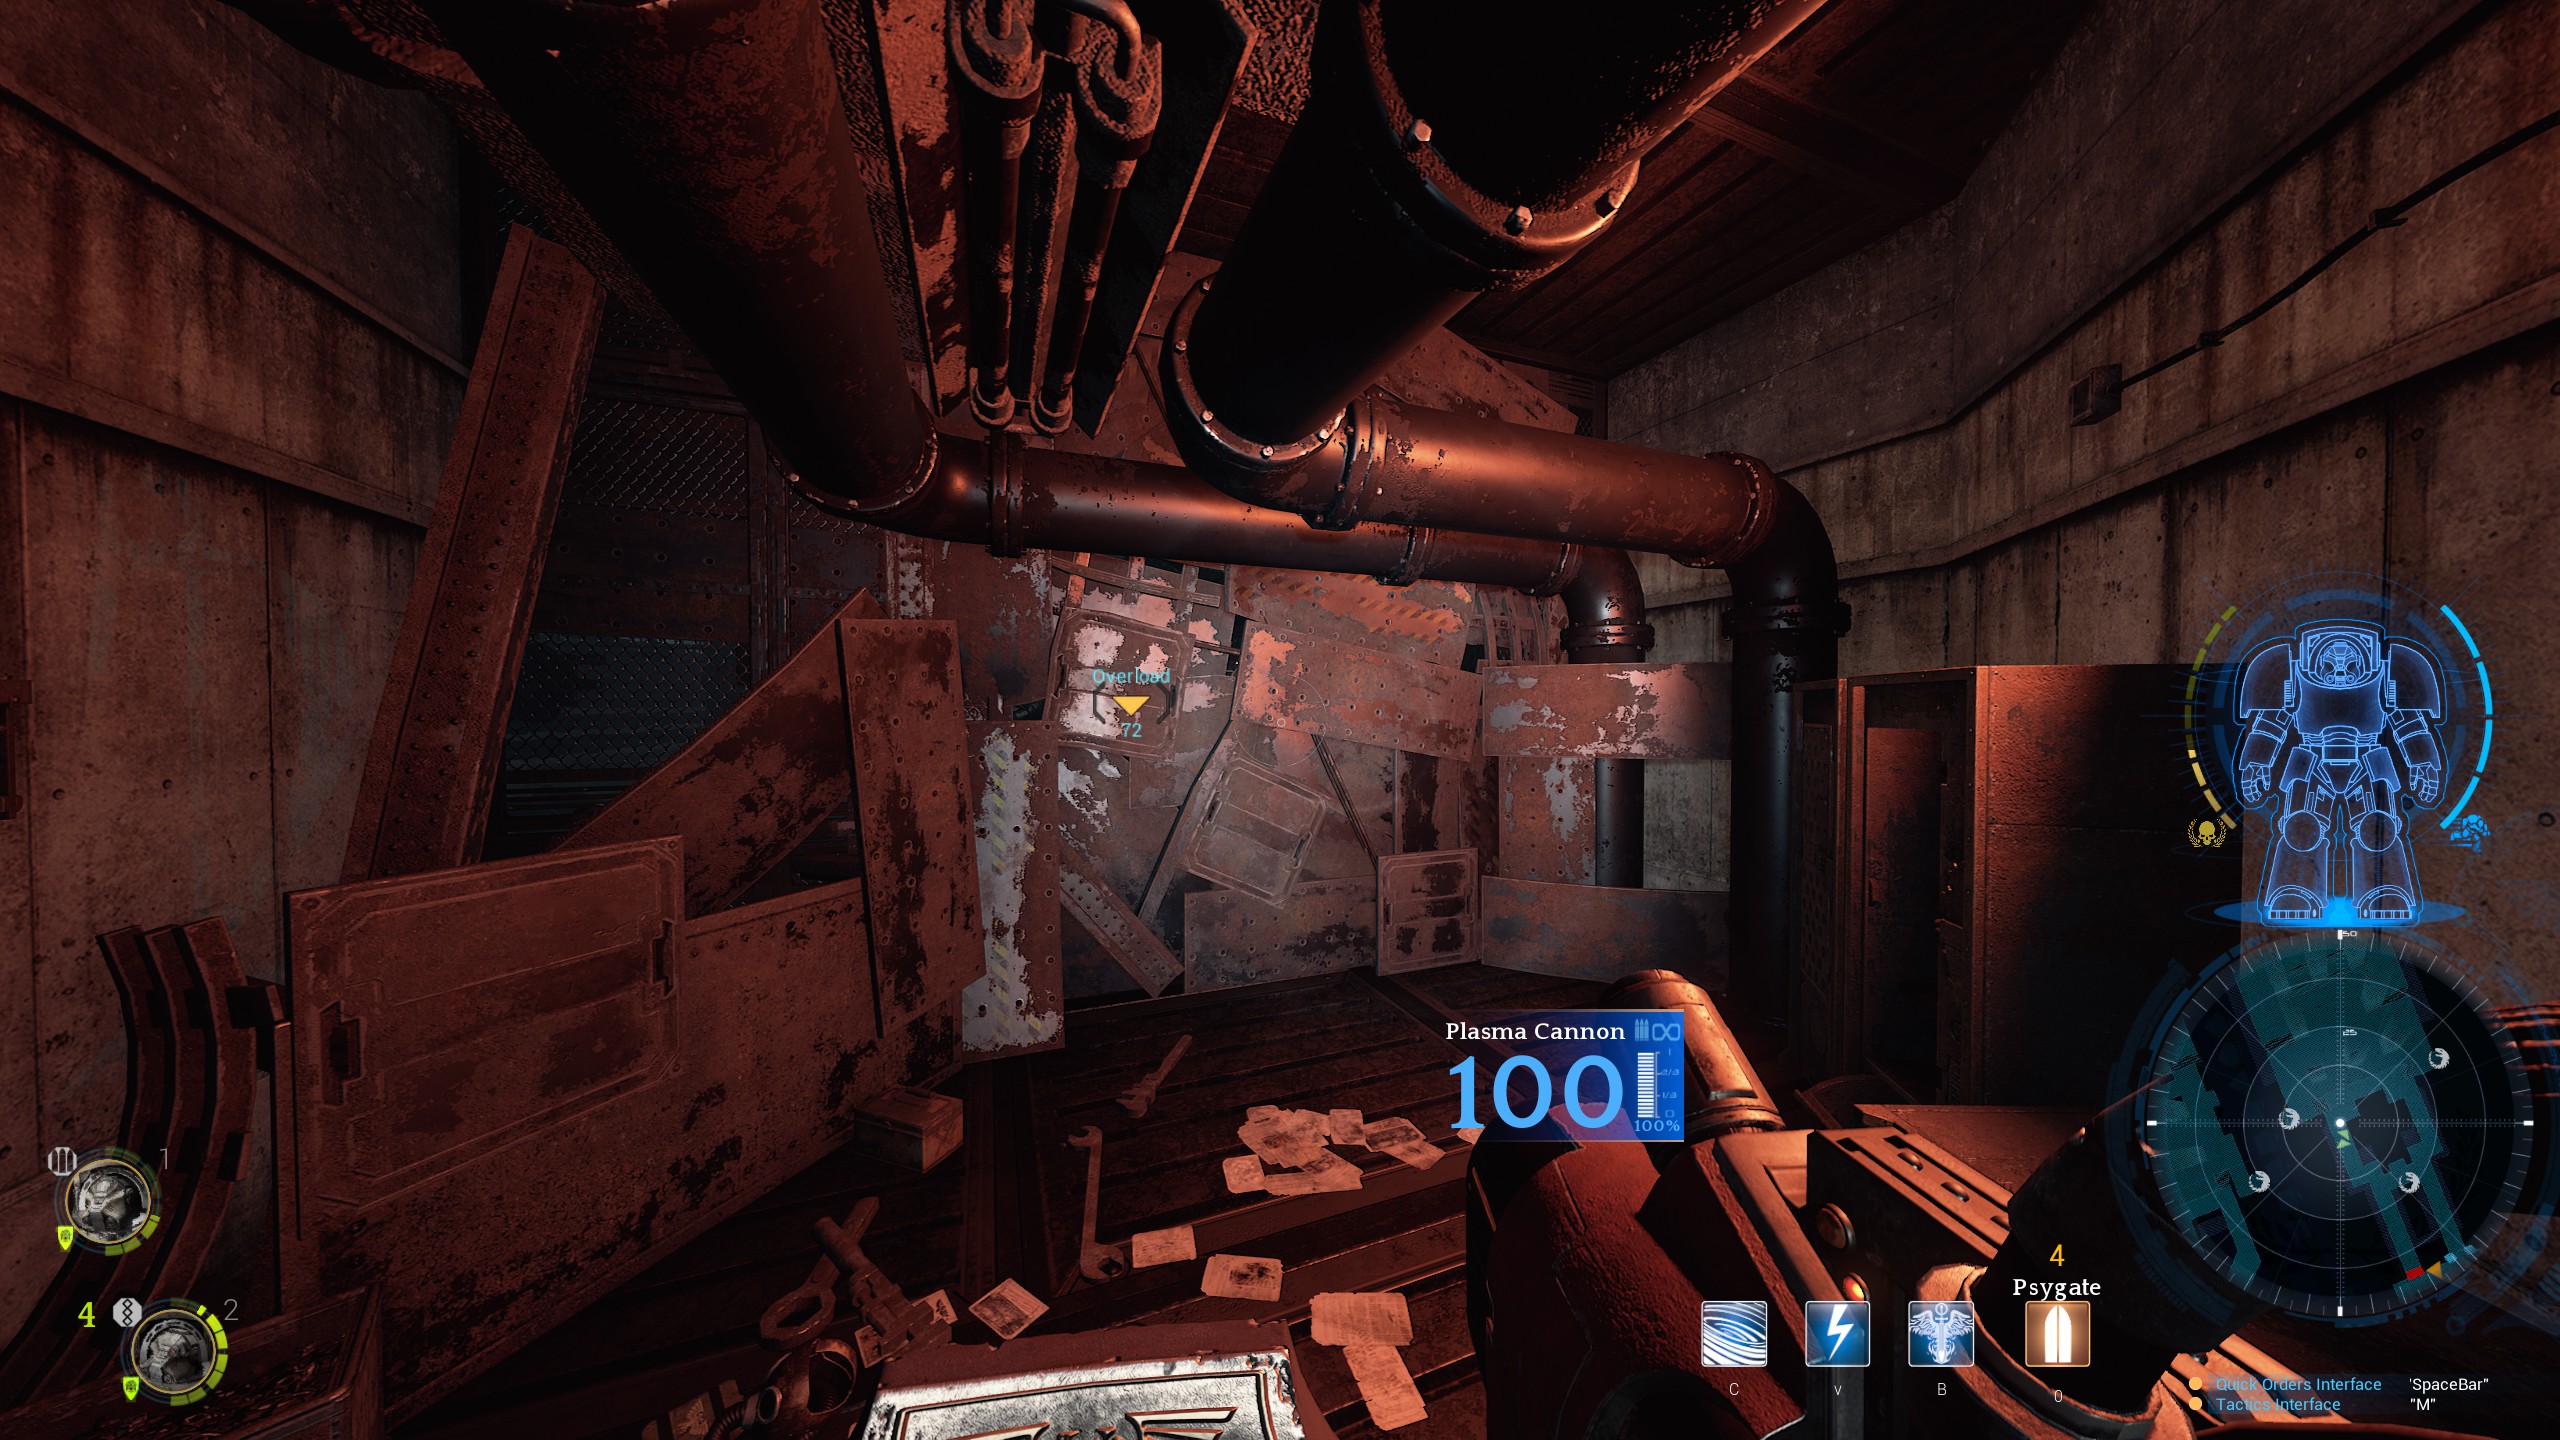
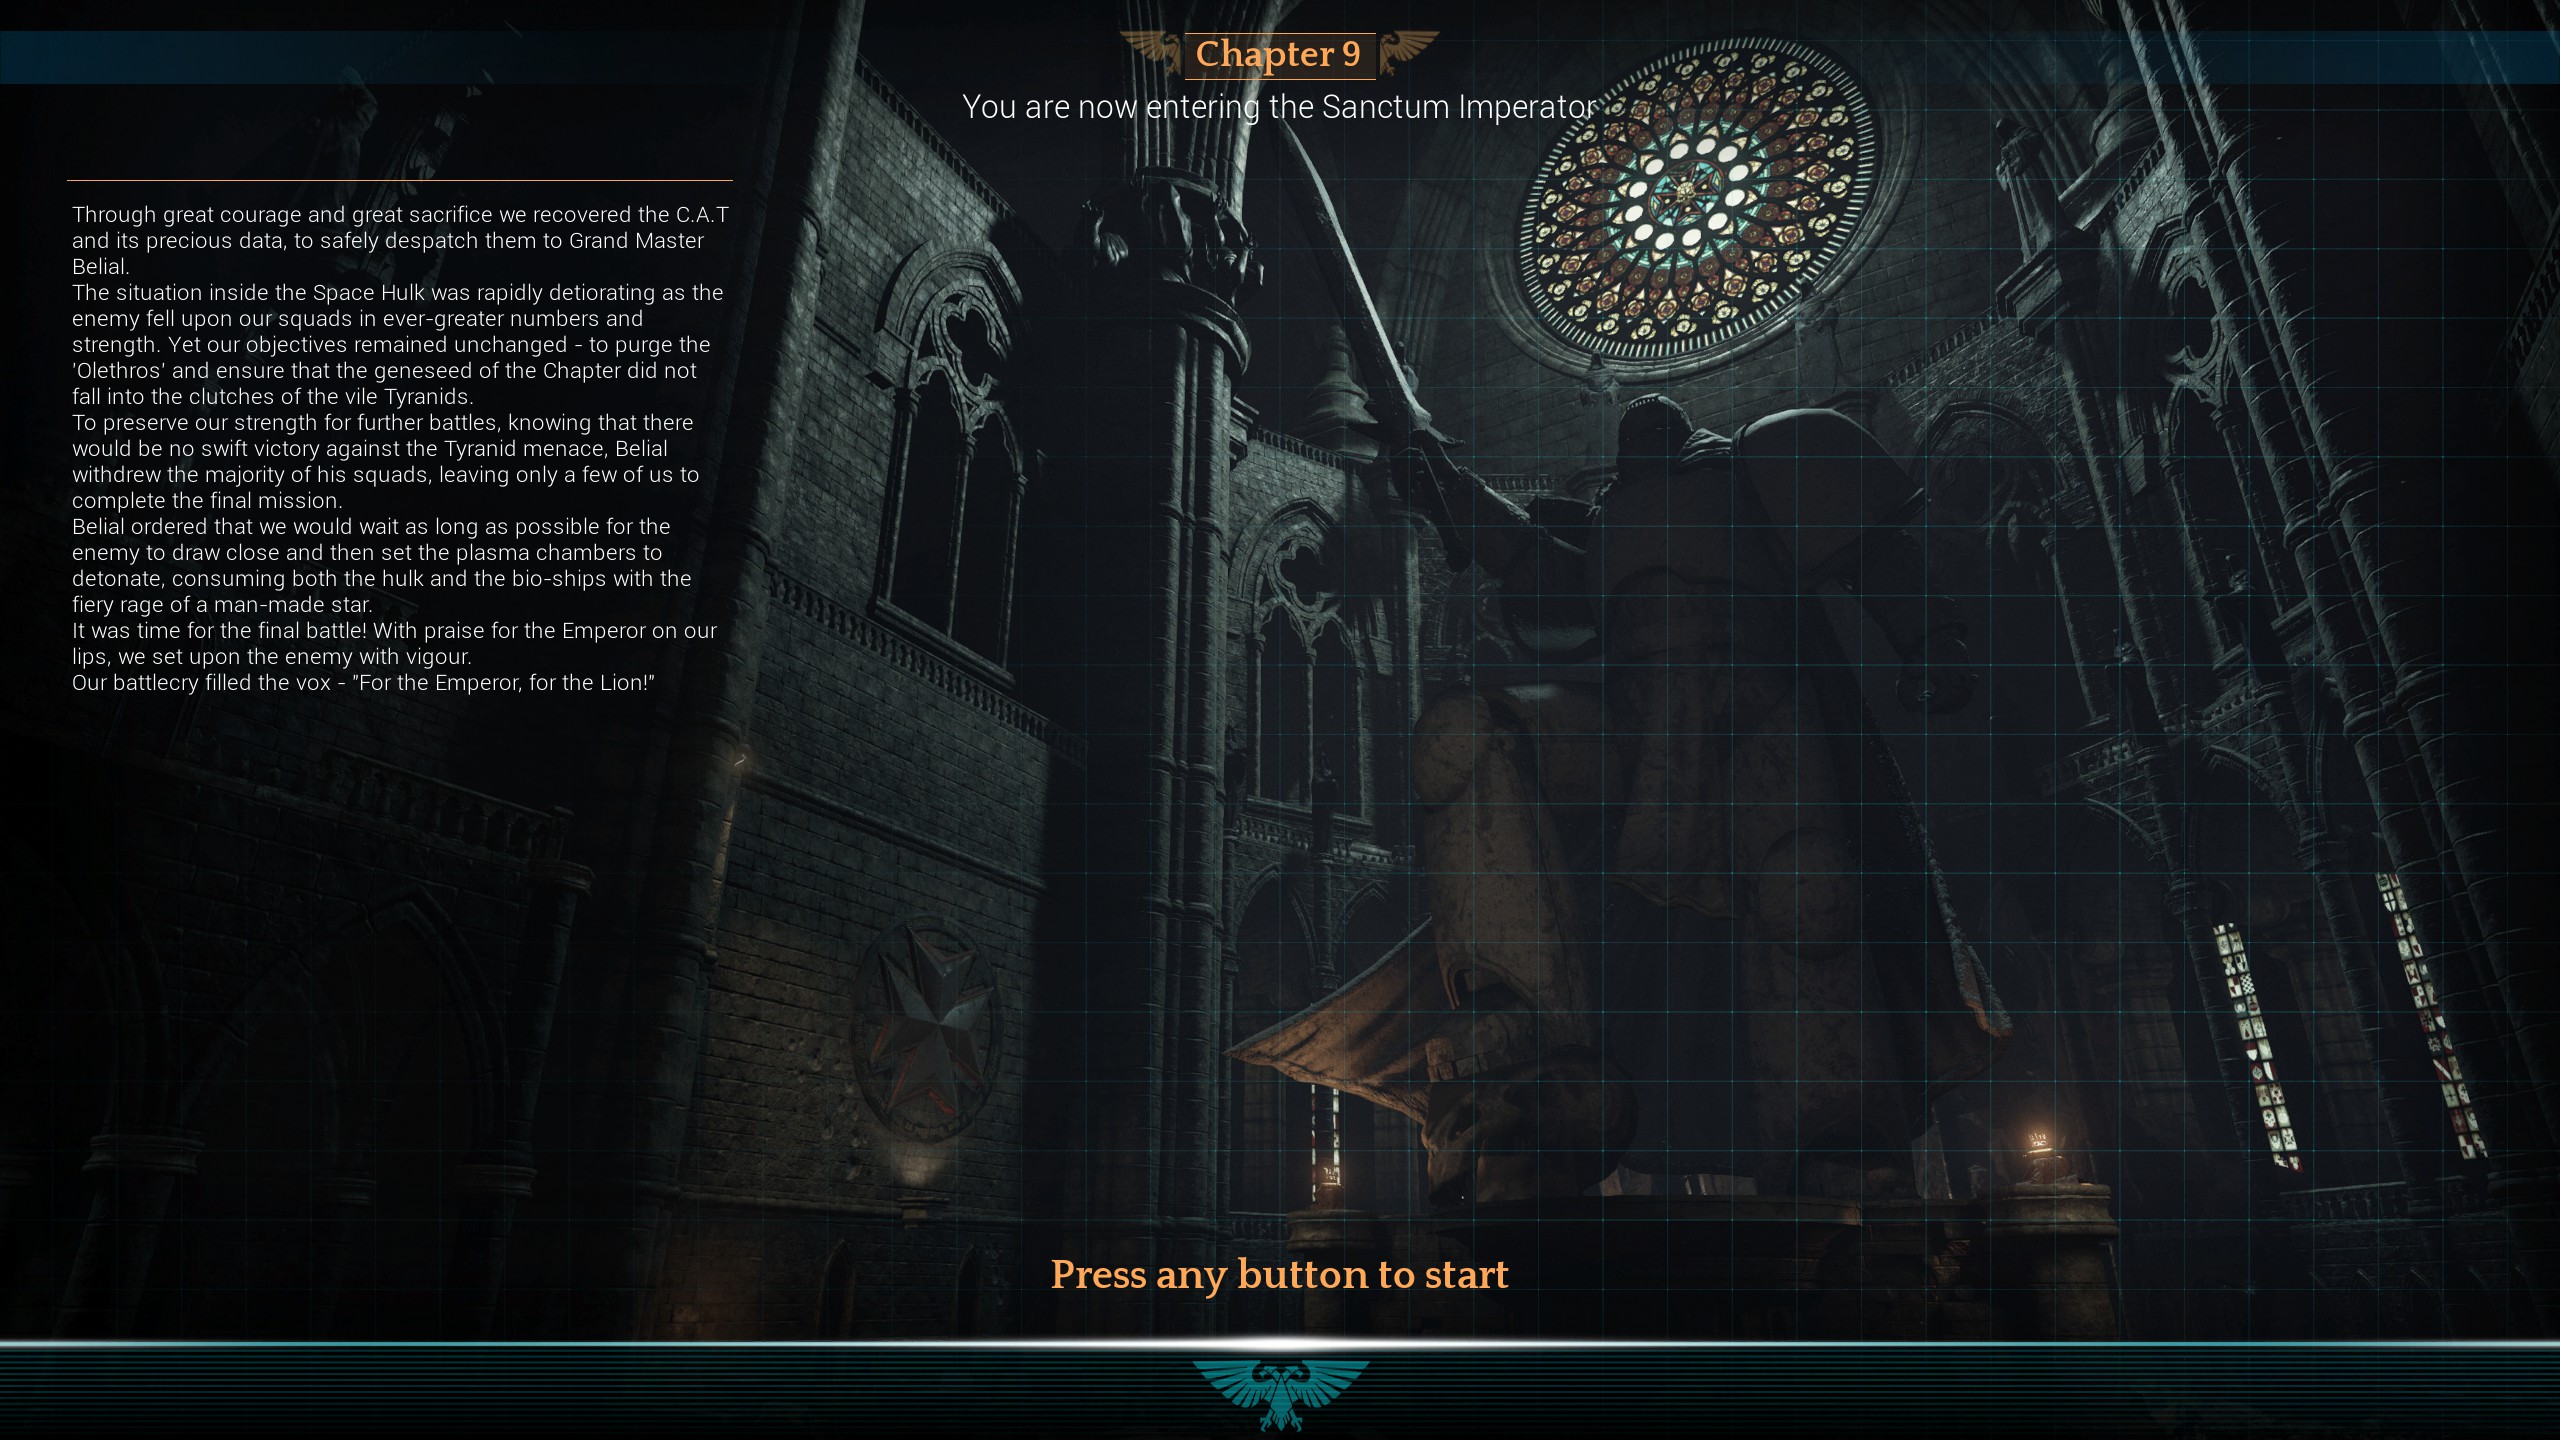
장 09 – Sanctum Imperator
The final part of the plan is to set the plasma reactors of the Sanctum Imperator to overload and cause the chain reaction that will destroy both the Caliban’s Will and Olethros as a whole.
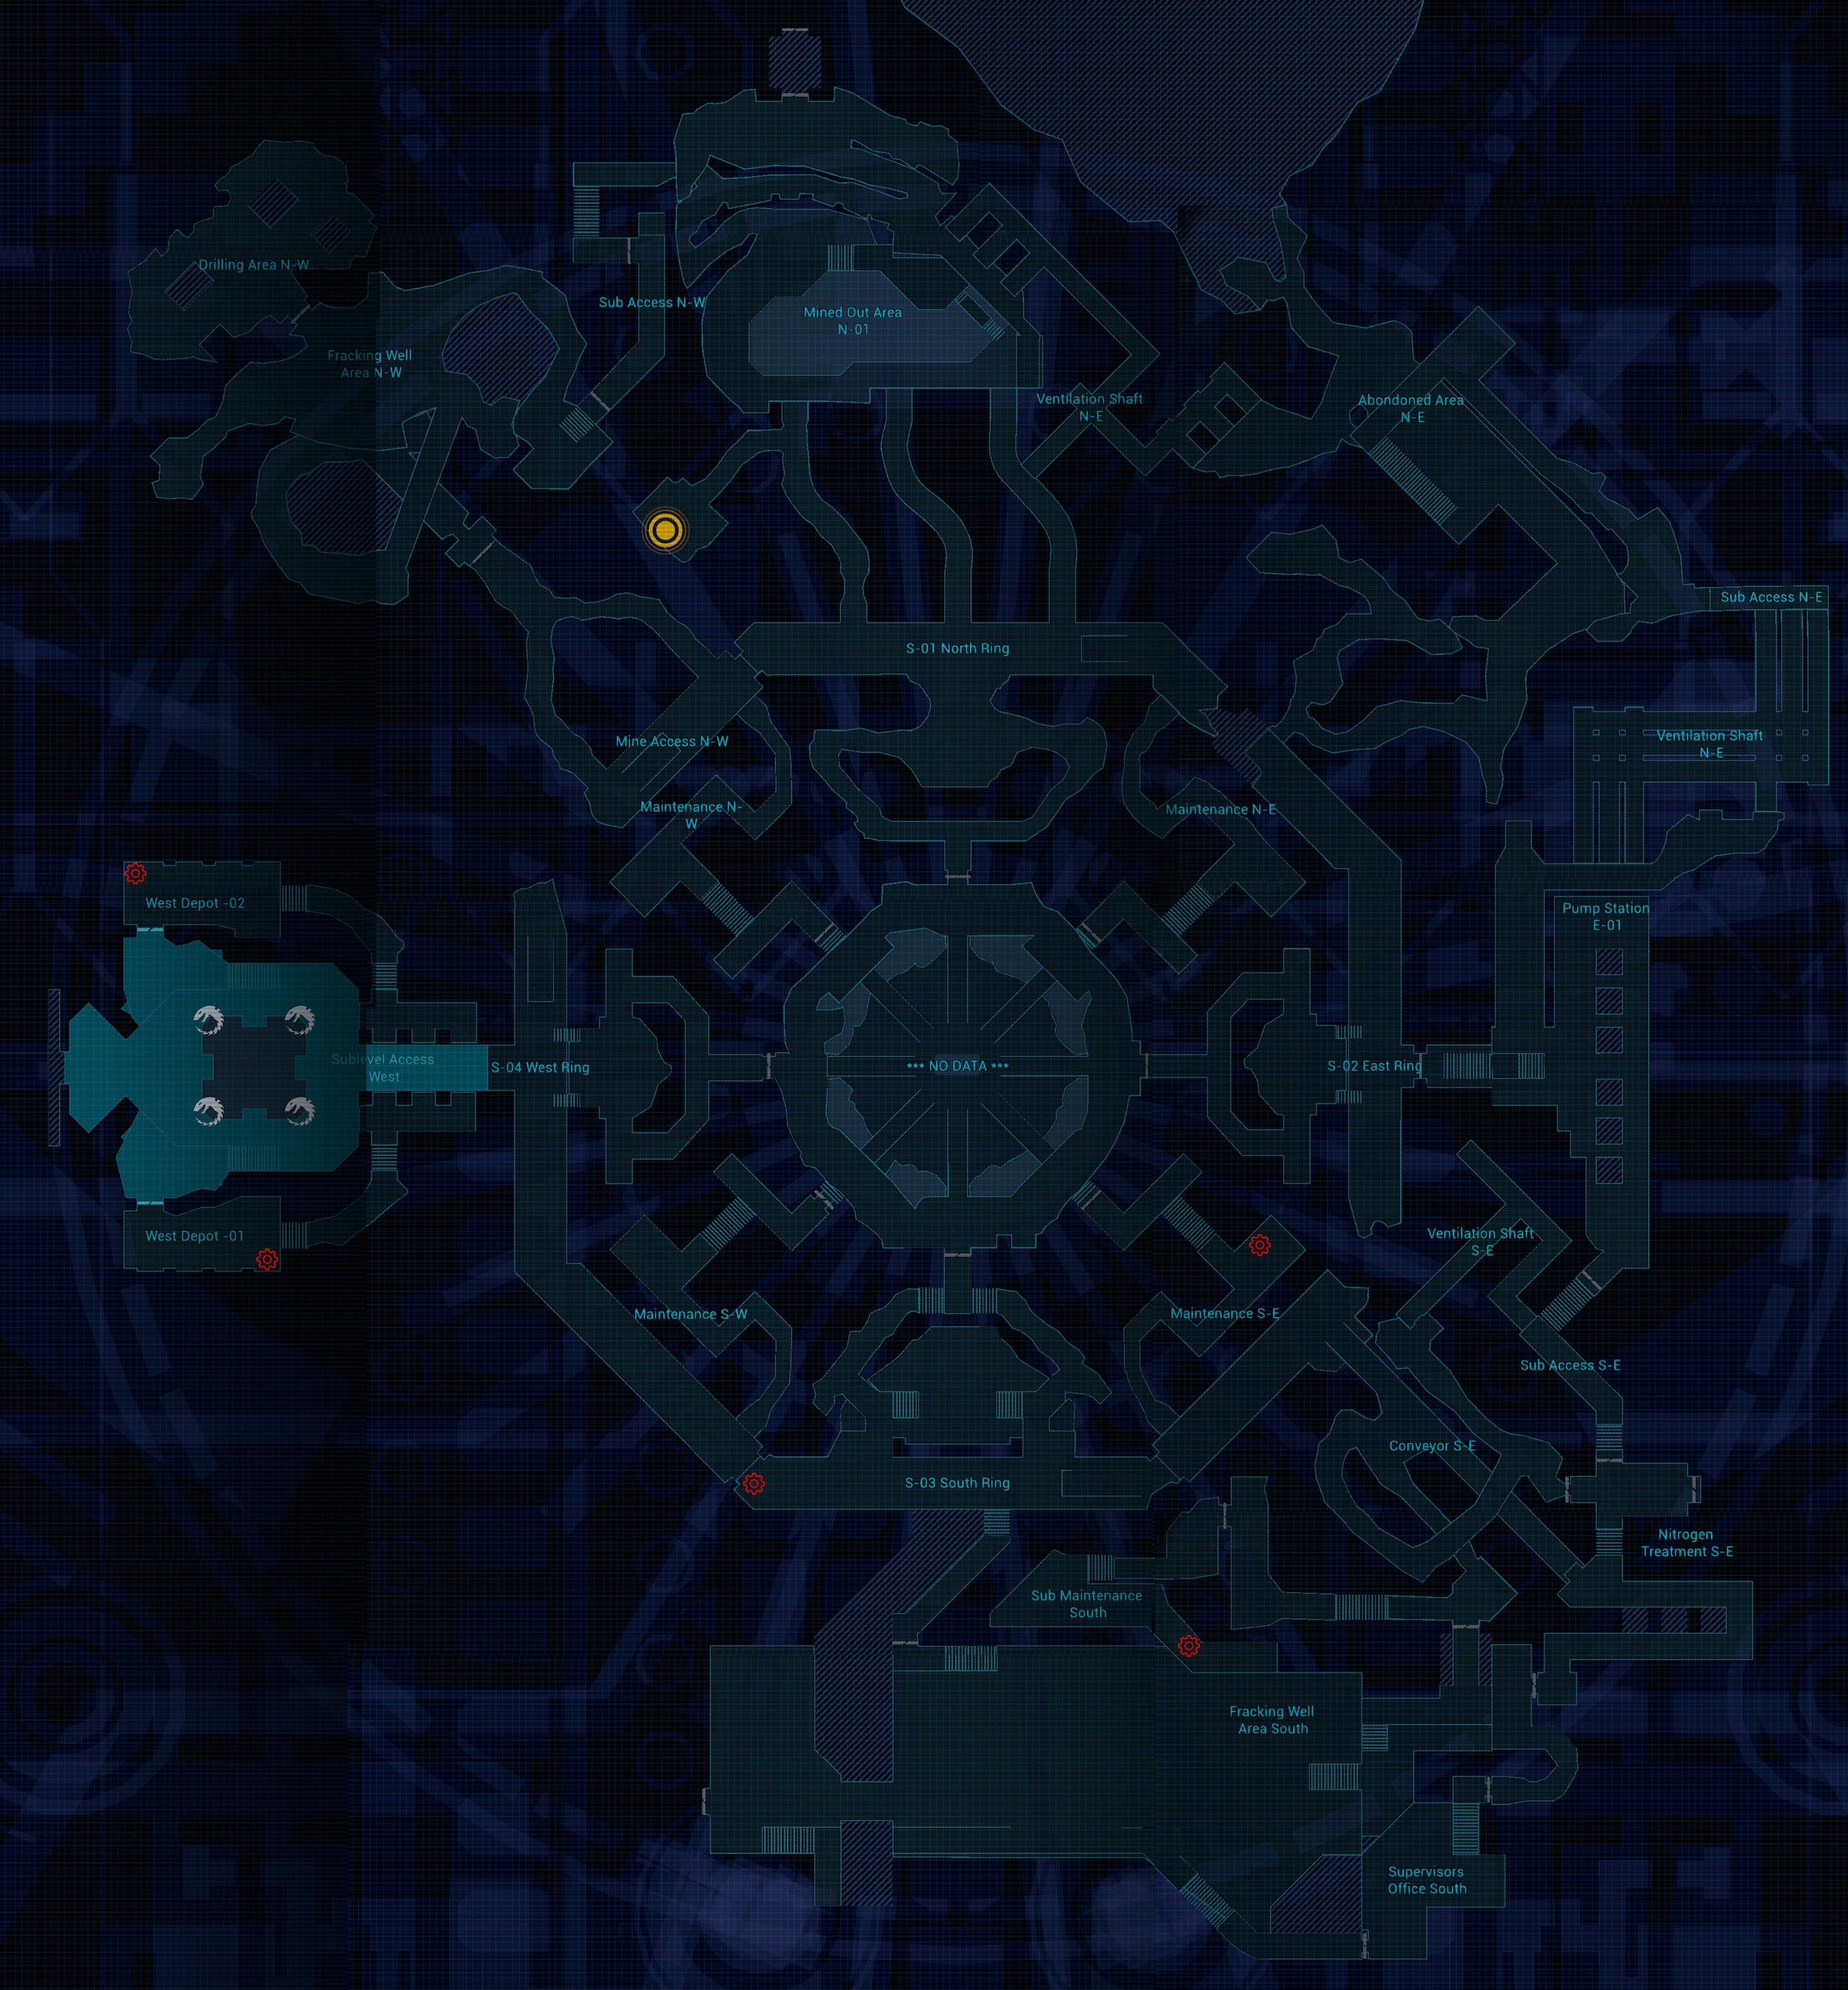
The route starts out convoluted to make sure you have all the relics. You can ignore it if you don’t need the Time Lord Achievement. The reason why we get the relics at the start is because after you set off the last reactor there’s a time limit to reach the last objective. You can get the relics within the time limit but it might be slower on harder difficulties. As this walkthrough is mainly designed for the singleplayer campaign it takes in to account the different save points. If you fail and need to reload you don’t have to redo much between save points.
Objectives one, two and three are all the same. Proceed to the area and set the reactor to overload. At each objective there will be one or two Scythe-strains and a Brood Lord.
You only need to overload 3 ~의 4 reactors so one of the objectives marked on the map as ignore. In the main Sanctuary 401-E room I try to hug the wall as it’s easy to get overwhelmed out in the open.
There is a wall to melee on the route towards Relic 4 and another to melee between objectives 2 그리고 3.
Once all three reactors are set to overload you need to make your way back to the main chamber in
Sanctuary 401-Eso Belial can get a teleporter lock on your squad. This is timed and if the timer runs out you fail the chapter.
Leaving Objective 3 there is a wall to melee. The console is in a good location to save before the end event.
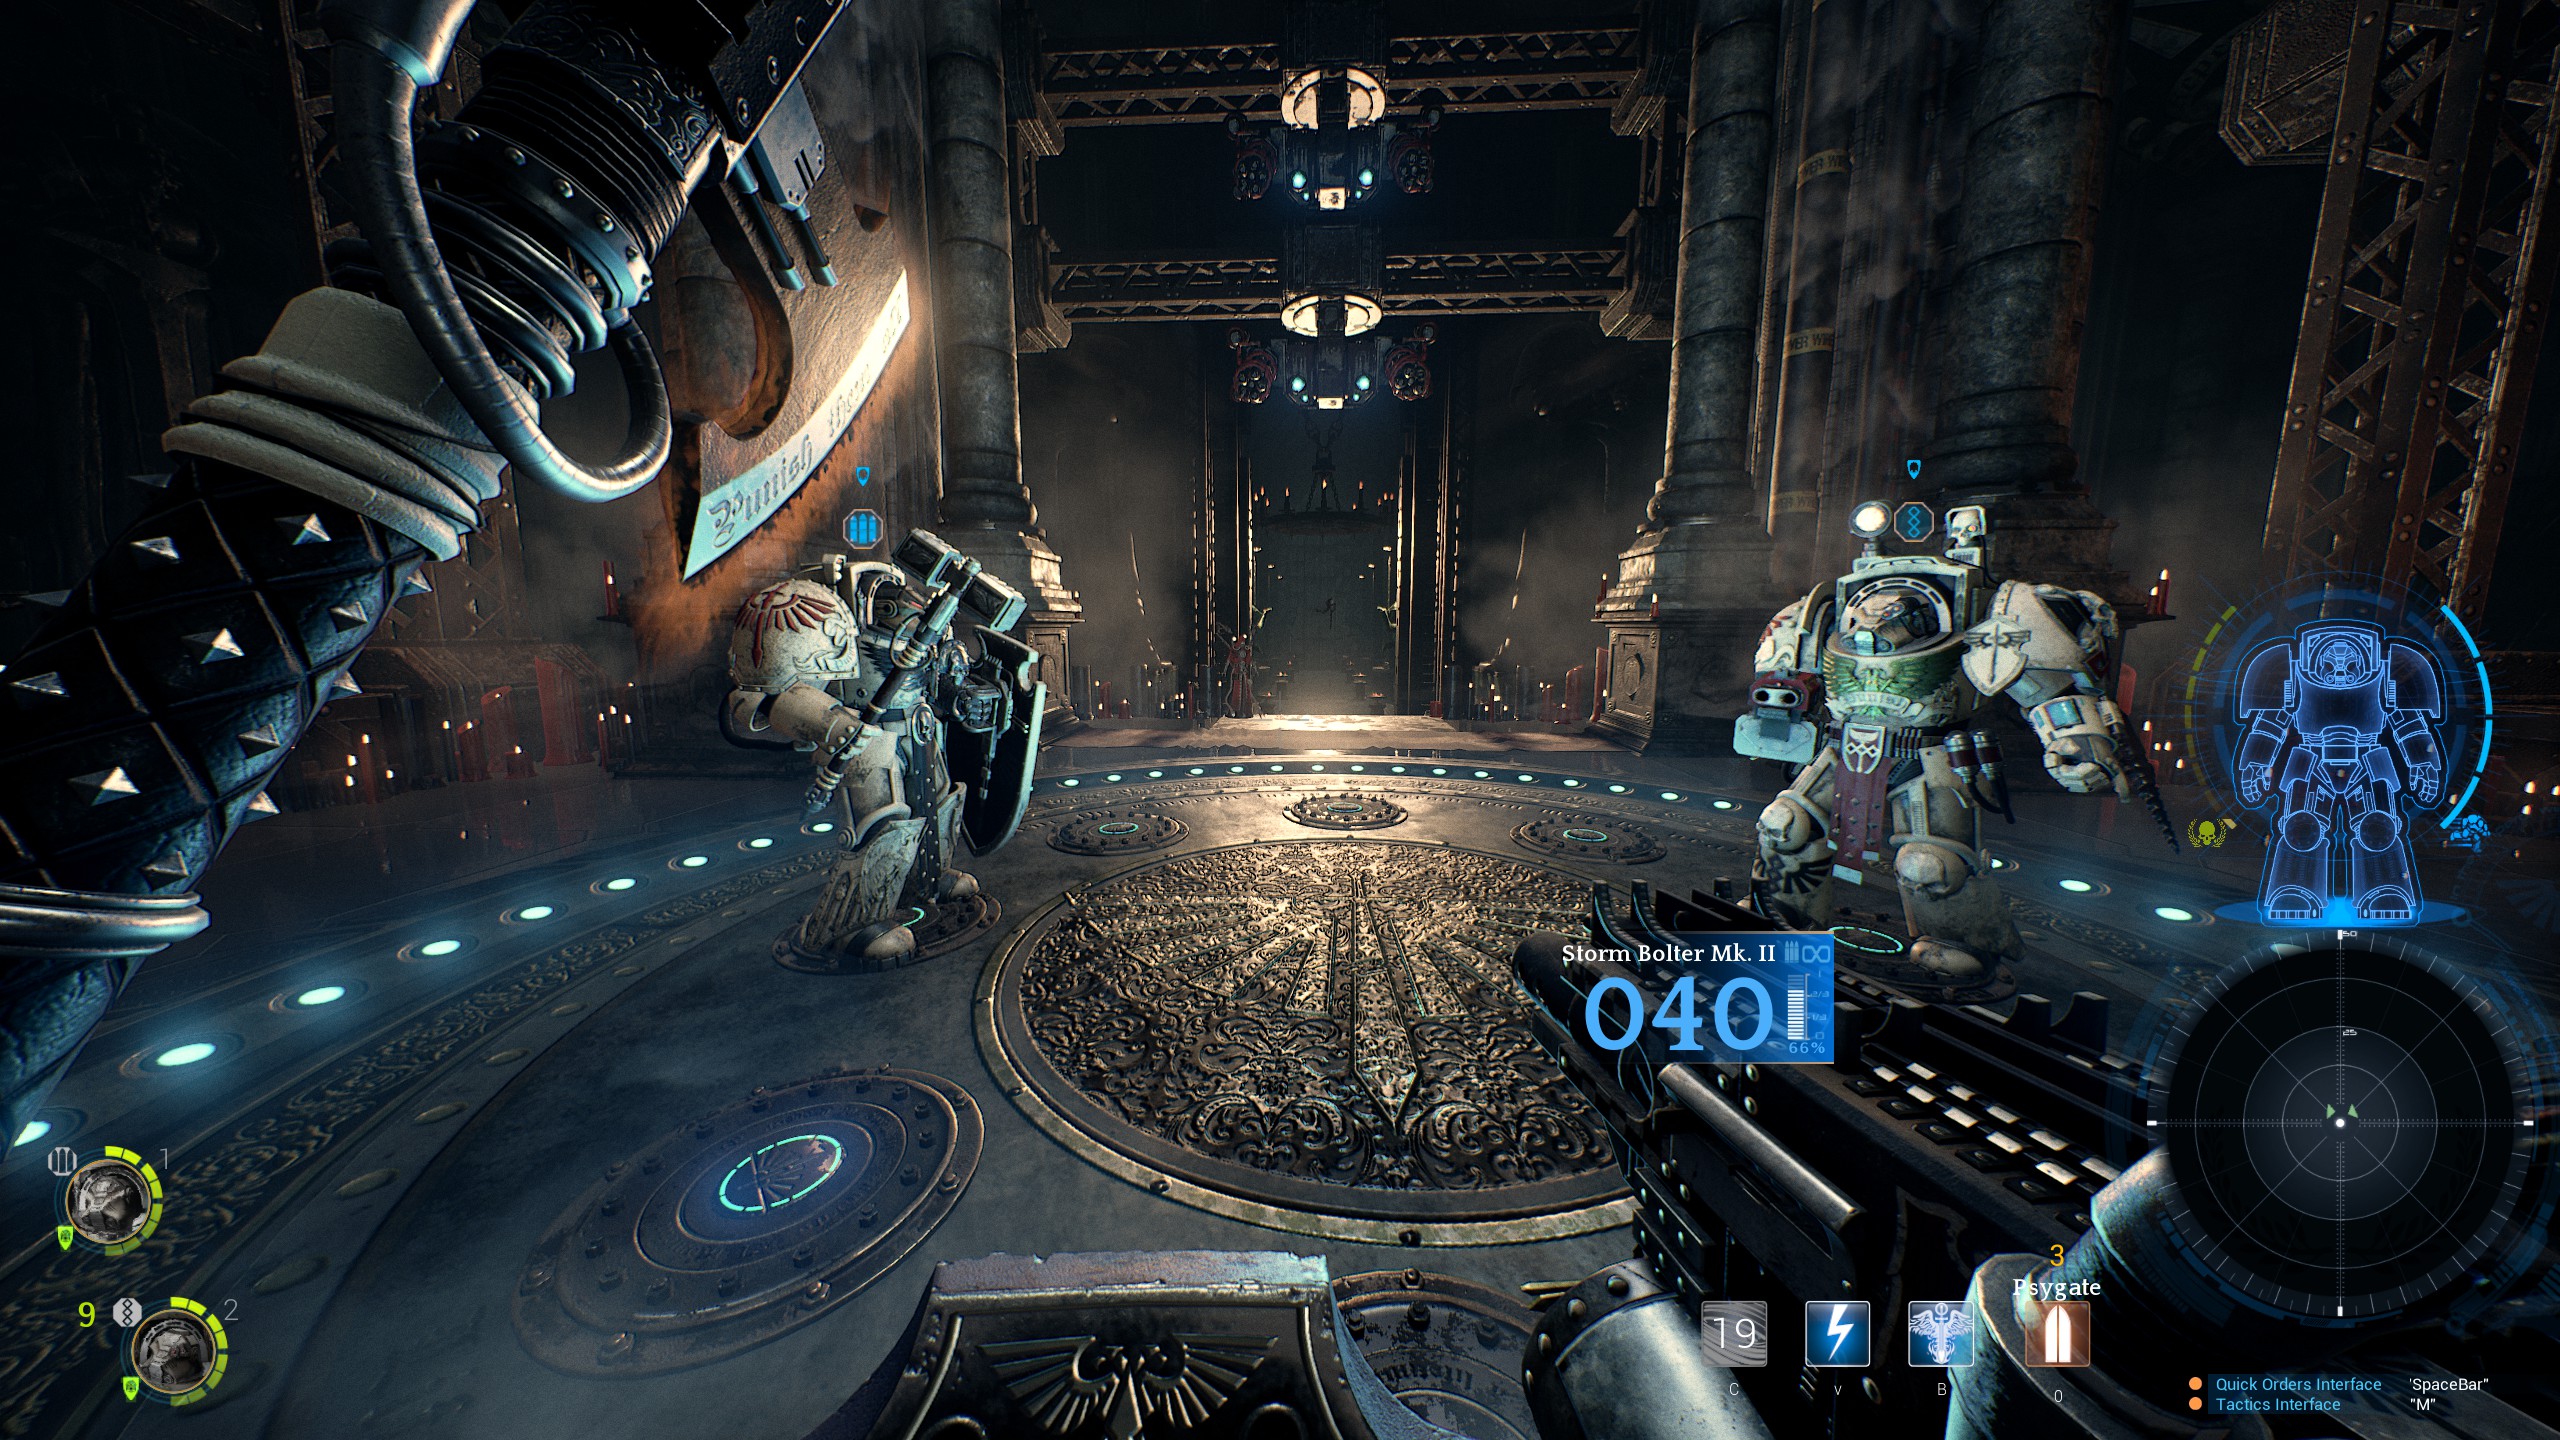
Once you arrive at the objective four a timer will start before you can be teleported away. I like to move my squad to the point marked hold on the map before I go to objective four. This is so the bots don’t bug out when I’m trying to run to the hold point.
I position Barachiel ahead as usual to tank and Nahum behind me as some Hybrids will spawn towards the back of the hall. Look at the screenshot and position behind the broken handrail or the enemies will climb up and flank you.
You will have an endless swarm with the occasional Scythe-strain and Brood Lord. Once you have held out for around 90 seconds the ending will trigger.
Congratulations you’ve finished the campaign!

장 10 – DLC
There isn’t really a walkthrough for this map. It’s played using the special missions which gives random objectives on each playthrough.
The relics are marked in no particular order.
Unfortunately I didn’t finish the DLC section of this guide. I’ve left the map up and may add in the relic screenshots at a later date.
이것이 오늘 우리가 공유하는 모든 것입니다. Space Hulk: Deathwing - 강화판 가이드. 이 가이드는 원래 작성자가 작성하고 작성했습니다. By Distance9. 이 가이드를 업데이트하지 못한 경우, 다음을 수행하여 최신 업데이트를 찾을 수 있습니다. 링크.
Muchísimas gracias me encanta este juego y con esta guía tan detallada se me va a hacer mas fácil pasarlo en dificultades superiores. Excelente trabajo.