This guide will show you some of the best tips and strategies that will help you optimize your haul in Lethal Company.
개요
This guide has two strategies:
- Low-Risk Strat – If you’re a new player and just started, I suggest using the Low Risk Strat.
- High-Risk Strat – If you’re comfortable with all the enemies, have experience on all maps, and have a coordinated team, I recommend the High Risk Strat.
SPOILERS IN THE HIGH-RISK SECTION
The Low-Risk Strat
When you’re a new and inexperienced player, it’s a good idea to try to stick to living quota to quota.
QUOTA 1~3:
As a beginner, it’s advisable to focus on the first three maps (easy maps). These maps feature less challenging enemies and generally fewer enemies overall. 하지만, it’s important to note that they also have a lower total loot population, ranging from about 200 에게 500 in salvage (average values).
The only exception to this rule is if you encounter every beginner moon with a weather condition other than rainy or foggy. 그러한 경우, the strategy involves purchasing 1 pro flashlight, 2 walkies, and having one team member keep their 4 슬롯. One person goes through the fire entrance to gather easy loot, while the other two enter through the main entrance. The last team member helps keep the group together using radar back at the ship. Everyone should be inside the building by 9:00 오전, and it’s recommended to leave by 5:00 에게 6:00 PM to avoid potential risks outside.
일반적으로, following this strategy should be sufficient to easily reach quota 1~3. I recommend selling only what is necessary to meet the quota value, ensuring you have enough scrap left for the next quota.
After achieving the first quota, consider spending your money on acquiring 1-2 shovels for dealing with snare fleas, hoarding bugs, thumpers, 등. 그 다음에, it’s advisable to save for a teleporter to address any unanswered casualties. The remaining funds can be allocated to self-defense tools or replacing lost equipment.
QUOTA 4+:
At this stage, it’s time to broaden your horizons and venture into intermediate maps (Offense & 3월). These maps boast much more extensive loot pools, ~에 이르기까지 500 에게 800 in sell value.
하지만, be cautious as more “deadly” monsters make their appearance here. I recommend sticking to the same strategy with one exception. When one person is outside the facility hauling back the scrap, the radar person goes inside. This accelerates the looting process significantly but comes with a temporary loss of guided direction.
With optimization, this strategy can reliably guide you to around Quota 6.
Quick Note
Before diving into the High Risk Strat, it’s important to note that the Medium Risk strategy, initially included, is considered somewhat redundant. It’s seen as a less mature version of the High Risk strat.
For those interested in a medium risk strategy, the recommendation is to follow a similar approach to the Low Risk Strat. 하지만, skip staying in the easy maps, sell more scrap than strictly needed, and invest in higher-quality equipment.
The High-Risk Strat
This is the strategy I go to with my regular squad.
QUOTA 1:
Hold on, this one’s intense.
Ditch the Walkies and the easy moons whenever possible. 선택하다 2 pro flashlights because 14 hands are just better than 10. (If you only need 1 flashlight due to having a mega gamer, just save. There’s a decent chance of finding a stop sign.) 가지다 2 people enter through the main door and 2 through the fire entrance, with one flashlight per group.
If the main part of the facility is locked behind a security door, make sure the first person hauling back loot opens it for the rest. While there, they can remember the location of loot that may have been missed by the crew. Run your days from around 9:00 오전부터 10:00 오후. You’re the big boys now; don’t doubt yourself.
This should yield you 400 에게 800 Scrap, depending on the moon seed.
(A quick reminder: finding a coil head doesn’t mean an early exit! Have one crew member stare at it the whole time or, 가능하다면, lock it behind a security door.)
만약에, for any reason, you didn’t get enough scrap to buy into Titan, or if Titan is eclipsed, it’s recommended to start again. Getting to Titan by the 2nd quota is not bad at all, but we’re aiming for a snowball effect.
QUOTA 2:
괜찮은, you and your crew pulled off a massive quota 1 heist, and now you’re sitting on 700+ in value. Route that baby to Titan and listen up.
Titan is a whole different ballgame in terms of its loot pool. It averages between 1500 그리고 2200 scrap value for you to grab.
The enemies are on a different level too. I usually encounter about 2 에게 3 coil heads per facility and occasionally a jester.
- This is going to require speed and precision. Ditch 1 flashlight and bring your trusty shovel/stop sign. Now travel as a group to the main entrance, try to stay together but not glued to each other.
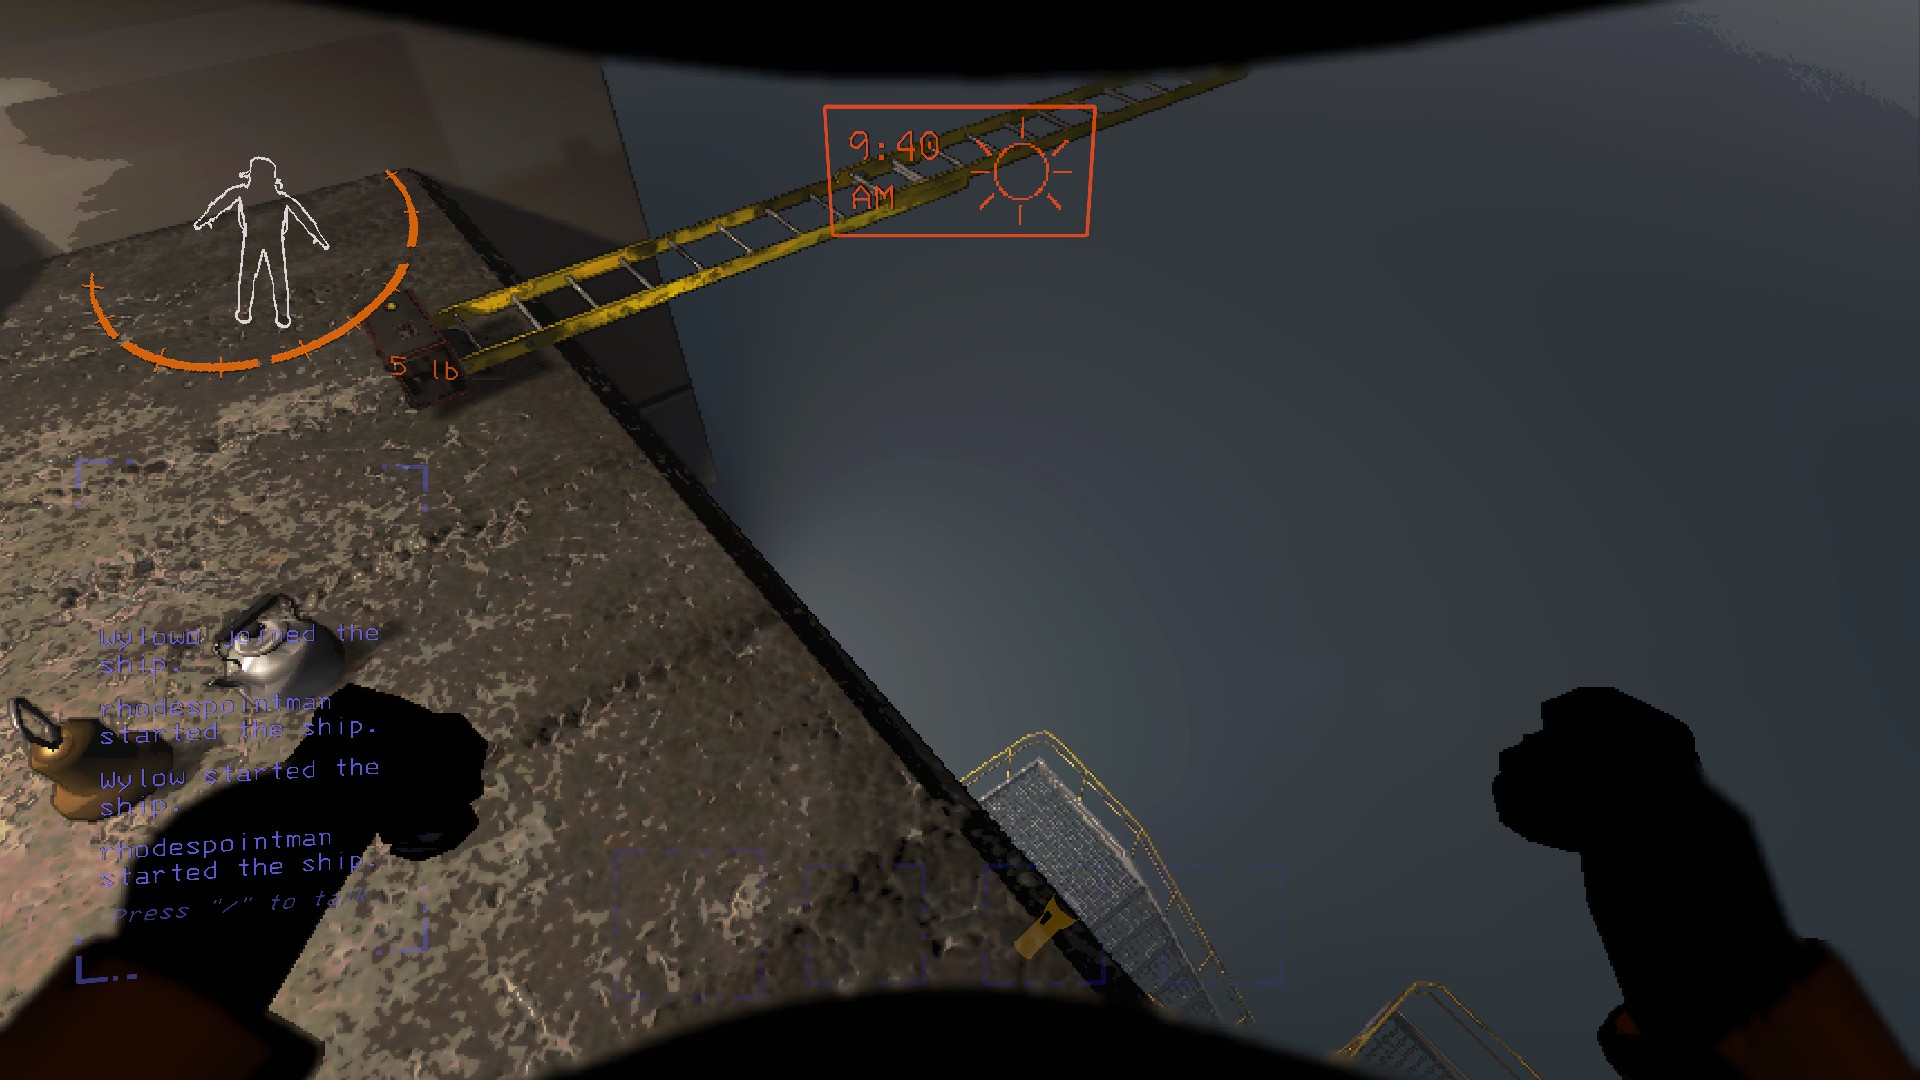
- Once you’ve drained all the easy scrap from the main entrance, go back and drop all your two-handed items off the edge onto the catwalk directly to the left of the staircase. This saves a tremendous amount of time. 대안으로, you can use this strategy with an extension ladder to get it all the way down past the catwalk.

- Head off to the fire exit and continue to loot. Contrary to popular opinion, I prefer to run from 8:30 오전부터 8:30 PM on Titan if possible (though most runs get cut early around 3:00 오후).
- Whenever you finish looting the fire exit, fill your hands with three small items and whatever two-handed items you got from the fire exit. Sprint jump forward off the platform to the ship – you do not die doing this, nor get critically injured. Deposit what you got and determine if it’s safe to go back for the previously dropped two-handers.
- Keep running Titan until it’s quota time. 아휴, that was a lot. It would be nice to always get 2100+ scrap from these runs, but the target goal at the end of the quotas is 1400+. If you’re better than us, you can aim for 3000+ per quota.
QUOTA 3+:
Continue using the same strategy for every quota, 한 가지 예외를 제외하고: buy a teleporter. The inverse teleporter can also be used if you don’t want to adopt the next strategy.
Here’s the twist – buy four jetpacks in total whenever you can. 예, I’m serious. This allows you to run Titan even during an eclipse. Not only does this maximize your time traveling to Titan, but it’s also the coolest feeling ever.
The reason I say this is hard to explain, so I’ll link this video as my explanation; but in short, this allows you to fly up the staircase, dodging monsters as well as making a lightning-quick getaway.
Watch the first 30 seconds of this video to see why Jetpacks are actually worth it.
The only situation I foresee for an immediate moon evacuation is if a Jester is spotted, but remember you have 40 seconds after spotting it to GTFO!
This strategy can get you to a very high quota number, but not infinitely because of the ridiculous scaling of the later quotas.
이것이 오늘 우리가 공유하는 모든 것입니다. 치명적인 회사 가이드. 이 가이드는 원래 작성자가 작성하고 작성했습니다. Swag Messiah. 이 가이드를 업데이트하지 못한 경우, 다음을 수행하여 최신 업데이트를 찾을 수 있습니다. 링크.
