- 제목: Kingdoms and Castles
- 출시일:
- 개발자:
- 발행자:
Information about Kingdoms and Castles is still incomplete. 이것을 사용하여 게임의 세부 정보를 입력할 수 있도록 도와주세요. 문의 양식.
This guide will cover the basics mechanics of the game, 업적, city management and combat advice, and advice for dealing with AI Kingdoms.
This will not be a comprehensive guide on the entire scope of the game, but rather an overview of different strategies for developing a kingdom or outpost and dealing with the complexities of different stages of the game.
This guide is still a work in progress and currently only has a text explanation for how I’ve come to think about building Kingdoms across about 300 hours of playing this game. I plan on adding a guide to Survival Mode and, 물론, images to all of my sections in the coming days/weeks.
Game Basics
인구
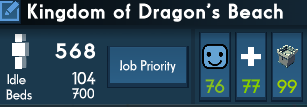
Your population is how your kingdom gets work done. The more population you have, the faster you can get work done and the more different buildings you can have workers for.
Your current population is displayed in the bottom-left; it’s a little hard to miss. Underneath your population count is the number of idle workers that don’t have jobs. Underneath that count is the count of beds — 그리고, 따라서, the maximum number of citizens — in your kingdom.
Your kingdom will gradually attract citizens based on the average Happiness of your kingdom, which will be discussed later.
일자리

You’ll notice a “Job Priority” button in the bottom-left menu near the population information. This menu displays all of the jobs in your kingdom, in order of highest to lowest priority. You can drag each job around to reorder them. This is arguably one of the most important menus available and a well-managed priority menu can save and kingdom in crisis or propel you ahead of your neighboring kingdoms.
행복

The happiness of your citizens must be considered while ruling any kingdom and this one is no different. The button directly to the right of the “Jobs Priority” button is the Happiness Button. This passively displays the average happiness of all of the citizens in your kingdom or outpost. Clicking it will add a color mask to each house at a gradient from Red to Yellow to Green, representing the individual happiness of each household; it will also display a gradient on the land showing the distribution of your happiness across your kingdom.
Your happiness will be hindered by plague infections, viking raids, food shortages, homelessness, 등., and is improved by good health, successful viking defenses or dragon kills, festivals, 등. Happiness also directly affects your population growth as, if your happiness is high, you’ll attract more citizens to join you; 하지만, if your happiness drops too low, citizens will leave your kingdom.
건강

Next to the Happiness Button, we have the Health Button. This shows the health of your kingdom, based on how accessible each food type is to each citizen. Having low health will mean plagues will happen more often and will be more infectious; it will also give the citizens a lower life expectancy, while a high health will have the opposite effect.
Building Integrity

As your kingdom progresses through the years, your buildings will degrade and, given enough time, be reduced to rubble. 이를 방지하려면, you can hire one or more Masons to repair buildings across your kingdom. 몸소, this is never an issue before year 100, unless I’ve been attacked in excess.
음식
A well-fed kingdom is a happy kingdom and in your kingdom, you have a few options with how to feed your citizens. These citizens in particular will eat 1 piece of food per year of a random type.
Make sure to keep an eye on the color of the tile you’re farming on: Dark Green tiles mark Very Fertile land that will get a +1 bonus to all farming, Light Green is basic farming land and Yellow, barren, land cannot be farmed.
밀 & 빵
Wheat is grown in a 1-tile farm, manned by a single worker. On very fertile land, a single wheat tile will provide 6 음식, 7 with a Master Farmer. Farms are susceptible to flooding in the heavy rains if they’re next to the coast. Each farm that is 2 or less tiles away from the coast will have a 25% chance to flood, and farms 3 tiles away have a 5% 가능성.
This wheat can be eaten as-is, or be given to a Baker to be made into bread. 구체적으로, it takes 1 wheat and 1 charcoal and converts it into 5 wheat-equivalent food (빵). One of these bakers, in my testing, will make an average of 25-30 bread per year, though this will depend on how quickly the workers can get resources to the bakery.
Apples
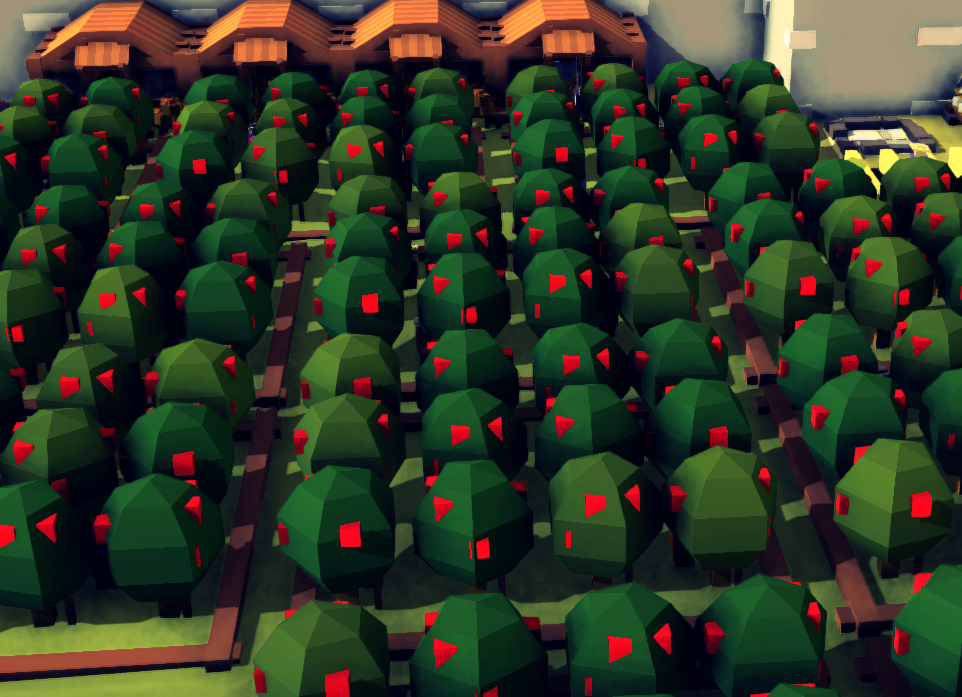
Orchards are a 2×2 farm, manned by 4 노동자, that can produce 22 food per year. It is immune to flooding. Unlike wheat, 하지만, it cannot be converted into a more delicious food. Proving once and for all that apples are perfect as-is.
Meats

Fish and Pork are the two meat foods for your kingdom. Both require a two-stage process and tools, which require Iron. The first stage is collecting the meat, via Fishing Huts or Swineherds. The second is cutting into portions and storing, which is done in the Fishmonger or the Butcher, 각기.
자원
목재
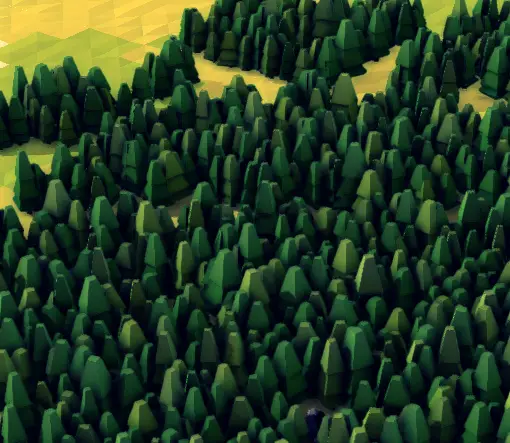
Wood is a basic resource, gathered by manually cutting down trees or via a Forester, which requires Stone. It is used in almost every construction task. While wood is easy to gather, the creatures in the forest might not like you encroaching on their territory.
결석
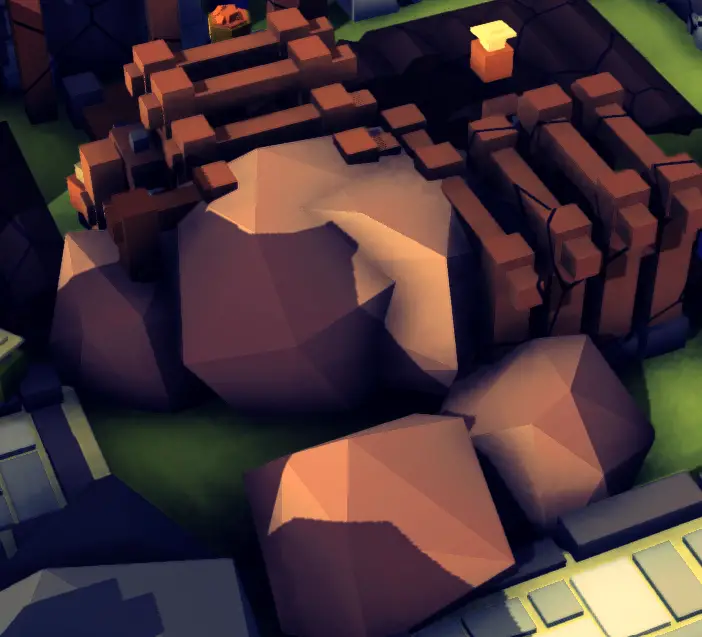
Stone is another basic resource, gathered at a Quarry and it’s used mostly in defense and advanced construction.
숯
Charcoal is a luxury resource that is demanded from citizens who live in luxurious homes. It’s also used by blacksmiths to make tools and armaments, as well as bakers to make bread. It’s gathered at a charcoal maker using wood at a rate of 7-8 wood used per year.
Charcoal is unique as homes, despite desperately wanting the end product, get a happiness penalty from being next to charcoal makers.
철
Iron is a middle-late game resource used mostly to make tools, which improve your resource collection rate, and armaments, which can be used to train soldiers.
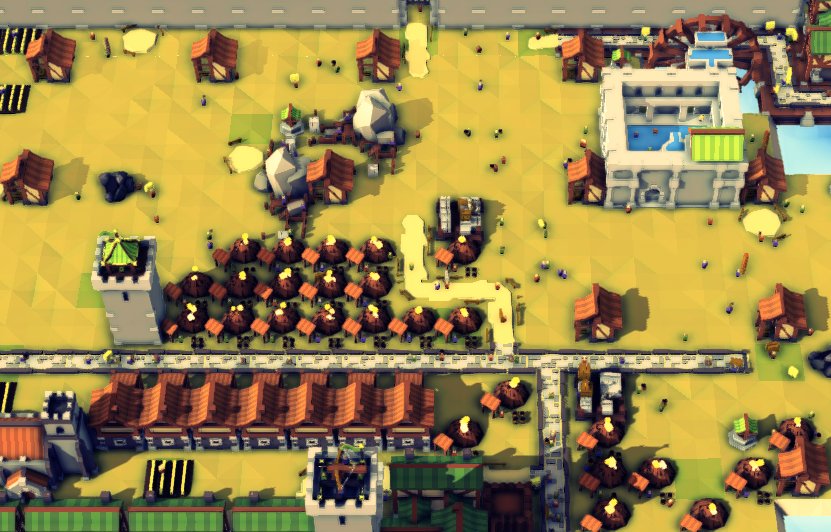
초기 게임 (5-99 인구)
Picking a Location
A good location, 내 생각에는, 가지다 3 것들:
- Central Position
- Close Proximity to Stone and Very Fertile Land
- Nearby Forest
Aside from just more, there isn’t much that improves one good location over another.
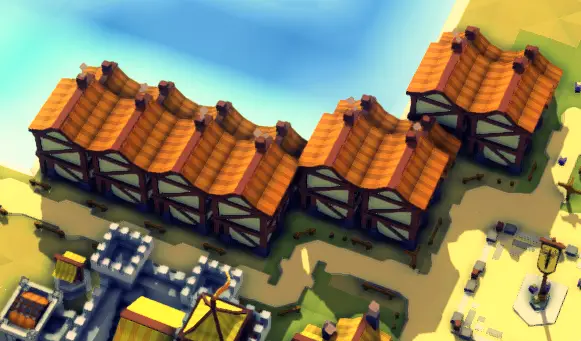
Here’s an example of a Bad Location:
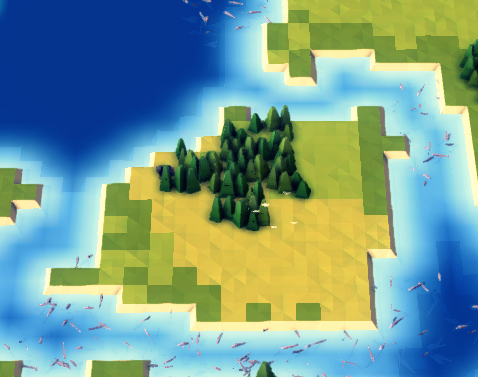
This is bad because of its lack of access to stone, and the fact that it’s on the edge of the island in an area that’s difficult to expand from.
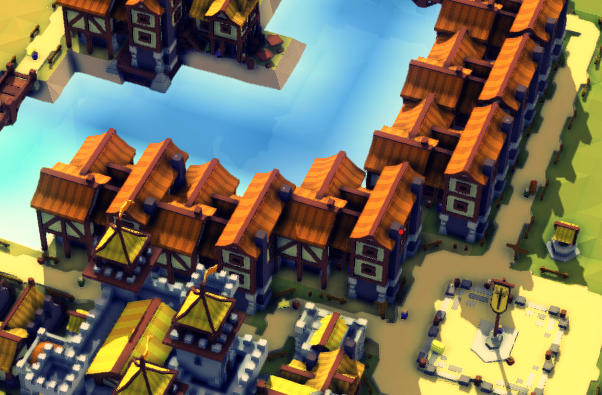
Here’s a better location
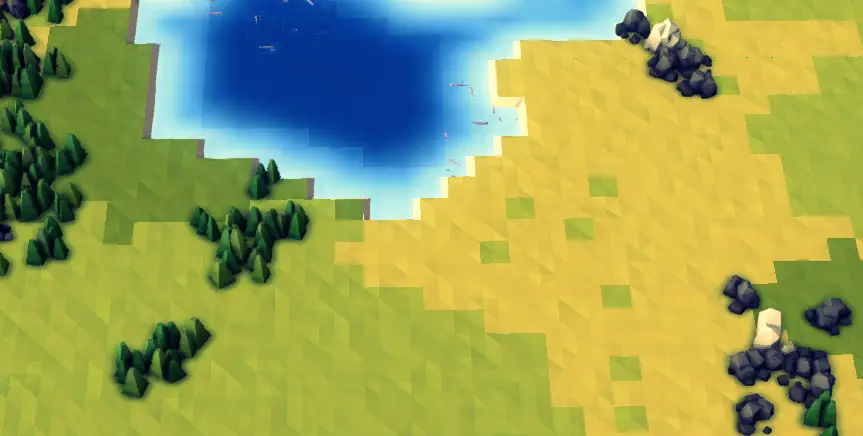
moderate amount of very fertile land. It’s also near the center of the island, protecting it a bit more from raids.
Early Goals
My first step in every island is to build 2 roads and 2 hovels, since you start with 12 목재. This will ensure your population is housed as soon as possible and allow you to welcome in the first round of visitors, since your second hovel will be empty.
I then, typically, chop down part of a nearby forest and use the wood to build 2 more hovels behind the others such that the four hovels are in a square. This allows the group of them to be replaced by a Manor later on in the game. I’ll almost always build another group of 4 hovels right after this.
Gather Resources
One of my first goals in the early game is to establish a starting flow of basic resources into my stockpiles. First quarries, then foresters, all supported by stockpiles nearby. Charcoal makers will follow shortly, as we upgrade housing.
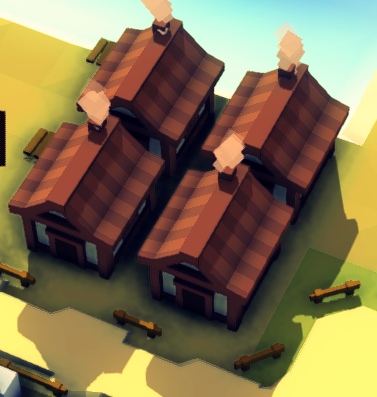
Expand Housing
Using this newly-made resource network, we’ll start replacing hovels with Cottages, building up between 6 그리고 8 before you replace them with Manors. You should end this phase of the game with between 4 그리고 6 Manors as your only housing, to maximize tax revenue.
Early Dangers
화재
The last thing you want is your entire farmland or all of your hovels to be lost to fire. It can be a huge hit to your early expansion, especially with the already-limited access to resources. 운 좋게, this can be quickly remedied by building Wells early on.
The Plague
가끔, and depending on your health, the plague will hit your lands. When this happens, you’ll need either Clinics or Hospitals, which will send out workers to cure the plague in the population. Any citizen that has the plague for too long will die.
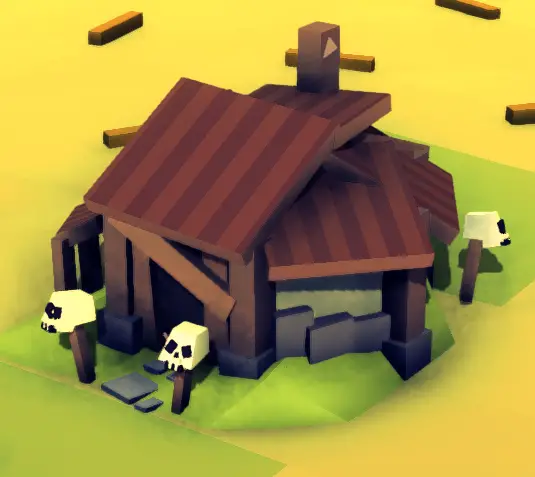
The plague can also be caused by corpses not being buried fast enough, through either not enough space or too far of distance to the nearest Cemetery.
Vikings and Dragons
Every set number of years, depending on the difficulty, your kingdom will be attacked by Vikings and Dragons. This will require some defenses, which will require some gold. Gold is obtained by building a Treasure Room and taxing your citizens, at a happiness penalty.
The Vikings will come in ships from the edges of the map and try to take the gold in your Treasure Rooms before leaving back in their ships. The first raid from the vikings can be easily defeated by just the archers in your Keep; 하지만, subsequent raids will require more defenses, mostly Archers.
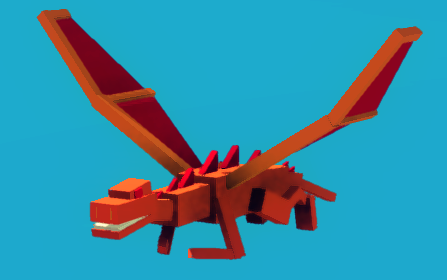
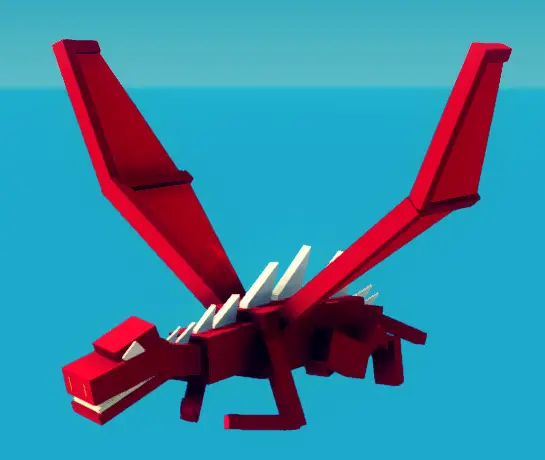
Dragons, 반면에, will be largely unaffected by arrows. In order to kill them, you’ll need to build a Chamber of War and Ballista Towers. These Dragons will fly all over your kingdom and breathe fire onto your structures, requiring your citizens to attempt to put out the fires.
일체 포함
Depending on both the difficulty and proximity of the neighboring AI kingdom(에스), you’ll have to be keeping out for diplomats, and potentially military, though the latter will be rare in the early years.
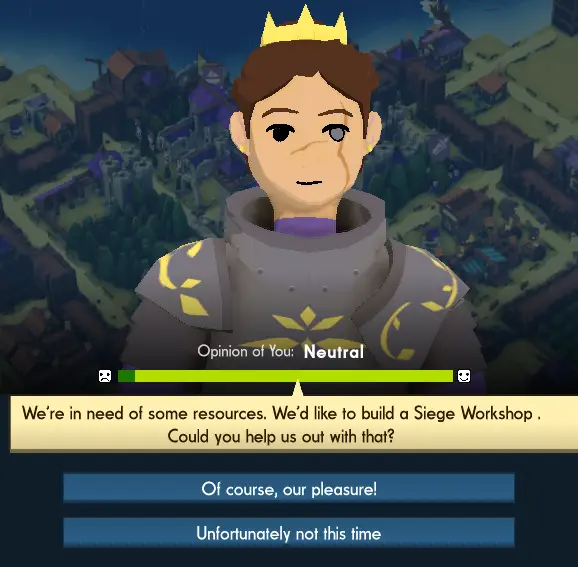
This will mostly consist of you trying to maintain relationships with other kingdoms, each will ask different things of you. These things will consist of sending troops for the next Viking attack, sending supplies to help in construction, or paying tribute in gold. Failing to do enough of these will anger the AI and eventually spark war.
늑대
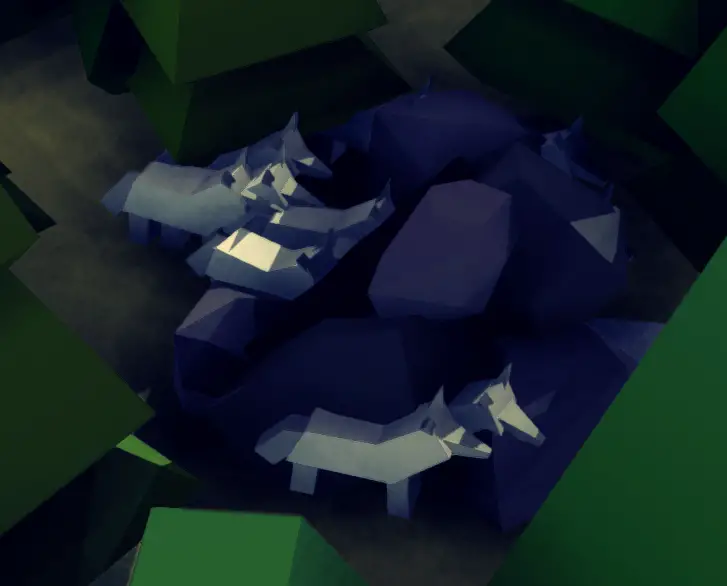
When chopping trees and expanding into the forests, caves will be inhabited by Wolves, which will have a chance to attack and kill a citizen who enters its range, aside from Foresters. These can be dealt with by Archer / Ballista Towers or individual Archer or Swordman units.
Construction Requests
At certain population thresholds, and also recurring as these buildings fill up, your citizens will request certain buildings be constructed. These requests will give a flat penalty to happiness until fulfilled. These requests are
- 50 인구 – Build a Tavern
- 75 인구 – Build a Church / 도서관
- 150 인구 – Build a Bath House
- ___ Population – Build a Jousting Arena
The Witch
The Witch’s Hut is a unique structure that occasionally spawns on an island. It is inactive until the player knocks on The Witch’s door, awakening her. 이 후, she will ask moderate sums of random resources once every few years, eventually providing very useful spells for a large sum of gold that do things like instantly kill all Vikings or immediately cure the plague.
Succeeding enough requests in a row will cause the witch and you to be ‘Friends Forever’ and she will no longer make requests.
An interesting interaction is, if you have Churches or Cathedrals, you will get a temporary penalty to Happiness if you use The Witch’s magic, as the clergy doesn’t approve of witchcraft.
Middle Game (100-1499 인구)
Now that you’re leading 100 사람들, you should have a basic flow of resources and gold. This is where you can start working on a few different things:
- Expand your kingdom with defenses and districts
- Starting early diplomacy and creating alliances
- Expanding your army
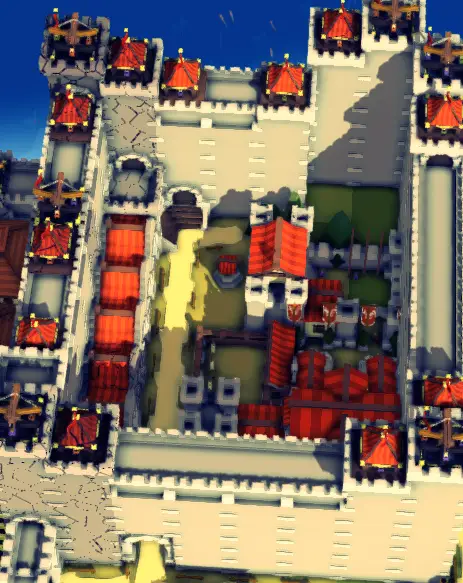
Long-Term Defenses
벽

The Wall is a style of defense focused entirely on Archer and Ballista towers, built atop a huge wall, surrounding all or most of your kingdom.
It’s a very expensive method of defense; 하지만, given a large enough wall, your kingdom can be virtually invincible. This method can turn Viking and Dragon attacks from a regular hit to your expansion into a regular, 크기가 큰, boost to Happiness across your entire kingdom.
Hybrid Defense
A much cheaper style of defense consists of a combination of defensive towers, mostly Ballista towers, and military units. One of the benefit of this method over the previous is that your defensive army can be used to protect allies from Vikings or attack enemies.
Districts
As your kingdom gets larger and larger, it becomes more necessary to plan how your resources will be transported and stored. A useful way of designing large areas is to use Districts. Simply put, districts are collections of buildings that use or store the same resources, made to reduce the amount each resource has to travel.
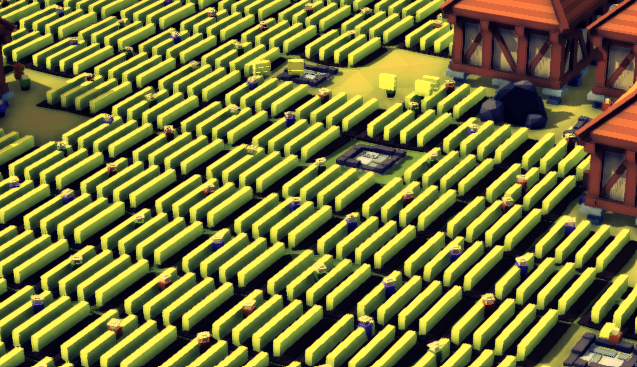
Housing District
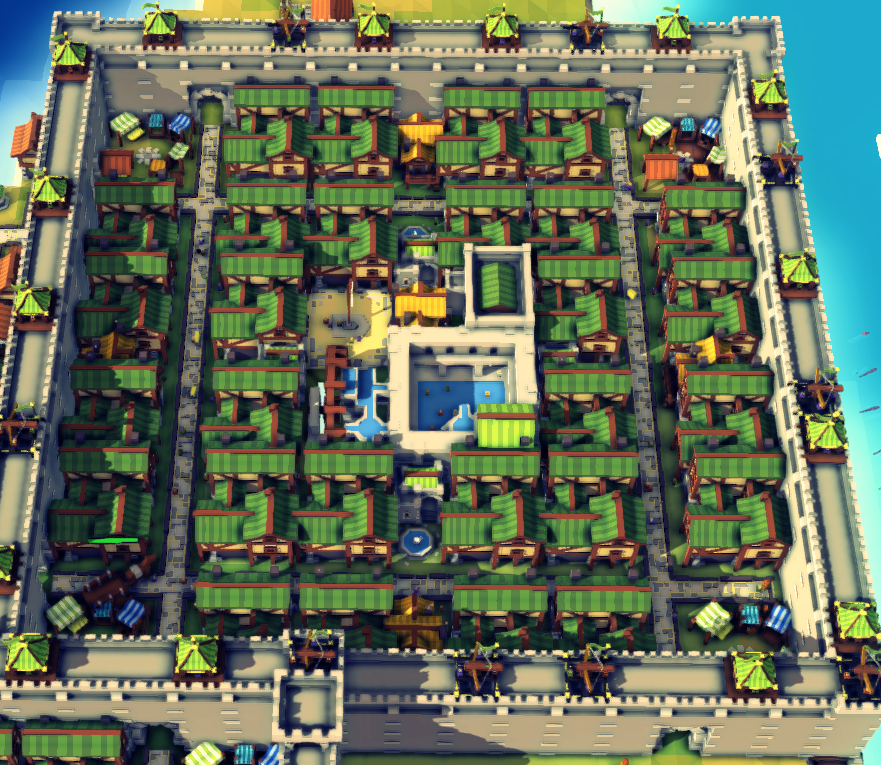
첫 번째, and most obvious district is the housing district, which typically consists of Manors, Taverns, 도서관, Hospitals, Markets, and other buildings used to maintain your population. These can be built near food storage, next to bodies of water, and basically anywhere else away from your Industrial District, that doesn’t cover too much very fertile land.
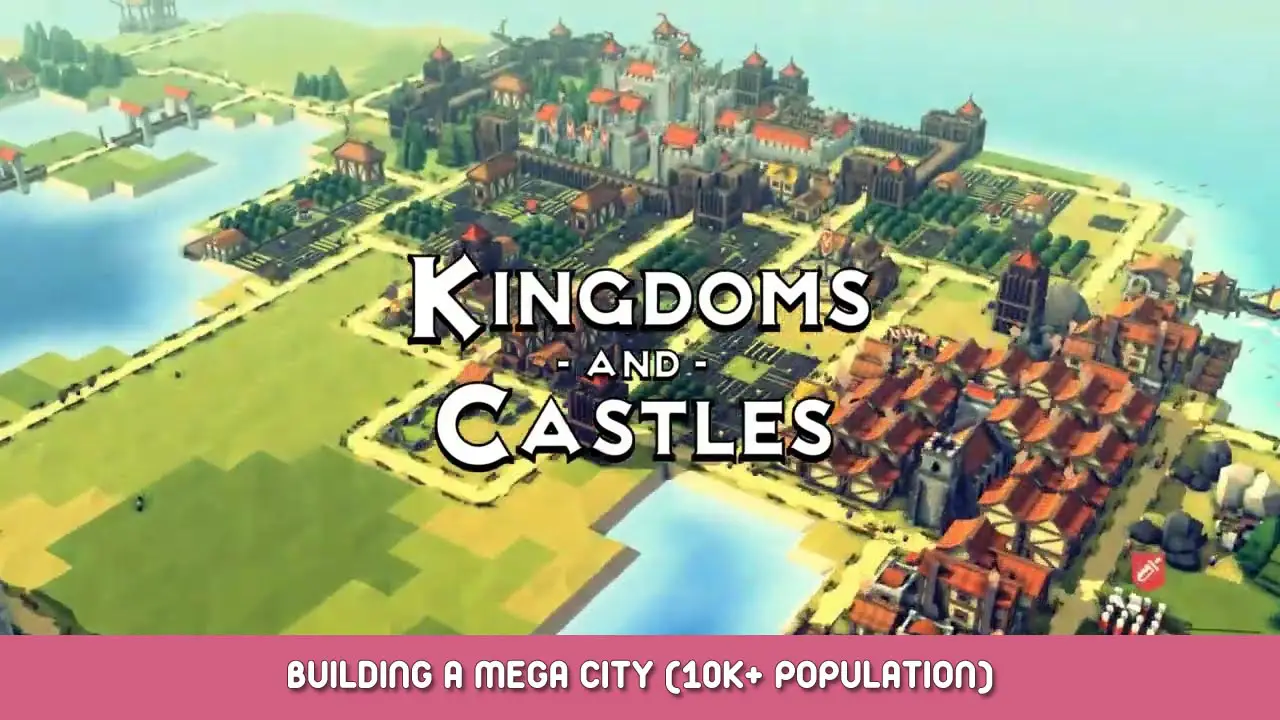
When I have the opportunity, I often use the 700-population housing district by Magic Tuna
Industrial District
The Industrial District sits as a sort of opposite to the Housing District, with Foresters, Quarries, 광산, and Charcoal Makers, along with any other resource-creating buildings, aside from the Blacksmith, which we’ll discuss later.
This district is usually far away from Housing Districts, as it’ll contain most or all of the buildings that give Manors a Happiness penalty.
Farming District
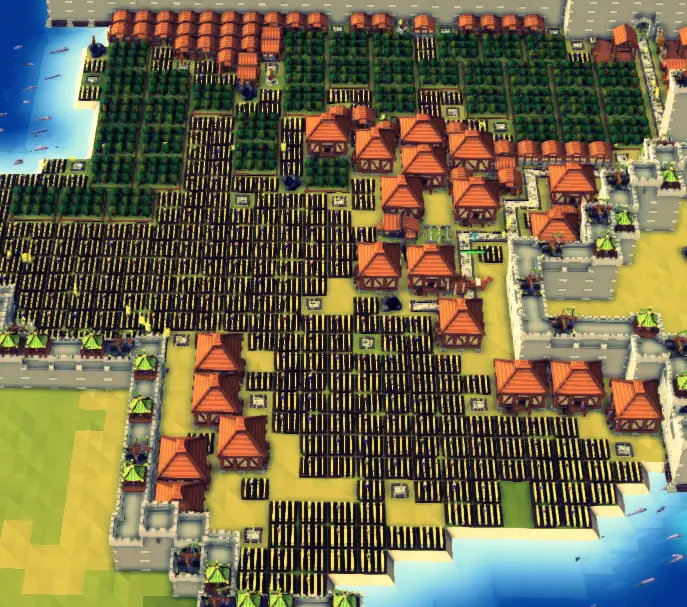
The Farming District is another of the more obvious district and one of the only Districts that almost every player has already made at least once. It only consists of Farms, Orchards, Pig or Fish Industry buildings and their storage buildings.
This District is always going to be focused on the most fertile lands, and will have priority on land for all other Districts.
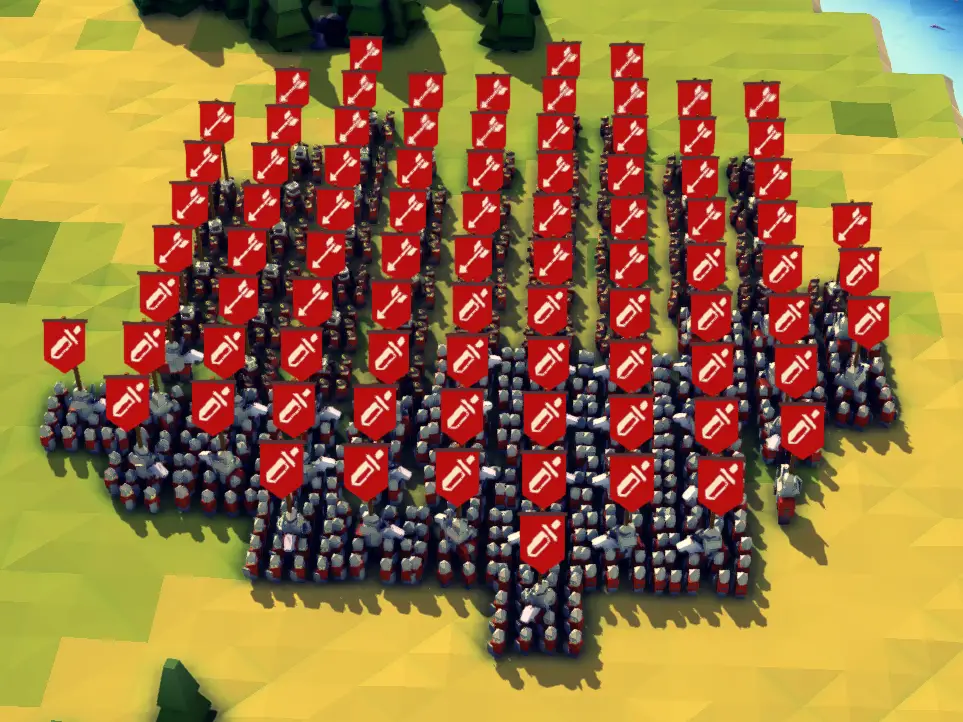
Military District
The Military District is a very useful District for harder difficulties, against more militaristic AIs. It consists of all of the Military Training buildings and will be kept near your industry, centralized in your kingdom. I typically put Blacksmiths near this District, so the distance my Armaments need to travel is as little as possible, allowing me to rapidly increase my army as I need.
Early Diplomacy
While it might be less useful on lower difficulties, as early wars aren’t as common, an early alliance can be the difference between a smooth early game and falling behind your neighbors. A cheap investment, consisting of only a Transport Ship, Hall of Diplomacy, and a single Diplomat, for an alliance or two is certainly worth considering.
Early Military
In the opposite vein, an early war might be just what you need on lower difficulties to secure an island from a neighbor or even completely remove an AI from the game, taking their resources into your kingdom. Your military might will also be a benefit when dealing with Vikings.
게임 후반 (1500+ 인구)
Once you’ve reached this point, you and your neighbors will likely be running out of room to expand your kingdoms. This is where you have a choice for where you want your game to end: Do you want to get the highest relationship with everyone in your world? Or do you want to be the last kingdom standing?
Peace Talks
Going through the route of peace is the easiest option, but not without its complexities, especially if you’re already at war. The simplest way to go about this is to pay off every other kingdom until you’ve allied with them. The way you go about getting this hefty sum of gold or resources is dependent on your citizens’ Happiness and the resources on your island.
World Domination
Military conquest is the longer, more resource-intensive end goal for any particular world. It’s more taxing on your citizen’s Happiness and resources, and requires more planning than the previous goal.
As the years progress, it becomes harder and harder to completely conquer your neighboring kingdoms, which can almost require you to work with allies or Vikings/Dragons to attack your enemies simultaneously.
이것이 오늘 우리가 공유하는 모든 것입니다. Kingdoms and Castles 가이드. 이 가이드는 원래 작성자가 작성하고 작성했습니다. NamelessProphet. 이 가이드를 업데이트하지 못한 경우, 다음을 수행하여 최신 업데이트를 찾을 수 있습니다. 링크.