This guide has everything I’ve discovered about Endless Endurance Extreme. This includes how to handle resources, the rules, 기술, and ways to make your time last longer (but not stop it) in this freezing, desolate place.
소개
I started making this guide to help a friend who was new to Endurance Extreme. 그래서, some details might seem very specific, but that’s on purpose.
This guide won’t make you an expert at surviving every situation in Endurance Extreme. I can’t promise that. It’s just a so-so guide to help you survive, not a guarantee. 그러나 여전히, I hope it gives you some helpful info for surviving in the Frostland and becoming a leader among the struggling survivors.
The guide will be split into different sections, not tied to specific days, but they’ll take you through the different stages of your city, from the first day and preparation to key milestones that keep you alive. 하지만 기억해, if you ever feel like you’re winning, something’s seriously wrong, and you need to fix it quickly.
I’ll also mention some cities I have in Endurance Extreme, some set up just for this guide, and others that made it far. You don’t have to copy them exactly. This is a guide, not a rulebook. Do what you like, and if you find something that works better for you, 그것을 위해 가십시오.
Endurance Extreme Difficulty
Endurance Extreme is the toughest challenge in Frostpunk. Your resources are very scarce, your people are always unhappy and on the brink of rebelling, and the weather is relentlessly trying to wipe you out. But don’t be disheartened; if you’re up for some serious suffering and can handle a bit of in-game suffering, completing this challenge is a big achievement.
This mode is super tough due to some unique rules, and while they might seem unfair, they actually exist in other difficulties, but you might not have noticed. Here are some key differences:
- Discontent is a big deal. It doesn’t just risk rebellion; it makes people sick. Not a small bit like in normal difficulty, but in a way that makes any health issues way worse and drains your medical facilities.
- Sickness is everywhere, and you’ll have a certain number of sick people every day, no matter what you do. 을 더한, the cold makes them even sicker, and lots of people might die quickly if they’re out in the cold.
- Hunger is a big problem. People get hungry faster, and they can reach the point of starving really quickly, not like in normal difficulty where it takes longer.
- The temperature is brutal. It frequently drops to unbearable levels, and there’s a storm every 12-15 날, sometimes even longer. This makes things even tougher.
- People are not happy. Discontent rises fast, and hope falls quickly. Even small changes in these are like big changes in normal difficulty, 그리고 때때로, if things get really bad, your city might not make it. Reducing discontent and increasing hope barely helps.
- There aren’t many resources in the Frostland. You get very little from each location, and the Storm Shelters are off-limits. Out here, it’s almost like you’re all alone, and resources are hard to come by.
Buildings and Heat
When it comes to planning your city in Frostpunk, it’s crucial to think about which buildings work when it gets cold. 일반적으로, buildings must be at least Chilly, Liveable, or Comfortable to function. 그래서, when planning your city, make sure that buildings like Medical Facilities, Hothouses, Cookhouses, and a few others are connected to your heating infrastructure. 반대로, some buildings must be kept cold. 내가 아는 한, the only one is the Body Pit, which is relatively easy to manage. It won’t naturally get too warm, so you just need to keep it away from Steam Hubs and the generator, ideally at the edge of the map.
As time passes, the temperature in Frostland drops significantly, but you can counteract this with various upgrades and infrastructure, ~에 이르기까지 -20 에게 -90:
- ~에 -20, you don’t need to worry too much. Most structures are insulated, making them Comfortable. The generator only needs to be on if you have homeless people at night.
- When it drops to -30, it’s similar to -20, but everything is Cold. This means insulated structures are at Chilly, but more people will get sick from working in the cold. 아직, the generator only needs to be on if there are homeless at night.
- ~에 -40, things get tougher. Early insulation won’t keep buildings at Chilly or higher, so it’s better to keep the generator on to prevent people from falling ill in the Very Cold temperatures. This is when you’re limited to 2 Medical Posts without steam hubs or heaters.
- When it goes down to -50, it’s very painful. Everything is at Freezing baseline, so insulation and the generator only bring it to Cold. Gathering resources from piles without a gathering post is extremely dangerous. You need overdrive, heaters, or the first power upgrade for things to function.
- ~에 -60, you’re close to Storm temperatures before the first Storm. Everything is below Freezing, and without proper heating, your people will die rapidly. You need multiple heating boosts, steam hubs, and many medical posts to have a chance.
- -70 is the temperature of the first Storm, and it’s a significant test for your city. Without boosted generator power, overdrive, and heaters, all workplaces will be below chilly, your medical services will struggle, and people will die too quickly for you to keep up.
- -80 is even worse than the first Storm and comes later. It’s similar to before, but even harsher. You need either an insulation upgrade or a new heating boost to keep your city functioning. In a worst-case scenario, Field Kitchens consume your rations but provide warmth equivalent to 1 heating level.
- -90 is the temperature for much later storms, a brutal descent that leaves many vital functions in your city unable to work. You need multiple upgrades and established Steam Hub infrastructure if you want a chance of survival.
낮 1: Temperature and Planning
하루에 1, everything begins, and you need to move fast. 첫 번째, pause the game and assess the situation. Check where your resource piles are, how close they are to a gathering post’s reach, 그리고 가장 중요한 것입니다, look at your starting temperature and forecast. There are a few possible starting temperature setups, and here are some of them:
- Quick Drop – You start at -20 and by Day 4, it drops further to -40.
- Slow Descent – You begin at -20, then on Day 3, it drops to -30, and on Day 5, it drops to -50, but on Day 7, it returns to -30.
- Bounce and Drop – You start at -30, then on Day 3, it goes up to -20, and on Day 5, it drops to -40.
- Painful From the Start – You begin at -30, but on Day 3, it drops to -50.
This temperature setup is a major factor in deciding your initial strategy. Temperature directly affects sickness rates, whether certain workplaces can even function, and how quickly people will die in the cold.
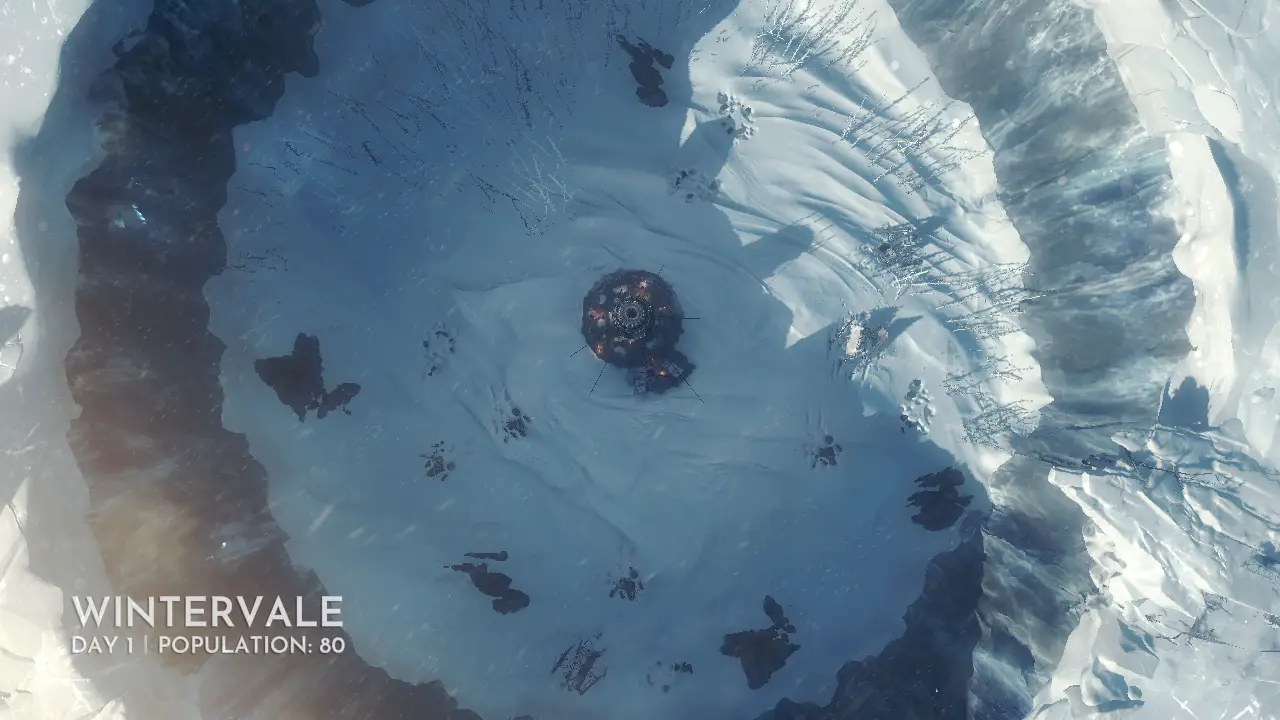
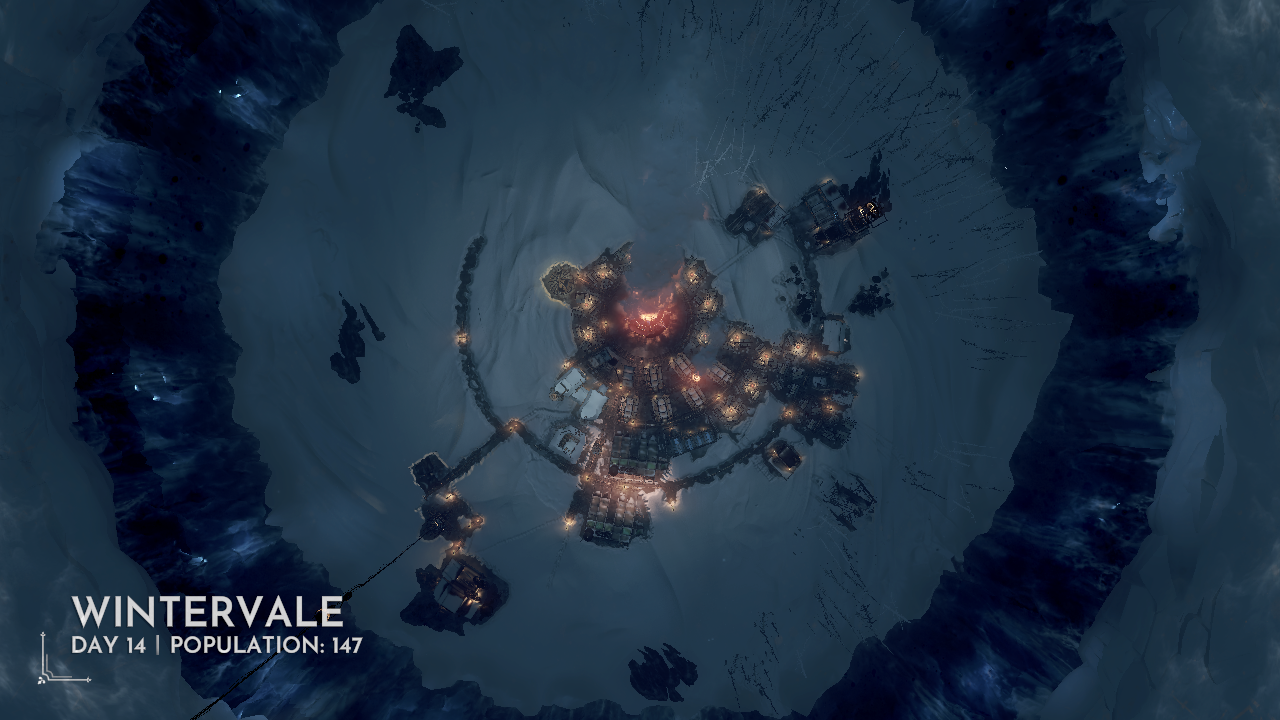
Let’s take an example city, Wintervale, set up for this guide and starting with a Slow Descent forecast. 이 경우, the city doesn’t need to worry about medical posts, hothouses, and cookhouses losing functionality quickly since they’ll only drop to chilly on Day 3. This allows more time to invest in heating by Day 5. 하지만, it means the resources that would typically be used for faster heating can be allocated elsewhere, like resources or gathering posts later on.
As for the first steps your city should take, you should sign the Child Labour – Safe Jobs law. It’s possible to succeed without Child Labour, but I’m here to teach you how to survive, not to show off. 그래서, to avoid being wiped out, it’s better to choose this option. 이후, assign all children and workers to Wood Crates, and the remaining 5 workers should be sent to gather steel wreckage with the help of 5 engineers. You should also build a street extending from the left of the stockpile to project away from the generator by one tile. 여기, you’ll construct two Workshops in line with the road. 지금, you face the next choice: 기술.
There are a few set paths for technology that I follow based on the temperature forecast and the strategy I want to pursue:
- 층 2 기술 > Hothouses > 봉홧불 > Faster Gathering: This path is good for establishing food infrastructure early. You can staff functioning hothouses sooner, but it significantly delays your access to scouts.
- 봉홧불 > Faster Gathering > 층 2 기술 > Hothouses: This route is excellent for quickly getting to the Beacon, but it carries a risk of not having enough wood to recruit scouts when the Beacon is finished, potentially wasting time.
- Faster Gathering > 봉홧불 > 층 2 기술 > Hothouses: This is my favorite route. It boosts your resource collection before you get the Beacons, allowing you to send scouts out with 13 days before the storm while still having enough resources for infrastructure.
지금은, choose your first research, keep an eye on your resources, and make sure your plan is on track. 하루가 끝날 무렵, you should have enough resources to build 2 Medical Posts (reassign the 5 engineers from the Steel Wreckage to the medical posts, splitting them 3-2 between them; they still function at max capacity), 8 tents (wait until you accept providing shelter for everyone to gain extra hope), and a cookhouse (build a street extending up from the right of your workshops to align the cookhouse behind the workshops). You should also have some spare steel for later buildings. ~에 22:30, turn on the generator; it will turn itself off when your 50 coal runs out, but it prevents people from dying while tents are being built. Don’t rely on the Heating is Off message; it may not always appear and has caused many failures when I forget to turn on the generator, leading to the death of most people.
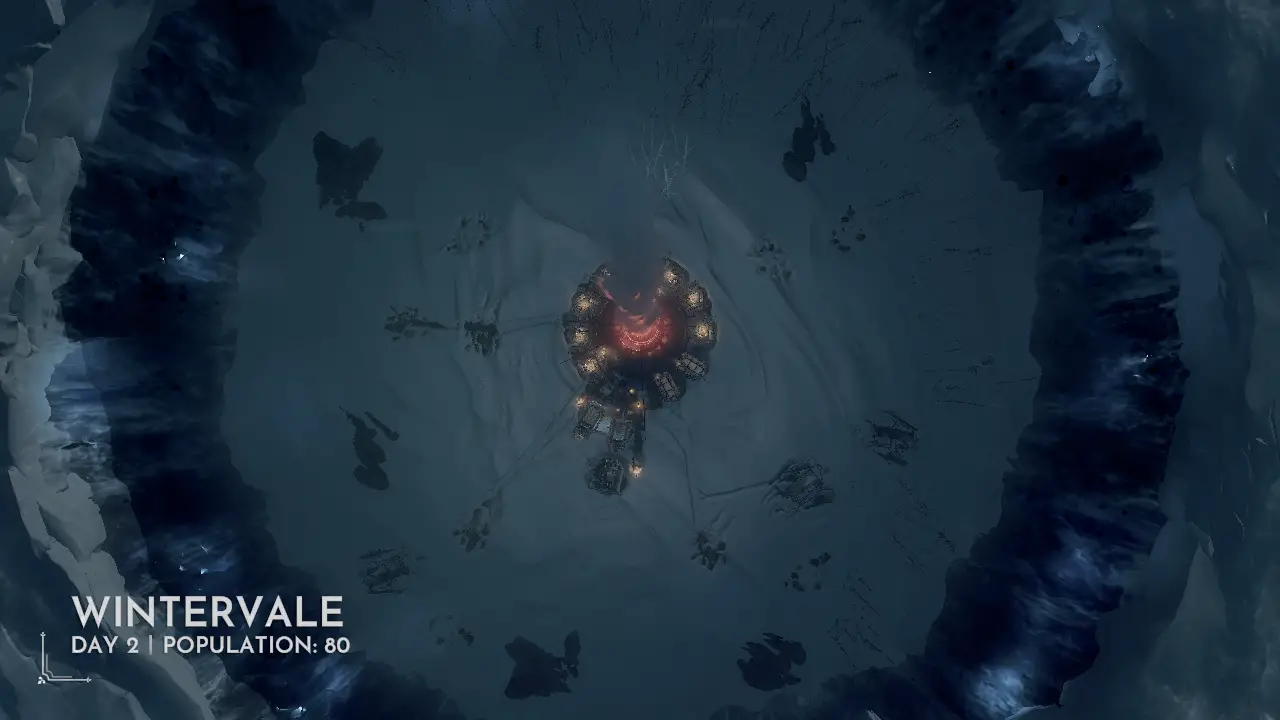
낮 2: Early Infrastructure
낮 2 is a bit of a breather, one of the rare relaxed days you’ll experience. The goal for today is simple: let resources pile up and finalize your initial preparations. Here’s what you should do:
첫 번째, sign the Soup law as soon as you can after signing another law, just after midnight on Day 1. Around midday, your research for Faster Gathering should finish. Pause the game immediately. 다음, select the Beacon for your next research, but before you unpause the game, 이동하다 15 children from wood crates to coal and fully staff the Steel Wreckage that 5 workers had been gathering.
하루가 끝날 무렵, you should have around 100 나무와 50 강철. 지금, it’s time to plan where to place gathering posts. 이상적으로는, you should position them within the range of 3 resource piles. If there are only 2 coal piles in one radius, gather those too; I call them Coal Posts, and they are crucial for early coal production. There should be just one Steel Wreckage outside the range of these gathering posts, which should be manually staffed. The other piles are managed by workers and 10 어린이들, ~와 함께 5 of them working in the cookhouse.
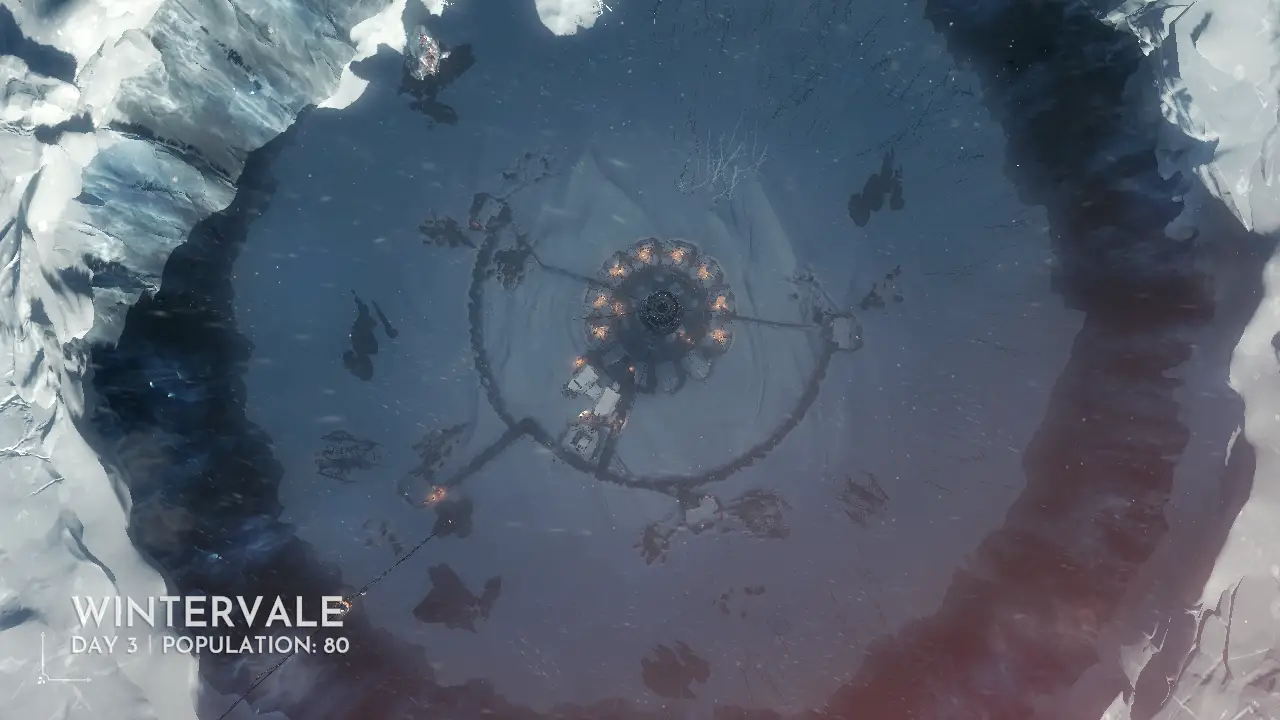
If everything has gone according to plan, your city should look like this, with well-placed roads linking your gathering posts to the city. This increases productivity and prepares for the incoming cold. These roads will also prove useful later for things like industry, body pits, and the beacon. 예, you’ll be disposing of your deceased in the snow, and yes, those organs will still be usable weeks after being left out to freeze. 지금쯤이면, you should also have a new law available. Use it on Radical Treatment, aiming to reach Overcrowding, and then you’ll work on getting Extended Shifts.
낮 3: The Beacon
낮 3 has two main goals: gathering resources and constructing the beacon. By midday, your beacon research should be complete, and you must immediately set it to build. This task will be handled by your spare 20 노동자, and it’s essential to form scouts as soon as it’s finished. Keep in mind that today marks the first change in temperature for some forecasts, so be mindful of that.
그 동안에, you should begin researching Tier 2 Technology to get closer to raw food production. 게임 초반에는, you don’t need to worry too much about food, as producing soup should give you 200 food rations, which will last you from Day 3 to approximately Day 5, giving you enough time to build and run the hothouses. The reason for choosing hothouses over hunter huts is simple: non-upgraded hunter huts are inefficient. They produce 11 raw food per day for 15 노동자, compared to the roughly 2.7 food per hour (32.4 per a standard workday and 43.2 per extended shift) ~을 위한 10 어린이들, engineers, or workers in a hothouse.
하루가 끝날 무렵, you should also have enough spare wood to build 2 medical posts. This is a necessary investment to keep the number of sick people down due to contagion and prevent deaths. To position them for later Steam Hubs to cover them, place them behind your current medical posts next to your workshops. To staff these new medical posts, simply remove 4 engineers from your workshops and split them 2-2 between the new medical posts. 당신이 원한다면, you can also remove one engineer from the medical post with three of them to help cover the gap in your research capacity. Overnight, construction should be complete, and your people will be prepared for tomorrow.
낮 4: Branching Cities
낮 4 marks a shift in this guide, where it becomes more of a handbook, providing advice rather than a strict progression. This is because temperature and scout exploration will vary widely, and your city might be quite different from others in terms of population and resources. 하지만, the guide will still cover certain milestones and goals your city needs to survive.
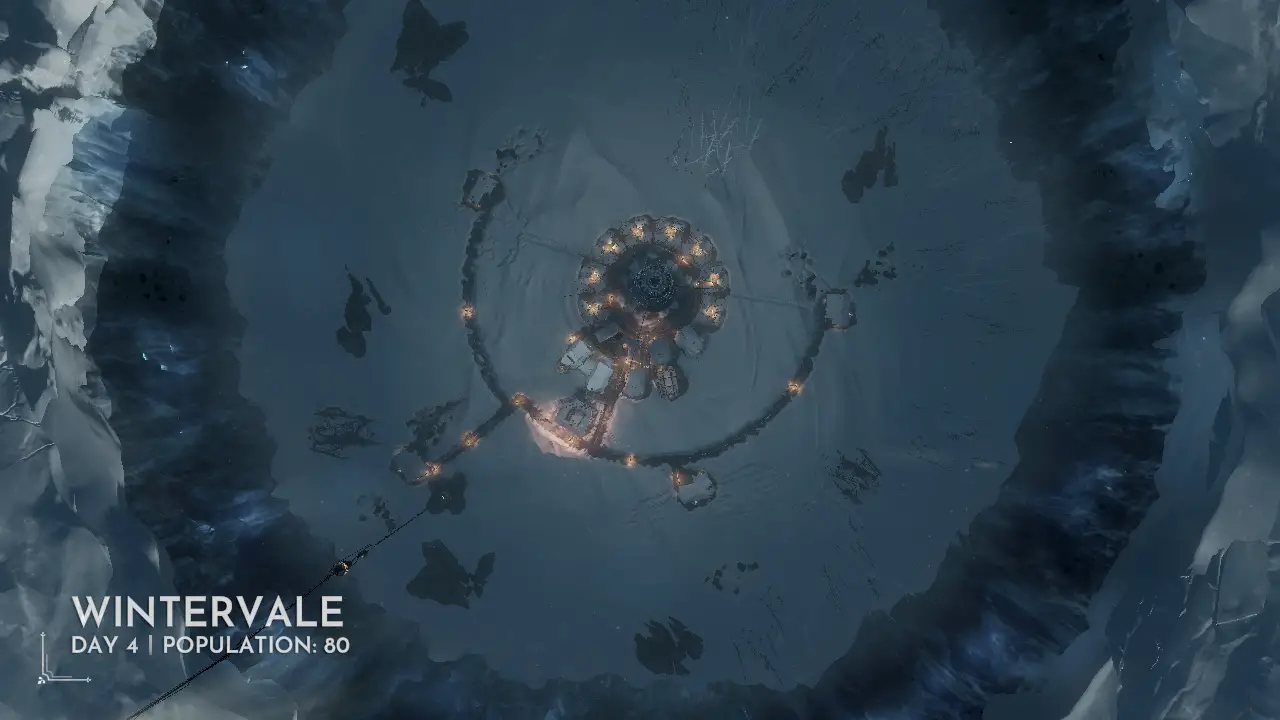
Now that your scouts are searching for resources and survivors, you can shift your research and resource focus toward establishing essential infrastructure. This will likely involve building Hothouses, sawmills, steelworks, and later on, coal mines. 지금은, consider building one or two sawmills and 3 Hothouses, and that should sustain you for a few days. Keep in mind that the temperature will drop, and Hothouses might not function properly without Steam Hubs or Heaters.
이상적으로는, your city should be producing a decent amount of materials, 음식, and coal to secure its future growth. 하지만, there’s still room for expansion before the storm hits. 지금은, focus on planning the gathering of more steel and wood to build bunkhouses and expand your industry.
Before Storm 1
Preparing for the first storm can be challenging, but it’s essential to secure power upgrades and enough food rations to survive. The good news is that you only need enough food rations to feed your people for the first night, as you can start growing food after the storm to prevent starvation deaths. One strategy to consider is waiting until just before or a day before the storm hits to build Coal Mines. You can temporarily dismantle your Hothouses to turn the Steam Cores into mines for the coal needed.
In terms of other preparations, it’s a good idea to focus on upgrading to bunkhouses, gathering people with your scout group (if you built it in the first few days, 당신은 얻을 수 있습니다 2 groups of people before the storm, bringing your population to around 125), and stockpiling enough materials. This will allow you to pull people out of sawmills and steelworks during the storm to conserve Steam Hub usage.

이상적으로는, by the time the storm arrives, you should have completed the Extended Shifts, Overcrowding, and Organ Transplants trees, with a few optional laws like Fighting Arenas and the early Faith Tree (Faith is often recommended over Order due to its lower manpower use, massive ranges, and the benefits of Field Kitchens). One common mistake to avoid is agreeing to pay food rations for every emergency shift. While this helps prevent deaths, it can lead to an emergency situation that prevents you from using the emergency power specifically to fix the problem. 추가적으로, prepare for temperatures as low as -70 during the storm, which means you’ll need Generator Power 2, overdrive, and heaters to keep Medical Posts operational.
There are two main types of storms: one that’s normal and one that can easily devastate your city without warning. The first type drops the temperature from -40 에게 -70, lasts for 2 날, and then suddenly jumps back up to -40 또는 -50. The other type has a more gradual temperature decrease, beginning 2-3 days before the storm hits, lasting for another 2-3 days after the storm, and finally reaching normal temperatures. Be prepared for both scenarios.
Surviving the Storm
The first storm is a major test for your city and may lead to the downfall of your early successes. Temperatures drop to -70, making hunting and food growth impossible, and heating medical posts becomes a challenge. Your coal consumption will be high, and illness will grip your city. But with careful management of your infrastructure, industry, and generator, you can balance the consumption of coal by Steam Hubs with the need for resources and healthcare, attempt to keep people from falling ill in the cold, and try to slow the inevitable deaths.
While Wintervale didn’t survive the storm, it was well-prepared. 하지만, pre-existing issues, like a hampered food industry due to wood shortages, caused hope to crumble, leading to an uprising. This issue is less likely to affect your city if you handle it correctly. Faith can boost your hope with various abilities, and careful use of Extended Shifts and overdrive before the storm allows you to delay the ultimatum until after the storm, giving you a chance to recover later.
Surviving the storm itself mostly involves focusing on your coal industry and hoping for the best. If there are any construction or upgrades, like Bunkhouses, that you couldn’t afford before the storm, it’s okay to do them during the night. The residents will upgrade them before it significantly impacts their health, and the higher insulation provides a net gain.
Post-Storm Recovery
Recovering from the aftermath of a storm is a critical phase, even for well-prepared cities. It involves securing food production, sending scouts to find more people, and maximizing your medical capacity to prevent your city from deteriorating.
The most urgent part of recovery is ensuring food production, as you likely didn’t have enough to last through the storm, and people are getting hungry. The best way to address this is by converting some Coal Mines back into Hothouses and implementing Extended Shift-Aid to tackle the food crisis.
추가적으로, it’s crucial not to halt your research, no matter how tempting it may be to fully staff Medical Posts. The next storm is on the horizon, and it will be more challenging, so you need to keep progressing.
Another essential goal is increasing your city’s population, as you’ll need to scale up your industry and healthcare in preparation for the next storm. The best way to do this without automatons is to find survivors. 다행스럽게도, you should have researched Extra Scouts during the storm, so you can secure 2-4 groups of survivors before the next storm, helping solidify your city’s growth.
In emergencies, you can house these new arrivals near the Steam Hubs for industry, ensuring they stay in a warm environment for most of the day. This can be a useful trick for managing housing during the recovery phase.
보너스 팁
Even though this guide provides most of the general tips and tricks for learning and surviving Endurance Extreme, I’d like to share a few additional pieces of advice for your survival and overall success. These tips can further enhance your gameplay and help you navigate the challenges of this extreme scenario.
- Manage Discontent with Extended Shifts and Faithkeepers: Discontent can be challenging to manage, but Extended Shifts and Faithkeepers can act as a Discontent bank. Each Extended Shift produced (and removed when disabled) reduces Discontent by 3%, and Faithkeepers can quickly decrease Discontent by 25-30% when fully staffed. 이것, combined with the significant reduction in Discontent when homes go from Chilly to Liveable due to overdrive, makes it easier to manipulate Discontent Ultimatums for free hope and reduces the risk of uprisings.
- Always Keep Scouting: Continuous scouting is vital for your city’s survival. You’ll inevitably lose some people, and the only way to keep up with increasing coal and resource demands is to have more residents available to staff workplaces and industries.
- Prioritize Hope Over Discontent: Hope is more critical than Discontent because it’s much harder to raise Hope compared to reducing Discontent. Focus on maintaining some hope, even if it means dealing with some discontent, rather than letting hope plummet to the ultimatum level to avoid discontent. Laws and decisions that raise hope with minimal cost can be very useful in this regard.
- Don’t Sacrifice Danger for Caution: In some situations, it might seem better to limit your city’s industry to avoid having people work in extremely cold workplaces or sending children into mines. 하지만, it’s important not to be overly cautious at the expense of your city’s survival. Extreme measures to prevent danger can lead to catastrophic outcomes, like mass starvation or a generator failure in severe cold.
- Archives and Artifacts are Late-Game: Focus on surviving the early and mid-game challenges. Archives and Artifacts can be tempting, but they are late-game pursuits. Risking the lives of your scouts or consuming valuable resources for relatively minor benefits is not advisable. If you want the Archives achievement, consider trying it in an easier playthrough where you can build the necessary infrastructure and then manage scouts while the game progresses on maximum speed.
결론
While this guide may not claim to be the ultimate wisdom of a supreme video game master, I hope it does provide valuable insights into how to start a city in Endurance Extreme. Even though it may not offer an exact method, it aims to help players with strategies for this challenging scenario. If you decide to return and expand upon it with information about late-game strategies in the future, that would be a valuable addition. 그동안, I’m here to assist with any other questions or topics you’d like to explore. Good luck with your ongoing endeavors!