
- 제목: Freddy Fazbear's Pizzeria Simulator
- 출시일:
- 개발자:
- 발행자:
Information about Freddy Fazbear's Pizzeria Simulator is still incomplete. 이것을 사용하여 게임의 세부 정보를 입력할 수 있도록 도와주세요. 문의 양식.
This guide presents a clear and reliable strategy for surviving the most difficult office sections in Freddy Fazbear’s Pizzeria Simulator and obtaining the 수료증 (aka the 진정한 결말).
소개
Before we begin, it’s crucial that you have a good set of headphones which can distinctly tell apart separate noises on each side. It’s highly recommended that you adjust your audio settings and test out this functionality beforehand, since being able to tell which direction audio cues are coming from in this game is a must.
After ensuring that your directional headphone sound is working, you should also turn your volume way up. 안타깝게도, much like in FNaF 4, this means that jumpscares will be extra loud as well, but it’s necessary for you to be able to hear the animatronics scuttling in the vents among other loud noises, like the printer or the ventilation.
그 일을 방해하지 않고, 시작하자. This guide will be separated into two sections:
- 준비
- Gameplay Strategy
준비
This section will be delving into how to prepare for the office survival sections beforehand, by planning out how you spend your money and what you purchase during the pizzeria tycoon sections of the game.
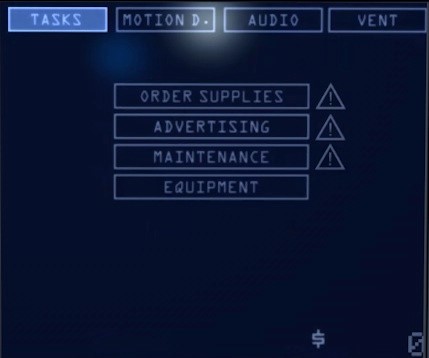
먼저, DO NOT ACCEPT ANY ADVERTISING OFFERS! Not having to deal with random 5 second ads makes all the difference when you have four murder-robots on your tail.
둘째, you should acquire the equipment upgrades as early as possible. They can only be purchased inside the office section itself, but you can only obtain them if you have enough cash left at the end of the daily pizzeria management section, so it’s something to keep in mind. There are three equipment upgrades, costing a total of 1900 불화:
- x2 Printer (500$)
- Hi-Spd Uplink (500$)
- Hire Handyman (900$)
Each upgrade reduces the time that tasks in a specific section take to complete. The order in which you purchase them is up to you, as long as you get them as early as possible. I got the handyman (900$) on the first day, and the other two (1000$ 총) on the second.
마지막으로, avoid getting the back alley animatronics inside your restaurant earlier than needed. Simply avoid marked-down offers altogether until you’ve salvaged all four of them, since the cash you get from salvages is better anyway, and you also give yourself time to upgrade everything as well as a smoother difficulty curve. DO NOT BUY LEFTY UNTIL YOU’VE ALREADY SALVAGED IT.
Gameplay Strategy
괜찮은, now onto the real deal. 가장 먼저, forget about the Motion Detector and Audio Lure, they’re unreliable, distracting and a waste of time more often than not, especially as the difficulty ramps up. Every moment that your computer is on, you should have Silent Ventilation running. Silent ventilation makes the room heat up slower when you have the main ventilation turned off, meaning that you can keep that noisy thing off for longer periods. And since it doesn’t require your attention in any way once you activate it (unlike the other two), it also means that you can simply focus on tasks when a window of opportunity shows up.
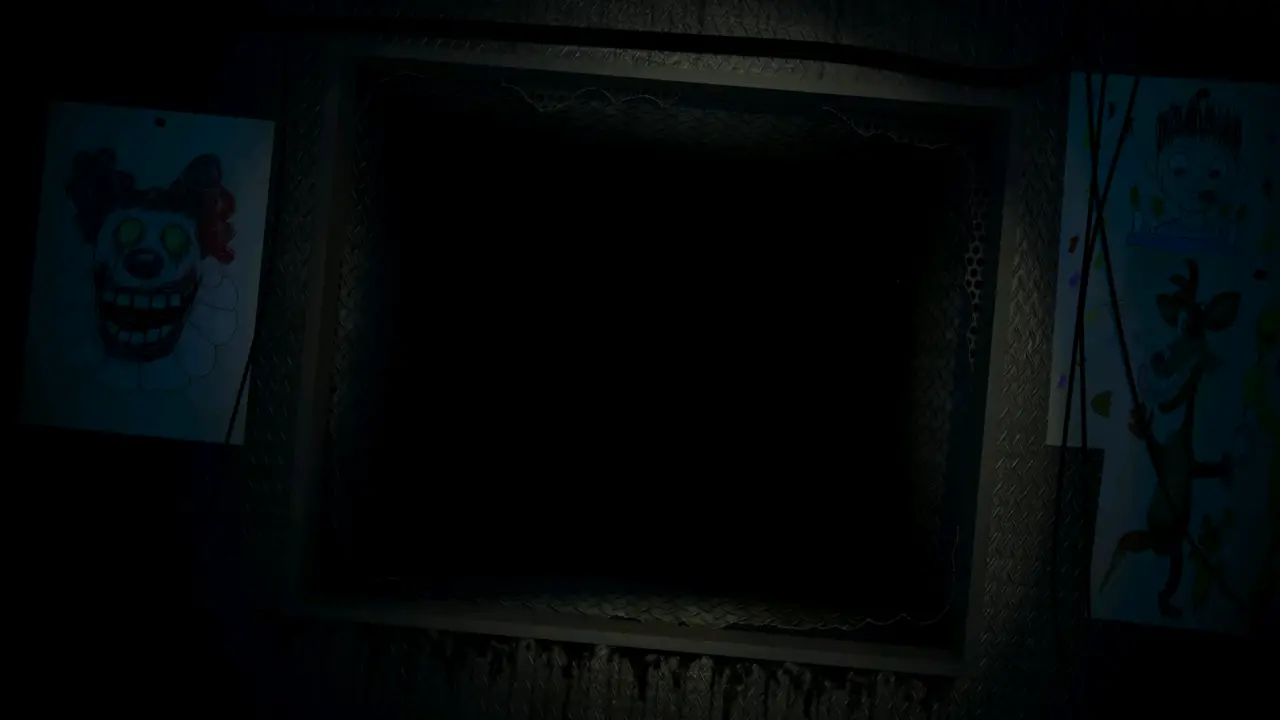
Another very important thing to keep in mind is that when both the fan and your computer are turned off, your office is dead-quiet, preventing the animatronics from attacking. This is absolutely essential when you find yourself cornered from both vents, and it’s almost guaranteed to succeed. (물론, still flashing your light in the vents even when everything’s turned off is advised. Your flashlight is almost guaranteed to deter the animatronics from the vent you’re staring at, no matter how loud your office is.)
마지막으로, let’s discuss how animatronic sound cues work in this game. Unlike the Ennard fight, an animatronic will NOT make a noise when they get in the vent, and another noise once they leave. Rather, when it gets into a vent next to you, an animatronic will begin making clanking and scuttling noises (or sometimes dialogue from Molten Freddy, Afton or Scrap Baby) at random intervals until they leave, which is when the clanking will stop. 하지만, there are pauses between these noises, which is why it’s important to keep staring at that vent and listening for around 7-10 초 to make sure the animatronic has truly left.
중요한 – If you are staring at a vent and hear the clanking/scuttling noise in both ears, the animatronic is in the vent in front of you. 하지만, if you only hear it in one ear, the animatronic is in the vent behind you.
With all of that established, here is the step-by-step guide on how to go through each office section:
- As soon as you get inside the office, turn off ventilation and turn on Silent Ventilation from your monitor.
- Once done with that, quickly switch over to the Tasks and start going through them. Always get the printing tasks out of the way first, since the printer is very loud.
- 당신이 이것을 할 때, face the monitor and listen carefully. You will eventually hear a distinct vent noise in the direction of the vent the animatronic is coming from. Quickly turn towards it and face it until it’s silent for about 10 consecutive seconds, meaning the animatronic has left and you can resume your tasks.
- 결국, even with Silent Ventilation constantly on, your office will overheat. When the temperature goes up to around 100 도, turn off your computer and turn on the main ventilation, keeping it on until temperature is around 60-10 도. 그 시점에서, turn off the main ventilation and turn on your computer, select Silent Ventilation again, and resume your tasks.
- If at any point you hear noises from both vents simultaneously, turn off everything and look at the two vents repeatedly until the noises completely stop. Once you are safe, resume what you were doing before.
- If at any point you think you heard something in the vent behind you while you’re distracting the animatronic in the vent in front of you, even if you aren’t sure, turn off everything and check both of them repeatedly. Risking it is NEVER worth it in this game.
이것이 오늘 우리가 공유하는 모든 것입니다. Freddy Fazbear's Pizzeria Simulator 가이드. 이 가이드는 원래 작성자가 작성하고 작성했습니다. TheOneGuy0000. 이 가이드를 업데이트하지 못한 경우, 다음을 수행하여 최신 업데이트를 찾을 수 있습니다. 링크.