
The Ultramarathon achievement requires players to travel at least 960 km. This guide will list an estimation of travel distances for different activities, for better planning on how to get this achievement.
소개
Ultramarathon is one of the hardest achievements to grind in Dying Light 2. There is very little information about it, and most guides are about using a controller and placing rubber bands on the joystick for the player to run infinitely while being idle.
But how do you achieve this legitimately without spending several hours on the game? First it’s needed to know what counts and what doesn’t when it comes to traveling, and how far the distance is for different activities. Activities from the DLC Bloody Ties has no part in this guide.
What counts:
- 질주
- 위세 당당한
- 수영
- 등반
- Using lifts
- Using the elevator in the VNC Tower
What doesn’t count:
- 떨어지는
- Using the Paraglider
- Using Fast Travel
- Using Zip Lines
- Using the Grappling Hook
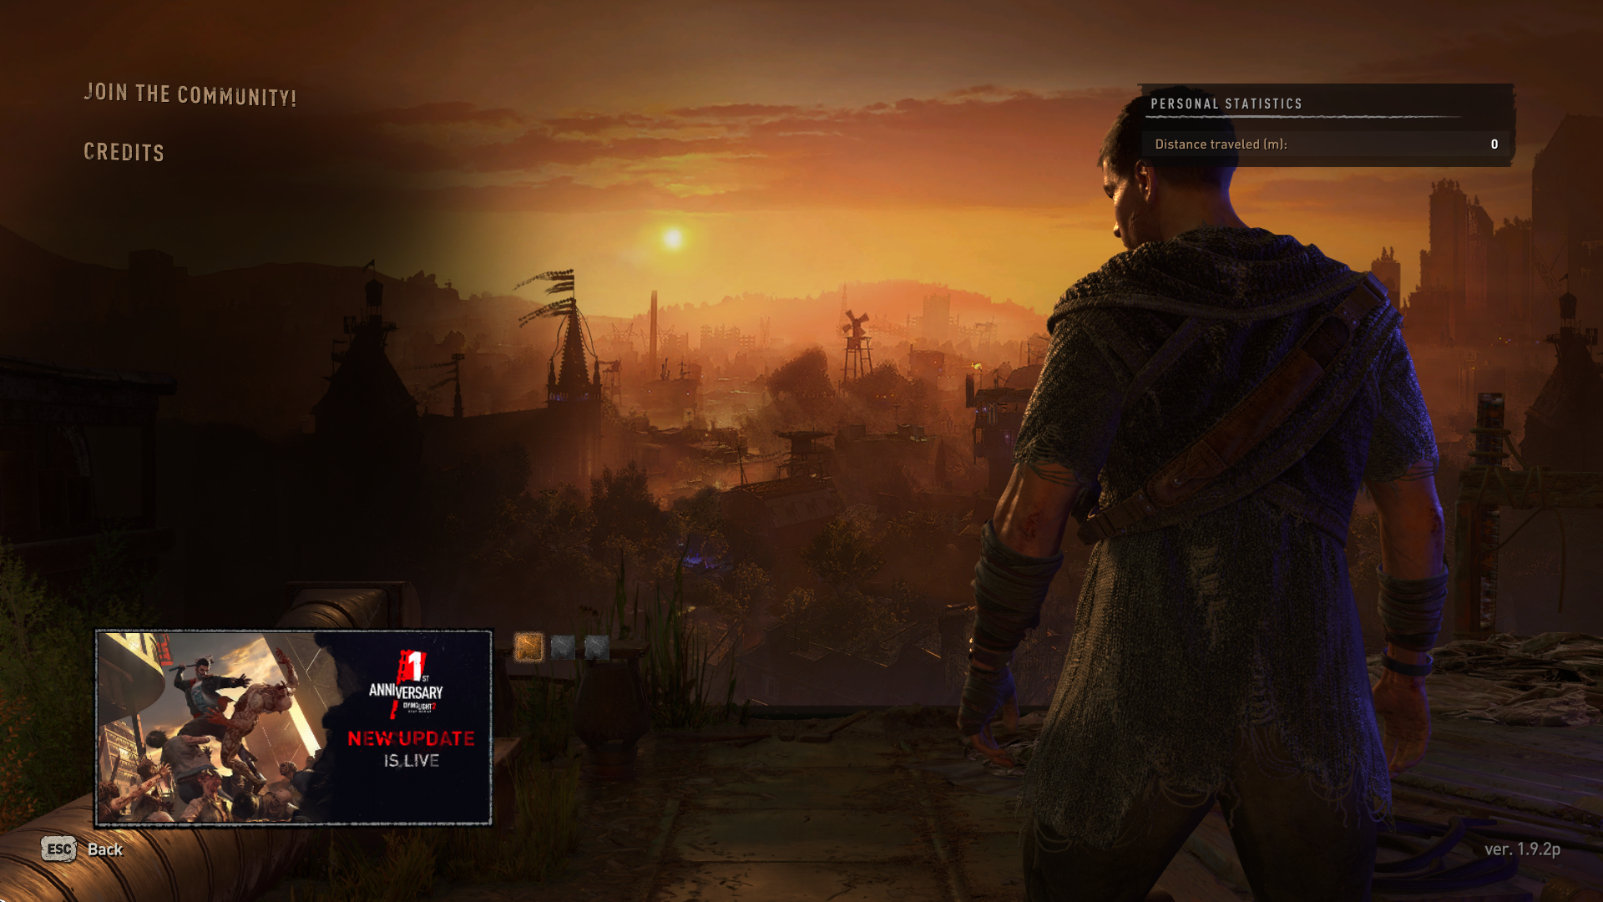
In order to see your current travel distance, head to the main menu and click on
엑스트라. Top right corner of the screen will show how much you’ve traveled in meters.
프롤로그
Doing the prologue can give around 4780 미터, which takes around 1 hour speed-running it.
Statistically re-playing the prologue around 201 times will result in 960 km travel distance.
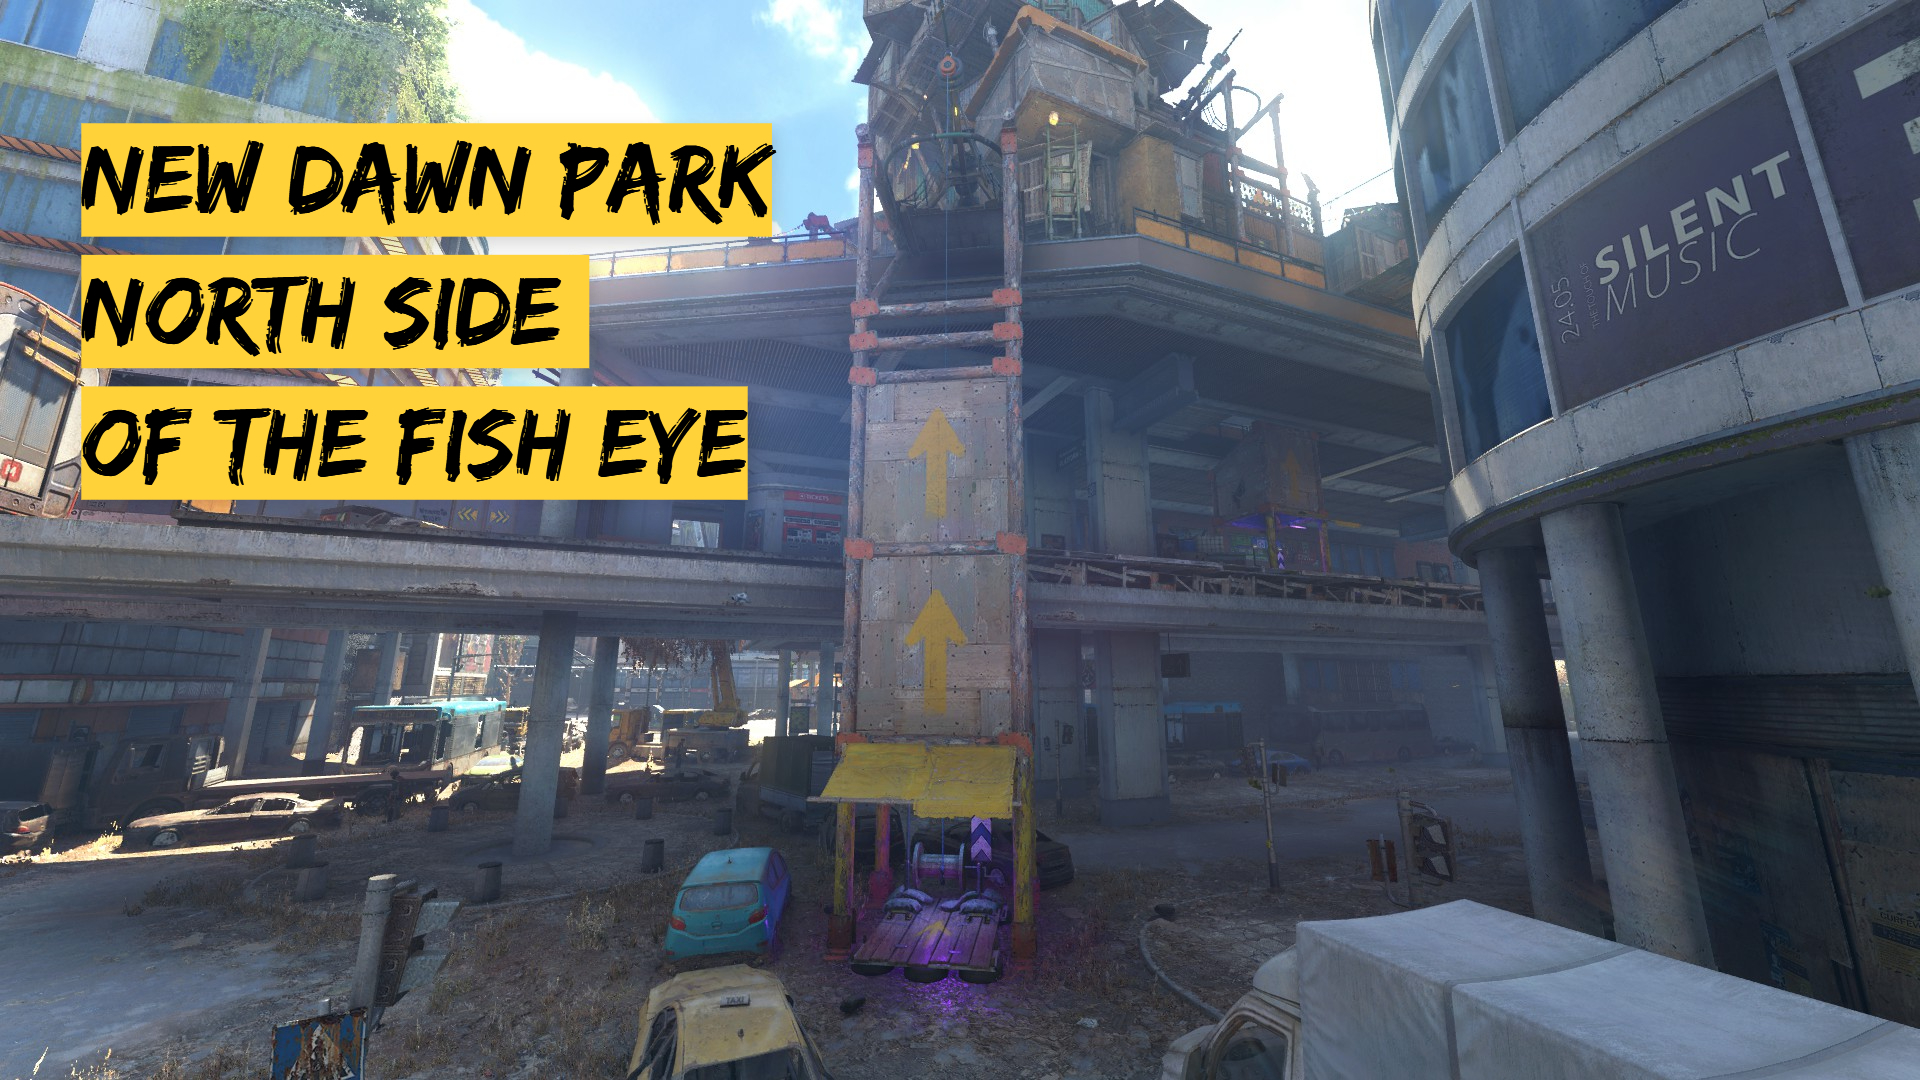
Using The Lifts
Using lifts grants travel distance. I’ve estimated the distances for some lifts in Central Loop.
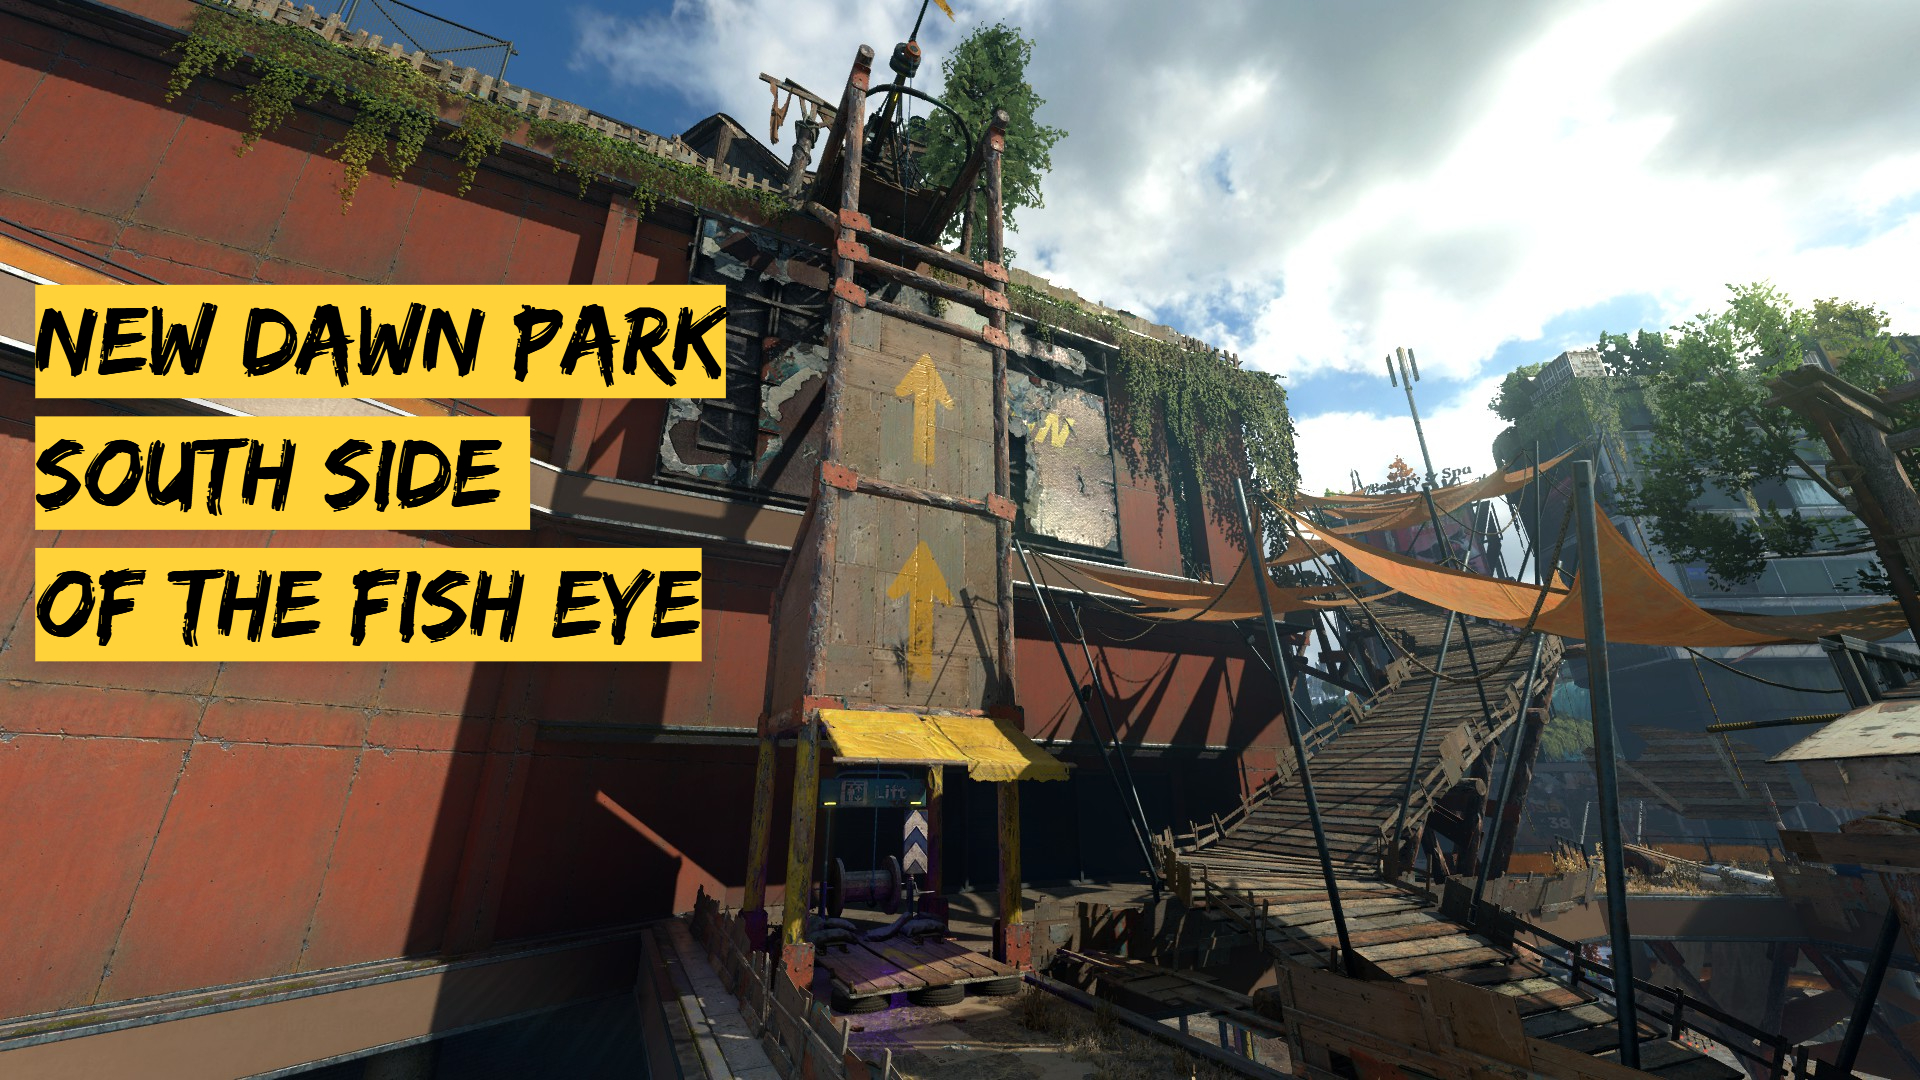
- 뉴 던 파크:
- West side of the Fish Eye
- South side of the Fish Eye
- East side of the Fish Eye
- North side of the Fish Eye
- Northwest side of the Fish Eye
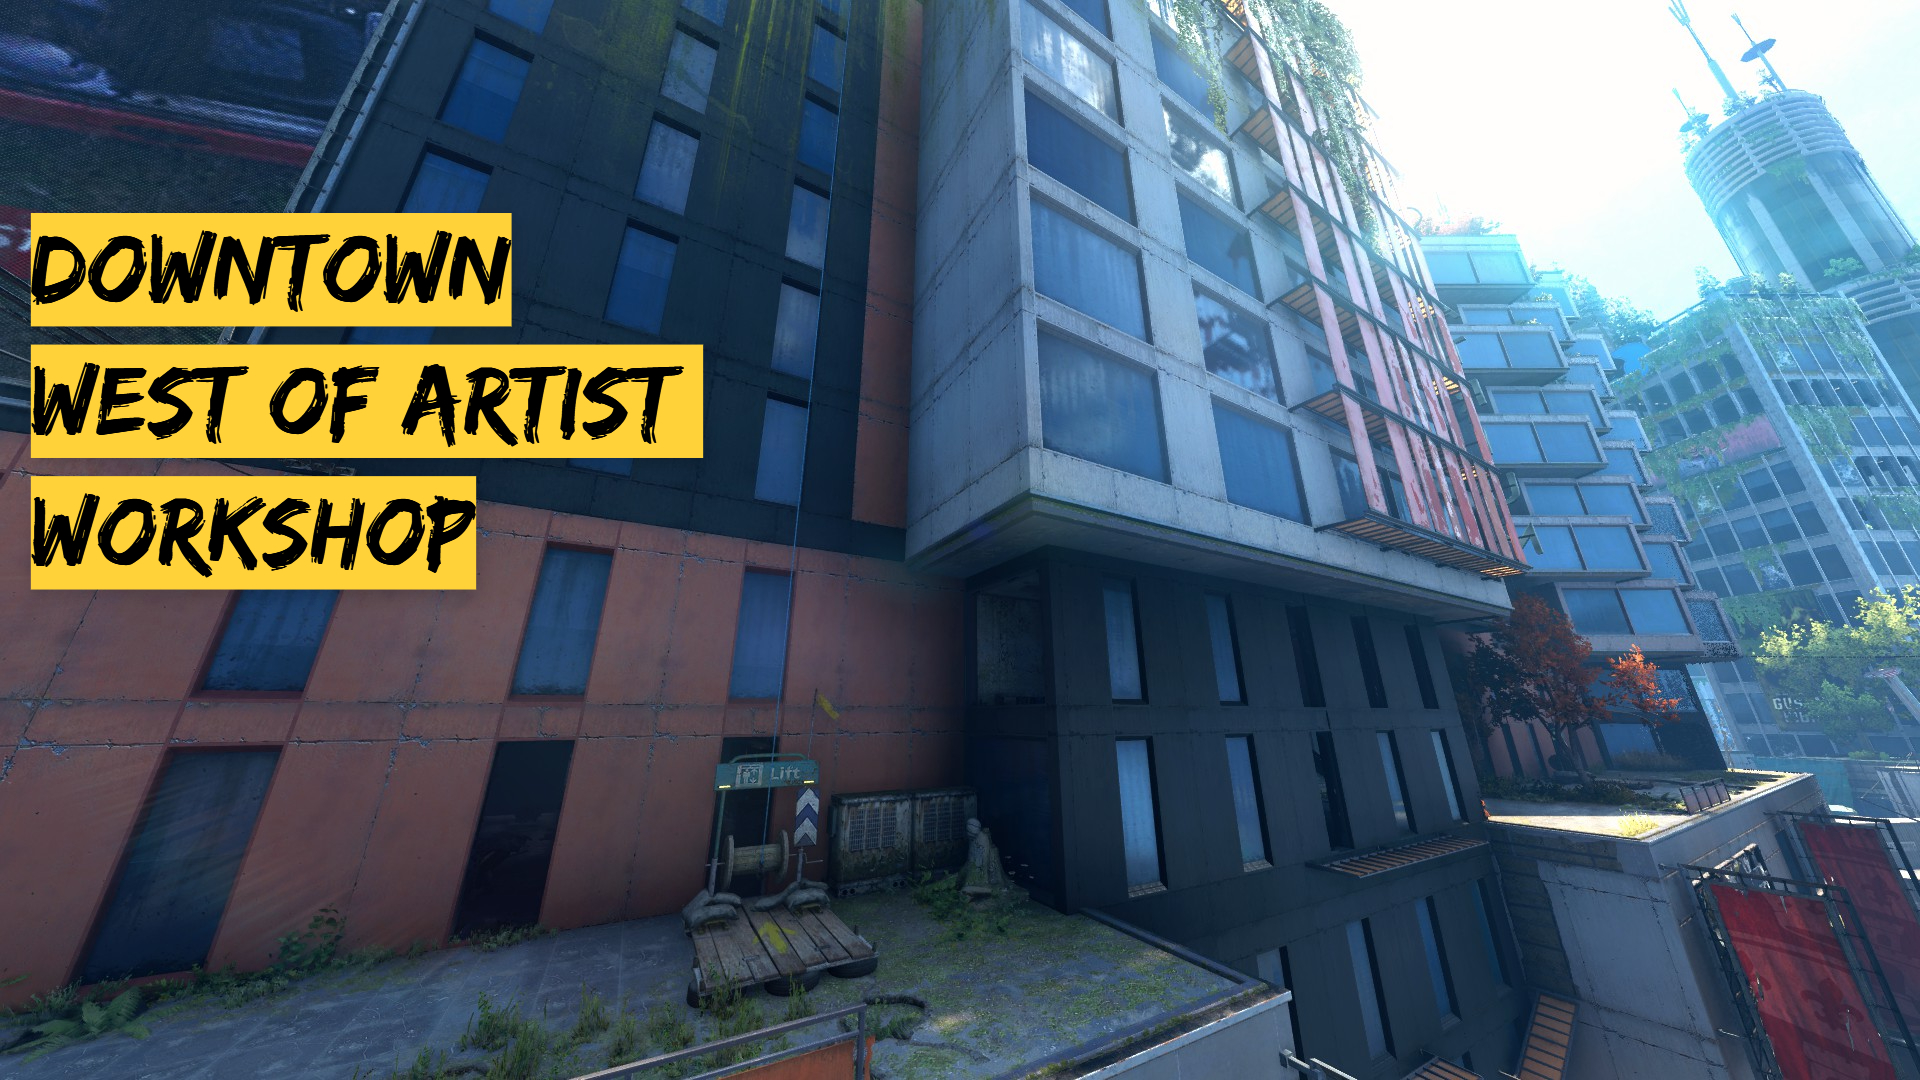
- 도심:
- West of Artist Workshop (if it’s Survivor Territory)
- North of Downtown court metro station
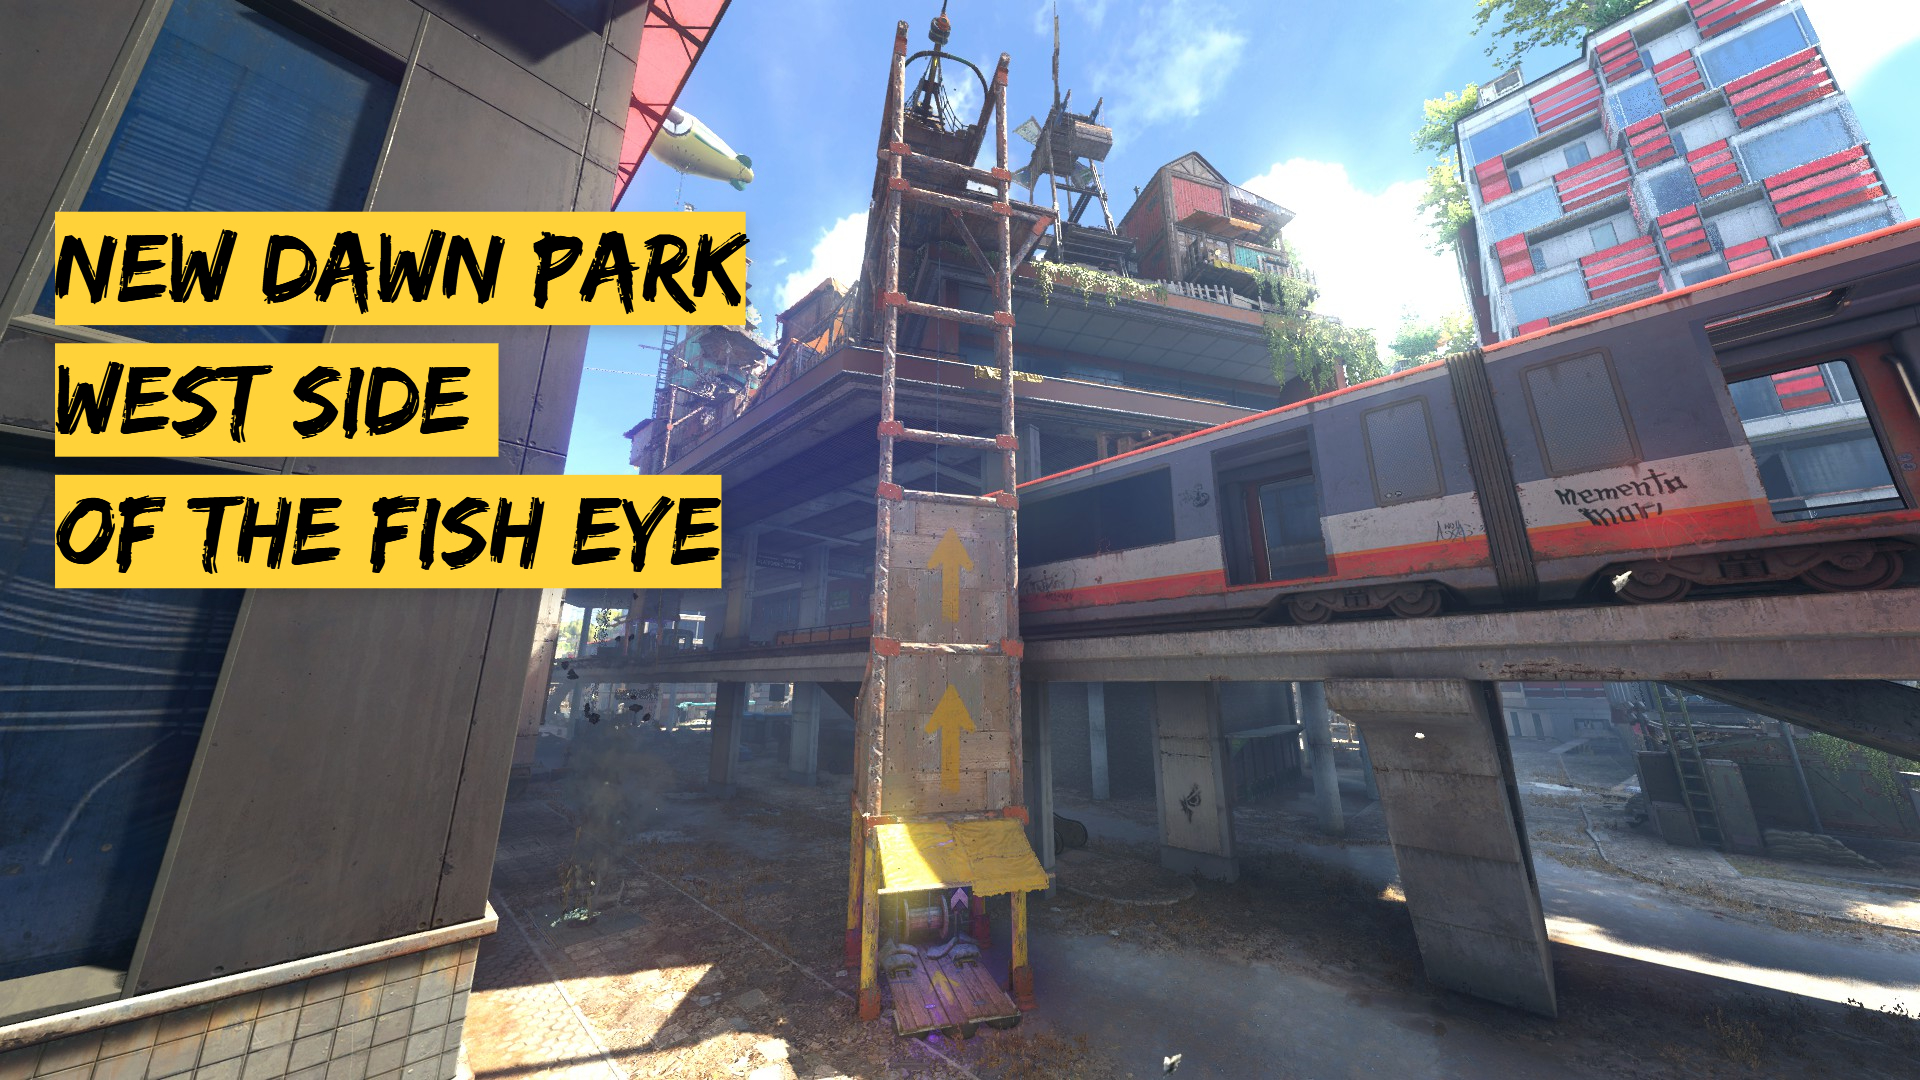
서쪽:
30 미터| 남쪽:
20 미터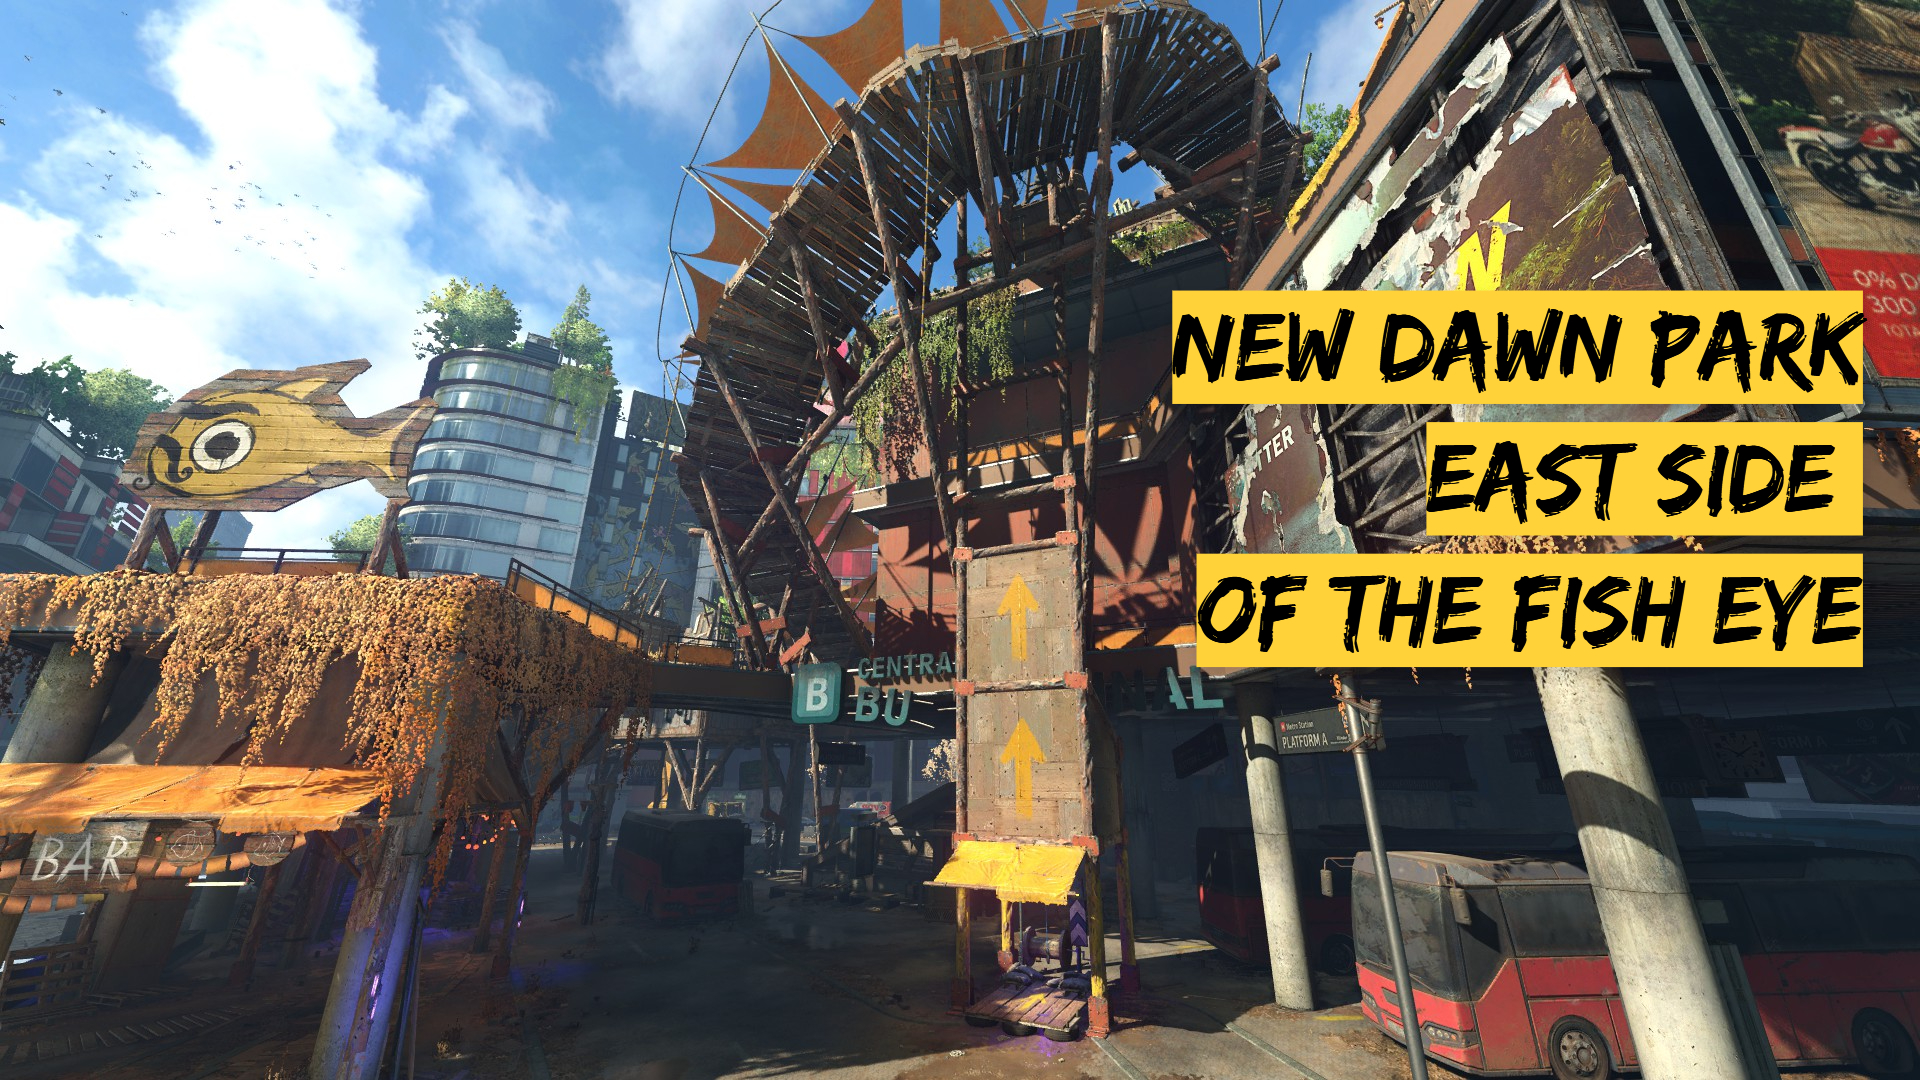
동쪽:
30 미터| 북쪽:
20 미터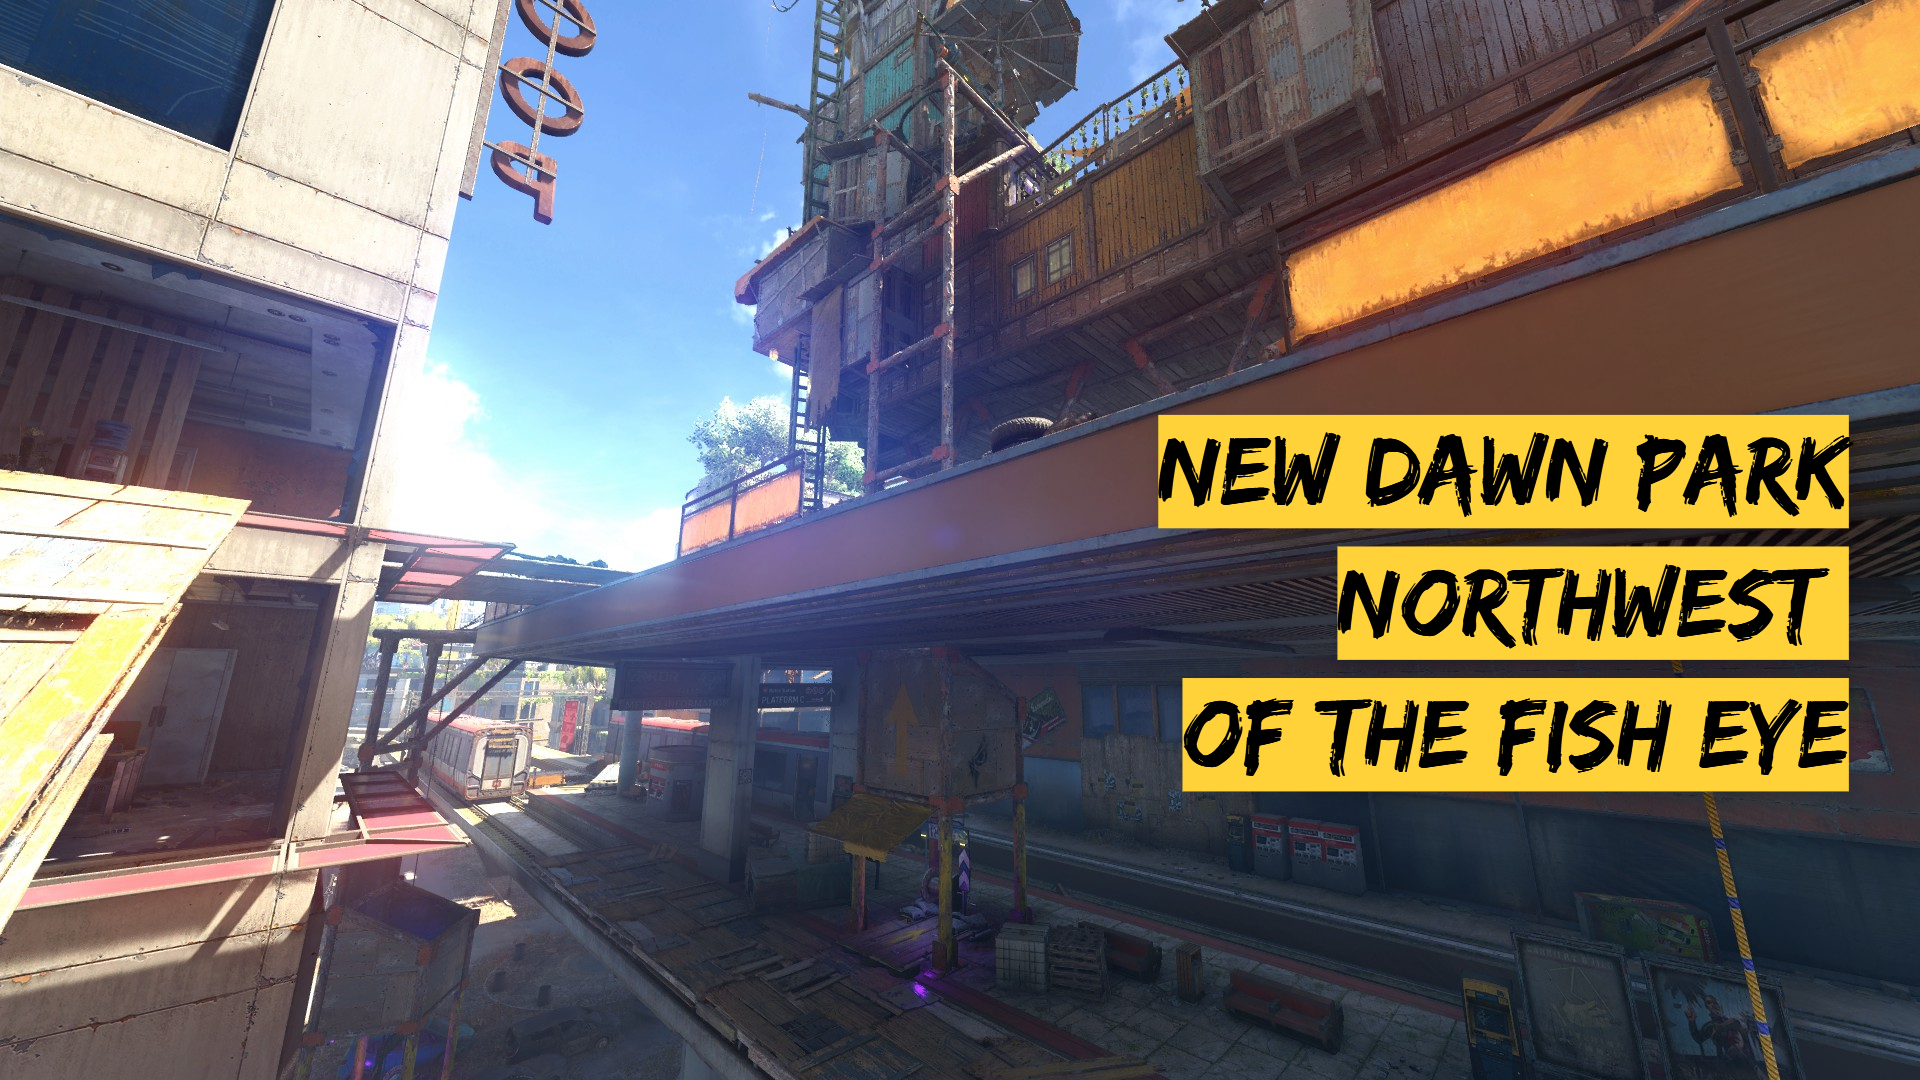
Northwest:
30 미터West of Artist Workshop:
37 미터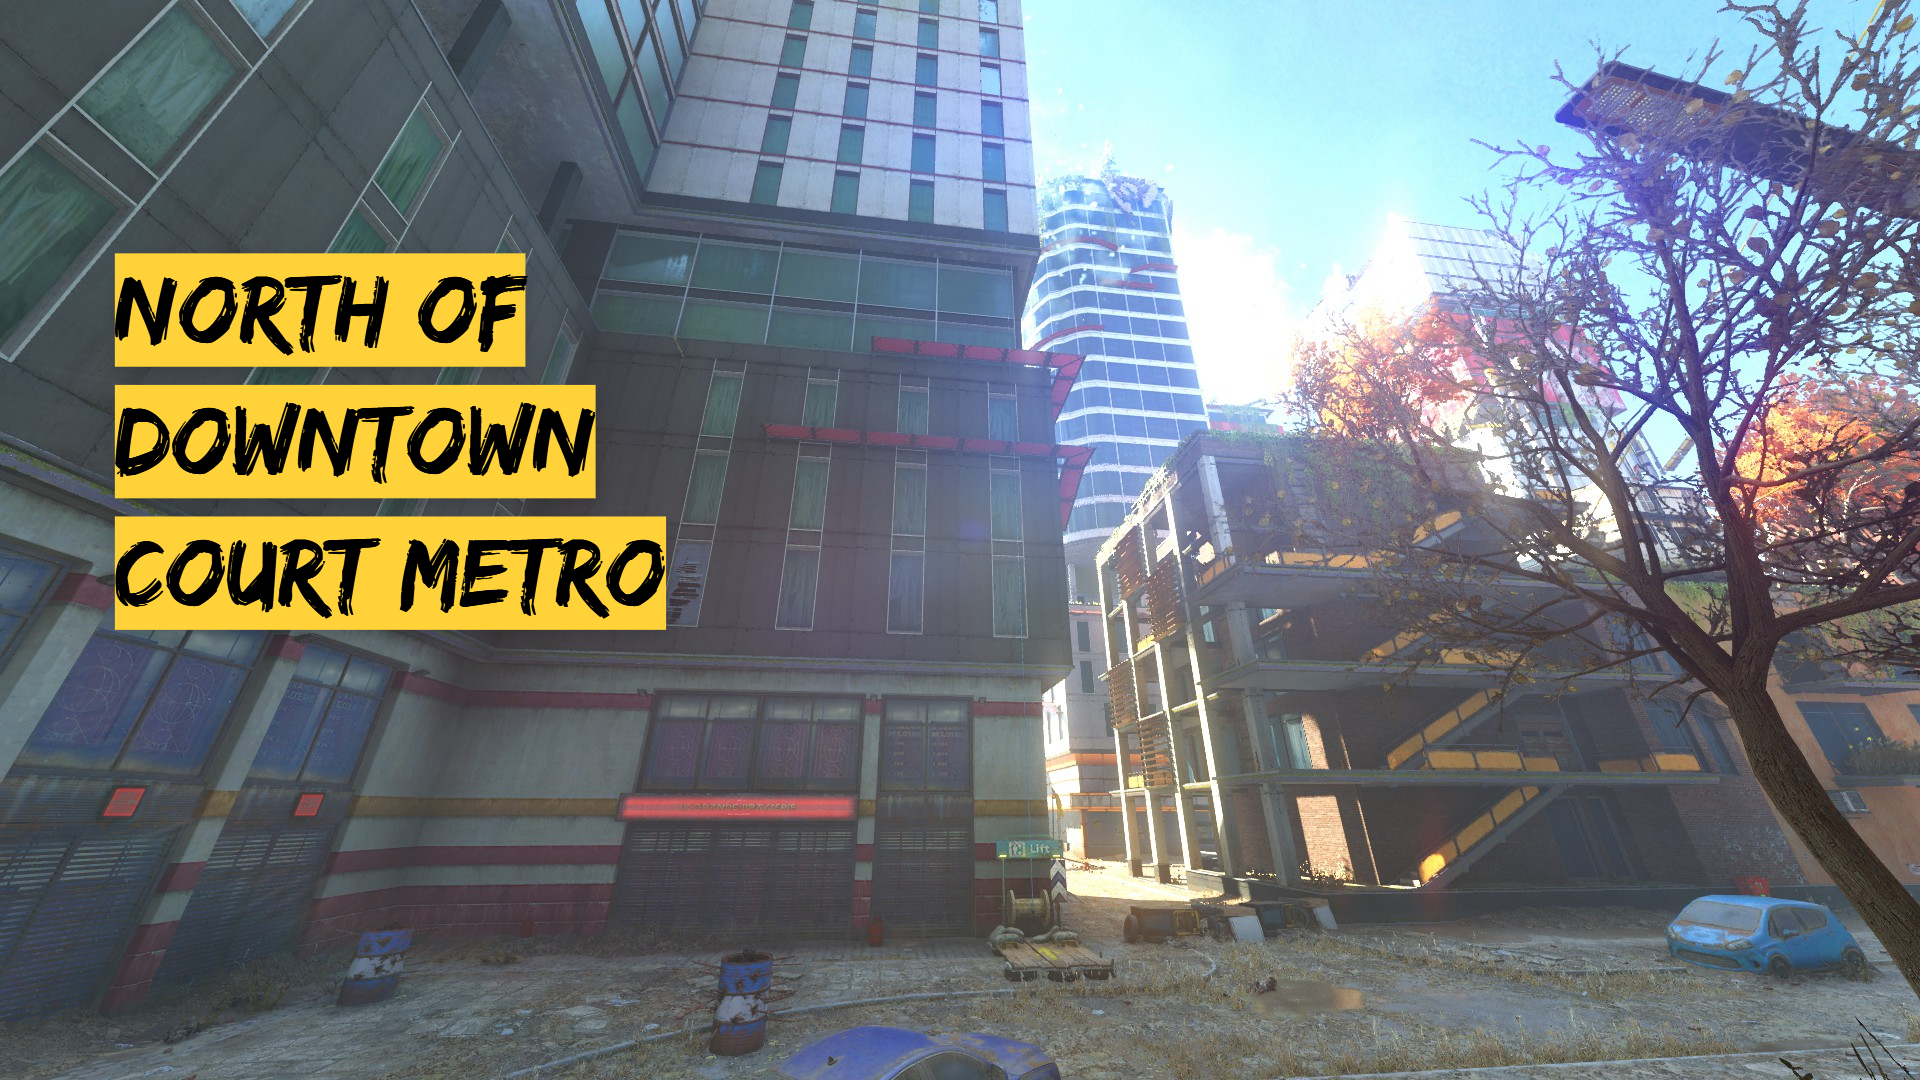
≈ 67 미터Statistically going up and down for all the lifts mentioned here will grant roughly 468 미터, meaning it has to be done around 2051 times in order to get the achievement.
VNC Tower Elevator
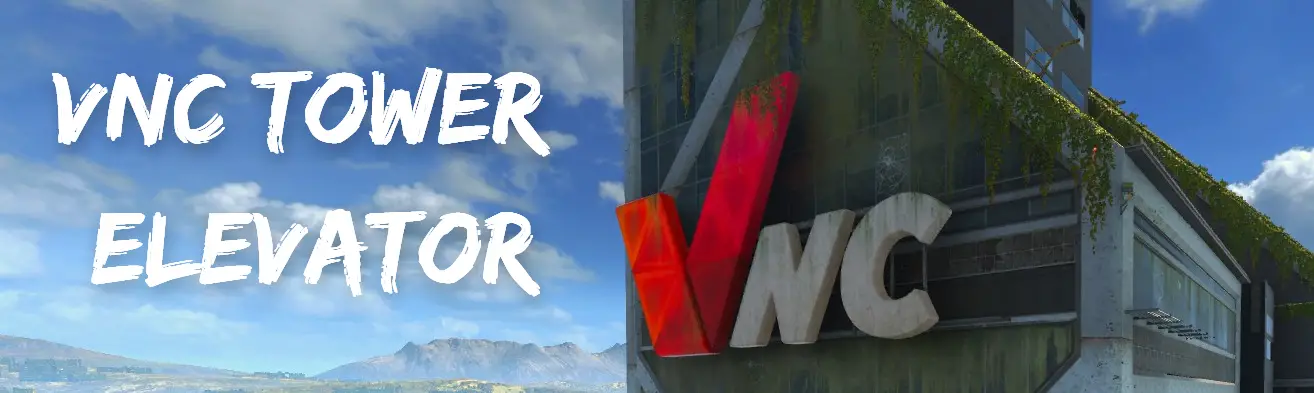
Going up and down the elevator counts for distance travel. According to
[dyinglight.fandom.com]the VNC tower is 310 meters tall. However when I tested the distance, going from the PK outpost up to the roof granted me around
315 미터. Going down from the PK outpost to the ground floor was around
45 미터, meaning taking the elevator from the ground floor all the way up to the roof will be
360 미터while standing still. This process also takes about 1 minute and 20 초. Walking around in the elevator can give around 510 미터.
Statistically using the elevator, while standing still, will require about 2667 rides (either up or down) which will take around 58 hours to do. Walking around during the ride will take 1882 rides and about 41 hours to do.
Jumping down from the VNC Tower
will notgrant any travel distance.
Standing still:
Walking around:
There’s also a possibility to climb up the VNC Tower instead, in case you enjoy parkour more than running around in the elevator.
See this video to see how:
When I climbed the VNC tower starting from the safe zone in the PK outpost, granted me about 1526 미터 which took around 14 분, however it is possible to do it faster.
Statistically it will take about 629 times to climb up the VNC tower and about 147 hours to achieve 960 km.
Traveling Between Old Villedor and Central Loop
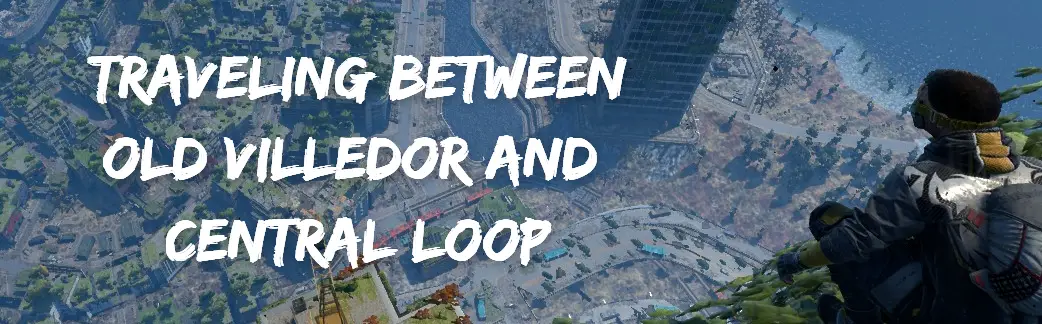
Traveling by foot between the two maps is a great way to farm travel distance. Depending on where you start, sprinting from Old Villedor to Central Loop by going through the metro as done during the
Let’s Waltz!quest will grant about
1,2 – 1,5 km. This can take more or less 5 분.
See this video that shows how to do it:
Parkour Challenges
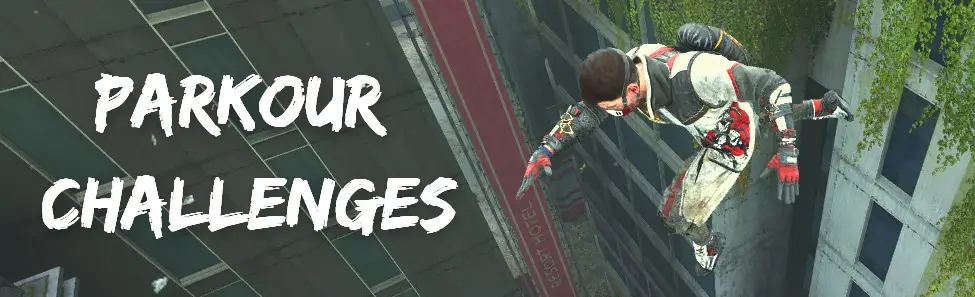
Parkour Challenges were tricky to estimate the travel distances, however it’s estimated to give between
200 – 500 미터per challenge, depending on the type of challenge.
있다 17 parkour challenges in the game, excluding Paraglider City Tour (where the paraglider is needed). Let’s say the average distance for the challenges are 250 미터.
Statistically doing all these challenges more or less than 226 times will grant the achievement.
결론
After this experiment, it’s safe to say that the most time saving method is riding the VNC Tower elevator and running around in it.
So when playing the game, keep in mind is that it’s good to climb up tall buildings, walking between the two maps and doing the challenges. Walking to each challenge and doing them will most likely give a larger number than what was mentioned in this guide, which only included doing the actual challenge, and not what’s in between.
A reminder that the numbers can be a little bit off since it was difficult to give perfect accurate distance estimations, but they are pretty accurate.
이 가이드를 읽어 주셔서 감사합니다, hopefully it’s helpful. More stuff will probably be added in the future. All pictures are taken by me using photo mode.
재미있는 사실, I learned that the going to sleep animation gives 2 미터.
이것이 오늘 우리가 공유하는 모든 것입니다. 죽어가는 빛 2 인간답게 지내다 가이드. 이 가이드는 원래 작성자가 작성하고 작성했습니다. Heeb. 이 가이드를 업데이트하지 못한 경우, 다음을 수행하여 최신 업데이트를 찾을 수 있습니다. 링크.