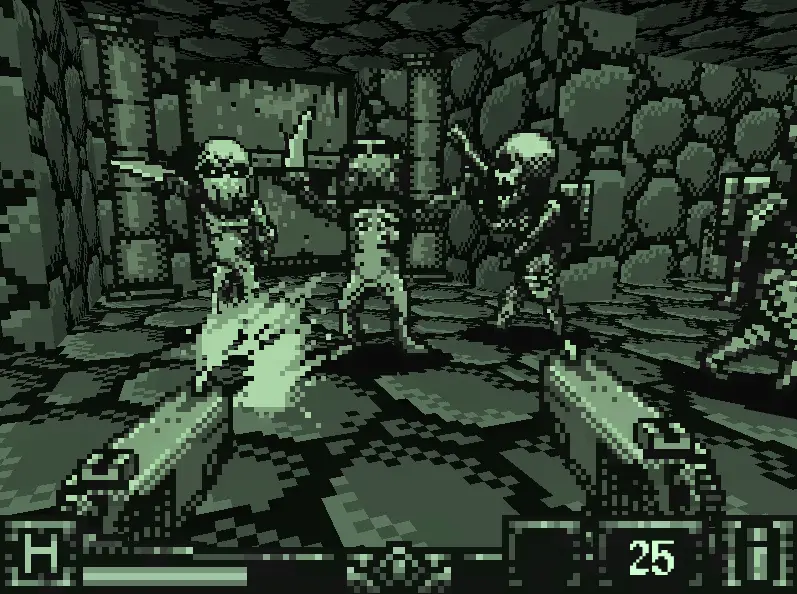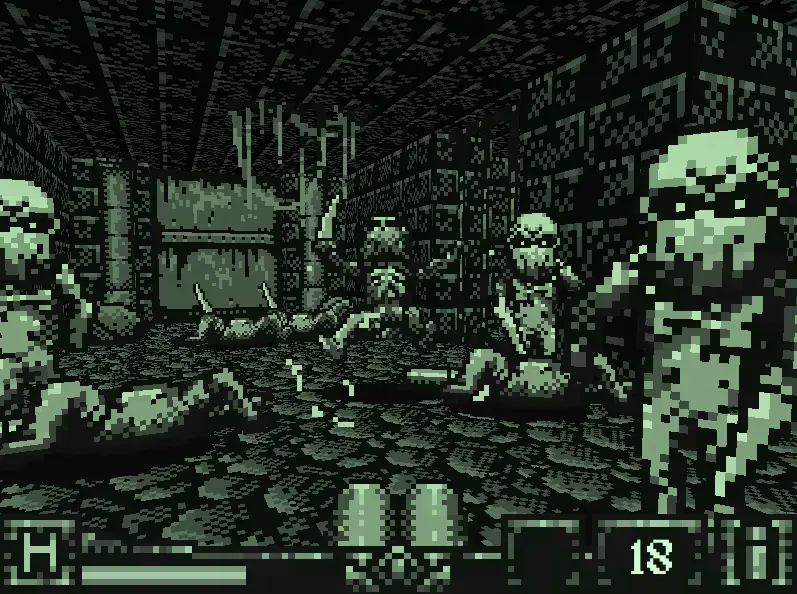
- 제목: 공포의 기사단
- 출시일:
- 개발자:
- 발행자:
Information about Dread Templar is still incomplete. 이것을 사용하여 게임의 세부 정보를 입력할 수 있도록 도와주세요. 문의 양식.
Screenshot assisted guide for locating all the secrets in the third episode.
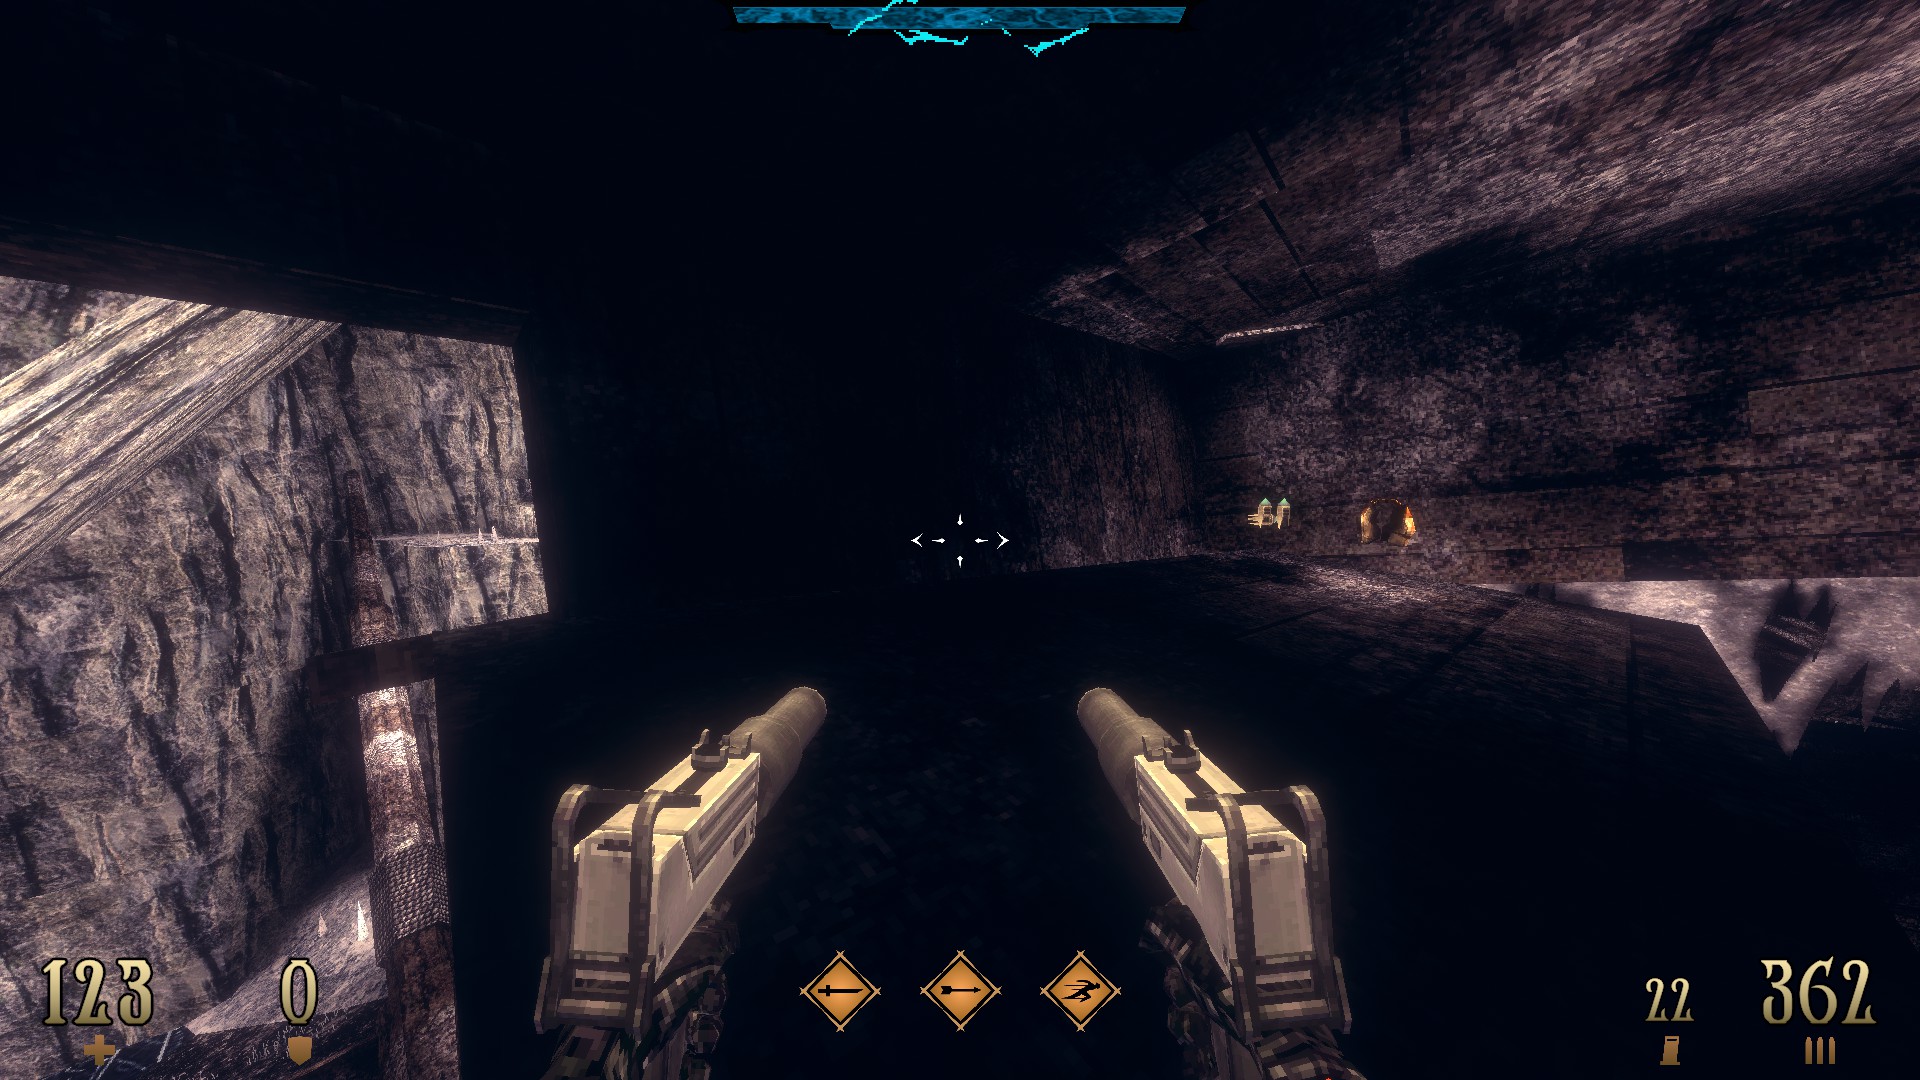
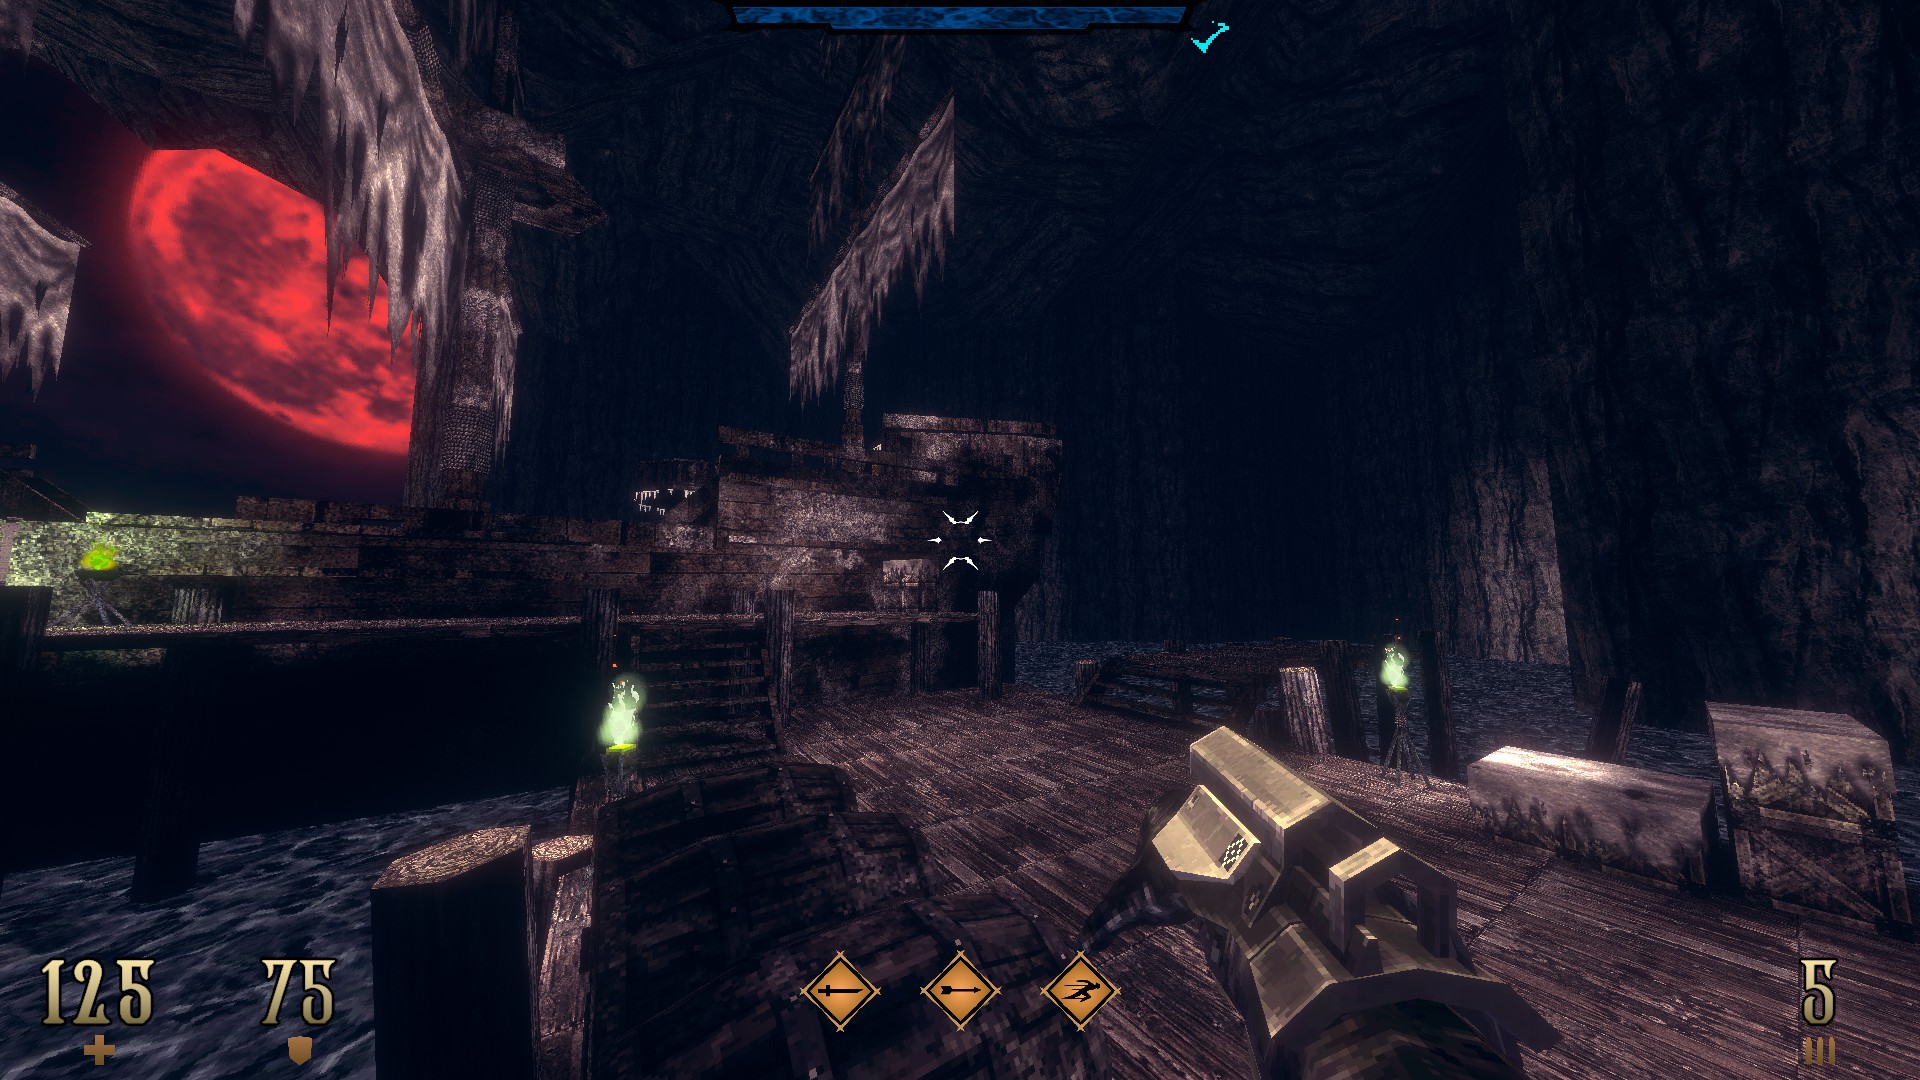
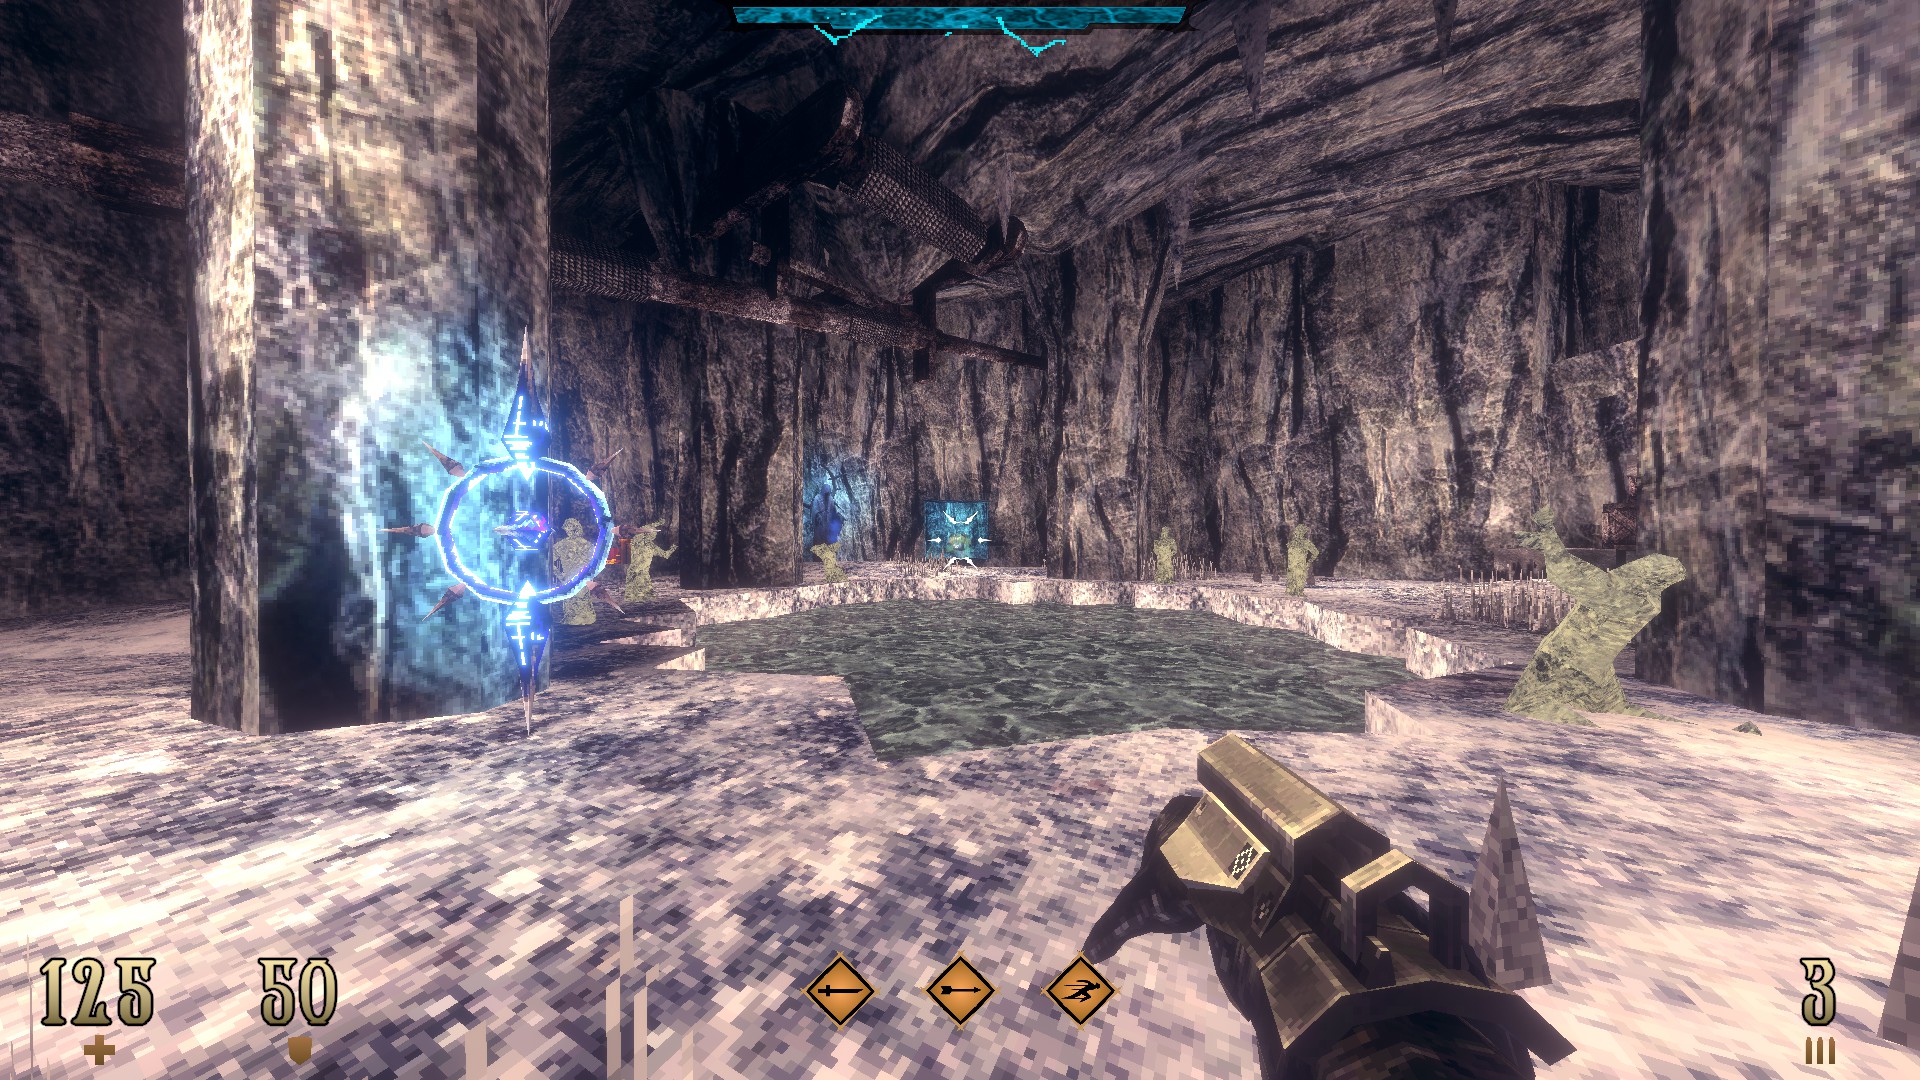
E3M1: Dead Sails
중요한:
Your emblems and character setup are kept separately from your game progression for the difficulty level you are playing on. This means that you can return to completed levels via level selection, grab the emblems and the blood gems you missed on your first run and return to your saved game to have an expanded selection for that matter. Throughout the guide, emblems and blood gems are mentioned in brackets in the descriptions of the secrets they are found in.
This level contains 10 secrets and a super secret.
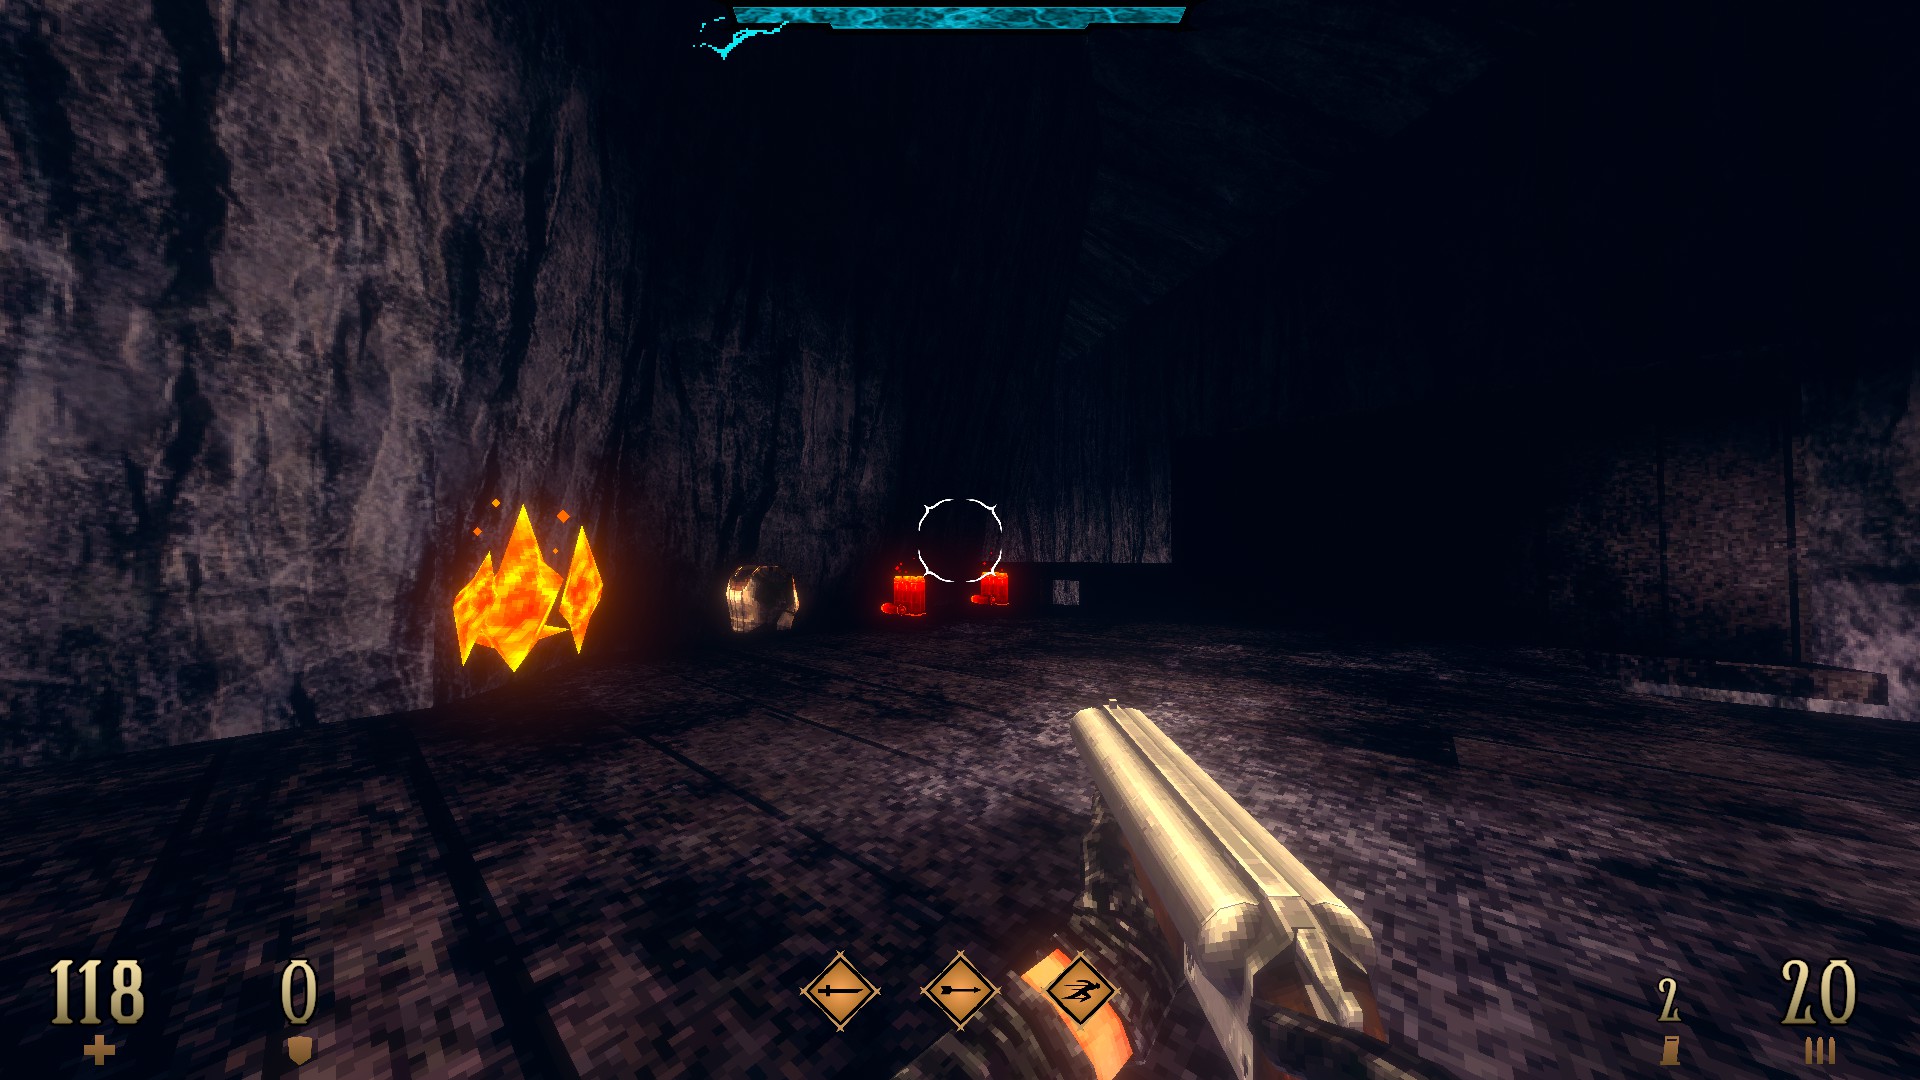
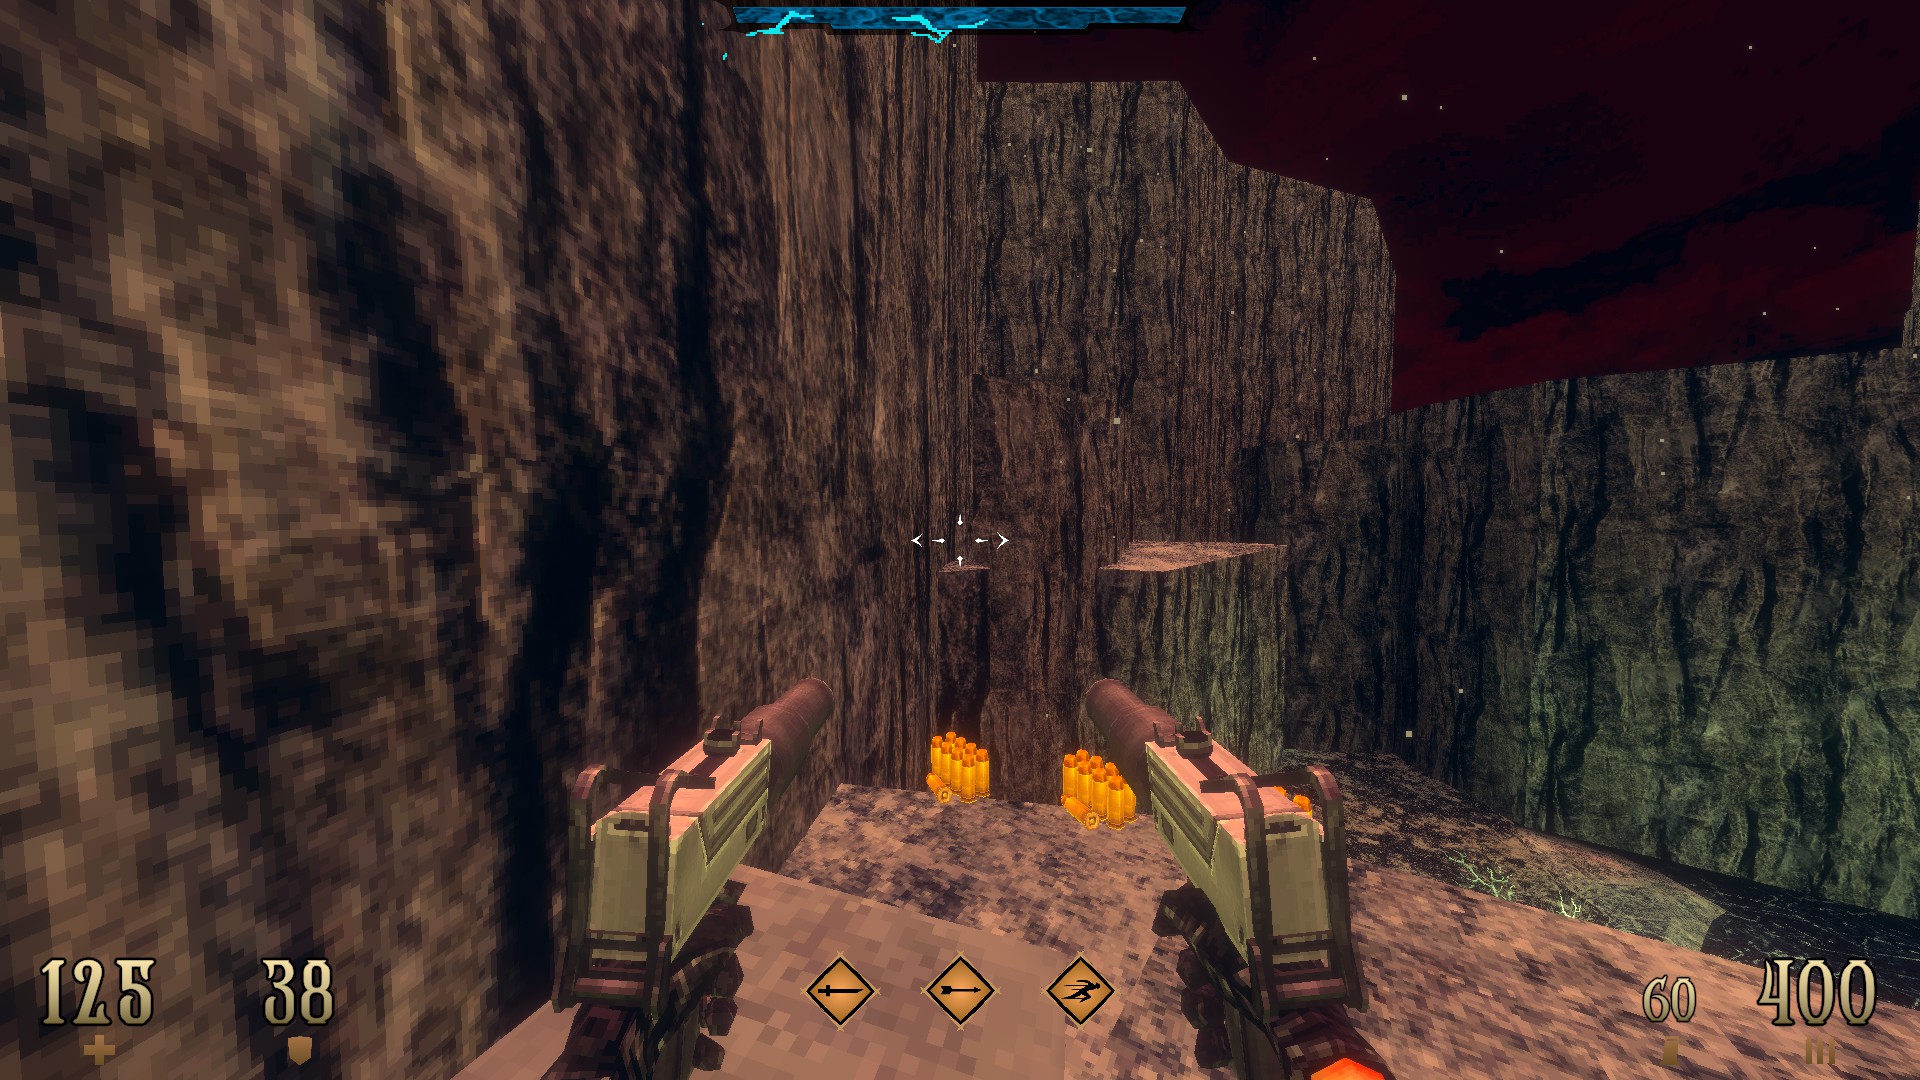
1/10 –
Once you are aboard the ship, use the panel right across the shells at the bottom to reveal a hidden compartment.
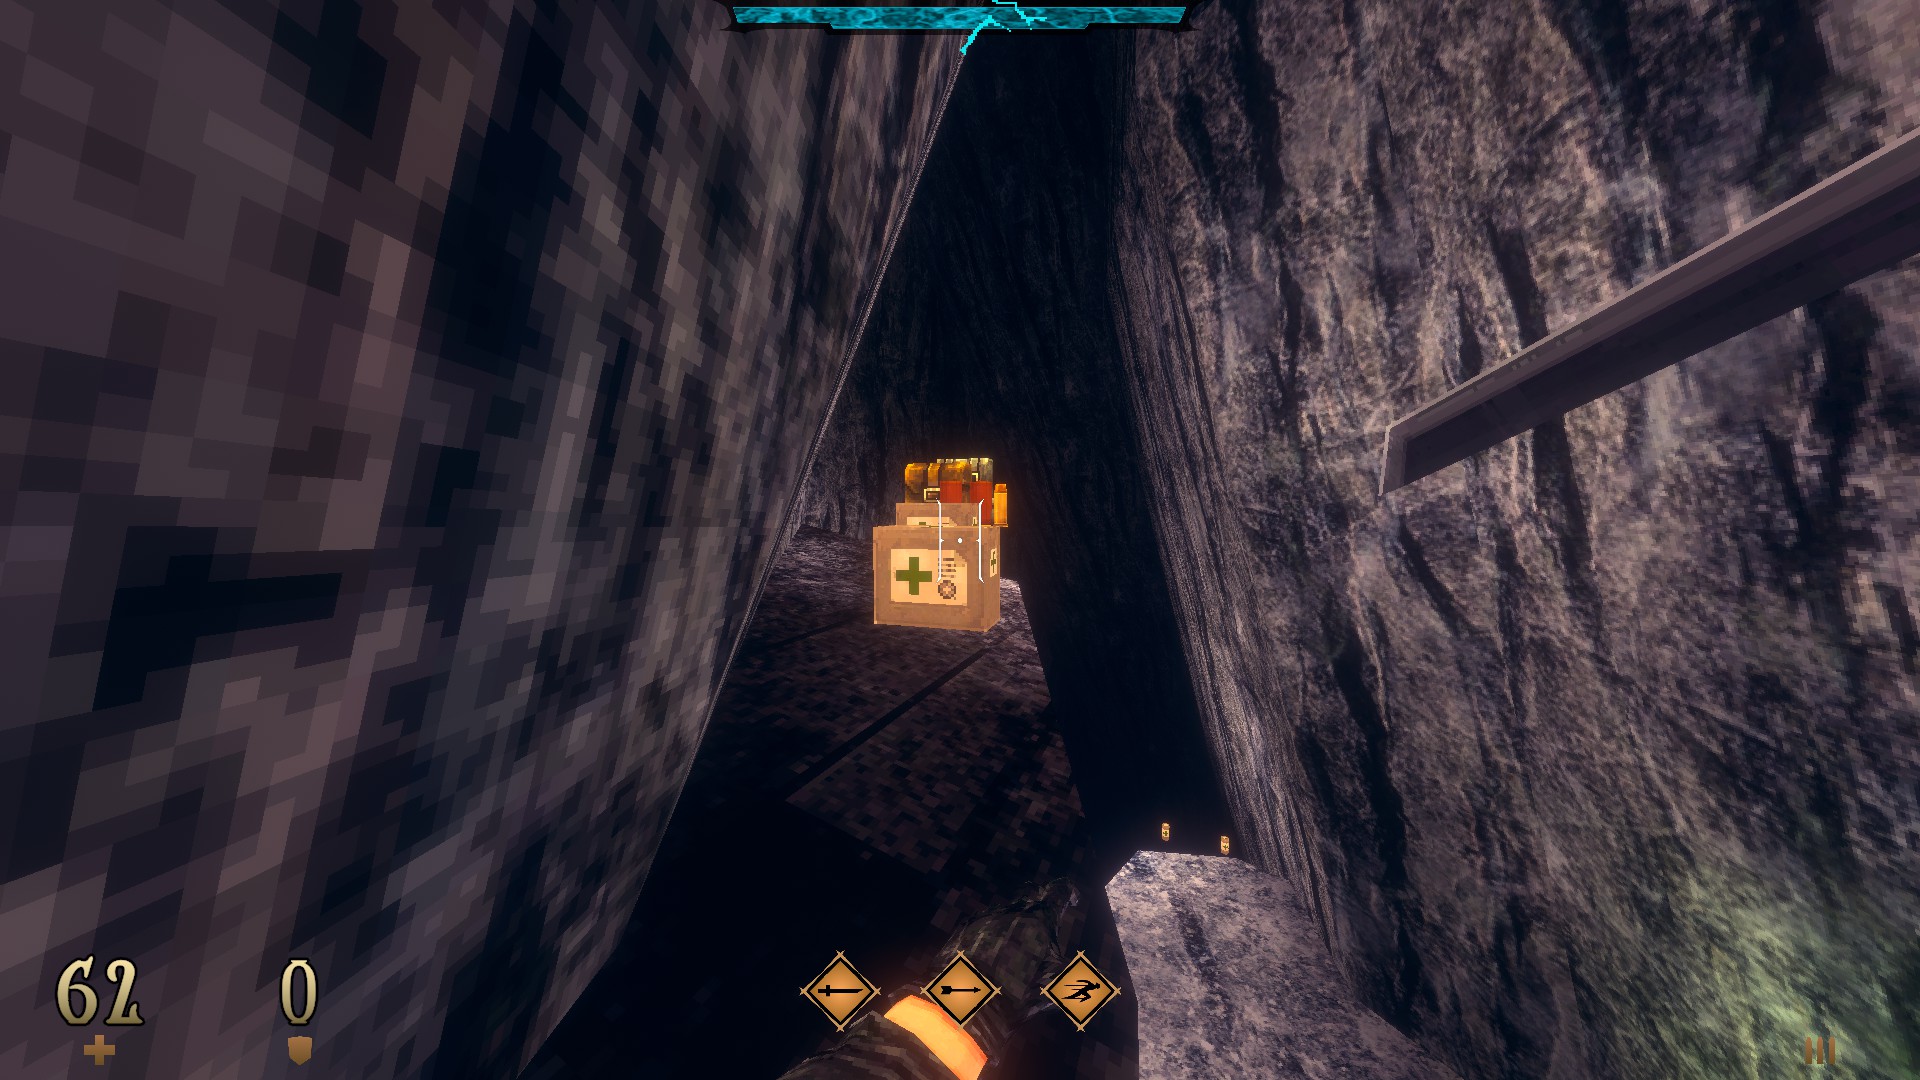
2/10 –
Following from the previous secret, jump out from the opening next to the shells and dash back in to the adjacent compartment to find an emblem and some health packs.
(Katana Focus II)

3/10 –
Before stepping into the overlook from the top of the ship, follow the walkway to the right and turn the corner to find an armor and some ammo.
4/10 –
Following from the previous secret, return to the overlook entrance and utilize the step that juts out from the left to reach the topside. Make your way to the very end and jump around the support to find some health packs and ammo on the ledge.
5/10 –
Past the save point next to the green gate, look for a semi-hidden ladder. Utilize the nearby rock for a dash jump and climb on. Take the rock steps, turn around and jump to reach a hidden cache.

6/10 –
Use the bed found in the quarters of the third ship to reveal a hidden compartment.
7/10 –
Following from the previous secret, jump over the hull next to the wheel to find an emblem.
(Inferno Revolver Slaughter II)
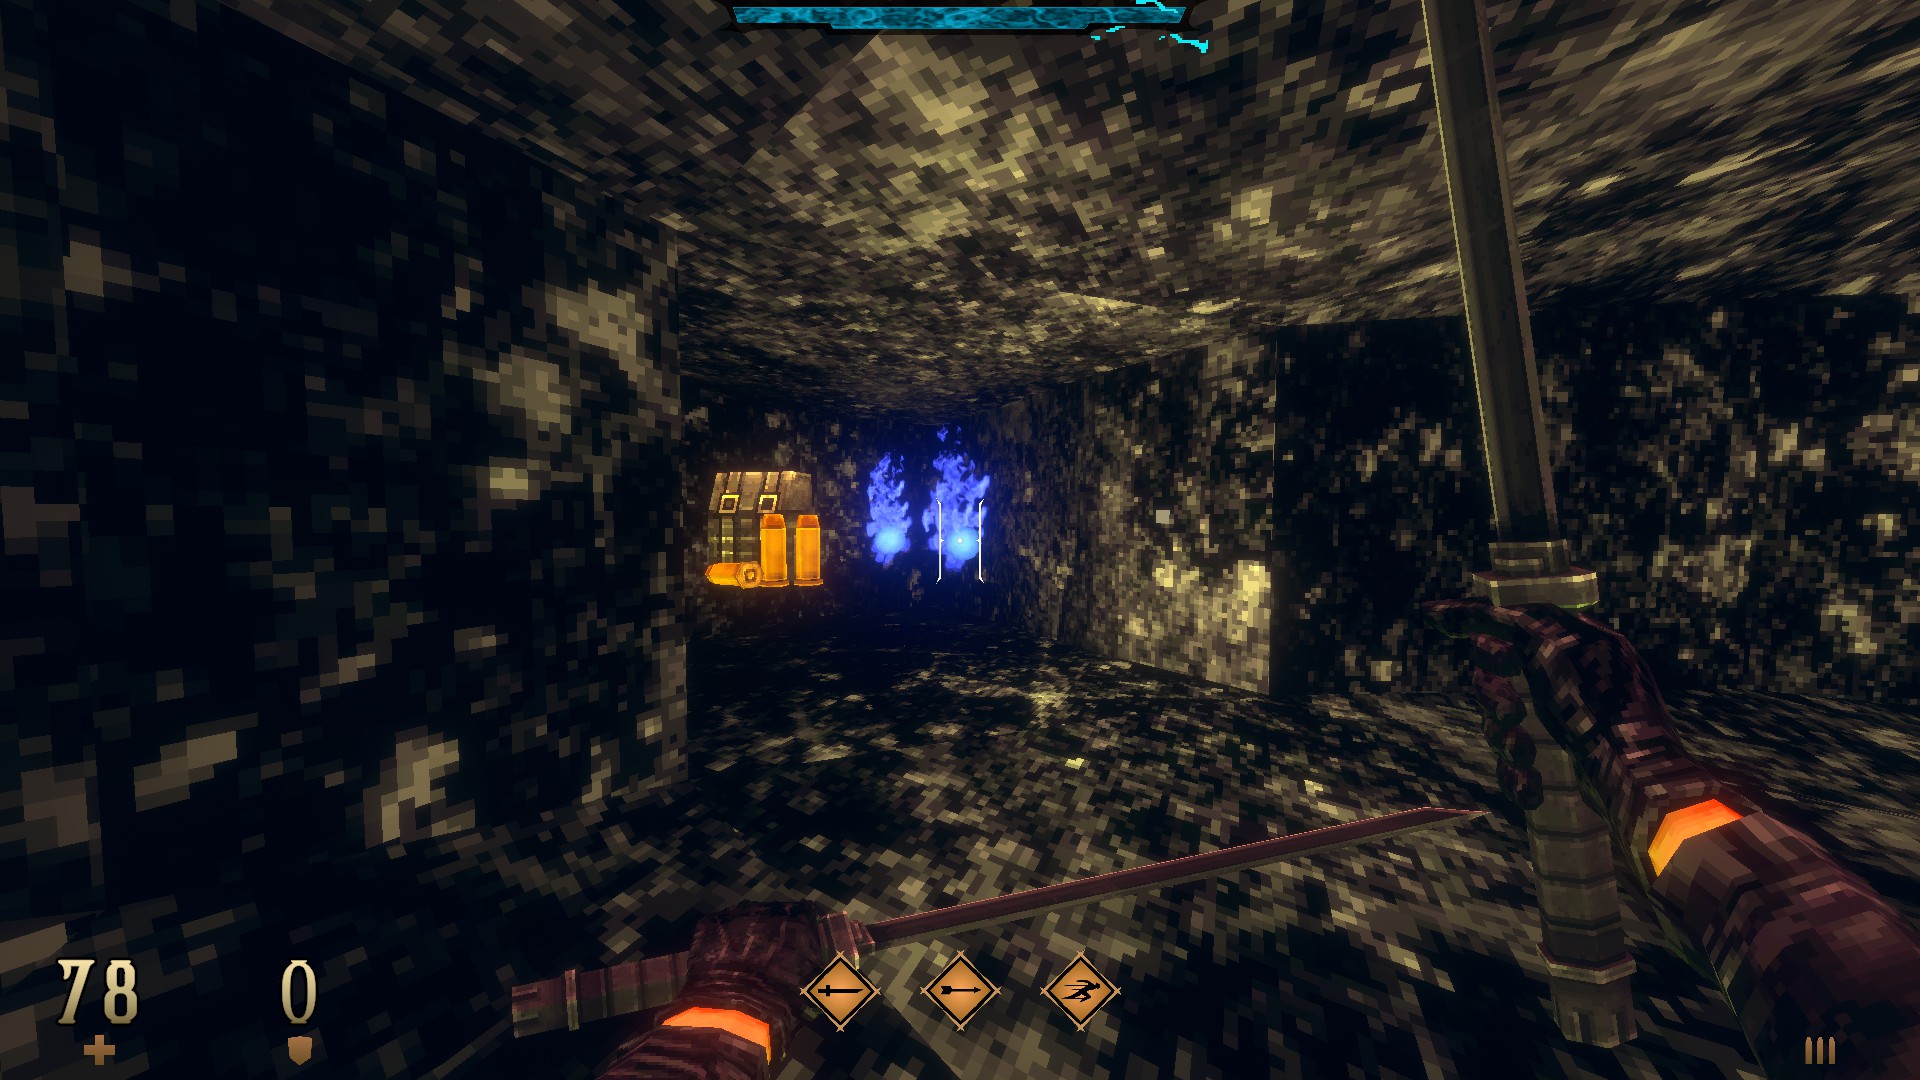
8/10 –
Right after unlocking the green gate, climb the planks on the left to find another hidden cache.
9/10 –
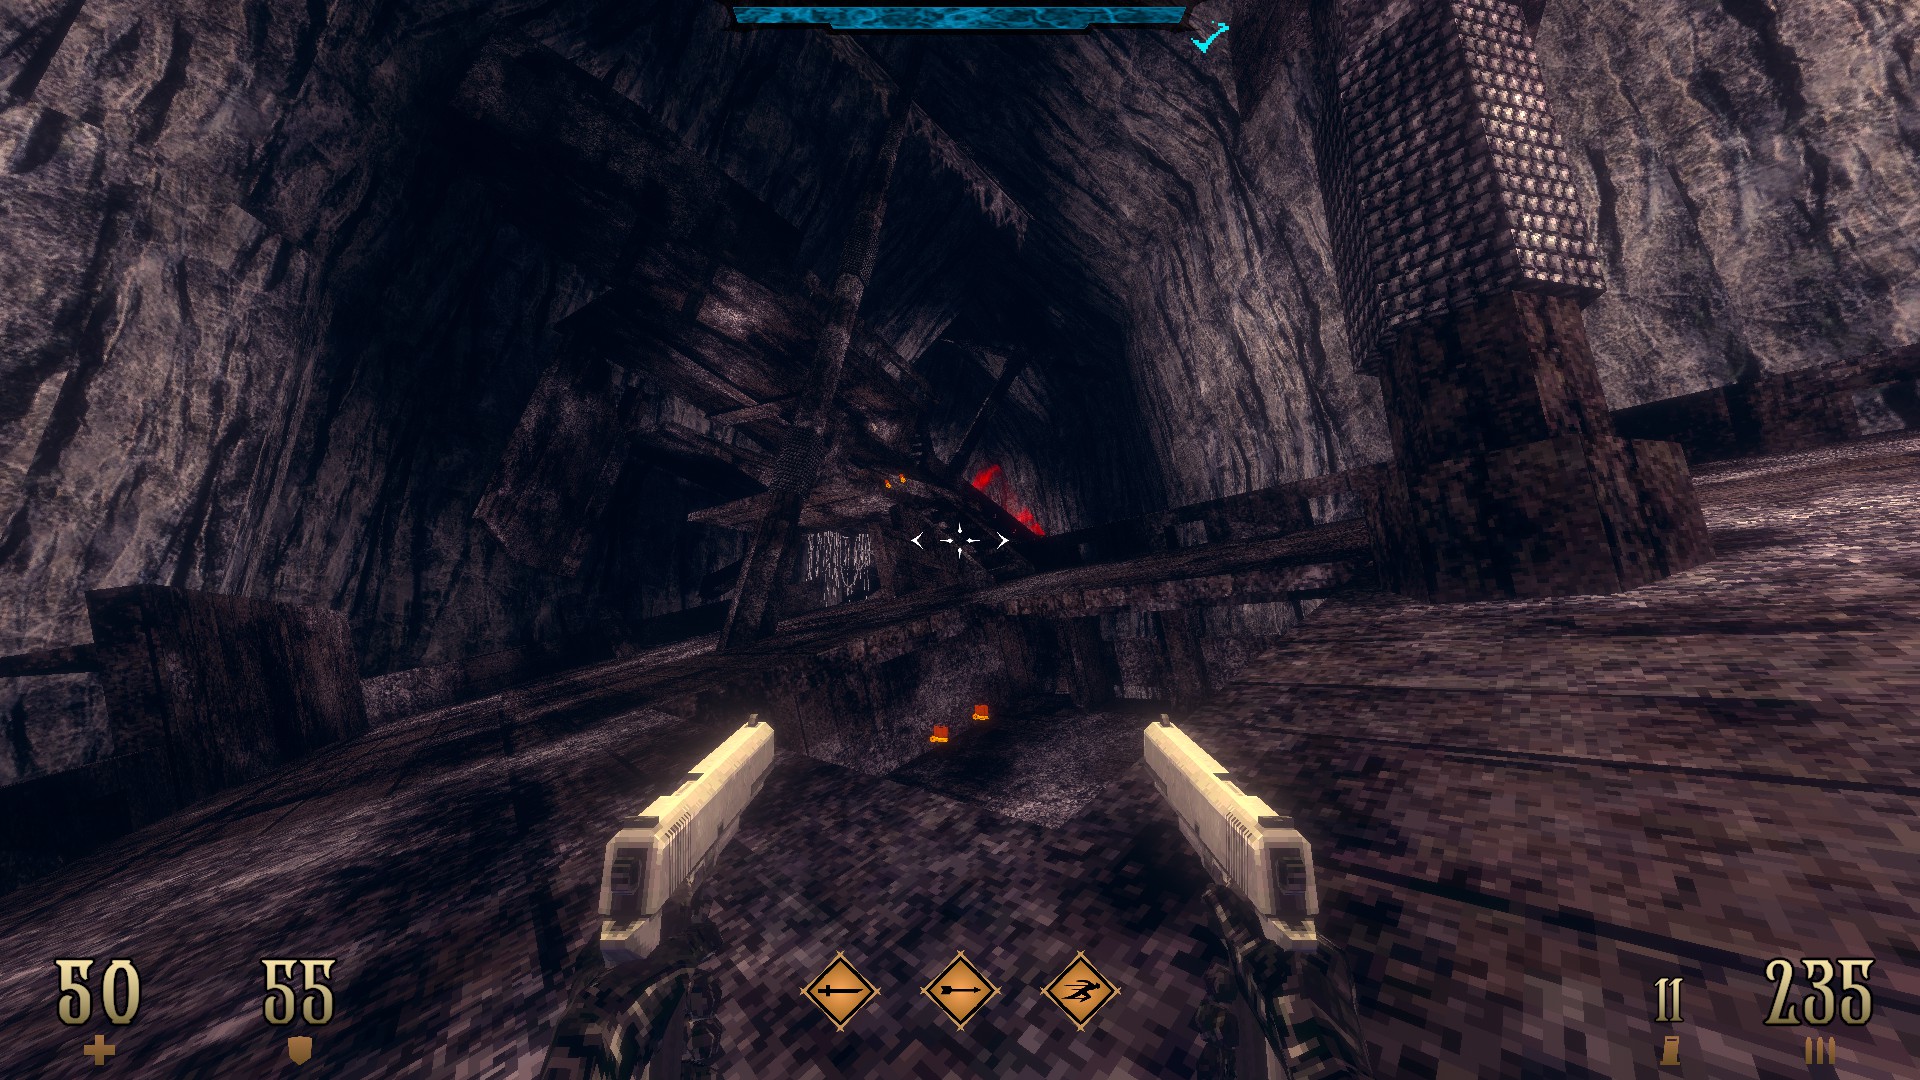
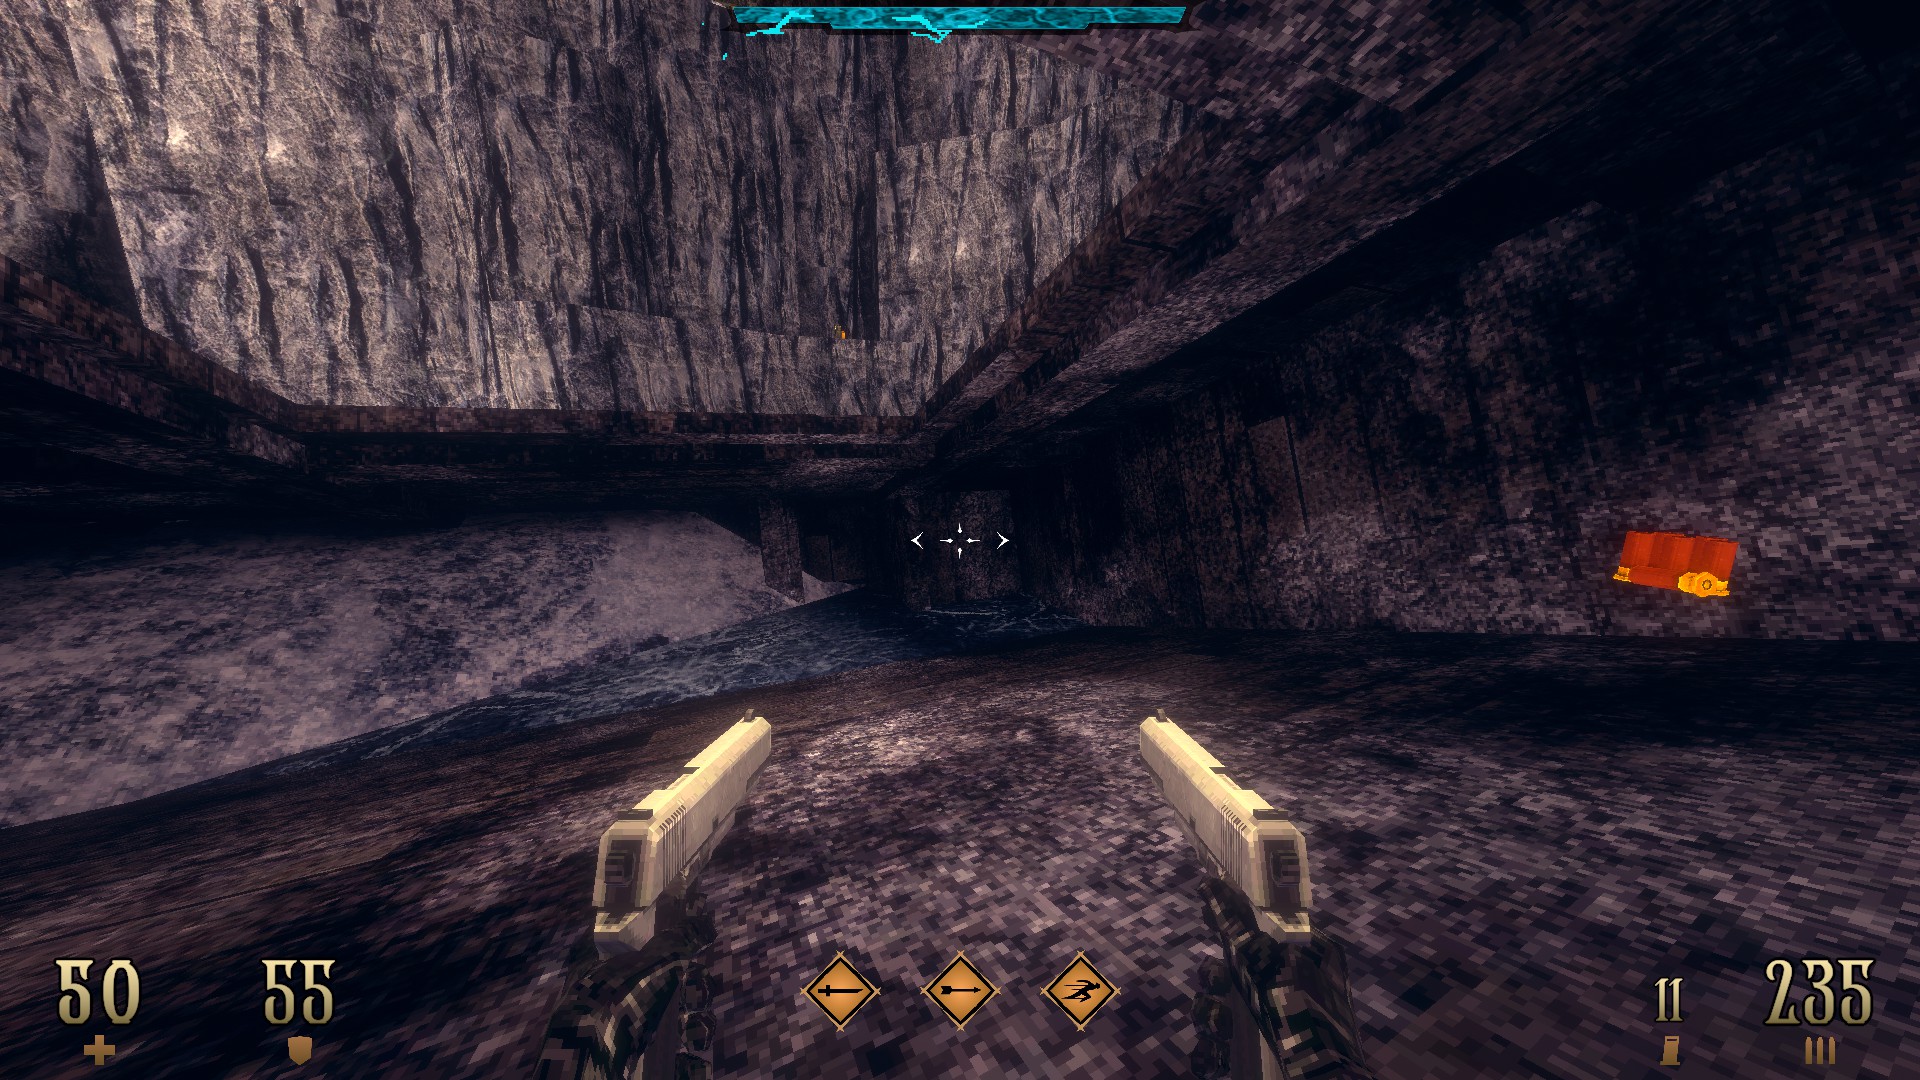
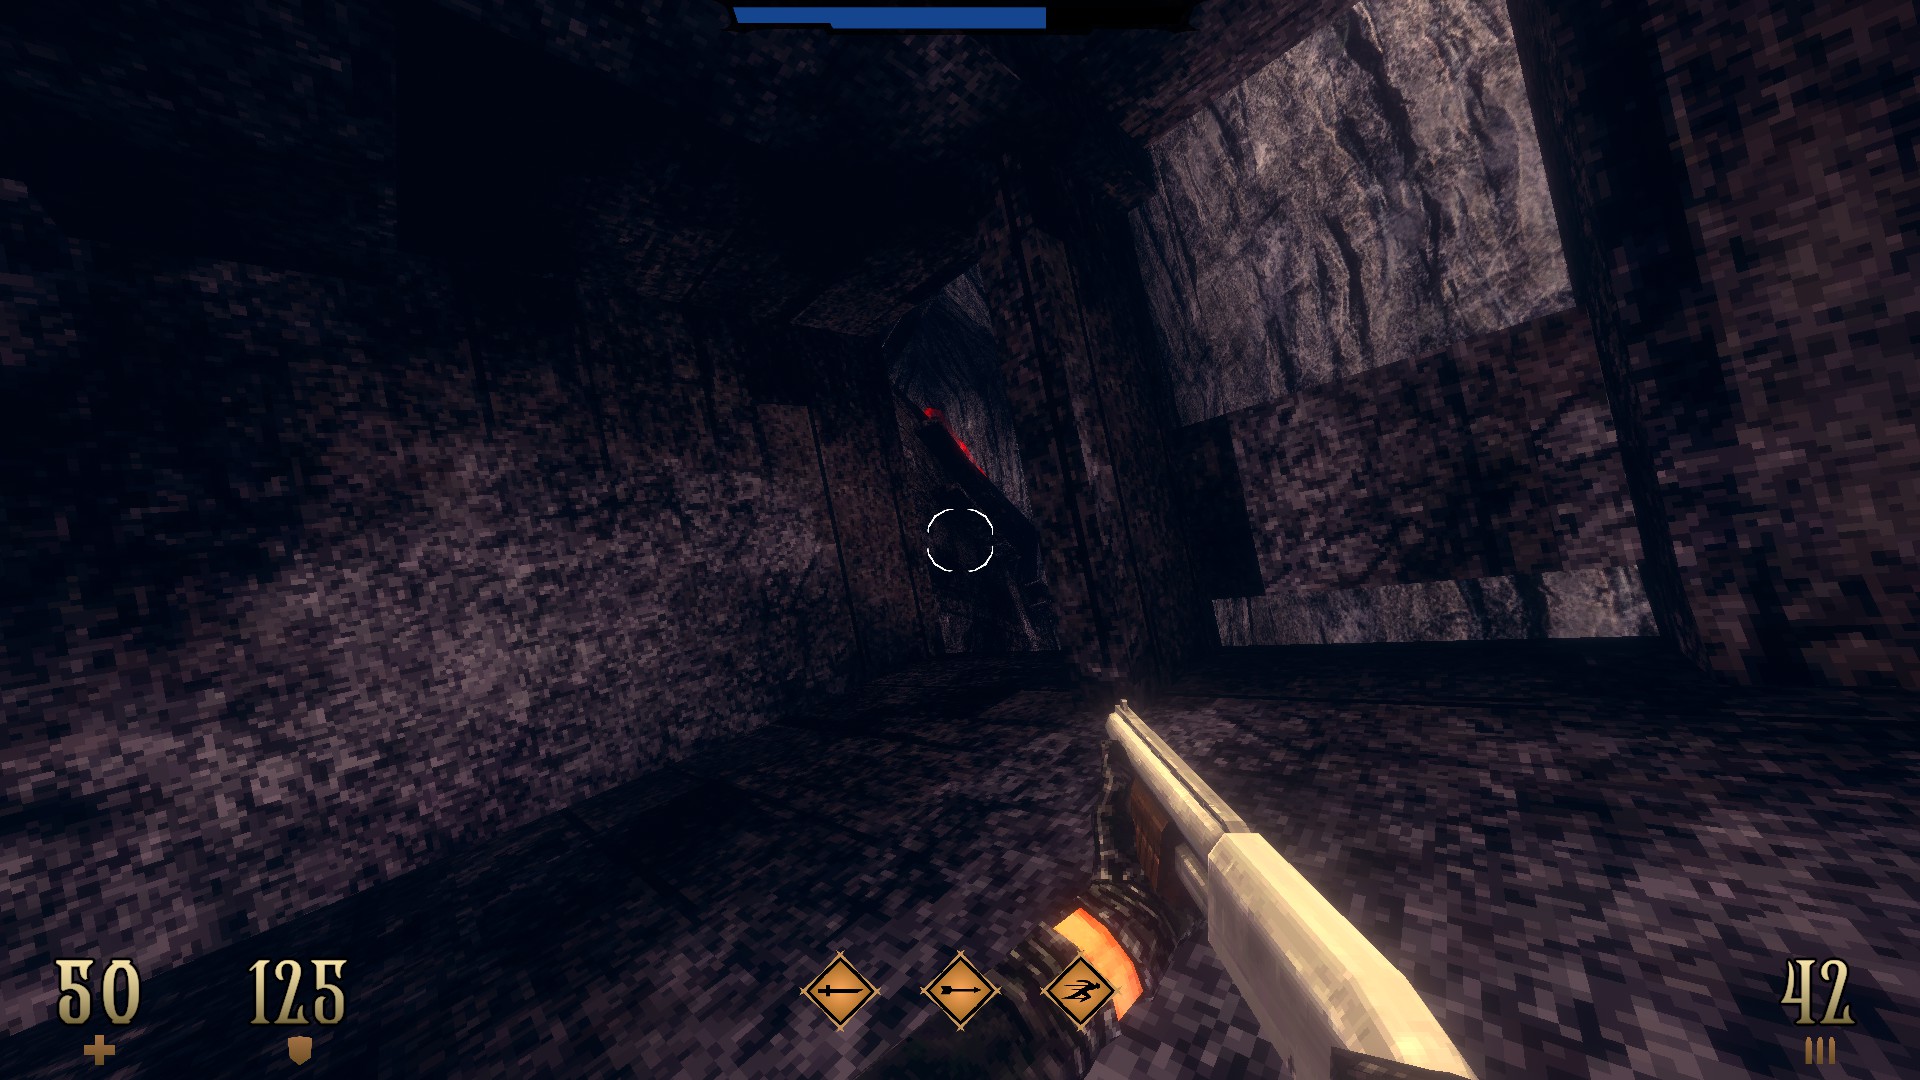
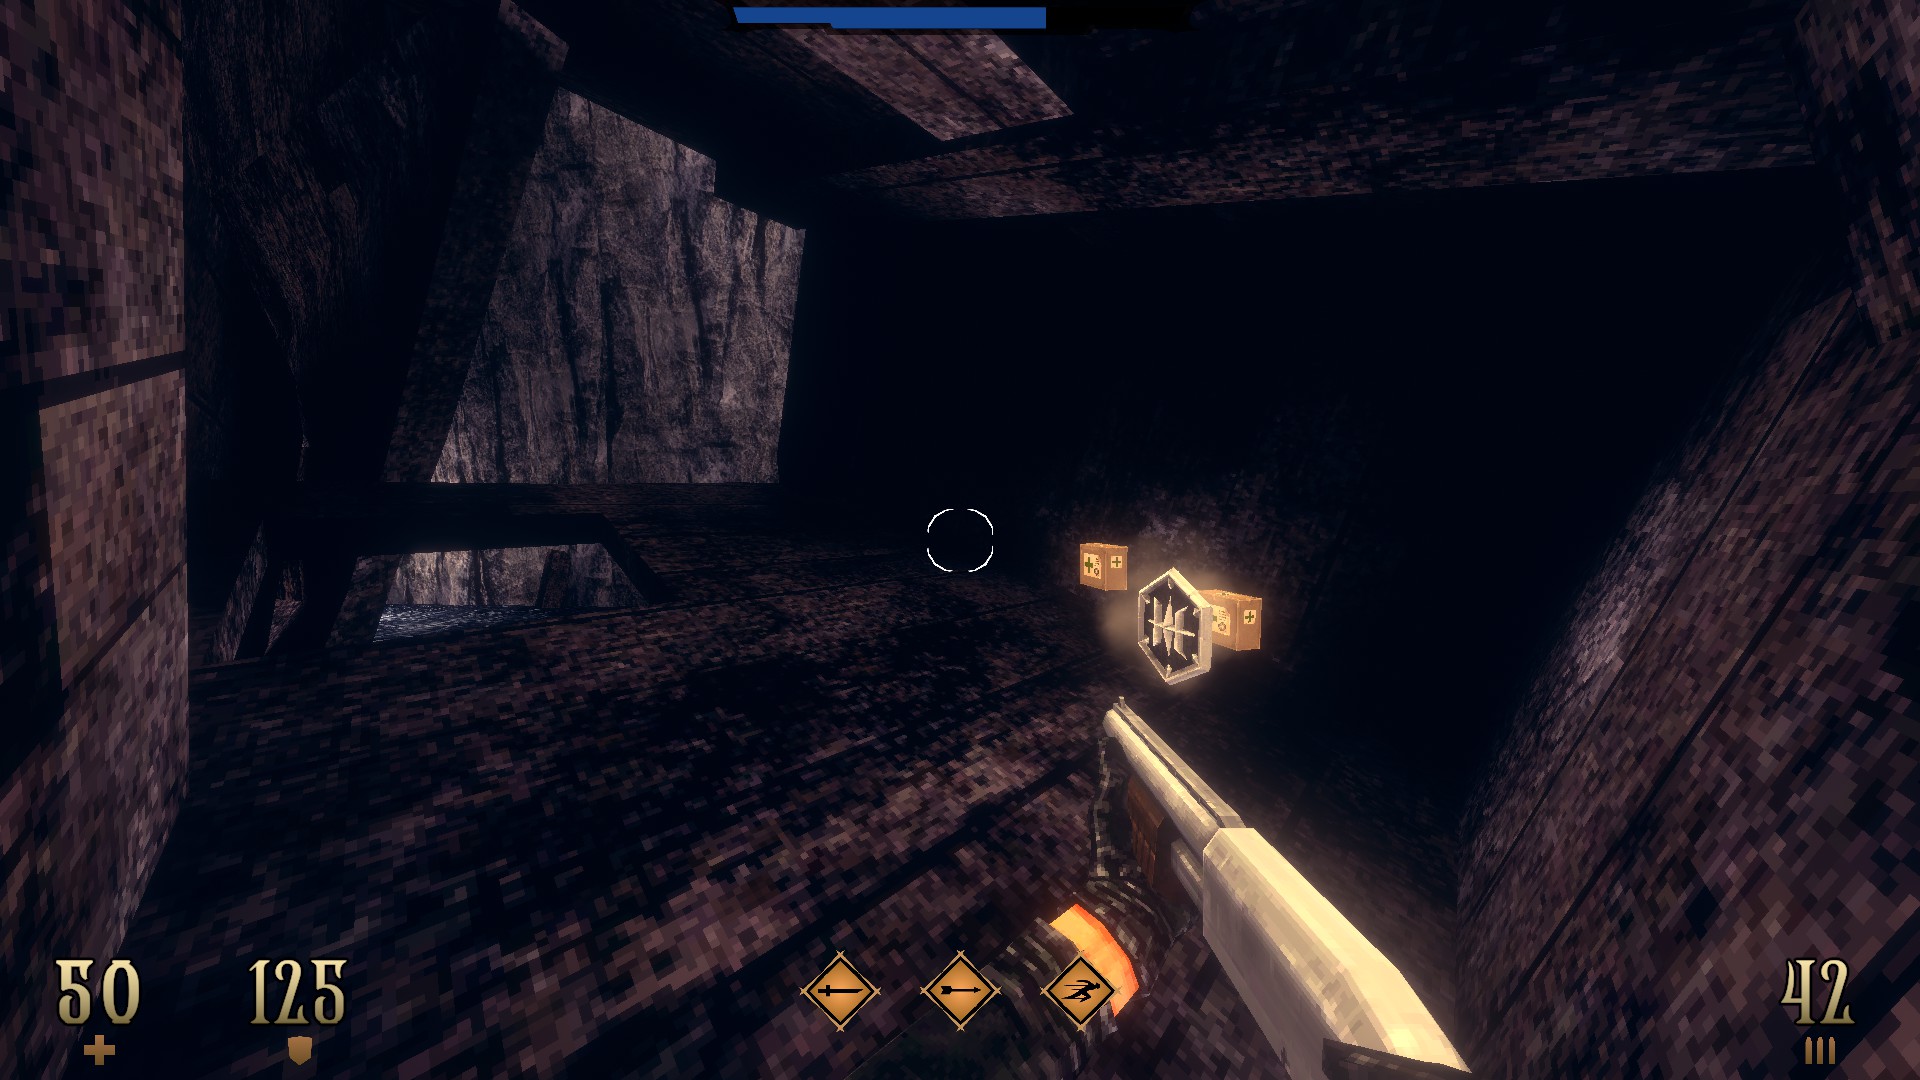
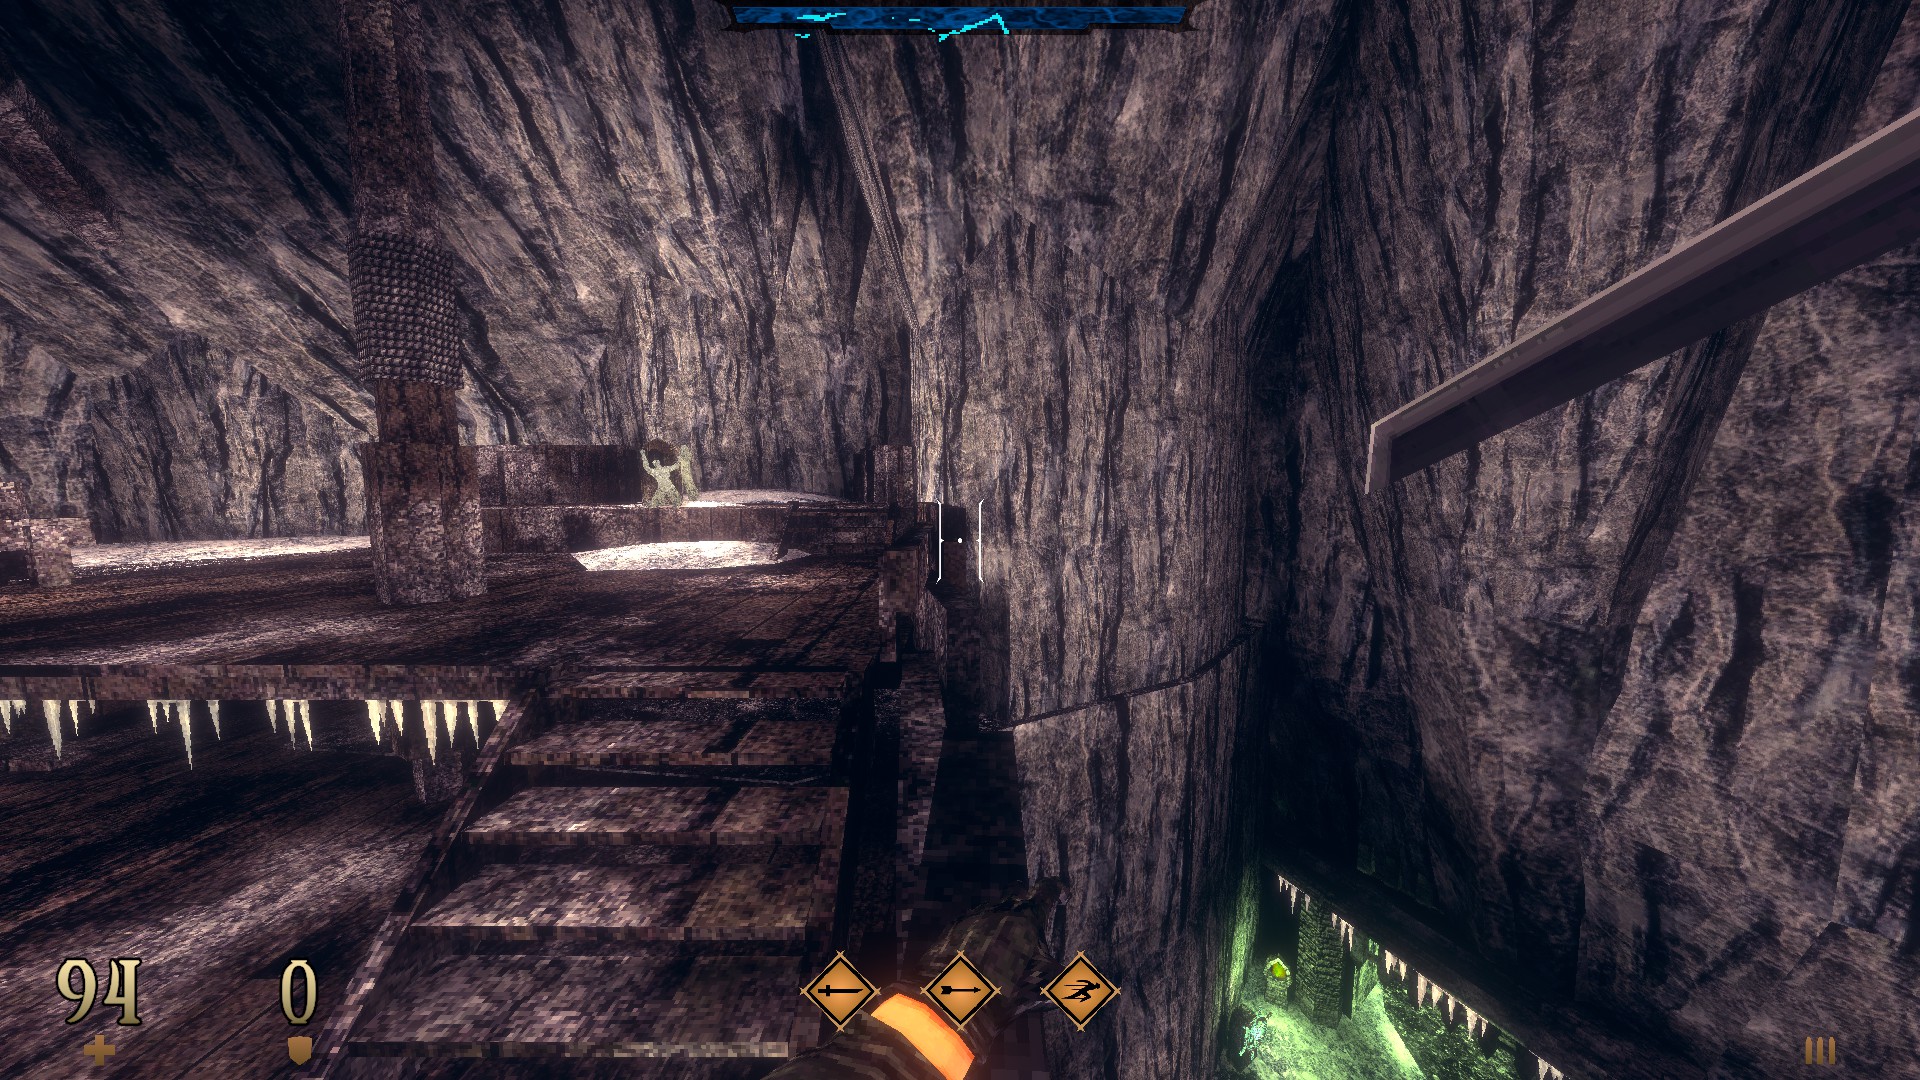
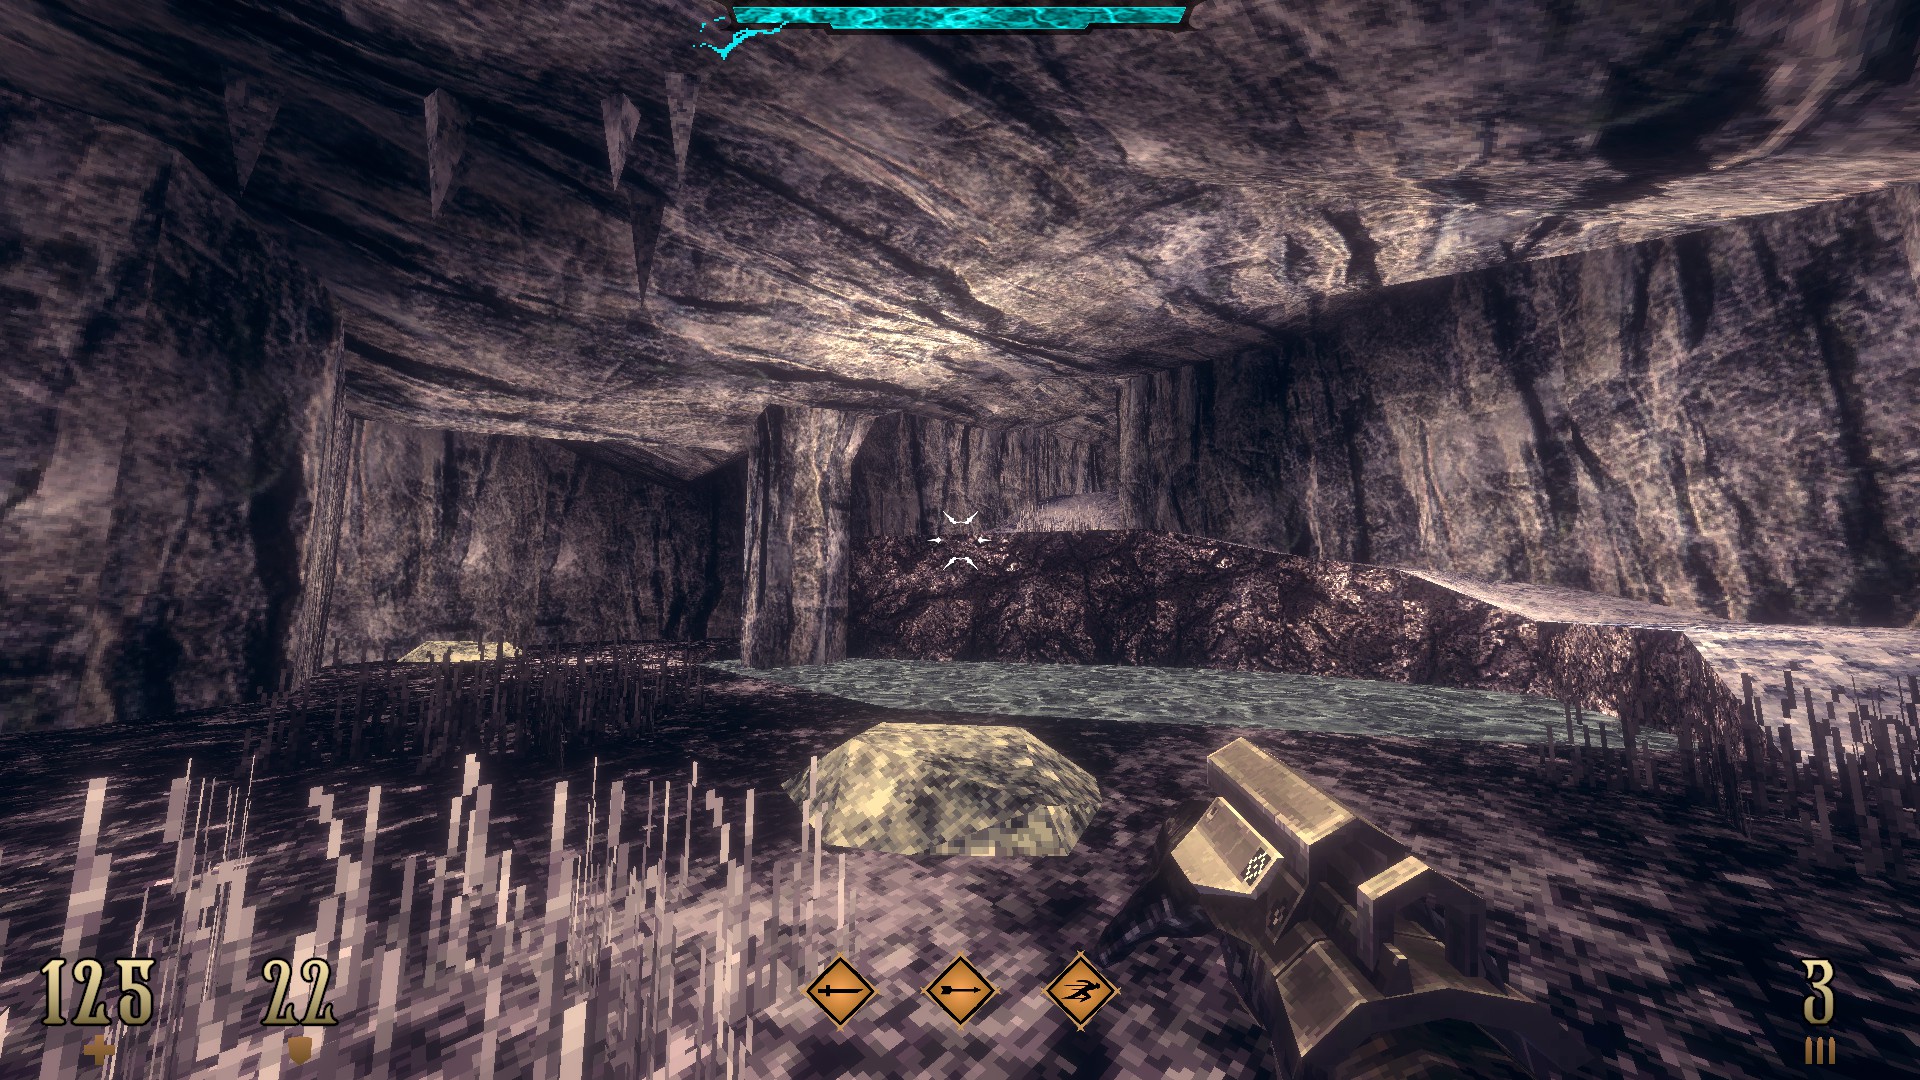
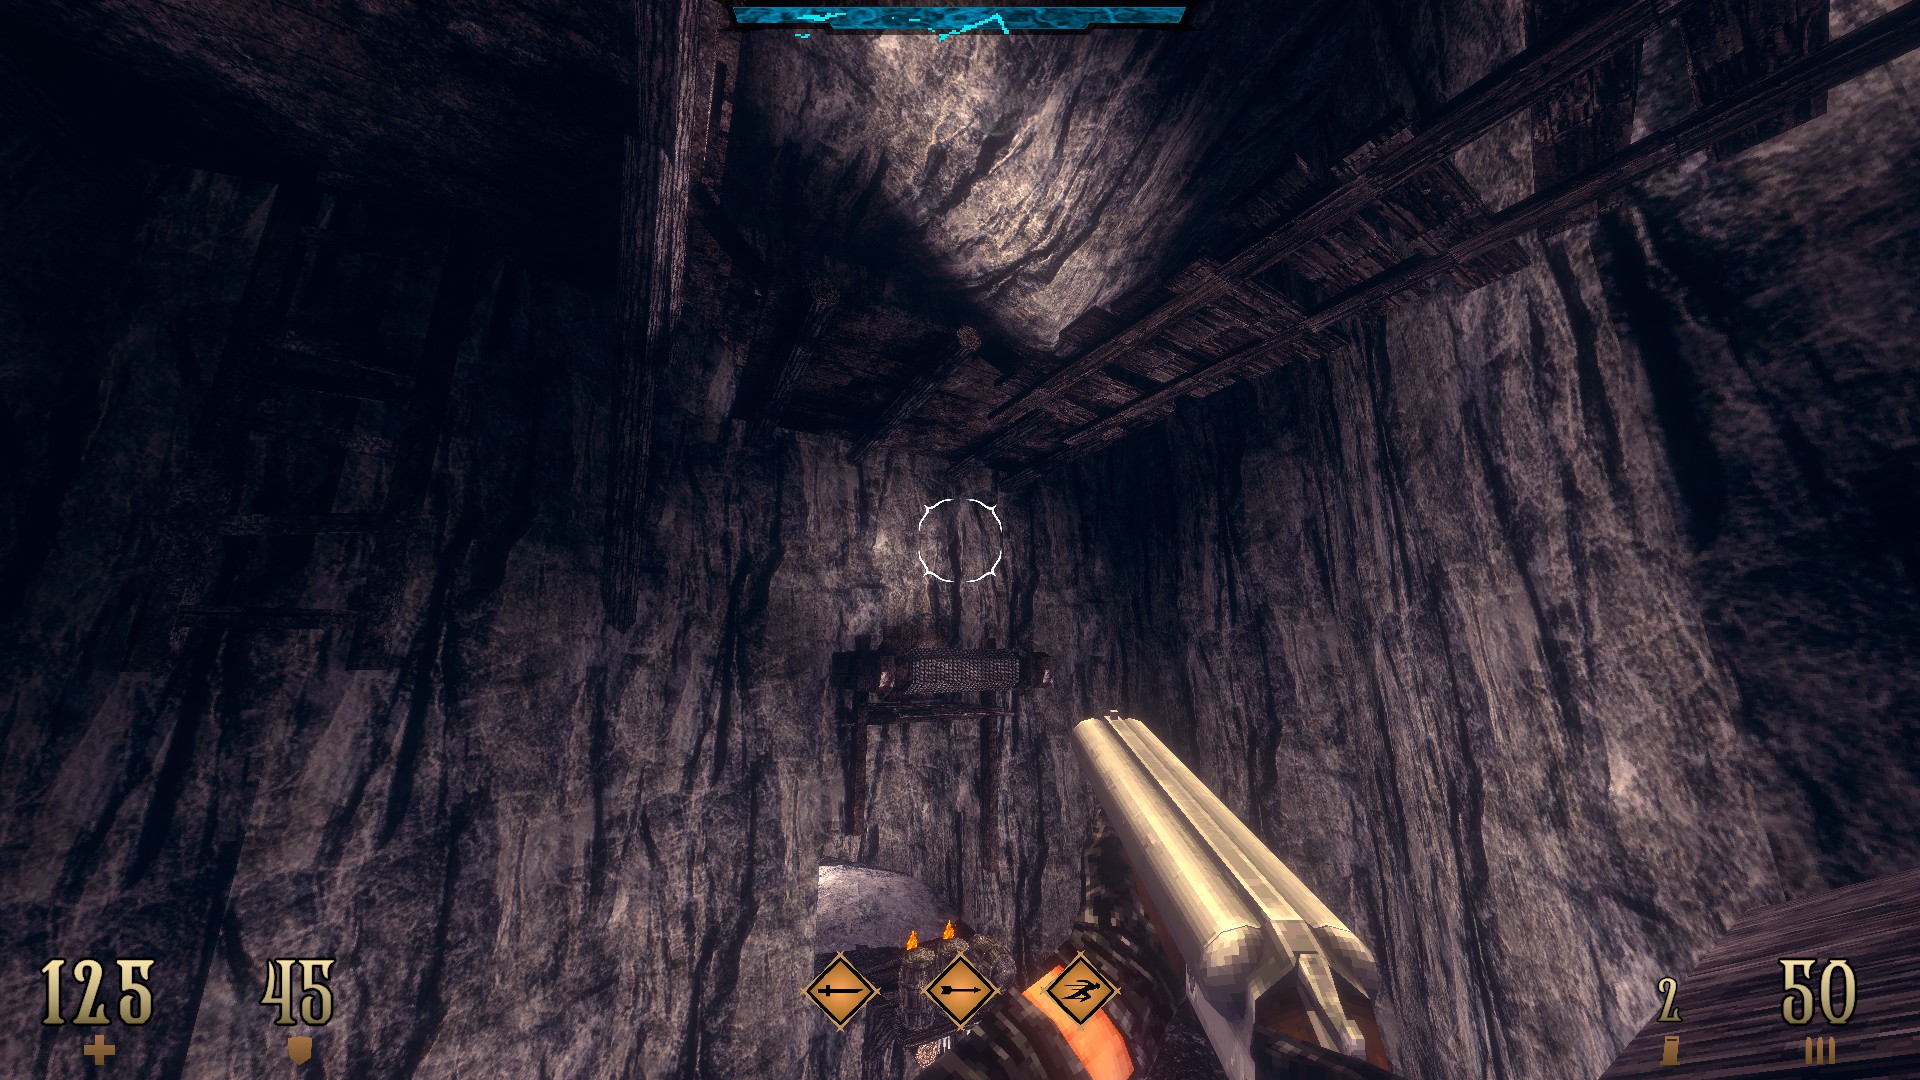
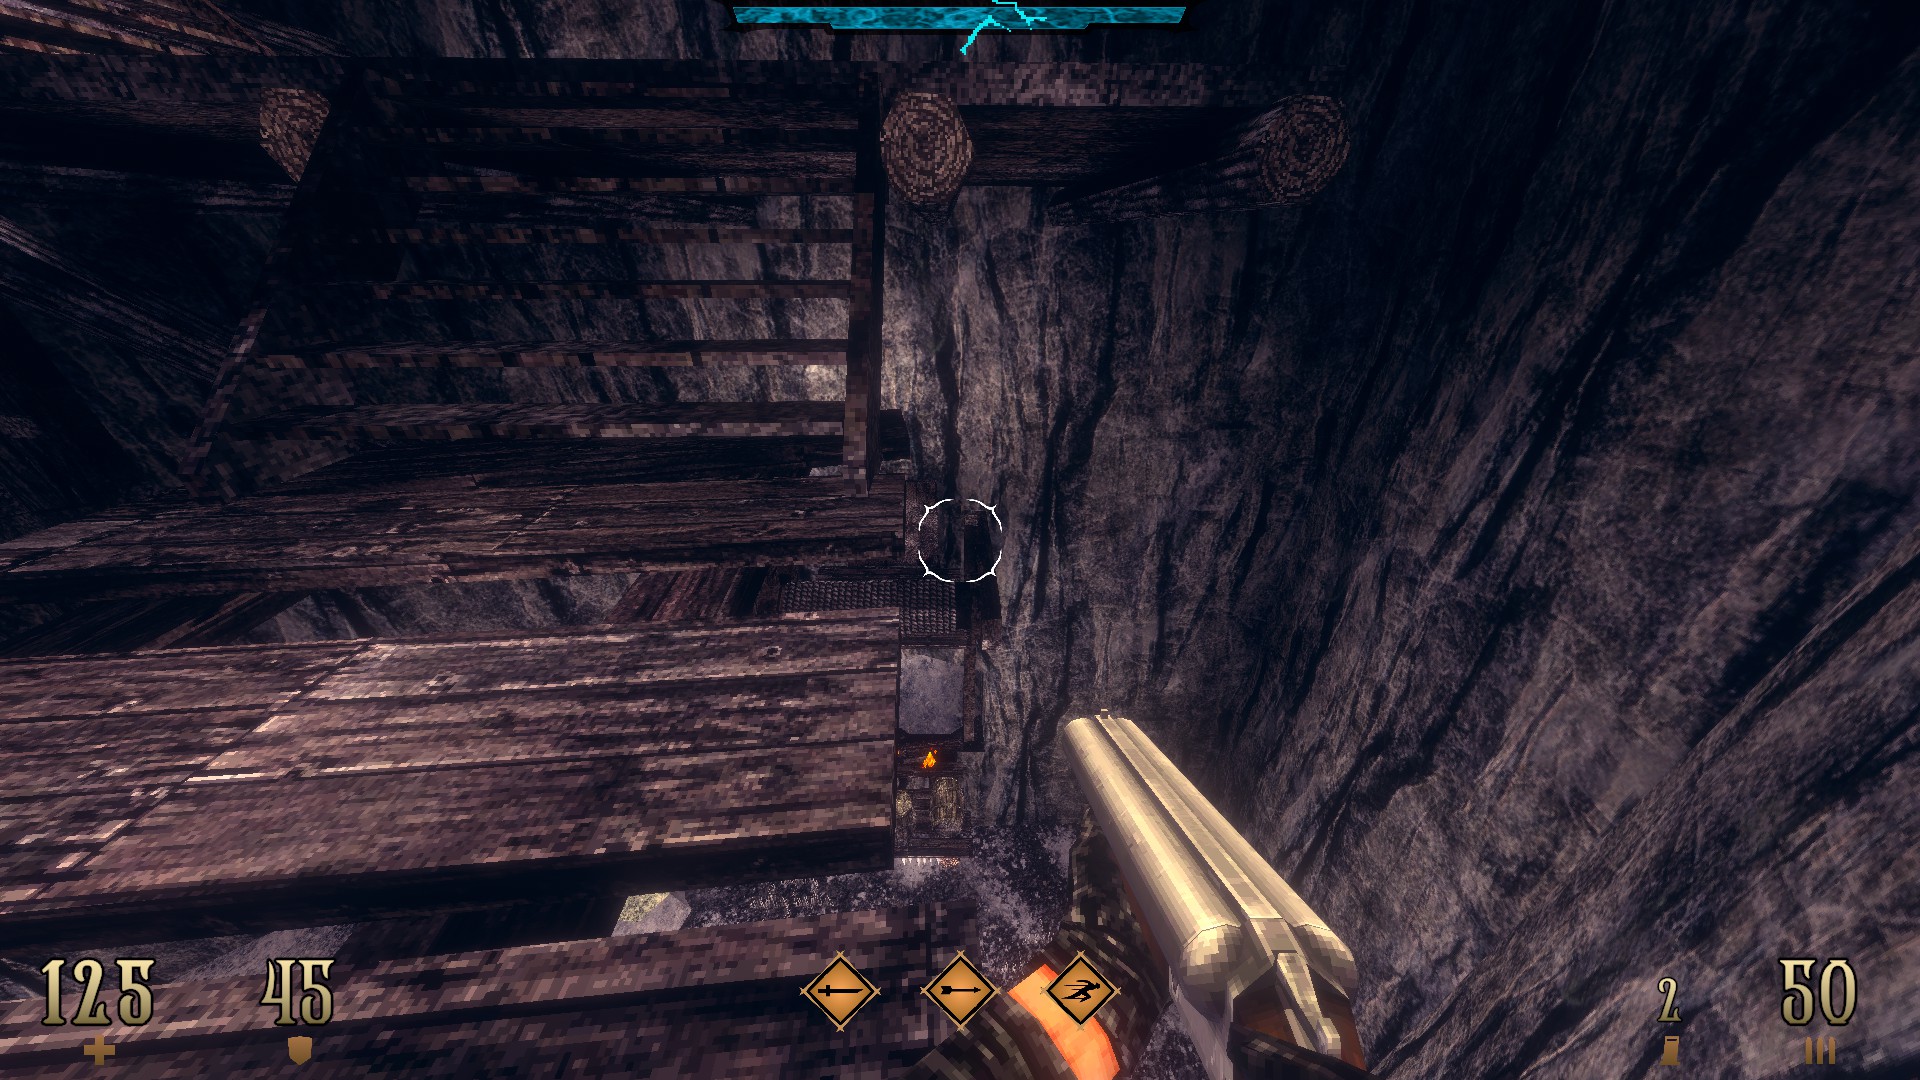
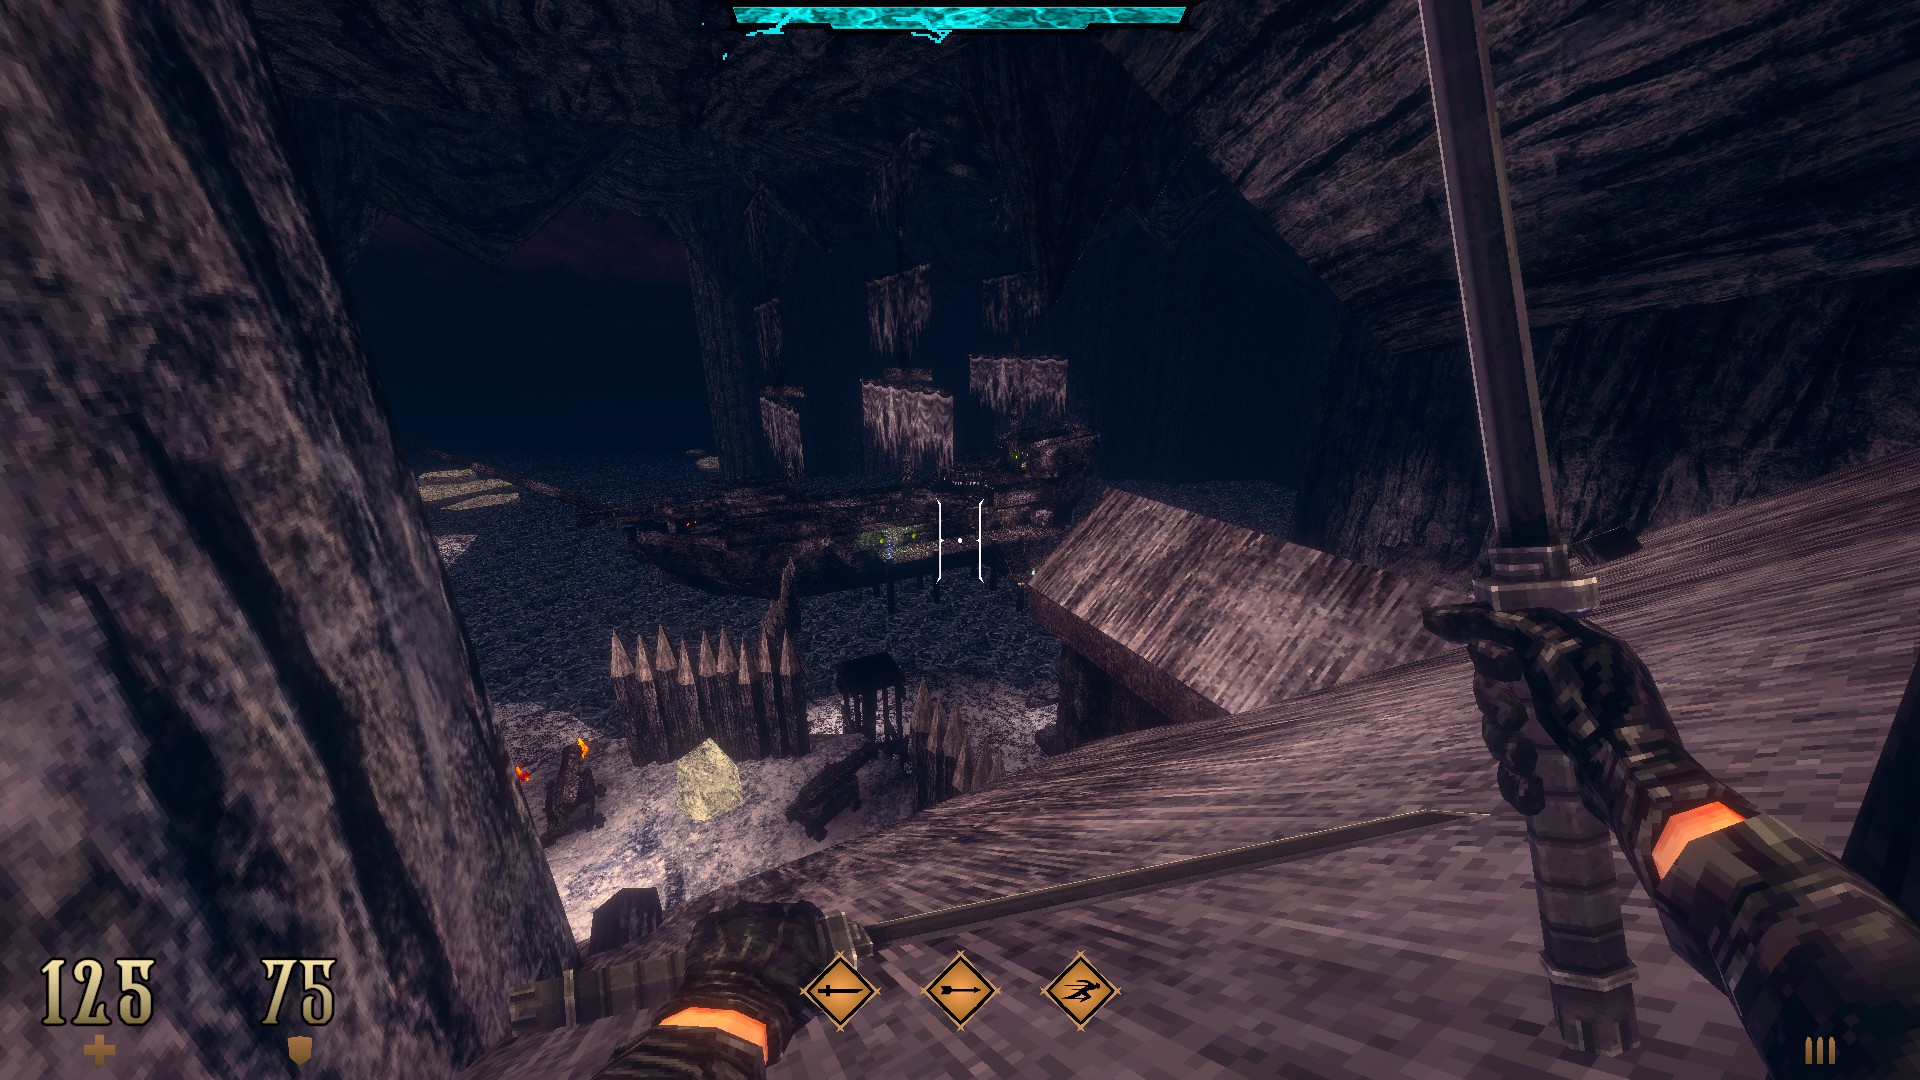
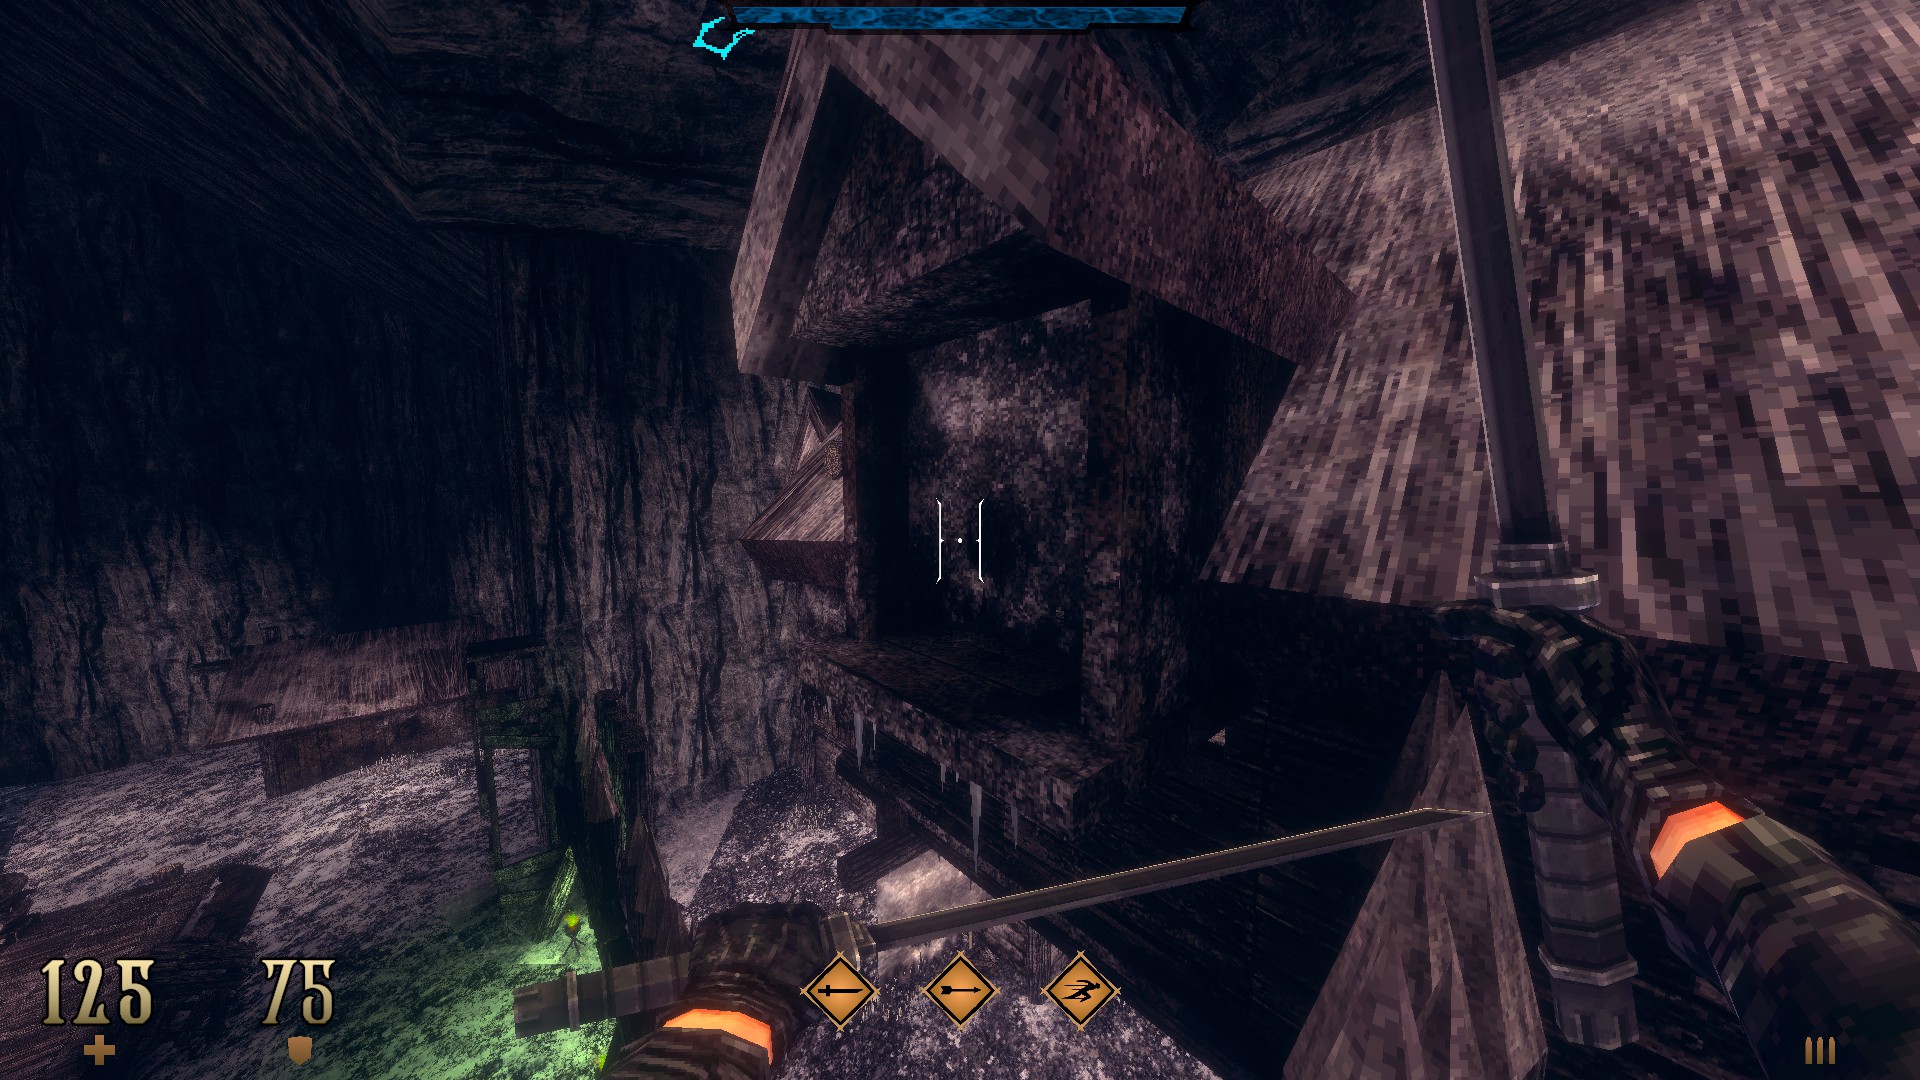
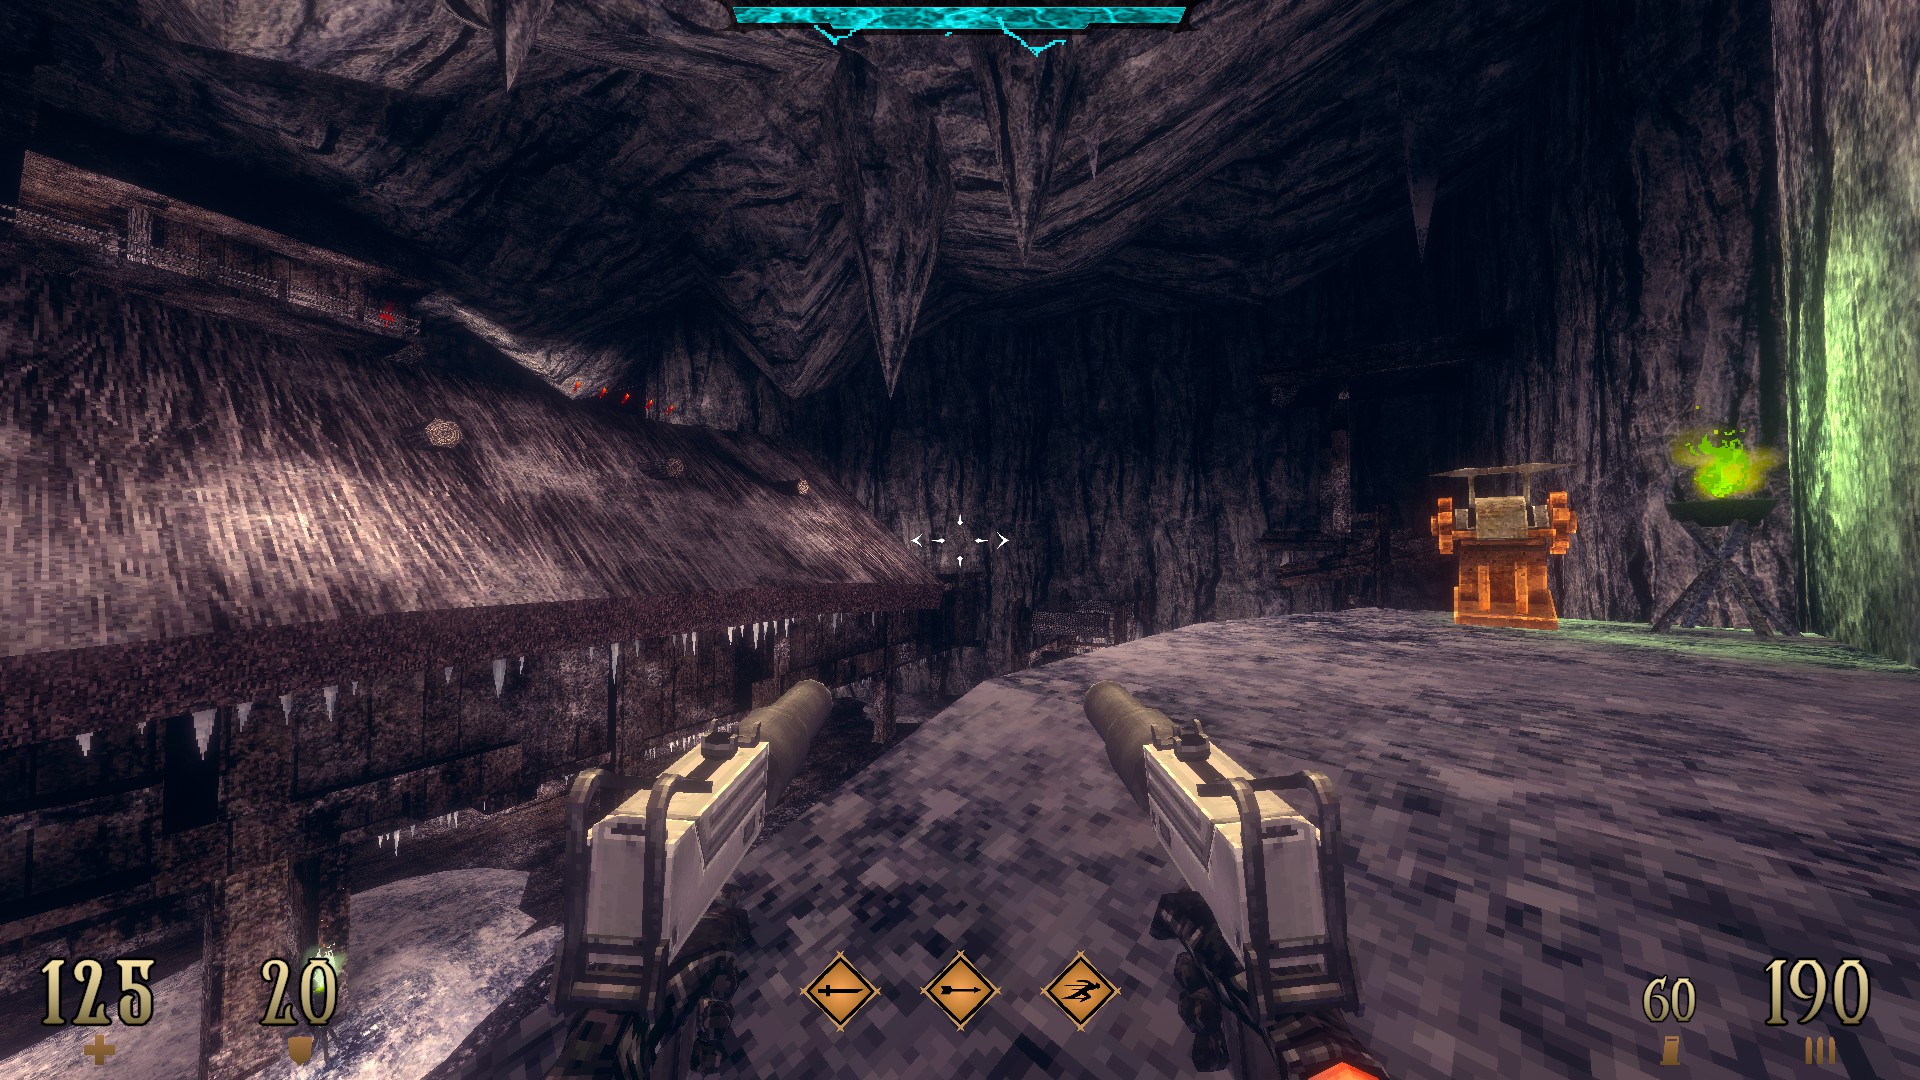
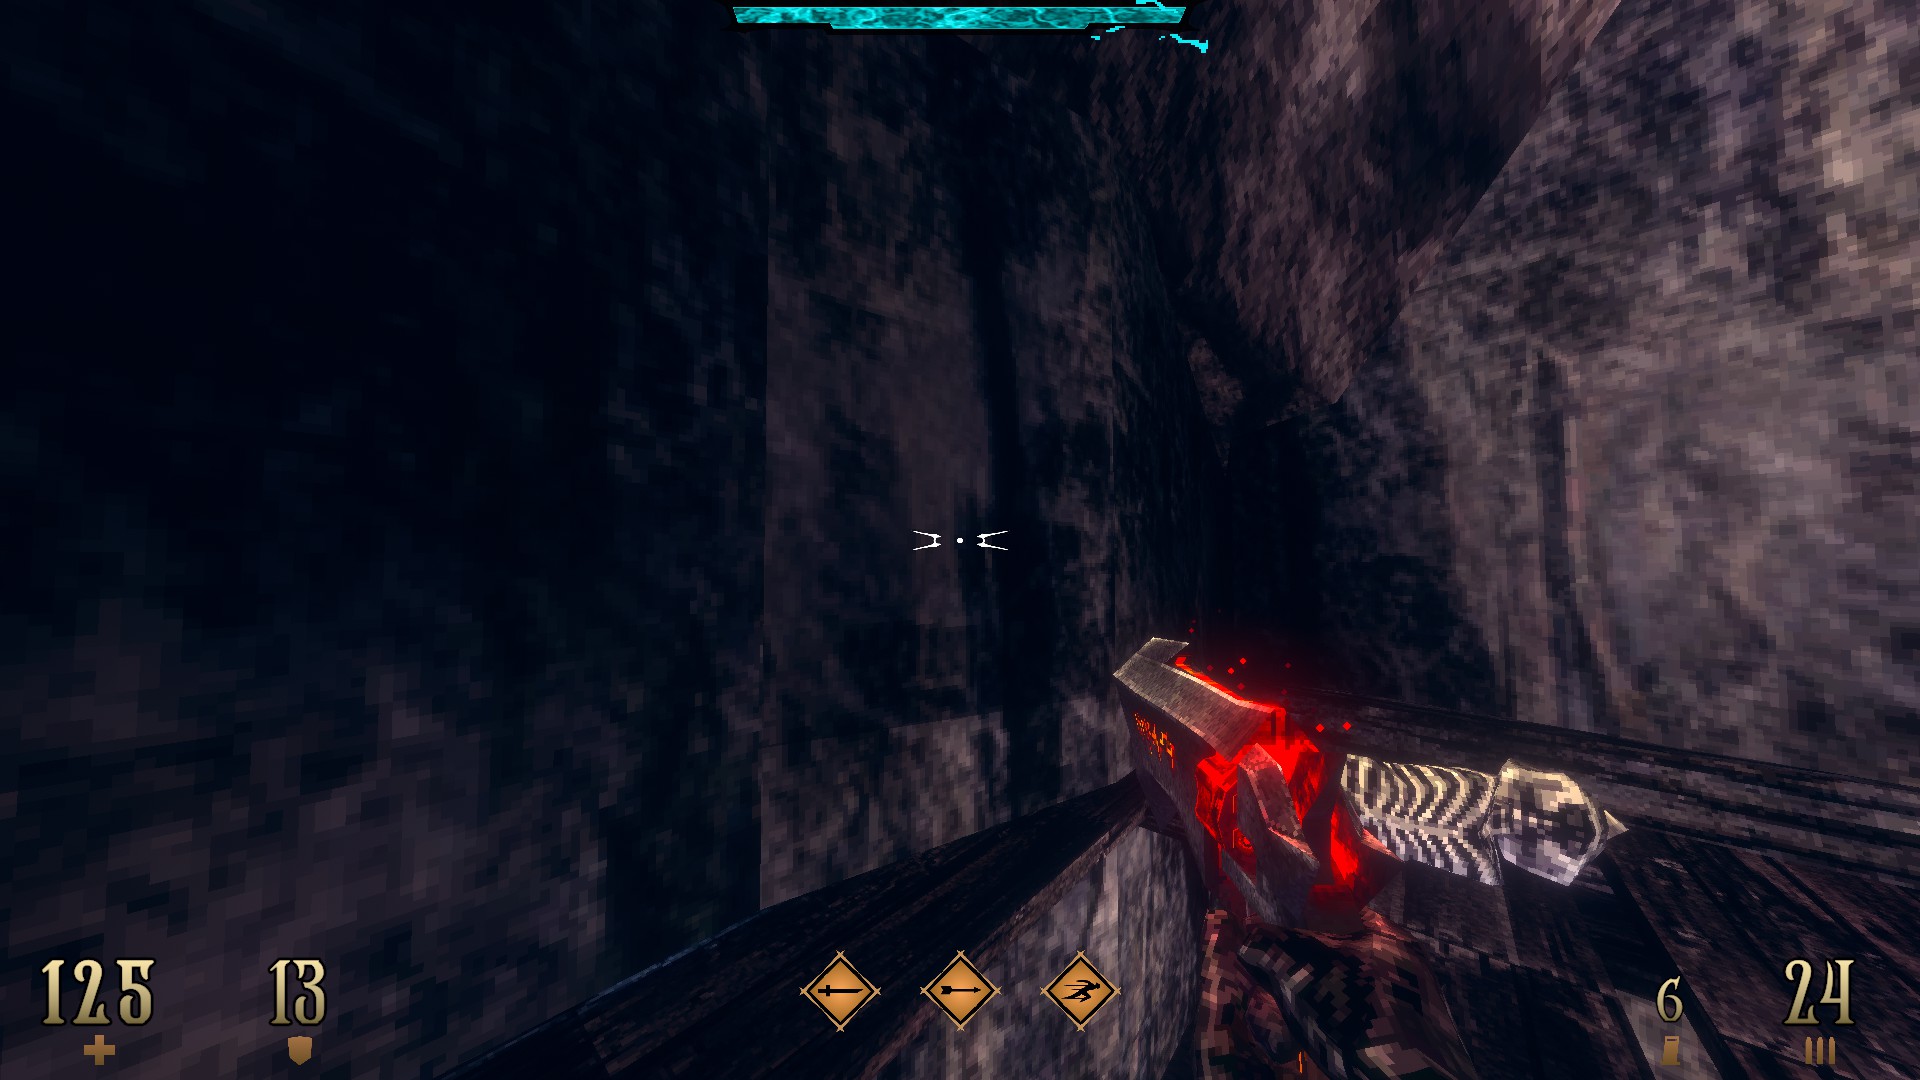
After being teleported back to the initial cavern, look for a reddish crack on the floor under the first ship and destroy it to reach the side area. Clear out the deathpit, look for the part with the misaligned texture and use it to reveal a hidden compartment.
10/10 –
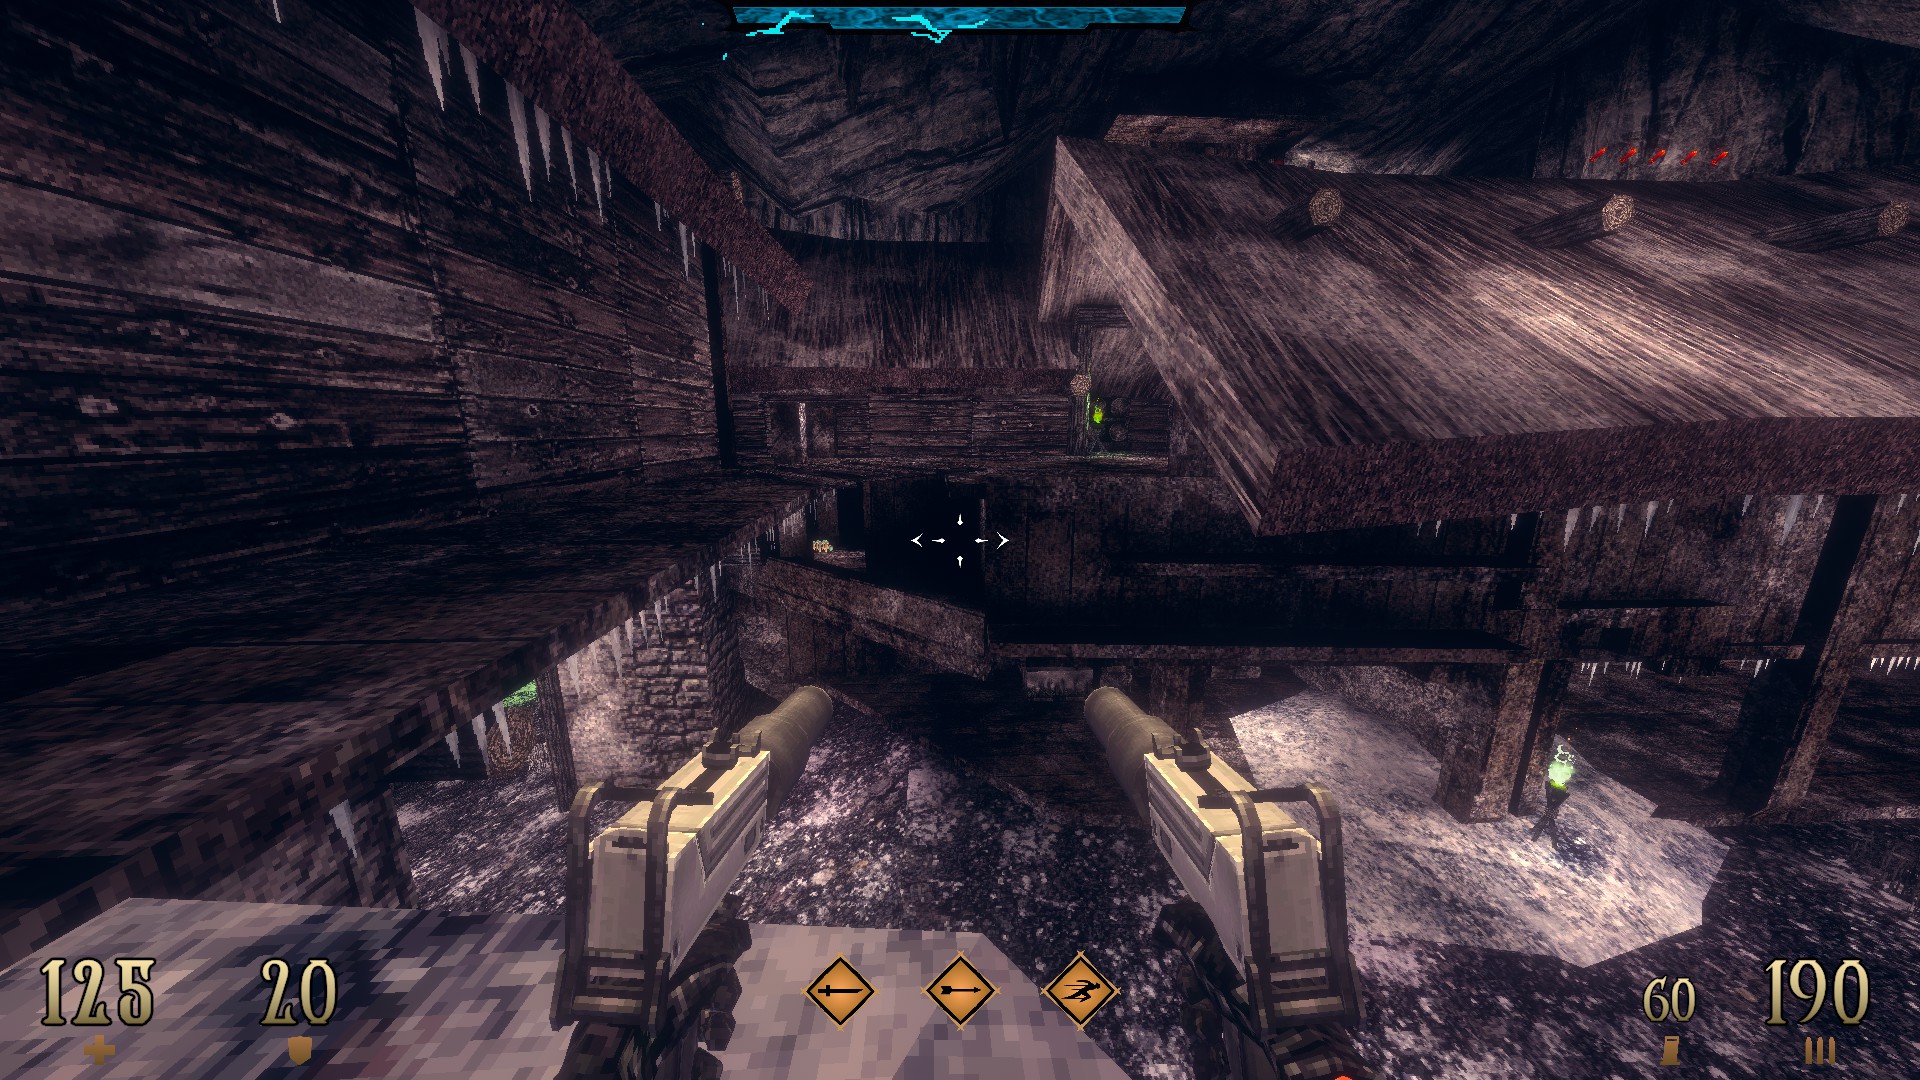
As you ascend out of the side area, jump across to the ledge with the health packs and use the part with the misaligned texture to reveal yet another hidden compartment.
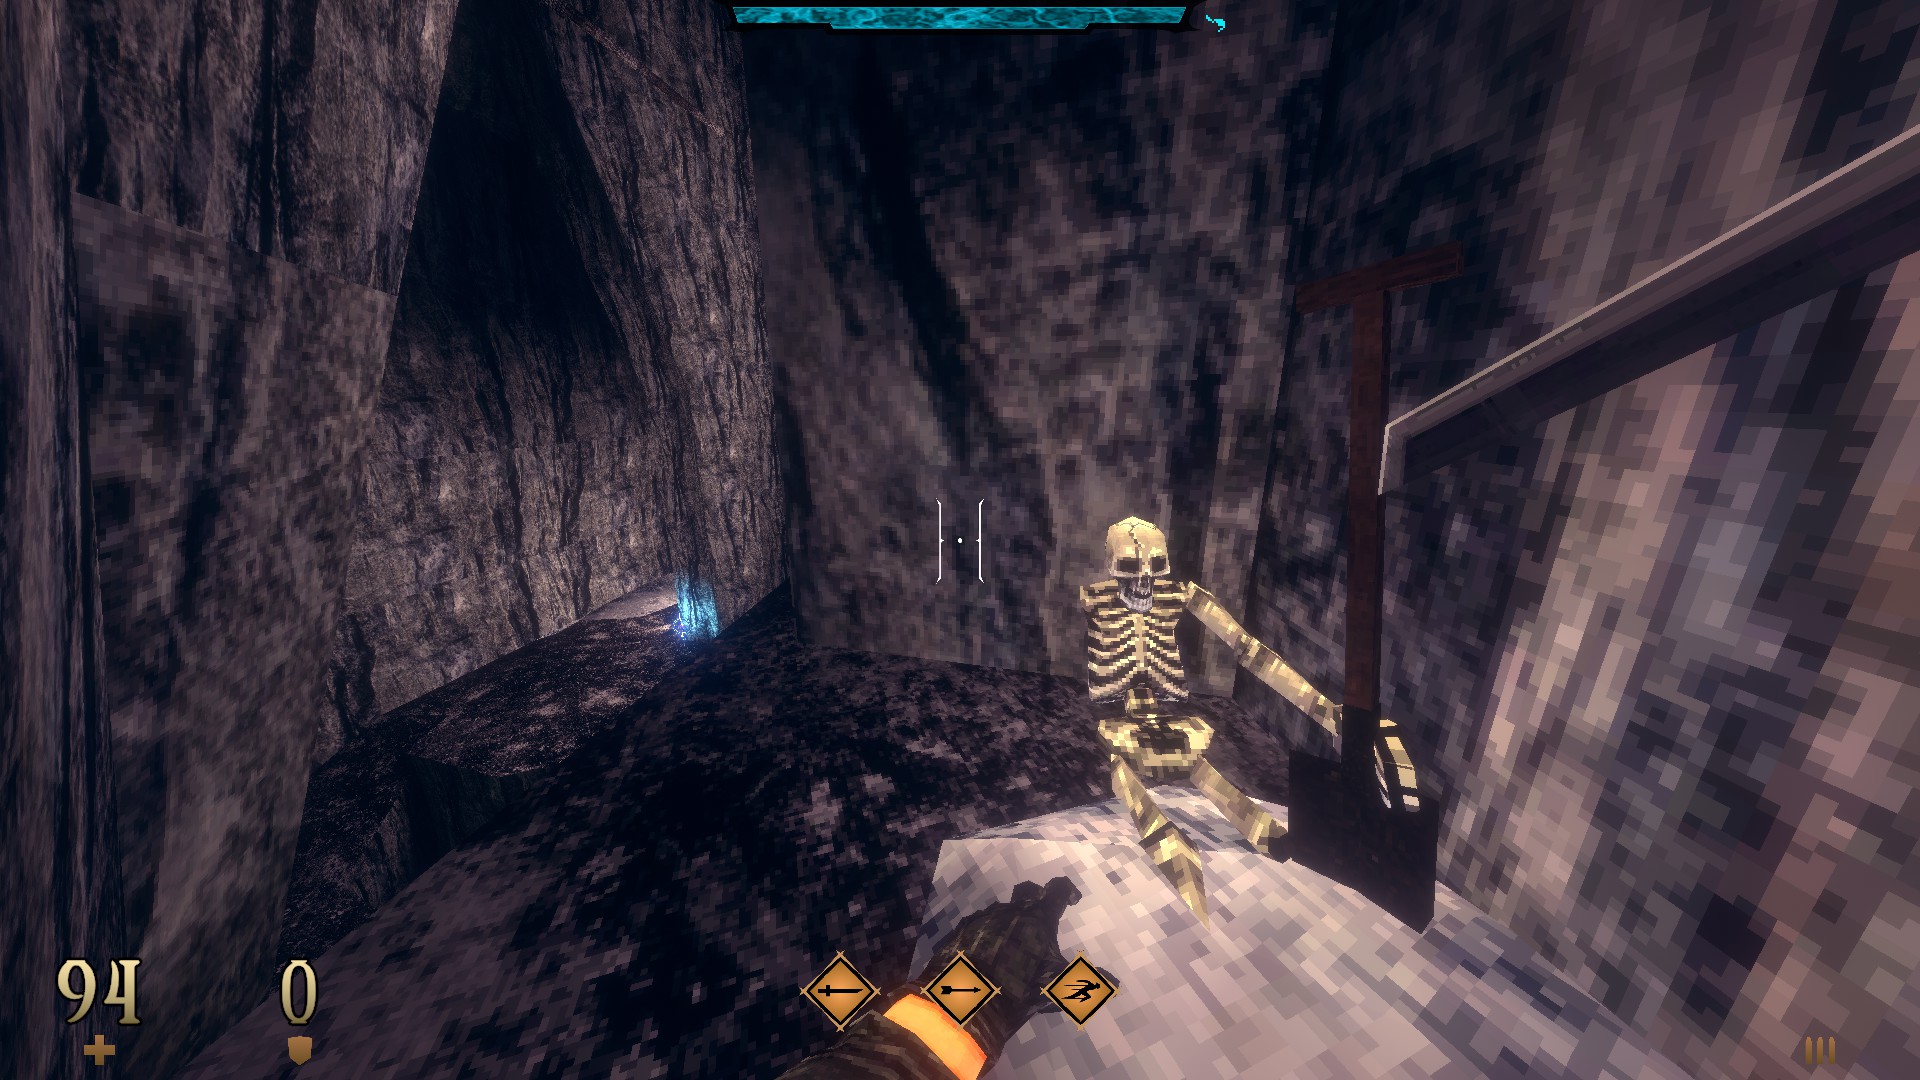

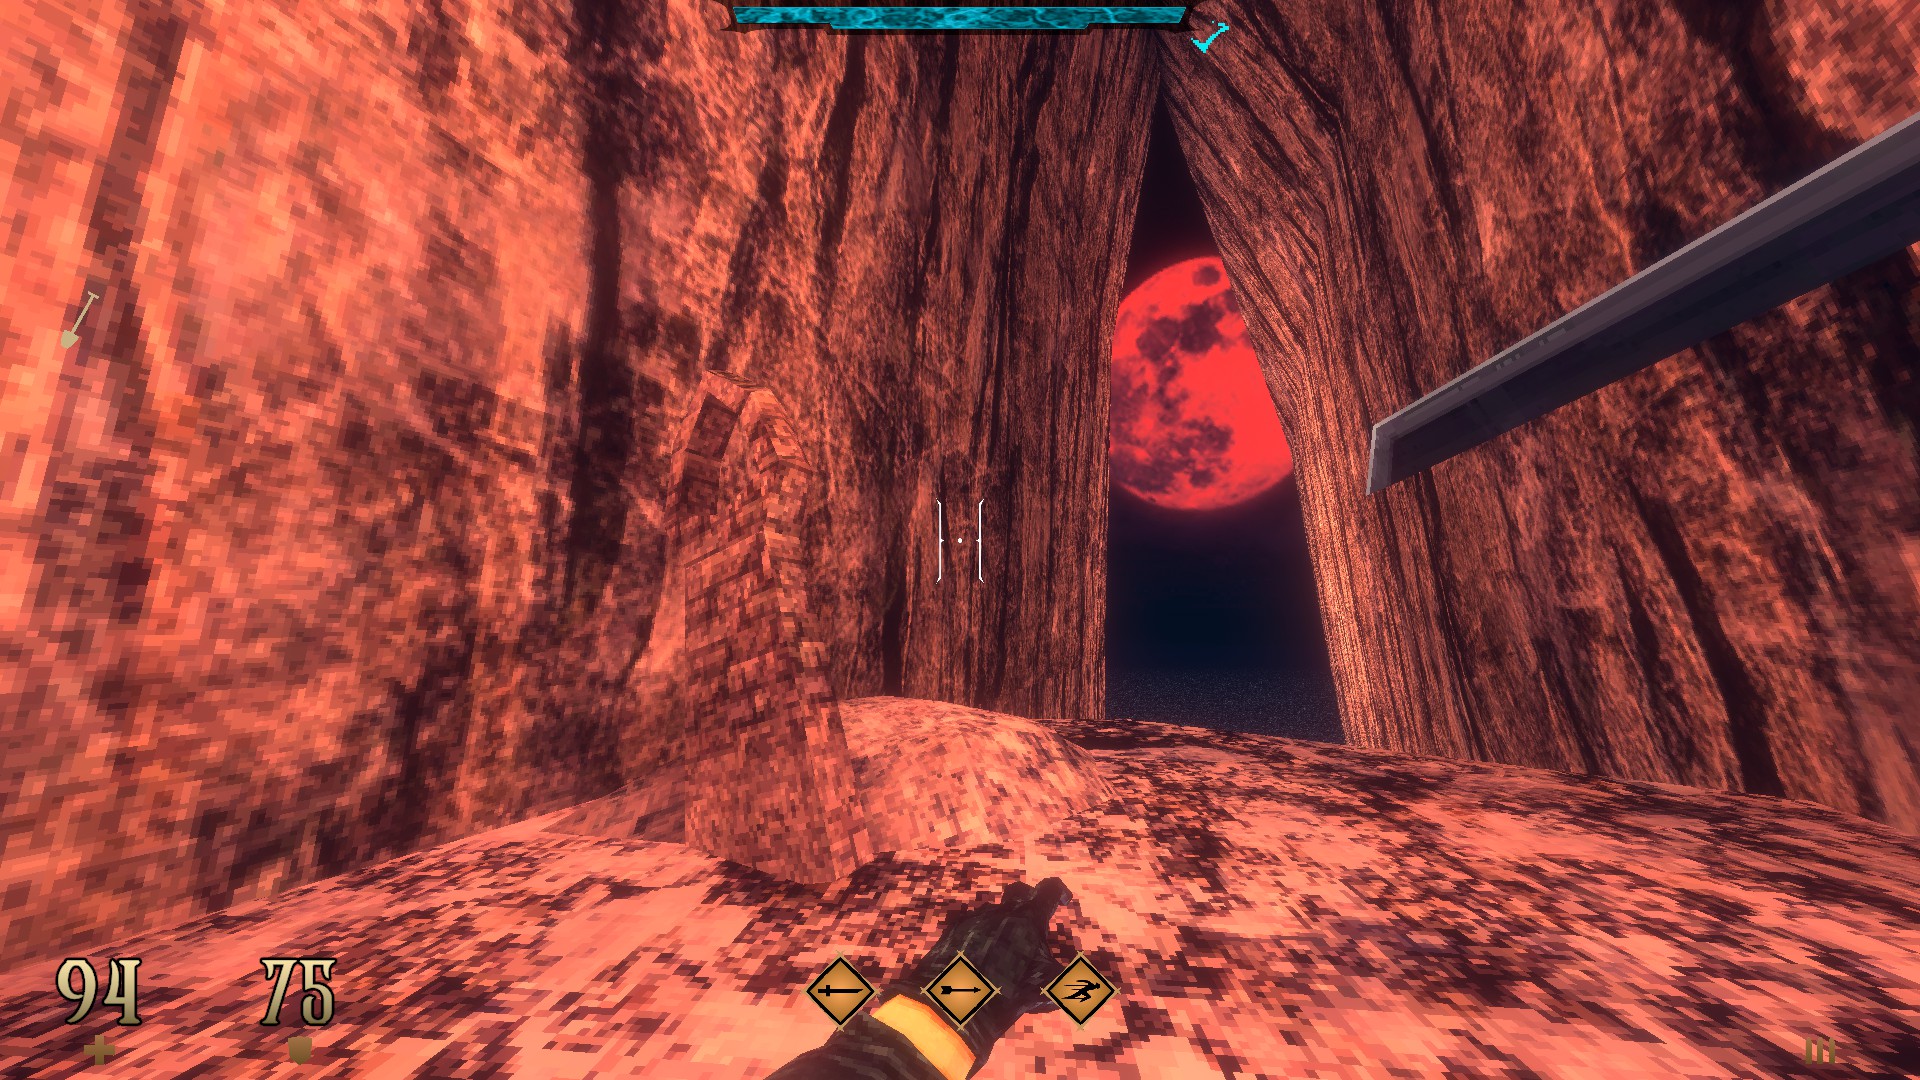
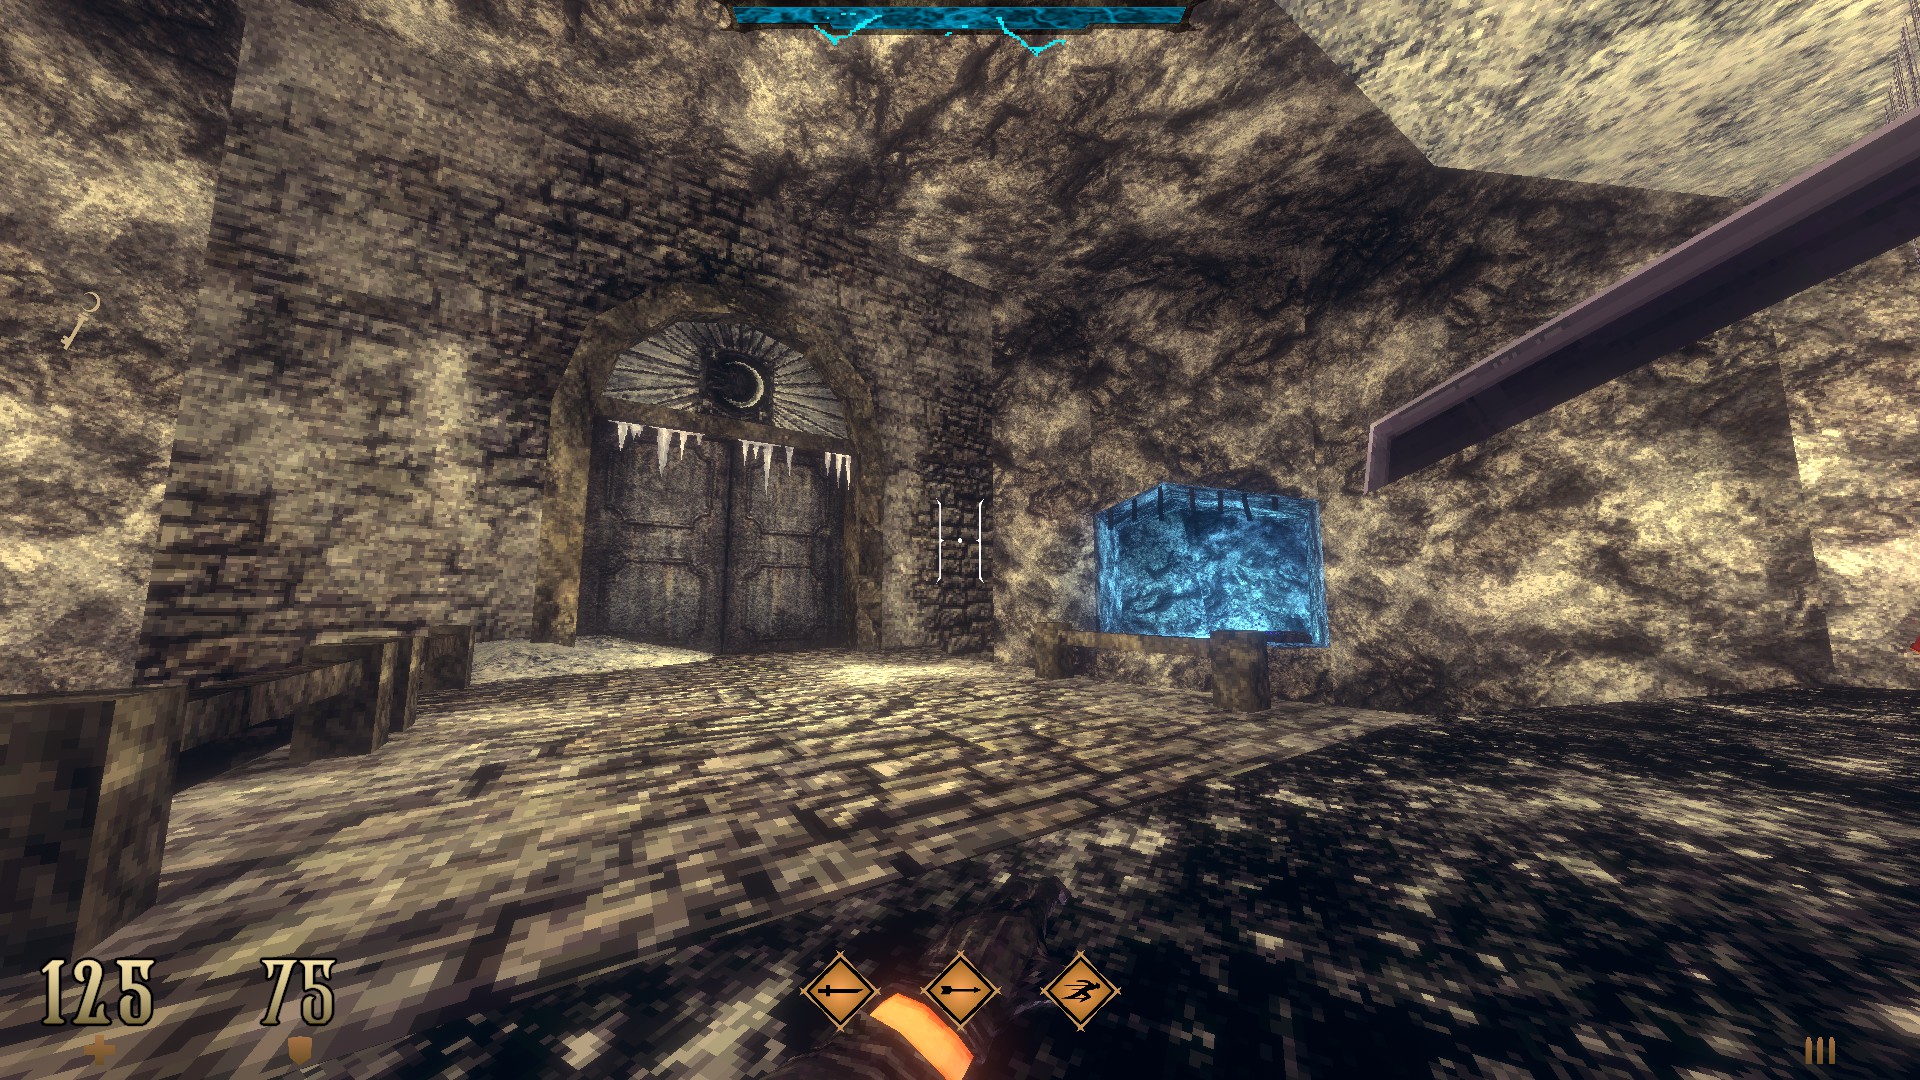
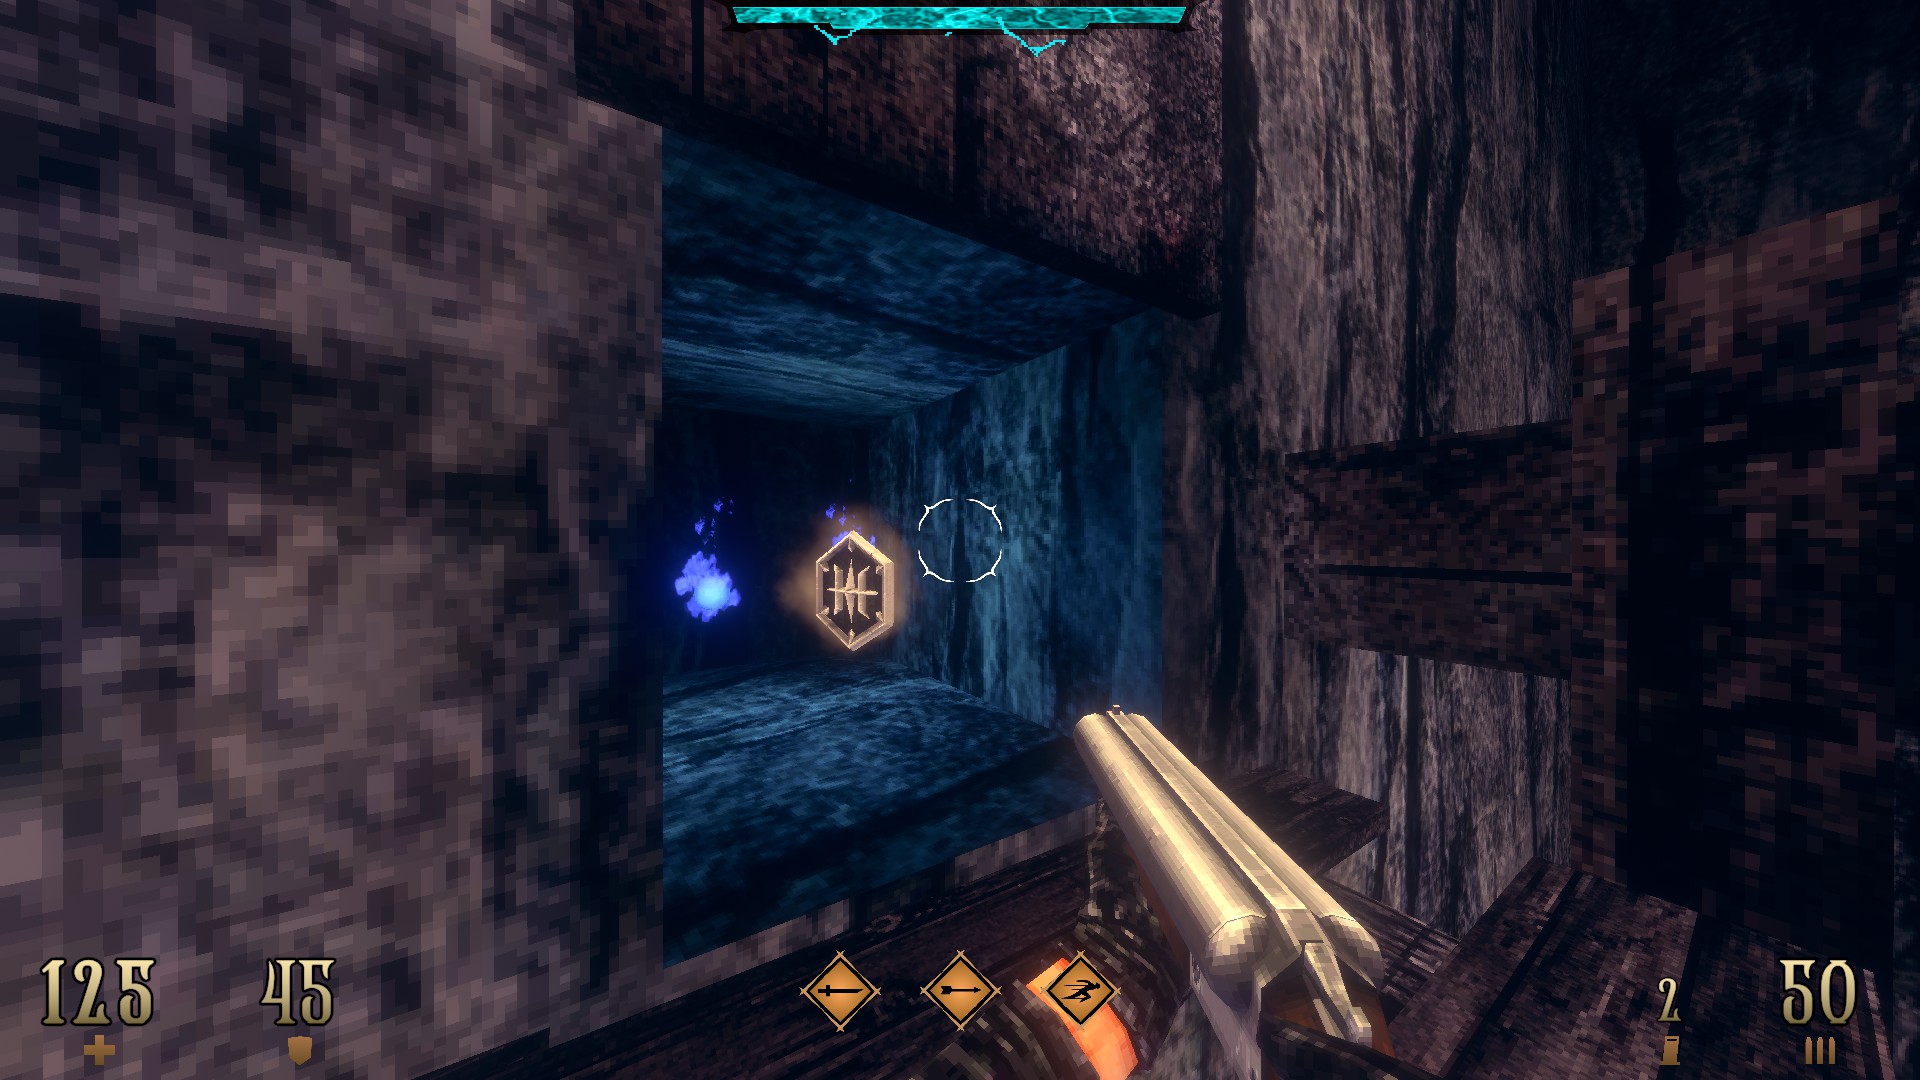
SUPER SECRET –
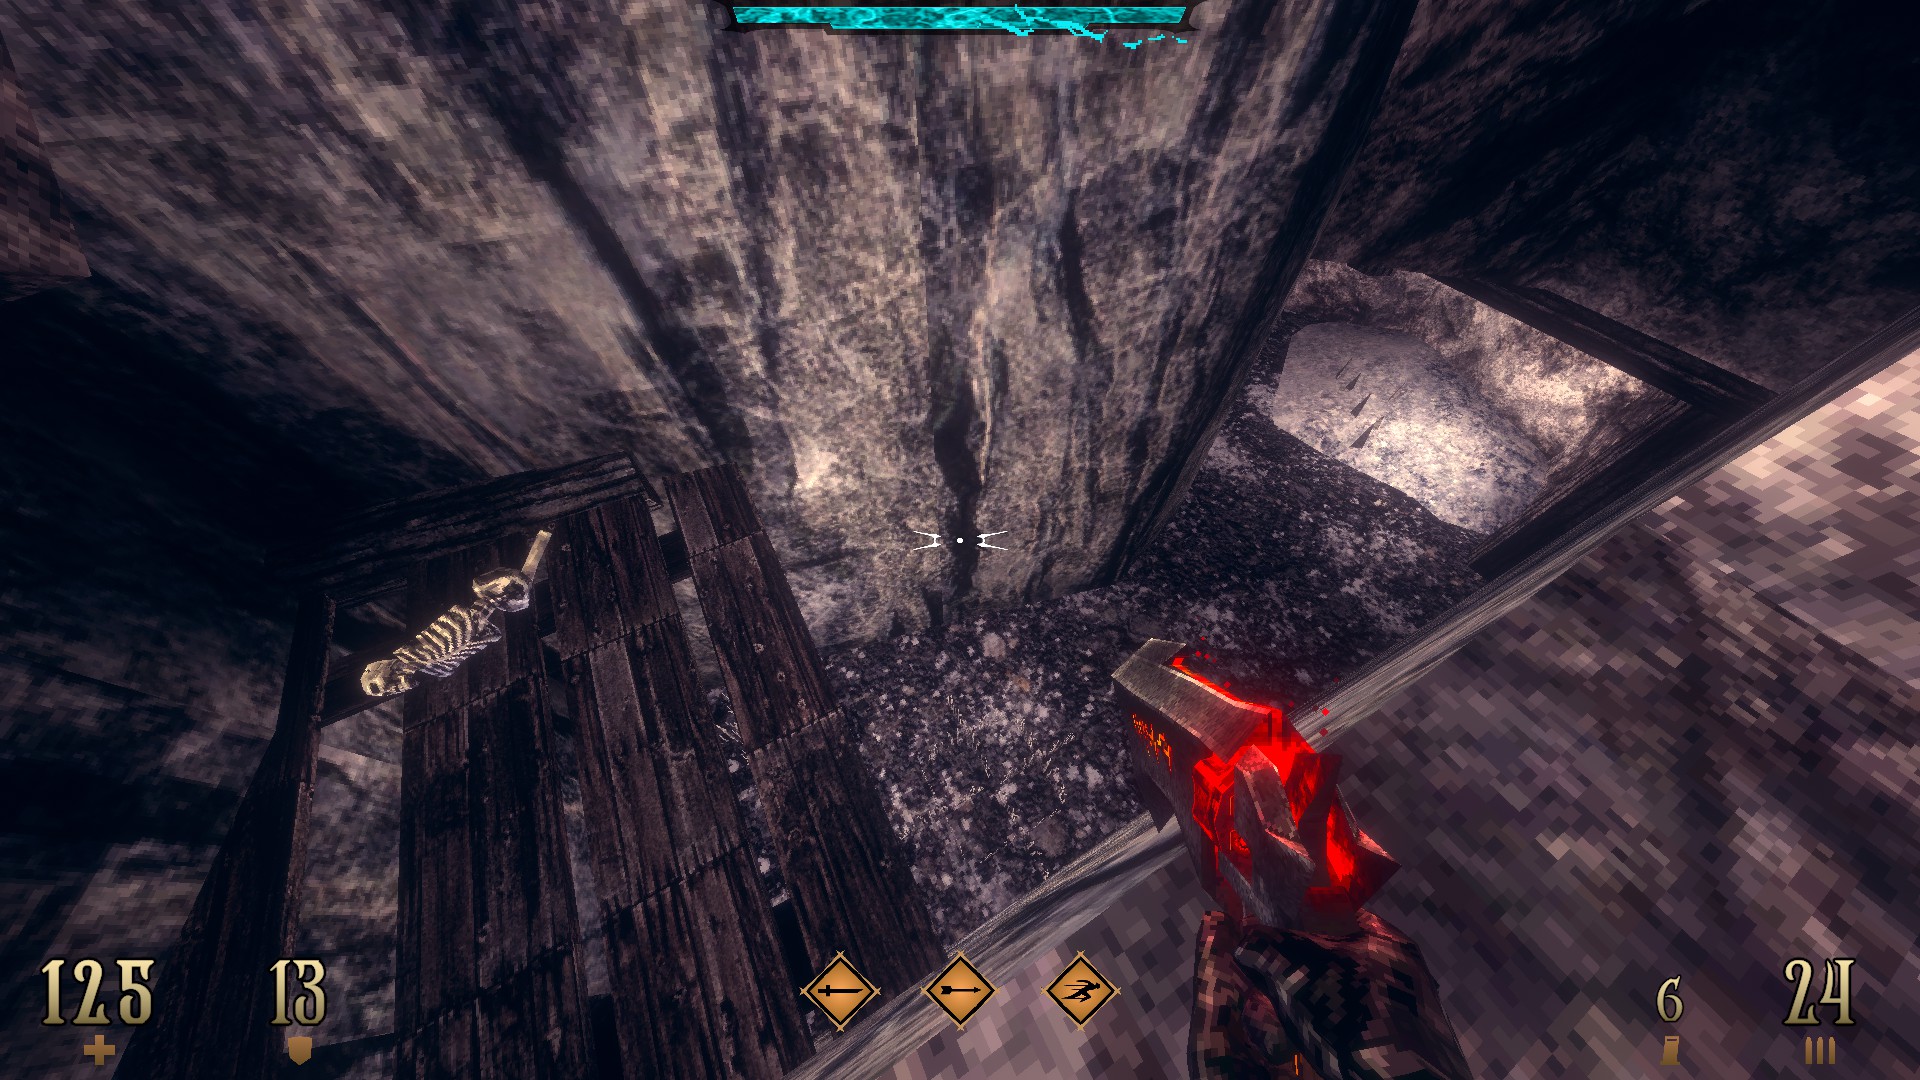
Follow the ledge to the right of the third ship and pick up the shovel from the hands of the skeleton. Backtrack to the second ship and follow the path that leads to a grave with a view of the blood moon. Use the shovel on the grave to dig up the moon key. Go through the side area once more and open the door at the very end to reveal a hidden cache.
(Icicle -G- and a Blood Gem)
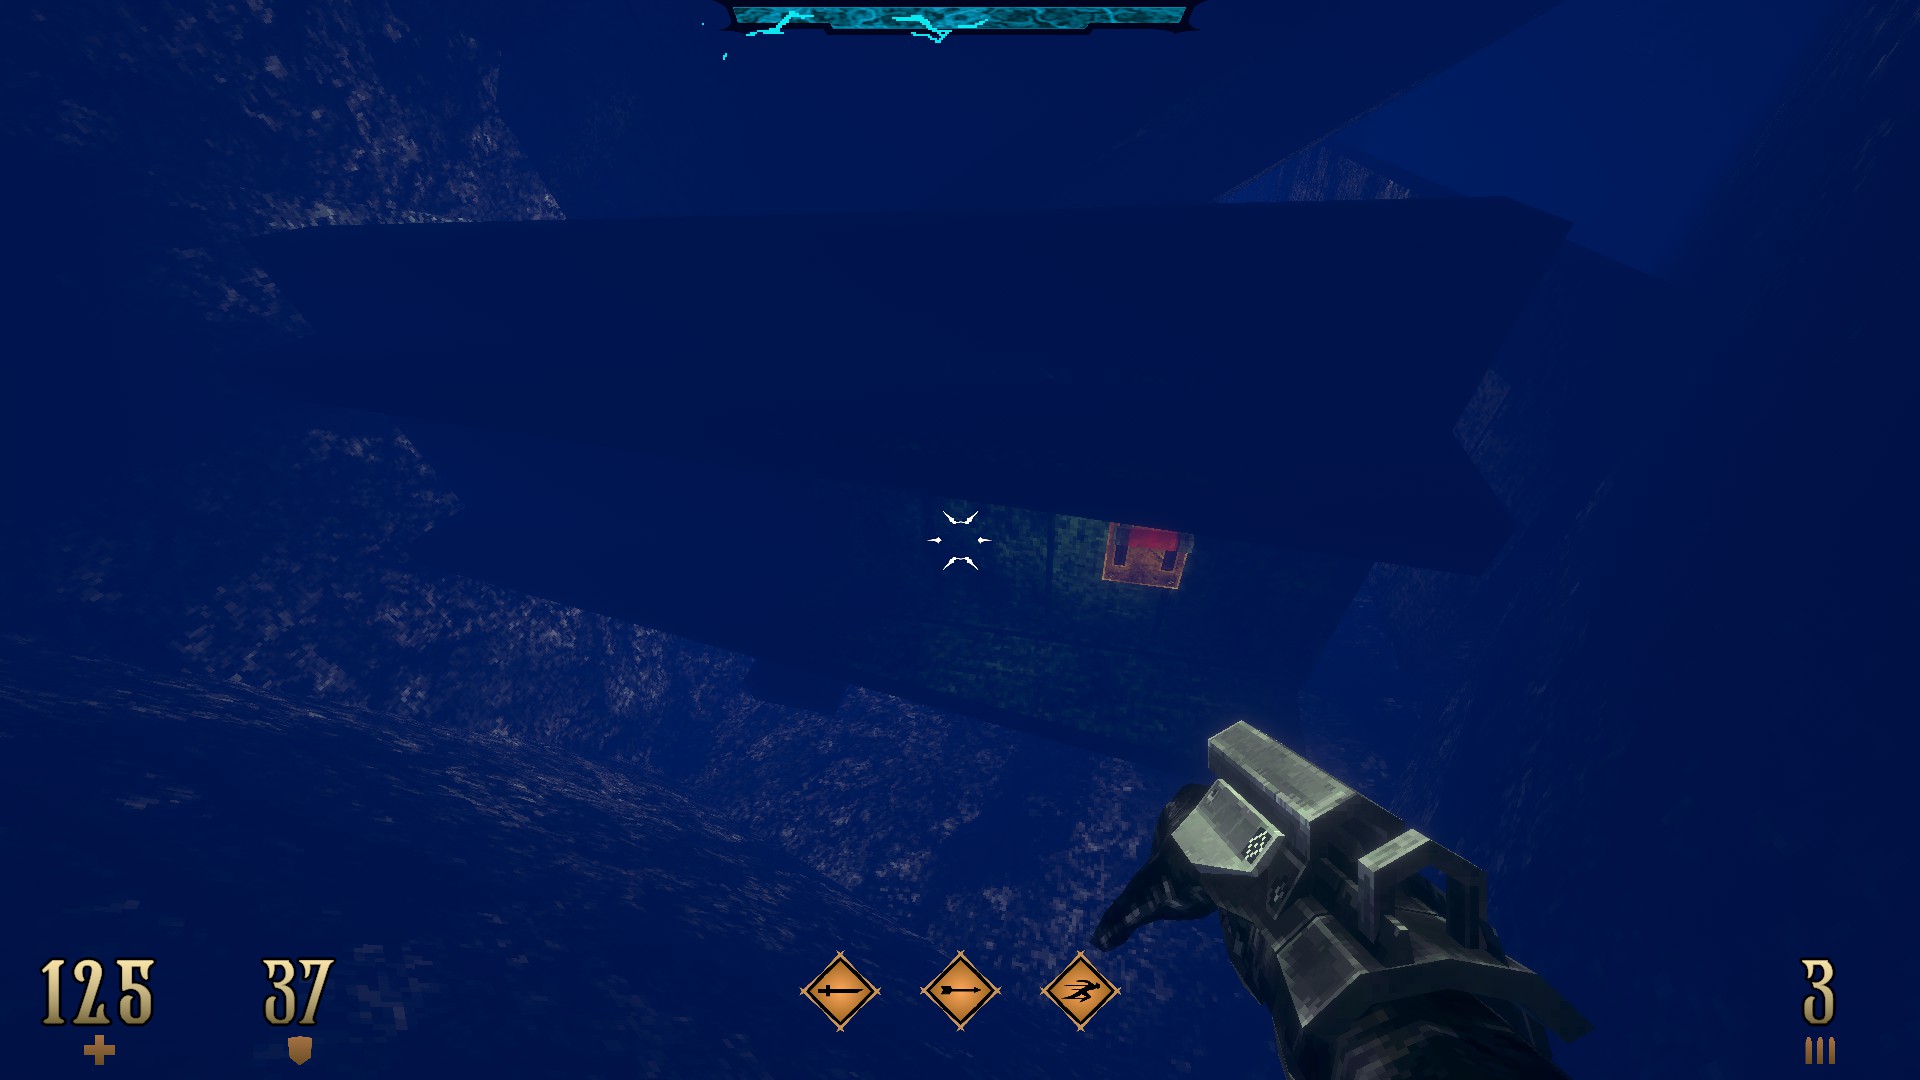
E3M2: Stranger
This level contains 8 secrets and a super secret.
1/8 –
Before getting on the ship, jump into the water and swim right to reach the side area. Dive into the pool at the next corner and explore the underwater section thoroughly to find a hidden lever. Pull it and continue on. Once the lever is pulled, the ice armor in the next cavern becomes accessible. Pick it up and dive into the pool right next to it.


2/8 –
On the lowest floor of the ship, use the slightly indented part of the wall next to the ladder to reveal a hidden compartment.
3/8 –
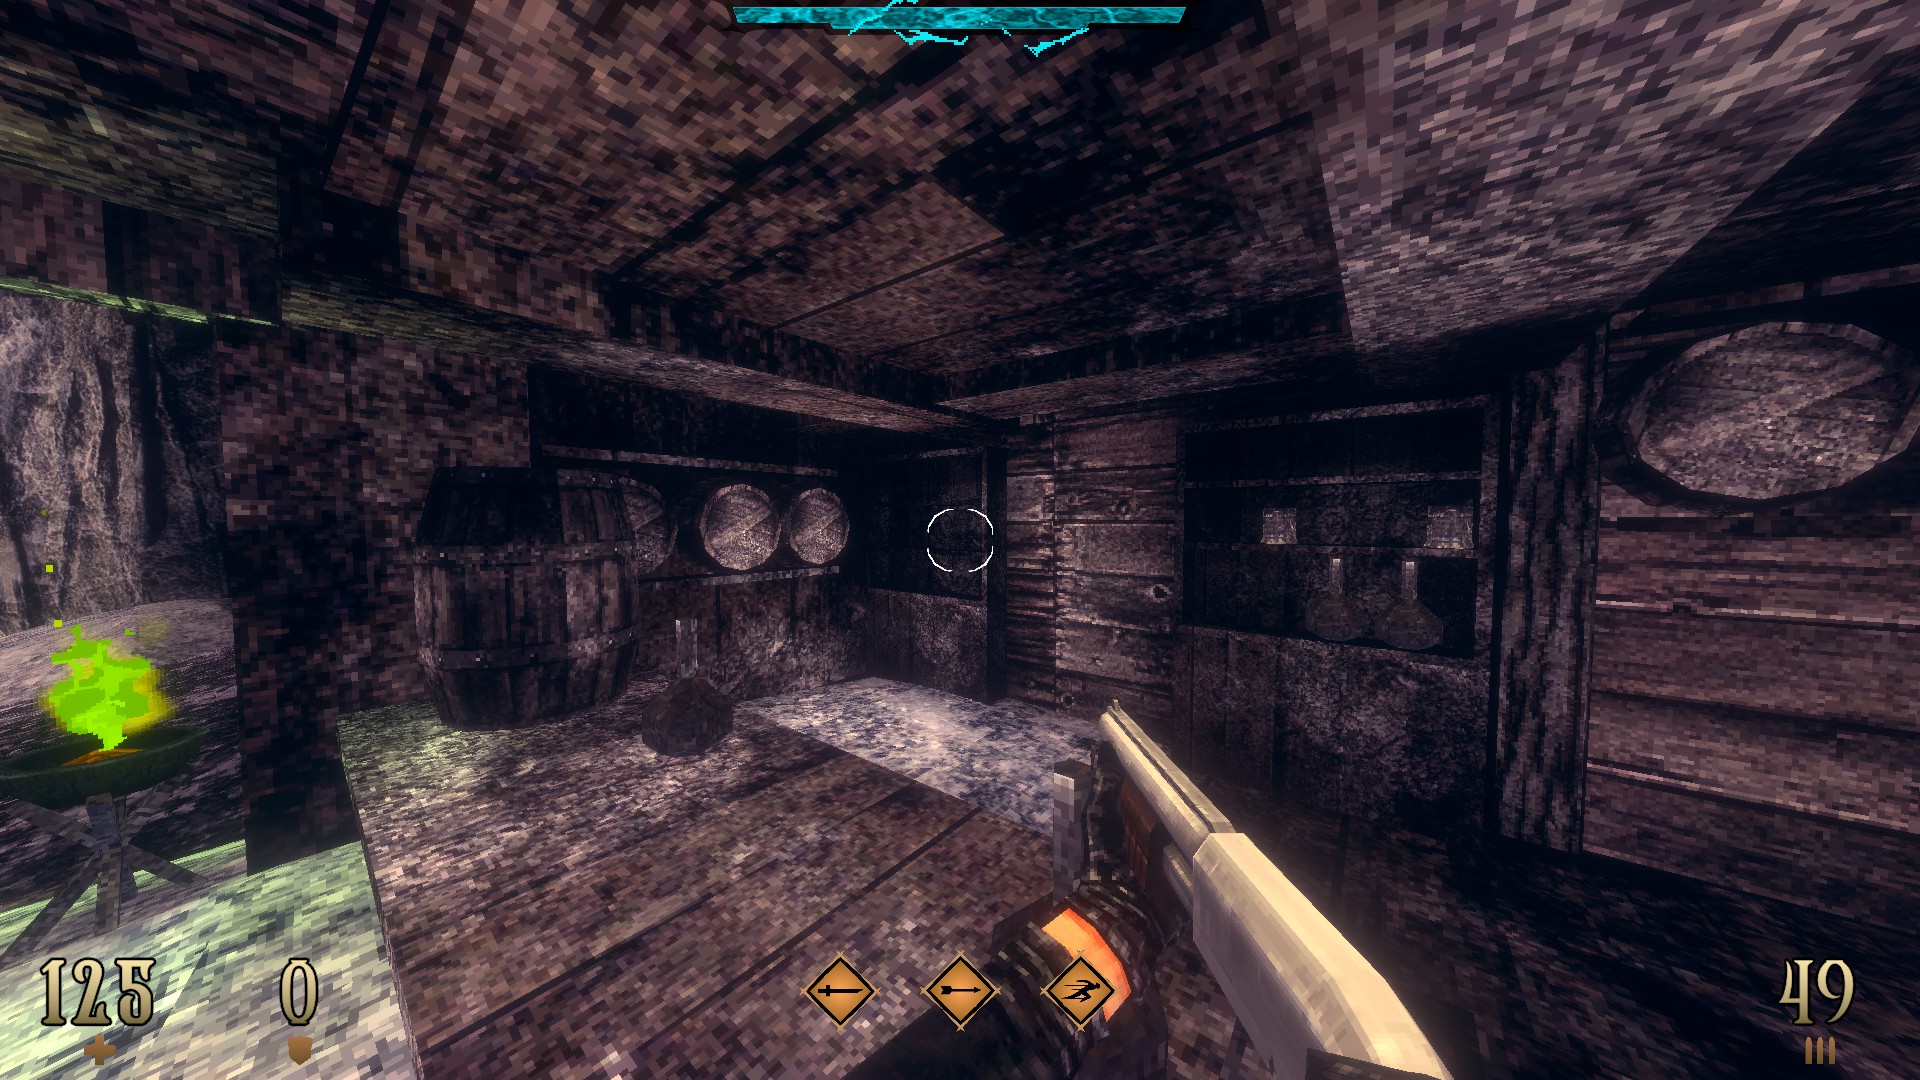
Use the empty shelves at the back of the bar to reveal another hidden compartment.
(Inferno Rocket Expansion II)
4/8 –
Get on the roof of the building, drop down from the walkway that leads to the overlook and dash on top of the winch above the opening. Use the panel to reveal a hidden emblem and some mana.
(Katana Slaughter II)
5/8 –
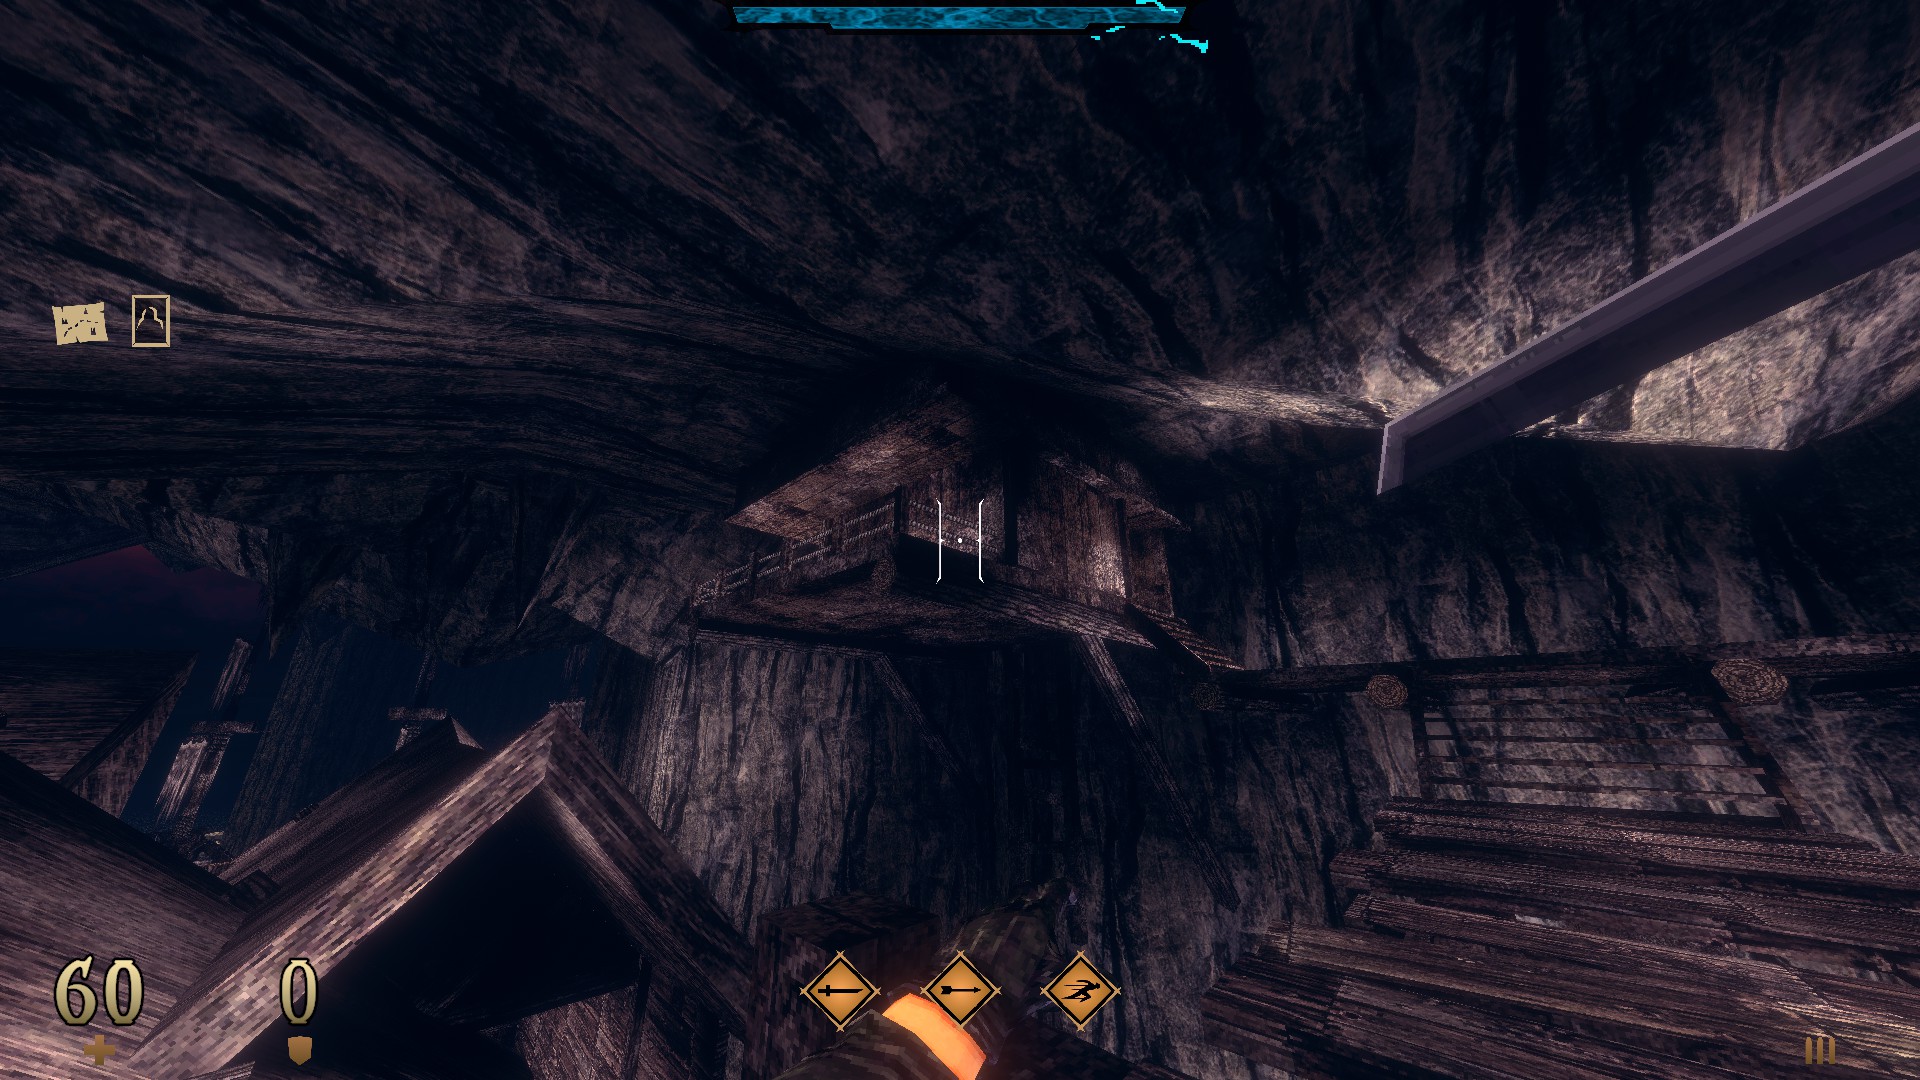
Make your way up to the side roof that overlooks the ship, drop down on top of the wooden barricade, turn around and go through the window to reach a hidden cache.
6/8 –
After pulling the lever that unlocks the lift, turn around and look for a semi-hidden compartment between the floors that can be reached via the nearby ledge.
7/8 –
After taking the lift down, look for a skeleton next to a drop at the end of the initial area. Use the off-colored part of the wall to reveal a hidden compartment.
8/8 –
In the room with the hourglass, make your way to the wooden ledge via the nearby torch and use the part of the wall with the misaligned texture to reveal another hidden compartment.
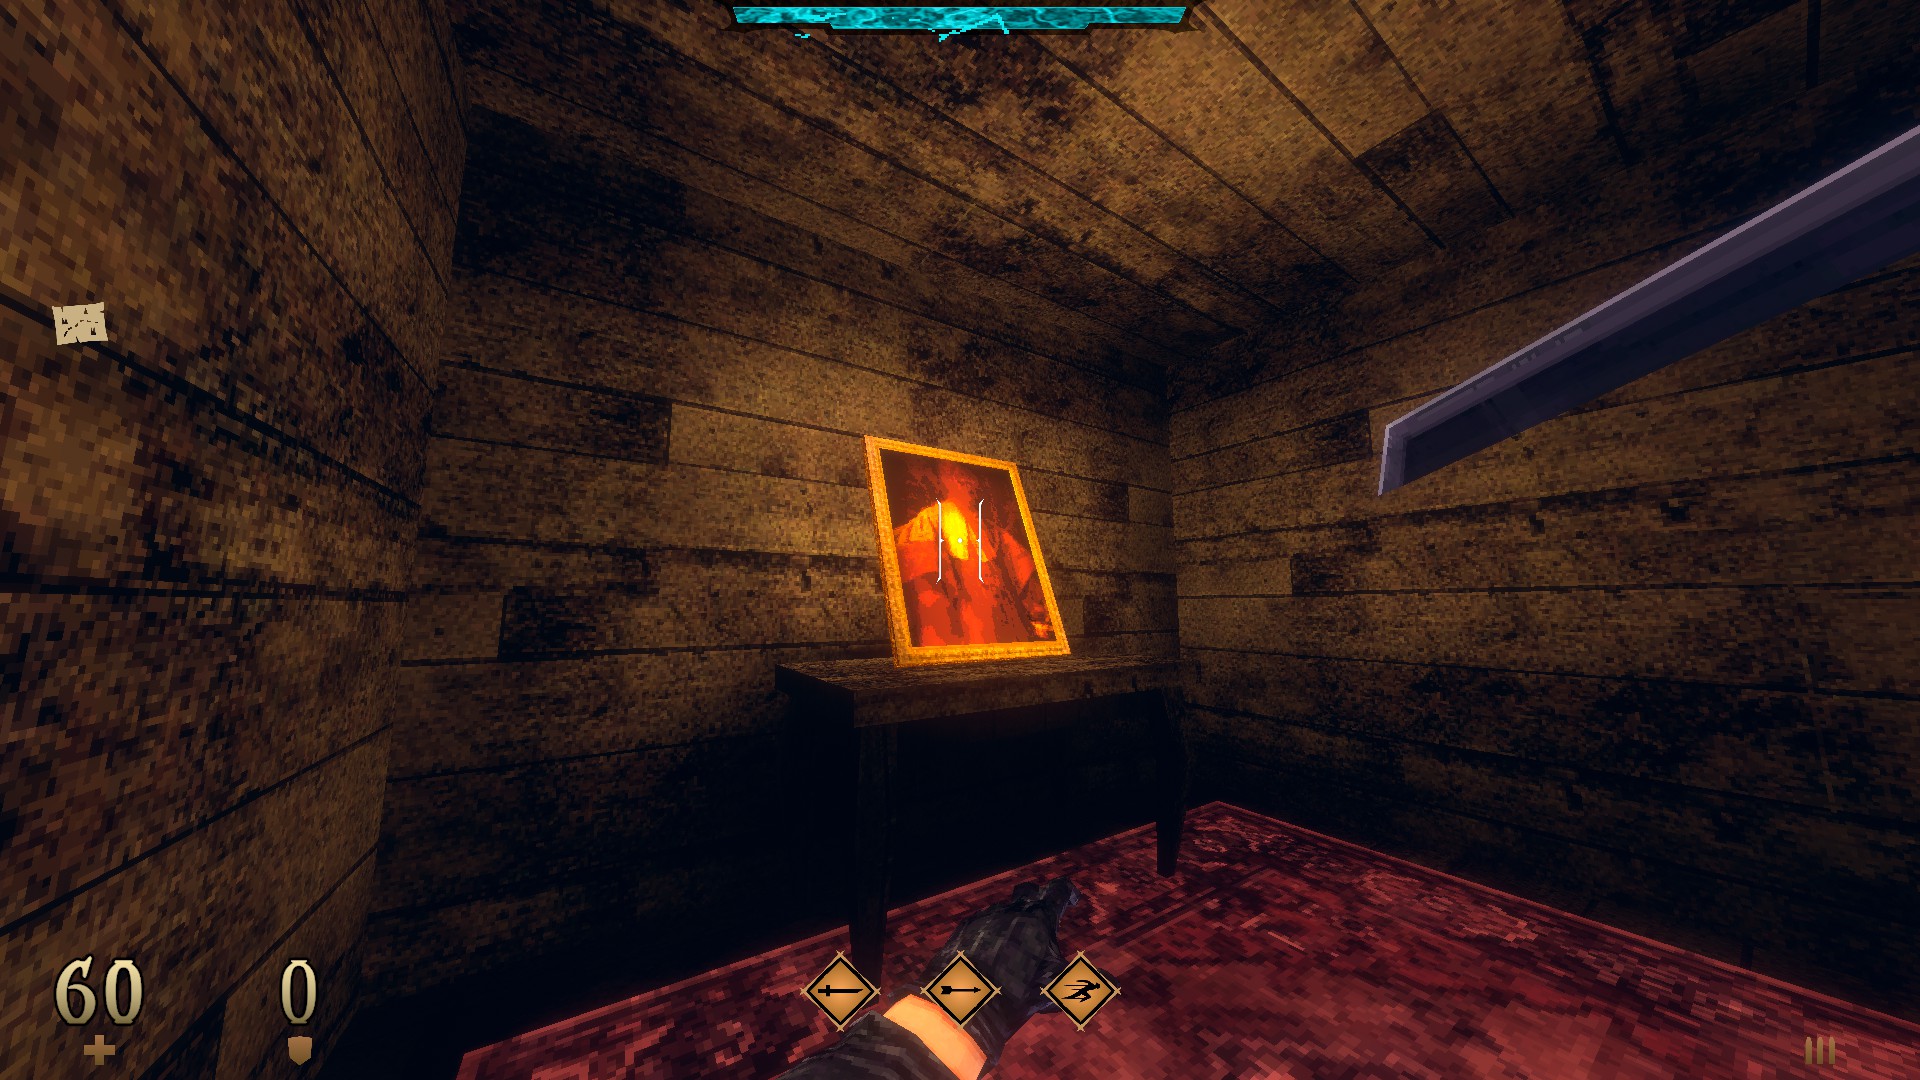
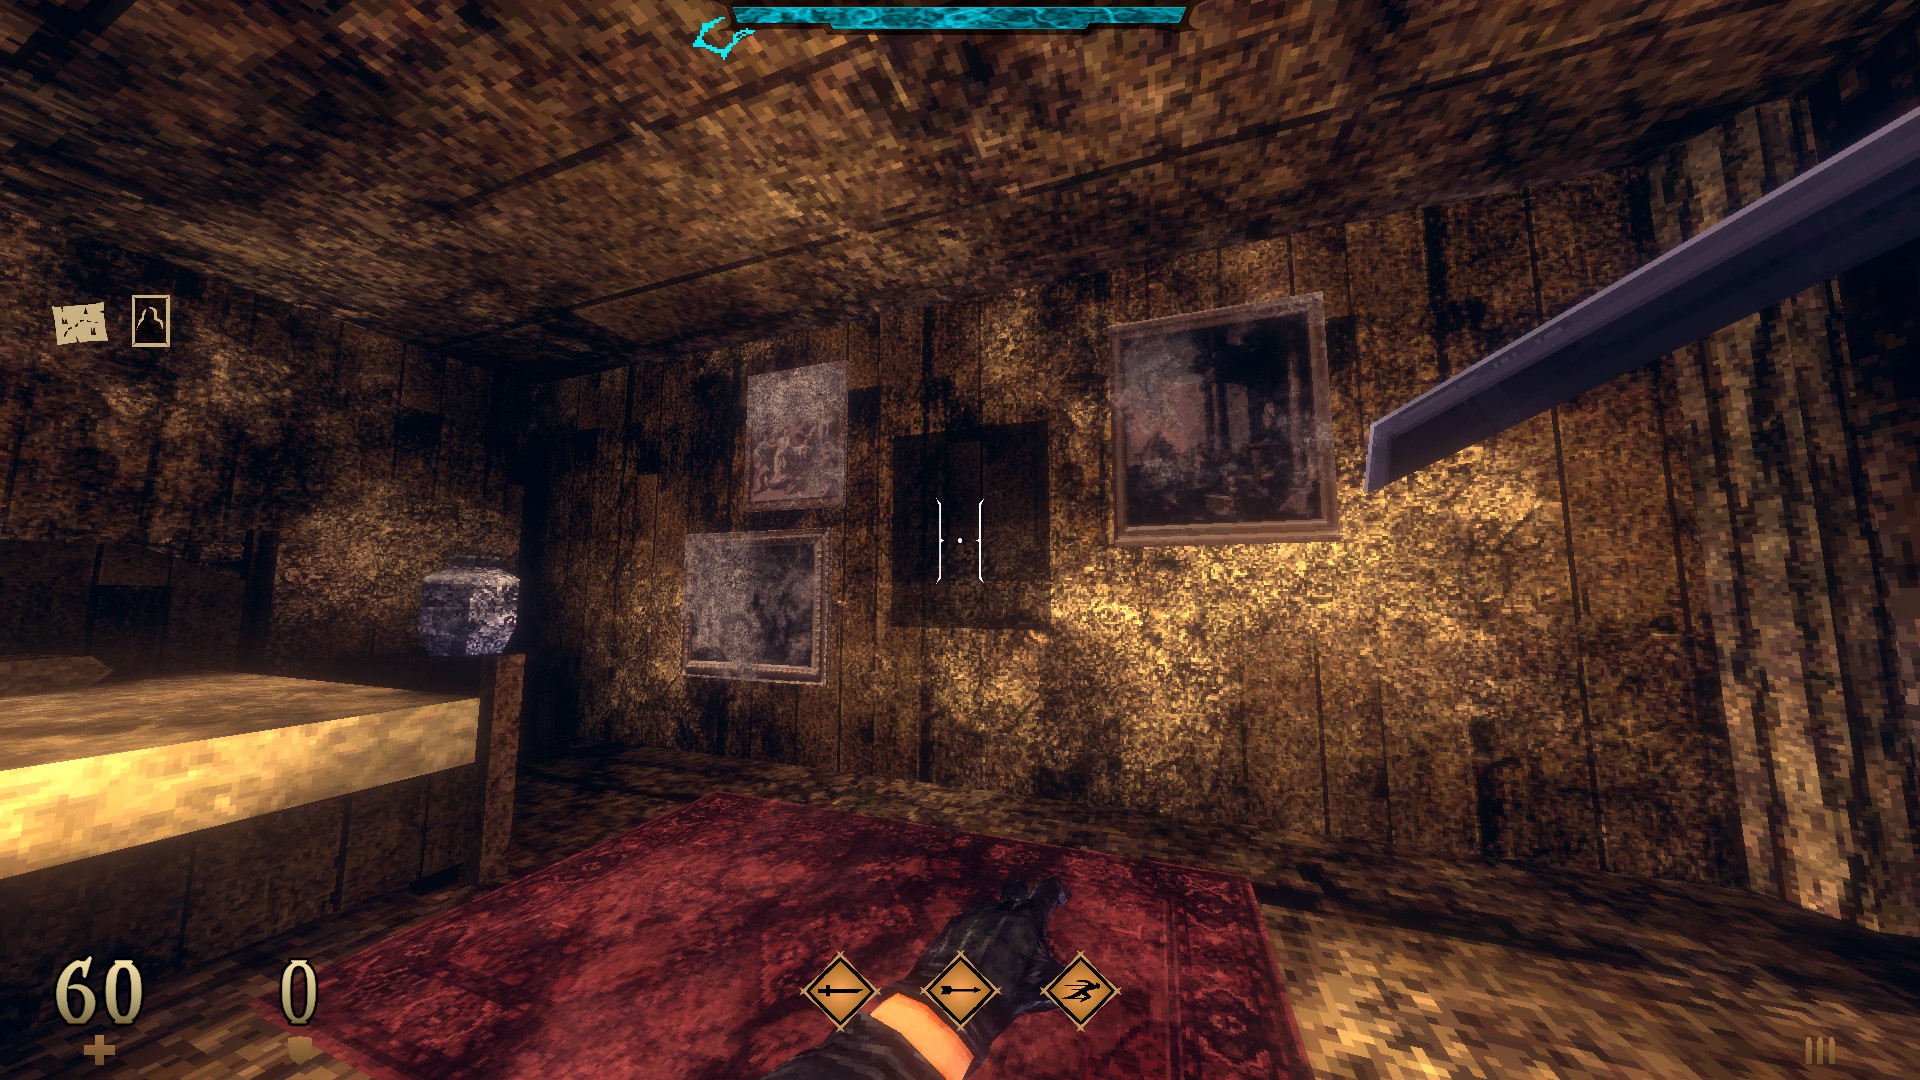
SUPER SECRET –
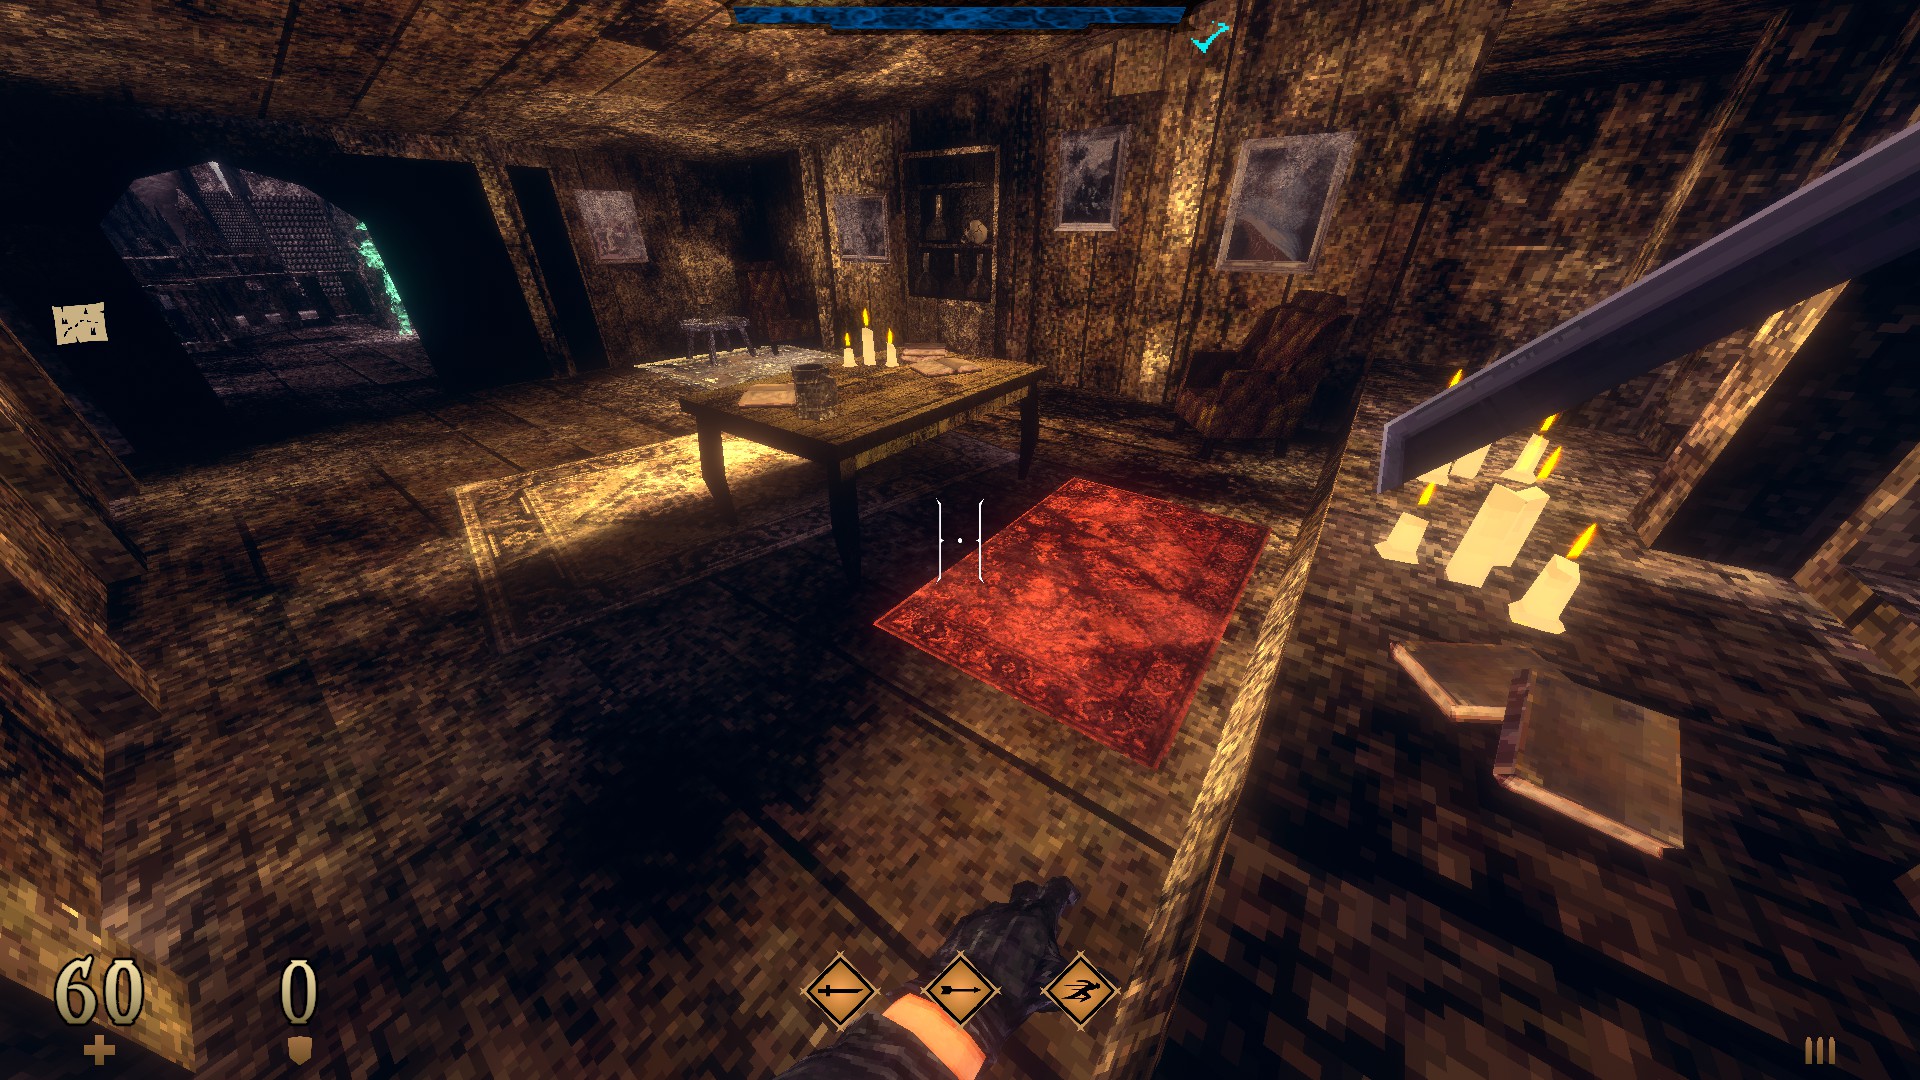
Before returning the chart to the captain, use the carpet in his quarters to reach the painting hidden below. 그것을 집어 들으십시오, backtrack to the overlook in the main cavern and place it on the wall to reveal a hidden room.
(Frost Banshee -G- and a Blood Gem)
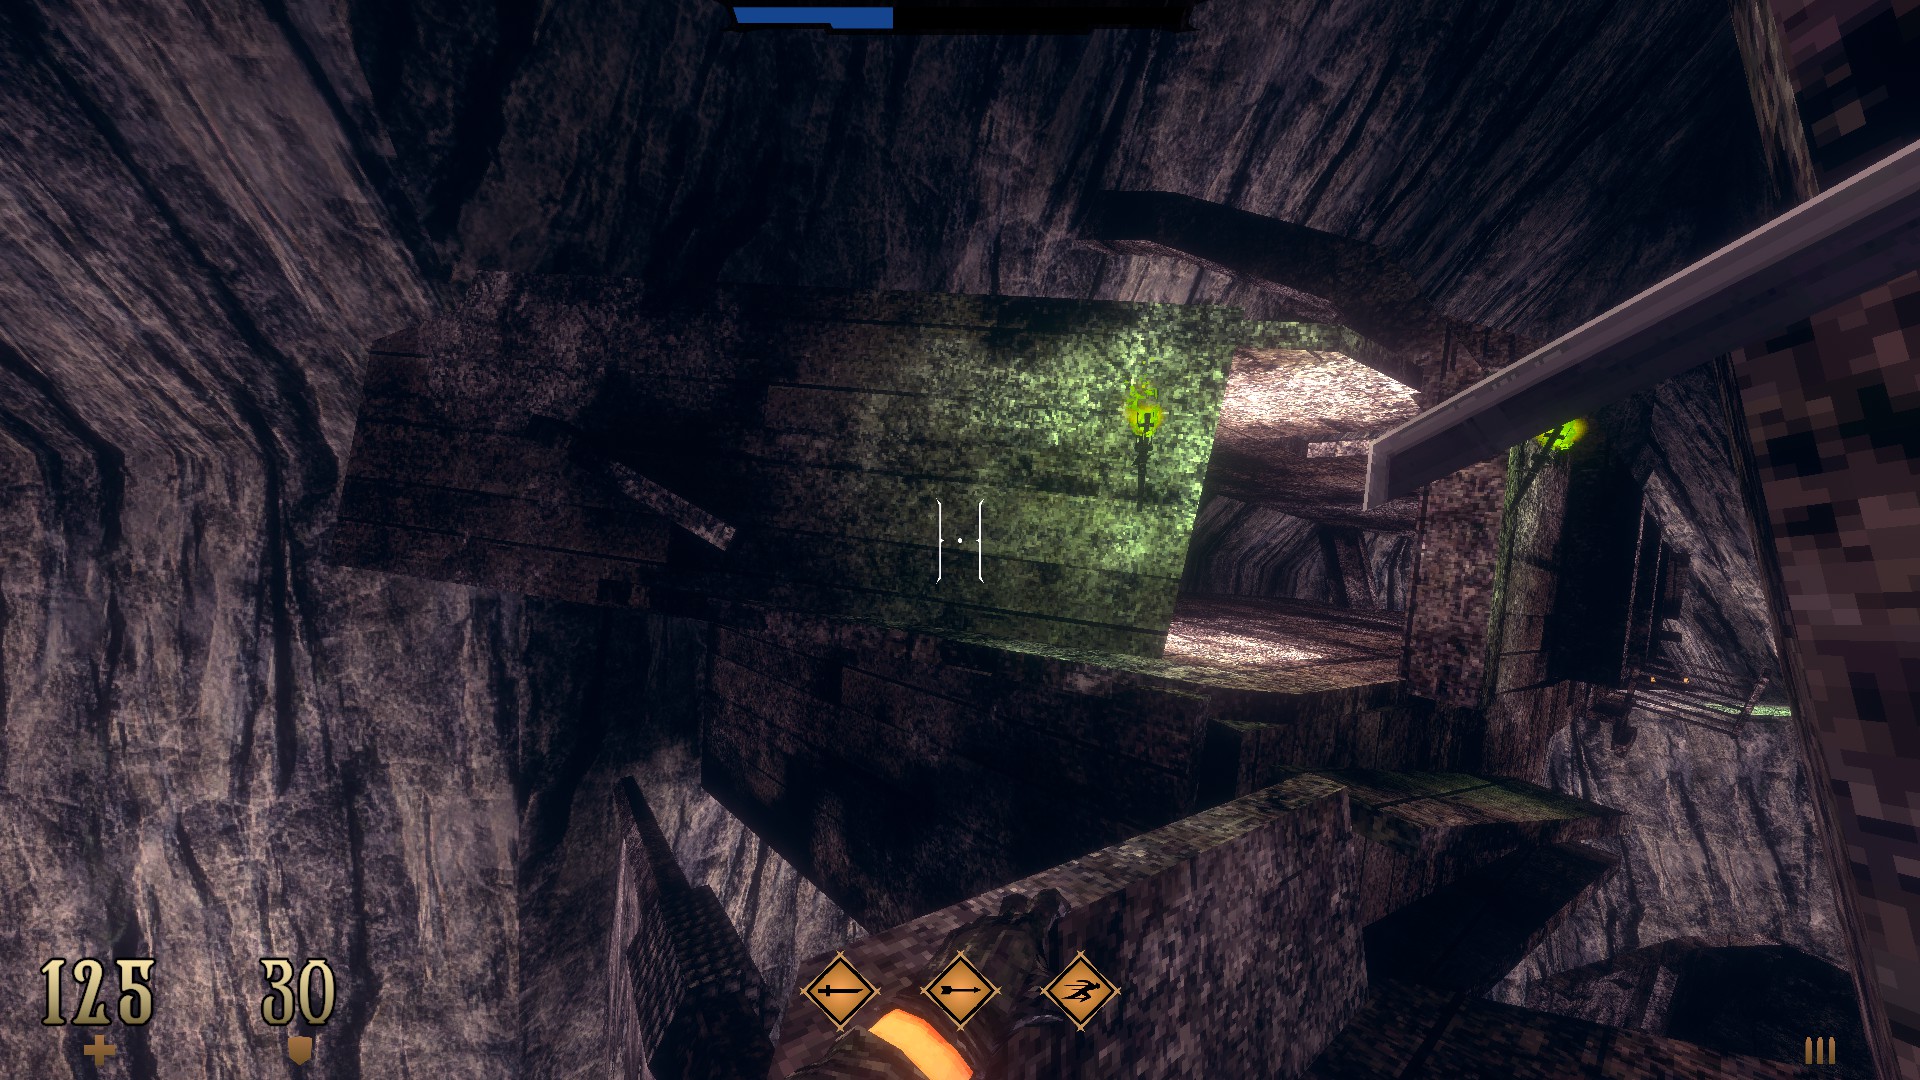
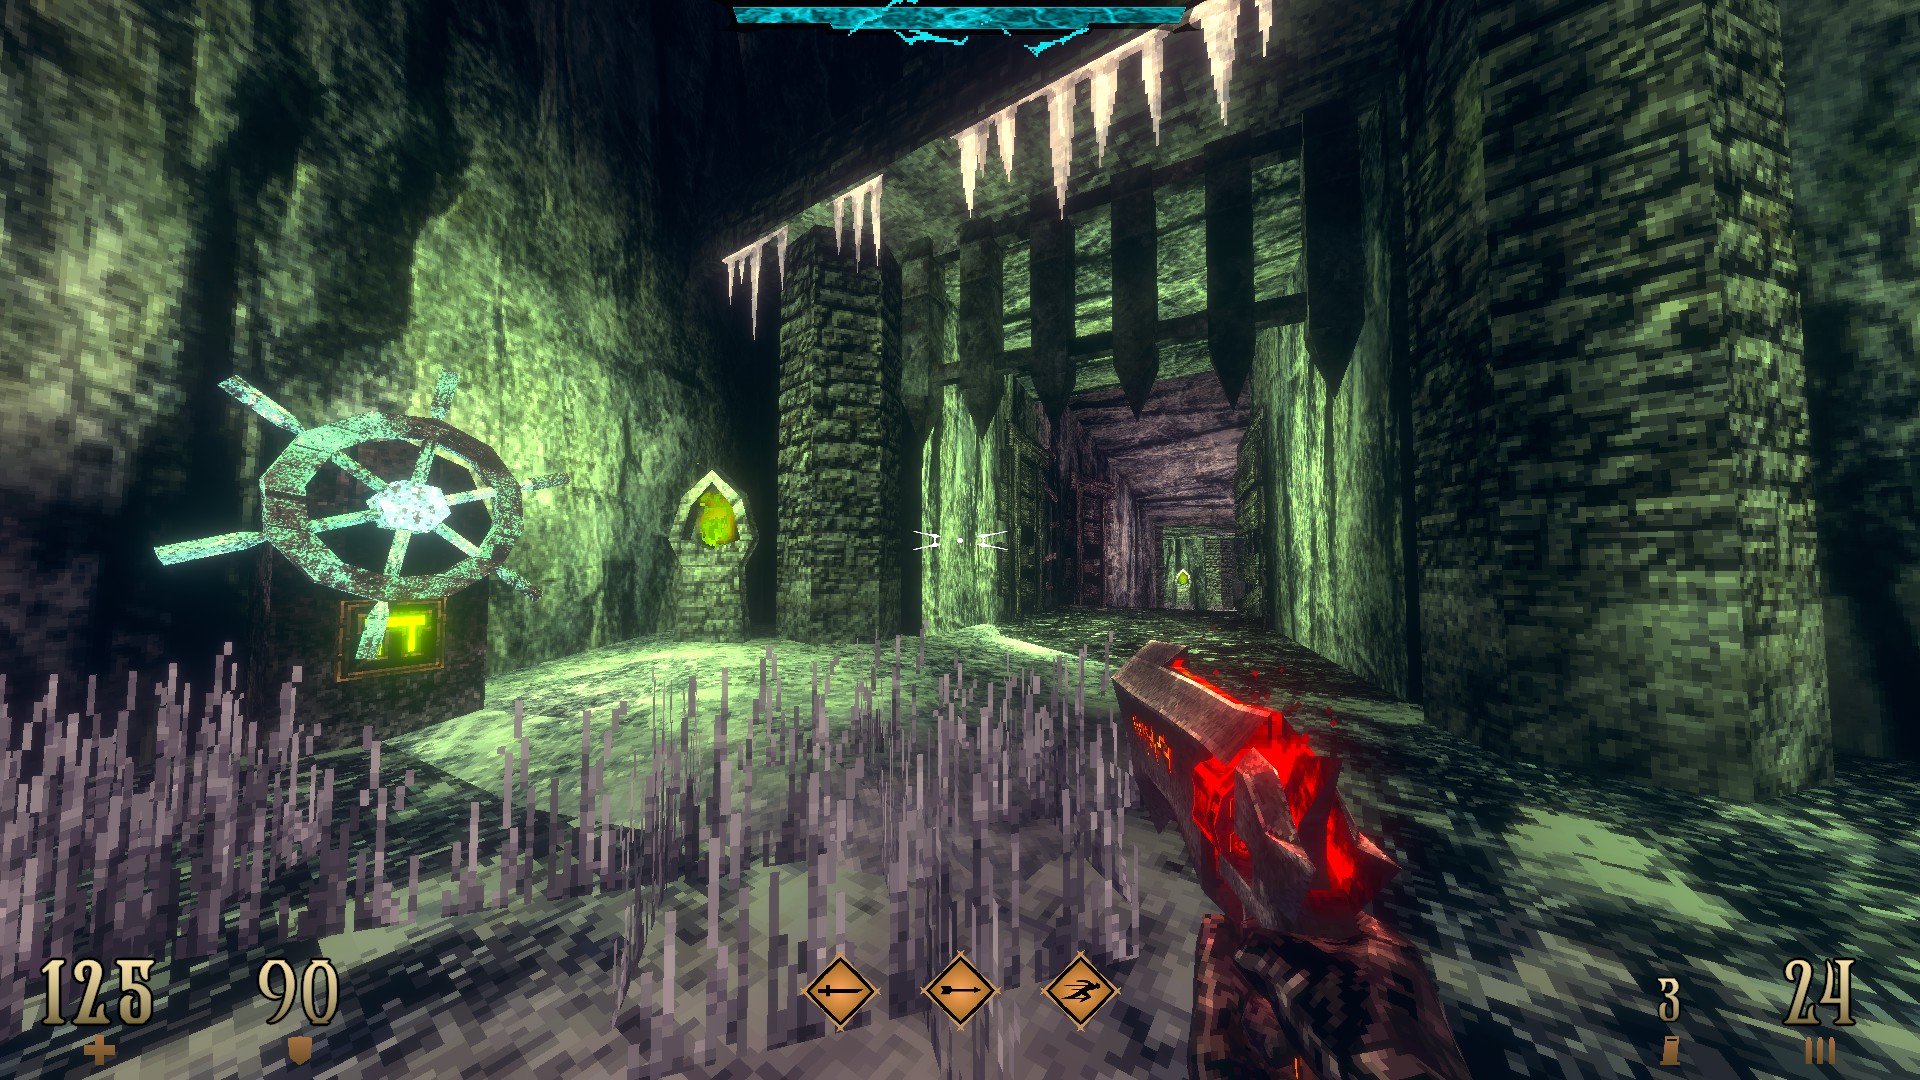
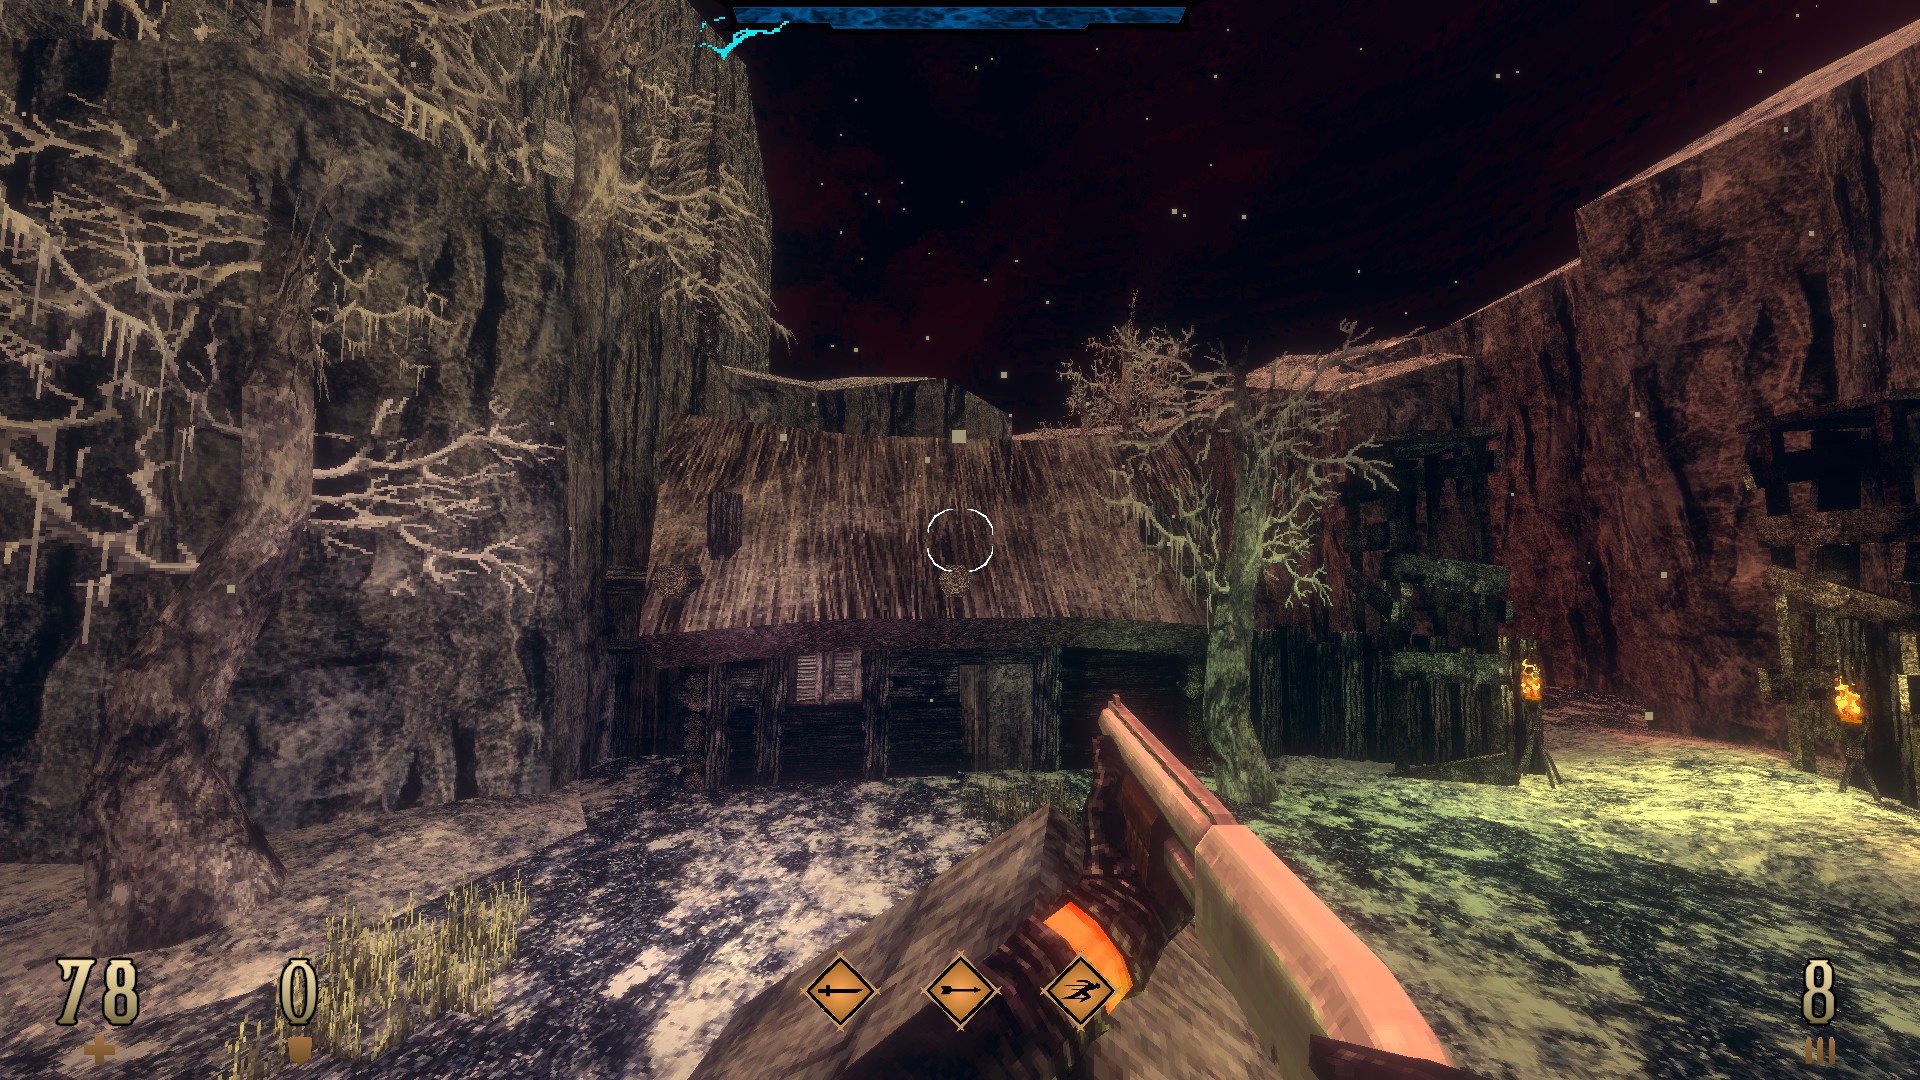
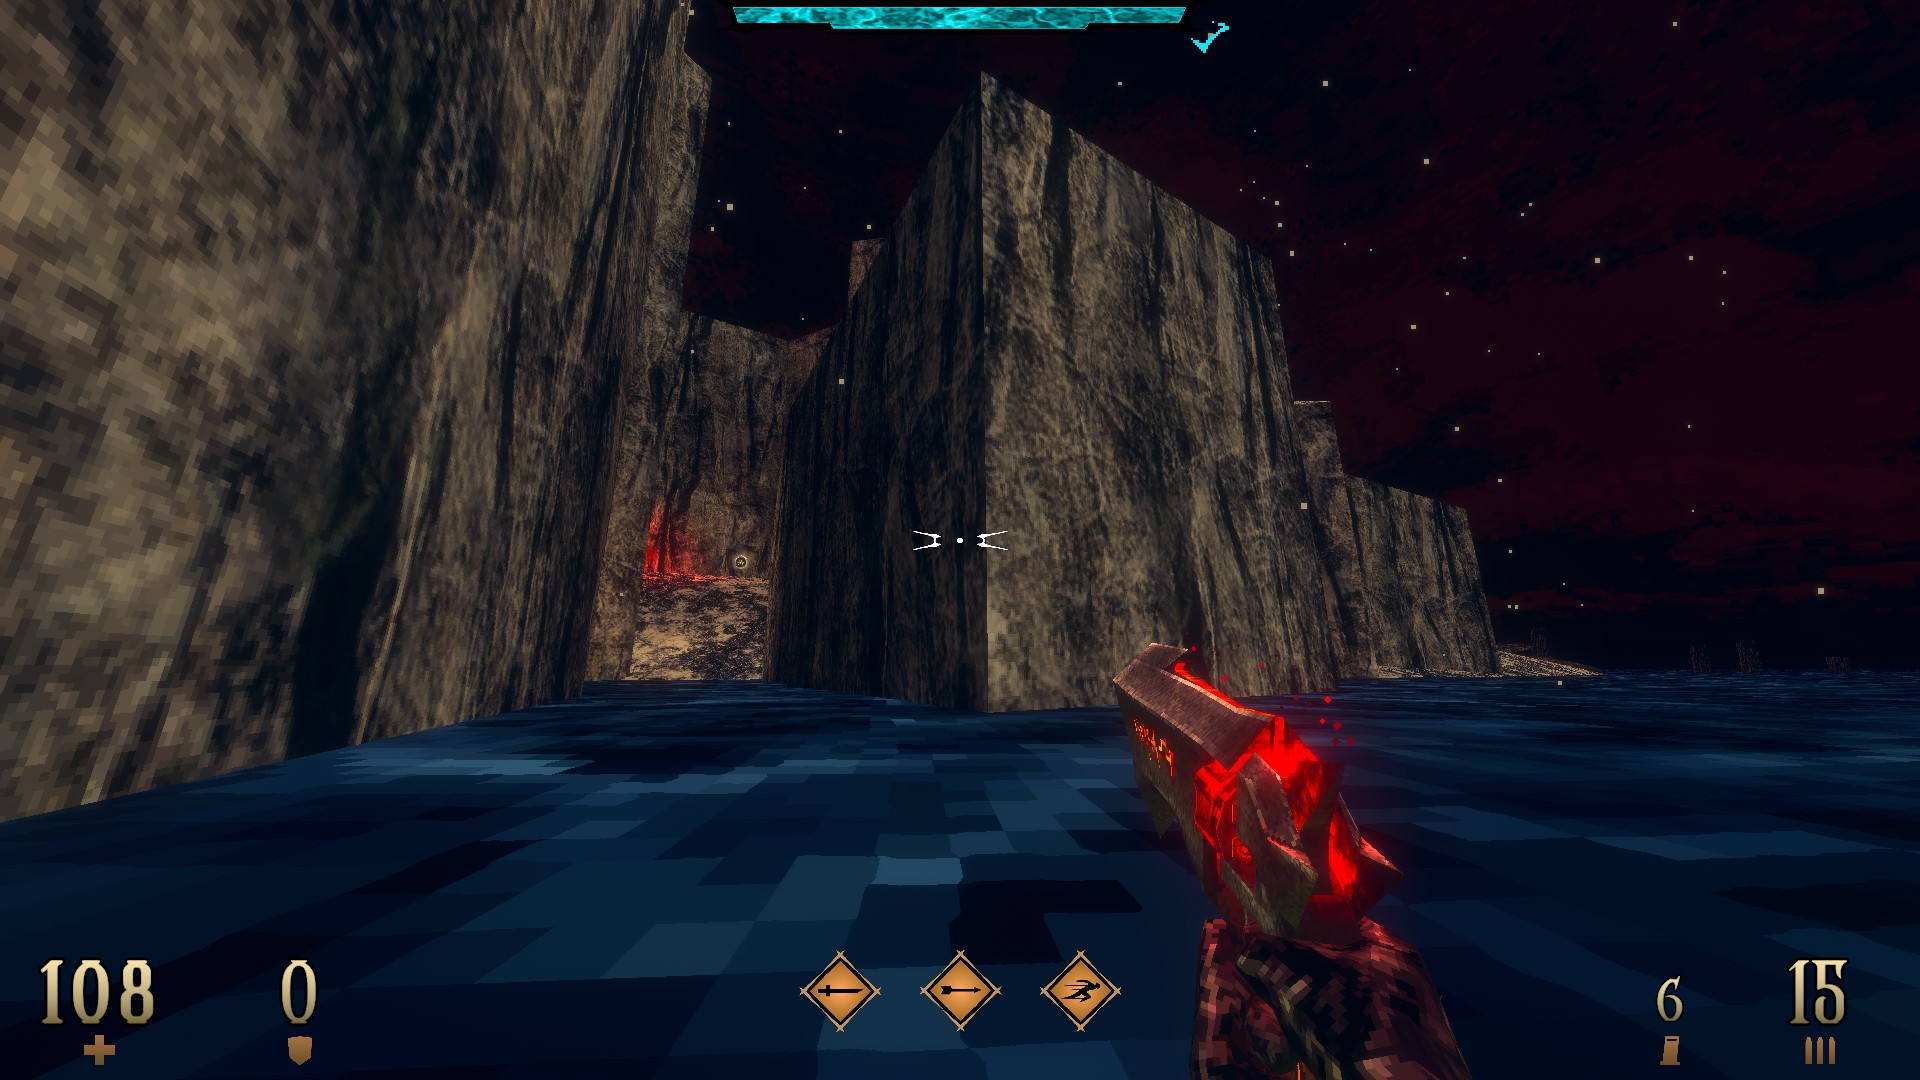
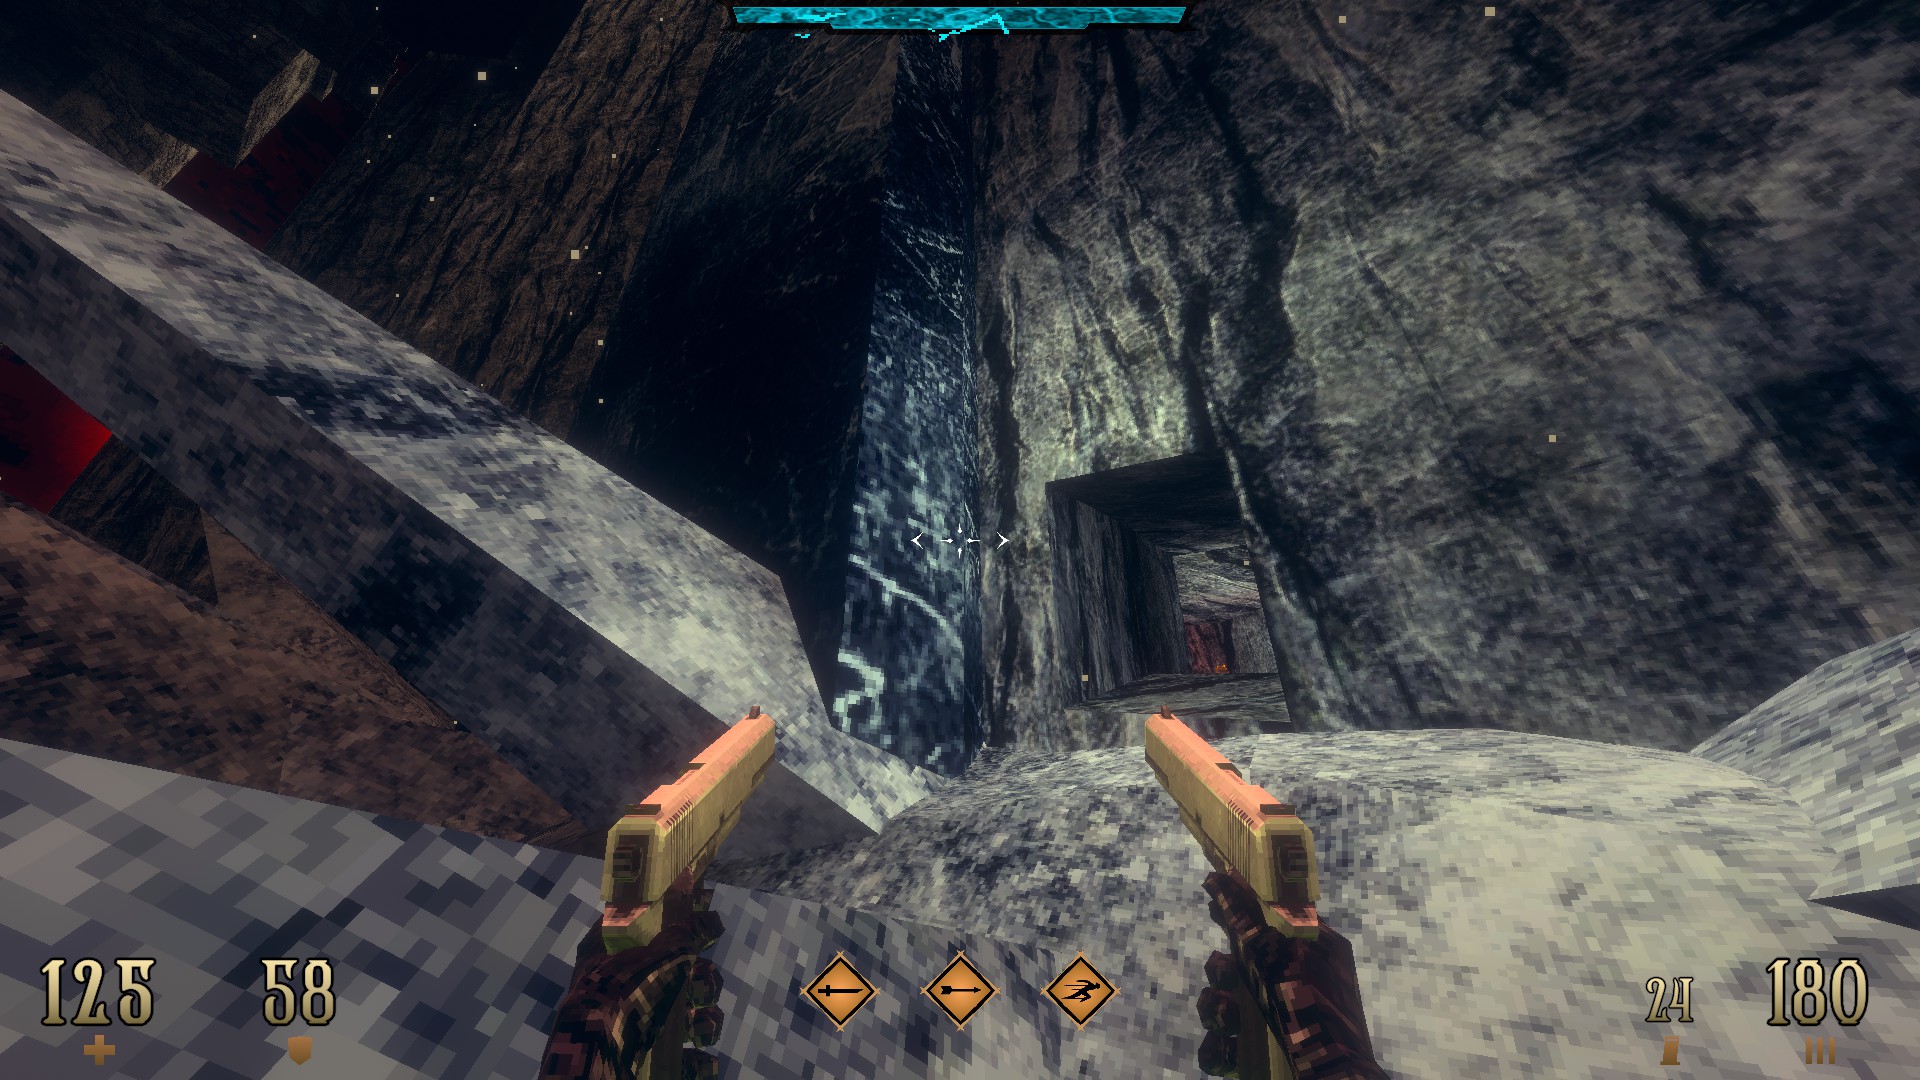
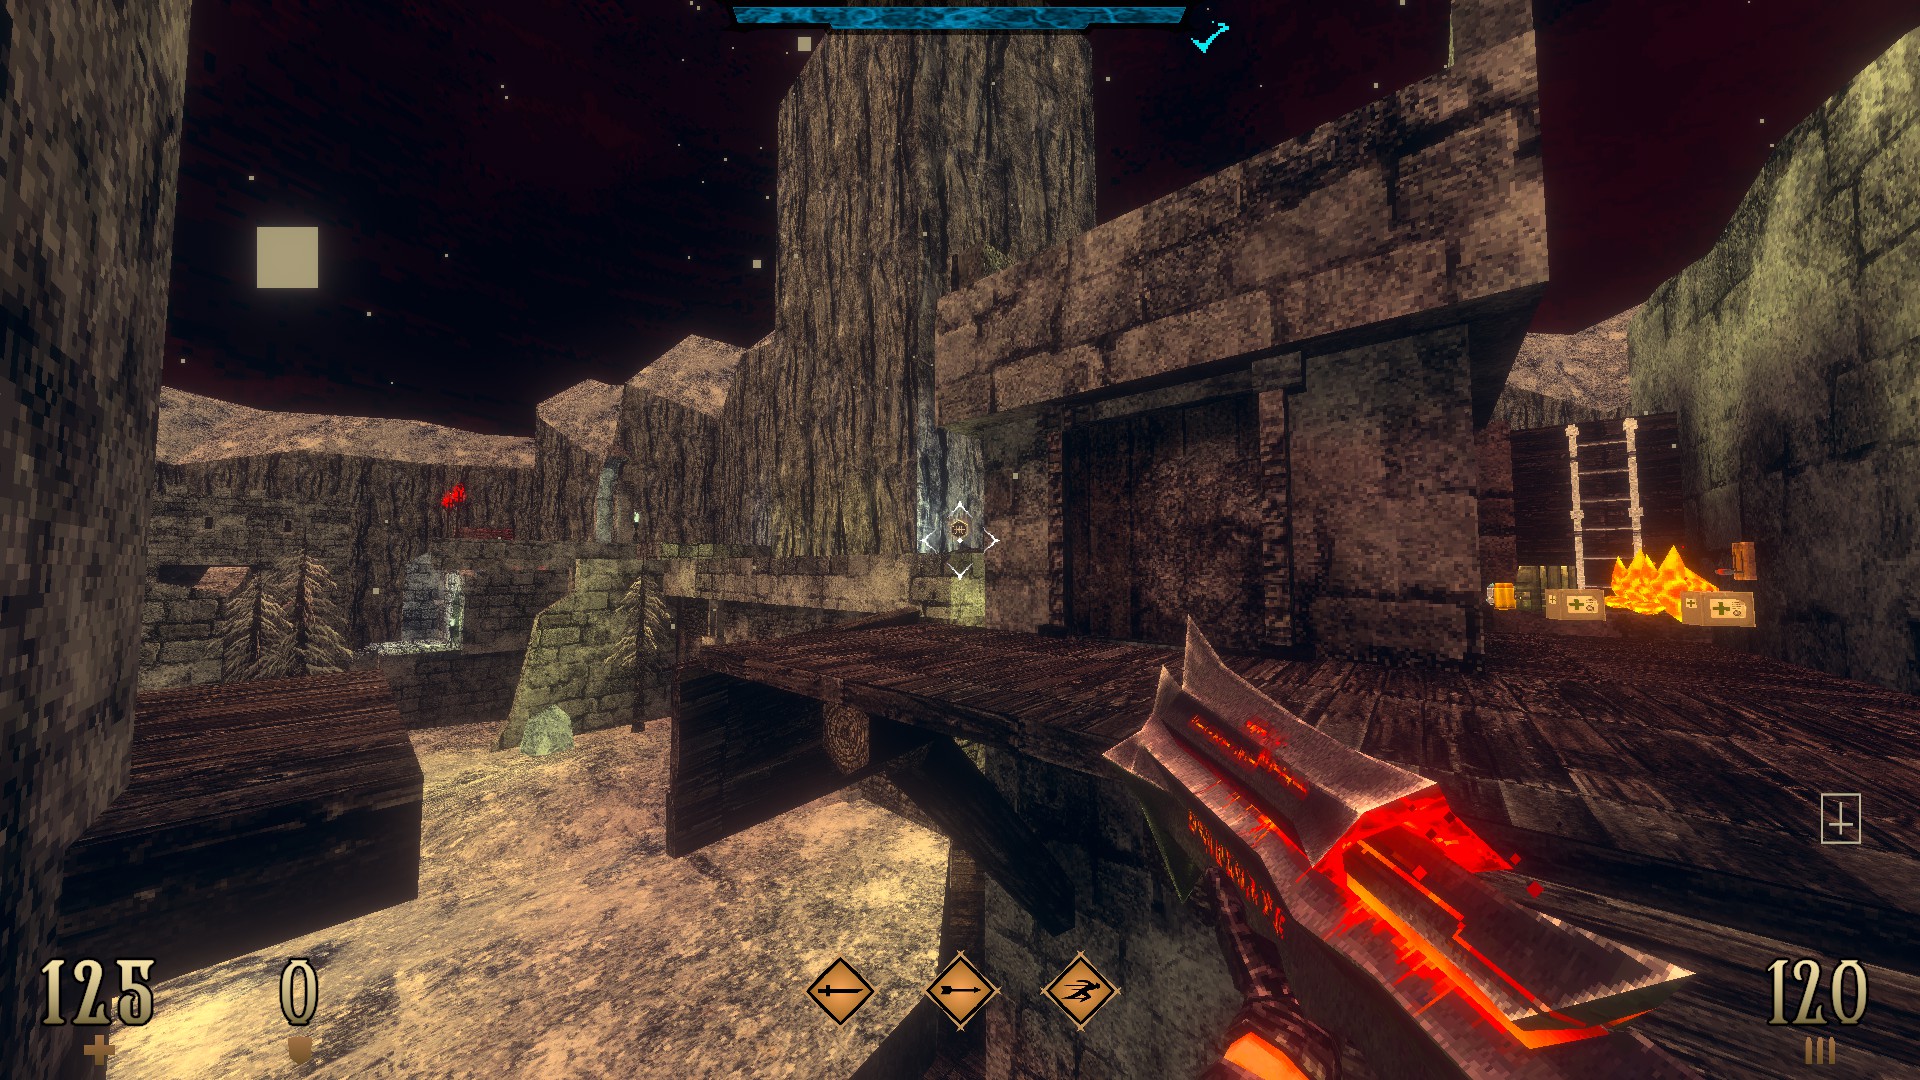
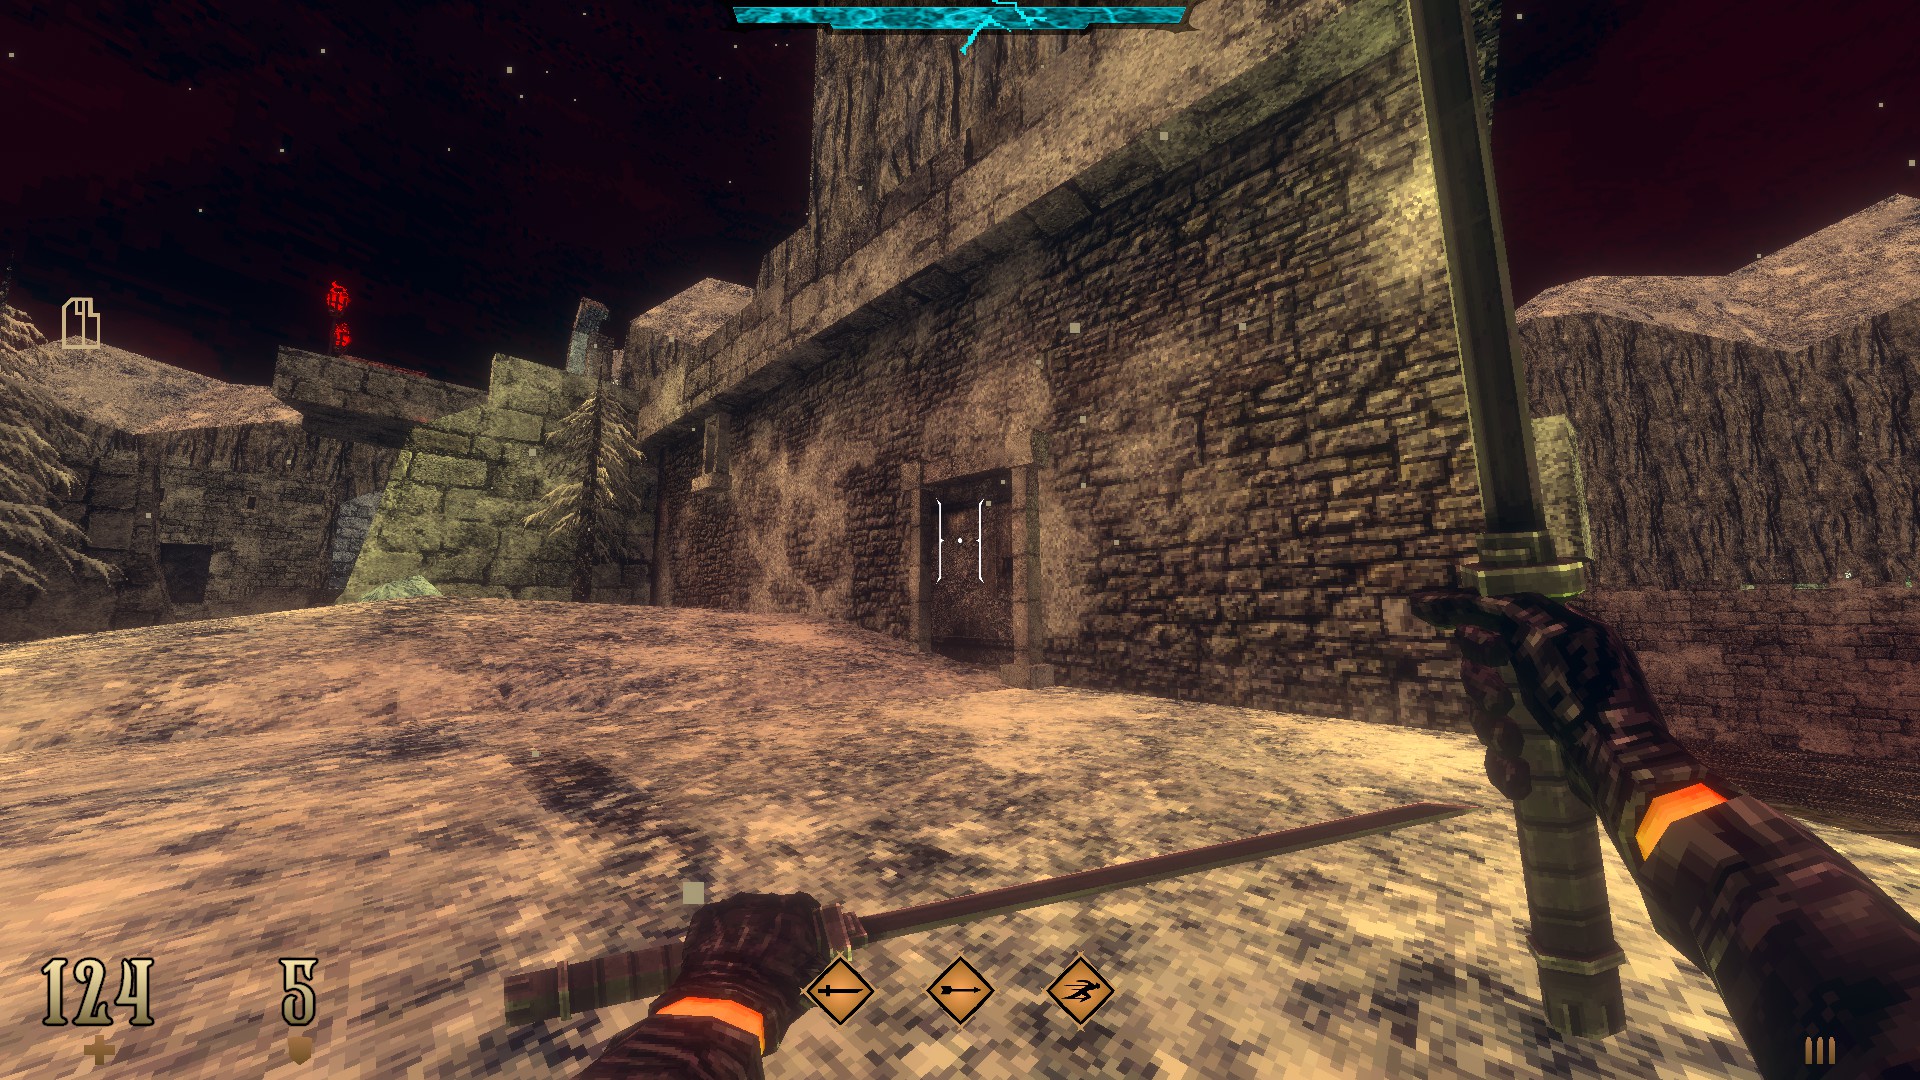
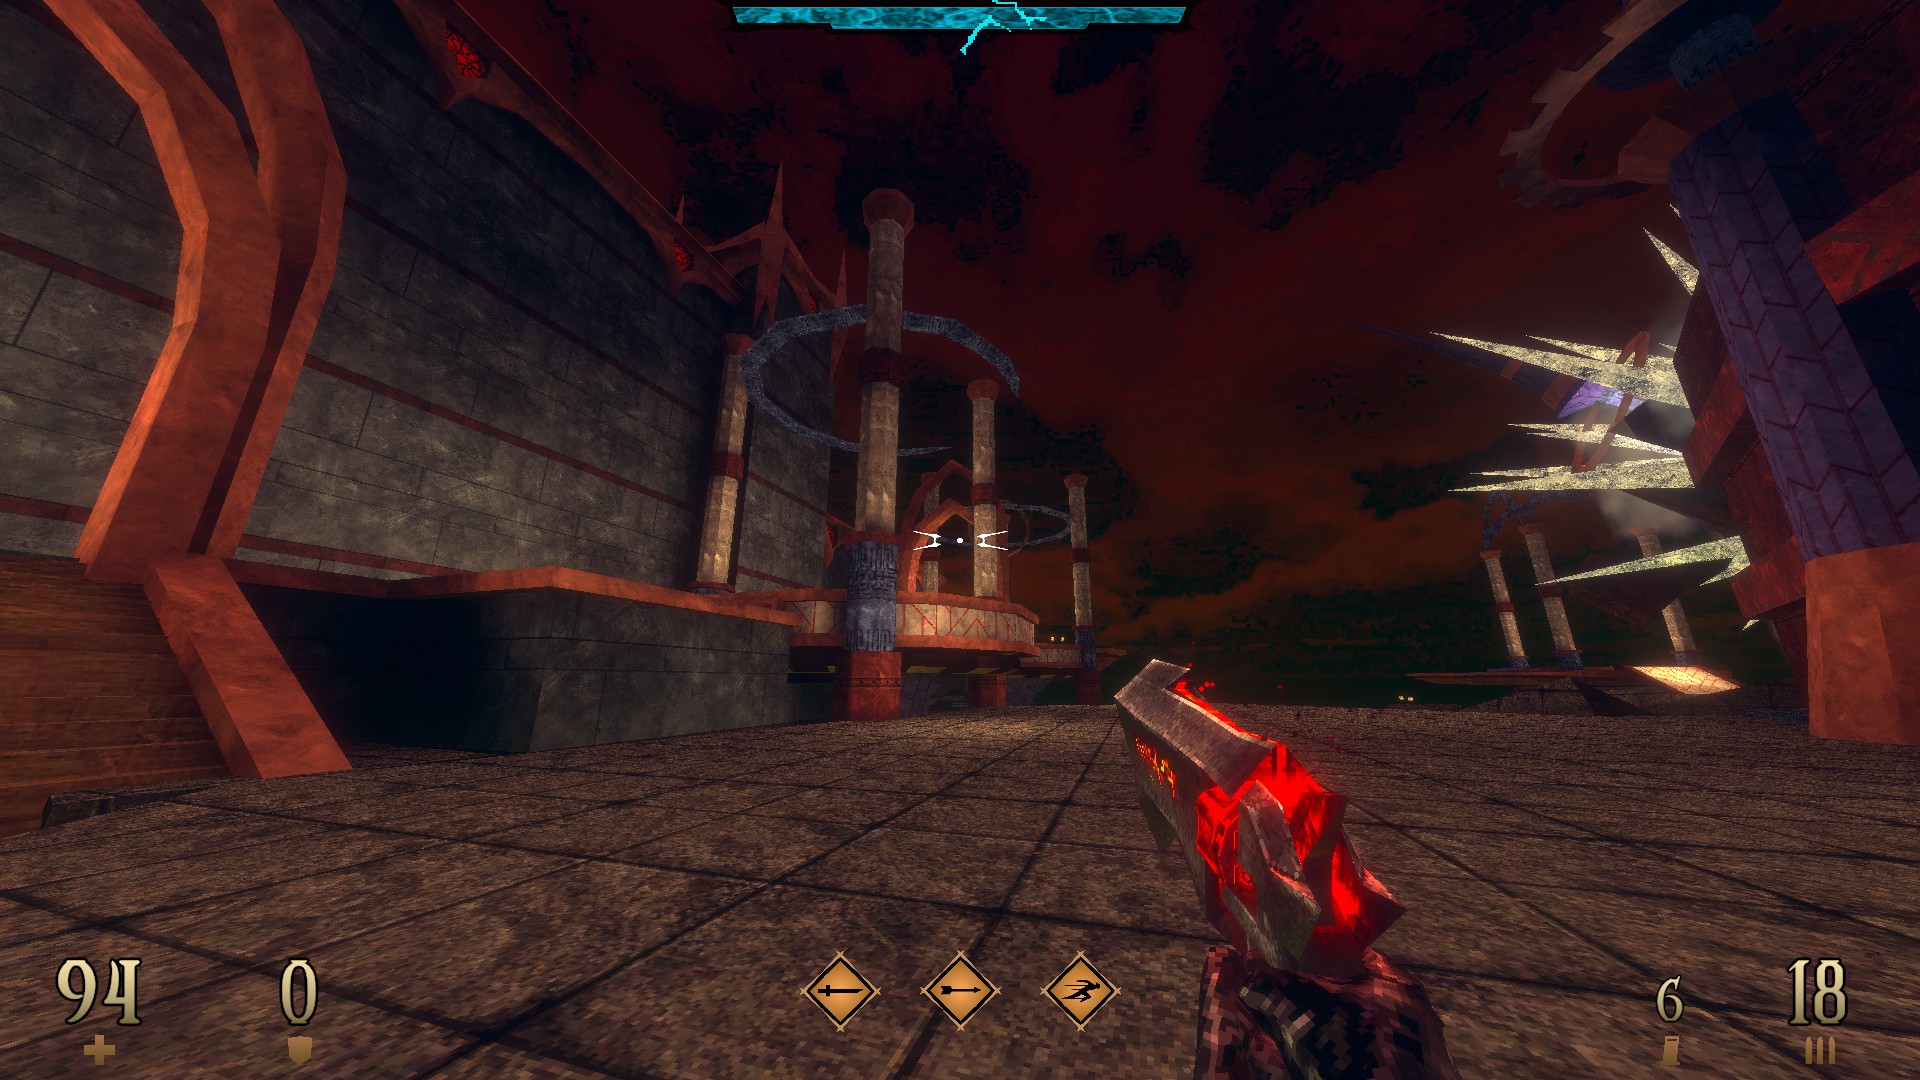
E3M3: World’s Edge
This level contains 8 secrets and a super secret.
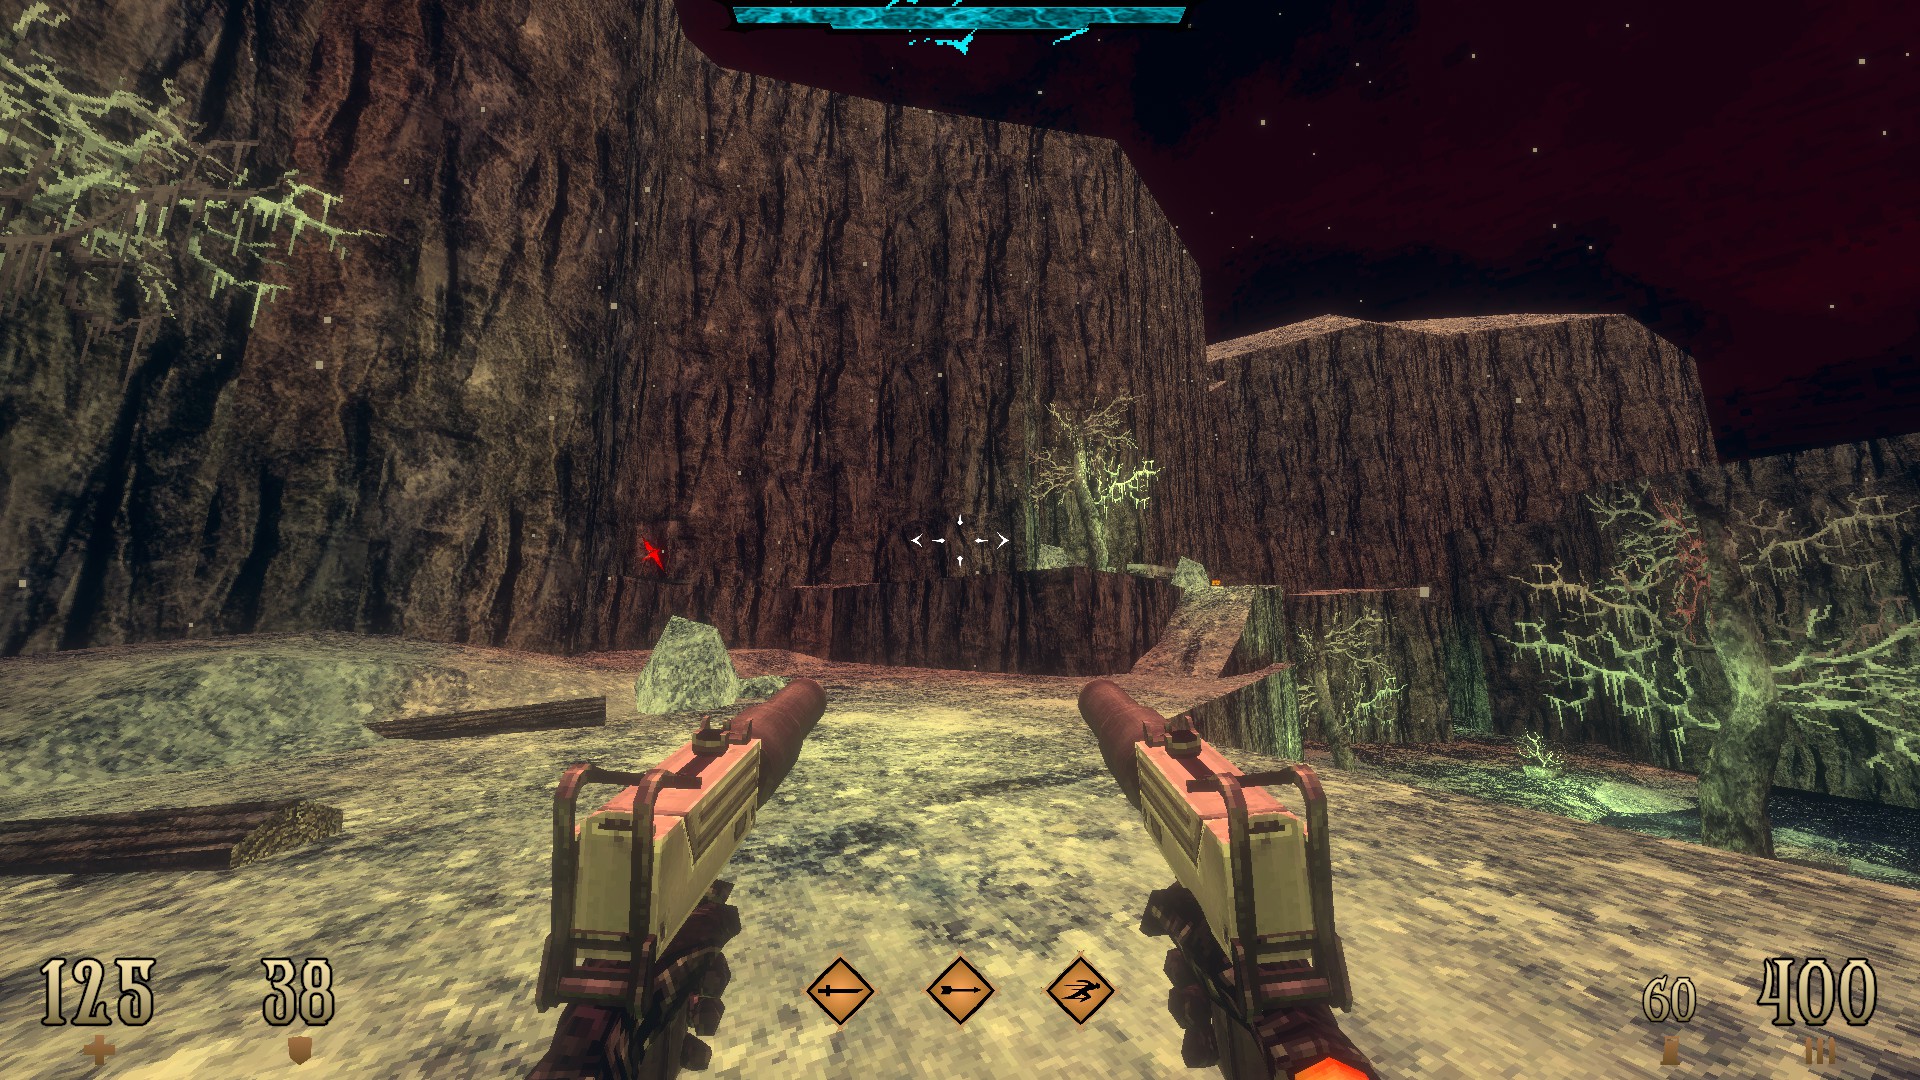
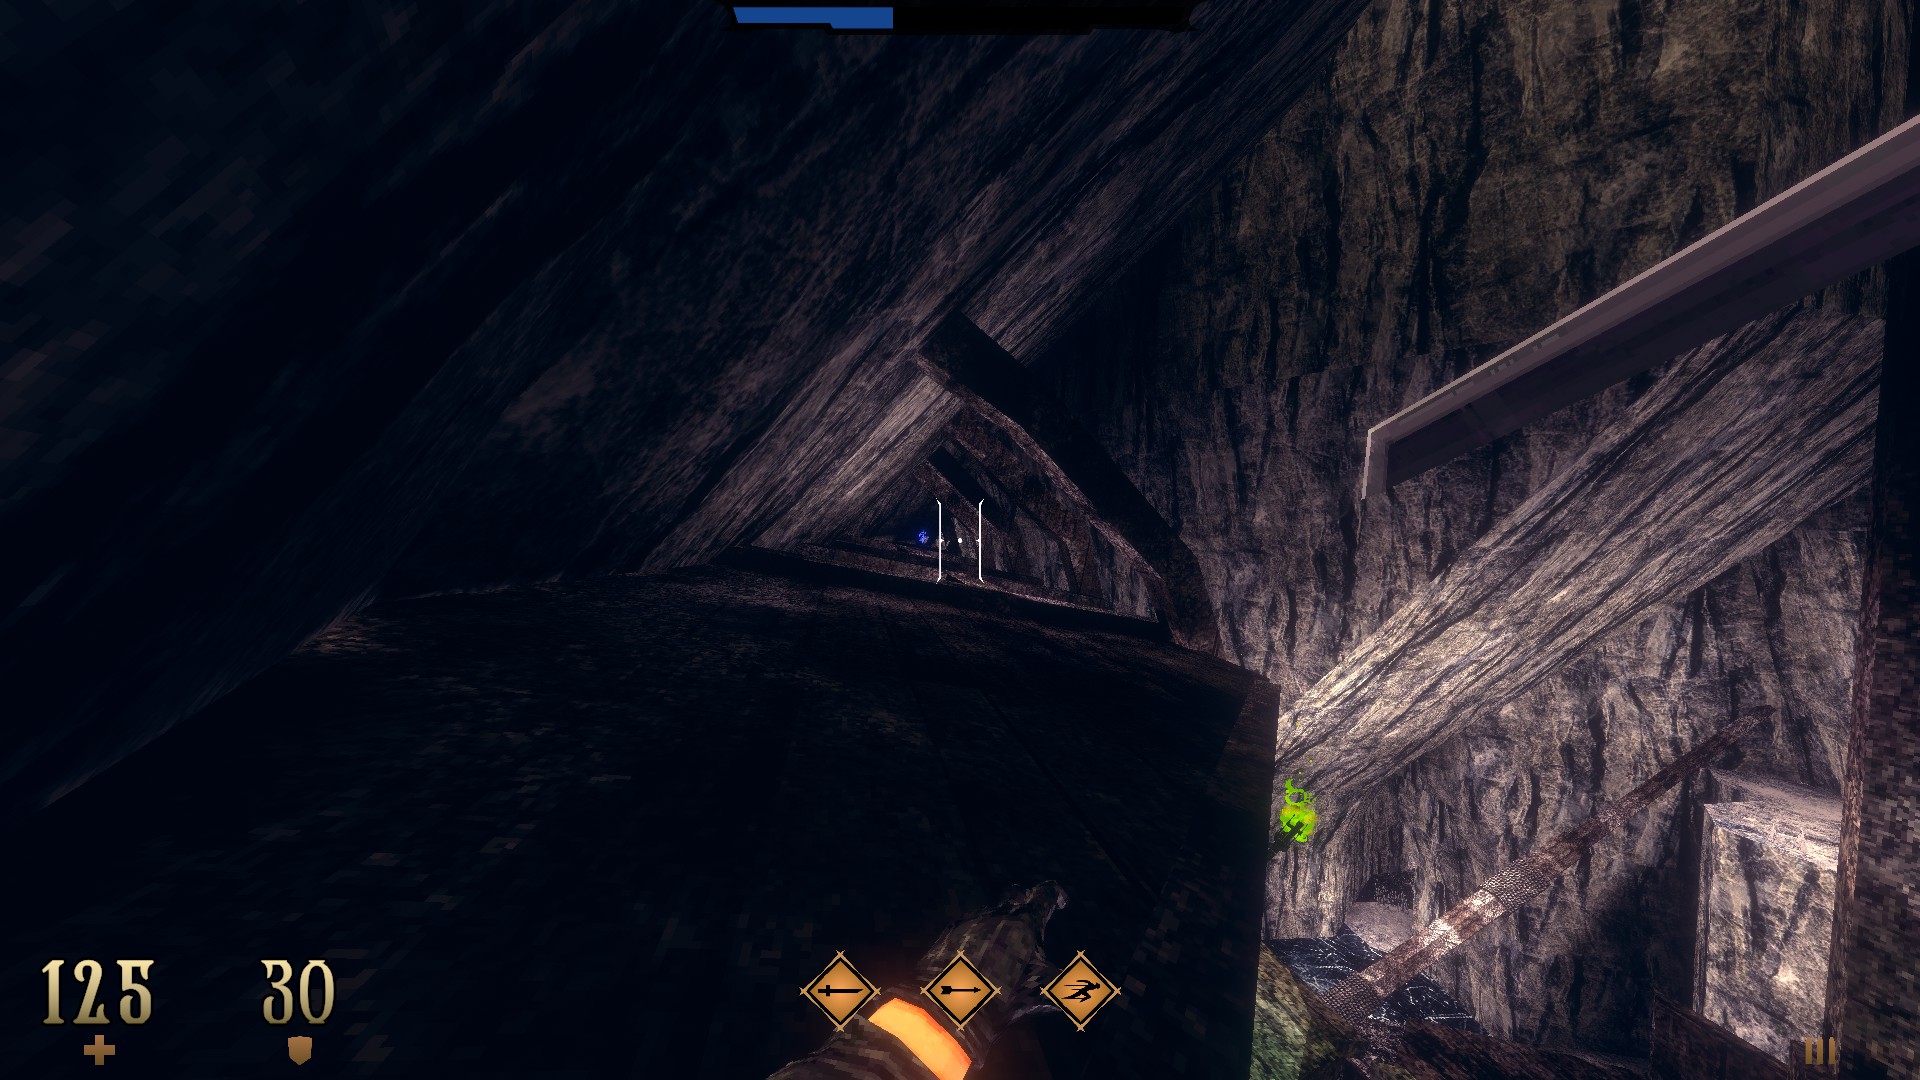
1/8 –
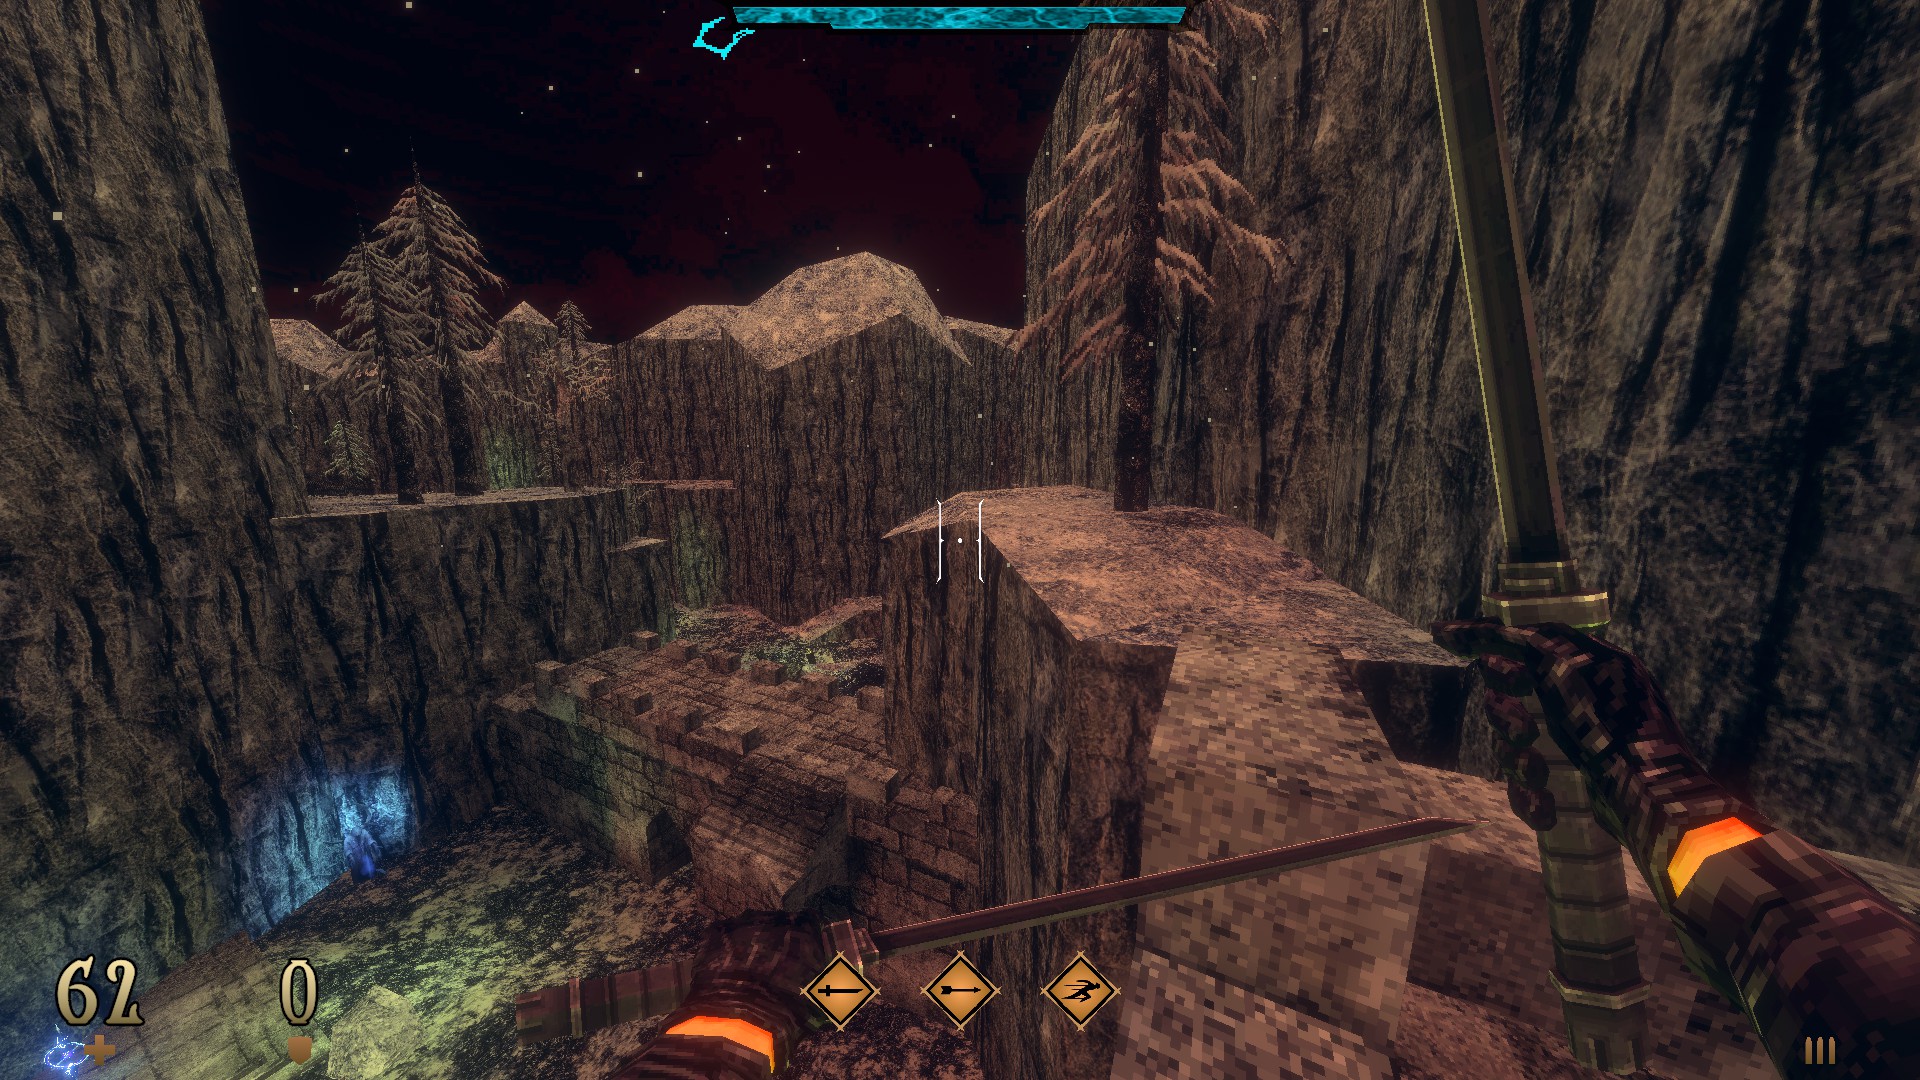
Traverse the upper ledges across the yellow key door to find the cracked part of the mountain. Look for a ledge to the right of it that can be utilized to dash your way across to the other side. Do so and go around the corner to find a hidden cache. (
Templar Rush II)

2/8 –
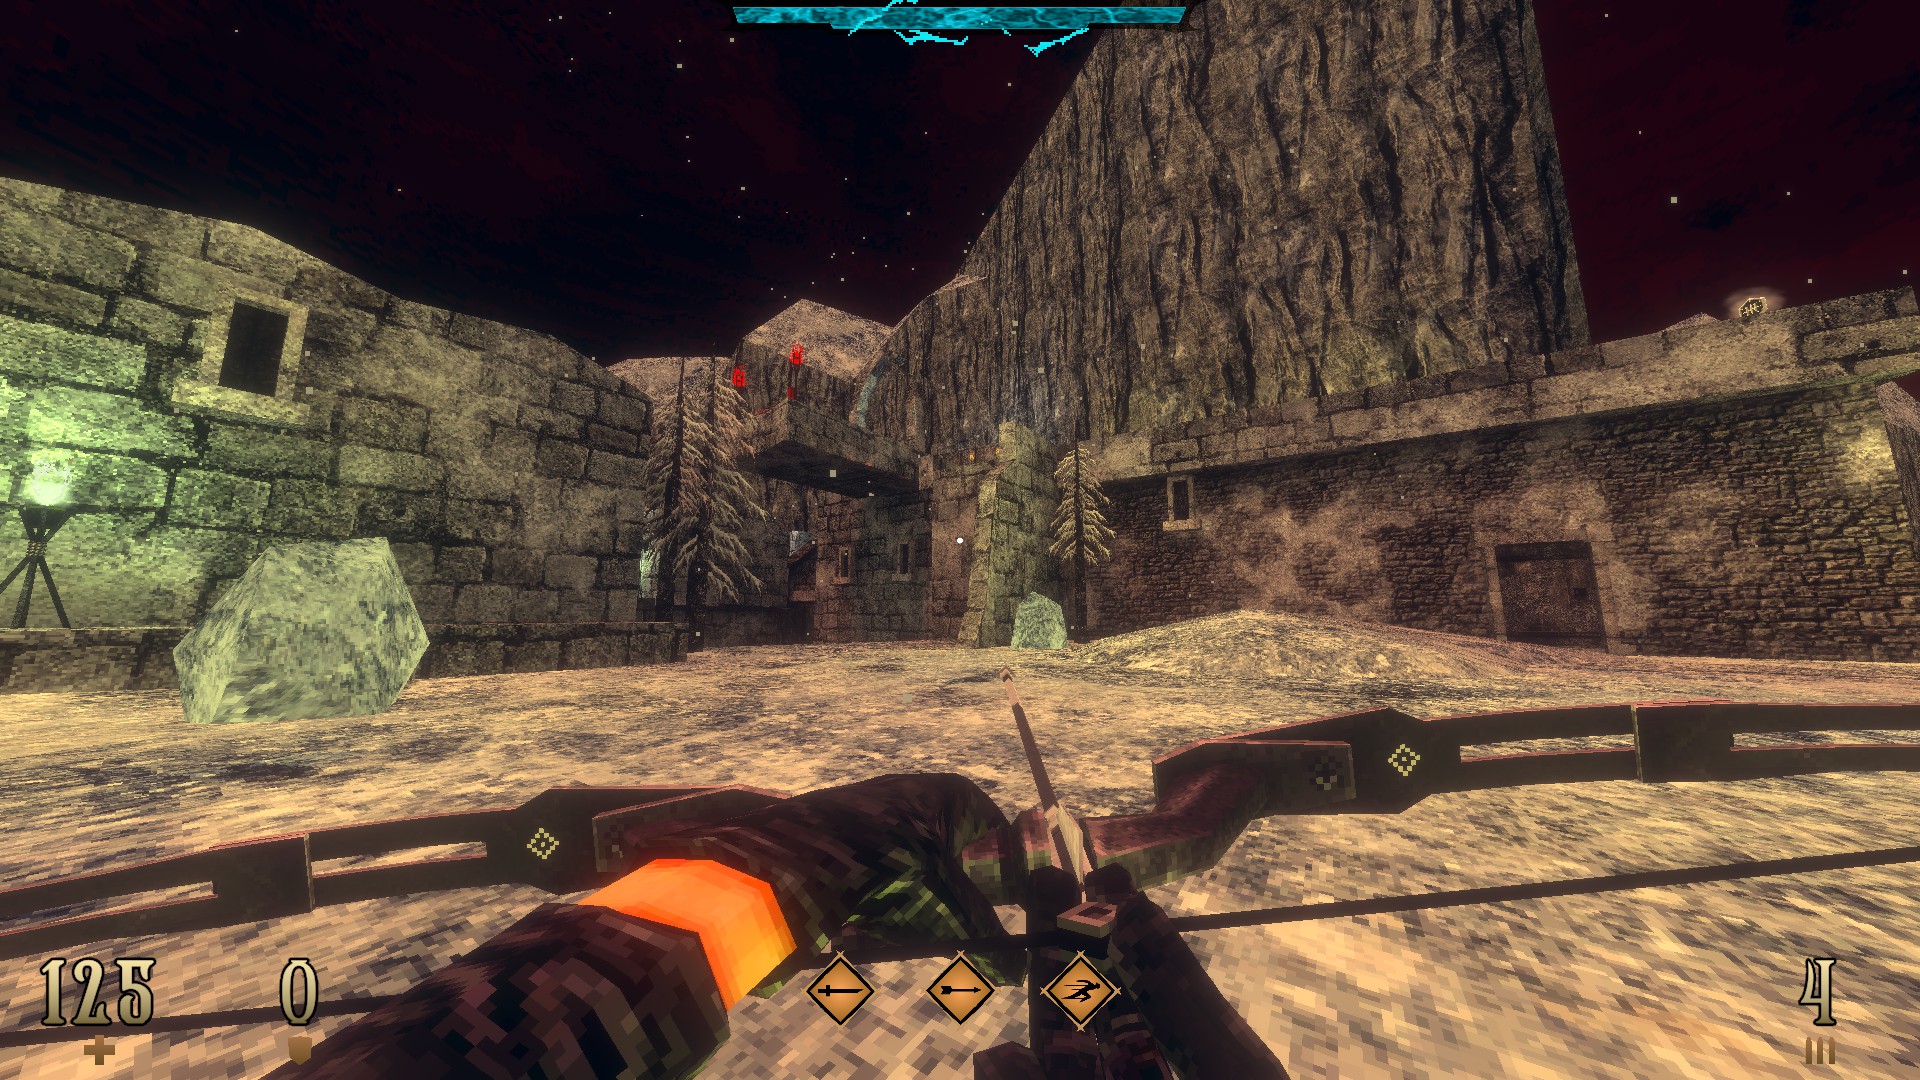
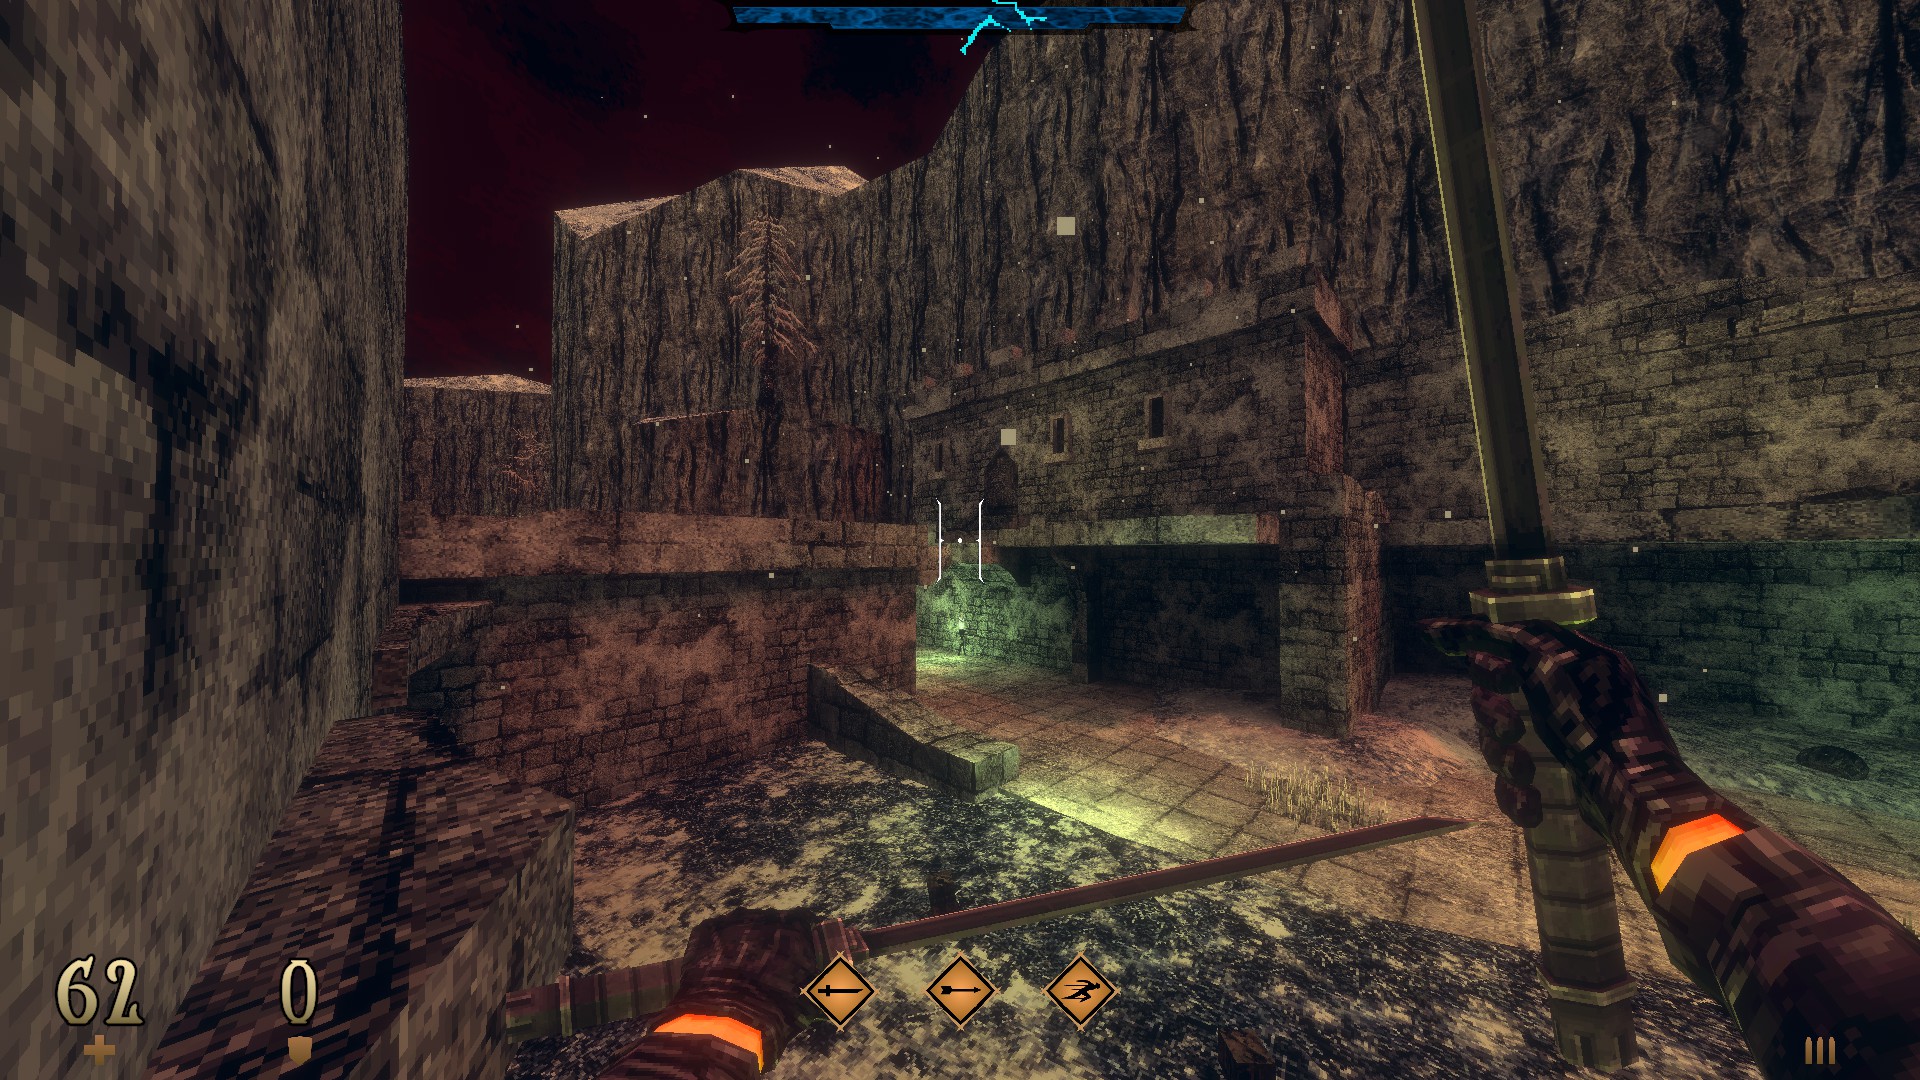
Move into the side area and look for a well in the middle of the town. Jump down into it to find a hidden cache and a lost soul asking for Eva.
3/8 –
Following from the previous secret, jump on top of the well and dash to the roof of the dwelling next to the gate. Drop down to the other side to loot the cache in the closed-off area.

4/8 –
Still in the side area, swim to the right of the pier after clearing out the shore to reach an out of sight cache.
(Inferno Fist Expansion)
5/8 –
As you go through the ruins past the yellow gate, look for a bunch of crates stacked to the right and jump over them to reach another hidden cache.
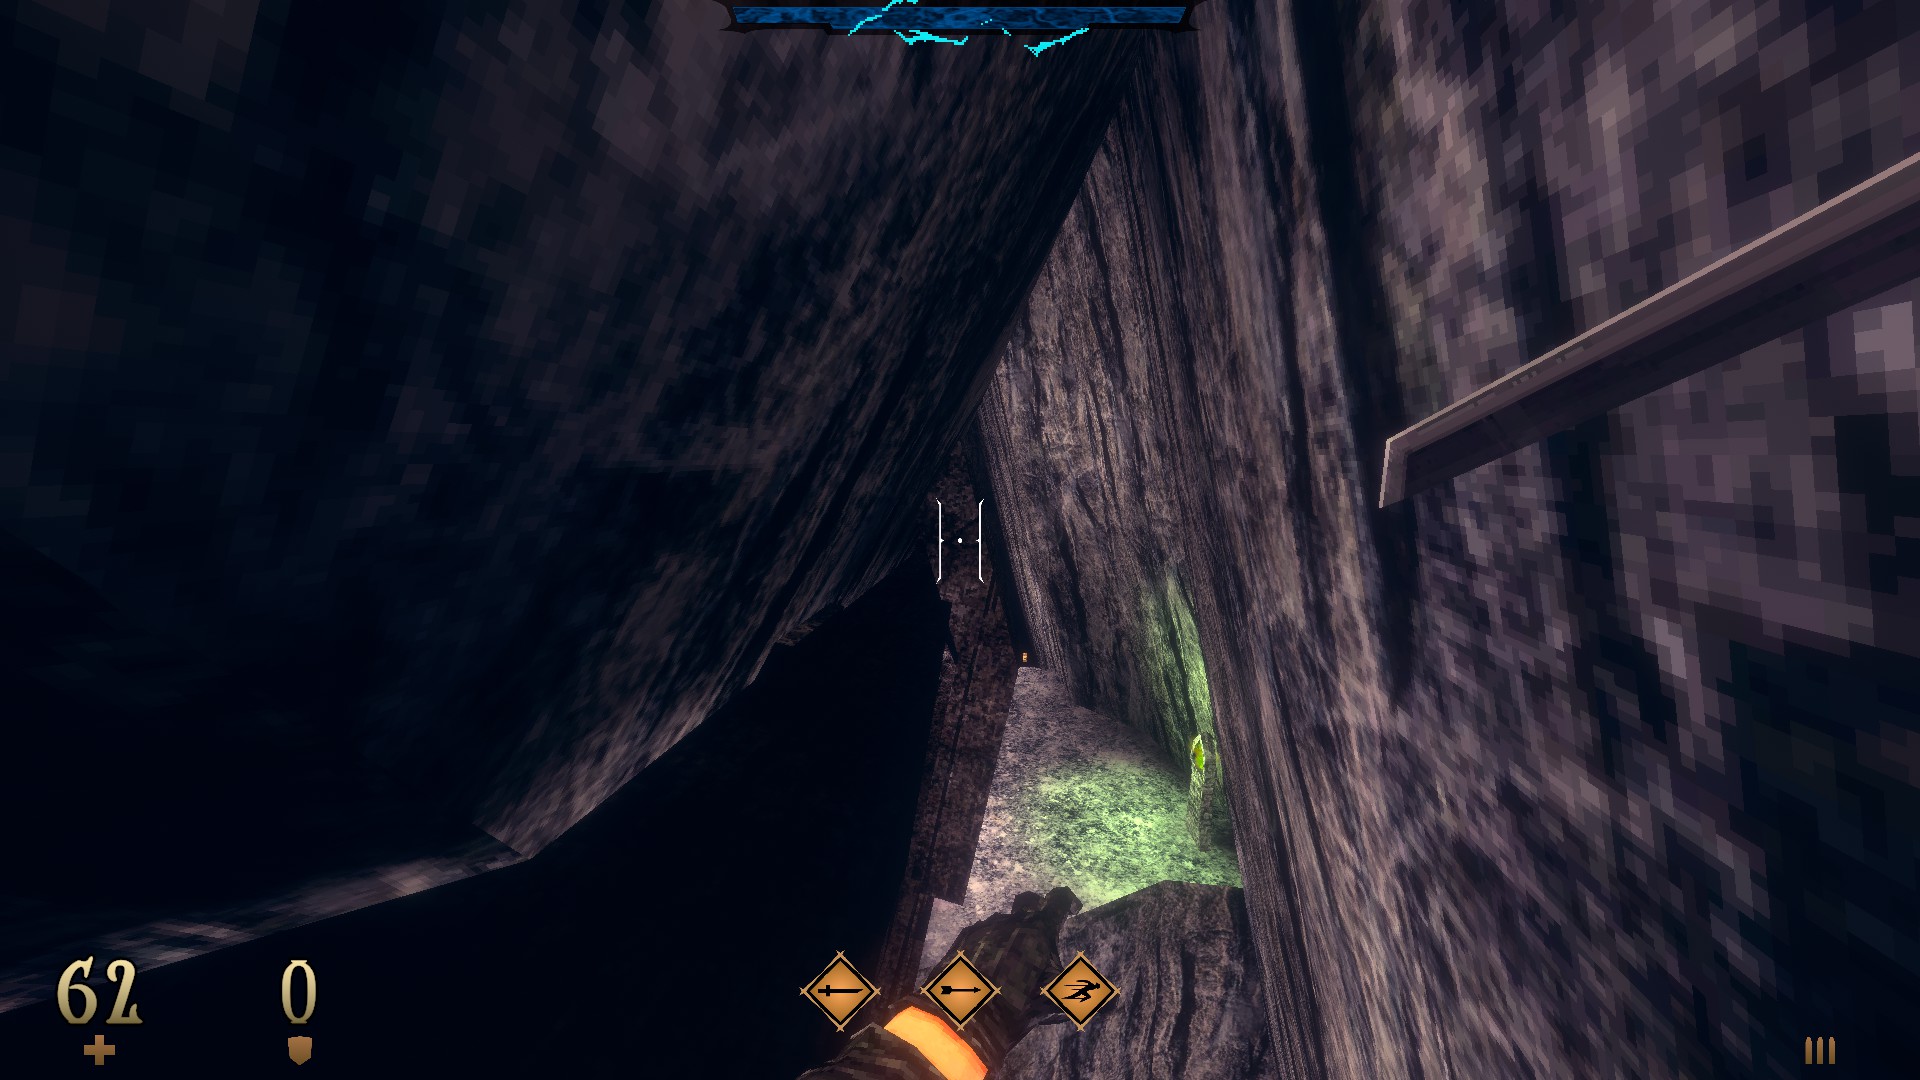
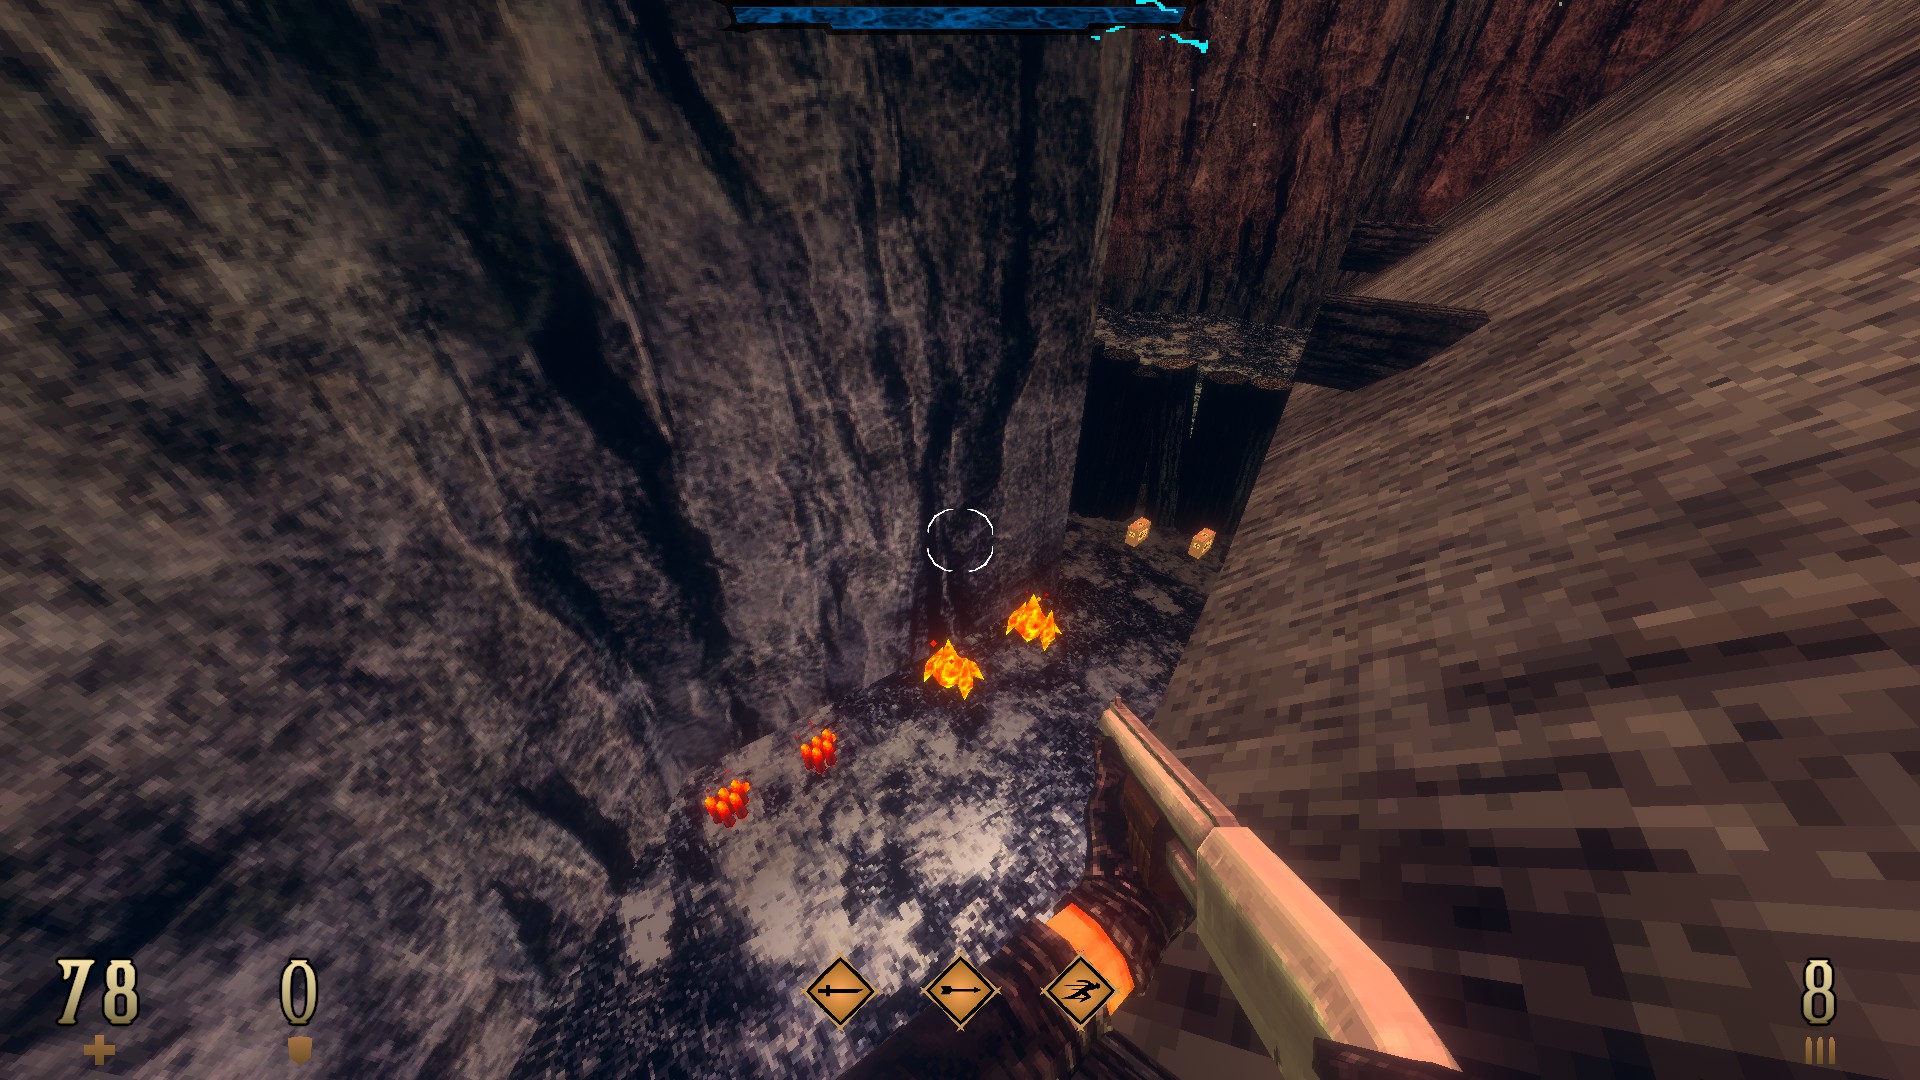
6/8 –
Once on the bridge, have a look over to the side. Jump down and dash to the icy section at the end of the frozen waterfall to find an out of sight cave housing yet another cache.
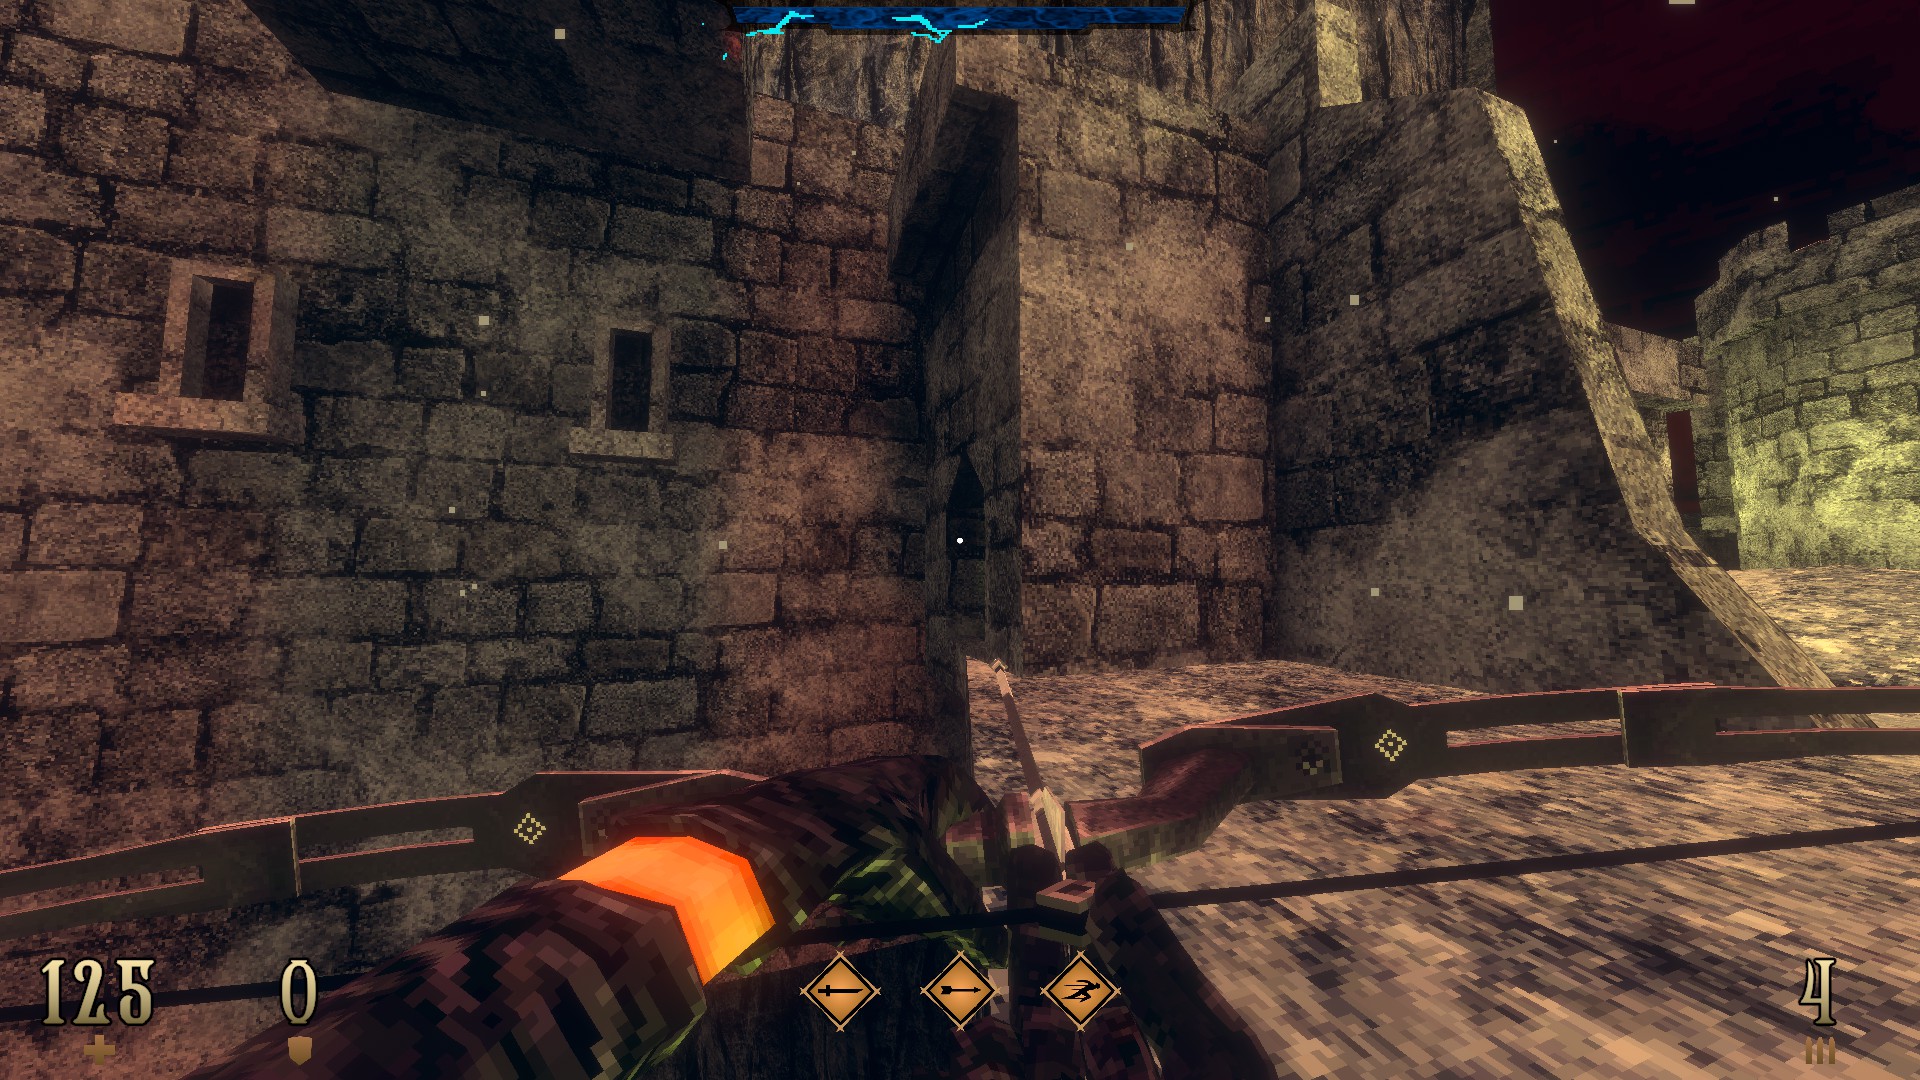
7/8 –
At the very end of the ruins, look for an indented part on the castle wall just below where the red key resides and use it to reveal a hidden compartment.
8/8 –
After picking the red key and the following emblem up, dash to the walkway across and turn the corner to come across another cache.
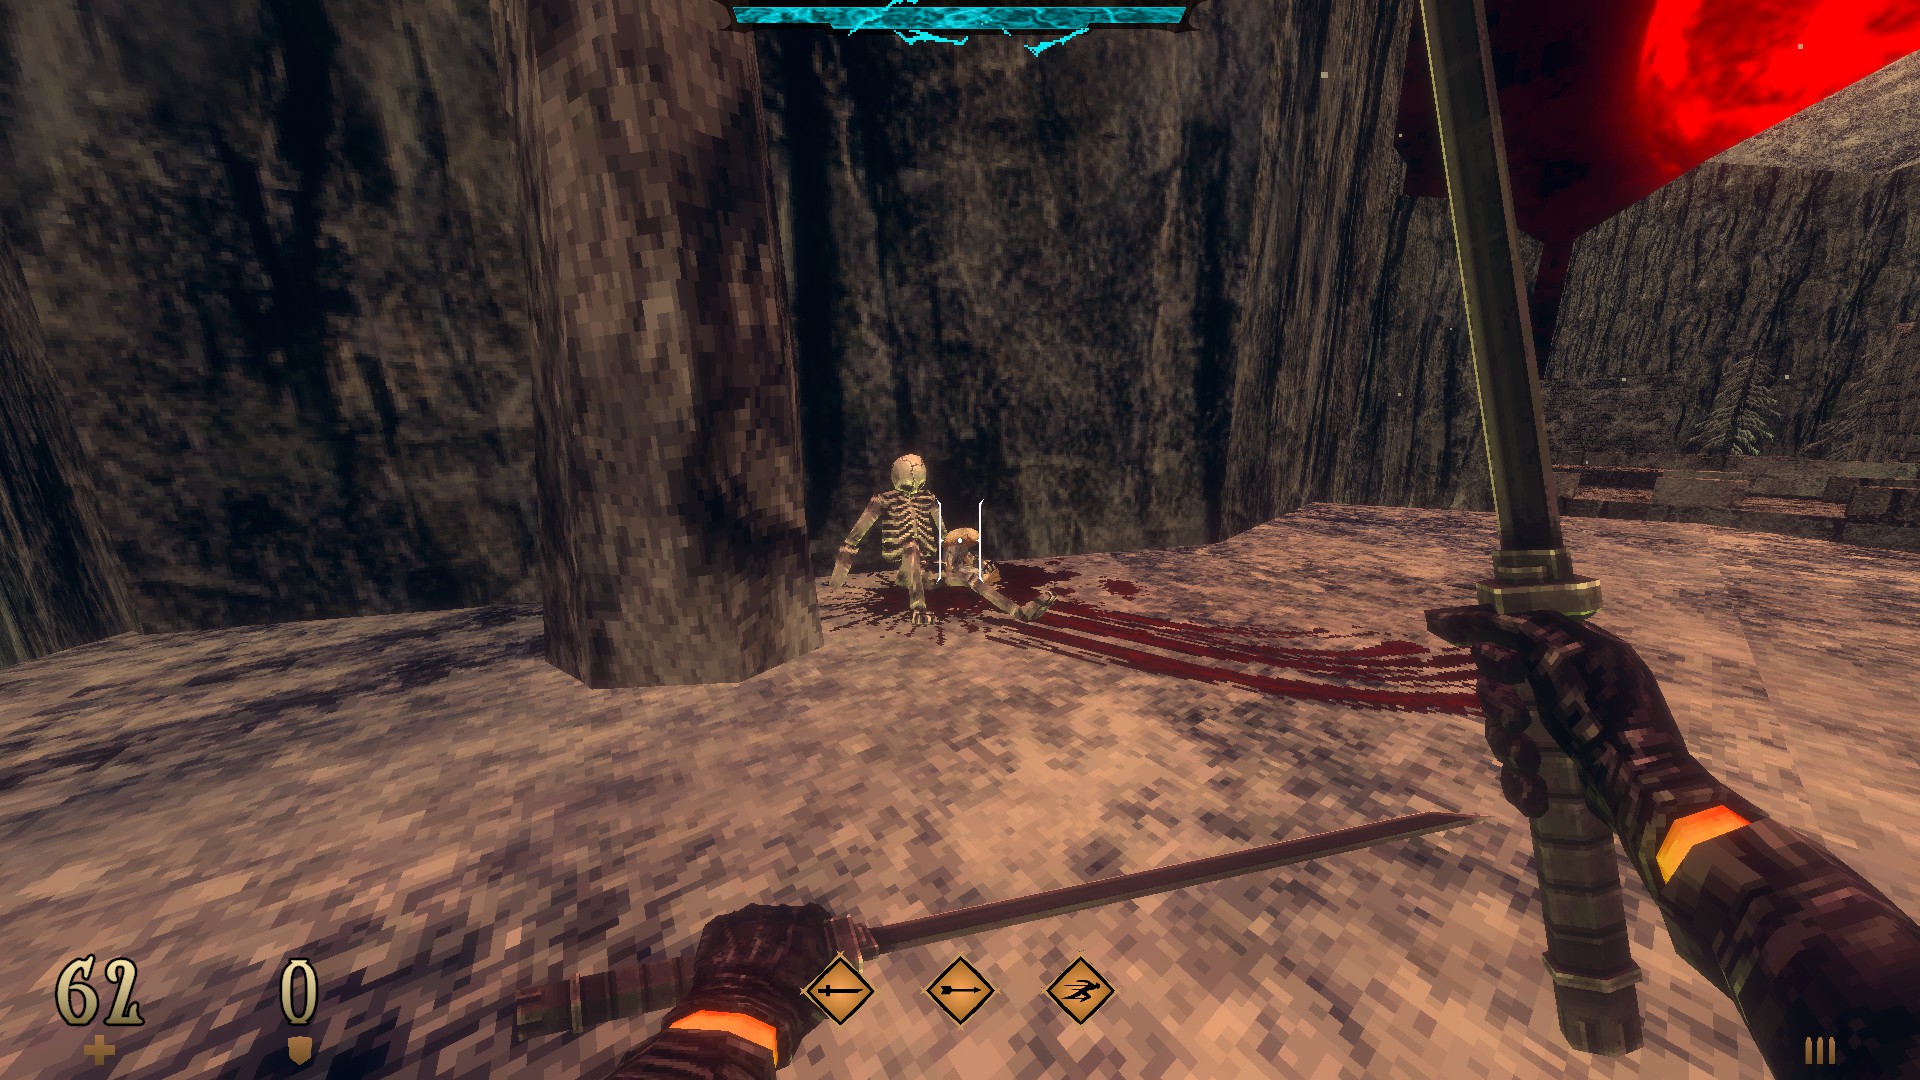

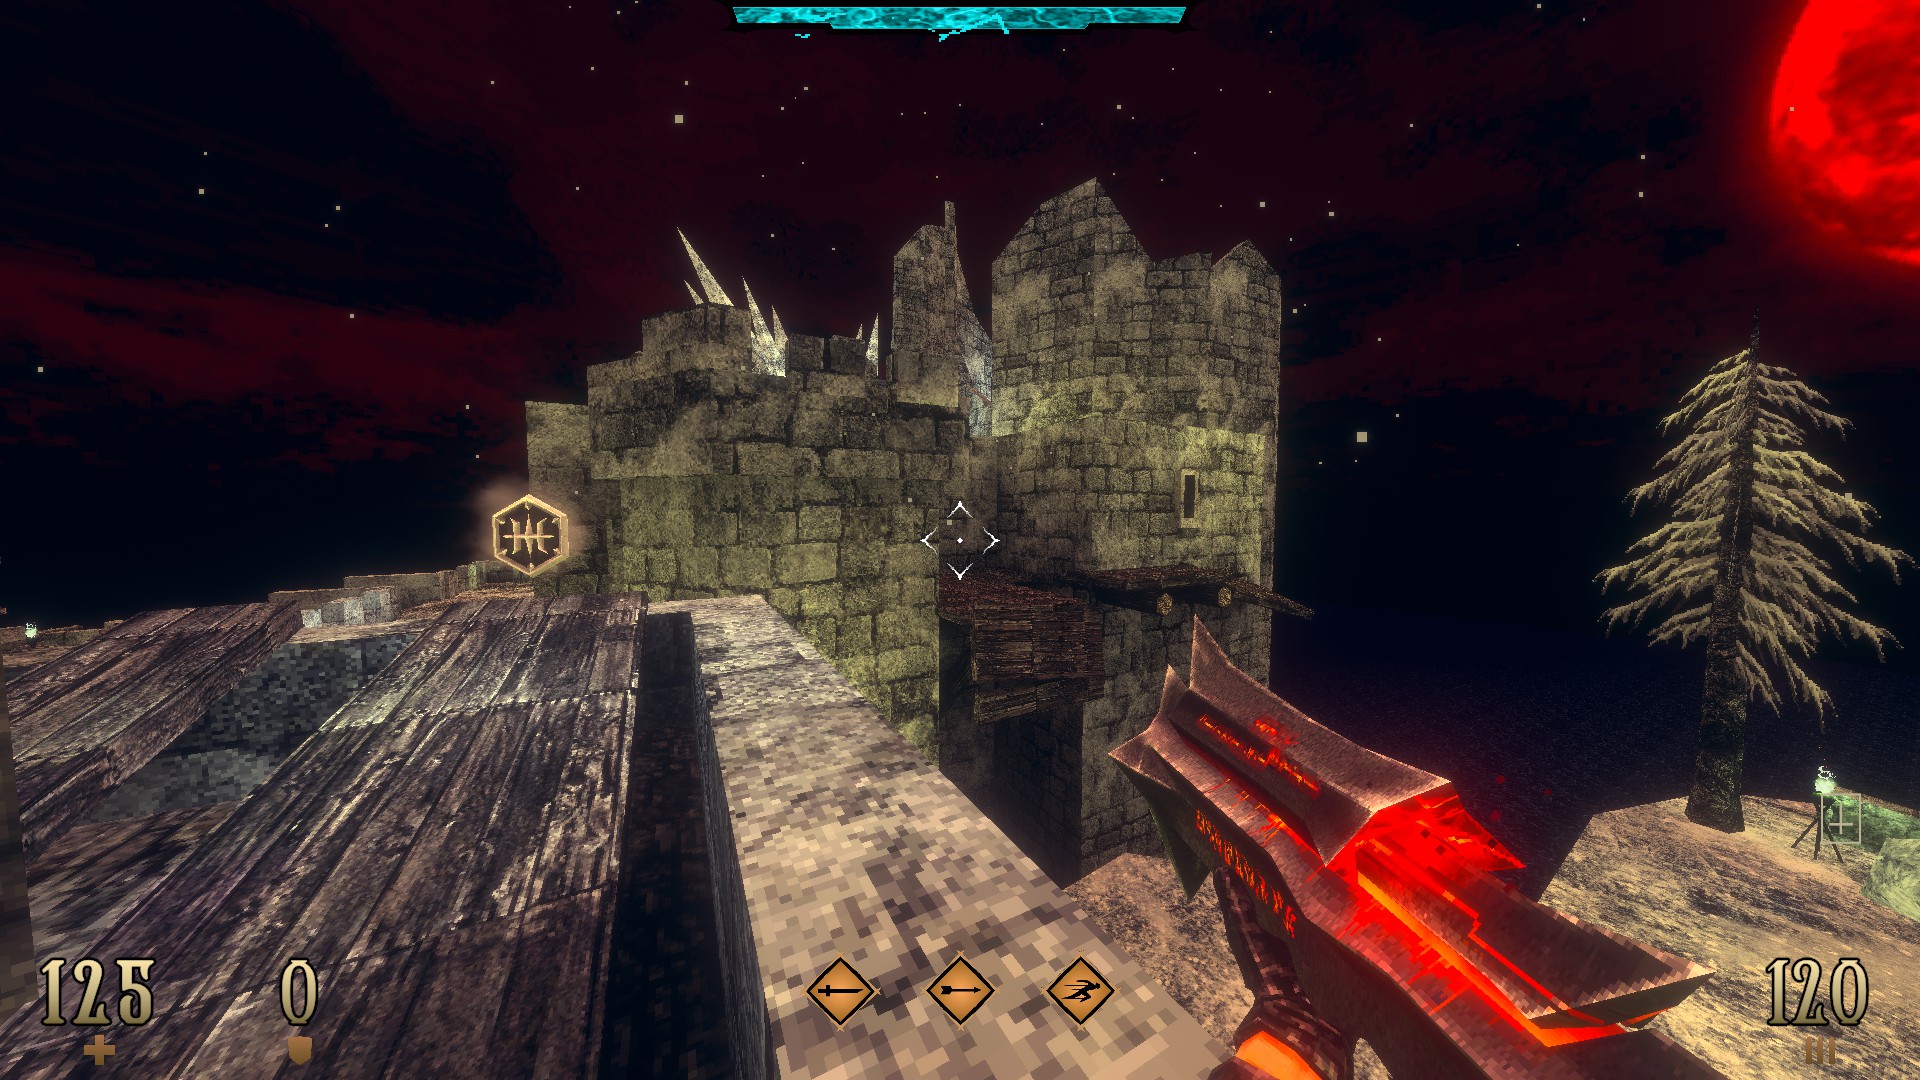
SUPER SECRET –
Backtrack to the stacked crates in the ruins, utilize them to reach the ledge and make your way around to the other side, thorough a lengthy platforming section. Jump across to the rocky ledge where a blood trail can be seen and pick up the doll from the lap of the skeleton. Deliver the doll
-Eva, 보기에-to the lost soul dwelling in the well and get a familiar looking keycard in return. Head back to the ruins and open the door below the red key pedestal to find yourself in
[doomwiki.org](Lethal -G-, a Blood Gem and an early Tri-Rocket Launcher)
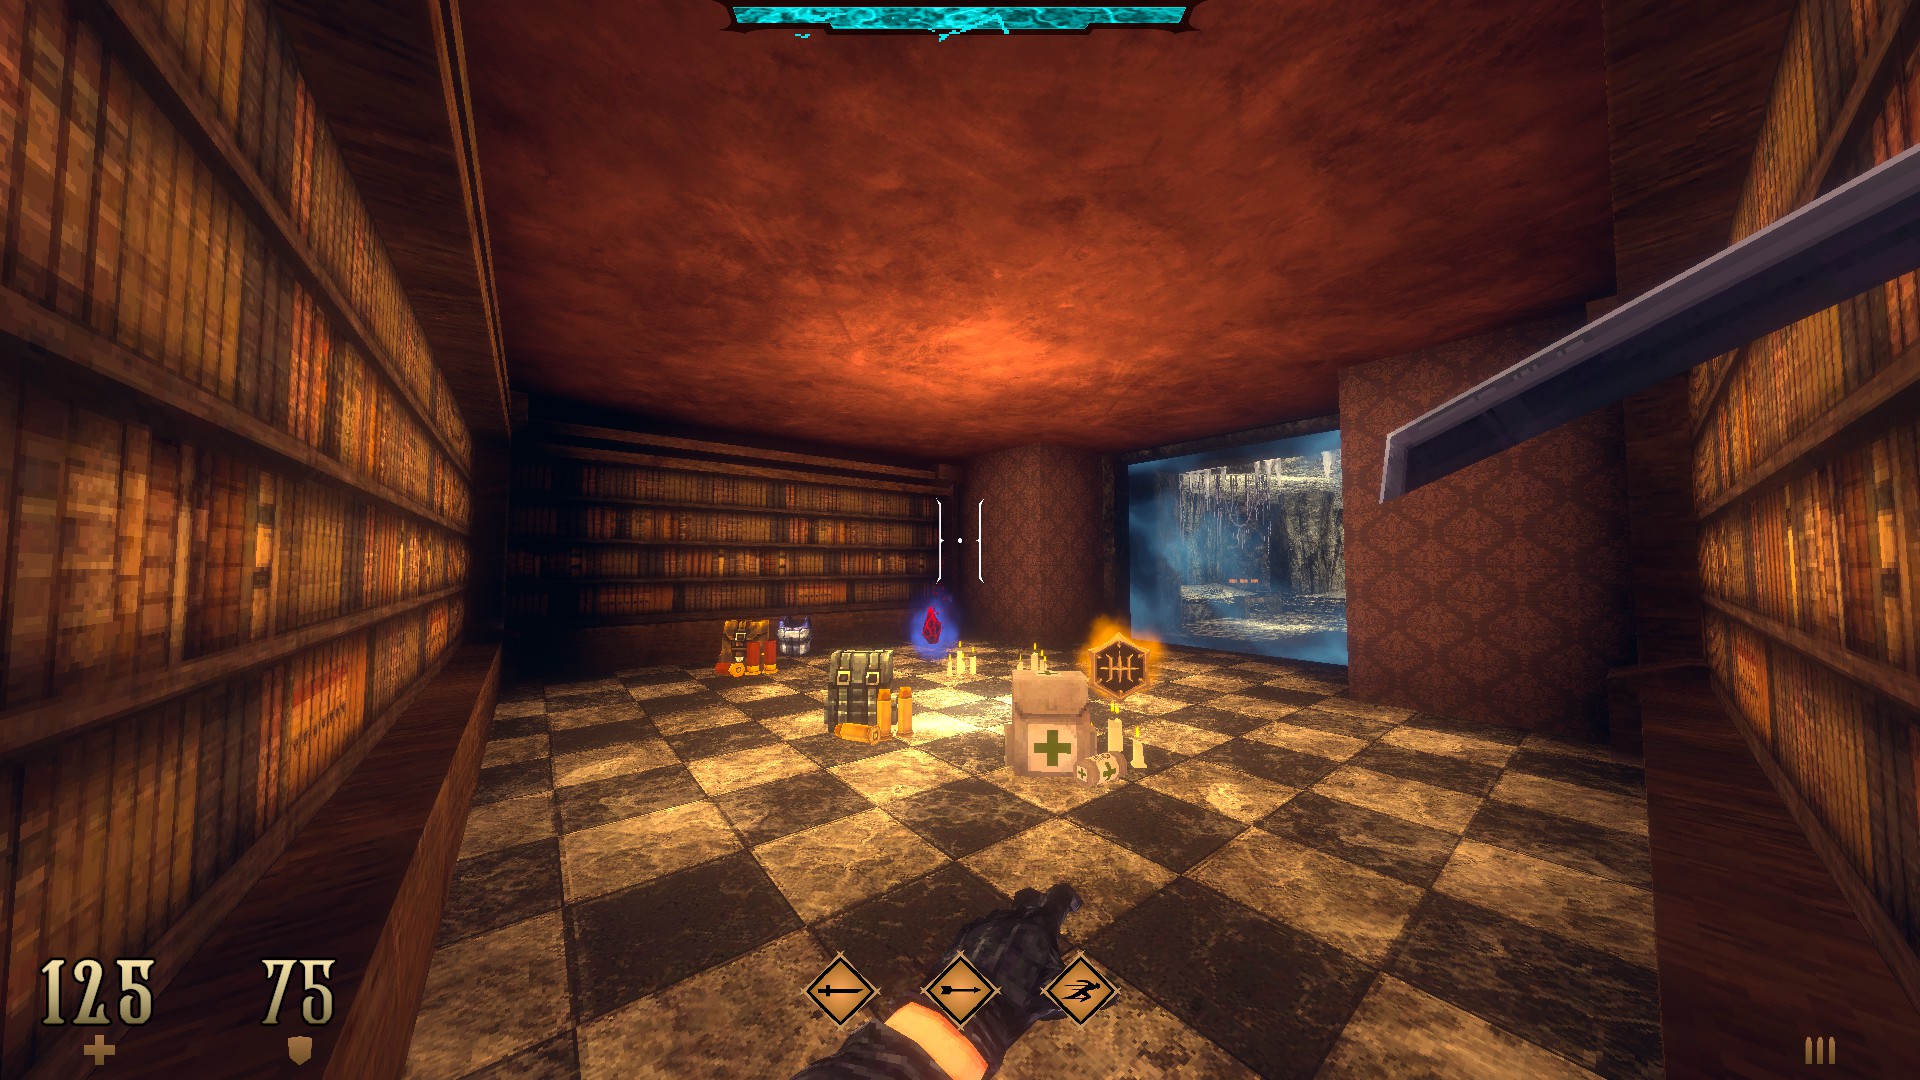
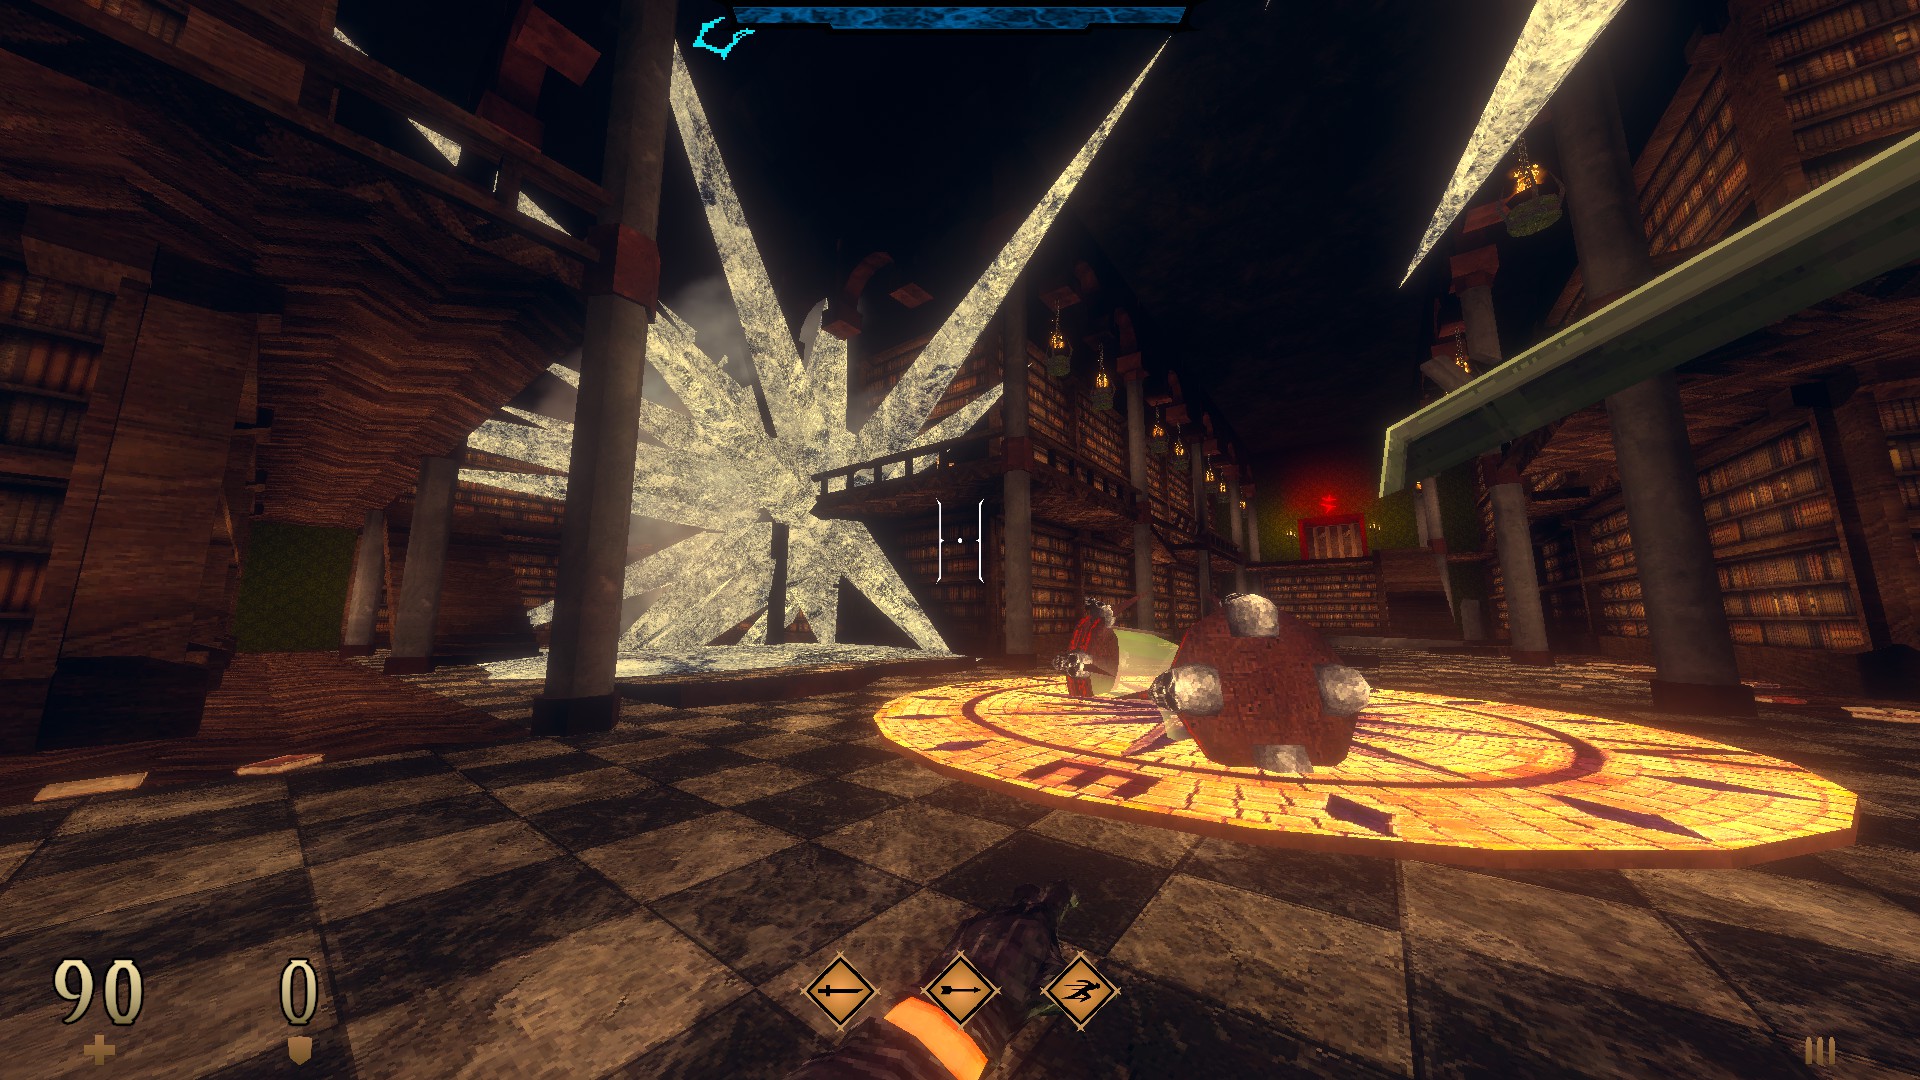
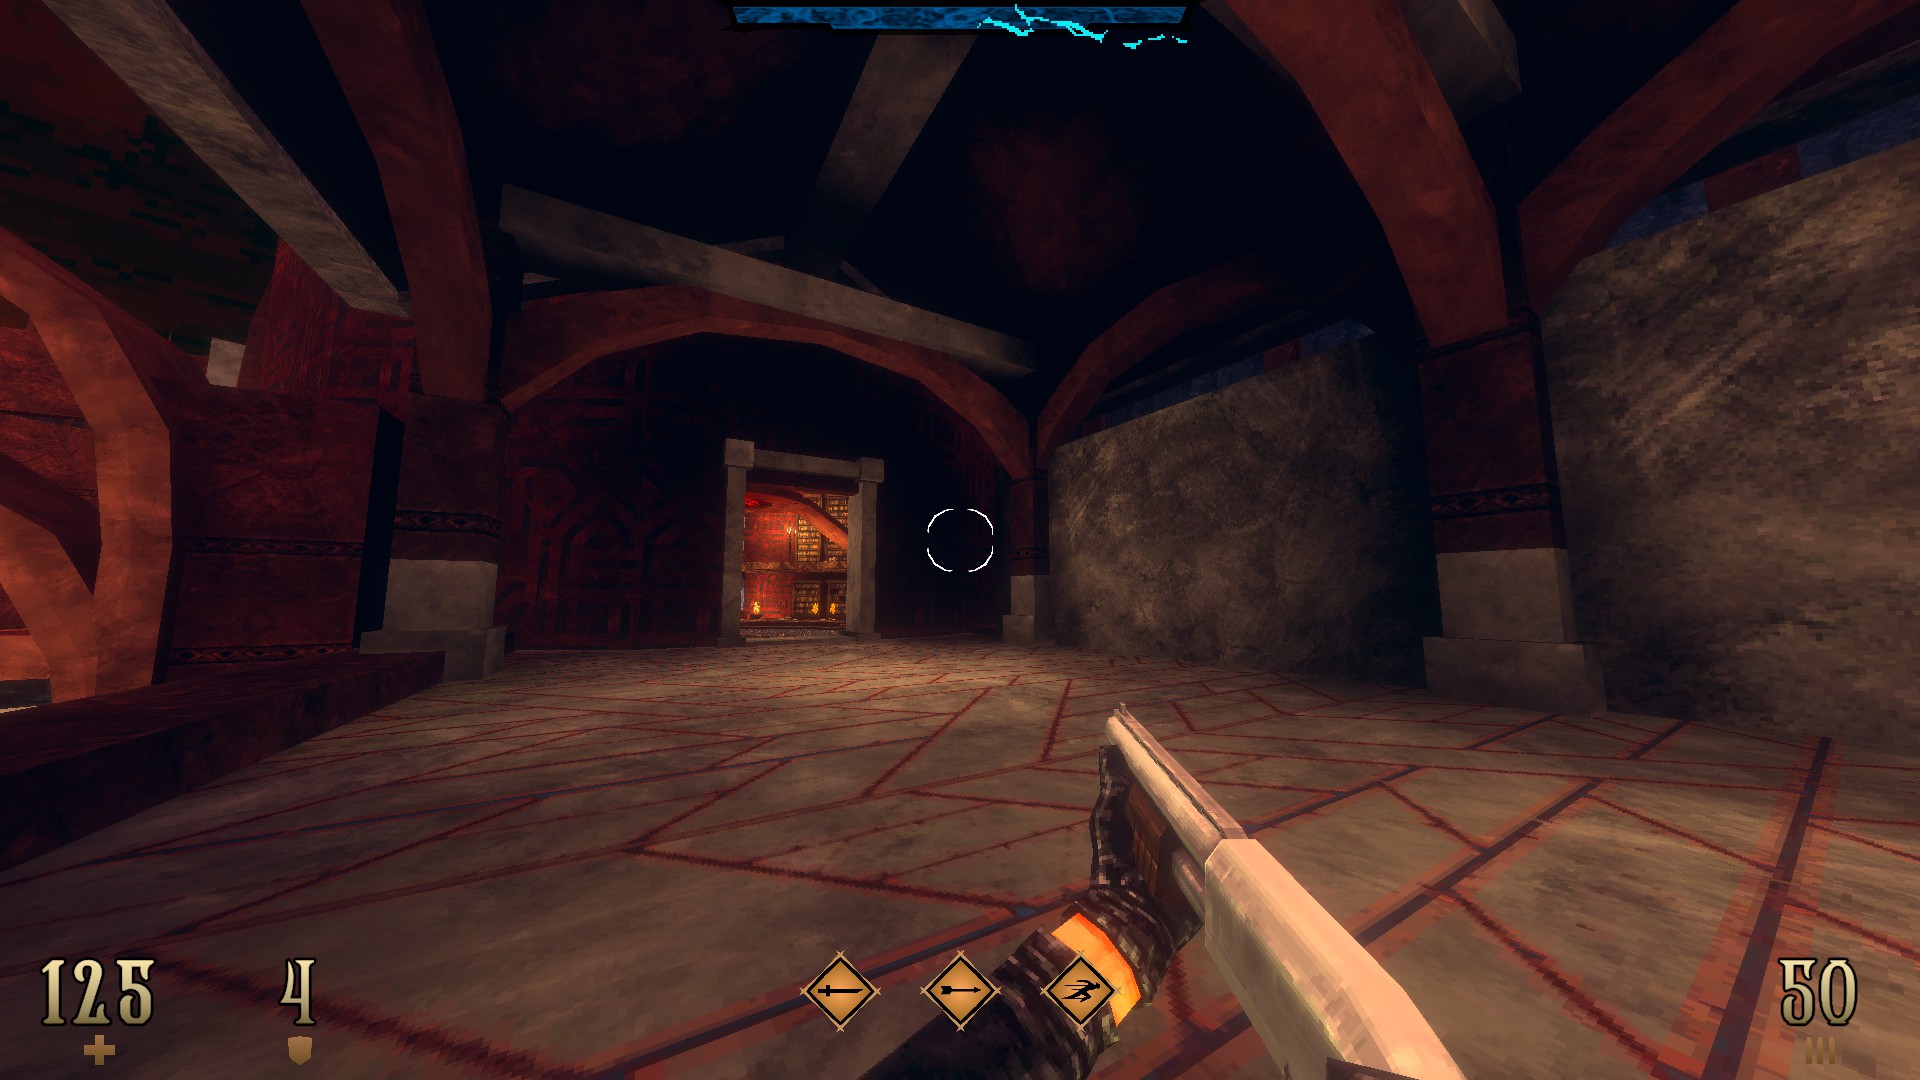
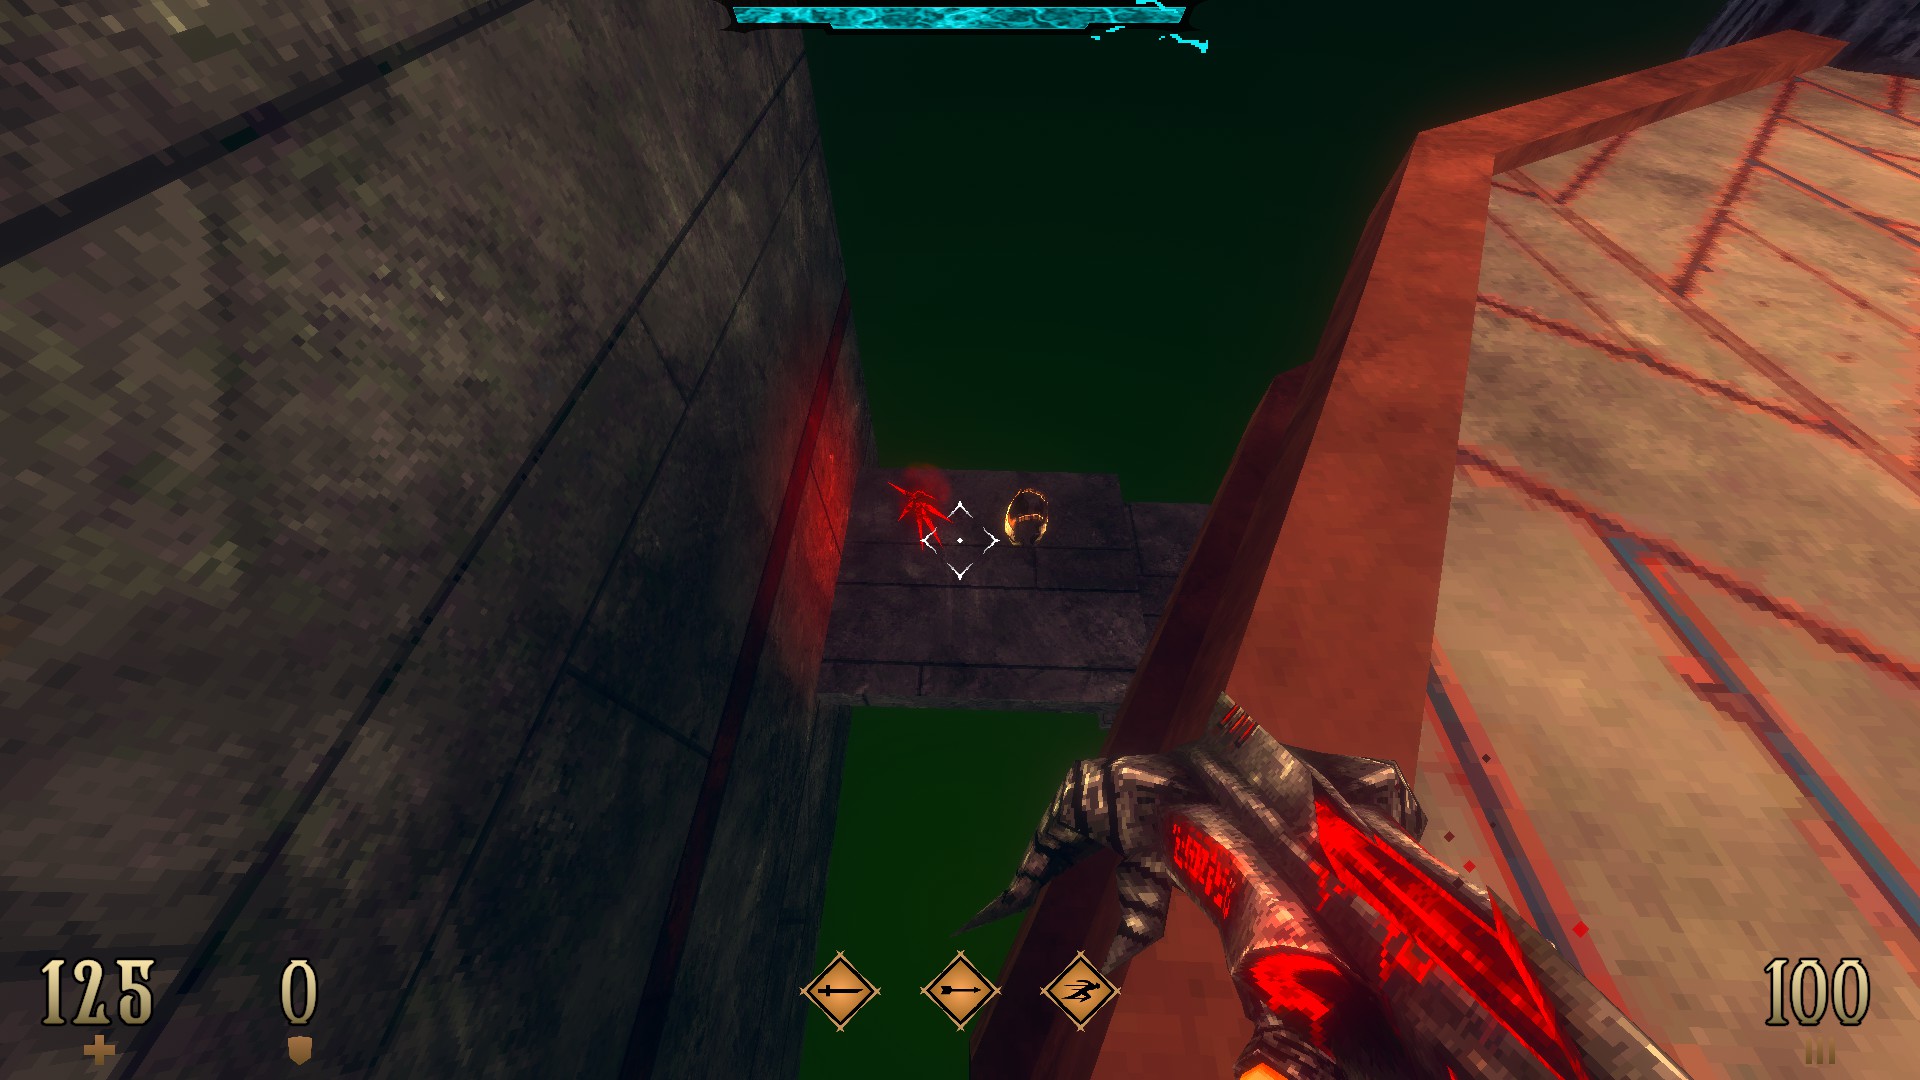
E3M4: Distorted Time
This level contains 7 secrets and a super secret.
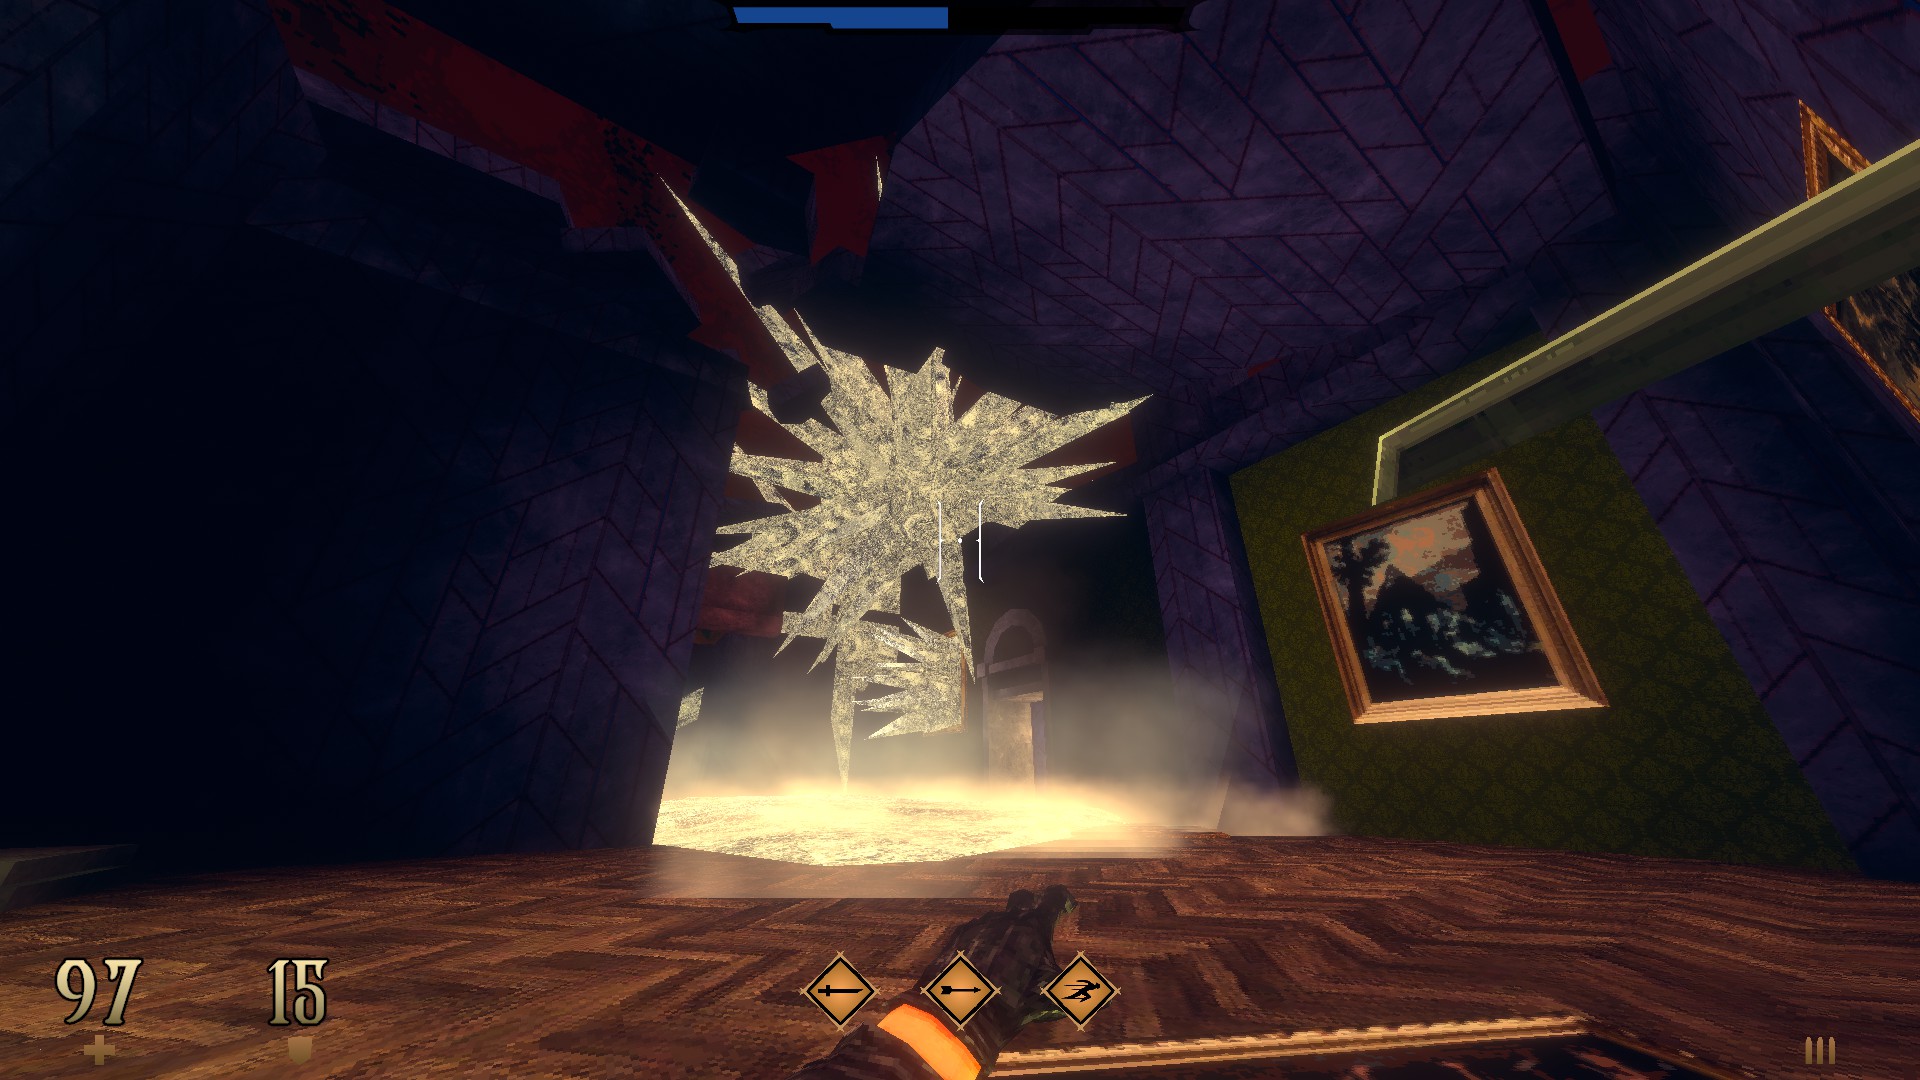
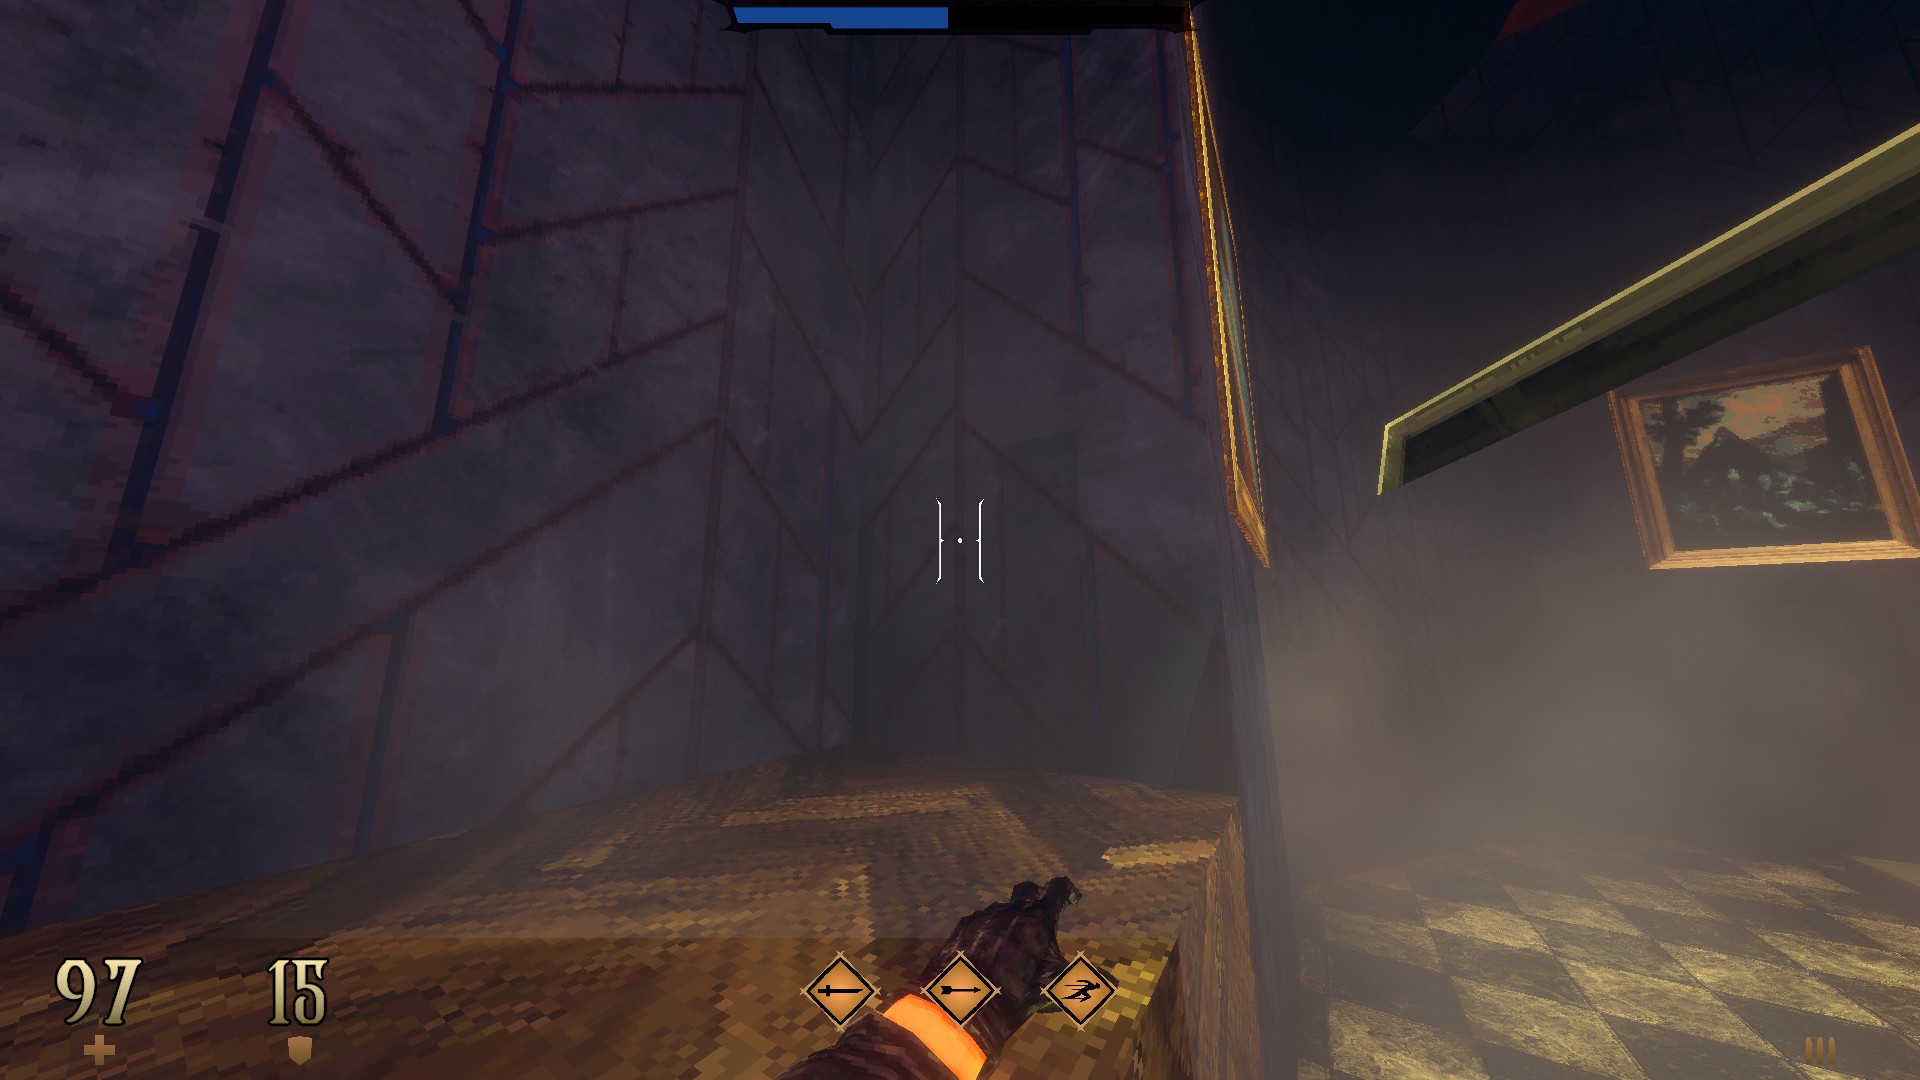
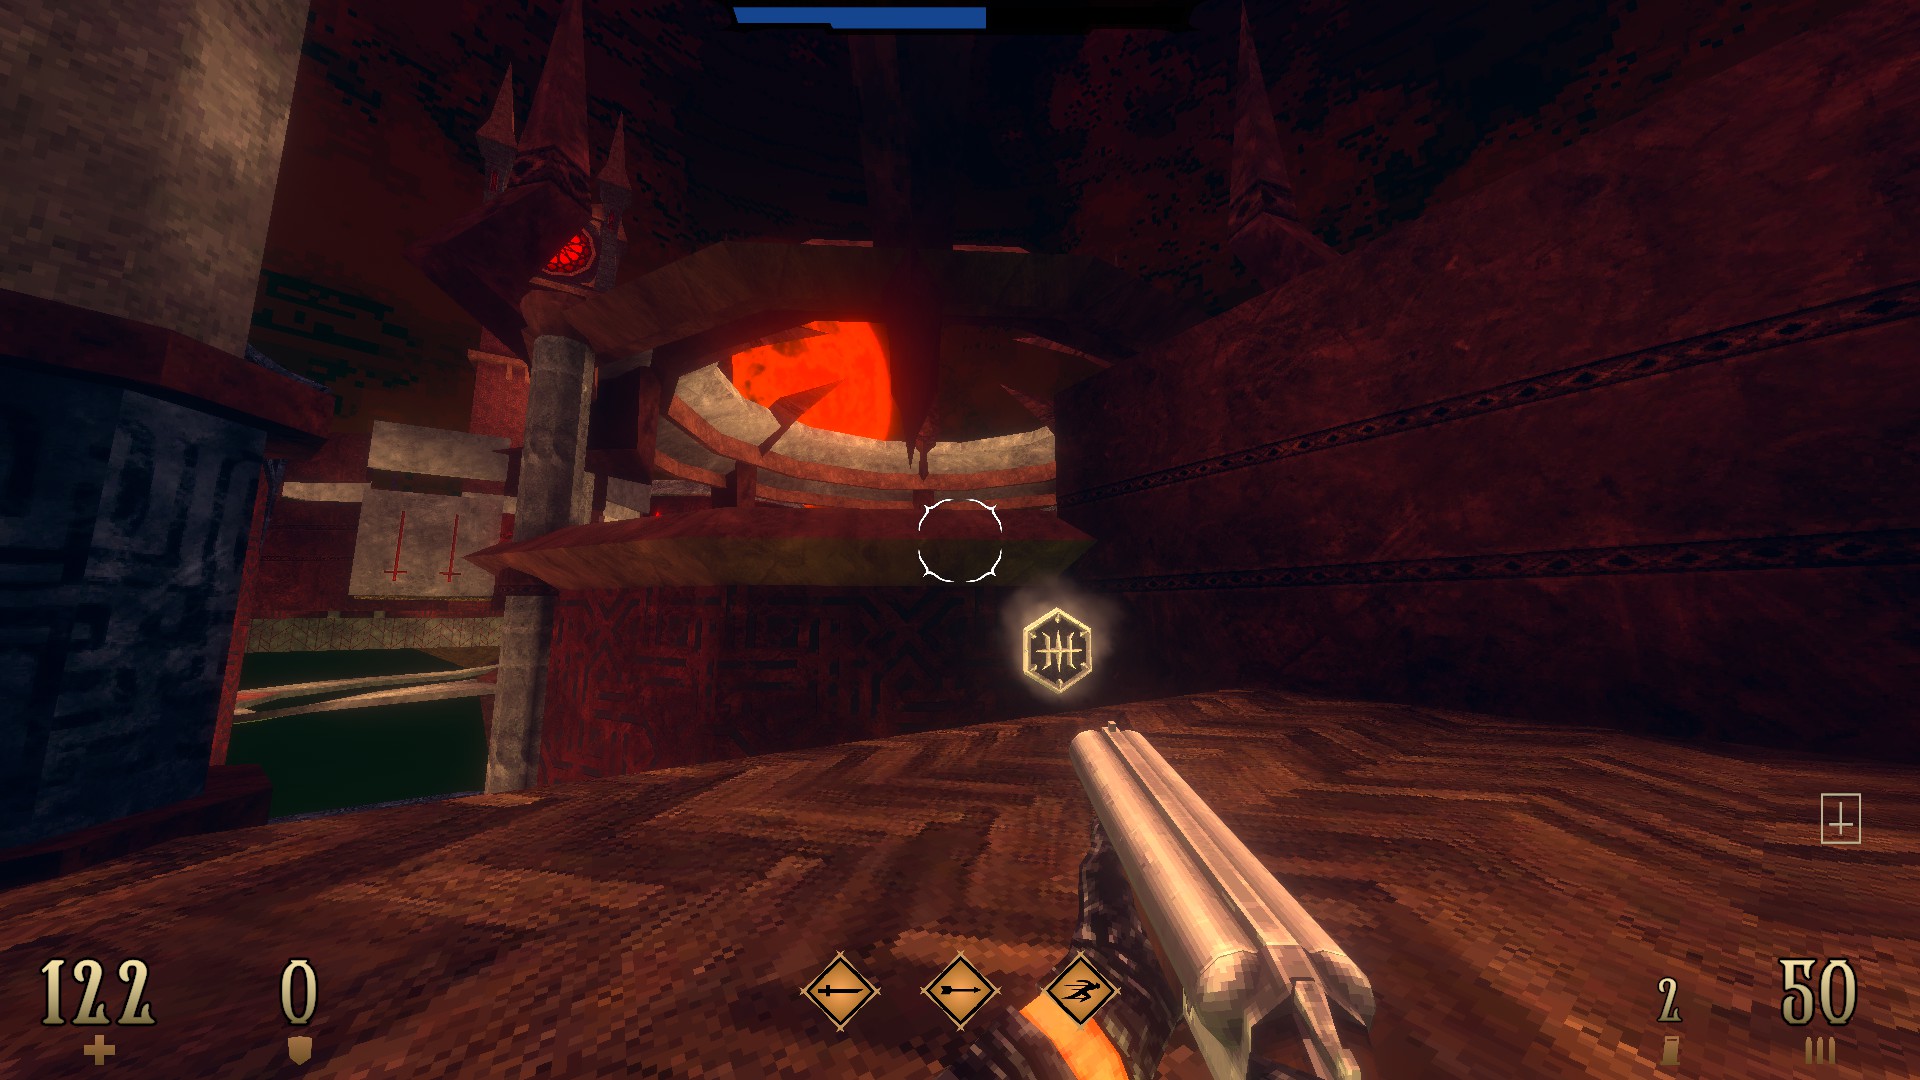
1/7 –
처음부터, take the stairs to the left and blow up the cracked door to find the lever that opens up the door to the side area. Battle it out through the said area until you reach the icy upper floor of the gallery. 일단 거기, turn the corner and use the slightly indented part of the pillar to reveal a hidden compartment.
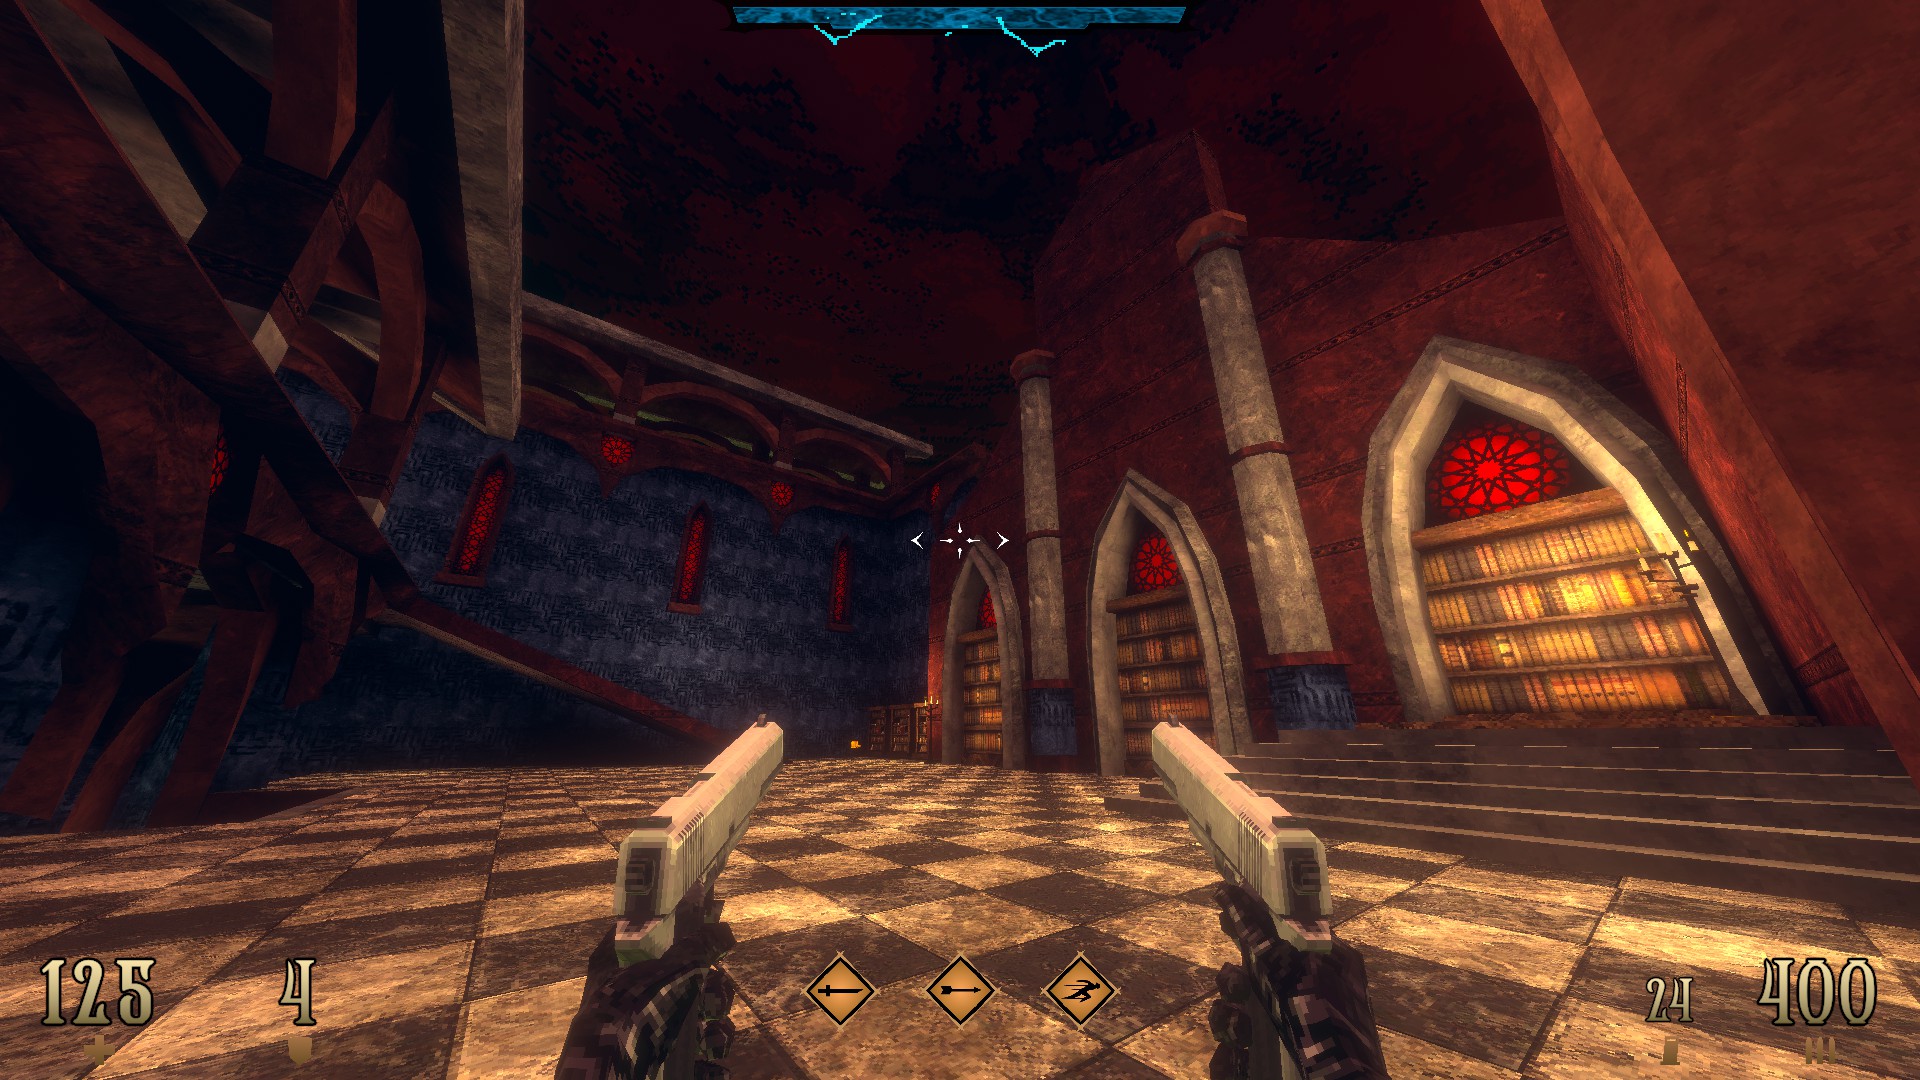
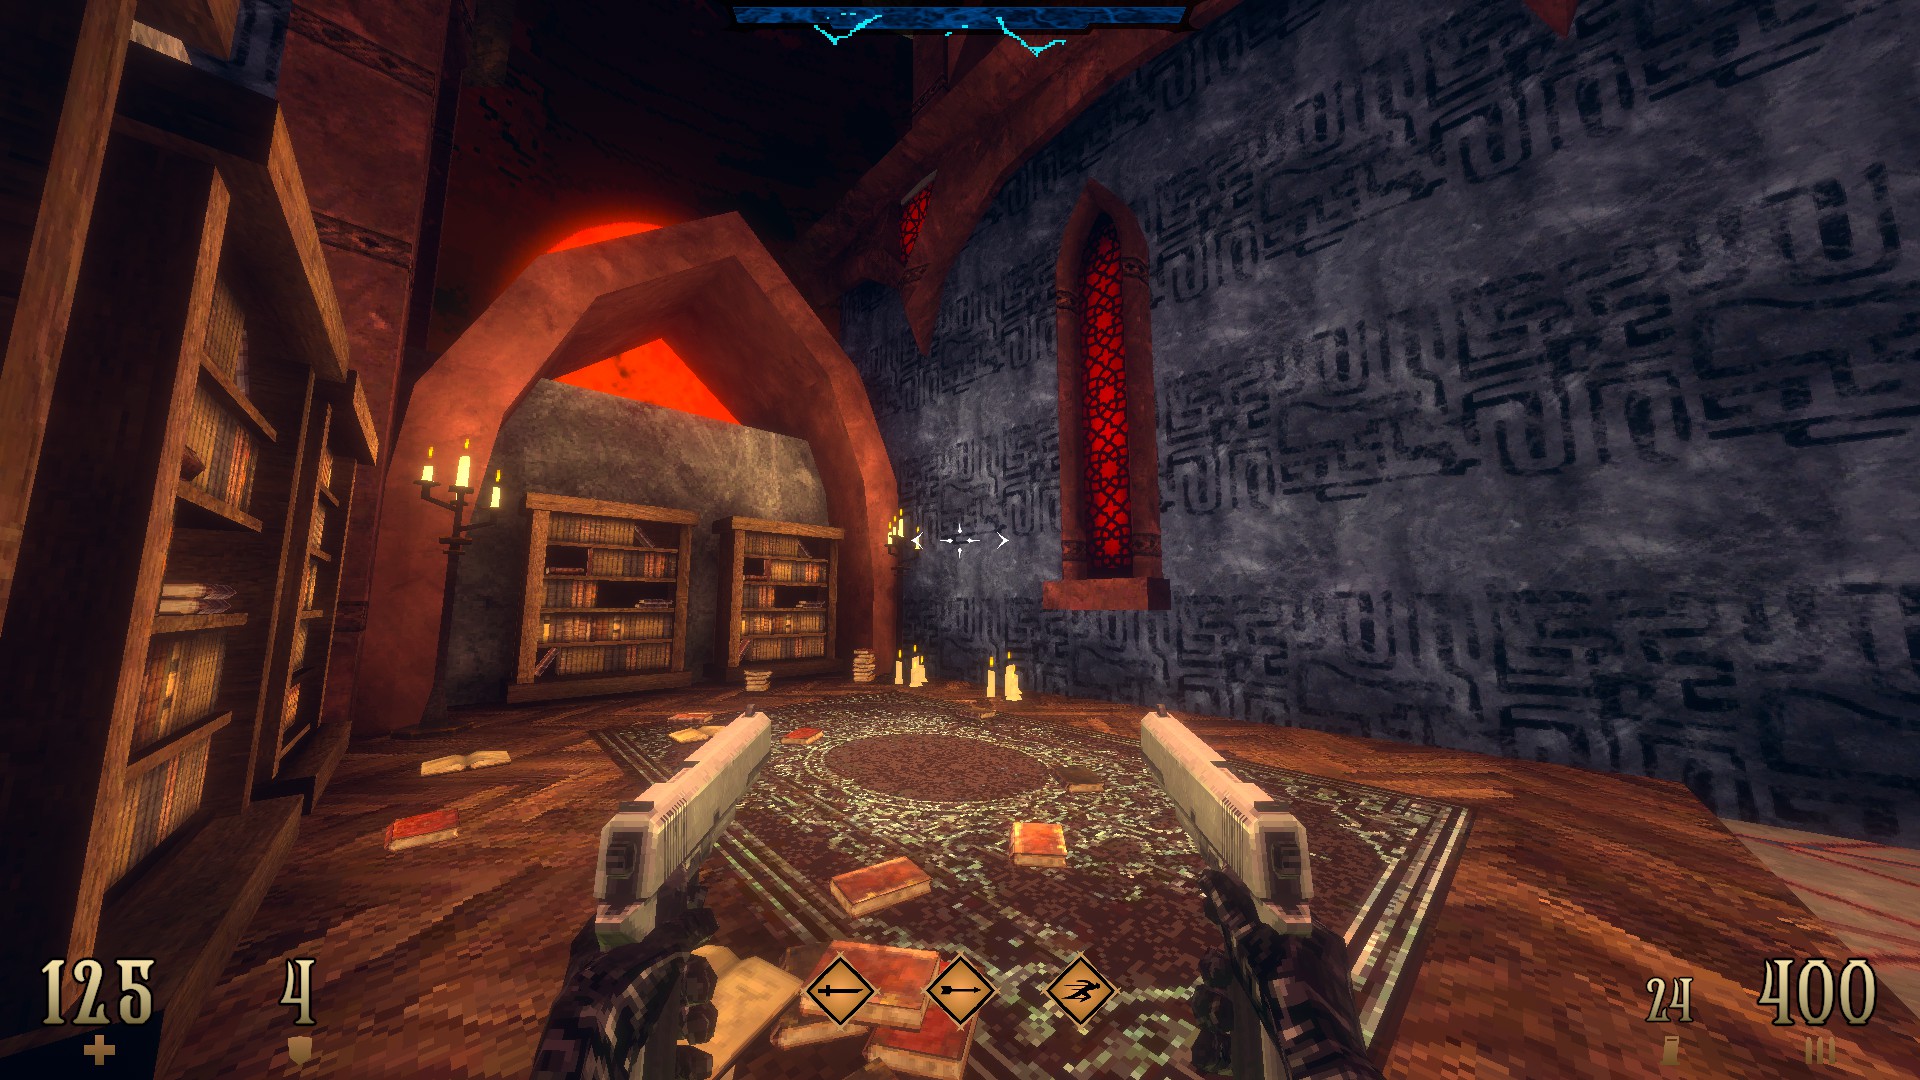
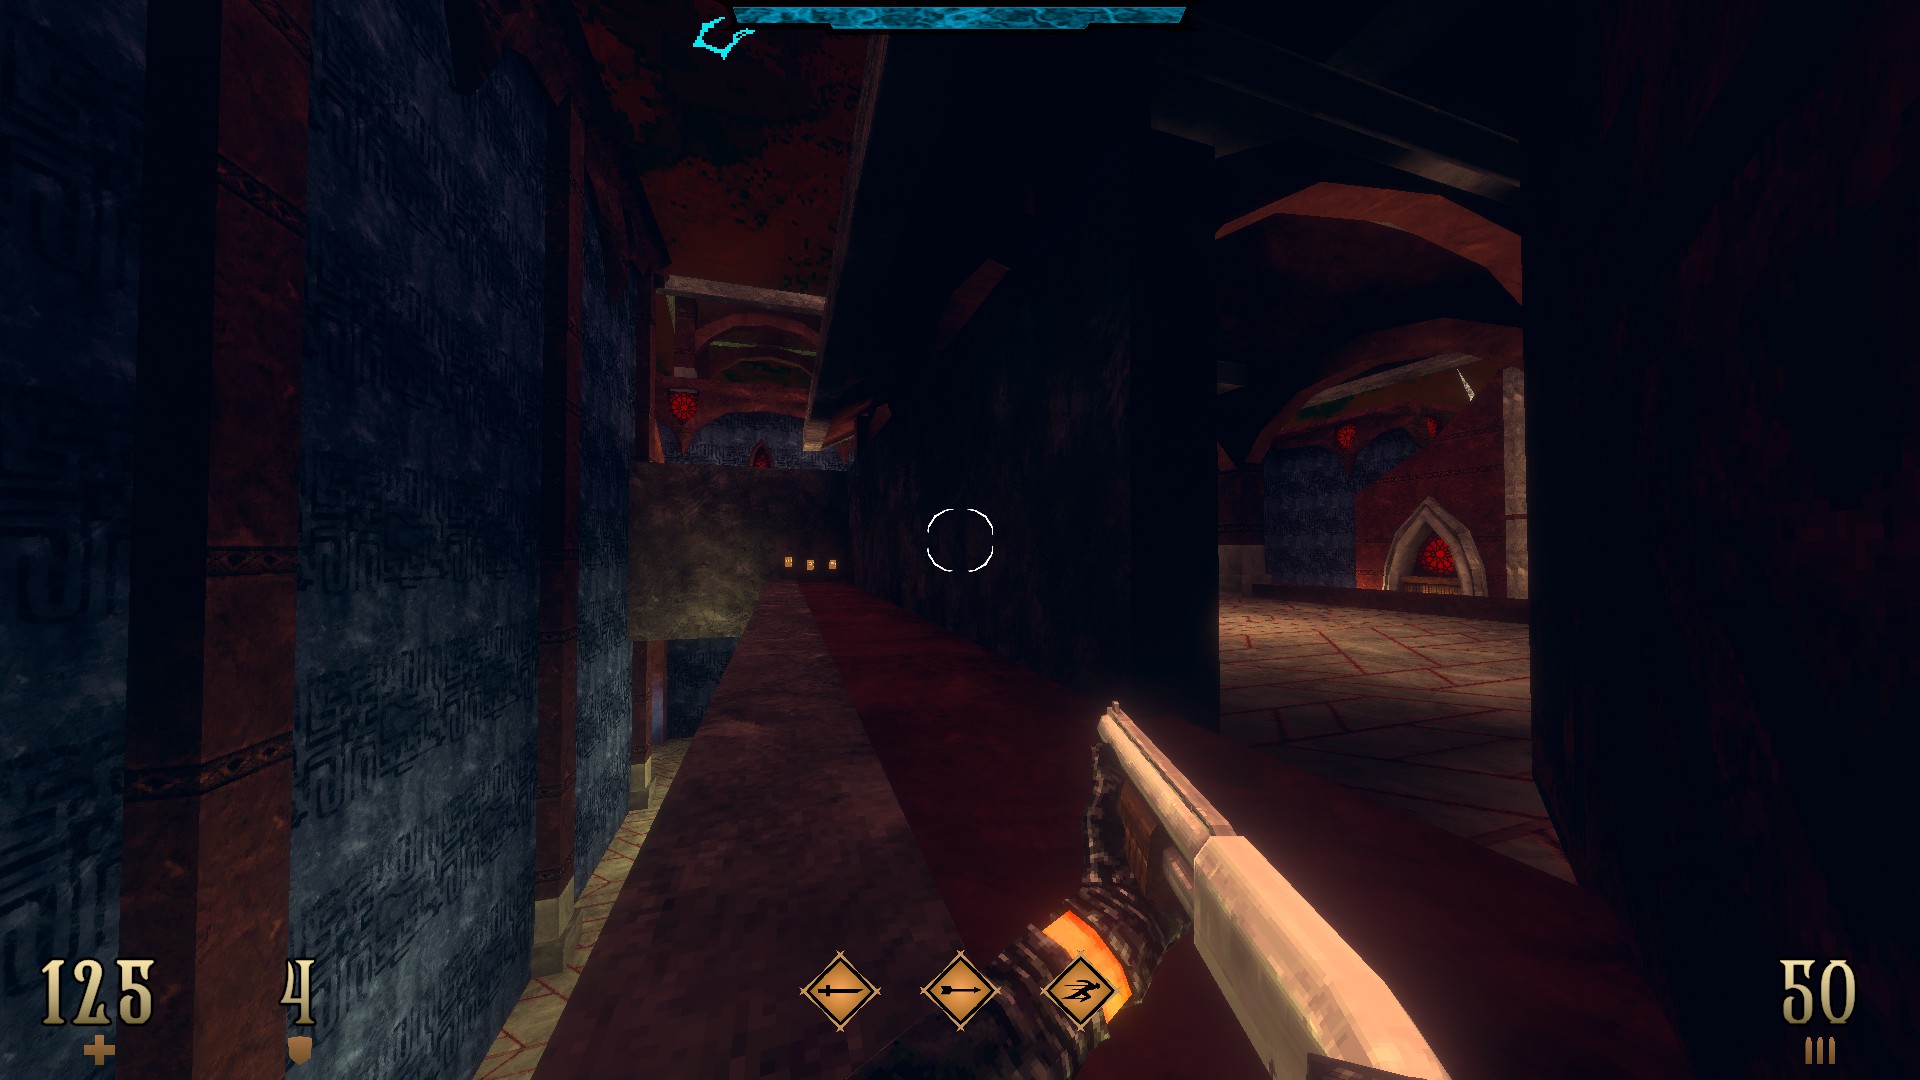
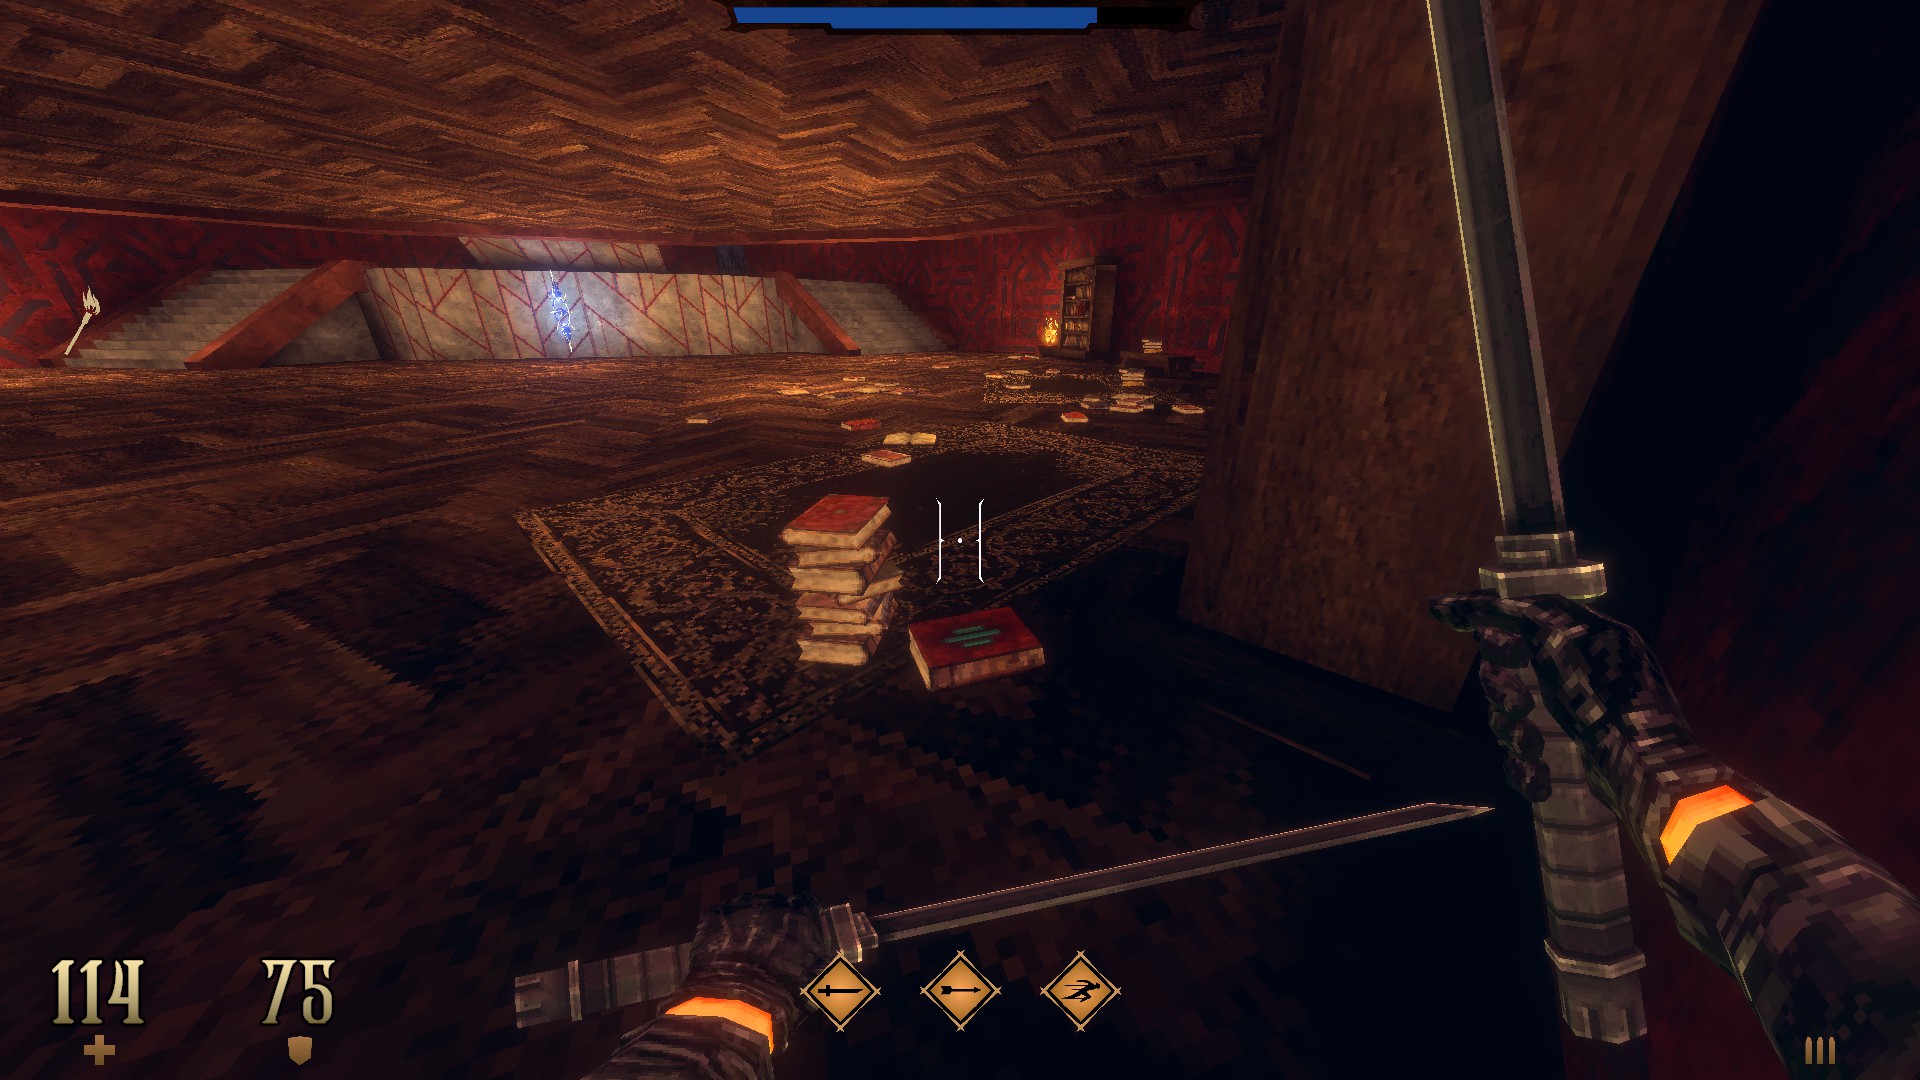
2/7 –
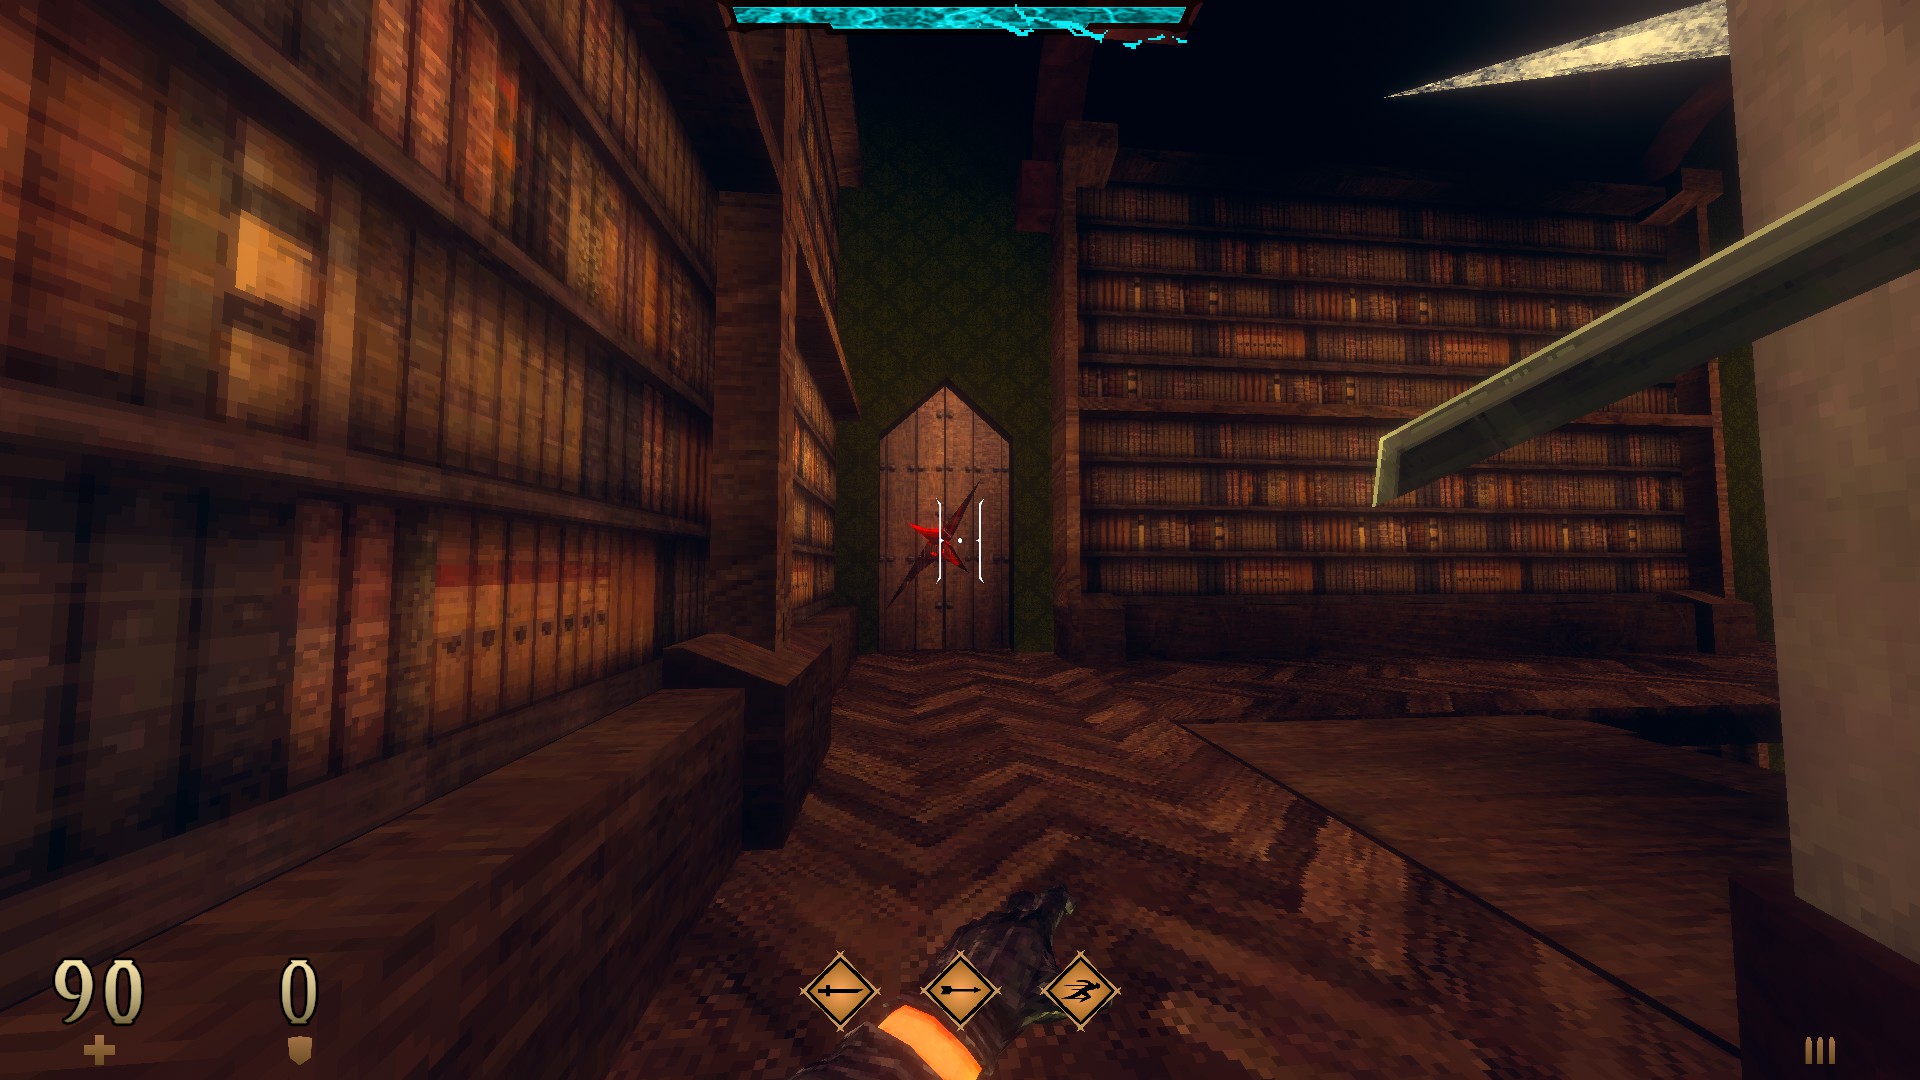
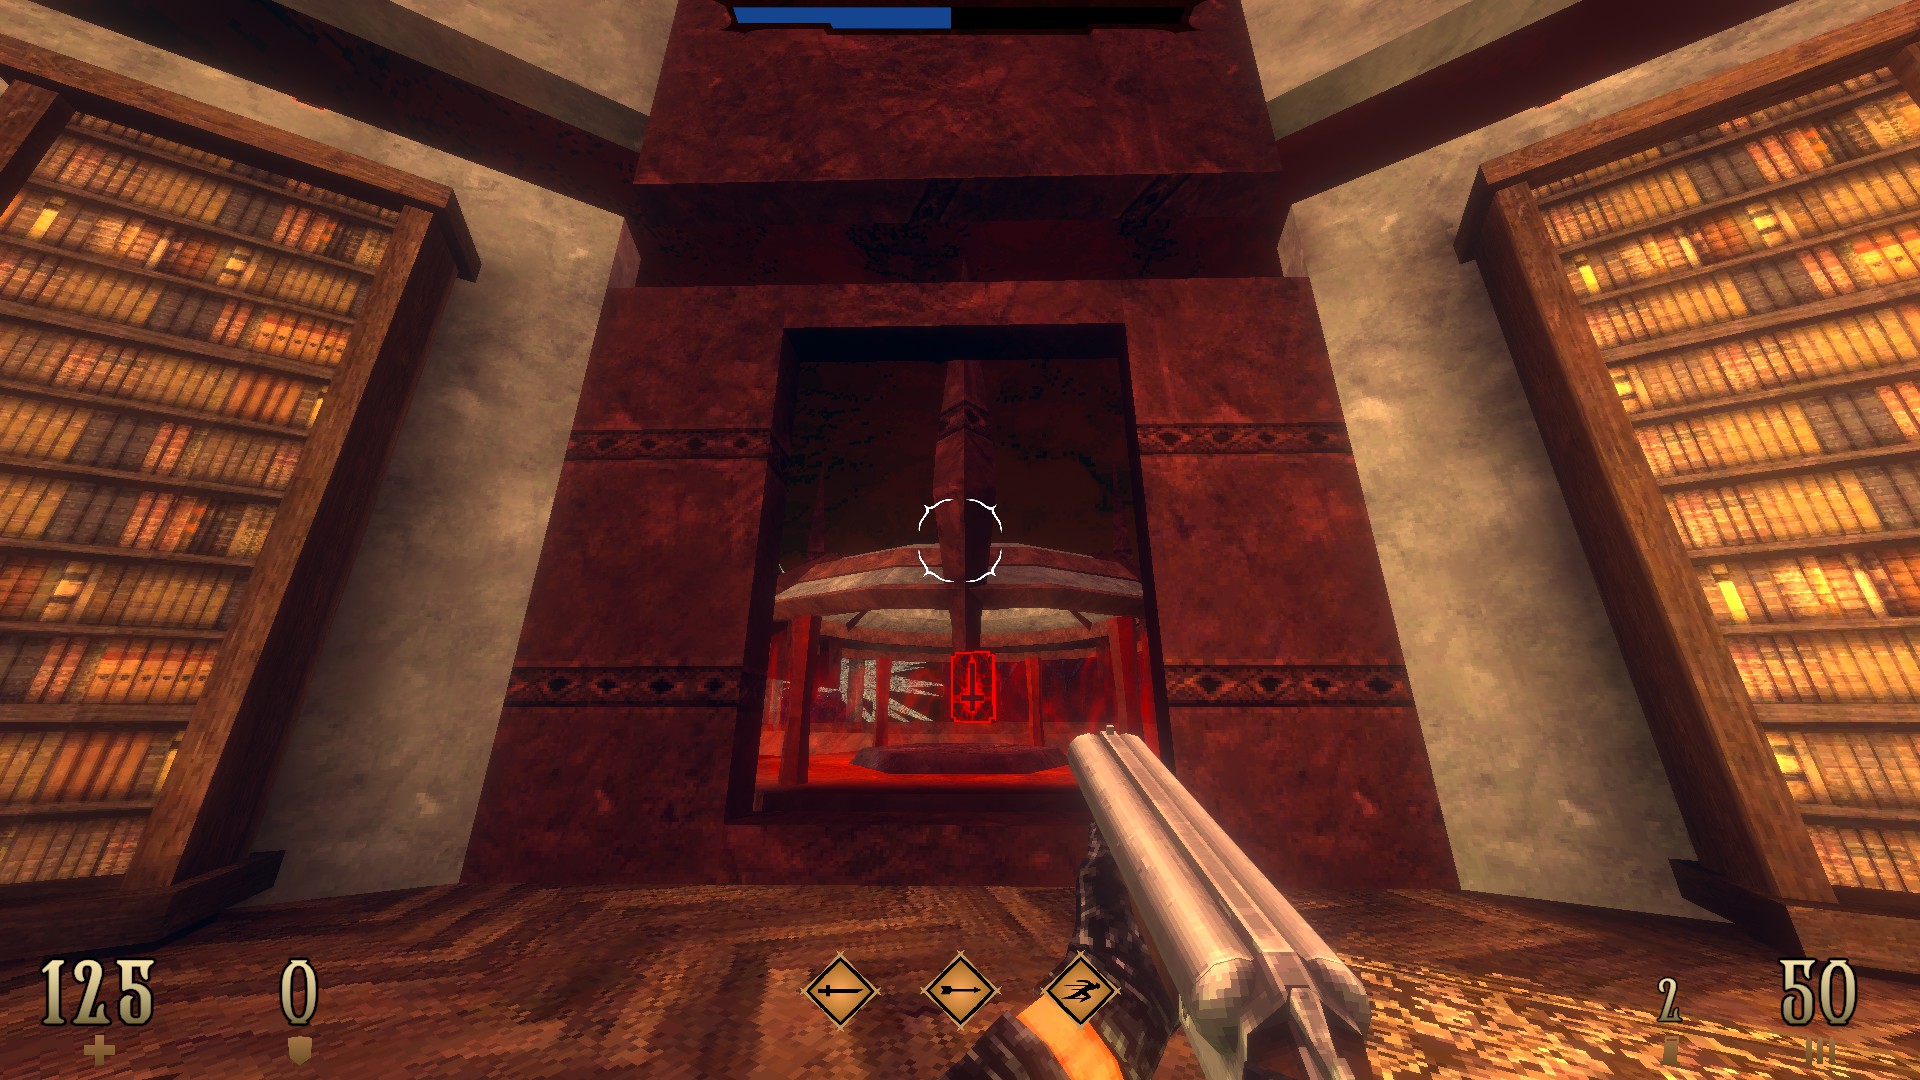
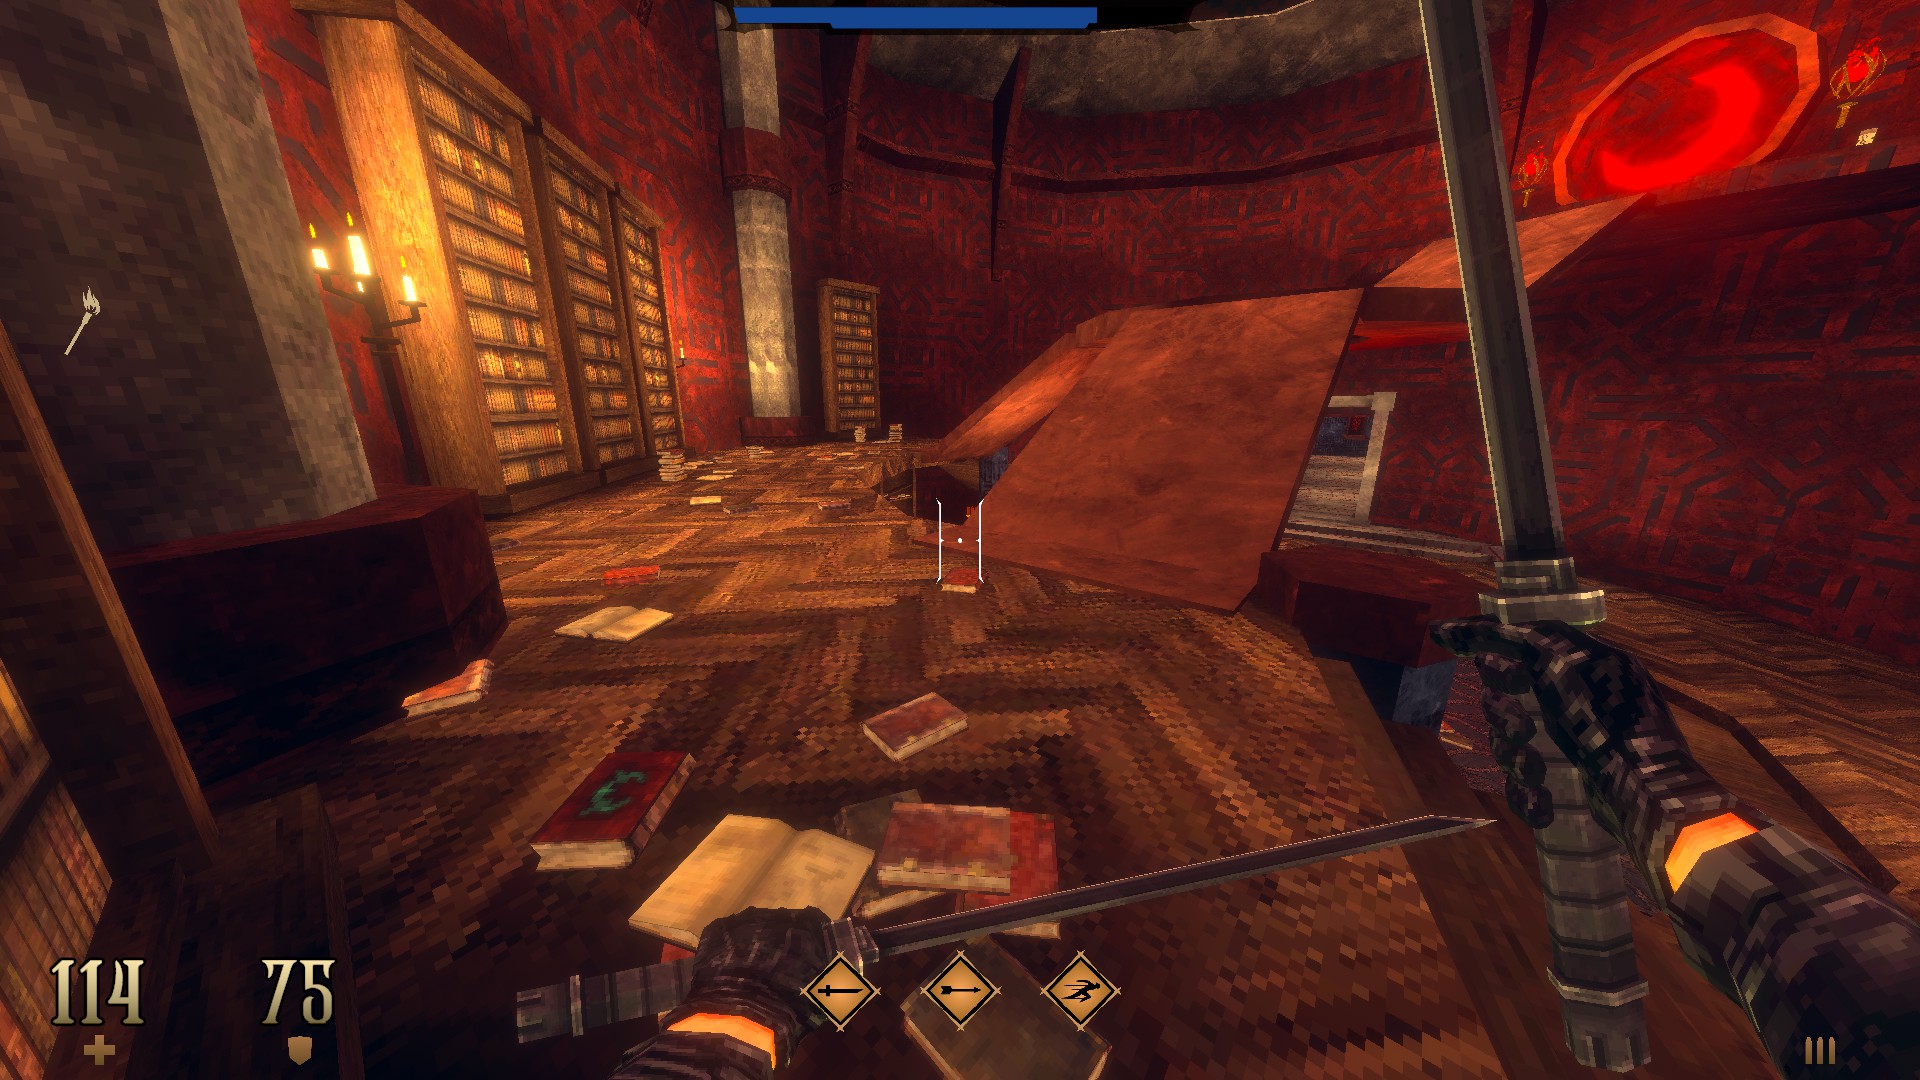
Back on the main path, look for candles on the second floor once you reach the library. Use the part of the wall between them to reveal a hidden compartment.
(Black Bow Expansion II)
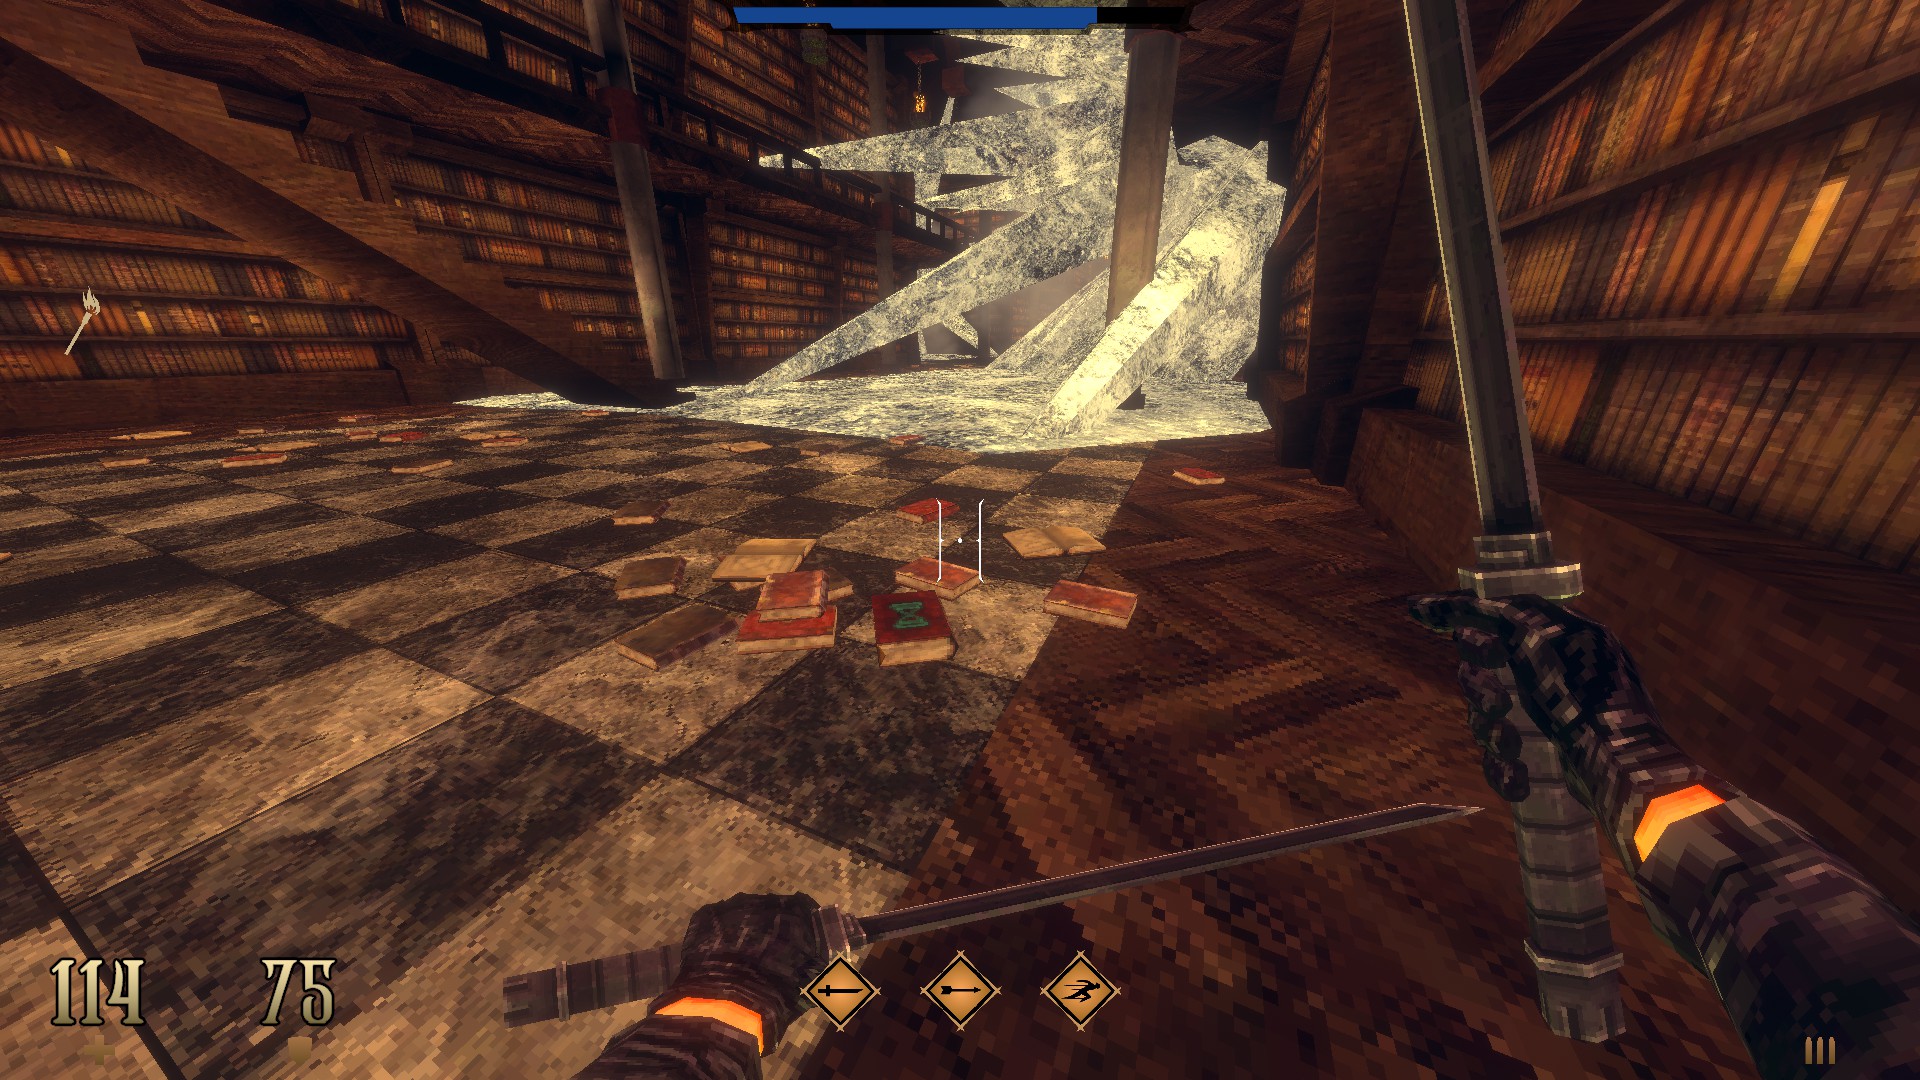
3/7 –
Following from the previous secret, look for an opening to the right just before leaving the library and take it to find a few health packs.
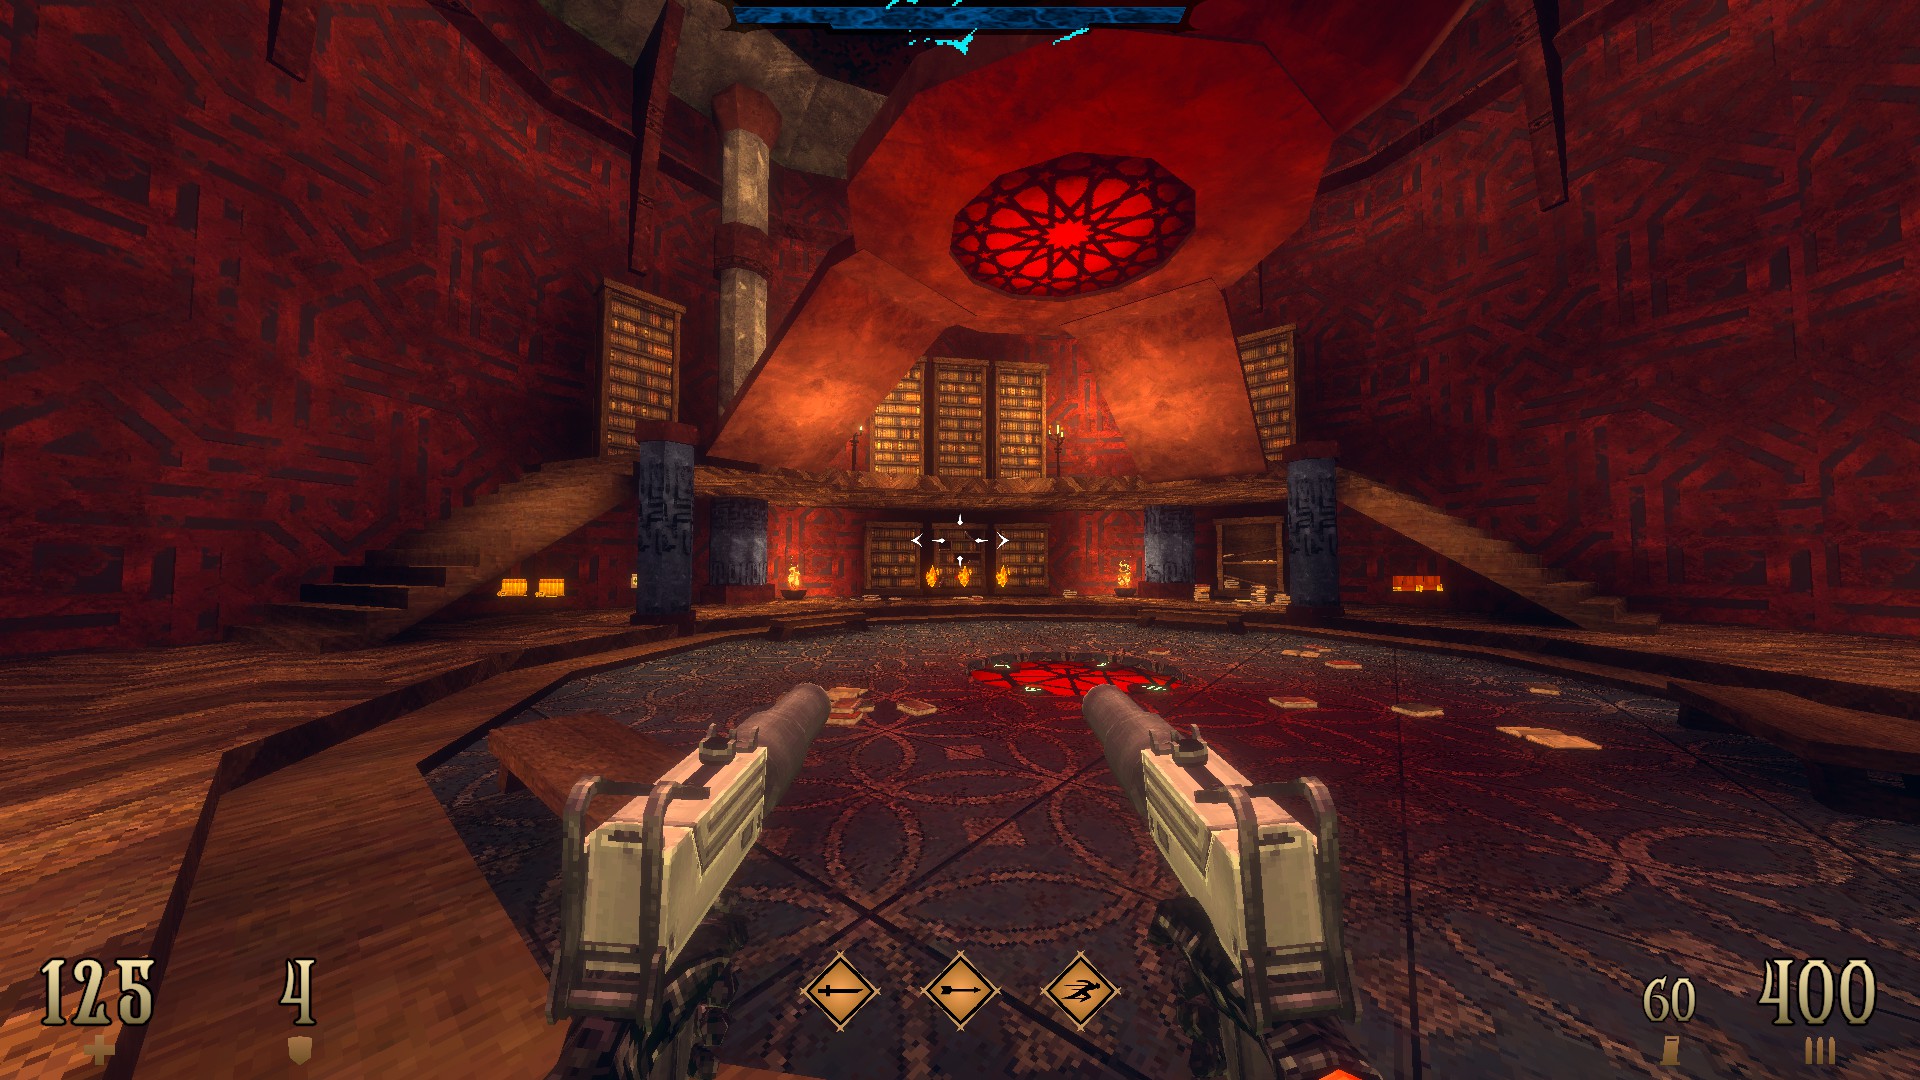
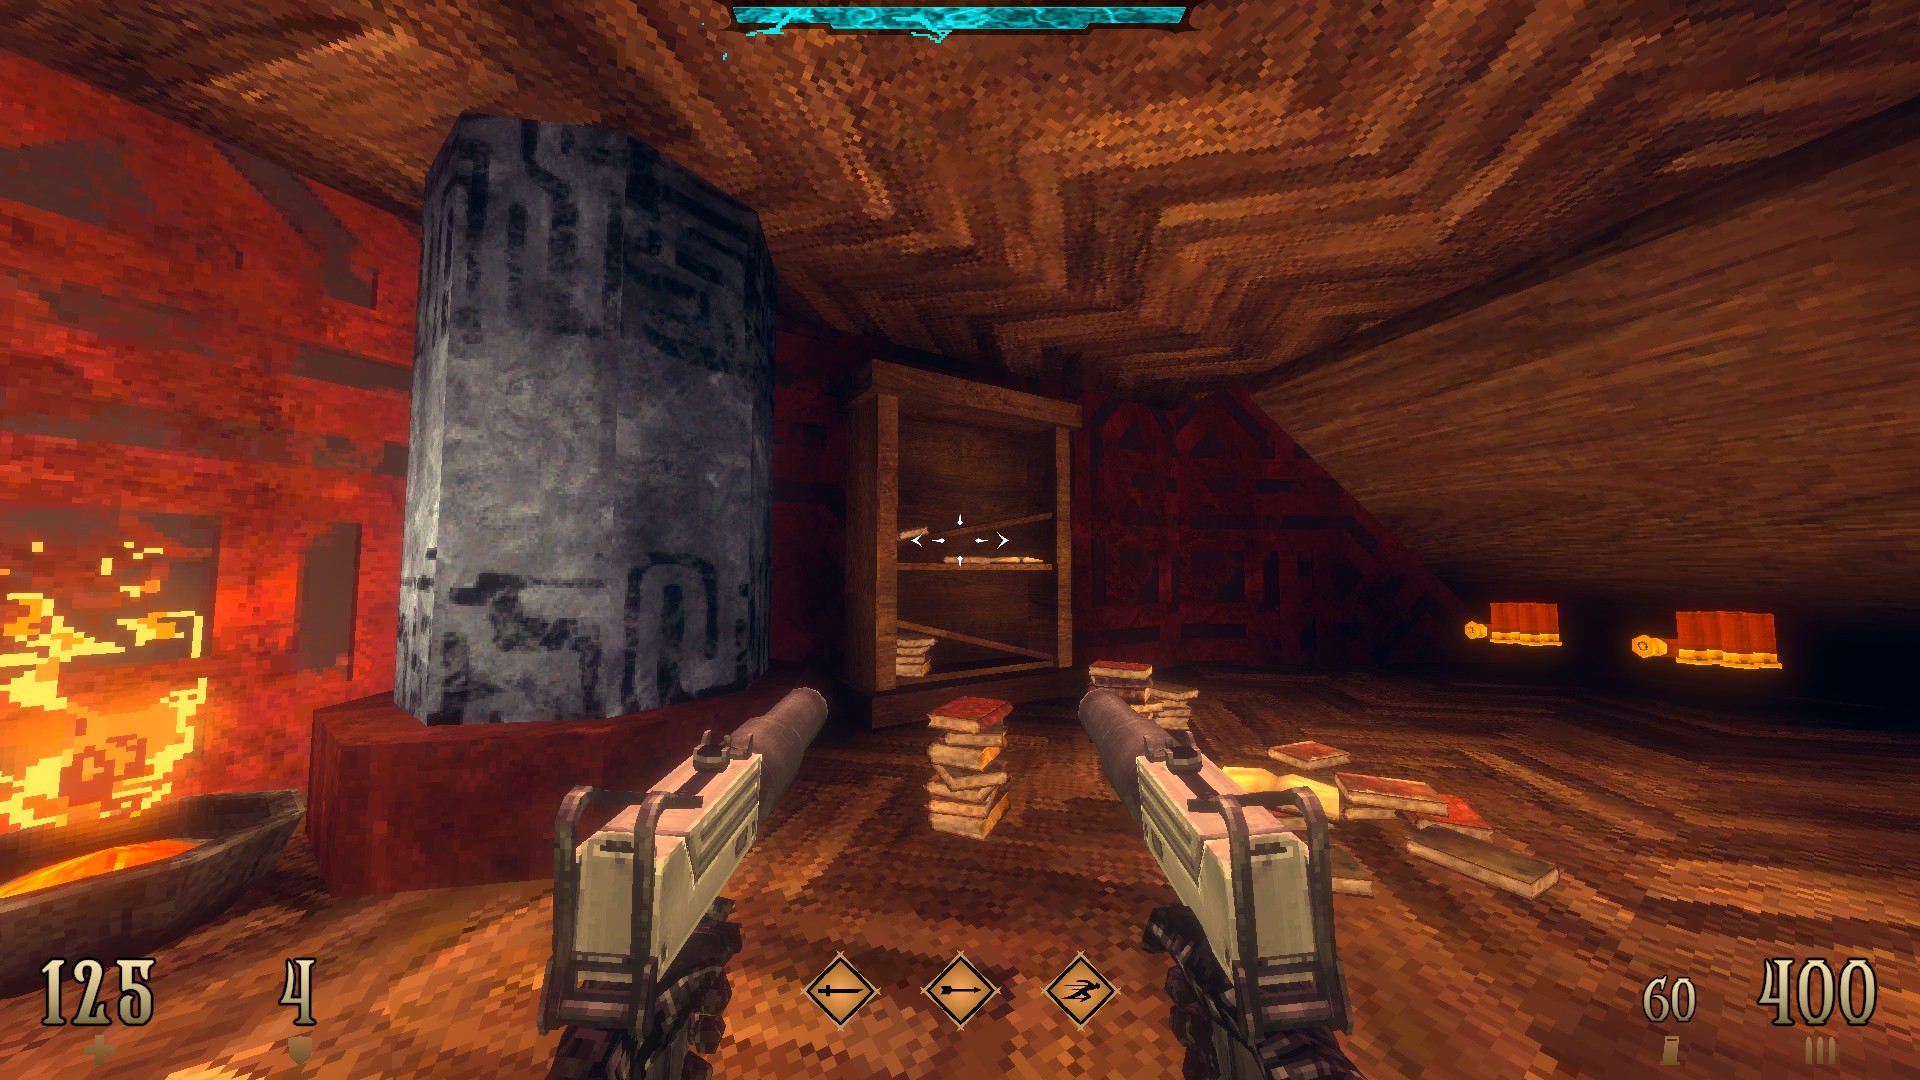
4/7 –
Following from the previous secret, use the differing bookcase underneath the stairs in the room with the red key mechanism to find another hidden compartment.


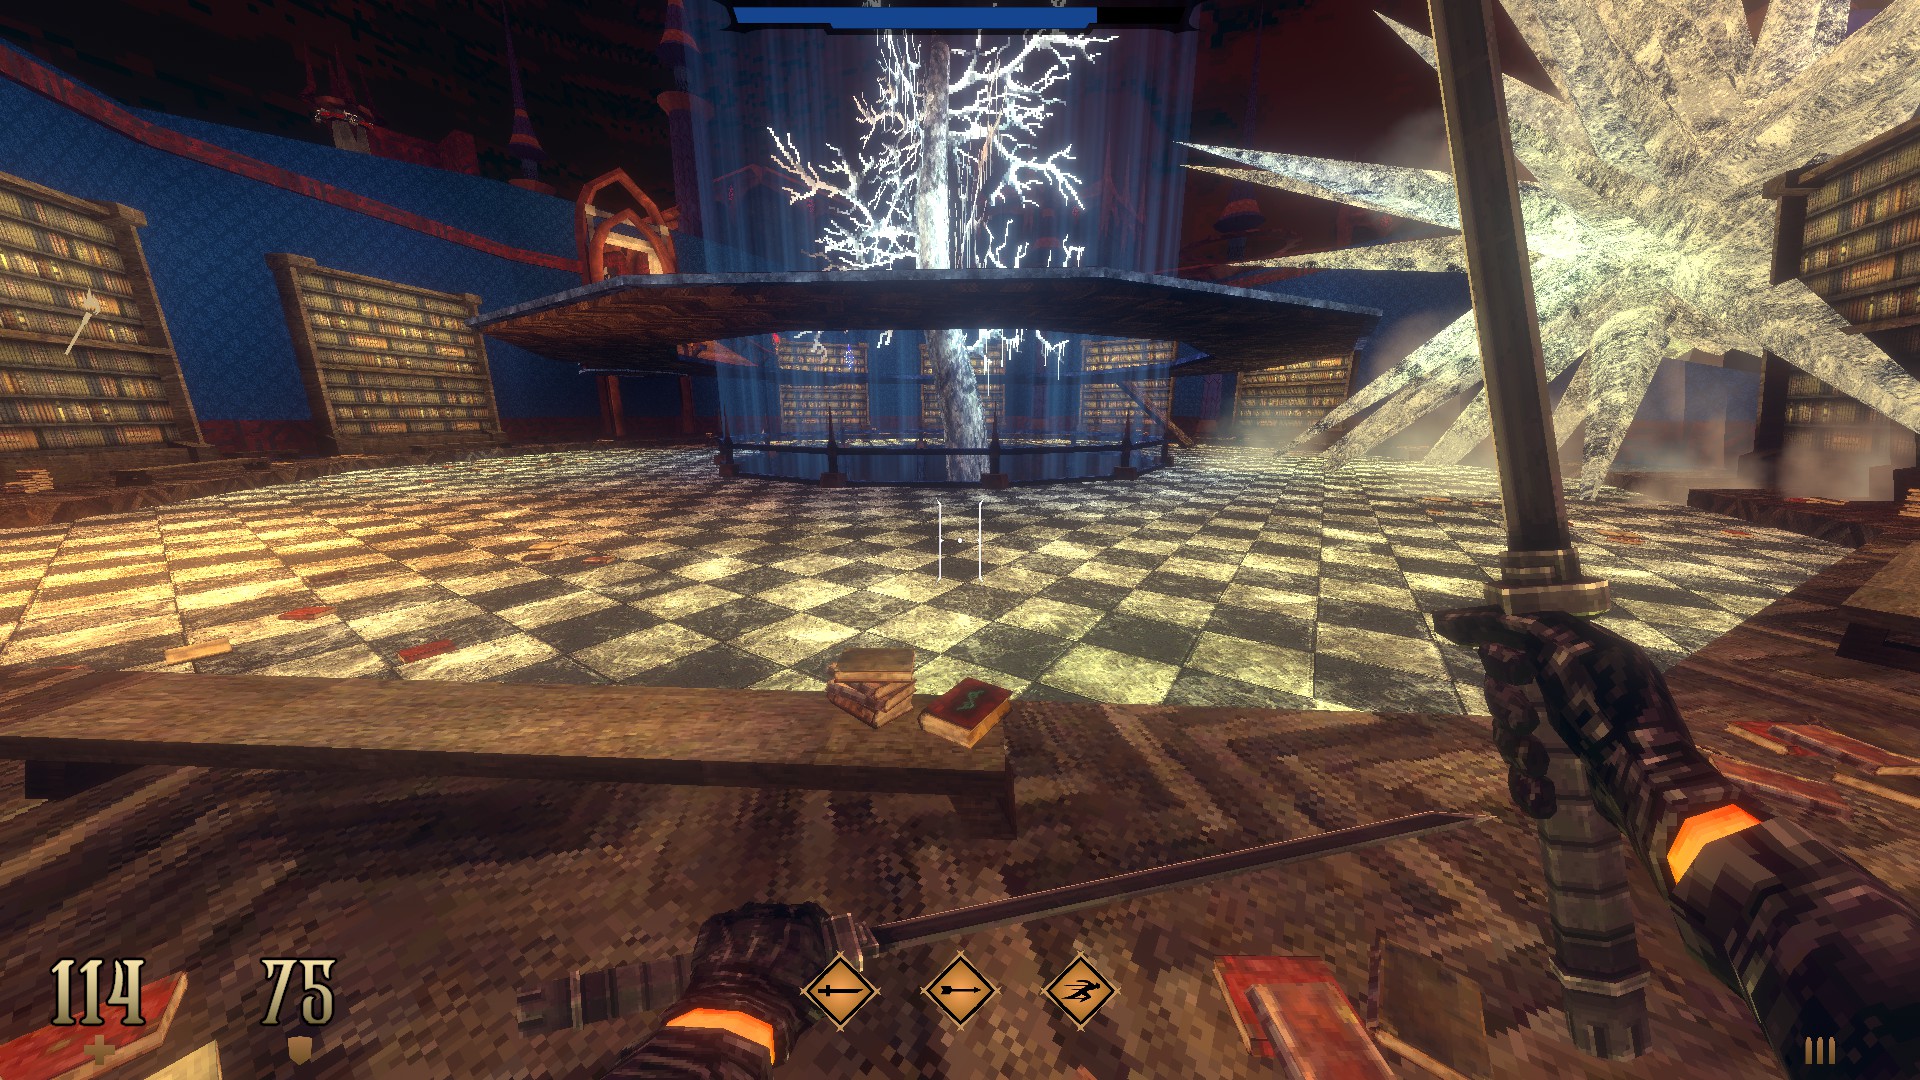
5/7 –
As you pick up the red key, jump from the balcony and dash to reach the circular ledge across. Follow the path all the way to the other side to reach a hidden emblem.
(Inferno Revolver Expansion II)

6/7 –
After surviving the arena fight behind the red gate, check under the stairs to find two health packs.
7/7 –
Following from the previous secret, drop down to the ledge nearby the teleporter to get an armor and some ammo.


SUPER SECRET – Take the metal door found in the final area and return to red key pedestal. Make your way across to secret #5 once more and pick up the torch from the side room. Four books with green symbols on their covers must be burned with it. Drop down to the lower floor of the circular structure to get the first one. Return to the great library to find the second one next to the starting point. Find the third one on one of the benches surrounding the frozen tree. 마지막으로, go back to the room with red key mechanism and burn the fourth one. 이 시점에서, the circular cover on the floor of the same room gets unlocked. Get in and grab the loot.
(Fire Wasp -G- and a Blood Gem)
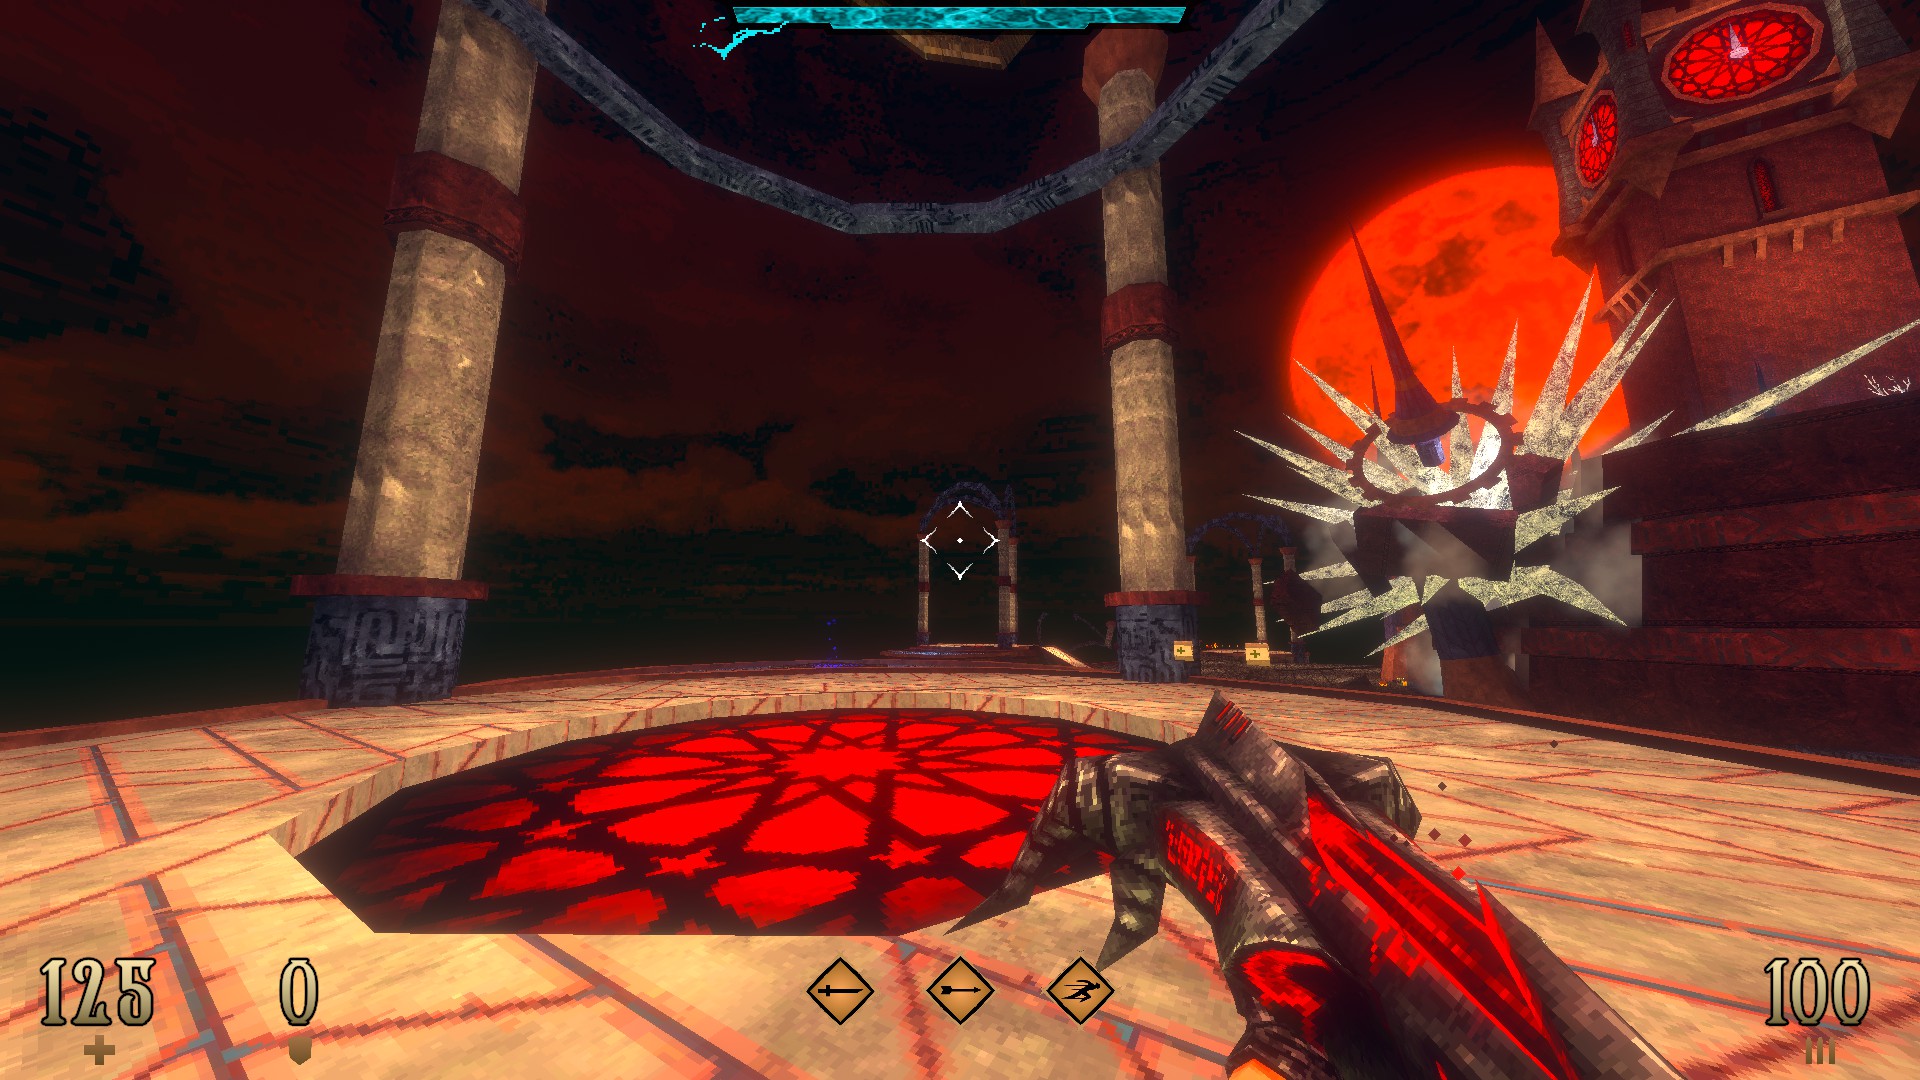
E3M5: The Manipulator
This level contains 3 기미.
1/3 – Right after taking the first teleporter use the slightly indented part of the wall at the corner to find a hidden gem and two health packs.
(Templar Toughness III)
2/3 – Following from the previous secret, follow the ledge on the second floor looking for another indented part on the wall. Use it to reveal a hidden armor.
3/3 – Before going through the final teleporter, jump down and dash towards the circular platform below to grab the armor laying out in the open.
The Early Access campaign ends here. Separate guides for the fourth and fifth episodes will be published as quickly as possible once the game hits 1.0 on January 26th, 2023.