- 제목: 딥 록 갤럭틱
- 출시일:
- 개발자:
- 발행자:
Deep Rock Galactic에 대한 정보는 아직 불완전합니다.. 이것을 사용하여 게임의 세부 정보를 입력할 수 있도록 도와주세요. 문의 양식.
Some illumination on both when and where to use your flaregun instead leaving your buddies in the d’ark.
소개
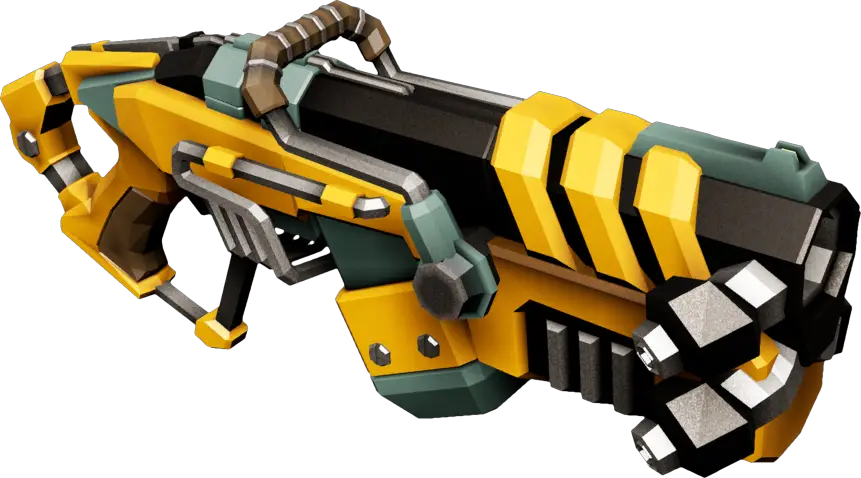
그래서… you’ve got yourself a slingshot with a bunch of cyclinder shaped candles for stones now eh? I bet you don’t even know how, 언제, or where to unload it’s blinding payload appropriately.
How about we get that fixed before you venture to down to Hoxxes then, hm? 그렇지 않으면, you and your mates might not be able to see much beyond whatever wad of hair they call a beard! You don’t want to get ambushed by the wildlife or yoinked by a greasy sack of flesh simply because you couldn’t see them coming now, 당신은?
만약에 & Where
Do Or Don’t Need It Here
Picking a spot to light up is important. It not only determines how effective the light it provides it is, but also if a stronger light is needed. Lighting an area that is hard to see, and yet needs to be seen and for a long while to help keep the team aware of threats (such as a wall during a swarm near the minehead), is definitely worth using a flare instead of the hand flares or “glowsticks”. You can simply avoid needing to it lit with flares and therefore focus on killing bugs far more.

While the flares are also very useful for exploring large open areas, you do not have an infinite amount of them, unlike the smaller and much less effective glowsticks. You should be using a flare or three (but not more than that) once you run out of or have already used several glowsticks just then, lest they be somewhat wasted.
Altitude Is Key
Flares placed up higher work better to keep places lit. A sphere of light centered in the bottom corner of a cube will cover much less area than if it was in the center of one of the sides. Which means that putting a flare in a wall at eye level illuminates a much smaller area than one at 4 dwarves high. You can’t keep glowsticks positioned high up in the wall or ceiling, which means they’re restricted to the ground, and therefore you should be using flares anywhere needed except on the ground. Not to mention that enemies do like to spawn on the ceiling rather often.
Metaphorically speaking, if you’re doing a puzzle and have a single large chunk of pieces that can probably go anywhere, along with a much smaller group of pieces that can only go in two or so spots, you’re going to move the smaller bunch to wherever it can fit and place the conglomerate of pieces anywhere else to maximize the potential completion of the puzzle. Now imagine that, but with light being the individual pieces, a glowstick being the smaller area, and the flare being the larger one. Make sense?
Important Habits
The Rule Of Three & Pace Your Light Usage
Three is a good solid number for a lot of things, and this includes how many glowsticks and flares you should at most be using in a given period of time. Waiting two seconds to see how much of the current cave your glowstick or flare can show you translates being able to tell where more light is needed and where it’s not. It also means more flares for later and less time waiting for more glowsticks. Not to mention that focusing on a given portion of a large cave first, rather than having the entire thing lit all at once, is better for both remembering where you have and haven’t illuminated, 확인됨, and cleaned of minerals.
Mining the minerals you can see at the moment also give more time in between glowstick usage, which again, means more flares for both the largest of caves and important times to use flares.
Finding Minerals Goes Hand In Hand
If you prioritize looking for and mining minerals (which means to keep your head looking up), you can usually get both it and lighting the cave done at the same time because you generally cannot find or will miss plenty of minerals without the light to see such. Not only is looking for minerals a big part of your job, so is allowing your team to see where they might and typically do reside, which means the two can be done by a single method.
Scan the walls & ceilings as you go and stay observant, as even on the way back to the deposit zone/rest of the team there are sometimes minerals you couldn’t see before.
언제
Now that you know where to put your flares and some important restraint tip to avoid overuse, here are important times to actually use your flaregun.
Upon Landing
Explore an area around the landing site using your glowsticks. If the cave is big or the ceiling is up high, use a flare. If you can tell that the cave is in fact huge, use some more flares, but don’t always expect to see the entire cave even with such. If it’s bigger than what three flares can show you, excavate what you can see first, and then light up some more, or otherwise half your flares will burn out before you can finish.
Exploring A New Cave
Literally the same steps as when landing, but with your legs (or a zipline) conveying you there instead of the drop pod.
During Intense Combat
If a swarm triggers or a dreadnought cocoon pops and it’s dark near your defense point/fight area/where the bugs are wanting to spawn/travel, keep that space lit. Use glowsticks to keep one spot lit if it would be effective at such to help minimize flare ammo usage, and use flares on the rest. Your team will want to be able to see clearly and focus on what is trying to kill them (당신은요), not how much longer a light source will last or struggling to make out targets in the dark.
Both vision and line of sight are absolutely crucial for survival on higher hazard levels and/or increase spawn counts, lest you and your team get torn apart by bug because you didn’t see some close in from the side or such.
Getting Off The Rock
The drop pod has bugs constantly spawning near it, and in order to be able to shoot them properly, you need to be able to see them well. The flaregun is what solves that issue. A flare or two to illuminate the area in front of and somewhat to the side it is what you want, and usually this means in the ceiling or high up in the wall and a short ways from the drop pod so it blocks the light less. If it lands in a large room with a ceiling far away, it may be better to instead plop those flares into the ground instead. Use your best judgement.
추가적으로, if you’re moving ahead of or with the rest of your team to the drop pod, also use a flare here and there on the route there so they can see better and avoid any nasty surprises that would slow them down, as glowsticks generally don’t recharge fast enough for a long distance sprint to be sufficiently illuminated. You don’t need to entire way to be bright, just enough to avoid a large constant volume of darkness. Think of a row of streetlights that would keep the entire street lit, but only every second or third light is actually on, and each lamppost covers far more area.