- 제목: Buriedbornes - Dungeon RPG
- 출시일:
- 개발자:
- 발행자:
Information about Buriedbornes - Dungeon RPG is still incomplete. 이것을 사용하여 게임의 세부 정보를 입력할 수 있도록 도와주세요. 문의 양식.
This is a guide on Buriedbornes and will cover enough of the basics to hopefully get you started
No not this sword. Its too good for you. I meant this guide.
New Character
당신이 Create New Character, you will get to choose between a variety of different 일자리 each with their own strengths/weaknesses. You may select Statistics Details to view more information regarding each Job. Starring a Job Favorites it and puts it on the top of the list for next time you start a new run.
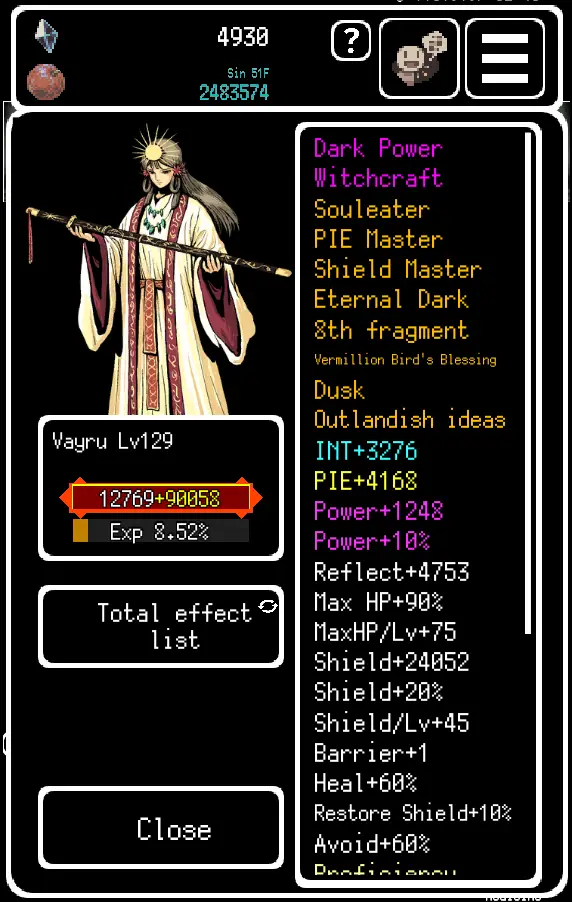
일자리 will usually scale off one or more of 5 different stats:
- 힘 – red colored str, usually means brute force or physical power
- 재치 – green colored DEX, based on speed, technical skills or involving tools
- 지력 – blue colored 정수, which involves magic spells and incantations
- Piety – yellow colored PIE , revolves around demonic/godly/religious/otherworldly powers
- 힘 – purple colored, which is the previous 4 stats combined
After you’ve chosen a class, select a dungeon you would like to challenge via 목적지.
It is recommended to choose a place where you have 임무 in order to get more rewards.
If you are new, it is recommended to start at the Labyrinth.
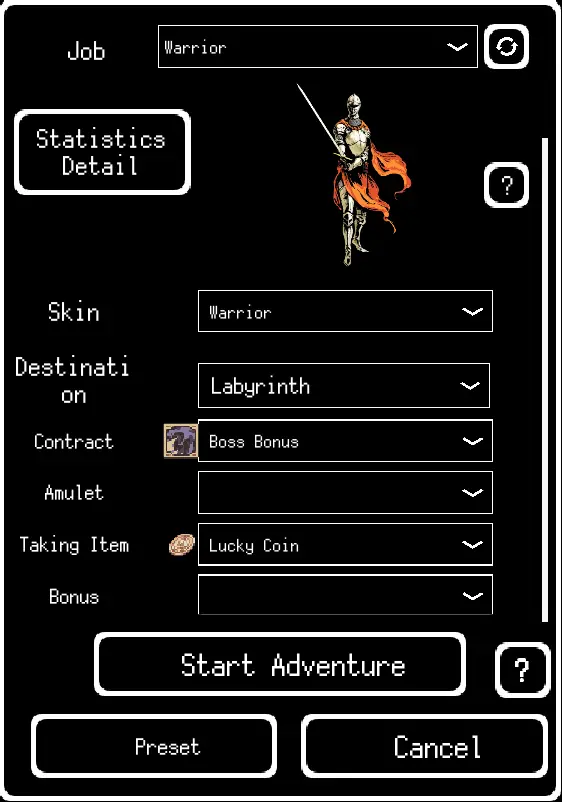
Each run you are allowed to bring the following:
- Contract– An Item which has one or more 수동적인 skills on it
(Boss Bonus is a nice choice to earn more Soulstones as well as experience after beating bosses to help your current run) - 부적– Usually an active 기능
- Taking Item– Usually a choice between:
1) an active consumable item which takes a skill slot and has a green number indicating the number of uses left on it
또는
2) an active reusable camp item that you use outside of room battles with a cool down
(행운의 동전 is a nice item to bring that will increase your luck and odds of finding better equipment, positive events and powerful skills) - 보너스– Usually a bonus 수동적인 에서 Bonus Chest (or watching an Advertisement) in Town
Dungeons Part 1 – 탐구
When Stanley came to a set of two open doors…
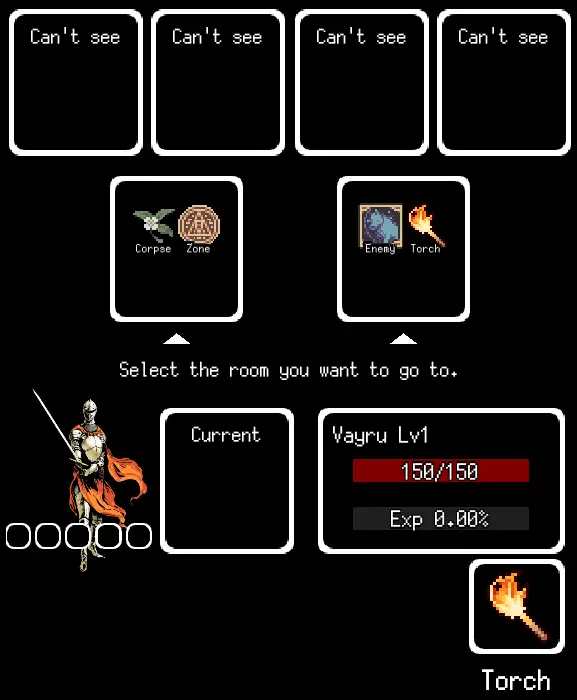
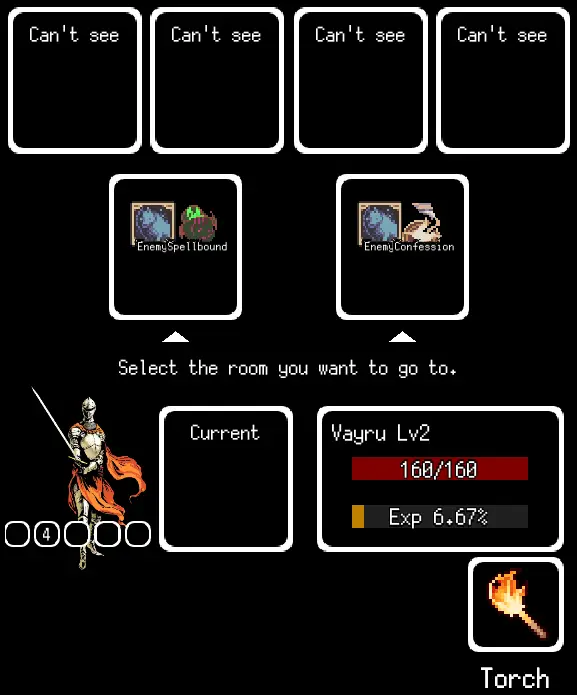
On your left and right you’ll see two rooms up ahead and further ahead of those paths are 2 more rooms each,
but lets worry about the ones in front first
On the right you sense hostility coming from an 적. You cant quite see or hear what it is but trust when your instincts tell you it wants to kill you
On the left you see the remains of a dead adventurer, 에이 Corpse which may or may not have equipment for you to take. You also notice markings on the ground indicating that its in a 존
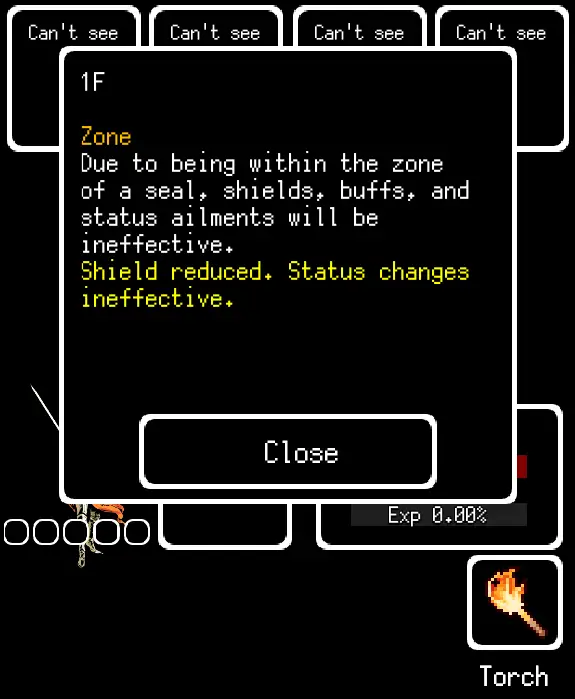
Curious about what a 존 ~이다, you inspect the markings on the ground by clicking/tapping and holding on the room. It seems you clicking/tapping and holding will let you inspect more than just rooms.
You inspect yourself and review your equipment before you decide to enter.
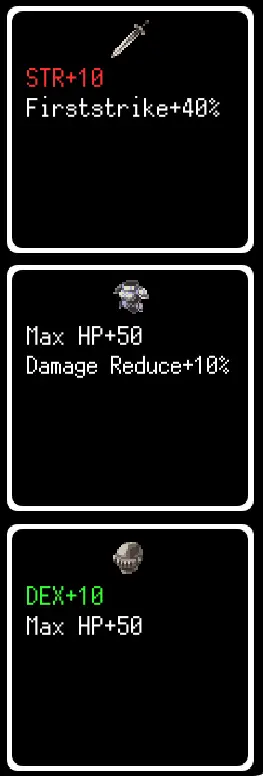
On the first slot you have your weapon
On the second slot you have your clothes/armor
On the third slot you have your helmet/accessory
Checking your gear makes you feel reassured, but just to make sure you choose a good path, you use your Camp Item, 그만큼 토치 and light up the path ahead. For some reason your item wielding hand is very tired after using this so you must wait 10 Turns before you can reuse this 토치.

You decide to take the path on the left.
Rerolling Part 1 – 품목
Upon finding new 장비, you will get to compare 통계 before you decide whether or not you would like to replace your current 장비
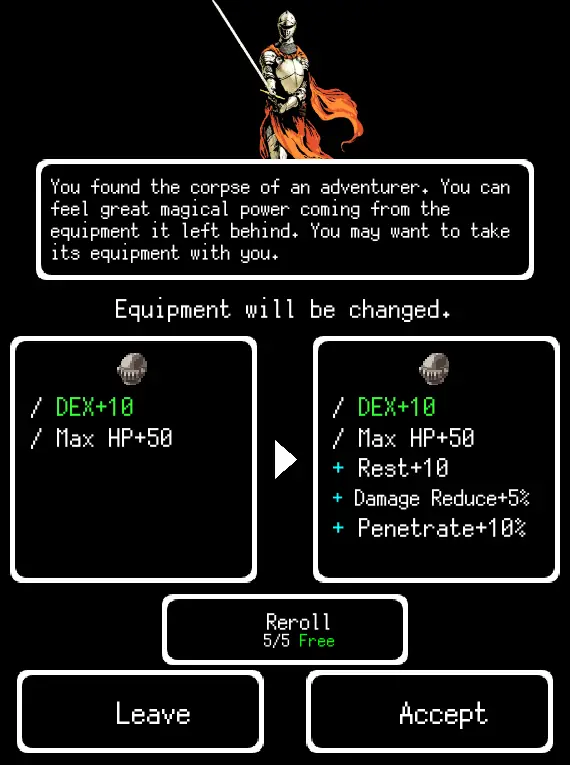
The new stats on the right look pretty good. More lines means its better right?
But you’re feeling lucky, maybe that corpse you picked this helmet from has a better helmet.
Maybe you might find something of High Quality, Master Quality, Demon-Forged 아니면 심지어 전설적인 rarity.
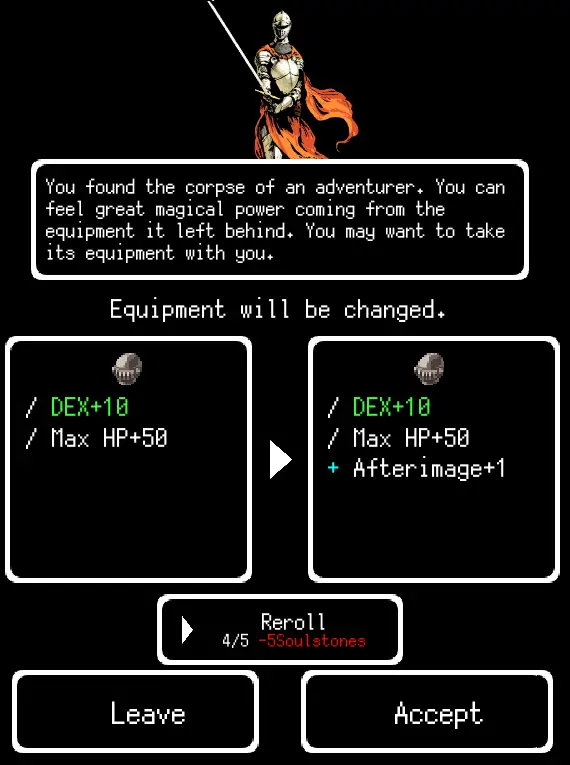
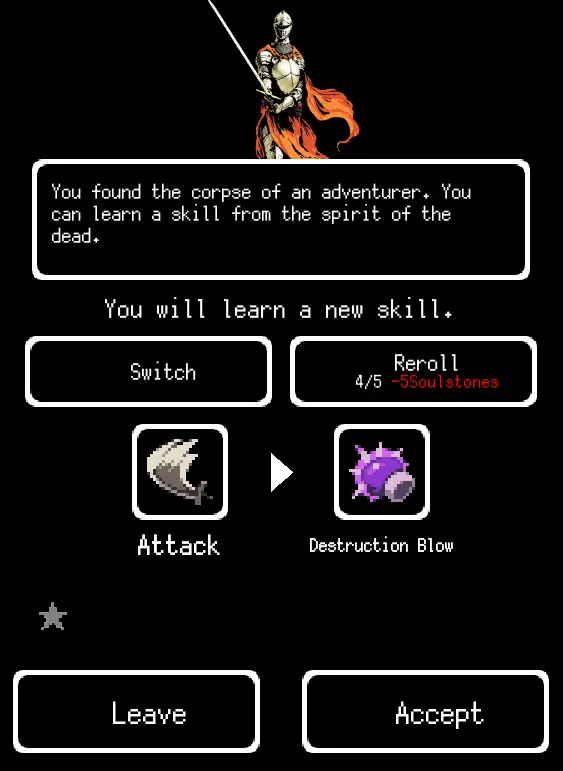
So you toss away it away in hopes of a better one… Unfortunately the stats are worse, you wasted your one free Reroll and you dont see another free helmet to take. Instead you decide to pray to the gacha gods and offer up some Soulstones to try to get another helmet.
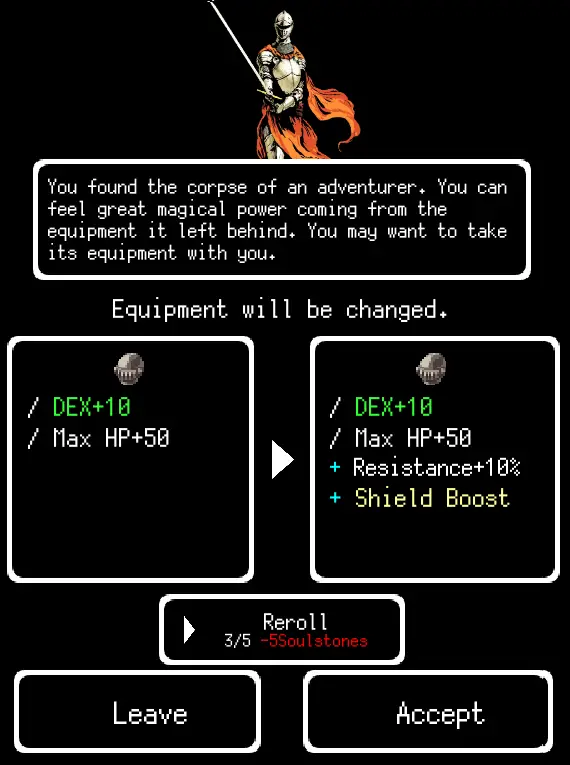
This one is better than the first reroll so you decide to just 수용하다 what you have now and move on before you go into a gacha addiction and spend all your soulstones.
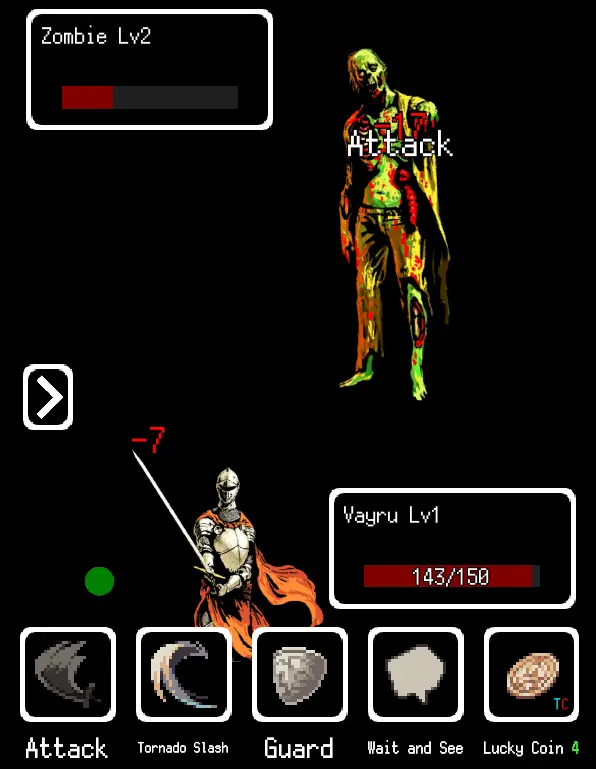
Dungeons Part 2 – 전투
When you encounter enemies, by default you cannot see their HP values unless you have the 관찰 기능. You can however see how much damage you’ve inflicted and gauge their max hp based on how much damage you’ve dealt to them. Some enemies may have 방패 which is indicated by a yellow outline or Barriers which is indicated by green asterisks *
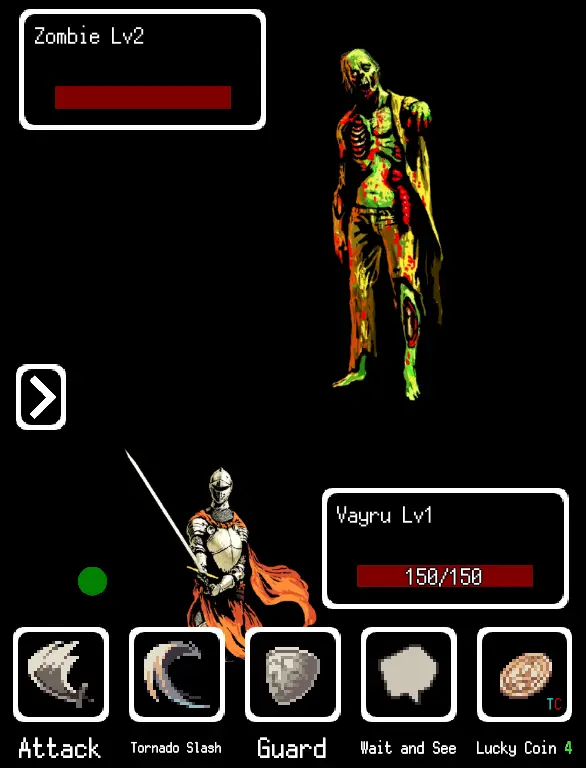
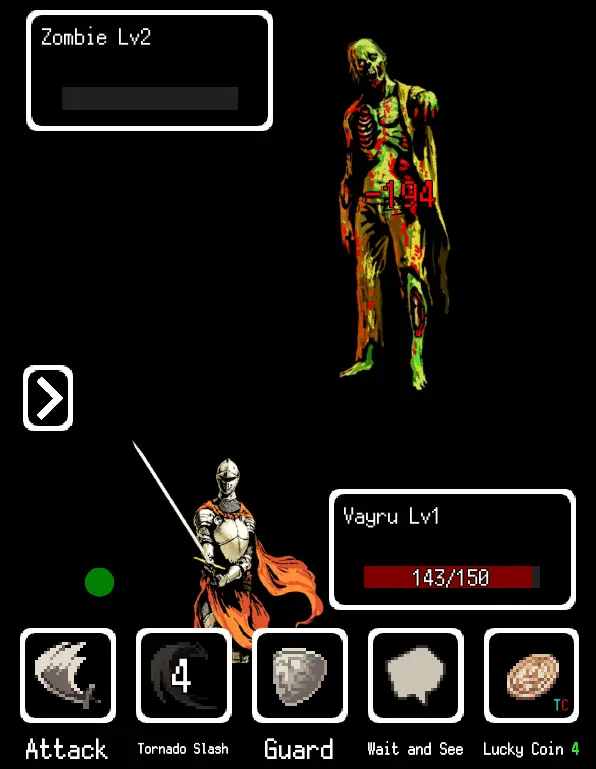
You can check the 재사용 대기 시간 for the corresponding skill on the bottom left below your Job icon.
Upon 레벨업 당신의 HP gets restored to full.
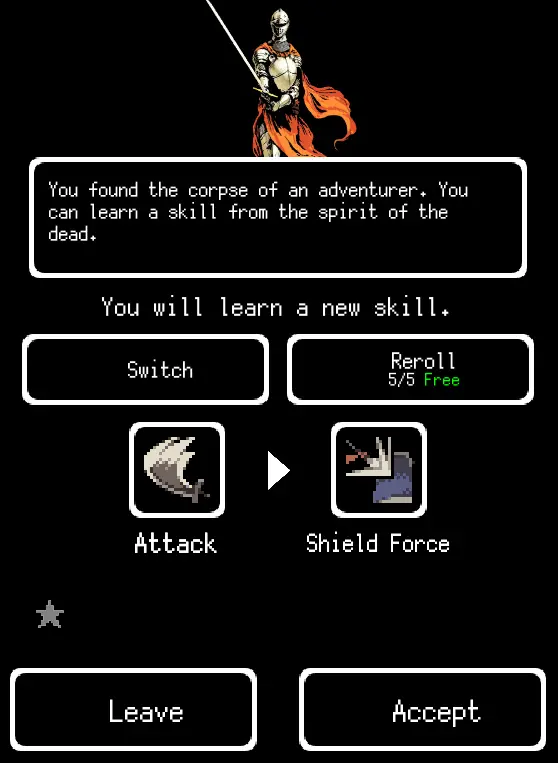
Rerolling Part 2 – 기술
Ocassionally you may have the opportunity to learn a 기능 from a Corpse instead of finding 장비. The same rule of Rerolling Equipment apply, you get one free Reroll 기본적으로. 하지만, you get to choose which skill you would like to replace. If the skill is the same as the new skill, you can instead choose to level up that skill instead.
Inspecting skills can tell you about its chance to 때리다 , 그만큼 재사용 대기 시간 it has, as well as the scaling off of 통계 it relies on. Some skills have unique effects such as 치유 또는 Buffing 당신의 성격, Debuffing 또는 increasing enemy Cooldowns. You can lock the skill by setting it as a 가장 좋아하는 with the star in order to prevent accidentally swapping out the current skills you want to keep.
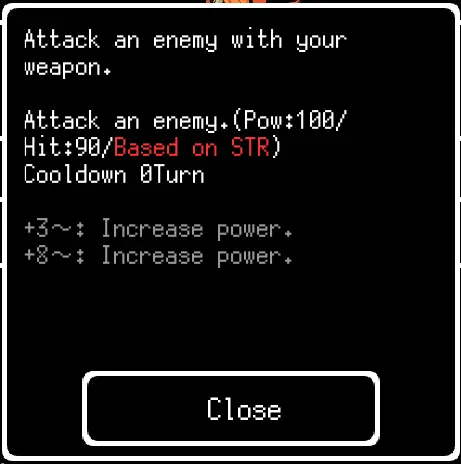
Skills may also have a letter on them:
- 티 (파란색) – 회전하다 doesnt end when used
- 씨 (빨간색) – Consumable Item with limited uses
- 에프 (주황색) – Firststrike resets 재사용 대기 시간 and activates at the beginning of each encounter
Or a 녹색 number indicating the skill’s level
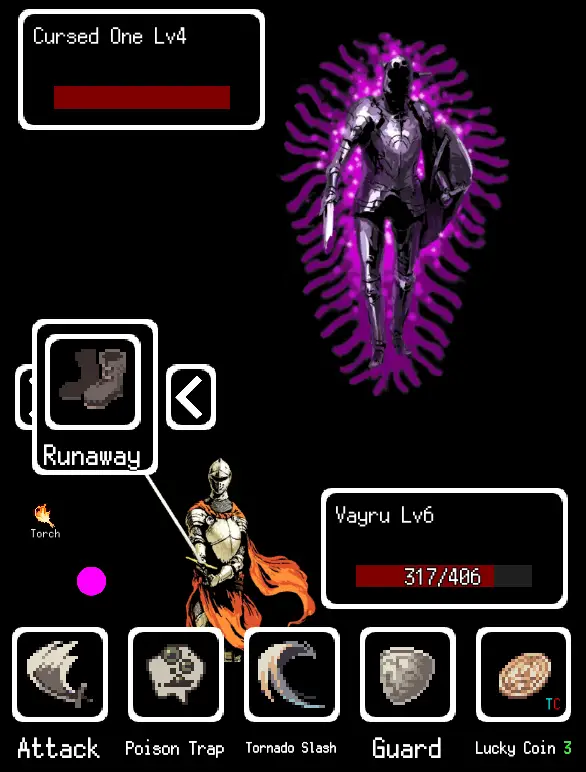
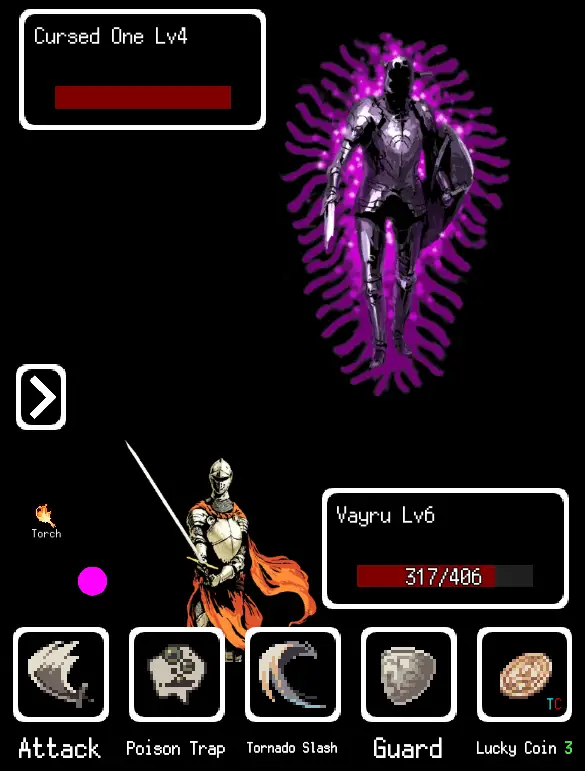
Dungeons Part 3 – 보스
Each floor has a 사장 you must beat to progress to the next floor. If you do not think you can win, you can try to 도망자 in order to 레벨 업 and try to find better 장비 또는 기술 before challenging it again. The boss for the floor wont be a different enemy, but it’ll be back at full HP if you do run.
Early floors bosses shouldn’t be too hard, but you never know. 행운을 빌어요!
이것이 오늘 우리가 공유하는 모든 것입니다. Buriedbornes - Dungeon RPG 가이드. 이 가이드는 원래 작성자가 작성하고 작성했습니다. Vayru. 이 가이드를 업데이트하지 못한 경우, 다음을 수행하여 최신 업데이트를 찾을 수 있습니다. 링크.