- 제목: 불가사의의 시대 III
- 출시일:
- 개발자:
- 발행자:
Information about Age of Wonders III is still incomplete. 이것을 사용하여 게임의 세부 정보를 입력할 수 있도록 도와주세요. 문의 양식.
Tutorial for Age of Wonders 3 모딩
How to make unit icons in Photoshop and import them to your mod with the content editor.
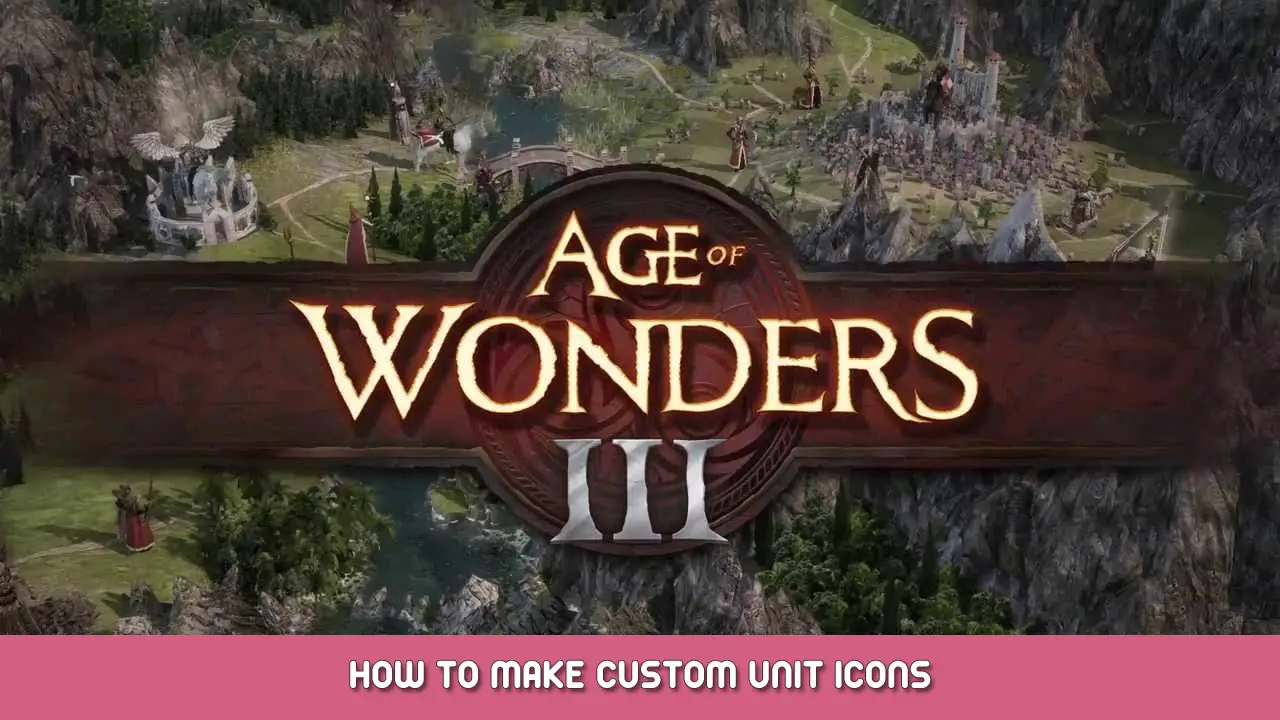
Choose a screenshot
1. Take a printscreen from a unit you want to add as an icon.
2. Mark it in a square what you think looks good.
3. Copy that marker.
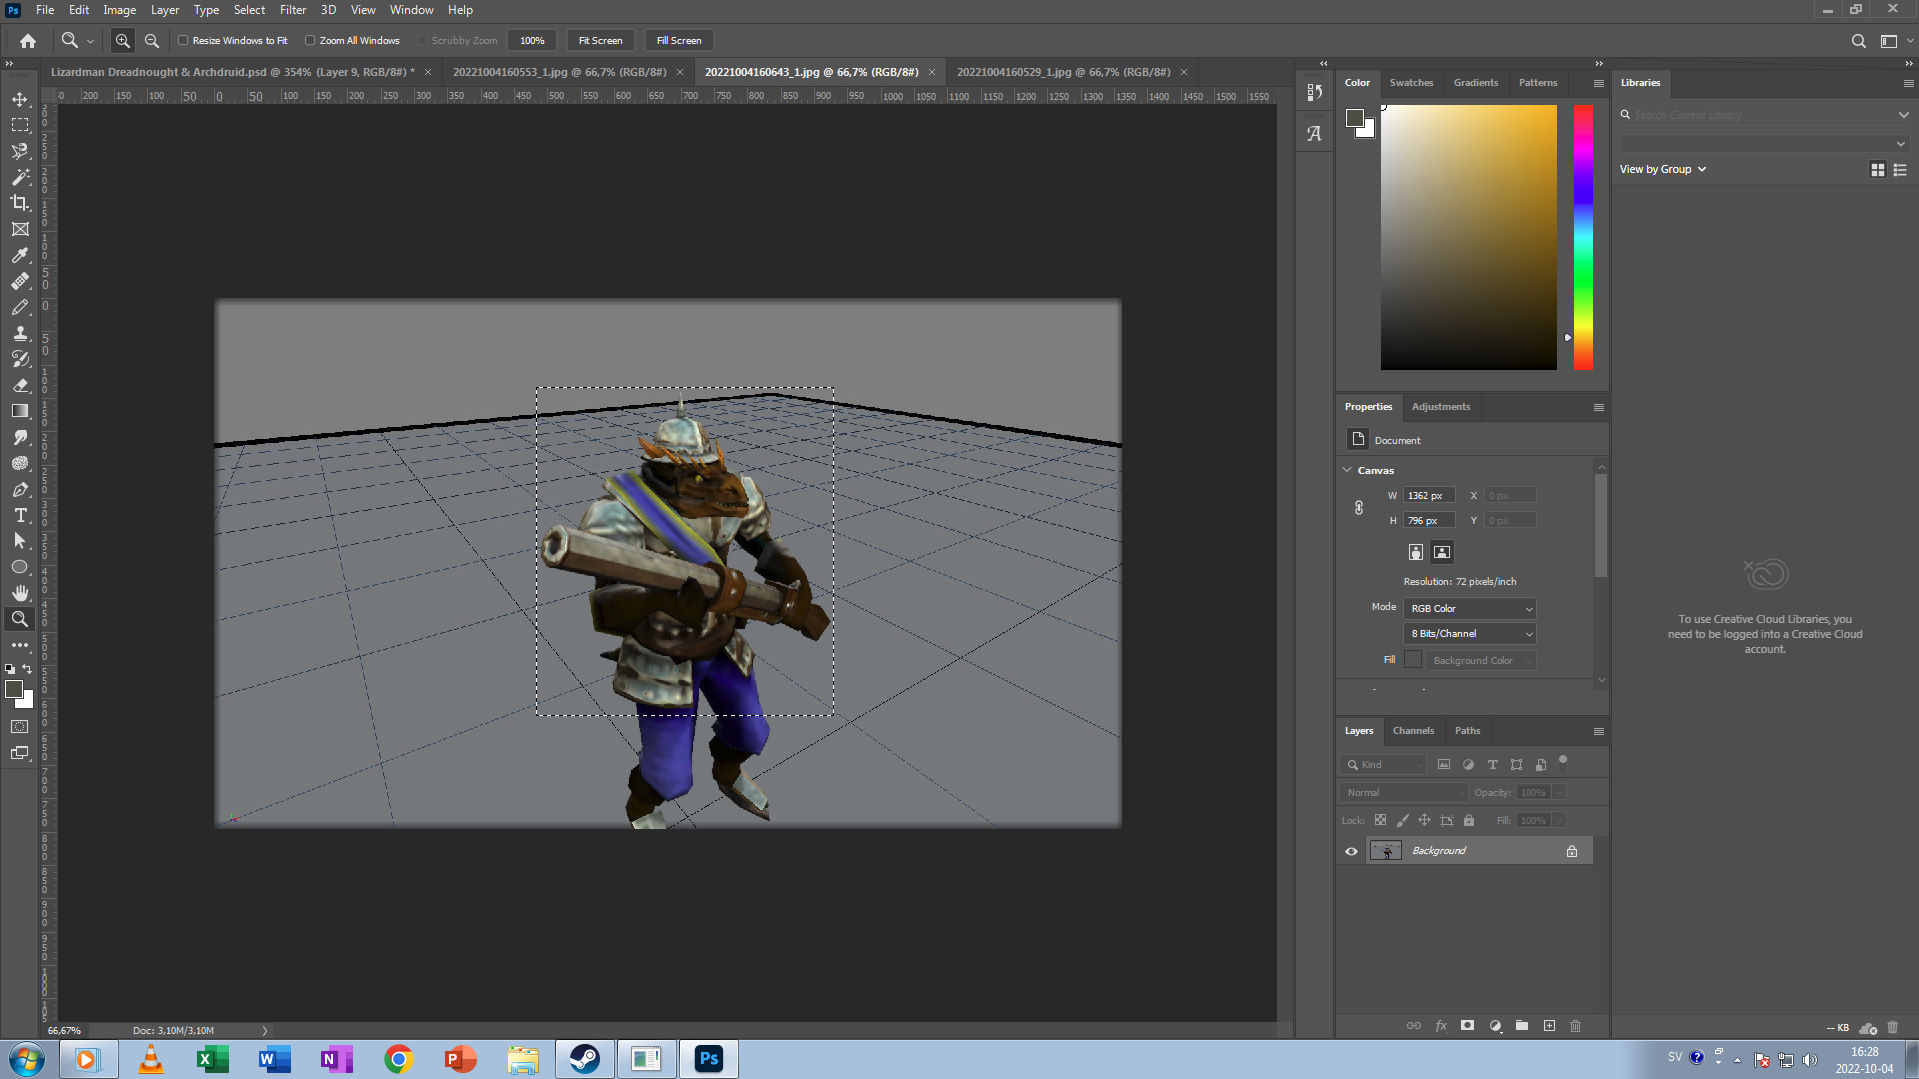
Placement of your icon, size and adding alpha layer to image
1. Download an icon template from the official site and open it with photoshop.
2. Open the image file and import your marked unit from the previous step and paste it to here.
3. Resize to a good size. Turn on the circles layer and try to fit your unit inside this circle. (Its okey to be outside abit of the circle. But dont go to far. 에 대한 5-10 px is okeyish without ending up on other icons area.
4. 에서 “layers” section highlight the selected layer your image unit is on and press the button looking like a camera in the bottom right corner with the red circle.
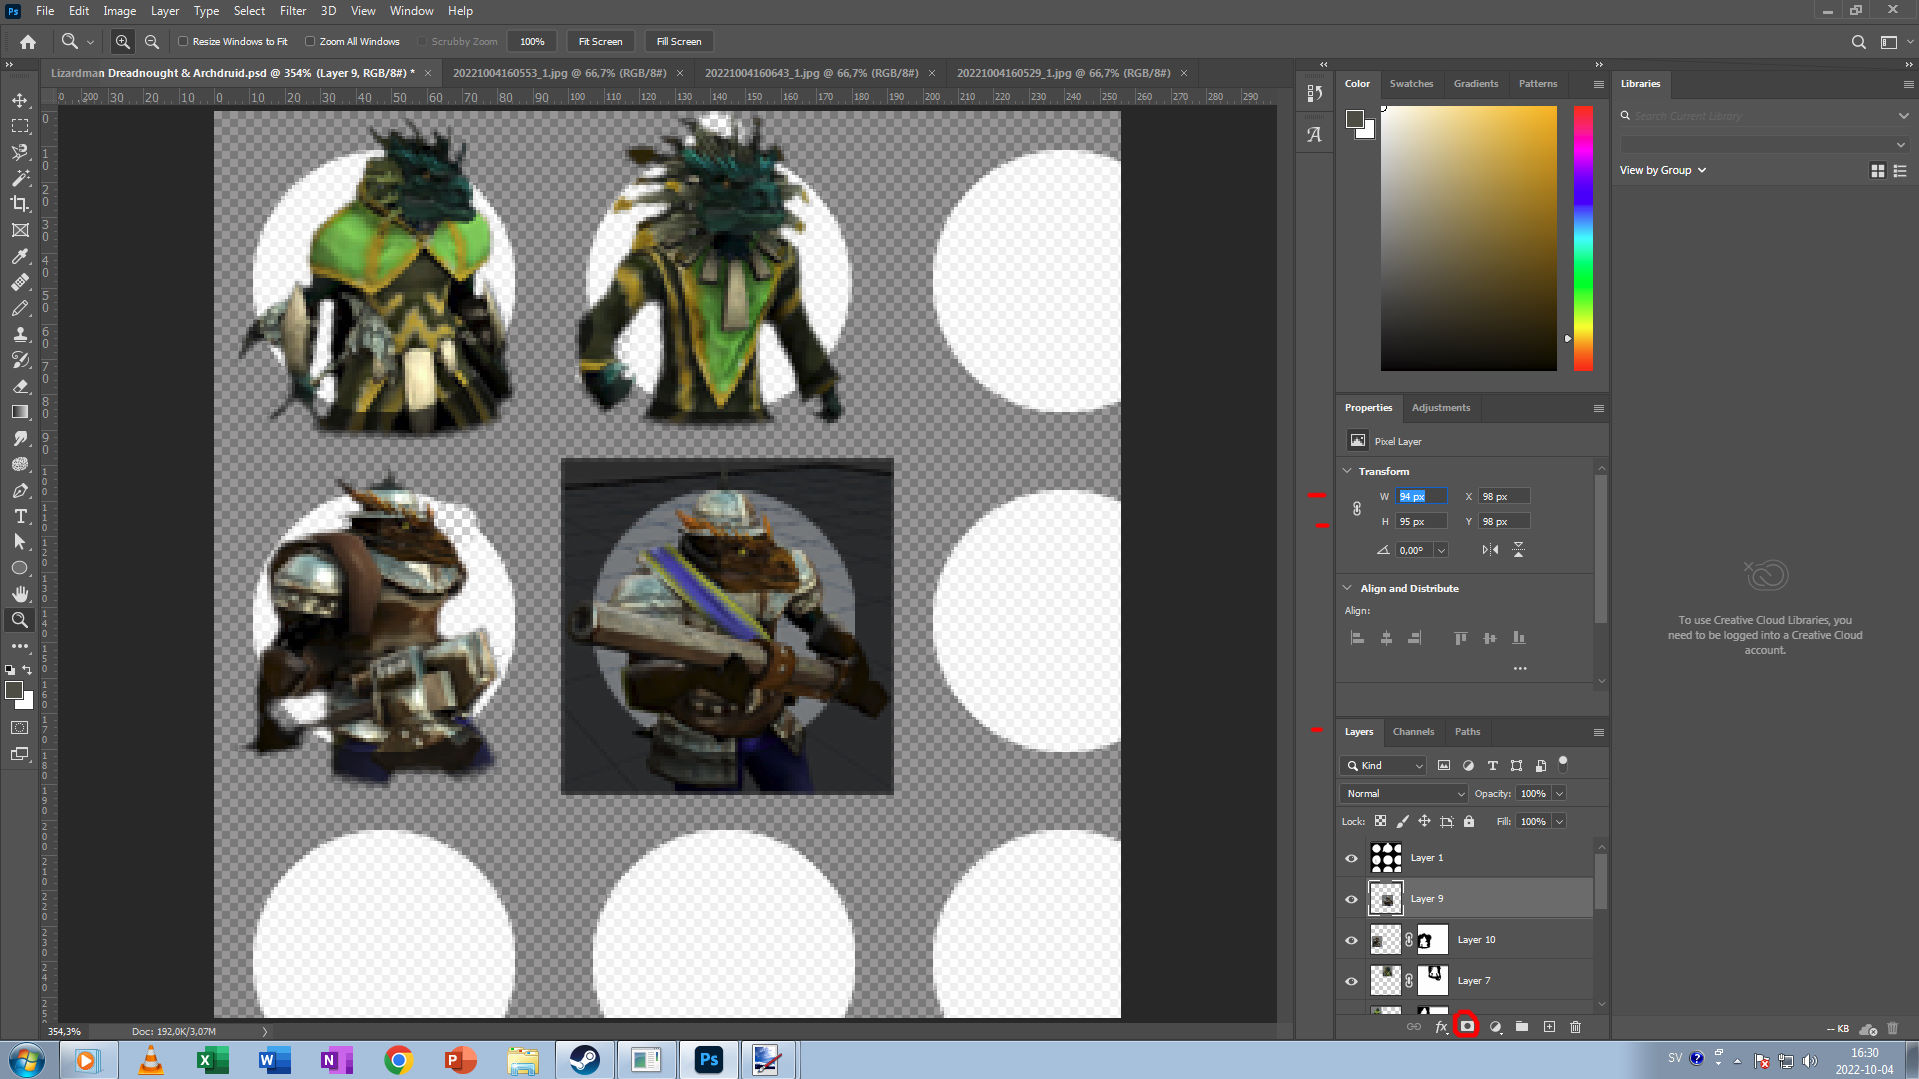
Selecting Alpha and start masking the pictures.
1. Turn of the “원” layers. They wont be needed but can be toggled to see how much area you need to mask out. 5-10 px from it. You may want to select “opacity” on the circles layer to make it transparent in order to make it more visible. (Right next to the dropdown list saying “정상”
2. Add a new black background layer and put it below all the lowest layer so it displayed “behind” units as seen in the picture.
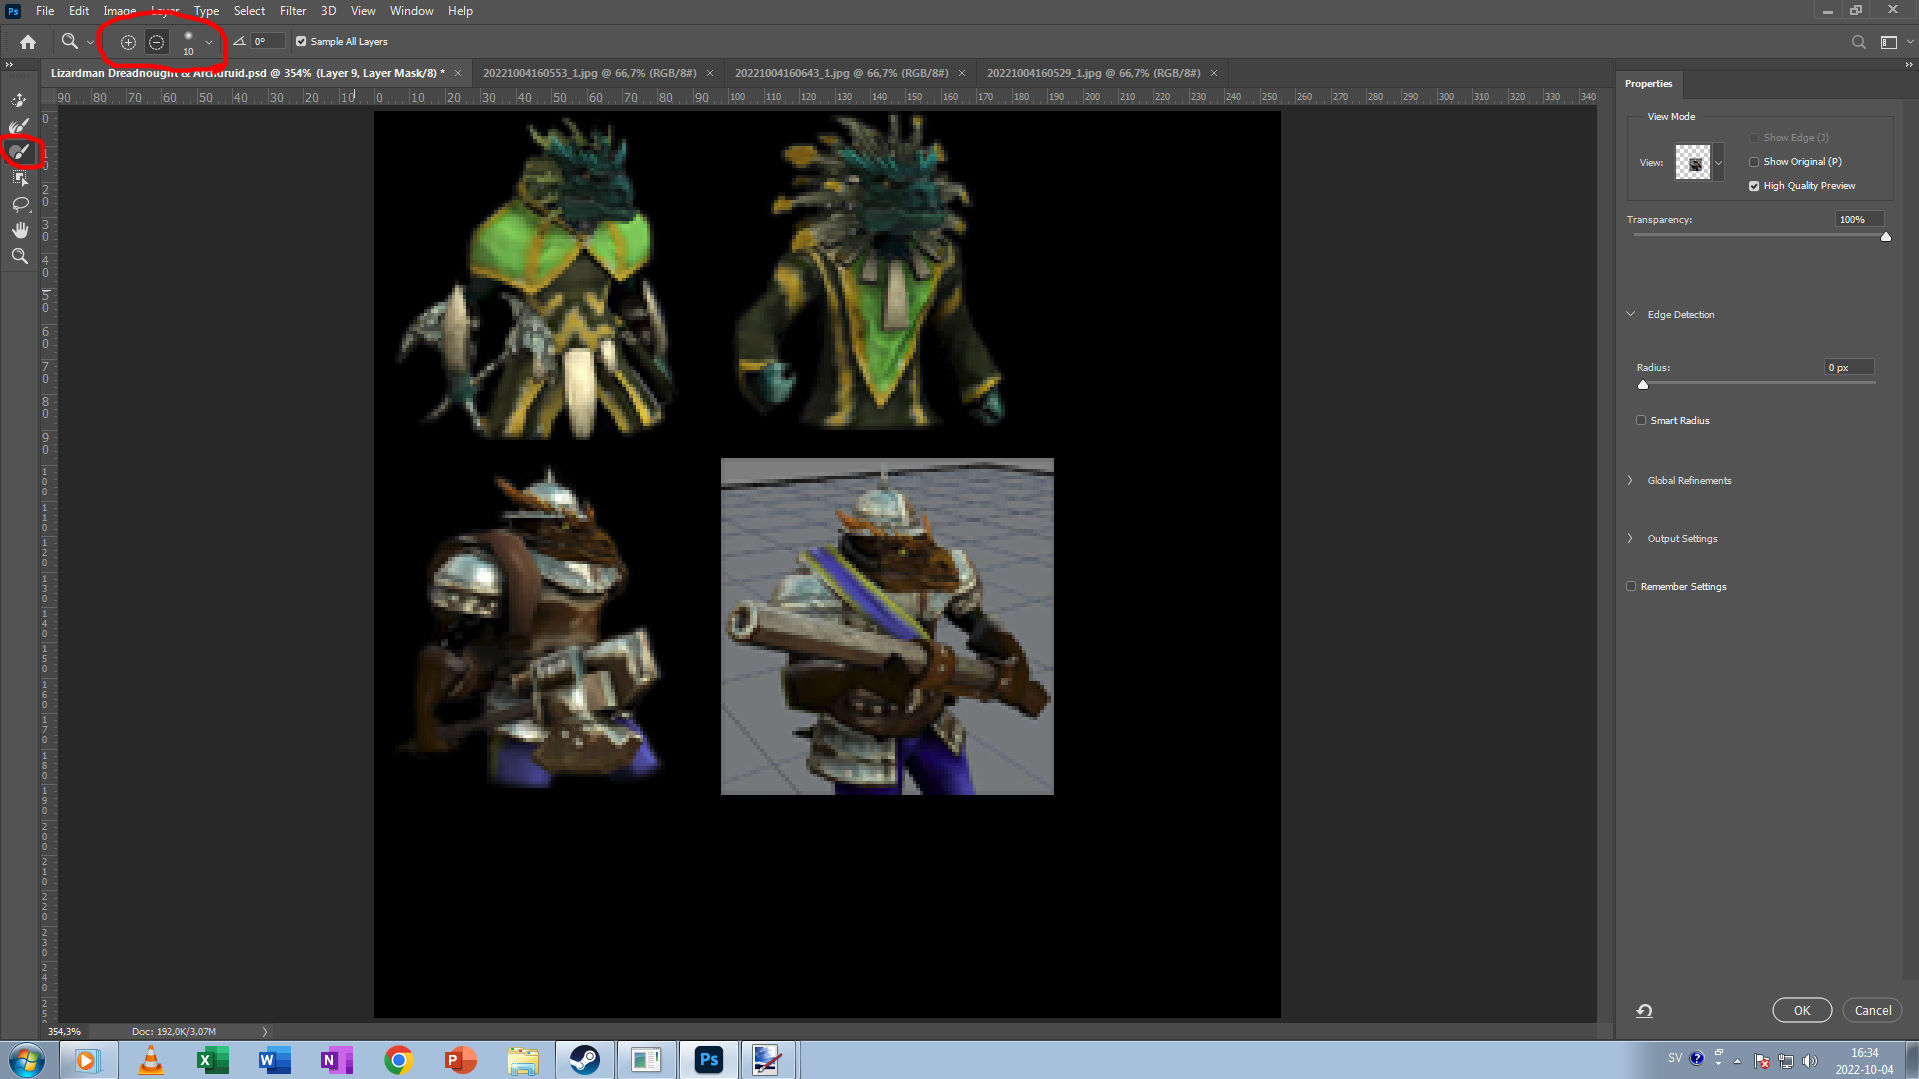
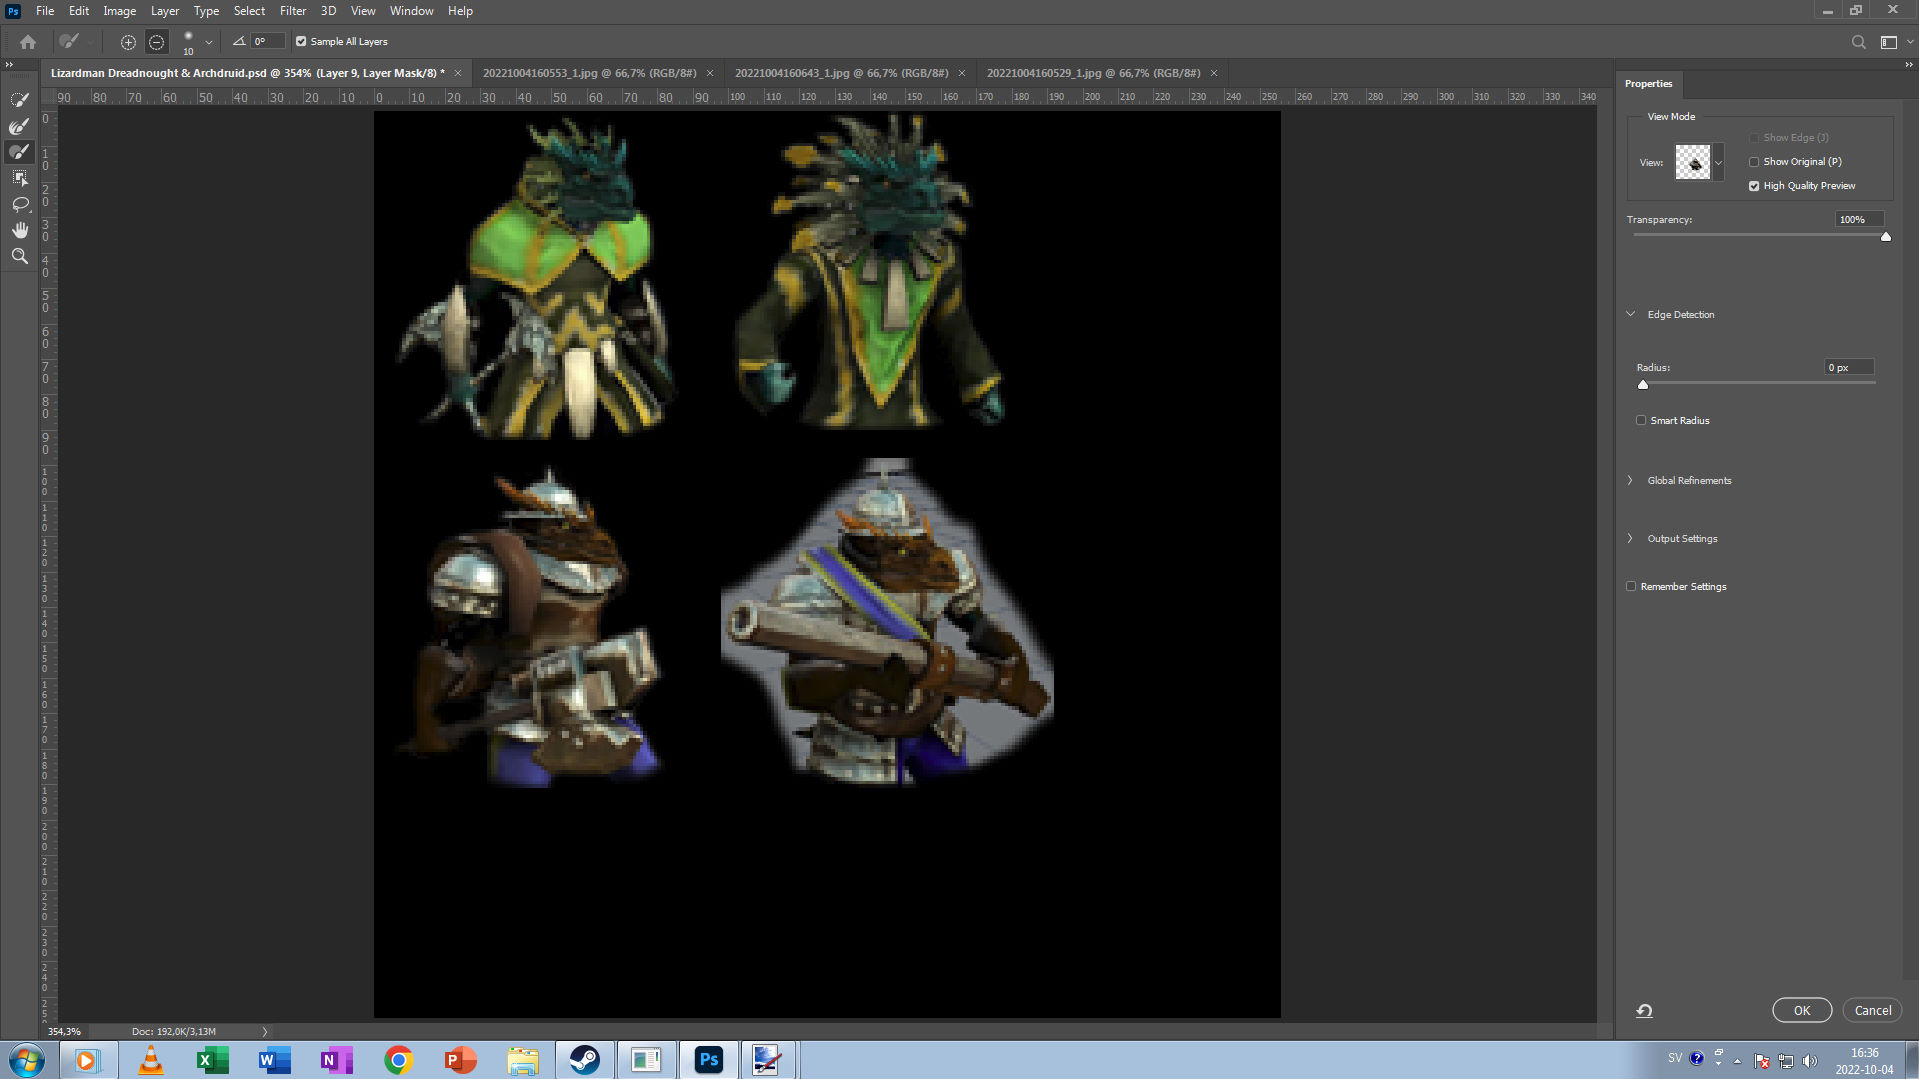
3. Now select the box with a whitescreen on the “layer 9” 버튼을 누릅니다 “Select and Mask”

Choosing mask tools
1. I often take the third option and select like “10” in size. “Minus” will mask the image while “...을 더한” will unmask the image. Its also possible to zoom in and zoom out.
Start to mask out big areas.
1. Start by slowly masking out big areas that you dont want in the final image.
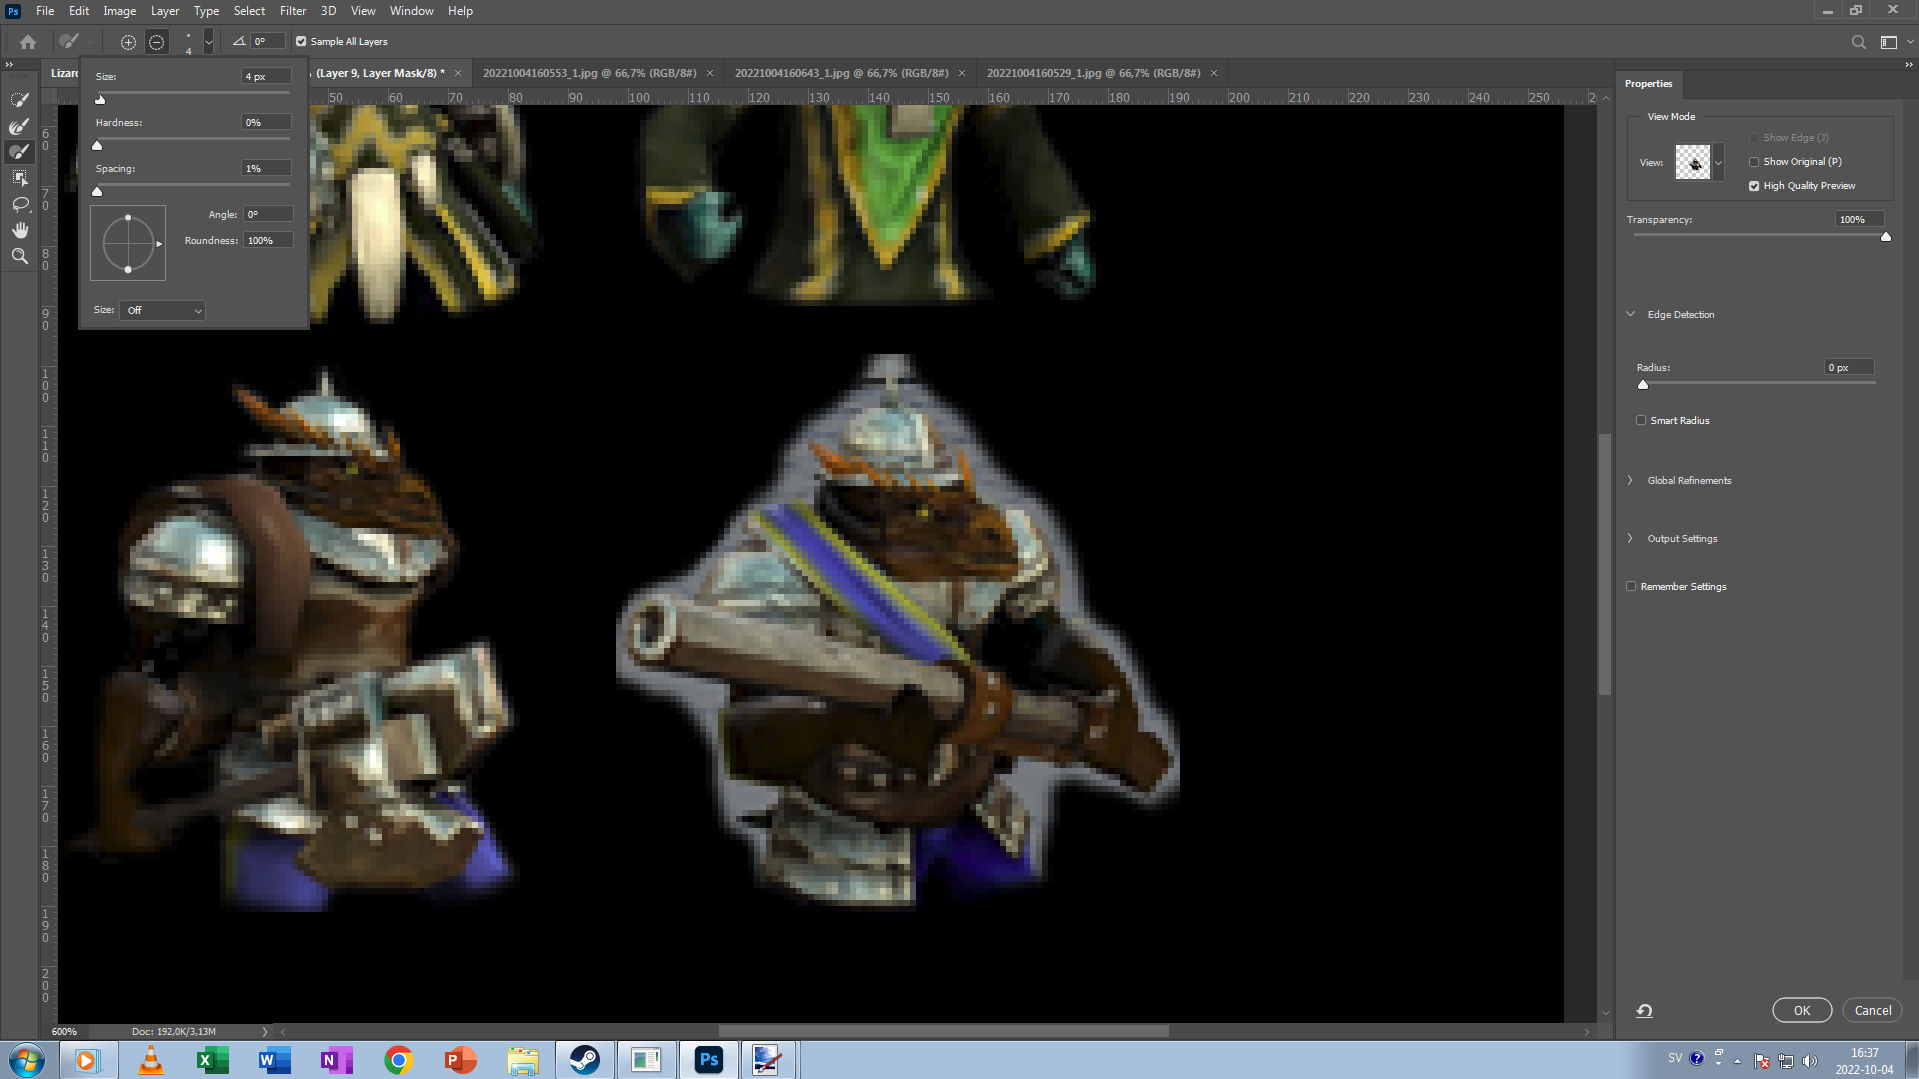
Choosing the brush setting
1. When done with masking out big areas.
2. Choose a smaller brush size like 4px and then set “hardness” 그리고 “spacing” to low amount seenin the pictures.
3. With smaller brush. Take out all the things you dont want in the image and carefully move your brush around the image. You can ctrl + Z to undo things that went to far in order to start over.
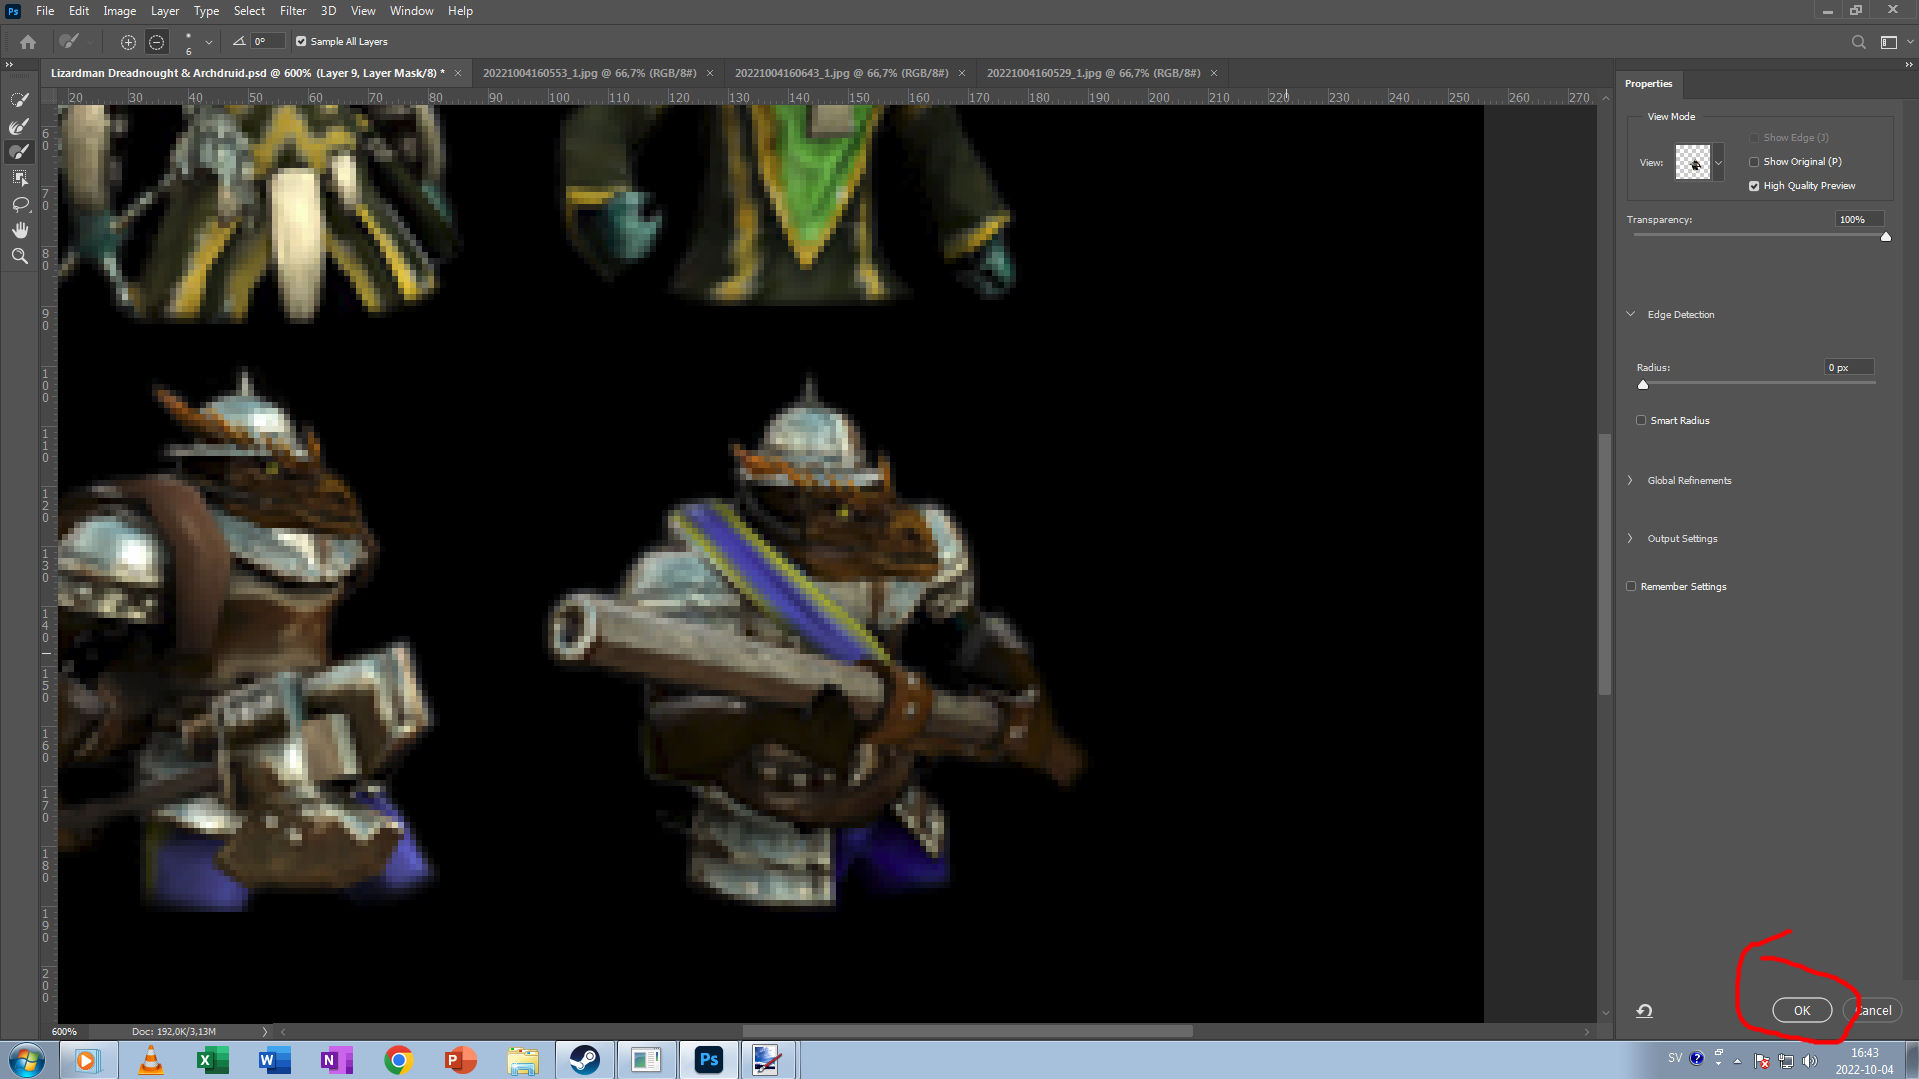
Finalize masking process
1. When your happy how the unit went in your masking. Use the button and press “좋아요” to apply the mask to an alpha layer.
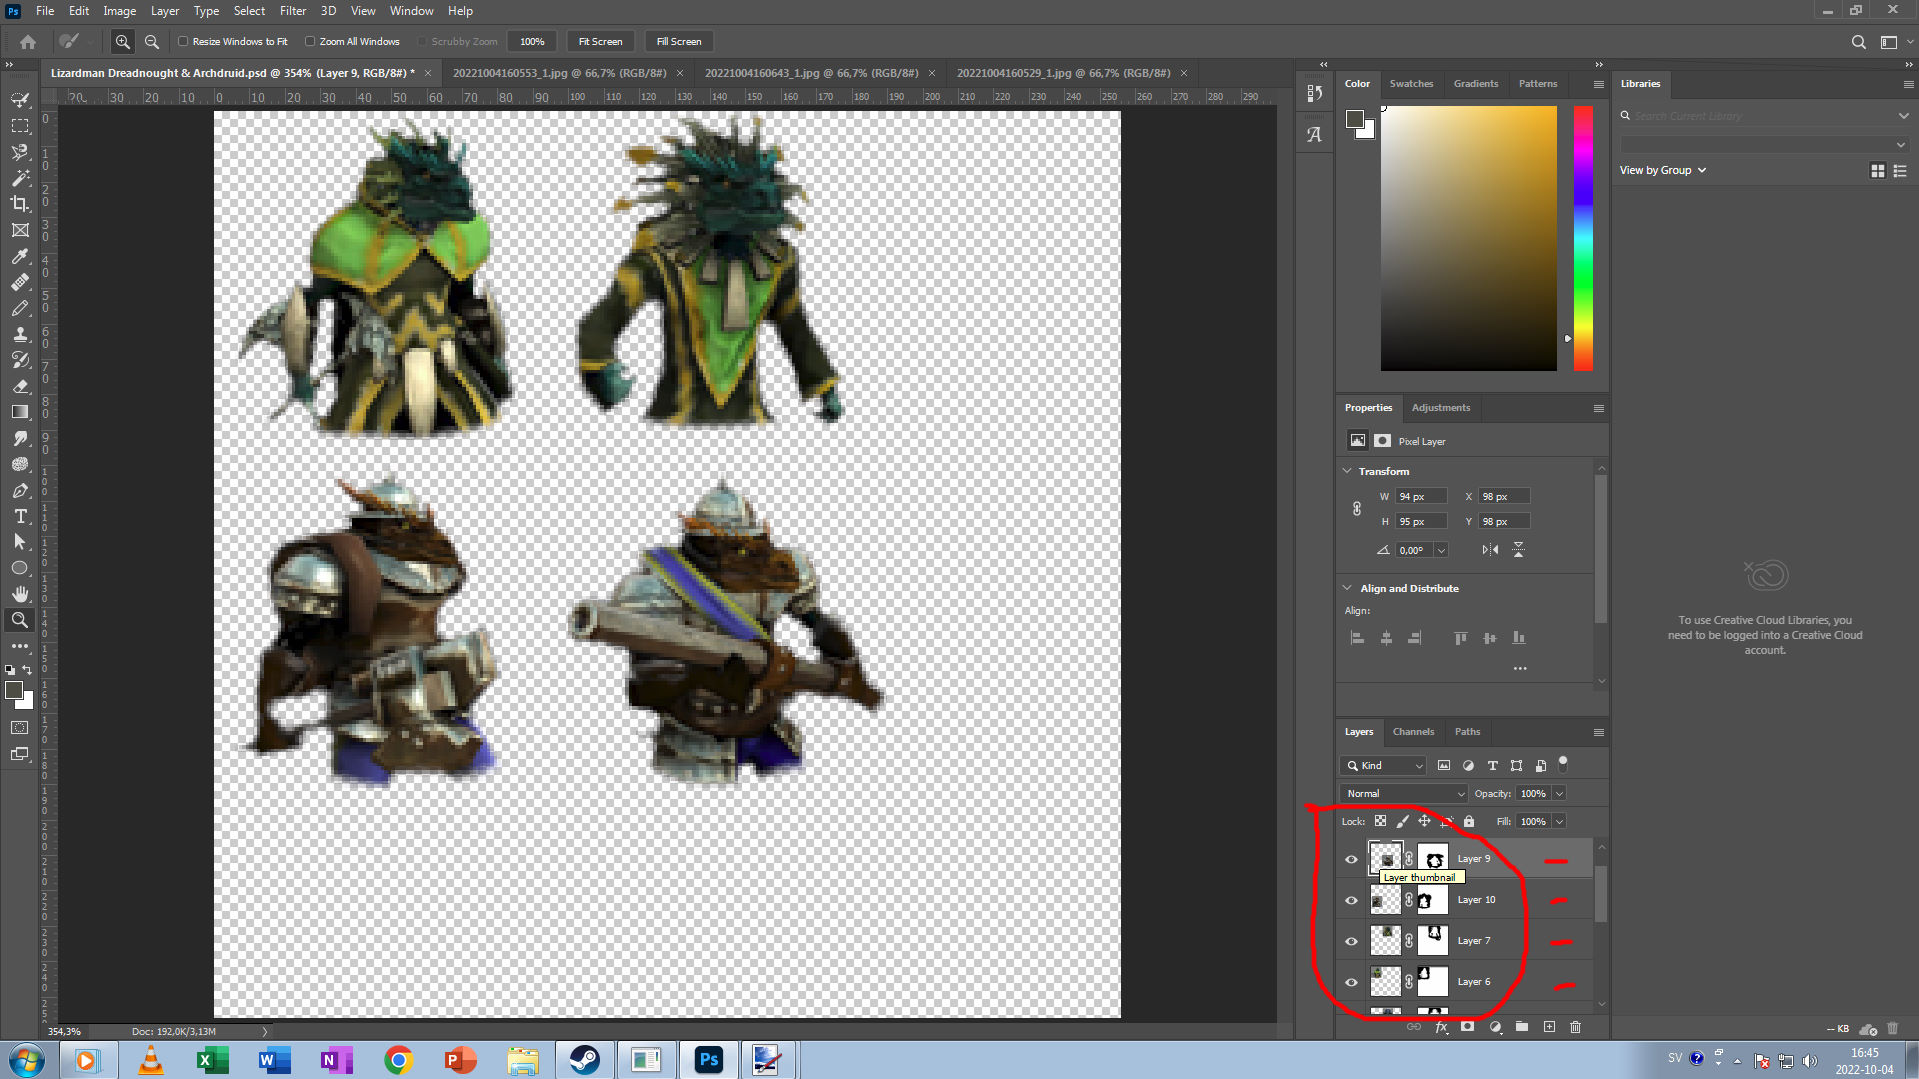
Selecting correct layers to save
1. Now only select all layer on the image that should be in the final image with icons.
2. Only Layer 7, 8, 9 그리고 10 in this picture is selected.
3. Make sure that all image with units on them have this alpha layer on the right side enables shown in the picture.
How to save
1. 선택하다 “파일” menu with ONLY layer 6,7,8 그리고 9
2. 선택하다 “다른 이름으로 저장…”

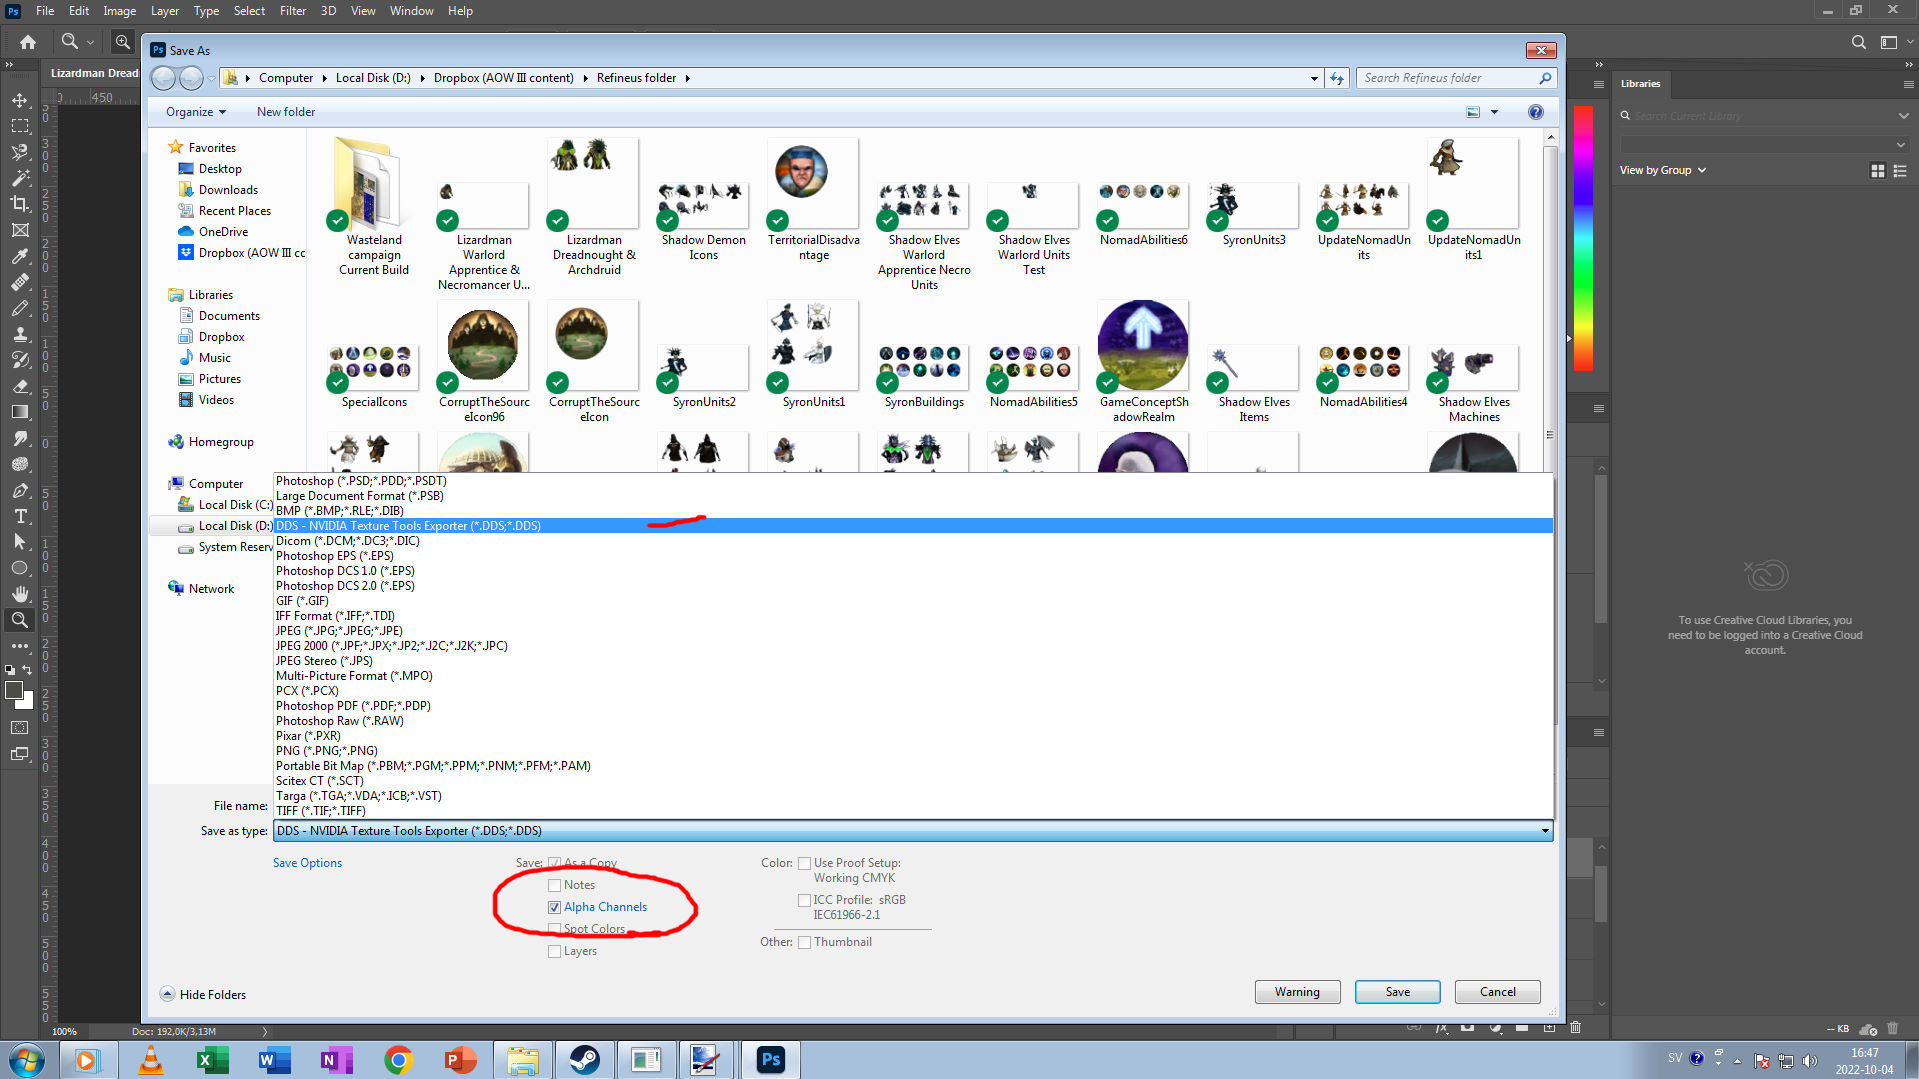
Saving file in DDS
1. You going to need the Photoshop Nvidia Texture Tool Exporter addon for Photoshop. Head on and install this to your photoshop.
2. 다음을 선택하세요. “DDS – NVIDIA Texture Tools Exporter (*.DDS;*DDS)” as seen in the picture.
3. Make sure that the box with “Alpha Channels” is selected as seen in the picture
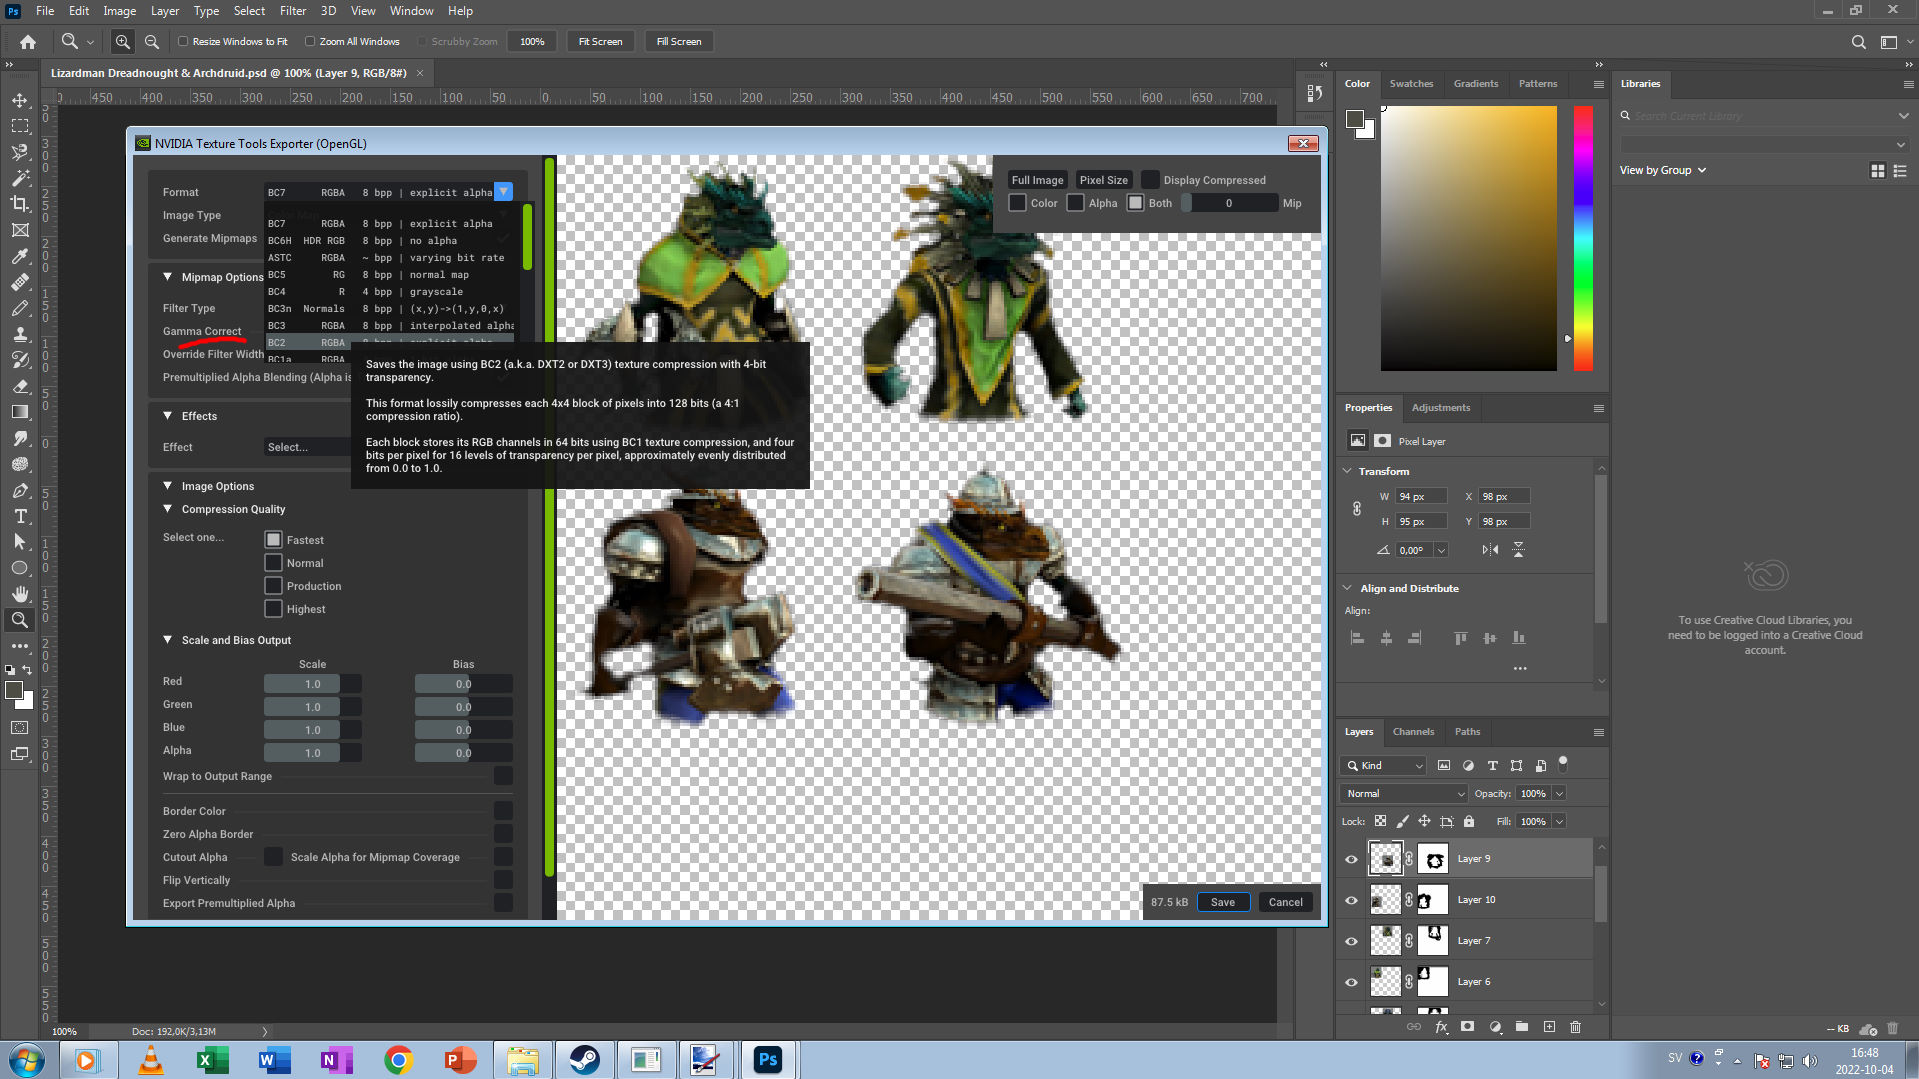
NVIDIA Texture Tools Exporter – Correct export settings Part 1
1. Select Format
2. 선택하다 “BC2 RGBA” DXT3 as seen in the picture
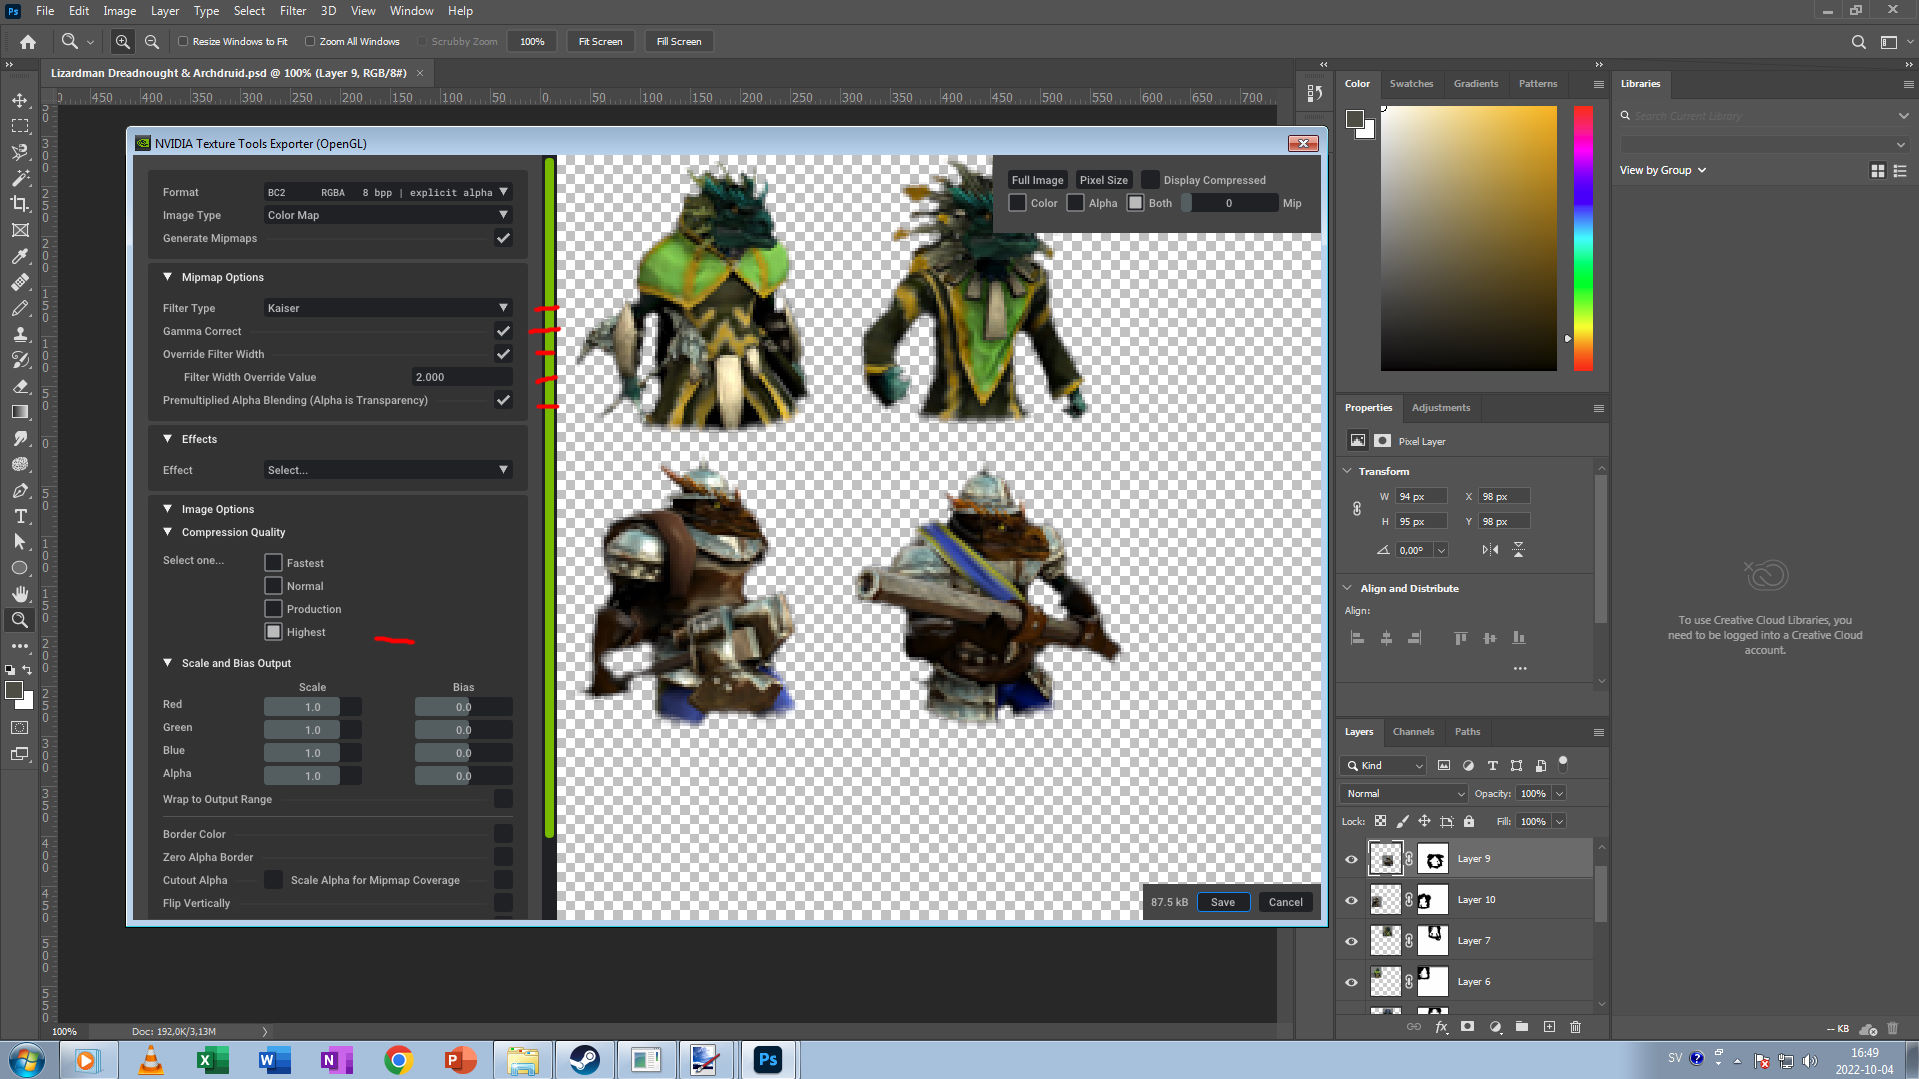
NVIDIA Texture Tools Exporter – Correct export settings Part 2
1. Choose filter Type: “Kaiser”
2. 선택하다 “Gamma Correct”
3. 선택하다 “Override Filter Width: Value 2.000”
4. 선택하다 “Premultiplied Alpha Blending (Alpha is Transparency)”
5. Choose any preferred Compression Quality. I choose “Highest” since I ride with style. But the file image might be bigger in size by doing that.
6 See the image for references. This tool image exporter might differ depending on version but should be similiar.
NVIDIA Texture Tools Exporter – Correct export settings Part 3
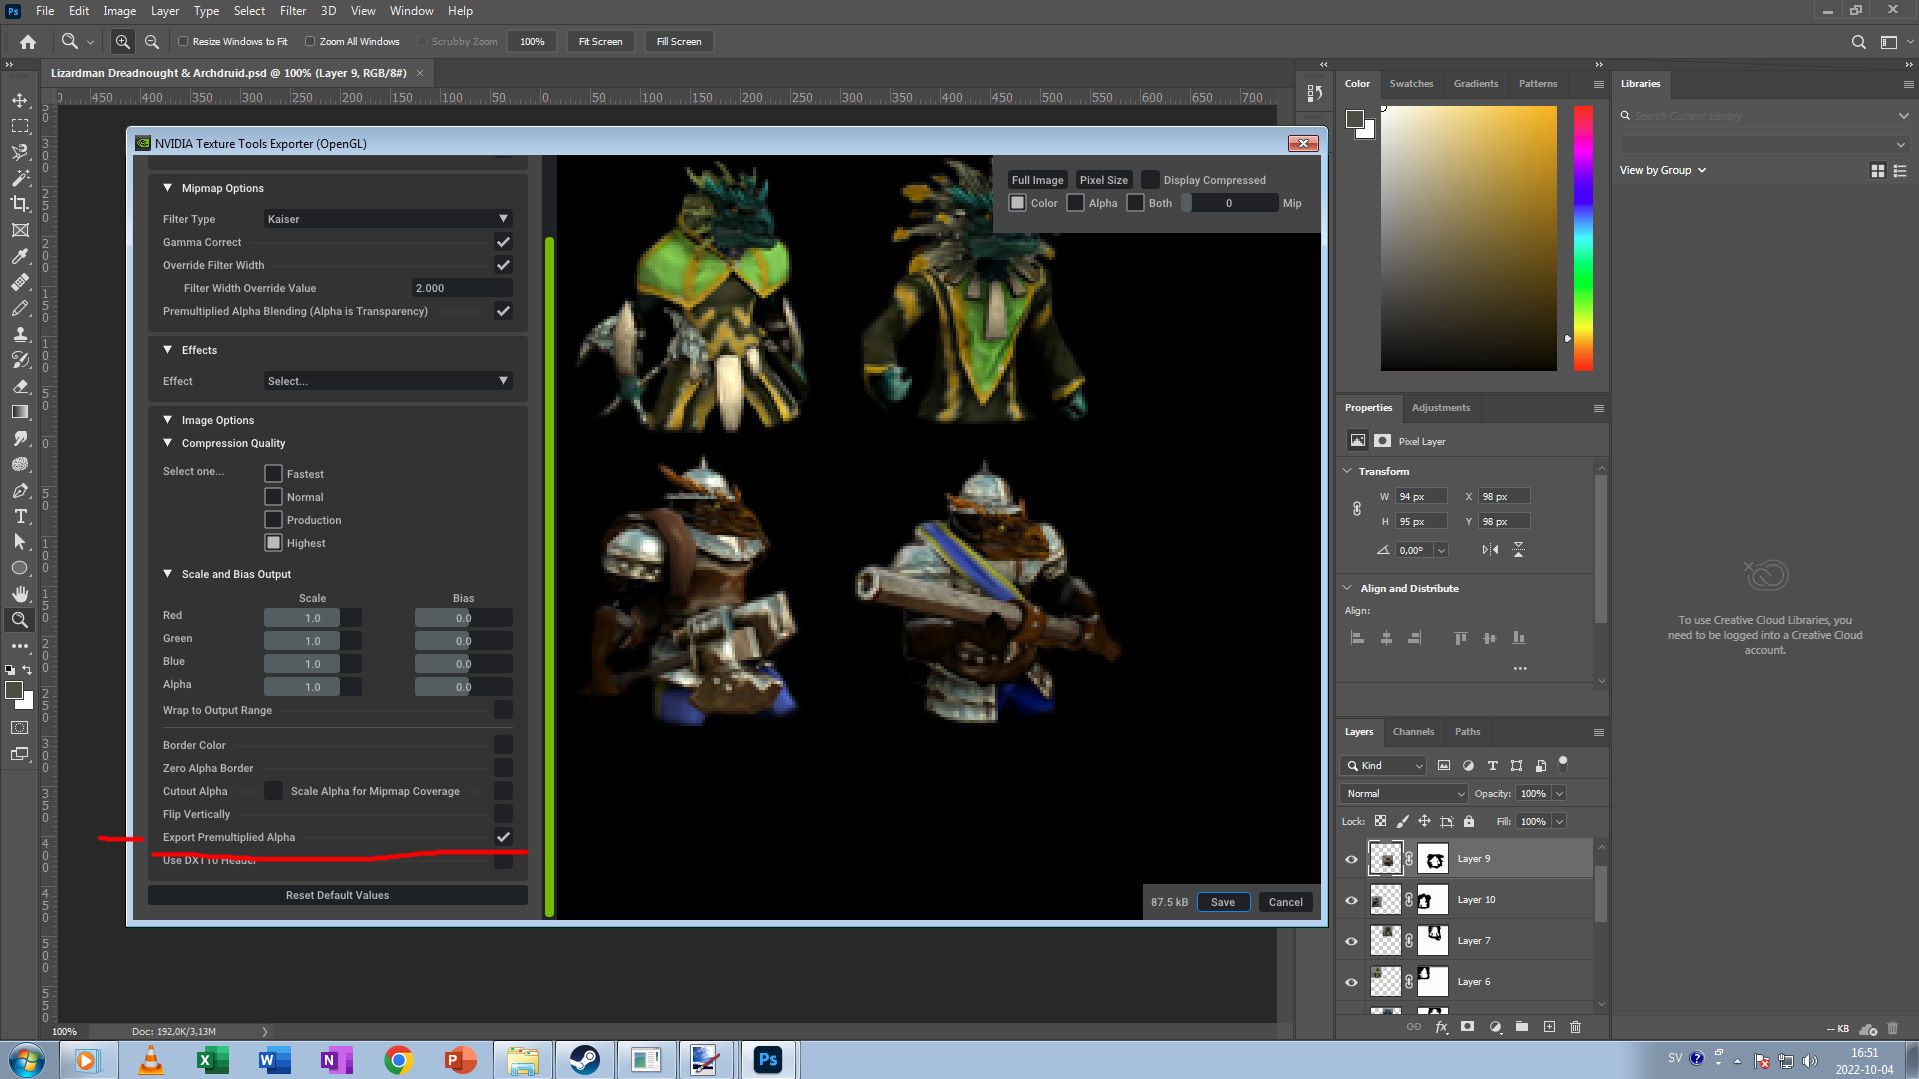
1. Finalize your image by also choosing “Export Premultiplied Alpha”
2. Preview the image in the top right corner by selecting “Color”
3. 올바르게 수행된 경우, the background will turn black and will display the icon correctly with alpha enabled from layers.
4. Save the image in the bottom right corner
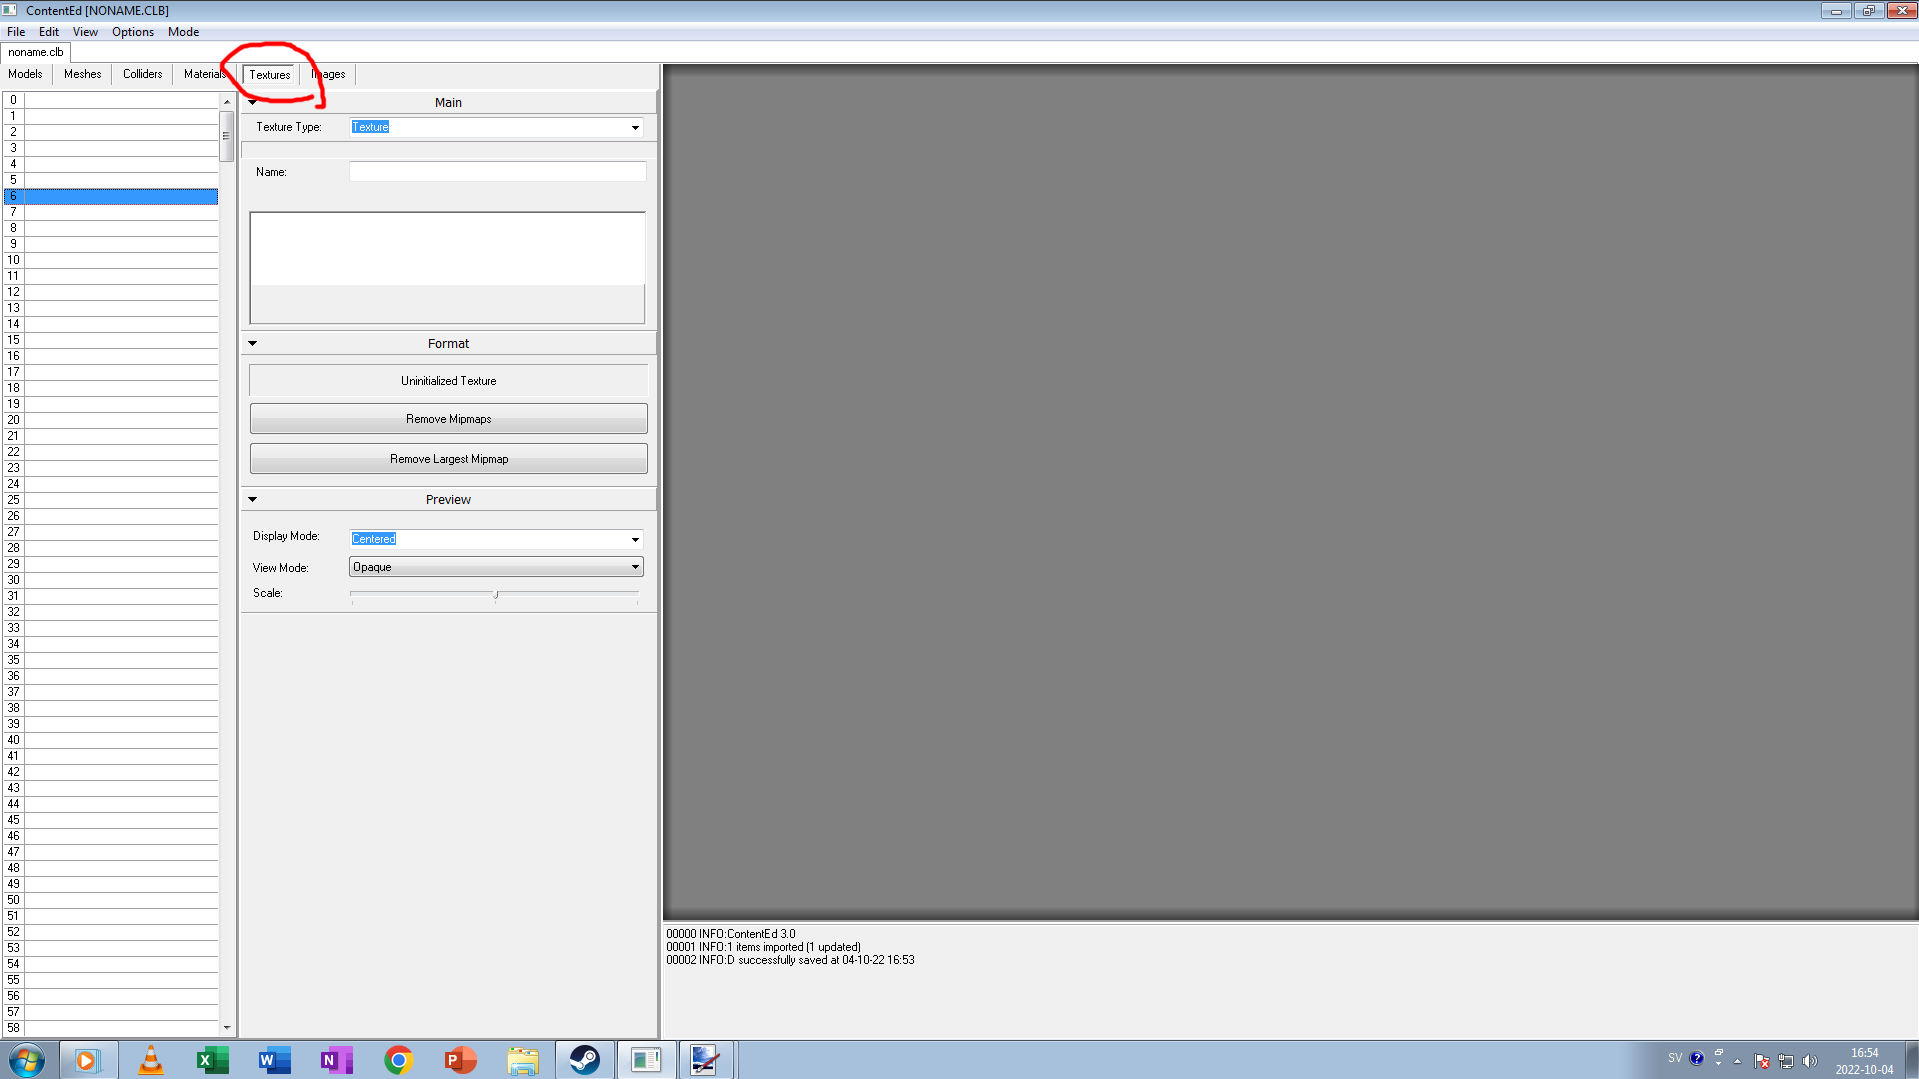
Setting up icons in the content editor
1. Open the Content Editor
2. Make a new clb or open one that you have in your mod folder example: “씨:\User\My Documents\My Games\AoW3\UserContent\MyAwesomeMod\Icon.clb
3. Select Texture as seen in the picture.
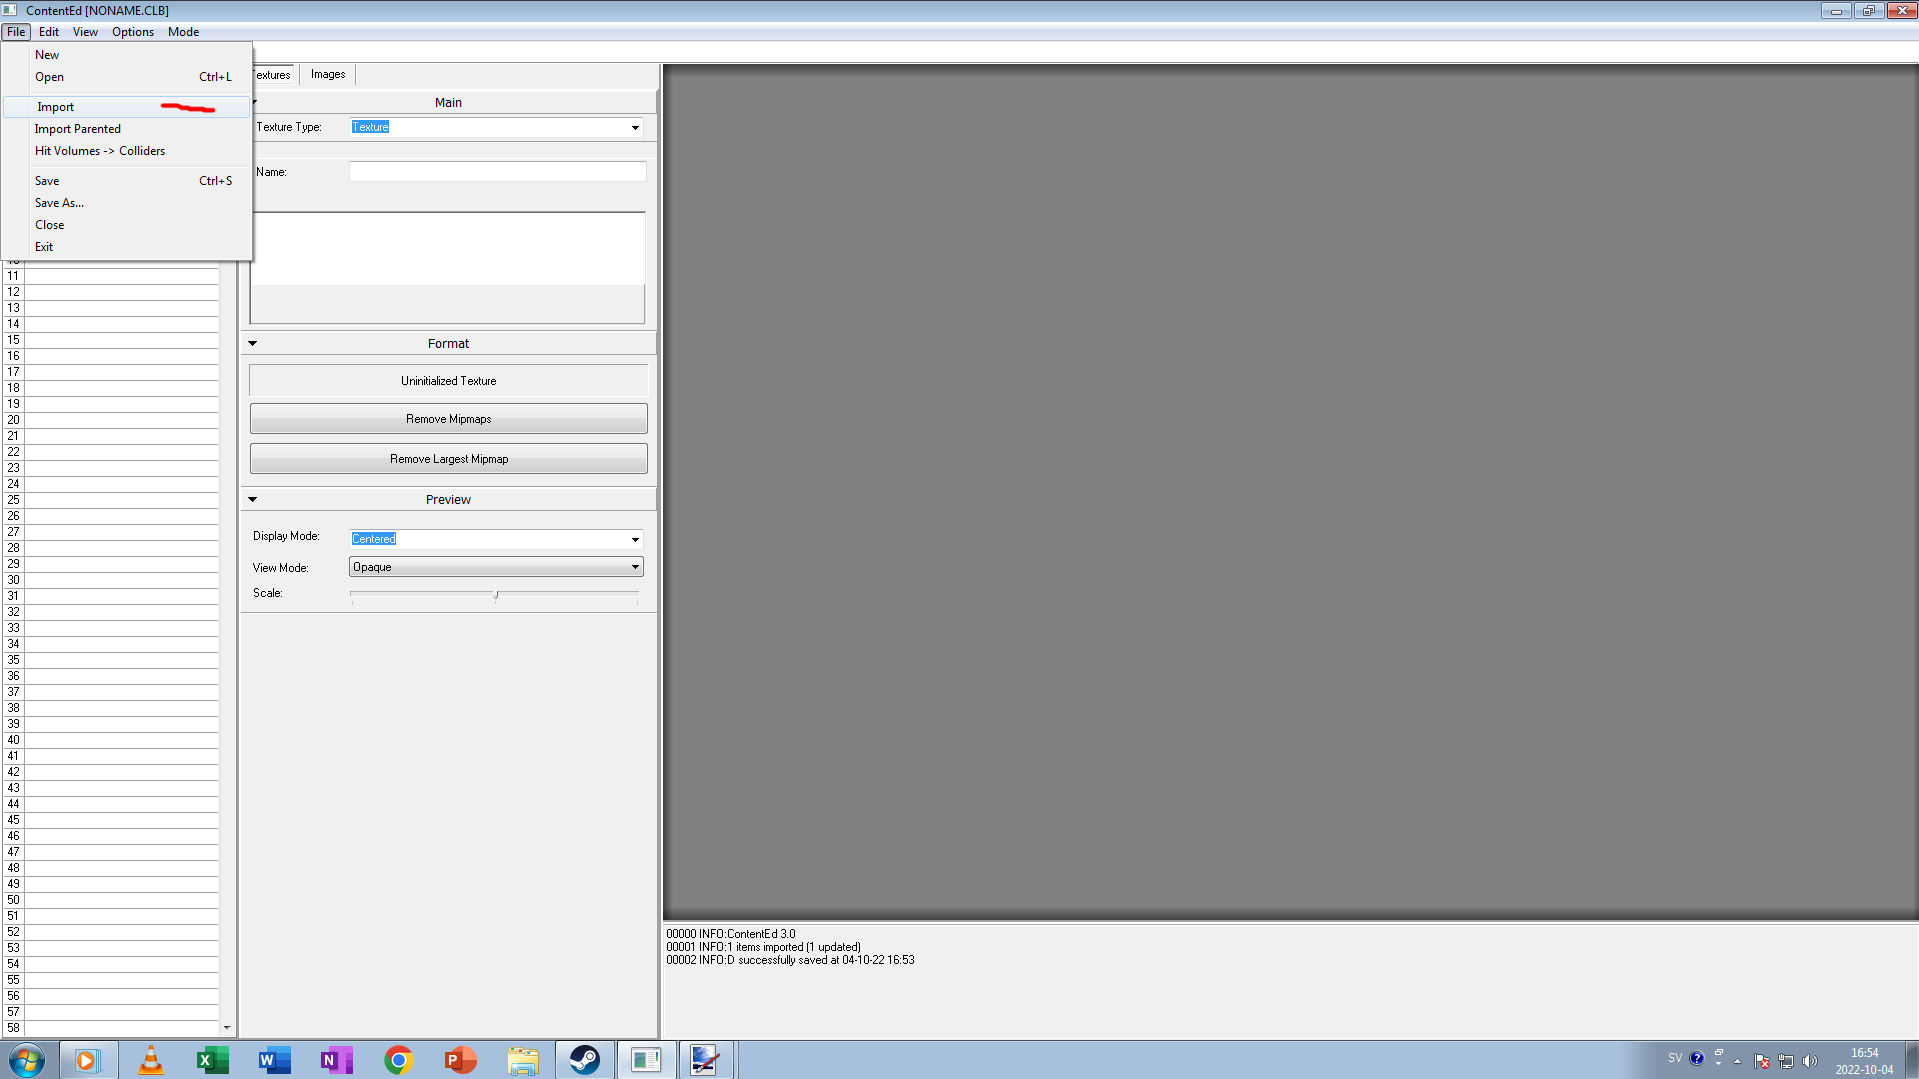
Importing icons into the content editor
1. 파일을 선택하십시오
2. Select import while having the “텍스처” section open in the content editor.
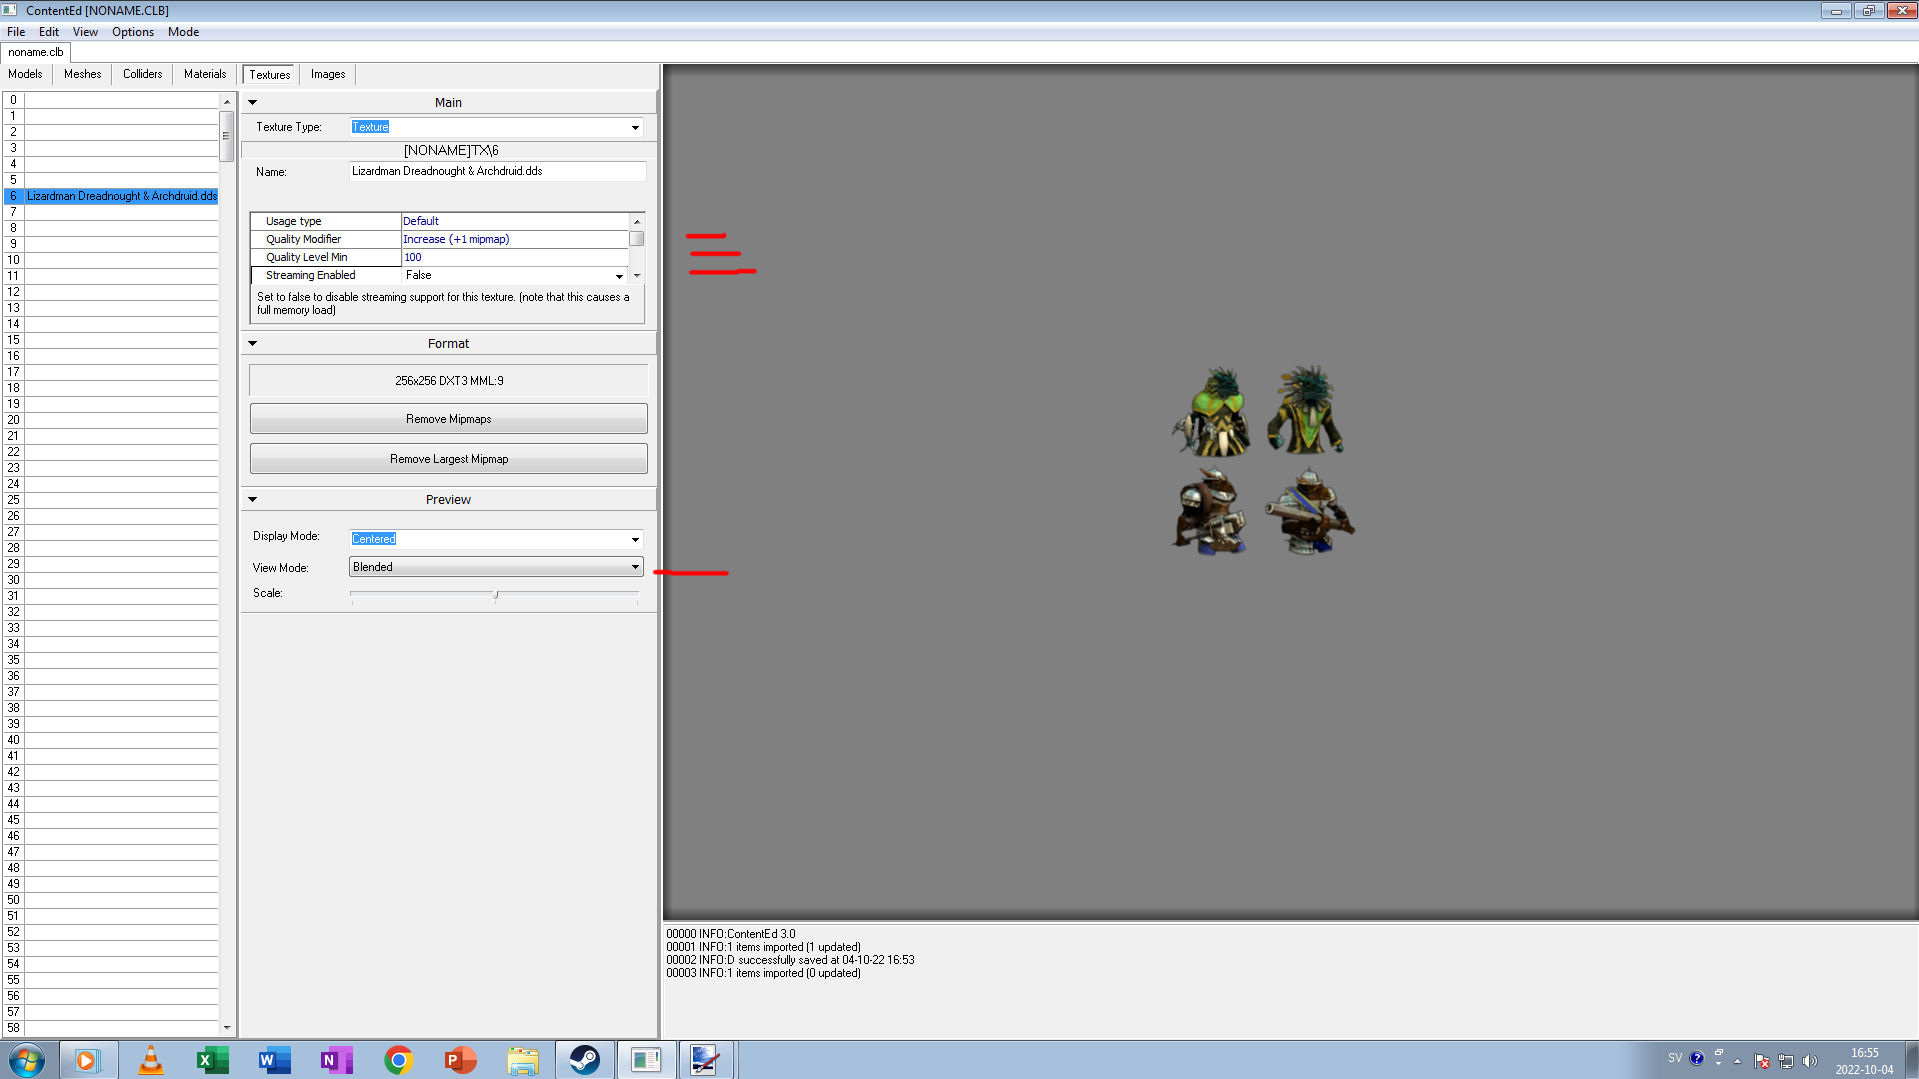
Correct setting for icons in the content editor
1. When you have imported your dds picture it appears in the list where textures is.
2. 선택하다 “기본”
3. Select Quality Modifier “Increase (+1 mipmap)
4. Select Quality Level Min “100
5. View icons in the “Blended” 모드. If they look as they do in the picture where the background is gray and nothing else is displayed. Congratulations your icons are done and ready to be imported into Age of Wonders 3 Mod editor.
이것이 오늘 우리가 공유하는 모든 것입니다. 불가사의의 시대 III 가이드. 이 가이드는 원래 작성자가 작성하고 작성했습니다. Gladen. 이 가이드를 업데이트하지 못한 경우, 다음을 수행하여 최신 업데이트를 찾을 수 있습니다. 링크.