Holo x Break presents itself as a blend of Beat’em up and Roguelike genres, which initially might catch players off guard with its high difficulty. This guide aims to provide various tips and overall advice to help players navigate through the challenges and aim for successful runs.
What Is This About
Despite its brevity, “Holo x Break” can pose challenges for players, especially in grasping the basics, determining optimal routes, and handling boss encounters. しかし, after several attempts, players can easily discern the most effective strategies and enemy patterns.
Quick Disclaimers
Before delving into strategies, it’s essential to address some key points:
- Character Preference: This guide does not prioritize determining the best character. その代わり, it focuses on personal favorites from the two generations featured in the game: Lamy from Nepolabo/Holofive and Laplus from Holo X. Lamy excels in debuffing enemies and freezing them for easier eliminations, albeit requiring precise timing for her skills. 一方で, Laplus serves as a potent zoner, requiring distance to efficiently dispatch enemies. Nene, a healer, may also be briefly mentioned due to her strong support capabilities.
- Online Mode Consideration: While this guide may not extensively cover online mode due to potential connectivity issues, it still offers insights that could prove valuable when playing alongside other players.
一般的なヒント
- Optimal Stats: で “Holo x Break,” prioritizing Attack, Criticals, and HP stats is key. Higher Attack and Critical stats facilitate faster enemy elimination, reducing the risk of being overwhelmed. さらに, increasing HP enhances survival chances, particularly crucial in Hard Mode where there are no continues.
- Strategic Item Usage: Utilize offensive items liberally while keeping a stock of healing items. Offensive items are abundant, often dropped by enemies during boss encounters. Using them strategically, even outside boss battles, can prevent untimely defeats. Baseballs, 例えば, prove versatile and handy to keep within reach.
- Master Dodging: Make the most of your dodge ability at all times. Dodging not only averts damage but also helps navigate through crowds of enemies and evade powerful boss attacks. Timing dodges correctly can even earn extra likes, and certain equipment may offer additional dodge effects. さらに, dodging can double as a sprint, hastening item collection, team approach, or stage traversal.
- Economic Spending: Focus expenditure on equipment rather than items. With items readily available during runs, it’s prudent to reserve funds for purchasing or upgrading equipment. あるいは, investing in Emotes can be a viable option if equipment needs are met.
- Enhance Wisely, Upgrade Regularly: Prioritize upgrades over enhancements, as enhancement success rates are heavily reliant on RNG, especially for max enhancement. Invest in upgrades, particularly for equipment with existing Attack or Critical attributes, to expedite area clearance.
- Tactical Ability Activation: Exercise discretion in timing the activation of Power and 2nd Ability. Avoid employing these charged attacks amidst enemy crowds or during boss attacks. その代わり, utilize allies as shields or wait for opportune moments, such as when enemies spawn or after incapacitating foes. 例えば, Lamy’s freezing ability can be maximized by timing attacks to coincide with enemies rising from knockdowns.
- Maximize 3rd Ability Usage: Don’t hesitate to deploy your 3rd Ability, which typically results in mass enemy elimination and grants temporary invincibility. Using this ability against large enemy groups boosts combo numbers and EXP acquisition, facilitating easier leveling up.
- Utilize Superchat Effectively: The Superchat item can be a lifesaver for your allies, but some nuances are worth noting:
- When your inventory is full, prioritize picking up Superchats over other items. Drop an item if necessary to make space and immediately use the Superchats.
- One Superchat can heal multiple allies simultaneously, so aim to accumulate them for more efficient healing.
- Prioritize healing Yukimin, as they possess healing abilities themselves. 戦闘中, Yukimin frequently spawns green orbs, facilitating continuous self-healing amidst combat challenges.
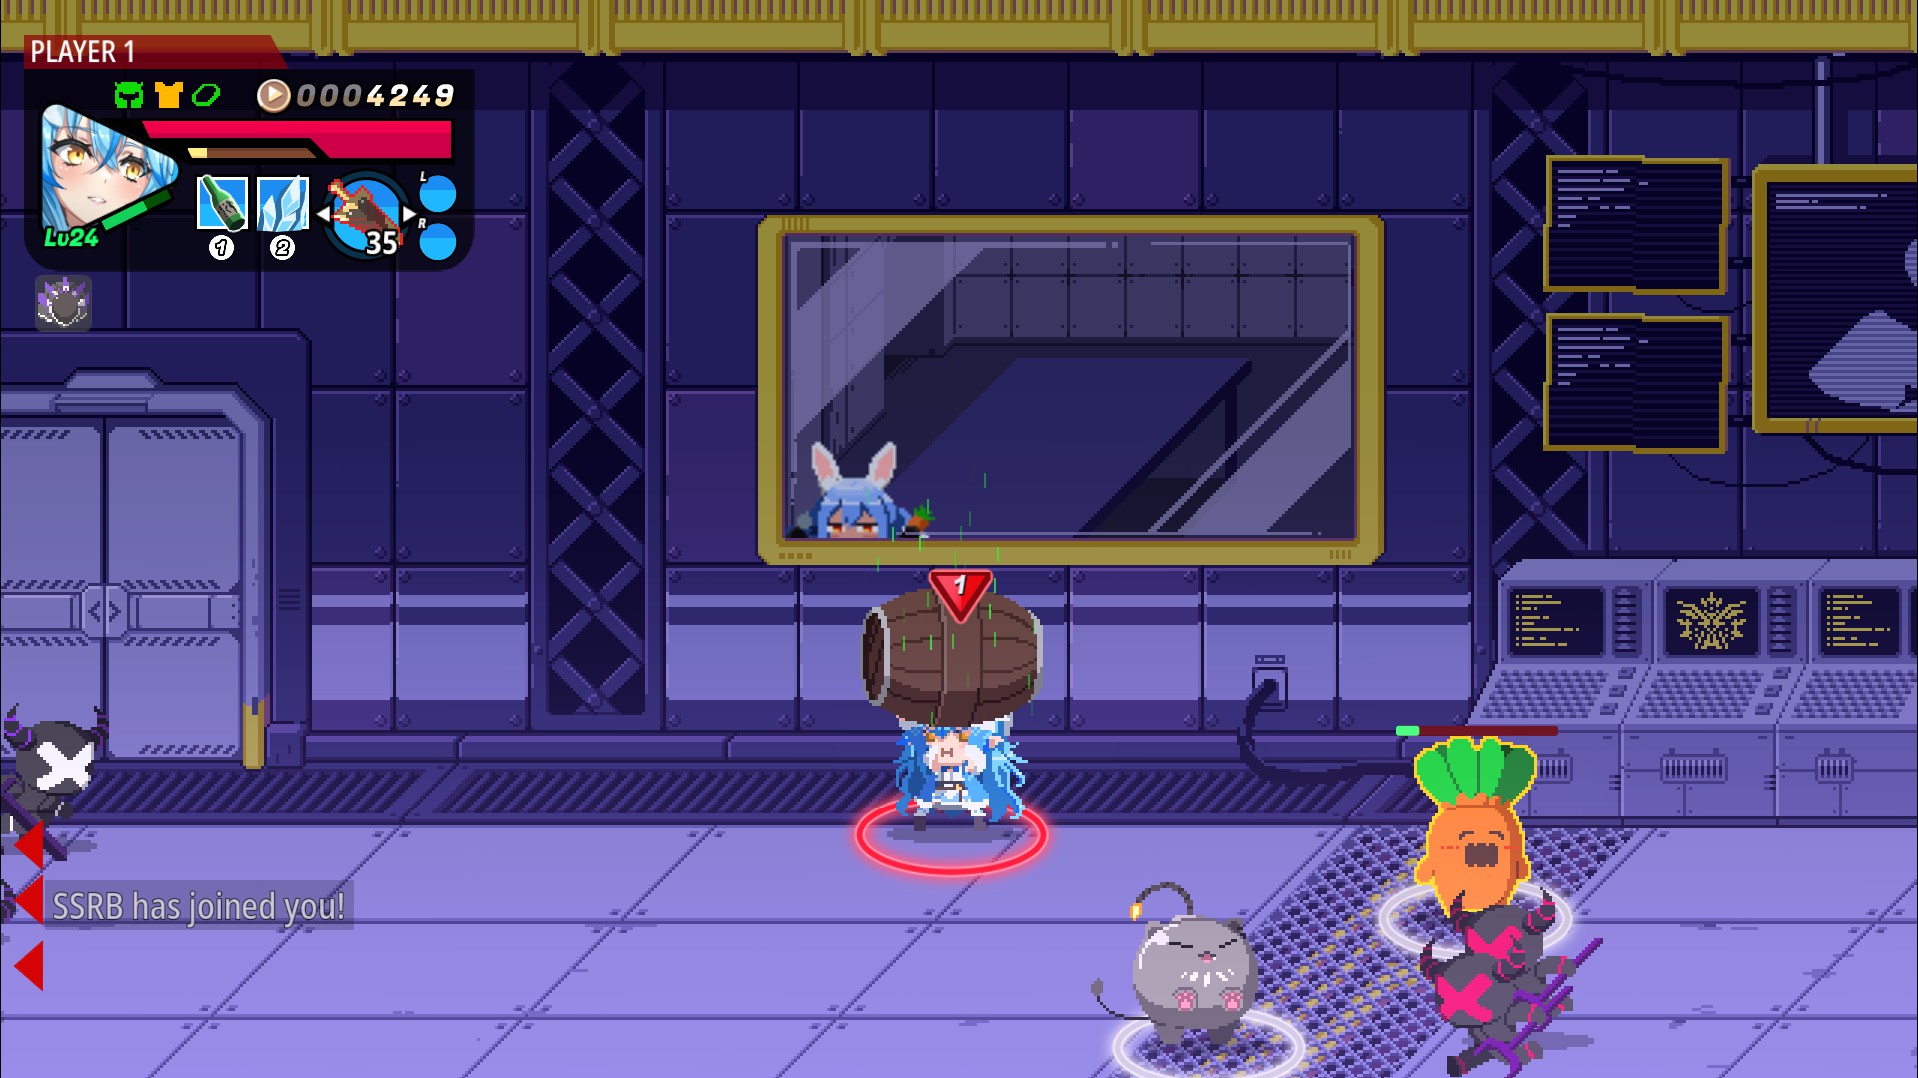
- Leverage Barrels for Coins: Keep an eye out for barrels, as they contain valuable coins. Utilize barrels until they break to gather a significant amount of cash. しかし, assess the situation and consider your character’s health status before risking engaging with barrels, as breaking them requires hitting enemies. Despite the potential risk, breaking barrels remains a reliable method for accumulating funds to invest in equipment upgrades.
- Anticipate Spawned Coins and Items: Keep in mind that some coins and items will spawn in the next section. If you miss collecting a few coins, particularly towards the end of a section, 心配しないでください. Upon transitioning to the next section, any remaining coins or items will respawn directly in front of you. したがって, if you’re aiming for a swift playthrough, don’t overly concern yourself with minor missed pickups.

装置
Preferred Equipment
で “Holo x Break,” finding the perfect build relies heavily on RNG, as even optimal equipment can vary in effectiveness based on the granted stats. Here are my preferred choices:
- Happi Coat: Provides overall autoheal, alleviating stress when managing healing items. Stall enemies or bosses to regain health, or take breaks during loot box openings to recover HP.
- Boxing Gloves: Offers a significant attack boost to normal and power attacks, enabling faster enemy elimination.
- Nurse Horn: Functions similarly to its counterpart in Holocure, offering strong healing triggered by critical hits. This item effectively sustains health throughout the run, especially with multi-hit attacks.
Alternative Equipment
For contingency plans or diverse strategies, consider these alternative equipment options:
- Kimono: Heals each time an Ability is used, serving as a backup if Happi Coat is unavailable. Effective with abilities featuring short cooldowns or long durations.
- Cat Pin and Dog Pin: Reduces cooldowns for first and second Abilities respectively. Cat Pin is preferable, but Dog Pin can also be beneficial depending on the character.
- Gaki Raincoat: Provides projectile tanking capabilities, countering enemies that continuously stunlock while dealing chip damage.
- The Secret Society Helmet: Taunts enemies to attack you while boosting defense, ideal for protecting allies from being overwhelmed.
- Captain’s Hat: Converts any healing source into a party heal, synergizing well with Happi Coat to sustain allies and players.
- Time Ring: Shortens the charge time for Power and second Ability, enabling more frequent use for strategic advantage.
- School Uniform: Grants buffs when health is high, becoming potent when combined with healing abilities and equipment.
- Golden Apple: Offers strong healing and faster reviving, ensuring survivability in challenging situations, especially in online play.
- Reaper’s Cloak: Allows dodge to deal damage, providing an additional offensive option during evasive maneuvers.
- Nephilim Wings: Extends dodge and invincibility duration, beneficial for players struggling with timed dodges, particularly against certain boss attacks.
- High-Spec Glasses: Increases Crits by 2% as long as you remain unharmed, まで 20% 増加. Despite the demerit, maintaining the buff is manageable and offers significant benefits.
- Earphones: Provides a chance to avoid attacks and cause knockback, offering a potential lifesaving mechanism against incoming danger.
Enemies and Bosses
敵
で “Holo x Break,” most enemies fall into three categories: 近接攻撃, projectile spam, or possessing super armor. しかし, two specific enemies merit attention due to their potential threat:

- Shiikuin (Chloe Orca): This midboss poses a significant challenge with attacks that include bubble projectiles covering a large portion of the screen and high-speed ramming maneuvers. Both attacks feature super armor, often triggered when knocked down. Prioritize defeating Shiikuin to mitigate its disruptive presence amidst other midbosses.

- Holo X Mages: Among the enemies, these mages stand out, particularly the ice variant. Ice mages can freeze and even freezelock players if not swiftly dealt with, posing a considerable threat and potentially leading to significant damage.
ボス
今, let’s delve into strategies for confronting the formidable Holo X gang:
- Telegraphed Attacks: Boss attacks are highly telegraphed, affording players a brief window to prepare. While attacks remain predictable, bosses can still land occasional hits, necessitating caution.
- Attack Patterns After Knockdown: Bosses consistently execute attacks after being knocked down, presenting a prime opportunity for players to retaliate. Adopt a cautious approach, allowing bosses to initiate their attacks before seizing the opening to deal damage.
- Damage Through Super Armor: Despite possessing super armor, bosses still sustain damage during certain attacks. Utilize safe approaches or items like baseballs to chip away at their health. しかし, note that their ultimate moves typically offer minimal vulnerabilities.
Let’s analyze each boss individually:
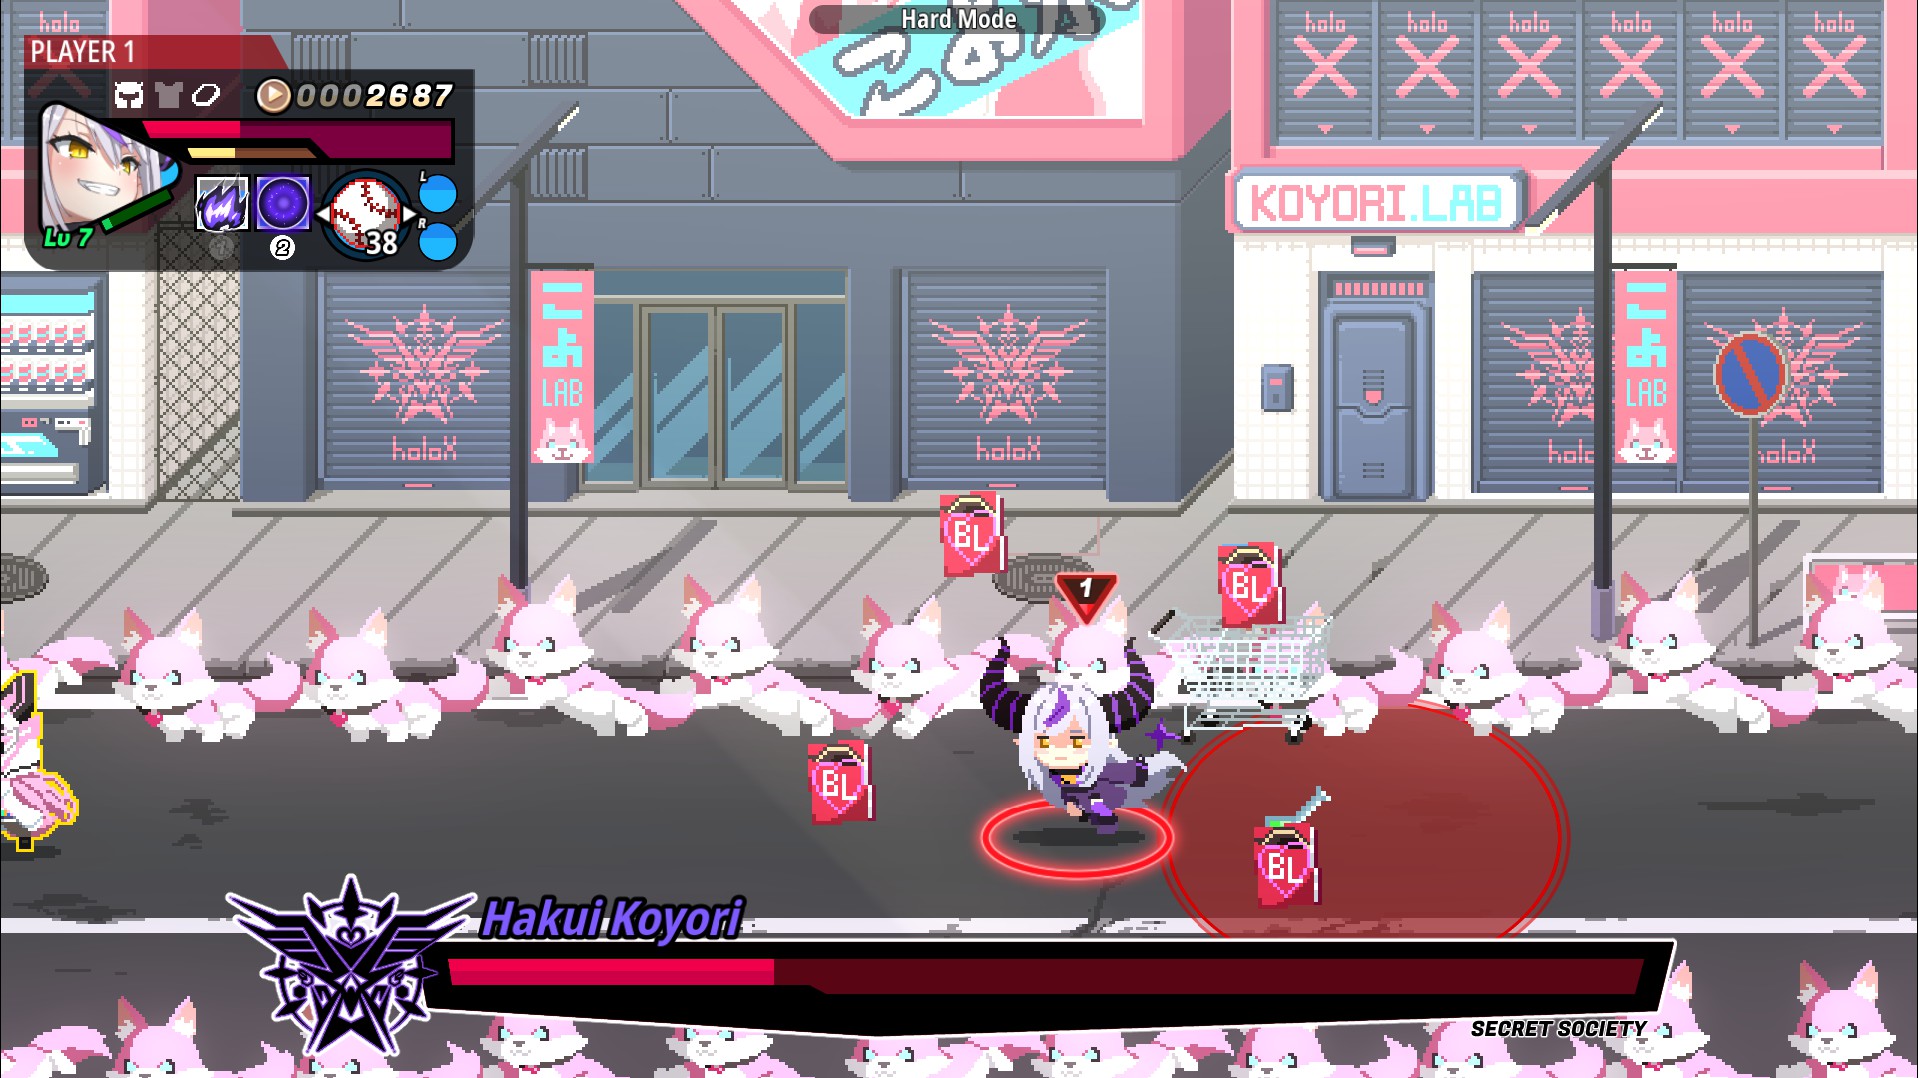
- Hakui Koyori: Regarded as the most challenging boss due to encountering her without significant upgrades or gear. Watch out for her syringes, which pose the most immediate threat. While her attacks are generally predictable, distractions from other enemies and toxic potions can complicate matters.
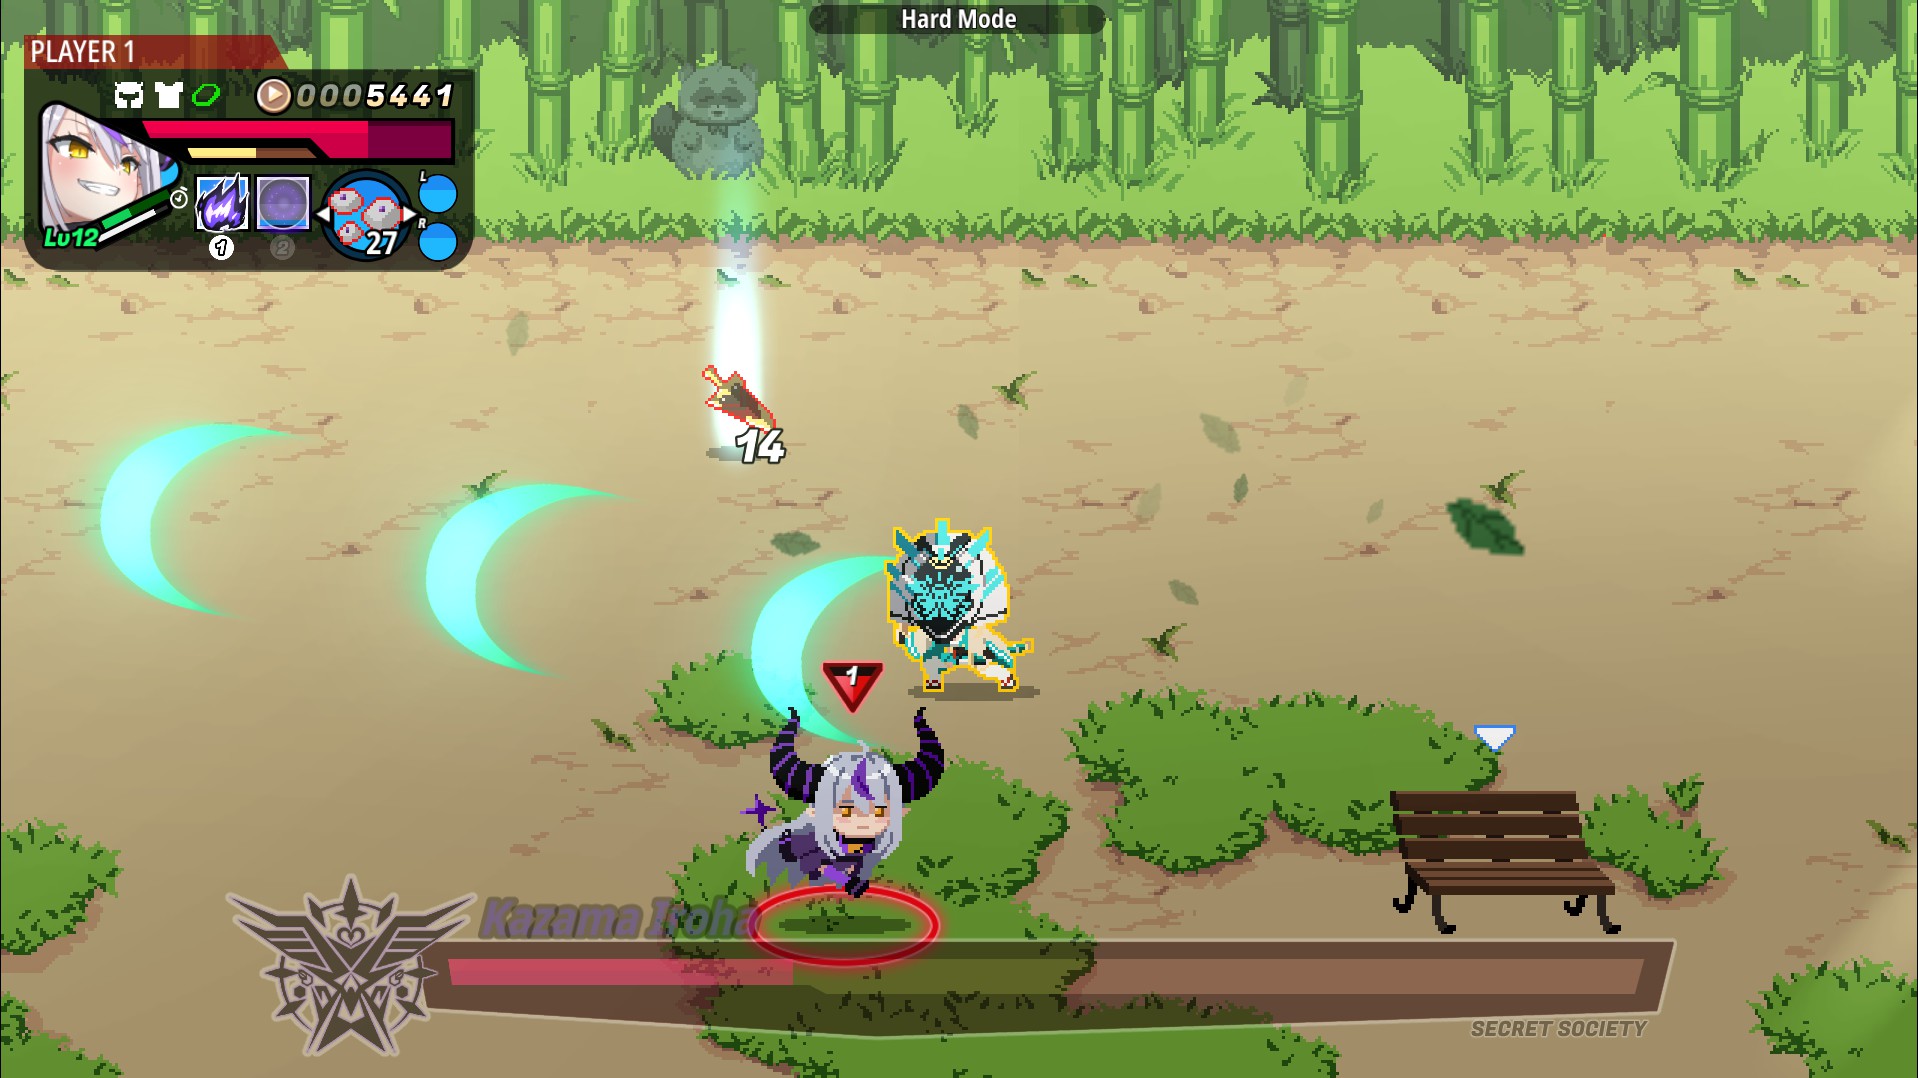
- Kazama Iroha: Though she moves erratically, her attacks often follow straight lines, rendering her vulnerable to counterattacks if avoided. Be mindful of her stationary aiming move; evade promptly to capitalize on her vulnerability. 練習すると, timing her ultimate becomes manageable.
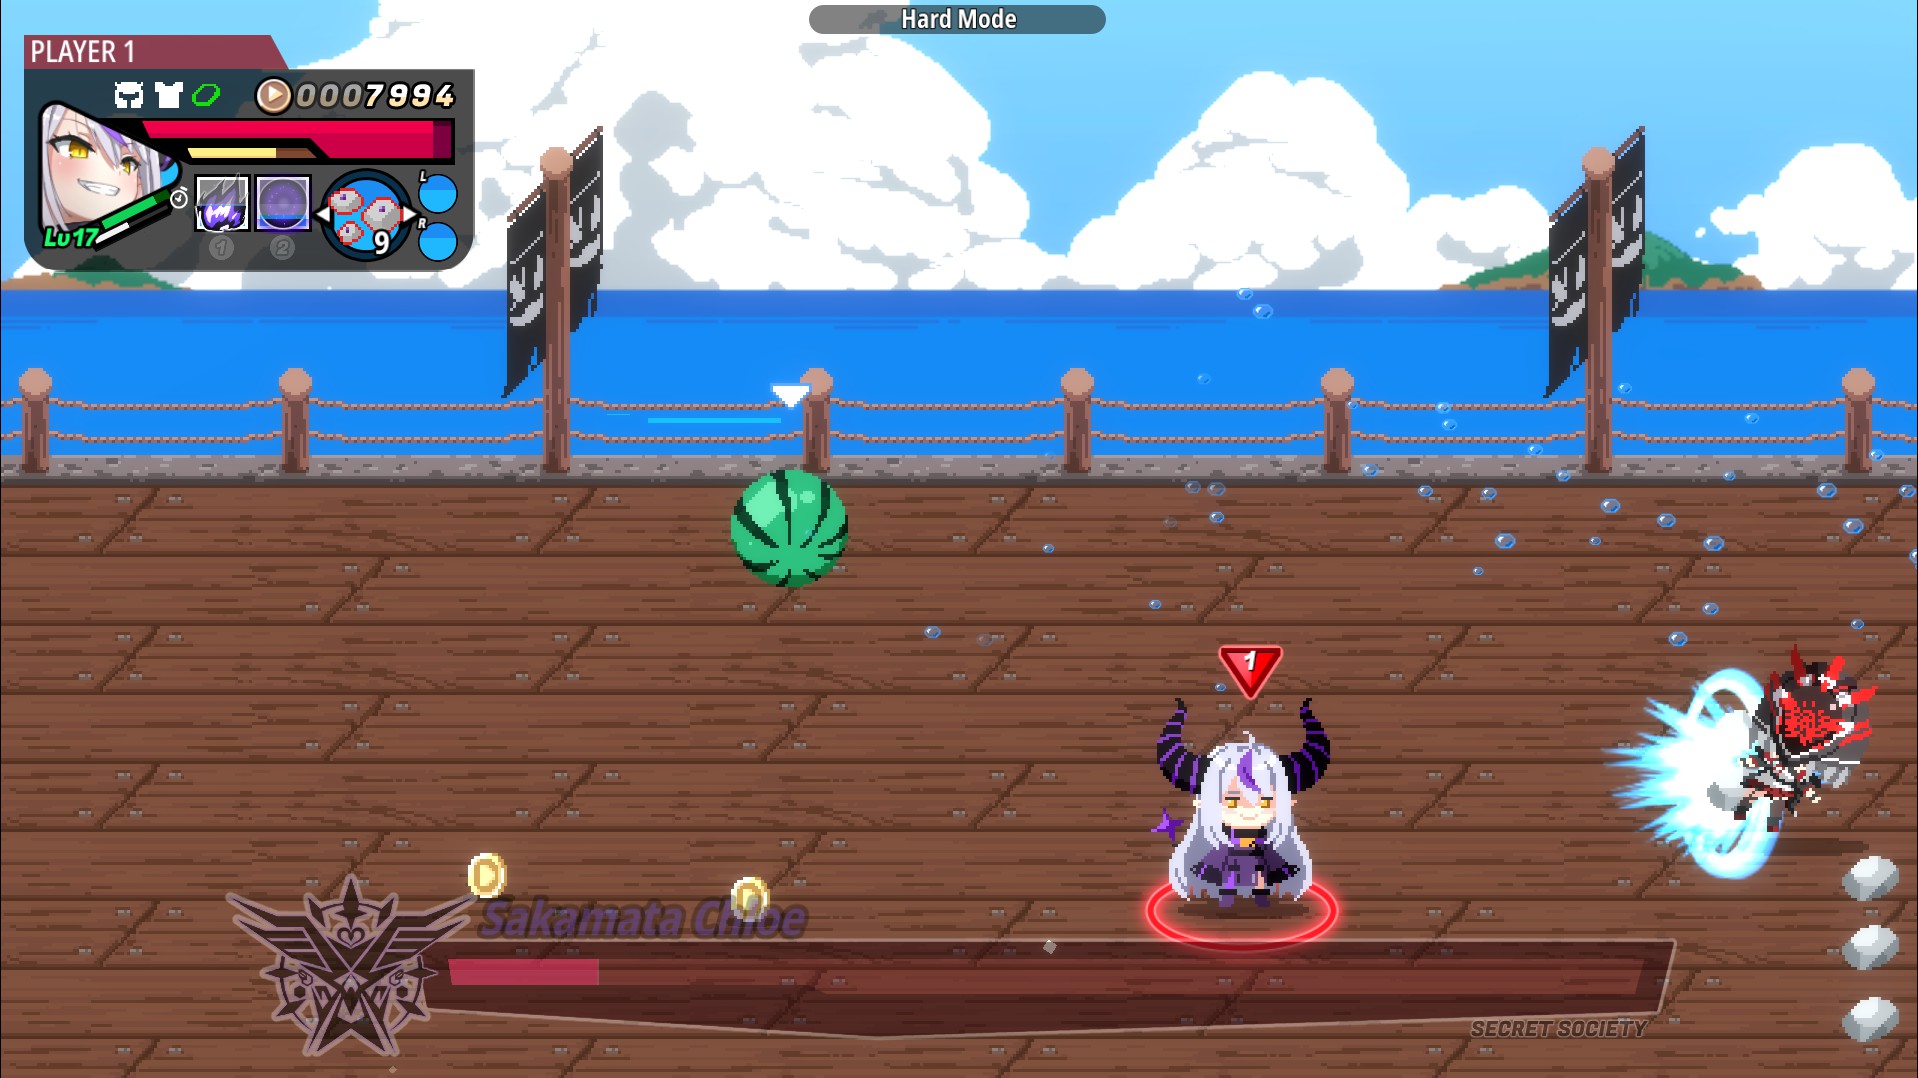
- Sakamata Chloe: Exhibits a diverse range of attacks, with particular concern for her floor-scrubbing charge, which can catch players off guard due to its speed. Managing spawned enemies while dealing with her can prove challenging. Her ultimate may distract players, requiring swift repositioning.

- Takane Lui: Notorious for her sudden barrage of shots that can stun-lock players, exacerbated by the presence of spawning tornadoes. しかし, once her attack patterns are deciphered, dealing with her becomes straightforward. Beware of her side-to-side shooting; positioning and dodging can provide safe opportunities for counterattacks.
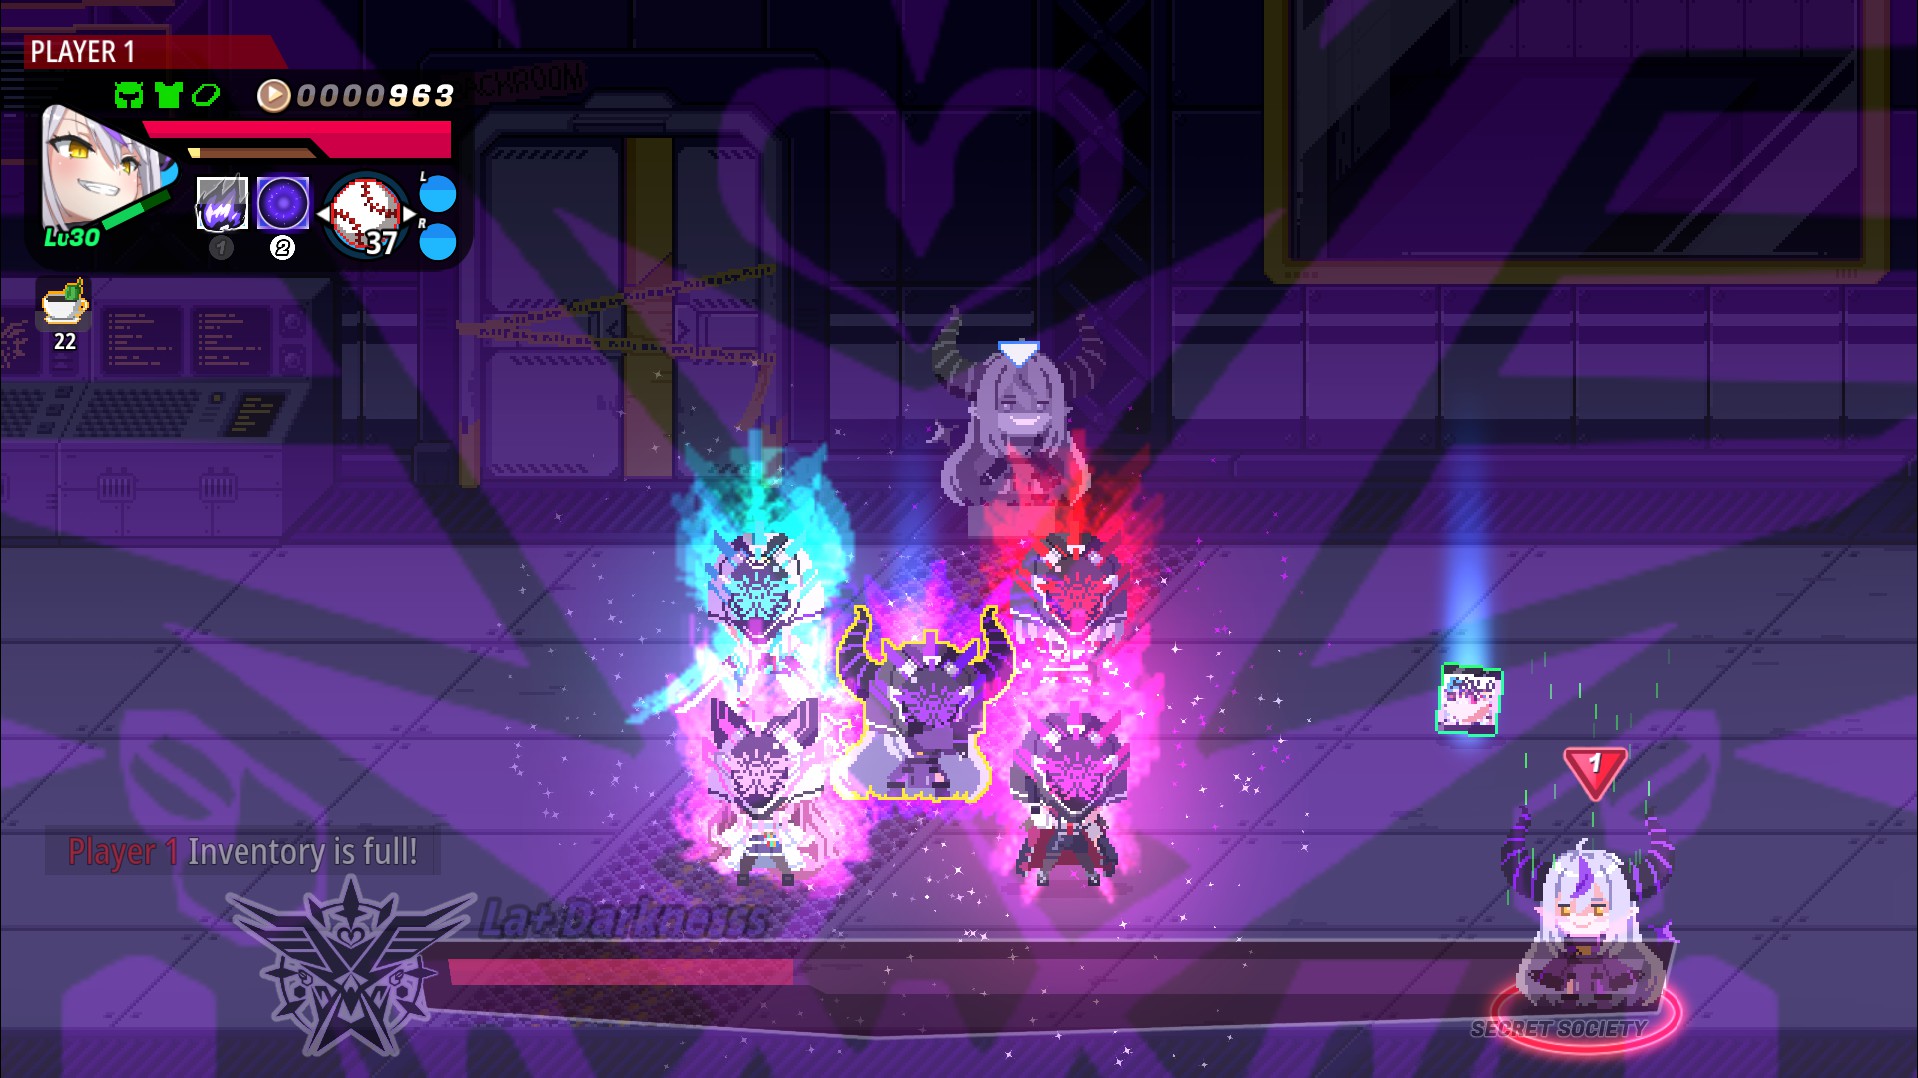
- La+ Darknesss: The final boss, who maintains distance while showering players with projectiles. Utilize items or strategic dodging to close the gap. Her ultimate combines attacks reminiscent of other Holo X members; familiarize yourself with these patterns to mitigate damage. Watch out for the stage-wide attack that leaves few safe spots, especially when dealing with additional enemies.
エピローグ (And the feet unlock)
“Holo x Break” perpetuates my fascination with Hololive fan games, inspiring me to craft straightforward guides tailored for the average player. As the game evolves with online features and updates, I aim to expand these guides to encompass new content. しかし, 今のところ, this compilation offers more than enough to navigate and appreciate the wonderful experience that “Holo x Break” delivers.
そうそう. The feet.

On stage 3 you’ll see Ollie’s head that can be used as a weapon. しないでください. Clear the area first, then get the head and move to the next section.
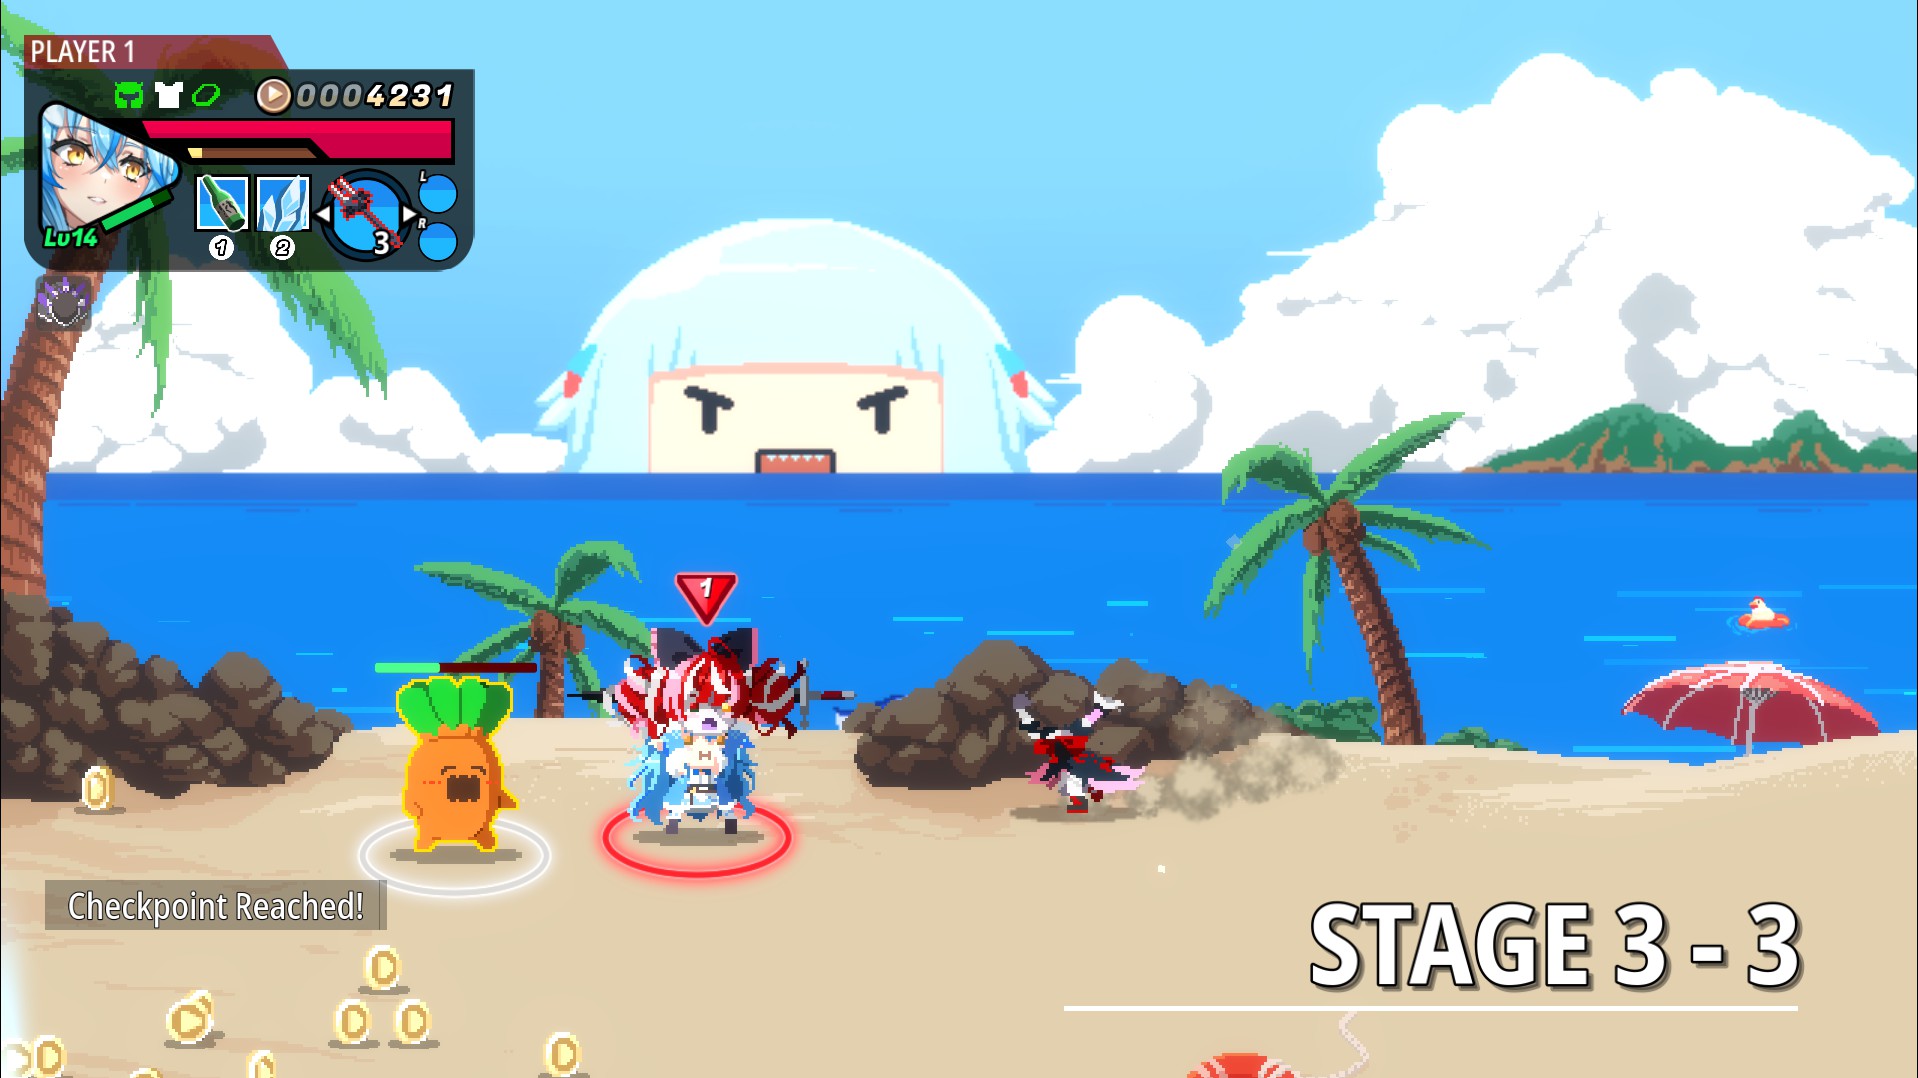
Right away you’ll see Ollie’s body running arround. Throw the head towards her and fix her up, granting you the ability to spam feet.