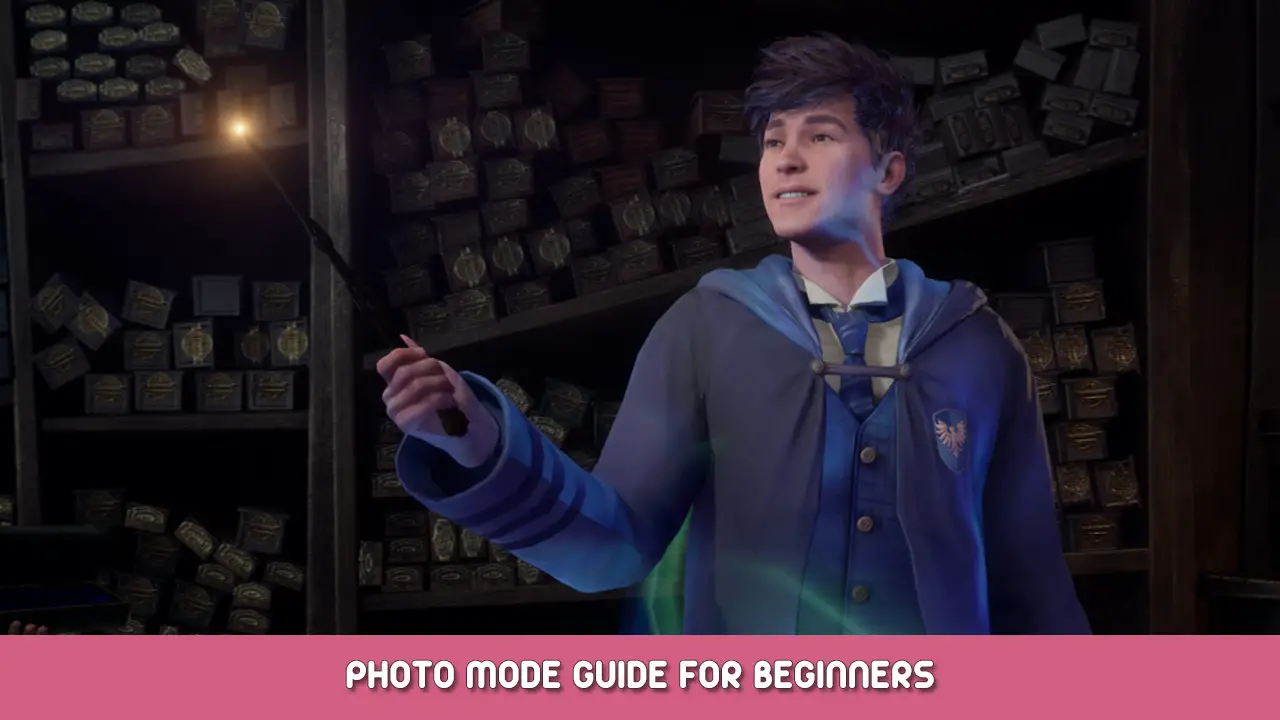
A simple guide to photographing the beauty of Hogwarts in Hogwarts Legacy.
序章
あなたが私のような人なら, you’re also disappointed that a game such has Hogwarts Legacy was released without a photo mode. But that’s okay, because I’ve made this little guide so you can take any photo from any height from anywhere. You’ll need a couple of mods to get this up and running, so lets begin.
ステップ 1 – Apparate/UETools

初め, you’ll need to install the mod (Apparate) UETools – FreeCamera. This will enable you to bring the developer’s tools back into the game. Head to the following site and download the mod manually: ネクサスモッド – UETools.
ダウンロードしたら, head to the following directory \Steam\steamapps\common\Hogwarts Legacy\Phoenix\Content\Paks and drag the 〜mods folder from the file there. It’s also good to have a folder under mods so you can add and remove any future mods you plan to use.

Now that’s done, let’s get the next mod to finish up.
ステップ 2 – 青写真

This file will enable the previous mod from Step One to work. The same process, just download the following mod and drag the files into the 〜mods フォルダ: ネクサスモッド – 青写真.
それが完了したら, we have one more file to finish up.
ステップ 3 – ToggleHUD

タイトルの通りです, this will add a hotkey to the game to enable/disable the HUD. This is pretty much essential if you want to take clean photos without having to disable each HUD element. Head to the following site and download the following mod: ネクサスモッド – ToggleHUD.
Please follow the steps in the description tab of the Mod, since you’ll need the add-on and the file to get it working properly. It’s very easy to follow.
You’ll also need to install ReShade so the effects can take place. に行く https://reshade.me/, select the second option for Add-On support, run the Installer, chose Hogwarts Legacy as your target and apply the shaders you want for the game. それが完了したら, and the mod is downloaded, extract the file to the following directory (\Steam\steamapps\common\Hogwarts Legacy\Phoenix\Binaries\Win64).
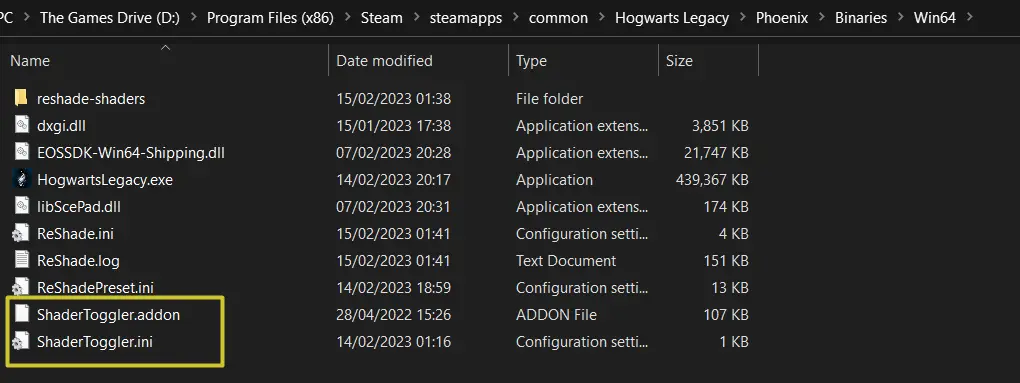
The default key to toggle the HUD is Caps Lock, but you can change the key in the file if you wish. それで終わりです. Now it’s time to take some photos. Launch the game and we’ll get you sorted.
ステップ 4 – Photo Mode

Now that the setup is done, ゲームを起動する. Once you load up in to Main Menu, プレス “F8” キーボード上で – Blueprints Apparate window must pop up (in case it’s being overlapped by game interface, プレス “F8” when loaded in to the world);
Click to the text field (located right under Blueprints Apparate window Title) & type next text in to it: “UETools”, プレス “入力” それから;

正しく行われた場合, this is how the text box should look like.
If everything was done right, your Blueprints Apparate window will look like one in “LOOKATME – UETools.png”. プレス “`” on your keyboard in case to open up Developer Console, そして押します “`” twice to make Developer Console fullscreen & see console commands responses.
To enable/disable Freecam, open up the Developer console and type “toggledebugcamera 1”. You can now go where ever you want to take your photos. Once your camera is moving, プレス “Caps Lock” to toggle the HUD on/off.
そして、あなたは終わった! Here are just a few screenshots I took once I got everything set up.

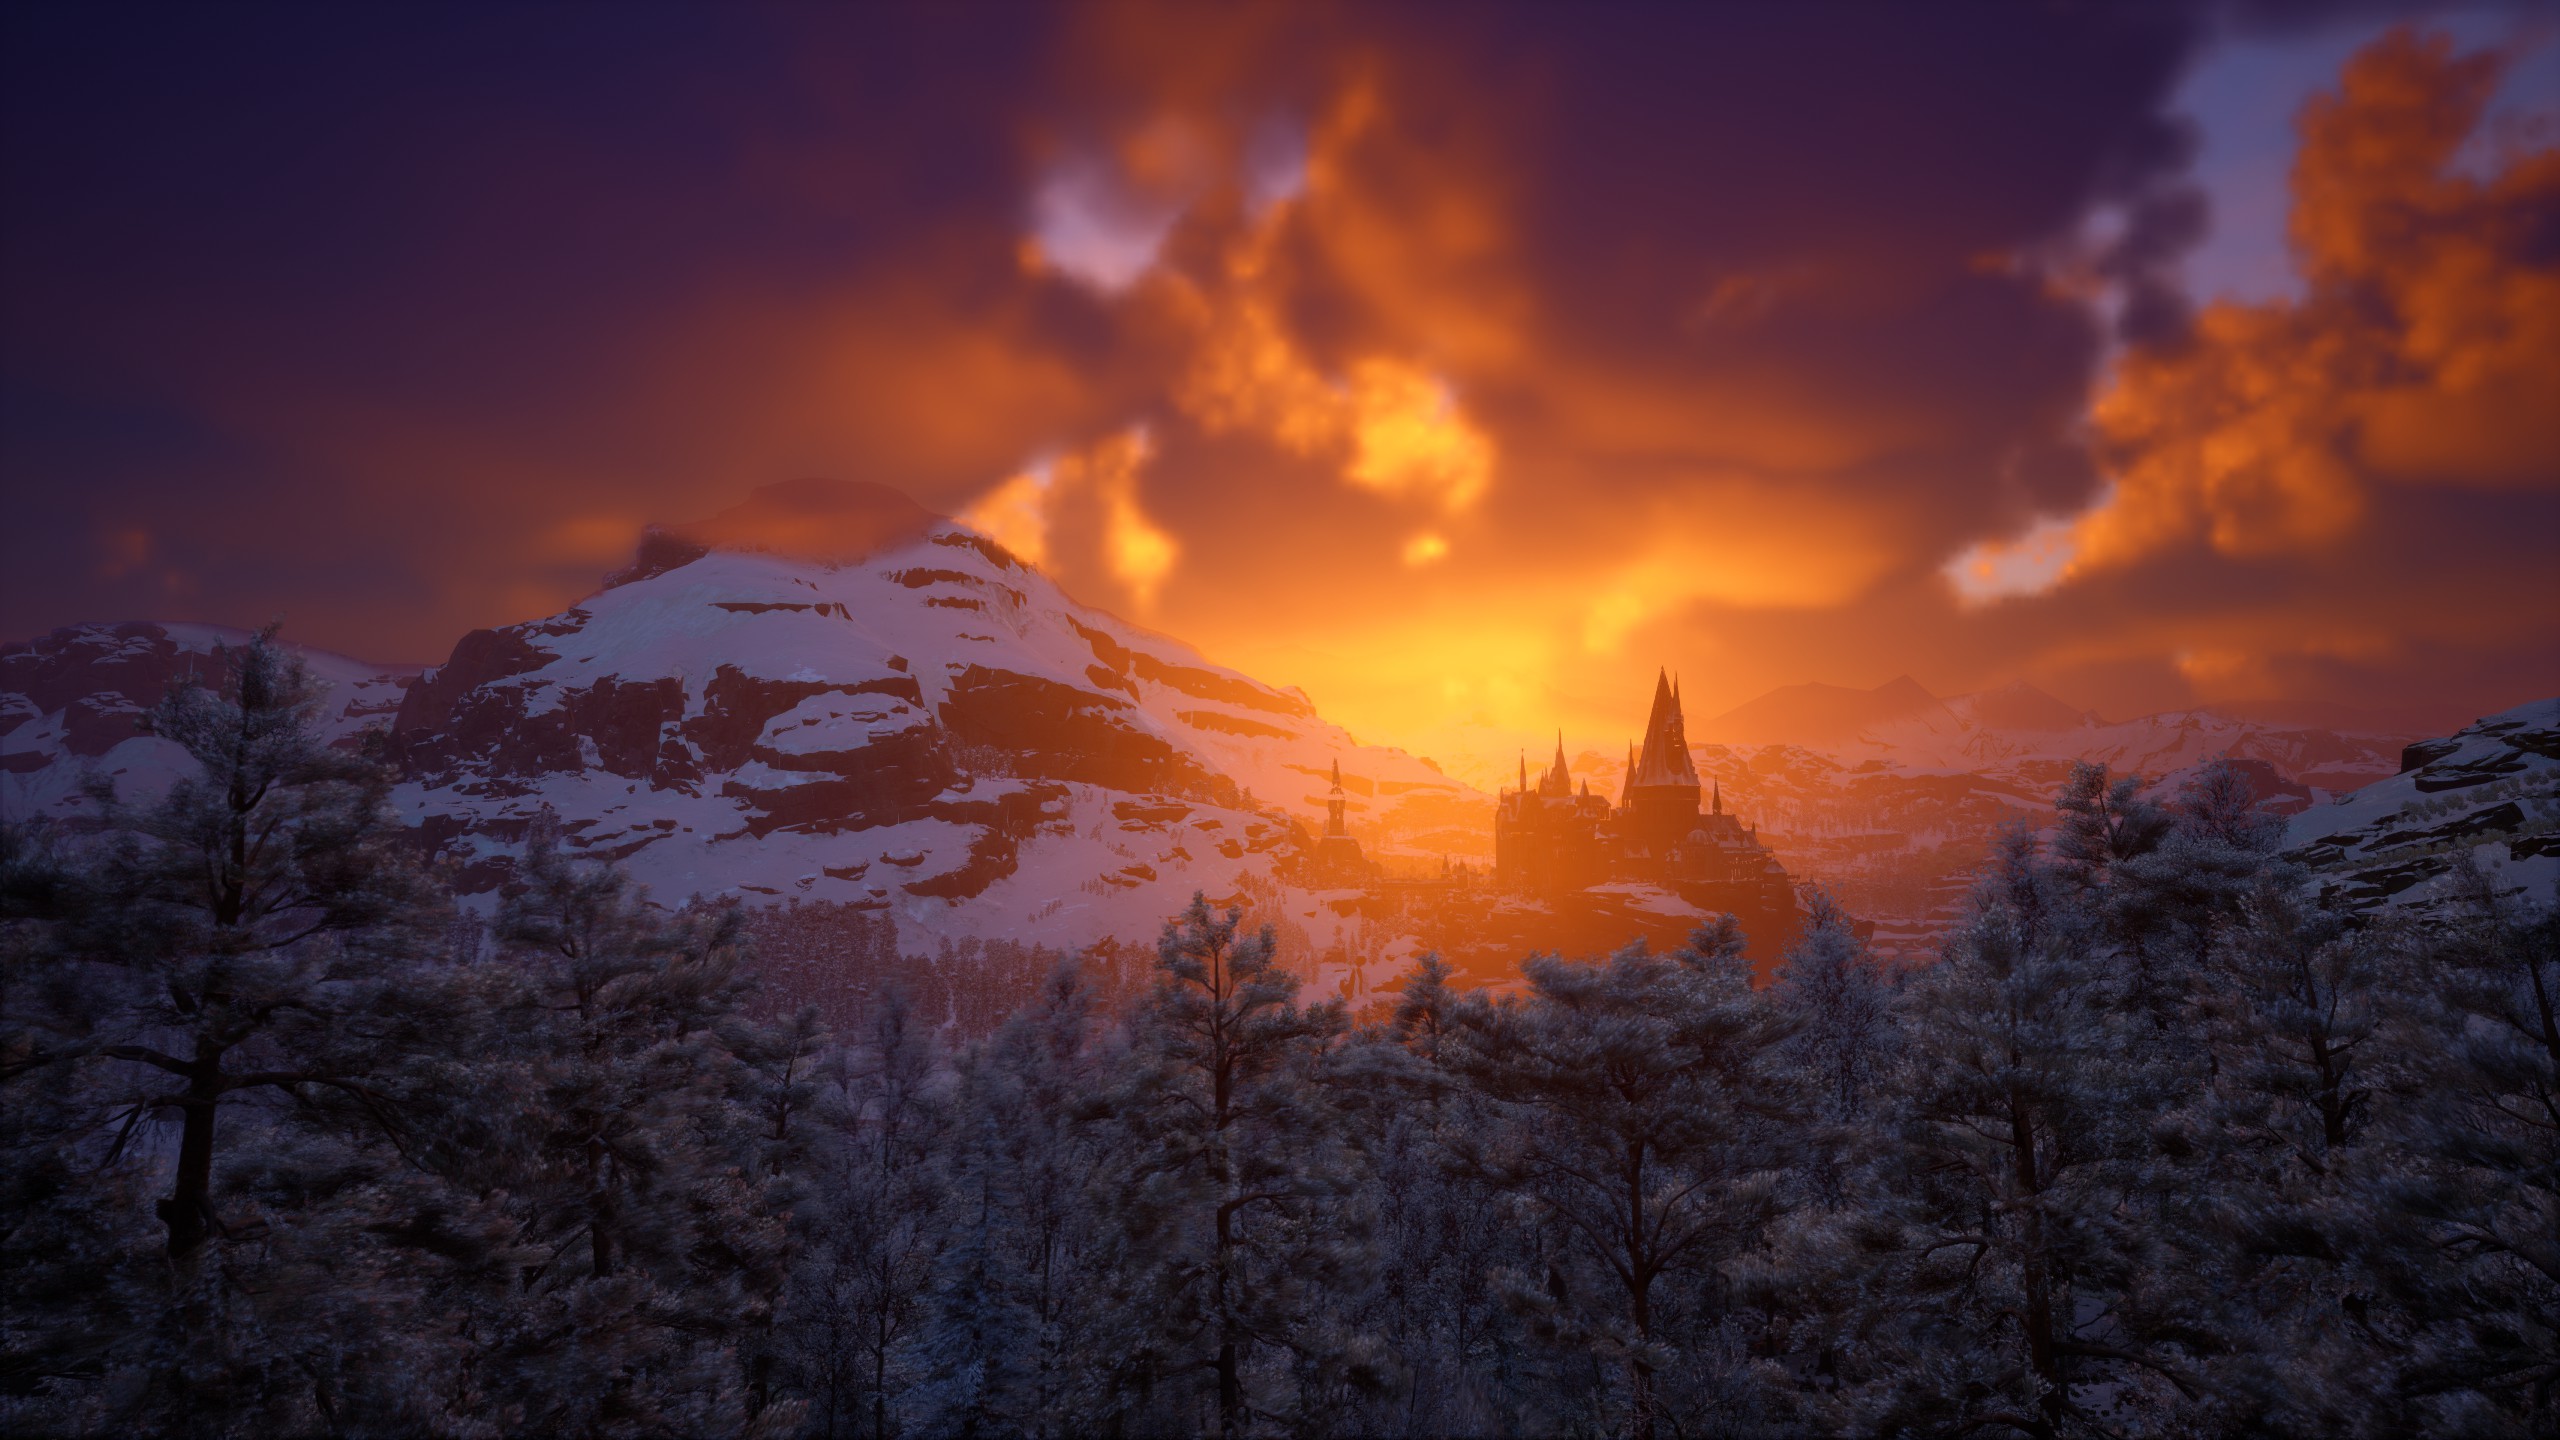


And now it’s your turn to start taking some screenshots.
これが今日私たちがこの目的で共有するすべてです ホグワーツの遺産 ガイド. このガイドは元々、次の者によって作成および執筆されました。 DoctorGrievous. このガイドを更新できなかった場合, これに従って最新のアップデートを見つけることができます リンク.